I have this awesome friend. We will call her Britt, which makes sense since that’s her name 🙂 She and I tend to bring out the best in each other and challenge one another at all the appropriate times, namely when it comes to taking chances and embracing the space outside our comfort zone. We also seek each other out when we need to hear, “It’s okay to rest…slow down and enjoy the ride.” If you don’t have a Britt in your life, I hope you find one soon. She’s a real keeper. And she’s the reason for these Coconut Chocolate Chip Pecan Cookies.
How you ask?
Recently, Britt said, “I want you to develop a 4 ingredient baked good for me that’s good and I can make because I suck at baking.” Well, she’s generally healthy, avoiding extra sugar and wheat. Gluten free with less sugar? Challenge accepted. Well, sort of. I definitely missed the mark on 4 ingredients and I think this guy is still a work in progress, but aren’t we all?
And because I LOVE to embrace the work in progress life, I thought I would share this out to the world. Give me all the feedback. I am not gluten free, so there is a definite learning curve there. I wanted this to be a recipe you could make without purchasing a whole bunch of crazy ingredients, and I had all of these in my pantry. Give them a try. I personally think they go great with a late morning coffee, but that’s just me!
Your ingredients
- 1 1/2 cups old fashioned oats
- 1/2 cup coconut flour
- 1/4 cup butter, softened
- 1/4 cup coconut oil, melted
- 1/2 teaspoon salt
- 1/2 teaspoon baking soda
- 2 tablespoons white sugar
- 2 tablespoons brown sugar
- 1/2 tablespoon vanilla
- 2 large eggs
- 1/2 cup unsweetened coconut
- 1/4-1/2 cup dark chocolate chips
Your Steps to Coconut Chocolate Chip Pecan Cookies
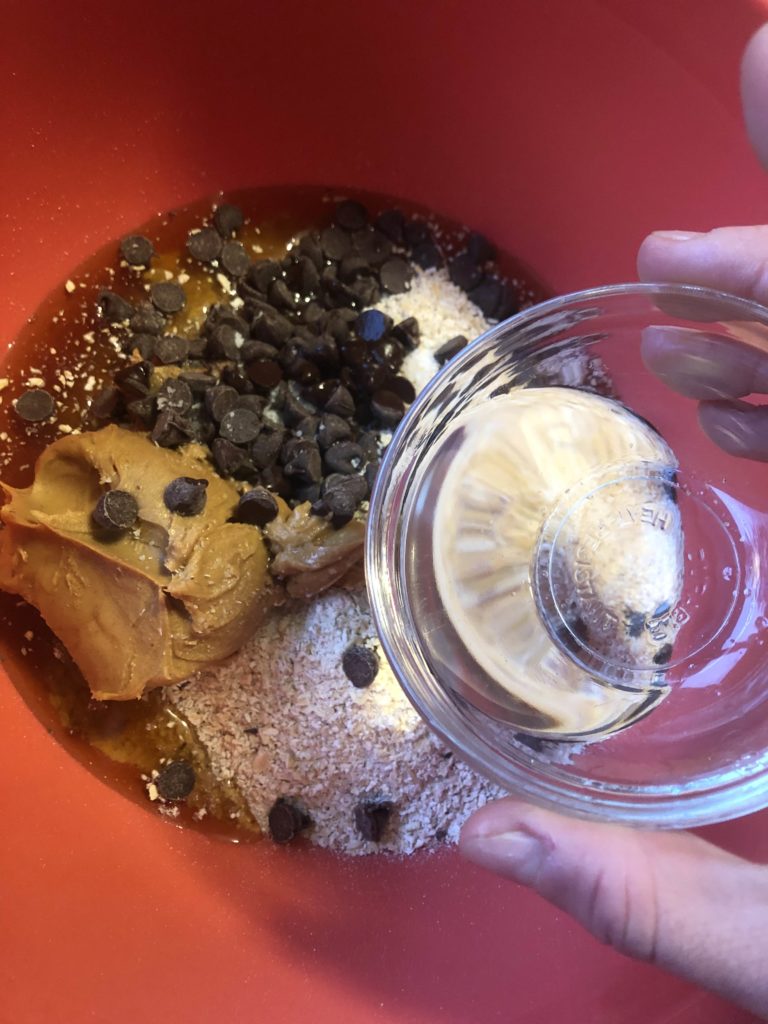
Preheat the oven to 350 degrees. Place oats in a food processor and blend them until an oat flour is formed. (I am obsessed with creating my own oat flour. It adds such awesome texture to baked goods. If you haven’t done it yet, you’re welcome 🙂 ). Add coconut flour, salt, and baking soda. pulse until well mixed. Set aside.
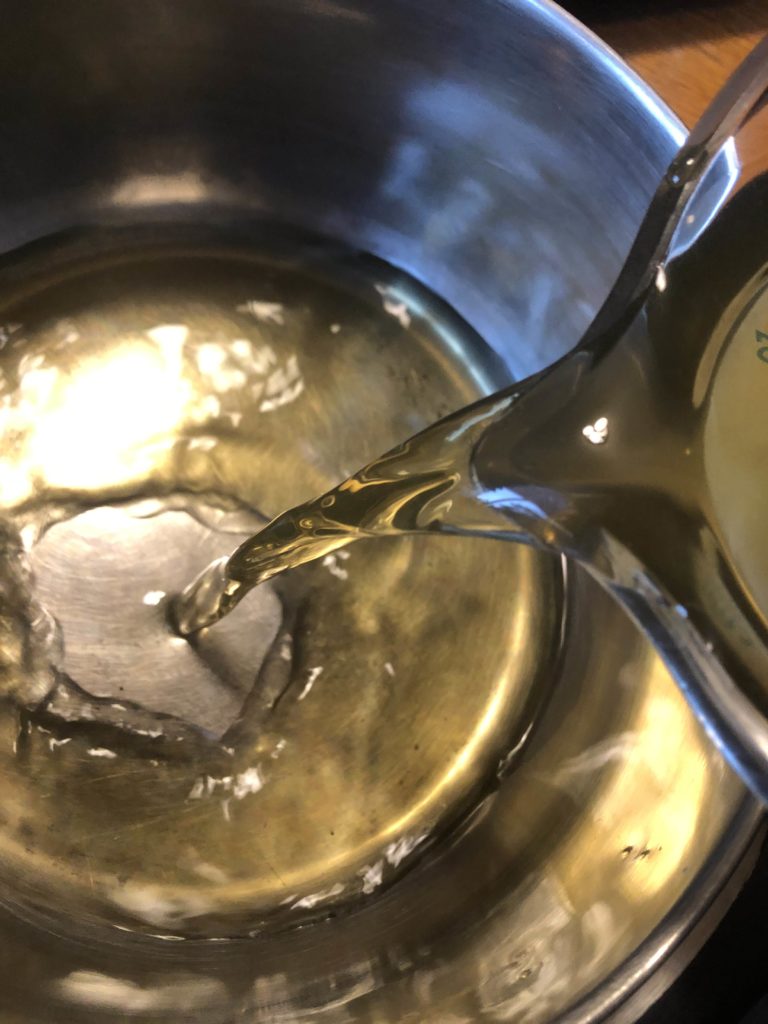
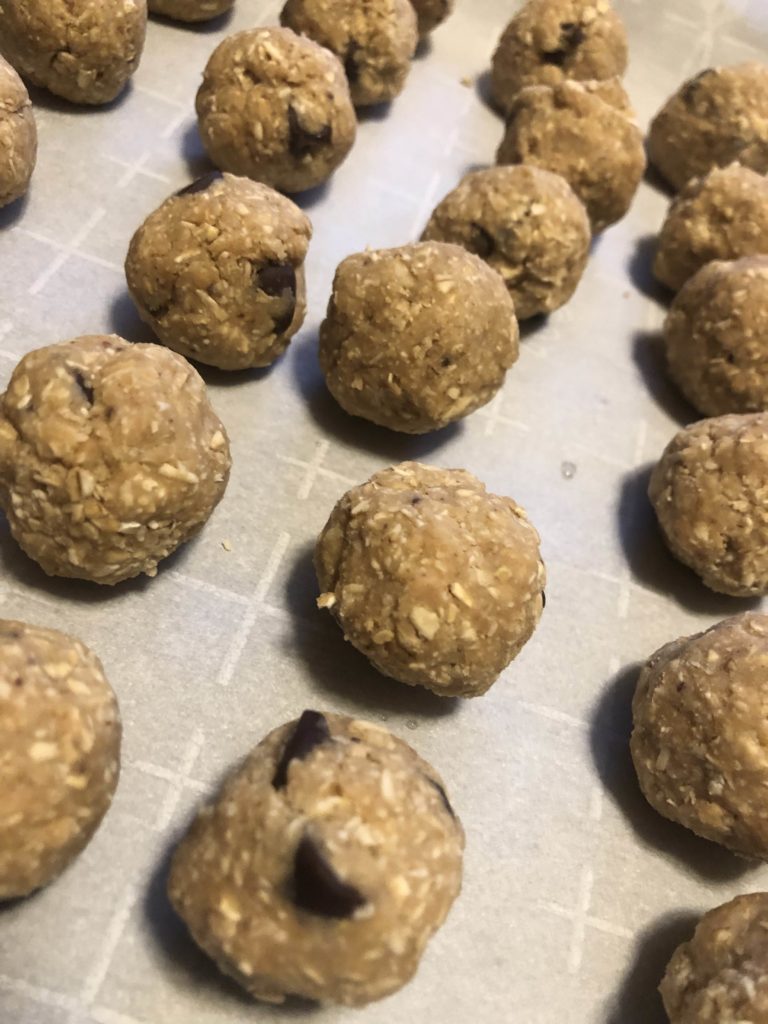
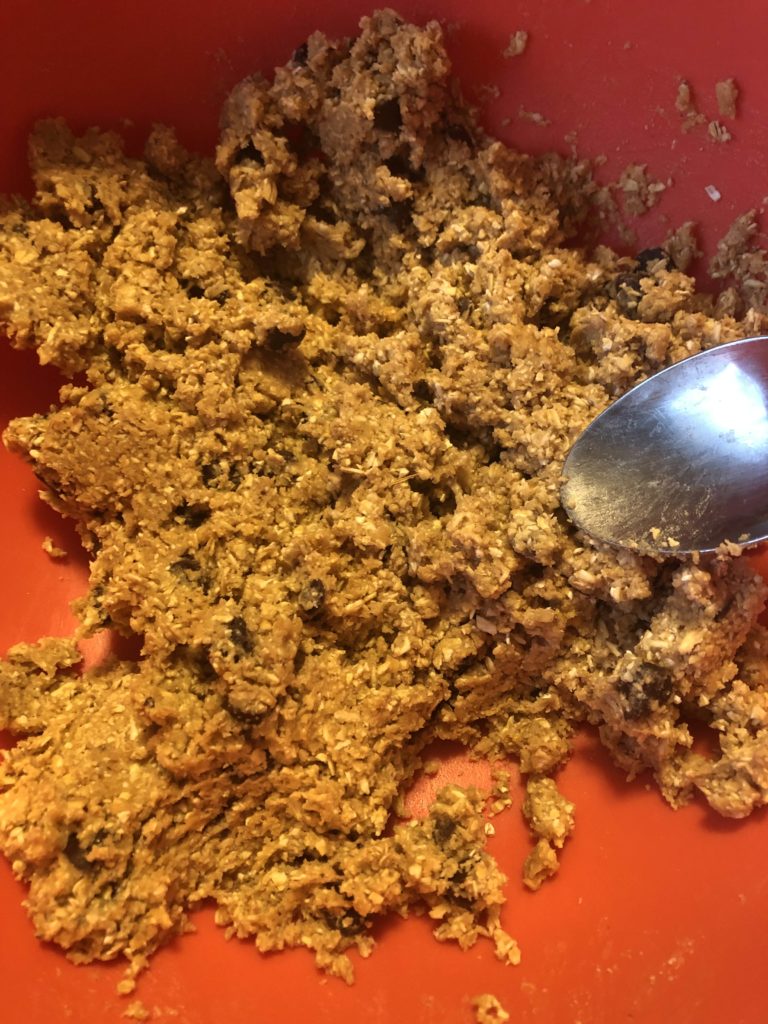
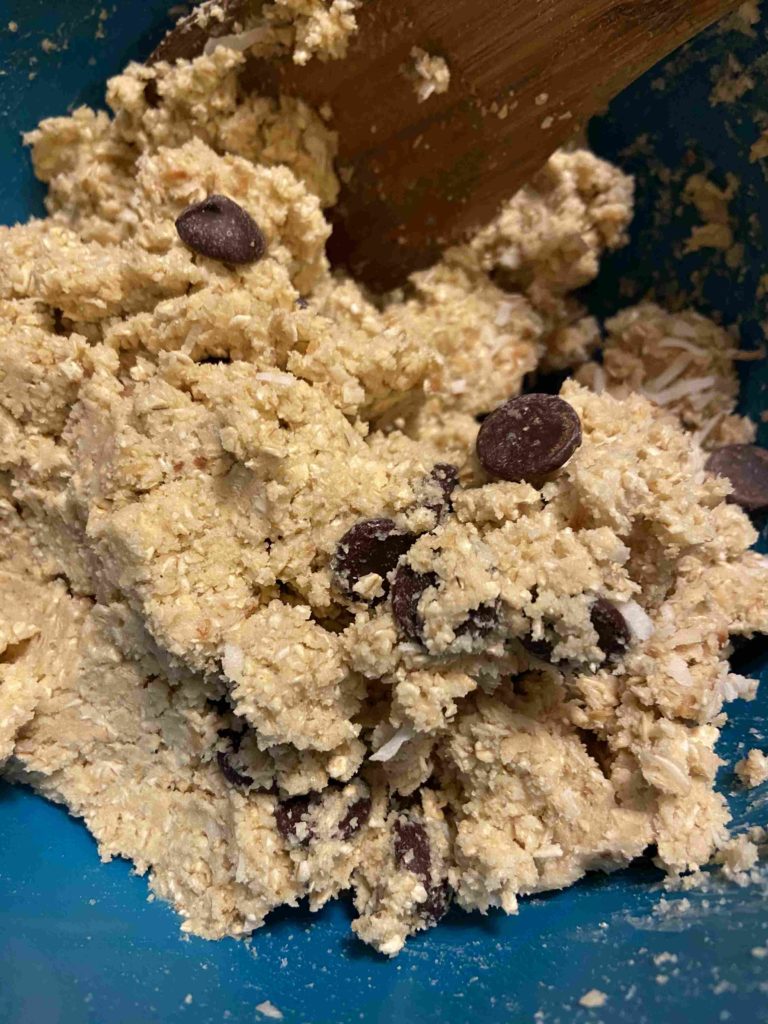
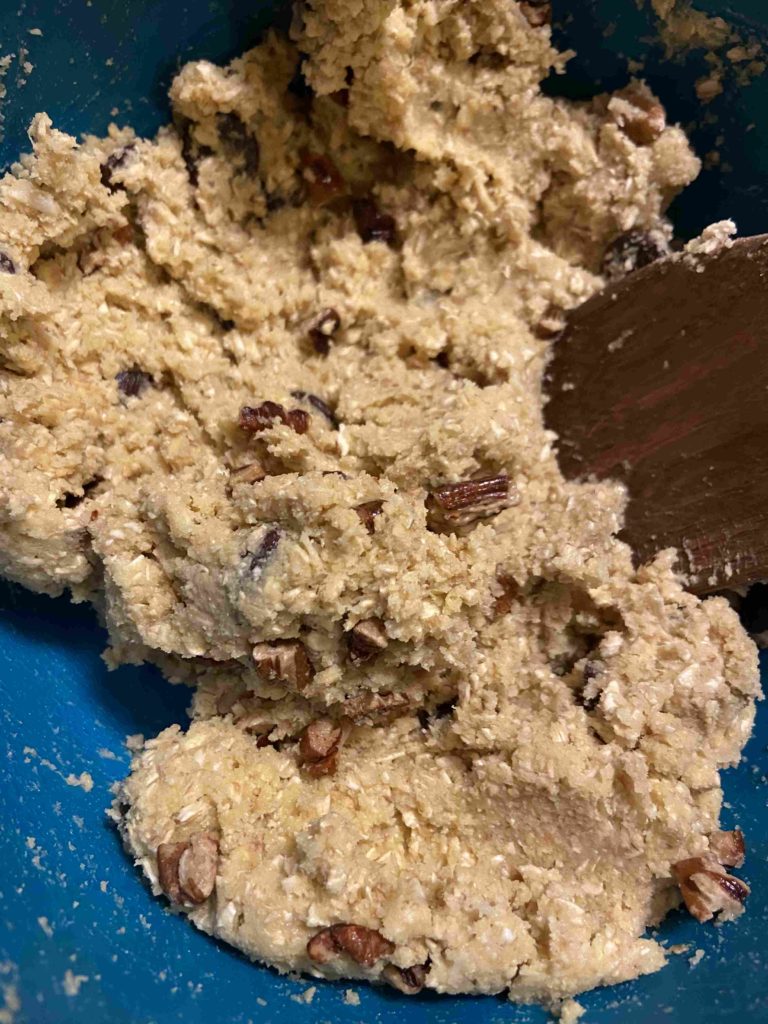
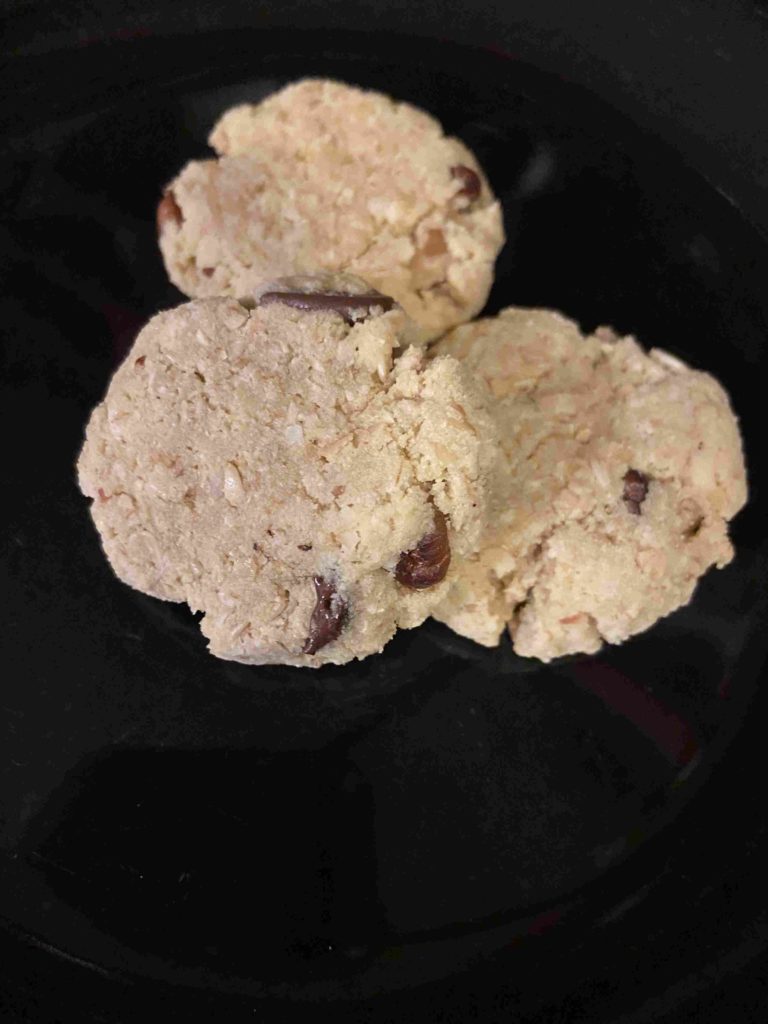
In a medium sized bowl, cream butter, coconut oil, and sugars until well blended. Add eggs and vanilla and mix well. Stir in flour mixture until just moistened. Then add coconut, pecans, and chocolate. Using a tablespoon, scoop cookie dough and roll into a ball. Place on an ungreased cookie sheet. Flatten with the palm of your hand. Bake for 7-8 minutes. They will not spread anymore than you flattened them. They should just become browned underneath. I think they are the best the next day, but any cookie right out of the oven is a good cookie, right?
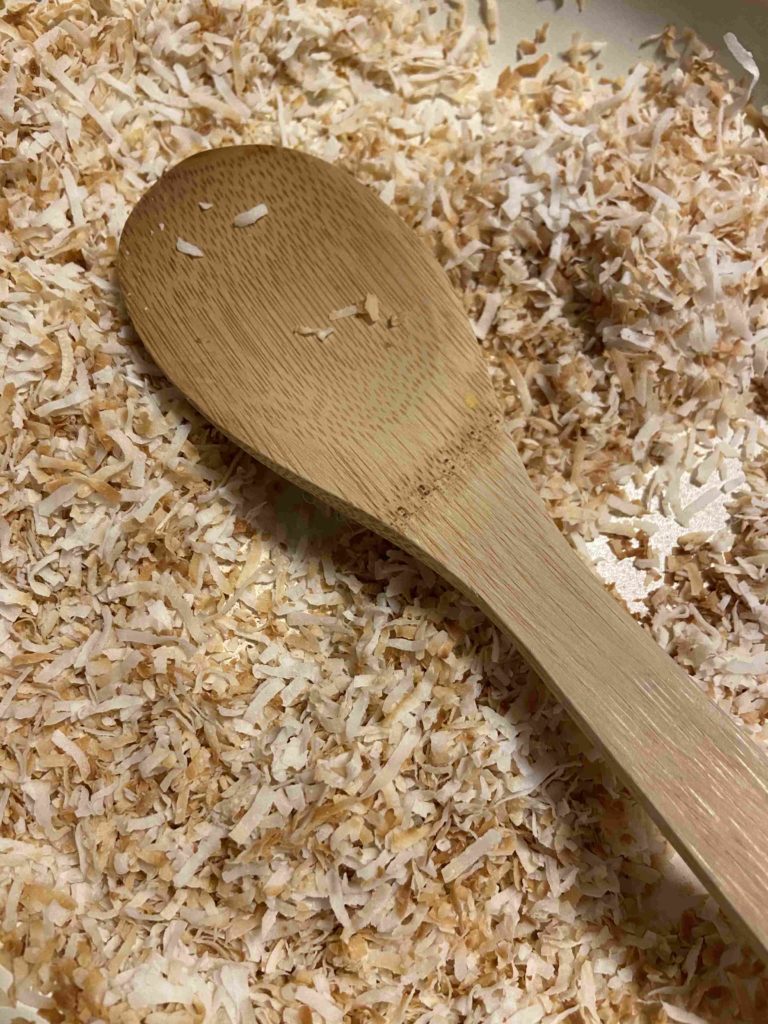
NOTE: I toasted my coconut and pecans (and I just slightly salted the pecans). My favorite way to do this is by heating a small frying pan that is sprayed with some olive oil cooking spray. Add coconut (or pecans) and heat over medium heat for 4-7 minutes. You have to watch it carefully, but it is a snap to do. Make some extra. You’ll tastebuds will thank me later.

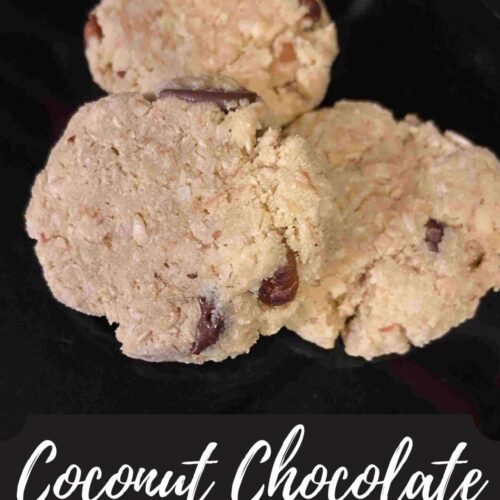
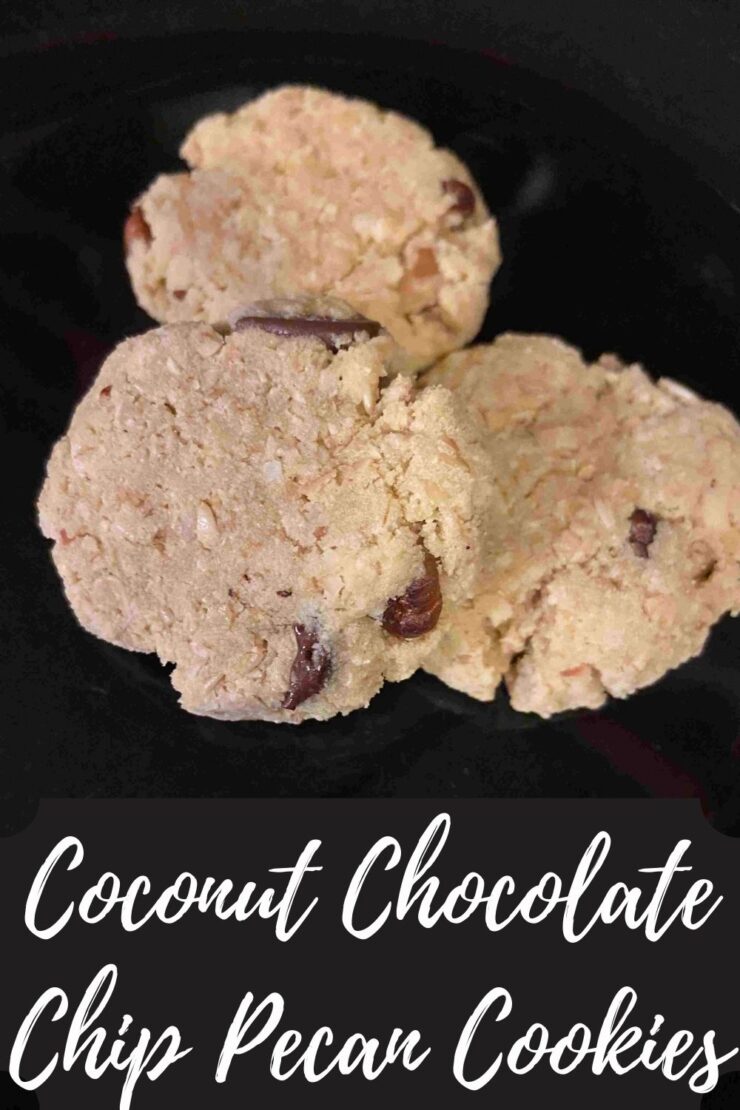
Coconut Chocolate Chip Pecan Cookies
Ingredients
- 1 1/2 cups old fashioned oats
- 1/2 cup coconut flour
- 1/4 cup butter softened
- 1/4 cup coconut oil melted
- 1/2 teaspoon salt
- 1/2 teaspoon baking soda
- 2 tablespoons white sugar
- 2 tablespoons brown sugar
- 1/2 tablespoon vanilla
- 2 large eggs
- 1/2 cup unsweetened coconut
- 1/4-1/2 cup dark chocolate chips
Instructions
- Preheat the oven to 350 degrees.
- Place oats in a food processor and blend them until an oat flour is formed. Add coconut flour, salt, and baking soda. pulse until well mixed. Set aside.
- In a medium sized bowl, cream butter, coconut oil, and sugars until well blended.
- Add eggs and vanilla and mix well.
- Stir in flour mixture until just moistened.
- Add coconut, pecans, and chocolate.
- Using a tablespoon, scoop cookie dough and roll into a ball.
- Place on an ungreased cookie sheet. Flatten with the palm of your hand. They will not spread anymore than you flattened them.
- Bake for 7-8 minutes. They should just become browned underneath.