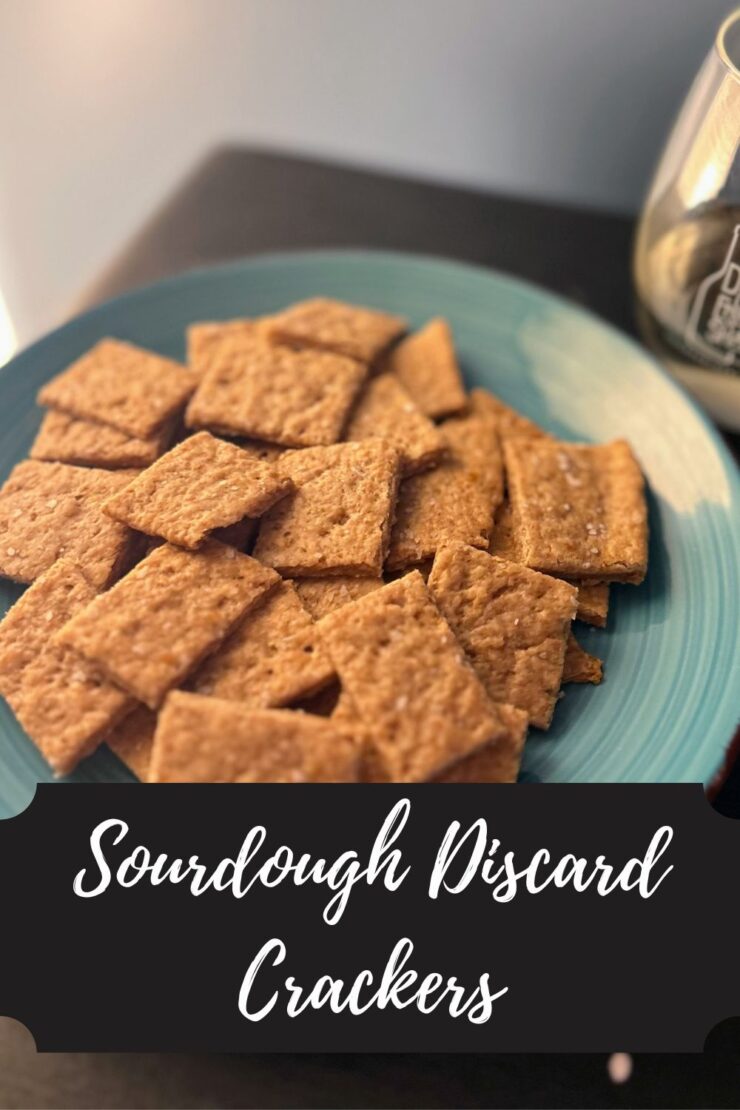
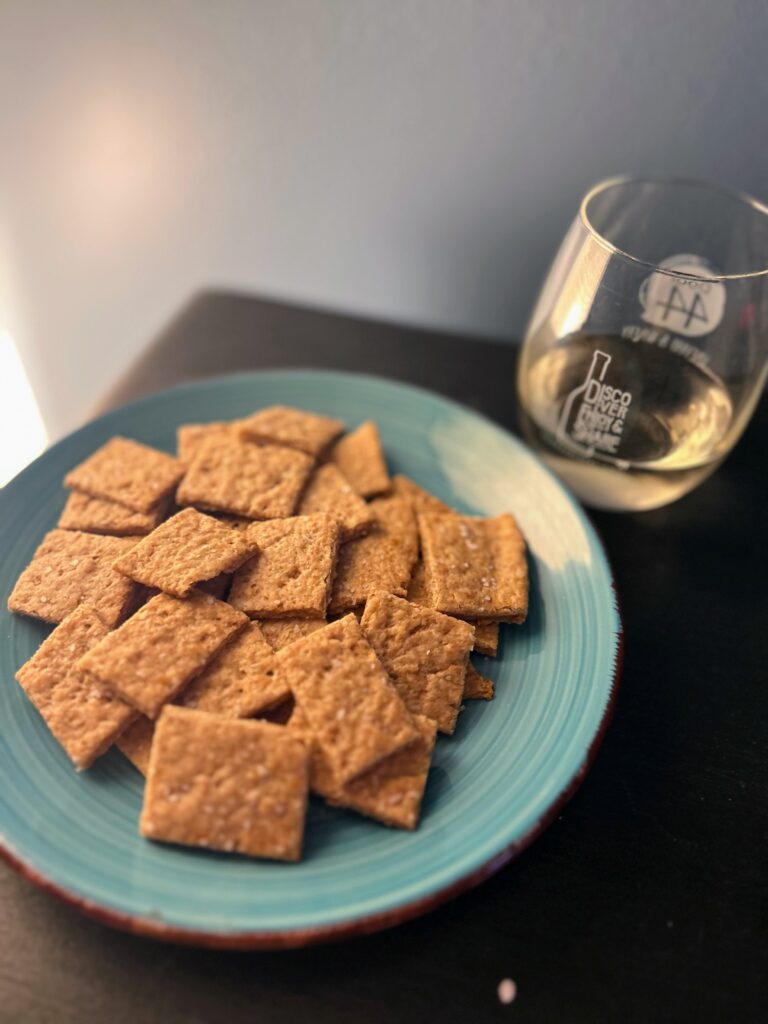
“They are PERFECT”-My big kiddo, after trying these sourdough discard crackers. And let me tell you, he can be hard to please.
My big kid is a snack cracker, granola bar, banana eating junkie. He’s an athlete and in middle school and I swear he never stops eating. What I am trying to say is he knows his snacks. So when I gave these crackers a go last week and they weren’t perfect, he certainly let me know they were lacking. But I wasn’t about to give up.
The following weekend, I gave it another go. I changed the salt and the nutritional yeast and let the dough chill for an hour. I baked them at a higher temperature. And when they came out and my family gave them a try, the response was pretty dang positive.
The Mr: “I’ll take more of those please.”
My Little One: “He can’t have them all. Can I have a plate?”
My Big Kiddo: “They are PERFECT.”
I hope your family loves them as much as we did! If you have never used nutritional yeast before, it can be found in the baking aisle. It is yellow and flaky and gives a cheese like flavor without the cheese. I like to use Bragg Nutritional Yeast.
These crackers are such a great way to use up that sourdough discard and you can have crackers in under 2 hours. How great is that?!
Ready to start creating? Let’s go!
Your Ingredients
- 200 grams sourdough discard, room temp (ish. If you forget to pull it from the fridge, that’s okay too!)
- 5 tablespoons butter, mostly melted
- 1 teaspoon of salt, divided
- 1 ½ – 2 tablespoons nutritional yeast
- ¾ cup whole wheat flour
Your Steps to Sourdough Discard Crackers
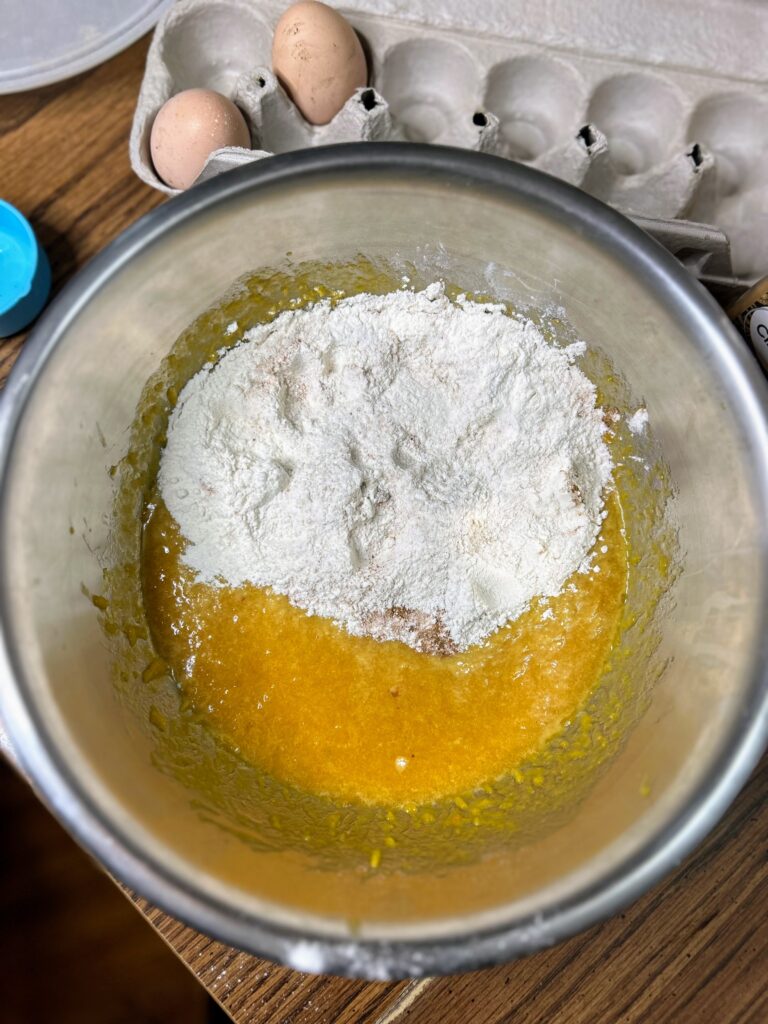
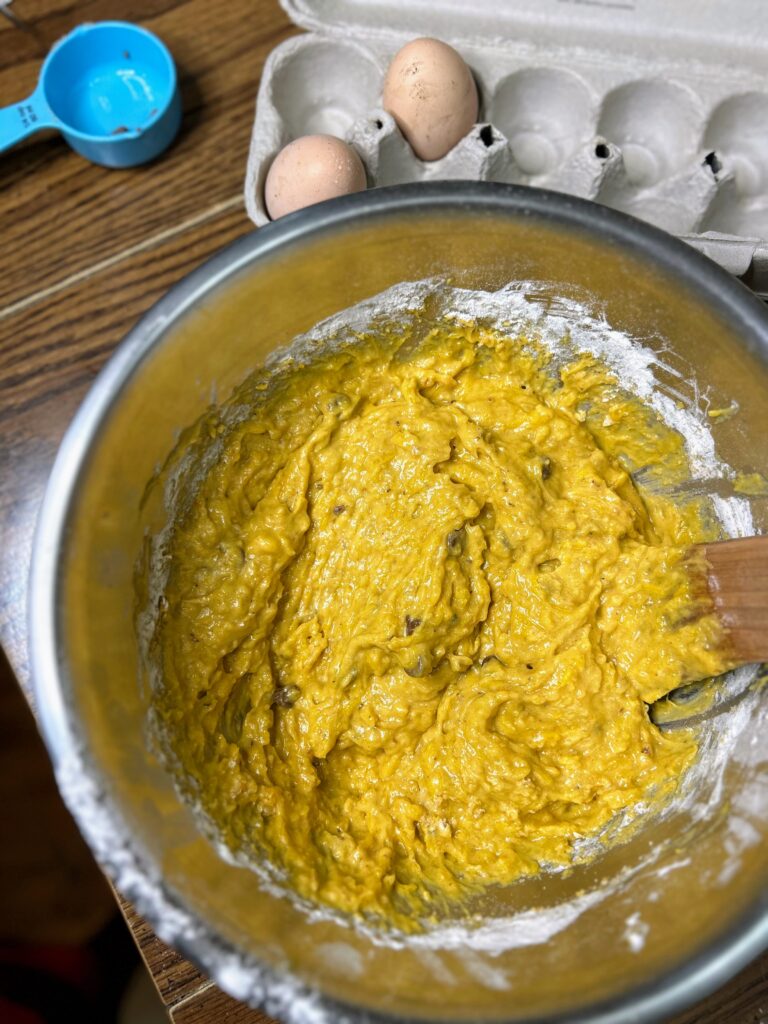
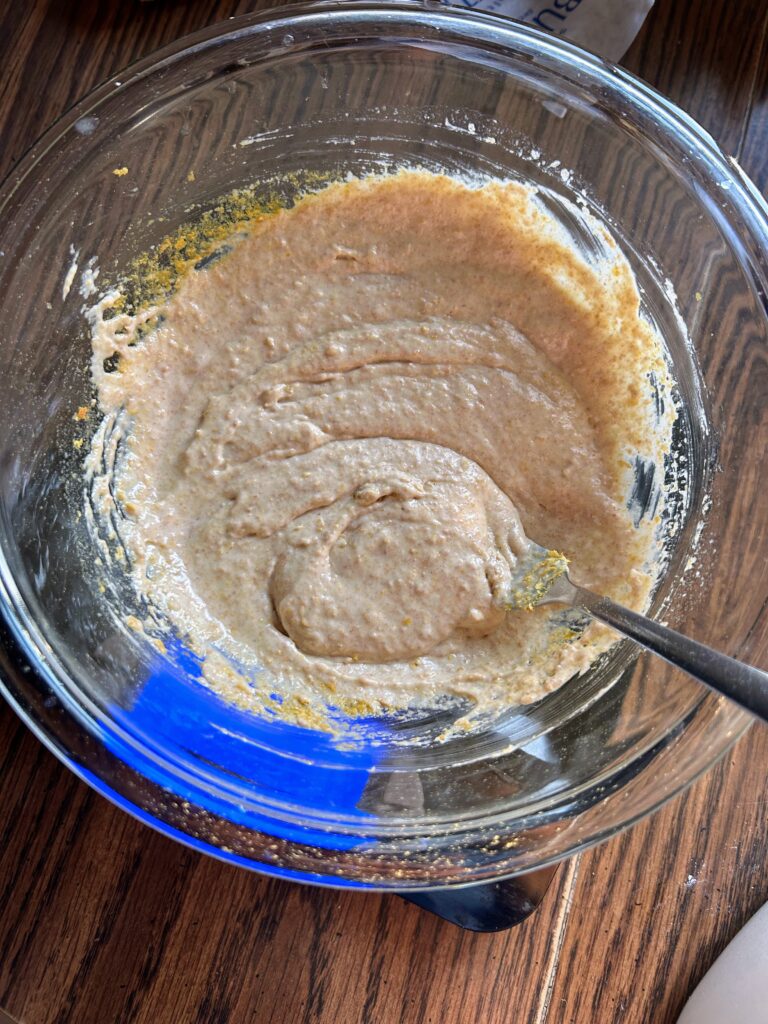
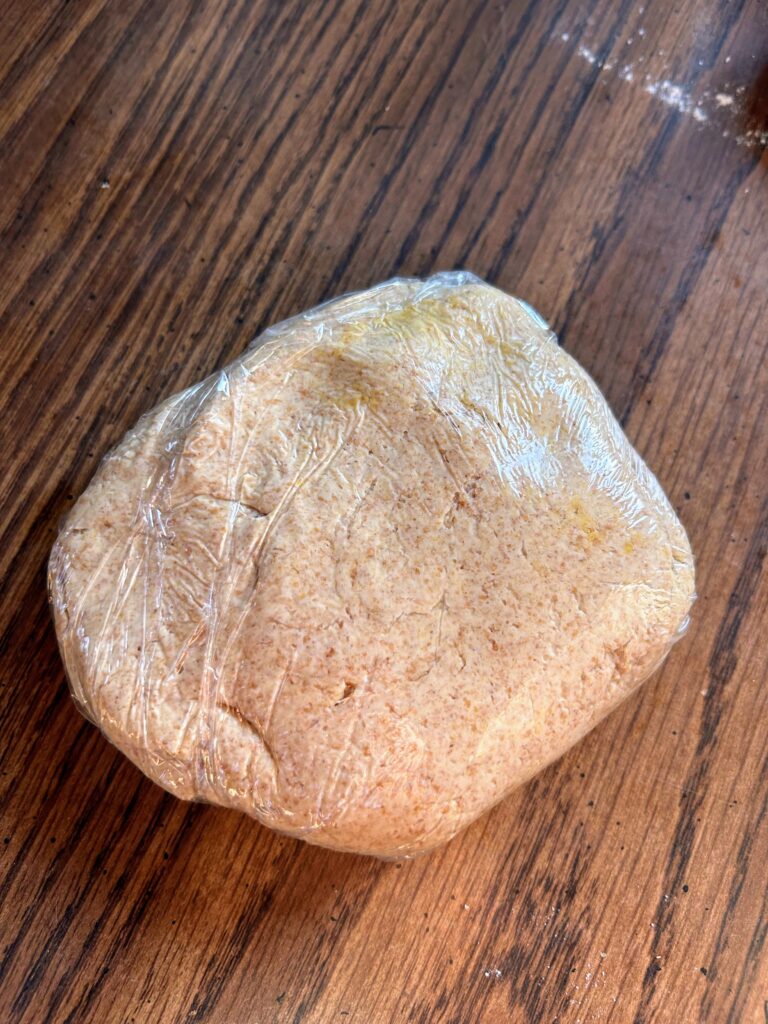
In a medium bowl, melt butter nearly all the way. Allow to cool just a bit before stirring in the sourdough discard. I like to use a fork to incorporate Sprinkle in ½ teaspoon salt and nutritional yeast. Stir well. Add the flour and stir with the fork until well combined. Knead just a couple turns. Then wrap the dough in plastic wrap and chill for an hour.
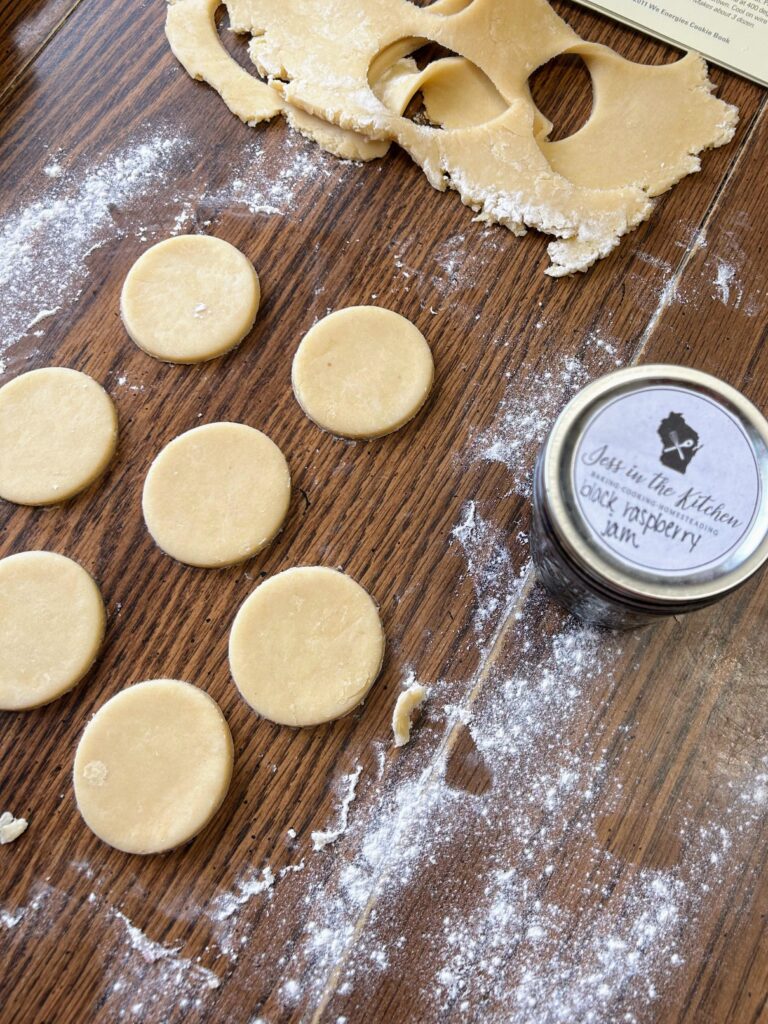
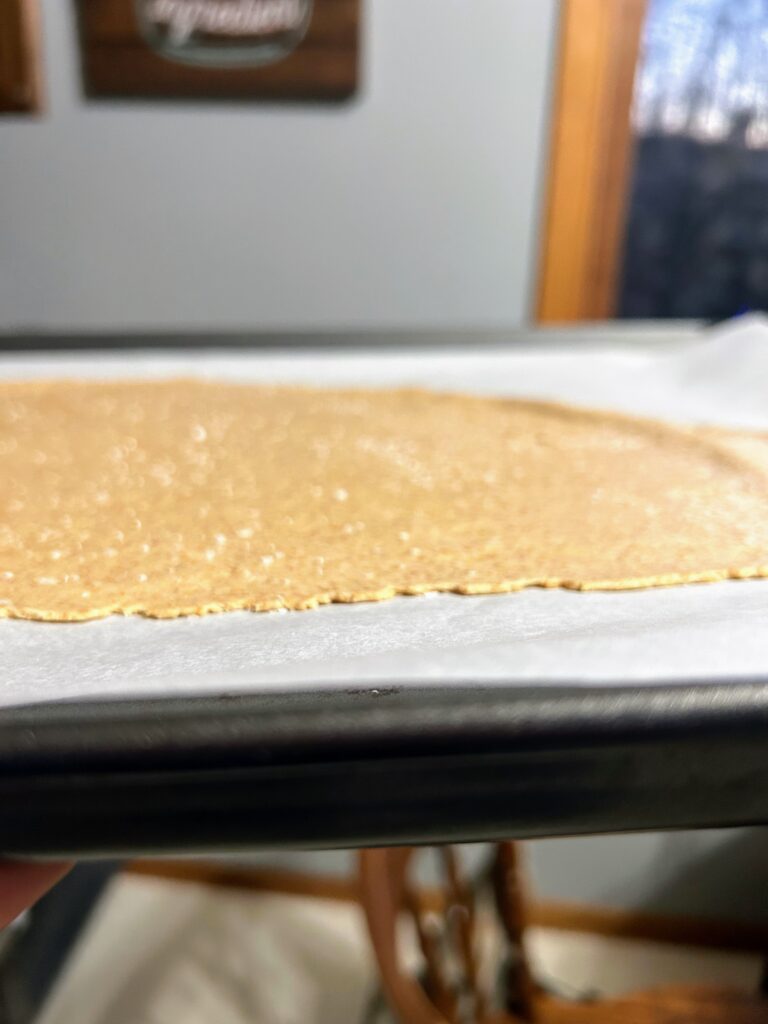
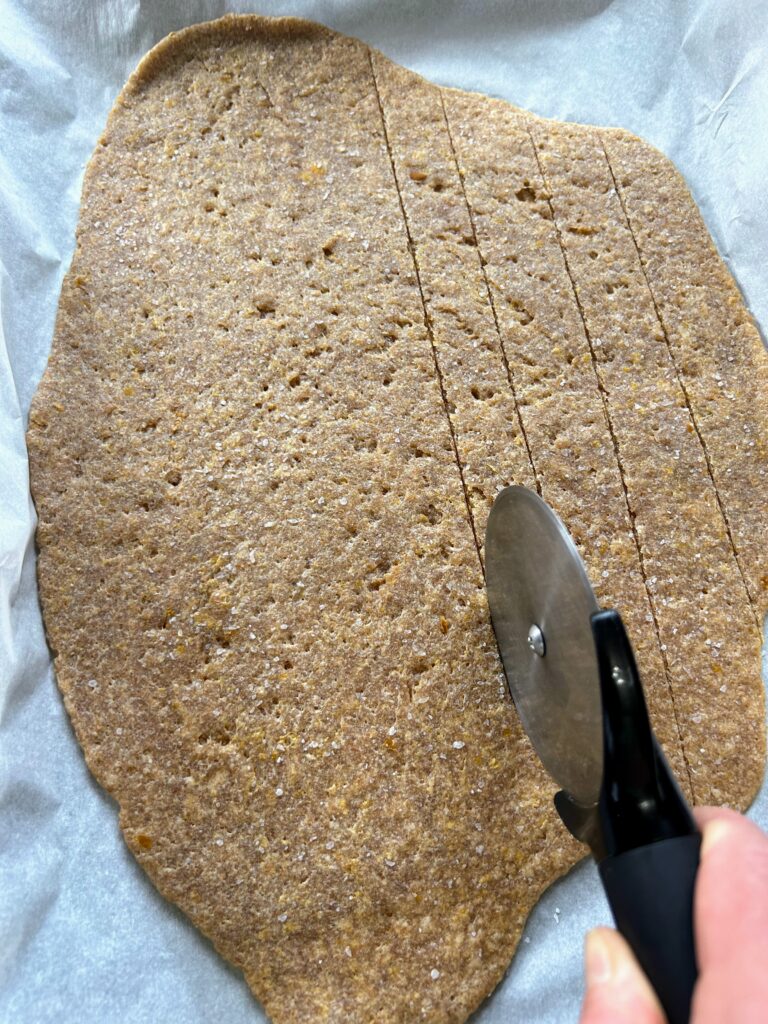
Meanwhile, preheat the oven to 375 F. Once the dough has finished chilling, place on a large piece of parchment paper. Sprinkle with just a bit of flour on the rolling pin and roll as thin as you can (about 1-2 mm). Sprinkle with remaining ½ teaspoon salt.
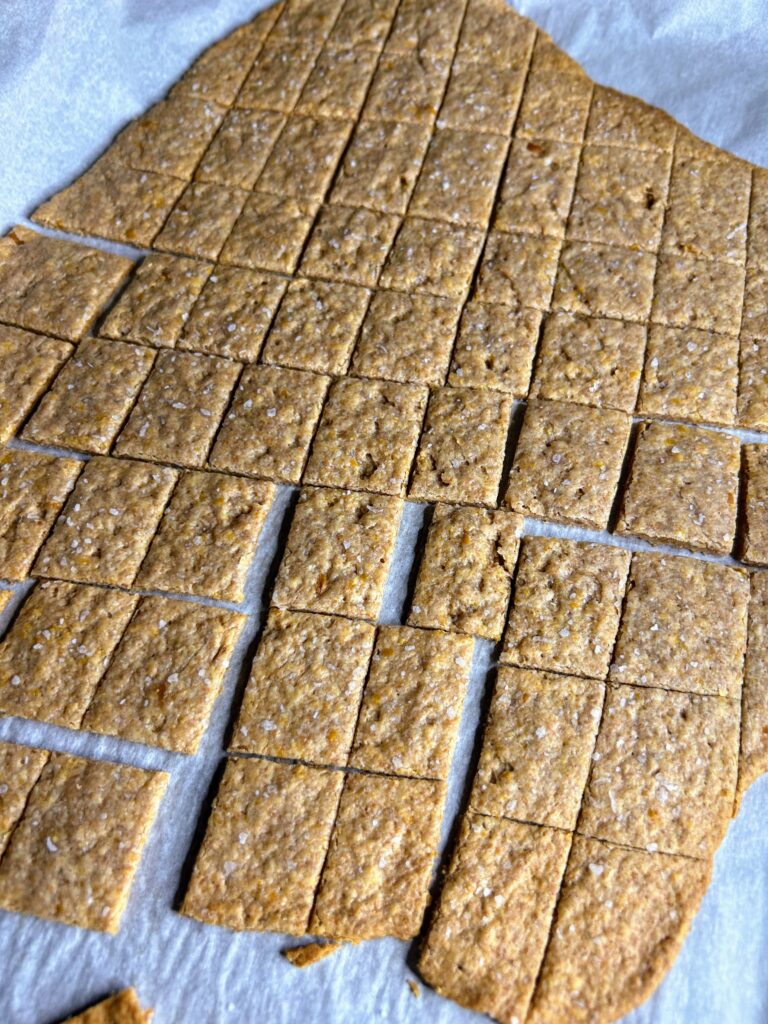
Place on a baking sheet and bake for 5-8 minutes. Remove and score the crackers with a pizza roller. Place back in the oven for an additional 10 minutes. Inevitably, the edges will bake quicker than the inside. I like to pull the crispy outside ones and then back it another 4-8 minutes, checking to pull other crispy ones and returning to bake a bit more. Allow crackers to cool and then store in an airtight container (If you can keep your hands off of them!)
Sourdough Discard Crackers
Equipment
- Pizza Cutter
Ingredients
- 200 grams sourdough discard room temp
- 5 tablespoons butter mostly melted
- 1 teaspoon of salt divided
- 1 ½ – 2 tablespoons nutritional yeast
- ¾ cup whole wheat flour
Instructions
- In a medium bowl, melt butter nearly all the way. Allow to cool just a bit before stirring in the sourdough discard. I like to use a fork to incorporate. Sprinkle in ½ teaspoon salt and nutritional yeast. Stir well.
- Add the flour and stir with the fork until well combined. Knead just a couple turns. Then wrap the dough in plastic wrap and chill for an hour.
- Meanwhile, preheat the oven to 375 F. Once the dough has finished chilling, place on a large piece of parchment paper. Sprinkle with just a bit of flour on the rolling pin and roll as thin as you can (about 1-2 mm). Sprinkle with remaining ½ teaspoon salt.
- Place on a baking sheet and bake for 5-8 minutes. Remove and score the crackers with a pizza roller. Place back in the oven for an additional 10 minutes. Inevitably, the edges will bake quicker than the inside. I like to pull the crispy outside ones and then back it another 4-8 minutes, checking to pull other crispy ones and returning to bake a bit more. Allow crackers to cool and then store in an airtight container.
Notes
Looking for other snacks or sourdough treats?
Here are some great places to look! Sourdough Adventures and Snacks. Maybe you eat with your eyes. Here are my favorites!