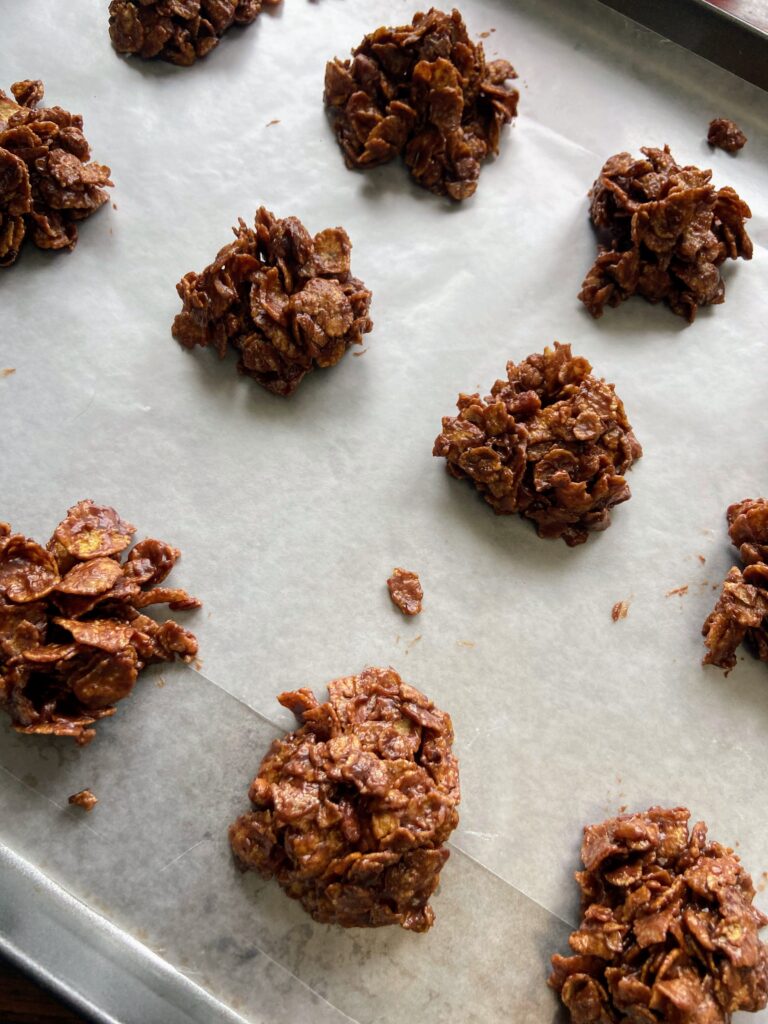
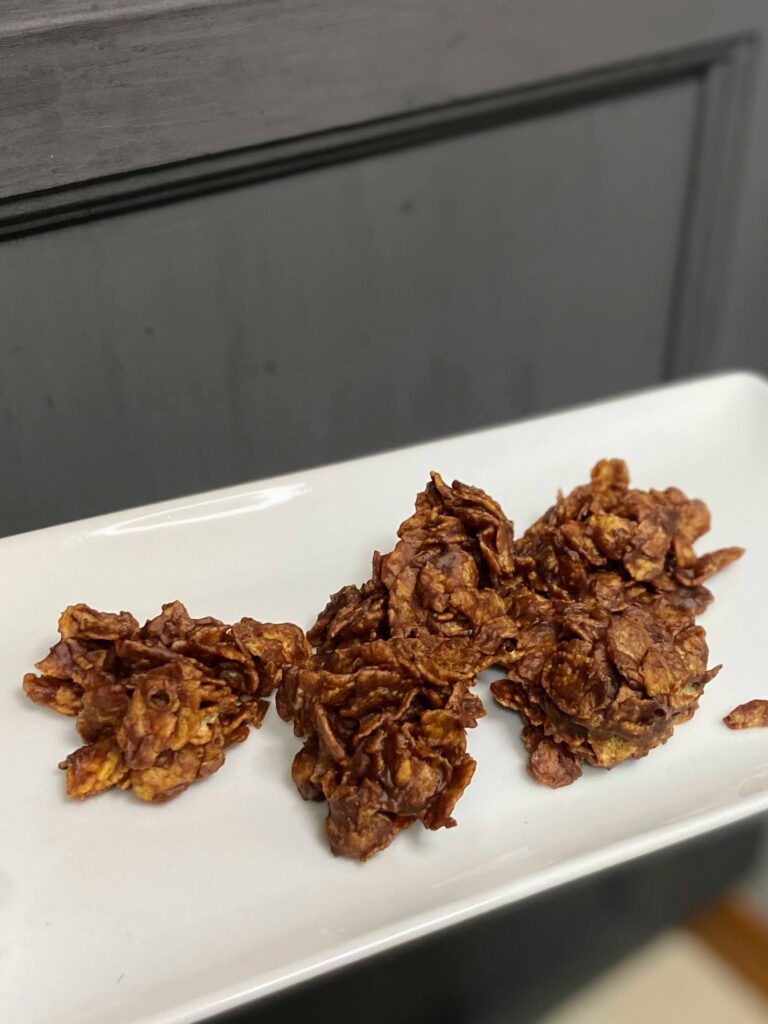
No Bake Cornflake Cookies

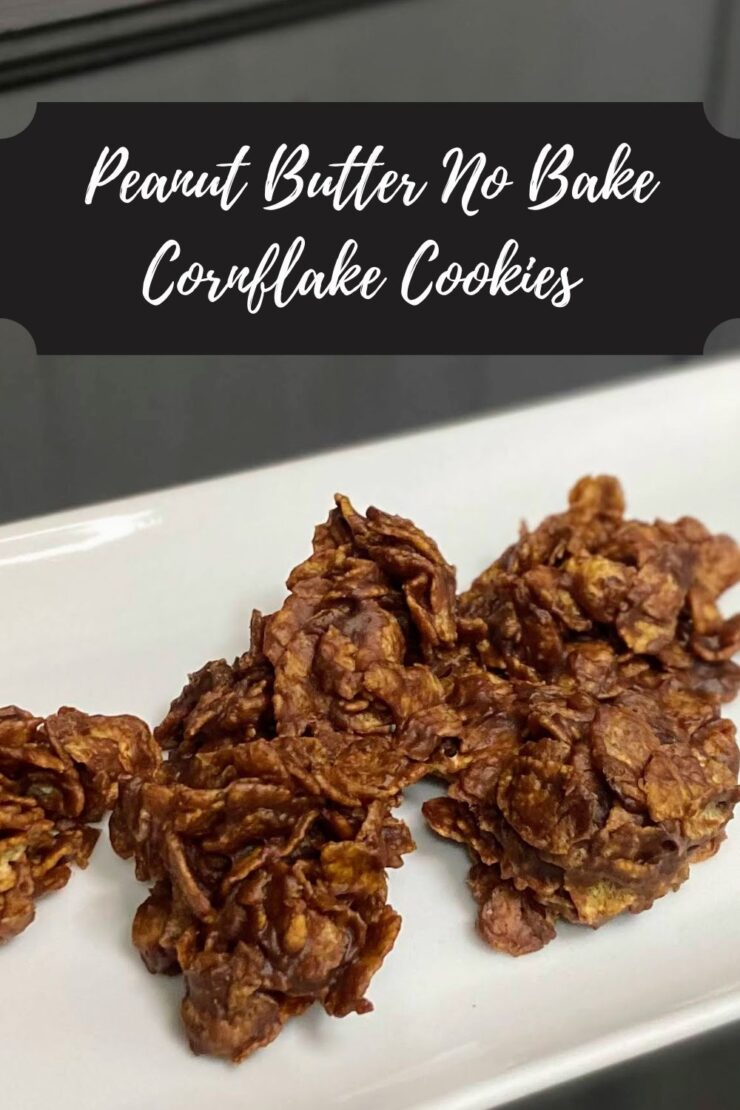
I have had a certain fondness for no bake cookies since I was little. I hadn’t made them often, but if they were an option at a bake sale or dessert bar, I generally would go for them; as long as there wasn’t a brownie or Rice Krispy treat as an option, of course. Then came the time I needed a no bake cookie, and these beautiful no bake cornflake cookies were the result! 

Let me take a step back and explain. But where to start….My big kid has become an avid basketball player, and because of this, he plays 2-3 games most weekends in January and February all around the area. Our town hosts said games soon and the parents of my son’s team were assigned baked goods. 

I LOVE baking and making cookies. But…a few weeks ago, my husband was doing some remodeling in our kitchen (yay!) and when he pulled out our range and then put it back, the oven stopped working correctly (booo!) That means for the last three weeks, I have baked exactly two loaves of bread and broiled one dish. Not great news for the baked goods. 

Well, I guess this is a great opportunity to work on a no bake cookie recipe, right? And just a few weekends ago, I had purchased a GIANT box of corn flakes for cheesy potatoes. The stars had aligned for some delicious no bake cornflake cookies.

My issue?

In looking at all the recipes I could find, no bake cookies are just full of sugar and corn syrup. I love me some sugar and butter, but I also try to find balance and replace when I can.  

My go to replacement for sugar is maple syrup (my family and I started tapping trees a few years ago. Learn about it here!) I was worried it wouldn’t allow the cookies to set, but it worked great! And because the only other real ingredients are corn flakes and peanut butter, I would ALMOST venture to say you could call these breakfast cookies. I mean, I won’t stop you…hehe. 

Now let’s get creating! For this recipe, I’ll leave it in small batch format. You can easily double it to get more delicious no bake cookies, but as it is written, this will give you about 20 cookies. 

Your Ingredients 

  • ½ cup maple syrup 
  • ½ cup peanut butter 
  • ½ teaspoon vanilla
  • Nice pinch of salt 
  • 2 tablespoons cocoa powder
  • 2-2 ½ cups corn flakes
  • ½ cup finely chopped nuts (optional)

Your Steps to No Bake Cornflake Cookies 

Prepare two baking sheets with wax or parchment paper to place the cookies on when they are cooling. 

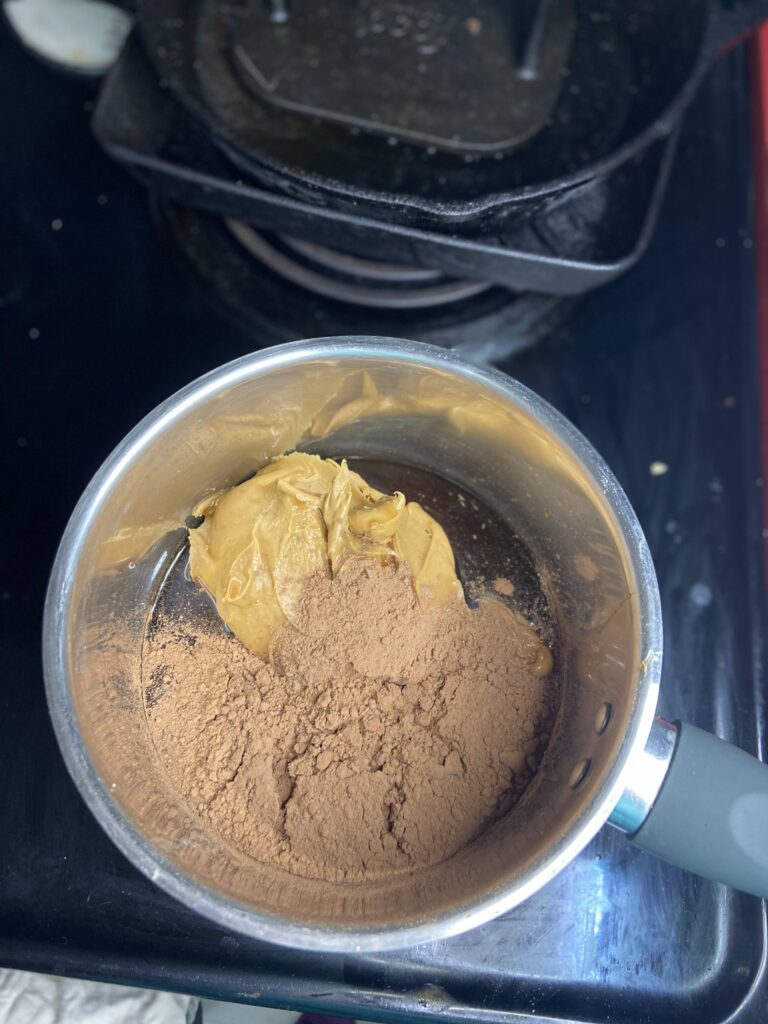
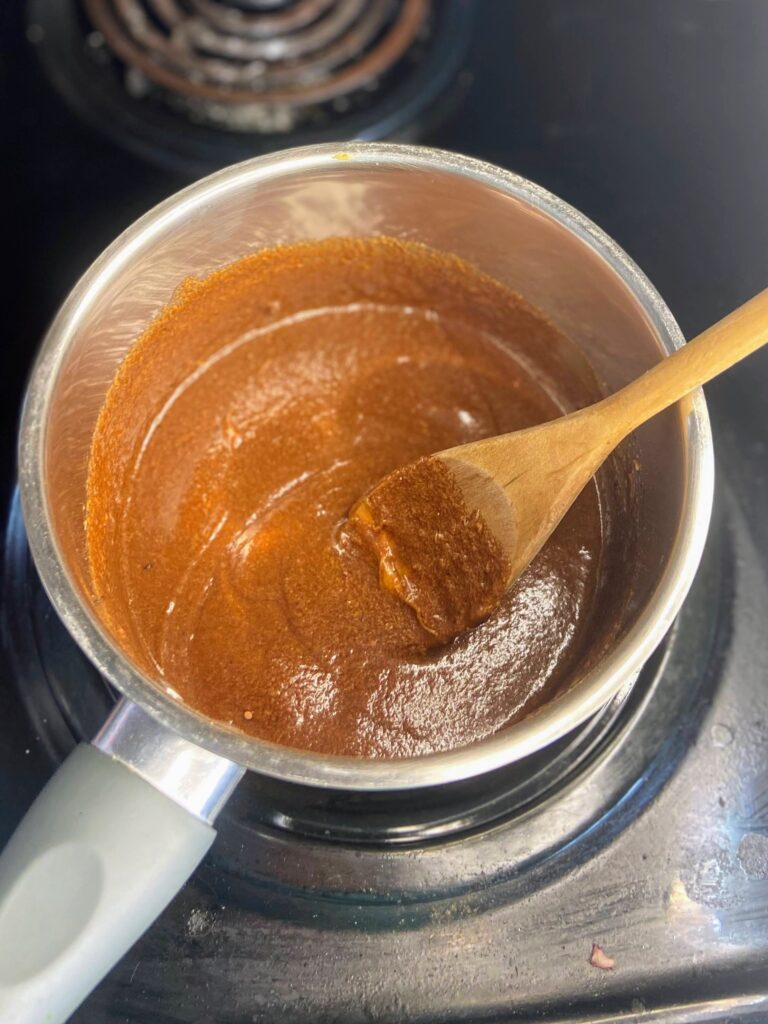
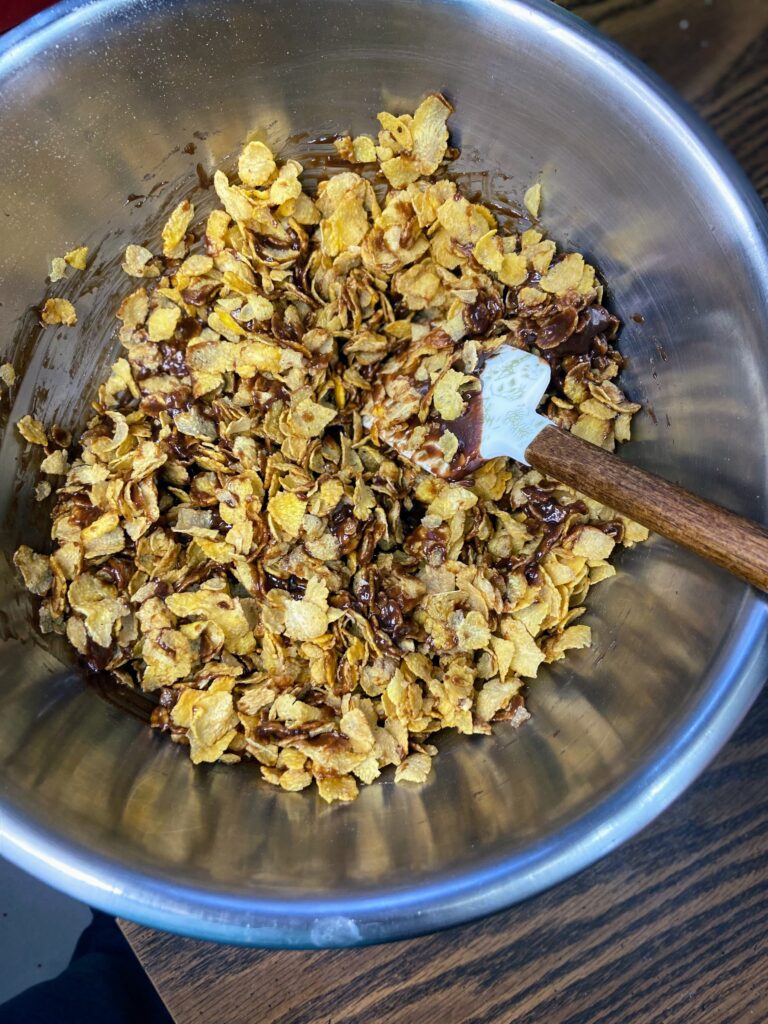
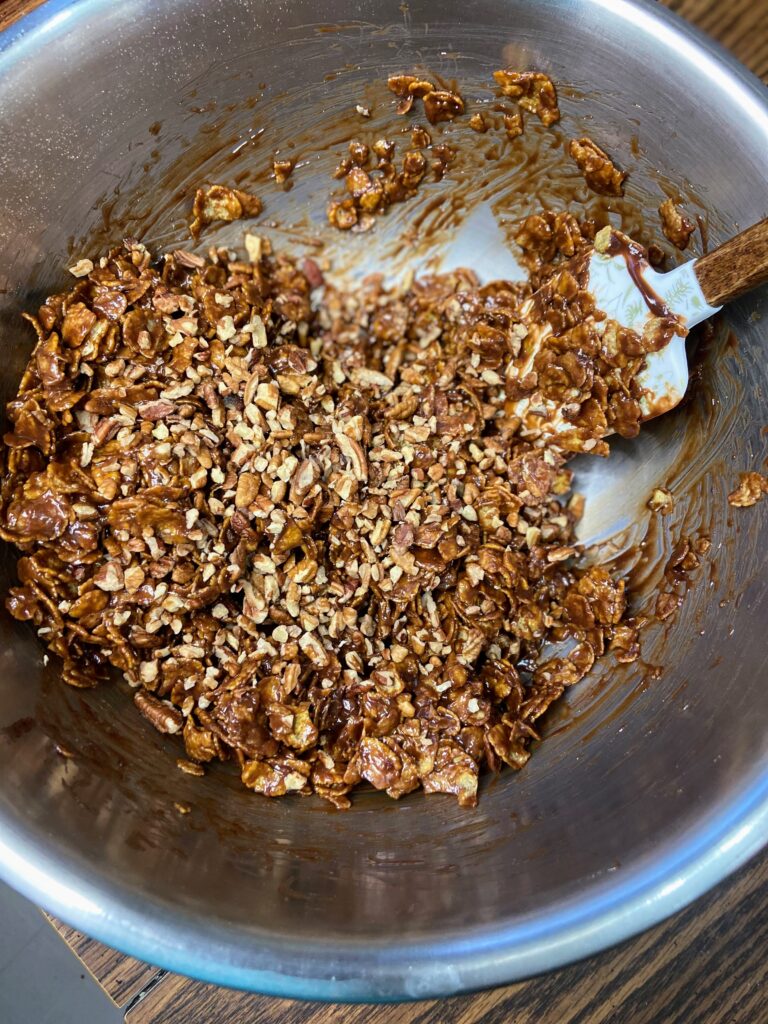
In a medium saucepan, combine syrup, peanut butter, cocoa powder, and the pinch of salt. Heat over a medium heat until the sauce JUST reaches a full boil. Remove the kettle from the heat and stir in the vanilla, corn flakes and nuts (if using) until well coated, adding more flakes if needed. 

Using a cookie or ice cream scoop, scoop the cookies onto prepared baking sheets. They will stay together better if you give them a little squeeze. Allow to cool until set, about 30-60 minutes. Once set, store in an airtight container. 

No Bake Cornflake Cookies

Looking for a no bake cookie but want to skip on a bit of the refined sugar? Give this great no bake cornflake cookie a try!
3 from 1 vote
Prep Time 5 minutes
Cook Time 5 minutes
Rest Time 1 hour
Course Cookies, Dessert
Cuisine American
Servings 16 cookies

Ingredients
  

  • ½ cup maple syrup
  • ½ cup peanut butter
  • ½ teaspoon vanilla
  • Nice pinch of salt
  • 2 tablespoons cocoa powder
  • 2-2 ½ cups corn flakes
  • ½ cup finely chopped nuts optional

Instructions
 

  • Prepare two baking sheets with wax or parchment paper to place the cookies on when they are cooling.
  • In a medium saucepan, combine syrup, peanut butter, cocoa powder and the pinch of salt. Heat over a medium heat until the sauce JUST reaches a full boil.
  • Remove the kettle from the heat and stir in the vanilla, corn flakes, and nuts (if using) until well coated, adding more flakes if needed.
  • Using a cookie or ice cream scoop, scoop the cookies onto prepared baking sheets.
  • Allow to cool until set, about 30 minutes. Once set, store in an airtight container.
Keyword chocolate and peanut butter, chocolate cookies, corn flake cookies, no bake cookies, no bake desserts, peanut butter, quick cookies, quick treats
Tried this recipe?Let us know how it was!

Looking for other sweet treat inspiration?

Head to one of the recipes below or go right to my Baking page!

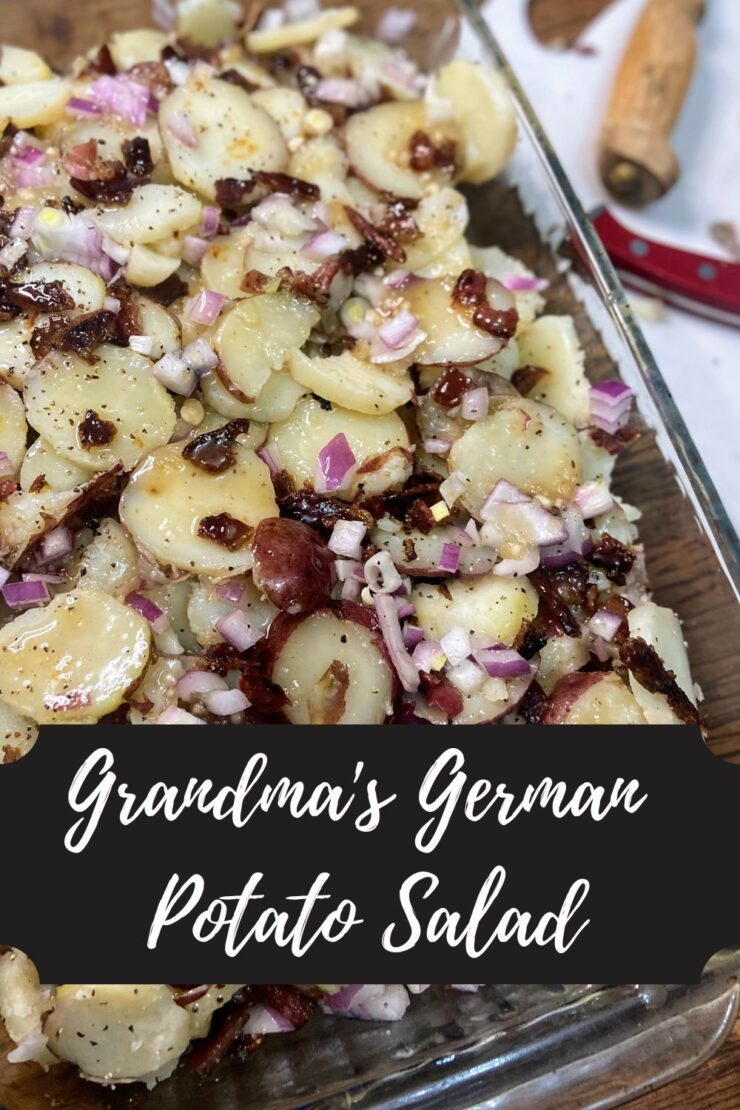
Grandma’s German Potato Salad

My Grandma’s German Potato Salad. 

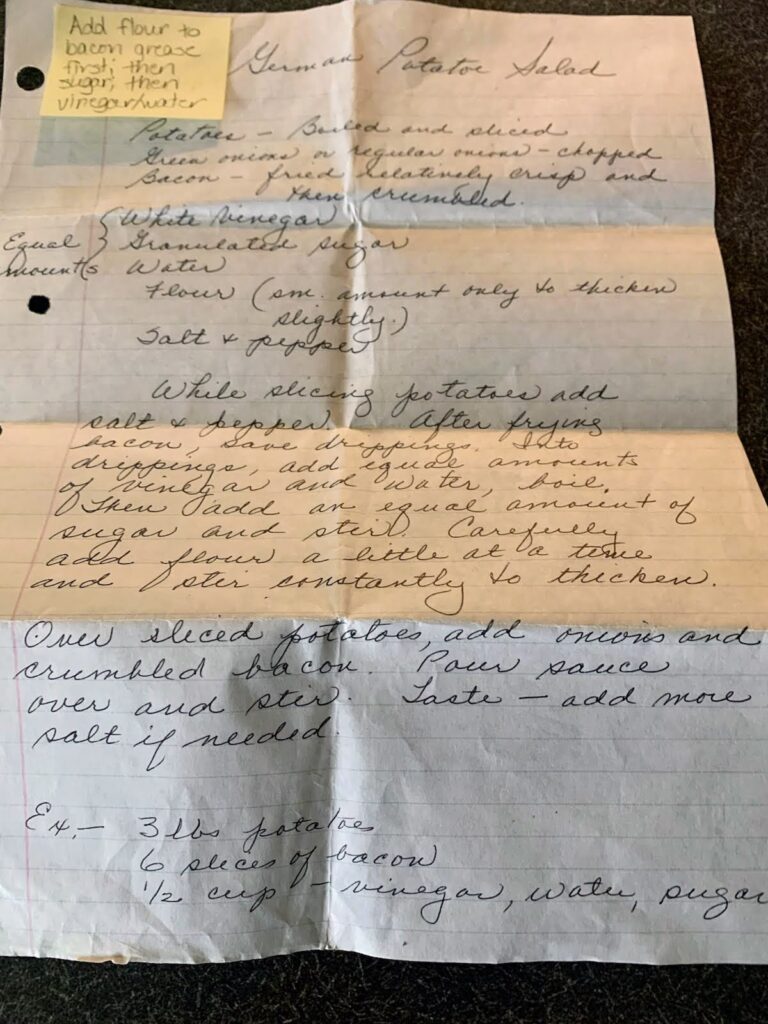
I wasn’t sure if I should share this or keep it a secret in our family, but that just seems silly. The world can always use another ‘grandma’ recipe. One written on a half sheet of paper in beautiful cursive, feeling as though it was just written yesterday and written decades ago at the same time. We all need that in our digital world, right? 

Growing up, my parents had moved about four hours north of all of their family (they grew up about a mile apart in a suburb of Milwaukee) so we didn’t see family as often as most. But my mom’s mom would come up for a week each summer. Special traditions filled that week. We would swim. Grandma would walk every day. You sure couldn’t interrupt grandma and mom’s Scrabble game.

Tradition also surrounded the food we ate: We ALWAYS had a fish fry. My grandma would buy Lorna Doone shortbread cookies, Oreos, and Pecan Sandies. We also always had breaded and pan fried pork chops with German Potato Salad. I, for one, am not someone who loved getting all the little bits of meat off the bone of the pork chops so my mom would watch my plate and steal up those bones to nibble on. Fond memories, to be certain. 

But the German Potato Salad?

I NEVER ate it growing up. Maybe I tried it once at a young age, and decided it wasn’t for me; I can’t be certain. But I know that I “didn’t like it,” and never ate it, even as I was going into high school. 

I think I might have been in my twenties when I thought, “Maybe I should give this a try again.” And my goodness, I was instantly in love. The sweet sour from the dressing. The perfect combination of potatoes, onions, and bacon. So dang good. 

And I am so dang happy to share it with you. My grandma was the most wonderful woman with the biggest heart, a love for theater and acting, and just a joy. I hope you can taste it in this recipe when you share it with your family. 

Your Ingredients 

  • 3 pounds potatoes
  • 5-6 slices of bacon, depending on quality
  • 1 medium onion, chopped
  • ½ cup white vinegar
  • ½ cup water
  • ½ cup granulated sugar 
  • ½ – 1 tablespoon flour
  • Salt and pepper, to taste

Your Steps to Grandma’s German Potato Salad

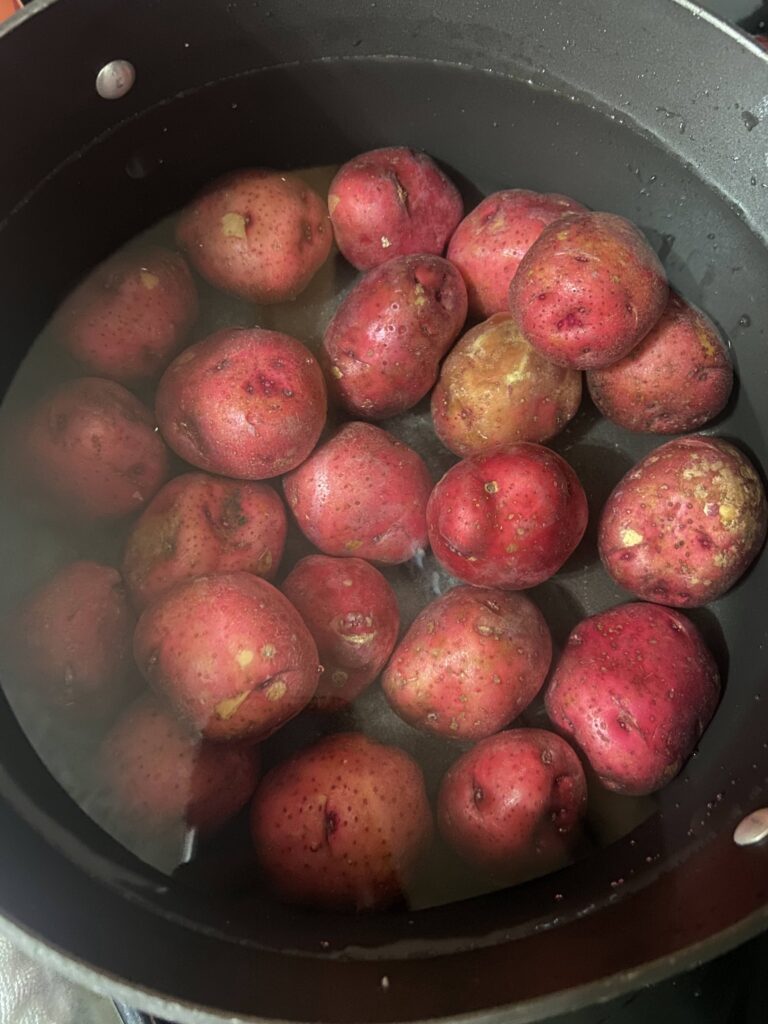
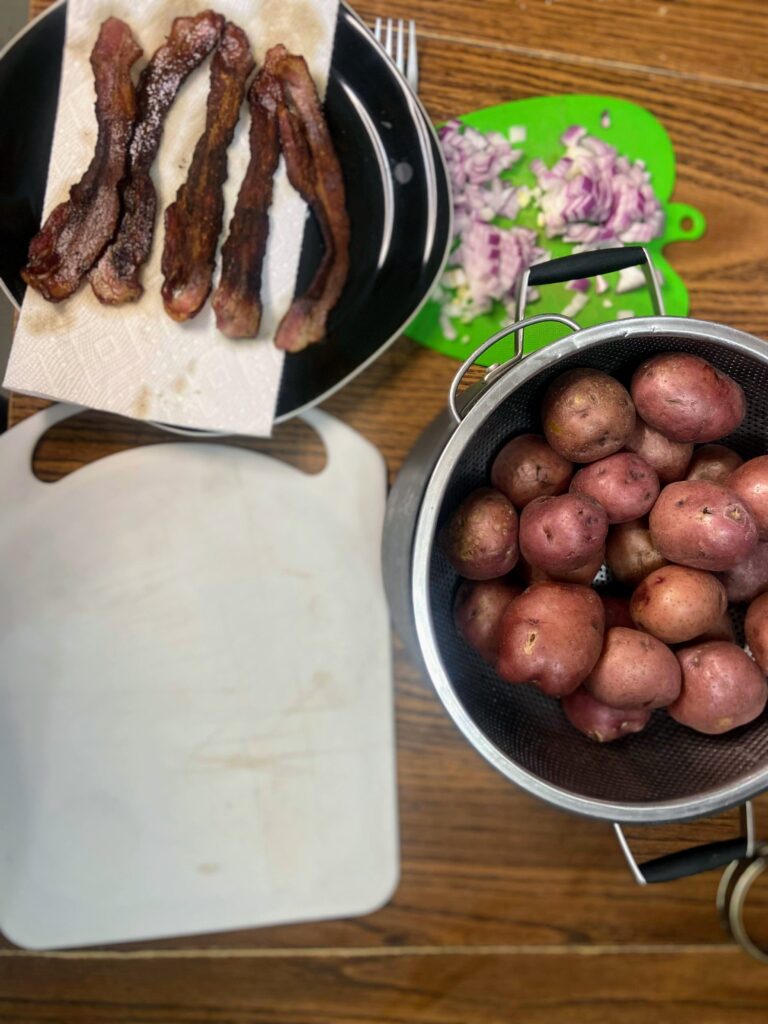
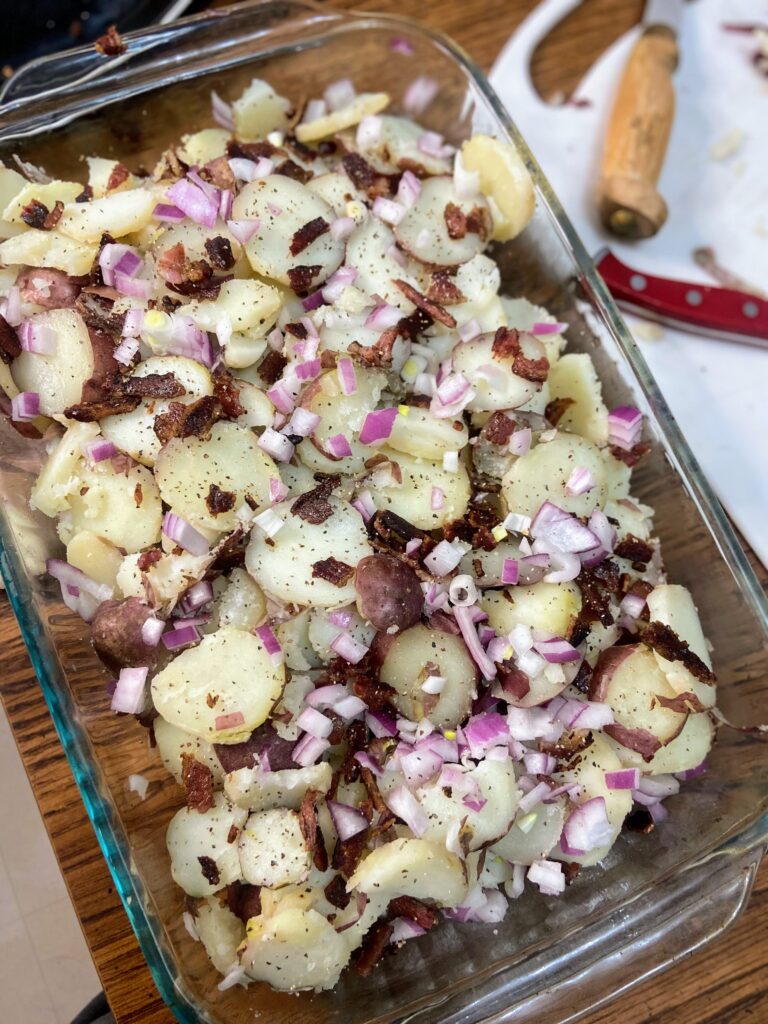
Leaving the skin on the potatoes, boil whole in salted water until fork tender. While the potatoes are boiling, fry bacon until crispy, reserving about half of the drippings. 

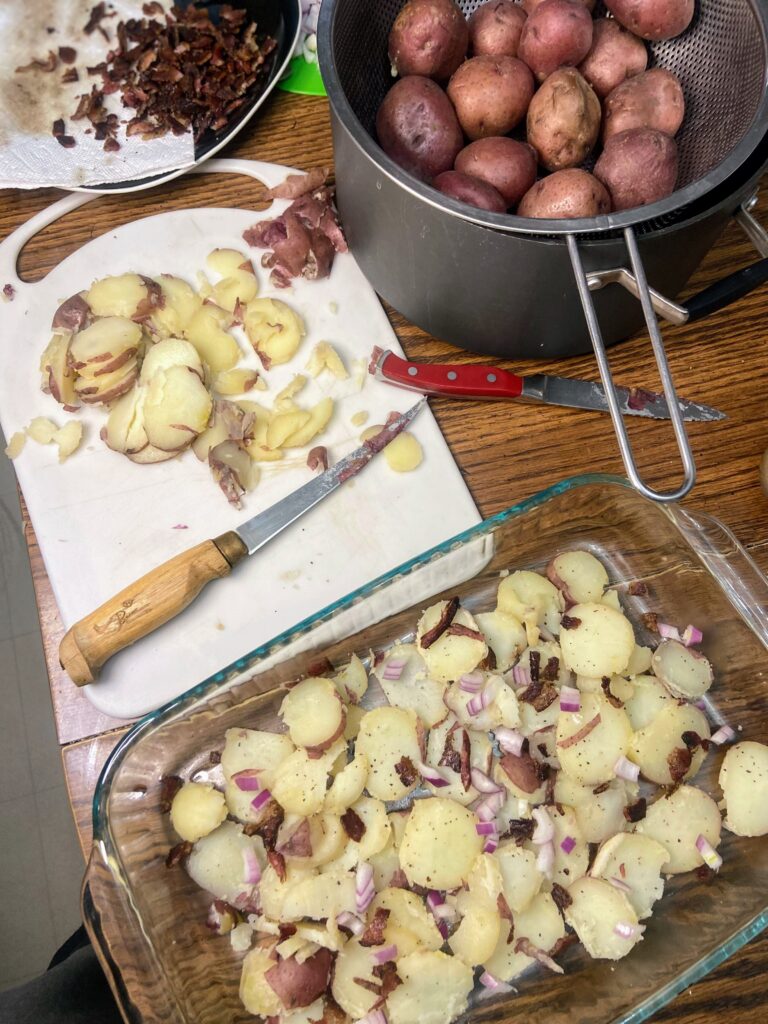
Slice and layer the potatoes in a shallow dish, sprinkling each layer with salt and pepper and adding chopped onions and bacon to each layer. 

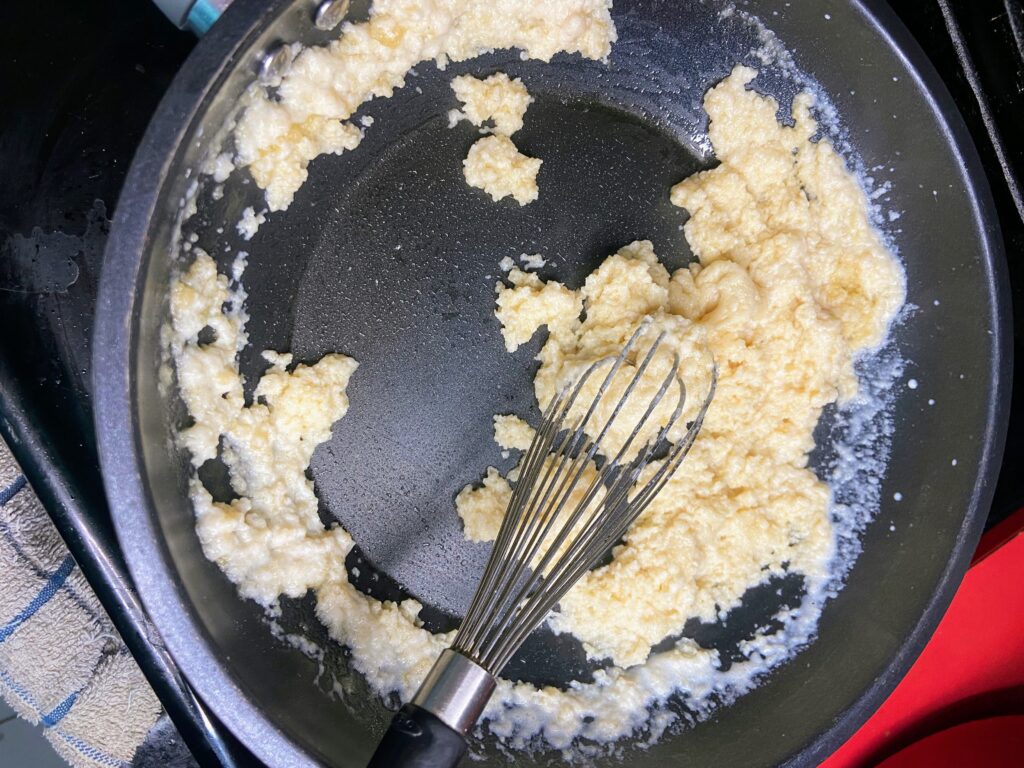
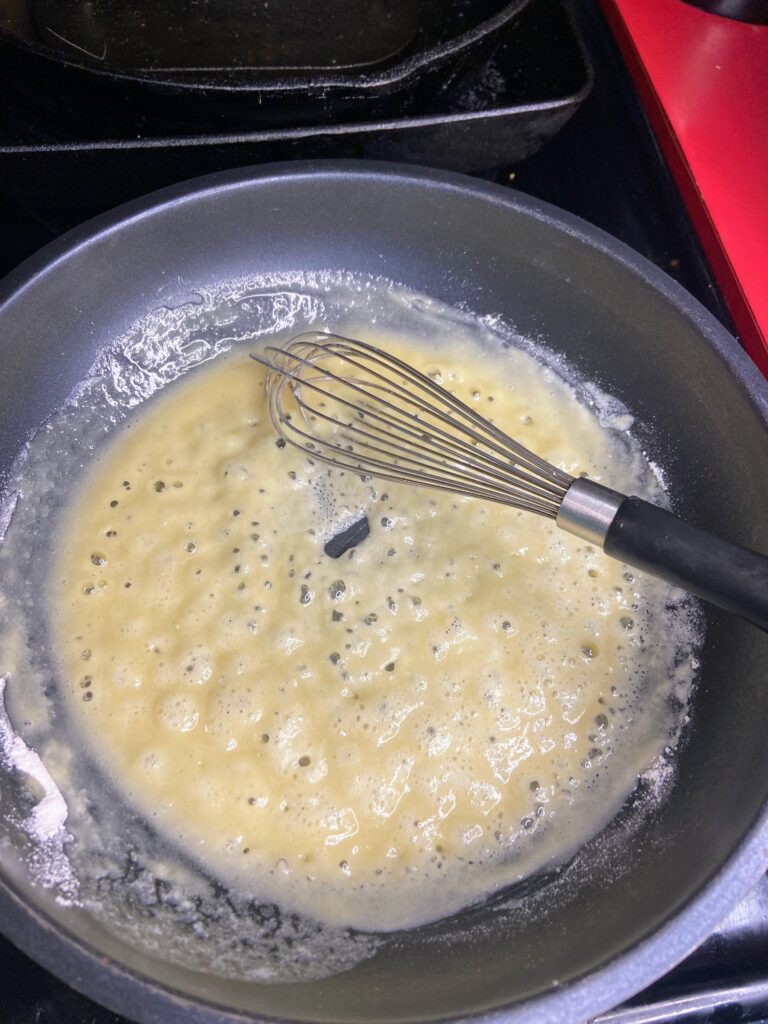
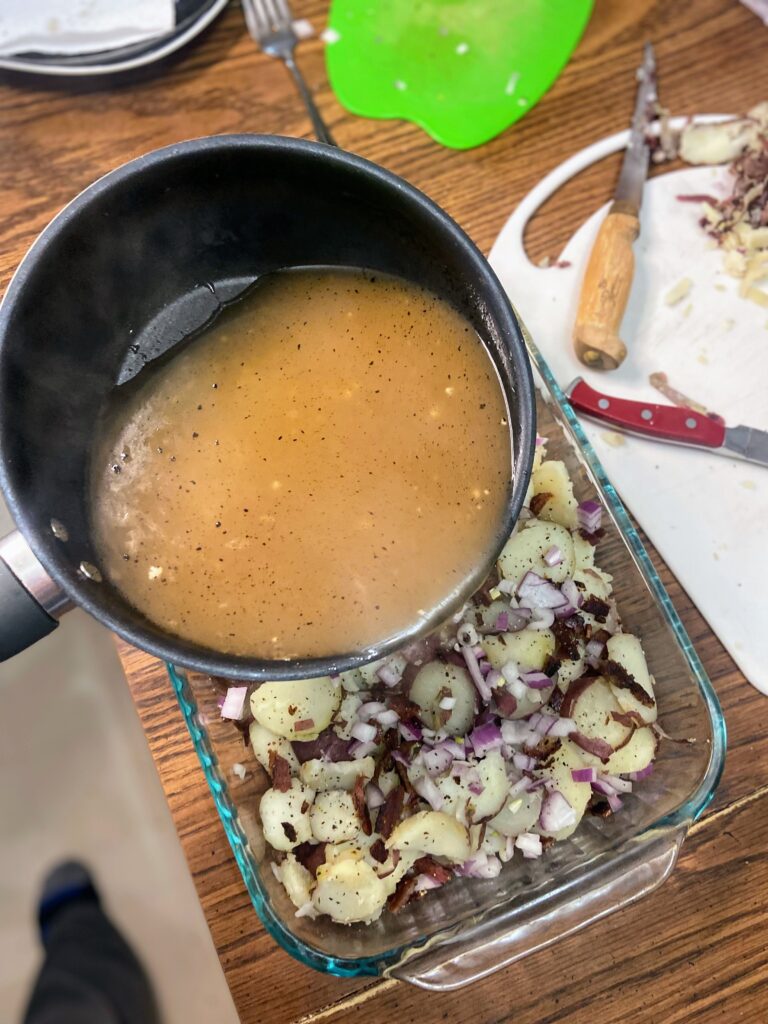
In the reserved bacon drippings, add the flour. Whisk until a roux is formed. Add the sugar and then the vinegar and water. Bring to a boil, stirring constantly until thick.

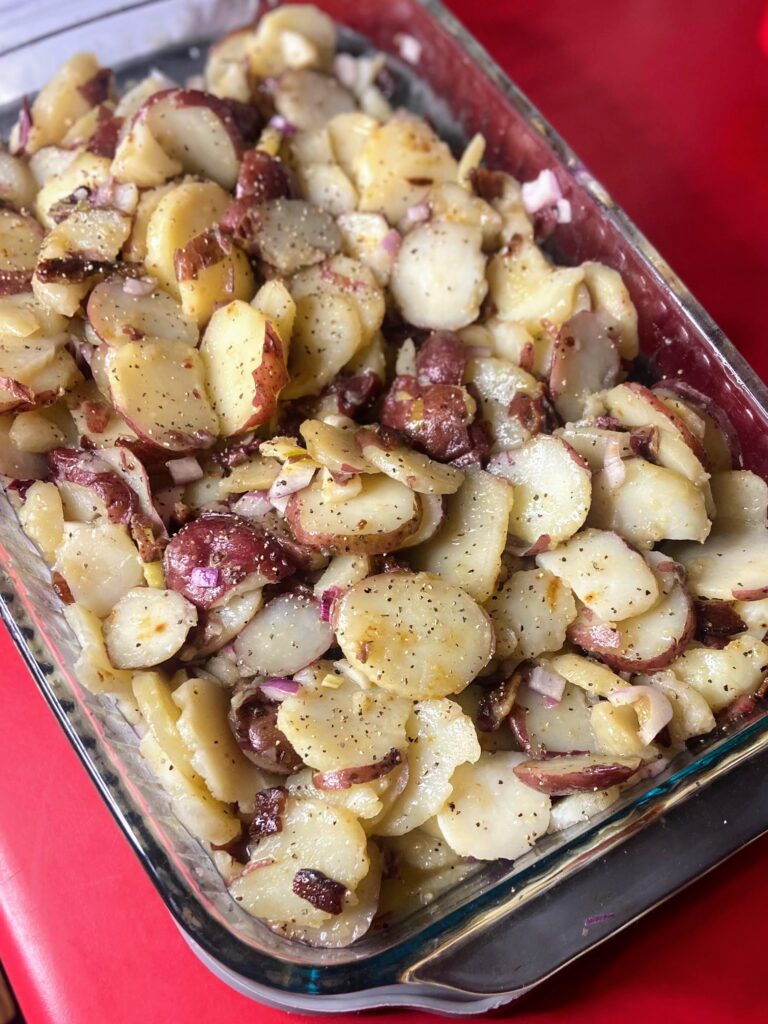
Pour sauce over the potatoes and stir. Taste, and add more sauce as necessary. This potato salad is best if made the day before so the flavors can sink into the potatoes, but can be served right away as well. 

Note: My mom loves her potato salad on the juicy side, so she recommends doing ¾ cup of vinegar, water, and sugar. I mean, it doesn’t hurt to have extra, but I wanted to stay true to my grandma’s handwriting. 

Grandma’s German Potato Salad

A passed down recipe, grandma’s German potato salad is simple to make and full of that sweet sour taste of vinegar and sugar coming together!
5 from 1 vote
Prep Time 20 minutes
Cook Time 30 minutes
Course Side Dish
Cuisine American
Servings 12

Ingredients
  

  • 3 pounds potatoes
  • 5-6 slices of bacon
  • Green onions or regular onions chopped
  • ½ cup white vinegar
  • ½ cup water
  • ½ cup granulated sugar
  • ½ – 1 tablespoon flour
  • Salt and pepper to taste

Instructions
 

  • Leaving the skin on the potatoes, boil whole in salted water until fork tender. While the potatoes are boiling, fry bacon until crispy, reserving about half of the drippings.
  • Slice and layer the potatoes in a shallow dish, sprinkling each layer with salt and pepper and adding chopped onions and bacon to each layer.
  • In the reserved bacon drippings, add the flour. Whisk until a roux is formed. Add the sugar and then the vinegar and water. Bring to a boil, stirring constantly until thick.
  • Pour sauce over the potatoes and stir. Taste, and add more sauce as necessary. This potato salad is best if made the day before so the flavors can sink into the potatoes, but can be served right away as well.
Keyword German potato salad, potato, potato salad, Potatoes, side dishes, summer side dish
Tried this recipe?Let us know how it was!

Looking for some other fun recipes?

Check out a couple of the posts below!

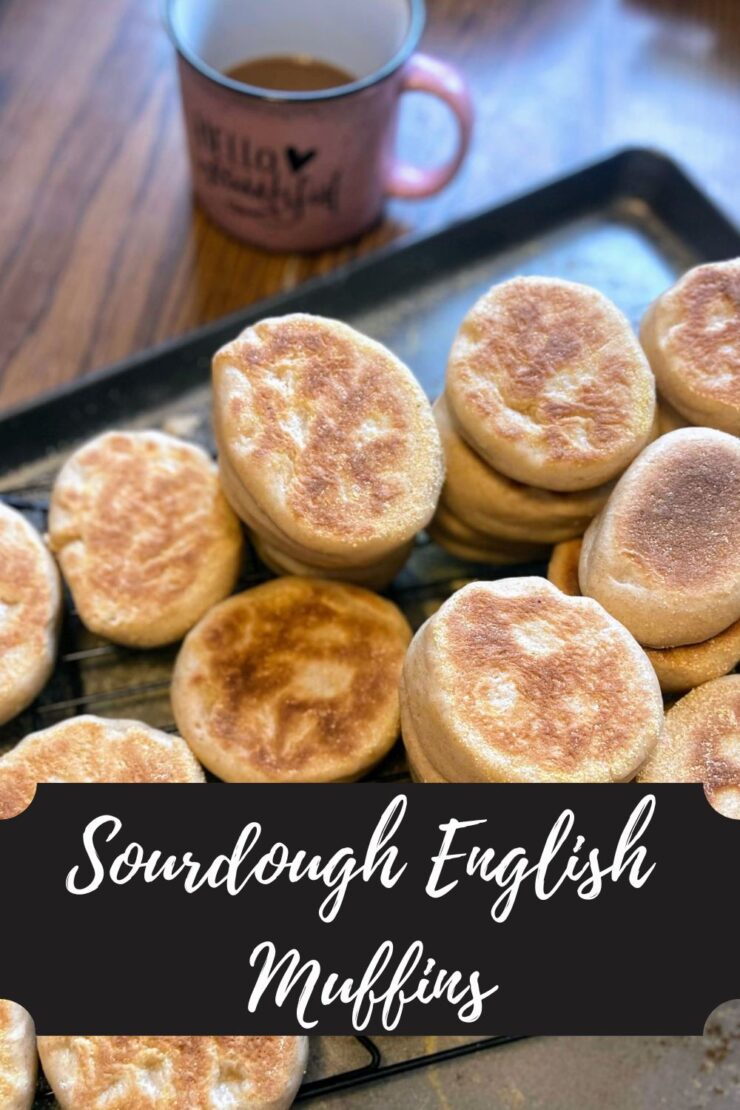
Sourdough English Muffins

I have been on an English muffin kick. I love the size of them and the flavor is definitely a step above a bagel. They pair so well with a little jam and a piece of ham. We also have our own chickens, so an egg on the side is divine. However, for months, I was buying them because baking them myself and finding a recipe didn’t seem to be the best use of my time. But in the back of my mind, I was thinking, “These aren’t hard to make. And you have sourdough starter. You should make sourdough English muffins.” 

I mentally added “make Sourdough English muffins” to my to do list every weekend. Then life happened and I never would get to it. Life of a mom and a teacher and a person who generally is a doer. 

Finally, the day came that I had time, but I couldn’t find the recipe I had used one or two other time in the past from Sunrise Flour Mill. I read a few different recipes, tried a few recipes, and then took what I loved from each to develop my own. 

And while lots of sourdough recipes have a lot of wait time, I love that you can have English muffins before lunch time with this recipe. Yes, this recipe results in between 2 and 2 ½ dozens muffins, but let me tell you, if you are making six you might as well make thirty. English muffins freeze incredibly well and keep well in the fridge as well. 

And I promise, it may seem like this is a long recipe, but it comes together so quick and had minimal work. It’s worth every moment! Let’s start cooking! 

Your Ingredients

  • 2 ¼ teaspoon dry active yeast 
  • 2 cups milk (warmed)
  • 2 tablespoons sugar
  • 4 tablespoons butter, softened 
  • 1 cup sourdough starter 
  • 2 eggs
  • 1 tablespoon salt 
  • 2 cups whole wheat flour 
  • 3-4 cups white flour 
  • Cornmeal, for dusting

Your Steps to Sourdough English Muffins

In a stand mixer, combine milk, dry yeast, and sugar. Allow to sit for 5 minutes to activate the yeast. 

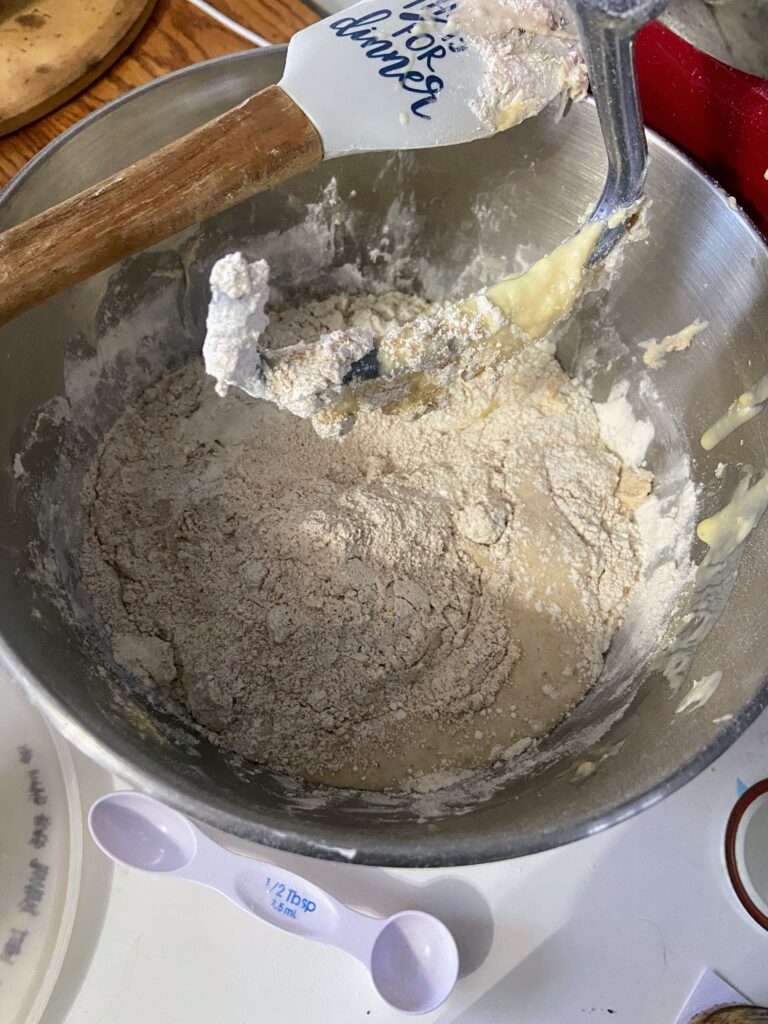
Add the sourdough starter, butter (cut into ½ tablespoon pieces), eggs, and salt. Mix until well combined. Slowly add flour, alternating wheat and white, by the ½ cup increments, until it forms a ball. The dough should not be too sticky. That is, you should be able to touch it and not have dough stuck to you. 

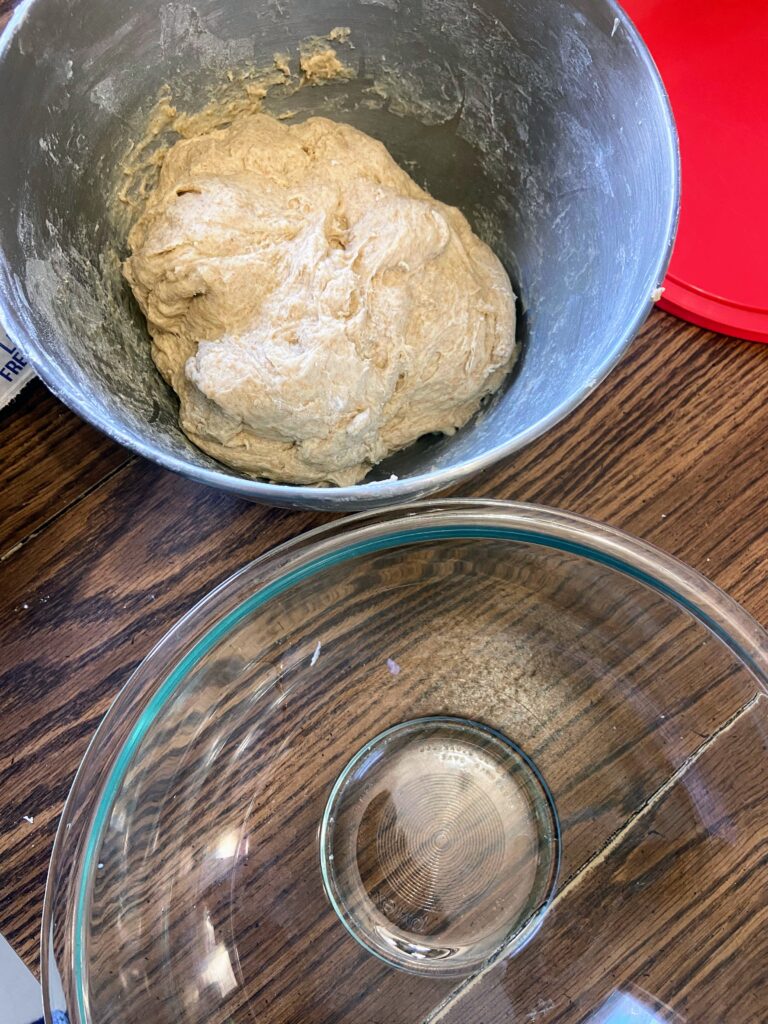
Allow the mixer to knead the dough for 5 minutes. Form the dough into a ball and put it in a greased bowl. Cover and allow to rest for 1-2 hours, until it has doubled in size. 

When the dough has doubled in size, gently punch it down and then form it into another bowl. Remove from the bowl and place on a lightly floured surface. Cut the dough into two portions. Set one aside. 

Roll one portion out until approximately ½ inch thick. Cut into discs using a 3 inch biscuit cutter (or a glass if you don’t have one!) Continue to roll out leftovers and cut discs until dough is used up. Do the same with the other portion. 
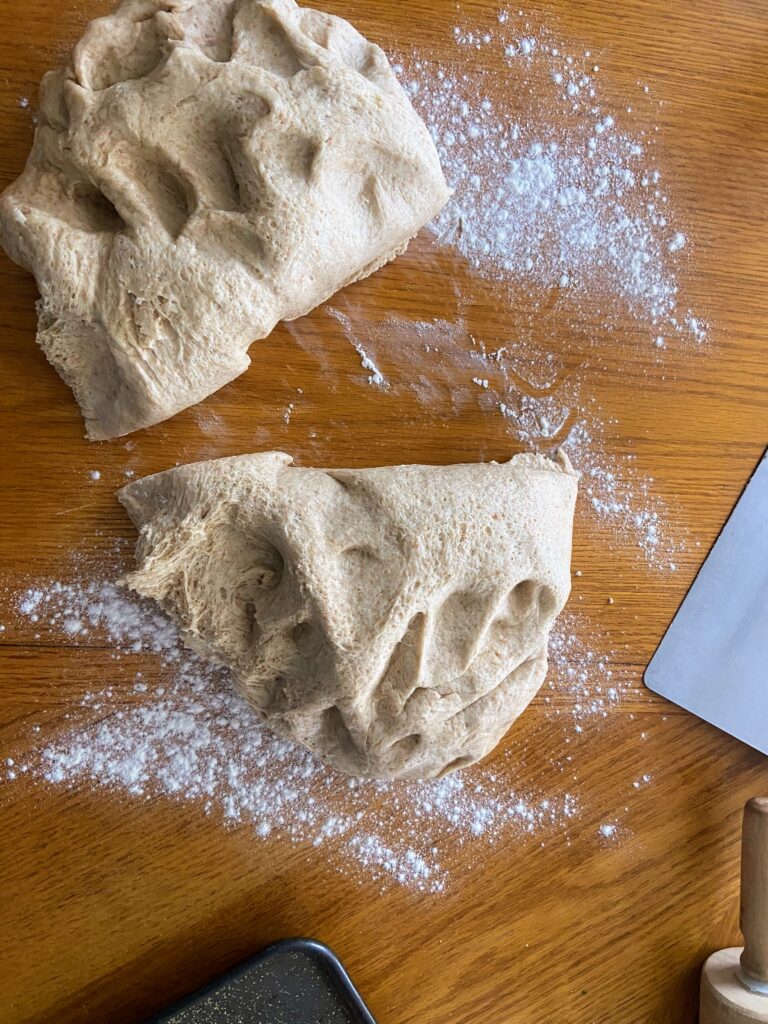
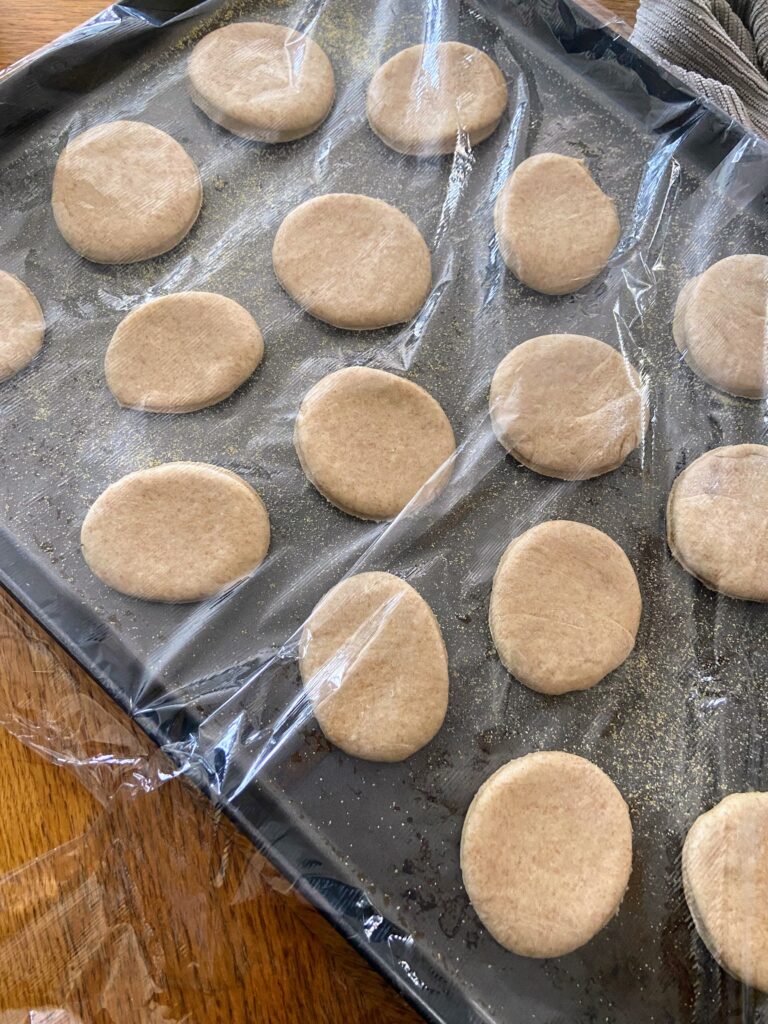
Place discs on baking sheets that have been sprinkled with cornmeal, leaving space for them to rise. Sprinkle the tops with cornmeal as well. Cover with plastic wrap and allow to rise for another hour or so. 

Let’s Cook them up!

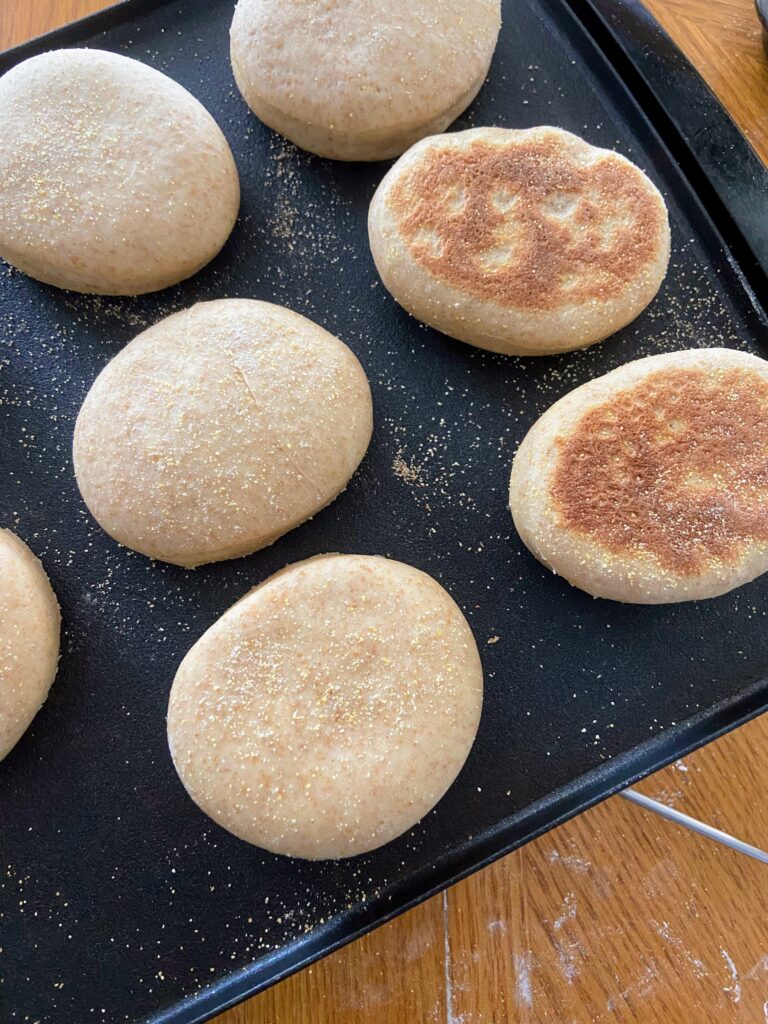
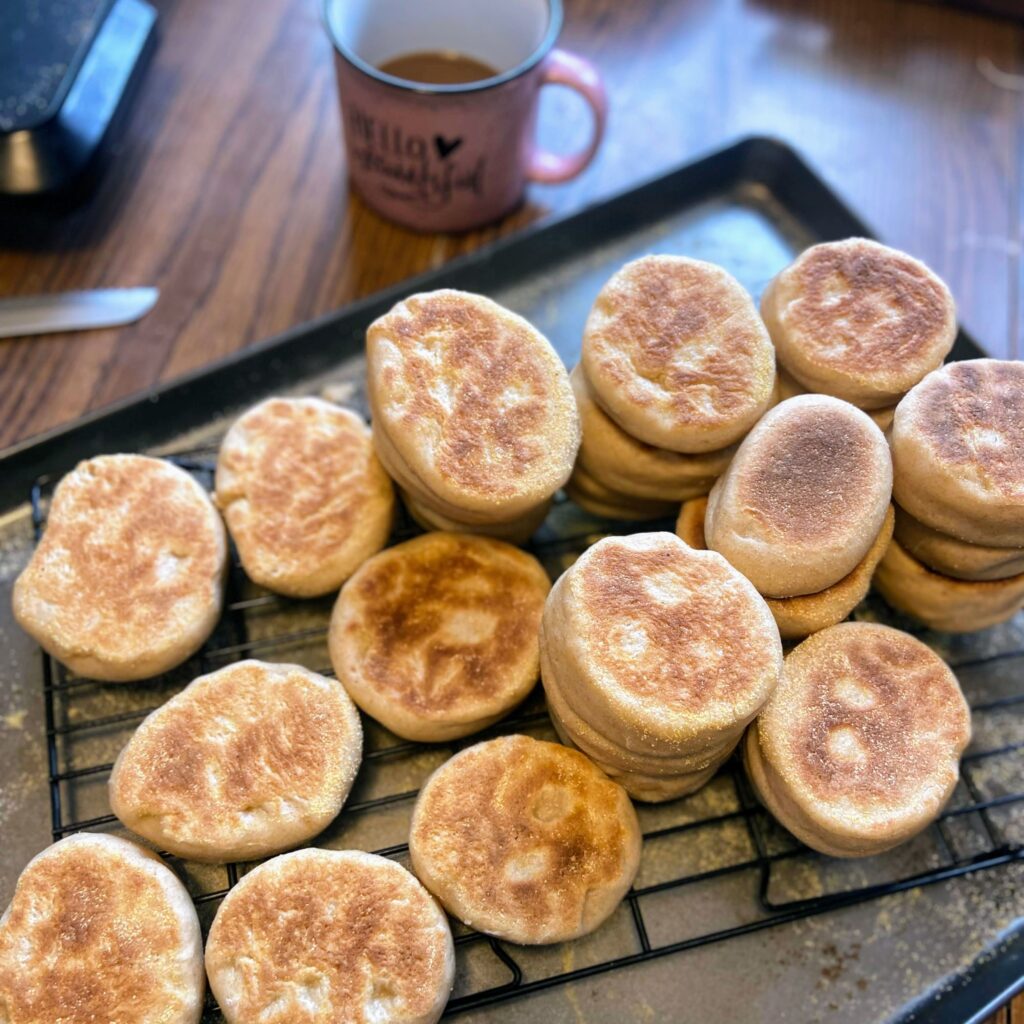
Preheat an electric griddle to 350 degrees. Leave it ungreased. Transfer discs to the griddle and cook for 5 minutes. Flip muffins. Once all muffins have been flipped, place a light baking sheet on top to keep the flat muffin shape rather than a rounded muffin. Cook an additional 5-7 minutes, until the muffins have reached an internal temperature of 190 degrees. 

Store muffins at room temperature for 4-5 days, in the fridge for a few weeks, or freeze them for longer storage. They freeze REALLY well.

Tools of the Trade

Now, I have done English muffins with an electric griddle and without and let me tell you, the griddle is the way to go. You can get them done so much quicker. And I am always surprised how often I want to pull out my biscuit cutter for various things. Definitely a couple tools that are handy to have on hand!

Sourdough English Muffins

Grab that leftover sourdough discard or fresh starter and create these delicious English muffins in no time!
Prep Time 25 minutes
Cook Time 30 minutes
Resting Time 3 hours
Course Breakfast
Cuisine American
Servings 2 dozen

Ingredients
  

  • 2 ¼ teaspoon instant dry yeast
  • 2 cups milk warmed
  • 2 tablespoons sugar
  • 4 tablespoons butter softened
  • 1 cup sourdough starter
  • 2 eggs
  • 1 tablespoon salt
  • 2 cups whole wheat flour
  • 3-4 cups white flour
  • Cornmeal for dusting

Instructions
 

  • In a stand mixer, combine milk, dry yeast, and sugar. Allow to sit for 5 minutes to activate the yeast.
  • Add the sourdough starter, butter (cut into ½ tablespoon pieces), eggs, and salt. Mix until well combined.
  • Slowly add flour, alternating wheat and white, by the ½ cup increments, until it forms a ball. The dough should not be too sticky. That is, you should be able to touch it and not have dough stuck to you.
  • Allow the mixer to knead the dough for 5 minutes. Form the dough into a ball and put it in a greased bowl. Cover and allow to rest for 1-2 hours, until it has doubled in size.
  • When the dough has doubled in size, gently punch it down and then form it into another bowl. Remove from the bowl and place on a lightly floured surface. Cut the dough into two portions. Set one aside.
  • Roll one portion out until approximately ½ inch thick. Cut into discs using a 3 inch biscuit cutter (or a glass if you don’t have one!) Continue to roll out leftovers and cut discs until dough is used up. Do the same with the other portion.
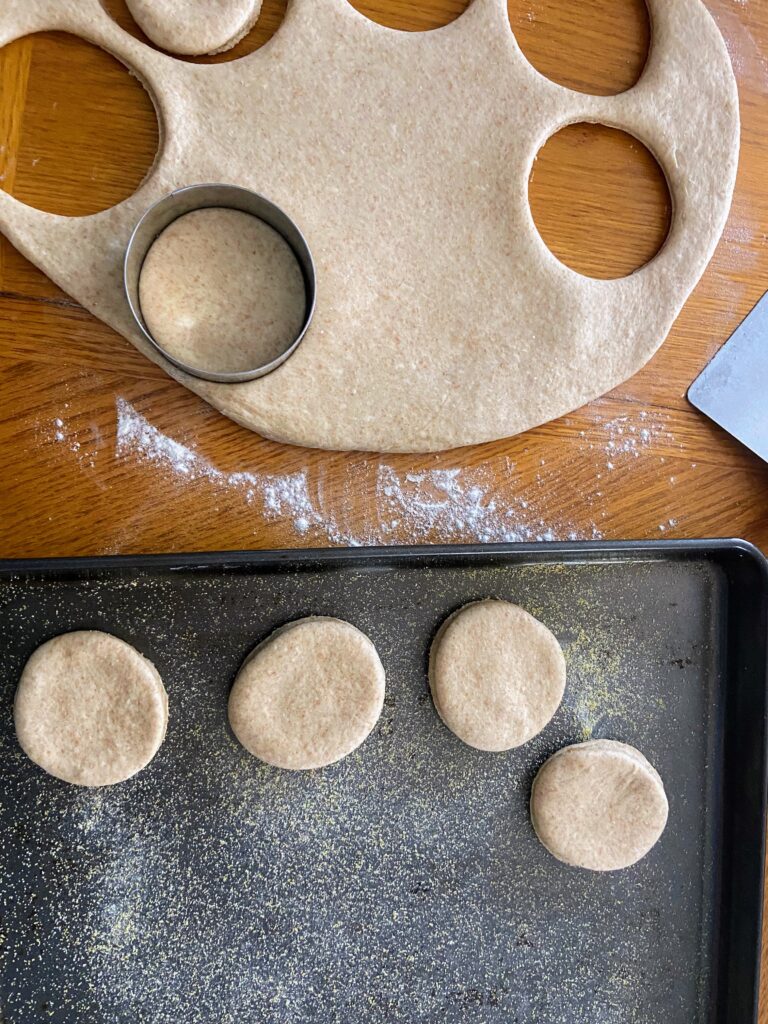
  • Place discs on baking sheets that have been sprinkled with cornmeal, leaving space for them to rise. Sprinkle the tops with cornmeal as well. Cover with plastic wrap and allow to rise for another hour or so.
  • Preheat an electric griddle to 350 degrees. Leave it ungreased. Transfer discs to the griddle and cook for 5 minutes. Flip muffins.
  • Once all muffins have been flipped, place a light baking sheet on top to keep the flat muffin shape rather than a rounded muffin. Cook an additional 5-7 minutes, until the muffins have reached an internal temperature of 190 degrees.
  • Store muffins at room temperature for 4-5 days, in the fridge for a few weeks, or freeze them for longer storage. They freeze REALLY well.

Notes

The recipe can easily be halved, but I wouldn’t. The work to make 2 dozen is just about the same as it is to make 1 dozen and they freeze really well. 
Keyword baking, breakast, breakfast breads, English muffins, sourdough, sourdough English muffins
Tried this recipe?Let us know how it was!

Looking for some other breakfast inspiration?

Check out a couple of the posts below or just head right to my breakfast page for more recipes!

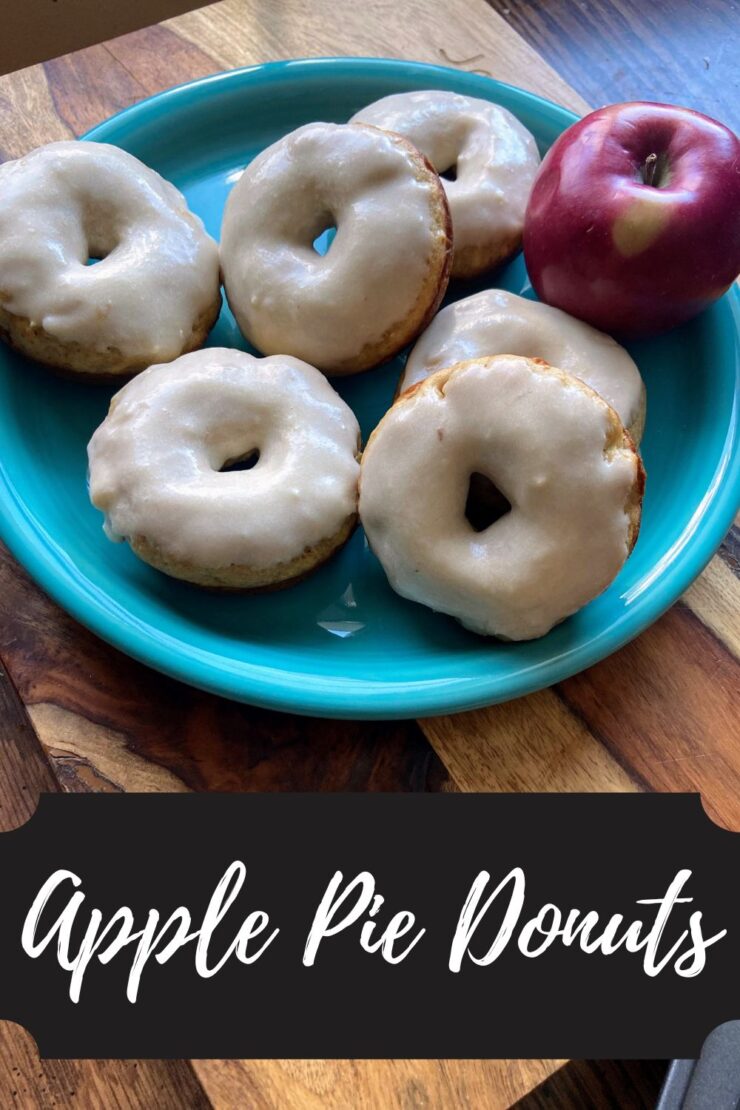
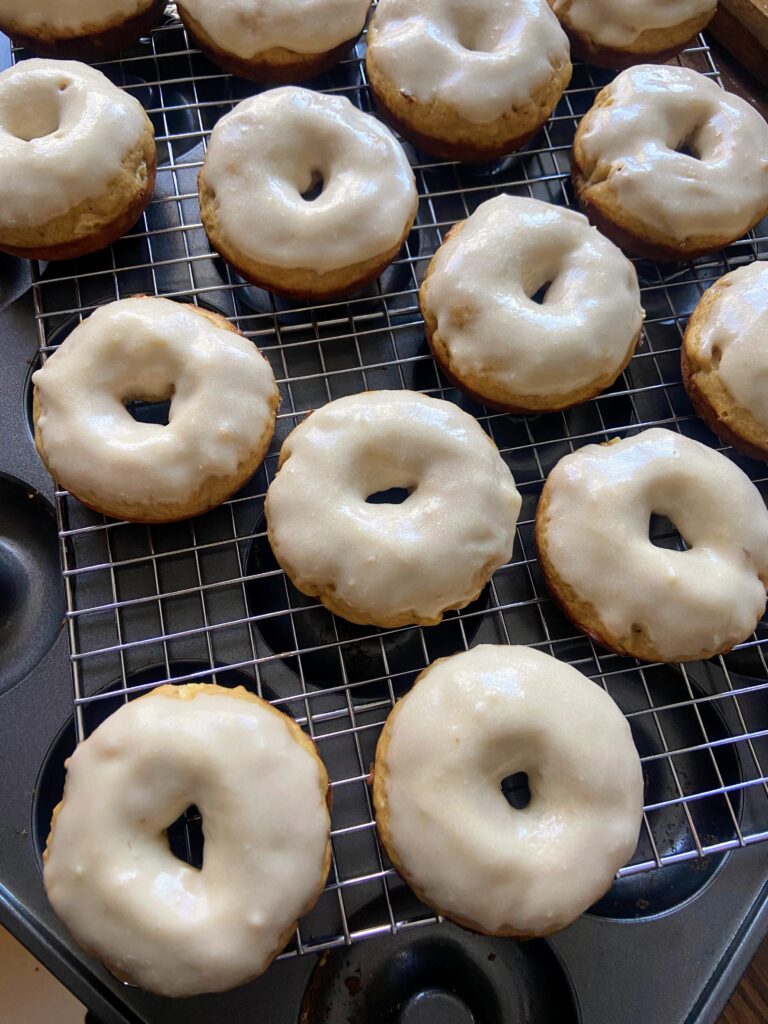
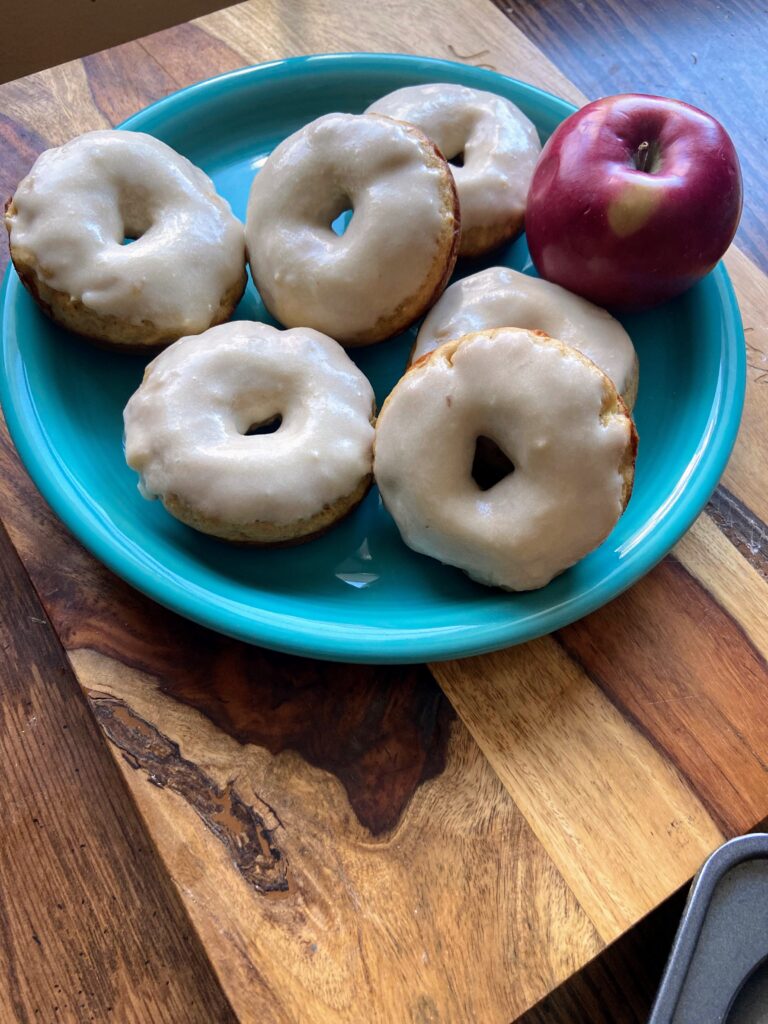
Apple Pie Donuts

How is an apple pie donuts recipe created in the last month of the year in Wisconsin? Picture this: 

It’s December 20th and my mini me gets to bring a treat to school for the holiday party. All year, she has brought apples for a snack for herself, so she naturally chooses apples (and candy canes) as her treat. So off to the store we go to buy bags of apples for her and her classmates. Then a winter storm hits and school is canceled, canceling her party and leaving us with A LOT of apples. 

Don’t get me wrong, my family eats a lot of fruit, but I had JUST finished creating apple sauce with the last of our fall apples and I wasn’t sure what to do with them. Then I spied my donut pan (a gift for the Mr. with a donut cookbook a few Valentine’s Days ago), and got to thinking, “I haven’t played with a donut recipe in a lonnnggg time.” 

And that winter storm? It was still going so I had nothing but time on my hands. I set to work. 

If you know me, you likely know I live for more simple, from scratch recipes with a healthy twist. I wanted these donuts to have the flavor of apple without a whole lot of chunks of apple in them. So out went some of the butter and oil I usually add and in went applesauce (Healthy and flavor! Big win!). To give a greater apple pie flavor, I amped up the cinnamon and nutmeg. And the frosting? Oh my goodness, it’s the best part. To give an apple flavor, I swapped more applesauce for the milk and it worked SO well. I can’t wait for you to give them a try!

Ready to get baking? Let’s go!

Your Ingredients for Apple Pie Donuts

  • 3 tablespoons butter, melted
  • ½ cup unsweetened applesauce
  • ½ cup packed light brown sugar
  • ¼ cup white sugar
  • 2 large eggs
  • 2 teaspoons vanilla 
  • ½ cup plain Greek yogurt (or low sugar vanilla)
  • 2 tablespoons milk 
  • 2 ¼ cup flour
  • 2 teaspoons baking powder
  • ½ teaspoon baking soda
  • 1 teaspoon cinnamon 
  • ¼  teaspoon ground nutmeg
  • ¾ teaspoon salt 
  • ½ cup apples, diced finely

Donut Frosting

  • 2 tablespoons butter, softened
  • 1 teaspoon vanilla
  • 3 tablespoons unsweetened applesauce
  • 2 cups powdered sugar

Your Steps to Apple Pie Donuts

Preheat the oven to 350 degrees. Spray a regular donut pan with non-stick cooking spray. 

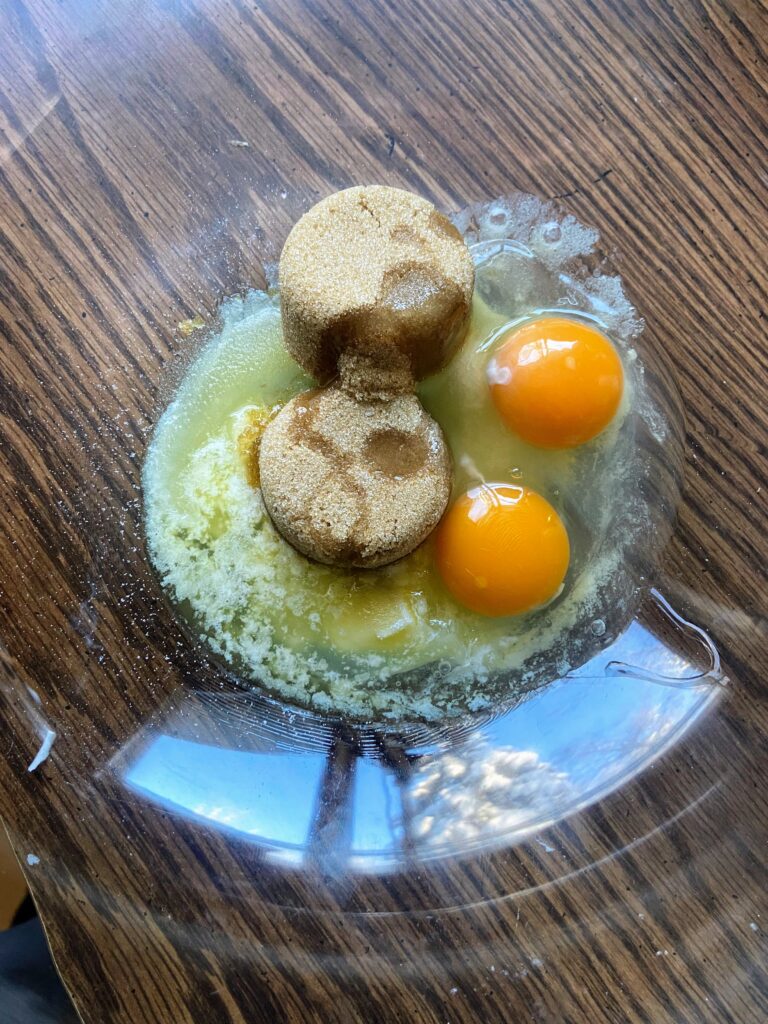
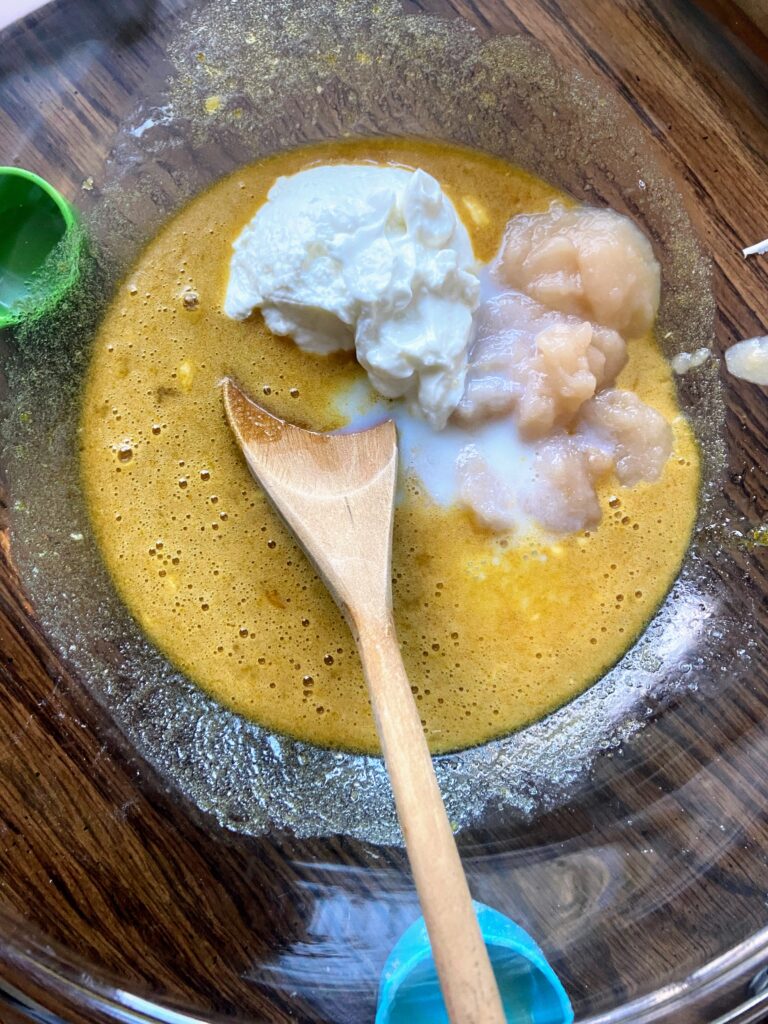
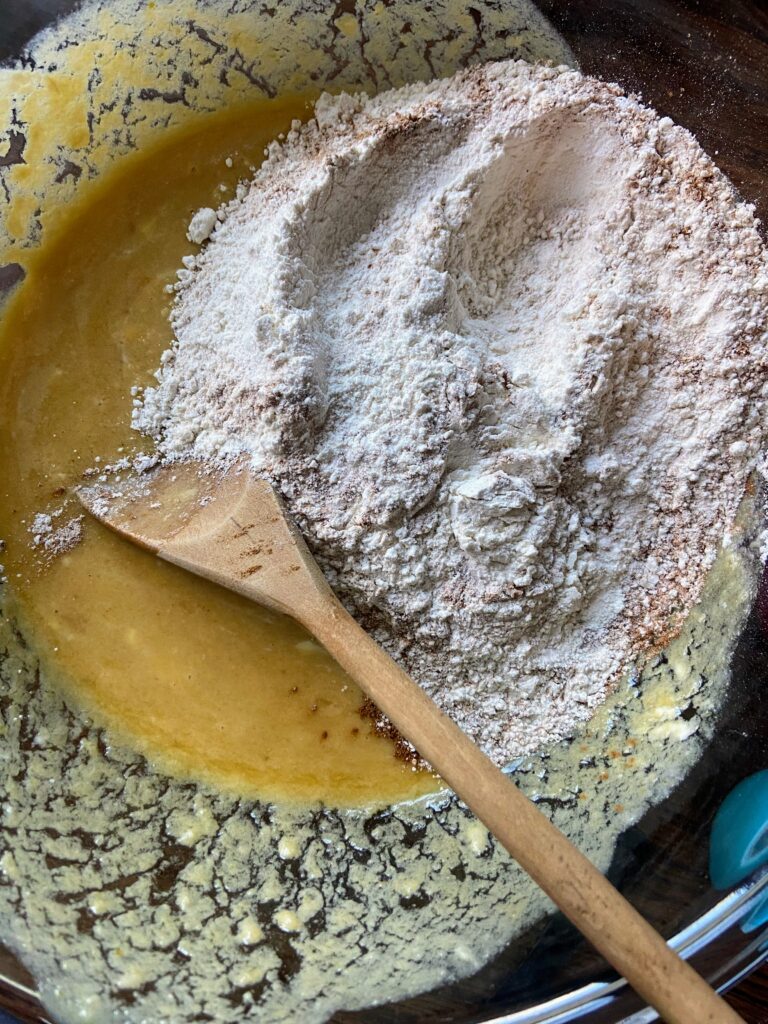
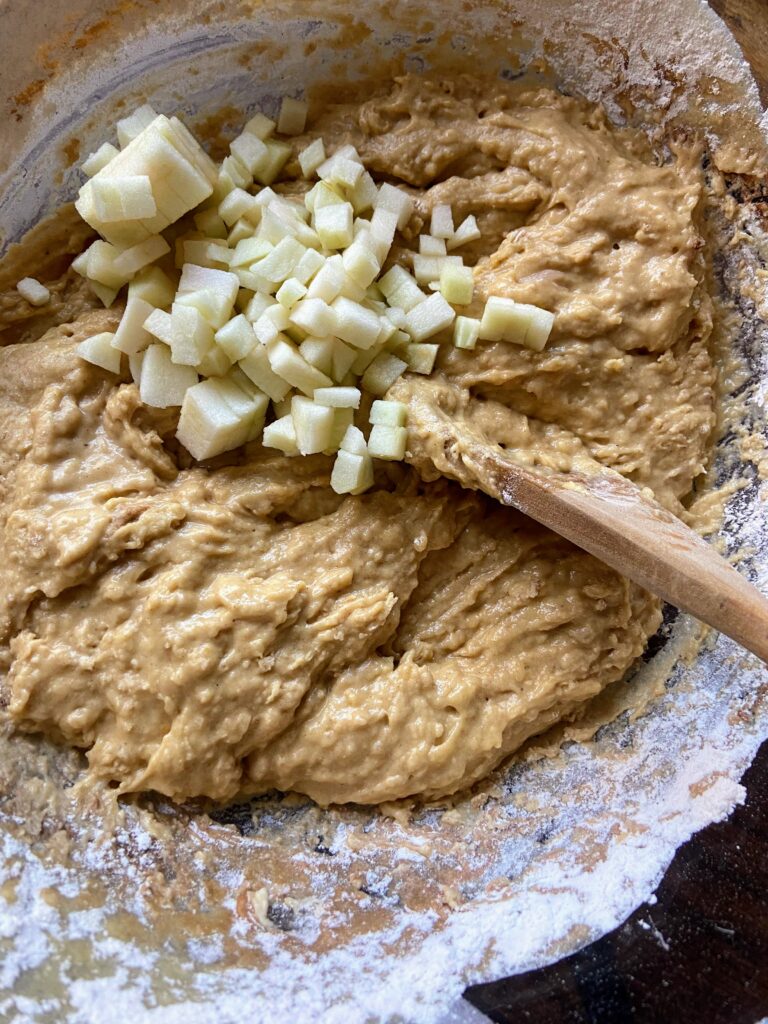
In a large bowl, combine butter, sugar, eggs, and vanilla. Stir in applesauce, milk, and yogurt. Whisk until smooth. In a separate bowl, combine flour, baking powder, baking soda, cinnamon, nutmeg, and salt.  Add to wet ingredients and stir until fully incorporated. Fold in the apples.

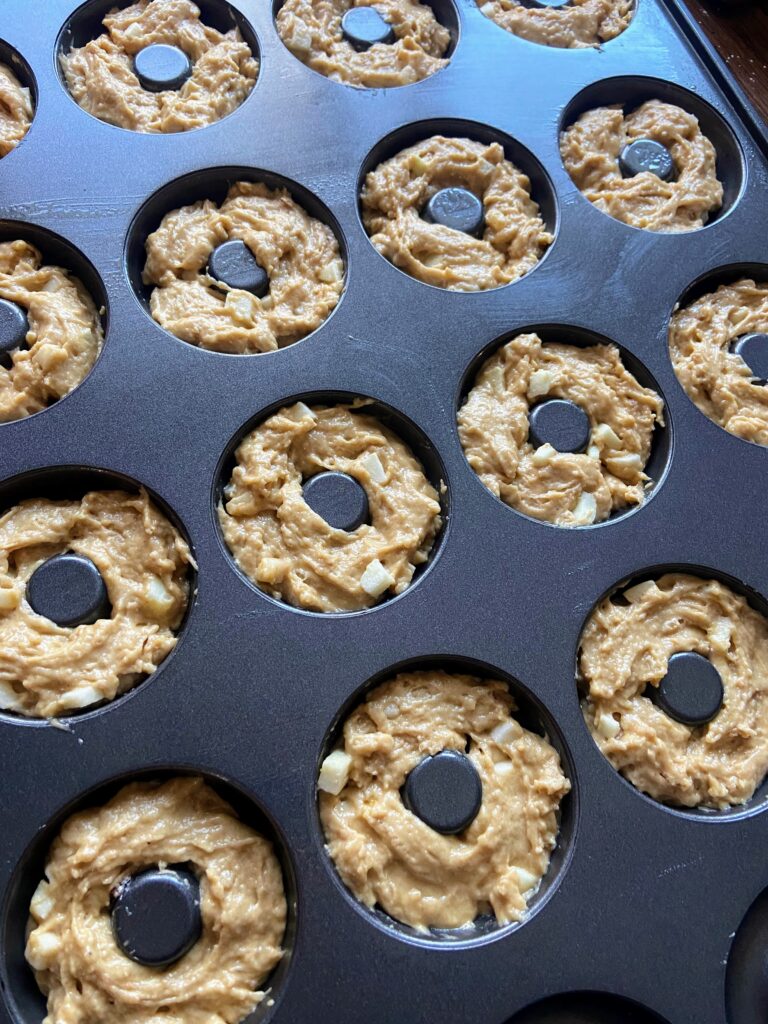
Divide the batter among 16 donut cavities, filling ¾ of the way full. Bake for 12-14 minutes, until firm to the touch or passes the toothpick test (a toothpick inserted comes out clean). Allow to cool in the pan for 10 minutes. Remove the donuts from the pan and place on a cooling rack. 

While the donuts finish cooling, mix donut frosting. Using a fork, cream the butter. Add vanilla and mix until combined. Mix in applesauce, still using the fork. Whisk in the powdered sugar with the fork until smooth. 

When cool, frost or dip each donut in the frosting. It is a great consistency that you can dip it like a glaze but it will hold up like a frosting. Cover them anyway you choose!

Apple Pie Donuts

Love apple pie? These baked apple pie donuts with a great frosting  will give you that warm comforting feeling you get from pie and ice cream!
Prep Time 20 minutes
Cook Time 16 minutes
Course Appetizer, Breakfast, Dessert, Sweets
Cuisine American
Servings 16 donuts

Equipment

Ingredients
  

  • 3 tablespoons butter melted
  • ½ cup unsweetened applesauce
  • ½ cup packed light brown sugar
  • ¼ cup white sugar
  • 2 large eggs
  • 2 teaspoons vanilla
  • ½ cup plain Greek yogurt or low sugar vanilla
  • 2 tablespoons milk
  • 2 ¼ cup flour
  • 2 teaspoons baking powder
  • ½ teaspoon baking soda
  • 1 teaspoon cinnamon
  • ¼ teaspoon ground nutmeg
  • ¾ teaspoon salt
  • ½ cup apples diced finely

Donut Frosting

  • 2 tablespoons butter softened
  • 1 teaspoon vanilla
  • 3 tablespoons unsweetened applesauce
  • 2 cups powdered sugar

Instructions
 

  • Preheat the oven to 350 degrees. Spray a regular donut pan with non-stick cooking spray.
  • In a large bowl, combine butter, sugar, eggs, and vanilla. Stir in applesauce, milk and yogurt. Whisk until smooth.
  • In a separate bowl, combine flour, baking powder, baking soda, cinnamon, nutmeg, and salt.
  • Add to wet ingredients and stir until fully incorporated. Fold in the apples
  • Divide the batter among 16 donut cavities, filling ¾ of the way full.
  • Bake for 12-14 minutes, until firm to the touch or passes the toothpick test (a toothpick inserted comes out clean).
  • Allow to cool in the pan for 10 minutes. Remove the donuts from the pan and place on a cooling rack.
  • While the donuts finish cooling, mix donut frosting. Using a fork, cream the butter. Add vanilla and mix until combined. Mix in applesauce, still using the fork. Whisk in the powdered sugar with the fork until smooth.
  • When cool, frost or dip each donut in the frosting. It is a great consistency that you can dip it like a glaze but it will hold up like a frosting.
Keyword apple and cinnamon, apple pie, apple recipe, apples, baked donuts, Breakfast, donut recipe, donuts
Tried this recipe?Let us know how it was!

LOOKING FOR OTHER GREAT RECIPES?

Check out the delicious breakfast inspiration below or head right to my breakfast page!

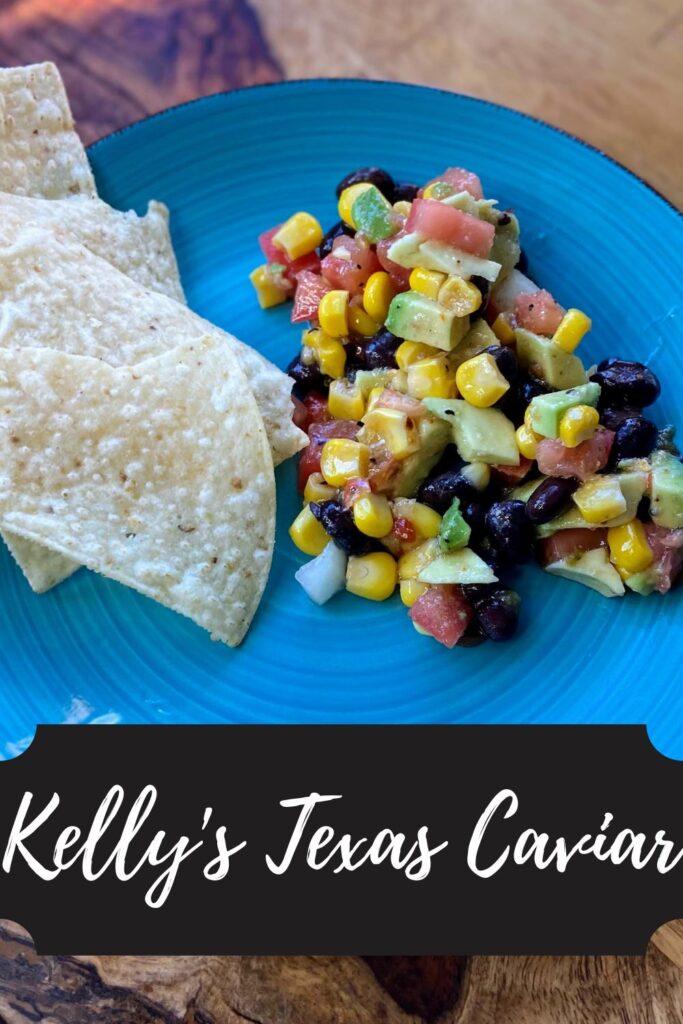
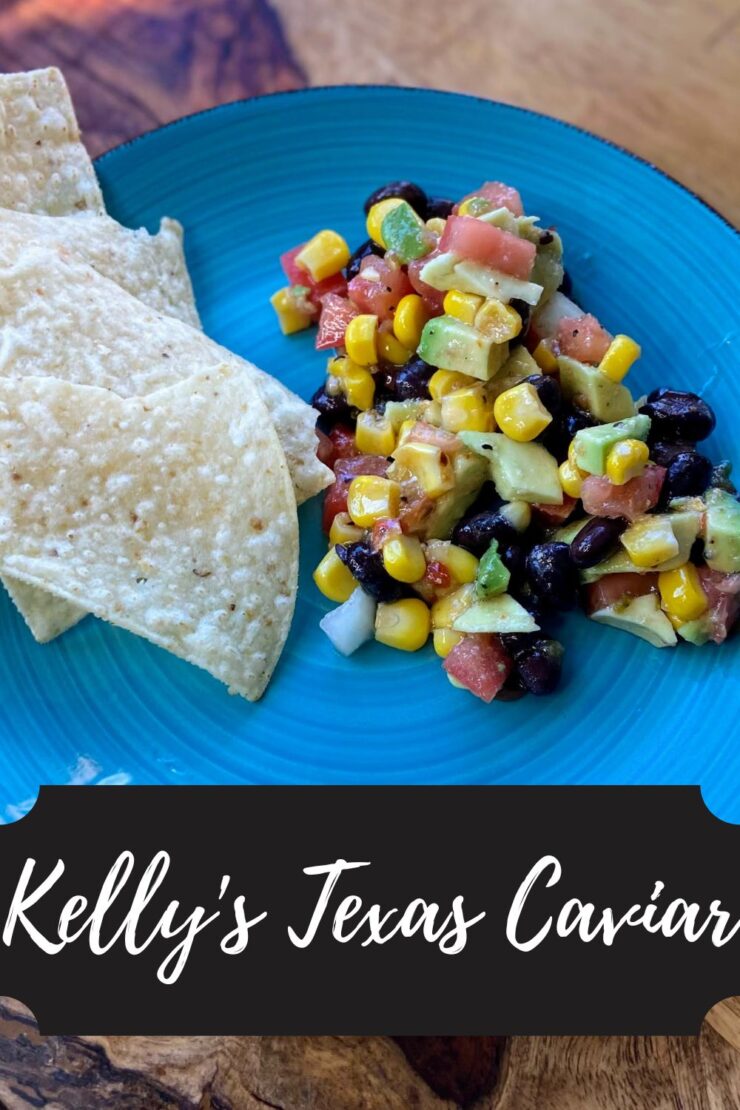
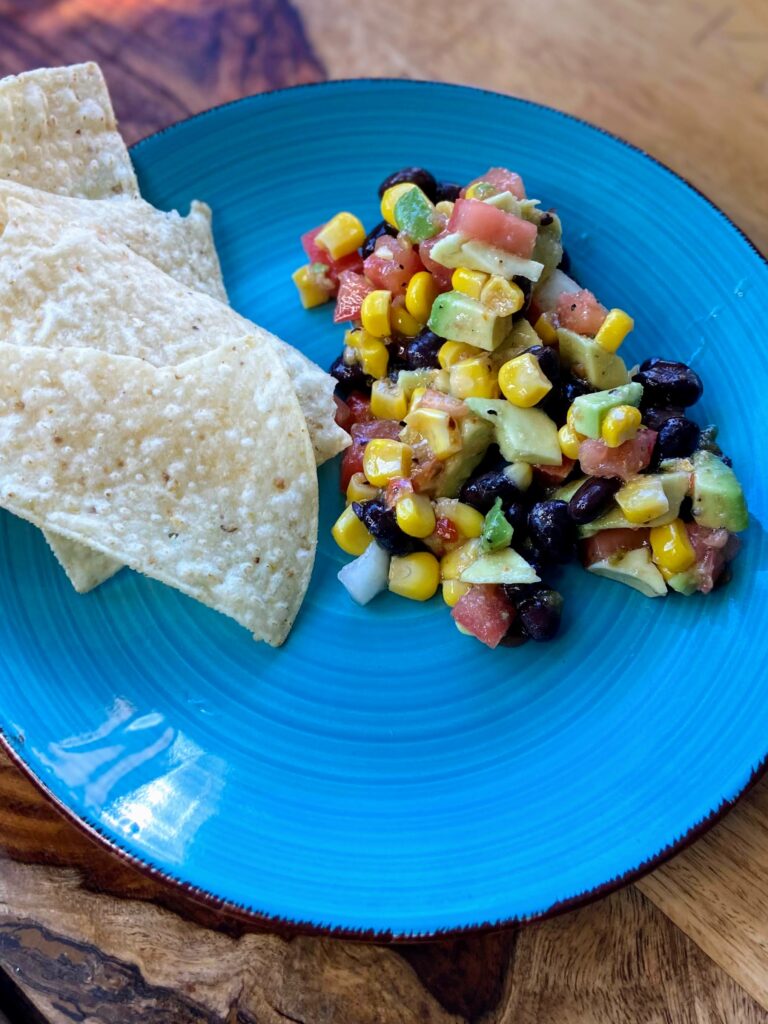
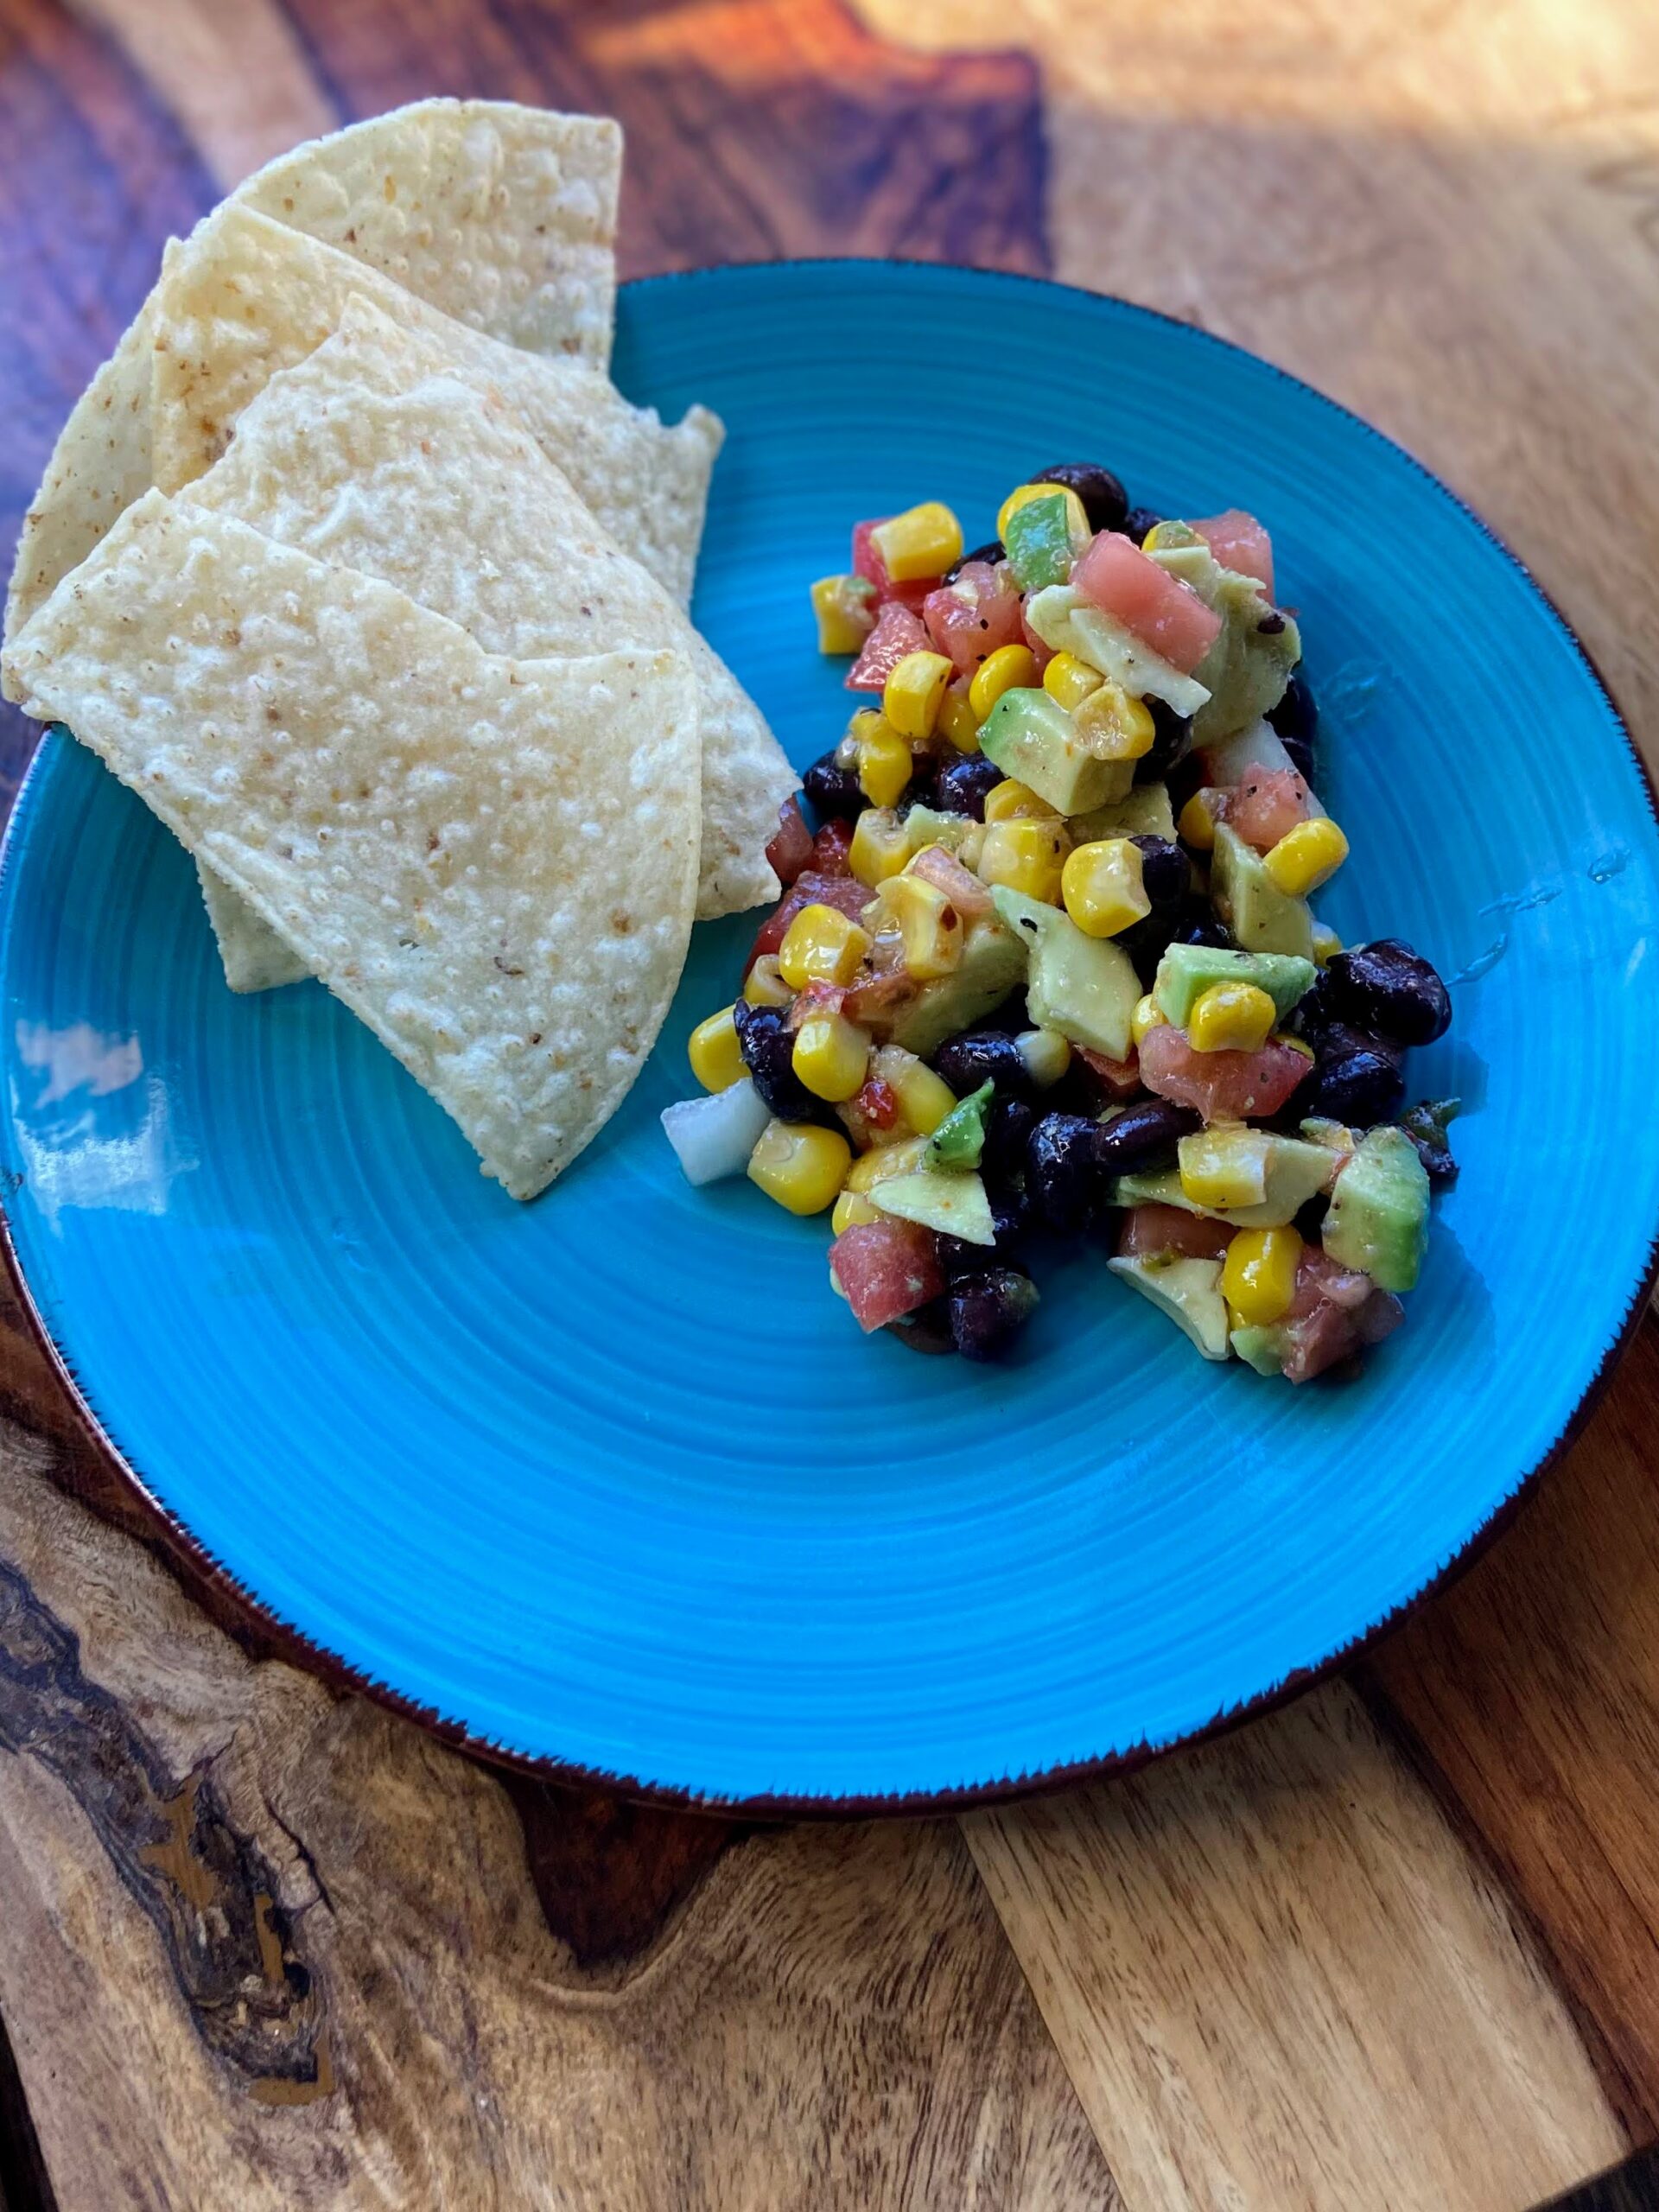
Kelly’s Texas Caviar

What’s your go-to “I have to bring a dish to pass” dish that you can do without opening a cookbook or look at the recipe? For as long as I can remember, my sister has been bringing Texas Caviar. She brings it so often, she had started worrying that people didn’t actually like it and she should maybe stop bringing it. At about that time, my big kiddo asked her, “Aunty, can I please have the Texas Caviar recipe? I want to be able to make it at home.” 

Needless to say, she learned that we weren’t tired of it at all. And after that weekend, I think we mixed up a batch at our home three or four weekends in a row. Now I think I have the recipe memorized too!

What I love about Texas Caviar is that it is truly a side dish I can feel really good about eating. It is chuck full of vegetables and although it is generally served with chips, it’s easy to load those chips with the dip. It also eats well as a simple side without the chips. 

So when it’s been a crazy month of prepping for the holidays and time for recipe creation has been minimal, I asked my sissy if I could share her take on Texas Caviar. This weekend seemed a perfect weekend to share it as the holidays ramp up and you either

  1. Need to add more vegetables in your diet because man, the sweets and indulgence are catching up to you and sneaking some veggies in would help. Or…
  2. You have a party you get to bring a side to but your inspiration is less than stellar.

Let me tell you, Texas Caviar is THE choice for one (or both!) of those. 

Ready to create together? Let’s Go!

Your Ingredients 

  • 14 ounces Mexicorn, drained
  • 1 can low sodium black beans, drained and rinsed
  • 2 avocados
  • 4 Roma tomatoes
  • 1 medium onion
  • 1 package dry Italian dressing mix
  • ⅓ cup olive oil
  • ⅓ cup red wine vinegar 

Your Steps to Texas Caviar 

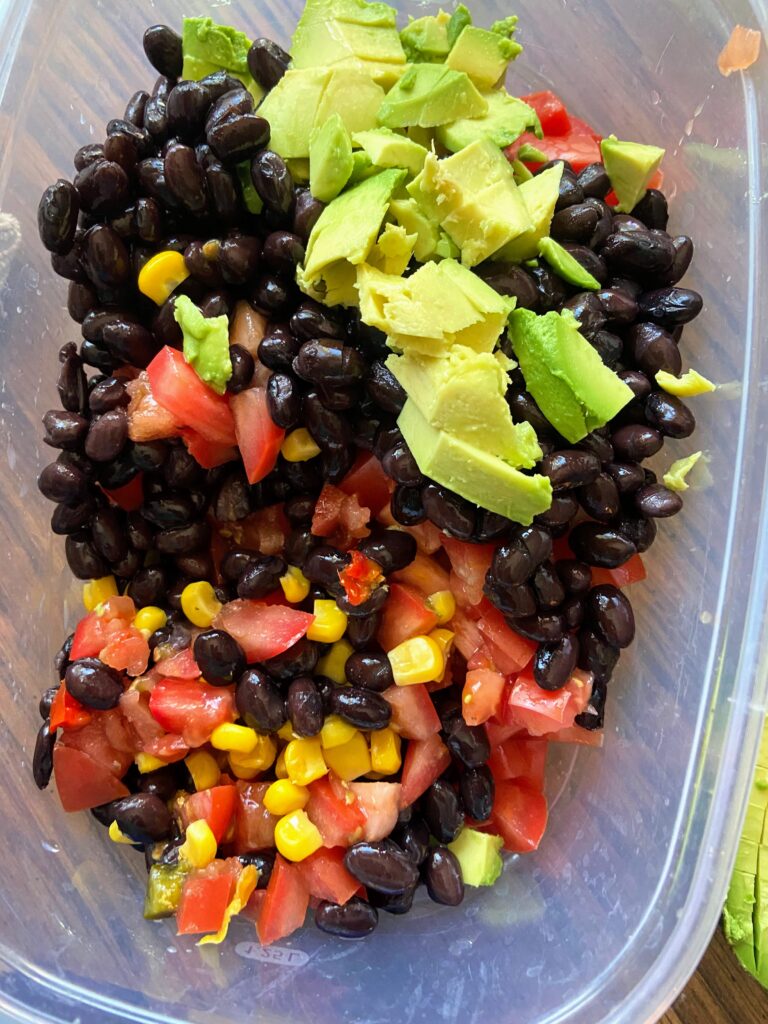
Dice the avocados, Roma tomatoes, and onion. In a large bowl, combine corn, black beans, avocado, tomato, and onion. Stir well. 
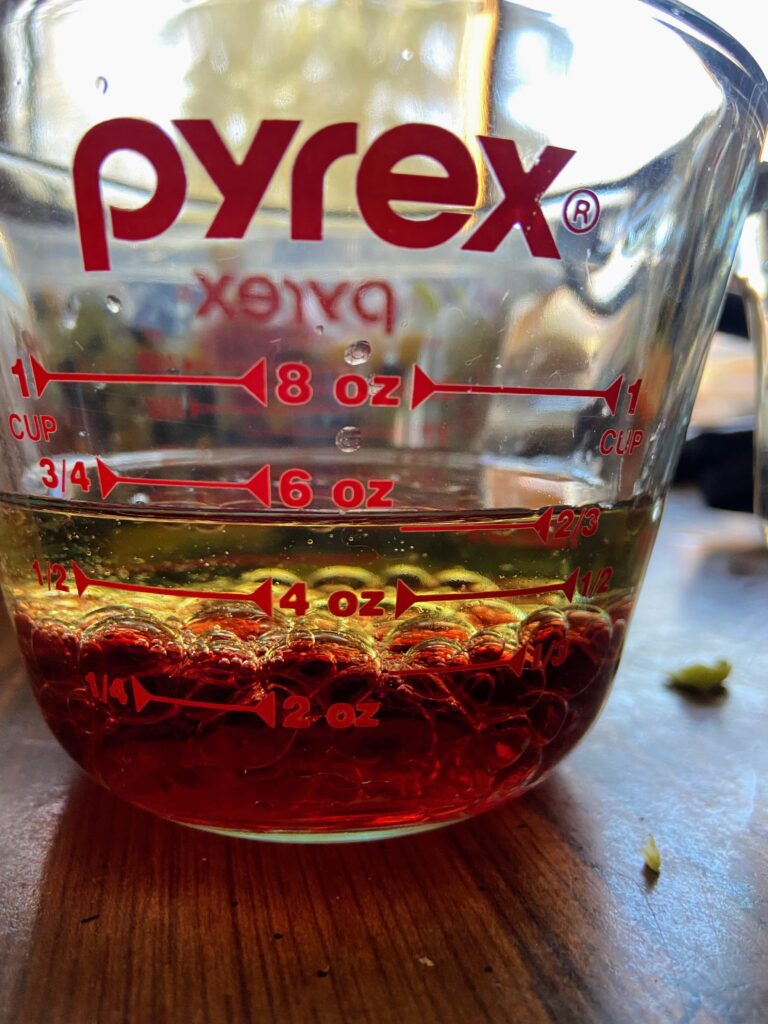
In a small bowl, combine dressing mix, olive oil, and red wine vinegar. Whisk together and promptly pour over the vegetable mixture. Stir well. The dip is best if it is allowed to chill and marinate for an hour or so, but can be eaten immediately. Good luck waiting. I never can!

Kelly’s Texas Caviar

Just eight ingredients and about ten minutes of work and you’ll have a great, fresh flavorful dip or side dish with this Texas Caviar.
5 from 1 vote
Prep Time 10 minutes
Cook Time 0 minutes
Course Appetizer
Cuisine American
Servings 8

Ingredients
  

  • 14 ounces Mexicorn drained
  • 1 can low sodium black beans drained and rinsed
  • 2 avocados
  • 4 Roma tomatoes
  • 1 medium onion
  • 1 package dry Italian dressing mix
  • cup olive oil
  • cup red wine vinegar

Instructions
 

  • Dice the avocados, Roma tomatoes, and onion. In a large bowl, combine corn, black beans, avocado, tomato, and onion. Stir well.
  • In a small bowl, combine dressing mix, olive oil, and red wine vinegar.
  • Whisk together and promptly pour over the vegetable mixture. Stir well.
  • The dip is best if it is allowed to chill and marinate for an hour or so, but can be eaten immediately.
Keyword avocado, cherry tomatoes, chips and dip, dips, dish to pass, side dish, Texas caviar
Tried this recipe?Let us know how it was!

Looking for other fun sides?

Give some of these a try!

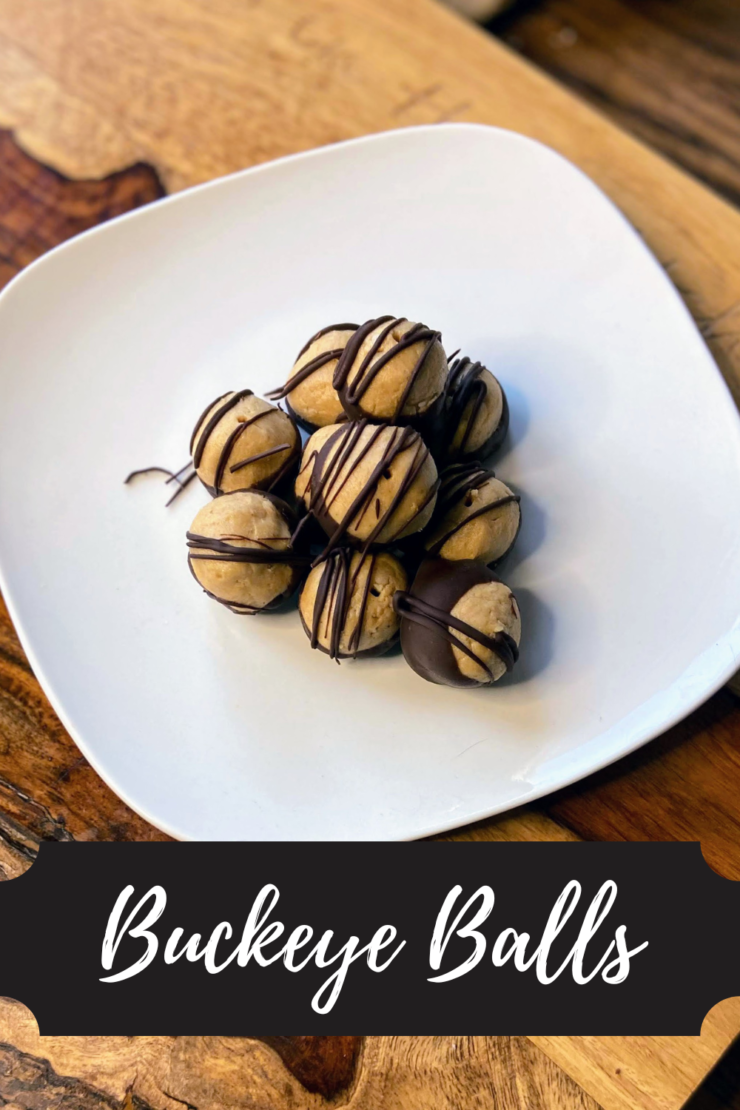
Buckeye Balls

I’ll be honest, I hadn’t heard of Buckeye Balls until about ten years ago. I was pursuing a foodie magazine a number of years ago around the holidays, and they had a section on holiday candy making. And I don’t know about you, but the pairing of chocolate and peanut butter ranks right up there in the top of flavor pairings in my world. So I quickly mixed up a batch, and instantly fell in love. 

Now, they have become a staple in my holiday baking and candy baking. It’s the number one request from my sissy when I am baking for our Winter Solstice celebration (I grew up celebrating the solstice more than Christmas). What I love about Buckeye Balls is that they mix up SUPER quick. They are no bake. And the chill time isn’t even terribly long. Forgot you were supposed to bring a treat for a party in the evening? These are a perfect idea!

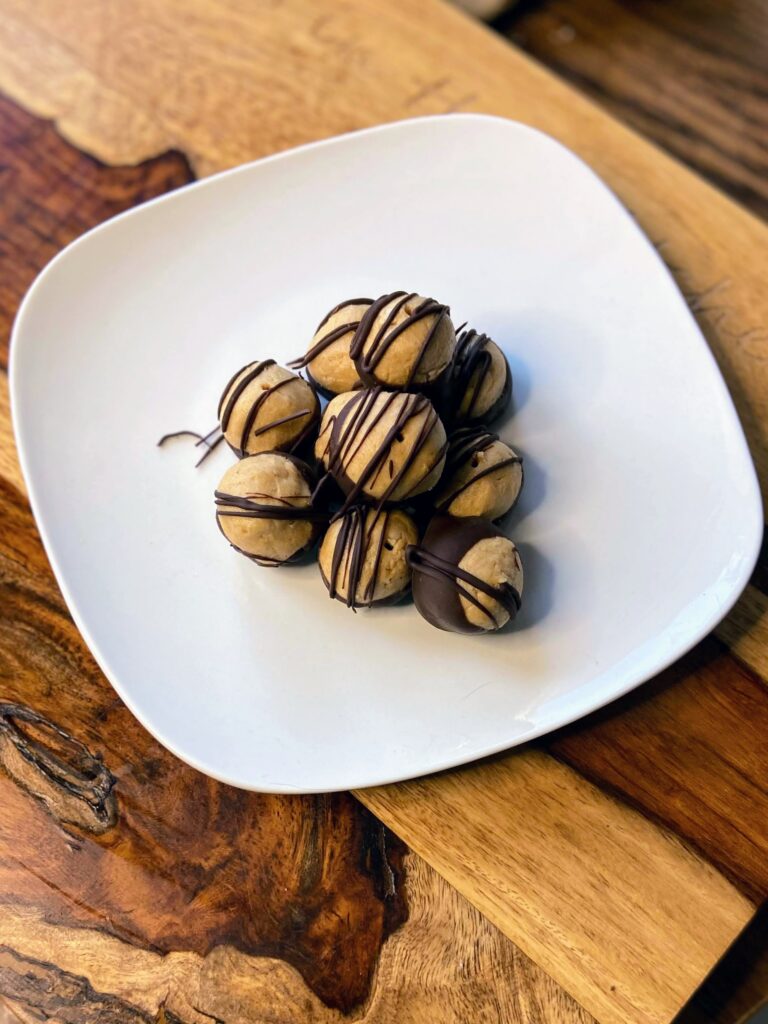
This recipe will result in about 50 teaspoon sized treats. (I know many recipes call for larger Buckeye Balls, but I dig bite size treats.) 

Your Ingredients

  • ¾ cup creamy peanut butter
  • ¼ cup butter, softened
  • ½ teaspoon vanilla
  • 2 cups powdered sugar
  • ½ cup semisweet chocolate chips
  • ½ tablespoon coconut oil 

Your Steps to Buckeye Balls

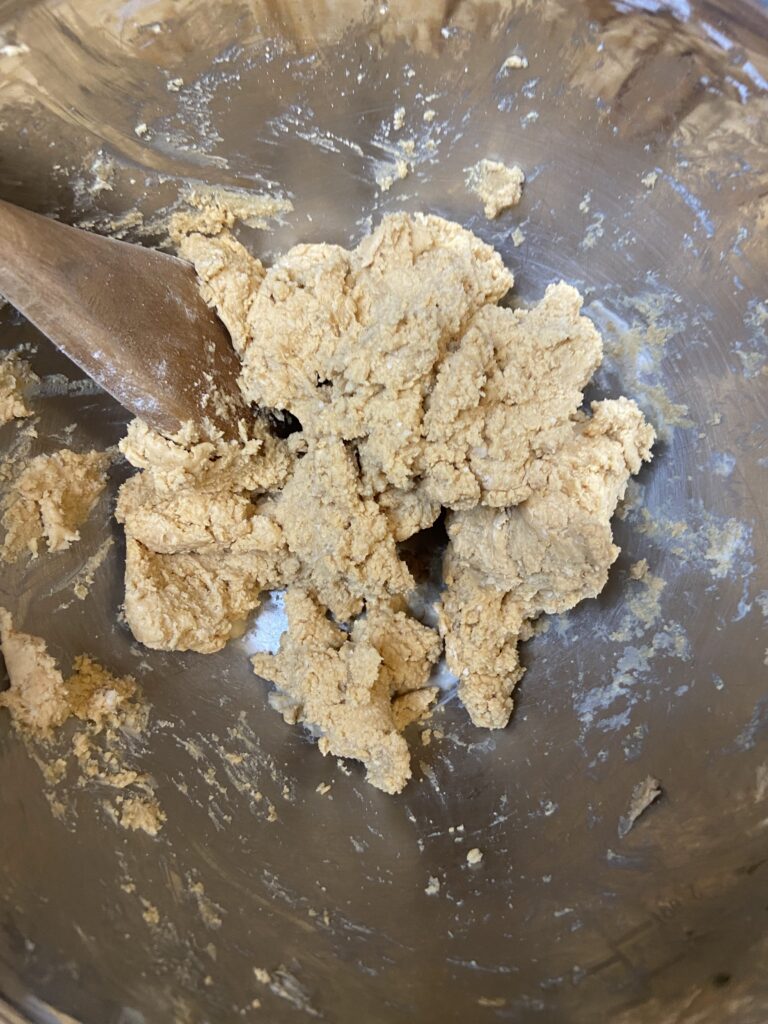
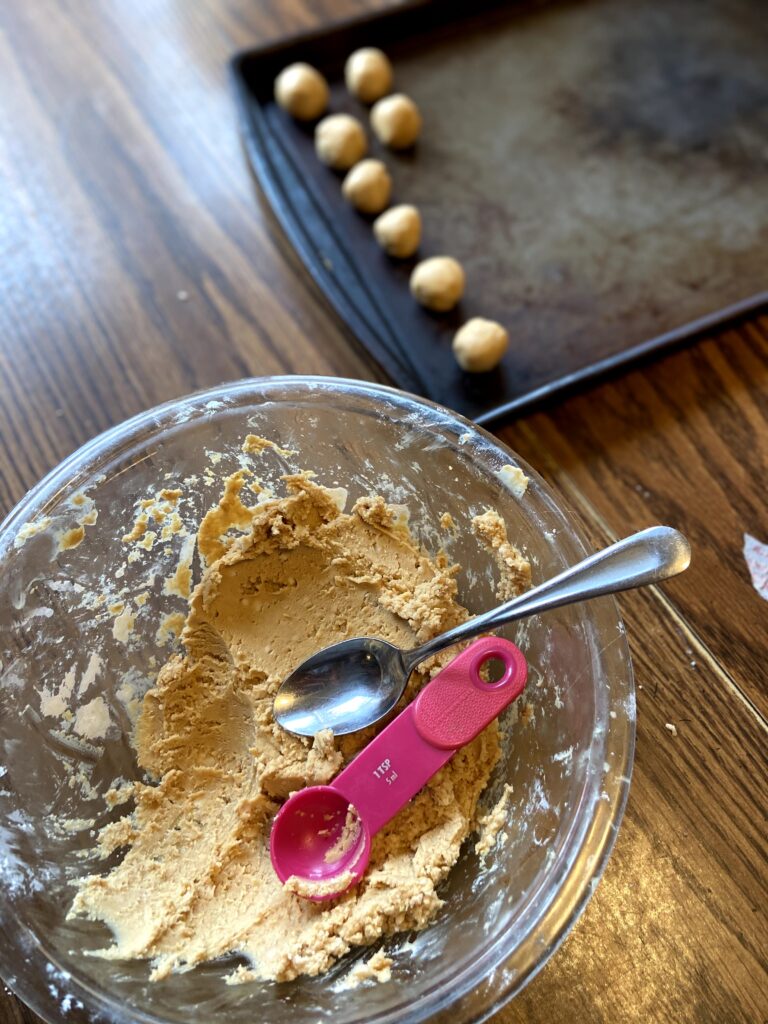
Combine sugar, peanut butter, vanilla and butter. Cream well, being sure to get all “corners” of the bowl. Use a teaspoon to measure and your hands to form balls with the mixture. Place on a lined baking sheet and chill for 1-2 hours. 

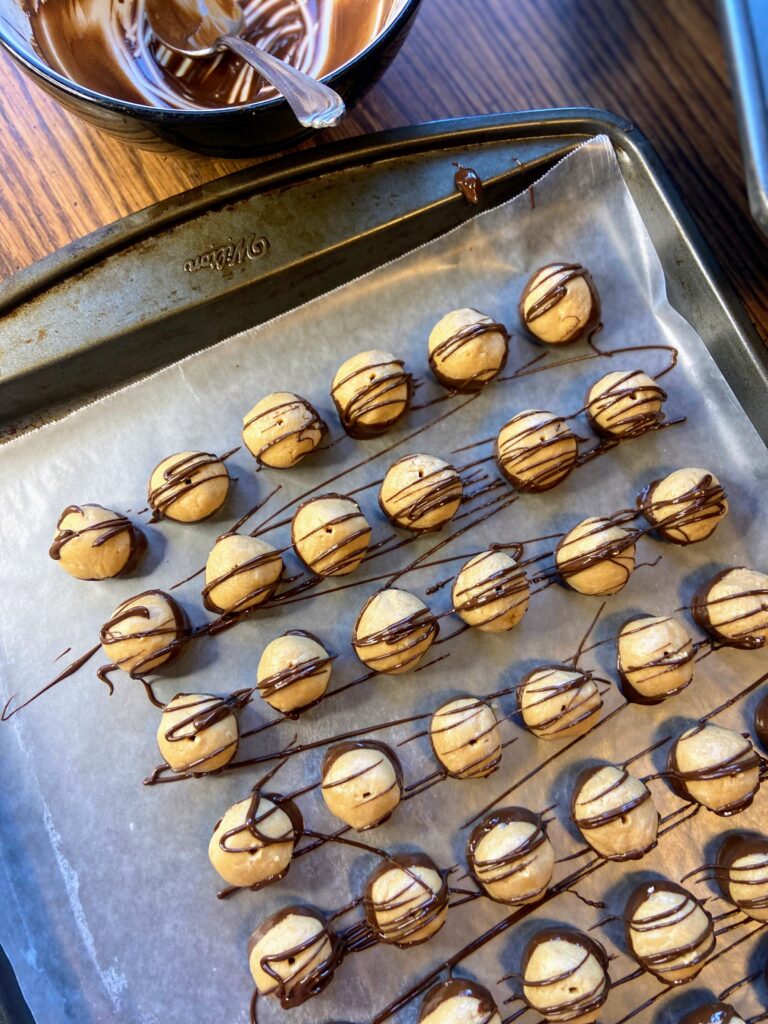
Once chilled, melt coconut oil and chocolate chips in the microwave, 30 seconds at a time, until smooth. Dip balls into chocolate using a toothpick (or fingers, but this is crazy messy). You can cover the hole formed from the toothpick, leave it, or drizzle the leftover chocolate like (this is what I like to do!) If you are going to drizzle, you truly don’t need anything fancy. Simply spoon the leftover chocolate into a small zipper baggy, snip the corner (smaller rather than larger), and squeeze and drizzle!

Buckeye Balls

Peanut butter and chocolate pair so nicely in these quick and delicious Buckeye Balls. Great for any holiday treat tray!
5 from 1 vote
Prep Time 40 minutes
Cook Time 0 minutes
Chill Time 1 hour
Course Dessert
Cuisine American
Servings 50 candies

Ingredients
  

  • ¾ cup creamy peanut butter
  • ¼ cup butter softened
  • ½ teaspoon vanilla
  • 2 cups powdered sugar
  • ½ cup semisweet chocolate chips
  • ½ tablespoon coconut oil

Instructions
 

  • Combine sugar, peanut butter, vanilla and butter. Cream well, being sure to get all “corners” of the bowl.
  • Use a teaspoon to measure and your hands to form balls with the mixture. Place on a lined baking sheet and chill for 1-2 hours.
  • Once chilled, melt coconut oil and chocolate chips in the microwave, 30 seconds at a time, until smooth.
  • Dip balls into chocolate using a toothpick.
  • You can cover the hole formed from the toothpick, leave it, or drizzle with the leftover chocolate.
Keyword buckeye balls, candies, candy making, chocolate, chocolate and peanut butter, peanut butter
Tried this recipe?Let us know how it was!

Looking for other sweets and treats?

Check out a few of the recipes below or head to my baking page!

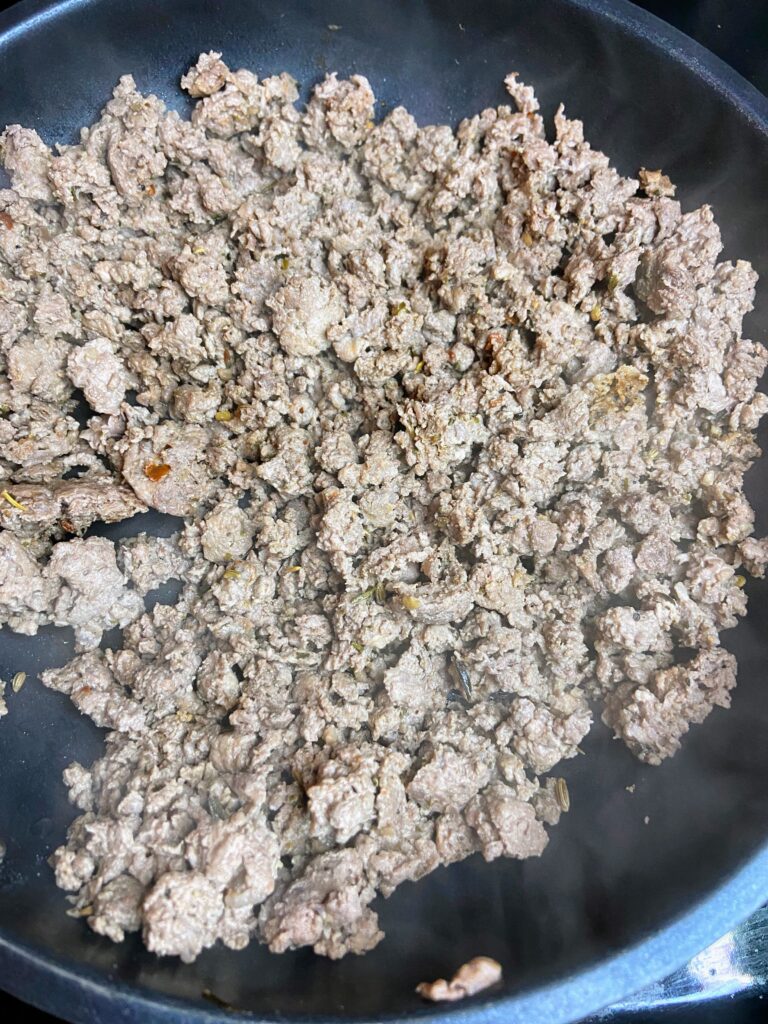
Ground Italian Venison

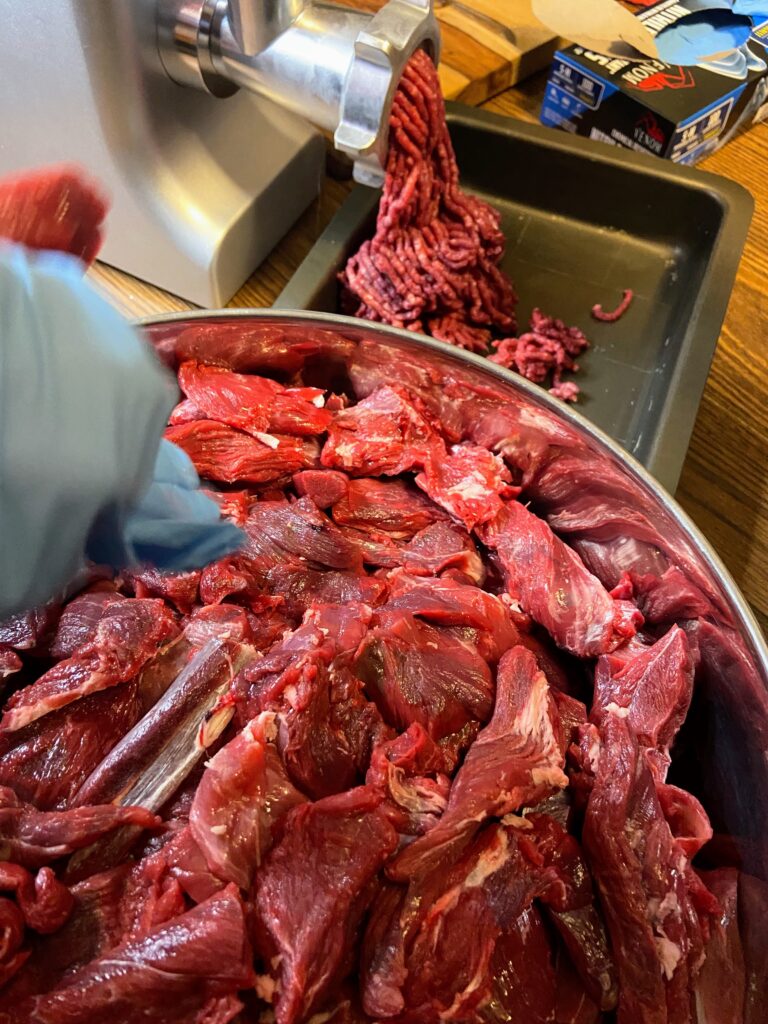
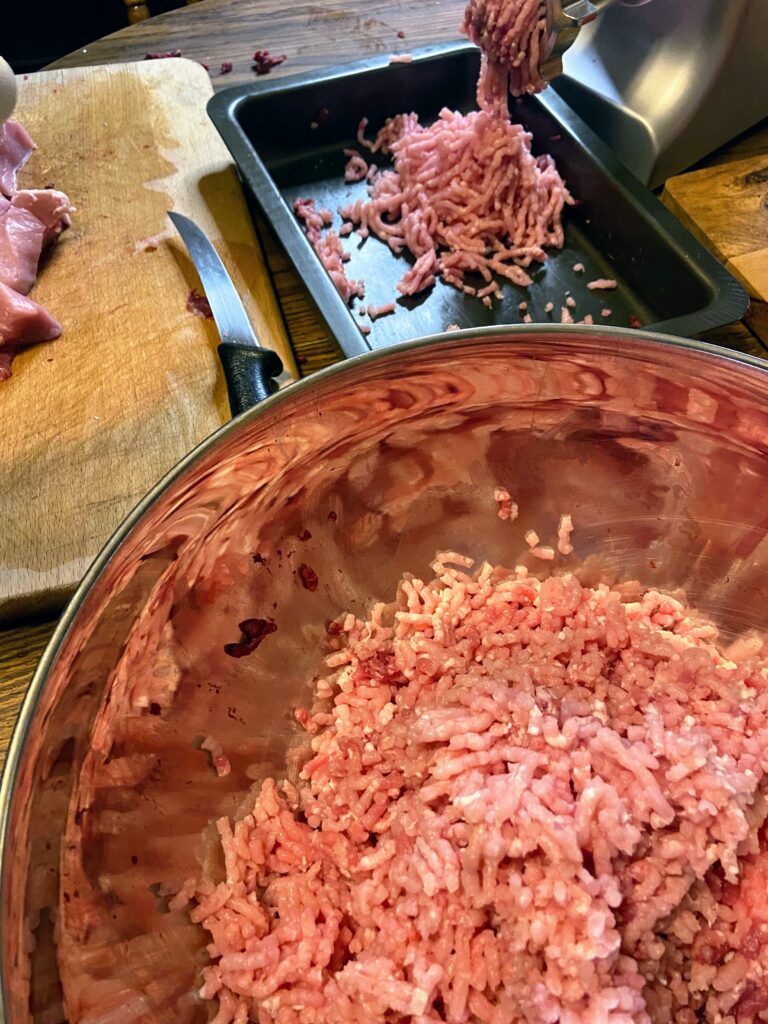
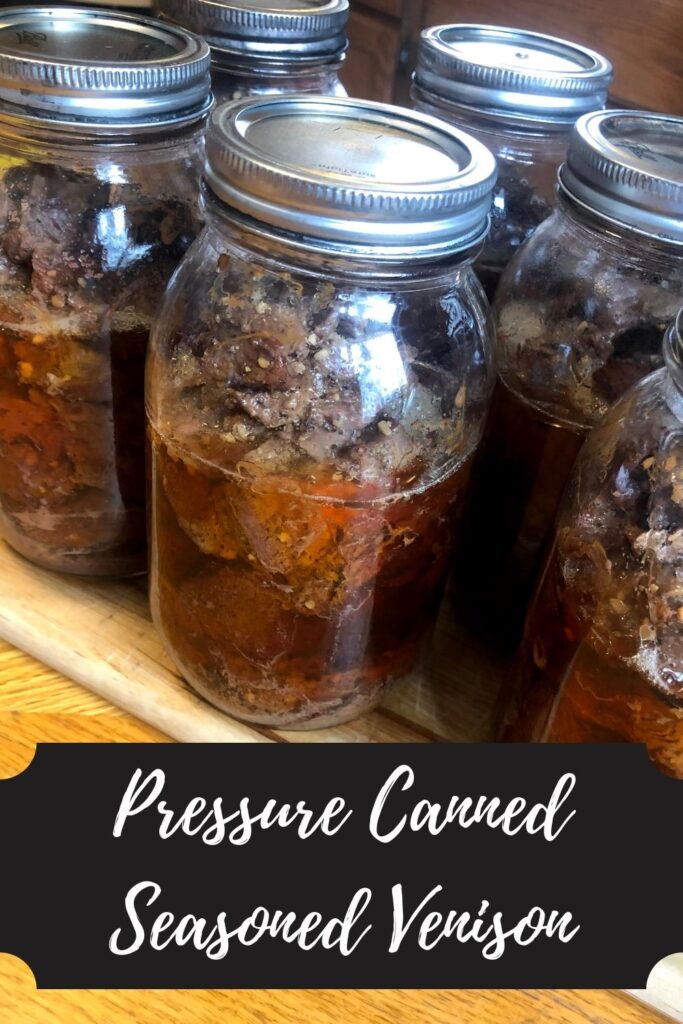
If you’ve been around since the summer, you know that I love growing, harvesting, and preserving my own food. I live for the garden in the summer and filling the freezer and shelves with homegrown produce brings me such joy. But as the garden gives way to fall, a new type of preserving takes over our kitchen: that of wild game. The Mr. loves hunting; our main protein source is deer. We process our deer ourselves and end up with chops, ground venison, various flavors of canned venison, and this delicious blend of ground Italian venison. 
I haven’t thought this was much of a recipe to share, but I tell friends and family about it, and they always seem happy to learn more, so here we are. This is a great recipe if you aren’t a sausage maker (we aren’t…yet), but want to add another way to use the ground venison you have. 
We love putting together a batch or two of this ground Italian venison to have for options when we eat pasta (strong Italian roots here!). I don’t know if you’ve tried yet, but ground Italian sausage is far superior to ground beef in your bolognese. However, we like to know where our protein comes from and the Italian sausage from the store just doesn’t cut it. This is a great alternative and gets us closer to sustainability. 

Ready to get Started?

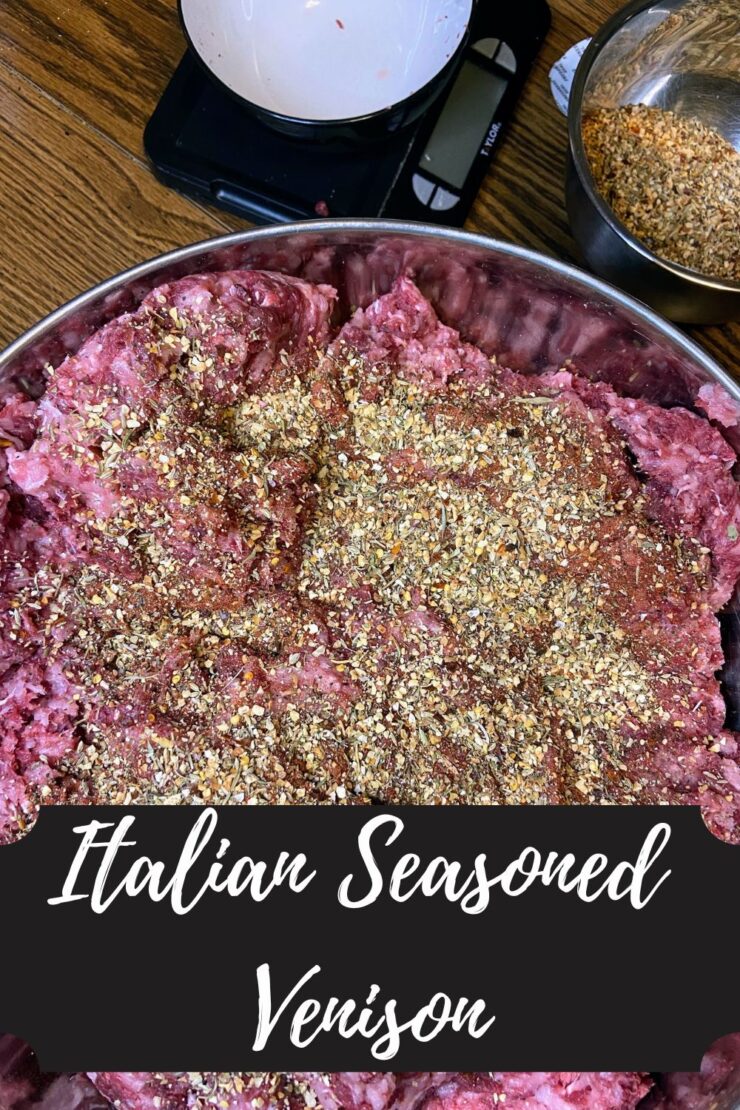
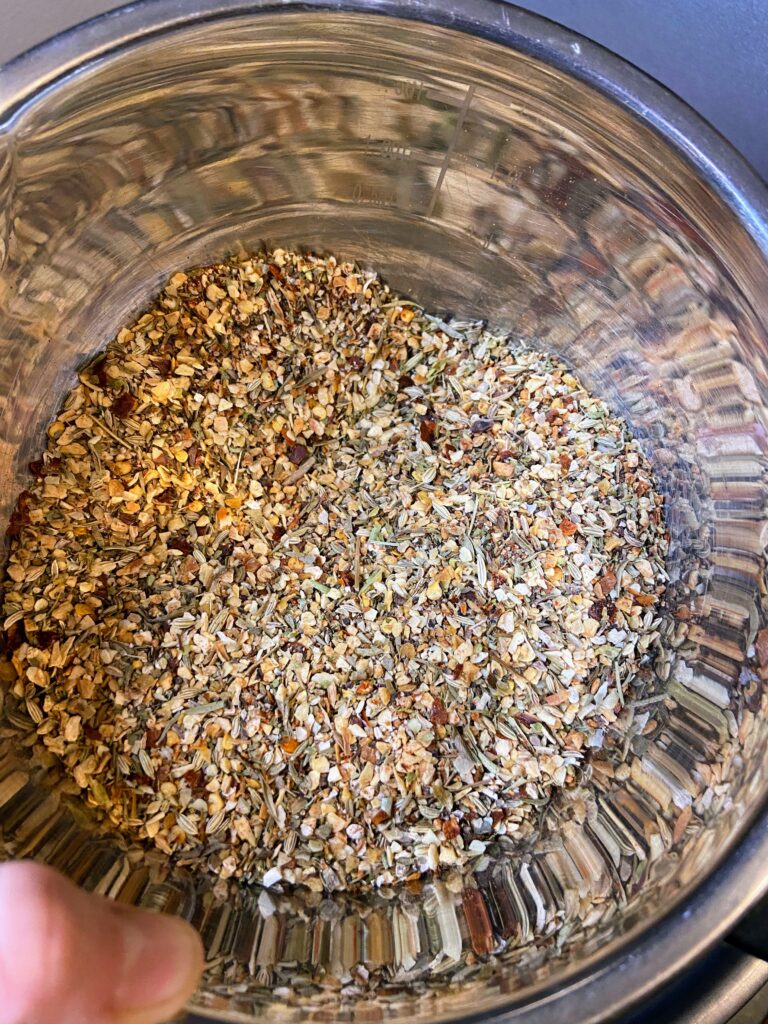
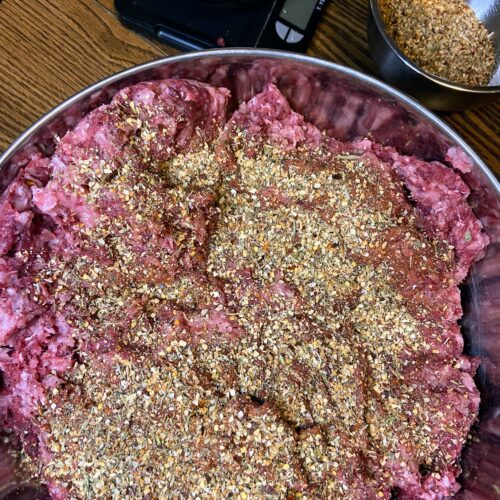
The recipe is simple enough: equal parts pork shoulder slices and venison slices. Then, based on how much meat we have, I create an Italian sausage seasoning mixture from Tastes of Lizzy T. She does a recipe for 2 pounds of meat. 

Typically, we do a large batch (at least 10 pounds of each protein). The math teacher in me will share how much you need for every TEN pounds of meat. If you have different increments and don’t want to do the math, check out Tastes of Lizzy T for the 2 pound measurements. It’s great!

Your Steps to Ground Italian Venison

For every TEN pounds of meat, combine the following: 

  • 3 tablespoons dried parsley
  • 3 tablespoons dried Italian seasoning
  • 2 ½ tablespoons black pepper
  • 1 tablespoon fennel seed 
  • 1 tablespoon paprika
  • 1 1/2 -2 tablespoons red pepper flakes
  • 3 tablespoons salt 
  • 5 tablespoons minced garlic
  • 2 tablespoons minced onion

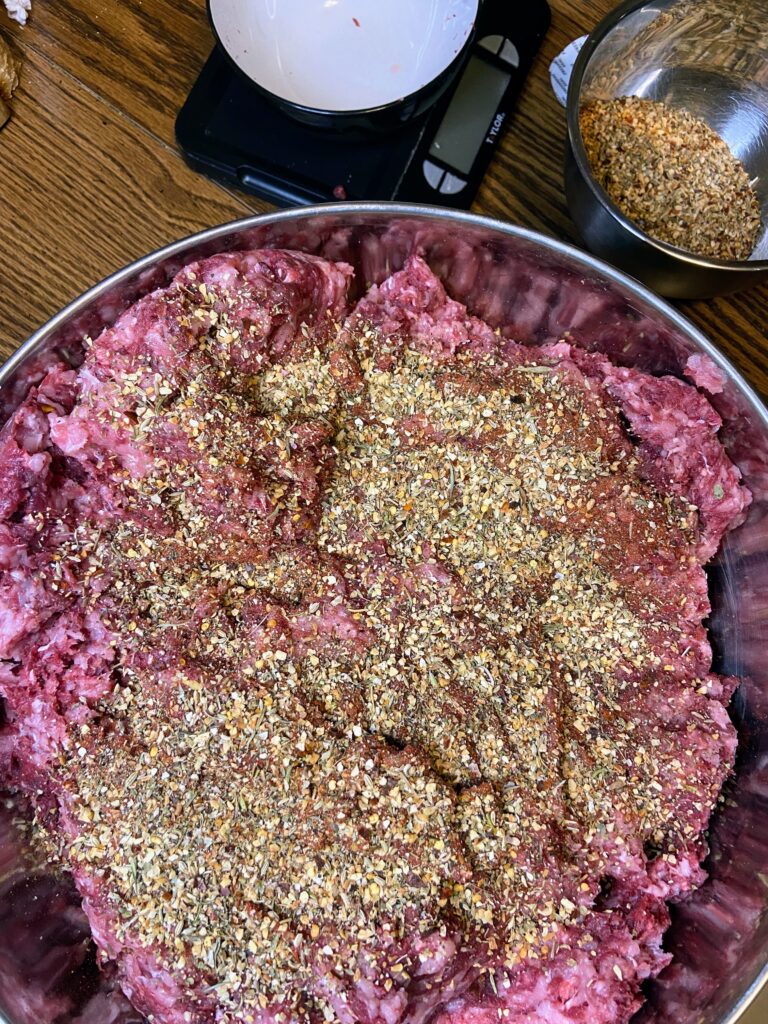
Measure and grind 10 pounds each of venison and pork shoulder. In a large bowl, combine both proteins and mix well. Add about ⅓ of the spice mixture and mix the meat, being sure to pull from the bottom. Add another ⅓, mixing again. Finally, add remaining spice mixture, being sure to grab all the meat from the bottom, mixing thoroughly. 

Using a food scale, measure meat in one pound increments. Place into freezer bags, flattening and removing air as you seal them. Wrap with freezer paper and label. 

Ground Italian Venison

Looking for different ways to use your home processed venison? Give this ground Italian venison a try to change it up!
Prep Time 40 minutes
Cook Time 0 minutes
Course Main Course
Cuisine American, Homesteading, Preserving
Servings 10 pounds

Ingredients
  

  • 5 pounds venison cleaned and cubed
  • 5 pounds pork shoulder cubed
  • 3 tablespoons dried parsley
  • 3 tablespoons dried Italian seasoning
  • 2 ½ tablespoons black pepper
  • 1 tablespoon fennel seed
  • 1 tablespoon paprika
  • 1 1/2 -2 tablespoons red pepper flakes
  • 3 tablespoons salt
  • 5 tablespoons dried minced garlic
  • 2 tablespoons dried minced onion

Instructions
 

  • Mix all spices in a small bowl.
  • Measure and grind 5 pounds each of venison and pork shoulder.
  • In a large bowl, combine both proteins and mix well.
  • Add about ⅓ of the spice mixture and mix the meat, being sure to pull from the bottom. Add another ⅓, mixing again.
  • Finally, add remaining spice mixture, being sure to grab all the meat from the bottom, mixing thoroughly.
  • Using a food scale, measure meat in one pound increments.
  • Place into freezer bags, flattening and removing air as you seal them. Wrap with freezer paper and label.
Keyword freezing, Italian, Italian venison, preserving venison, venison, venison recipe
Tried this recipe?Let us know how it was!

Looking for other venison Recipes?

Check out these ideas for more venison recipes.

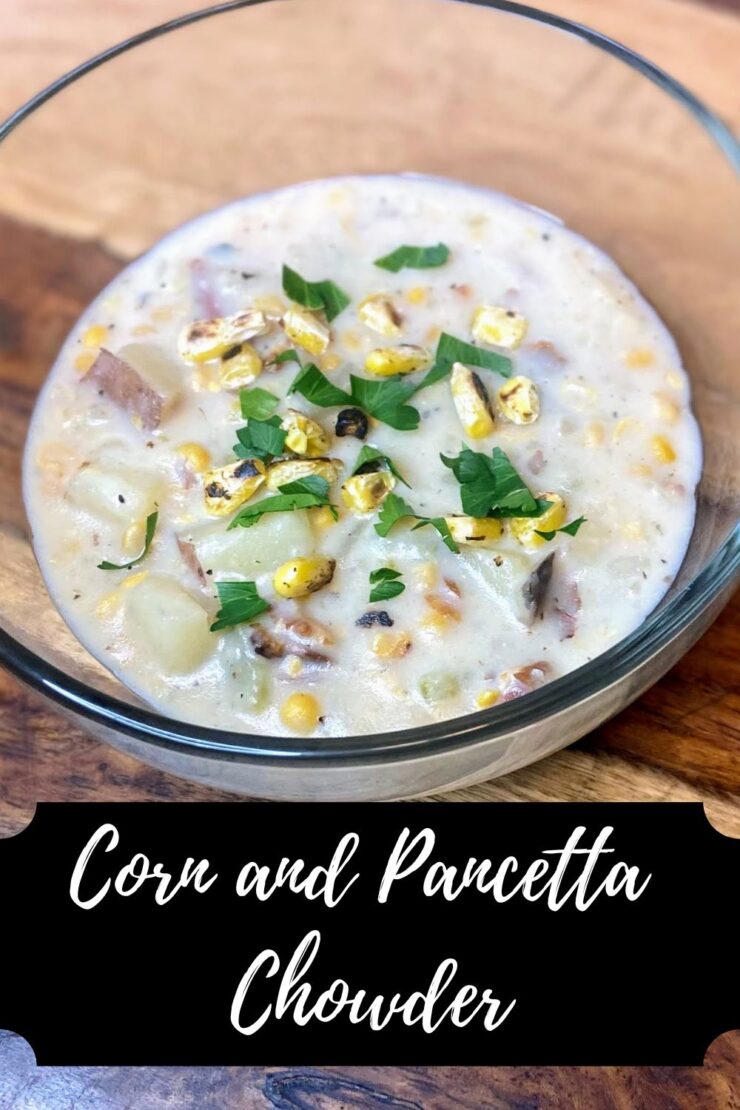
Corn and Pancetta Chowder

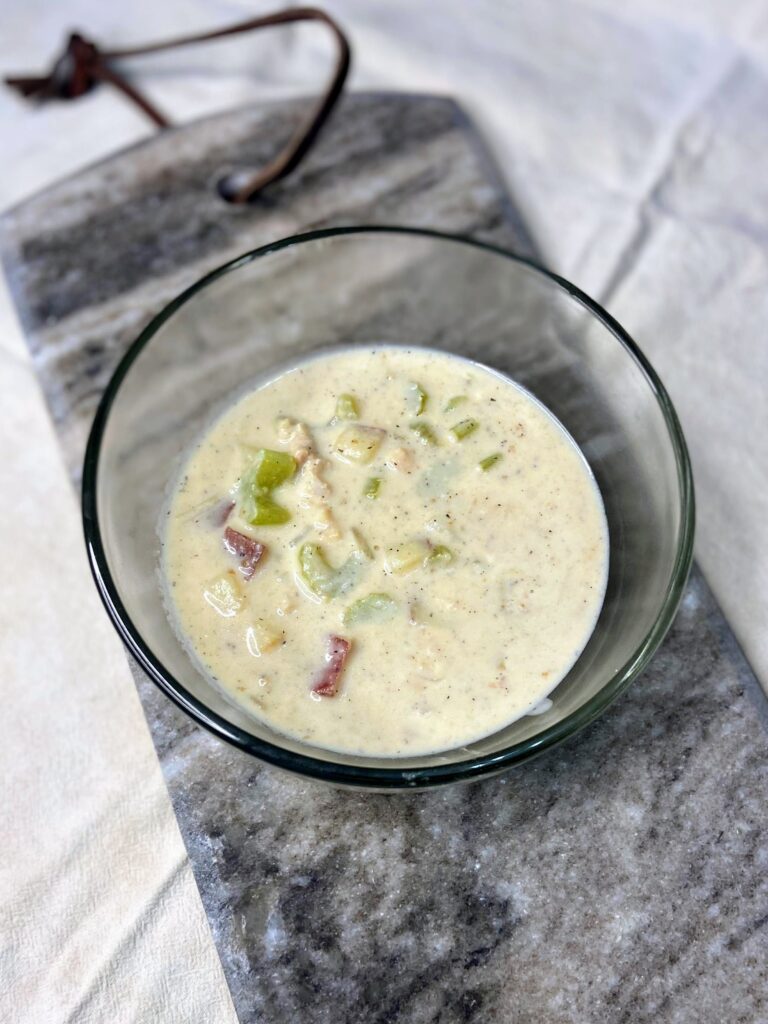
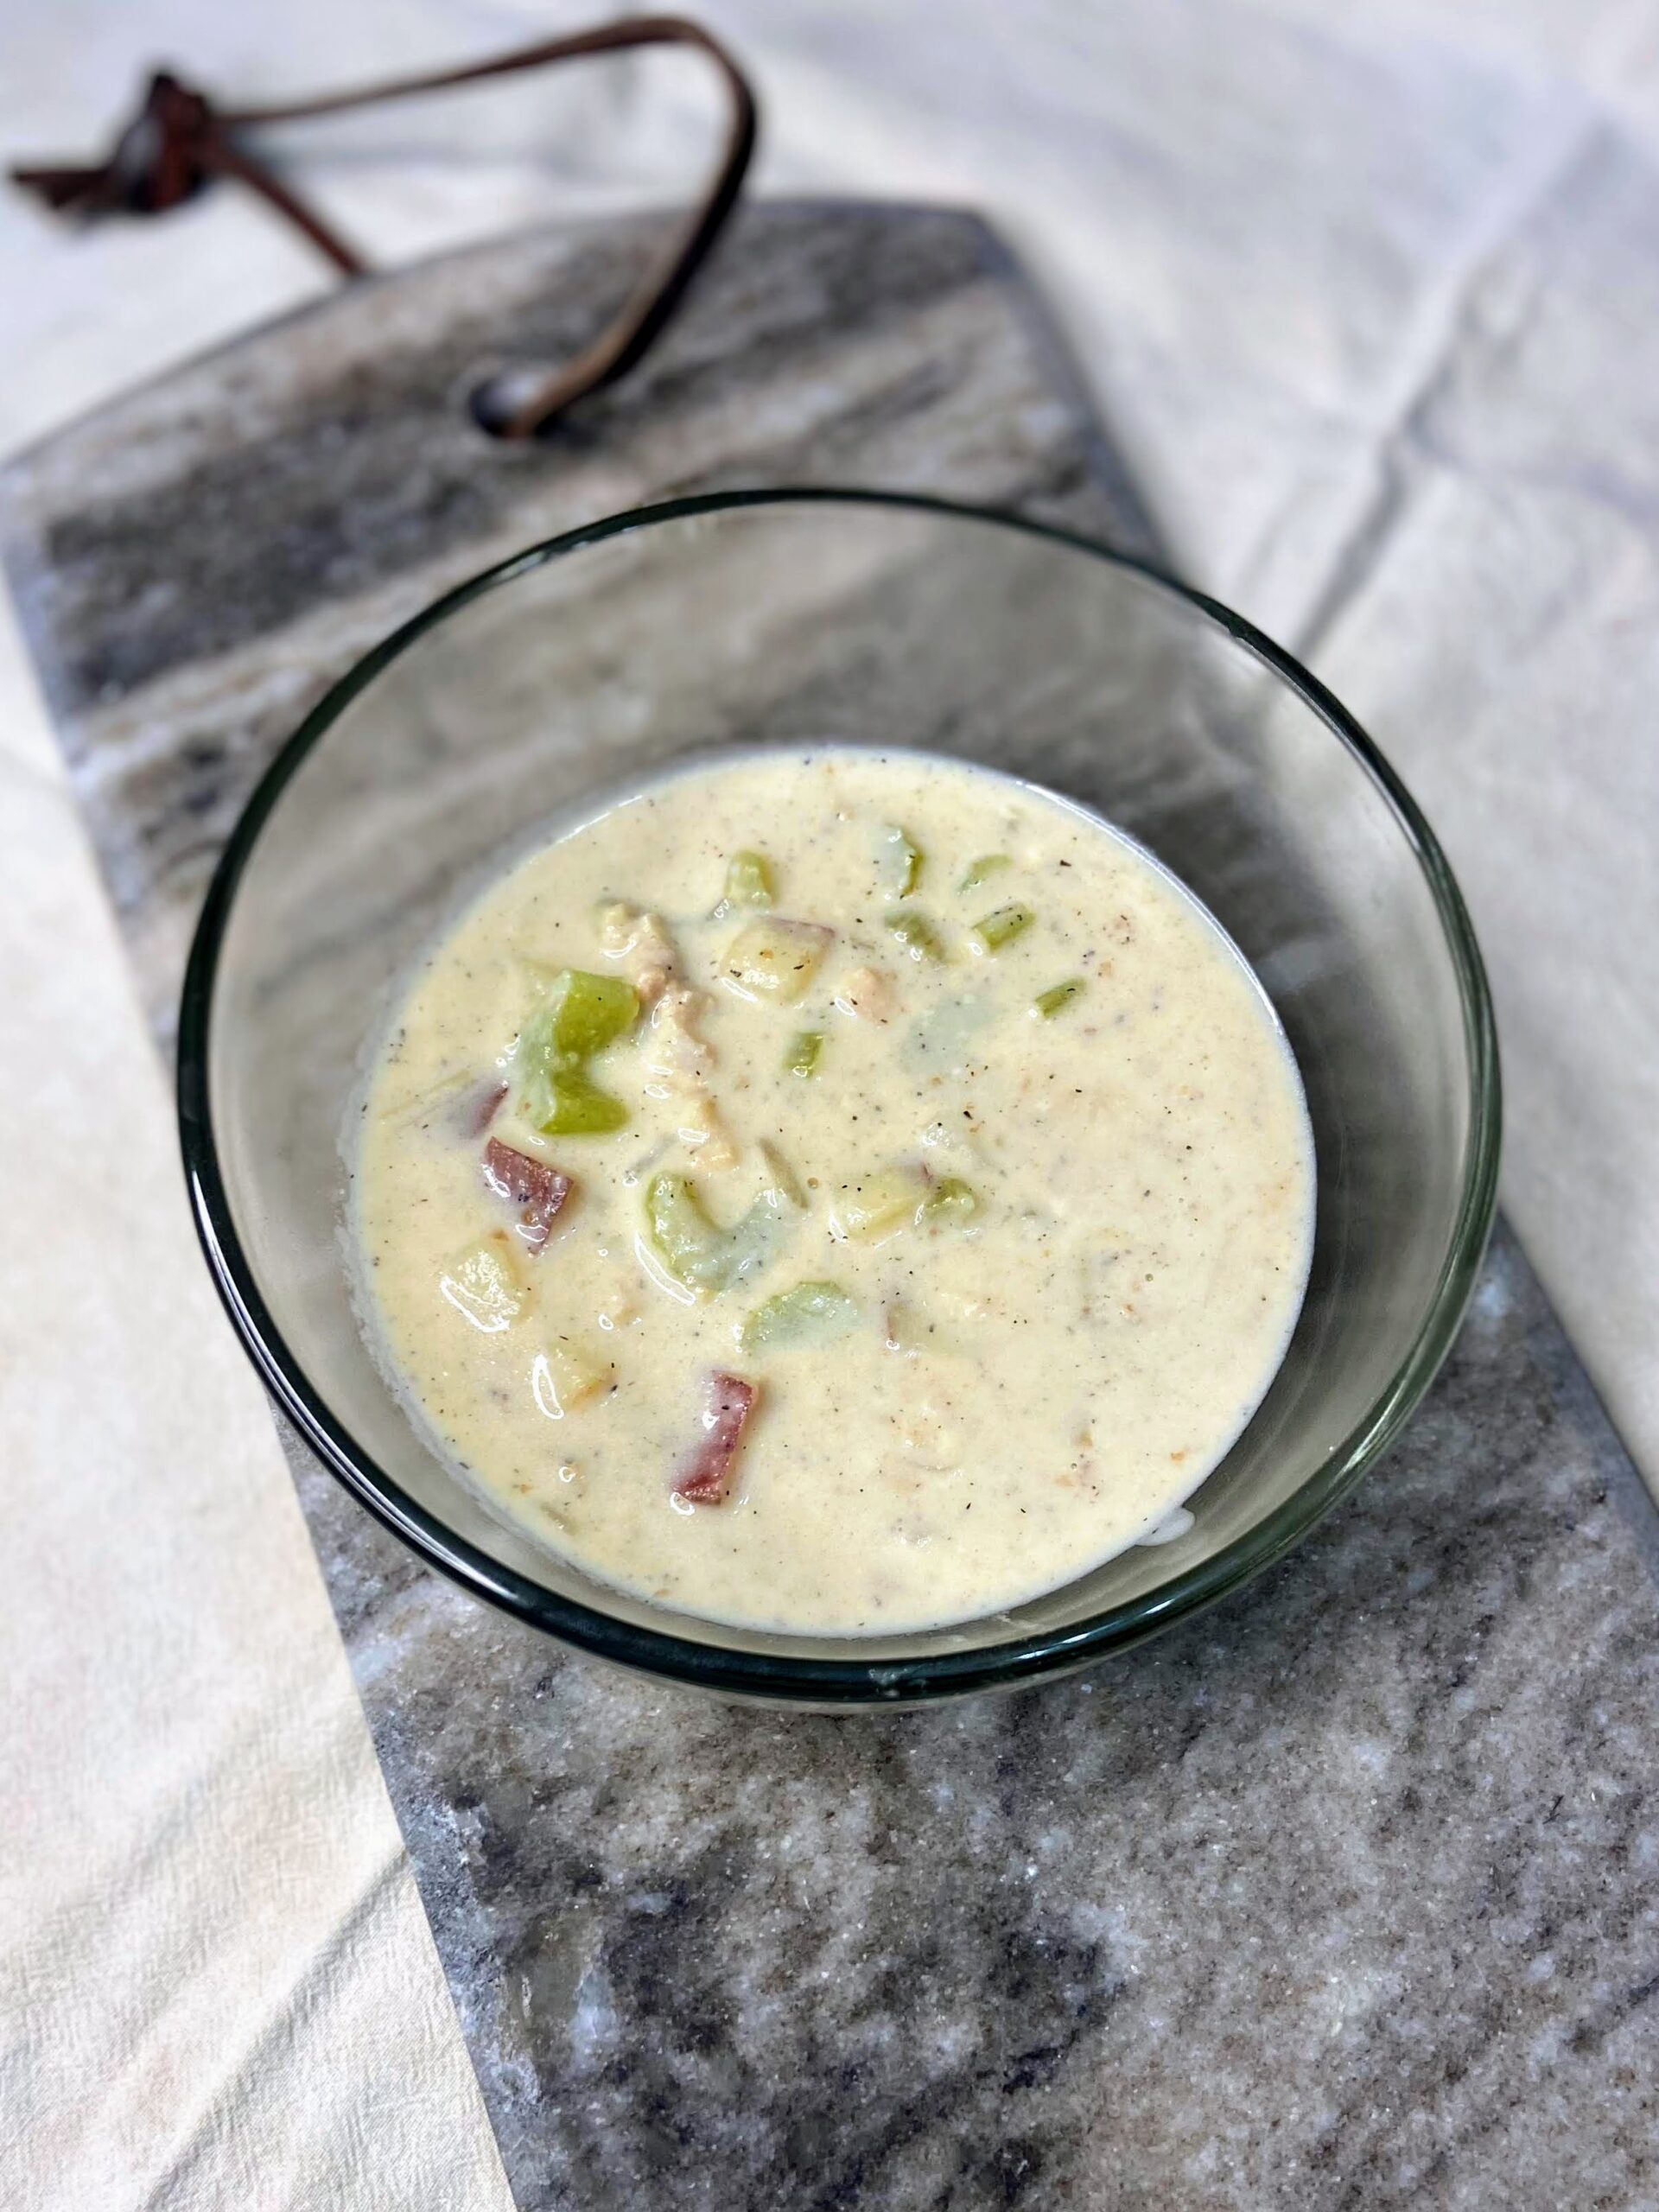
Corn and Pancetta Chowder

If you’ve been around for any length of time, you know that I live for comfort food. Can it be cooked low and slow or as a bake? Then I am here for it. Specifically, soup season is my absolute favorite. I love all the things that come with creating a soup: chopping the veg, stirring periodically with love, and then smells that take over the house. It pairs so well with some homemade bread (I bake sourdough!) and a salad. All my favorites. So when I suddenly got to thinking about corn chowder, I looked in my fridge and pantry and this delicious corn and pancetta chowder was the result. 

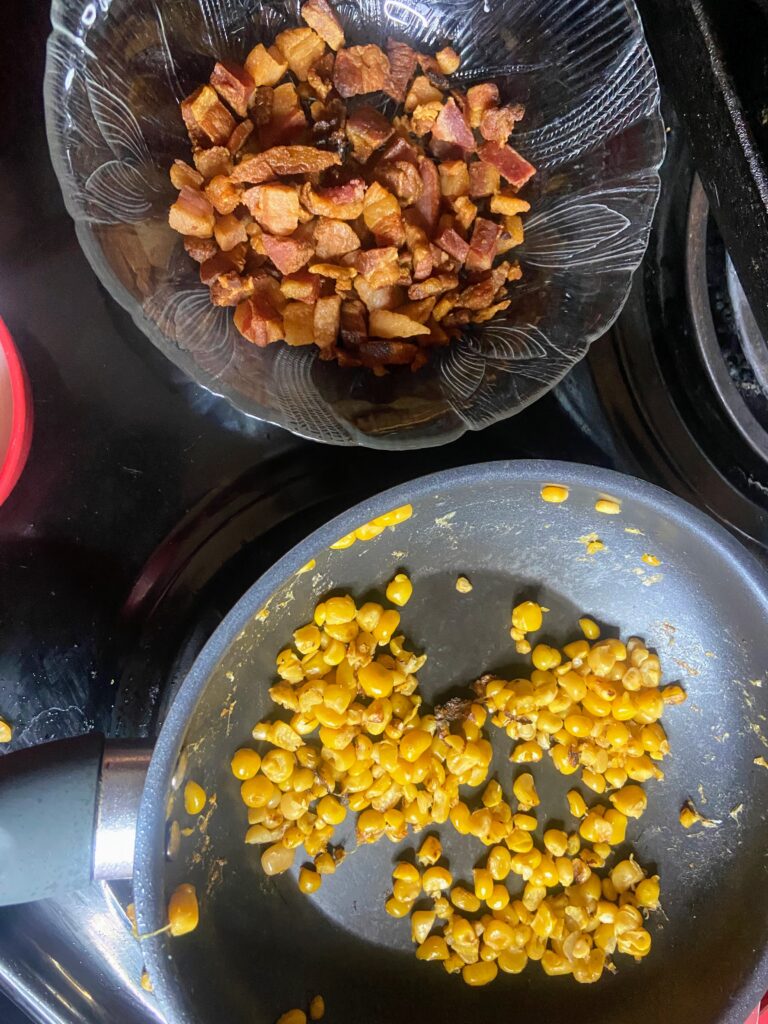
Now you may be asking, “Why pancetta?” Friends, until a couple months ago, I had never cooked with it. A recipe I was trying out for a collab I do on Instagram called for it, and I gave it a try. And my goodness. It has quickly become a staple for cooking in my house. It’s just that good. If you want to skip the pancetta, you can totally do bacon instead. But I dare you to cook up some crispy pancetta and NOT want to eat the entire container. 

The rest of the ingredients are completely pantry items. You don’t even need heavy cream or half and half (which I have on hand maybe 30% of the time). The half blending of the simmered vegetables creates a creamy and thick chowder that’s divine. 

Ready to get cooking? Let’s go! 

Your Ingredients for Corn and Pancetta Chowder 

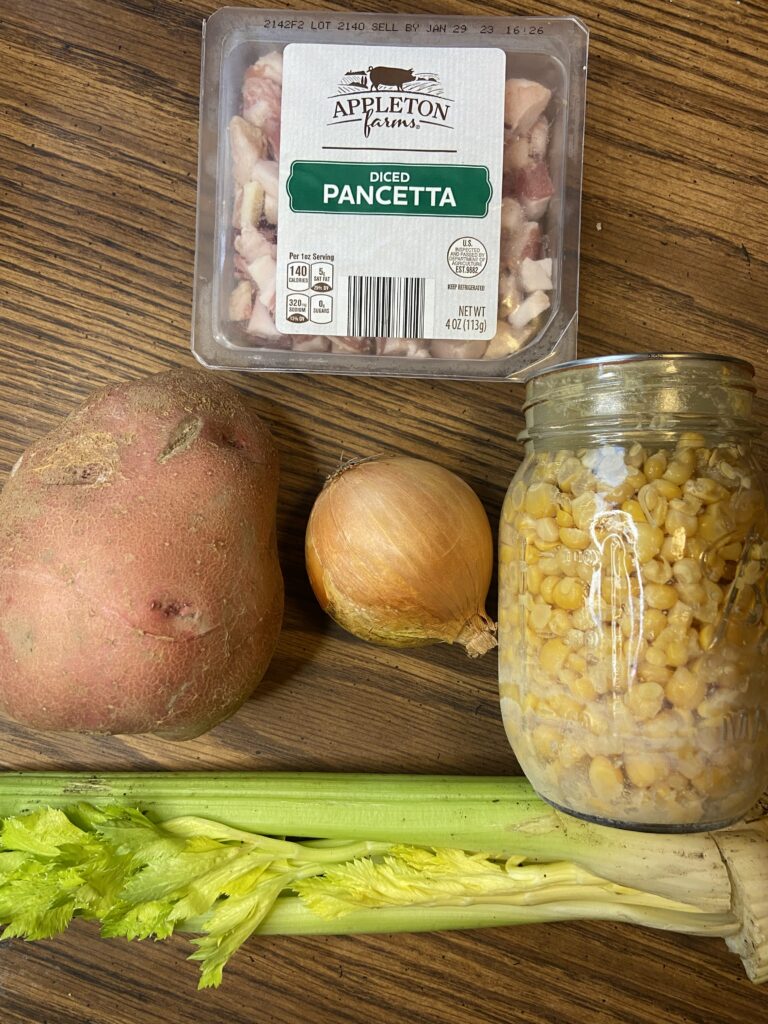
  • 4 ounces pancetta (or thick cut bacon, cut into small pieces)
  • 1 yellow onion, diced (about 1 cup) 
  • 2 celery ribs, diced (about ¾ cup) 
  • 3 cups diced potatoes (I left the skin on)
  • 1 teaspoon minced garlic 
  • ½ teaspoon pepper
  • 2 cups chicken stock 
  • 2 cups corn (fresh or frozen)
  • 2 ½ -3 cups milk, divided 
  • 1 ½ tablespoons cornstarch
  • Salt and dried thyme, to taste
  • Olive oil 

Your Steps 

Add a small amount of olive oil (2 teaspoons or so) to a soup kettle (I love my cast iron Dutch ovens). Once hot, add pancetta and cook over medium heat until crispy. Remove cooked pancetta and allow it to drain on a paper towel. Reserve ⅔ of the fat from the pancetta to cook the vegetables.

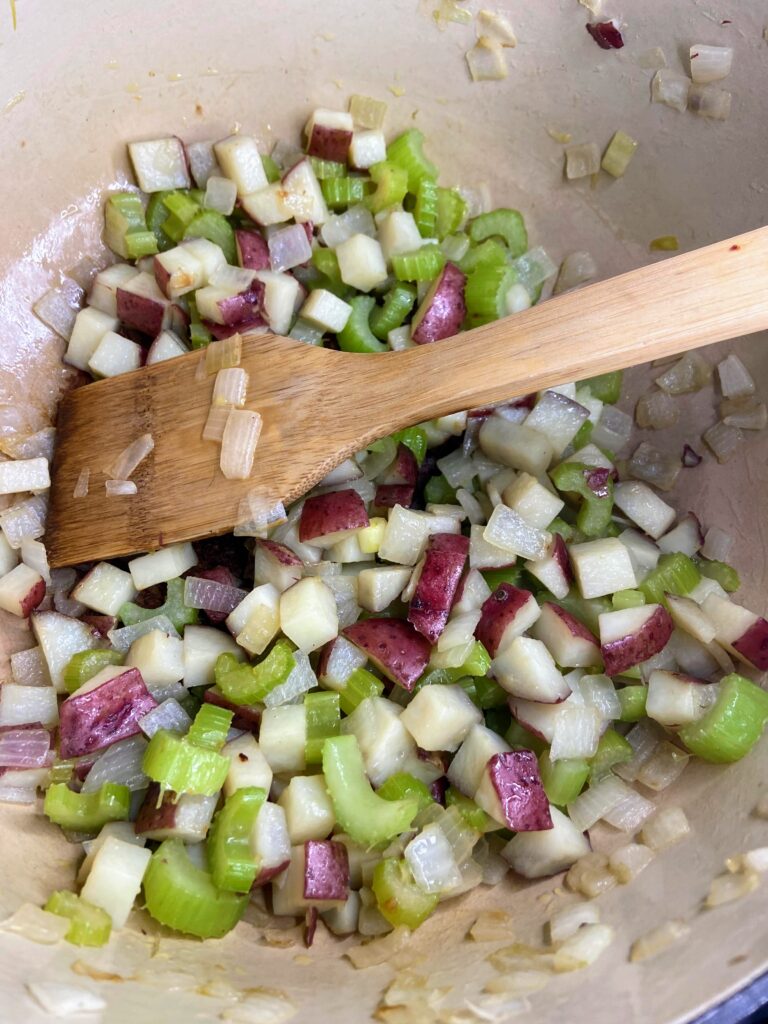
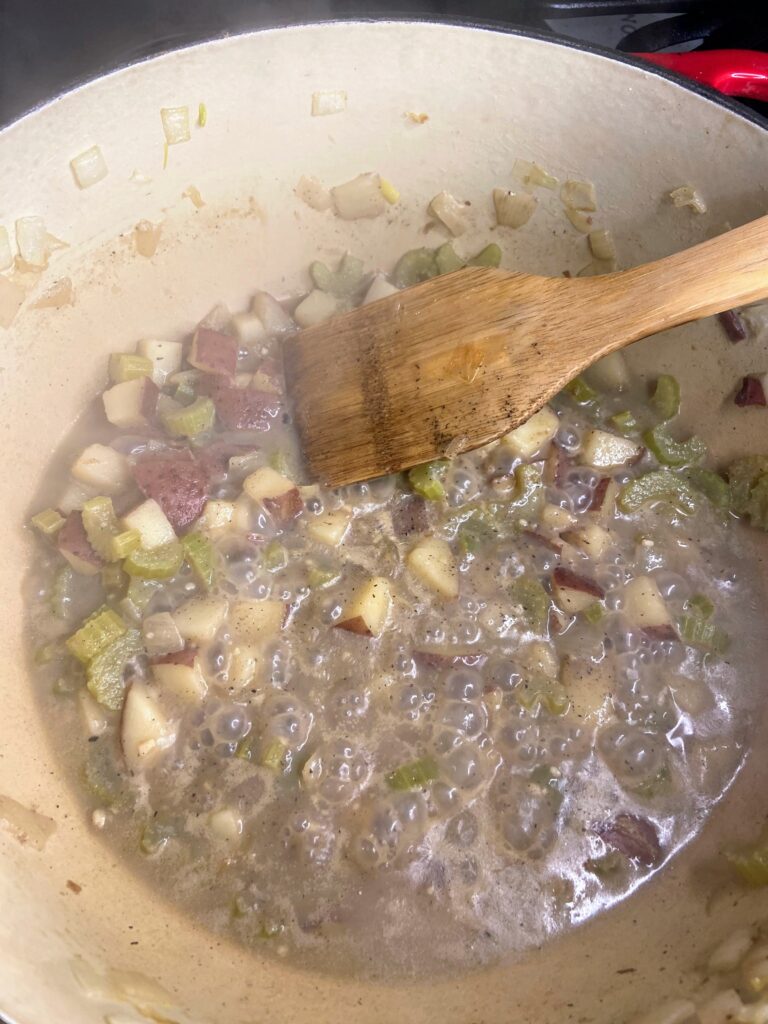
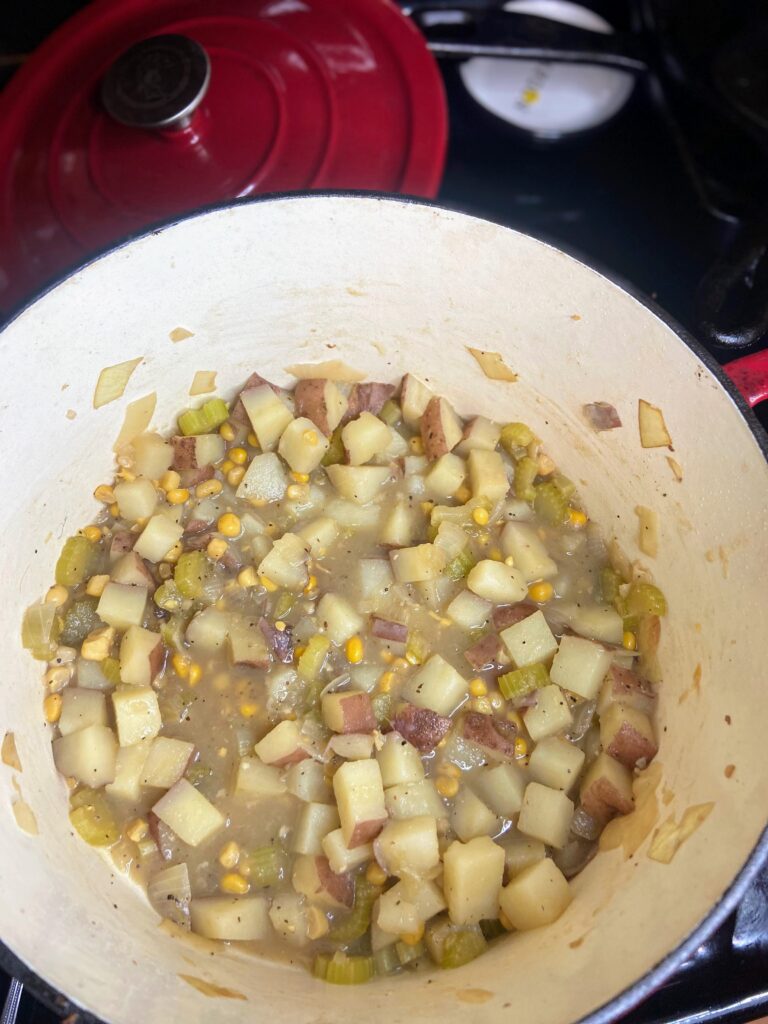
Meanwhile, dice onions, celery, and potatoes. Over medium heat, cook the onions, celery, and garlic in the pancetta fat until softened, about 8 minutes. Add potatoes and allow to cook for another 5 minutes. Add chicken stock and pepper. Heat to a low boil and cook until the potatoes are soft, about 10 minutes. 

While the potatoes are cooking, spray a small frying pan with non-stick cooking spray and heat to a medium, high temperature. Add corn and cook until just charred (this is optional, but will enhance that flavor!). 

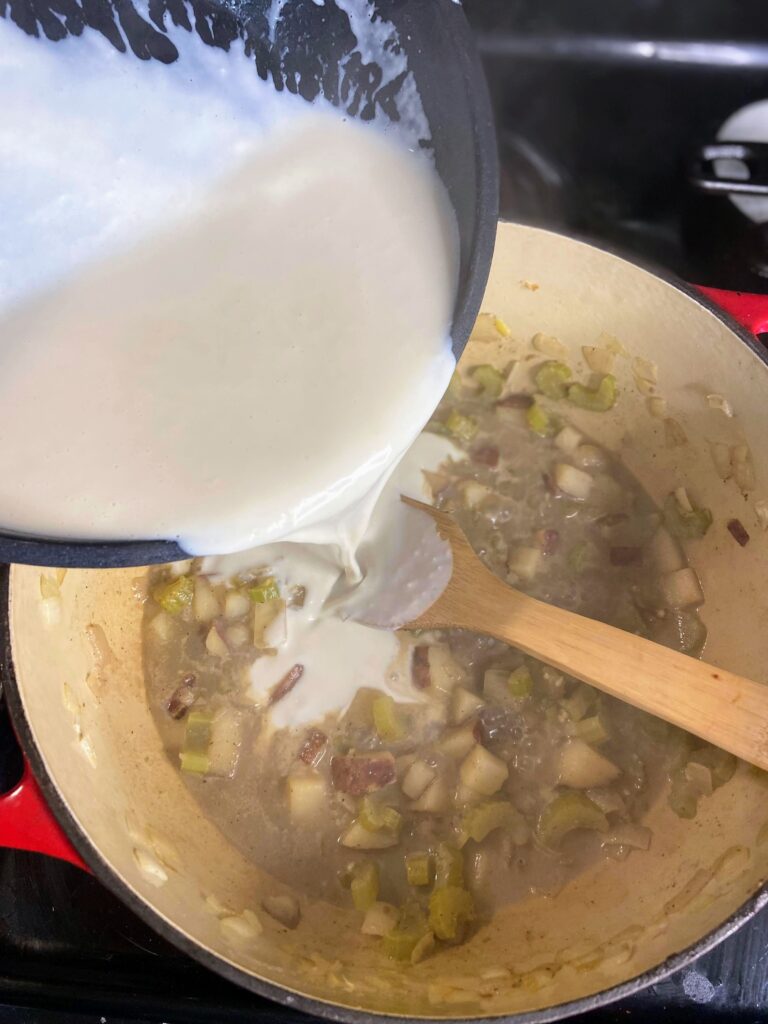
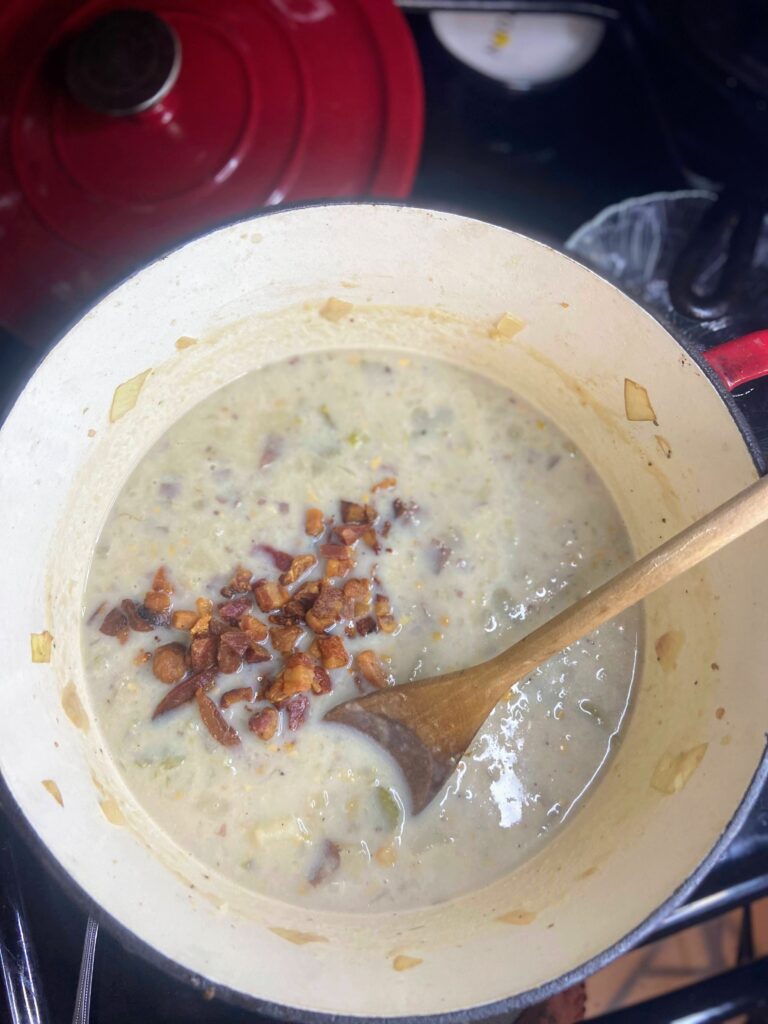
Once the potatoes are soft, add 1 cup of corn to the kettle. Then use an immersion blender to break down the vegetables about 50% of the way. I leave it in the kettle and just go by feel but you can remove 50-60% of the veg and do it in another container. Stir in the corn and pancetta to the kettle (reserving some if you care to garnish the top of your soup). 

Finally, slowly stir in milk, ½ cup at a time, reserving 1 ½ tablespoons of it. Combine the reserved milk with the cornstarch and whisk together. Bring the soup just to a boil and stir in cornstarch slurry and cook until the soup thickens, about 3 minutes. 

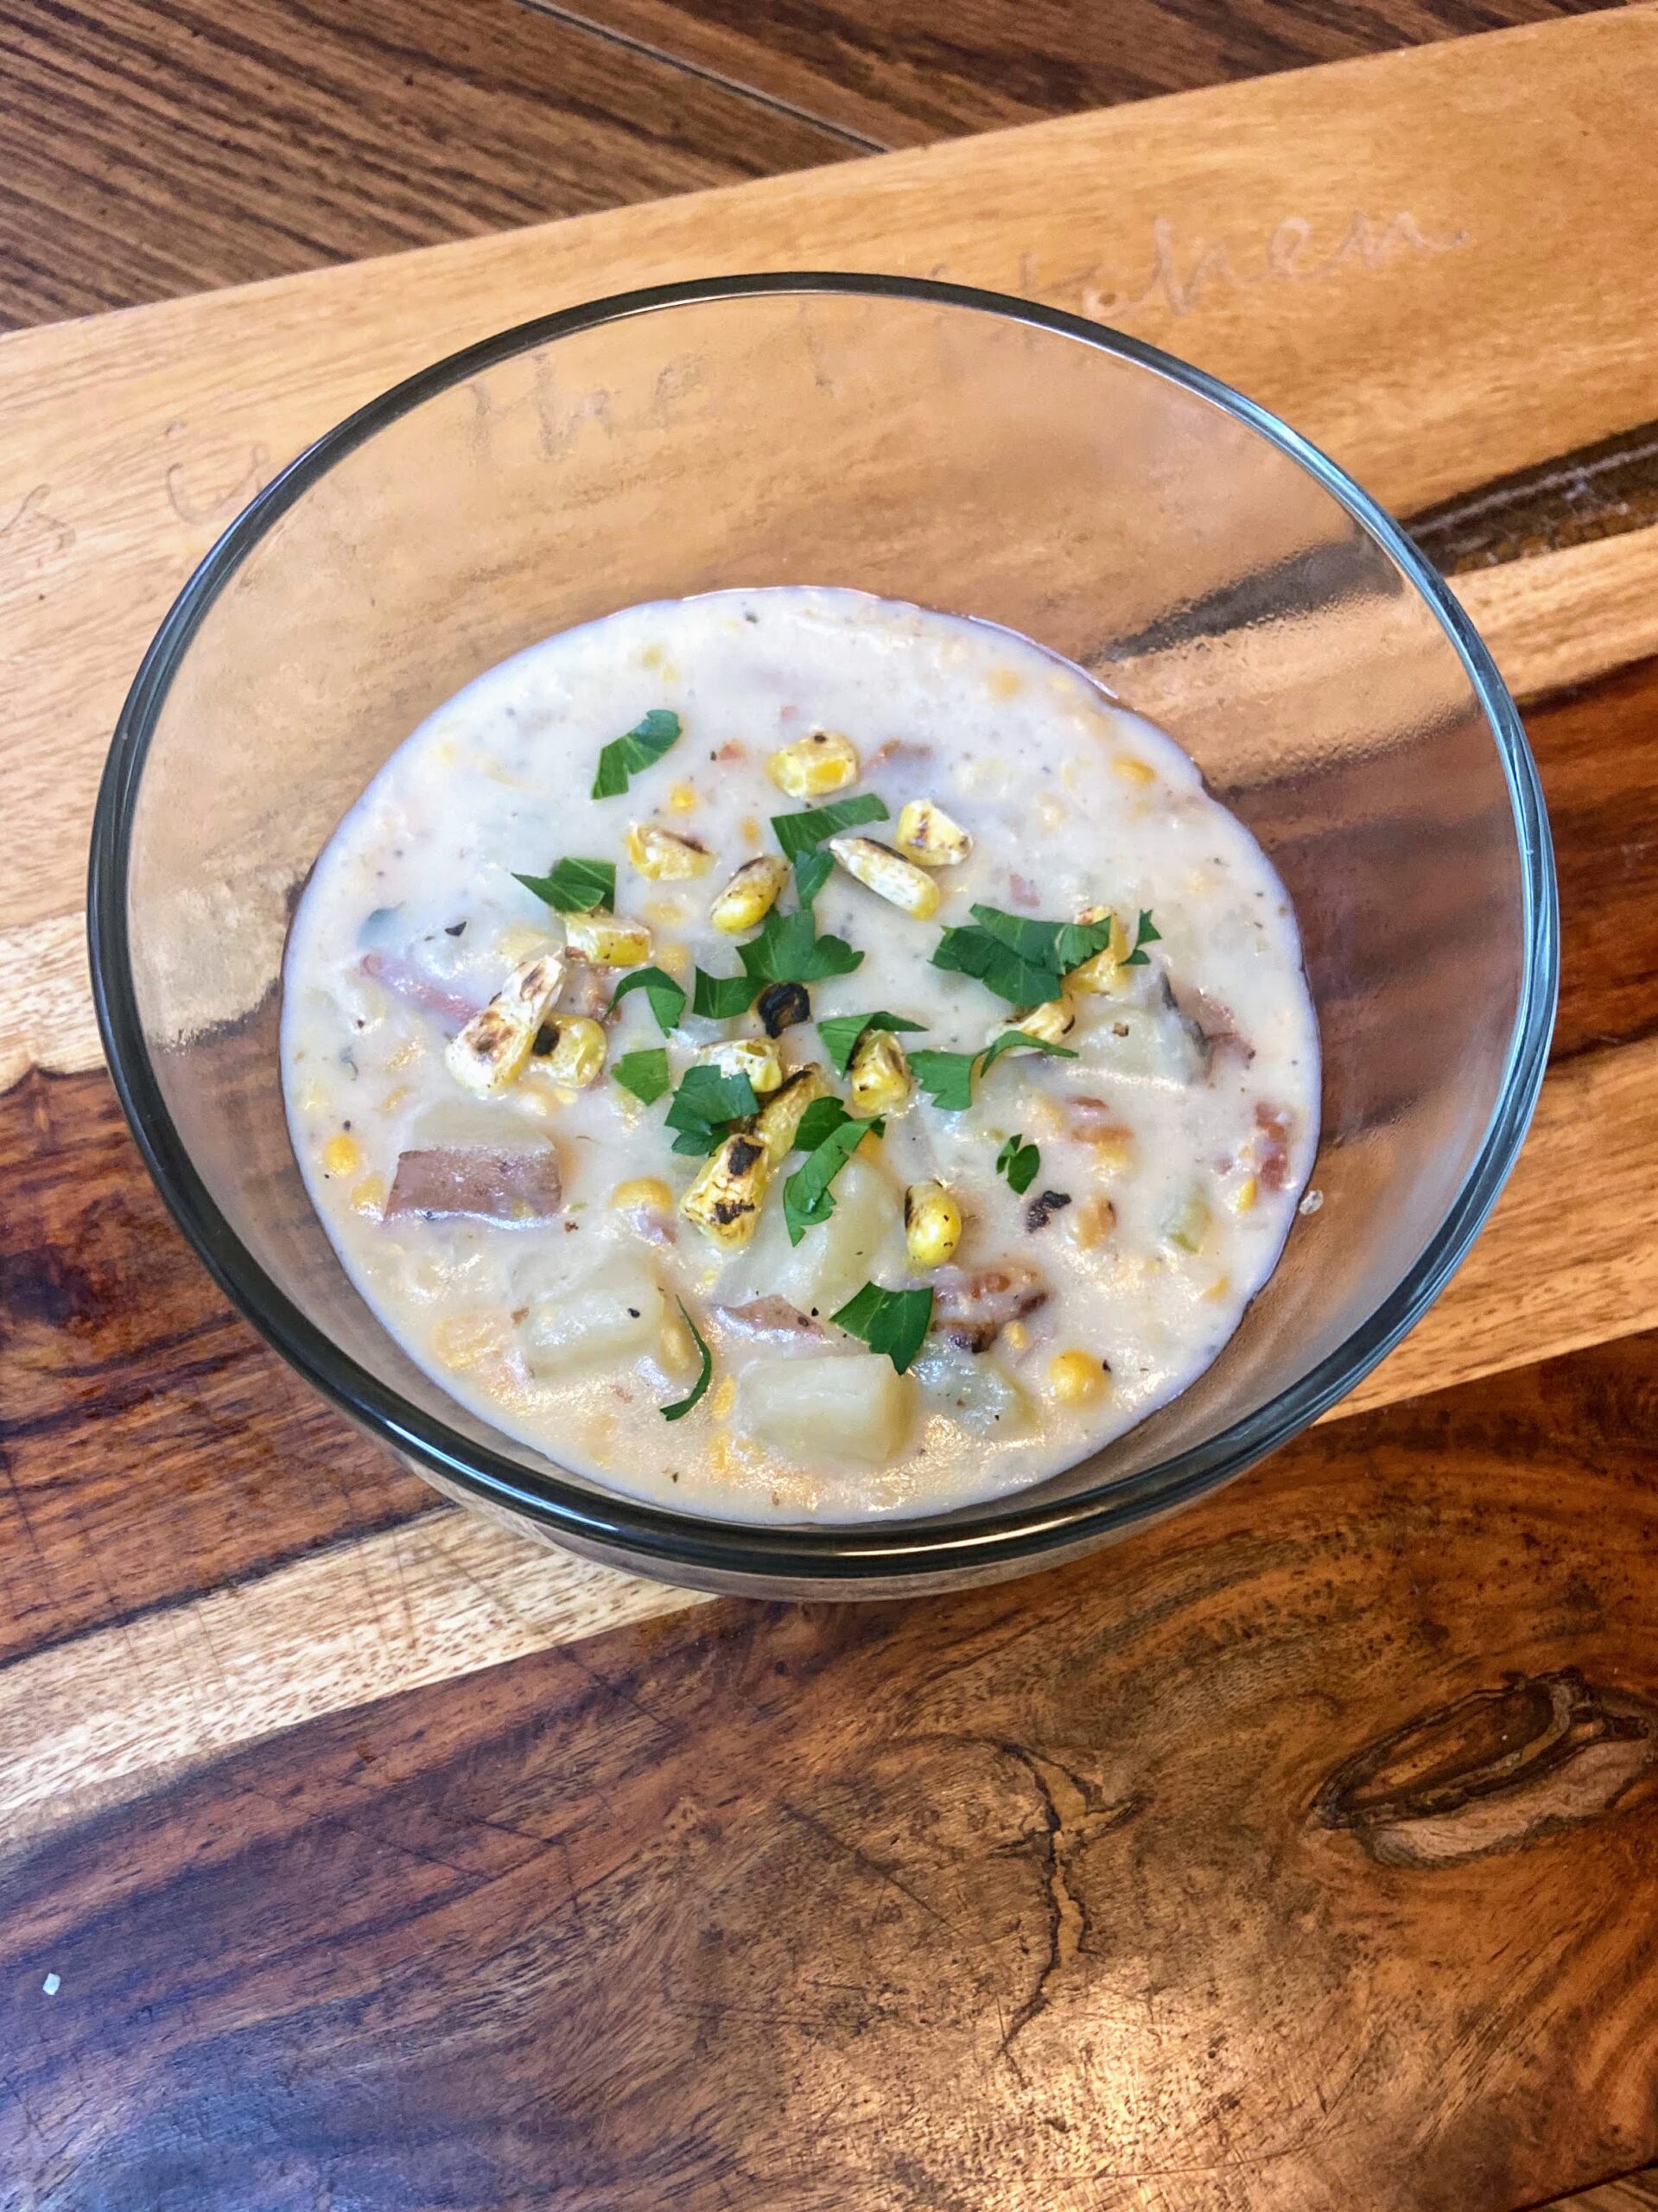
Serve it up with some crusty bread, a salad, and garnish with reserved pancetta and corn (if you care to). 

Tools of The Trade

When I am making a soup or a stew you can bet I’ll be cooking in my cast iron Dutch oven. There’s just something special about it. I adore my flexible cutting boards and Orrington Broth Base is the best for quick chicken stock.

Corn and Pancetta Chowder

Corn and Pancetta Chowder

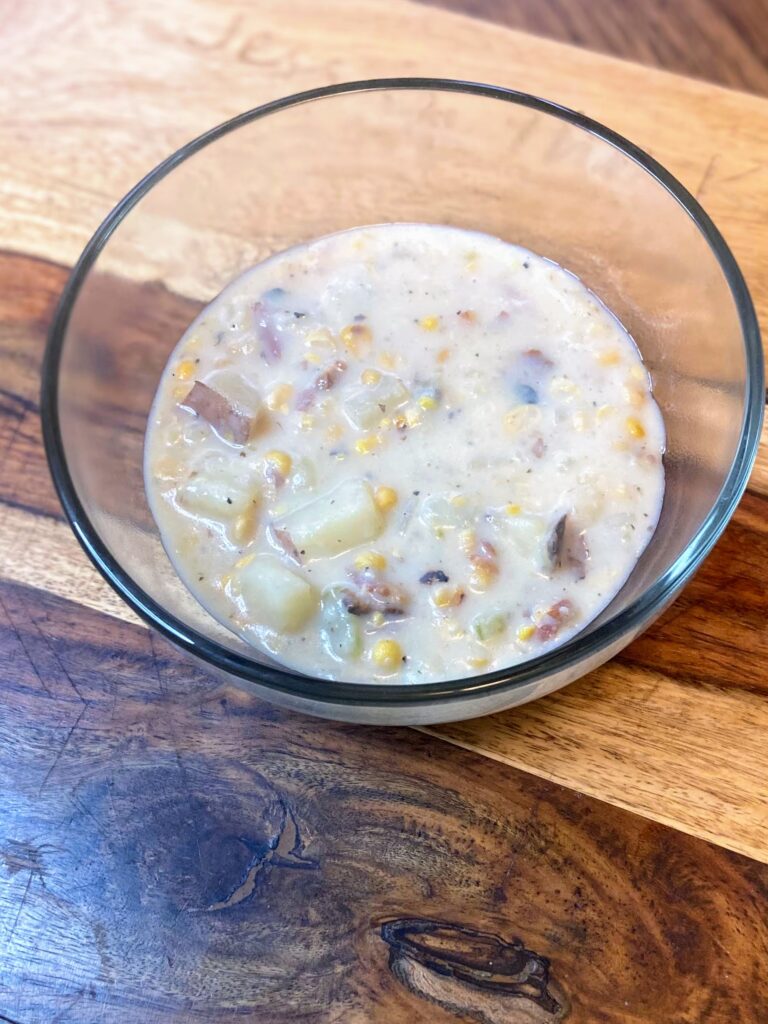
Thick and creamy, this corn and pancetta chowder is all you can ask for in a comforting bowl of soup.
Prep Time 15 minutes
Cook Time 40 minutes
Course Soup
Cuisine American
Servings 6 servings

Ingredients
  

  • 4 ounces pancetta or thick cut bacon, cut into small pieces
  • 1 yellow onion diced (about 1 cup)
  • 2 celery ribs diced (about ¾ cup)
  • 3 cups diced potatoes I left the skin on
  • 1 teaspoon minced garlic
  • ½ teaspoon pepper
  • 2 cups chicken stock
  • 2 cups corn fresh or frozen
  • 2 ½ -3 cups milk divided
  • 1 ½ tablespoons cornstarch
  • Salt and dried thyme to taste
  • Olive oil

Instructions
 

  • Add a small amount of olive oil to a soup kettle. Once hot, add pancetta and cook over medium heat until crispy. Remove cooked pancetta and allow it to drain on a paper towel. Reserve ⅔ of the fat from the pancetta to cook the vegetables.
  • Meanwhile, dice onions, celery, and potatoes.
  • Over medium heat, cook the onions, celery, and garlic in the pancetta fat until softened, about 8 minutes.
  • Add potatoes and allow to cook for another 5 minutes.
  • Add chicken stock and pepper. Heat to a low boil and cook until the potatoes are soft, about 10-15 minutes.
  • While the potatoes are cooking, spray a small frying pan with non-stick cooking spray and heat to a medium, high temperature. Add corn and cook until just charred (this is optional, but will enhance that flavor!).
  • Once the potatoes are soft, add 1 cup of the corn to the mix.
  • Use an immersion blender to break down the vegetables about 50% of the way.
  • Stir in the corn and pancetta to the kettle (reserving some if you care to garnish the top of your soup).
  • Finally, slowly stir in milk, ½ cup at a time, reserving 1 ½ tablespoons of it.
  • Combine the reserved milk with the cornstarch and whisk together.
  • Bring the soup just to a boil and stir in cornstarch slurry and cook until the soup thickens, about 3 minutes.
Keyword comfort food, corn chowder, pancetta, Potato Soup, soup, soup and stews
Tried this recipe?Let us know how it was!

Interested in other soup Recipes?

Check out some of the recipes below (or just head to my cooking page!)

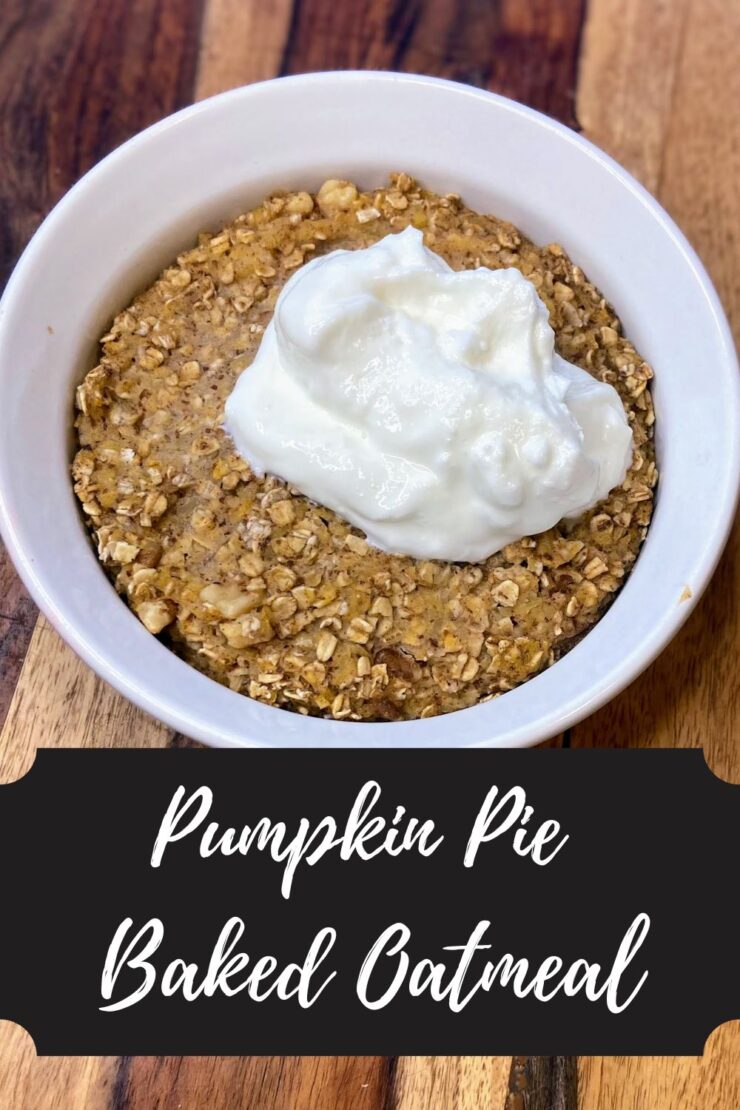
Pumpkin Pie Baked Oatmeal

Pumpkin Pie Baked Oatmeal

Weekends in the fall are for cozy breakfasts. Warm breakfasts that you can curl your hands around with a cup of coffee and just take in the cool, beautiful weather. At least, that’s what I believe. Most days of the week, I go for overnight oats with Greek yogurt (Grab this recipe here!), but on the weekend, I like to play around with my breakfast a little more and this pumpkin pie baked oatmeal is just the ticket. 

I don’t know your story, but I am a mom that lives for the quiet on the weekends. For me, I intentionally wake up before everyone else so I can enjoy my coffee and breakfast with a candle and some Christmas lights (don’t judge!). I love mixing together baked oatmeal to savor while it’s still before dawn. This pumpkin pie baked oatmeal is a single serving dish of deliciousness that mixes up in minutes and bakes in just twenty minutes. I top it with a little Triple Zero Vanilla Greek Yogurt to get those whipped cream vibes without all the sugar. So dang good!

Ready to make your own breakfast? Let’s go! 

Your Ingredients for Pumpkin Pie Baked Oatmeal 

  • ½ cup quick oats
  • ½ tablespoon ground flaxseed
  • ⅛ teaspoon nutmeg 
  • ½ teaspoon cinnamon
  • Pinch of salt
  • ½ teaspoon baking powder 
  • 1 tablespoon maple syrup
  • ⅓ cup unsweetened almond milk (or other milk of your choice)
  • ⅛ teaspoon vanilla
  • ½ cup pumpkin puree (I always roast my own! Learn how here!)
    2 tablespoons walnuts (optional) 

Your Steps

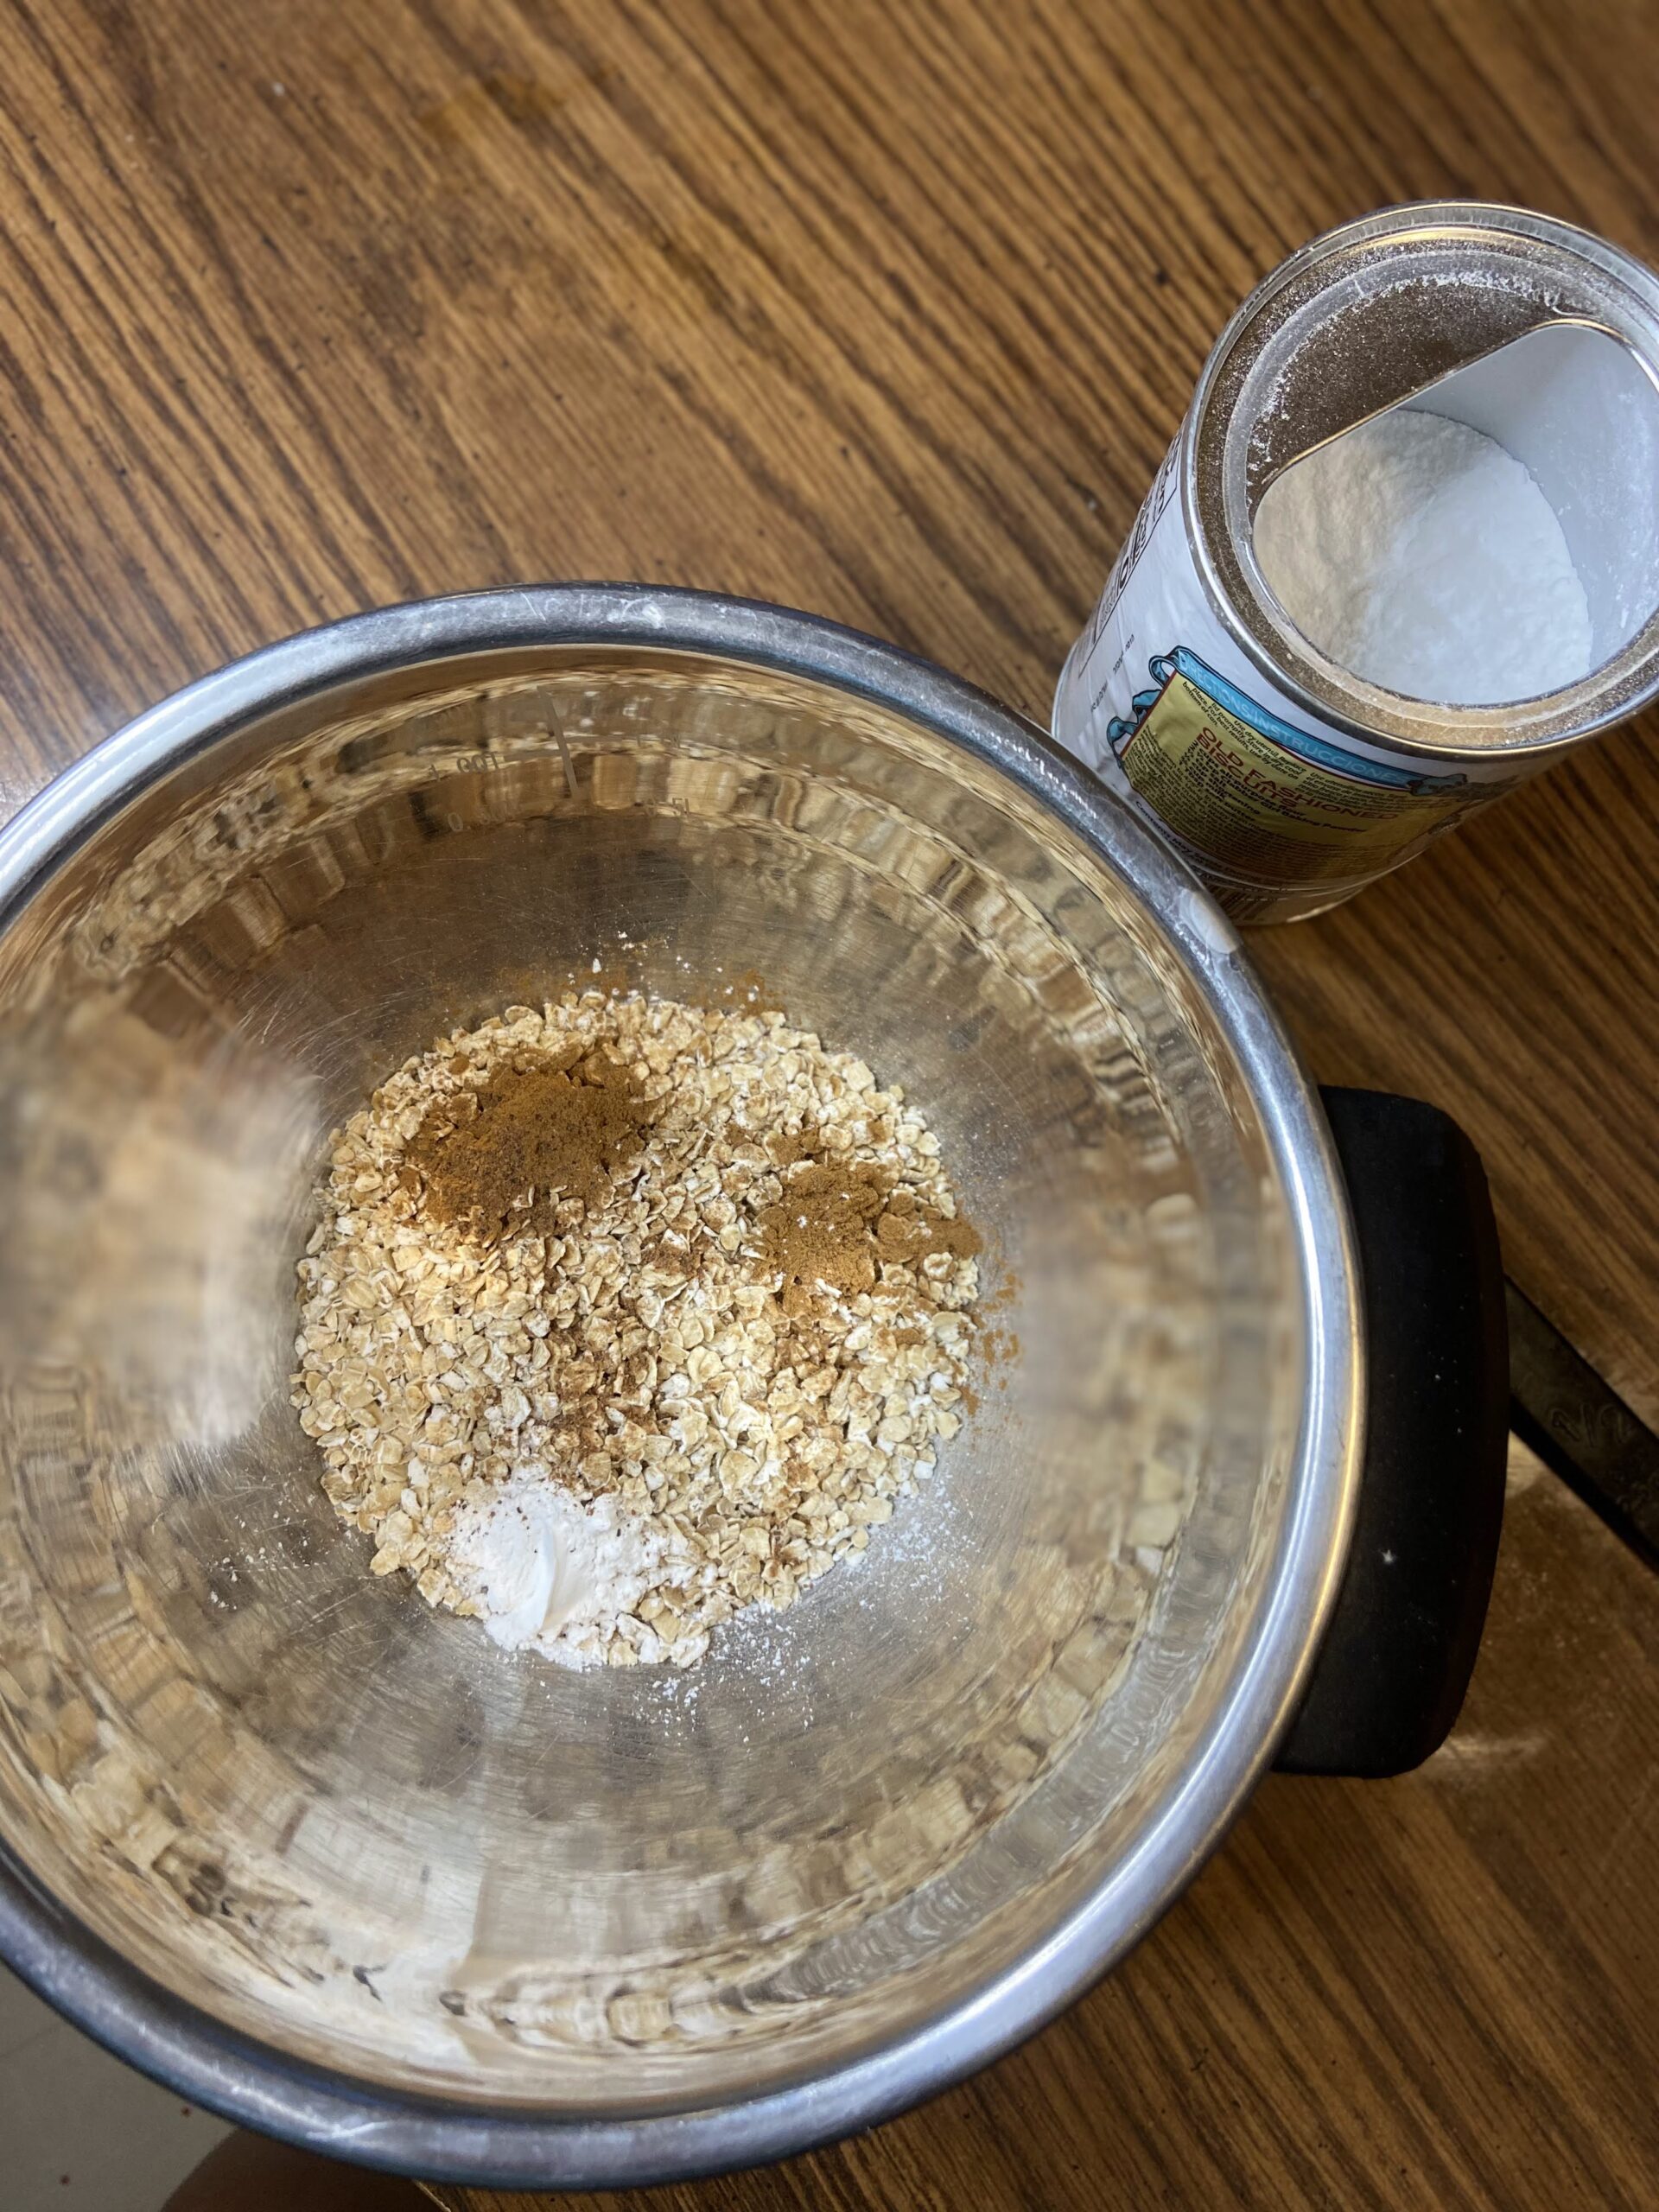
Preheat the oven to 375 degrees. In a small bowl, combine oats, flaxseed, nutmeg, cinnamon, salt, and baking powder. Add remaining ingredients and stir well. Pour the mixture into a small round baking dish. Bake for 15-20 minutes, until the top of the oatmeal is solid. Eat it plain, or top with vanilla Greek yogurt for extra protein and a little treat! 

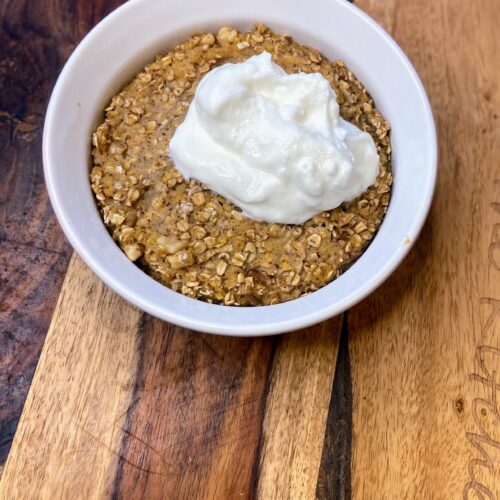
Finished Baked Oatmeal

Pumpkin Pie Baked Oatmeal

A warm and cozy pumpkin pie baked oatmeal is the ticket for a single serving breakfast full of good for you ingredients
Prep Time 3 minutes
Cook Time 15 minutes
Course Breakfast
Cuisine American
Servings 1

Ingredients
  

  • ½ cup quick oats
  • ½ tablespoon ground flaxseed
  • teaspoon nutmeg
  • ½ teaspoon cinnamon
  • Pinch of salt
  • ½ teaspoon baking powder
  • 1 tablespoon maple syrup
  • cup unsweetened almond milk or other milk of your choice
  • teaspoon vanilla
  • ½ cup pumpkin puree
  • 2 tablespoons walnuts optional

Instructions
 

  • Preheat the oven to 375 degrees.
  • In a small bowl, combine oats, flaxseed, nutmeg, cinnamon, salt, and baking powder.
  • Add remaining ingredients and stir well. Pour the mixture into a small round baking dish.
  • Bake for 15-20 minutes, until the top of the oatmeal is solid.
  • Eat it plain, or top with vanilla Greek yogurt for extra protein and a little treat!
Keyword baked oatmeal, Breakfast, oatmeal, pumpkin, pumpkin recipes, single serving
Tried this recipe?Let us know how it was!

Looking for other breakfast inspiration?

Here are a few of my favorites!

Spiced Pumpkin Bread

Are you team pumpkin or team apple in the fall? Hands down, I was team apple for years. Then I slowly shifted. It started when I grew my own pumpkins and subsequently roasted them. I had to bake with them, and once I did that, there was no looking back. At about that same time, I discovered a pumpkin bread I adored. But…it had THREE cups of sugar. Three. I just can’t do that anymore. So this is my take on that bread I adored: a spiced pumpkin bread. 

When I bake something I am especially proud of, I share with allll the friends and family. One friend said it had a feeling of spice cake with pumpkin on the finish. The Mr’s best friend grabbed a piece and before I could even ask what he thought, he said, “this is REALLY good.” 

I opted to go maple syrup with just a touch of brown sugar for that molasses taste. And the oil? I actually used some rendered lard from our half of a pig we purchased earlier this fall. It got melted/softened and worked like a dream. No lard? No problem, go with some coconut oil or regular oil and it will work just fine. 

Ready to start baking? Let’s go! 

Your Ingredients

  • 1 ½ cups pumpkin puree (roast your own! It’s incredible!)
  • 2 eggs
  • ¼ cup oil (lard)
  • ⅔ cup maple syrup 
  • 2 tablespoons brown sugar
  • 2 cups whole wheat flour 
  • 1 teaspoon baking soda
  • ¾ teaspoon salt 
  • ½ teaspoon ground cinnamon 
  • ½ teaspoon ground nutmeg
  • ¼ teaspoon cloves 
  • ½ cup chopped nuts, optional 

You Steps to Spiced pumpkin Bread

Preheat the oven to 350 degrees. In a large bowl, combine the eggs, oil, maple syrup, and brown sugar. Mix in the pumpkin puree.

Add the whole wheat flour, baking soda, salt, cinnamon, nutmeg, and cloves. Mix until just combined. Fold in chopped nuts, if desired. 

Pour into a greased loaf pan. Bake 50-60 minutes, until cooked through and passes the toothpick test.

Spiced Pumpkin Bread

Home roasted pumpkin with a collection of spices makes the best quick bread. This healthier twist on a spiced pumpkin bread is sure to be a hit!
Prep Time 10 minutes
Cook Time 50 minutes
Course Breakfast
Cuisine American, Bread
Servings 12 slices

Ingredients
  

  • 1 ½ cups pumpkin puree
  • 2 eggs
  • ¼ cup oil lard
  • cup maple syrup
  • 2 tablespoons brown sugar
  • 2 cups whole wheat flour
  • 1 teaspoon baking soda
  • ¾ teaspoon salt
  • ½ teaspoon ground cinnamon
  • ½ teaspoon ground nutmeg
  • ¼ teaspoon cloves
  • ½ cup chopped nuts optional

Instructions
 

  • Preheat the oven to 350 degrees.
  • In a large bowl, combine the eggs, oil, maple syrup, and brown sugar.
  • Mix in the pumpkin puree.
  • Add whole wheat flour, baking soda, salt, cinnamon, nutmeg, and cloves. Mix until just combined.
  • Fold in chopped nuts, if desired.
  • Pour into a greased loaf pan. Bake 50-60 minutes, until cooked through and passes the toothpick test.

Notes

We purchased a half of a hog the last few years, and I always have the lard rendered. It works AMAZINGLY well in baked goods. I melted it about halfway so that it had some soft sold parts yet. No lard? No problem. Coconut oil would work great too!
Keyword healthy breads, maple syrup, pumpkin, pumpkin bread, quick breads
Tried this recipe?Let us know how it was!

Looking for other fun recipes?

Check out any of the ones below and if they don’t tickle your fancy, find lots more on my baking page!