I'm an affiliate
I hope you love the products I recommend! Just so you know, I may collect a share of sales or other compensation from the links on this page. If you use the links, thank you for supporting me! I really appreciate it!
First, know that I am still a learner in this endeavor! I was taught how to bake by the couple who own Sunrise Flour Mill in Minnesota. There are so many resources on their webpage. Check it out! https://www.sunriseflourmill.com
Want a PDF of this? Click Here!
Are videos more your jam? Click Here!
Now, the basics:
Here are the tools I suggest having around. Can you do it without most of them? Absolutely. It will just be easier with them.
- Food scale (Cheap is fine)
- Food thermometer
- 3-8 cup container with a lid (A quart mason jar is fine too)
- 1 bigger container to hold your dough (I use a 16 cup rubbermaid container. A bowl with a lid is fine too)
- 2 bread pans
- razor blades (cheap ones from the hardware section is just fine. Just make sure they aren’t greased)
- 1 gallon non-ziplock twist tie bags
As for ingredients, here’s what I keep on hand:
- higher quality flour (I like to do a mixture of white and whole wheat).
- tap water (we have a well so there isn’t any added chemicals to it. You may want to filter yours if you have city water)
- kosher salt
- small amount of butter and coconut oil (not necessary, but really nice for greasing the pans)
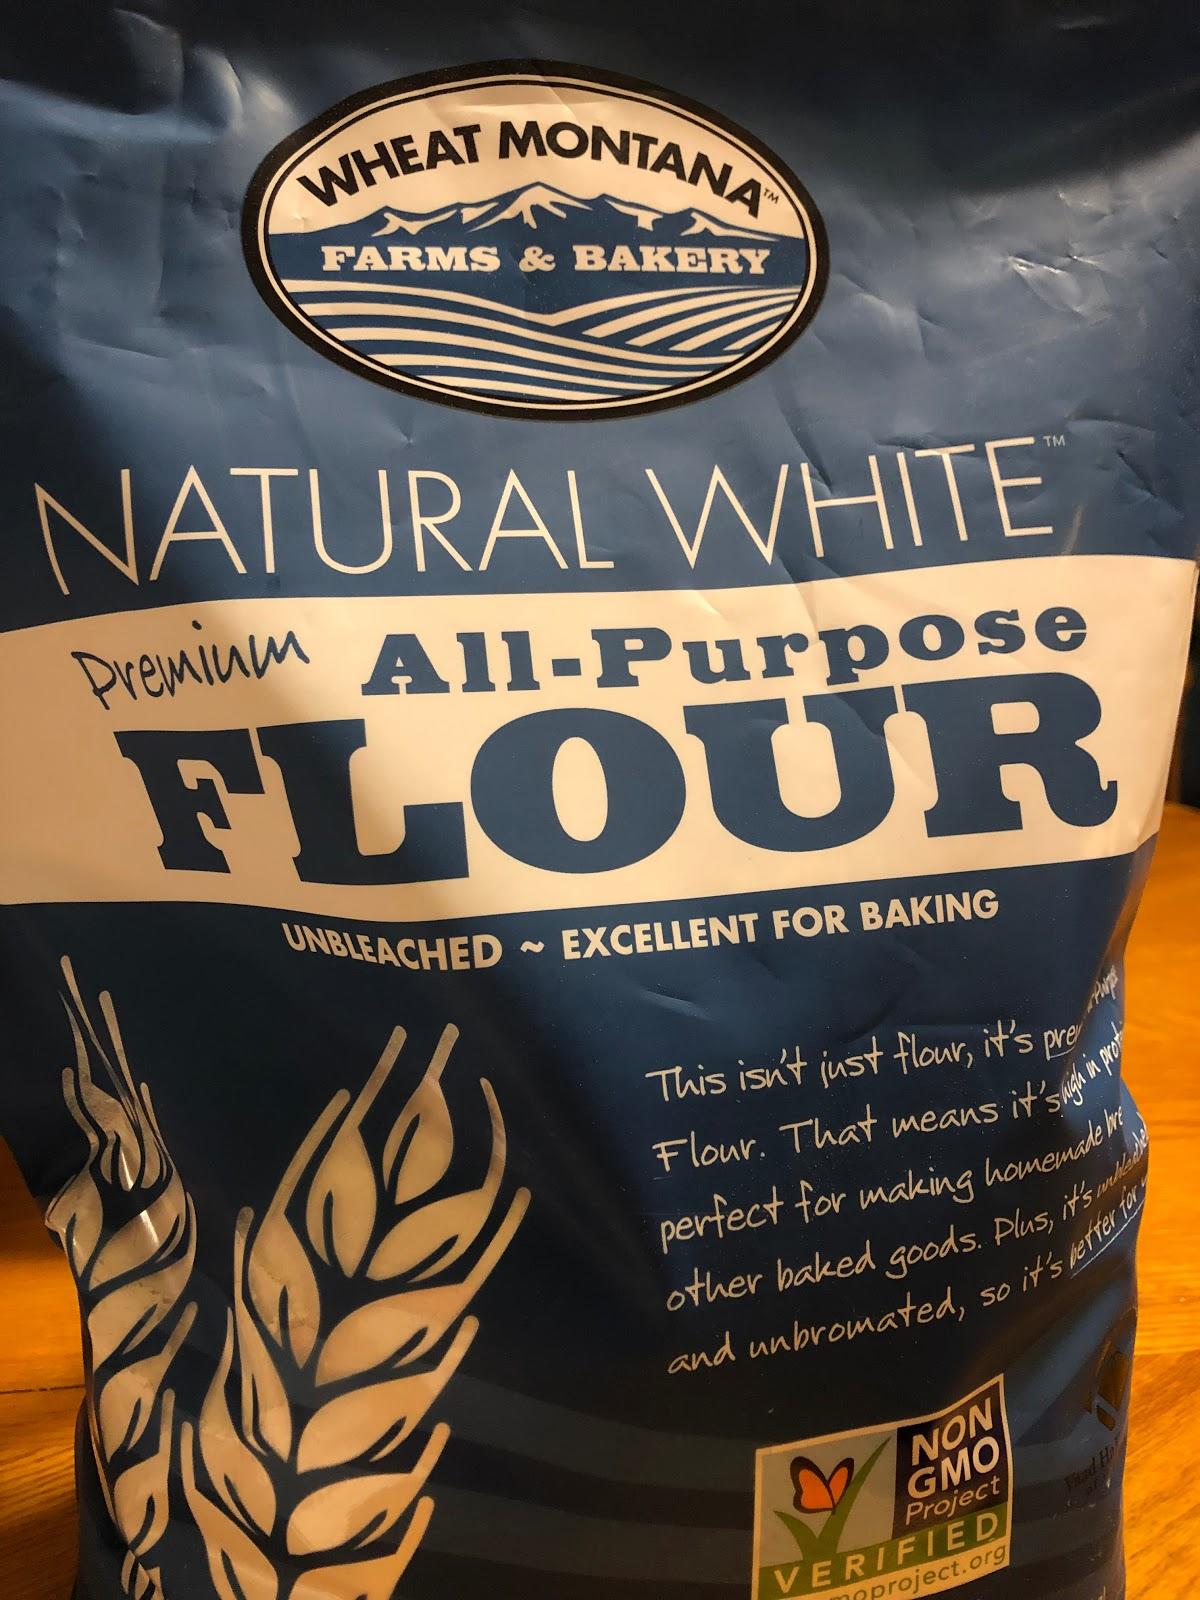
(This is the brand I bought prior to using the organic flour from my local natural food store. It is still my go to if I can’t get there when they are open. You can find it at Walmart. They also make it in a whole wheat form)
Maintaining a Sourdough Starter (taken from Sunrise Flour Mill)
I was given a starter at a cooking class, so I didn’t need to start my own. If you don’t have a starter, click here to get the directions from King Arthur’s Flour! You will need to build up your starter by feeding it every day. You will feed it a few days in a row, and you will quickly have enough starter to bake your first loaf!
To feed your starter, you will weigh (or estimate) the amount of starter you have. Then you will double it by adding equal parts water (70-85 degrees) and flour and mixing well. That is:
If you have 300 grams of starter, you will add 150 g of water and 150 g of flour to it. Stir it well. Place a cover loosely over the container and leave it on the counter. After you pull starter for the levain (how you start baking), you will double it one more time and then you can put it in the fridge. Once in the fridge, it can “live well” for a week give or take a day. If it isn’t in the fridge, you should double it every day.
I suggest putting a reminder on a phone to feed it to begin. It is living so you can kill it. Marty suggested naming your starter. Mine is named Fred.
Long Term Storage
You can store starter for a long time if you need a break or will be away from home. Add flour to it until it can’t take anymore flour. Put it in the fridge. I can stay in this form for several weeks. When you are ready to bake again, you should dig into the center until you can find what looks like active starter. Start feeding it like you did when you first received it.
Baking Your Bread!
Here’s the routine that I have developed as a working mom that works well. I hope it works well for you too!
Day 0 (Evening): Take out your starter at night. Weigh it and double it. That is, if you have 100 grams of starter, you will add 50 grams of 70-85 degree tap water and 50 grams of flour. Stir well, cover loosely, and leave out overnight.
Day 1 (Morning): You will be making a levain. Pull 80 grams of starter from your container. Place into the larger bowl or container. To this, add 80 grams of water (same temp range) and 80 grams of flour. Mix well with your hands. It will be sticky. That’s part of the fun! Cover loosely and leave out for the day (8-12 hours).
Day 1 (Evening): This is the most work you’ll do, and I promise it isn’t much! To your levain, you will add:
450-500 grams of water (same temp range)
800 grams of flour (I like to do 2ish parts white to 1 part wheat)
1 Tablespoon kosher salt sprinkled on the flour
Mix well by hand. I like to keep one hand clean to spin the bowl and mix with the other. Cover loosely and let rest for 45 min.
Then…
Wet your hands and remove your dough from the container. Place on a clean, dry surface. You will stretch it 5-10 times, allowing it to rest 3-4 min in between each stretch. Wet your hands each time. I think of it as pulling ears out, and folding them in. (Sunrise Flour Mill suggests the video French Kneading on You Tube)
After you have stretched it 5-10 times, you will cut the dough into two portions. Form each ball into a ball. Then stretch the top of the dough once or twice. You’re almost there!
Form the balls into loaves and place into 2 bread pans that have been greased.
Greasing your bread pans: This works better than I can even describe. I highly suggest it. In a small bowl, melt equal parts butter and coconut oil (think, 1 teaspoon or so of each). Brush this in each pan. You bread will FALL out of the pans when your done baking. It’s amazing, trust me.
Cover your pans with plastic bags and twist tie them. Place them in the fridge for a few days.
Day 3 (Anytime): Pull your pans from the fridge 1-3 hours before you want to bake them. Uncover and let them come to room temperature. Preheat the oven to 450 degrees 1 hour before baking to make sure you have a uniform temperature. Cut a few slits in the bread using a razor blade. Loosely cover with foil and bake for 30 min. Remove foil and bake for another 10 min. Done! The bread should be 200 degrees.
I bake 4 loaves every week. That is, I do the Day 0-Day 3 steps twice. They generally will last 5 days before mold starts to show up. If we haven’t eaten it right before that point, I throw it in the freezer
Again, I was taught by Sunrise Flour Mill, and was given a lot of information there with tons of recipes. Many of those are online, including how to do same day baking rather than letting it rest for a few days. I wanted to give you a flavor of what I do, and share the resources to expand if you fall in love like I did
—Jess