As fall rolls around, I begin to look forward to all sorts of roasted squash and other delicious fall flavors. In particular, the excitement for roasted pumpkin for breads and muffins is top on the list. Not only do you get baked treats out of the deal, but roasted pumpkin seeds as well. Pumpkin freezes well, and that leaves me ready to bake throughout the year. Haven’t done it before? Check out my directions for roasted pumpkin here. This year, a chocolate chip pumpkin muffin was a new, fun creation!
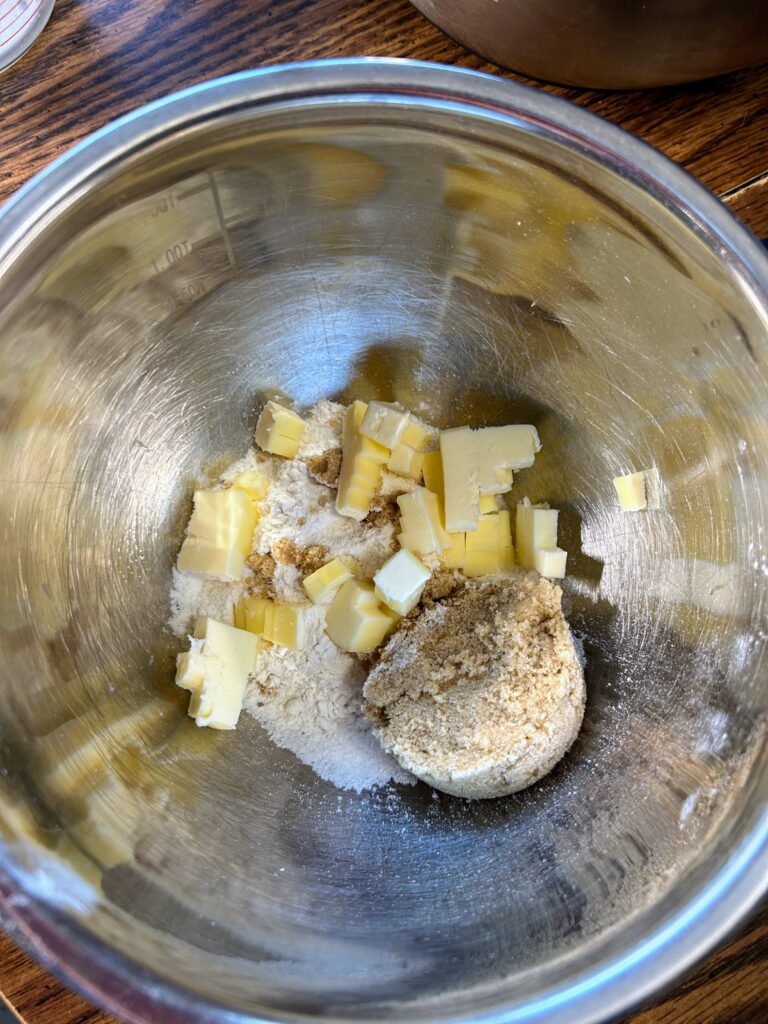
These great muffins have a twist from my norm, utilizing brown sugar to create some richness and added chocolate for all the kids (and kids at heart!). Normally, I like to substitute maple syrup for the brown sugar, but I recognize that I am lucky in the Midwest, being able to make my own homemade maple syrup each year; it isn’t as accessible for others.
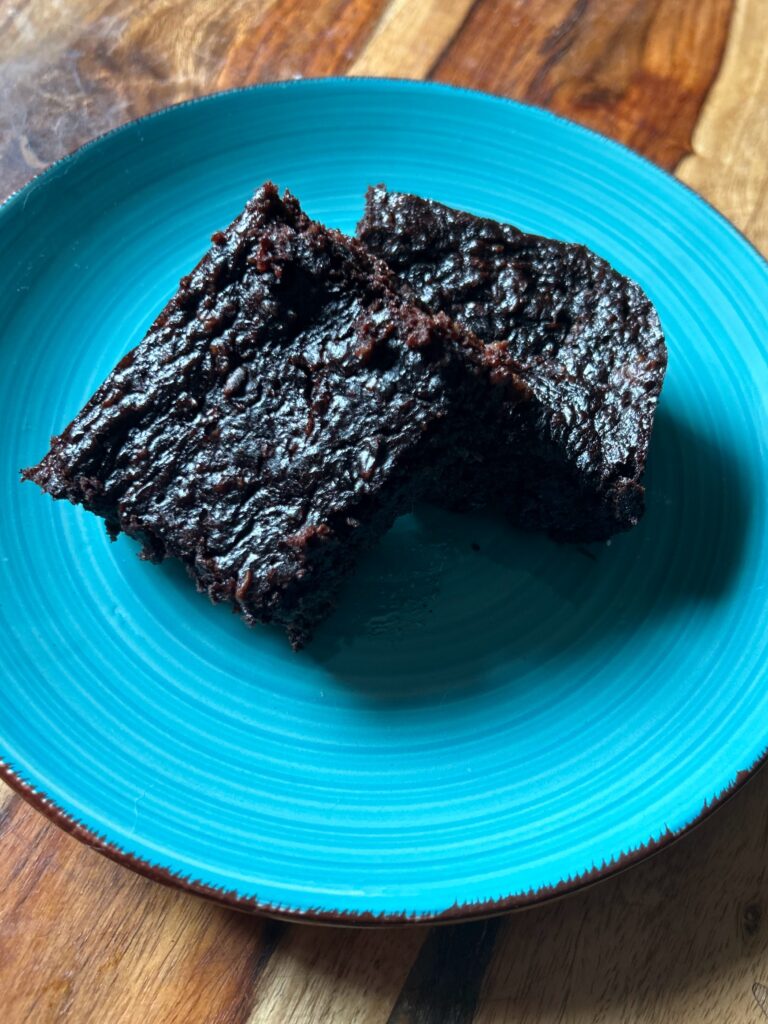
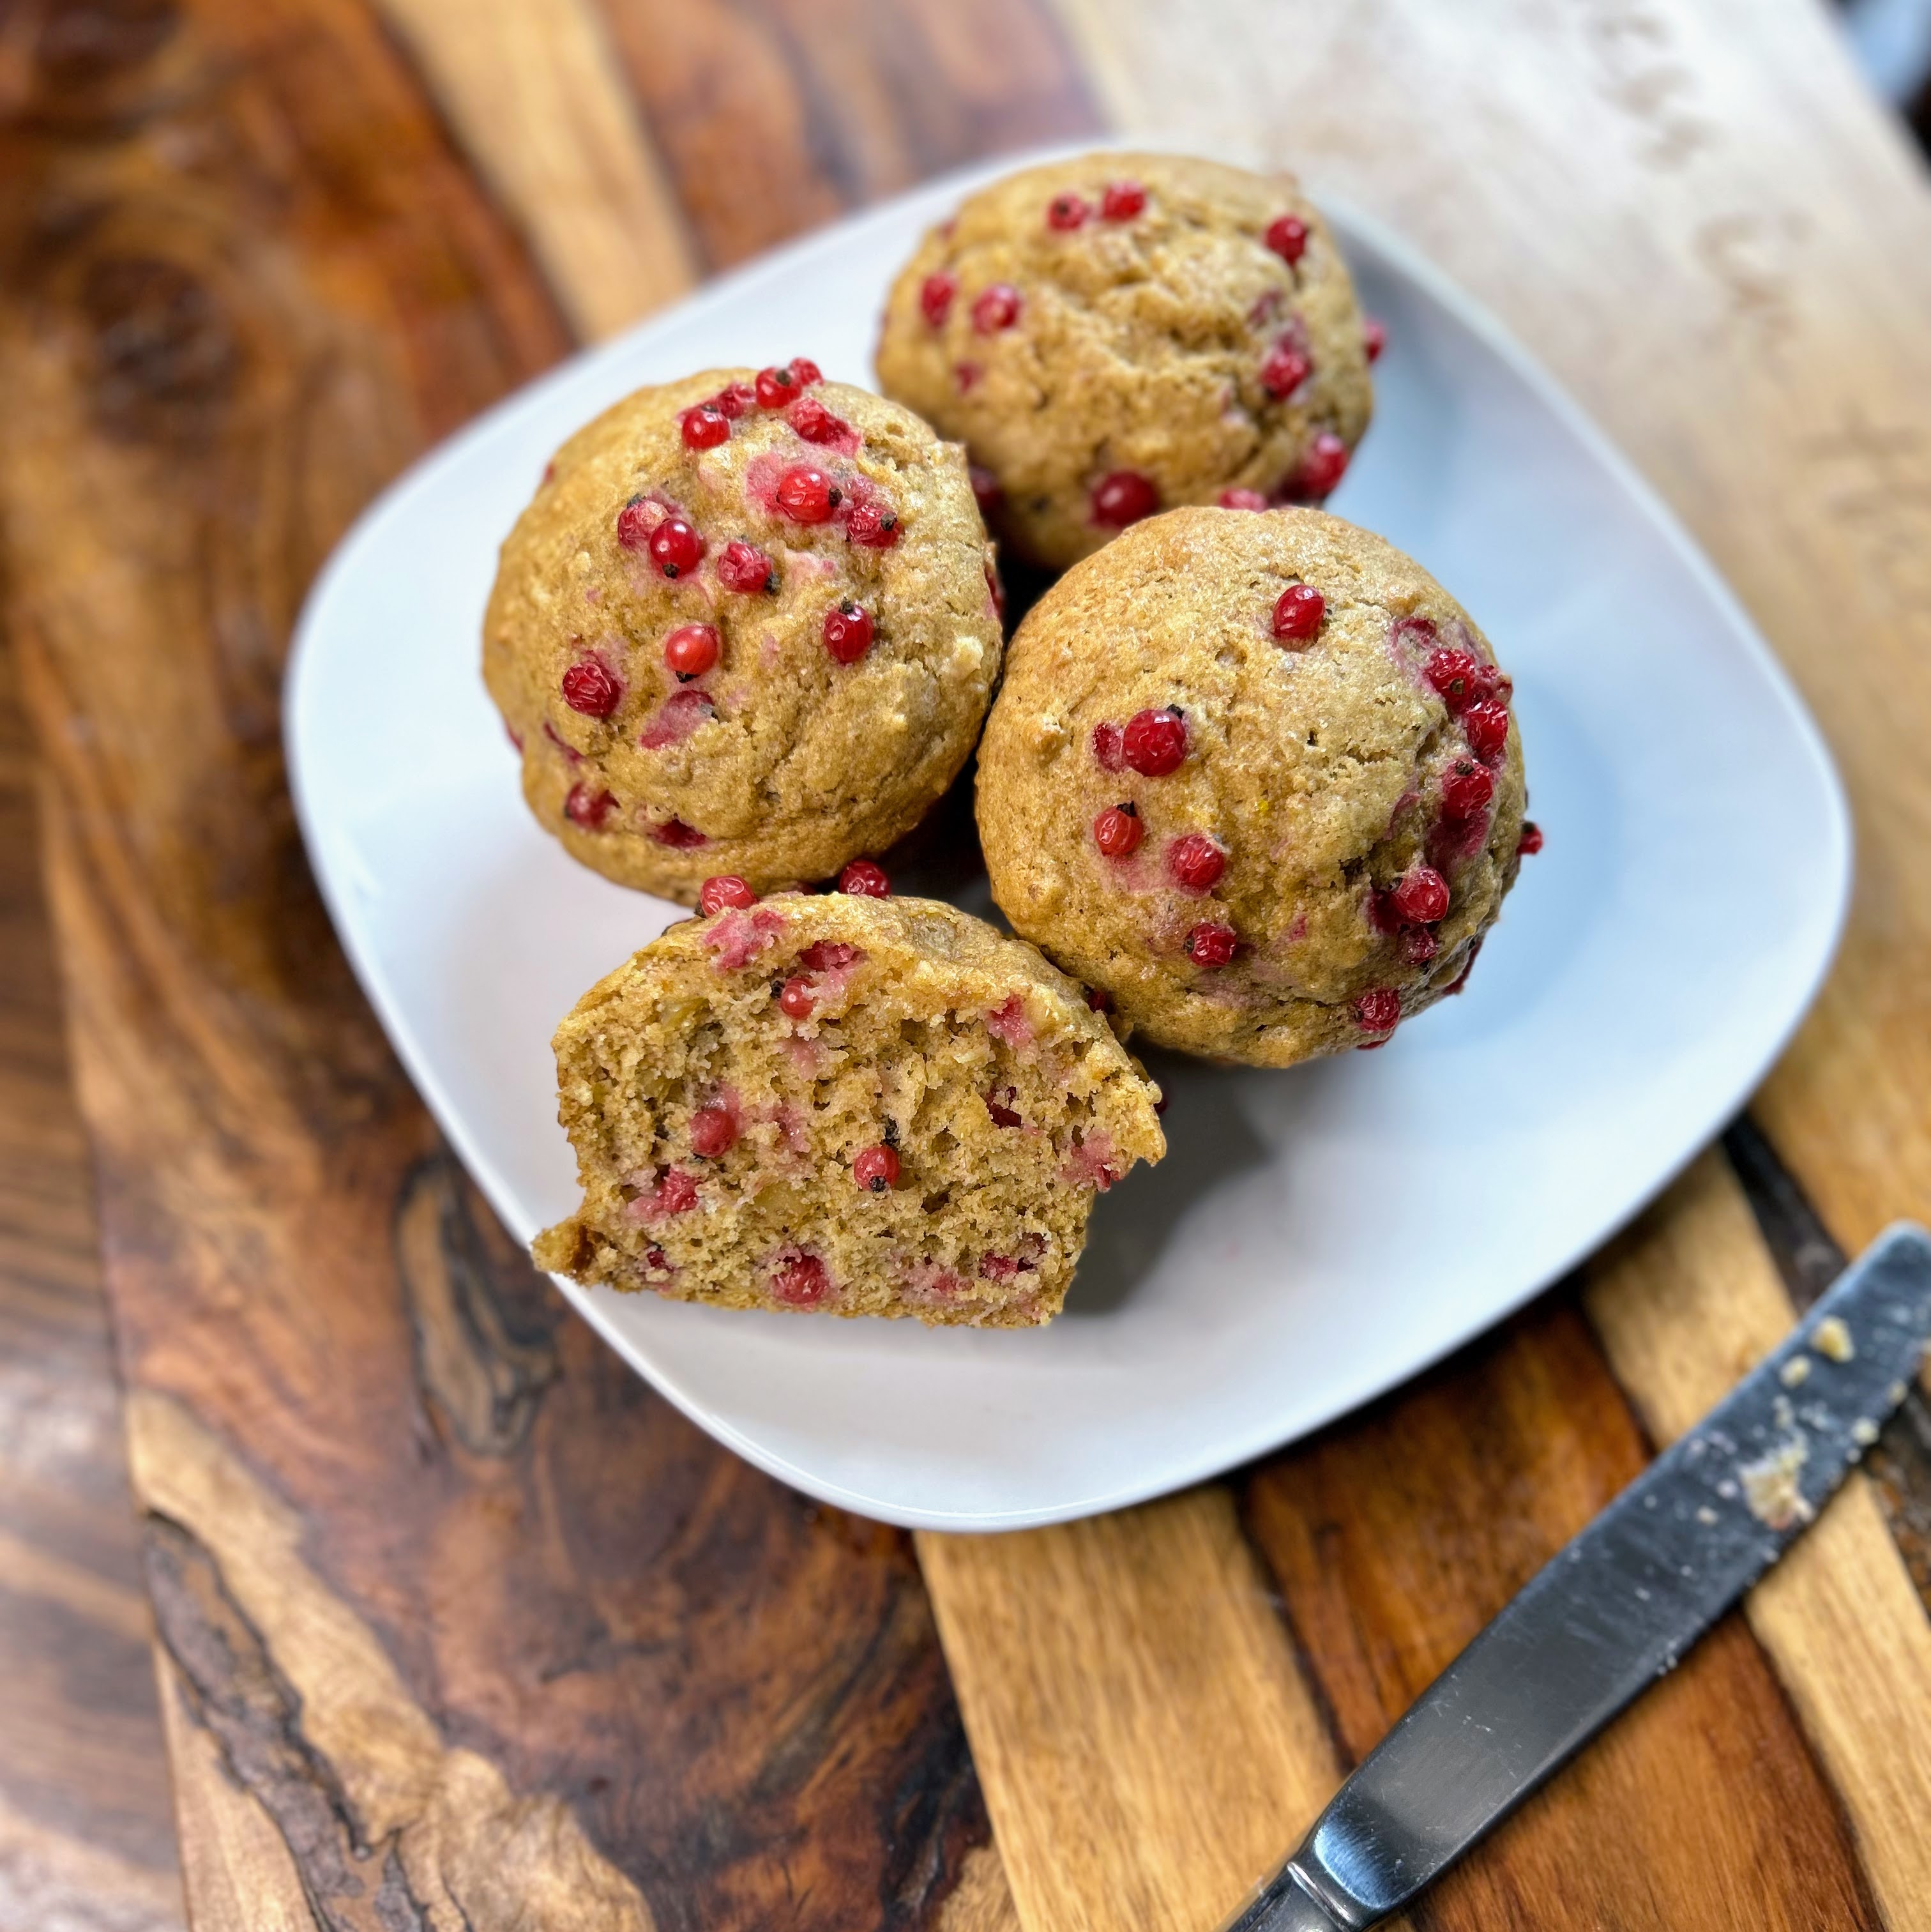
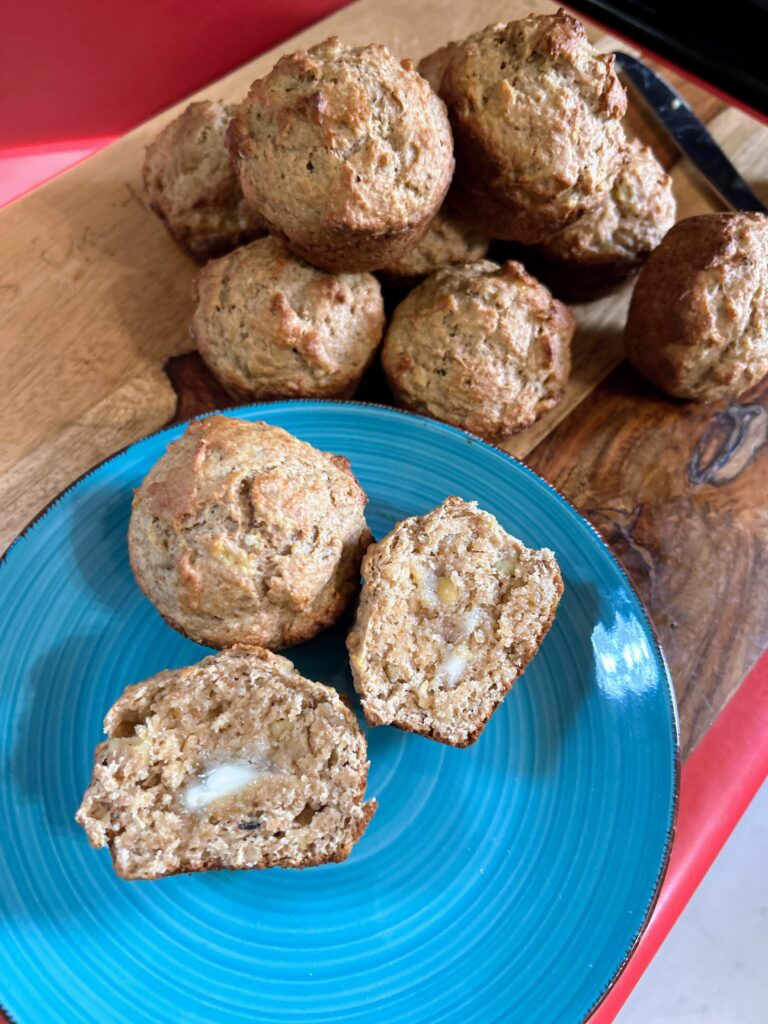
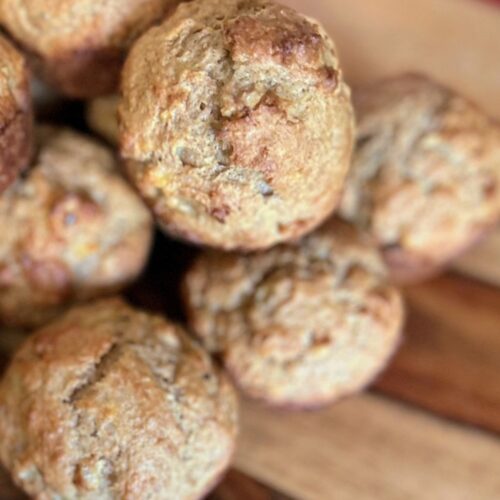
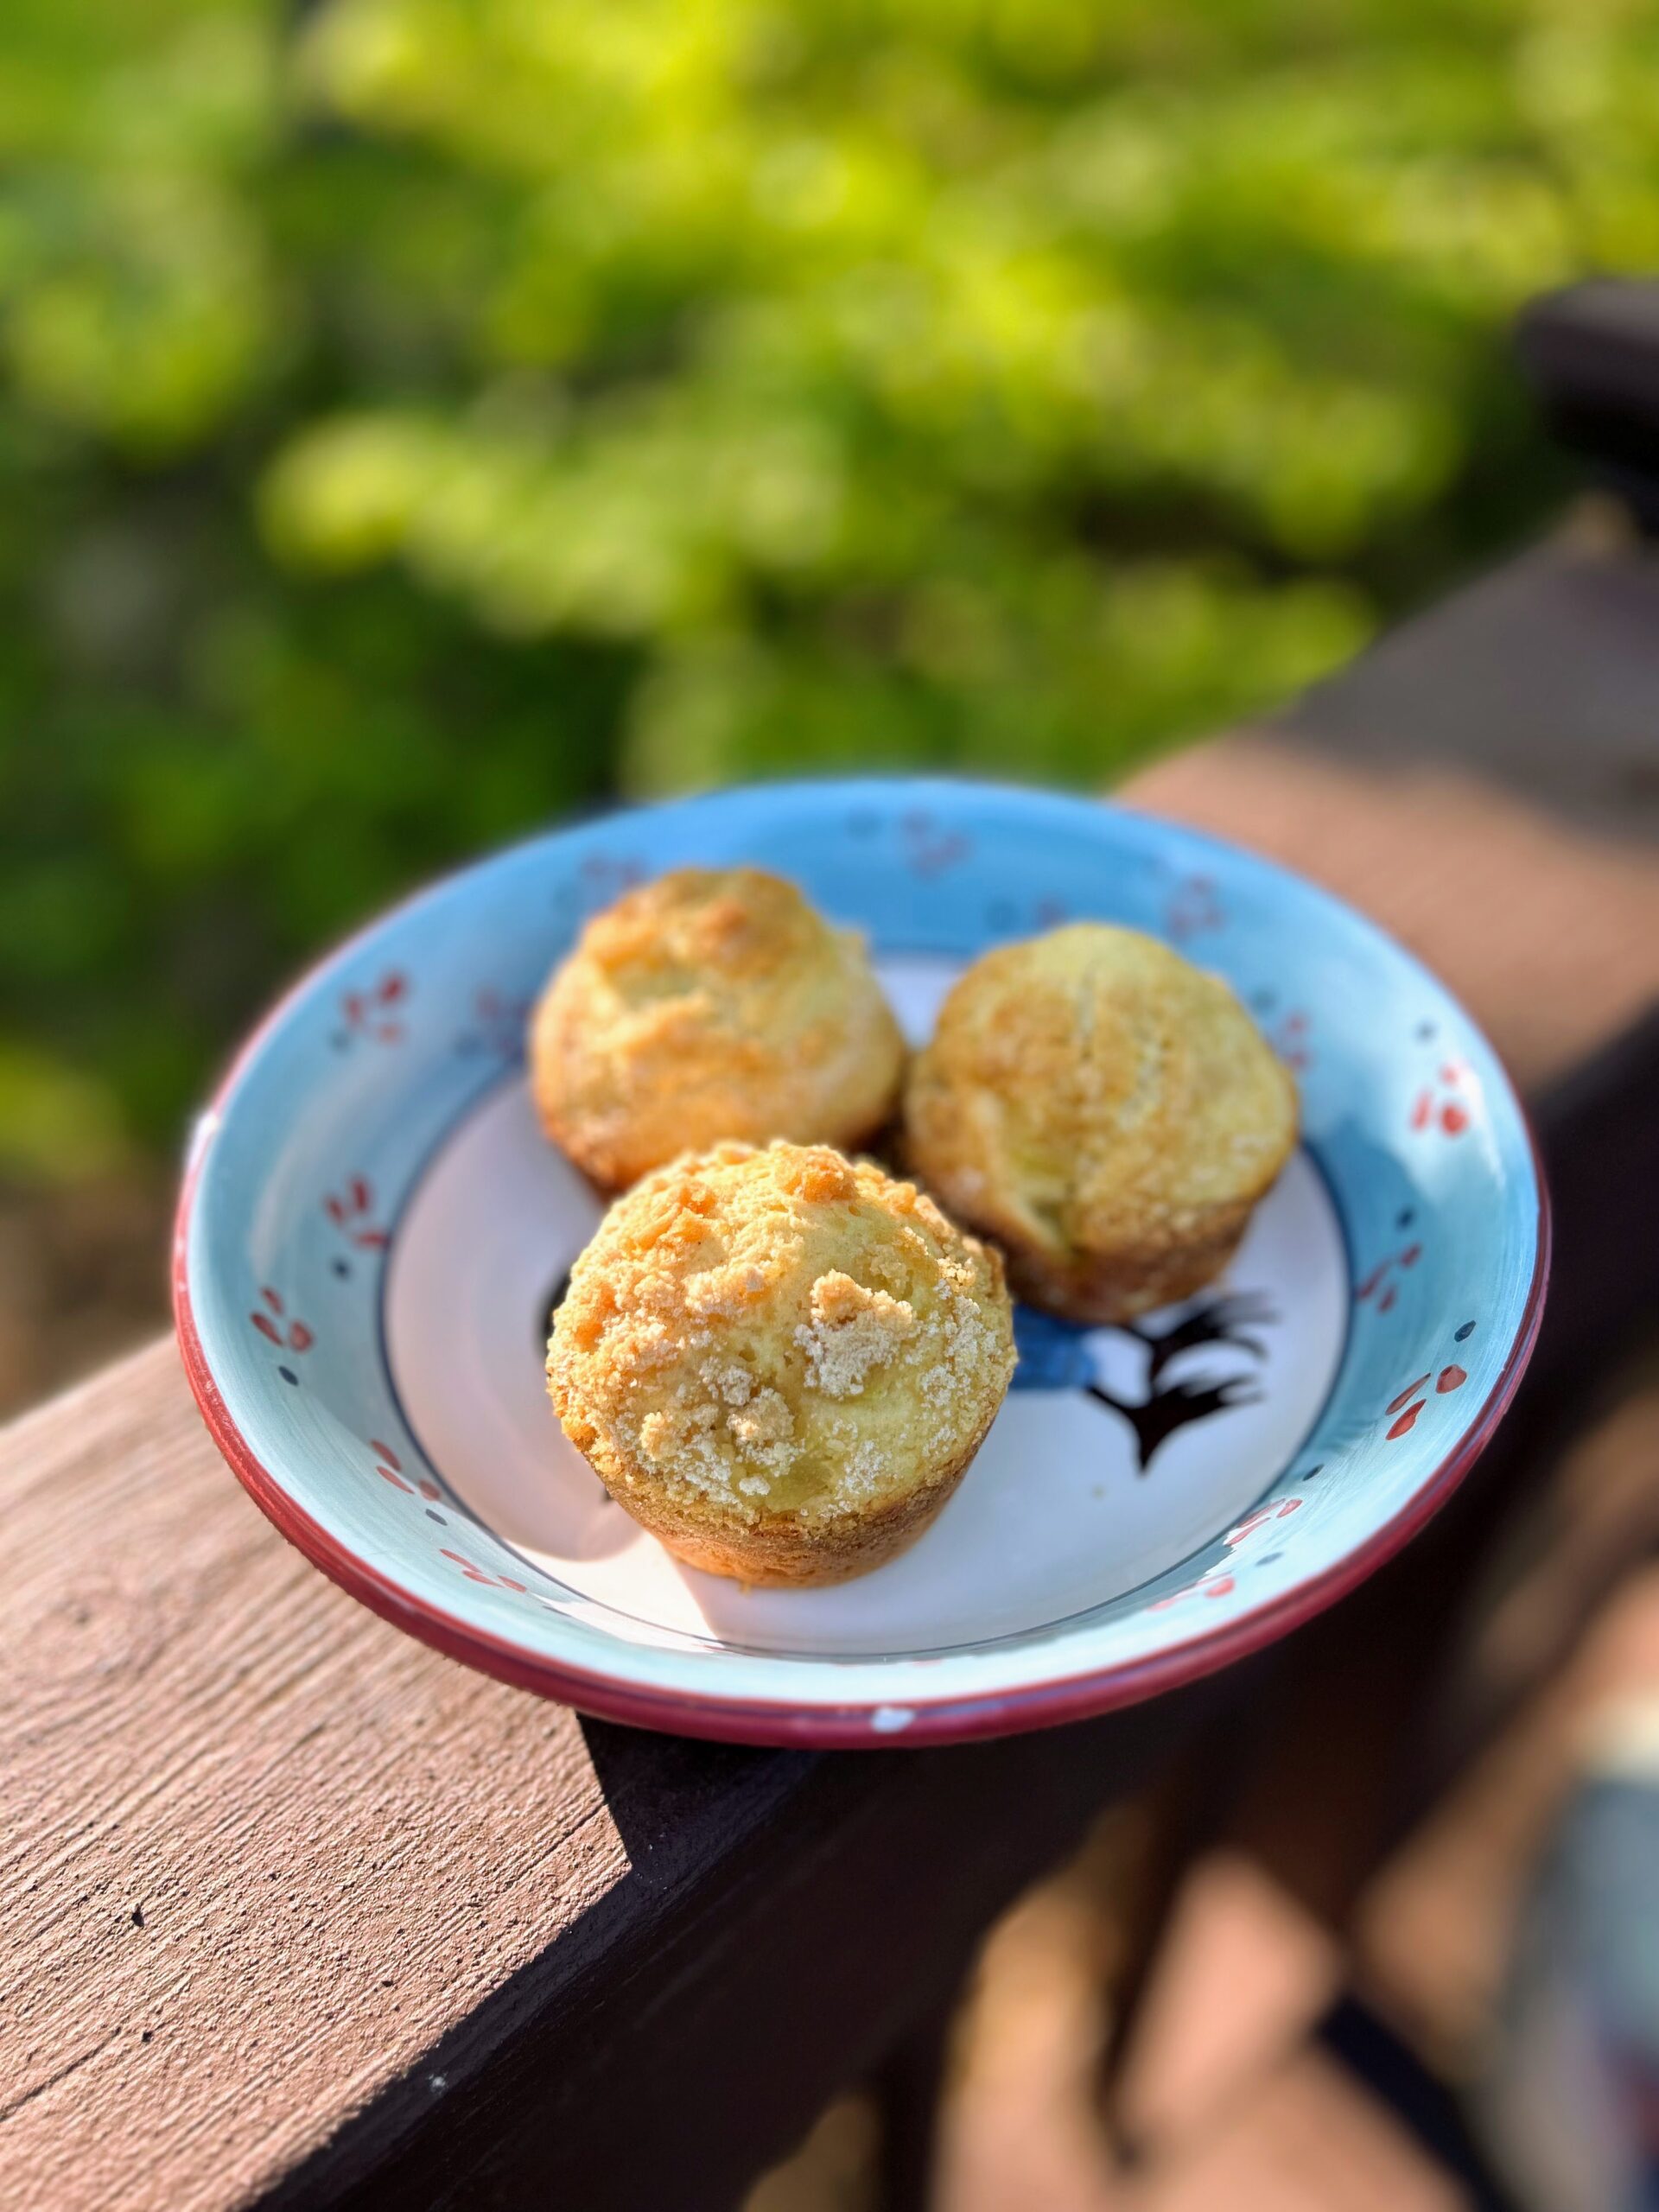
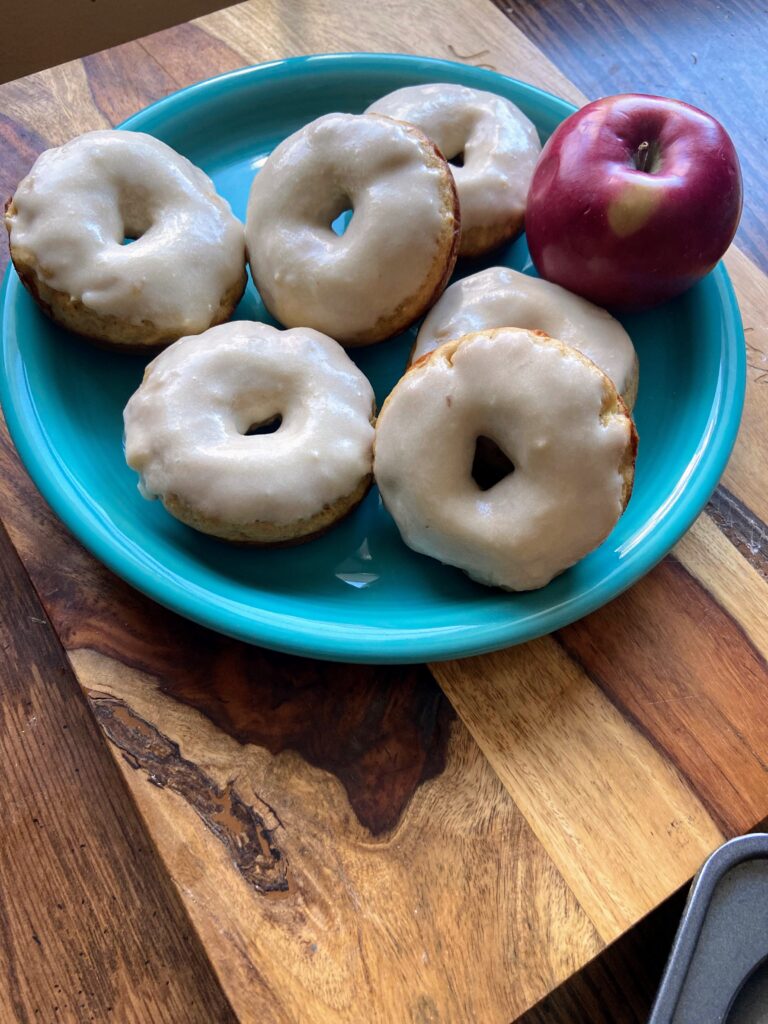
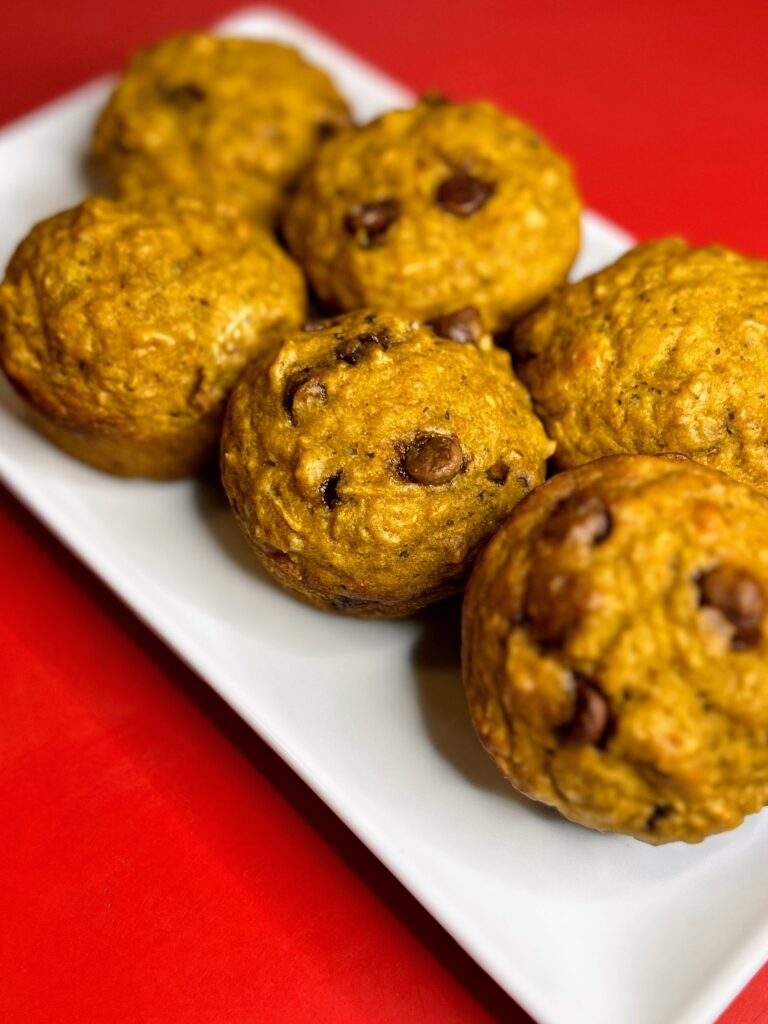
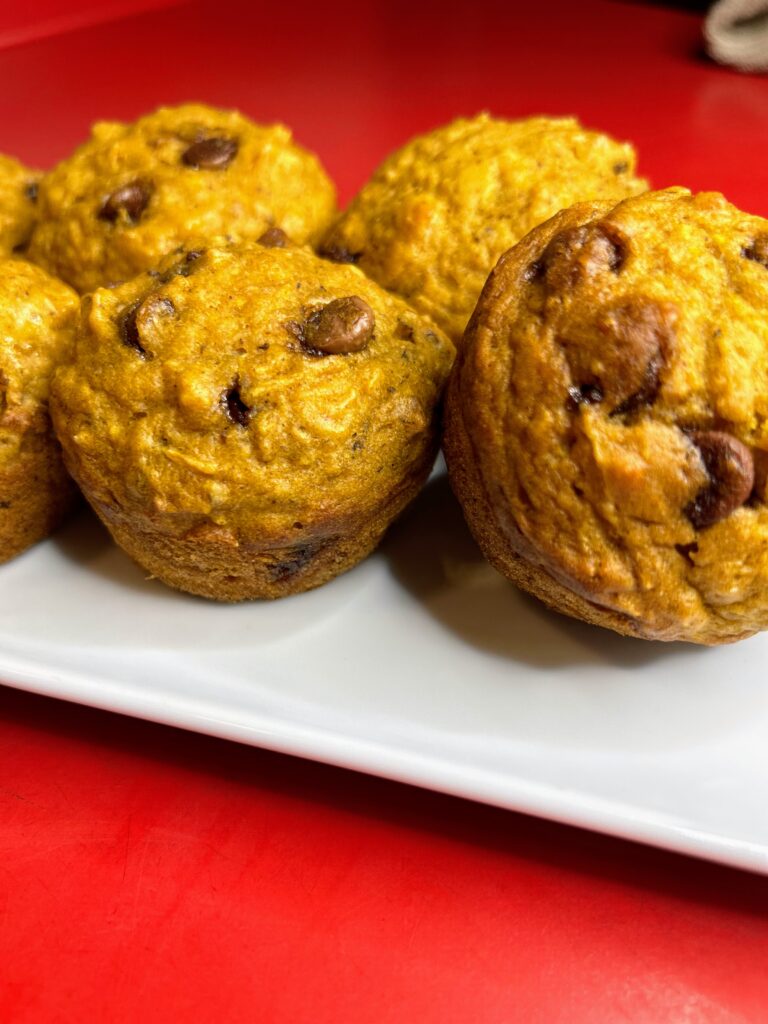
Needless to say, when I had my sister and nephews over a few weekends ago, these chocolate chip pumpkin muffins didn’t last long. They were gobbled up and the kids were asking for more! If you still have pumpkin on hand from Thanksgiving, this is definitely a recipe you’ll want to try!
Ready to start baking? Let’s get started!
Your Ingredients
- 1 ½ cups roasted and mashed pumpkin
- ½ cup brown sugar
- ¼ cup oil
- 1 teaspoon vanilla
- 2 eggs
- 1 ½ cups flour
- 1 teaspoon baking soda
- ½ teaspoon salt
- ½ teaspoon ground cinnamon
- ⅛ teaspoon nutmeg
- ⅛ teaspoon ground cloves
- ½ teaspoon baking powder
- ½ cup coarsely chopped nuts
- ¼ -⅓ chocolate chips, if desired
Your Steps to Chocolate Chip Pumpkin Muffins
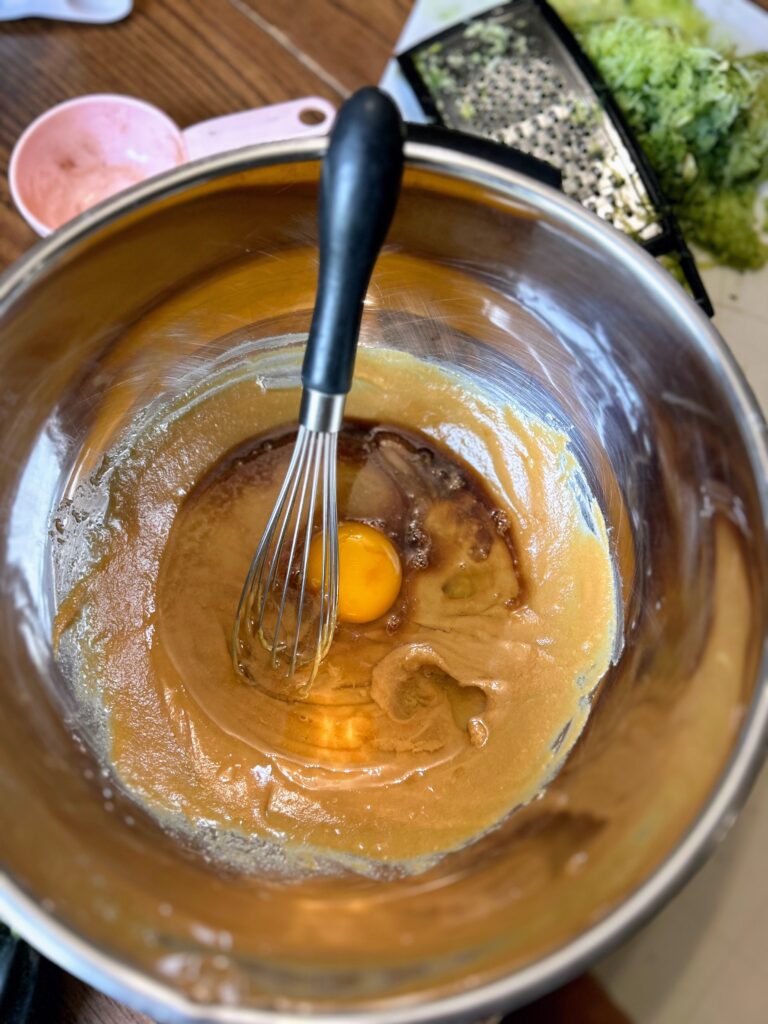
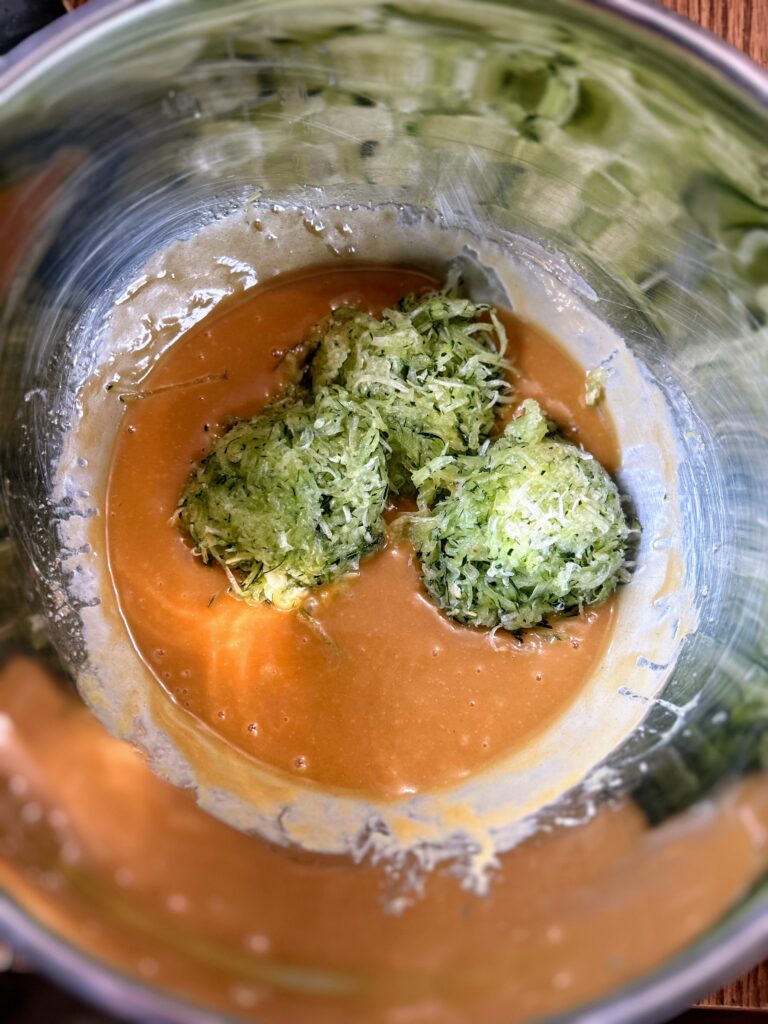
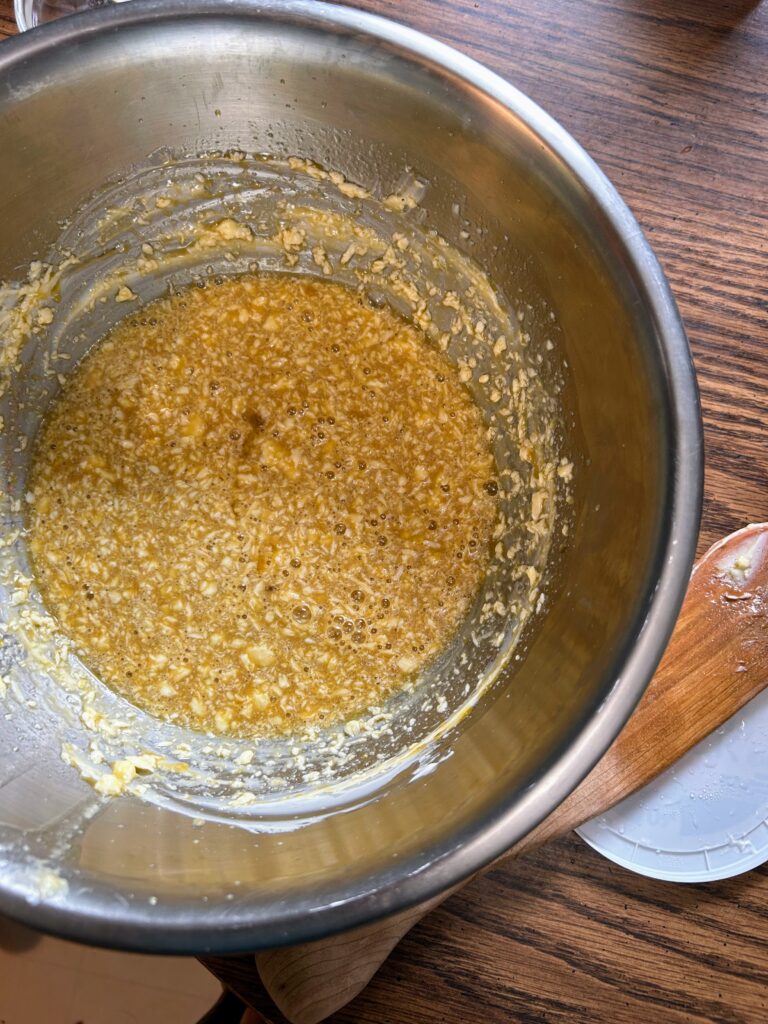
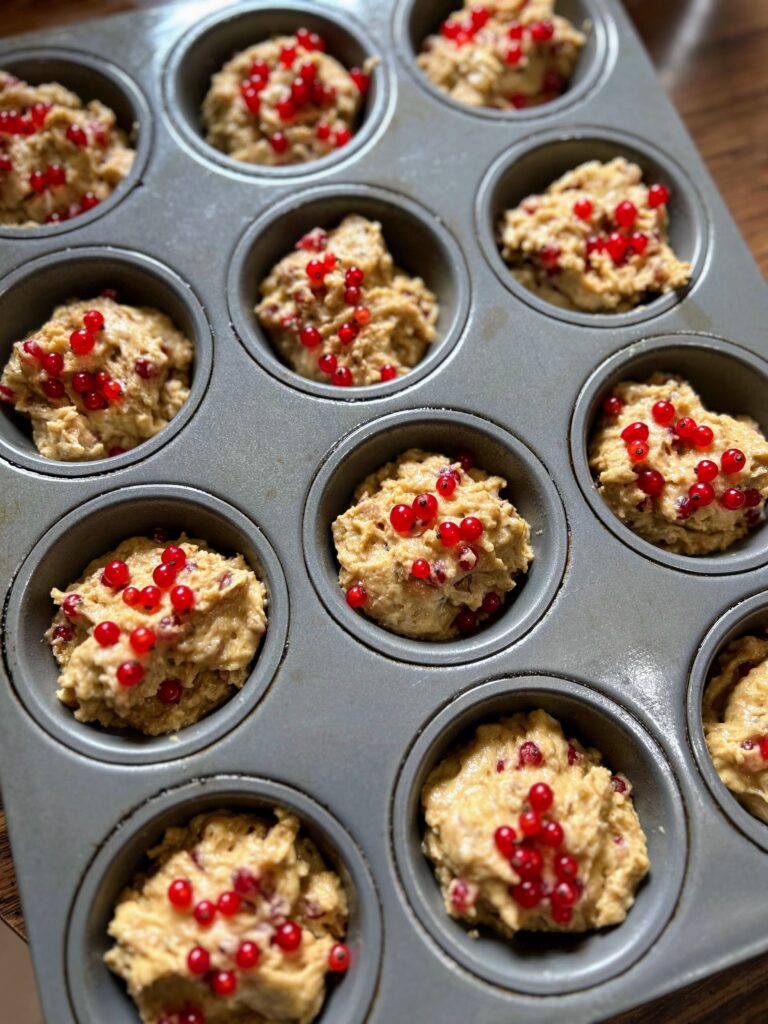
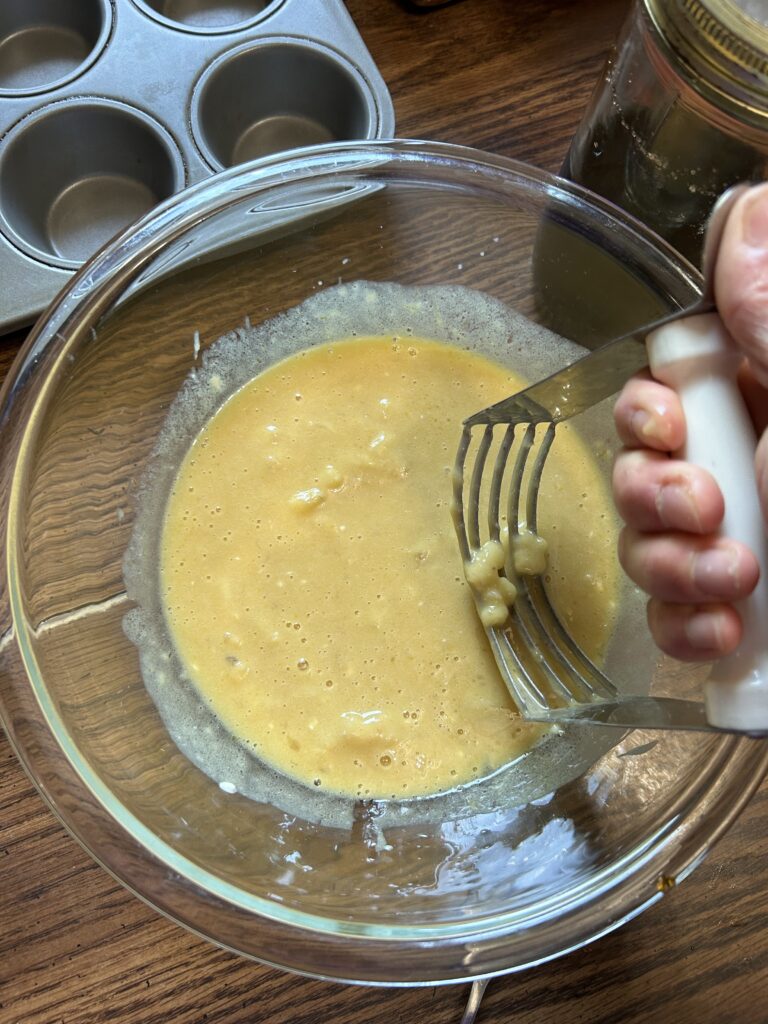
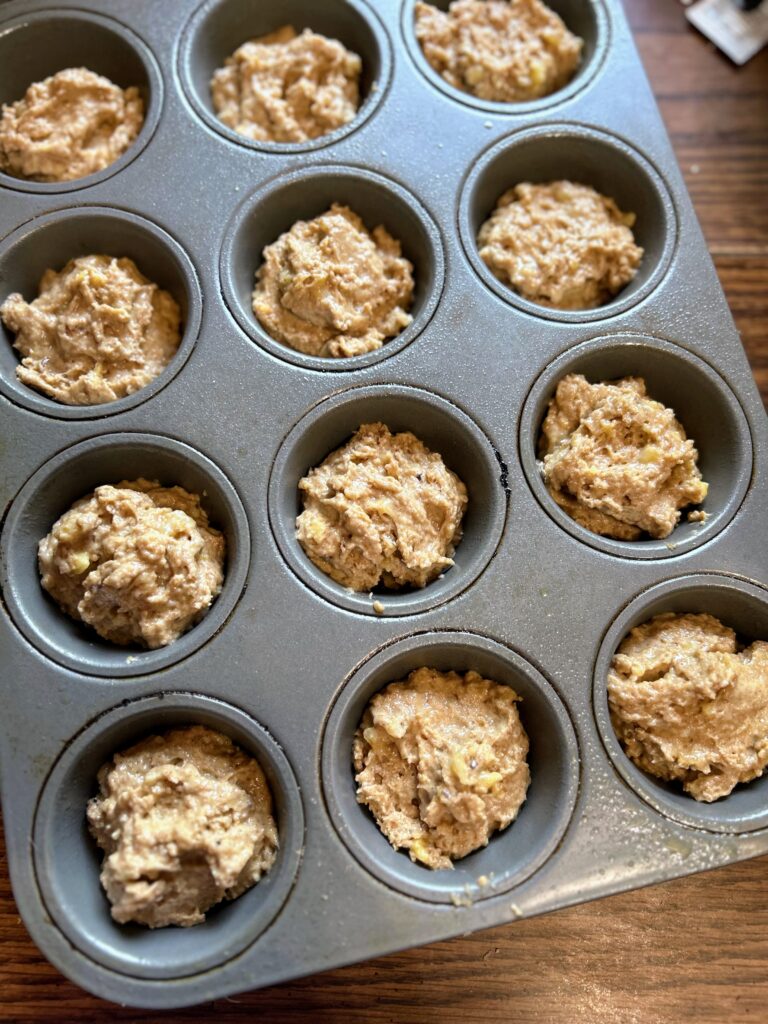
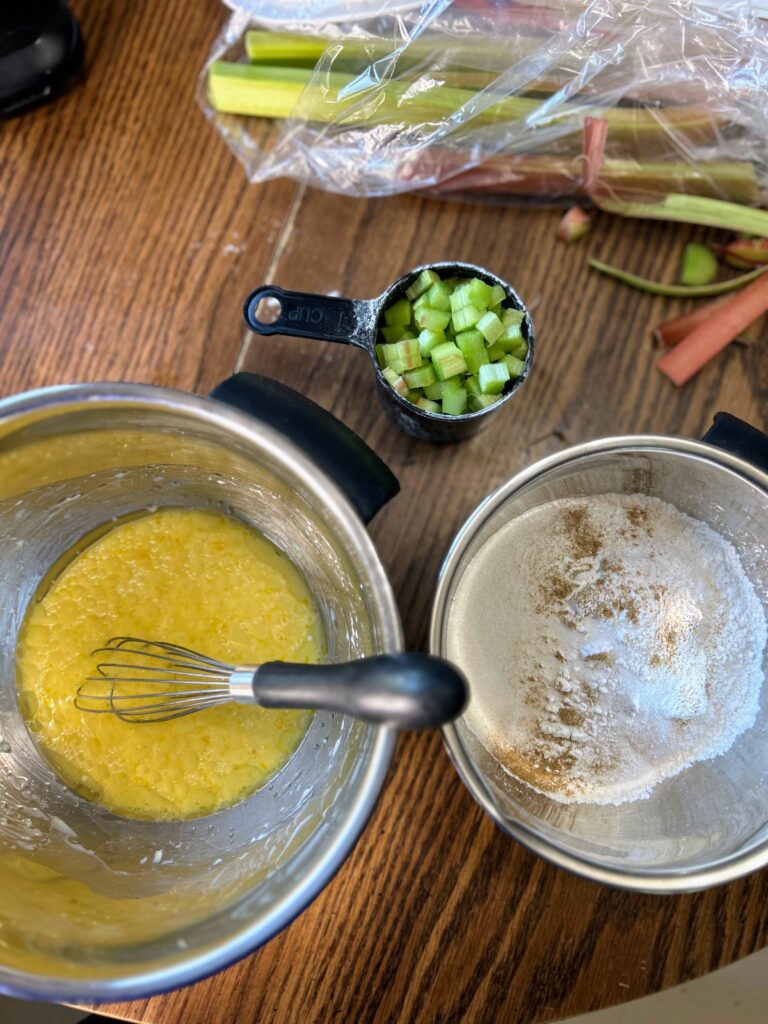
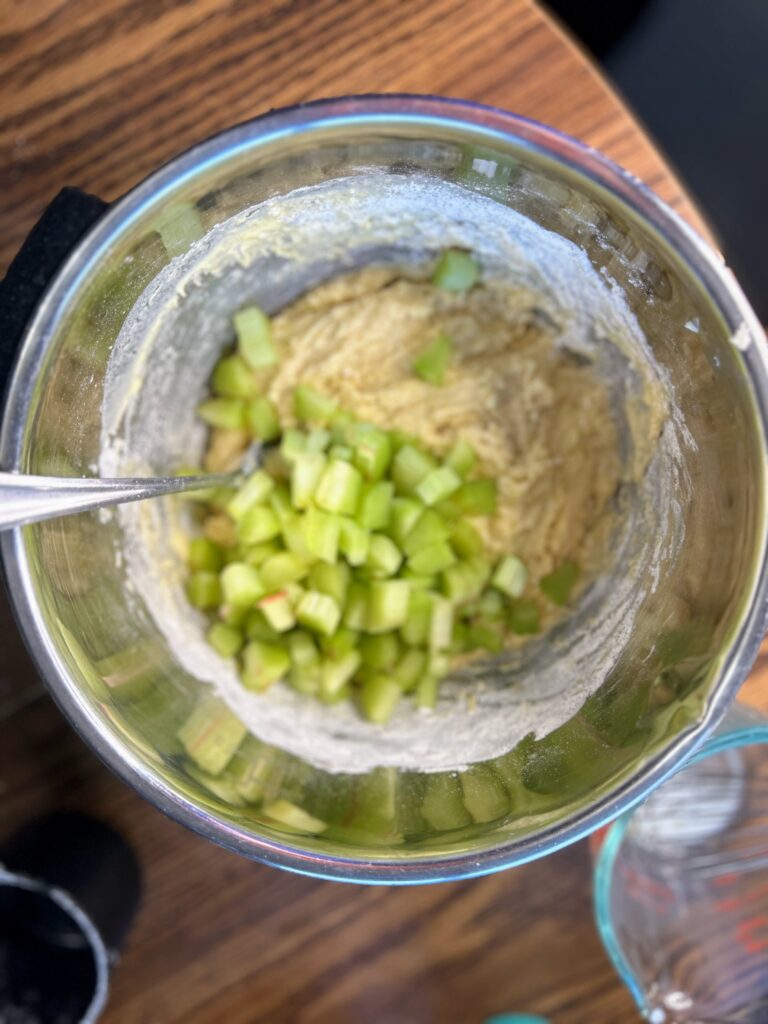
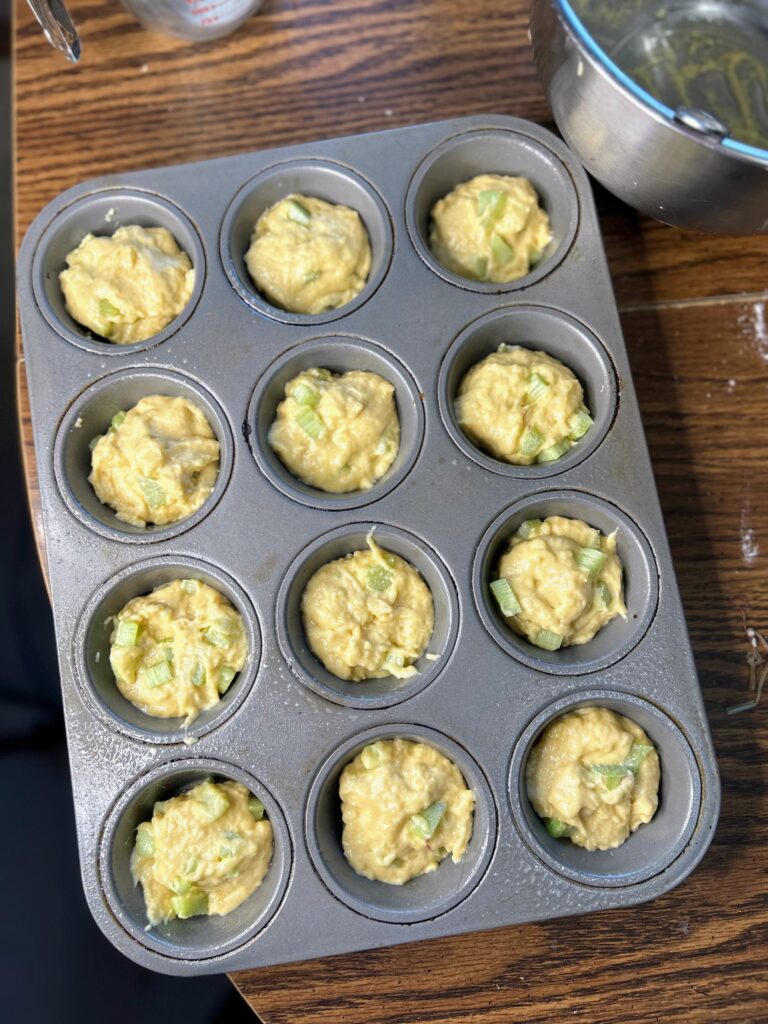
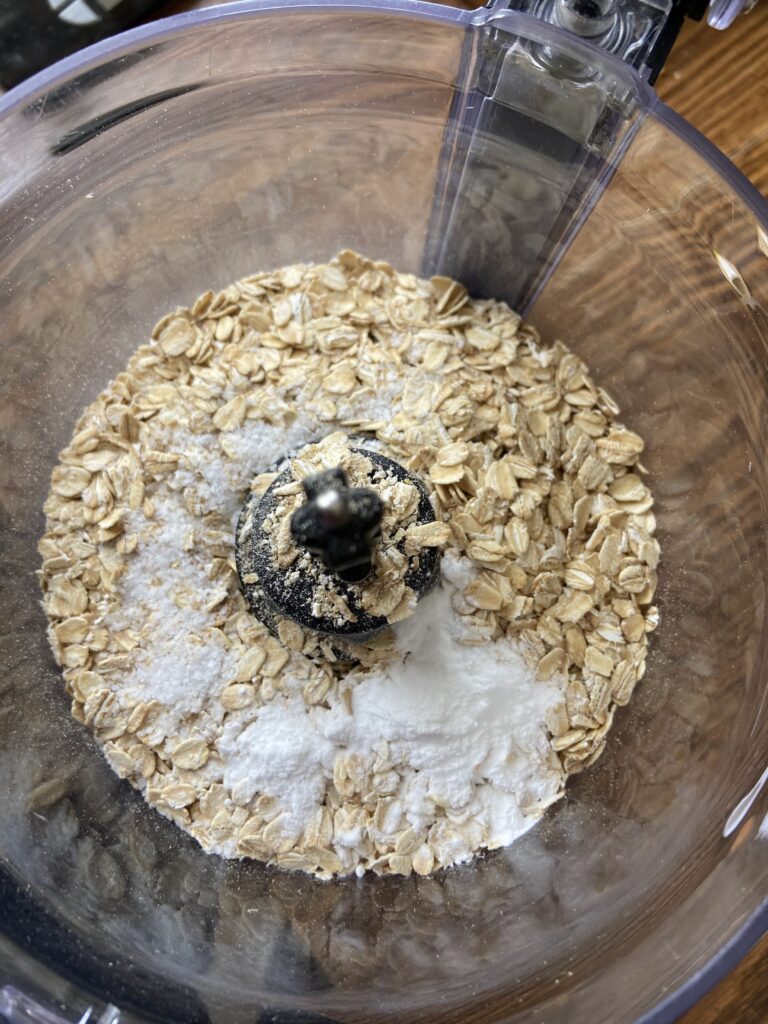
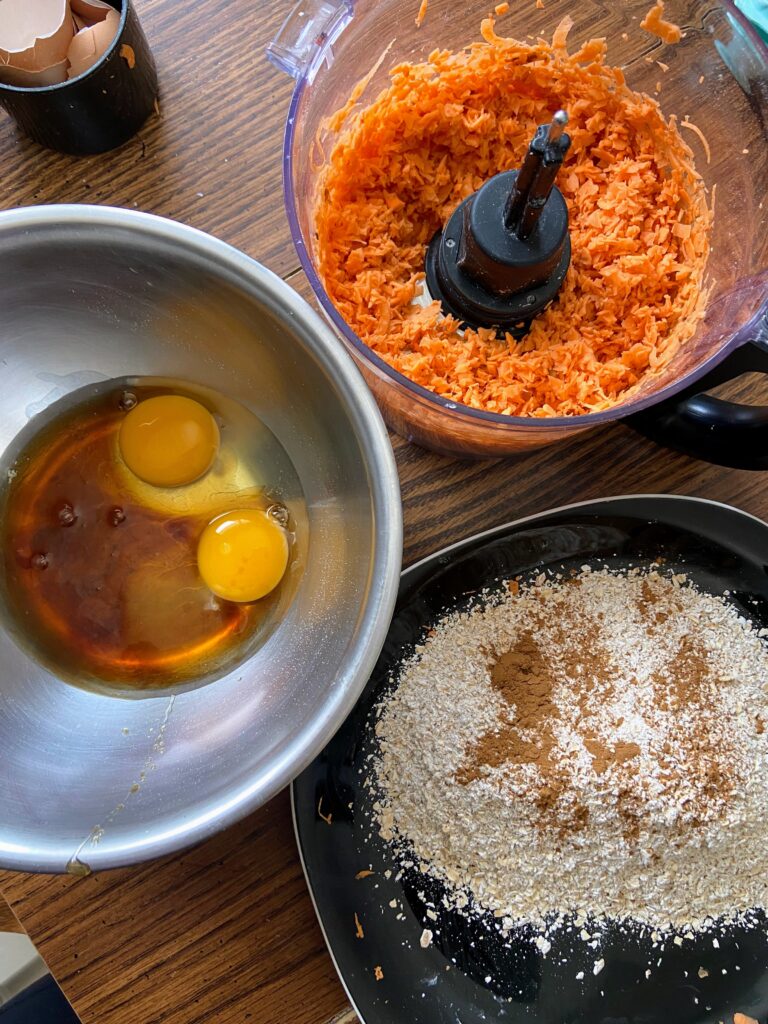
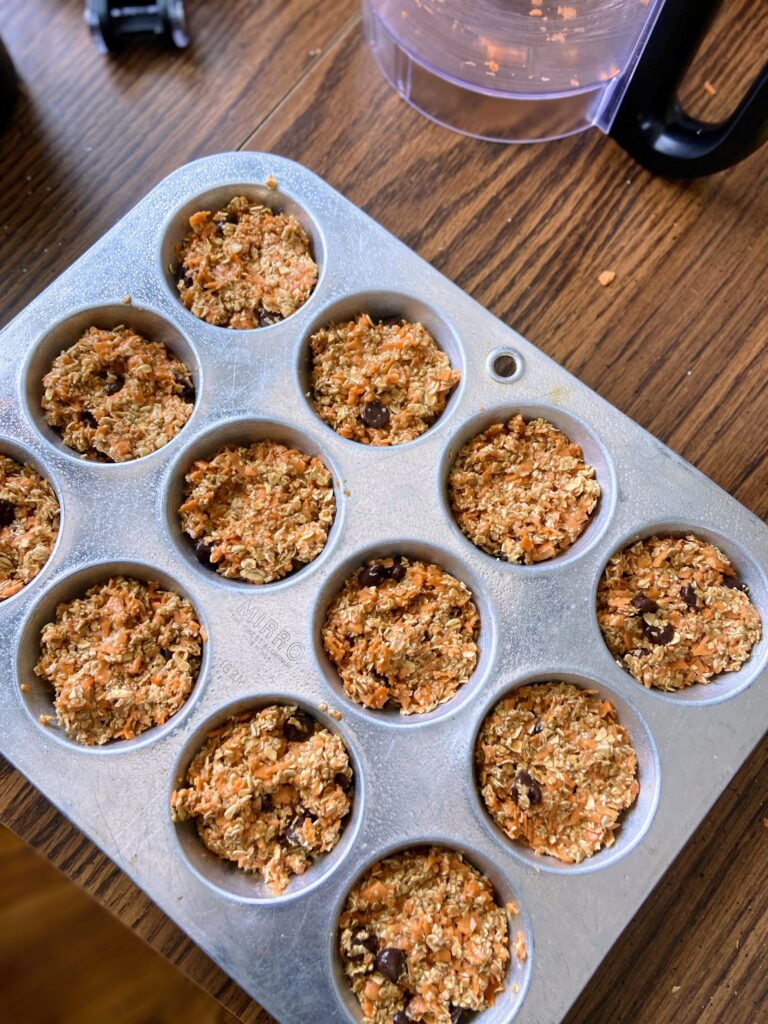
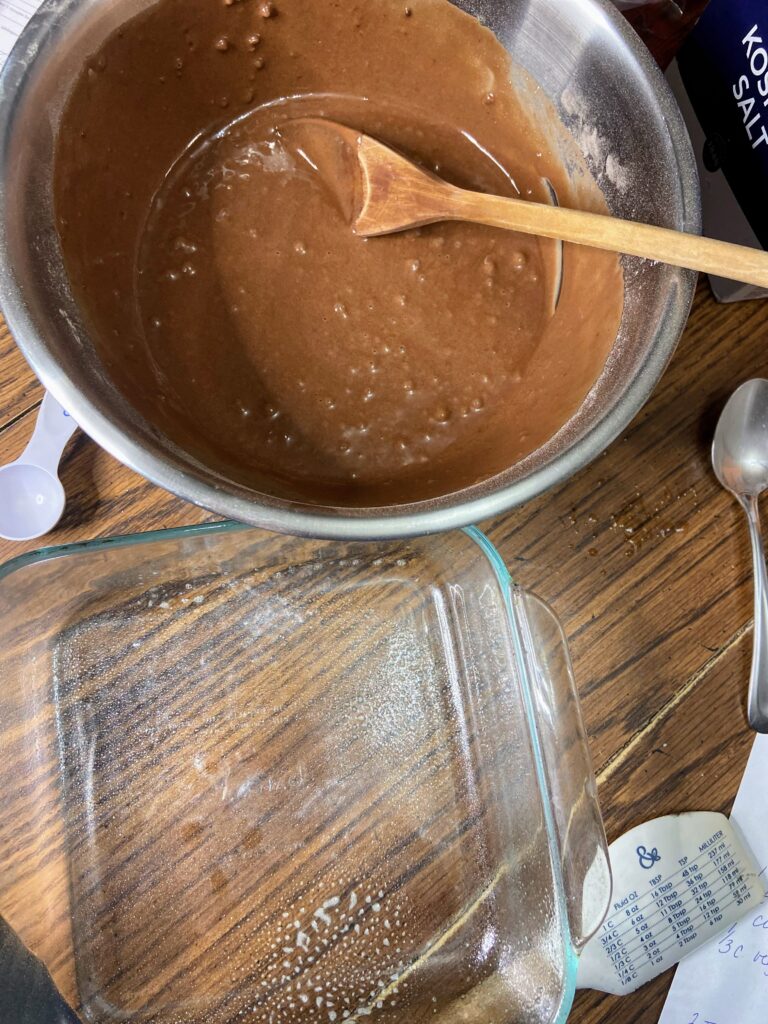
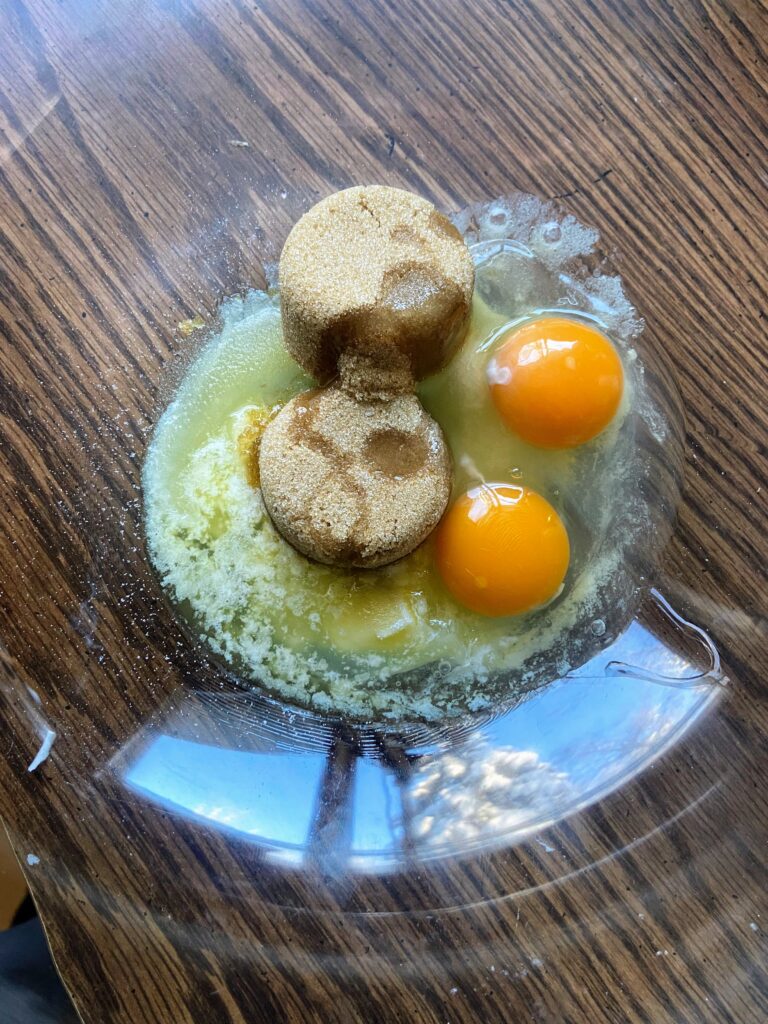
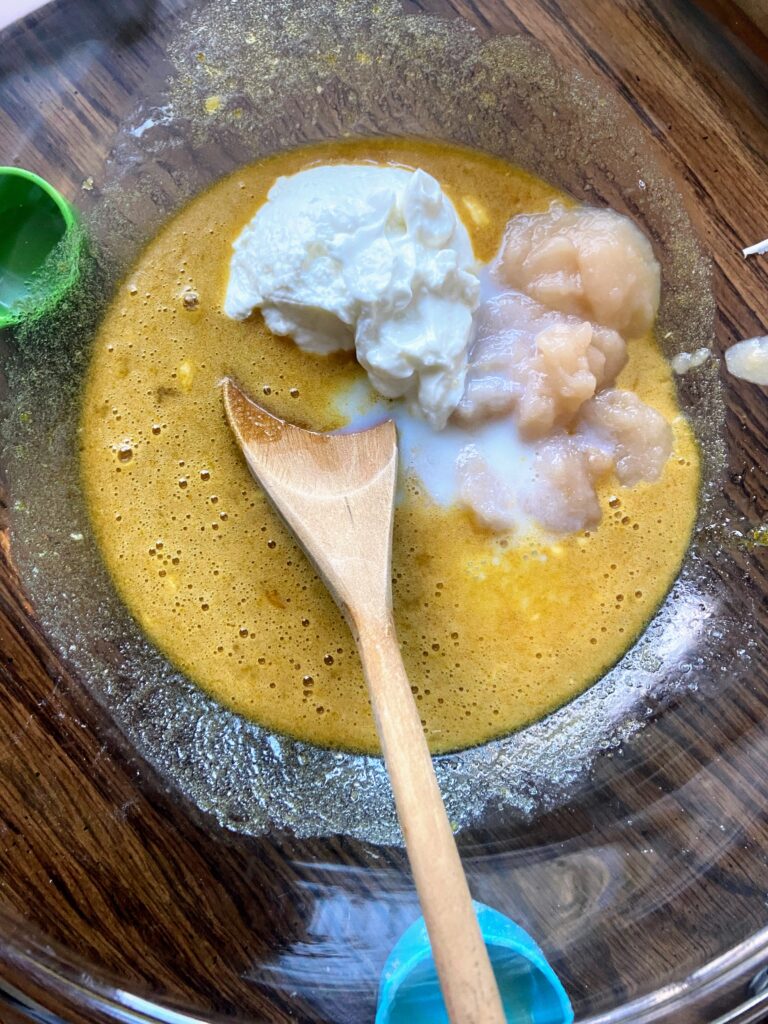
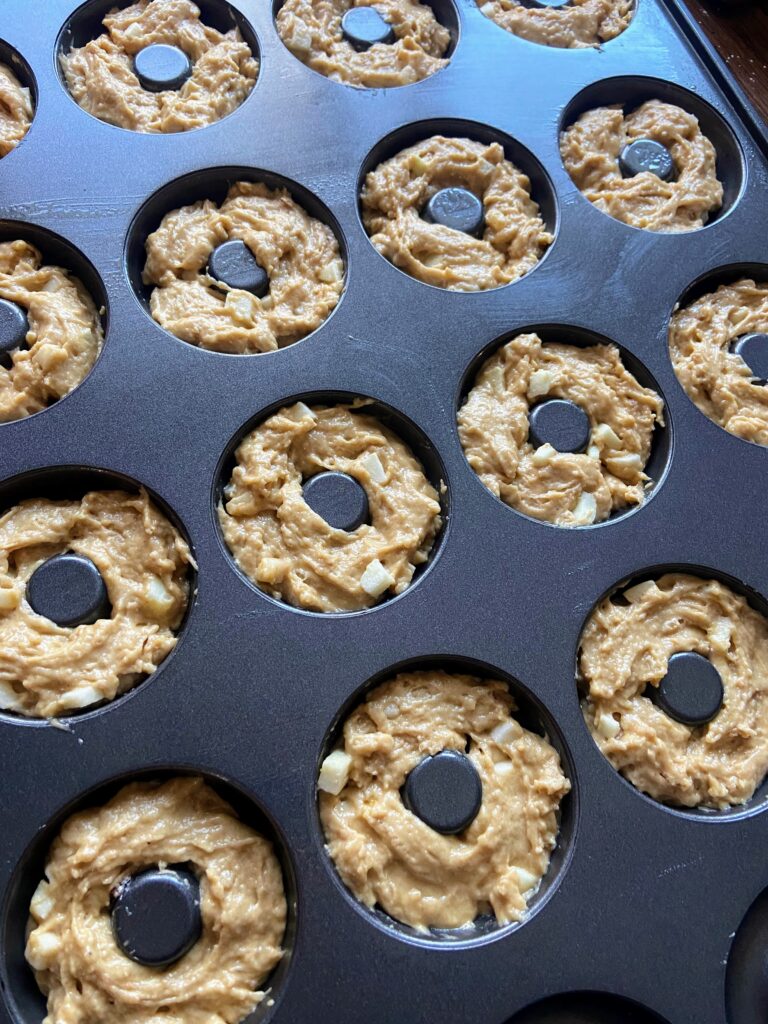
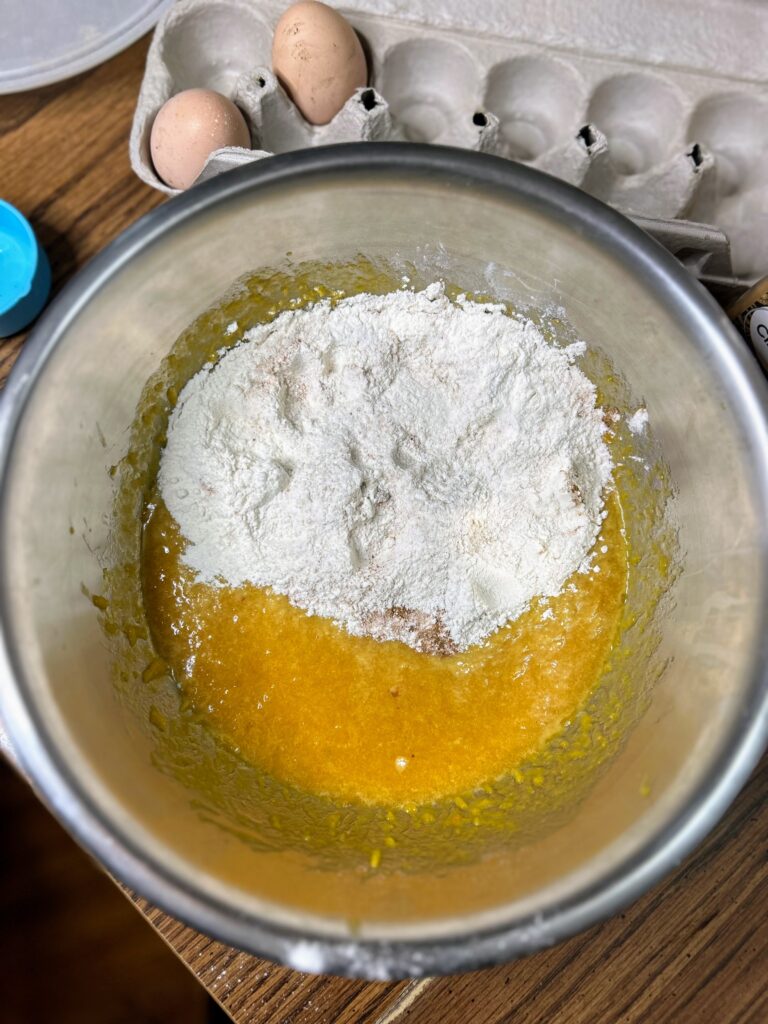
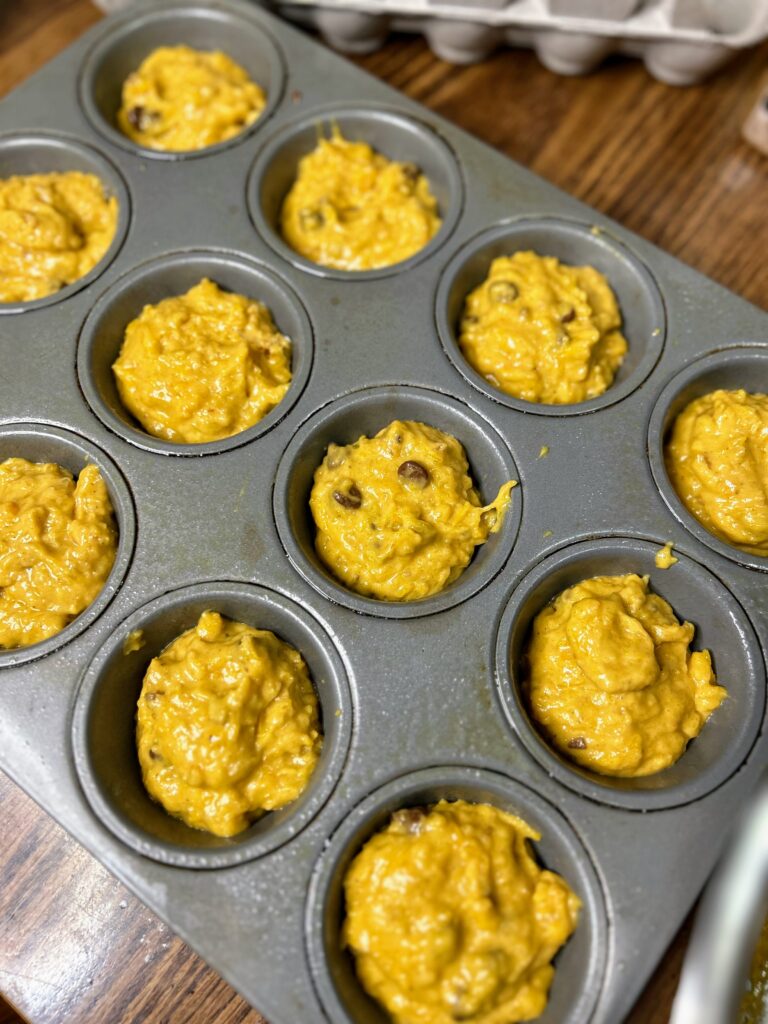
Preheat the oven to 350 degrees. Prepare 18 muffin vessels by spraying with cooking spray or lining with muffin cups. In a large bowl, stir pumpkin, brown sugar, oil, vanilla, and eggs together until well combined.
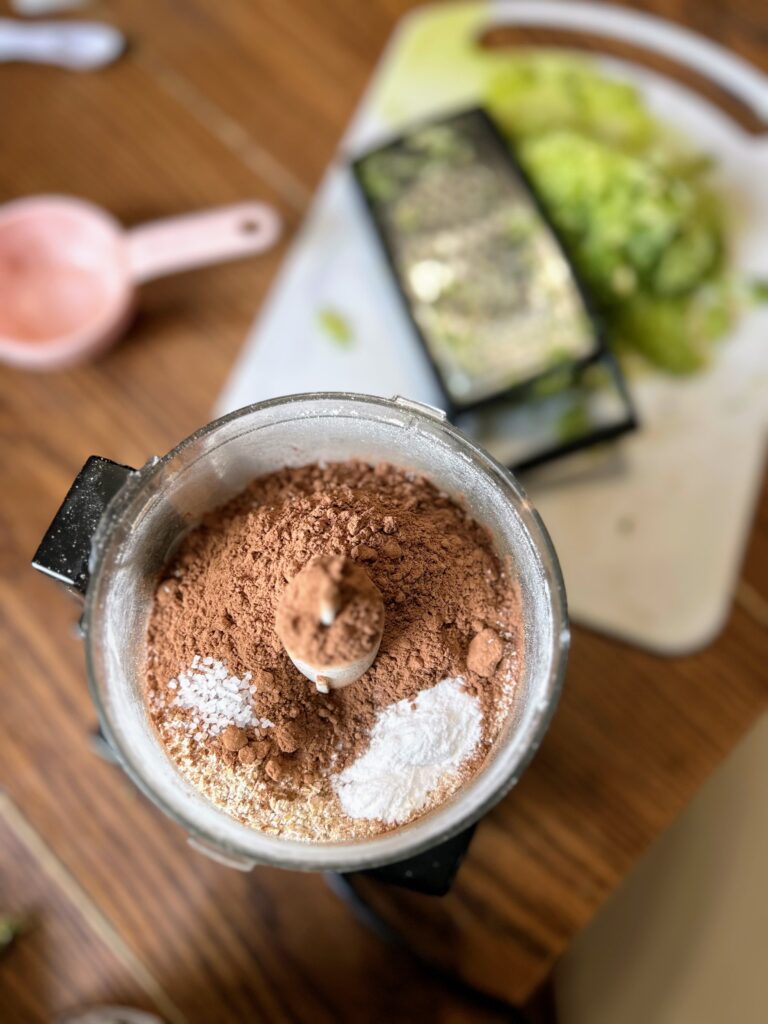
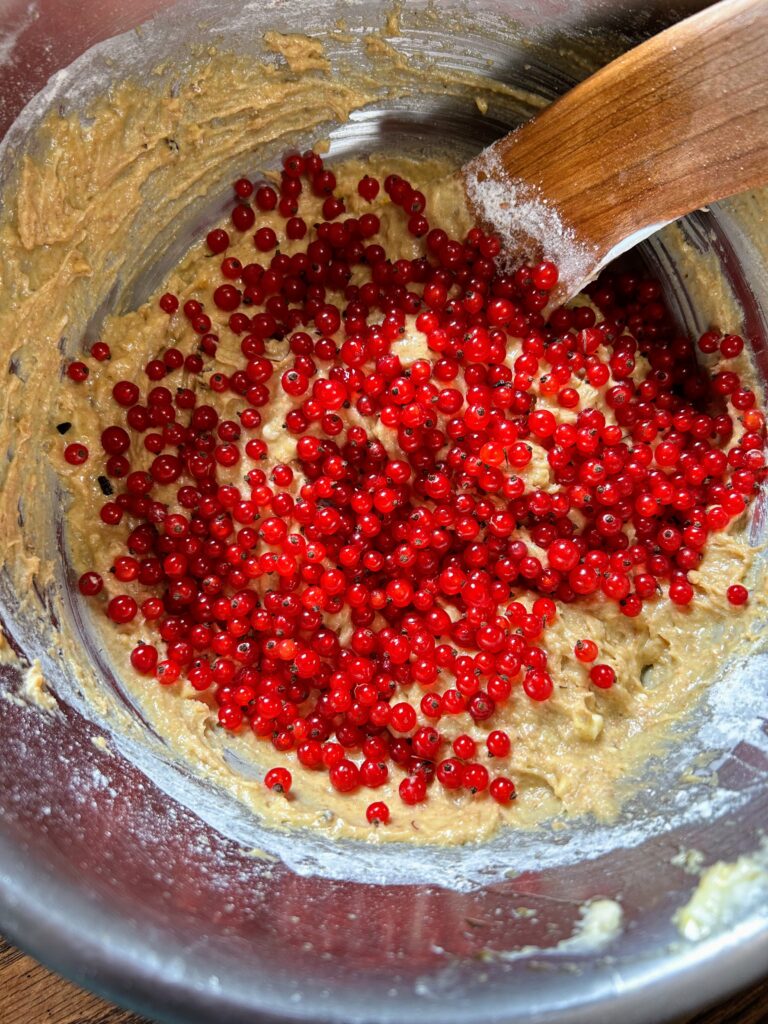
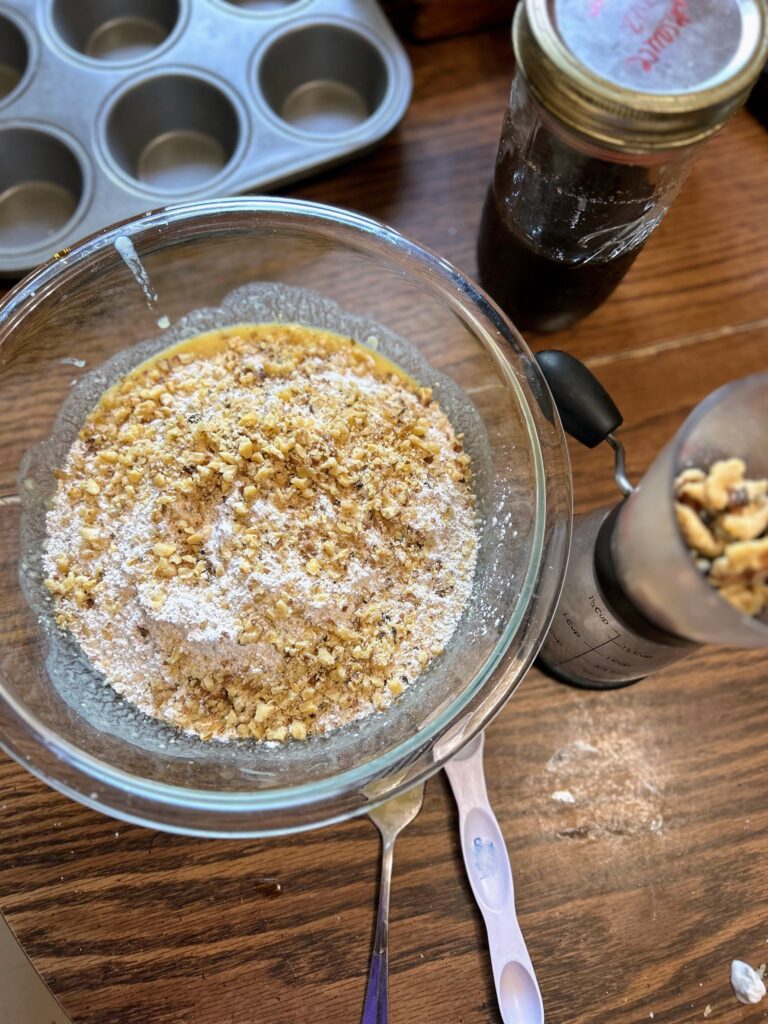
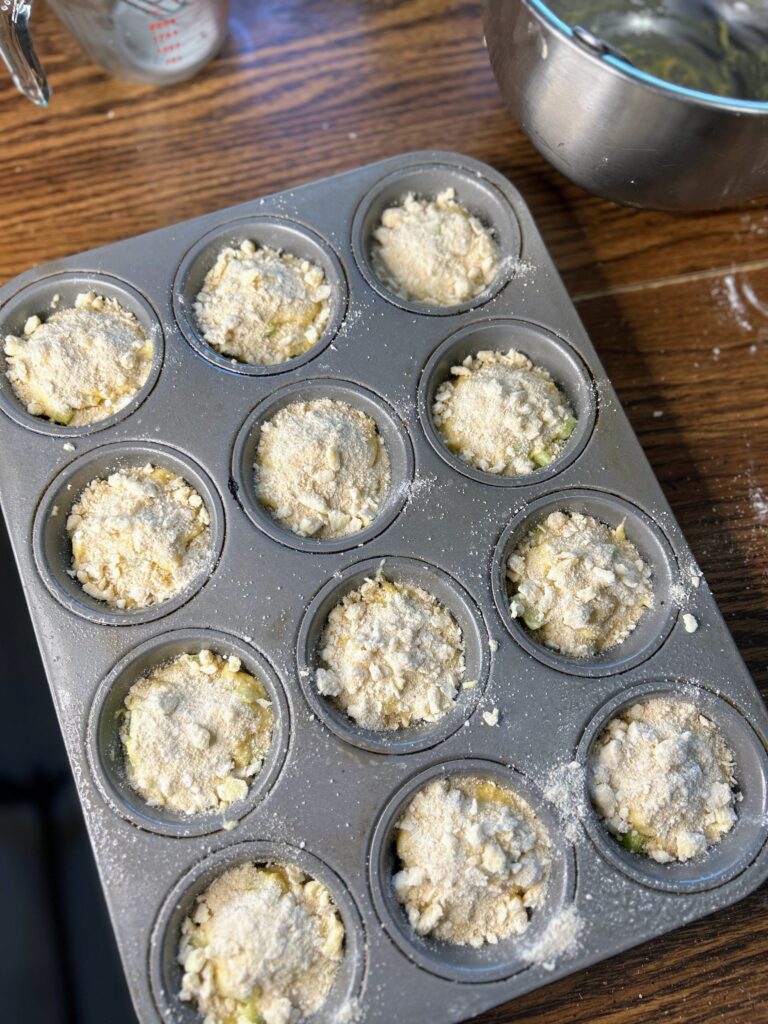
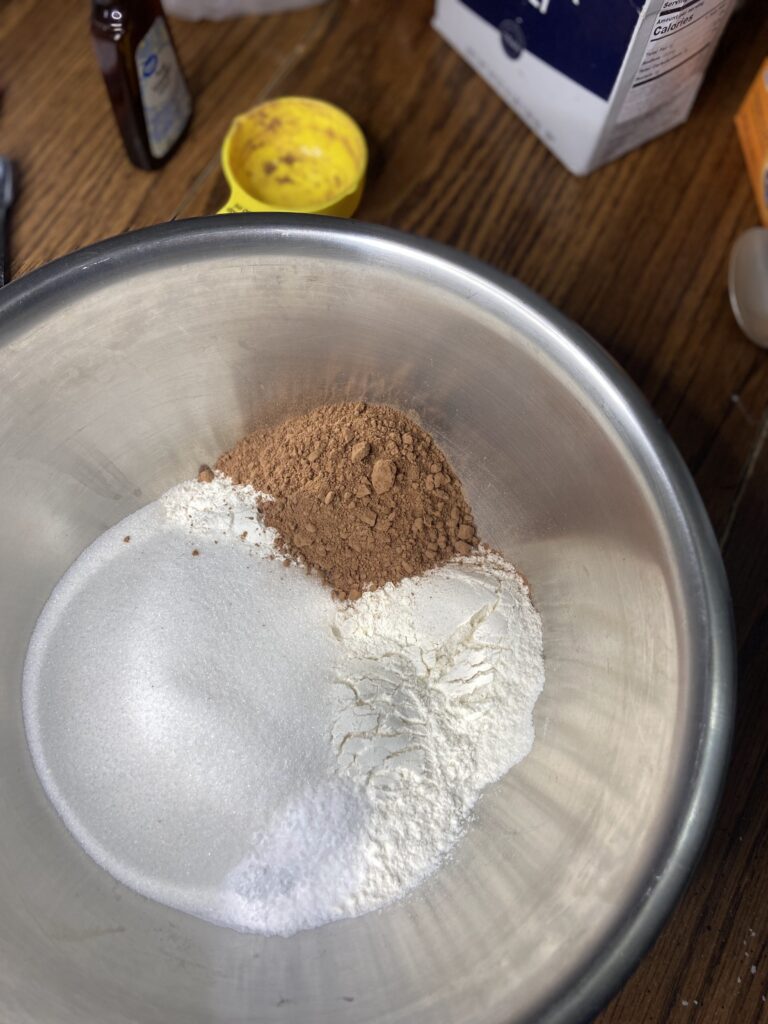
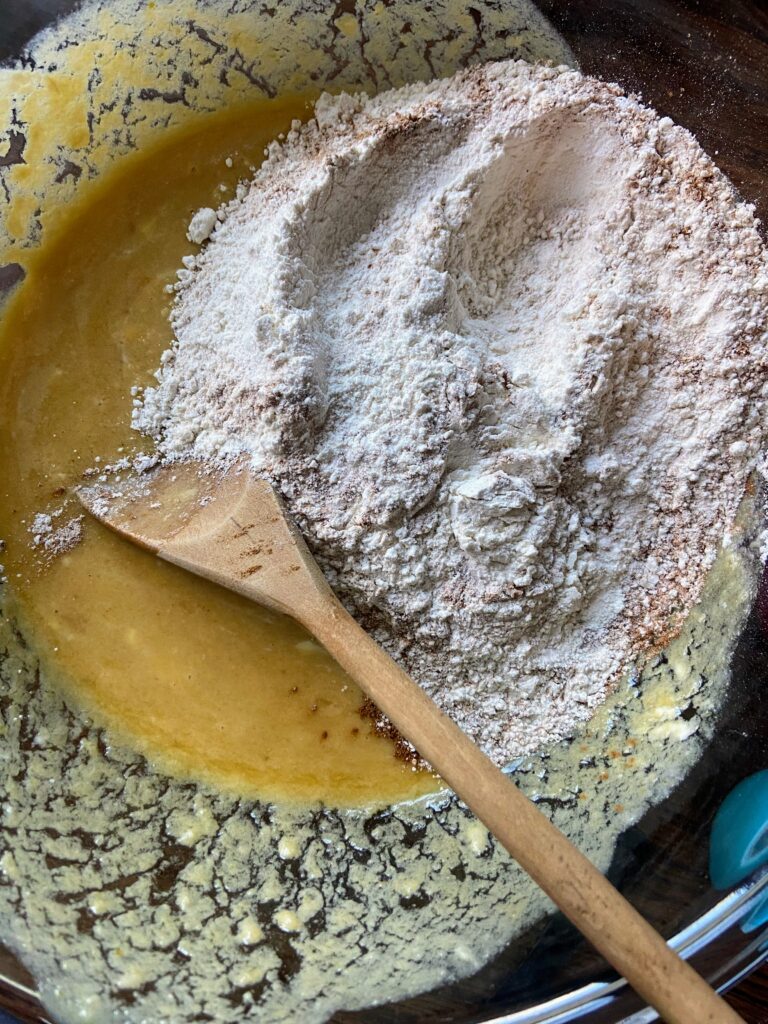
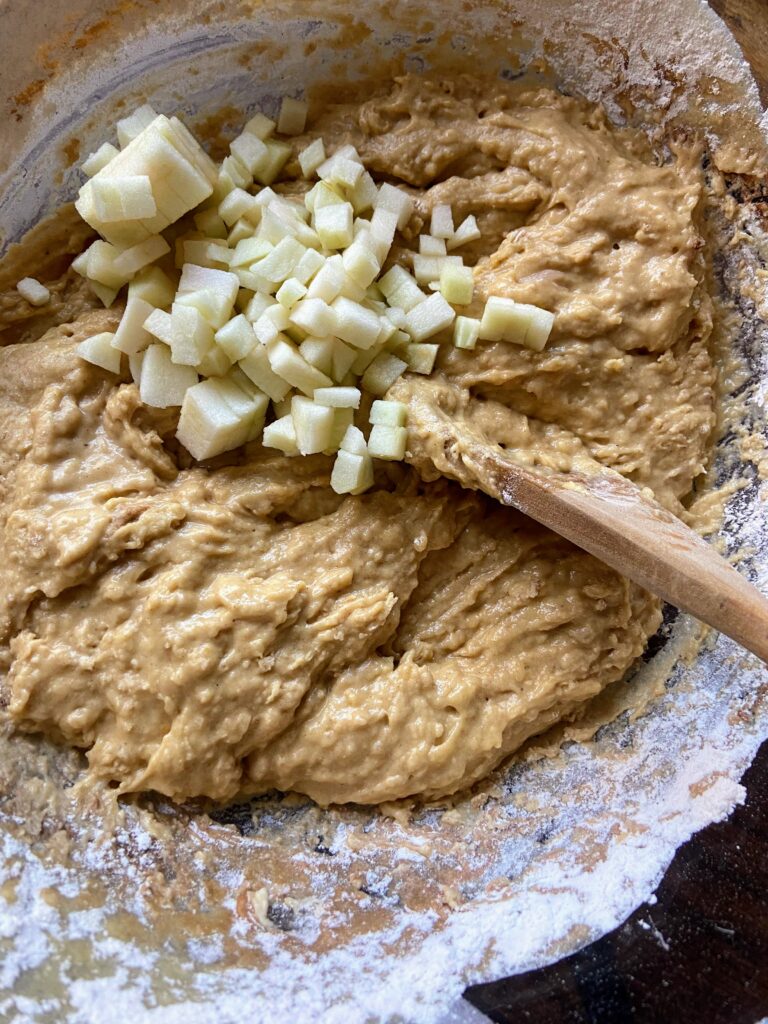
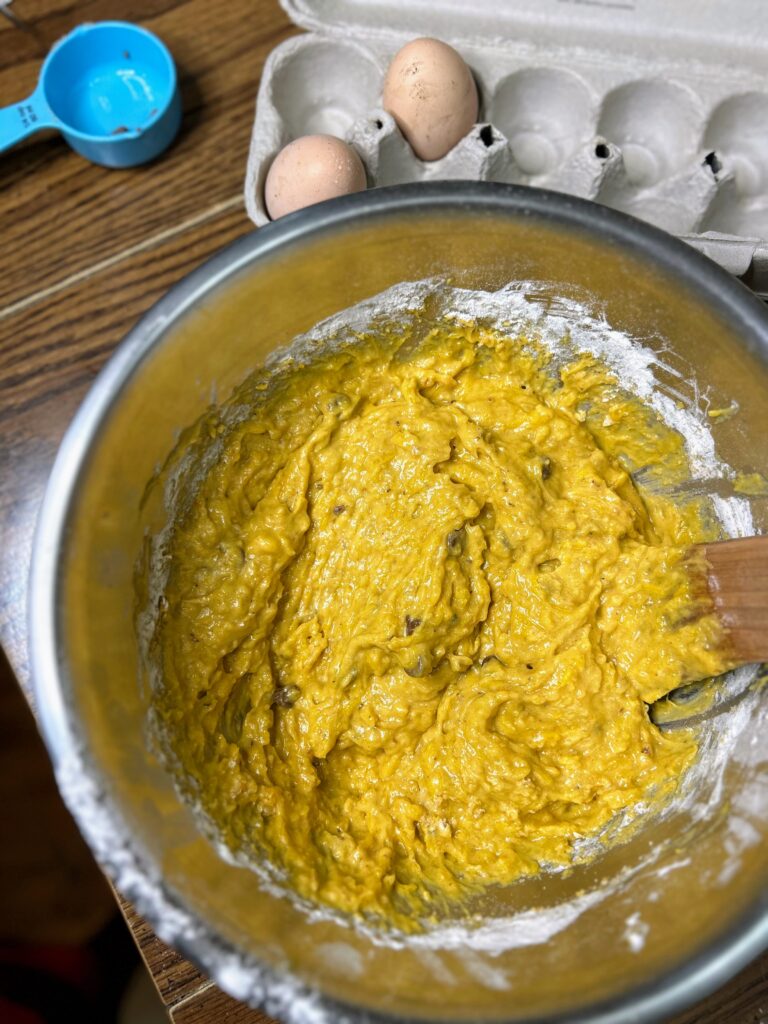
Combine flour, salt, cinnamon, nutmeg, cloves, and baking powder in another bowl. Fold into the wet ingredients until just combined. Fold the chopped nuts and chocolate chips in.
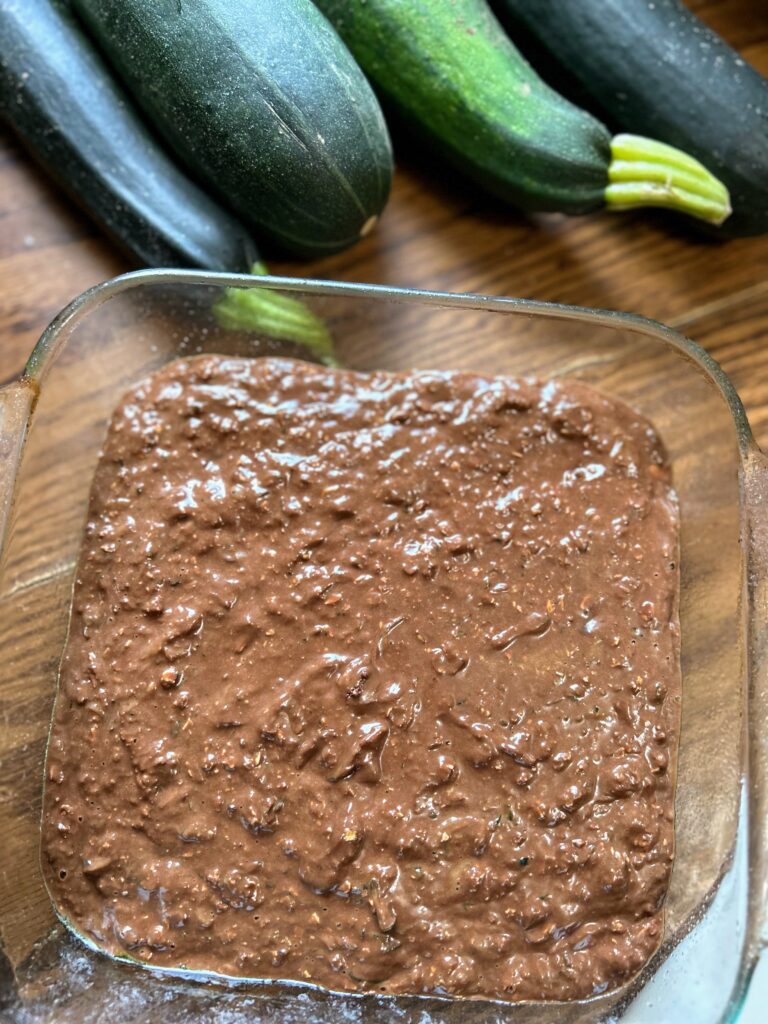
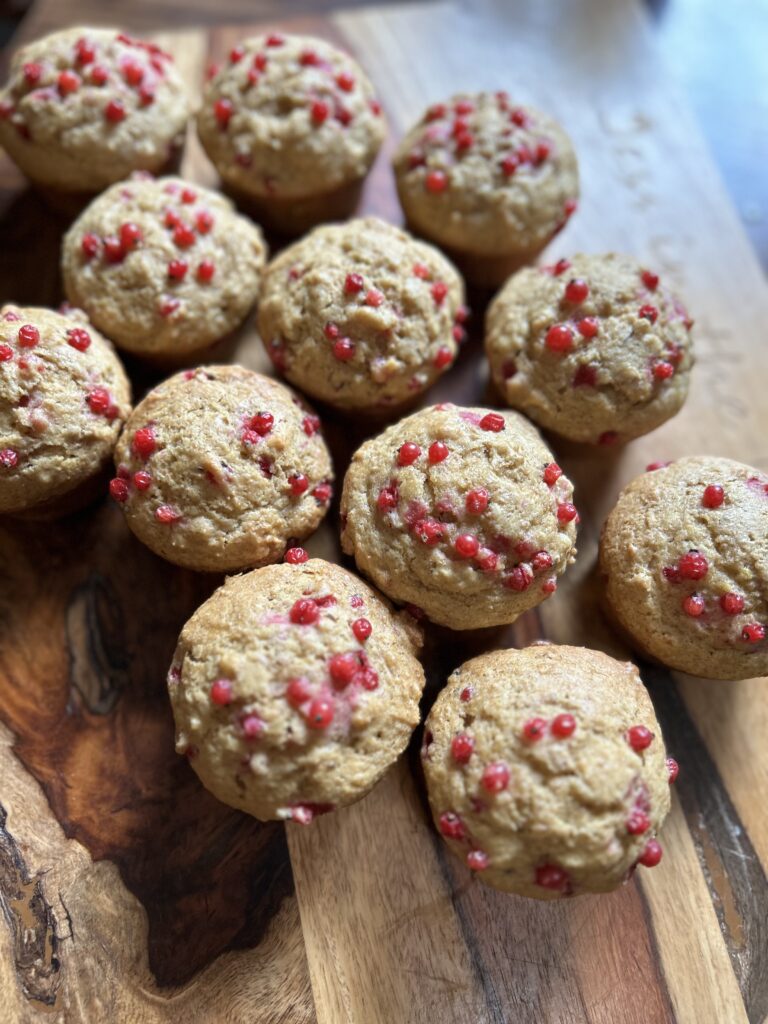
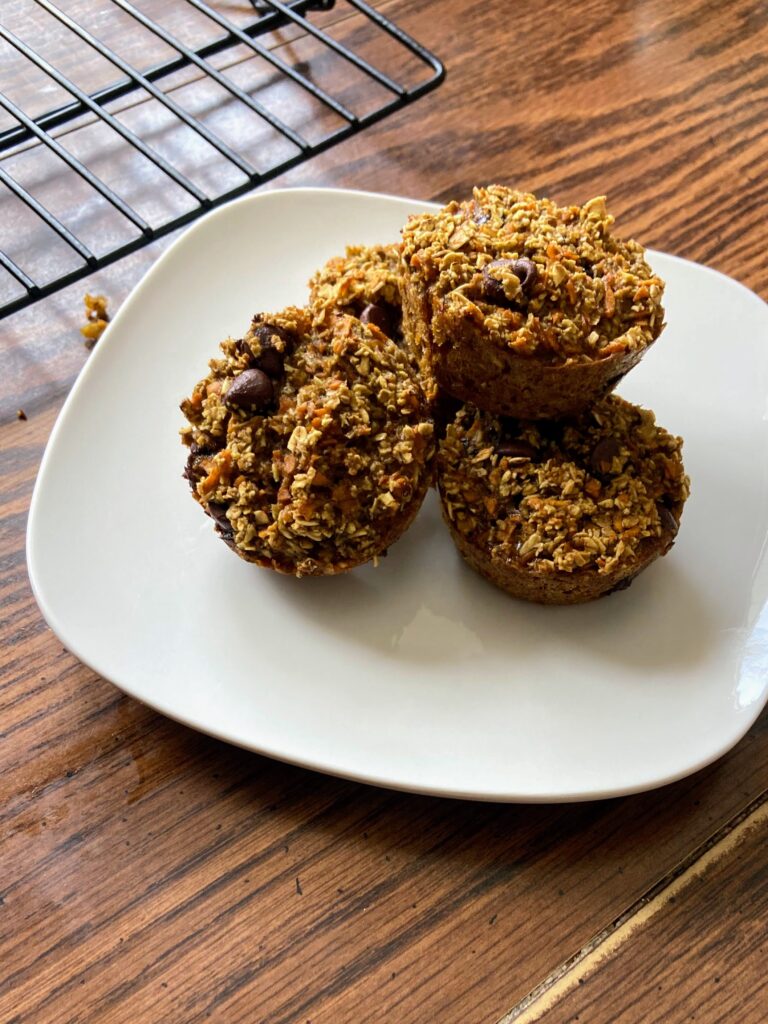
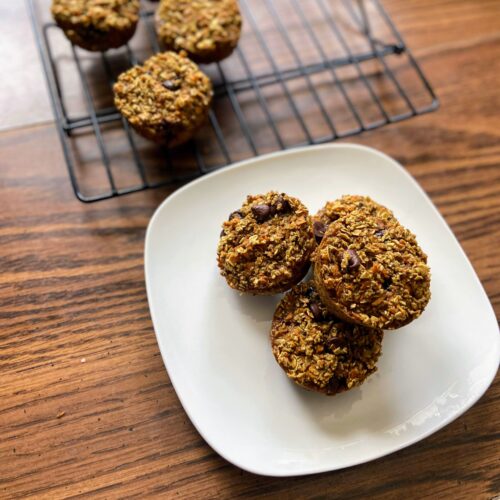
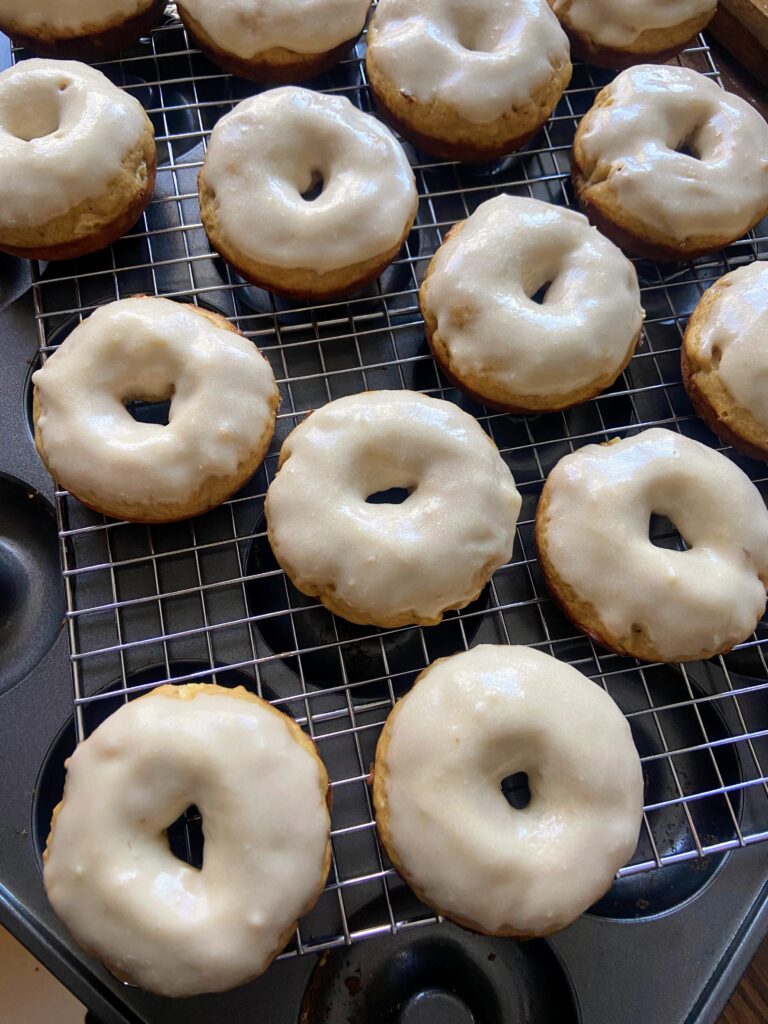
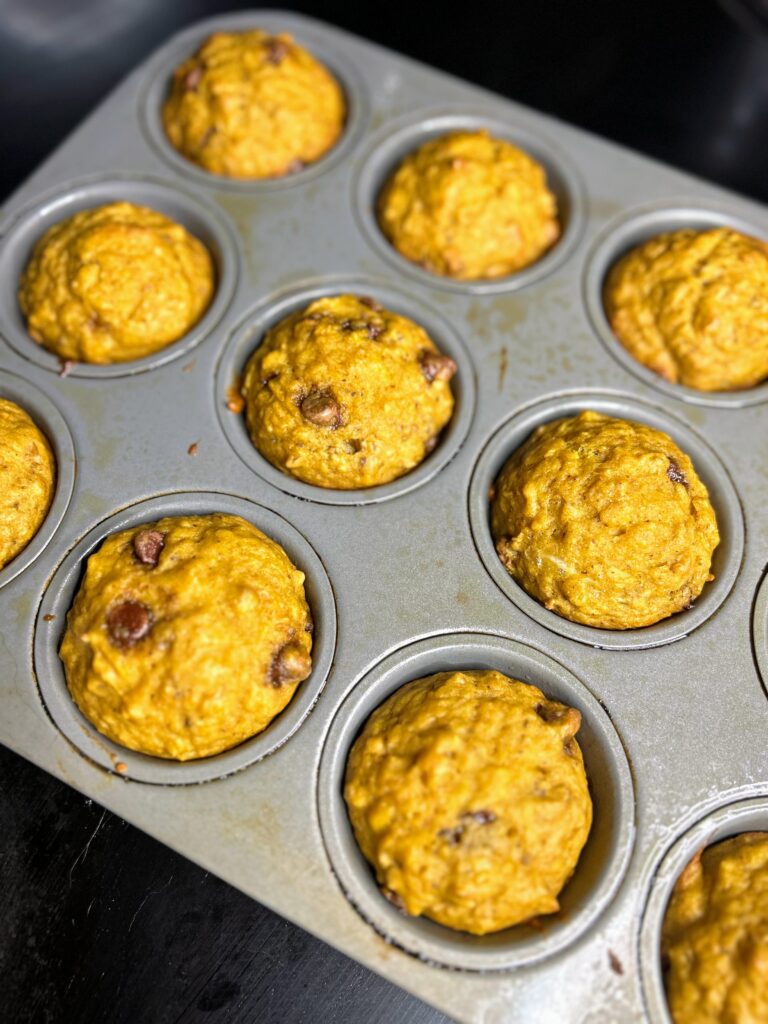
Bake for 20-25 minutes, until a toothpick inserted in the center comes out clean.

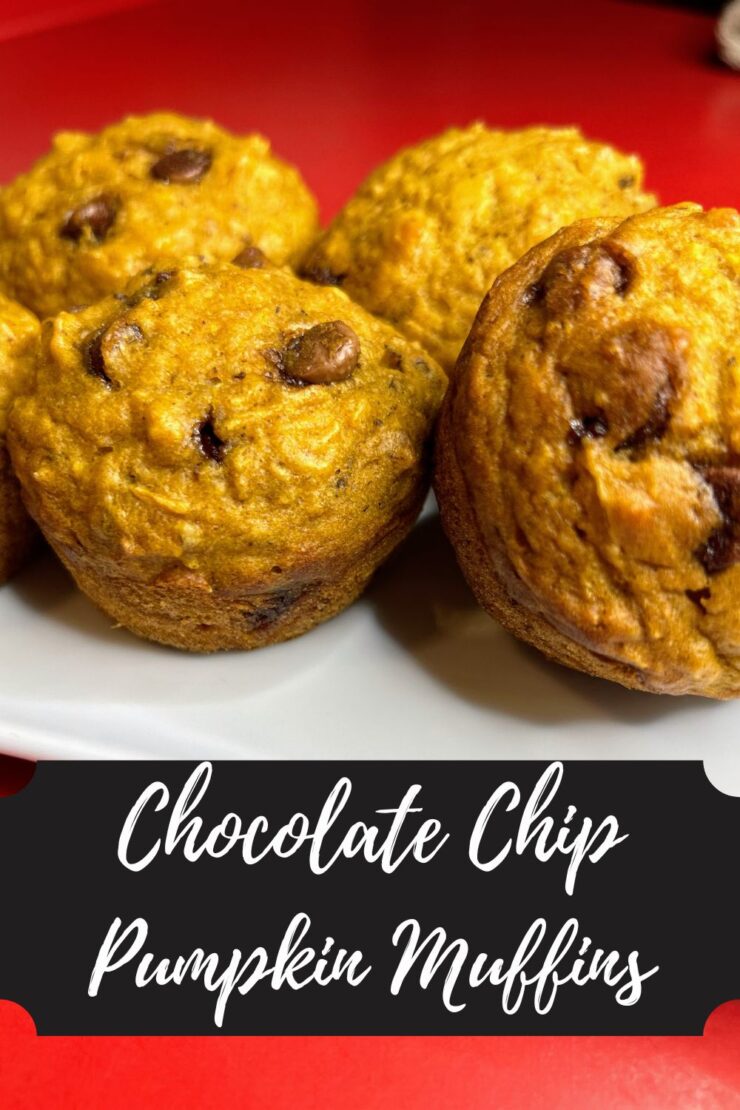
Chocolate Chip Pumpkin Muffins
Equipment
Ingredients
- 1 ½ cups roasted and mashed pumpkin
- ½ cup brown sugar
- ¼ cup oil
- 1 teaspoon vanilla
- 2 eggs
- 1 ½ cups flour
- 1 teaspoon baking soda
- ½ teaspoon salt
- ½ teaspoon ground cinnamon
- ⅛ teaspoon nutmeg
- ⅛ teaspoon ground cloves
- ½ teaspoon baking powder
- ½ cup coarsely chopped nuts
- ¼ -⅓ chocolate chips if desired
Instructions
- Preheat the oven to 350 degrees. Prepare 18 muffin vessels by spraying with cooking spray or lining with muffin cups. In a large bowl, stir pumpkin, brown sugar, oil, vanilla, and eggs together until well combined.
- Combine flour, salt, cinnamon, nutmeg, cloves, and baking powder in another bowl. Fold into the wet ingredients until just combined. Fold the chopped nuts and chocolate chips in.
- Bake for 20-25 minutes, until a toothpick inserted in the center comes out clean.
Looking for other great breakfast recipes?
You can definitely check out my baking and my breakfast pages. Or maybe one of the recipes below will tickle your fancy!