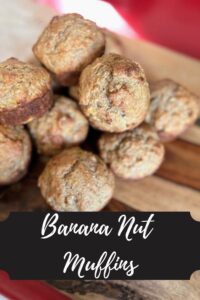
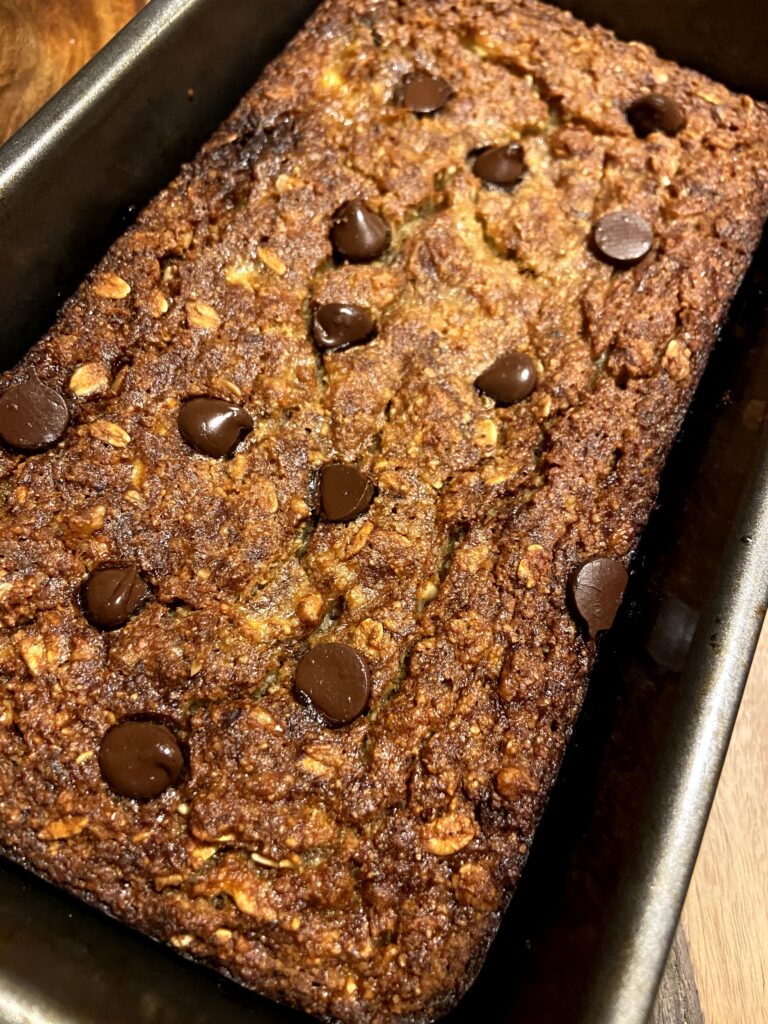
I have an eleven year old boy this summer. If you have ever had an eleven year old, you know this means he’s eating CONSTANTLY. We try to encourage healthy foods for his forever snacking, and generally begin our sentences with “have a banana or a string cheese.” Then he eats three of them. What’s a mom to do? This also means we buy bananas in bulk. Most of the time we are making second trips to the grocery store for more. But sometimes we end up with some overly ripe ones. When that happens, I make banana bread, banana ice cream, or banana oat muffins.
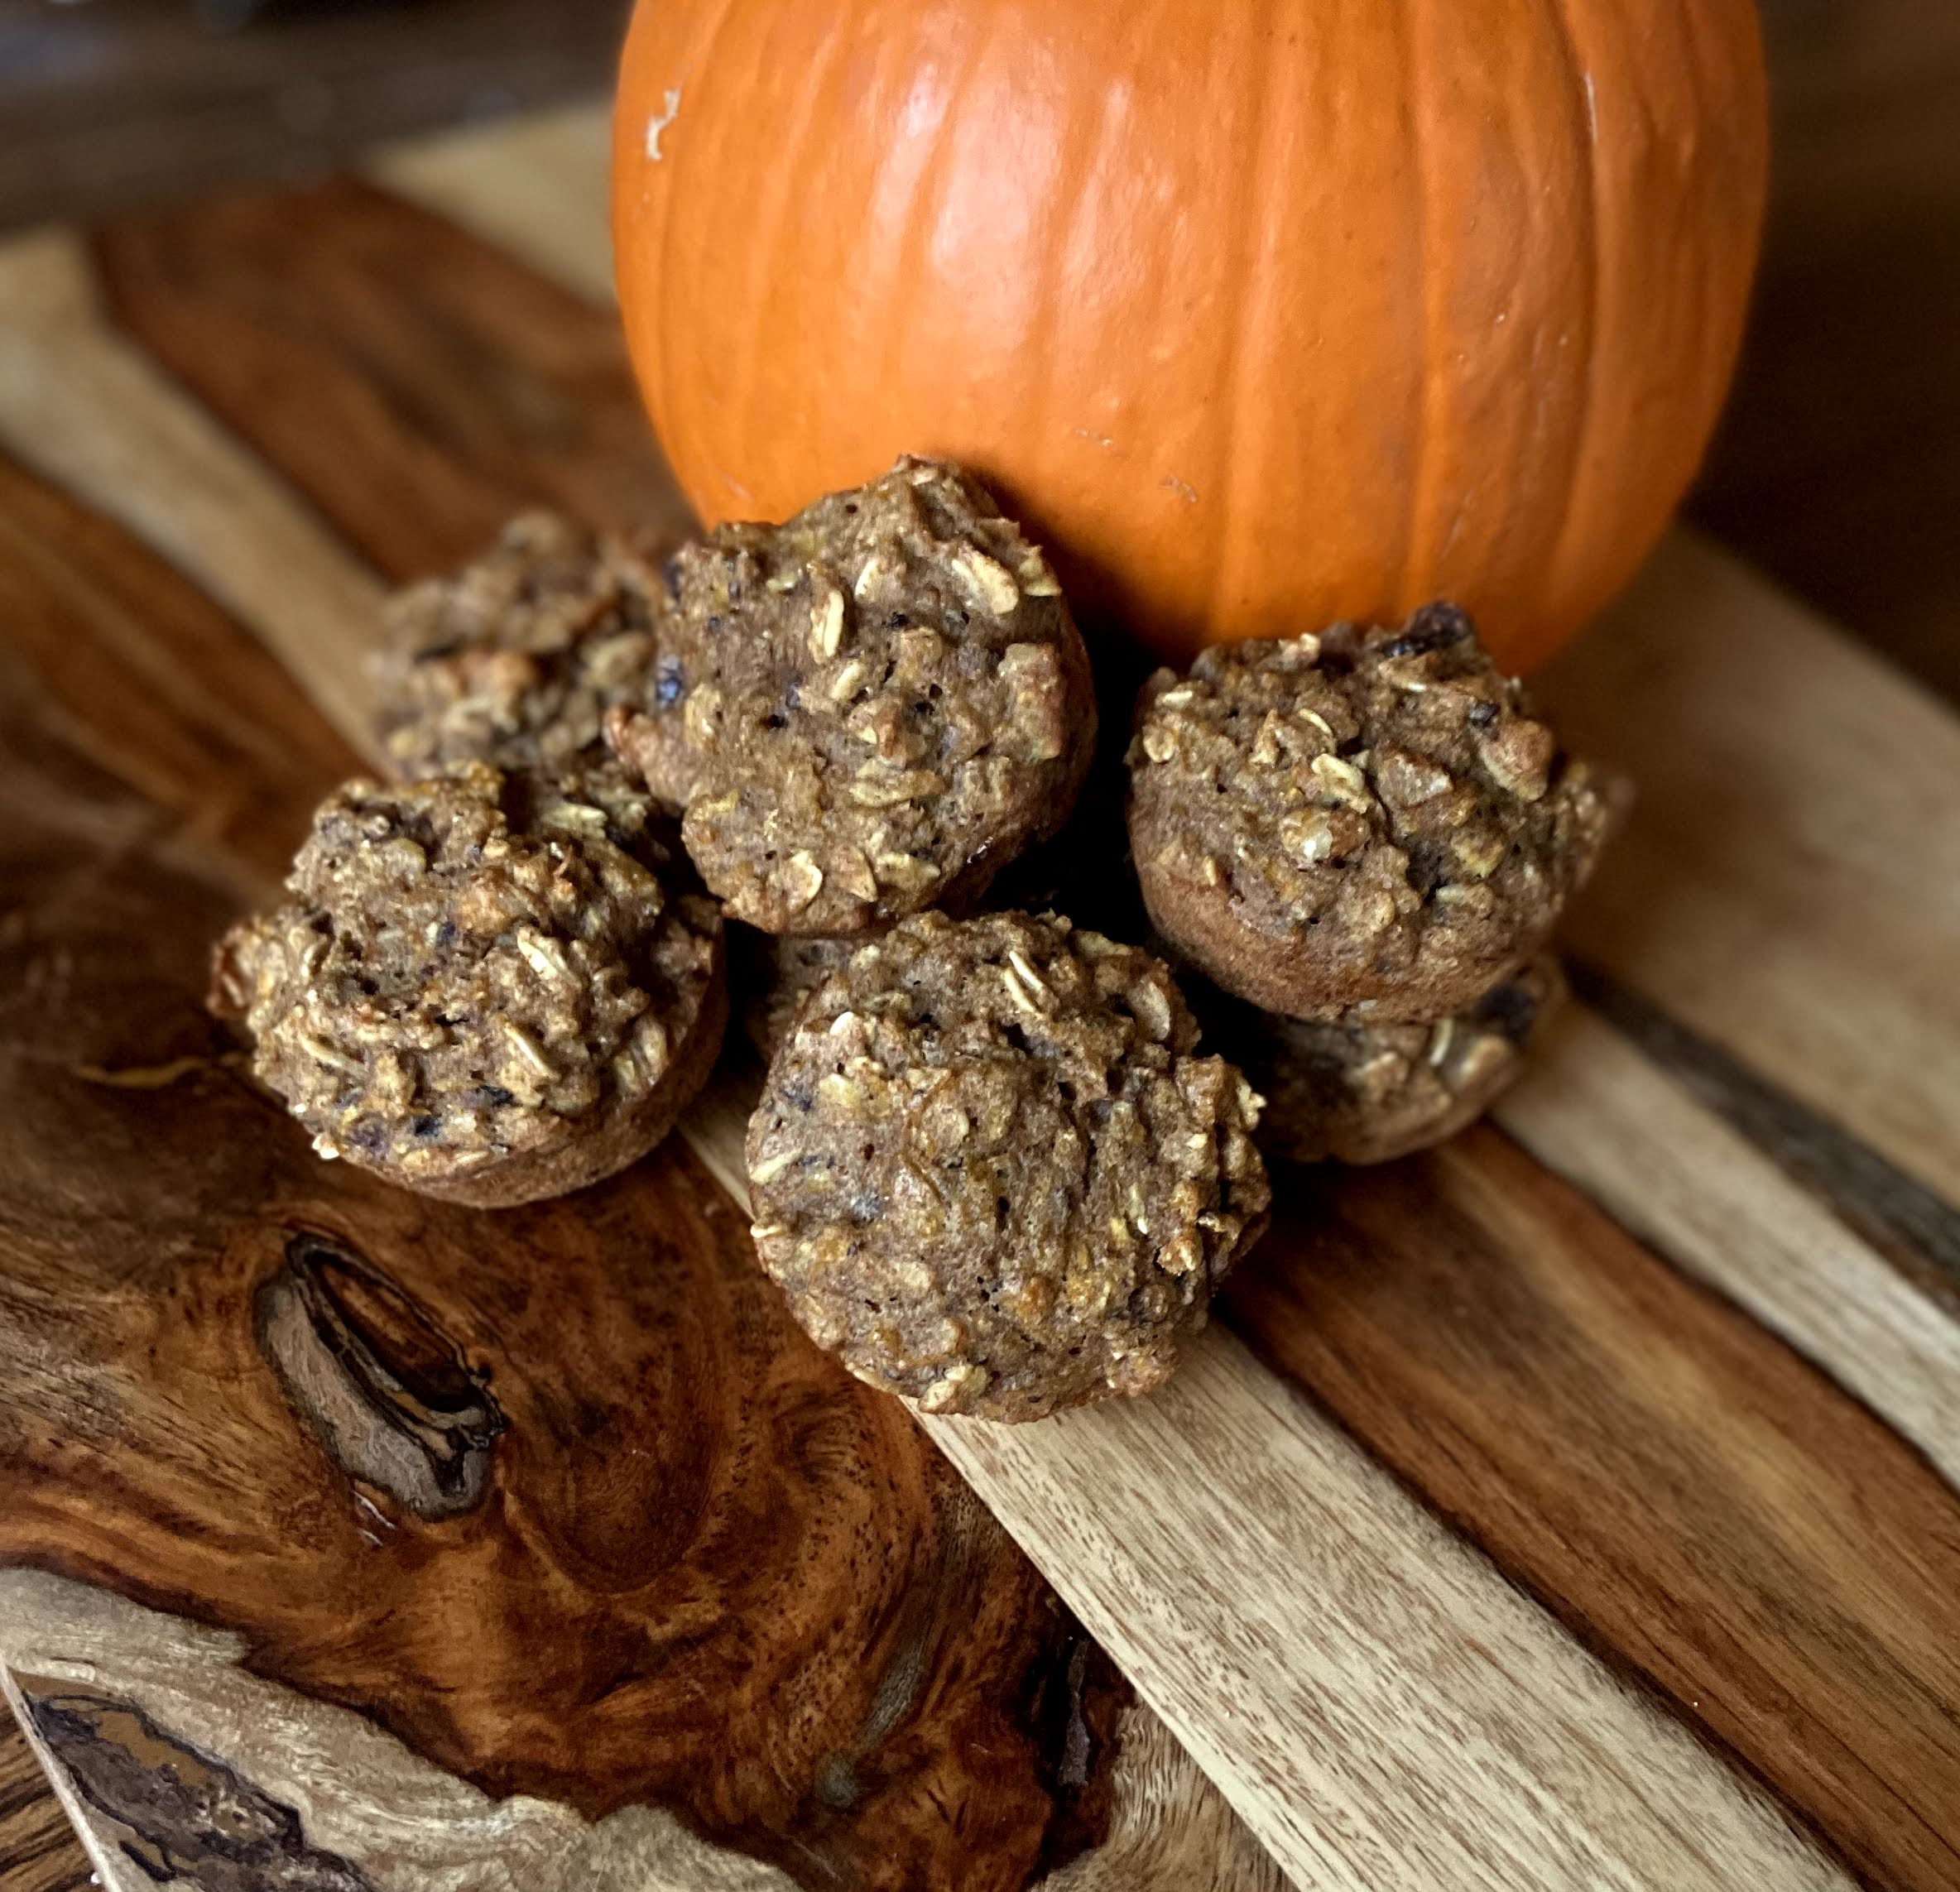
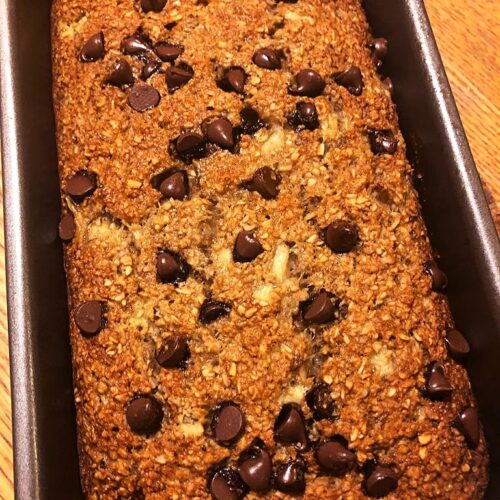
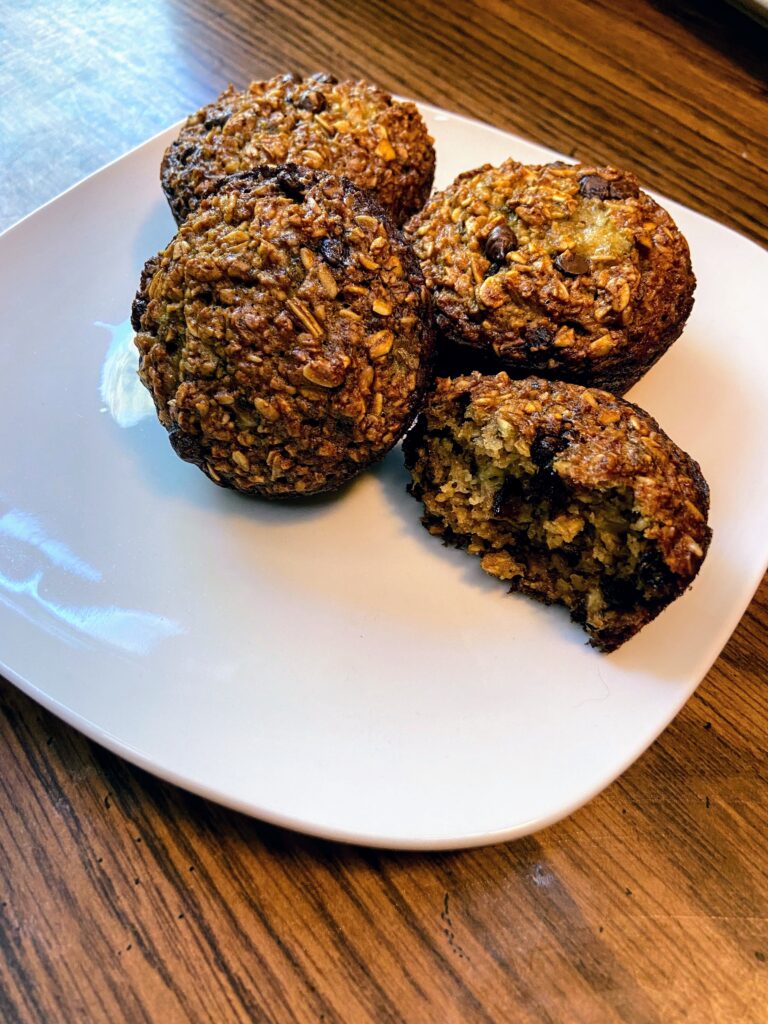
This banana oat muffin recipe is everything you would hope for. They are beautifully dense. Perfectly sweet using maple syrup for the sweetener. They have texture and the right amount of chocolate chips to make anyone happy. And friends, it’s gluten free to boot. It’s full of good for you ingredients and only two tablespoons of oil. How can you go wrong, right?
These muffins will pair great with your coffee in the morning, as a mid morning snack to get you to lunch time or for a guilt free dessert (although I totally believe in not feeling bad about dessert, but that’s another story for another time). I’m excited for you to give them a try and share them with your littles or your bigs or better yet, keep them to yourself. (You did hear I have an eleven year old right? I have to start hiding my favorite foods and treats from him!)
Let’s get baking some banana oat muffins
YOUR INGREDIENTS FOR THE BANANA Oat Muffins
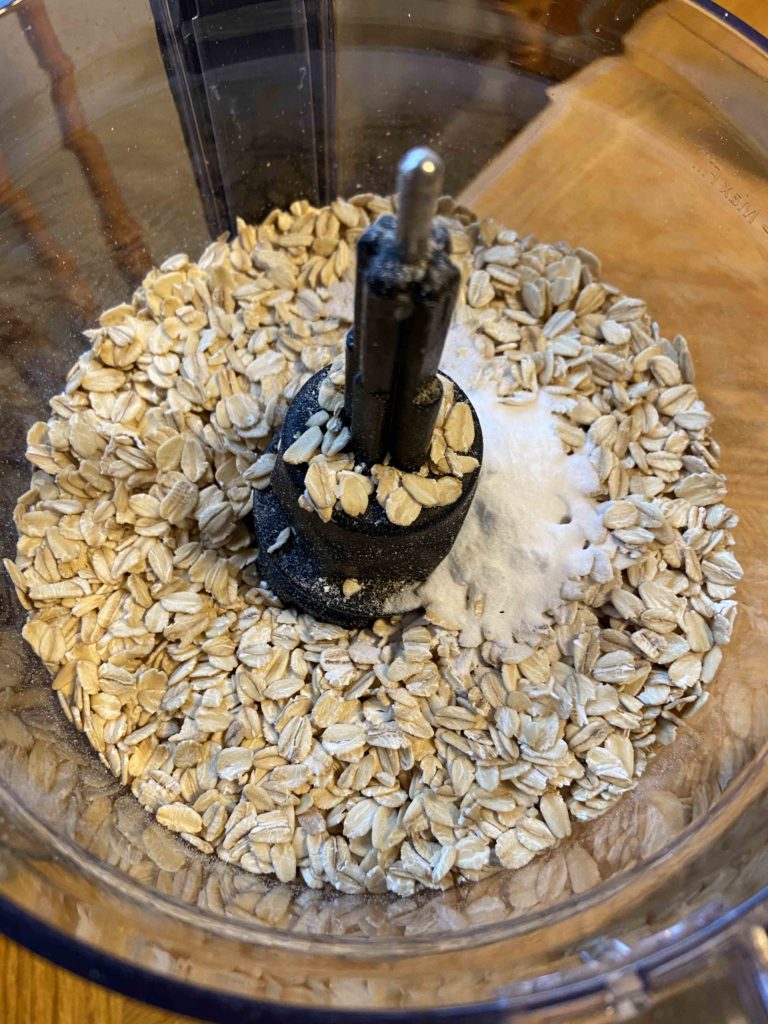
- 2 cups old fashioned oats
- 1 teaspoon baking soda
- 1/2 teaspoon salt
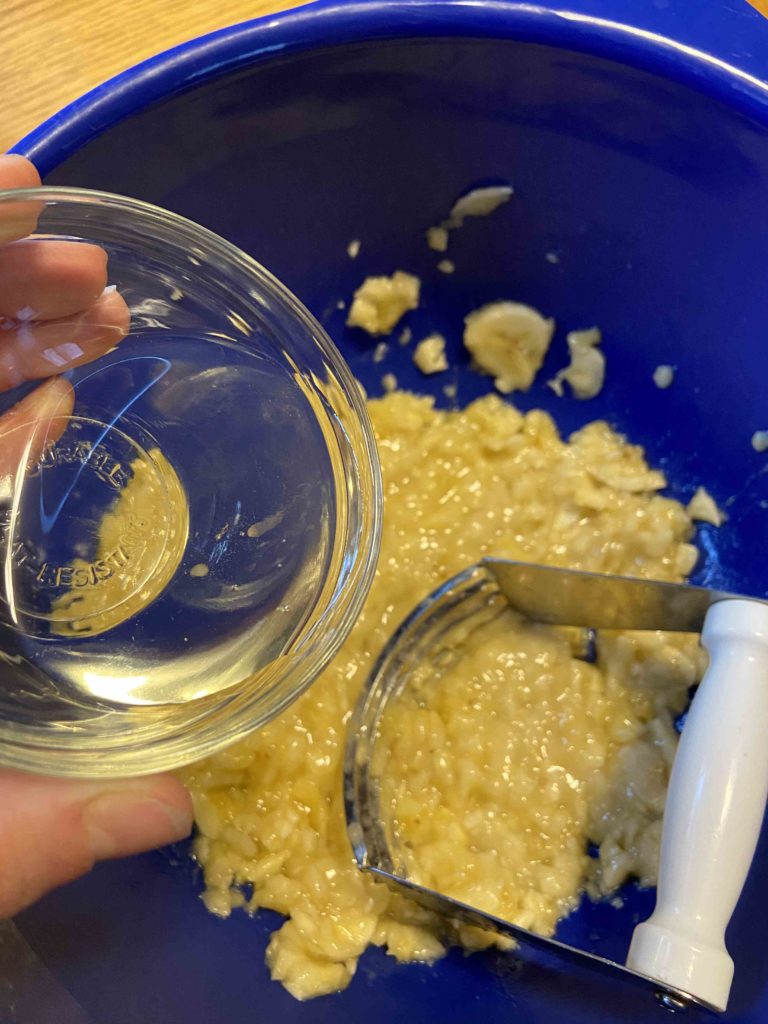
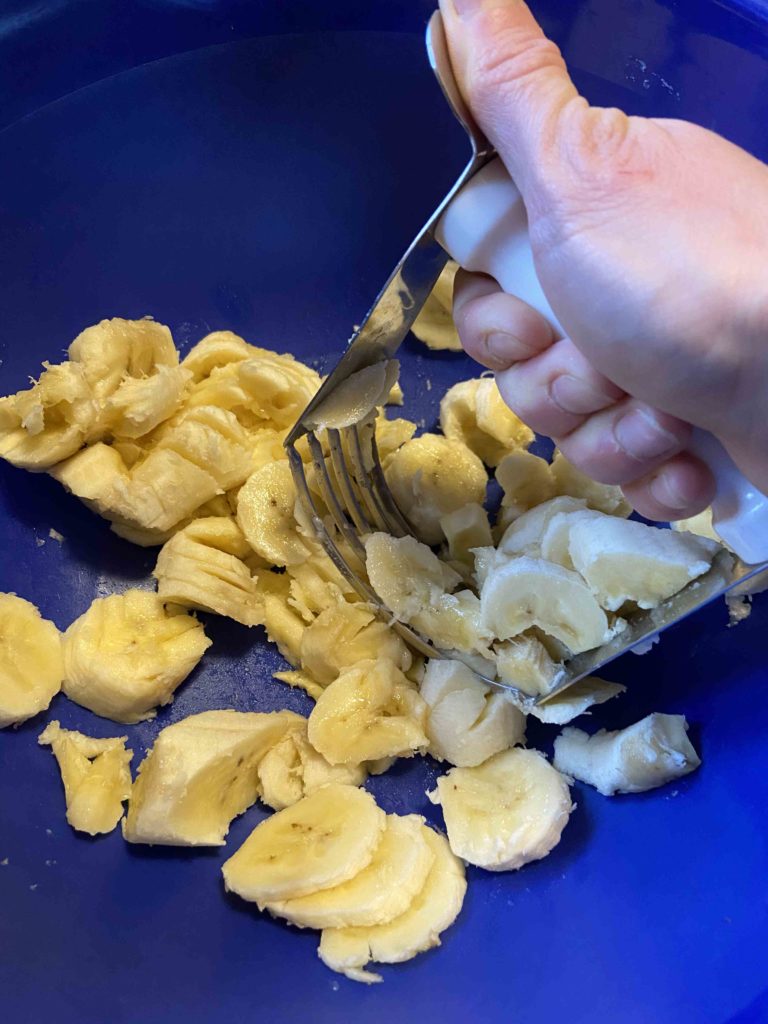
- 3 very ripe bananas, mashed (My go to tool for this? A pastry cutter. It works great AND young kids can easily get involved and do this step for you)
- 2 eggs
- 1/4 cup real maple syrup
- 2 tablespoons melted coconut oil
- 1/4 mini chocolate chips
Your Steps to the banana Oat Muffins
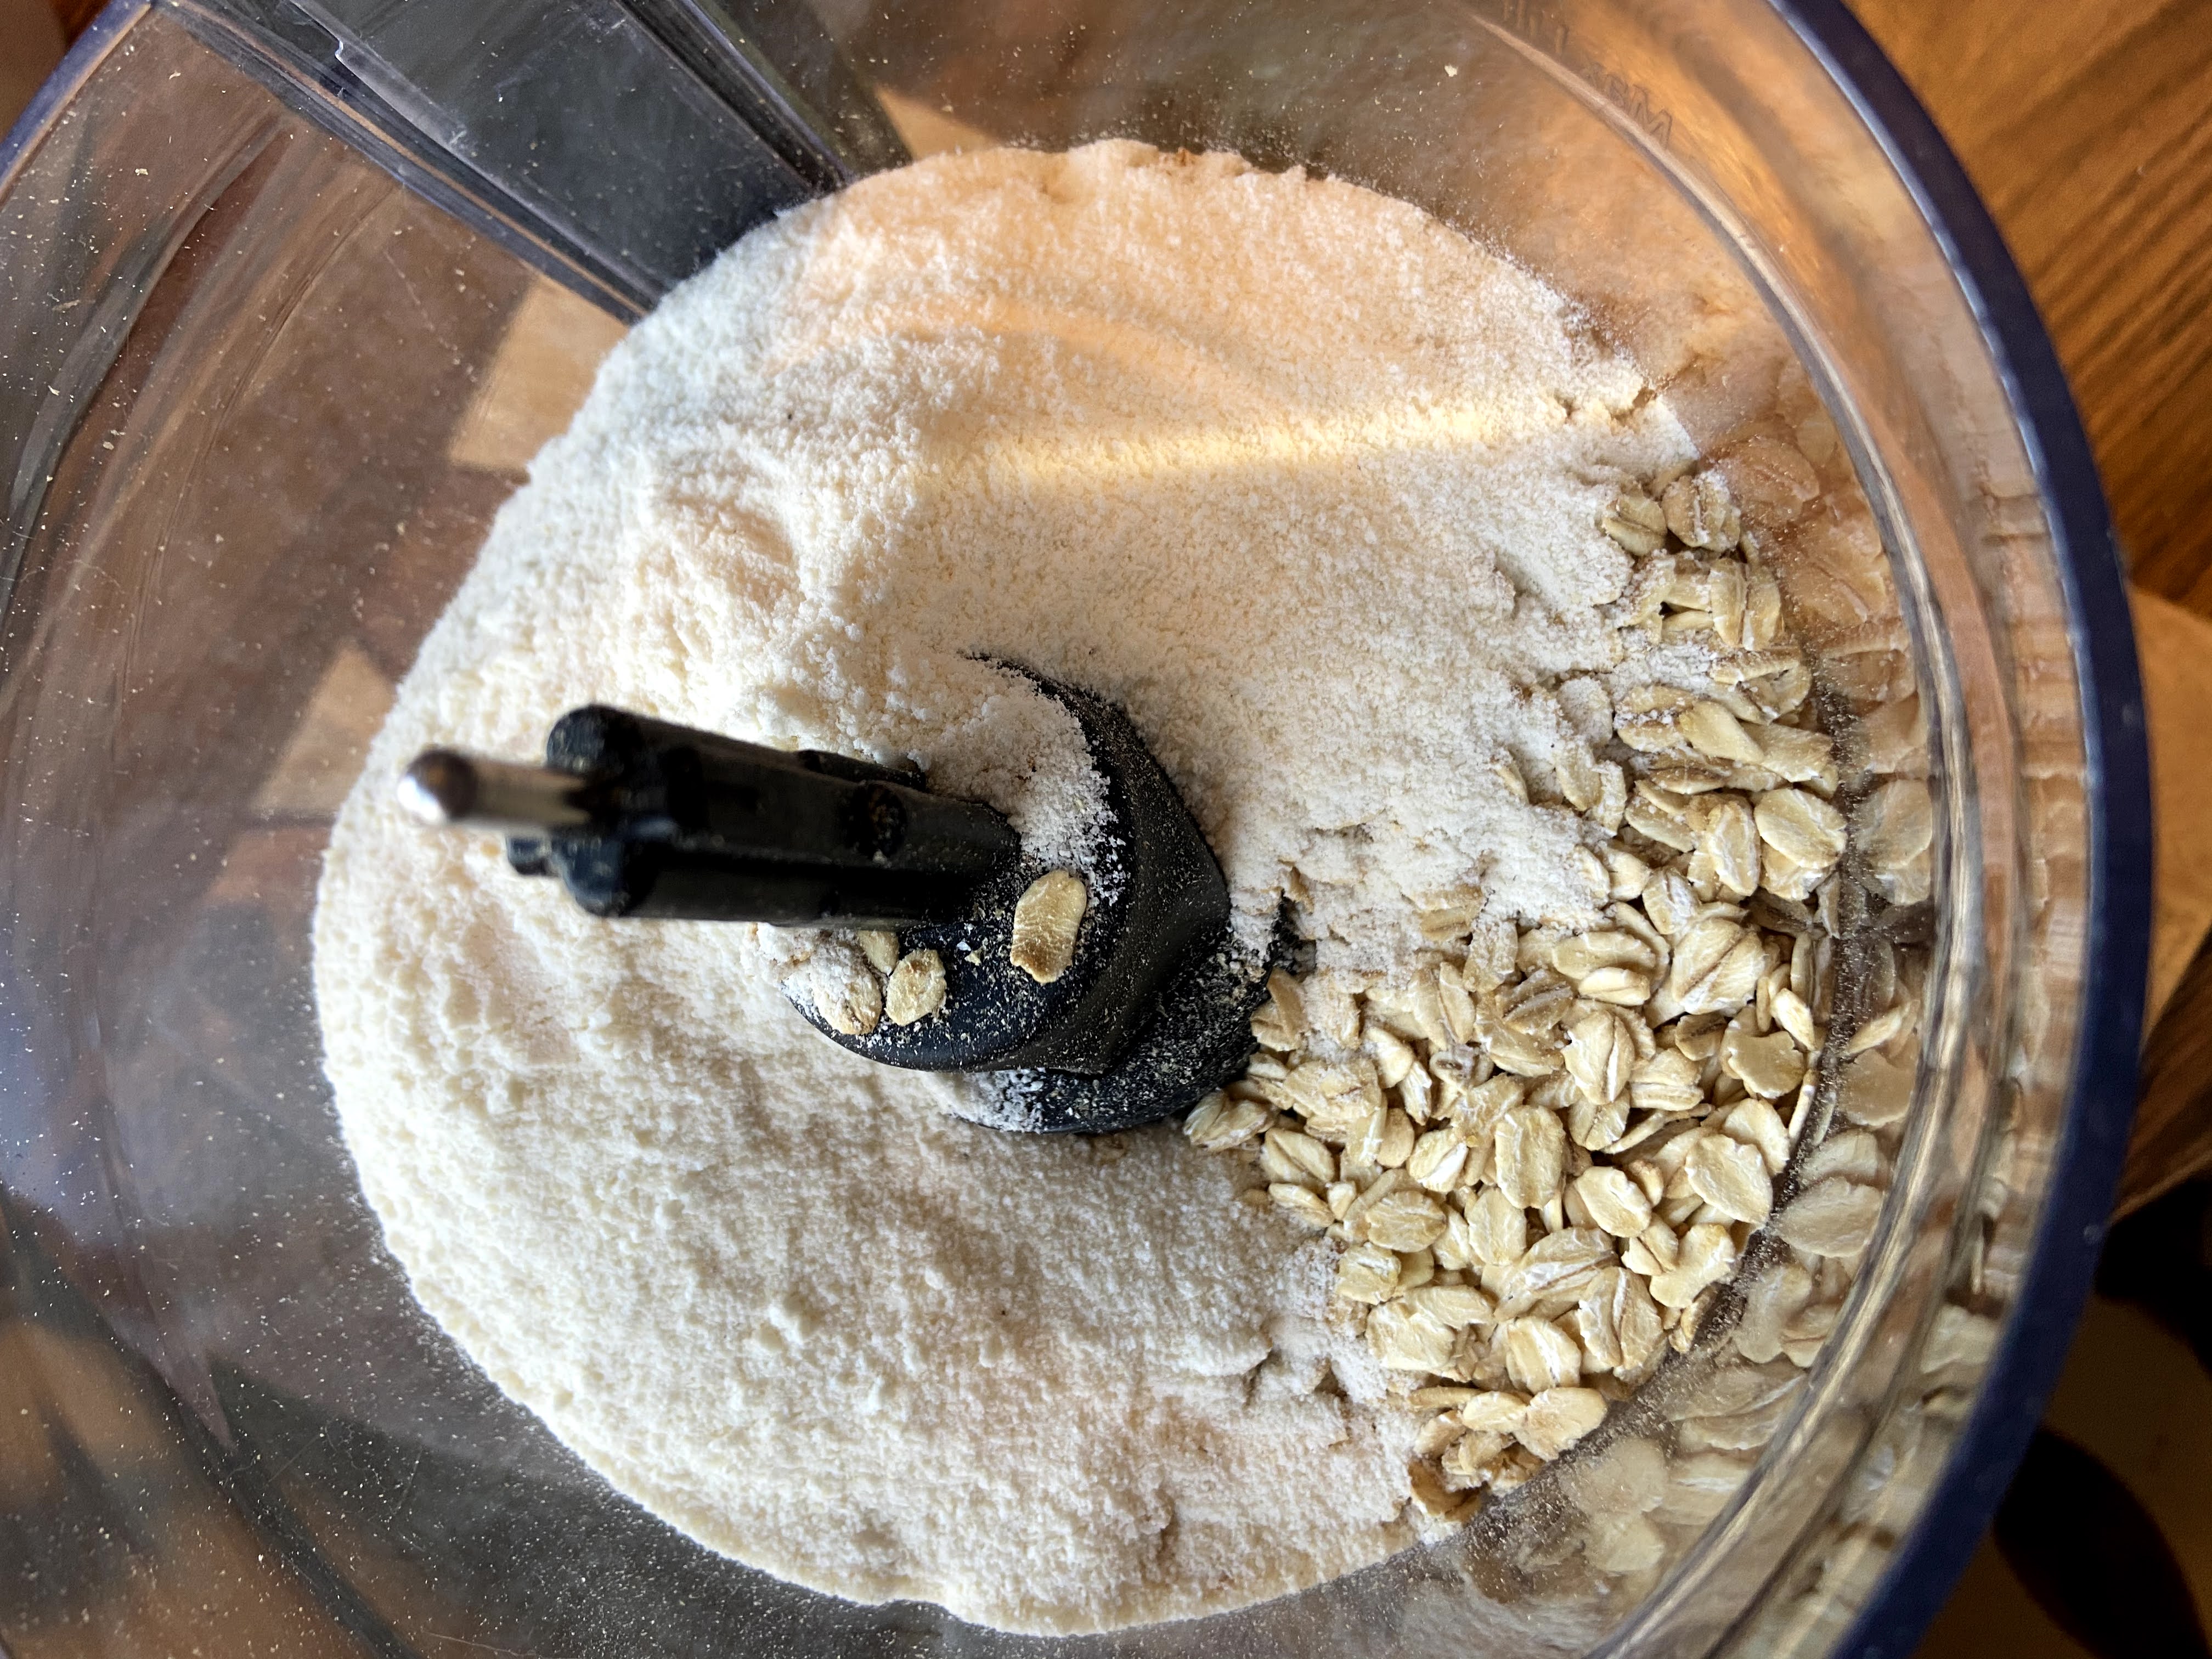
First, preheat the oven to 350 degrees. Prepare a 12 muffin tin with non stick cooking spray. Then measure out and combine:
- 2 cups old fashioned oats
- 1 teaspoon baking soda
- 1/2 teaspoon salt
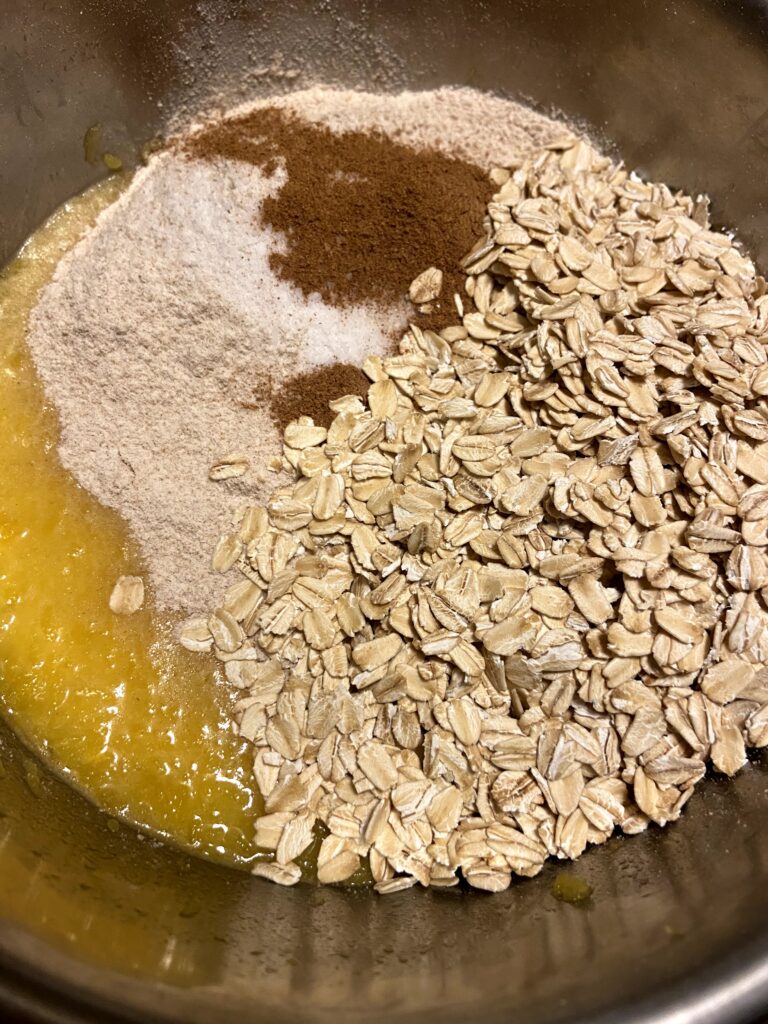
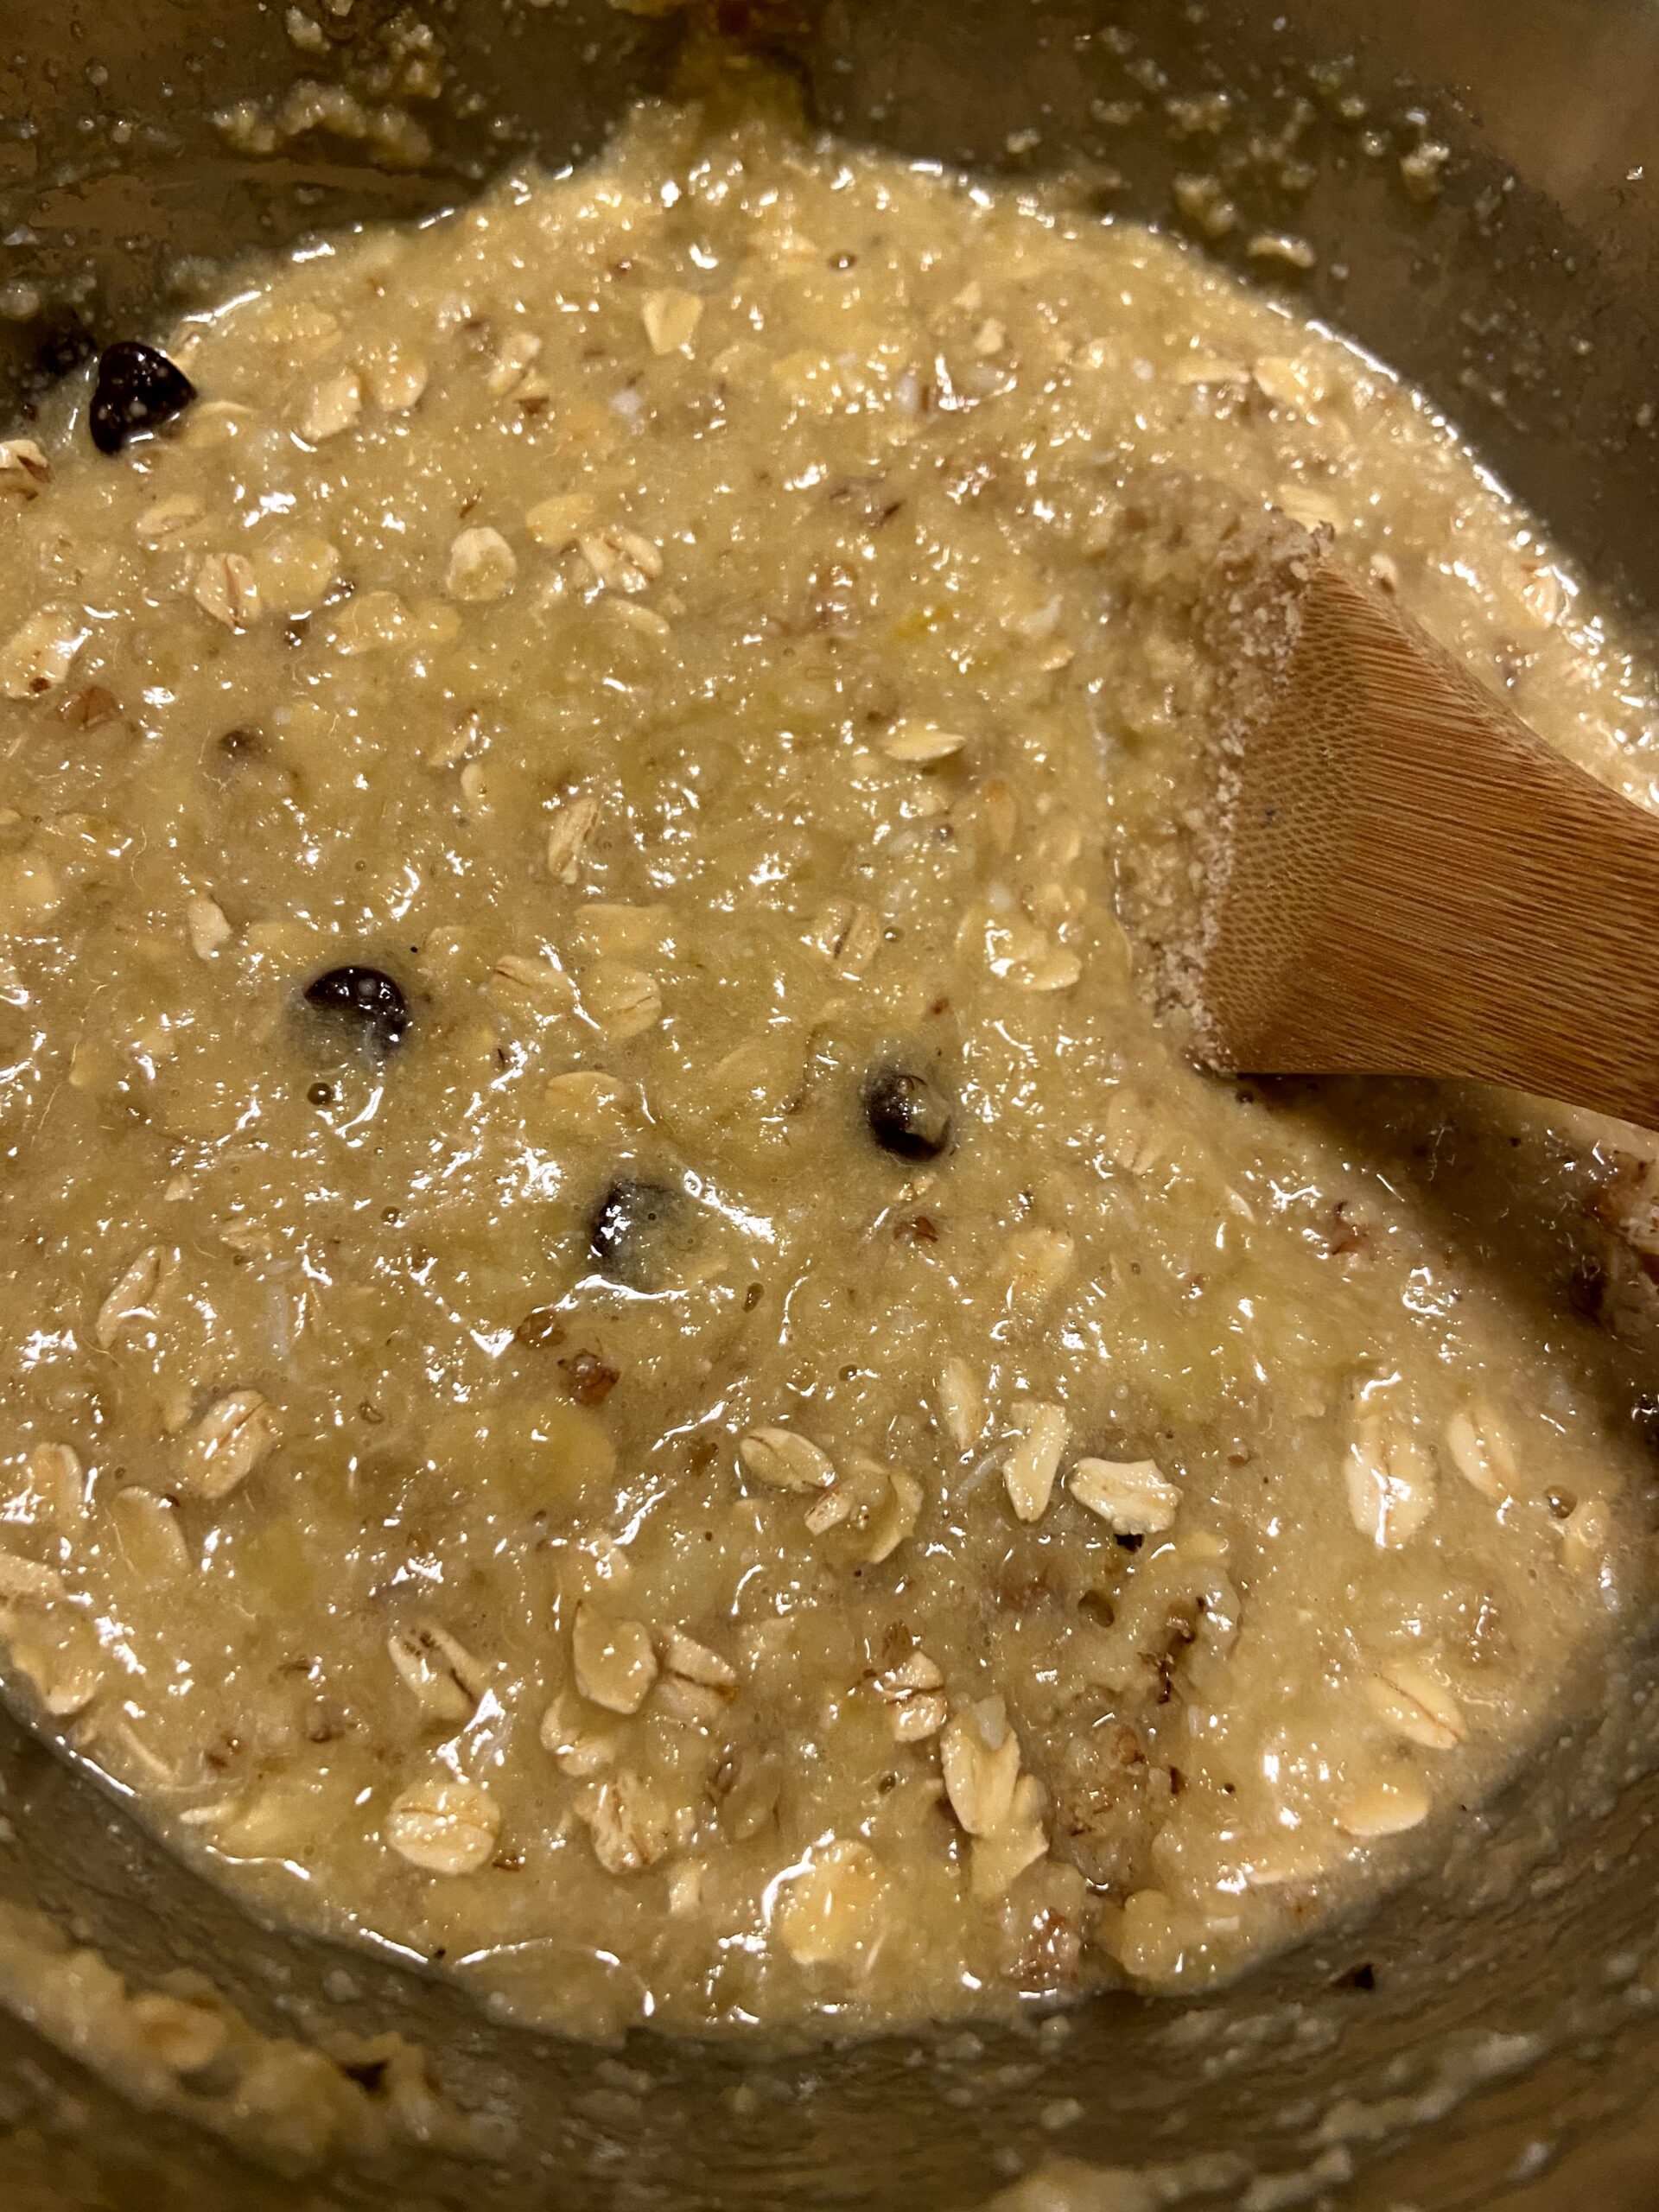
Pulse these three ingredients in a food processor until they are a coarse flour texture.
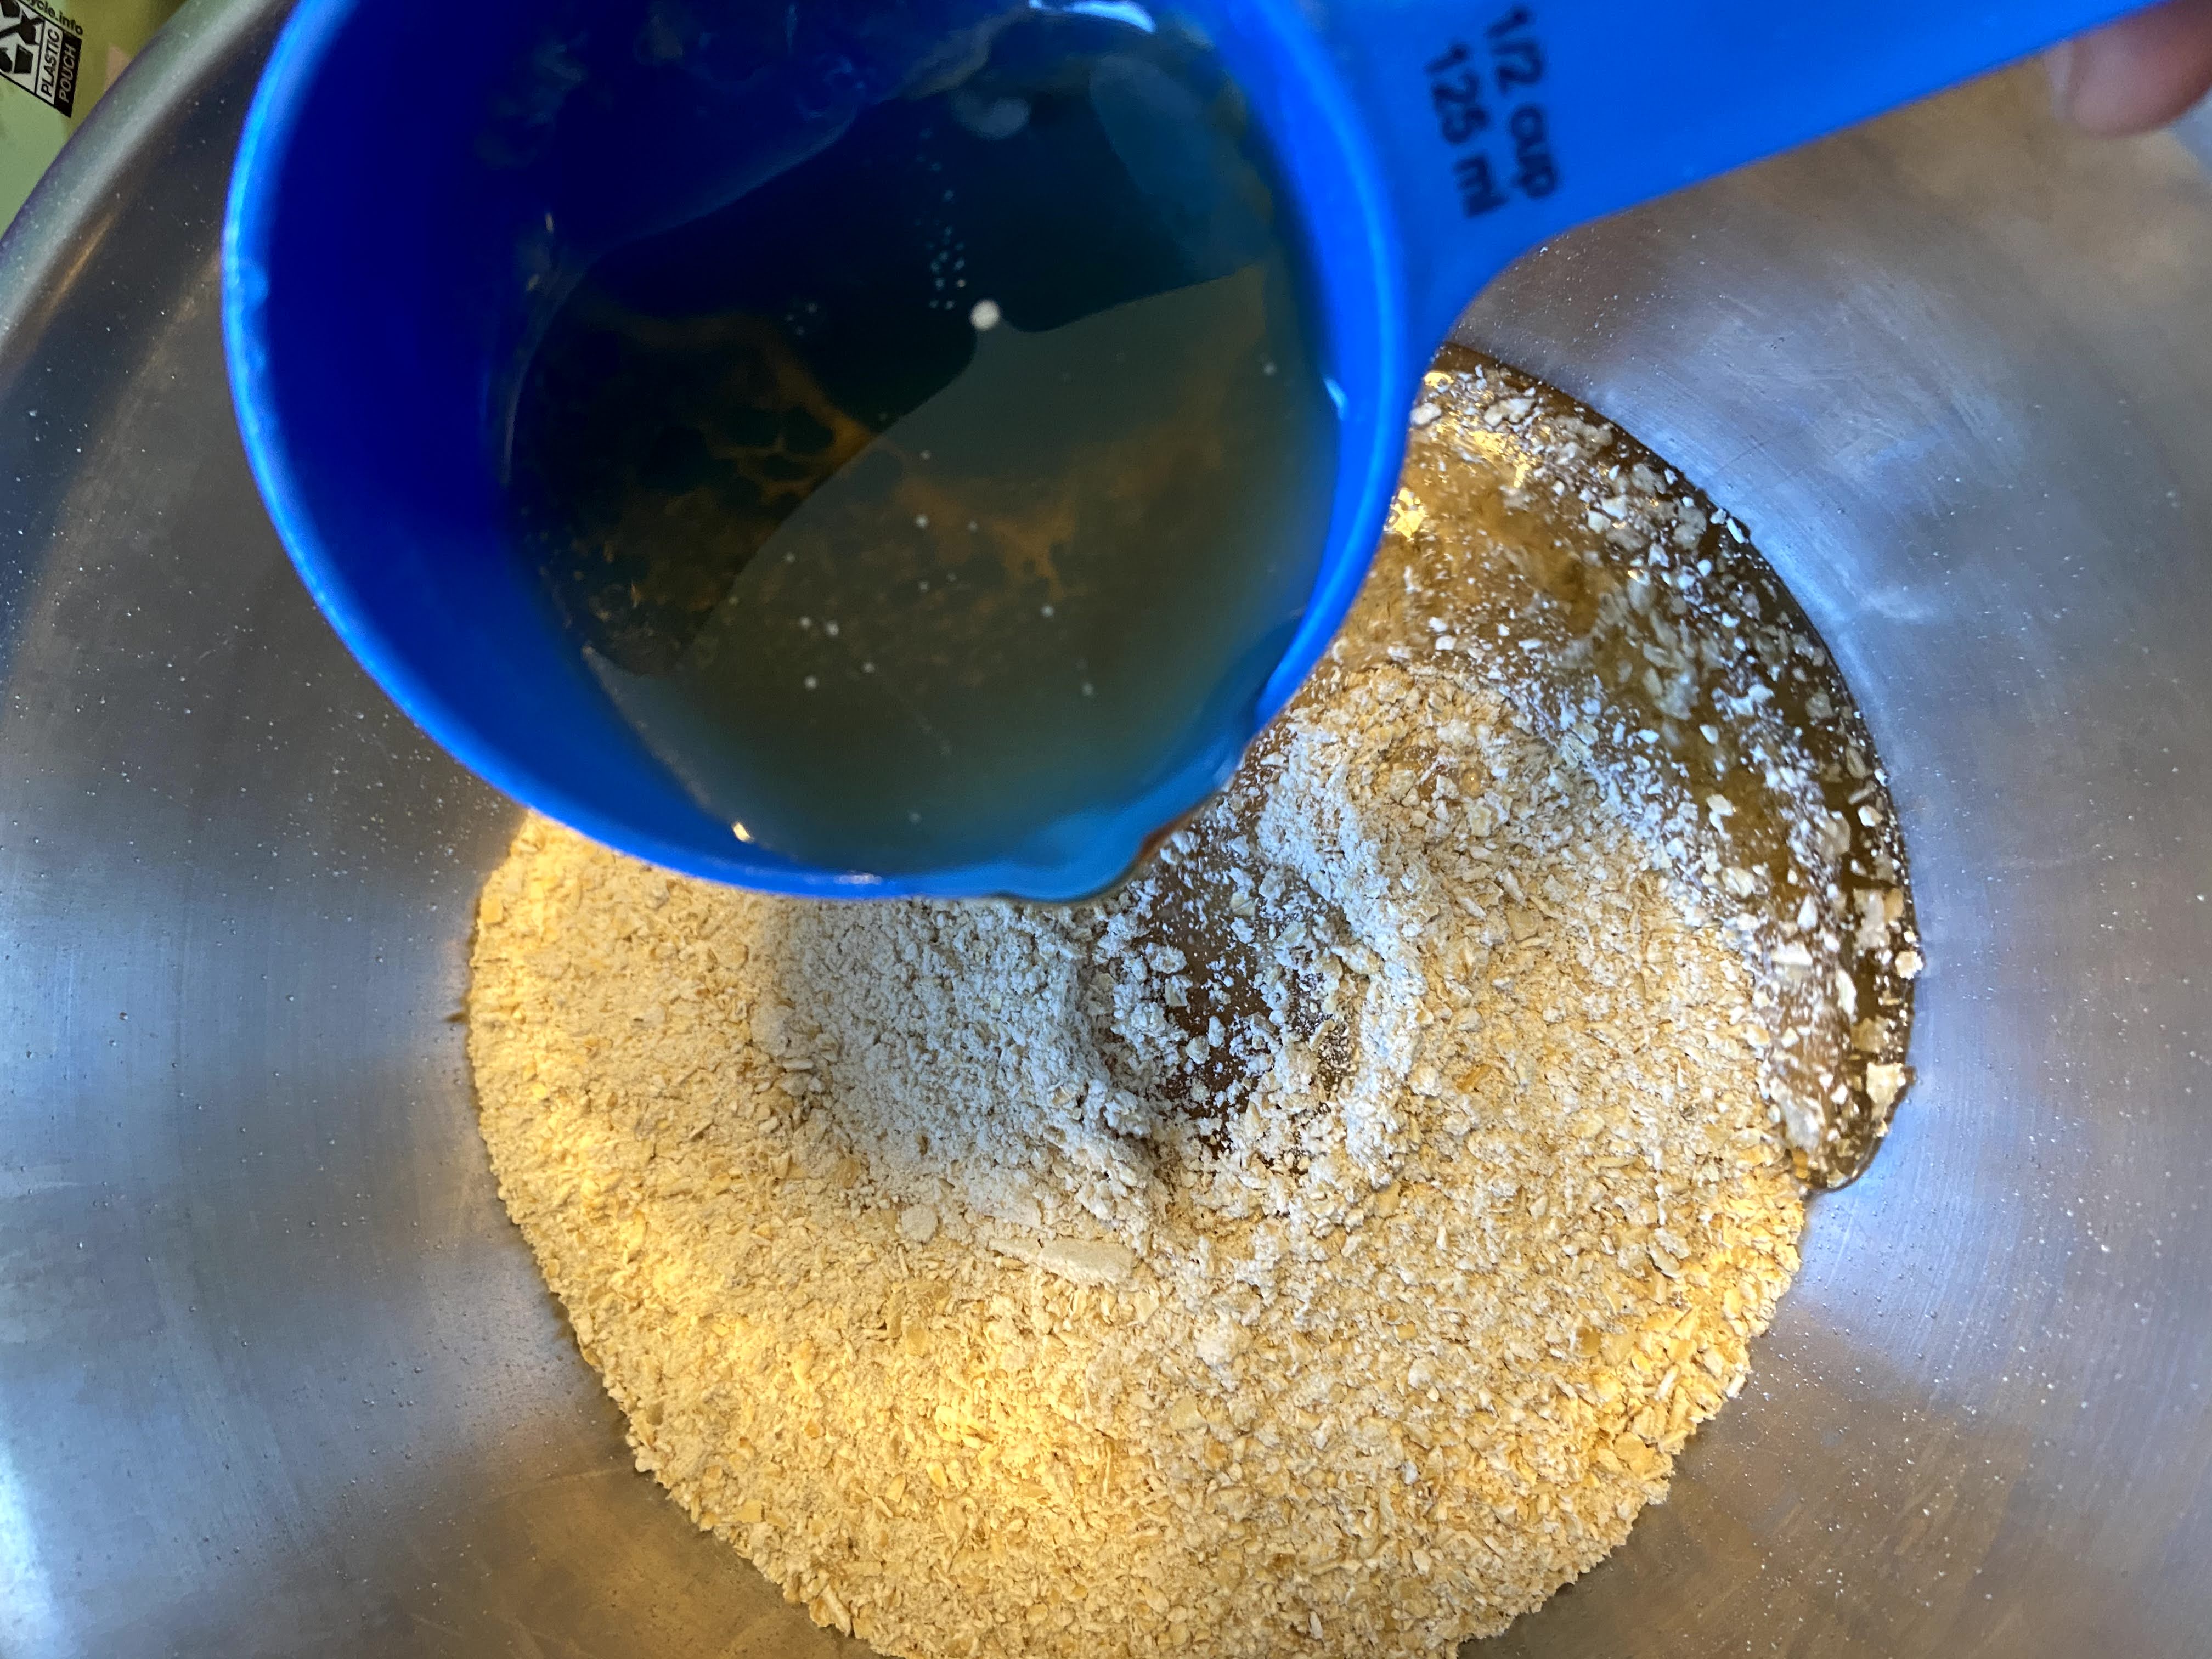
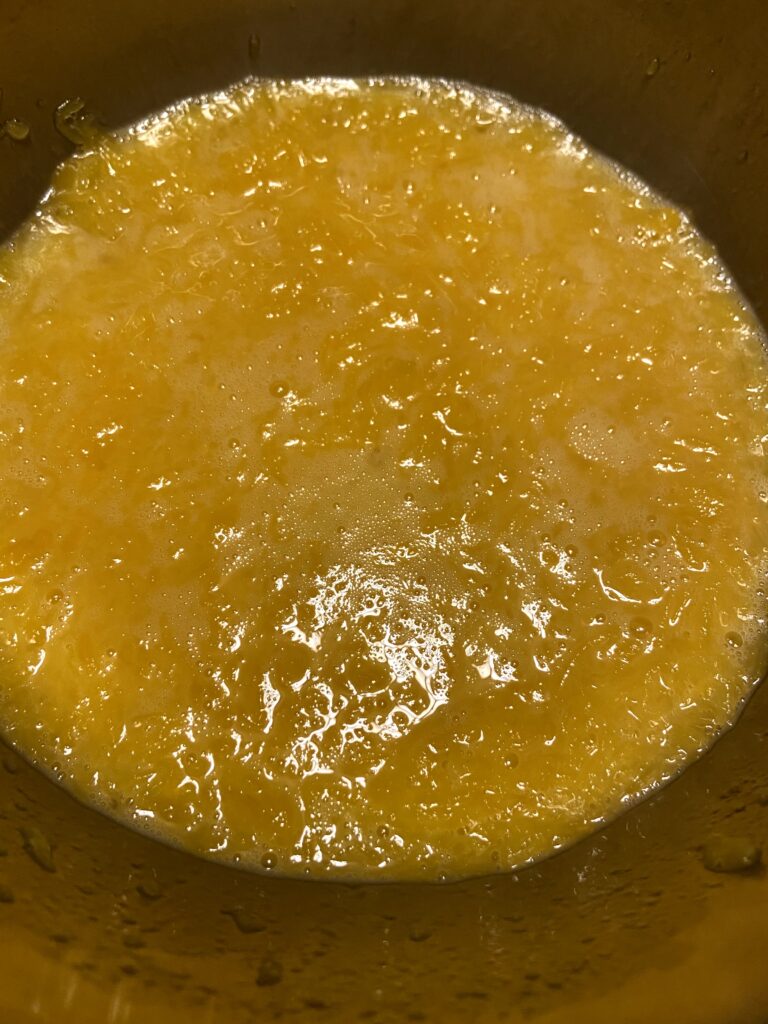
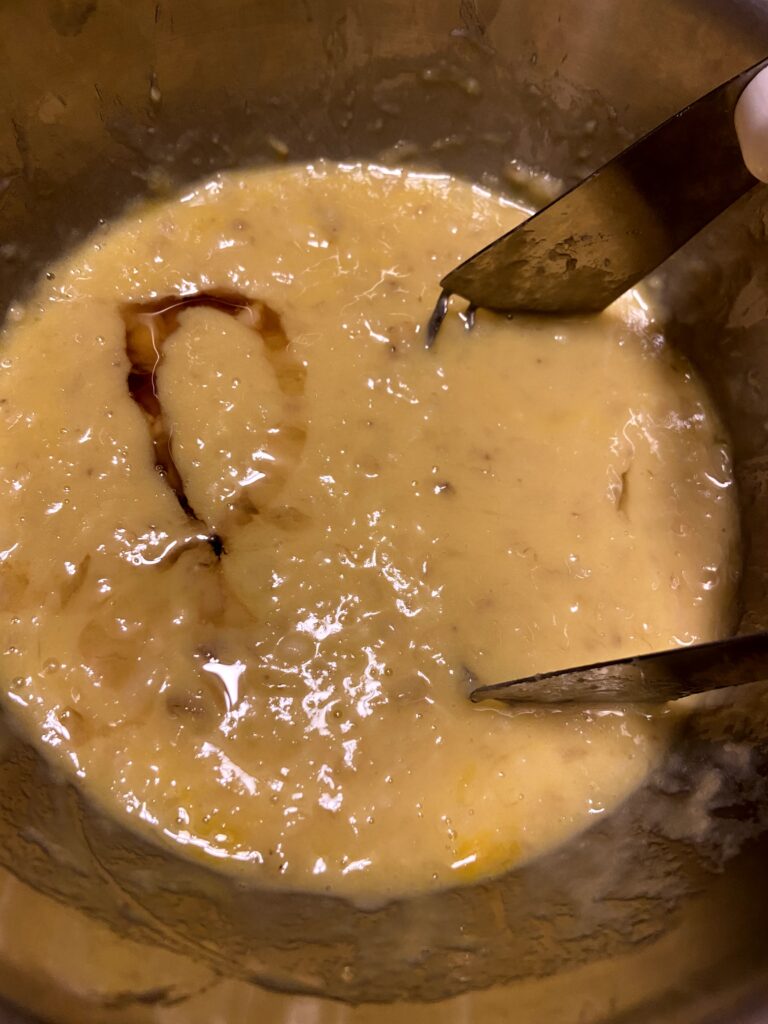
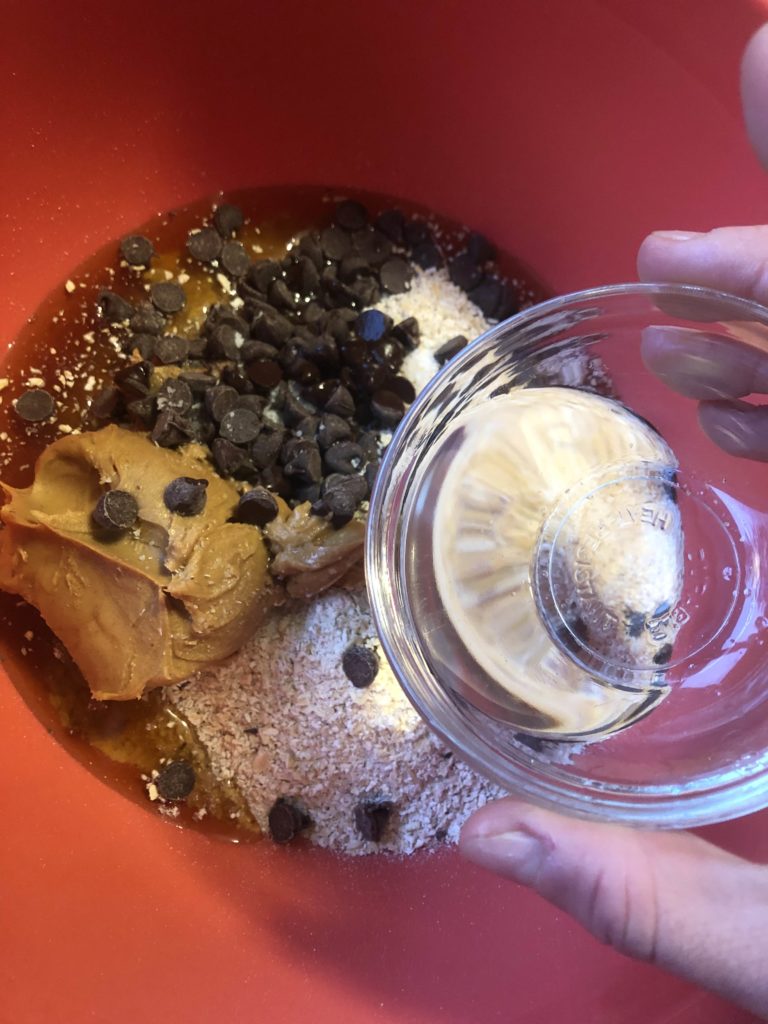
In an additional bowl, combine:
- 3 very ripe bananas, mashed (My go to tool for this? A pastry cutter. It works great AND young kids can easily get involved and do this step for you)
- 2 eggs
- 1/4 cup real maple syrup
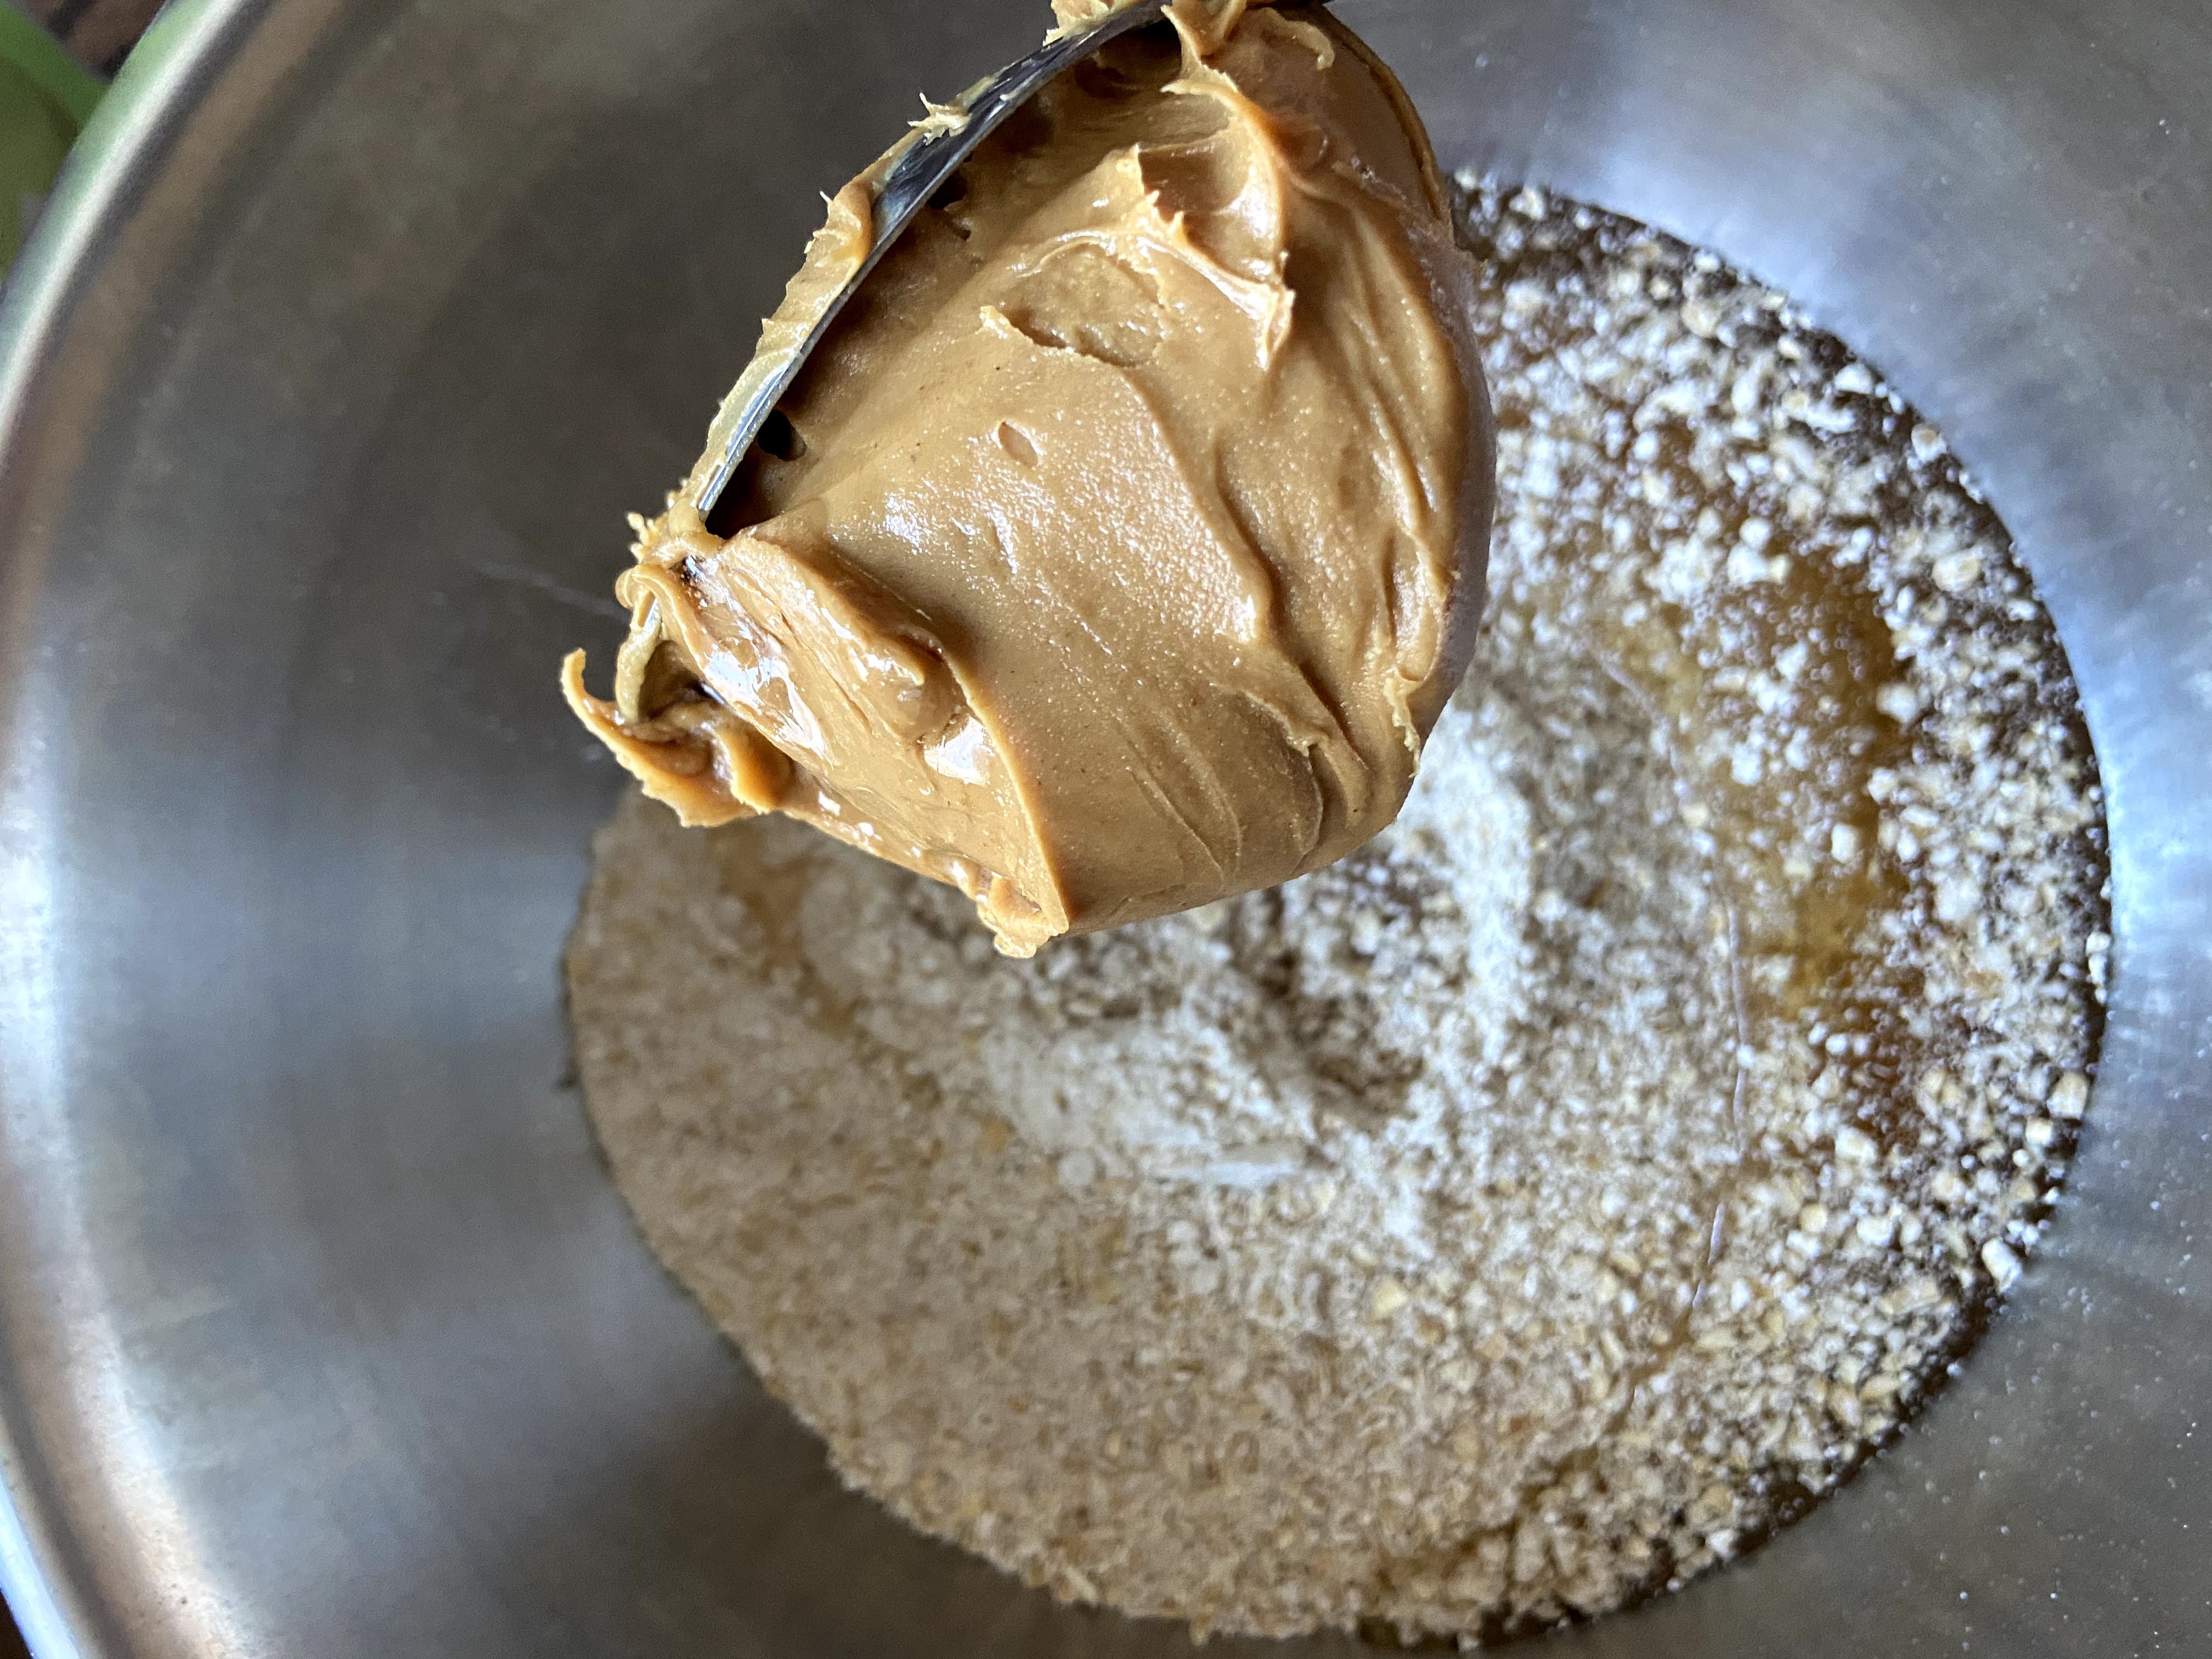
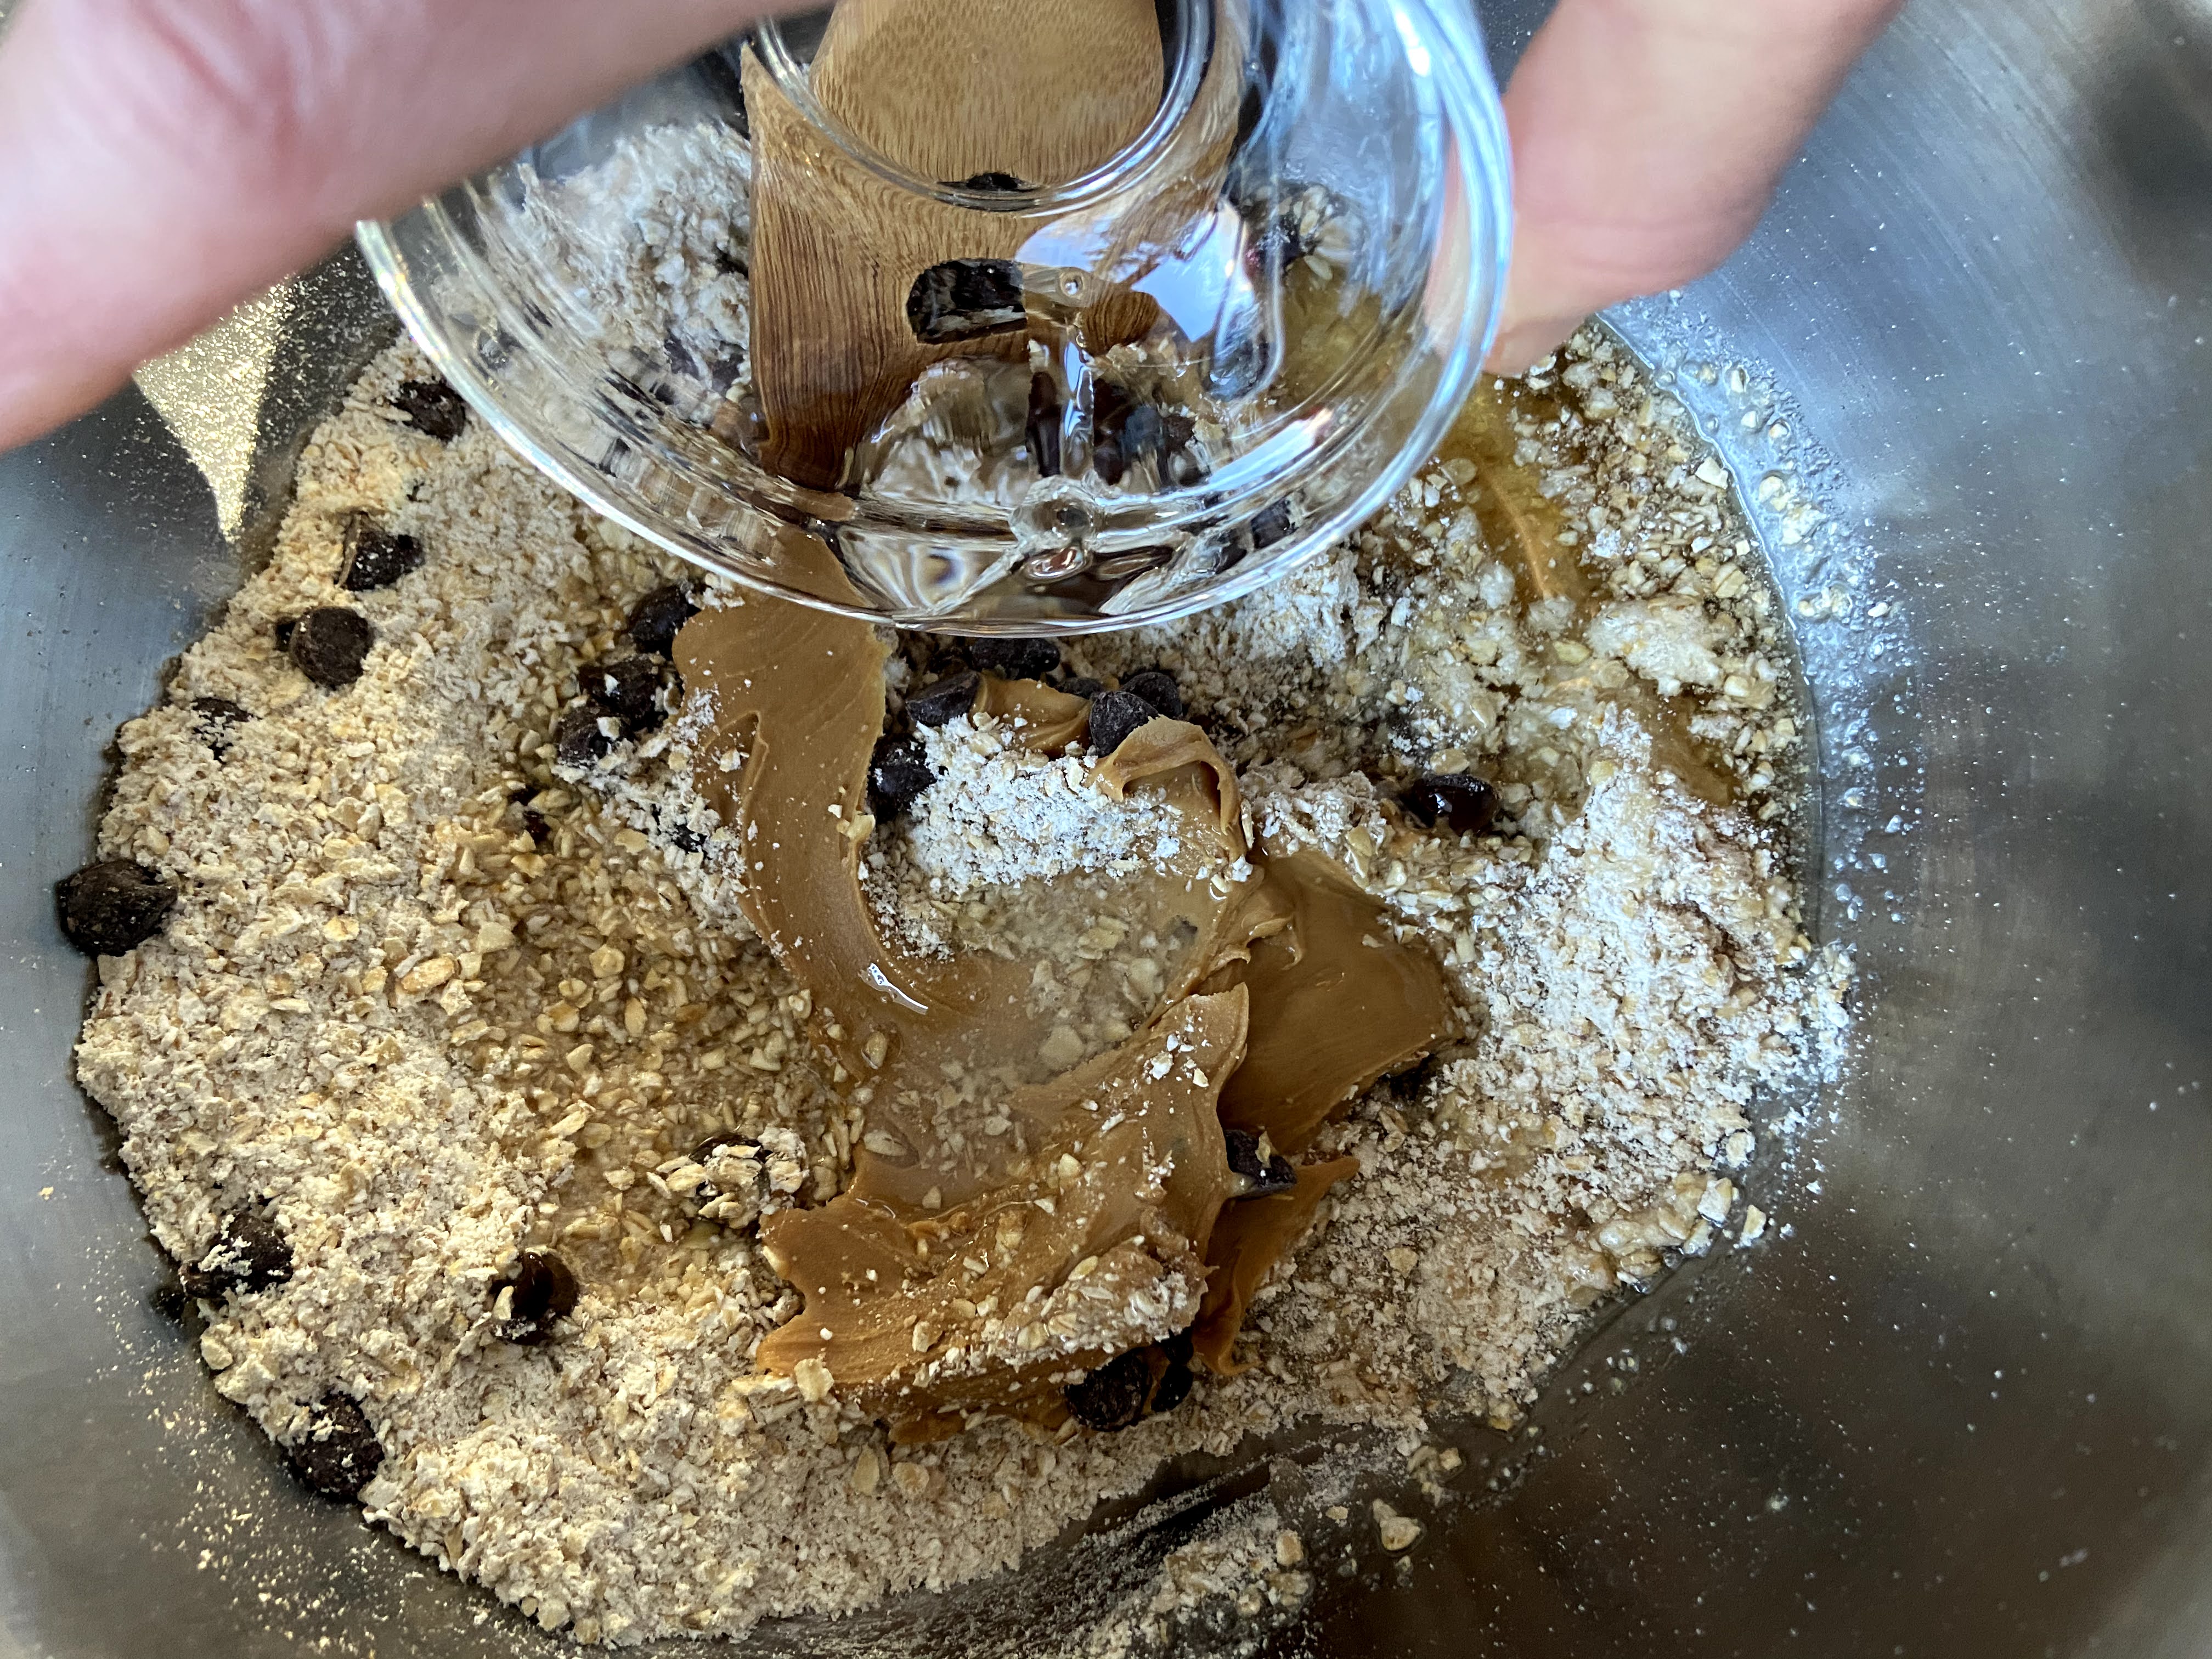
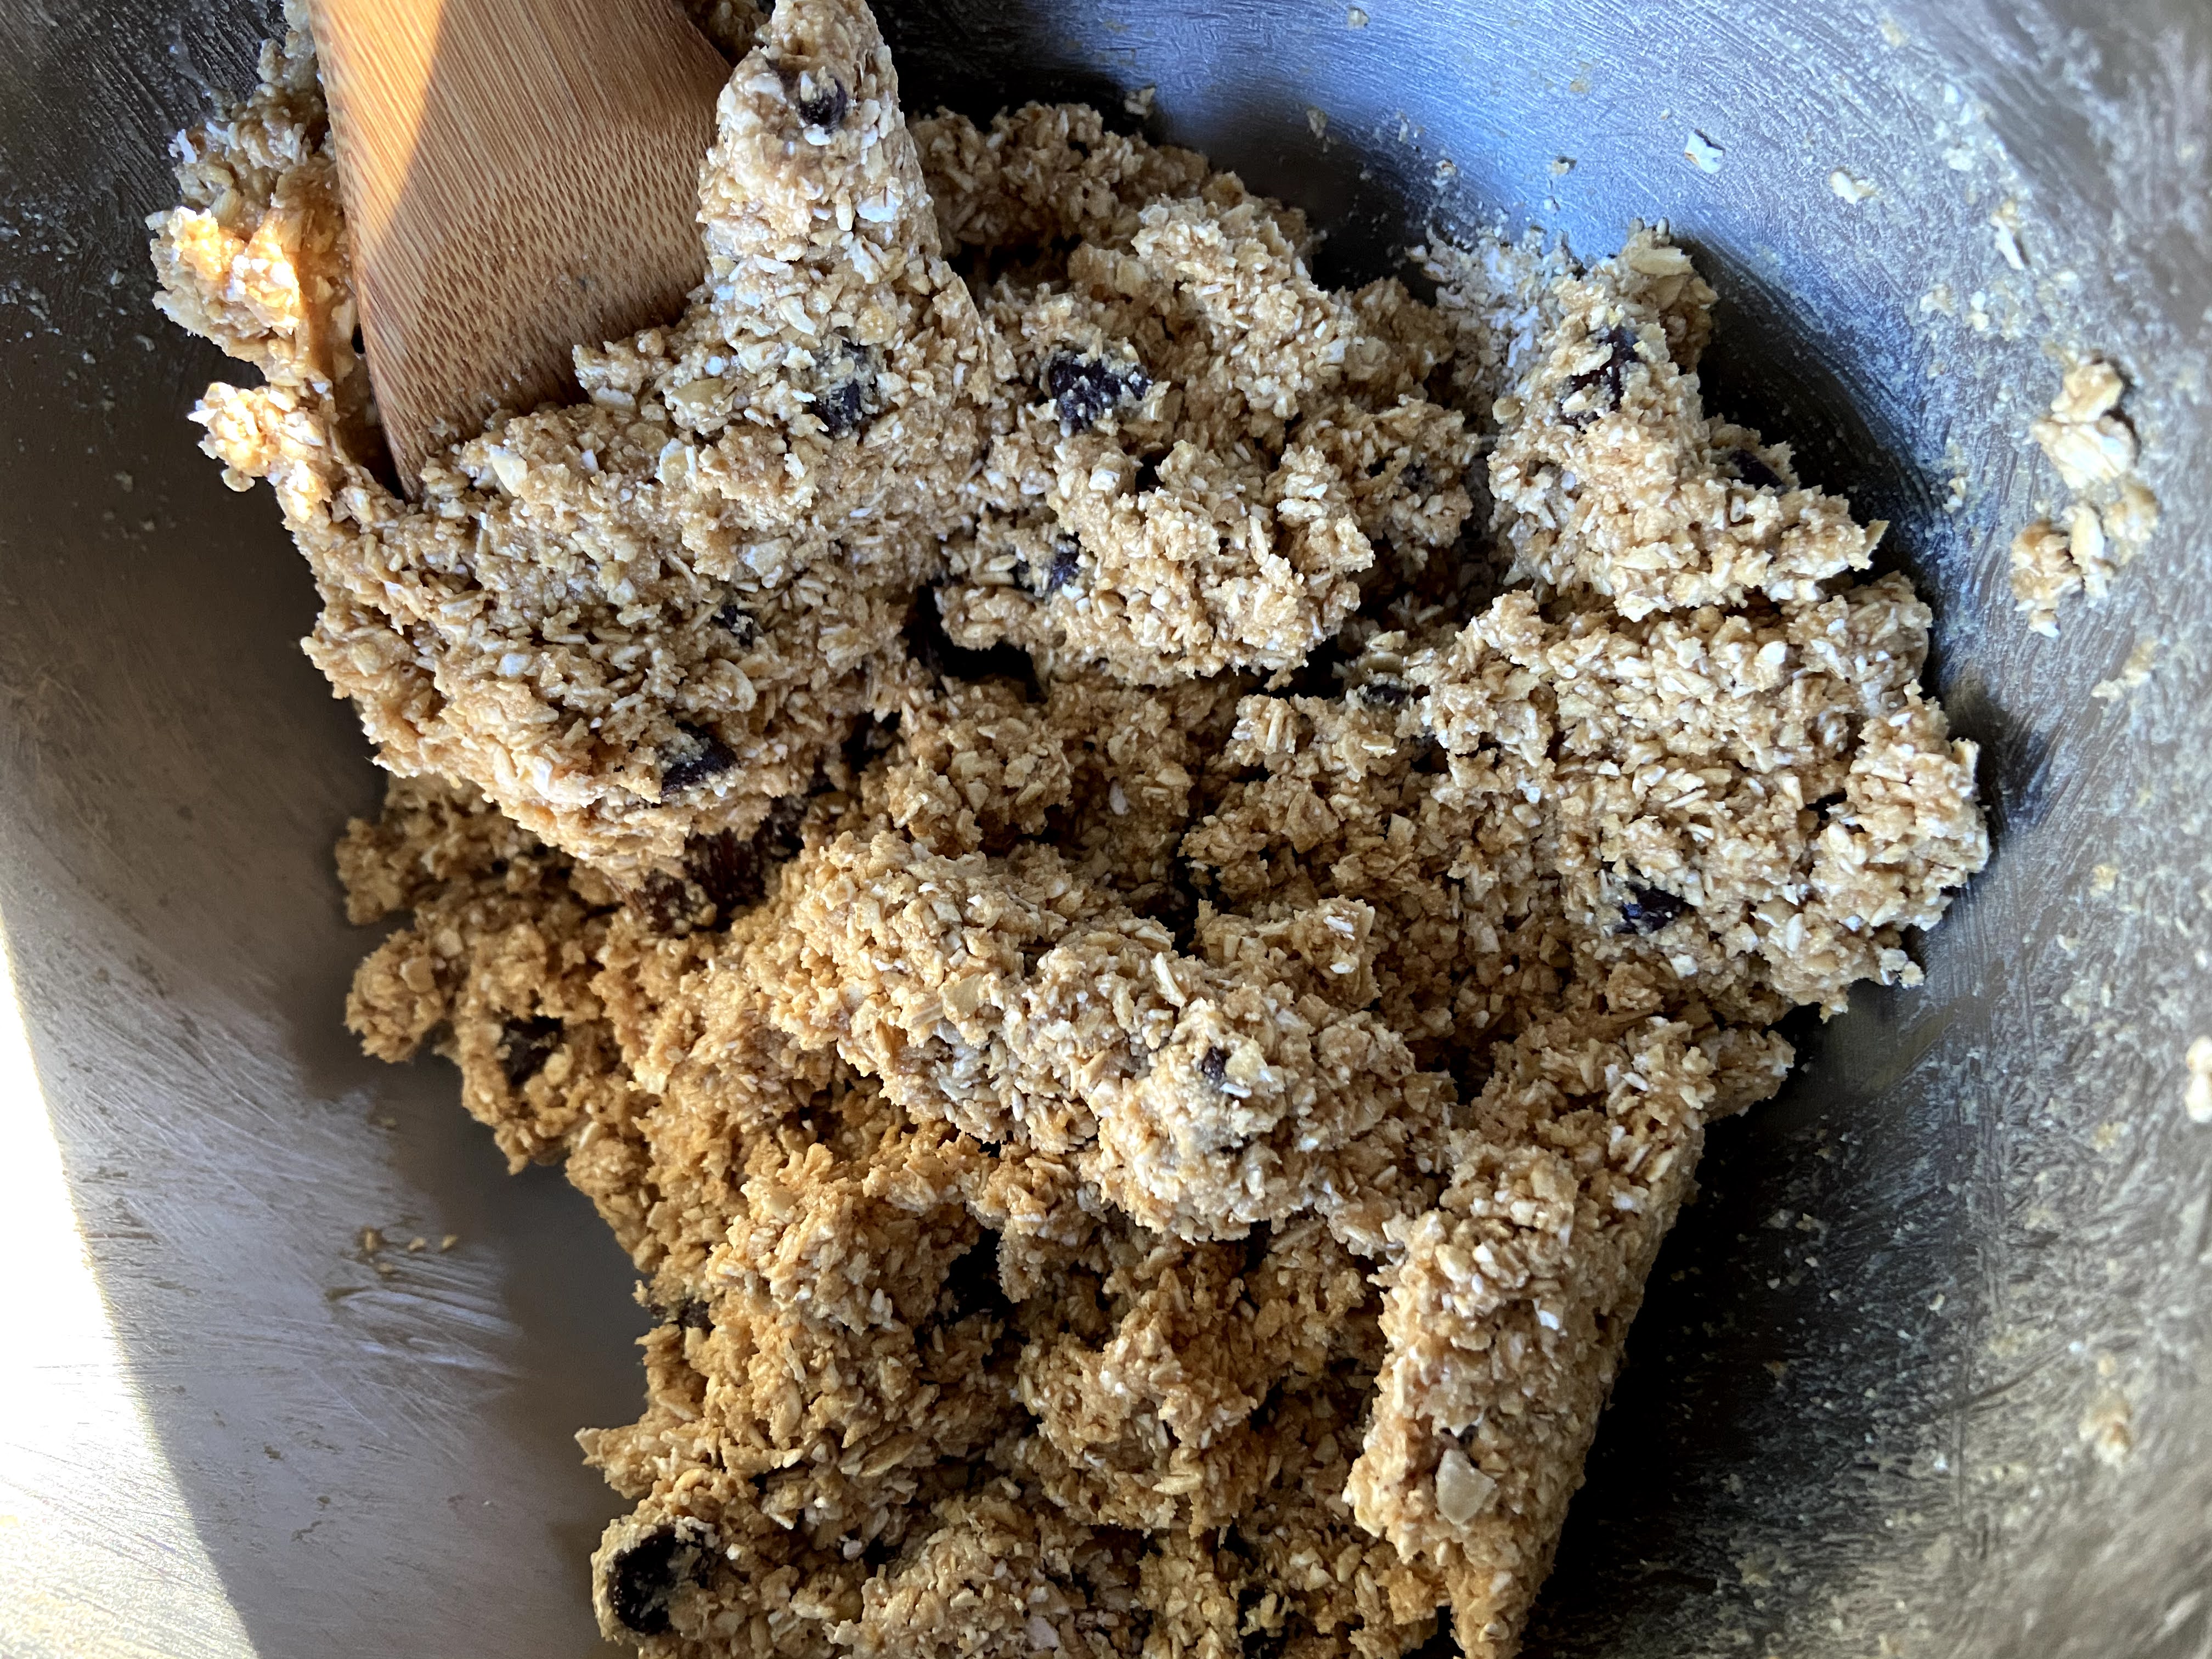
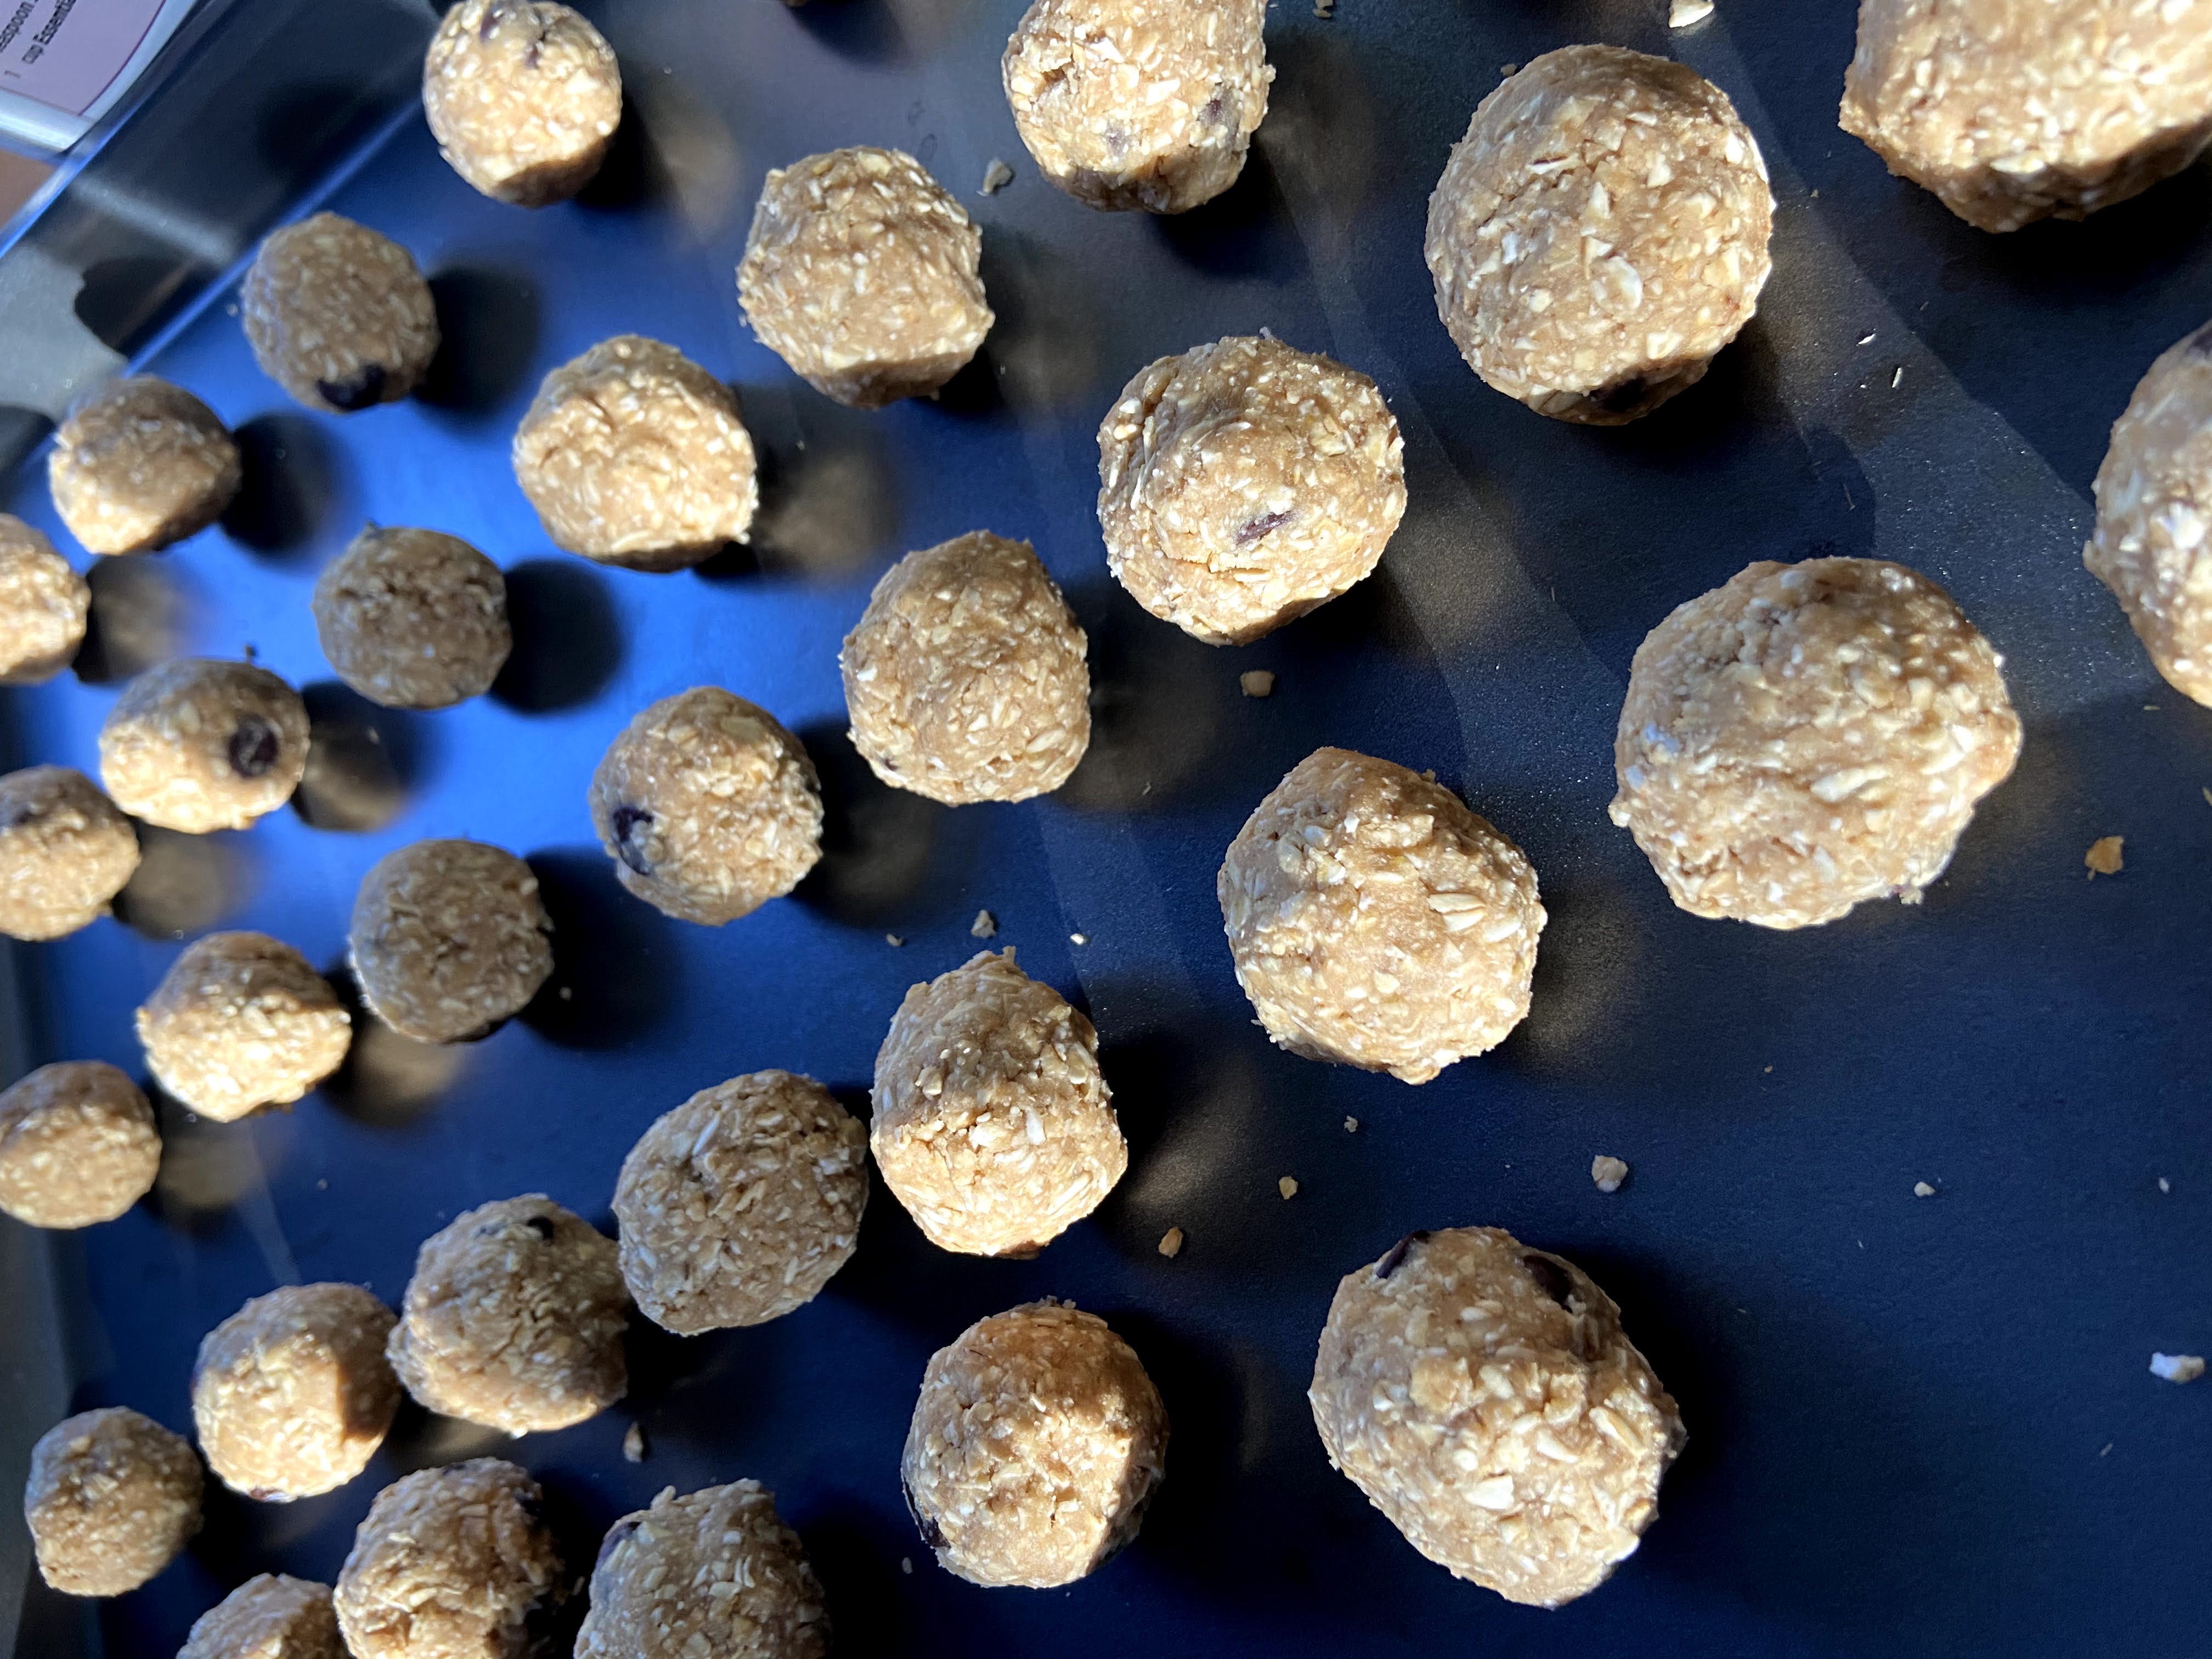
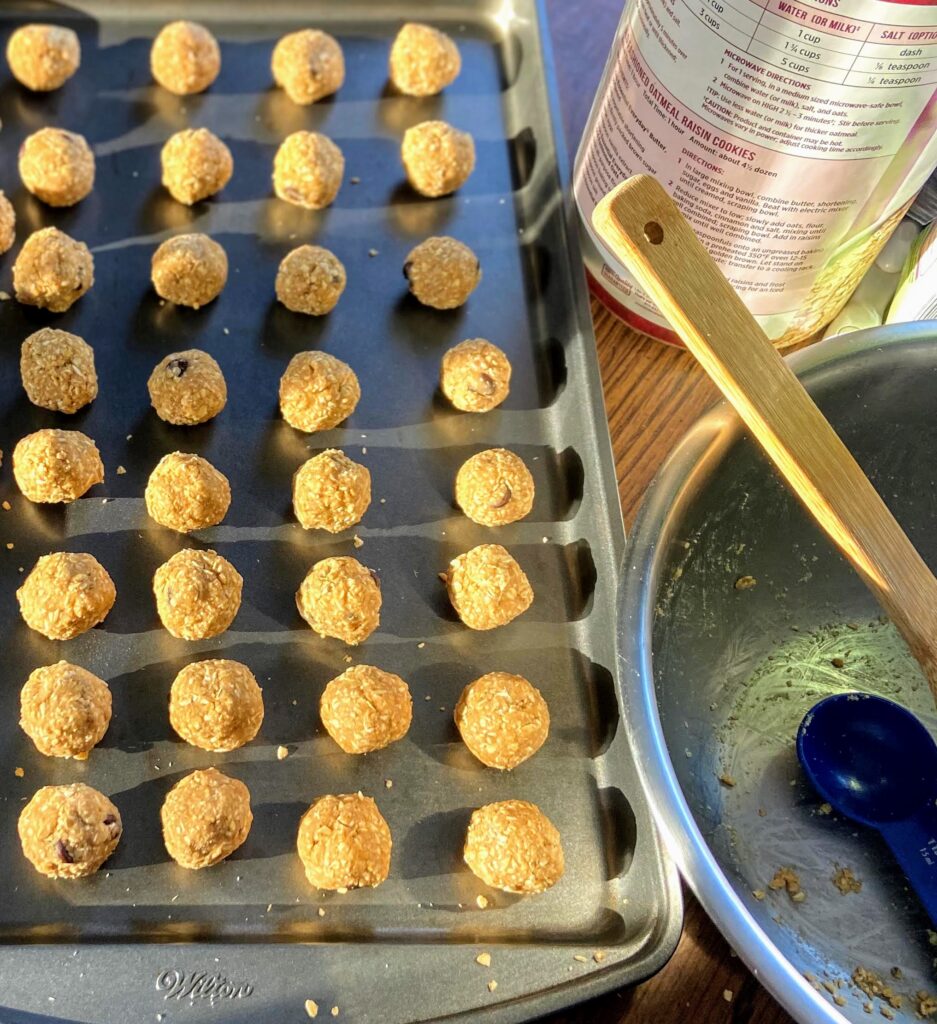
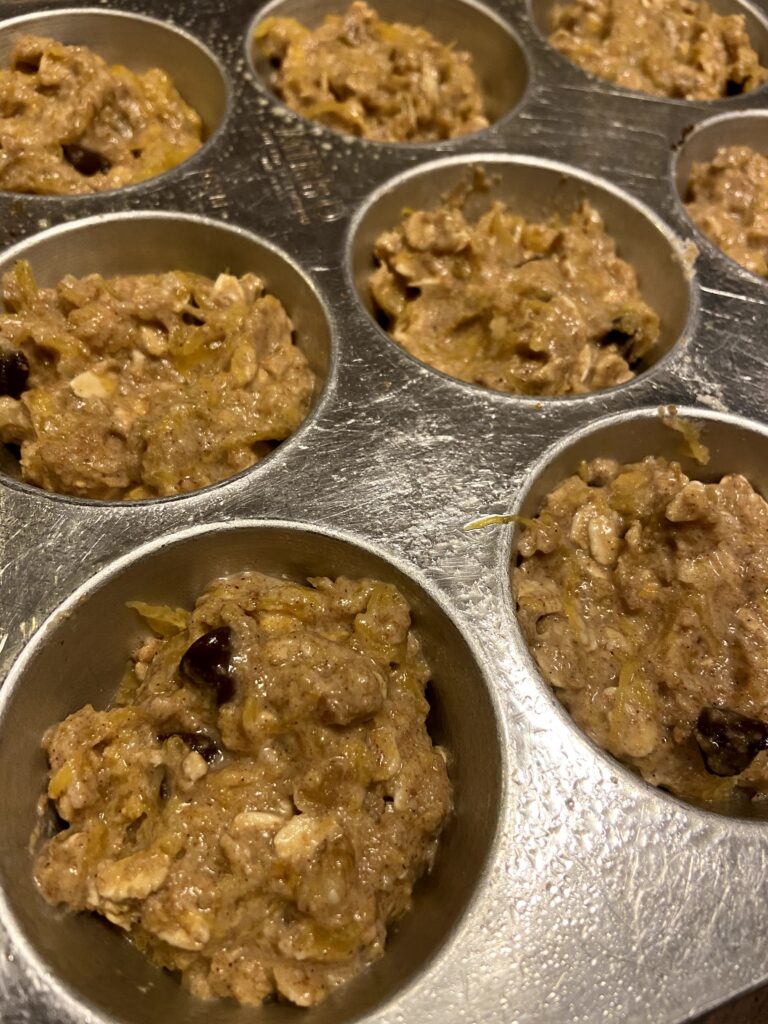
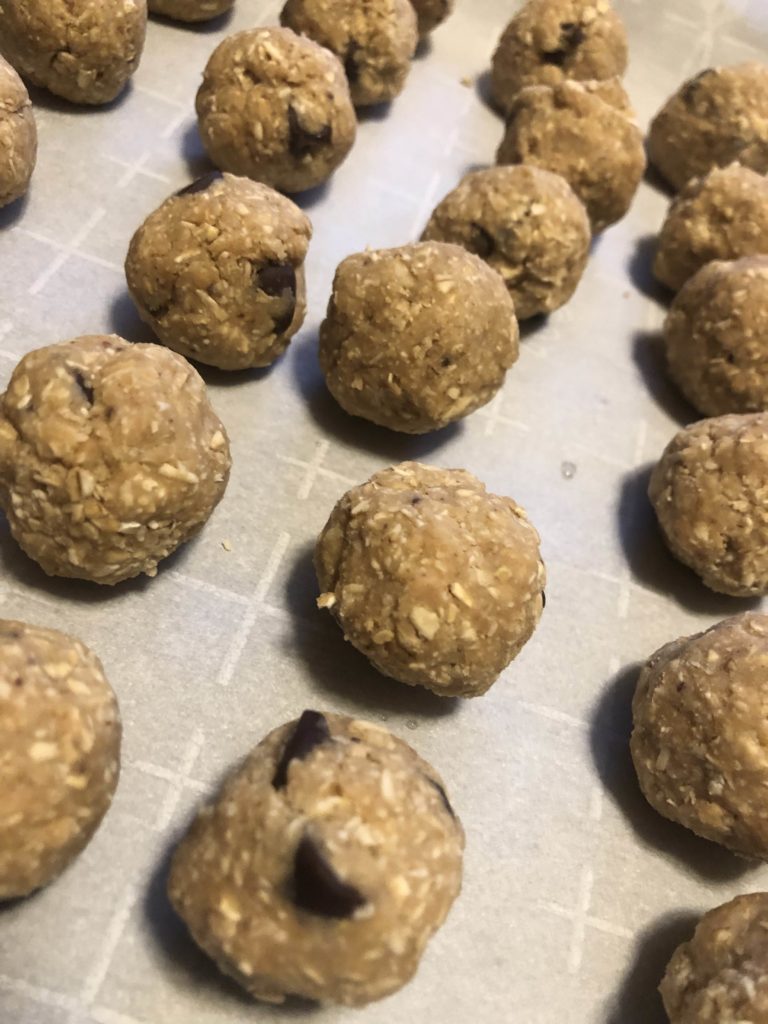
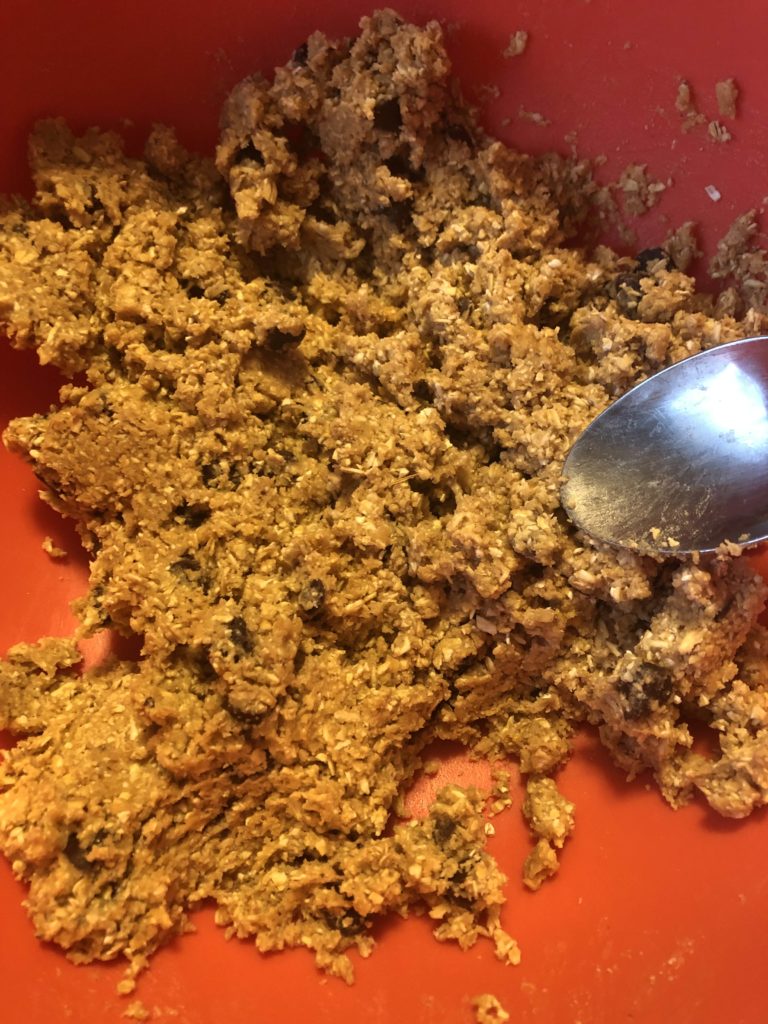
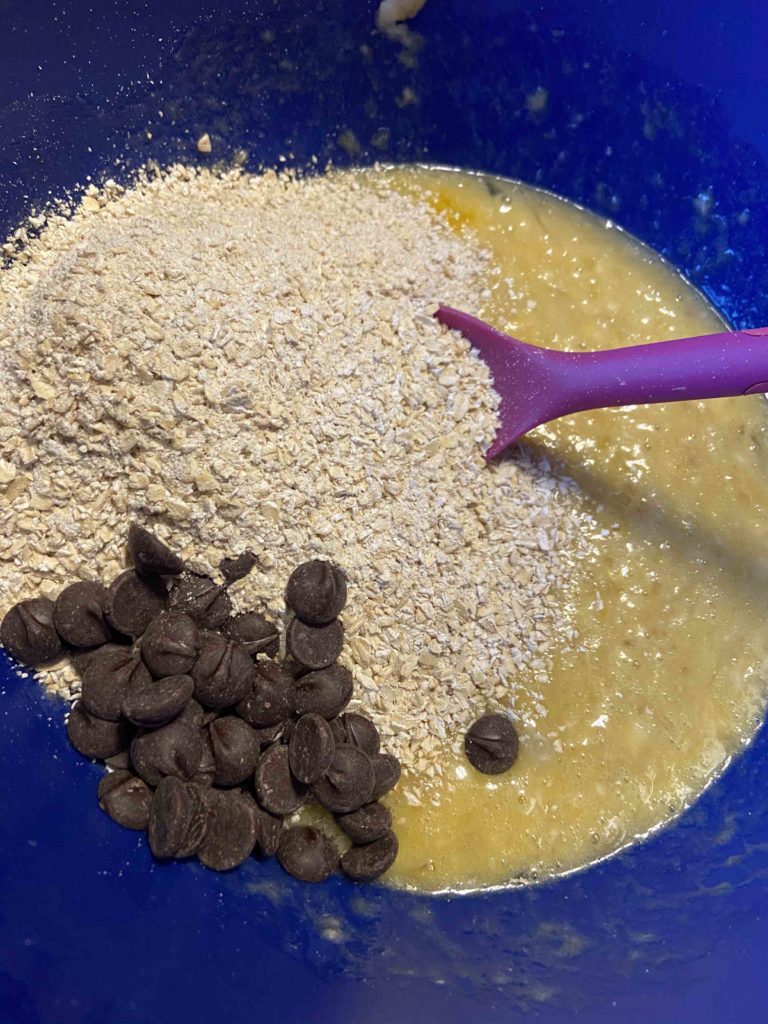
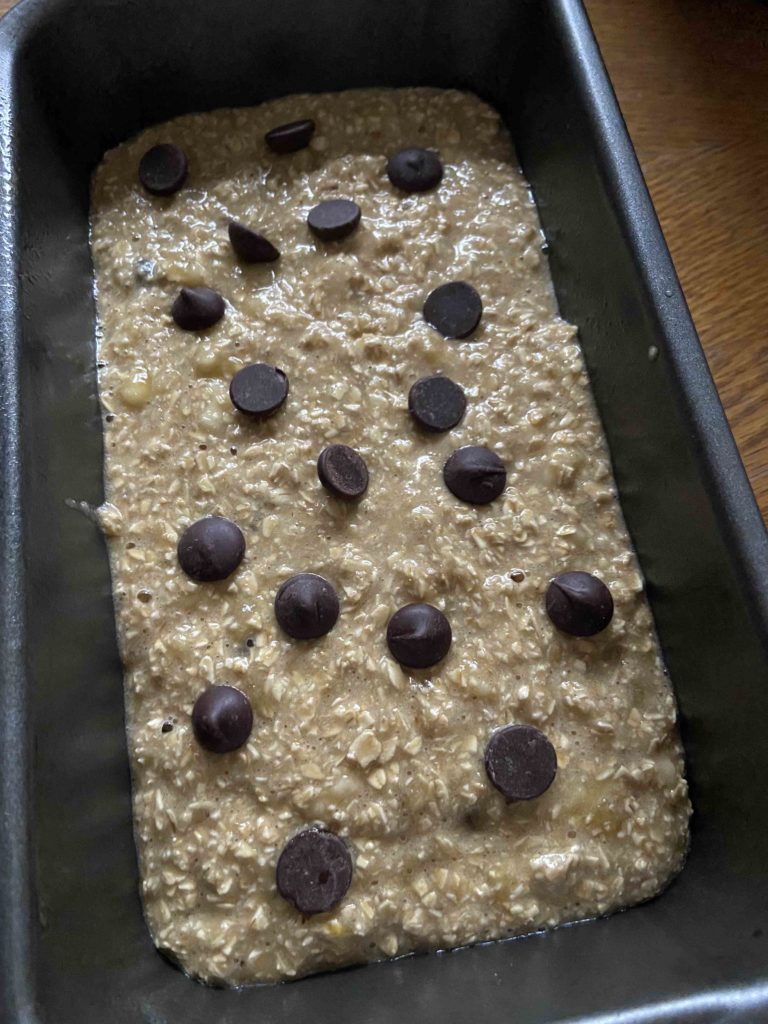
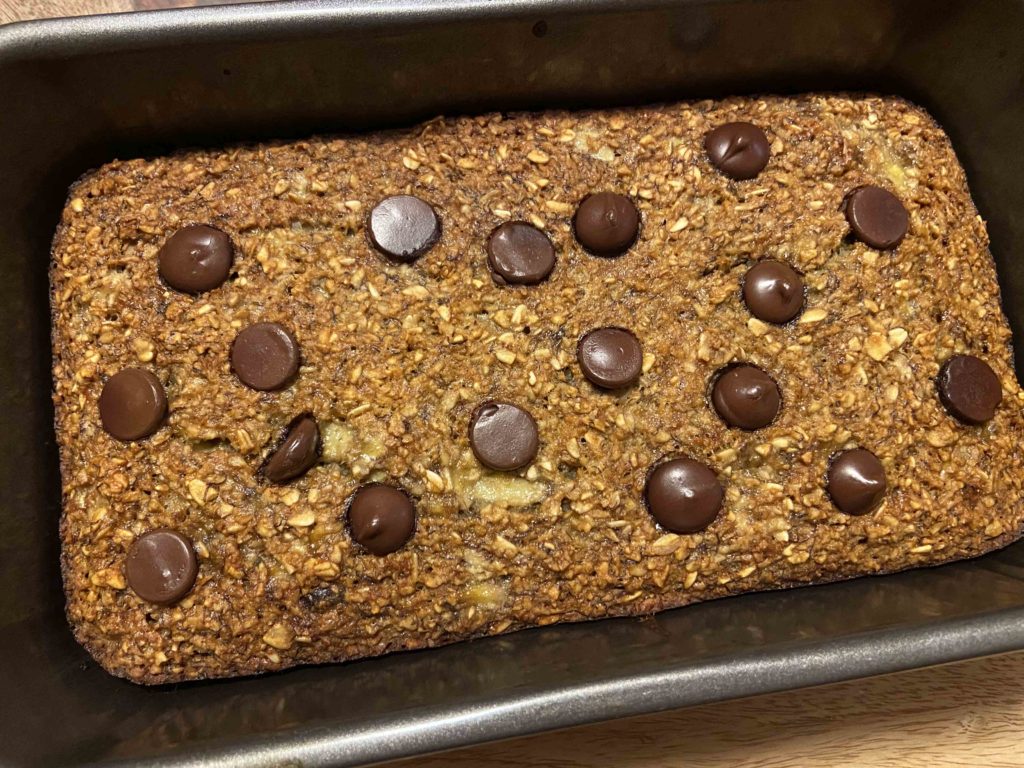
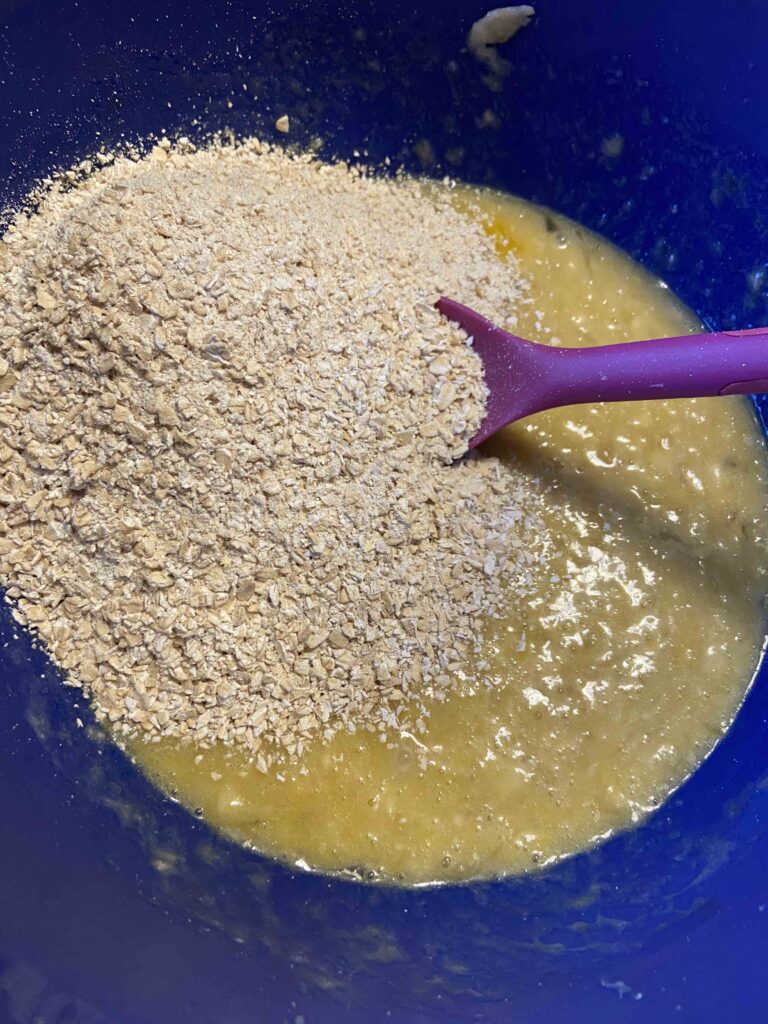
Once mixed, stir in the oat mixture until just combined. Finally, fold in the melted coconut oil and 1/4 cup mini chocolate chips. Fill each muffin using a 1/4 cup measuring cup. Bake for 22-25 minutes, until cooked through.
I love that I can enjoy a good breakfast bread that is filling and the perfect amount of sweetness without overdoing it on the added sugar. It is also a perfect mid morning snack to get you to lunch! Give it a try!
A few Notes…
I always thought that a small, 2 cup food processor was good enough. It’s what my mom used growing up, and if it was good enough for her, it was good enough for me. However, a few holidays ago, I asked for a 7 cup Kitchen Aid Mixer. It’s AMAZING and I can’t tell you how often I use it. Highly recommend the investment. It’s great for chopping veggies for salsa, making oat flour, or even mixing banana ice cream. Click the image below to check out a similar model!
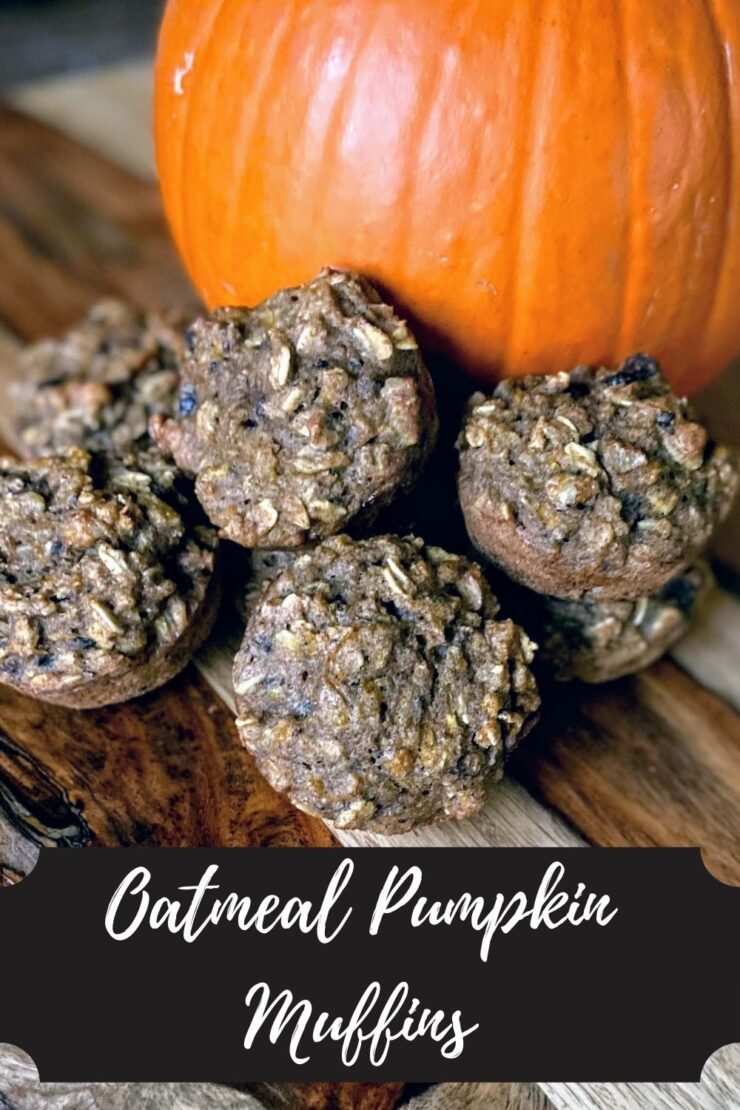
Banana Oat Muffins
Equipment
Ingredients
- 2 cups old fashioned oats
- 1 teaspoon baking soda
- 1/2 teaspoon salt
- 3 bananas very ripe
- 2 eggs
- 1/4 cup maple syrup
- 2 tablespoons coconut oil melted
- 1/4 cup mini chocolate chips
Instructions
- Preheat oven to 350° F. Prepare a muffin tin by spraying with non-stick cooking spray.
- Combine oats, salt, and baking soda in a food processor. Pulse until a coarse flour texture is obtained.
- In a large bowl, mash bananas. Add honey and eggs. Mix well.
- Stir oat mixture into mashed bananas. Add chocolate chips and coconut oil. Mix until just combined.
- Place about 1/4 cup batter in each cup. Bake for 22-25 minutes, until cooked through
Looking for other Tasty treats?
Check out my baking page or maybe my breakfast page. Or perhaps you want to check out one of my favorites below?