Sometimes you have those recipes that you revisit every few years and think, “Oh my gosh, why don’t I make this more often?! It’s so simple to make and is beyond delicious.” Pistachio Torte is one of those recipes in our household (Well, at least for me. Read on.)
At Thanksgiving, I asked the Mr what dessert he would like and without hesitation, he said, “Pistachio Torte!” He knows how good it is, and I simply forget.
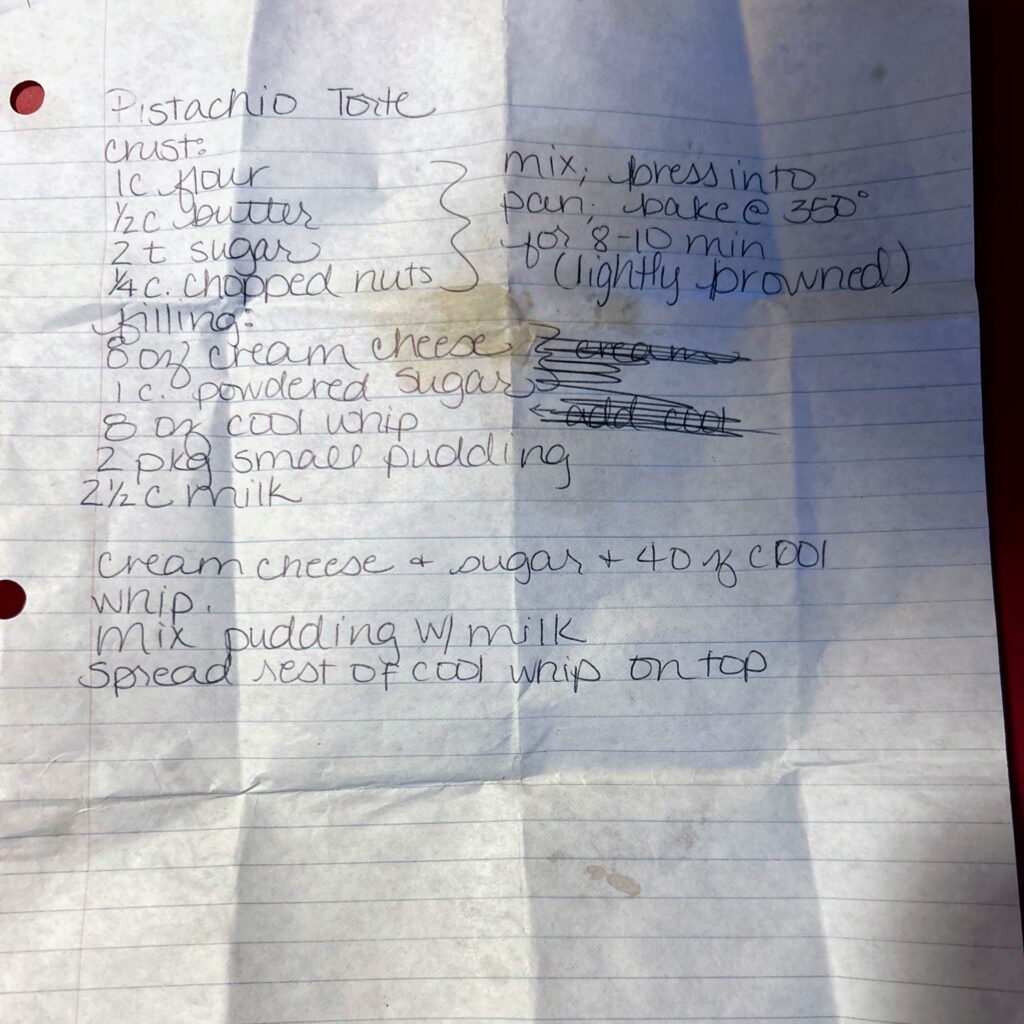
I pulled out the handwritten recipe, and giggled as it had minimal directions with it. (My friend Claire has told me it’s reminiscent of a recipe on The Great British Baking Show.)That’s okay, I have been cooking and baking long enough to know how to roll with the punches. And my goodness, I did forget how good it was and immediately resolved to share it out here so that everyone else can have this treat in their back pocket when they need to bring a dessert.
A quick story
Before we start creating, I have to share another short funny story to go with this: I know this recipe came from my mother in law. It’s a go to for her (along with black raspberry torte). After we ate it for Thanksgiving, I asked my mom, dad, and sister how they felt about me making it for our Christmas celebration. My sister’s response was, “I am for it,” and my mom asked if I needed a recipe. This the conversation that followed:
Me: “No, I don’t need the recipe. If you have it, I must have given it to you because I got it from Matt’s mom.”
My Mom: “I have had that recipe well before you were even a twinkle in our eyes.” (Sends the recipe in her handwriting)
It was IDENTICAL to the recipe I got from my mother in law. There is about 15 years difference in age for our moms, so it seems odd that they would have been reading the same publications; I can’t help but wonder where the recipe was that they both have it and it’s exactly the same. But that means it must be good, right?
I’ve talked long enough. We are reading to start baking and creating right? Let’s go!
Your Ingredients for Pistachio Torte
- 1 cup flour
- ¼ teaspoon salt
- ½ cup butter, soften
- 2 teaspoons white sugar
- ¼ cup finely chopped nuts
- 8 ounces cream cheese, softened
- 1 cup powdered sugar
- 8 ounces cool whip, divided
- 2 packages pistachio pudding (3.4 ounces)
- 2 ½ cups milk
Your Steps to Pistachio Torte
Preheat the oven to 350 degrees. Prepare a 9 by 13 inch baking pan with cooking spray and set aside.
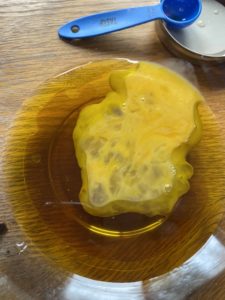
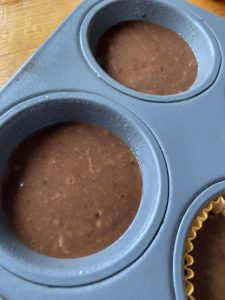
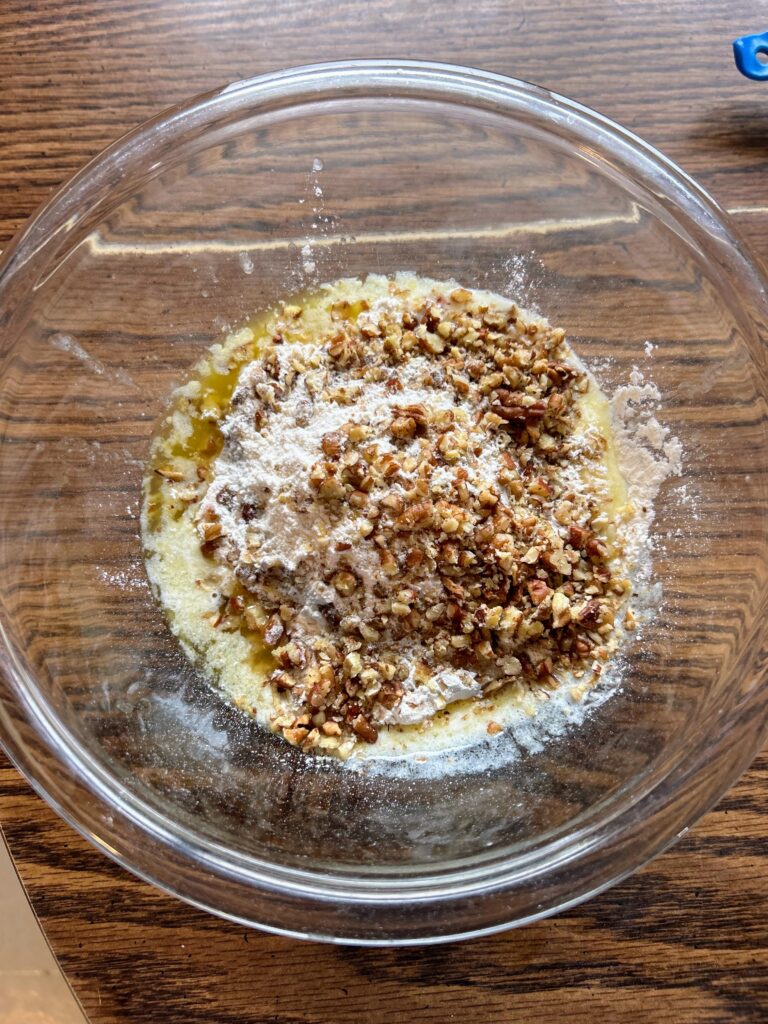
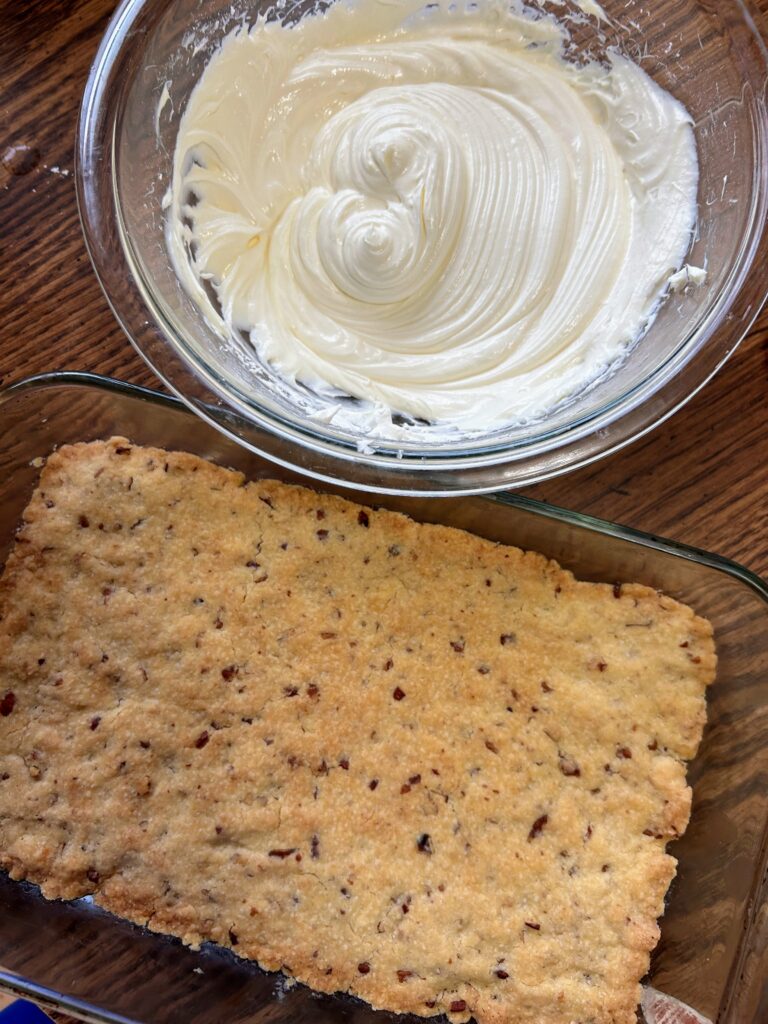
In a medium bowl, cream the butter until smooth. Add flour, white sugar, salt, and chopped nuts. Mix until well combined. Press into the prepared baking pan. It will seem thin and as though you don’t have enough. You do. I promise (But if you want a thicker crust, I have done it in a 7 by 11 inch pan too). Bake for 8-12 minutes, until the crust is lightly browned. Allow to cool.
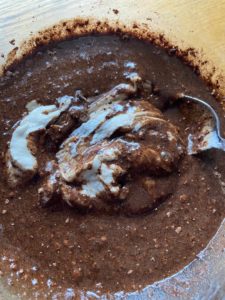
Once the crust has cooled, Add the cream cheese to a large bowl and cream with a hand mixer. Add powdered sugar and 4 ounces of the cool whip. Spread on top of the cooled crust.
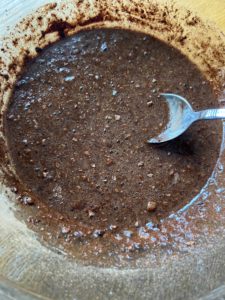
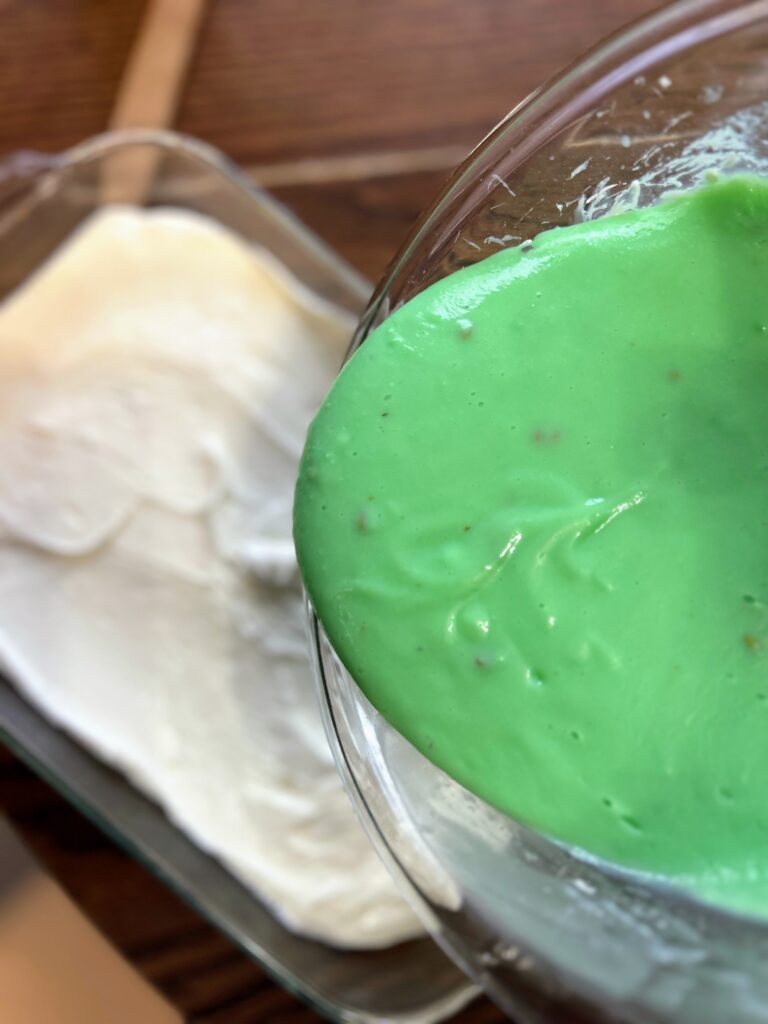
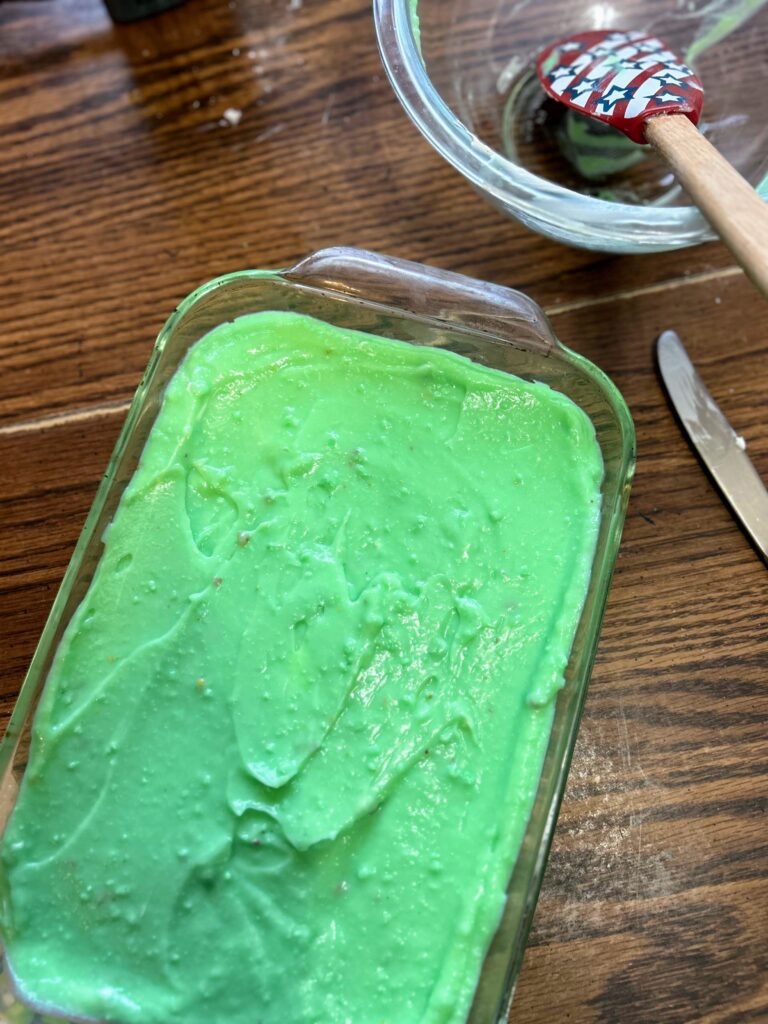
Combine the pudding with the milk and mix according to package directions (I do this right in the same bowl, but you do you). Spread the pudding on top of the cream cheese layer. Allow to set just a few minutes.
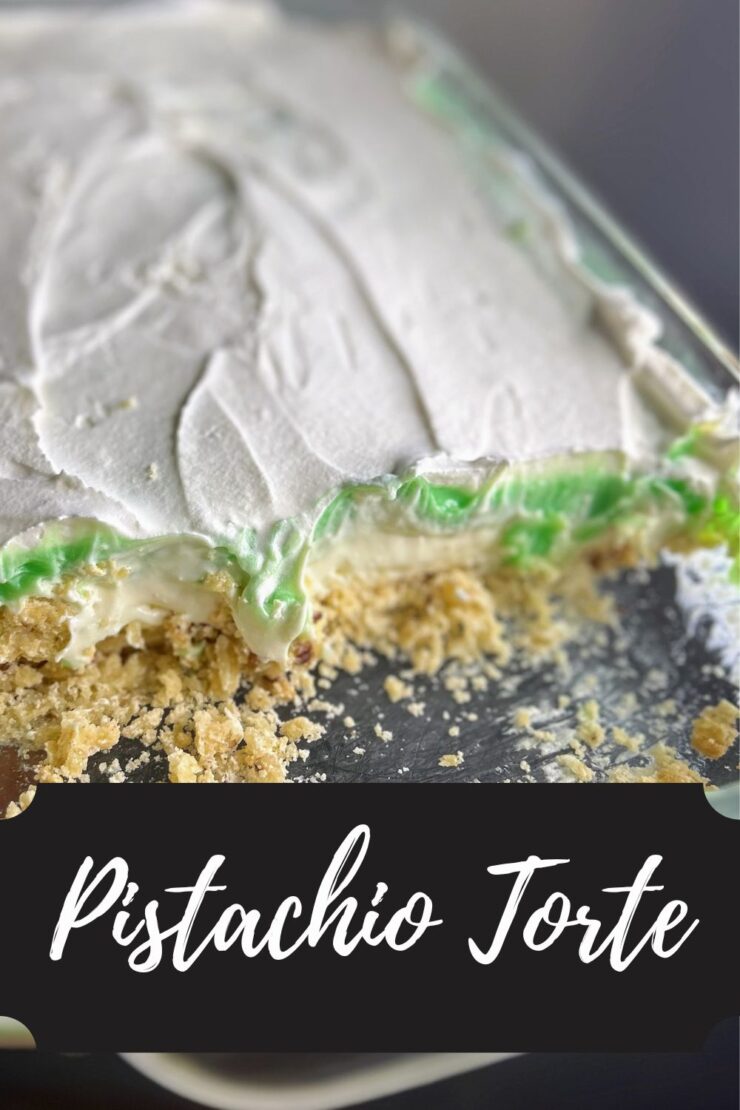
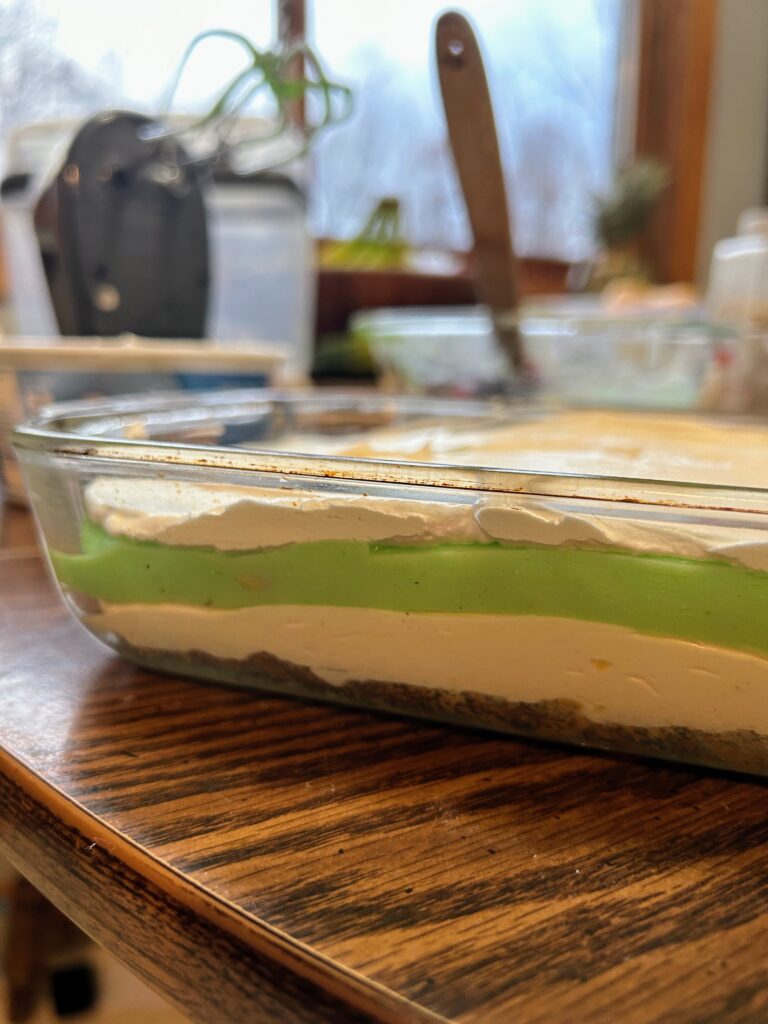
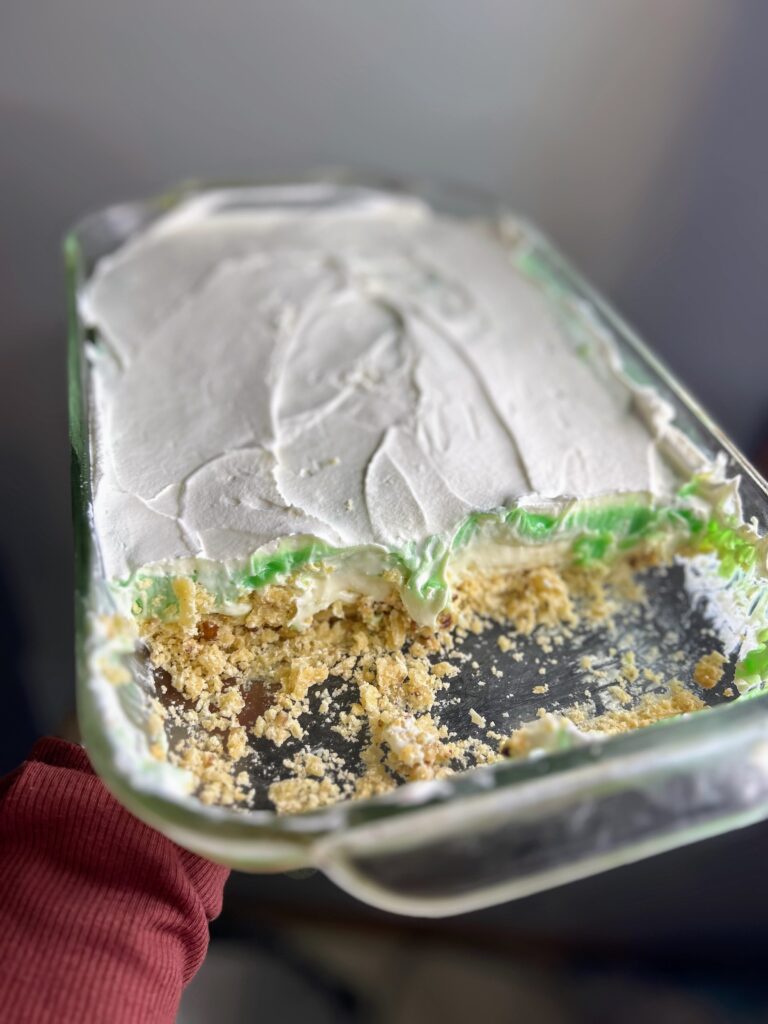
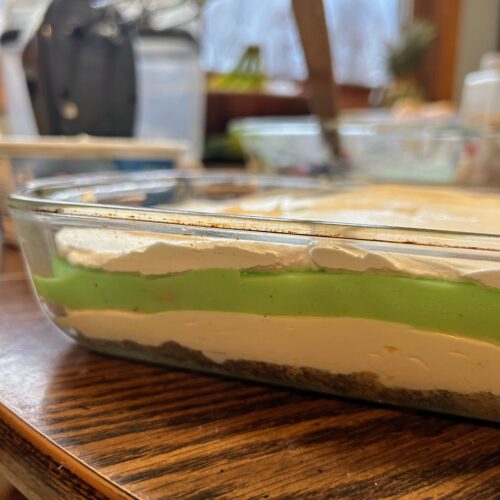
Finally, spread the remaining cool whip on top of the pudding and top with additional nuts if you care to. Serve up immediately or this dessert is a great one that can be prepped a few days ahead. Either way, you are sure to bring smiles to a lot of people’s faces.
Pistachio Torte
Equipment
- hand mixer
Ingredients
- 1 cup flour
- ¼ teaspoon salt
- ½ cup butter soften
- 2 teaspoons white sugar
- ¼ cup finely chopped nuts
- 8 ounces cream cheese softened
- 1 cup powdered sugar
- 8 ounces cool whip divided
- 2 packages pistachio pudding 3.4 ounces
- 2 ½ cups milk
Instructions
- Preheat the oven to 350 degrees. Prepare a 9 by 13 inch baking pan with cooking spray and set aside.
- In a medium bowl, cream the butter until smooth. Add flour, white sugar, salt, and chopped nuts. Mix until well combined. Press into the prepared baking pan.
- Bake for 8-12 minutes, until the crust is lightly browned. Allow to cool.
- Once the crust has cooled, Add the cream cheese to a large bowl and cream with a hand mixer. Add powdered sugar and 4 ounces of the cool whip. Spread on top of the cooled crust.
- Combine the pudding with the milk and mix according to package directions. Spread the pudding on top of the cream cheese layer. Allow to set just a few minutes.
- Spread the remaining cool whip on top of the pudding and top with additional nuts if you care to. Serve up immediately or this dessert is a great one that can be prepped a few days ahead.
Other favorite desserts
Check out my baking page for all sorts of treats. But let me share some of my favorites below!