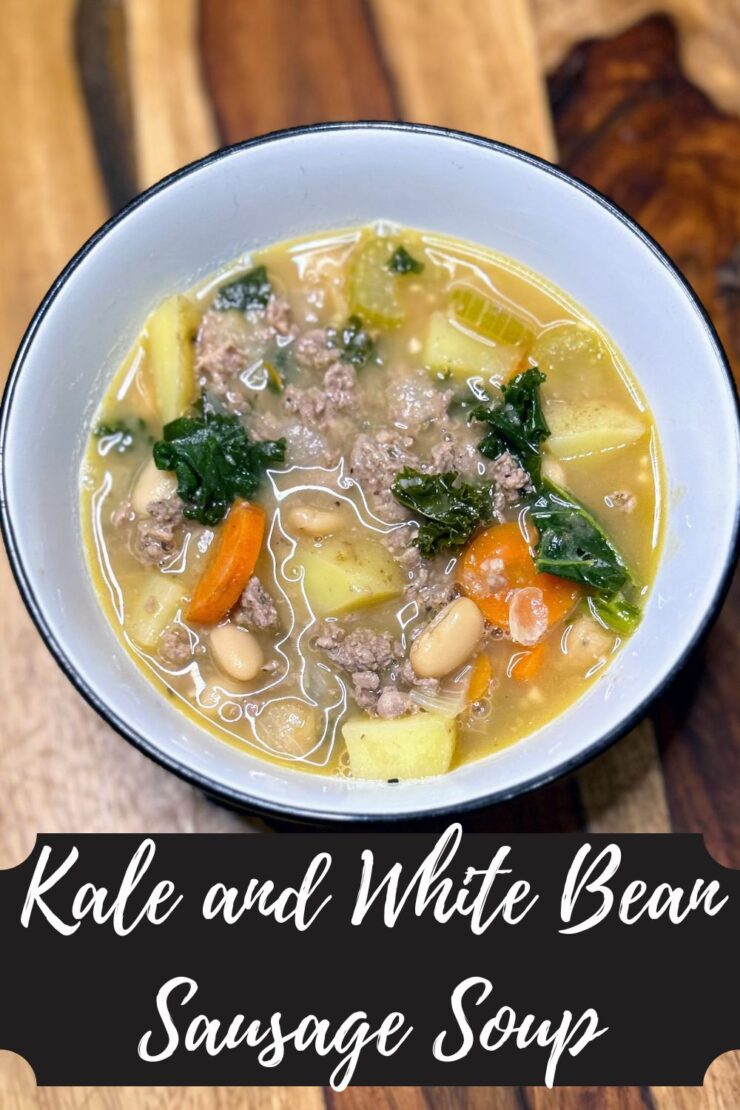
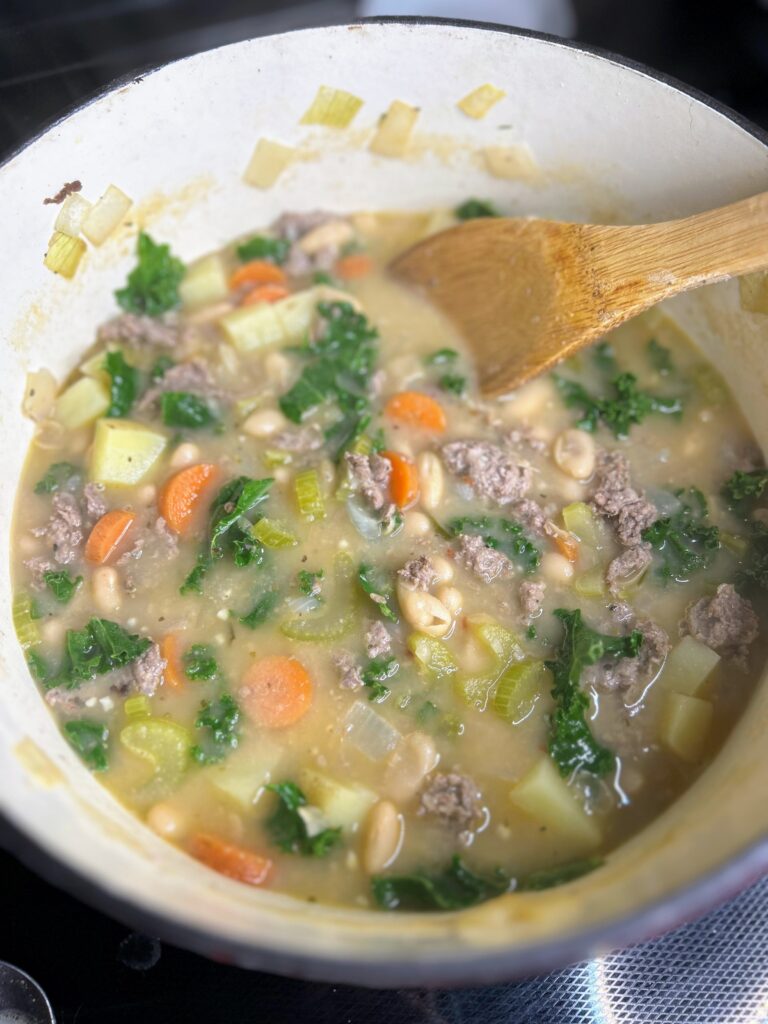
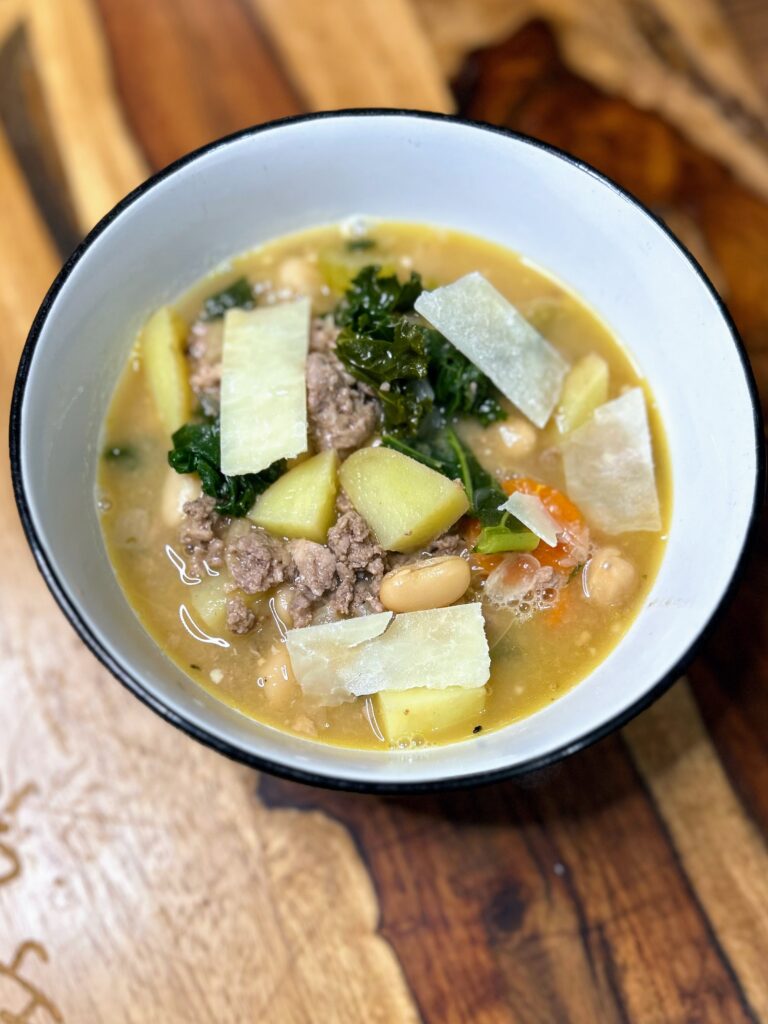
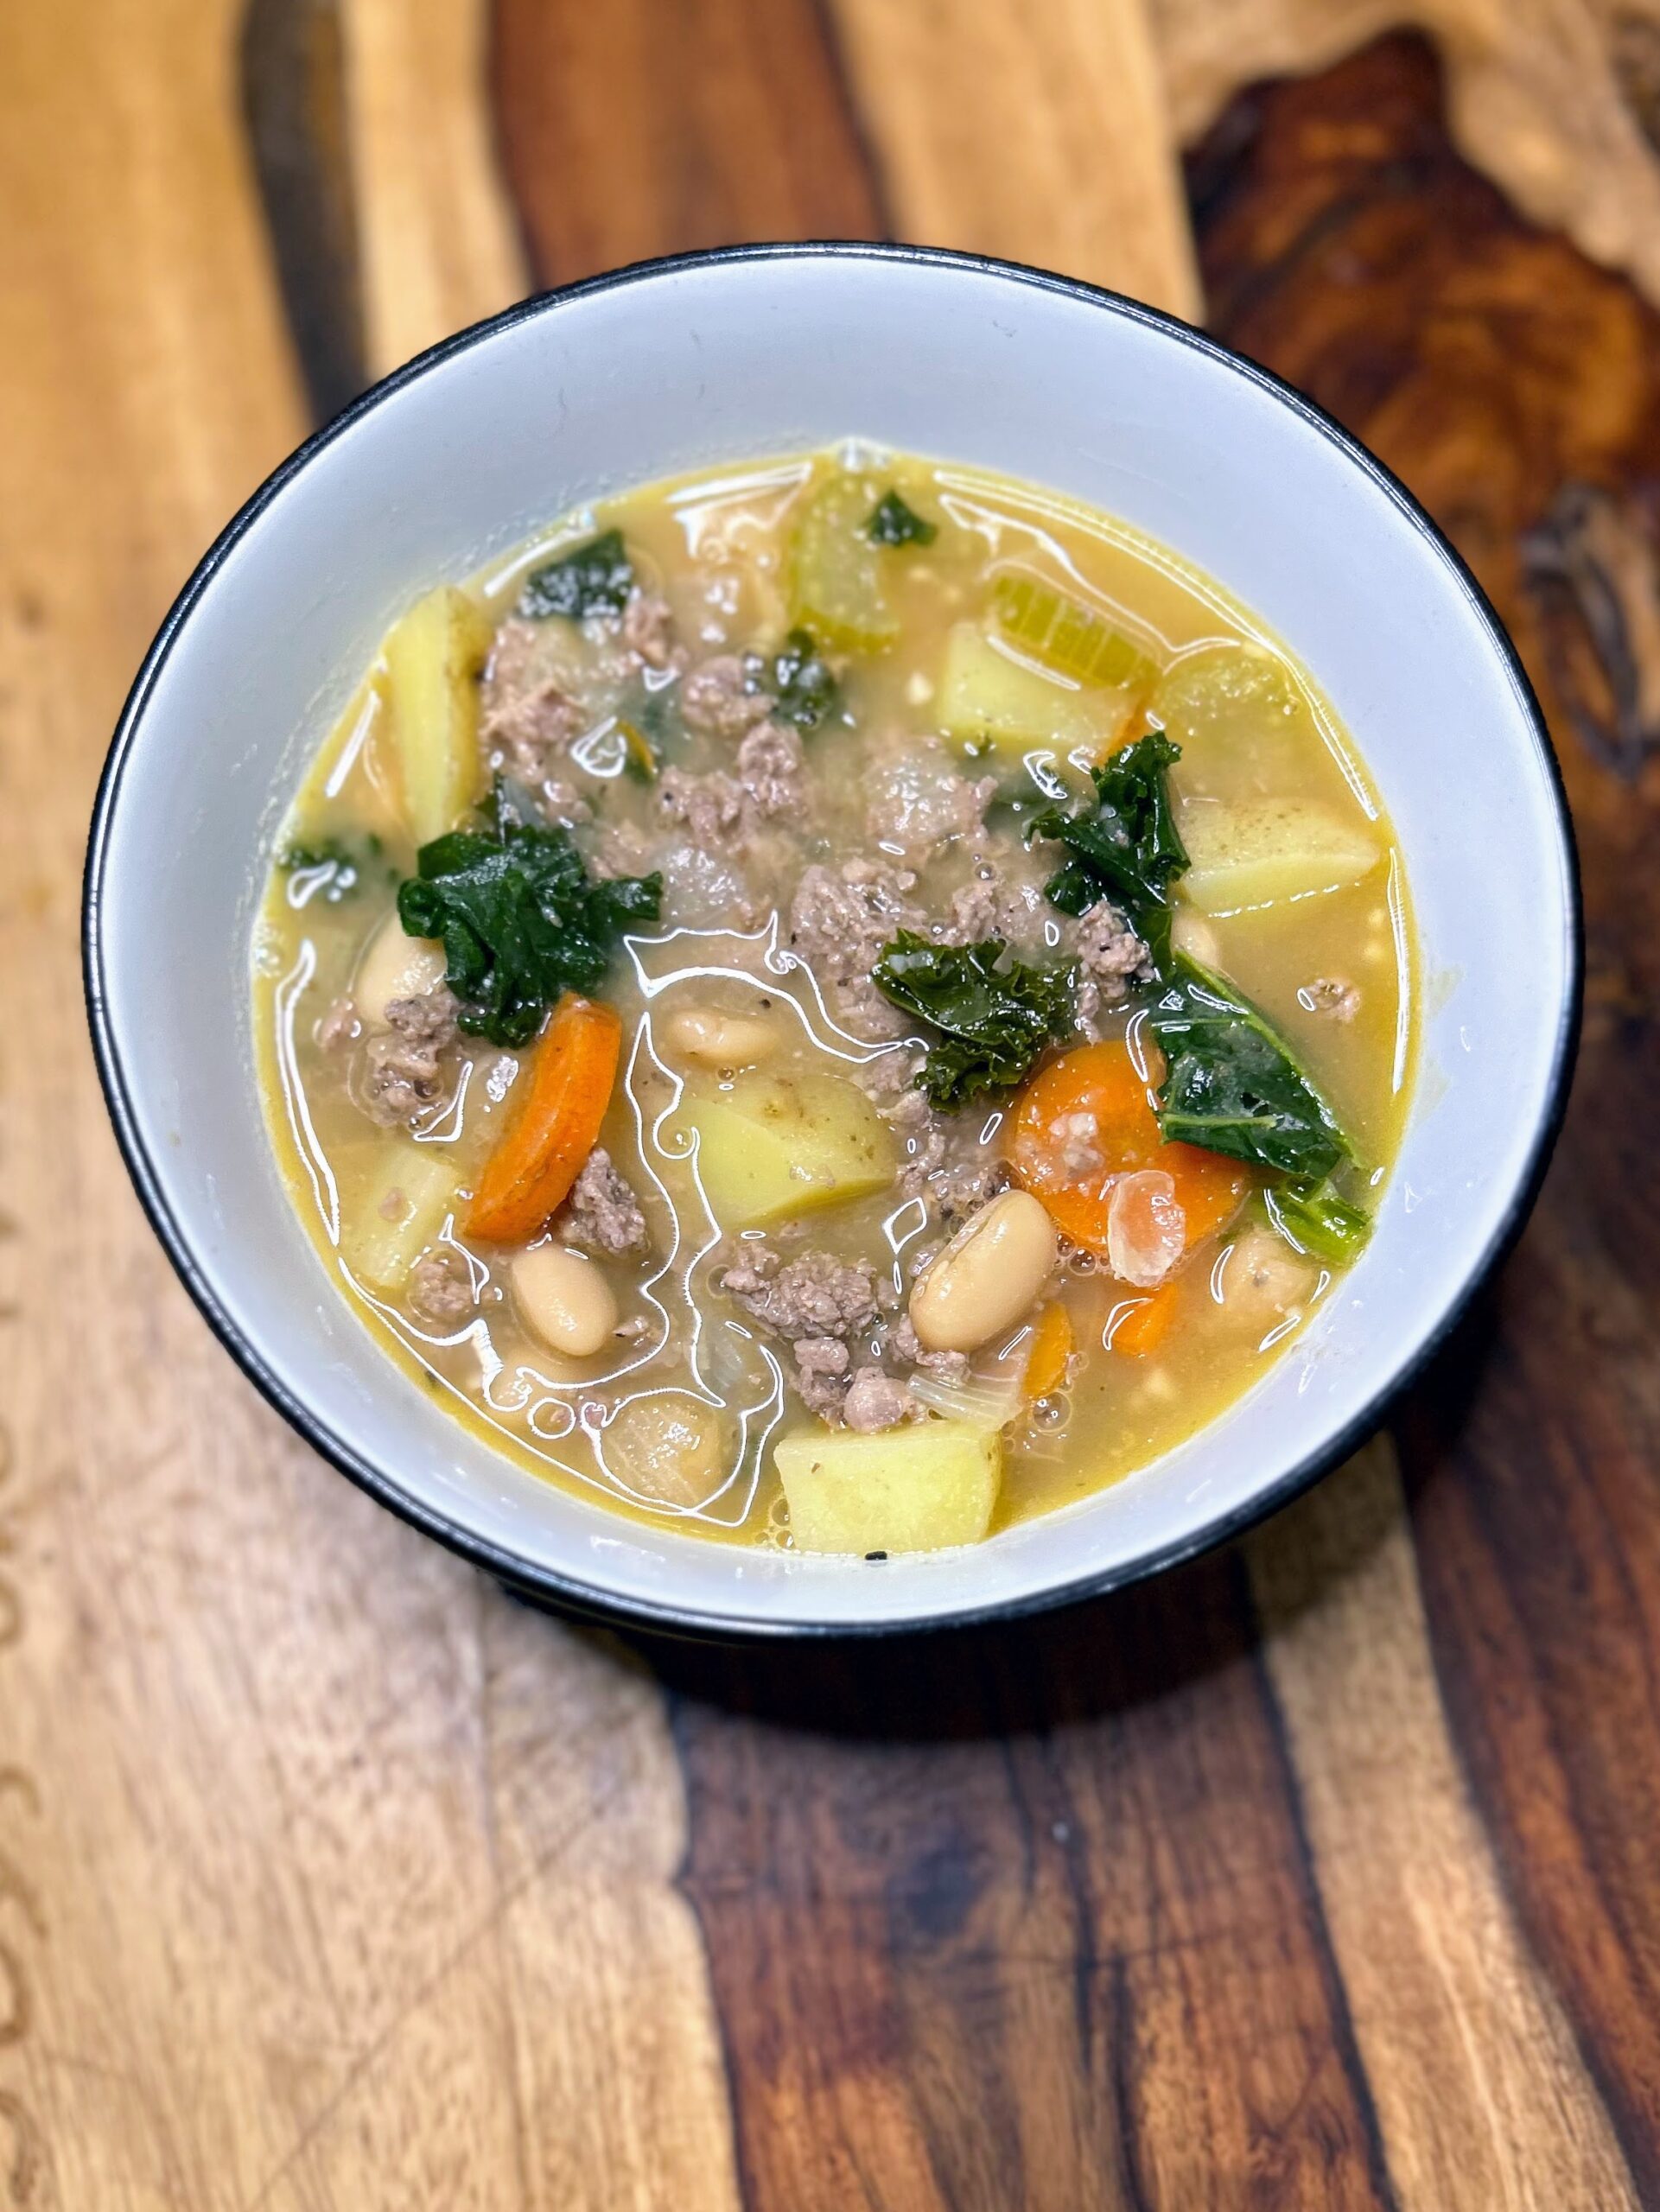
Kale and White Bean Sausage Soup

Kale and White Bean Sausage Soup

Gosh my friends, I love me some soup season. I do believe that I could eat soup every week without complaint, even in the heat of the summer. But this time of year? When fall is sneaking up on us and it’s sweatshirt season but the sun is still warm in the afternoon? That’s just about the perfect time of year. Around our house, it’s all the time we start thinking about clearing out our freezer because hunting season is just around the corner. Right now, our freezer is full of our Italian sausage inspired venison and we are using it in so many ways, including this awesome kale and white bean sausage soup. 

This soup was also inspired by one of my oldest friends. We don’t talk too often, but when we do, it often begins with a text about the food one of us is cooking. About a month ago, he texted me to say he loves cooking in cast iron for soup; that he often makes the soup in the morning, puts the cover on it, and lets the flavors meld together for a few hours. This time, it was a bean, roasted tomato, and artichoke soup. Well, needless to say, the pictures looked amazing!

Of course I needed it in my life

I switched it up a bit, adding the sausage and extra beans. When I described a kale and white bean sausage soup to my kiddos, they were immediately sold. I’ll be honest, I was a bit surprised they were ready for the kale as they don’t love cooked greens, but excited kids means mom has to make the soup pronto. 

When it was done, my babies ate multiple servings and I had to say that I was planning on leftovers for lunch the next day so they would stop. I hope your family loves it as much as mine did. It will definitely be a dinner one repeat at our house, I’ll tell you that! Let’s start cooking!

Your Ingredients

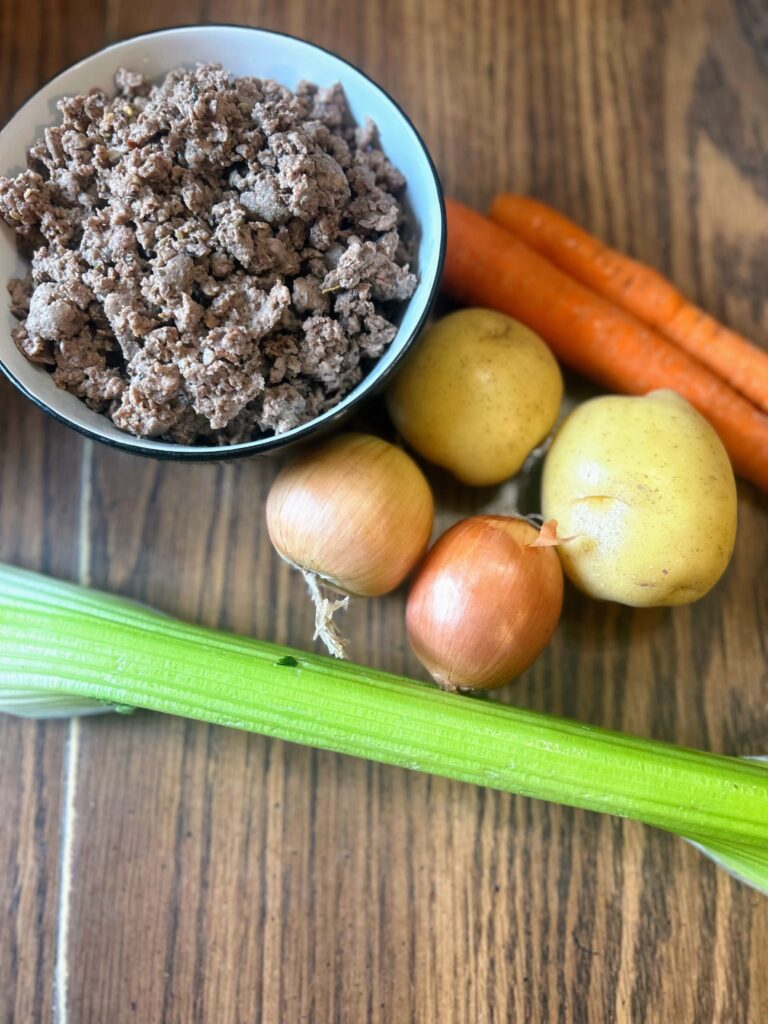
  • 1 pound ground Italian sausage (We use ground Italian venison. It’s great!)
  • 3 cans cannellini beans, drained and rinsed
  • 5 cups chicken stock 
  • 1 cup diced onion, about two small onions
  • 1 cup diced celery, about two ribs
  • 1 cup diced carrot
  • 1 ½ cups diced potatoes (I prefer Yukon gold) 
  • 4 cloves garlic, minced
  • 2 cups kale
  • 2 tablespoons olive oil
  • Salt and pepper to taste
  • Shaved Parmesan cheese, optional 

Your Steps to Kale and White Bean Sausage Soup

Begin to heat a large dutch oven over medium-high heat. Add Italian sausage and brown. (Option to add a bit of oil to the pan before you add the sausage. I find that it helps keep the sausage from sticking.) 

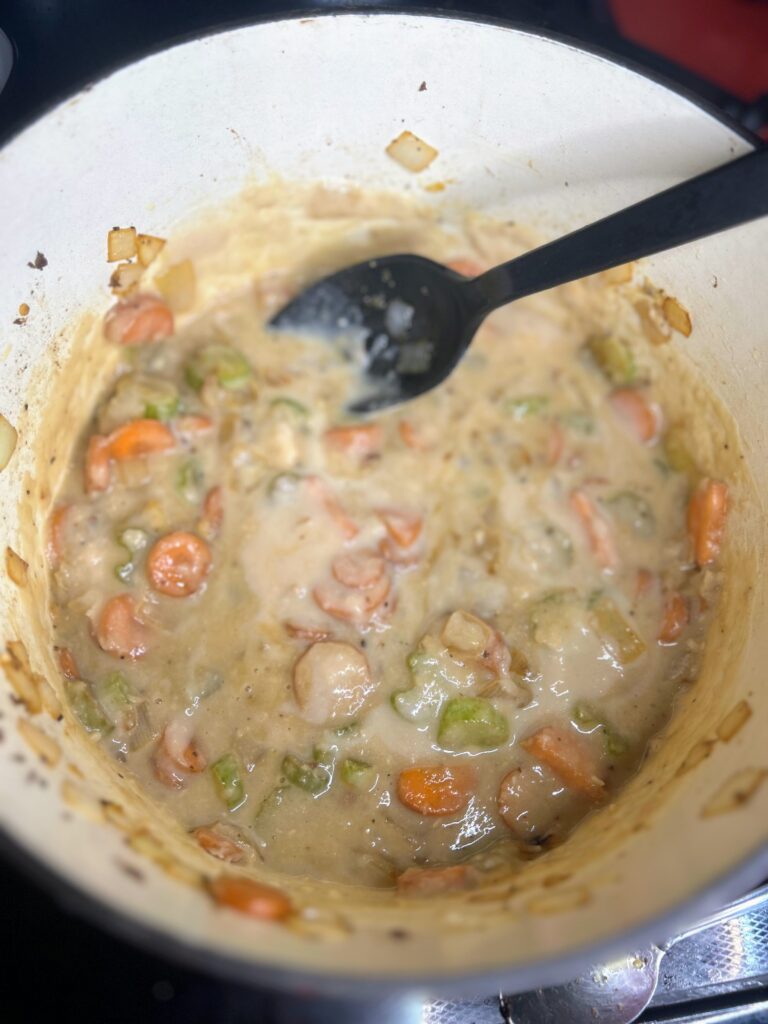
Meanwhile, dice the onion, celery, carrots, and potatoes. Additionally, drain and rinse the cannellini beans. Combine 1 ½ cans of beans and about 1 cup of chicken stock. Blend with a stick (immersion) blender. I like to do this in a wide mouth mason jar. 

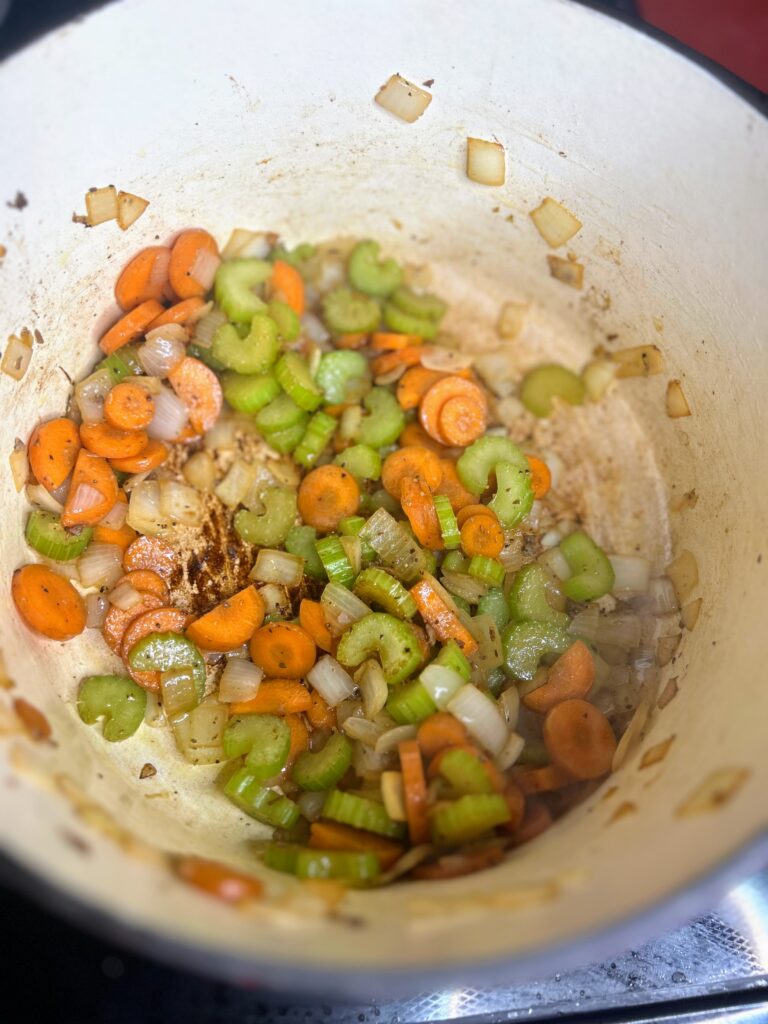
Once cooked through, remove browned sausage and drain. Add the olive oil to the Dutch oven and heat over medium. Once hot, add the diced onions, celery, and carrot. Cook until soft, about 7-10 minutes, stirring periodically. Add the garlic and cook for an additional 30 seconds. Add the diced potatoes, beans, pureed beans, and remaining chicken stock. Bring to a simmer and cook for 20-25 minutes, until the potatoes are soft. Add the kale and perhaps some shaved Parmesan as well as salt and pepper to taste. Cook for an additional 5 minutes, 

Serve with crusty bread, a salad, and additional shaved Parmesan.

Tools of the Trade

I love all things from the The Lodge Cast Iron, but most of all, I love my Dutch Oven; so much so that I actually own three of them! They are great for soups and stews as well as bread baking. They can go straight in the oven from the stove top and hold heat so well. A stick blender is awesome in this recipe as well!

Kale and White Bean Sausage Soup

This Kale and White Bean Sausage Soup is a nutritious and hearty dish that is perfect for the fall season. It is sure to warm you up on a cold day.
Prep Time 20 minutes
Cook Time 25 minutes
Course dinner, Main Course
Cuisine American, Italian
Servings 6

Ingredients
  

  • 1 pound ground Italian sausage
  • 3 cans cannellini beans rinsed
  • 5 cups chicken stock
  • 1 cup diced onion about two small onions
  • 1 cup diced celery about two ribs
  • 1 cup diced carrot
  • 1 ½ cups diced potatoes I prefer Yukon gold
  • 4 cloves garlic minced
  • 2 cups kale
  • 2 tablespoons olive oil
  • Salt and pepper to taste
  • Shaved Parmesan cheese optional

Instructions
 

  • Begin to heat a large dutch oven over medium-high heat. Add Italian sausage and brown. (Option to add a bit of oil to the pan before you add the sausage. I find that it helps keep the sausage from sticking.)
  • Meanwhile, dice the onion, celery, carrots, and potatoes. Additionally, drain and rinse the cannellini beans.
  • Combine 1 ½ cans of beans and about 1 cup of chicken stock. Blend with a stick (hand) blender.
  • Once cooked through, remove browned sausage and drain. Add the olive oil to the Dutch oven and heat over medium. Once hot, add the diced onions, celery, and carrot. Cook until soft, about 7-10 minutes, stirring periodically.
  • Add the garlic and cook for an additional 30 seconds. Add the diced potatoes, beans, pureed beans, and remaining chicken stock.
  • Bring to a simmer and cook for 20-25 minutes, until the potatoes are soft. Add the kale and shaved Parmesan (optional) as well as salt and pepper to taste. Cook for an additional 5 minutes, until the kale is soft.
  • Serve with a salad and crusty bread.
Keyword cannellini beans, cast iron, cast iron cooking, comfort food, dairy free, fall eats, Italian sausage, Italian venison, kale, Potatoes, soup, white bean
Tried this recipe?Let us know how it was!

Loved the Kale and White Bean Sausage SOup and Want more?

Check out my cooking page for all sorts of dinner inspiration! Or perhaps some of my favorites will tickle your fancy.

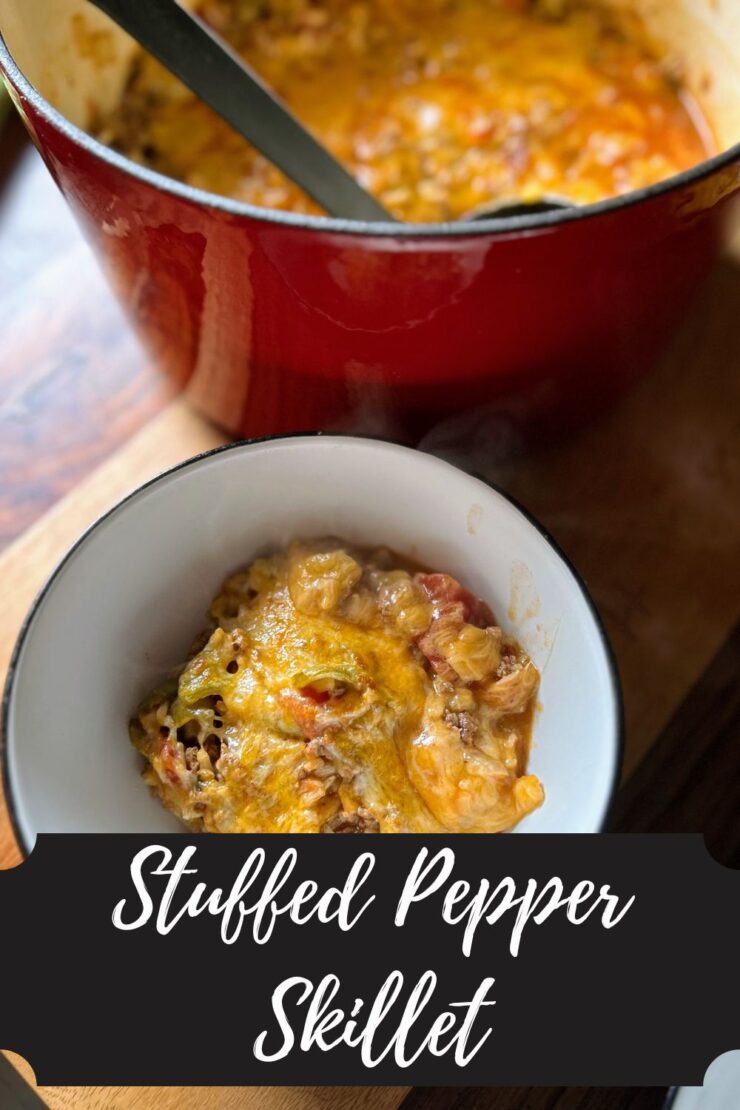
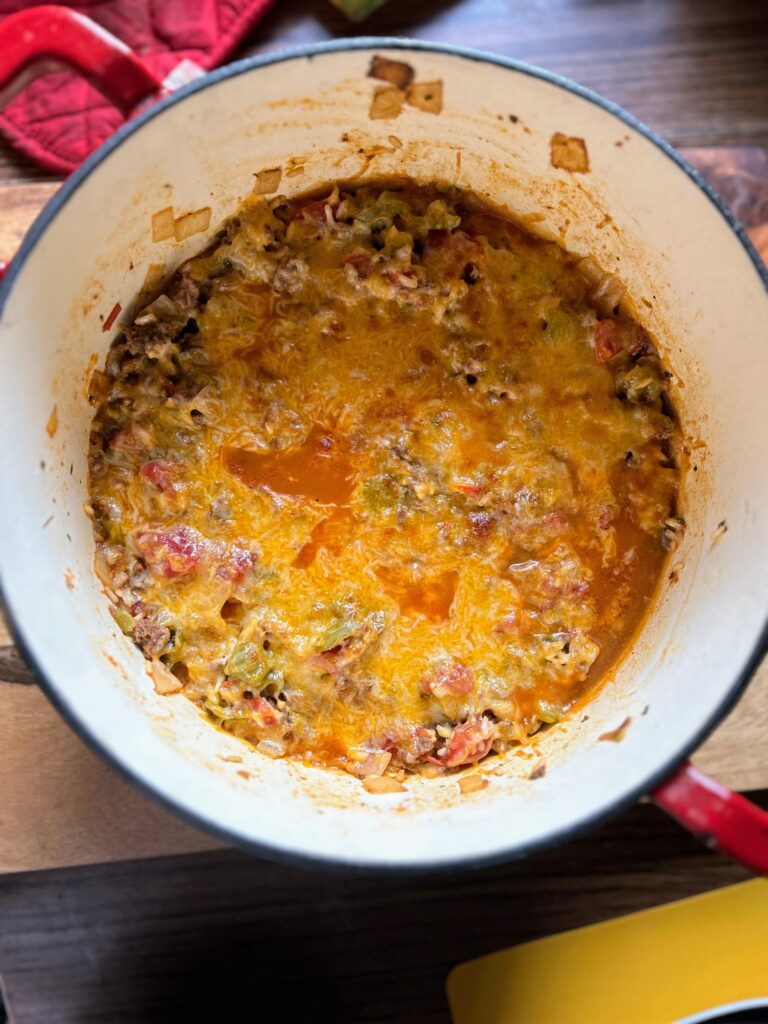
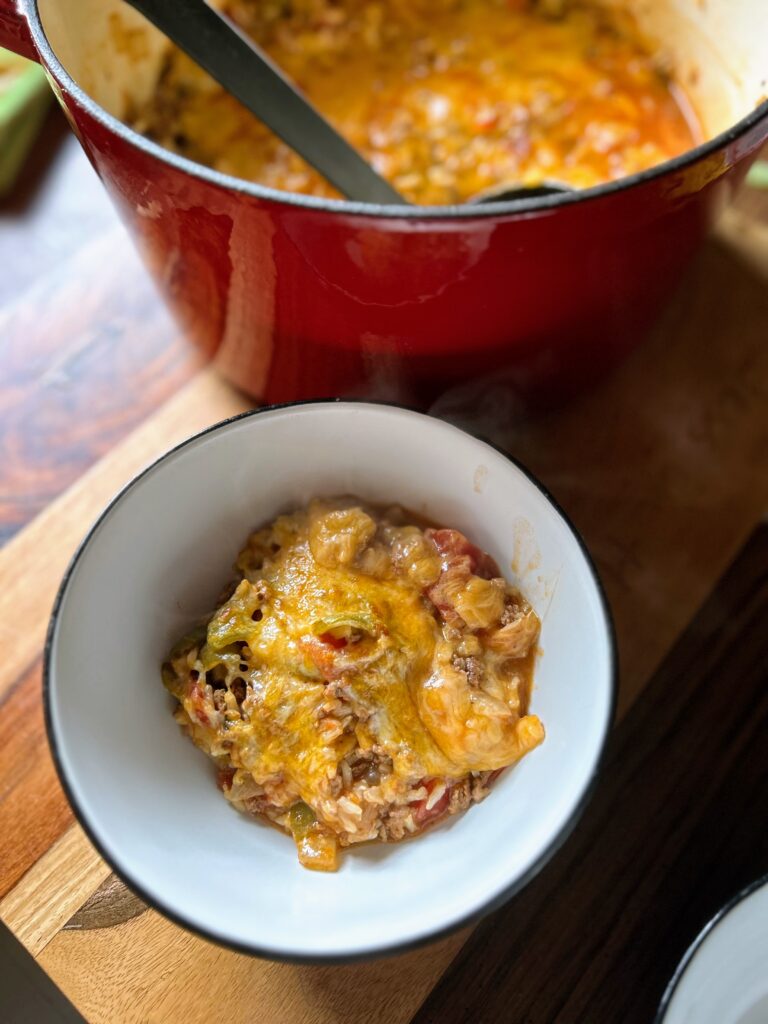
Stuffed Pepper Skillet

If the Mr is cooking at our house, there are likely three distinct quantities of food: protein (usually venison chops), roasted potatoes, and some form of steamed vegetable. Is it delicious? Absolutely. It just isn’t the way I cook. I love a good skillet or bake. Bring on the mixtures of flavors and more importantly, the leftovers so I don’t have to worry about making a lunch the next day. Because bakes and skillets are my jam, this simple stuffed pepper skillet was born. 

I don’t love raw peppers. I have grown to enjoy them cooked, and I know they are good for me so I try to infuse them into my dinners when I can. If you’ve been around for some time, you may have noticed that I don’t like super tedious recipes. I don’t want to make stuffed peppers in their truest form. That’s work (Ha!).  Let me make something good, filling, and full of nutrient dense ingredients that fits in a pan and I am the happiest of women. 

This stuffed pepper skillet seems to fit all the bills

It has protein from the Italian sausage (I use my Italian sausage inspired venison), starches in the rice, and it’s full of vegetables in the tomatoes, peppers, and onions. Even better? It has minimal hands-on time and once it’s time to cook the rice, you cover it and let it be. No stirring. No checking it constantly. Just get the veg cooked up and you’re almost done. 

And your family will love it (at least I hope they do!). The first time I made it, I was just using up sad ingredients from the fridge: halves of peppers and sad onions. I was trying to clear out some of the freezer before the Mr starts hunting again and we had a ton of Italian venison. As soon as my kids dug in, they said, “Of course you didn’t measure…it’s so good!” We quickly ate it three weeks in a row! On that third week, I measured so that I could share with all of you!

Ready to start creating this great, family friendly meal for the people you love too? Let’s go!

Your ingredients

  • 1 ½ cups chopped sweet pepper, any color
  • 1 ½ cups diced onion 
  • 2 tablespoons olive oil
  • 2 teaspoons minced garlic
  • 1 pound ground Italian sausage 
  • 1 can of diced tomatoes, unsalted 
  • 8 ounces tomato sauce 
  • 2 ⅔ cup low sodium chicken stock
  • 1 ½ cups brown rice 
  • 1 cup shredded cheese, your favorite kind
  • Pinch of red pepper flakes (optional) 
  • Salt and pepper, to taste

Your Steps to Stuffed Pepper Skillet

If available, cook this in an oven safe Dutch oven with a cover so that the cheese can go under the broiler. If that’s not available, any large brazier or saute pan with a cover will do. 

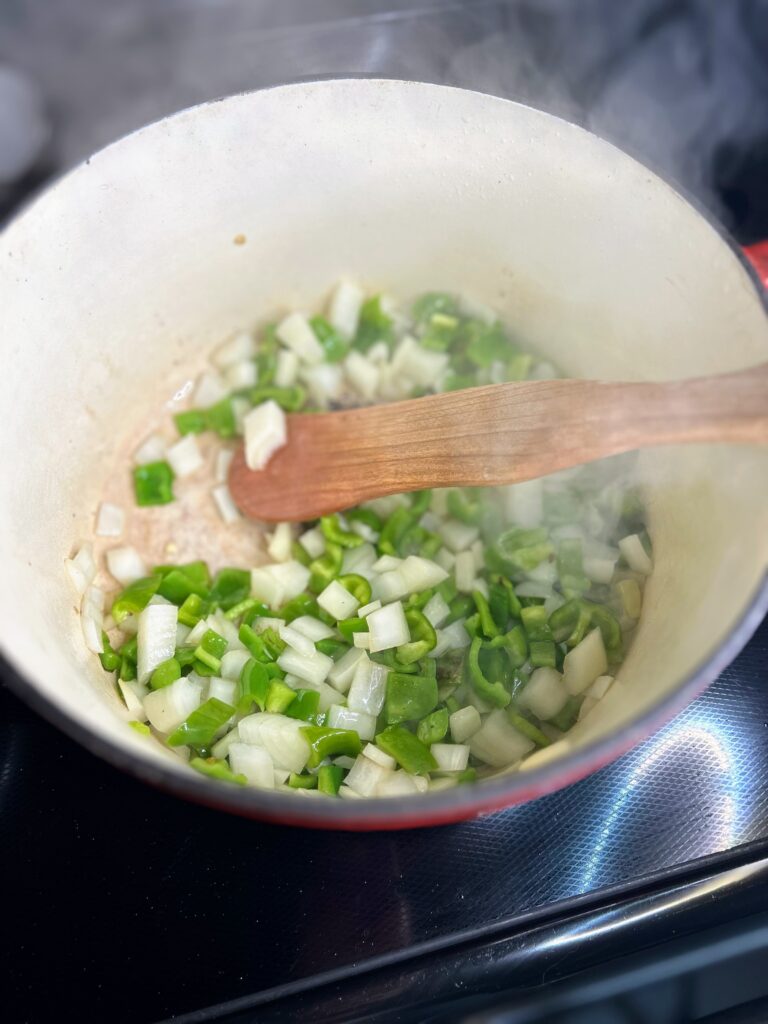
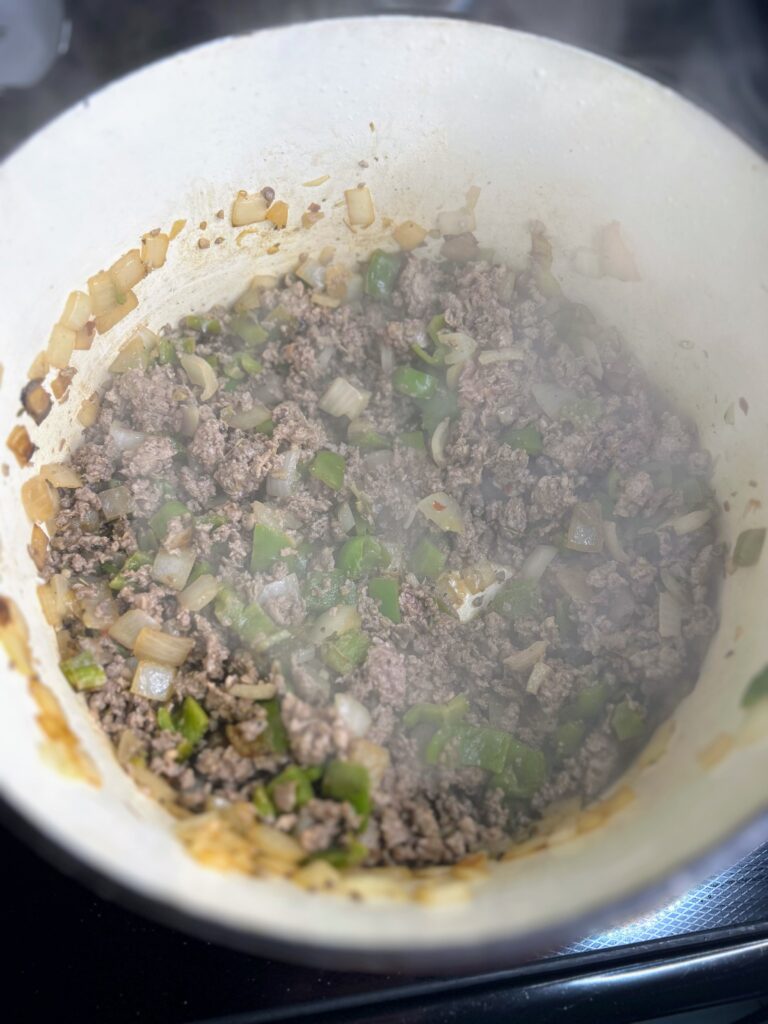
Over medium-high heat, add the olive oil to the pan. Once hot, add green peppers and onion. Saute for 5-10 minutes, until just softening. Then add the Italian sausage and minced garlic, cooking until the sausage is browned. From here, drain if necessary (I use a half venison/pork mixture, so I don’t need to drain any extra fat).

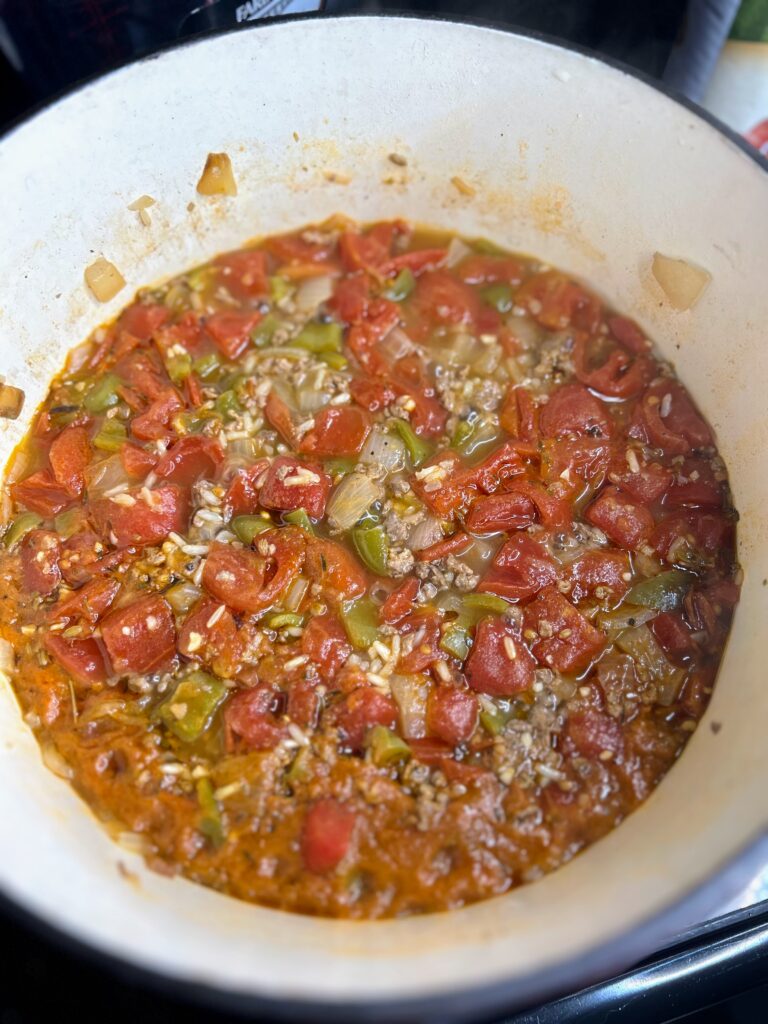
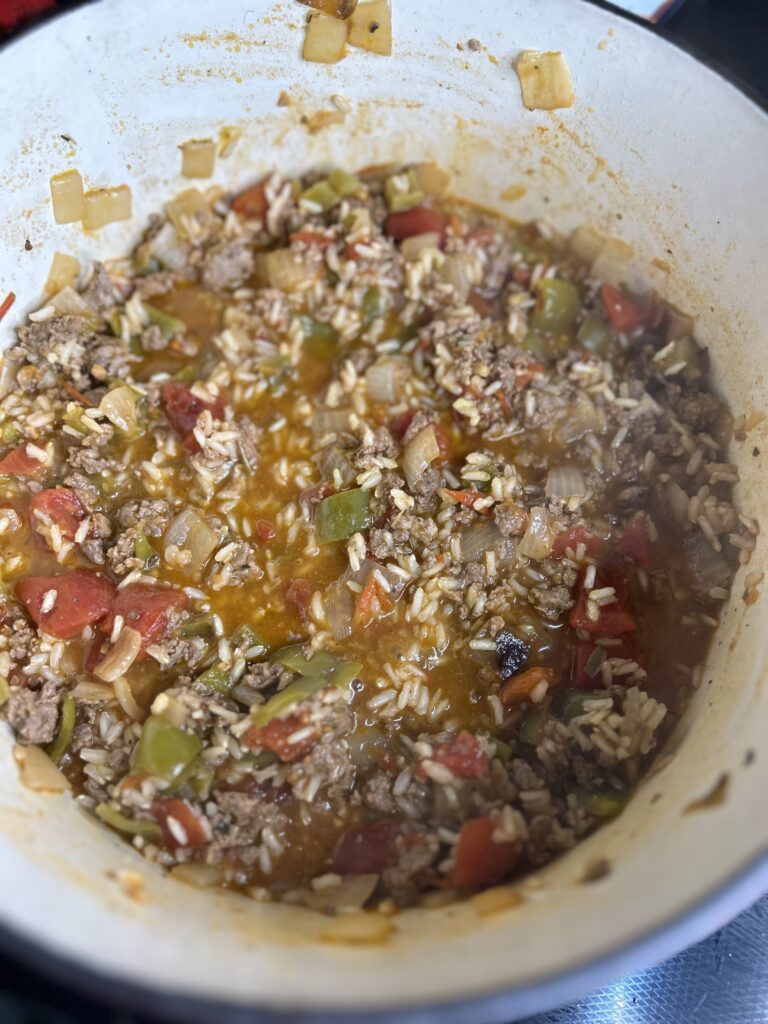
Add diced tomatoes, tomato sauce, chicken stock, and salt and pepper (including the pepper flakes). Bring to a boil. Add the rice, stirring to combine. Return to a boil, then reduce to a simmer and cover. Allow your wonderful meal to cook for 40 minutes, covered. After 40 minutes, check the texture of the rice, cooking for an additional 5-10 minutes if necessary. 

Once the rice is fully cooked, top with shredded cheese. If you are able to put your pan in the oven, cook under the broiler at 475 for 3-5 minutes, until the cheese is perfect and bubbly. 

If you are not able to put your pan in the oven, add the cheese and immediately put the cover back on. Allow to sit for 5-10 minutes (and up to 20 minutes, if you are busy), to let the cheese melt. 

That’s it. It really is such a simple meal that has you doing just a few things at the beginning and then setting and forgetting it. If you are busy at night, you could totally precook the sausage, onion, and peppers and just add everything together when you get home. 

Stuffed Pepper Skillet

This Stuffed Pepper Skillet is packed with flavor and simple to prepare, even on a weeknight, thanks to its minimal hands-on time.
Prep Time 20 minutes
Cook Time 40 minutes
Course dinner, Main Course
Cuisine American
Servings 0

Ingredients
  

  • 1 ½ cups chopped sweet pepper any color
  • 1 ½ cups diced onion
  • 2 tablespoons olive oil
  • 2 teaspoons minced garlic
  • 1 pound ground Italian sausage
  • 1 can of diced tomatoes unsalted
  • 8 ounces tomato sauce
  • 2 ⅔ cup low sodium chicken stock
  • 1 ½ cups brown rice
  • 1 cup shredded cheese your favorite kind
  • Pinch of red pepper flakes optional
  • Salt and pepper to taste

Instructions
 

  • If available, cook this in an oven safe Dutch oven with a cover so that the cheese can go under the broiler. If that’s not available, any large brazier or saute pan with a cover will do.
  • Over medium-high heat, add the olive oil to the pan. Once hot, add green peppers and onion. Saute for 5-10 minutes, until just softening. Then add the Italian sausage and minced garlic, cooking until the sausage is browned. From here, drain if necessary.
  • Add diced tomatoes, tomato sauce, chicken stock, and salt and pepper (including the pepper flakes). Bring to a boil. Add the rice, stirring to combine. Return to a boil, then reduce to a simmer and cover. Allow your wonderful meal to cook for 40 minutes, covered. After 40 minutes, check the texture of the rice, cooking for an additional 5-10 minutes if necessary.
  • Once the rice is fully cooked, top with shredded cheese. If you are able to put your pan in the oven, cook under the broiler at 475 for 3-5 minutes, until the cheese is perfect and bubbly.
  • If you are not able to put your pan in the oven, add the cheese and immediately put the cover back on. Allow to sit for 5-10 minutes (and up to 20 minutes, if you are busy), to let the cheese melt.
Keyword cherry tomatoes, green peppers, Italian sausage, Italian venison, one pot meals, peppers, stuffed peppers
Tried this recipe?Let us know how it was!

Looking for other great dinner recipes?

Corn and Pancetta Chowder

Corn and Pancetta Chowder

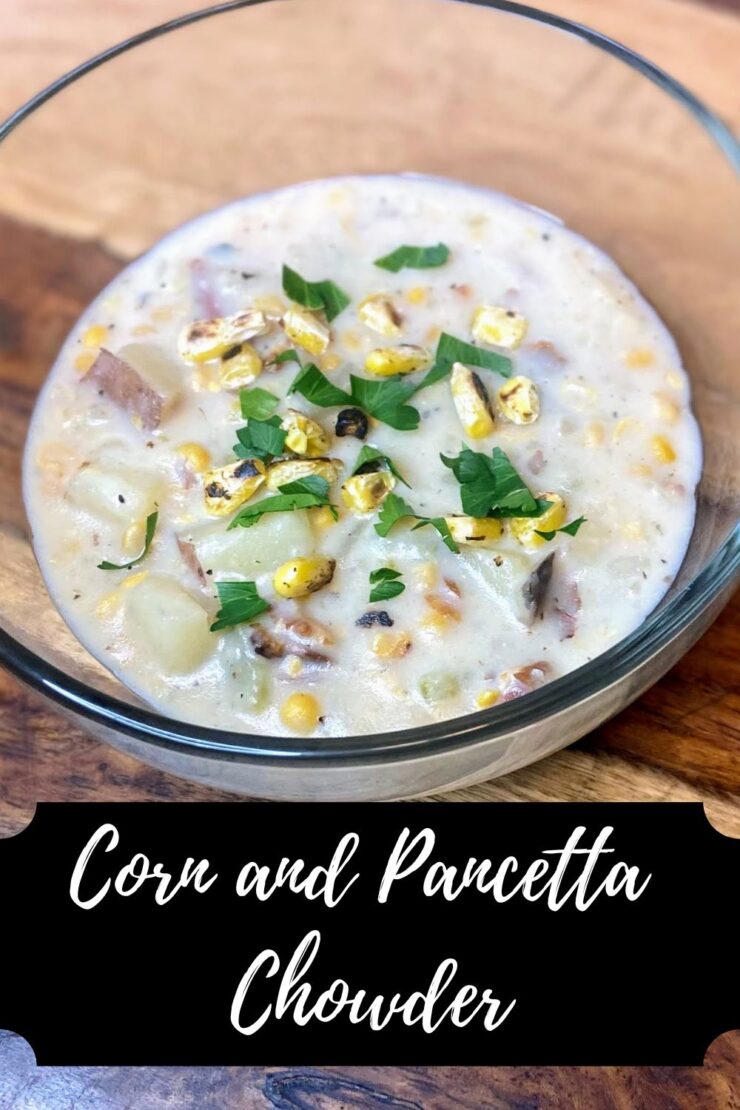
If you’ve been around for any length of time, you know that I live for comfort food. Can it be cooked low and slow or as a bake? Then I am here for it. Specifically, soup season is my absolute favorite. I love all the things that come with creating a soup: chopping the veg, stirring periodically with love, and then smells that take over the house. It pairs so well with some homemade bread (I bake sourdough!) and a salad. All my favorites. So when I suddenly got to thinking about corn chowder, I looked in my fridge and pantry and this delicious corn and pancetta chowder was the result. 

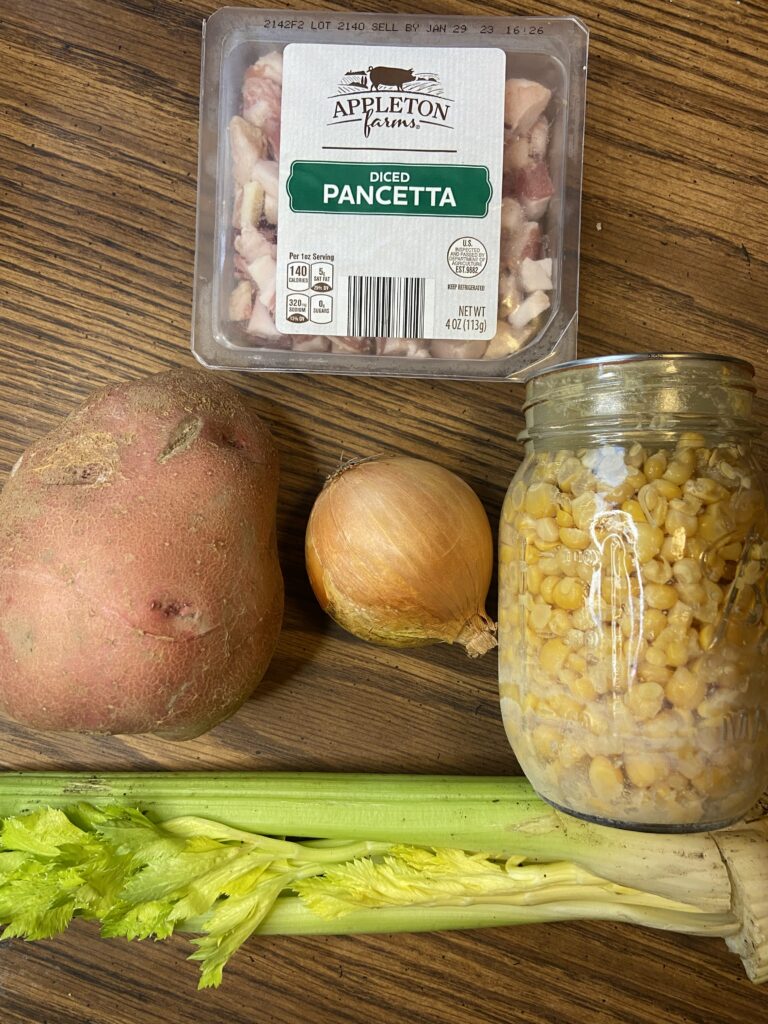
Now you may be asking, “Why pancetta?” Friends, until a couple months ago, I had never cooked with it. A recipe I was trying out for a collab I do on Instagram called for it, and I gave it a try. And my goodness. It has quickly become a staple for cooking in my house. It’s just that good. If you want to skip the pancetta, you can totally do bacon instead. But I dare you to cook up some crispy pancetta and NOT want to eat the entire container. 

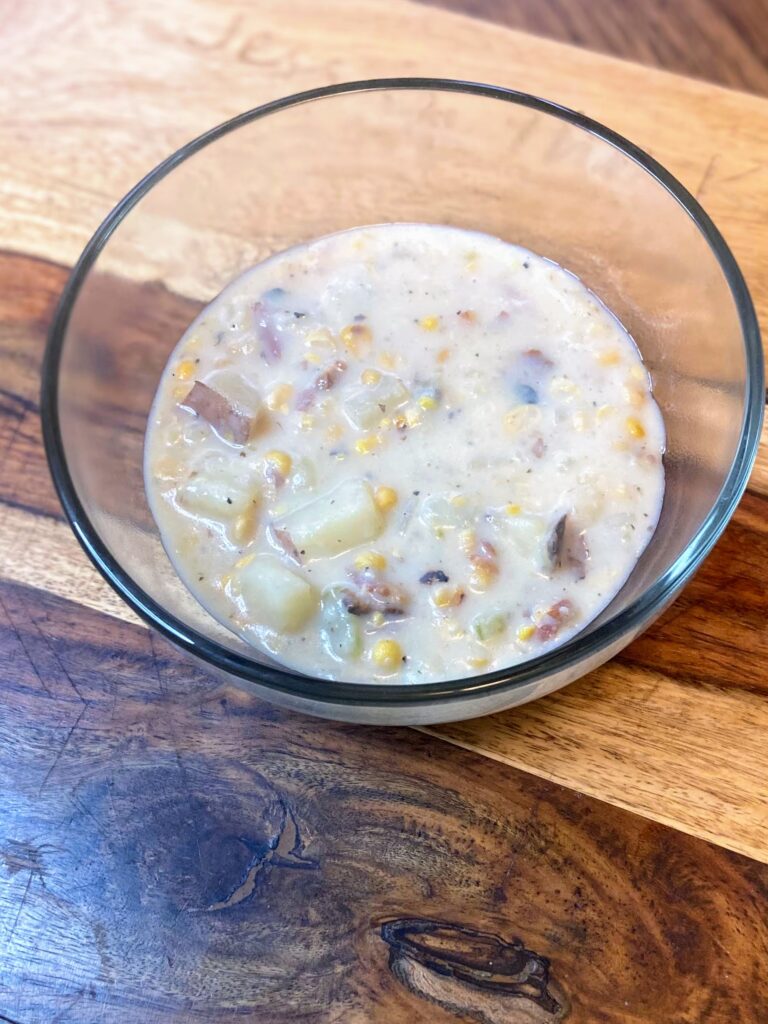
The rest of the ingredients are completely pantry items. You don’t even need heavy cream or half and half (which I have on hand maybe 30% of the time). The half blending of the simmered vegetables creates a creamy and thick chowder that’s divine. 

Ready to get cooking? Let’s go! 

Your Ingredients for Corn and Pancetta Chowder 

  • 4 ounces pancetta (or thick cut bacon, cut into small pieces)
  • 1 yellow onion, diced (about 1 cup) 
  • 2 celery ribs, diced (about ¾ cup) 
  • 3 cups diced potatoes (I left the skin on)
  • 1 teaspoon minced garlic 
  • ½ teaspoon pepper
  • 2 cups chicken stock 
  • 2 cups corn (fresh or frozen)
  • 2 ½ -3 cups milk, divided 
  • 1 ½ tablespoons cornstarch
  • Salt and dried thyme, to taste
  • Olive oil 

Your Steps 

Add a small amount of olive oil (2 teaspoons or so) to a soup kettle (I love my cast iron Dutch ovens). Once hot, add pancetta and cook over medium heat until crispy. Remove cooked pancetta and allow it to drain on a paper towel. Reserve ⅔ of the fat from the pancetta to cook the vegetables.

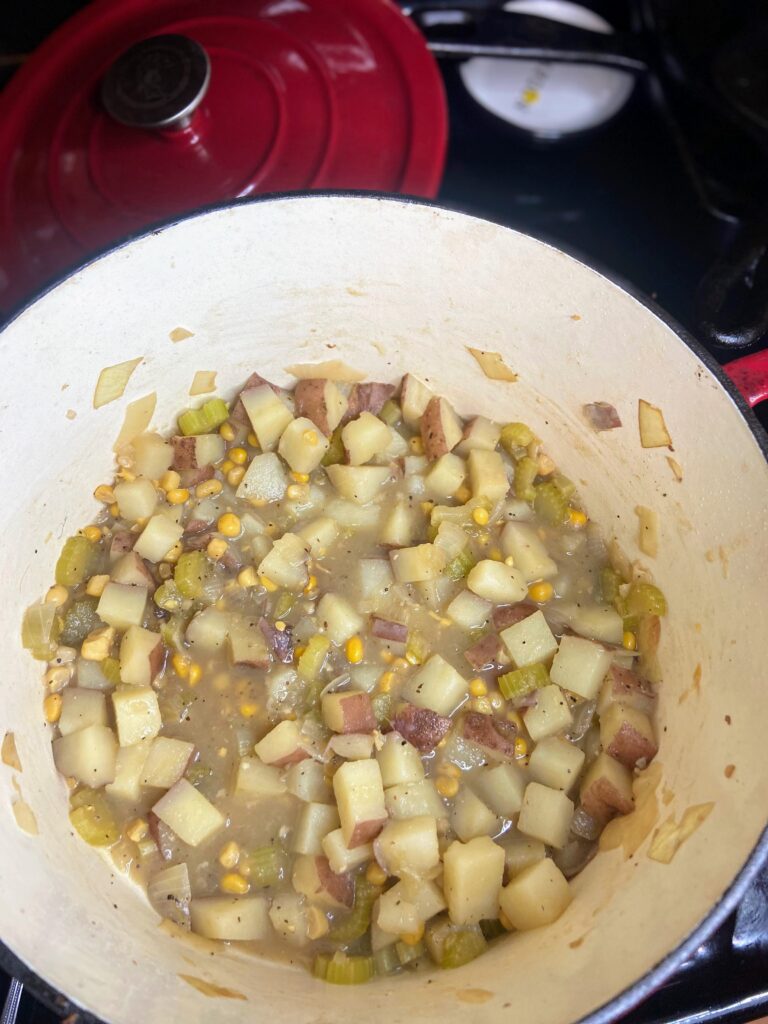
Meanwhile, dice onions, celery, and potatoes. Over medium heat, cook the onions, celery, and garlic in the pancetta fat until softened, about 8 minutes. Add potatoes and allow to cook for another 5 minutes. Add chicken stock and pepper. Heat to a low boil and cook until the potatoes are soft, about 10 minutes. 

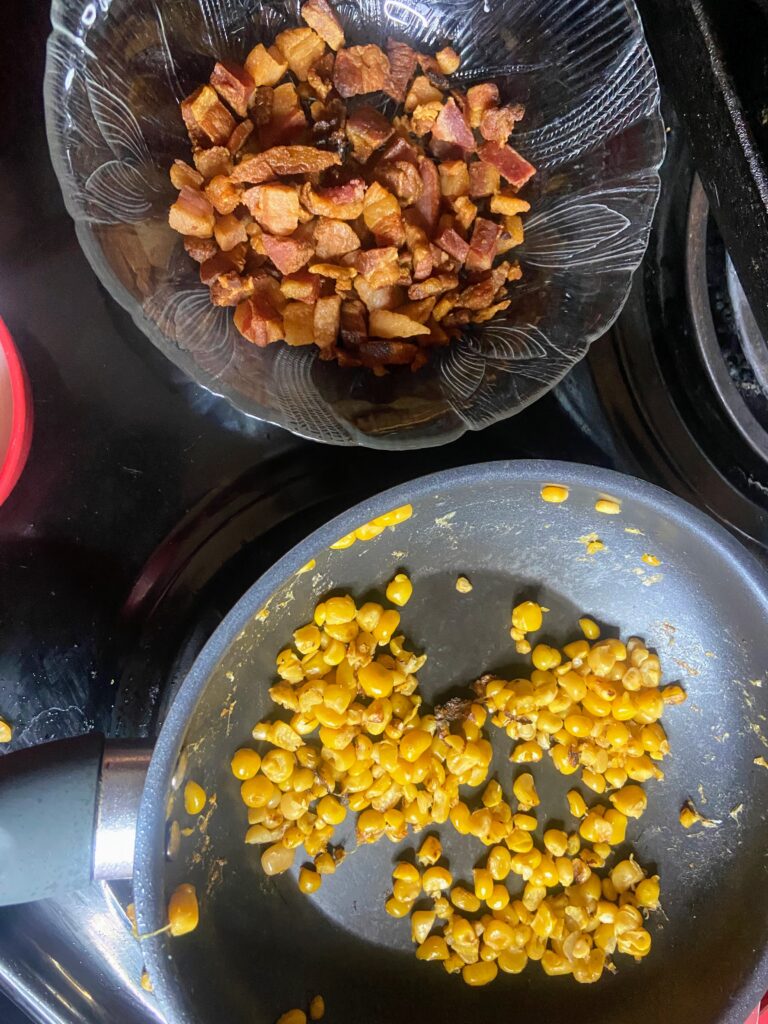
While the potatoes are cooking, spray a small frying pan with non-stick cooking spray and heat to a medium, high temperature. Add corn and cook until just charred (this is optional, but will enhance that flavor!). 

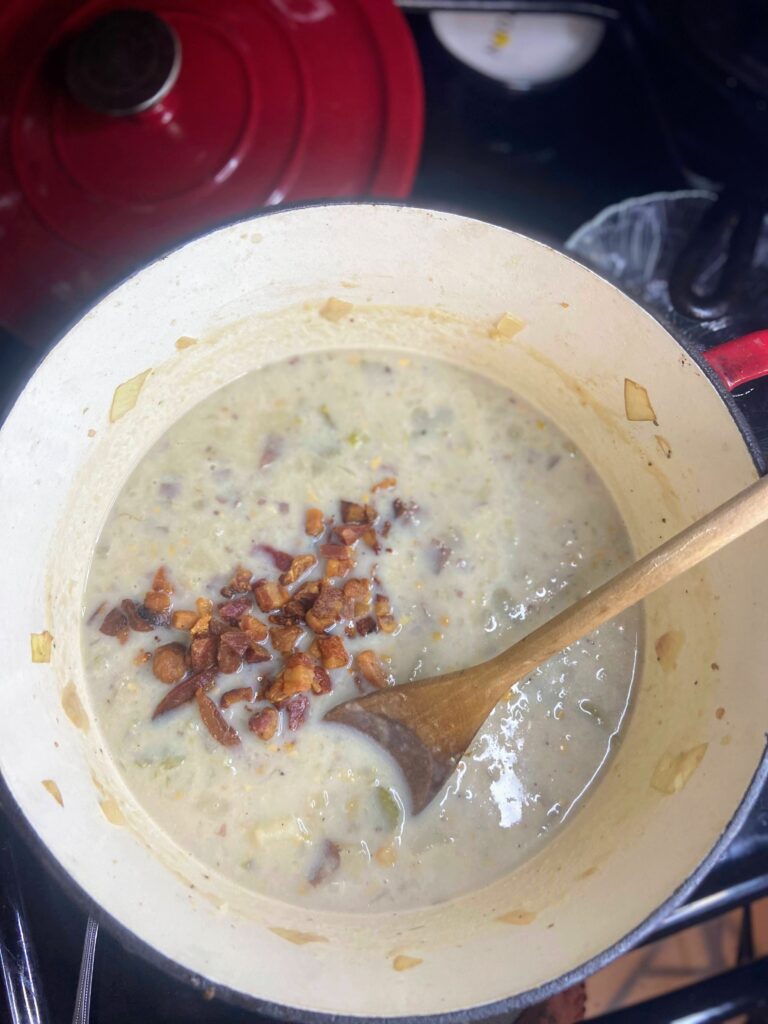
Once the potatoes are soft, add 1 cup of corn to the kettle. Then use an immersion blender to break down the vegetables about 50% of the way. I leave it in the kettle and just go by feel but you can remove 50-60% of the veg and do it in another container. Stir in the corn and pancetta to the kettle (reserving some if you care to garnish the top of your soup). 

Finally, slowly stir in milk, ½ cup at a time, reserving 1 ½ tablespoons of it. Combine the reserved milk with the cornstarch and whisk together. Bring the soup just to a boil and stir in cornstarch slurry and cook until the soup thickens, about 3 minutes. 

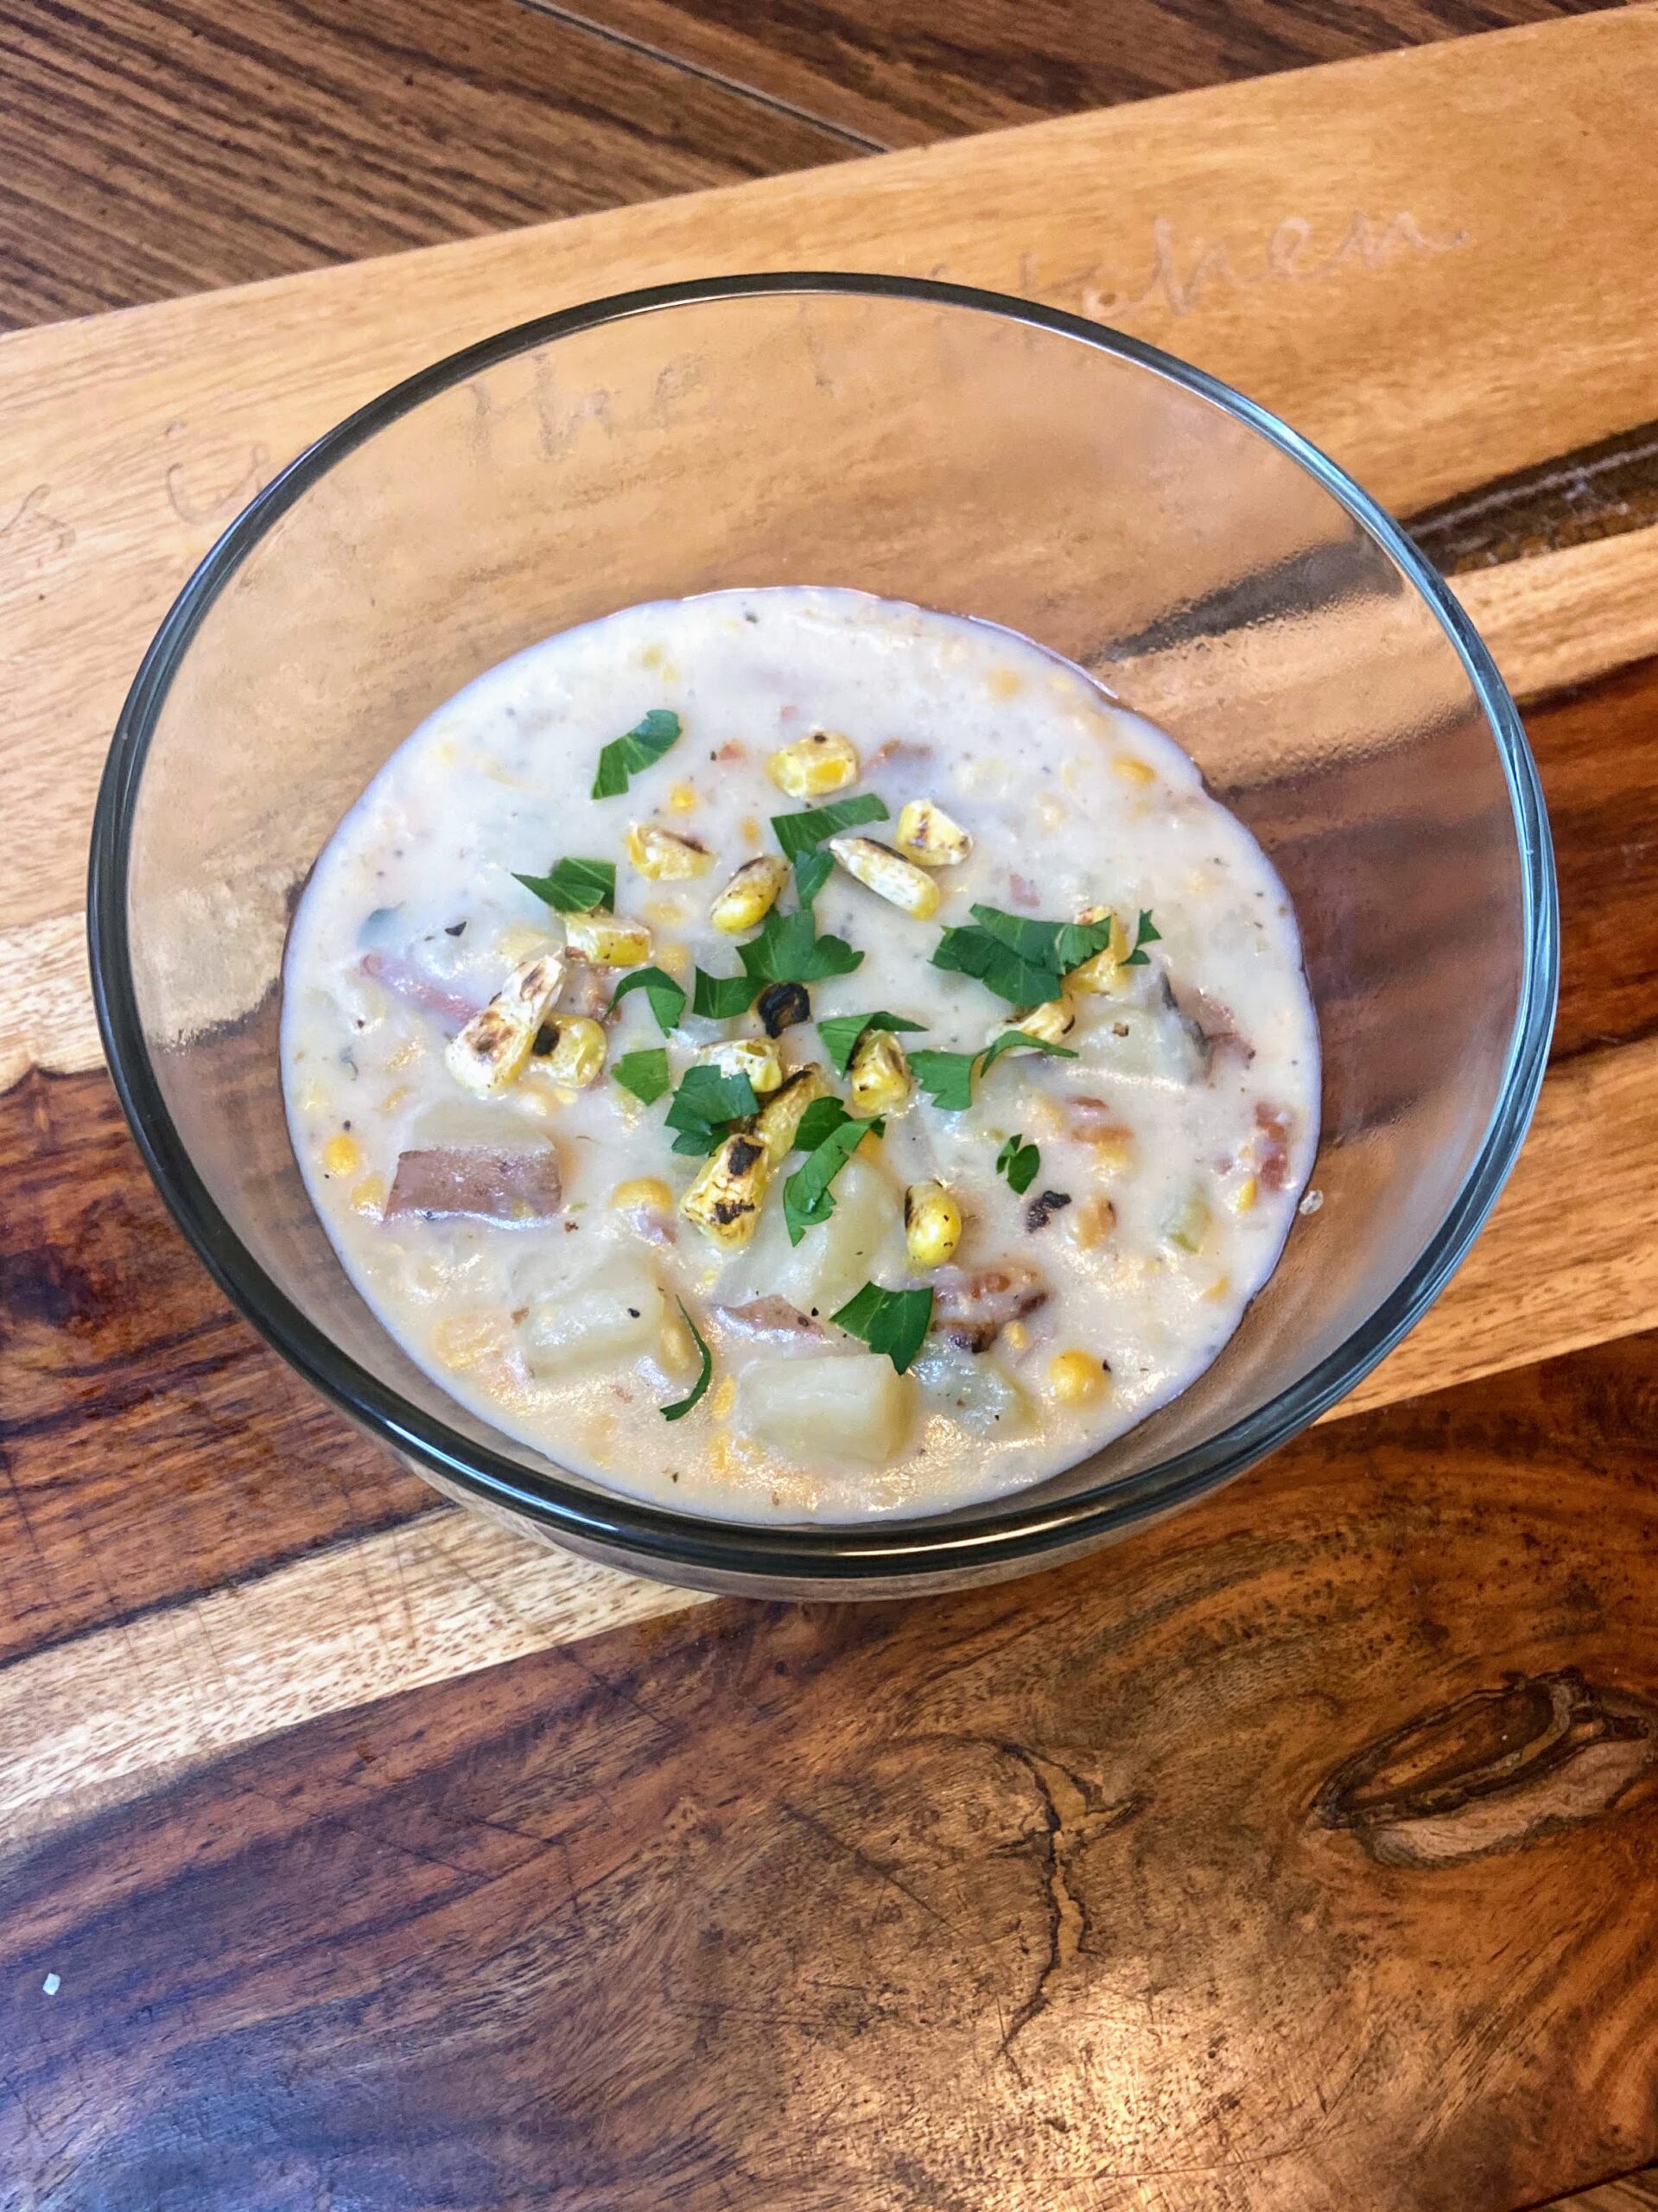
Serve it up with some crusty bread, a salad, and garnish with reserved pancetta and corn (if you care to). 

Tools of The Trade

When I am making a soup or a stew you can bet I’ll be cooking in my cast iron Dutch oven. There’s just something special about it. I adore my flexible cutting boards and Orrington Broth Base is the best for quick chicken stock.

Corn and Pancetta Chowder

Corn and Pancetta Chowder

Thick and creamy, this corn and pancetta chowder is all you can ask for in a comforting bowl of soup.
Prep Time 15 minutes
Cook Time 40 minutes
Course Soup
Cuisine American
Servings 6 servings

Ingredients
  

  • 4 ounces pancetta or thick cut bacon, cut into small pieces
  • 1 yellow onion diced (about 1 cup)
  • 2 celery ribs diced (about ¾ cup)
  • 3 cups diced potatoes I left the skin on
  • 1 teaspoon minced garlic
  • ½ teaspoon pepper
  • 2 cups chicken stock
  • 2 cups corn fresh or frozen
  • 2 ½ -3 cups milk divided
  • 1 ½ tablespoons cornstarch
  • Salt and dried thyme to taste
  • Olive oil

Instructions
 

  • Add a small amount of olive oil to a soup kettle. Once hot, add pancetta and cook over medium heat until crispy. Remove cooked pancetta and allow it to drain on a paper towel. Reserve ⅔ of the fat from the pancetta to cook the vegetables.
  • Meanwhile, dice onions, celery, and potatoes.
  • Over medium heat, cook the onions, celery, and garlic in the pancetta fat until softened, about 8 minutes.
  • Add potatoes and allow to cook for another 5 minutes.
  • Add chicken stock and pepper. Heat to a low boil and cook until the potatoes are soft, about 10-15 minutes.
  • While the potatoes are cooking, spray a small frying pan with non-stick cooking spray and heat to a medium, high temperature. Add corn and cook until just charred (this is optional, but will enhance that flavor!).
  • Once the potatoes are soft, add 1 cup of the corn to the mix.
  • Use an immersion blender to break down the vegetables about 50% of the way.
  • Stir in the corn and pancetta to the kettle (reserving some if you care to garnish the top of your soup).
  • Finally, slowly stir in milk, ½ cup at a time, reserving 1 ½ tablespoons of it.
  • Combine the reserved milk with the cornstarch and whisk together.
  • Bring the soup just to a boil and stir in cornstarch slurry and cook until the soup thickens, about 3 minutes.
Keyword comfort food, corn chowder, pancetta, Potato Soup, soup, soup and stews
Tried this recipe?Let us know how it was!

Interested in other soup Recipes?

Check out some of the recipes below (or just head to my cooking page!)

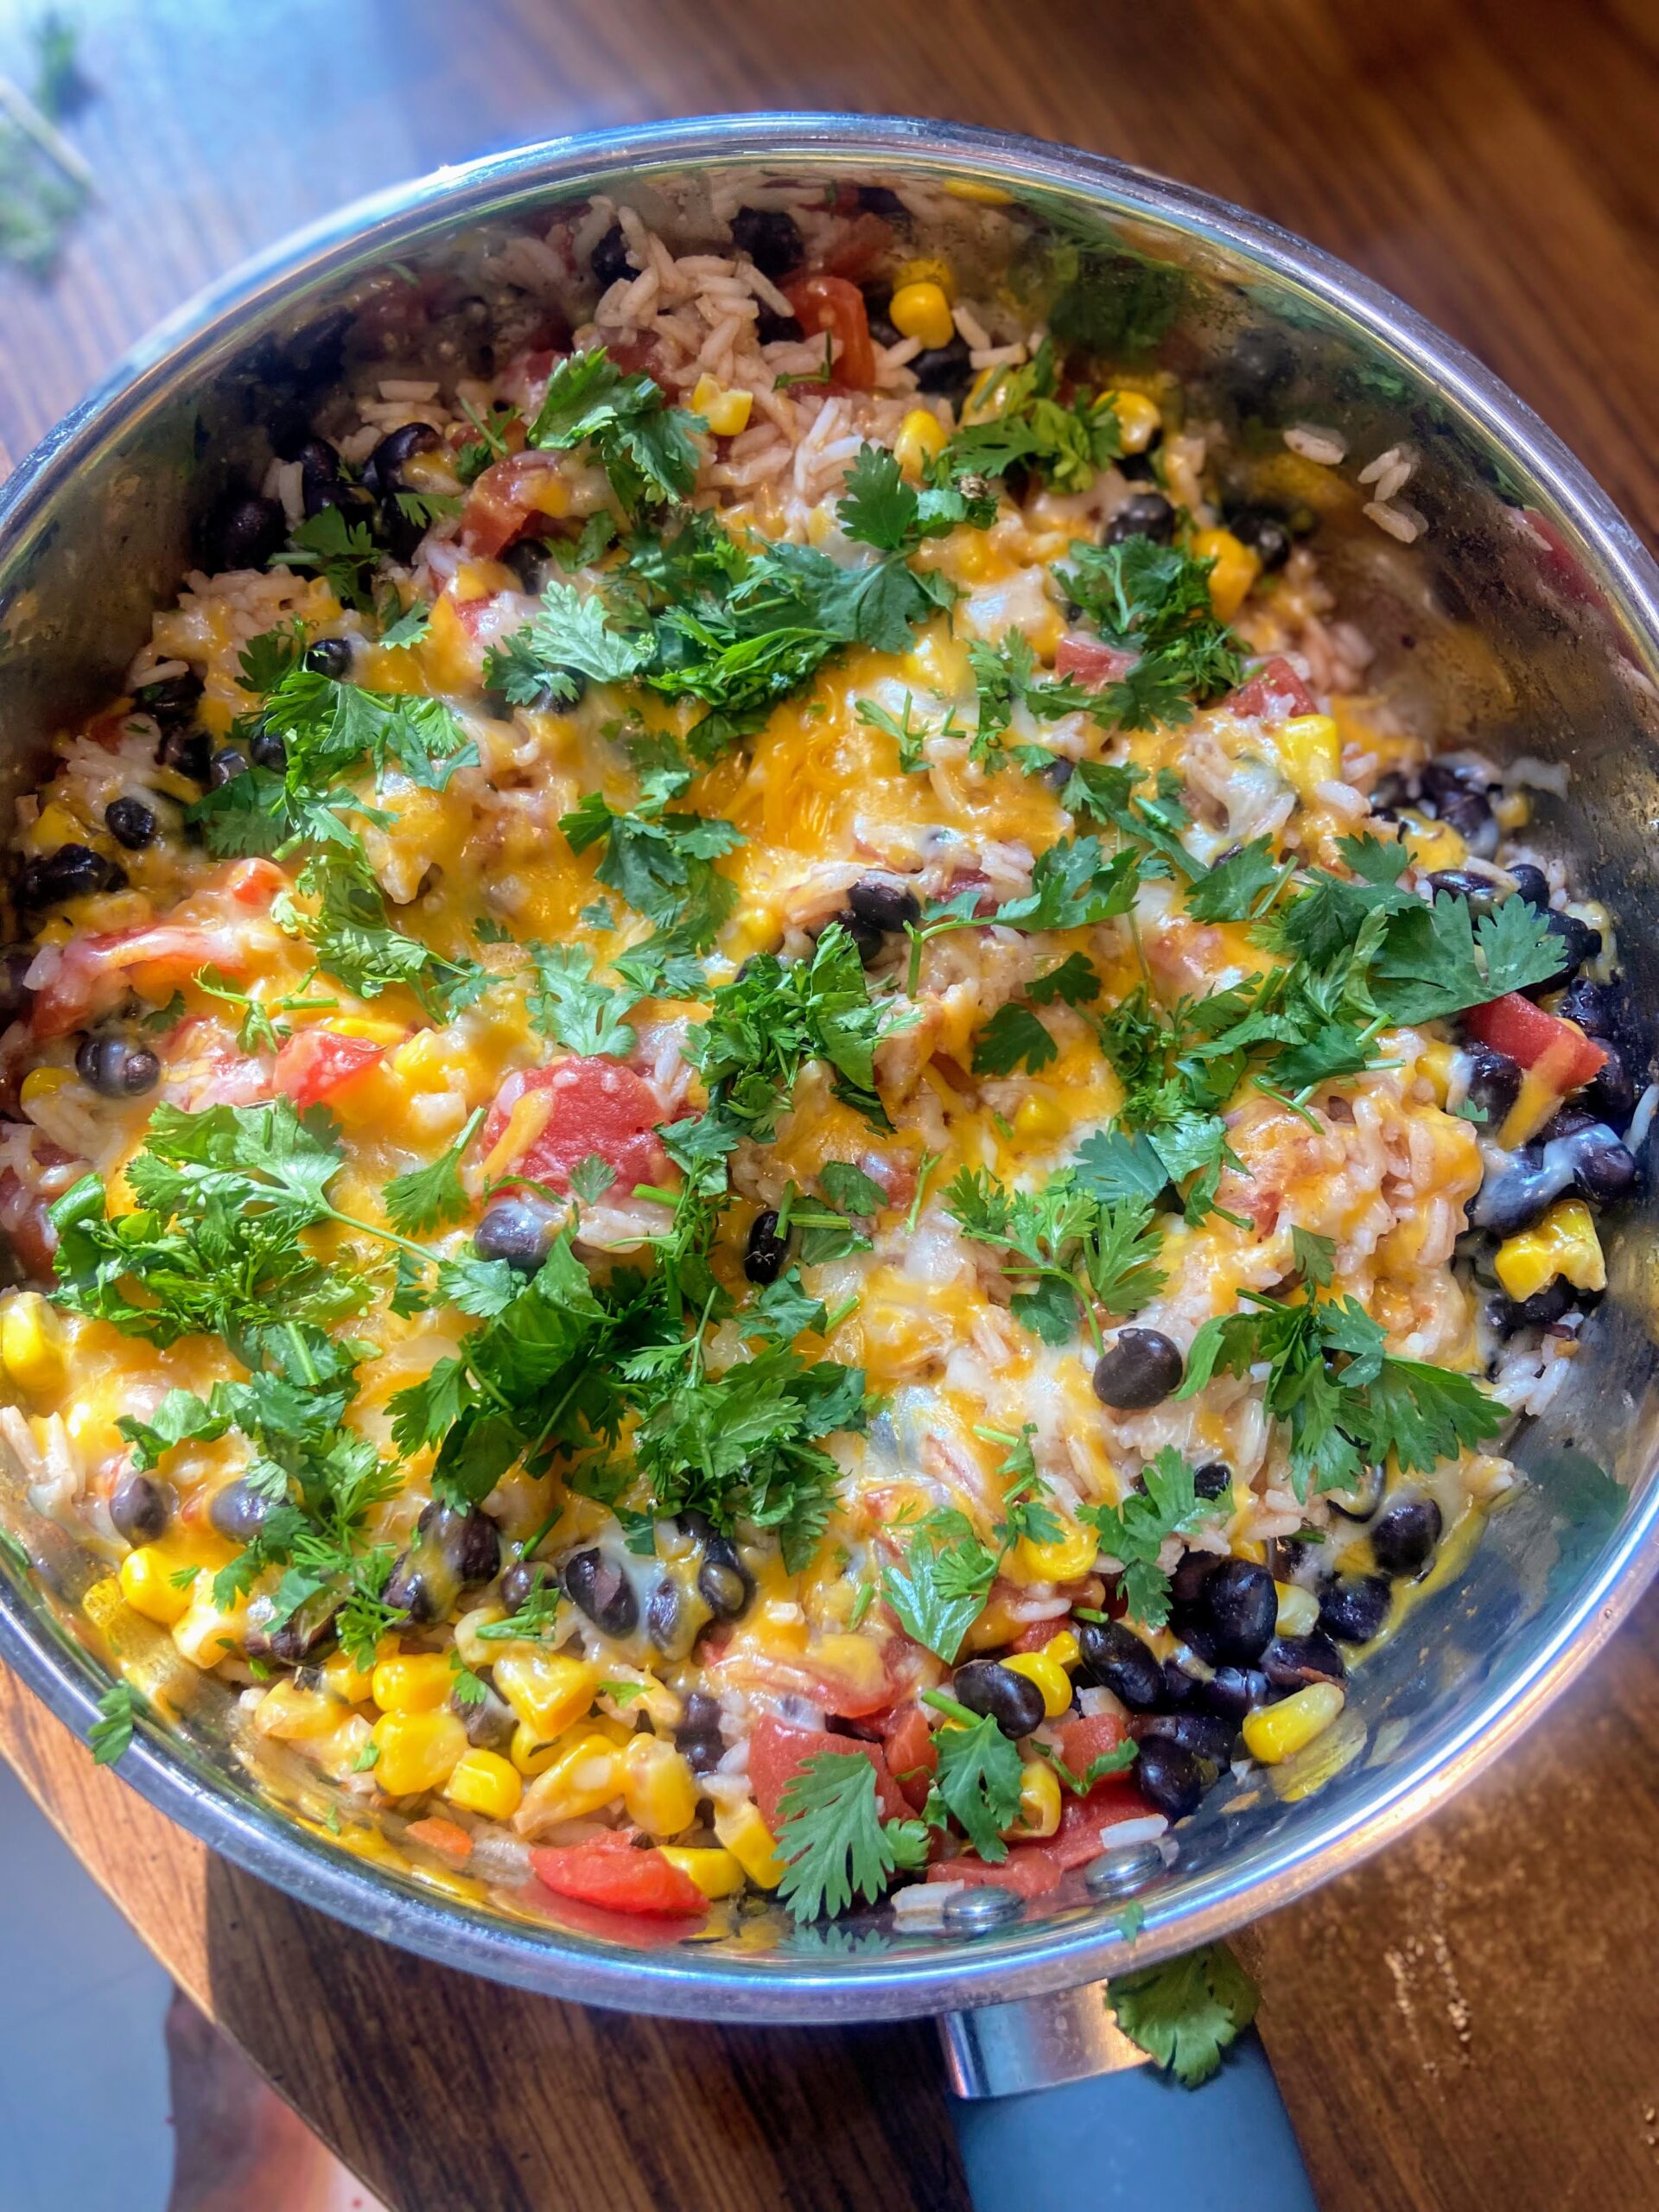
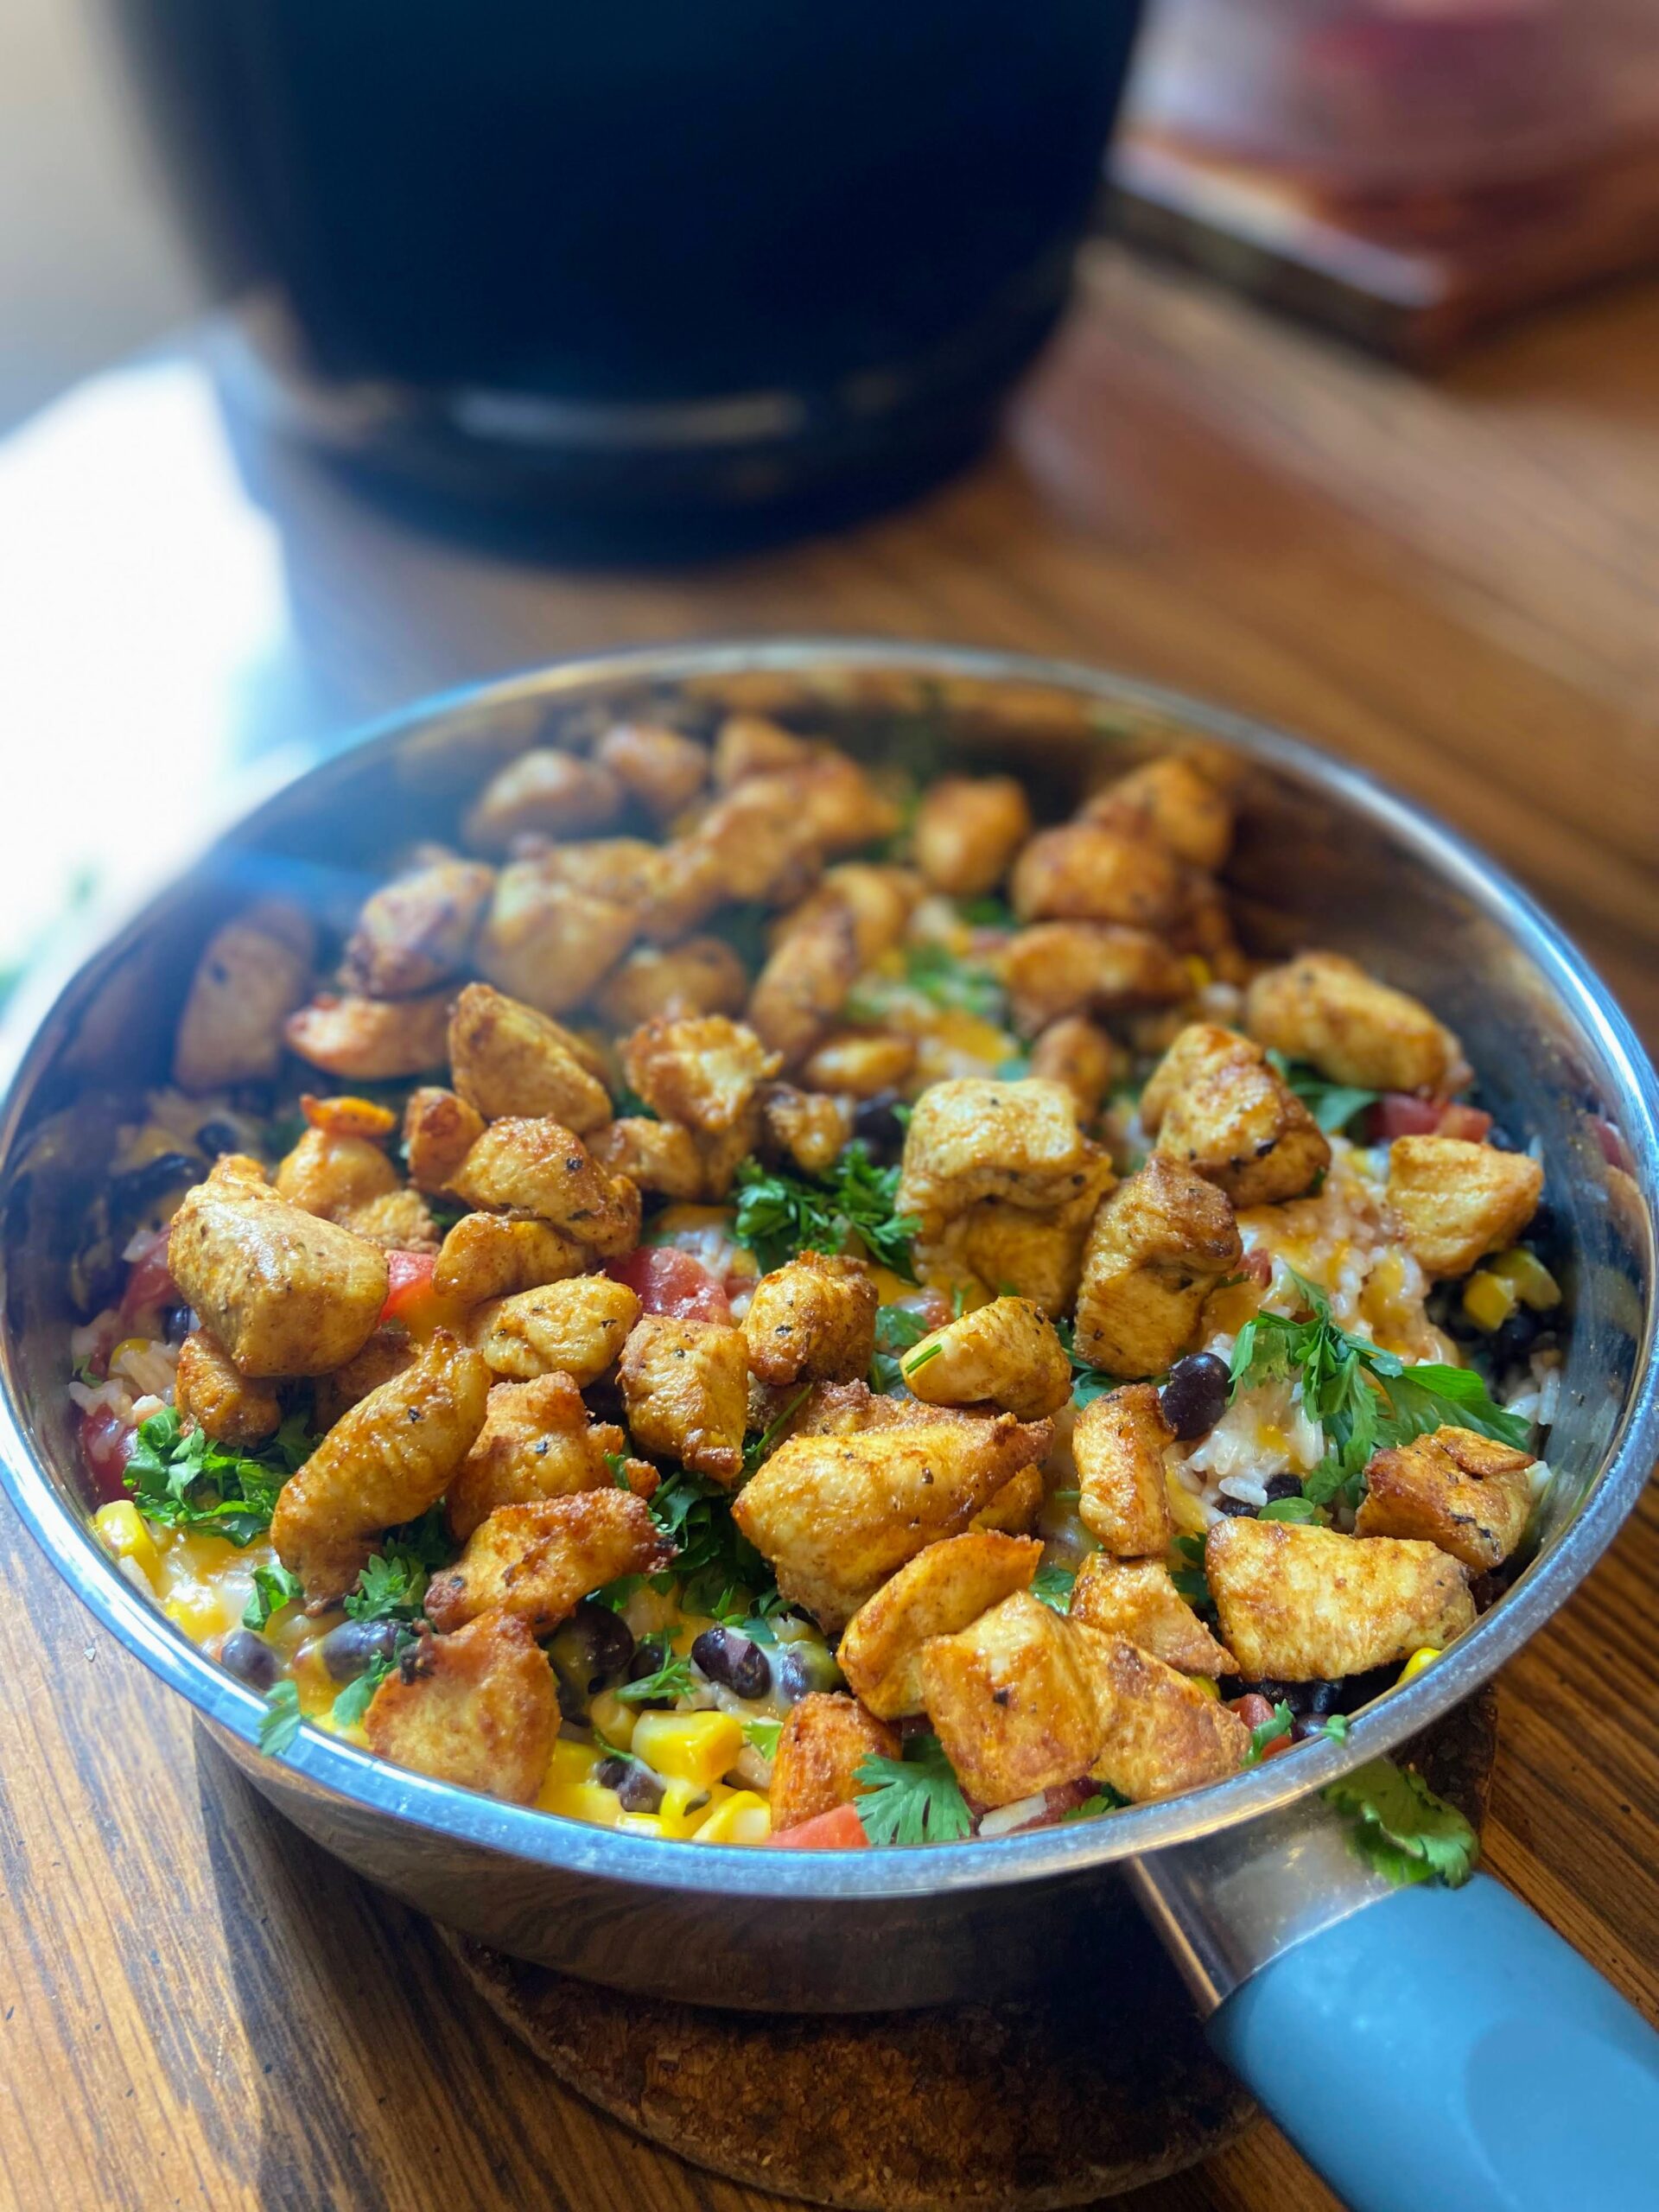
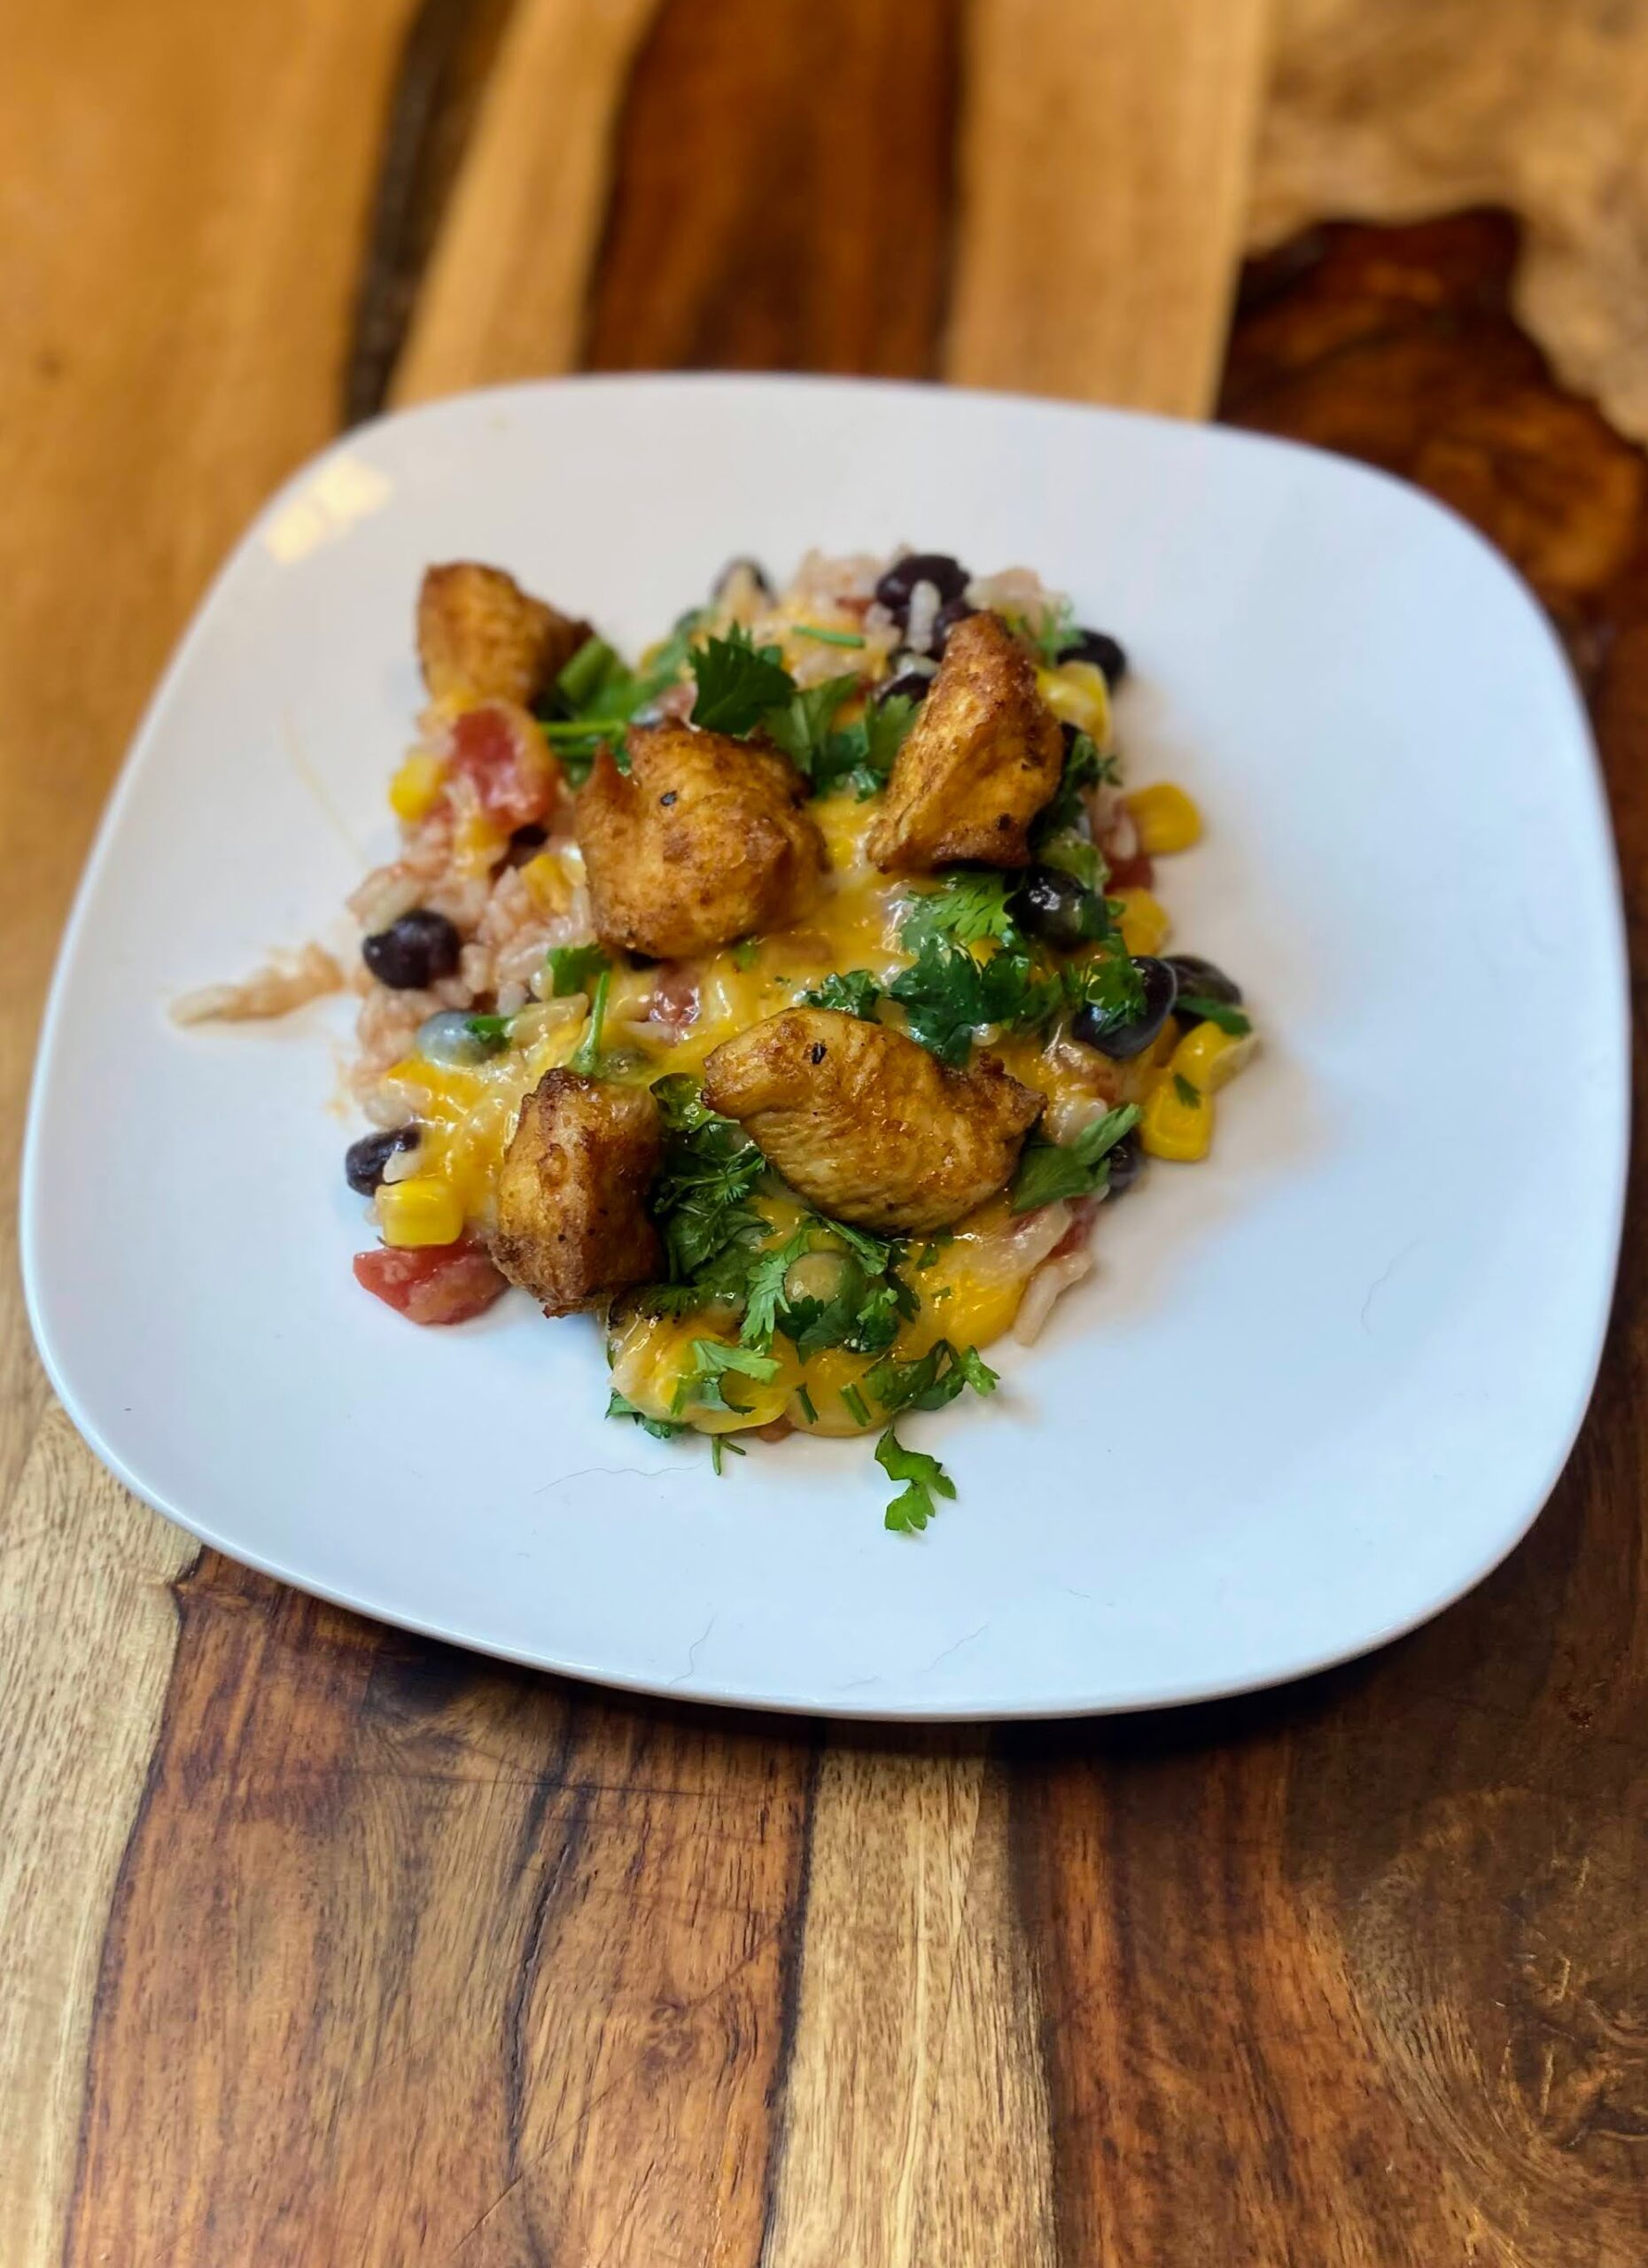
Air Fryer Southwest Chicken Skillet

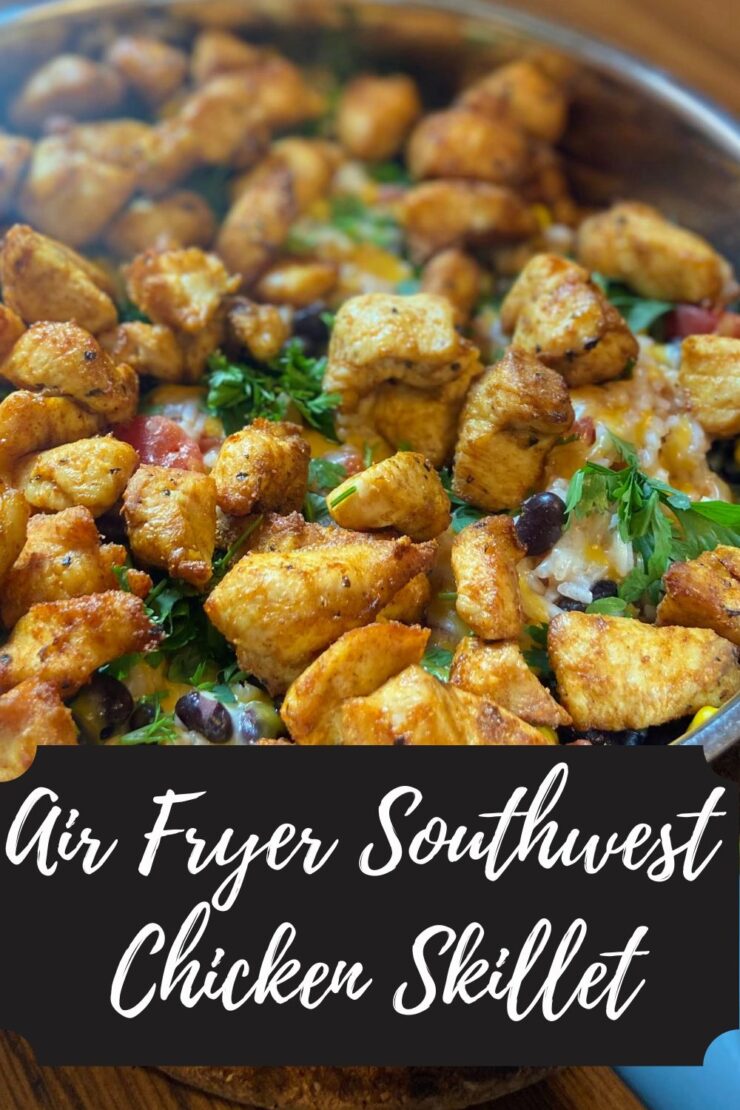
I don’t know about you, but our air fryer is perpetually on the countertop during the summer. I’ll be honest, eight times out of ten, I am making homemade fries (SO GOOD!), but sometimes I am cooking protein in it. I love cooking up chicken in all sorts of ways. I dig chicken thighs, chicken breasts, you name it. But one of my favorite ways to cook up chicken is when it’s marinated and cut into bitesize pieces. This Air Fryer Southwest Chicken Skillet is a great way to do just that! 

Reasons I love this recipe? It’s FULL of color and flavor. Don’t skip the cilantro or onions (as long as you aren’t an ‘it tastes like soap’ kind of guy or gal. Man, my heart hurts for you. I could eat cilantro by the bucket!) It adds so much. 

It preps up SO fast with minimal dishes. The chicken gets marinated in a baggy and goes in the air fryer. Everything else goes straight in the skillet! You don’t even need much of a cutting board if you have scissors for the onions and cilantro. It sure made my dishwasher (my 12 year old kiddo) happy to see that I didn’t create a pile of dishes for him. 

Now, I went lighter on the spicy factor here. If you want some extra kick, feel free to top with some sliced jalapeño too! Also, no air fryer? No problem! You can easily cook up the chicken with the rice or on the side. I just like the texture the air fryer brings to the party.

Your Ingredients for Air Fryer Southwest Chicken Skillet 

  • 1 ½ pounds chicken breast, cubed into bitesize pieces
  • 1 cup long grain white rice
  • 1 can unsalted diced tomatoes
  • 1 can black beans, rinsed
  • 1 cup frozen corn
  • 1 cup shredded cheese
  • Fresh cilantro and green onions, optional 
  • Salt and pepper to taste 

Seasoning: 

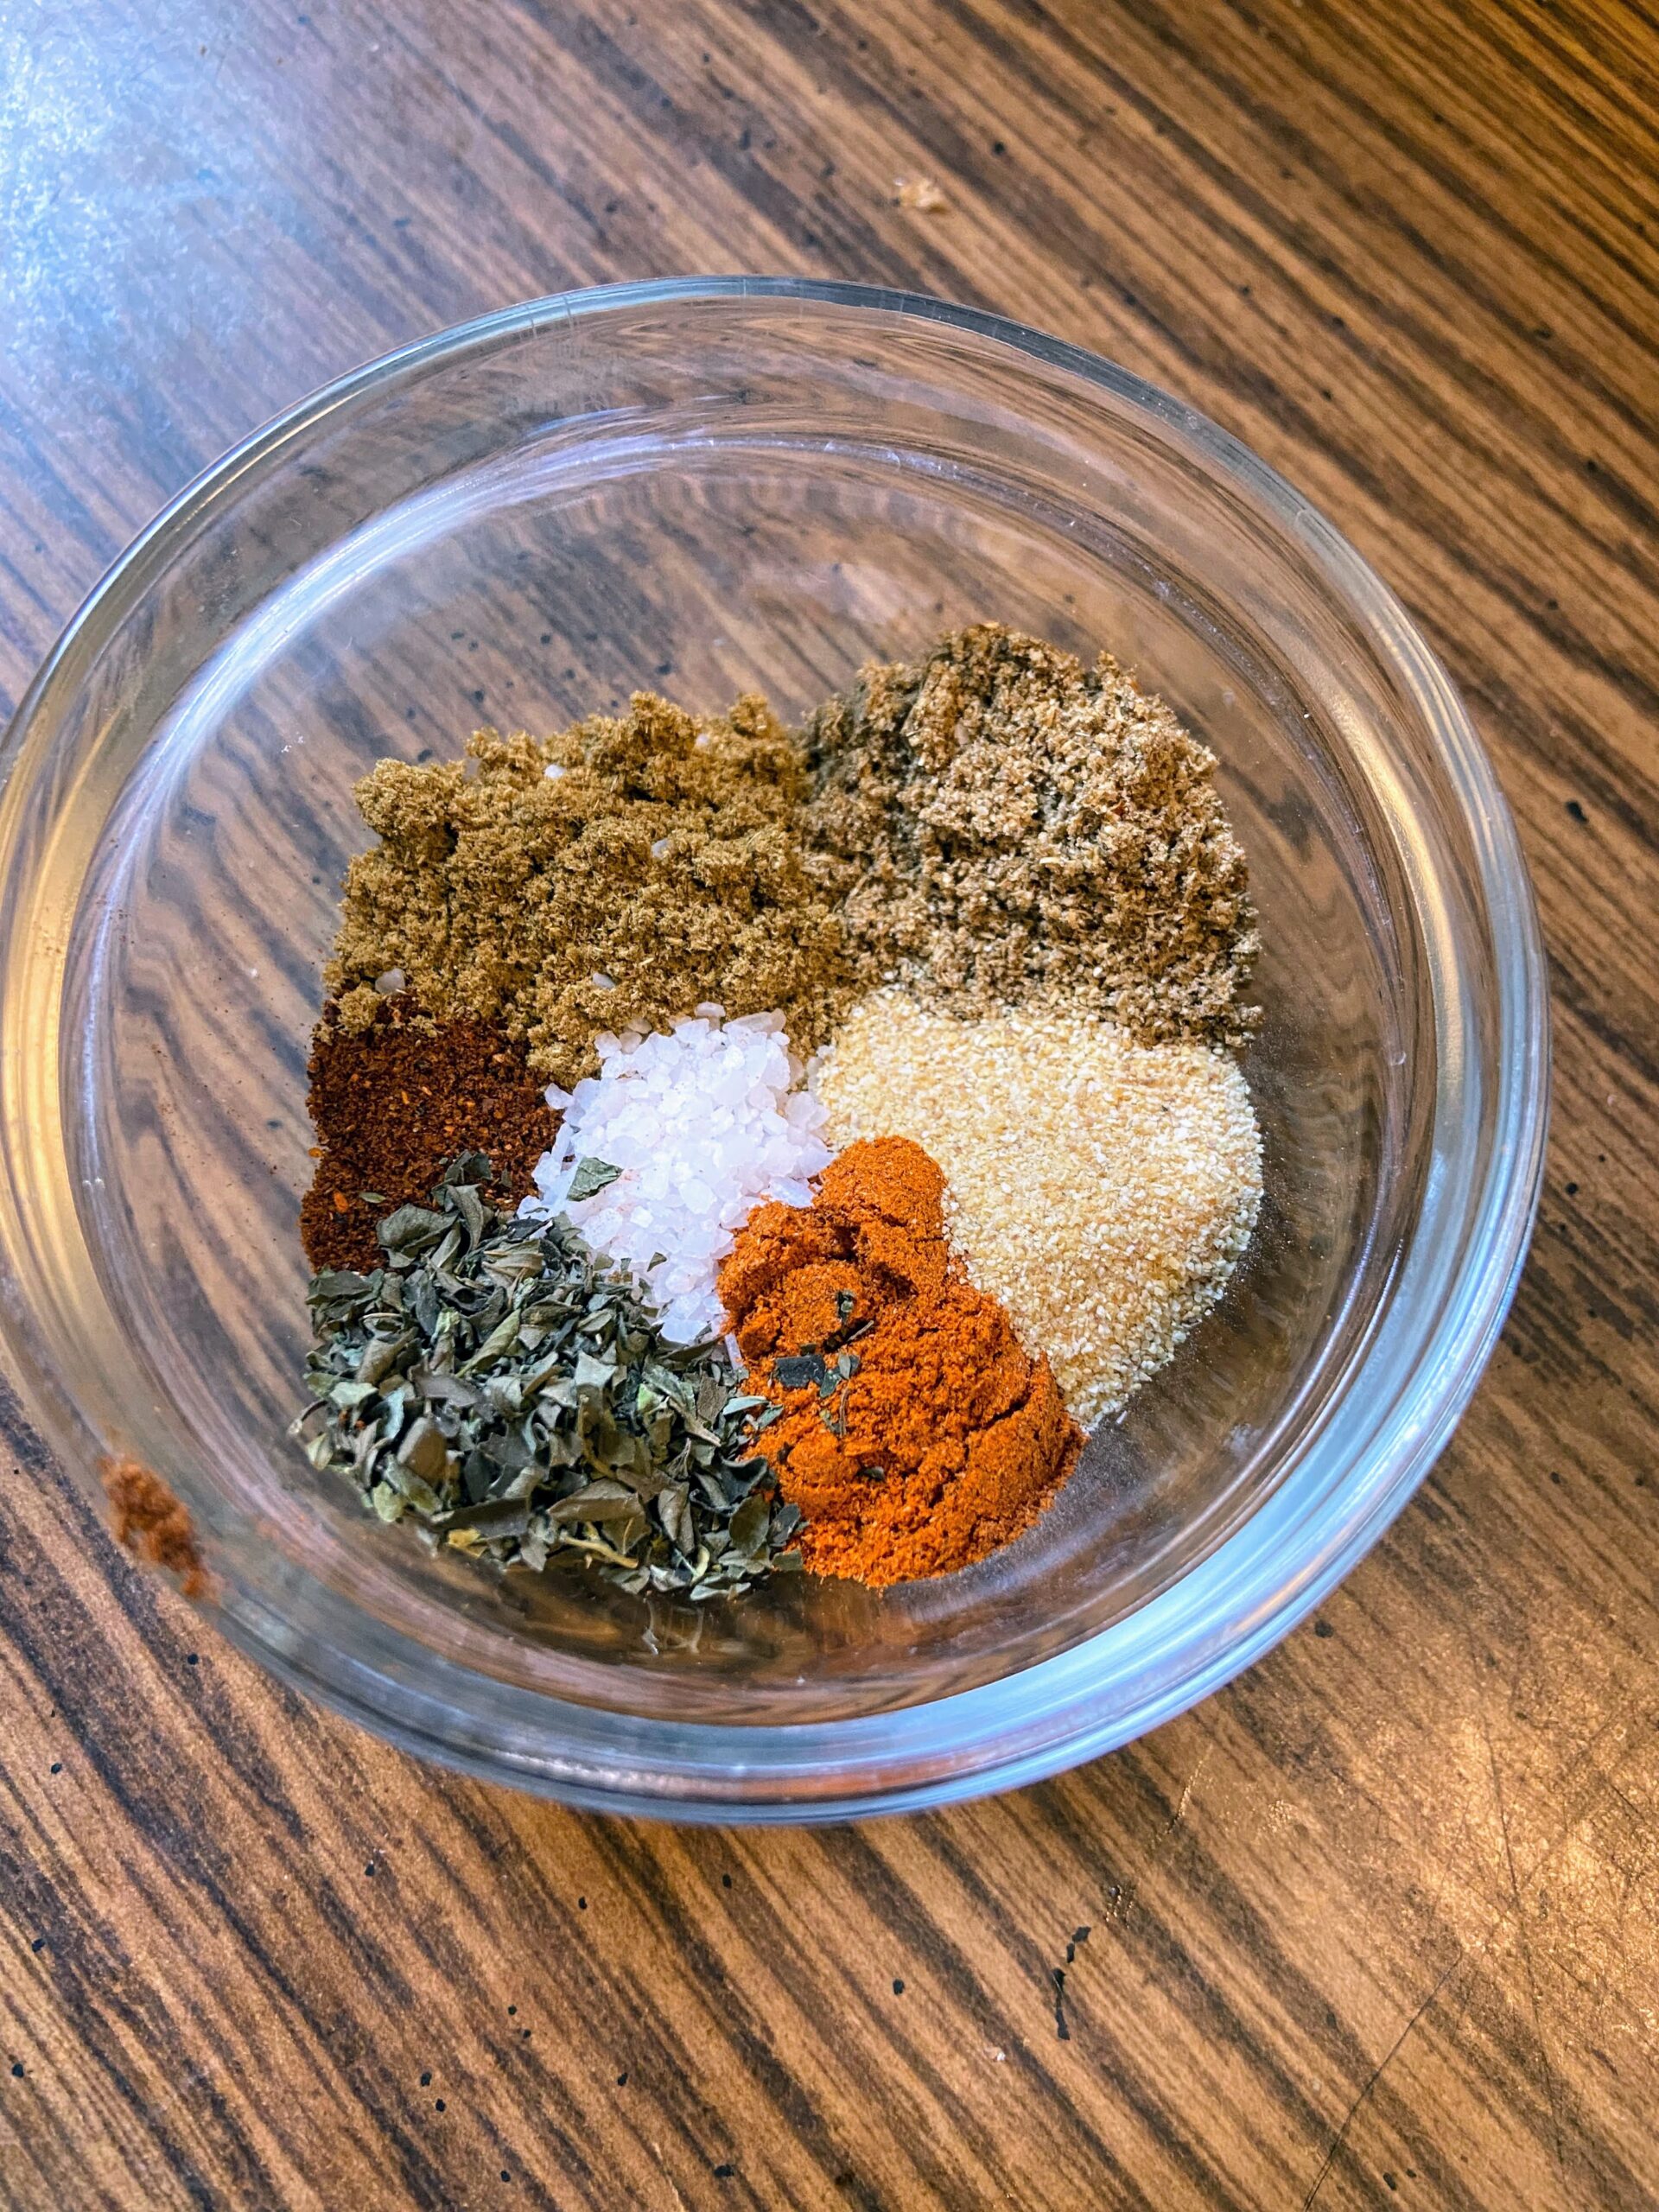
One teaspoon each of:

  • chili powder
  • ground coriander
  • ground cumin 
  • paprika

One half teaspoon each of:

  • salt
  • garlic powder 
  • oregano 

Dash of cayenne pepper, to taste 

Your Steps to Air Fryer Southwest Chicken Skillet

Combine the spices to create a seasoning mix for the chicken. Reserve ½ tablespoon and set aside for seasoning the rice. 

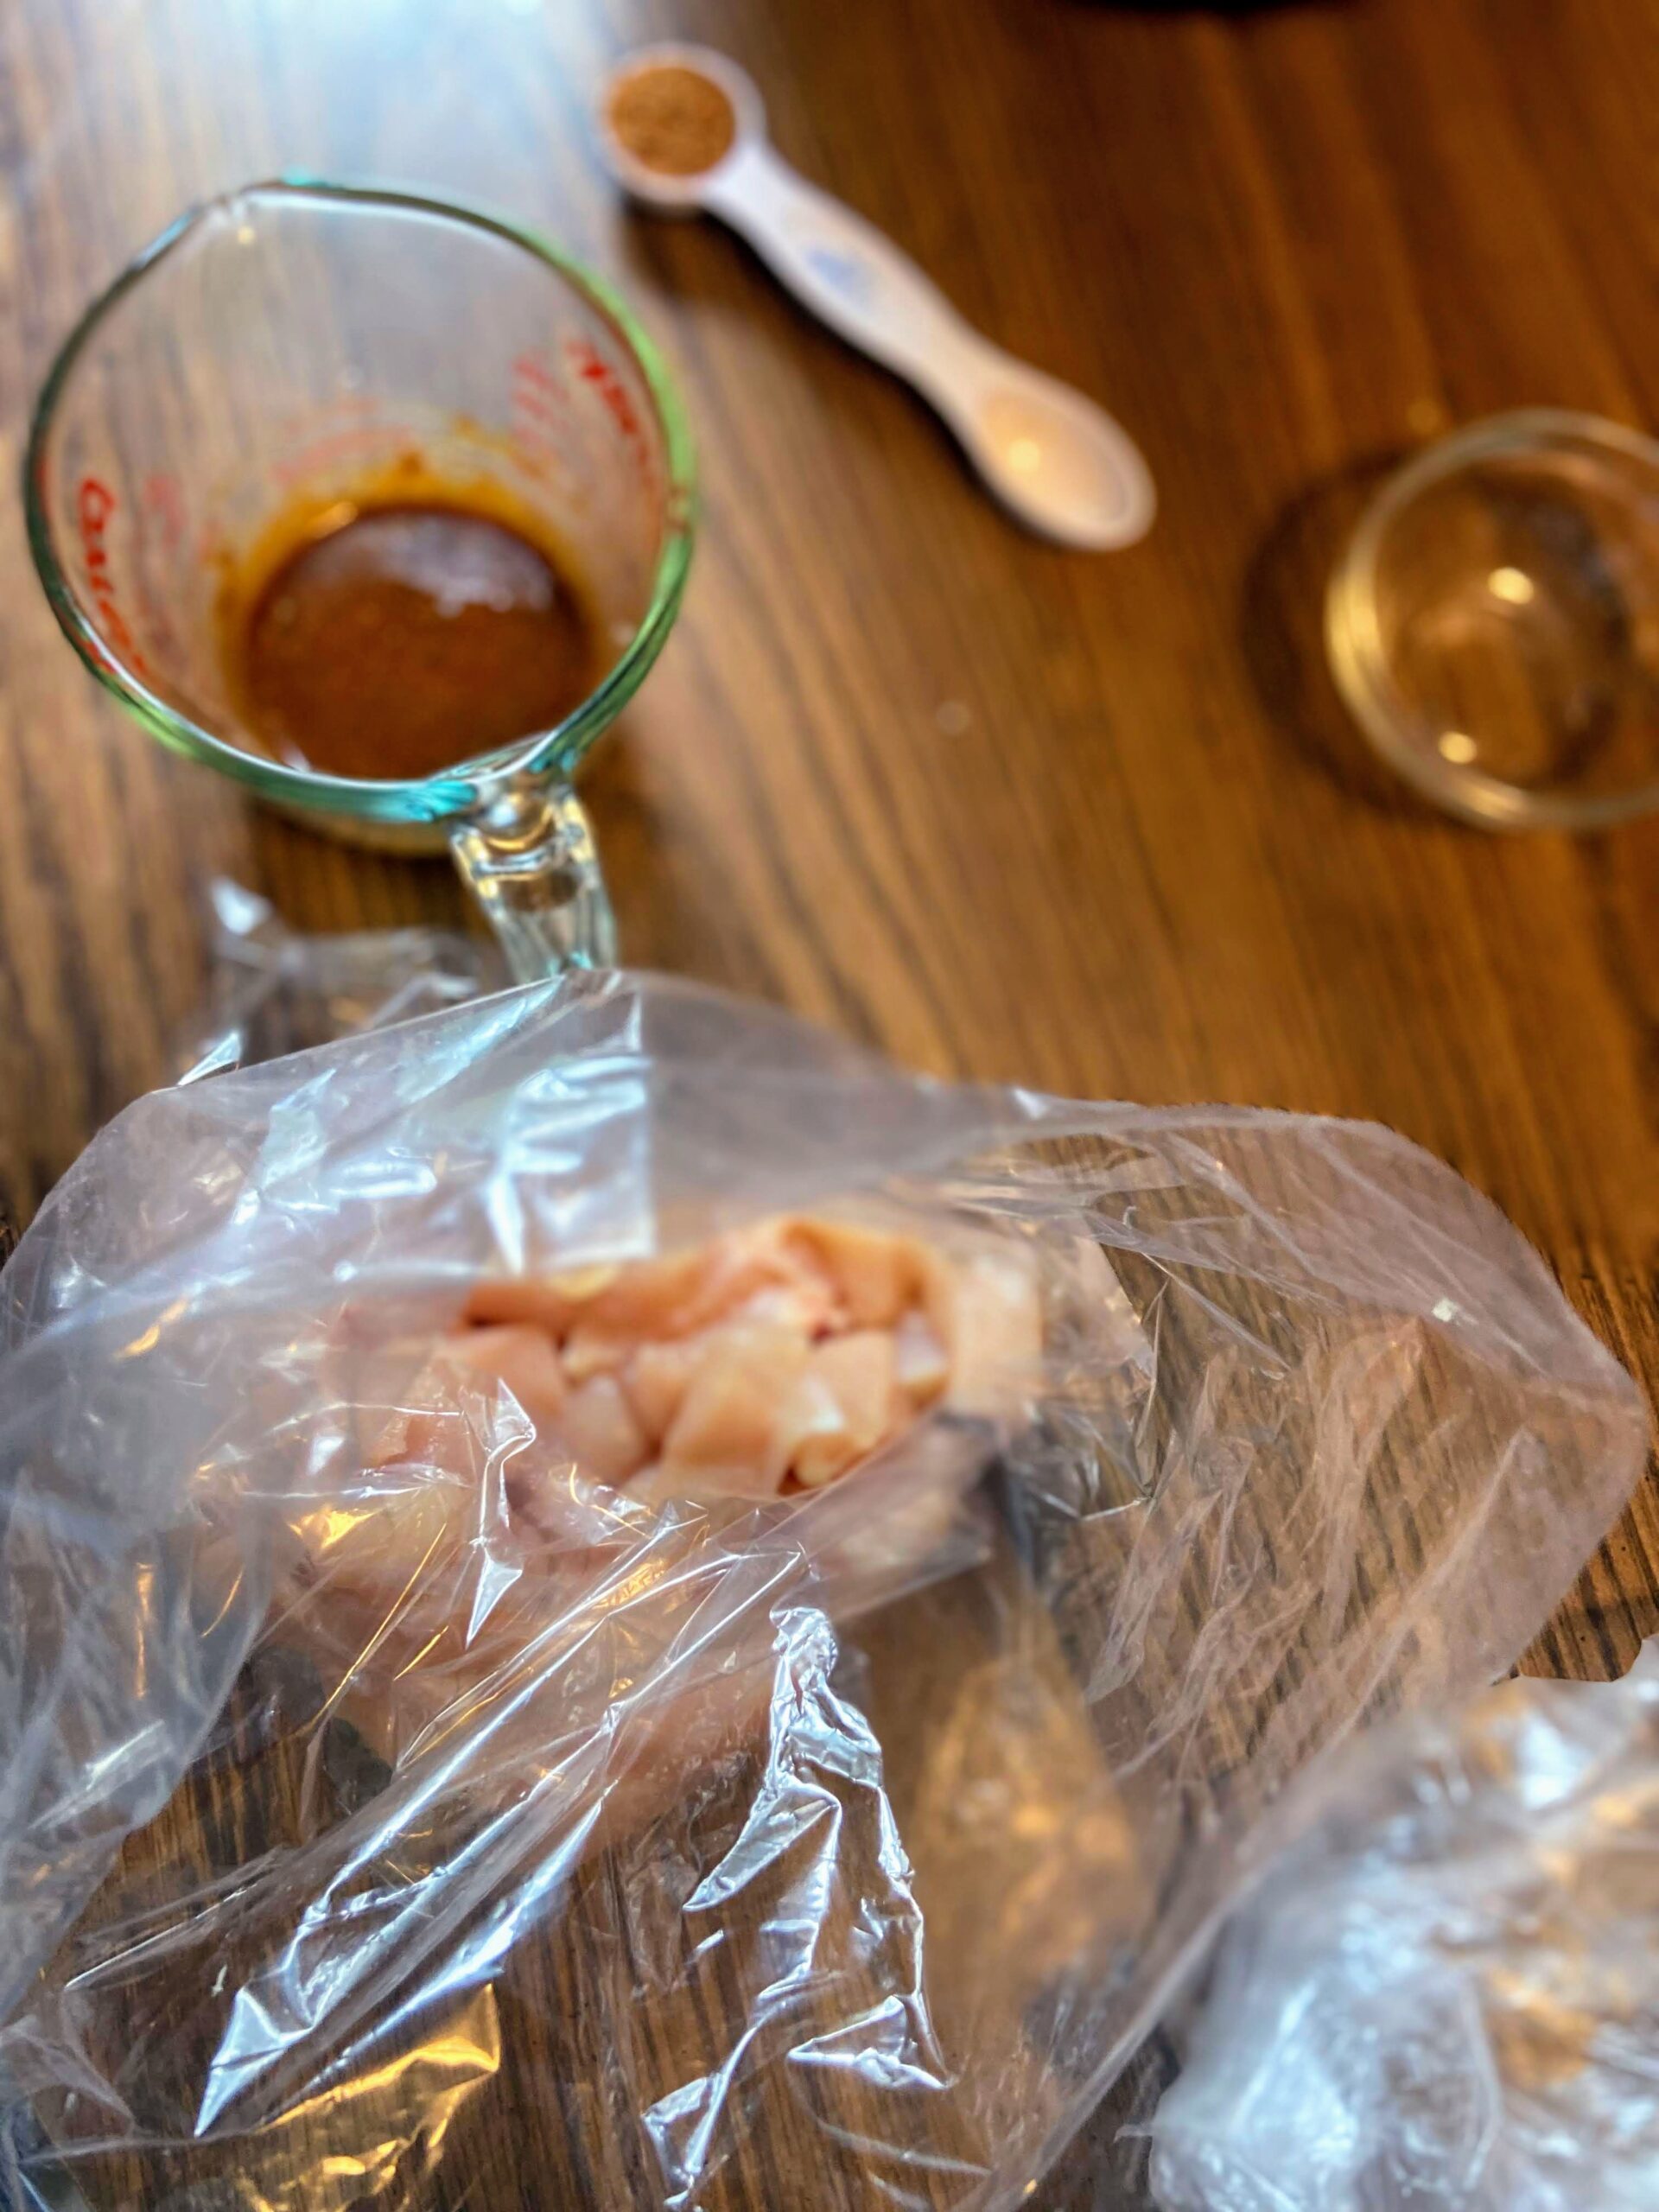
Mix the rest of the seasoning with 2 tablespoons olive oil and 1 tablespoon water. Place the cubed chicken in a plastic bag. Pour the seasoning mixture over the chicken, massaging it into pieces. Seal and allow to marinate in the refridgerator for at least 3 hours. 

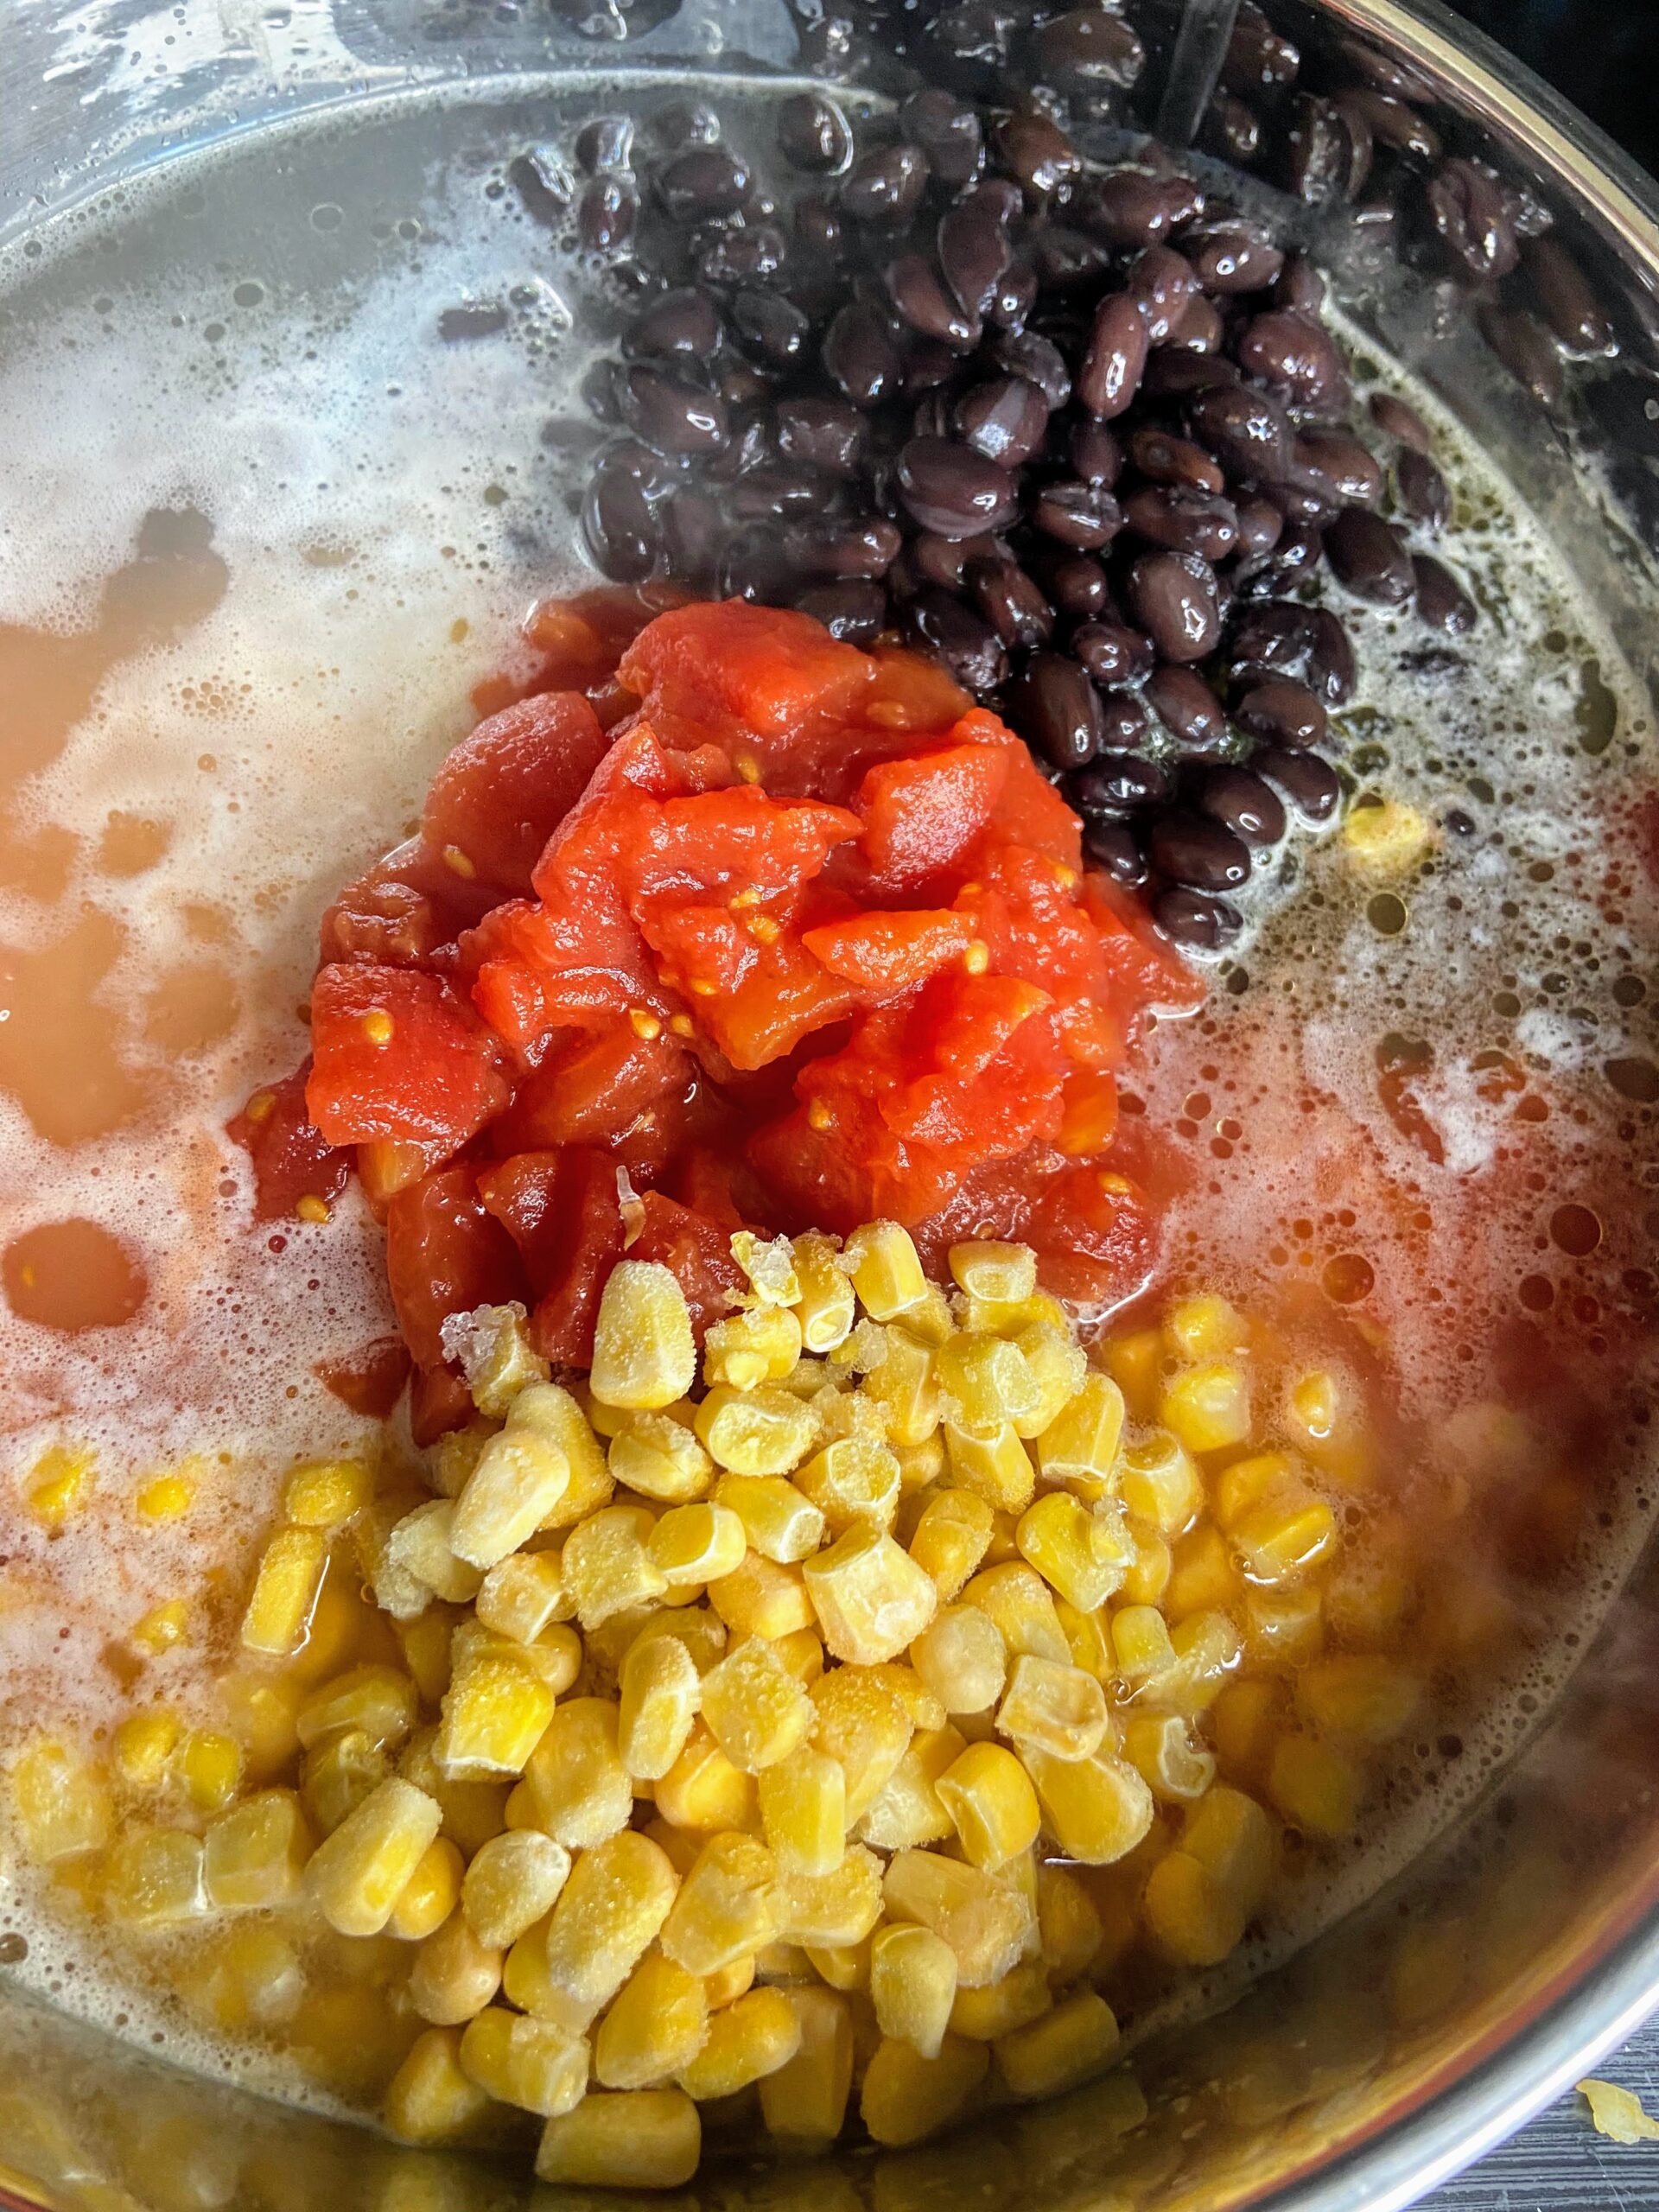
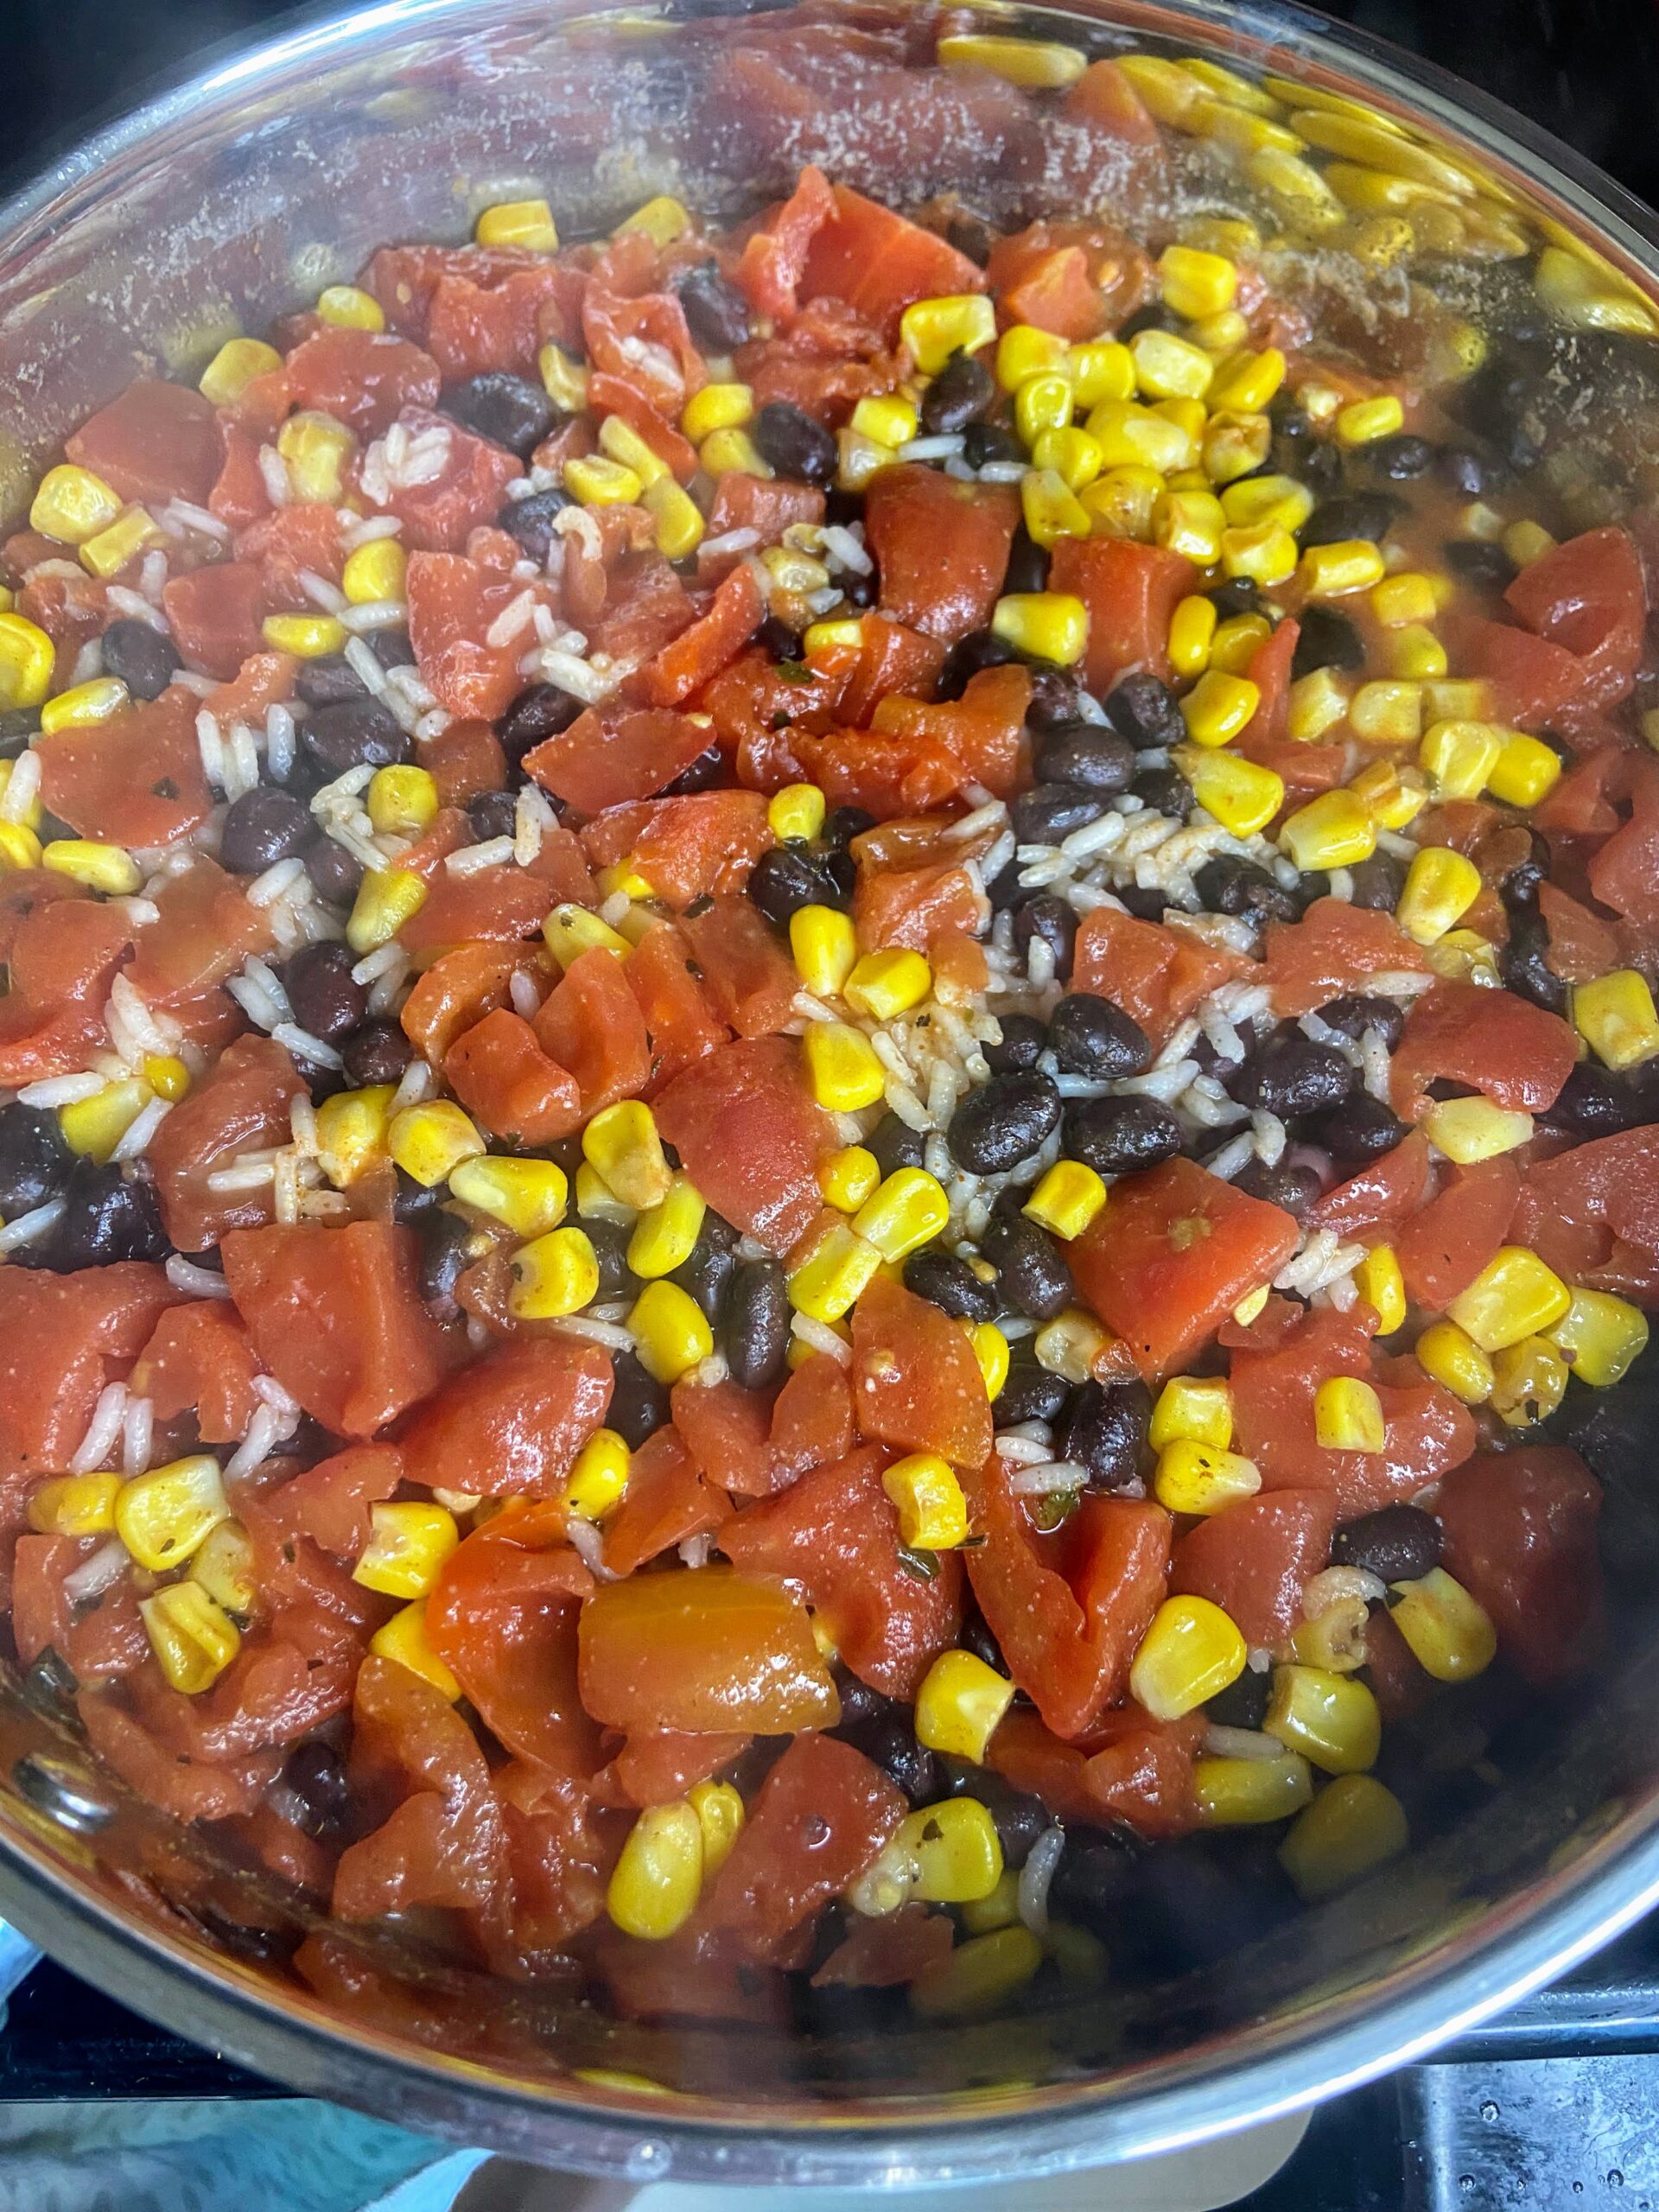
When you are ready to cook the chicken, start the rice according to the package directions. Once the water is boiling, add rice and the diced tomatoes, black beans, frozen corn, and reserved seasoning blend. Add additional salt and pepper to taste. 

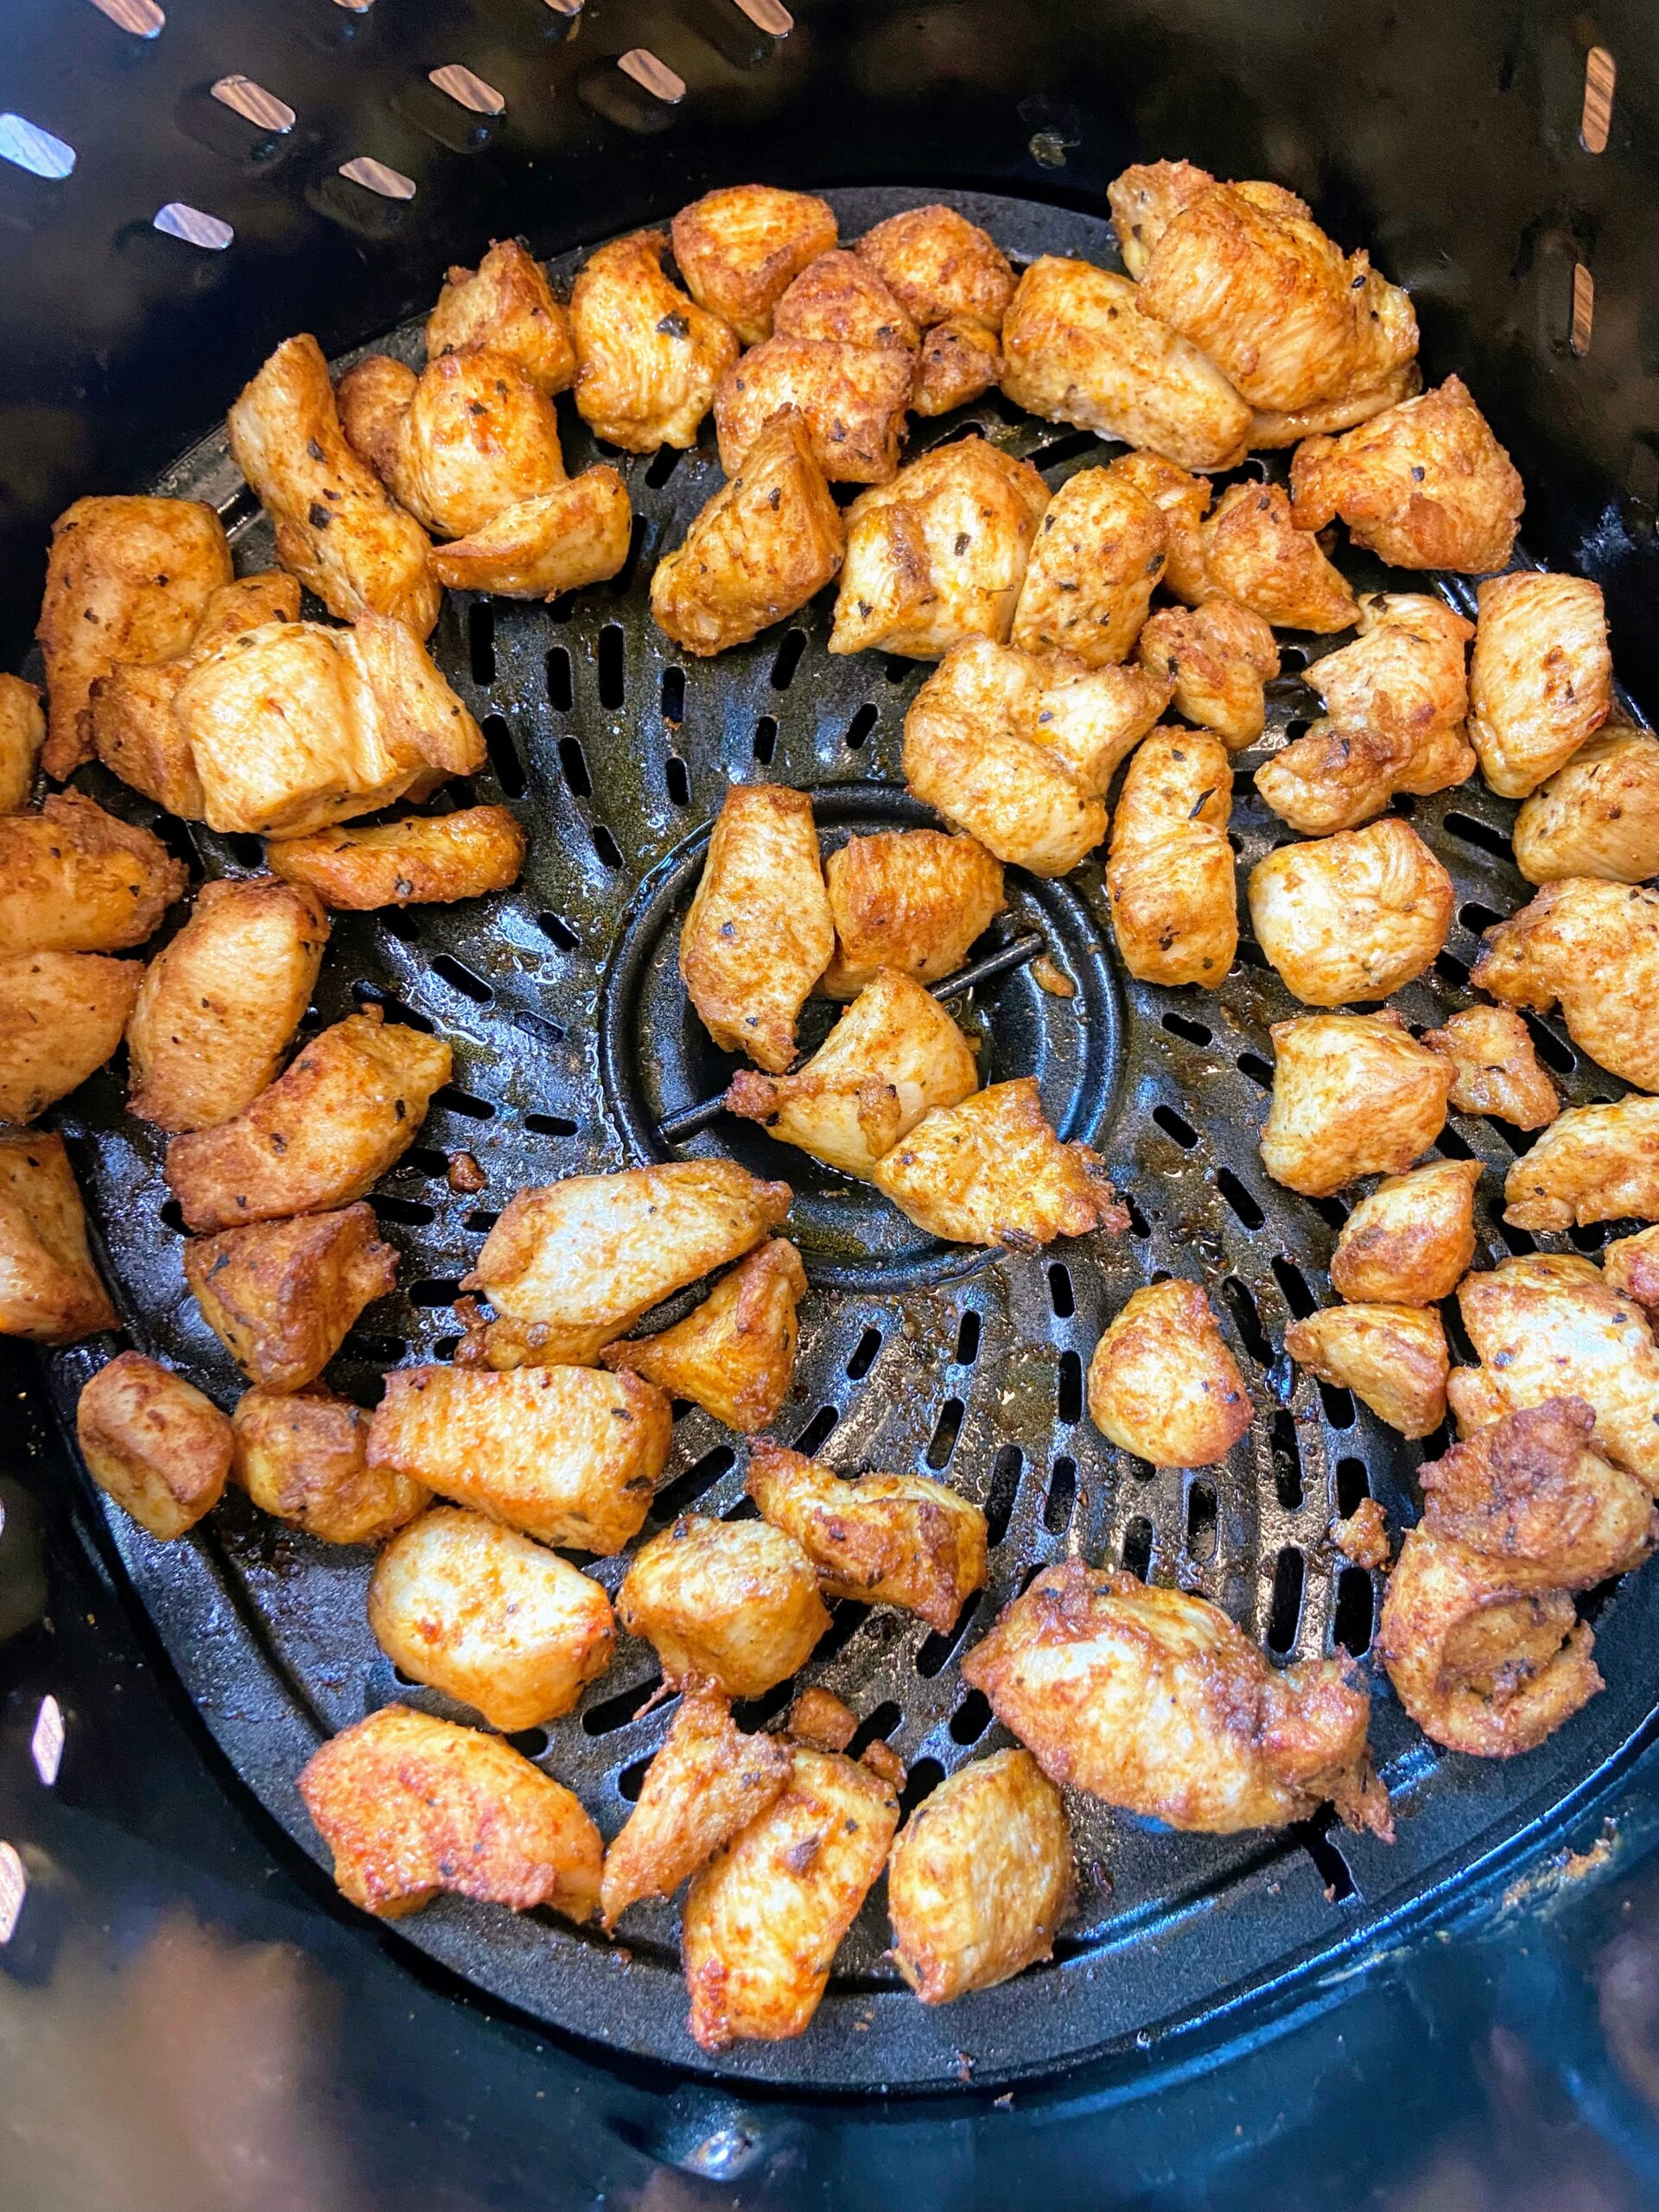
Meanwhile, preheat an air fryer to 380 degrees. Spray with cooking spray. Cook chicken for 10-15 minutes, tossing once or twice. 

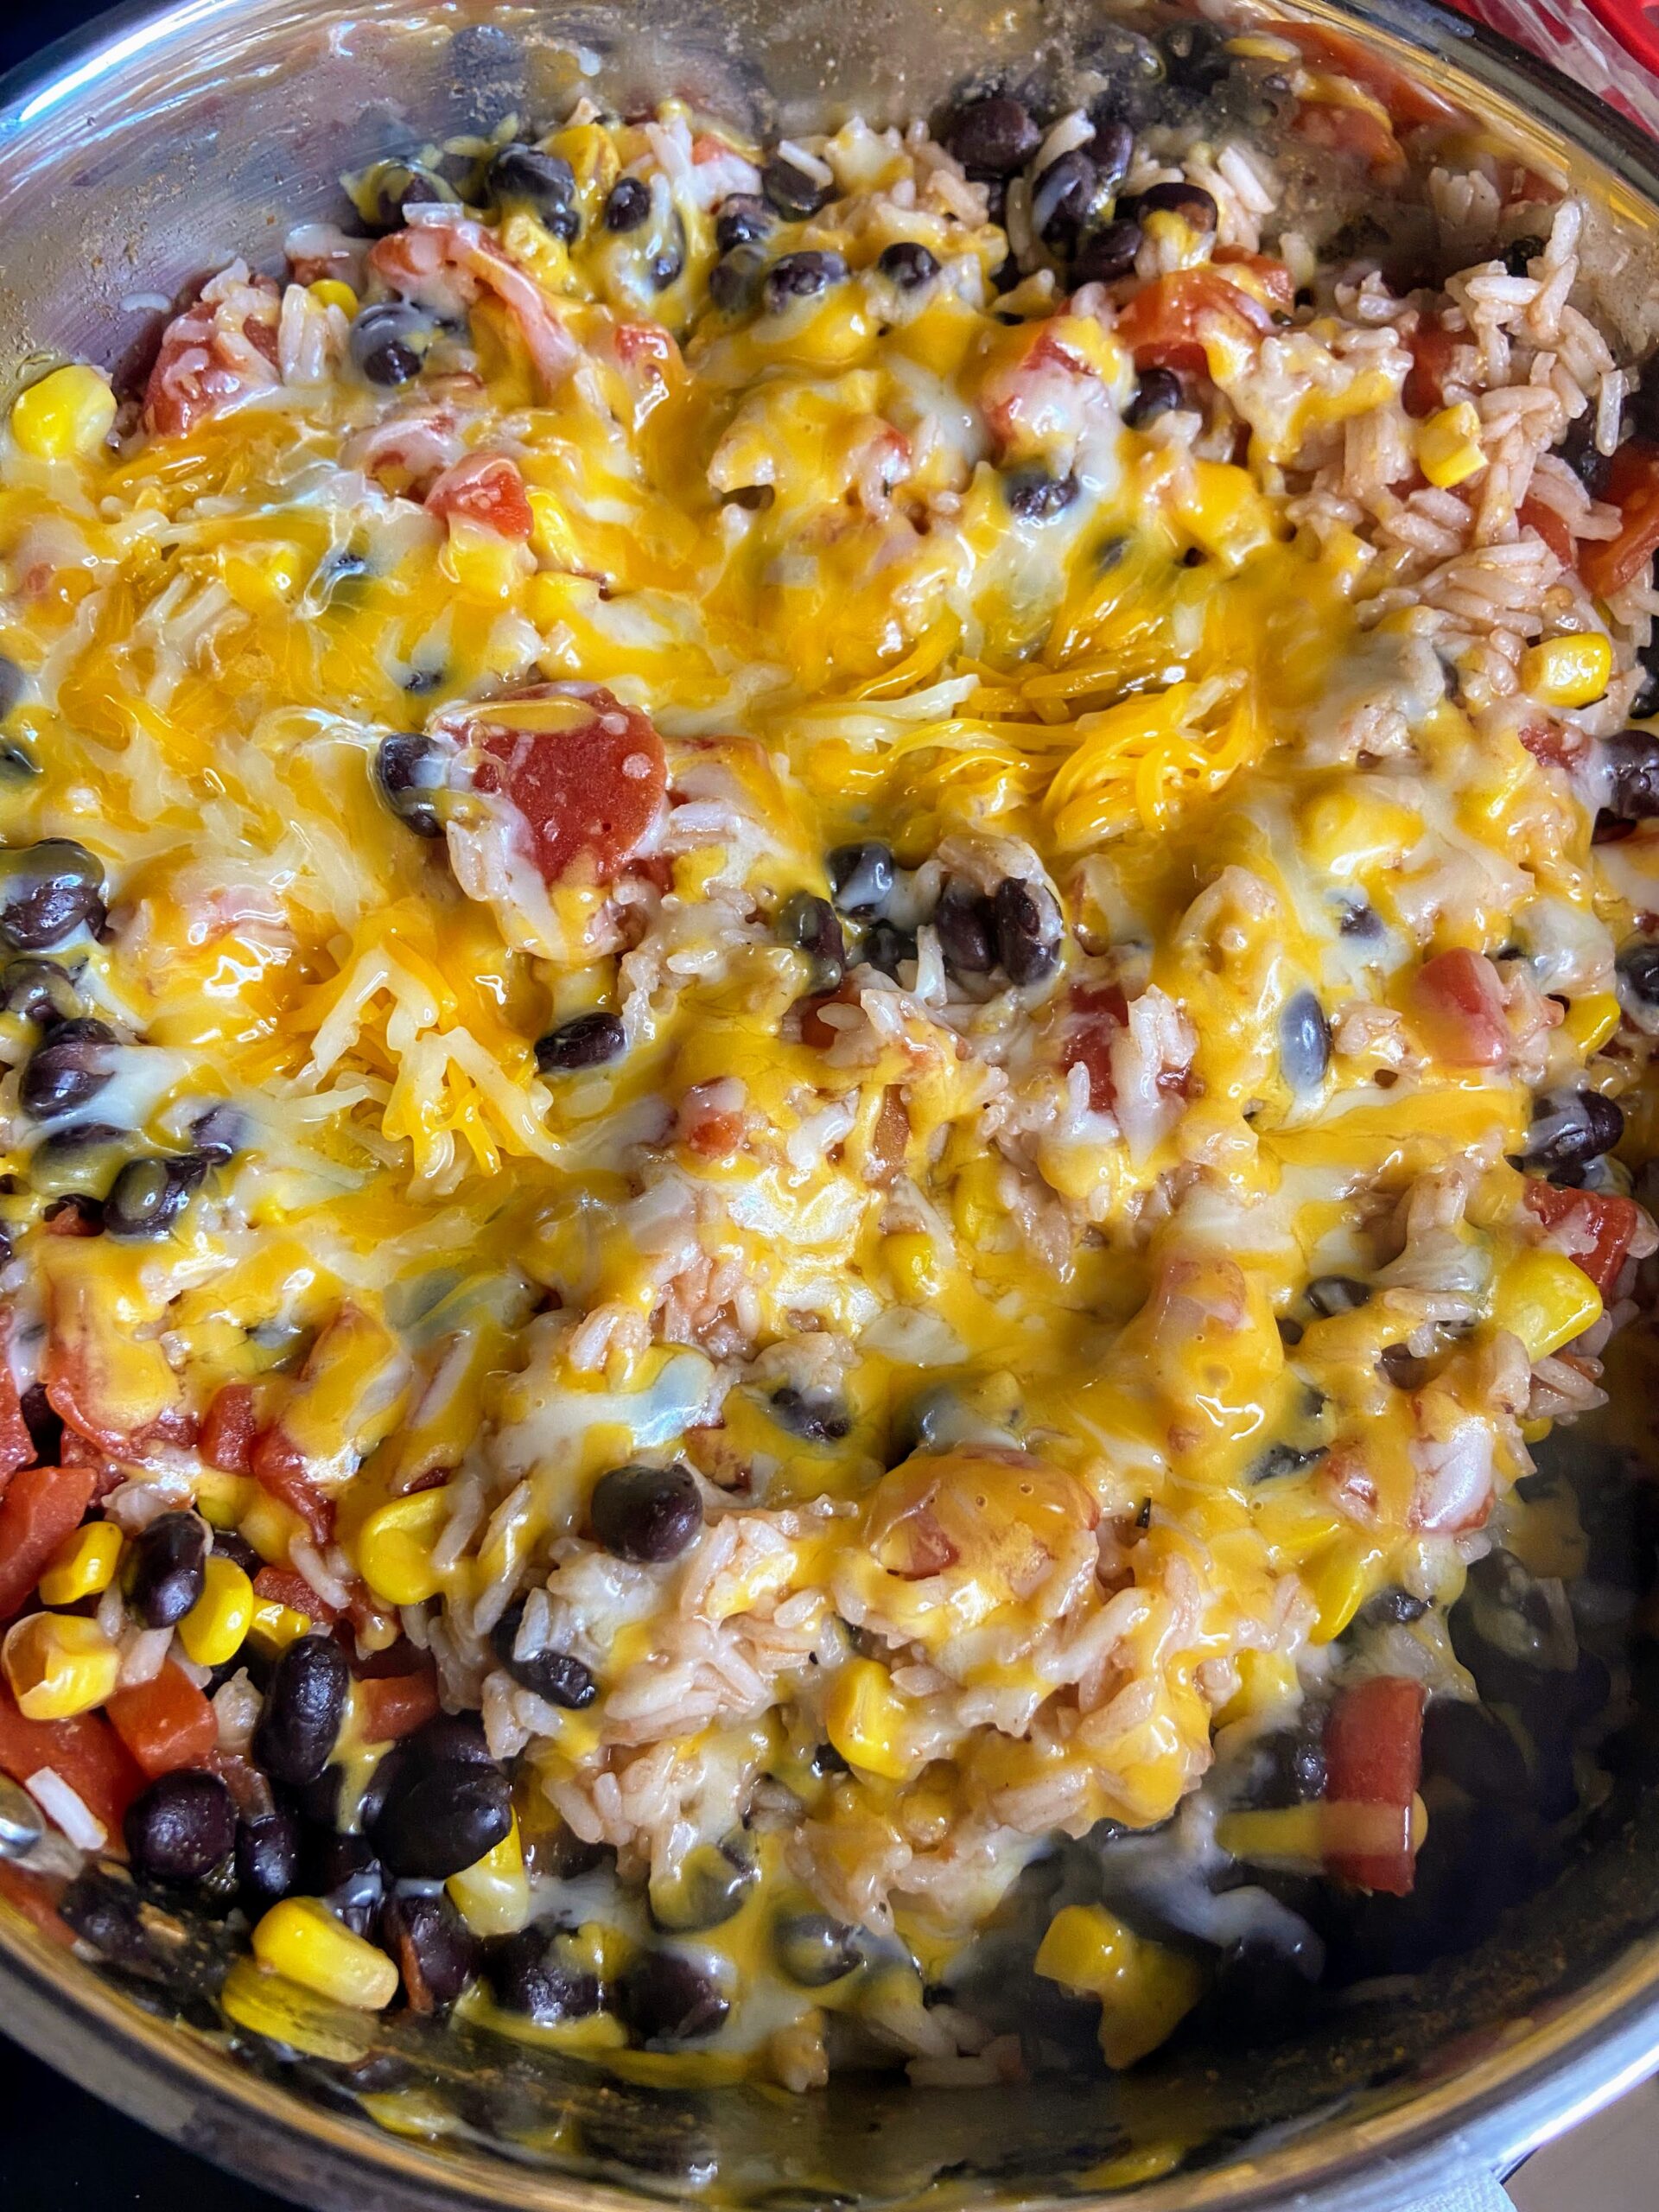
Immediately after the rice mixture is done cooking, top with shredded cheese and cover, removing from heat. Serve once the cheese has melted, topping with chicken, cilantro, and sliced green onions. 

Looking for other recipes?

Give my cooking page a try! Or maybe you need to add a sweet treat to your dinner? Baking is the way to go!

Southwest Chicken Skillet

Air Fryer Southwest Chicken Skillet

The use of an air fryer and a skillet make this dish a cinch to make! Minimal dishes and full of flavor, you're sure to love this air fryer Southwest Chicken Skillet
Prep Time 10 minutes
Cook Time 25 minutes
Marinate 3 hours
Course dinner, Main Course
Cuisine American, Southwest
Servings 6 servings

Equipment

Ingredients
  

  • 1 ½ pounds chicken breast cubed into bitesize pieces
  • 1 cup long grain white rice
  • 1 can unsalted diced tomatoes
  • 1 can black beans rinsed
  • 1 cup frozen corn
  • 1 cup shredded cheese
  • Fresh cilantro and green onions optional
  • Salt and pepper to taste

Seasoning

  • 1 teaspoon chili powder
  • 1 teaspoon ground coriander
  • 1 teaspoon ground cumin
  • 1 teaspoon paprika
  • ½ teaspoon salt
  • ½ teaspoon garlic powder
  • ½ teaspoon oregano
  • Dash of cayenne pepper

Instructions
 

  • Combine seasoning mix. Reserve ½ tablespoon and set aside for seasoning the rice.
  • Mix the remaining seasoning mix with 2 tablespoons olive oil and 1 tablespoon water. Place the cubed chicken in a plastic bag. Pour the seasoning mixture over the chicken, massaging it into pieces. Seal and allow to marinate for at least 3 hours.
  • When you are ready to cook the chicken, start the rice according to the package directions. Once the water is boiling, add rice and the diced tomatoes, black beans, frozen corn, and reserved seasoning blend. Add additional salt and pepper to taste.
  • Meanwhile, preheat an air fryer to 380 degrees. Spray with cooking spray. Cook chicken for 10-15 minutes, tossing once or twice.
  • Immediately after the rice mixture is done cooking, top with shredded cheese and cover, removing from heat. Serve once the cheese has melted, topping with chicken, cilantro, and sliced green onions.
Keyword 30 minute meals, air fryer, chicken, rice, skillet, Southwest, Tex Mex
Tried this recipe?Let us know how it was!
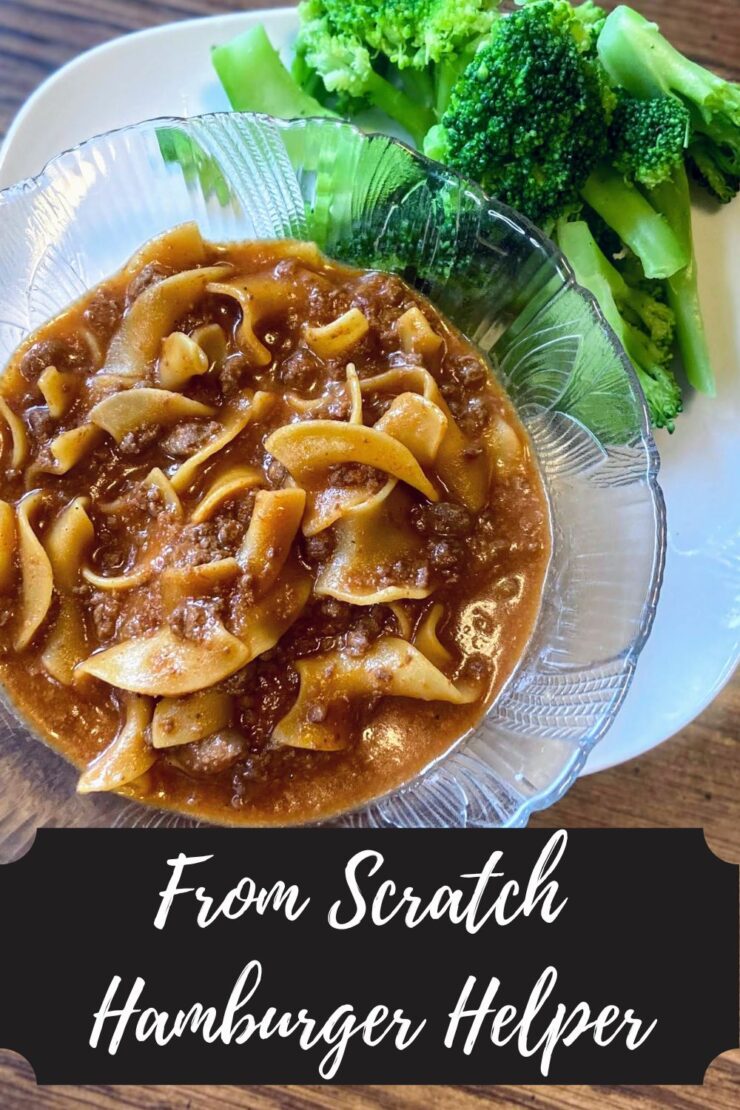
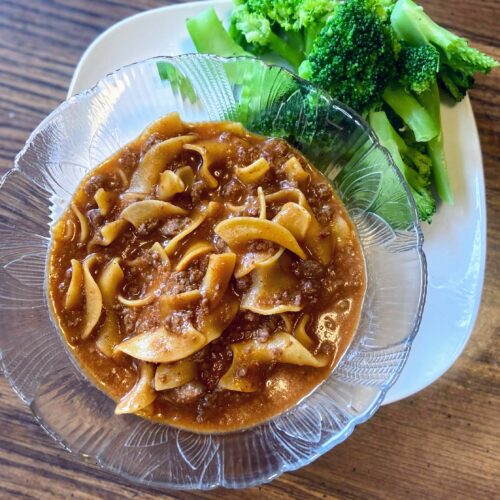
Homemade Hamburger Helper

When I am asked what my niche is as a food blogger, I have a hard time coming up with a description because I truly am a dabbler. I love to can and preserve food from our homestead. I am a baker and comfort food is my jam. When I start to think about it deeper and see the big picture, my passion is creating good food for families from scratch. This homemade hamburger helper is such a perfect example of it. 

I don’t know about you, but I grew up eating a lot of hamburger helper as a kid. It was delicious, but now, I try to avoid as much pre-packaged and processed food as possible. When a friend shared her version of homemade hamburger helper, I had to give it a try. The skillet quickly became a family favorite and I had to ask if I could share it here. 

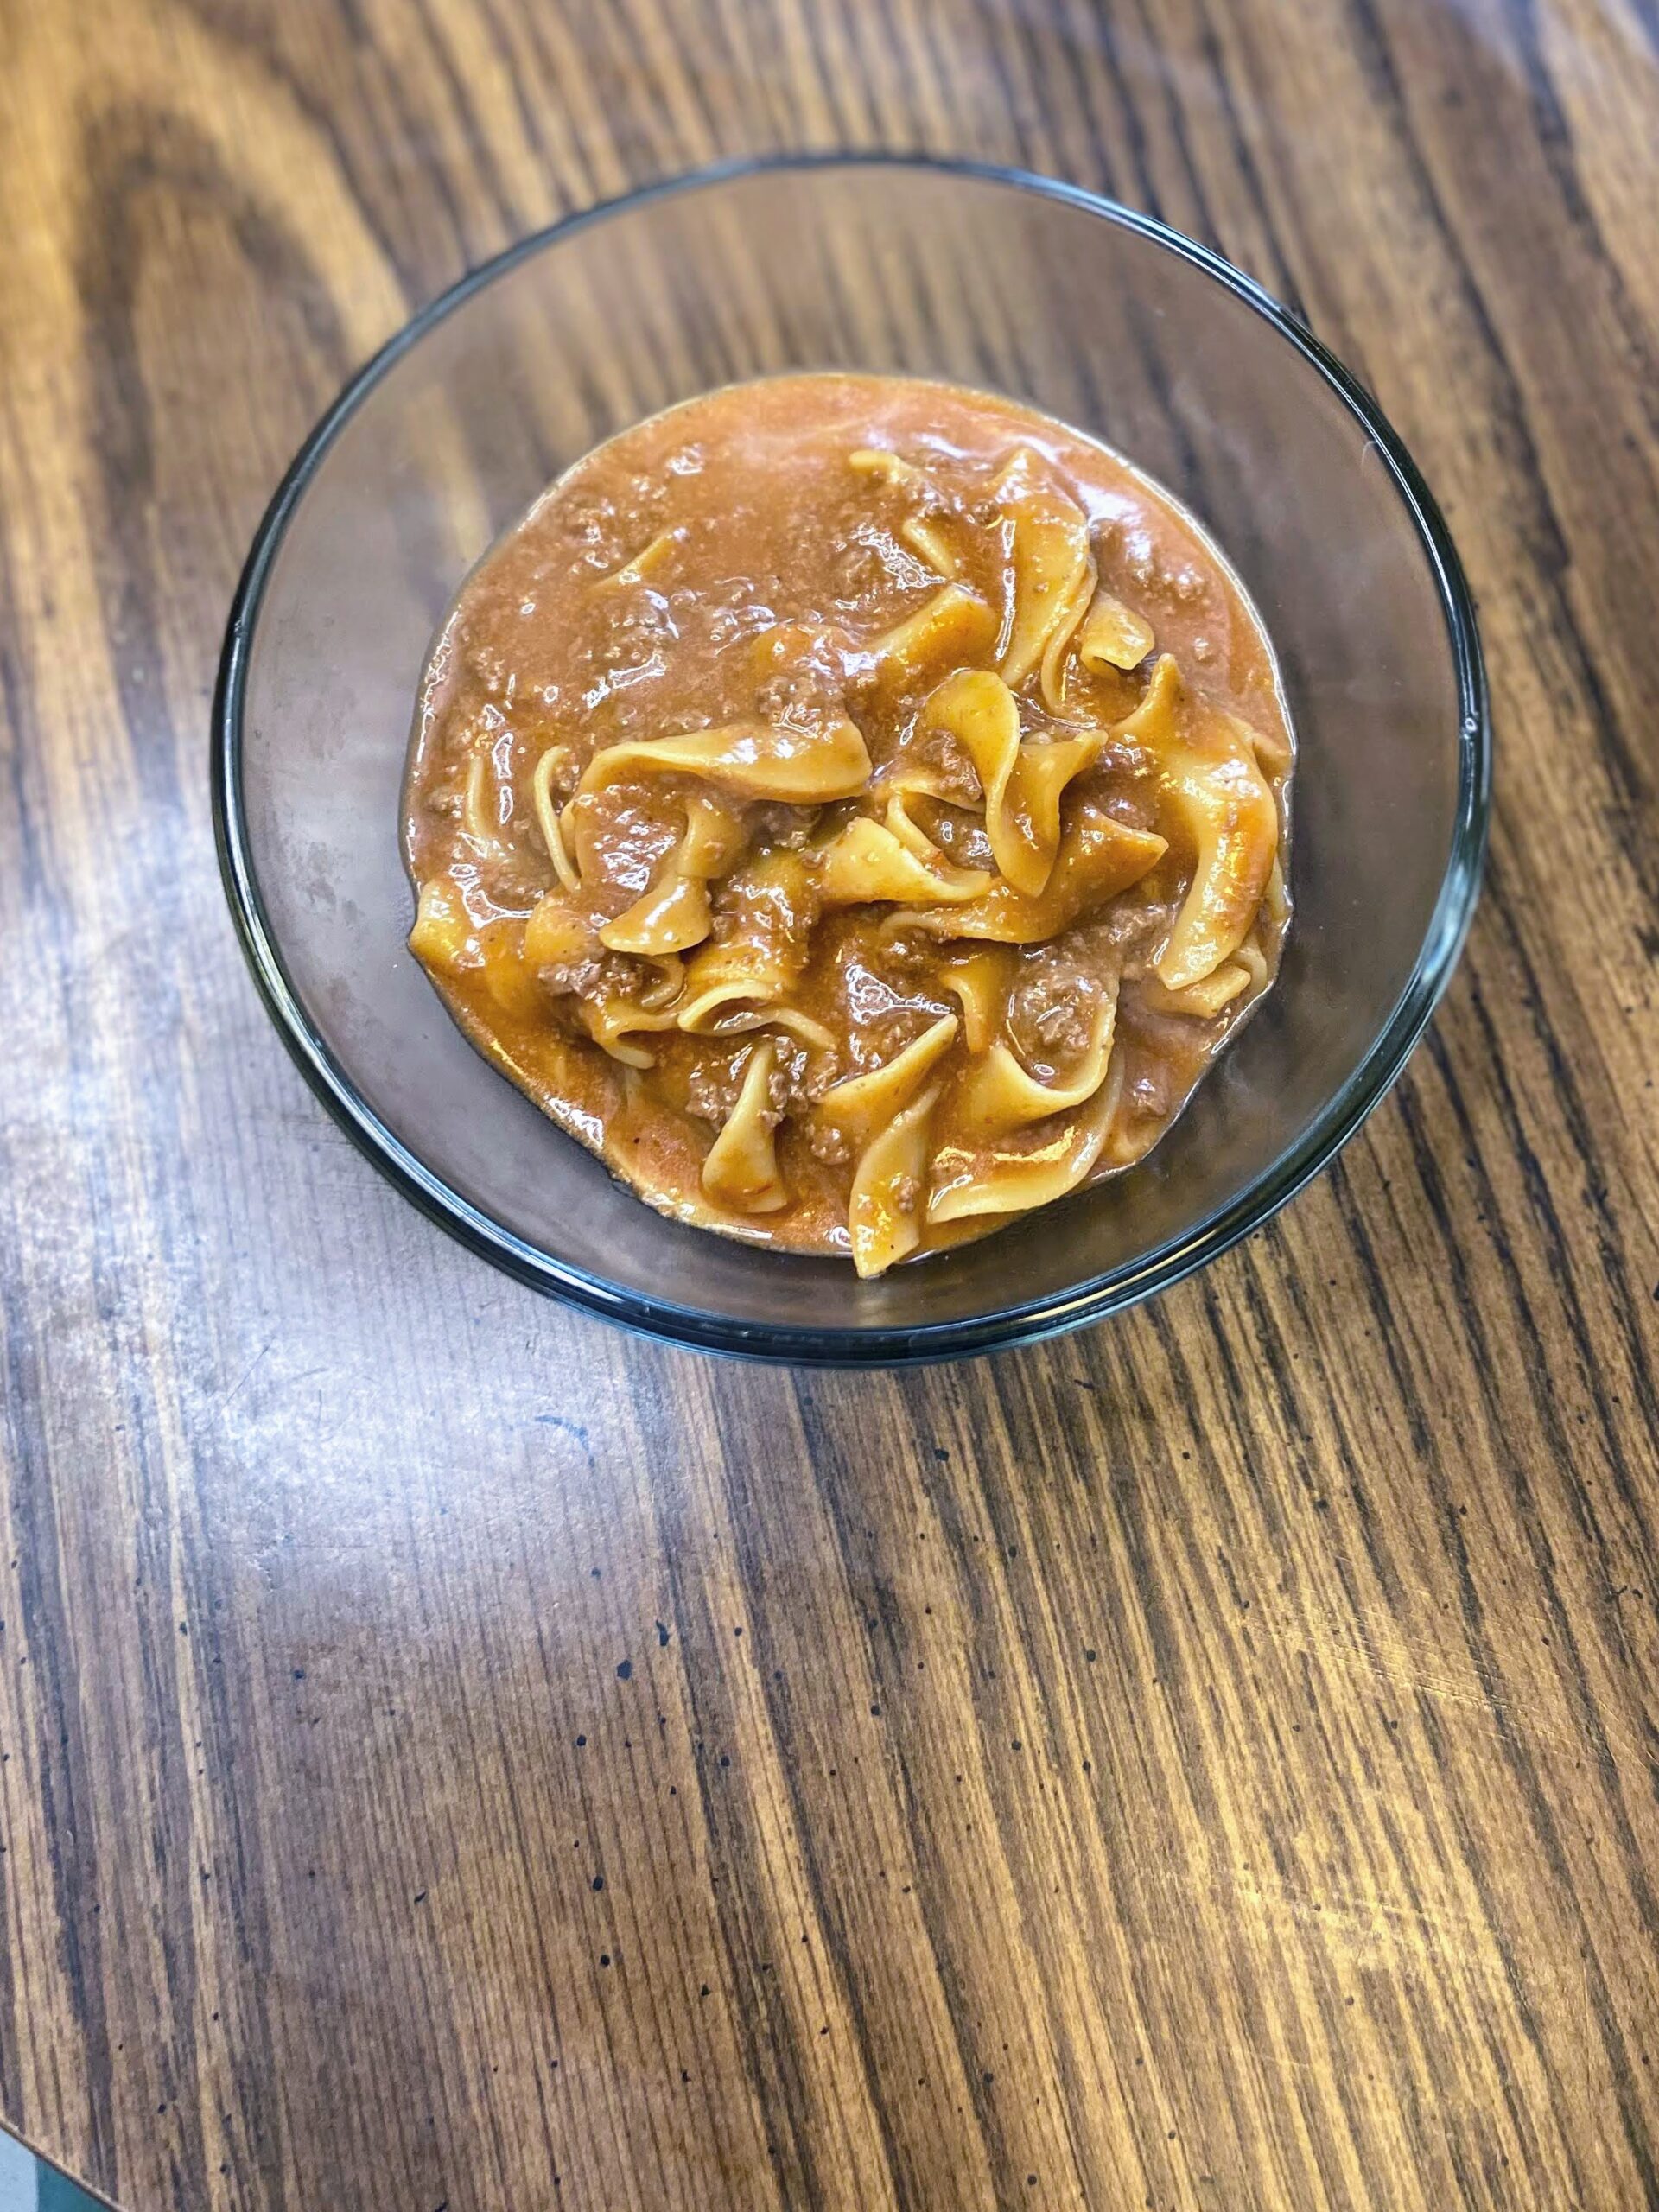
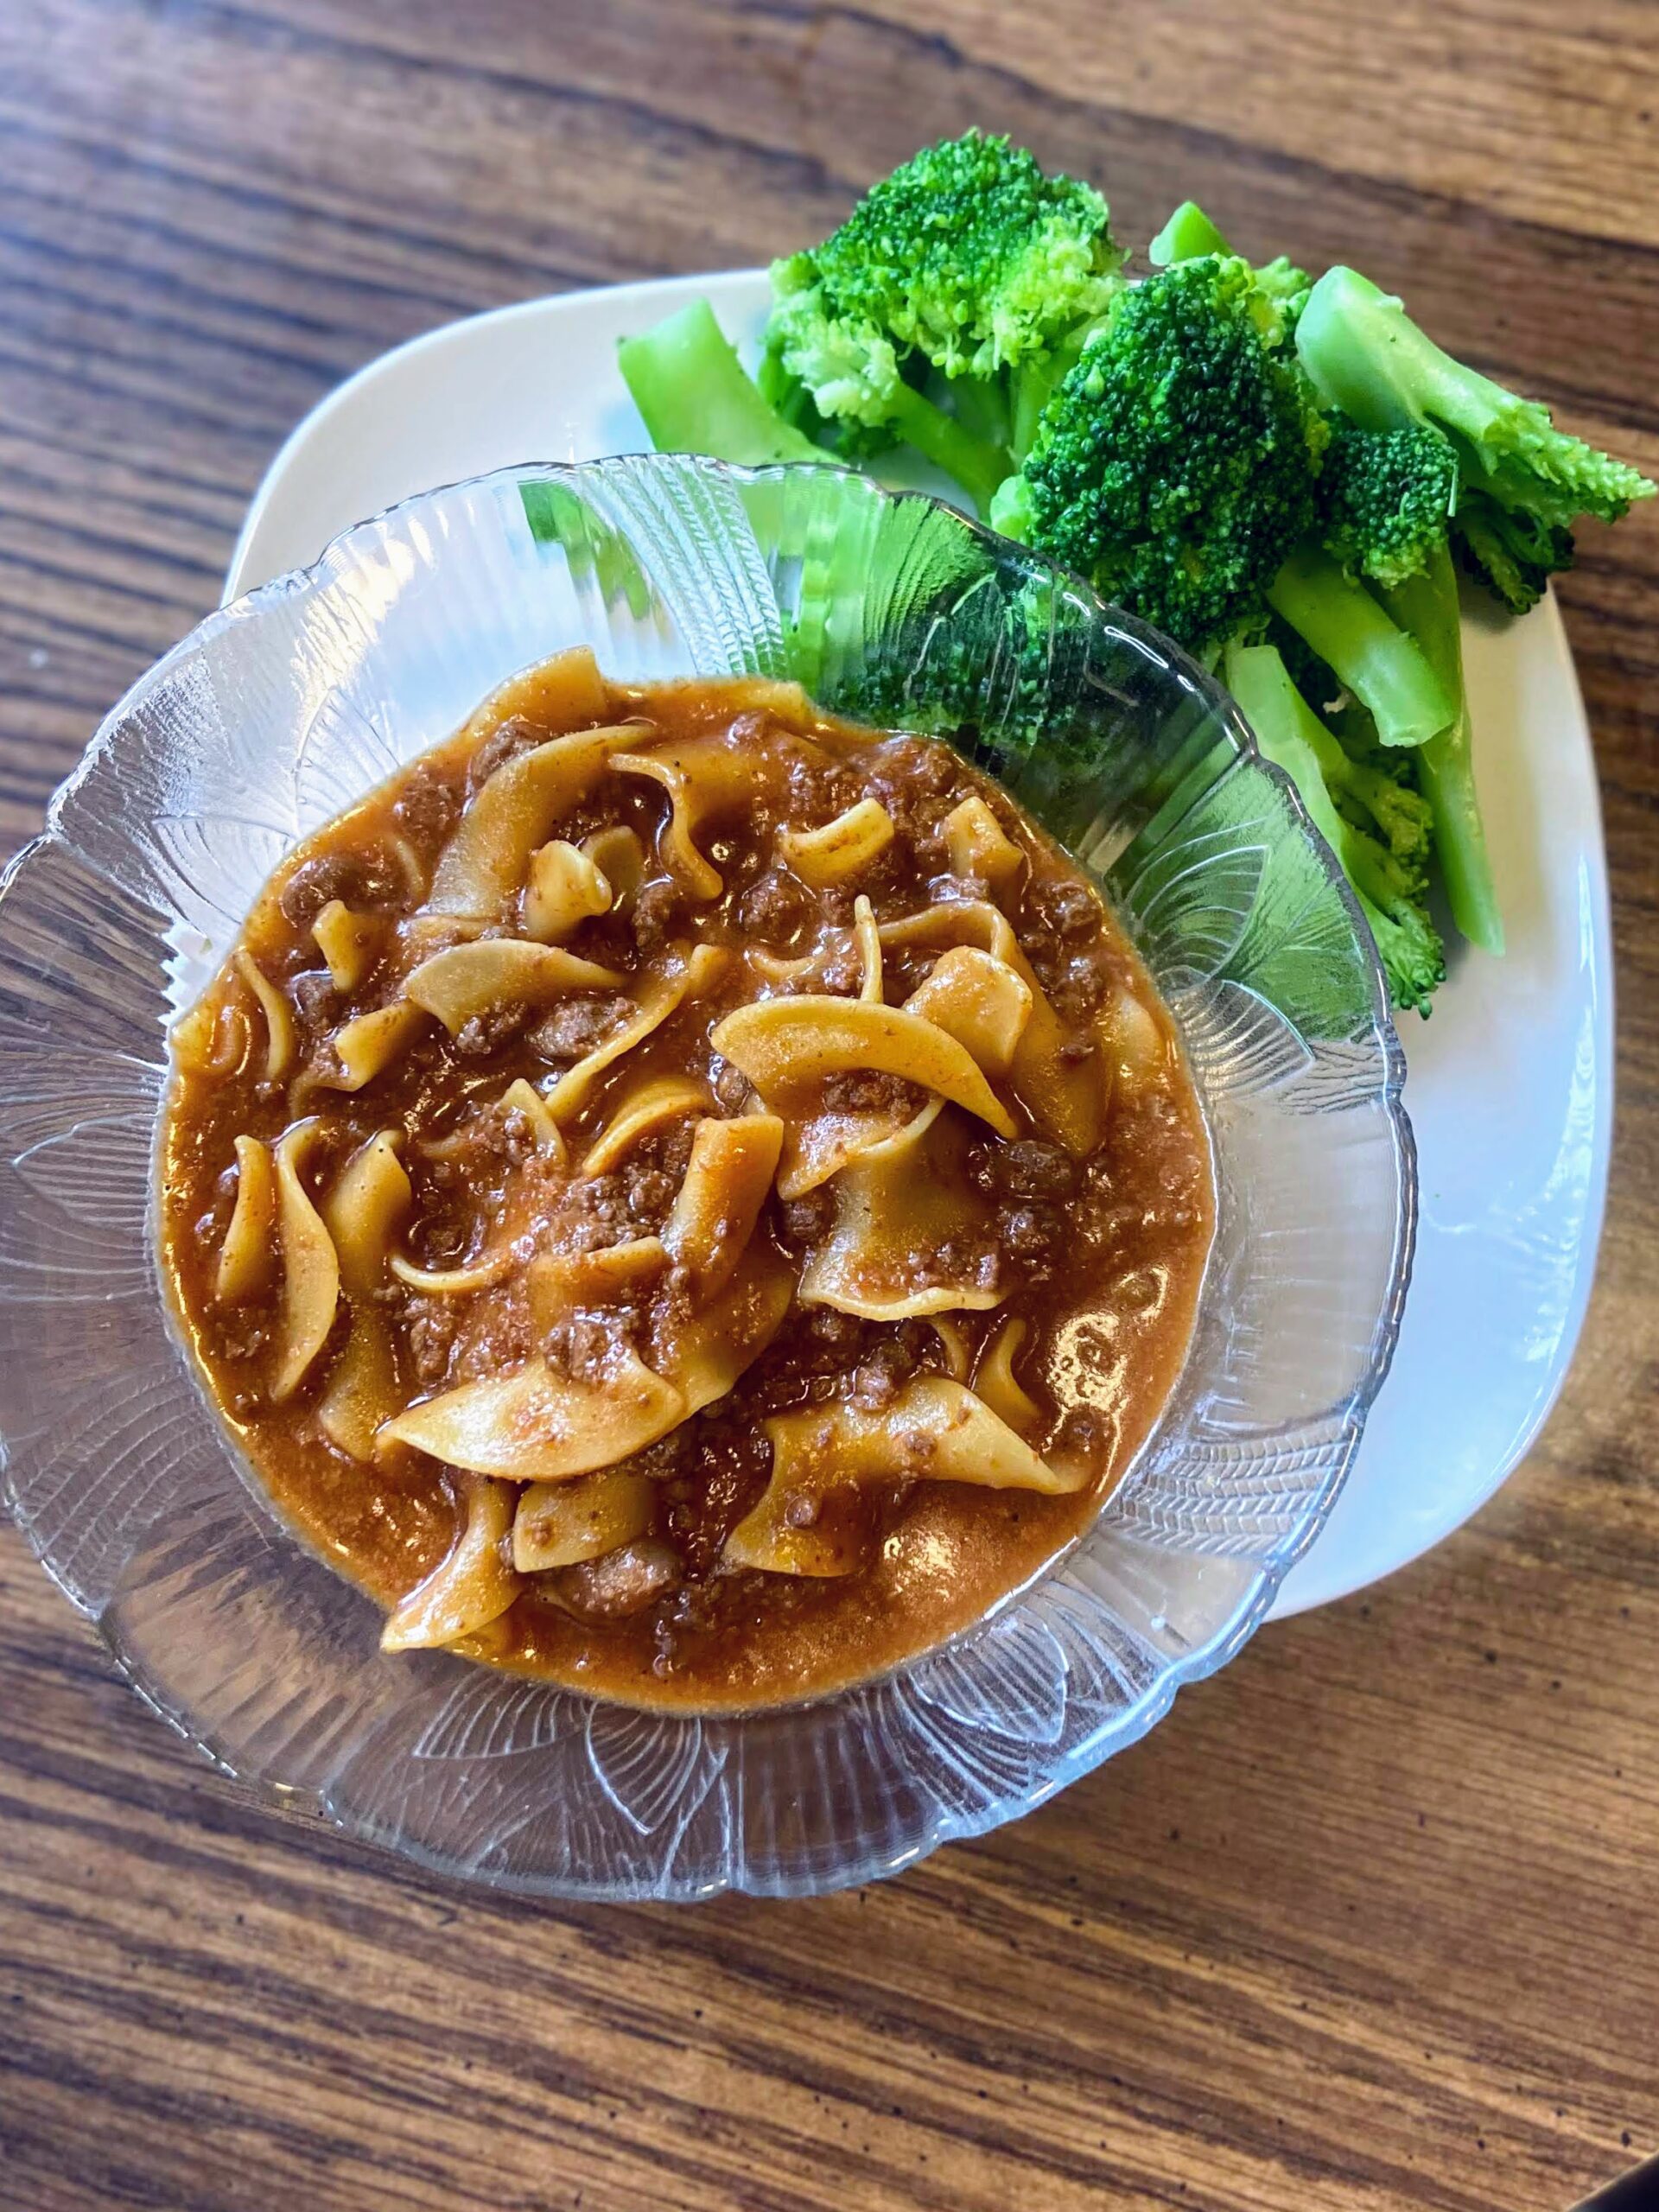
This homemade hamburger helper cooks up just a quick, if not quicker, than the box stuff. It’s a delicious and so simple recipe for busy people who still want to put good food on the table for their families. And without all the preservatives and added salt, it’s a meal parents can feel good about their kiddos devouring. 

Your Ingredients 

  • 1 pound ground protein (beef, venison, turkey)
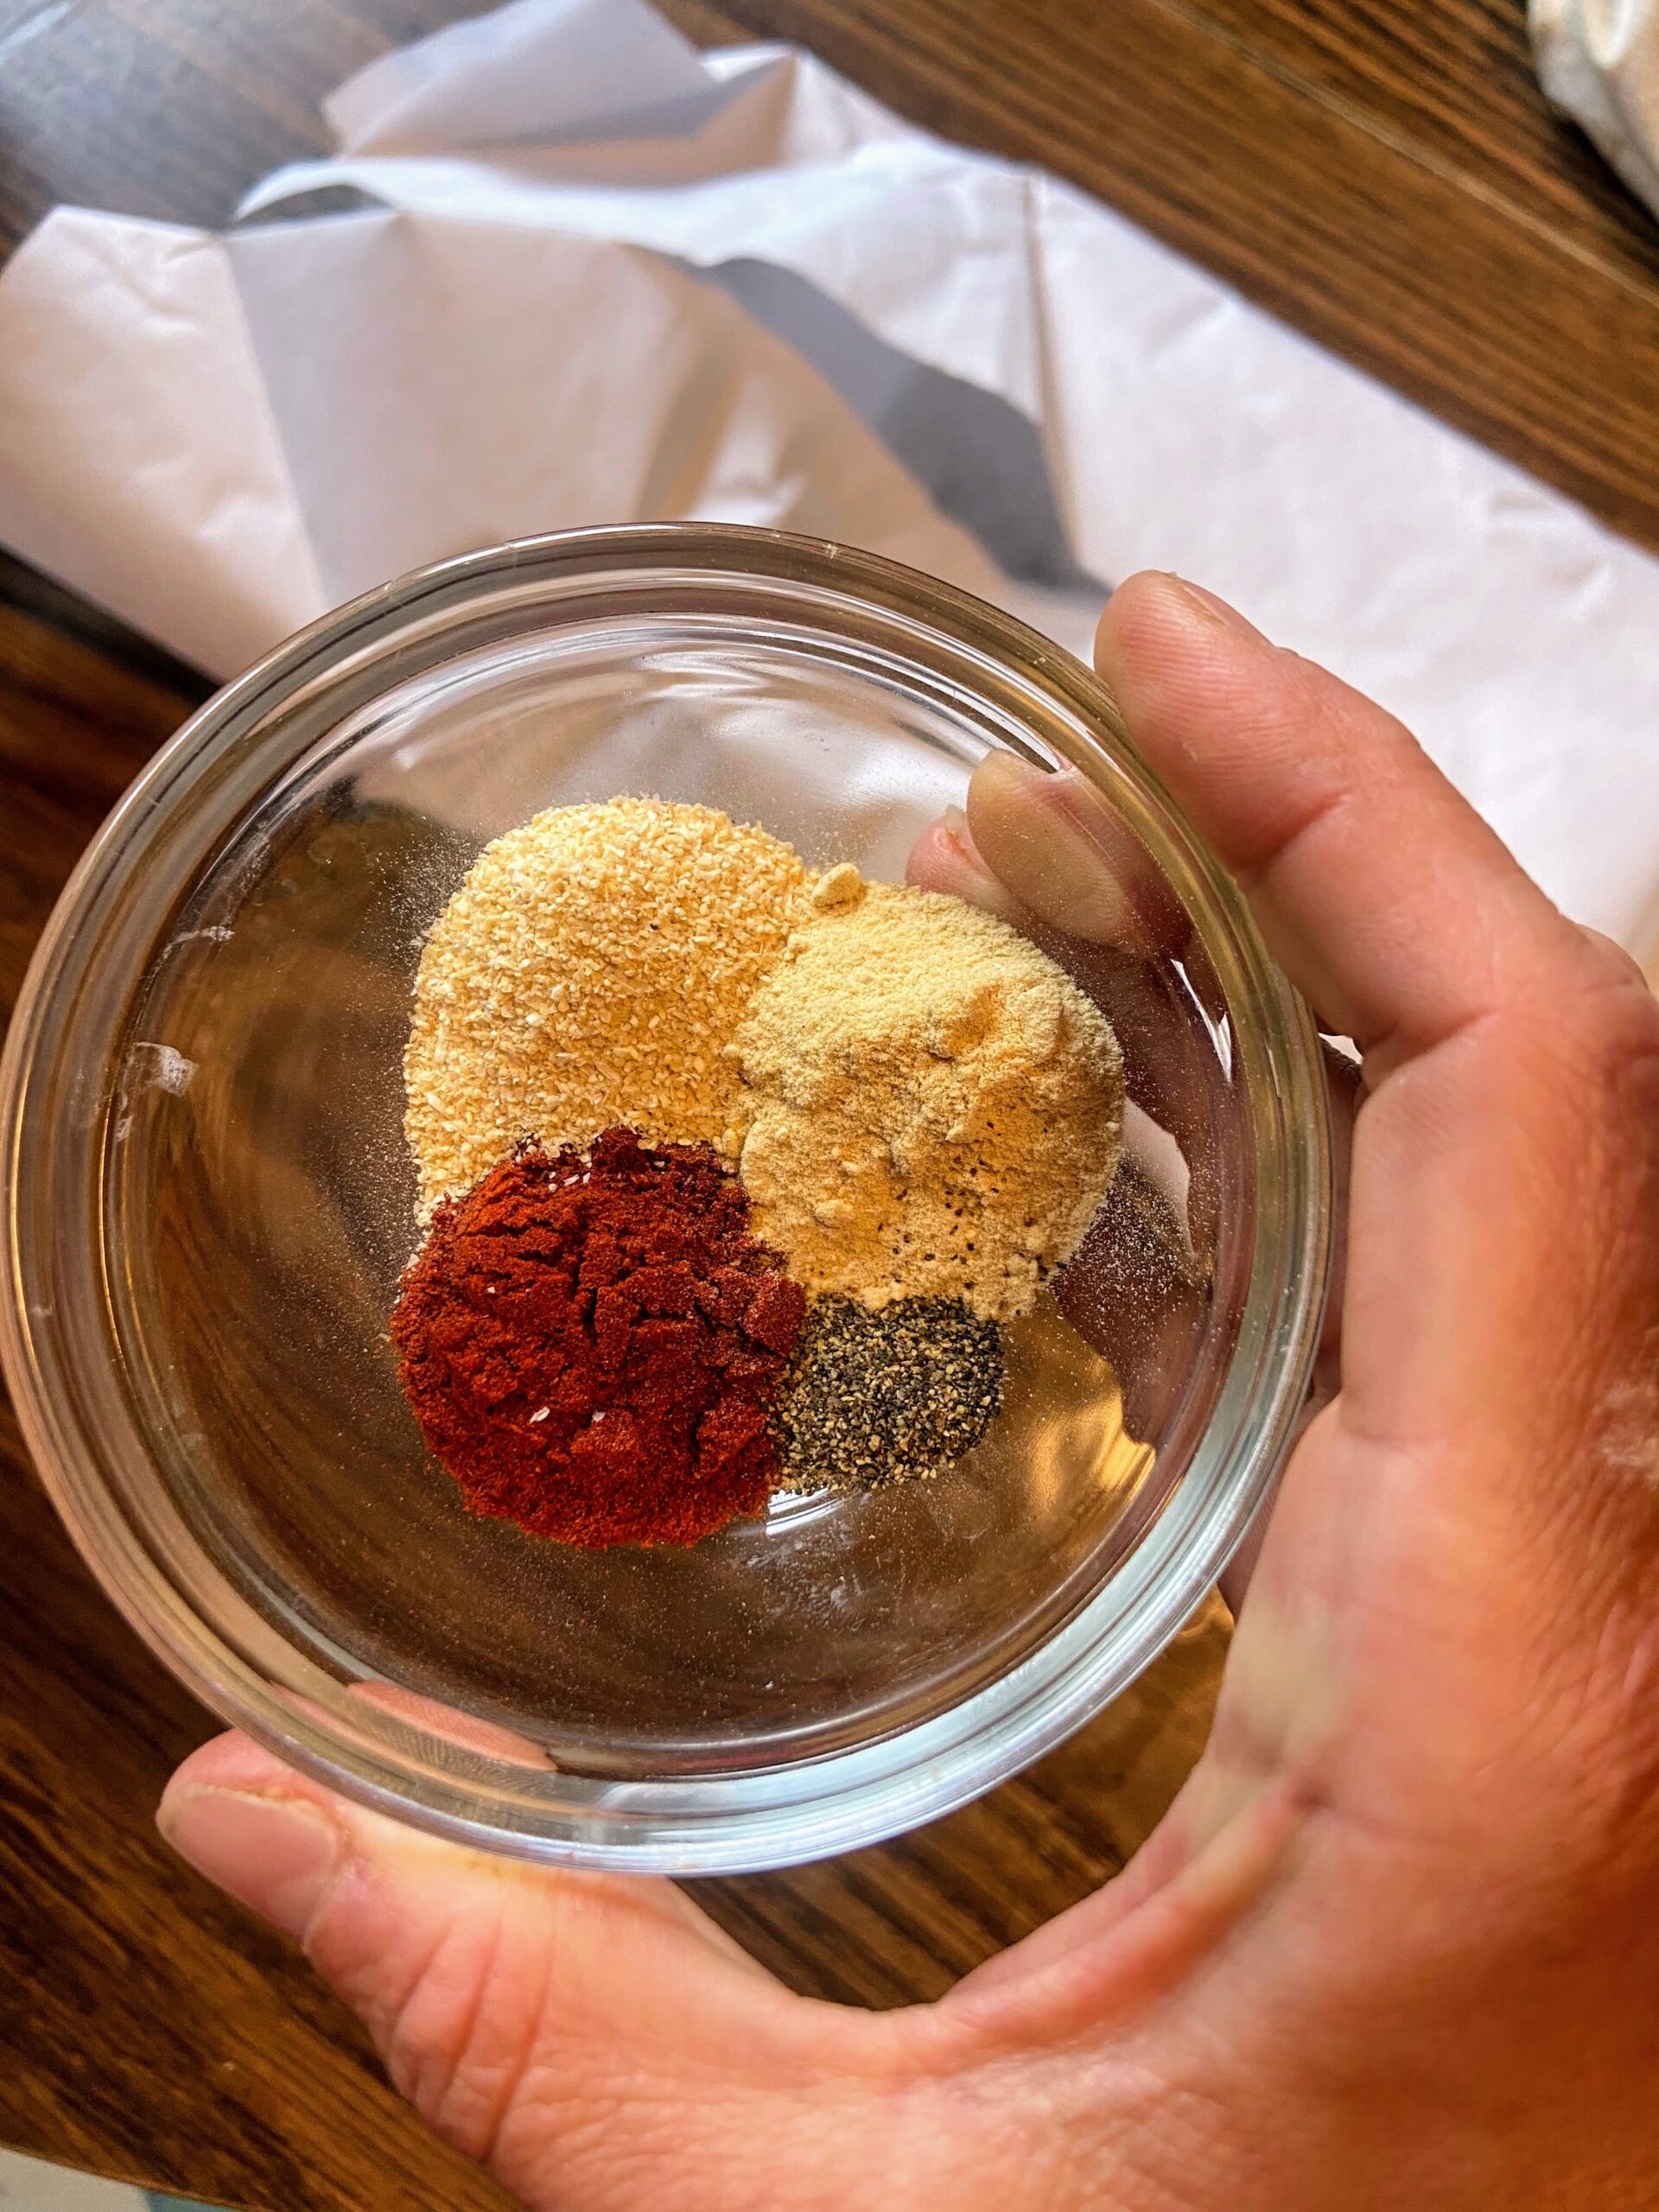
  • 1 teaspoon onion powder 
  • ¼ teaspoon ground pepper
  • 1 teaspoon paprika 
  • 1 teaspoon garlic powder 
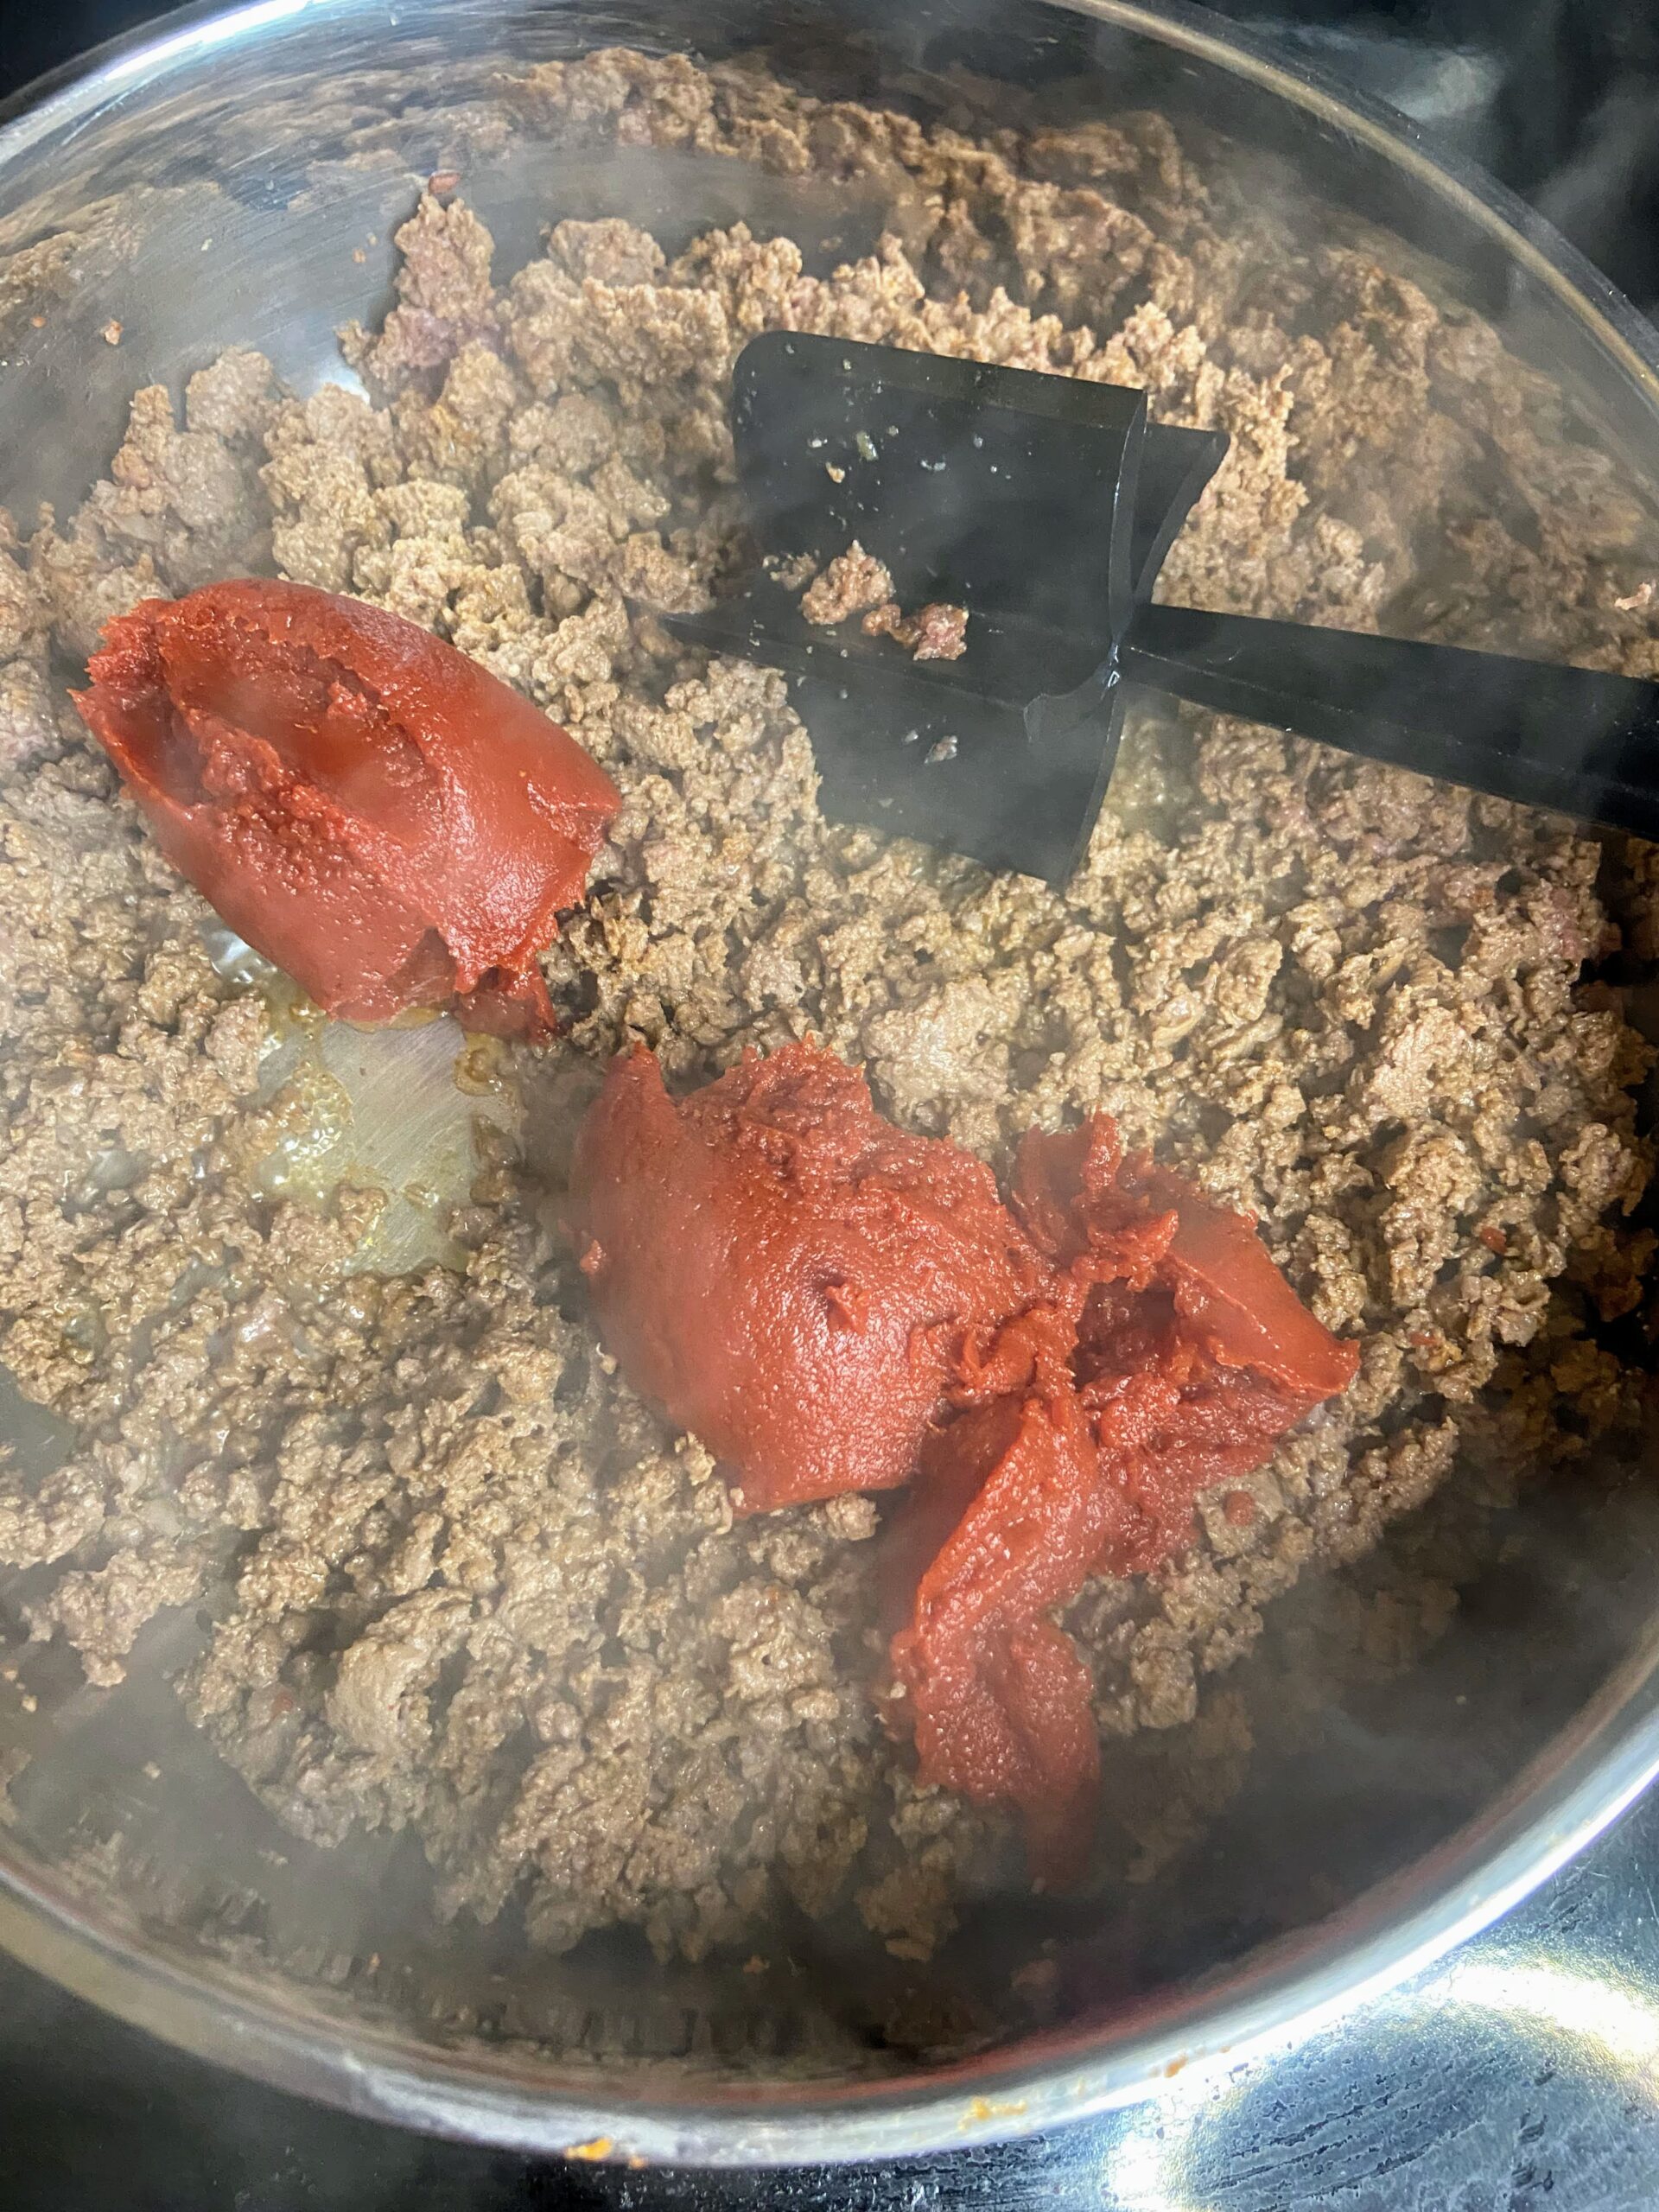
  • 6 ounces tomato paste or 8 ounces tomato sauce 
  • 1 ½ cups milk of your choice (regular, almond, etc) 
  • 1 ½ cups low sodium beef broth
    3 cups egg noodles
  • 1 ½ cups shredded cheddar cheese 
  • Olive oil, optional 
  • Salt, to taste

Your Steps to Homemade Hamburger Helper

Over medium heat, begin to heat olive oil (if using a low fat protein) in a large saute pan (that has a cover). Add ground protein. Season with onion powder, paprika, garlic powder, and ground pepper. Brown. Drain if necessary. 

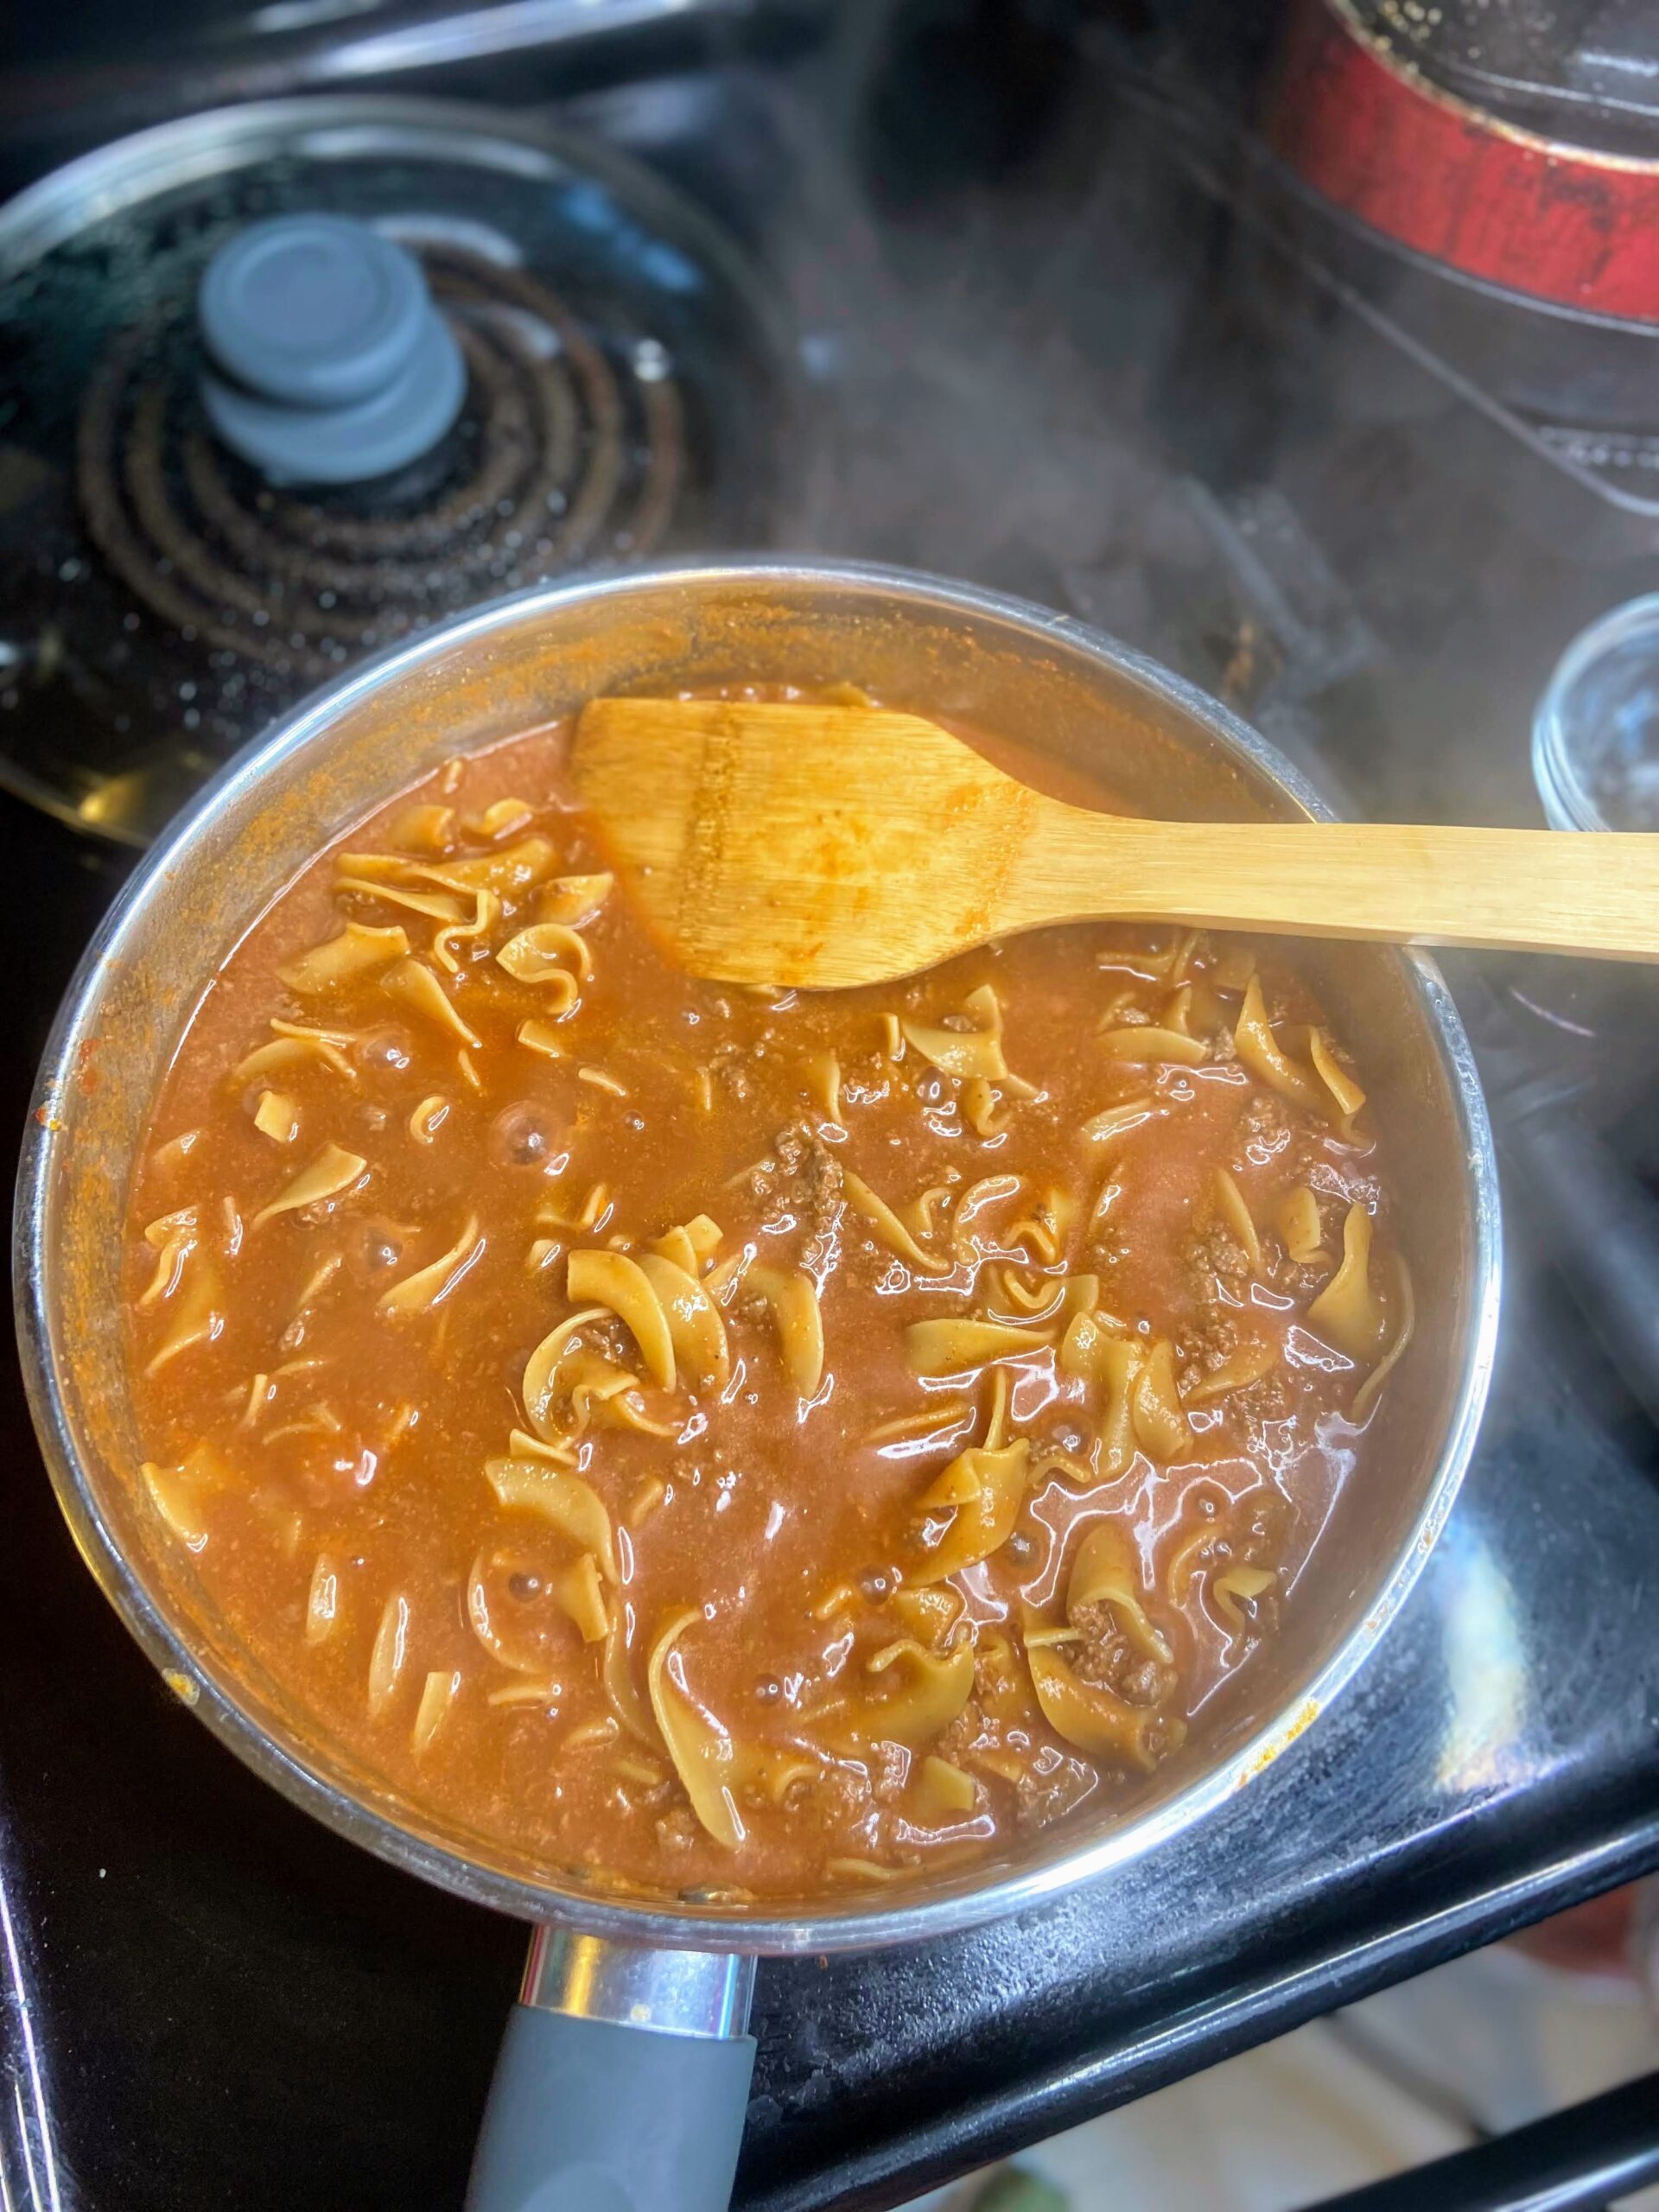
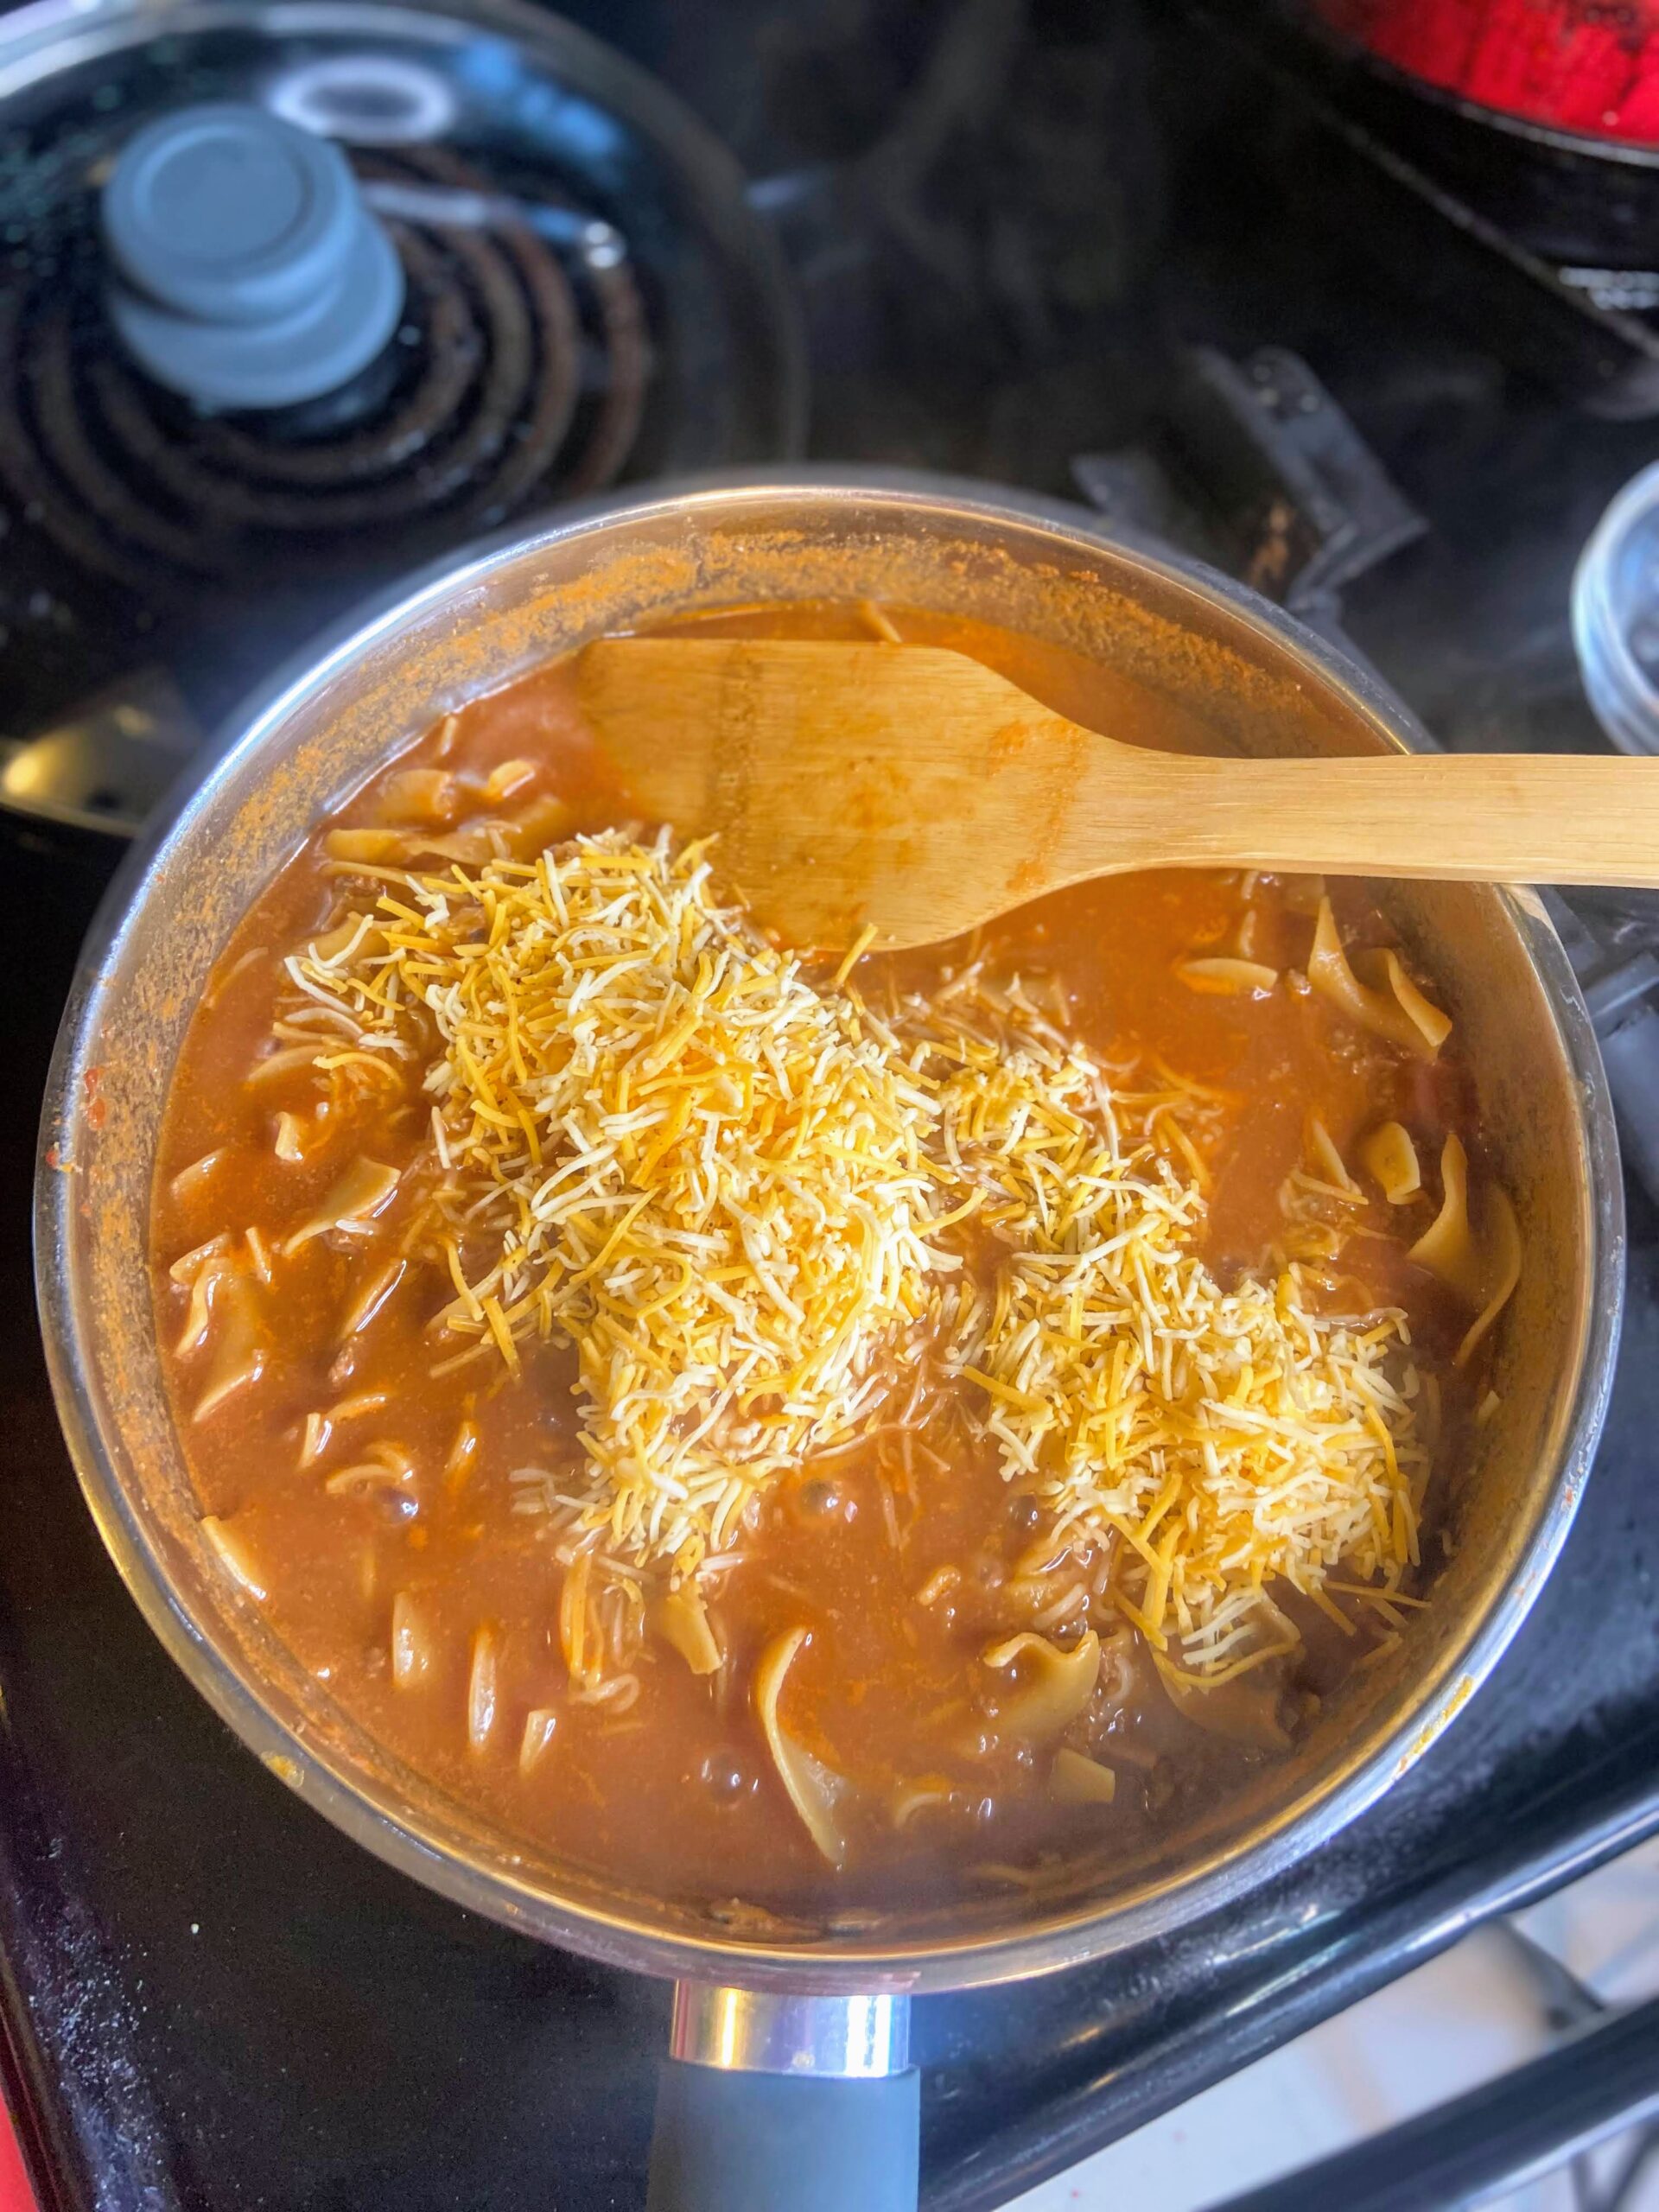
Stir in tomatoes, continuing to heat over medium-high temperature. Cook for 2-3 minutes. Stir in milk and beef broth. Bring to a boil. Add egg noodles, reduce heat, cover, and cook for 8-10 minutes, until the egg noodles are cooked through. Remove from heat and stir in cheese. Season with salt if needed. 

Homemade Hamburger Helper

Comfort food at its finest with the flavors of childhood without all the preservatives.
Prep Time 10 minutes
Cook Time 12 minutes
Servings 6 servings

Ingredients
  

  • 1 pound ground protein beef, venison, turkey
  • 1 teaspoon onion powder
  • ¼ teaspoon ground pepper
  • 1 teaspoon paprika
  • 1 teaspoon garlic powder
  • 6 ounces tomato paste or 8 ounces tomato sauce
  • 1 ½ cups milk of your choice regular, almond, etc
  • 1 ½ cups low sodium beef broth
  • 3 cups egg noodles
  • 1 ½ cups shredded cheddar cheese
  • Olive oil optional
  • Salt to taste

Instructions
 

  • Over medium heat, begin to heat olive oil (if using a low fat protein) in a large saute pan (that has a cover). Add ground protein. Season with onion powder, paprika, garlic powder, and ground pepper. Brown. Drain if necessary.
  • Stir in tomatoes, continuing to heat over medium-high temperature. Cook for 2-3 minutes.
  • Stir in milk and beef broth. Bring to a boil.
  • Add egg noodles, reduce heat, cover, and cook for 8-10 minutes, until the egg noodles are cooked through.
  • Remove from heat and stir in cheese. Season with salt if needed.
Tried this recipe?Let us know how it was!

Looking for other recipes?

Check out some great, family-friendly recipes below!

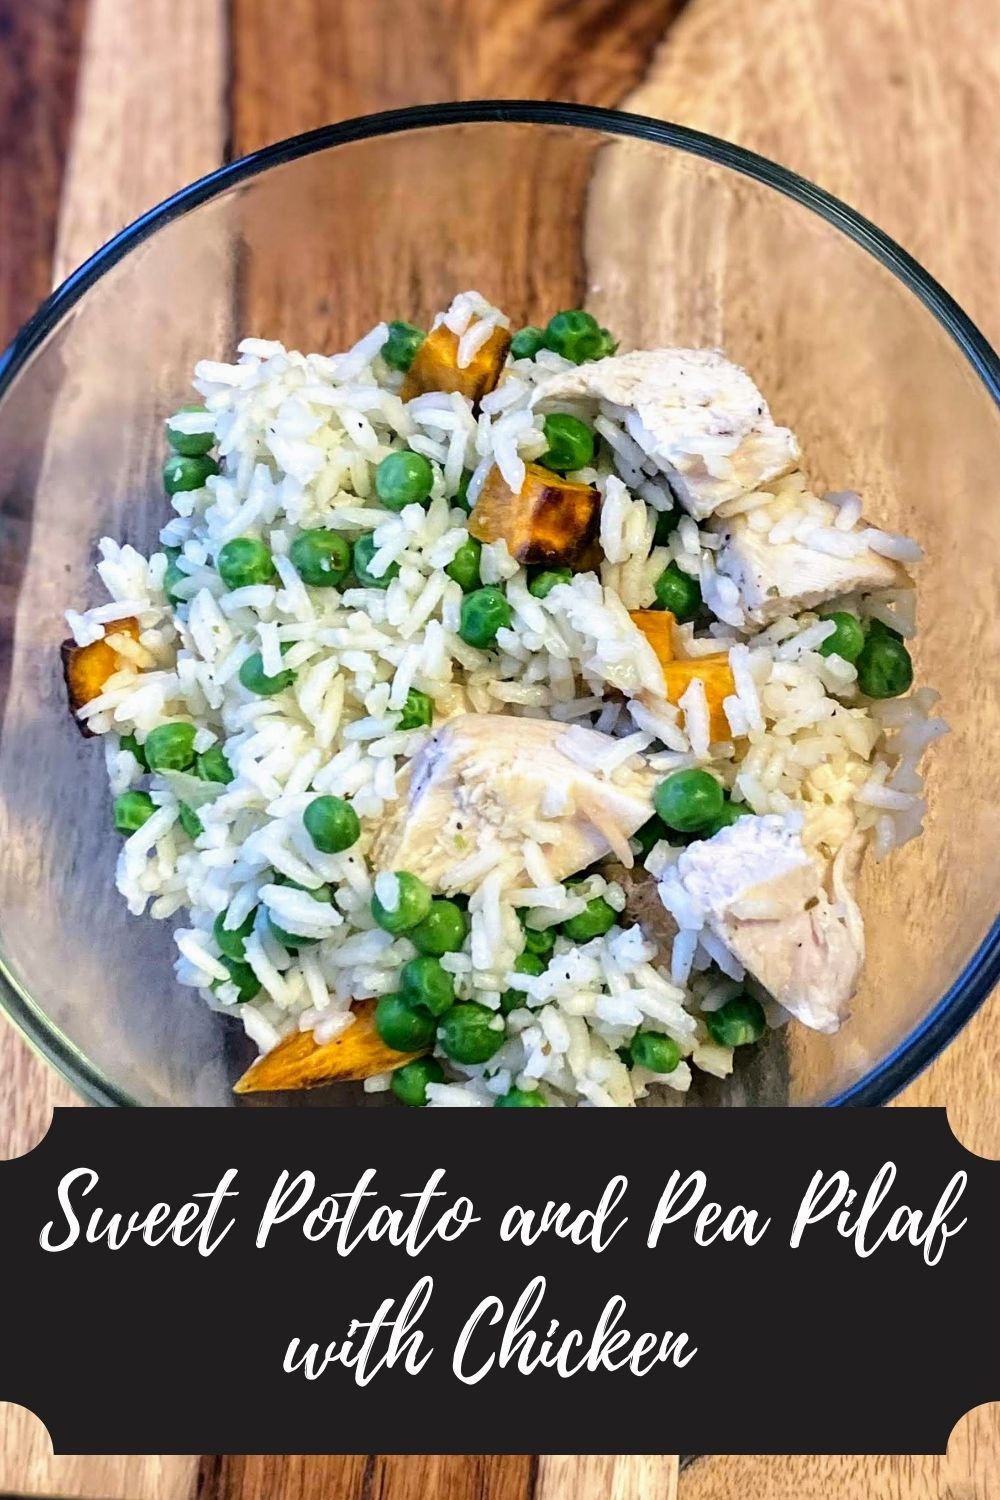
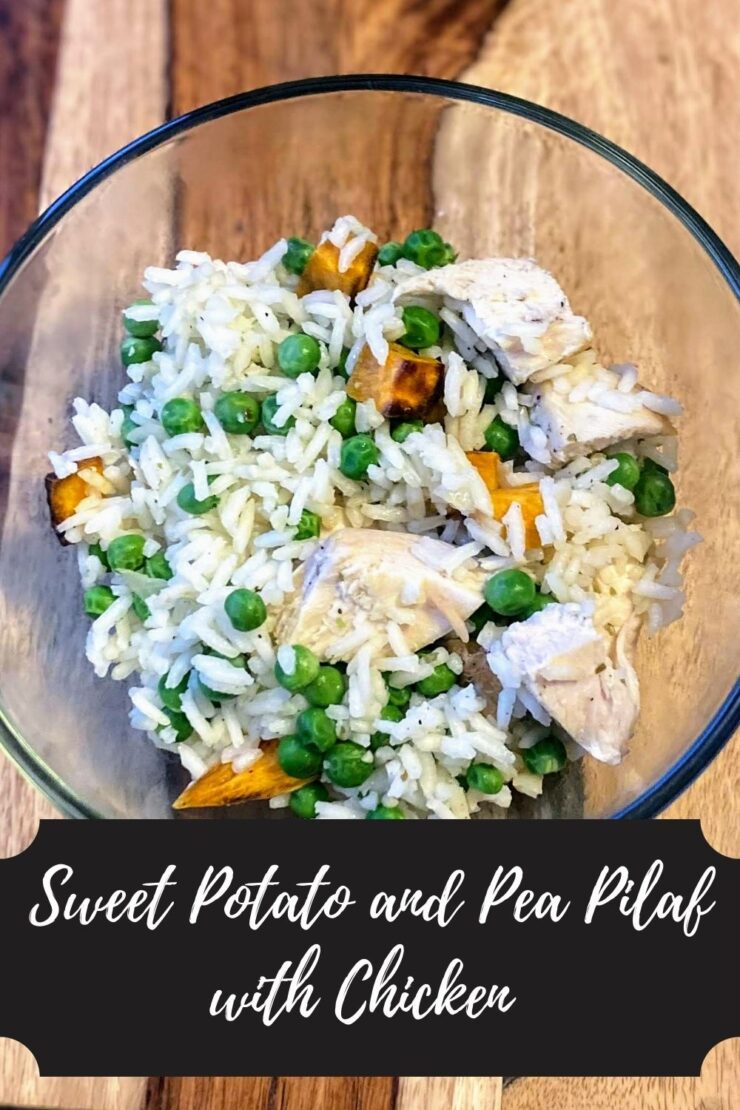
Sweet Potato and Pea Pilaf with Chicken

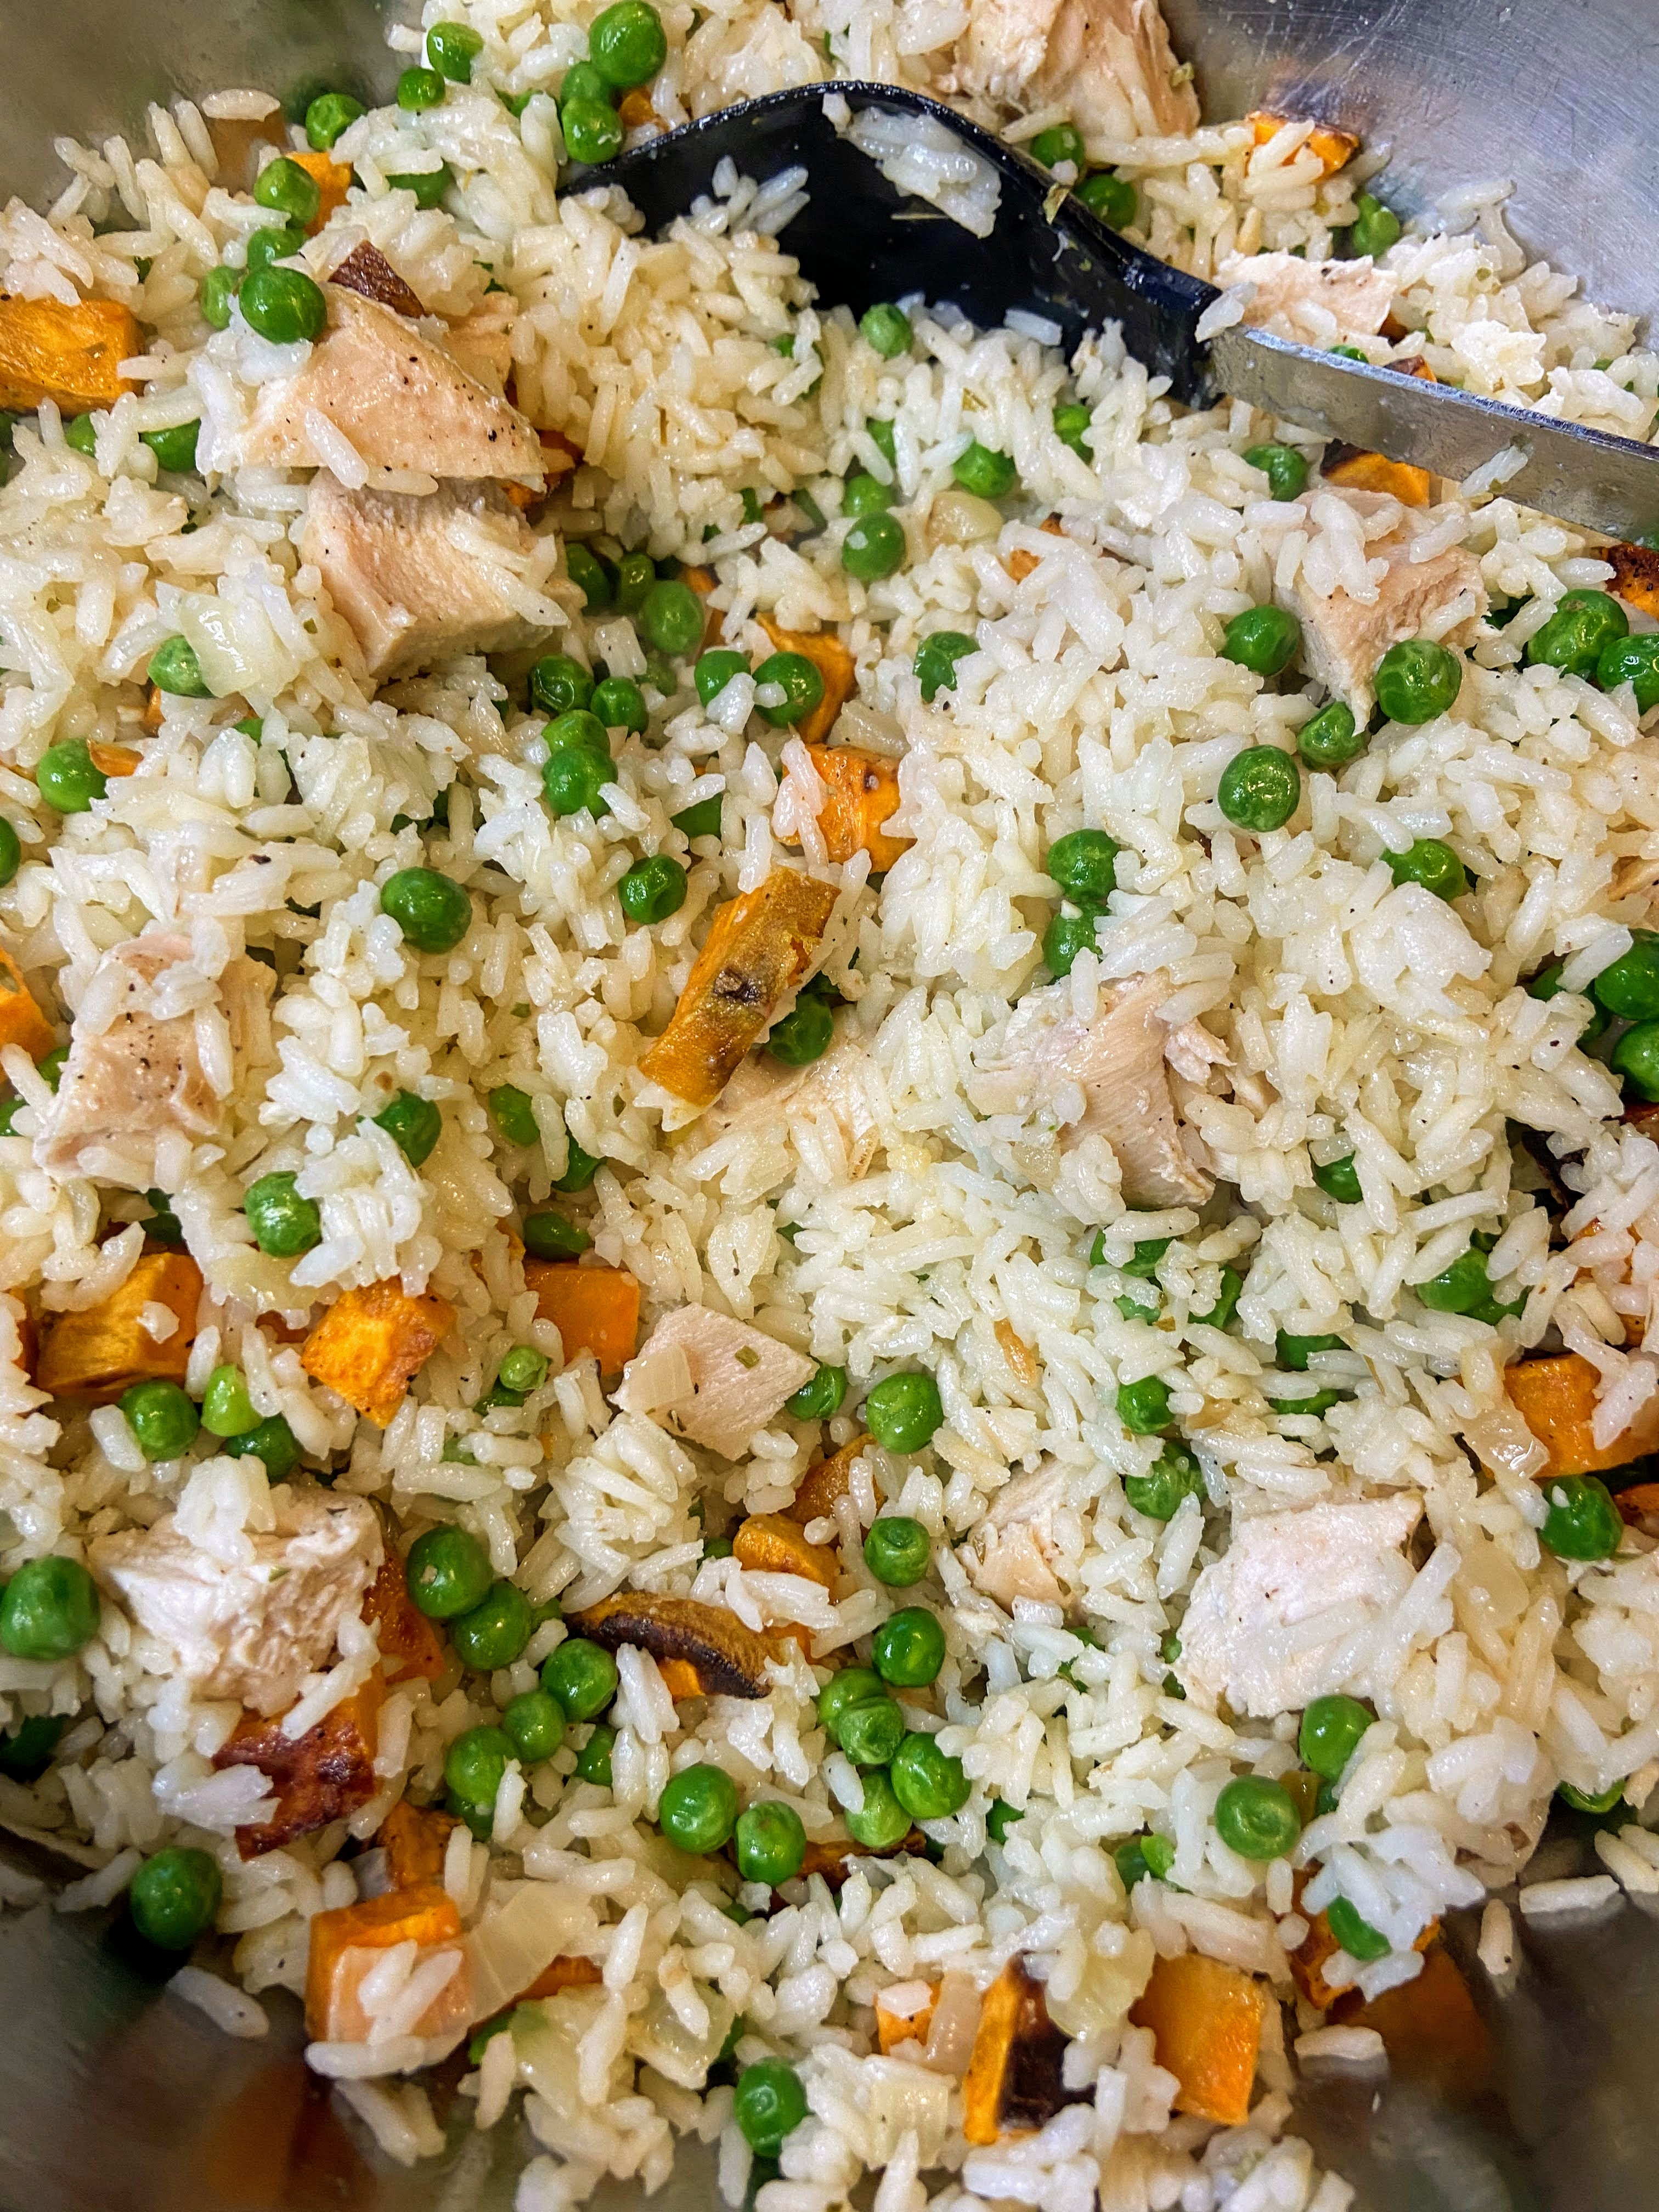
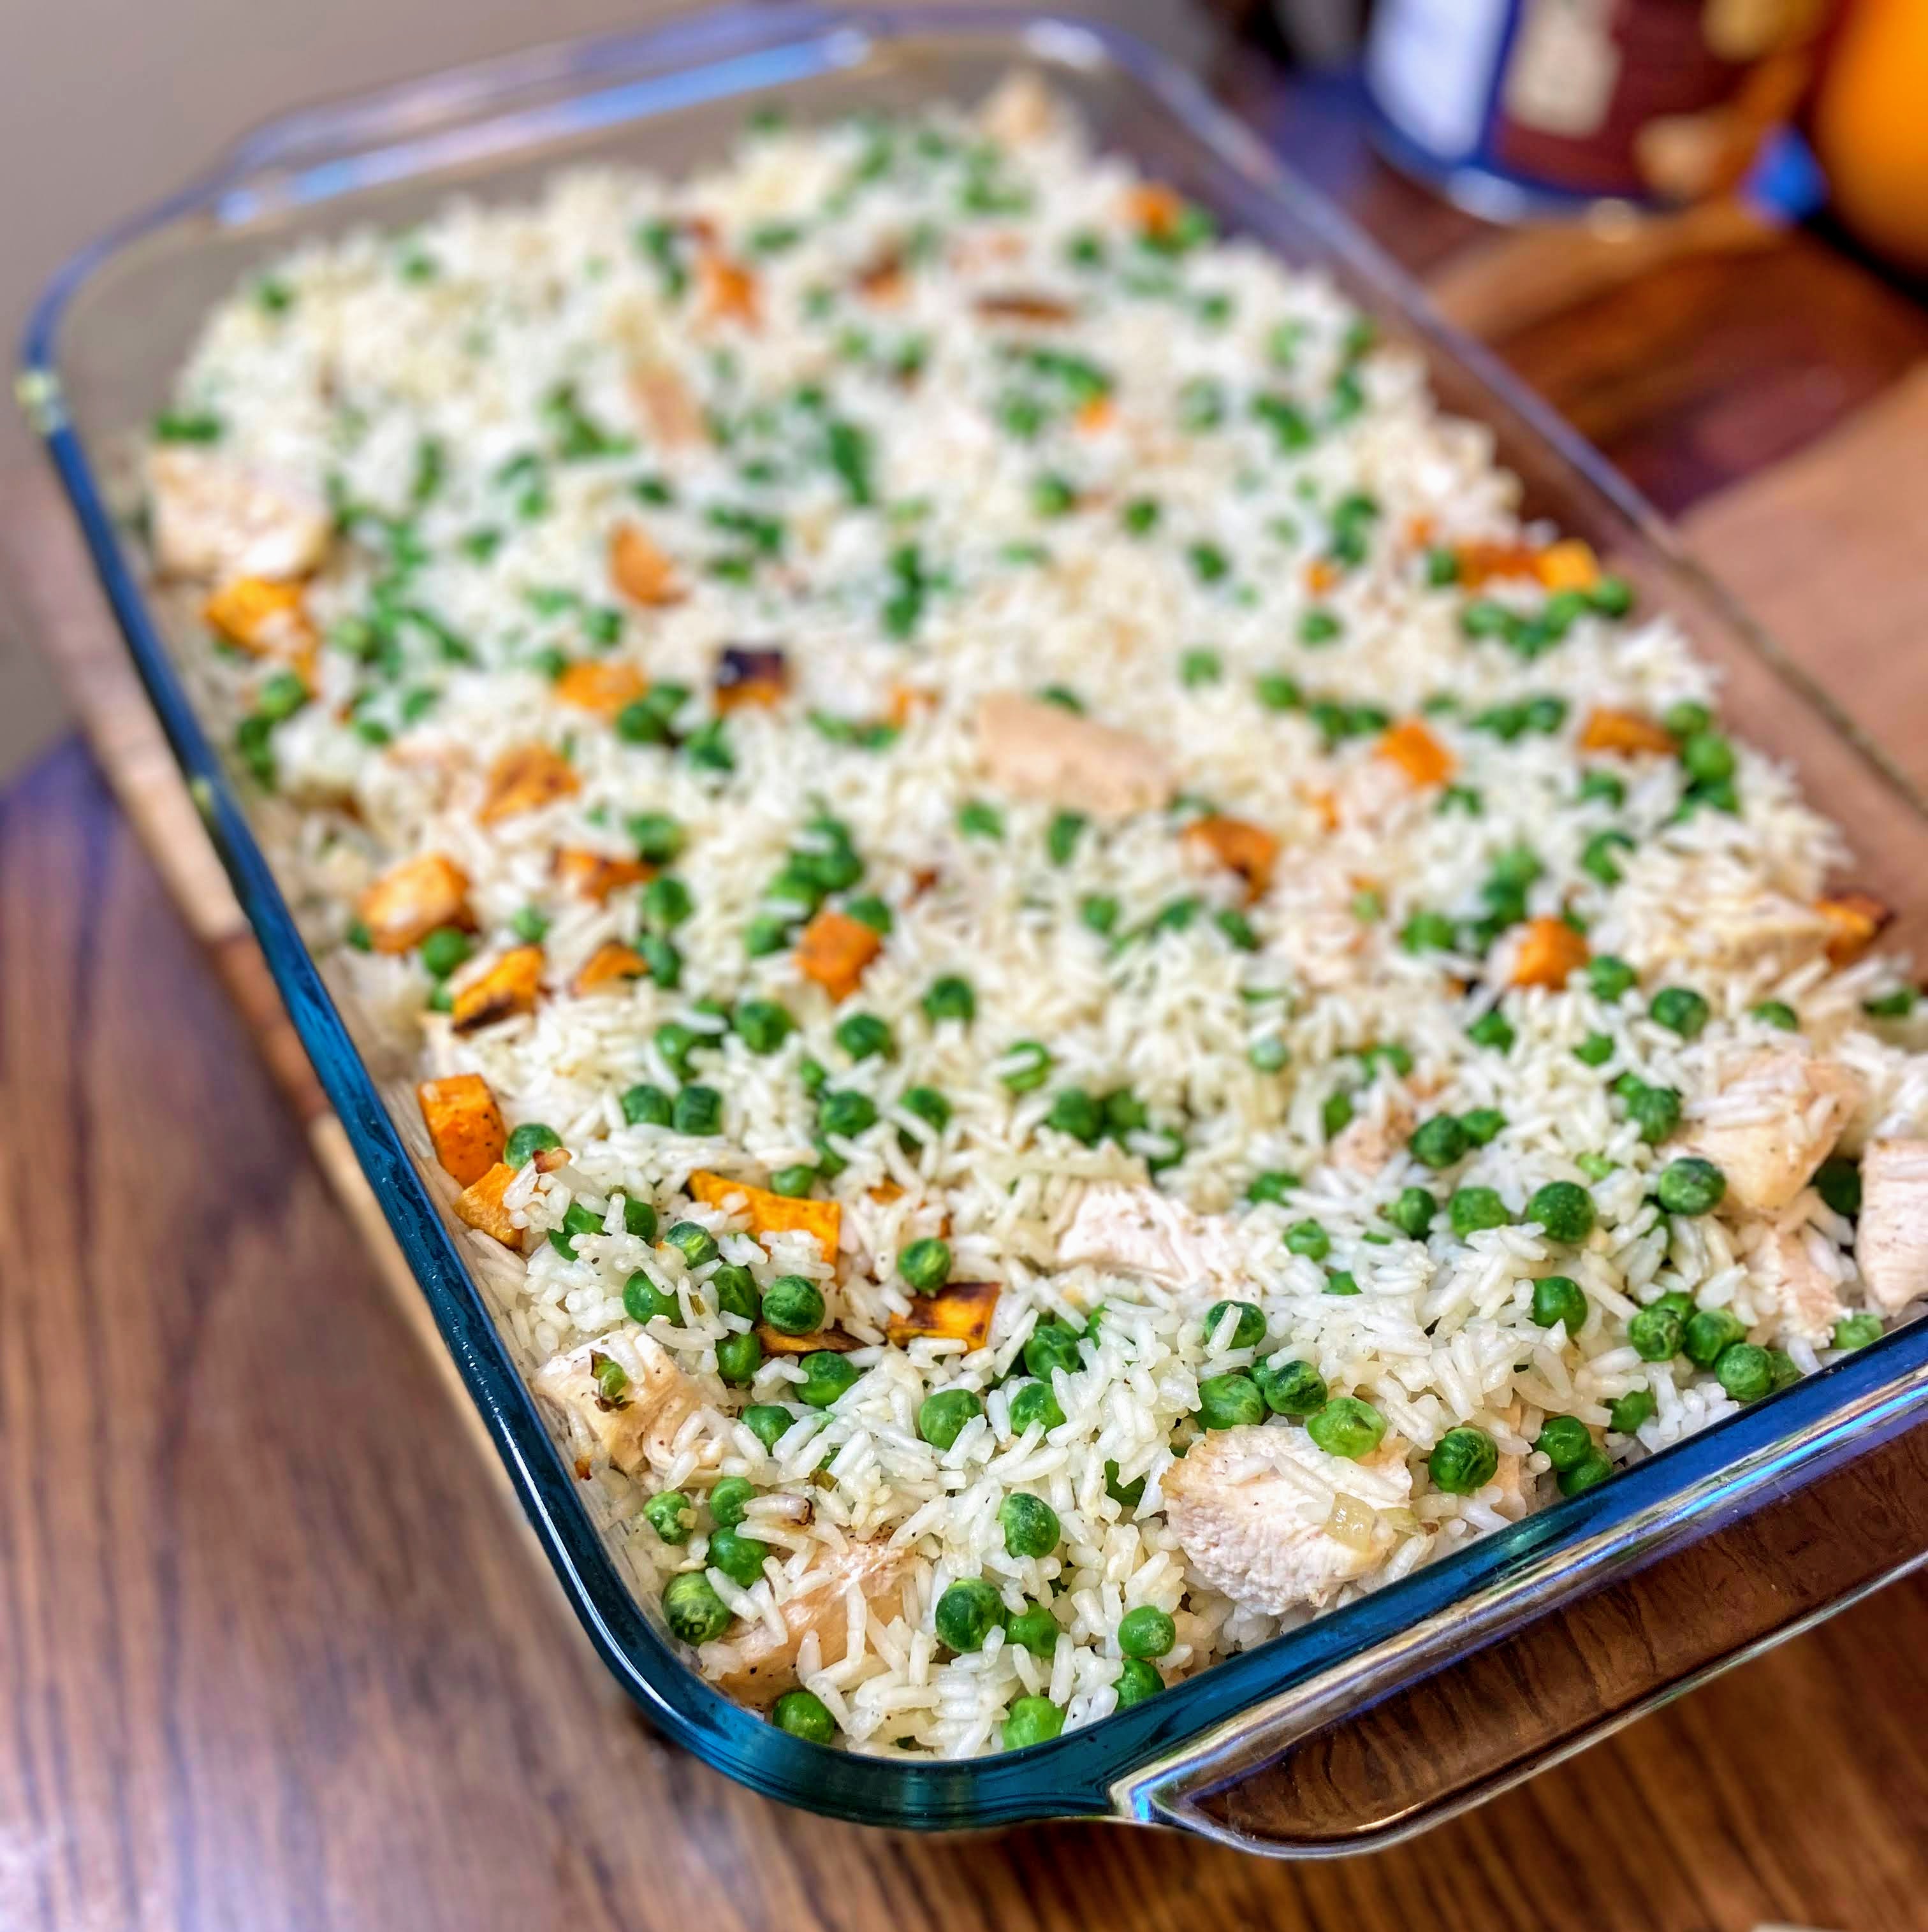
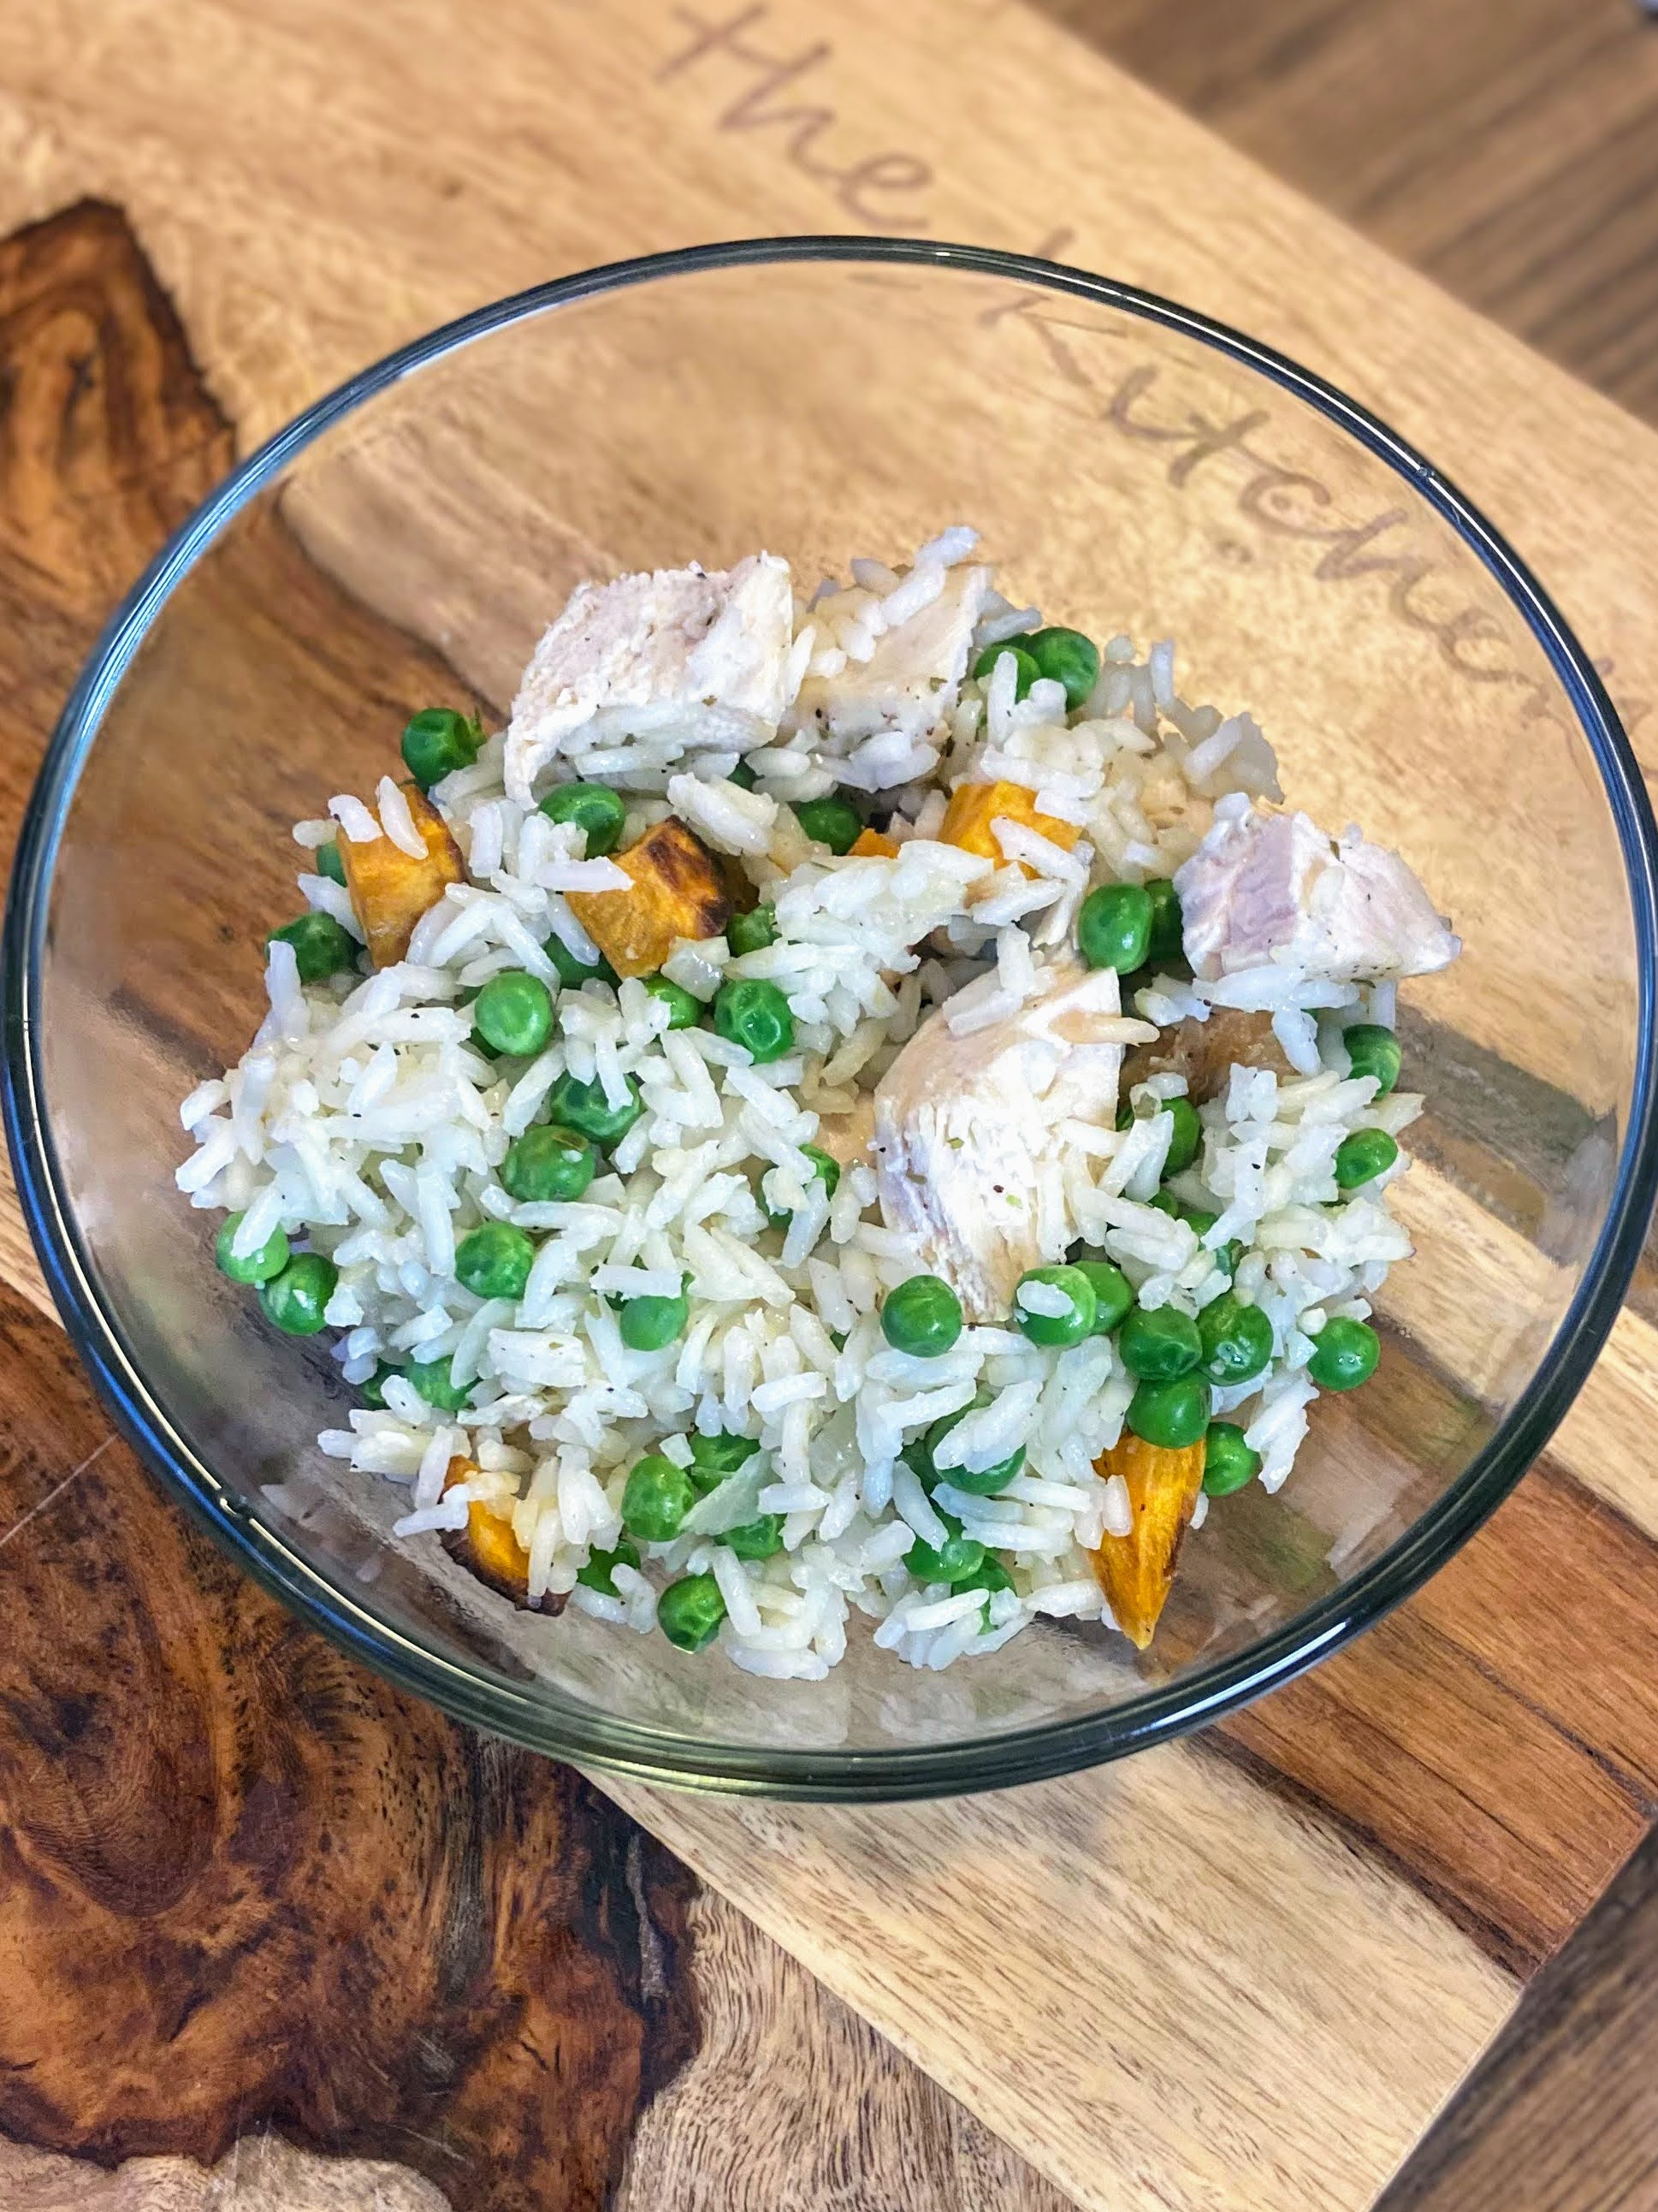
I live for creating meals from pantry ingredients. It’s so fun to look into my cupboards and cabinets to see what I have and what I can create from it. Case in point: this Sweet Potato and Pea Pilaf with Chicken. I have this awesome little natural food store that I get to frequent often. When I am there, I can’t help but purchase one or two fun and new bulk ingredients to try out later. Recently, it was basmati rice. 

Our lives have become consumed by basketball. Both of my babies are playing and weekends are for tournaments. That means I don’t get to meal prep the way I love to. While it’s hard for me to give up that much time each weekend, I also see my kiddos flourishing on the court and I am here for that. So the scene: Sunday afternoon. Me, thinking, I have to get some food on the table when the Mr. gets home. A few google searches and recipe magazine flipping inspired this creation from the pantry! 

And I will tell you, my son wasn’t thrilled that I did peas and sweet potatoes. He didn’t get it and complained as pre-teens do. Then he ate dinner and promptly declared he got all the leftovers and requested it again a week later. I don’t know about you, but I call that a major win in the recipe world! I am so excited for you to give it try! 

Your Ingredients 

  • 2½ tablespoons extra virgin olive oil, divided 
  • ½ medium yellow onion
  • 1 teaspoon minced garlic 
  • 2 cups white basmati rice
  • 1 teaspoon tarragon 
  • 3 cups low-sodium chicken broth, heated 
  • 1 pound chicken breast
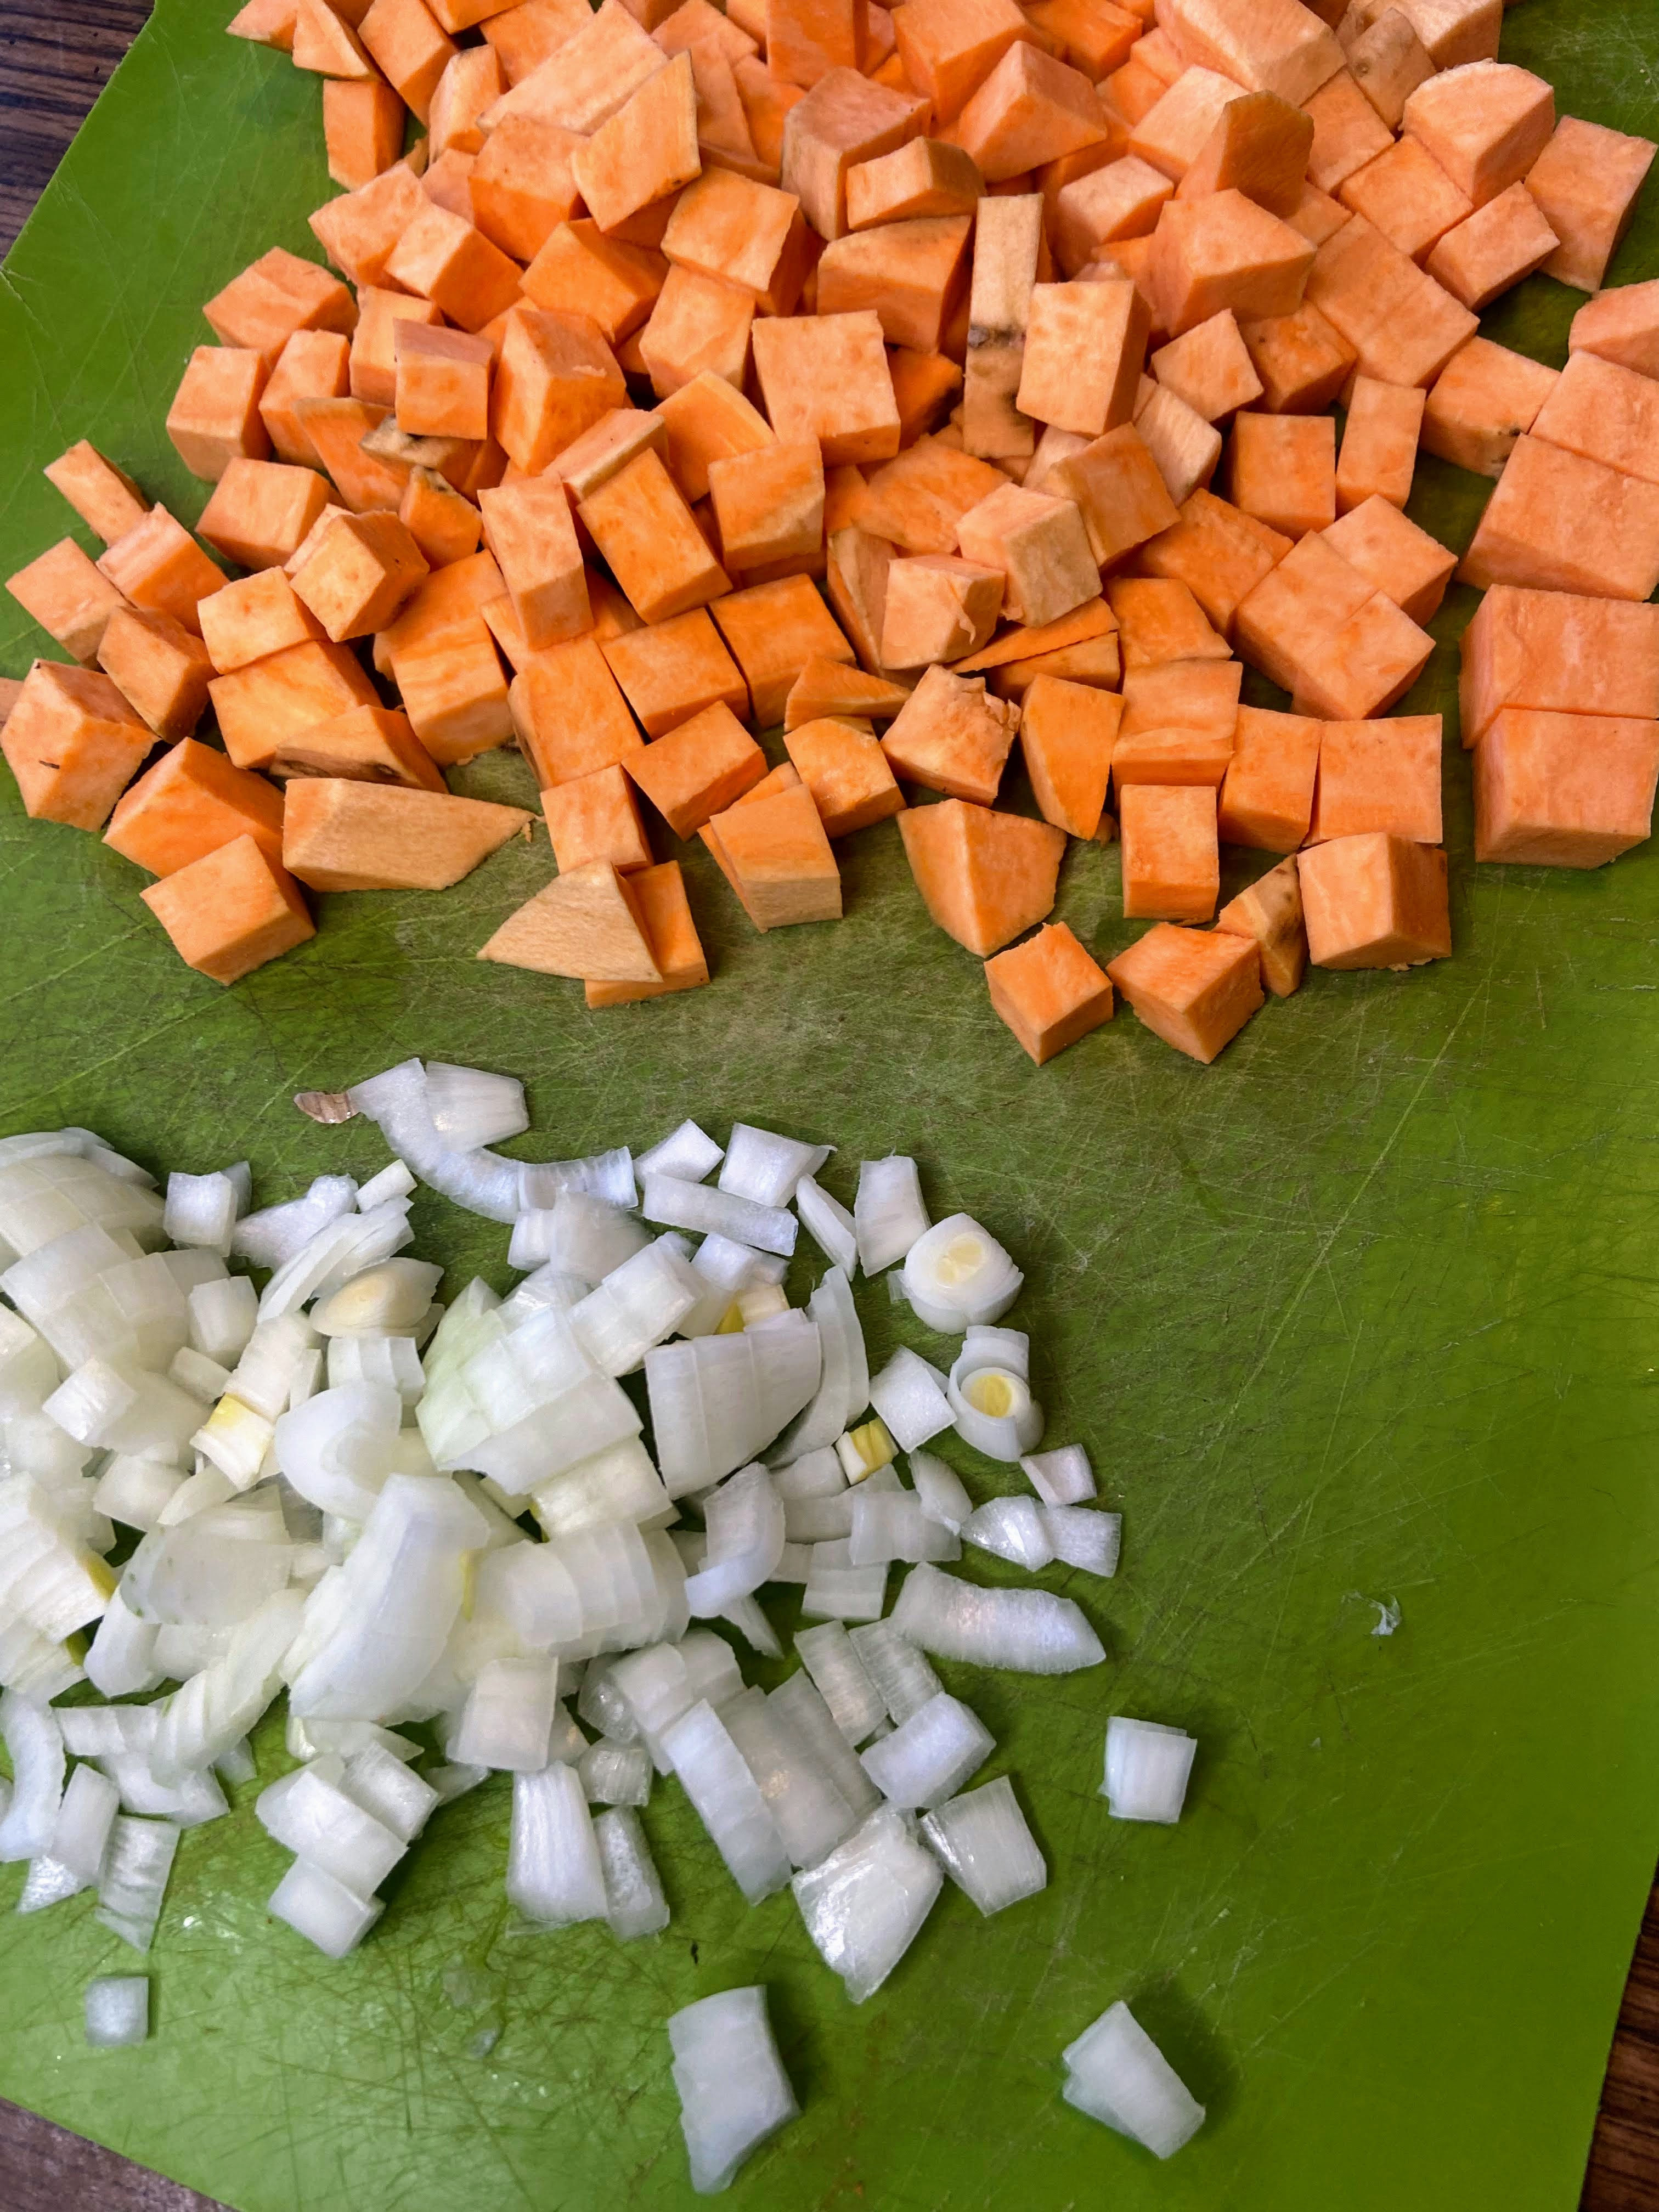
  • 1 sweet potato, peeled and diced (about 2 ¾ cups)
  • 12 ounces frozen peas (about 2 ½ cups) 
  • Salt and pepper 

Your Steps to Sweet Potato and Pea Pilaf with Chicken

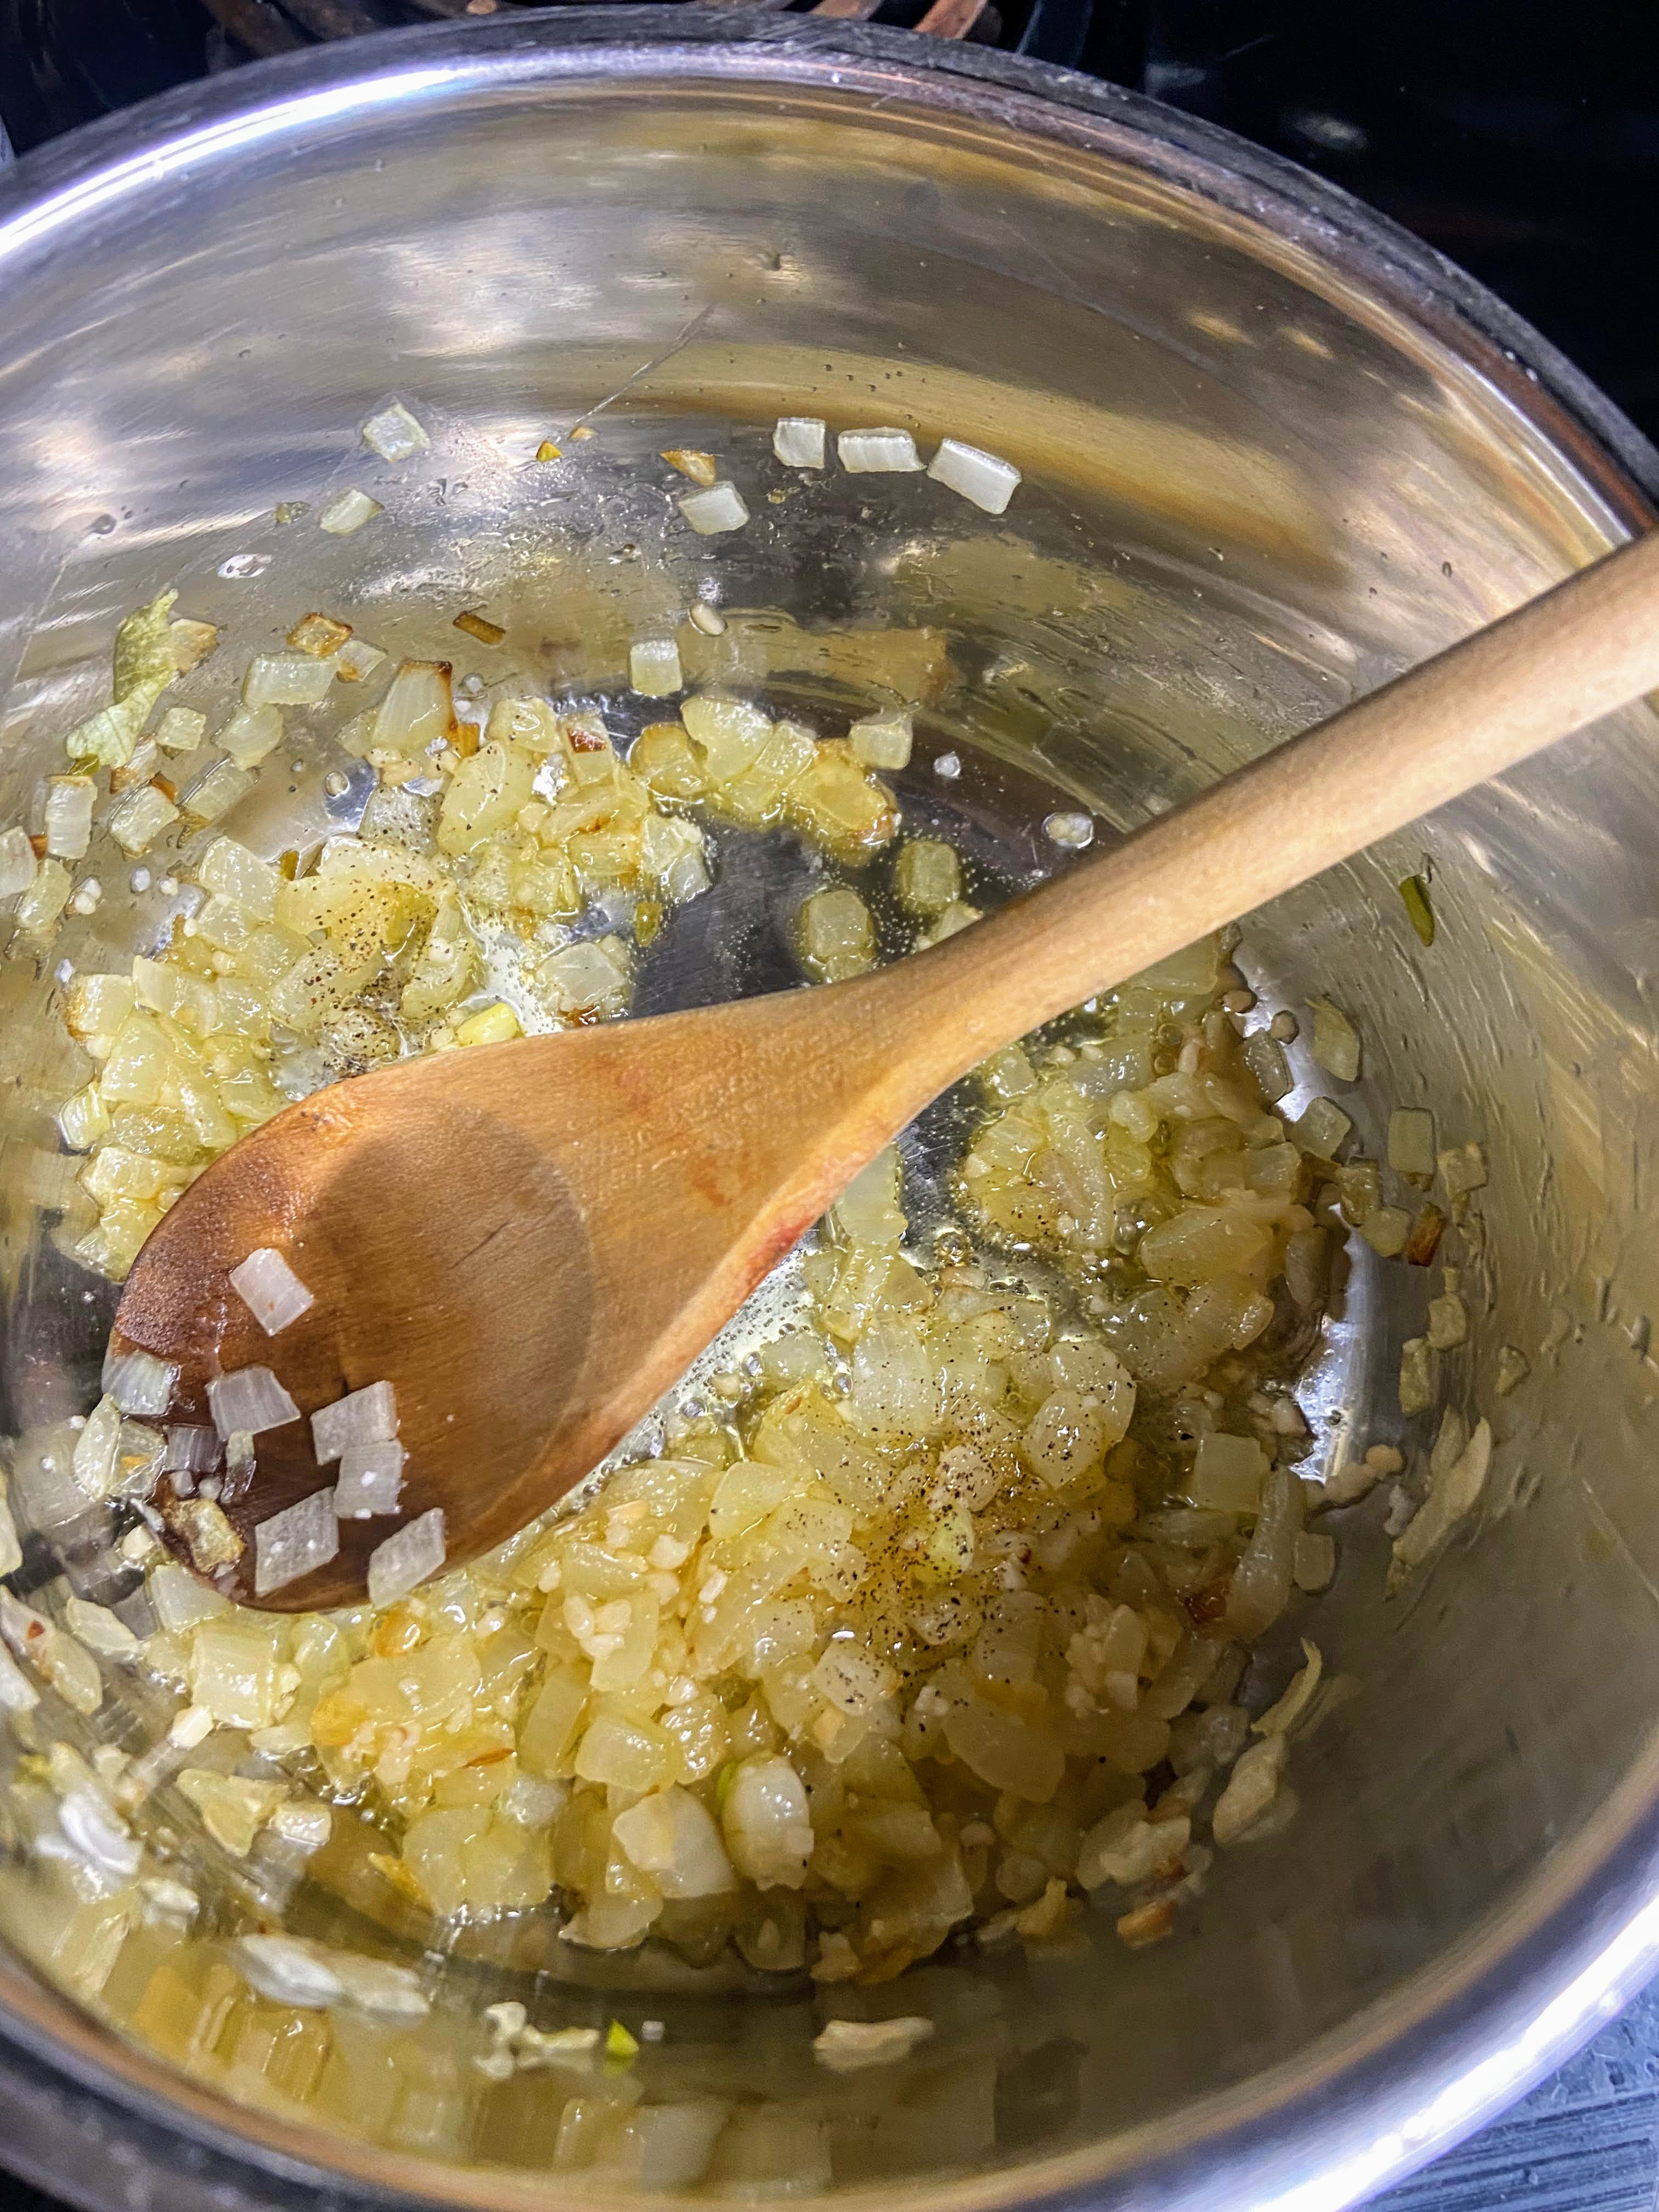
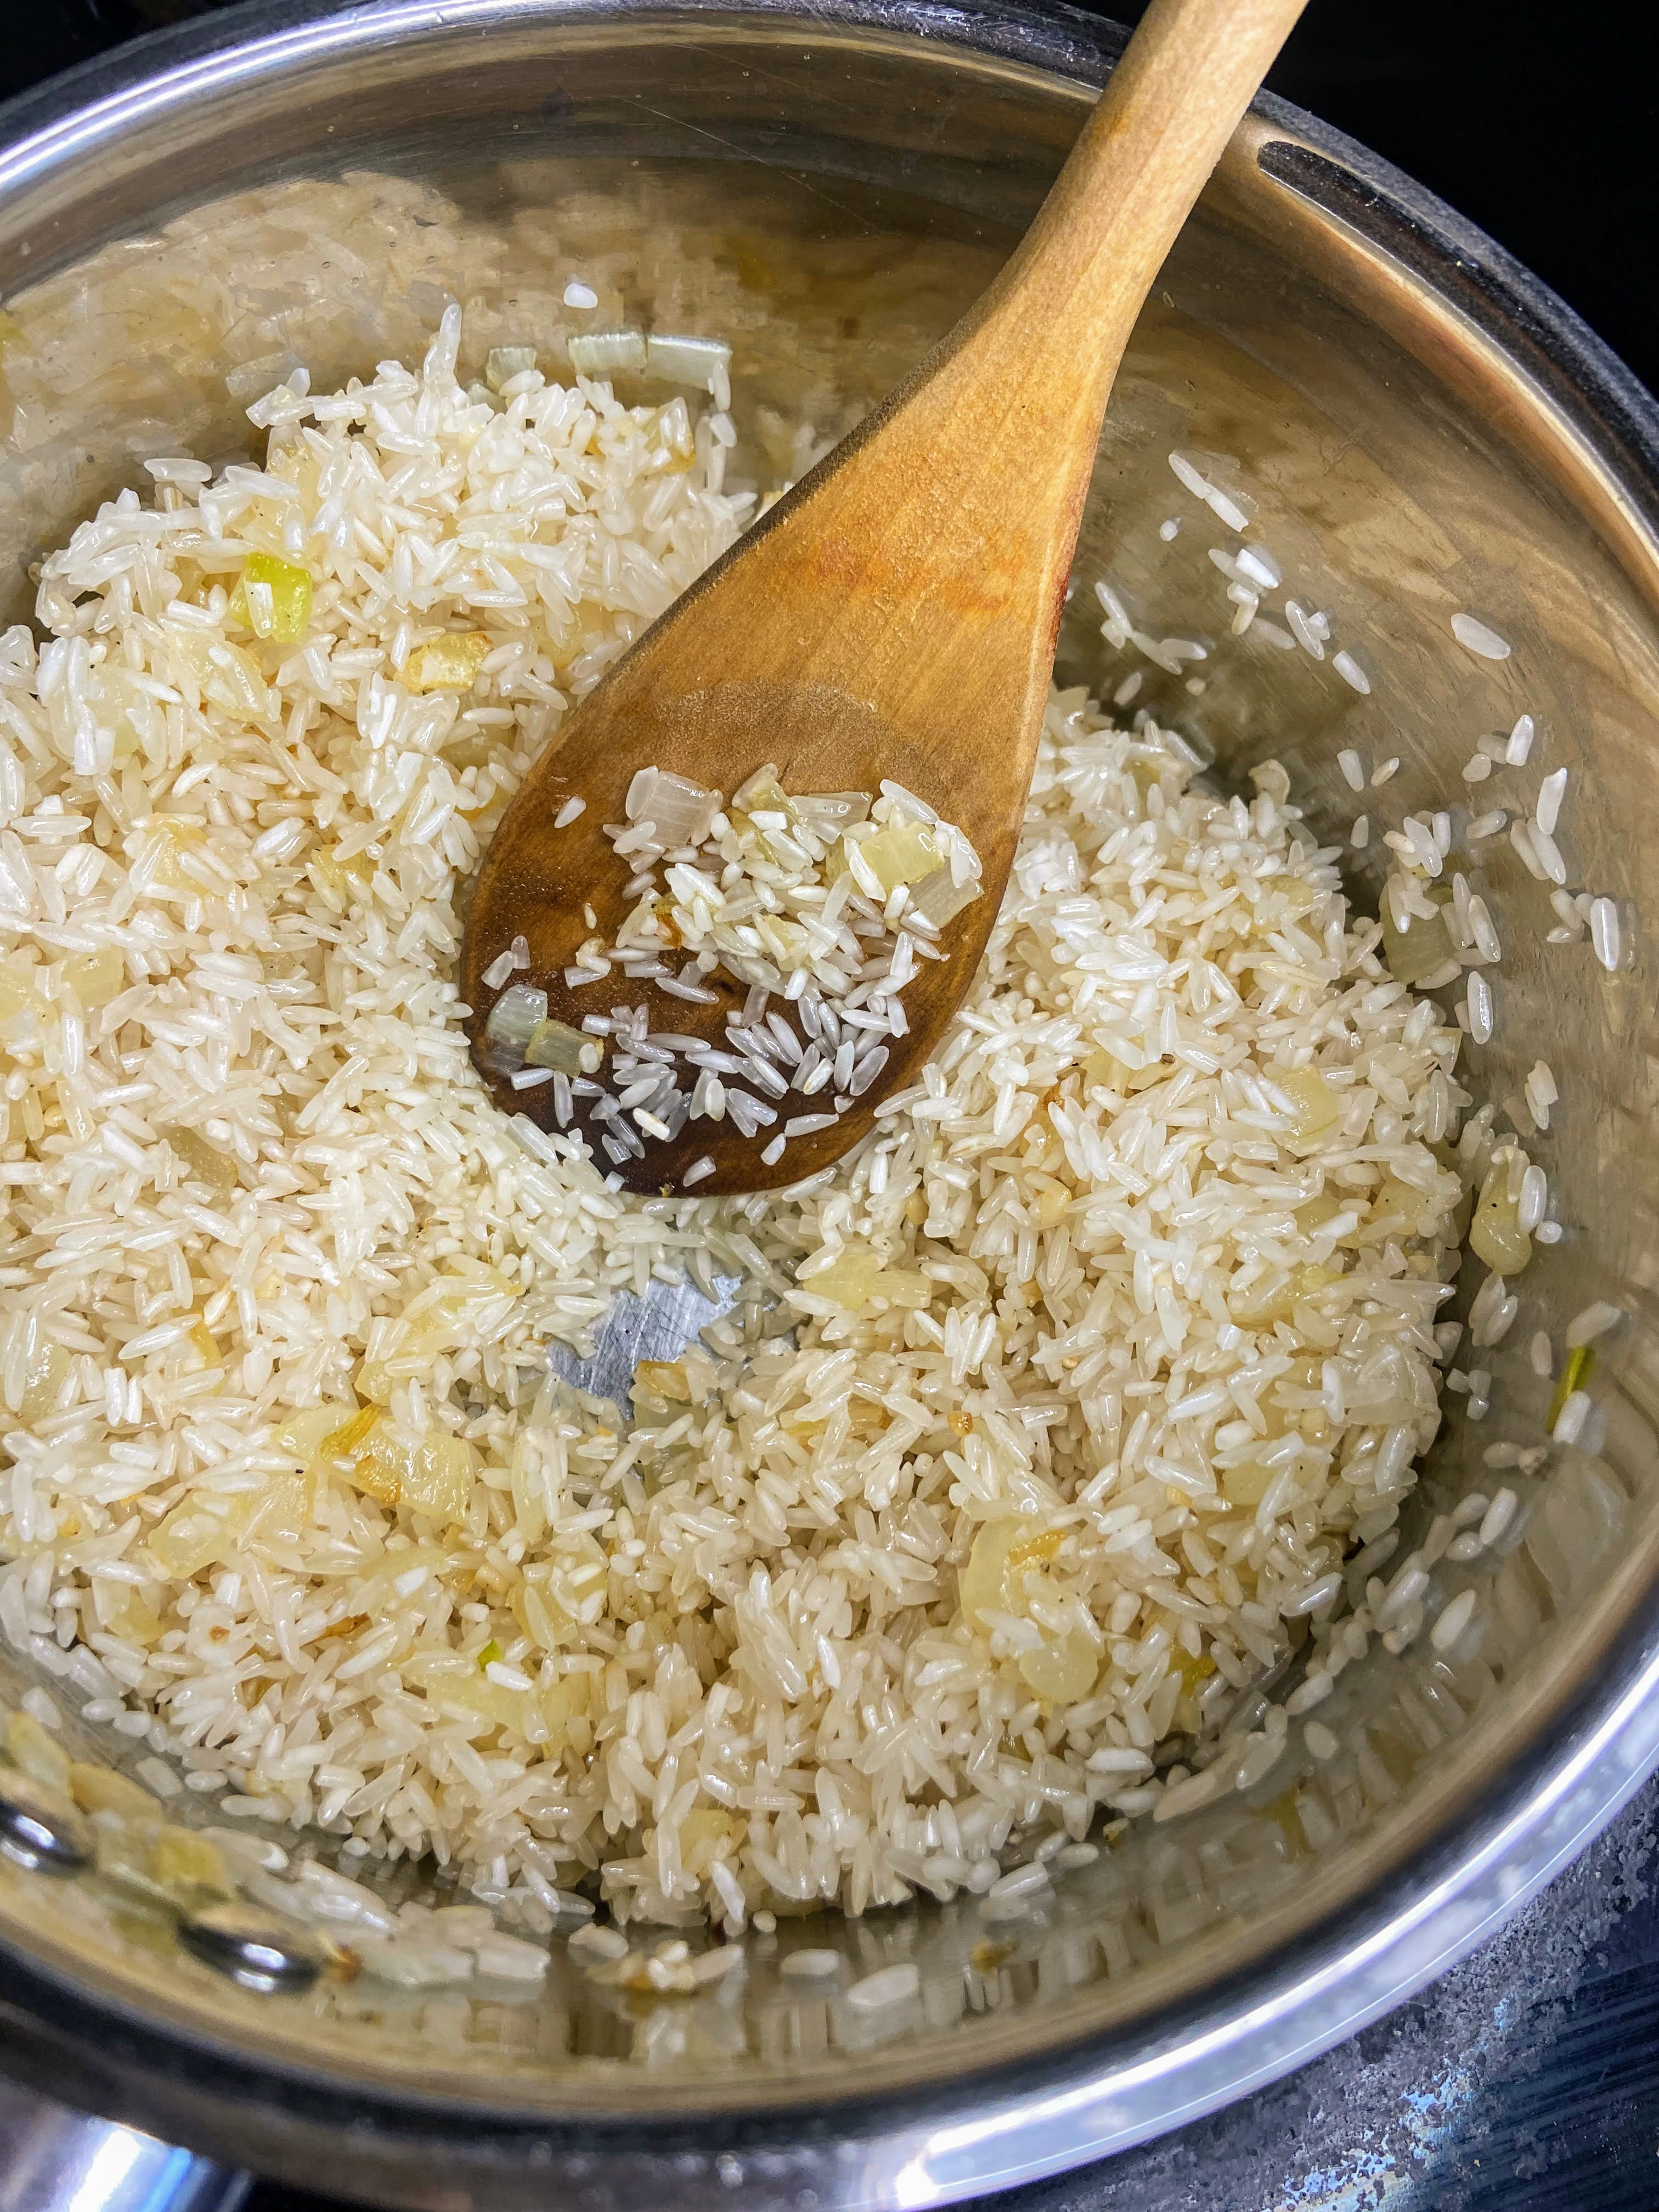
Heat 1 ½ tablespoons of olive oil in a large saucepan (with a cover) over medium heat until hot. Add onion and garlic. Saute until just softened, about 8 minutes. Add rice and saute, stirring often, until just browned, maybe 3-5 minutes. Watch this carefully. You will be so sad if you burn your rice. 

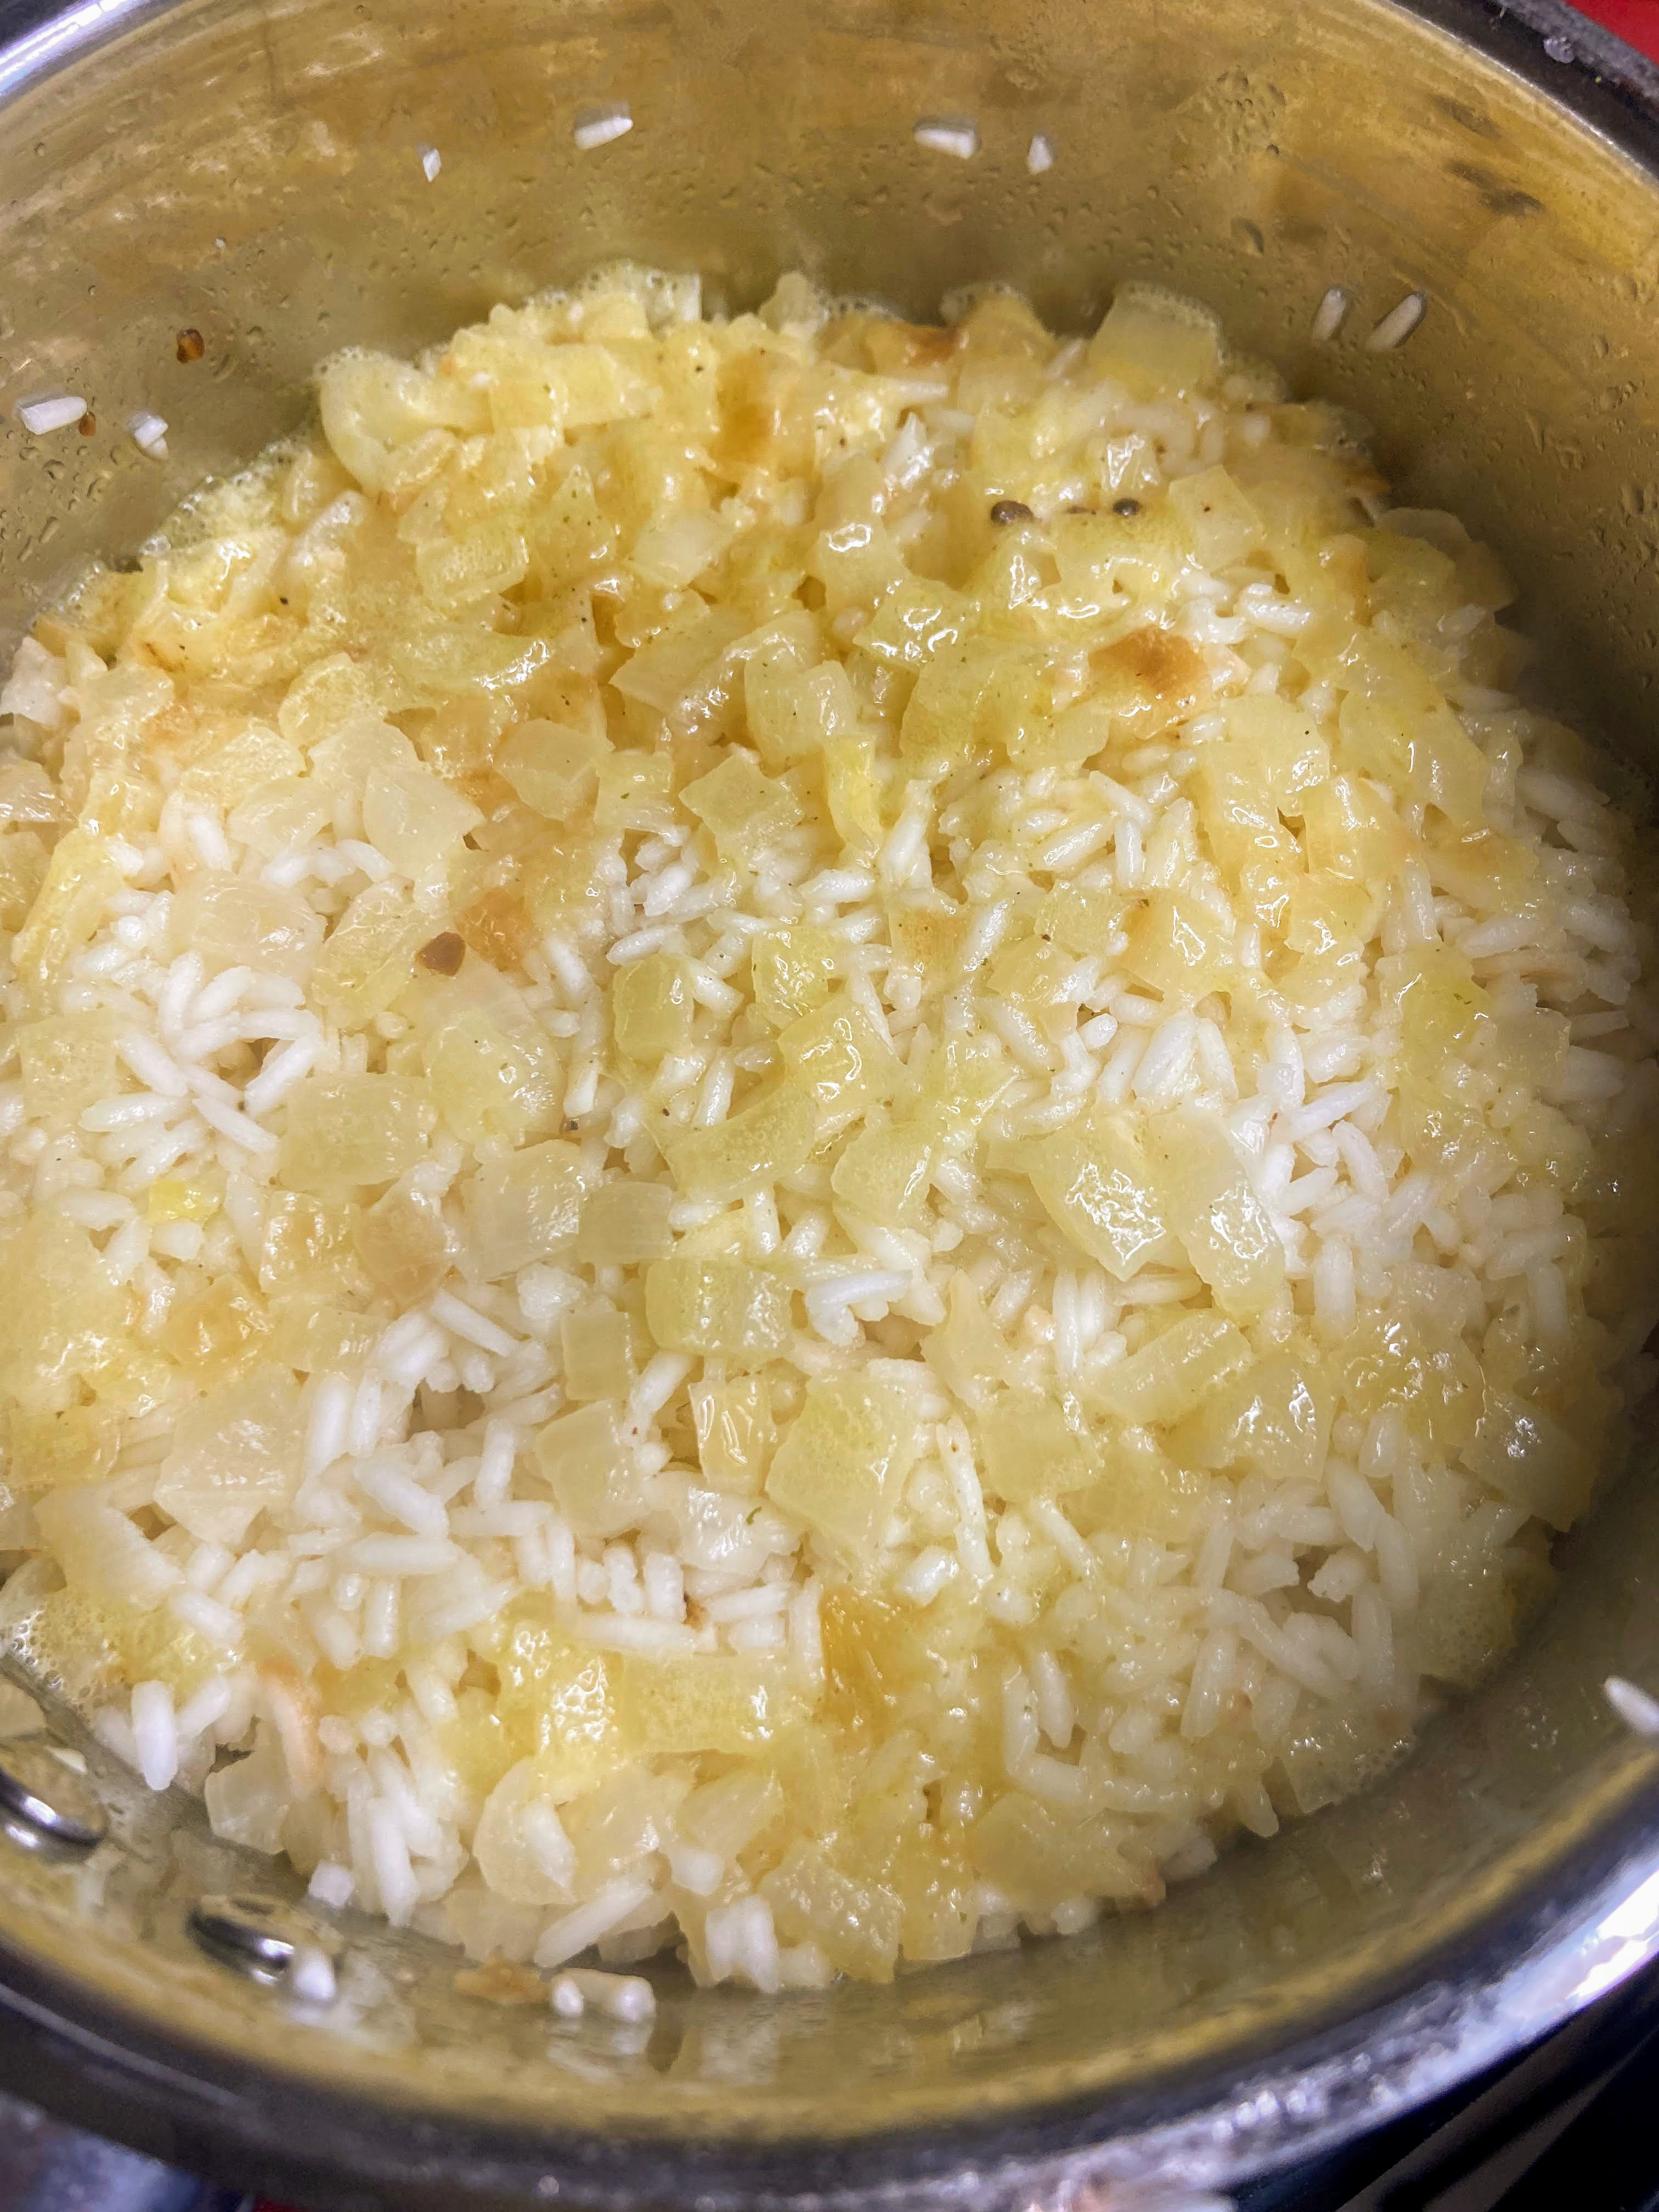
Season with salt, pepper, and tarragon. Add 3 cups of hot stock. Cover lower heat to a simmer. Cook for 10 minutes. Remove the rice from the heat and allow it to sit for an additional 15 minutes. 

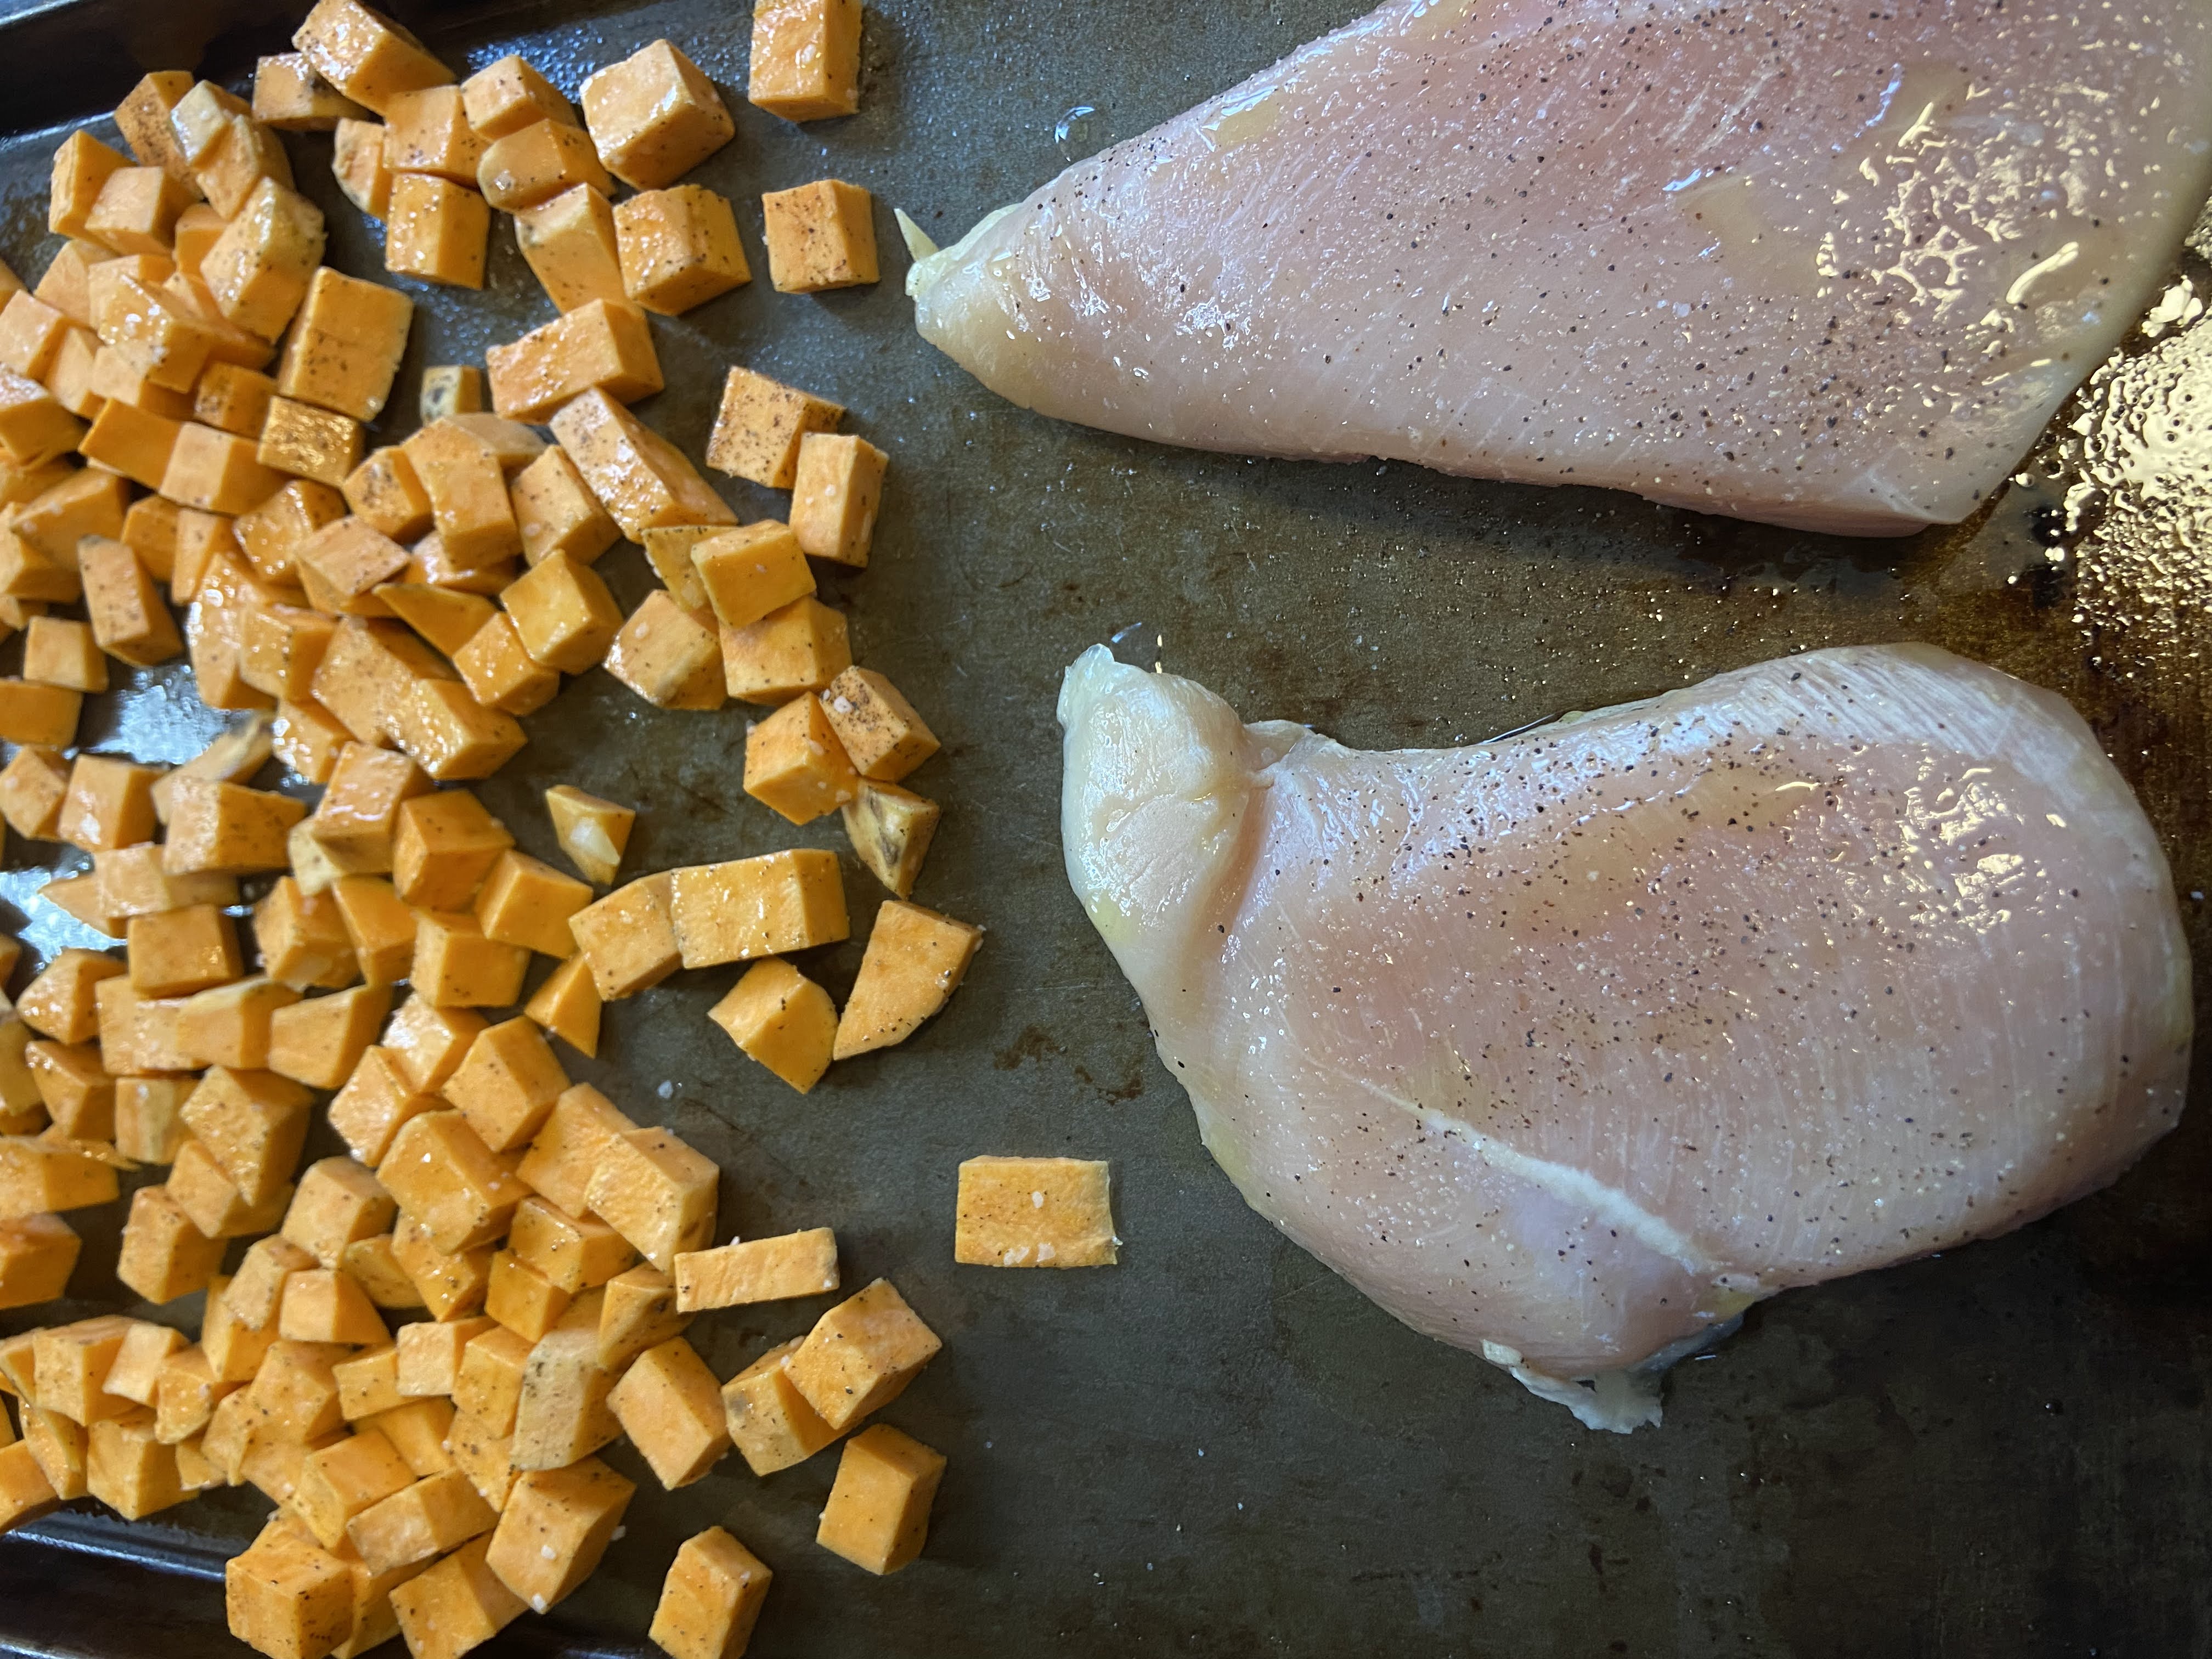
While the rice is doing its thing, preheat the oven to 425 degrees. Spray a baking sheet with non-stick cooking spray. Season the chicken with salt and pepper on each side and place on one half of the baking sheet. In a small bowl, toss the diced sweet potato with the remaining olive oil with salt and pepper, to taste. Layer on the other half of the baking sheet. Bake for approximately 20-24 minutes, until chicken is cooked through. Remove from the oven. (Do not turn off the oven). 

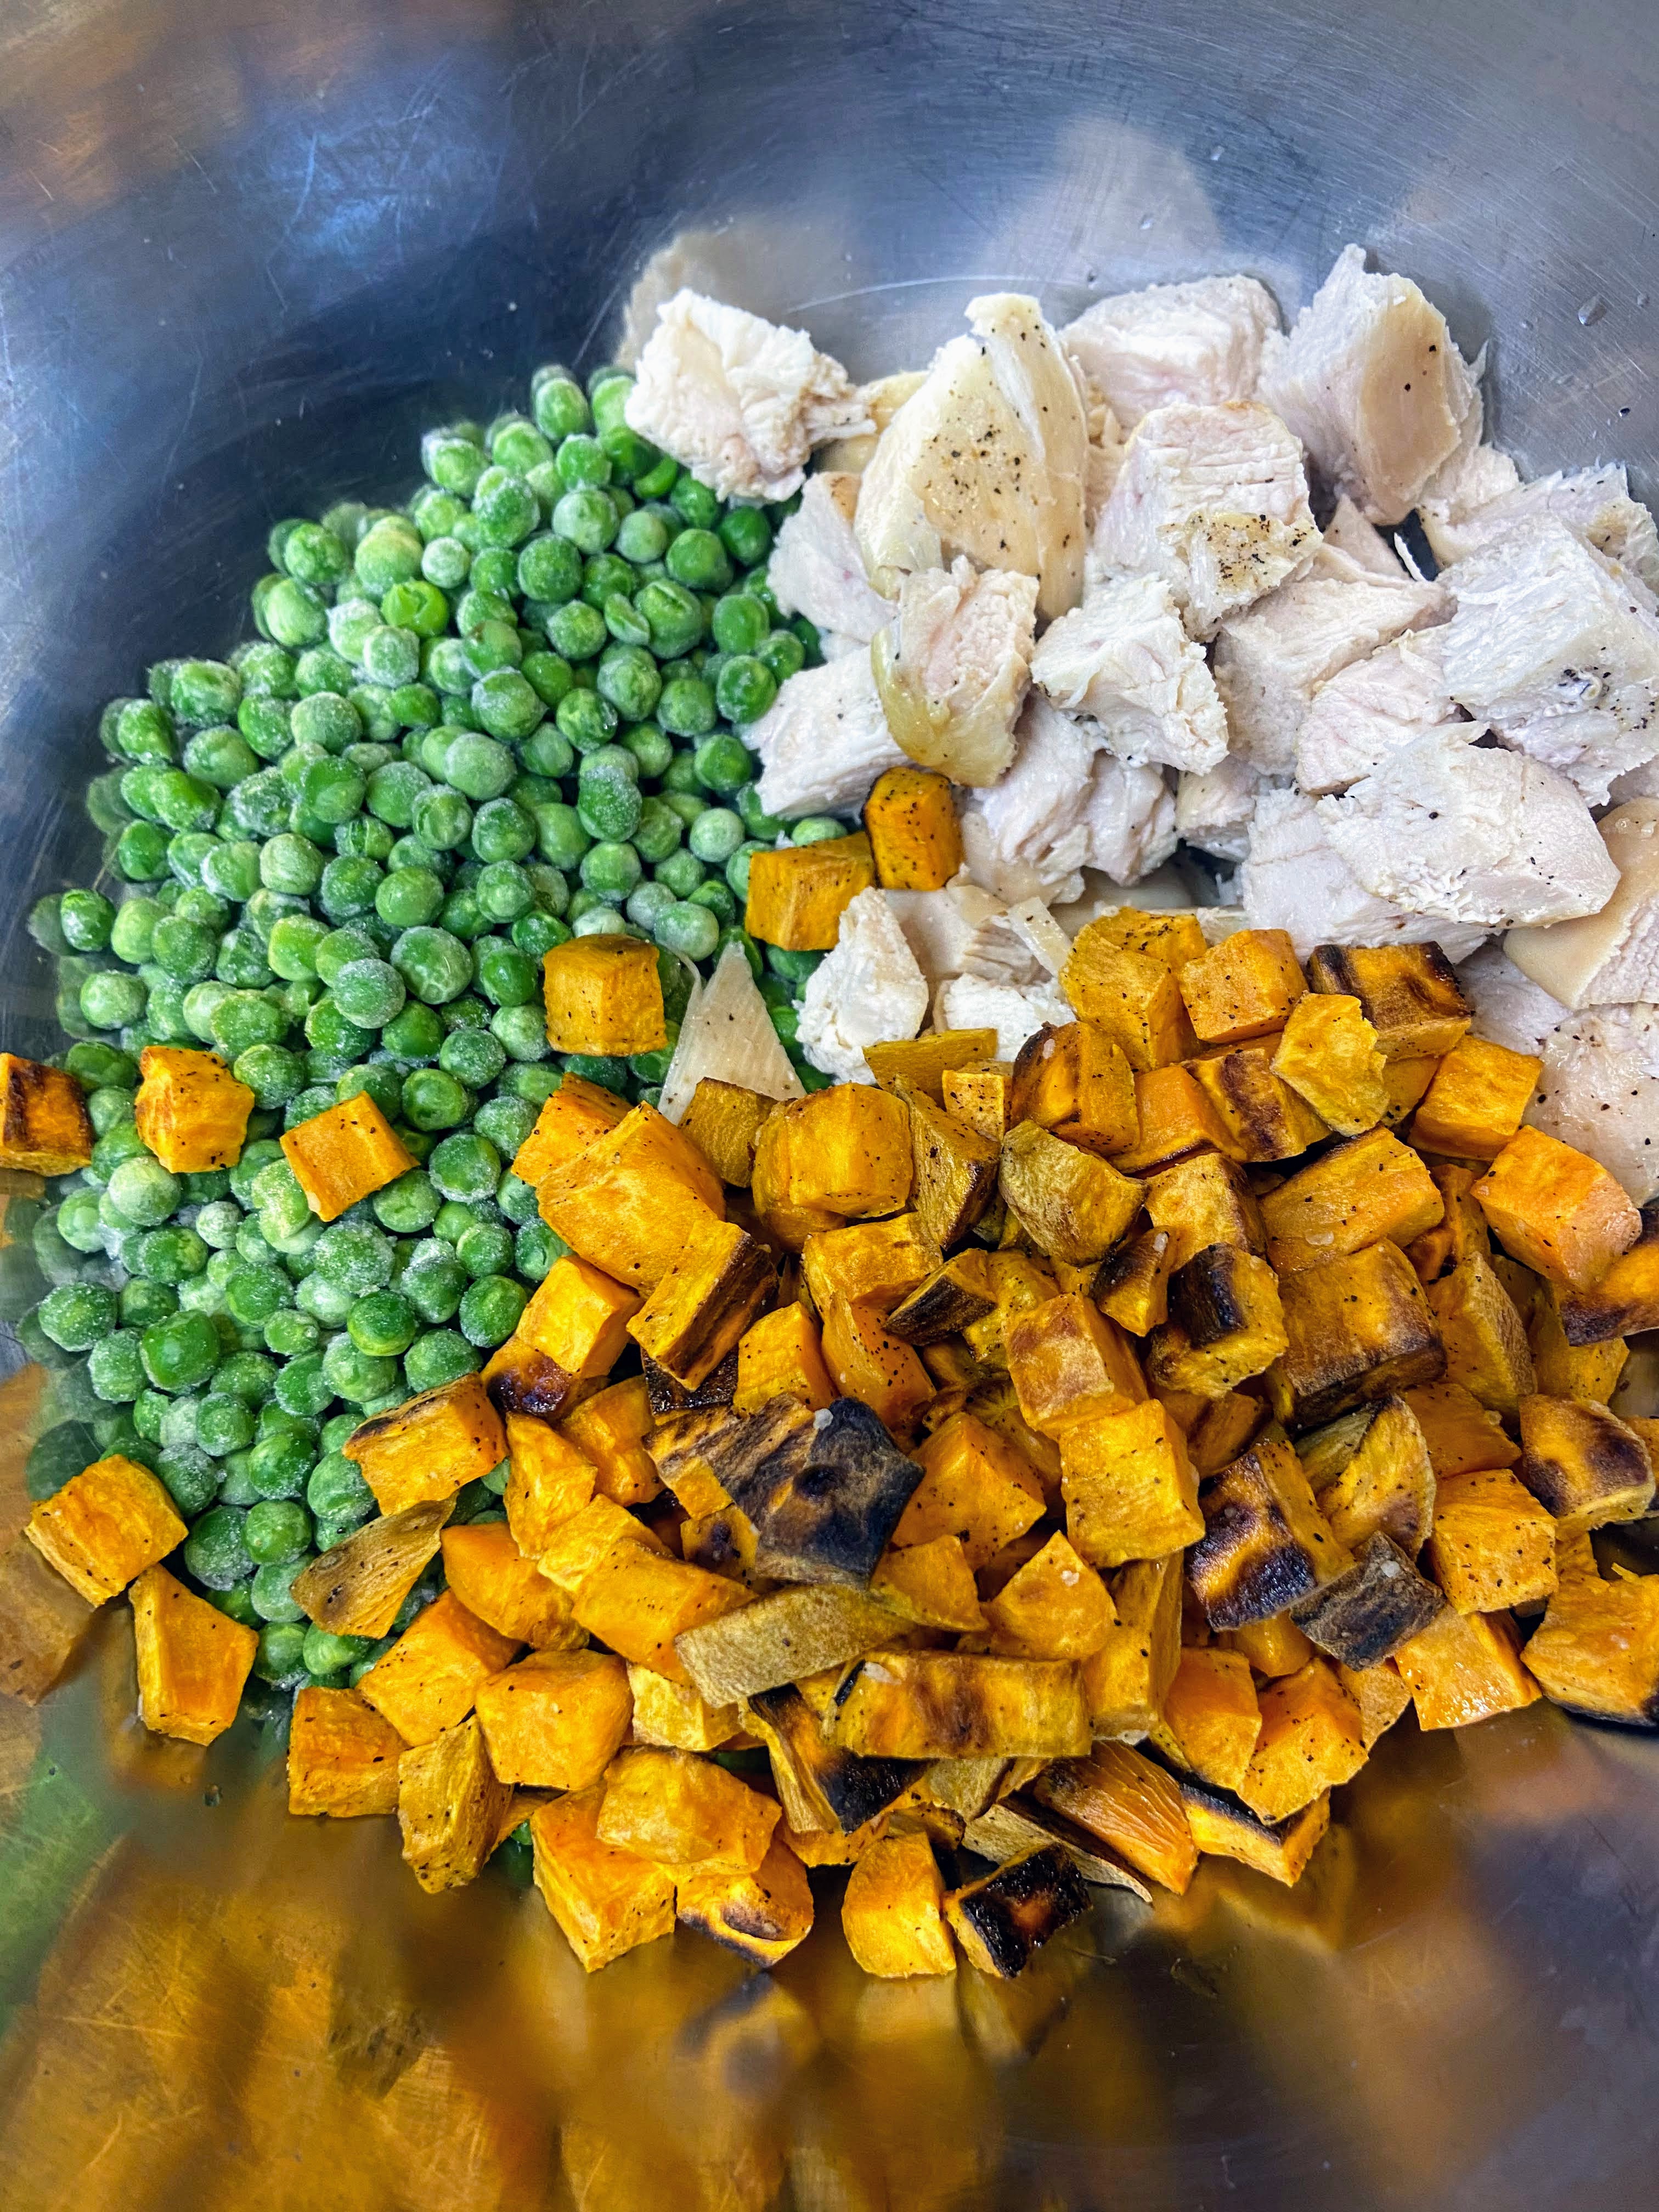
Dice chicken into bite-size pieces. Combine rice mixture, diced chicken and sweet potato and frozen peas. Taste test and see if more salt or pepper is needed. Spread into a greased 9×13 glass baking dish and place in the oven for 10-15 minutes. Serve up hot on its own or with another vegetable side (I don’t think you can ever have enough!) 

Tools of the Trade

You’ve got to love a good Pyrex baking dish and flexible cutting boards are a must!

Looking for some other meal inspiration? The recipes below are some of my favorites! If they don’t scream “make me” I recommend checking out my cooking page!
Sweet Potato and Pea Pilaf with Chicken

Pantry and freezer ingredients combine in this Sweet Potato and Pea Pilaf with Chicken for a simple and delicious complete meal the whole family will enjoy!
Prep Time 25 minutes
Cook Time 15 minutes
Course dinner, Main Course
Cuisine American
Servings 8 people

Ingredients
  

  • tablespoons extra virgin olive oil divided
  • ½ medium yellow onion
  • 1 teaspoon minced garlic
  • 2 cups white basmati rice
  • 1 teaspoon tarragon
  • 3 cups low-sodium chicken broth heated
  • 1 pound chicken breast
  • 1 sweet potato peeled and diced (about 2 ¾ cups)
  • 12 ounces frozen peas about 2 ½ cups
  • Salt and pepper

Instructions
 

  • Heat 1 ½ tablespoons of olive oil in a large saucepan (with a cover) over medium heat until hot. Add onion and garlic.
  • Saute until just softened, about 8 minutes. Add rice and saute, stirring often, until just browned, maybe 3-5 minutes. Watch this carefully for burning.
  • Season with salt, pepper, and tarragon. Add 3 cups of hot stock. Cover lower heat to a simmer. Cook for 10 minutes.
  • Remove the rice from the heat and allow it to sit for an additional 15 minutes, still covered.
  • While the rice is doing its thing, preheat the oven to 425 degrees. Spray a baking sheet with non-stick cooking spray.
  • Season the chicken with salt and pepper on each side and place on one half of the baking sheet.
  • In a small bowl, toss the diced sweet potato with the remaining olive oil with salt and pepper, to taste. Layer on the other half of the baking sheet. Bake for approximately 20-24 minutes, until chicken is cooked through. Remove from the oven. (Do not turn off the oven).
  • Dice chicken into bite-size pieces.
  • Combine rice mixture, diced chicken and sweet potato and frozen peas.
  • Taste test and see if more salt or pepper is needed. Spread into a greased 9×13 glass baking dish and place in the oven for 10-15 minutes.
Keyword Brown Rice, chicken, peas, sweet potato
Tried this recipe?Let us know how it was!

Tuna and Broccoli Skillet

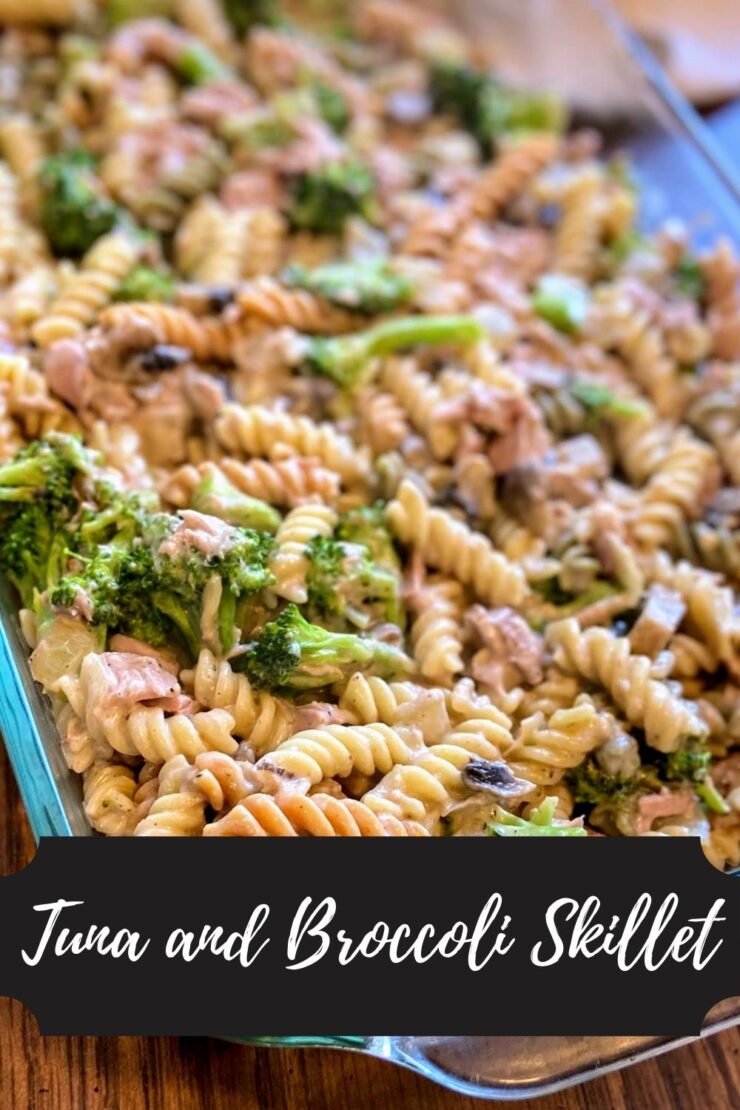
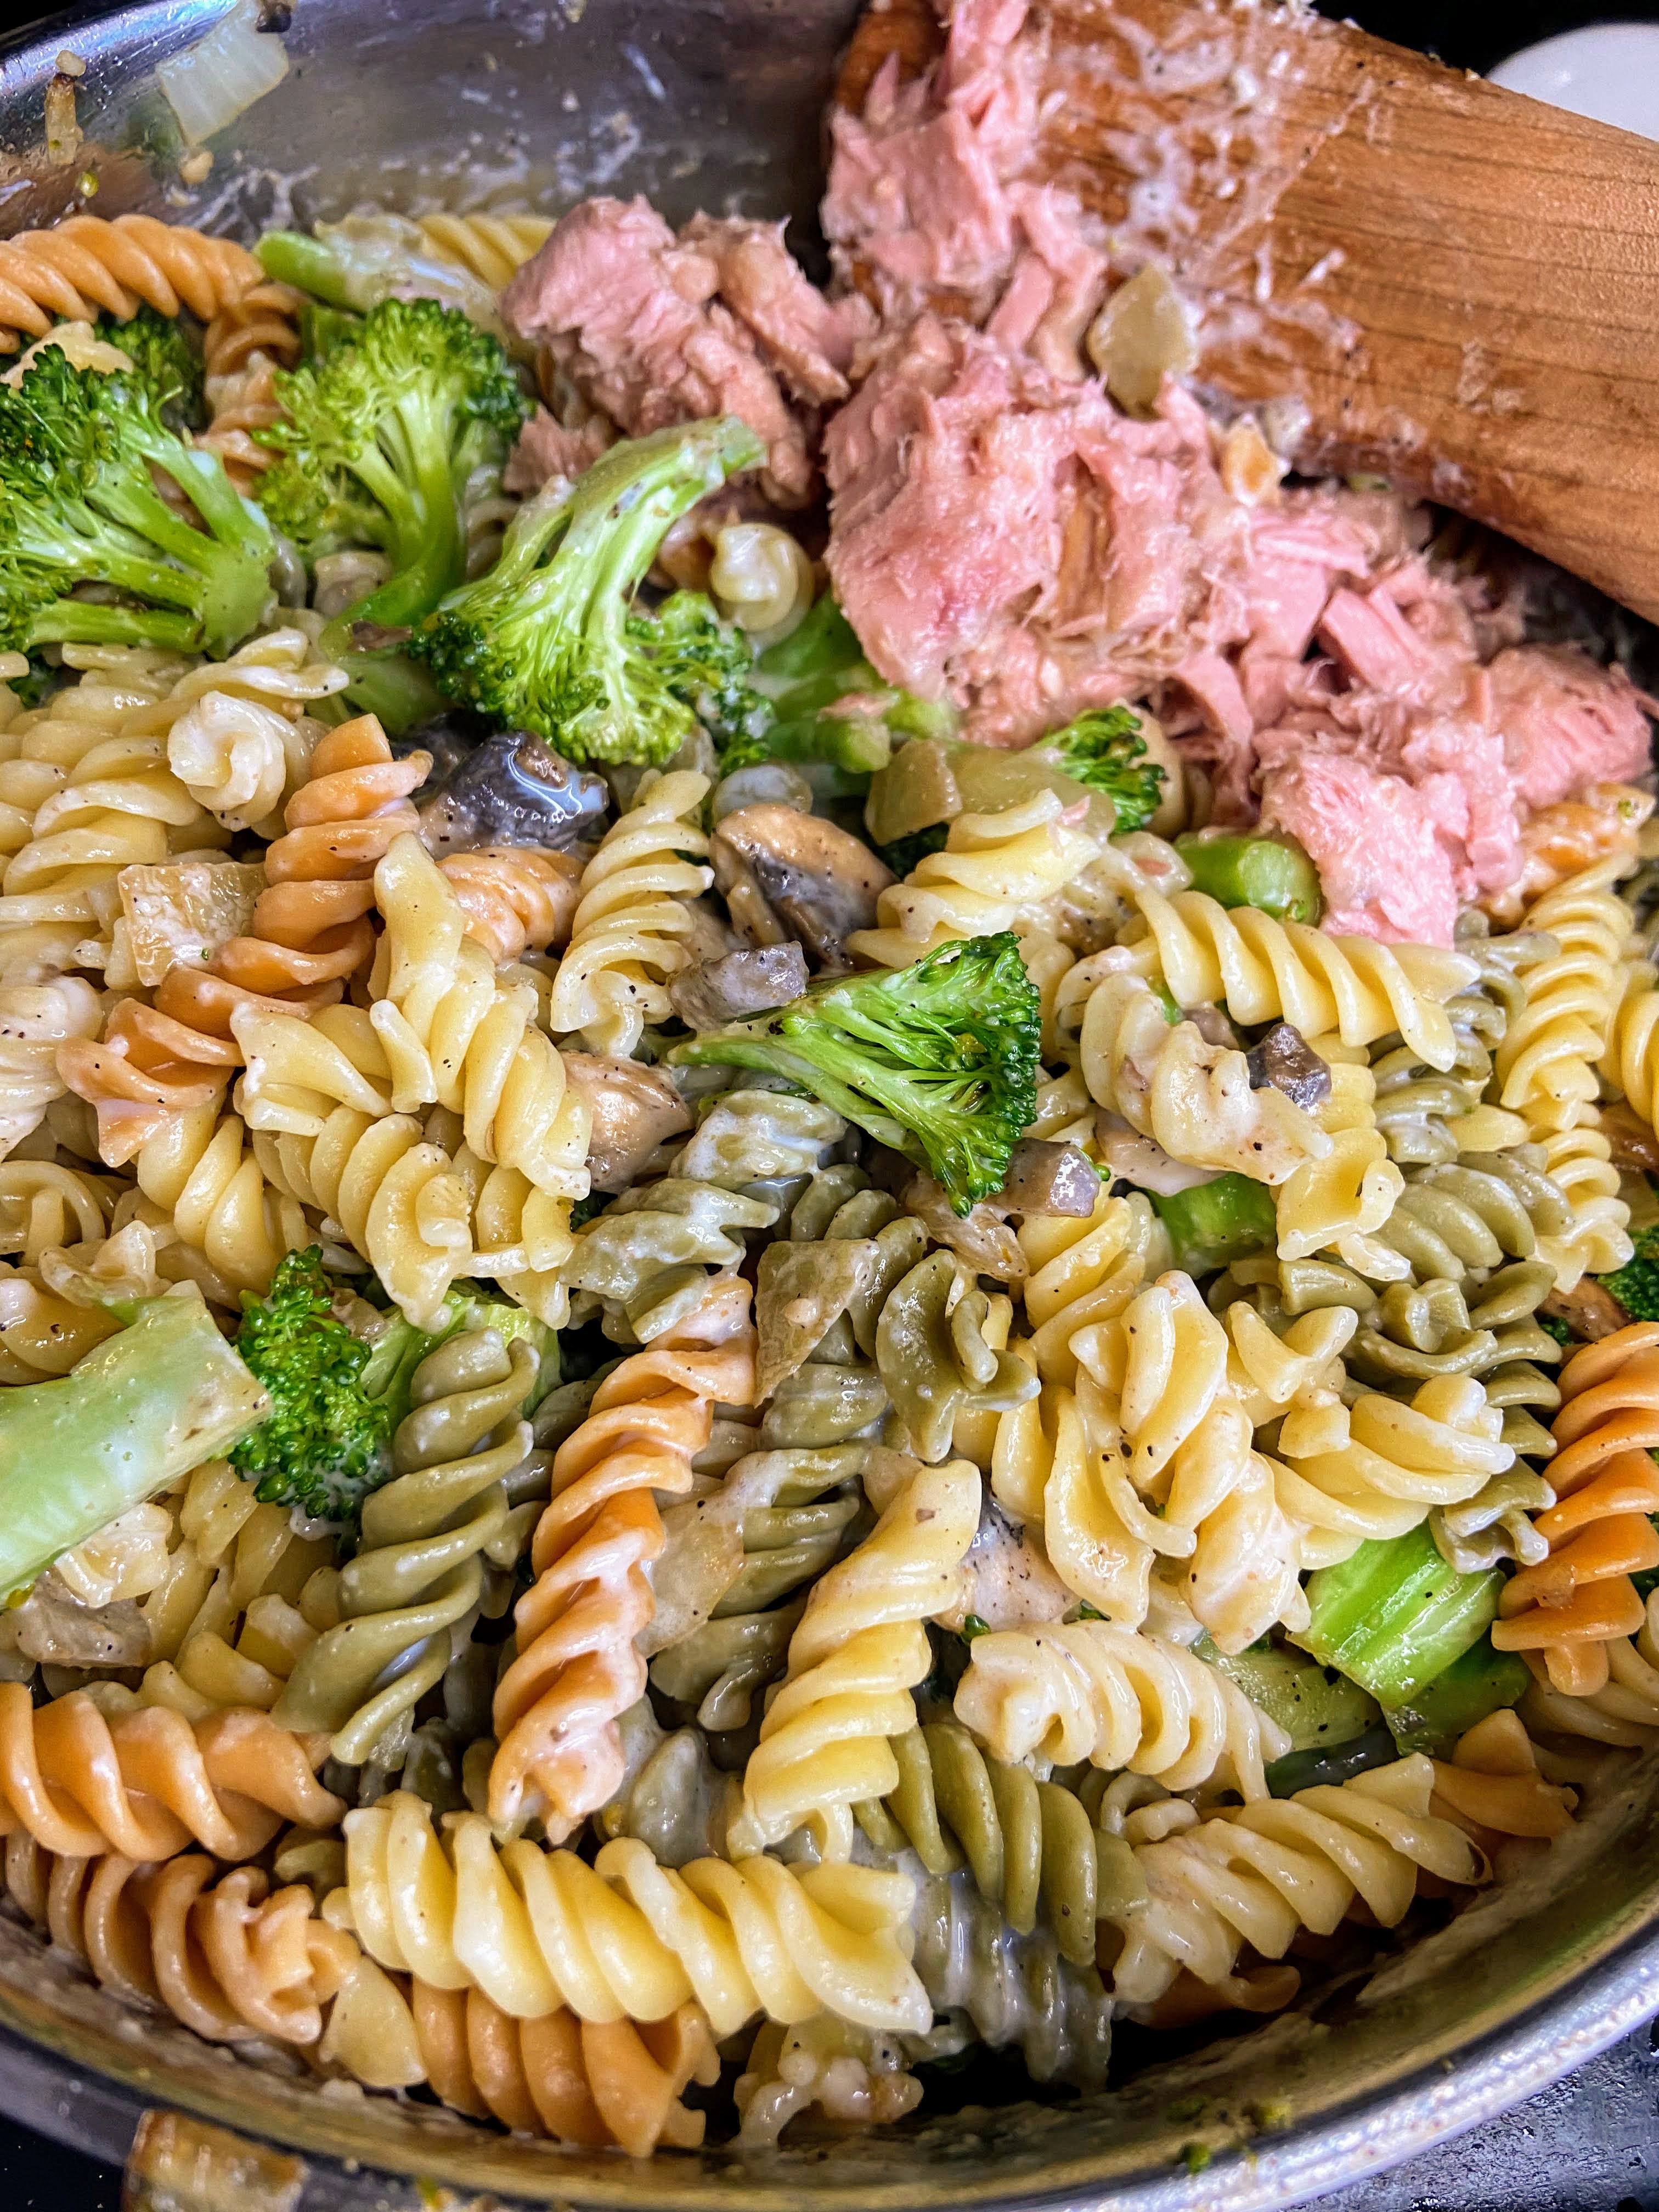
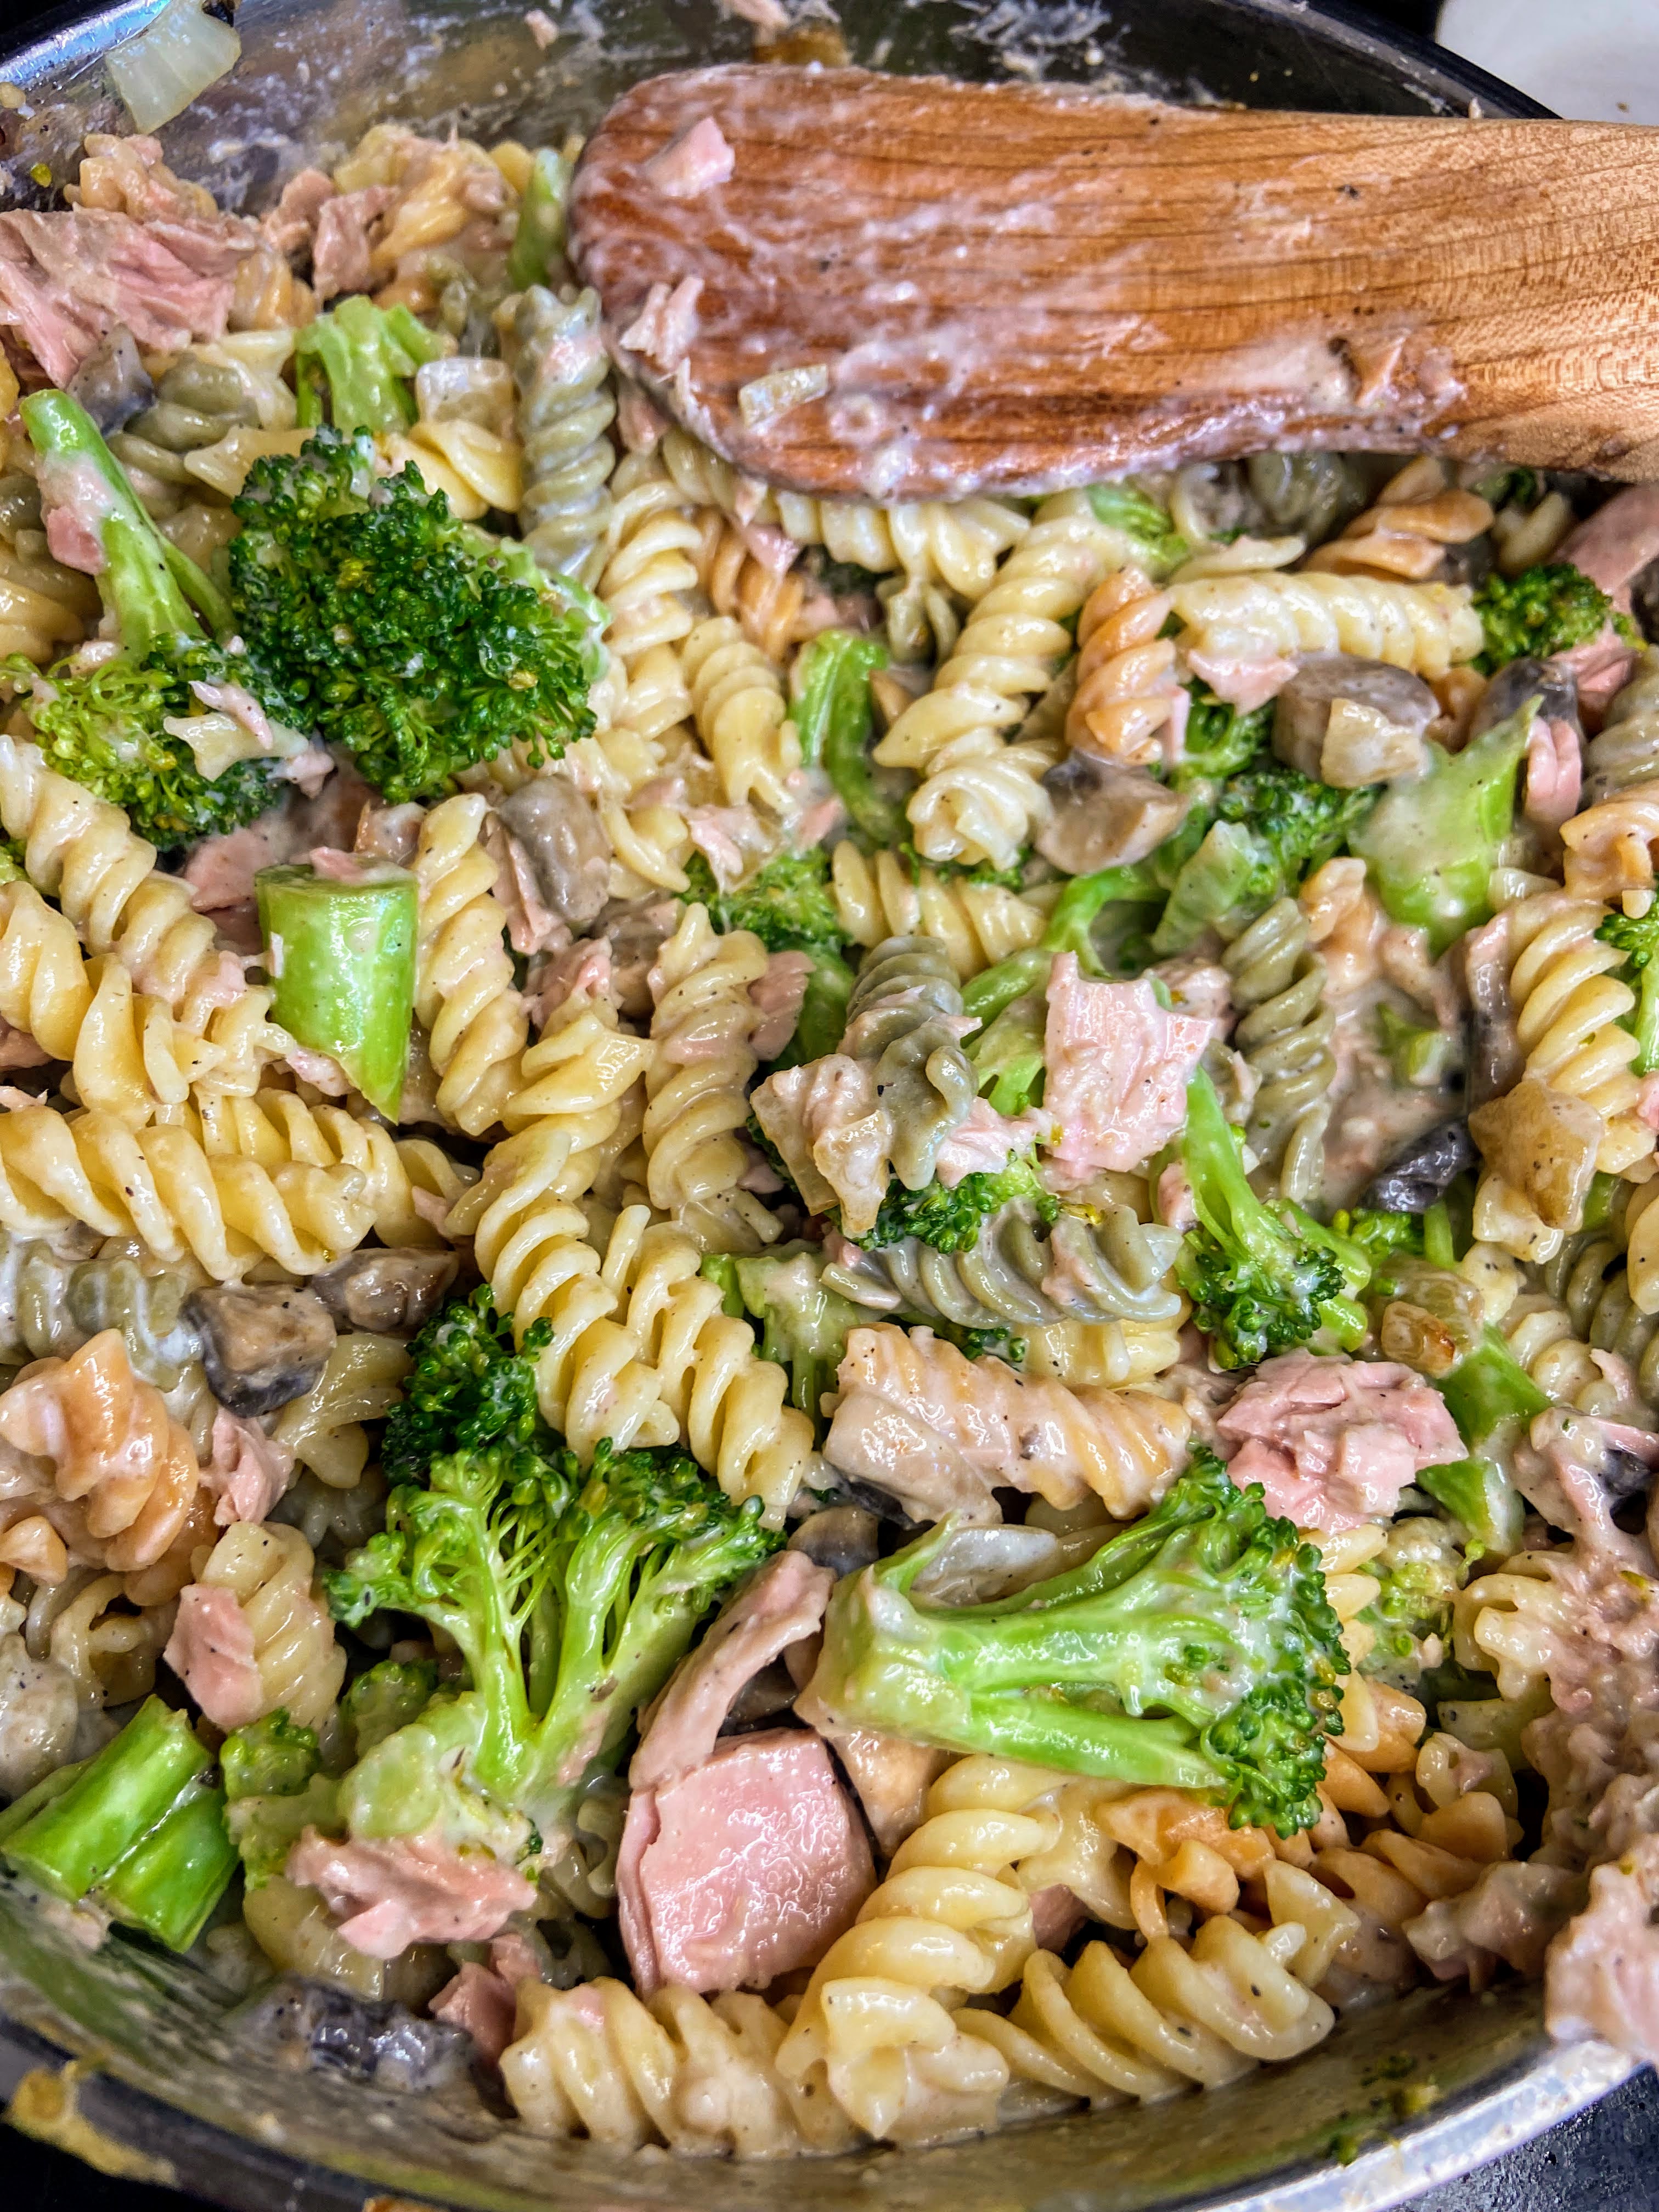
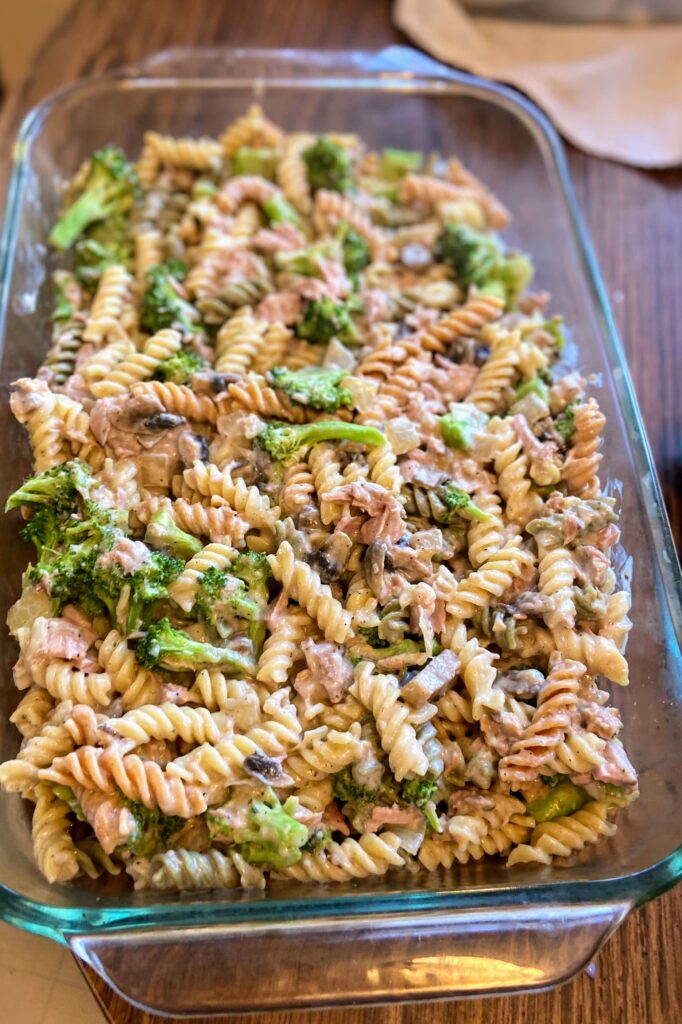
When I cook, I go all in. Over the years, I have become determined to avoid adding overly processed food and box dinners for my family. I don’t always succeed (let’s be honest, that blue box of Mac and Cheese is pretty dang good sometimes!), but I would say that the food that I cook is from scratch, oh, I don’t know, 70% of the time? So when my kids requested Tuna Helper a few months ago, I was determined to make it my own. After a little experimentation, I came up with a great, simple alternative to the boxed stuff and I can’t wait to share my one pot tuna and broccoli skillet. 

This tuna and broccoli skillet can come together in just over 30 minutes AND you can make it by only dirtying four dishes: 

  • A large skillet or saucepan
  • A cutting board 
  • A knife
  • A strainer

That’s it. Everything will be cooked in the same pan (winning!) and after you strain the noodles, you can put the vegetables on top while you make the roux. I love to avoid extra dishes as much as possible (we don’t have a dishwasher so everything is done by hand in our house). 

Ready to get cooking for a weekend or weeknight meal? I can’t wait to share!

Your Ingredients

  • 12 ounces tri-colored rotini (or any other pasta shape your family loves) 
  • 4 cups broccoli, chopped
  • 1 ½ tablespoons olive oil 
  • ½ cup diced onion 
  • ½ tablespoon garlic 
  • 1 ½ cups sliced mushrooms 
  • ¾ teaspoon pepper, divided
  • ½ teaspoon salt
  • 2 tablespoons flour
  • 2 tablespoons butter 
  • ½ cup half and half or heavy cream (whole milk would work too!) 
  • 1 ⅓ cup skim milk 
  • 2 cans tuna

Your Steps to Tuna and Broccoli Skillet

In a large saucepan, cook rotini according to package directions. Drain and set aside in the strainer. 

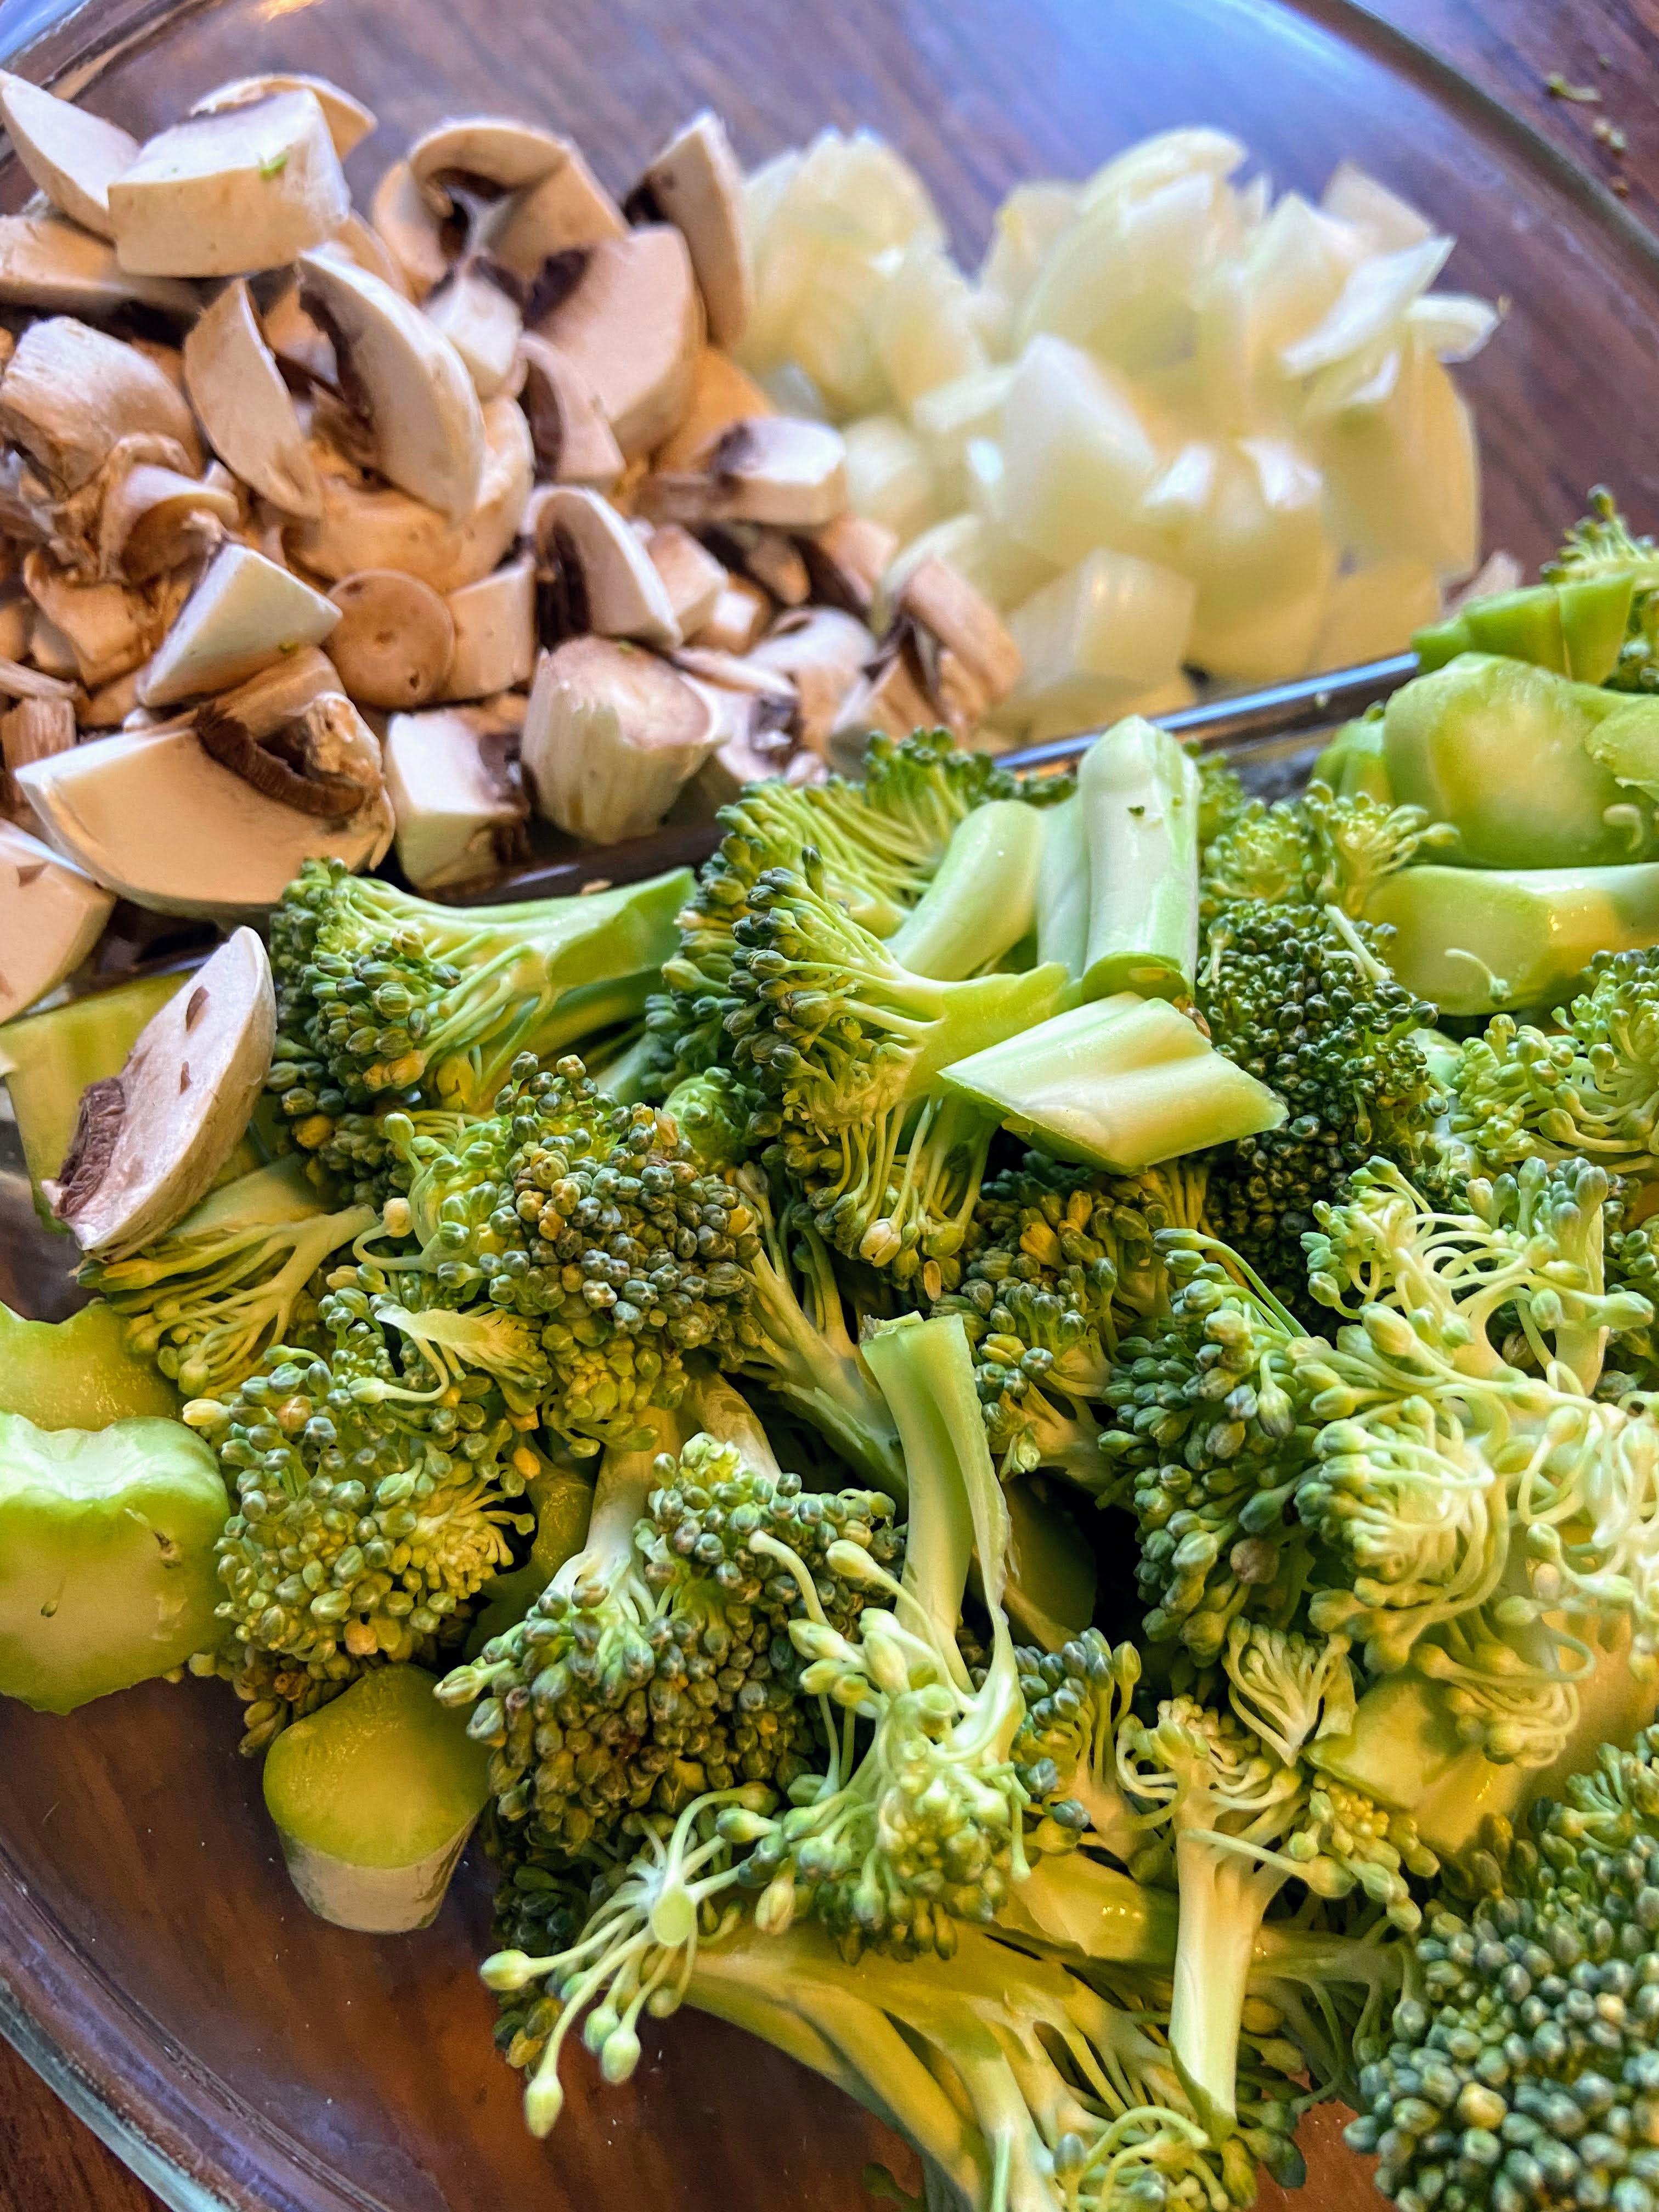
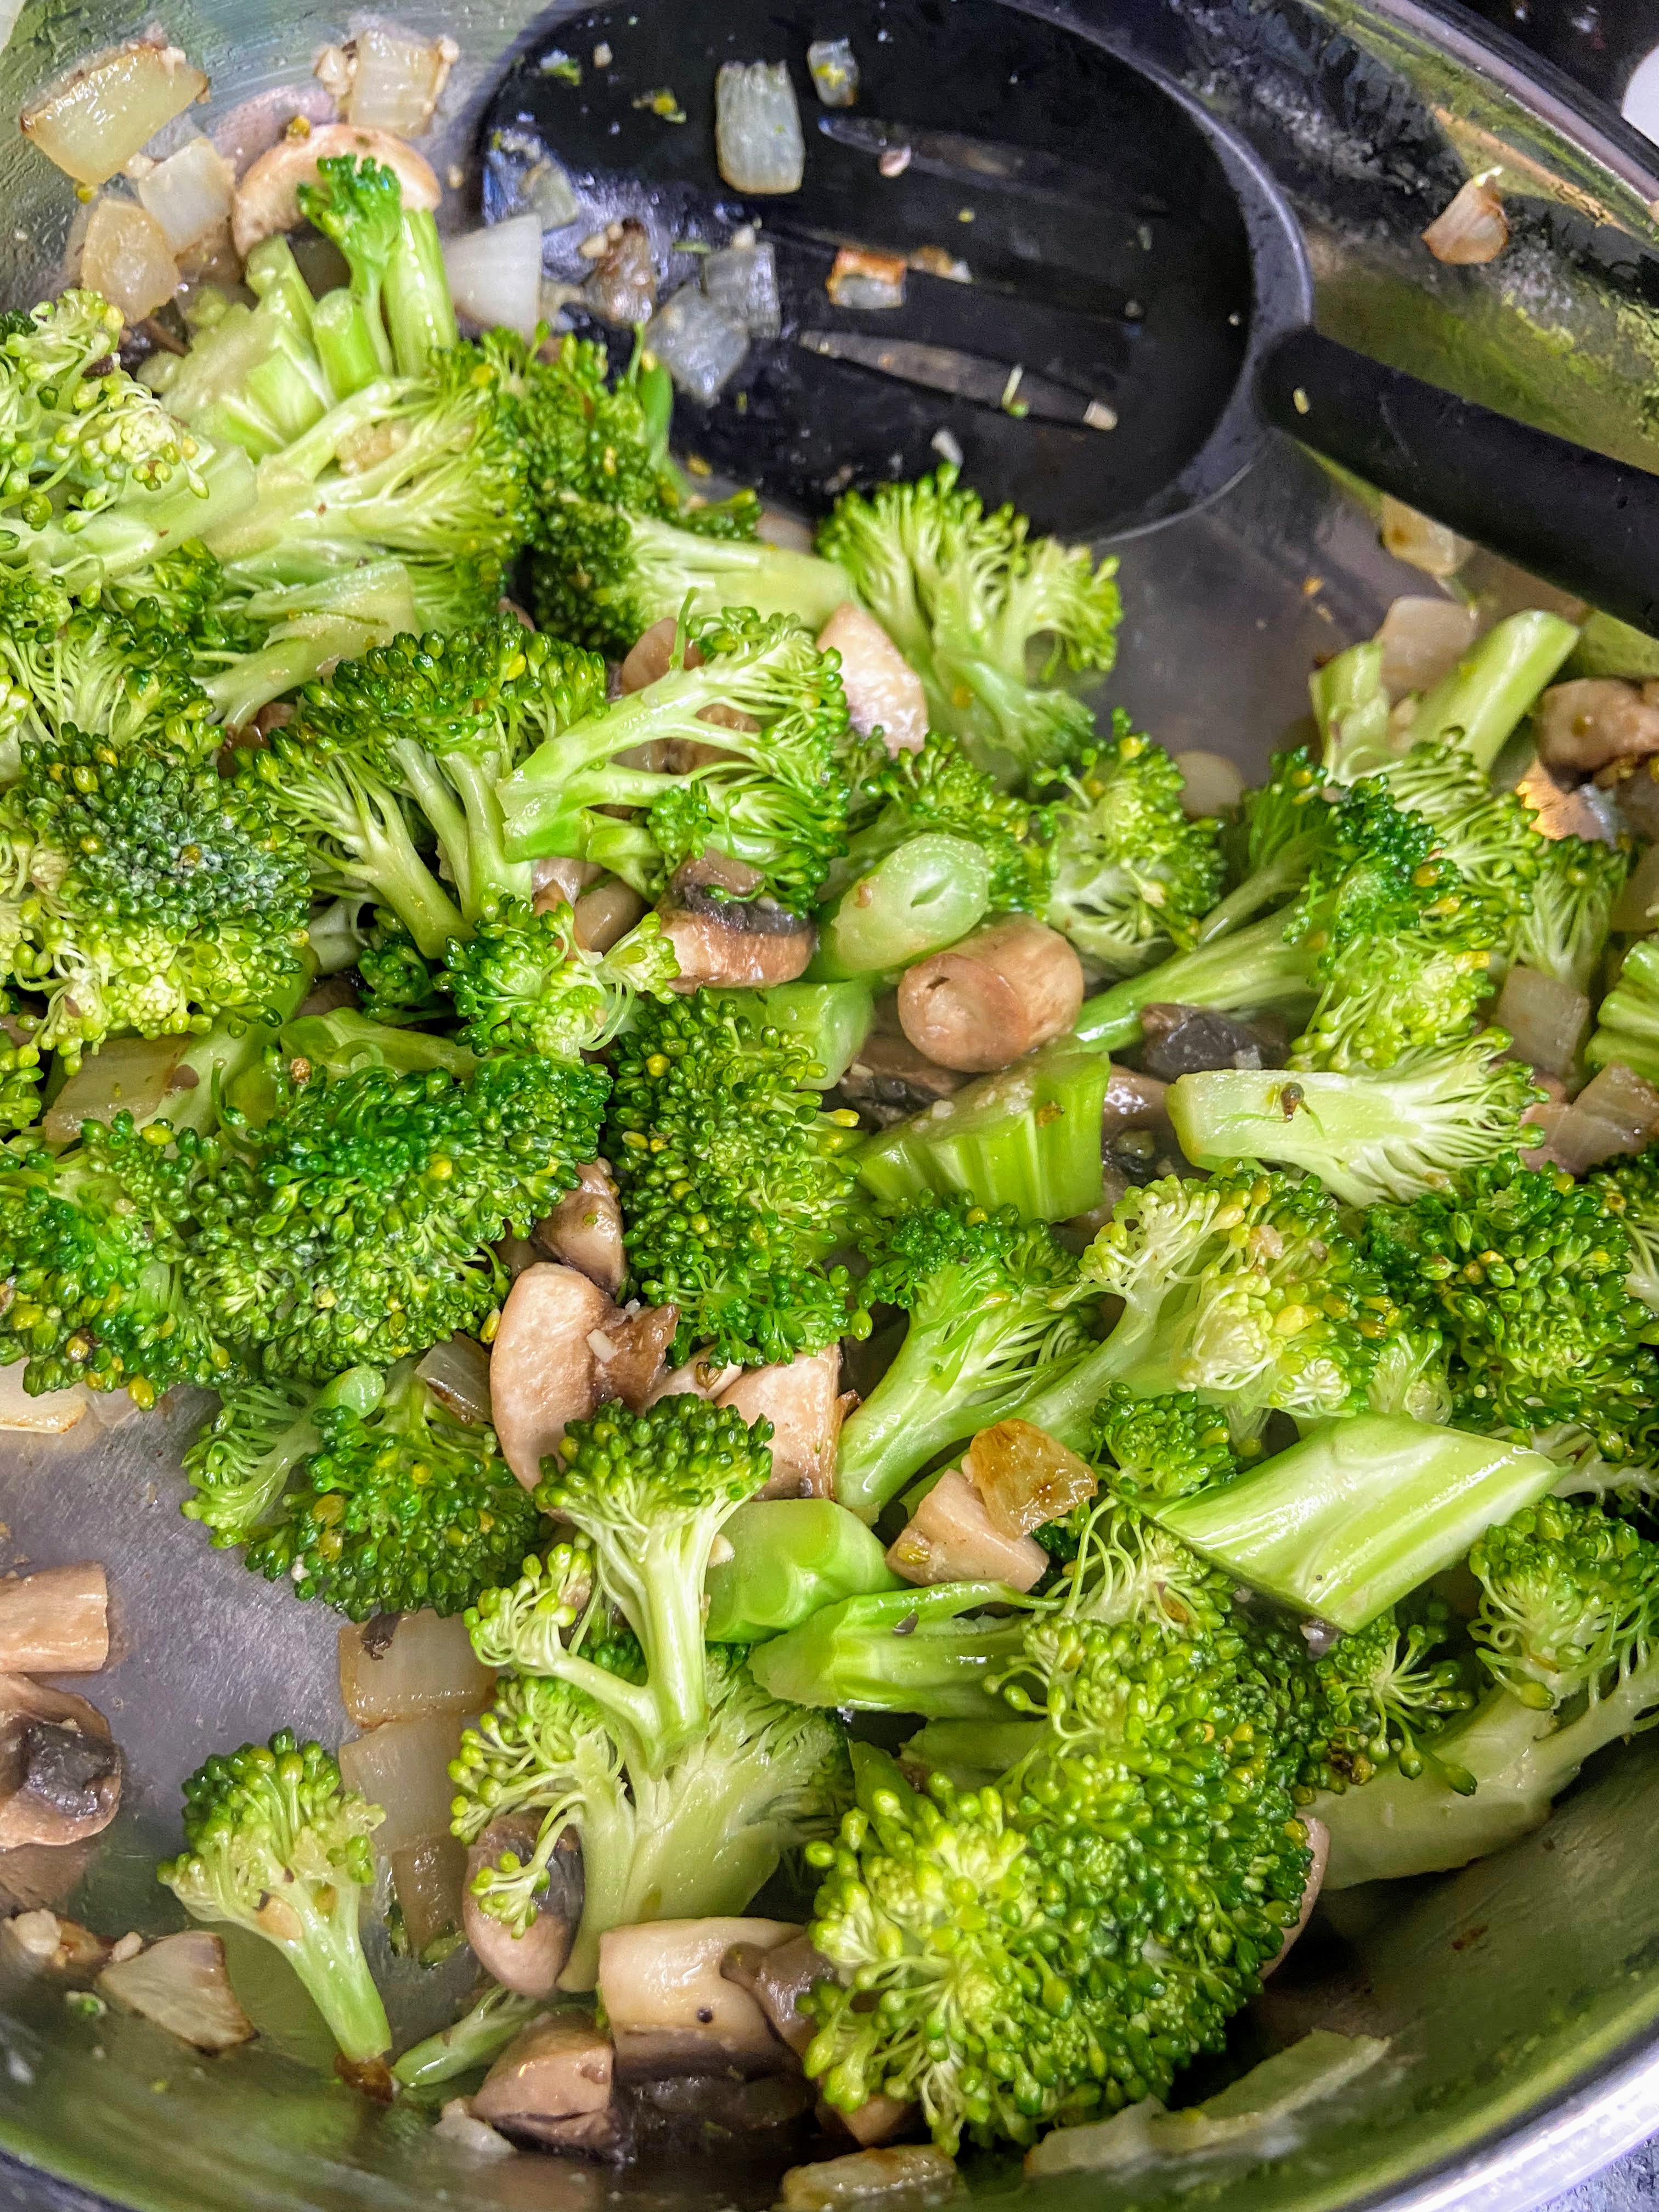
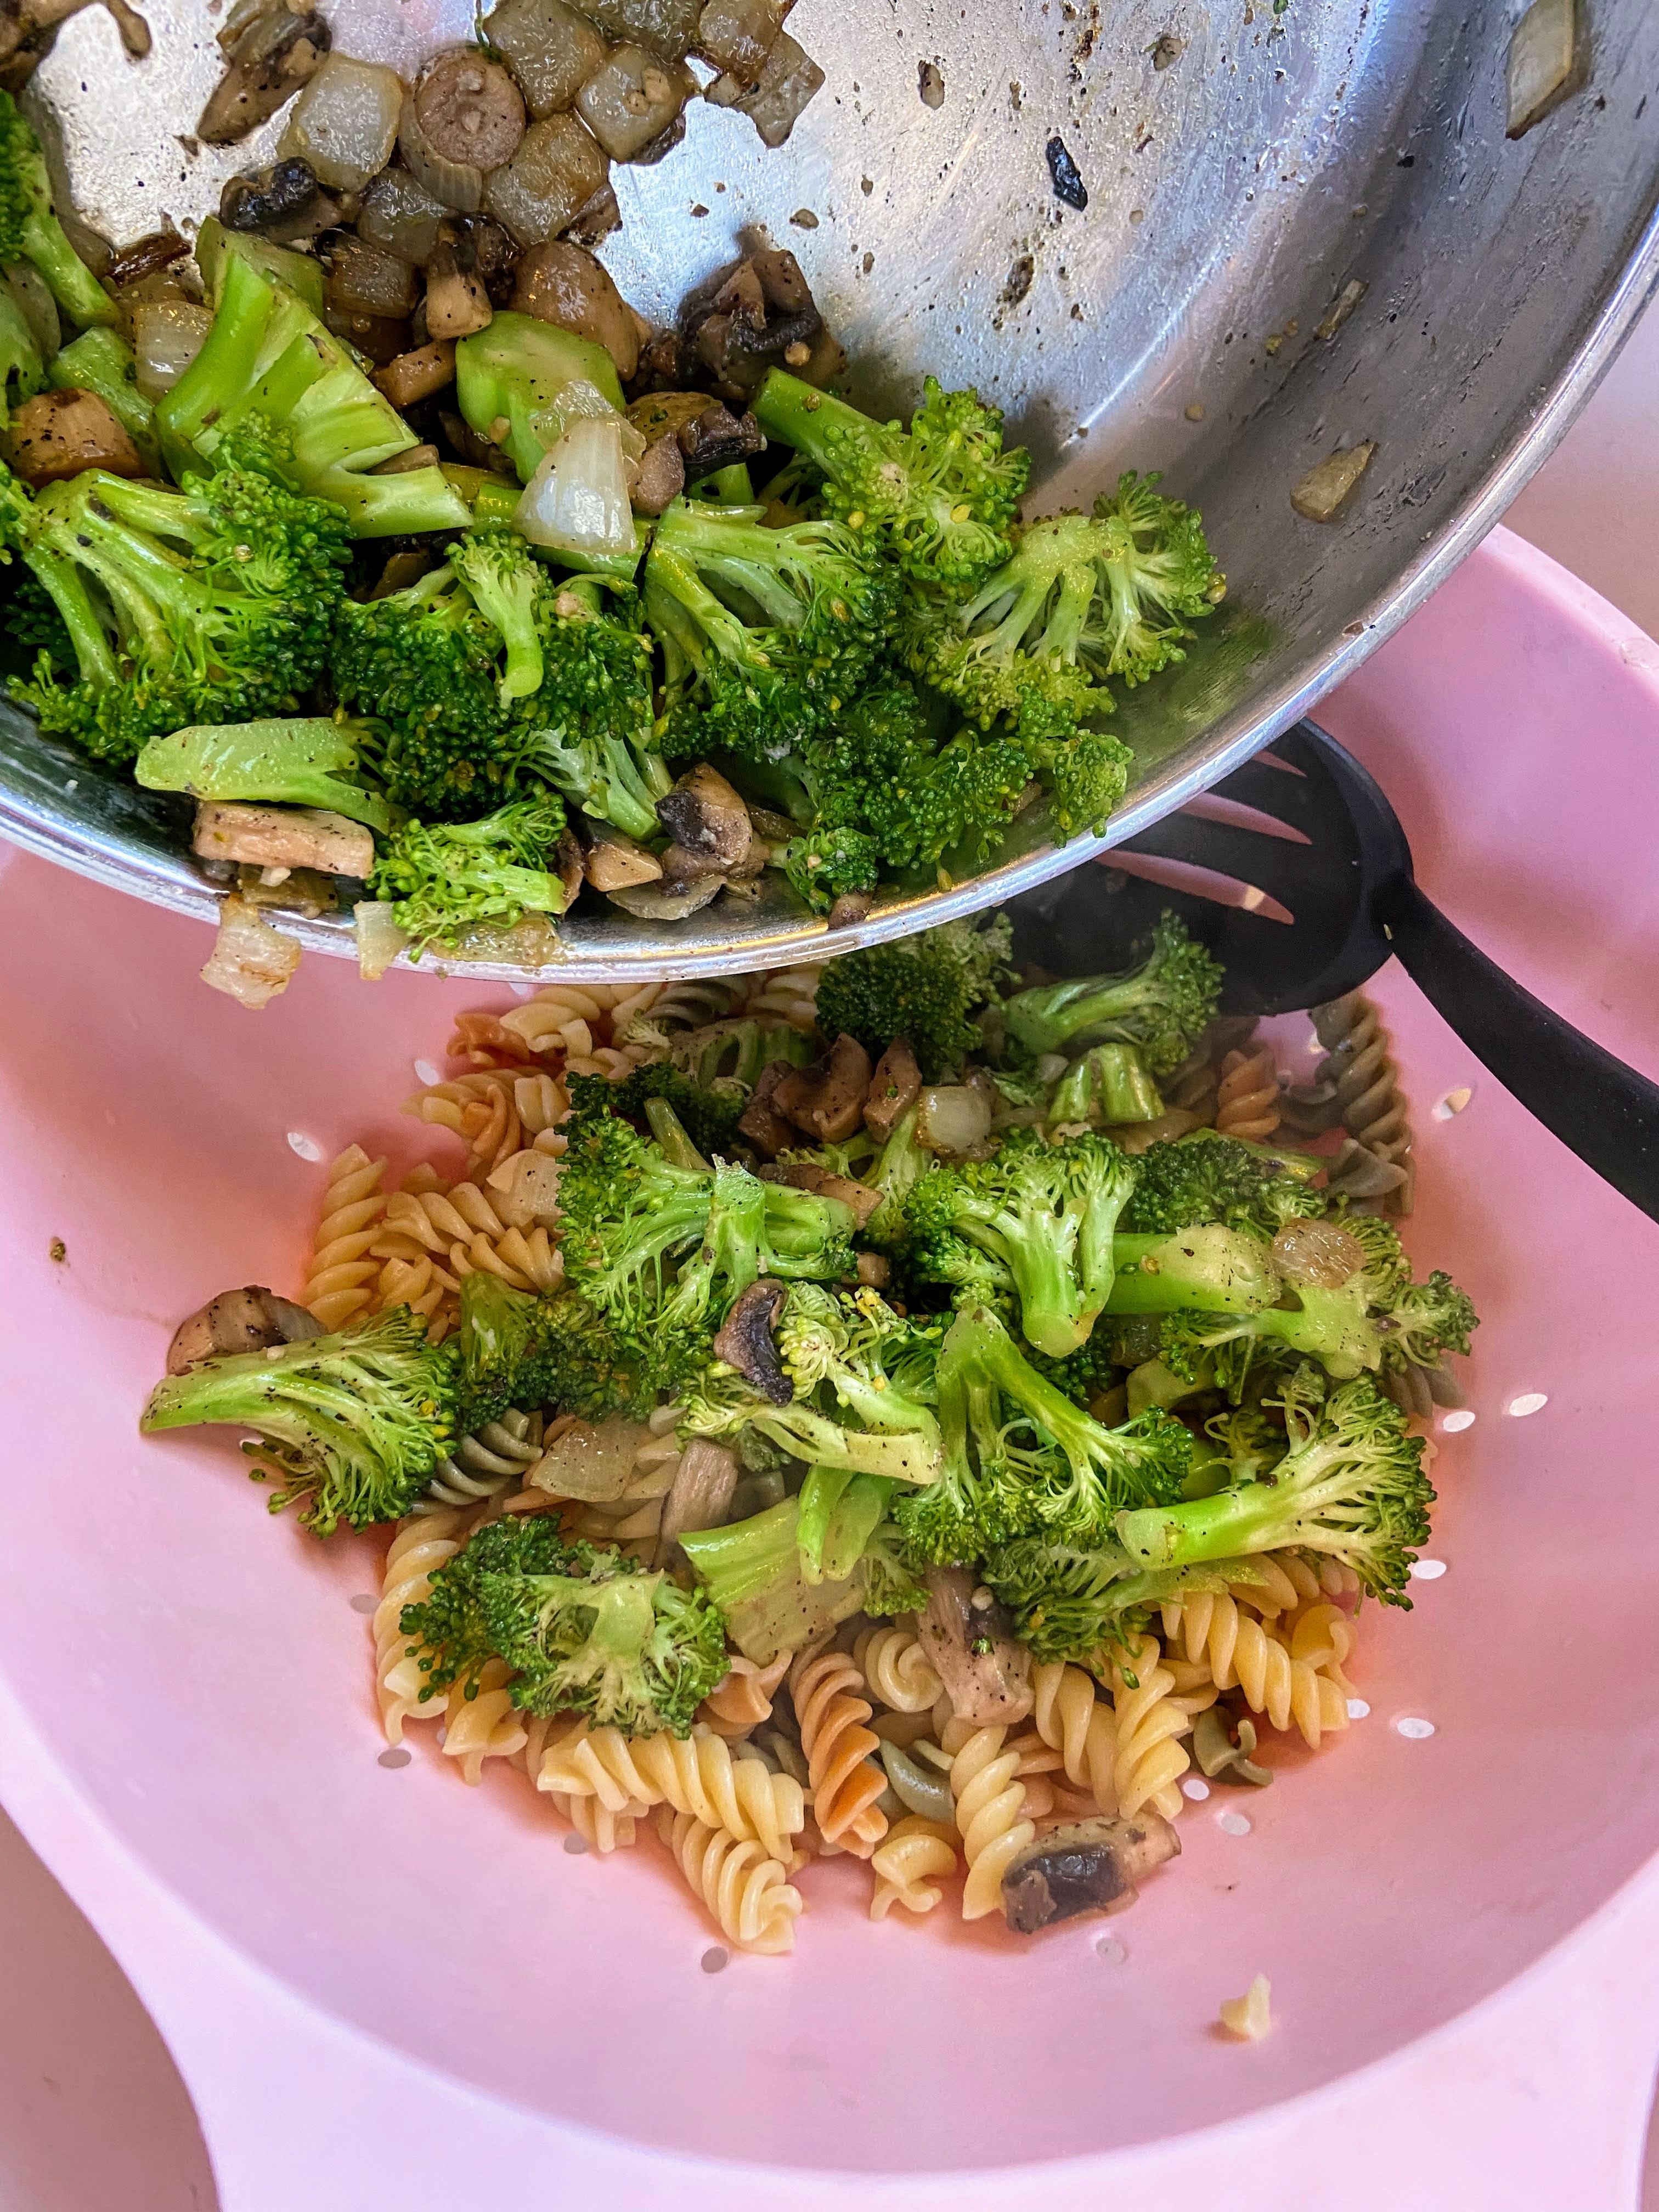
Meanwhile, heat the olive oil in the large saucepan. Once hot, add onion and garlic. Cook over medium heat for 3 minutes. Add broccoli, mushrooms, salt, and ½ teaspoon pepper. Cook until softened, approximately 5-8 minutes. Remove from pan, spooning into strainer, on top of noodles (See, I am all about avoiding extra dishes!). 

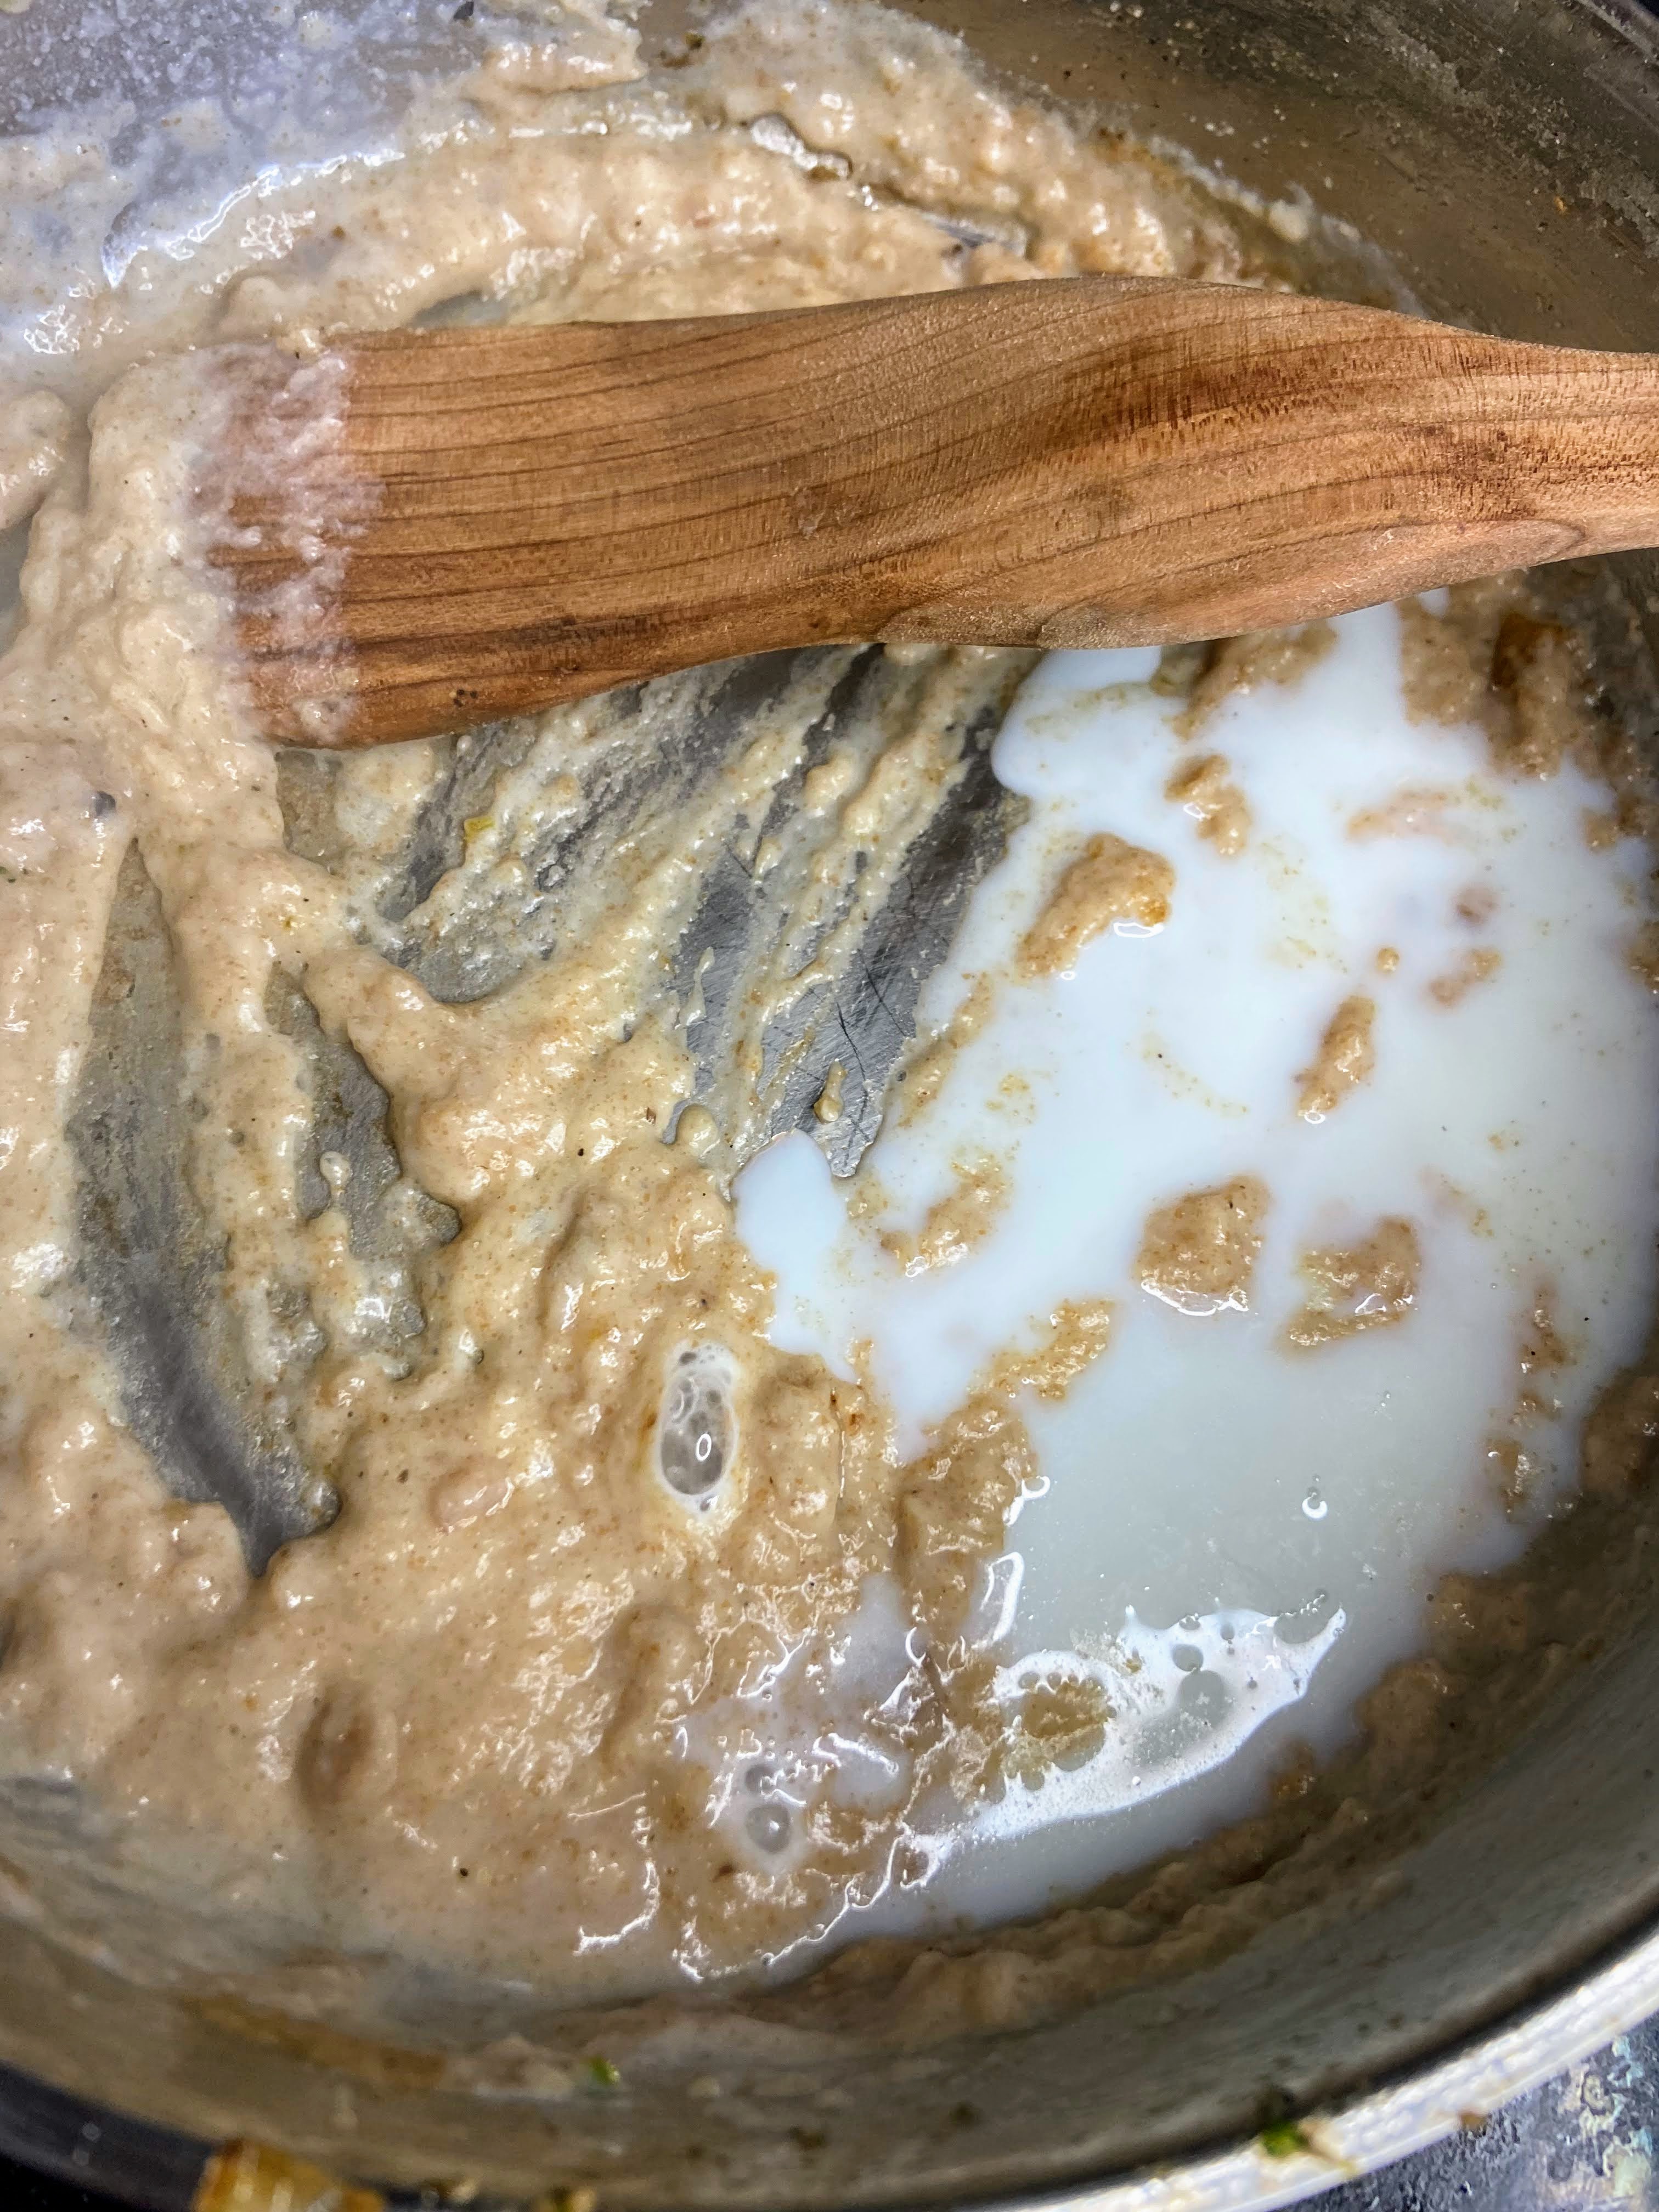
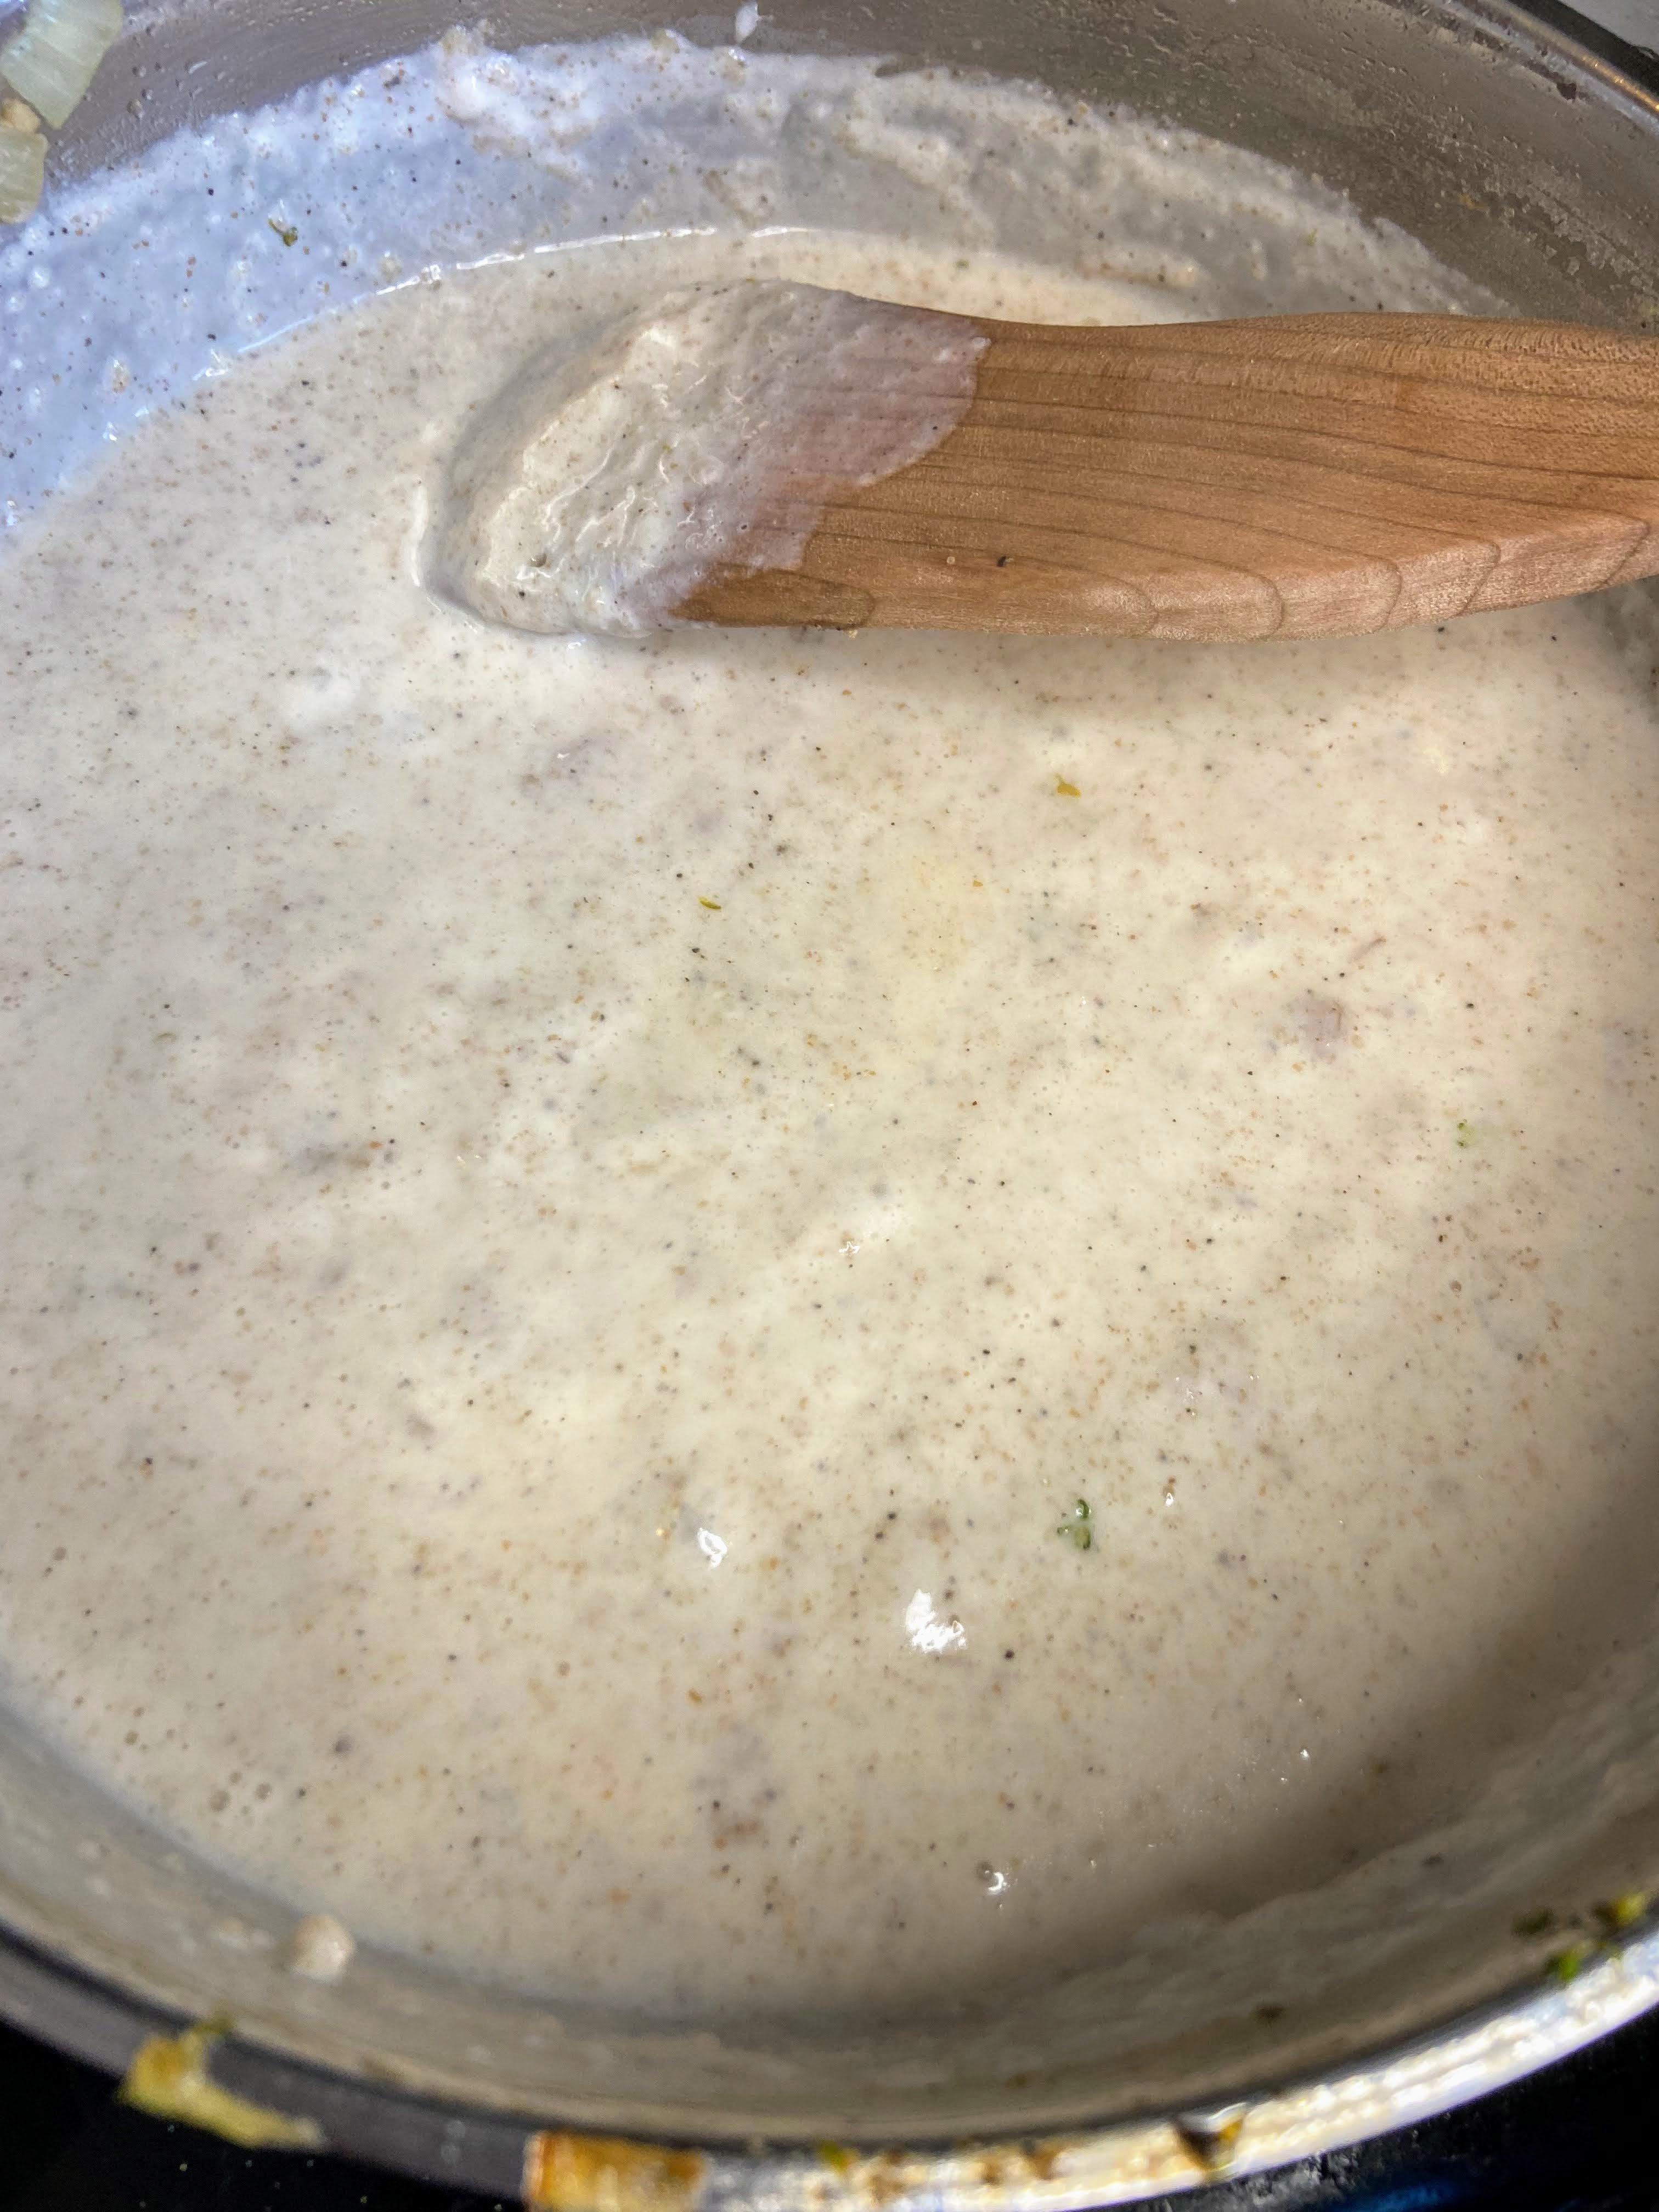
Add butter to the saucepan. Melt over medium-low heat. Once fully melted, stir in flour, preferably with a whisk. Continue to whisk as the flour browns slightly. Very slowly, stir in half and half, ¼ cup at a time. Then stir in the skim milk, again, very slowly, ¼ cup at a time. (This is hard for me to do. I want to mix it too fast and I get impatient. Don’t be me. Ha.) Sprinkle in additional ¼ teaspoon of pepper, if desired. 

Once milk and half and half have been fully incorporated, slowly stir in noodles and vegetables. Add drained tuna and stir until well combined. That’s it! Serve it up. In our house, we would serve it with additional vegetables that we cooked in these Ziploc Steam Bags. We always keep a stock of our favorite frozen vegetables and cook them up in 6 minutes flat!

Looking for dinner inspiration ideas? Check out my cooking page! Maybe you need dessert. Check out the baking page!

Tuna and Broccoli Skillet

Tuna and Broccoli Skillet

This one pot tuna and broccoli skillet is great for both weekend and weeknight meals. It's sure to please kids and adults alike!
Prep Time 5 minutes
Cook Time 25 minutes
Course dinner, Main Course
Cuisine American
Servings 8

Ingredients
  

  • 12 ounces tri-colored rotini
  • 4 cups broccoli chopped
  • 1 ½ tablespoons olive oil
  • ½ cup diced onion
  • ½ tablespoon garlic
  • 1 ½ cups sliced mushrooms
  • ¾ teaspoon pepper divided
  • ½ teaspoon salt
  • 2 tablespoons flour
  • 2 tablespoons butter
  • ½ cup half and half or heavy cream
  • 1 ⅓ cup skim milk
  • 2 cans tuna drained

Instructions
 

  • In a large saucepan, cook rotini according to package directions. Drain and set aside in the strainer.
  • Meanwhile, heat the olive oil in the large saucepan. Once hot, add onion and garlic. Cook over medium heat for 3 minutes. Add broccoli, mushrooms, salt, and ½ teaspoon pepper.
  • Cook until softened, approximately 5-8 minutes. Remove from pan, spooning into strainer, on top of noodles.
  • Add butter to the saucepan. Melt over medium-low heat. Once fully melted, stir in flour, preferably with a whisk. Continue to whisk as the flour browns slightly.
  • Very slowly, stir in half and half, ¼ cup at a time. Then stir in the skim milk, again, very slowly, ¼ cup at a time. Sprinkle in additional ¼ teaspoon of pepper, if desired.
  • Once milk and half and half have been fully incorporated, slowly stir in noodles and vegetables. Add drained tuna and stir until well combined. Serve.
Keyword broccoli, dinner, one pot meals, pasta, tuna
Tried this recipe?Let us know how it was!

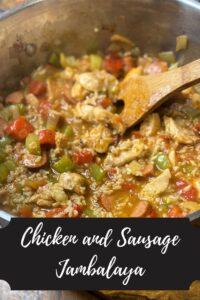
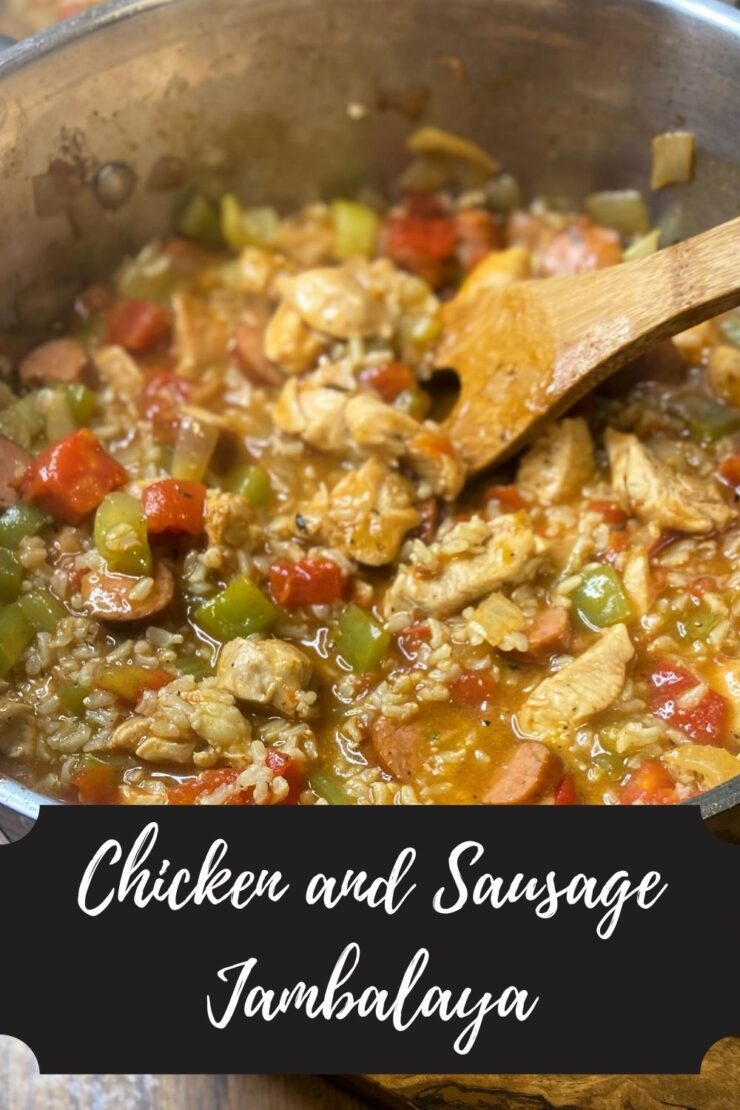
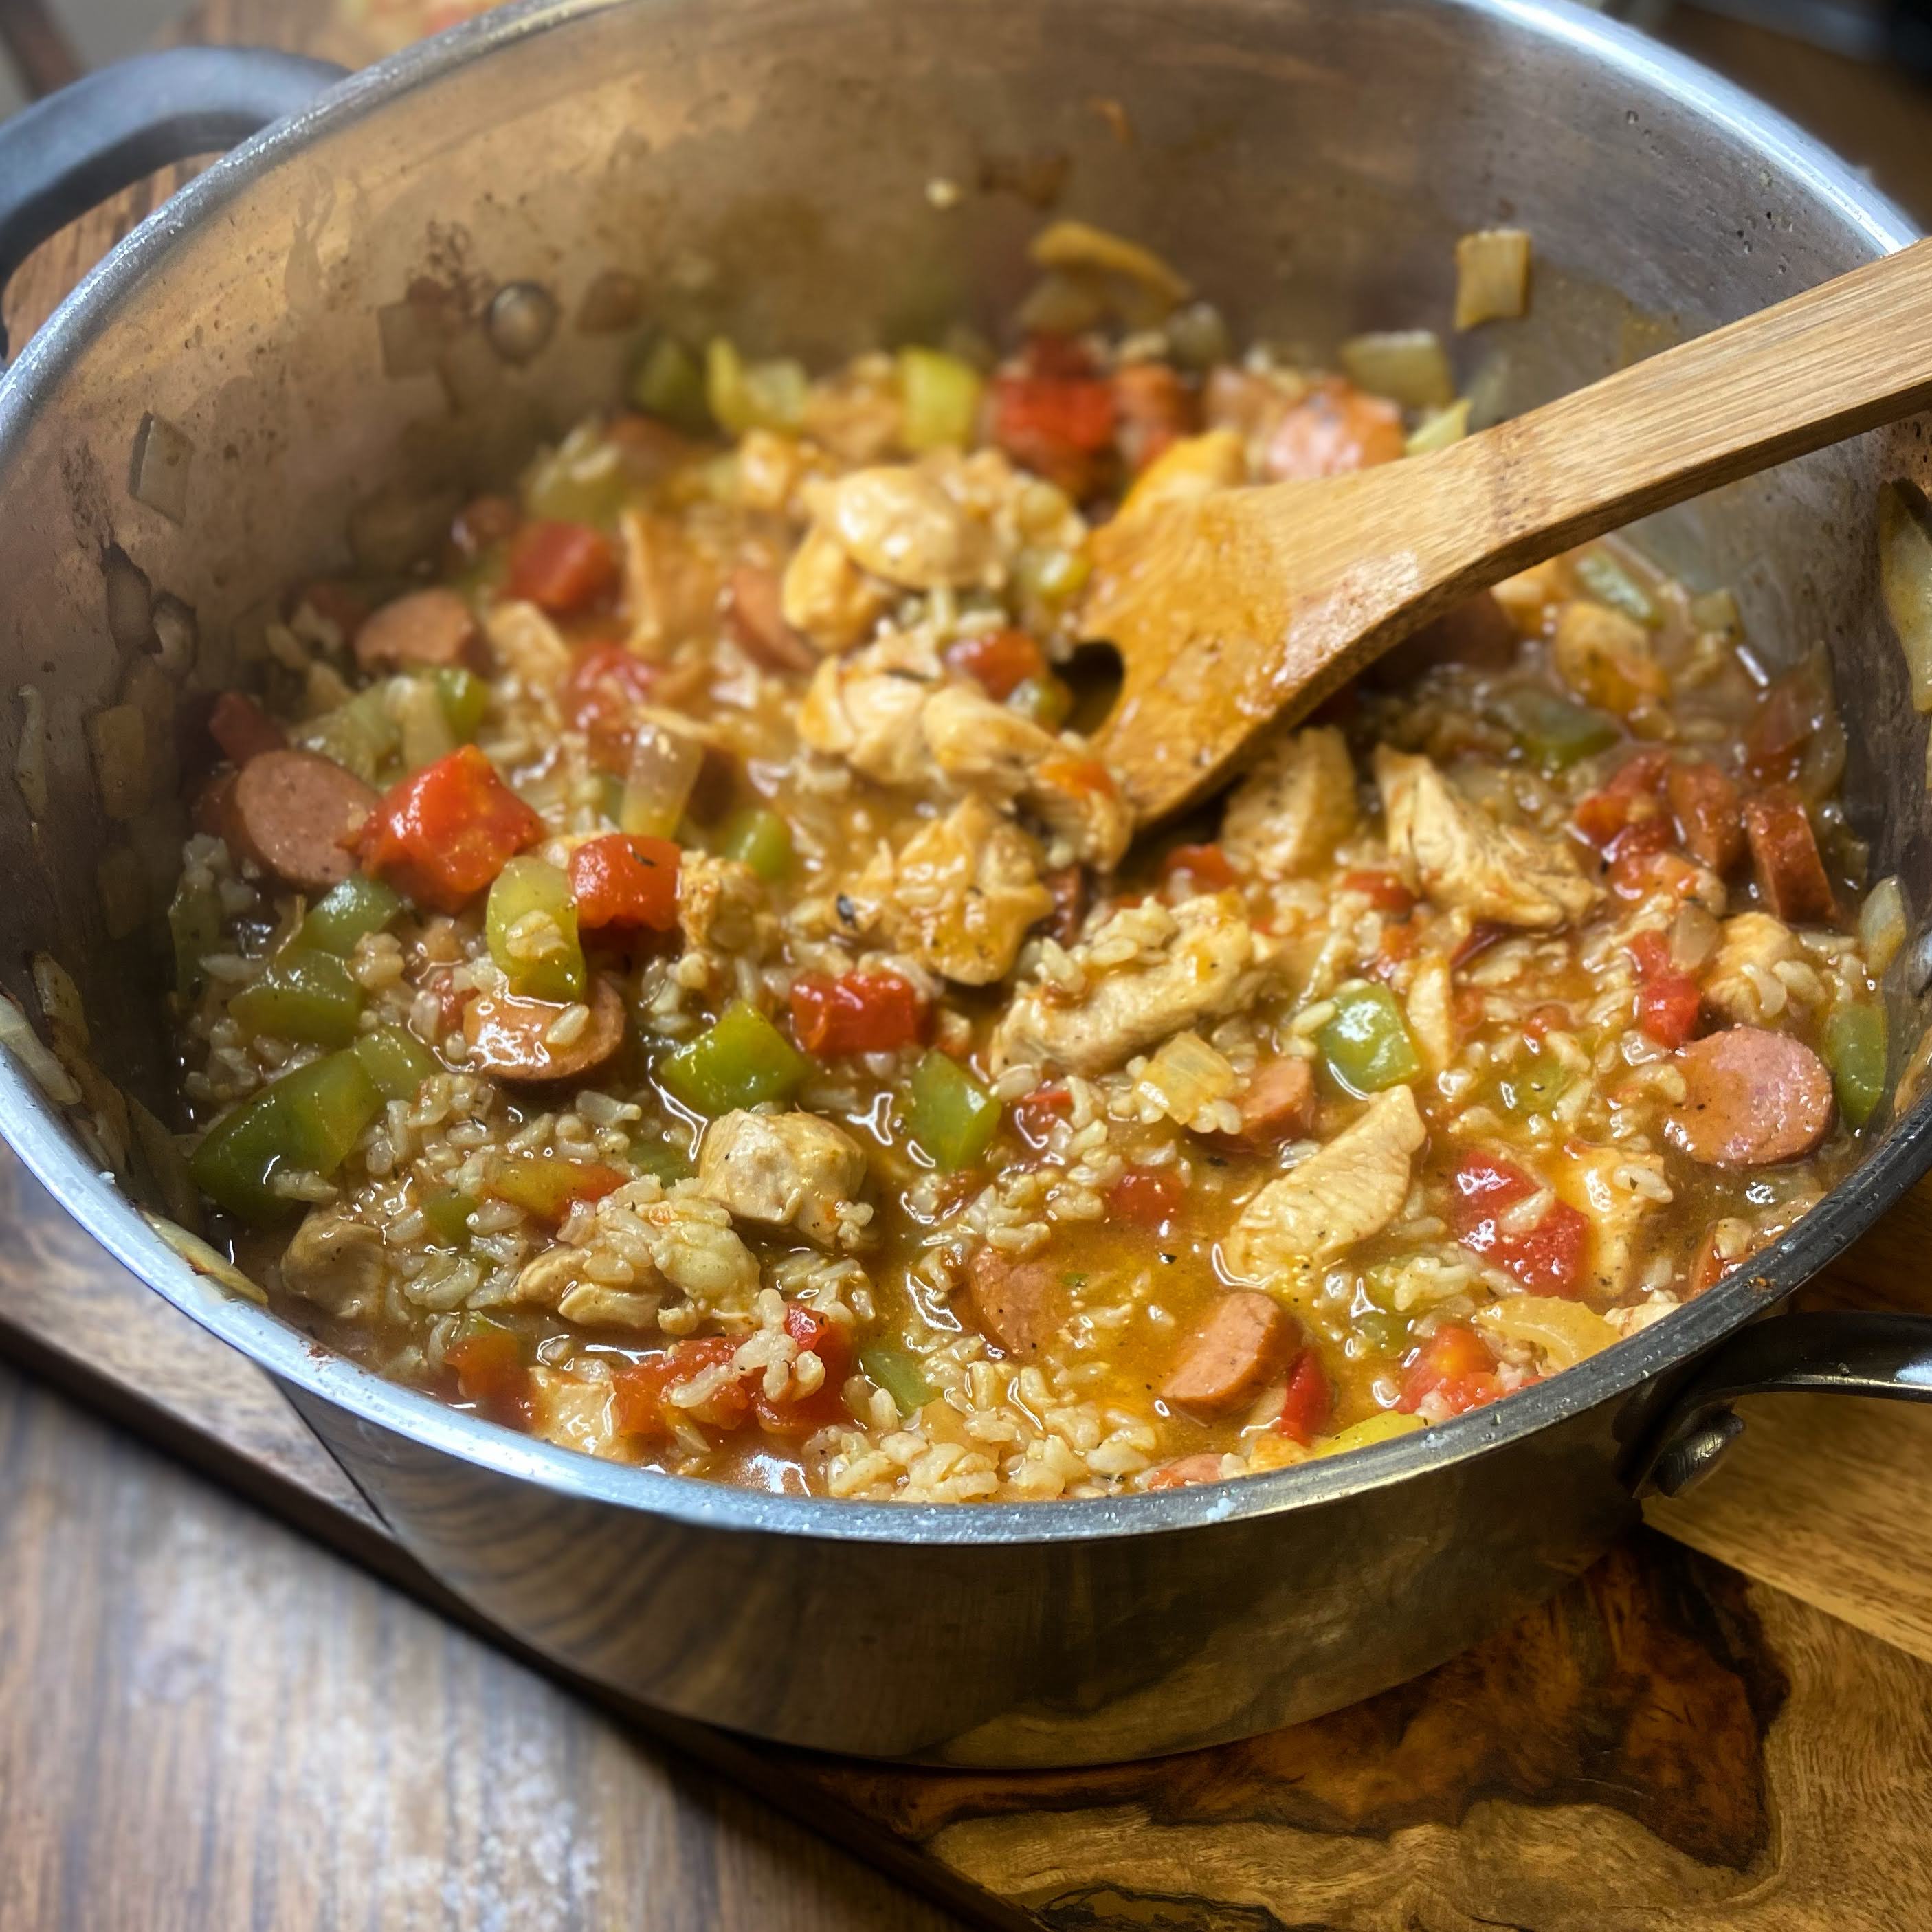
Chicken and Sausage Jambalaya

Something about Jambalaya is cozy, warming. It isn’t quite a soup or stew, but it sure has that comforting feeling. It’s a dish that we every so often just happen to have all the ingredients for, although I never shopped for them specifically with the intent of making jambalaya. This chicken and sausage jambalaya skips the shrimp and comes together in about 40 minutes and even less if you are on top of things enough to have cooked rice ahead of time. 

About the rice

I may be a genius; Or maybe not, but let me share this awesome hack I had the last time I prepared jambalaya. I love a good long grain brown rice, but it takes time (35-40 minutes cook time plus the coming to temperature). It also takes up a burner while I am prepping everything else. But friends, it doesn’t need a lot of attention.

Enter the morning: As soon as I got done with my morning walk, I started heating 2 cups of chicken stock with some pepper and 1 cup long grain rice on the stove; Lowered it to a simmer once it was boiling, and let it do it’s thing. By the time I was done getting ready for the day and had my breakfast in me, my rice was done. Sweet! One less thing to worry about in the evening. It worked out perfect and a hack I will definitely be doing again!

I was able to throw the rest of this quick chicken and sausage jambalaya together after I got home from work on a weeknight. That’s a win, right? And we even had enough for us to eat it a second night, which is my jam. 

Ready to get cooking a delicious, comforting dish your family will love? Let’s go! 

Your Ingredients

  • 4 cups long grain rice, cooked
  • 1 large green pepper, diced
  • 4 stalks of celery, diced
  • 1 teaspoon minced garlic 
  • 1 medium onion, diced
  • 4 tablespoons olive oil, divided 
  • 16 ounces chicken breast, cubed and seasoned with salt and pepper
  • 3 Andouille sausage links, sliced into discs
  • 1 can diced tomatoes
  • 2 cups chicken stock
  • 1 teaspoon cumin 
  • 1 teaspoon chili powder 
  • ½ teaspoon thyme
  • Salt and pepper
  • Dash of cayenne pepper if desired 

Your Steps to Chicken and Sausage Jambalaya

If you haven’t cooked the long grain rice yet, get that started. I recommend cooking it in a little chicken stock with some pepper to add a flavor boost, but regular water with some salt and pepper will work just fine. Cook according to directions. (We always have regular rice on hand as well as brown Minute rice. We cook the one that matches our time frame, but check my hack in the intro!)

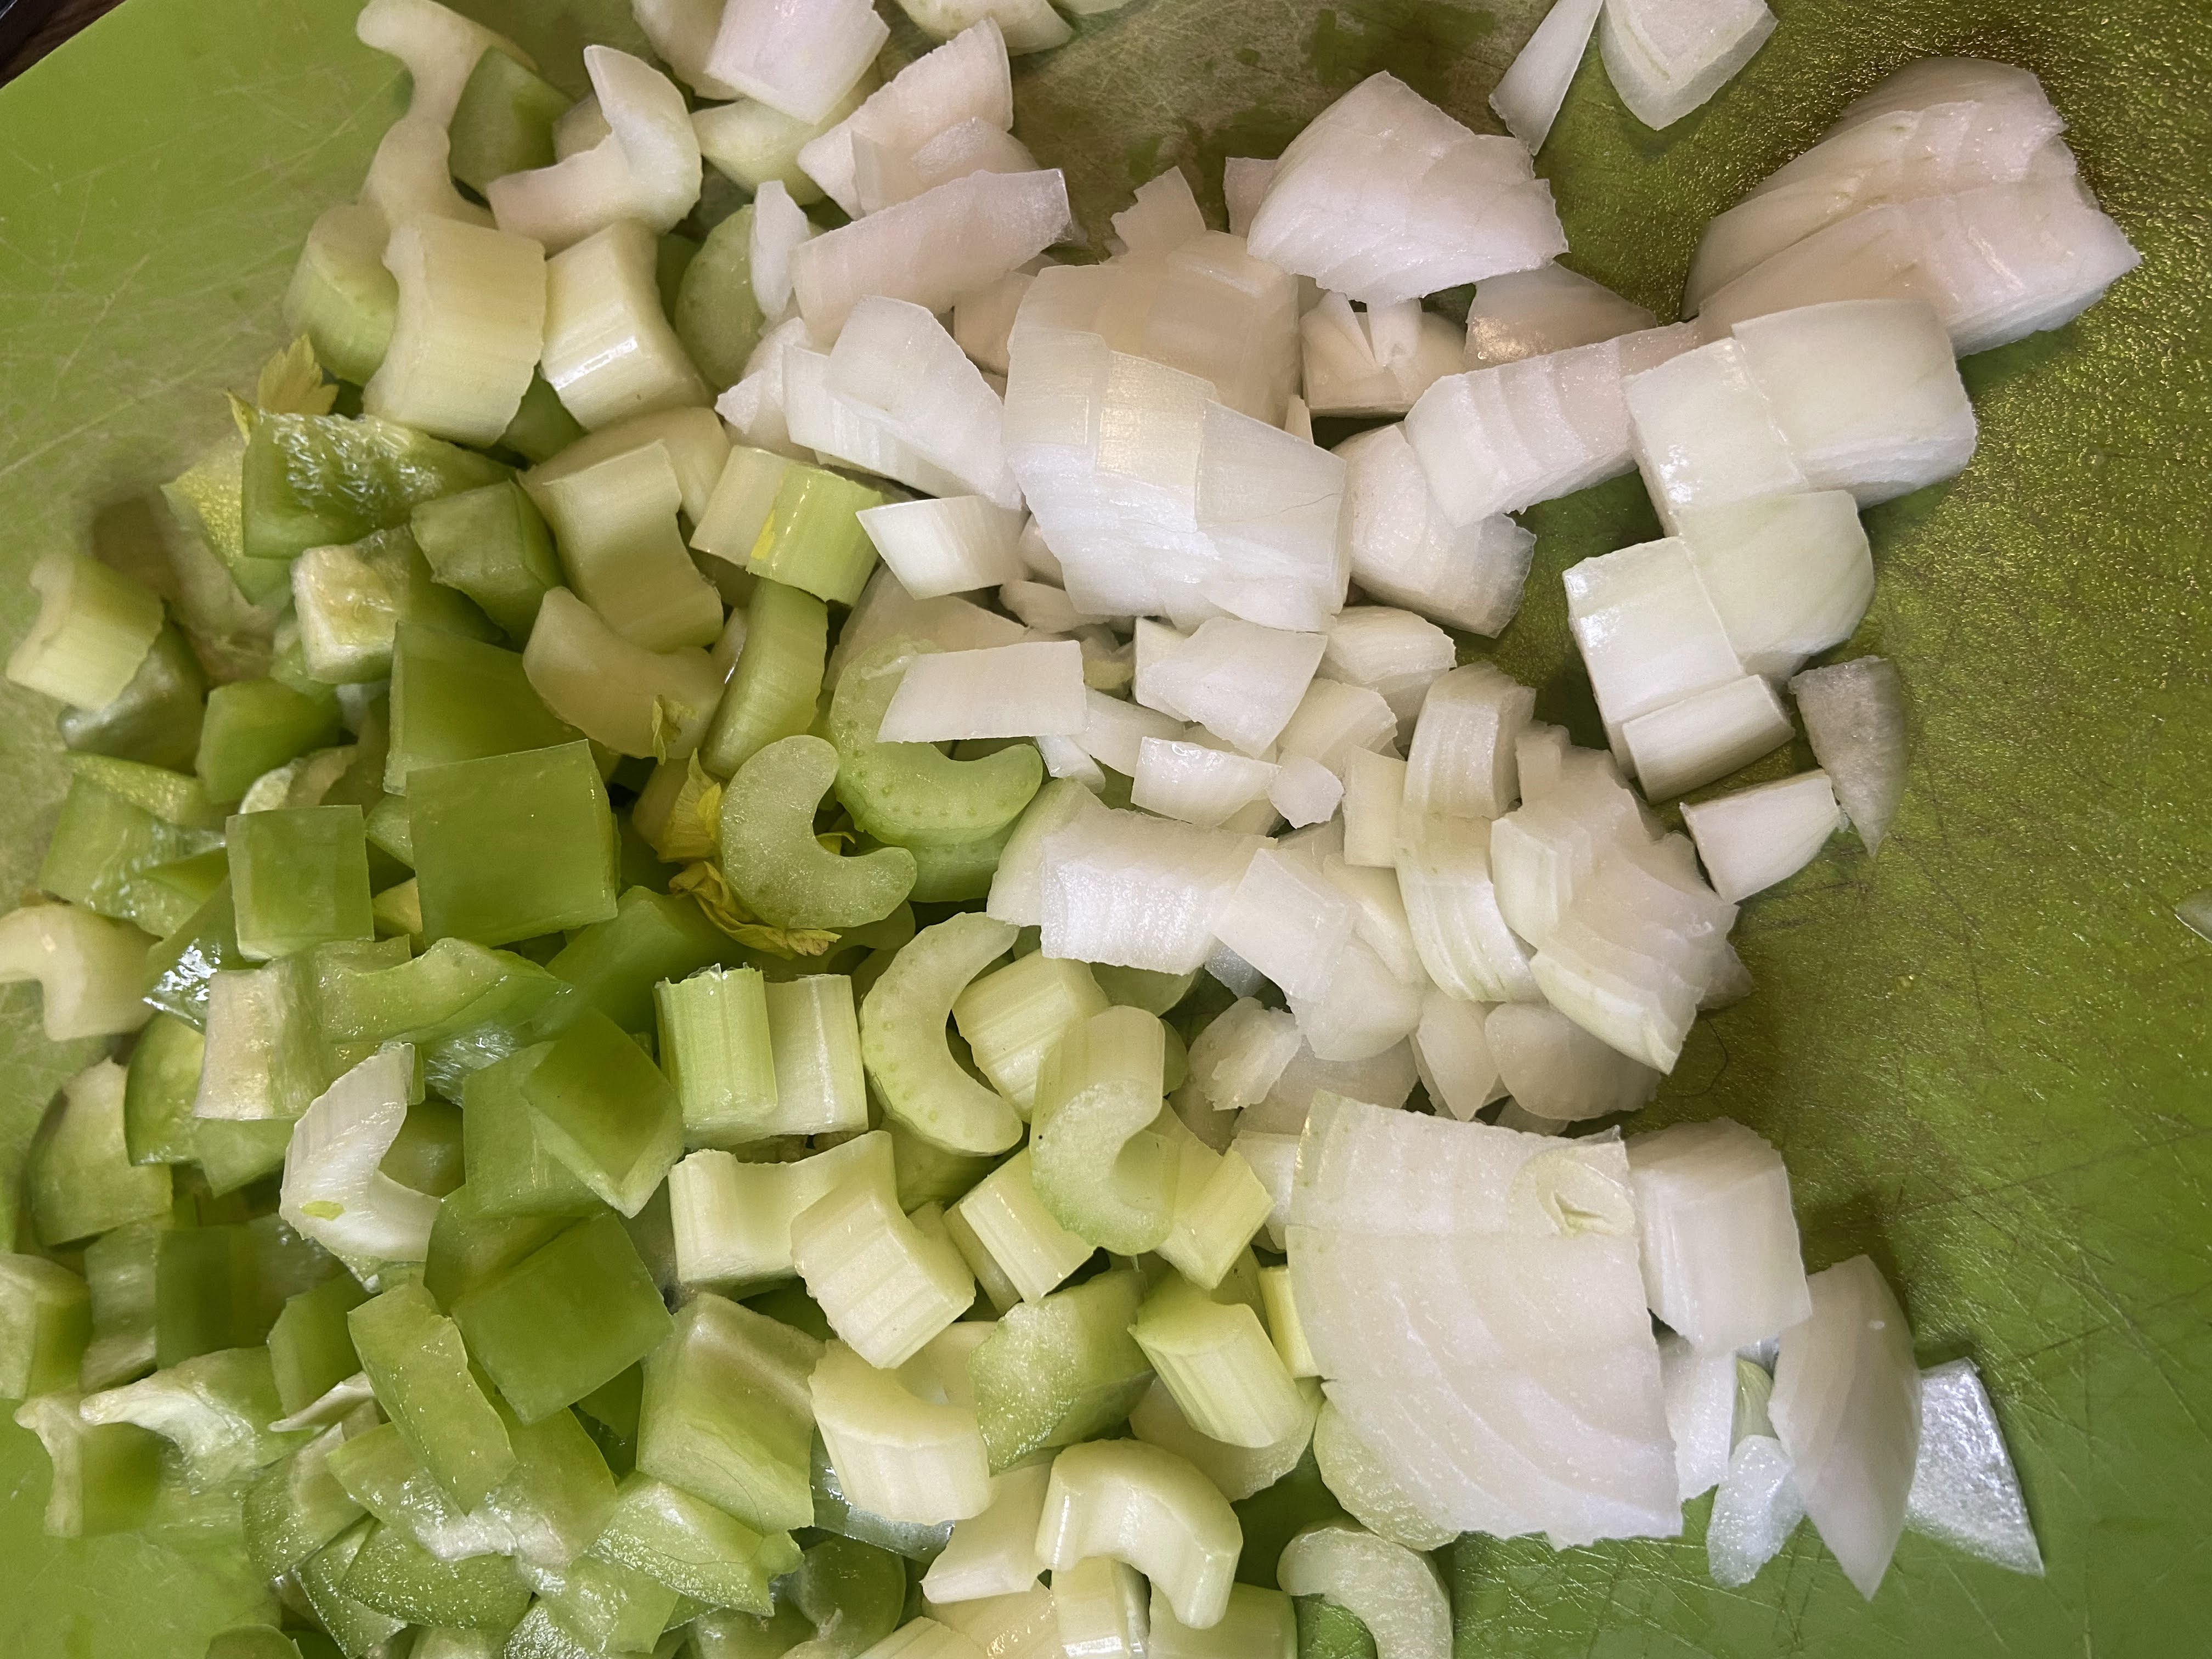
In a large Dutch oven, heat 2 tablespoons olive oil over medium heat. Add green pepper, celery, onion, and garlic. Cook until softened, about 8 minutes. Remove from pan and set aside. 

Add remaining oil to the Dutch oven. Once hot, add seasoned chicken. Cook, stirring every couple minutes. At the six minute mark, add sliced sausage links. Cook an additional 5 minutes. Season with cumin, chili powder, thyme, and a dash of cayenne pepper. 

Stir in chicken stock and diced tomatoes. Heat to a boil, and then slower to a simmer. Add cooked rice and vegetable medley. Cook until heated through and thickened, 5-10 minutes. 

Can I recommend some corn bread or sourdough to pair with this comforting meal? Click the links below to get the recipes!

Chicken and Sausage Jambalaya

This one pot meal is full of good for you ingredients and flavor. It's sure to fill your belly and warm your soul with just a little kick of heat.
Prep Time 10 minutes
Cook Time 30 minutes
Course Main Course
Cuisine American
Servings 8 people

Ingredients
  

  • 4 cups long grain rice cooked
  • 1 large green pepper diced
  • 4 stalks of celery diced
  • 1 medium onion diced
  • 4 tablespoons olive oil divided
  • 16 ounces chicken breast cubed and seasoned with salt and pepper
  • 3 Andouille sausage links sliced into discs
  • 1 can diced tomatoes
  • 2 cups chicken stock
  • 1 teaspoon minced garlic
  • 1 teaspoon cumin
  • 1 teaspoon chili powder
  • ½ teaspoon thyme
  • Salt and pepper
  • Dash of cayenne pepper if desired

Instructions
 

  • If you haven’t cooked the long grain rice yet, get that started. I recommend cooking it in a little chicken stock with some pepper to add a flavor boost, but regular water with some salt and pepper will work just fine. Cook according to directions on package.
  • In a large Dutch oven, heat 2 tablespoons olive oil over medium heat. Add green pepper, celery, onion, and garlic. Cook until softened, about 8 minutes. Remove from pan and set aside.
  • Add remaining oil to the Dutch oven. Once hot, add seasoned chicken. Cook, stirring every couple minutes. At the six minute mark, add sliced sausage links. Cook an additional 5 minutes. Season with cumin, chili powder, thyme, and a dash of cayenne pepper.
  • Stir in chicken stock and diced tomatoes. Heat to a boil, and then slower to a simmer. Add cooked rice and vegetable medley. Cook until heated through and thickened, 5-10 minutes.
Keyword Brown Rice, cast iron, chicken, jambalaya, one pot meals, sausage
Tried this recipe?Let us know how it was!

Kielbasa and Quinoa Vegetable Skillet

The scene: It’s 5 o’clock and you still have no idea what’s for dinner, but you know you don’t want to cave to the temptation of take out or the quick rotisserie chicken from the local grocery store. You know that life? It was mine just recently. I was coming home from a training to teach cycling (Eeee!) and hadn’t a clue what was for dinner. Enter this delightful little diddy: Kielbasa and Quinoa Skillet. 

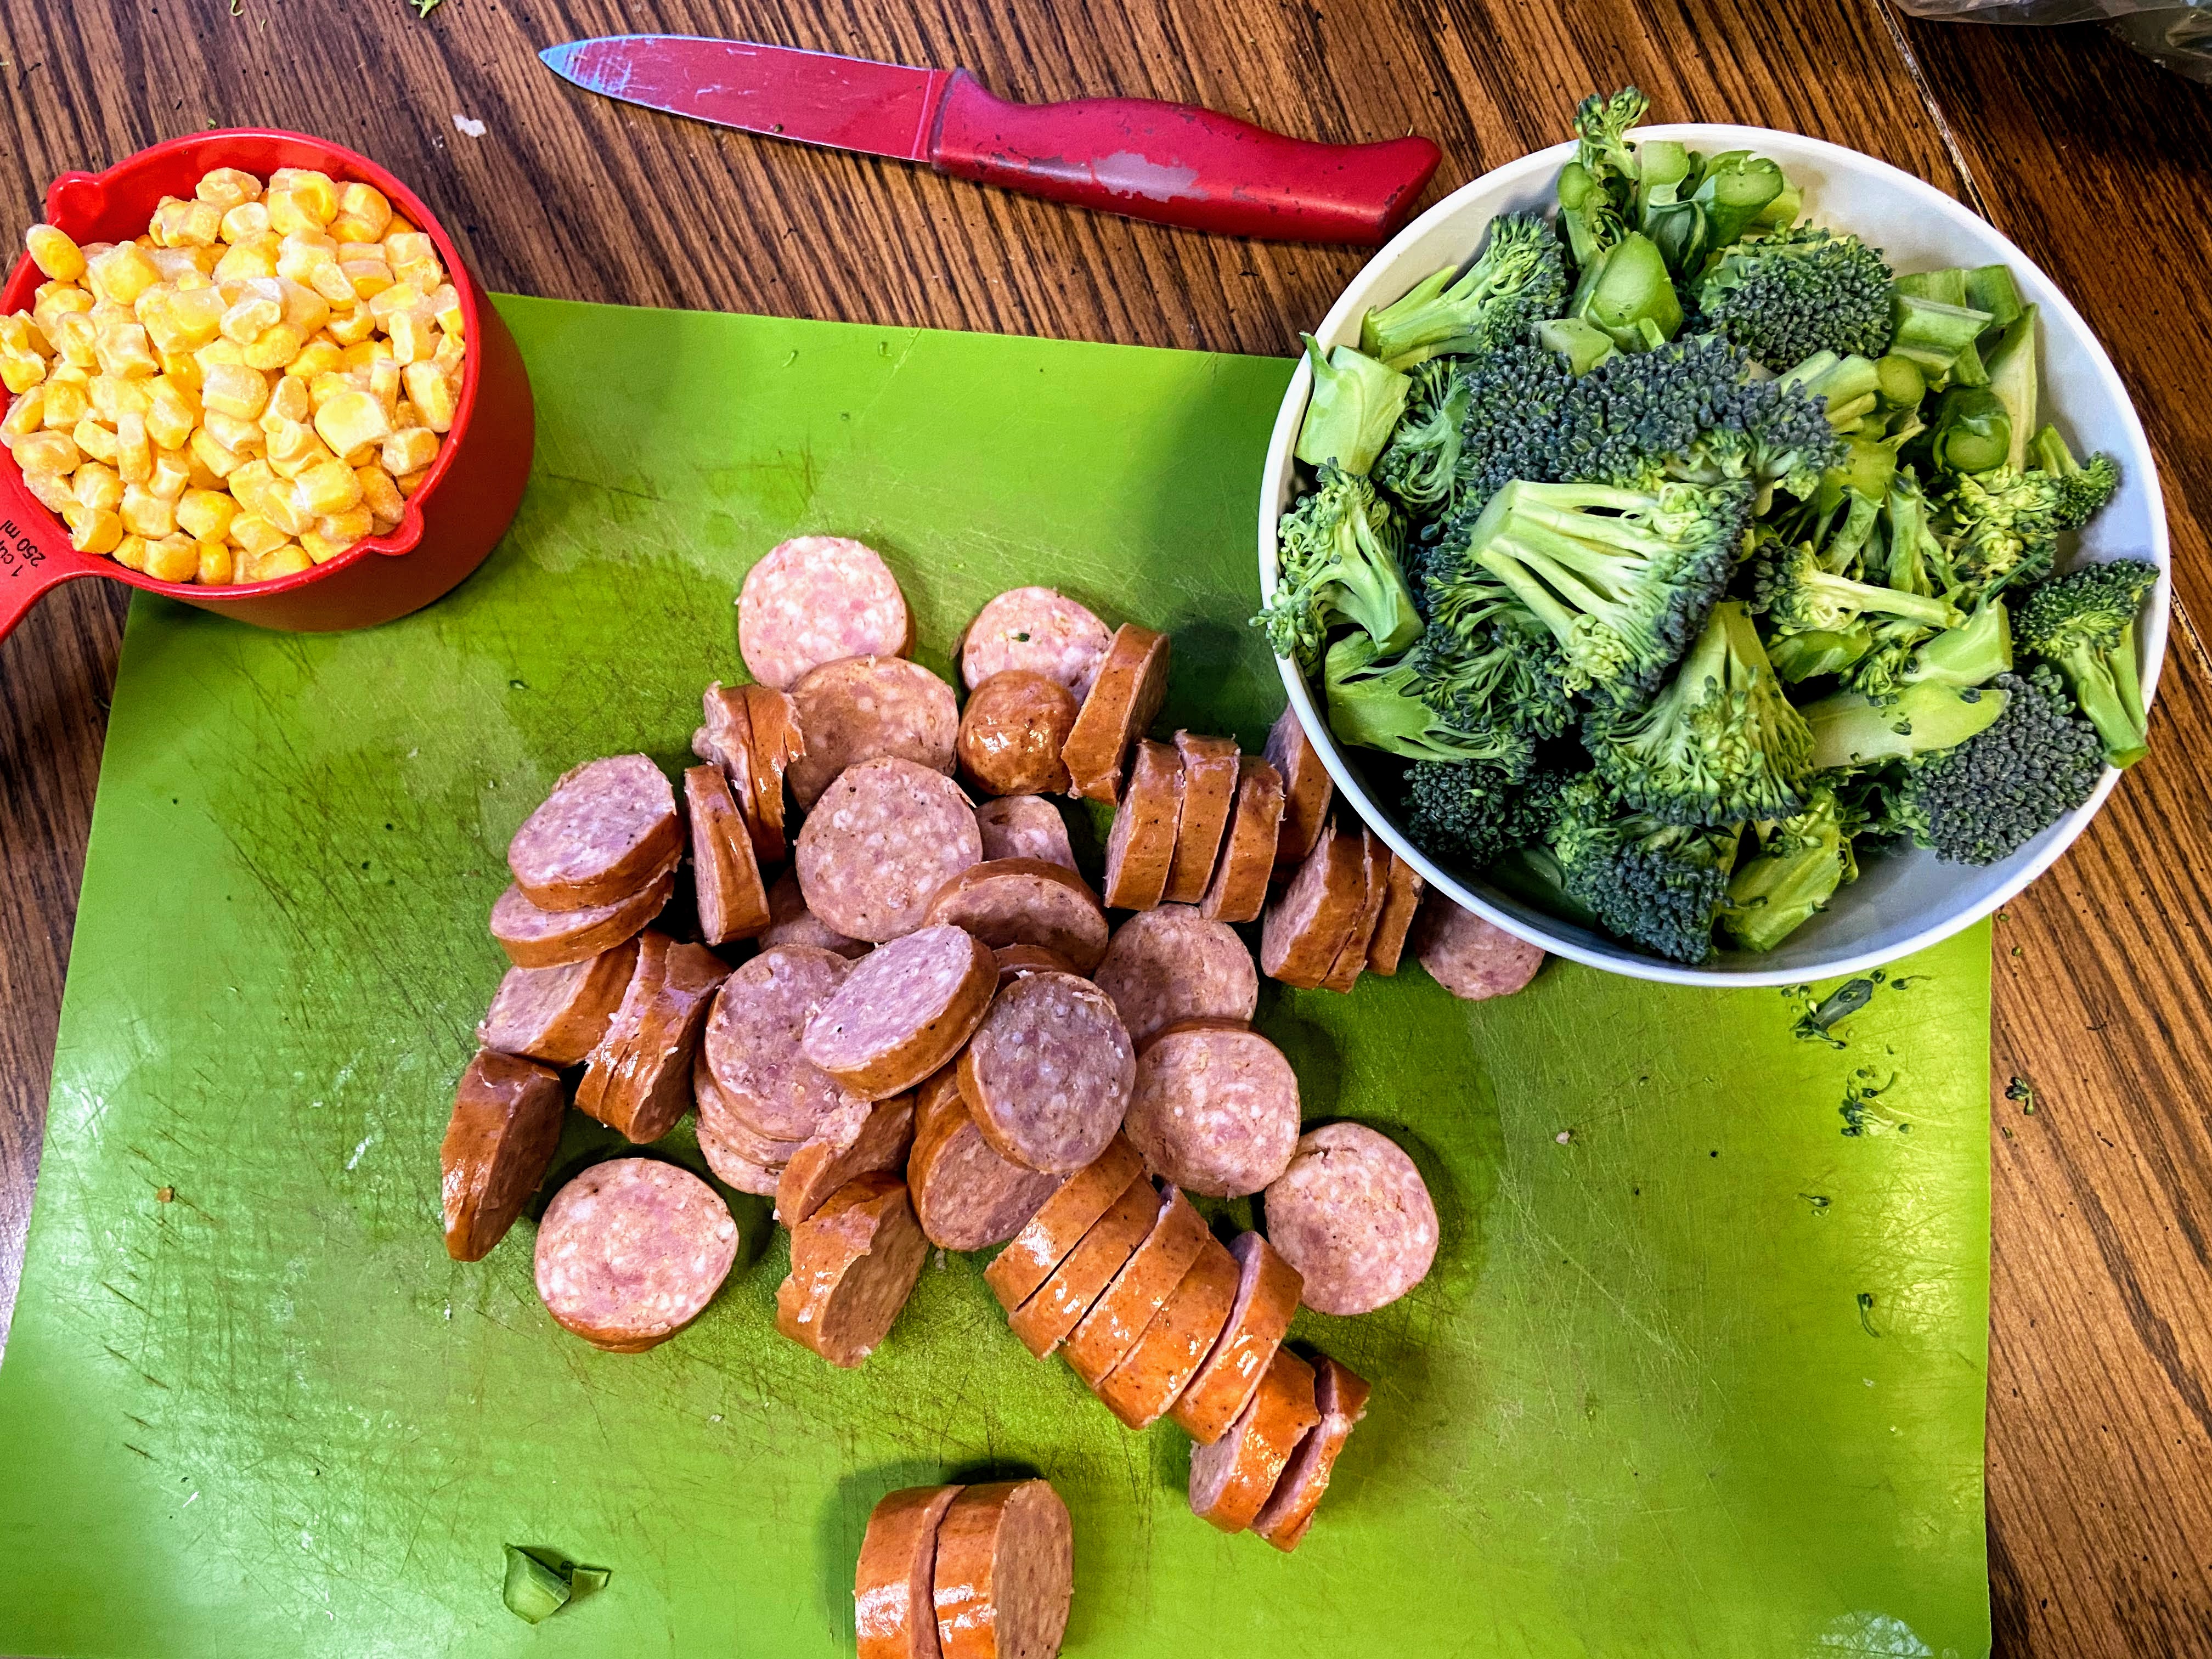
You guys know me…I sneak all the extra vegetables into a meal. And this one is full of about 5 cups of them. You get all the color with broccoli, tomatoes, and corn. Quinoa provides a nice little base, and the kielbasa has the spices mixed in already so you only need a little garlic, some salt, and some pepper. Best yet? It comes together in under 30 minutes! Winning on all the fronts. 

Ready to get cooking? I sure am! 

Your Ingredients 

  • ¾ cup dry quinoa 
  • 1 ½ cups chicken stock (or water will do!)
  • 2 teaspoons minced garlic 
  • 1 tablespoon olive oil 
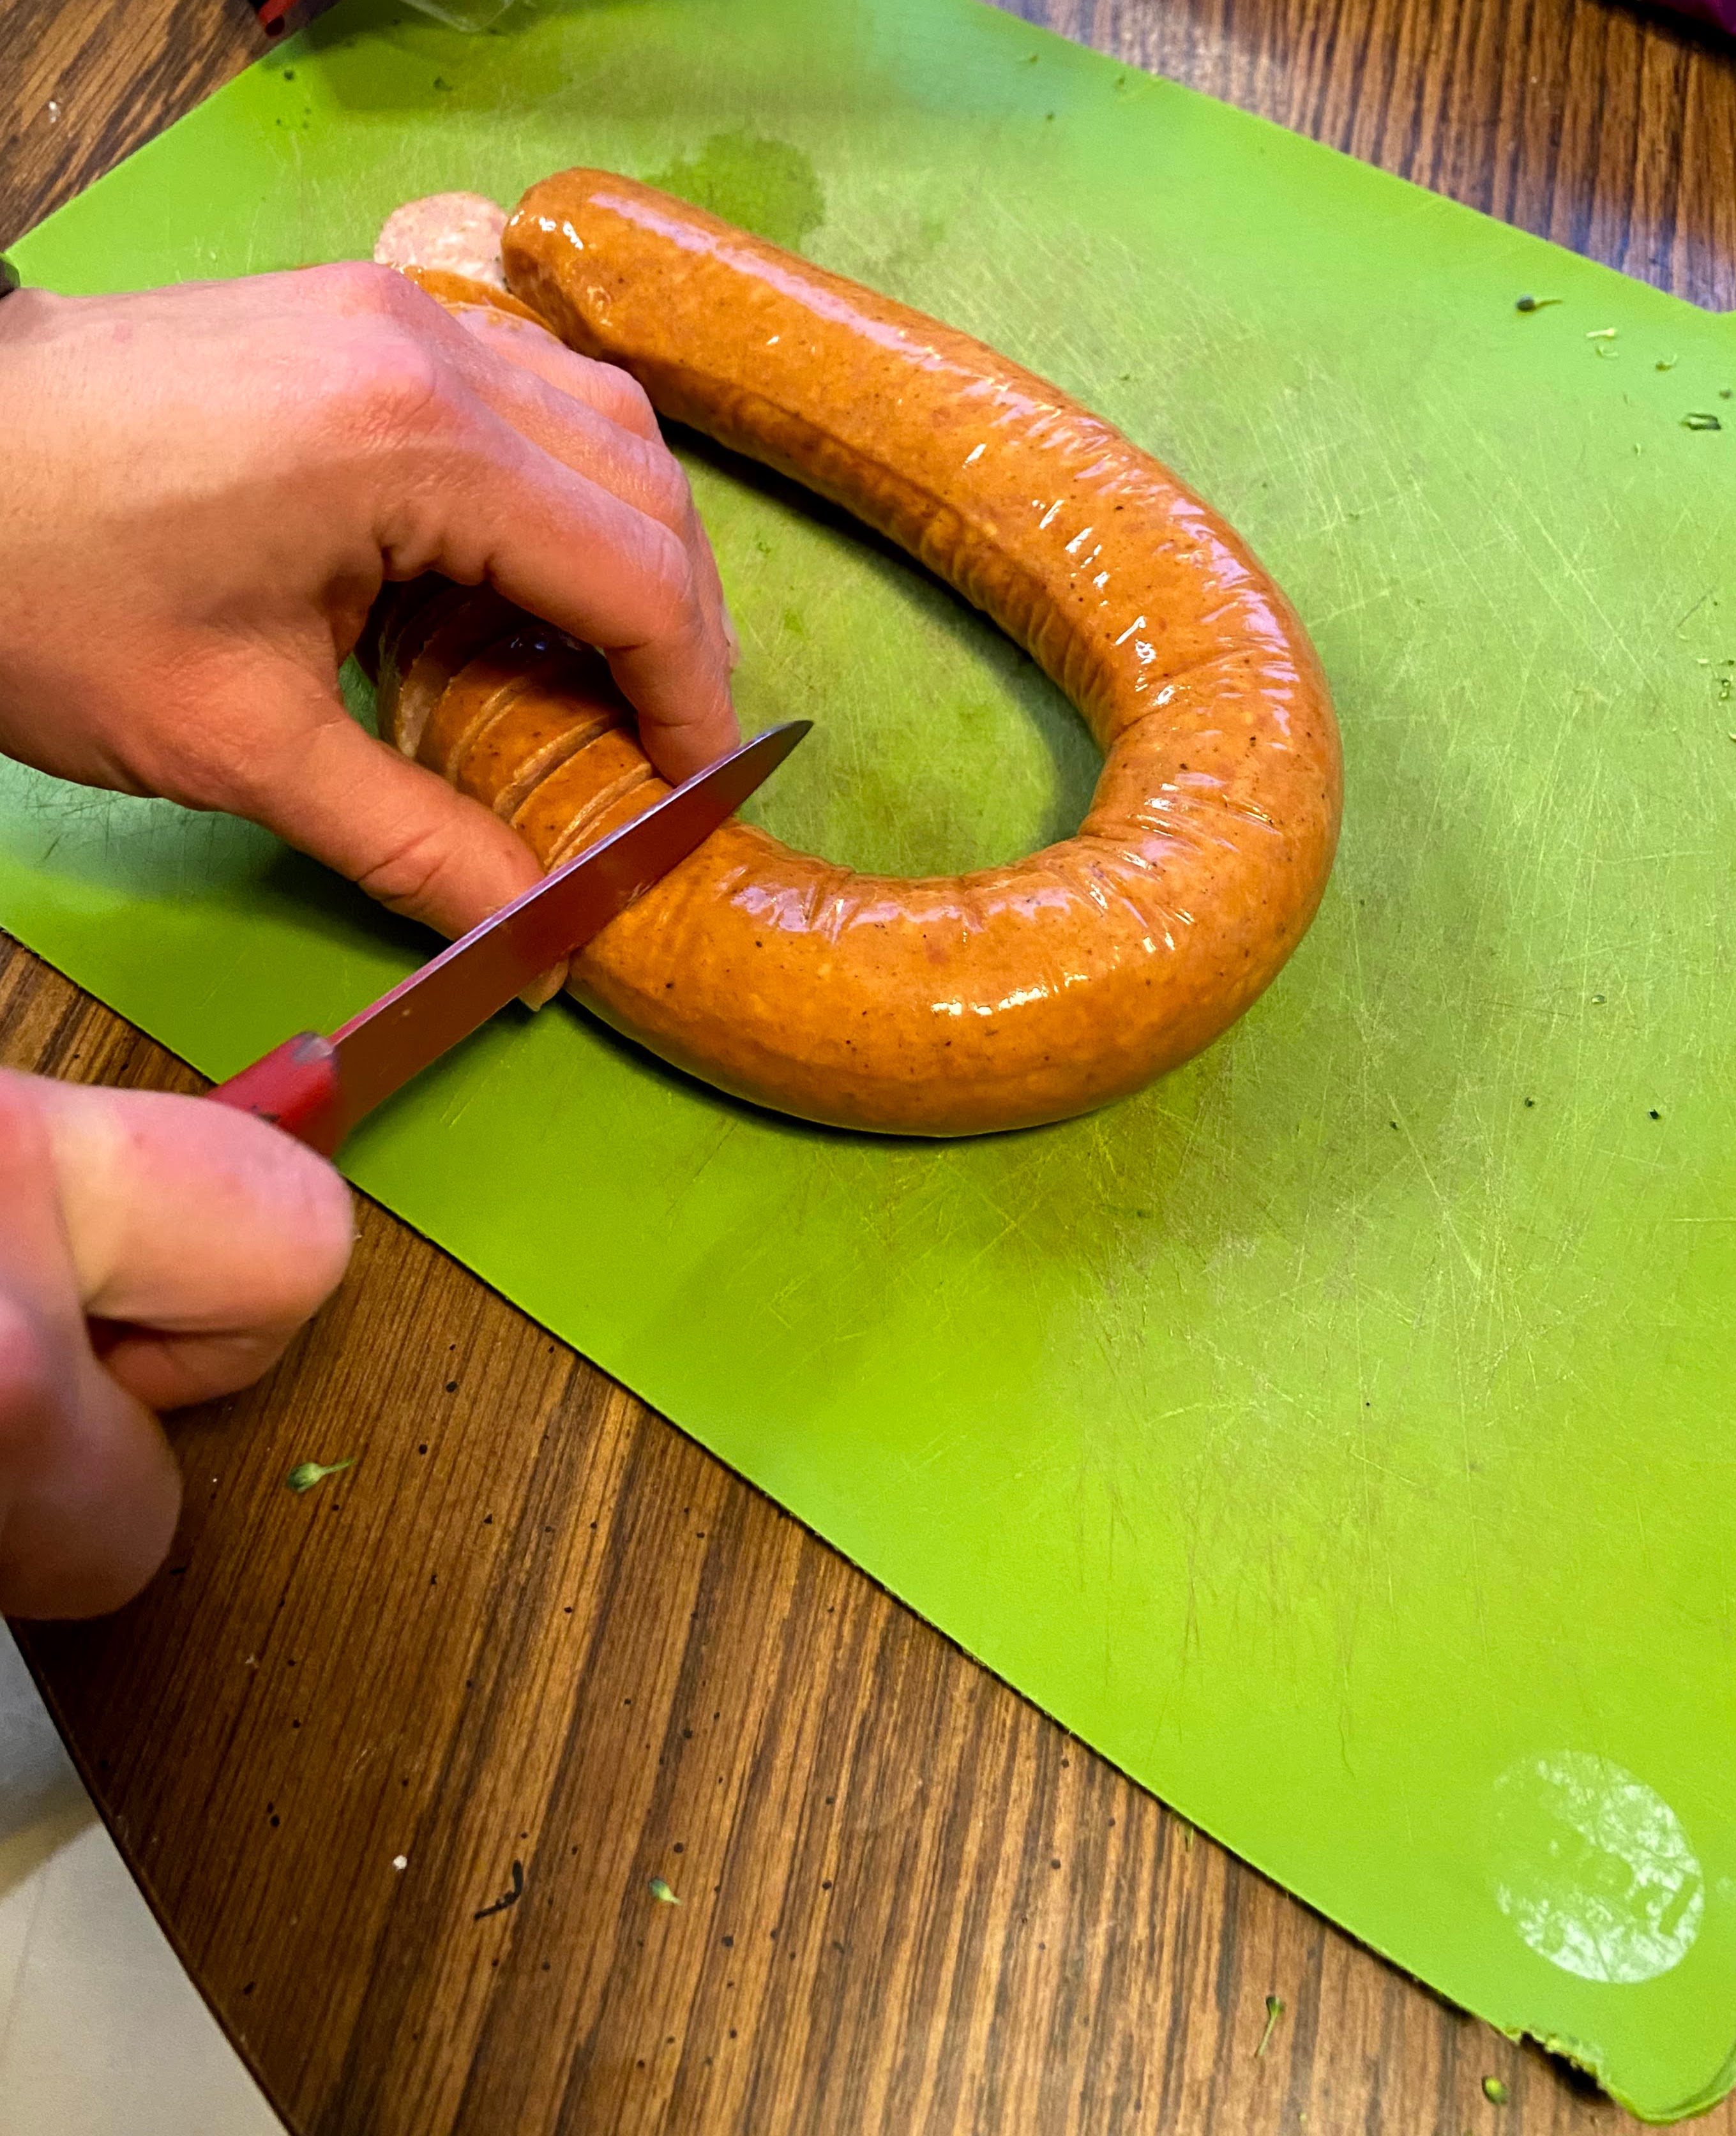
  • 1 kielbasa, sliced
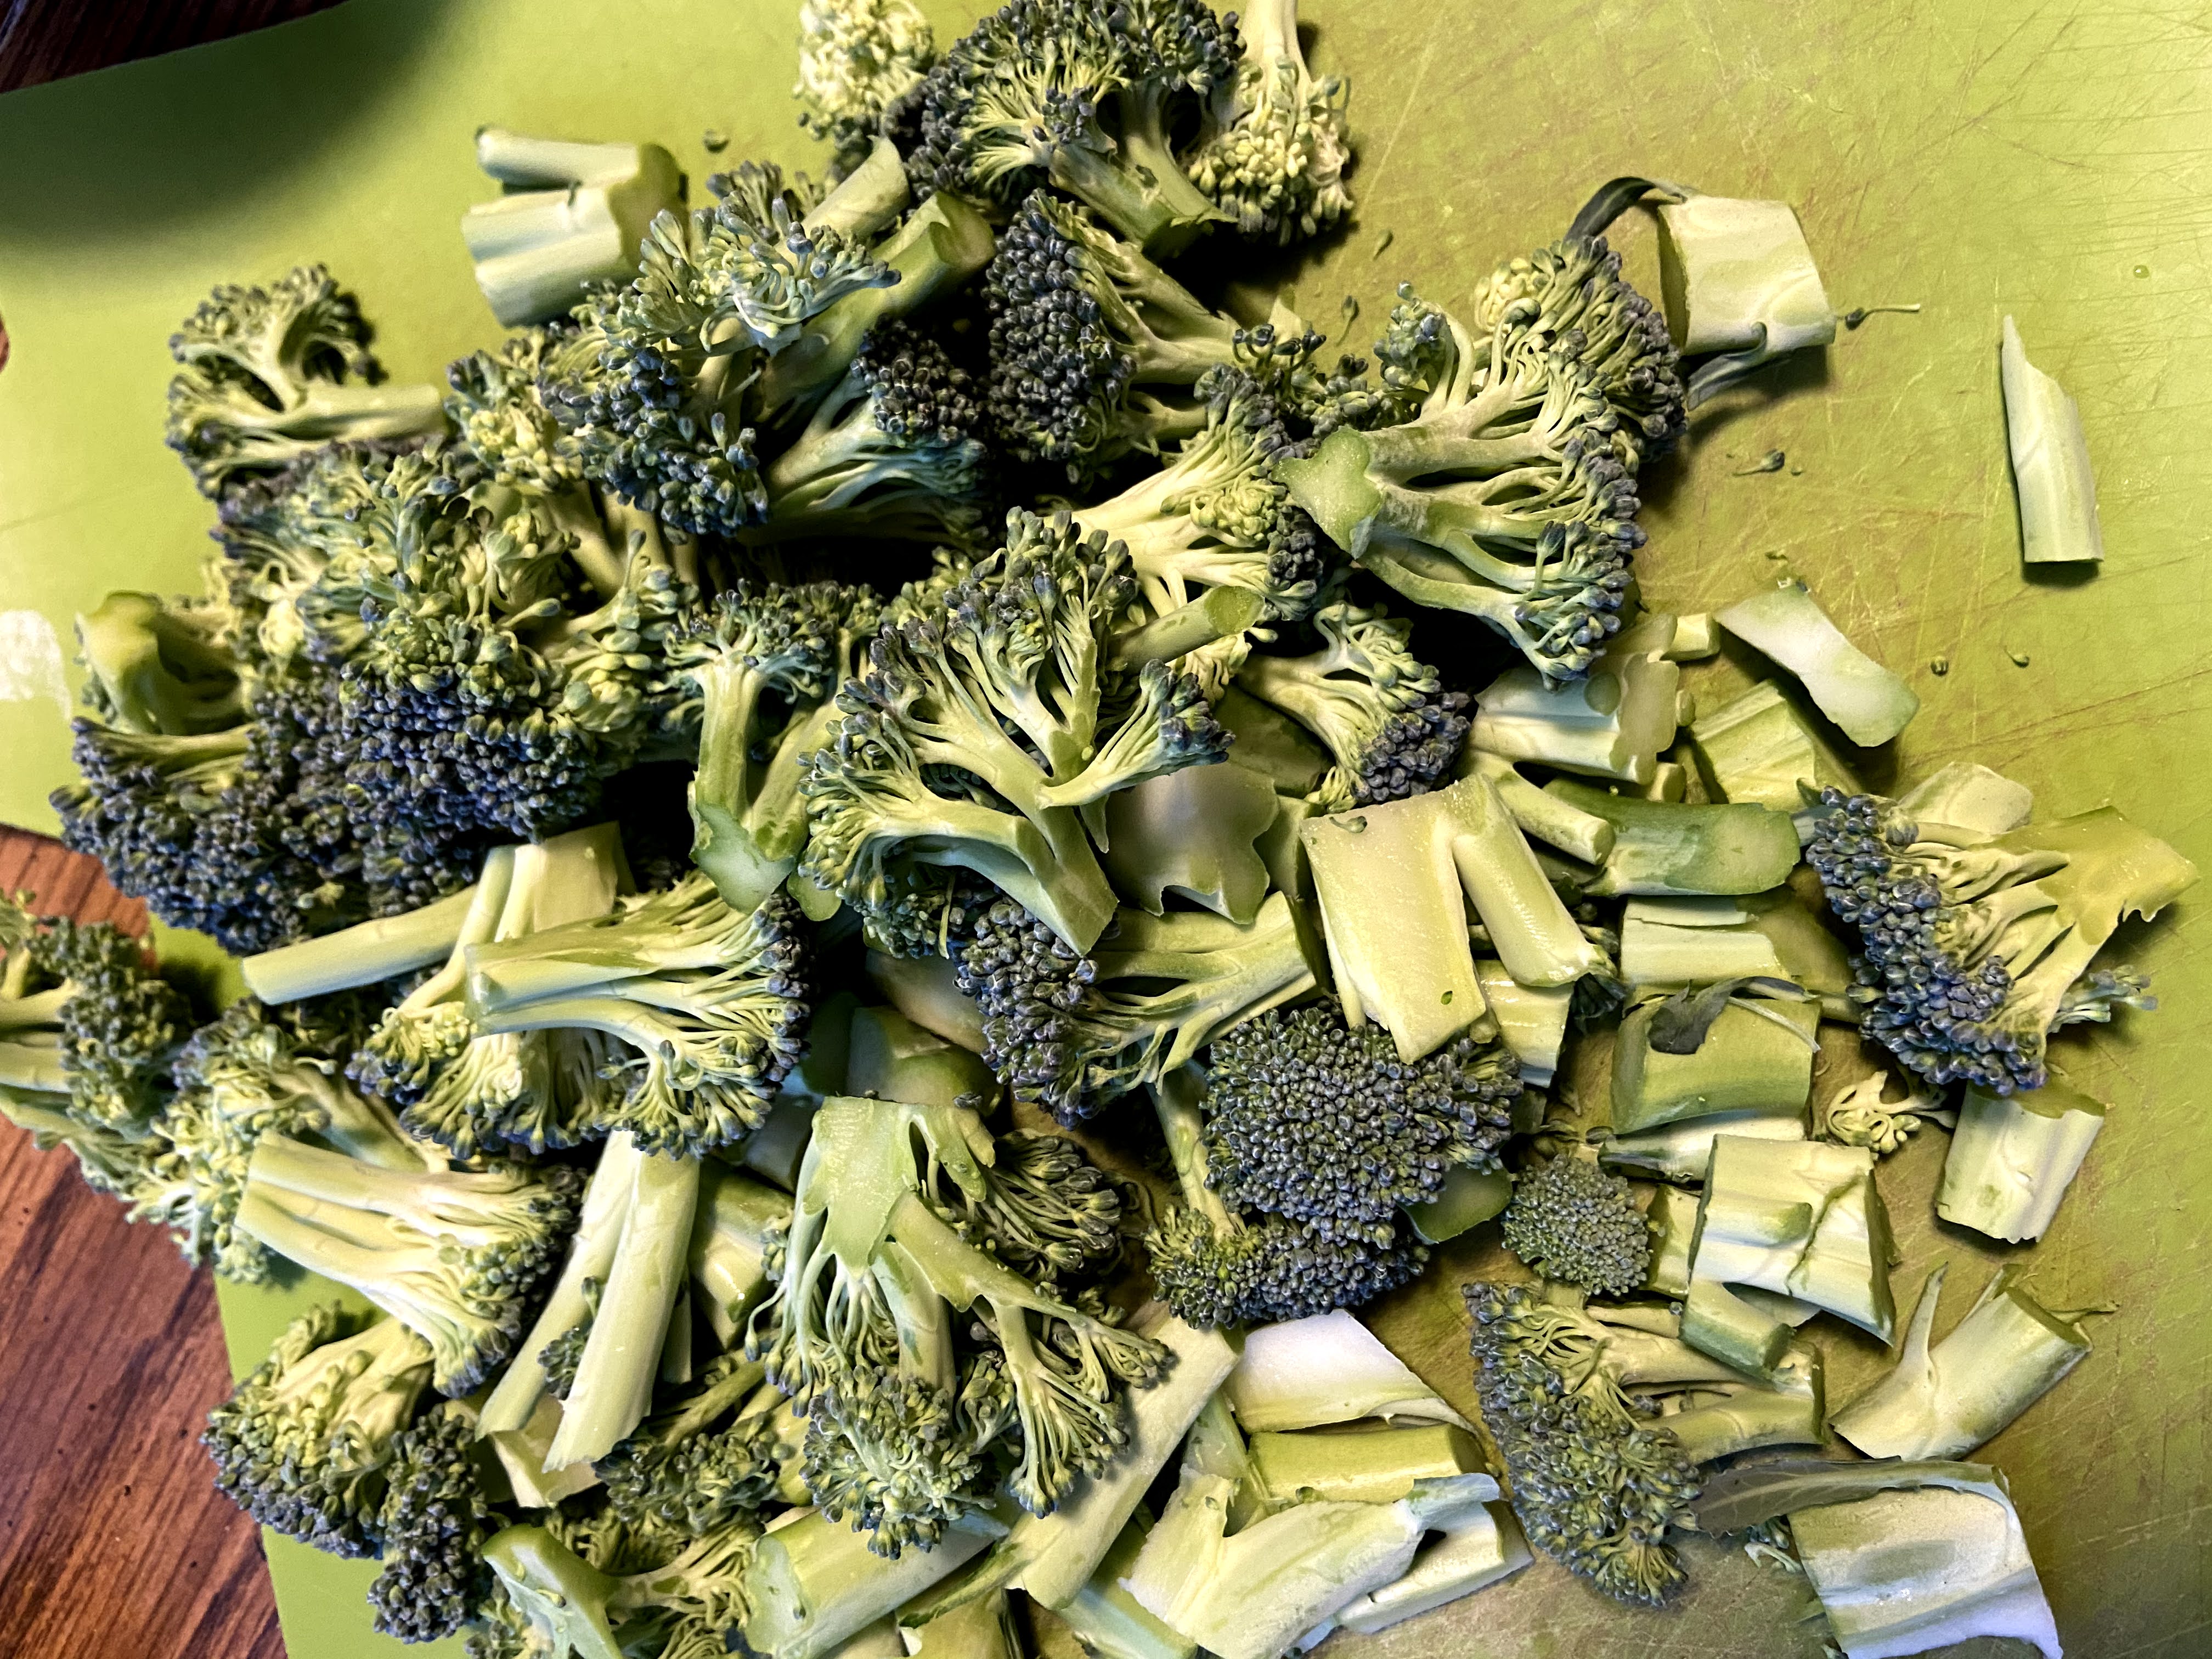
  • 3 ½ cups broccoli, chopped (include the stems!)
  • 1 15 ounce canned diced tomatoes, drained and salt free
  • 1 cup frozen corn
  • Salt, pepper, and red pepper flakes, to taste

Your Steps to Kielbasa and Quinoa Skillet

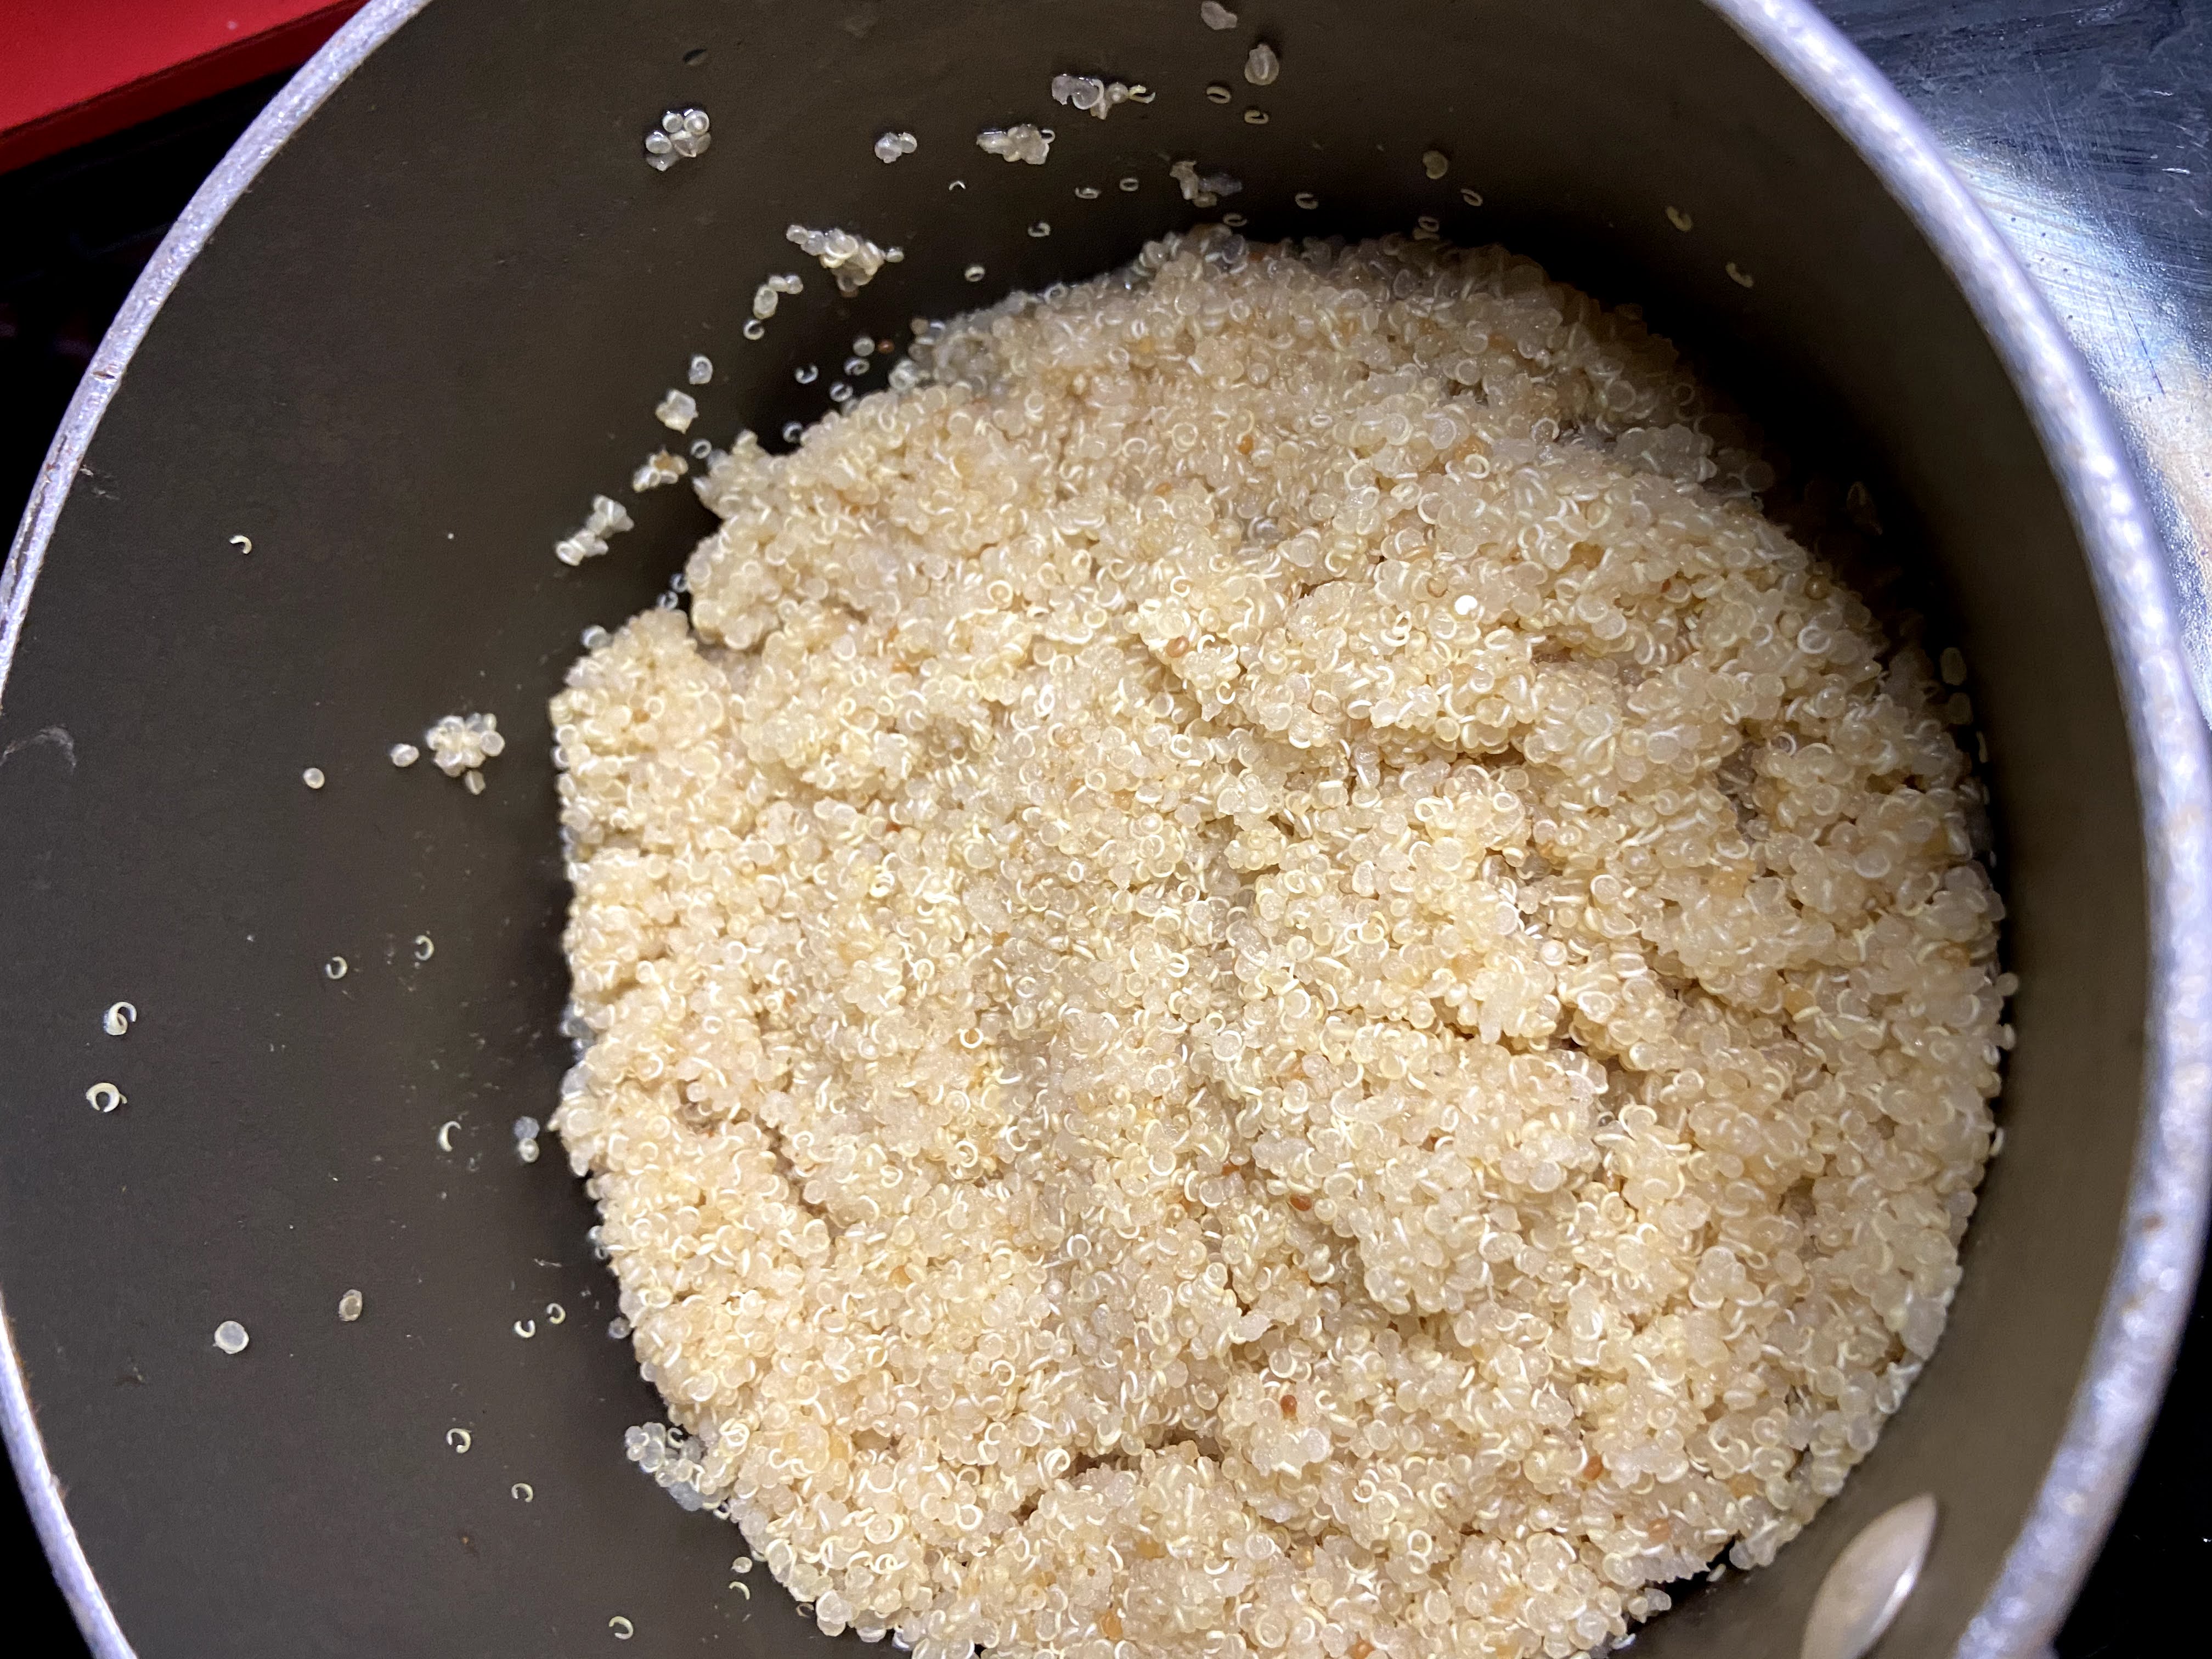
In a saucepan, bring chicken stock to a boil. Add quinoa and lower the temperature to a simmer. Cover and simmer for 15 minutes. 

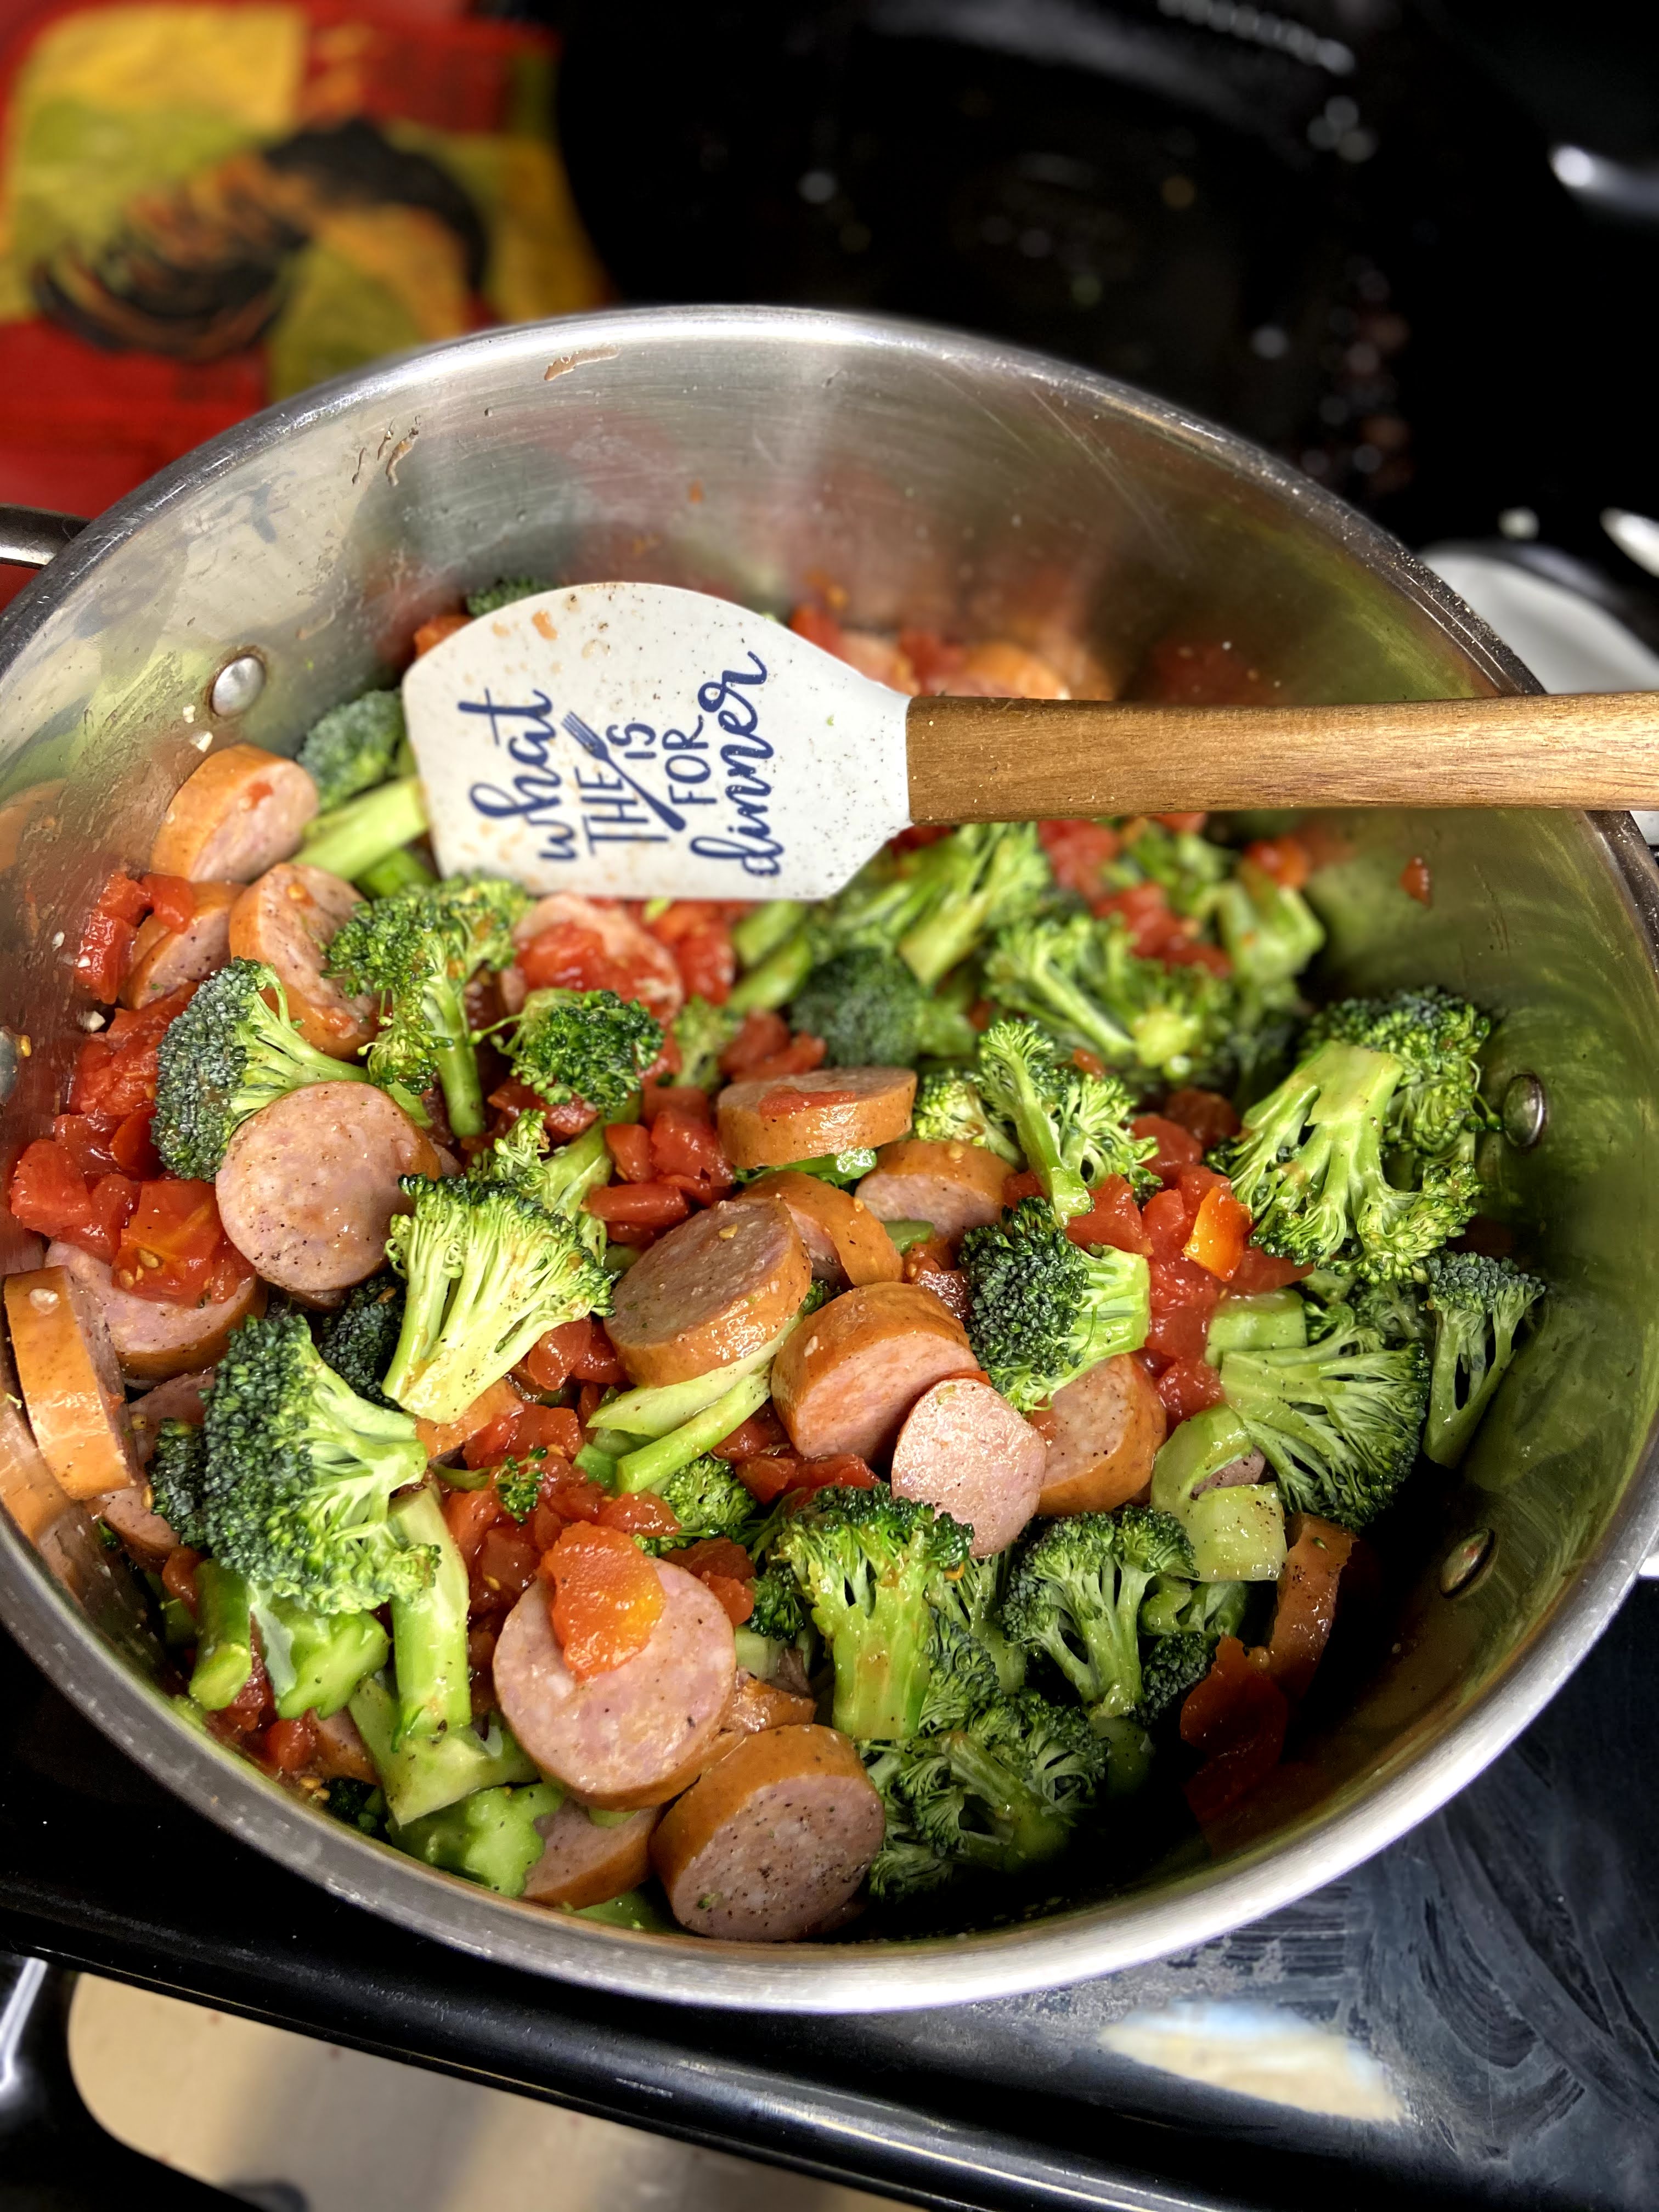
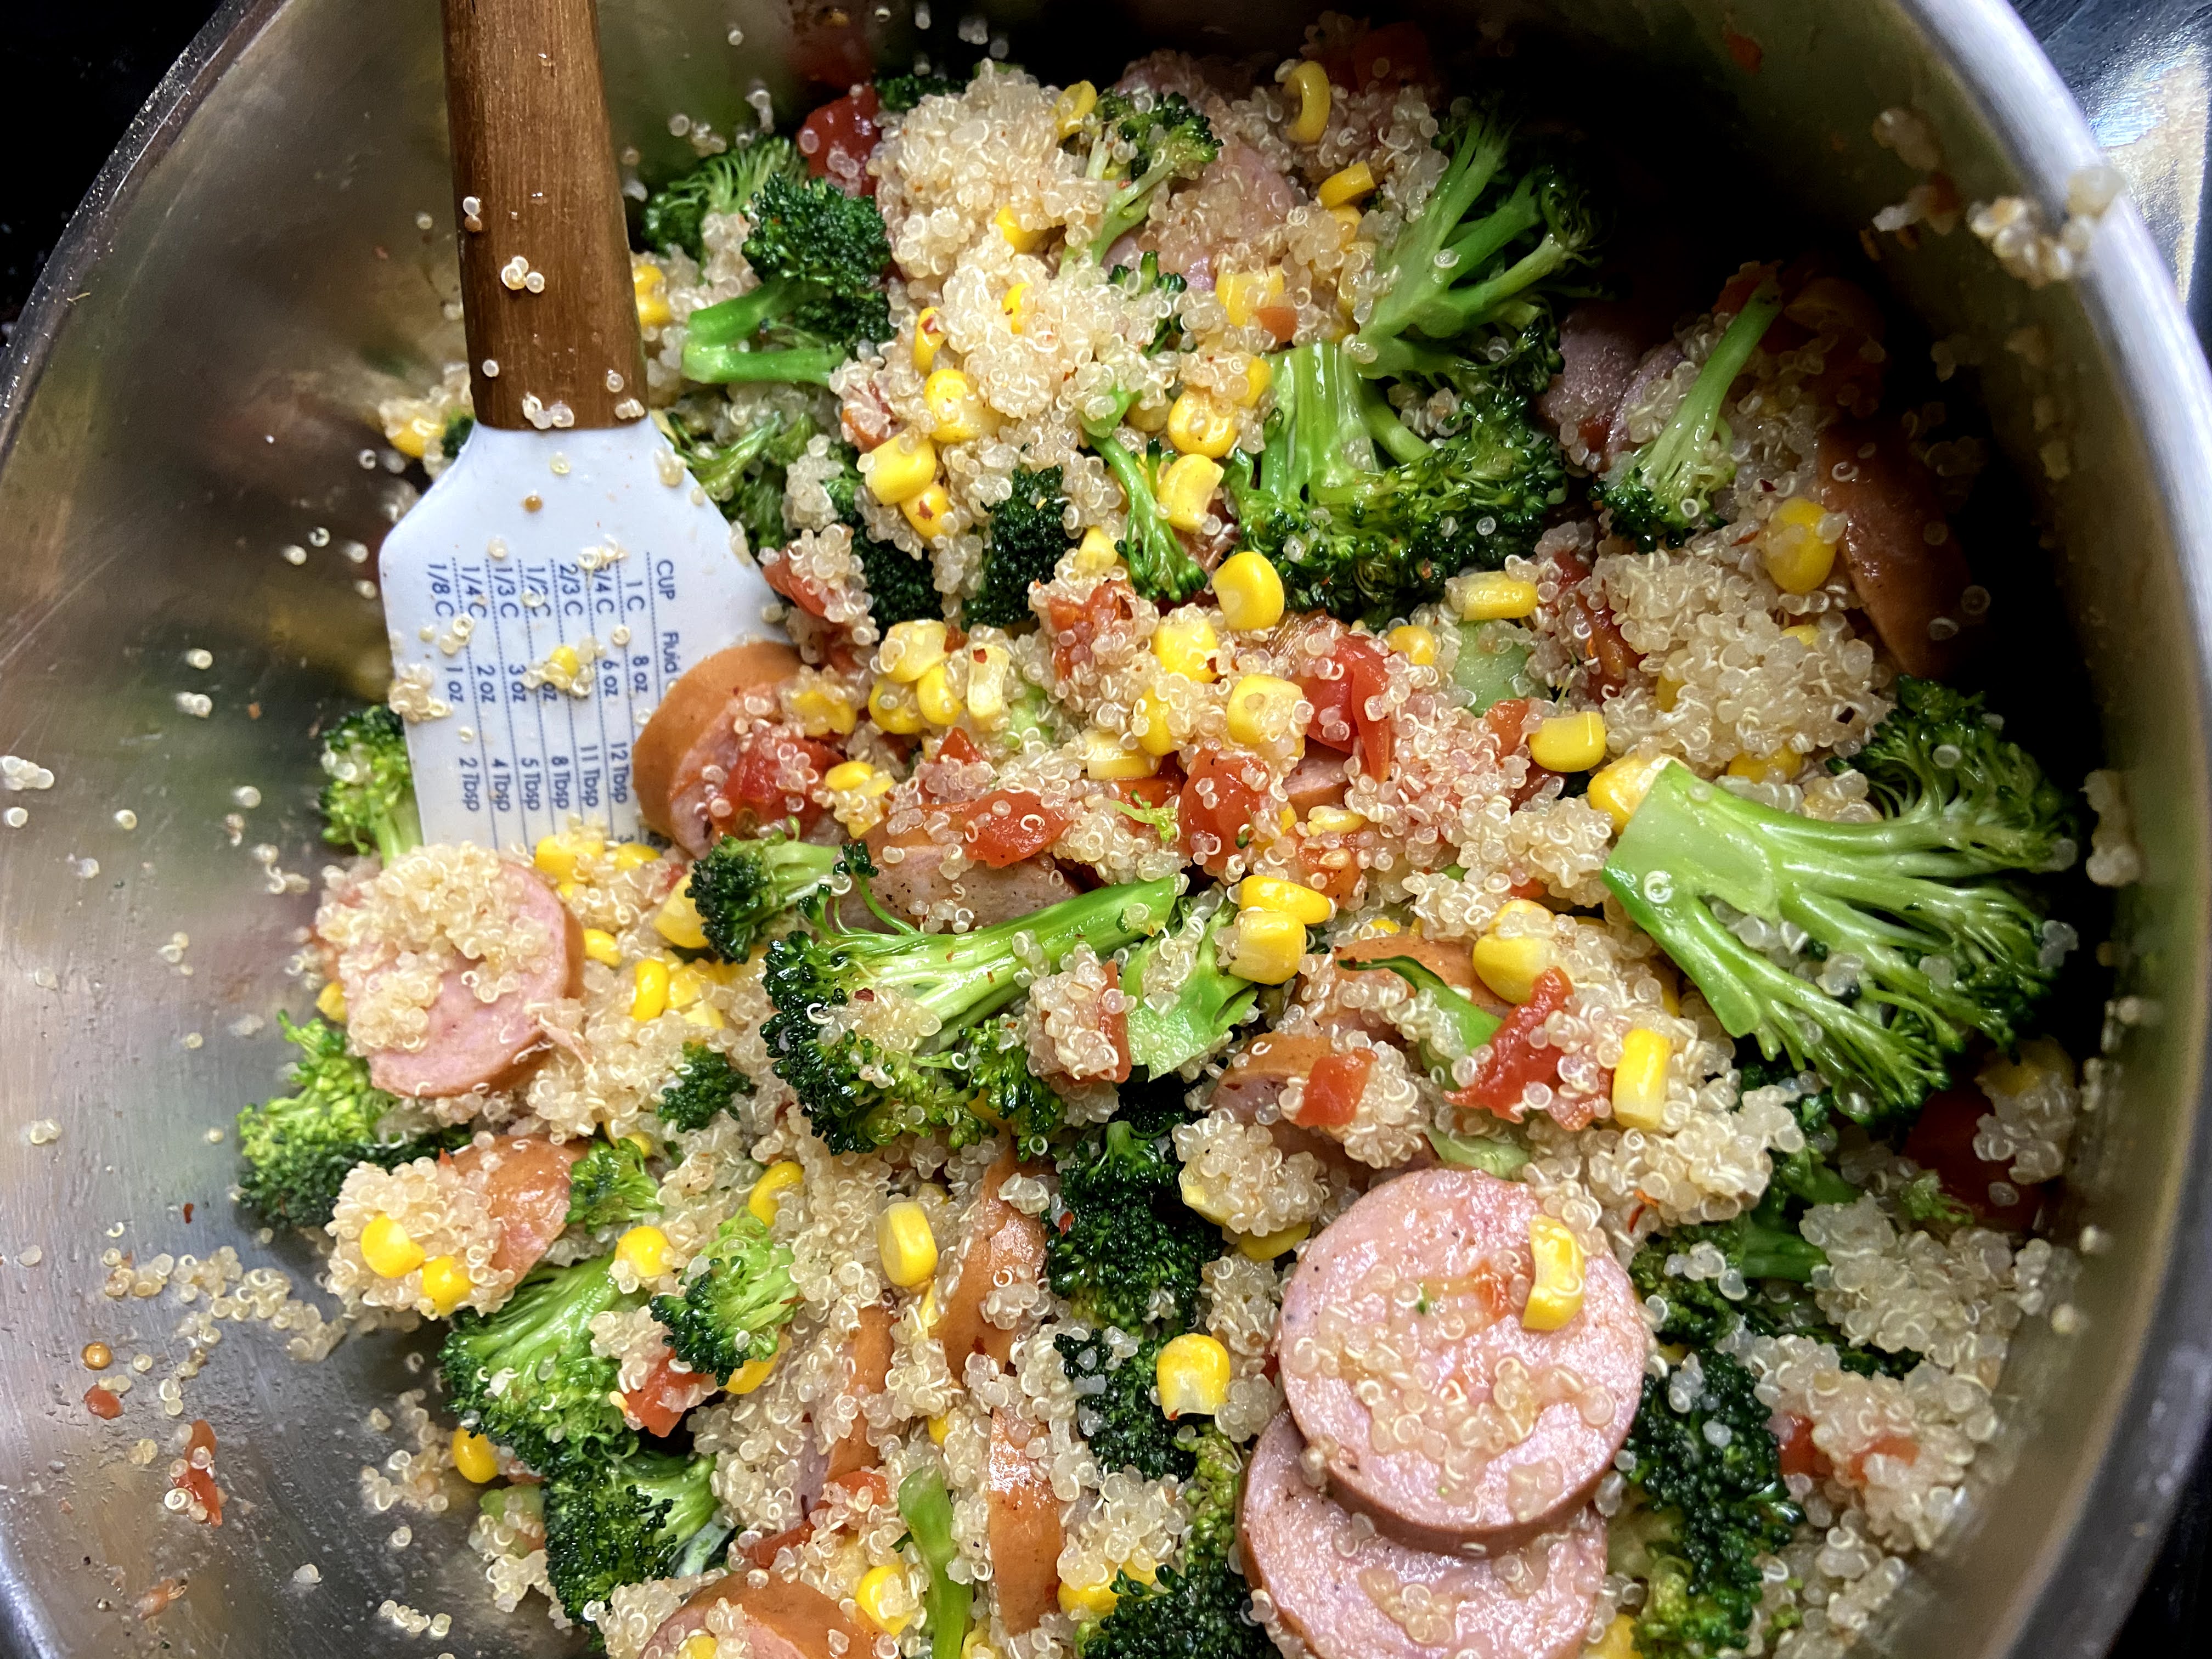
Meanwhile, heat olive oil in a large pan over medium heat. Once the oil is hot, add garlic and saute for 30 seconds. Add broccoli and kielbasa. Cook for 5 minutes over medium heat. Stir in the tomatoes and cook an additional 4 minutes. Finally, add corn, quinoa, salt, pepper, and red pepper flakes. Cook over medium-high heat until the corn is heated all the way through. 

Yup. That’s it. A complete dinner in truly 20 minutes. Does it get any better than that? And yes, it seems short on spices, but the kielbasa will give it all it needs. And the color? It’s dreamy. A definite recipe to add to your rotation. 

Interested in planning out some other meals? Check out my cooking page for all sorts of soups, bakes, and more! Click here!

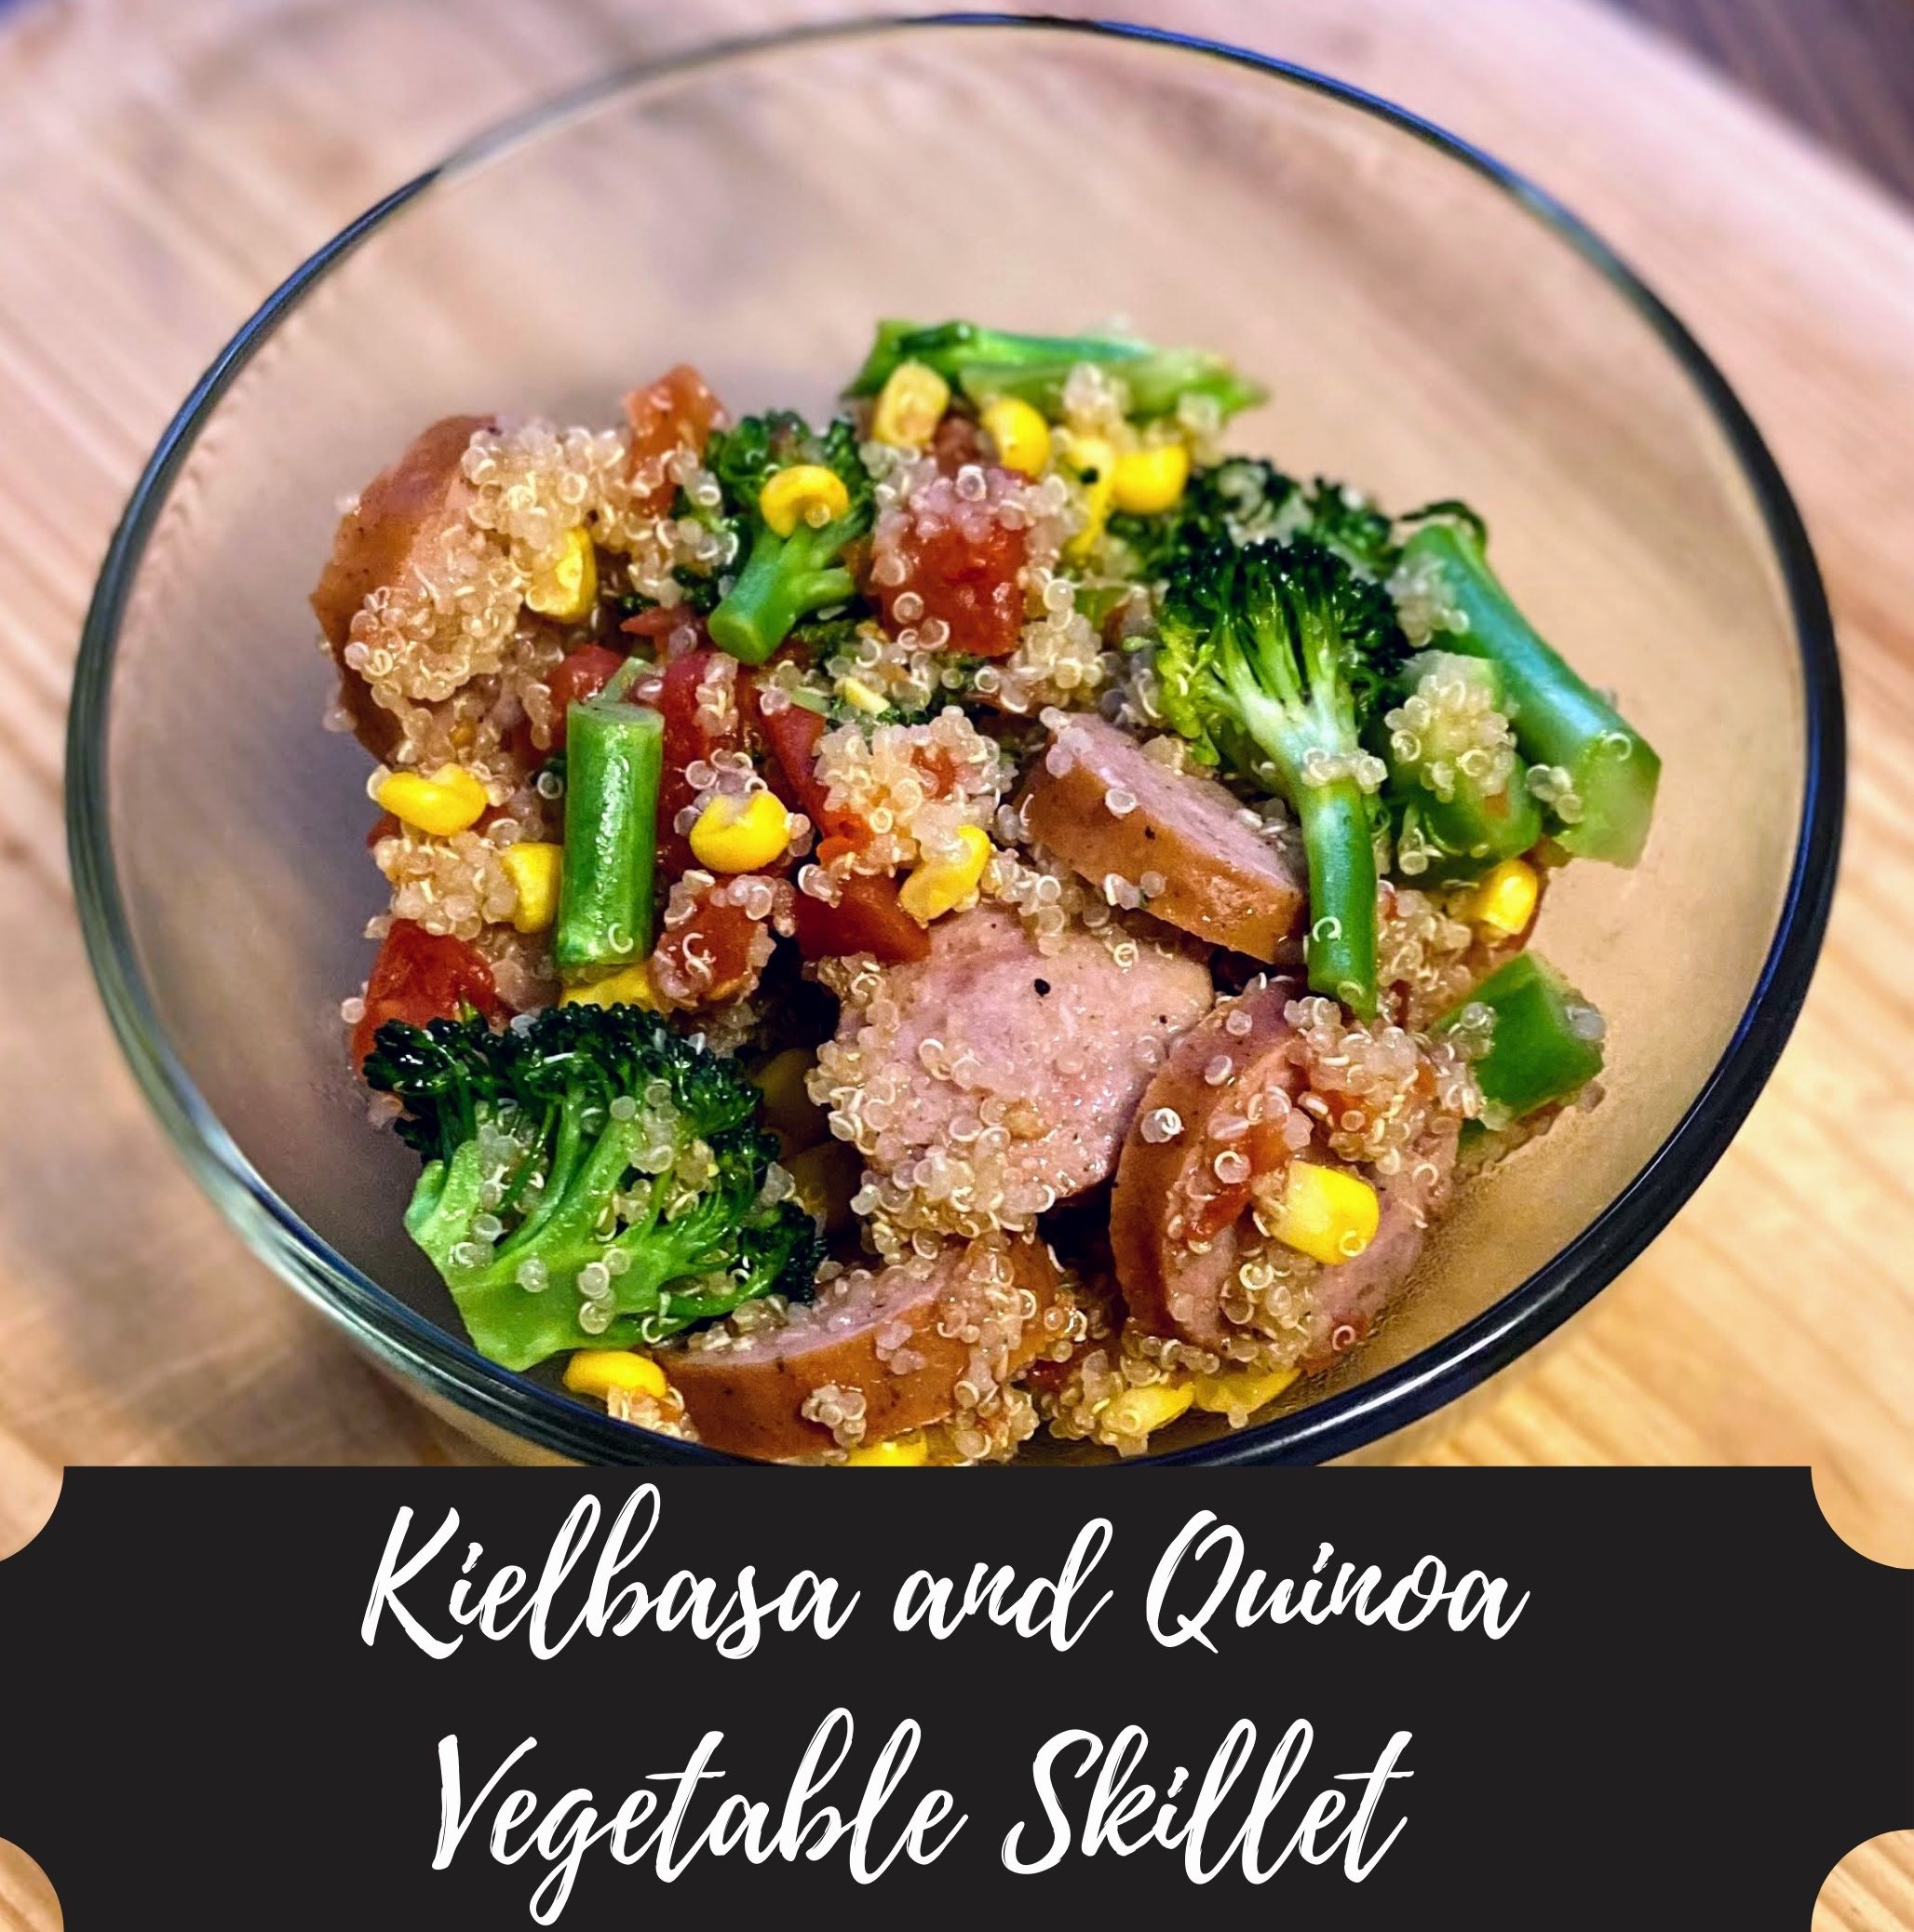
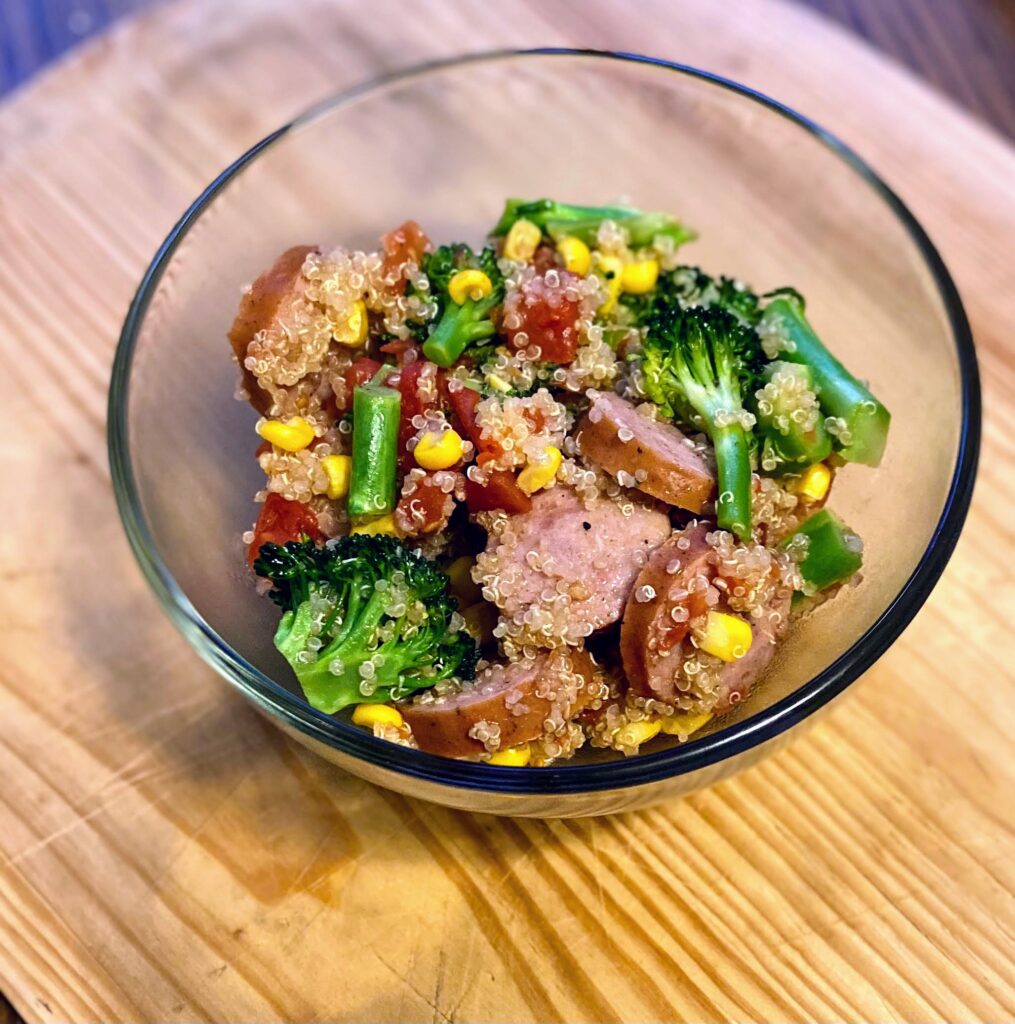
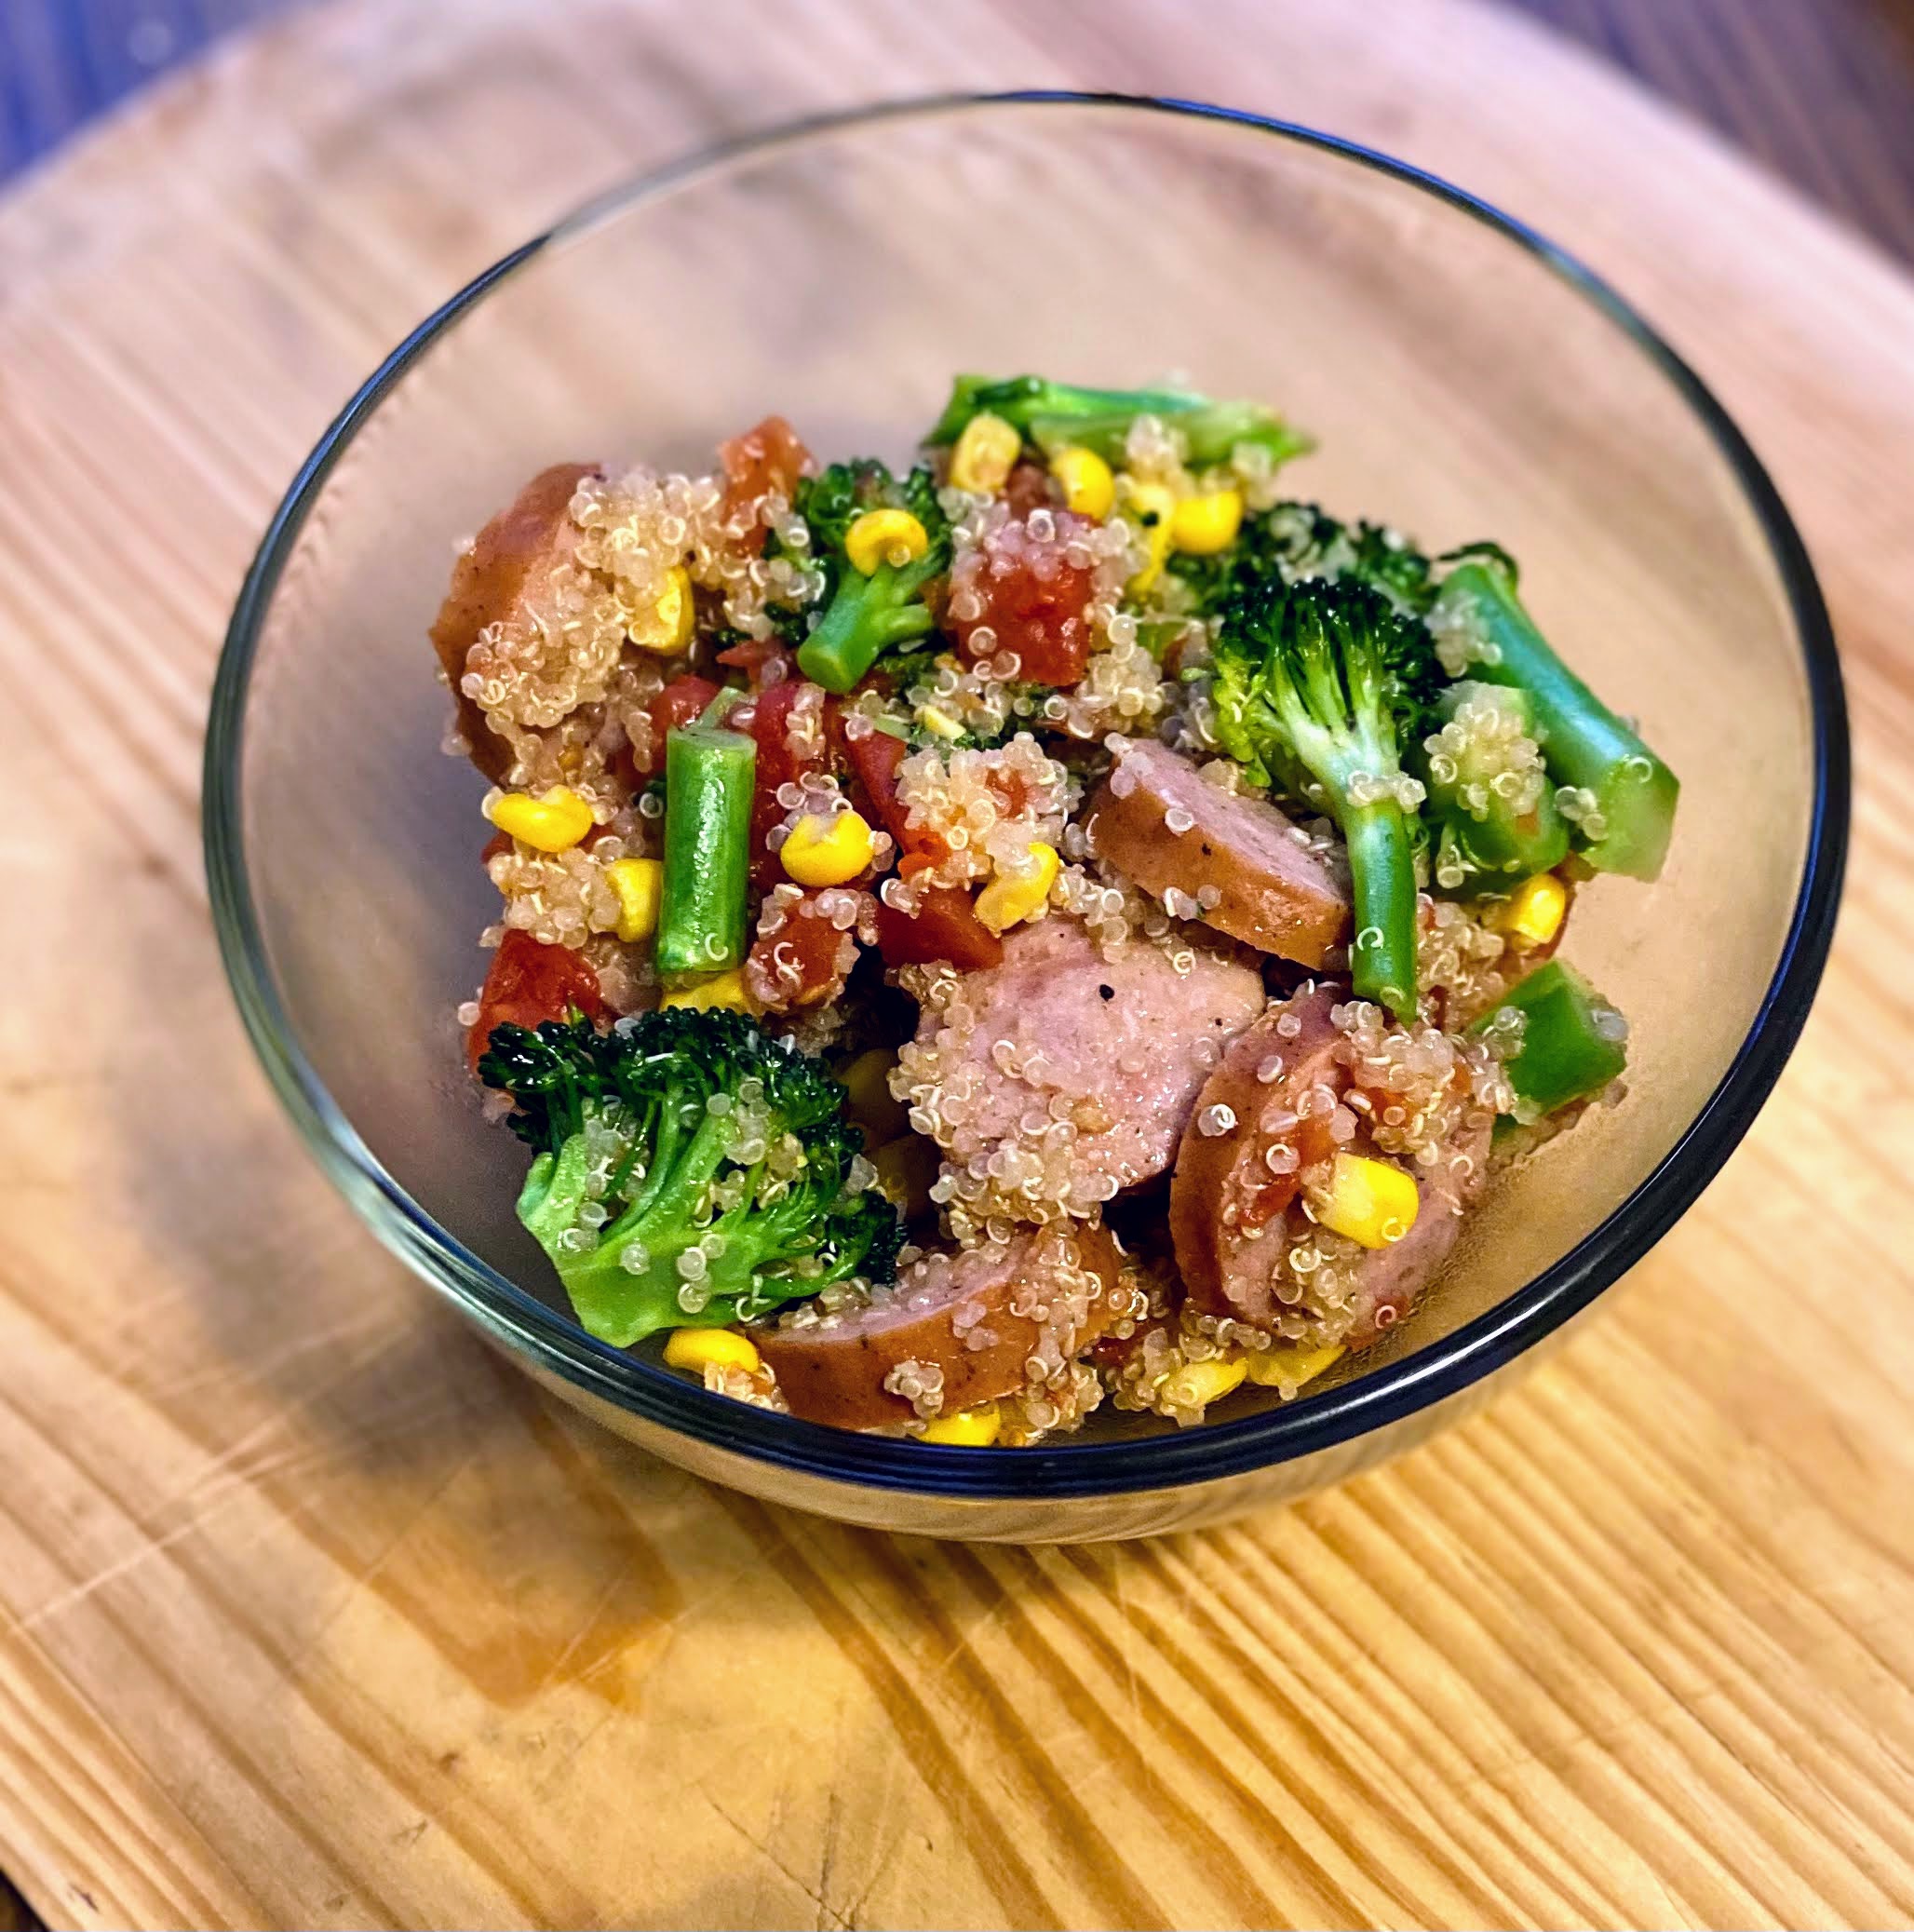
Finished bowl

Kielbasa and Quinoa Vegetable Skillet

Kielbasa and Quinoa Skillet: Eight ingredients, full of color, and comes together in under 30 minutes. This complete dinner is perfect for any weeknight!
5 from 3 votes
Prep Time 5 minutes
Cook Time 15 minutes
Total Time 20 minutes
Course Main Course
Cuisine American
Servings 4

Ingredients
  

  • ¾ cup dry quinoa
  • 1 ½ cups chicken stock or water will do!
  • 2 teaspoons minced garlic
  • 1 tablespoon olive oil
  • 1 kielbasa sliced
  • 3 ½ cups broccoli chopped (include the stems!)
  • 1 15 ounce canned diced tomatoes drained and salt free
  • 1 cup frozen corn
  • Salt pepper, and red pepper flakes, to taste

Instructions
 

  • In a saucepan, bring chicken stock to a boil. Add quinoa and lower the temperature to a simmer. Cover and simmer for 15 minutes.
  • Meanwhile, heat olive oil in a large pan over medium heat.
  • Once the oil is hot, add garlic and saute for 30 seconds. Add broccoli and kielbasa.
  • Cook for 5 minutes over medium heat.
  • Stir in the tomatoes and cook an additional 4 minutes.
  • Finally, add corn, quinoa, salt, pepper, and red pepper flakes. Cook over medium-high heat until the corn is heated all the way through. Serve.
Keyword kielbasa, quinoa, skillet, vegetables
Tried this recipe?Let us know how it was!

Finally Fall Root Vegetable Soup

I’m telling you, I love summer and all that comes with that: swimming, warm skin, camping, gardening, and carefree days. But man, this time of year, I relish the beautiful fall weather. In Northern Wisconsin, this brings on duck hunting. When it’s duck hunting, I get to relish the enjoyment of cooking for a large crowd of hunters. Usually that means I throw together a few kettles of soup, and this year was no different. We had an abundance of root vegetables in our home and I couldn’t wait to cook with them. What resulted was a delightful Finally Fall Root Vegetable Soup.

From the Garden…

We grew potatoes, carrots, and rutabagas this year. I wanted sweet potatoes, but oddly enough, I forgot I wanted them until it was too late (story of my life). So alas, the sweet potatoes were store bought. However, the ground protein was last season’s venison so this root vegetable soup was almost a fully “home harvested meal.” My absolute favorite and leaves me feeling crazy proud. 

Now, I recognize not everyone gets the opportunity to grow their own food. Totally okay (Although I am telling you, you should start. It’s the best for SO MANY reasons. I won’t start listing them here, even though I want to). The great thing is that all of these ingredients can be pantry items, which means you can throw it together anytime you are feeling soup without any special trips. How great is that? Ready to get cooking and put together a fantastic Finally Fall Root Vegetable Soup? Let’s get to it! 

Your Ingredients

  • 1 ½ pounds ground protein (we use venison, but any ground protein would do)
  • Salt and pepper to taste
  • 3 cups of each, diced: sweet potatoes, rutabaga, red potatoes, and carrots 
  • 1 1/2 cups diced onion 
  • 2 tablespoons olive oil 
  • 1 tablespoon minced garlic
  • ½ teaspoon pepper
  • 1 tablespoon dried sage 
  • 2 tablespoons butter
  • 2 tablespoons flour
  • 8 cups beef broth, divided

Your Steps

In a large Dutch oven, combine diced potatoes, rutabaga, carrots and 5 cups of beef broth. Bring to a boil and simmer for 15-20 minutes, until vegetables are tender. Meanwhile, in a large saucepan, brown ground protein, seasoning with salt and pepper to taste. Set aside. 

In the same large saucepan (I am all about minimizing dishes), begin to heat the onions and garlic, adding ½ tablespoon-1 tablespoon of oil if necessary. Sprinkle with ½ teaspoon pepper and 1 tablespoon dried sage. Once the onions have softened (about 5 minutes), add butter. Melt over medium heat. Once the butter is melted, stir in the flour, making a roux. VERY slowly, stir in remaining beef broth, ½ cup at a time, stirring the whole time, bringing to a boil before you add more broth. (Gluten free? You can 100% skip this and have a thinner broth). 

Once the broth has been fully incorporated, slowly add the onion mixture to other root vegetables. Stir in the ground protein and allow everything to come up to temperature. Give a quick taste test here, adding extra pepper or salt if needed. (I tend to get heavy with the pepper according to my kids, so I start light and almost always add a little more). 

Serve the Root Vegetable Soup!

Serve right out of the kettle with a fresh slice of bread and perhaps a salad. I don’t think I am wrong when I say it doesn’t get much better than homemade soup, sourdough bread, and salad. It might just be my favorite meal of all time. Comfort food at it’s finest!

Tools of the trade

There isn’t too many tools here, but I’m telling you, nothing beats a good cast iron Dutch Oven for your soups, bread baking, and everything in between. I love my red kitchen, so this is a perfect fit!

Looking for other soup? Check out my recipes on my cooking page below!

Finally Fall Root Vegetable Soup

Finally Fall Root Vegetable Soup: Comforting and full of good for you vegetables, this soup will bring joy to your heart and your belly.
Prep Time10 minutes
Cook Time35 minutes
Course: Main Course
Cuisine: American
Servings: 10

Ingredients

  • 1 ½ pounds ground protein we use venison, but any ground protein would do
  • Salt and pepper to taste
  • 3 cups sweet potatoes largely diced
  • 3 cups rutabaga largely diced
  • 3 cups red potatoes largely diced
  • 3 cups carrots largely diced
  • 1 ½ cups diced onion
  • 1 tablespoon olive oil
  • 1 tablespoon minced garlic
  • ½ teaspoon pepper
  • 1 tablespoon dried sage
  • 2 tablespoons butter
  • 2 tablespoons flour
  • 7 cups beef broth divided

Instructions

  • In a large Dutch oven, combine diced potatoes, rutabaga, carrots and 5 cups of beef broth.
  • Bring to a boil and simmer for 15-20 minutes, until vegetables are tender.
  • Meanwhile, in a large saucepan, brown ground protein, seasoning with salt and pepper to taste. Set aside.
  • In the same large saucepan begin to heat the onions and garlic, adding ½ tablespoon-1 tablespoon of oil if necessary. Sprinkle with ½ teaspoon pepper and 1 tablespoon dried sage.
  • Once the onions have softened (about 5 minutes), add butter.
  • Melt over medium heat. Once the butter is melted, stir in the flour, making a roux.
  • Slowly add in remaining beef broth, ½ cup at a time, stirring the whole time, bringing to a boil before you add more broth.
  • Once the broth has been fully incorporated, slowly add the onion mixture to other root vegetables.
  • Stir in the ground protein and allow everything to come up to temperature. Add additional salt or pepper as needed.

Notes

Gluten free? Feel free to skip the flour and butter roux.