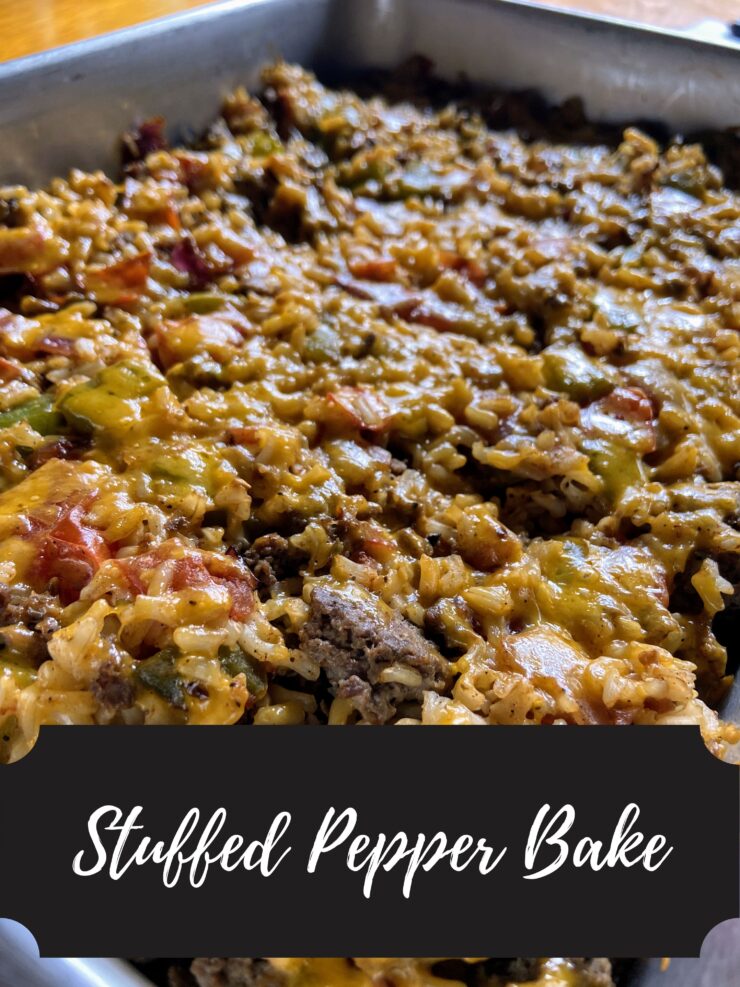
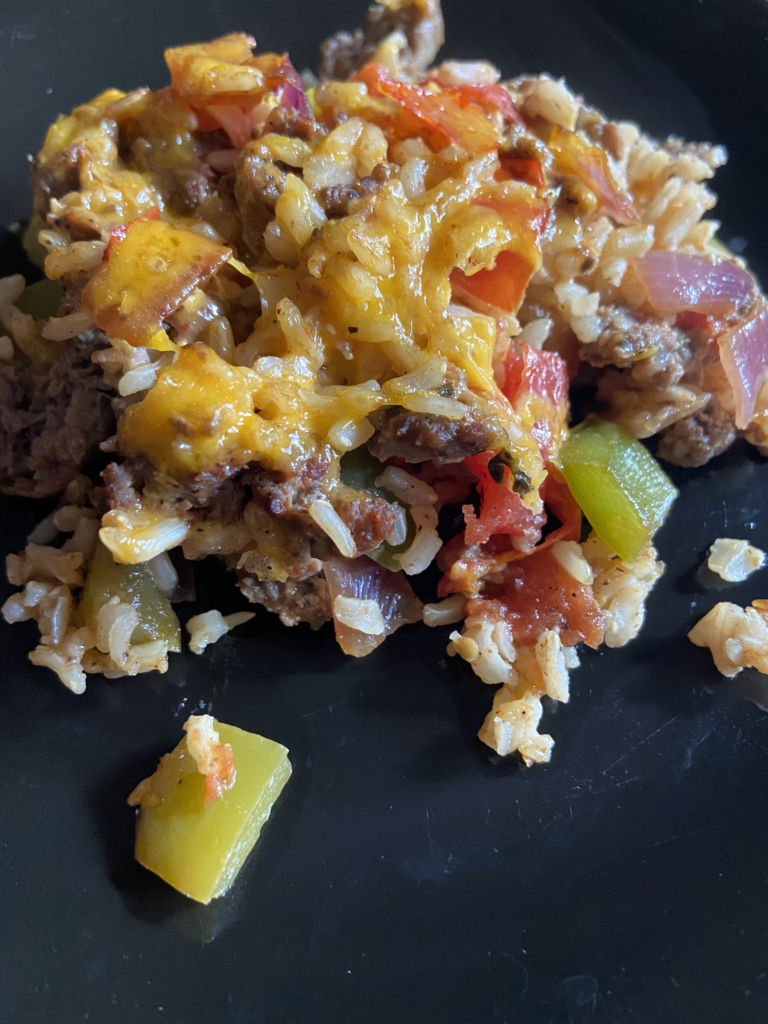
Stuffed Pepper Bake

Jump to Recipe

I’ll be honest, I don’t love green peppers. I think I can count on one hand how many vegetables I don’t like, but green peppers would be on that list. However, I keep trying them and cooking with them because I am certain that with enough tries, I will grow to love them. (As an aside, my sister feels the same way about tomatoes. But she would say, “You’re a grown adult. It’s okay. You don’t HAVE to like them.”)

That being said, one recipe I do enjoy them in is stuffed peppers. I know, it doesn’t make a whole lot of sense, I just don’t ask questions. Let’s be honest, stuffed peppers seem like a lot of work and you have these predetermined servings, which isn’t awesome for the kiddos I am trying to feed at my home as well. This “I want to like green peppers” and “I need to feed my children” line of thought inspired this recipe: Stuffed Pepper Bake. 

Reasons I love It

It’s a 30-40 minute prep kind of recipe! Clearly, I love cooking and providing homemade meals for my family. But head cooks in the households will agree, it’s getting a little old during our “safer at home order.” We have our staple recipes that are seeing a lot of use. Yes, I want to try new things, but we only shop once a week. I decided to through this recipe together for dinner around 1 pm on a weeknight; there was no “pre-prep.” Heck, the meat wasn’t even thawed yet! So it came together quick, I had everything on hand, and my family loved it. 

It’s got intense, wonderful flavor! If you follow me, you know I am all about some standard spices: salt, pepper, oregano, rosemary and ALL the garlic. This stuffed pepper bake takes it up a notch. Our families’ tastebuds danced for joy as we ate it for the first time. 

Finally, I just love a good dish baked in a casserole pan. Maybe it’s the midwestern in me, but a casserole (let’s be real, I fancy it up with the word bake) has comfort written all over it. Not to mention, casseroles are classic “prep on Sunday, eat on a weeknight.” Gotta love that life! 

Okay, enough talk, let’s get to cooking that Stuffed Pepper Bake!

Your Ingredients

  • 1 cup brown rice
  • 2 cups water
  • ¼ teaspoon of the following: salt, pepper, garlic powder 
  • 1 pound ground Italian sausage (if you know me, I’ll be using ground Italian seasoned venison)
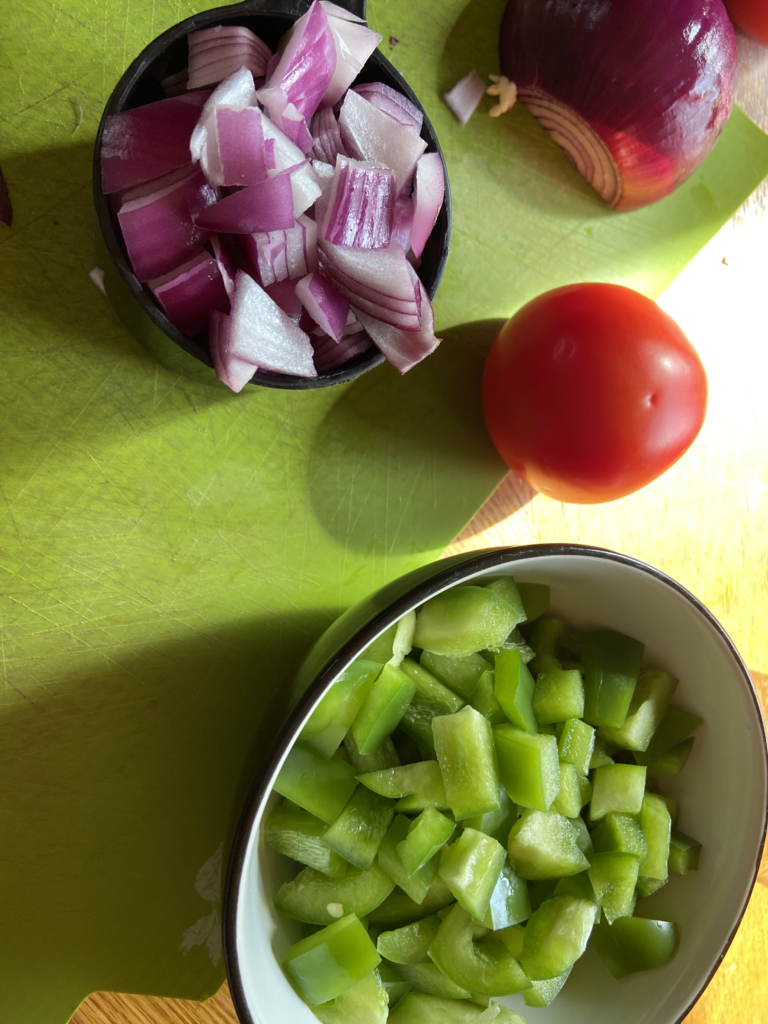
  • 2 cups diced green pepper (about 1 large)
  • 1 cup diced onion (I used red)
  • ½ tablespoon minced garlic
  • 1 ½ cup diced tomatoes 
  • ½ teaspoon of the following: pepper, salt, cumin chili powder
  • Pinch of red pepper flakes 
  • 1 cup shredded cheddar cheese 

Your Steps 

Begin by cooking the brown rice according to the directions on the package. For me, that looked like combining the water, brown rice, and salt, pepper, and garlic powder. Bring the mixture to a boil, lower to a simmer, and cook for 30-40 minutes, until al dente. 

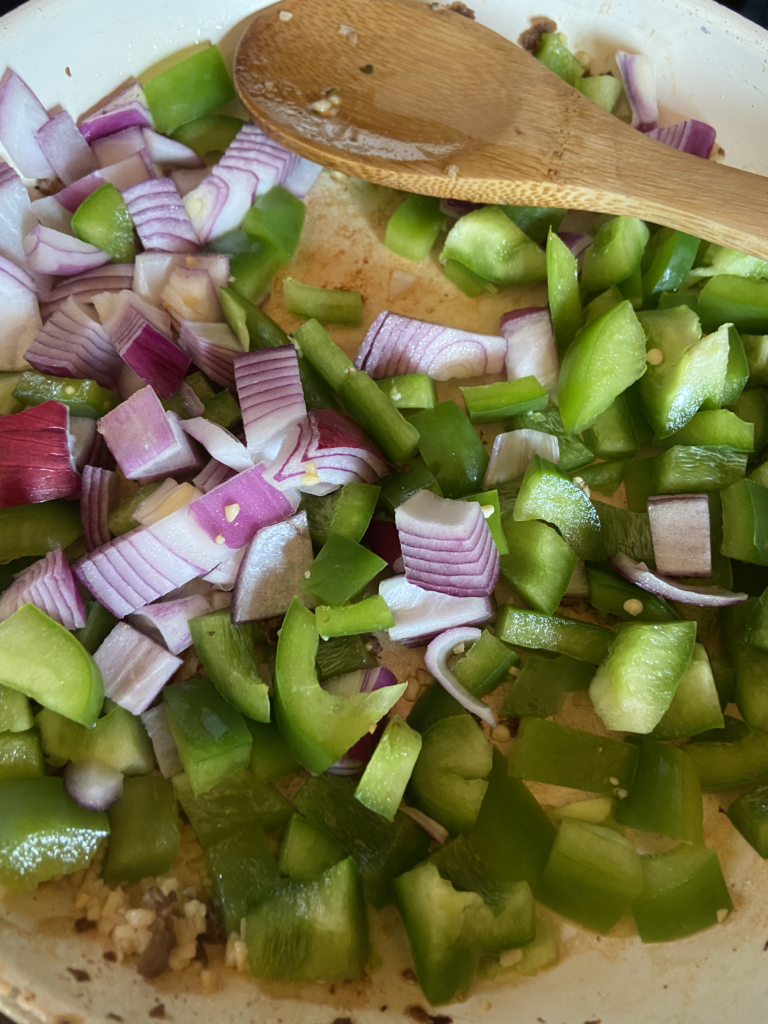
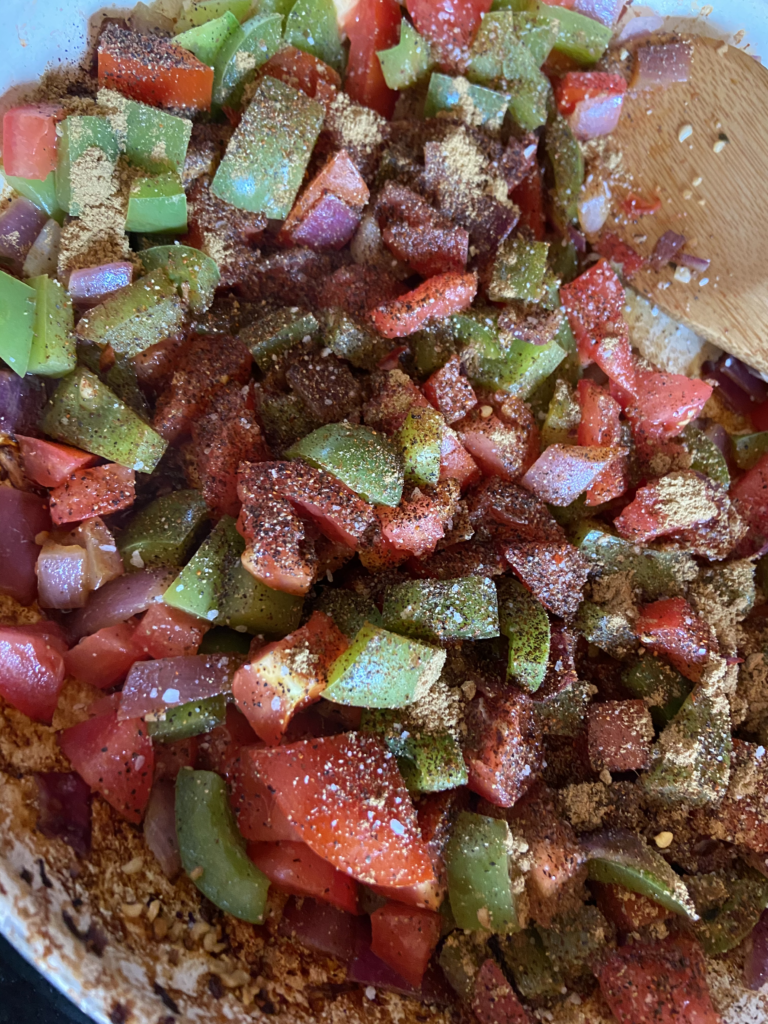
Meanwhile, heat a large frying pan to medium high heat and brown sausage (If you are using a lean protein, feel free to add a little oil before heating up the pan. Cook until just browned. Remove from pan and set aside for the time being. Keeping the pan on the medium-high heat, add green pepper, onions, and minced garlic. Cook for 5-8 minutes, until just softened. Stir in remaining spices and diced tomatoes. Keeping at medium high heat, cook for an additional 3-5 minutes.
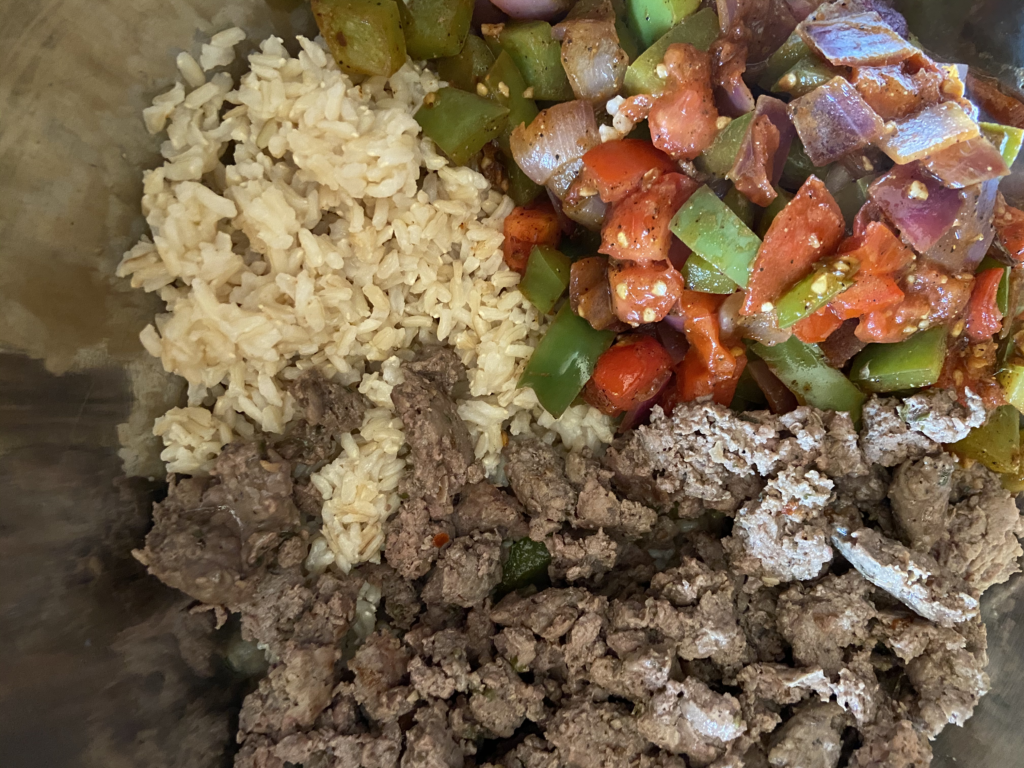
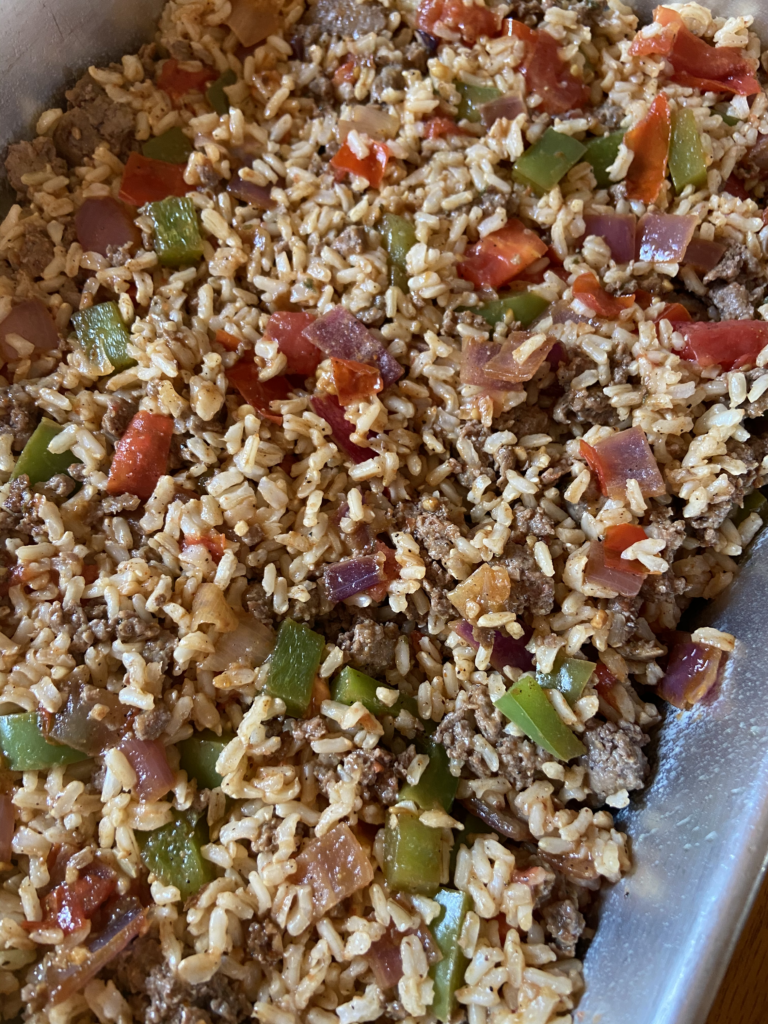
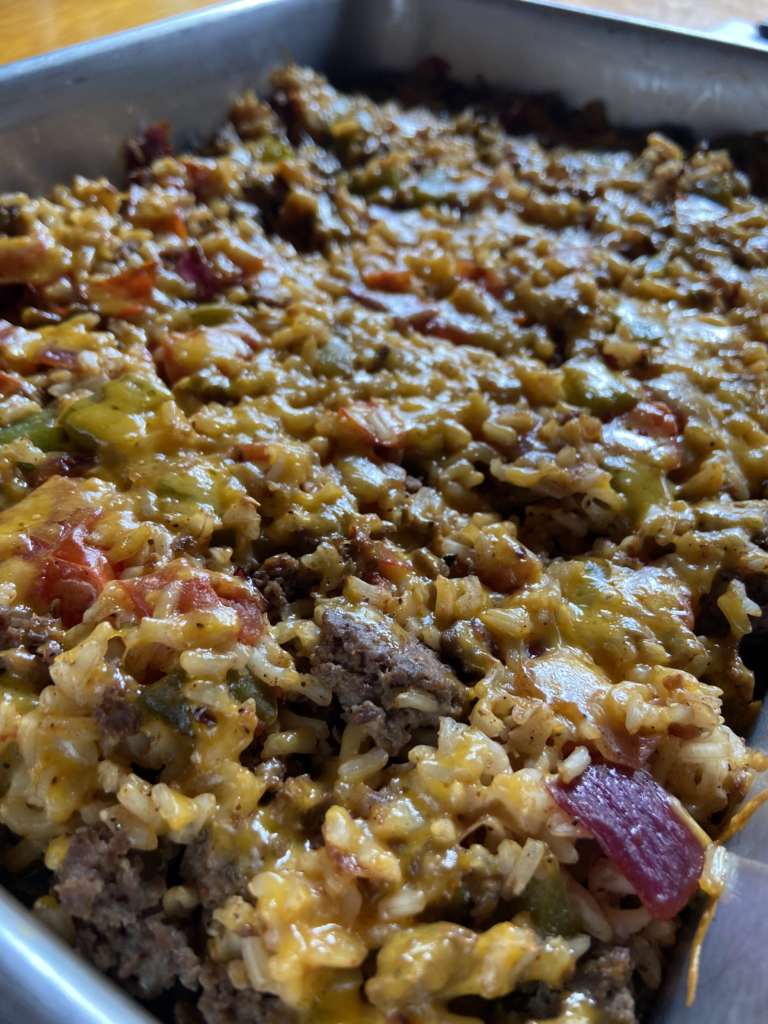
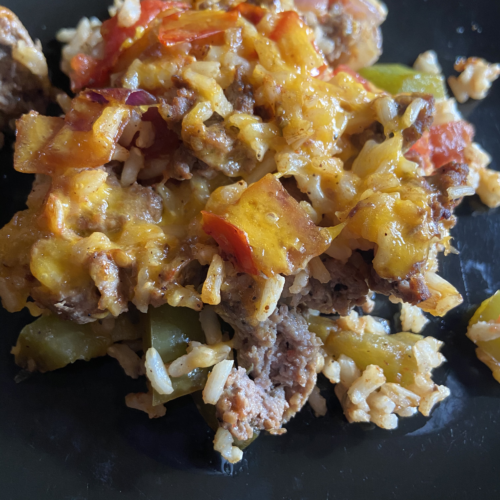
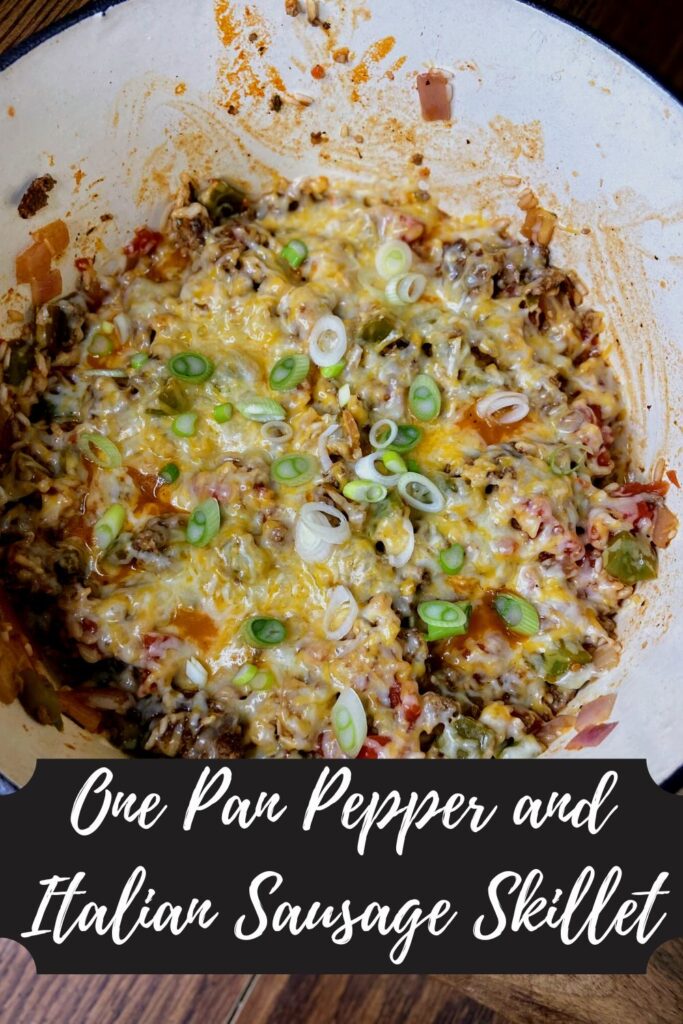
After the vegetables are done cooking, stir in cooked rice and browned sausage until well mixed. If your pan is big enough, do it there. If not, grab yourself a bowl and get mixing. Spread the rice, sausage, and vegetable mixture into a greased 9×13 casserole dish. Finally, top with shredded cheese. Bake for 15-20 minutes at 400 degrees. You may want to allow it to cool 5 minutes before serving, and here’s to hoping you get leftovers. My husband went back for seconds; and then thirds! Stuffed Pepper Bake: A quick, flavorful, good for you meal made from scratch. My kind of cooking! 

Other hints and tips

  • I used fresh tomatoes that I diced because I had them on hand. Make this even easier by using canned diced tomatoes. If possible, I would use salt free, but everyone has their own tastes. Also, I would drain them about half way prior to adding them. 
  • I am 100% guilty of using pre shredded cheese often. Let me tell you as a True Wisconsin girl, block cheese that is shredded right before cooking is SO MUCH BETTER. If you have it on hand, I would go that route for sure. 
  • I love my Italian venison sausage. I don’t have it on Jess in the Kitchen here yet, but I can give you some info about how we do it: We grind our own venison. Additionally, we purchase a fattier cut of pork, which we hand grind as well. Those two get mixed 50/50 with an Italian Sausage seasoning mix that I mix up. I have used this recipe for a guide. Then we freeze it in 1 pound packages. Perfect for pasta and all our favorite Italian dishes! 

Looking to find some other dishes for dinner? Click here!

Stuffed Pepper Bake

Stuffed Pepper Bake

All the flavor of stuffed peppers without all the work. A quick to put together and healthy take on the classic in a casserole dish!
Prep Time 40 minutes
Cook Time 15 minutes
Course Main Course
Cuisine American
Servings 8

Ingredients
  

  • 1 cup brown rice
  • 2 cups water
  • ¼ teaspoon salt
  • ¼ teaspoon pepper
  • ¼ teaspoon garlic powder
  • 1 pound ground Italian sausage
  • 2 cups diced green pepper about 1 large
  • 1 cup diced onion I used red
  • ½ tablespoon minced garlic
  • 1 ½ cup diced tomatoes
  • ½ teaspoon pepper
  • ½ teaspoon cumin
  • ½ teaspoon chili powder
  • Pinch of red pepper flakes
  • 1 cup shredded cheddar cheese

Instructions
 

  • Combine rice, water, and salt, pepper, and garlic powder. Bring to boil and then lower to a simmer. Simmer for 35-45 minutes, until al dente. Set aside.
  • Heat large frying pan over medium-high heat. Brown sausage (using some olive oil if using a lean protein). Cook until just browned. Remove from pan.
  • Keeping the pan on medium-high heat, heat olive oil. Add green pepper, onions, and minced garlic. Cook 5-8 minutes.
  • Stir in remaining spices and diced tomatoes. Cook an additional 3-5 minutes, until all vegetables are soft.
  • Combine rice, browned meat and vegetables. Spread into a greased 9×13 casserole dish. Top with shredded cheese.
  • Bake for 15-20 minutes at 400° F, until cheese is melted.
Keyword bake, casserole, dinner, stuffed peppers
Tried this recipe?Let us know how it was!

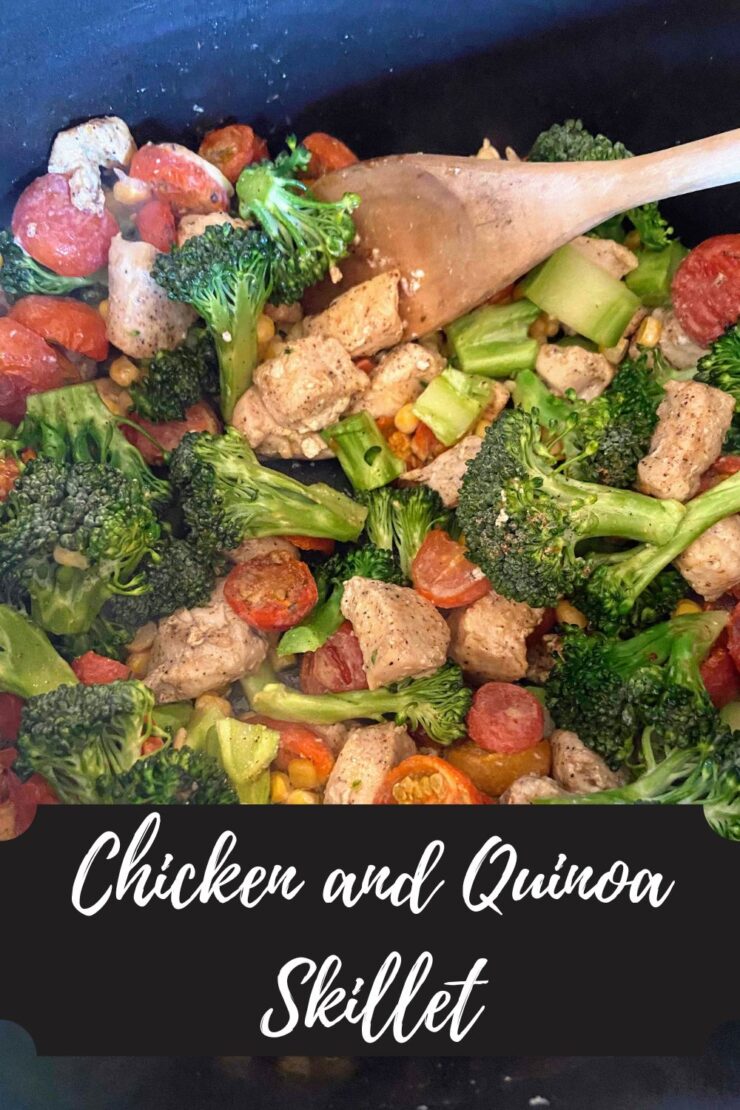
Chicken and Quinoa Skillet

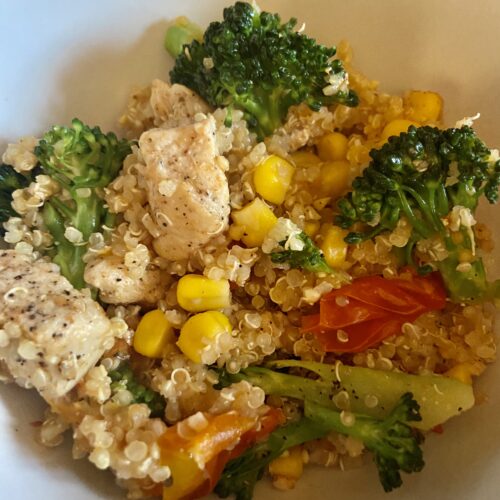
I don’t know about you, but I adore quinoa. I feel like it’s the grown up version of rice, maybe? It cooks quicker, is chock full of nutrients, and is such a blank canvas for your food artistry. Mix in some freshly cooked vegetables, seasoned, cooked chicken and you have this quick and easy dinner: Chicken and Quinoa Skillet. 

This isn’t a meal that my family necessarily meal plans. It’s a “Hey look! I have chicken and quinoa and all the veggies that go in that skillet! Let’s make that tonight for a quick meal!” kind of meal. Okay, I declared this a quick meal so let’s stop with the talking and get to the cooking!

Your INgredients:

  • 1 cup quinoa, rinsed and uncooked
  • 2 cups water (or chicken stock)
  • 1 pound boneless, skinless chicken breast, cut into bit size pieces
  • ½ teaspoon each of pepper, salt onion powder, garlic powder, and paprika, mixed together
  • 1 tablespoon olive oil
  • 1 teaspoon minced garlic
  • 4 cups chopped broccoli (about 1 head, if you include the stem)
  • 2 cups chopped tomatoes (I used my frozen roasted cherry tomatoes from the summer–recipe to come soon!)
  • 1 cup frozen corn
  • pinch of red pepper flakes and additional salt and pepper, to taste

Your Steps:

Add quinoa and water to a small saucepan. Bring to a boil, lower to a simmer and allow to cook for 15-20 minutes, uncovered, until all the water has absorbed. Fluff with a fork when finished and allow to rest. 

Meanwhile, season chicken with half of the seasoning mixture. Heat oil over medium-high heat in a larger skillet. Once hot, add chicken. Cook for 8-12 minutes, until just cooked through. Avoid over stirring to allow the chicken to crisp up just a little. Add minced garlic and cook 30 seconds before stirring in remaining ingredients (broccoli, tomatoes, corn, pepper flakes, and remaining seasoning mixture). Cook until broccoli is hot throughout, approximately 5-8 minutes. Remove from heat and stir in quinoa. Add additional salt, pepper, and red pepper flakes to taste. Enjoy!

I love it because its simple and full of flavor and color. Bonus: We don’t typically meal plan this one. It just comes together as “often in our house” pantry items. Don’t dig chicken? You can totally substitute in a different protein. Yum! 

Looking for a different dinner idea? Check out my cooking page here!

Chicken and Quinoa Skillet

Chicken and Quinoa Skillet

Chicken and Quinoa Skillet. A "full of veggie meal" for a quick, clean, and full of flavor meal for any day of the week! Done in under 30 minutes! Win!
Servings 6

Ingredients
  

  • 1 cup quinoa rinsed and uncooked
  • 2 cups water or chicken stock
  • 1 pound boneless skinless chicken breast, cut into bit size pieces
  • ½ teaspoon each of pepper salt onion powder, garlic powder, and paprika, mixed together
  • 1 tablespoon olive oil
  • 1 teaspoon minced garlic
  • 4 cups chopped broccoli about 1 head, if you include the stem
  • 2 cups chopped tomatoes
  • pinch of red pepper flakes and additional salt and pepper to taste

Instructions
 

  • Add quinoa and water to a small saucepan. Bring to a boil, lower to a simmer and allow to cook for 15-20 minutes, uncovered, until all the water has absorbed. Fluff with a fork when finished and allow to rest.
  • Meanwhile, season chicken with half of the seasoning mixture.
  • Heat oil over medium-high heat in a larger skillet. Once hot, add chicken.
  • Cook for 8-12 minutes, until just cooked through. Avoid over stirring to allow the chicken to crisp up just a little.
  • Add minced garlic and cook 30 seconds before stirring in remaining ingredients (broccoli, tomatoes, corn, pepper flakes, and remaining seasoning mixture). Cook until broccoli is hot throughout, approximately 5-8 minutes.
  • Remove from heat and stir in quinoa. Add additional salt, pepper, and red pepper flakes to taste. Enjoy!
Tried this recipe?Let us know how it was!

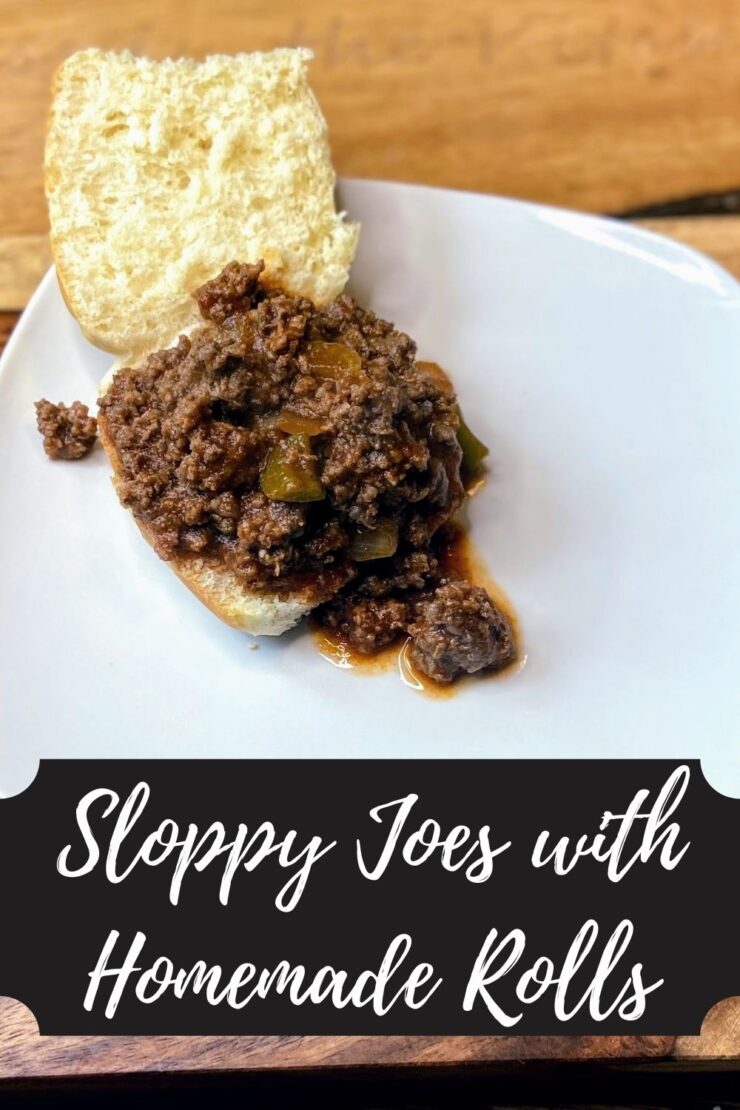
Sloppy Joes and Homemade Rolls

Inspiration comes from interesting places, doesn’t it? I have this lovely friend who is immensely creative and loves to create food masterpieces often. Since she is working from home part time right now, this happens regularly for her. She shared that she made homemade hamburger rolls and that her husband declared them better than store bought. Well, those lingered in my head and I was intrigued, hoping to find a reason to make them. (Wait for it…Sloppy Joes to come!)

Two days later, my son and I were flipping through my most recent cooking magazine as we are waiting for the time to start teaching and learning from home, and we see Sloppy Joes. Alas, we don’t have any rolls and with COVID-19, we have been strictly holding to one grocery trip a week, and my husband is the one to do it (he’s at work…bummer). But! The recipe of the rolls! So I quickly set to work to put my own spin on a from scratch Sloppy Joe mix with yeast rolls.

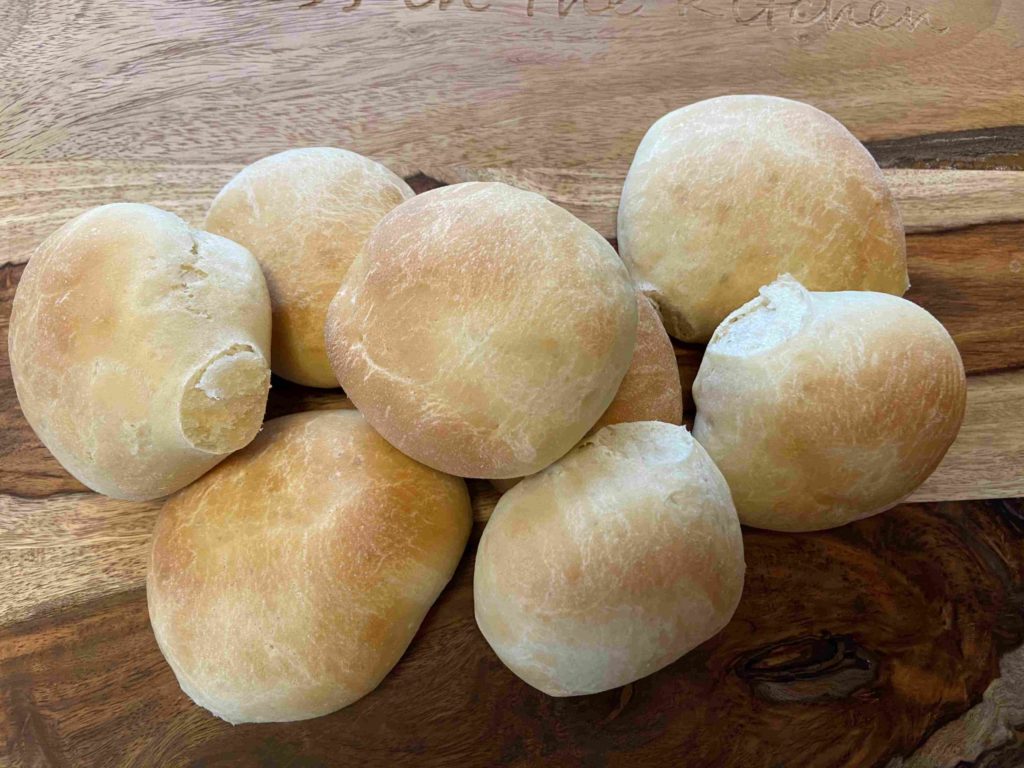
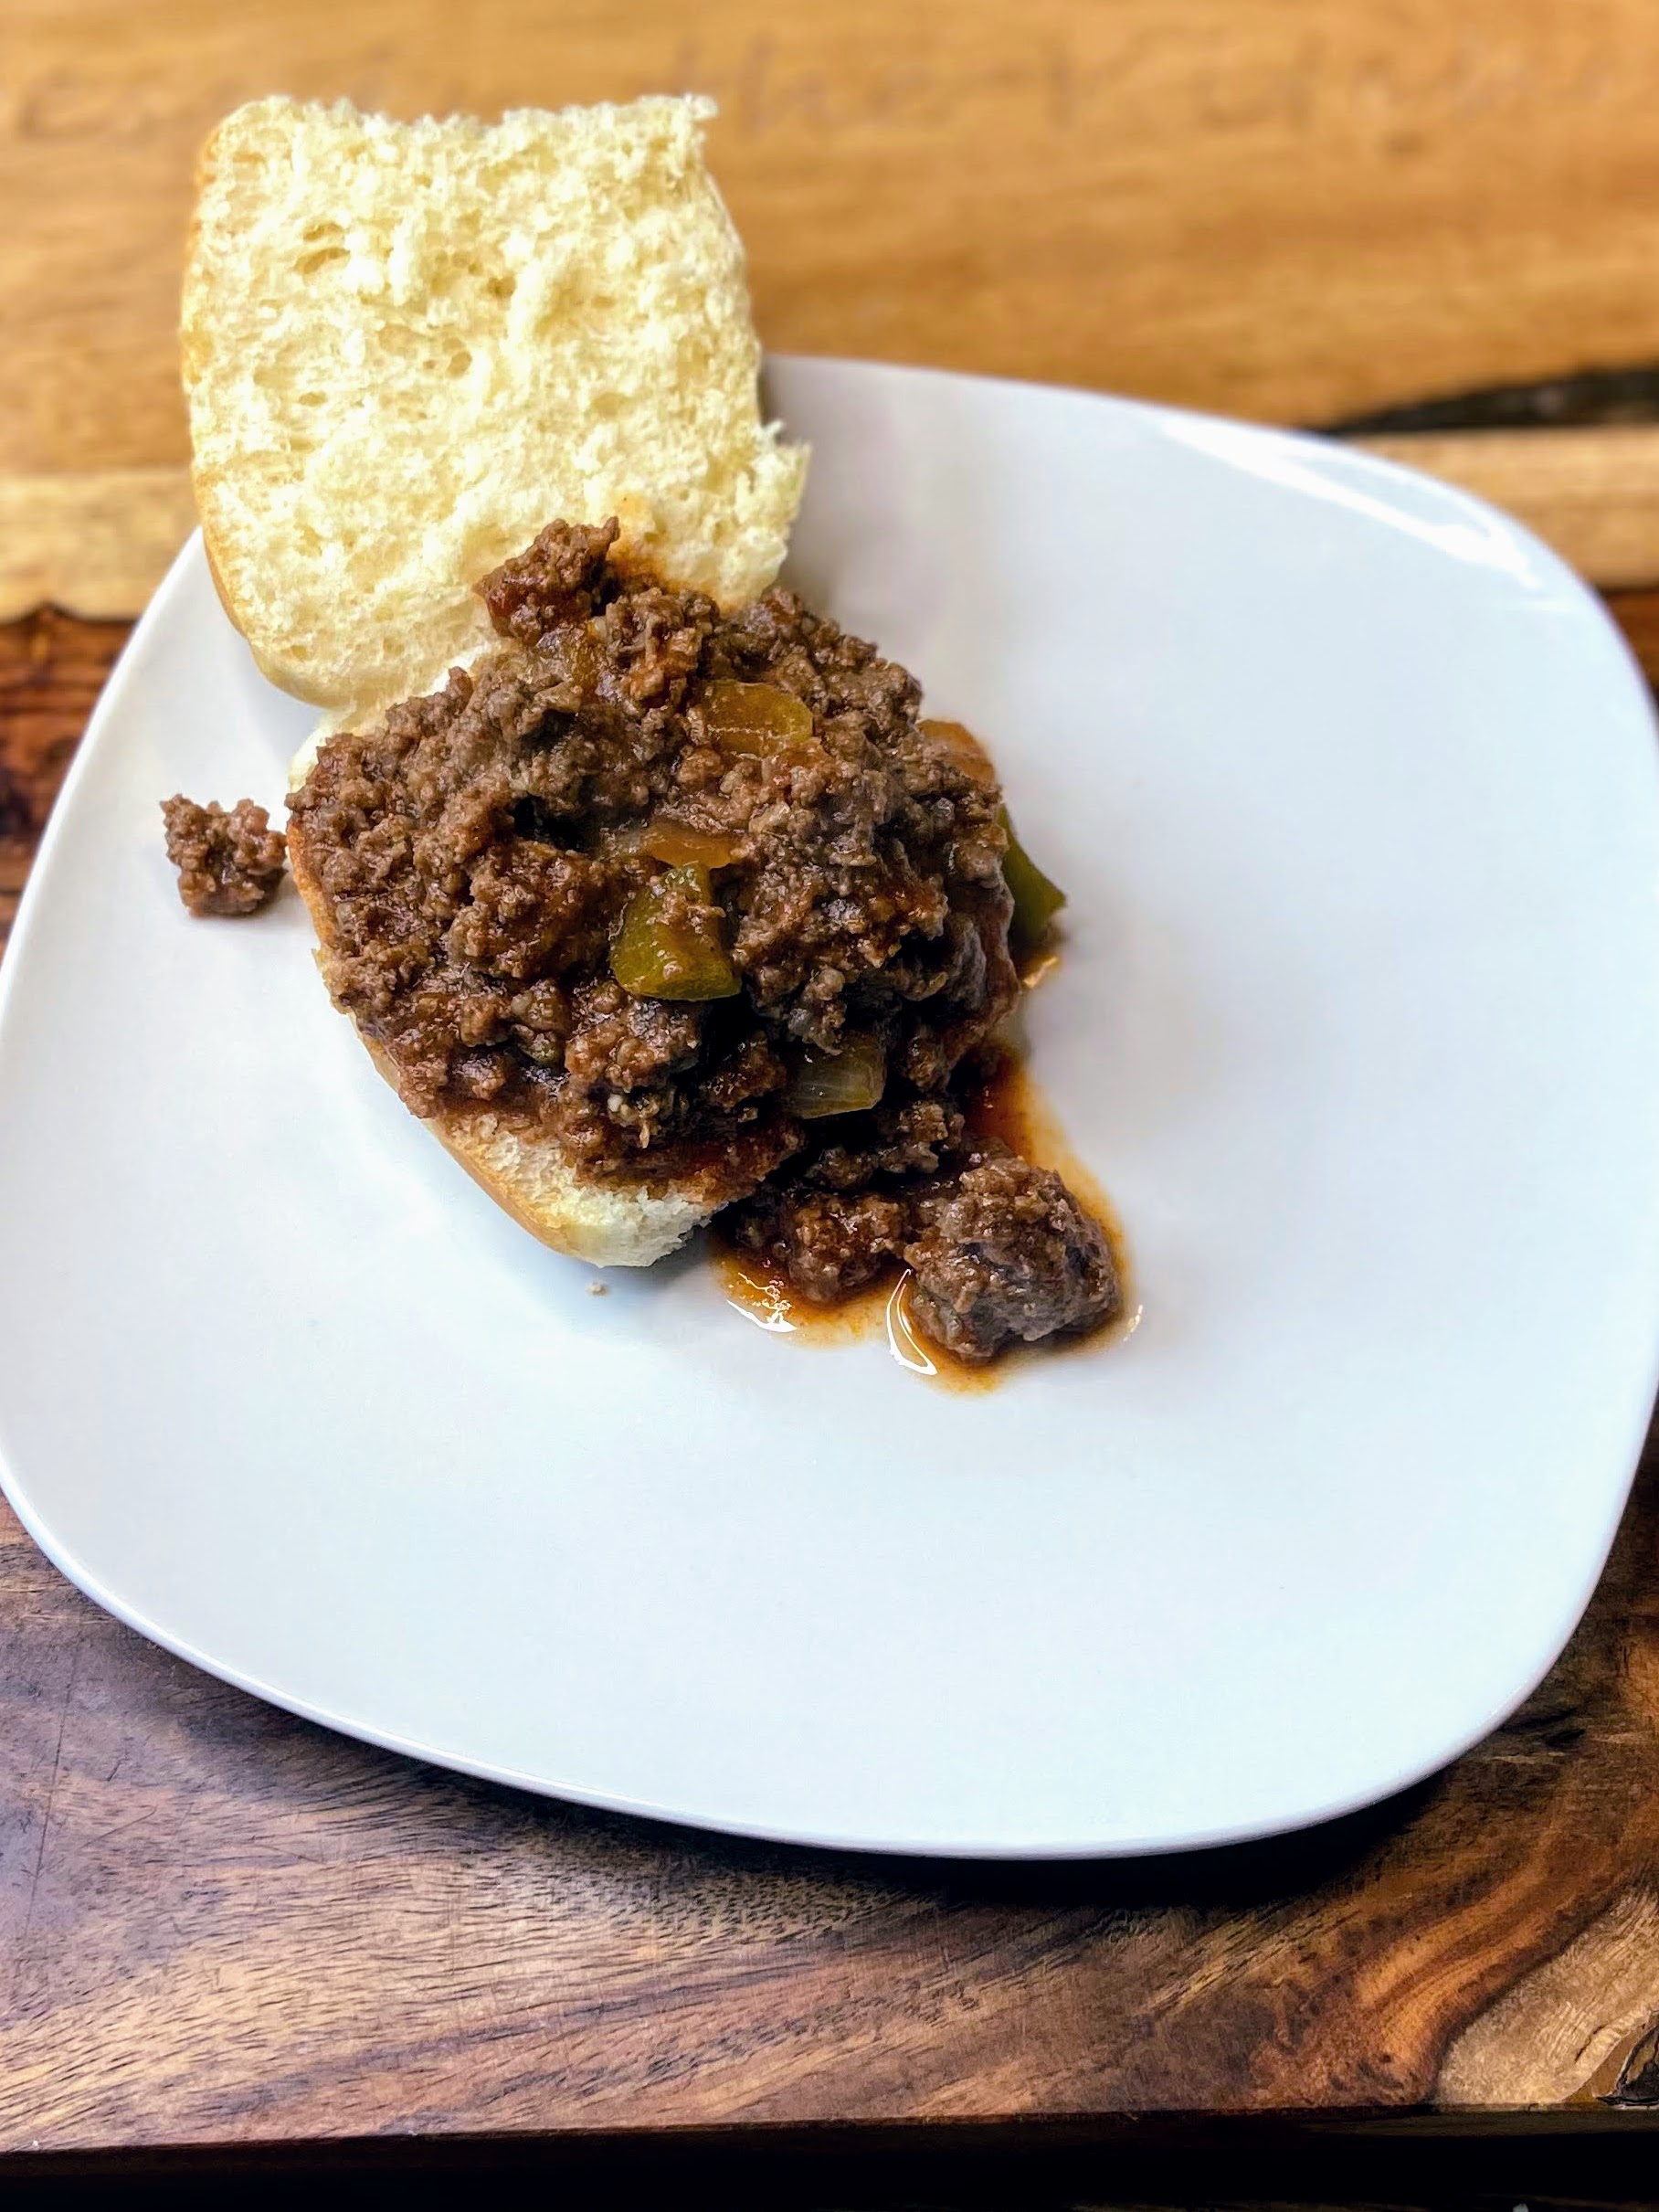
Oh my goodness, these rolls. Simple to put together. Leaves the house smelling amazing, and tastes delightful. If yeast wasn’t such a hot commodity right now, I am certain my family would have a batch of these baked up every week. My kids snack on them like crazy. And the Sloppy Joe mix? Once we ate through the first batch of rolls, my kiddos were more than happy to eat it out of the bowl or on top of a slice of sourdough. Needless to say, this was a big hit at our house and lasted for a couple dinners as well as a few lunches for my kiddos. I hope it’s a hit at your house too!

First, the Sloppy Joes

Your ingredients:

  • 2 pounds ground meat (We do home ground venison, but do what suits your family)
  • 1 tablespoon olive oil
  • 1 cup diced green pepper (about 1 pepper)
  • 1/2 cup diced onion
  • 1/2 cup diced celery
  • 2 teaspoons minced garlic
  • 2 1/2 cup beef broth/stock
  • 3 tablespoons pure maple syrup (Or sub in brown sugar. We just have syrup on hand and I like to use it whenever possible)
  • 2/3 cup tomato paste
  • 1/2 teaspoon pepper
  • 1/2 teaspoon Worcestershire sauce
  • 1 teaspoon mustard powder
  • 1/4 cup ketchup
  • 1 tablespoon white vinegar

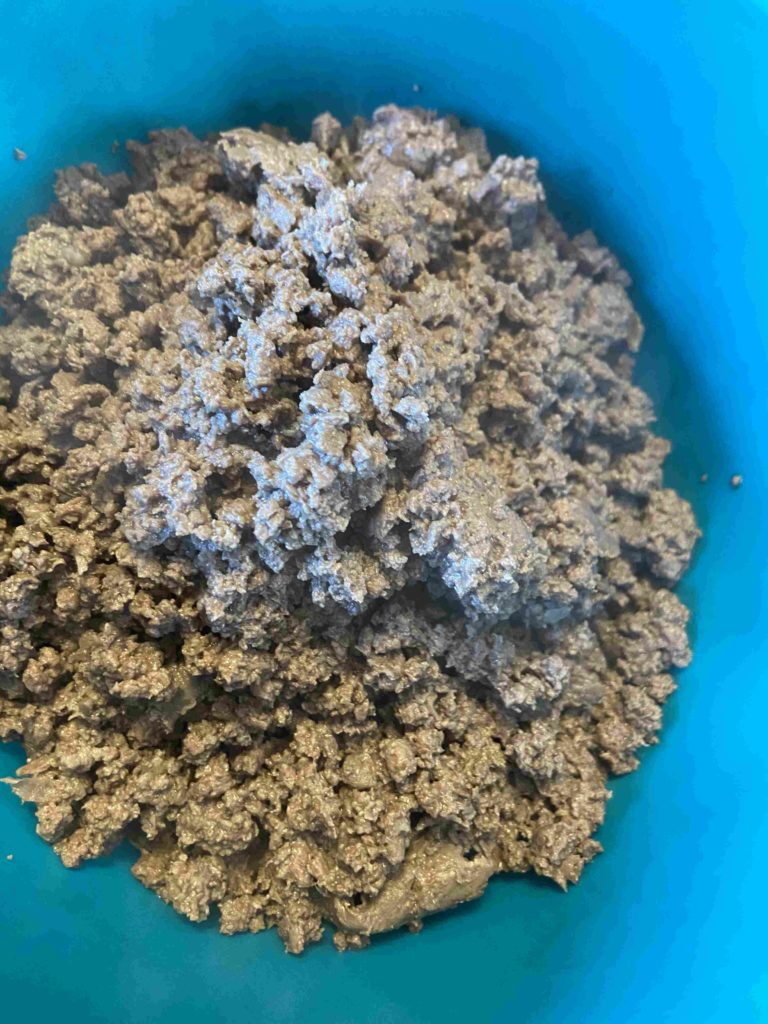
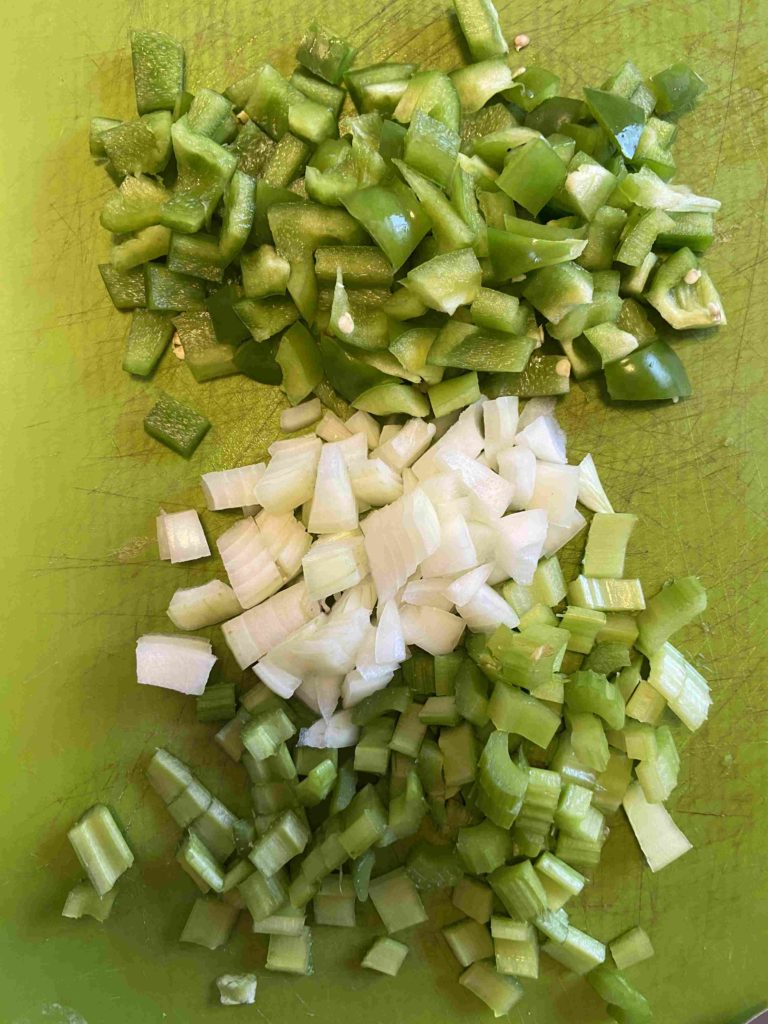
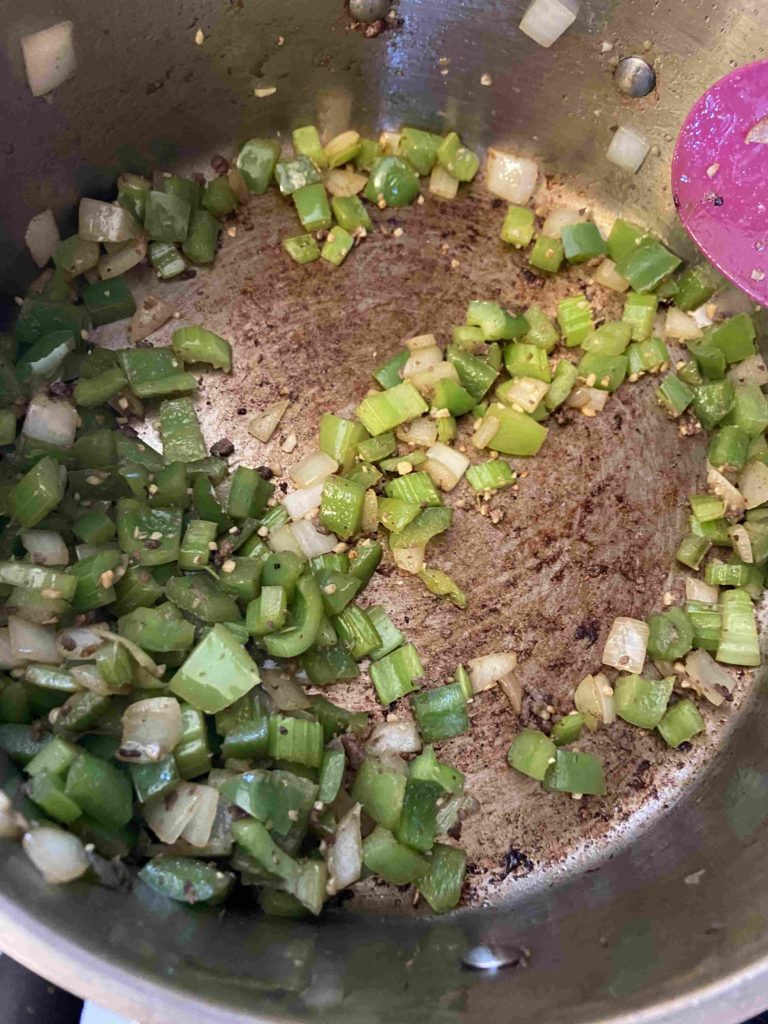
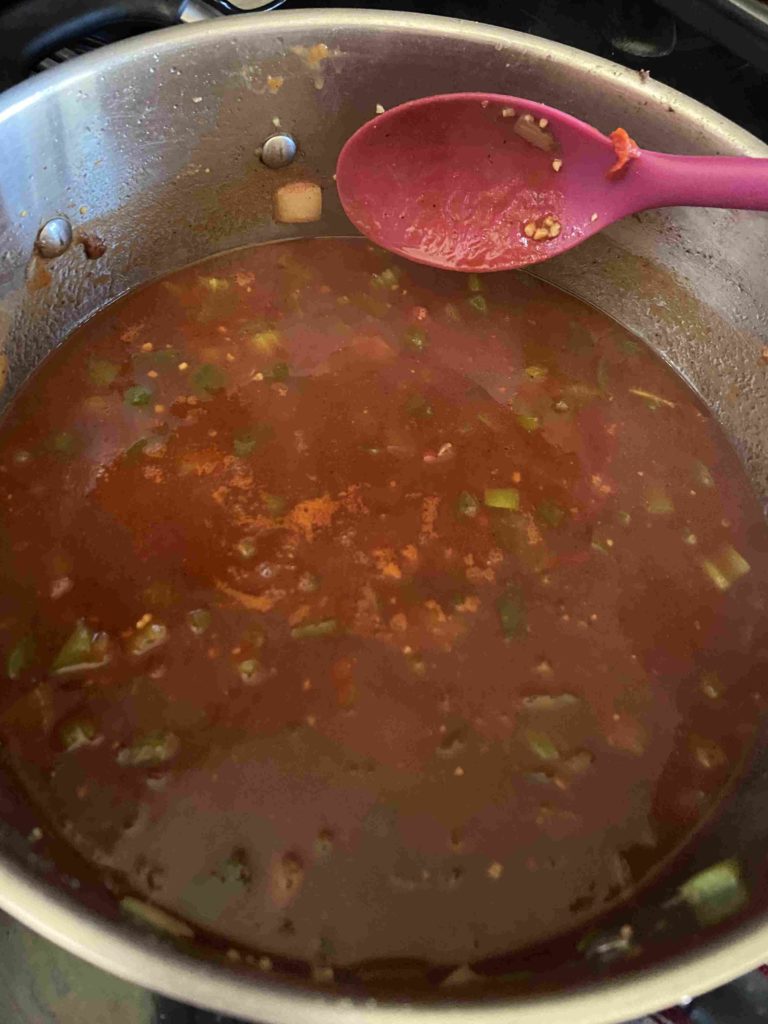
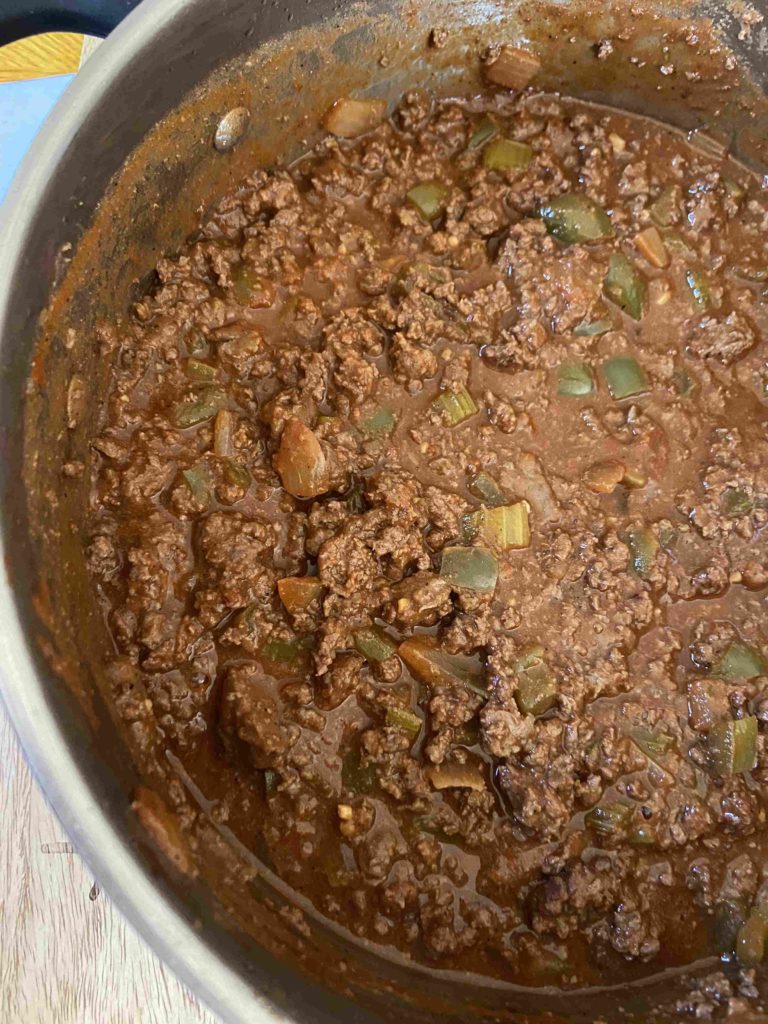
Brown ground meat in a large sauté pan. Remove and set aside in a bowl. If your protein is lean like venison is, add and heat the olive oil to the pan. Add pepper, onion, celery, and garlic. Sauté for 5-10 minutes, until soft. Stir in remaining ingredients and heat to boiling. Bring down to a simmer, stir in the browned meat, and simmer for 40 minutes over low-medium heat. And just like that, you have delicious, from scratch Sloppy Joe’s! Now for the rolls (After Sloppy Joe pictures of course 🙂 )

From Scratch Dollar rolls

My inspiration came from Cooking with Curls, but I modified her recipe just a touch to suit my own taste. You can find her original post here. Here’s how I put mine together:

Your ingredients:

  • 1 tablespoon instant yeast
  • 1 cup hot water (110-115 degrees Fahrenheit)
  • 2 tablespoons sugar (This has total flexibility though. I accidentally did 2 teaspoons the other day and they turned out fine. The original recipe calls for 4 tablespoons)
  • 1 large egg, beaten
  • 3 1/2 cups all purpose flour
  • 1 1/4 teaspoon salt
  • 2-3 tablespoons butter, divided (1 tablespoon softened and remaining melted to brush on top of the rolls prior to baking)

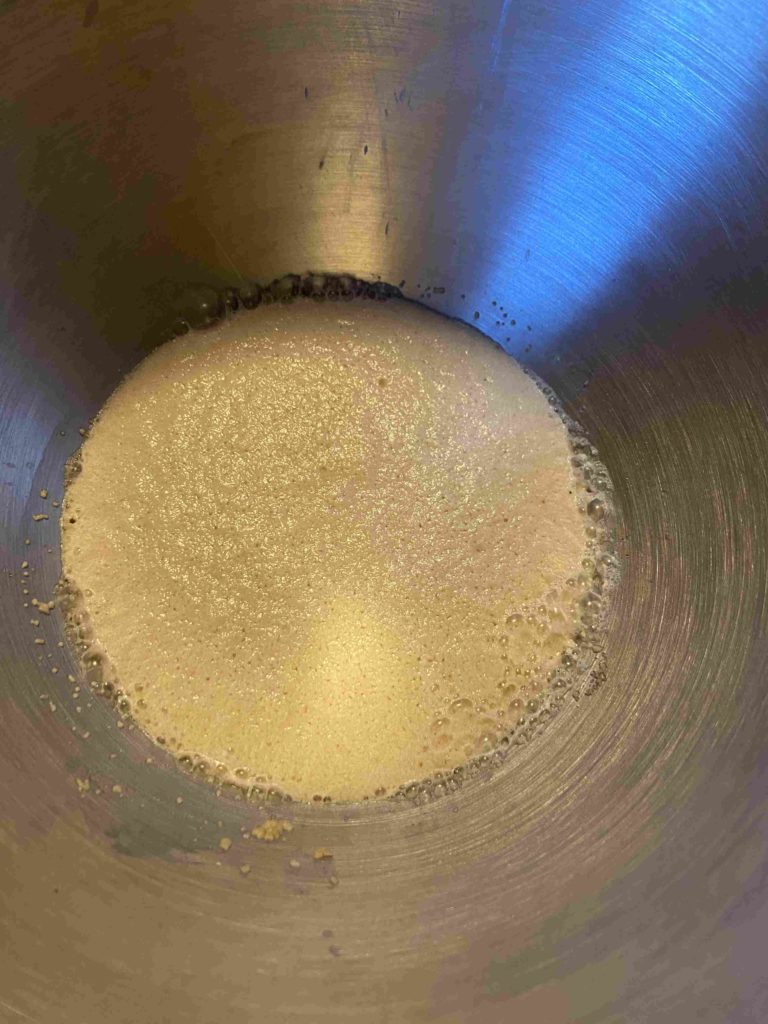
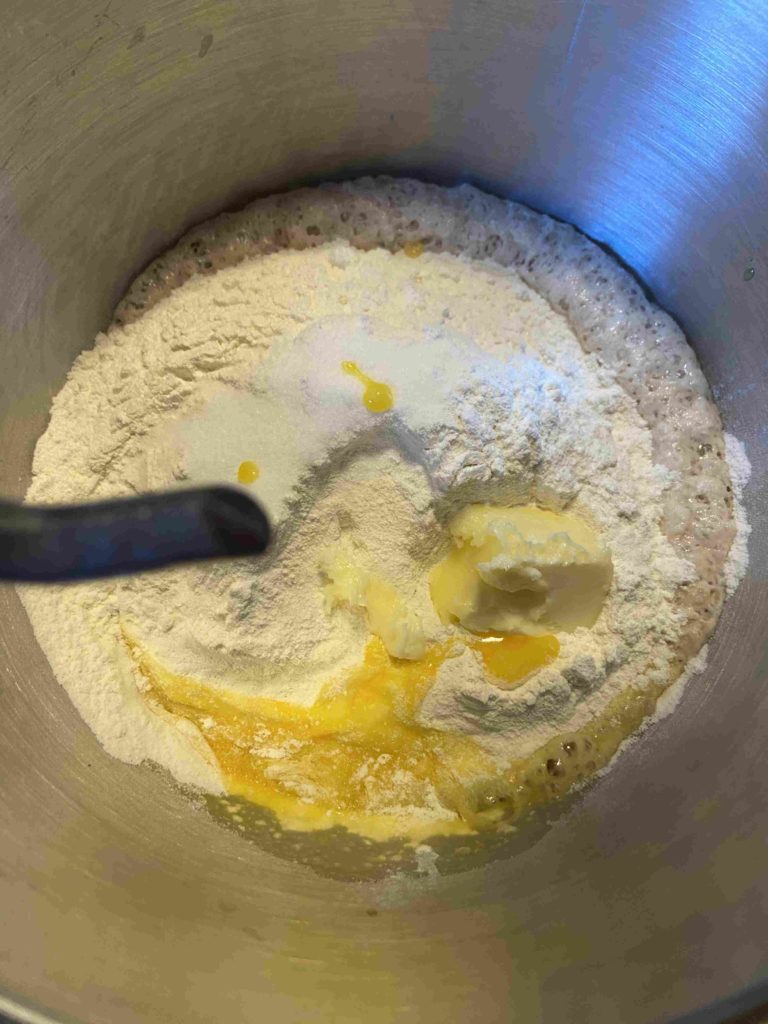
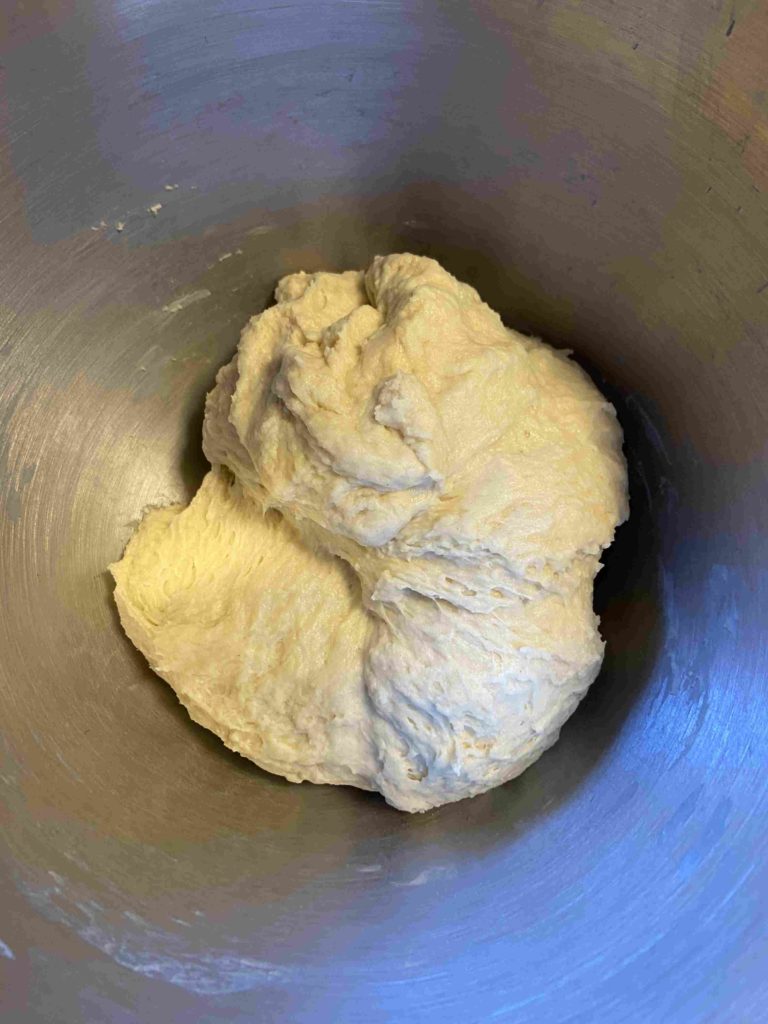
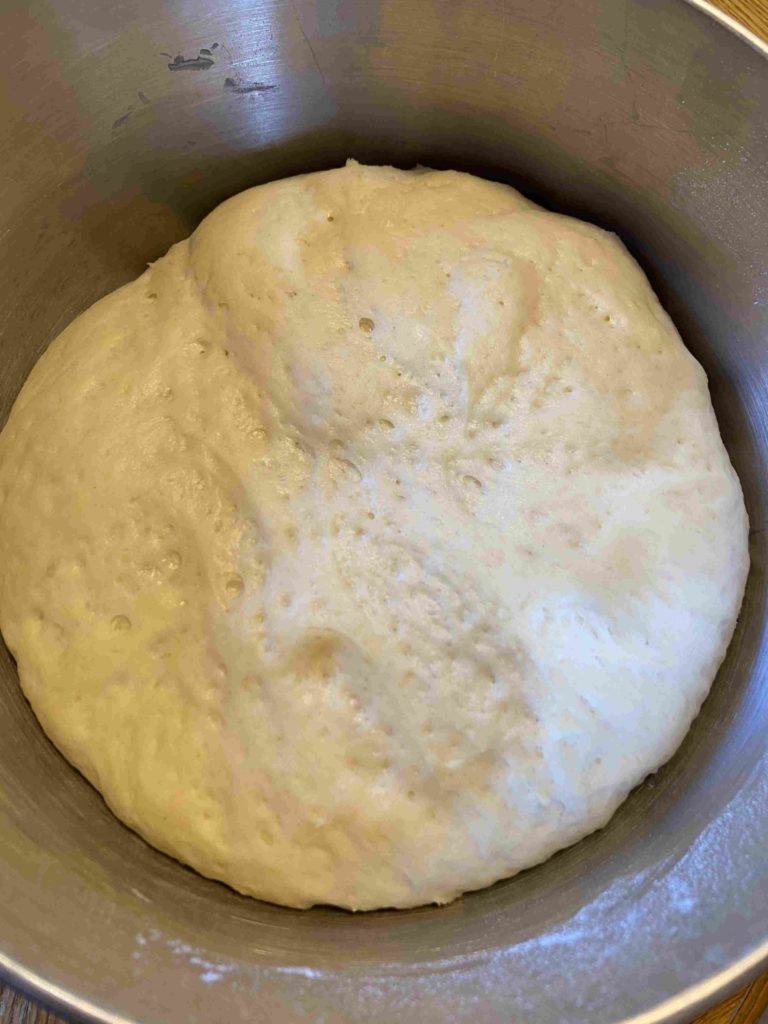
In a stand mixer bowl, add yeast, sugar, and hot water. Allow to proof for five minutes. Stir in egg, flour, salt, and one tablespoon softened butter. From here, allow stand mixer to mix the ingredients on a low speed for 4 minutes, until a soft dough is formed. Cover the bowl and allow to rest and rise for an hour and a half.

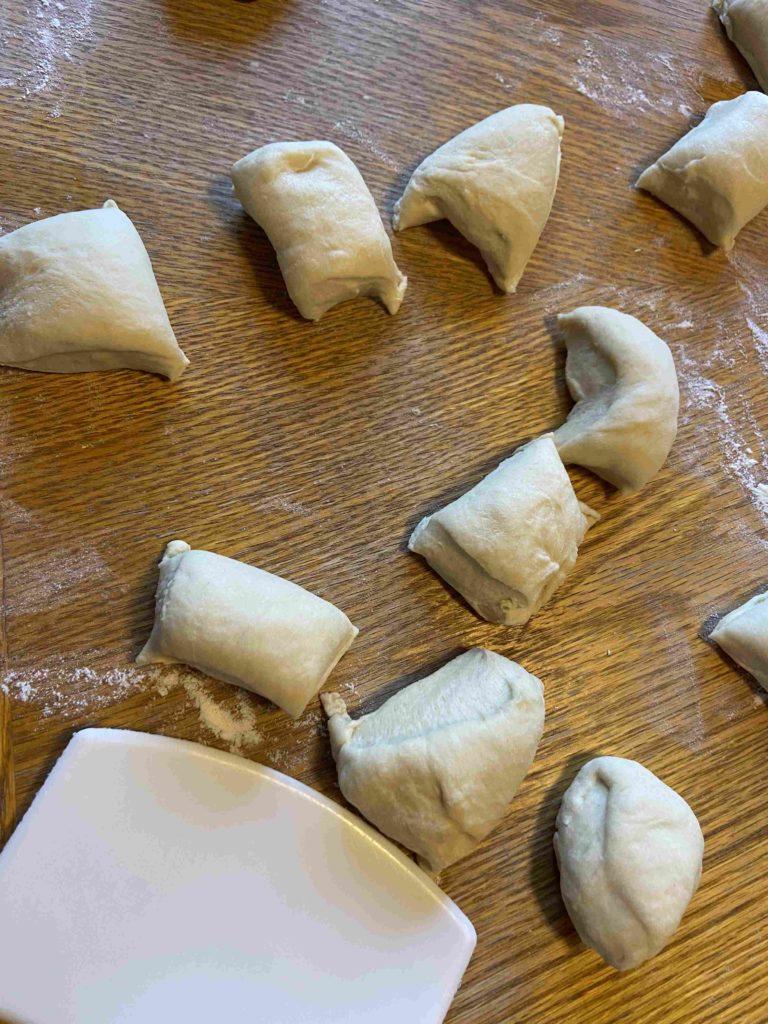
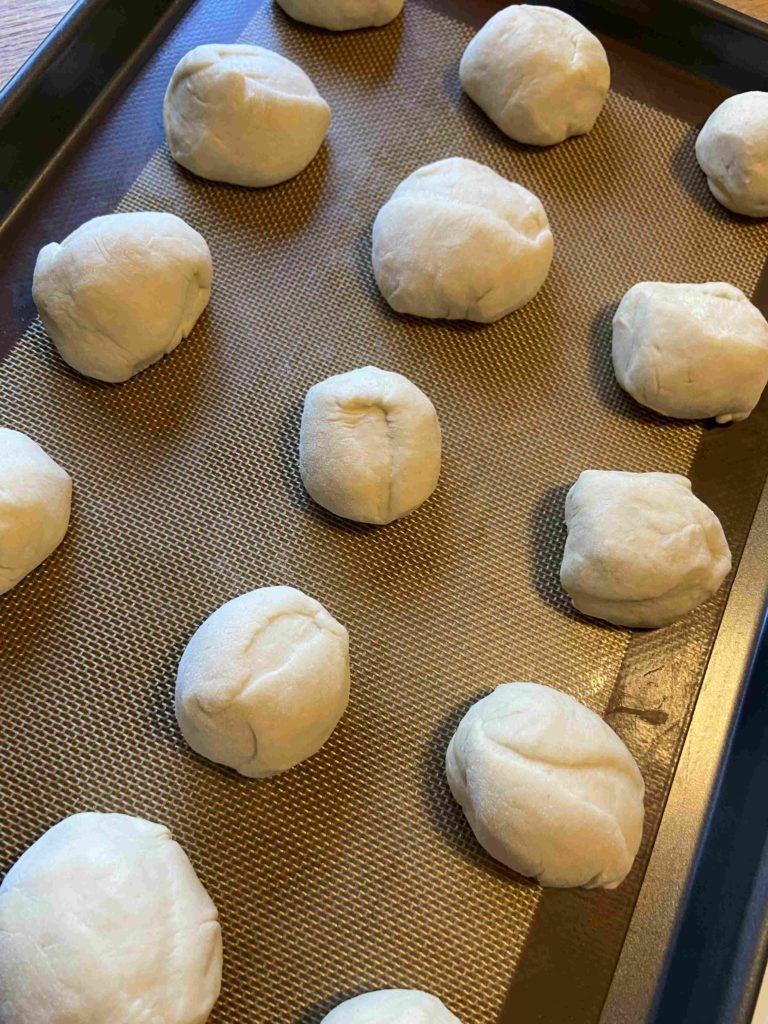
After the dough has risen, turn the dough out onto a lightly floured surface. Cut dough into 9-16 equal pieces, depending on your family likes their rolls. We dig smaller rolls, we we went for 16. Place on a jelly roll pan lined in parchment paper or silicone cookie sheet liners. Cover and allow them to rest an additional hour, until they double in size.

Preheat the oven to 375 degrees. Uncover rolls and brush with melted butter (sprinkle with sesame seeds? I mean, that would be fun!). Bake for 15-18 minutes. Then take in just how good your house smells and revel in the fact that you just made homemade rolls that are SO MUCH BETTER than store bought, I promise!

From Scratch Sloppy Joes

A combination of yeast rolls baked fresh and slow simmered from scratch Sloppy Joes make for a perfect meal and doubles as meal prep for later in the week
Prep Time 20 minutes
Cook Time 40 minutes
Course dinner
Cuisine American
Servings 8 people

Ingredients
  

  • 2 pounds ground meat
  • 1 tablespoon olive oil
  • 1 cup diced green pepper about 1 pepper
  • 1/2 cup diced onion
  • 1/2 cup diced celery
  • 2 teaspoons minced garlic
  • 2 1/2 cup beef broth/stock
  • 3 tablespoons pure maple syrup or brown sugar
  • 2/3 cup tomato paste
  • 1/2 teaspoon pepper
  • 1 teaspoon Worcestershire sauce
  • 1 teaspoon mustard powder
  • 1/4 cup ketchup
  • 1 tablespoon white vinegar

Instructions
 

  • Heat oil in a large kettle. Add ground protein. Brown ground meat. Remove and set aside in a bowl.
  • If your protein is lean like venison is, add and heat additional tablespoon of olive oil to the pan.
  • Add pepper, onion, celery, and garlic. Sauté for 5-10 minutes, until soft.
  • Stir in remaining ingredients and heat to boiling.
  • Bring down to a simmer, stir in the browned meat, and simmer for 40 minutes over low-medium heat, until thickened.
Keyword dinner, lunch, sandwiches, sloppy joes
Tried this recipe?Let us know how it was!

Creamy Ham and Potato Soup

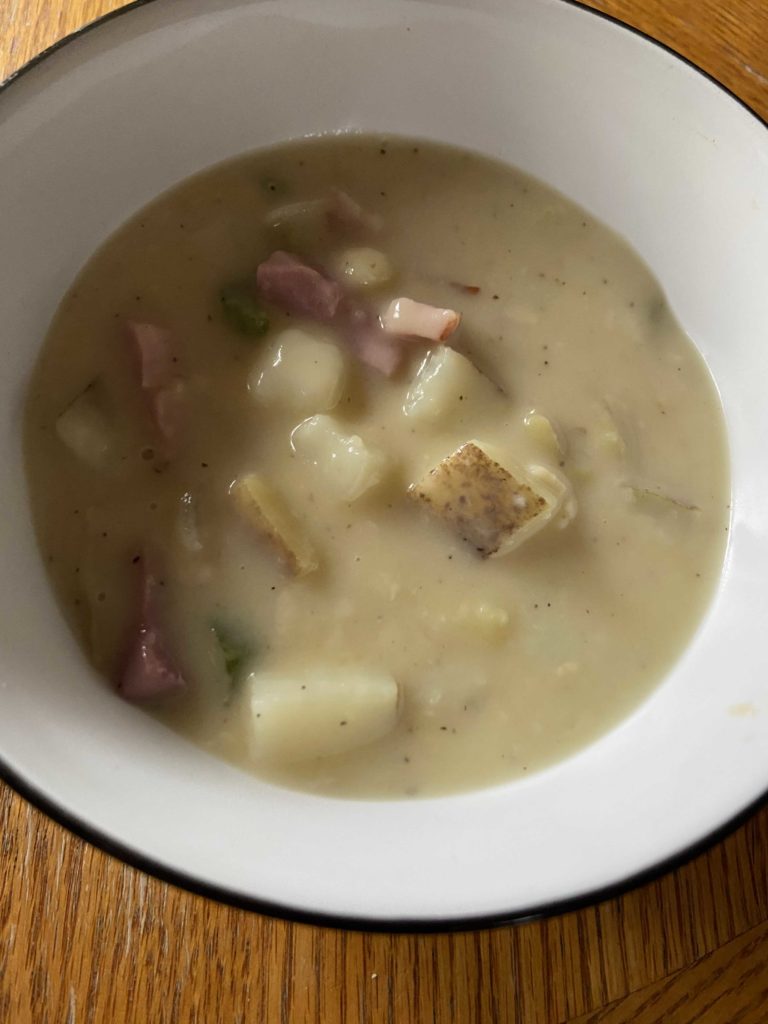
I had a favorite ham and potato soup from my early days of cooking. Let me tell you, it was thickened by cheddar cheese, so it was a soup after my Wisconsin heart. Then I tried my mother in law’s new recipe. It was delish. So of course, I was inspired to reevaluate my own recipe and developed this beauty. My favorite part? The number of ingredients is low and it comes together so quickly! Give it a try on a cold dreary day when you need a steaming bowl of soup to warm your hands and soul.

Your ingredients

  • 4 cups of diced potatoes (You can peel them if you prefer. I like to leave the peels on. You do you!)
  • 2/3 cup diced celery
  • 2/3 cup diced onion
  • 1 tablespoon minced garlic
  • 1/2 teaspoon ground pepper
  • 1/2 teaspoon salt (my favorite is kosher salt)
  • 3 cups chicken broth (I always make use Orrington Farm’s chicken broth base)
  • 2 cups milk (I used 1%)
  • 3 tablespoons flour
  • 3 tablespoons butter
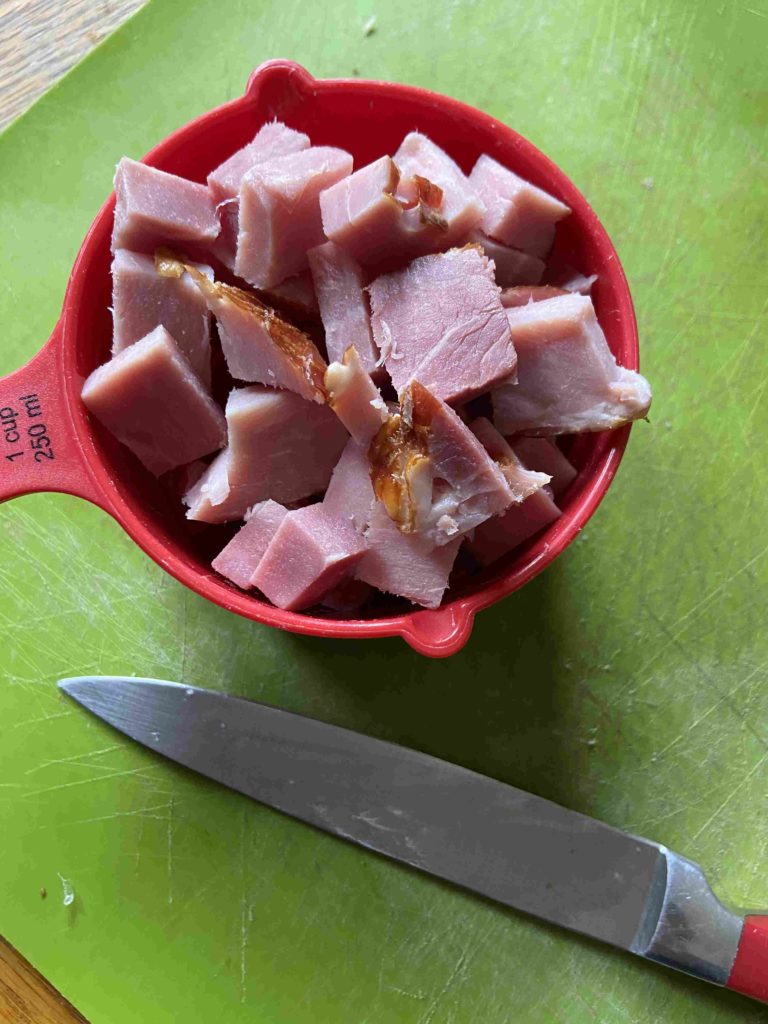
  • 1 cup diced, cooked ham

Your Steps

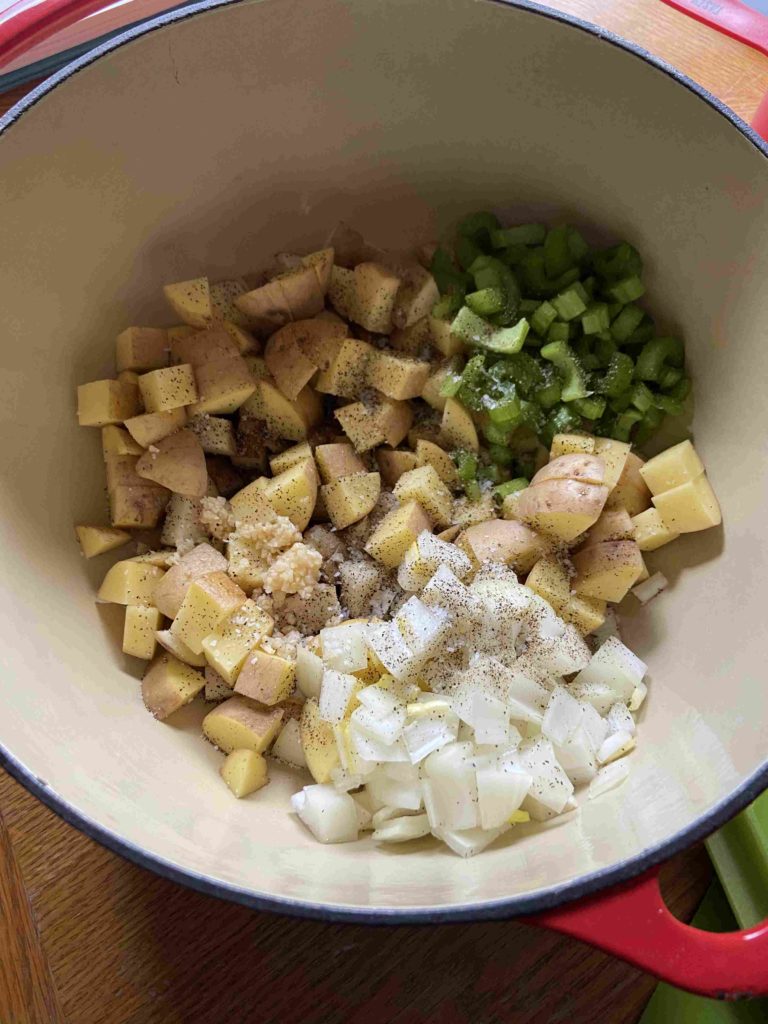
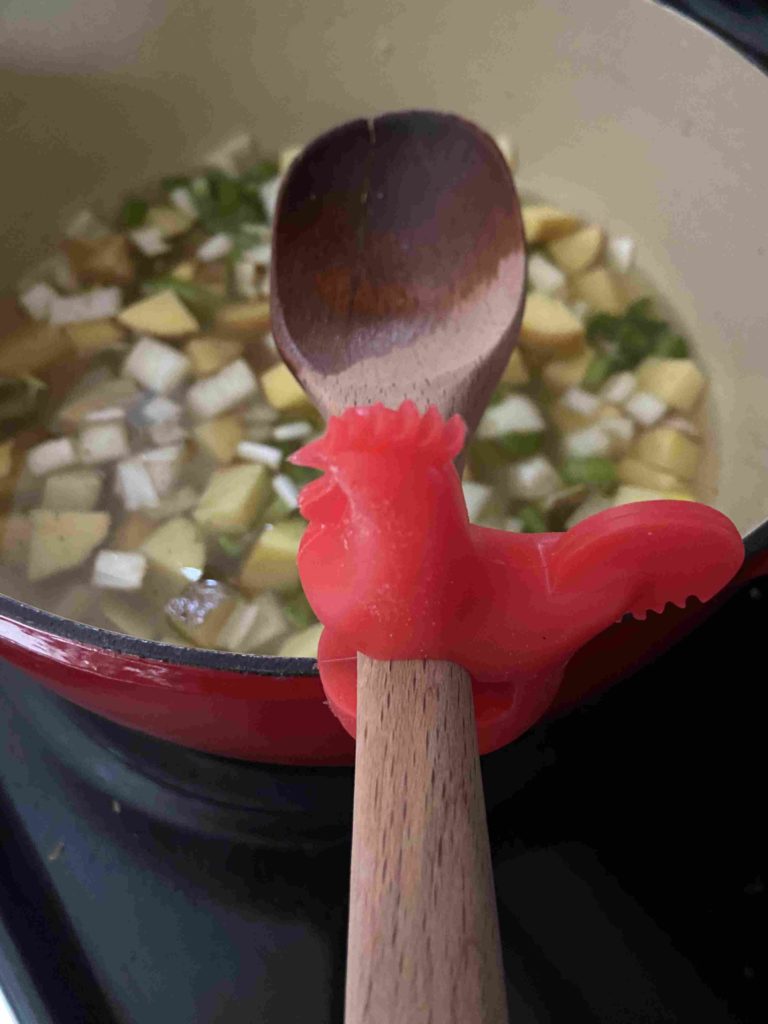
In a large kettle (I LOVE my cast iron dutch oven), combine the potatoes, celery, onion, garlic, pepper, salt, and chicken broth. Bring to a boil and then low to a simmer for 15-20 minutes, until potatoes are soft. Remove from heat.

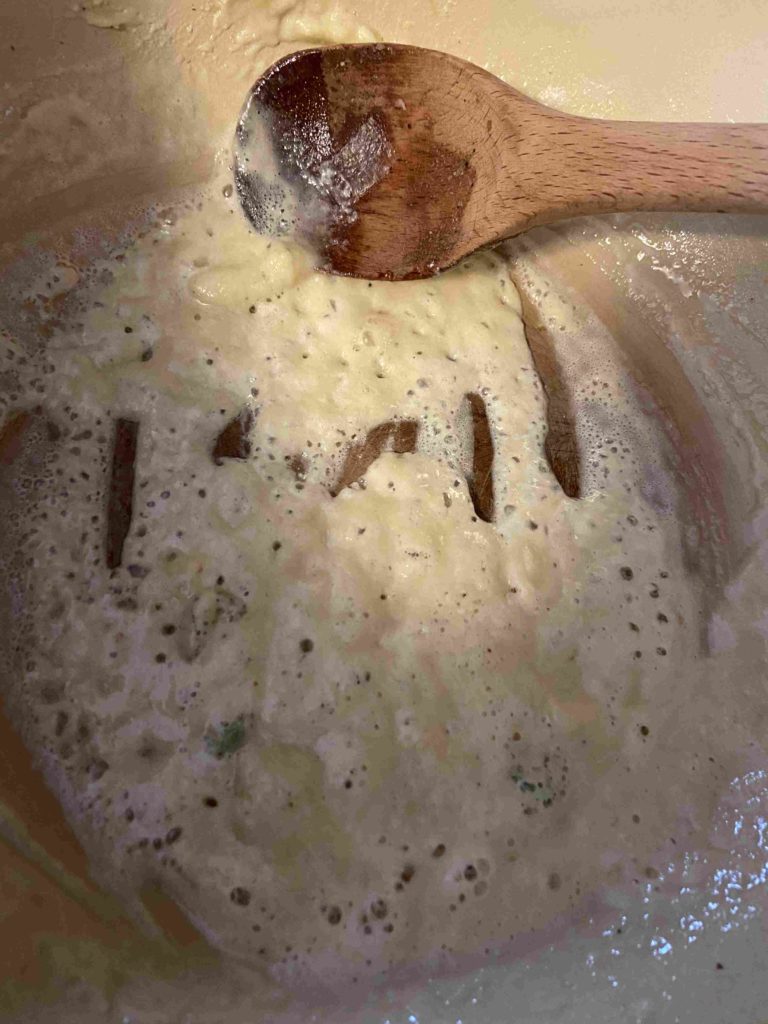
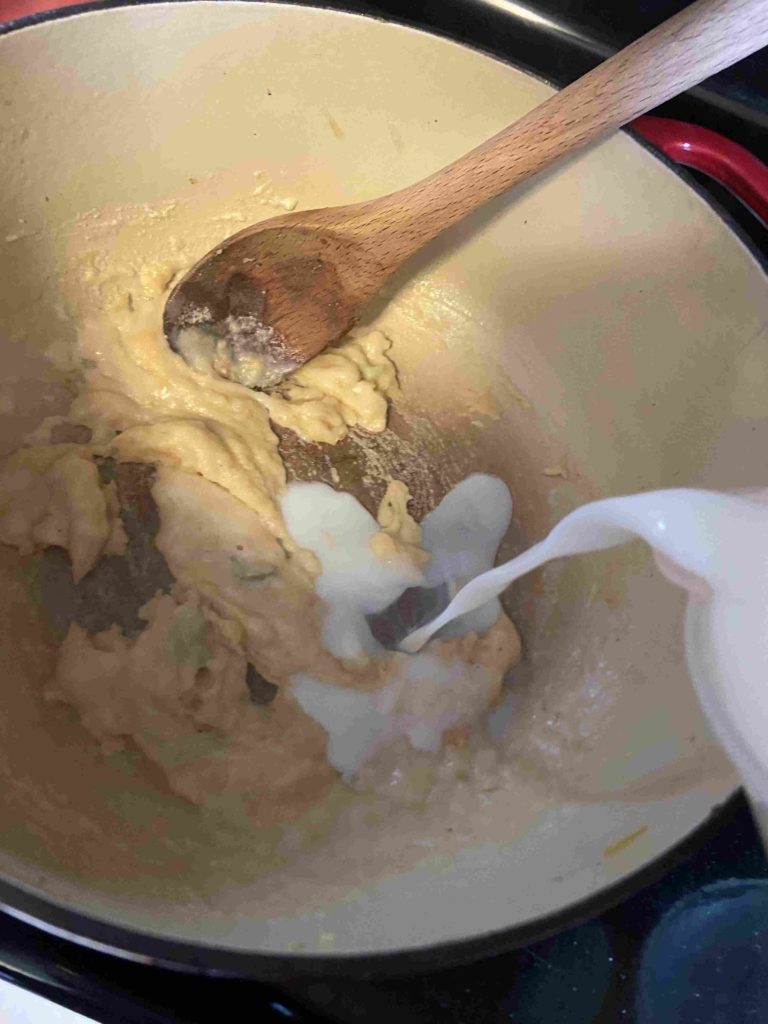
Carefully pour vegetables and stock into a heat safe bowl and set aside. Keeping the kettle heated over medium heat, add the butter and stir until fully melted. Stir in the flour and continue to stir/whisk until a golden brown color is created, about 3 minutes. SLOWLY (I am not good at this part…I am so impatient), stir in the milk, adding 1/3-1/2 cup at a time. Heat and stir until it thickens. Be patient if you can, it will be worth it. Once all milk has been incorporated, slowly reincorporate the chicken stock and vegetables. Add in ham and continue to cook over a medium heat until the ham is heated through. Taste test, and add additional salt and pepper to taste. Serve this ham and potato soup up with a nice side salad and a piece of crusty bread. Yum.

My husband is still in love with the cheesy potato soup, so he likes to stir in a few tablespoons of cheese (Okay, again, Wisconsin. Let’s be real, it’s more like 1/3 cup. We love our cheese.). It makes a great add in, but this soup eats great without it too! Give it a try! Cheers to your time in the kitchen–Jess

Looking for more dinner recipes? Check out my cooking page below:

Creamy Ham and Potato Soup

Ham and Potato pair nicely in this simple, hearty soup.
Prep Time 10 minutes
Cook Time 40 minutes
Course dinner, Soup
Cuisine American
Servings 6

Ingredients
  

  • 4 cups of diced potatoes
  • 2/3 cup diced celery
  • 2/3 cup diced onion
  • 1 tablespoon minced garlic
  • 1/2 teaspoon ground pepper
  • 1/2 teaspoon salt
  • 3 cups chicken broth
  • 2 cups milk
  • 3 tablespoons flour
  • 3 tablespoons butter
  • 1 cup diced cooked ham

Instructions
 

  • In a large kettle, combine the potatoes, celery, onion, garlic, pepper, salt, and chicken broth.
  • Bring to a boil and then low to a simmer for 15-20 minutes, until potatoes are soft. Remove from heat.
  • Carefully pour vegetables and stock into a heat safe bowl and set aside.
  • Keeping the kettle heated over medium heat, add the butter and stir until fully melted.
  • Stir in the flour and continue to stir/whisk until a golden brown color is created, about 3 minutes.
  • Slowly stir in the milk, adding 1/3-1/2 cup at a time. Heat and stir until it thickens.
  • Once all milk has been incorporated, slowly reincorporate the chicken stock and vegetables.
  • Add in ham and continue to cook over a medium heat until the ham is heated through.
  • Taste test, and add additional salt and pepper to taste.
Keyword cast iron cooking, comfort food, ham, Ham and Potato Soup, Potatoes, soups and stews
Tried this recipe?Let us know how it was!

Forget the Meat Italian Vegetarian Pasta Bake

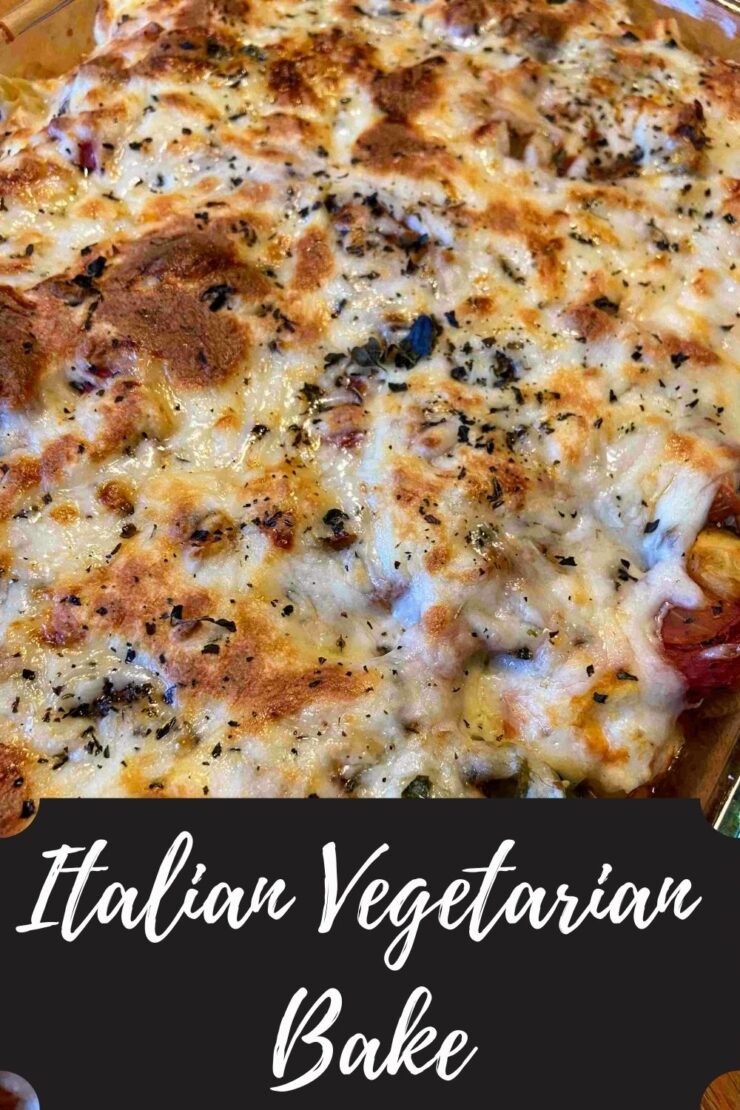
I love me a good Italian dish. Then you put it in bake form and I am essentially in heaven. I hope you enjoy this Italian vegetarian pasta bake as much as my family did!

True confession: This recipe wasn’t supposed to be vegetarian. I browned this fantastic ground Italian venison that my family makes and had it all set on the table. It smelled amazing and I was excited. You see, I had this delightful combination of vegetables simmering and well…I think I got too excited. After I finished layering the vegetables, pasta, and cheese, sprinkling some last bit of mozzarella and some basil and oregano. I marveled at the layers and their beauty. Then I saw it. The bowl of browned venison! How could I forget?! Oh, I forget a lot, so I don’t know why I am so surprised 😀 I looked at my husband and he said, “I don’t need a protein with my Italian and you don’t want to take that apart!” So in the oven it went, and by golly, it was amazing, meatless and all.

It oozes with cheese and has tons of fresh vegetables. My son doesn’t love zucchini, so I knew if I did zoodles or shaved them to replace lasagna noodles, I would have a complainer on my hands. He would eat it, but it wouldn’t be a fun dinner at our house, and I am not a short order cook (no special meals for kids around these parts!). However, I thought I could sneak them in by dicing them up, and he didn’t say a word as he gobbled it up! Give it a try!

Your ingredients for your Italian Pasta Bake

  • 12 ounces tri-color rotini (or other noodle of your choice!)
  • 1/2 cup chopped green pepper
  • 1 cup chopped green zucchini
  • 1 cup chopped yellow zucchini
  • 1/2 cup chopped onion
  • 1 cup chopped mushrooms
  • 1 tablespoon olive oil
  • 3 teaspoons minced garlic
  • 1/2 tablespoon dried basil
  • 1 teaspoon dried oregano
  • 1/2 teaspoon salt
  • 1/4 teaspoon red pepper flakes
  • 2 15 ounce cans of diced tomatoes, salt free
  • 1 15 ounce can of tomato sauce
  • 15 ounces ricotta
  • 3 cups mozzarella, divided
  • 3/4 cup shredded parmesan, divided
  • 1 egg
  • 1 teaspoon minced garlic
  • 1/4 teaspoon black pepper

Your Steps

Preheat oven to 375 degrees. Bring a kettle of water to boil and cook rotini to al dentè. Drain and set aside. Cook Heat olive oil in a large sauce pan (I actually just used my pasta kettle!) over medium heat. Add 1 tablespoon minced garlic, green pepper, and onion. Sauté for 4-5 minutes, until just tender. Add salt, red pepper flakes, basil, oregano, zucchini, and mushrooms. Cook for an additional 5 minutes. Stir in diced tomatoes and tomato sauce, allowing to simmer while you mix the cheese mixture.

Speaking of the cheese mixture, is it even Italian if it doesn’t have cheese?! This recipe is creamy and cheesy in all the right ways, but if cheese doesn’t speak to your soul like it does to a Wisconsinite, feel free to cut this down just a touch. In a separate bowl, mix ricotta, 1 cup of the mozzarella, 1/2 cup of shredded parmesan, egg, 1 teaspoon of minced garlic and pepper.

Now to build your Italian Vegetarian Pasta bake!

Layer approximately 2 cups of the vegetable mixture on the bottom of a pyrex pan. Add approximately 1/3 of the noodles and then 1/3 of the cheese mixture. Continue layering until two more times, but end with the vegetable mixture. Sprinkle with remaining mozzarella and parmesan. Add a little basil and oregano if you’re feeling fancy. Bake for 30 minutes, or until the cheese is melted and the mixture is heated through. I love my cheese browned on top, so I turn on the broiler at 500 degrees and cook for 1-3 minutes more, watching VERY closely. The broiler is AMAZING, but you can go from perfection to burned in a snap!

I loved that this bake stays saucy. Sometimes a pasta bake can become dry over a day or two as the noodles absorb the extra liquid. Serve with some crusty bread and maybe a salad because you know you need ALL the vegetables 😉 A perfect prep on the weekend to enjoy on those crazy weekday nights! Enjoy! —Jess

Looking for other great bakes and dishes for dinner prep? Check out my cooking page for more ideas or click one of the links below!

Tools of the trade

Whenever I am creating casseroles and baked dishes in my kitchen, I have a couple go to tools I need: flexible cutting boards, Pyrex dishes, and good parring knives. I don’t know if I really can live without them, what can I say?

Italian Vegetarian Pasta Bake

No ground protein on hand? No problem! Throw this Italian vegetarian pasta bake together for dinner tonight! Bonus leftovers for smaller families!
Prep Time 30 minutes
Cook Time 30 minutes
Course Main Course
Cuisine Italian

Ingredients
  

  • 12 ounces tri-color rotini or other noodle of your choice!
  • 1/2 cup chopped green pepper
  • 1 cup chopped green zucchini
  • 1 cup chopped yellow zucchini
  • 1/2 cup chopped onion
  • 1 cup chopped mushrooms
  • 1 tablespoon olive oil
  • 3 teaspoons minced garlic
  • 1/2 tablespoon dried basil
  • 1 teaspoon dried oregano
  • 1/2 teaspoon salt
  • 1/4 teaspoon red pepper flakes

Instructions
 

  • Preheat oven to 375 degrees. Bring a kettle of water to boil and cook rotini to al dentè. Drain and set aside.
  • Heat olive oil in a large sauce pan over medium heat.
  • Add 1 tablespoon minced garlic, green pepper, and onion. Sauté for 4-5 minutes, until just tender.
  • Add salt, red pepper flakes, basil, oregano, zucchini, and mushrooms. Cook for an additional 5 minutes.
  • Stir in diced tomatoes and tomato sauce, allowing to simmer while you mix the cheese mixture.
  • In a separate bowl, mix ricotta, 1 cup of the mozzarella, 1/2 cup of shredded parmesan, egg, 1 teaspoon of minced garlic and pepper.
  • Layer approximately 2 cups of the vegetable mixture on the bottom of a pyrex pan.
  • Add approximately 1/3 of the noodles and then 1/3 of the cheese mixture.
  • Continue layering until two more times, but end with the vegetable mixture.
  • Sprinkle with remaining mozzarella and parmesan. Add a little basil and oregano if you’re feeling fancy.
  • Bake for 30 minutes, or until the cheese is melted and the mixture is heated through. If you loved browned cheese, urn on the broiler at 500 degrees and cook for 1-3 minutes more, watching VERY closely.
Keyword pasta, pasta bake, vegetarian
Tried this recipe?Let us know how it was!

Looking for other great dinner ideas?

Check out the recipes below or head right to my Cooking page!

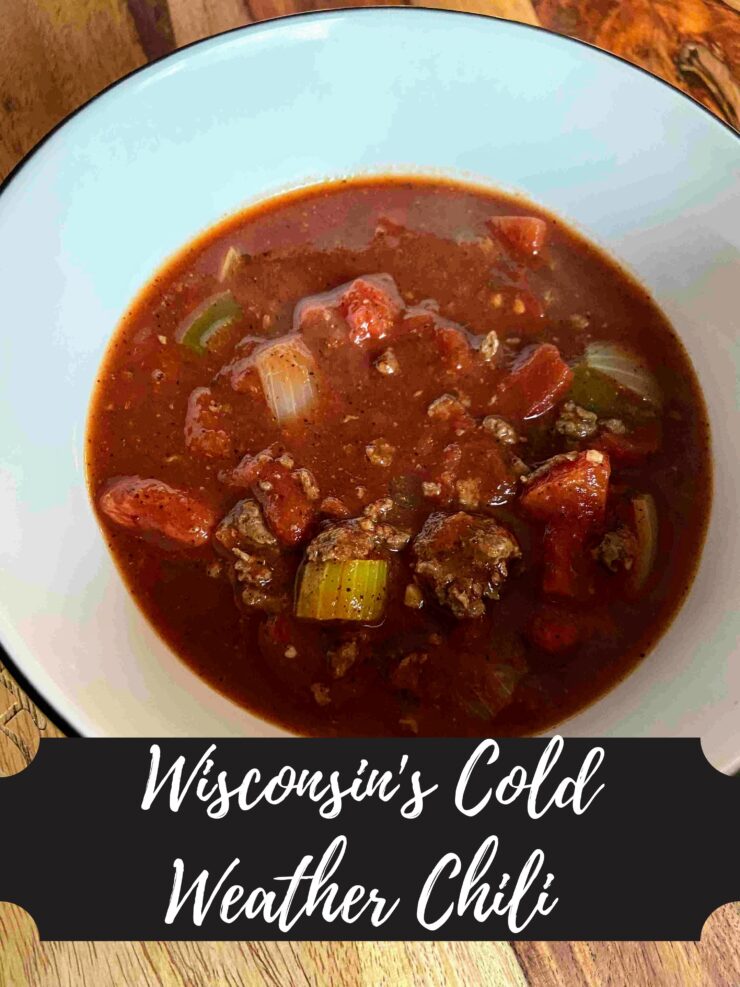
Venison Chili: Wisconsin’s Cold Weather Companion

True confession: I use to hate chili with a capital H. Well, I don’t know if I so much hated the chili or if it was all the kidney beans my mom wouldn’t let me pick out because I actually hated those. But I have grown wiser in my old age and have developed a deep love for venison chili in the cold Wisconsin winter months. If I am feeling ambitious it is accompanied with some honey corn bread. Not so ambitious? A side of homemade sourdough is almost as awesome.

If you have read many of my posts, you know I am all about getting all the veggies in my main meals. Does the recipe originally call for 1/2 cup of green pepper? You can bet I’ll up that to a full cup. Veggies make my heart happy (I am fairly certain I have a Pinterest board by that name…no joke. I mean, who does that?!) So this venison chili recipe has lots of chunky veggies because I wouldn’t have it any other way.

Few things before you get started:

  • I try to buy low sodium or no salt added tomato products if at all possible. I like to be able to control the salt I add to my cooking. If you use regular tomatoes, you may want to decrease the added salt. Just taste it first 😀
  • I started using 4 cups of the tomato juice (saving a couple cups for my husband because he loves it), but my kids thought the chili powder left it a little spicy so I poured the rest of the container of juice in. If you like a spicy chili that is super chunky, leave it at 4 cups instead of 46 ounces. Or just be like me and try it first. If you want to cut the kick or you like a not so thick chili, add the remaining 14 ounces.

Your ingredients:

  • 2 tablespoons olive oil
  • 1 pound ground beef (We do our home ground venison, so your favorite ground protein would work great here whether it be turkey, beef, bear, you name it)
  • 1 1/2 cups chopped green pepper (about 1 large)
  • 2 teaspoons minced garlic
  • 1 cup chopped onion (about 1 medium)
  • 1 cup chopped celery (about 3 stalks)
  • 2 15 ounce cans diced tomatoes (no salt added)
  • 1 15 ounce can of tomato sauce
  • 1 15.5 ounce can of kidney beans, drained and rinsed.
  • 46 ounce container low sodium tomato juice (see the note above for how much you decide to actually use)
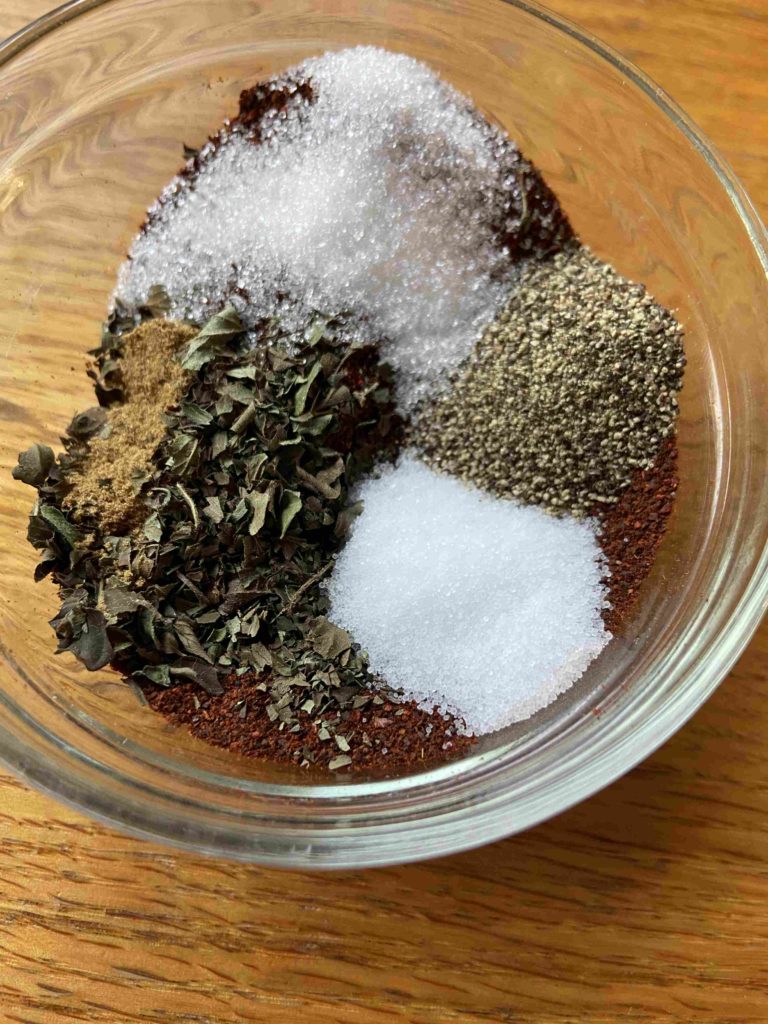
  • 1 1/2 teaspoons cumin
  • 2 tablespoons chili powder
  • 1 teaspoon oregano
  • 1/2 teaspoon salt
  • 1 teaspoon pepper
  • 1/2 teaspoon white sugar

Your Steps

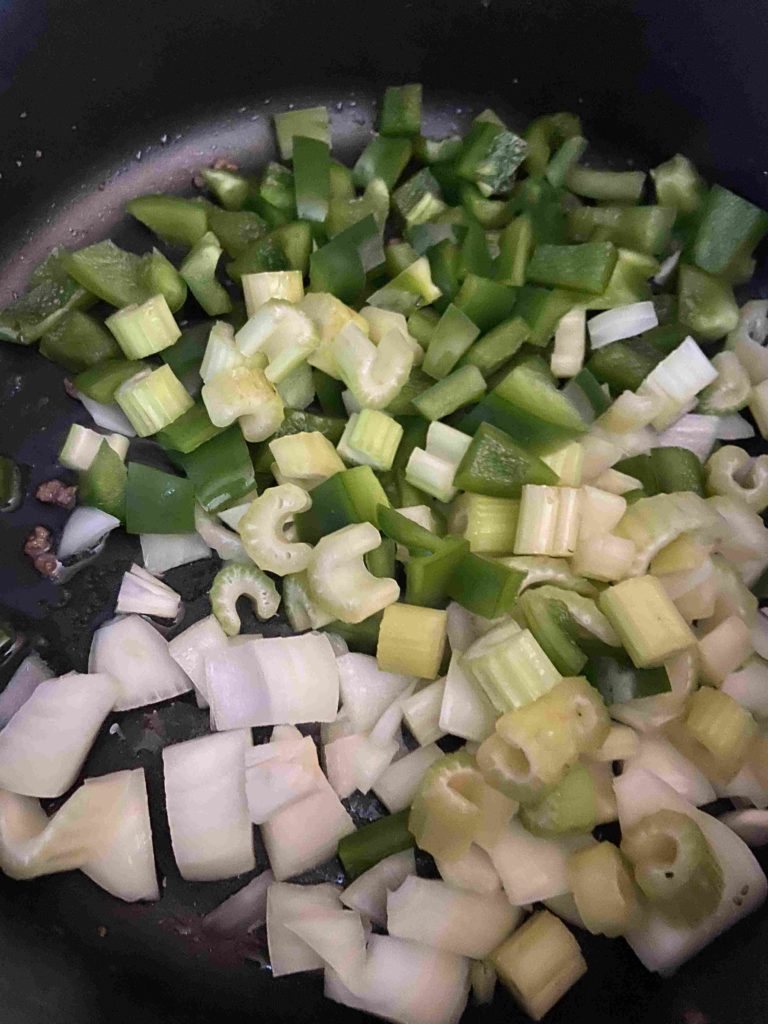
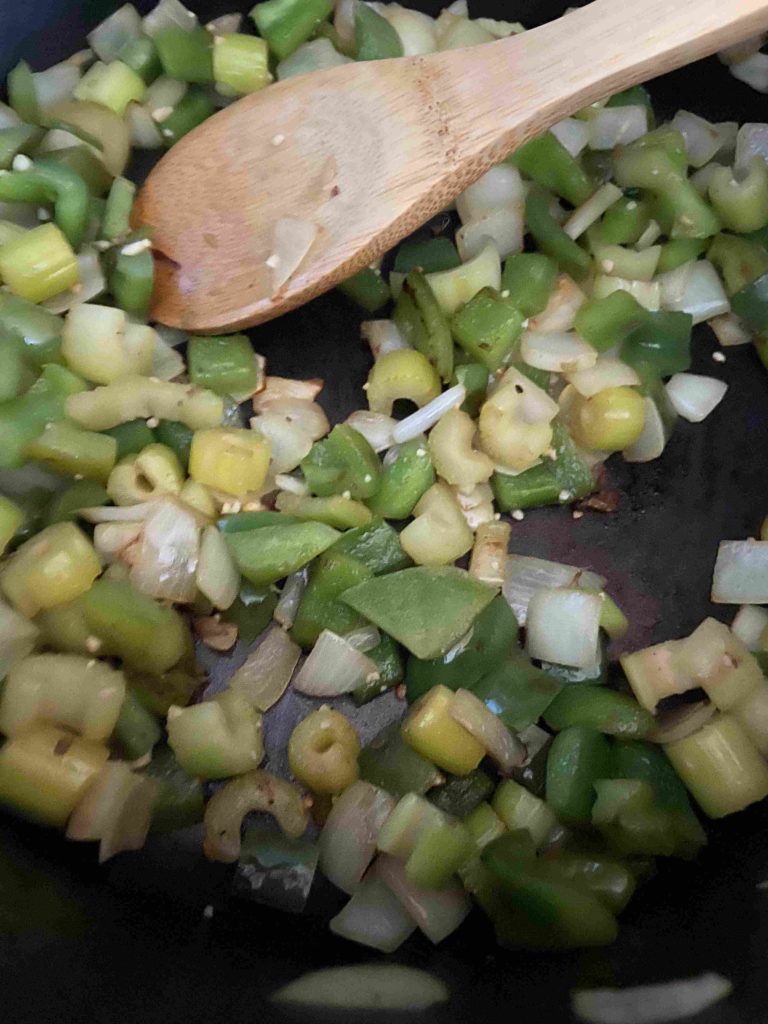
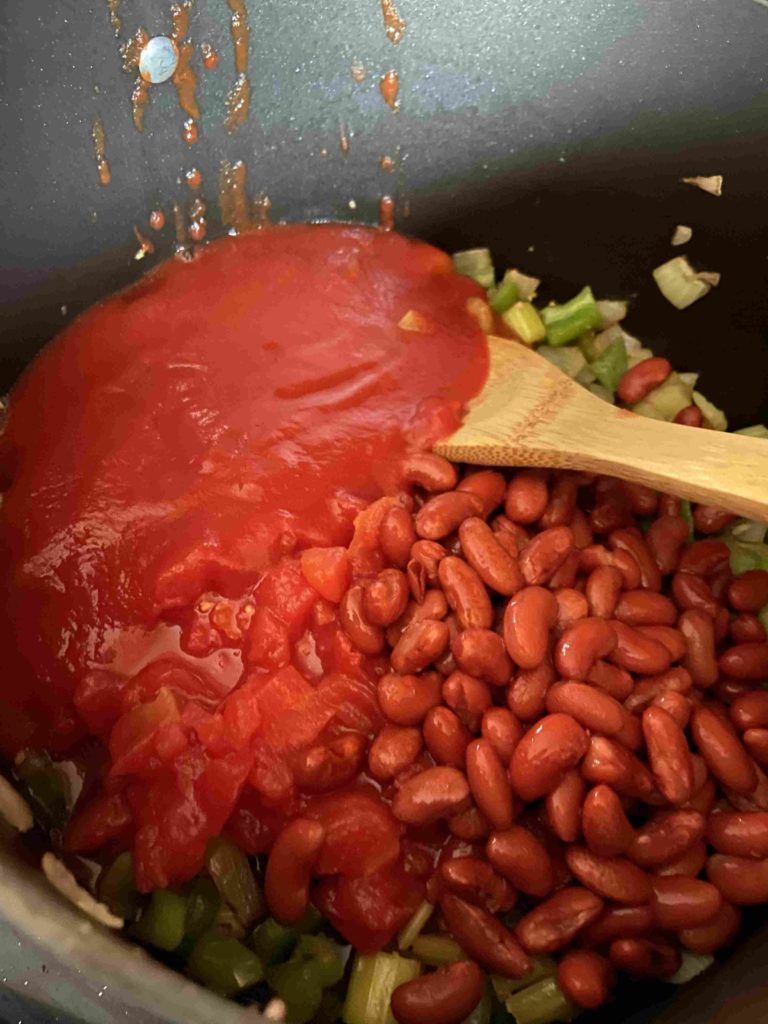
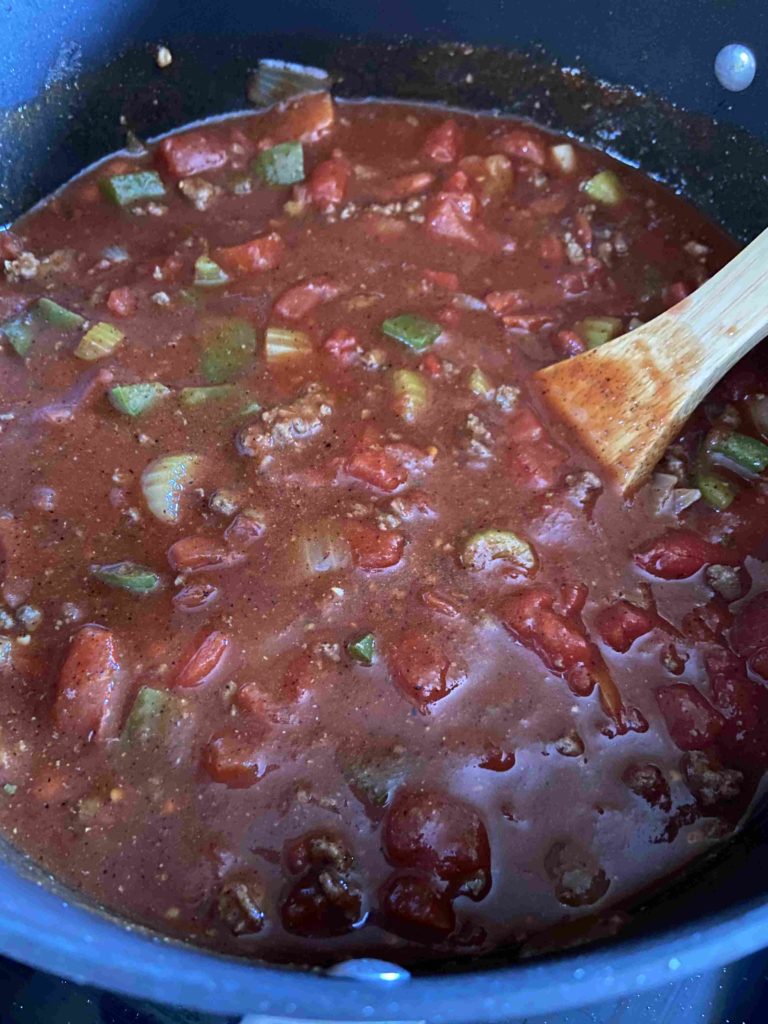
Heat a Dutch oven or soup kettle over medium heat. Add 1 teaspoon of olive oil. Once warm, add 1 teaspoon of garlic. Sauté for 20 to 30 seconds. Add ground protein. Season lightly with salt and pepper from your shakers. Cook until browned and remove. Drain if necessary. In the same pan, add remaining olive oil and garlic. Then add pepper, onion, and celery. Sauté over medium heat for 7-10 minutes, until they are just becoming soft. Stir in remaining ingredients, including the browned protein. Allow to simmer on low as long as you can wait, up to an 90 minutes, to allow the flavors to mingle 🙂

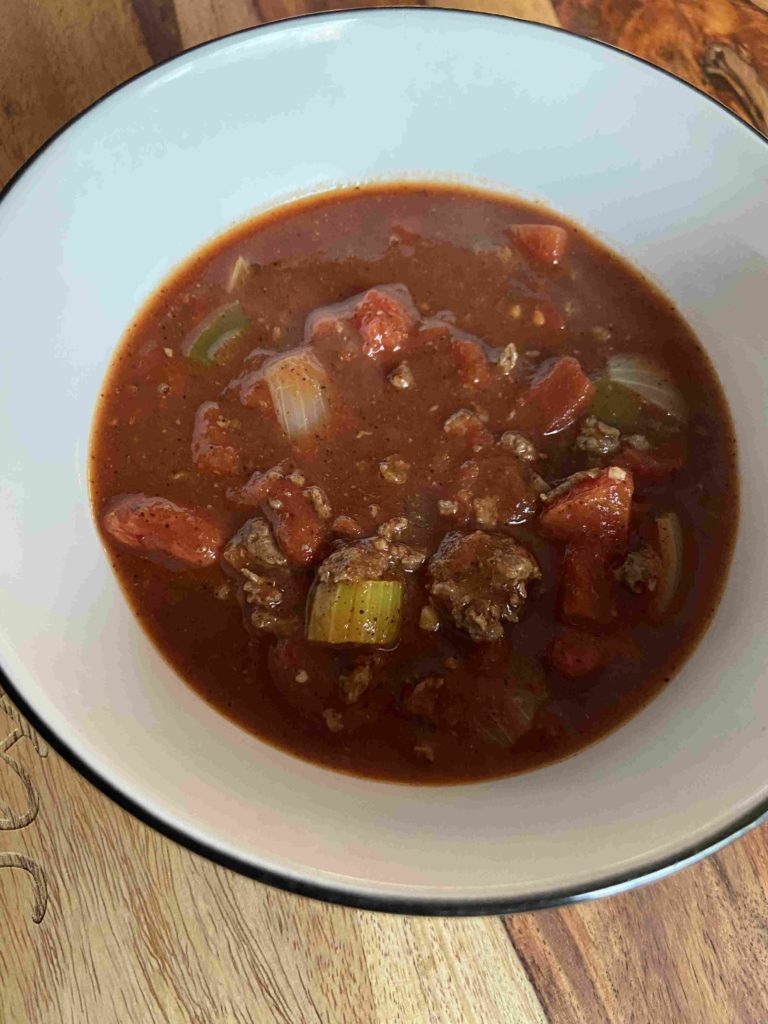
Serve this venison chili alone or with all the toppings: oyster crackers, cheese, chopped onion, sour cream. Even better if you have some fresh baked bread! My son gave it two thumbs up, so I hope you enjoy it as much as he did! —Jess

Tools of the Trade

I adore my Dutch ovens. They are something that I use for nearly all my soup and stew making! Also a big fan of my wooden spoons and seriously, flexible cutting mats are all the rage.

Looking for other dinner inspirations? Check out my page below or maybe some recipes below this recipe!

Wisconsin Cold Weather Chili

As the snow begins to fly in Wisconsin, venison chili is a sure fire way to keep your heart happy and your belly full! No venison? Beef works too!
Prep Time 20 minutes
Cook Time 1 hour
Course Main Course
Cuisine American
Servings 8

Ingredients
  

  • 2 tablespoons olive oil
  • 1 pound ground venison or beef
  • 1 1/2 cups chopped green pepper about 1 large
  • 2 teaspoons minced garlic
  • 1 cup chopped onion about 1 medium
  • 1 cup chopped celery about 3 stalks
  • 2 15 ounce cans diced tomatoes no salt added
  • 1 15 ounce can of tomato sauce
  • 1 15.5 ounce can of kidney beans drained and rinsed
  • 46 ounce container low sodium tomato juice
  • 1 1/2 teaspoons cumin
  • 2 tablespoons chili powder
  • 1 teaspoon oregano
  • 1/2 teaspoon salt
  • 1 teaspoon pepper
  • 1/2 teaspoon white sugar

Instructions
 

  • Heat a Dutch oven or soup kettle over medium heat. Add 1 teaspoon of olive oil.
  • Once warm, add 1 teaspoon of garlic. Sauté for 20 to 30 seconds.
  • Add ground protein. Season lightly with salt and pepper from your shakers. Cook until browned and remove. Drain if necessary.
  • In the same pan, add remaining olive oil and garlic.
  • Then add pepper, onion, and celery.
  • Sauté over medium heat for 7-10 minutes, until they are just becoming soft.
  • Stir in remaining ingredients, including the browned protein. Allow to simmer on low as long as you can wait, up to an 90 minutes.
Keyword chili, dinner, venison, venison recipe
Tried this recipe?Let us know how it was!

Some of my favorite soups and stews

Honey and Soy Garlic Chicken

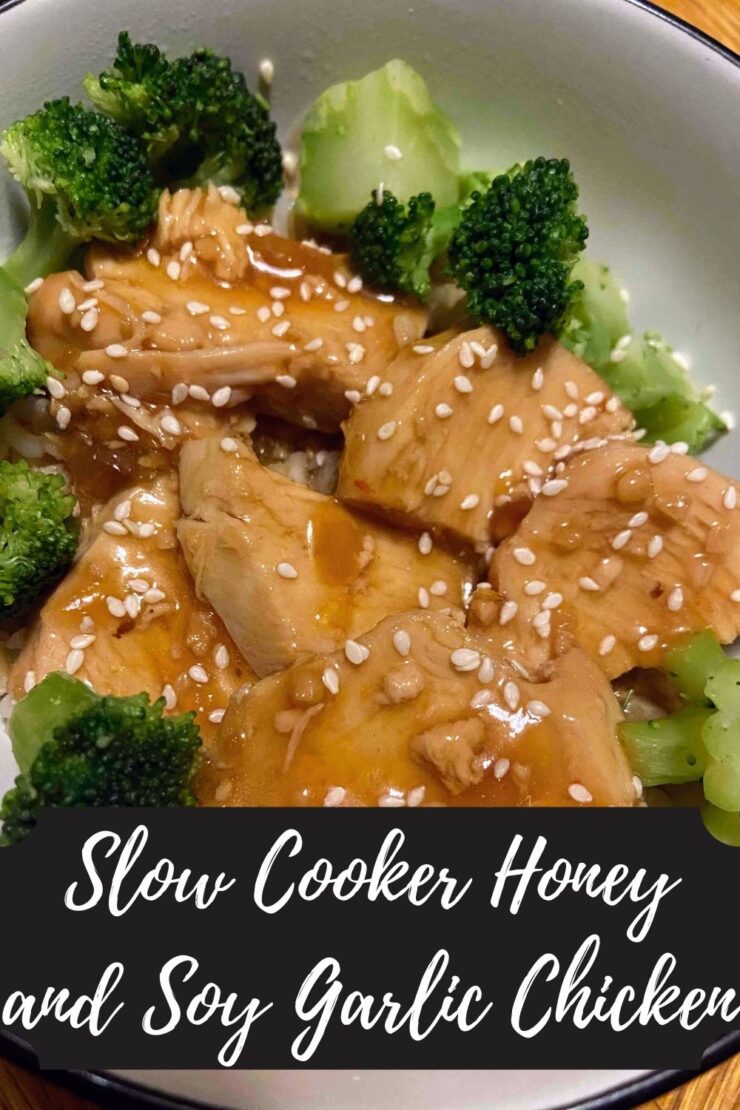
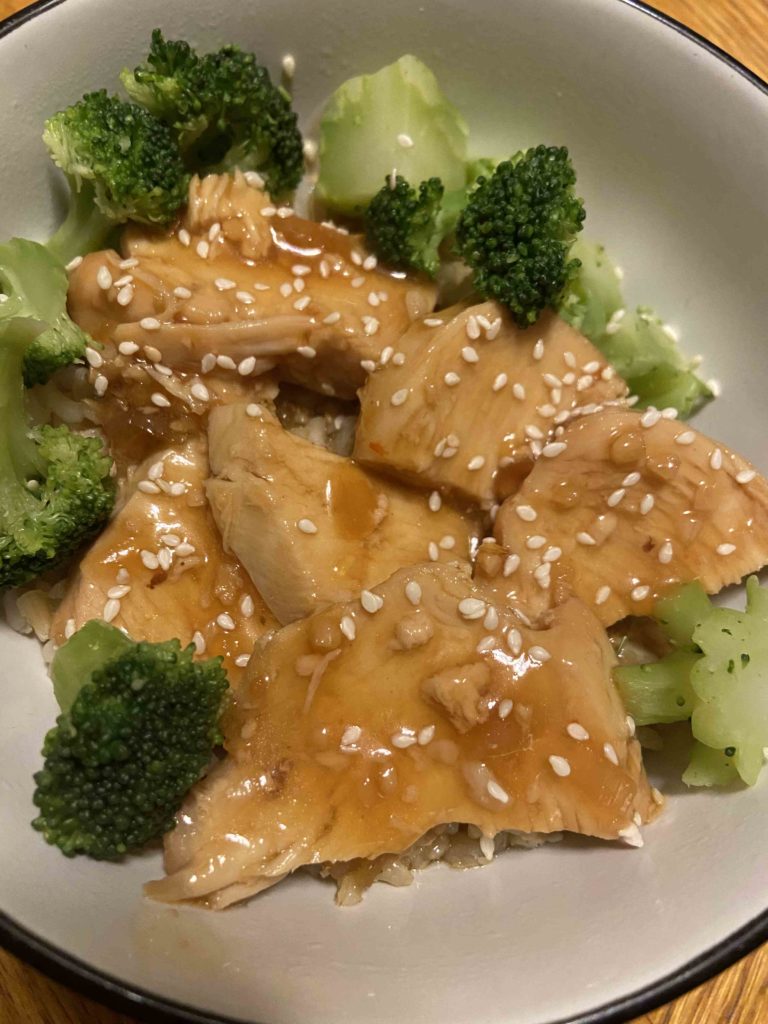
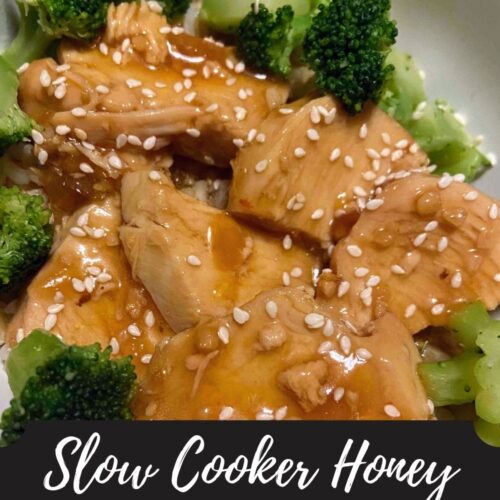
I love chicken. But we are a hunting family, so our primary protein source is venison. And chicken can be expensive. But when we have it, I am all about seasoning it with a little olive oil, salt, pepper, garlic, and minced onion, and sticking it under the broiler with some veggies. It’s the perfect, no-nonsense meal that I could eat multiple times a week. My kids, on the other hand, get sick of the quick and easy meal. So when I said I wanted chicken for dinner the other night, they moaned and groaned. I am not a mom who is a short order cook. We all eat the same thing at our house unless it’s leftover night. Thus, this delicious and simple honey and soy garlic chicken was born.

So, because I am a good mom, I switched up my normal routine and put together some Asian-inspired chicken in the crockpot and then got to making other creations in the kitchen. (Once I am in the kitchen cooking, I’m hard pressed to leave!). Now to get cooking!

Your ingredients (for 5-6 servings):

  • 2 pounds boneless, skinless chicken breast
  • 1/4 cup honey
  • 1/4 cup soy sauce
  • 2 teaspoons minced garlic
  • 1/4 cup water
  • 2 teaspoons sesame oil
  • 1/2 teaspoon ground ginger
  • 1/4 teaspoon red pepper flakes (or more, if you are the spicy sorta person!)
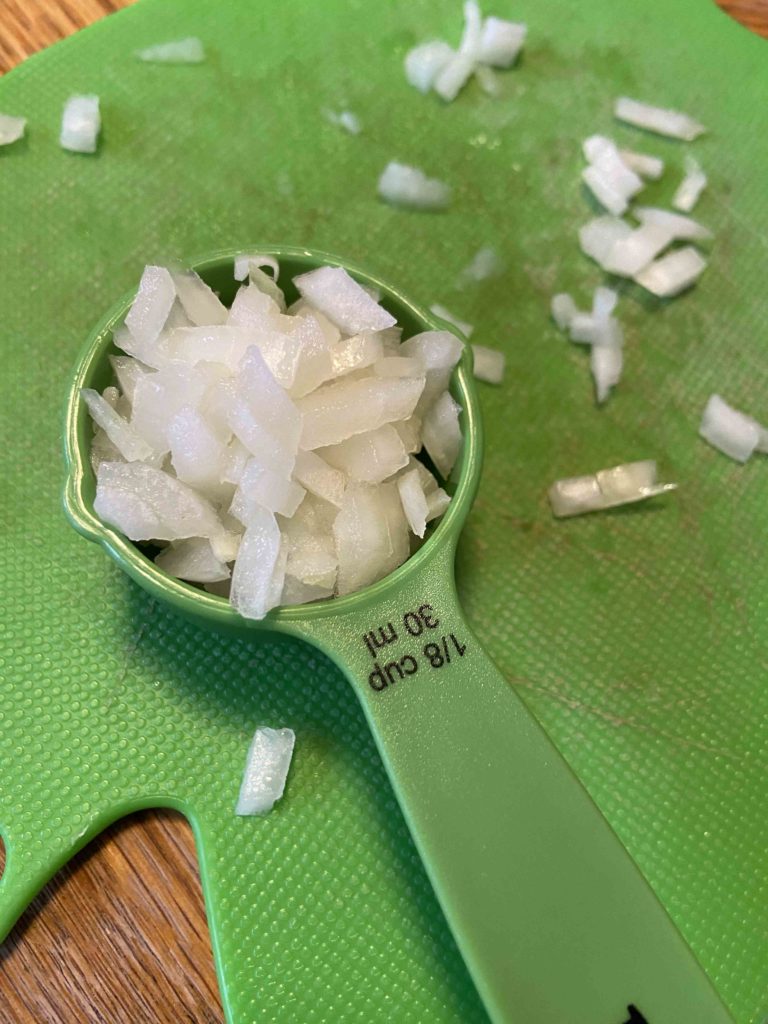
  • 2 tablespoons minced onion
  • 1 tablespoon cornstarch
  • 1 tablespoon cold water
  • steamed broccoli (I am all about the heads and the stems. Use it all!)
  • cooked brown rice

Your Steps to Honey and Soy Garlic Chicken

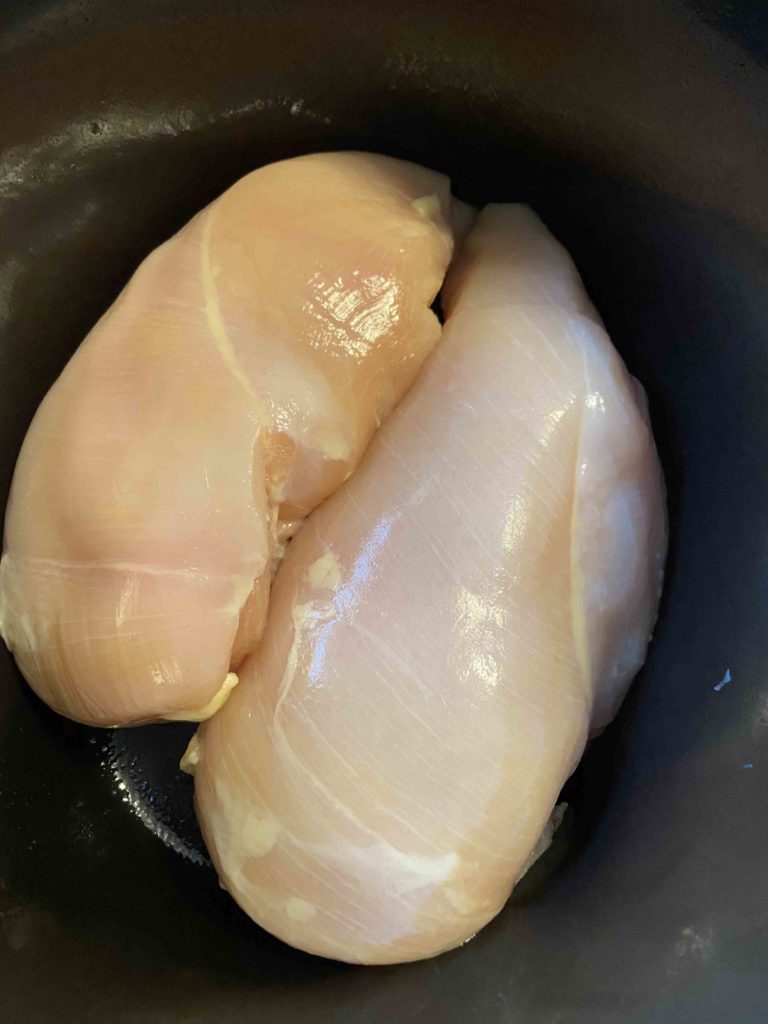
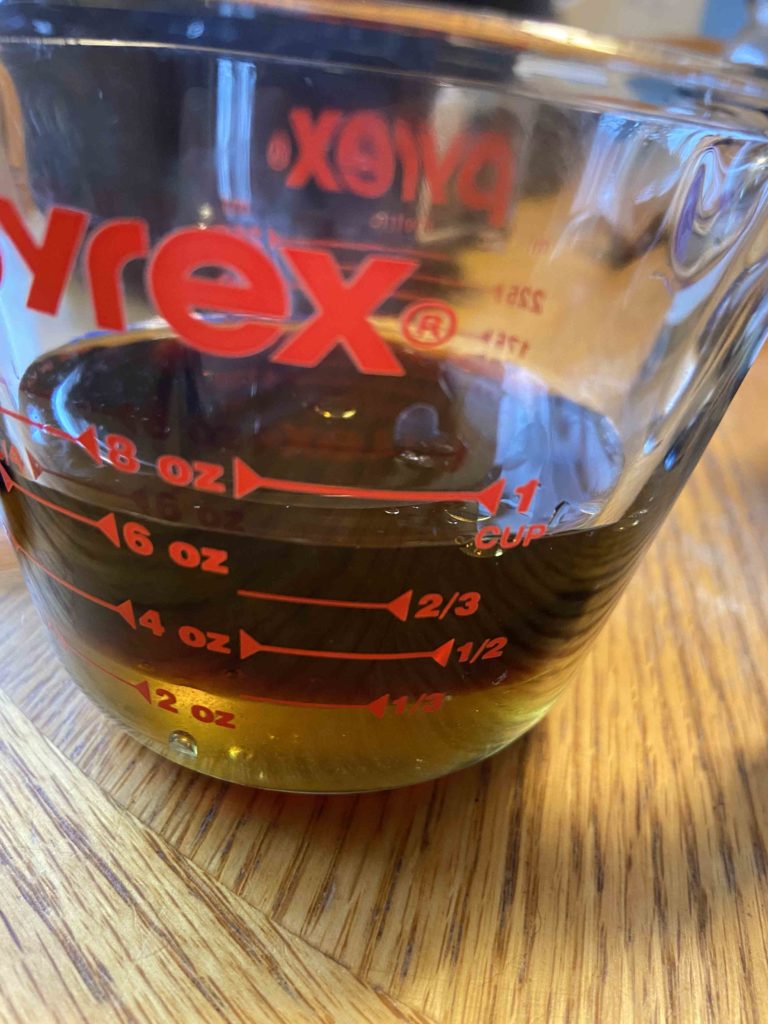
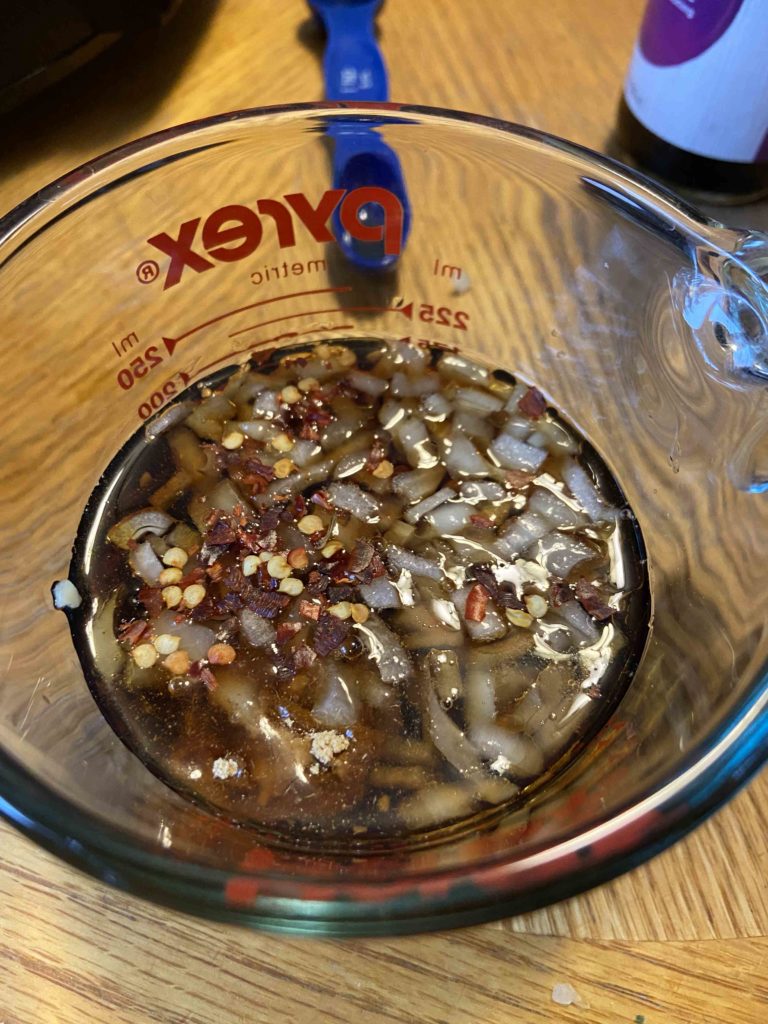
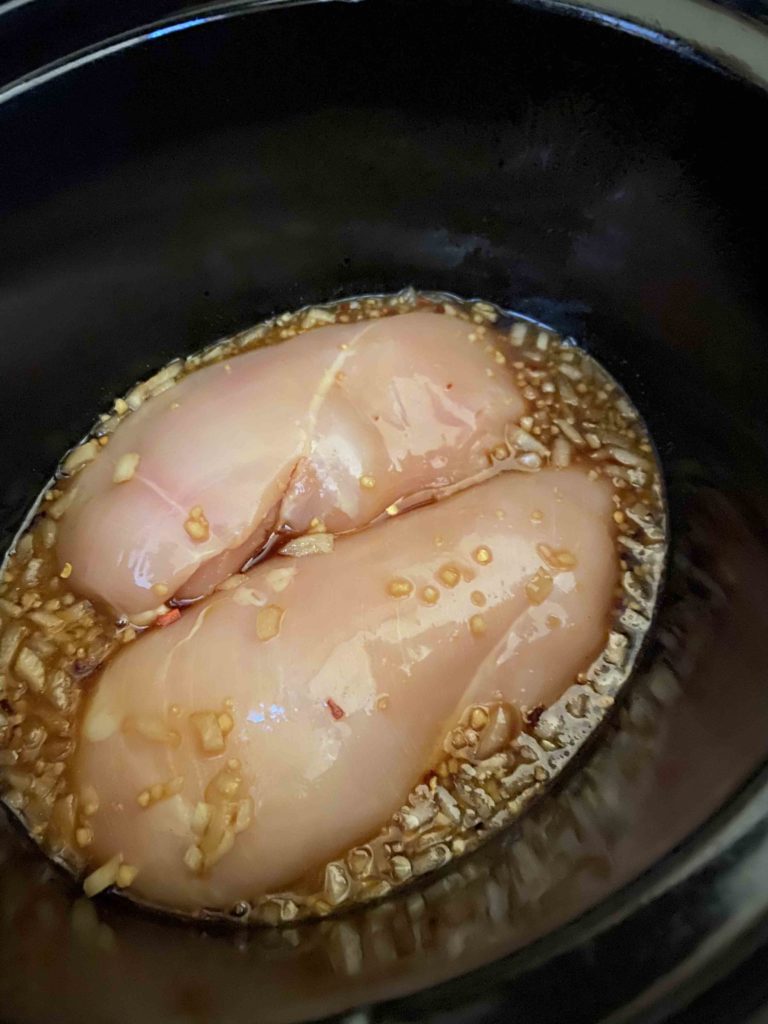
Spray a crockpot with olive oil cooking spray. Layer the bottom with the chicken. Mix honey, soy sauce, 1/4 cup water, garlic, ginger, oil, pepper flakes, and onion. Pour over chicken . Cook on high for 2 1/2 hours. I flipped it halfway so it got coated on all sides. After 2 1/2 hours, remove chicken and cut into bite size pieces. It isn’t shred worthy yet, so slicing is the way to go (but it is so moist!) If you wanted to cook the chicken longer, you could get it to shred worthy temperature!

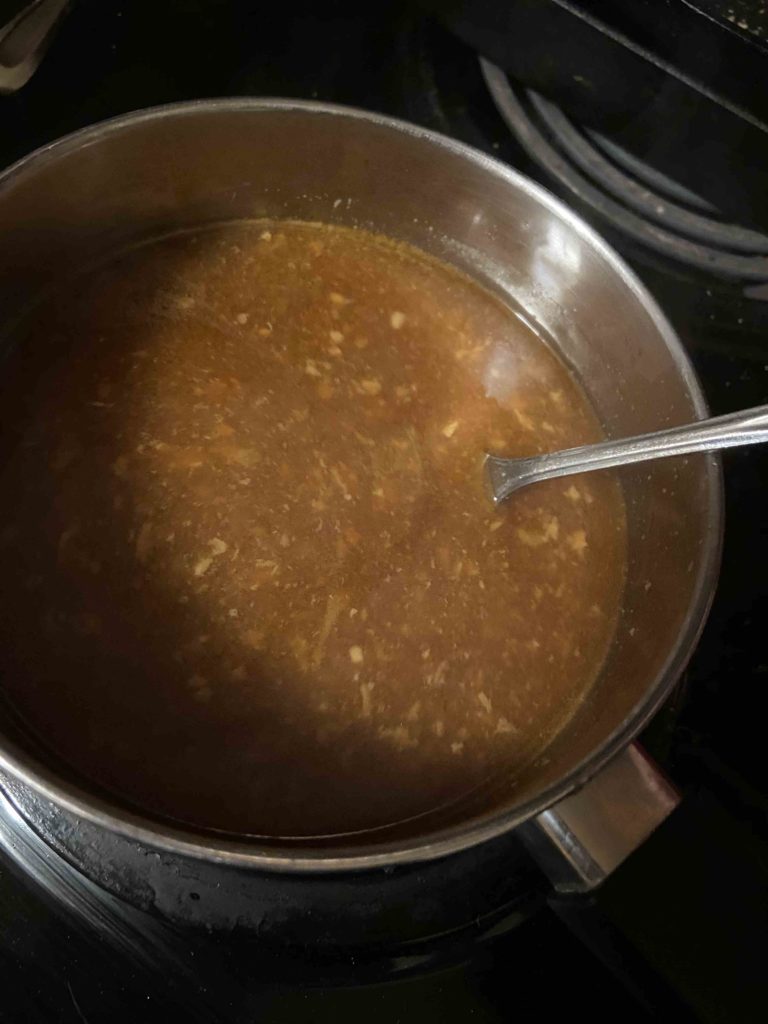
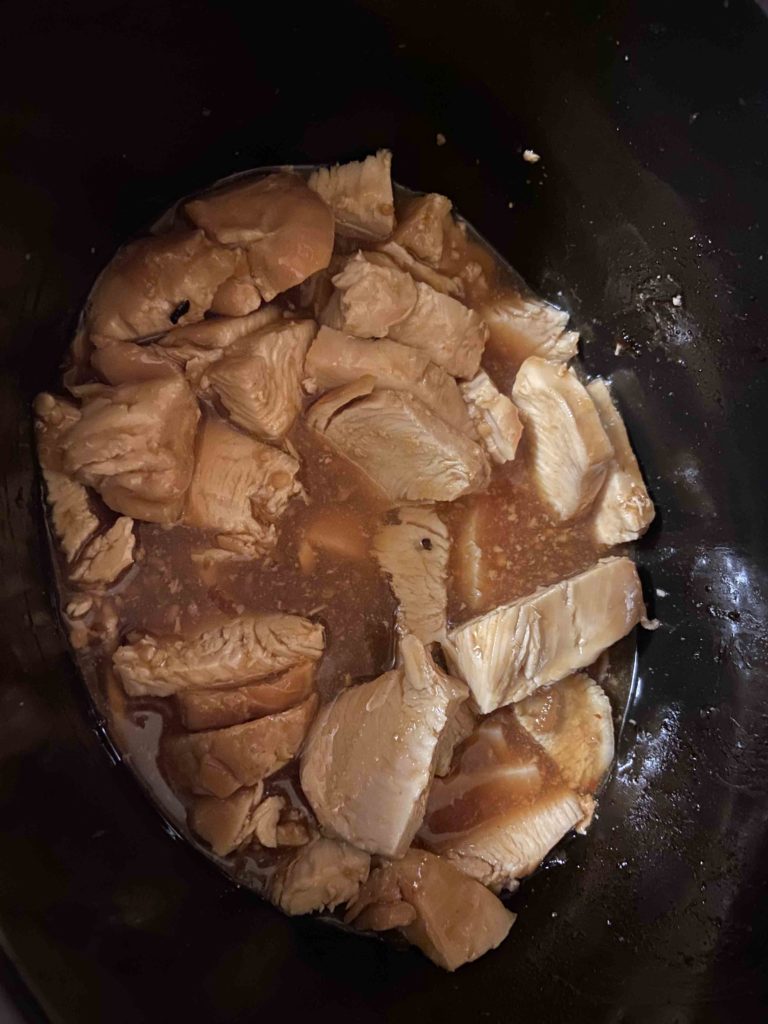
Any who…pour the sauce from the crockpot into a small saucepan. Bring it to a boil. While you are waiting for it to boil, whisk the cold water and cornstarch together in a small mug or bowl. Once the sauce is boiling, slowly add the cornstarch and water mixture. Continue whisking sauce until thickened, about 2 minutes. Pour over the chicken. (I combined them back in the crockpot). Serve over rice with steamed broccoli. Sprinkle sesame seeds on top if you them for a little texture!

I do hear you…”You only cooked it for 2 1/2 hours? Who has the right timing for a dinner that cooks 2 1/2 hours?” I did get home from work earlier than normal, so this dinner was a cinch to throw together and get to other things. You could totally cook this on low for 4-6 six hours and have a shreddable chicken. You do you and make it work for you and your family. Here’s to a dinner together that everyone enjoys!

Honey and Soy Garlic Chicken

A simple Asian-inspired crockpot chicken that pairs well with rice and steamed broccoli
Prep Time 10 minutes
Cook Time 2 hours 30 minutes
Course dinner, Main Course
Cuisine American
Servings 5

Ingredients
  

  • 2 pounds boneless skinless chicken breast
  • 1/4 cup honey
  • 1/4 cup soy sauce
  • 2 teaspoons minced garlic
  • 1/4 cup water
  • 2 teaspoons sesame oil
  • 1/2 teaspoon ground ginger
  • 1/4 teaspoon red pepper flakes
  • 2 tablespoons minced onion
  • 1 tablespoon cornstarch
  • 1 tablespoon cold water
  • 5 cups cooked brown rice
  • Steamed broccoli

Instructions
 

  • Spray a crockpot with olive oil cooking spray. Layer the bottom with the chicken. Mix honey, soy sauce, 1/4 cup water, garlic, ginger, oil, pepper flakes, and onion. Pour over chicken.
  • Cook on high for 2 1/2 hours. I flipped it halfway so it got coated on all sides.
  • After 2 1/2 hours, remove chicken and cut into bite size pieces. If shredded chicken is what you enjoy, cook on low for 4-6 hours.
  • Pour the sauce from the crockpot into a small saucepan. Bring it to a boil. While you are waiting for it to boil, whisk the cold water and cornstarch together in a small mug or bowl.
  • Once the sauce is boiling, slowly add the cornstarch and water mixture. Continue whisking sauce until thickened, about 2 minutes.
  • Pour over the chicken. Serve over rice with steamed broccoli. Sprinkle sesame seeds on top if you them for a little texture!
Keyword broccoli, Brown Rice, chicken, crock pot, honey and soy, slow cooker
Tried this recipe?Let us know how it was!

From Scratch Italian Wedding Soup

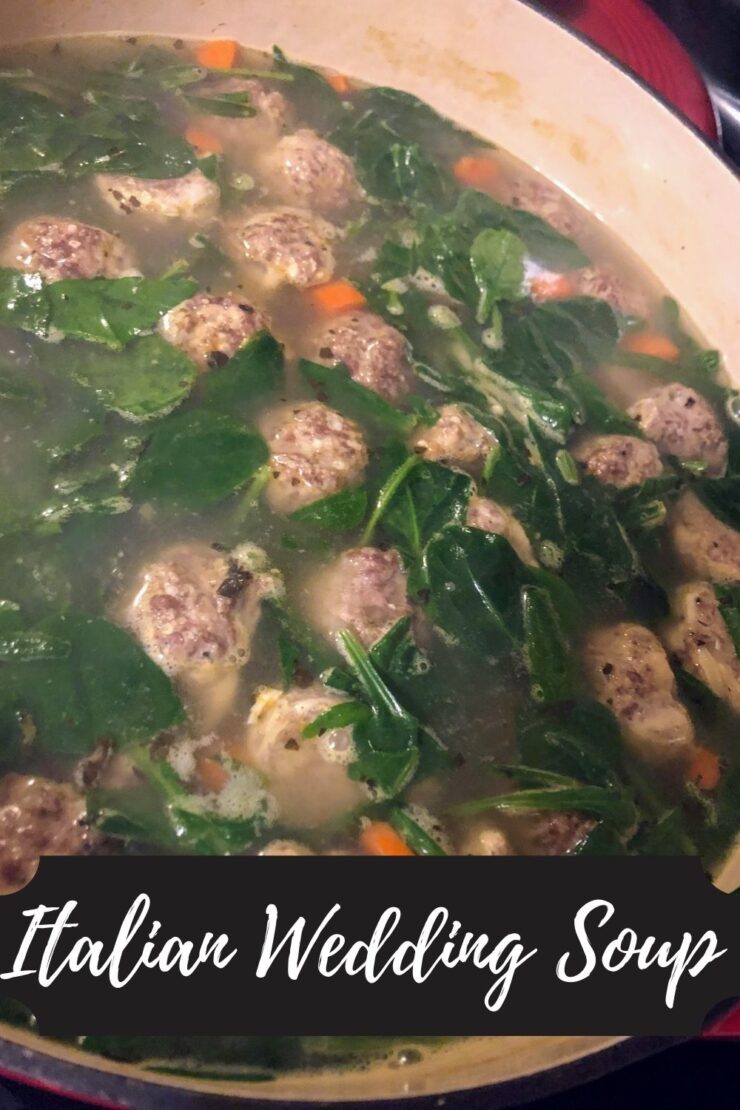
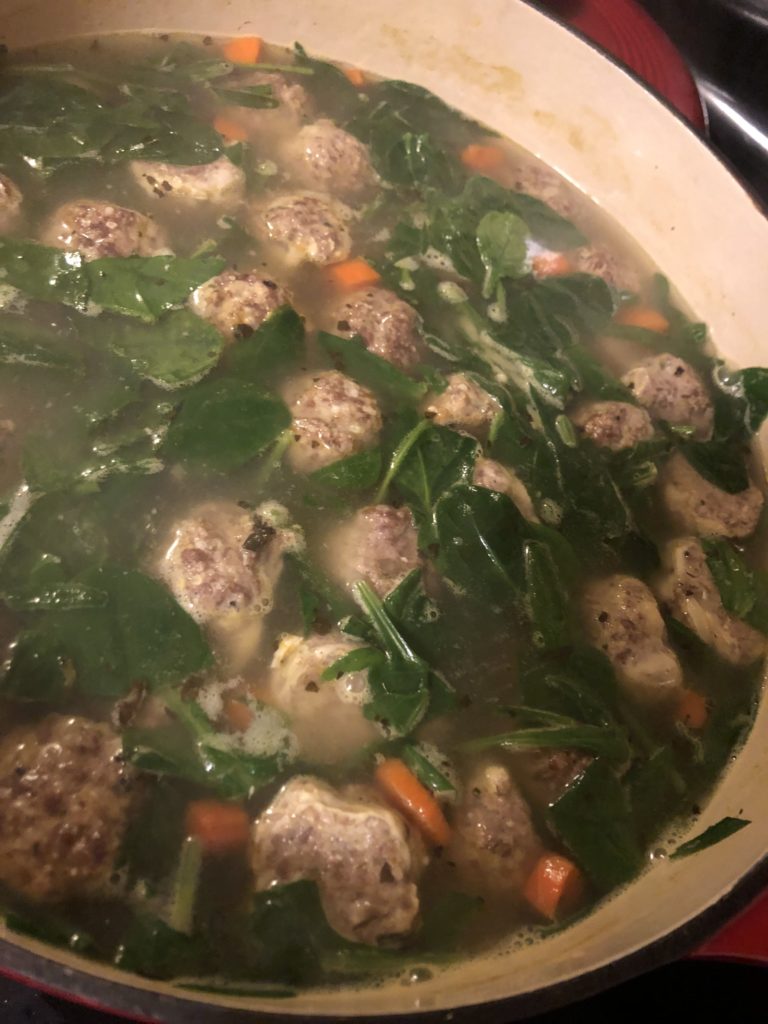
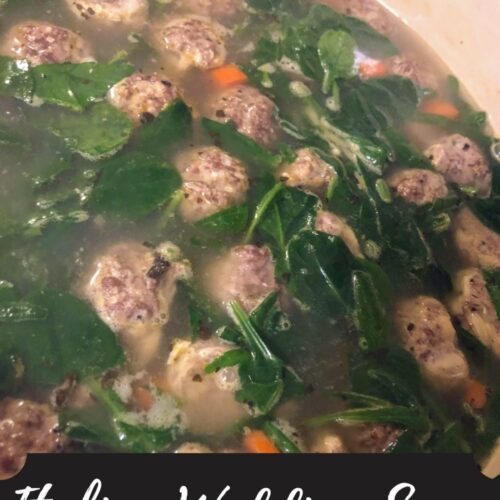
Soup. It speaks to my soul. If someone said I could only eat one type of food for the rest of my life, I would choose soup in a heartbeat. Here’s the thing: I love all the parts of the prep; the chopping, the cooking of garlic (because you need all the garlic in your life), the long slow cook on the stove in a Dutch Oven, all of it. And this Italian Wedding Soup fits all the bills.

I may not look it, but I have enough Italian in my DNA to call myself an Italian, and ALL Italian food makes my taste buds do a happy dance; so when I saw a recipe for Italian Wedding Soup, I immediately started looking at all sorts of recipes to pull my favorite parts and make it my own. I was happy with how quickly this got pulled together and everyone in our family loved it!

Ready to get cooking? Let’s get started!

Your Ingredients

  • 1 lb of Italian sausage seasoned ground venison (regular ground Italian sausage would work great!)
  • 2 eggs, beaten
  • 4 Tablespoons bread crumbs
  • 2 Tablespoons grated Parmesan
  • 2 cups finely diced carrots
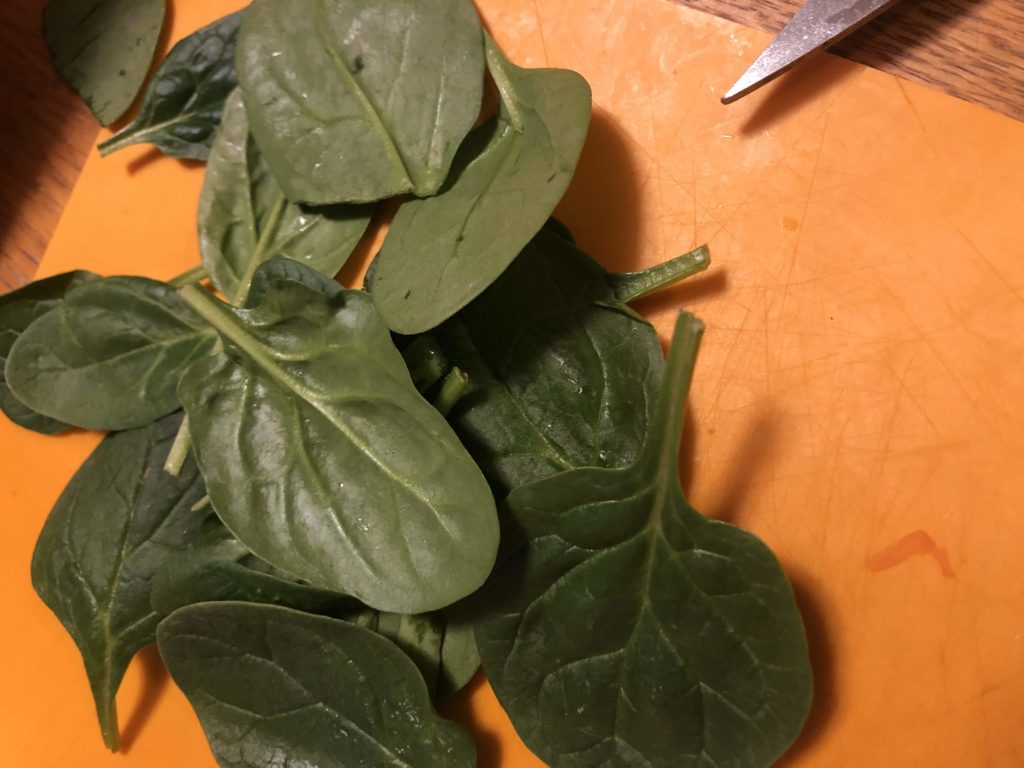
  • 4 cups chopped spinach
  • minced garlic, 2-3 cloves (I like to do a cereal spoon-ful, but do to taste. I have only experienced too much garlic once in my life)
  • 11 cups chicken stock, low sodium
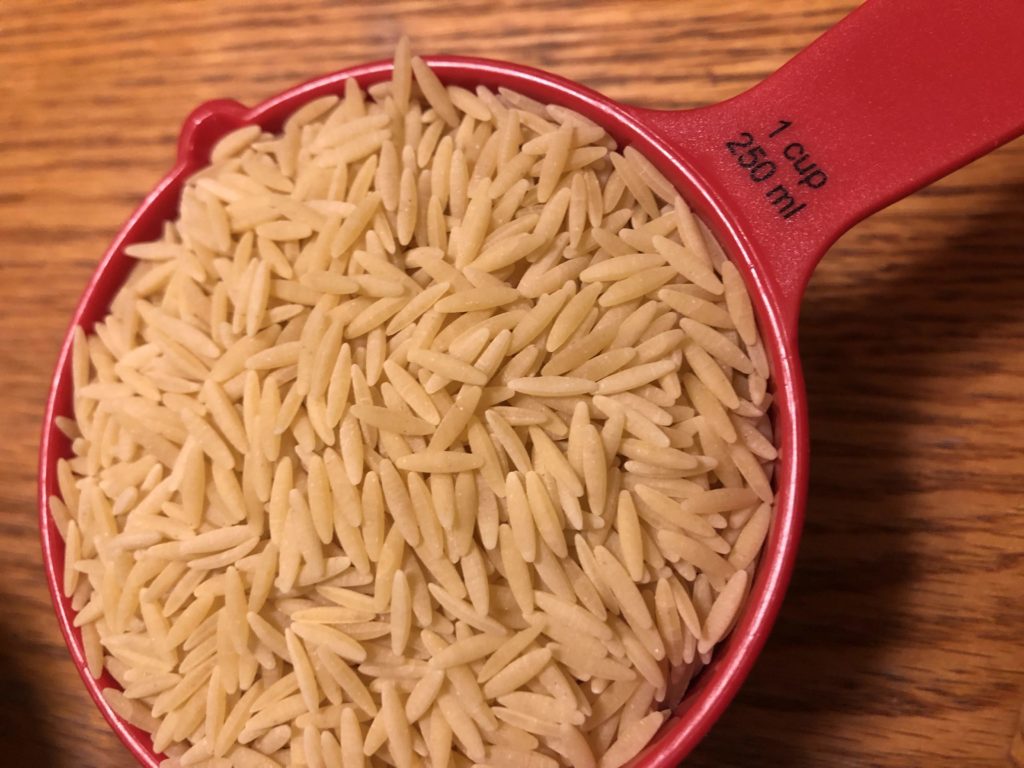
  • 1 cup orzo
  • salt, pepper, and basil to taste

Your steps To Italian Wedding Soup

Preheat the oven to 350 degrees. Line a baking pan with foil. Set aside.

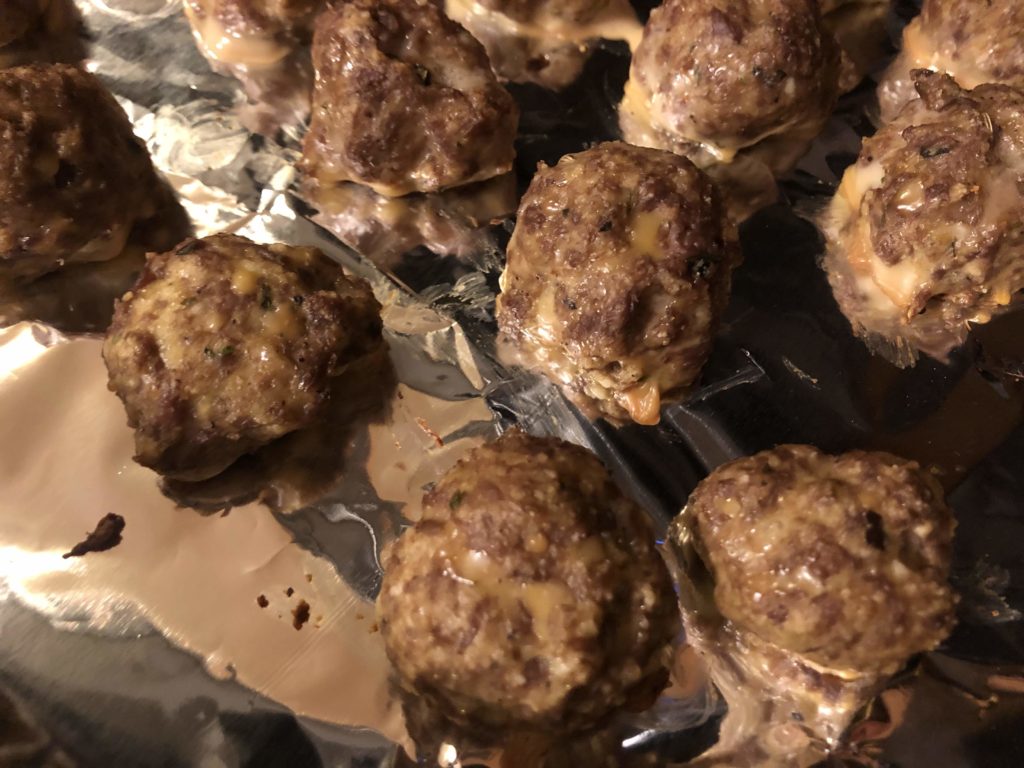
Mix the eggs, bread crumbs, Parmesan, and ground venison together. Shape into 1 inch meatballs and place on the lined baking pan. Bake the meatballs for 10 minutes, until cooked through. (If you haven’t cook meatballs this way yet, you have to give it a try! It saves a lot of stress in terms of making sure they don’t burn in a pan as well as the yuck of clean up. I wouldn’t do it any other way now!)

Meanwhile, sauté the carrots with garlic, salt, and pepper until softened. Add chicken stock, and bring to a boil.

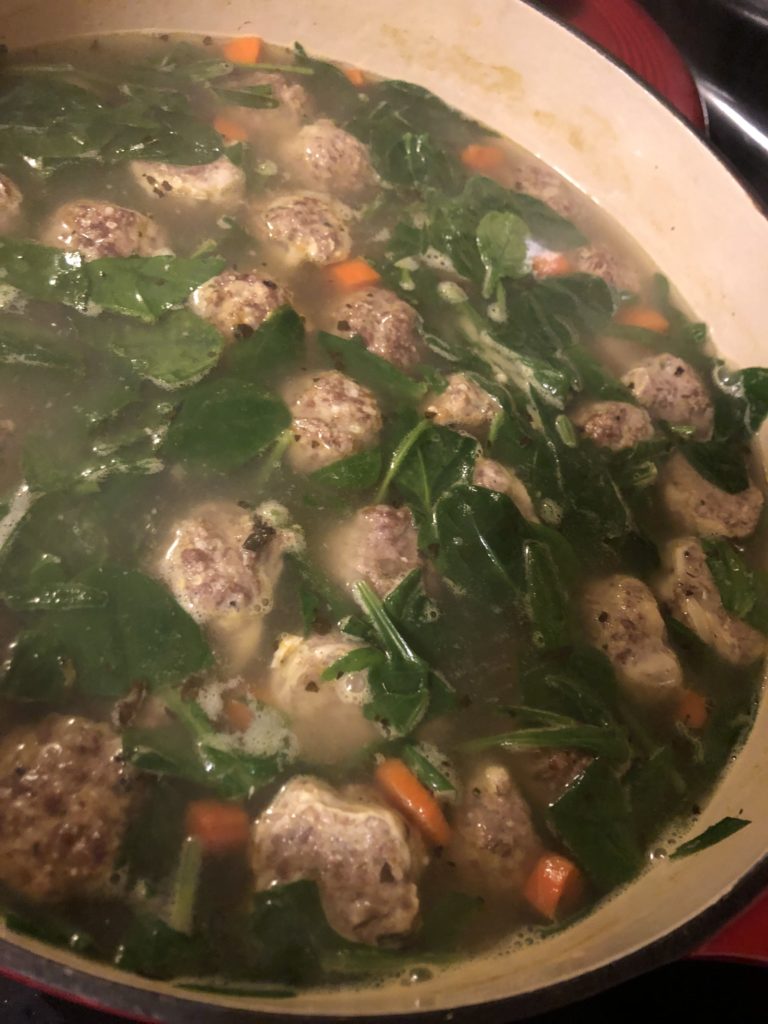
Once the chicken stock is boiling, add orzo and cook to al dente. Two minutes before the pasta is done, add spinach and meatballs. Season with pepper and salt to taste. Easy and delicious.

I’m loving all the uses I’m finding for this seasoned ground venison. It’s still low fat and healthy, a great alternative to Italian sausage, which we love at this house.

From Scratch Italian Wedding Soup

Looking for a simple but so delicious soup to serve? This Italian Wedding Soup has a little of everything: orzo, meatballs, carrots, and spinach. Give it a try!
Prep Time 15 minutes
Cook Time 15 minutes
Course Main Course, Soup
Cuisine American, Italian
Servings 8 people

Ingredients
  

  • 1 lb Italian sausage
  • 2 eggs beaten
  • 4 tablespoons bread crumbs
  • 2 tablespoons grated Parmesan
  • 4 cups chopped spinach
  • 2-3 cloves minced garlic
  • 11 cups chicken stock low sodium
  • 1 cup orzo
  • Salt and pepper to taste
  • Basil to taste

Instructions
 

  • Preheat the oven to 350 degrees. Line a baking sheet with foil. Mix eggs, bread crumbs, Parmesan, and Italian sausage (venison or regular) together. Shape into 1 inch meatballs and place on the lined baking sheet. Bake for 10 minutes, until cooked through.
  • Meanwhile, saute the carrots with garlic, salt and pepper until softened.
  • Add the chicken stock and bring to a boil. Once boiling, add orzo and cook to al dente. Two minutes before the pasta is done, add spinach and meatballs. Season with additional salt and pepper to taste.
Keyword Italian sausage, Italian Wedding Soup, meatballs, soup, soups and stews
Tried this recipe?Let us know how it was!

Looking for other soups and Stews?

You can check out my cooking page here, or let me just tell you a couple of my favorites!