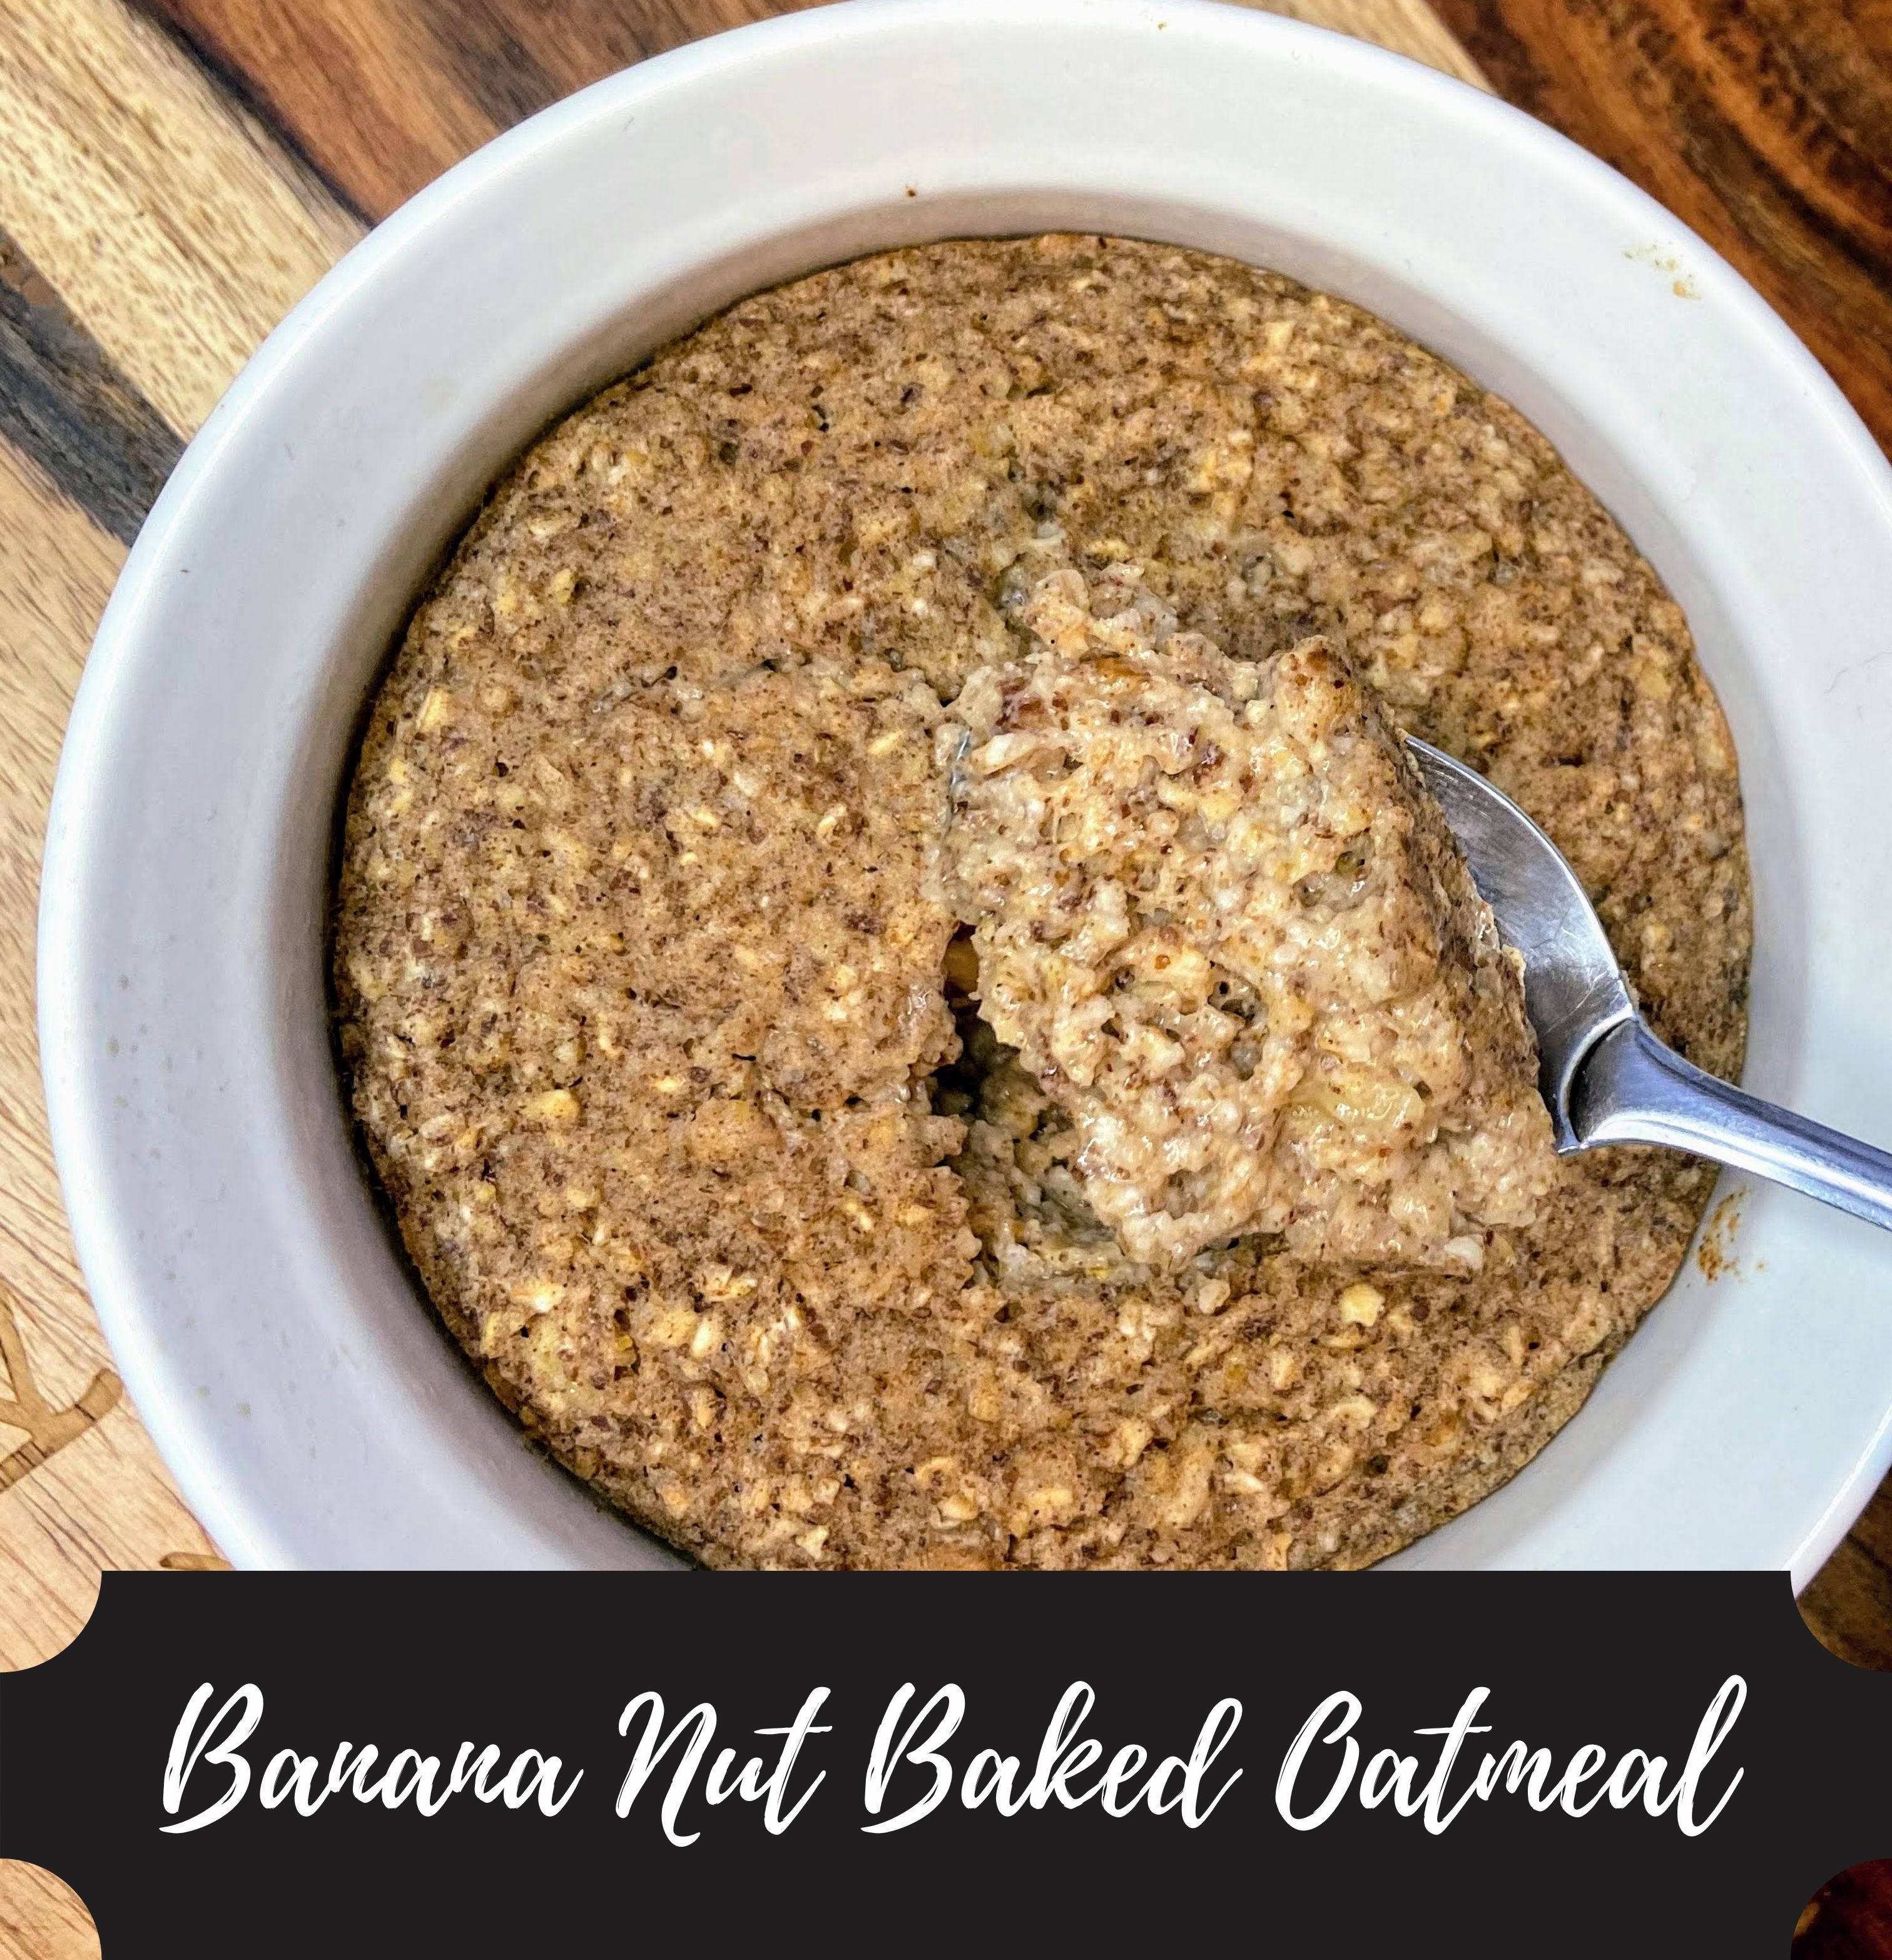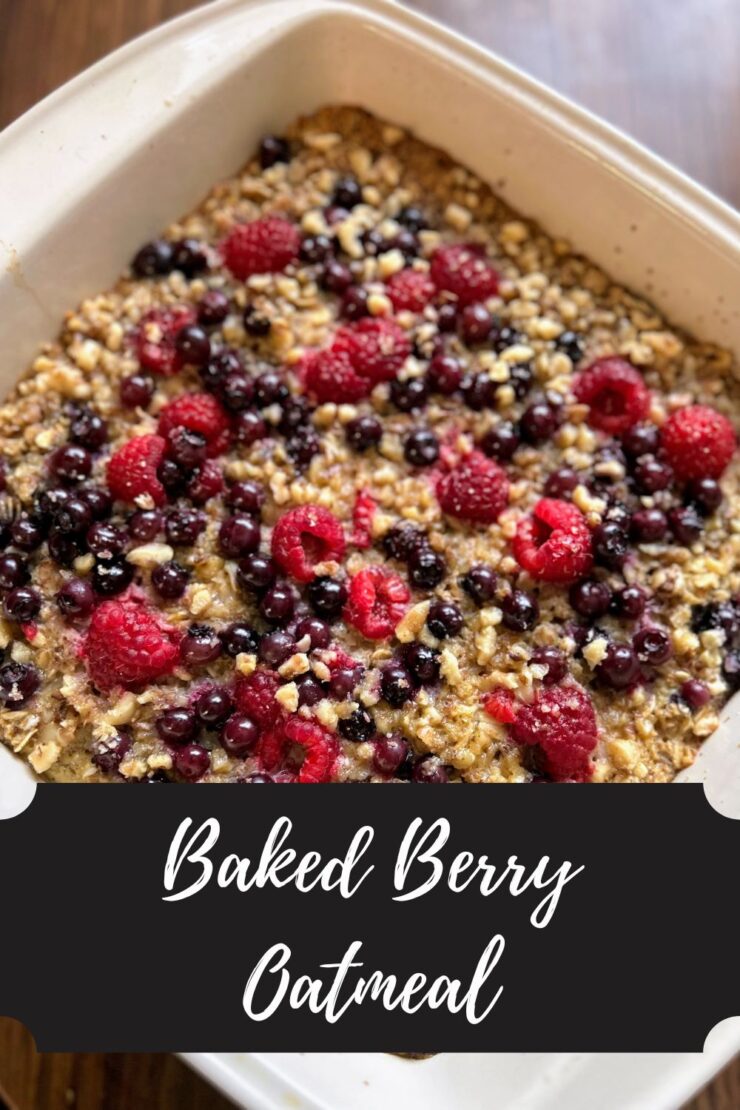
I’ve entered the stage in parenting where I get to get my big kiddo to the weight room by 6:30 am multiple times a week. I am proud of him for working hard to become a stronger athlete, but man, it messes with my morning routine. I need a breakfast with minimal prep, but is still nutrient dense. At first, I was doing protein oatmeal. However, I prefer a breakfast that isn’t pre-packaged. Enter Baked Berry Oatmeal with Greek yogurt.
Initially, I had been cooking from my collab “one book, three recipes” with my Instagram friends and gave a baked oatmeal a try. Yum! However, I didn’t love the extra refined sugar and thought “I can do better.” This is my own take: a maple syrup sweetened baked oatmeal that can be prepped on a Sunday and you’ll have at least six servings for the rest of the week.
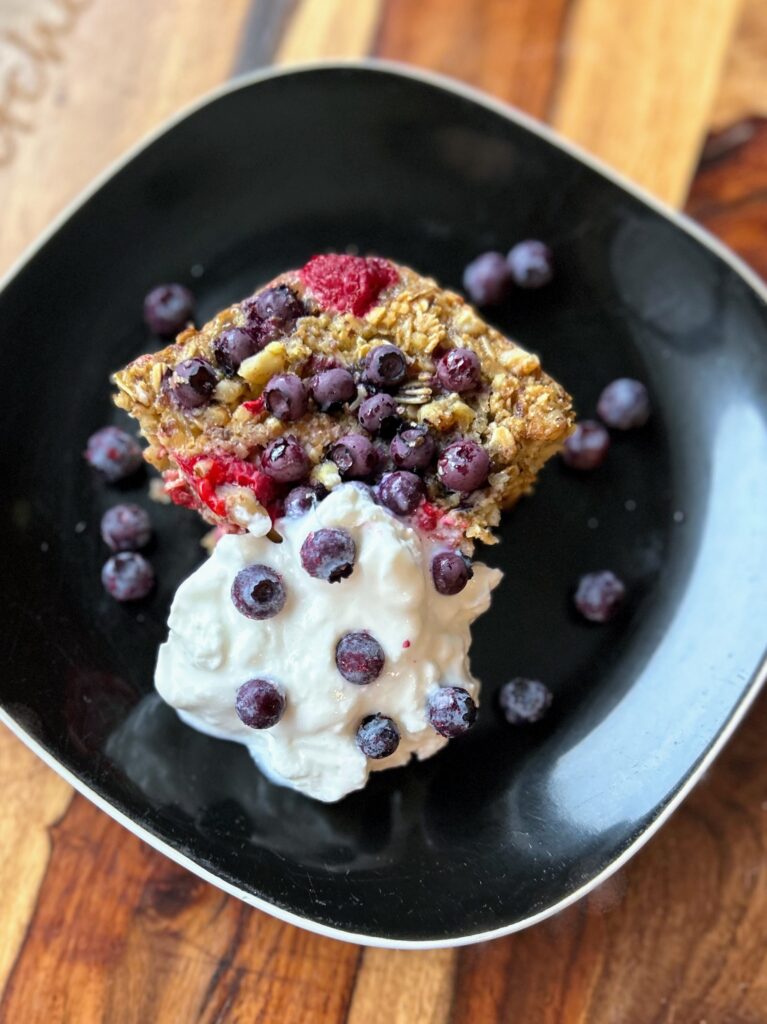
I love how nicely this Baked Berry Oatmeal reheats. I pop my portion into the microwave with a few frozen berries sprinkled on top and let it go for about 40 seconds. Then I’ll top it with some Oikos Triple Zero Vanilla Greek Yogurt and add a side of breakfast sausage or ham with some fruit. It’s a full meal to be sure, but one I can feel really good about eating.
Not a fan of eating the same thing every day like I am? This makes a great brunch or weekend breakfast. It mixes up quick and can leave you time to enjoy a cup of coffee or tea and chat the morning away. Ready to start creating? Let’s go!
Your Ingredients
- 3 cups old fashioned oats
- ⅓ cup real maple syrup
- 2 tablespoons coconut oil, melted
- ¾ cup ground walnuts, divided
- 1 ½ teaspoons baking powder
- 1 teaspoon cinnamon
- ½ teaspoon salt
- 1 ½ cups + 2 tablespoons milk
- 2 large eggs
- 1 teaspoon vanilla
- ½ tablespoon brown sugar
- ½ cup fresh or frozen raspberries
- ½ cup fresh or frozen blueberries
Your Steps to Bake Berry Oatmeal
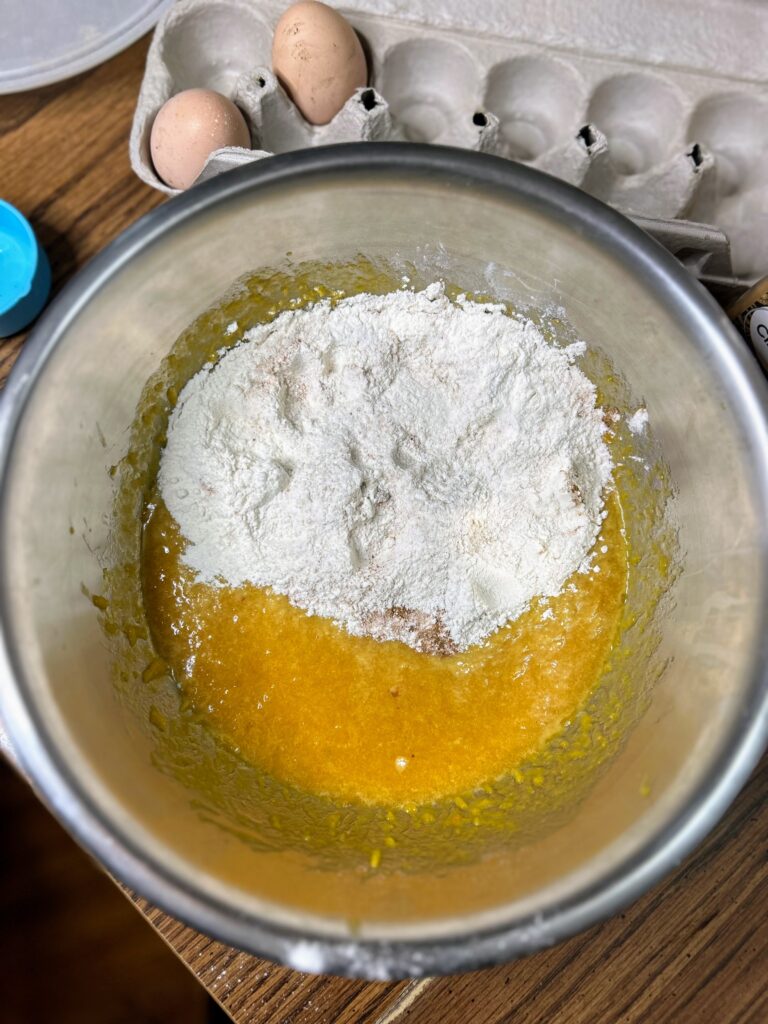
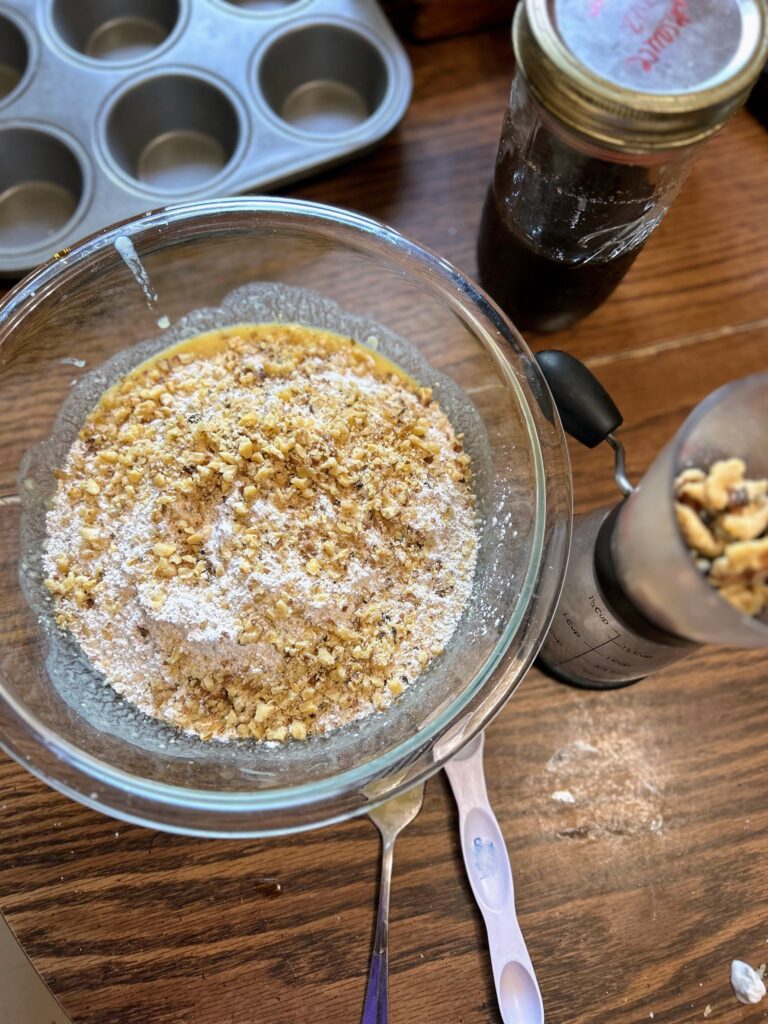
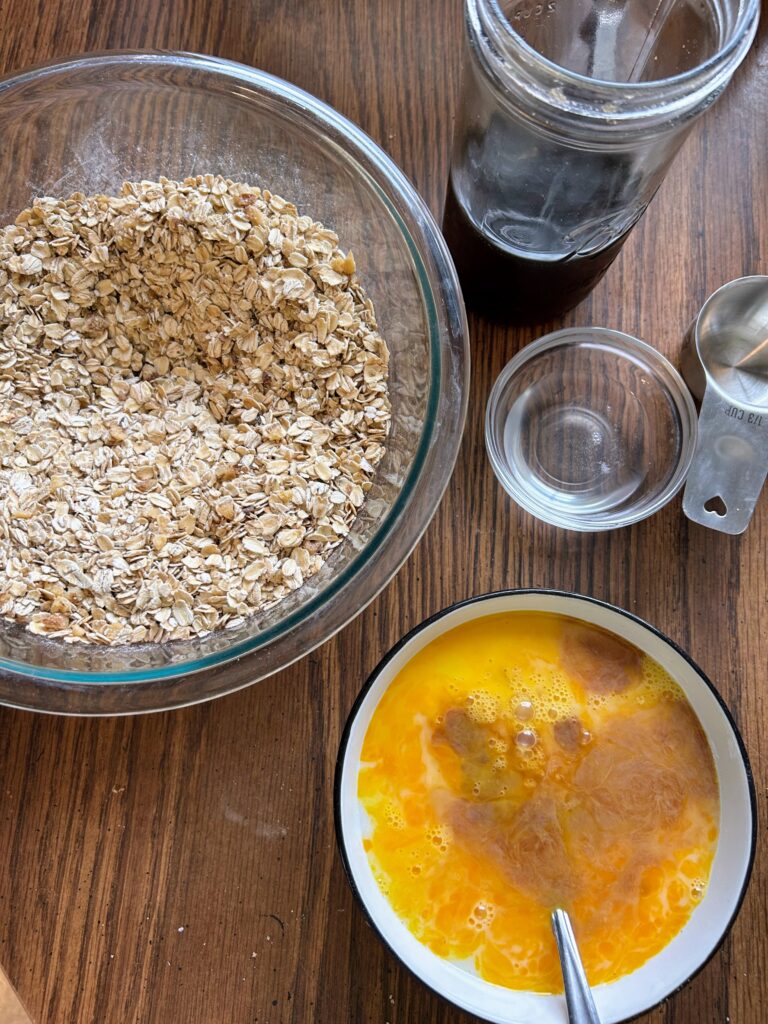
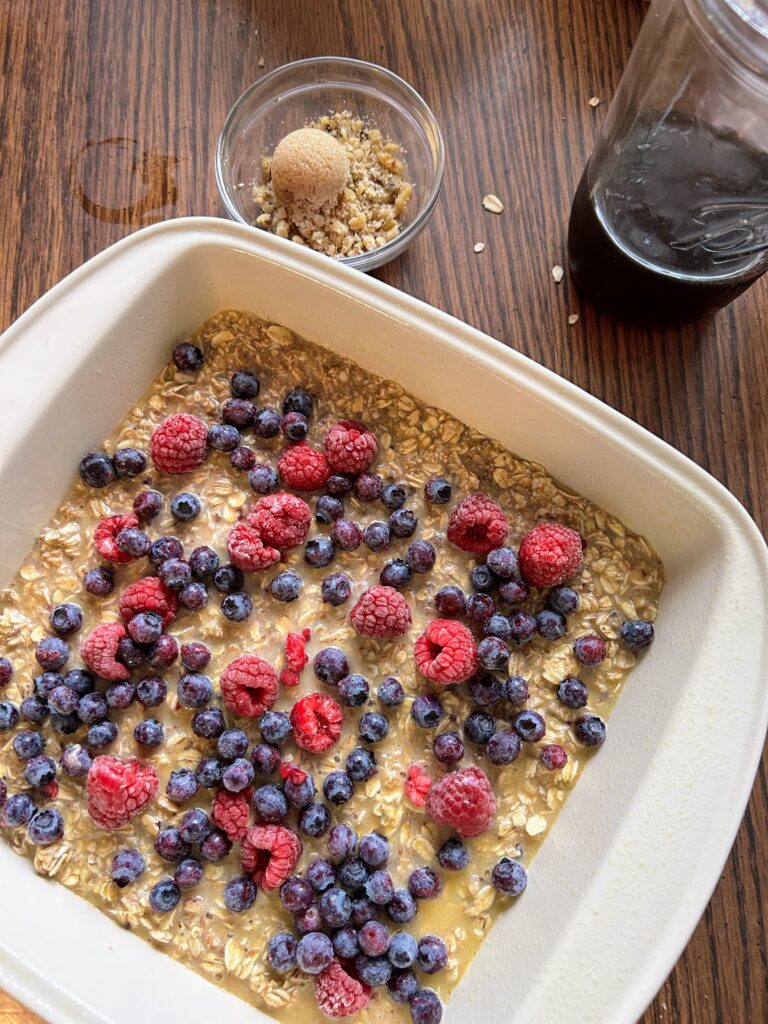
Preheat the oven to 350 degrees F. Grease an 8 by 8 inch baking dish. In a large bowl, combine oats, baking powder, cinnamon, salt, and ½ cup walnuts.
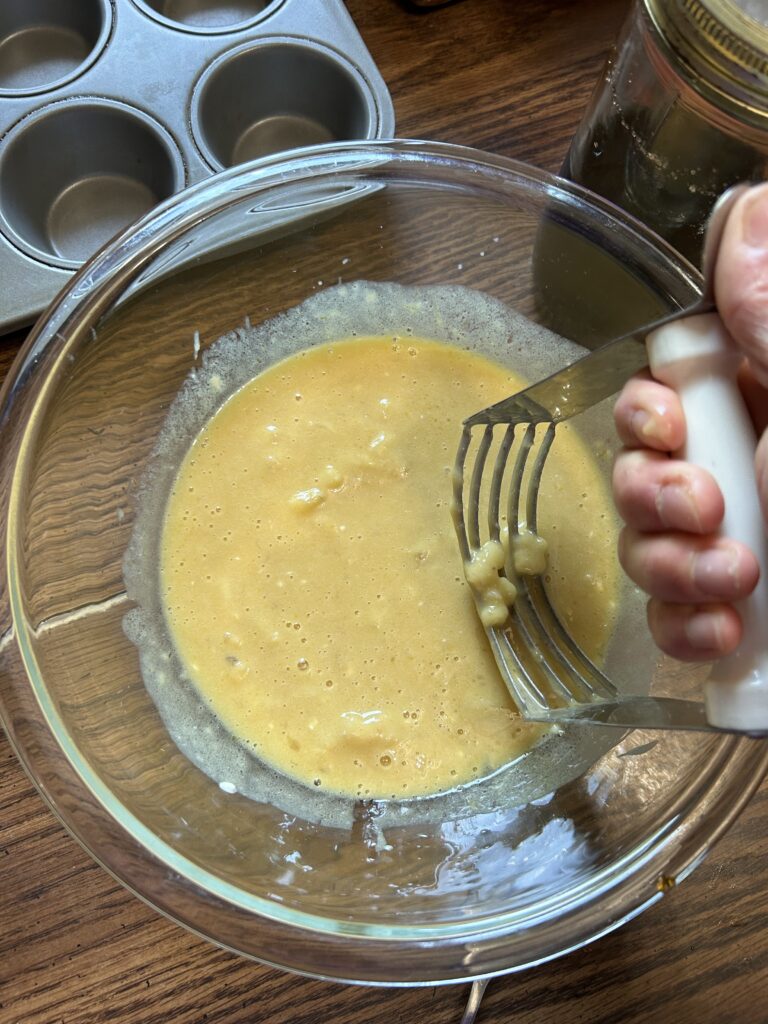
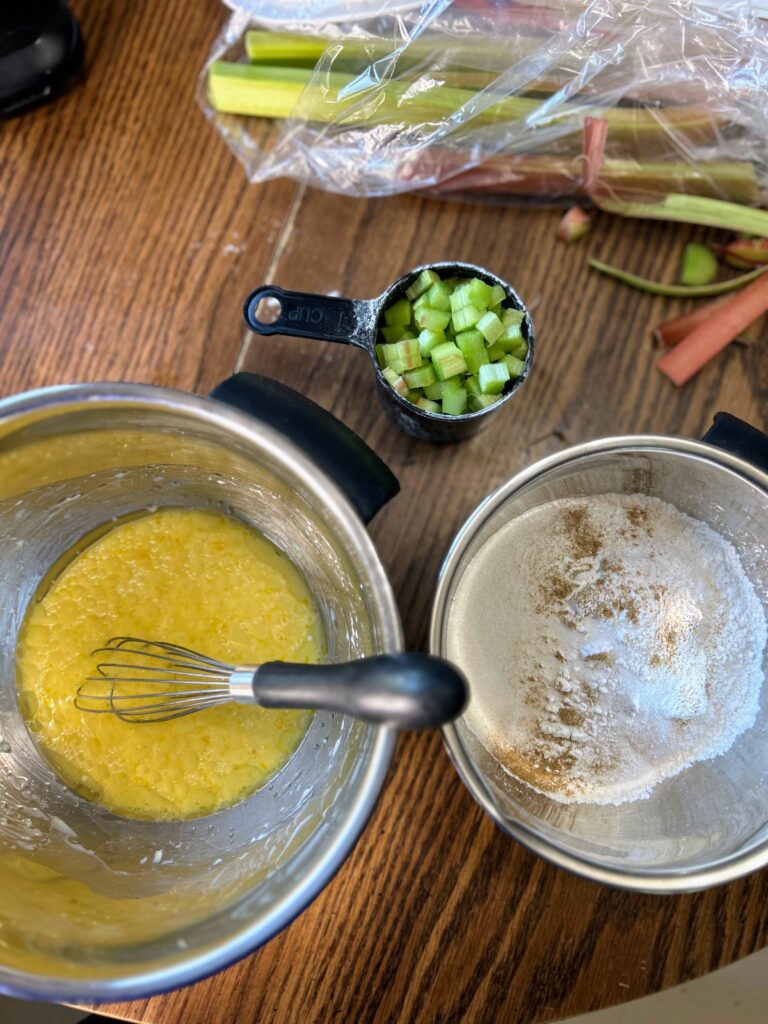
Stir in maple syrup and melted coconut oil. In another bowl, combine milk, eggs, and vanilla. Stir the milk mixture into the oat mixture until well combined. Pour into the prepared pan.
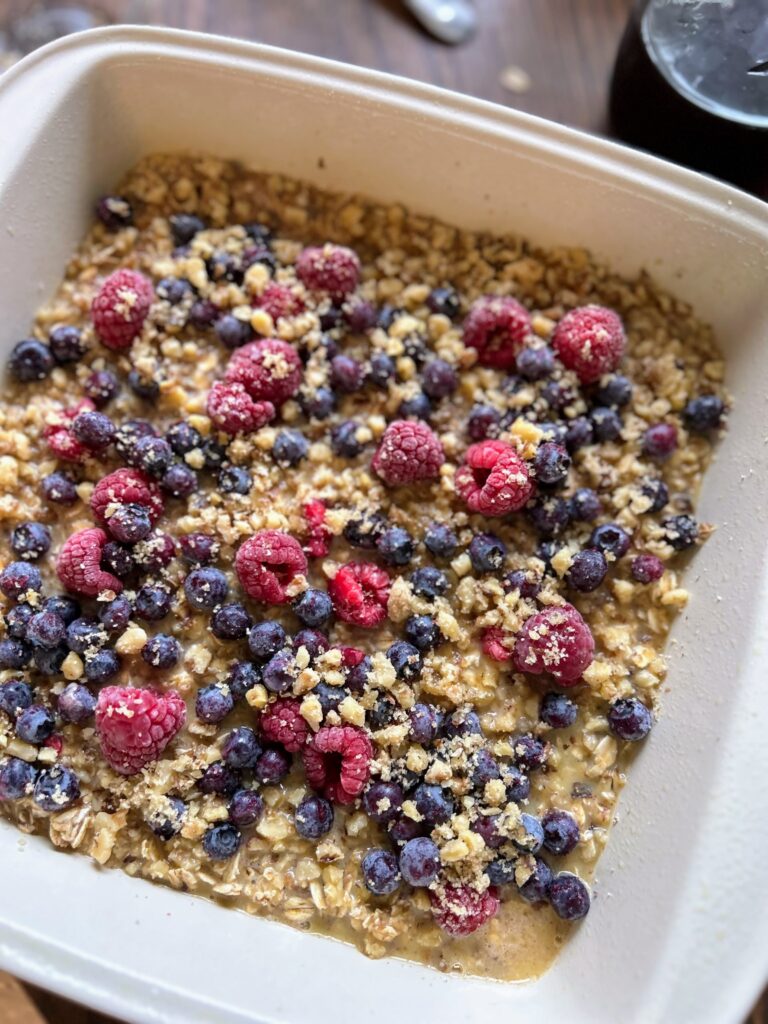
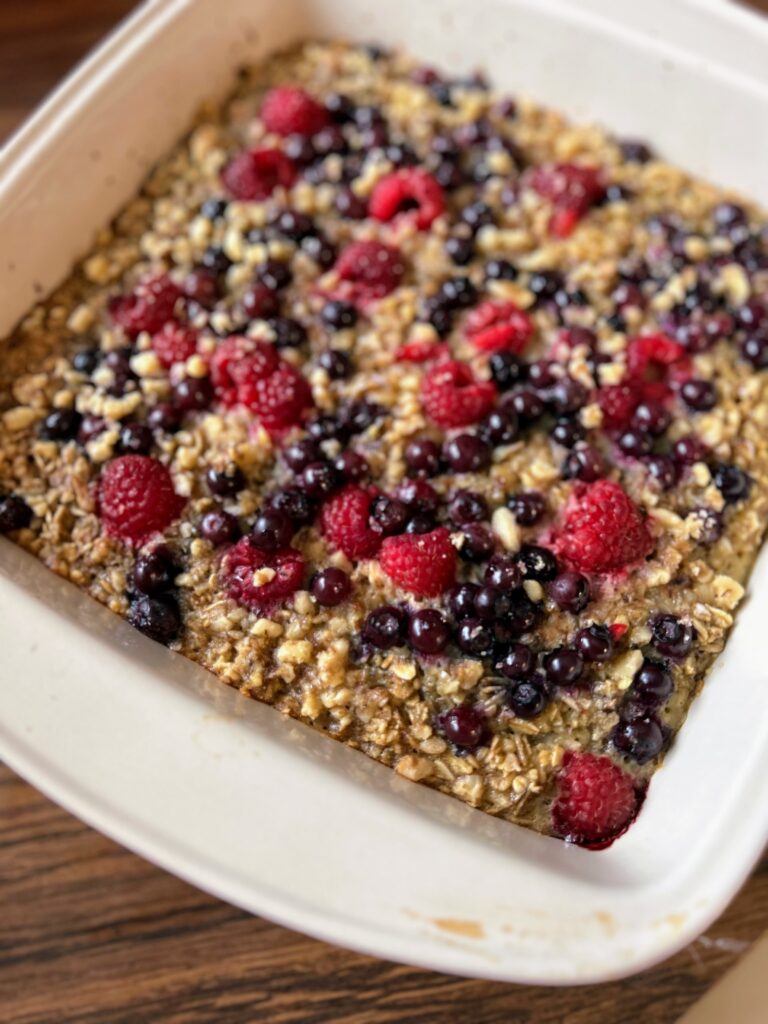
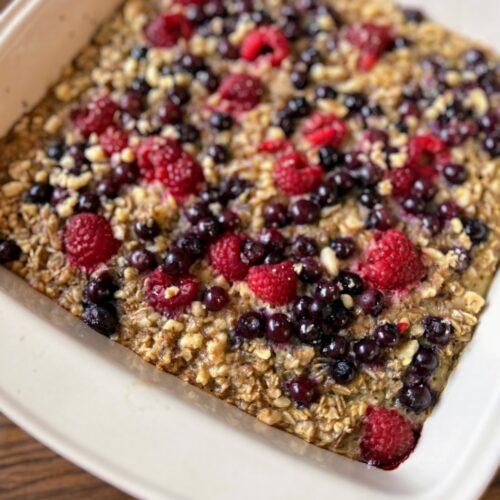
Top with raspberries and blueberries. In a small bowl, combine the remaining ¼ cup of walnuts with the brown sugar and sprinkle on top of the berries. Bake for 40 minutes. Serve with Greek yogurt and additional berries, if desired.

Baked Berry Oatmeal
Equipment
Ingredients
- 3 cups old fashioned oats
- ⅓ cup real maple syrup
- 2 tablespoons coconut oil melted
- ¾ cup ground walnuts divided
- 1 ½ teaspoons baking powder
- 1 teaspoon cinnamon
- ½ teaspoon salt
- 1 ½ cups + 2 tablespoons milk
- 2 large eggs
- 1 teaspoon vanilla
- ½ tablespoon brown sugar
- ½ cup fresh or frozen raspberries
- ½ cup fresh or frozen blueberries
Instructions
- Preheat the oven to 350 degrees F. Grease an 8 by 8 inch baking dish. In a large bowl, combine oats, baking powder, cinnamon, salt, and ½ cup walnuts.
- Stir in maple syrup and melted coconut oil. In another bowl, combine milk, eggs, and vanilla. Stir the milk mixture into the oat mixture until well combined. Pour into the prepared pan.
- Top with raspberries and blueberries. In a small bowl, combine the remaining ¼ cup of walnuts with the brown sugar and sprinkle on top of the berries. Bake for 40 minutes. Serve with Greek yogurt and additional berries, if desired.
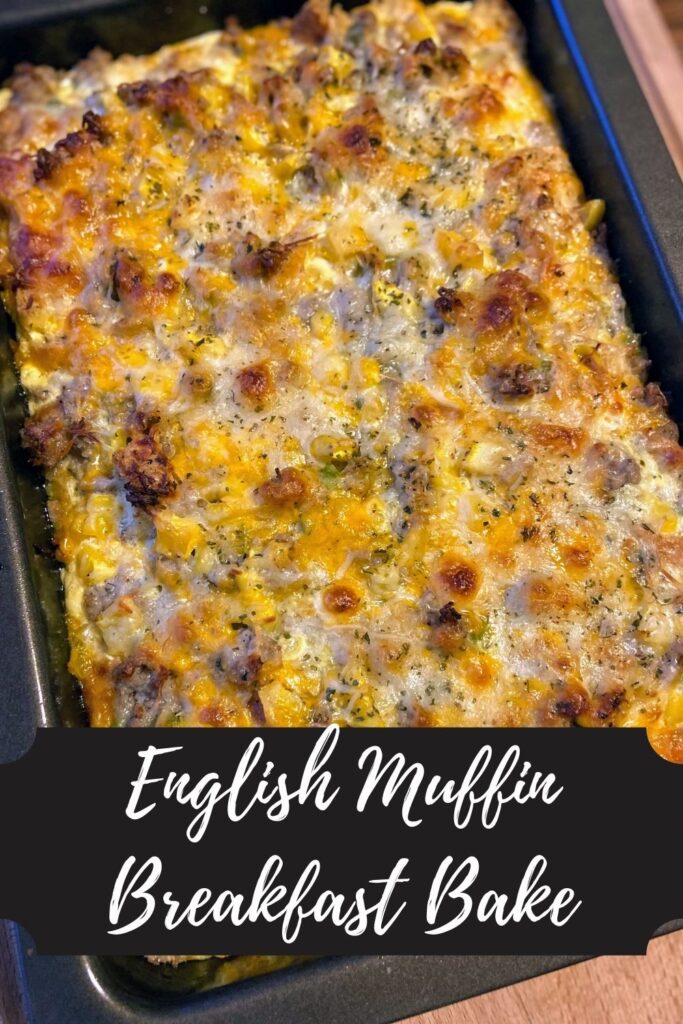
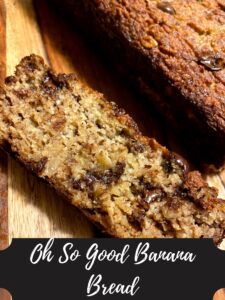
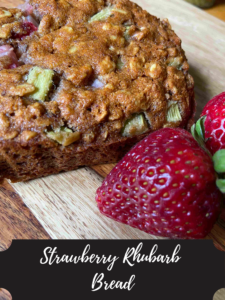
Looking for other delicious breakfast ideas?
I’d love it if you checked out my breakfast page for more inspiration, but if you want to see some of my favorites, check out the recipes below!