Wild Plum Jam

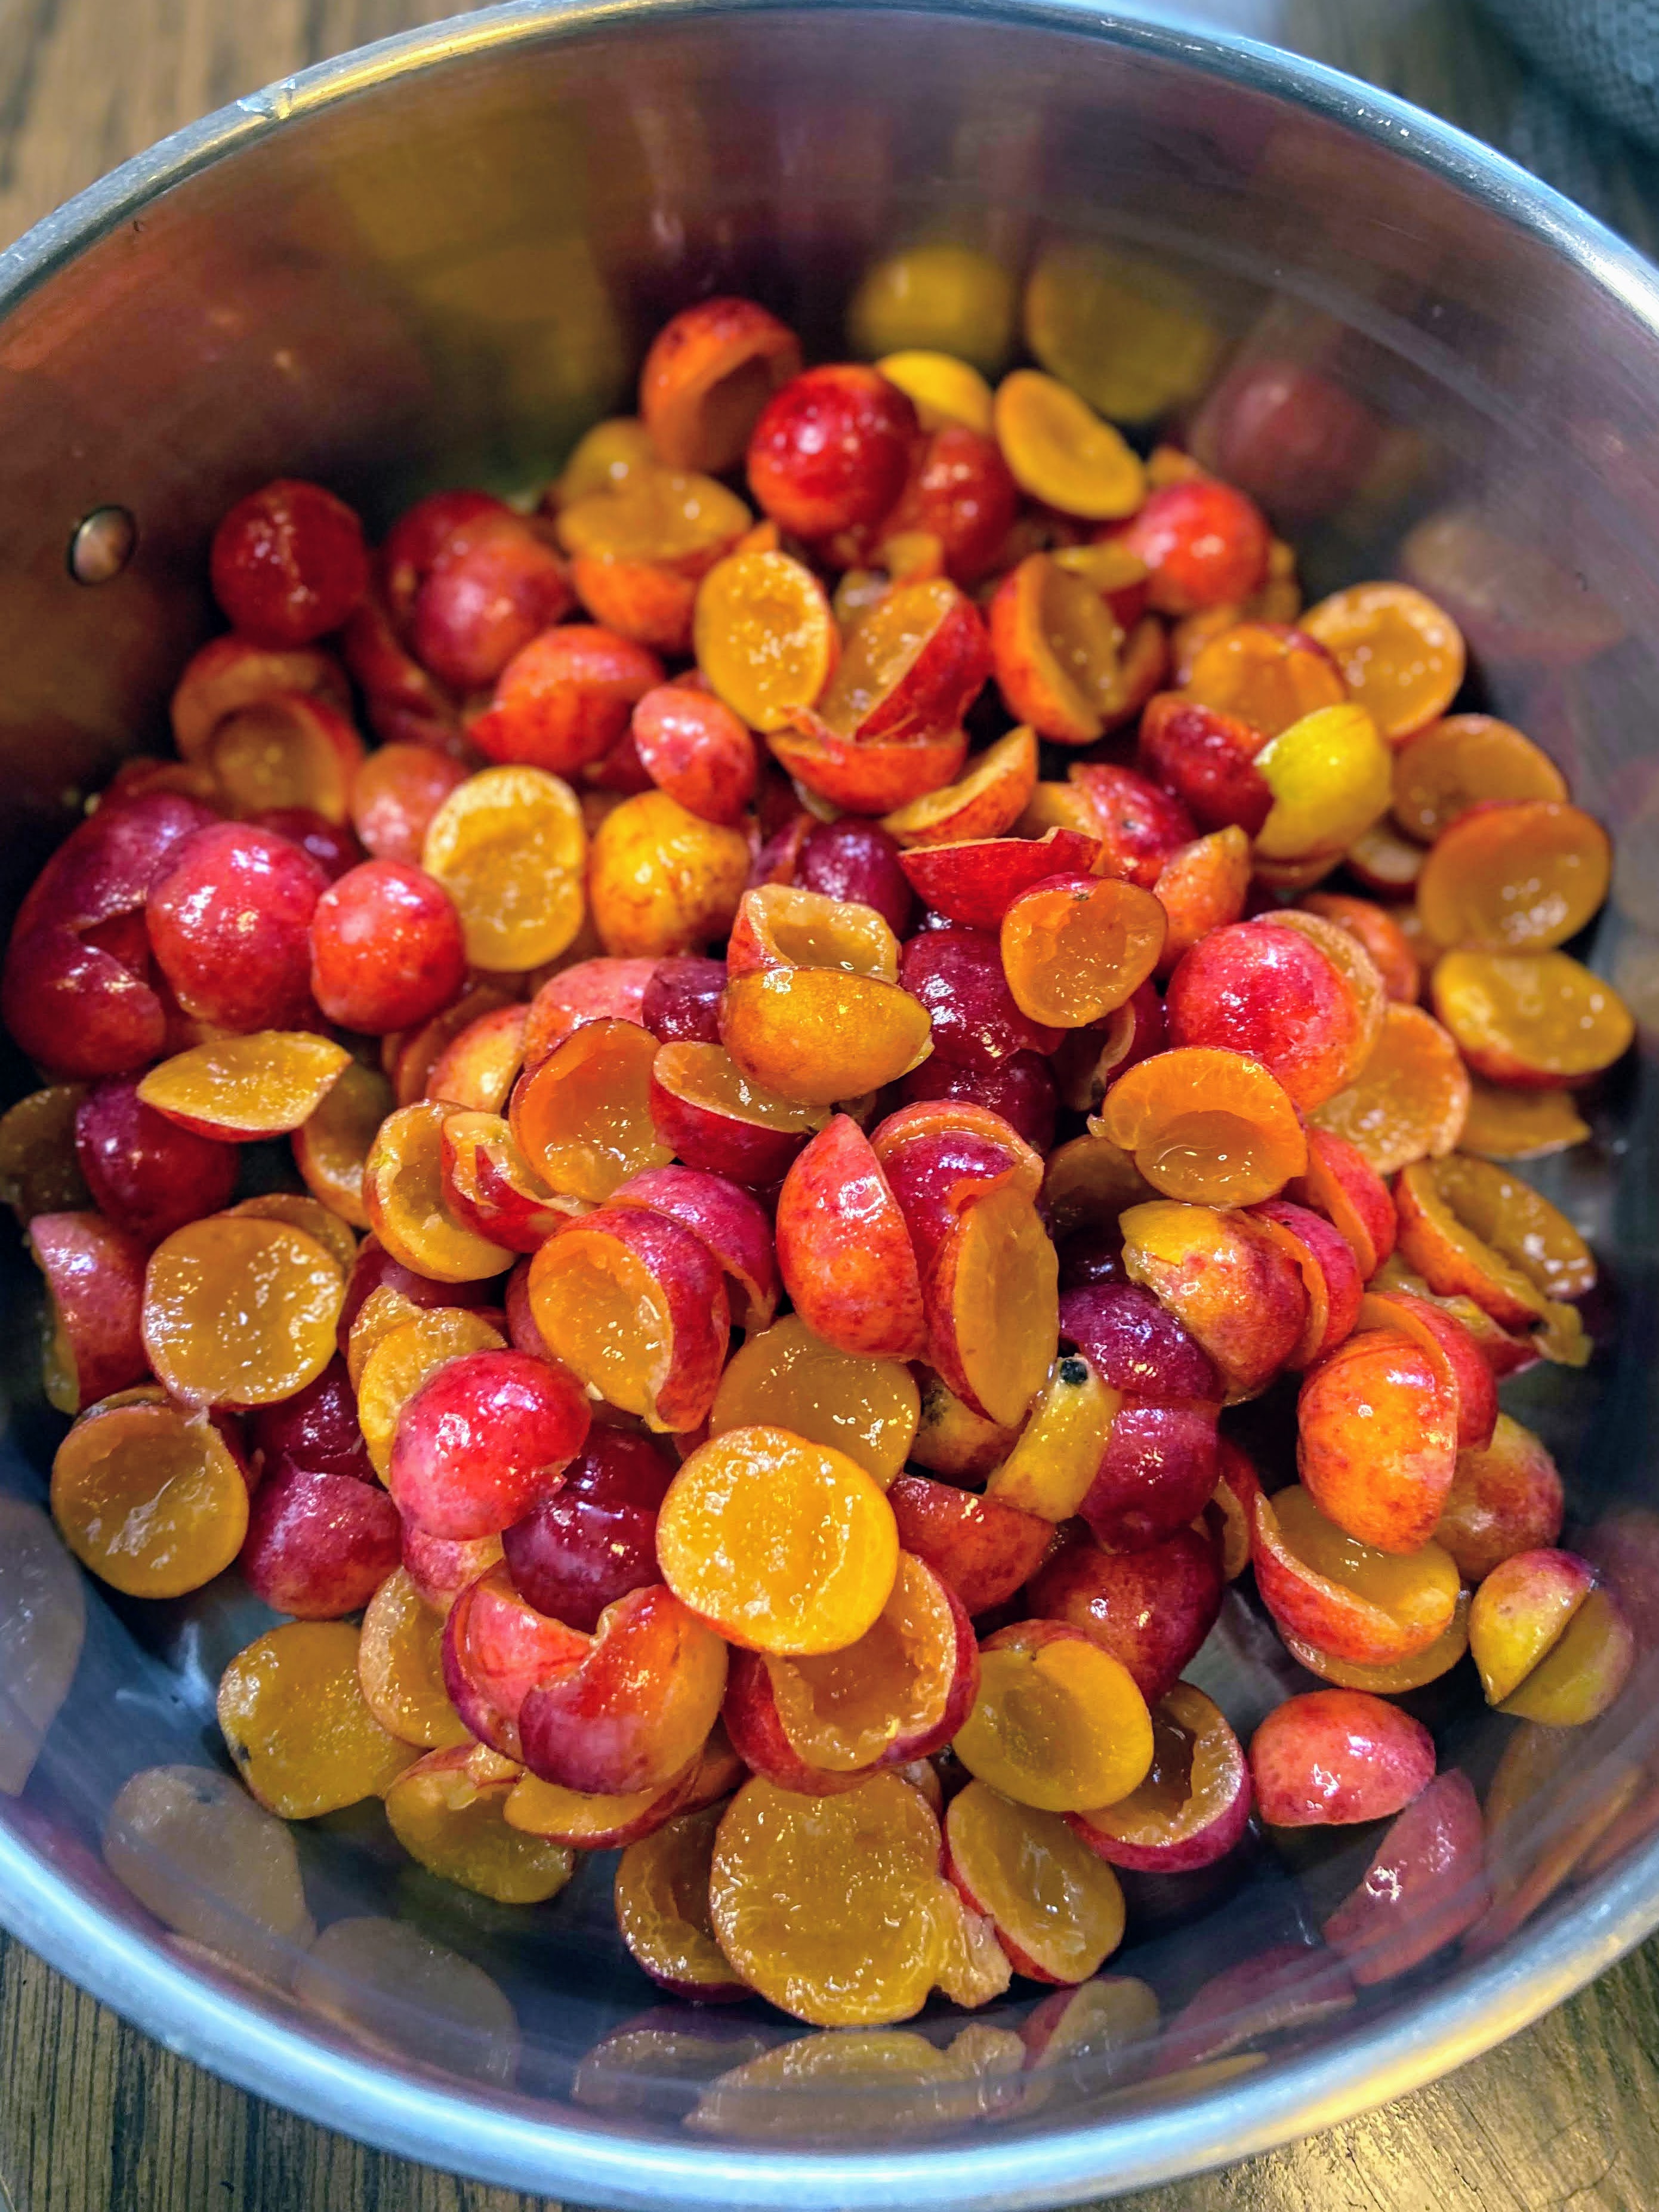
This season, I have become obsessed with searching for wild plums. I don’t know if it has been a good season for them (Apparently they don’t like rain at all in June and July? Ha!) or if I just hadn’t noticed them before, but I have suddenly become aware of an abundance of wild plum trees throughout the area in Wisconsin. And if you know me, when I see wild edibles, I harvest (free food!) And if it is fruit, I will be making jam out of it. In this case, wild plum jam. 

I keep asking the Mr. why people don’t eat them, and he said that they likely don’t know to identify them. From afar, he thinks that many assume they are crab apples and think crab apples aren’t good (not true, by the way!). Boy, if that’s the case, they sure are wrong. They are sweet and delicious and plentiful! You can learn more about identifying wild plums (American Plums) here.

I had to start making jam quick. And I hope you do too, but I do want to share that I did not grow up in a canning household. I learned about ten years ago, as soon as we bought our home and started our first garden. And while I had some support of my mother in law (thank you so much!), I learned SO MUCH from reading. If you are a first generation canner like I was, let me share some of my favorite resources.

My Favorite Resources

Ball Complete Book of Home Canning: This book gives you a good idea of all the basics from the people who know canning forwards and backwards. I love that I can dig in and get just what I need. 

Not Your Mama’s Canning Book: Modern Canned Goods and What to Make with Them: This book is SO FUN. It has some out of the ordinary recipes. We especially love the tomato soup and seasoned black bean recipes. 

Can It and Ferment It: More Than 75 Small Batch Canning and Fermentation Recipes for the Whole Year: I dig the simplicity of this book. It is also by what I would consider to be a local author, which is doubly cool. Small batch is great for anyone just giving canning a try! 

And finally, the National Center for Home Food Preservation has all the information you need for all sorts of food preservation, not just canning. I reference it often! 

But enough about resources, you want to can right? (But seriously, I am going to give you the basics. If you are a newbie (Yay!), head to any of those resources for more detailed information)

Your Wild Plum Jam Ingredients

For approximately a half pint, you’ll need

  • 1 cup rinsed and pitted plums, halved or quartered
  • ½ cup sugar 
  • ½ tablespoon lemon juice 

I say approximately because let’s be honest, it isn’t perfect. You might get one 1/2 pint for every cup of fruit, but it might be a little less. I always prepare as many jars as I have cups of fruit and go from there.

Yes, that’s it! No, you can’t change out the sugar for a different sweetener using this recipe. Canning is finicky like that. I like to do at least 5 cups of plums but have done up to 8 cups.

The Prep Work

Fill the canning kettle with enough water that the jars will be covered by at least 2 inches of water. More is better in this case so overestimate. Begin to heat over high heat. Place the canning rack so that it is hooked over the side of the canner and put clean jars on it to keep them warm. 

Set the clean rings aside. I like to simmer my lids on low low heat in a small saucepan. Not necessary, but I like to think it helps them seal better. 

If you have not already done so, measure out the sugar and the plums. 

The Wild Plum Jam Making

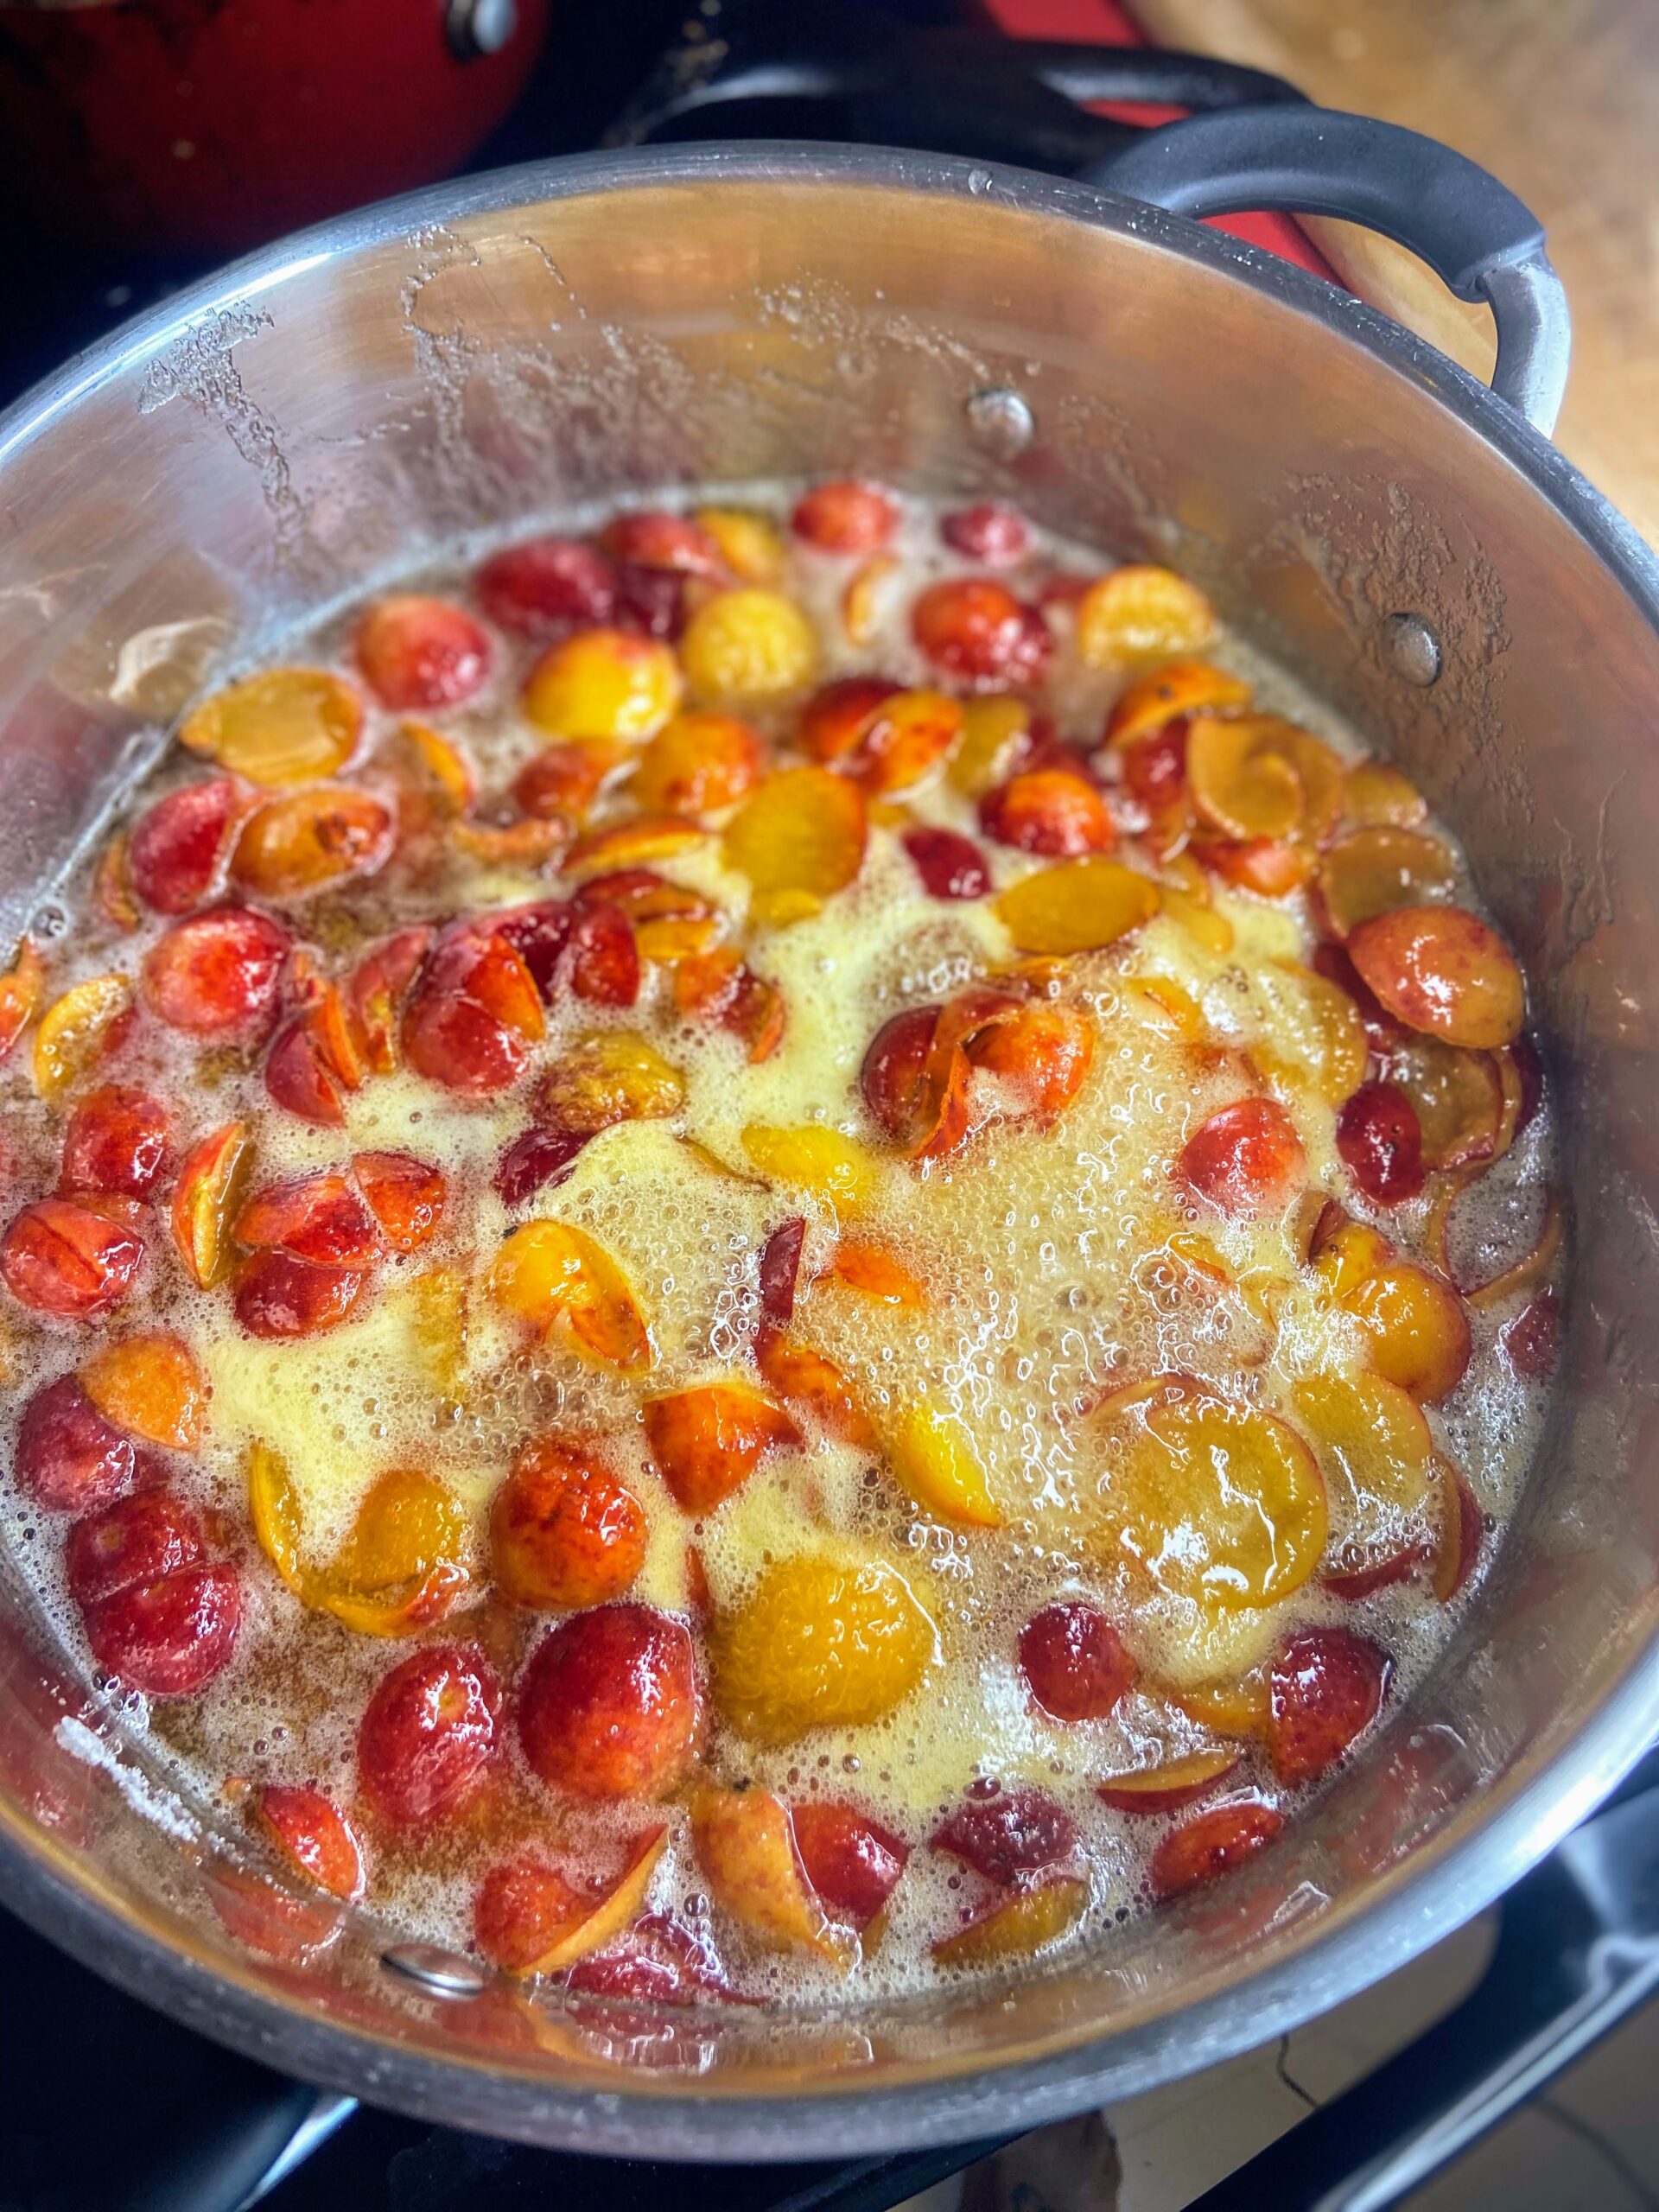
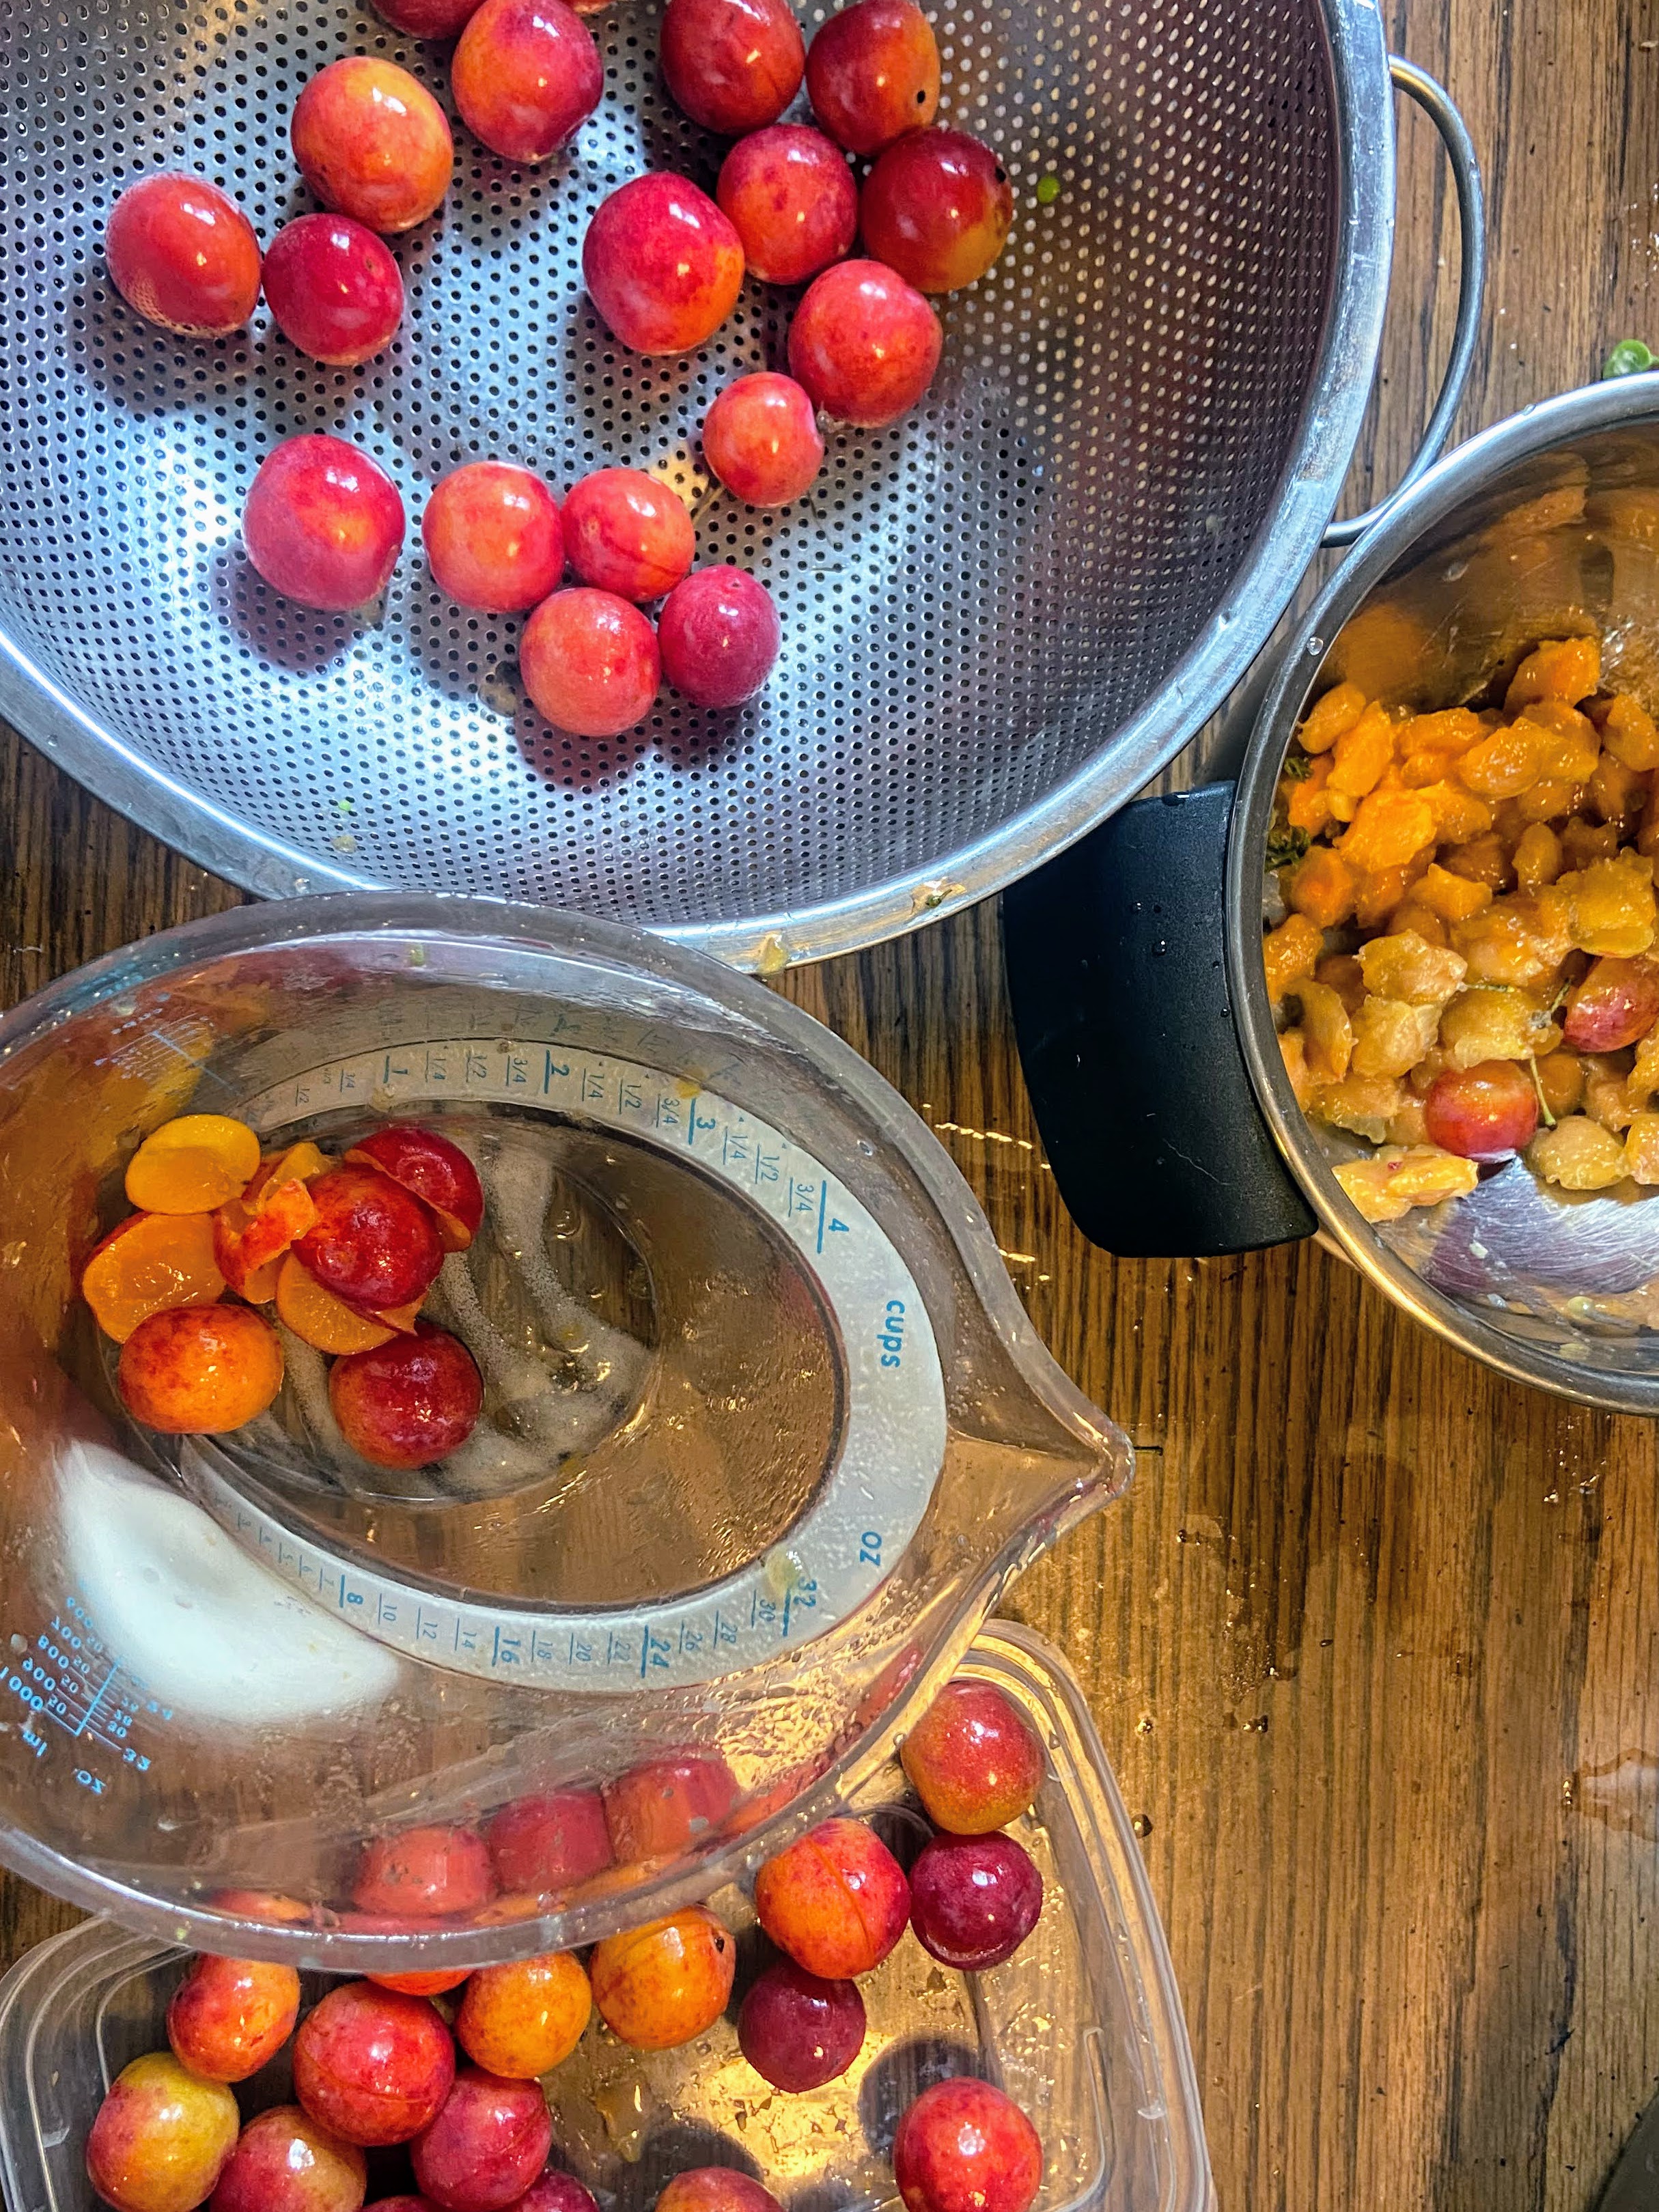
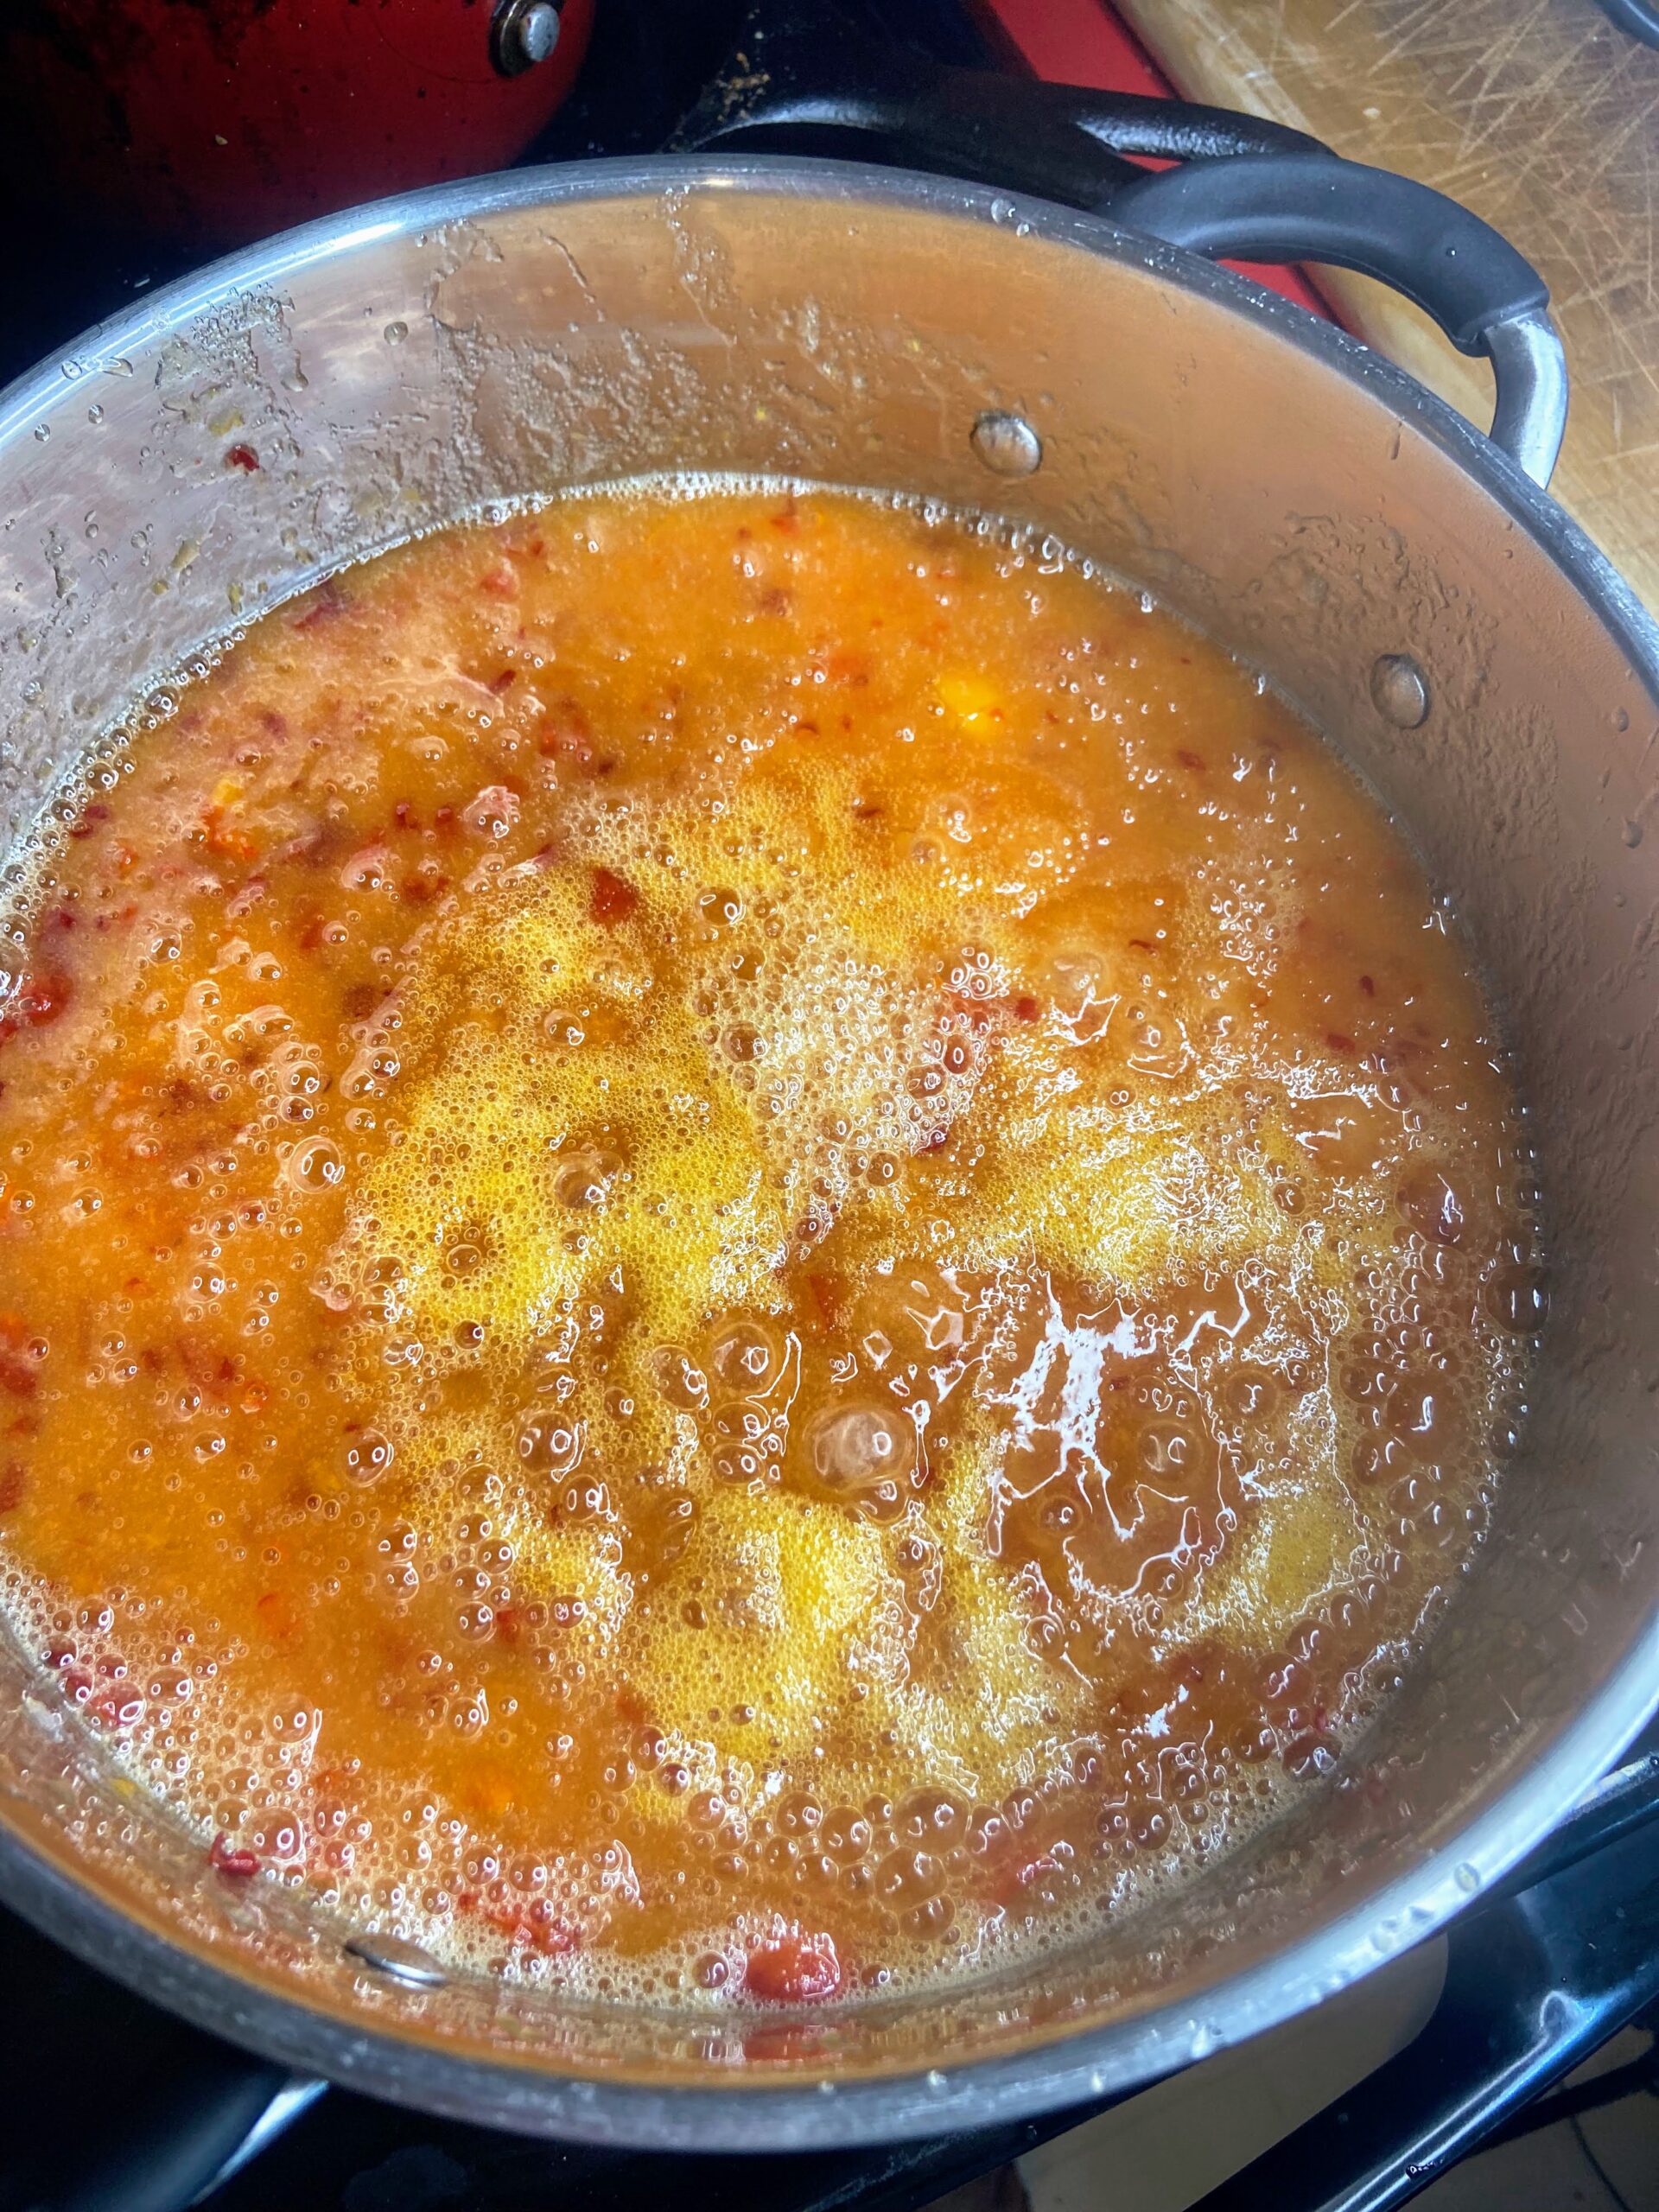
In a large, preferably shallow kettle, smash the plums with a potato masher. I actually love to use my fermentation packer to crush fruit in jams. Stir in the sugar and lemon juice. Begin to heat over medium-high heat, stirring often. I like to smash more as they are cooking down. After they haven’t softened (about 10 minutes), puree the plums using an immersion/stick blender. What’s cool about this step is you can decide how much or how little you want to break down the plums. Then keep cooking and stirring. 

Your end goal is to reach the gelling point. There are lots of tests for this, but I prefer the temperature test. If you are at sea level, the gelling point is 220 degrees. For every 1000 feet of elevation, you subtract 2 degrees. For me, the gelling point is 218 degrees. Don’t have a decent food thermometer? Check out the National Center for Home Preservation website for other ways of testing for the gelling point. 

It takes longer to reach the gelling point than I think it should. It also goes from needing 3 degrees to reaching the gelling point fast. You can get complacent while you are waiting and suddenly hit the temperature, so I am trying to warn you 🙂 
Time to Can it!

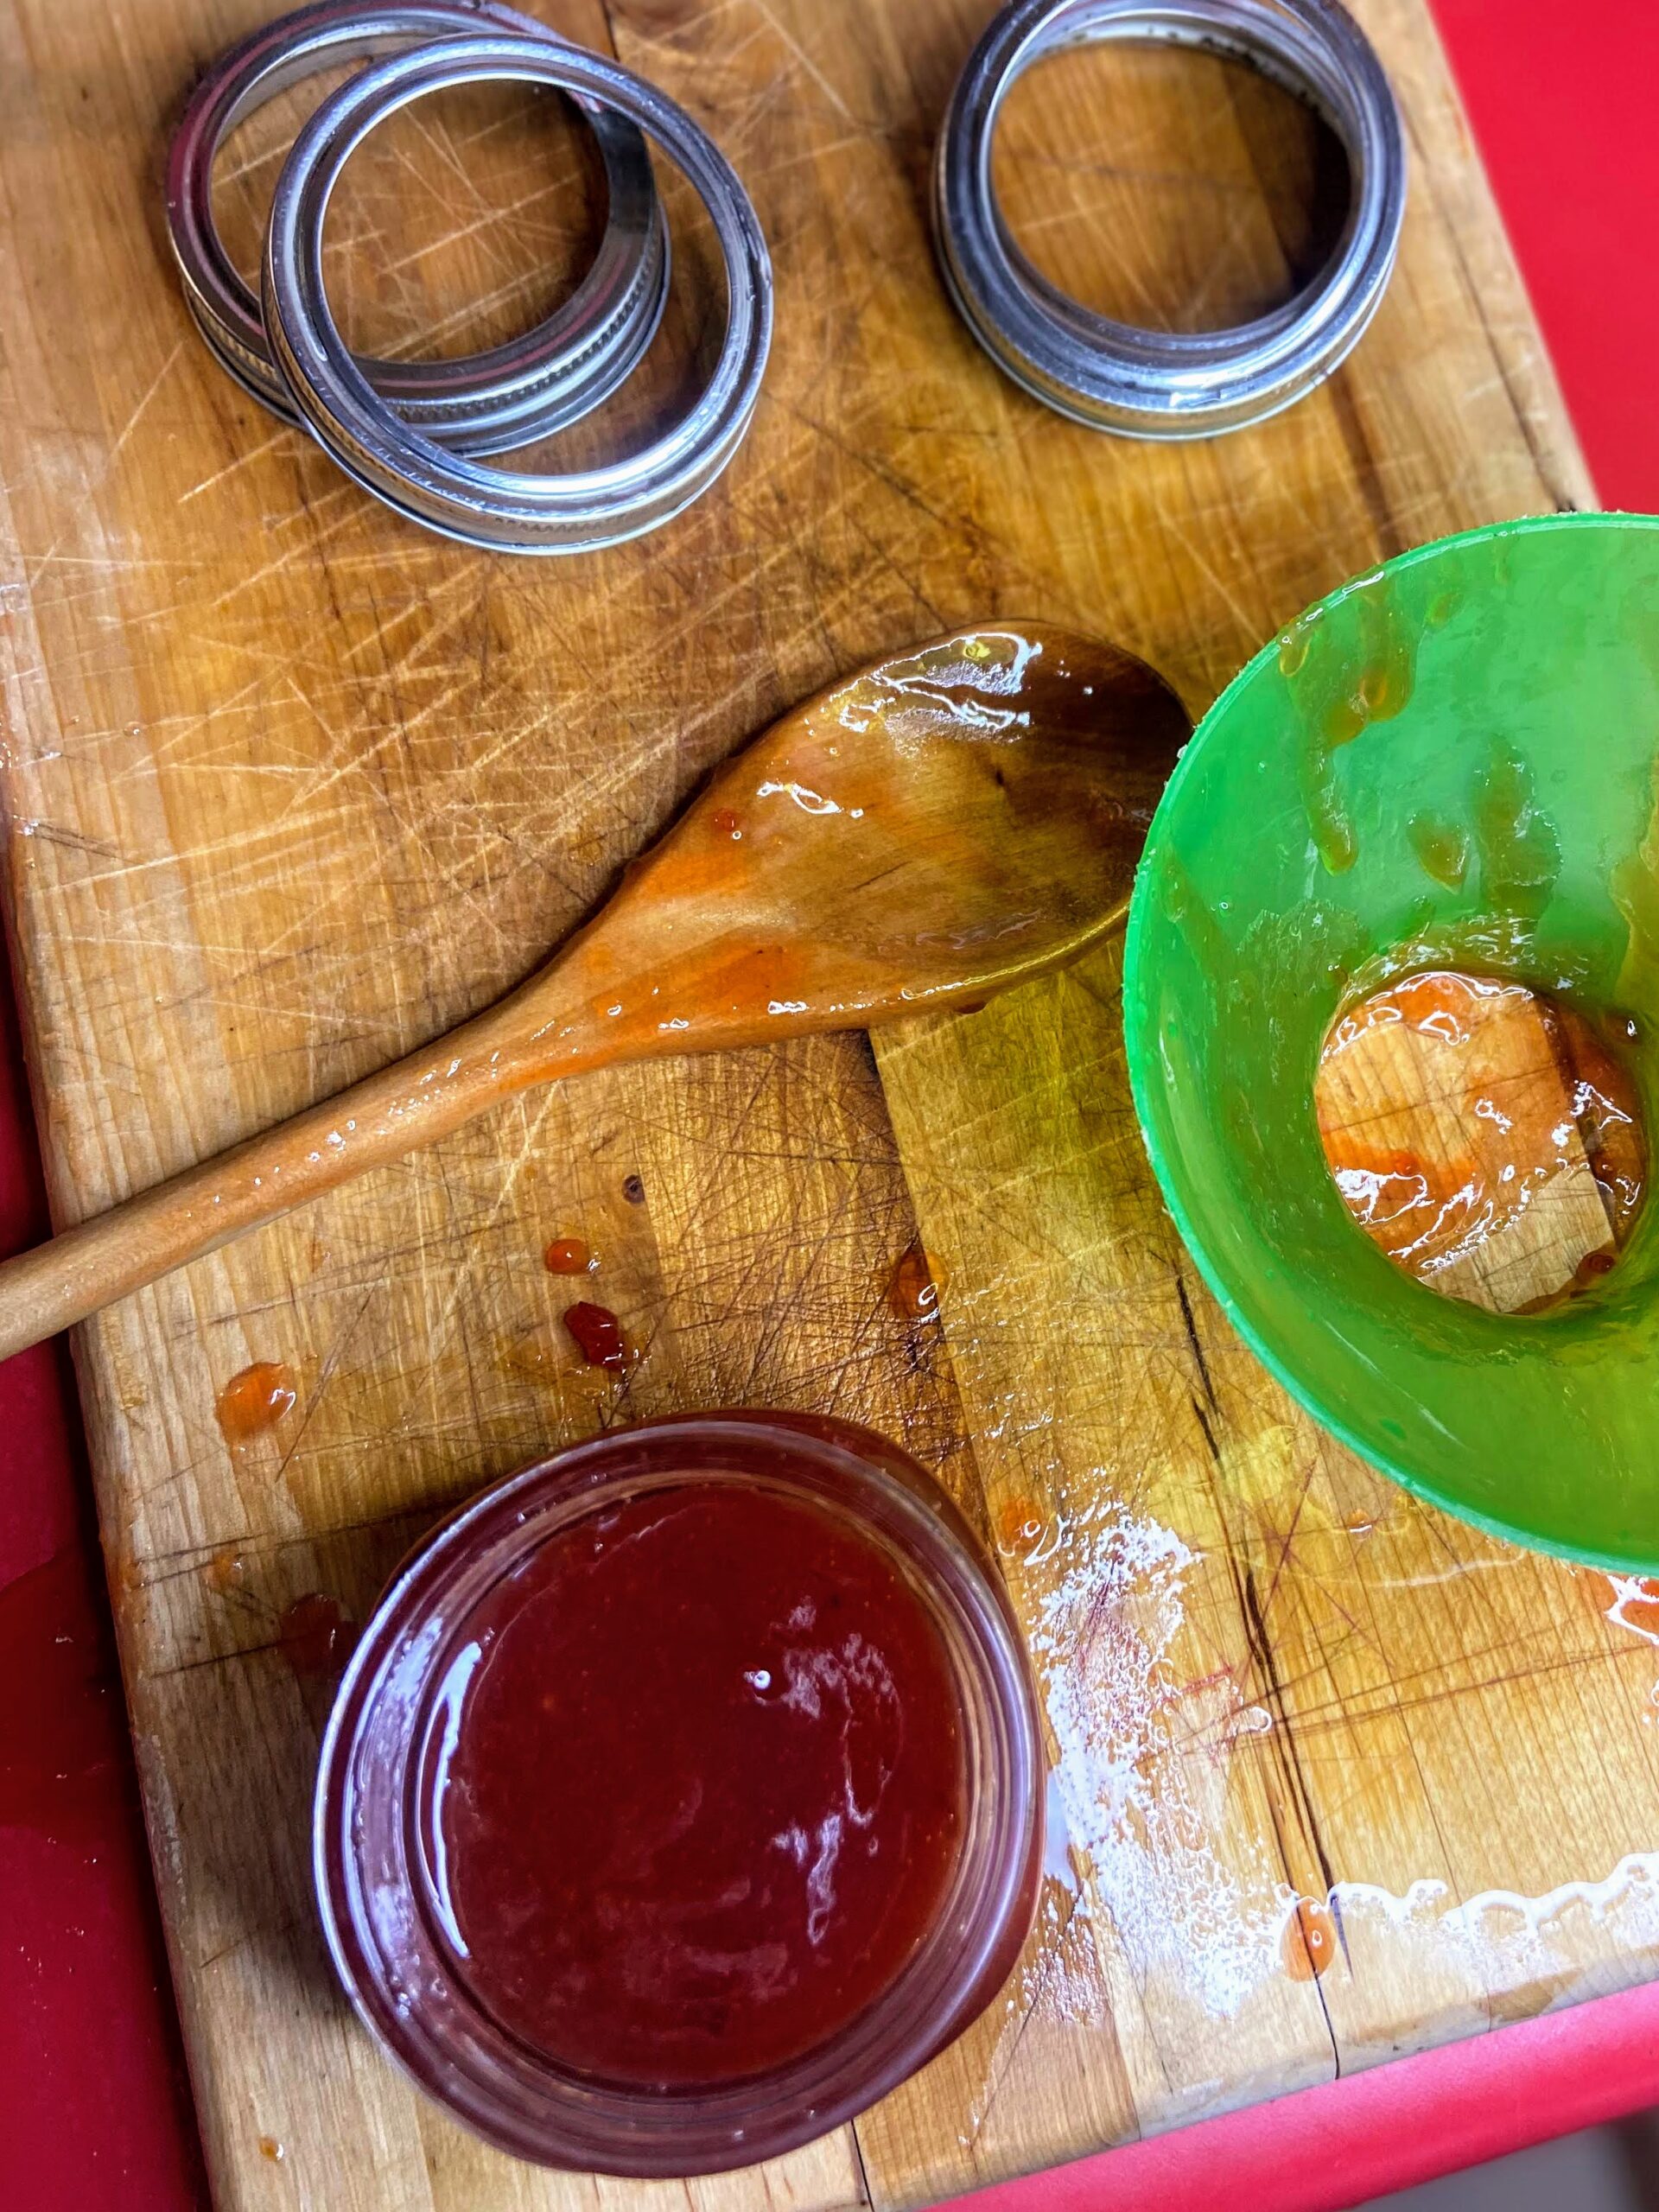
Once the wild plum jam has reached the gelling point, remove it from the heat. Ladle into prepared jars, leaving ½ inch head space. Wipe the rims of the jars with a damp, clean cloth, add lids and rings, tightening to fingertip tight. Place in the canner, increasing the heat to high. Once the canner reaches a boil, process for 15 minutes. Remove from heat and allow jars to cool in the canner over 5 minutes. Remove from canner, placing on the counter. Listen for the ping of the lids over the next 12 hours. Sealed jars are self stable. If any jar doesn’t seal, simply place it right in the refrigerator. It is recommended that you store jars with the rings off or very loose. I very between the two.

Note: You can skip the processing step all together if you feel more comfortable. If you do so, the jam will need to be stored in the refrigerator. The process of water bath canning creates a self-stable jam. That is, a jam that can be stored on the shelf. 

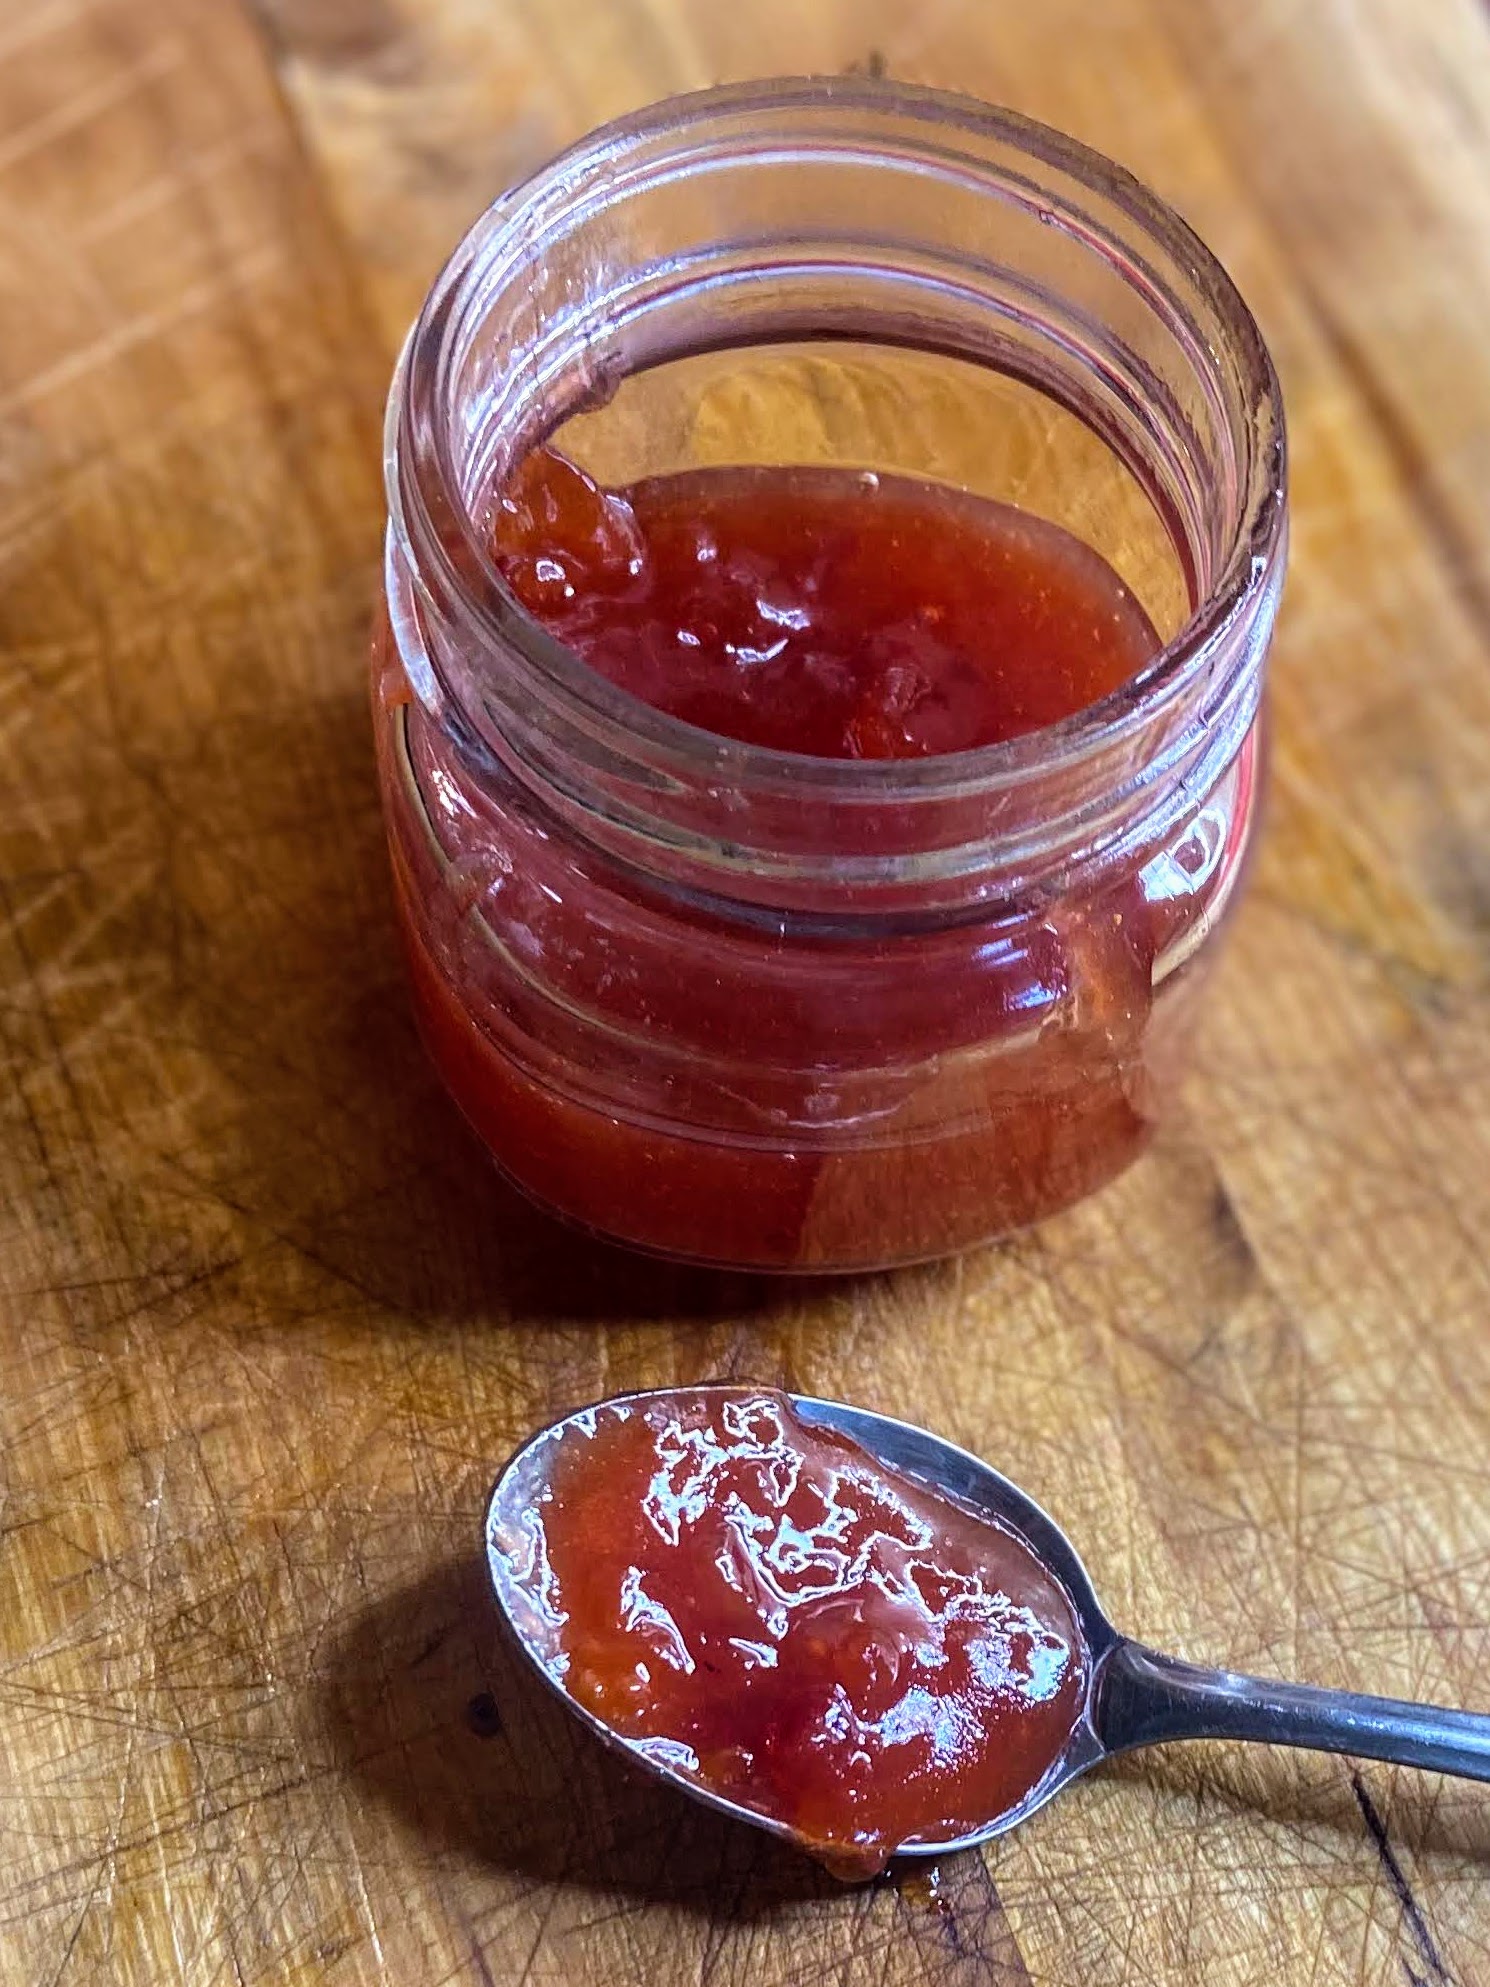
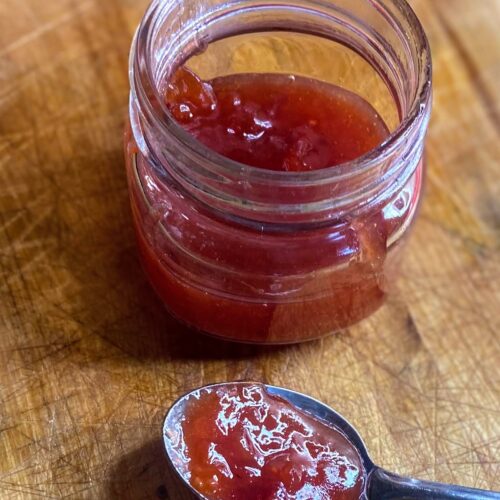
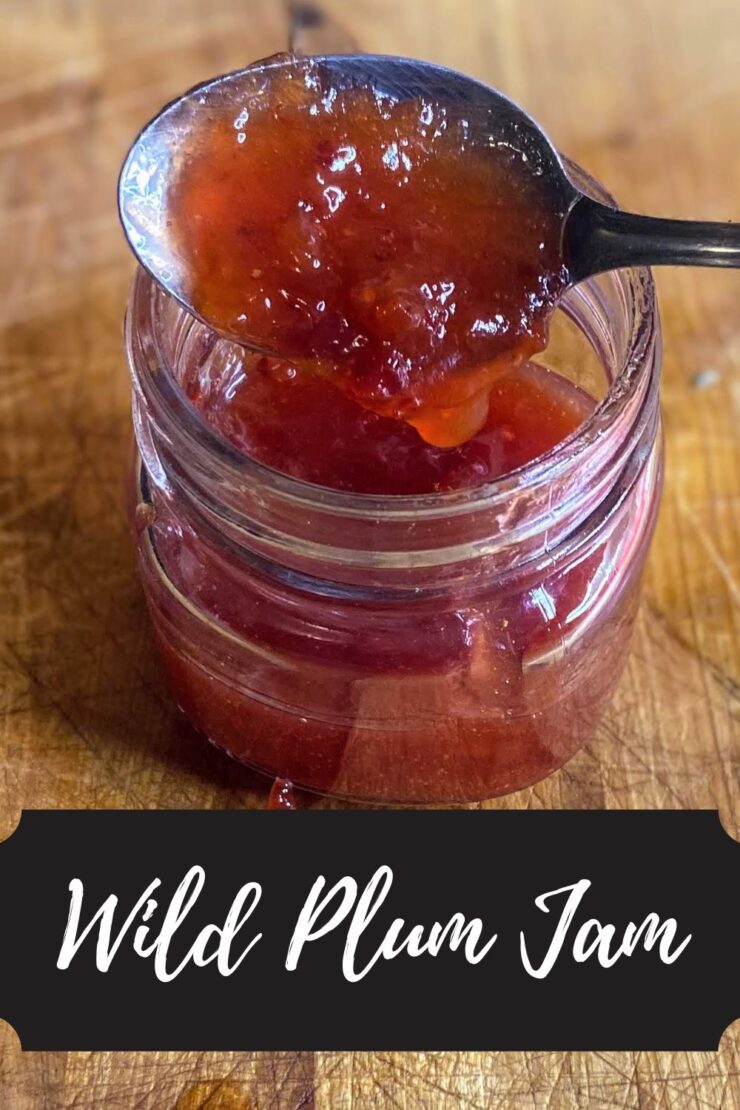
finished wild plum jam

Wild Plum Jam

American Plums are abundant and can be foraged to make this beautiful three ingredient plum jam!
Prep Time 10 minutes
Cook Time 1 hour
Course Breakfast
Cuisine Canning
Servings 12 per jar

Ingredients
  

Per 1/2 pint jar (approximately), you will need:

  • 1 cup halved and pitted wild plums
  • ½ cup sugar
  • ½ tablespoon lemon juice

Instructions
 

  • If you have not done so, clean and measure out the wild plums. For each cup of plums, measure out 1/2 cup of sugar and 1/2 tablespoon lemon juice. Set aside.
  • Wash and sanitize the same amount of pint jars as cups of cleaned plums. Wash and clean rings and lids. Keep warm. Fill the canner with enough water to cover the jars by at least 2 inches of water. Cover and heat on high. Watch the temperature, you want a simmer but not a boil when you place the jars in the water.
  • In a large, shallow kettle, smash plums with a potato masher. Stir in sugar. Begin to heat over medium-high heat, stirring often. Smash more as they are cooking down.
  • After approximately 10 minutes, blend jam mixture with an immersion blend to desired texture.
  • Heat to 8 degrees above the boiling point of water. If you are at sea level, the gelling point is at 220 degrees. For every 1000 feet of elevation, you subtract 2 degrees.
  • Once the jam has reached the gelling point, remove from heat. Ladle into prepared jars, leaving ½ inch head space. Wipe rims of the jars with a damp cloth, add lids and rings, tightening to fingertip tight. Place in the canner, increasing the heat to high. Once the canner reaches a boil, process for 10 minutes. Remove from heat and allow jars to cool in the canner over 5 minutes. Remove from canner and allow to rest for 12 hours before storing.

Notes

You can skip the processing step all together if you feel more comfortable. If you do so, the jam will need to be stored in the refrigerator. The process of water bath canning creates a self-stable jam. That is, a jam that can be stored on the shelf.
If you do not have a digital food thermometer, there are other ways to test the gelling point. Check out the National Center for Home Food Preservation for more information! 
Keyword Canning, Foraging, Jam, Jam Recipes, Jellies and Jams, plum jam, preserving, wild plums
Tried this recipe?Let us know how it was!

Looking for other canning recipes?

You can check out my canning and perserving page or see if any of these fun recipes speak to you!
Strawberry and Peach Sorbet

The Scenario…

Over picking at the strawberry patch because you don’t realize just how many berries fit in your bucket until you weigh it.

Looking at the fruits at the farmer’s market and buying it all because the color is beyond appealing.

Planting countless raspberry plants and then not being able to keep up with the bounty they produce in July.

The delicious solution!

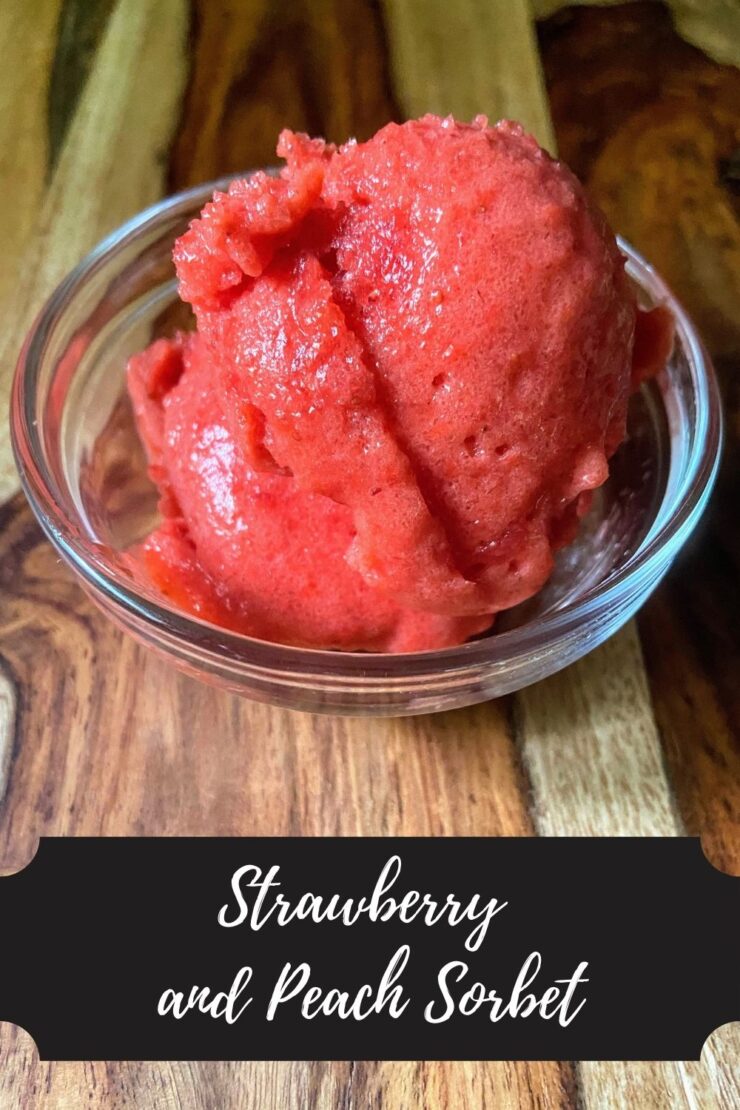
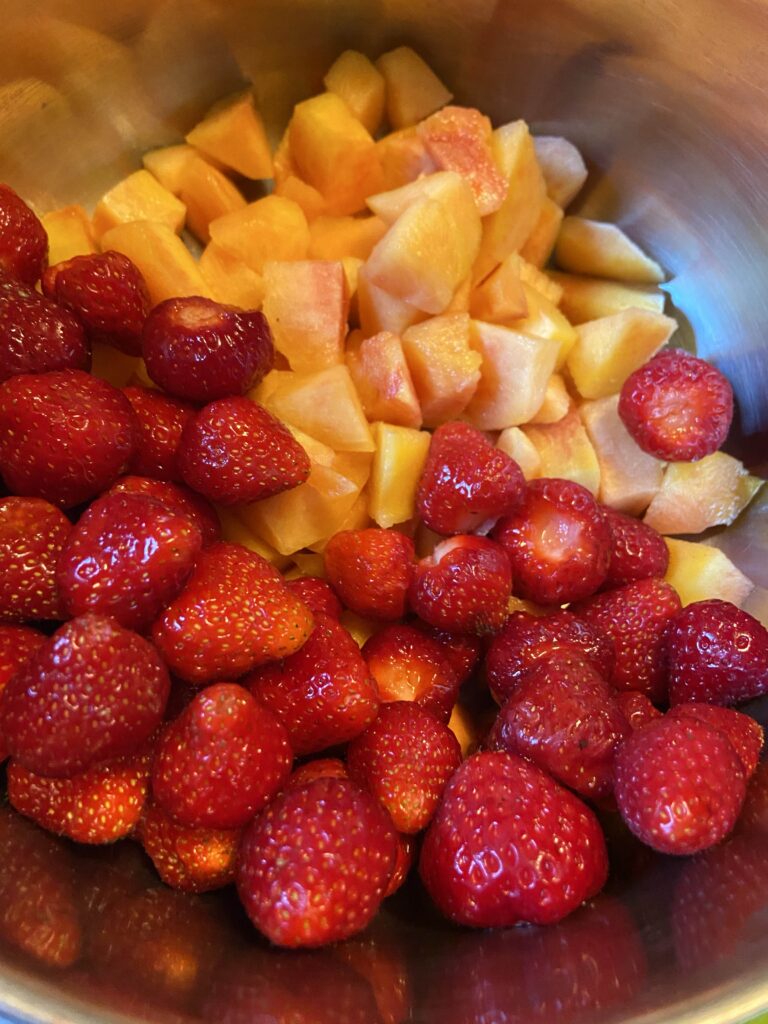
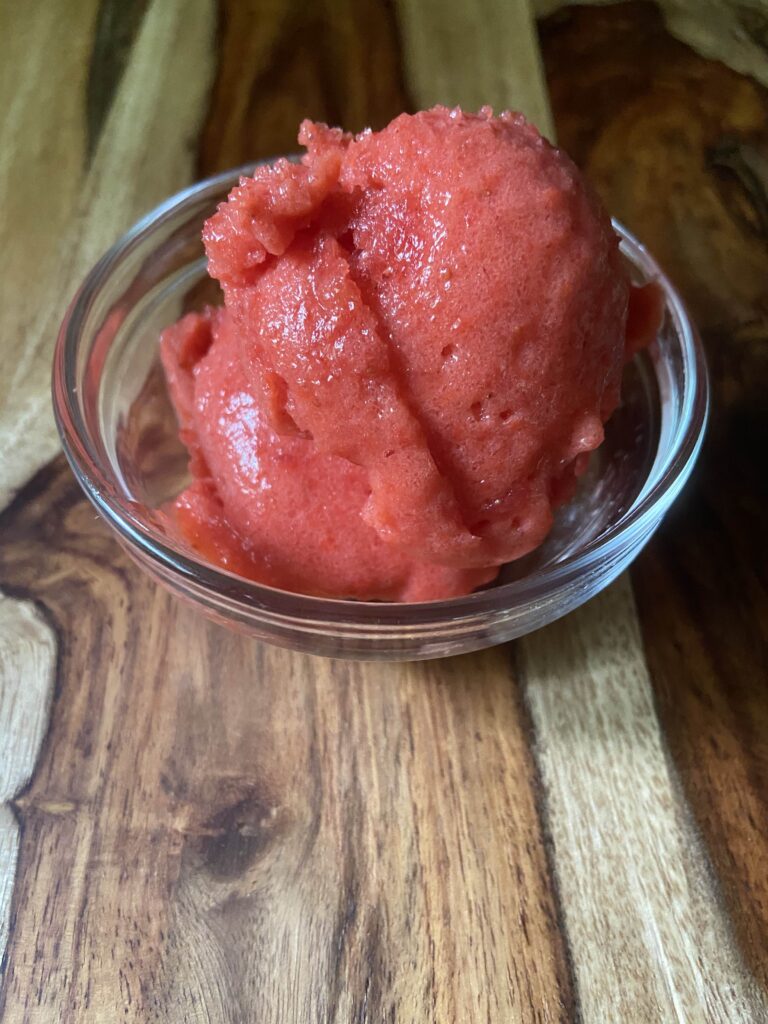
Do any of these scenarios sound familiar? Let me tell you, I have experienced them all. One would think that I would learn from my mistakes, but I still continue to get sucked into ALLLLL the fruits and then need to find something to do with them. This week, it was strawberries and peaches. And thus, a homemade strawberry and peach sorbet was born. 

Strawberries and peaches

Last year, I had a crazy red raspberry crop. Crazy, as in it took me over an hour to harvest during its peak time. This meant I needed to find new and fun ways to preserve them. I made all the jam. I froze bags of them. Then I stumbled across a fruit sorbet recipe while flipping through my Ball’s Guide to Preserving Book. It sounded amazing, but had SO much added sugar. I modified it some last year, and now have improved it again to not use raspberries but the strawberries from our garden and peaches from the store. 

If you’ve been following me for a little time, you know that I like to use my son as my ultimate taste tester. He isn’t afraid to tell me something is too healthy tasting, too salty, lacking vegetables, etc. He’s a good egg, that kid. Anywho…I took a scoop of what couldn’t fit in the jars and had him try it. He closed his eyes, smiled, and kind of whispered, “What IS that?!” I don’t know about you, but that screams approval if you ask me 😉

Don’t have strawberries and/or peaches? I have such good news! This recipe is totally moldable to your favorite flavor combination. Ultimately, you will need 4 cups of chopped soft fruit. Think berries, peaches, nectarines, etc. (Ball says you can use melon, but I haven’t tested it). 

Your Ingredients: 

  • 2 cups chopped strawberries
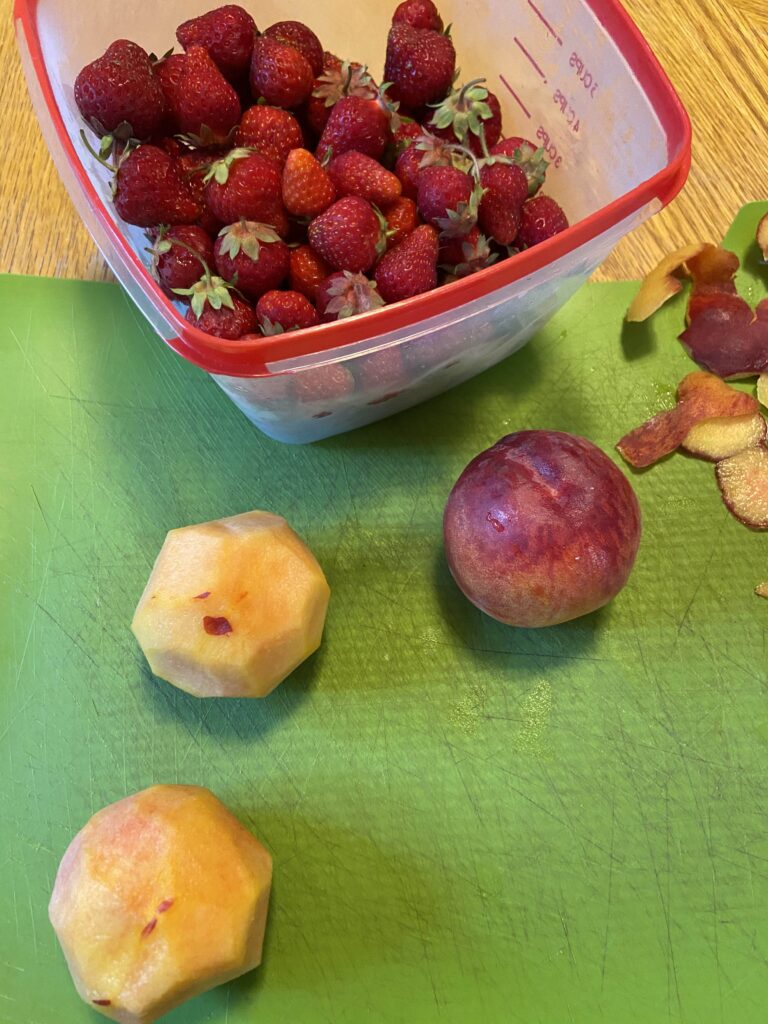
  • 2 cups diced peaches, peeled first then cut up
  • ½ cup orange juice
  • 2 tablespoons lemon juice 
  • 2 tablespoons honey 

Your steps

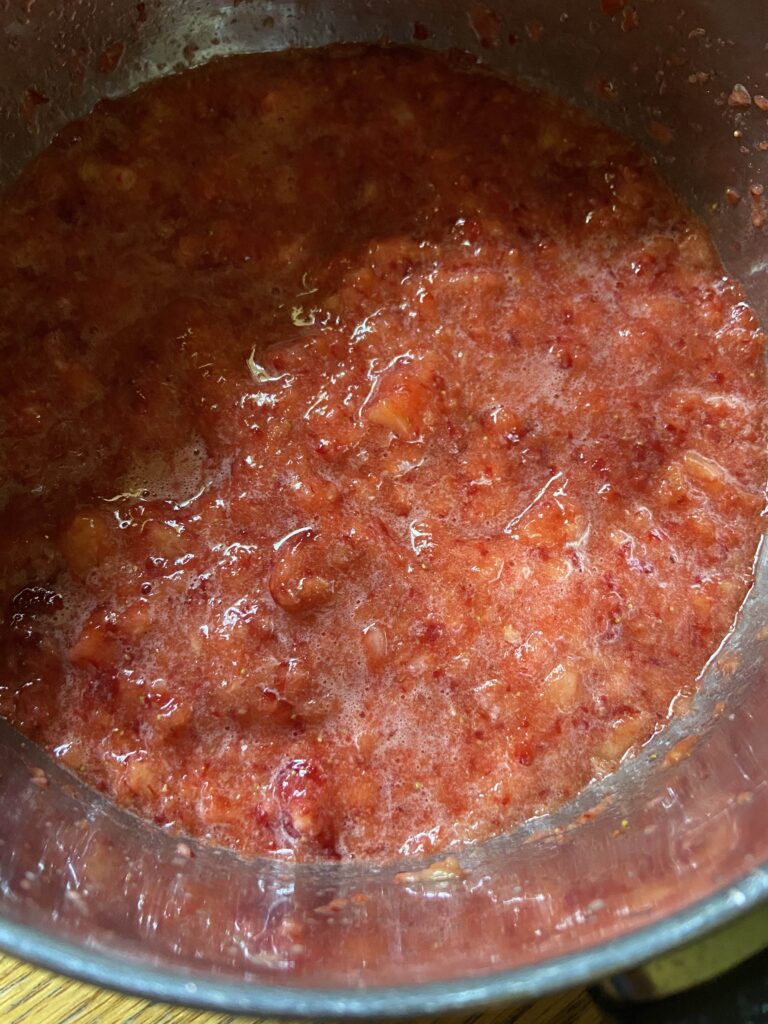
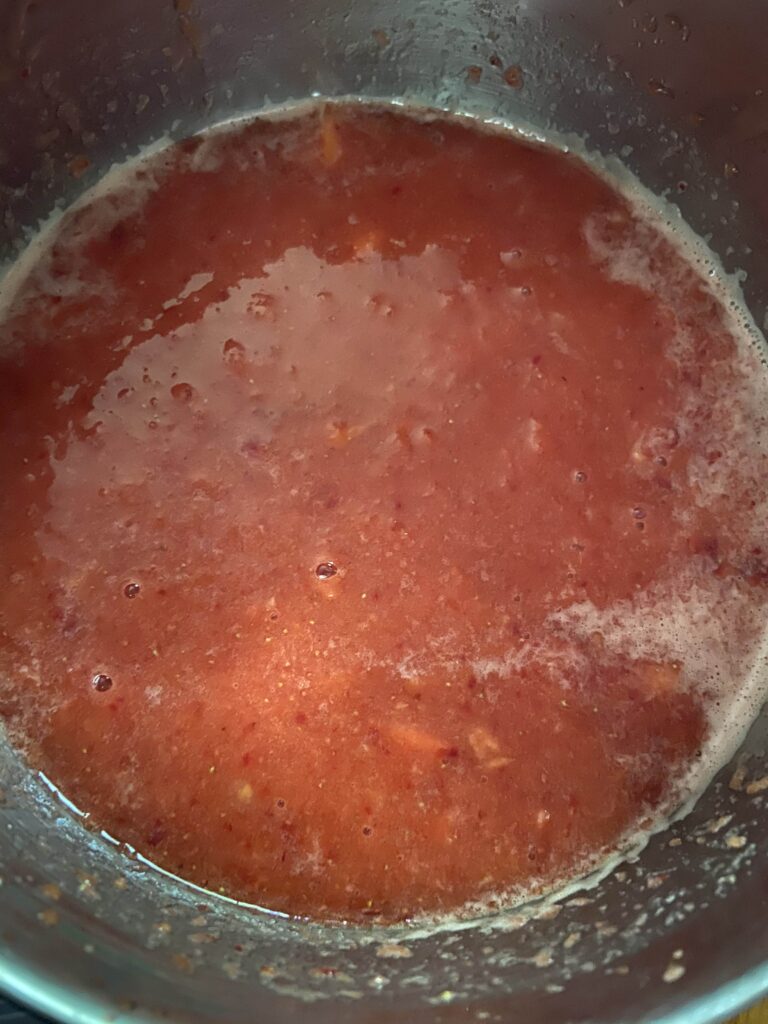
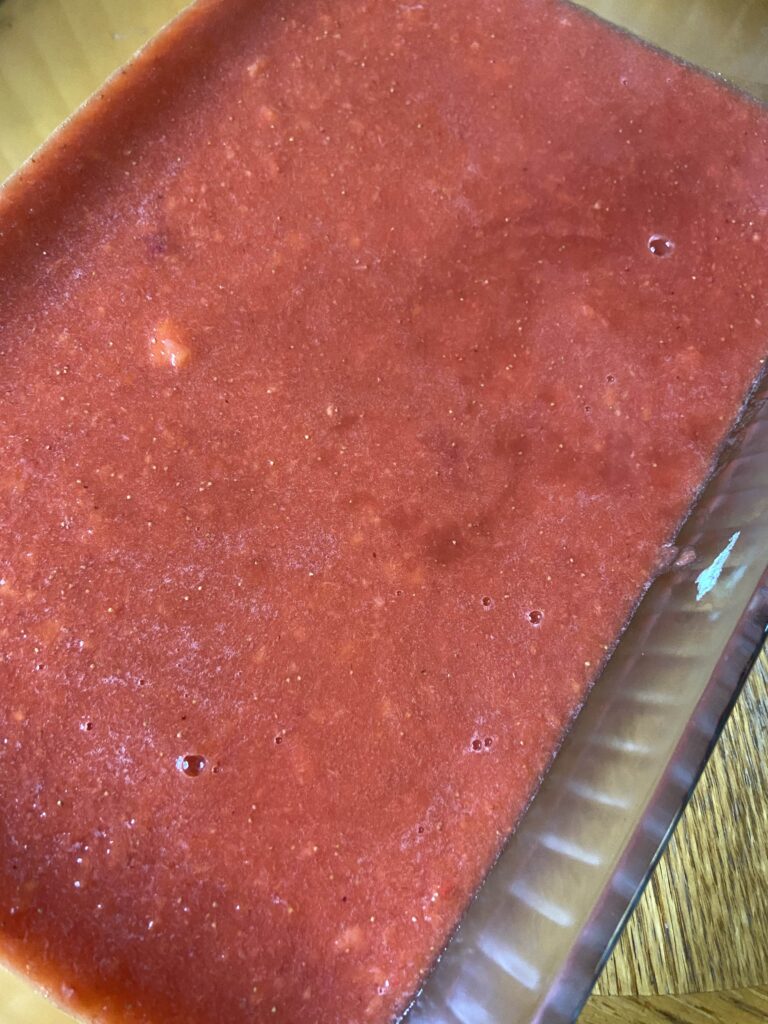
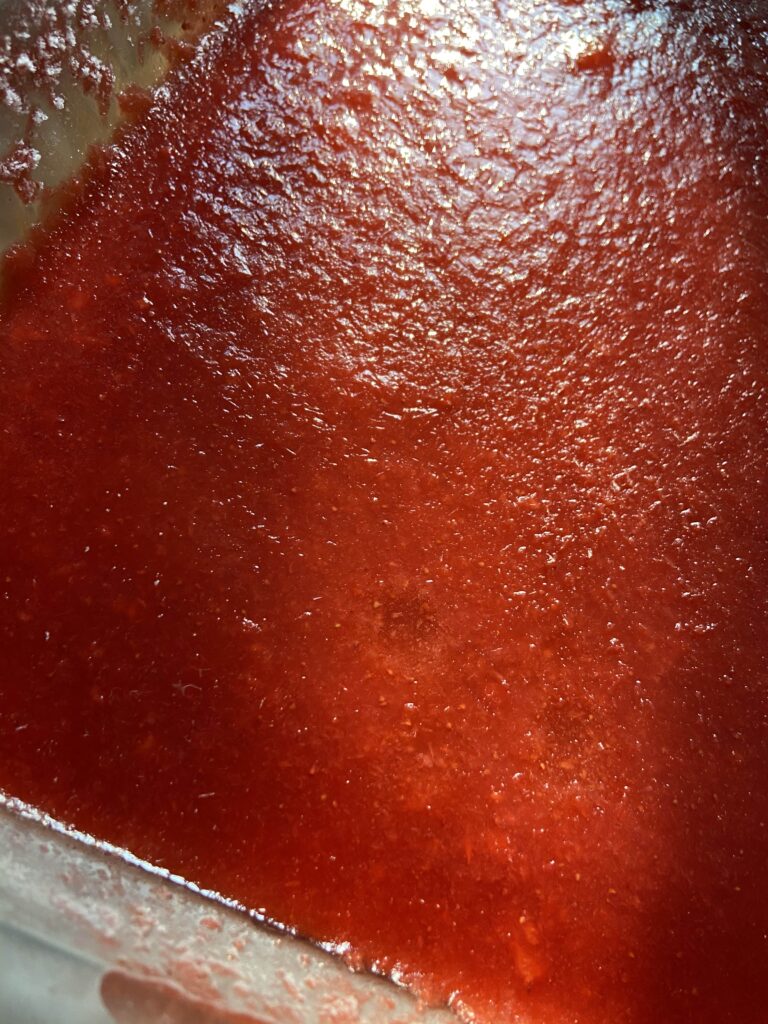
Combine fruit. Use a blender or immersion blender to break fruit down. I use an immersion blender and blend right in the kettle I will be heating them in. Add remaining ingredients. From here, use the immersion blender to mix everything together once more. Once combined, heat over medium heat until the mixture is beginning to simmer, stirring often. Pour into a 9×13 pan, cover, and place in the freezer and allow to freeze solid. 

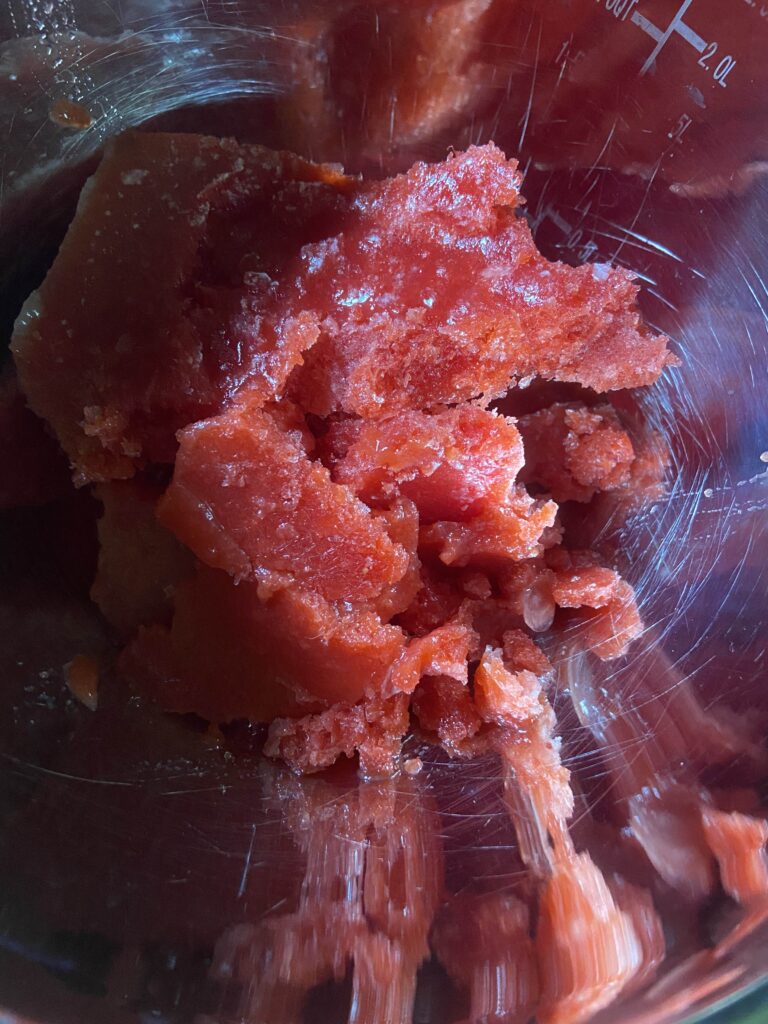
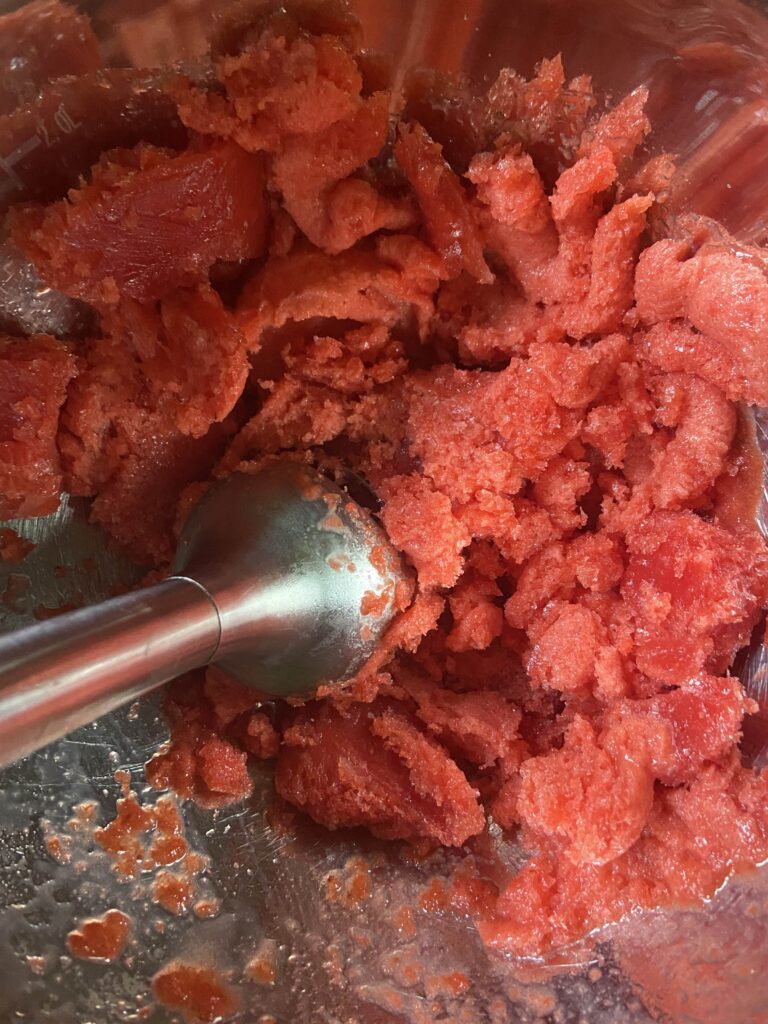
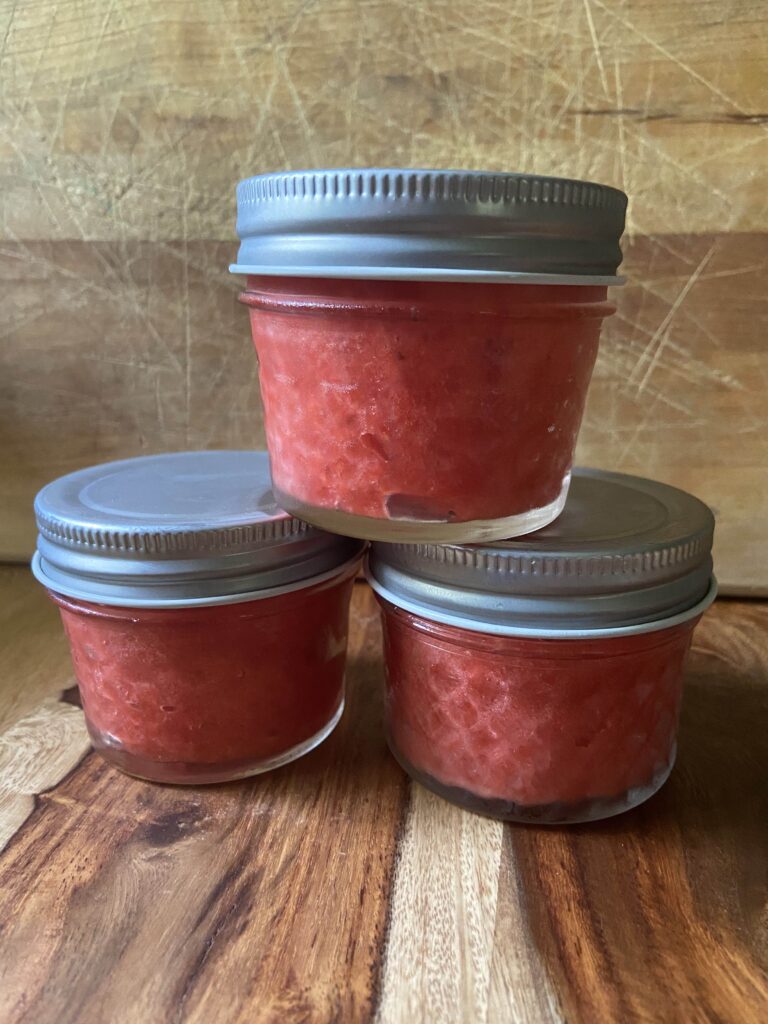
Once fully frozen, remove and allow to sit at room temperature for 5-10 minutes. This will make it easier to remove the sorbet. Working in small batches, puree frozen sorbet. There are lots of options for this. You can use a blender, a food processor, or an immersion blender. For me, I dig the immersion blender because clean up is so easy. Scoop the puree into freezer safe containers, leaving ½ inch headspace at the top. I like to use 4 ounce jelly jars for ½ cup servings ready to go! Finally, be sure to label and return to the freezer until you’re ready to enjoy them! 

A few notes

When I initially found this recipe, I wanted to cut the second blending of the sorbet. It is critical to complete if you want fluffy sorbet that you remember from childhood. It’s worth the extra step. Don’t skip it! 

Initially, I tried this recipe freshly picked raspberries so feel free to mix it up in terms of fruit. Ultimately, you need 4 cups of chopped/crushed fruit so let your taste buds to the work here. 

Looking for an adult version? I found that adding ½ cup of lime twisted gin was a delight to the raspberry sorbet! Be mindful of how much alcohol you add as it will effect the ability of the sorbet to freeze. 

Have a sweeter tooth? The recipe originally calls for 2 cups of sugar. If you’d like, add more to suit your own tastes.

Tools I use

Hoping to use some of the tools I love for creating these? Here’s the link for the 4 ounce jelly jars I used as well an immersion blender. Seriously, the immersion blender is an underrated tool in the kitchen and it hardly takes up any storage space! If you don’t have one yet, I highly recommend investing. You’ll thank me! 

As for the jelly jars, I am usually a Ball or Kerr jar lover, but a friend gifted me these Verone jars and I loved that they came with two piece lids for canning as well as one piece lids for storage. Double duty in one pack of jars. Super cool 🙂

Looking for other ways to preserve your summer bounty? Check out my canning and preserving page!

Strawberry and Peach Sorbet

A fruit sorbet
Prep Time 30 minutes
Freeze Time 4 hours
Course Dessert
Cuisine Canning
Servings 7 1/2 cup servings

Ingredients
  

  • 2 cups chopped strawberries
  • 2 cups diced peaches peeled first then cut up
  • ½ cup orange juice
  • 2 tablespoons lemon juice
  • 2 tablespoons honey more to taste

Instructions
 

  • Combine fruit.
  • Use a blender or immersion blender to break fruit down into a puree.
  • Add remaining ingredients. Blend once more to fully break down the fruit and incorporate added ingredients.
  • Once combined, heat over medium heat until the mixture is beginning to simmer, stirring often.
  • Pour into a 9×13 pan, cover, and place in the freezer and allow to freeze solid.
  • Once fully frozen, remove and allow to sit at room temperature for 5-10 minutes to make it easier to remove from pan. Working in small batches, puree frozen sorbet using food processor, blender or immersion blender.
  • Scoop the puree into freezer safe containers, leaving ½ inch headspace at the top. Label and return to freezer if not enjoying immediately.

Notes

Don’t have strawberries or peaches? No problem. Any soft fruit will do. Think, berries of any kind, nectarines, even melon perhaps? 
You may be tempted to skip the second blend step. Don’t! It’s critical for the sorbet to be fluffy, just the way you remember it. 
Keyword clean, peach, sorbet, strawberry, sweets
Tried this recipe?Let us know how it was!

Brussel Sprout and Berry Salad with PoppySeed Dressing

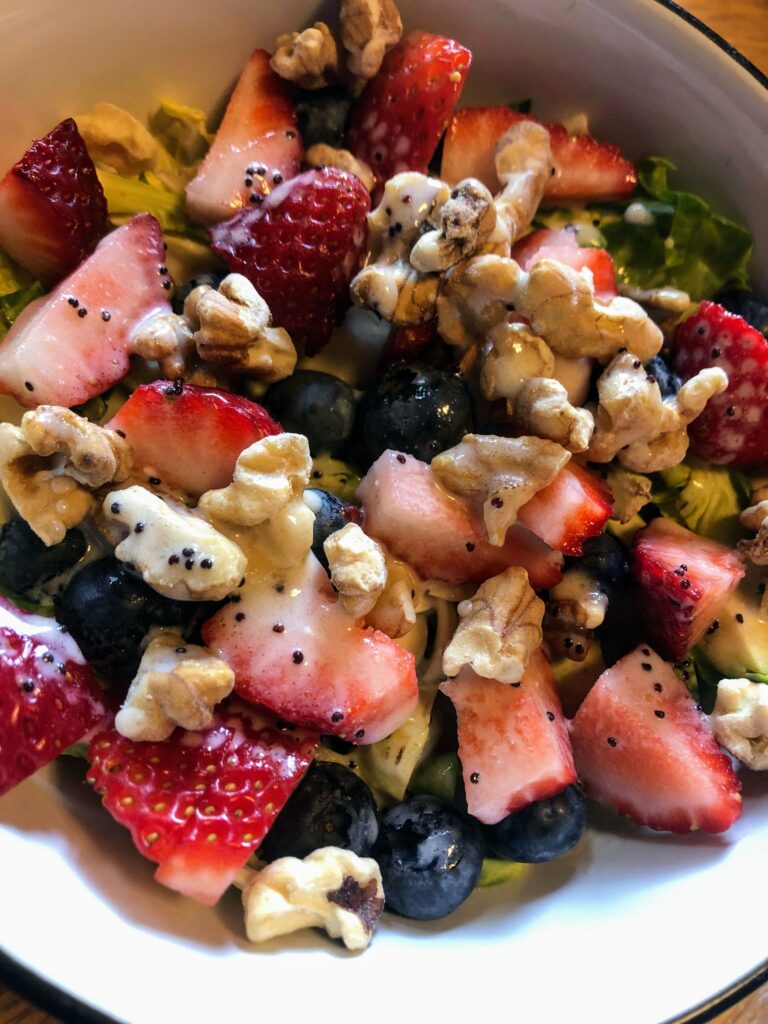
As spring comes into full bloom, I get slightly obsessed with a spinach salad with strawberries and poppyseed dressing. I recently went grocery shopping and picked up some berries, but no spinach. However I did get some Brussel sprouts and I got to thinking, “I like my greens to provide some resistance anyway, and spinach just doesn’t do that for me.” I threw this Brussel sprout and berry salad together and I was pleasantly surprised! It’s better than its spinach counterpart, and major perk, Brussel sprouts keep better in the refrigerator than spinach, if you can let them last that long. I don’t know about you, but once I have a salad I love, I eat it every day until I am out. But enough chat, let’s get creating!

Your Ingredients

For each Brussel Sprout and Berry Salad, you’ll need:

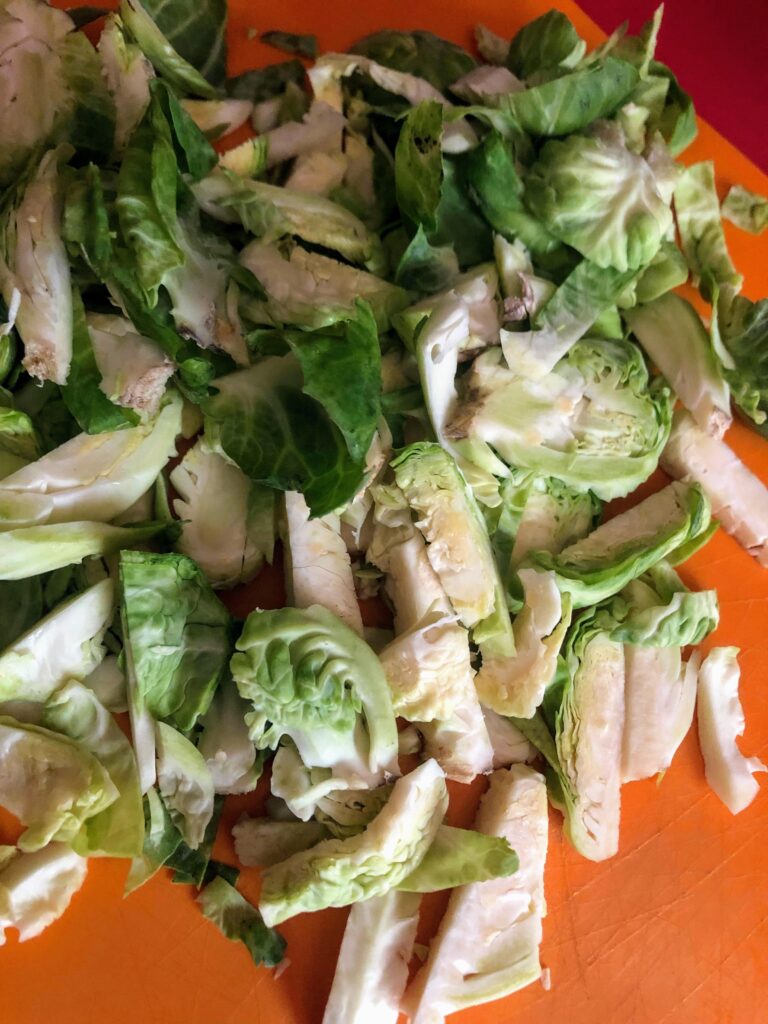
  • 10 Brussel sprouts, chopped (I tried grating them first; chopping is the way to go!)
  • 1/4 cup chopped strawberries
  • 1/4 cup blueberries
  • A handful of walnuts (Try toasting them in a pan over medium heat for extra crunch!)

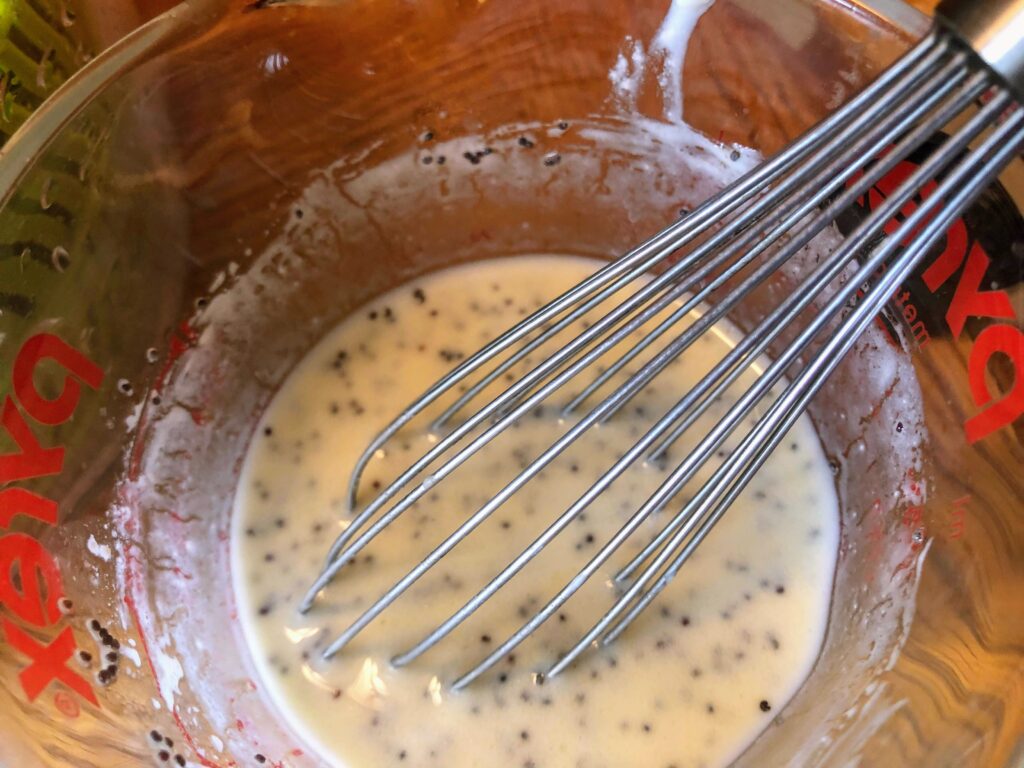
For the dressing, whisk together:

  • 1/4 cup plain Greek yogurt
  • 1 to 1 1/2 tablespoons white vinegar
  • 4 teaspoons honey
  • 1/4 teaspoon salt
  • 1 tablespoon olive oil
  • 1 teaspoon poppyseeds

(This was enough dressing for six salads)

Put together your salad: Brussel sprouts, berries, and then the walnuts; Top with dressing and enjoy! If the Brussel sprouts are a bit too tough for you (I like the texture and “work” they provide), you can also sear them in a sauté pan over a high heat until they just soften. Allow to cool before creating your salad.

Be sure to store the leftover dressing in the fridge and shake or stir prior to using for future salads.

Simple, colorful, delicious!

Looking for another summer time salad? Check out my Roasted Corn Tomato Basil Salad!

Brussel Sprout and Berry Salad with Poppyseed Dressing

Servings 1 serving

Ingredients
  

For each Brussel Sprout and Berry Salad:

  • 10 Brussel sprouts chopped
  • 1/4 cup chopped strawberries
  • 1/4 cup blueberries
  • handful of walnuts

Dressing (6 servings):

  • 1/4 cup plain Greek yogurt
  • 1 to 1 1/2 tablespoons white vinegar
  • 4 teaspoons honey
  • 1/4 teaspoon salt
  • 1 tablespoon olive oil
  • 1 teaspoon poppyseeds

Instructions
 

  • Whisk together dressing. Store in an airtight container like a mason jar.
  • Put together your salad: Brussel sprouts, berries, and then the walnuts.
  • Top with dressing and enjoy.

Notes

If the Brussel sprouts are a bit too tough for you (I like the texture and “work” they provide), you can also sear them in a sauté pan over a high heat until they just soften. Allow to cool before creating your salad.
Be sure to store the leftover dressing in the fridge and shake or stir prior to using for future salads.
Tried this recipe?Let us know how it was!