
I am so excited to share my wild grape jelly with all of you! It’s just three simple ingredients that you likely have and didn’t even know! But before I get there, I want to share a habit I have that led to this fun recipe!
About five years ago, the Mr. and I started a routine of grabbing a cup of coffee and walking around our orchard on top of the hill on our land. We did it right before I left for work, saying good morning to our trees and plants. That little walkabout gradually turned into a ½ mile walk, which grew to 2 miles, and is now generally a 2.5-4 mile walk every morning. It’s so special and a pivotal part of our marriage; we make big plans, fight, discuss our children, our dreams, everything.
Our walks have added a lot of value to our lives beyond helping our marriage be the best it can be. I have learned a crazy amount about the plants and animals we see along the way. I can identify at least ten different plants that can be foraged from the side of the road, including the wild grape. (You should hear our conversations…here’s just a bit of it:
Me: What’s that plant?
Mr: It’s ‘fill in the blank.’
Me: I think you can eat that!
Mr: Just because you can eat it doesn’t mean you need to. Or sometimes, “I love you honey.”
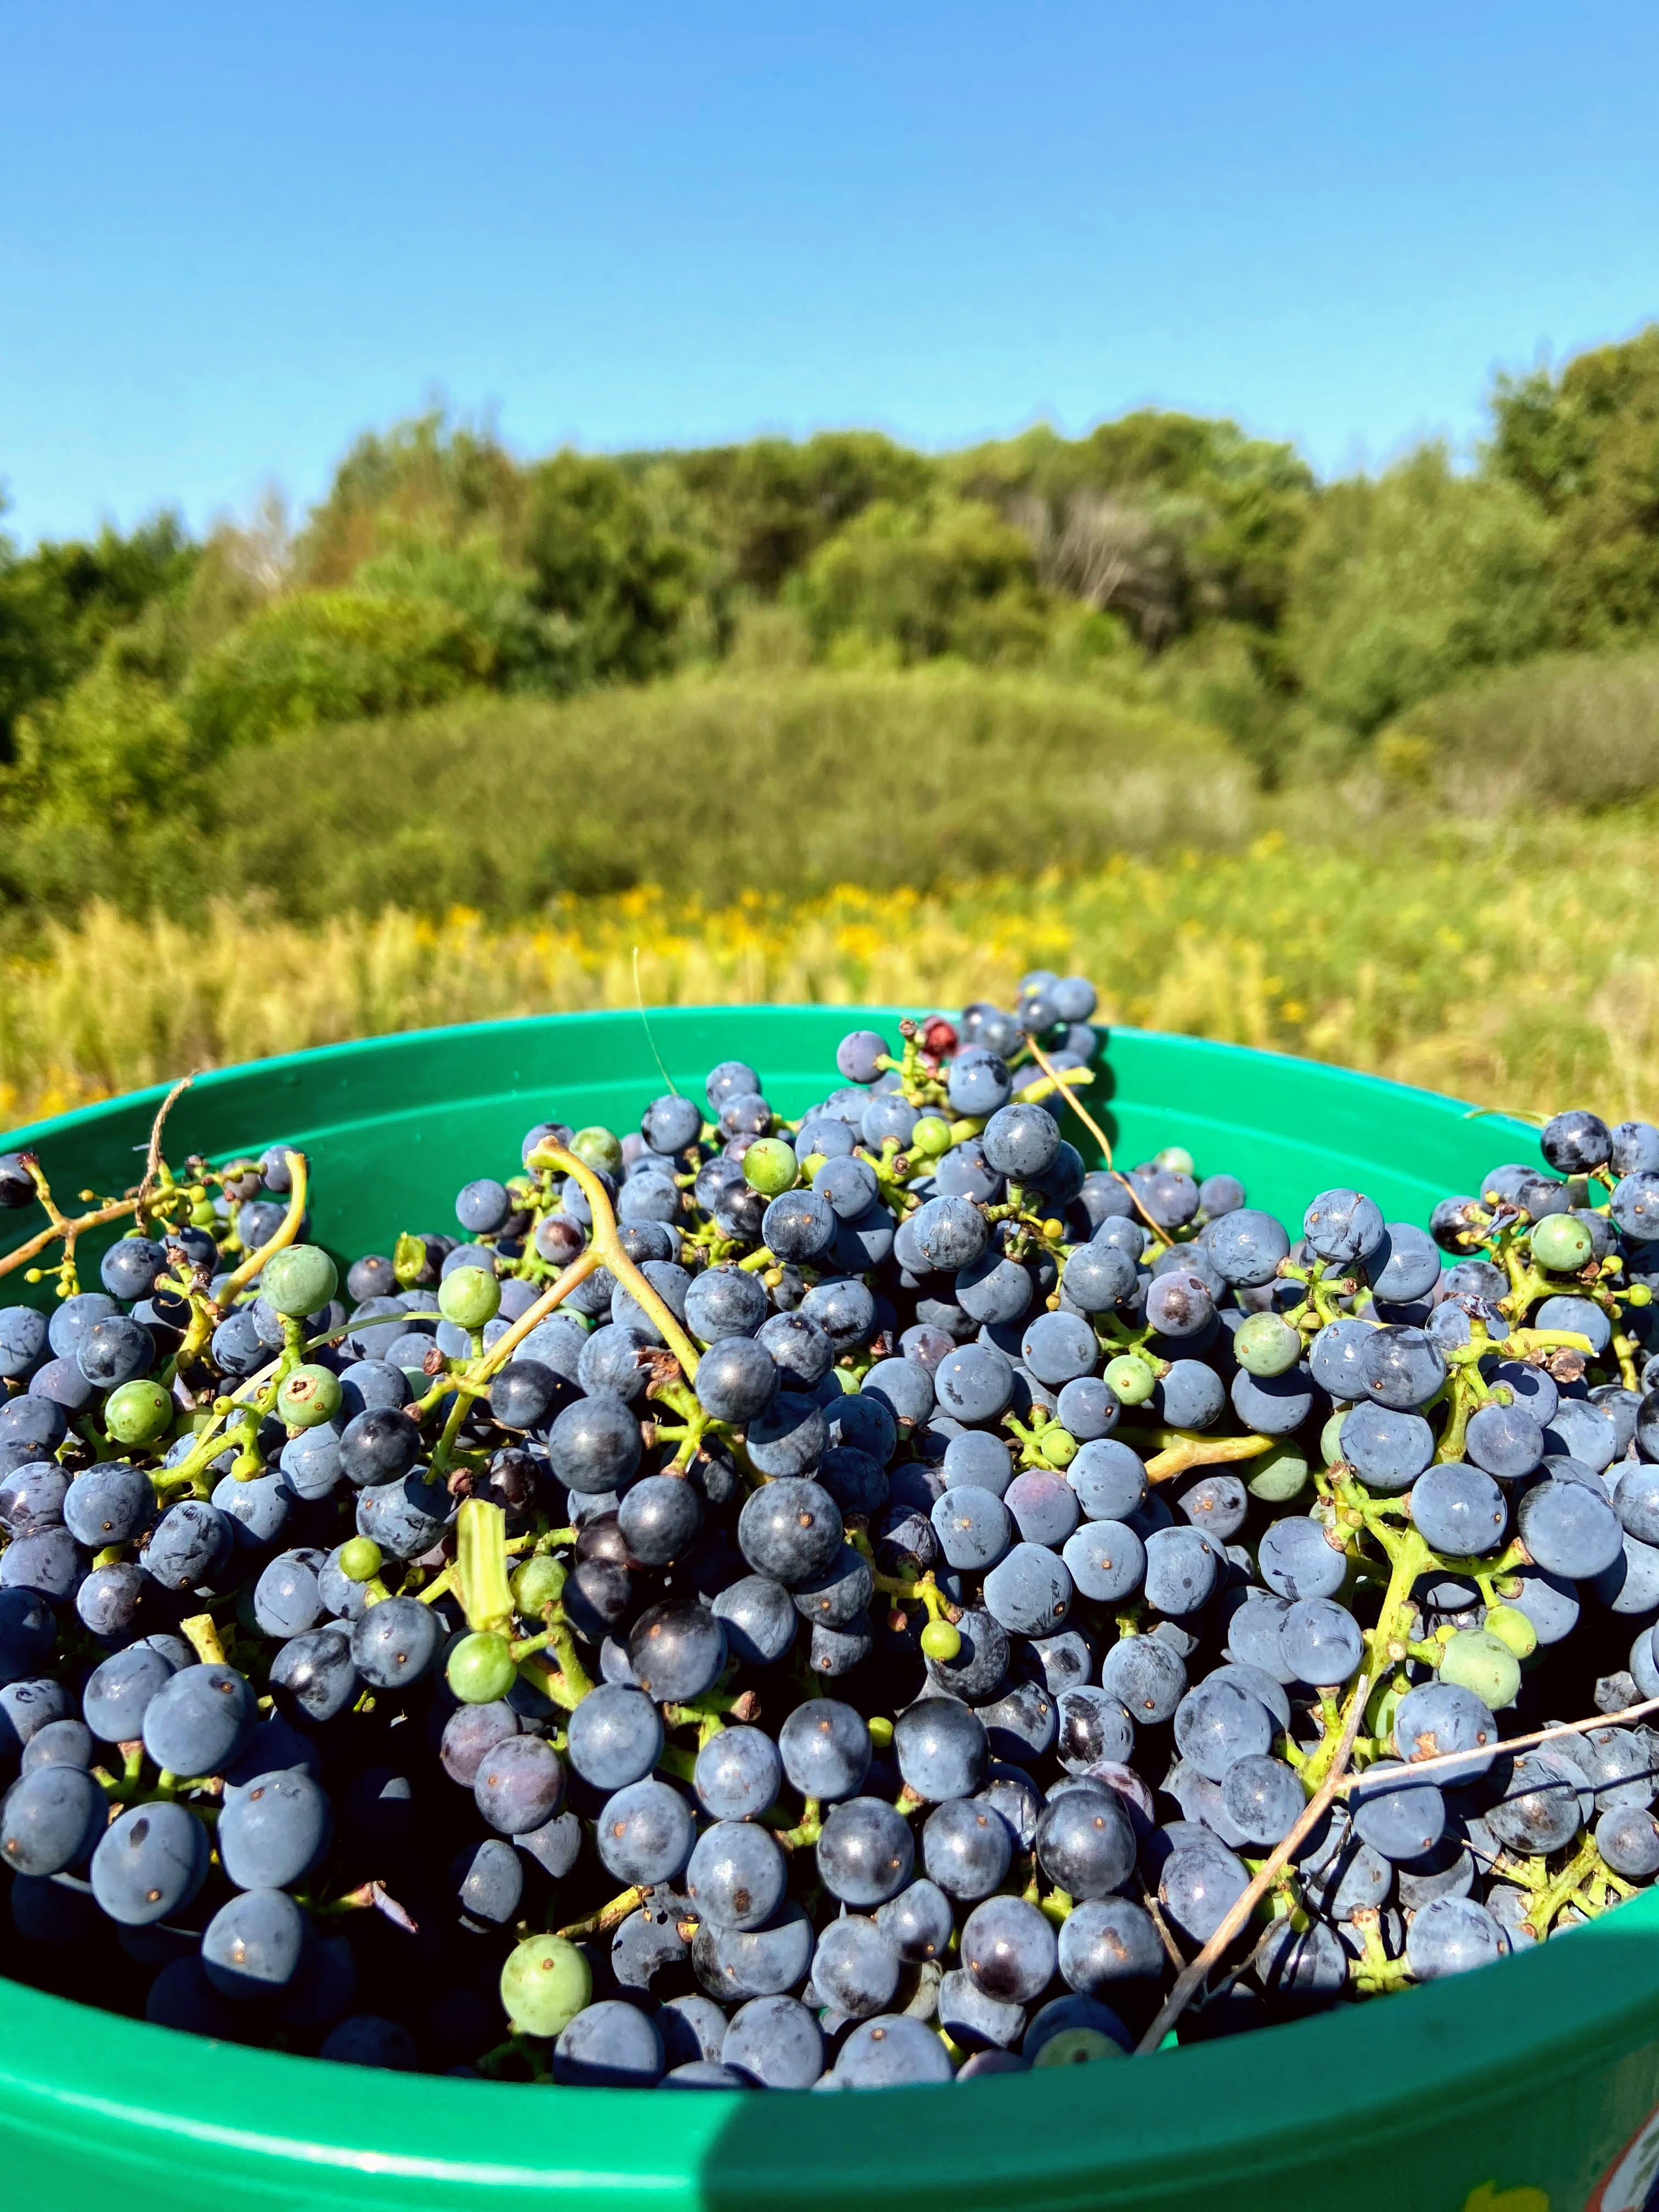
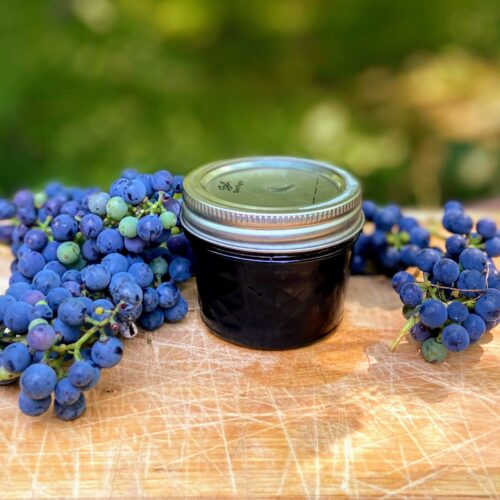
Anywho, the Mr. doesn’t discourage the wild grapes. He just reminds me that if I want to make wild grape jelly, I need to get to them before the birds do. Many of the wild grape vines don’t seem to produce fruit, but you know I am always on the lookout. The moment I find some, I go in for the harvest. The grapes that grow here are perfectly tart; think blueberries that have been harvested just a hair too early. And that makes them delicious and the perfect candidate for wild grape jelly.
And great news! This recipe is VERY flexible in terms of quantity. Whatever you harvest is what you can work with. (Be sure you are finding wild grapes and not a poisonous look alike. Wild grapes will have heart shaped leaves with serrated edges. While I am not from Missouri, there Department of Conservation has a great website on identifying animals and plants in the field.)
Your Ingredients For Wild Grape Jelly
- wild grapes, rinsed and removed from the stem
- sugar (½ cup for every cup of juice after straining)
- lemon juice (½ tablespoon for every cup of juice after straining)
Begin Boiling
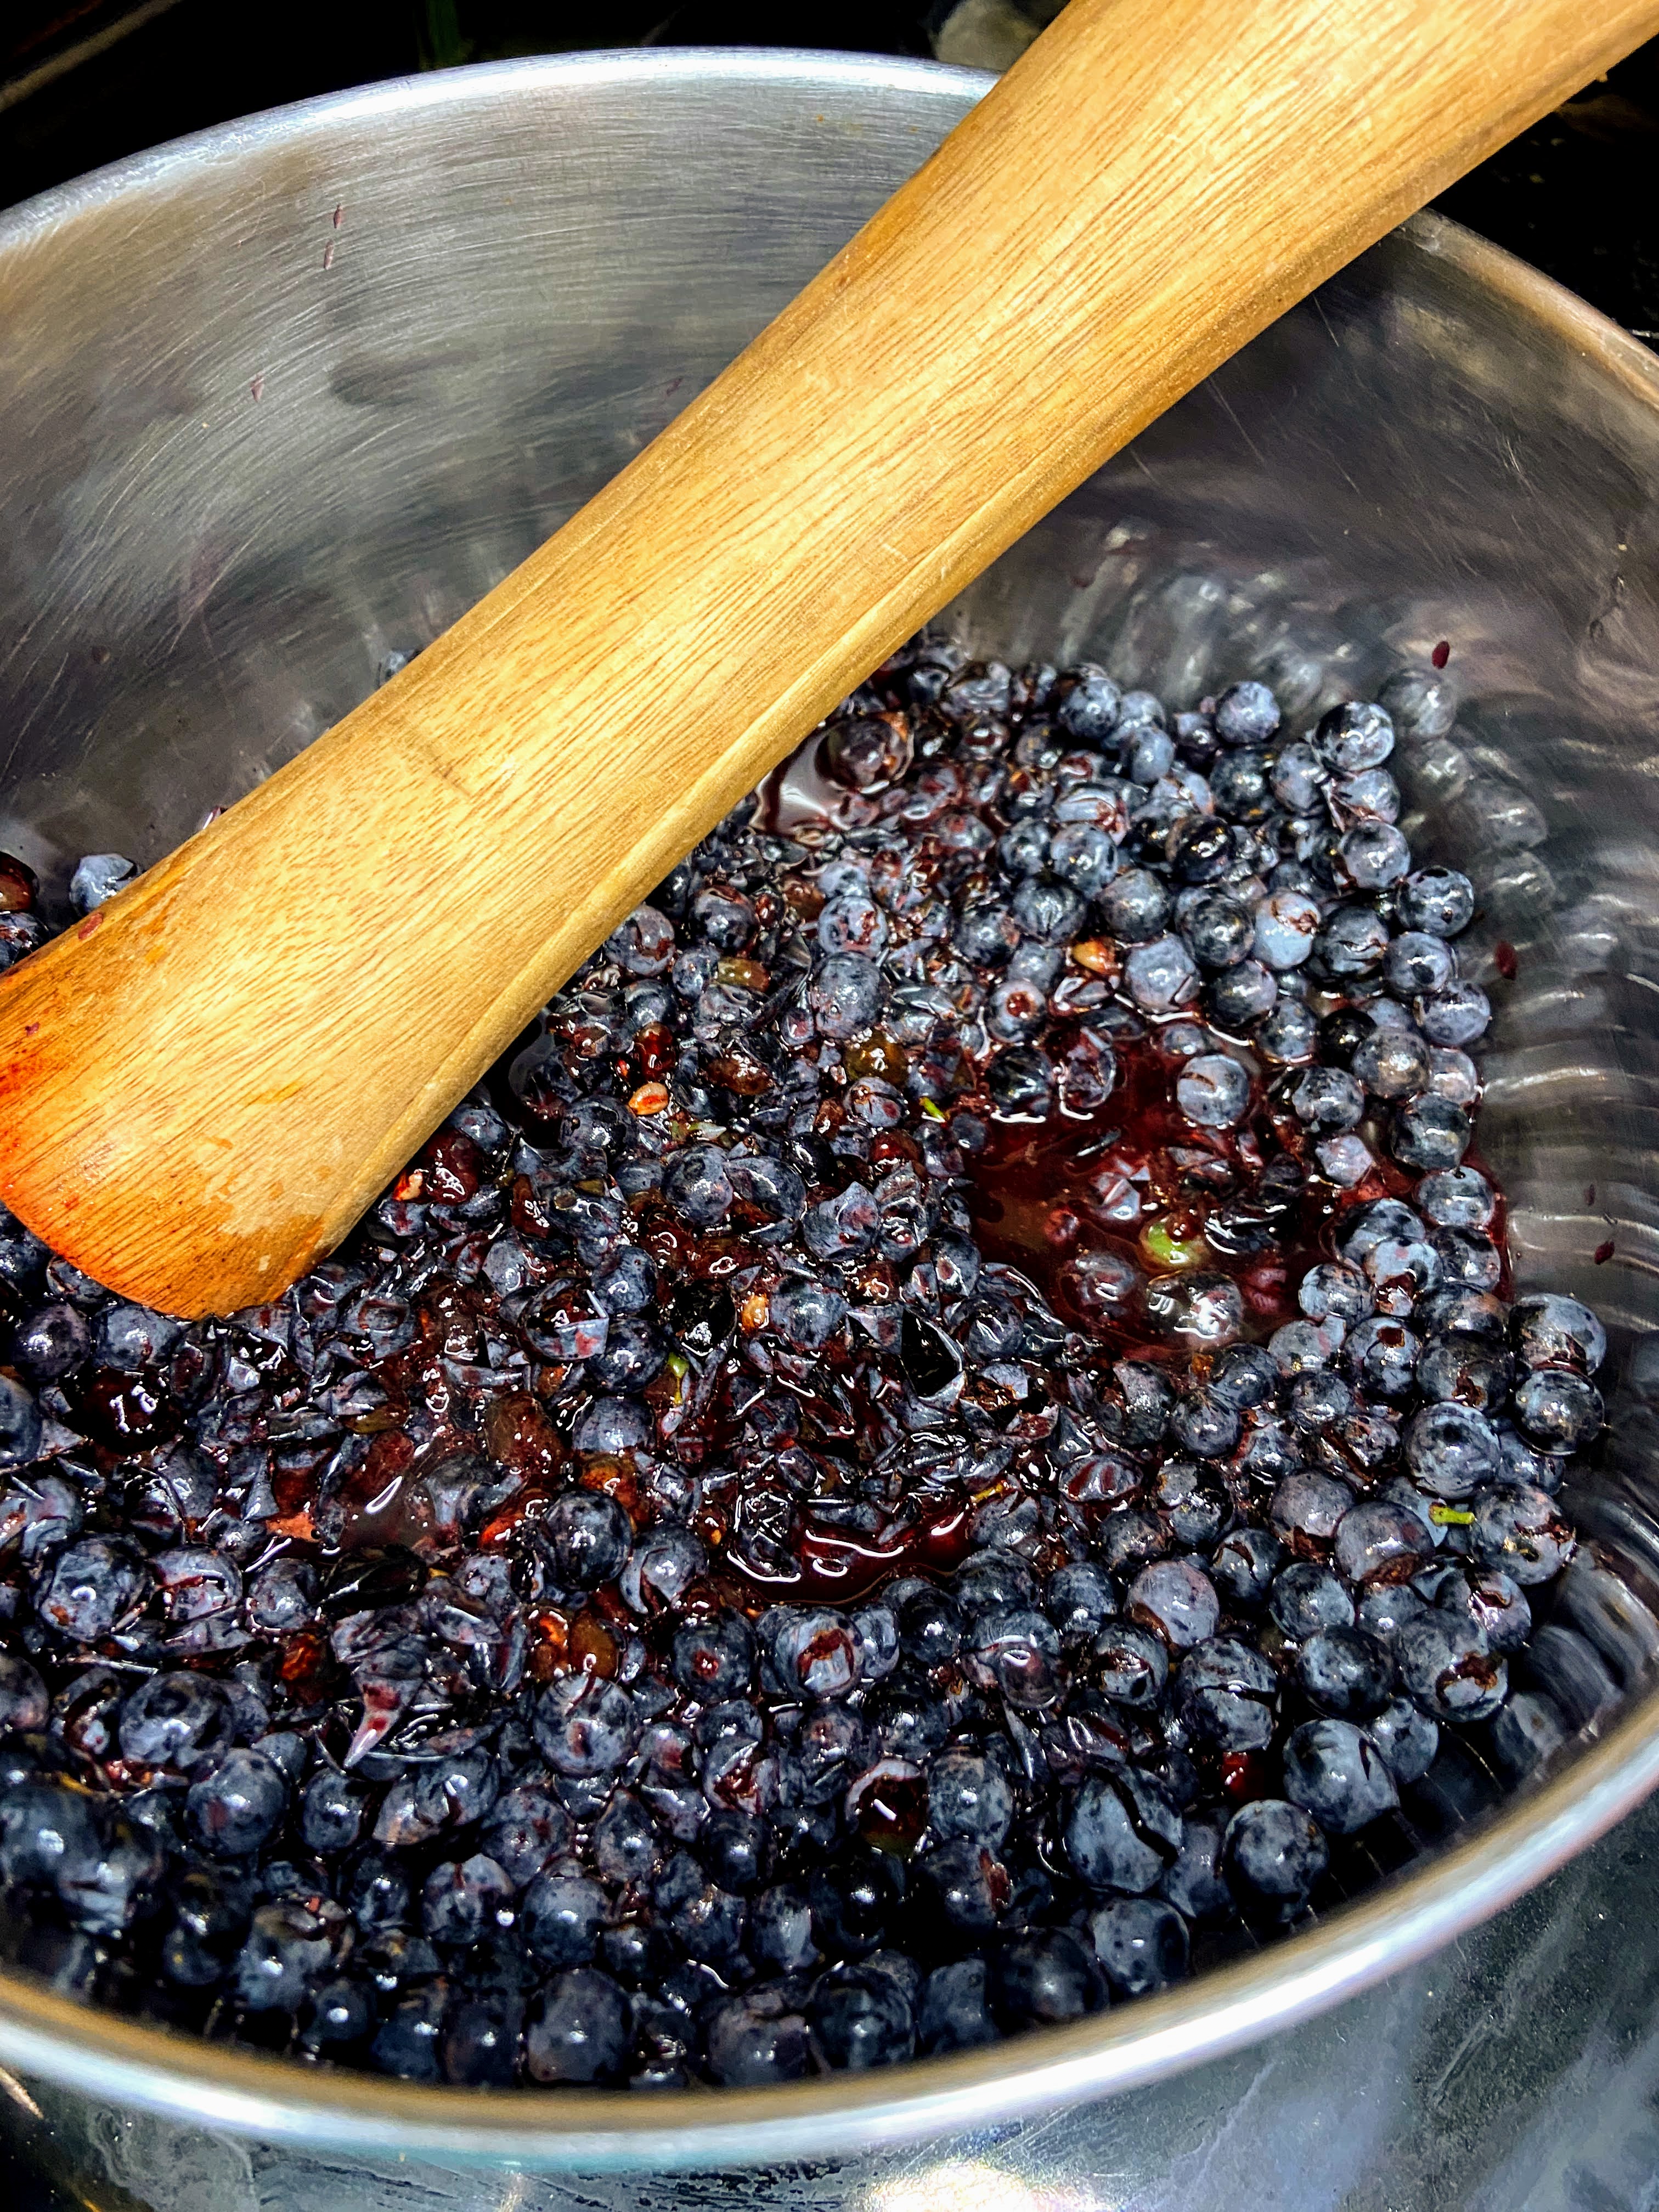
Place the rinsed and stemmed grapes in a kettle. You can add a few tablespoons of water here to help prevent sticking. Heat over medium-high heat, using a potato masher or wooden fermentation tapper to break them down. A large spoon would also work, but I love my tapper and I don’t even ferment food yet.
Once the grapes have come to a boil and sufficiently broken down, remove from heat. From here, you have a few options:
- Strain through a few layers of cheese cloth, collecting the liquid in a liquid measuring cup.
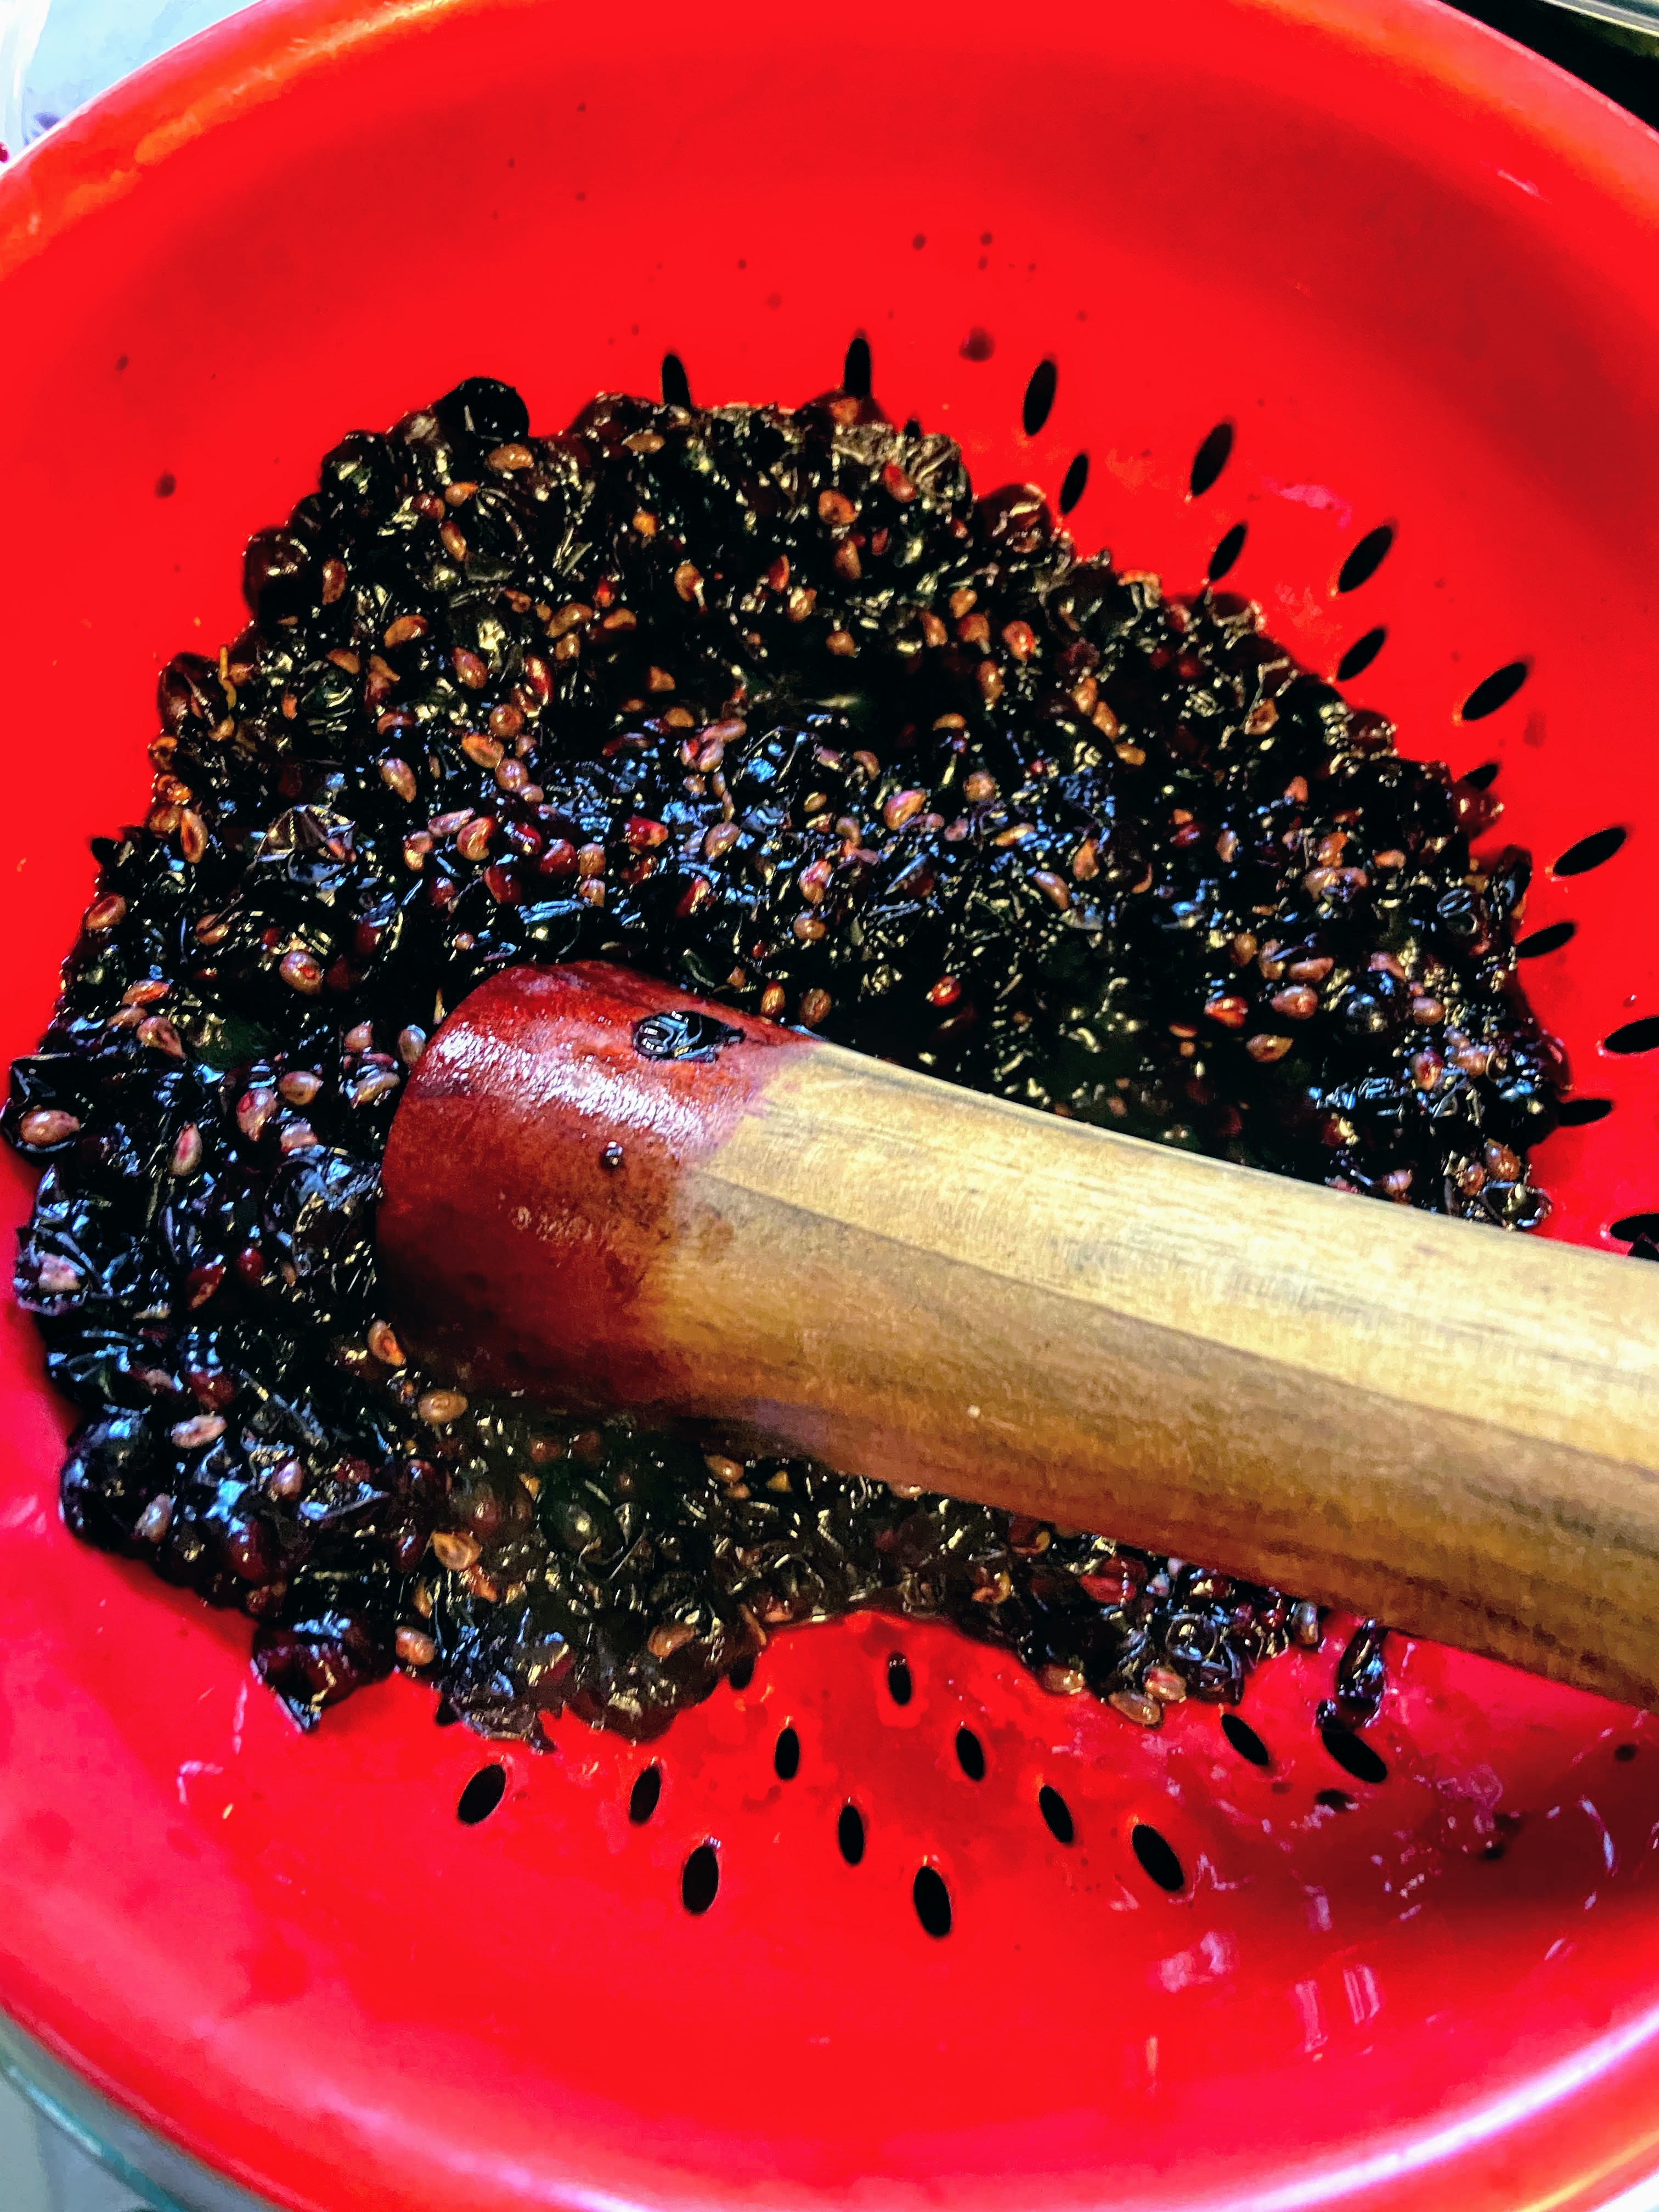
- Rest a small holed strainer over a bowl and use the tapper once more to force as much liquid and pulp through the strainer, being mindful to have holes smaller than the seeds of the grape. (This is the option I go with)
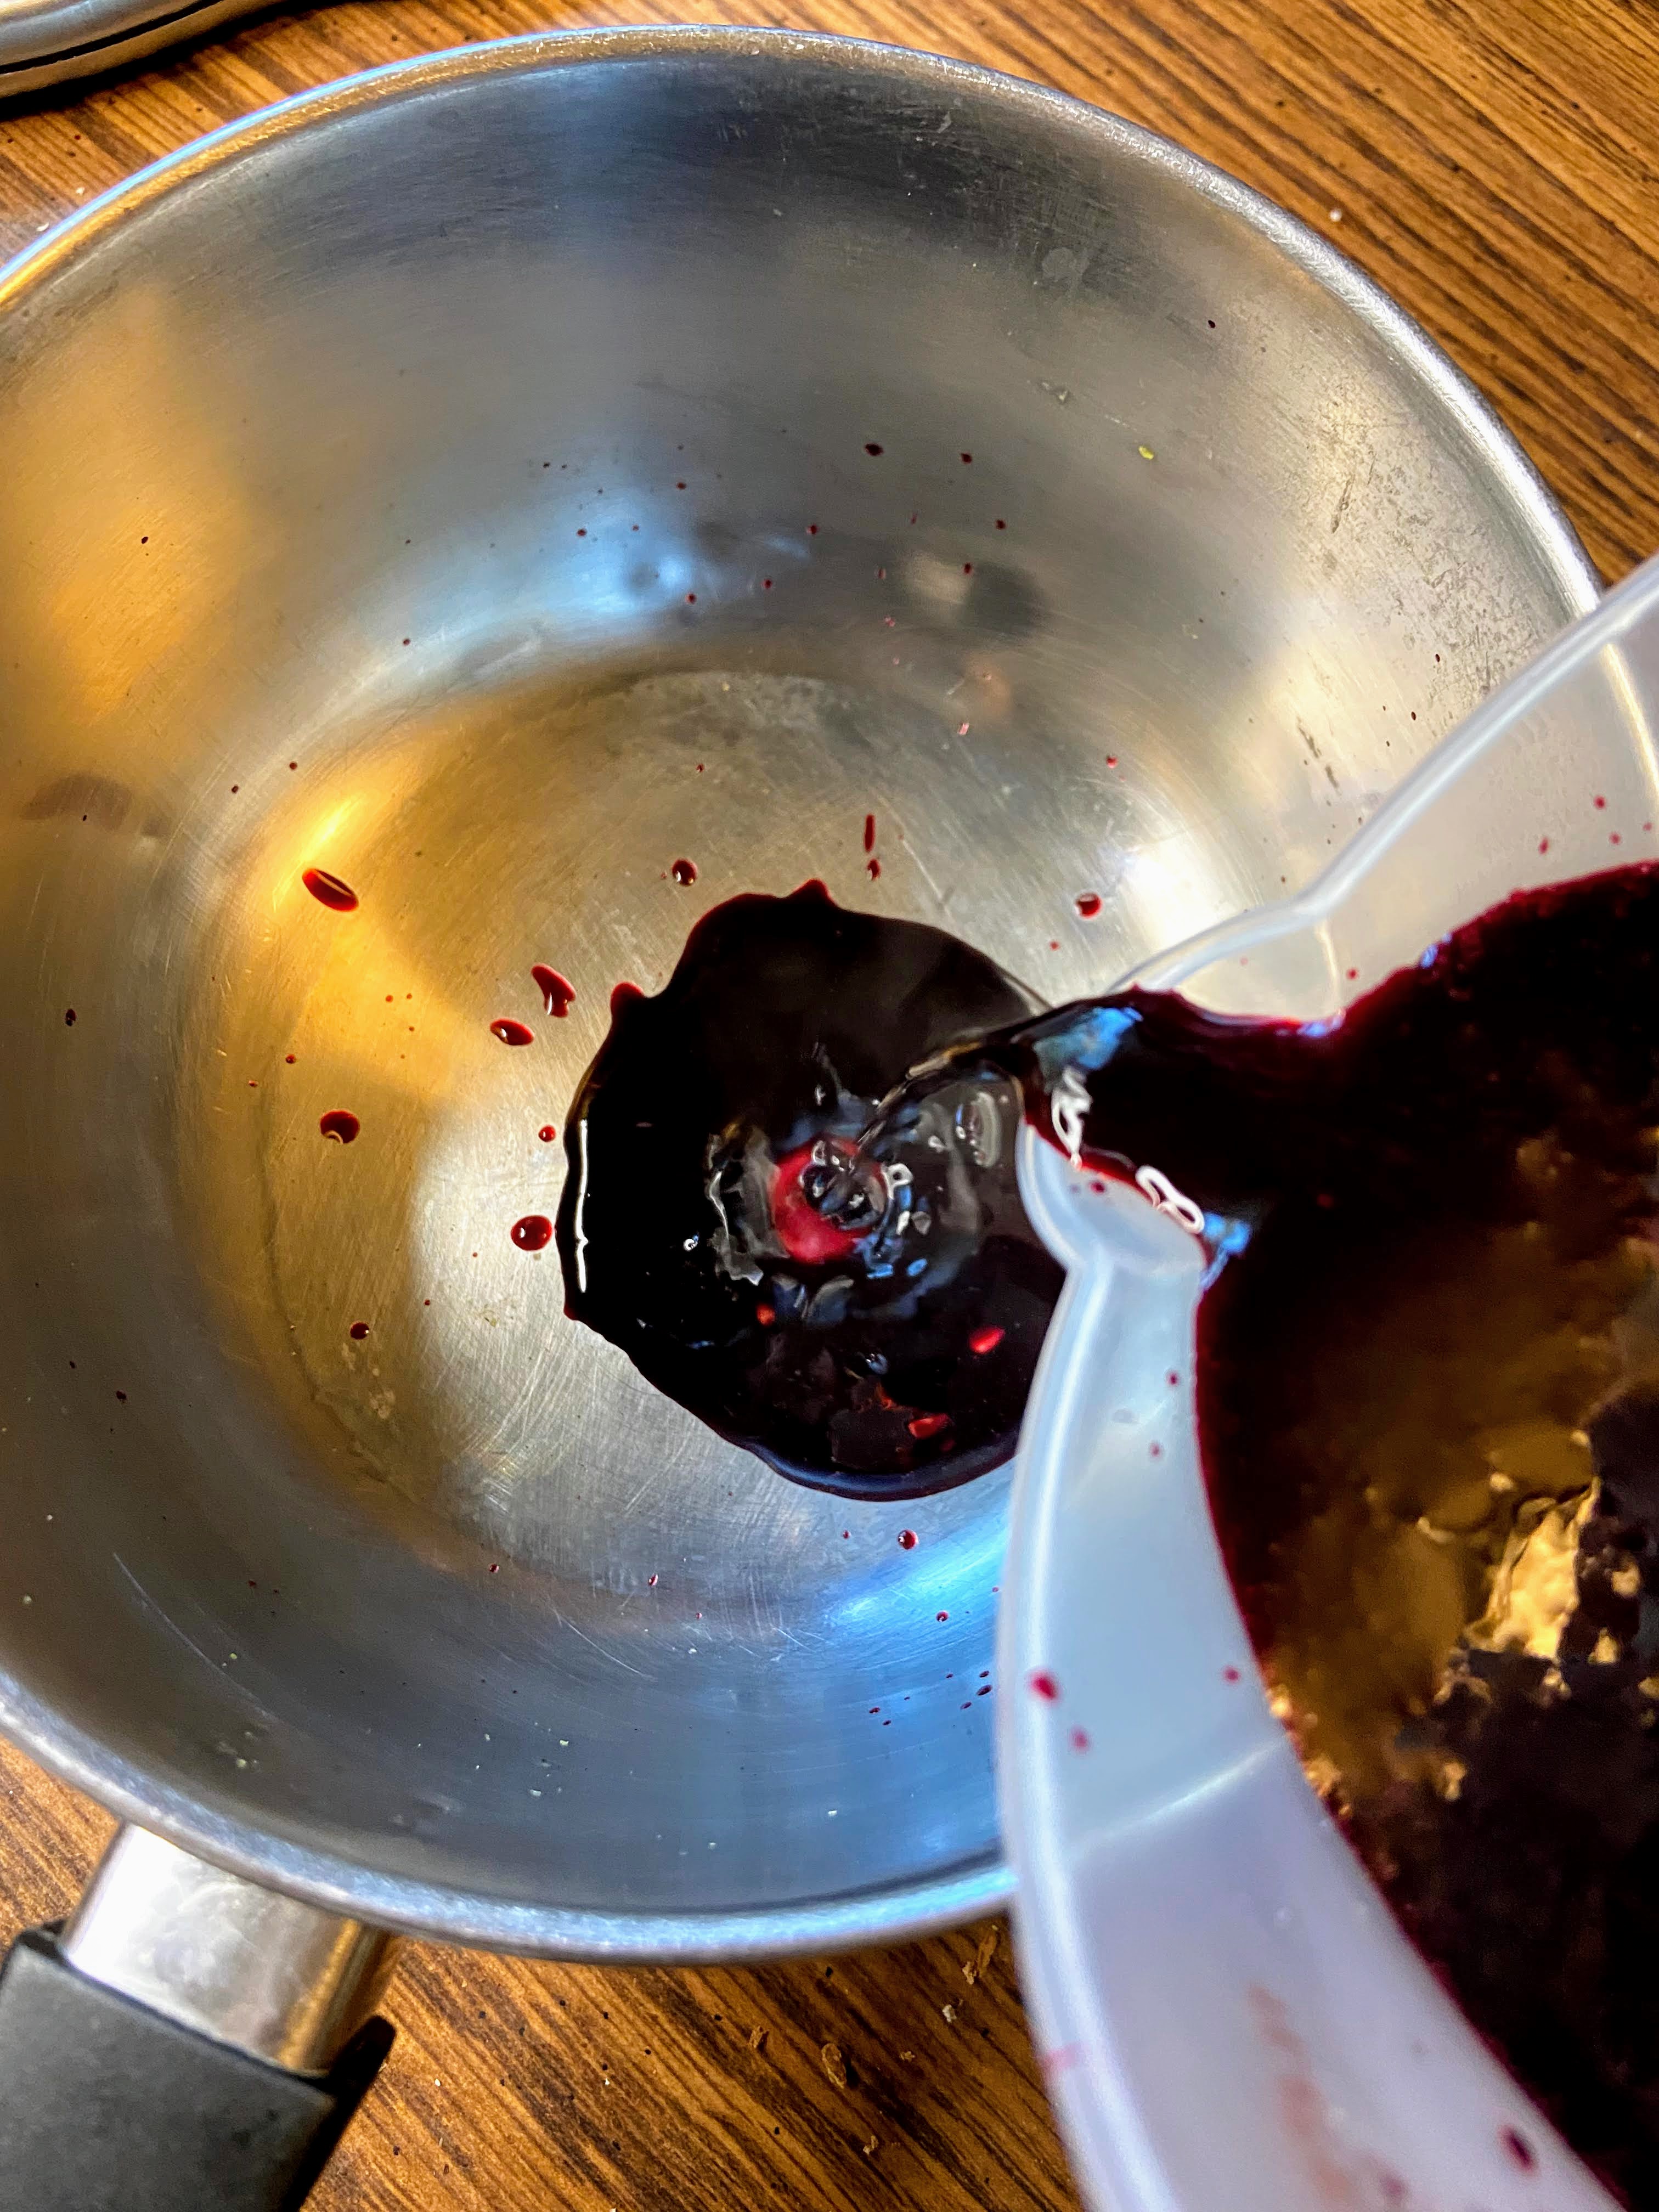
If you haven’t already, pour the grape juice into a liquid measuring cup to determine the amount of sugar and lemon juice you should add.
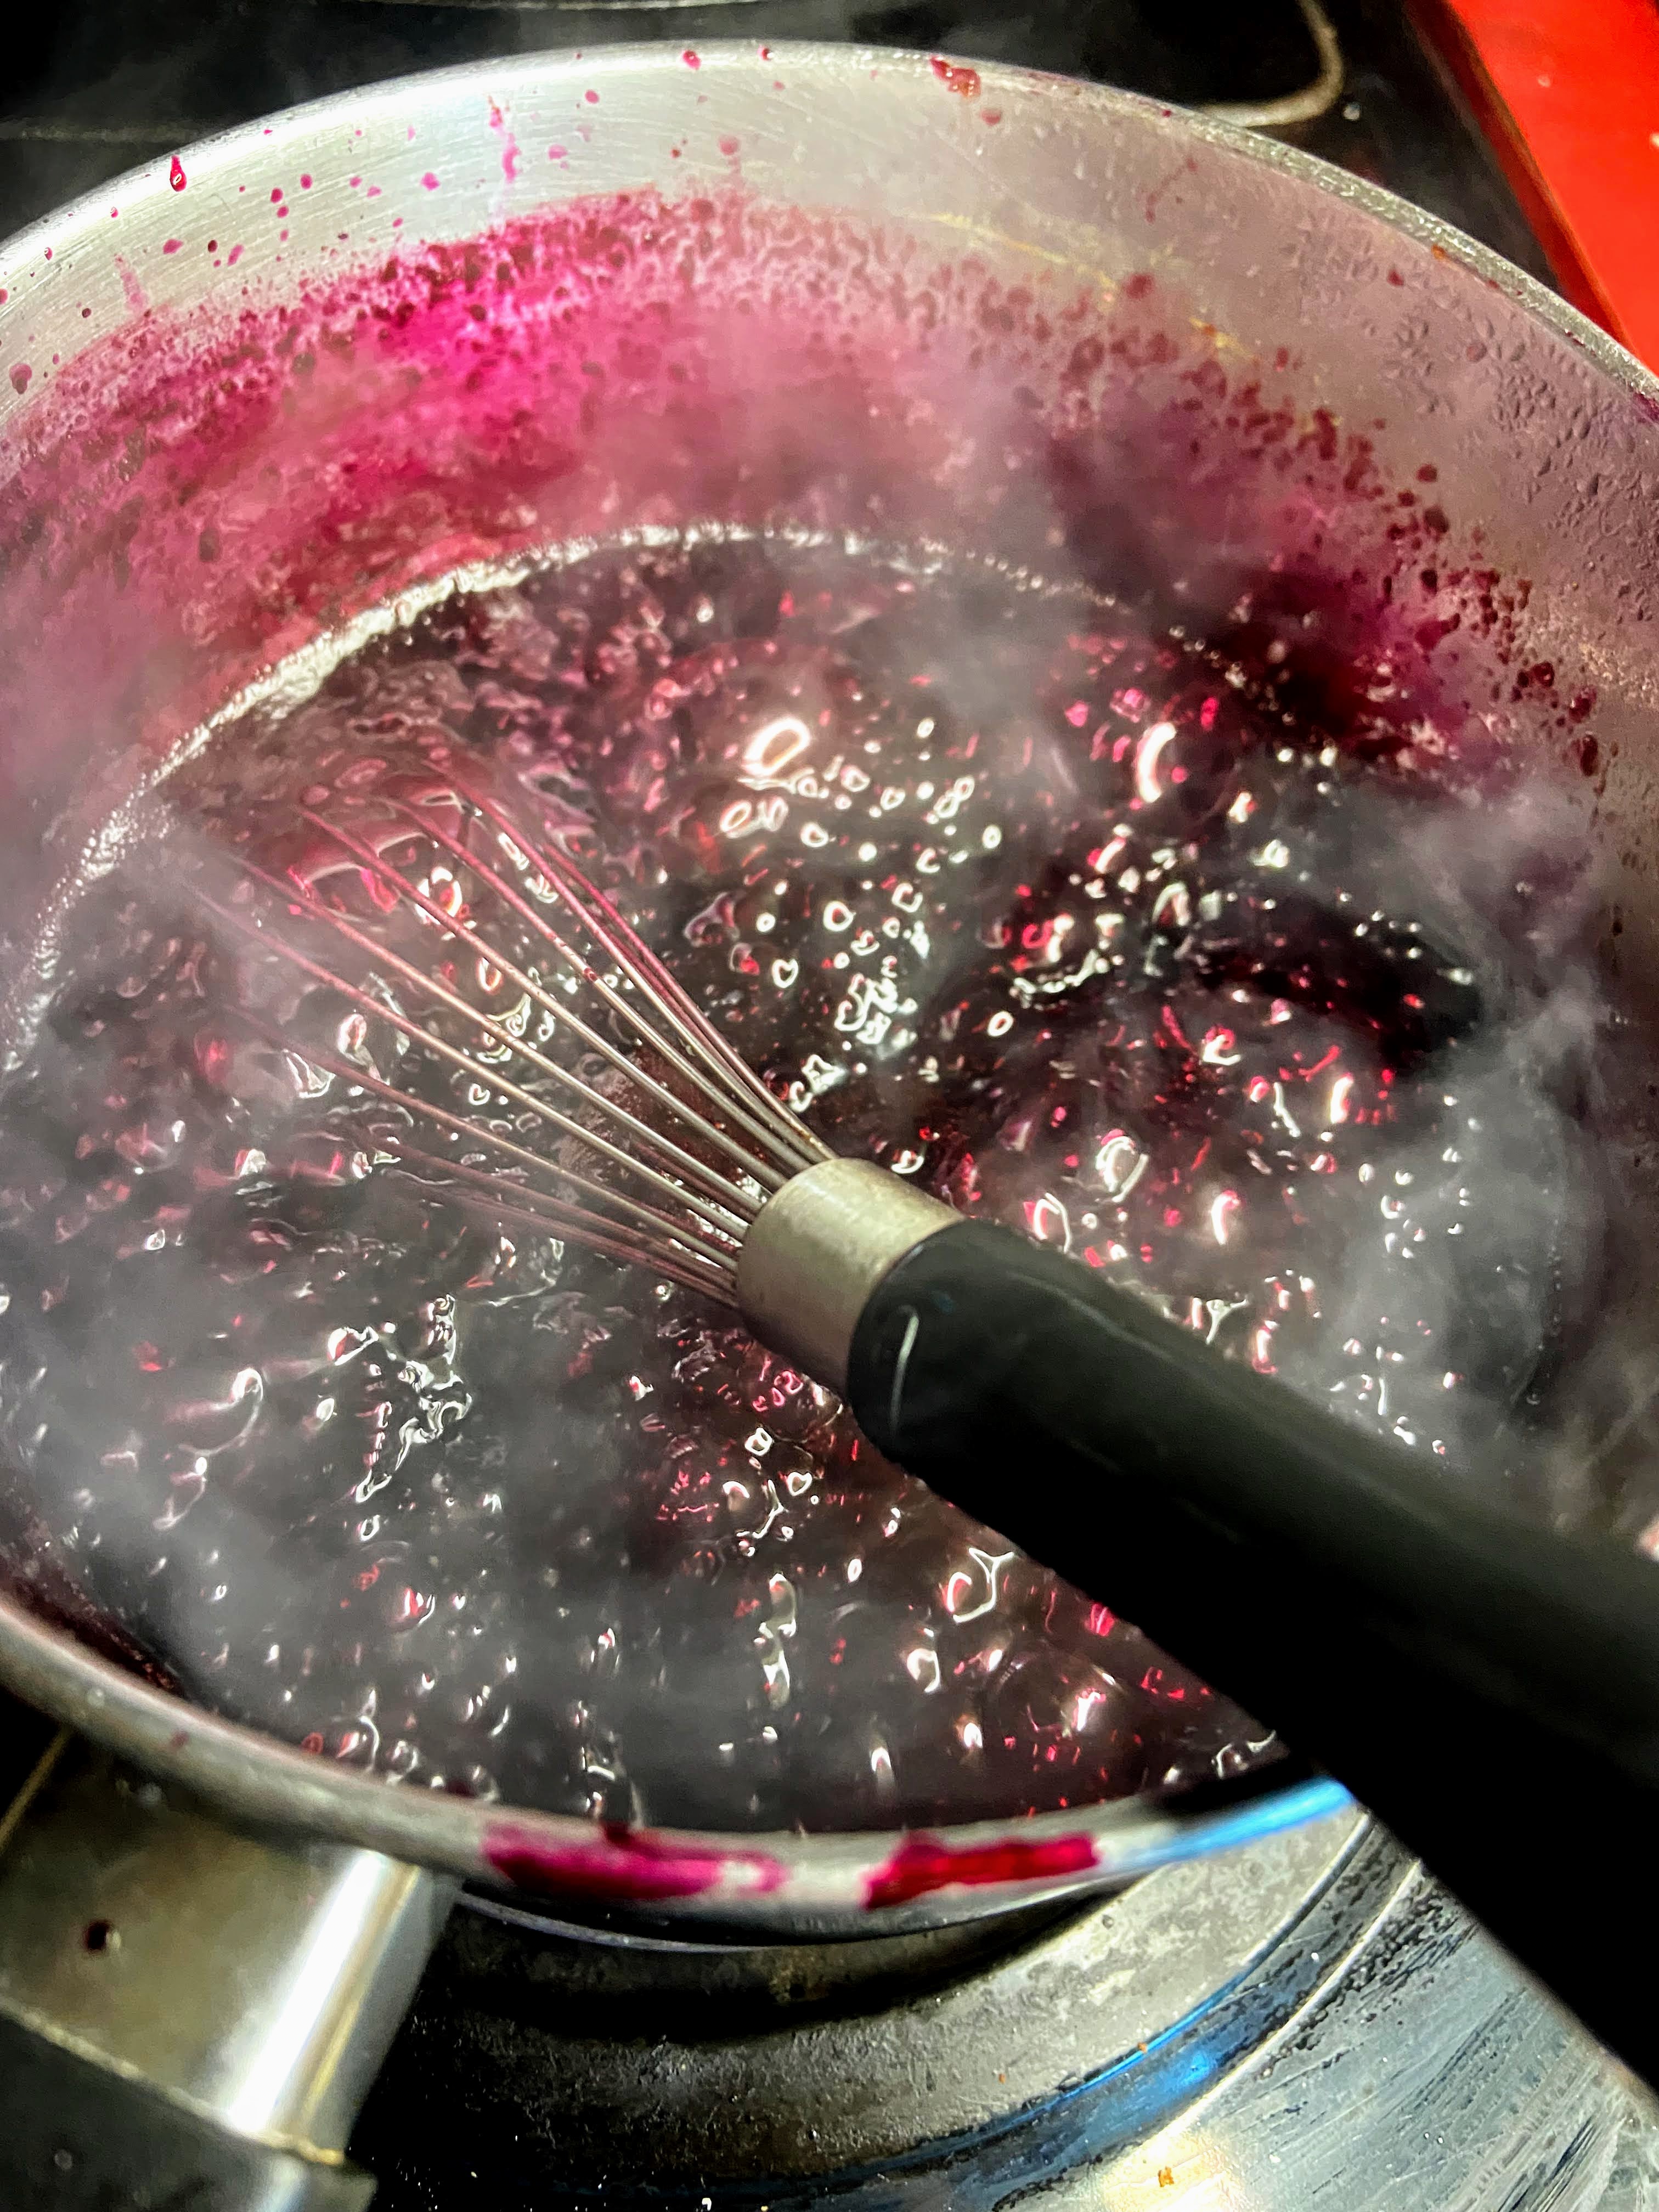
Place the juice in a large kettle. For every cup of liquid, stir in ½ cup sugar and a ½ tablespoon lemon juice. Begin to heat over medium-high heat, stirring often. Your end goal is to reach the gelling point. There are lots of tests for this, but I prefer the temperature test. If you are at sea level, the gelling point is at 220 degrees. For every 1000 feet of elevation, you subtract 2 degrees. For me, the gelling point is 218 degrees. Don’t have a decent food thermometer? Check out the National Center for Home Preservation website for other ways of testing for the gelling point.
It takes longer to reach the gelling point than I think it should. It also goes from needing 3 degrees to reaching the gelling point fast. You can get complacent while you are waiting and suddenly hit the temperature, so I am trying to warn you 🙂
While the jelly is boiling, begin to prepare your water bath canner and jars if you plan on processing them. (If you want to simply place the jelly in the fridge after it hits the gelling point, that’s 100% okay. You don’t need to process it. However, if you want it self-stable, you should process in a waterbath canner.)
Canning Time!
Wash and sanitize jars, rings, and lids. Keep warm. Fill the canner with enough water to cover the jars by at least 2 inches of water. Cover and heat on high. Watch the temperature, you want a simmer but not a boil when you place the jars in the water.
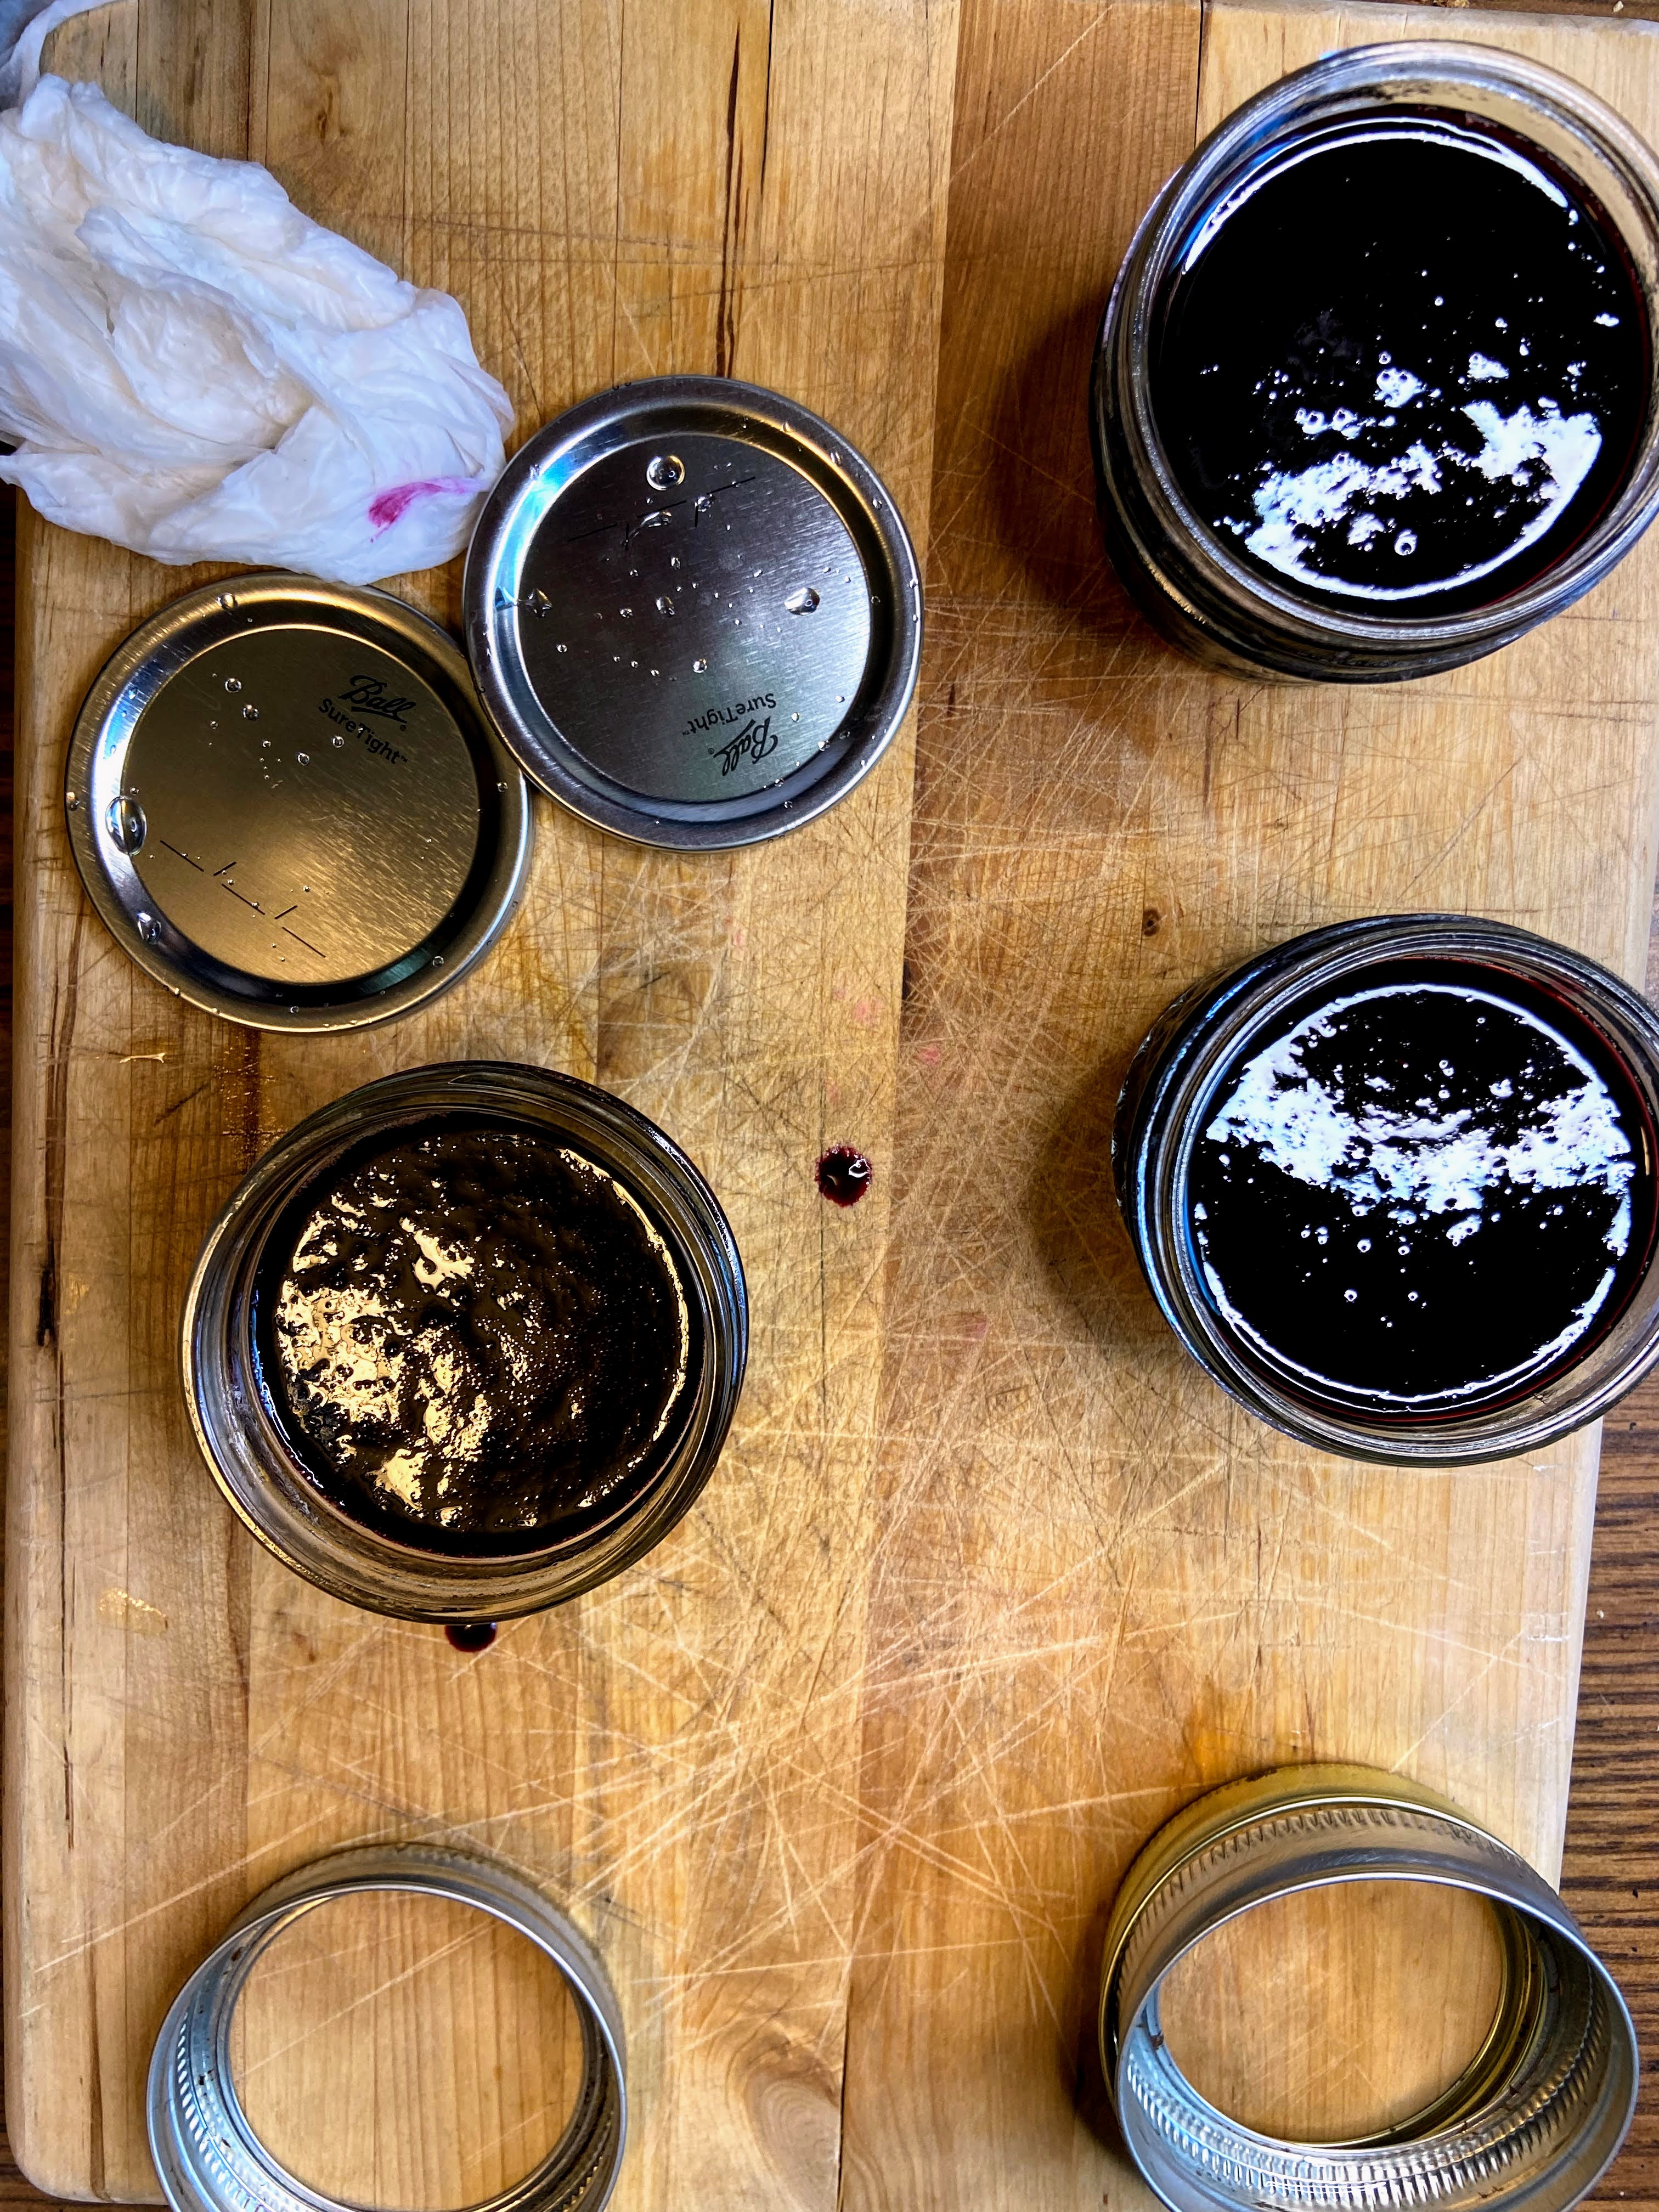
Once the wild grape jelly has reached the gelling point, remove from heat. Ladle into prepared jars, leaving ¼ inch head space. Wipe rims of the jars with a damp cloth, add lids and rings, tightening to fingertip tight. Place in the canner, increasing the heat to high. Once the canner reaches a boil, process for 5 minutes. Remove from heat and allow jars to cool in the canner over 5 minutes. Remove from canner, placing on the counter. Listen for the ping of the lids over the next 12 hours. Sealed jars are self stable. If any jar doesn’t seal, simply place it right in the refrigerator.
PS…To be especially awesome, have some fresh baked bread on hand to spread the left over wild grape jelly in the kettle on a slice. Enjoy while the rest of the jelly is in the water bath. I promise, you’ll thank me.

Tools of the Trade
If you haven’t gotten one yet, you’ll want a nice kettle for water bath canning! While not necessary, a set of canning tools makes the process so much easier. And finally, a fermentation tamper actually works GREAT for all sorts of canning processes!
Wild Grape Jelly
Equipment
Ingredients
- 1 cup grape juice per 1/2 pint jar
- 1/2 cup sugar per 1/2 pint jar
- 1/2 tbsp lemon juice per 1/2 pint jar
Instructions
- Place the rinsed and stemmed grapes in a kettle. You can add a few tablespoons of water here to help prevent sticking. Heat over medium-high heat, using a potato masher or wooden fermentation tapper to break them down.
- Once the grapes have come to a boil and have sufficiently broken down, either strain through a cheese cloth into a liquid measuring cup or run through a mesh strainer using the tapper or a spoon to force as much liquid and pulp through.
- Pour grape juice into a liquid measuring cup to determine the amount of sugar and lemon juice you should add.
- Wash and sanitize jars, rings, and lids. Keep warm. Fill the canner with enough water to cover the jars by at least 2 inches of water. Cover and heat on high. Watch the temperature, you want a simmer but not a boil when you place the jars in the water.
- Place the juice in a large kettle. For every cup of liquid, stir in ½ cup sugar and a ½ tablespoon lemon juice. Begin to heat over medium-high heat, stirring often. Begin to heat over medium-high heat, stirring often.
- Heat to 8 degrees above the boiling point of water. If you are at sea level, the gelling point is at 220 degrees. For every 1000 feet of elevation, you subtract 2 degrees.
- Once the jelly has reached the gelling point, remove from heat. Ladle into prepared jars, leaving ¼ inch head space. Wipe rims of the jars with a damp cloth, add lids and rings, tightening to fingertip tight. Place in the canner, increasing the heat to high. Once the canner reaches a boil, process for 10 minutes. Remove from heat and allow jars to cool in the canner over 5 minutes. Remove from canner and allow to rest for 12 hours before storing.