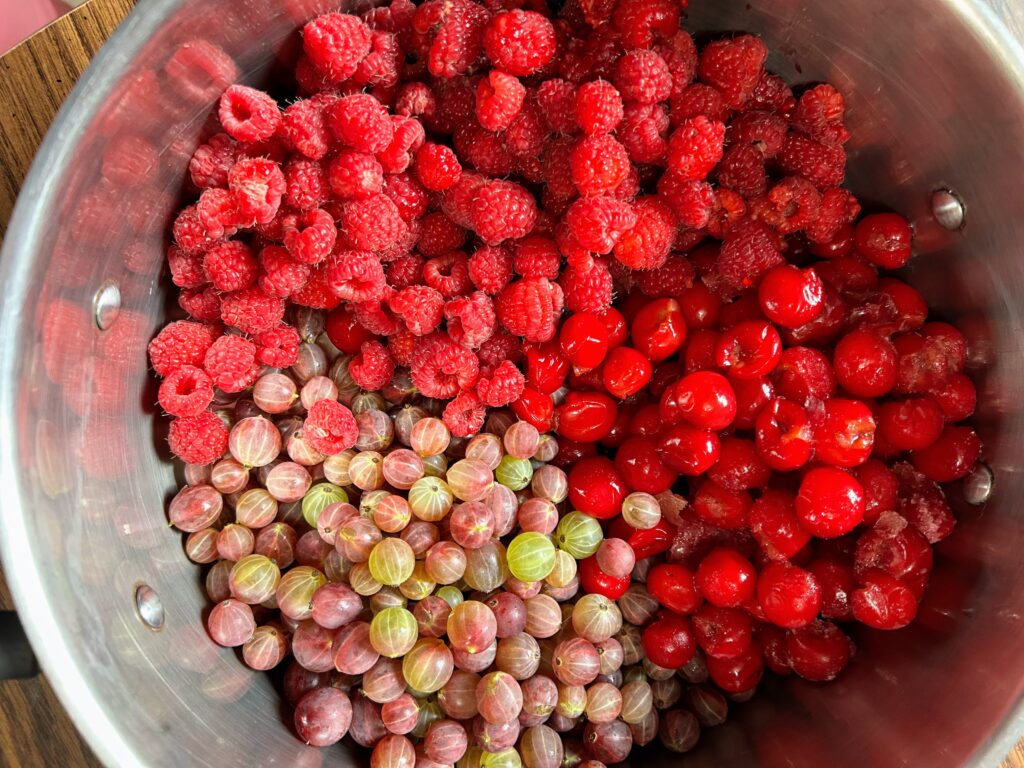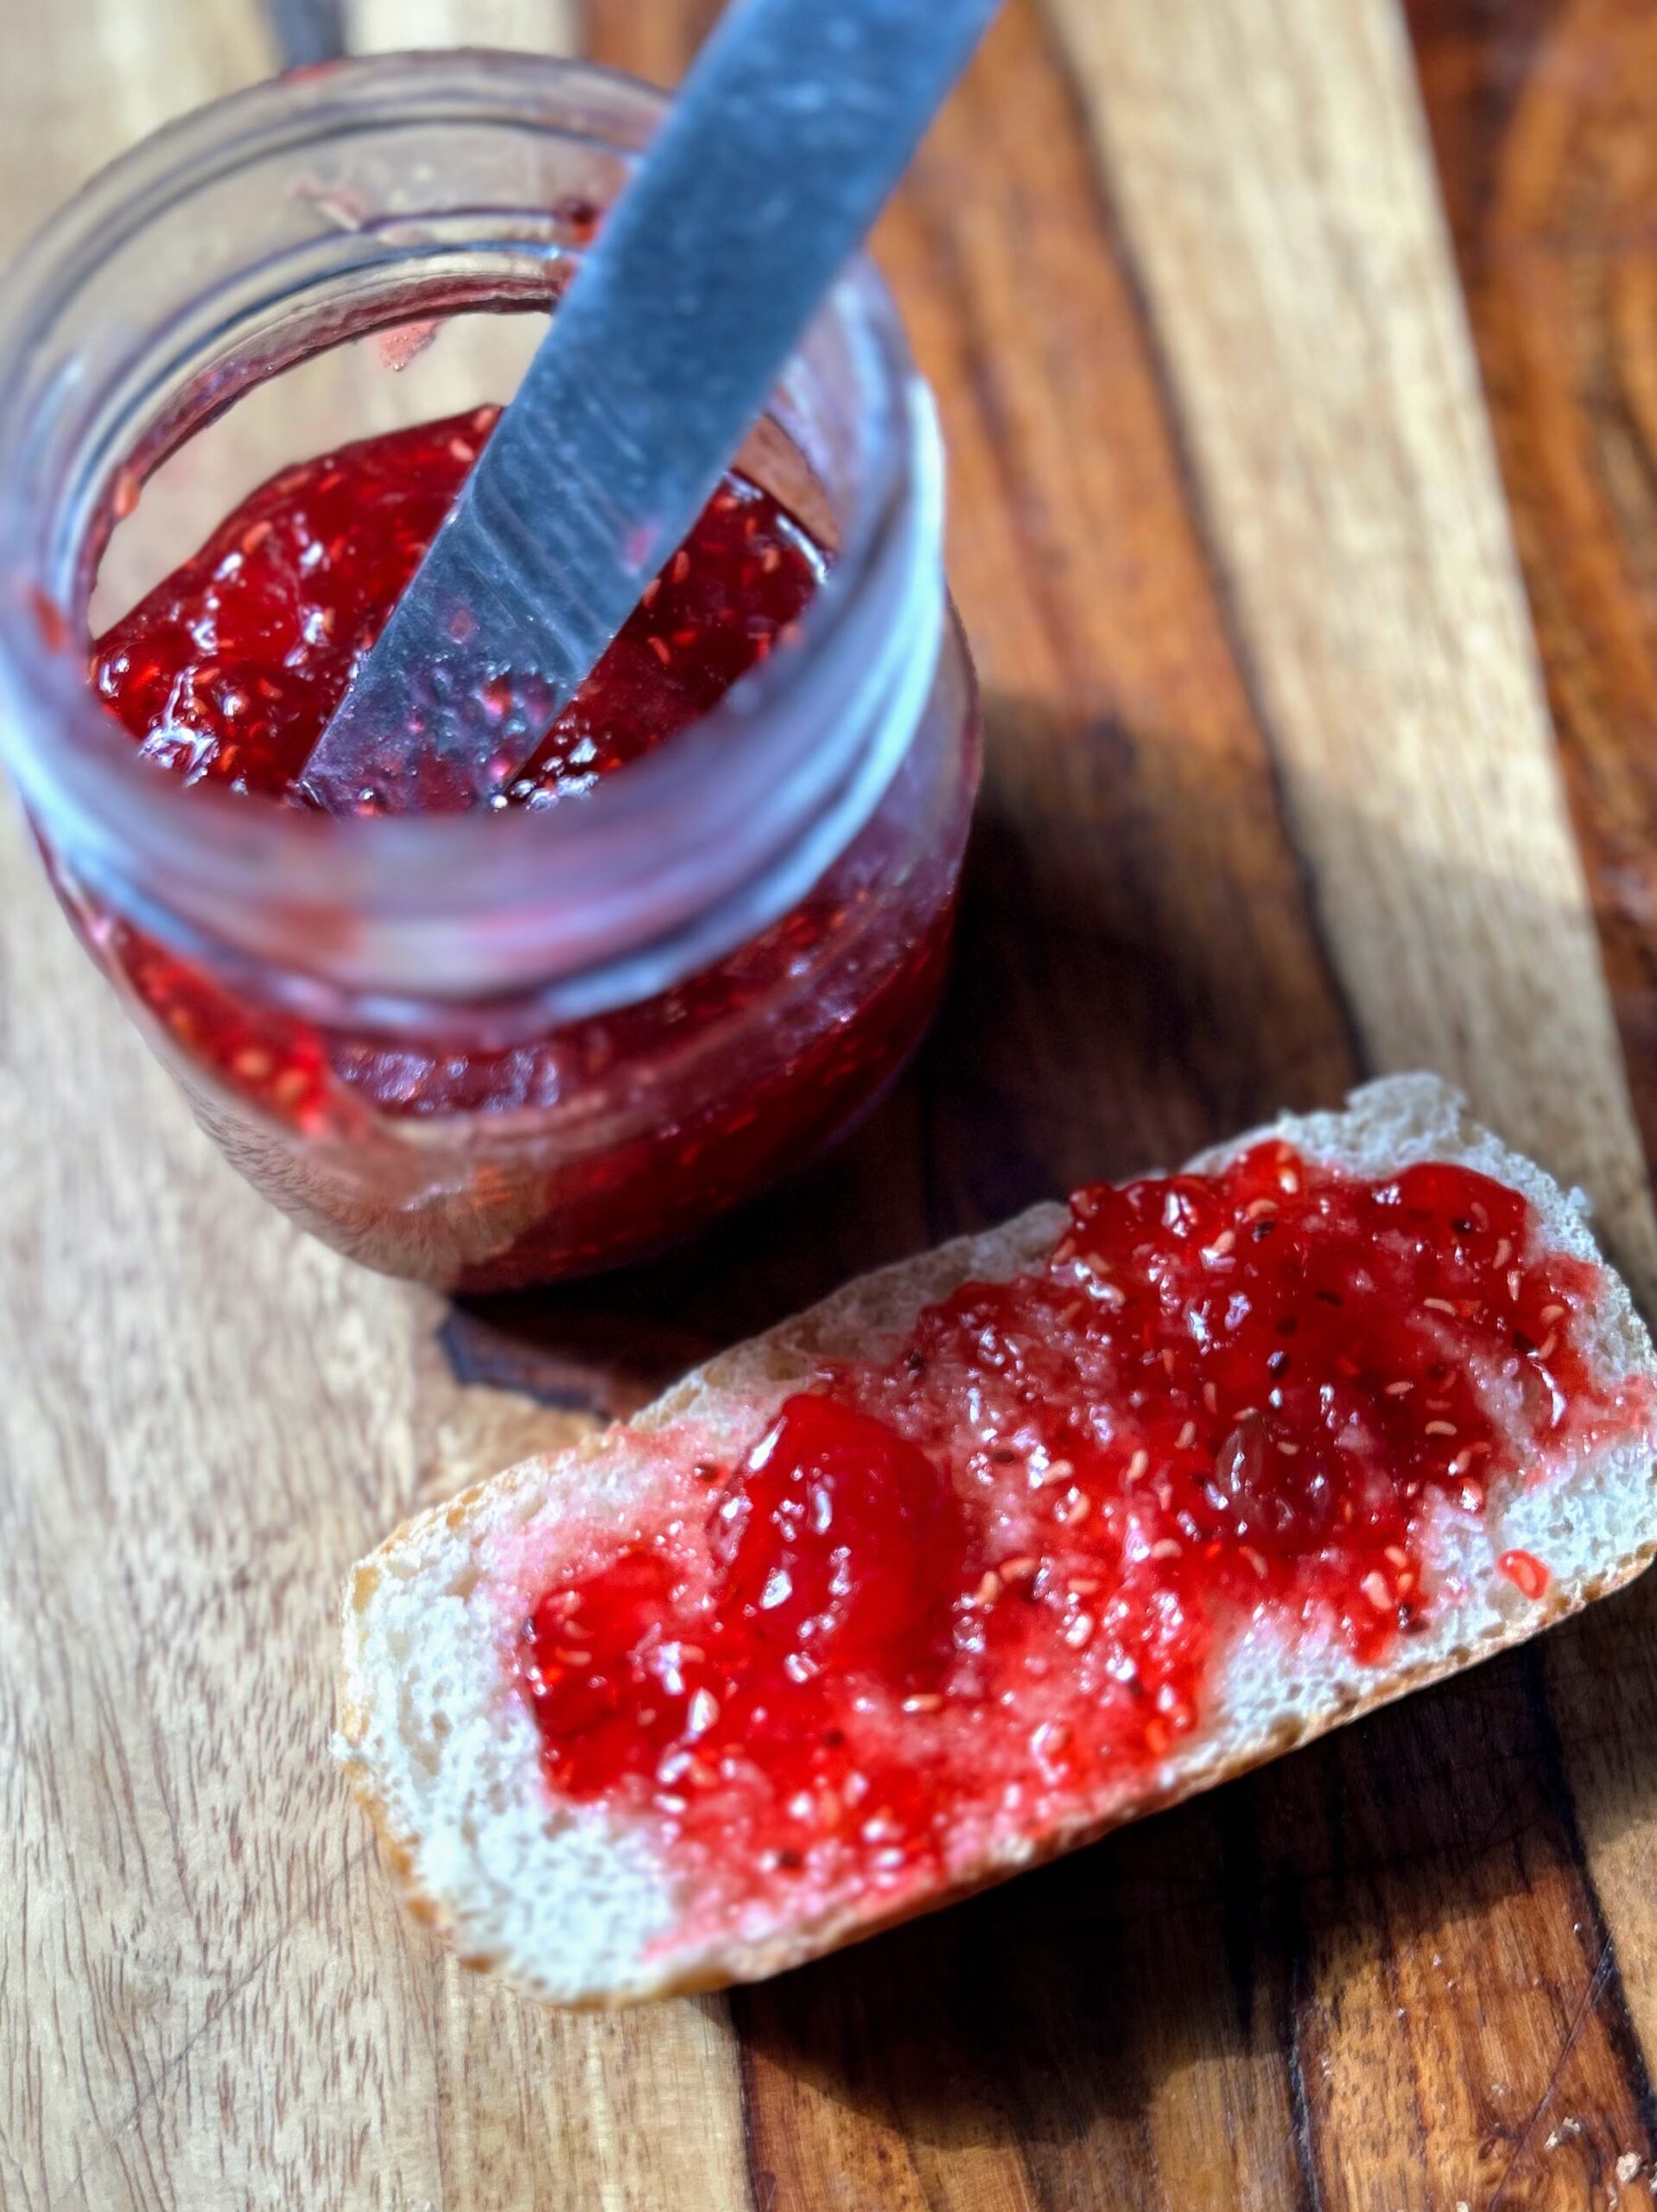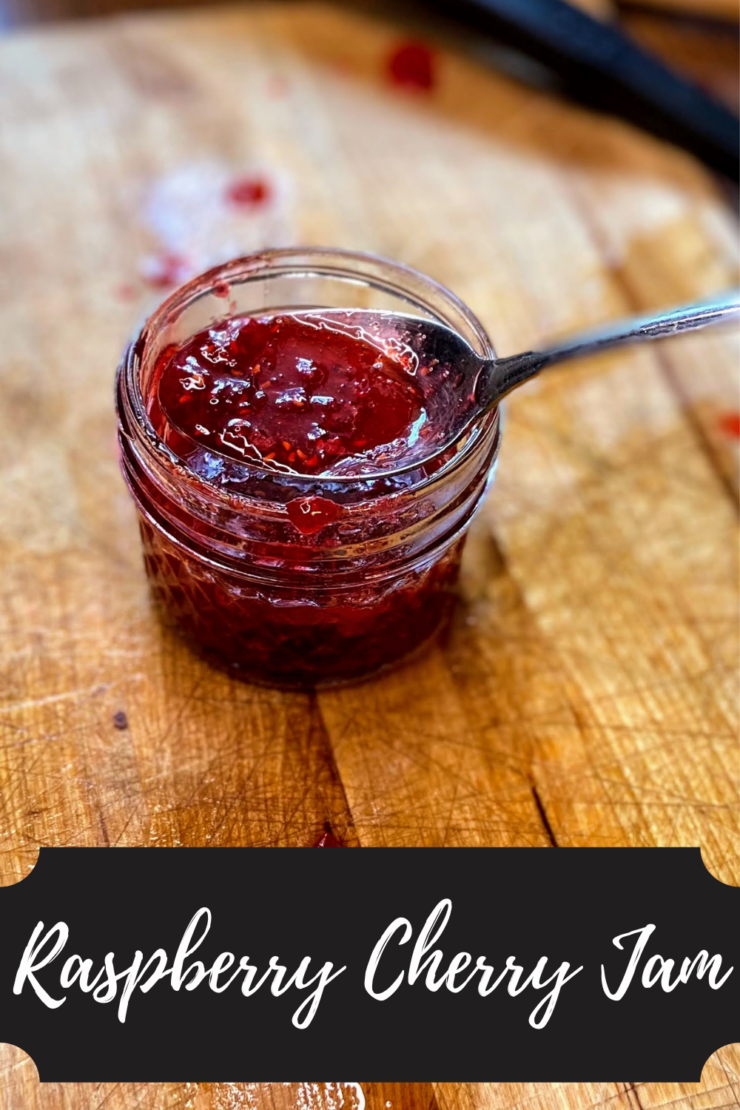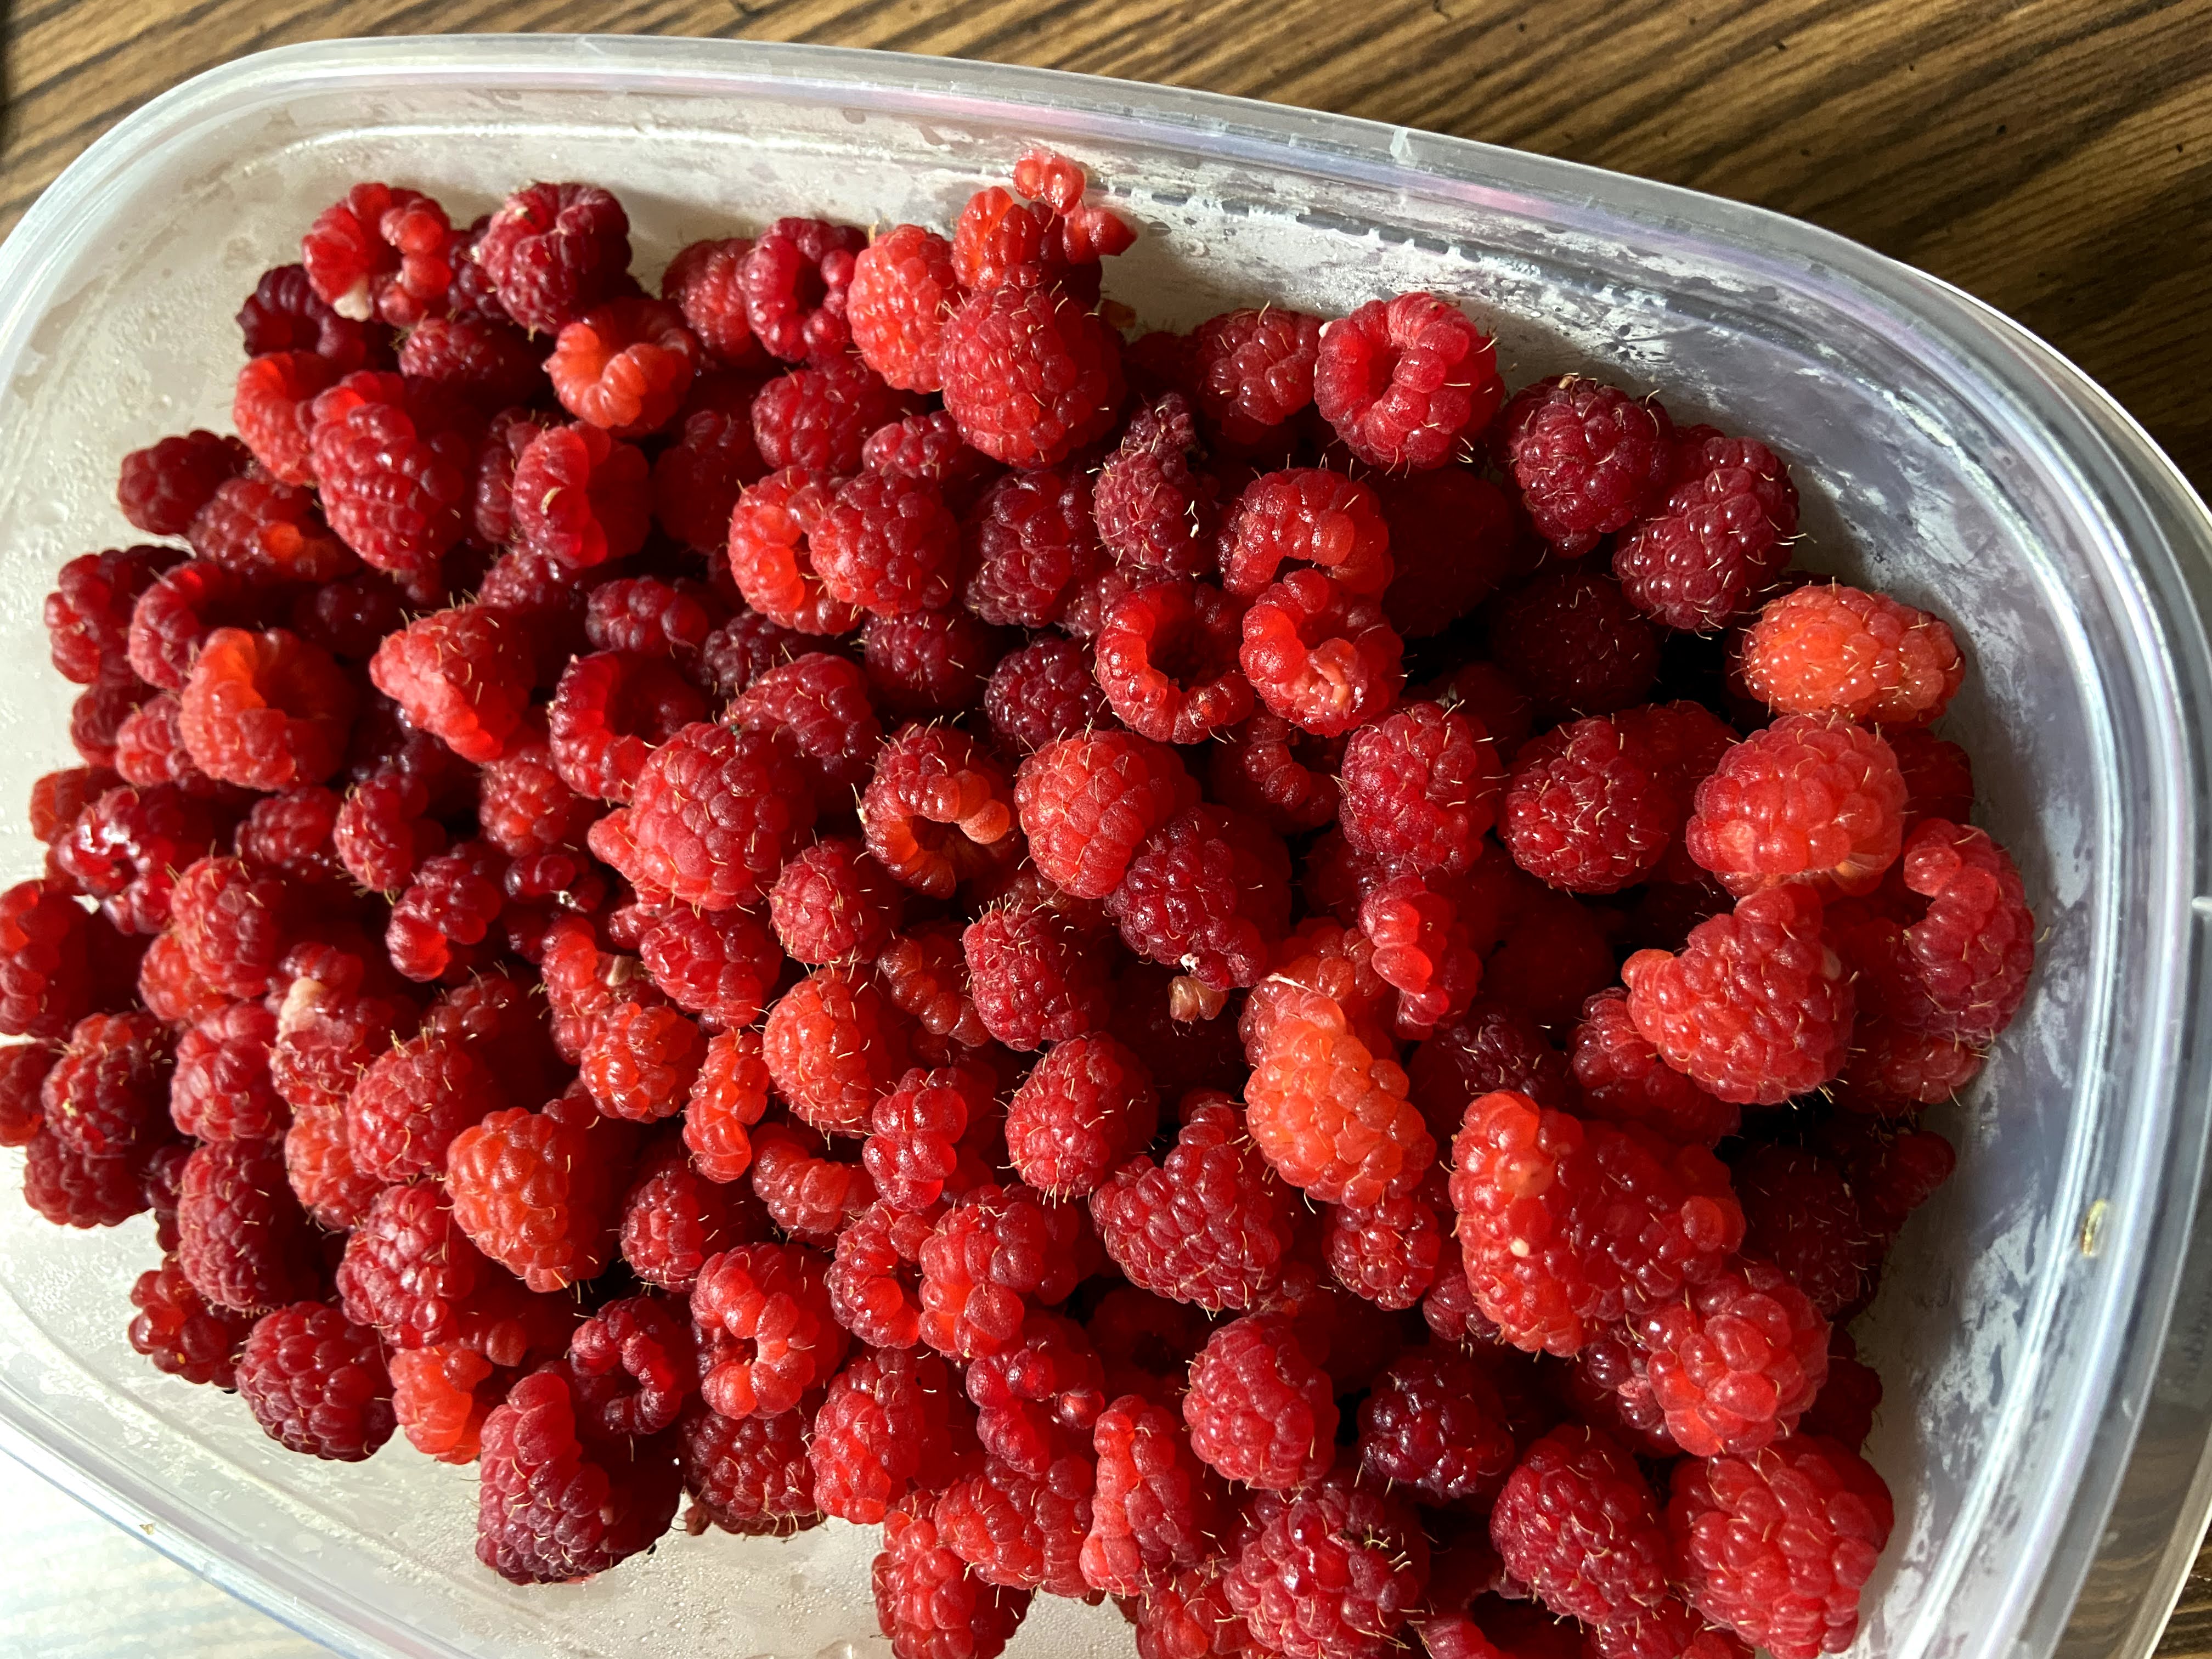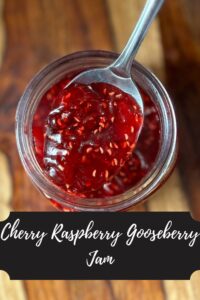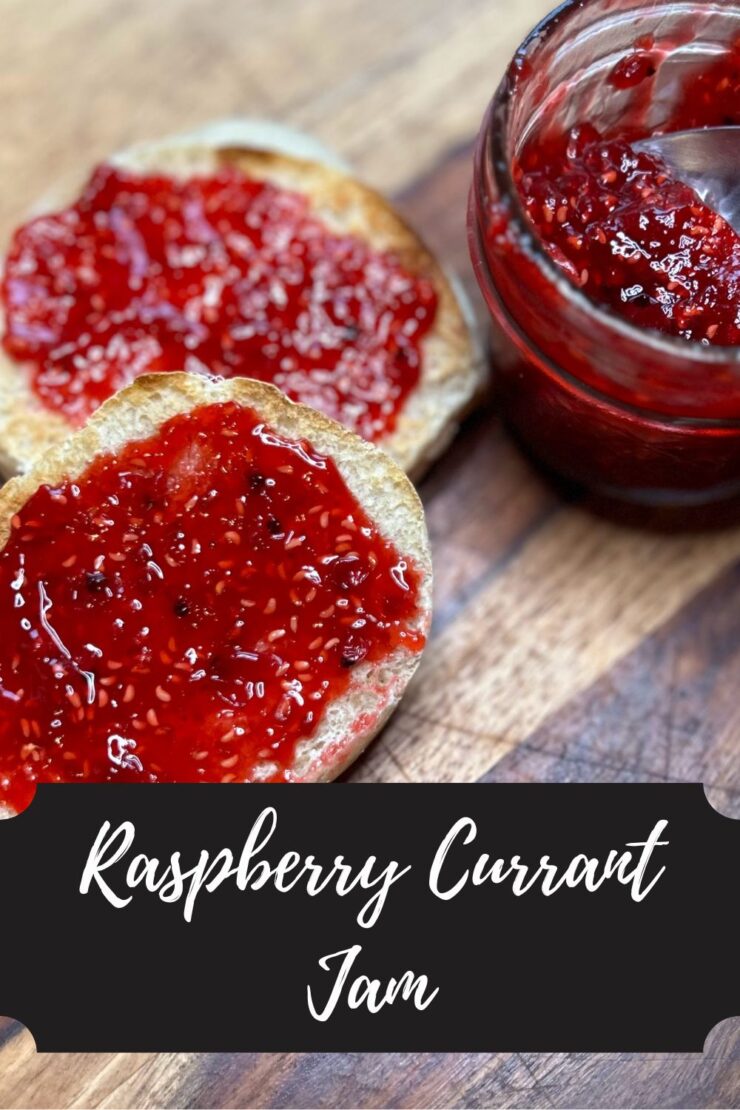
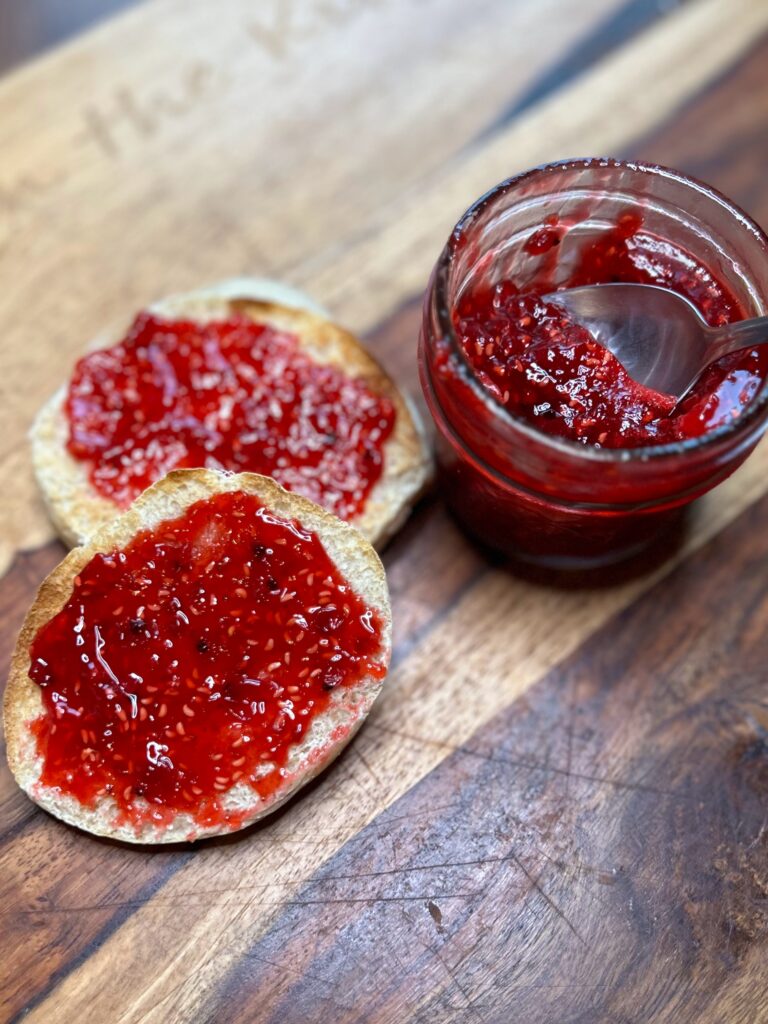
It’s been a summer of rain, rain, and more rain. Which means my berry bushes are producing more and earlier than they have in the past, including my currants! So exciting, right? If you are a gardener like me, you find yourself planting perennial bushes and trees and not getting as much produce as you would like, so you plant more, failing to remember that eventually they will produce SO MUCH FRUIT. Oops. Or maybe you have more foresight than I do. What this means in my garden is that I am finally getting a lot of currants. They are this perfect tart berry that I decided would pair so well with red raspberries for a delightful raspberry currant jam.
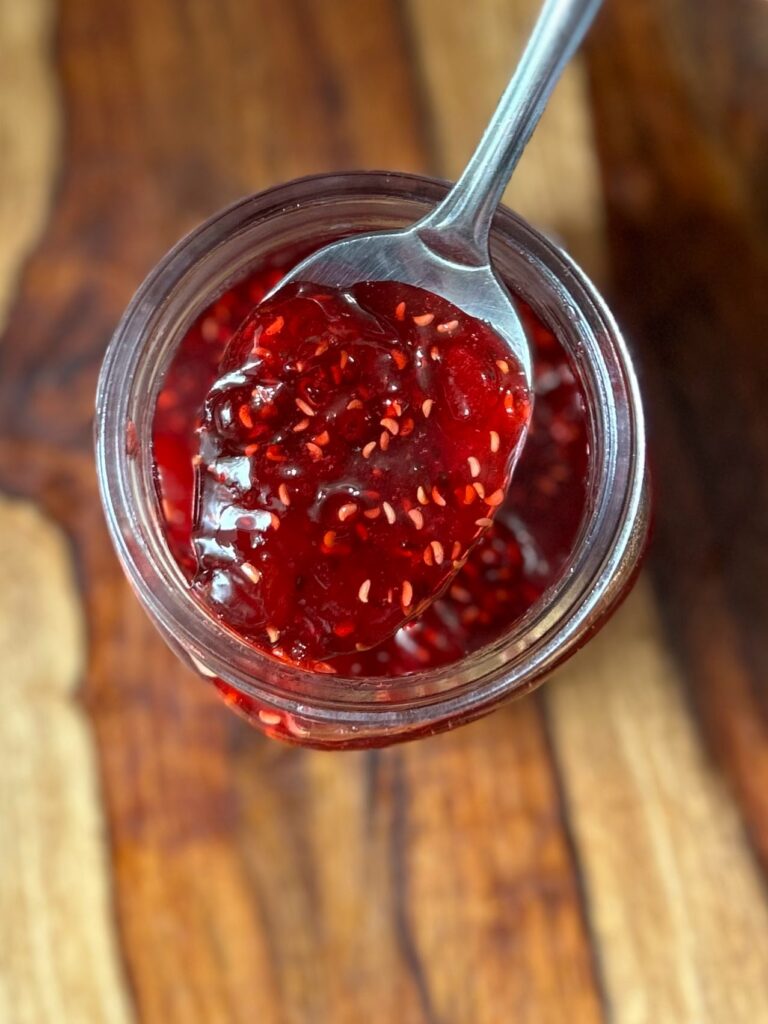
This go, I gave low sugar pectin a try and I am digging the results. Perhaps its the combination of berries, but I am giving the pectin the credit. It makes this lovely, not “too jelled” jam that has a near perfect texture and consistency. In addition, less sugar allows the fruit flavor to shine through. Needless to say, I am in love and will be making this for years to come!
While we are here, I will give you all the information you need to successfully can a batch of jam. However, if you are new to canning, you may likely want to gather additional information. My favorite places to learn more are The Ball’s Book of Canning or the National Center for Home Food Preservation.
The Supplies
- Waterbath Canner
- Canning Tools
- Fermentation Tamper for crushing berries, optional
- 8-9 half pint (jelly) jars, lids, and rings
Your Ingredients
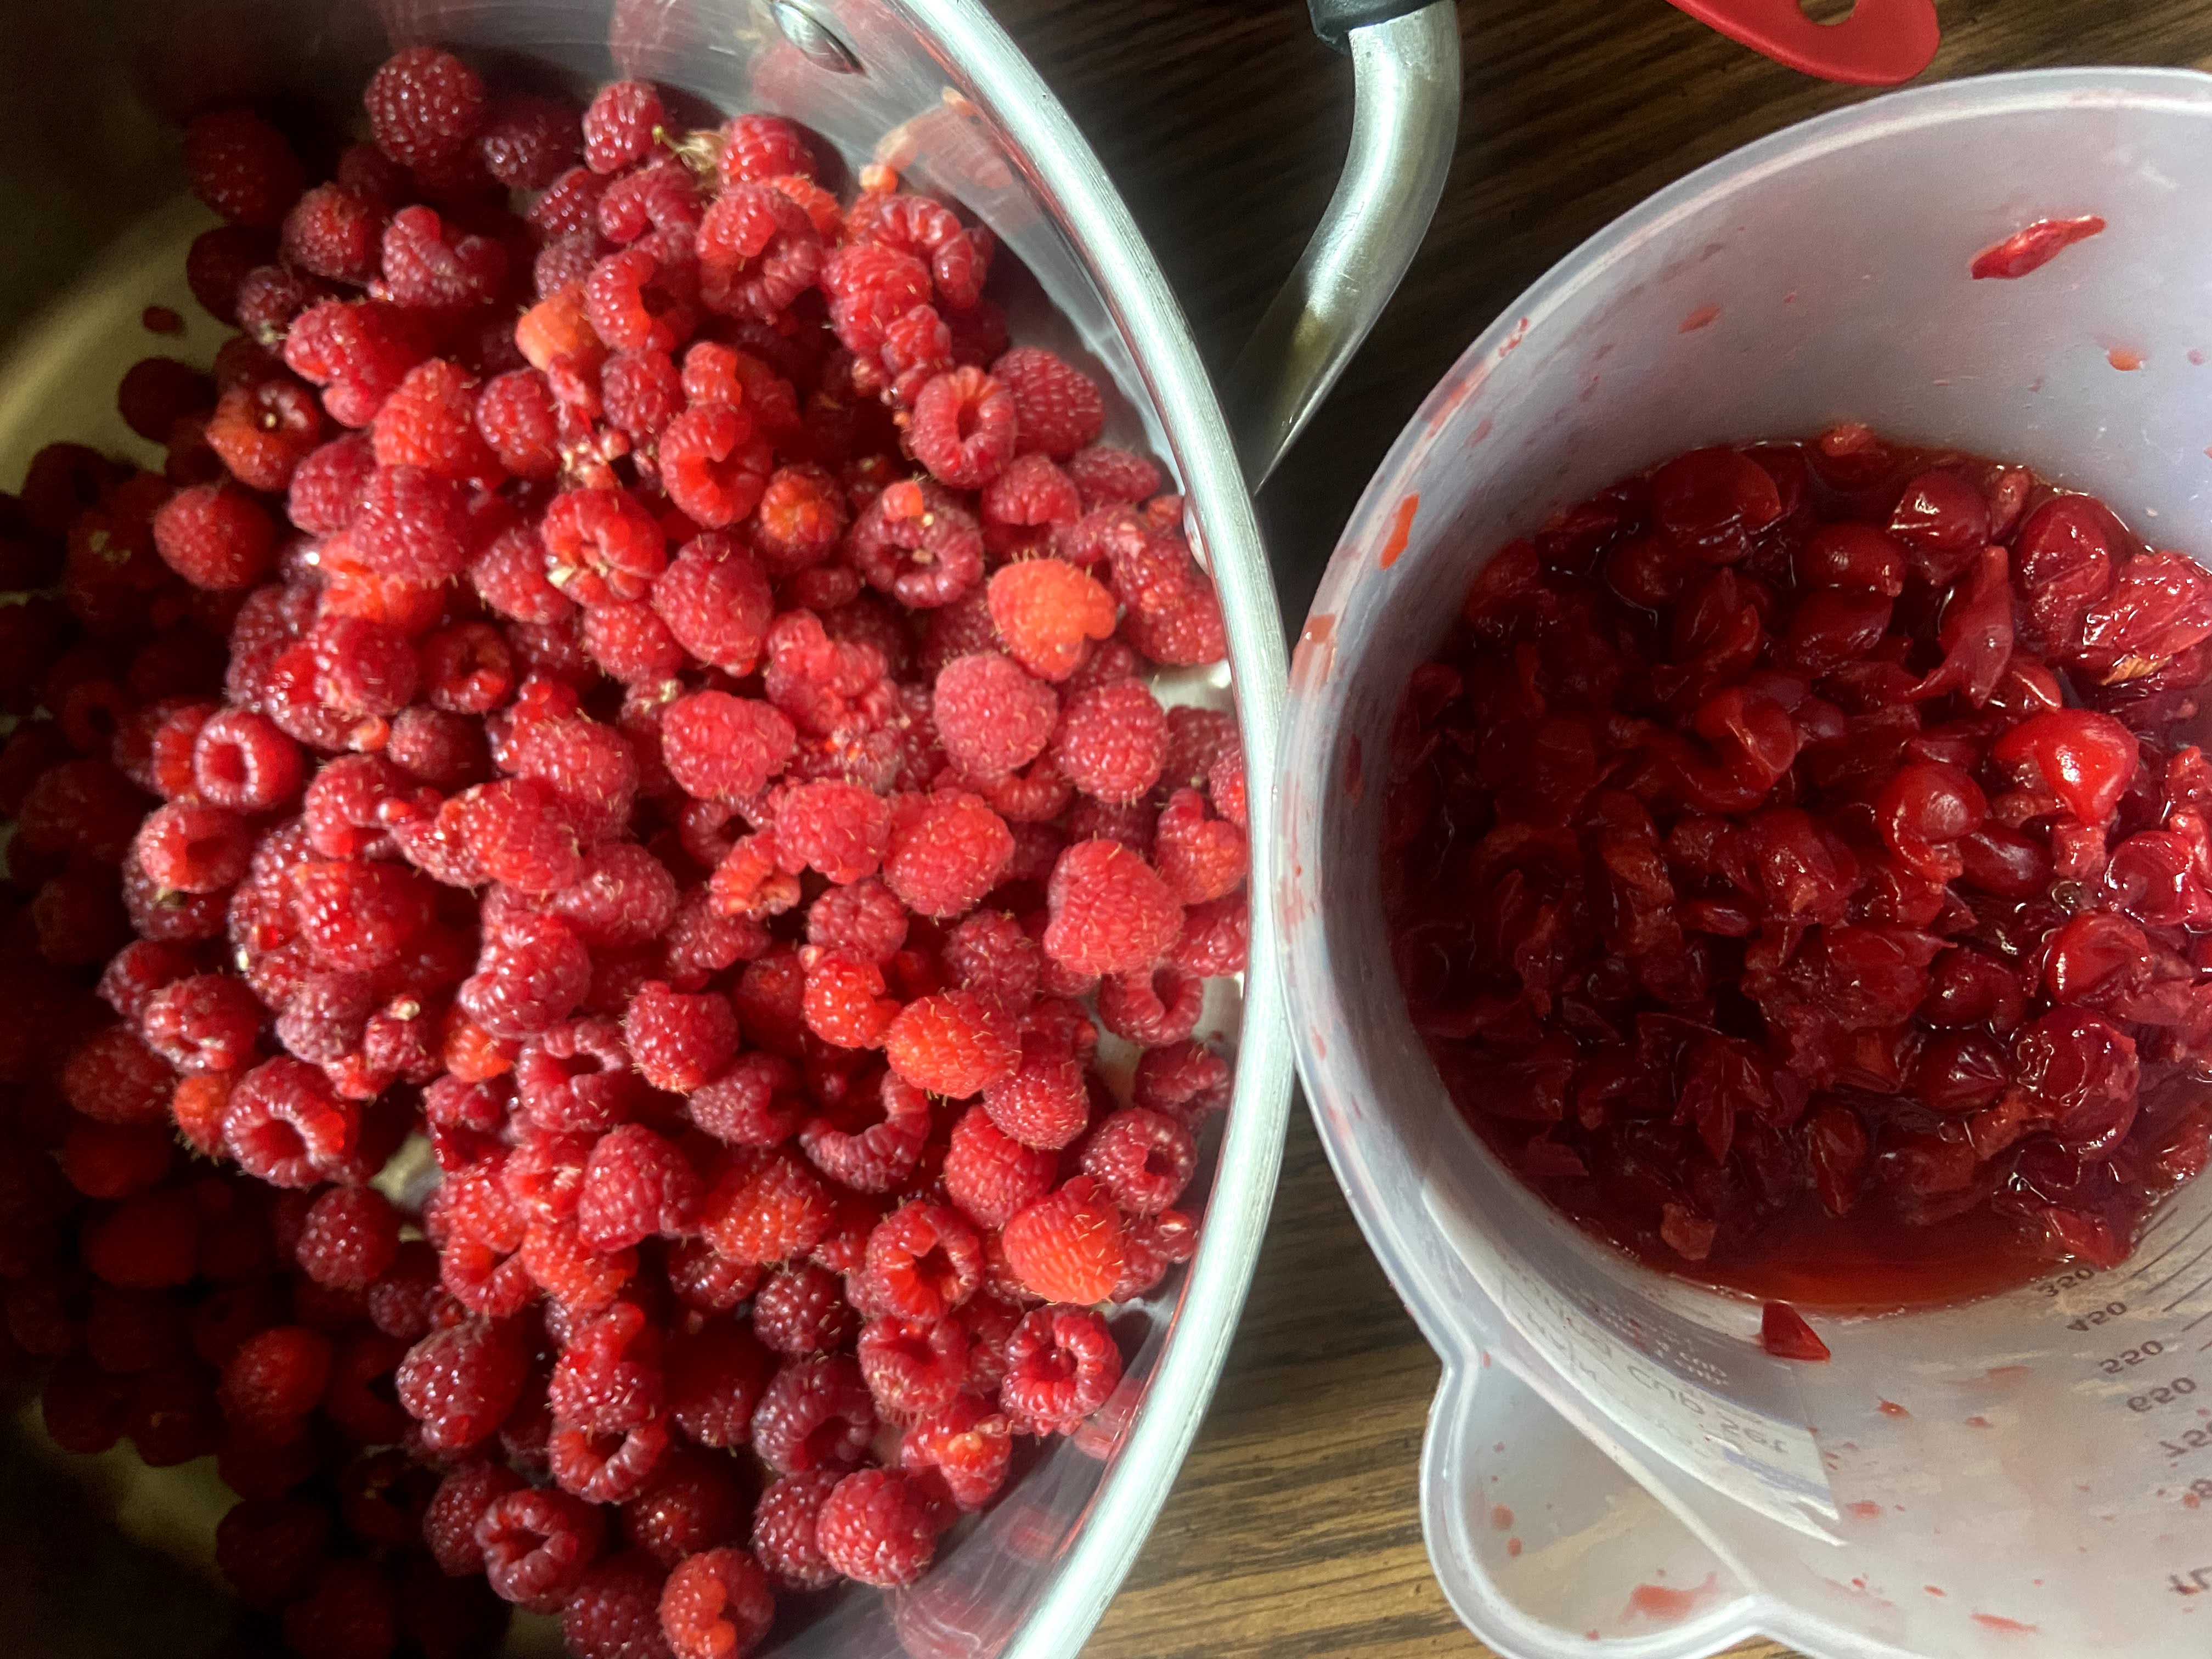
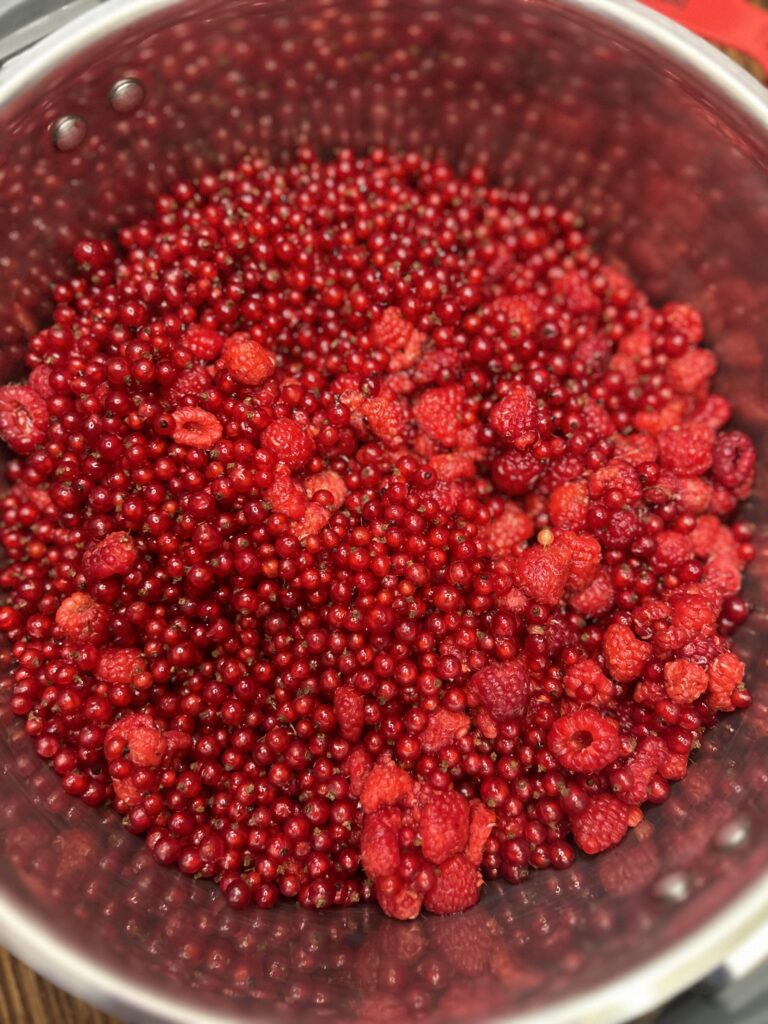
- 7 cups red raspberries (If frozen, measure first. Then thaw)
- 3 cups red currants
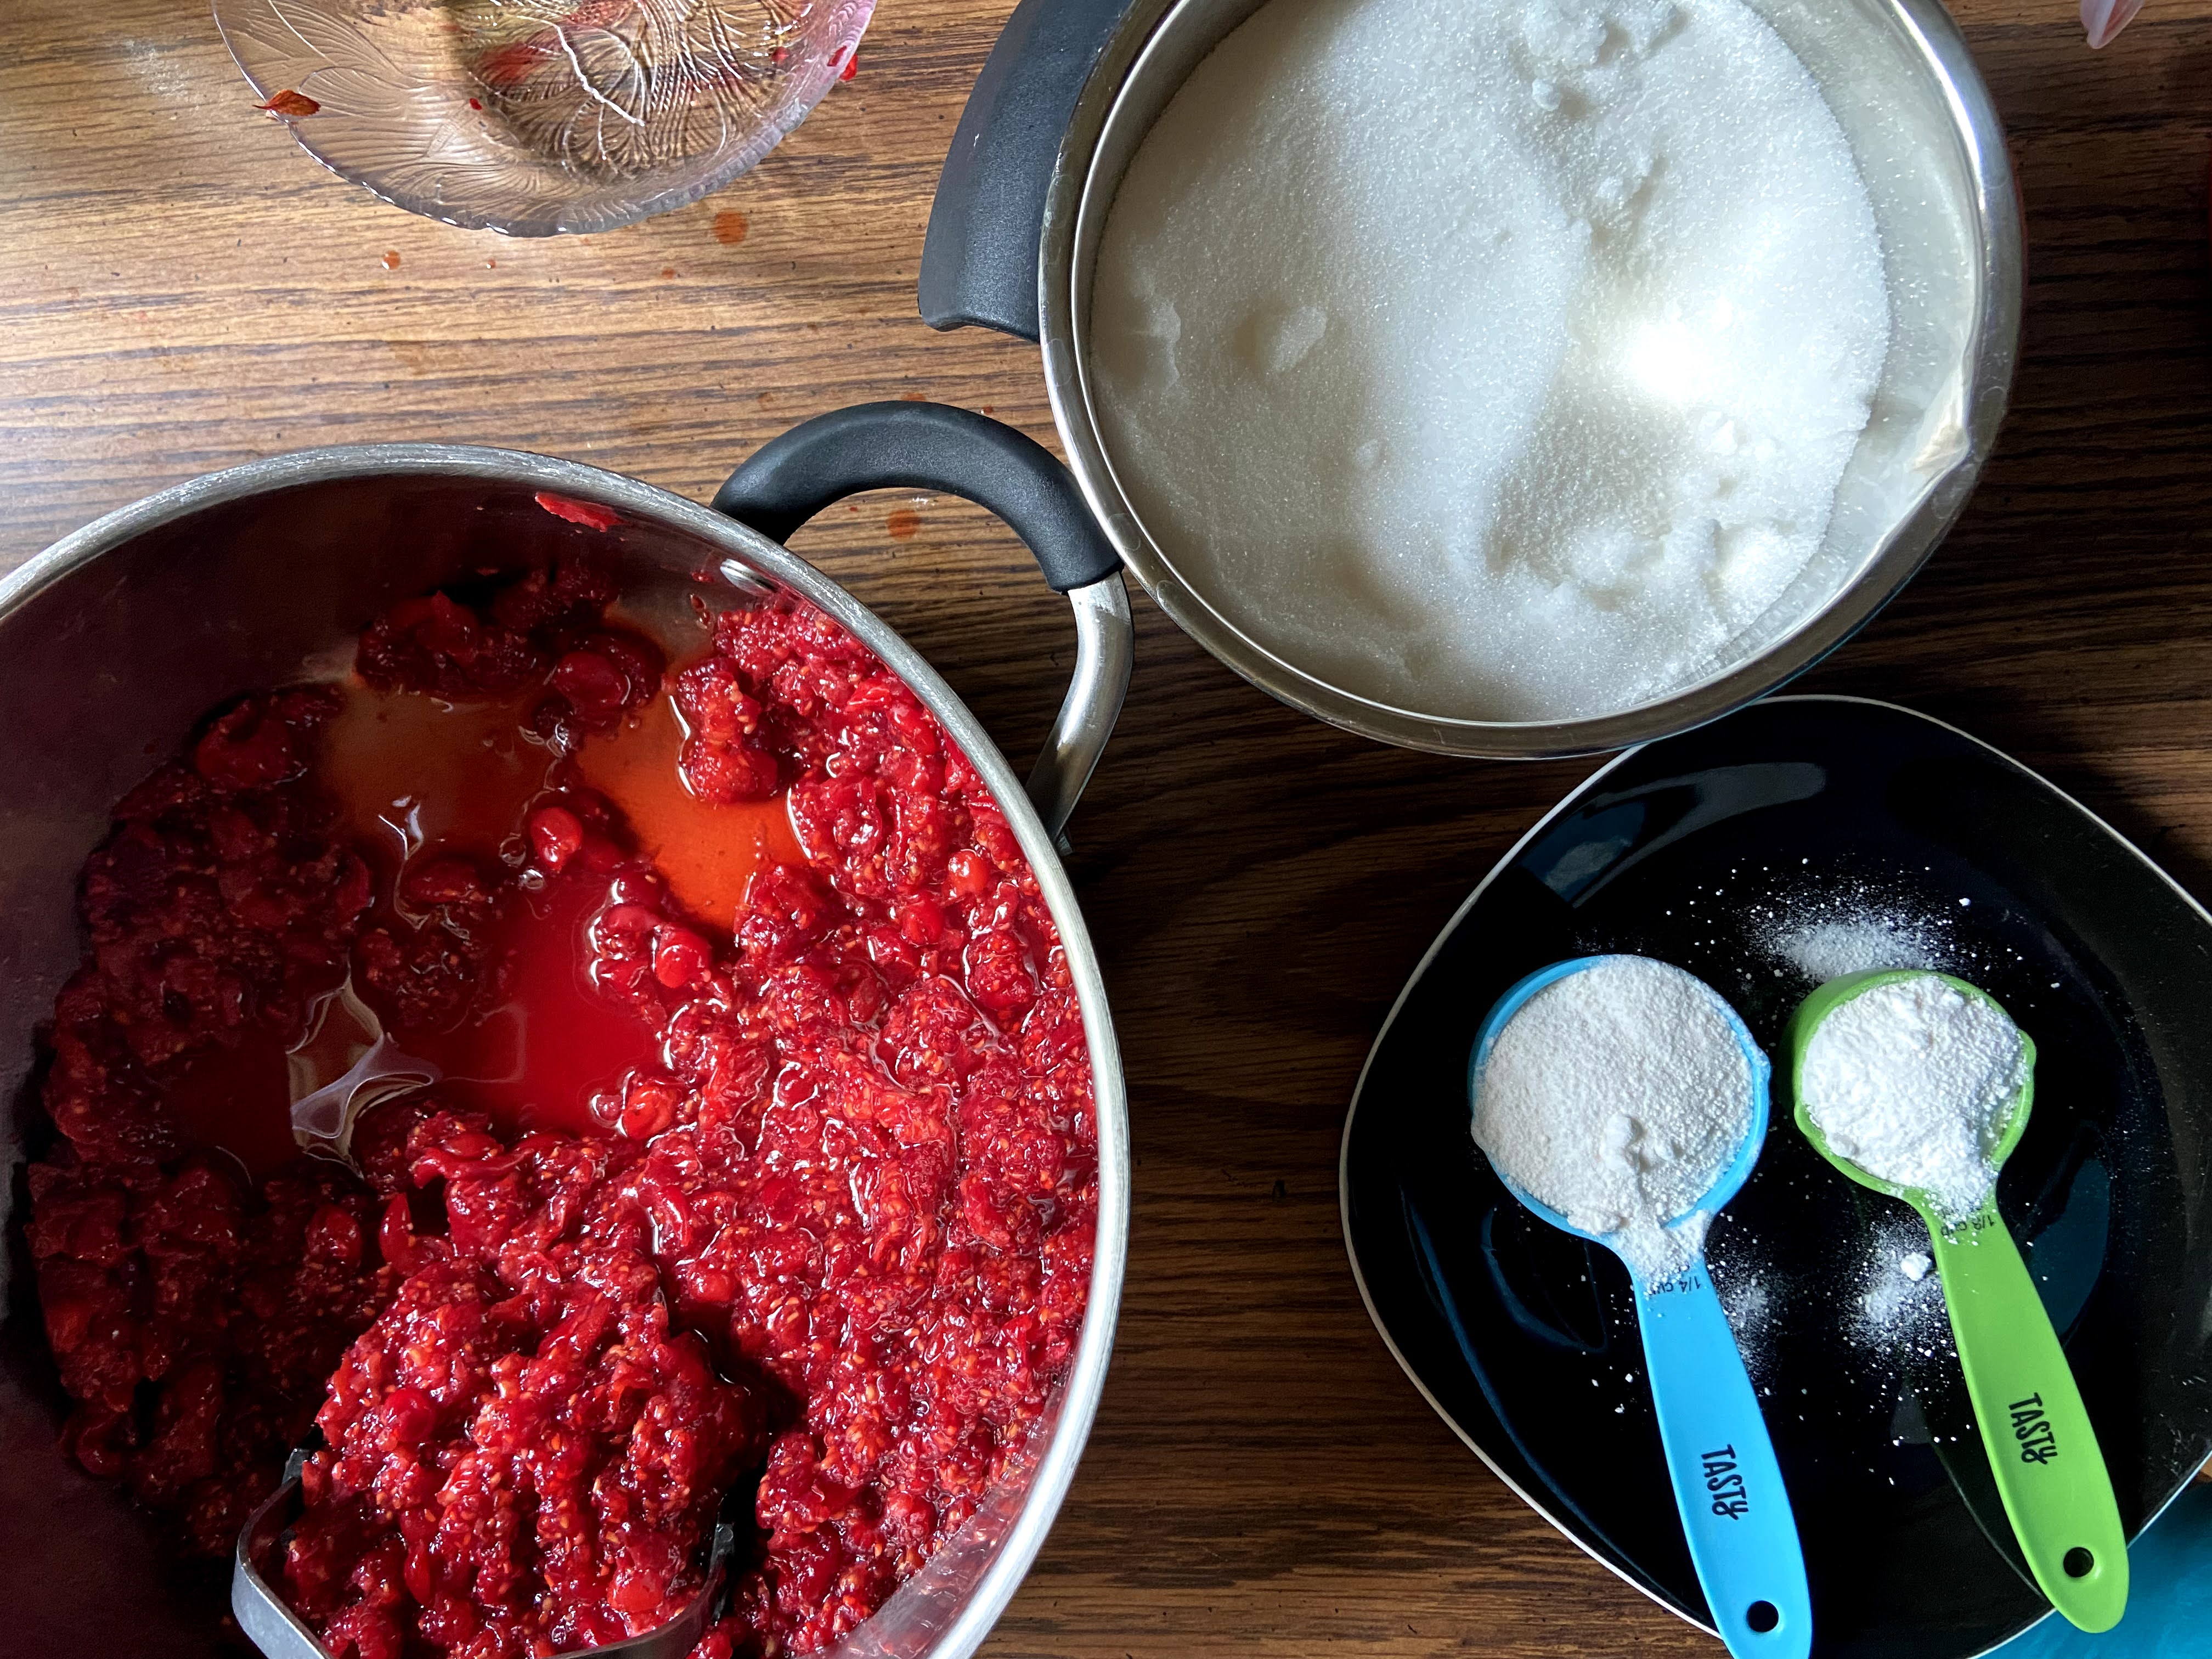
- 4 cups sugar
- 1 package powdered low sugar pectin
- ¼ teaspoon butter, optional
Your Steps to Raspberry Currant Jam
Begin by measuring out your sugar in a large bowl. Remove ¼ cup of the sugar and mix it with the powdered pectin in a small bowl. It’s important to have all your ingredients prepared before beginning the canning process so don’t skip this step. I also highly recommend reading through the steps more than once before beginning (I know that we are all guilty of flying by the seat of our pants when cooking).
Fill the canning kettle with enough water that the jars will be covered by at least ½” water. More is better in this case so over estimate. Begin to heat over high heat. Place the canning rack so that it is hooked over the side of the canner and put clean jars on it to keep them warm. Note: You don’t have to keep the jars in the rack, although it is helpful to keep them warm. You want the jars warm to prevent breaking when they are being filled.
Set the clean rings aside. I like to simmer my lids on low low heat in a small saucepan. Not necessary, but I like to think it helps them seal better.
Now to Create the raspberry currant Jam
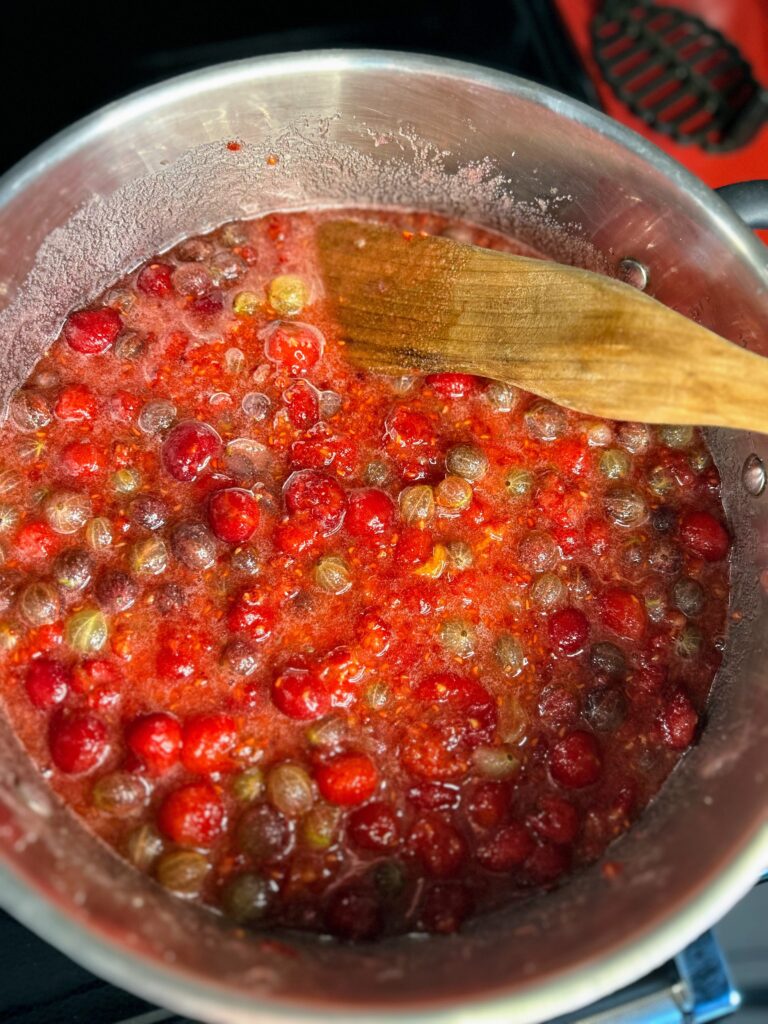
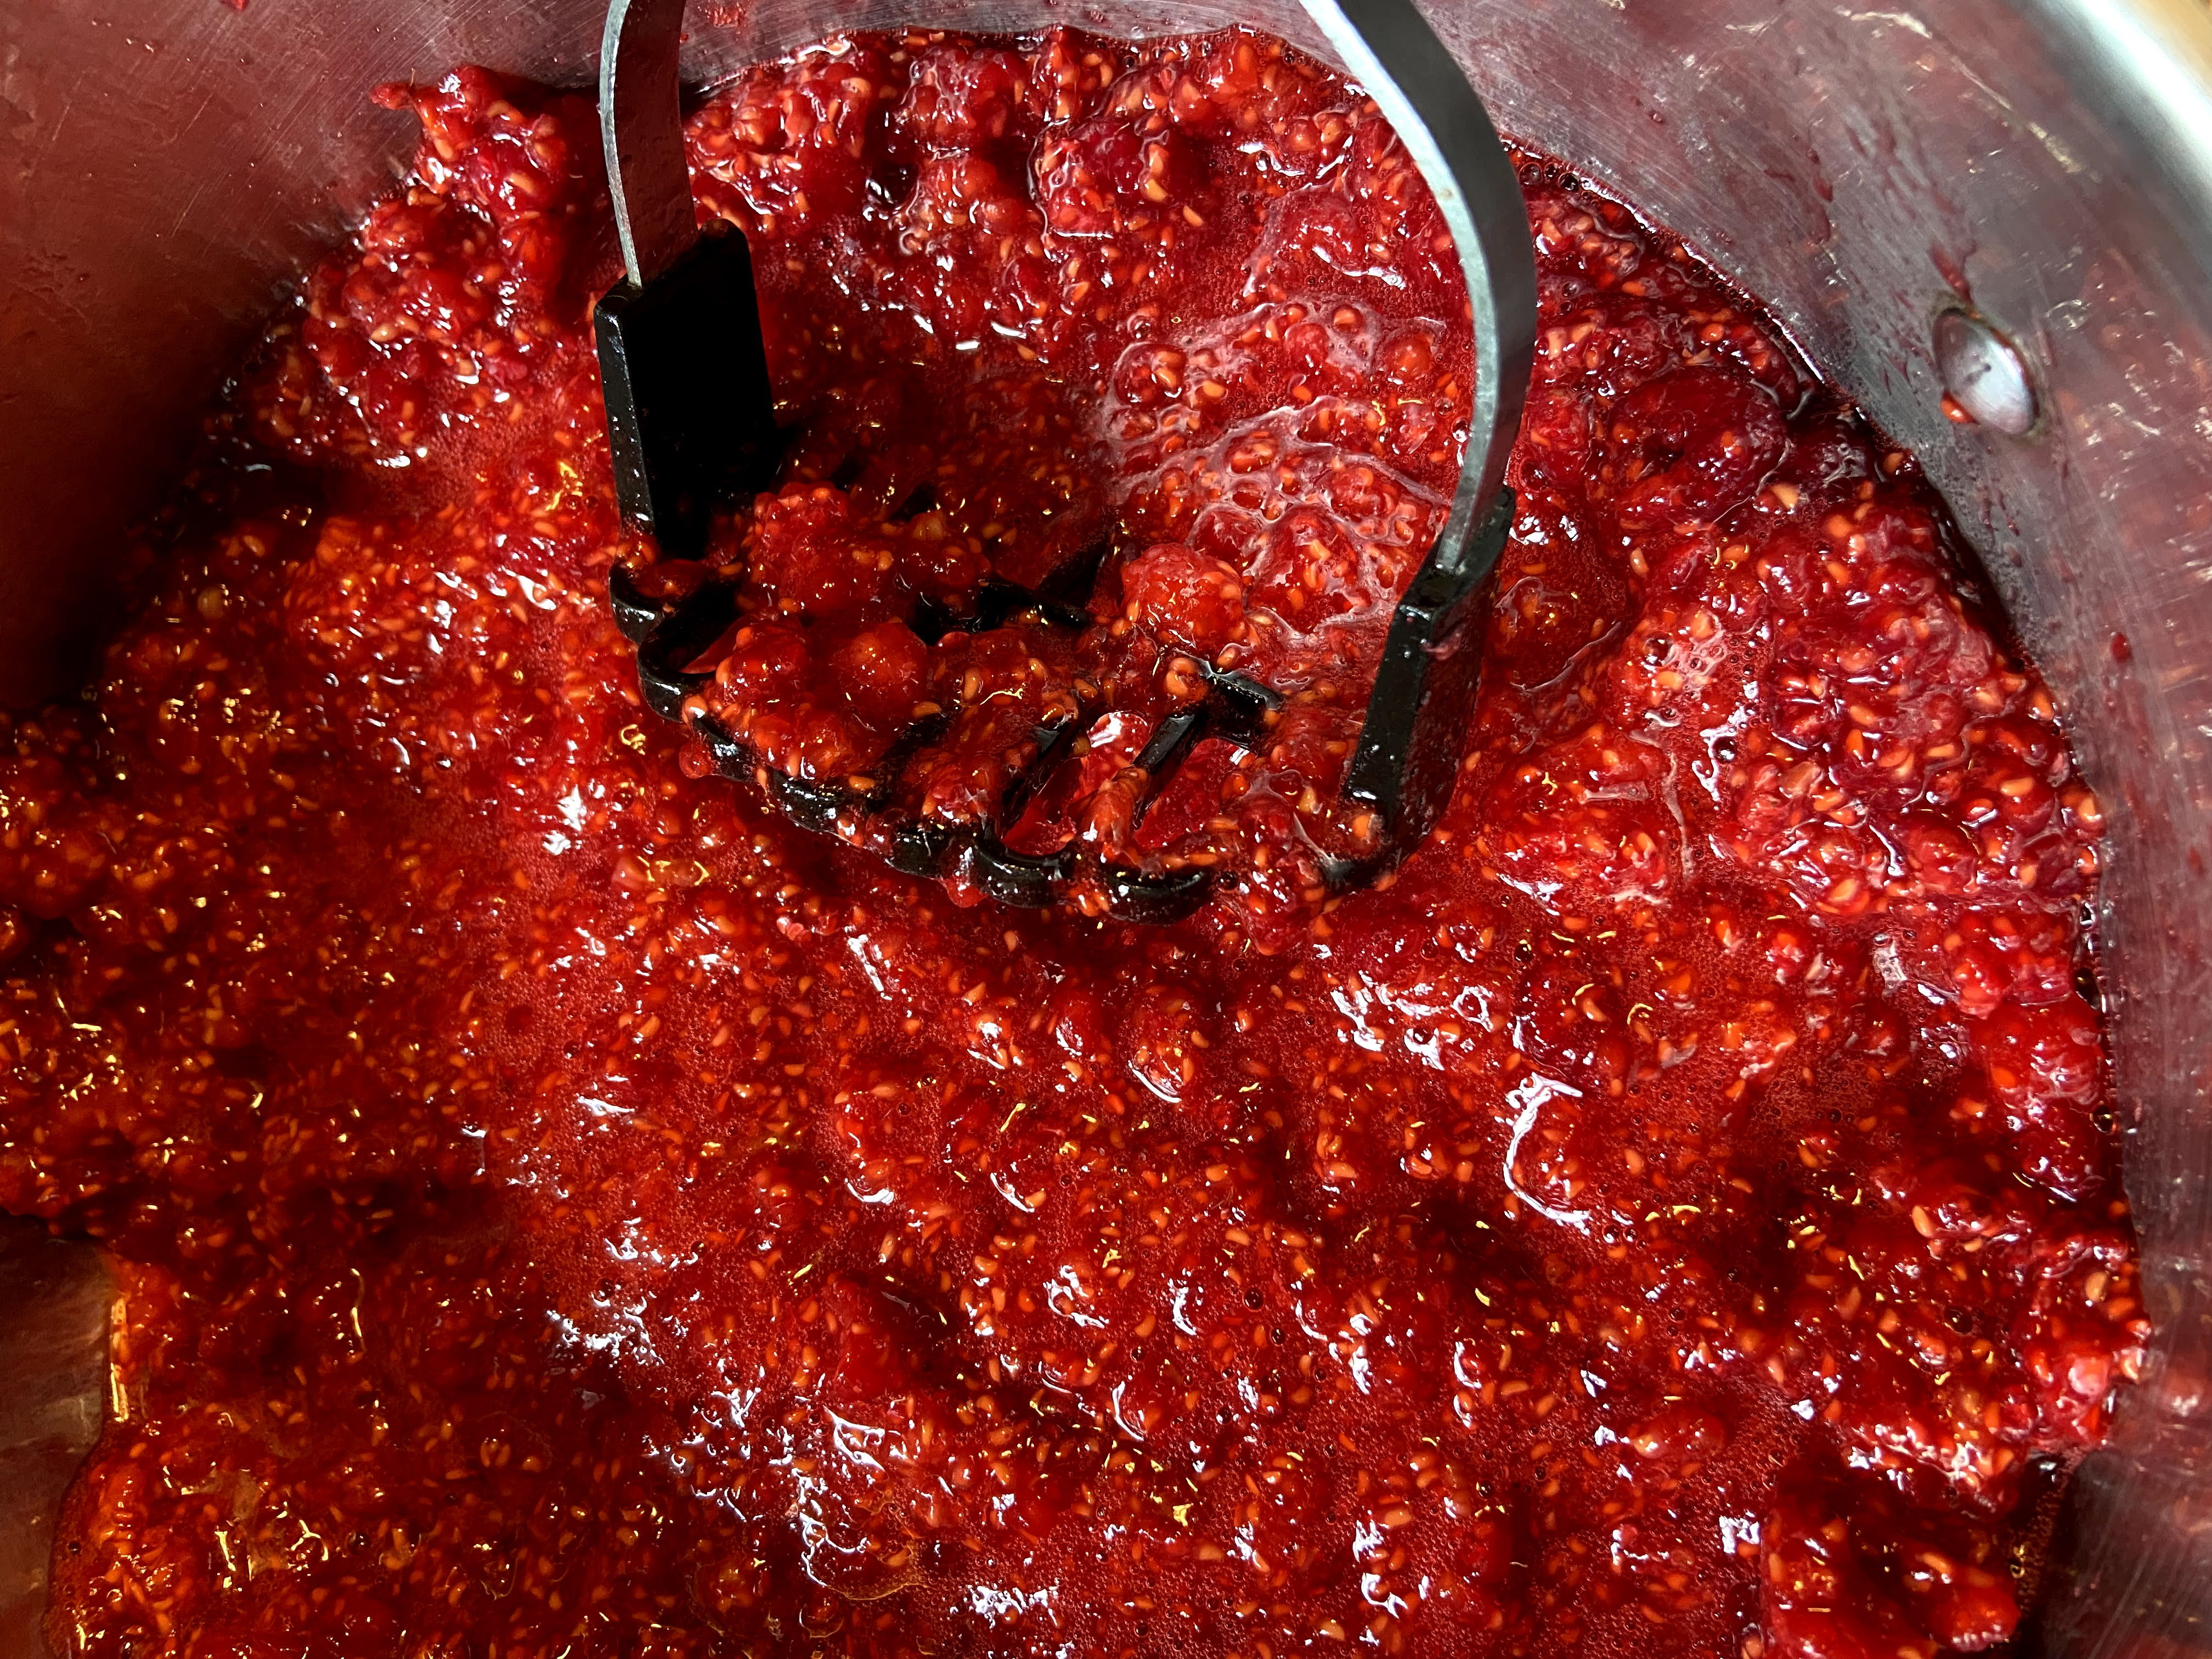
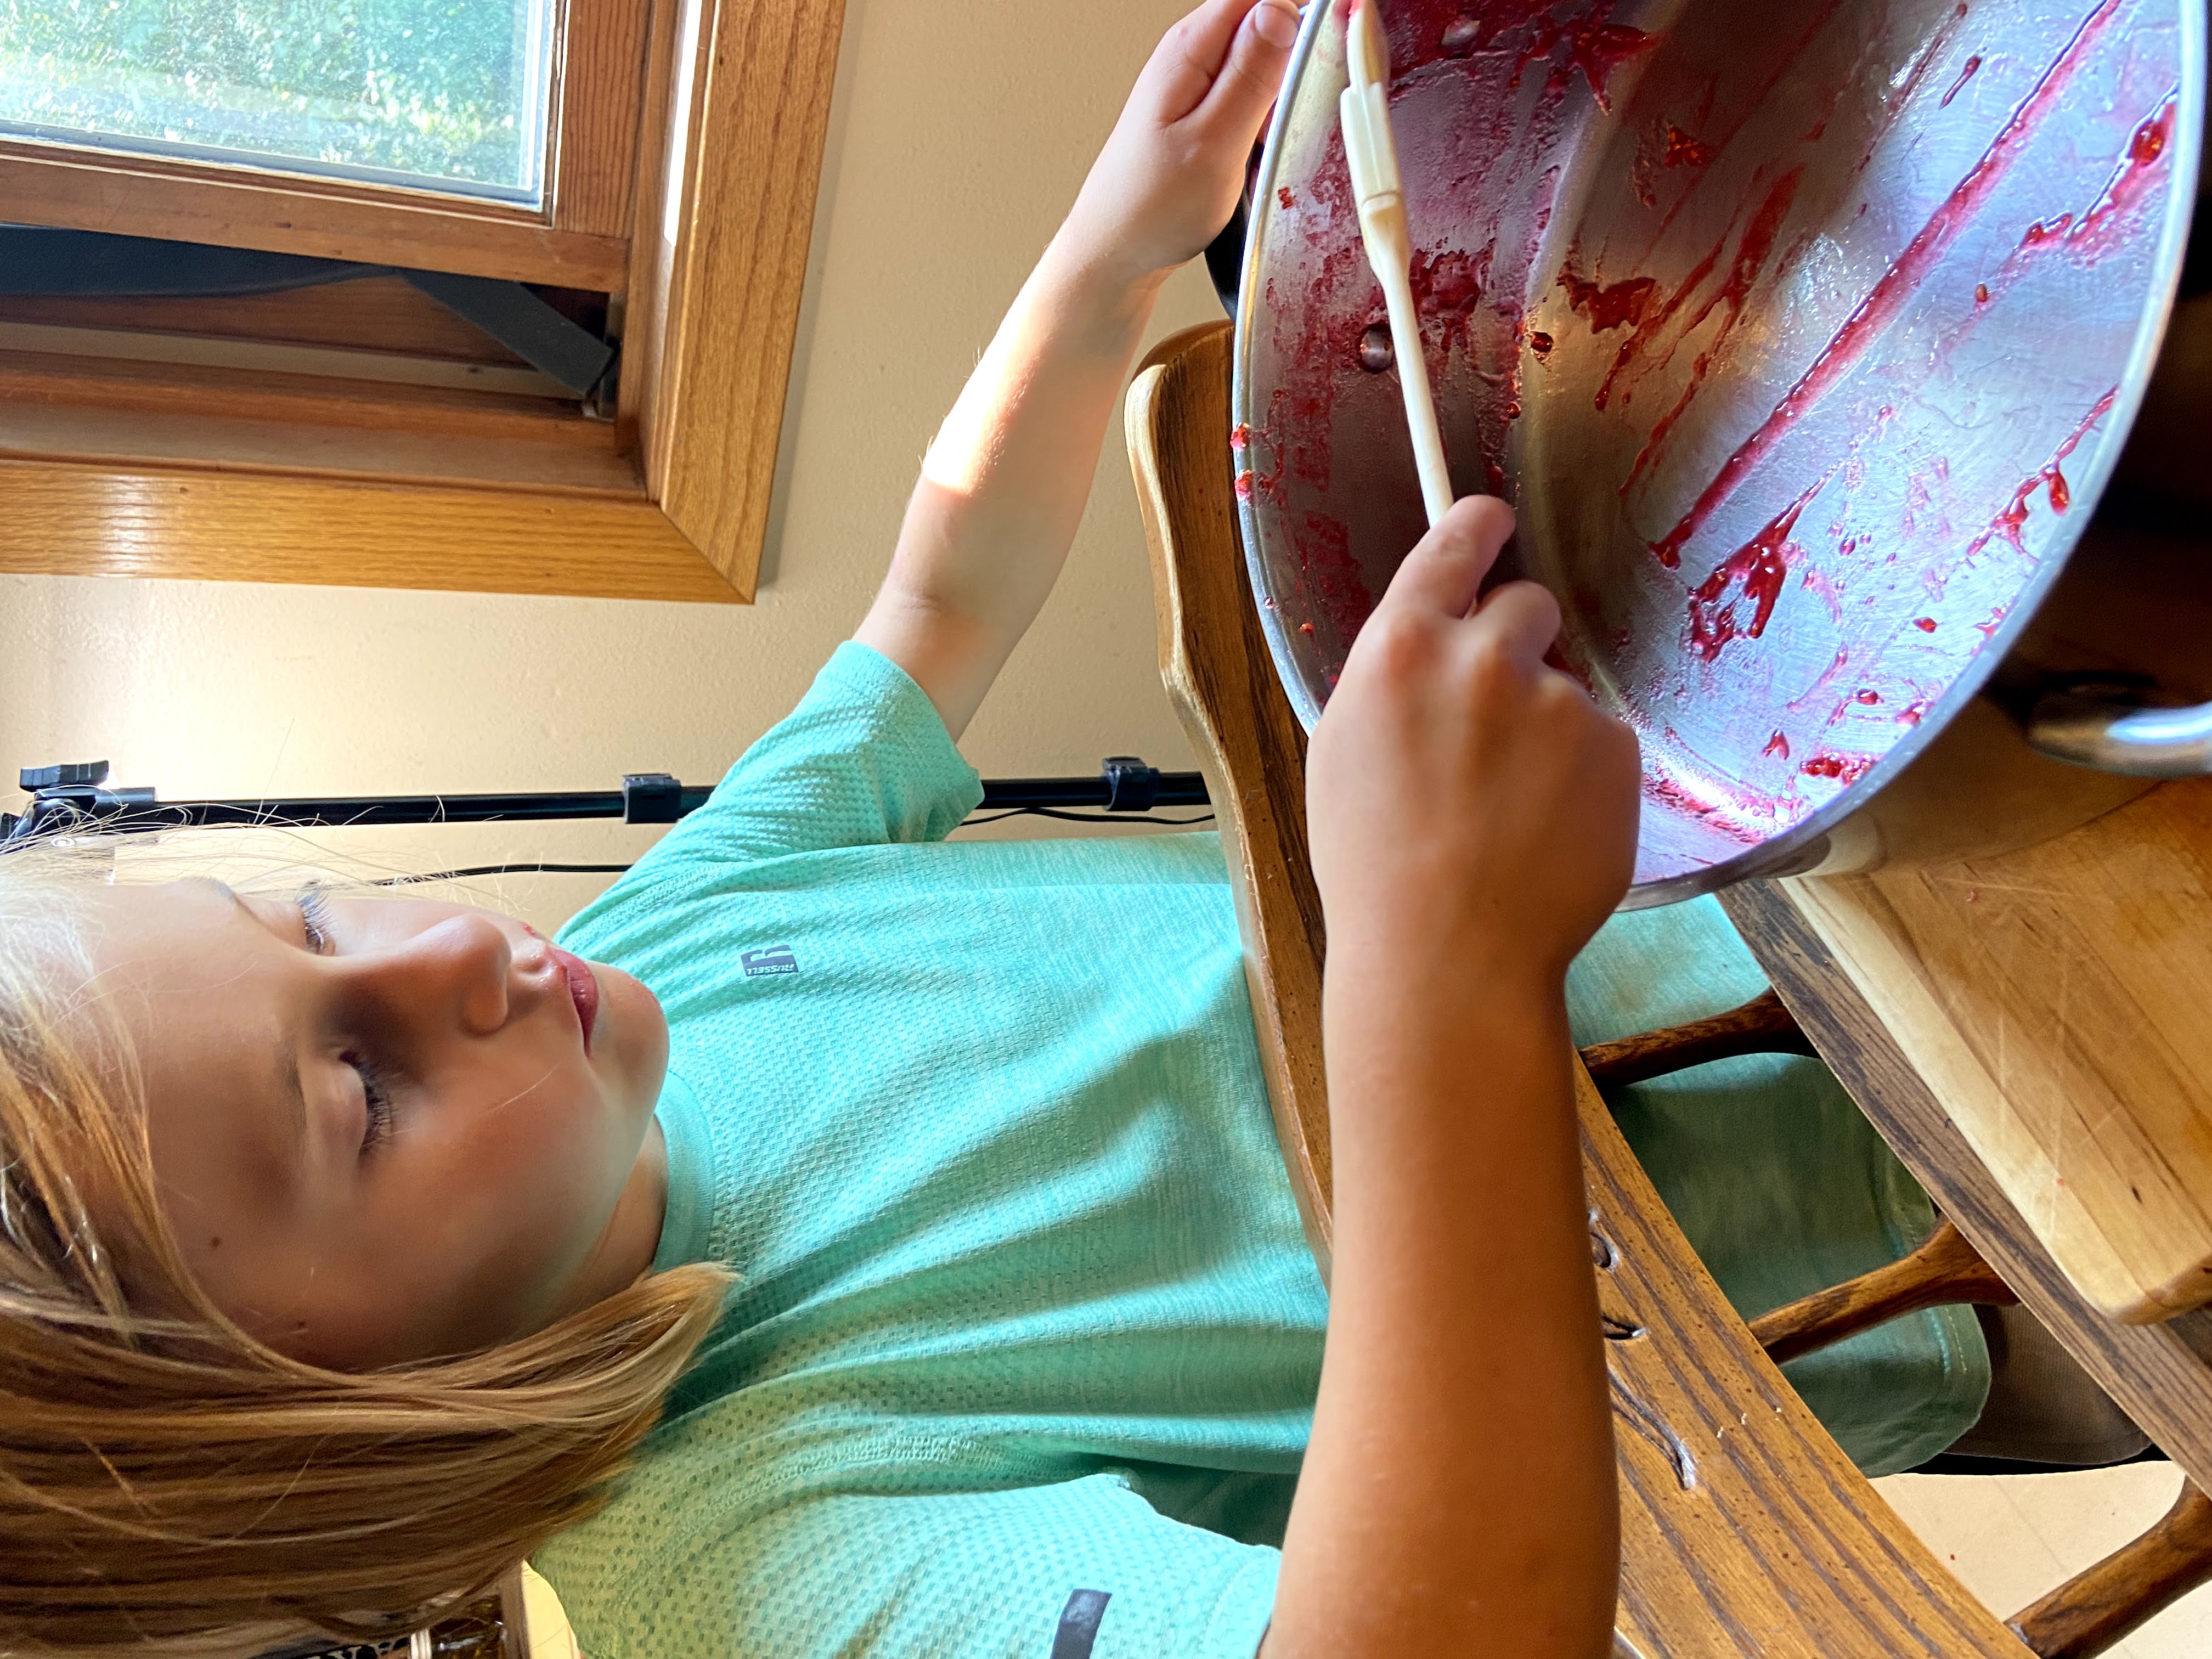
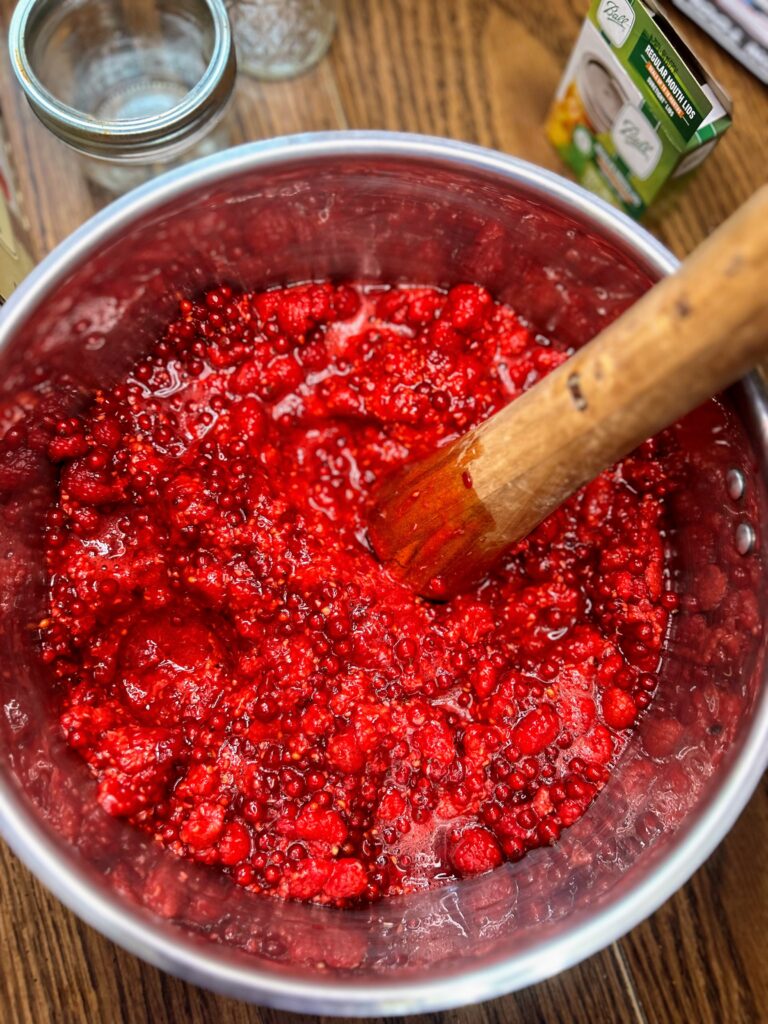
In a large, preferably shallow kettle, smash the raspberries and currants with a potato masher. (I actually really really like my fermenting tamper for this job). Stir in powder pectin with the ¼ cup sugar. Add butter if desired. It will decrease foaming while the jam is cooking, but is not necessary. The foam isn’t bad. It just makes the jam a little less pretty.
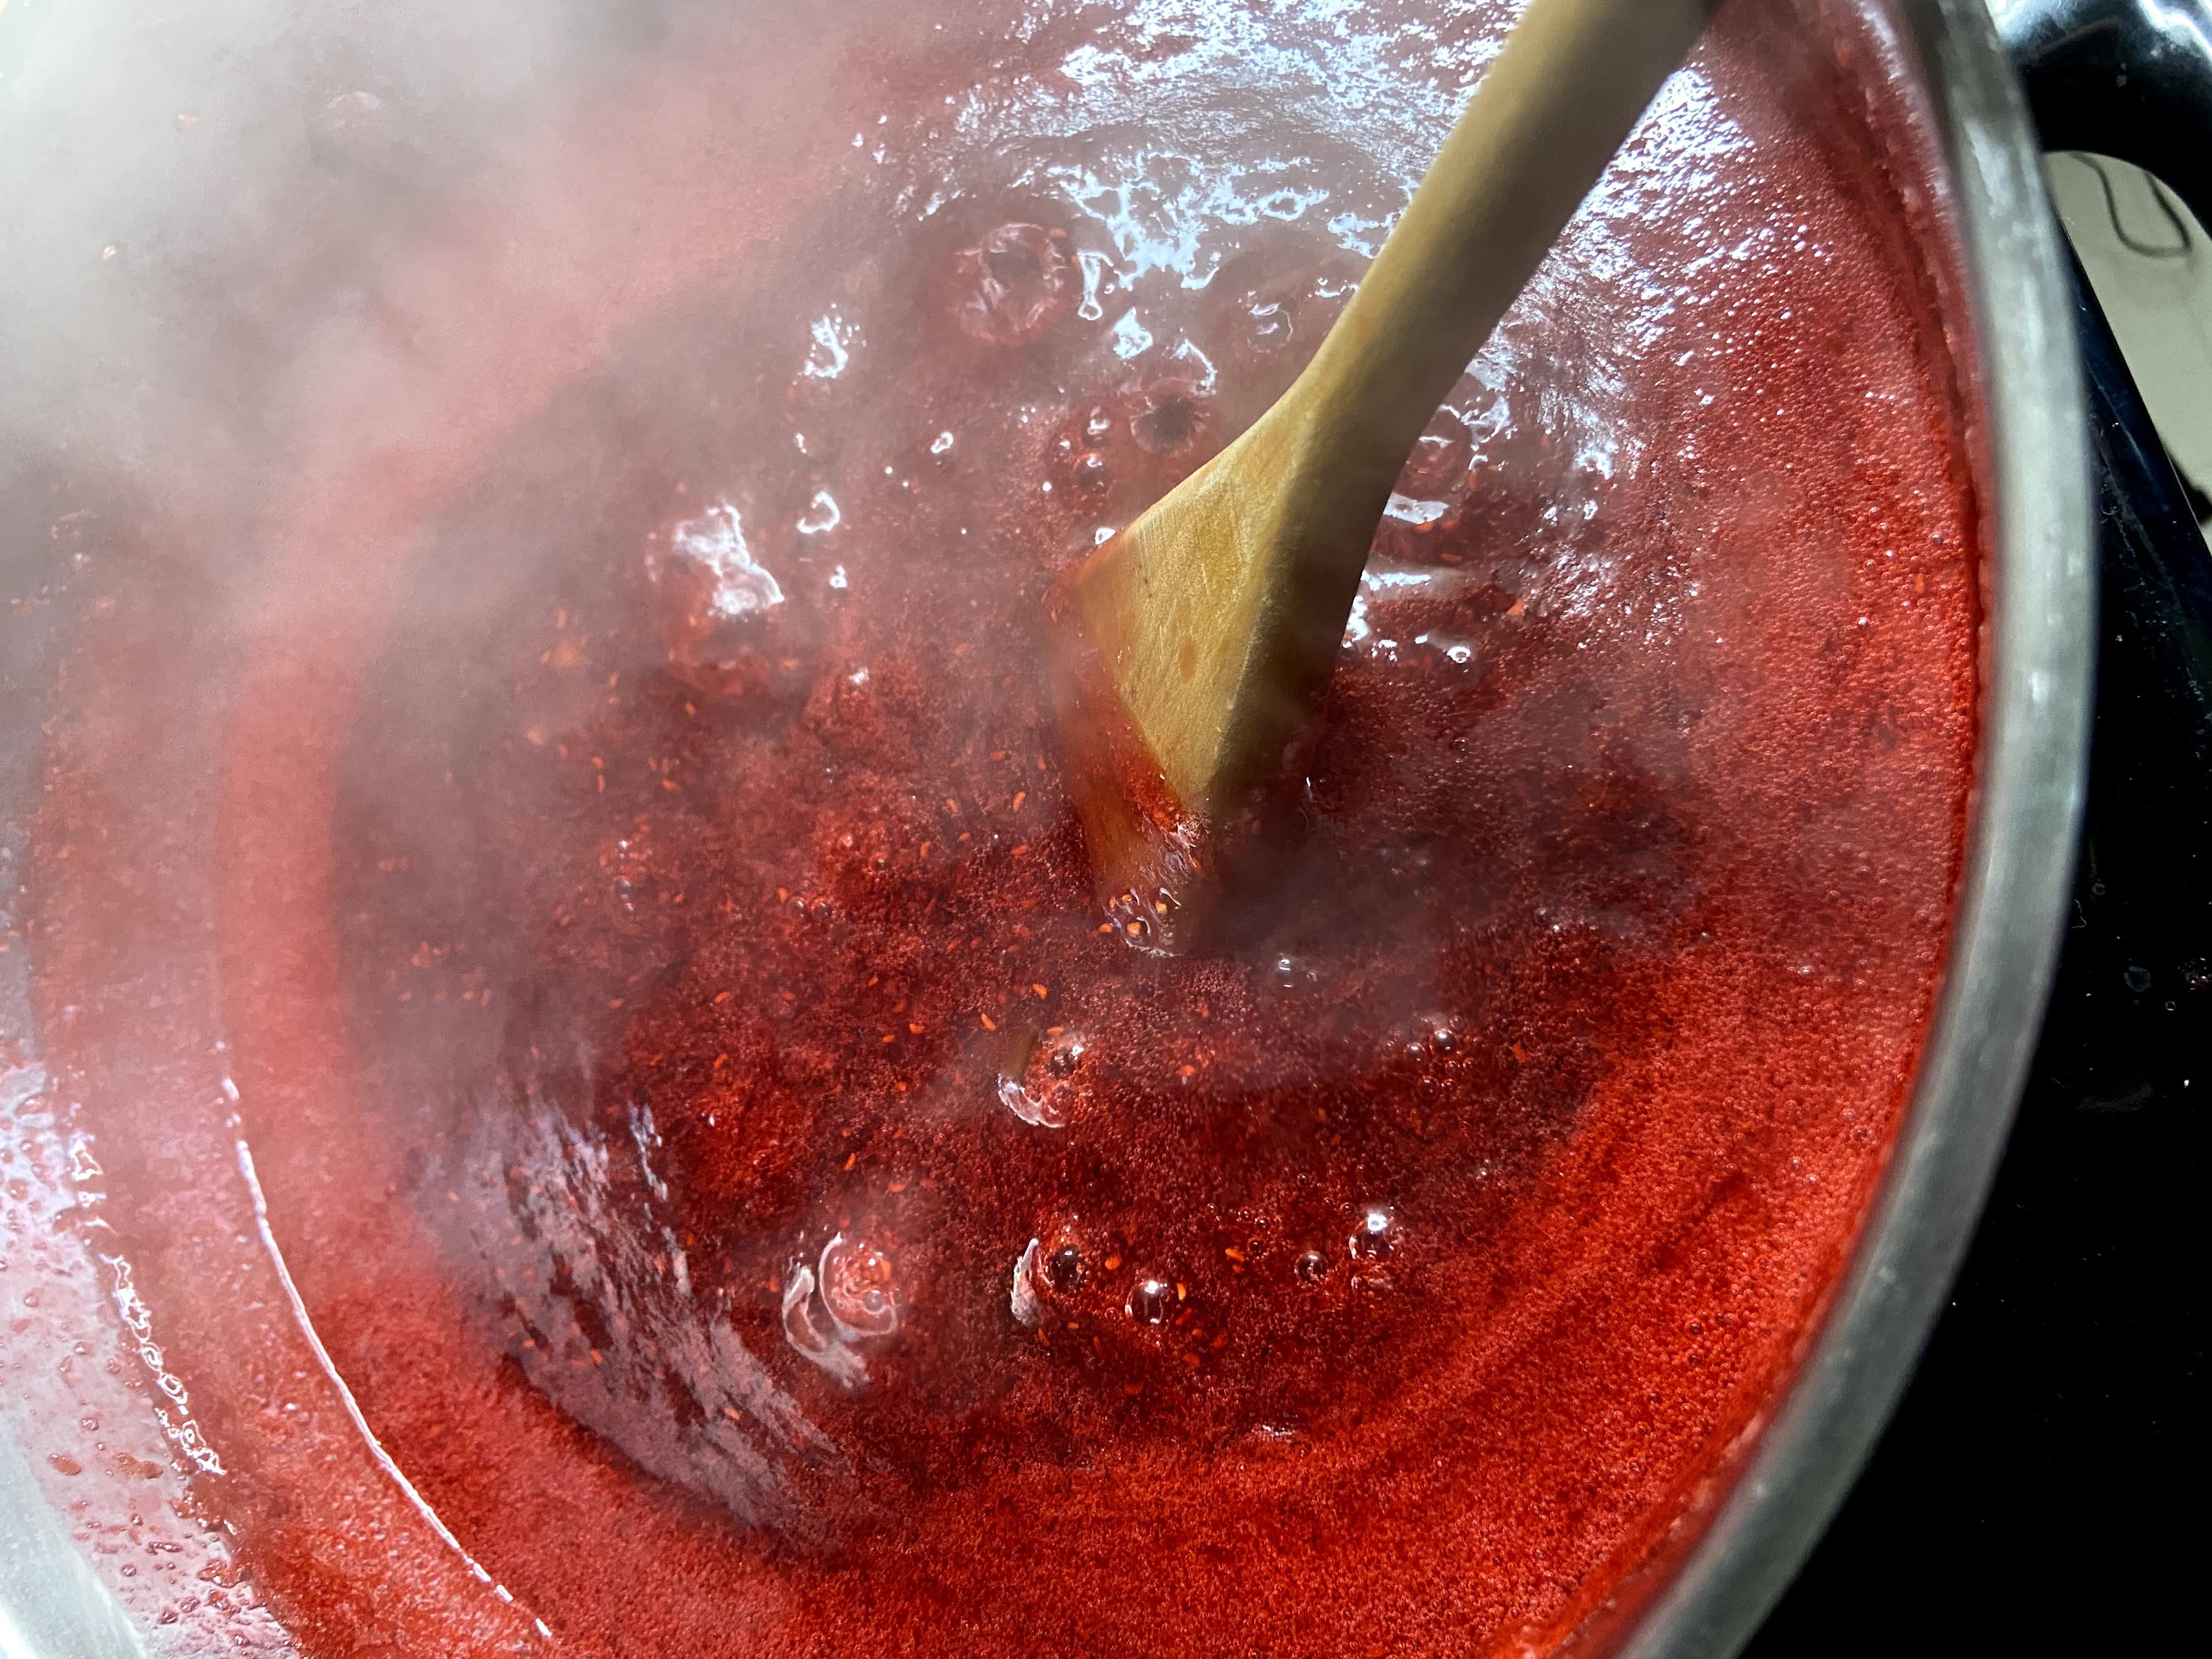
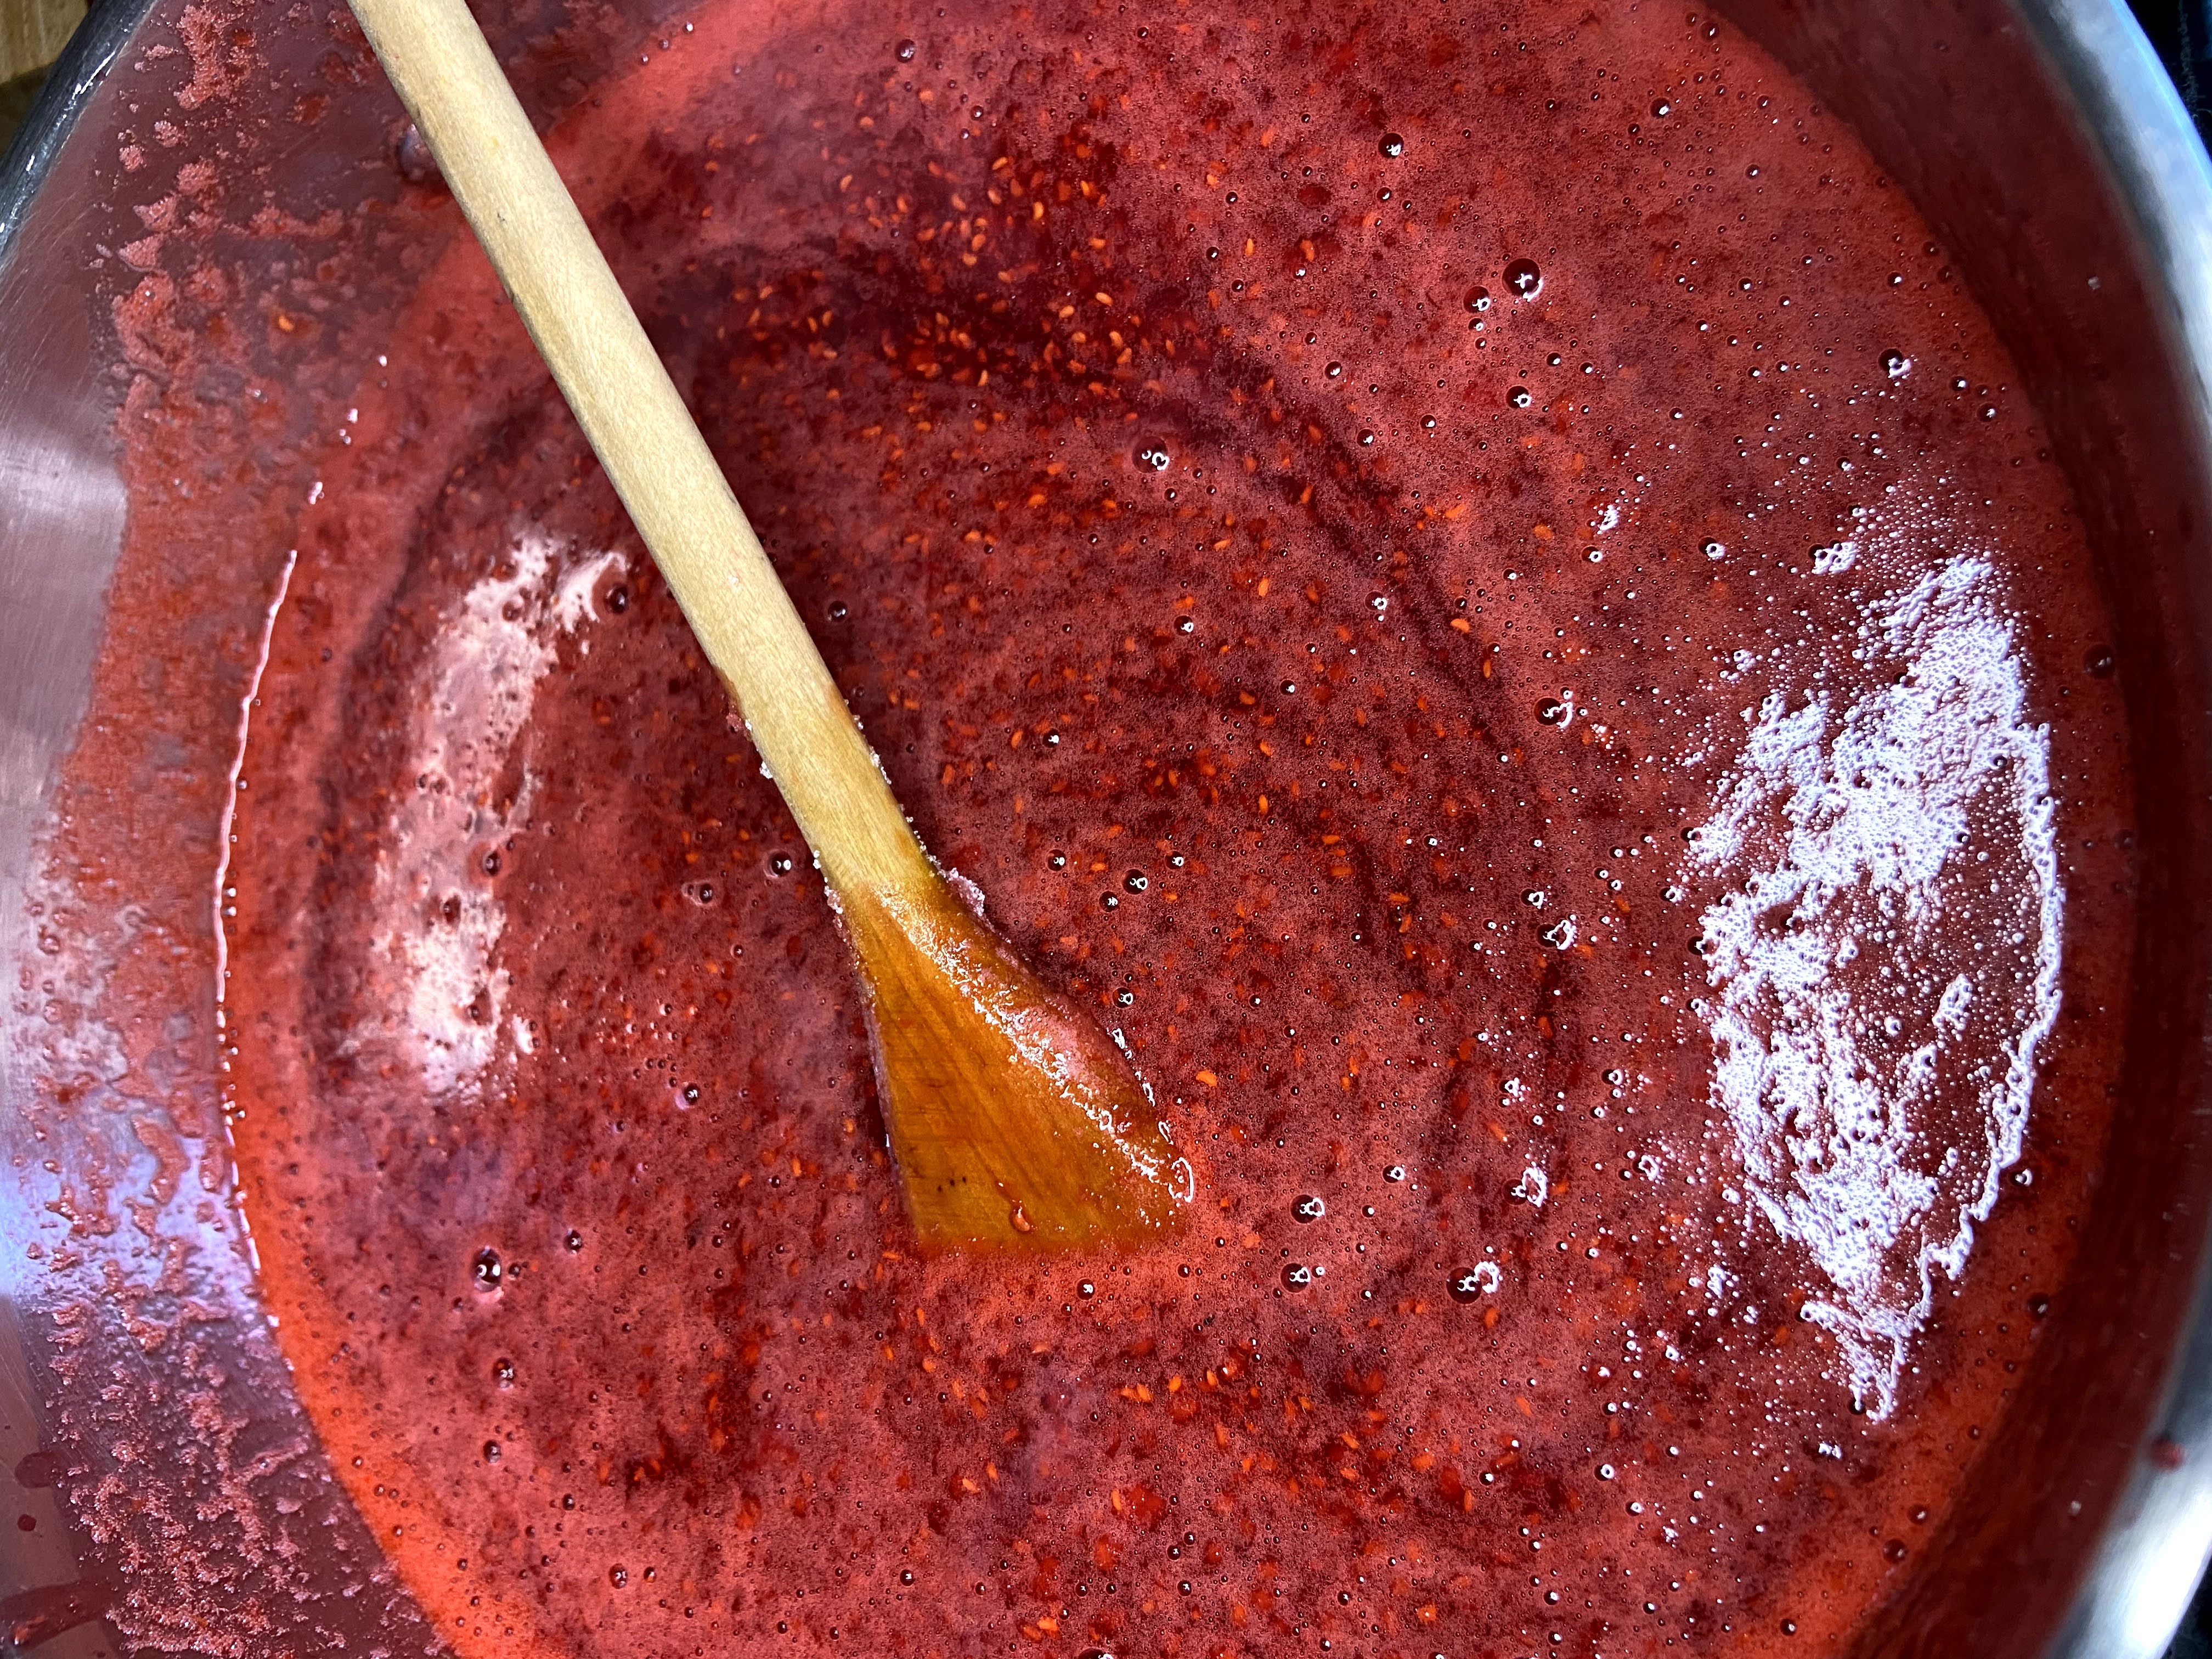
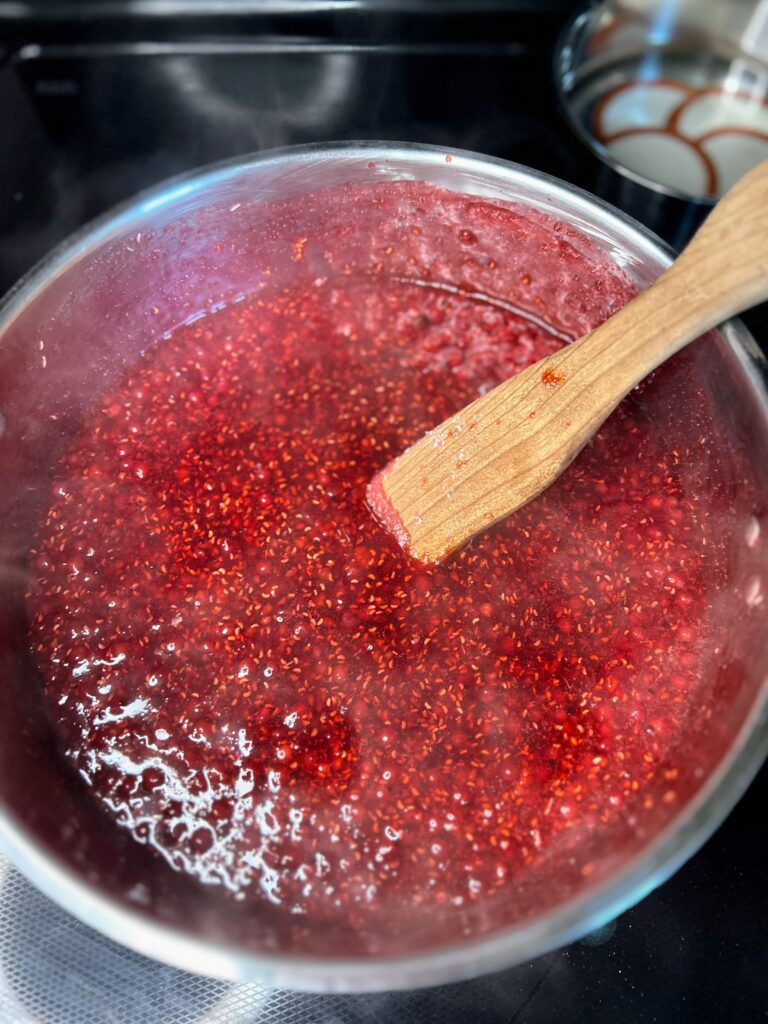
Heat berries and pectin over medium high heat, stirring constantly. Once it is close to a boil, stir constantly until you cannot stir down a rolling boil. On more than one occasion, I have thought I reached this point only to go a little longer and see what a “real rolling boil” looked like.
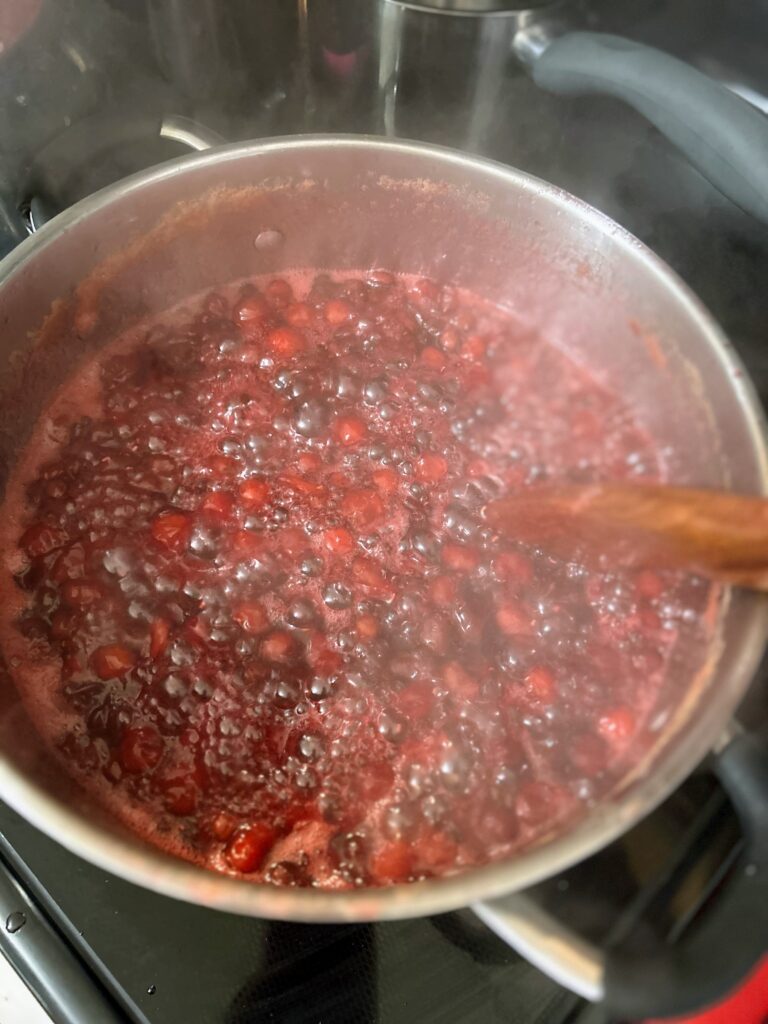
Once a rolling boil has been reached, quickly stir in the sugar. I find a strong whisk is helpful to make sure there are no clumps of sugar in the jam. Continue to heat over medium-high heat until a rolling boil is reached again, stirring constantly. Once the roiling boil is reached, time for EXACTLY one minute. Remove from heat.
TIme to Can
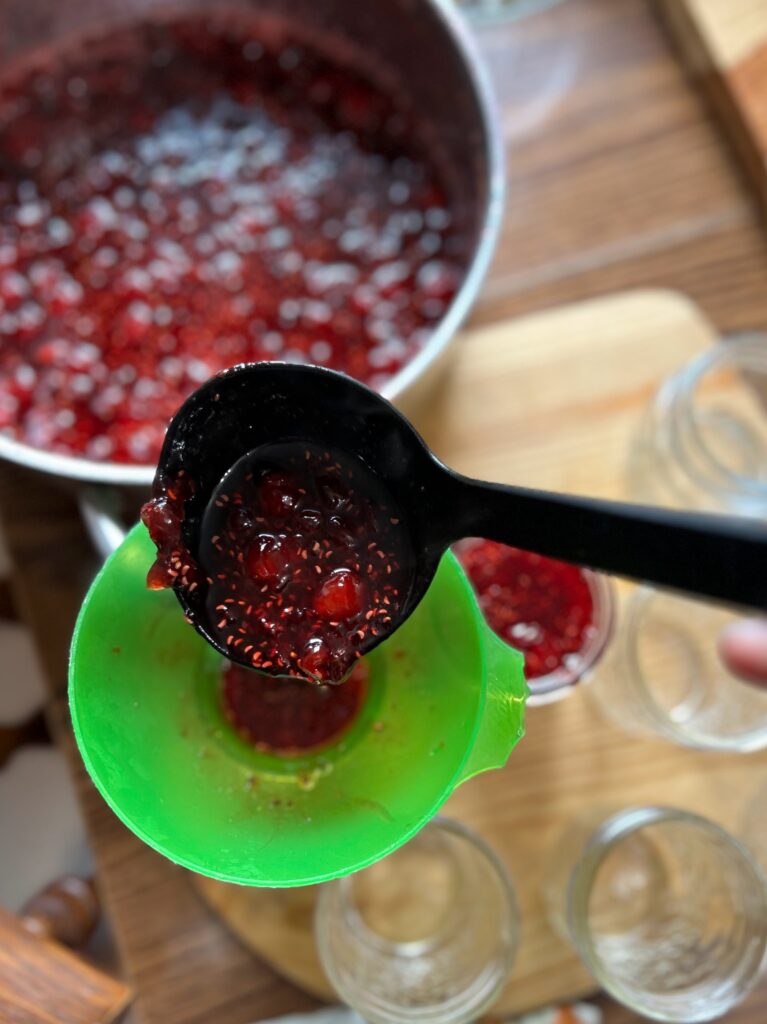
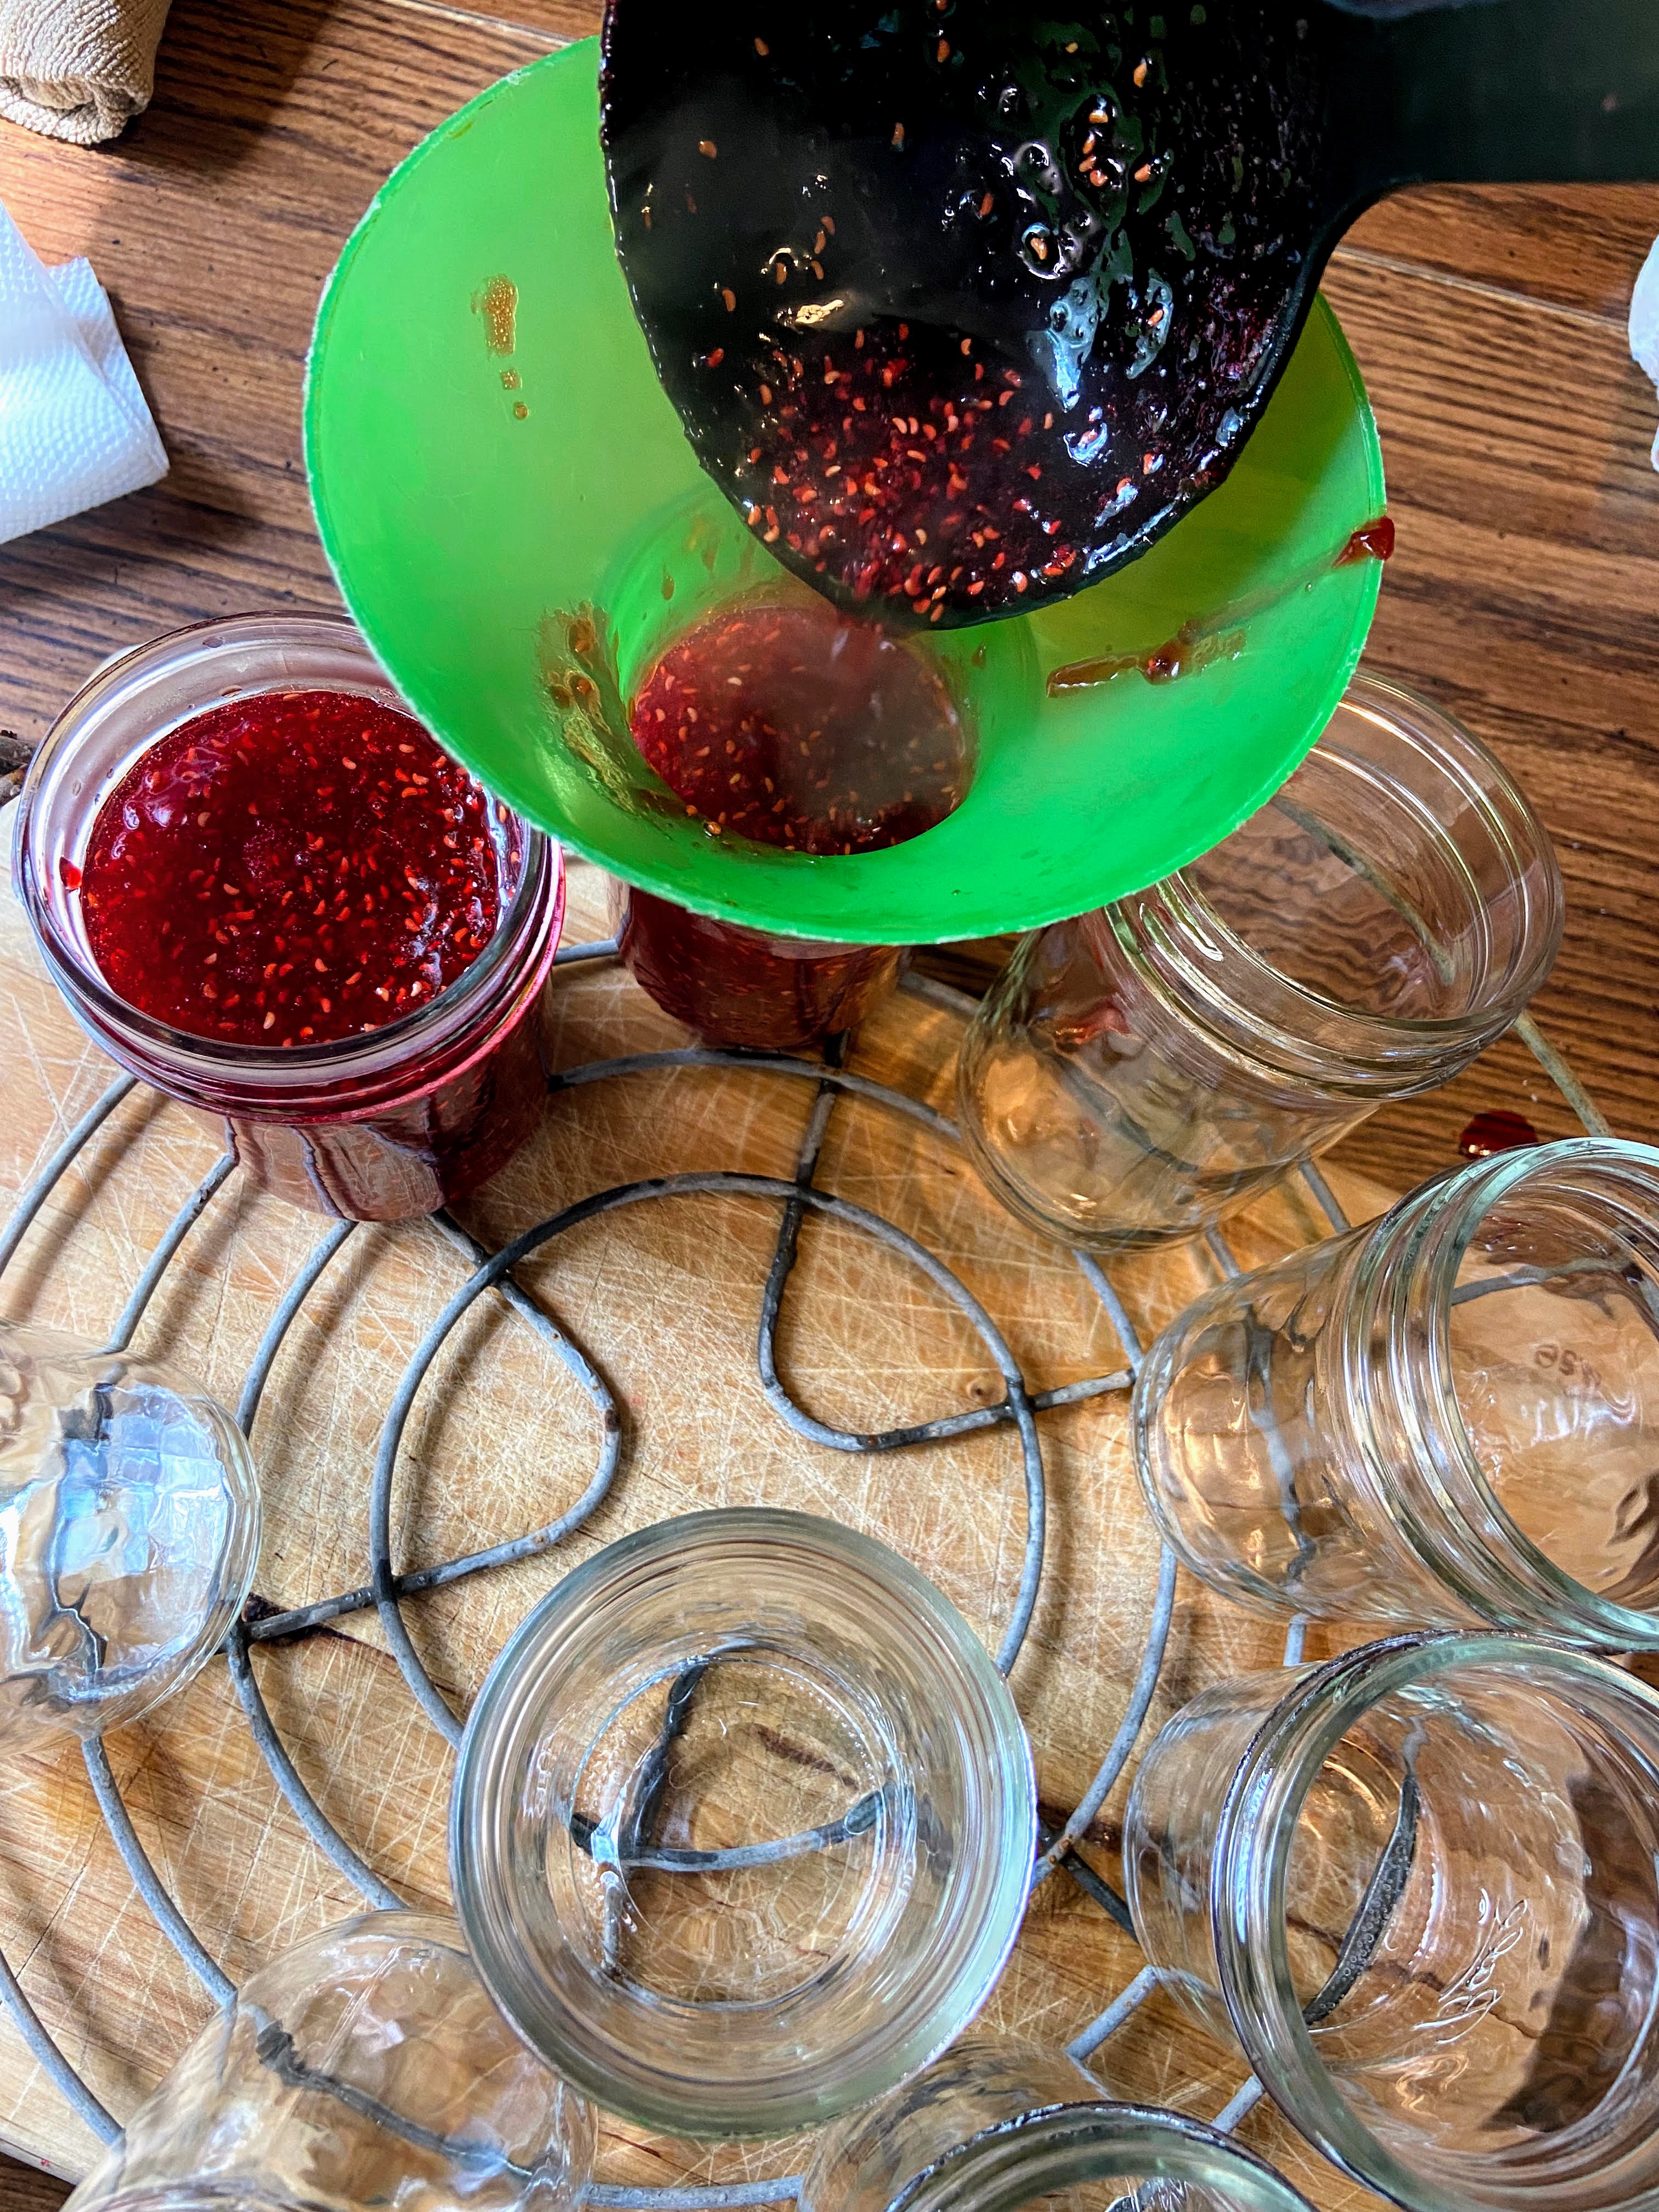
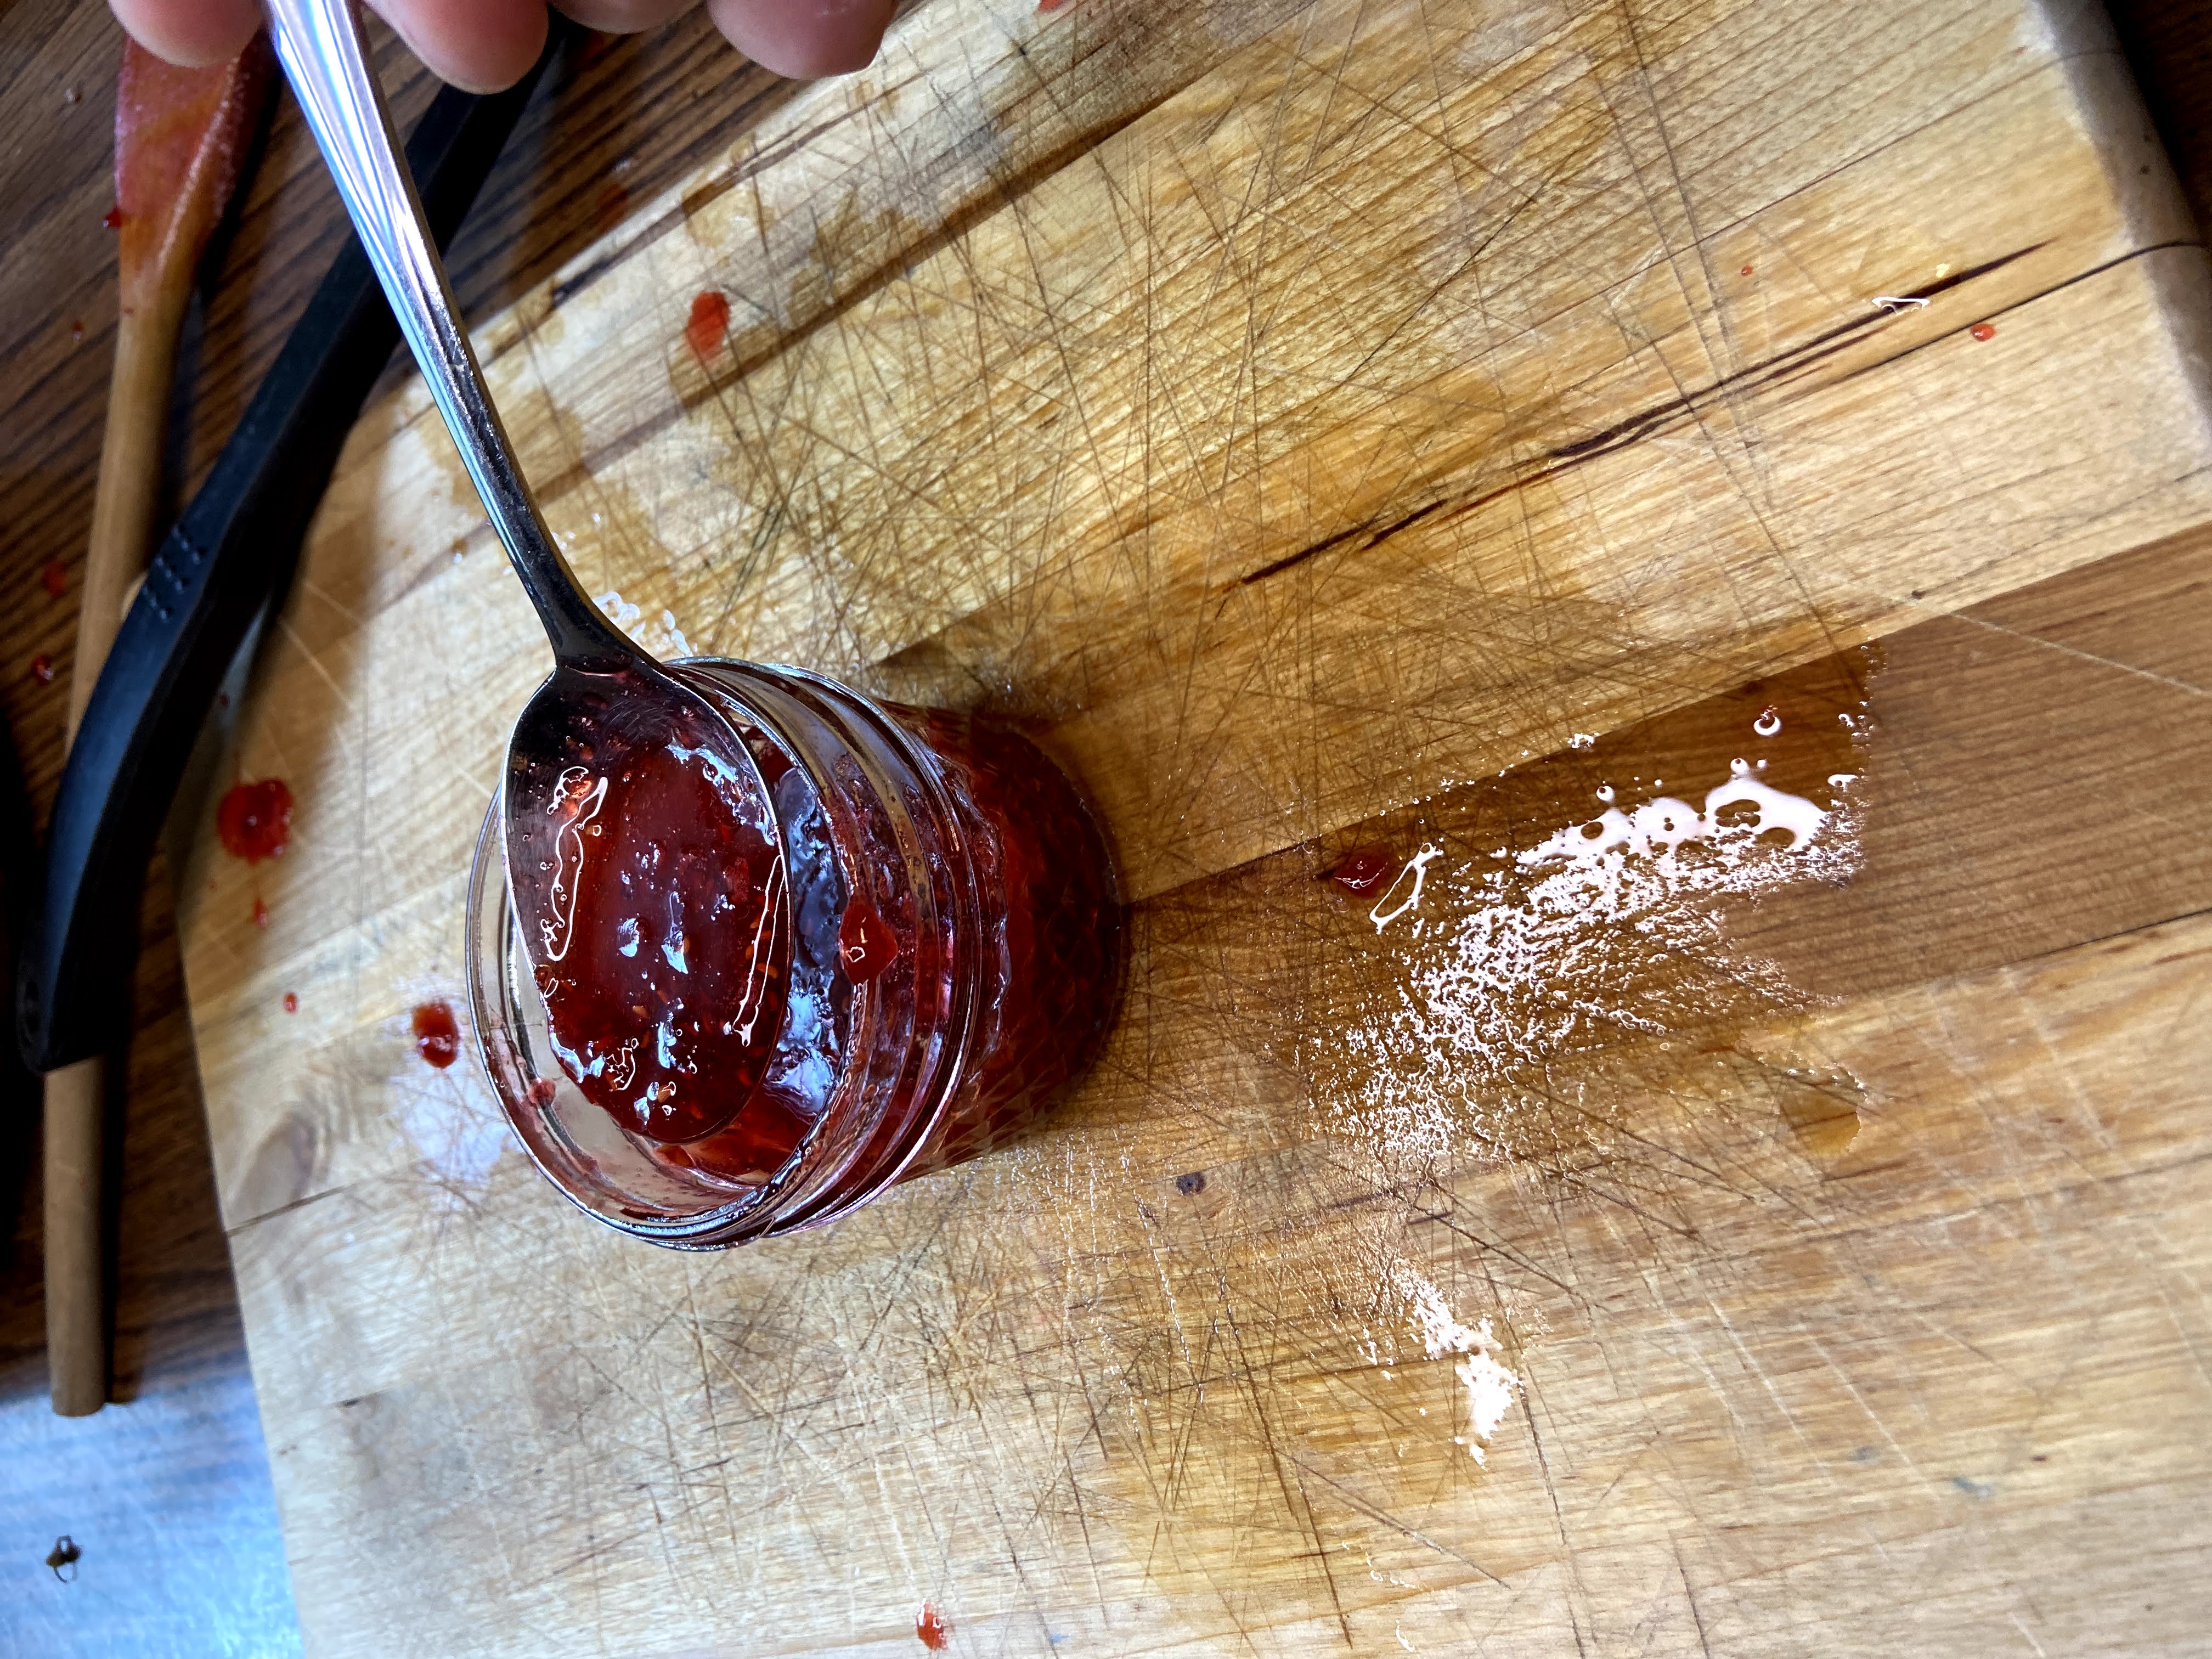
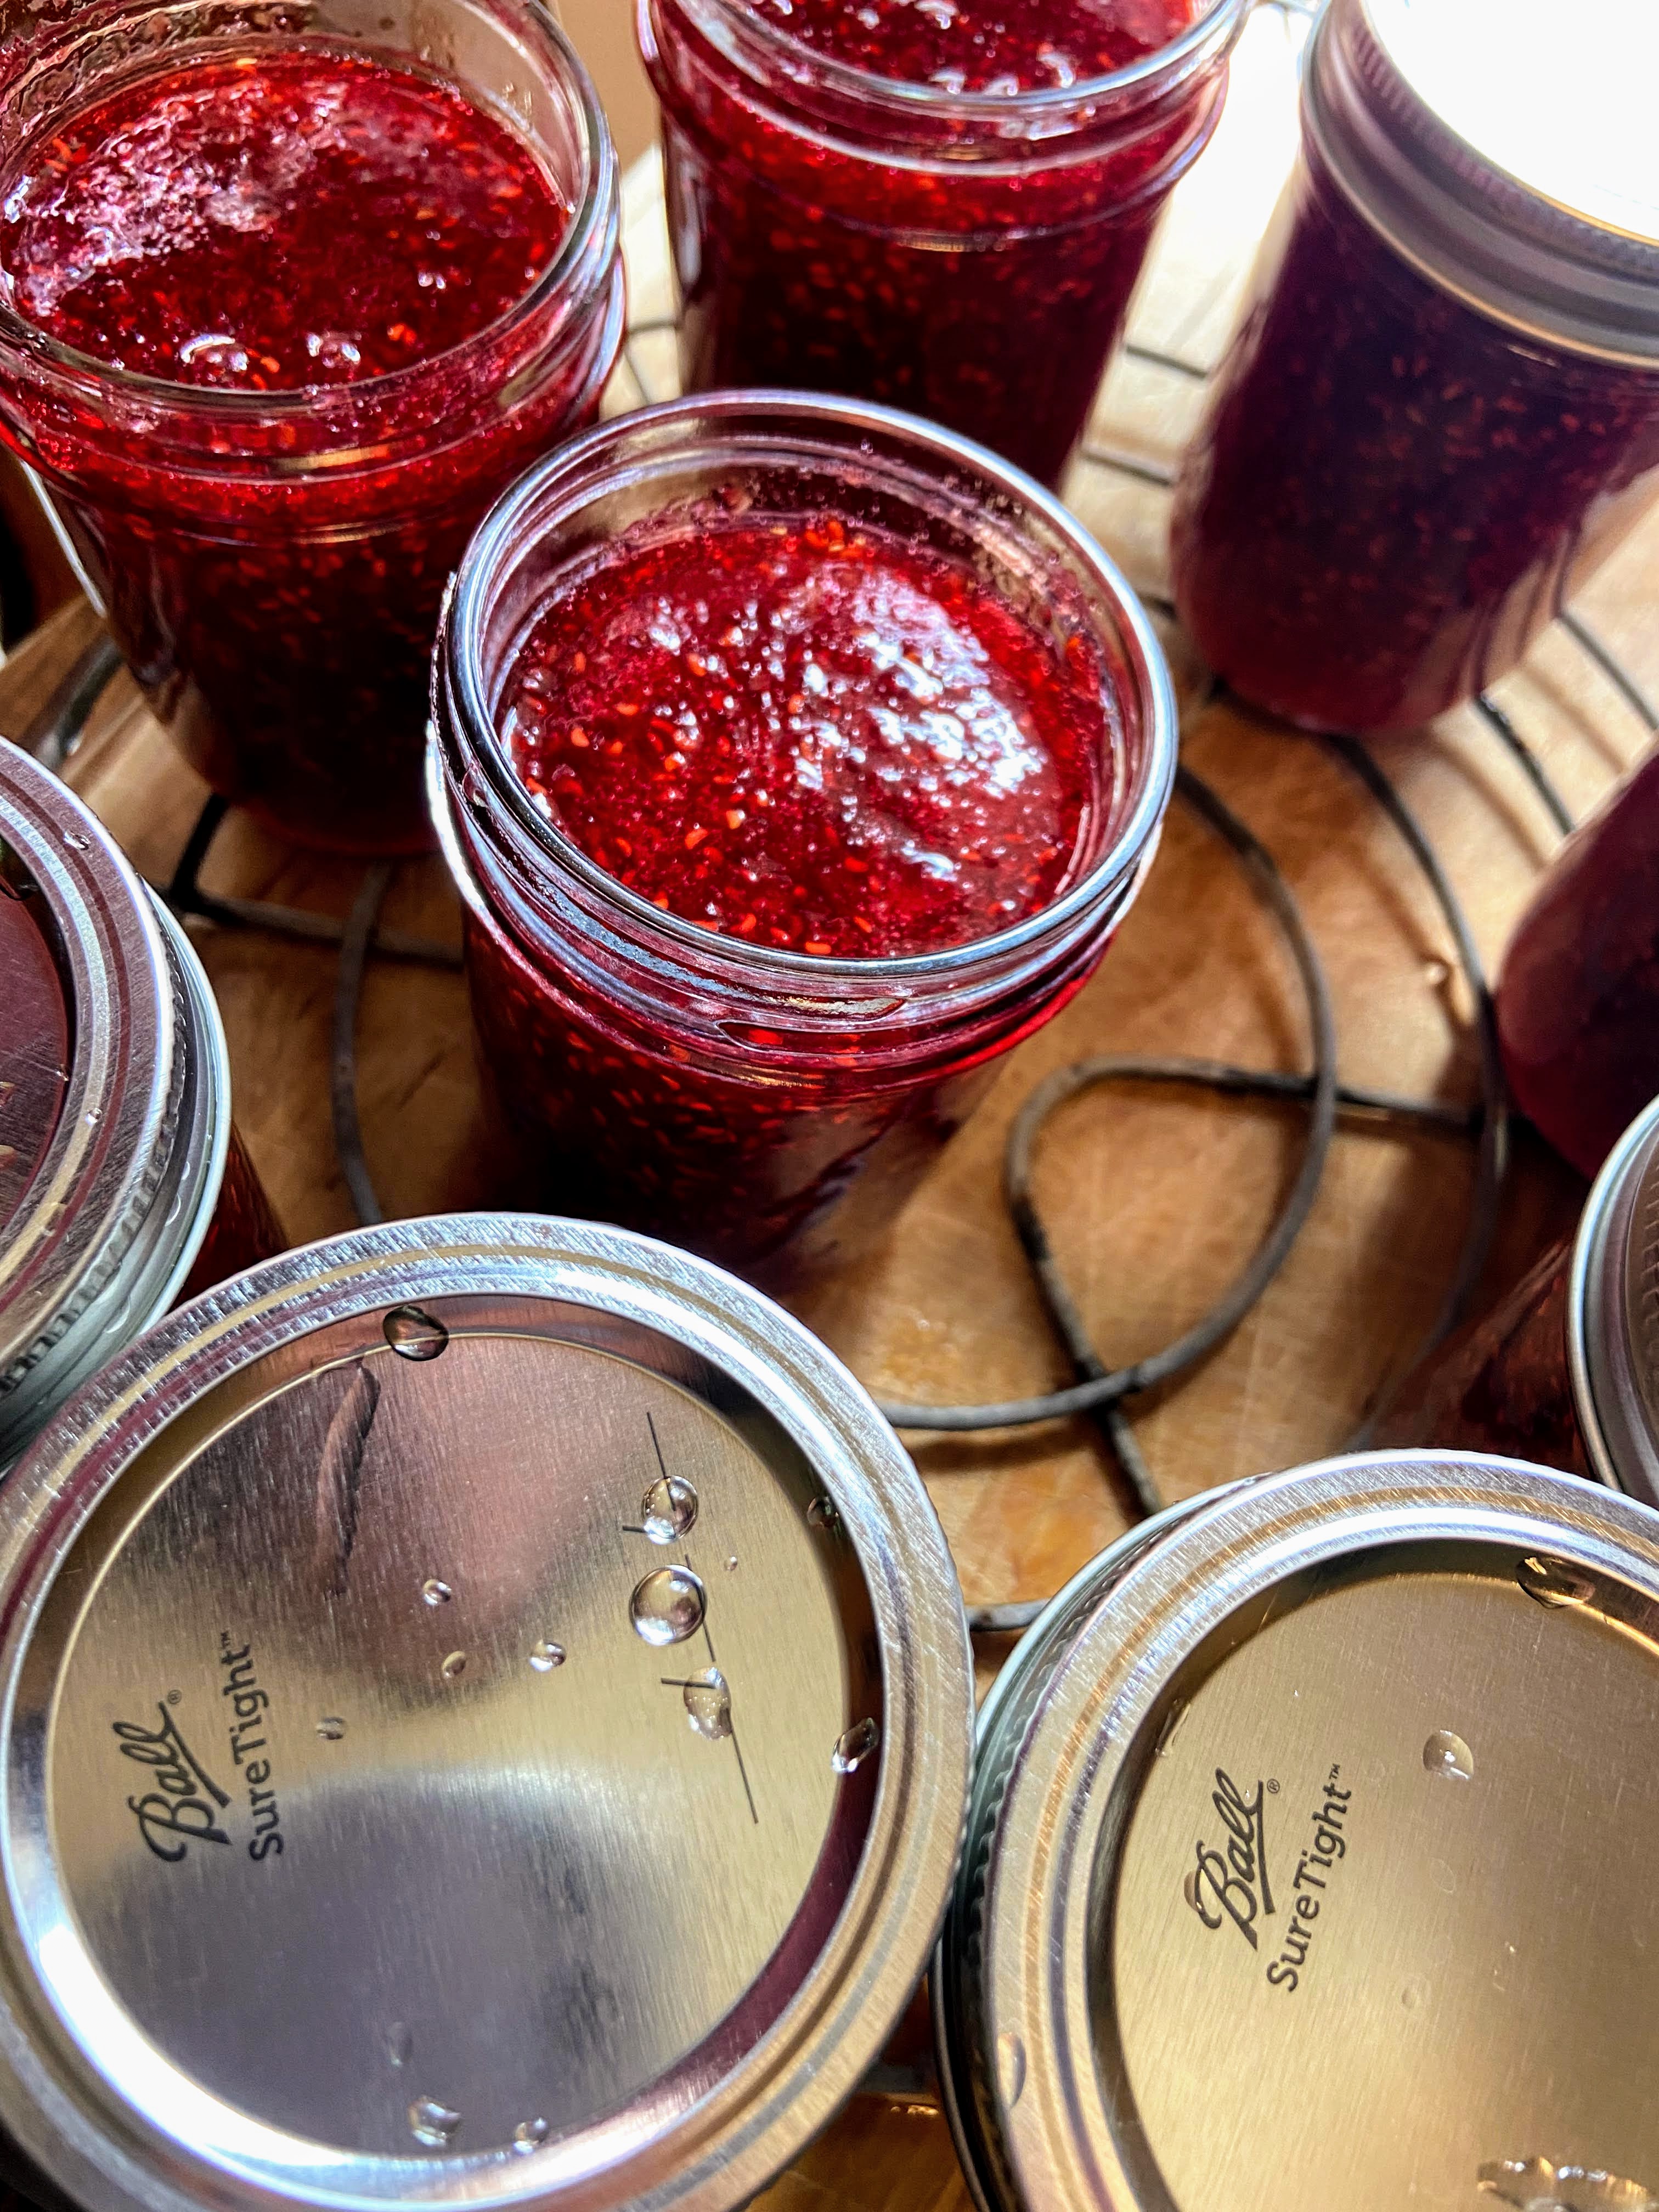
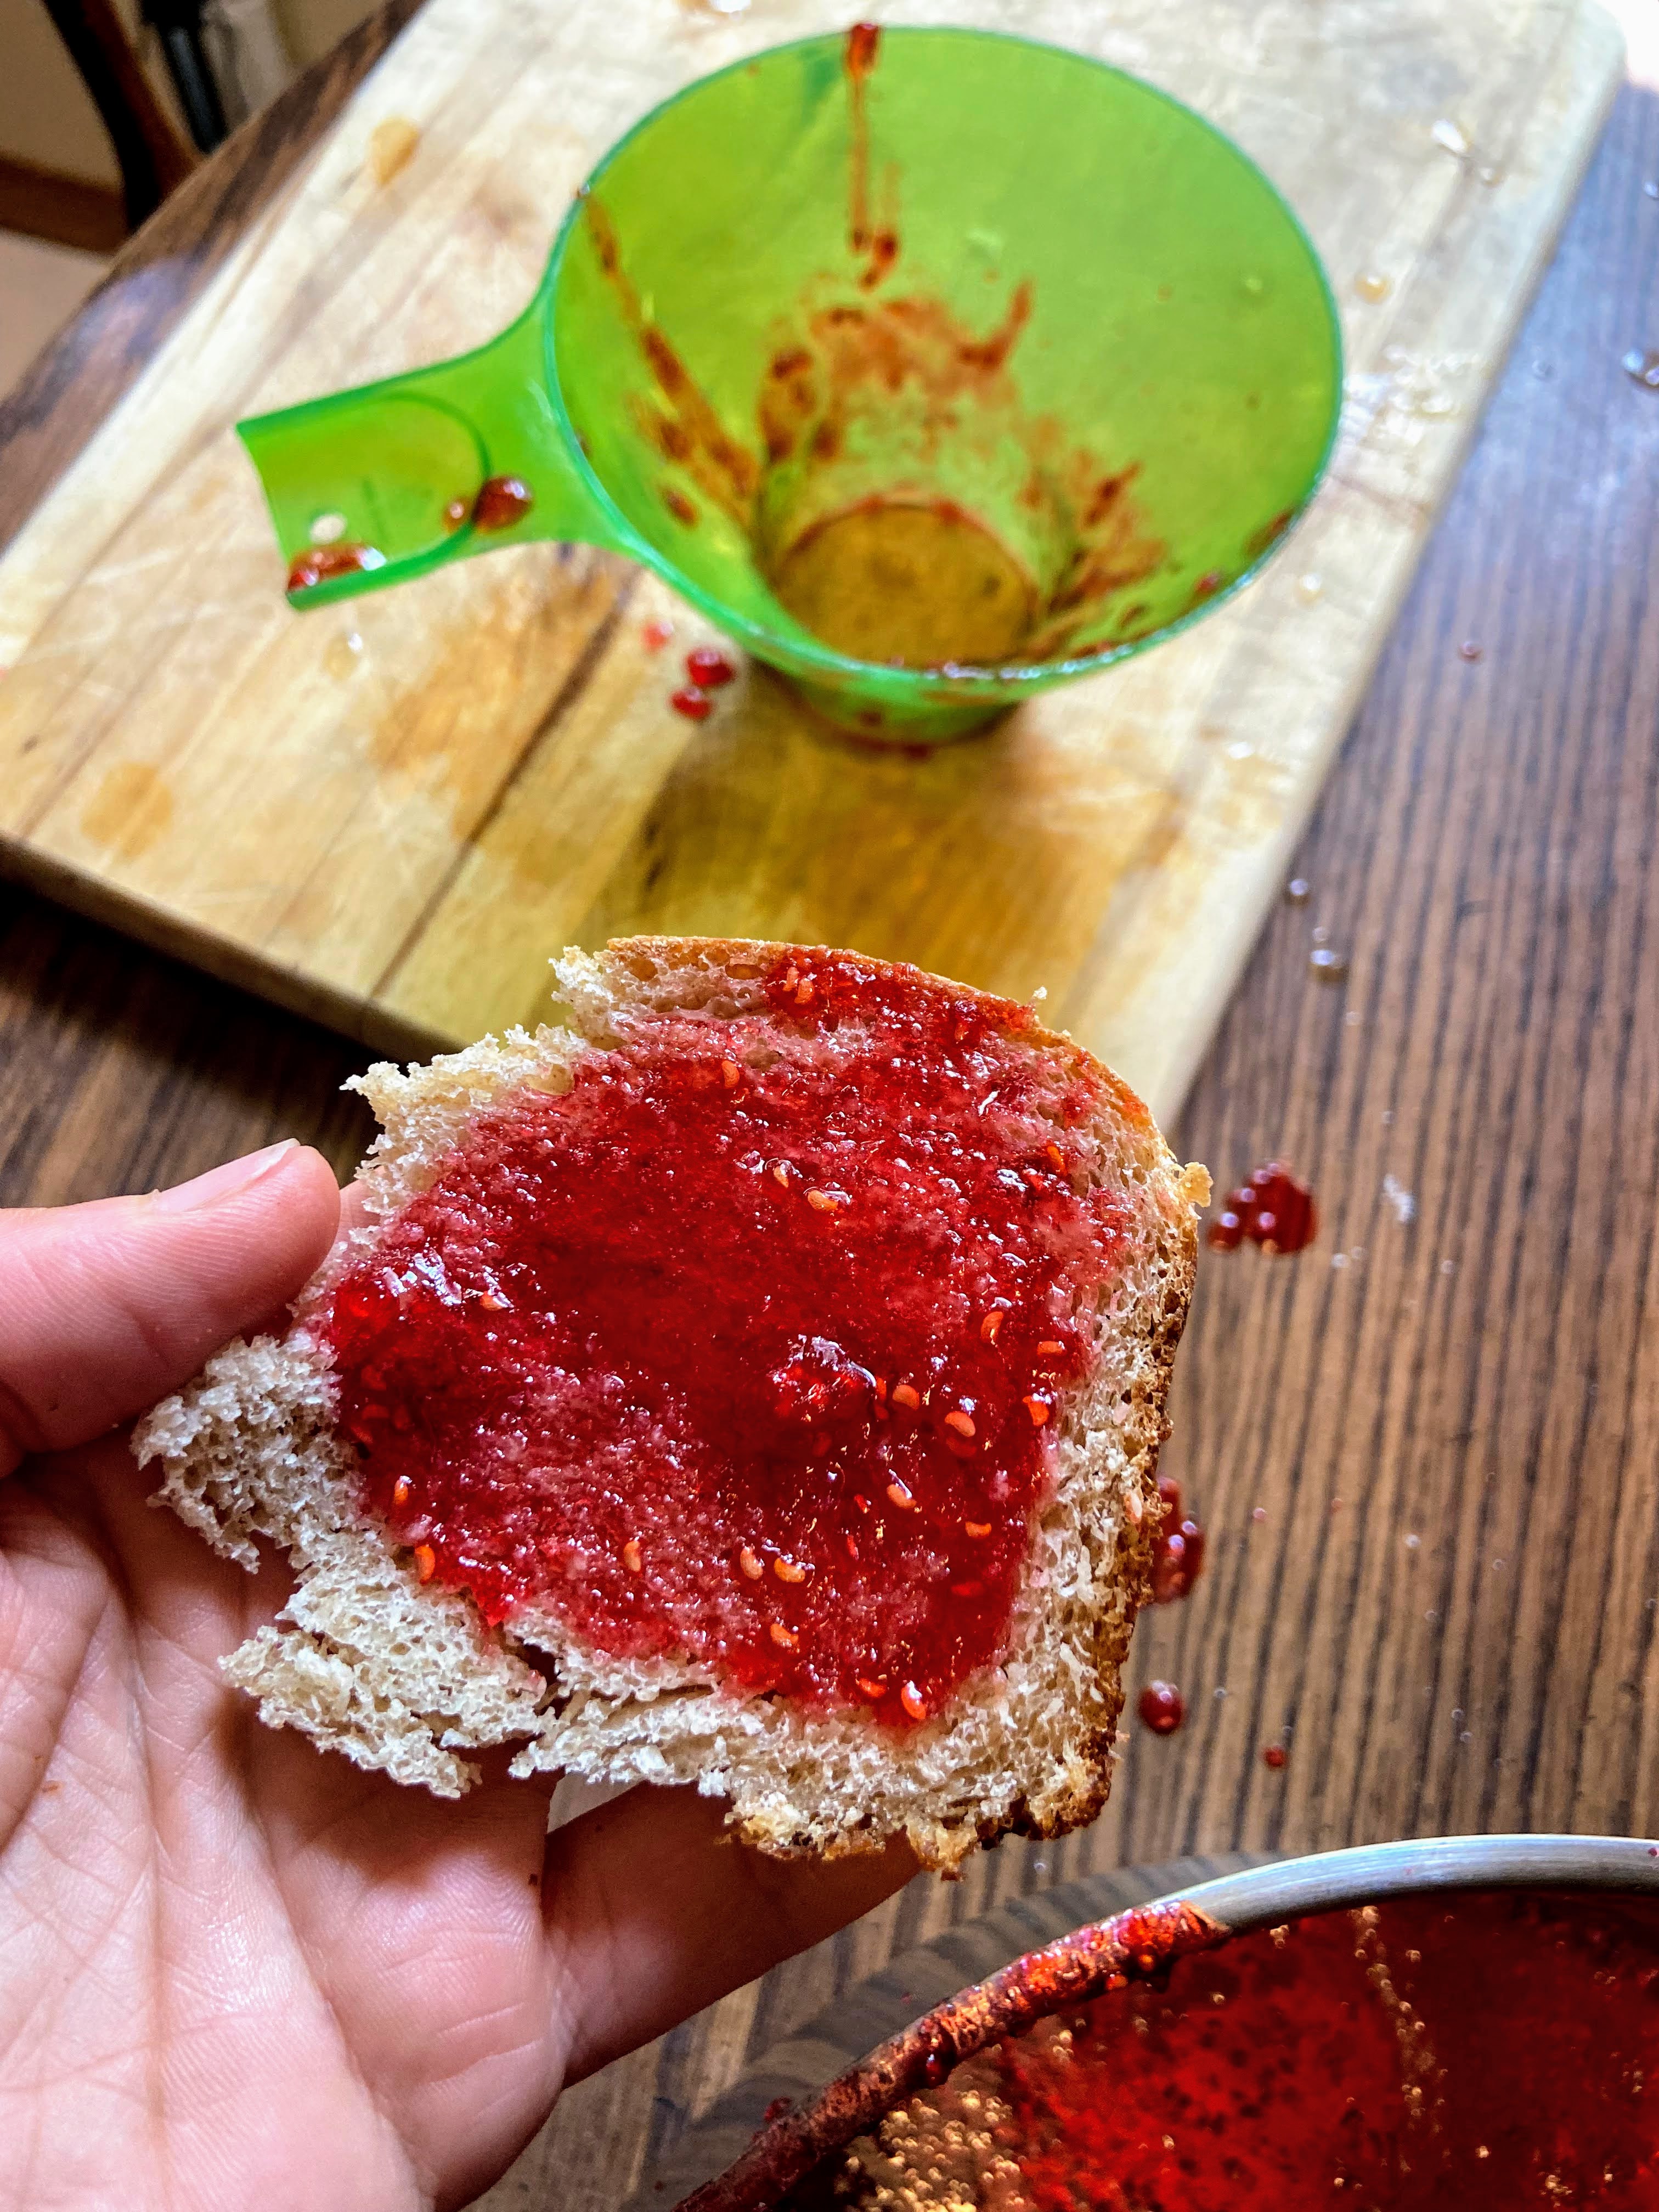
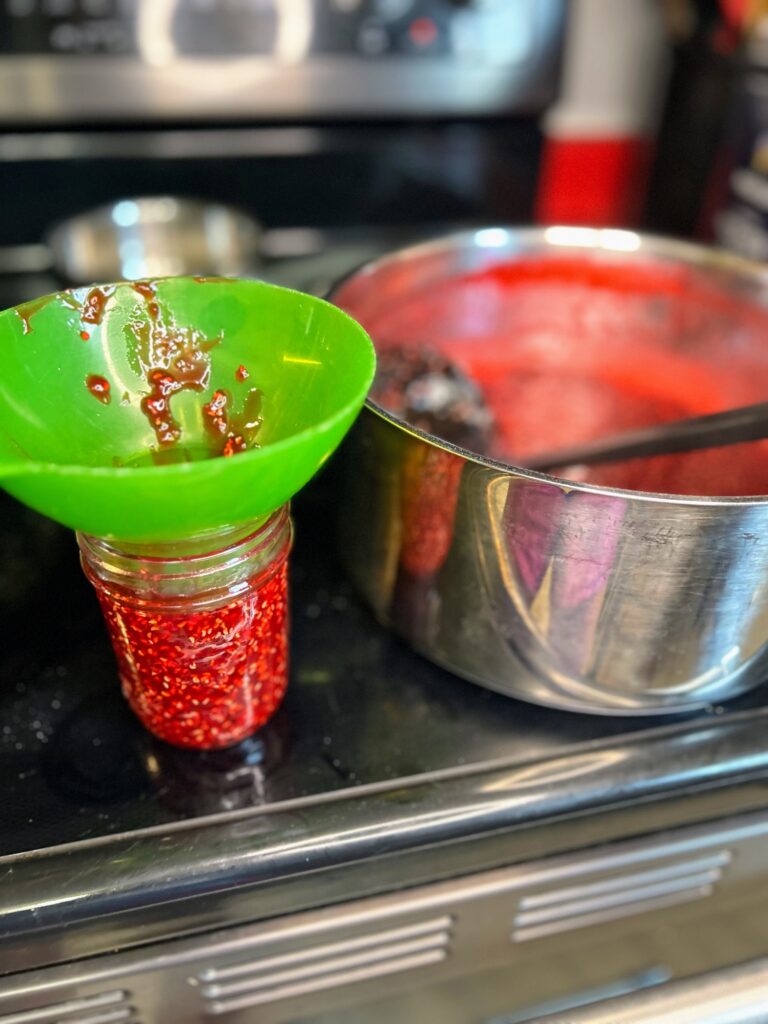
Ladle hot jam into jars using the canning funnel, leaving ¼” head space. Wipe rims of the jars as you go, top with a lid, and put on a ring so that it is fingertip tight. Fingertip tight means you know it’s tight but you aren’t sealing it so much so that it wouldn’t leak on its side, if that makes sense. (Any leftover jam can go in a small container and get placed in the fridge to be enjoyed immediately)
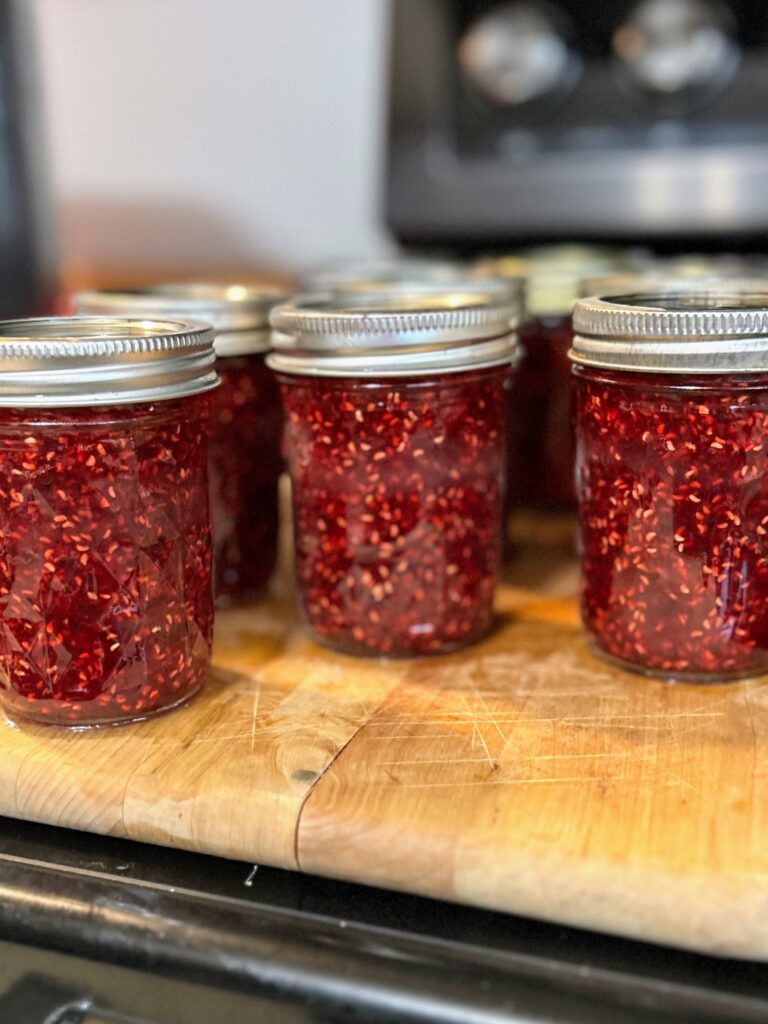
Place jars in JUST about boiling water bath canner. Cover and raise heat until a rolling boil is reached. Cook jam for 10 minutes (adjusting for your altitude…under 1000 feet, you’re good. Over? Add 5 minutes for every 1000 feet). Once the time is complete, remove the canner from heat and remove the cover. Allow the jam to sit in the canner an additional 5 minutes. Then remove and place on a towel on the counter.
Afterward
Listen for the ping as the jars seal and just let them be for 24 hours. I know it will be hard to let them be because you’ll be so proud, but it’s recommended to make sure you get a good seal. Any jars that do not seal can be refrigerated and enjoyed right away. Note: It is recommended to store canned goods with their rings removed so that you can know if a false seal occurs. I generally just loosen them as loose as they can go.
Raspberry Currant Jam
Equipment
- 8 Jelly Canning Jars with lids and rings
Ingredients
- 7 cups raspberries
- 3 cups red currants
- 4 cups sugar
- ¼ teaspoon butter optional
- 1 package powder pectin
Instructions
- Prepare your water bath canner. Fill the canner with enough water so that once the jars are in the canner, they will be covered by at least one inch of water. Cover and begin to heat over a medium-high heat.
- Measure out sugar. Remove 1/4 cup of sugar and combine the 1/4 cup with powdered pectin in a small bowl.
- Place the raspberries and currants in a large, non reactive kettle. Crush them with potato masher. Add ¼ teaspoon of butter, if desired, to reduce foaming.
- Sprinkle and stir in the pectin and 1/4 cup sugar mixture. Cook over high heat until a rolling boil is reached, stirring consistently.
- Once a rolling boil is reached, slowly stir in remaining sugar.
- Continue to stir until you reach another rolling boil that can not be stirred down. Once a rolling boil is reached, cook for 1 minute, stirring constantly.
- Ladle jam into prepared jelly jars, wipe the rims with a damp cloth, add lids, and tighten rings to fingertip tight. Put into the water bath canner. When the canner has a steady boil going, time and process for 10 minutes, adjusting for altitude (if you are about 1000 feet, add 5 min)
- Once the jam is done processing, remove the canner from heat and let jars rest in the water for an additional 5 minutes. Finally, remove jars from the canner and allow to cool for 12-24 hours before moving.
Notes
- Make sure you are using powdered pectin rather than liquid pectin. They do not set the same.
- If you have never canned, you can reference the instructions within the pectin box for additional, more detailed directions.
- Sealed jars are shelf-stable, meaning they can be stored on a shelf unrefrigerated. If your jars don’t ping (a sign that they have sealed), they are still good. You will just need to store them in the refrigerator.
- Most sources recommend removing the rings from jars for storage so that you will know if they unseal for any reason. I generally just loosen them as much as I can without removing them.
Looking for other tasty raspberry treats?
Give any of these a try!