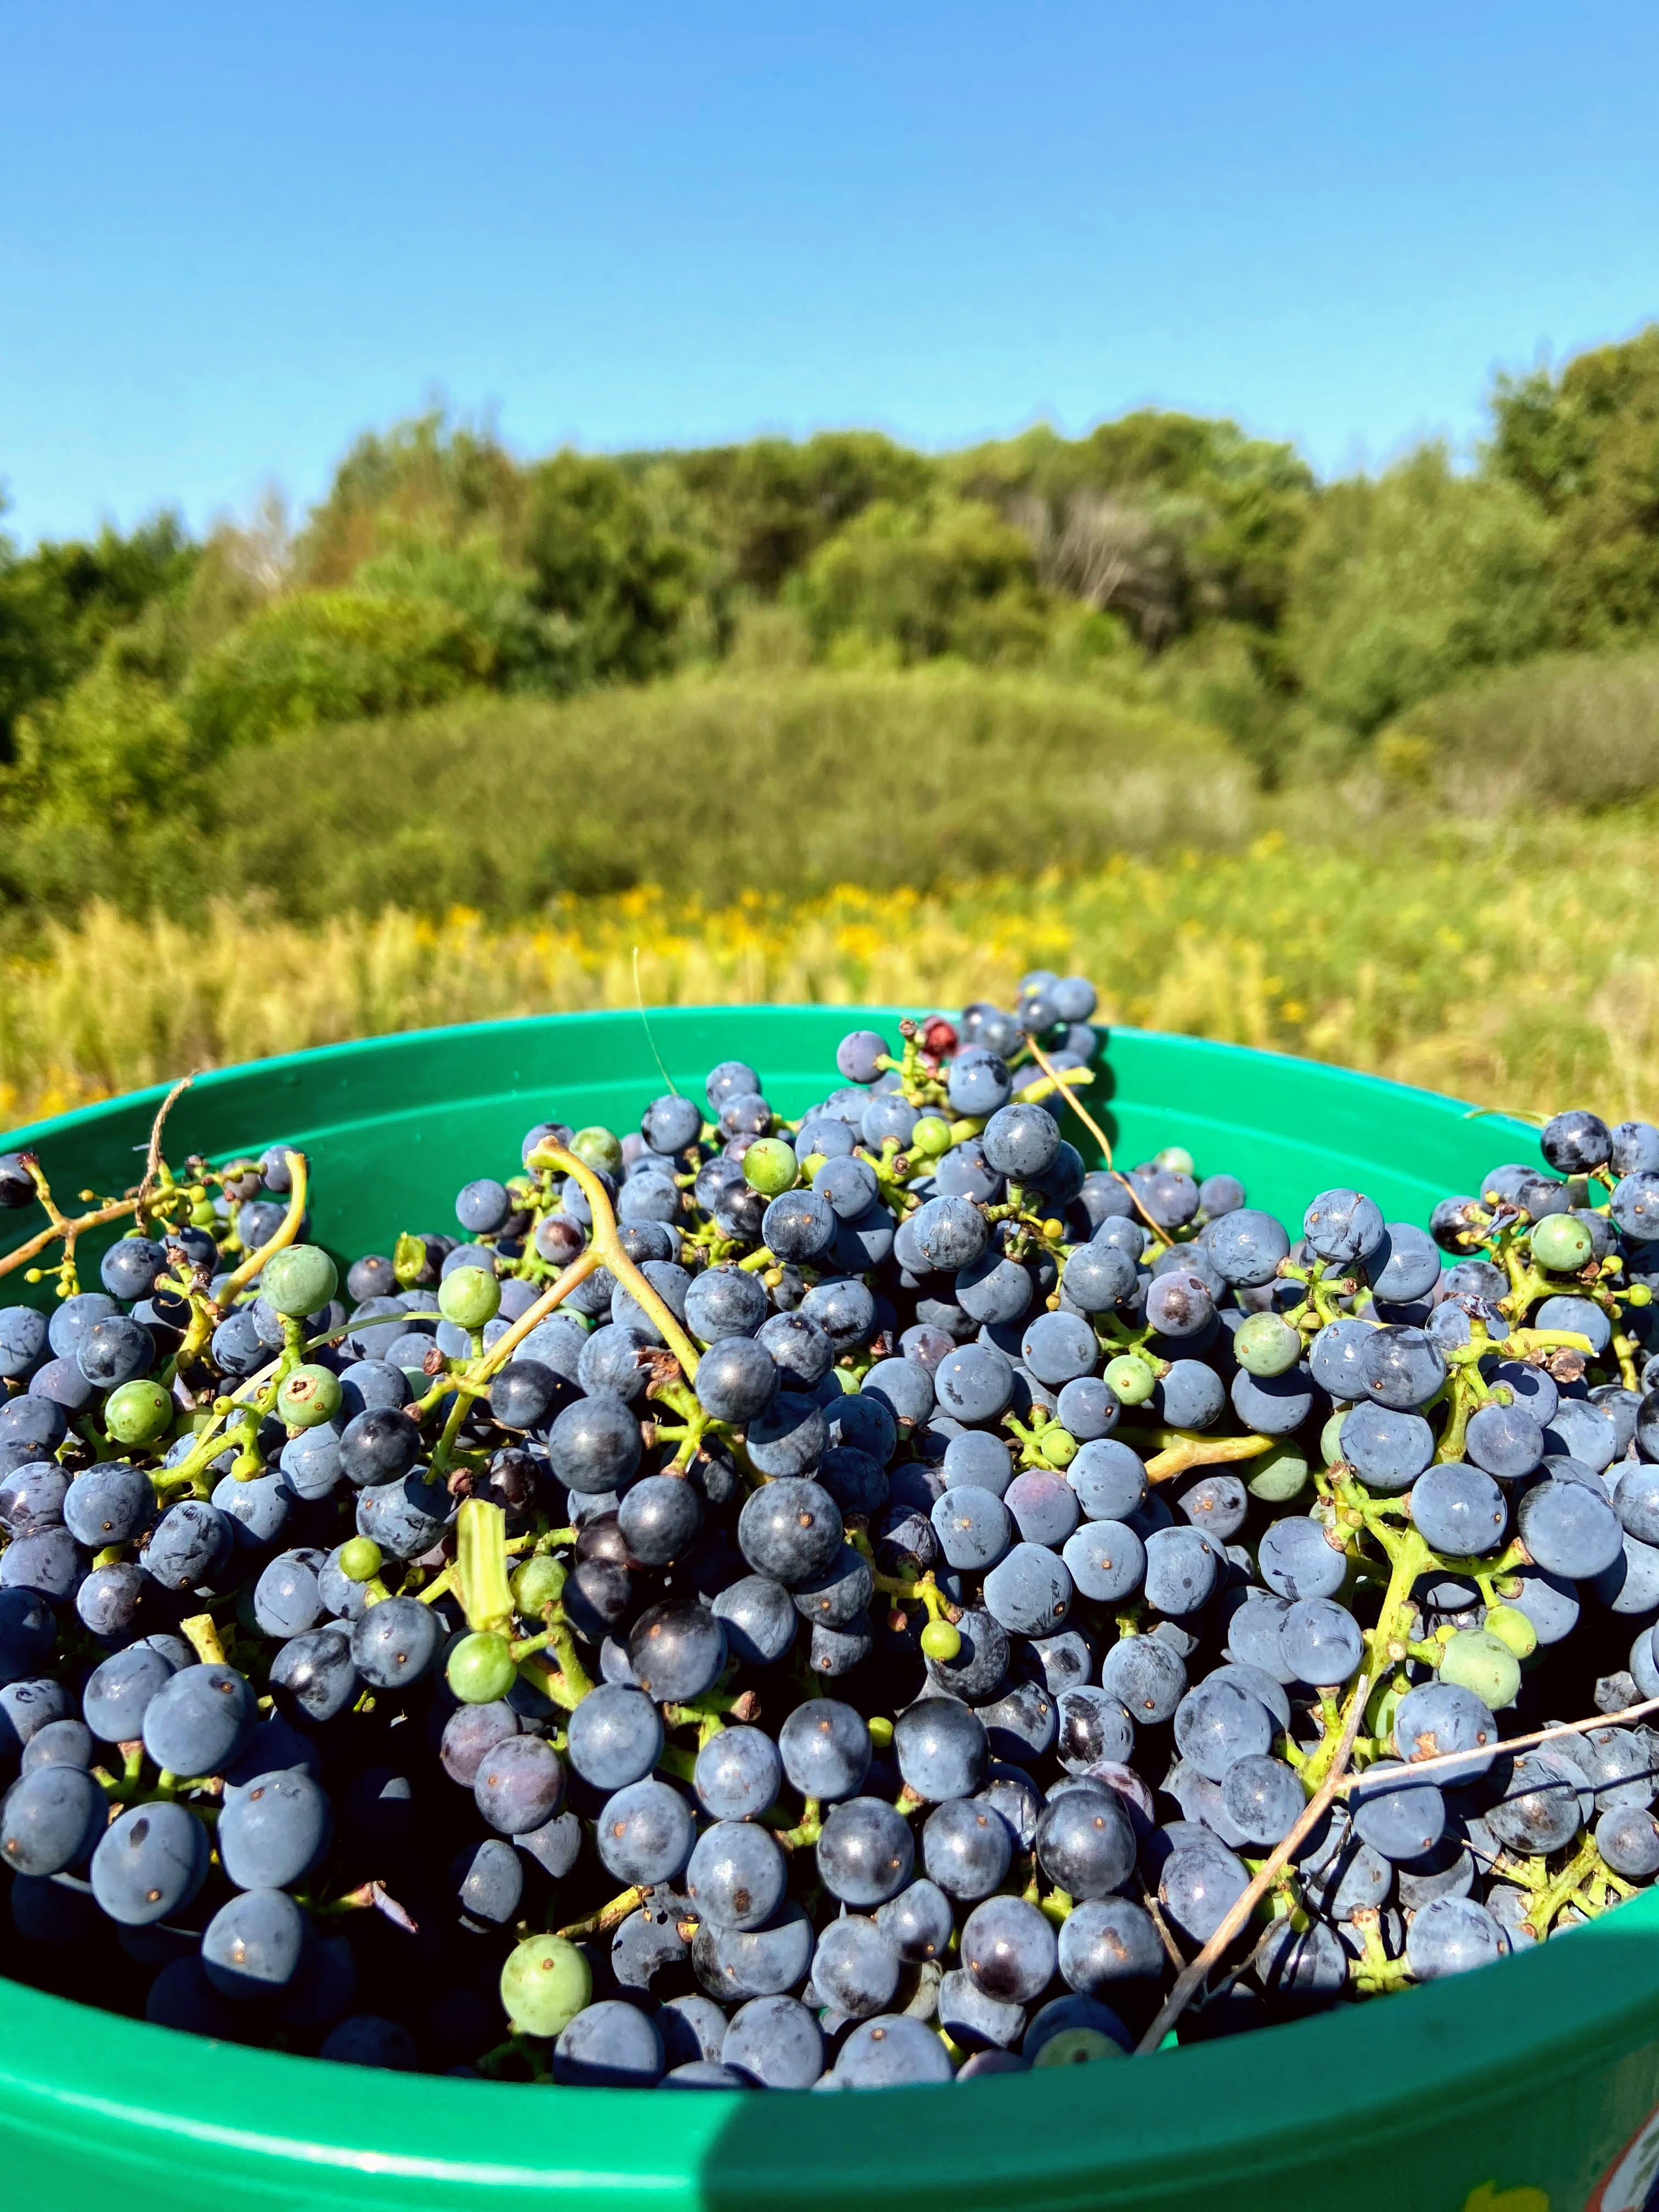
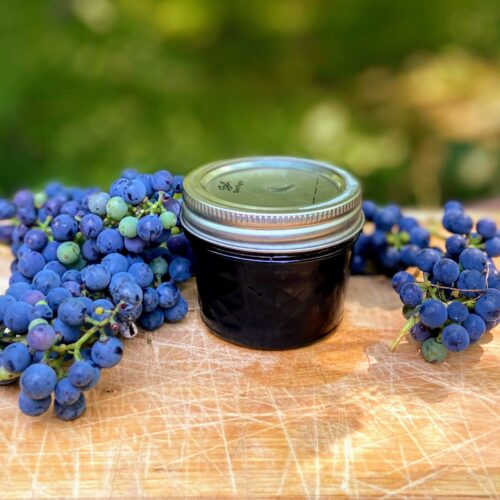
It is black raspberry season and with that comes black raspberry jam creating!
Growing up, I have fond memories of harvesting wild red raspberries while my dad set up deer stands, checked for hunting activity, and the like. My sister and I would keep containers with us and would harvest away, swatting bugs and getting scratched by the branches. It wasn’t until I met the Mr. that I even knew black raspberries were a thing.
Around our home, the red raspberries are referred to as “mama’s raspberries” and the black are “daddy’s raspberries.” As I started to learn to can early in our marriage, the first thing my husband requested was black raspberry jam. Of course, I had to oblige.
I do want to share that I did not grow up in a canning household. I learned about ten years ago, as soon as we bought our home and started our first garden. And while I had some support of my mother in law (thank you so much!), I learned SO MUCH from reading. If you are a first generation canner like I was, let me share some of my favorite resources:
Ball Complete Book of Home Canning: This book gives you a good idea of all the basics from the people who know canning forwards and backwards. I love that I can dig in and get just what I need.
Not Your Mama’s Canning Book: Modern Canned Goods and What to Make with Them: This book is SO FUN. It has some out of the ordinary recipes. We especially love the tomato soup and seasoned black bean recipes.
And finally, the National Center for Home Food Preservation has all the information you need for all sorts of food preservation, not just canning. I reference it often!
But enough about resources, you want to can right? (But seriously, I am going to give you the basics. If you are a newbie (Yay!), head to any of those resources for more detailed information)
Your Ingredients for Black Raspberry Jam
For approximately 4 half-pints, gather:
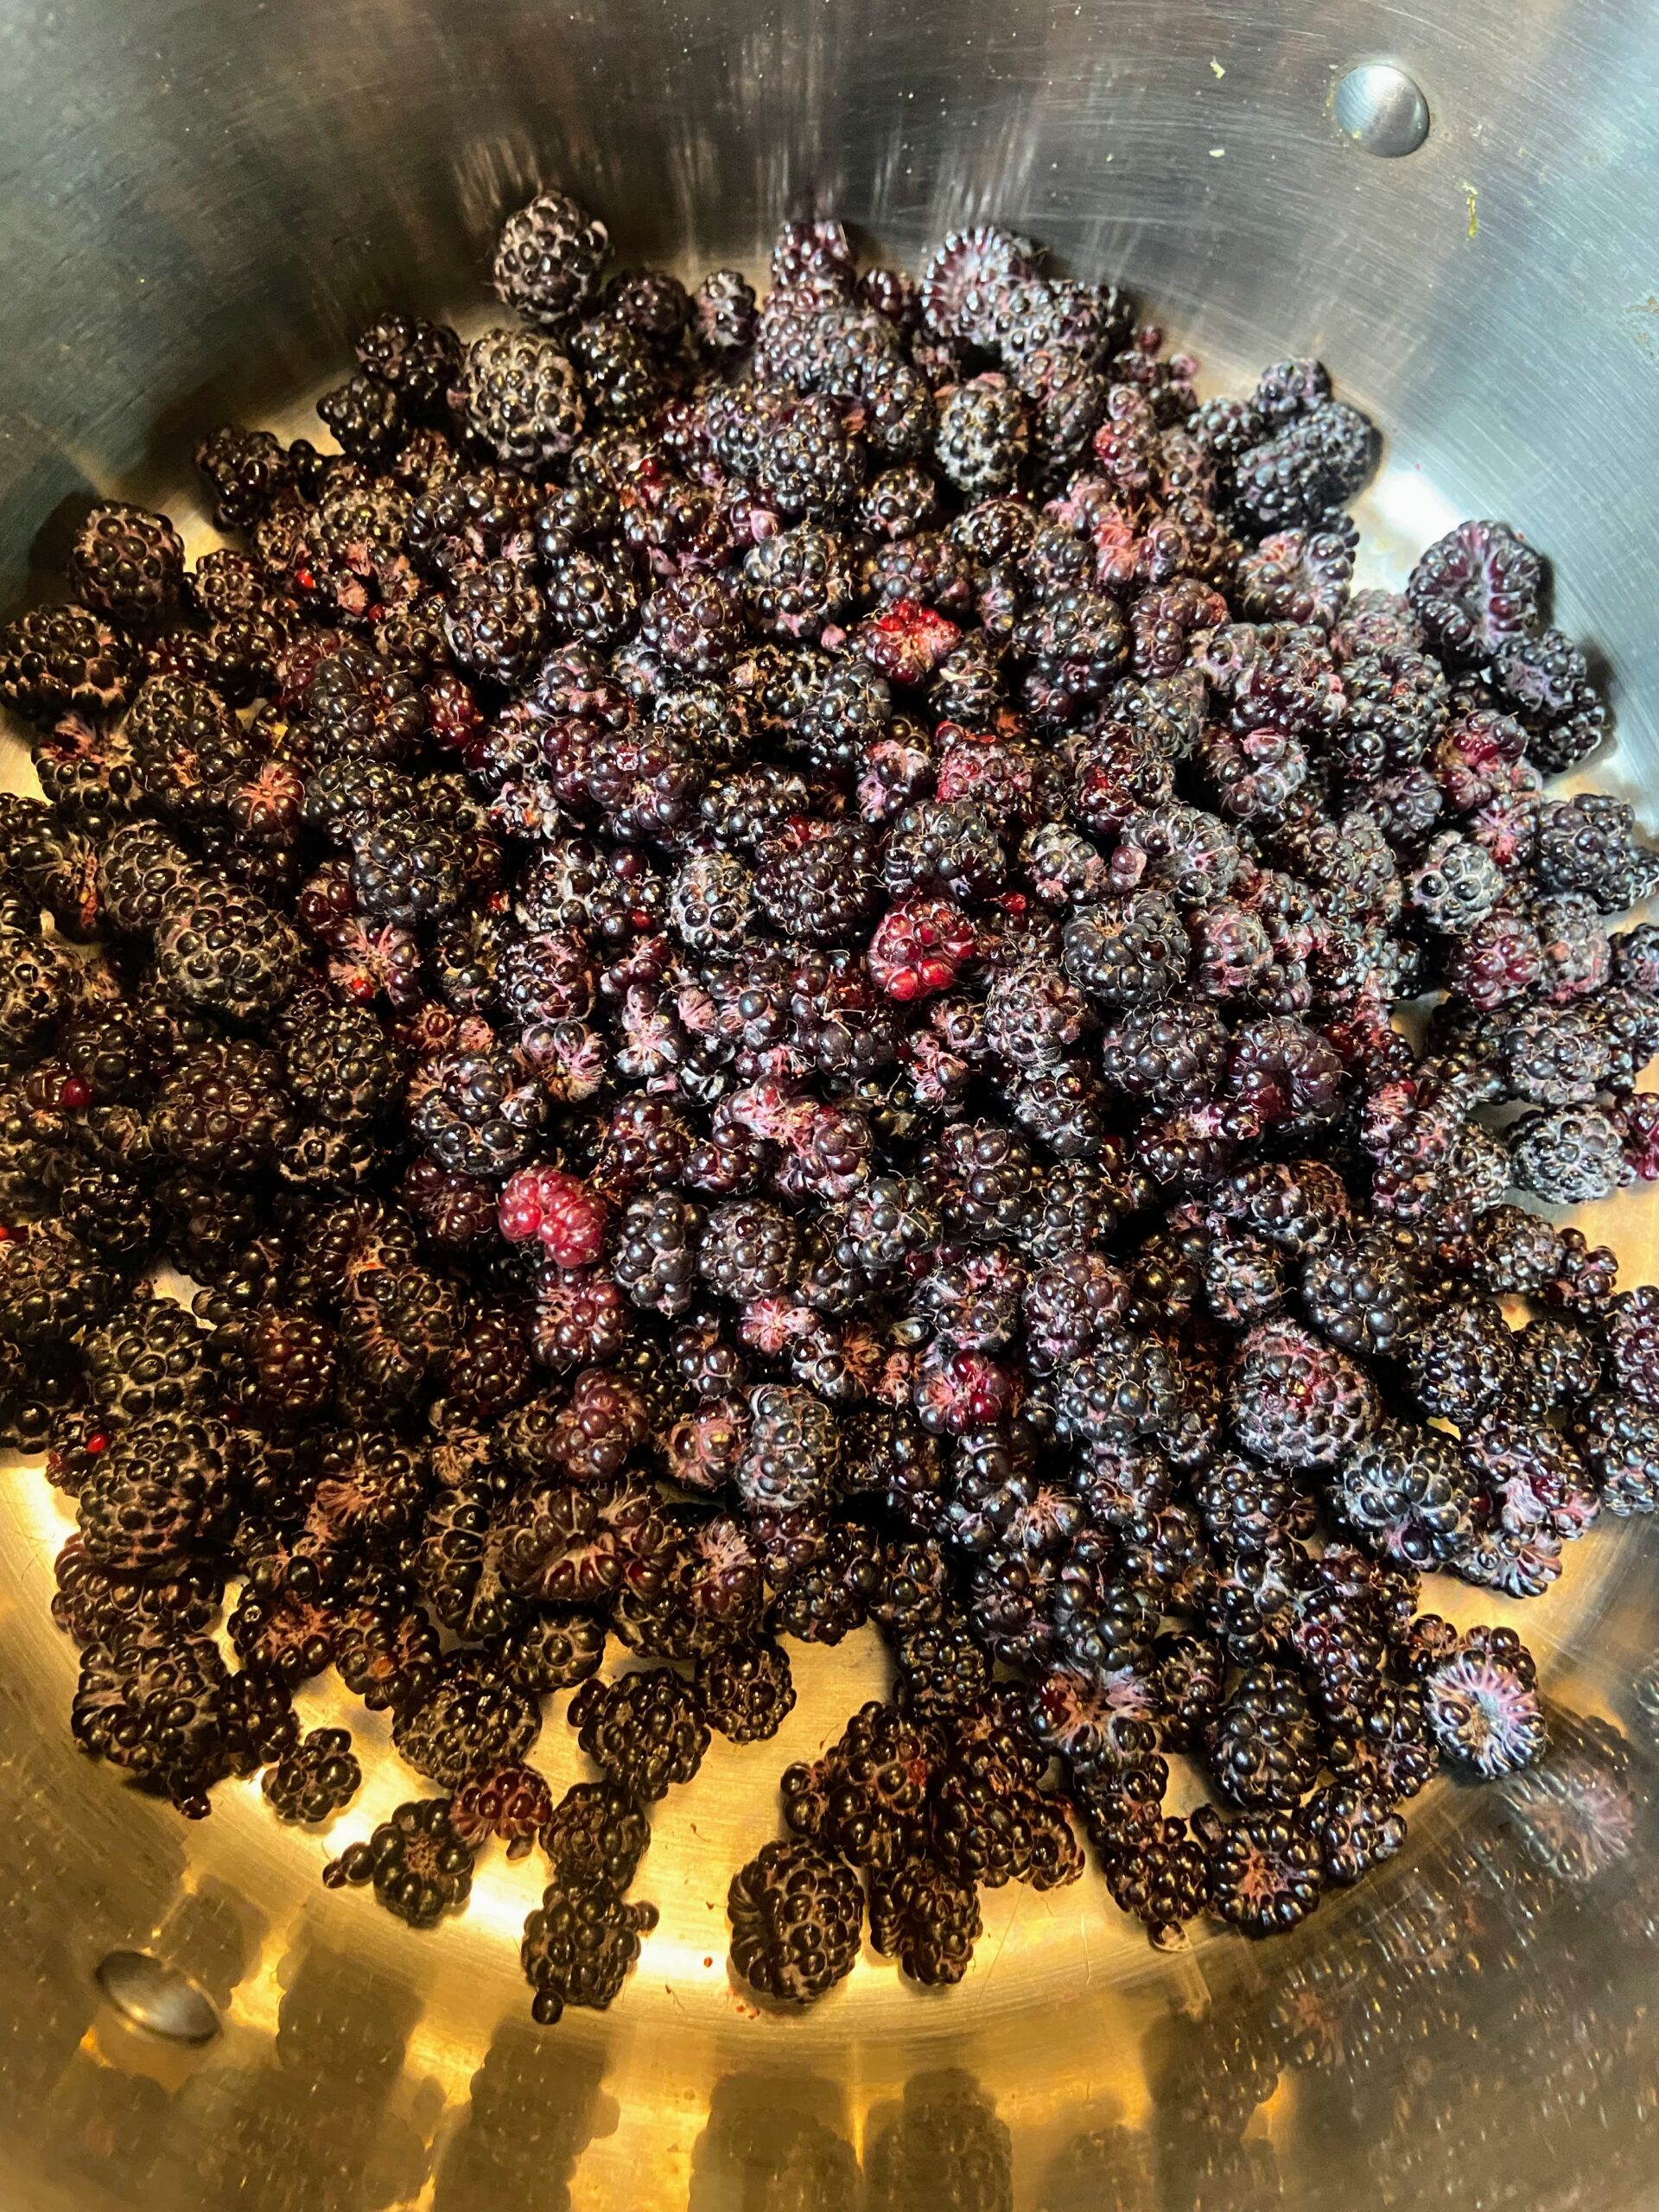
- 5 cups black raspberries
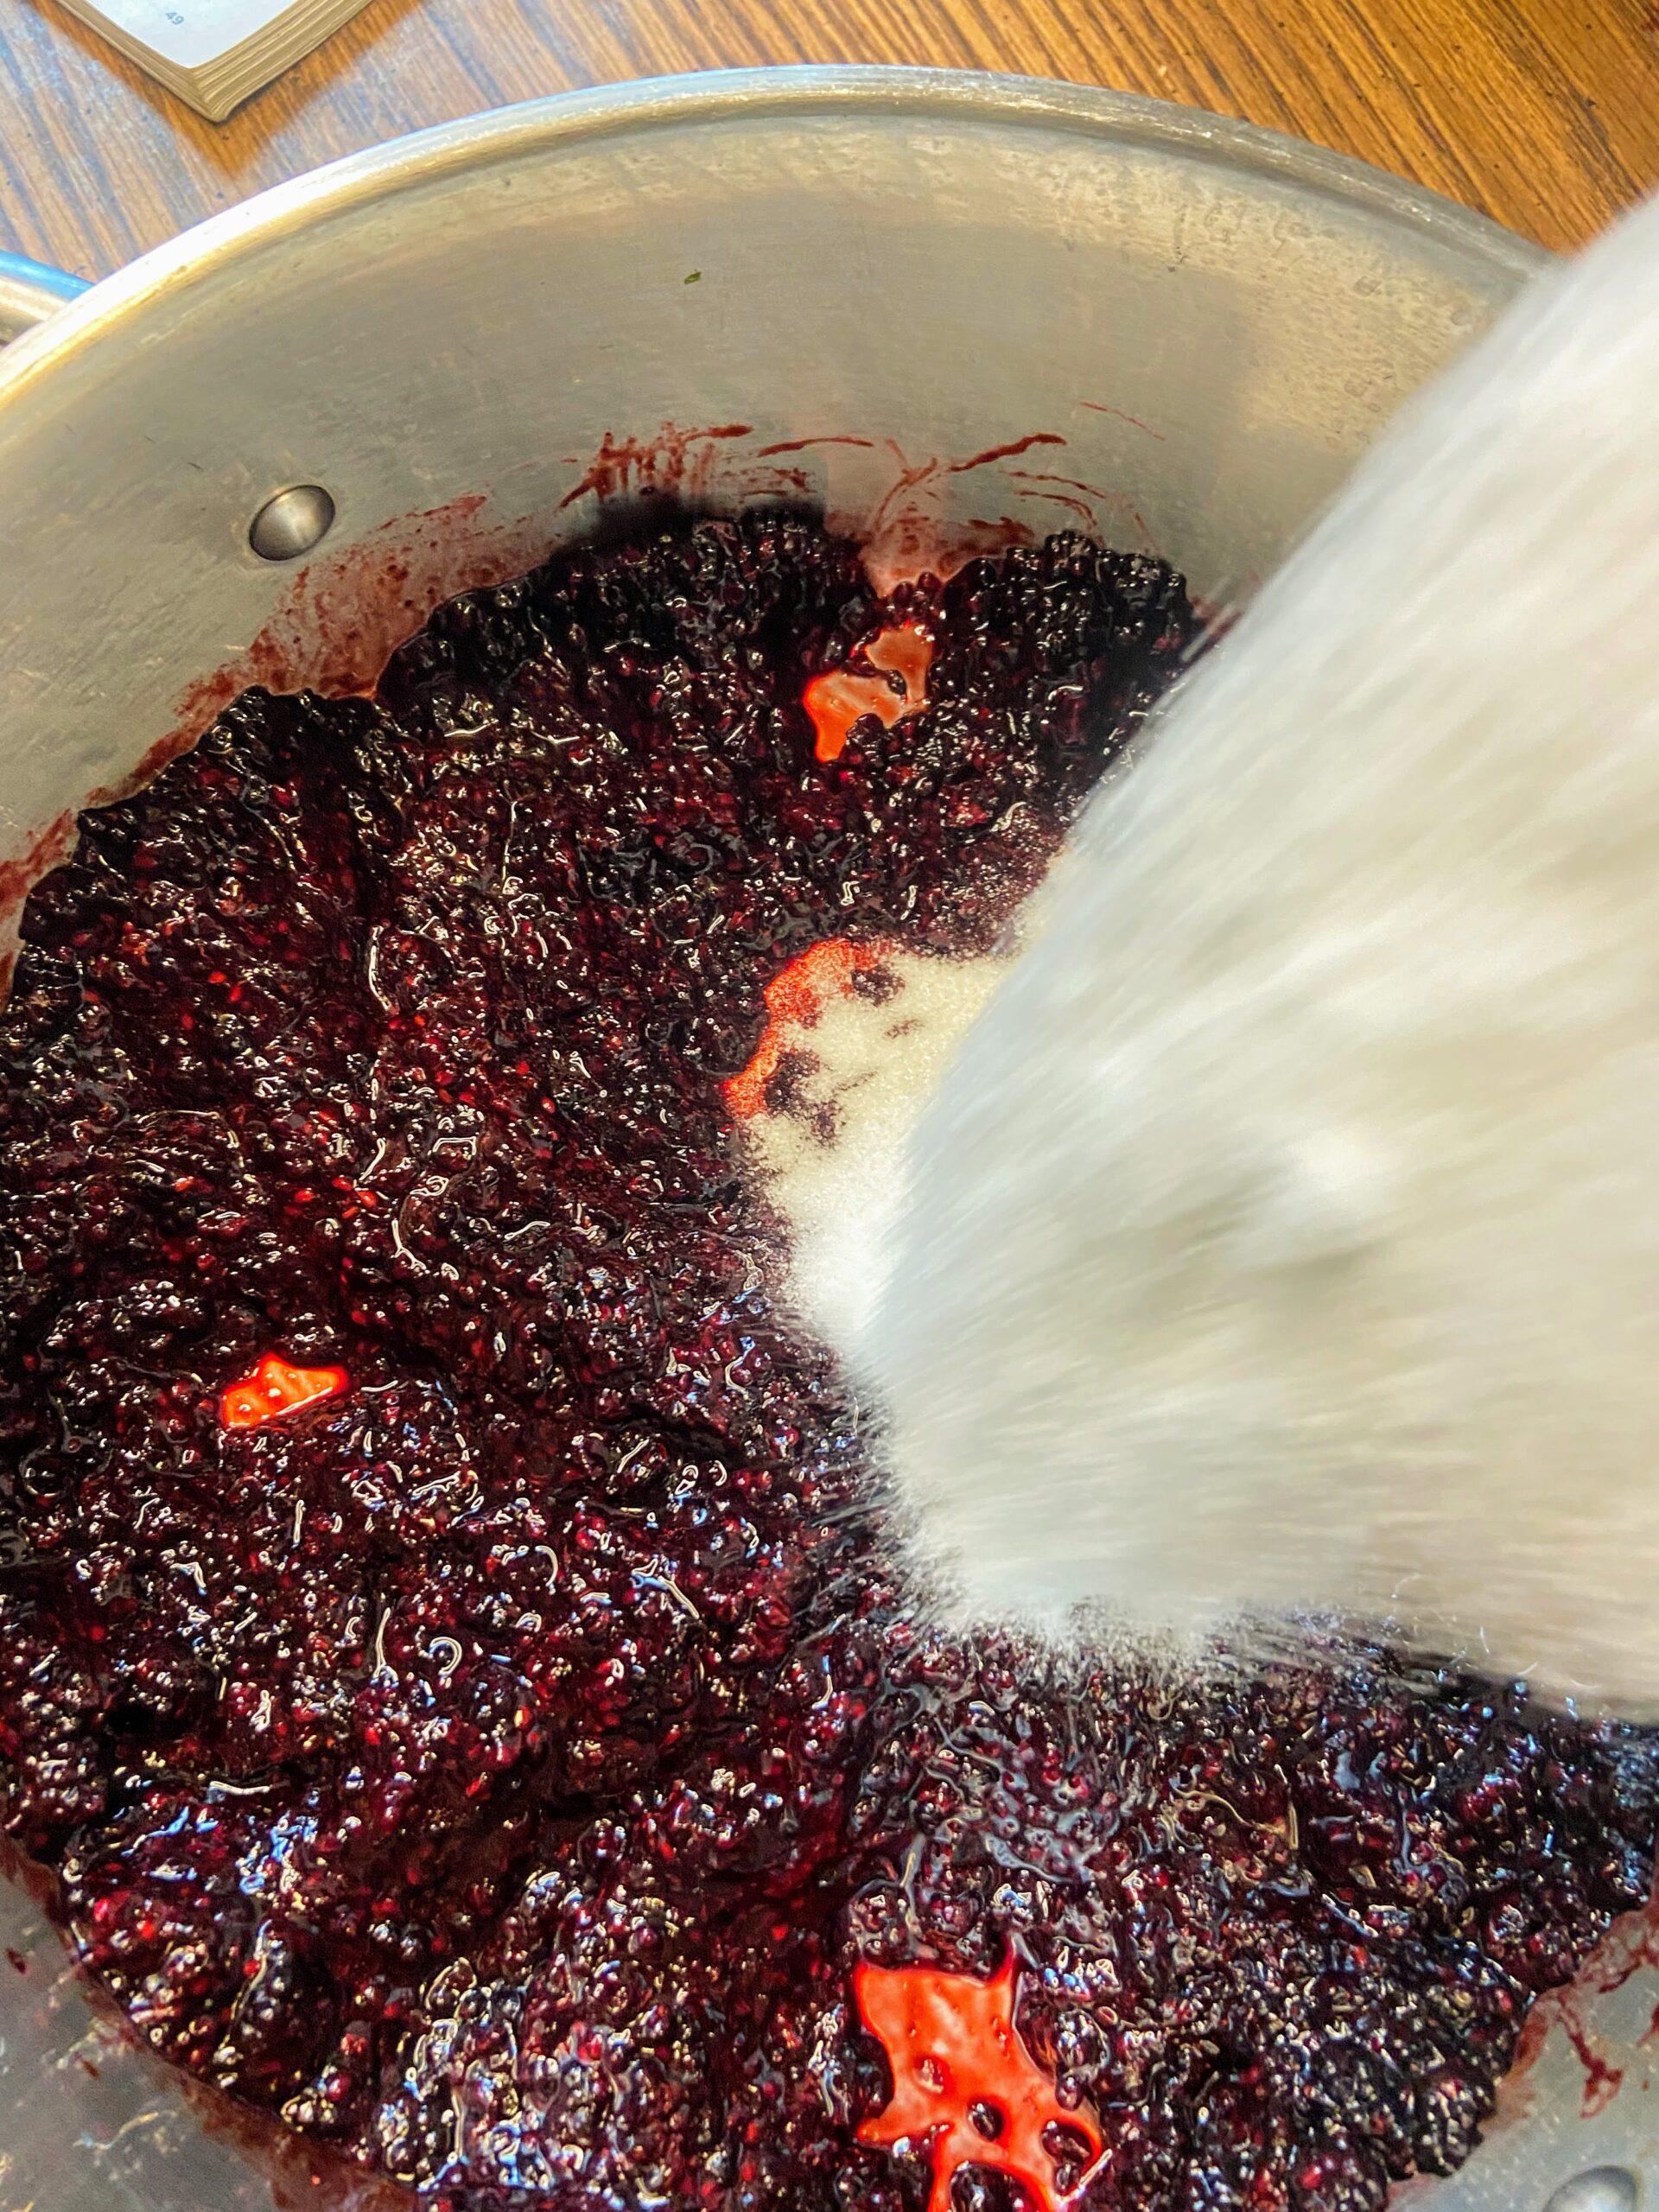
- 3 cups sugar
(Yes, that’s it! No, you can’t swap out the sugar for a different sweetener. Canning is finicky like that)
The Prep Work
Fill the canning kettle with enough water that the jars will be covered by at least 2 inches of water. More is better in this case so overestimate. Begin to heat over high heat. Place the canning rack so that it is hooked over the side of the canner and put clean jars on it to keep them warm. Note: You don’t have to keep the jars in the rack, although it is helpful to keep them warm. You want the jars warm to prevent breaking when they are being filled.
Set the clean rings aside. I like to simmer my lids on low low heat in a small saucepan. Not necessary, but I like to think it helps them seal better.
If you have not already done so, measure out the sugar and the berries.

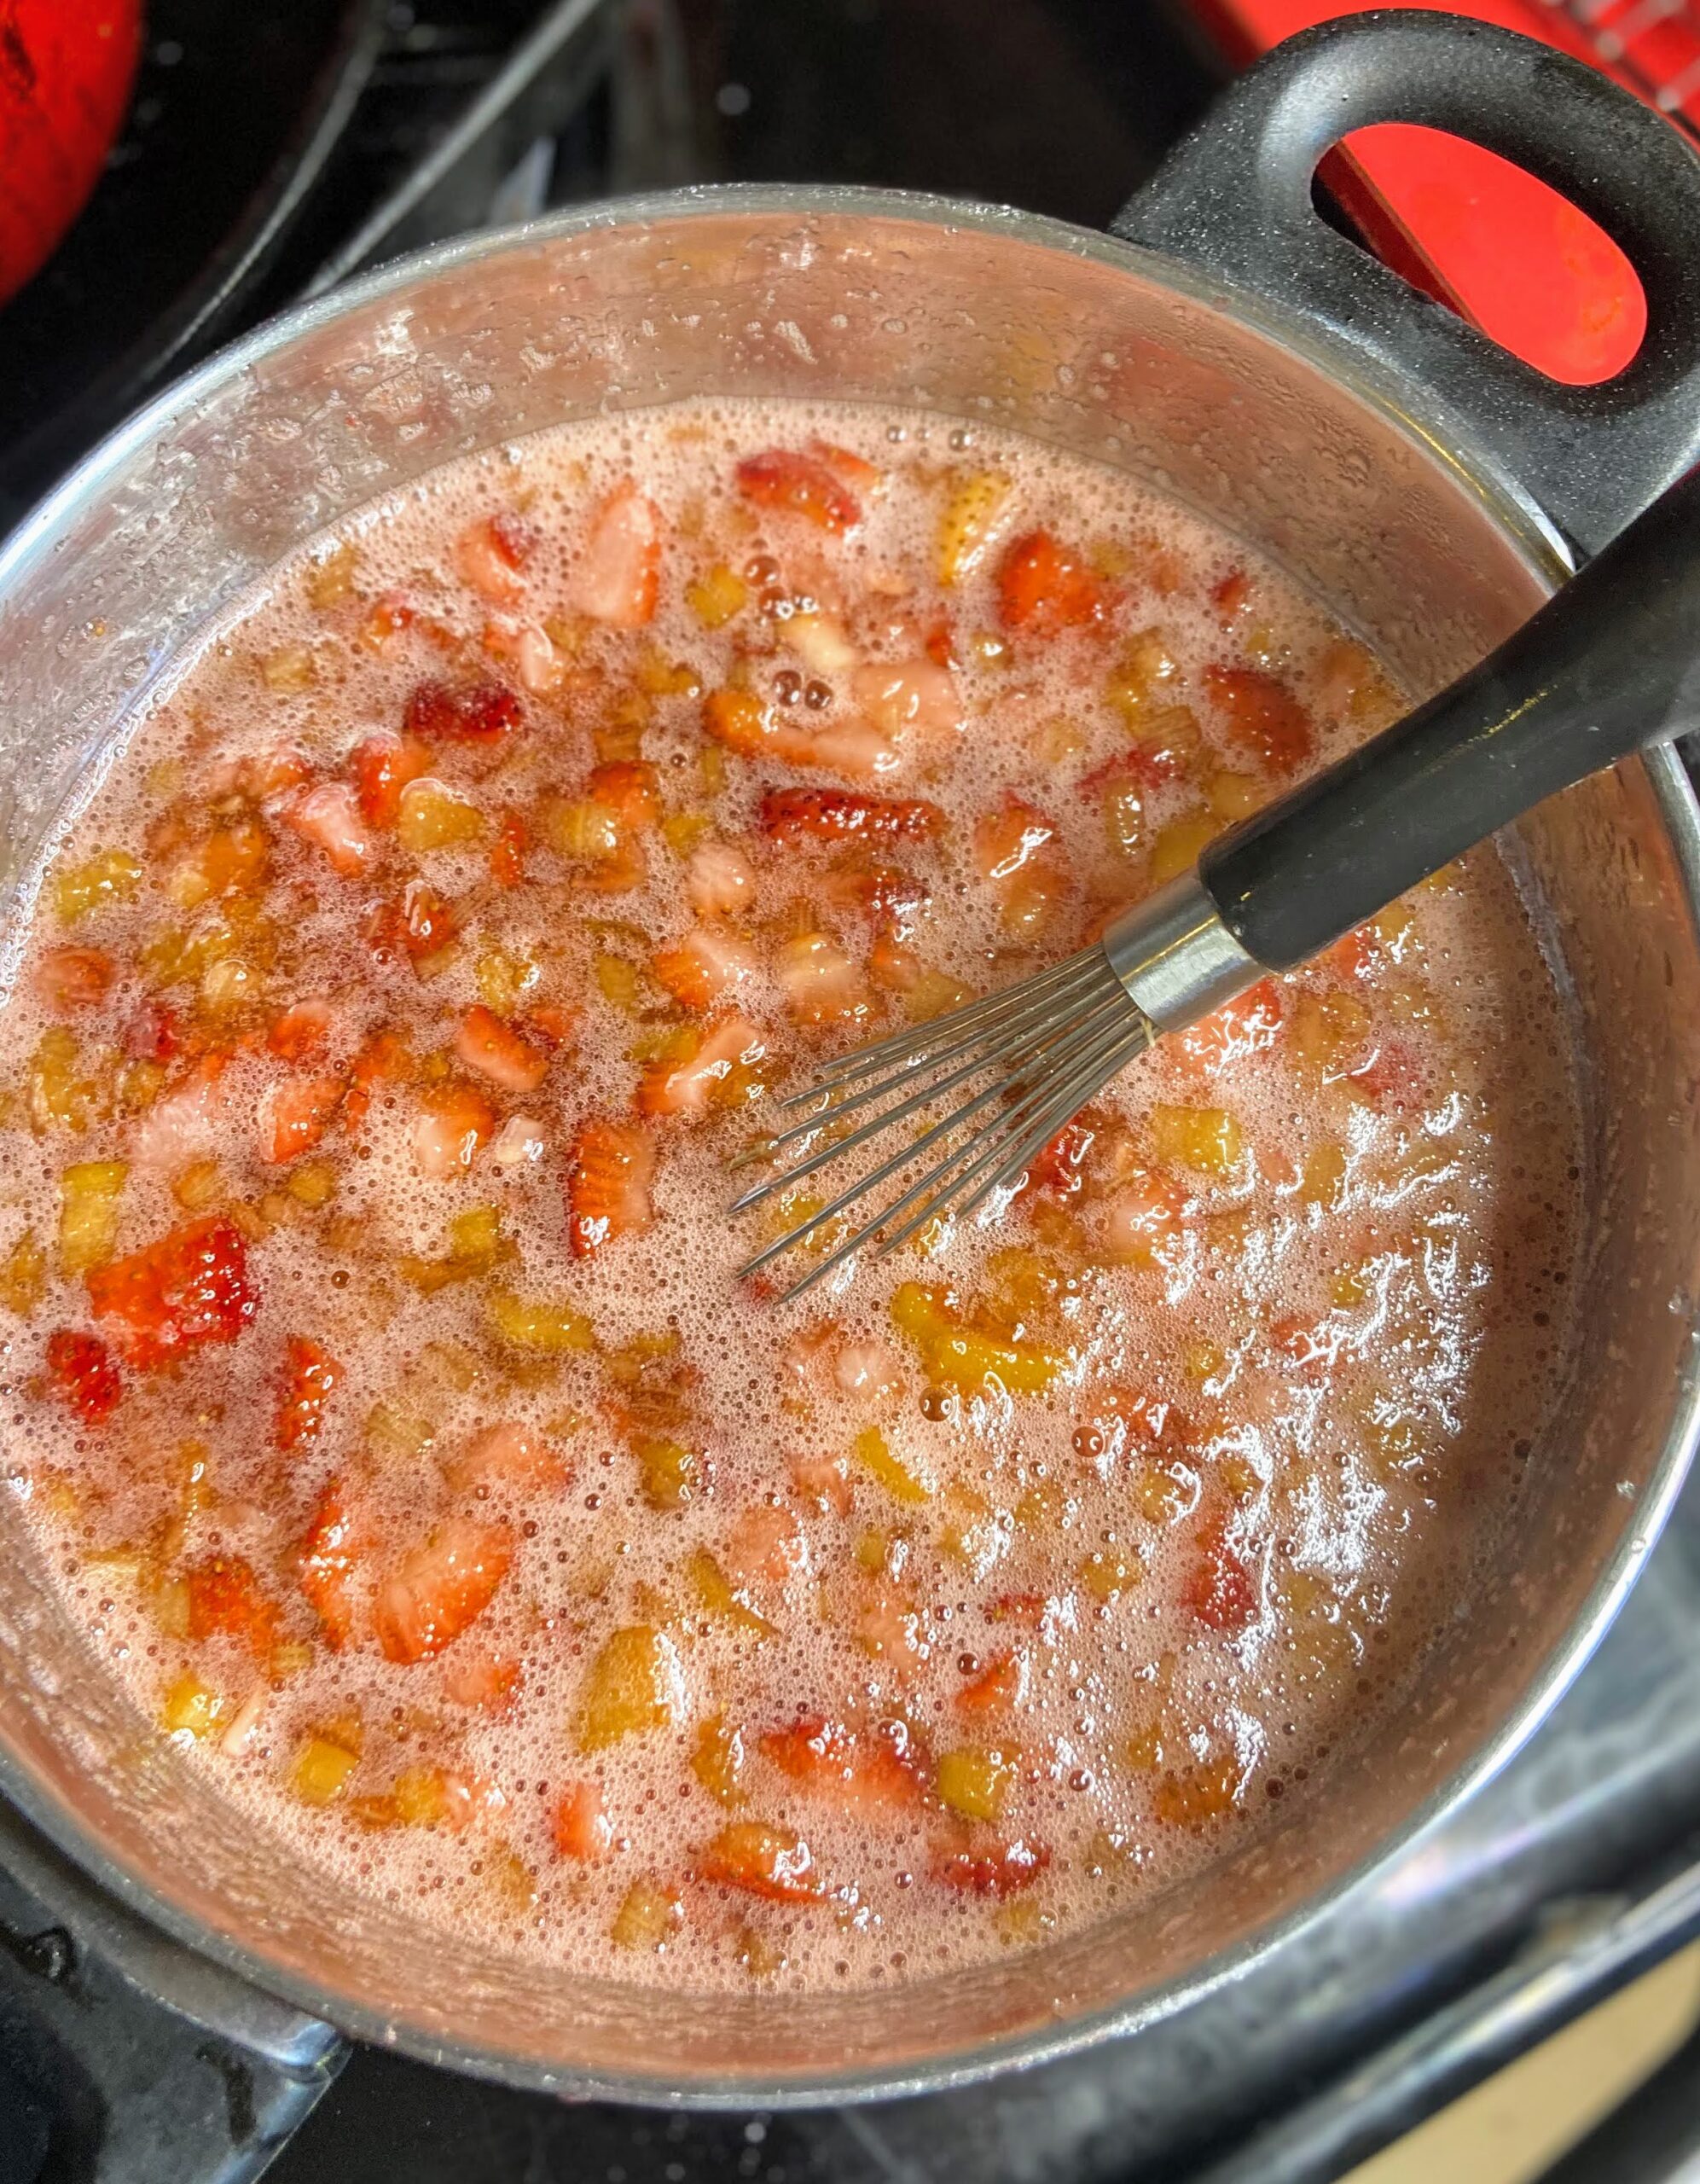
The black raspberry Jam Making
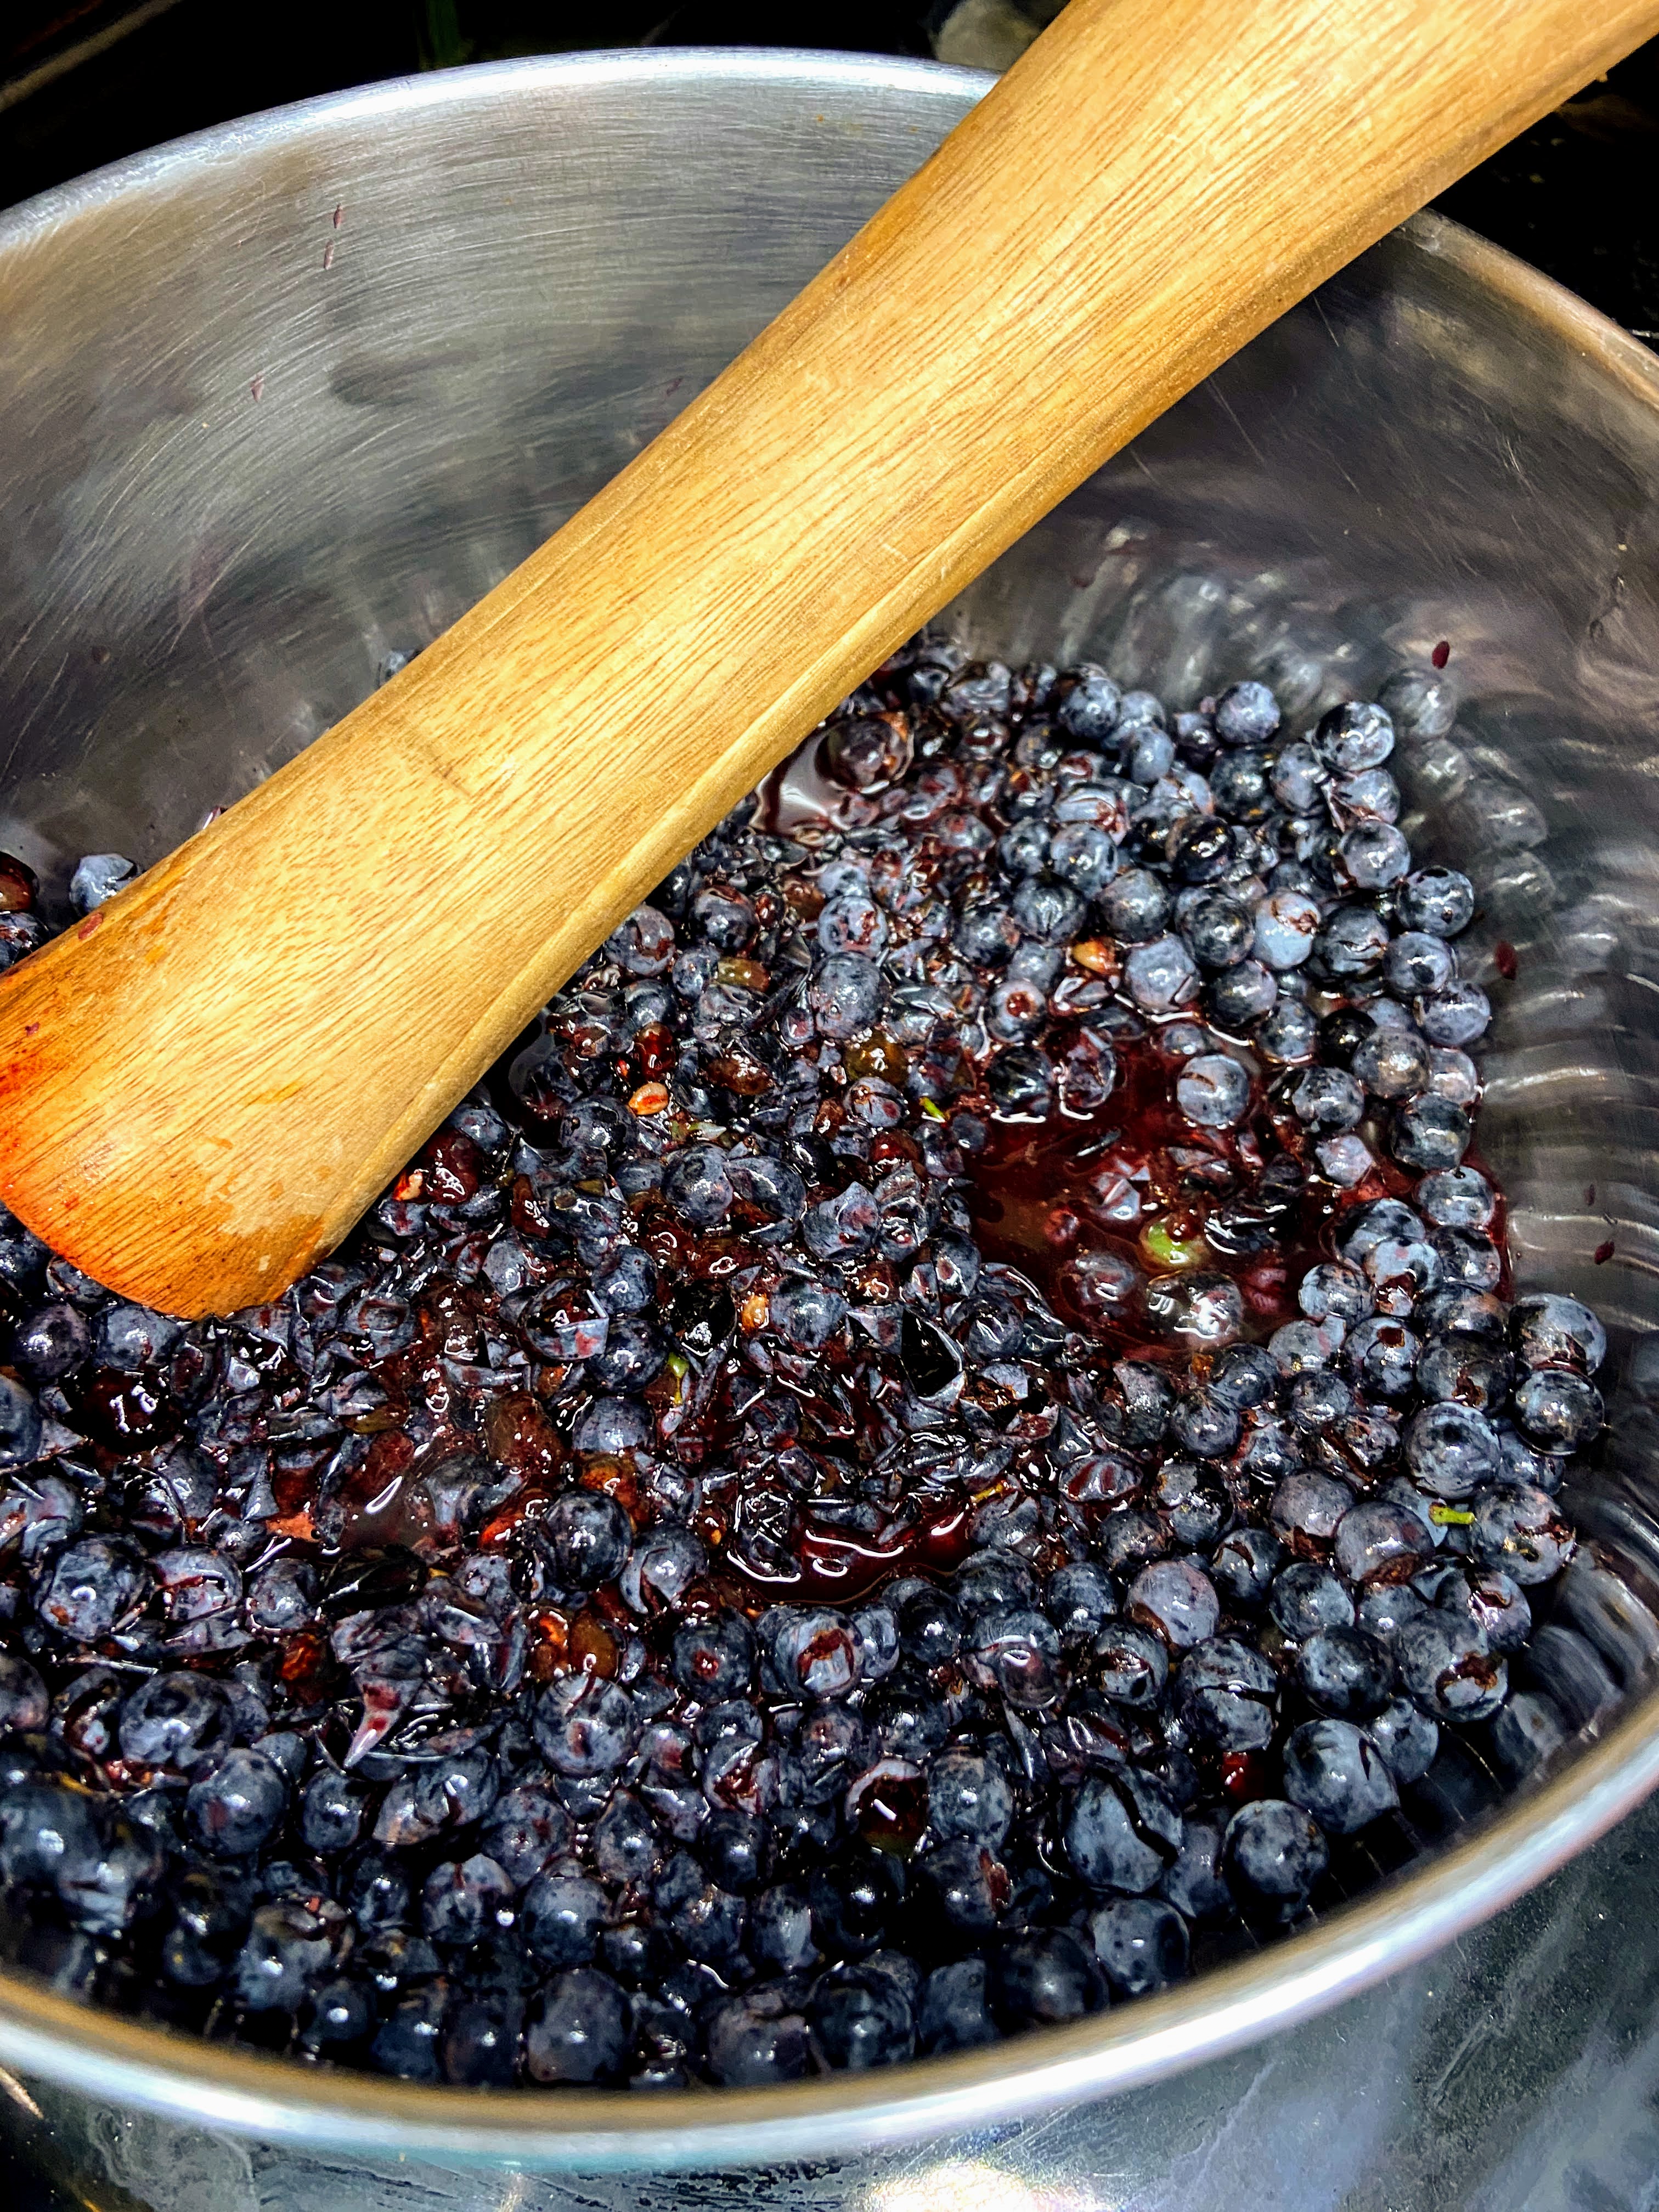
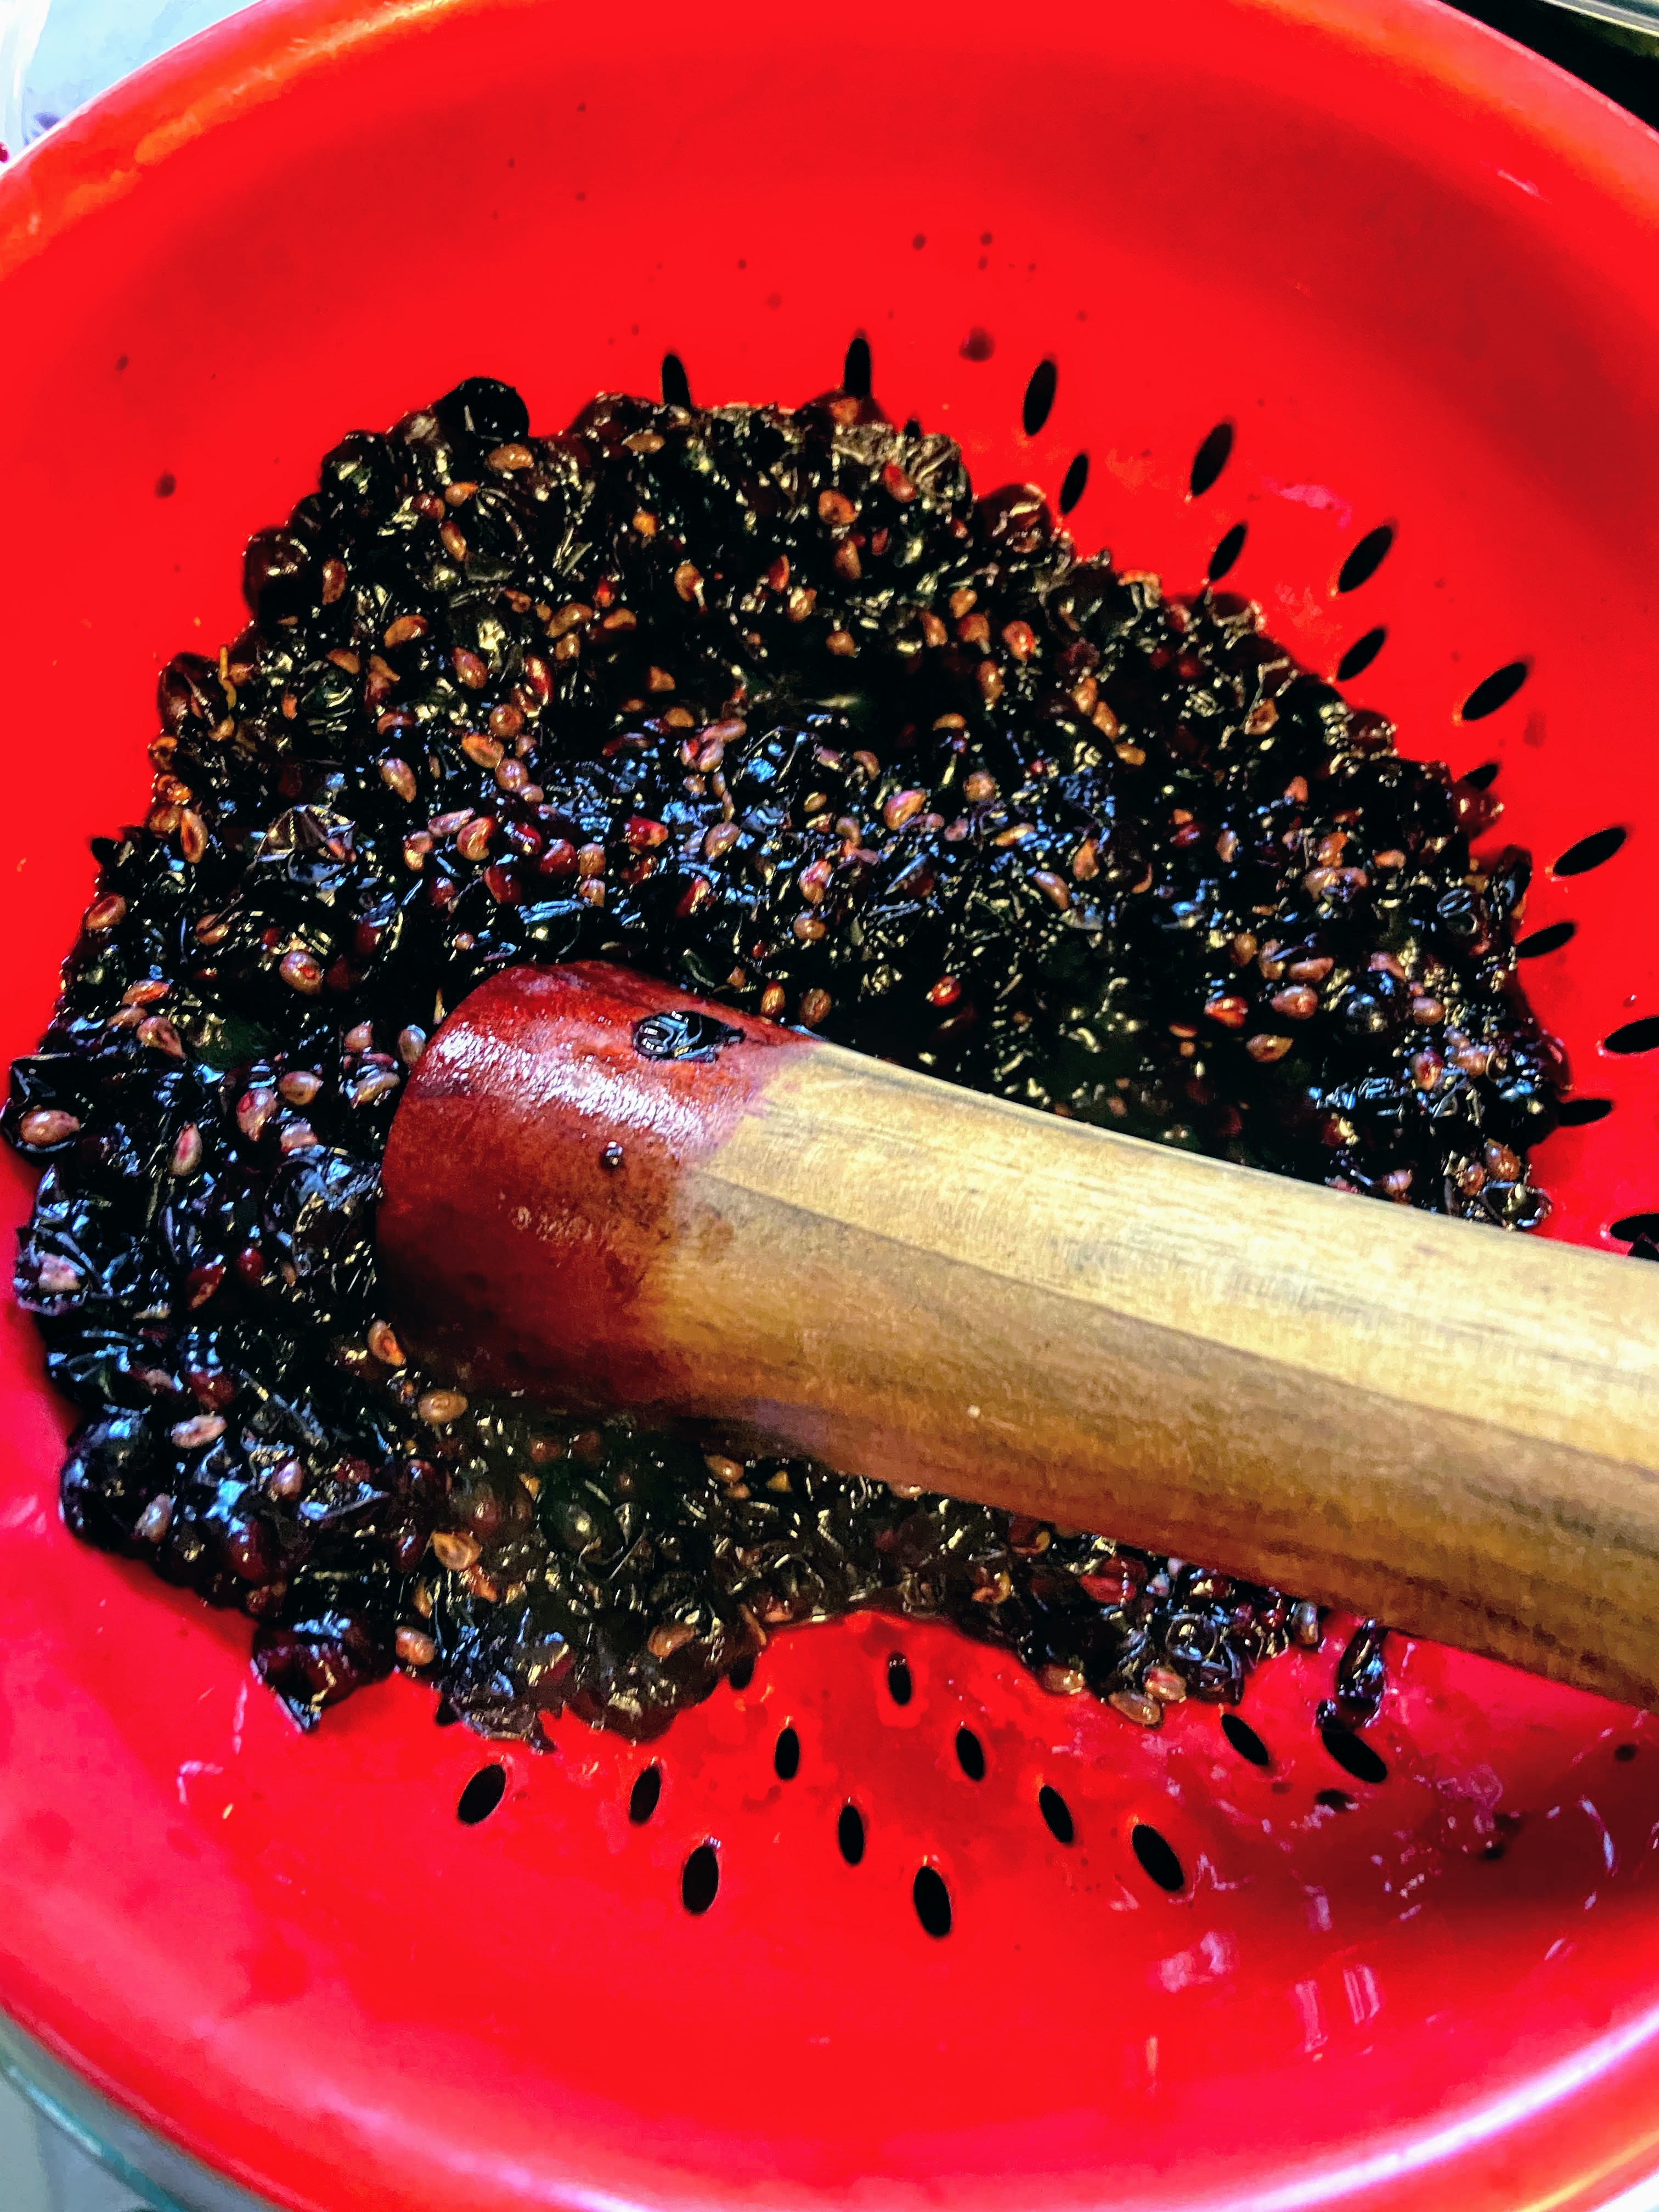
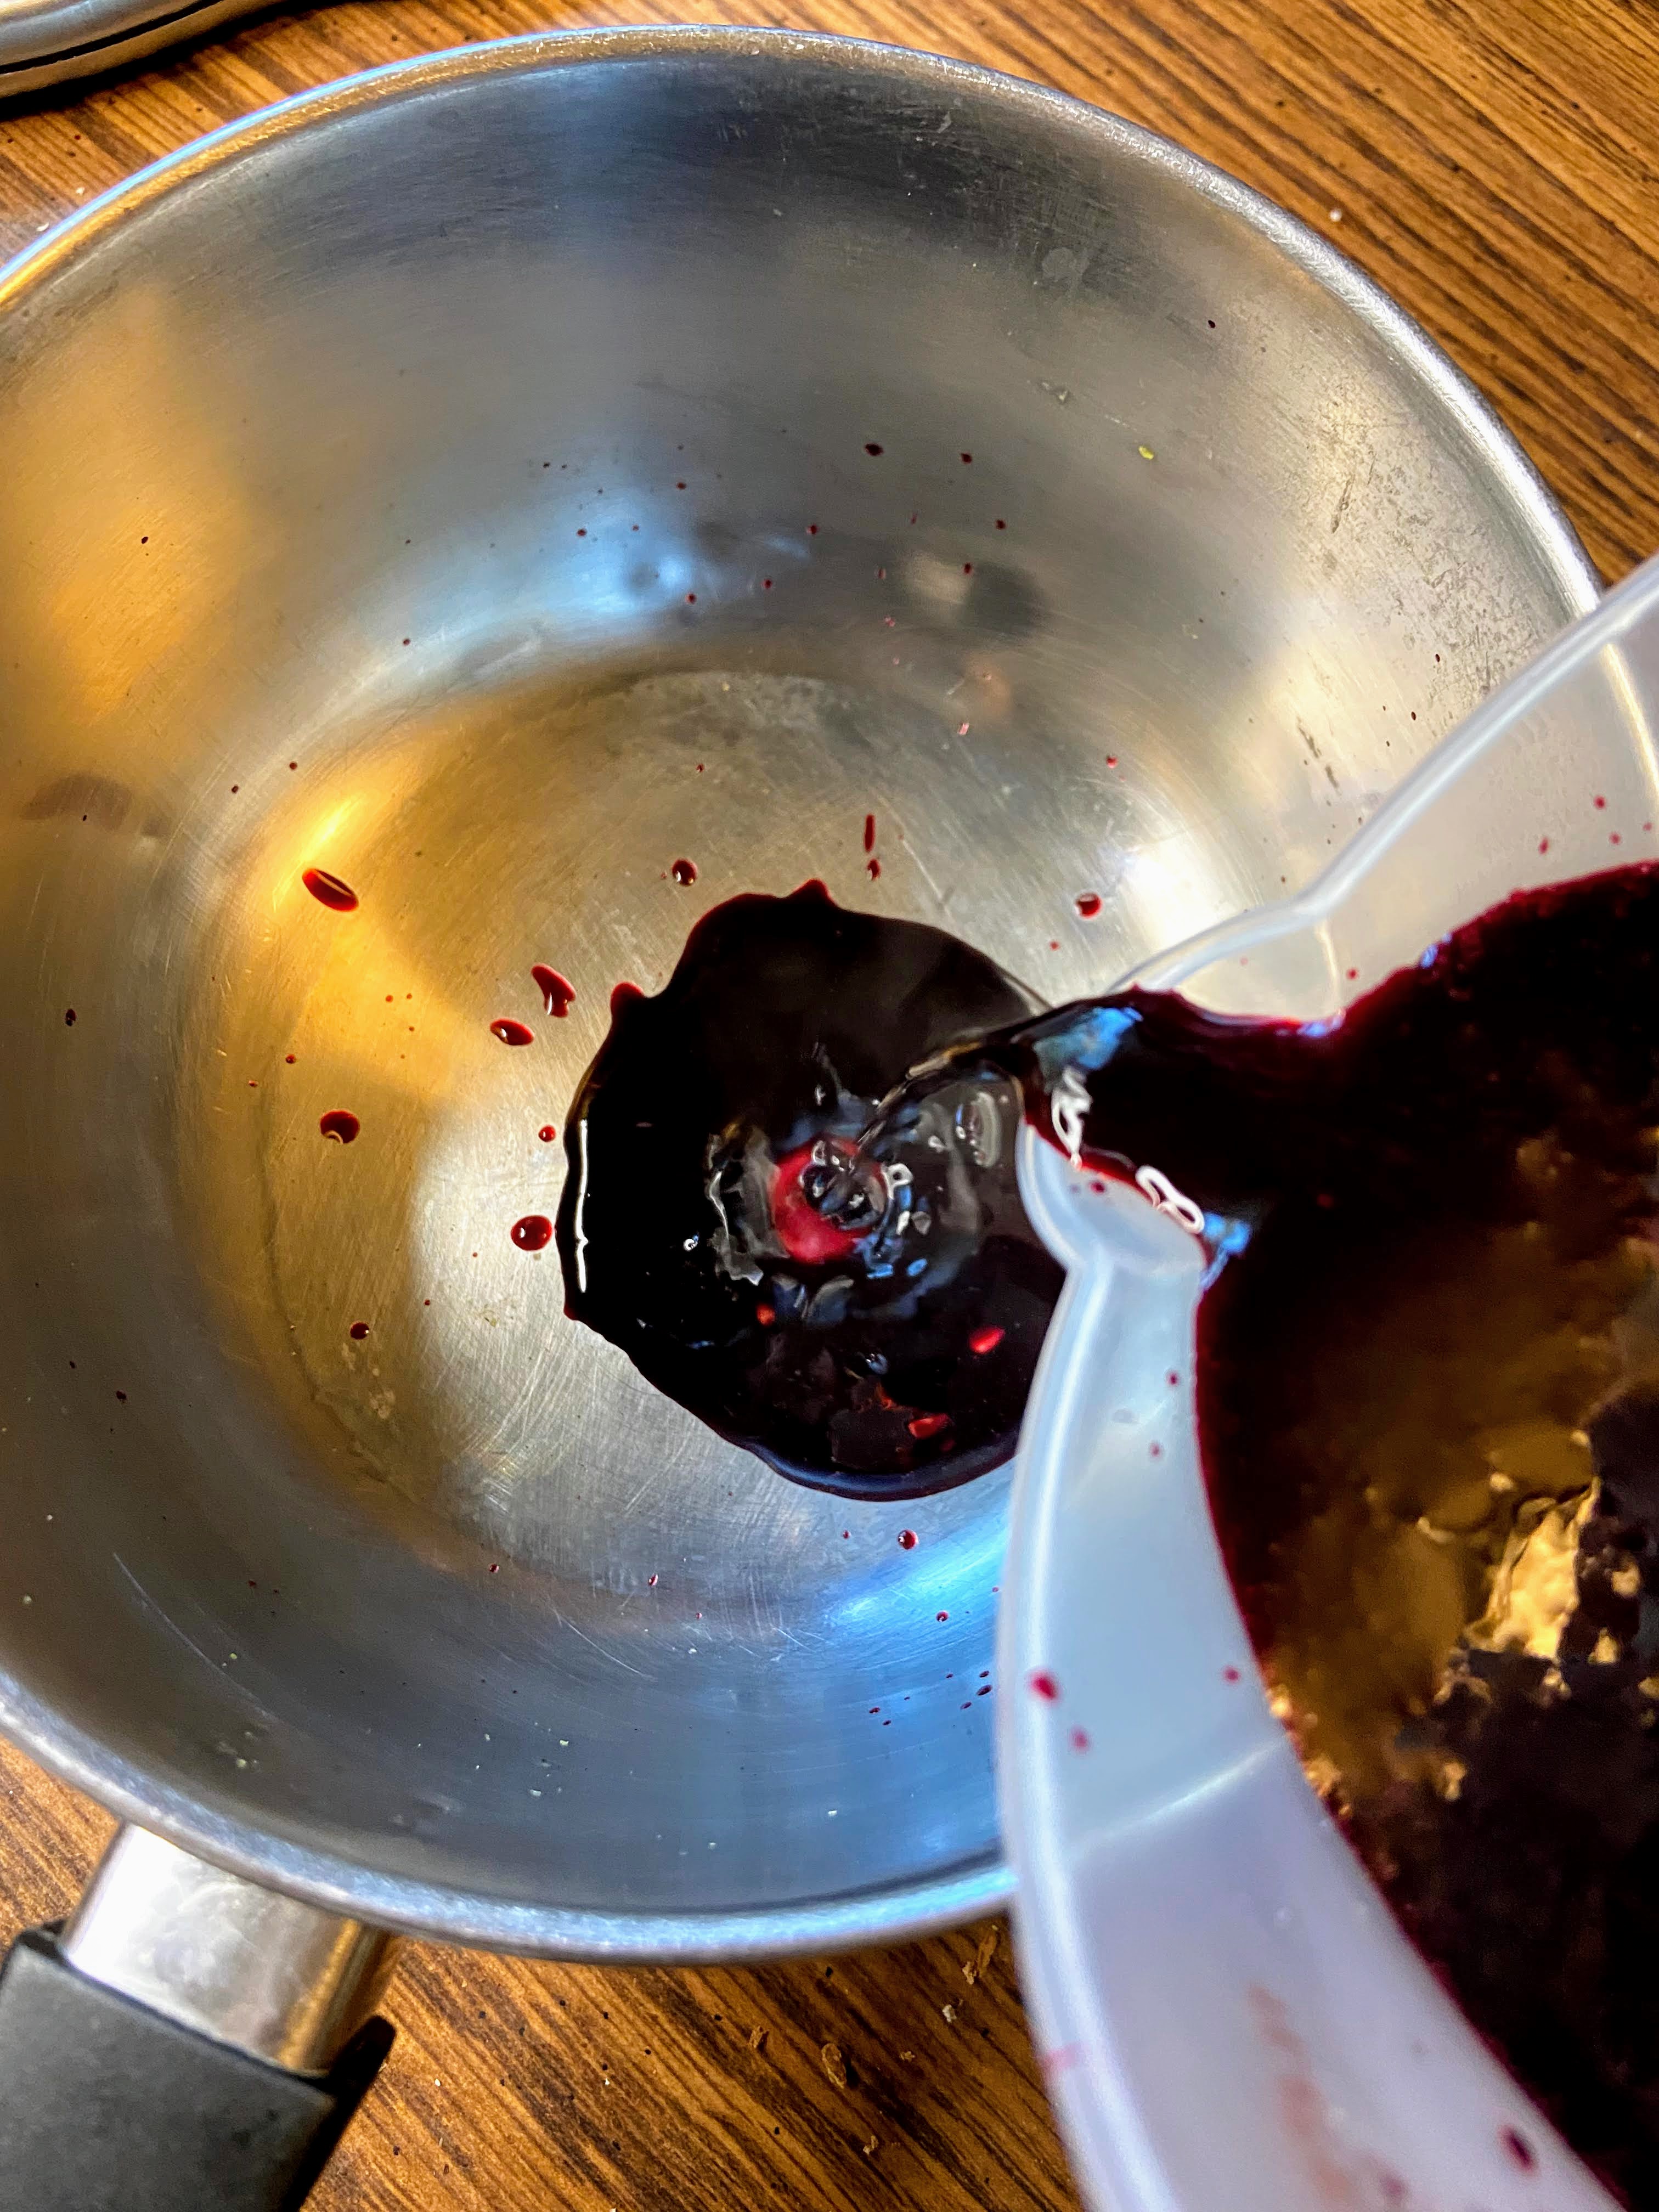
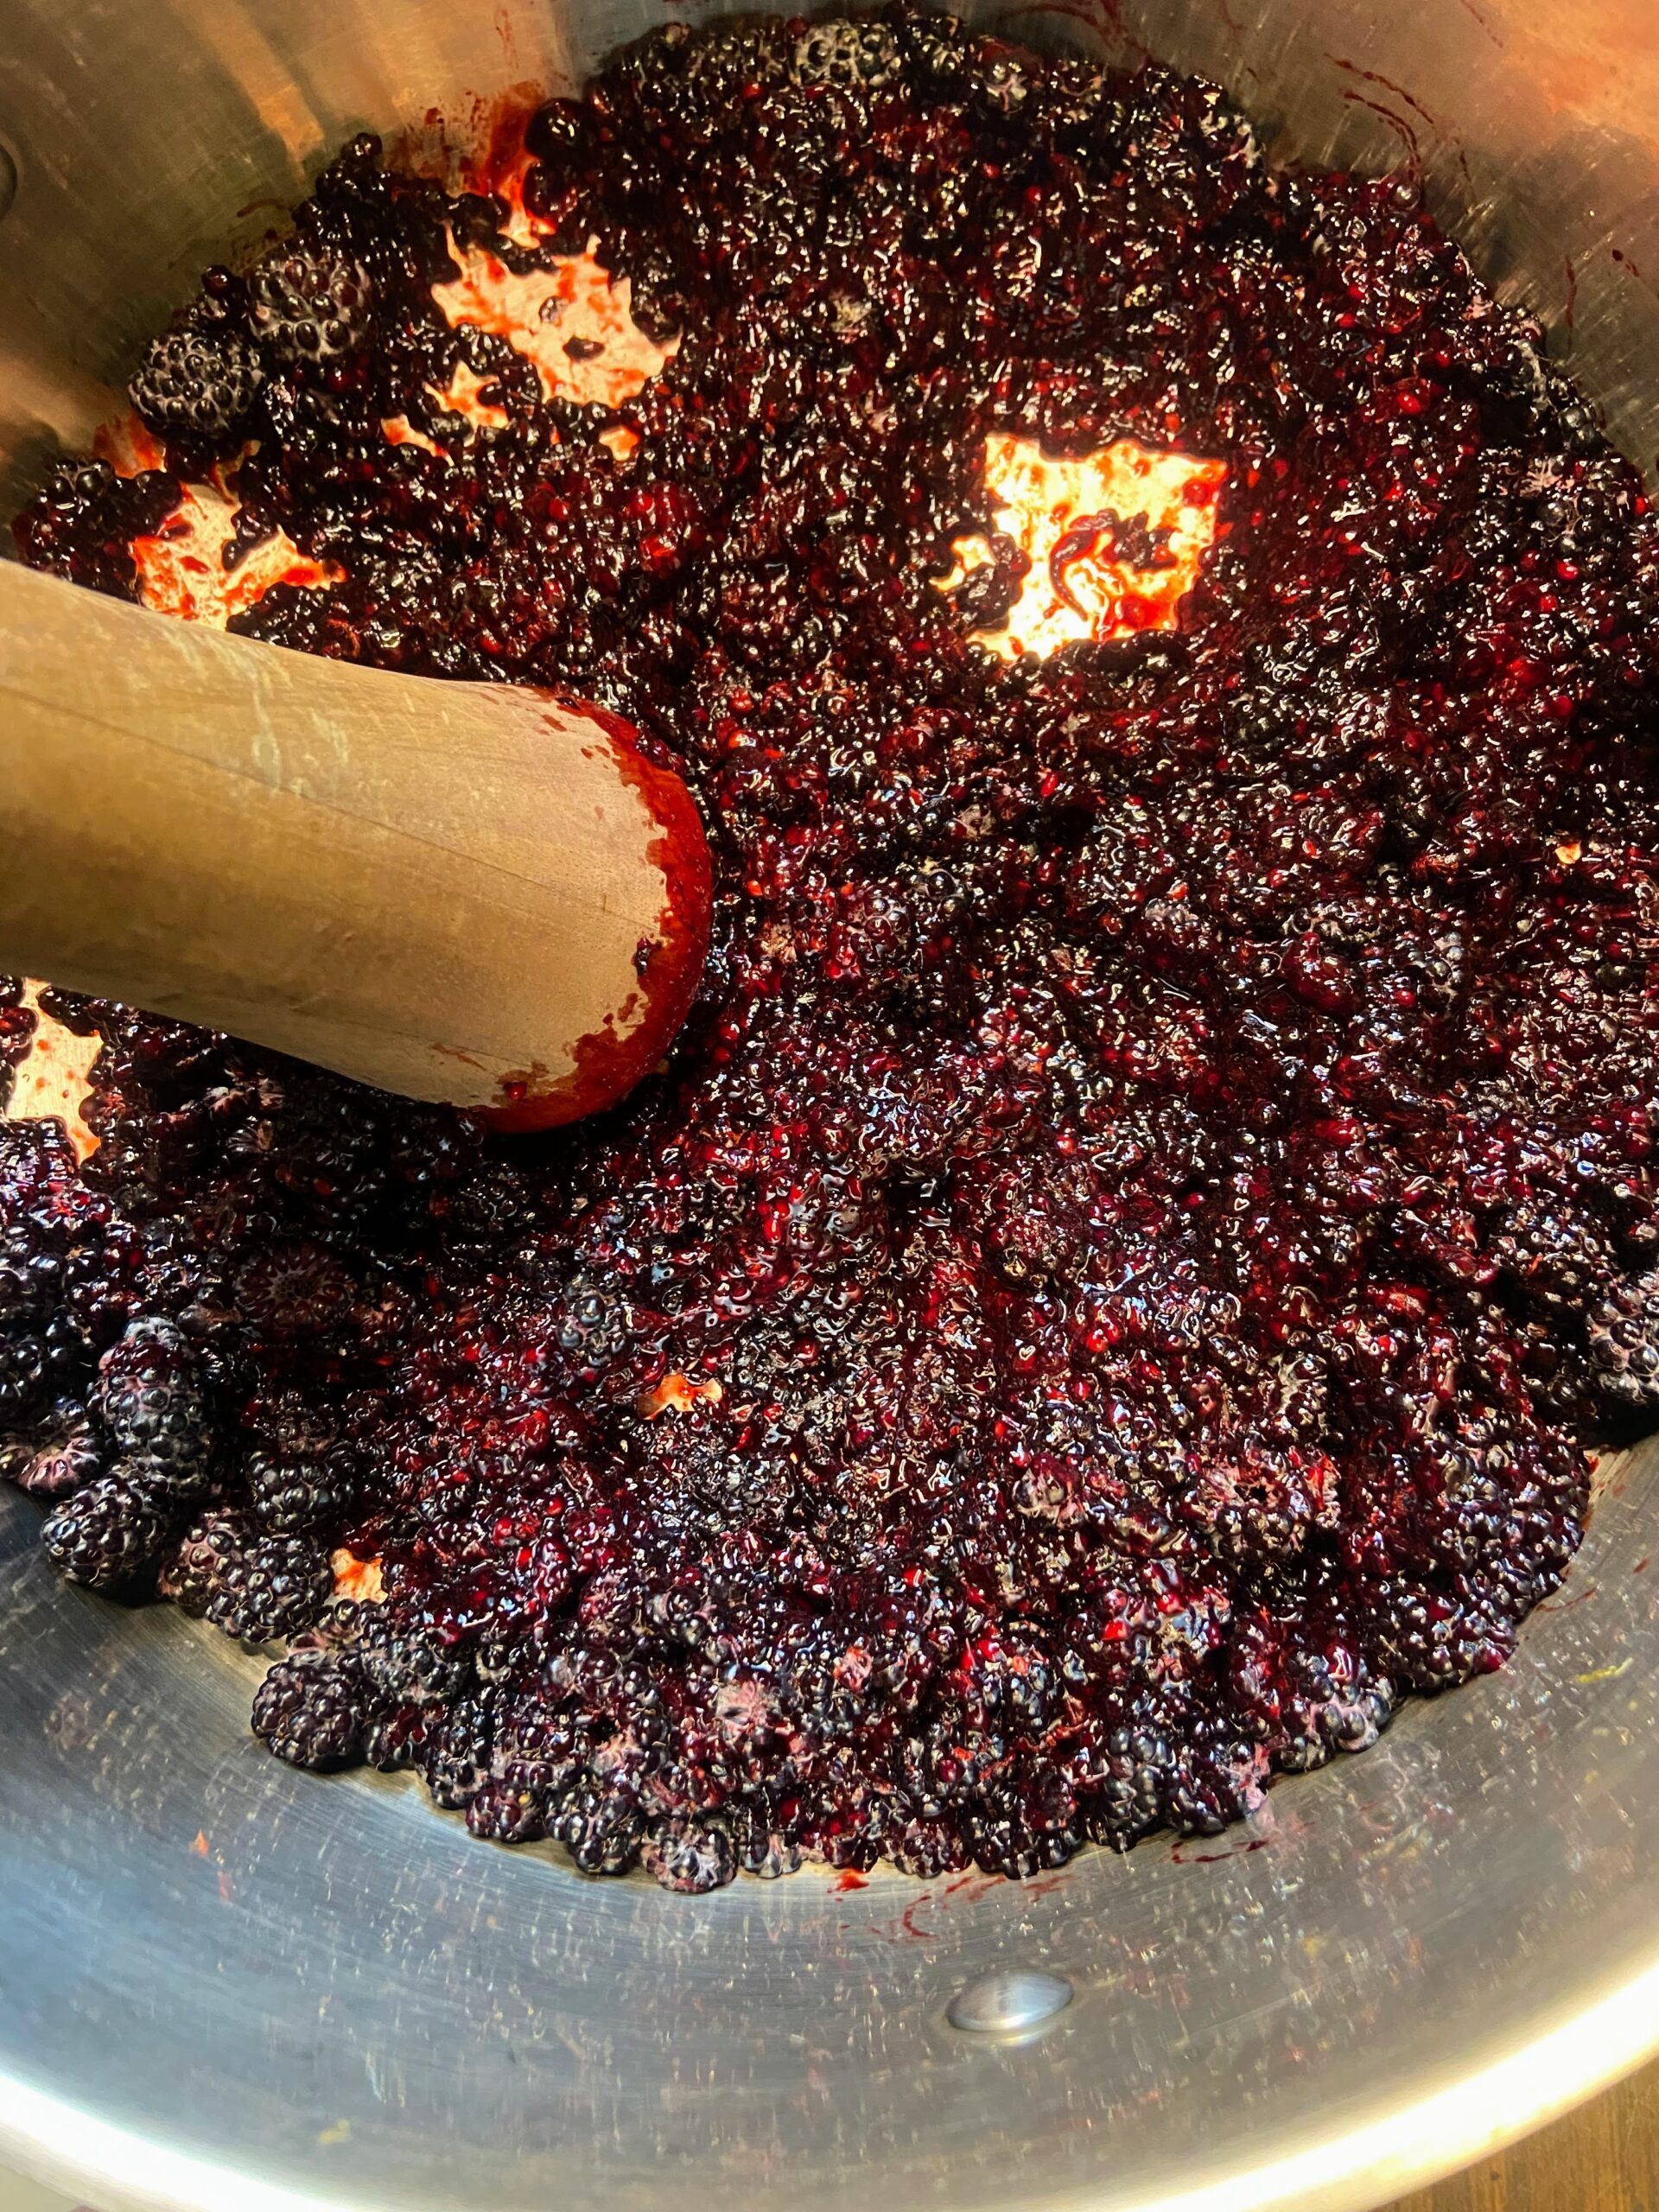
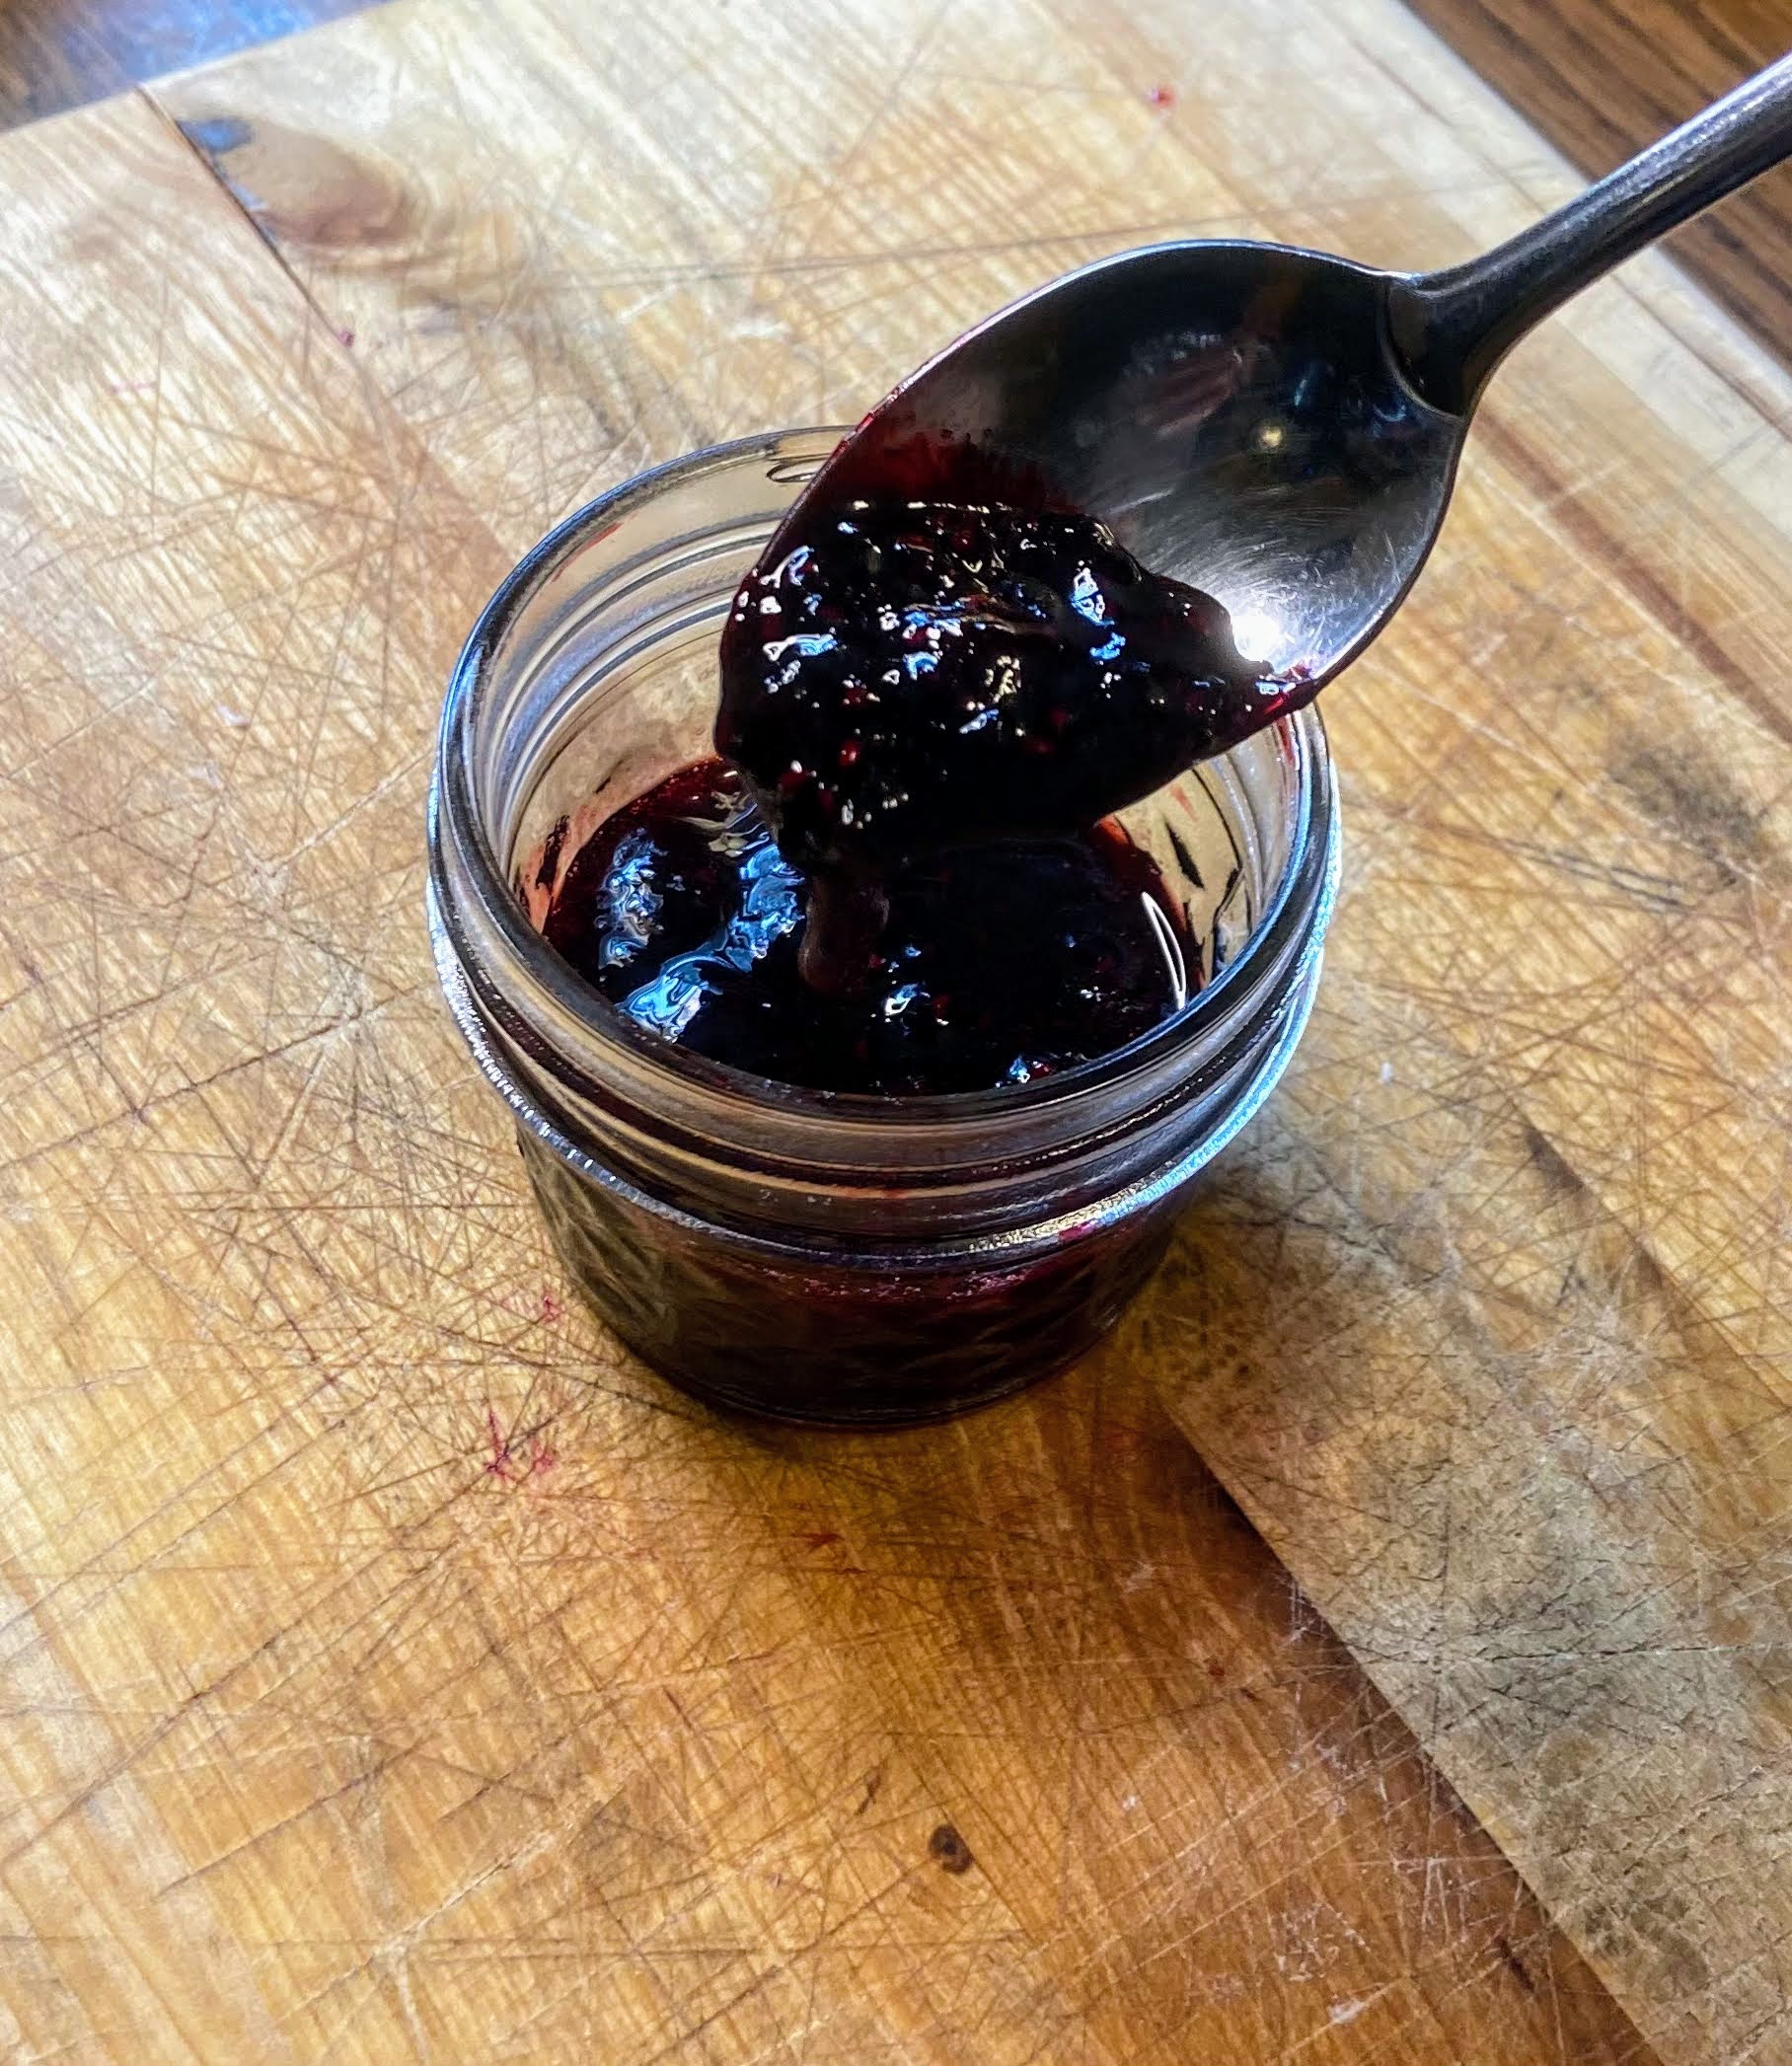
In a large, preferably shallow kettle, smash the black raspberries with a potato masher. Stir in the sugar. Begin to heat over medium-high heat, stirring often. I like to smash the berries more as they are cooking down.
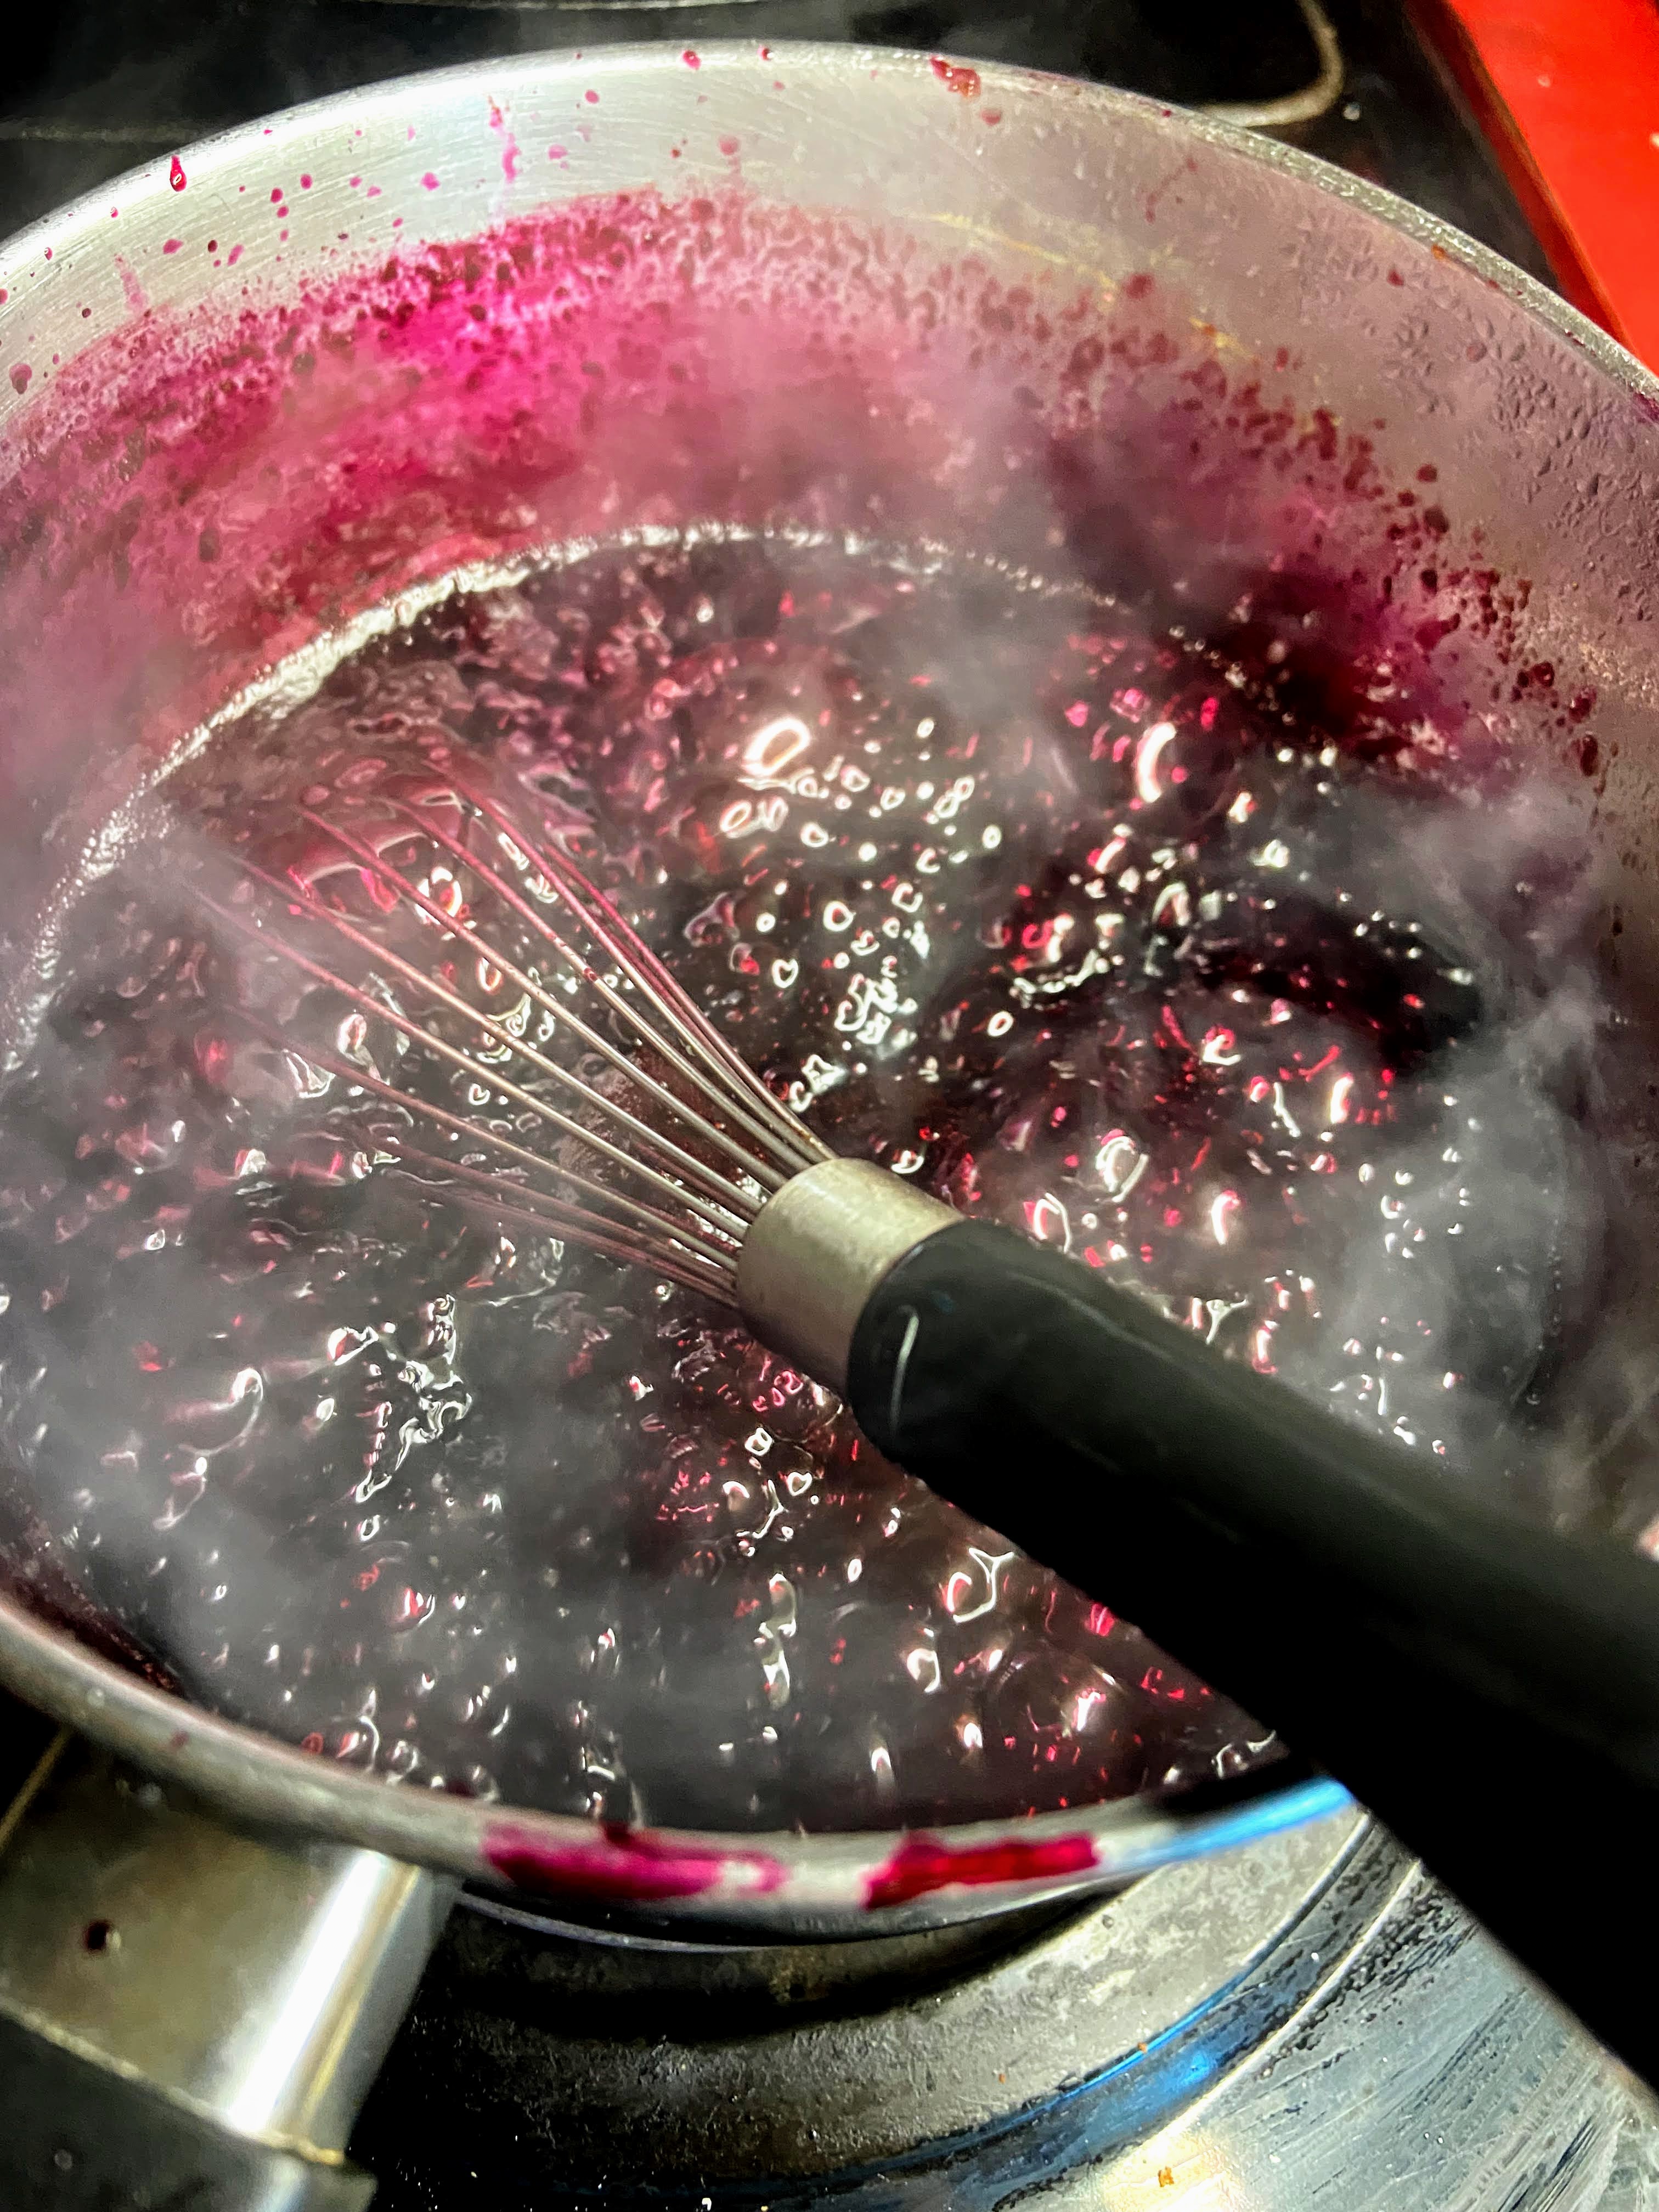
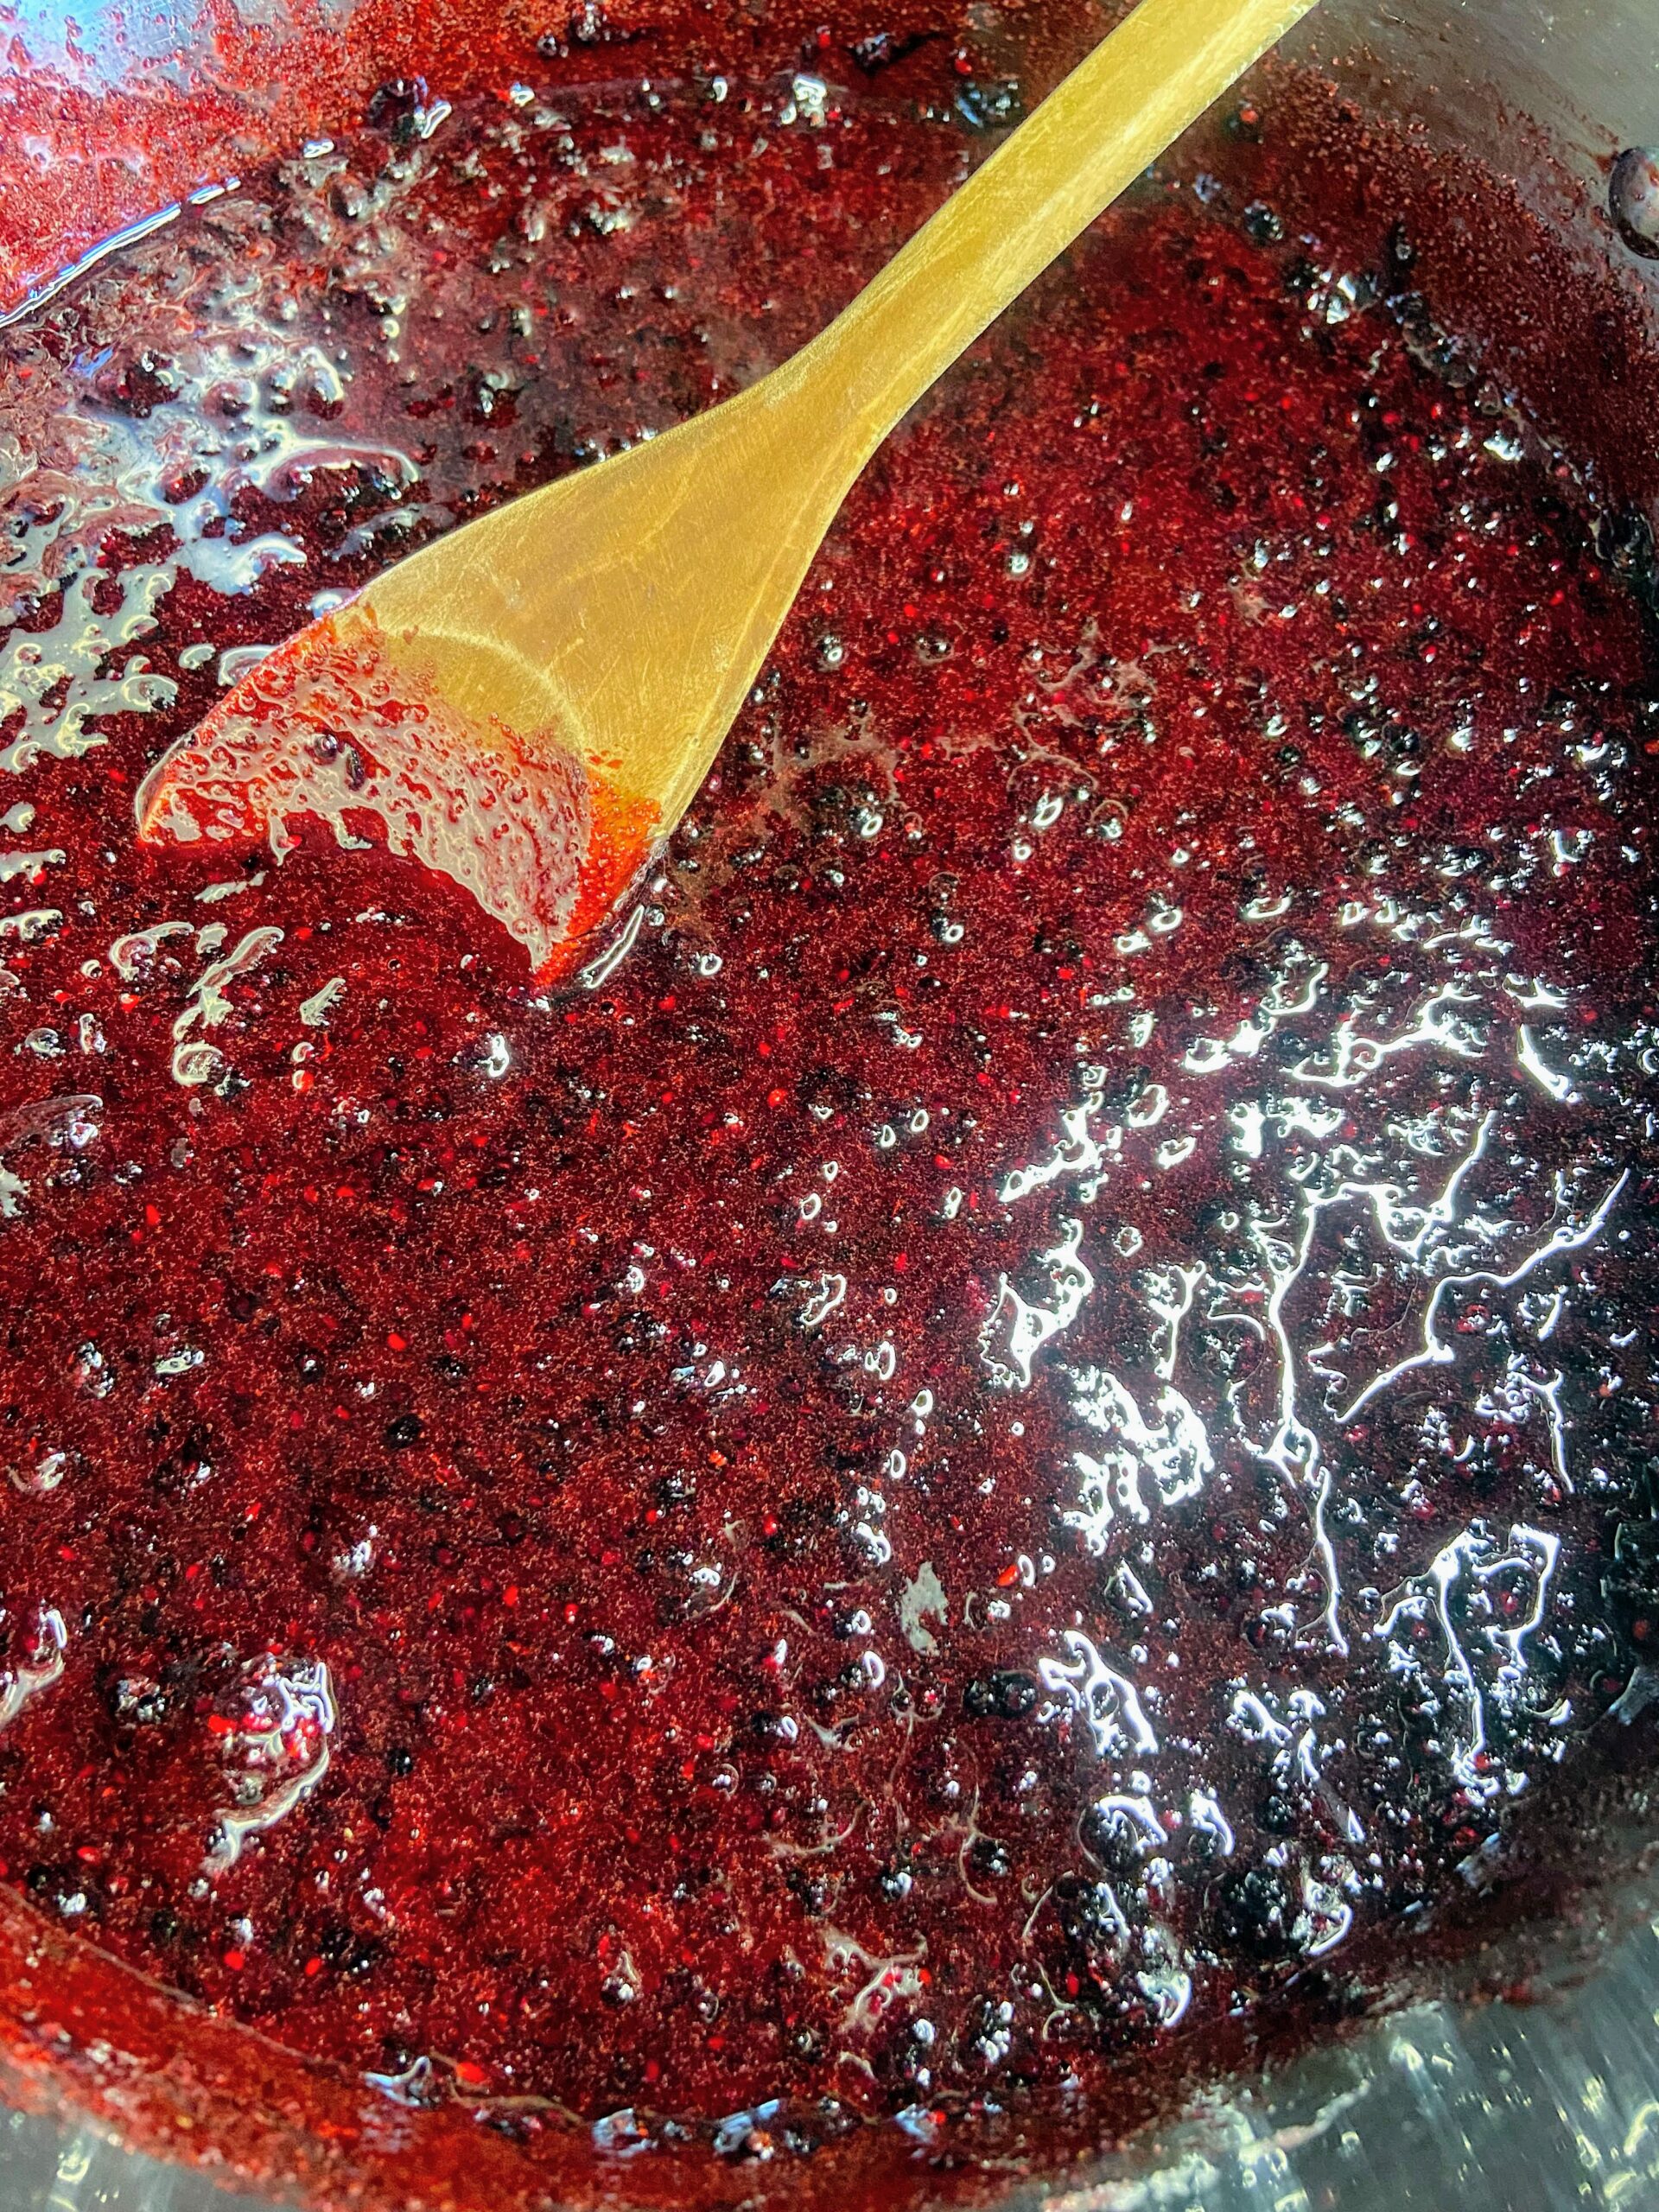
Your end goal is to reach the gelling point. There are lots of tests for this, but I prefer the temperature test. If you are at sea level, the gelling point is at 220 degrees. For every 1000 feet of elevation, you subtract 2 degrees. For me, the gelling point is 218 degrees. Don’t have a decent food thermometer? Check out the National Center for Home Preservation website for other ways of testing for the gelling point.
It takes longer to reach the gelling point than I think it should. It also goes from needing 3 degrees to reaching the gelling point fast. You can get complacent while you are waiting and suddenly hit the temperature, so I am trying to warn you 🙂
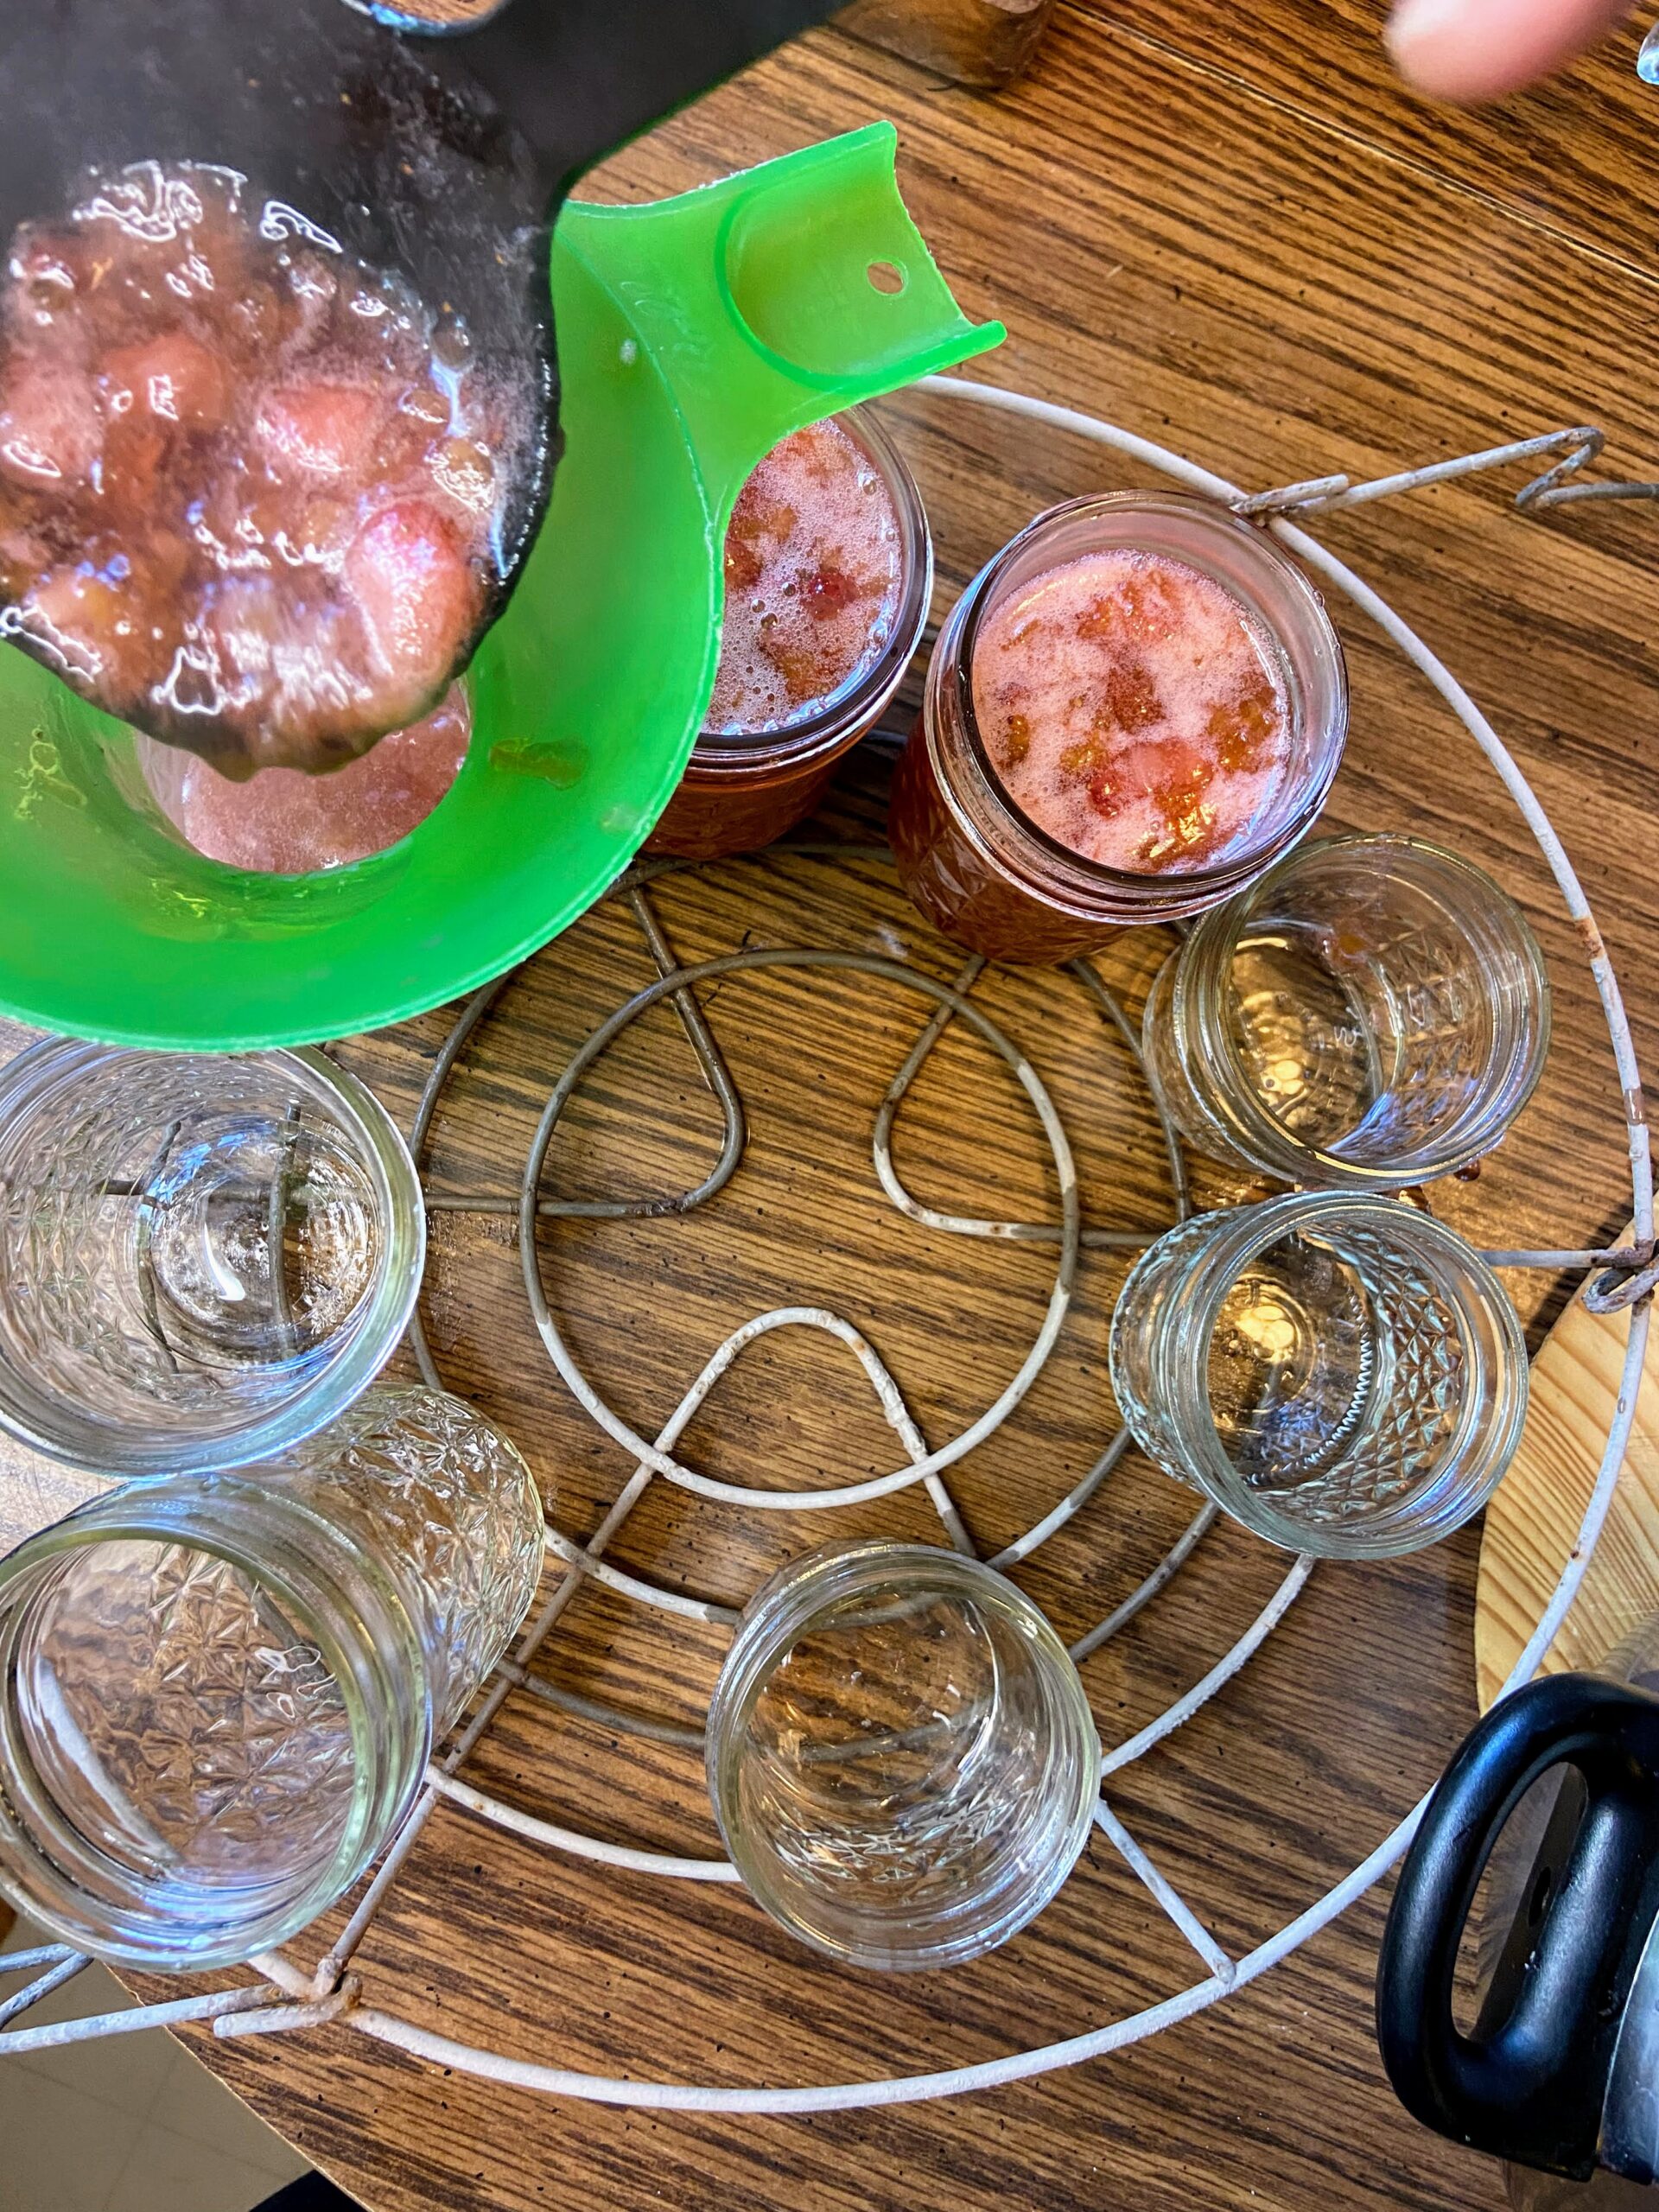
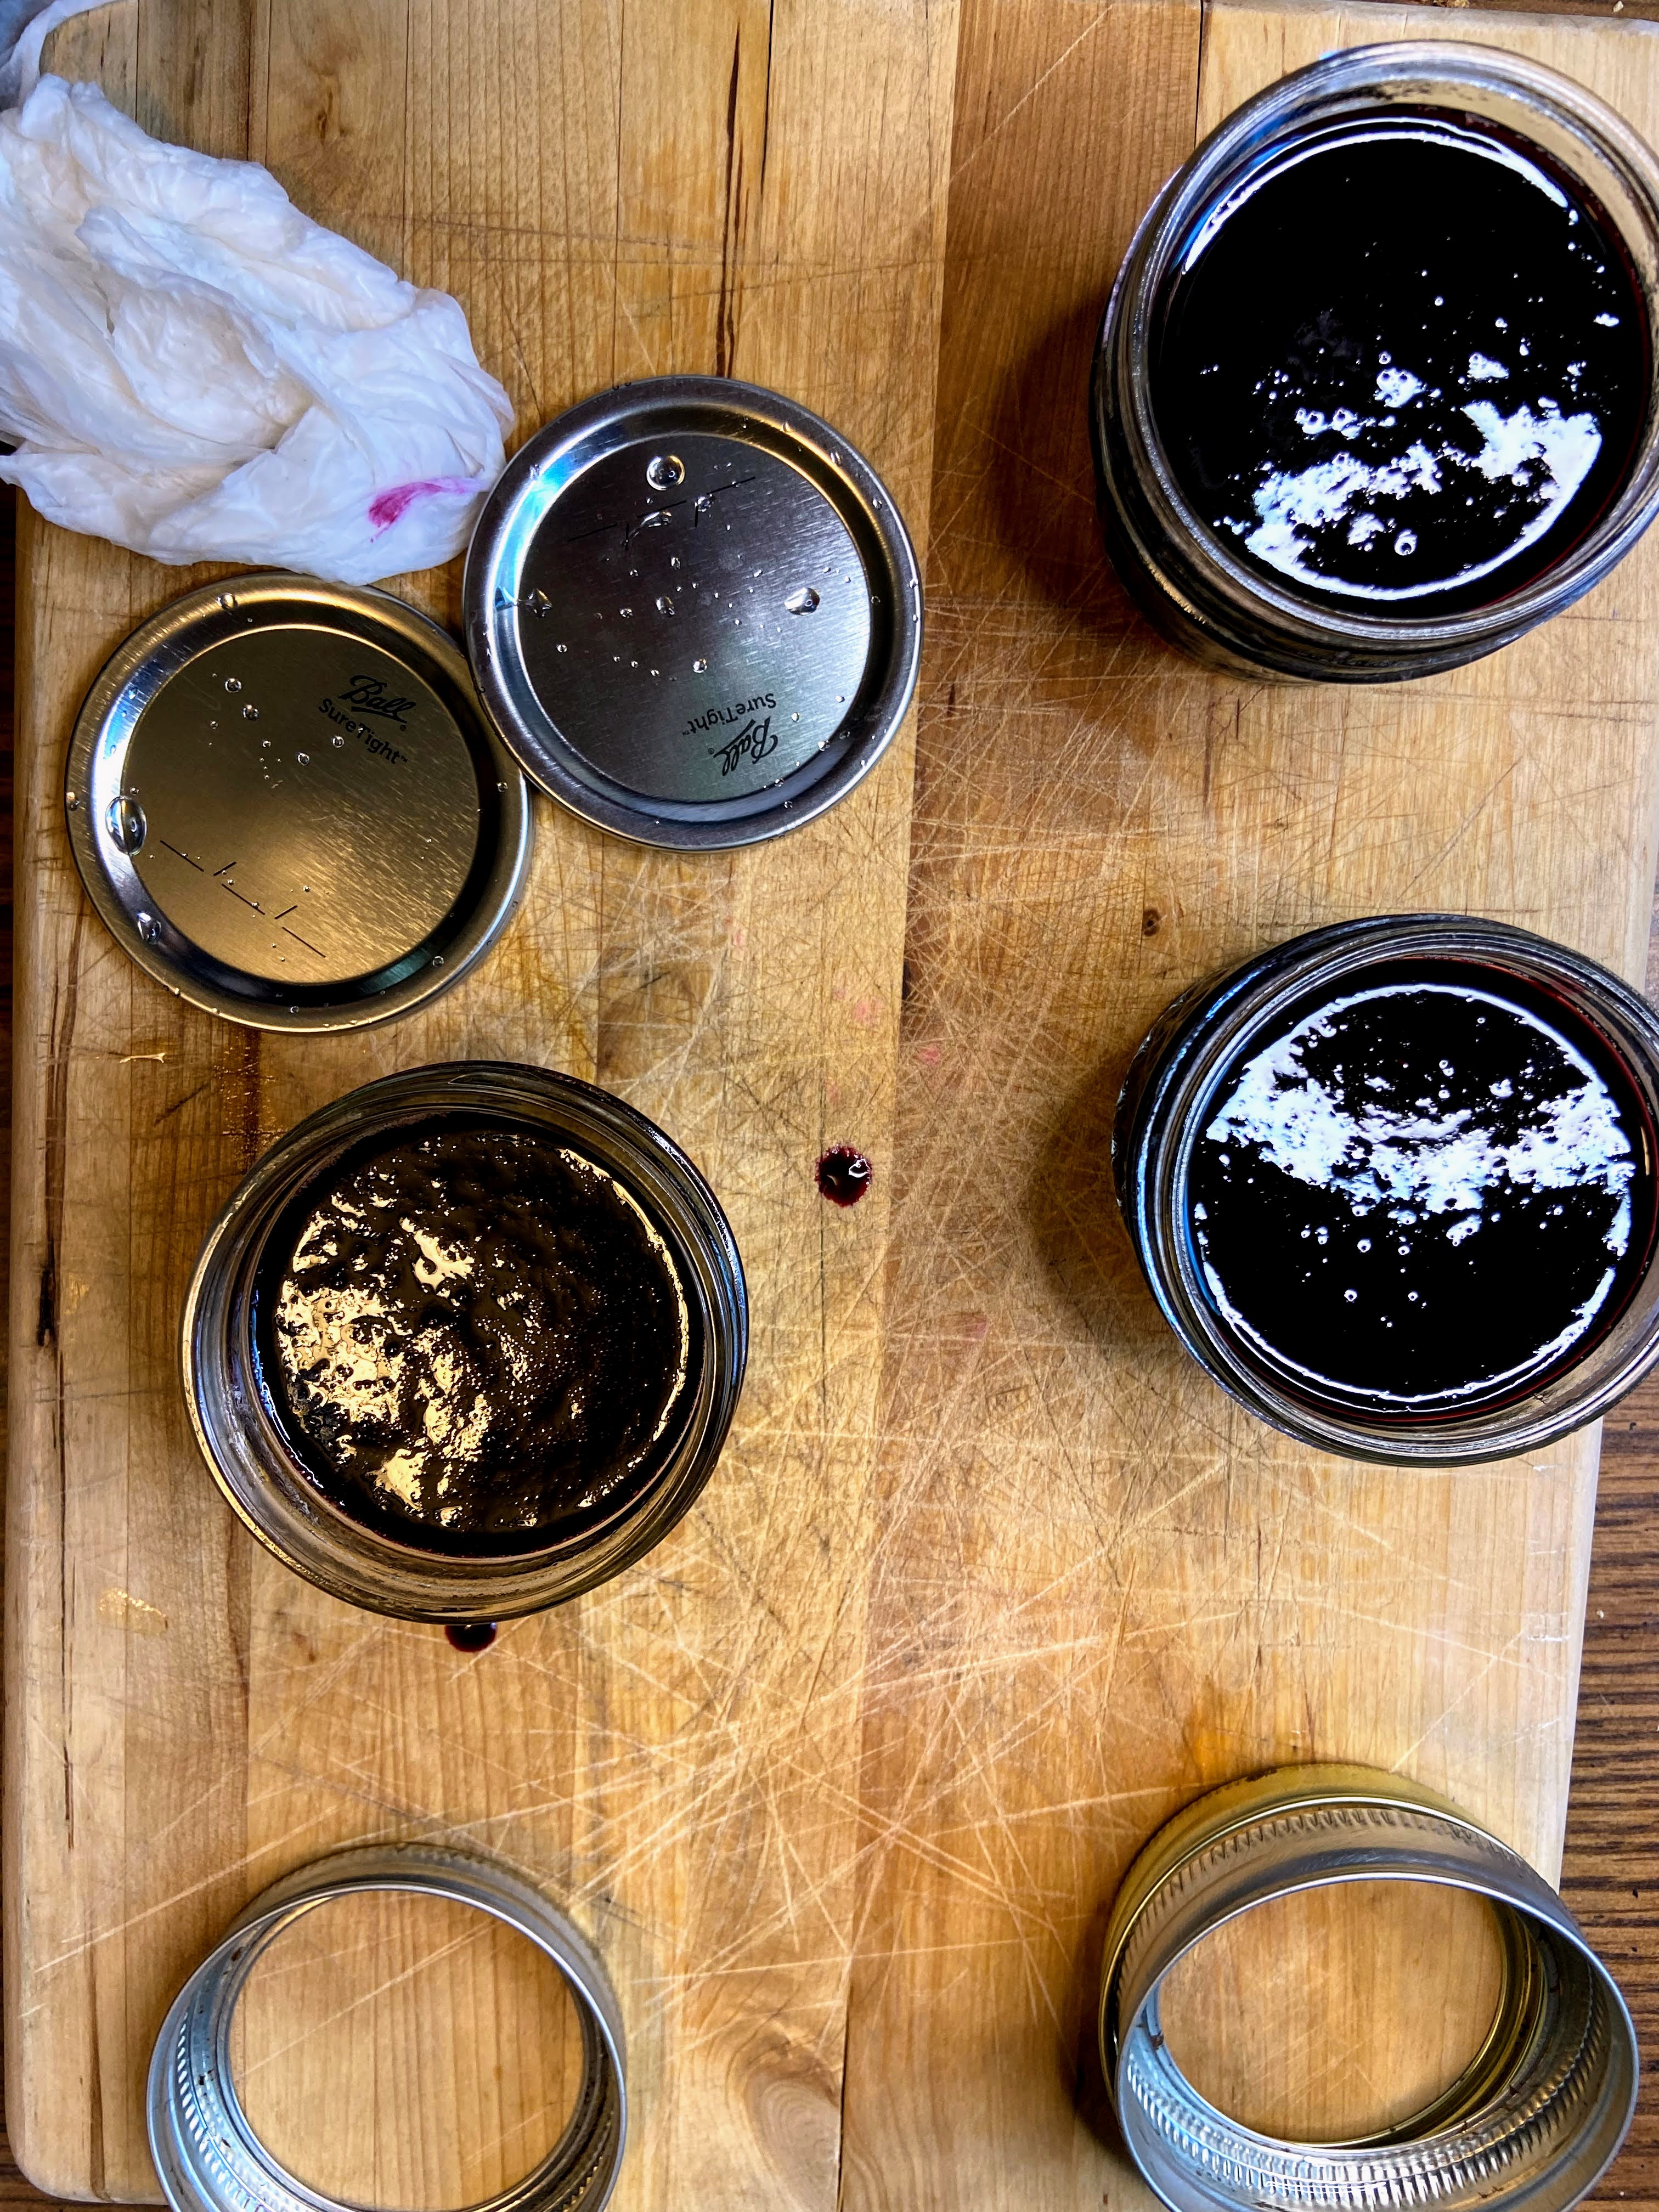
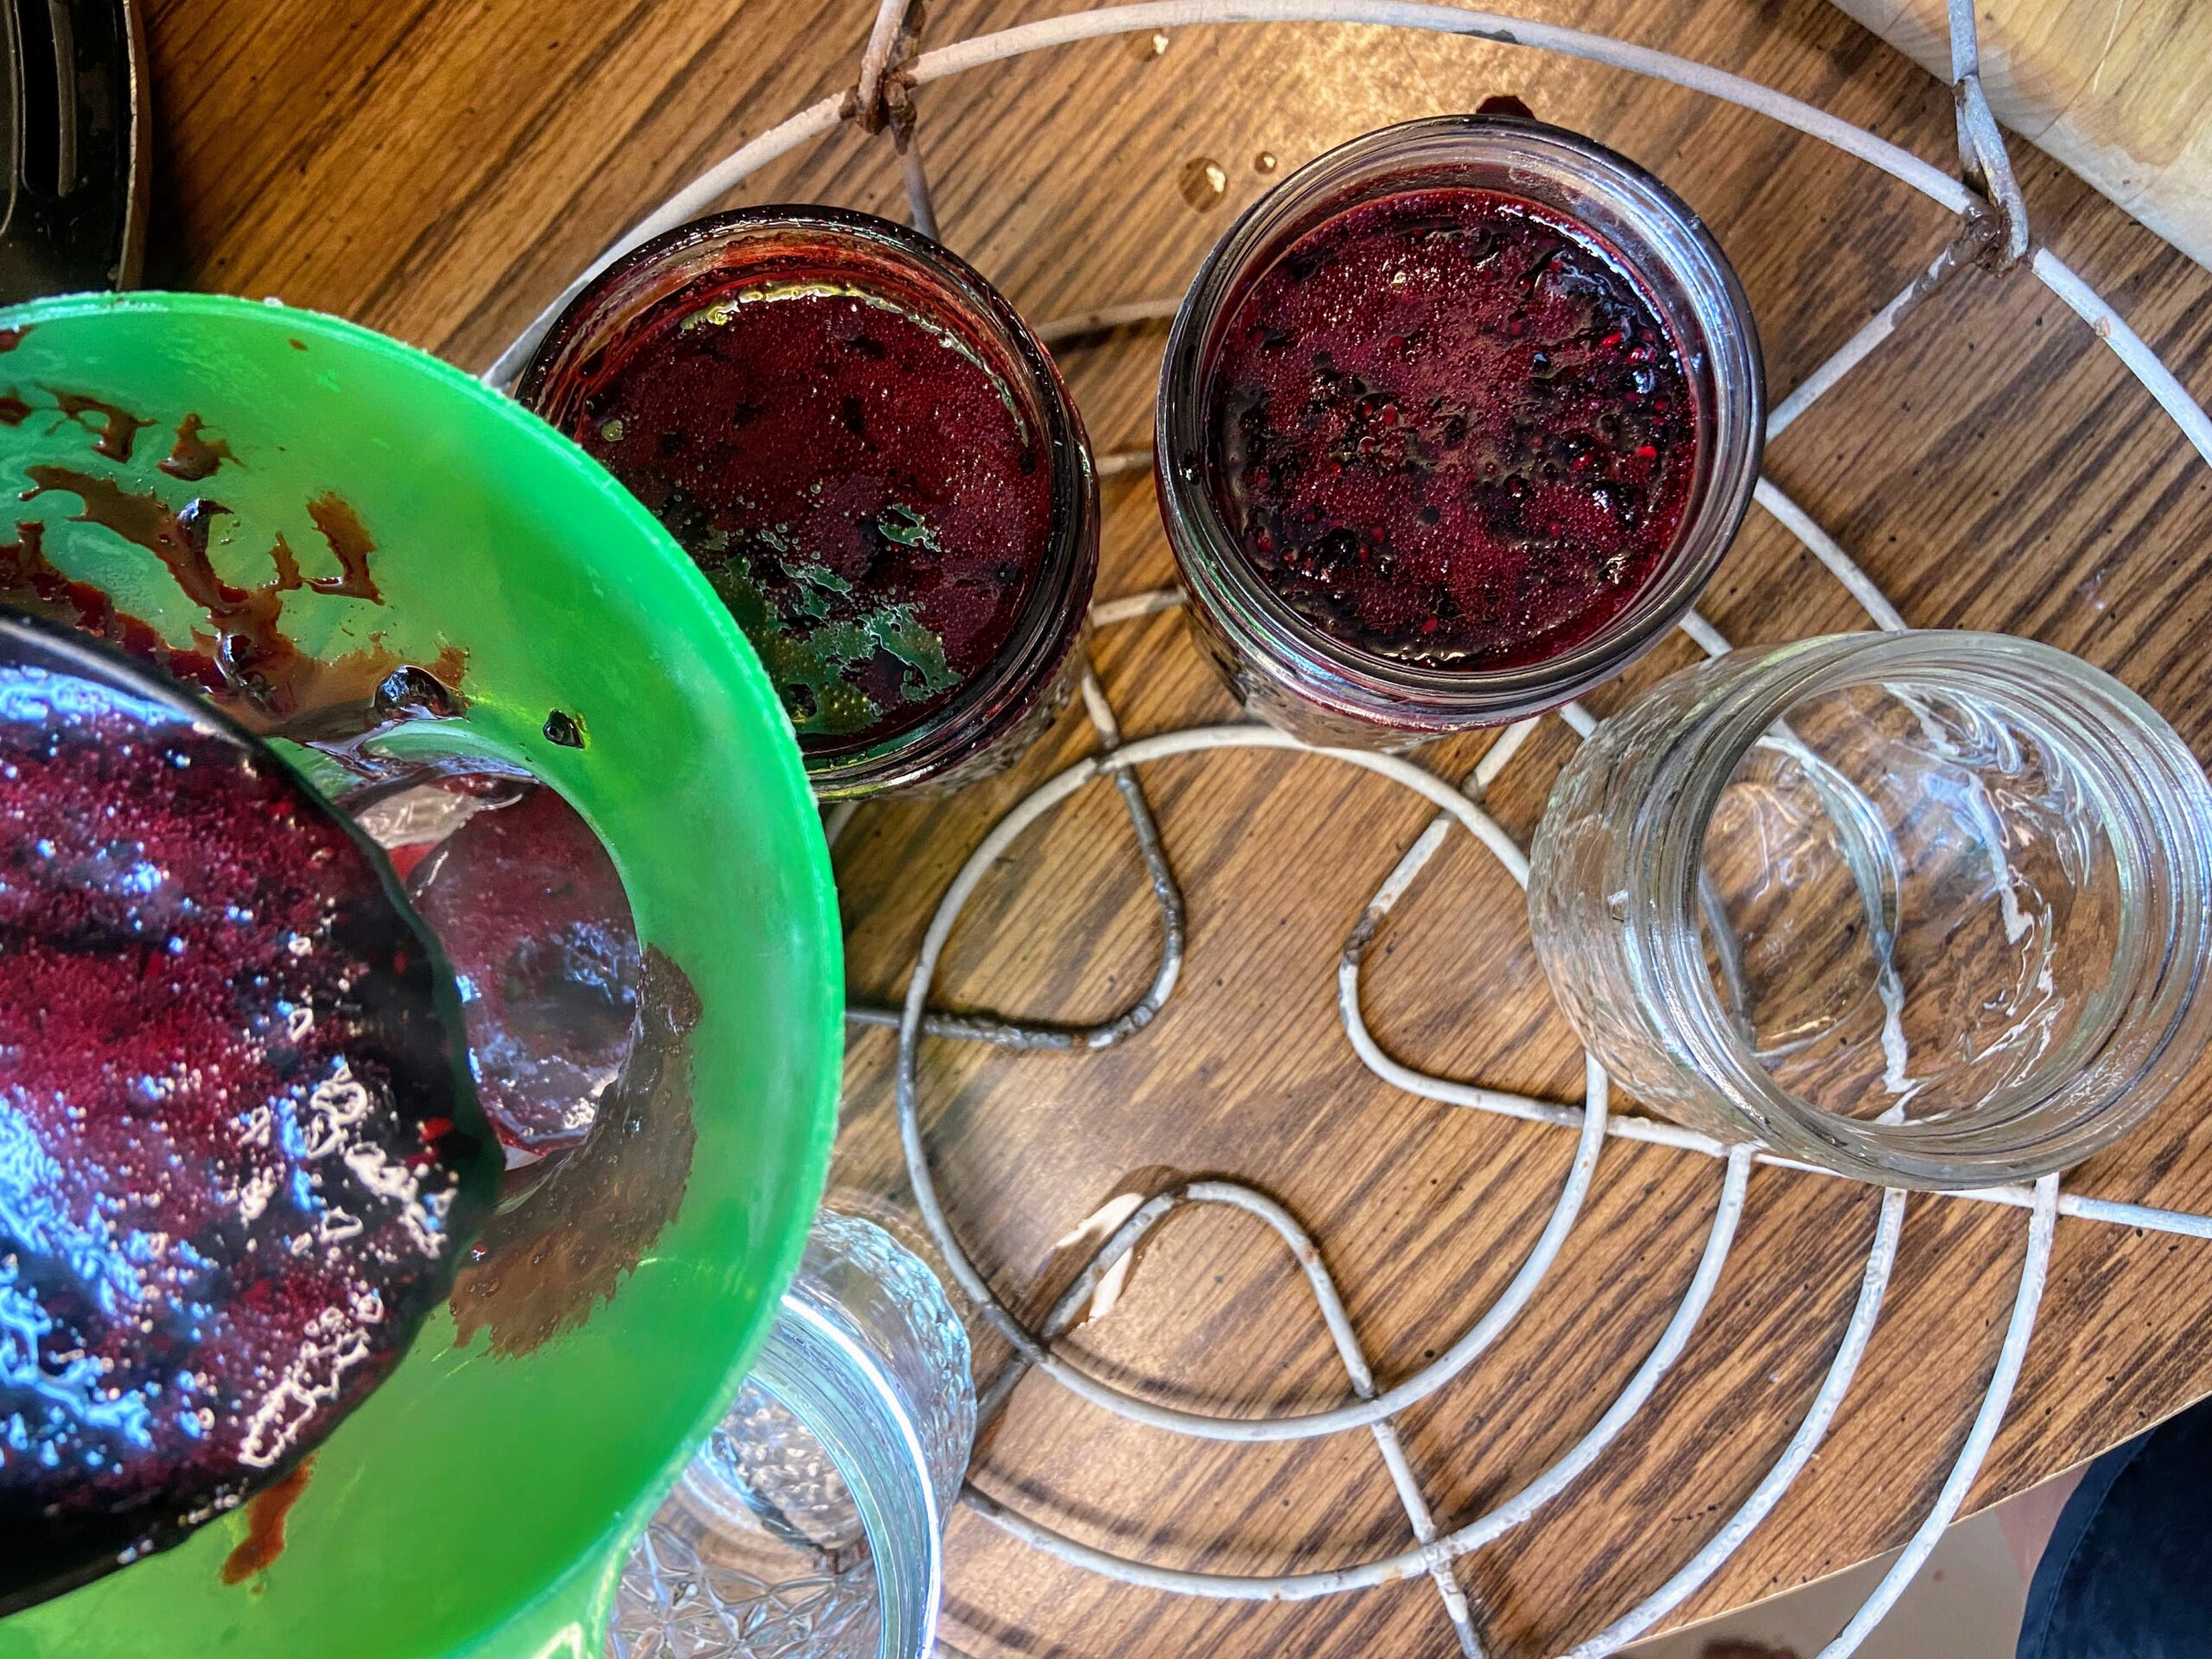
Once the jam has reached the gelling point, remove from heat. Ladle into prepared jars, leaving ½ inch head space. Wipe rims of the jars with a damp, clean cloth, add lids and rings, tightening to fingertip tight. Place in the canner, increasing the heat to high. Once the canner reaches a boil, process for 15 minutes. Remove from heat and allow jars to cool in the canner over 5 minutes. Remove from canner, placing on the counter. Listen for the ping of the lids over the next 12 hours. Sealed jars are self stable. If any jar doesn’t seal, simply place it right in the refrigerator.
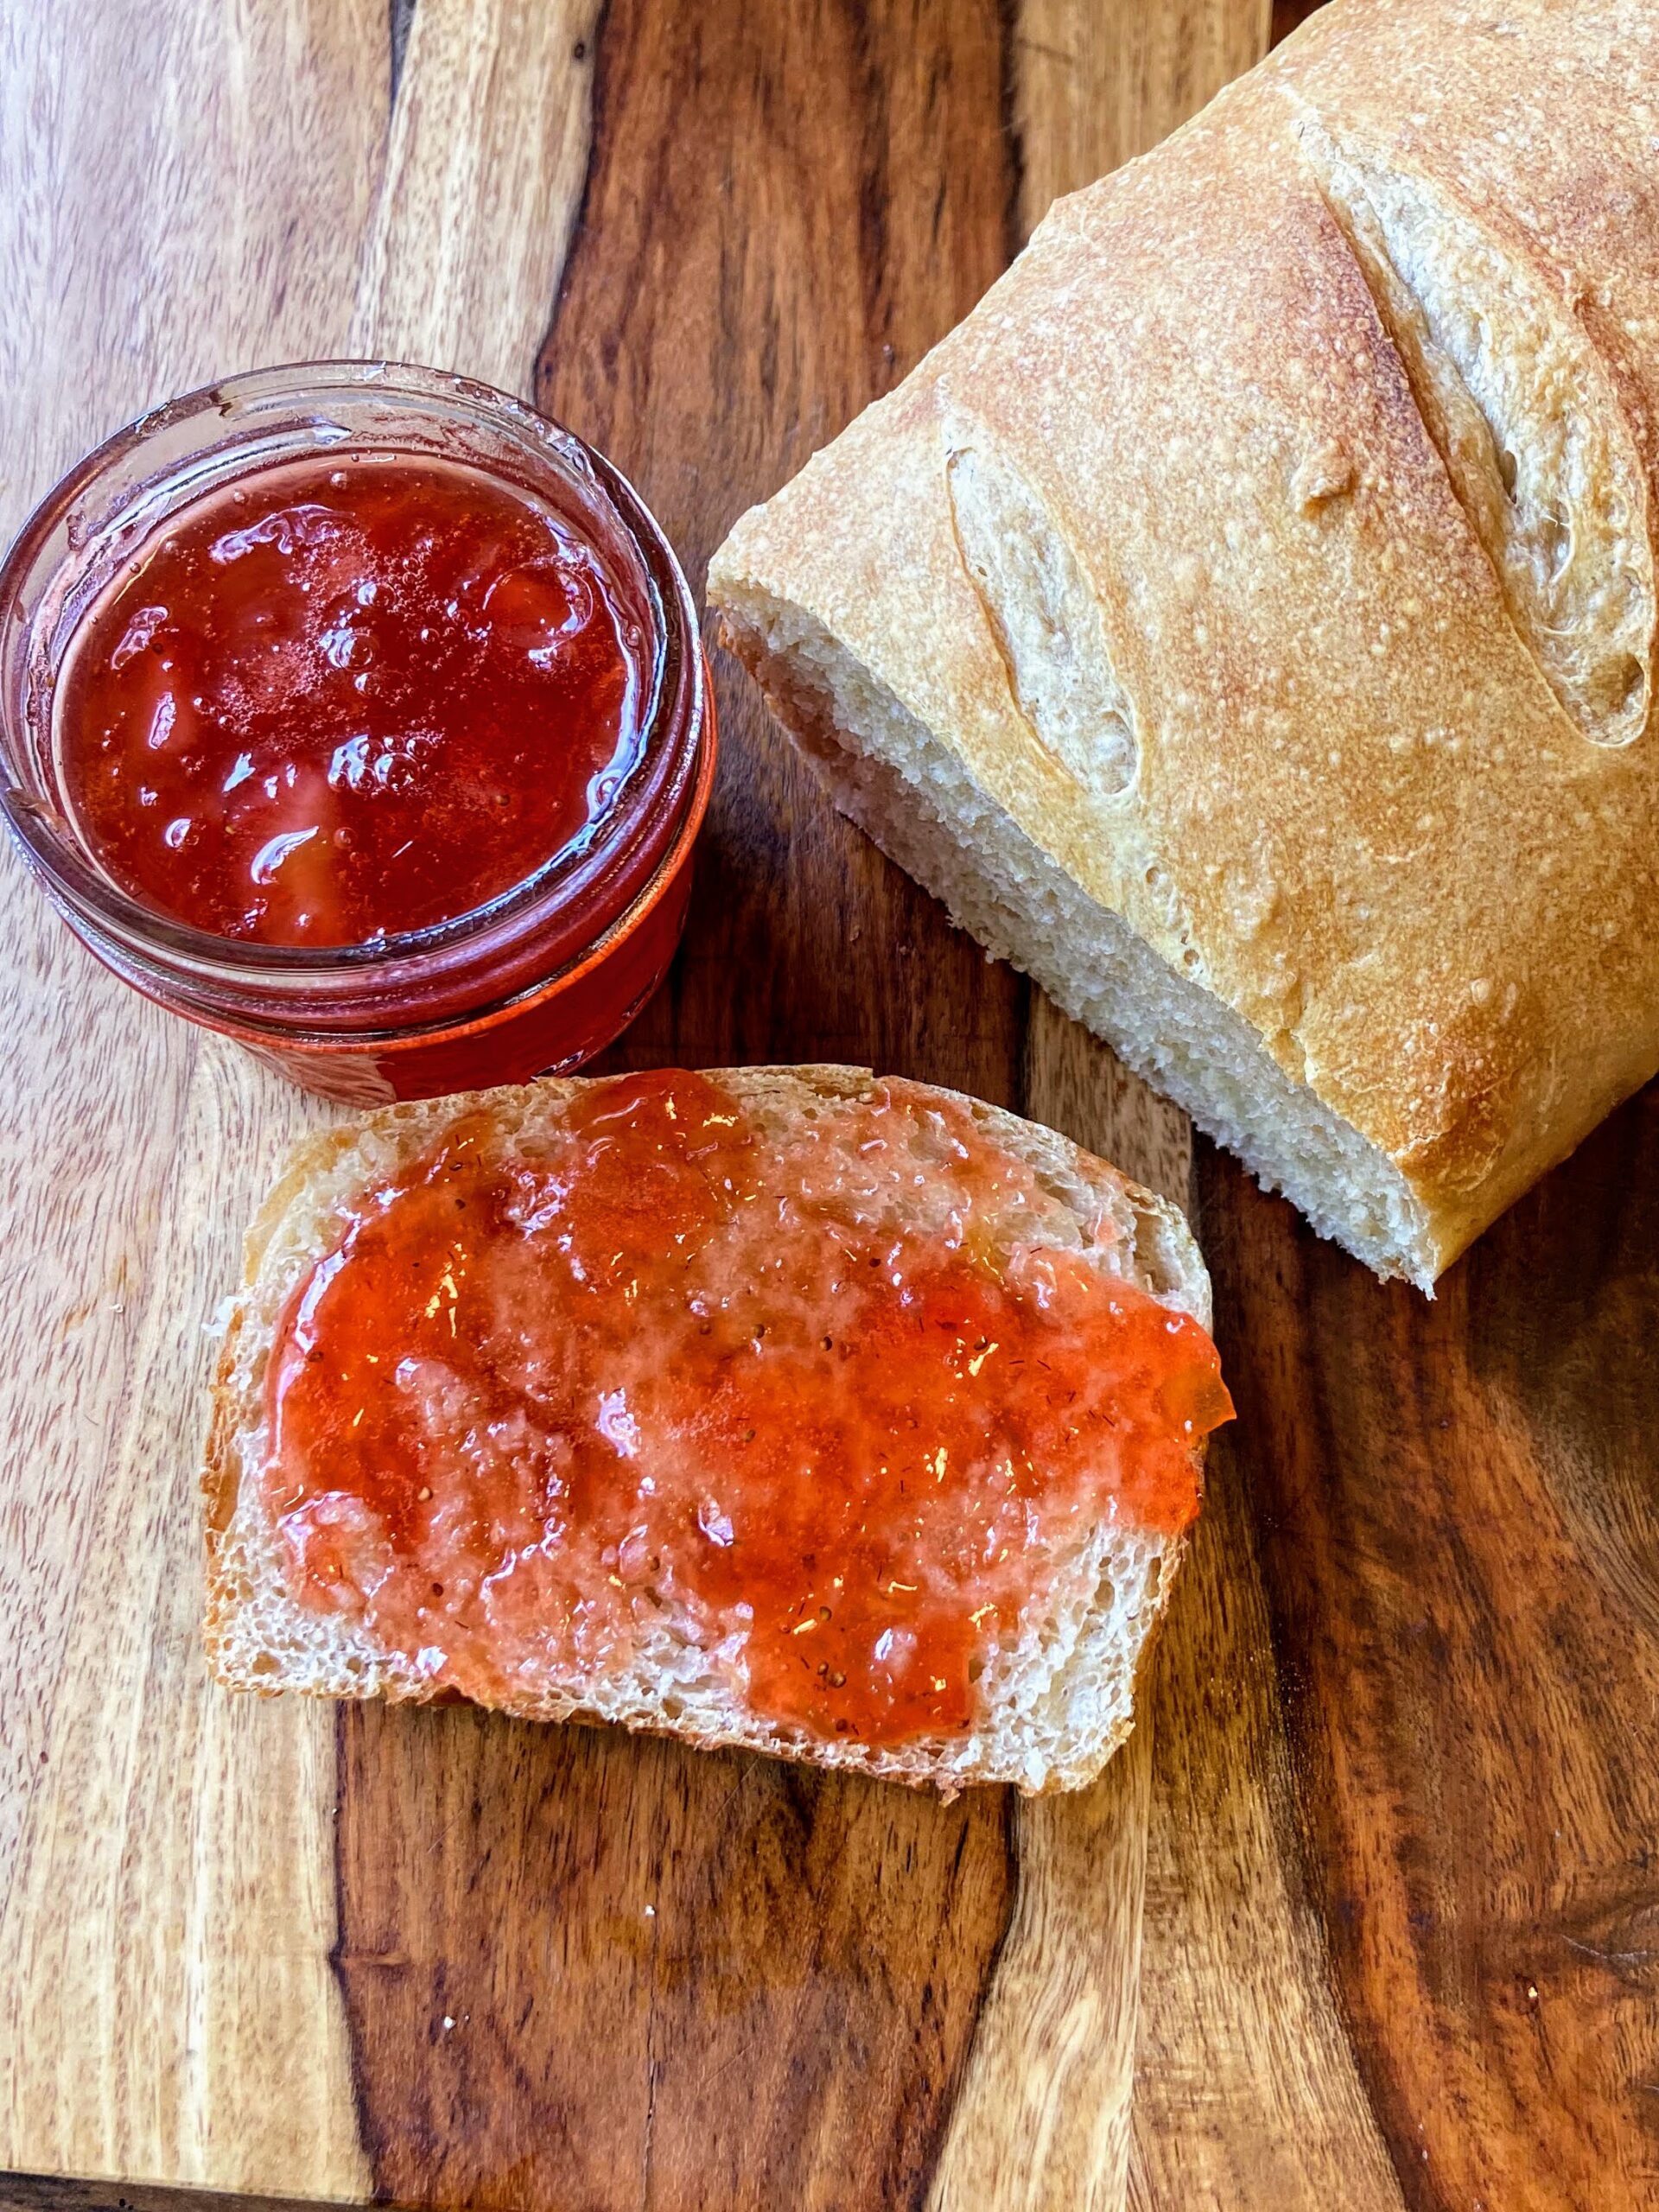
Note: You can skip the processing step all together if you feel more comfortable. If you do so, the black raspberry jam will need to be stored in the refrigerator. The process of water bath canning creates a self-stable jam. That is, a jam that can be stored on the shelf.
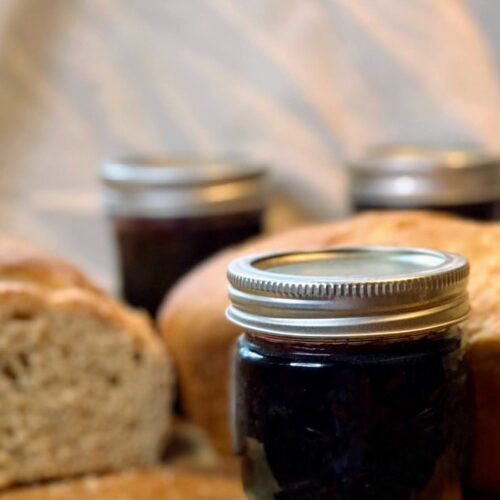
Black Raspberry Jam
Ingredients
- 5 cup black raspberries
- 3 cups sugar
Instructions
- If you have not done so, measure out raspberries and sugar.
- Wash and sanitize 4 1/2 pint jars, rings, and lids. Keep warm. Fill the canner with enough water to cover the jars by at least 2 inches of water. Cover and heat on high. Watch the temperature, you want a simmer but not a boil when you place the jars in the water.
- In a large, shallow kettle, smash raspberries with a potato masher. Stir in sugar. Begin to heat over medium-high heat, stirring often. Smash more as they are cooking down.
- Heat to 8 degrees above the boiling point of water. If you are at sea level, the gelling point is at 220 degrees. For every 1000 feet of elevation, you subtract 2 degrees.
- Once the jam has reached the gelling point, remove from heat. Ladle into prepared jars, leaving ½ inch head space. Wipe rims of the jars with a damp cloth, add lids and rings, tightening to fingertip tight. Place in the canner, increasing the heat to high. Once the canner reaches a boil, process for 10 minutes. Remove from heat and allow jars to cool in the canner over 5 minutes. Remove from canner and allow to rest for 12 hours before storing.
Notes
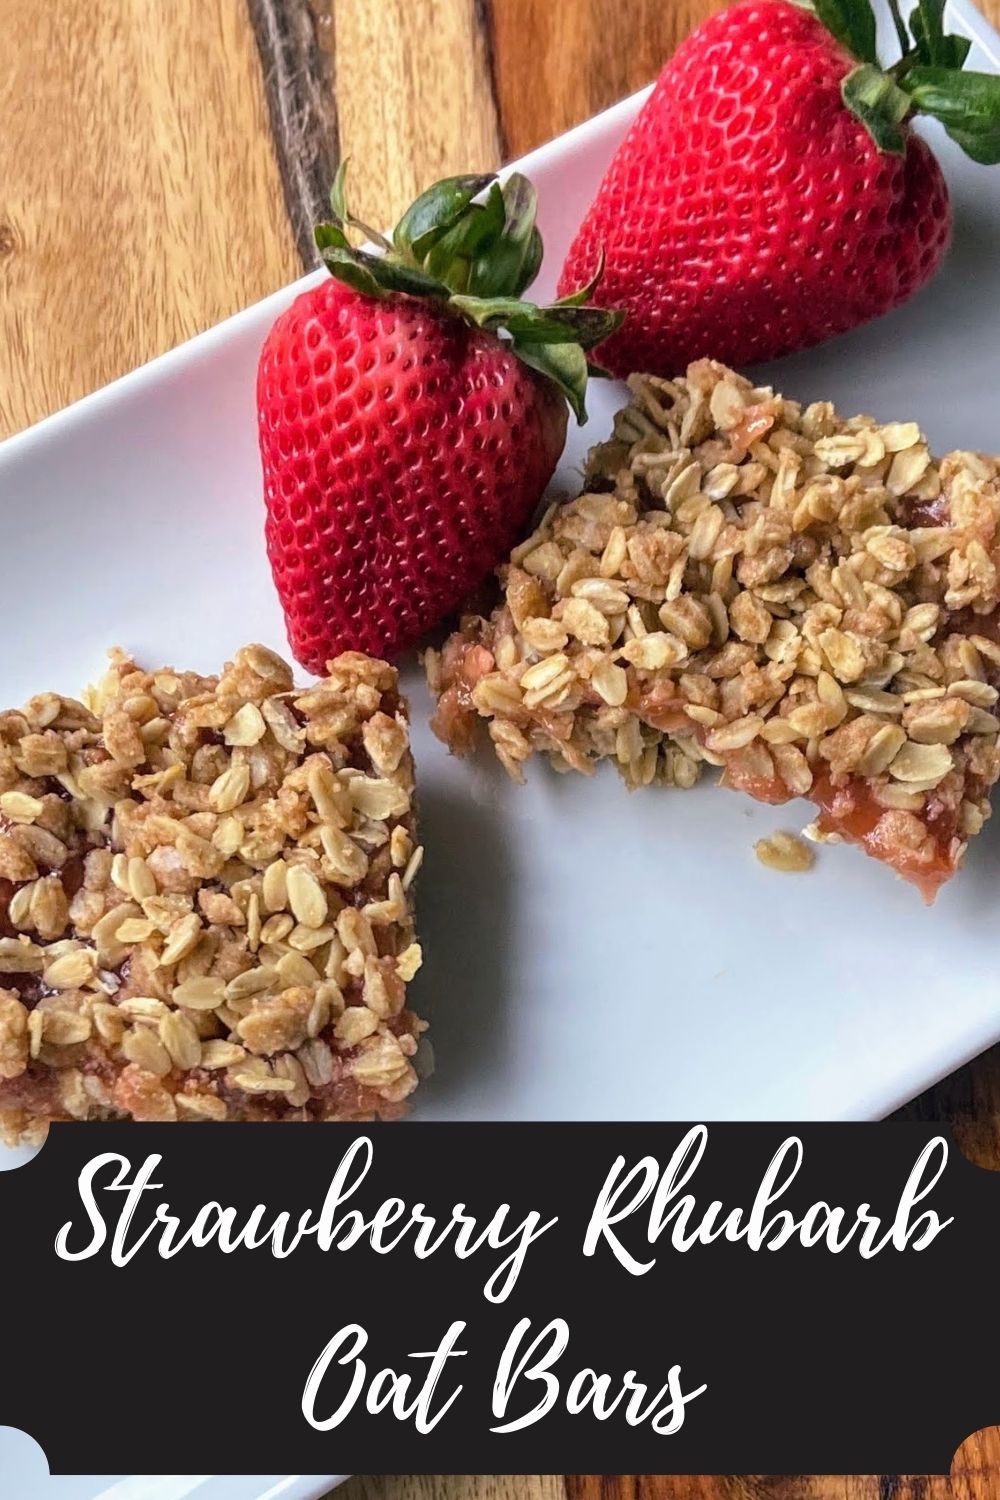
Looking for other canning inspiration?
Click here to head to my canning page or click any of the recipes below!