No Bake Cornflake Cookies

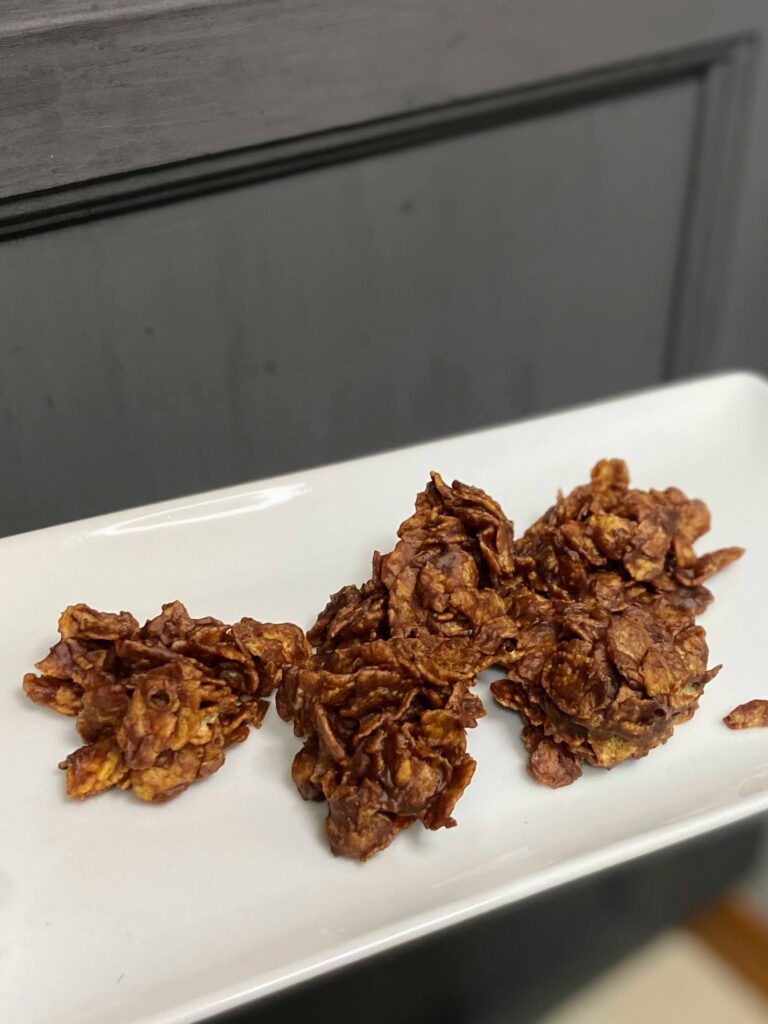
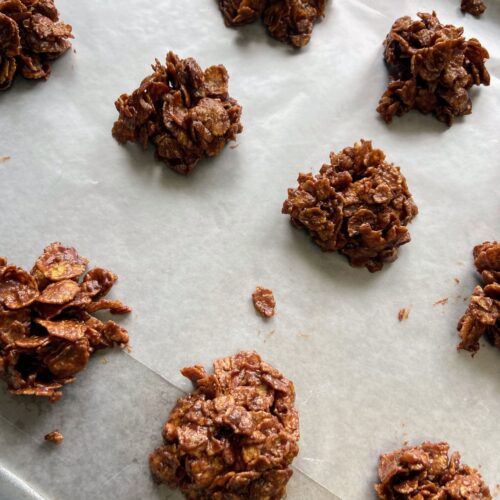
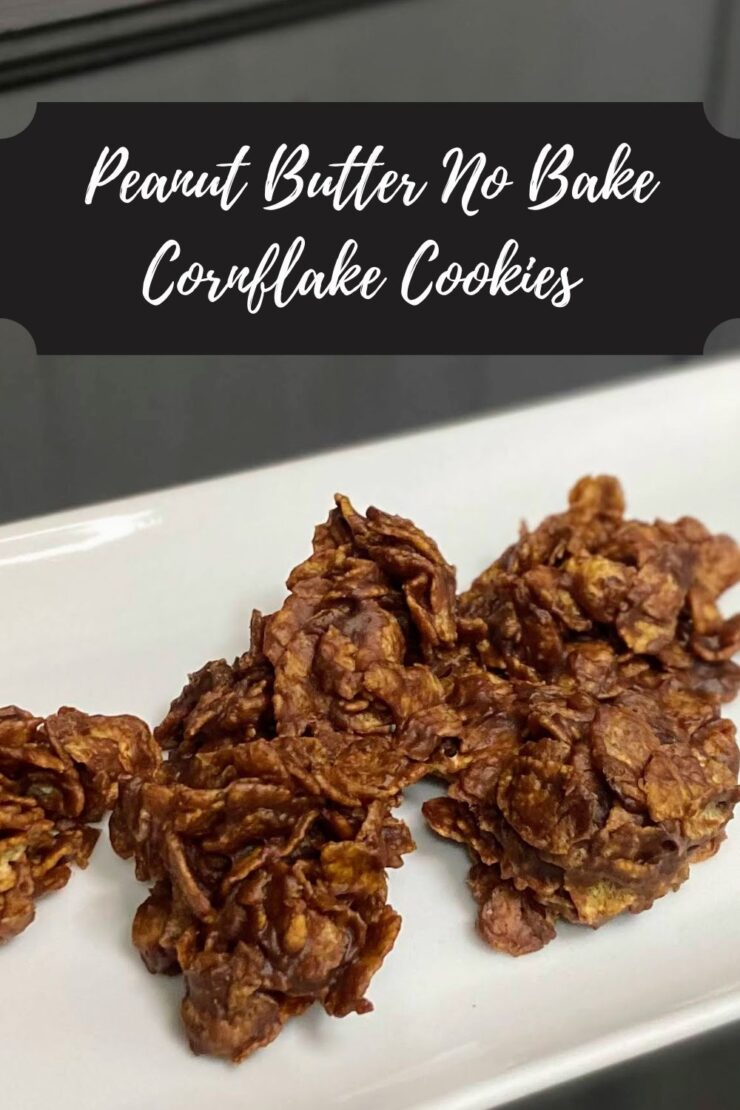
I have had a certain fondness for no bake cookies since I was little. I hadn’t made them often, but if they were an option at a bake sale or dessert bar, I generally would go for them; as long as there wasn’t a brownie or Rice Krispy treat as an option, of course. Then came the time I needed a no bake cookie, and these beautiful no bake cornflake cookies were the result! 

Let me take a step back and explain. But where to start….My big kid has become an avid basketball player, and because of this, he plays 2-3 games most weekends in January and February all around the area. Our town hosts said games soon and the parents of my son’s team were assigned baked goods. 

I LOVE baking and making cookies. But…a few weeks ago, my husband was doing some remodeling in our kitchen (yay!) and when he pulled out our range and then put it back, the oven stopped working correctly (booo!) That means for the last three weeks, I have baked exactly two loaves of bread and broiled one dish. Not great news for the baked goods. 

Well, I guess this is a great opportunity to work on a no bake cookie recipe, right? And just a few weekends ago, I had purchased a GIANT box of corn flakes for cheesy potatoes. The stars had aligned for some delicious no bake cornflake cookies.

My issue?

In looking at all the recipes I could find, no bake cookies are just full of sugar and corn syrup. I love me some sugar and butter, but I also try to find balance and replace when I can.  

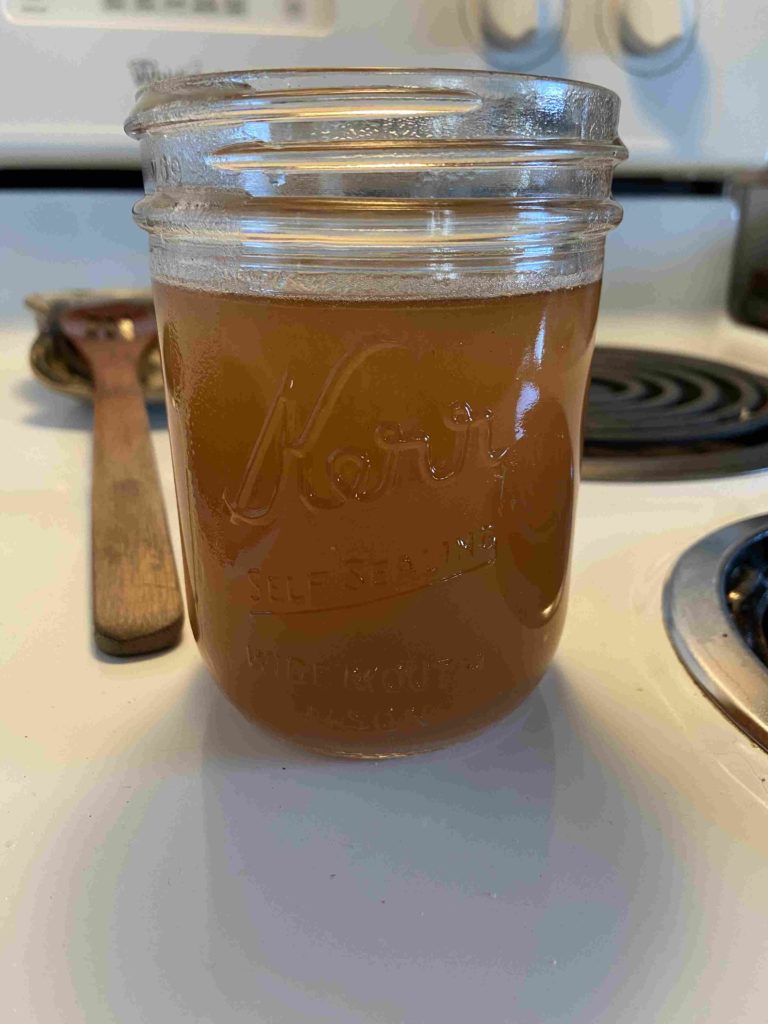
My go to replacement for sugar is maple syrup (my family and I started tapping trees a few years ago. Learn about it here!) I was worried it wouldn’t allow the cookies to set, but it worked great! And because the only other real ingredients are corn flakes and peanut butter, I would ALMOST venture to say you could call these breakfast cookies. I mean, I won’t stop you…hehe. 

Now let’s get creating! For this recipe, I’ll leave it in small batch format. You can easily double it to get more delicious no bake cookies, but as it is written, this will give you about 20 cookies. 

Your Ingredients 

  • ½ cup maple syrup 
  • ½ cup peanut butter 
  • ½ teaspoon vanilla
  • Nice pinch of salt 
  • 2 tablespoons cocoa powder
  • 2-2 ½ cups corn flakes
  • ½ cup finely chopped nuts (optional)

Your Steps to No Bake Cornflake Cookies 

Prepare two baking sheets with wax or parchment paper to place the cookies on when they are cooling. 

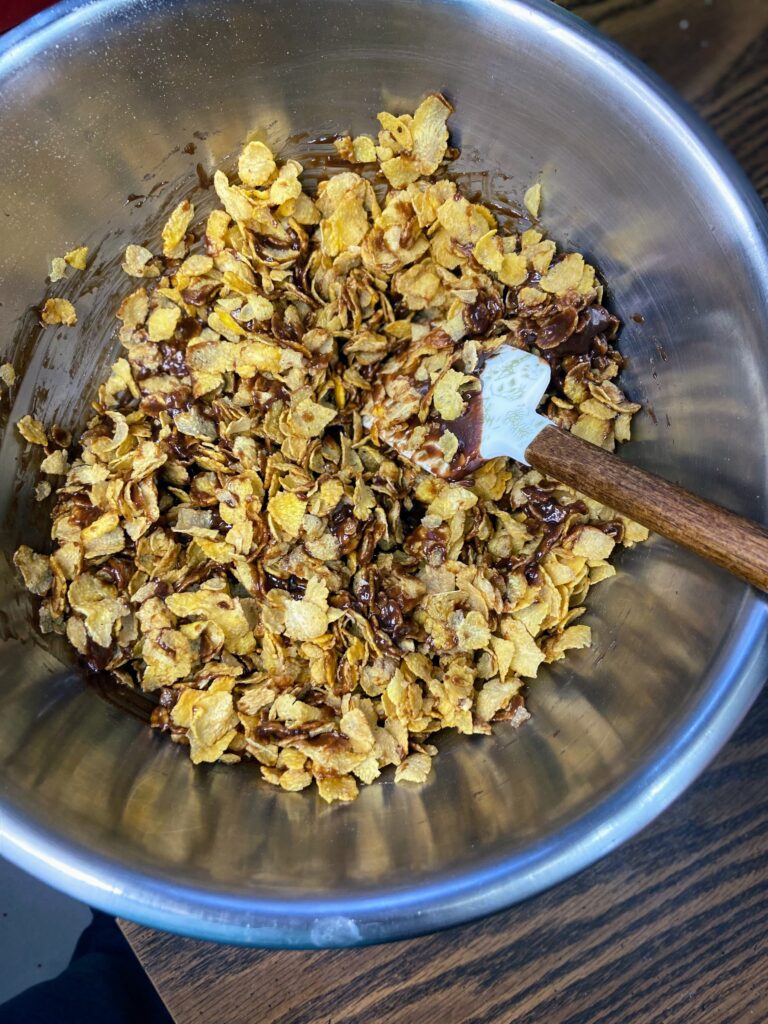
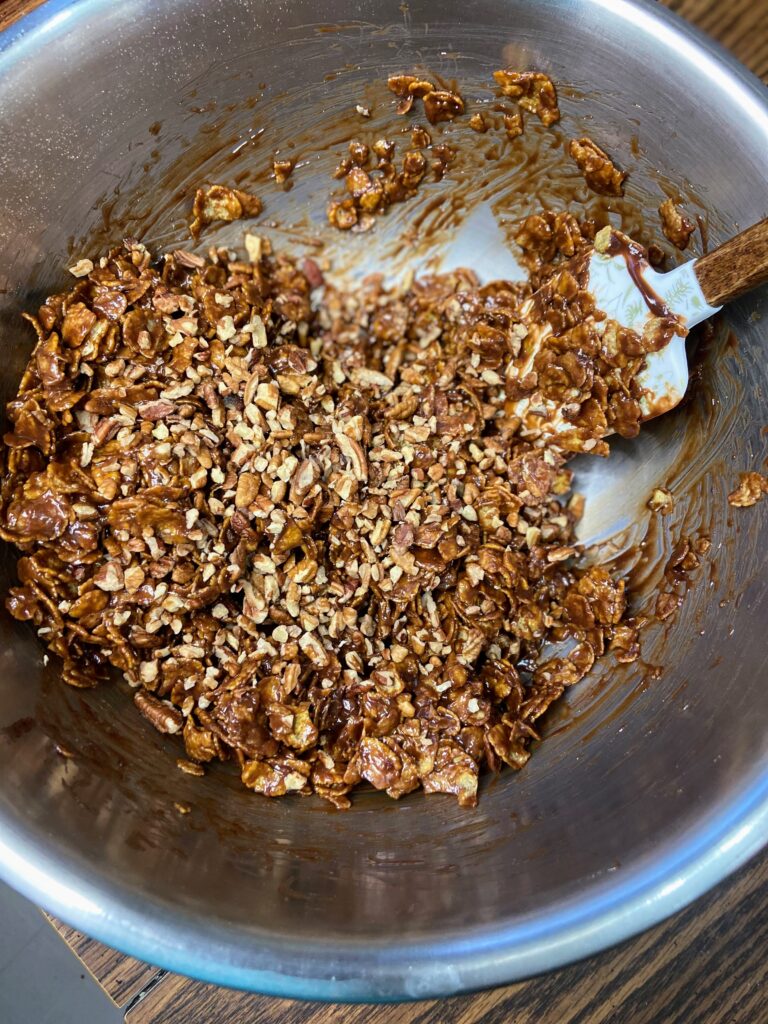
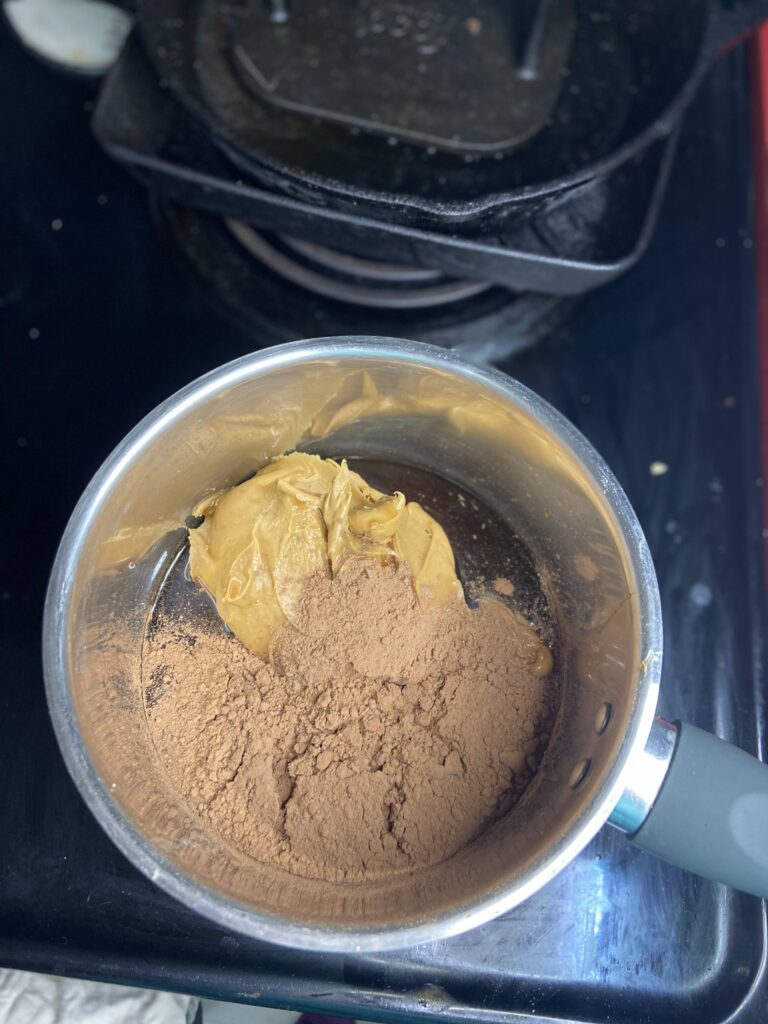
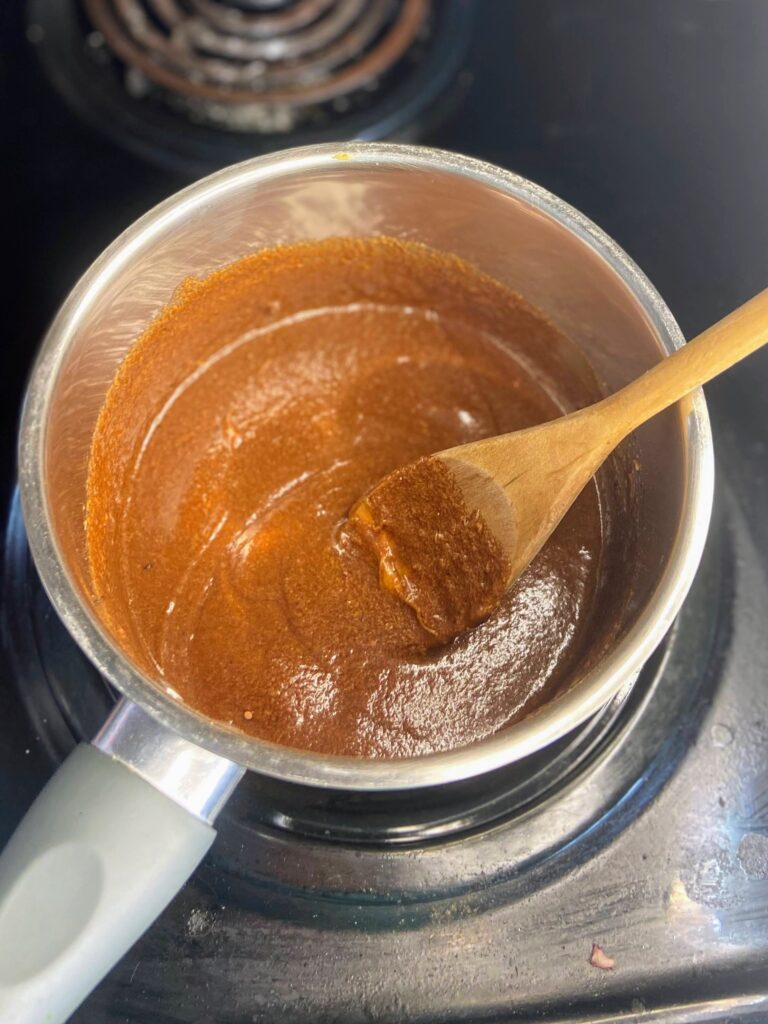
In a medium saucepan, combine syrup, peanut butter, cocoa powder, and the pinch of salt. Heat over a medium heat until the sauce JUST reaches a full boil. Remove the kettle from the heat and stir in the vanilla, corn flakes and nuts (if using) until well coated, adding more flakes if needed. 

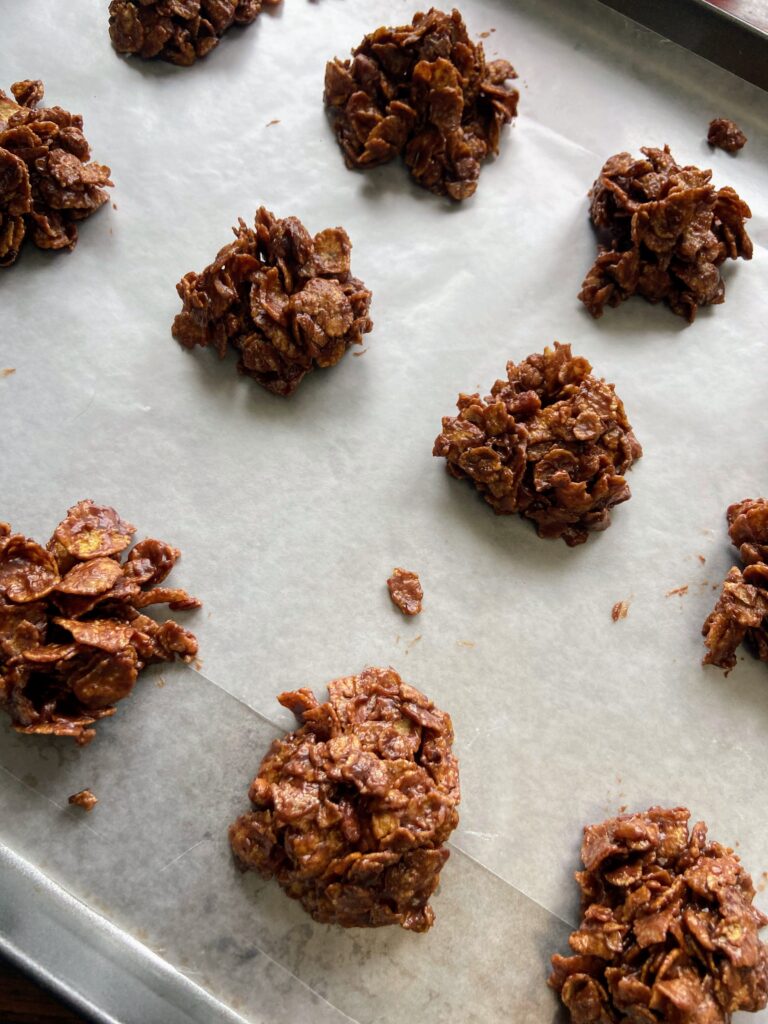
Using a cookie or ice cream scoop, scoop the cookies onto prepared baking sheets. They will stay together better if you give them a little squeeze. Allow to cool until set, about 30-60 minutes. Once set, store in an airtight container. 
No Bake Cornflake Cookies

Looking for a no bake cookie but want to skip on a bit of the refined sugar? Give this great no bake cornflake cookie a try!
3 from 1 vote
Prep Time 5 minutes
Cook Time 5 minutes
Rest Time 1 hour
Course Cookies, Dessert
Cuisine American
Servings 16 cookies

Ingredients
  

  • ½ cup maple syrup
  • ½ cup peanut butter
  • ½ teaspoon vanilla
  • Nice pinch of salt
  • 2 tablespoons cocoa powder
  • 2-2 ½ cups corn flakes
  • ½ cup finely chopped nuts optional

Instructions
 

  • Prepare two baking sheets with wax or parchment paper to place the cookies on when they are cooling.
  • In a medium saucepan, combine syrup, peanut butter, cocoa powder and the pinch of salt. Heat over a medium heat until the sauce JUST reaches a full boil.
  • Remove the kettle from the heat and stir in the vanilla, corn flakes, and nuts (if using) until well coated, adding more flakes if needed.
  • Using a cookie or ice cream scoop, scoop the cookies onto prepared baking sheets.
  • Allow to cool until set, about 30 minutes. Once set, store in an airtight container.
Keyword chocolate and peanut butter, chocolate cookies, corn flake cookies, no bake cookies, no bake desserts, peanut butter, quick cookies, quick treats
Tried this recipe?Let us know how it was!

Looking for other sweet treat inspiration?

Head to one of the recipes below or go right to my Baking page!
Banana Cake with Cream Cheese Frosting

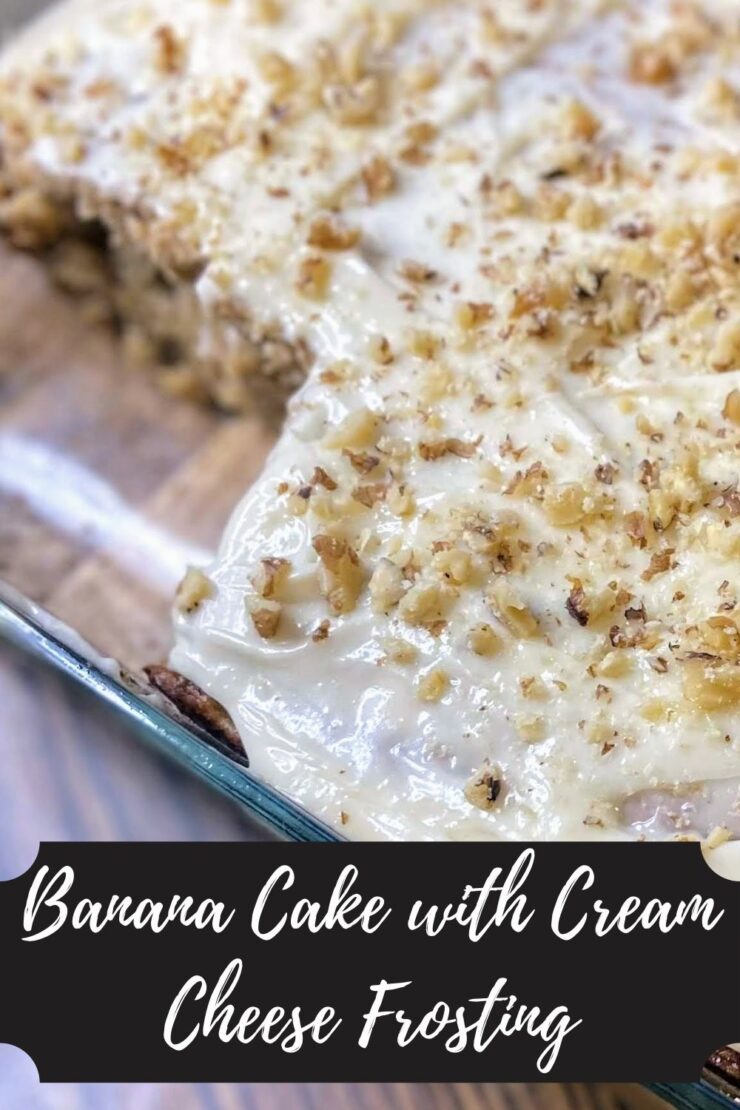
In need of a sweet treat that isn’t over the top? Just the perfect amount of sweet with a touch of healthy? I am so excited to share this banana cake with cream cheese frosting! 

If you have a middle or high school-aged son, you know that they go through an EXCESSIVE amount of food. I do not know where my kid puts it all. Most weeks, he goes through literal bunches of bananas. We can not keep enough in the fruit bowl to the extent that recently a clerk at the local grocery store said, “I have never seen someone purchase this much fresh fruits and veggies.” #proudmoment

But then there are the odd weeks that we buy four bunches and then they sit. And sit. And suddenly we have five overly soft bananas sitting on the counter for days, no one wanting to eat them. The last time that situation arose, I was determined to make a healthy-ish dessert.

HOw did I make it healthier?

My first step to getting a healthier dessert was to swap the sugar for real maple syrup. Simple swap and so delicious. It also works out that the Mr. has been encouraging me to use up our supply from last year (read about our adventures in tapping trees here!) because syrup season will be here before we know it! I also cut down on the oil, added Greek yogurt for moisture, and added some extra banana.

Well, I mixed up this recipe, and from the moment I gave the batter a taste test, I knew it was a good one. And the frosting? I think it is just the perfect amount of sweet (but feel free to add a little more powdered sugar if you want it sweeter!). The baking dish traveled with me to school (I teach high school!) and my colleagues gave it two thumbs up, followed by, “Wait? You have a food blog?!” That made me giggle.

So are you ready to put together a delicious banana cake with cream cheese frosting? Let’s go!

Your Ingredients for Banana Cake with Cream Cheese Frosting

  • 1 ¼ cup mashed ripe banana, 3-4 bananas
  • ½ cup plain Greek yogurt 
  • 1 egg 
  • ⅓ cup oil 
  • 1 teaspoon vanilla 
  • ¾ cup real maple syrup 
  • 1 ½ cup flour 
  • 1 teaspoon baking soda 
  • ½ teaspoon salt 

Frosting Ingredients 

  • ½ cup cream cheese, softened 
  • 2 tablespoons butter
  • 1 cup powdered sugar 
  • pinch of salt
  • 1 teaspoon vanilla 
  • 1-2 tablespoons milk, optional 
  • ground walnuts, about ½ cup (optional)

Your Steps to Banana Cake with Cream Cheese Frosting 

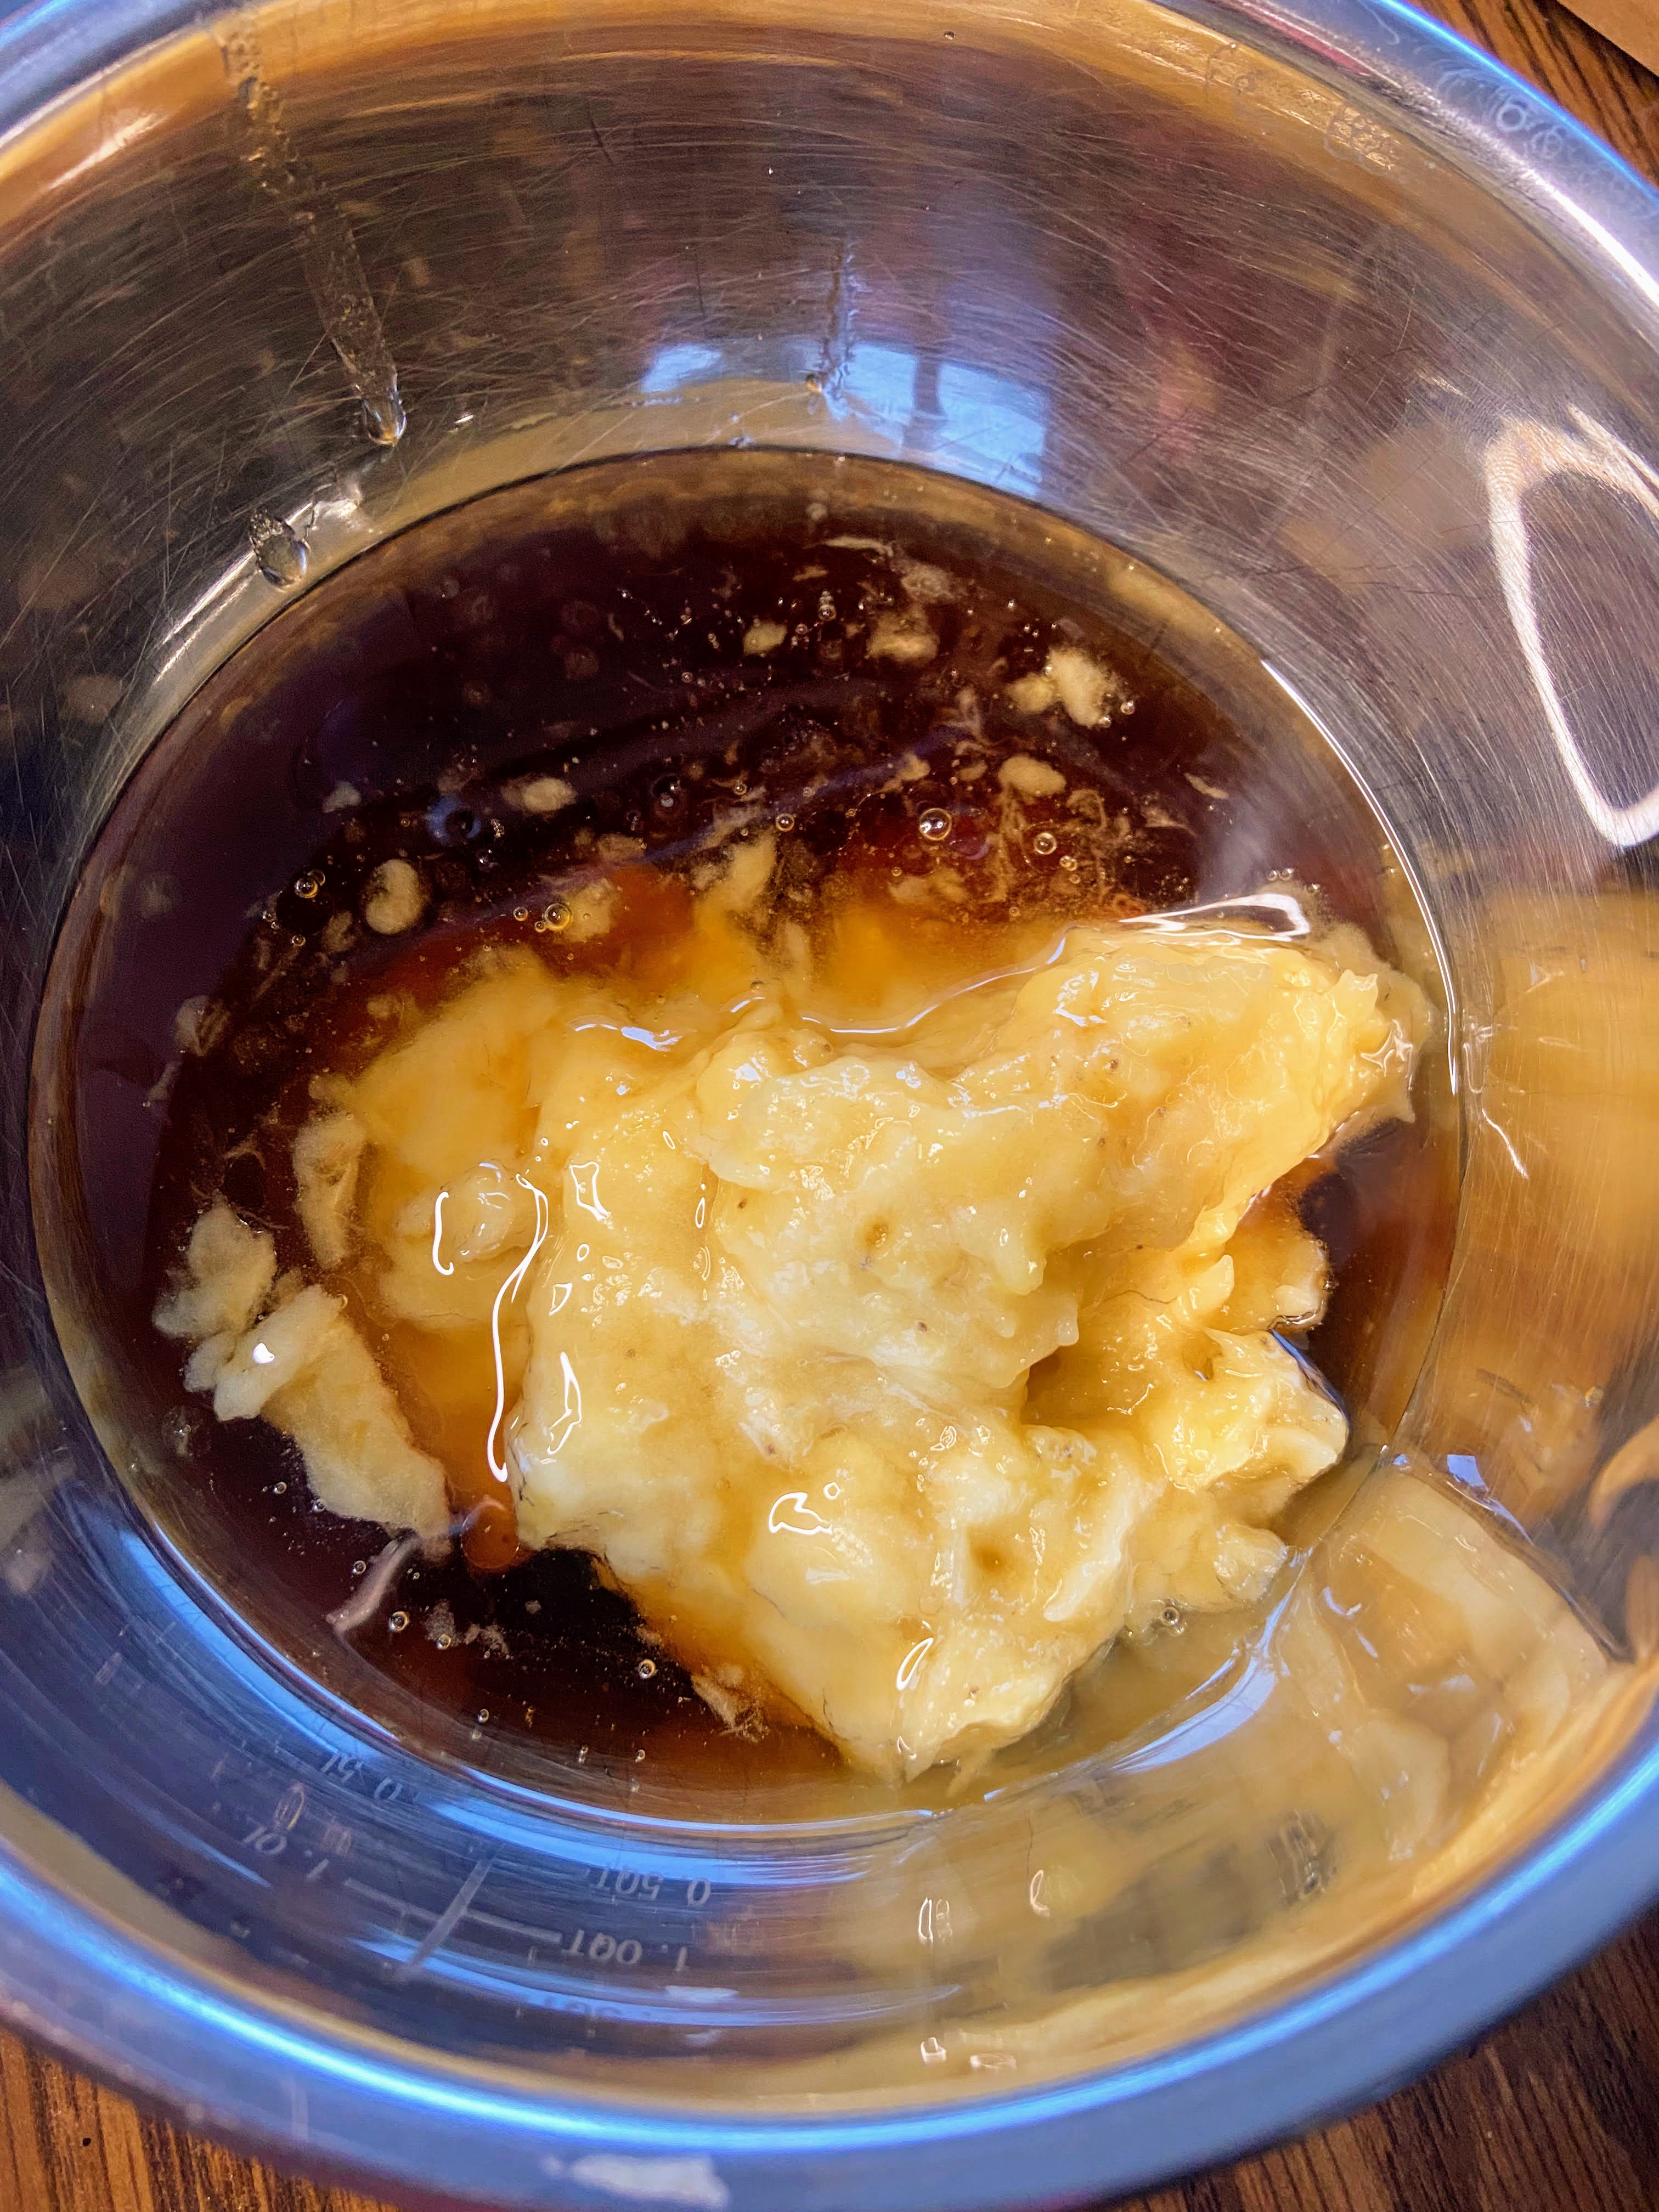
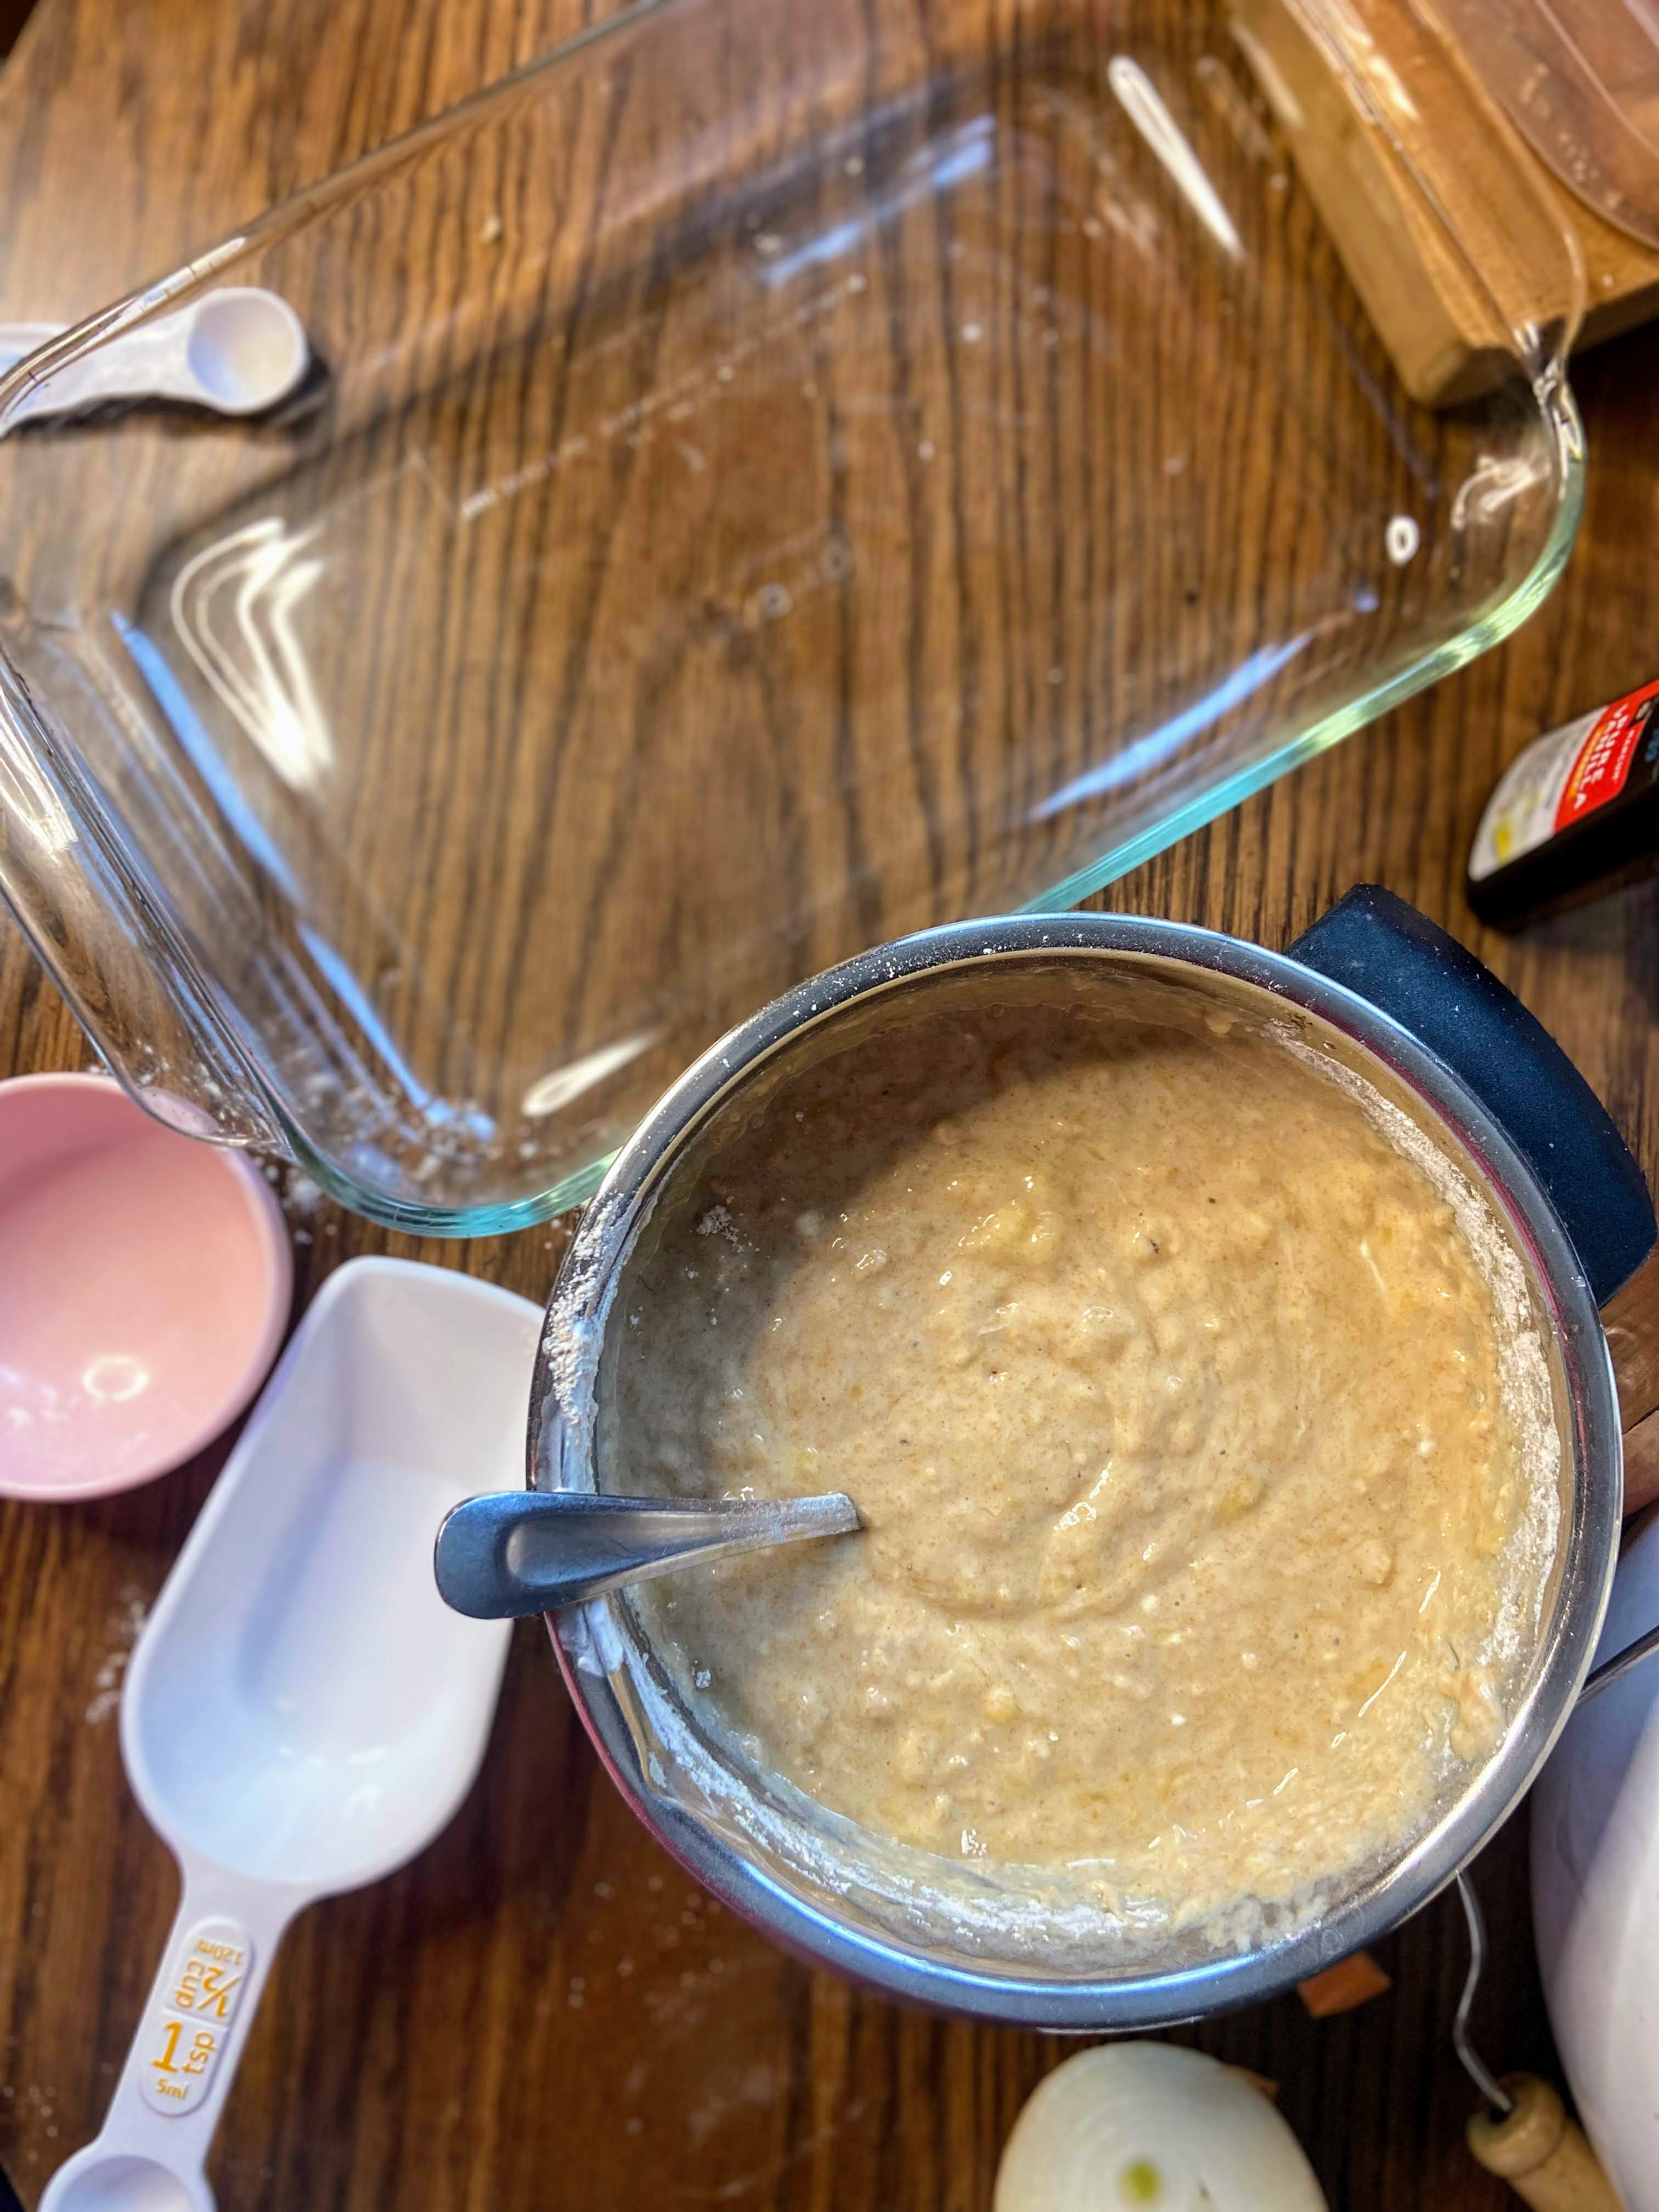
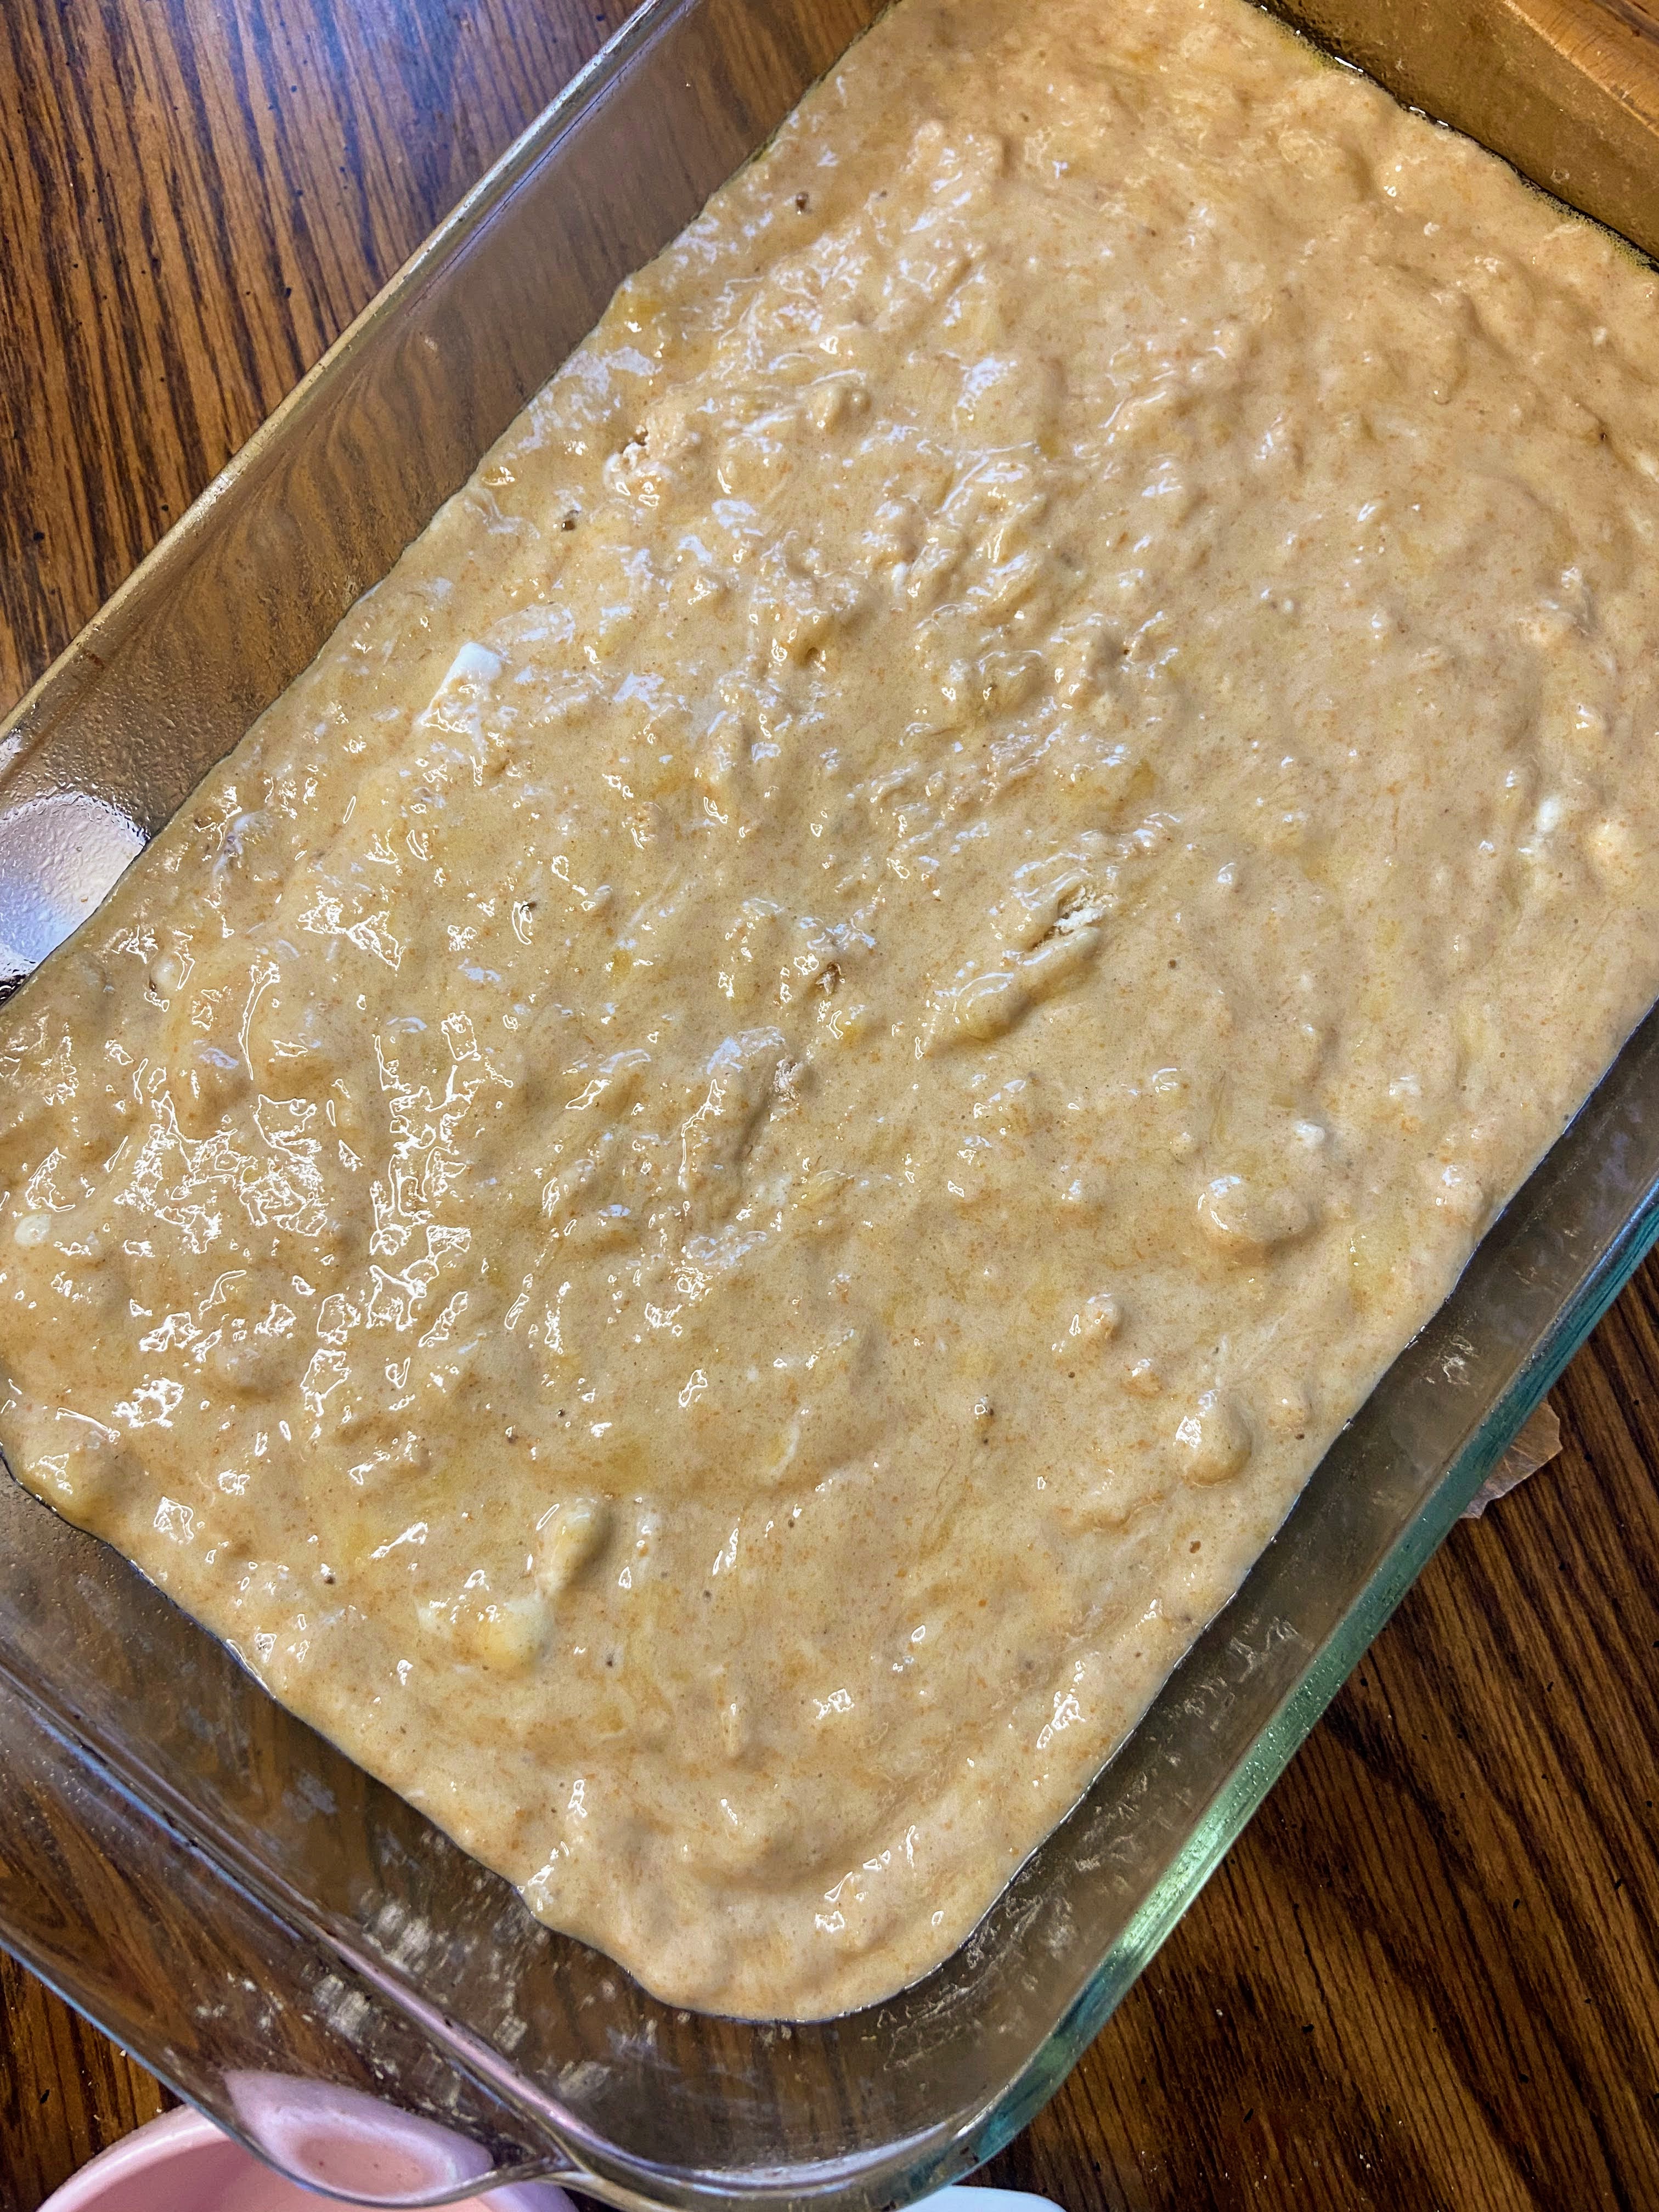
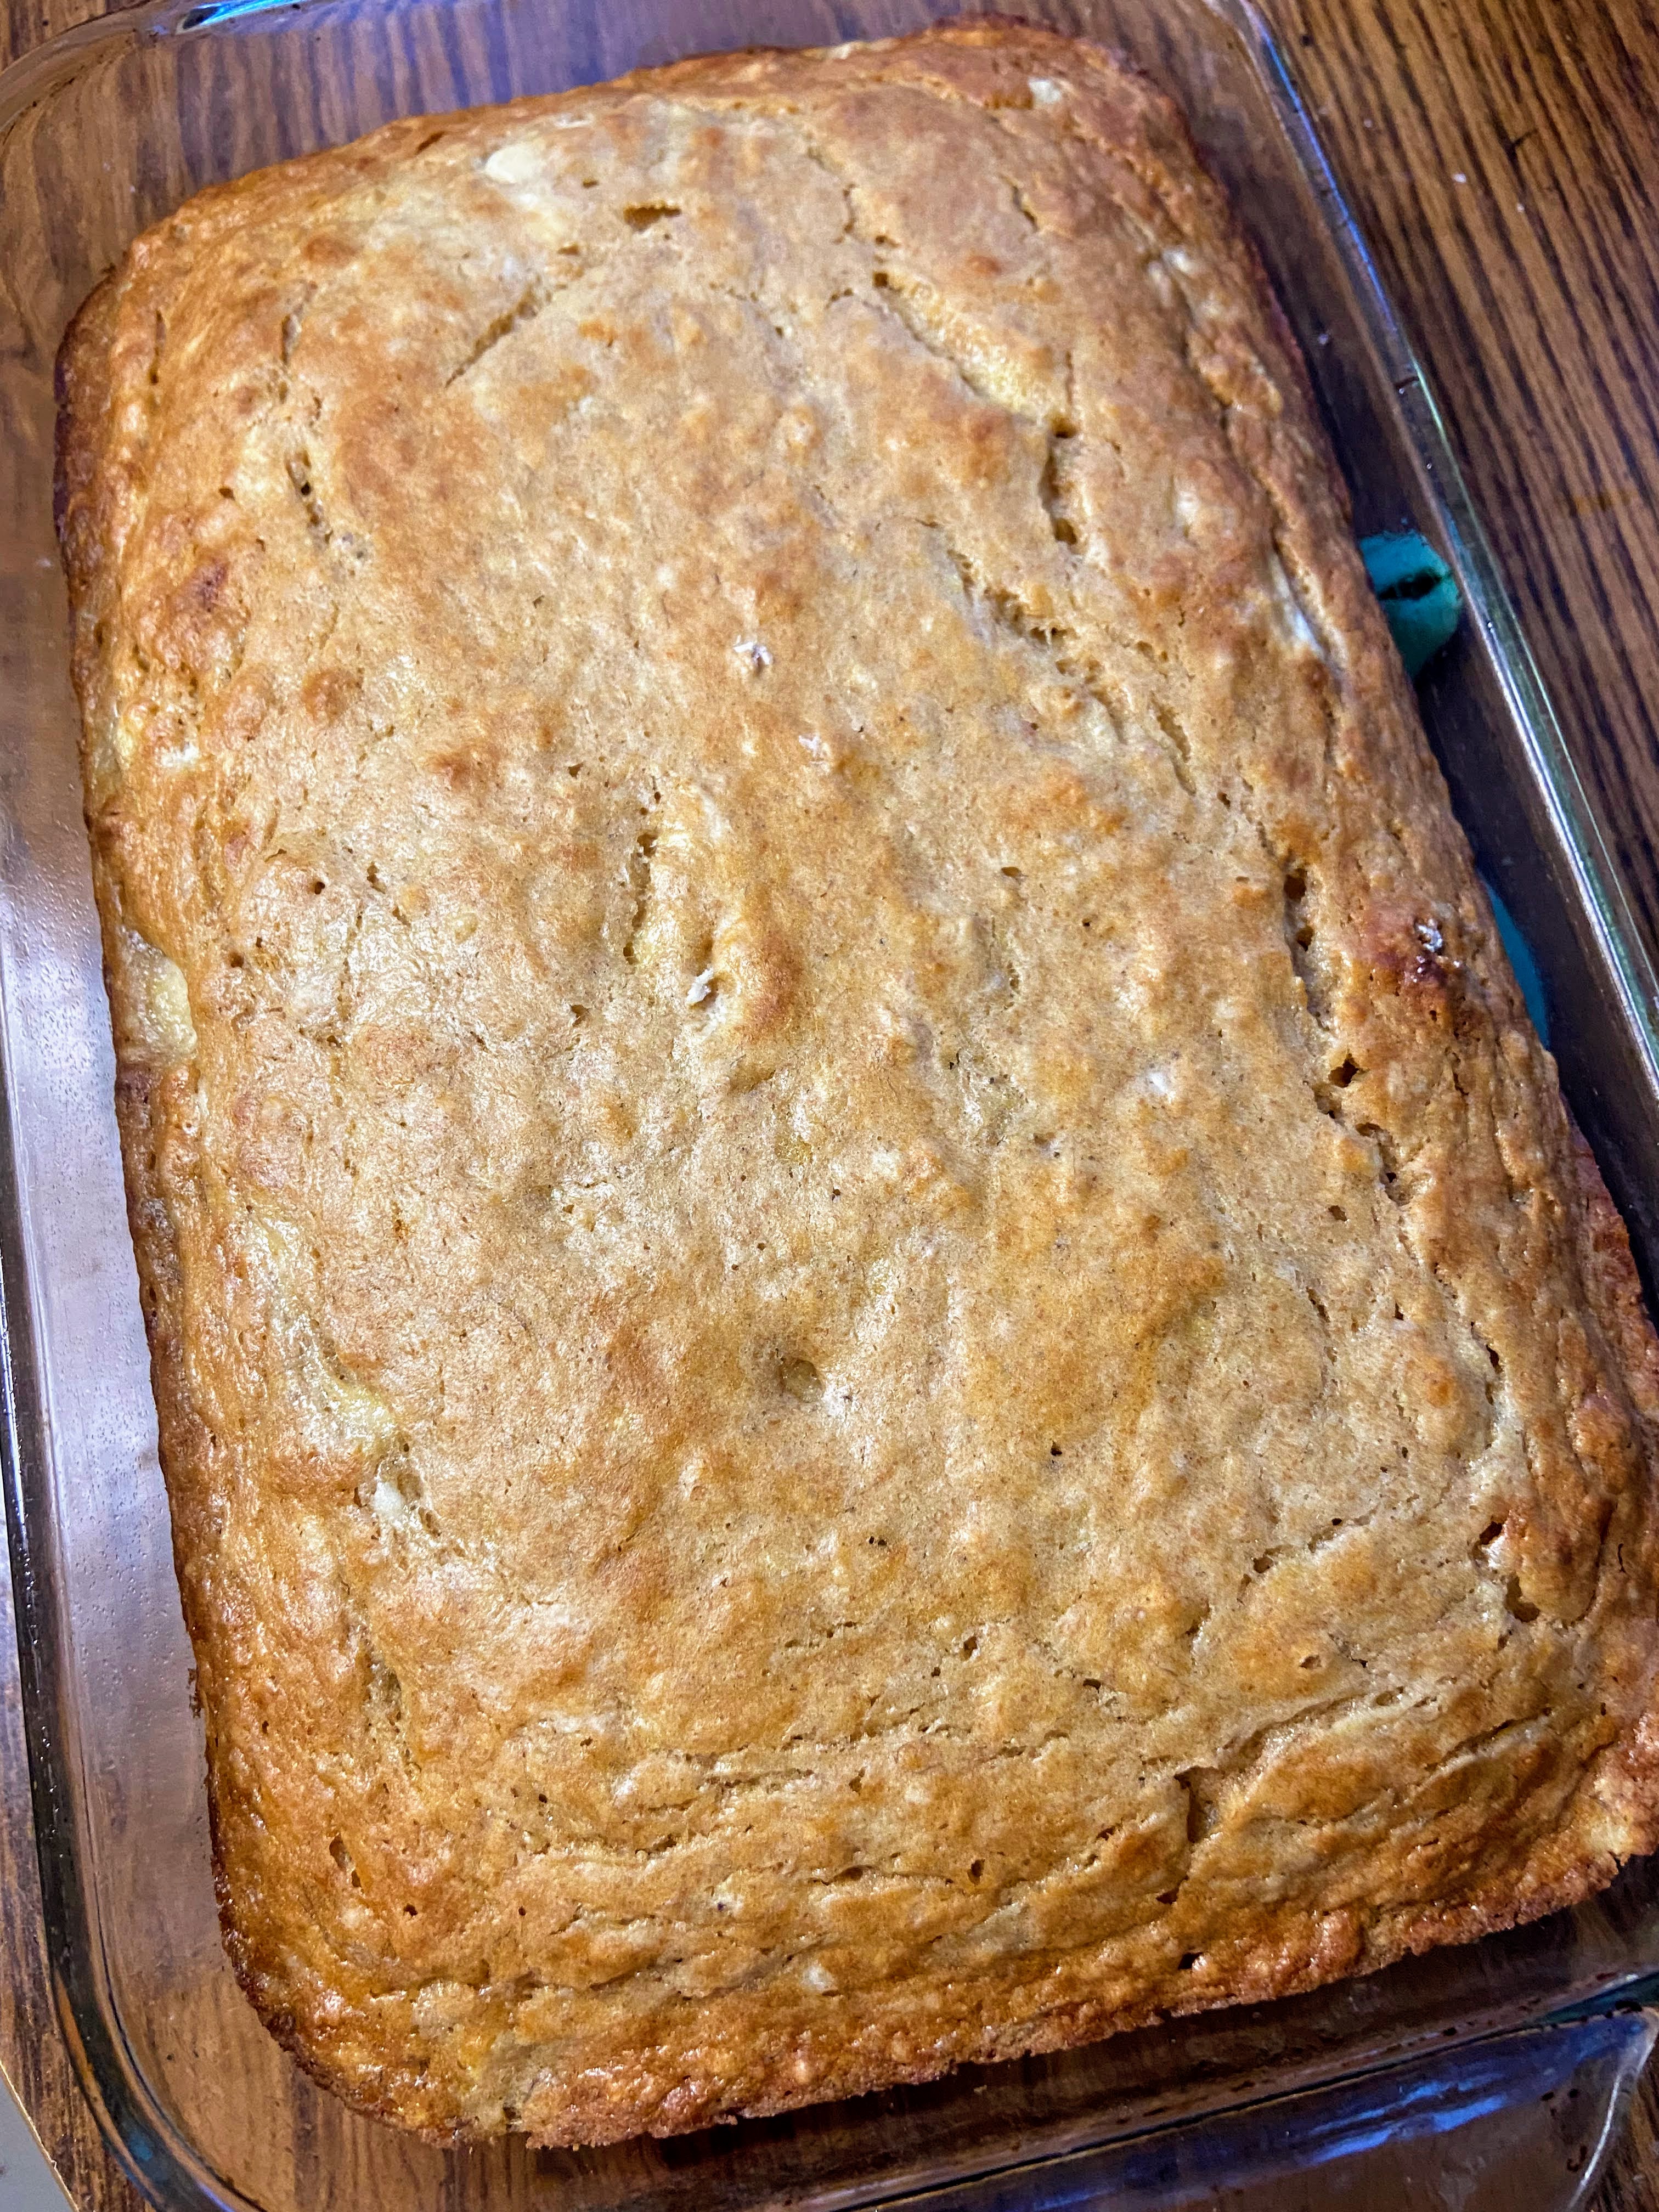
Preheat the oven to 350 degrees. Spray a 9×9 baking dish (or 7×10, my jam) with non-stick cooking spray. Whisk the egg in a small dish. Whisk bananas, yogurt, oil, vanilla, maple syrup, and egg until well combined. Stir in flour, baking soda, and salt. Pour into prepared dish. Bake for 35-45 minutes, until a toothpick can be inserted and comes out clean. 

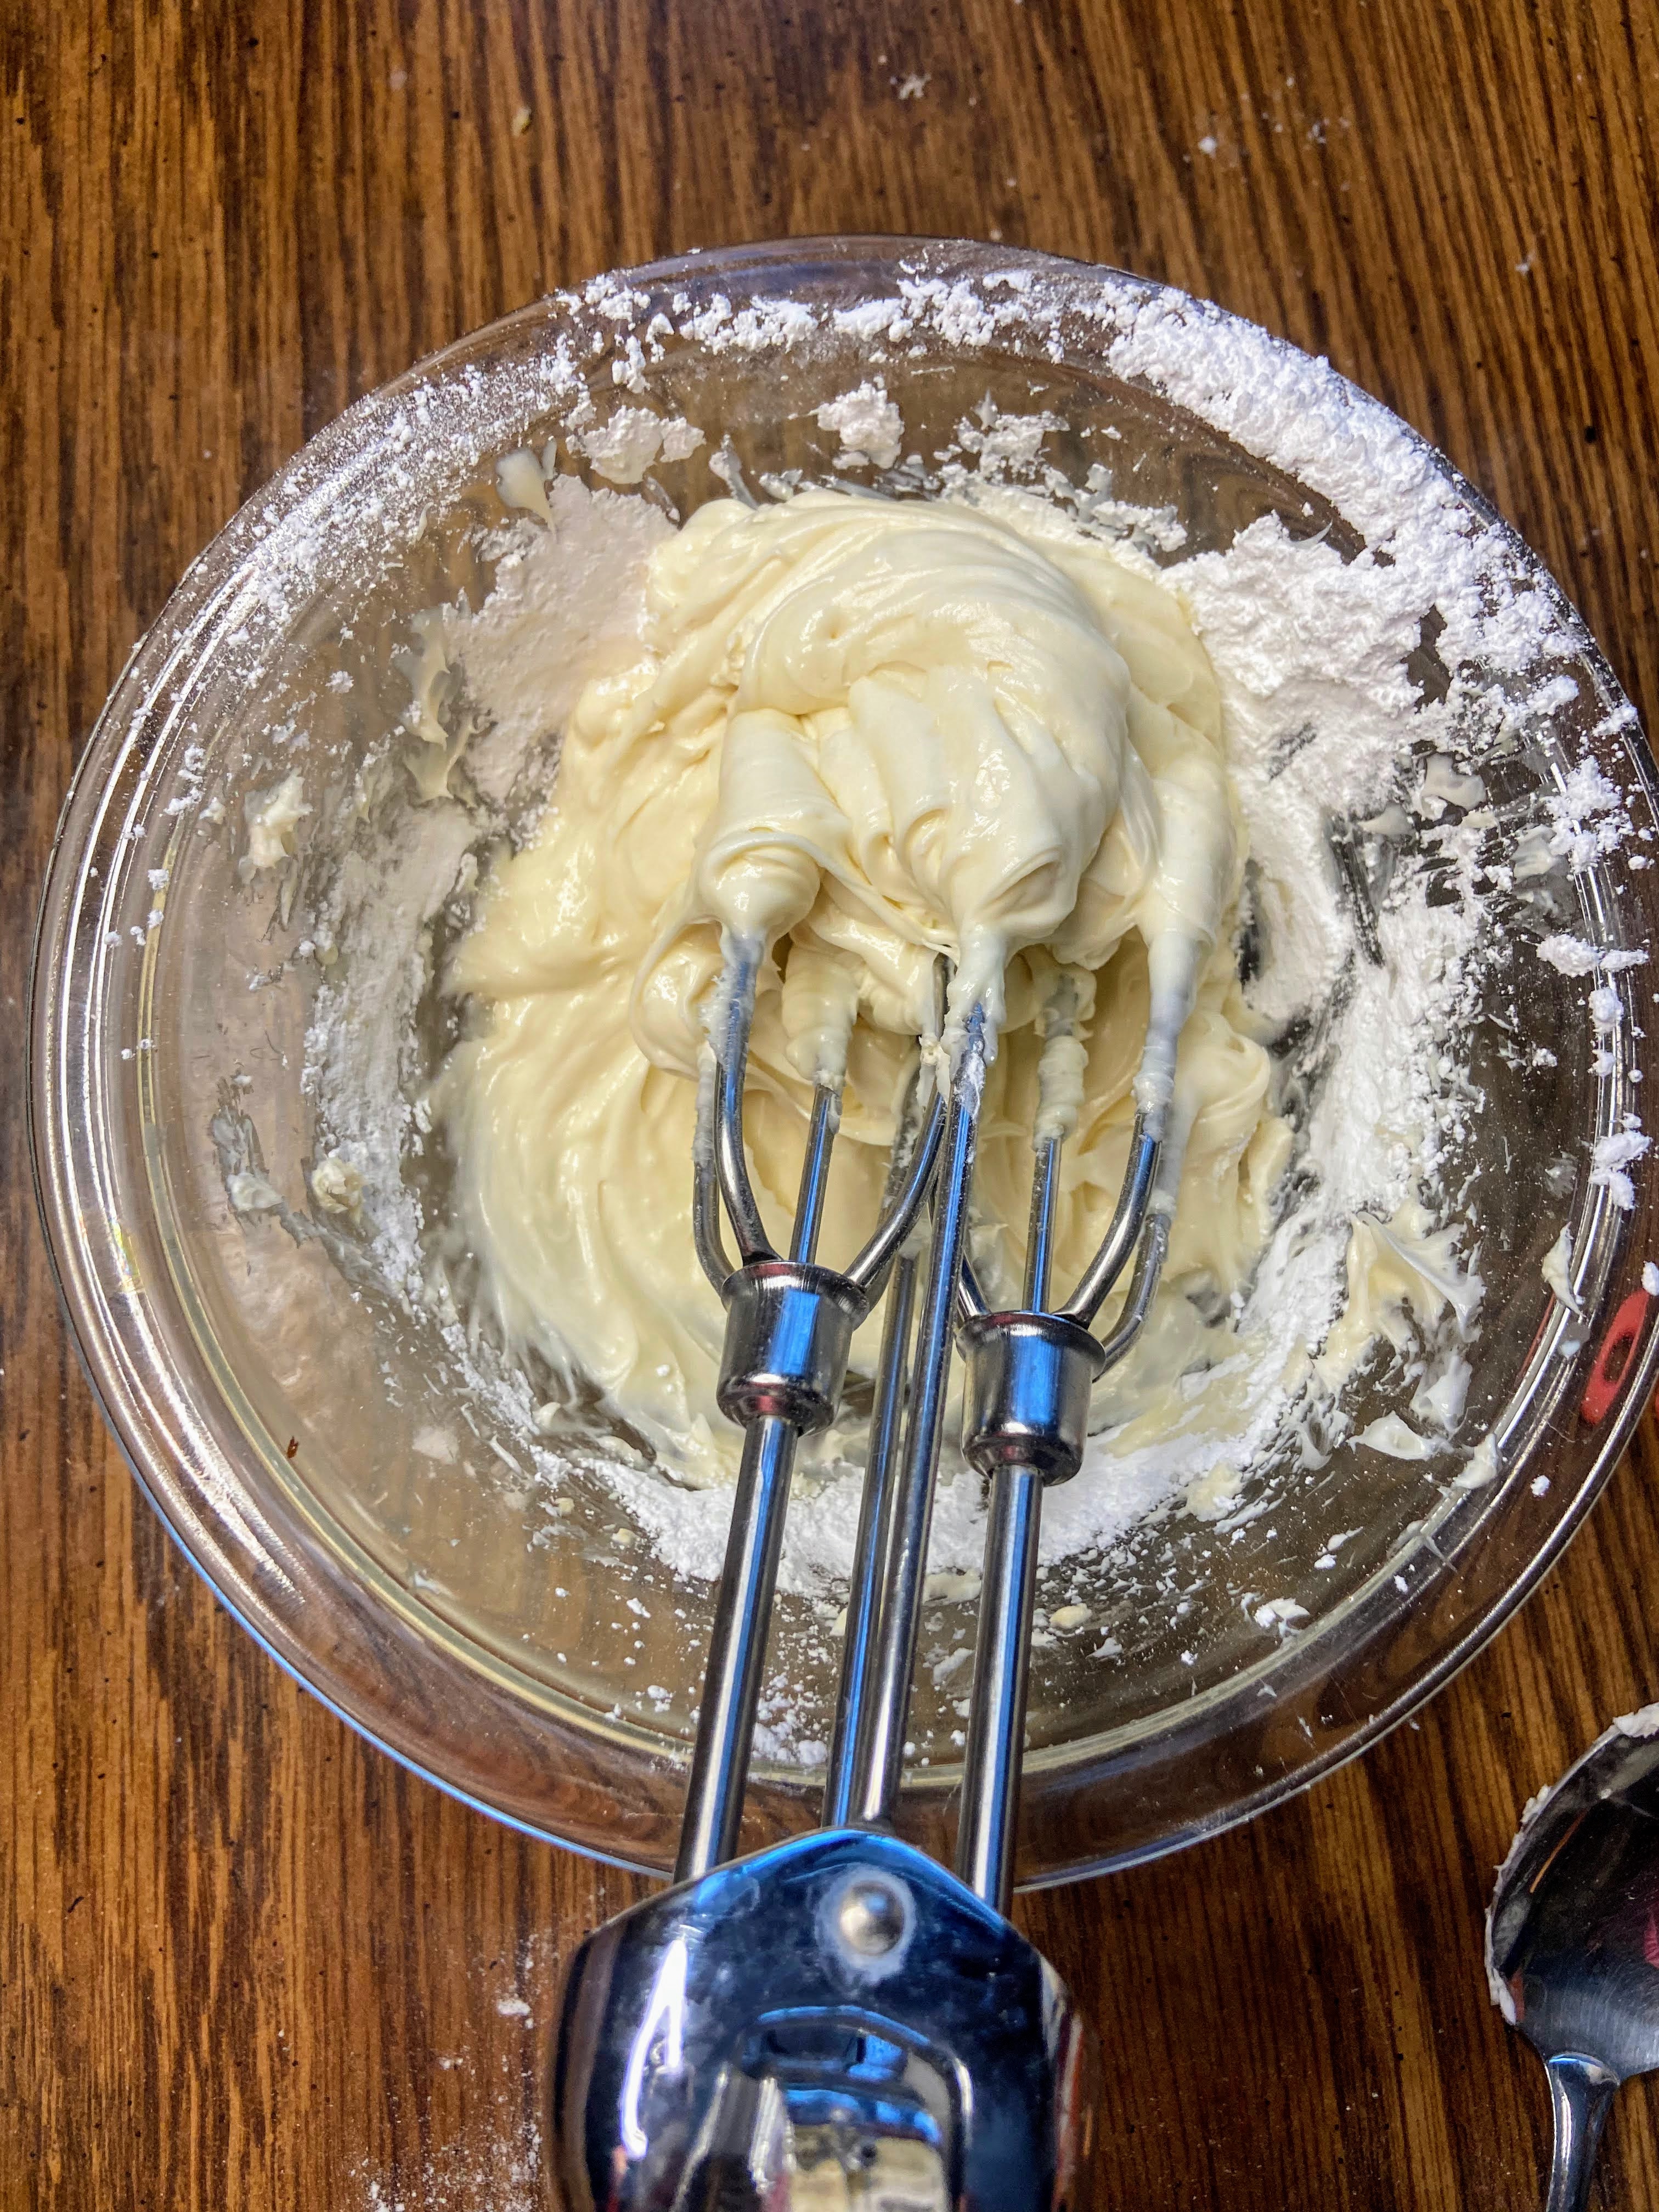
Allow to cool 20 minutes. While it cools, mix the frosting. Combine softened butter and cream cheese with a hand mixer until smooth. Add vanilla and mix again. Slowly blend in powdered sugar, ¼ cup at a time. Add milk, ½ tablespoon at a time until the desired consistency is acquired. Frost the cake when the cake is not entirely cool to lock in the moisture. 

Serve immediately. Store leftovers in the refrigerator.  

Looking for other recipe inspiration?

Check out these sweet and savory from scratch recipes for breakfast, lunch, and dinner!

Banana Cake with Cream Cheese Frosting

No one will guess that this perfectly sweetened banana cake with cream cheese frosting uses maple syrup for a sweetener.
Prep Time 10 minutes
Cook Time 35 minutes
Course Dessert
Cuisine American
Servings 12 servings

Ingredients
  

  • 1 ¼ cup mashed ripe banana 3-4 bananas
  • ½ cup plain Greek yogurt
  • 1 egg
  • cup oil
  • 1 teaspoon vanilla
  • ¾ cup real maple syrup
  • 1 ½ cup flour
  • 1 teaspoon baking soda
  • ½ teaspoon salt

Frosting Ingredients

  • ½ cup cream cheese softened
  • 2 tablespoons butter
  • 1 cup powdered sugar
  • 1 teaspoon vanilla
  • Pinch of salt
  • 1-2 tablespoons milk optional
  • Ground walnuts about ½ cup (optional)

Instructions
 

  • Preheat the oven to 350 degrees. Spray a 9×9 baking dish (or 7×10, my jam) with non-stick cooking spray.
  • Whisk the egg in a small dish. Whisk bananas, yogurt, oil, vanilla, maple syrup, and egg until well combined.
  • Stir in flour, baking soda, and salt. Pour into prepared dish.
  • Bake for 35-45 minutes, until a toothpick can be inserted and comes out clean.
  • Allow to cool 20 minutes. While it cools, mix the frosting.
  • Combine softened butter and cream cheese with a handmixer until smooth.
  • Add vanilla and mix again.
  • Slowly blend in pinch of salt and powdered sugar, ¼ cup at a time. Add milk, ½ tablespoon at a time until the desired consistency is acquired.
  • Frost the cake when the cake is not entirely cool to lock in the moisture. Top with ground walnuts
  • Serve immediately. Store leftovers in the refrigerator.
Keyword Banana, banana cake, cream cheese, desserts, maple syrup, sweets
Tried this recipe?Let us know how it was!

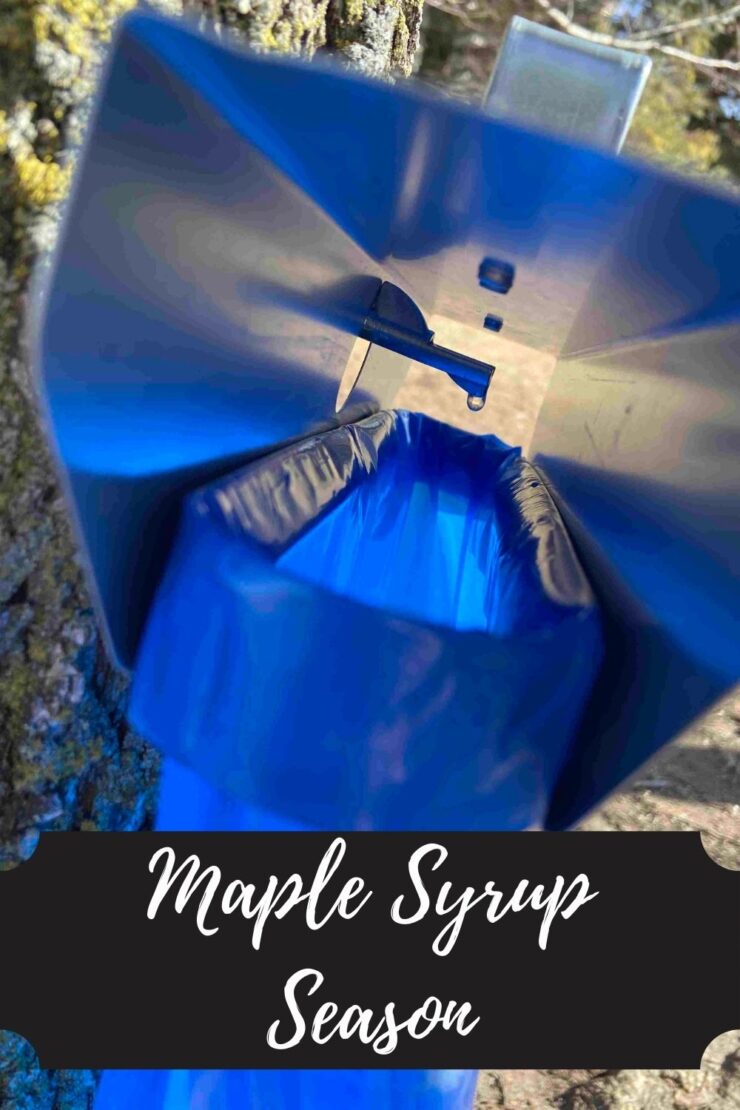
Maple Syrup Season

My Story…An Adventure…

Cooking Sap: A new family tradition

(You can totally skip this part if you aren’t into hearing the back story, but I do have some big hints and tips that I learned in my first adventure into maple syrup 🙂 ) Click here to skip my story!

How I roll

I have to begin this post by saying I’m the type of person who gets approximately 75% of the information needed for a grand plan and then I go all in, and my husband has to strap in for a wild ride. This is true with my food blog, fitness activities, you name it. But our favorite example of me doing this is maple syrup. Being from the Northwoods of Wisconsin, we know a number of people who tap trees every spring and cook down their own maple syrup. My new found obsession with foraging and all things homesteading meant I became interested over the last few years.

Gathering

Last March, I was doing some shopping at the local (ish) Fleet Farm and saw the tree tapping supplies. I had done MINIMAL research, but I quickly texted two different friends who tap and got some quick info. Yes, it was late in the season. But I had made my mind up and picked up the materials to tap four (yes, just four) trees. I figured it would be an adventure for my family and worst case scenario, we were out a few hours of work and about $35.

I brought it home, read a little more about gathering maple syrup online, and we began the quick process of hanging the sap bags. Little did I realize just how much sap we would get! After just 48 hours, we had multiple gallons of sap and no real place to store it (again, 75% of the information is all I ever have and then I fake it till I make it).

Cooking

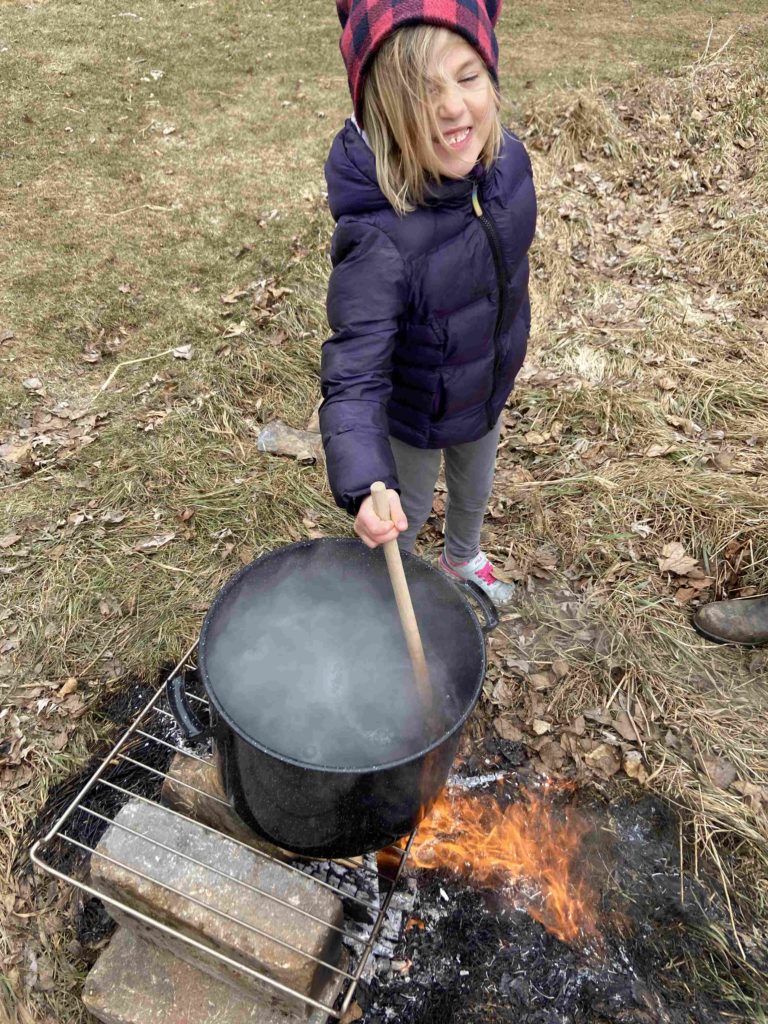
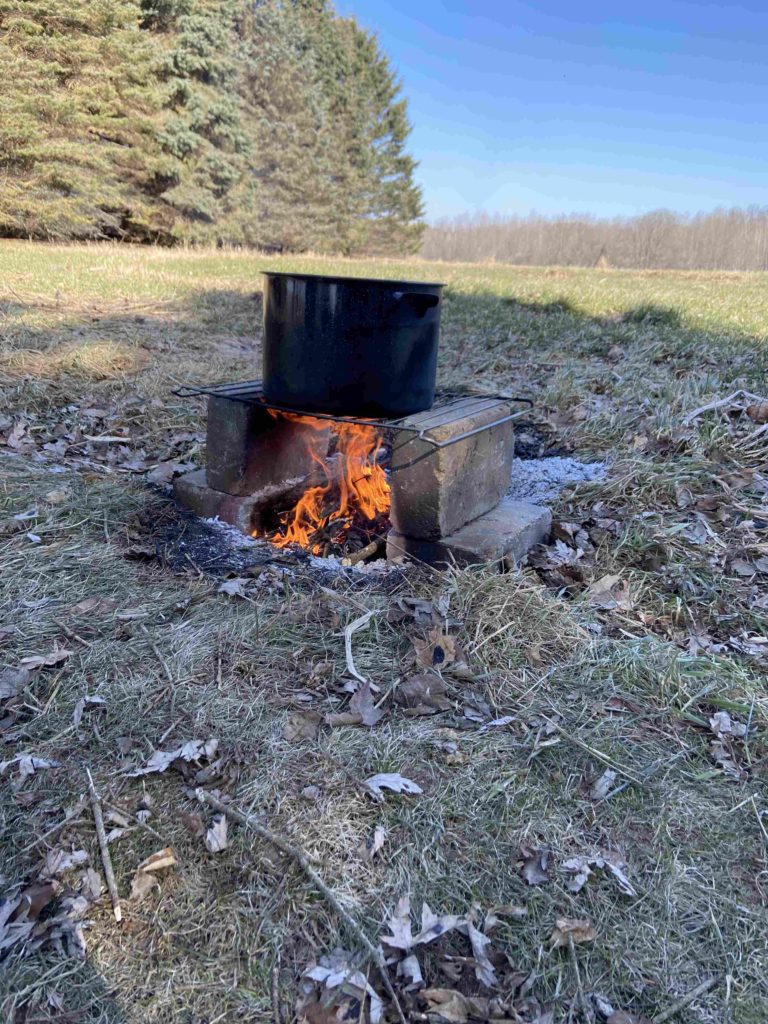
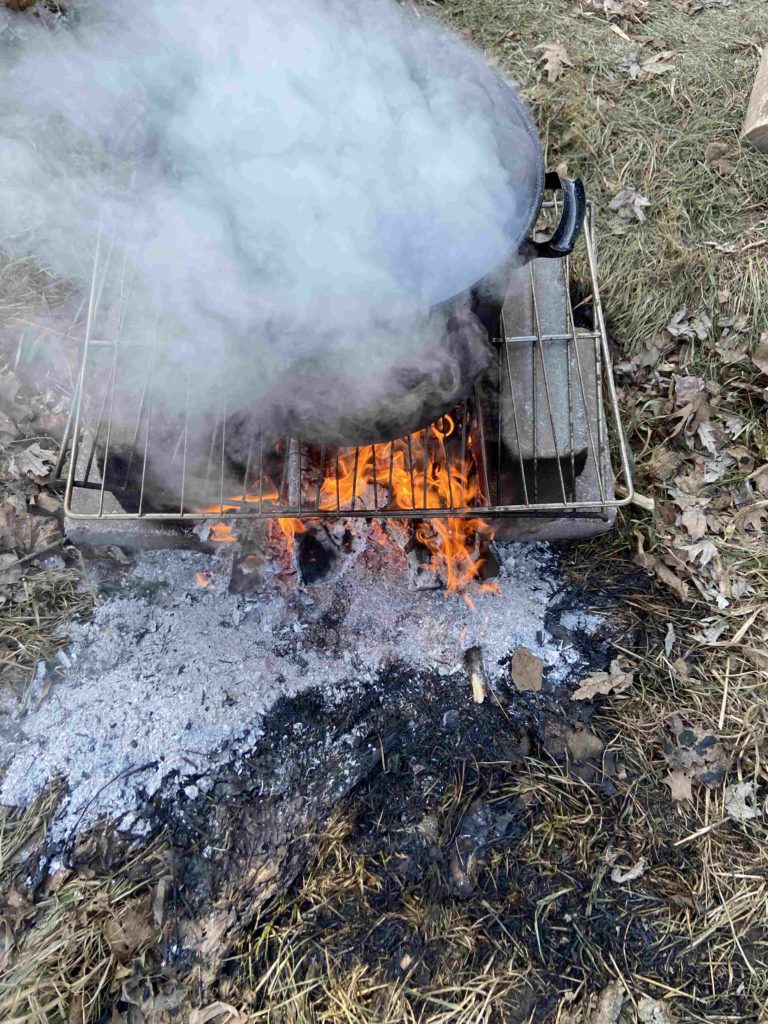
So begins the process of cooking maple sap down, in the middle of the week, after my husband and I had both worked a full day. We got home, ate dinner, and put together a fire outside, setting some 2 inch metal fencing from our garden on top of a few cinder blocks for the old kettles we had to sit on top. The sap got poured into the kettles and we boiled away, keeping the fire stoked.

Because we were using an old canning kettle (something taller than it was wide, so less surface area for the heat to reach), it took longer to boil down than either of us anticipated (75% of the information…maybe more like 50% 🙂 ), and we were so tired. The first time we cooked, we went to bed at 10:30-11 pm, but set an alarm for every 30 minutes so we could stoke the fire. I can’t help but laugh now as I remember that. I think I blocked that from my memory!

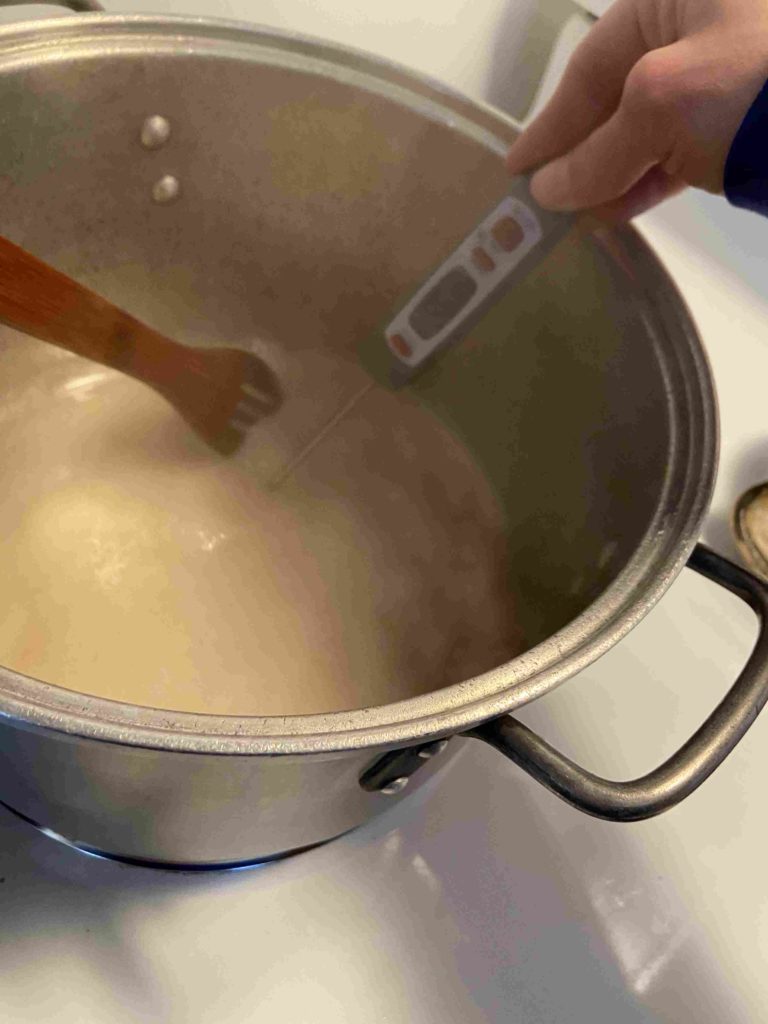
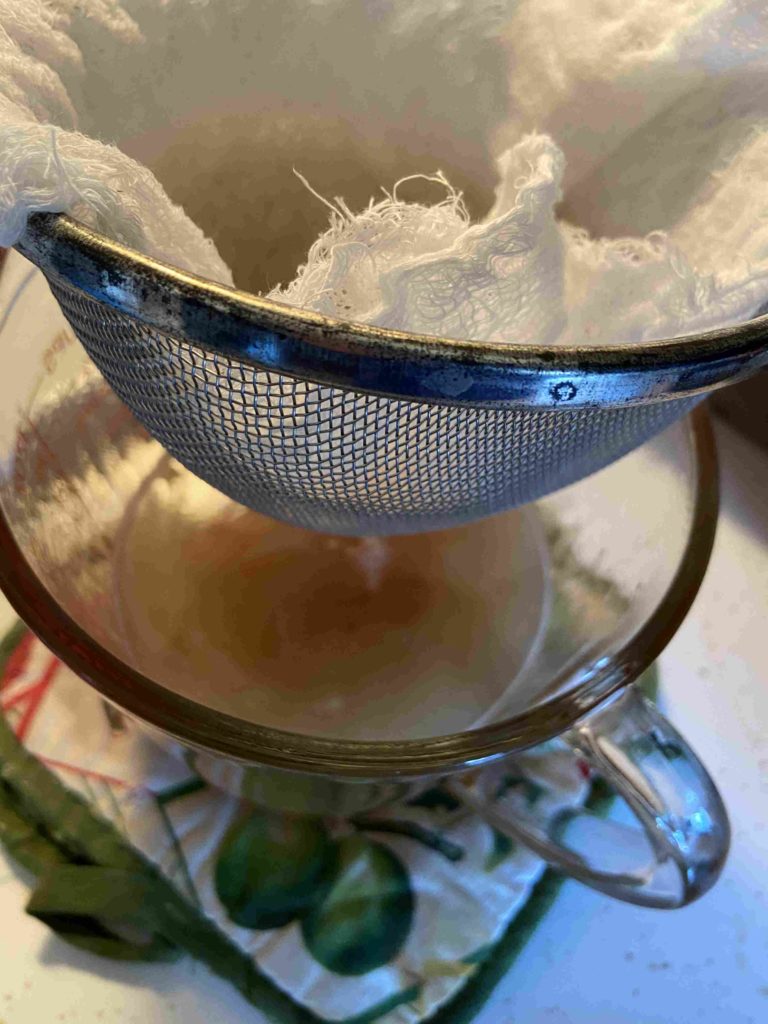
By 1 am, the sap had cooked down to about 1-1 1/2 quarts of maple syrup and we were able to bring it inside to finish it on the stove. From here, we boiled away until we had a hard boil, checking the temperature every few minutes. You have maple syrup once the temperature reaches 7 degrees above the boiling point of water (which varies based on your elevation). We hit that point, filtered it through cheese cloth twice, tasted the delicious syrup we had just made and worked SO hard to finish, and immediately collapsed back in our bed.

A sane person may quit after that experience 🙂 It wasn’t hard by any means, but it sure took a lot out of us. However, I got more excited (so did our kids), and although he would never admit it, my husband loved it. He got to spend hours around a fire with a beverage of his choice, watching the sap boil. It’s calming and healing, believe me. We learned crazy amounts after that first experience.

A few hints Before you start

  • Start the fire AS SOON AS YOU GET HOME.
  • Try to use wider pans to cook in to increase the surface area.
  • It’s best if you cook on the weekends so you can cook in the daylight.
  • Don’t chop your wood too close to the fire or hitting the kettle and losing all your sap may occur. Super sad!
  • You don’t need to fill the kettle to the top with sap to begin. Get a boil going and slowly add the rest of your sap.
  • Anyone can do this! It is rewarding and fun to learn.
A perk for the littles: tasting the sap right out of the tree!

Now It’s your Turn!

This year, we tapped just two trees with four taps at my in-laws after our spring break trip fell apart. We figured we would be around and my husband’s family had never experienced it before. It wasn’t the plan, so we began by picking up a kit (simply because then we knew we had everything we needed. You will need:

  • Taps (four is plenty for your first go!)
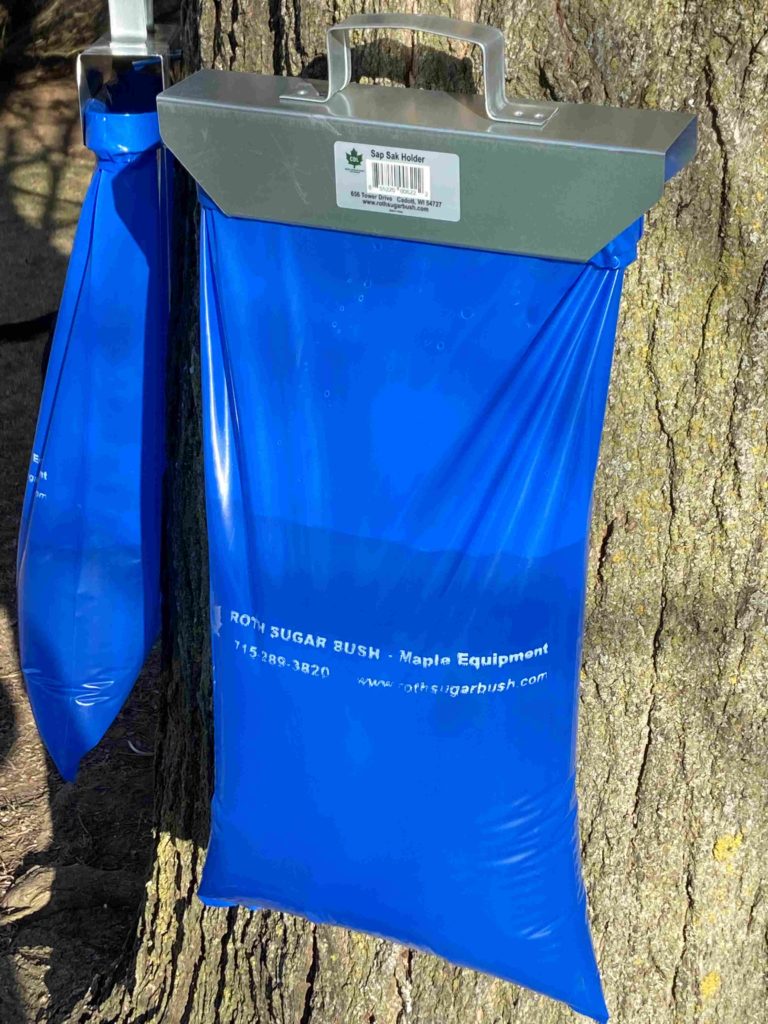
  • Sap collecting bags (one bag per tap)
  • Hangers for the bags
  • A drill and drill bit to match the size of the tap as well as a hammer
  • Large cooking vessels that you are okay getting covered in carbon as they sit over the fire (think, the soup kettle you never liked anyway)
  • Lots of dry wood, cut smaller
  • Cinder blocks and some form of metal to set the cooking vessel on (wire, an old grill grate, metal posts, etc)
  • Cheese cloth to filter syrup when your finished cooking it down
  • Cooking thermometer, preferably digital

Tapping happens in the spring, when the nights are still below freezing but the days are warmer. The sap should run clear out of the tree. If it is cloudy, it is time to be done collecting. One trick sappers use is to watch for the tree leaves to bud out.  Once the leaves bud out you know that sapping season has come to a close. You can tap any maple tree, but sugar maple are going to be the highest sugar content. You will want to have the bags facing the south to keep them warmest during the day. I am going to write these directions assuming you have the same quantity sap we did with about 4 taps. I want the directions short and sweet so feel free to read around the Internet for more information!

1. Drill a hole into the tree at about chest height, initially going straight in but angling up just slightly to encourage sap flow. The depth of your hole should be about 2 – 2 1/2 inches. (How many taps can a tree hold? Check the diameter: 10-20 inches = 1 tap, 20-25 inches = 2 taps, over 25 inches = 3 taps)

2. Insert the tap into the tree and gently use a hammer to get it inserted the rest of the way. Depending on the temperature outside, the tree may begin dripping sap immediately (if it is warmer). It dripped immediately at my in-laws, but took a while to drip at our own home. Don’t fret.

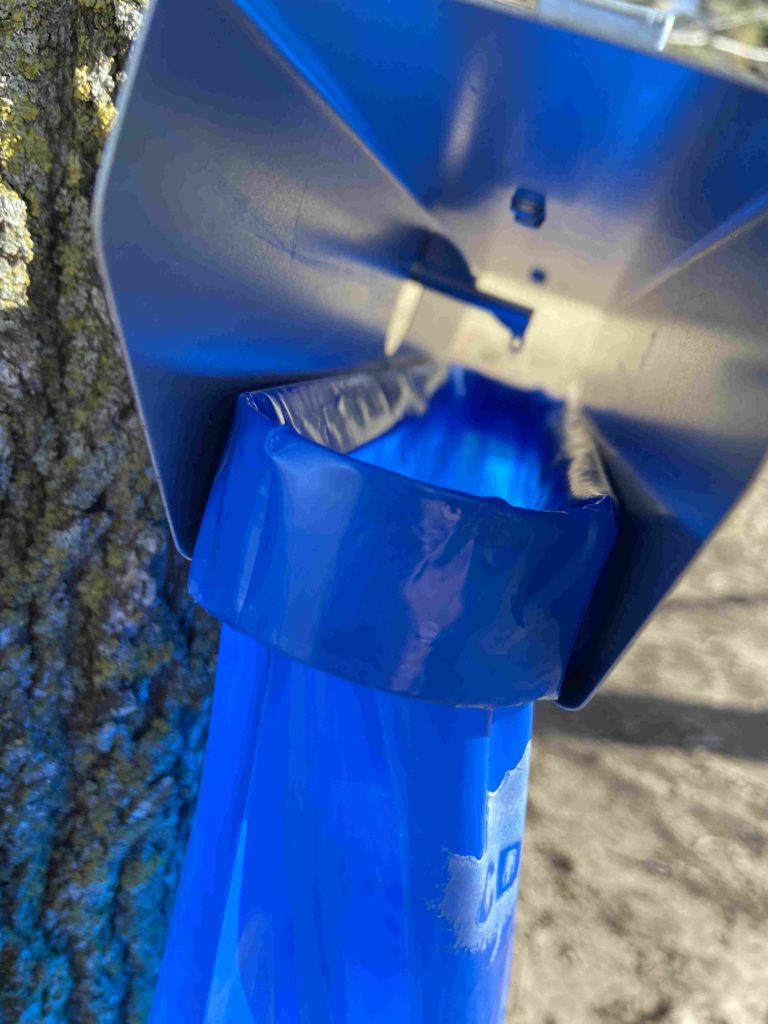
3. Wrap your bags around the metal ring and insert back into the hanger. Hang bags on the tap, making sure that the spout is dripping inside the bag.

4. Walk around and check on them because you’re just so happy you tapped your first trees.

5. As your bags fill, know that you can truly cook at any time, but be mindful of the size of your cooking vessel. The ratio of sap to syrup is approximately 40:1, that is for every 40 gallons (cups, whatever) of sap you collect, you will get 1 gallon (cup, whatever) of syrup. Whenever you are ready, pour the sap into a kettle and place the bags back on the hangers to continue to collect.

6. We like to build a fire, but protect it with cinder blocks on each side. The first year, we use blocks that had holes in them. This year, we bought solid blocks from Fleet Farm, and they held up to the heat much better. Place the metal grate, wire, etc. on top of the blocks and put the kettle on top.

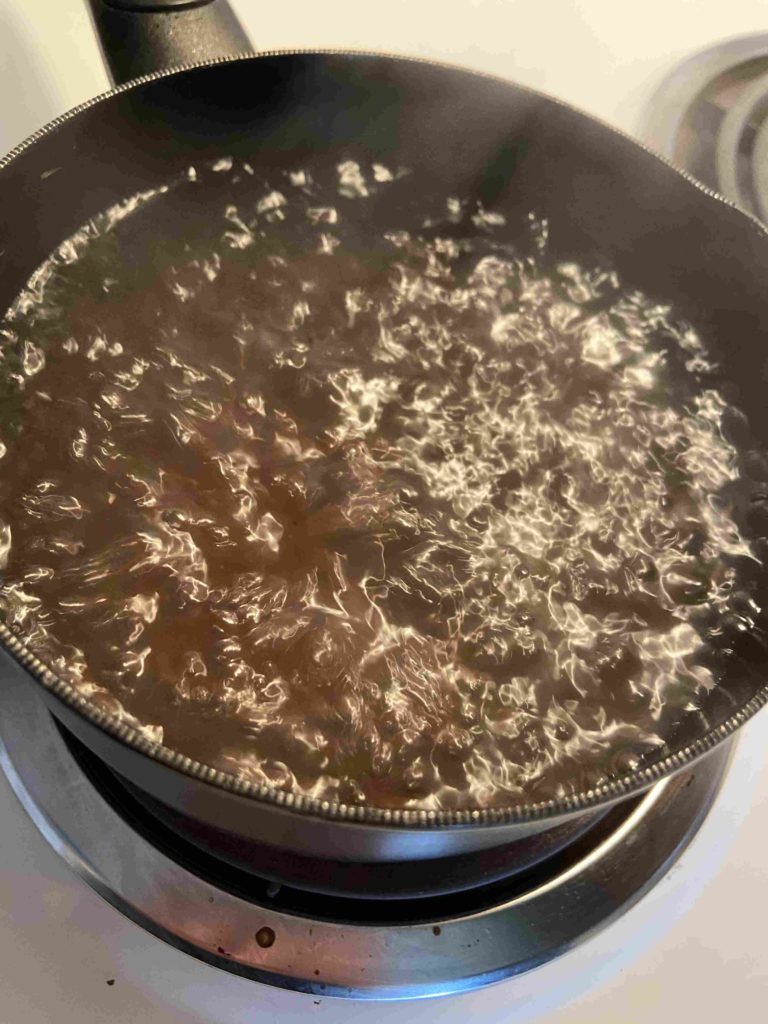
7. Boil. And boil some more. Keep the fire hot. Sit around with a beverage of your choice (coffee til cocktails, anyone?) and reconnect with nature and your friends. Boil until you’ve reached the point that you have approximately 1-2 quarts left of your sap. That is, once it has begun to turn that glorious syrup color and you have a kettle small enough to finish it off on the stove.

8. CAREFULLY pour your “almost syrup” into the smaller kettle, and bring to a boil on your stove. I told my husband the boil changes when it’s getting closer and he agreed, but I don’t quite know how to describe it. You will notice it too though, I am certain. Stir the “almost syrup” often, and check the temperature every few minutes. It will take longer than you think it should.

9. You have syrup once the temperature reaches 7 degrees above the boiling point of water at your elevation. If you are under 1000 ft above sea level, that will be 219 degrees, but you may want to do an Internet search on the boiling point for your own town. (There are other ways to check for syrup beyond temperature…fancy: hydrometer that measures sugar content, not fancy: spoon test and seeing how it falls off a metal spoon. I recommend just using a digital thermometer)

10. Once you reach the right temperature, you will want to filter the syrup through cheese cloth. We like to put the cheese cloth over a small mesh colander and pour it into a larger measuring cup (see picture). Then we filter it once more from the measuring cup into a mason jar (or whatever you want to store your syrup in). Allow to cool, and then store in your refrigerator.

That’s it! In just 10 steps, you have made your very own maple syrup. It’s great with all of your breakfast goodies like waffles (I have a great recipe here!), as a refined sugar replacement (check out the energy balls here!), or even as your sweetener in your coffee. I hope you enjoyed it as much as we do and start a family tradition like we have 💗

Looking to find more treats that the Earth has to offer? Check out some of the links below: