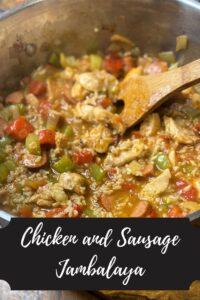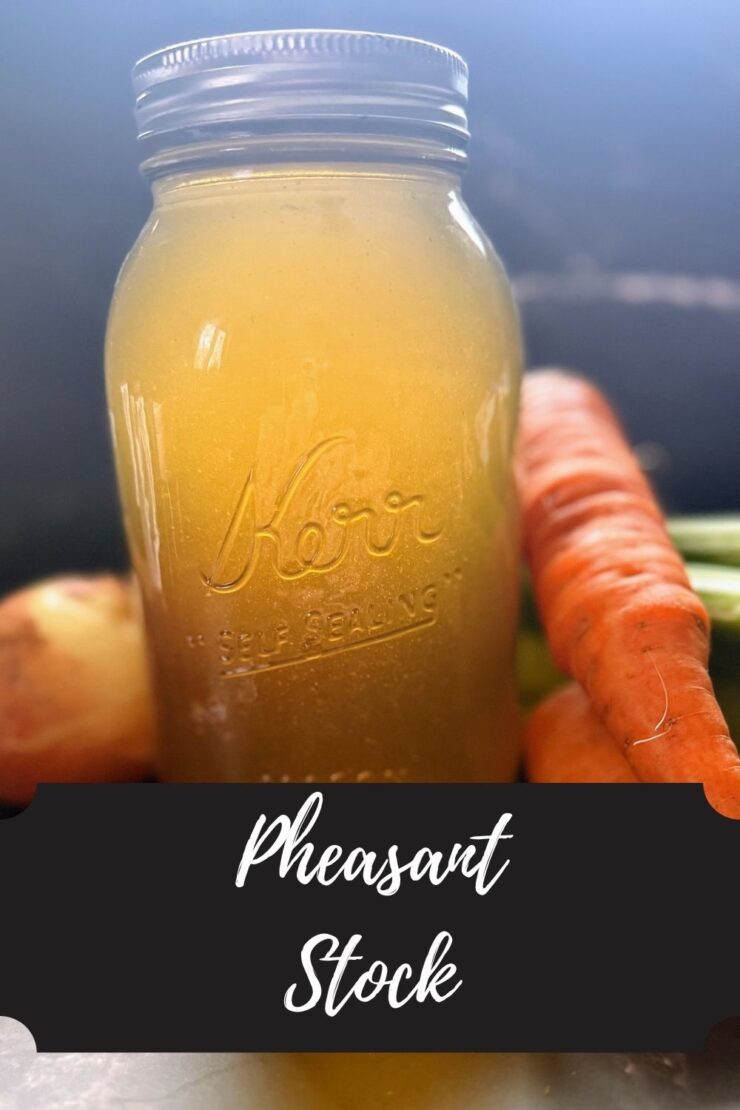
Welp! This post has been hanging in my brain for about a month, but mom life and marathon training got in the way. BUT! I am excited to share my favorite creation this fall: pheasant stock.
If you’ve been around for a while, you probably know that the Mr is an avid hunter. Generally, I am here to share venison recipes, but his favorite type of hunting is actually duck or pheasant. (Fun fact: The first time he cooked for me, it was a pheasant breast in gravy. His mom and brothers knew something was up because he called his mom to get the recipe!)
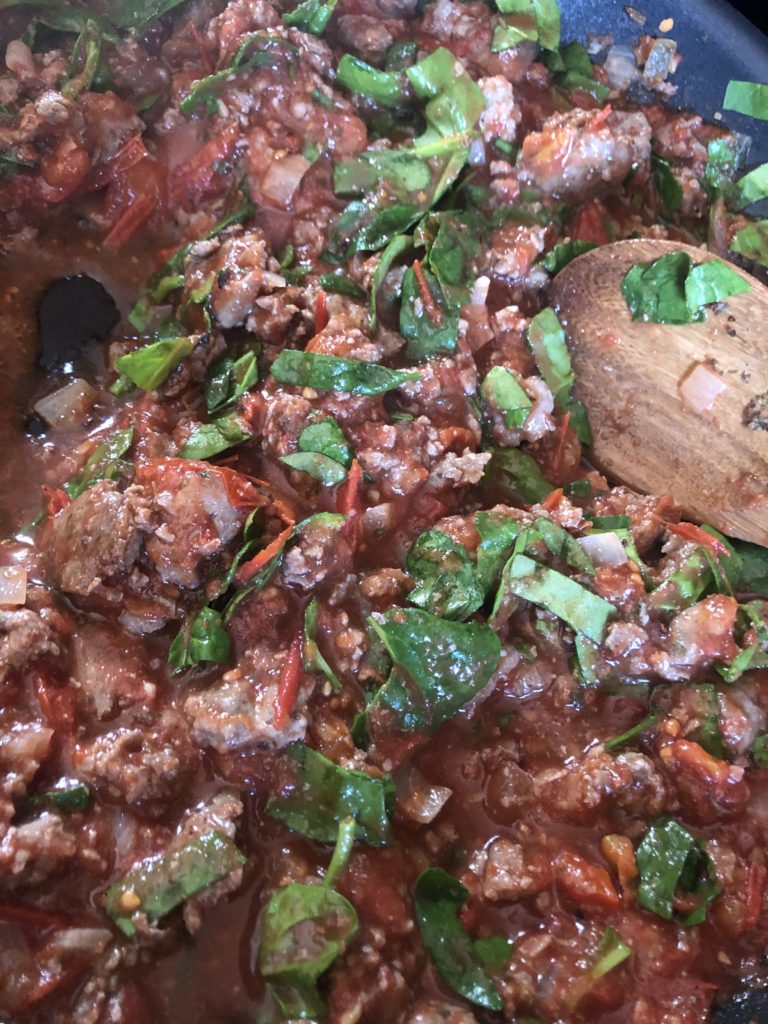
Usually, I leave a lot of the wild game cooking to him because is much more of a pro than I am. However, this fall he did a ton of pheasant hunting and making pheasant stock and subsequently soup became my weekend pastime (when I wasn’t running or being a soccer mom).
The benefits of making a stock with the broken down pheasant is that the meat comes off the bone so easily and the flavor is dynamite. And while pheasant season is coming to close in Wisconsin, this is definitely something I will be doing for years to come.
Before we get started, let me share that the Mr always puts cleaned and broken down wild birds (ducks, pheasants, geese, etc) in a salt water brine, soaking them in the fridge for a few days. This helps to draw out the blood that inevitably will be there from the shot. But once they have soaked, it is my turn!
Your Ingredients
- One pheasant, broken down but skin on
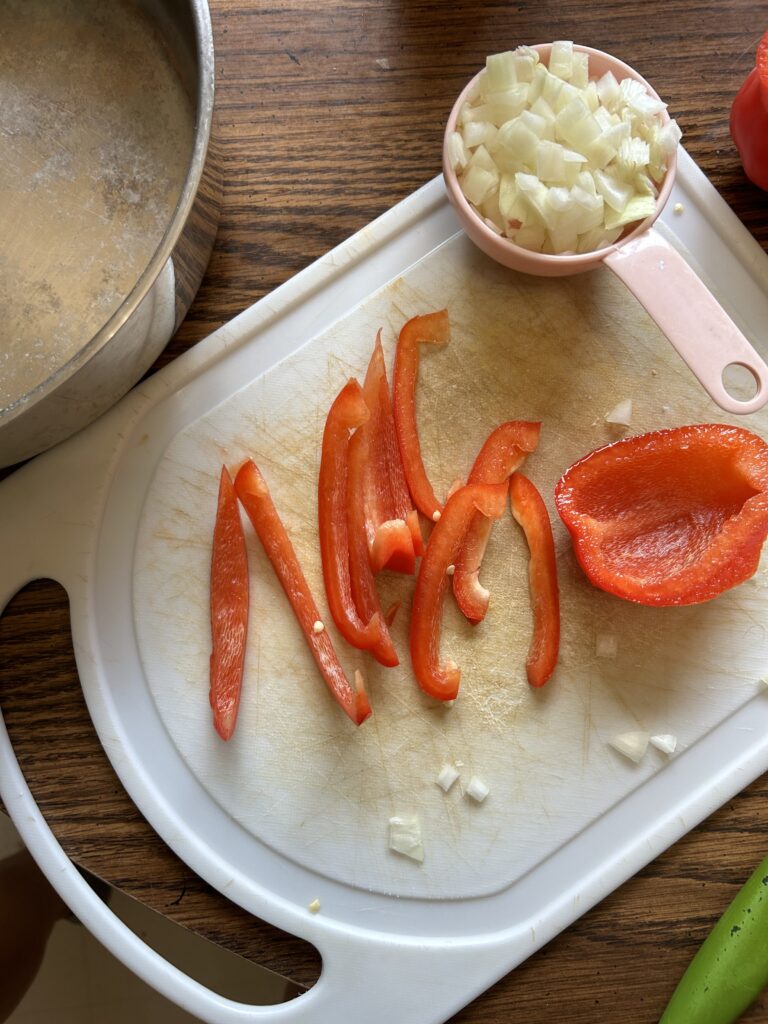
- 2 white onions, quartered
- 3 carrots, rough chopped
- 4 stalks celery, rough chopped
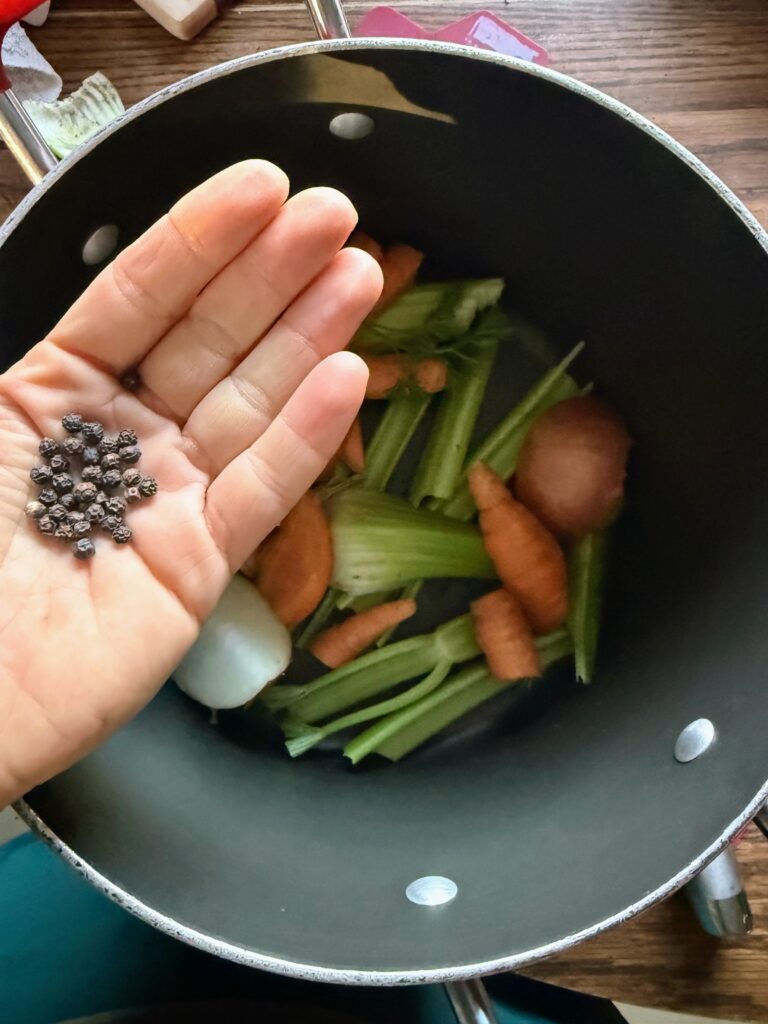
- 1 teaspoon peppercorns
- 2-3 sprigs of parsley
- 2 bay leaves
- 2-3 cloves garlic, smashed
Your Steps to Pheasant Stock
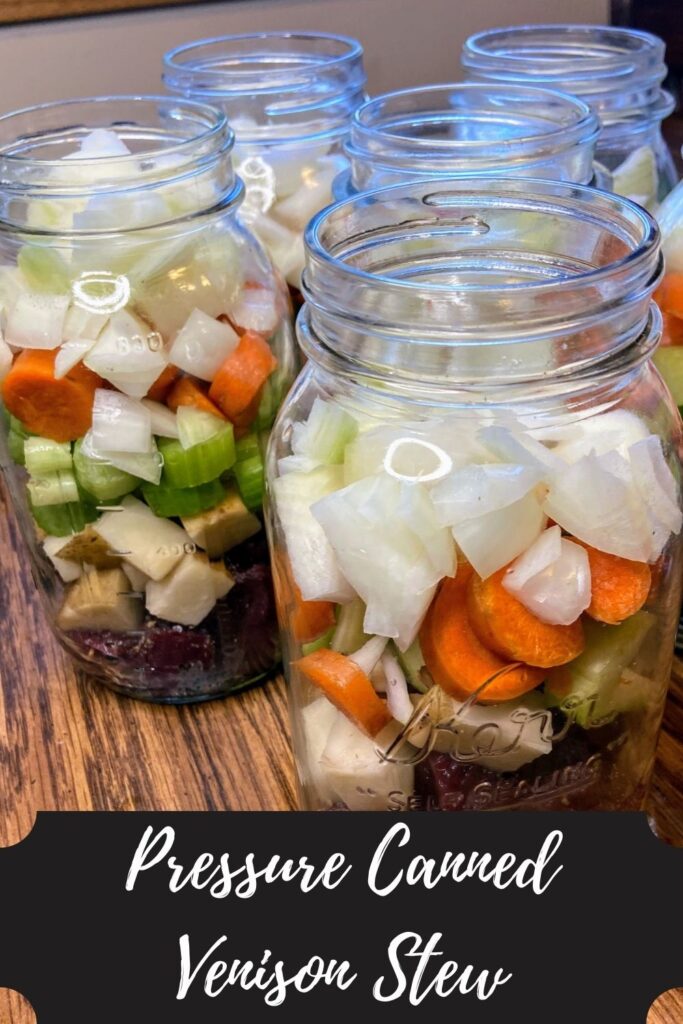
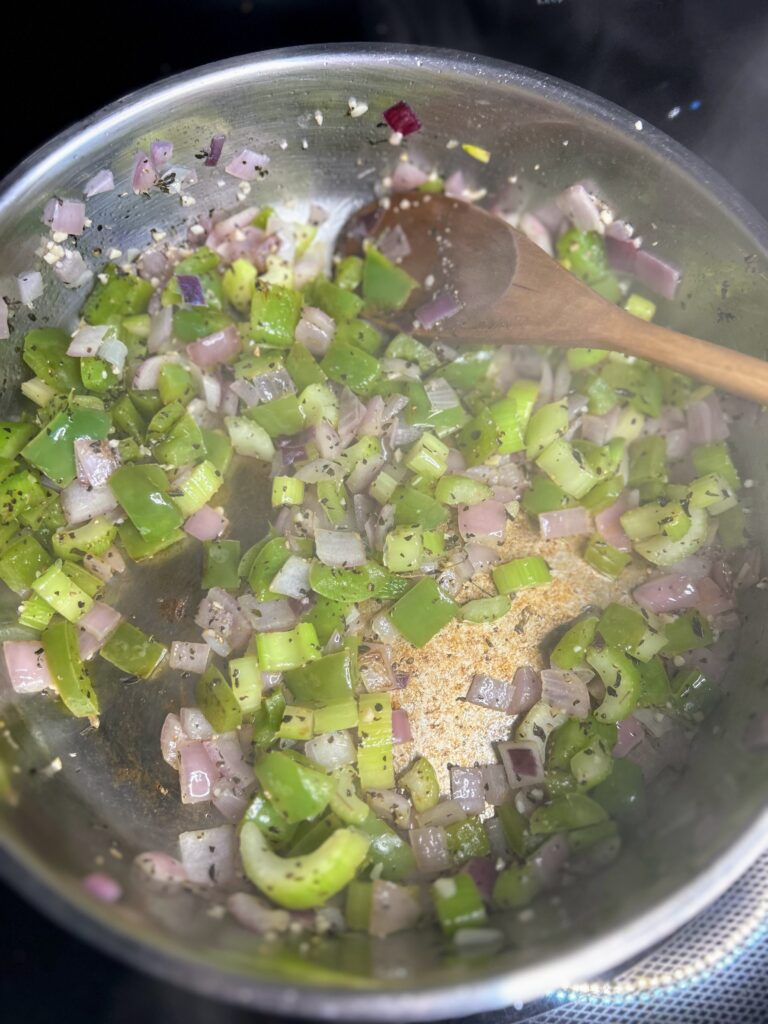
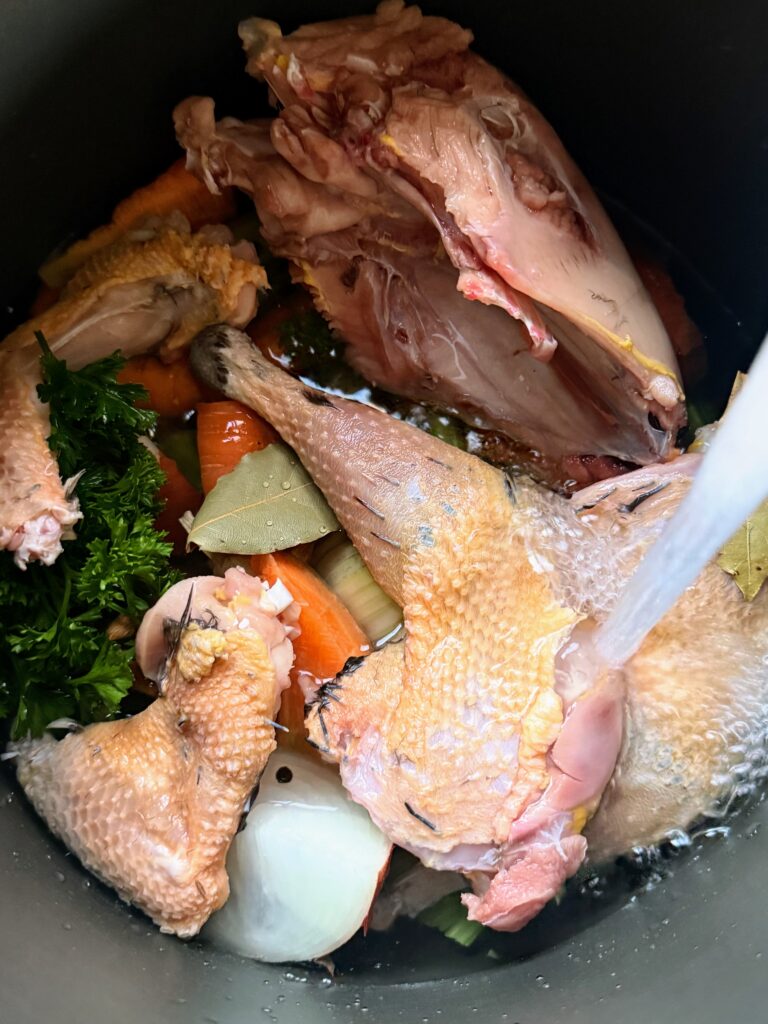
In a large stock pot, add breasts, legs and thighs, and wings of one cleaned pheasant. Add the onions, carrots, celery, peppercorns, bay leaves, parsley, and smashed garlic cloves. Cover the vegetables, aromatics, and pheasant with approximately 4-5 quarts of water.
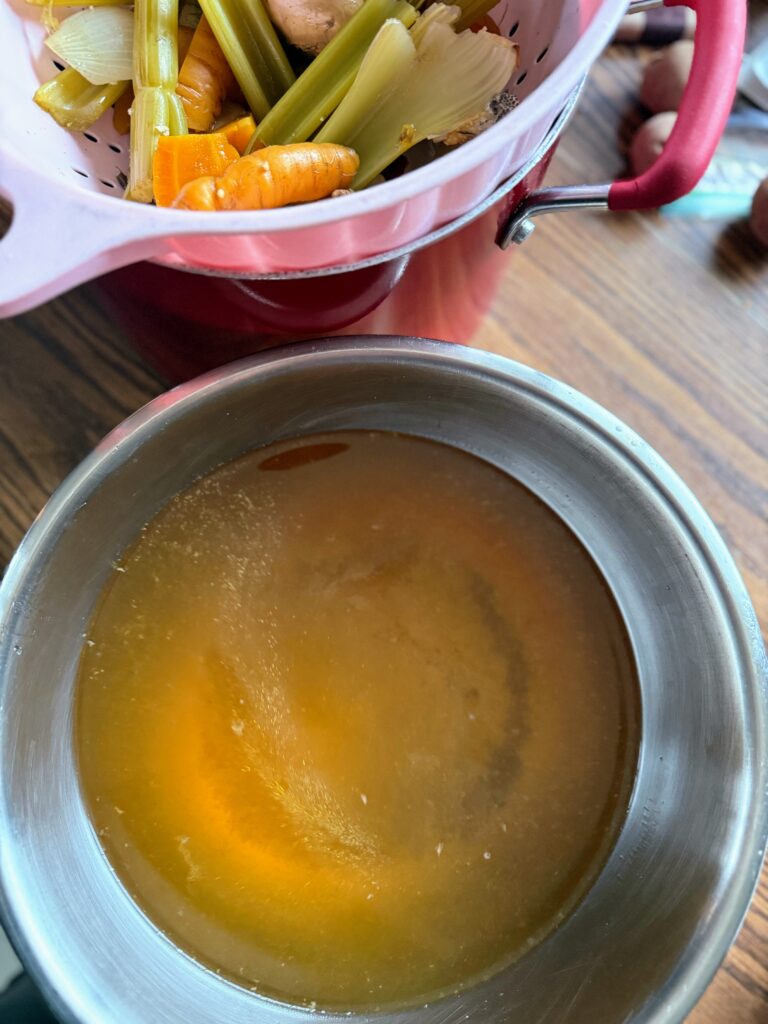
Bring the pot to a boil over high heat. Then reduce down to a simmer and allow to simmer for 1-2 hours. Remove the pheasant. Place a strainer inside of a large bowl or another stock pot and pour the stock through the strainer to remove the vegetables and aromatics. Discard these once cool.
Allow the stock to rest for about 15 minutes, until the fat and scum come to the surface. From here, use a ladle to skim it off.
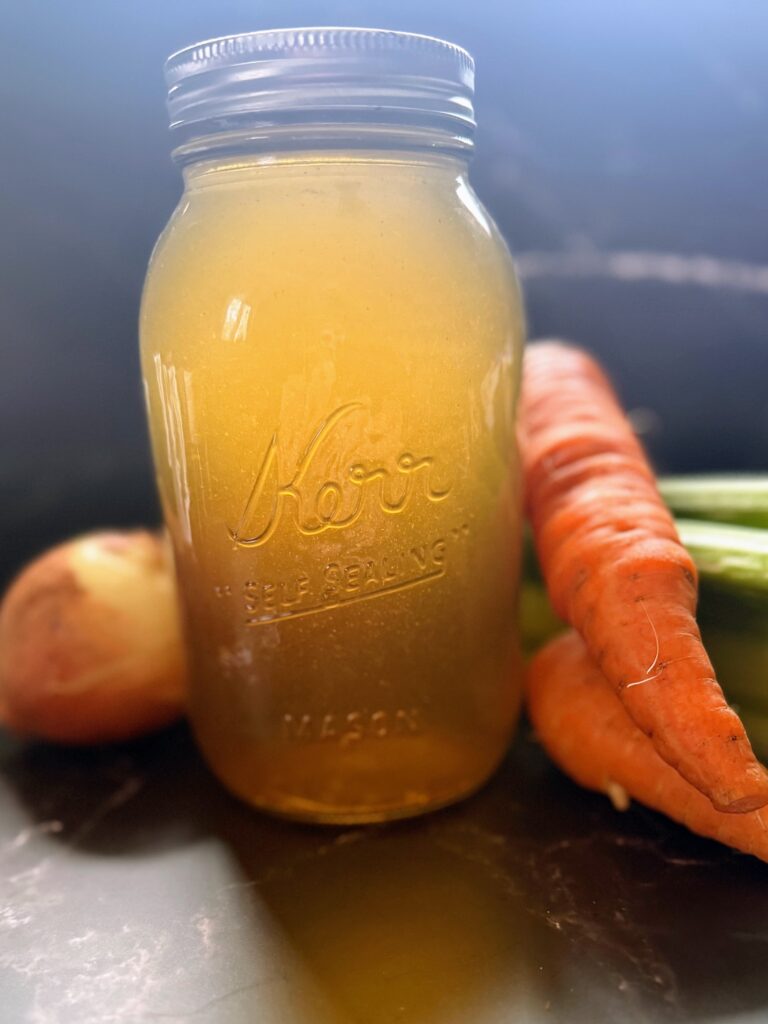
Use stock within five days. Alternatively, stock can be frozen or pressure canned for future use. I am a big fan of pressure canning as it is ready to use at a moment’s notice!
Pheasant Stock
Ingredients
- One pheasant broken down but skin on
- 2 white onions quartered
- 3 carrots rough chopped
- 4 stalks celery rough chopped
- 1 teaspoon peppercorns
- 2-3 sprigs of parsley
- 2 bay leaves
- 2-3 cloves garlic smashed
Instructions
- In a large stock pot, add breasts, legs and thighs, and wings of one cleaned pheasant. Add the onions, carrots, celery, peppercorns, bay leaves, parsley, and smashed garlic cloves. Cover the vegetables, aromatics, and pheasant with approximately 4-5 quarts of water.
- Bring the pot to a boil over high heat. Then reduce down to a simmer and allow to simmer for 1-2 hours. Remove the pheasant. Place a strainer inside of a large bowl or another stock pot and pour the stock through the strainer to remove the vegetables and aromatics. Discard these once cool.
- Allow the stock to rest for about 15 minutes, until the fat and scum come to the surface. From here, use a ladle to skim it off.
- Use stock within five days. Alternatively, stock can be frozen or pressure canned for future use. I am a big fan of pressure canning as it is ready to use at a moment’s notice!
Interested in other wild game recipes?
Here are a few of my favorites! Or feel free to check out my cooking page!