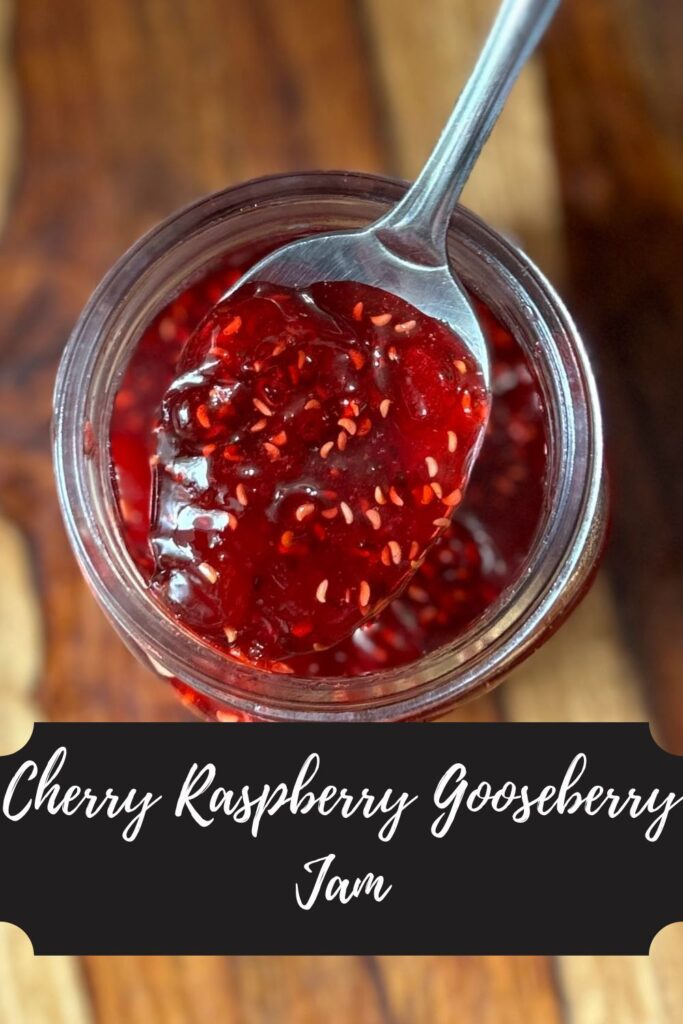
Raspberry Currant Jam

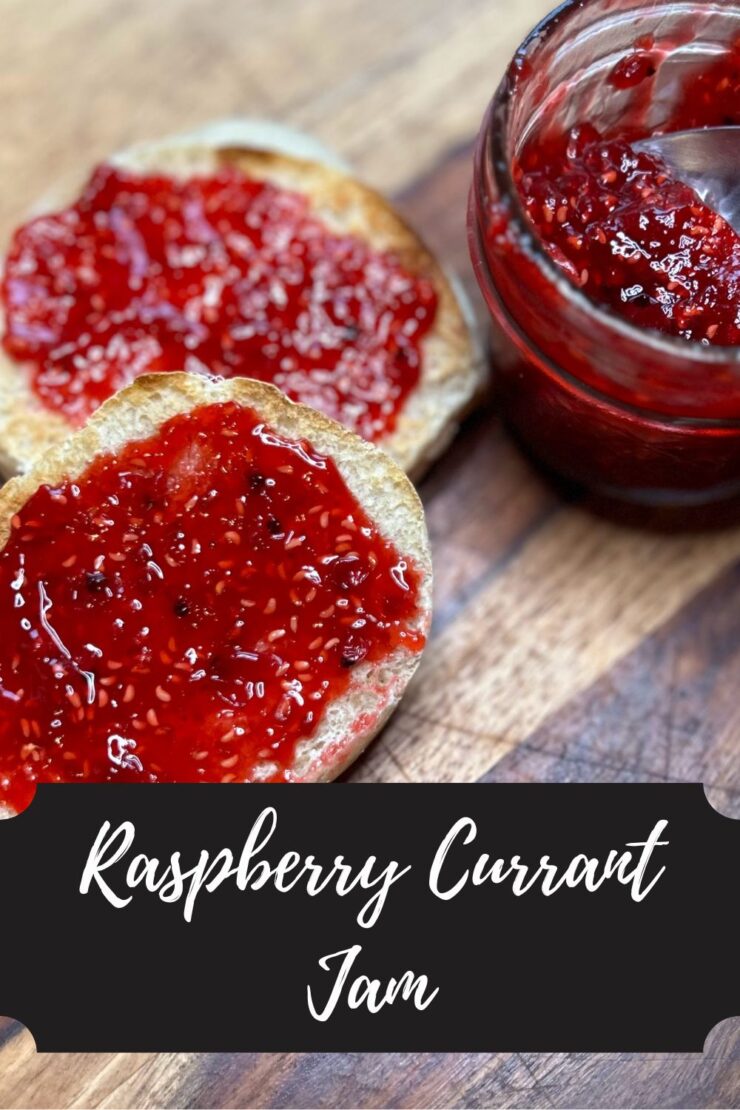
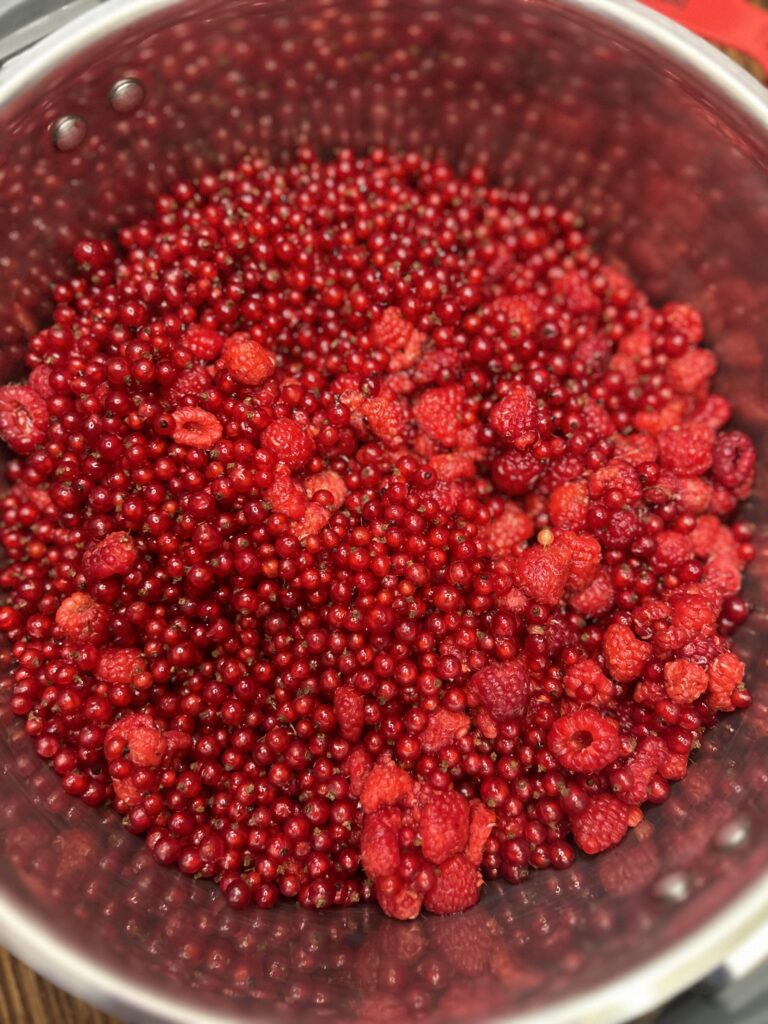
It’s been a summer of rain, rain, and more rain. Which means my berry bushes are producing more and earlier than they have in the past, including my currants! So exciting, right? If you are a gardener like me, you find yourself planting perennial bushes and trees and not getting as much produce as you would like, so you plant more, failing to remember that eventually they will produce SO MUCH FRUIT. Oops. Or maybe you have more foresight than I do. What this means in my garden is that I am finally getting a lot of currants. They are this perfect tart berry that I decided would pair so well with red raspberries for a delightful raspberry currant jam. 

This go, I gave low sugar pectin a try and I am digging the results. Perhaps its the combination of berries, but I am giving the pectin the credit. It makes this lovely, not “too jelled” jam that has a near perfect texture and consistency. In addition, less sugar allows the fruit flavor to shine through. Needless to say, I am in love and will be making this for years to come!

While we are here, I will give you all the information you need to successfully can a batch of jam. However, if you are new to canning, you may likely want to gather additional information. My favorite places to learn more are The Ball’s Book of Canning or the National Center for Home Food Preservation

The Supplies

Your Ingredients

  • 7 cups red raspberries (If frozen, measure first. Then thaw)
  • 3 cups red currants
  • 4 cups sugar 
  • 1 package powdered low sugar pectin
  • ¼ teaspoon butter, optional

Your Steps to Raspberry Currant Jam

Begin by measuring out your sugar in a large bowl. Remove ¼ cup of the sugar and mix it with the powdered pectin in a small bowl. It’s important to have all your ingredients prepared before beginning the canning process so don’t skip this step. I also highly recommend reading through the steps more than once before beginning (I know that we are all guilty of flying by the seat of our pants when cooking). 

Fill the canning kettle with enough water that the jars will be covered by at least ½” water. More is better in this case so over estimate. Begin to heat over high heat. Place the canning rack so that it is hooked over the side of the canner and put clean jars on it to keep them warm. Note: You don’t have to keep the jars in the rack, although it is helpful to keep them warm. You want the jars warm to prevent breaking when they are being filled. 

Set the clean rings aside. I like to simmer my lids on low low heat in a small saucepan. Not necessary, but I like to think it helps them seal better. 

Now to Create the raspberry currant Jam 

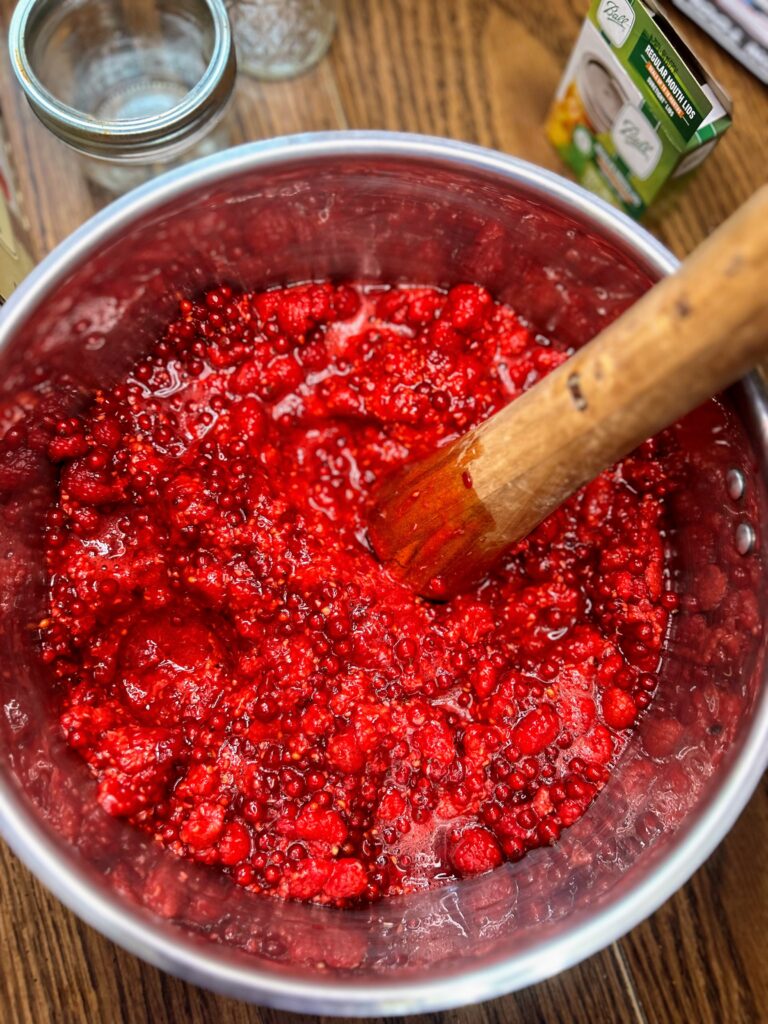
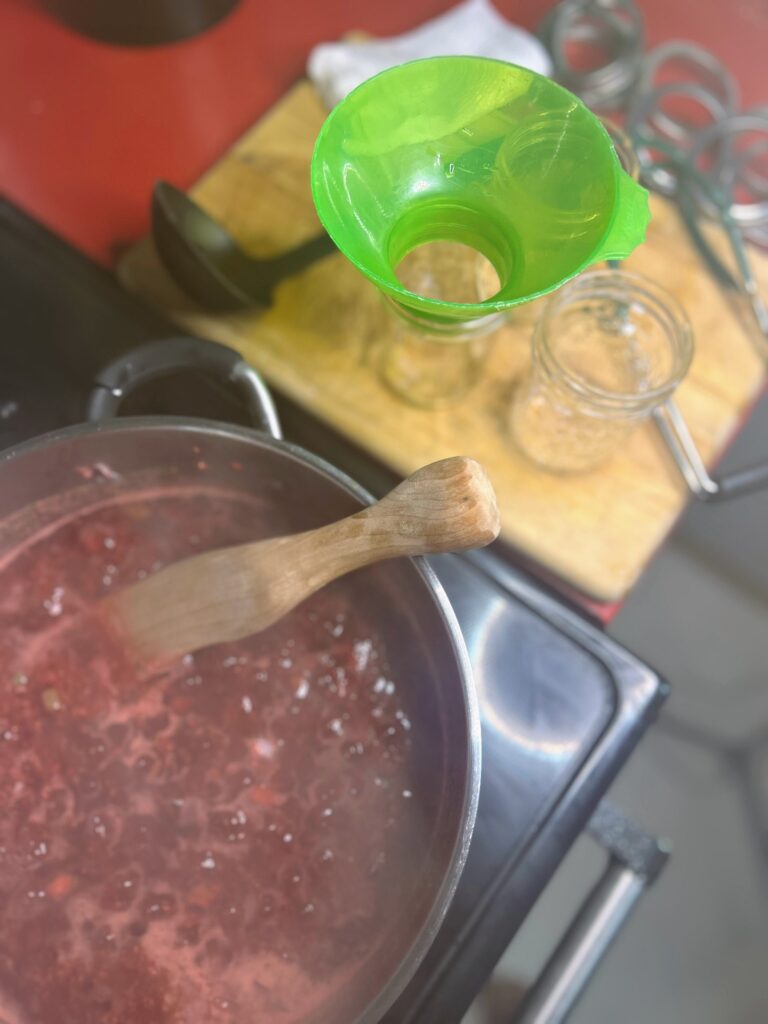
In a large, preferably shallow kettle, smash the raspberries and currants with a potato masher. (I actually really really like my fermenting tamper for this job). Stir in powder pectin with the ¼ cup sugar. Add butter if desired. It will decrease foaming while the jam is cooking, but is not necessary. The foam isn’t bad. It just makes the jam a little less pretty. 

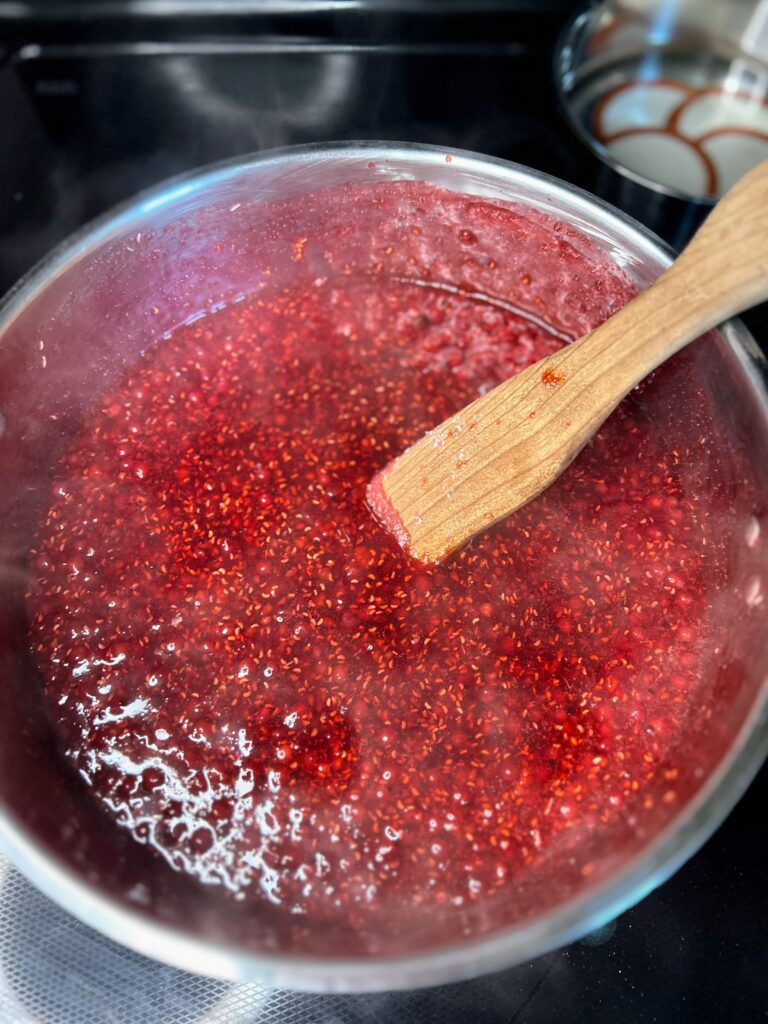
Heat berries and pectin over medium high heat, stirring constantly. Once it is close to a boil, stir constantly until you cannot stir down a rolling boil. On more than one occasion, I have thought I reached this point only to go a little longer and see what a “real rolling boil” looked like. 

Once a rolling boil has been reached, quickly stir in the sugar. I find a strong whisk is helpful to make sure there are no clumps of sugar in the jam. Continue to heat over medium-high heat until a rolling boil is reached again, stirring constantly. Once the roiling boil is reached, time for EXACTLY one minute. Remove from heat. 
TIme to Can

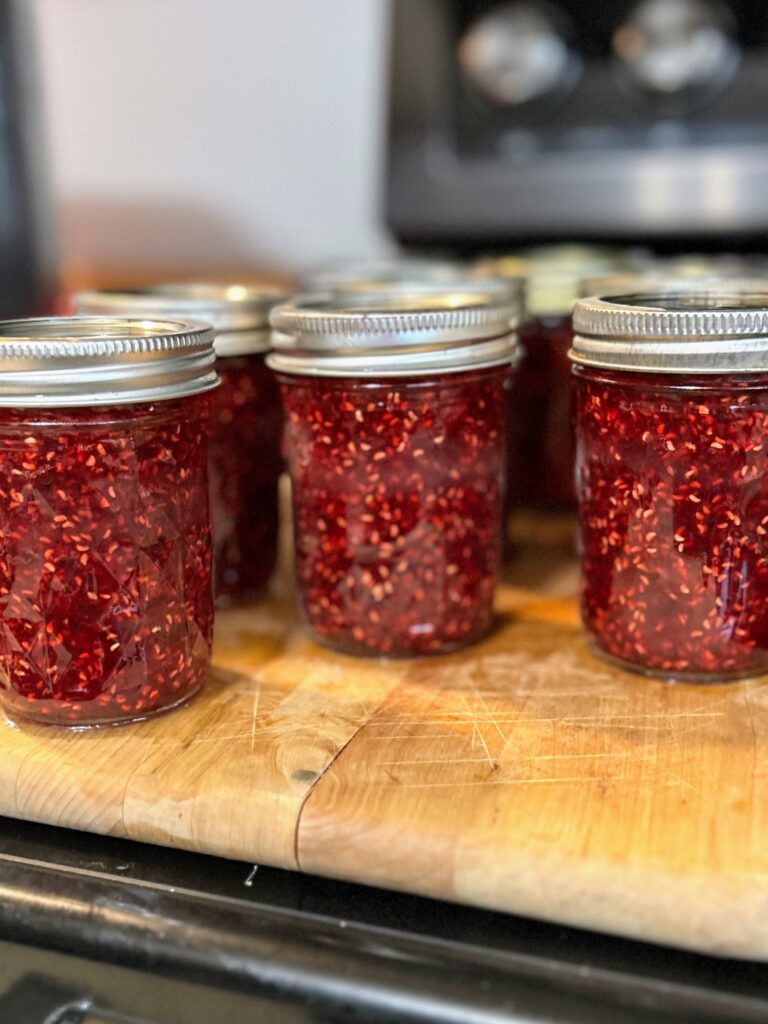
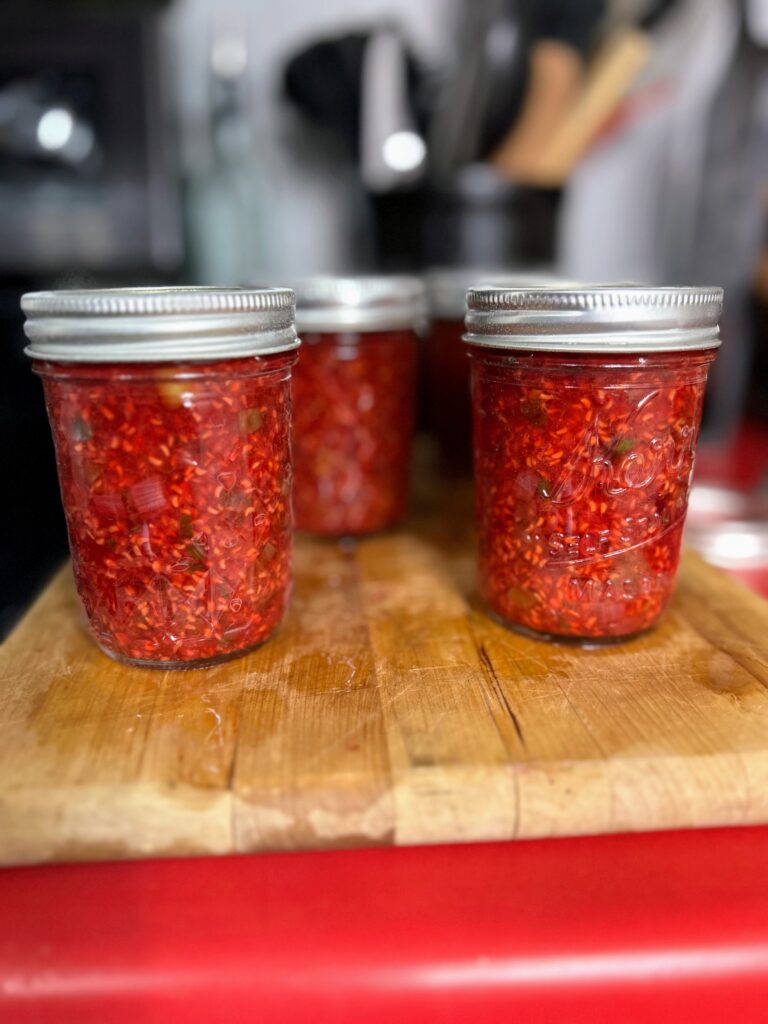
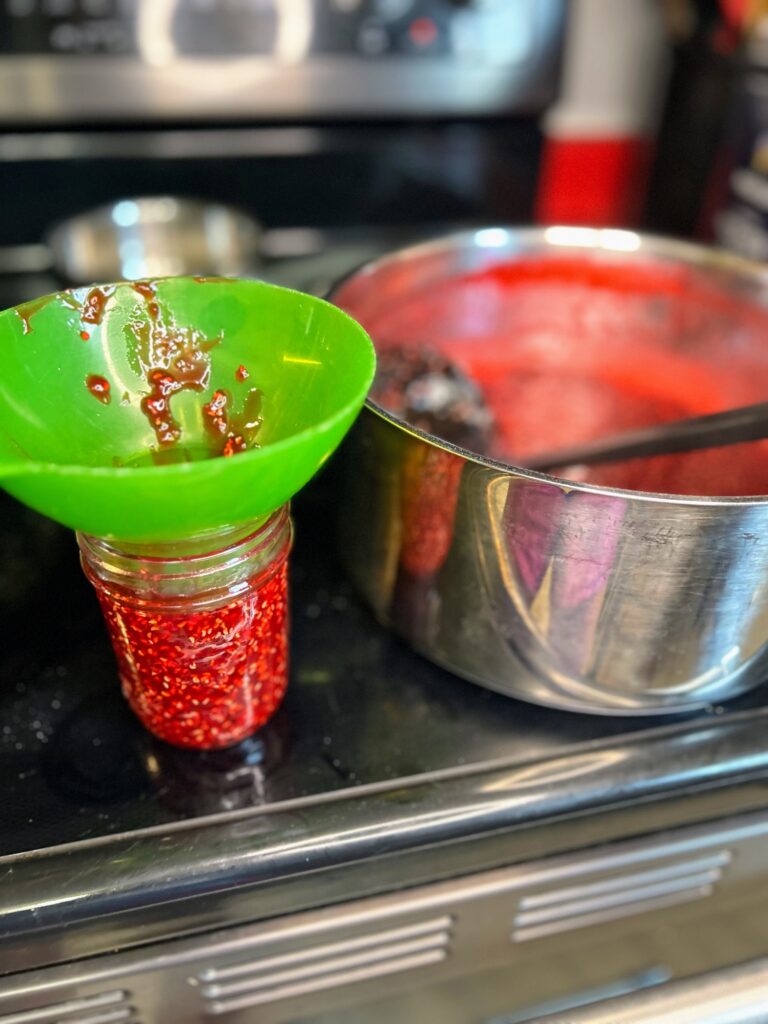
Ladle hot jam into jars using the canning funnel, leaving ¼” head space. Wipe rims of the jars as you go, top with a lid, and put on a ring so that it is fingertip tight. Fingertip tight means you know it’s tight but you aren’t sealing it so much so that it wouldn’t leak on its side, if that makes sense. (Any leftover jam can go in a small container and get placed in the fridge to be enjoyed immediately)

Place jars in JUST about boiling water bath canner. Cover and raise heat until a rolling boil is reached. Cook jam for 10 minutes (adjusting for your altitude…under 1000 feet, you’re good. Over? Add 5 minutes for every 1000 feet). Once the time is complete, remove the canner from heat and remove the cover. Allow the jam to sit in the canner an additional 5 minutes. Then remove and place on a towel on the counter. 
Afterward

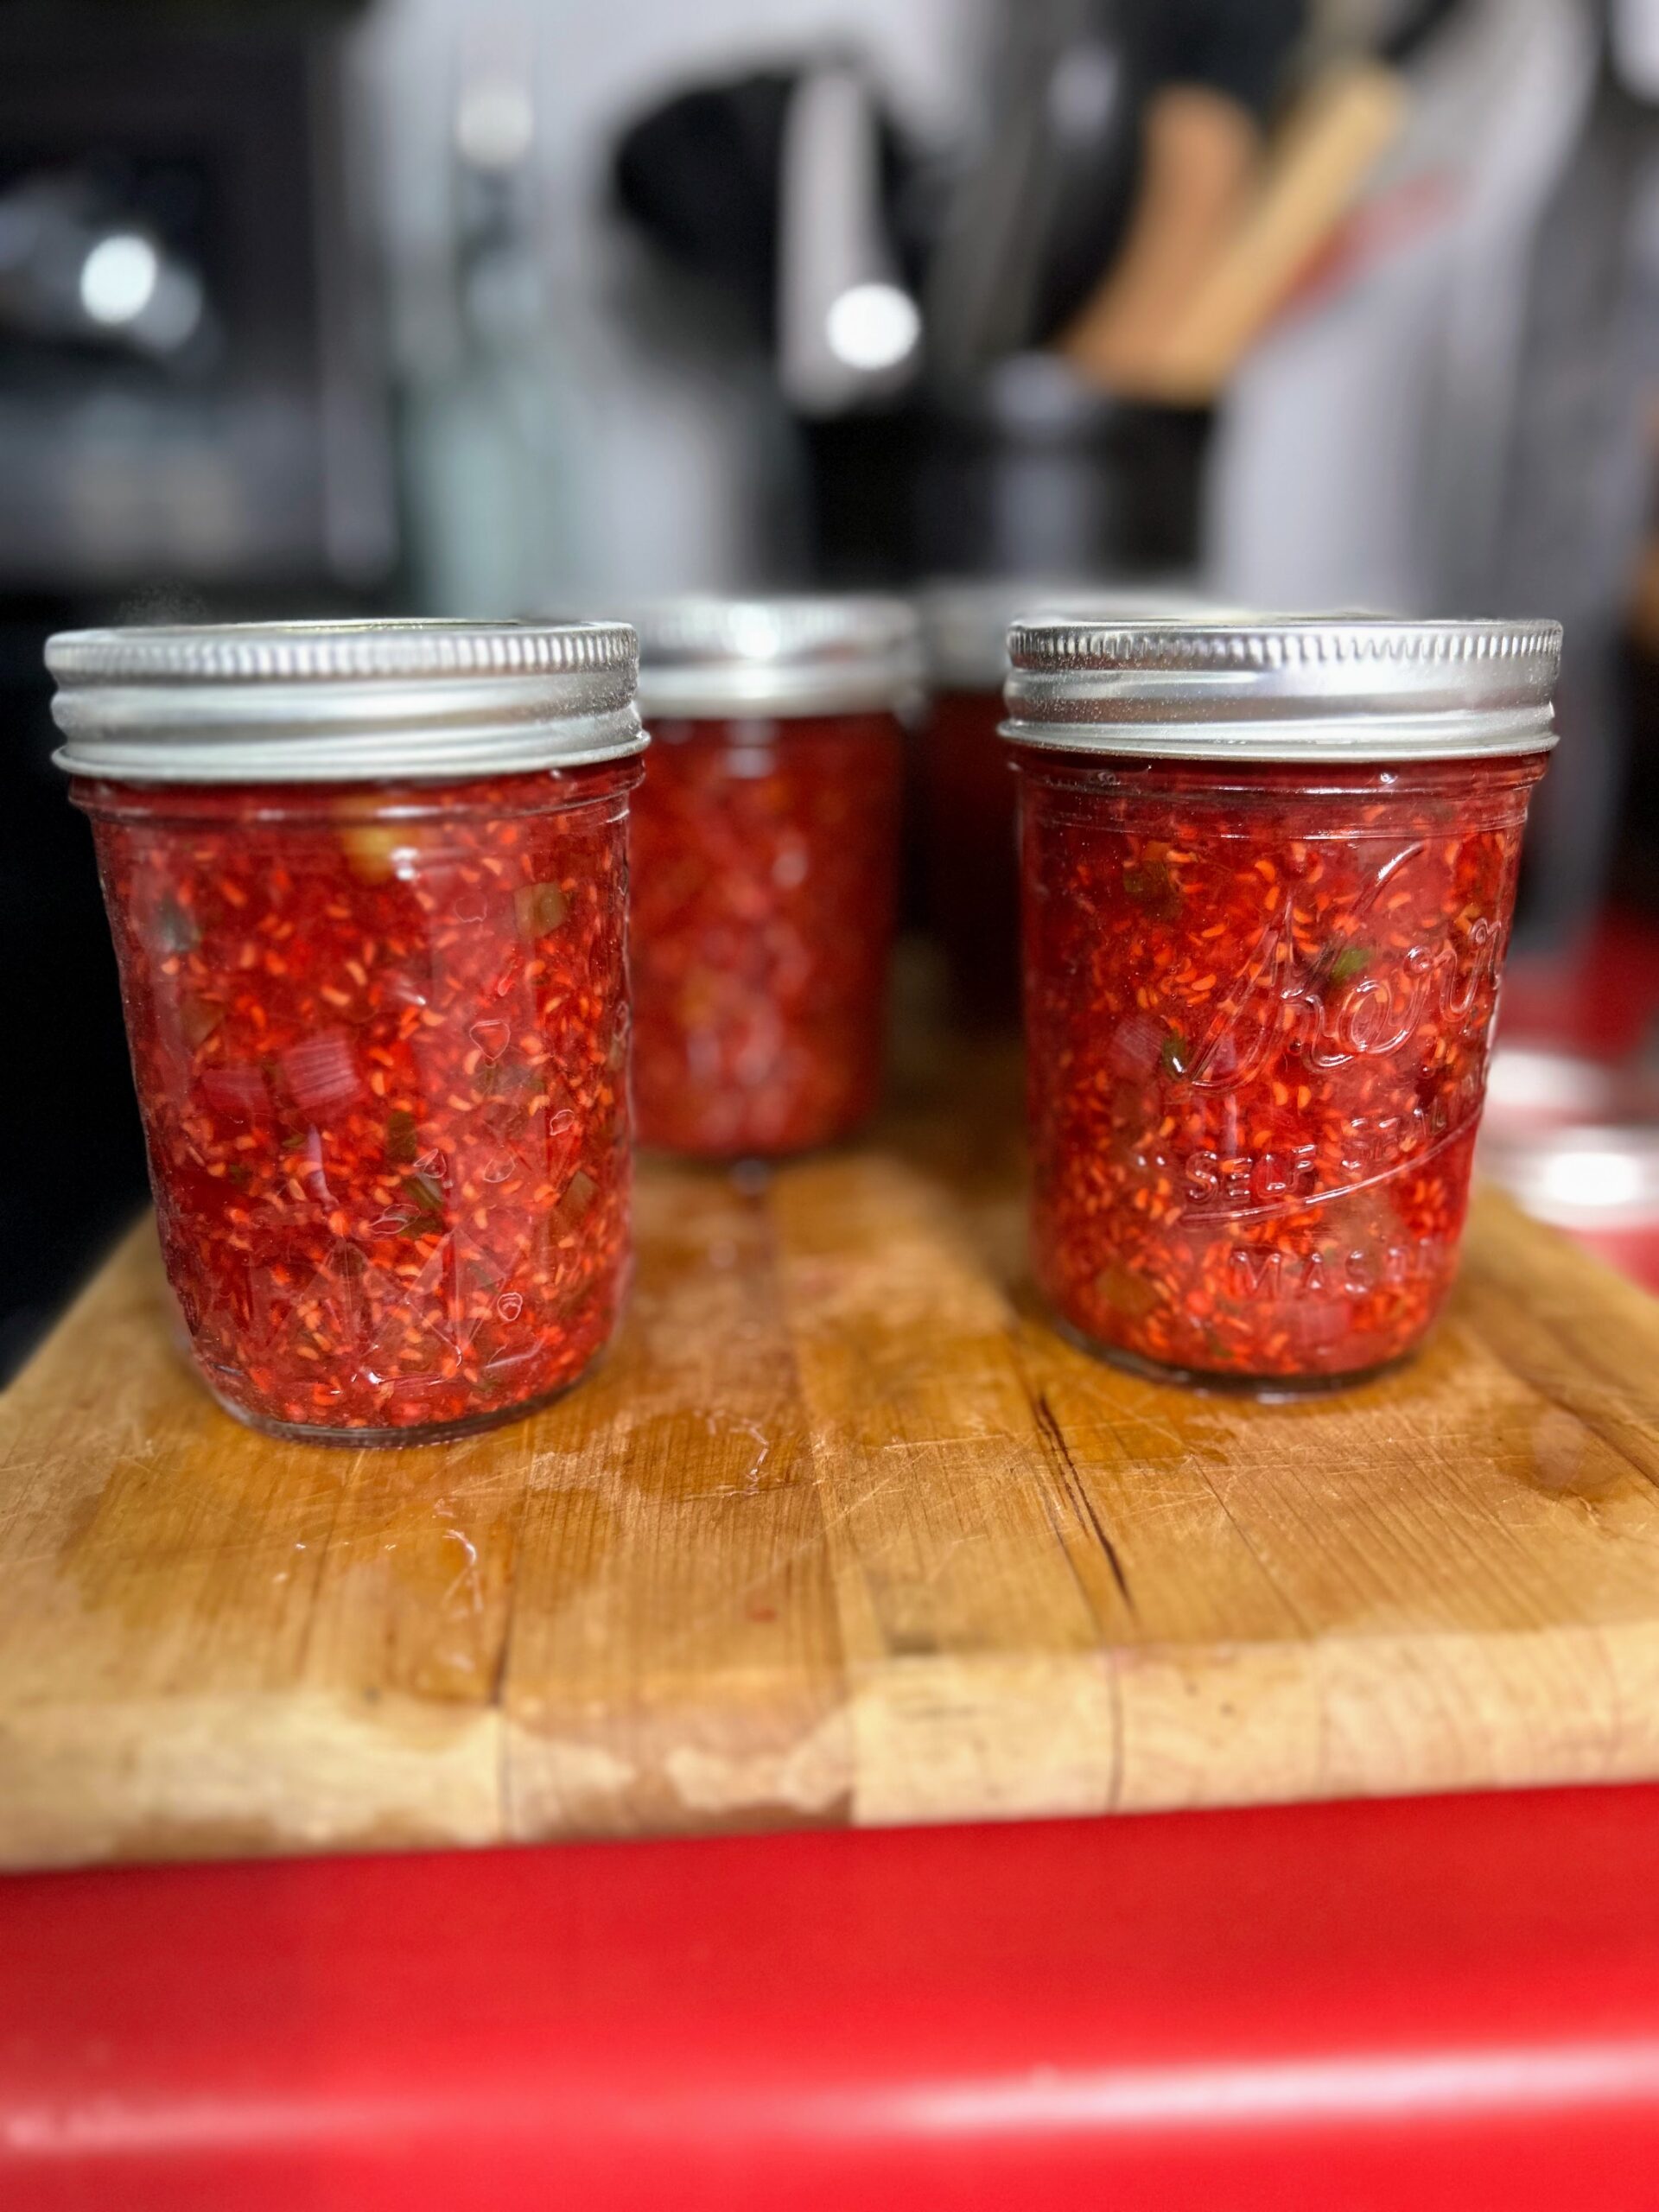
Listen for the ping as the jars seal and just let them be for 24 hours. I know it will be hard to let them be because you’ll be so proud, but it’s recommended to make sure you get a good seal. Any jars that do not seal can be refrigerated and enjoyed right away. Note: It is recommended to store canned goods with their rings removed so that you can know if a false seal occurs. I generally just loosen them as loose as they can go. 

Raspberry Currant Jam

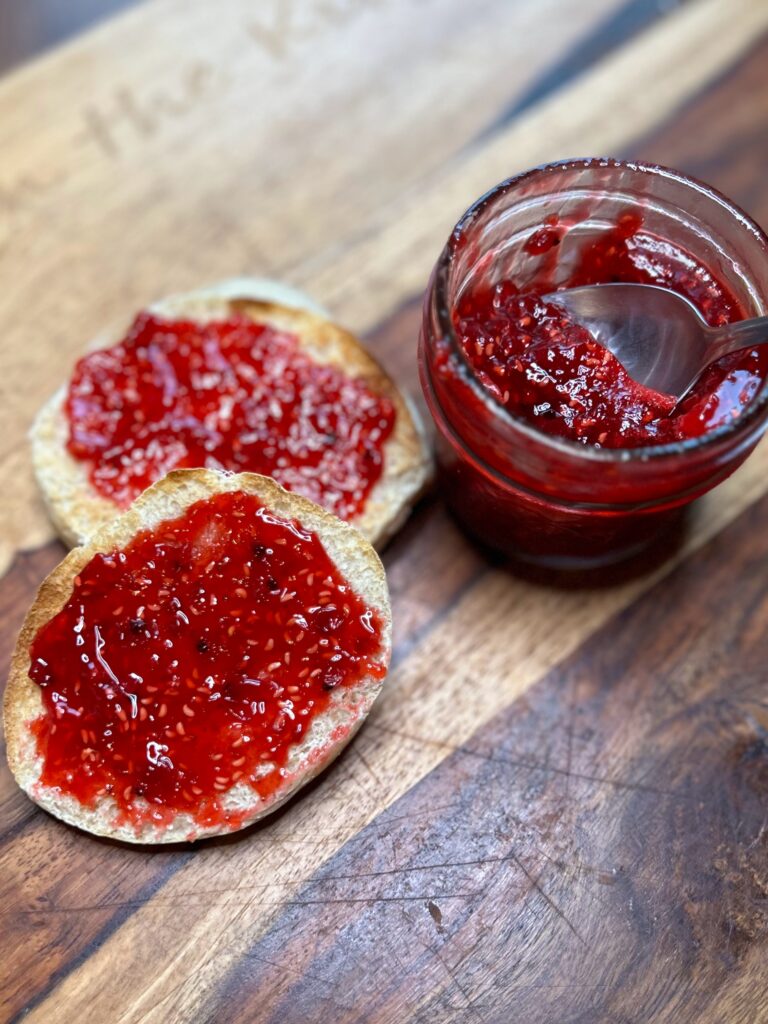
In this homemade low sugar raspberry and currant jam, the sweet and tart flavors of the berries unite to create an irresistible fusion of taste.
Prep Time 10 minutes
Cook Time 40 minutes
Course Appetizer
Cuisine Canning
Servings 8 jars

Ingredients
  

  • 7 cups raspberries
  • 3 cups red currants
  • 4 cups sugar
  • ¼ teaspoon butter optional
  • 1 package powder pectin

Instructions
 

  • Prepare your water bath canner. Fill the canner with enough water so that once the jars are in the canner, they will be covered by at least one inch of water. Cover and begin to heat over a medium-high heat.
  • Measure out sugar. Remove 1/4 cup of sugar and combine the 1/4 cup with powdered pectin in a small bowl.
  • Place the raspberries and currants in a large, non reactive kettle. Crush them with potato masher. Add ¼ teaspoon of butter, if desired, to reduce foaming.
  • Sprinkle and stir in the pectin and 1/4 cup sugar mixture. Cook over high heat until a rolling boil is reached, stirring consistently.
  • Once a rolling boil is reached, slowly stir in remaining sugar.
  • Continue to stir until you reach another rolling boil that can not be stirred down. Once a rolling boil is reached, cook for 1 minute, stirring constantly.
  • Ladle jam into prepared jelly jars, wipe the rims with a damp cloth, add lids, and tighten rings to fingertip tight. Put into the water bath canner. When the canner has a steady boil going, time and process for 10 minutes, adjusting for altitude (if you are about 1000 feet, add 5 min)
  • Once the jam is done processing, remove the canner from heat and let jars rest in the water for an additional 5 minutes. Finally, remove jars from the canner and allow to cool for 12-24 hours before moving.

Notes

  • Make sure you are using powdered pectin rather than liquid pectin. They do not set the same. 
  • If you have never canned, you can reference the instructions within the pectin box for additional, more detailed directions. 
  • Sealed jars are shelf-stable, meaning they can be stored on a shelf unrefrigerated. If your jars don’t ping (a sign that they have sealed), they are still good. You will just need to store them in the refrigerator. 
  • Most sources recommend removing the rings from jars for storage so that you will know if they unseal for any reason. I generally just loosen them as much as I can without removing them.
Keyword Canning, currants, Jam, Jam Recipes, preserving, Raspberry, raspberry jam, raspberry recipes, red currants
Tried this recipe?Let us know how it was!

Looking for other tasty raspberry treats?

Give any of these a try!
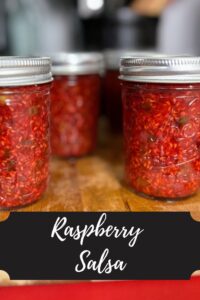
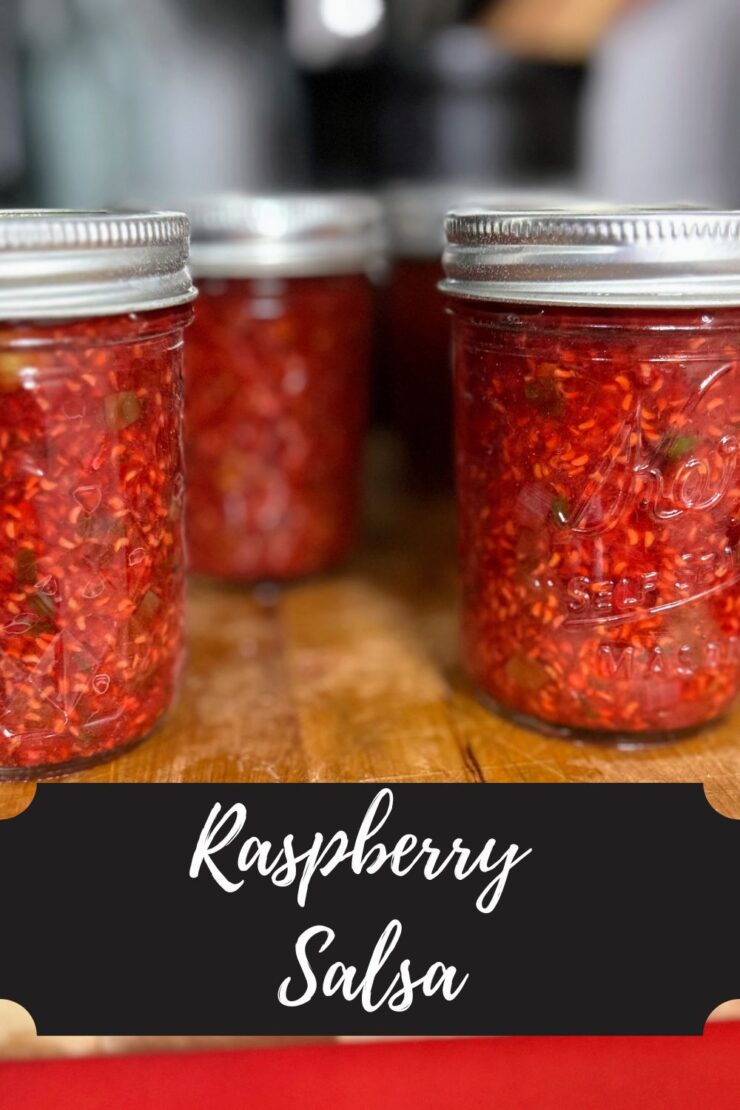
Raspberry Salsa

Stop whatever you’re doing right now, and gather the ingredients for this Raspberry Salsa and get ready to prepare it! 

Okay, that was a bit demanding and strongly worded, but I am telling you, that’s what you’ll want to do once you see the recipe. 

Each year, I travel to Door County, Wisconsin, for a weeklong vacation with my dad’s side of the family. If you aren’t from Wisconsin, there’s a chance you’ve not heard of Door County. It’s been described as the Martha’s Vineyard of the Midwest. Just lovely, quaint, and full of so much to do. 

The county itself has five state parks within it and provides a perfect climate for orchards, most notably cherry trees. It is full of wineries, fun shops, and culinary delights. Once such delight is cherry and raspberry salsa that can be found at many wineries and roadside stands. And my goodness, I LOVE it. 

There’s something about slightly sweet, slightly spicy pairings that are just so dang good. And if you’ve been around Jess in the Kitchen much, you know that I have an abundance of raspberries; it seems I should try to make some salsa from them, right? 

The problem?

There really aren’t raspberry salsa recipes out there. If I did find one, it wasn’t written for canning. That is what I wanted to do. So research started, acidity levels of fruits checked, and a recipe was born using the ideas from a peach salsa recipe. And it’s just so good. I can’t wait for you to give it a try! And if you aren’t a canner, simply half the recipe (this will result in about three cups of salsa rather than six) and eat it fresh! 

My Canning Story 

I do want to share that I did not grow up in a canning household. I learned about ten years ago, as soon as we bought our home and started our first garden. And while I had some support from my mother in law (thank you so much!), I learned SO MUCH from reading. If you are a first generation canner like I was, let me share some of my favorite resources: 

Ball Complete Book of Home Canning: This book gives you a good idea of all the basics from the people who know canning forwards and backwards. I love that I can dig in and get just what I need. 

Not Your Mama’s Canning Book: Modern Canned Goods and What to Make with Them: This book is SO FUN. It has some out of the ordinary recipes. We especially love the tomato soup and seasoned black bean recipes. 

And finally, the National Center for Home Food Preservation has all the information you need for all sorts of food preservation, not just canning. I reference it often! 

But enough about resources, you want to make raspberry salsa, right? (But seriously, I am going to give you the basics. If you are a newbie (Yay!), head to any of those resources for more detailed information)

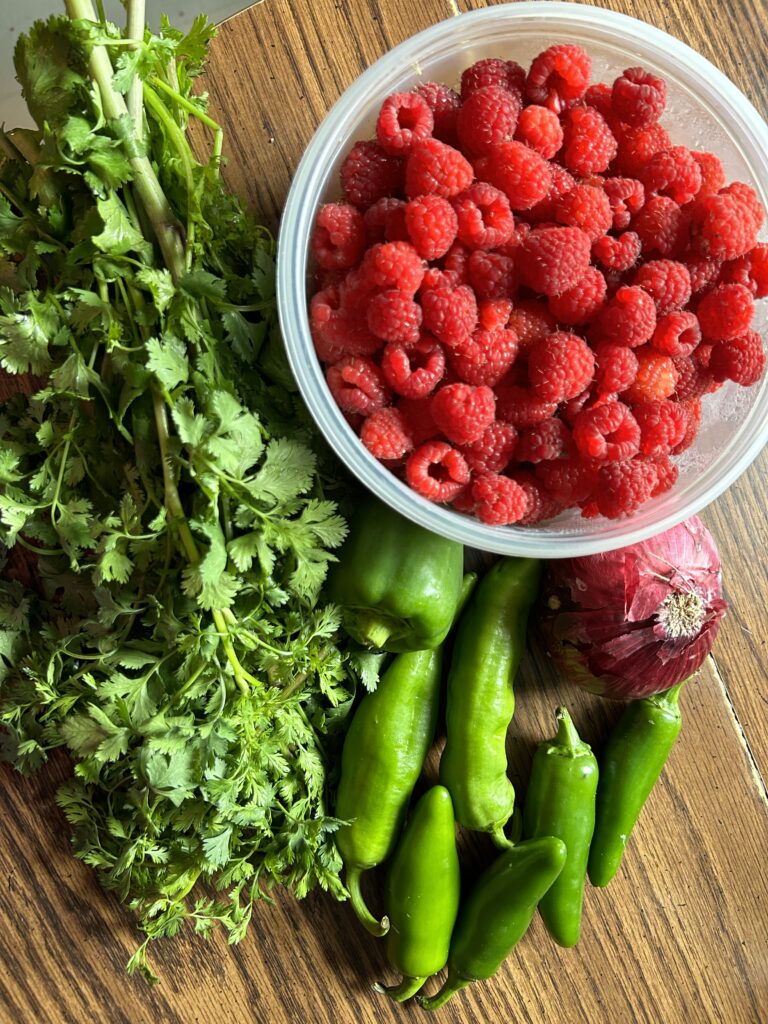
Your Ingredients for raspberry salsa

For approximately 6 half-pints, gather: 

  • 6 cups red raspberries 
  • 1 medium sweet pepper (green, red, orange, yellow, any will work), diced
  • 4-5 jalapeños, finely diced (remember to wear gloves!)
  • ½ cup loosely packed cilantro, chopped
  • 1 medium red onion, diced 
  • ½ cup vinegar, 5% acidity
  • ½ teaspoon salt 
  • 1 clove garlic, minced
  • ½ teaspoon cayenne pepper
  • 2 tablespoons sugar 

The Prep Work

Fill the canning kettle with enough water that the jars will be covered by at least 2 inches of water. More is better in this case so over estimate. Begin to heat over high heat. Place the canning rack so that it is hooked over the side of the canner and put clean jars on it to keep them warm. Note: You don’t have to keep the jars in the rack, although it is helpful to keep them warm. You want the jars warm to prevent breaking when they are being filled. 

Set the clean rings aside. I like to simmer my lids on low low heat in a small saucepan. Not necessary, but I like to think it helps them seal better. 

The raspberry Salsa Making

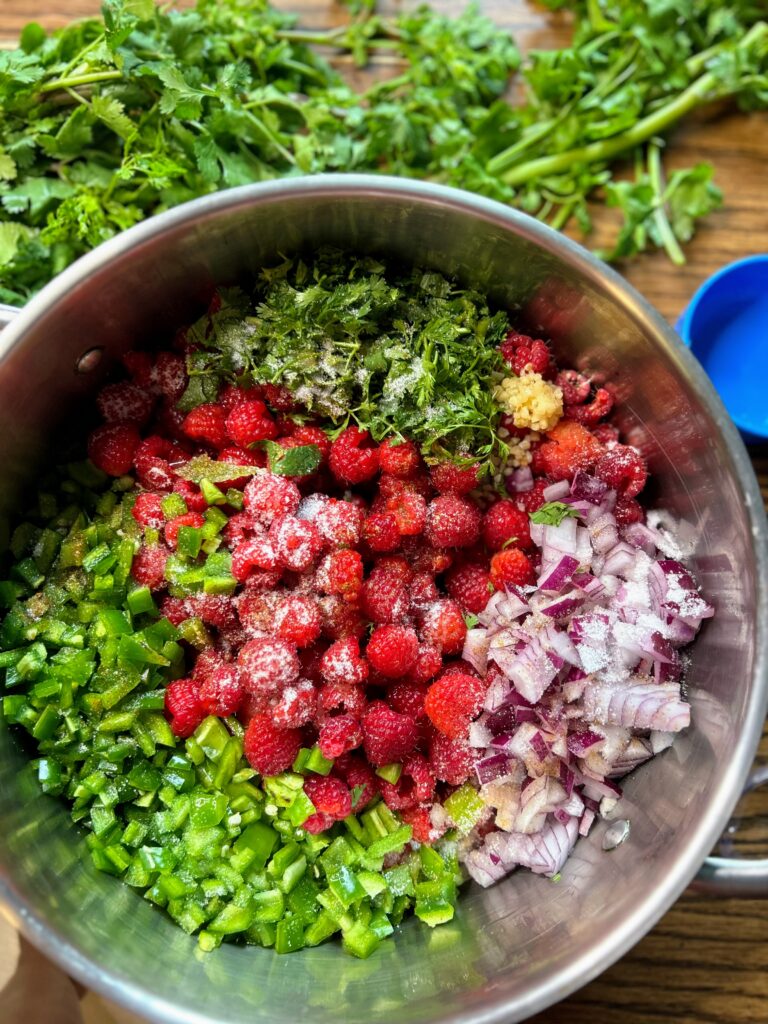
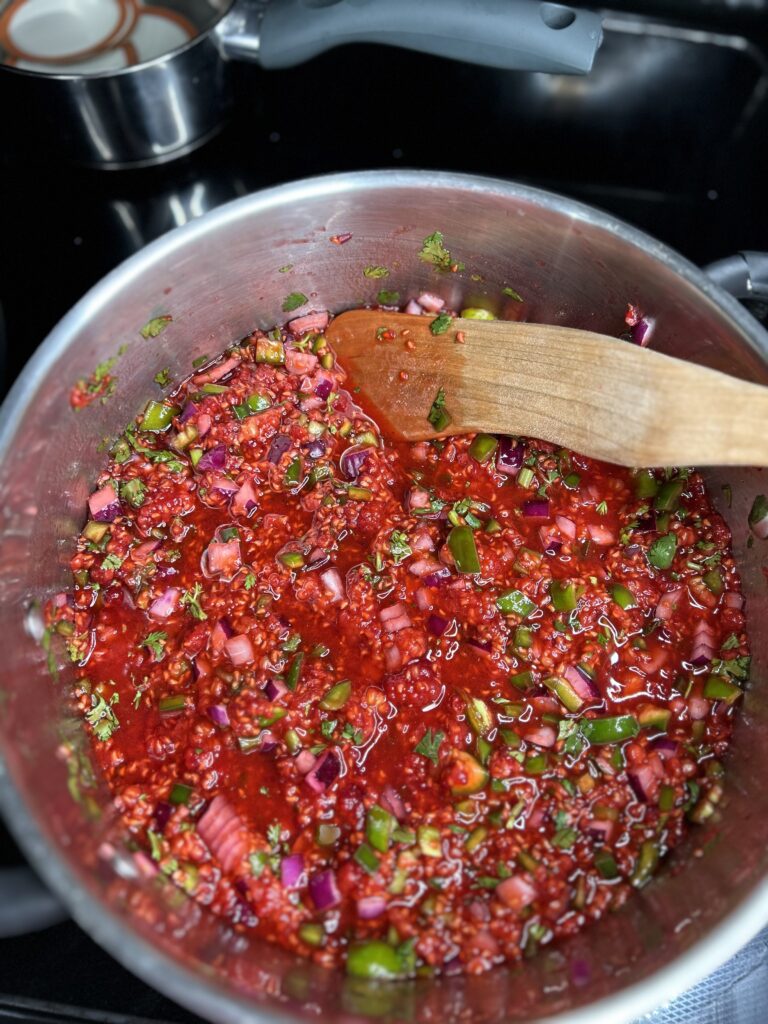
If you have not already done so, dice, measure out, and combine all the ingredients in a shallow, wide kettle. Smash the fruit with a potato masher or with a fermentation tamper. (I LOVE the tamper and honestly have never fermented anything. It works great for smashing berries). Begin to heat over medium-high heat, stirring often. I like to smash the berries more as they are cooking down. Bring the salsa to a boil and then simmer for five minutes, to thicken just a bit. 

Once the salsa has thicken, remove from heat. Ladle into prepared jars, leaving ½ inch head space. Wipe rims of the jars with a damp, clean cloth, add lids and rings, tightening to fingertip tight. Place in the canner, increasing the heat to high. Once the canner reaches a boil, process for 15 minutes. Remove from heat and allow jars to cool in the canner over 5 minutes. Remove from canner, placing on the counter. Listen for the ping of the lids over the next 12 hours. Sealed jars are self stable. If any jar doesn’t seal, simply place it right in the refrigerator. 

Note: You can skip the processing step all together if you feel more comfortable. If you do so, the salsa will need to be stored in the refrigerator. The process of water bath canning creates a self-stable salsa. That is, a salsa that can be stored on the shelf. 

Raspberry Salsa

This raspberry salsa has the sweet taste of summer in the berries and cilantro paired with the spicy kick from jalapeños. A taste sensation you’re sure to love!
Prep Time 20 minutes
Cook Time 1 hour
Course Snacks
Cuisine Canning
Servings 6 1/2 pint jars

Ingredients
  

  • 6 cups red raspberries
  • 1 medium sweet pepper green, red, orange, yellow, any will work, diced
  • 4-5 jalapeños finely diced (remember to wear gloves!)
  • ½ cup loosely packed cilantro chopped
  • 1 medium red onion diced
  • ½ cup vinegar 5% acidity
  • ½ teaspoon salt
  • 1 clove garlic minced
  • ½ teaspoon cayenne pepper
  • 2 tablespoons sugar

Instructions
 

  • Fill the canning kettle with enough water that the jars will be covered by at least 2 inches of water. More is better in this case so over estimate. Begin to heat over high heat. Place the canning rack so that it is hooked over the side of the canner and put clean jars on it to keep them warm. Note: You don’t have to keep the jars in the rack, although it is helpful to keep them warm. You want the jars warm to prevent breaking when they are being filled.
  • Set the clean rings aside. I like to simmer my lids on low low heat in a small saucepan. Not necessary, but I like to think it helps them seal better.
  • If you have not already done so, dice, measure out, and combine all the ingredients in a shallow, wide kettle. Smash the fruit with a potato masher or with a fermentation tamper.
  • Begin to heat over medium-high heat, stirring often. I like to smash the berries more as they are cooking down. Bring the salsa to a boil and then simmer for five minutes, to thicken just a bit.
  • Once the salsa has thickened, remove from heat. Ladle into prepared jars, leaving ½ inch head space.
  • Wipe rims of the jars with a damp, clean cloth, add lids and rings, tightening to fingertip tight.
  • Place in the canner, increasing the heat to high. Once the canner reaches a boil, process for 15 minutes. Remove from heat and allow jars to cool in the canner over 5 minutes. Remove from the canner, placing them on the counter. Listen for the ping of the lids over the next 12 hours. Sealed jars are self stable. If any jar doesn’t seal, simply place it right in the refrigerator.

Notes

You can skip the processing step all together if you feel more comfortable. If you do so, the salsa will need to be stored in the refrigerator. The process of water bath canning creates a self-stable salsa. That is, a salsa that can be stored on the shelf.
Keyword black raspberry, Canning, raspberries, raspberry salsa, salsa, salsa recipe, Waterbath Canning
Tried this recipe?Let us know how it was!

Looking for other ways to use up those raspberries?

Be sure to check out my canning and preserving page for all sorts of inspiration. Or perhaps I can recommend a few of my favorites below?