This time of year, our yard and garden are FULL of all the fresh berries. Typically, we have tons of black and red raspberries, gooseberries, blueberries, and also currants. In addition, we grow bush and sour cherries. For years, the birds got to our sour cherries before we were able to harvest them (Big bummer!). This year, the trees produced enough that we were able to harvest several quarts of them (Big win!). With a new source of cherries, I needed to cook with them and got to thinking… While strawberries are normally paired with rhubarb, I couldn’t help but believe that these cherries would make an EXCELLENT Cherry Rhubarb Crisp.
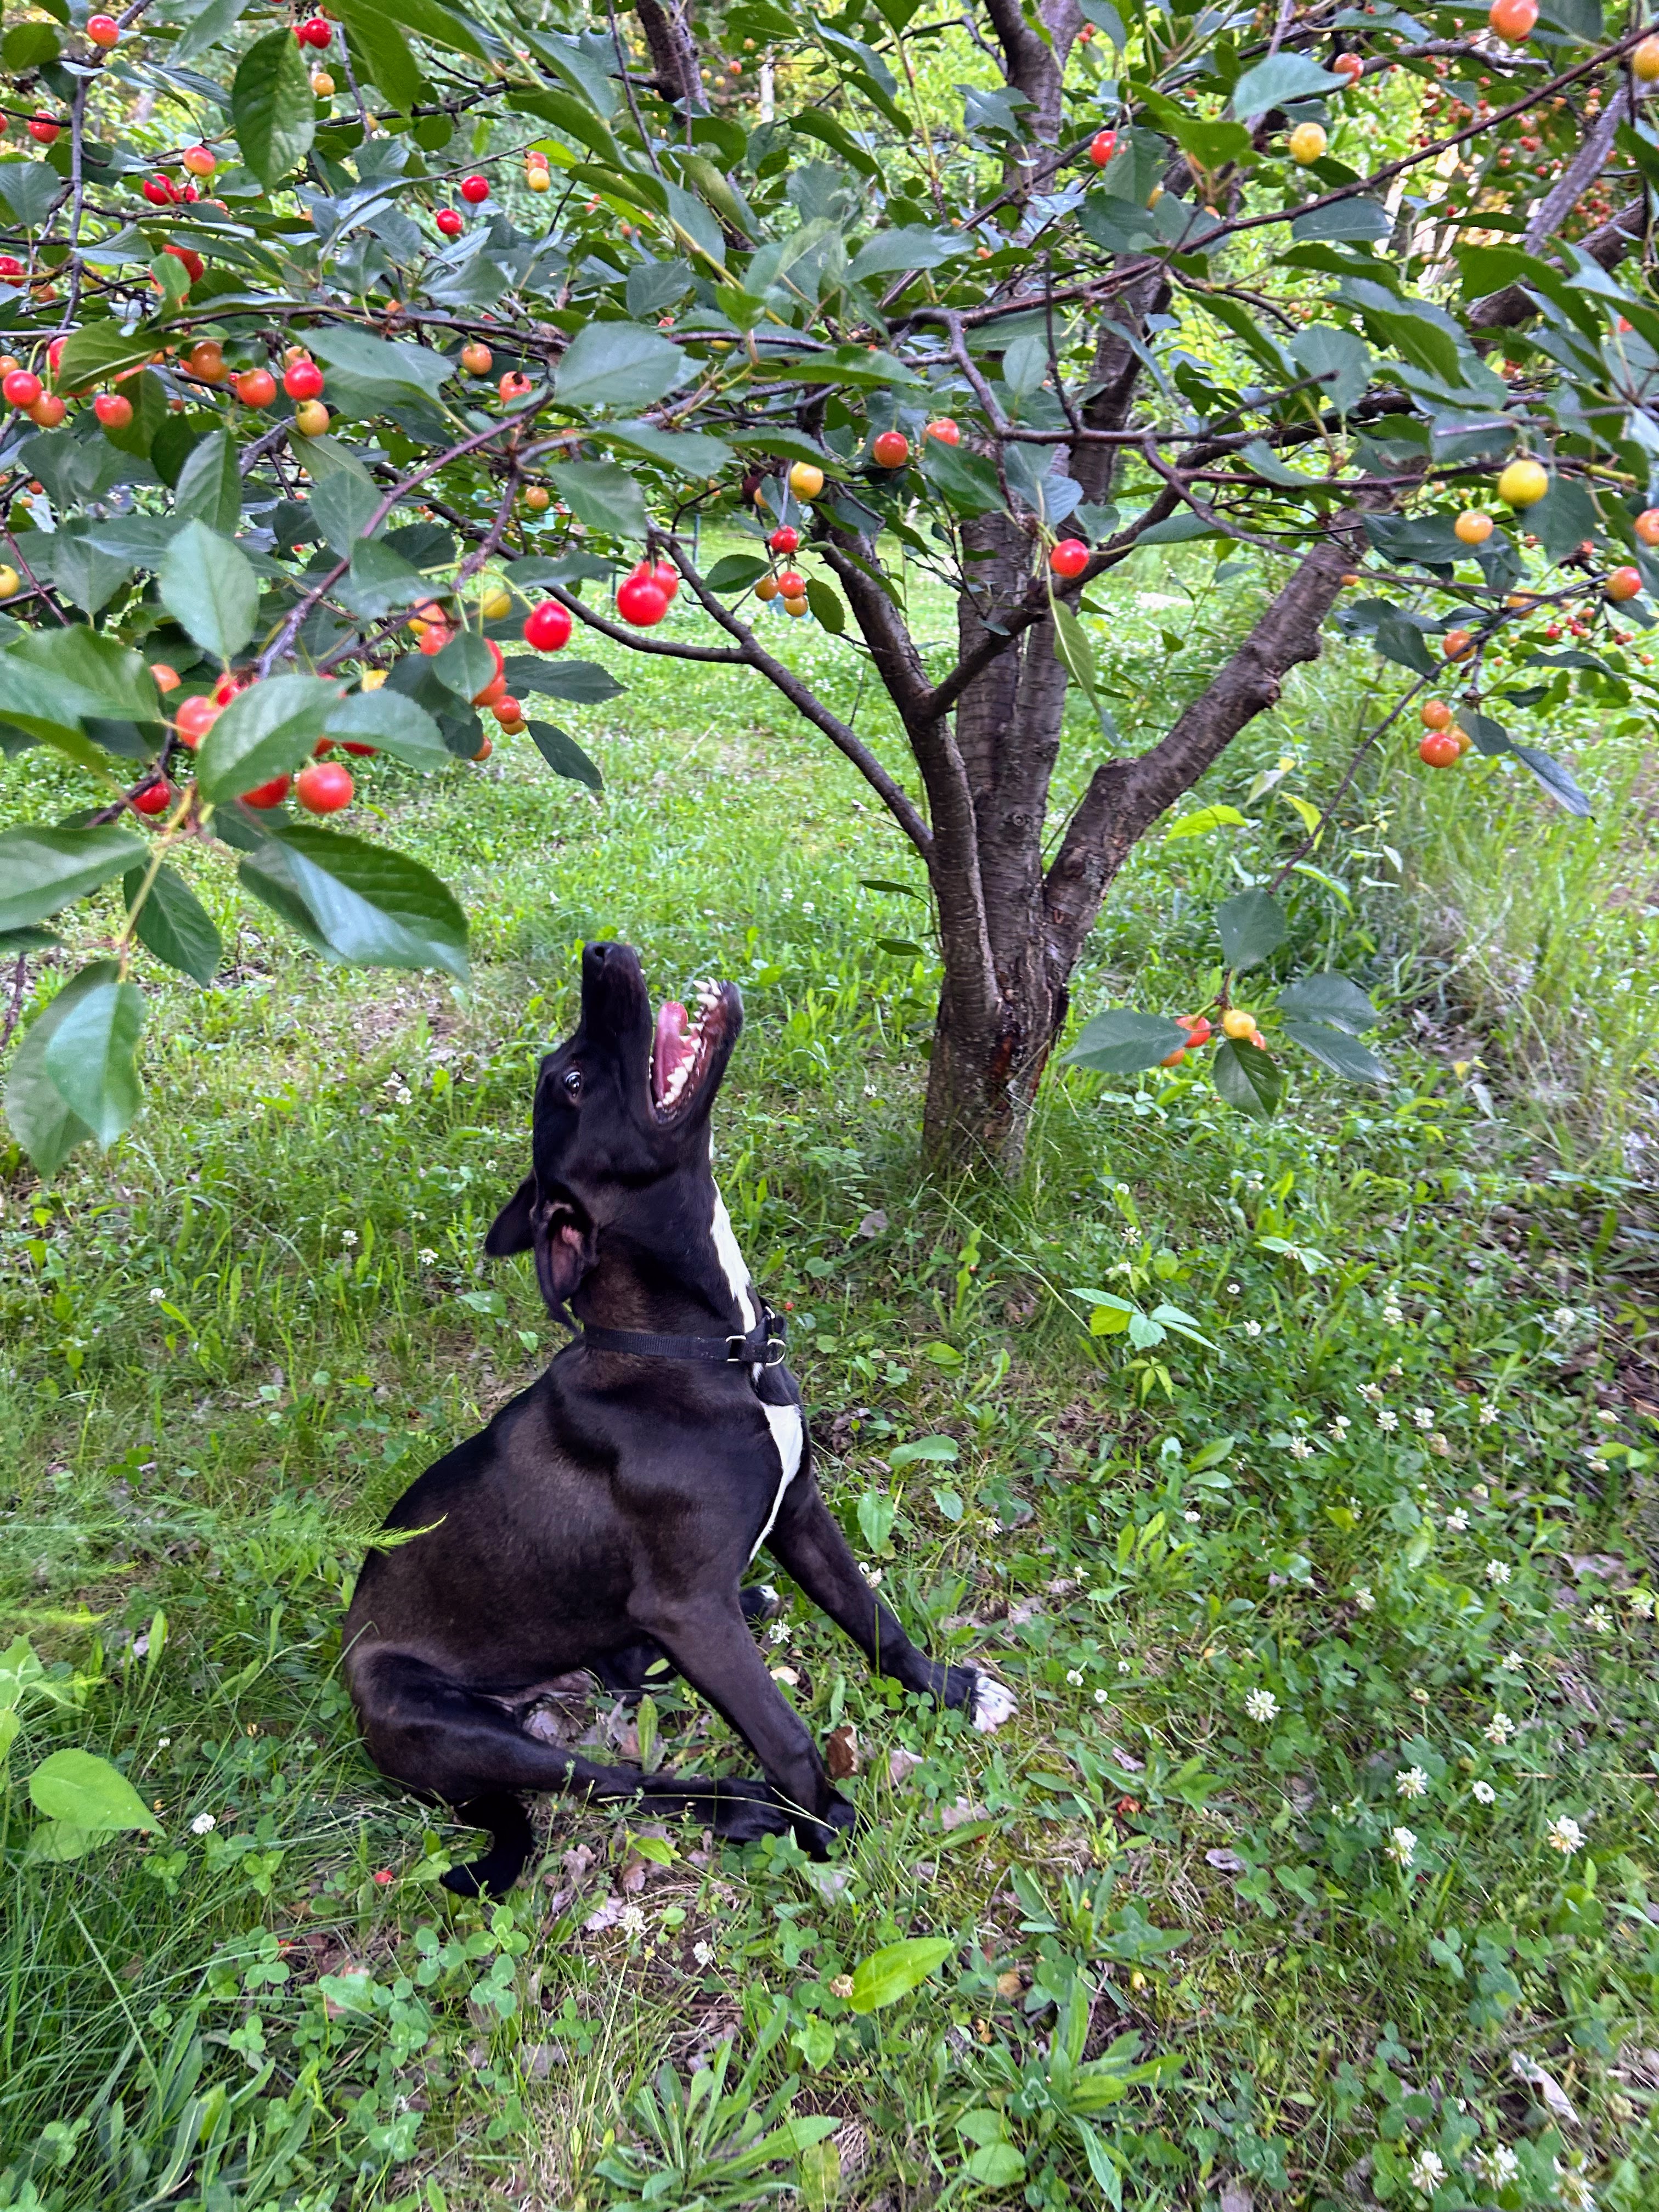
This is our new pup Bert (Our other pup is named Bernie. Get it? Bert and Bernie!)
He was so funny. We think he was hoping for a cherry to fall in his mouth. He loves fruit and vegetables. You can always find him begging for a baby carrot as a snack!
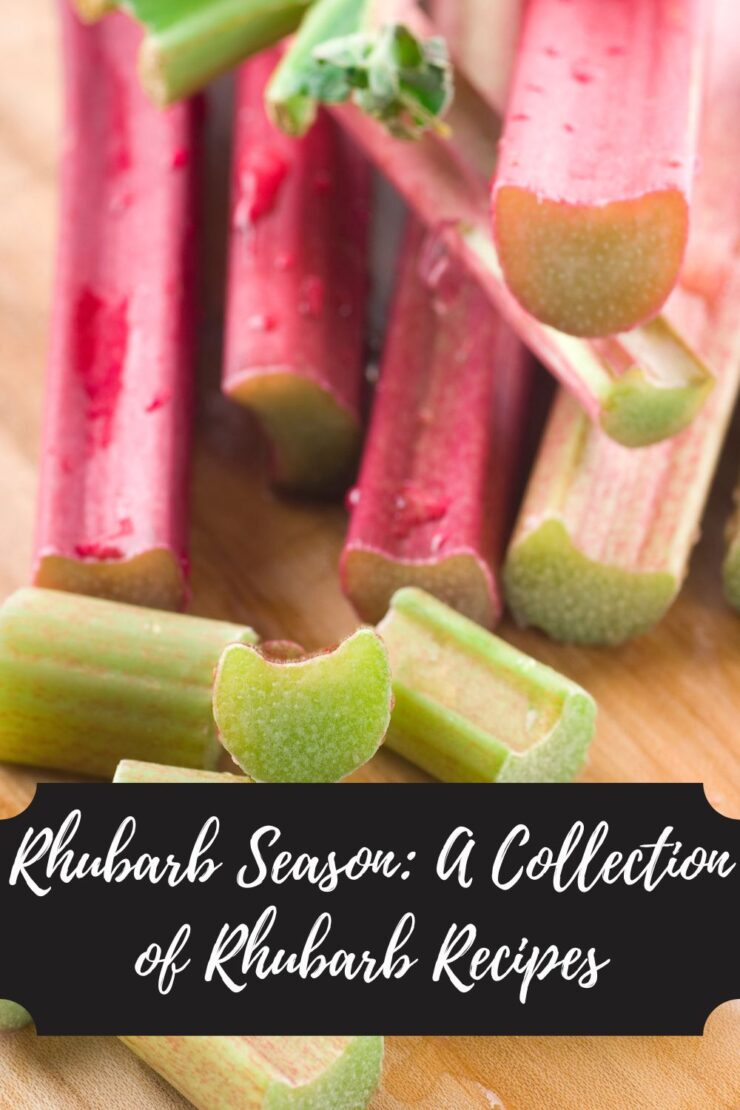
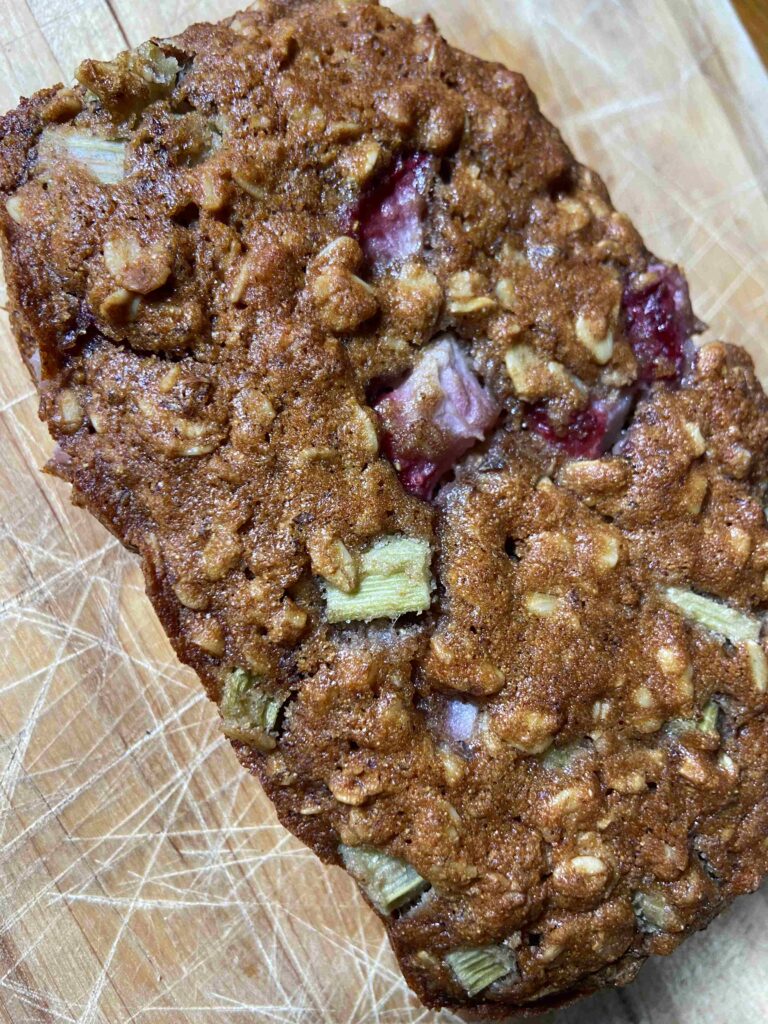
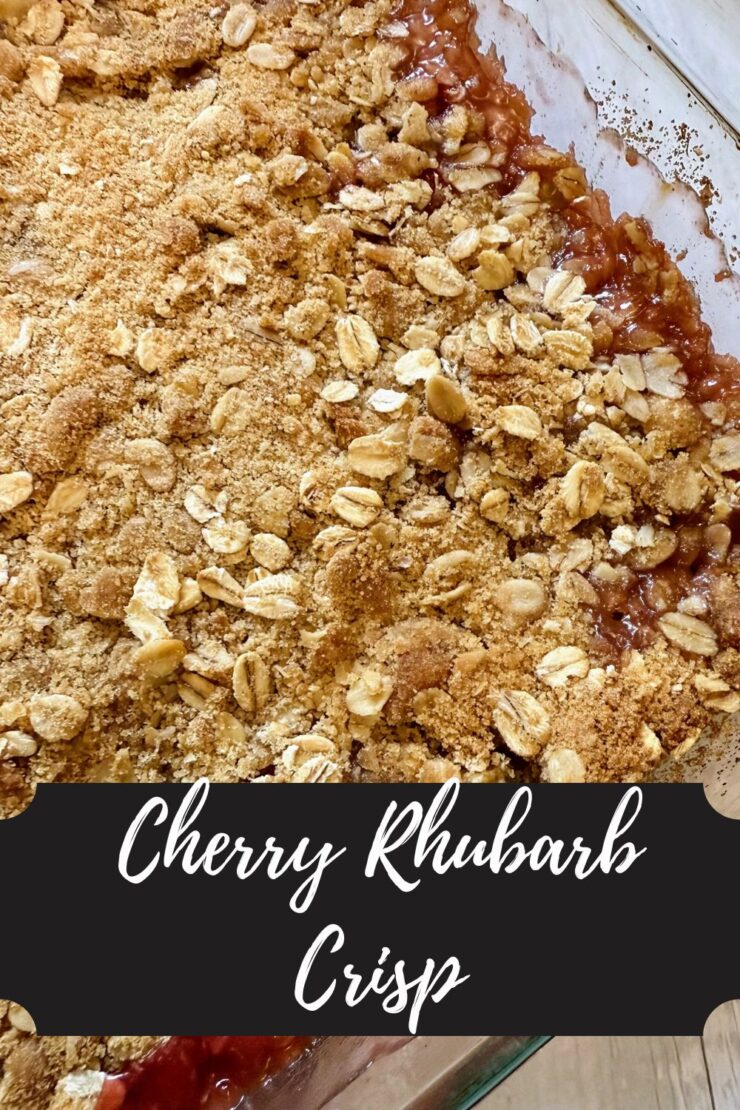
Cherry Rhubarb Crisp?
Let me tell you, I wasn’t wrong. The Mr has always been turned off by the strawberry rhubarb pairing. He says, “Rhubarb is SUPPOSED to be tart! Stop making it too sweet!” The addition of tart cherries (but you can totally do sweet if that’s your jam!) with just the right amount of sugar made for a crisp that he went back for seconds almost immediately. And let me tell you, when I have told friends about my effort to perfect my cherry rhubarb crisp recipe, they were instantly excited since it isn’t something you hear of often. I hope you’re excited to create this new flavor combination too!
Let’s get baking!
Your Ingredients
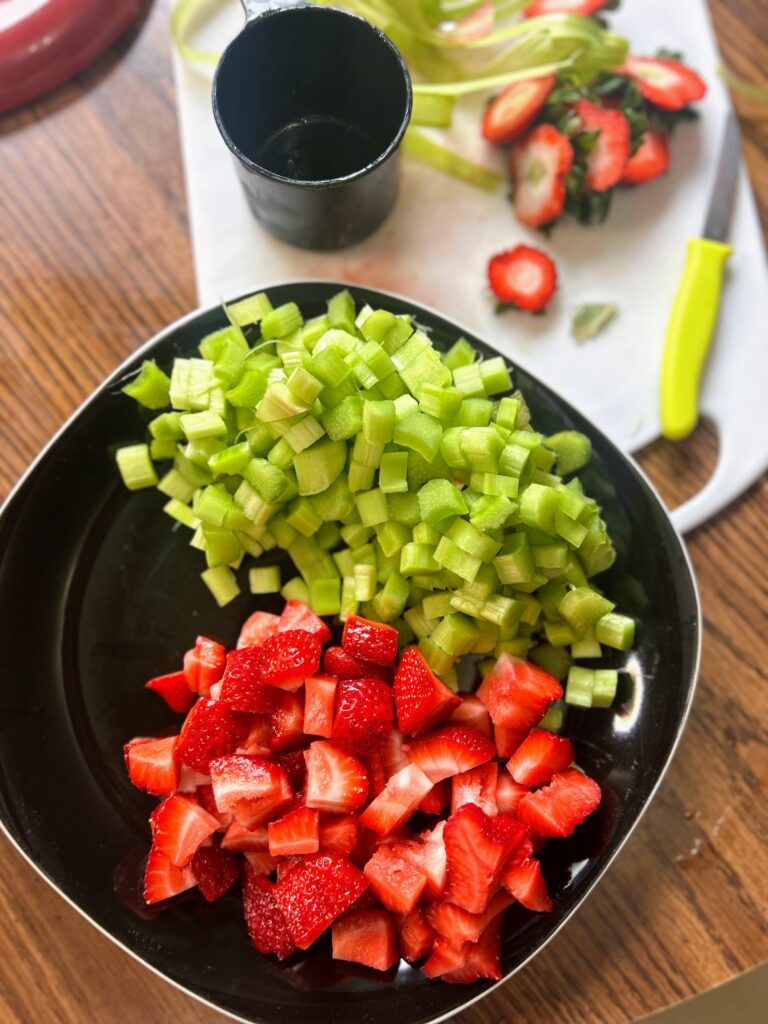
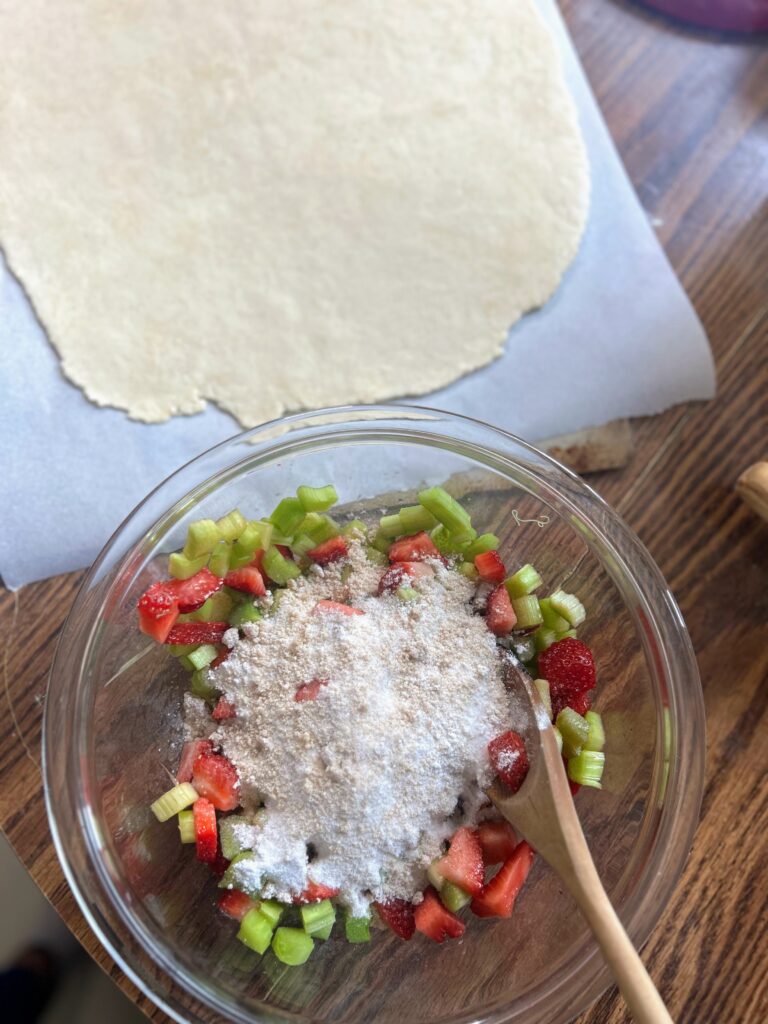
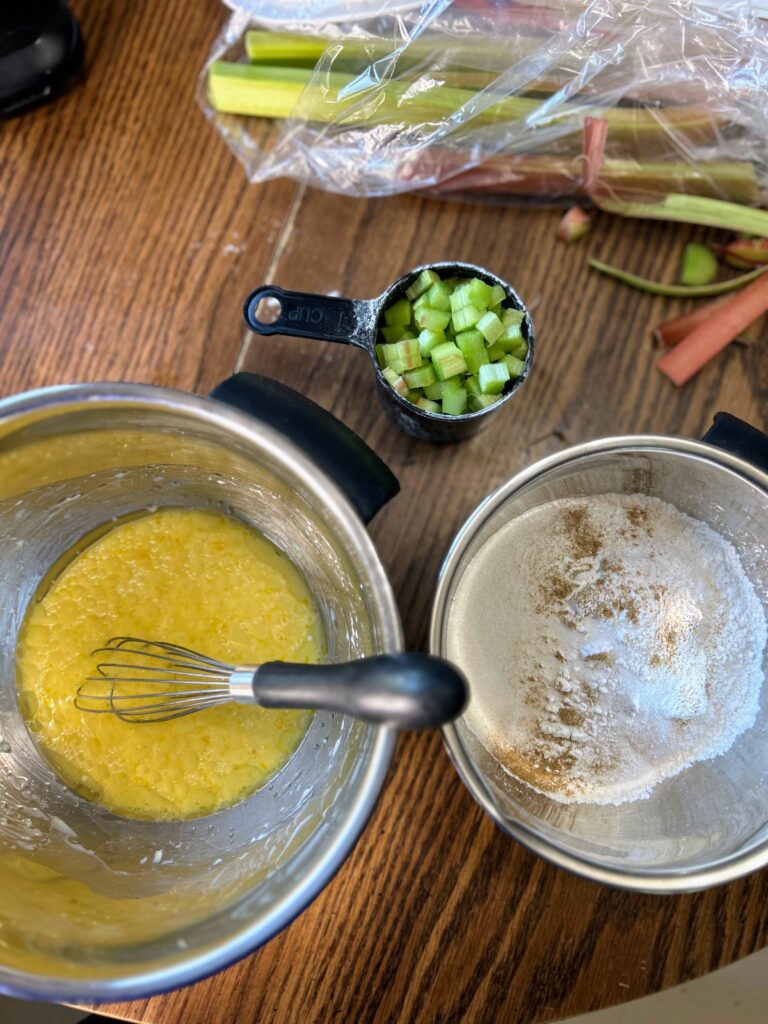
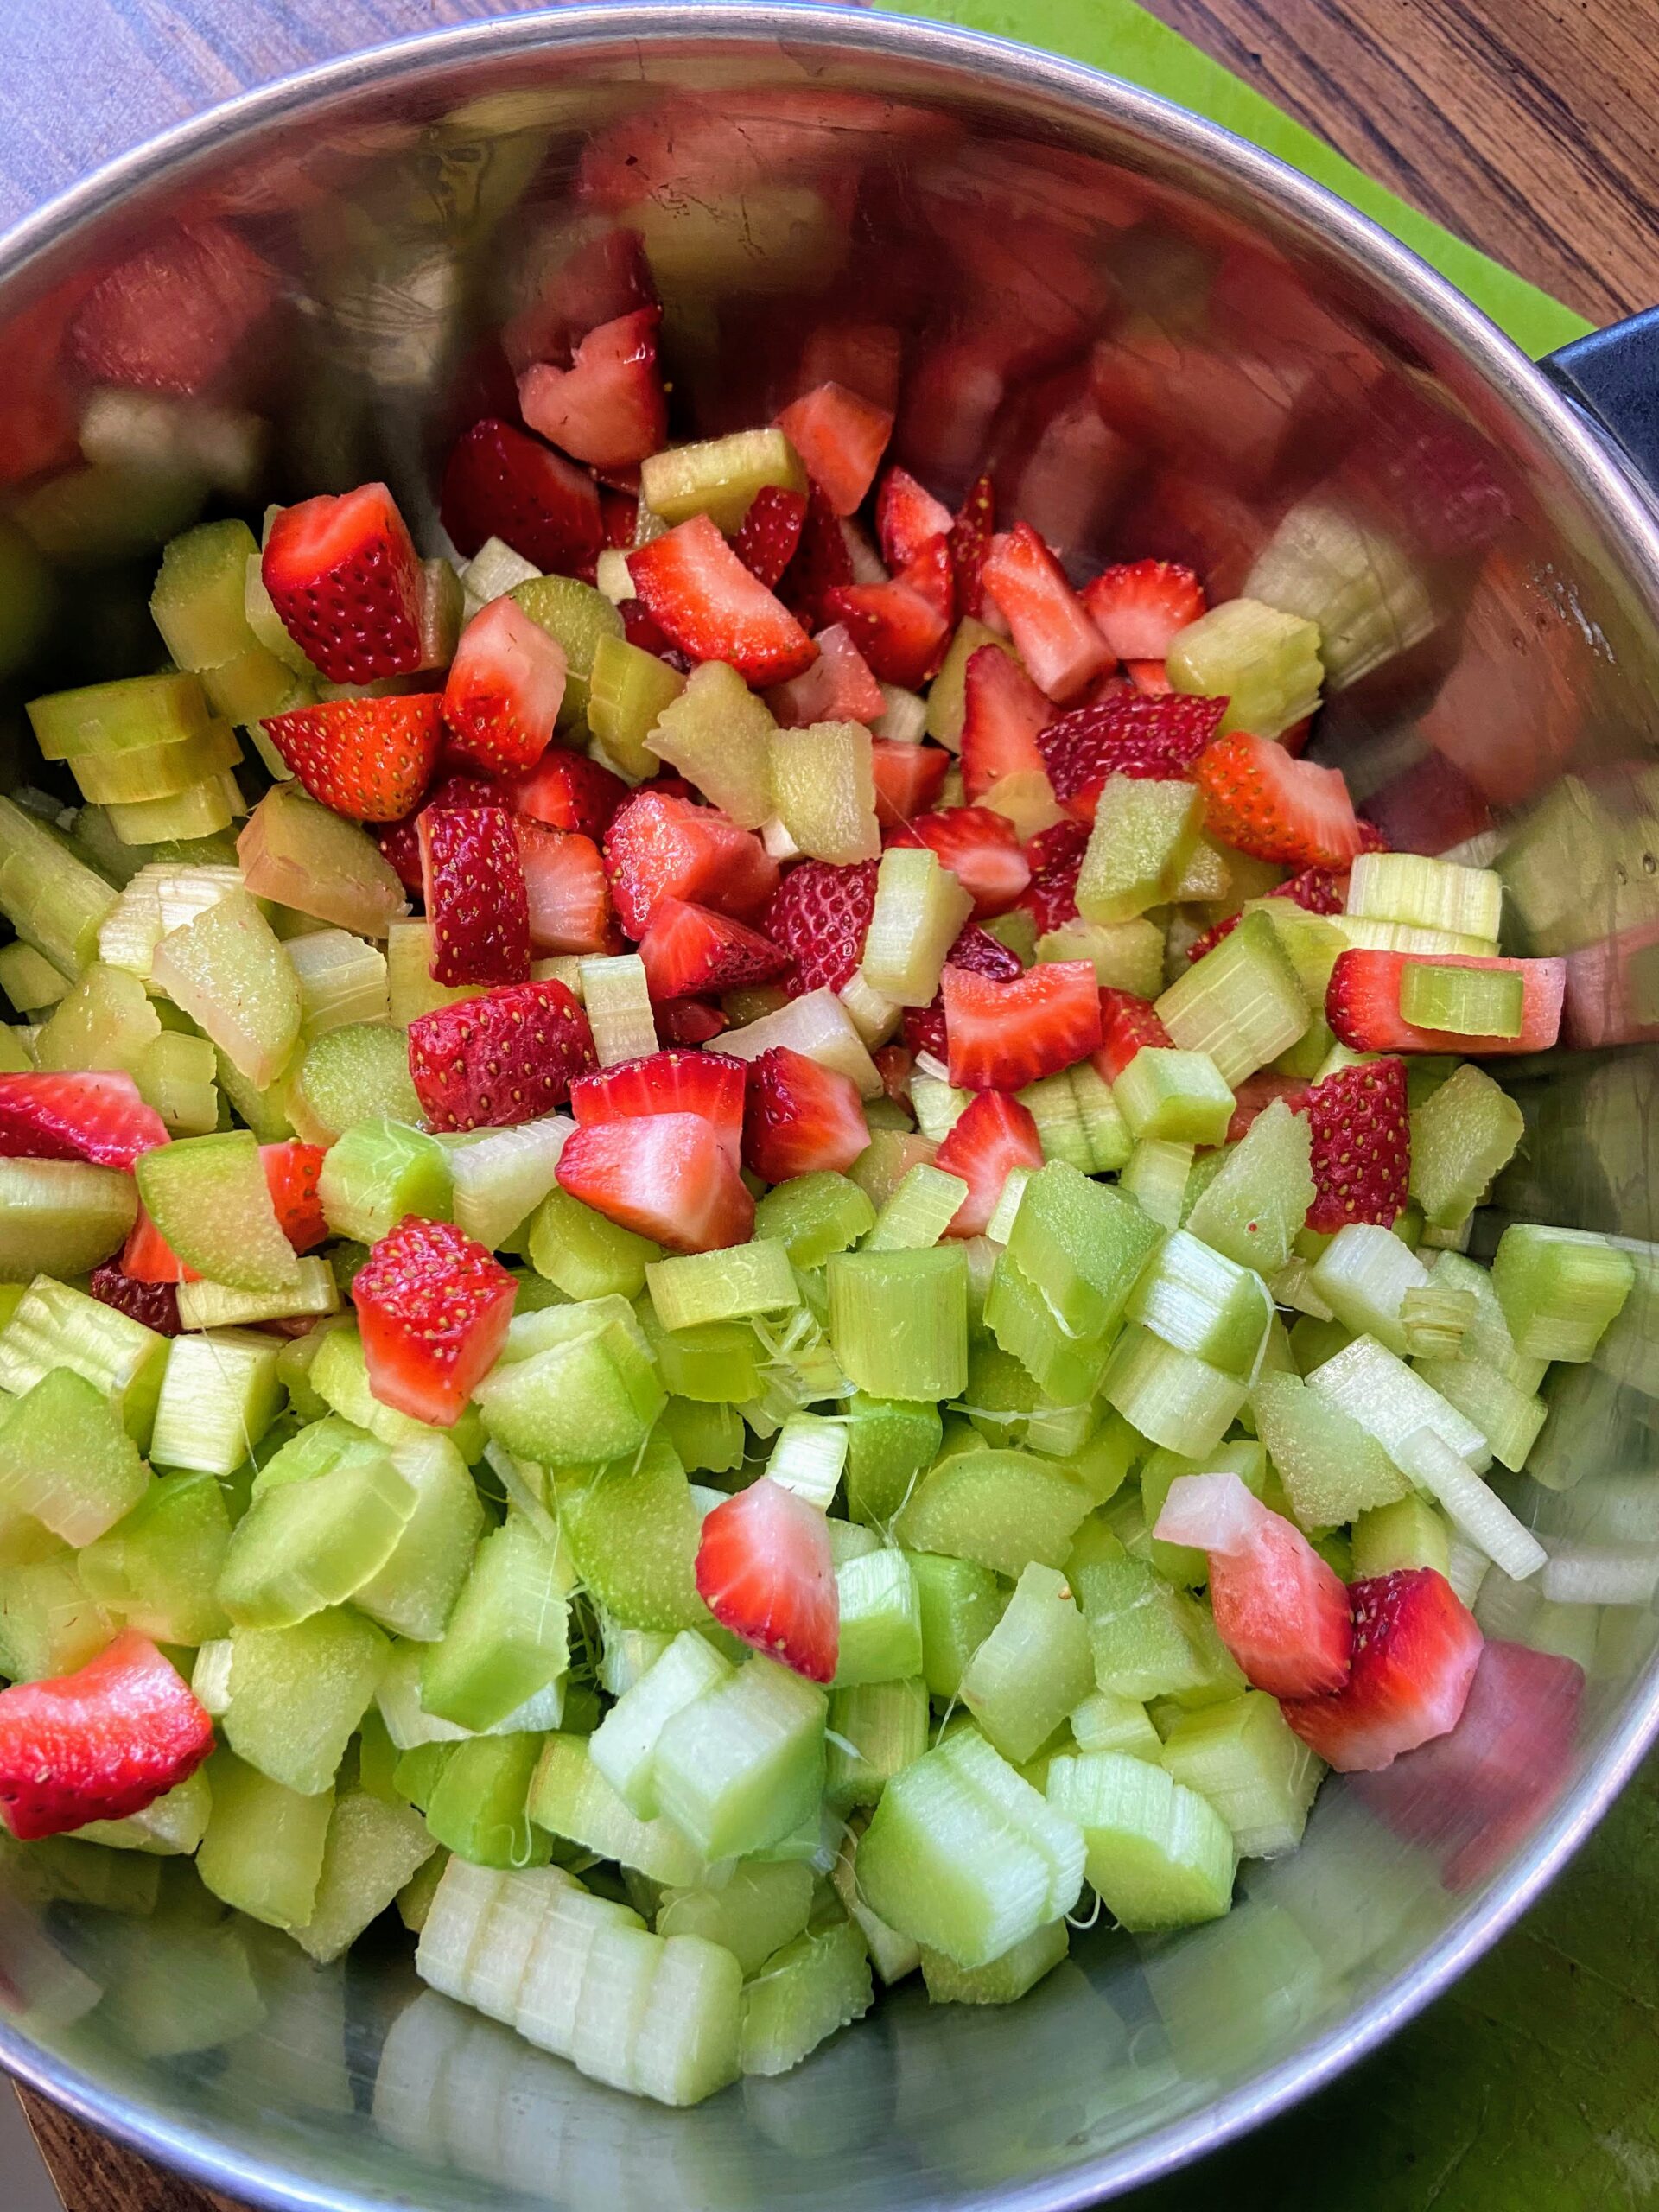
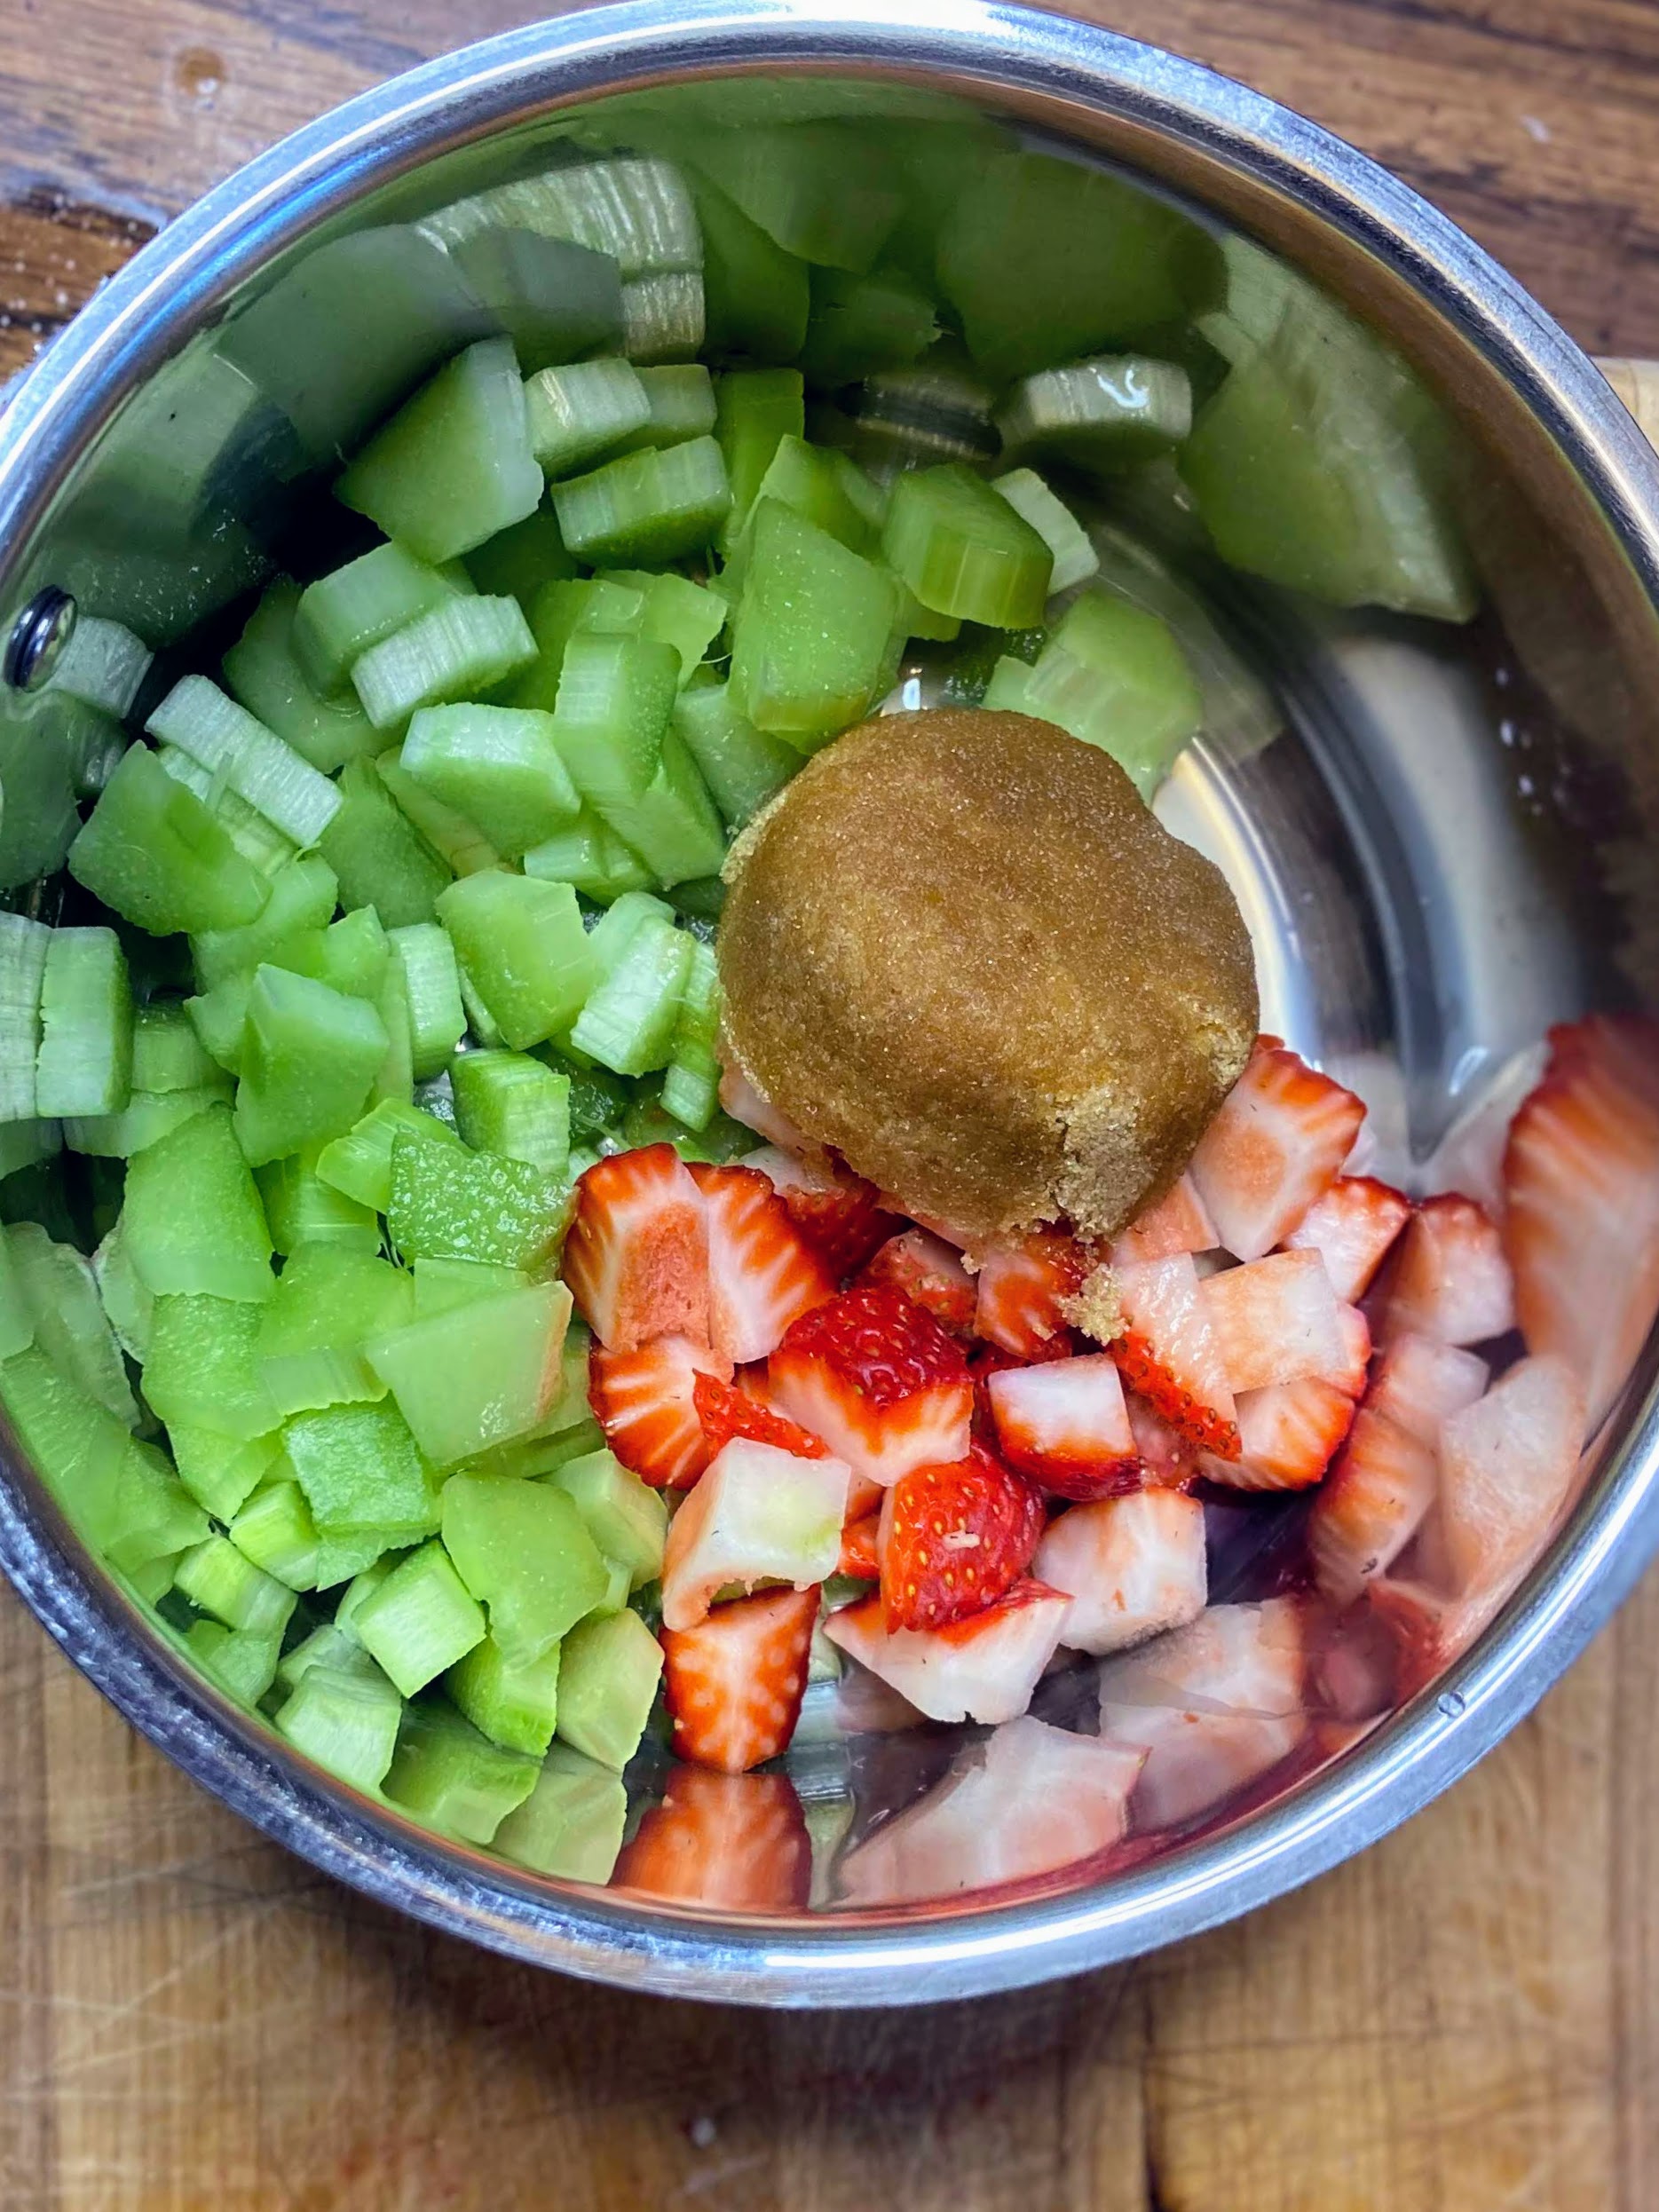
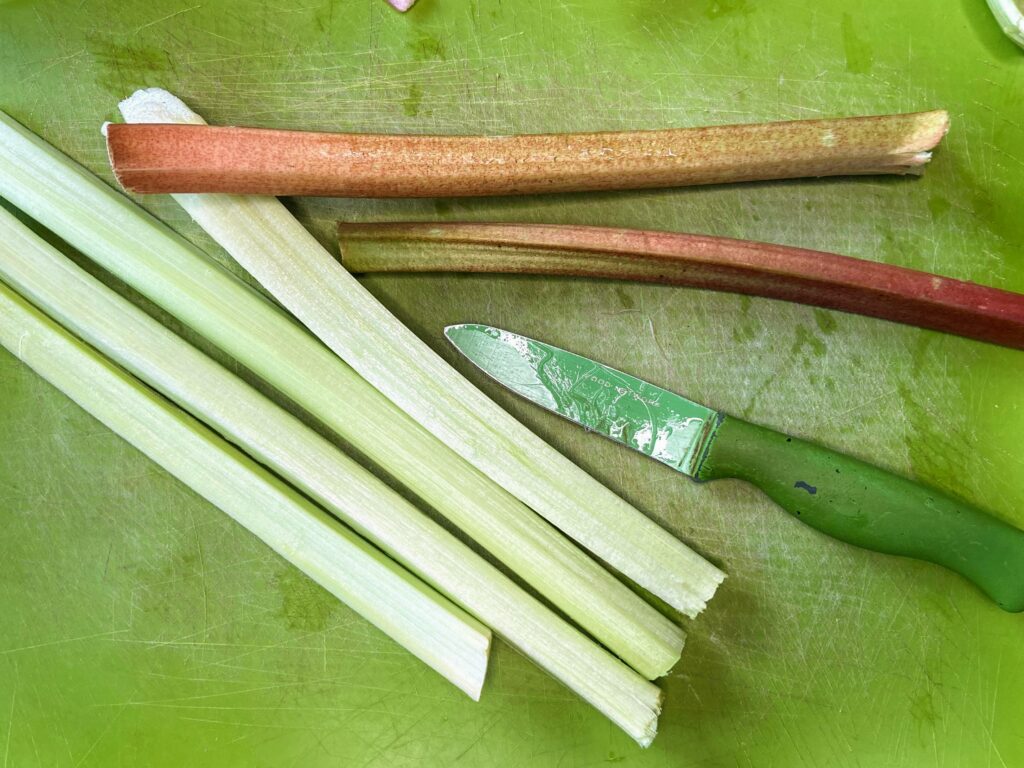
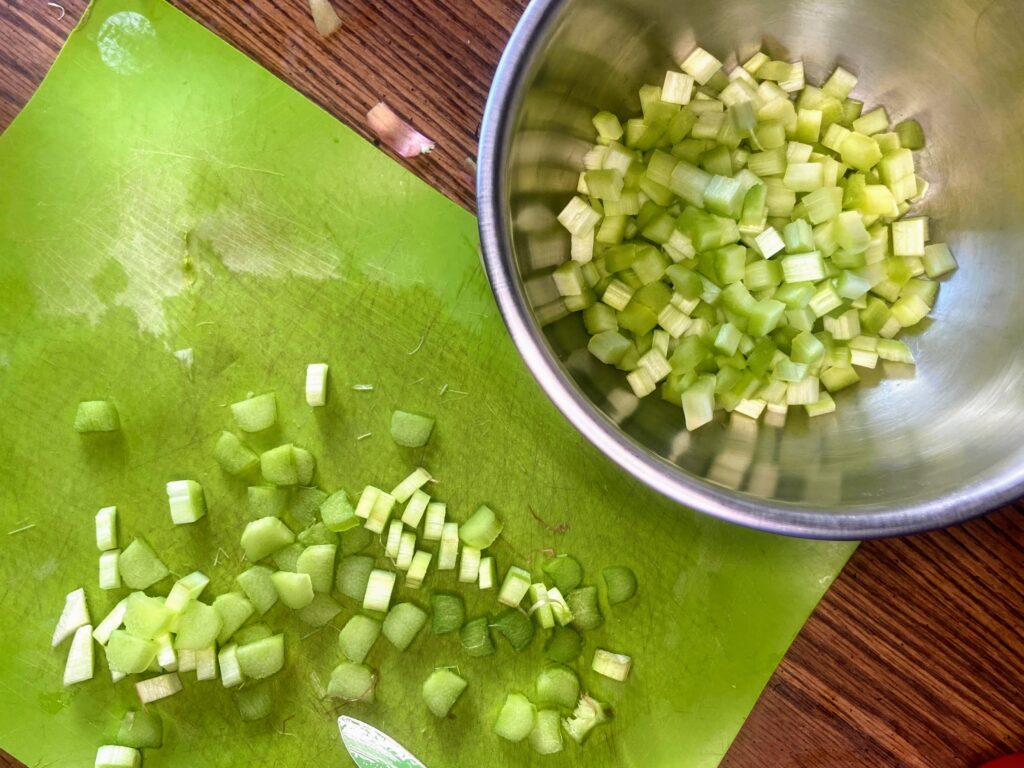
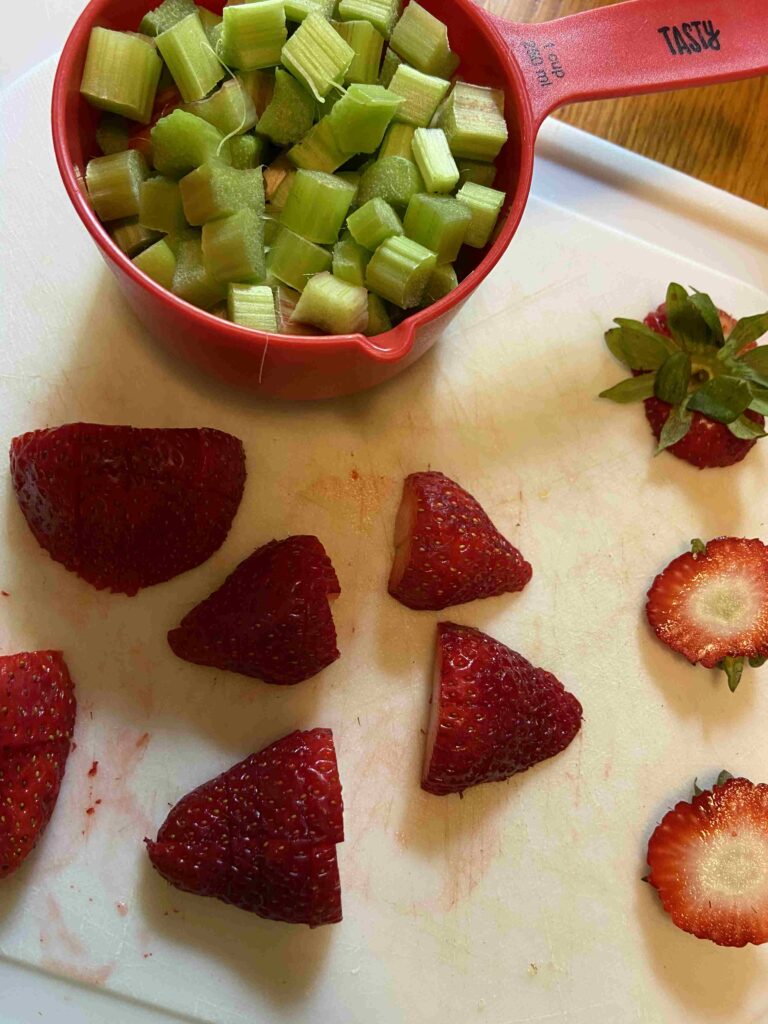
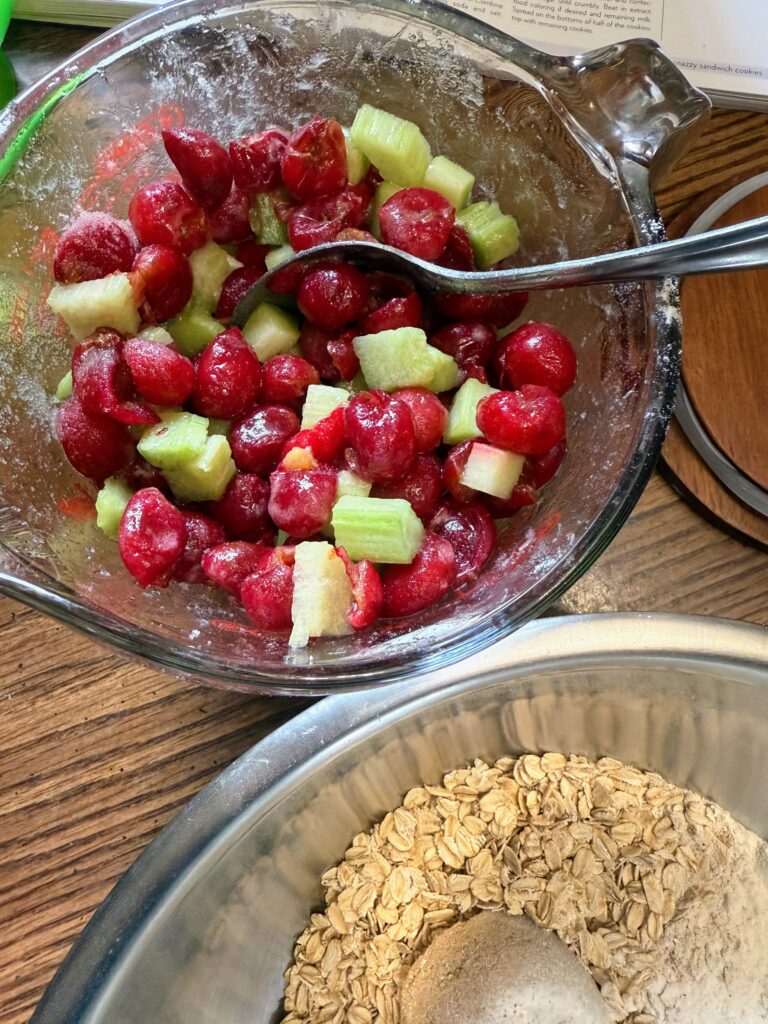
- 2 ½ cups diced rhubarb
- 2 ½ cups pitted sour cherries (but really, 5 cups of cherry/rhubarb would be good!)
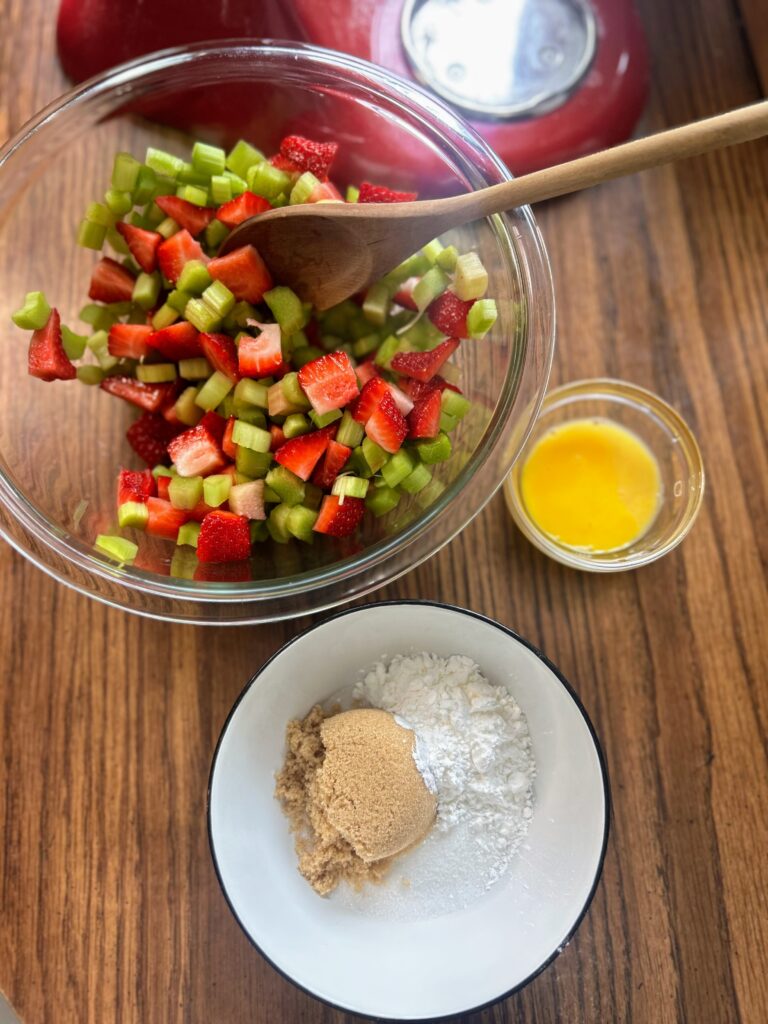
- ⅓ cup white sugar
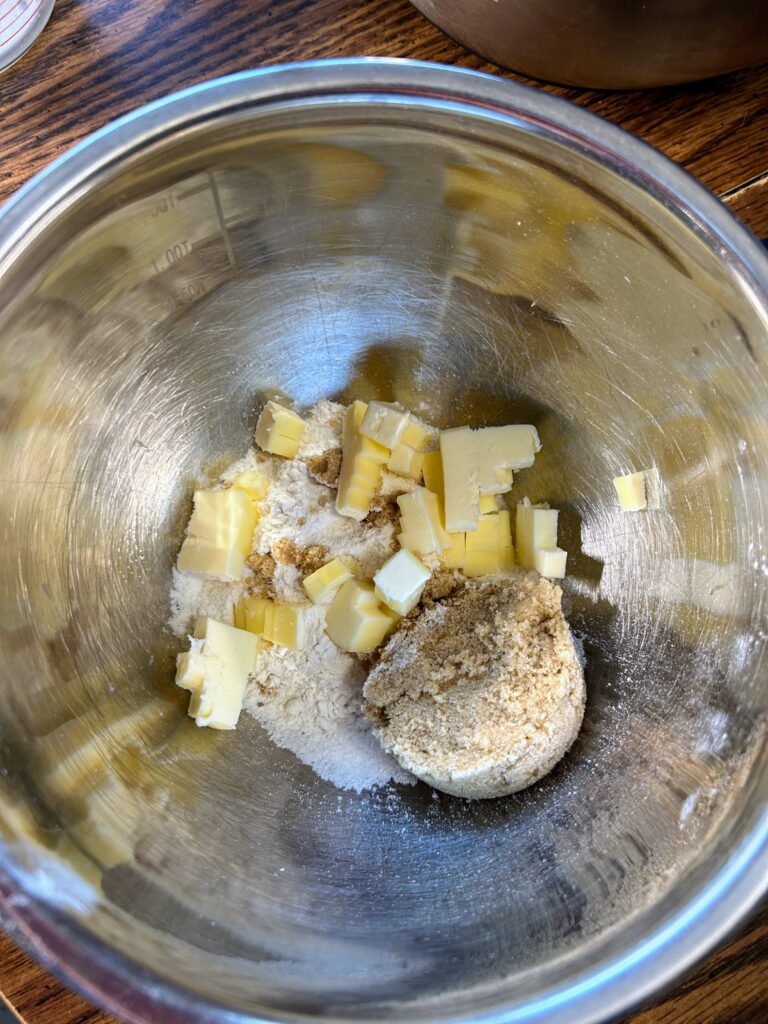
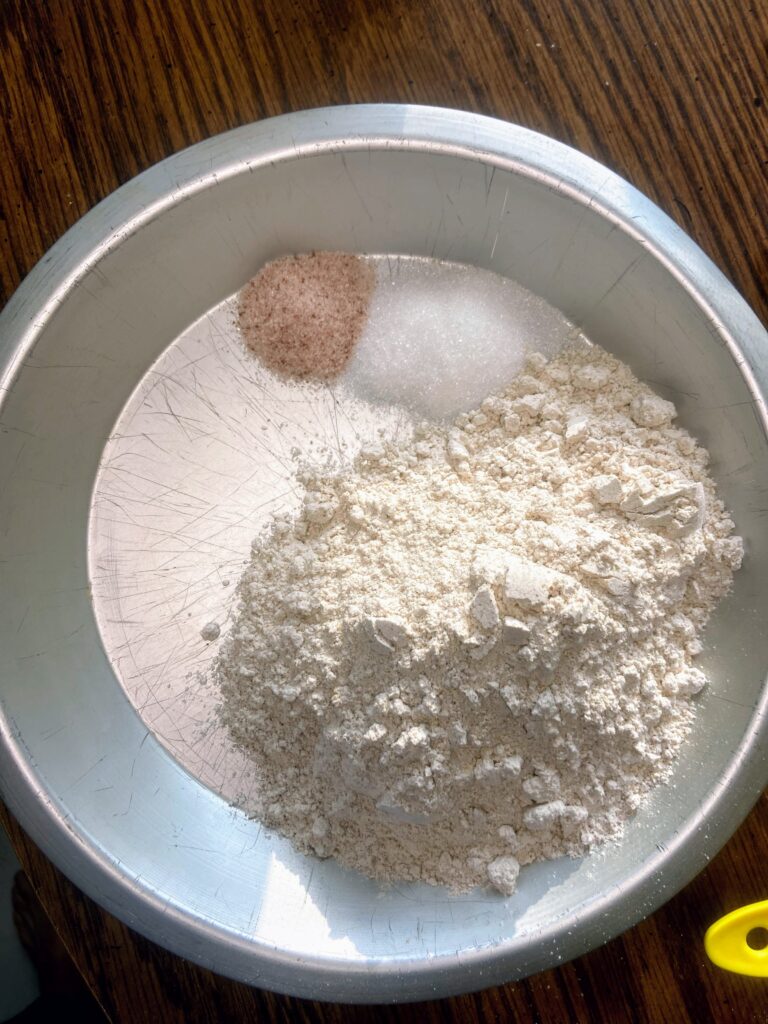
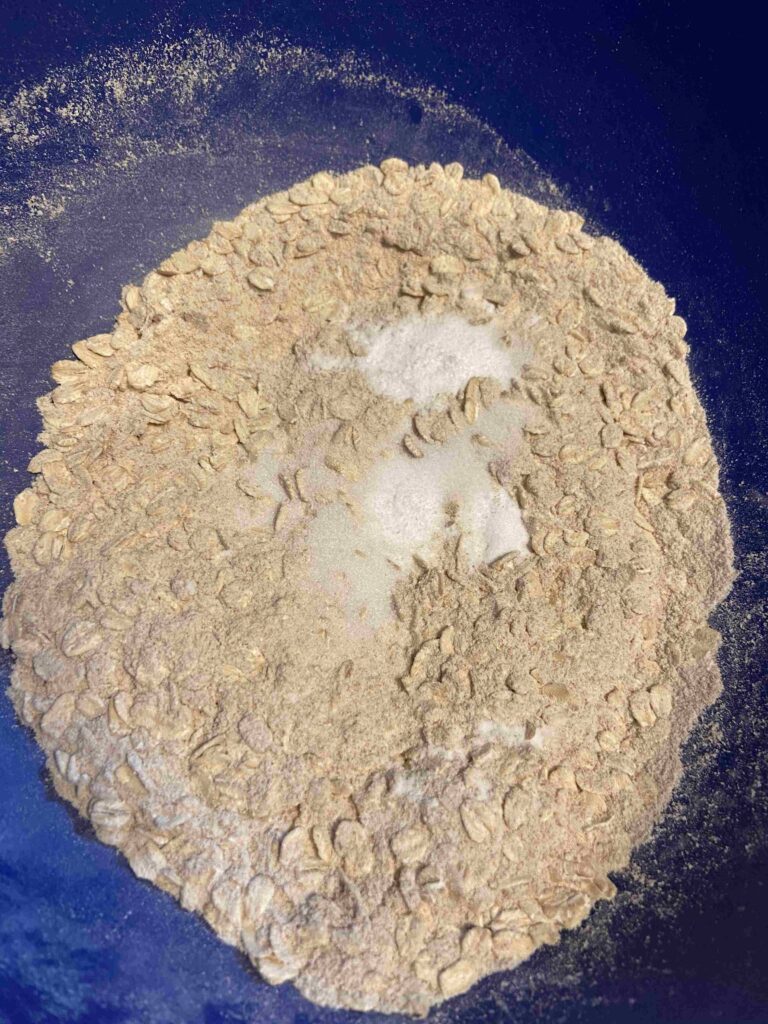
- ½ cup flour + 1 tablespoon, divided
- ⅔ cup brown sugar
- 1 cup old fashioned oats
- ¼ teaspoon salt
- ¼ teaspoon nutmeg
- ¼ cup butter, melted
Your Steps to Cherry Rhubarb Crisp
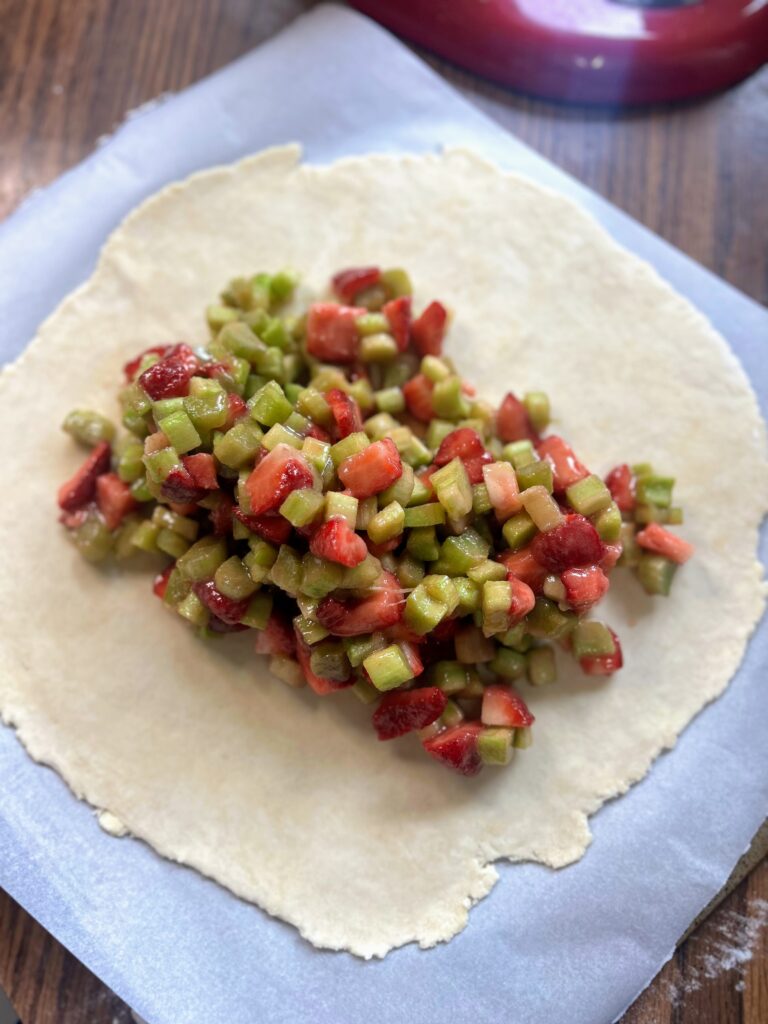
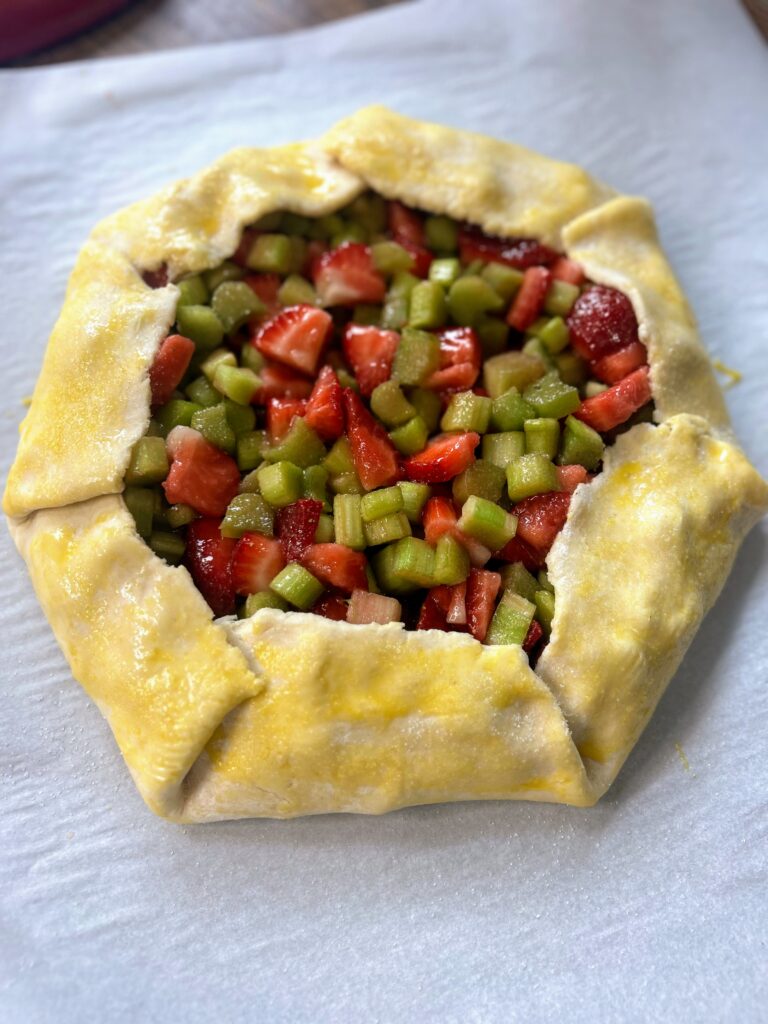
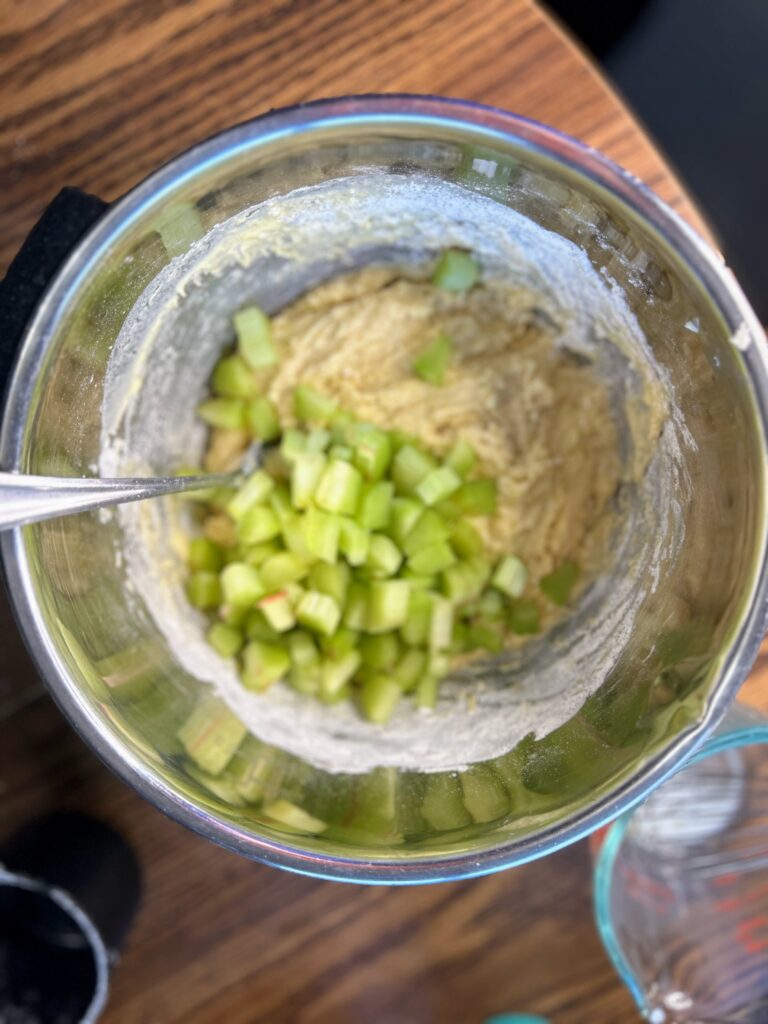
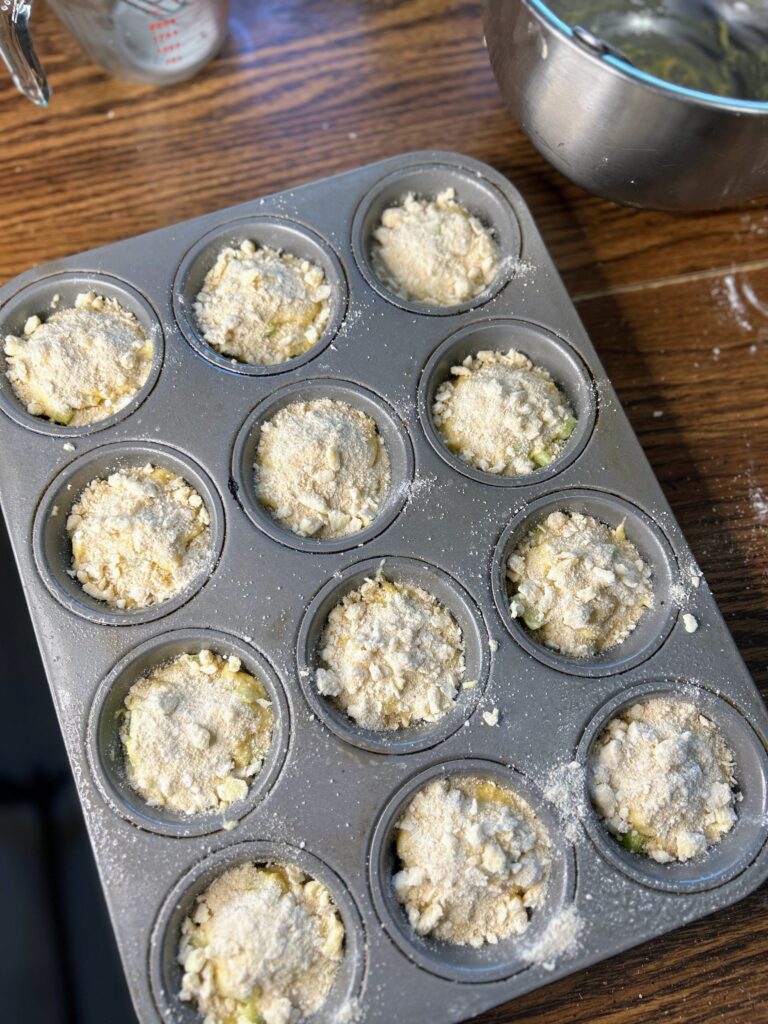
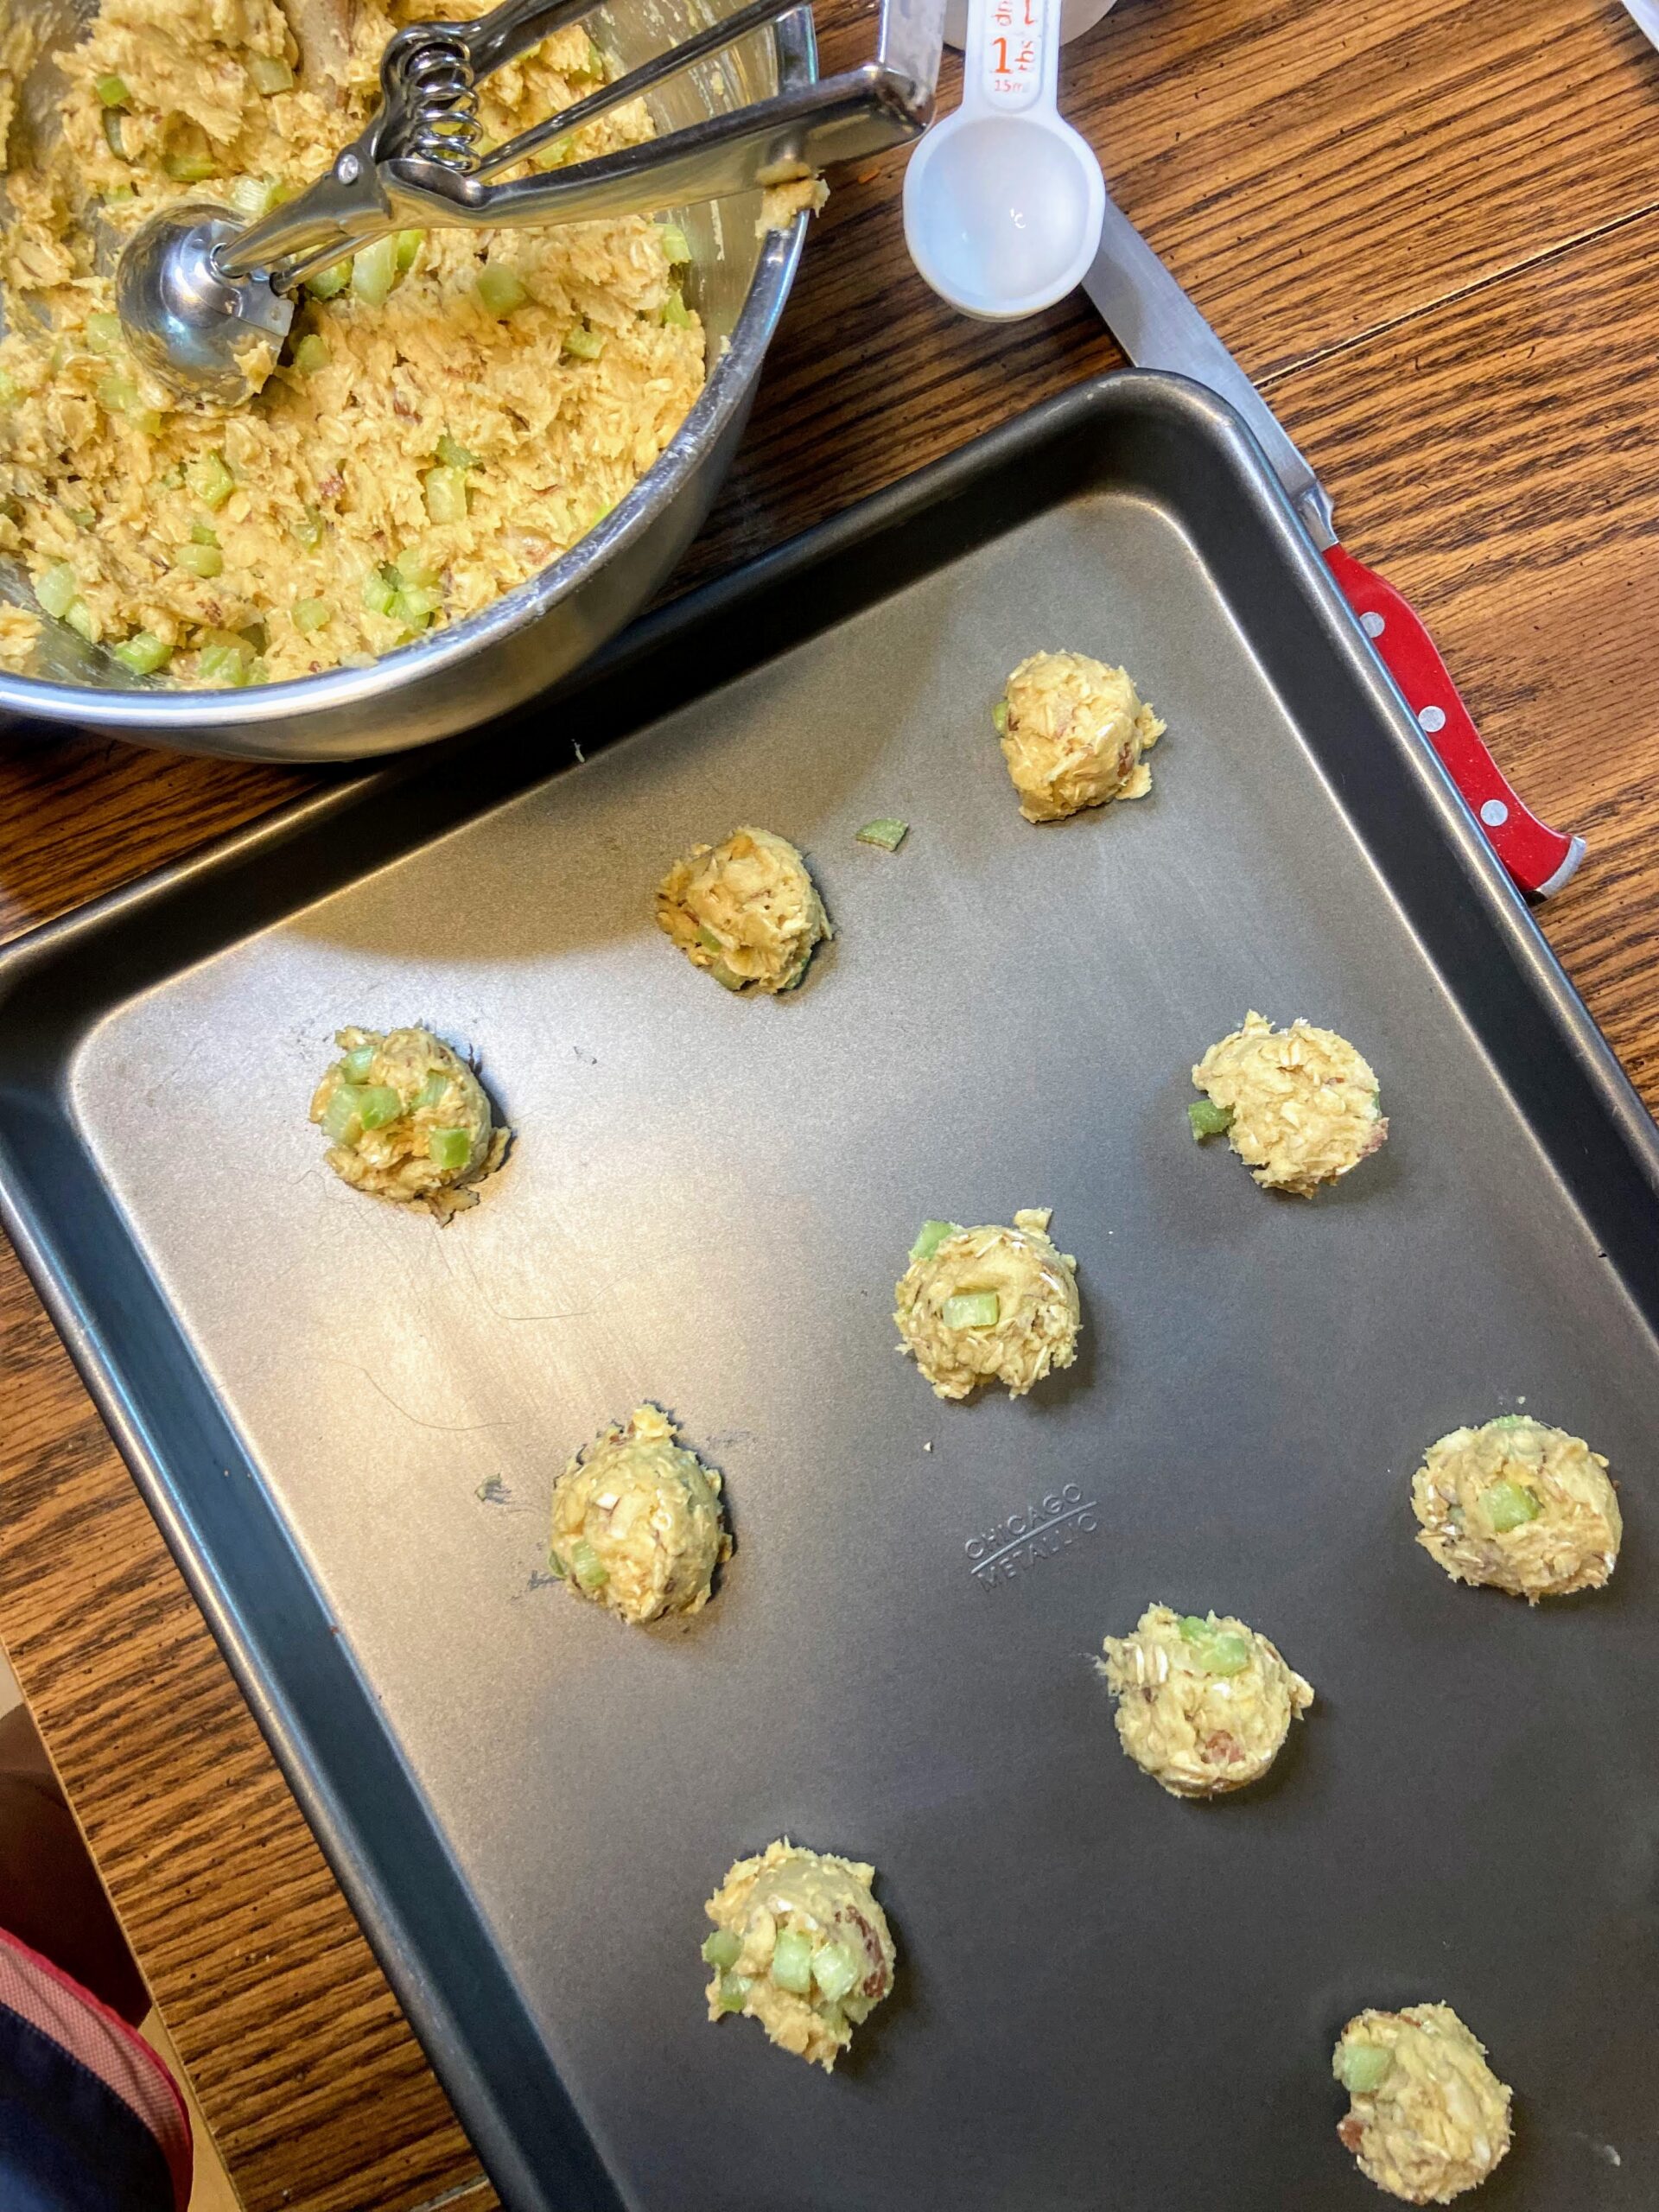
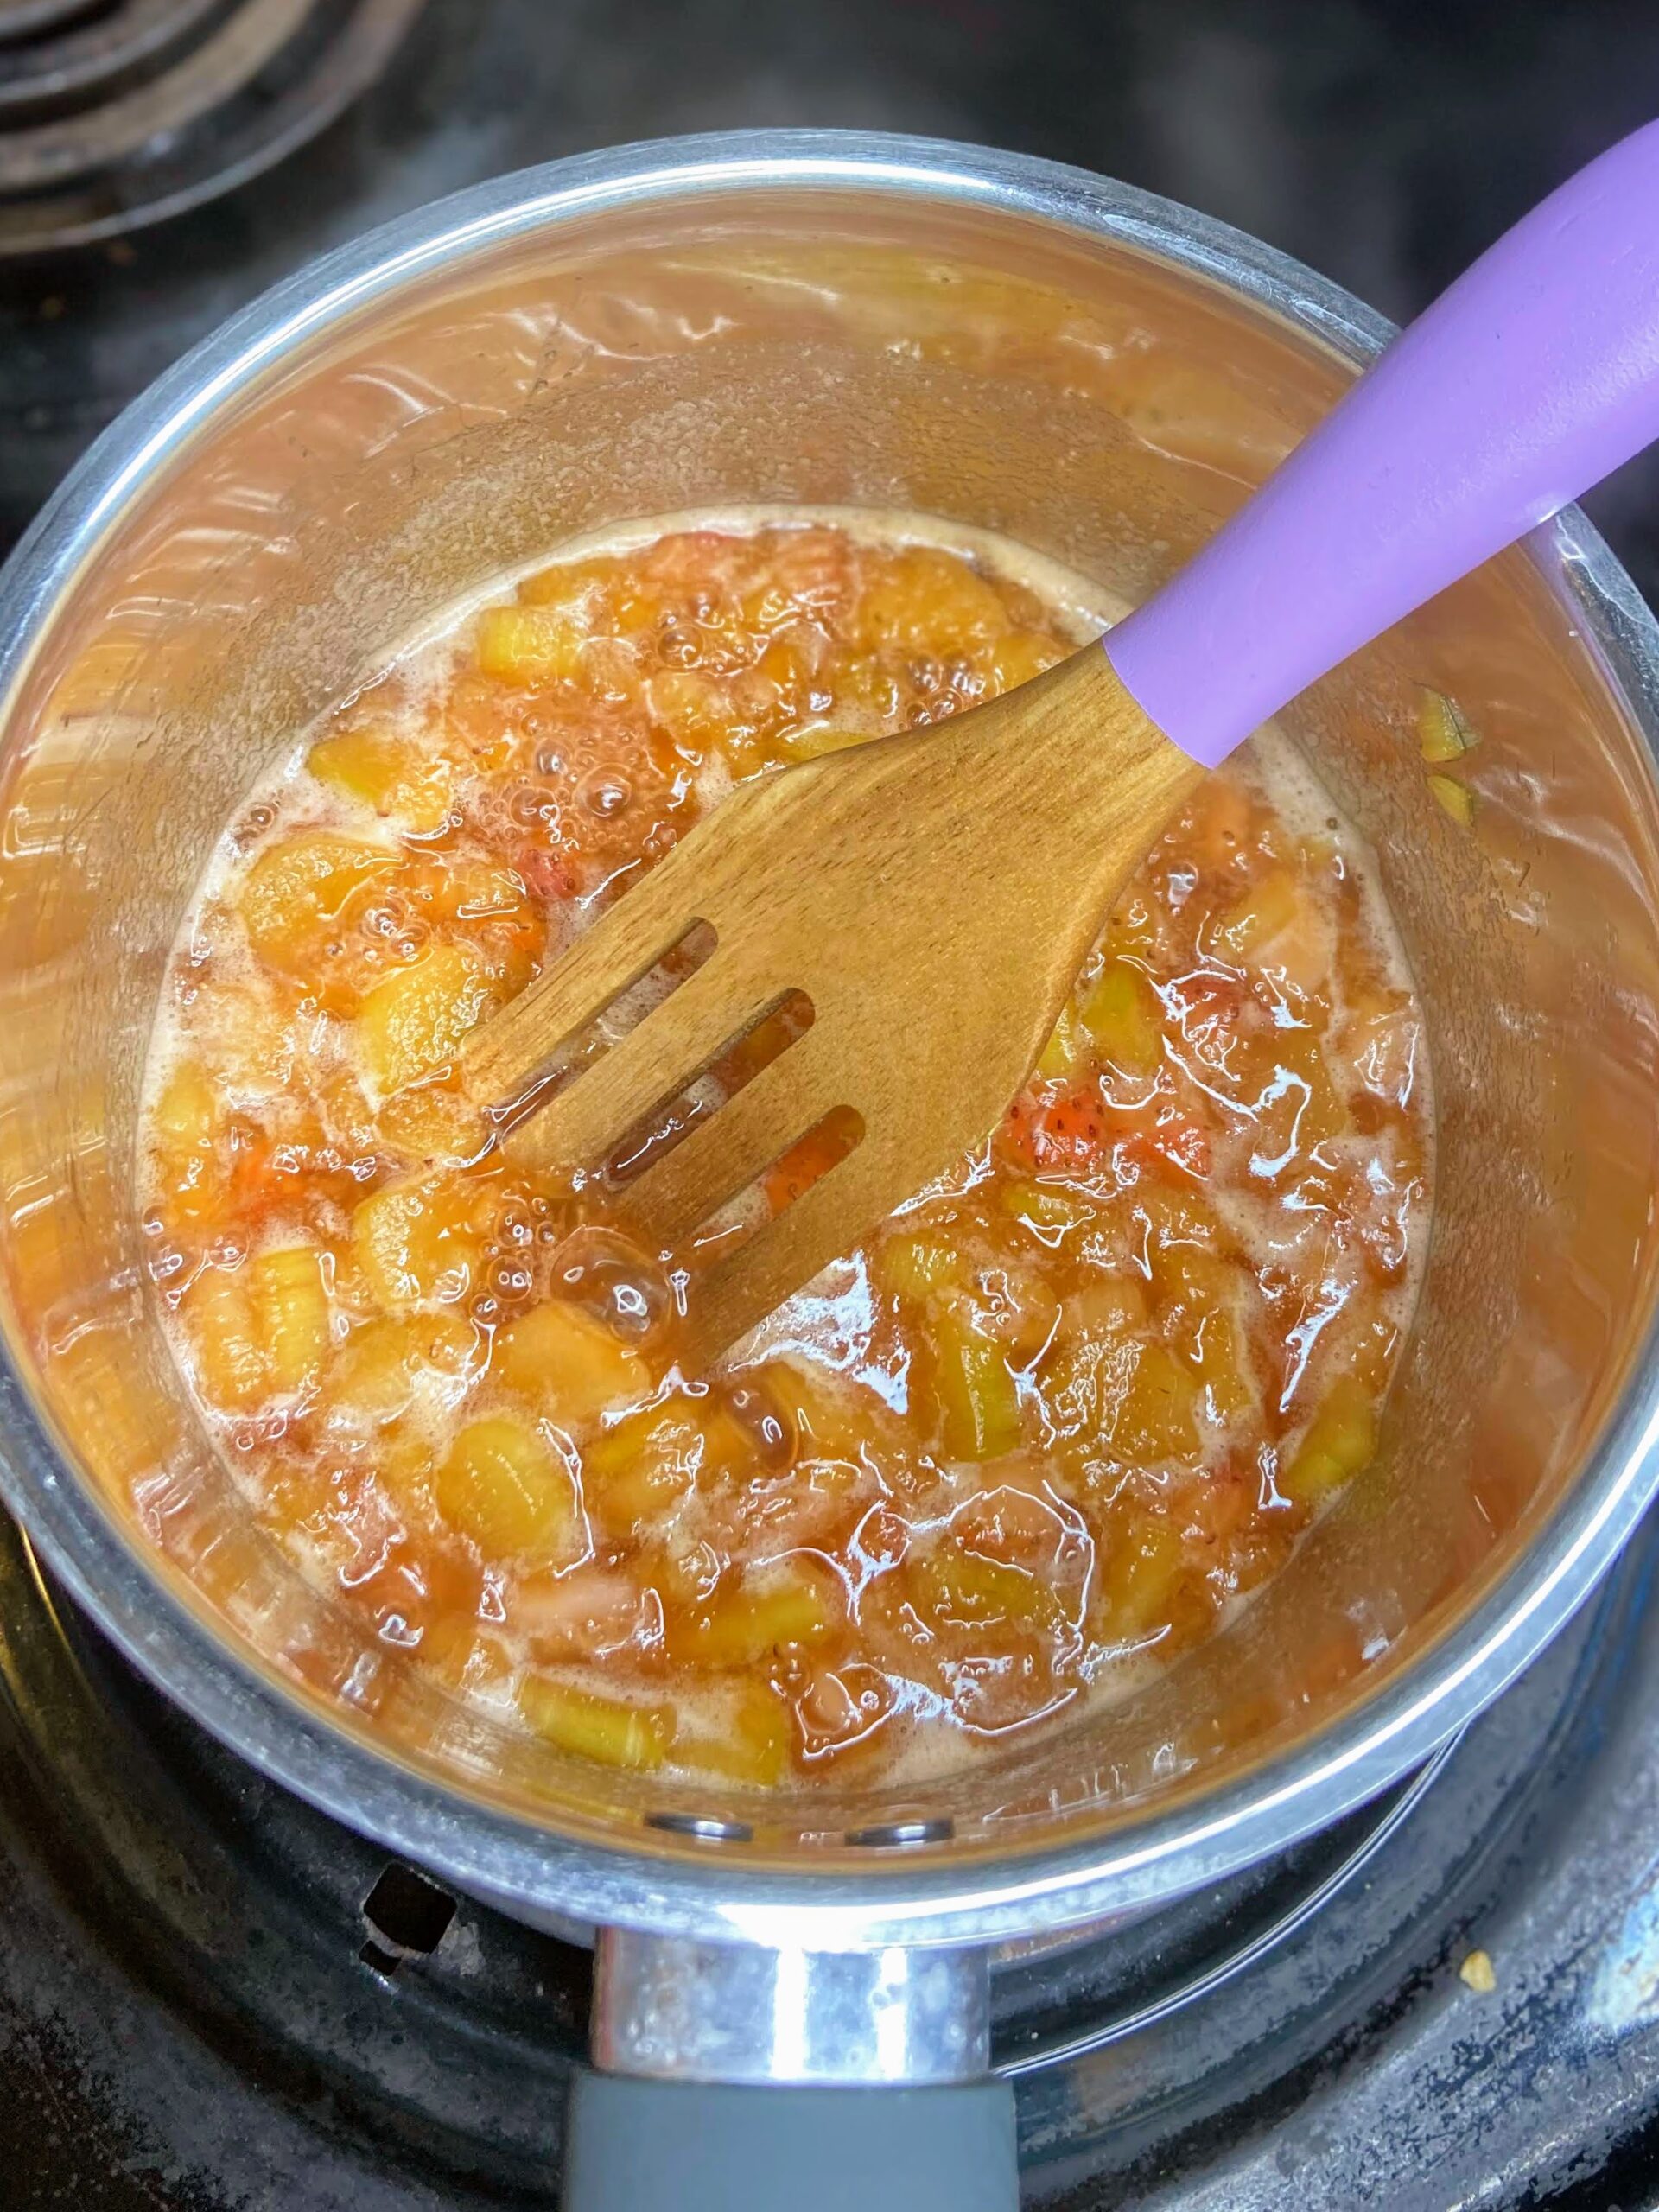
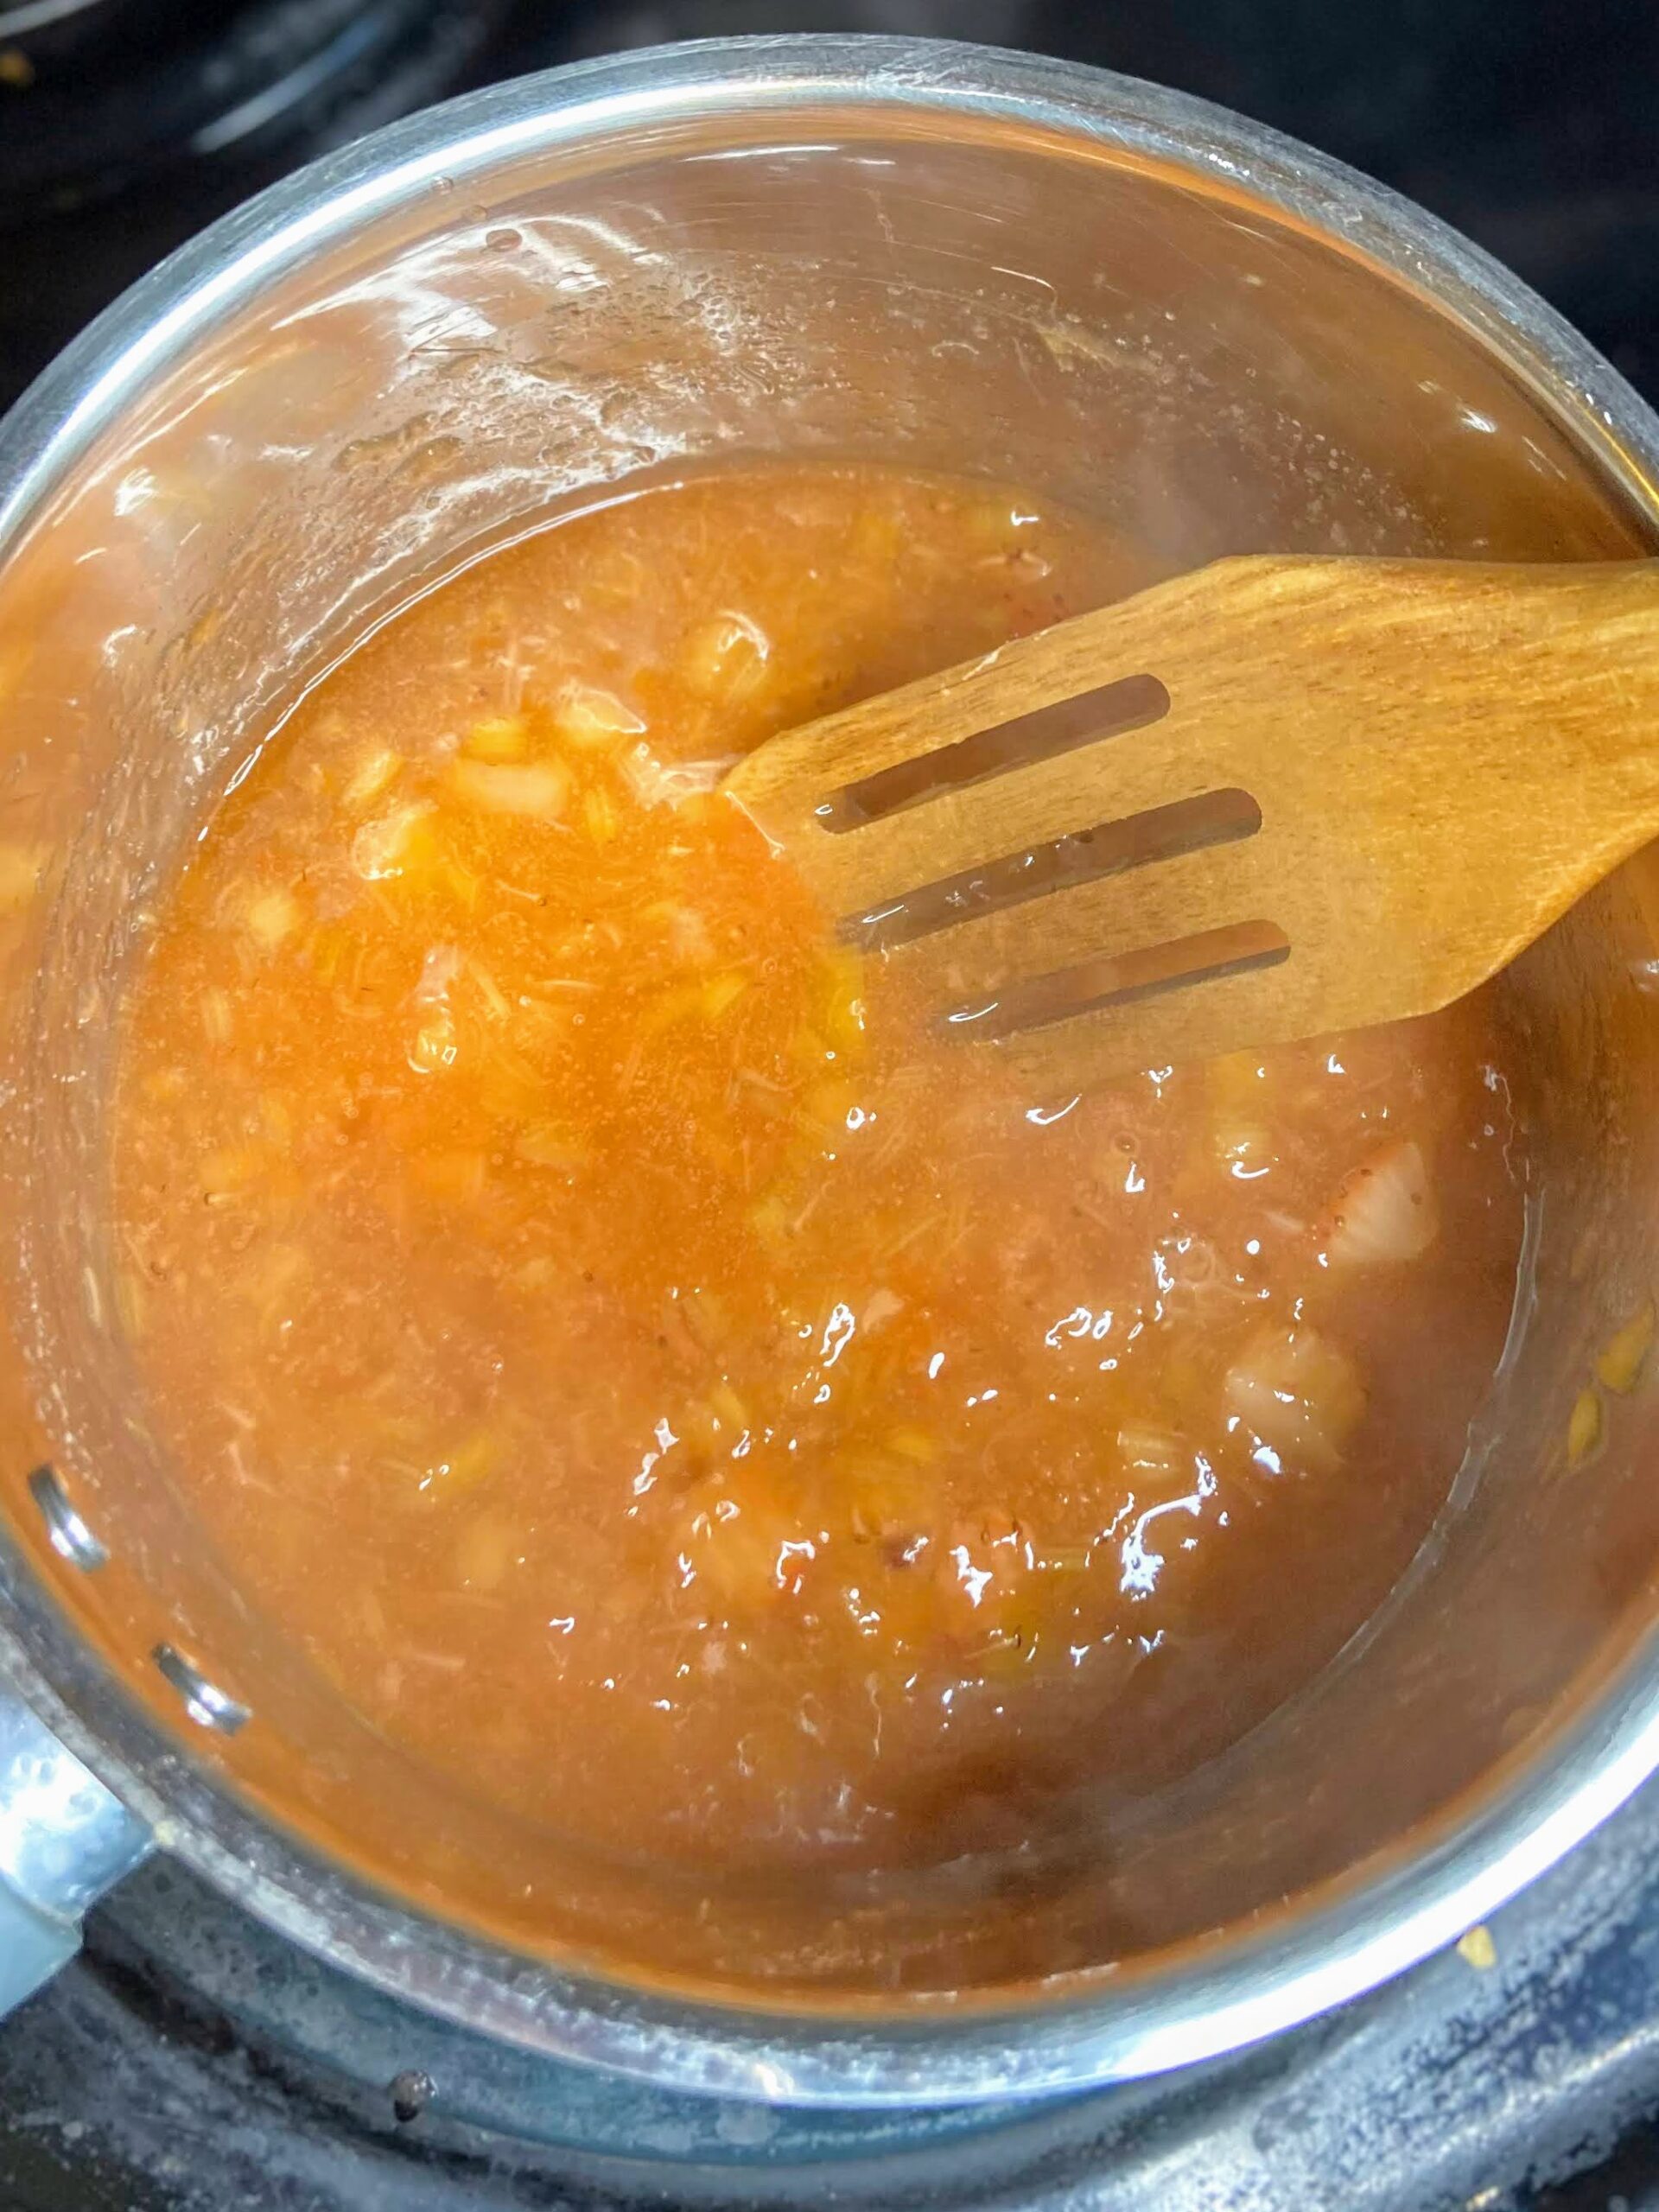
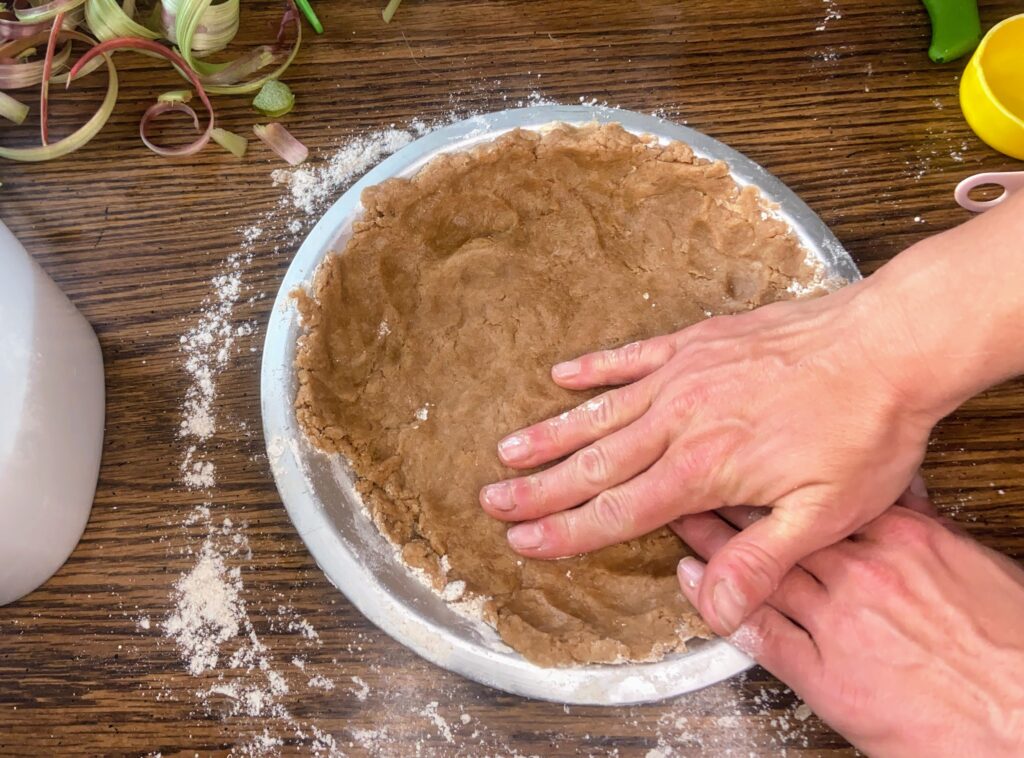
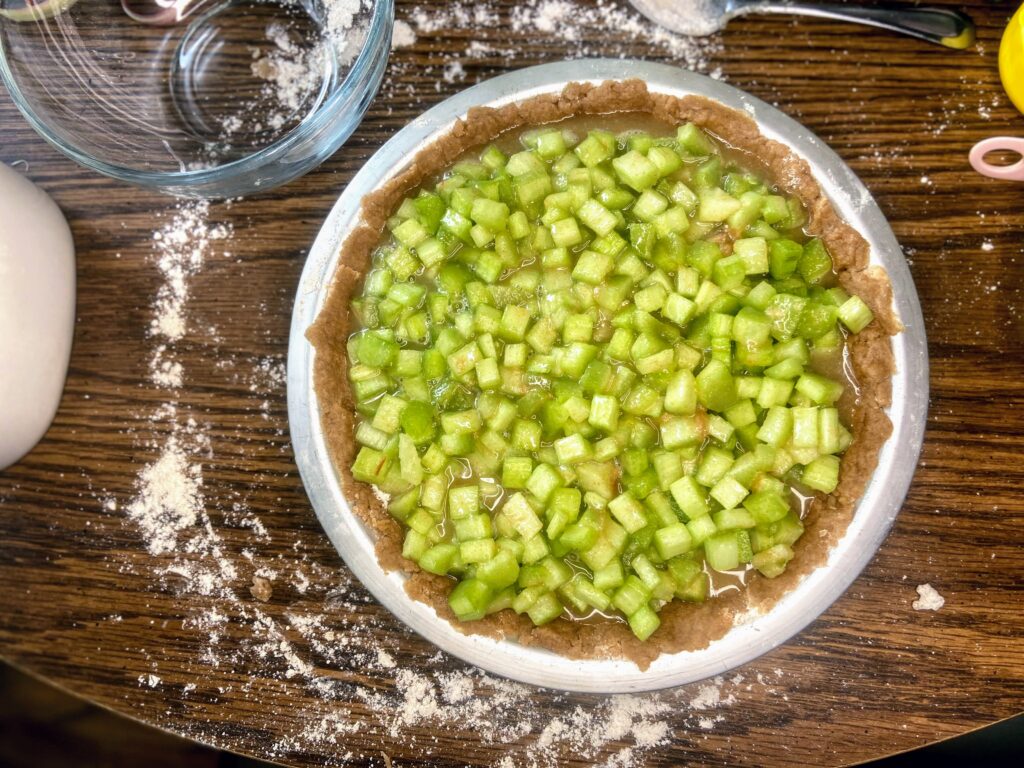
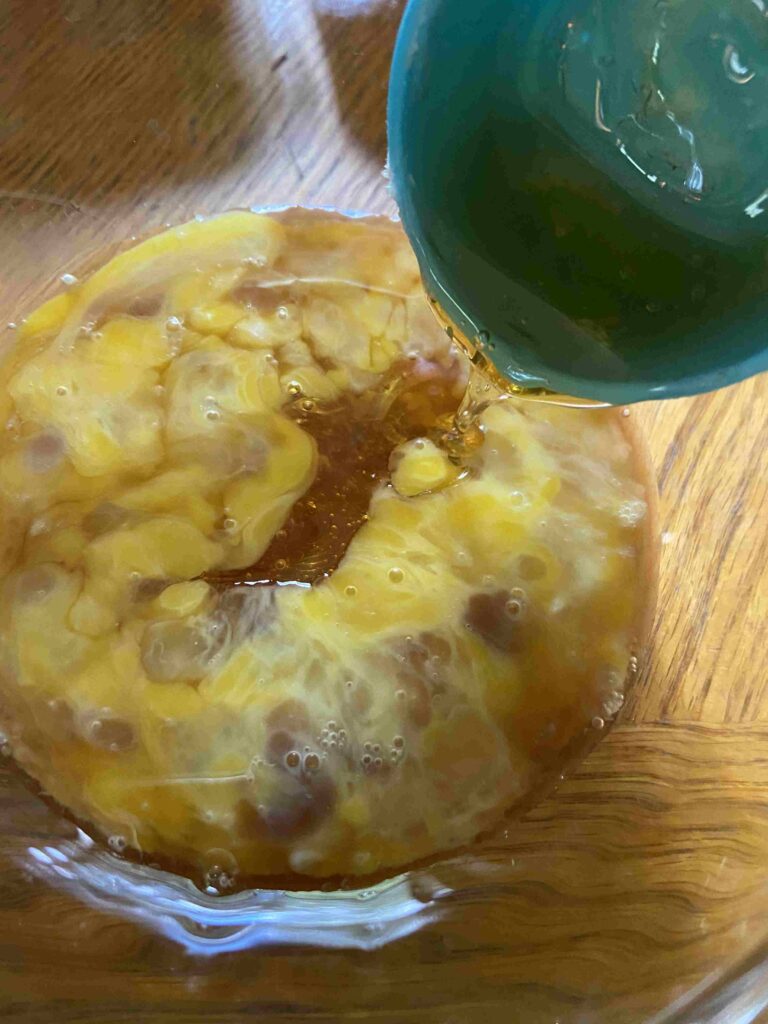
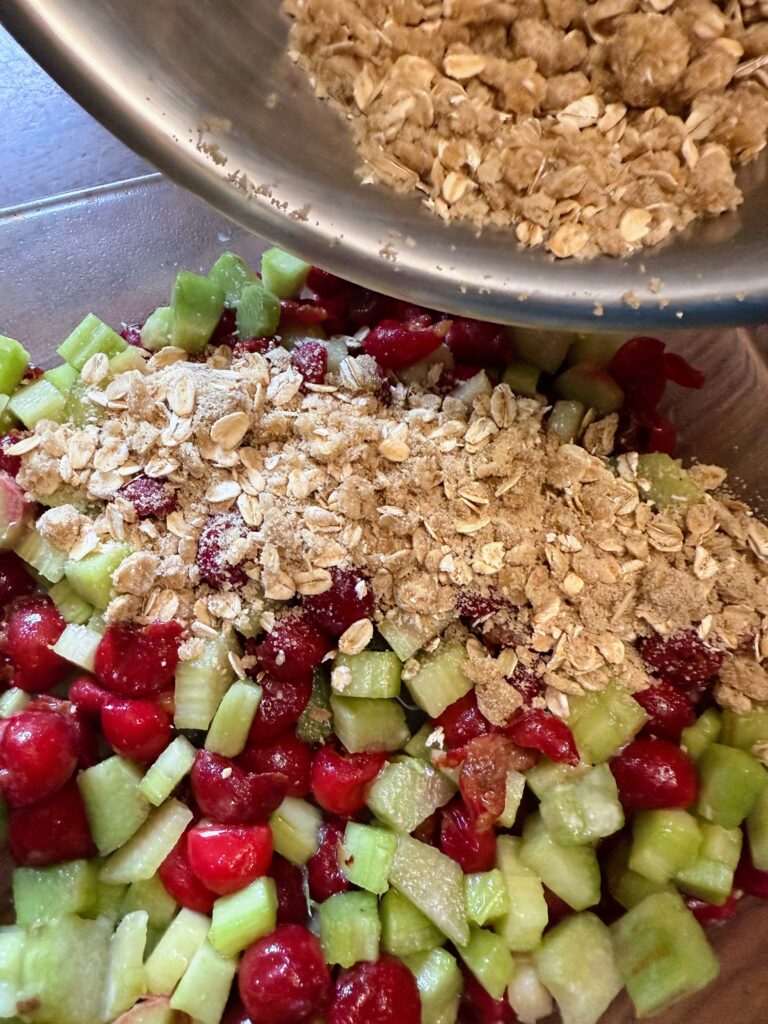
Heat the oven to 375 degrees F. Grease the bottom and sides of an 8 inch square baking pan. Combine the rhubarb and sour cherries in a bowl. Sprinkle with white sugar and 1 tablespoon flour. Stir to coat the fruit. Set aside.
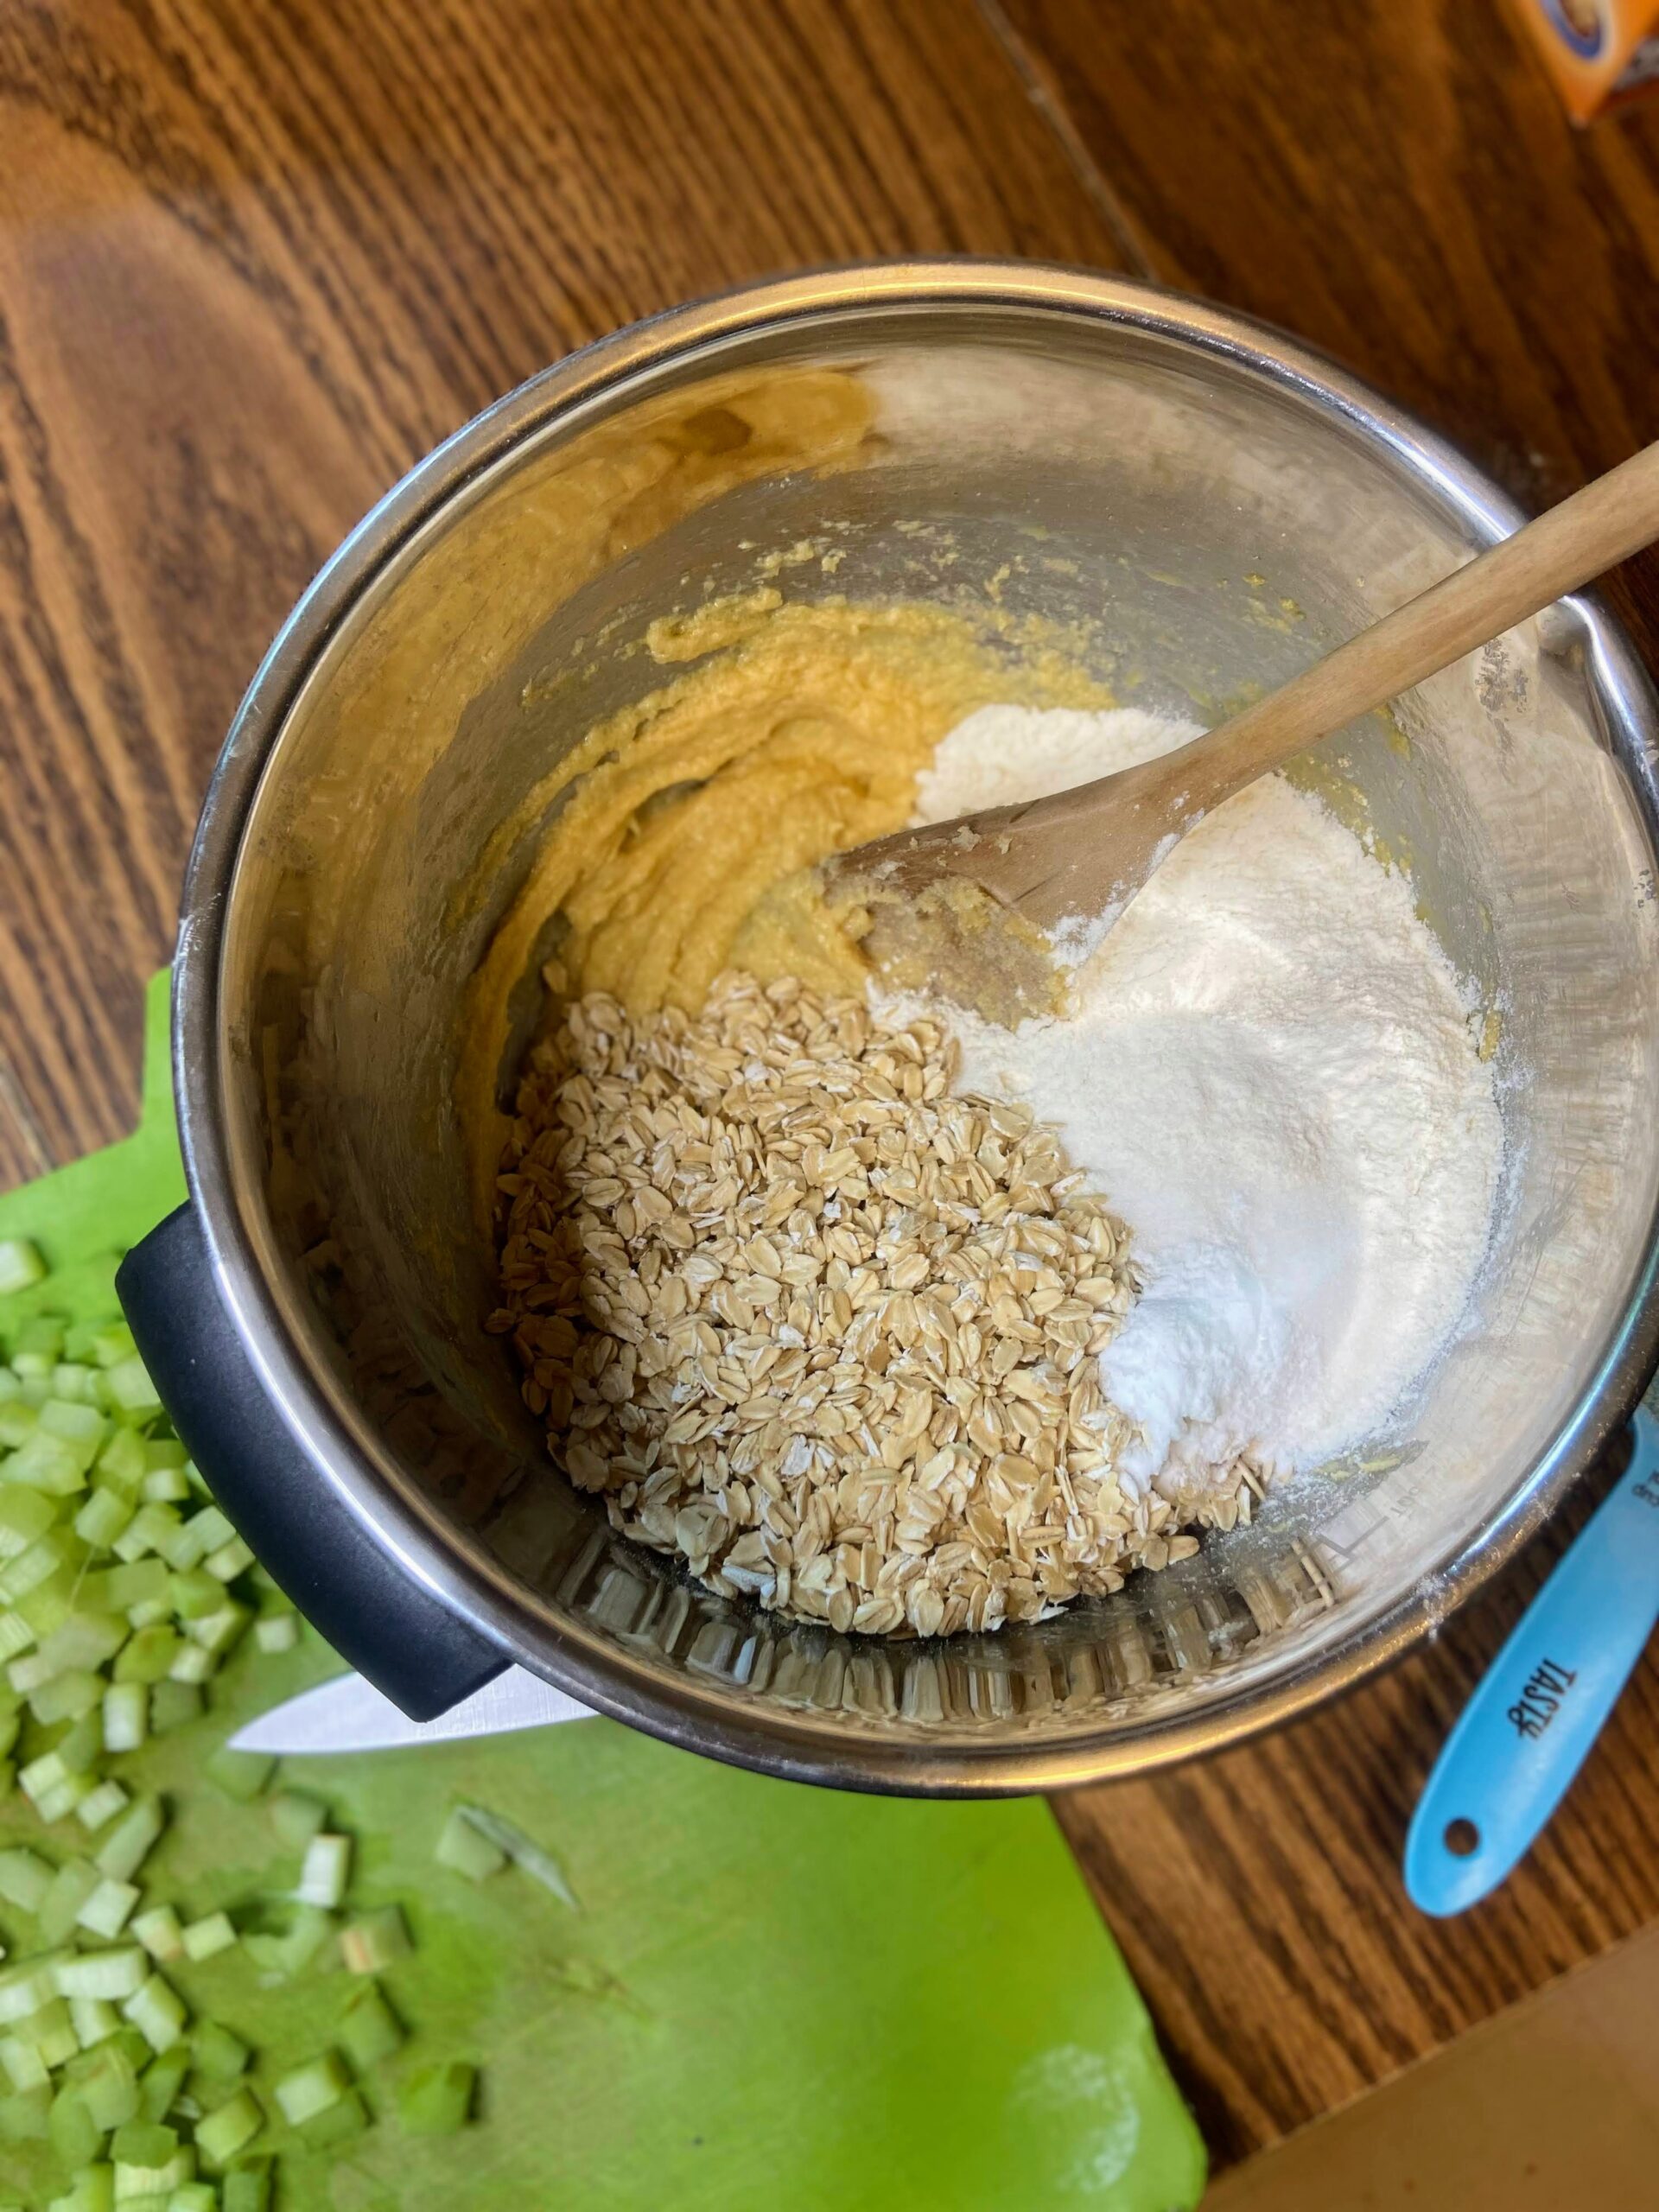
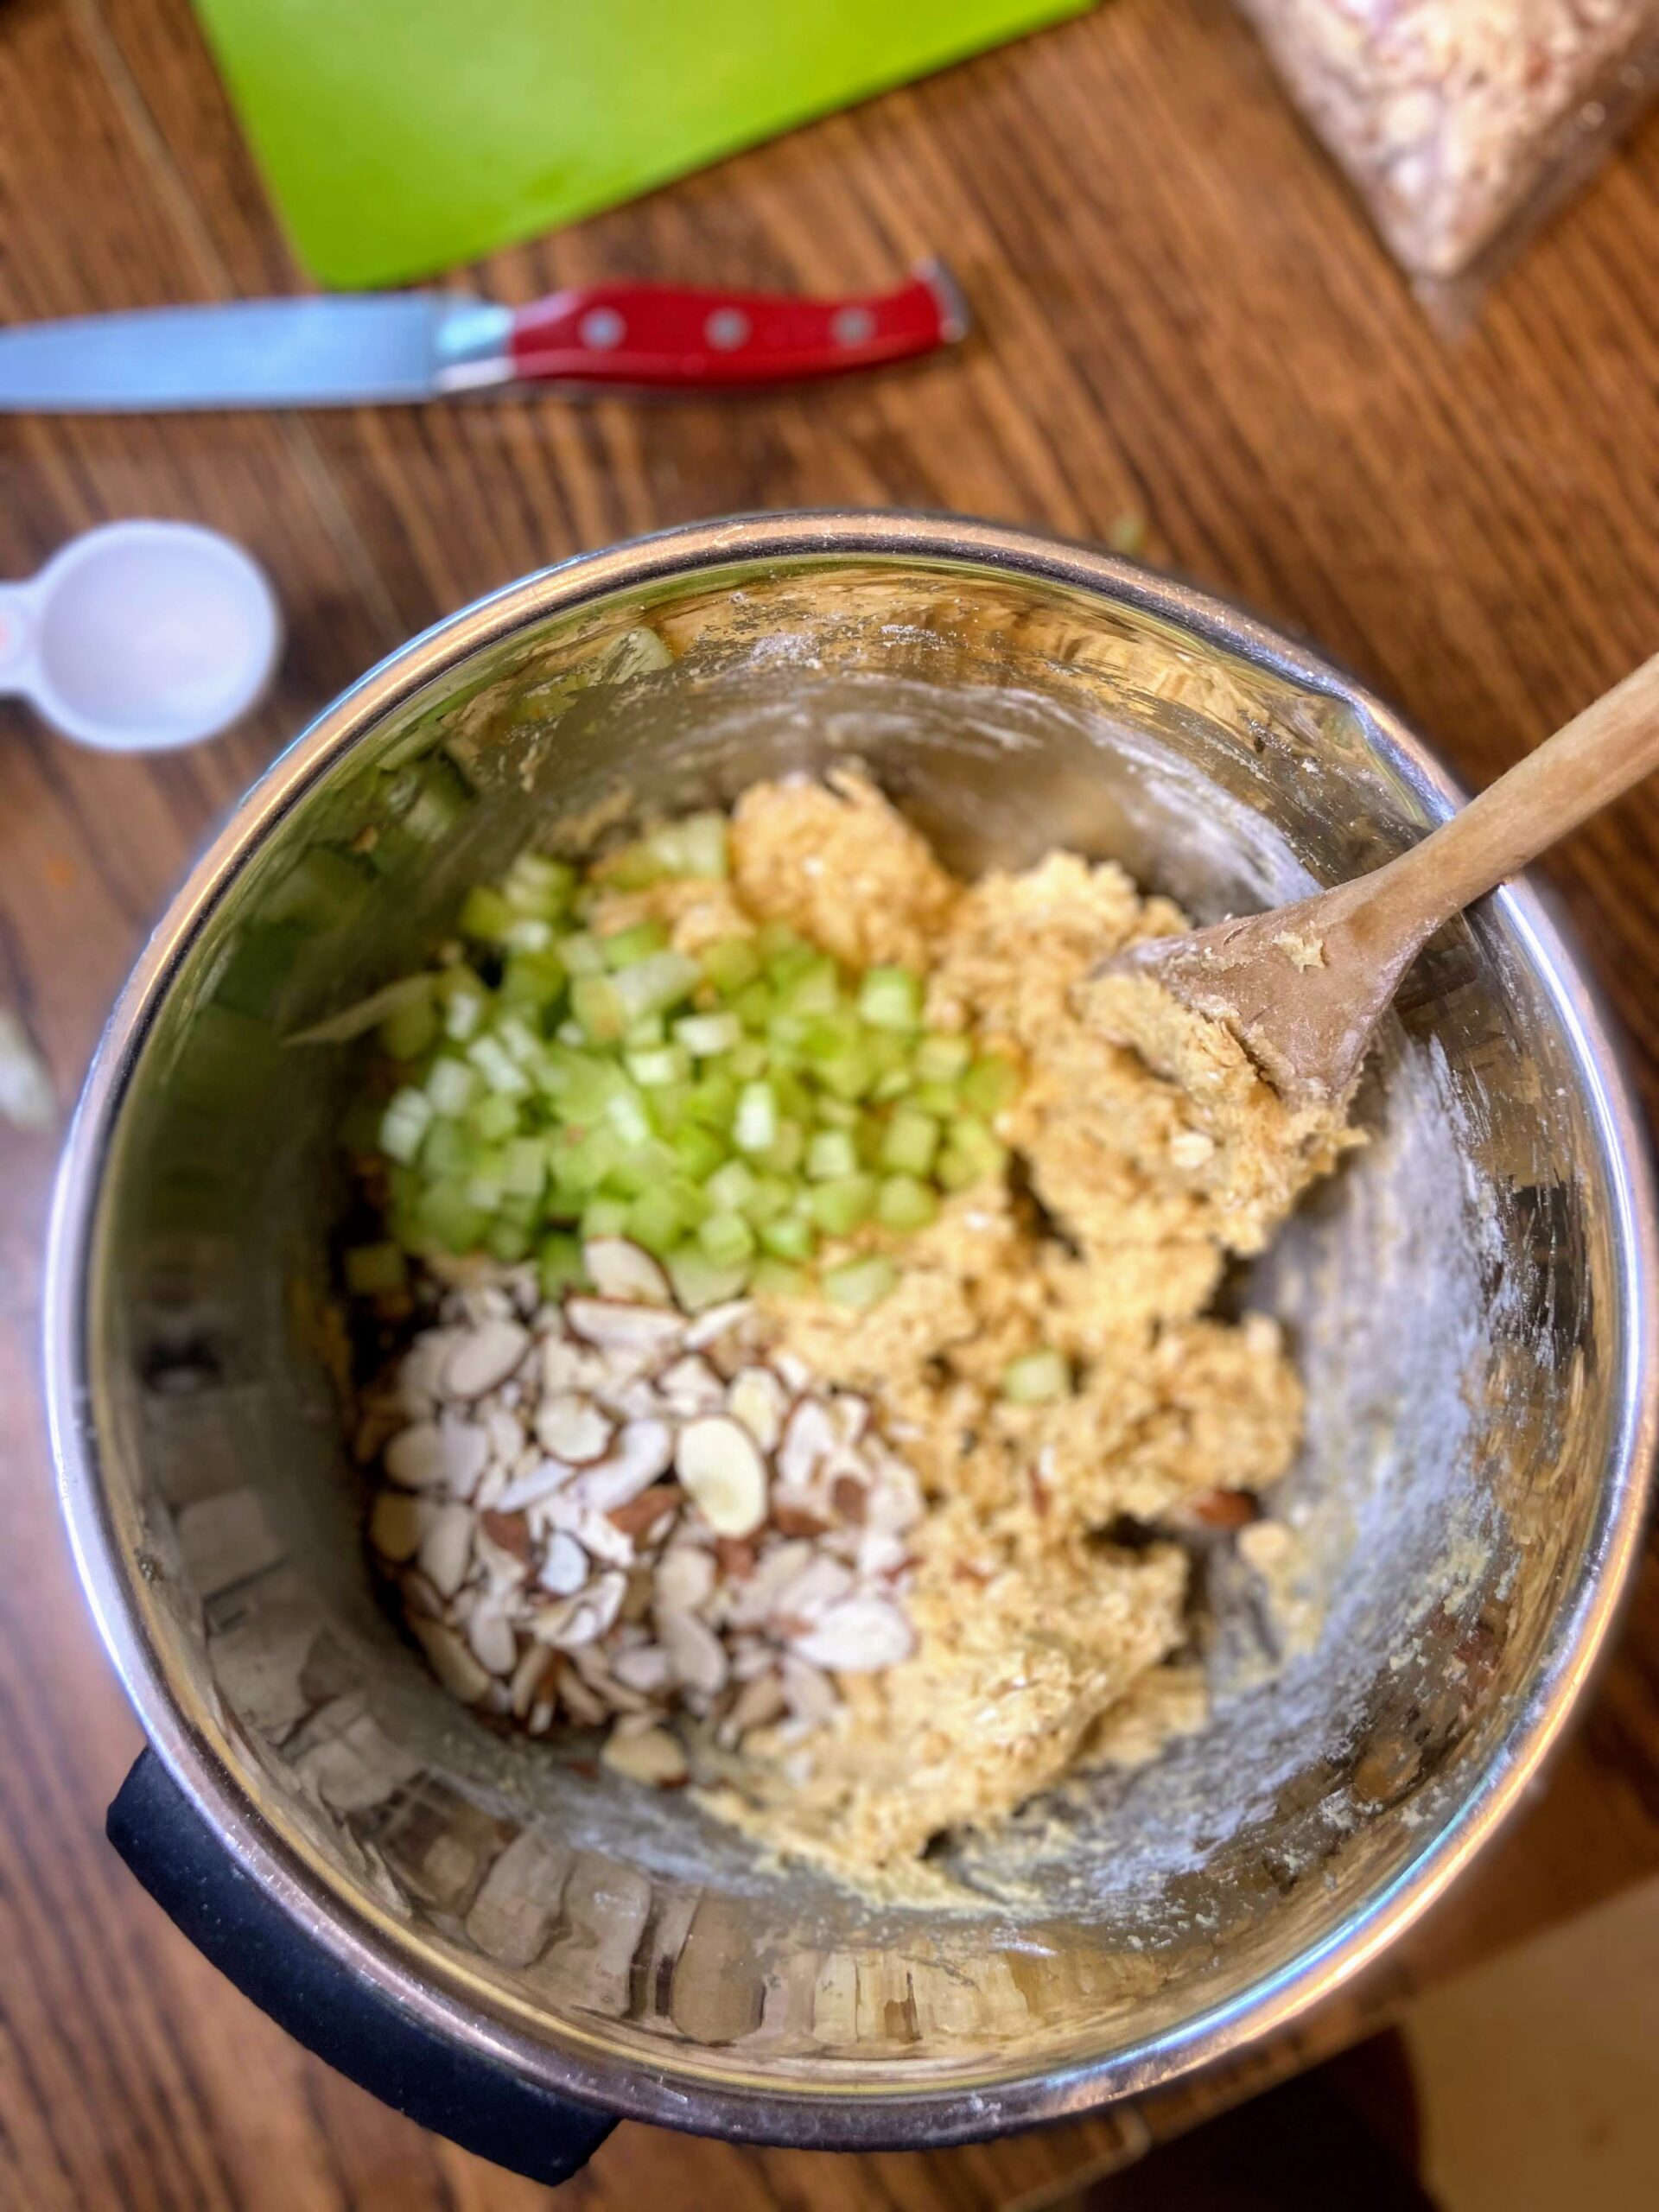
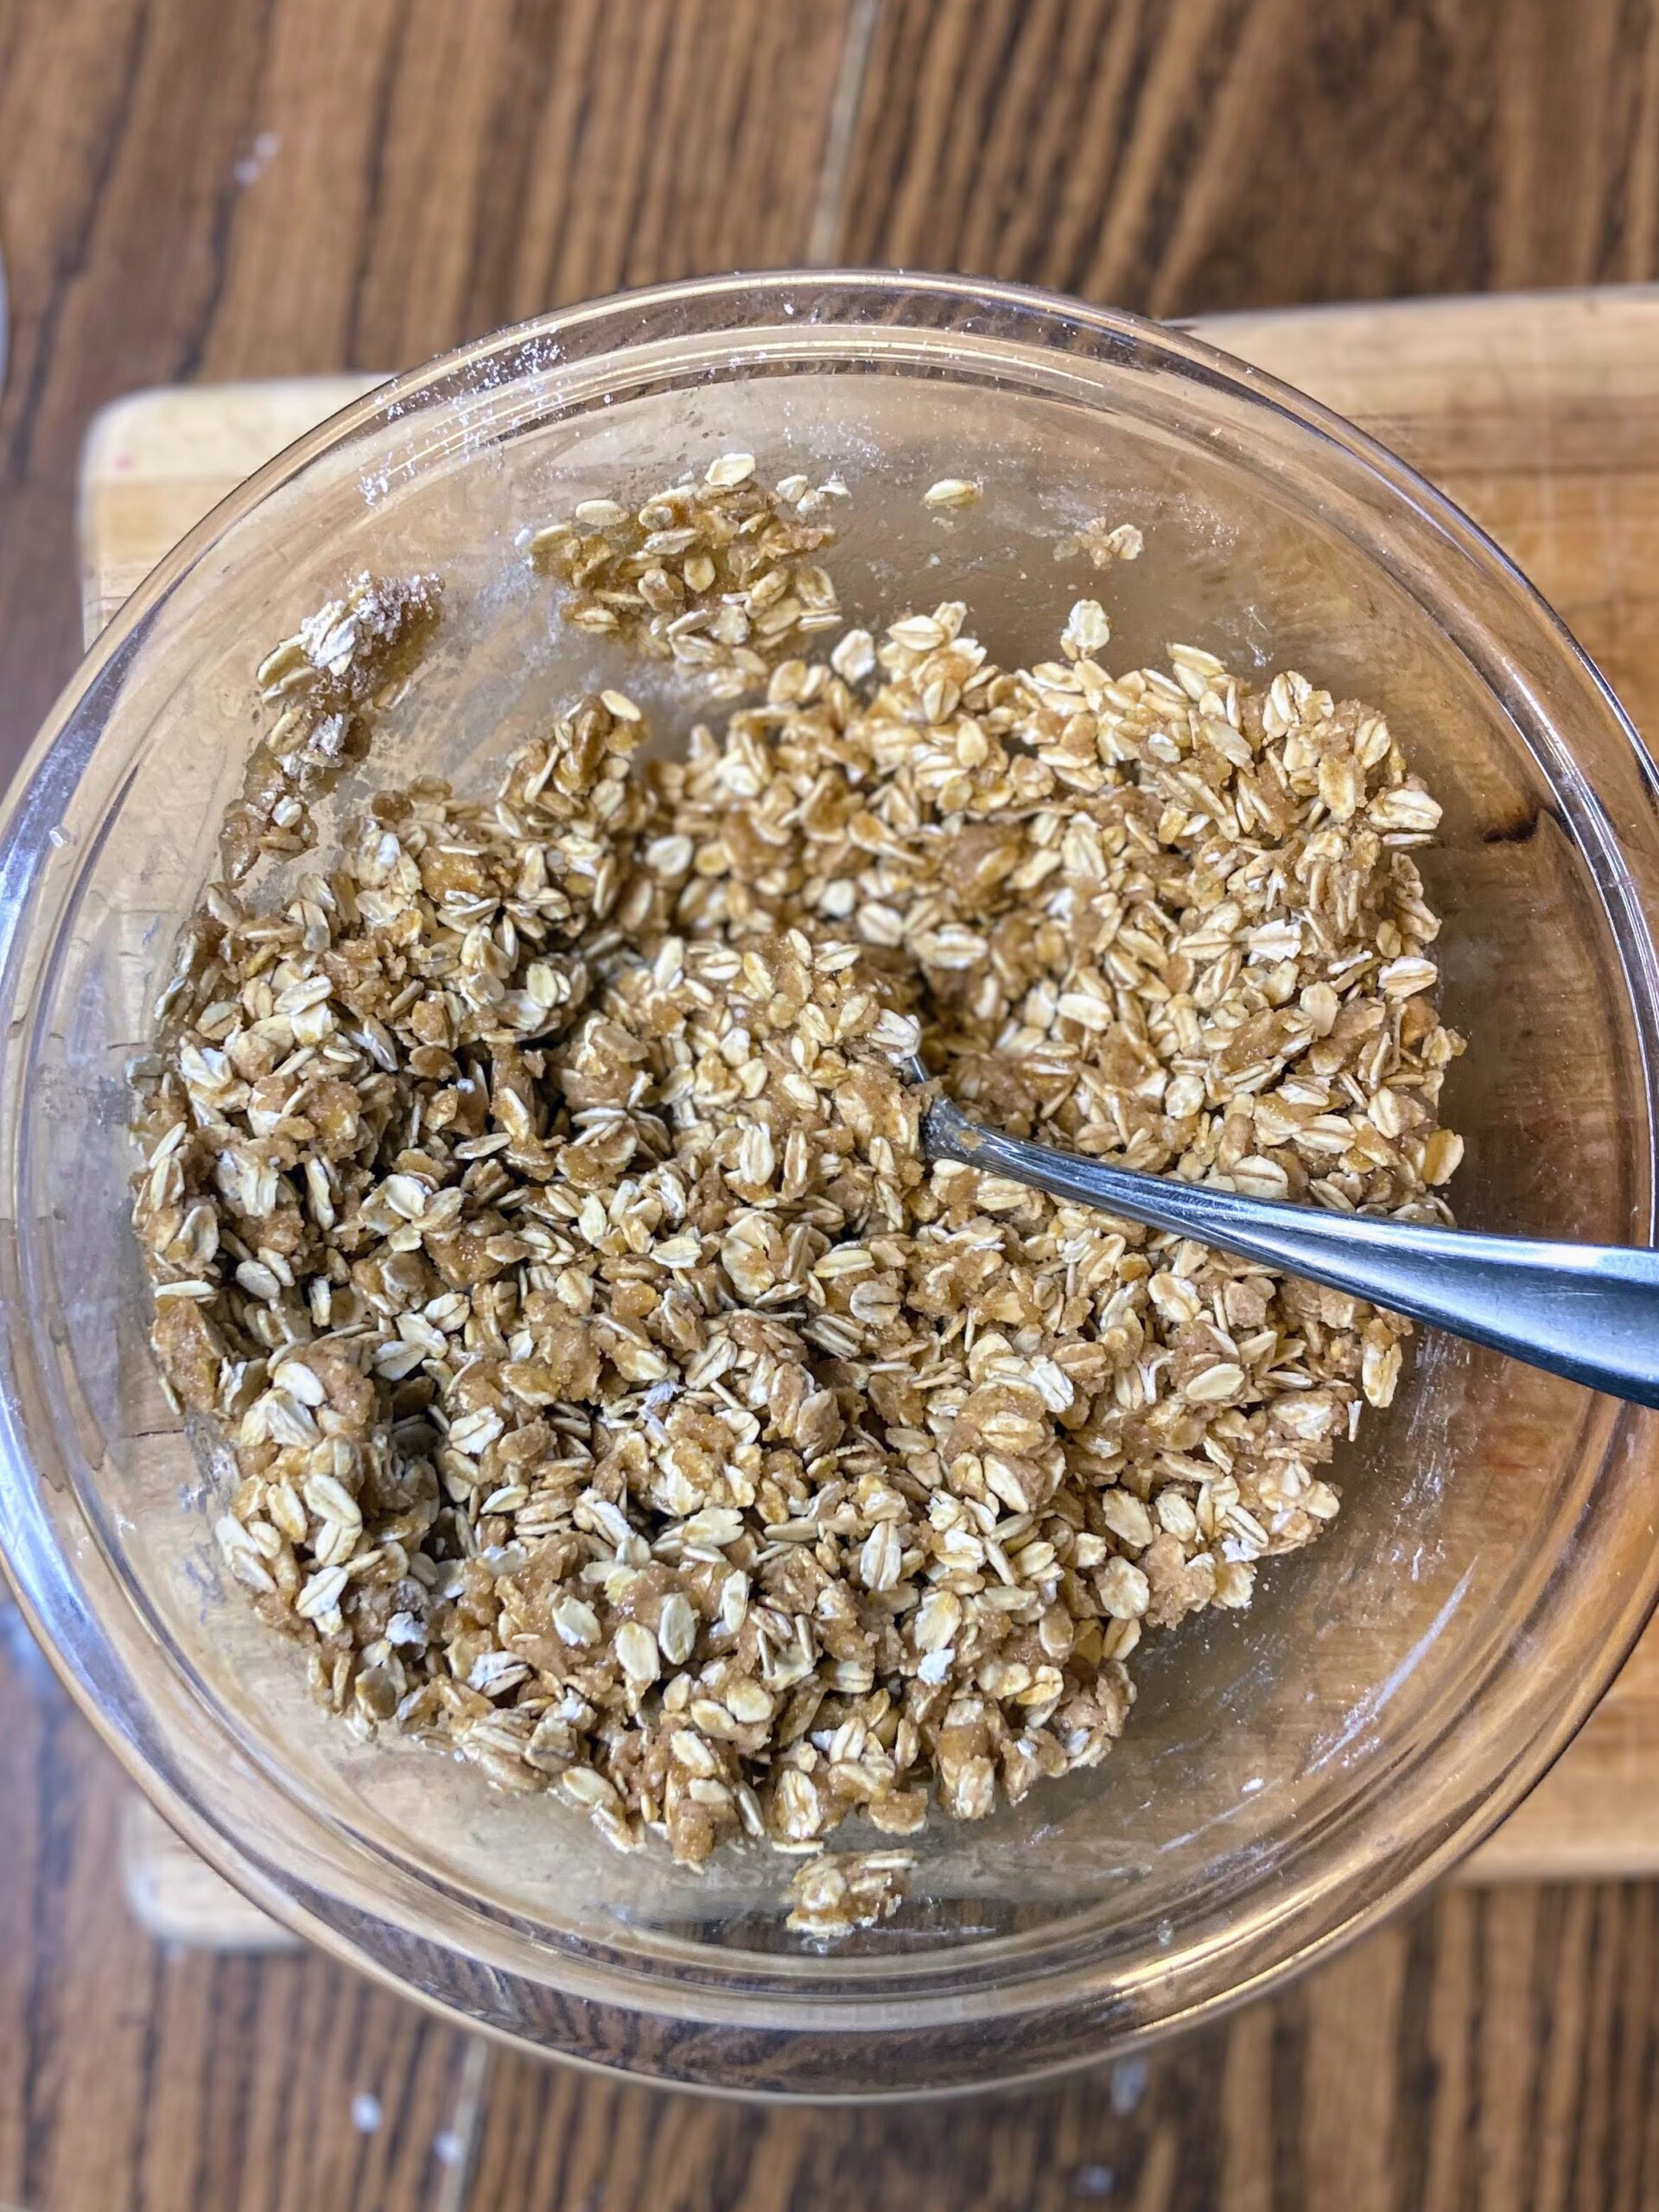
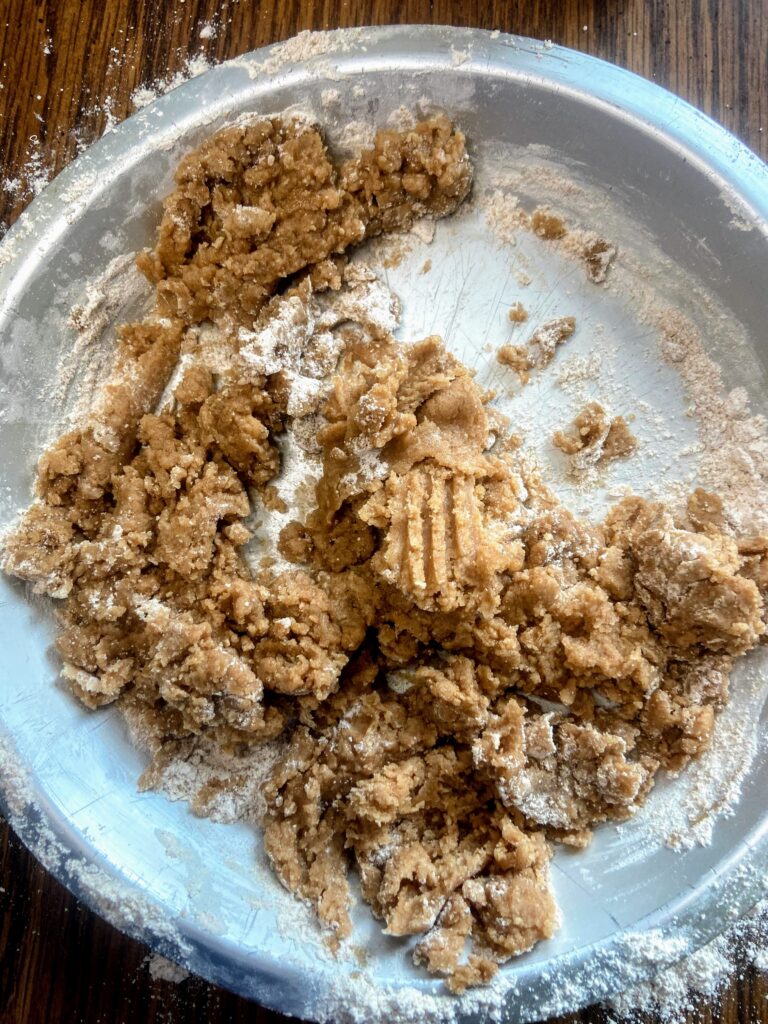
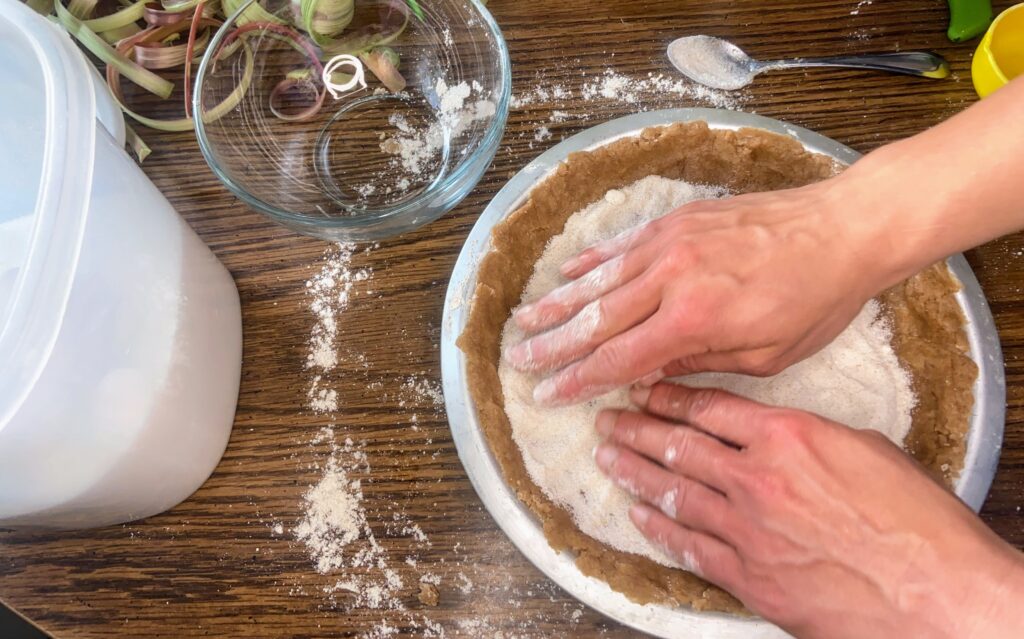
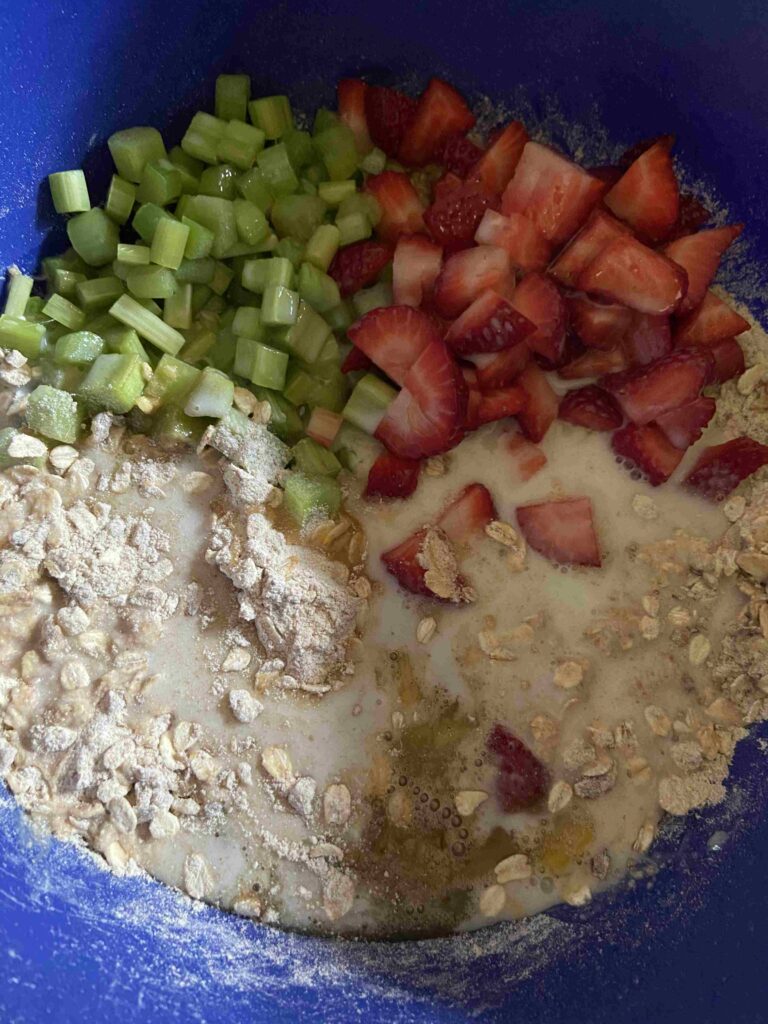
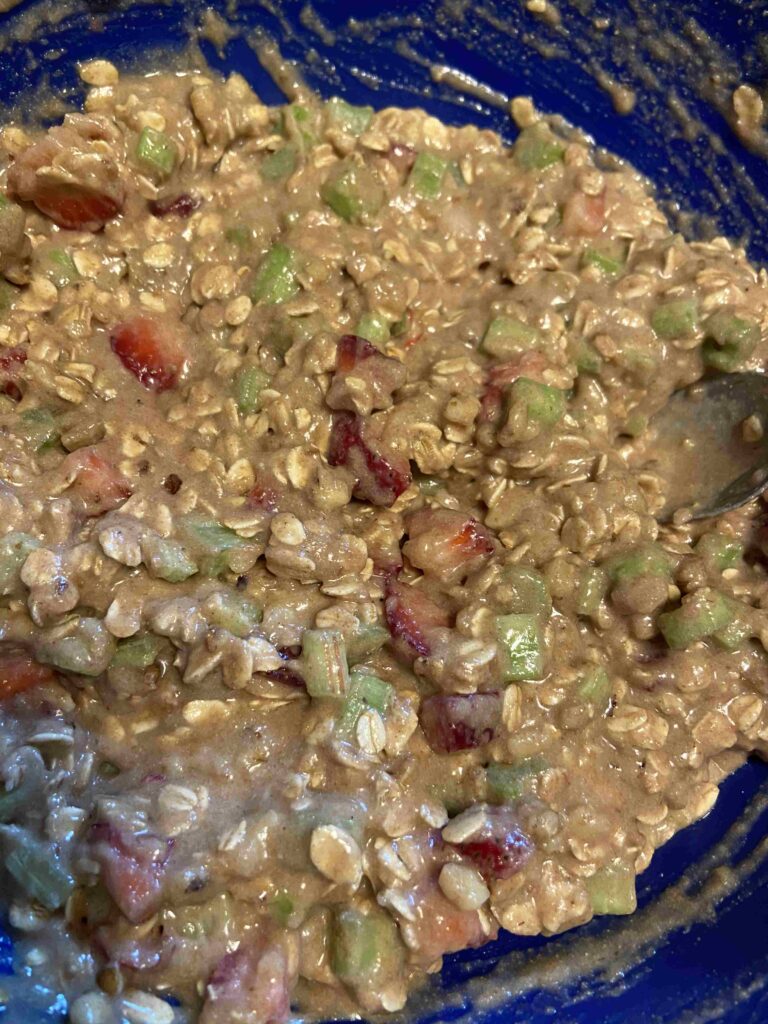
Meanwhile, combine the remaining flour, brown sugar, oats, salt, and nutmeg in another bowl. Stir well. Drizzle in the melted butter and stir to combine.
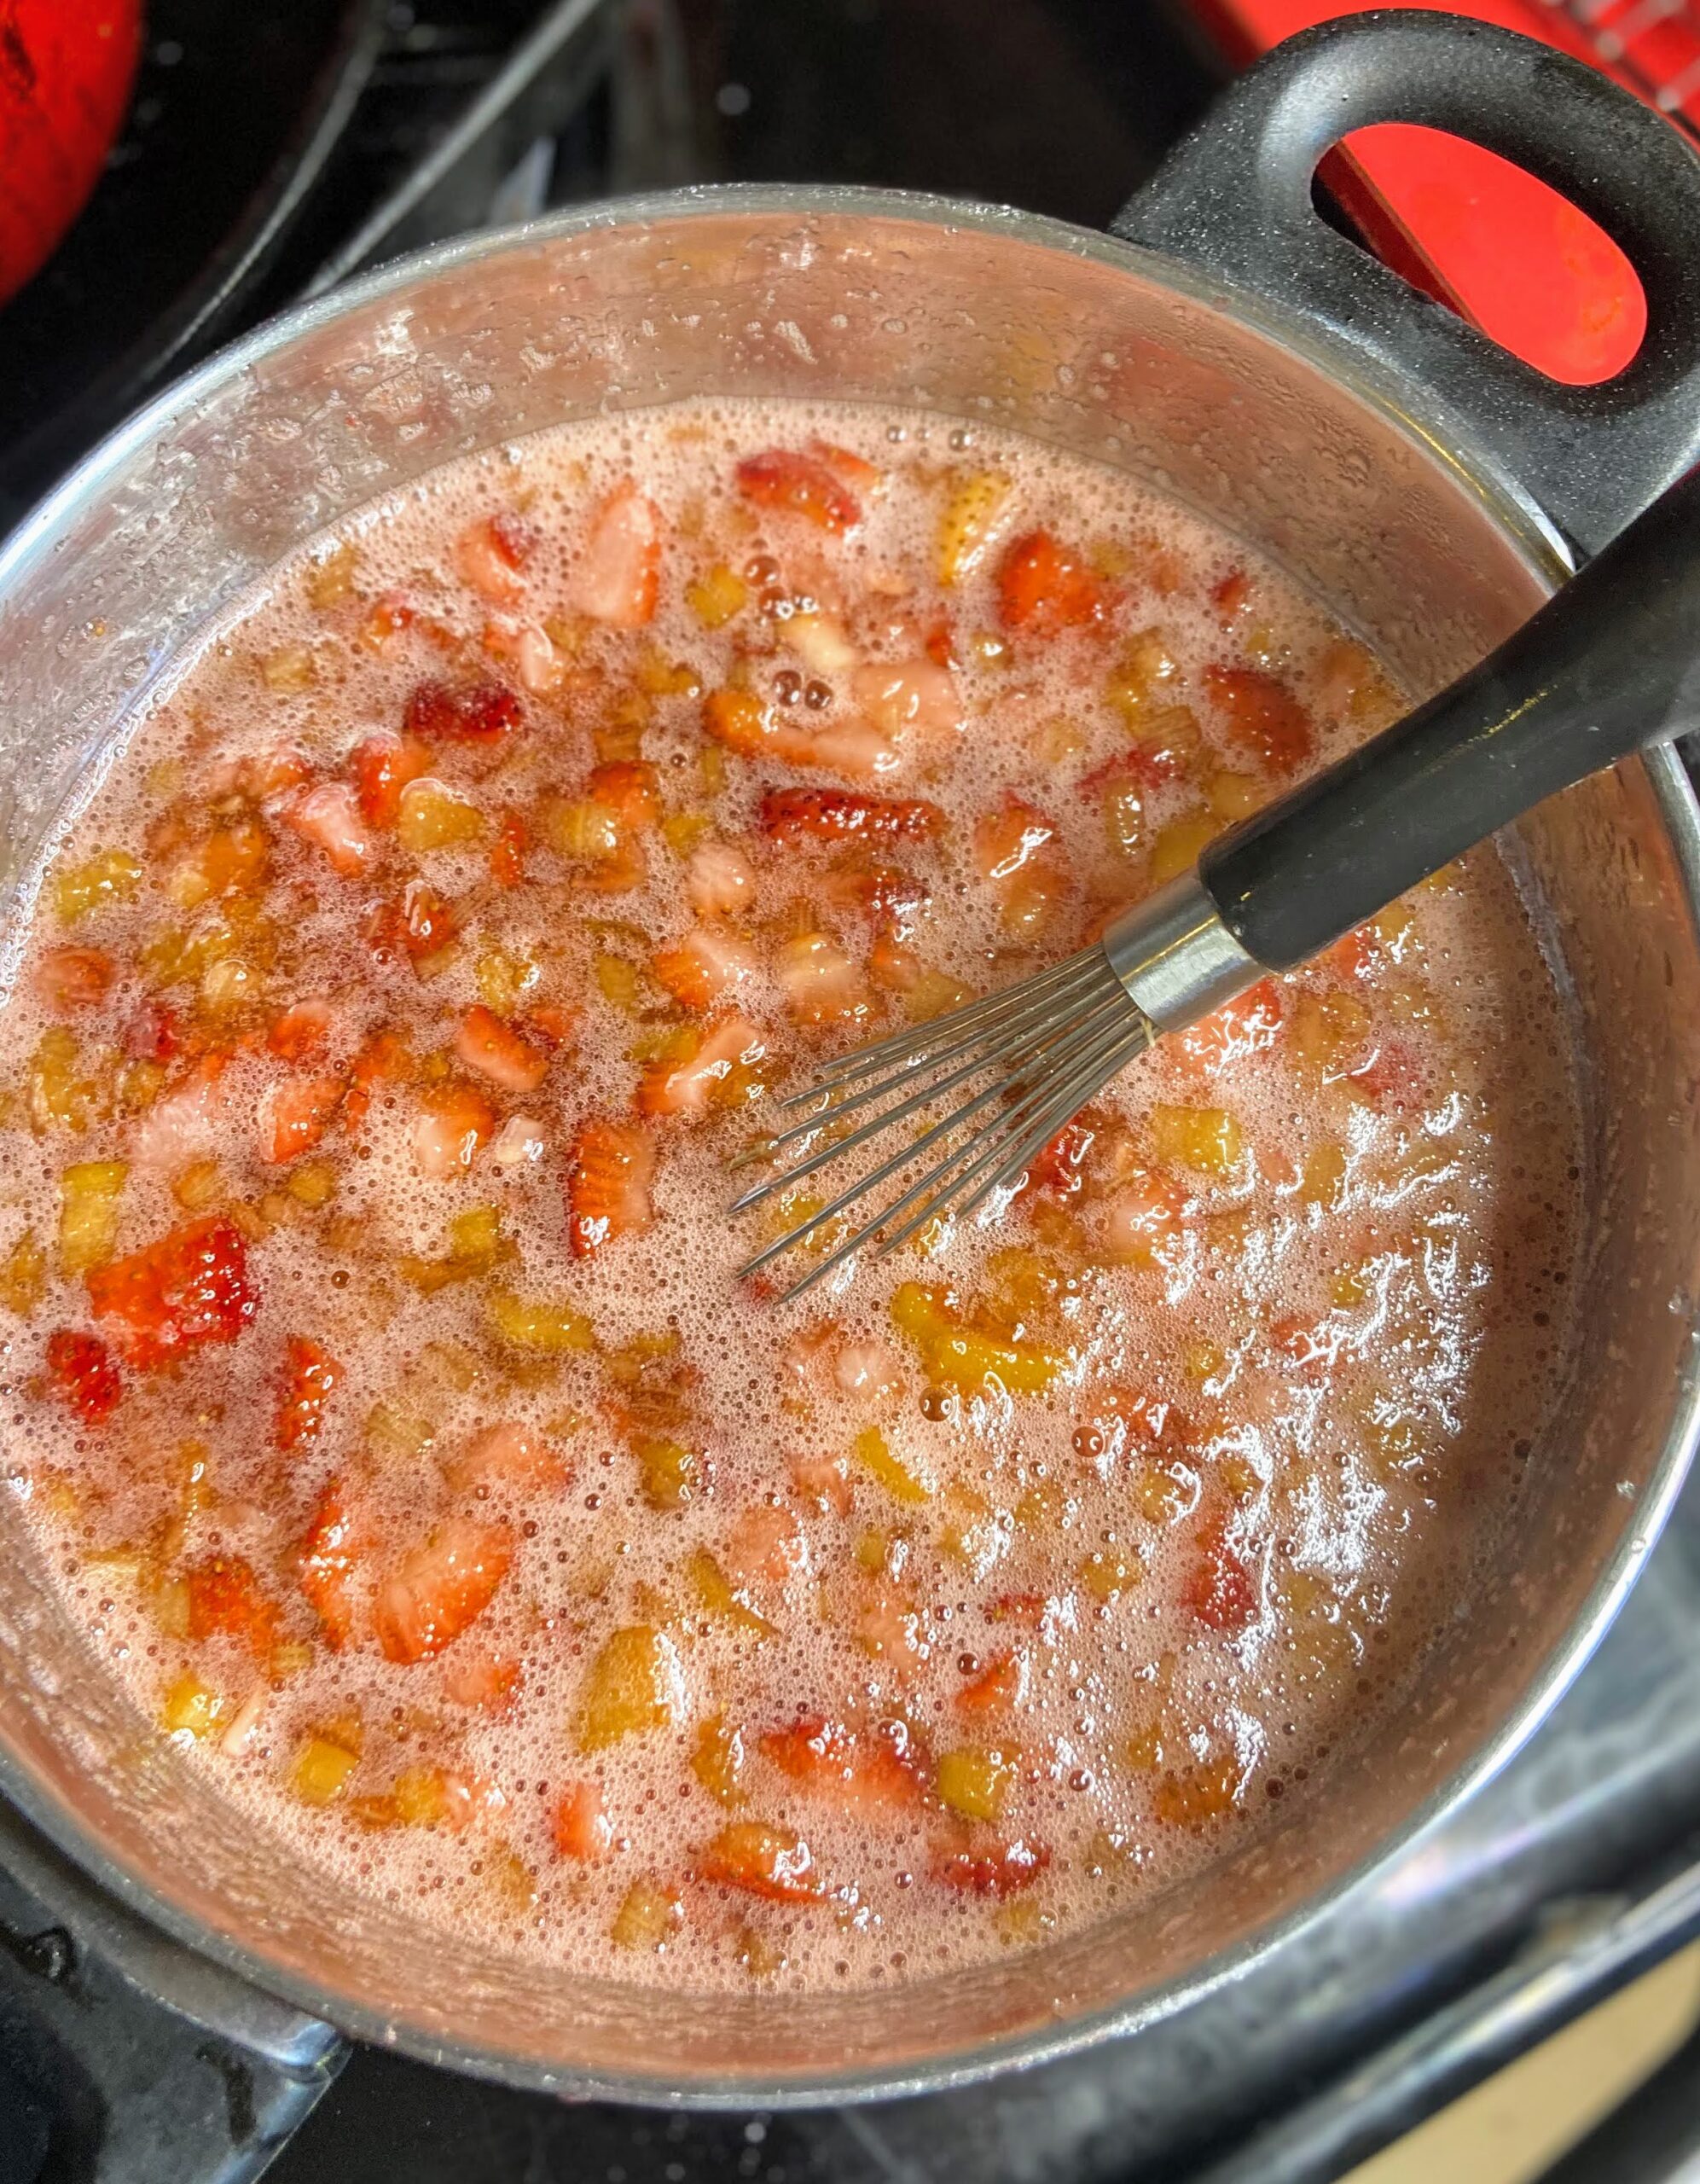
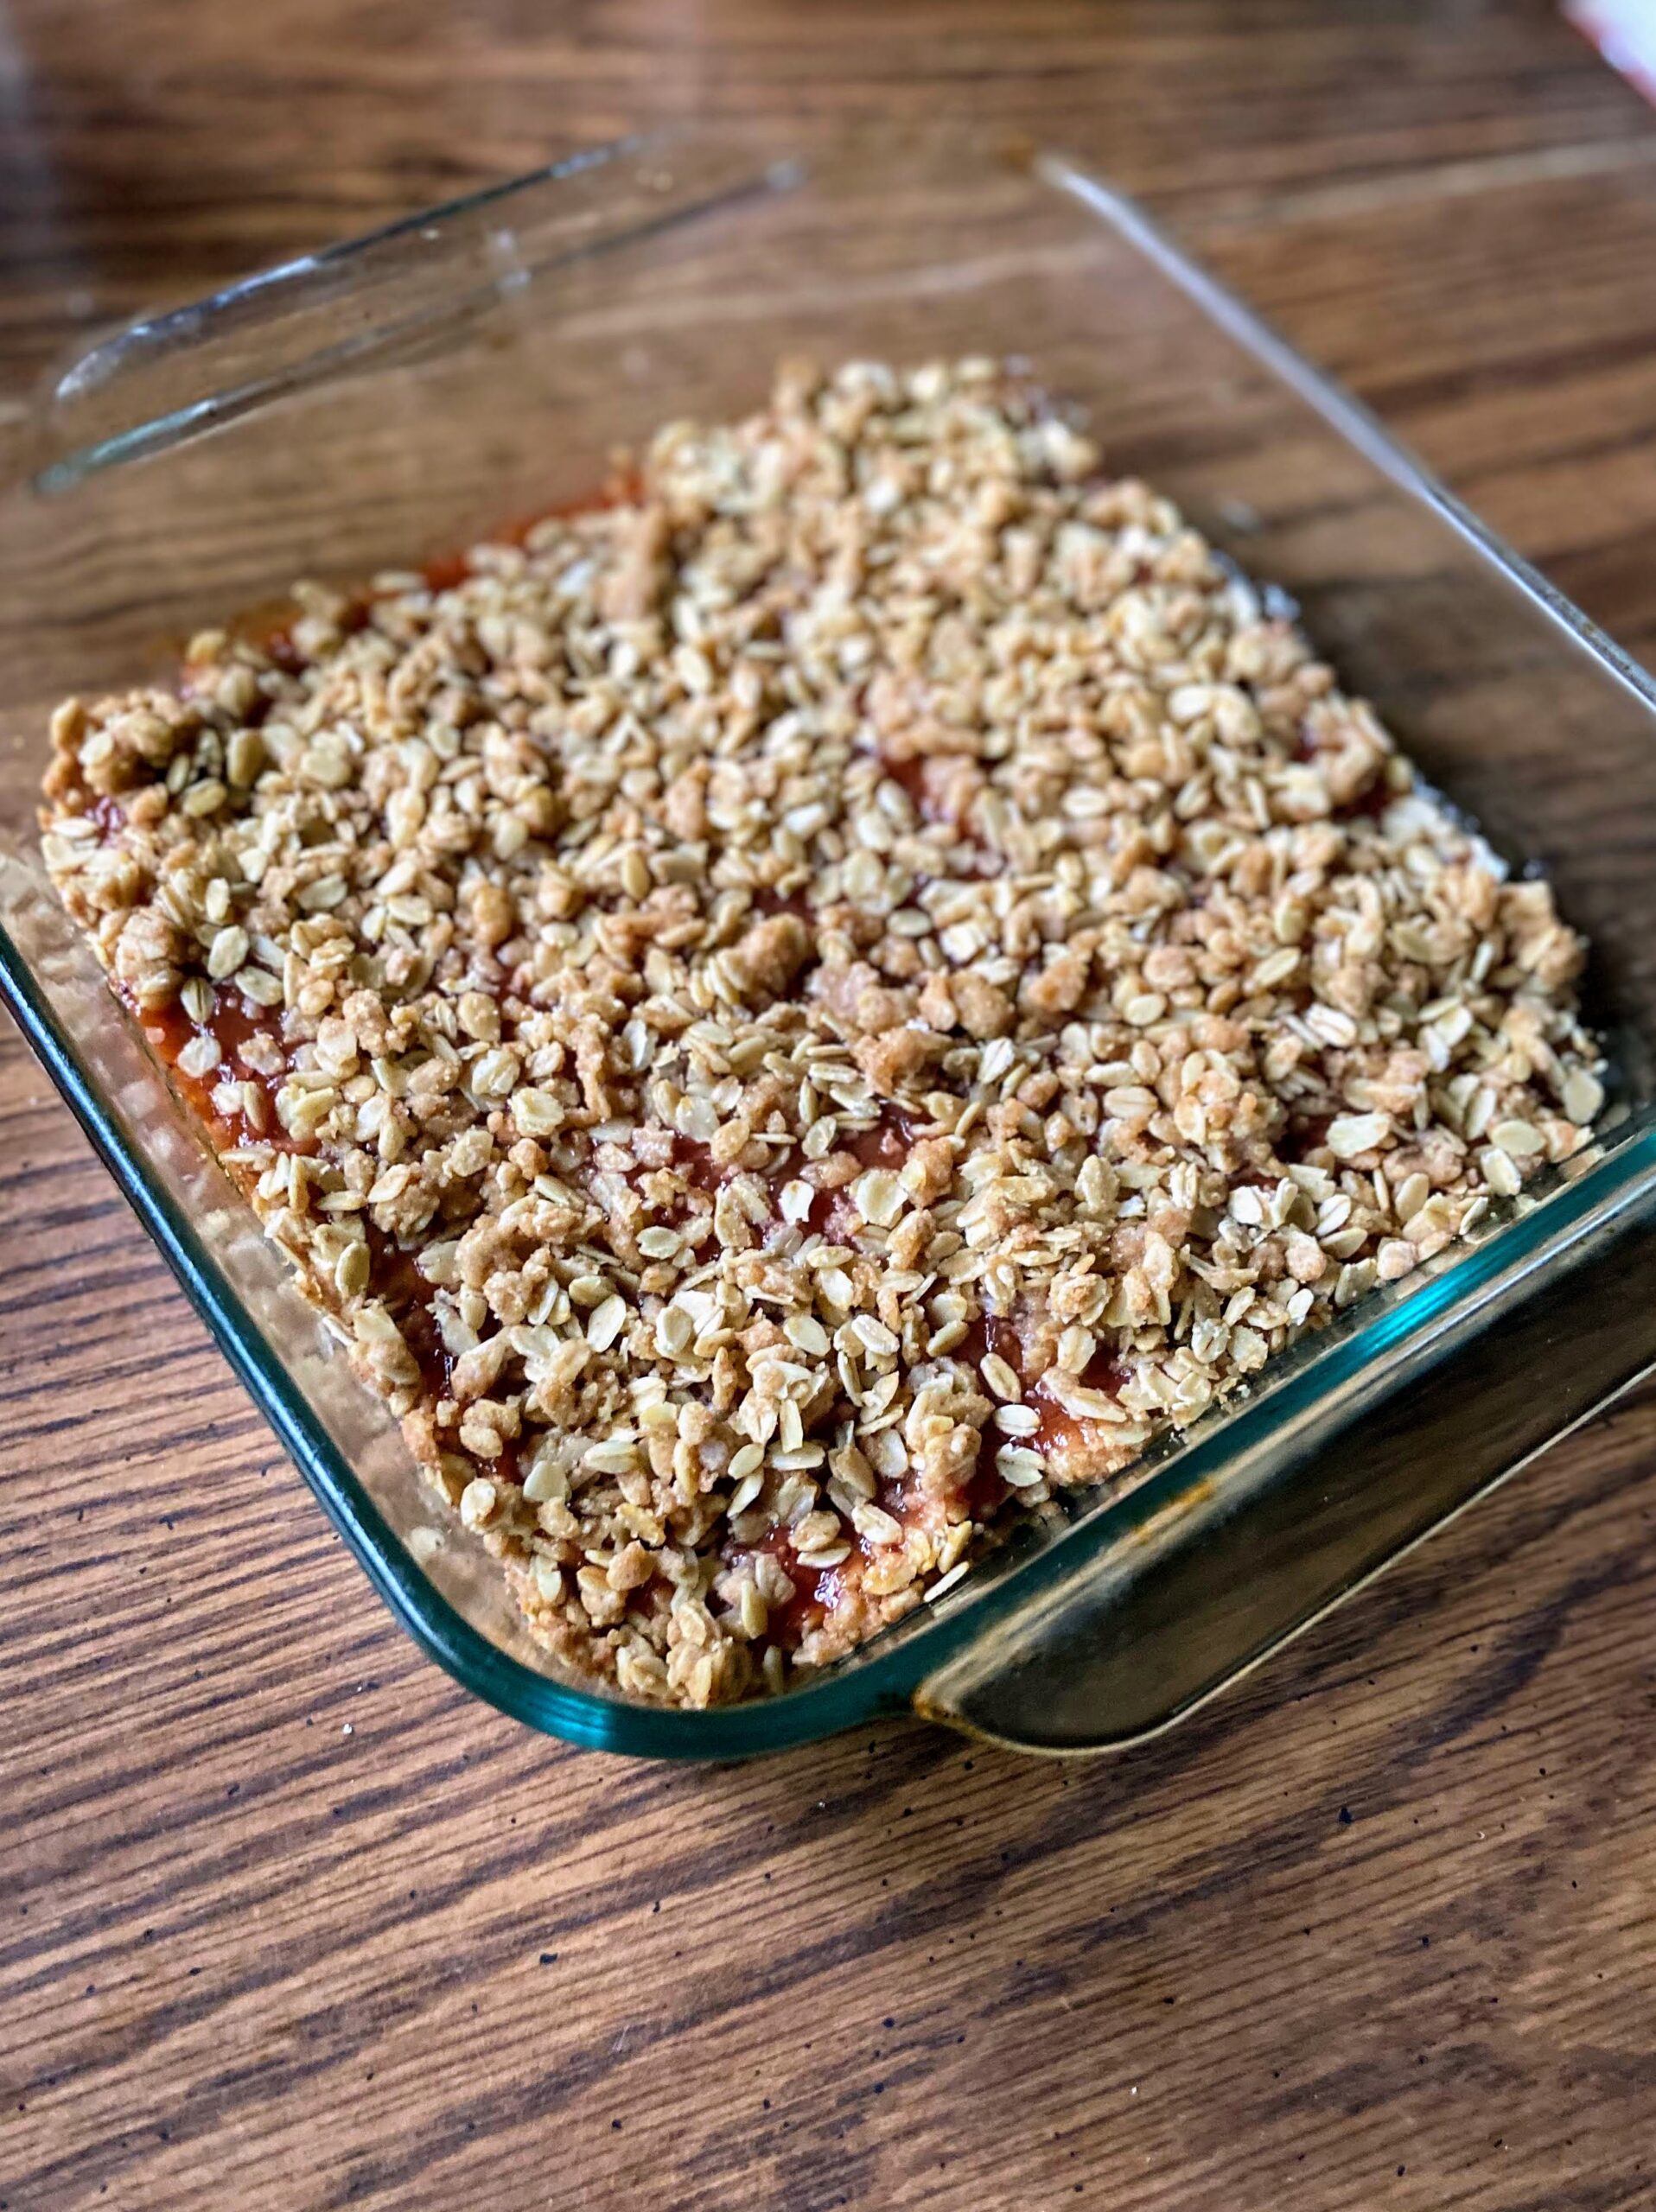
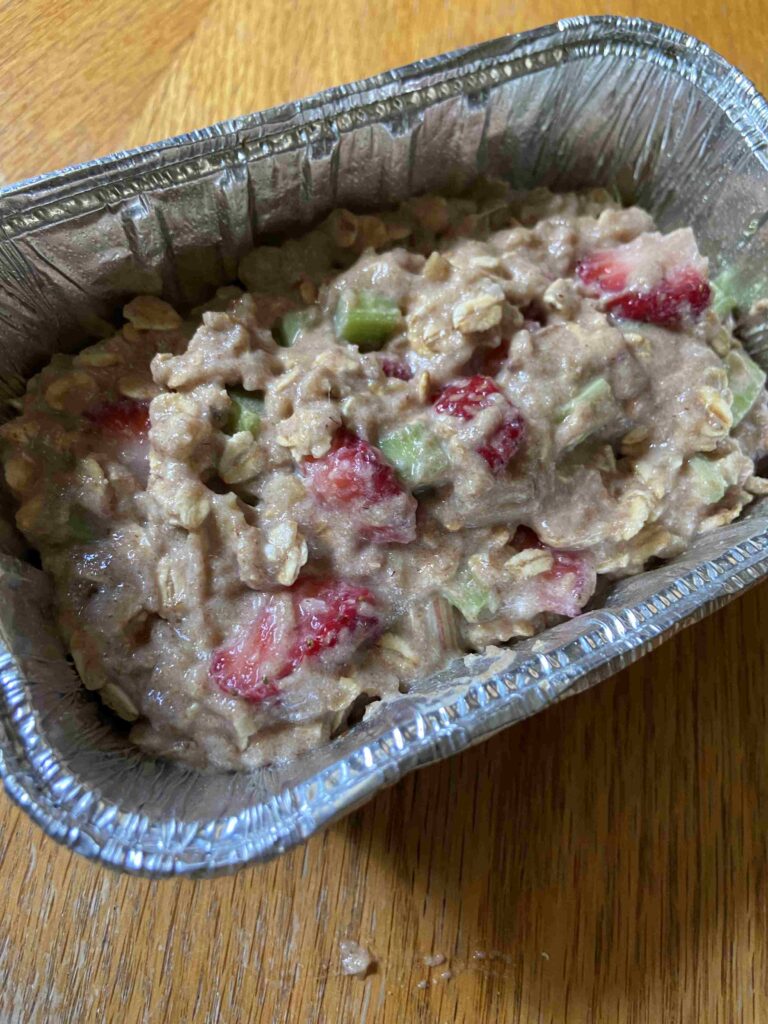
Once the sugar has pulled some juice from the rhubarb (about 5-10 minutes), spread the fruit in the prepared pan. Sprinkle the flour and oat mixture over the fruit.
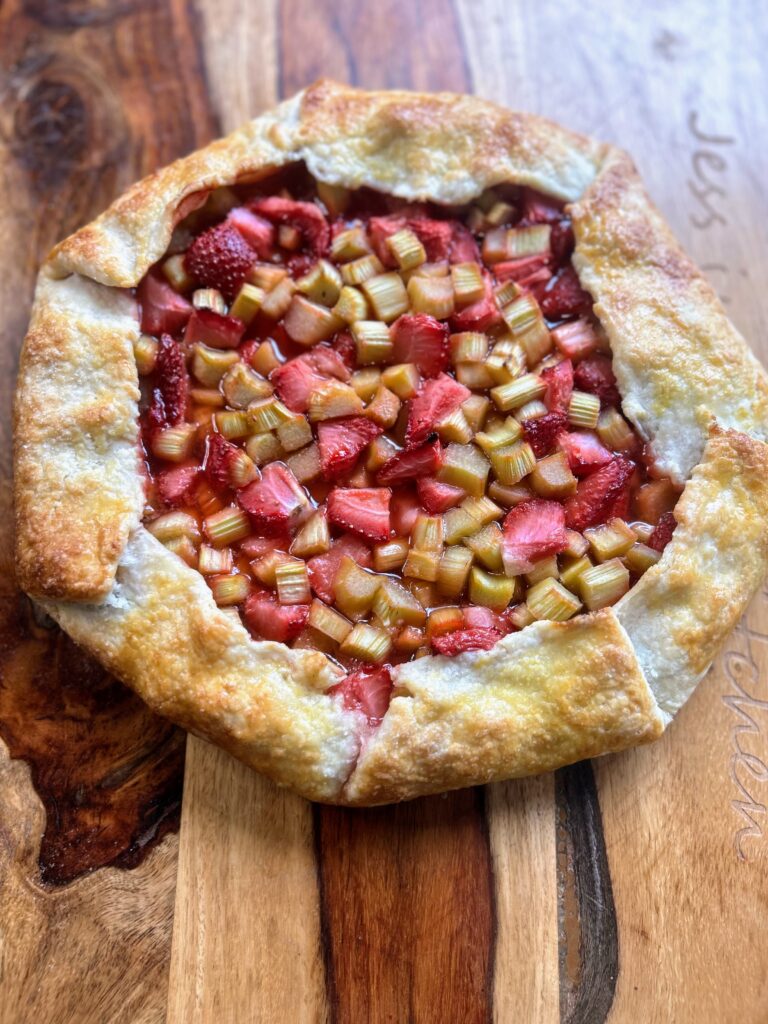
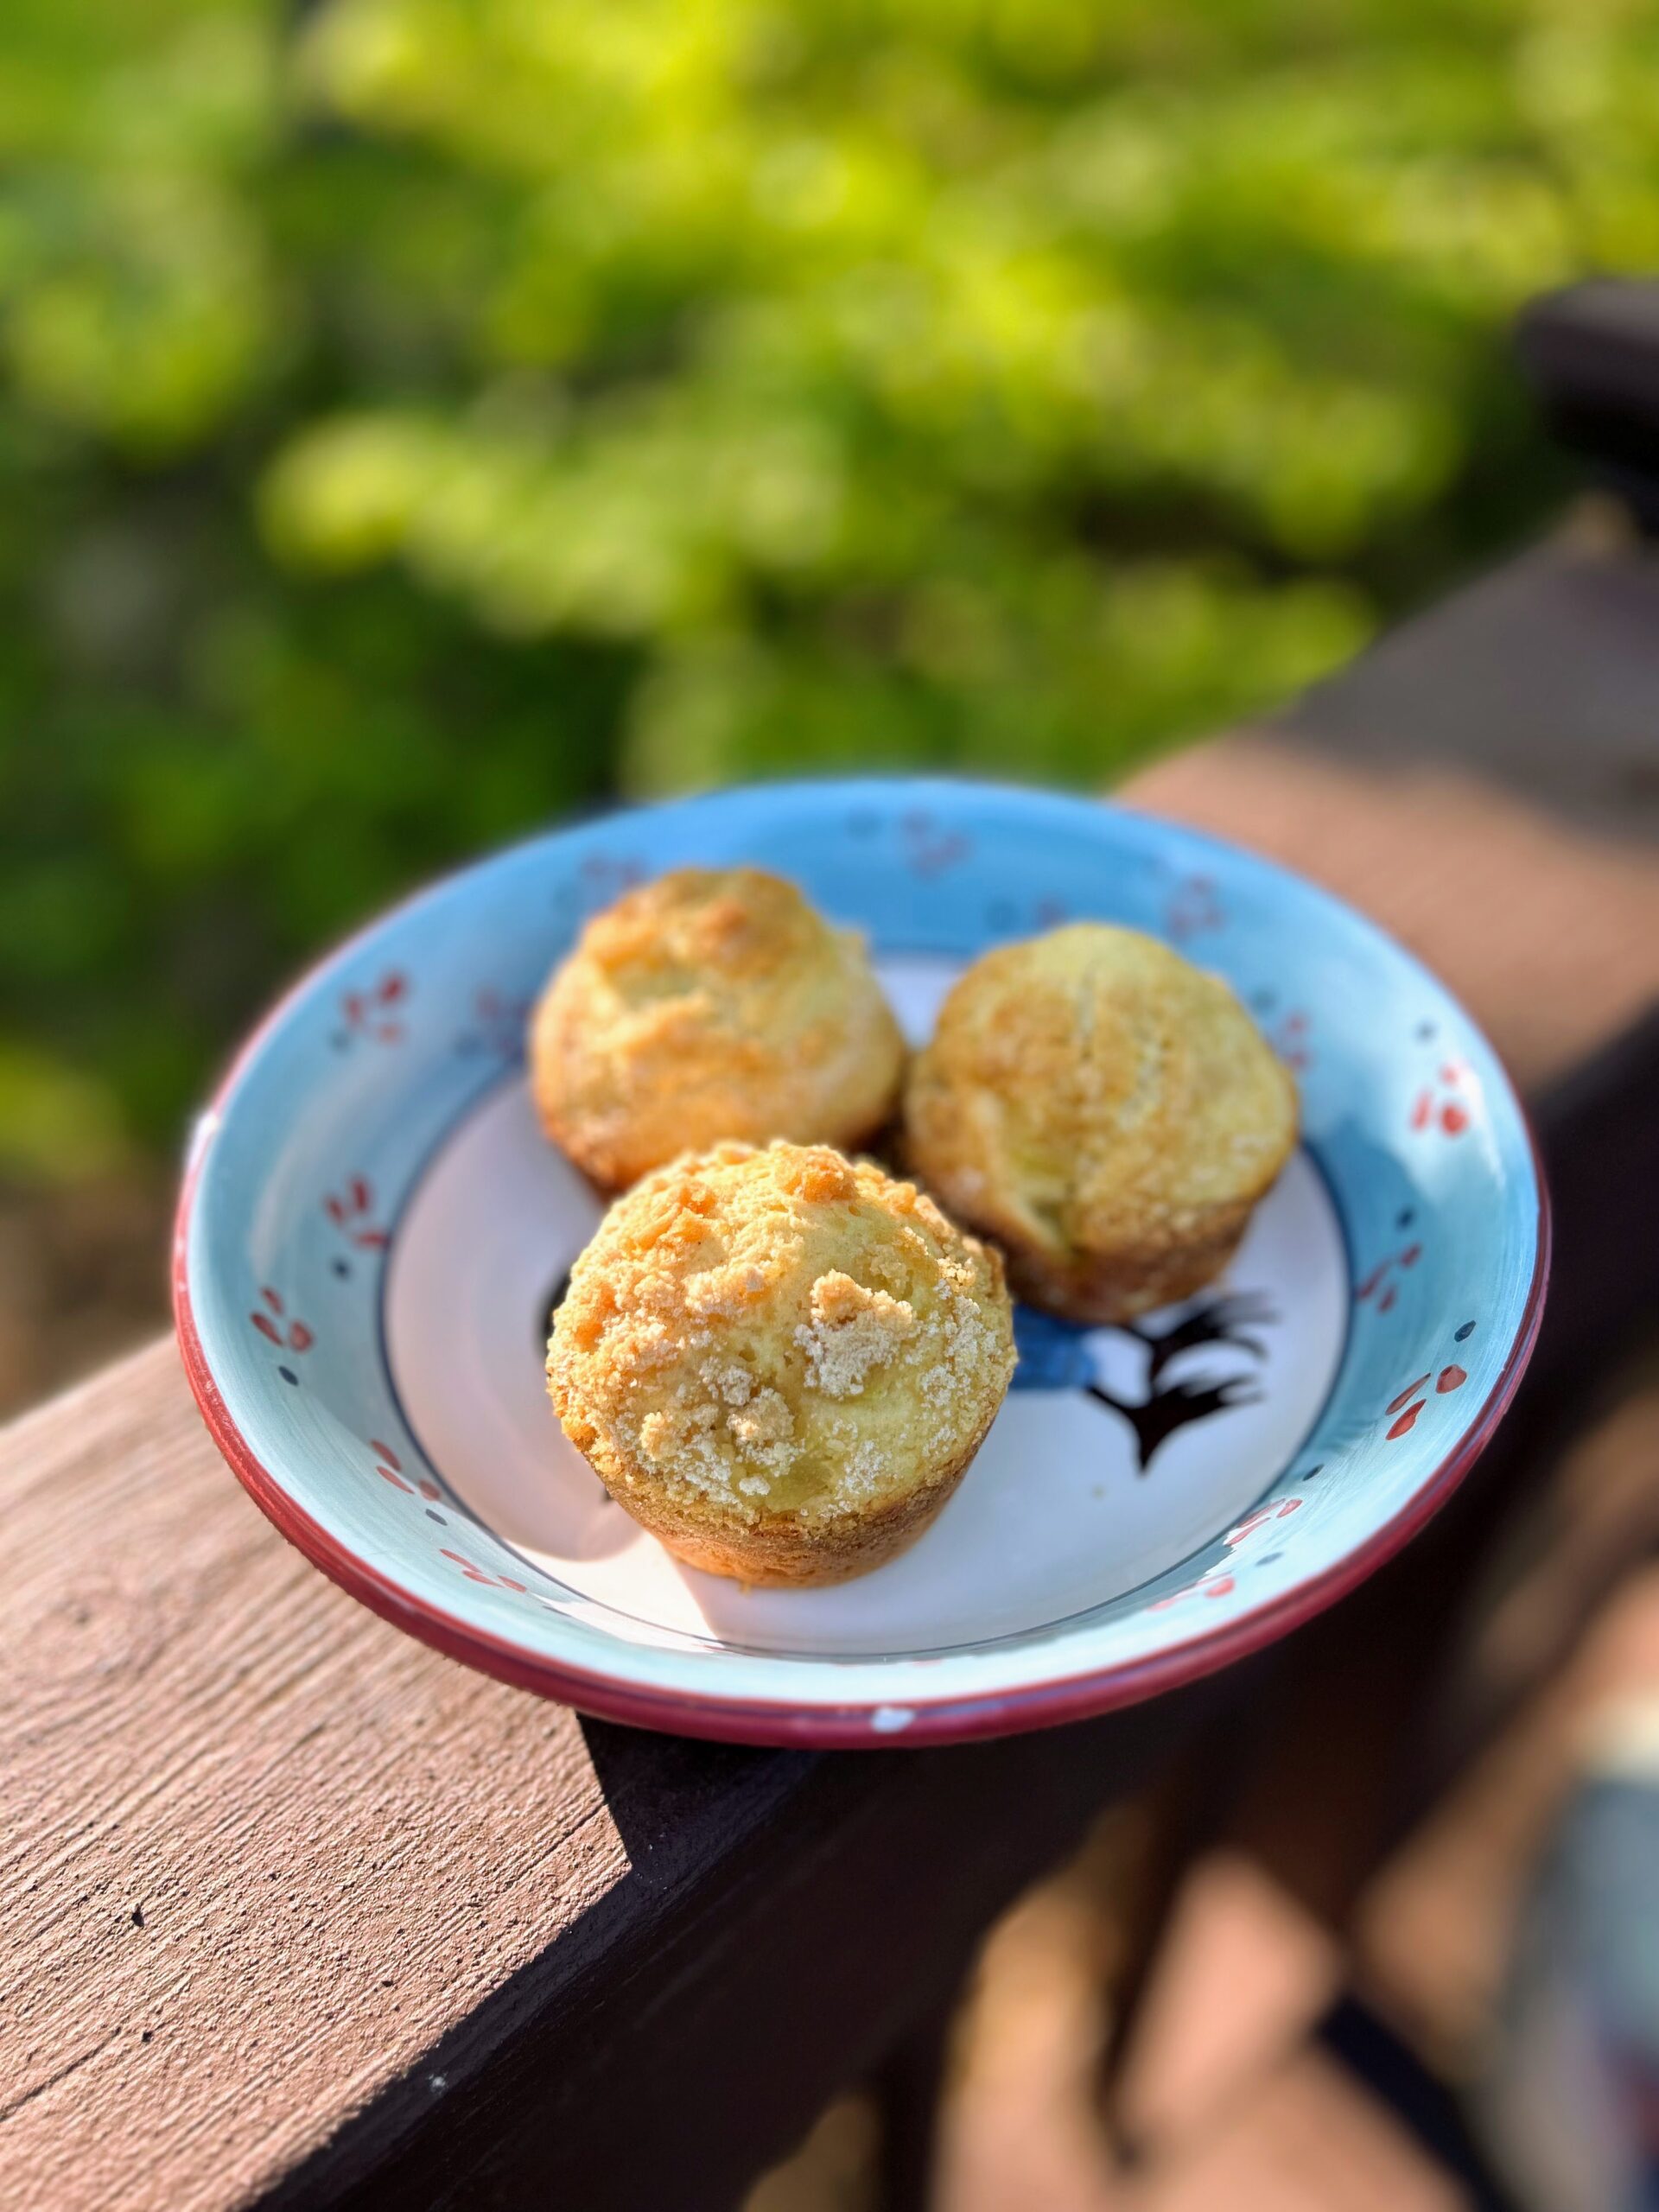
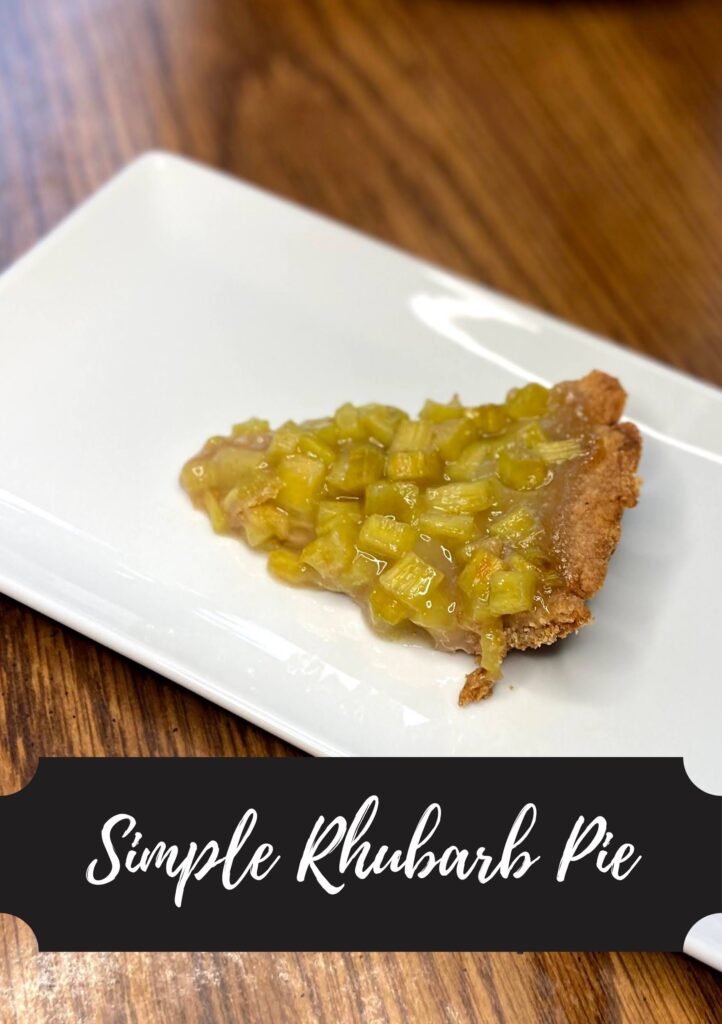
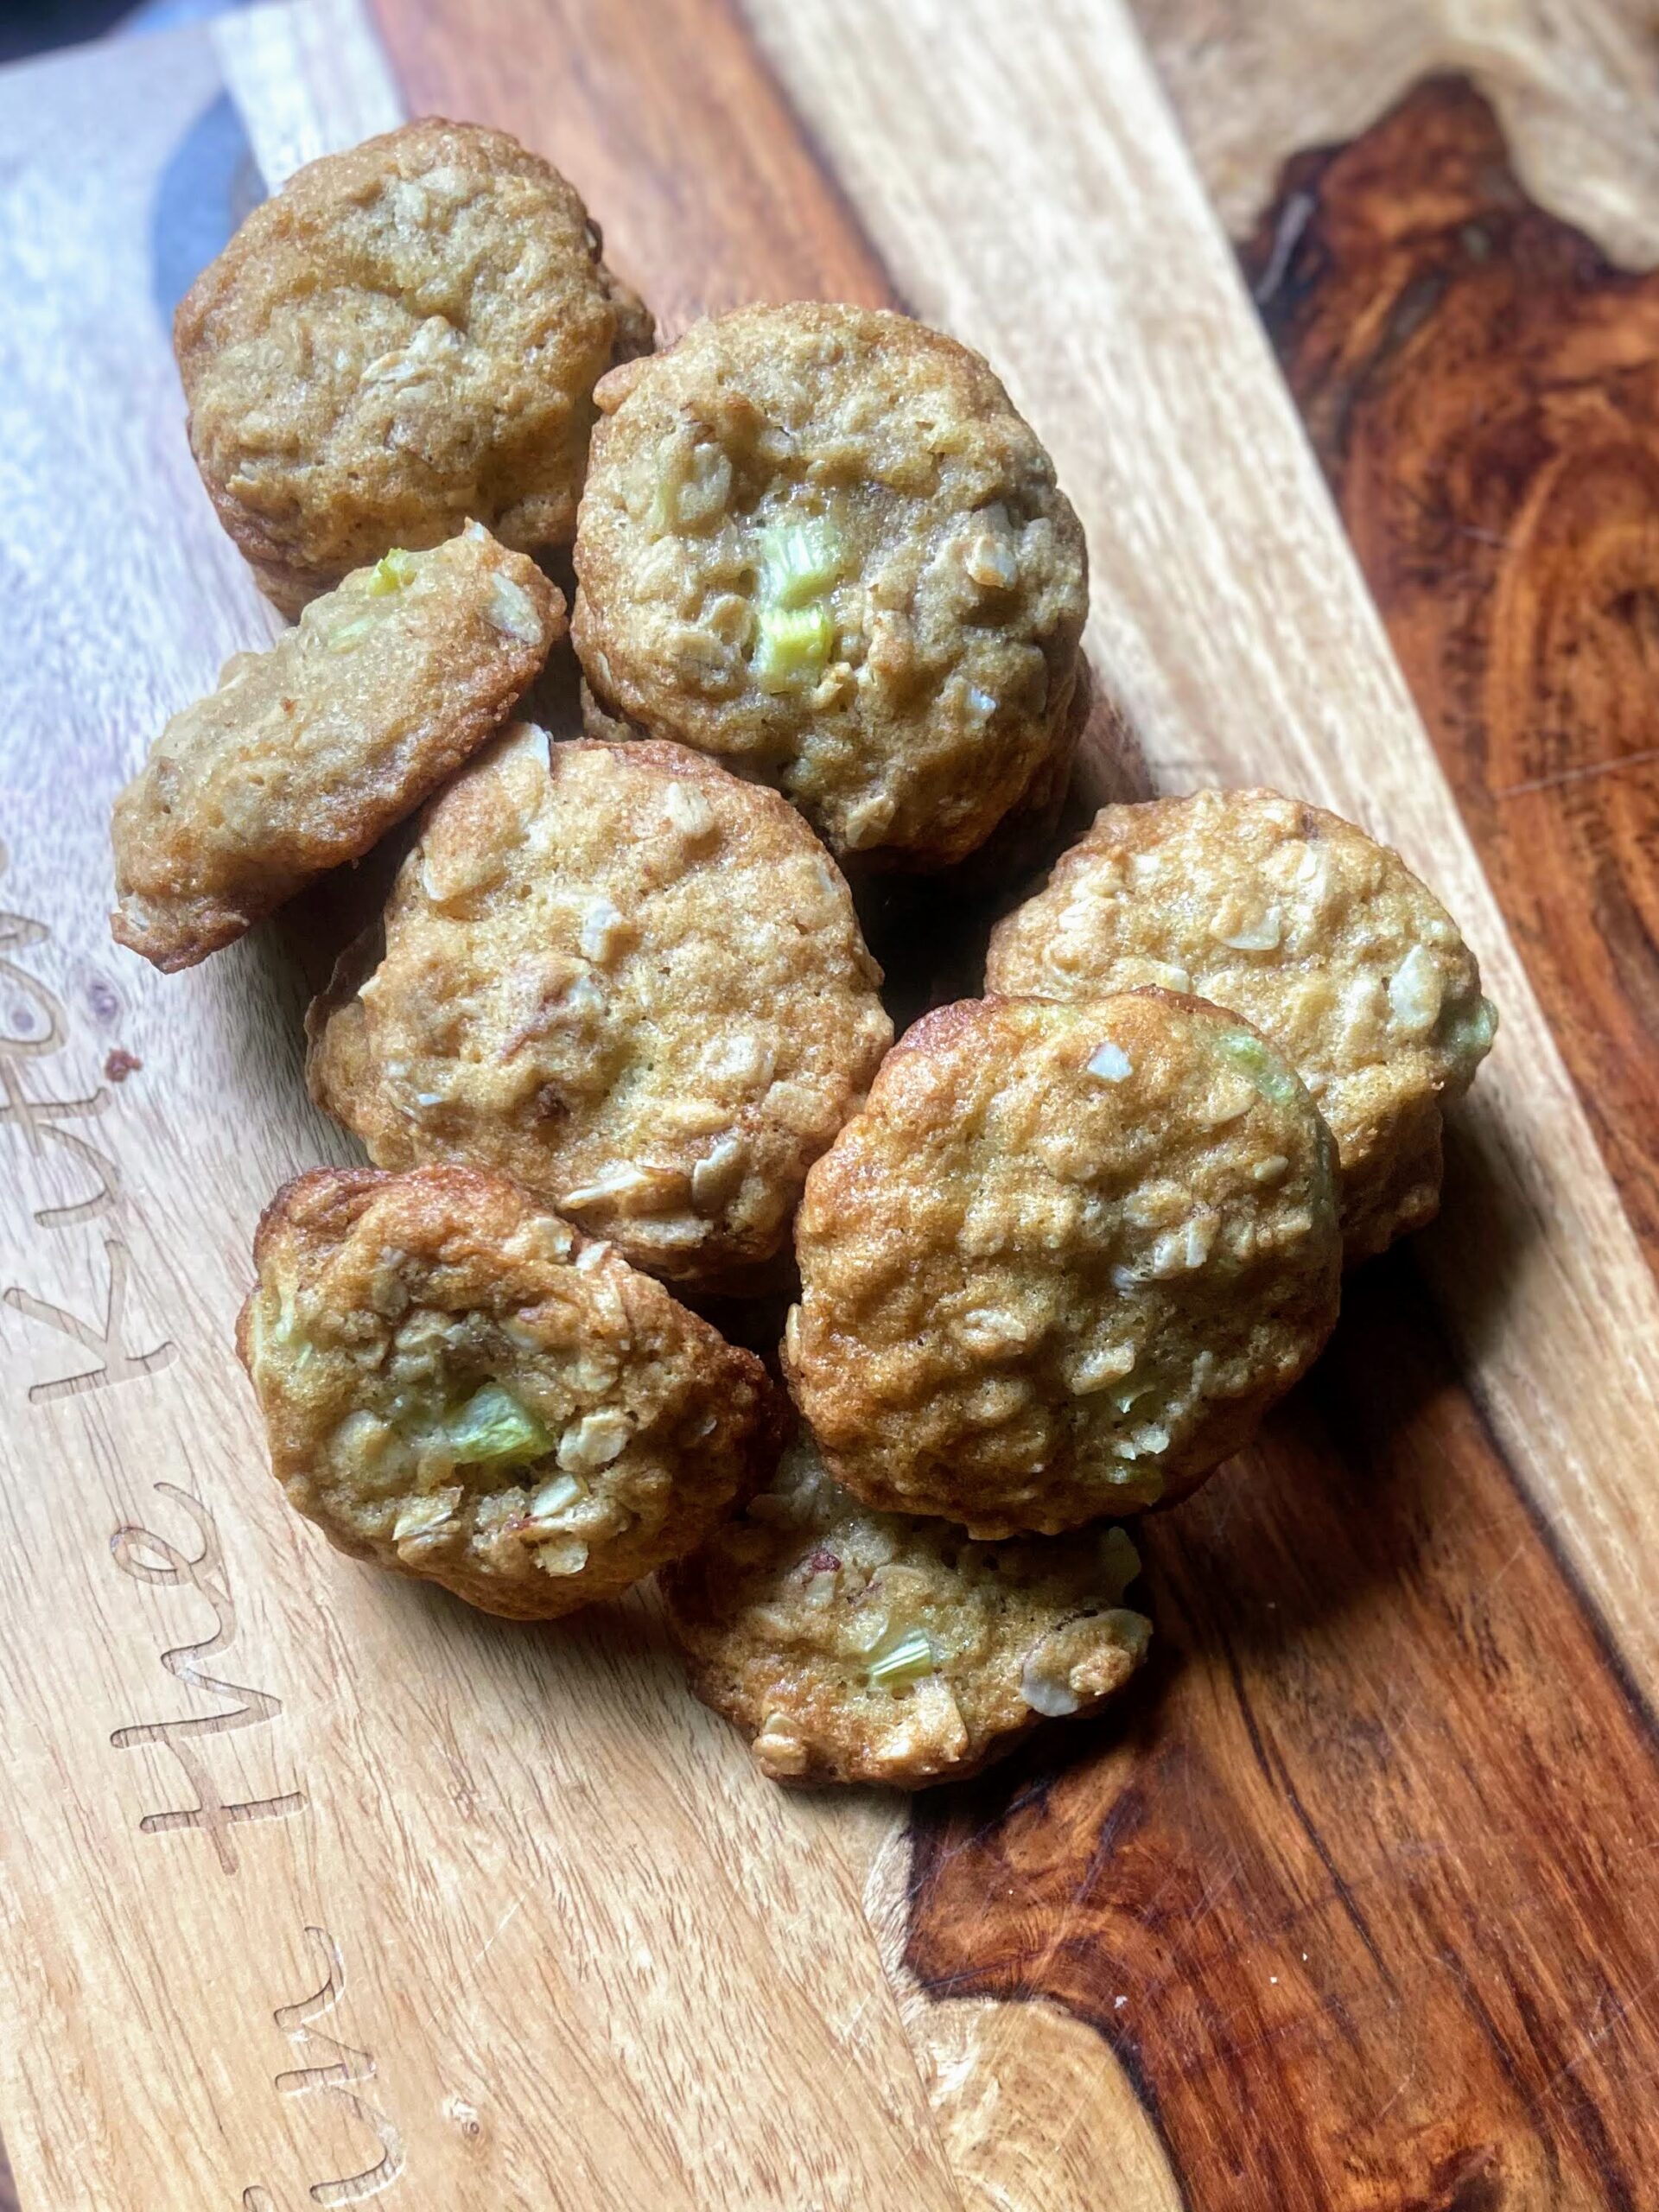
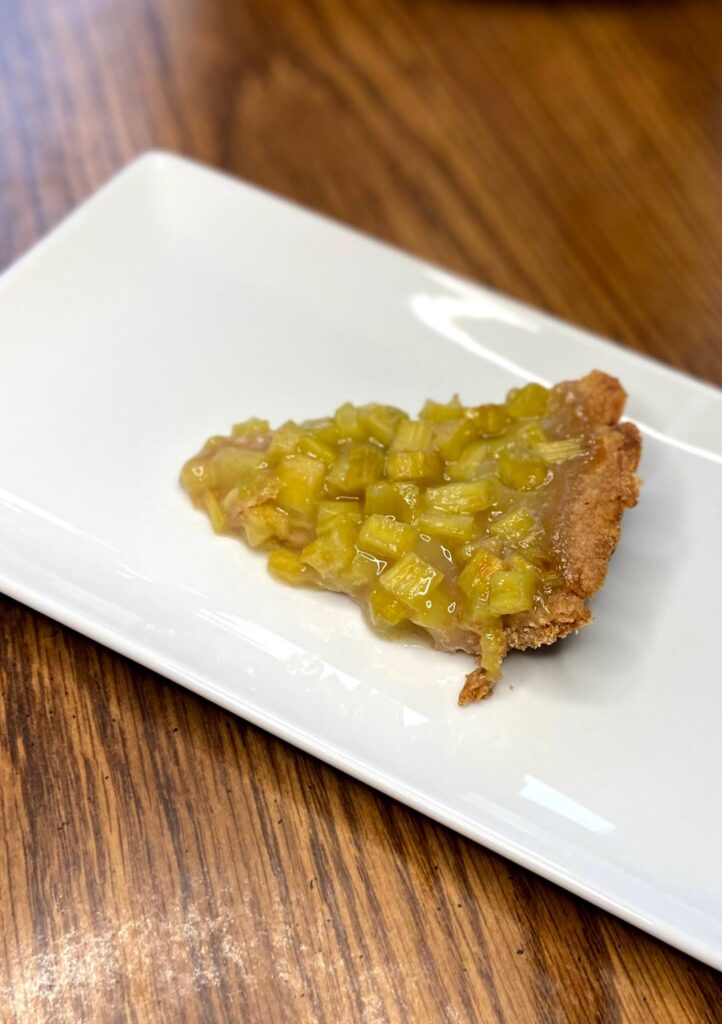
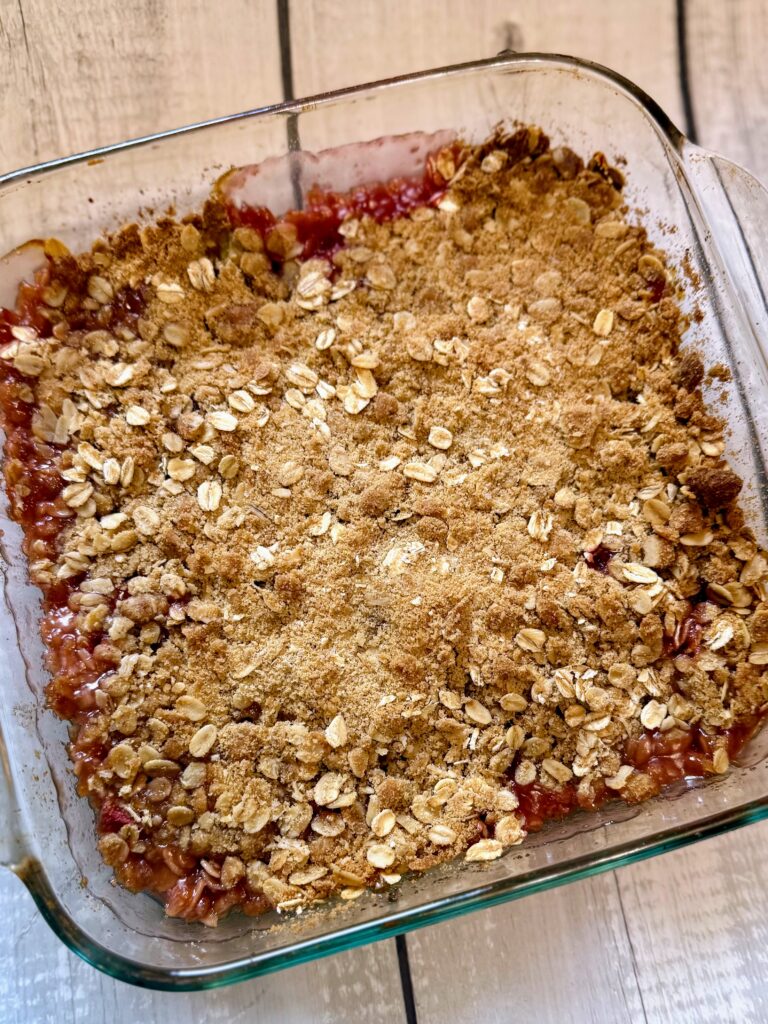
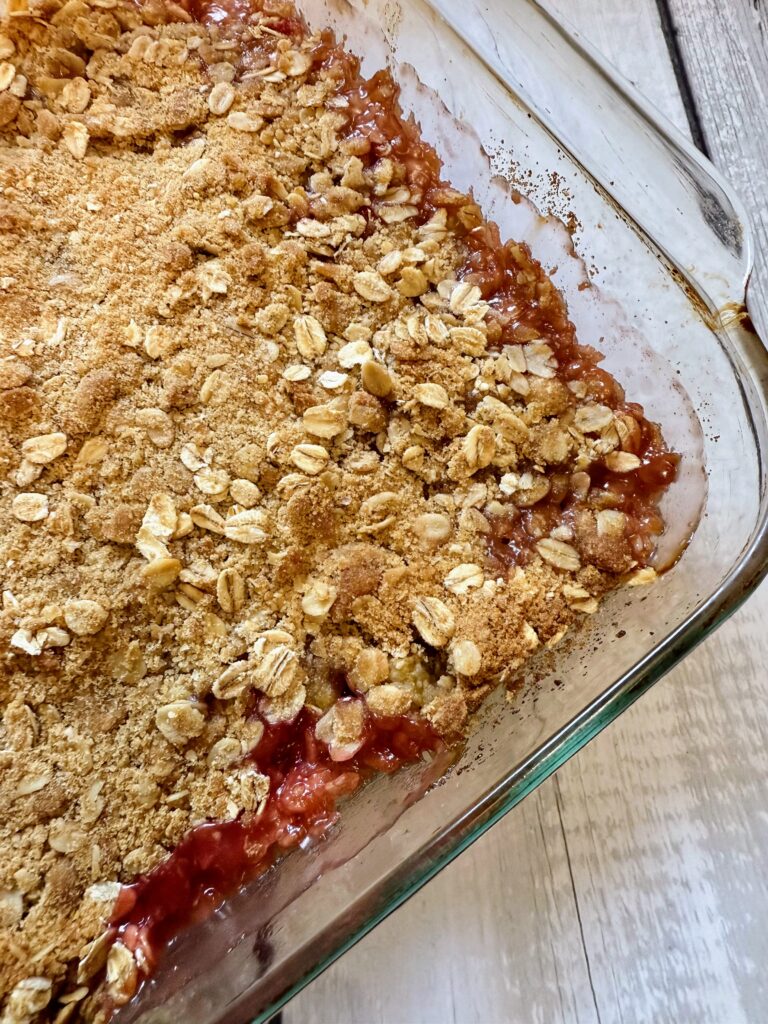
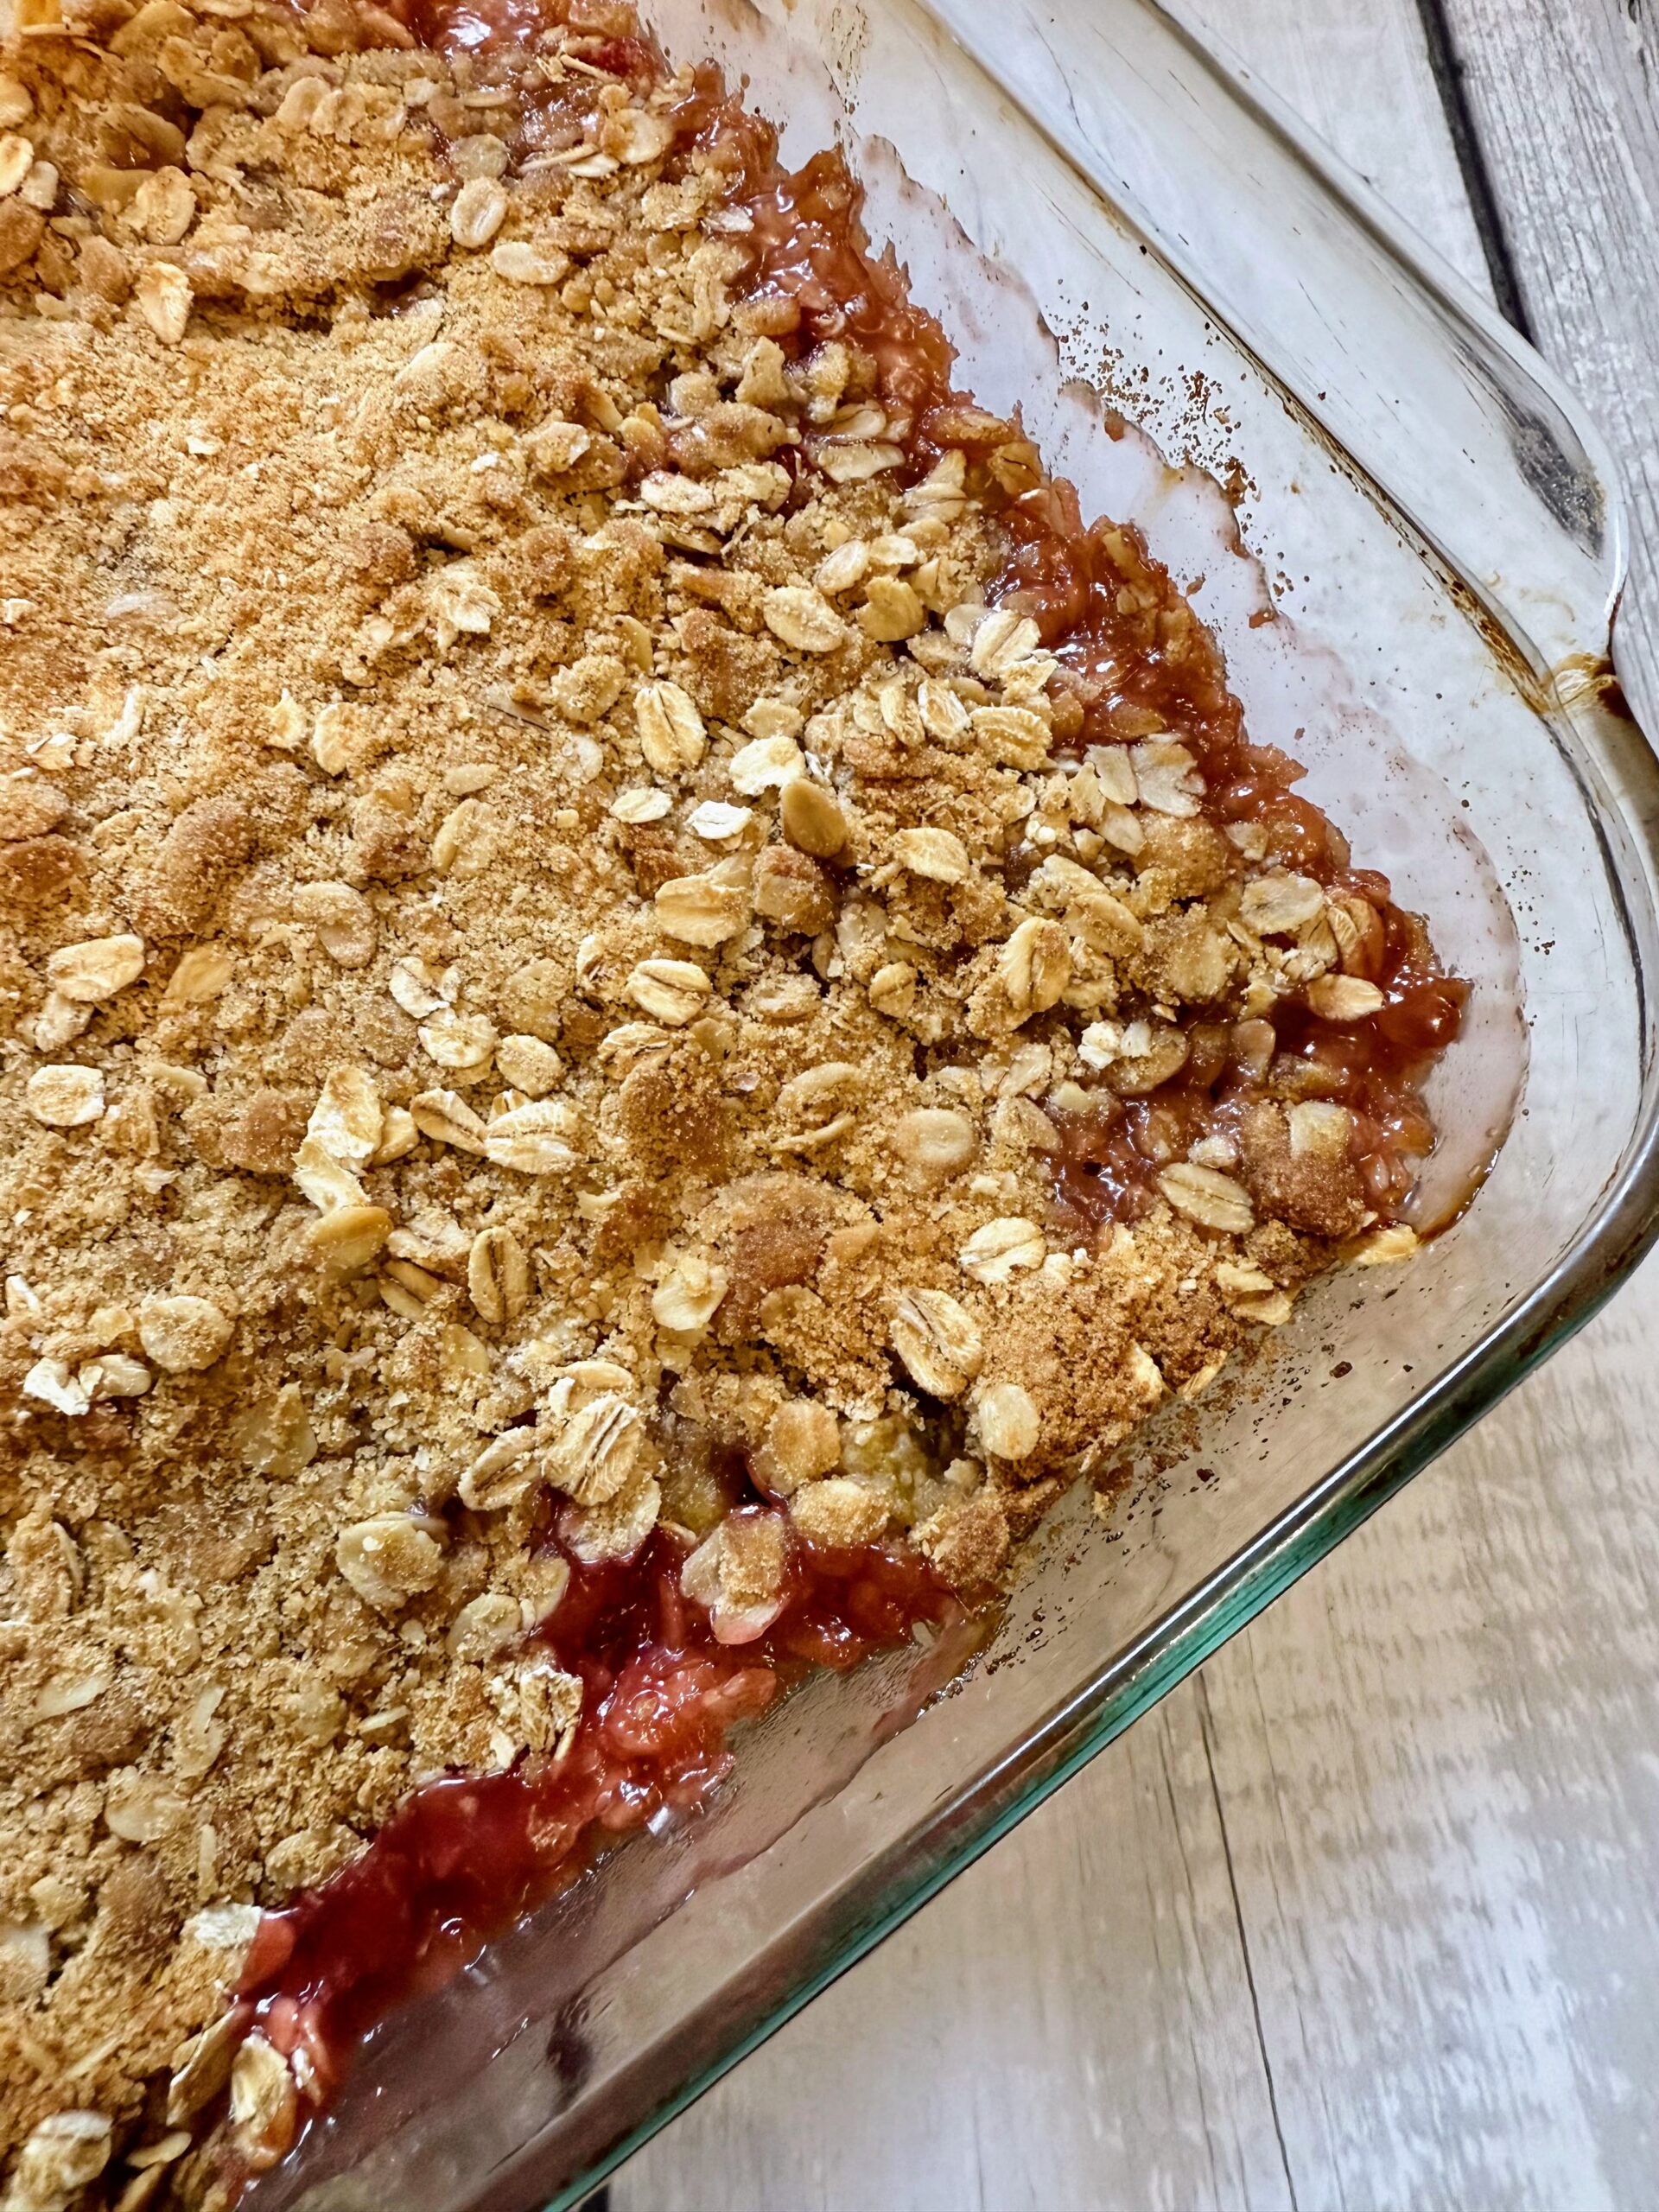
Bake for about 35-40 minutes, until the topping is golden brown. Serve on its own or with cream, vanilla Greek yogurt, and ice cream!
Cherry Rhubarb Crisp
Ingredients
- 2 ½ cups diced rhubarb
- 2 ½ cups pitted sour cherries
- ⅓ cup white sugar
- ½ cup flour + 1 tablespoon divided
- ⅔ cup brown sugar
- 1 cup old fashioned oats
- ¼ teaspoon salt
- ¼ teaspoon nutmeg
- ¼ cup butter melted
Instructions
- Heat the oven to 375 degrees F. Grease the bottom and sides of an 8 inch square baking pan.
- Combine the rhubarb and sour cherries in a bowl. Sprinkle with white sugar and 1 tablespoon flour. Stir to coat the fruit. Set aside.
- Meanwhile, combine the remaining flour, brown sugar, oats, salt, and nutmeg in another bowl. Stir well. Drizzle in the melted butter and stir to combine.
- Once the sugar has pulled some juice from the rhubarb (about 5-10 minutes), spread the fruit in the prepared pan. Sprinkle the flour and oat mixture over the fruit.
- Bake for about 35-40 minutes, until the topping is golden brown. Serve on its own or with cream, vanilla Greek yogurt, and ice cream.
Notes
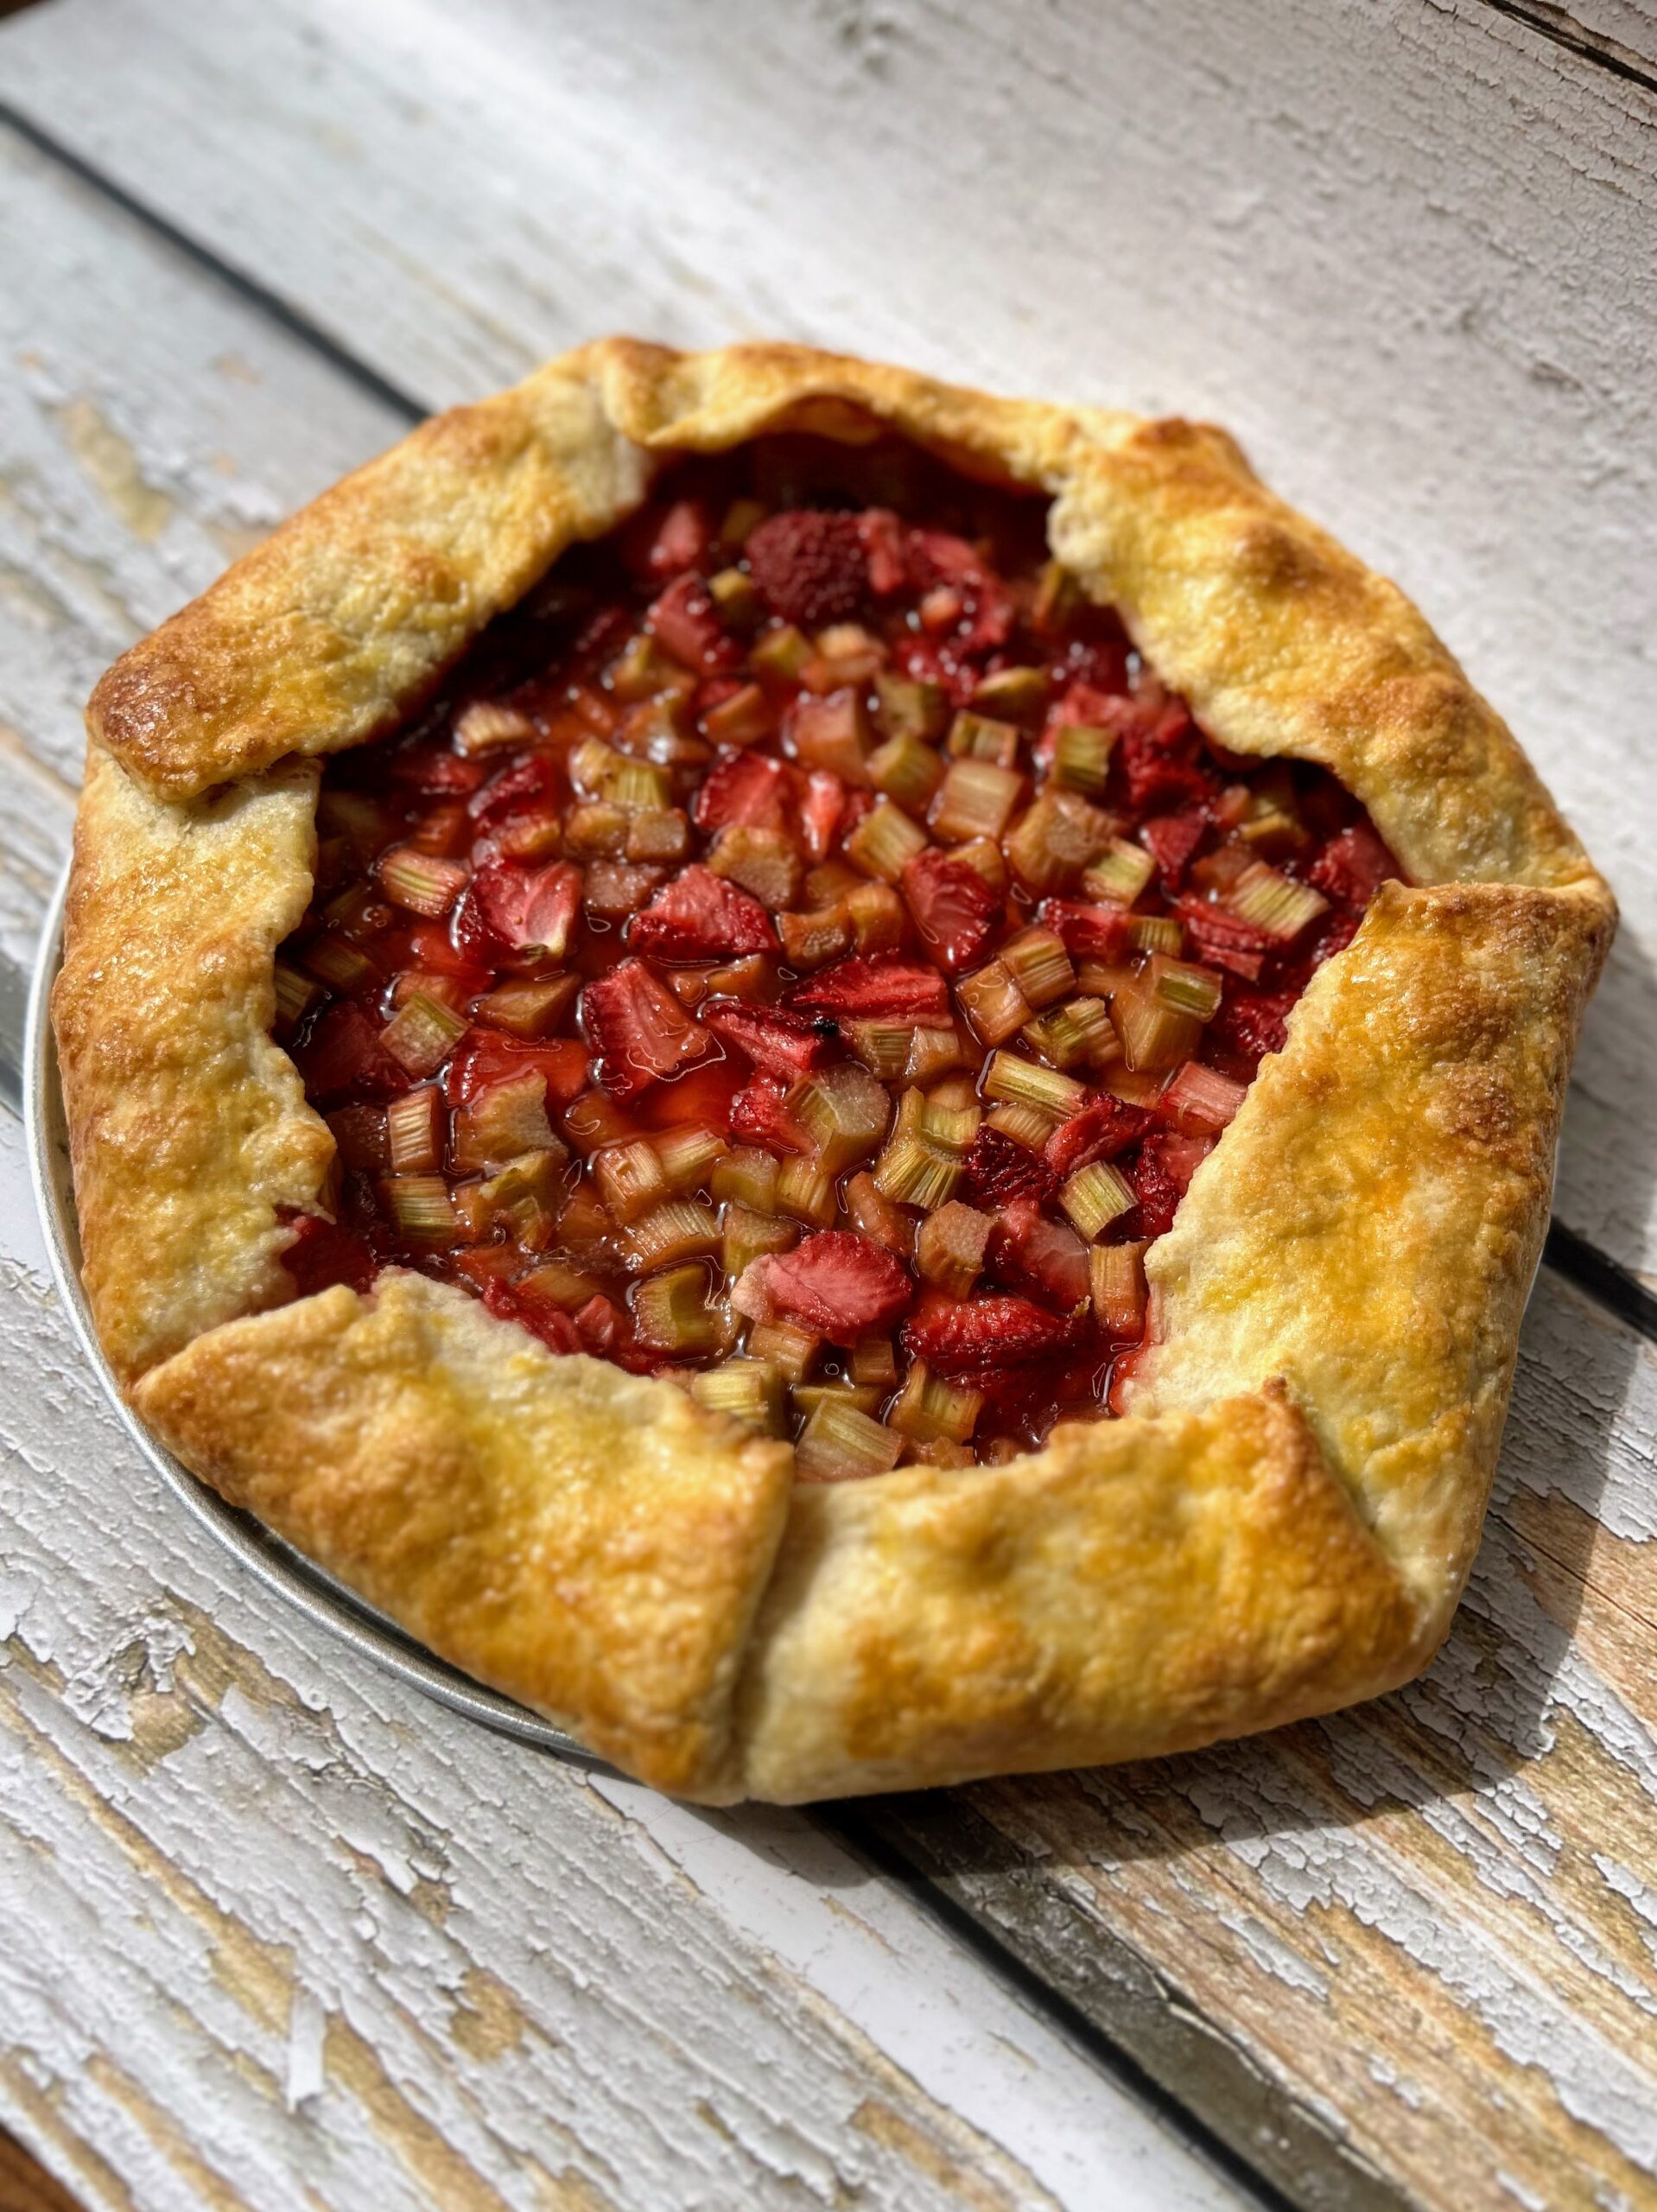
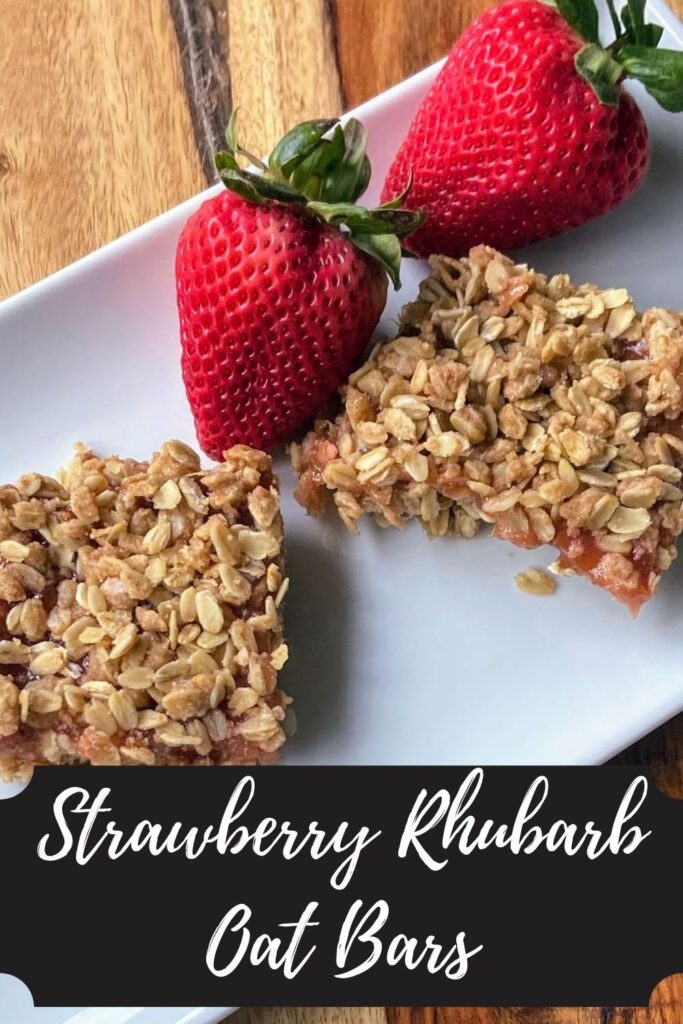
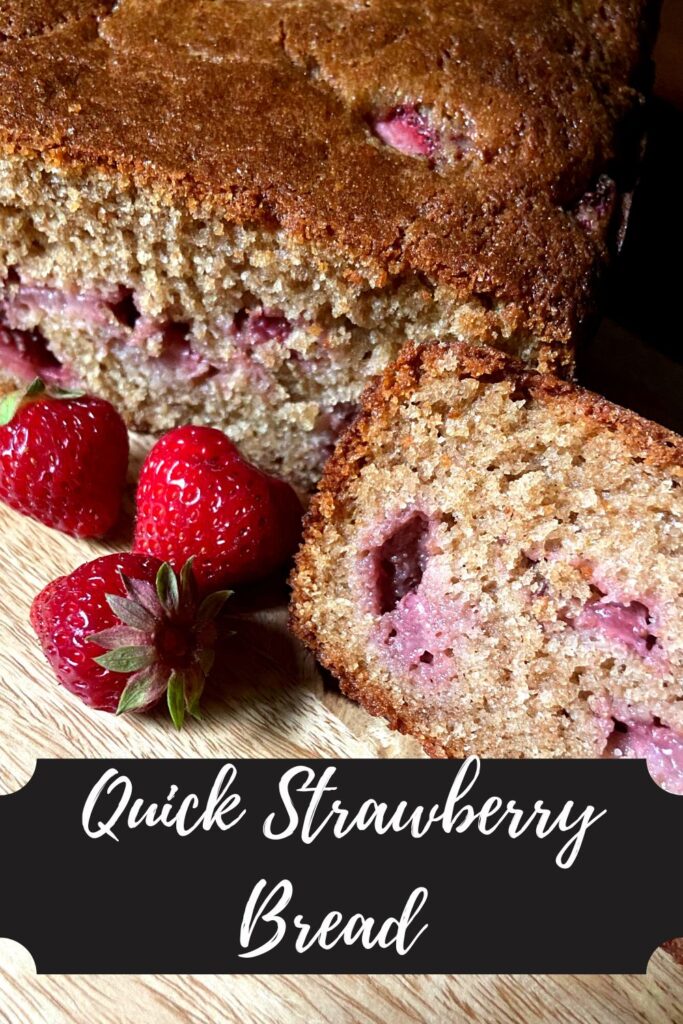
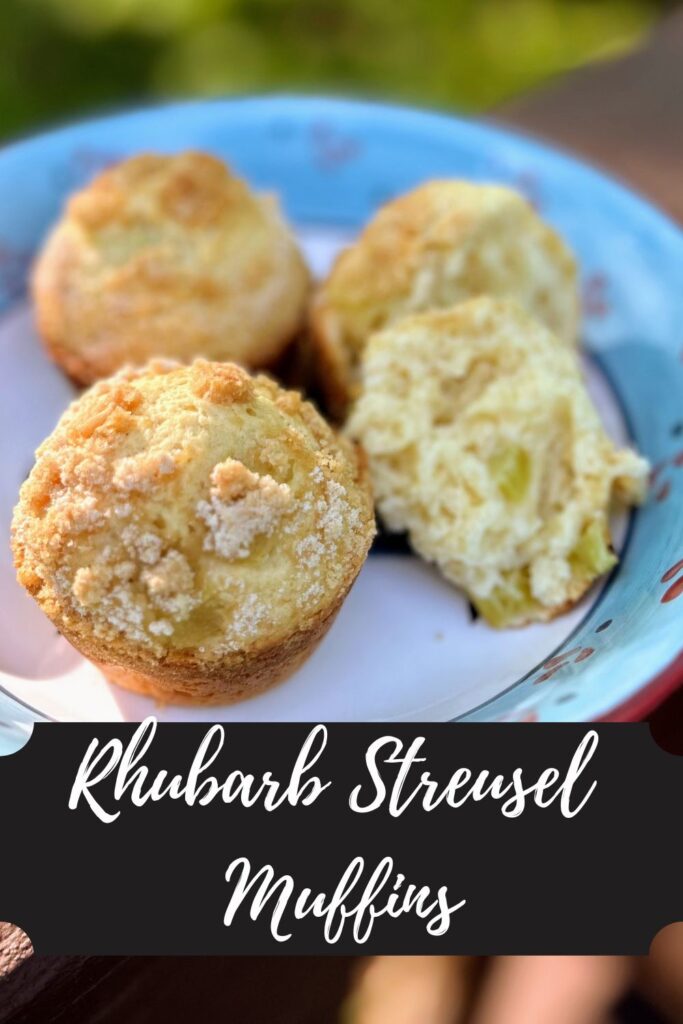
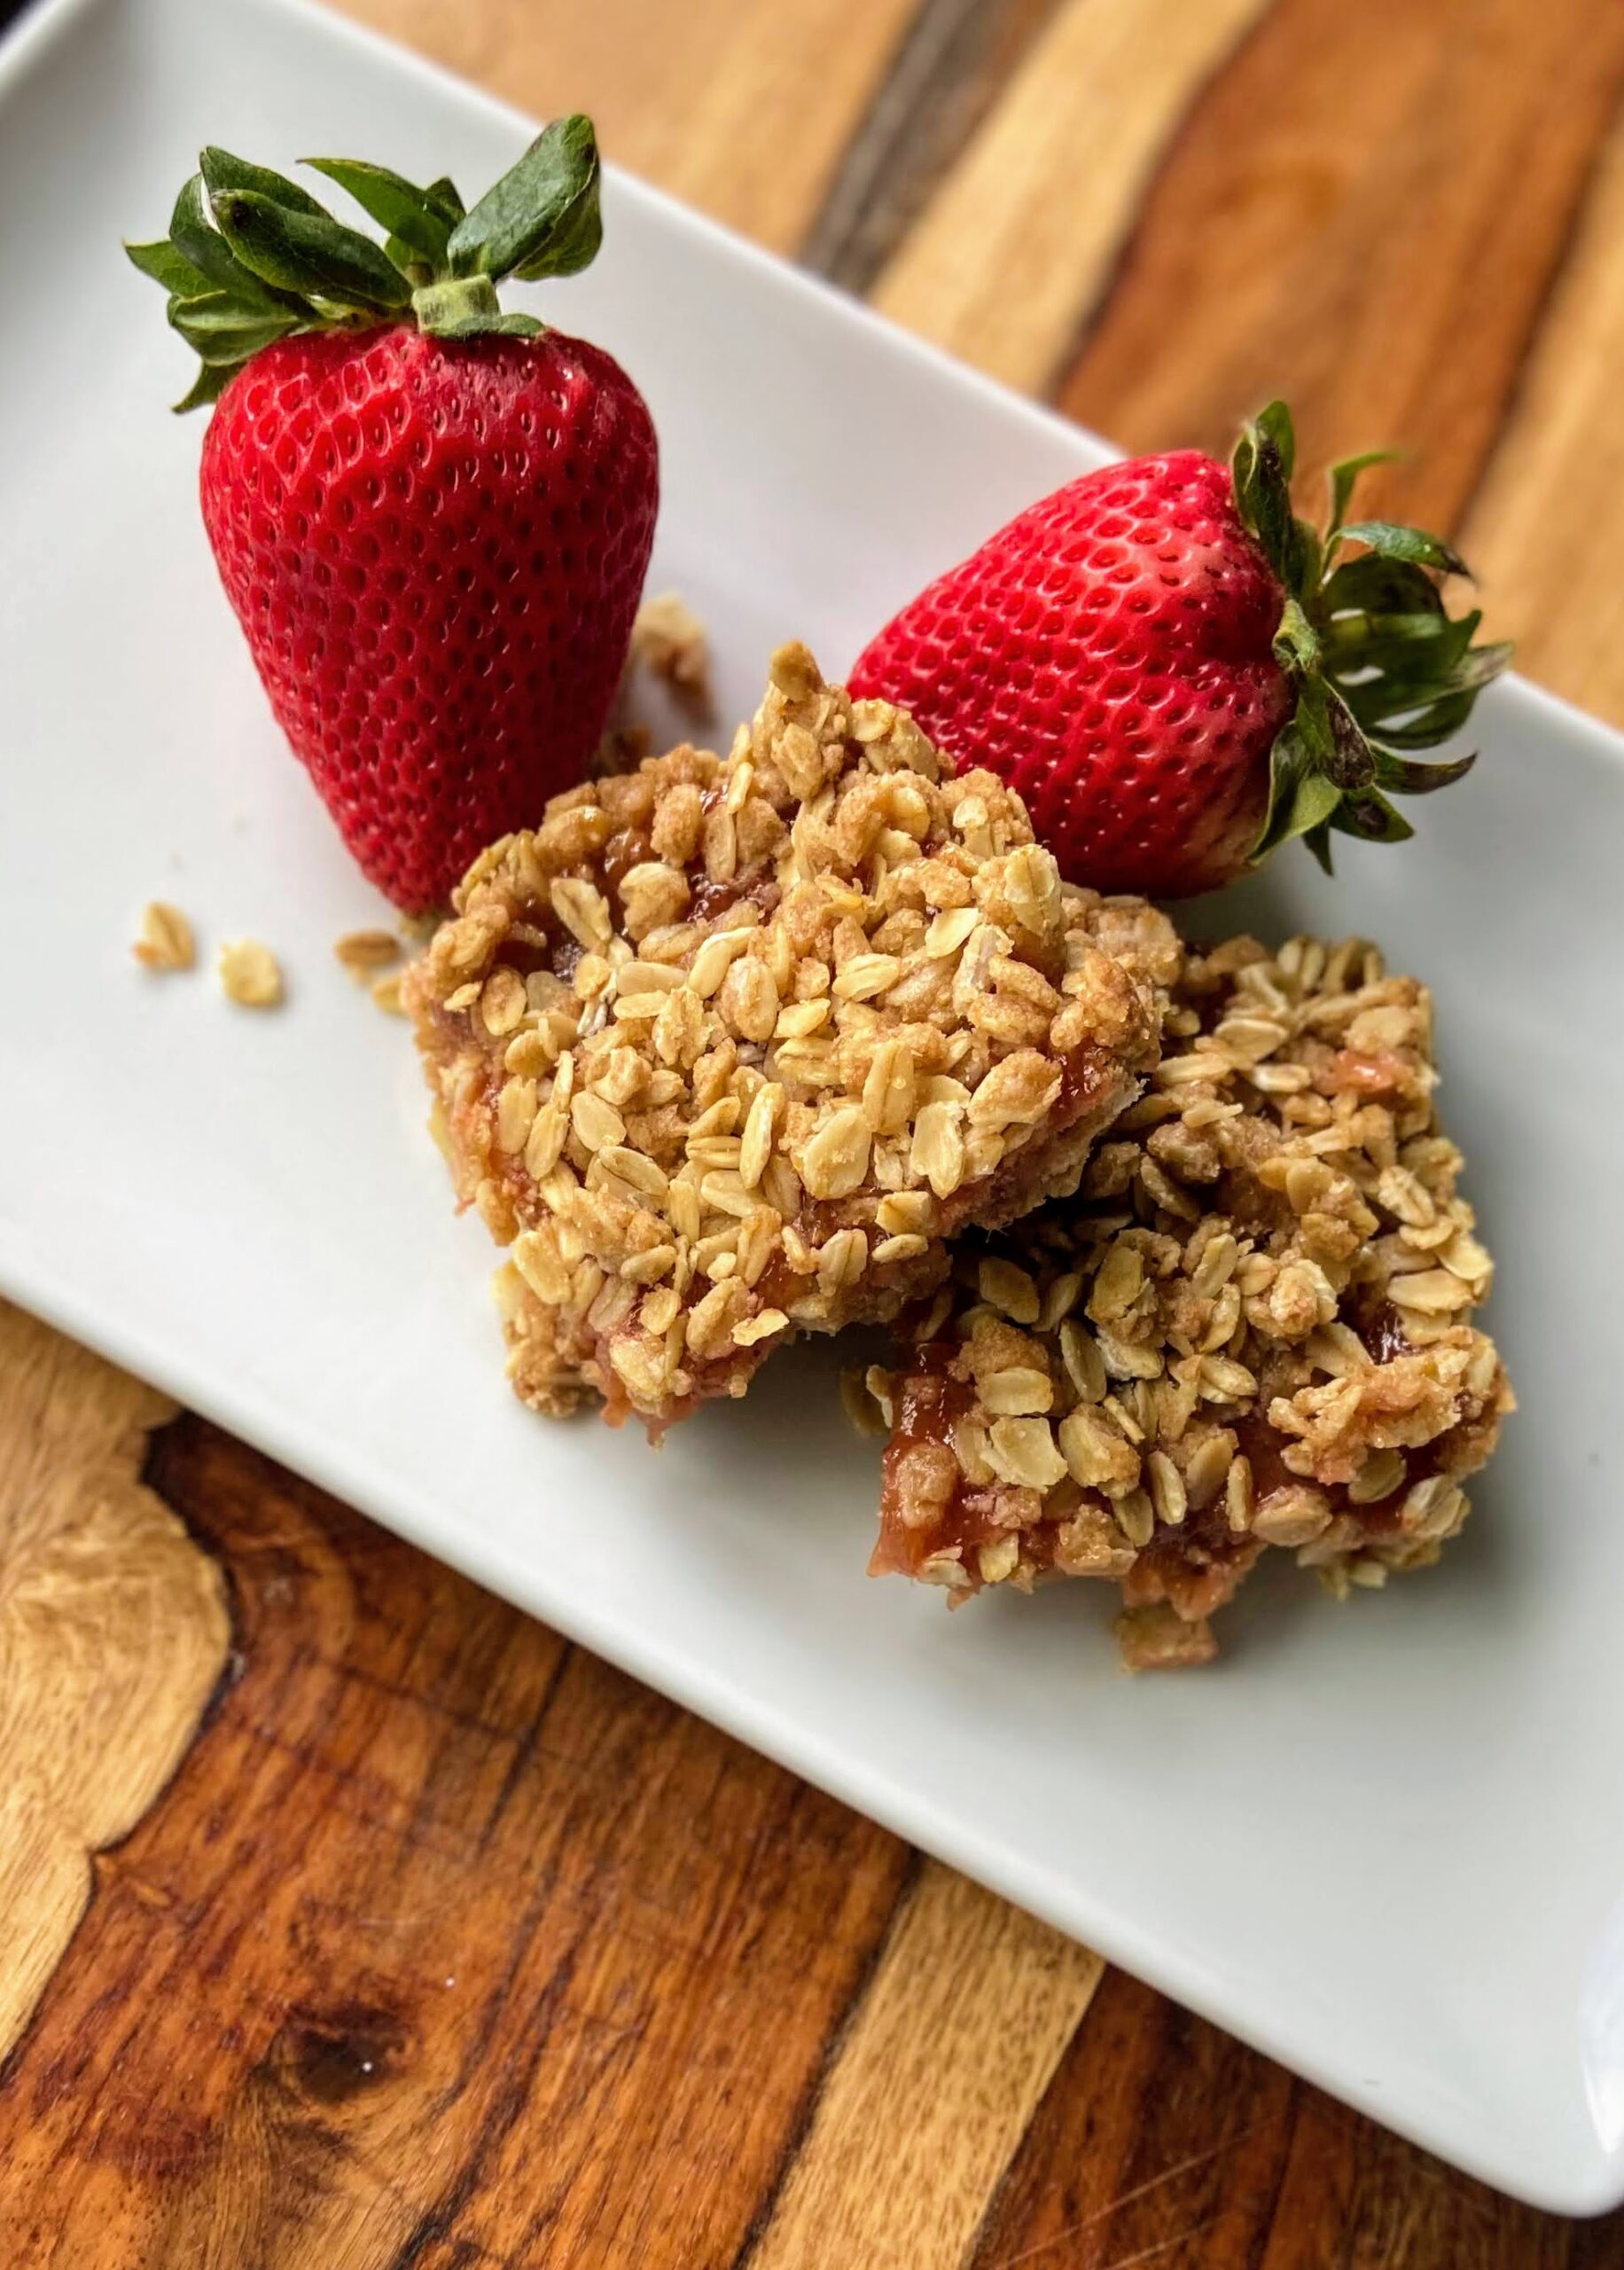
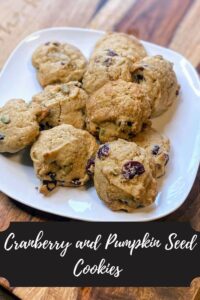
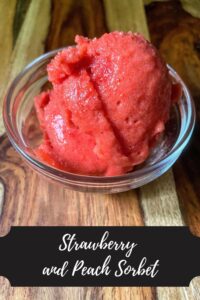
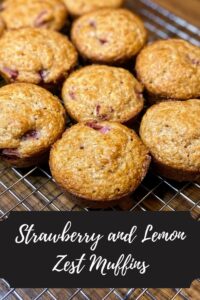
Looking for other sweet treats?
Here are some of my favorite rhubarb or cherry recipes! Or, head to my baking page to find more!