Energy D’Lite Balls

What’s the inspiration behind these Energy D’Lite Balls? During my college career, I spent my summers working at a delightful drive in restaurant called Northern D’Lites in Lakewood, WI. I was hired as a cook, but was trained as an ice cream artist as well. I loved that little place and actually learned a thing or two about food there! 

Did I finally make the connection that “malted milk balls” that I loved had malt powder in them and that I subsequently LOVED malts? Heck yes I did. And so my obsession started. We made this sundae called a Dusty Road: vanilla soft serve, hot fudge, dusted with malt powder and topped with a cherry. It was DIVINE.

I also loved that the nuts we used to top our sundaes were salted. I mean, salty and sweet?! So dang good, right? 

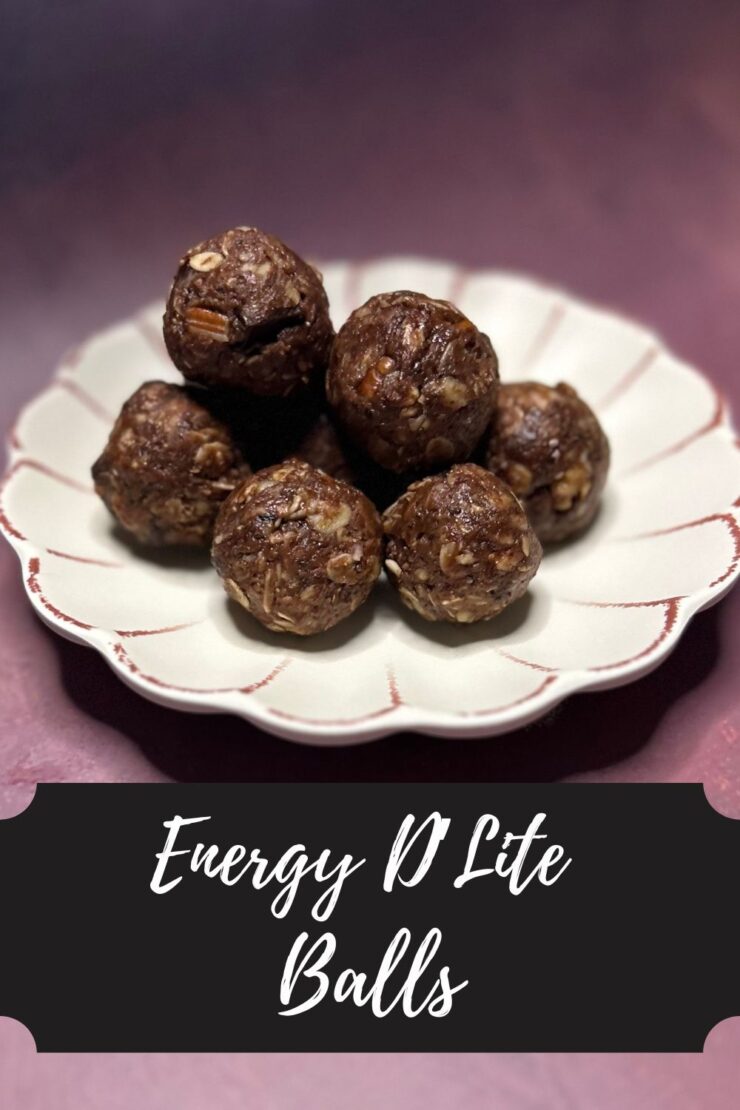
So I set out to make an energy ball that combined those ideas. Pecans and a pinch of salt for the savory aspect. Cocoa powder and malt powder for the Dusty Road sundae. What I know is the Mr quite literally ate the ENTIRE batch in just a few days. I don’t know if anyone else got a single one. I quote, “What can I say? They are addicting!” 

I hope you enjoy them as much as my family did! They would make a great after school snack, post workout fuel, or mid afternoon treat between meals! And hey, if you are looking for another energy ball recipe, I’ve got you covered!

Your Ingredients 

  • 1 cup old fashioned oats
  • 2 tablespoons cocoa powder
  • 2 tablespoons malt powder
  • ¼ cup ground flaxseed
  • Pinch of salt
  • ½ cup creamy peanut butter
  • ¼ cup maple syrup 
  • 1 tablespoon coconut oil, melted
  • ½ cup chocolate chips 
  • ½ cup pecans 

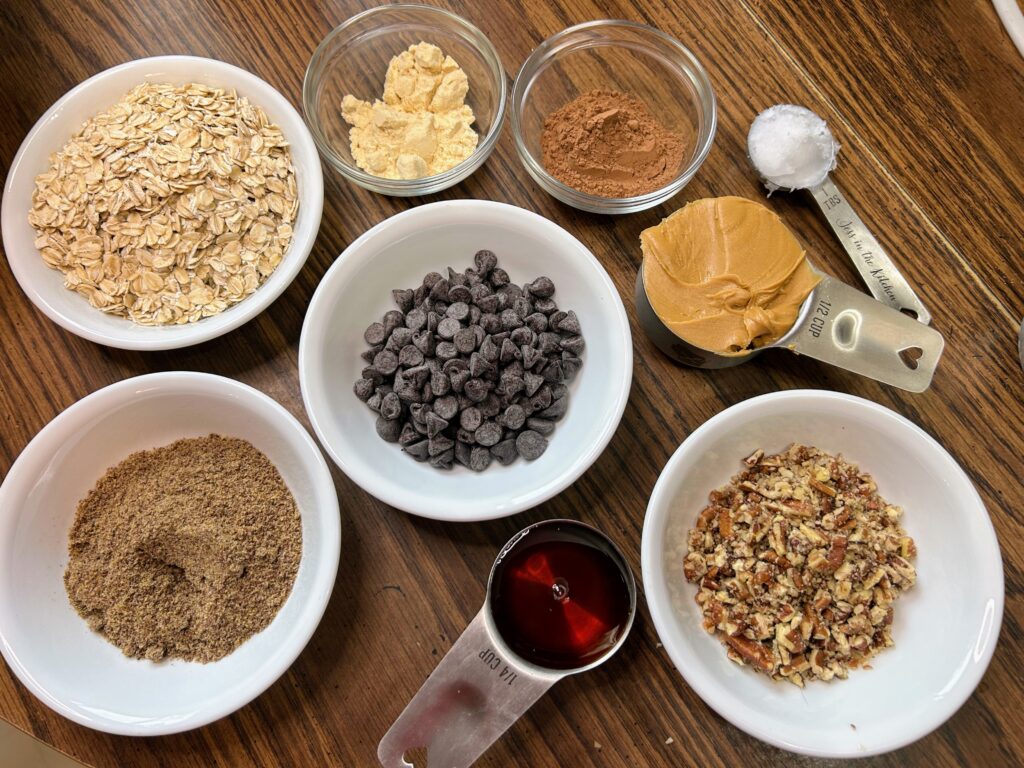
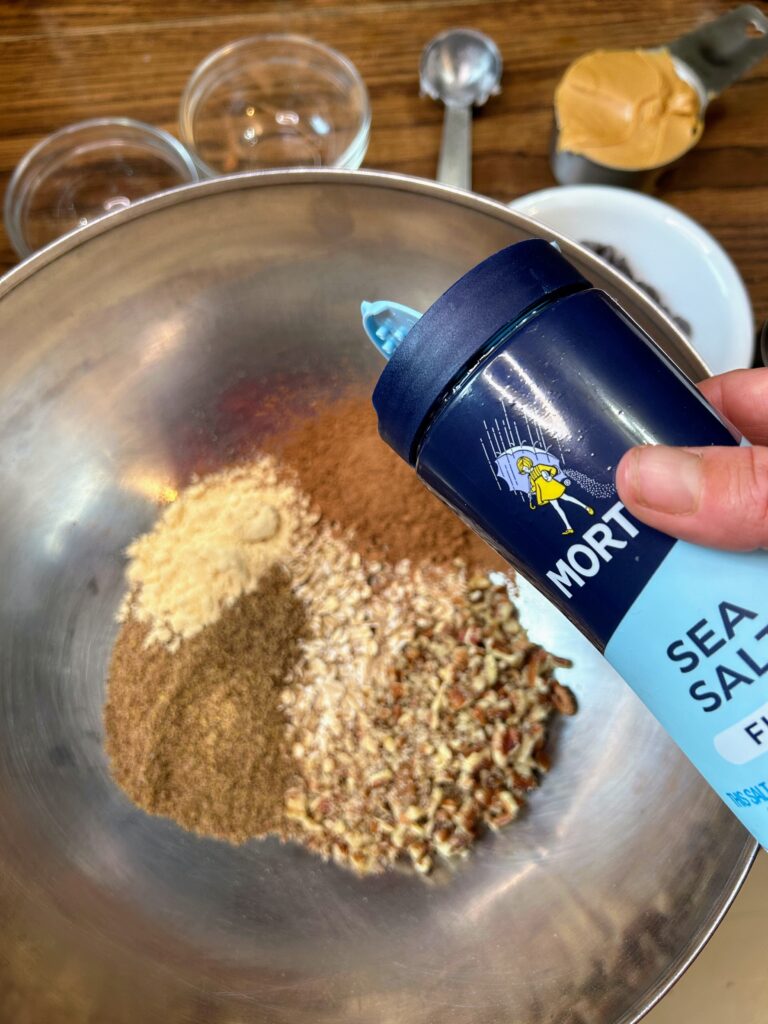
A gathering of ingredients.

Flaxseed, oatmeal, malt powder, cocoa powder, peanut butter, coconut oil, pecans, maple syrup, and chocolate chips.

Also, can we just admire my measuring cups and spoons? They were a gift from the Mr and are personalized for my blog! How sweet!

Your Steps to Energy D’Lite Balls

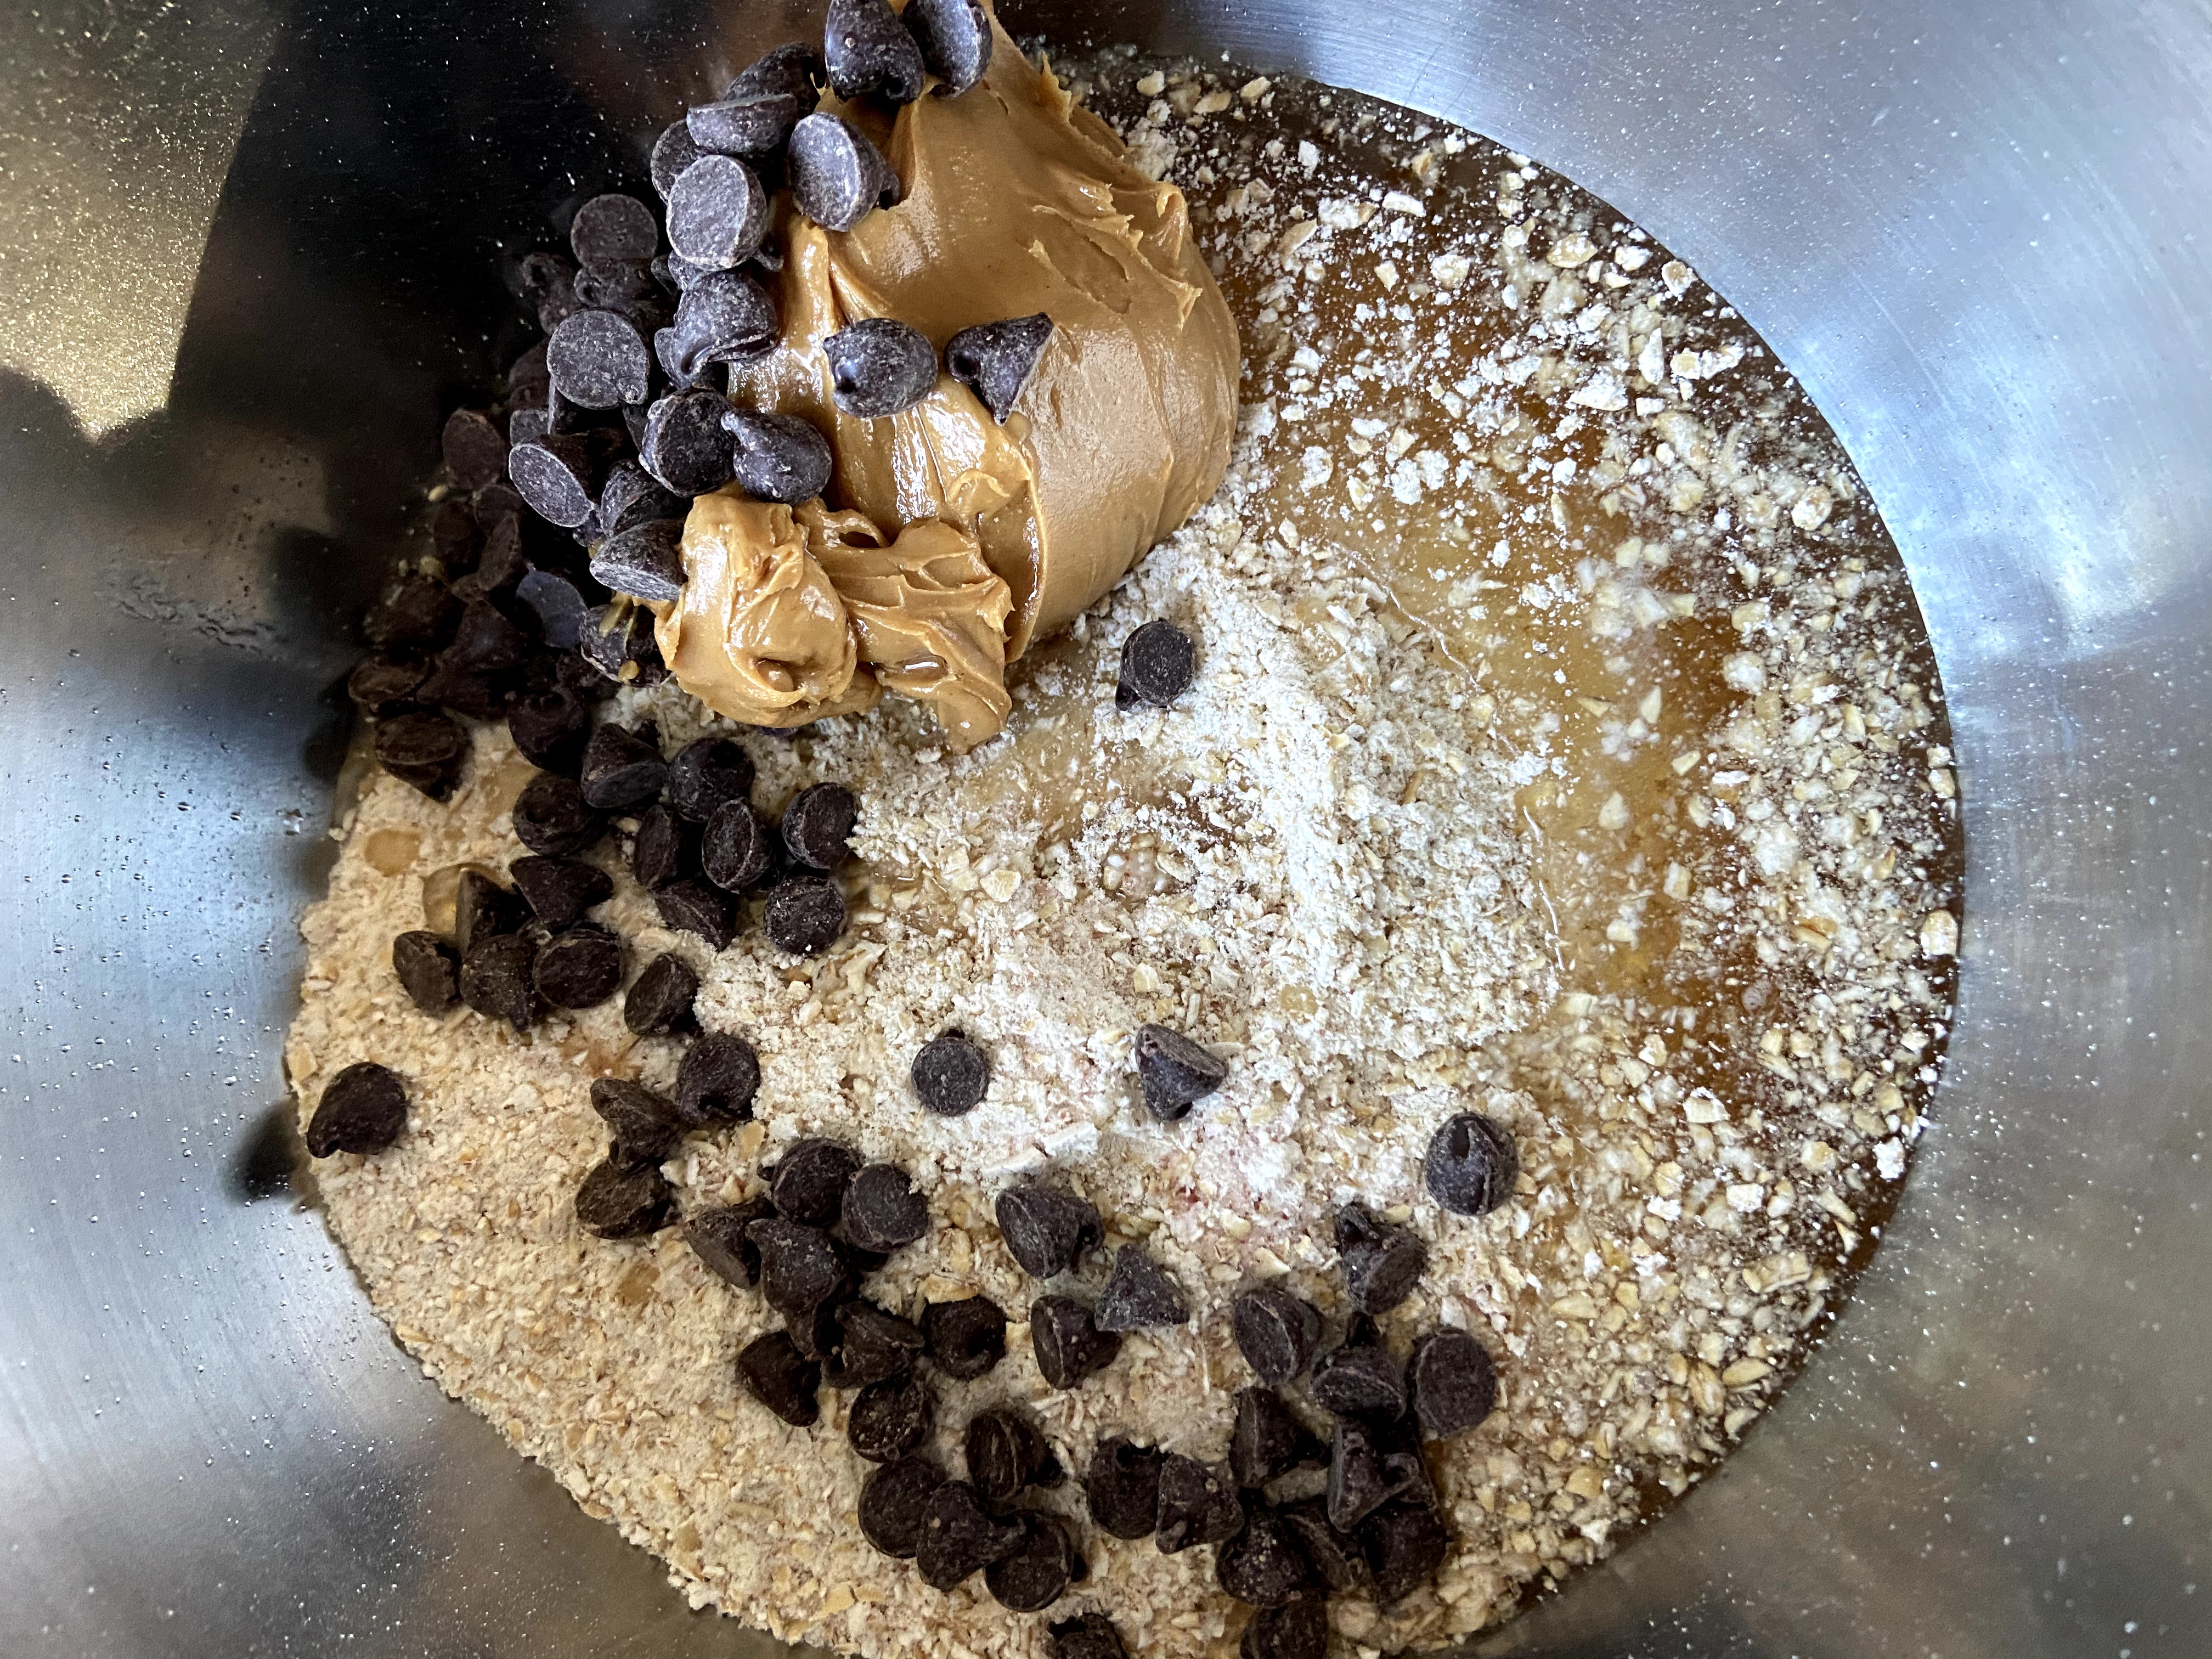
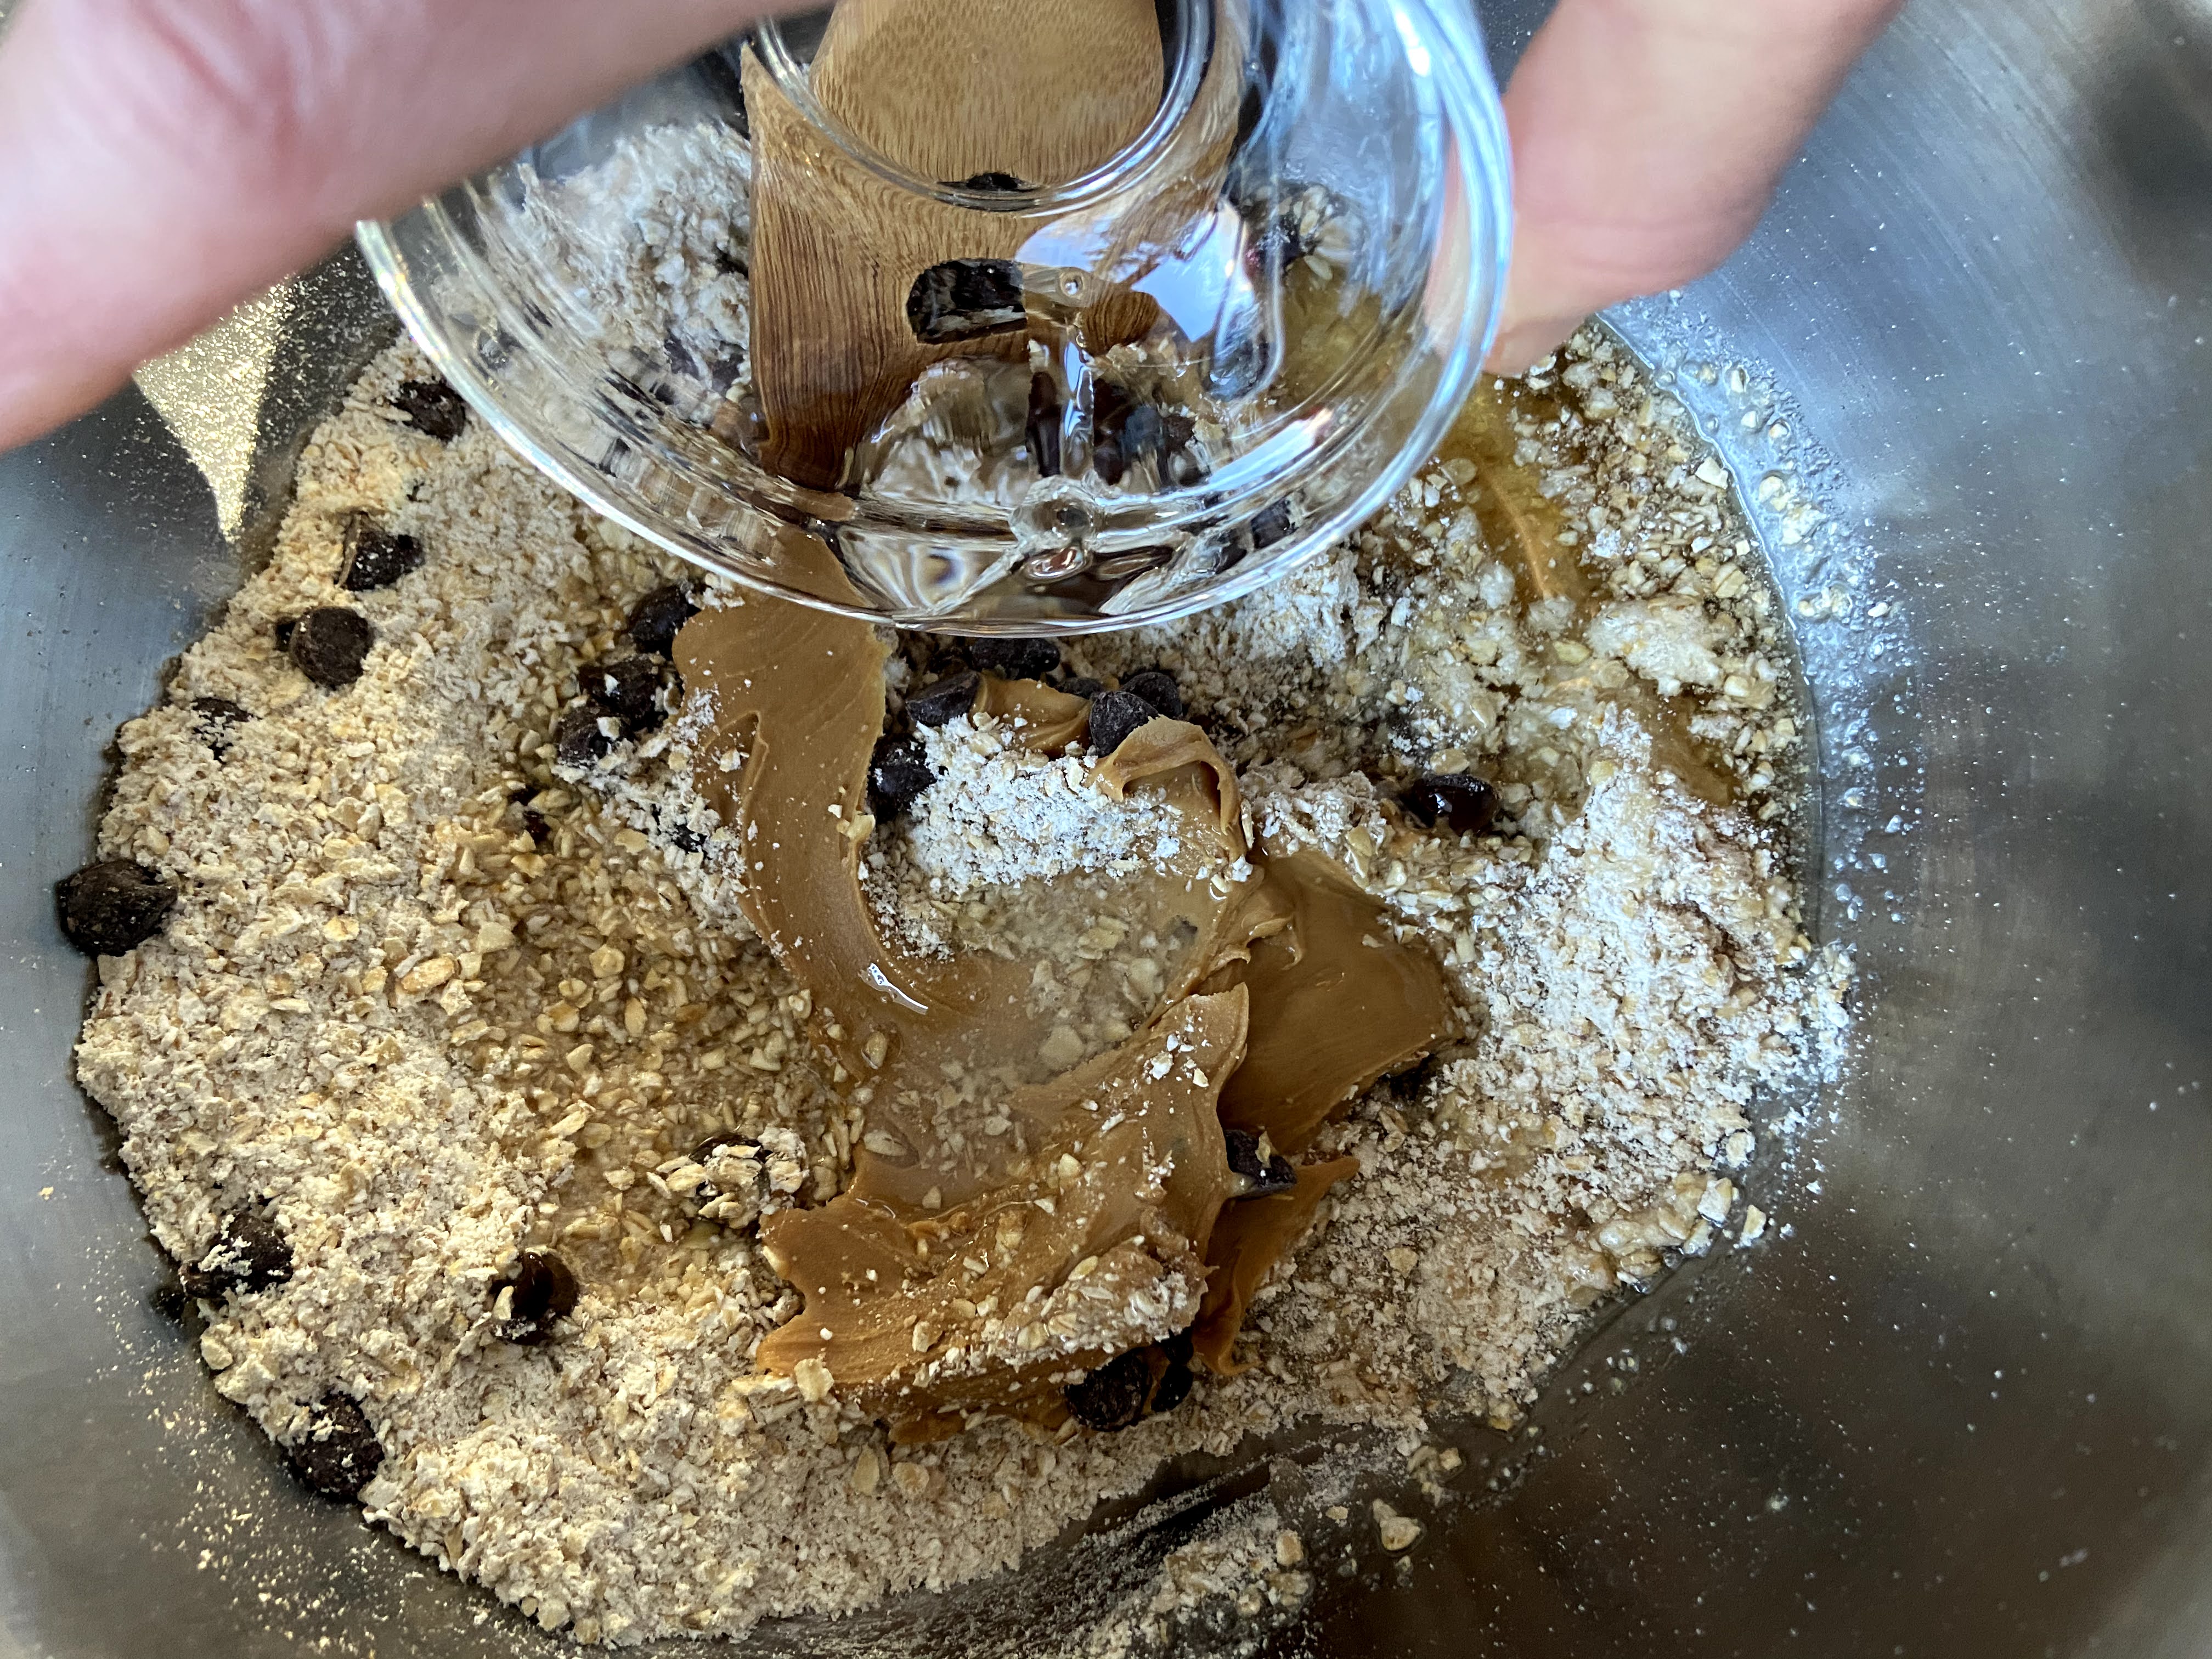
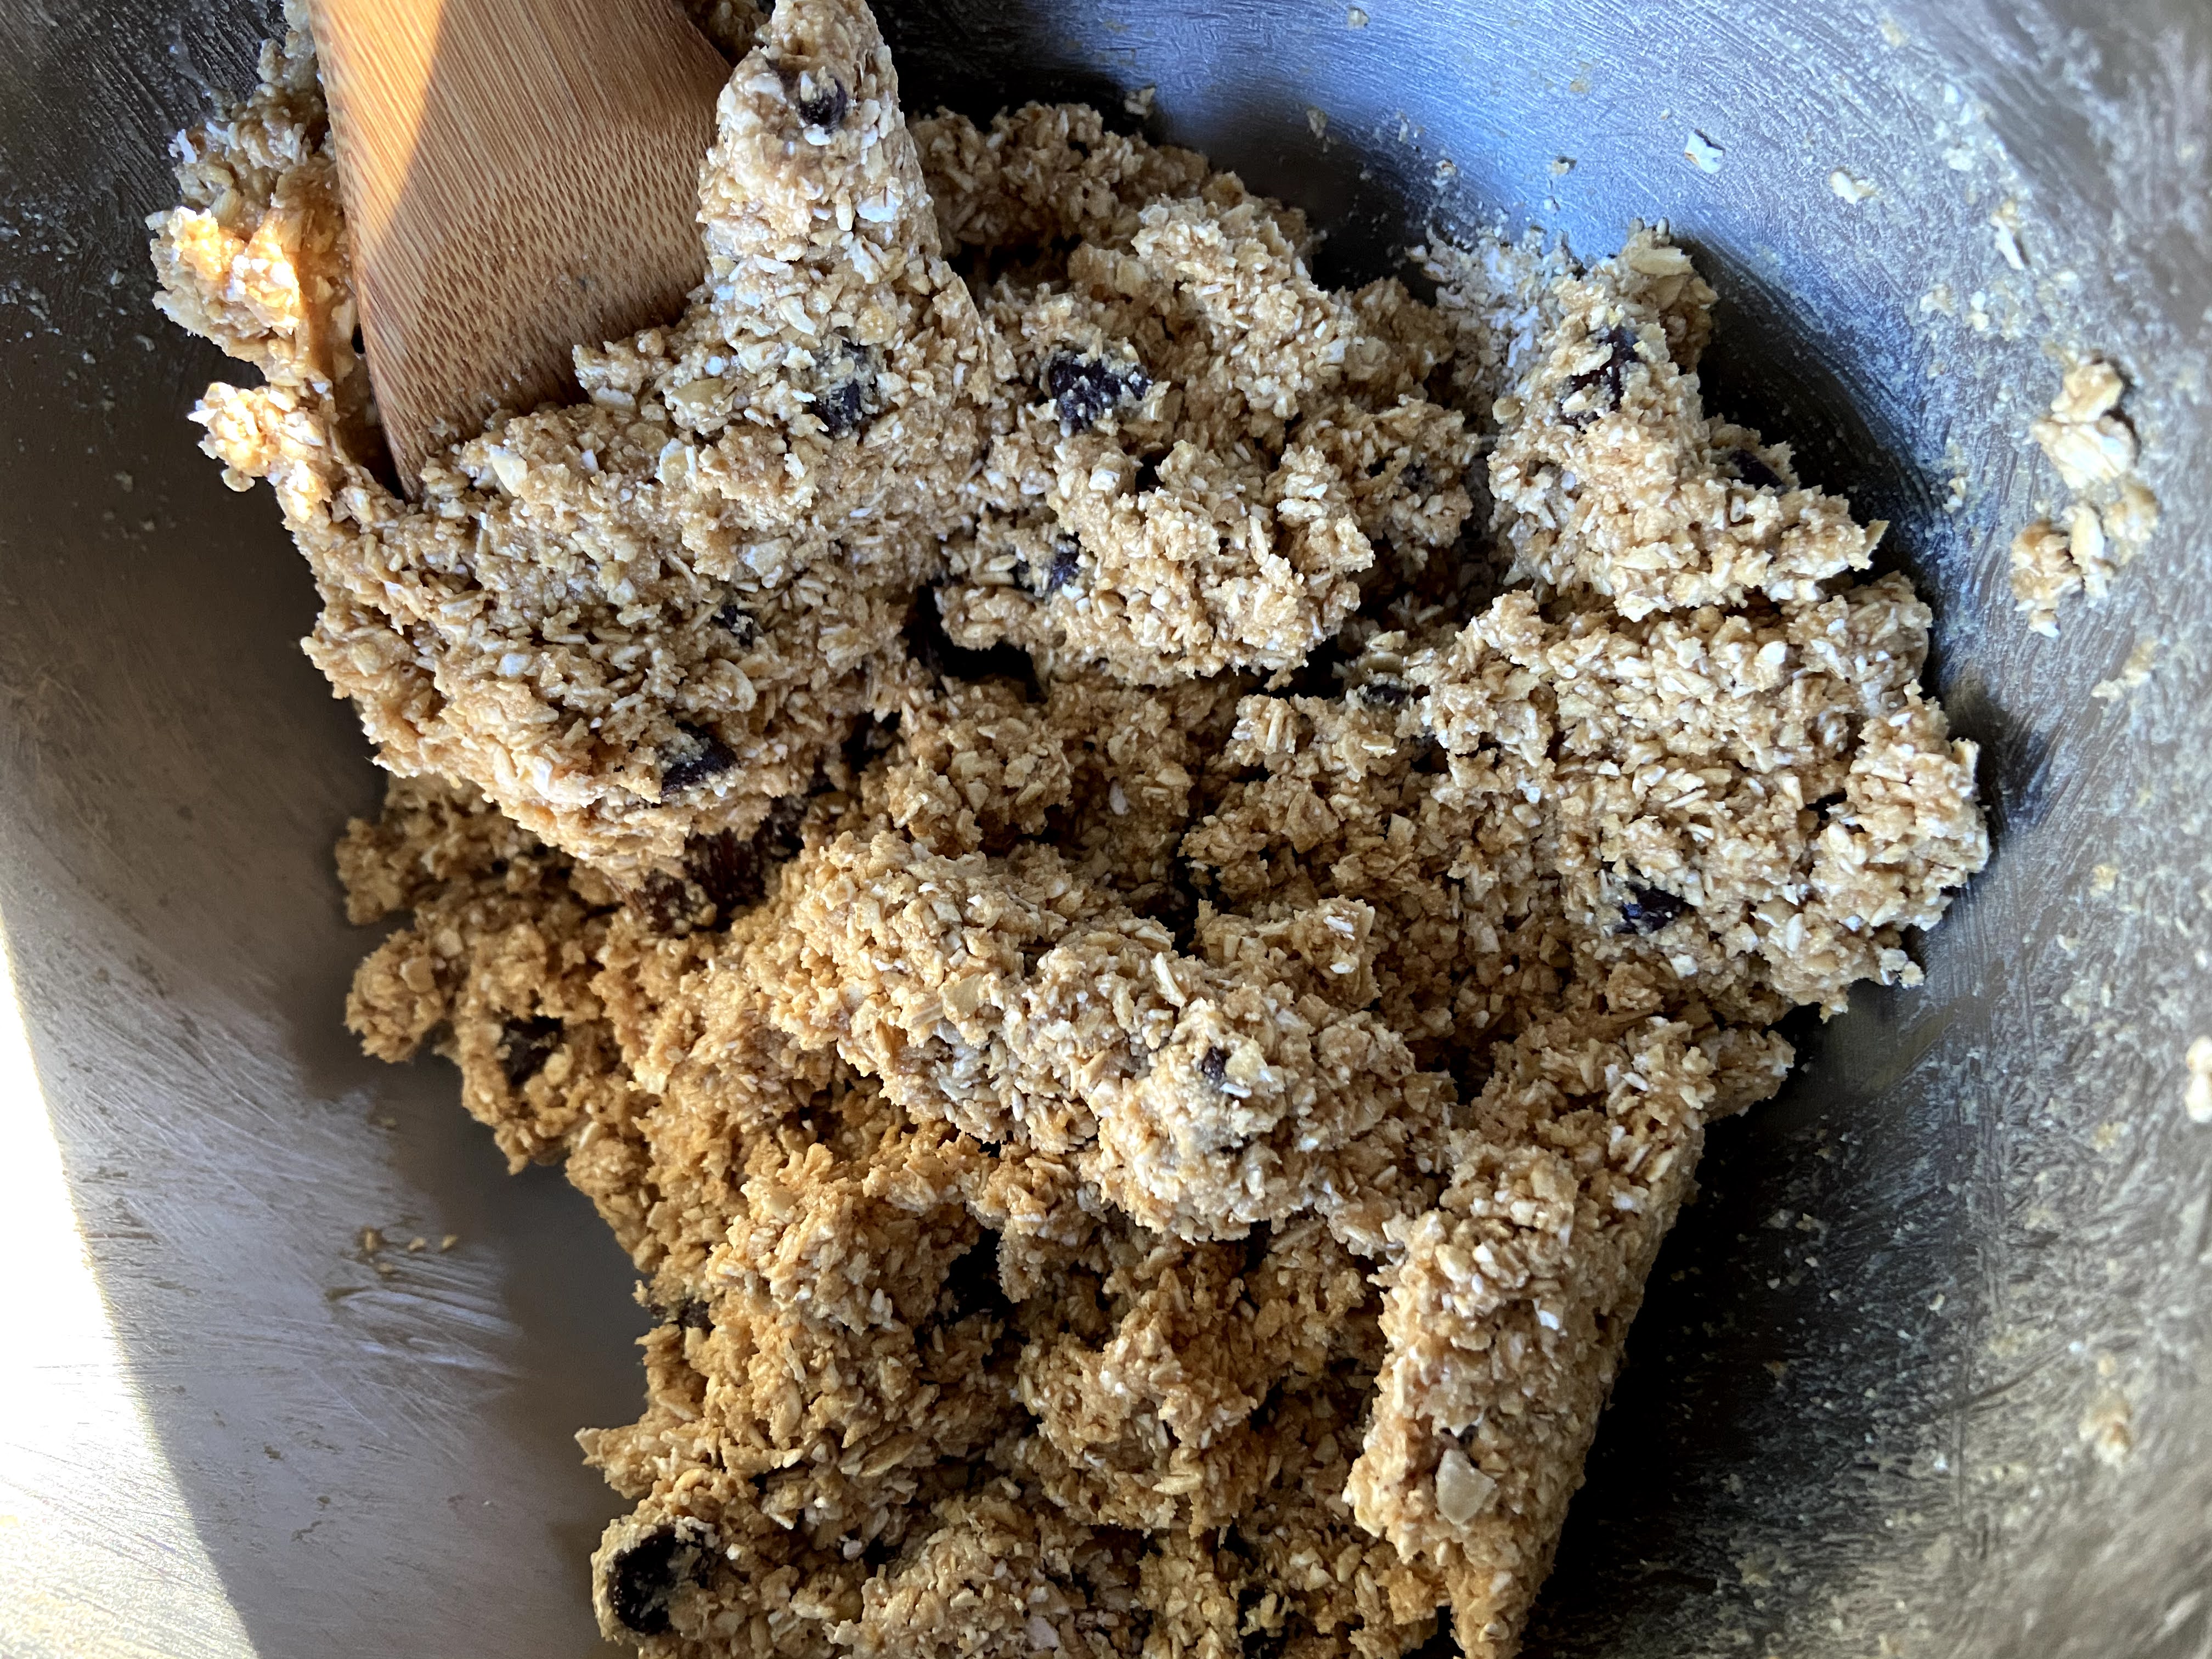
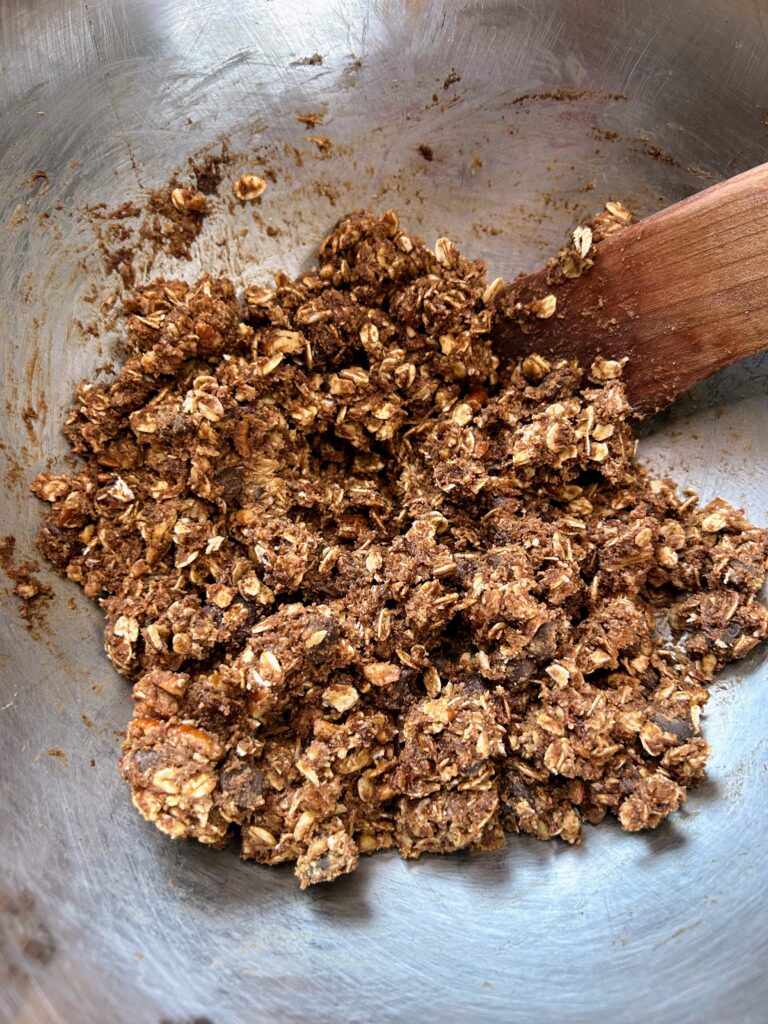
In a large bowl, combine oats, cocoa powder, malt powder, flaxseed, and salt. Stir to combine. Add the peanut butter, maple syrup, melted coconut oil, chocolate chips, and pecans. Mix well, until all the dry ingredients are incorporated into the wet. 

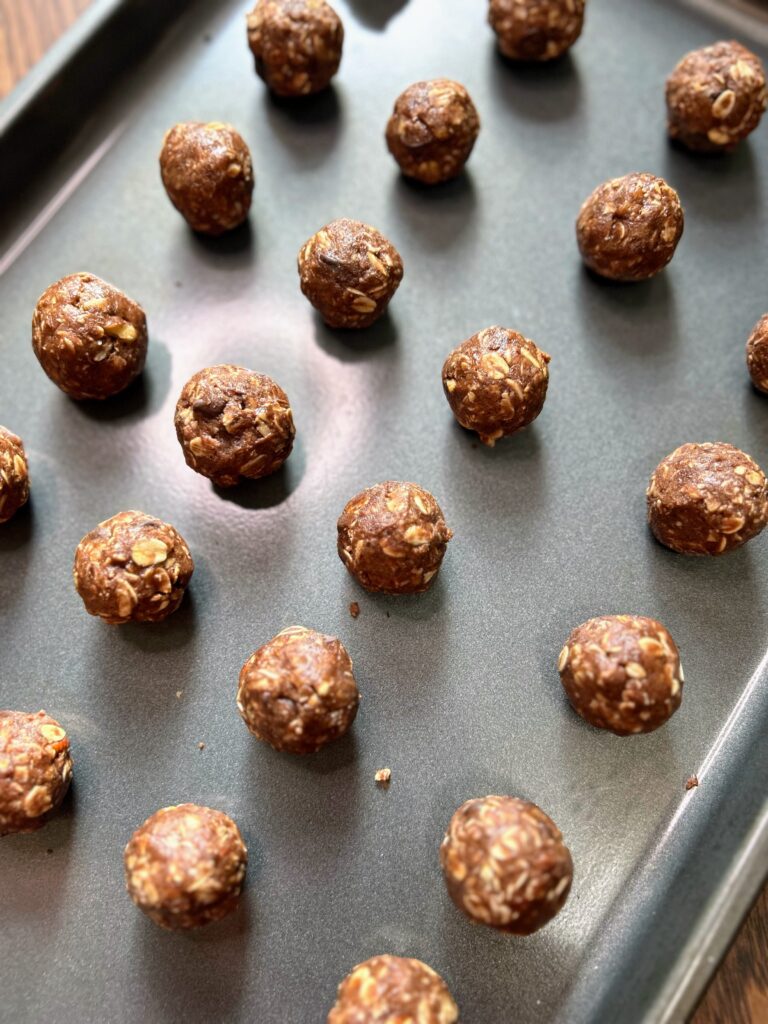
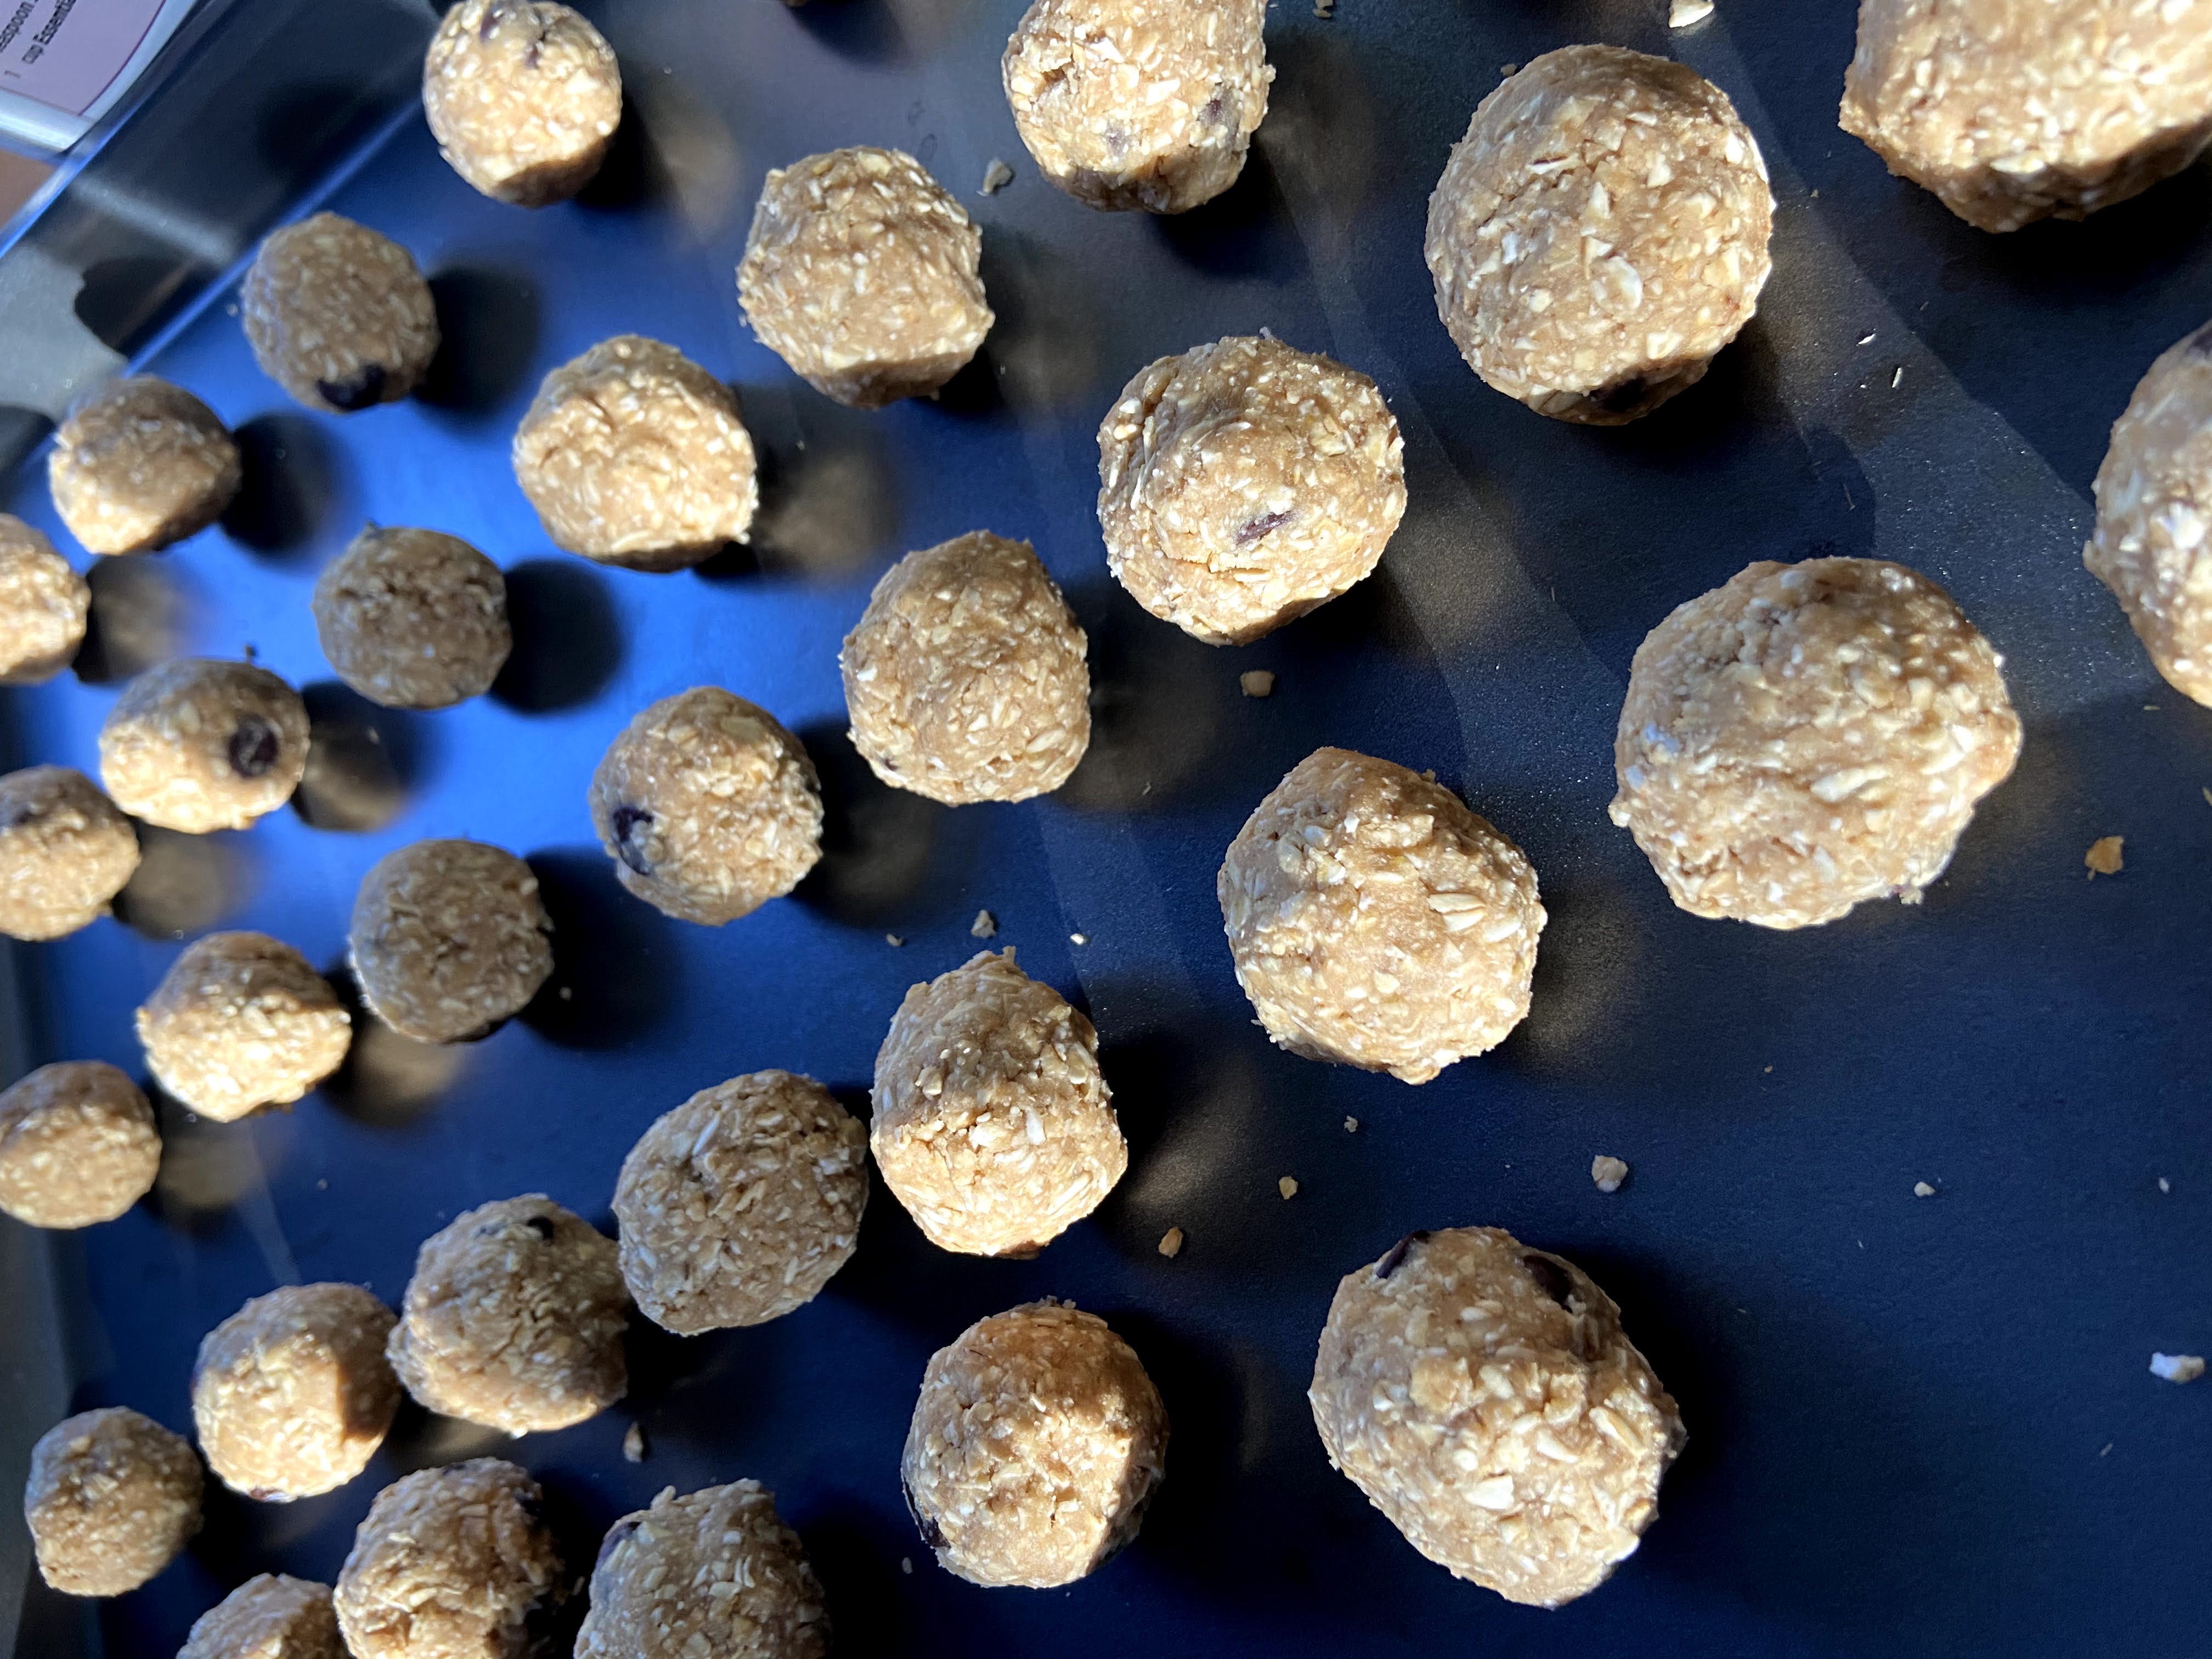
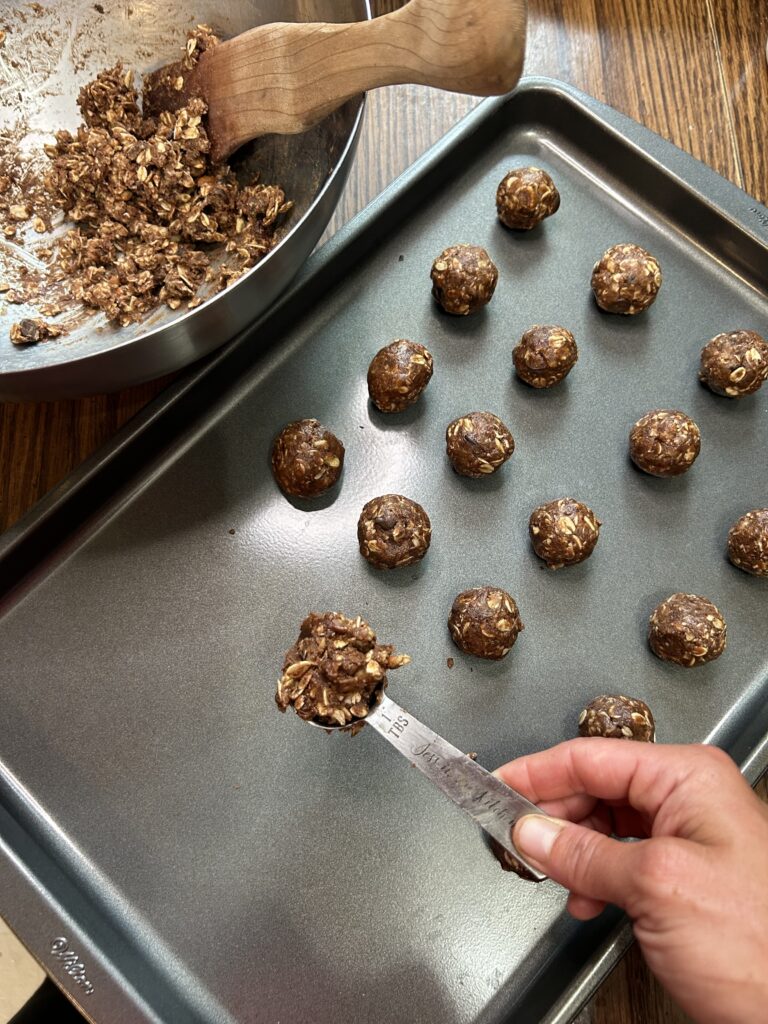
From here, use a rounded tablespoon to scoop mixture and form into a ball. Place on a baking sheet. Chill for 1-2 hours before moving to an airtight container. Store in the refrigerator.
Energy D’Lite Balls

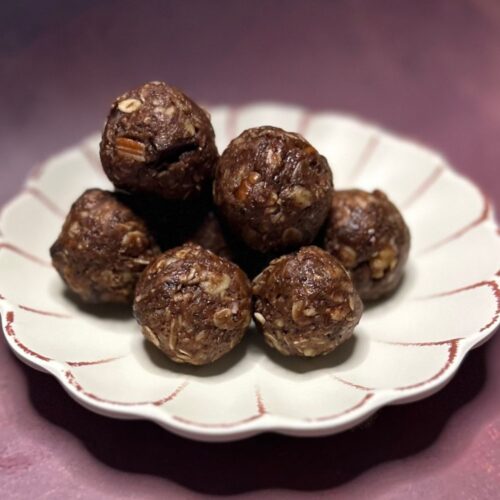
The flavors of a favorite ice cream sundae come together in these Energy D'Lite Balls with chocolate, peanut butter, pecans, and malt powder!
Prep Time 10 minutes
Cook Time 0 minutes
Chill Time 1 hour
Course Snack
Cuisine American
Servings 2 dozen

Ingredients
  

  • 1 cup old fashioned oats
  • 2 tablespoons cocoa powder
  • 2 tablespoons malt powder
  • ¼ cup ground flaxseed
  • Pinch of salt
  • ½ cup creamy peanut butter
  • ¼ cup maple syrup
  • 1 tablespoon coconut oil melted
  • ½ cup chocolate chips
  • ½ cup pecans

Instructions
 

  • In a large bowl, combine oats, cocoa powder, malt powder, flaxseed, and salt. Stir to combine.
  • Add the peanut butter, maple syrup, melted coconut oil, chocolate chips, and pecans.
  • Mix well, until all the dry ingredients are incorporated into the wet.
  • Use a rounded tablespoon to scoop mixture and form into a ball. Place on a baking sheet.
  • Chill for 1-2 hours before moving to an airtight container. Store in the refrigerator.
Keyword after school snacks, chocolate, energy balls, no bake, no bake snacks, oatmeal, snacks
Tried this recipe?Let us know how it was!

Looking for other delicious snacks?

Give one of my favorites a try!
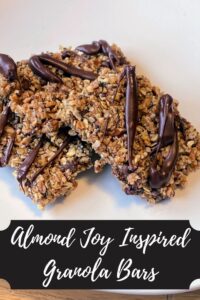
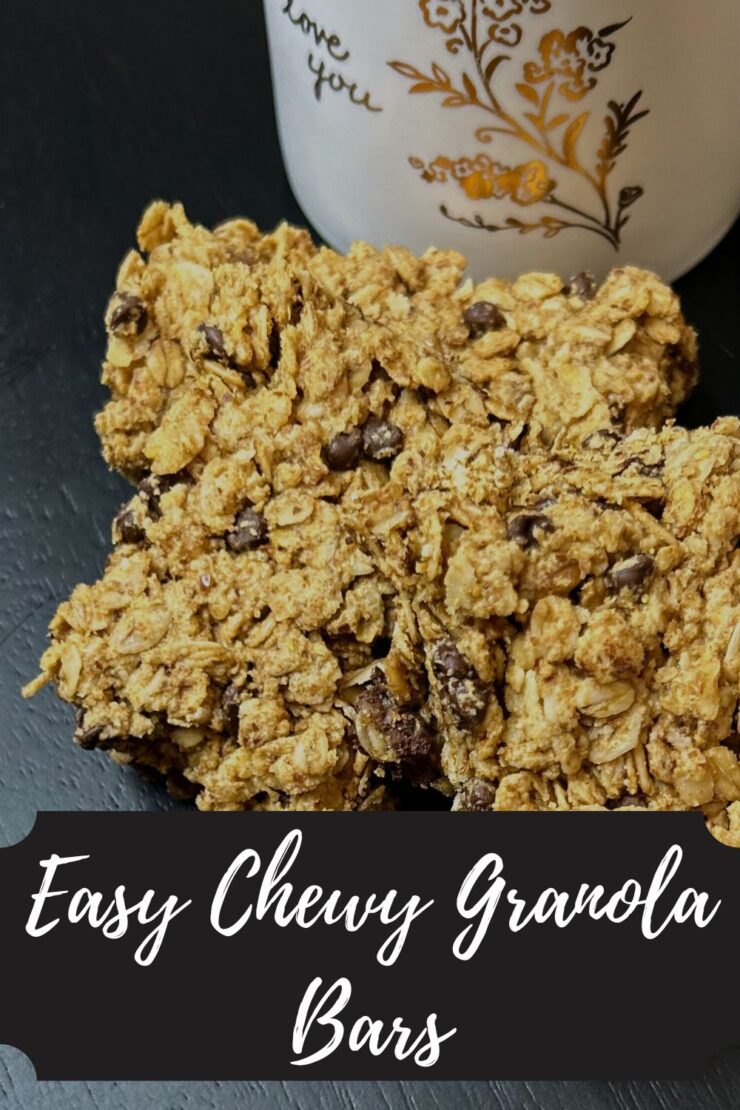
Chewy Granola Bars

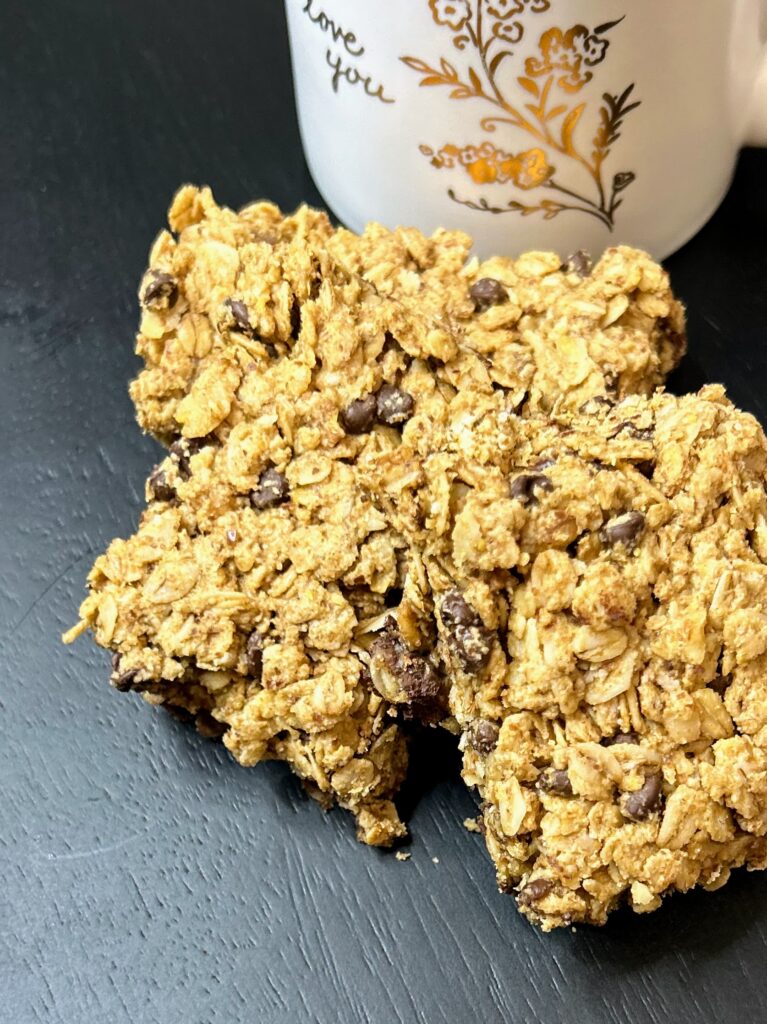
As parents of littles, you think they need all the snacks and have to plan on packing multiple options for them whenever you leave the house. Then you get to teens and pre-teens and suddenly the abundance of snacks you THOUGHT was a lot looks like a drop in the hat compared to what you need for the big kids. My goodness, do we go through the granola bars at our house; so much so that I was inspired to play with the idea of a homemade chewy granola bar. 

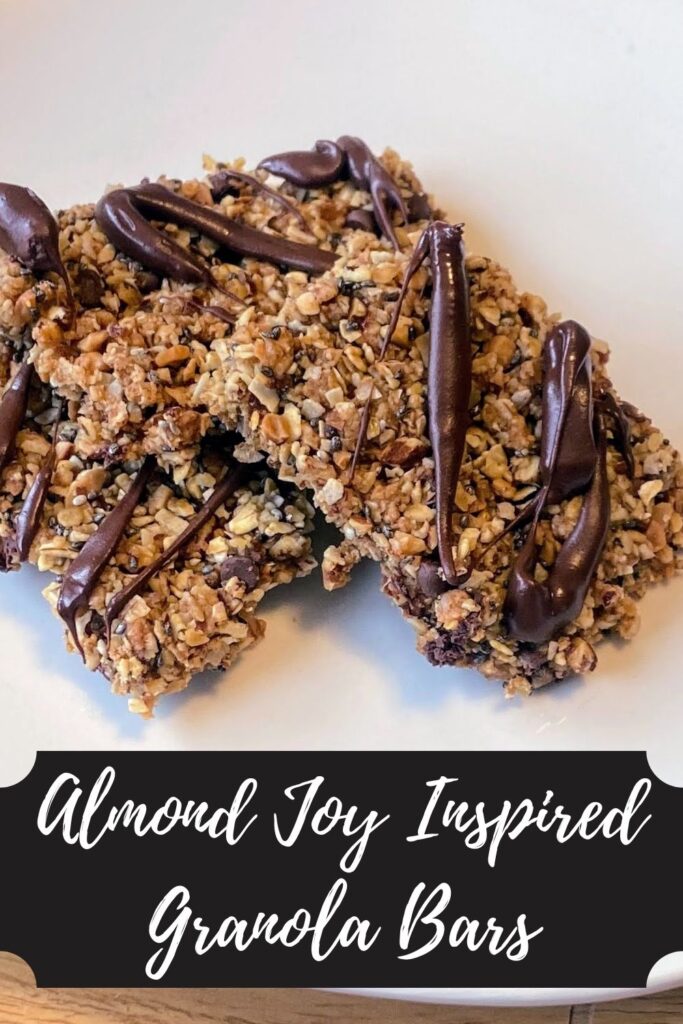
I have a couple other granola bars that I have created (Check out these almond joy bars and simple baked granola bars), but these are more crunchy than not and my kiddos much prefer chewy granola bars. 

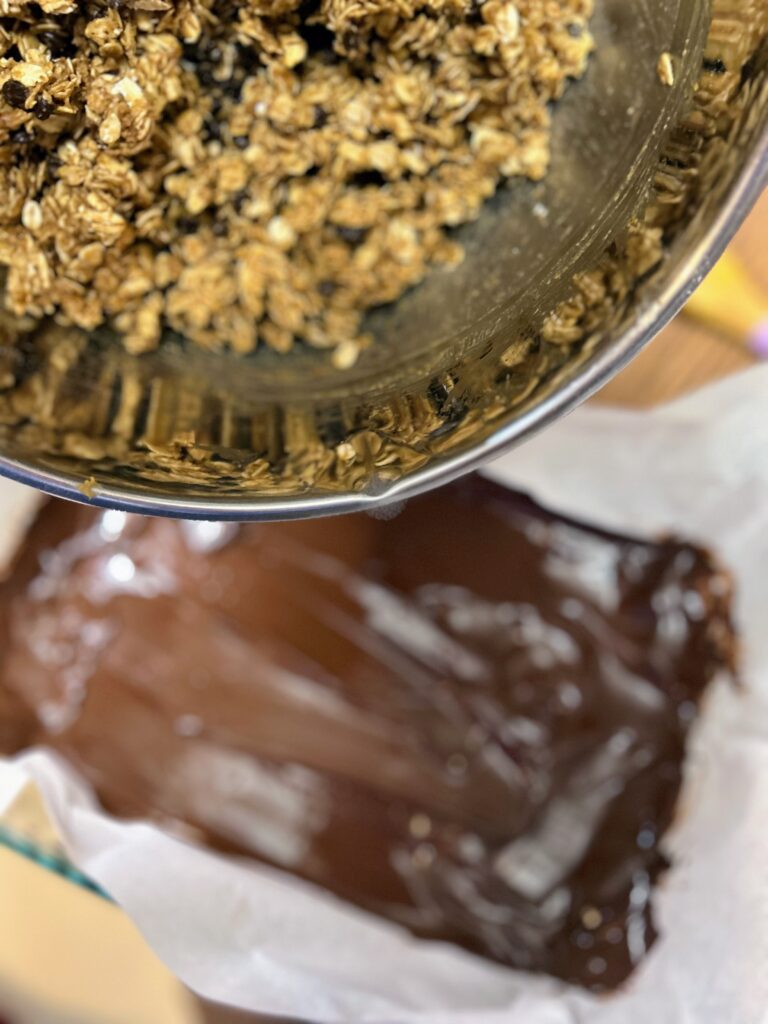
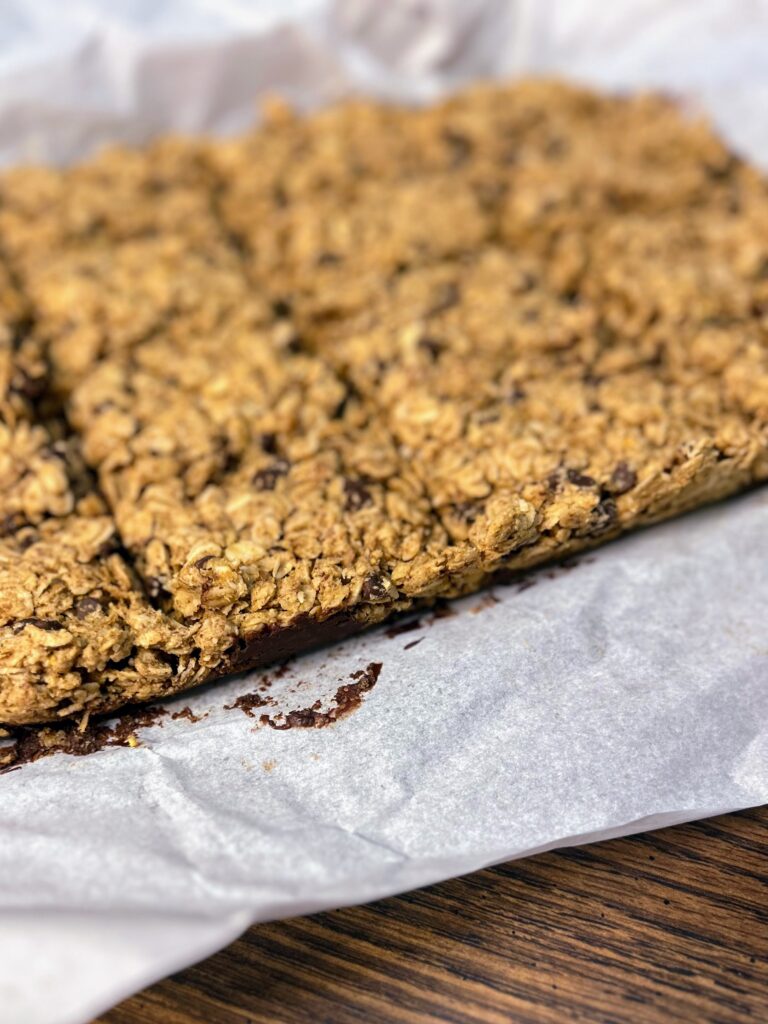
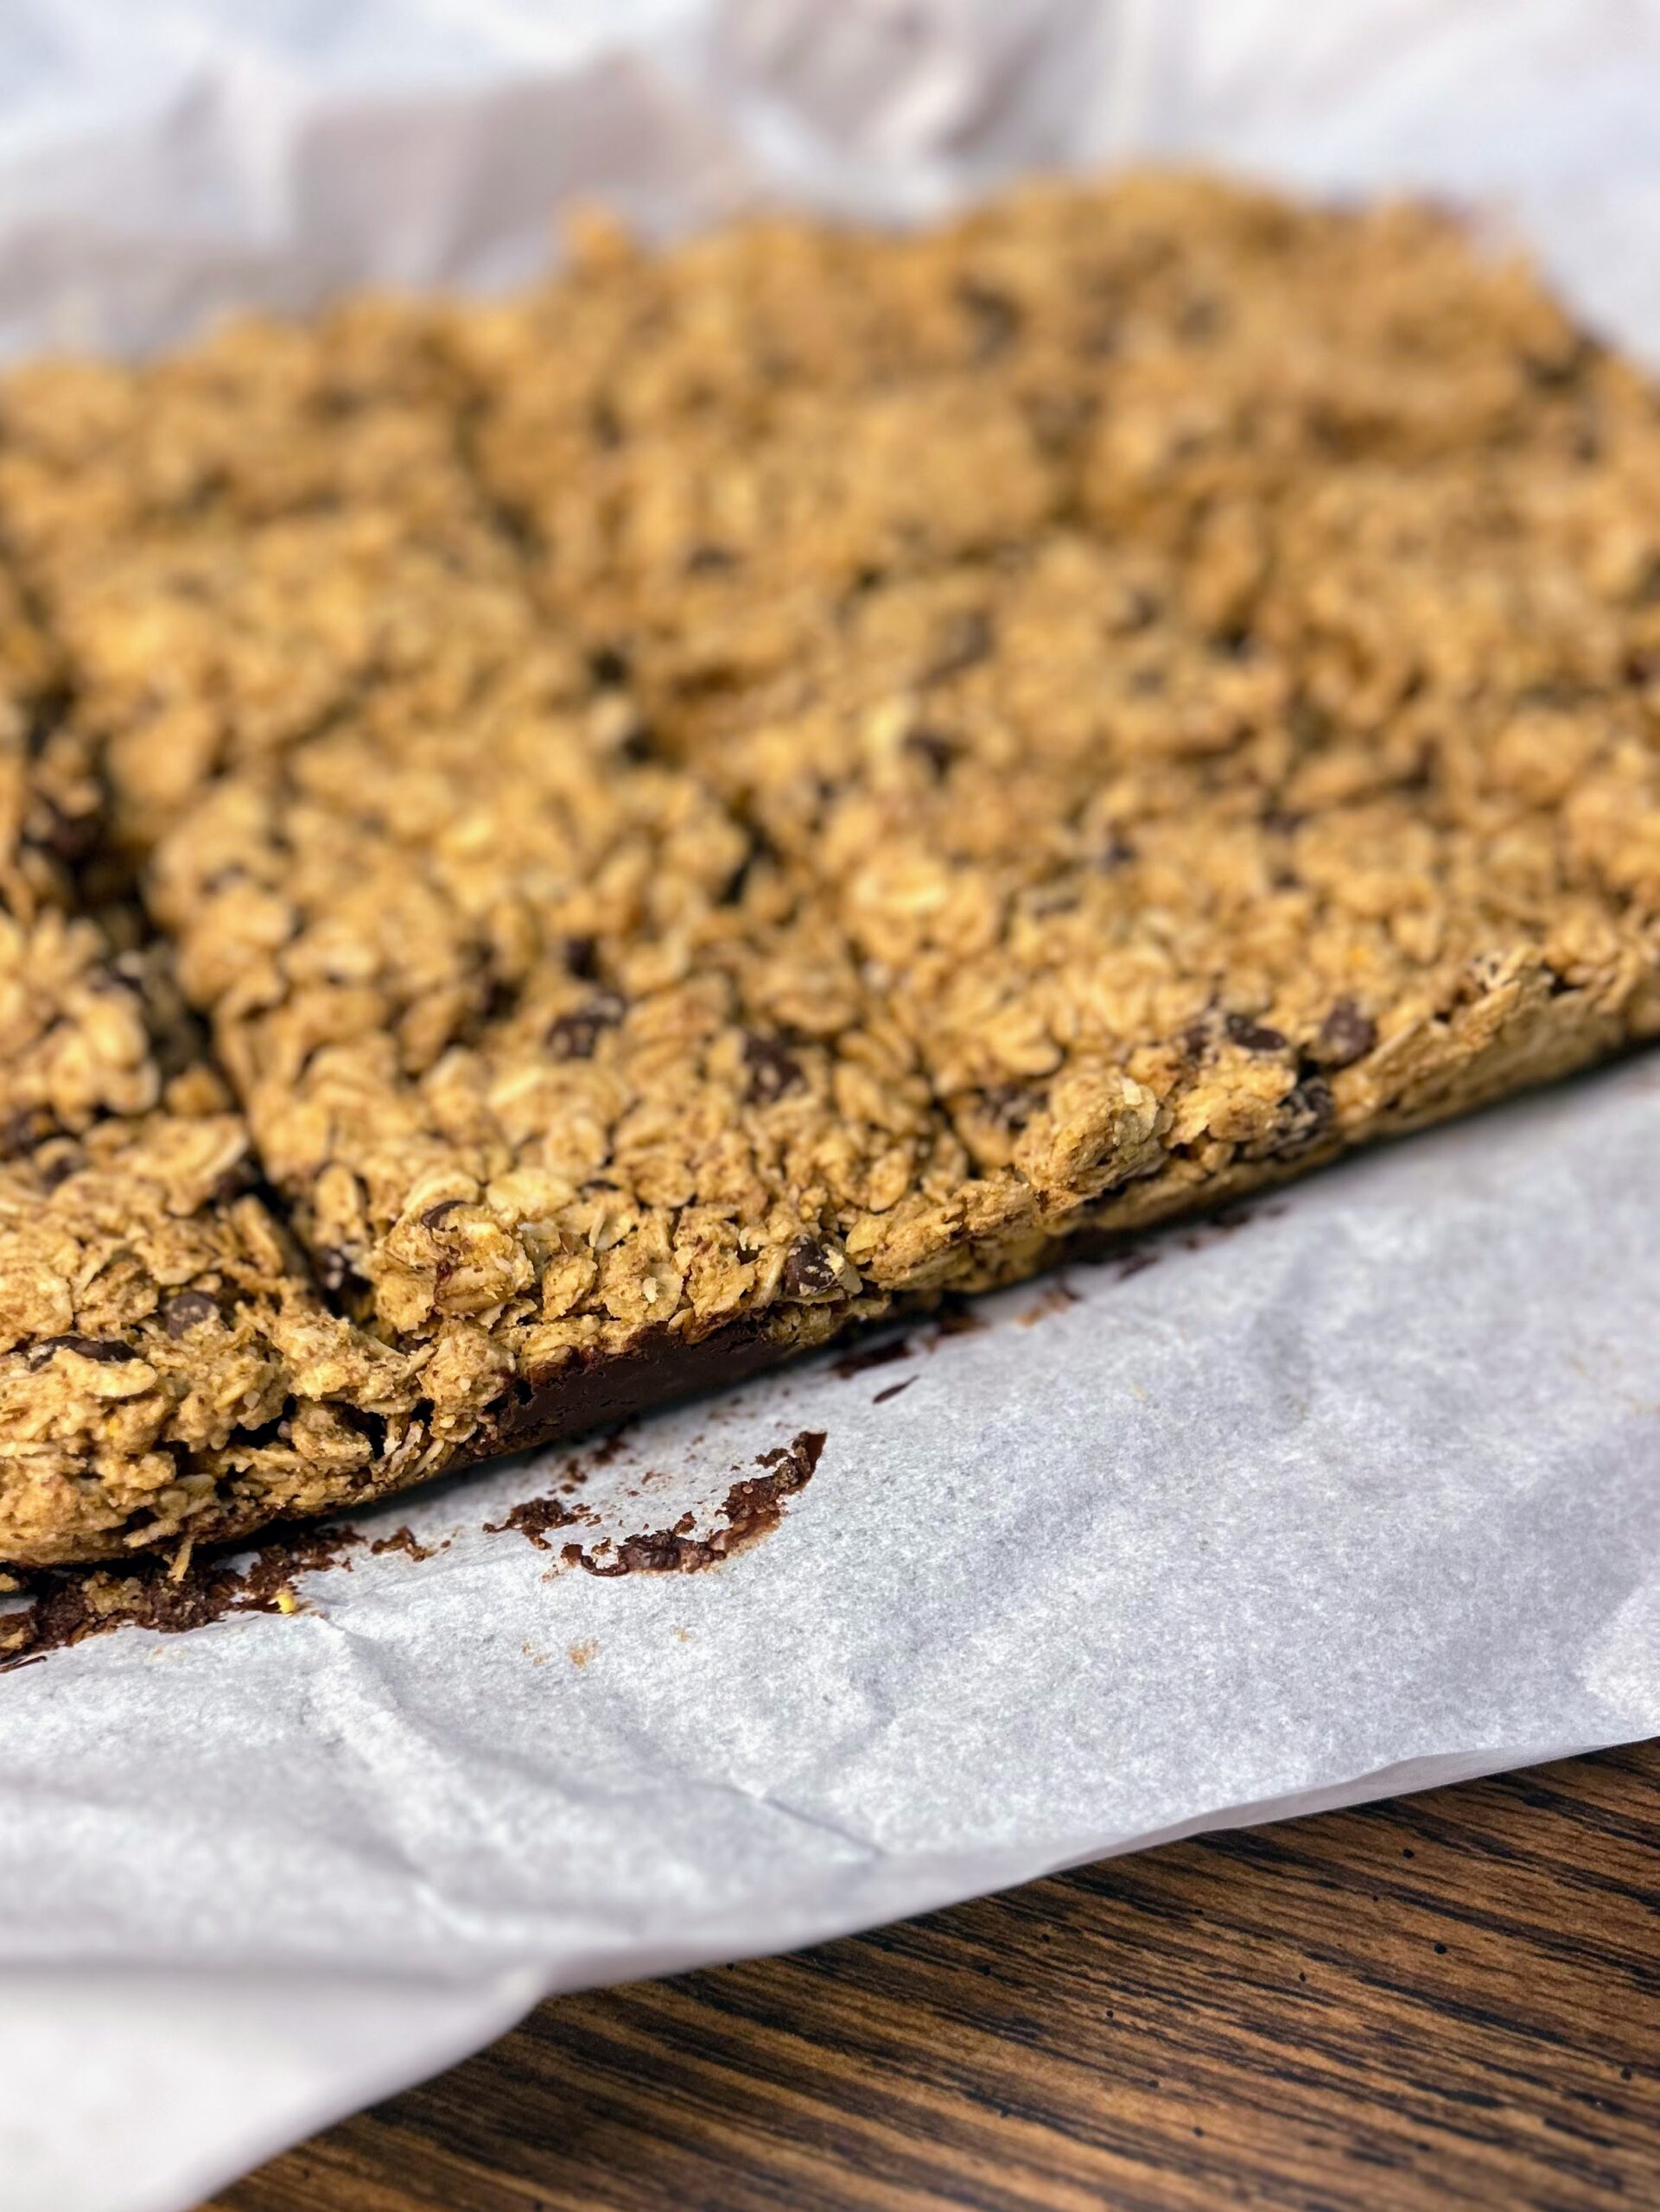
What I think is a secret ingredient/step to these granola bars is the thin layer of dark chocolate spread on the parchment before pressing the bars into the baking pan. When looking at recipes across the Internet, the main complaint of a chewy granola bar is that it doesn’t stay together. This layer of chocolate helps give the little bit of support needed to hold the bars together. And I mean, who doesn’t love a little extra chocolate? 

While these bars are rather thick, you can certainly press them into a larger pan to make them thinner. You may need a bit more melted chocolate than what I have measured here and the baking time will decrease. Bake them a bit too long? They just won’t be chewy anymore, but they will still be delish! 

Let’s start creating! 

Your Ingredients

  • 4 cups old fashioned oats
  • ½ cup whole wheat flour
  • ½ cup flax meal
  • 1 teaspoon baking soda
  • ½ teaspoon salt
  • ¼ cup brown sugar 
  • ½ cup coconut oil
  • ½ cup creamy peanut butter
  • ½ cup maple syrup
  • 1 teaspoon vanilla 
  • ½ cup mini chocolate chips 
  • ⅓ cup chopped nuts
  • ¾ cup dark chocolate chips 
  • ½ tablespoon coconut oil 

Your Steps to Chew Granola Bars

Preheat the oven to 325 degrees F. Prepare a 9 by 13 inch baking dish by spraying with non-stick cooking spray and then lining with parchment paper (or foil, but then spray the foil with cooking spray as well). Set aside. 

In a large mixing bowl, combine the oats, flour, brown sugar, flax meal, baking soda, and salt. 

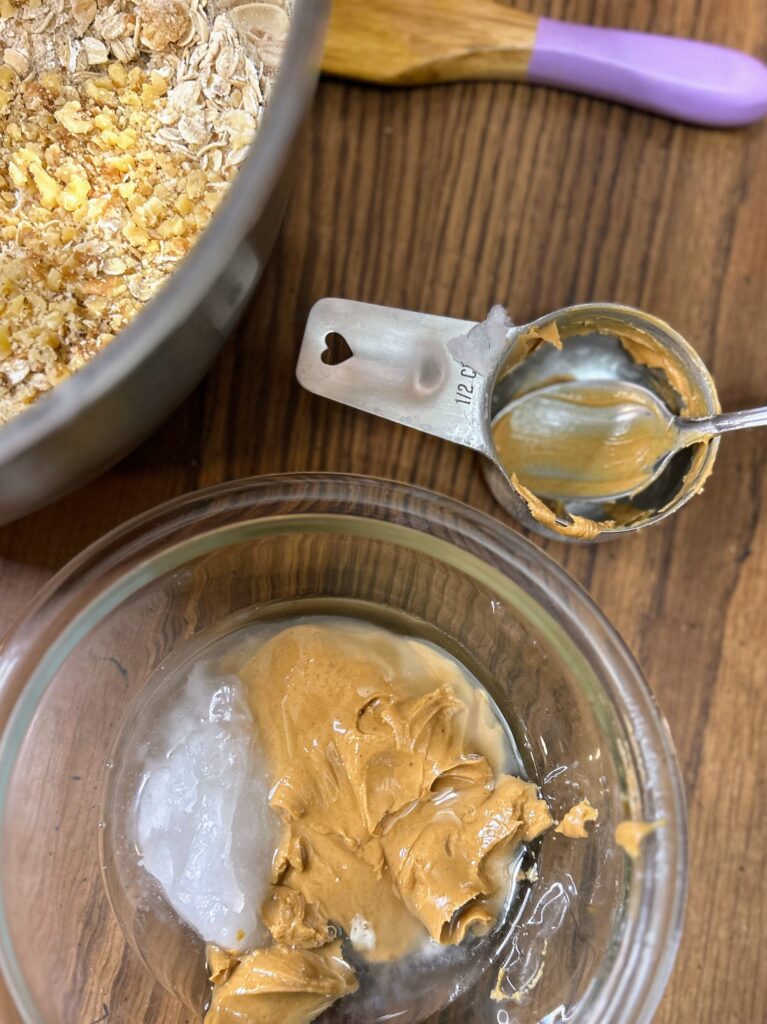
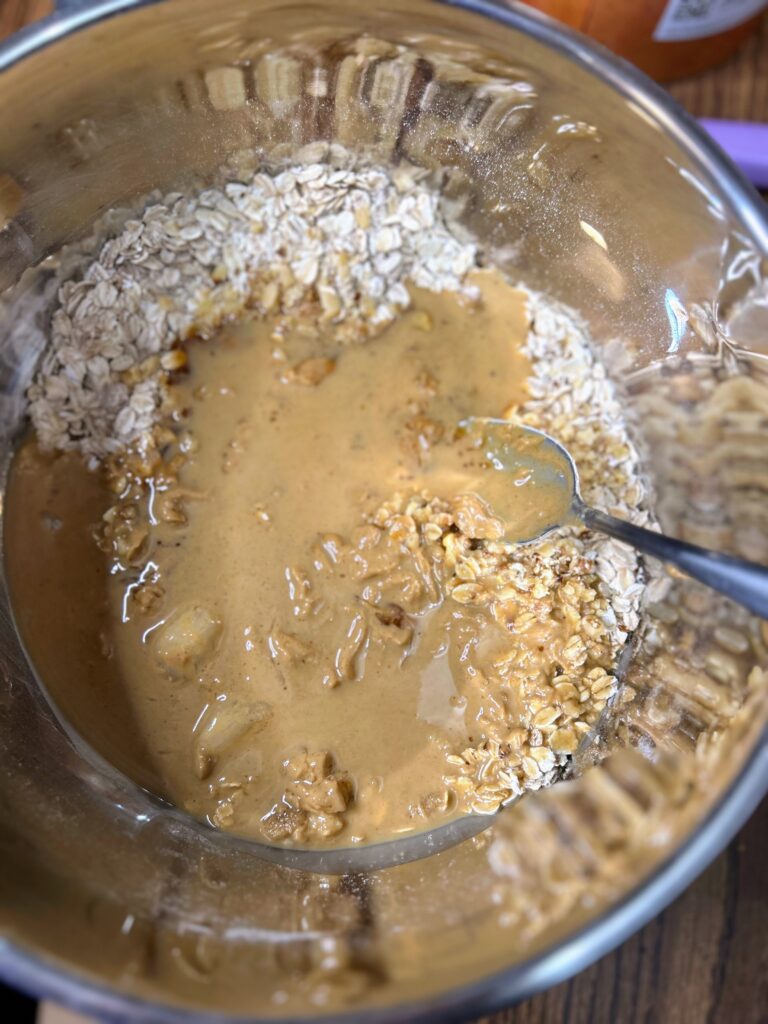
Combine the ½ cup coconut oil and peanut butter in a small bowl. Microwave for 30 seconds or so, just to melt it when you stir to combine. Stir in the maple syrup and vanilla. Pour into the dry mixture and stir well to fully combine. Add the mini chocolate chips and chopped nuts. Stir once more. 

In a small bowl, add the dark chocolate chips and ½ tablespoon coconut oil. Place in the microwave and heat in 30 second increments, stirring in between, until melted. Use a spatula to spread the chocolate in the prepared pan, bringing the chocolate up the sides about ½ inch or so. 

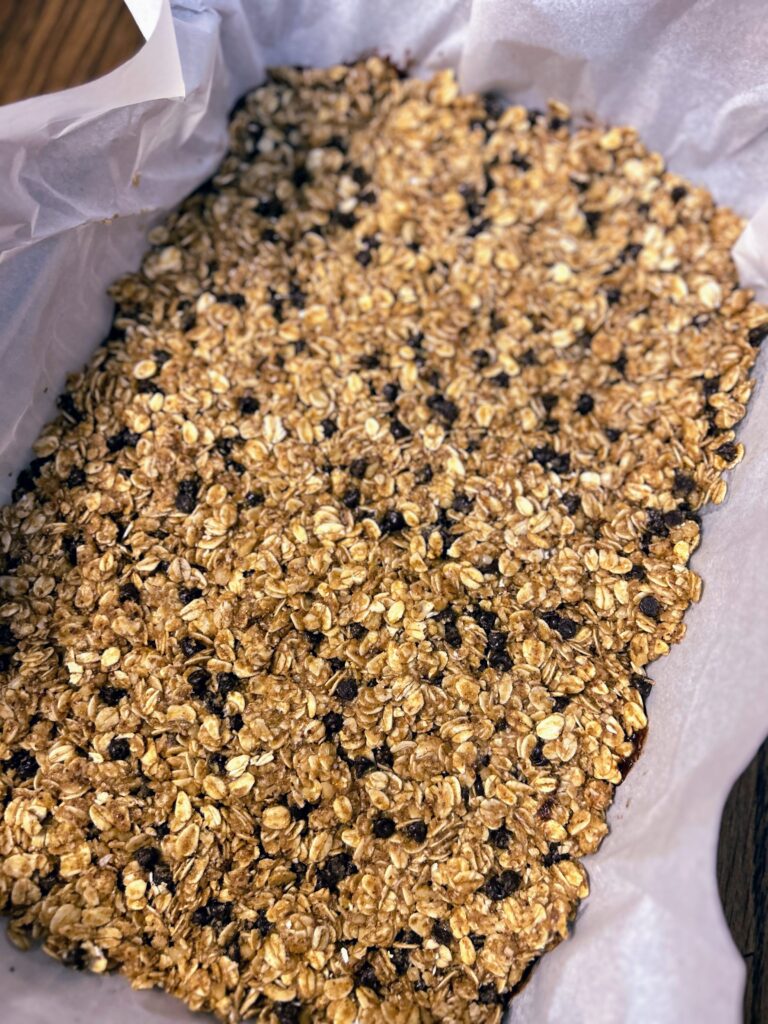
Press the oatmeal mixture into the pan, making sure to be firm doing so. Bake in the preheated oven for 18-20 minutes. Be sure to cut into the bars as soon as they come out of the oven. I like to do this with a bench scraper (like this one!). Allow to cool and then cut into bars once more. 

The parchment paper allows you to pull all the bars out of the pan.  This will help prevent them from breaking apart. Store at room temperature in an airtight container.

Chewy Granola Bars

These quick to come together chewy granola bars are perfect as a snack between meals, after school, or for busy individuals on the go!
Prep Time 10 minutes
Cook Time 18 minutes
Course Breakfast, Snacks
Cuisine American
Servings 12 bars

Ingredients
  

  • 4 cups old fashioned oats
  • ½ cup whole wheat flour
  • ½ cup flax meal
  • 1 teaspoon baking soda
  • ½ teaspoon salt
  • ¼ cup brown sugar
  • ½ cup coconut oil
  • ½ cup creamy peanut butter
  • ½ cup maple syrup
  • 1 teaspoon vanilla
  • ½ cup mini chocolate chips
  • cup chopped nuts
  • ¾ cup dark chocolate chips
  • ½ tablespoon coconut oil

Instructions
 

  • Preheat the oven to 325 degrees F. Prepare a 9 by 13 inch baking dish by spraying with non-stick cooking spray and then lining with parchment paper (or foil, but then spray the foil with cooking spray as well). Set aside.
  • In a large mixing bowl, combine the oats, flour, brown sugar, flax meal, baking soda, and salt.
  • Combine the ½ cup coconut oil and peanut butter in a small bowl. Microwave for 30 seconds or so, just to melt it when you stir to combine. Stir in the maple syrup and vanilla. Pour into the dry mixture and stir well to fully combine. Add the mini chocolate chips and chopped nuts. Stir once more.
  • In a small bowl, add the dark chocolate chips and ½ tablespoon coconut oil. Place in the microwave and heat in 30 second increments, stirring in between, until melted. Use a spatula to spread the chocolate in the prepared pan, bringing the chocolate up the sides about ½ inch or so.
  • Press the oatmeal mixture into the pan, making sure to be firm doing so. Bake in the preheated oven for 18-20 minutes. Be sure to cut into the bars as soon as they come out of the oven. I like to do this with a bench scraper (like this one!). Allow to cool and then cut into bars once more.
  • The parchment paper allows you to pull all the bars out of the pan. This will help prevent them from breaking apart. Store at room temperature in an airtight container.
Keyword chocolate, chocolate and peanut butter, granola bar, granola bars, homemade granola bars, oatmeal, peanut butter
Tried this recipe?Let us know how it was!

Looking for other after school snacks?

Let me give you a few recommendations of favorites around our house!

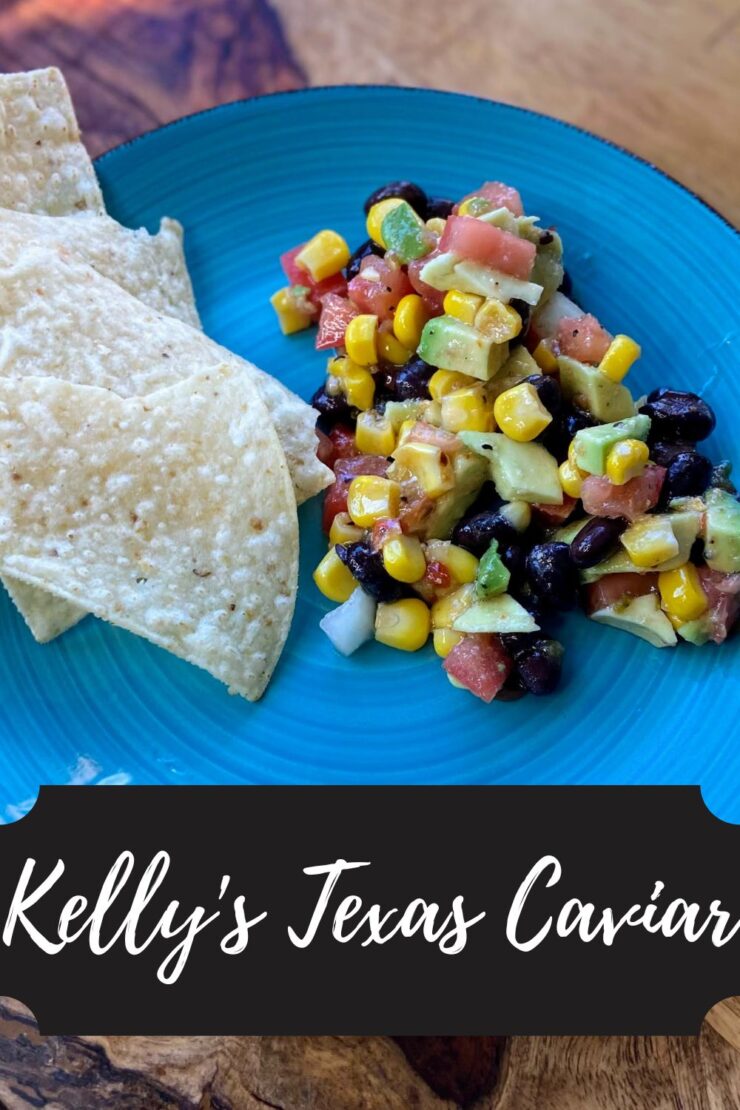
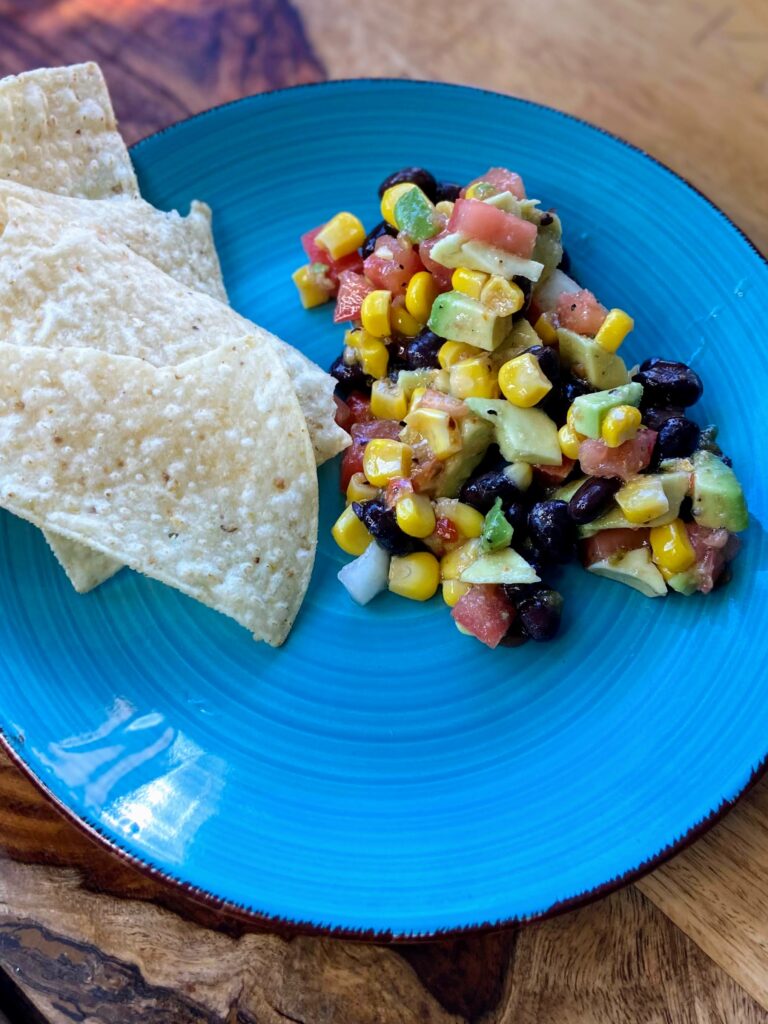
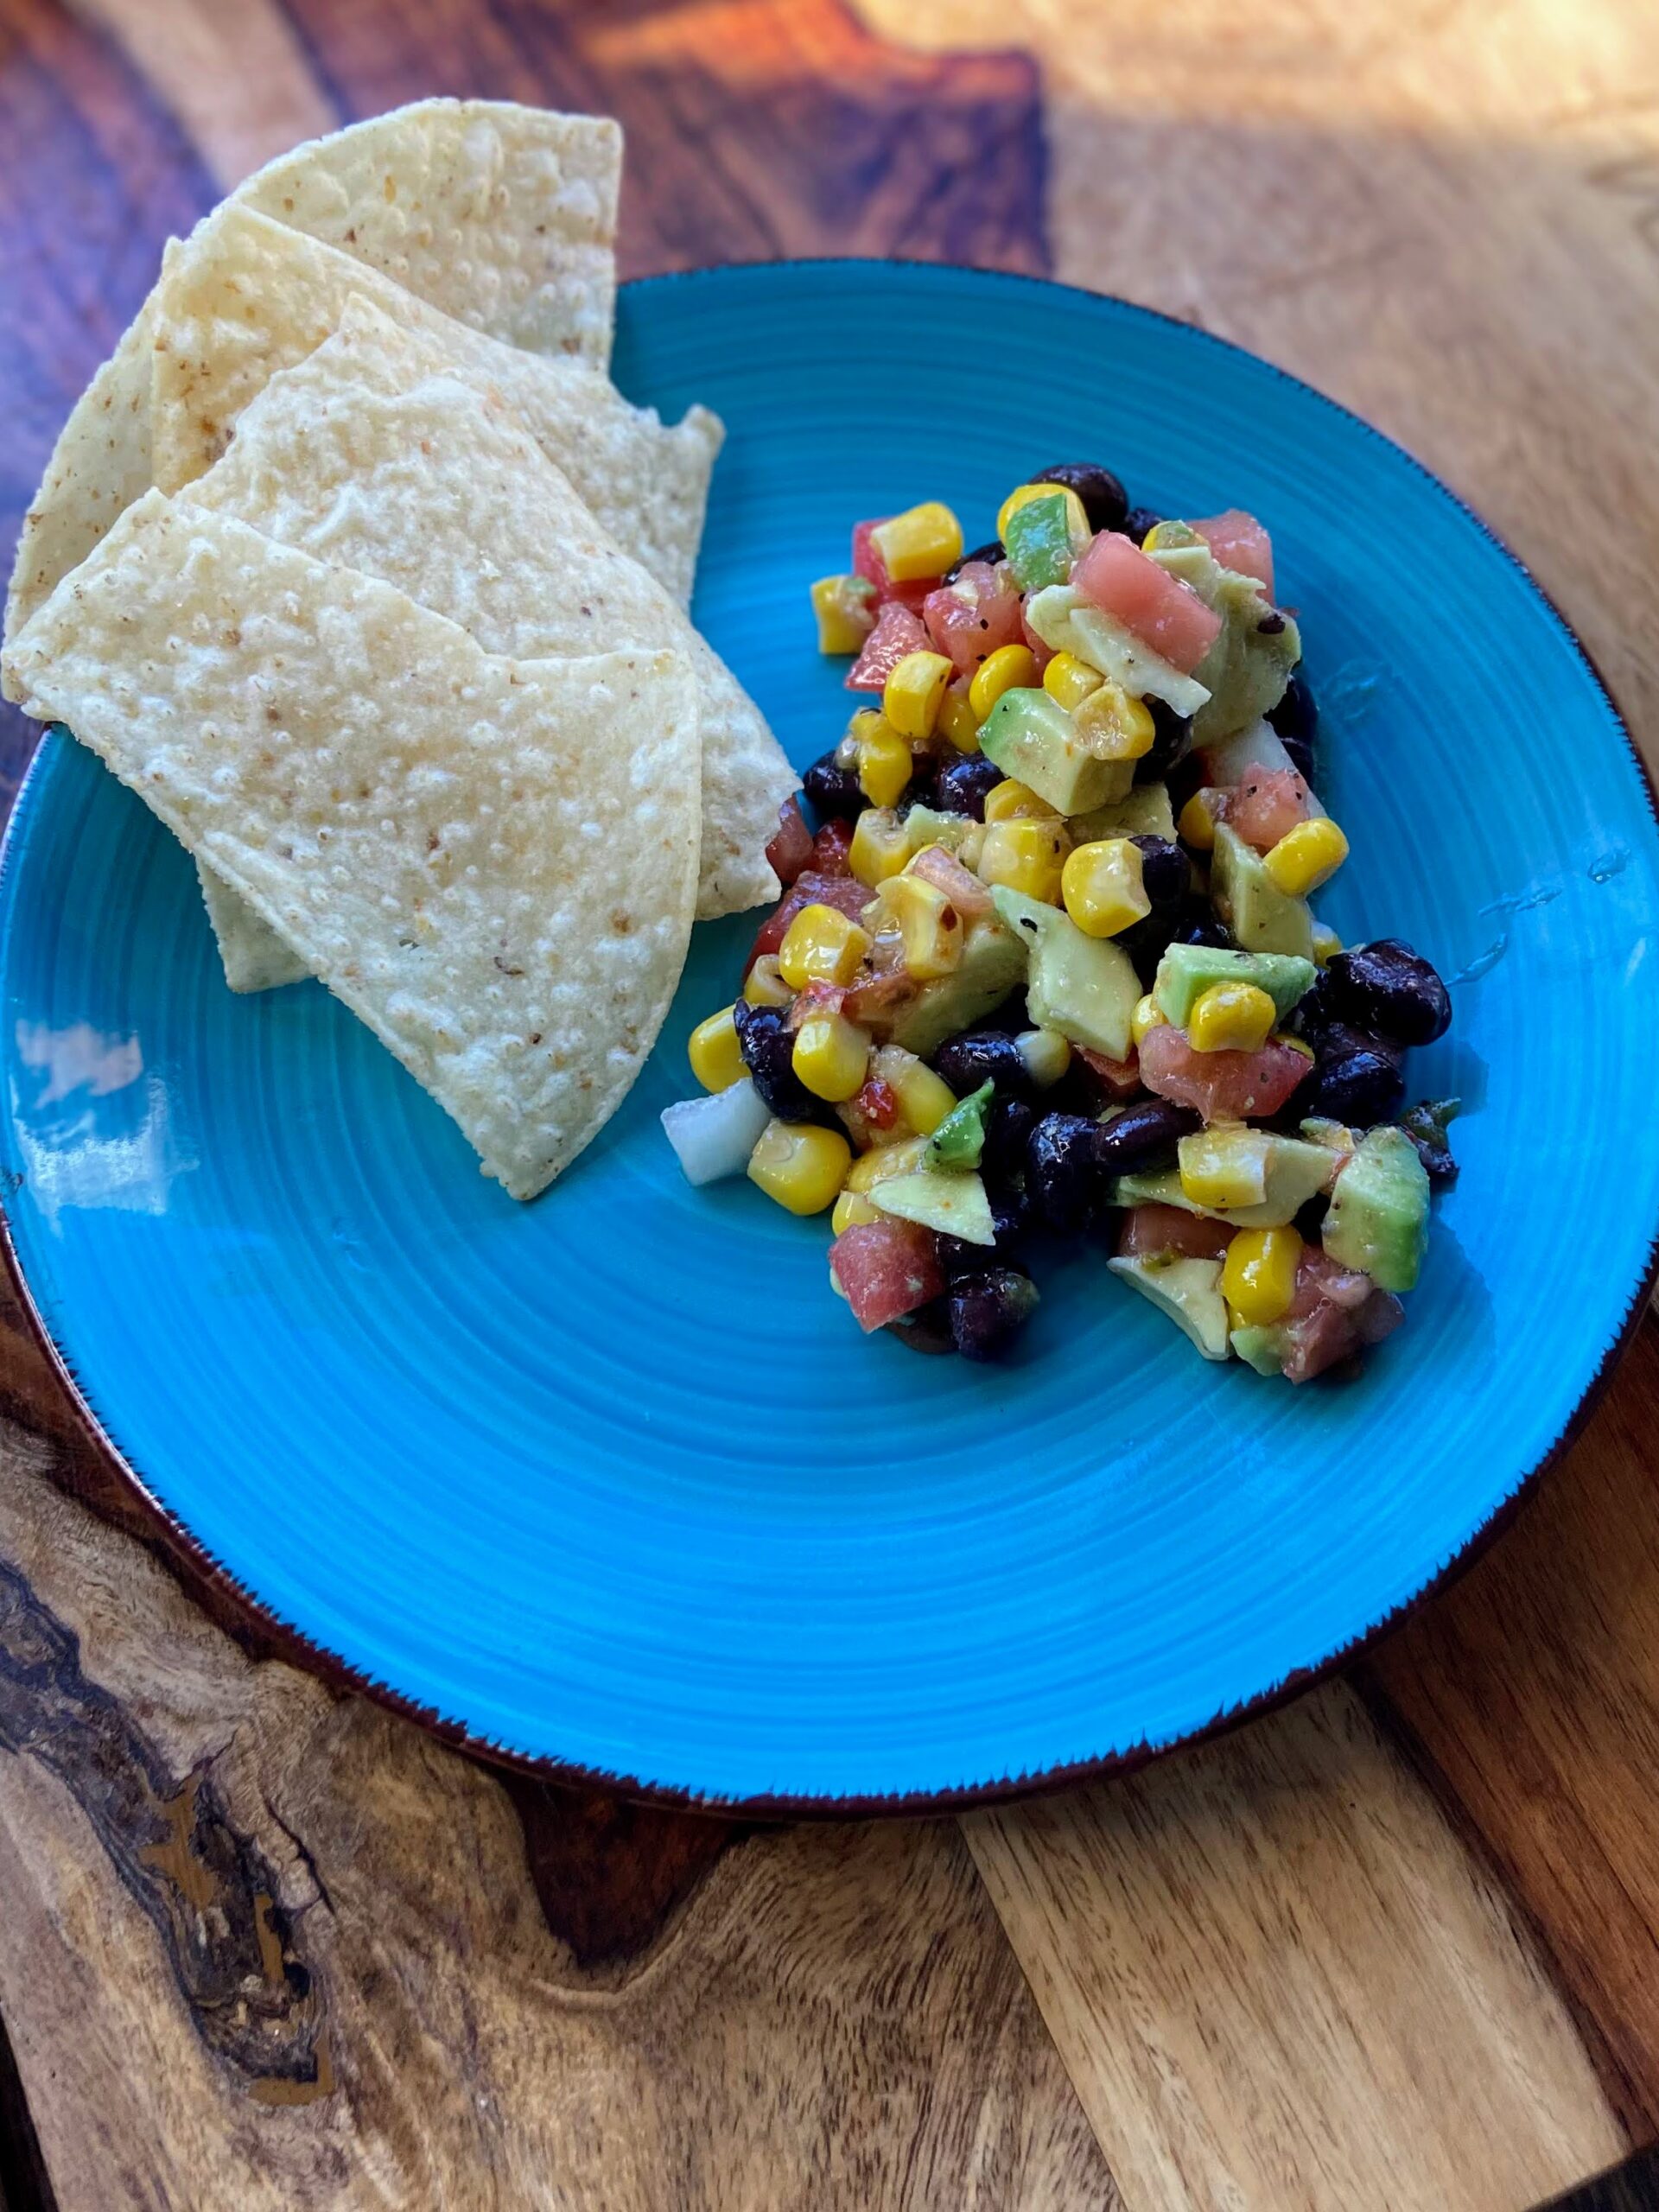
Kelly’s Texas Caviar

What’s your go-to “I have to bring a dish to pass” dish that you can do without opening a cookbook or look at the recipe? For as long as I can remember, my sister has been bringing Texas Caviar. She brings it so often, she had started worrying that people didn’t actually like it and she should maybe stop bringing it. At about that time, my big kiddo asked her, “Aunty, can I please have the Texas Caviar recipe? I want to be able to make it at home.” 

Needless to say, she learned that we weren’t tired of it at all. And after that weekend, I think we mixed up a batch at our home three or four weekends in a row. Now I think I have the recipe memorized too!

What I love about Texas Caviar is that it is truly a side dish I can feel really good about eating. It is chuck full of vegetables and although it is generally served with chips, it’s easy to load those chips with the dip. It also eats well as a simple side without the chips. 

So when it’s been a crazy month of prepping for the holidays and time for recipe creation has been minimal, I asked my sissy if I could share her take on Texas Caviar. This weekend seemed a perfect weekend to share it as the holidays ramp up and you either

  1. Need to add more vegetables in your diet because man, the sweets and indulgence are catching up to you and sneaking some veggies in would help. Or…
  2. You have a party you get to bring a side to but your inspiration is less than stellar.

Let me tell you, Texas Caviar is THE choice for one (or both!) of those. 

Ready to create together? Let’s Go!

Your Ingredients 

  • 14 ounces Mexicorn, drained
  • 1 can low sodium black beans, drained and rinsed
  • 2 avocados
  • 4 Roma tomatoes
  • 1 medium onion
  • 1 package dry Italian dressing mix
  • ⅓ cup olive oil
  • ⅓ cup red wine vinegar 

Your Steps to Texas Caviar 

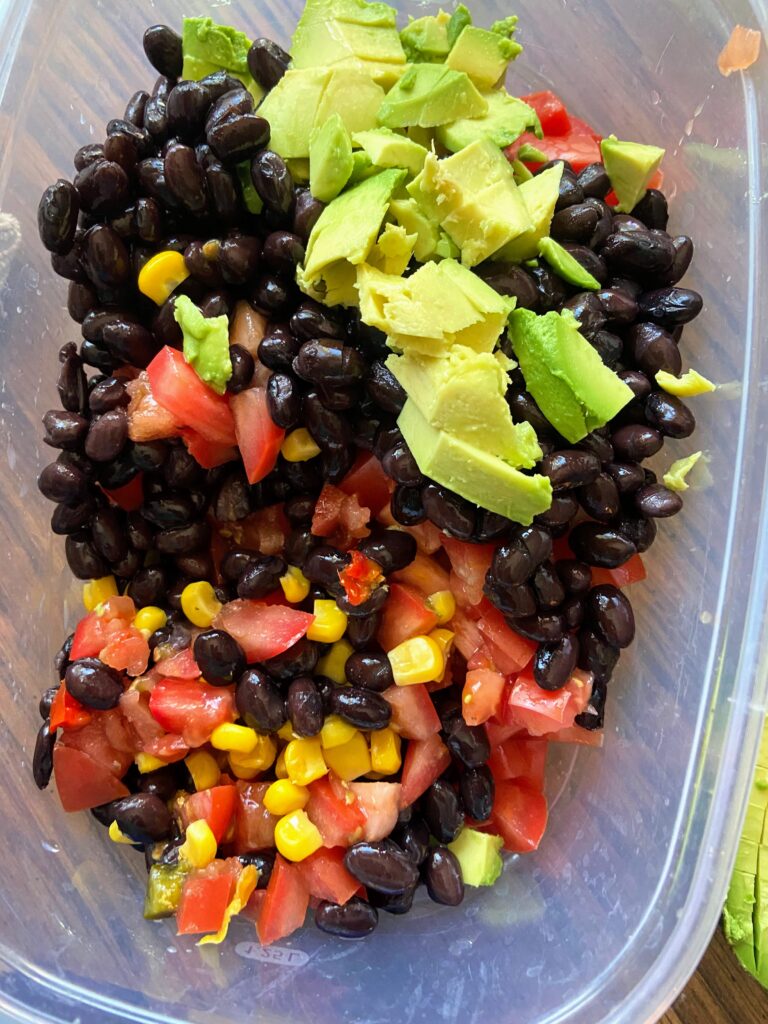
Dice the avocados, Roma tomatoes, and onion. In a large bowl, combine corn, black beans, avocado, tomato, and onion. Stir well. 

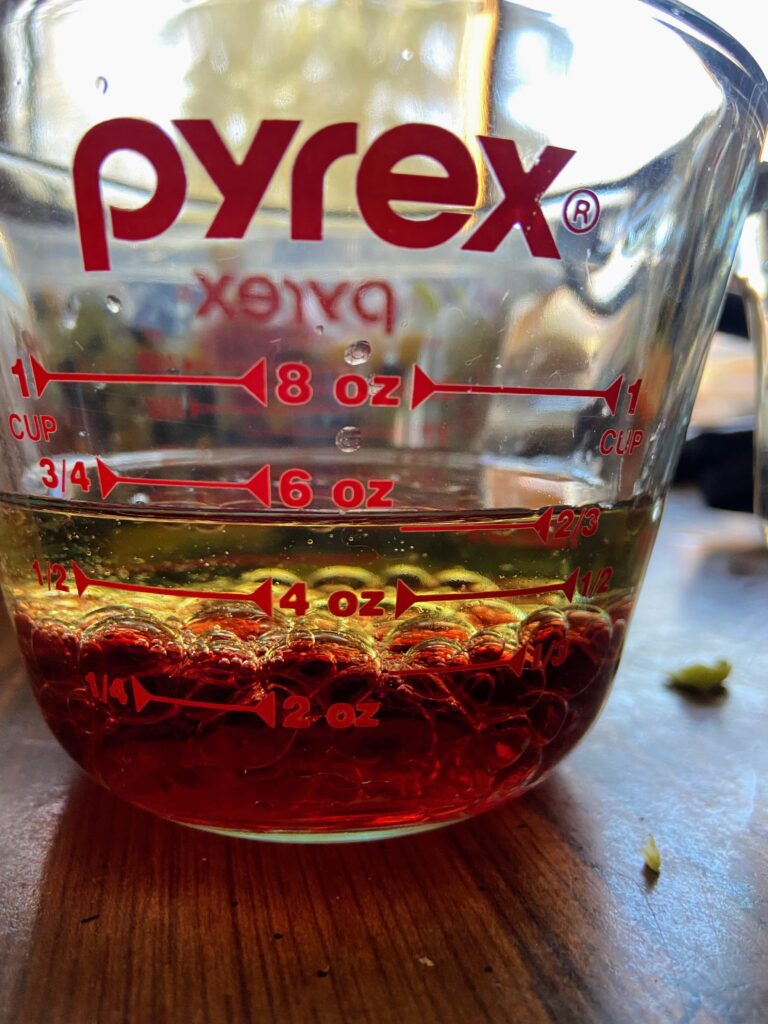
In a small bowl, combine dressing mix, olive oil, and red wine vinegar. Whisk together and promptly pour over the vegetable mixture. Stir well. The dip is best if it is allowed to chill and marinate for an hour or so, but can be eaten immediately. Good luck waiting. I never can!

Kelly’s Texas Caviar

Just eight ingredients and about ten minutes of work and you’ll have a great, fresh flavorful dip or side dish with this Texas Caviar.
5 from 1 vote
Prep Time 10 minutes
Cook Time 0 minutes
Course Appetizer
Cuisine American
Servings 8

Ingredients
  

  • 14 ounces Mexicorn drained
  • 1 can low sodium black beans drained and rinsed
  • 2 avocados
  • 4 Roma tomatoes
  • 1 medium onion
  • 1 package dry Italian dressing mix
  • cup olive oil
  • cup red wine vinegar

Instructions
 

  • Dice the avocados, Roma tomatoes, and onion. In a large bowl, combine corn, black beans, avocado, tomato, and onion. Stir well.
  • In a small bowl, combine dressing mix, olive oil, and red wine vinegar.
  • Whisk together and promptly pour over the vegetable mixture. Stir well.
  • The dip is best if it is allowed to chill and marinate for an hour or so, but can be eaten immediately.
Keyword avocado, cherry tomatoes, chips and dip, dips, dish to pass, side dish, Texas caviar
Tried this recipe?Let us know how it was!

Looking for other fun sides?

Give some of these a try!
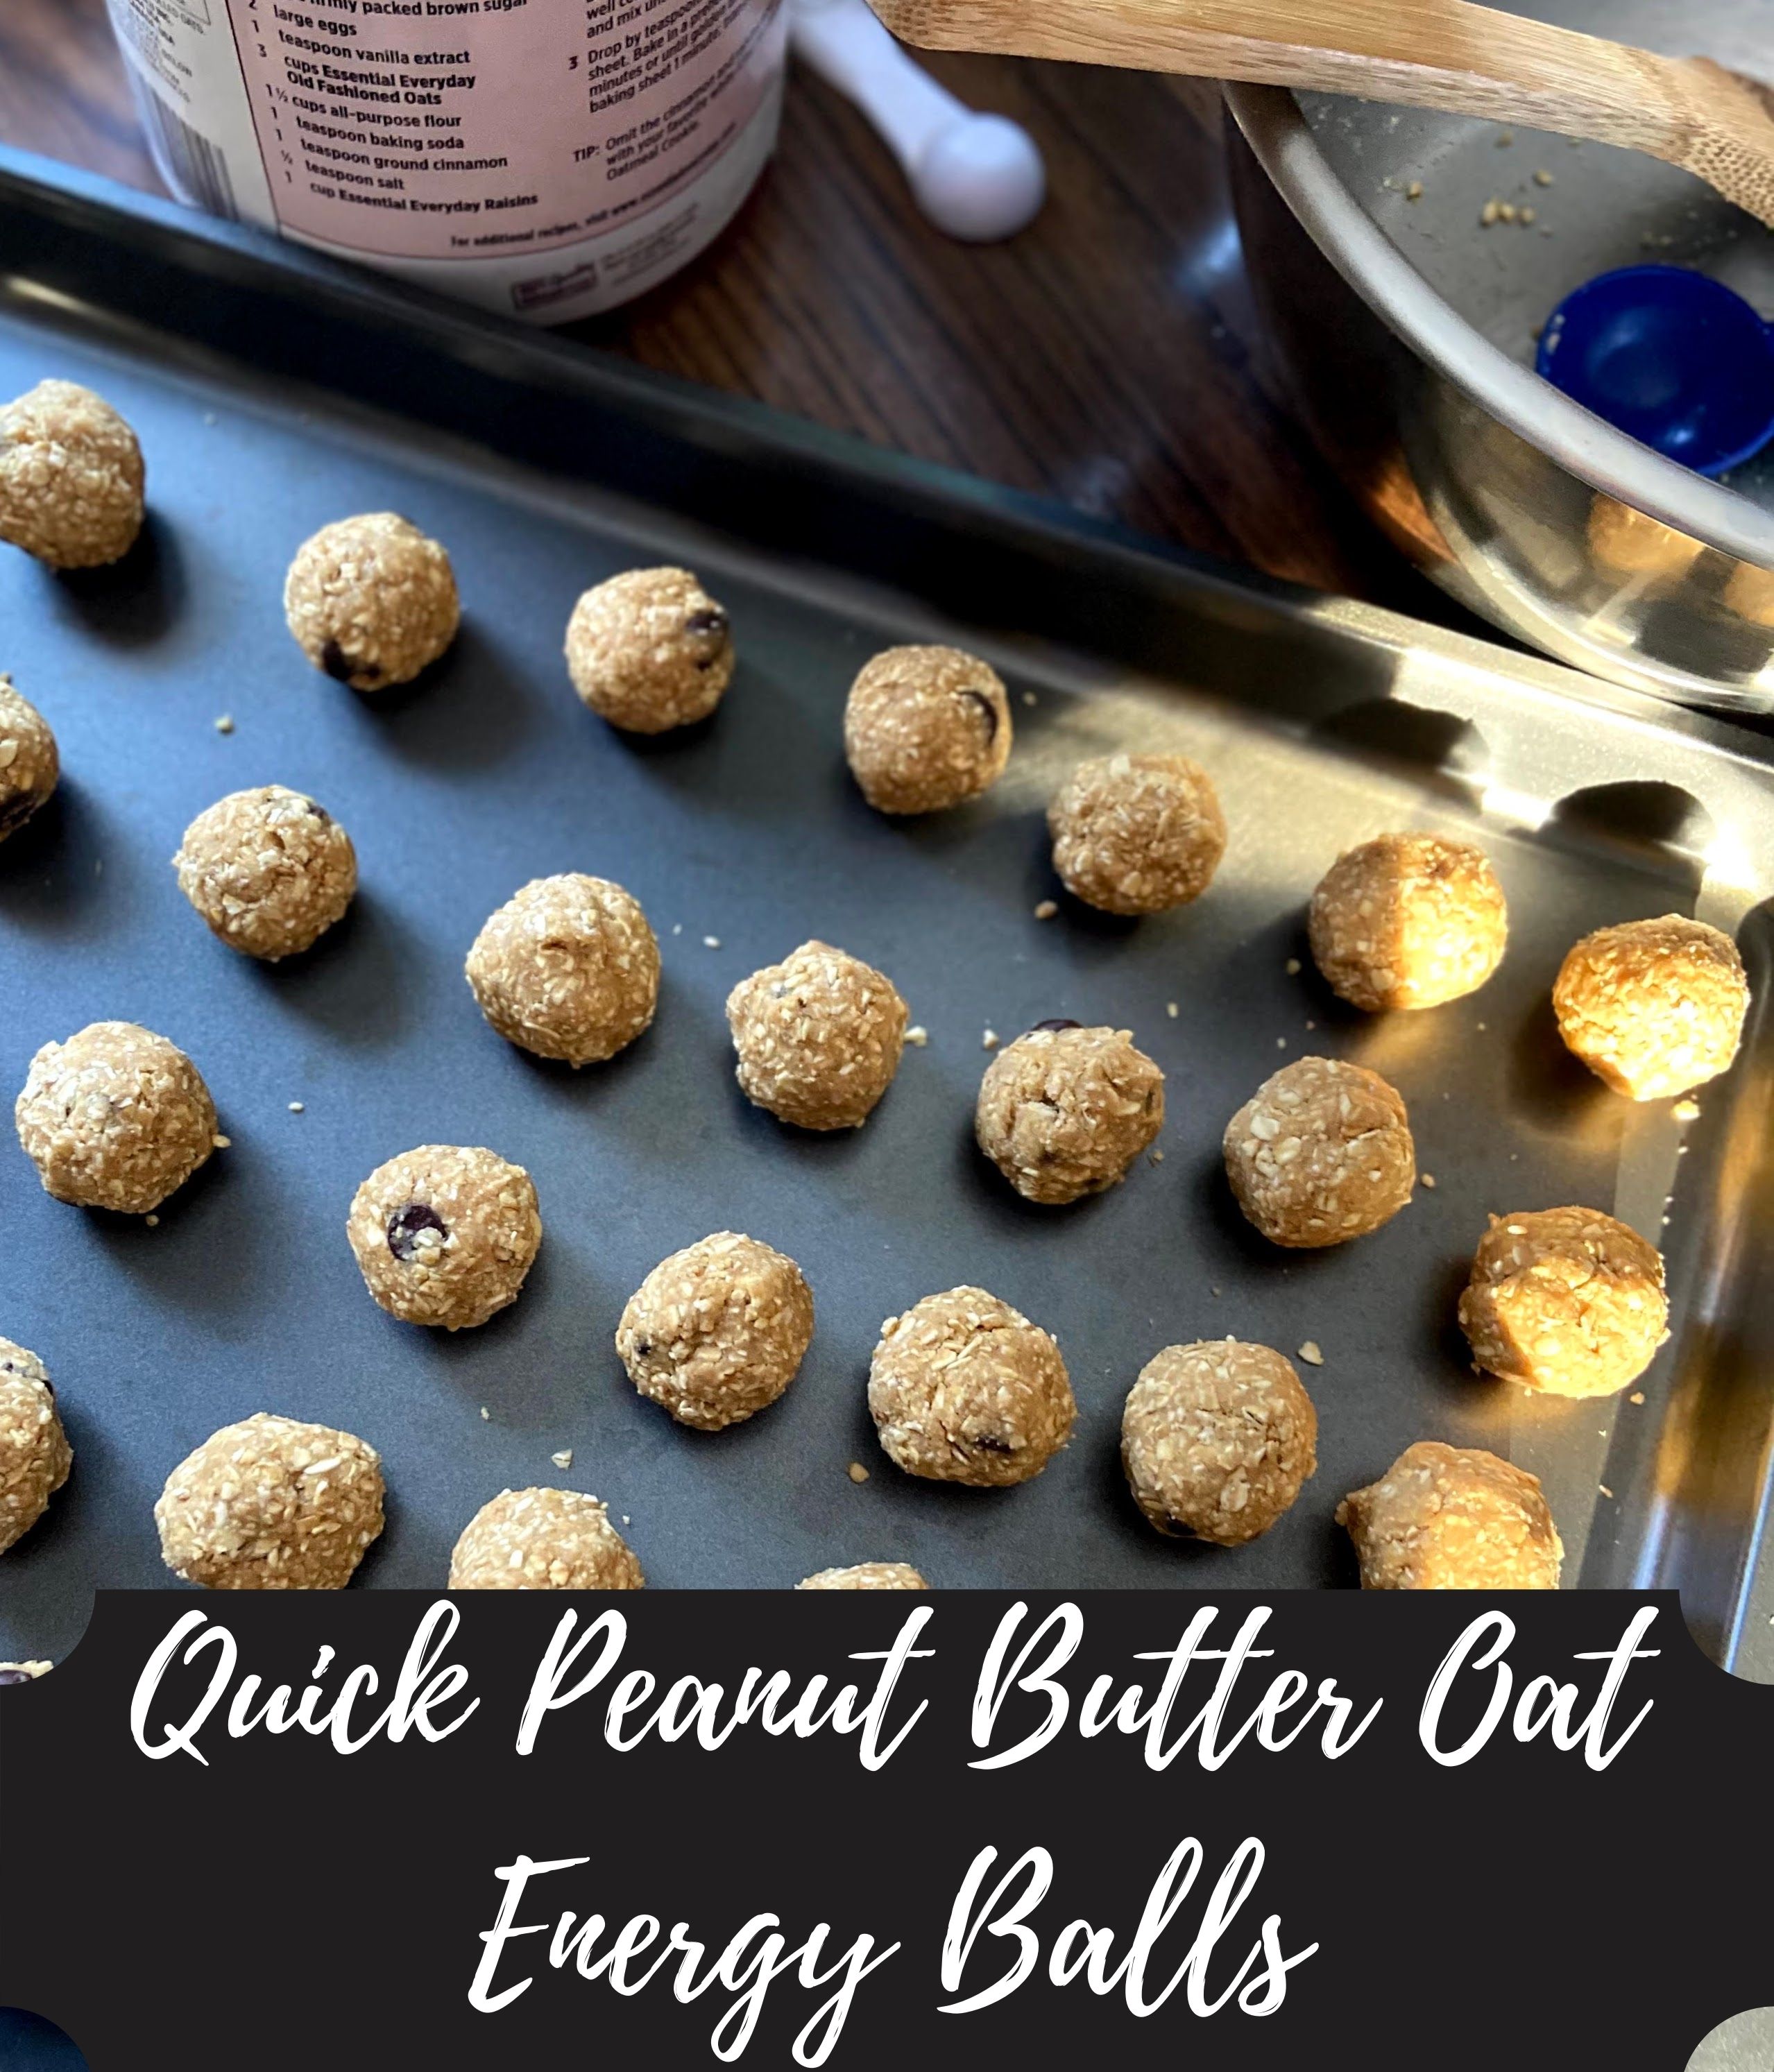
Quick Peanut Butter Oat Energy Balls

I am an avid runner and overall fitness nut. As such, I am always looking for healthy ways to fuel my body quickly and easily. I also enjoy snacking….a lot. My sister and I were just talking about how there has to be a snack break between breakfast and lunch. We can’t make it otherwise–and these quick peanut butter oat energy balls are perfect for that!

When I am cooking and meal prepping, I can tell I have a winning clean eating recipe when my husband approves. With this recipe, he has been known to say, “You know what we are almost out of…thos yummy energy balls. You need to make more!”

Guys, that’s a big deal. He is generally the biggest critic of my “overly-healthy” recipes so when he said that, you can bet I got into the kitchen and made another batch! I hope you enjoy them as much as we do! (This version is inspired by Rachel from Clean Food Crush, but has been modified by me to meet our needs at home)

Here are your ingredients

  • 1/2 cup coconut flour ( It smells so delightful!)
  • 2 cups ground old-fashioned oatmeal (see details in the recipe)
  • 1/2 cup real maple syrup (honey would work too!)
  • 1/2 cup natural peanut butter
  • 1/4 t kosher salt
  • 1 tablespoons coconut oil, melted
  • 1/3 cup semisweet chocolate chips
  • 1/2 teaspoon almond extract (I LOVE the flavor this brings in)

Your Steps to Quick Peanut Butter Oat Energy Balls

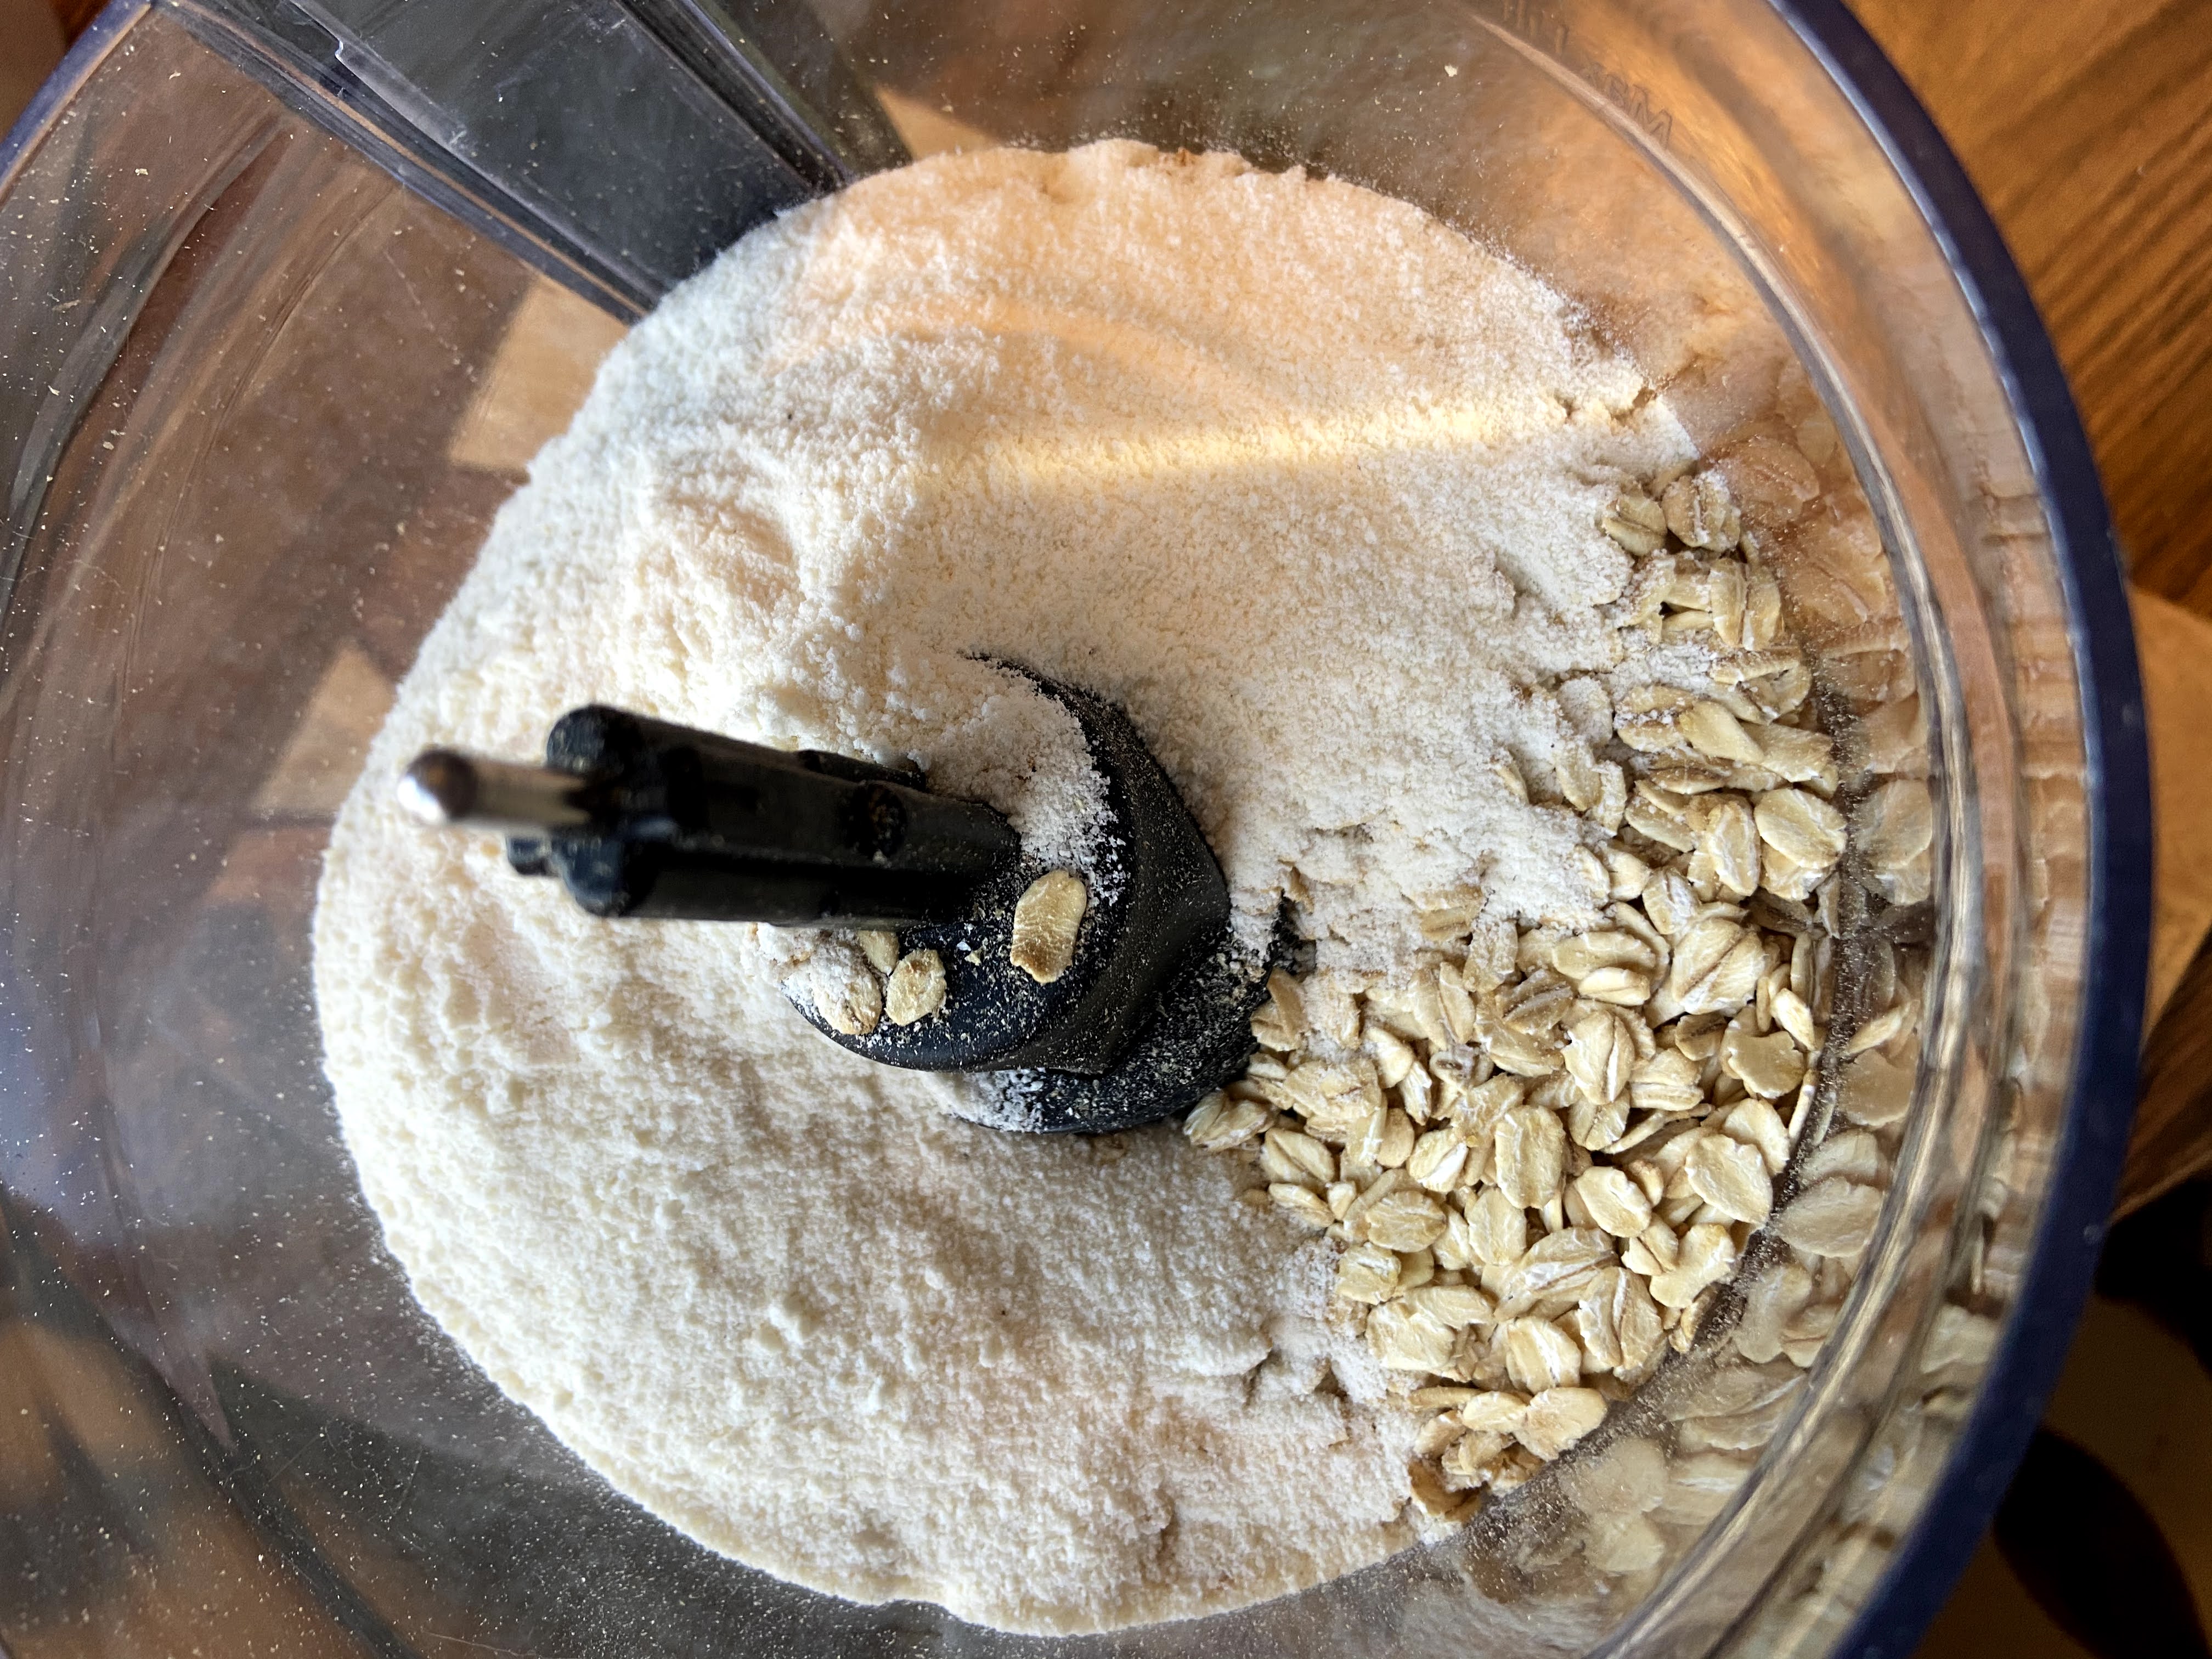
First, grind the oats to make a sort of oatmeal flour. To do this, place the old fashioned oats and coconut flour into a food processor and pulse them until you have a very coarse flour like texture.

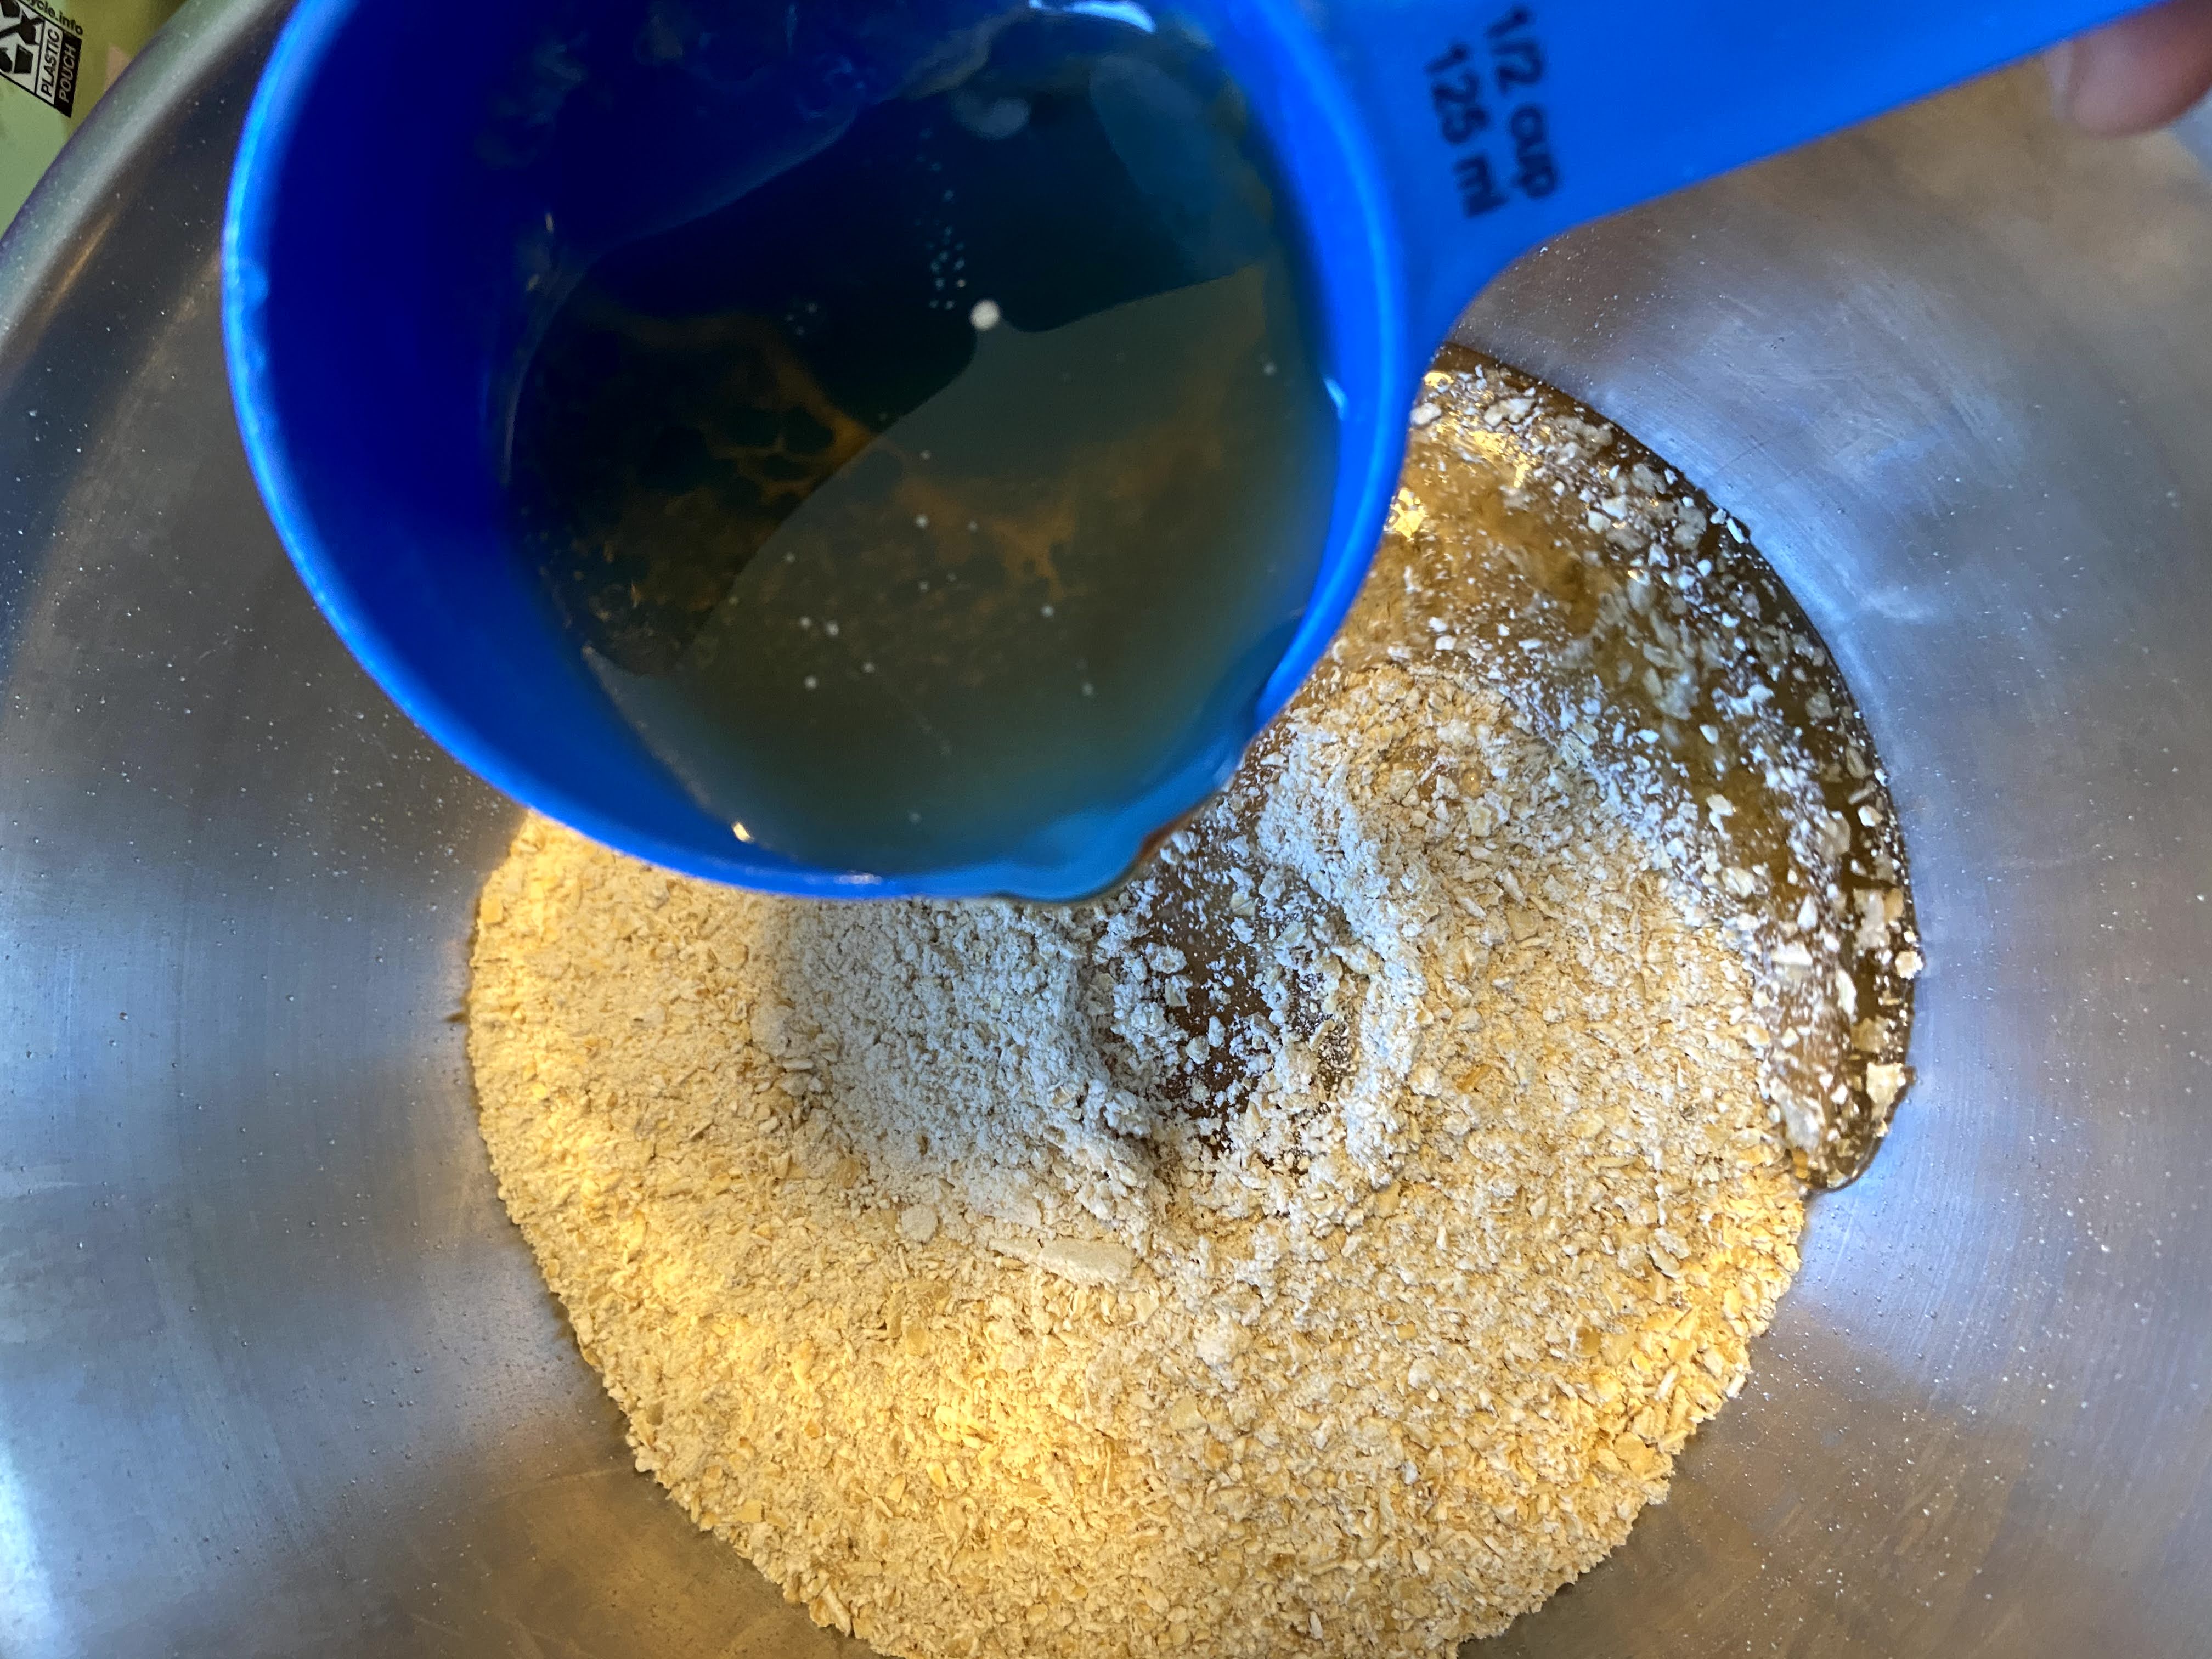
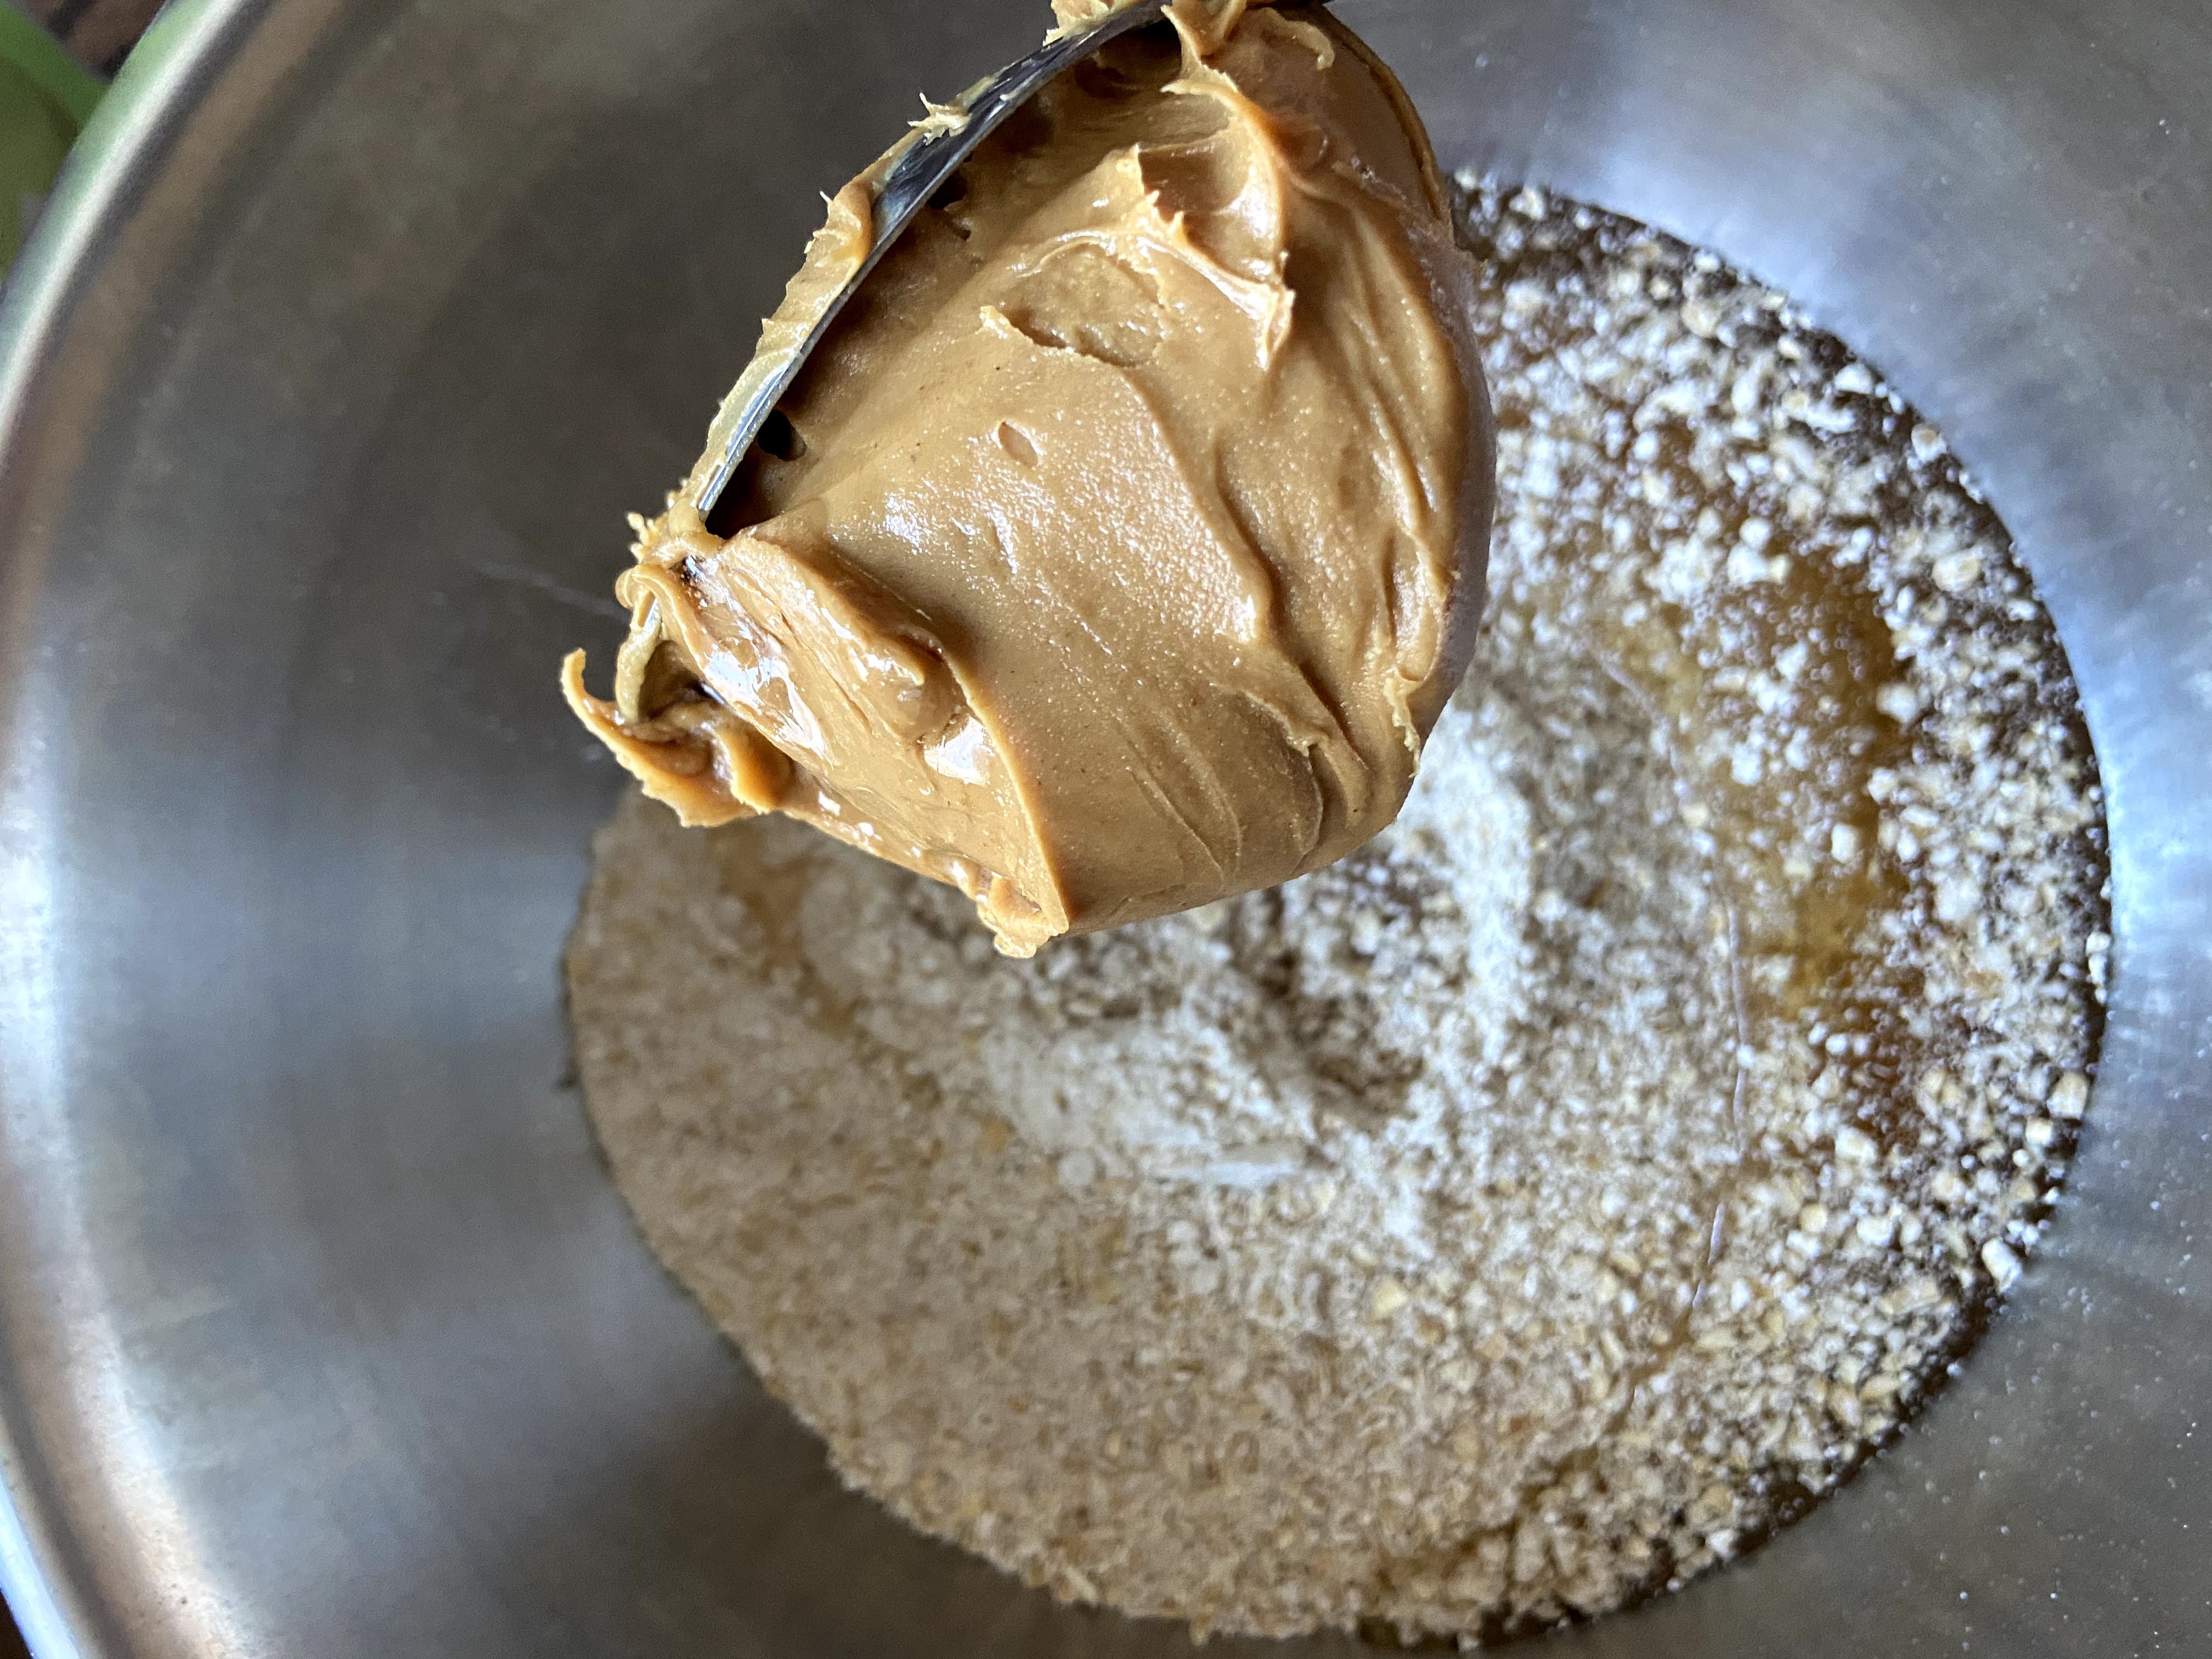
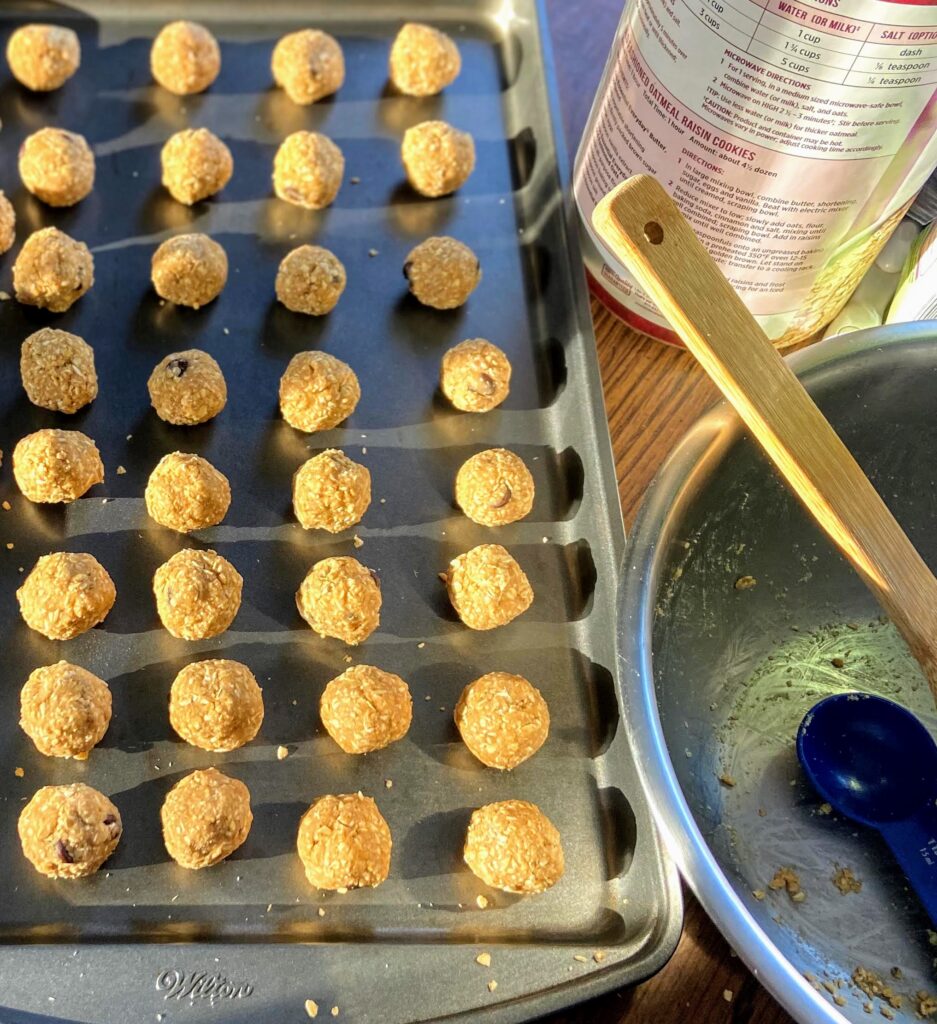
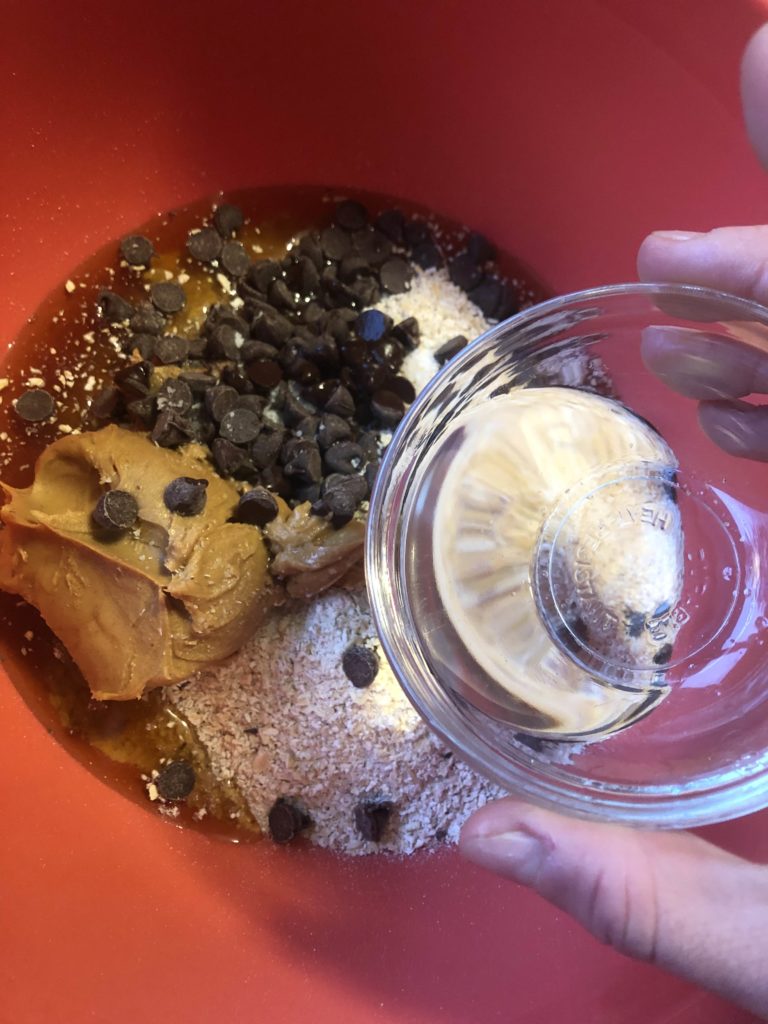
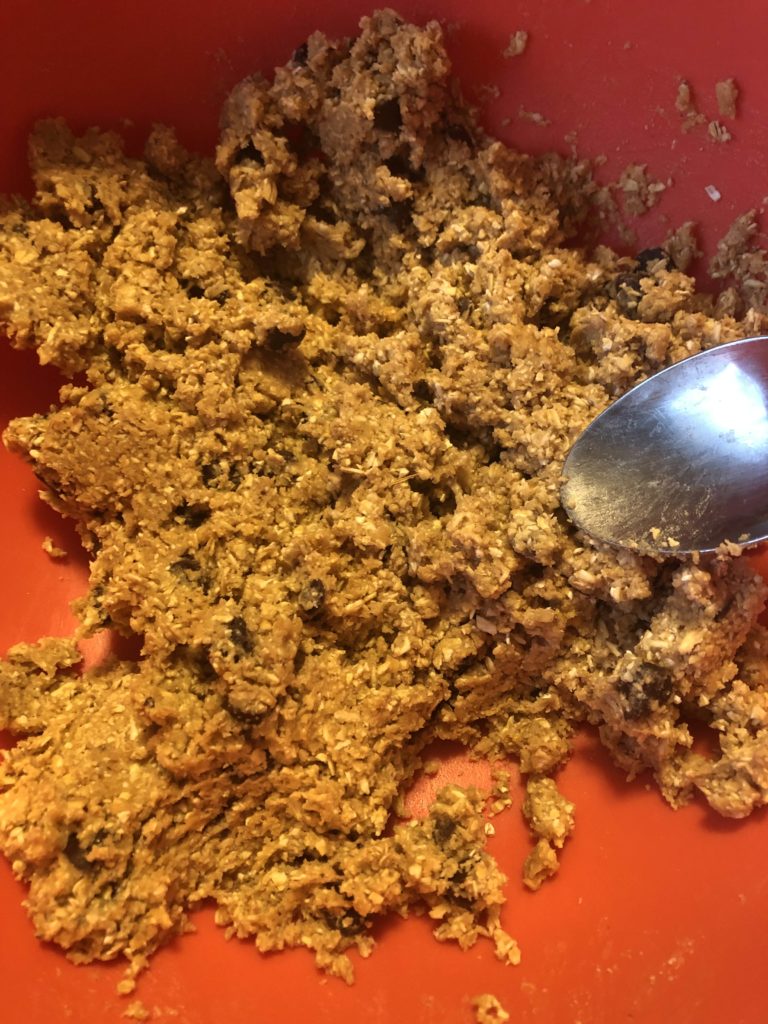
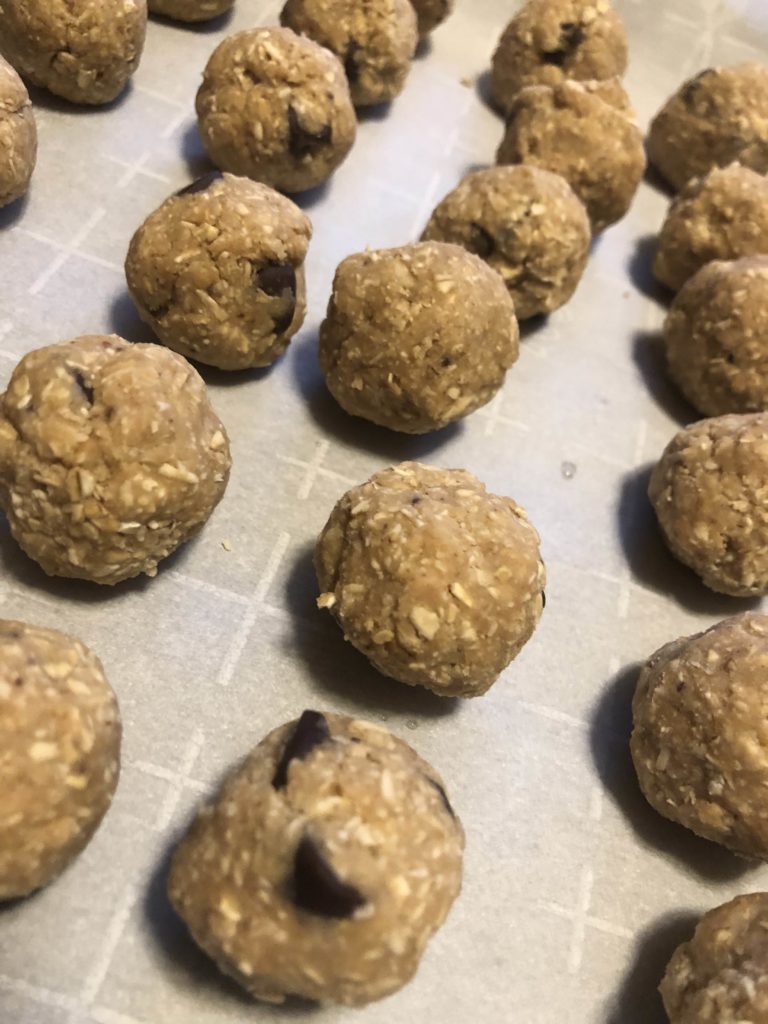
Then, combine all the ingredients in a large bowl and mix them with a wooden spoon until well mixed. Form them into 1-2 inch balls (whatever suits your family. We like 1 inch energy balls around here so I used a tablespoon to measure out the the dough.). Place on a cookie sheet. Place the cookie in the fridge for approximately an hour to harden. Remove from the pan, place in an airtight container, and store them back in the fridge.

These are great to make a few batches up and store for later. Perhaps whip up a few batches and put them in the freezer for a grab and go snack that can thaw over a few hours. (I’m thinking they would be great packed in a lunch and used for that sweet treat at the end to finish up your meal. As for me, I like to pack a few for my morning and afternoon snacks at work (See, I love all the snacks. My husband calls me a squirrel because I always have some food on hand…). As for my kids, they eat them like an after dinner treat, so I think I am winning. I hope you enjoy! –Jess

Tool of the Trade

Honestly, there is only one thing you really need for this recipe. A large food processor. Maybe you’re like me and think you don’t need it (Who needs ANOTHER kitchen gadget?!) But this guy gets a lot of use at our home and is perfect for fun sweet recipes like this one, but also is great in this cranberry jalapeño dip. I can’t recommend it enough, even if you do have to find a spot for it 😉

Quick Peanut Butter Oat Energy Balls

After school or between meals, we all can use a snack to satisfy our hunger cravings. These quick peanut butter oat energy balls fit the ticket! Bite size, easy to make, and tasty on all levels!
Prep Time 19 minutes
Chill Time 1 hour
Course Snack
Cuisine American
Servings 3 dozen

Ingredients
  

  • 1/2 cup coconut flour
  • 2 cups ground old-fashioned oatmeal see details in the recipe
  • 1/2 cup real maple syrup honey would work too!
  • 1/2 cup natural peanut butter
  • 1/4 t kosher salt
  • 1 tablespoons coconut oil melted
  • 1/3 cup semisweet chocolate chips
  • 1/2 teaspoon almond extract

Instructions
 

  • First, grind the oats to make a sort of oatmeal flour. To do this, place the old fashioned oats into a food processor and pulse them until you have a very coarse flour like texture.
  • Combine all remaining ingredients in a large bowl and mix them with a wooden spoon until well mixed.
  • Form them into 1 inch balls using a tablespoon to measure.
  • Place on a cookie sheet and then chill in the fridge for approximately an hour to harden.
  • Remove from the pan, place in an airtight container, and store them back in the fridge
Keyword chocolate and peanut butter, energy balls, oatmeal, peanut butter
Tried this recipe?Let us know how it was!

Looking for other delicious recipes?

Give some of these a try!
Chocolate Chip Peanut Butter Energy Balls

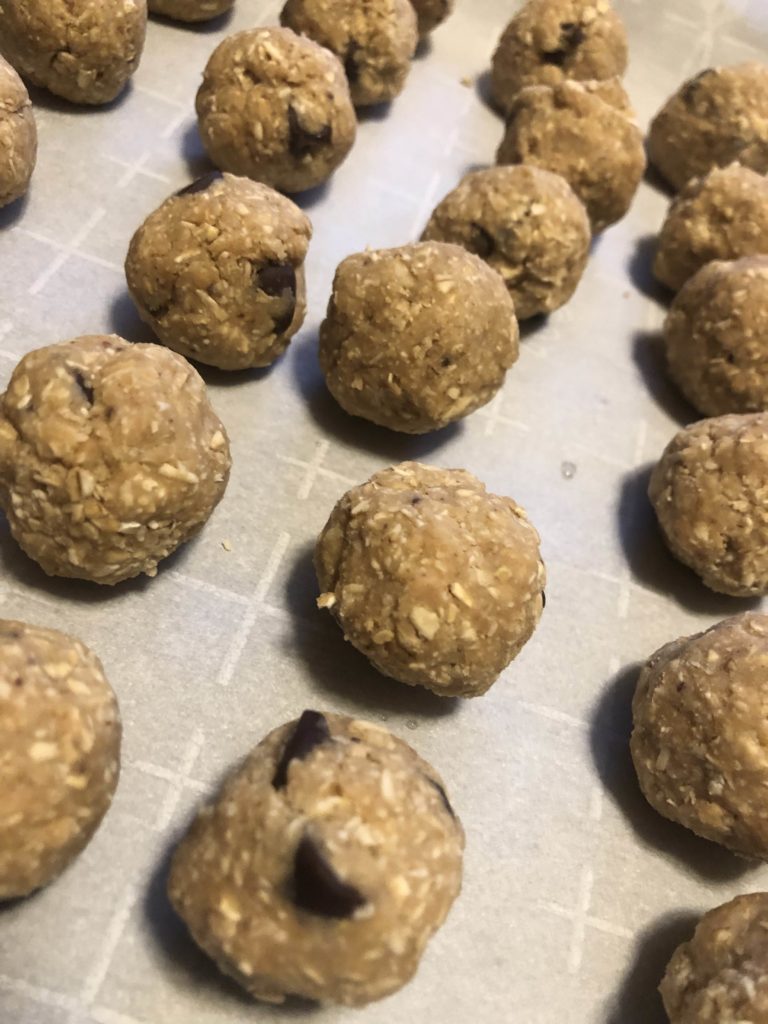
Aren’t they pretty, all in a row? Albeit it crooked?

As an avid runner and overall fitness nut, I am always looking for healthy ways to fuel my body quickly and easily. I also enjoy snacking….a lot. My sister and I were just talking about how there has to be a snack break between breakfast and lunch. We can’t make it otherwise–and these are perfect for that!

When I am cooking and meal prepping, I can tell I have a winning clean eating recipe when my husband approves; With this recipe, he has been known to say, “You know what we are almost out of? Your yummy energy balls. You need to make more!” Guys, that’s a big deal. He is generally the biggest critic of my “overly-healthy” recipes so when he said that, you can bet I got into the kitchen and made another batch! I hope you enjoy them as much as we do! (The original recipe came from Rachel from Clean Food Crush, but has been modified by me to meet our needs at home)

Here are your ingredients

  • 2 cups ground old-fashioned oatmeal (see details in the recipe)
  • 1/2 cup coconut flour ( It smells so delightful!)
  • 1/2 cup real maple syrup (honey would work too!)
  • 1/2 cup natural peanut butter
  • 1/4 t kosher salt
  • 1 1/2 Tablespoons coconut oil, melted (I accidentally forgot this once, and we didn’t even notice, so if you don’t have it, it won’t make or break the recipe)
  • 1/3 semisweet chocolate chips
  • 1 teaspoon almond extract (I LOVE the flavor this brings in)

First, grind the oats to make a sort of oatmeal flour. To do this, place the old fashioned oats into a food processor and pulse them until you have a very coarse flour like texture. I like to be able to cook with what I have on hand so rather than buy oat flour, I did this and it worked great.

Then, combine all the ingredients in a large bowl and mix them with a wooden spoon (or by hand!) until well mixed. Form them into 1-2 inch balls (whatever suits your family. We like 1 inch energy balls around here.). Place on a cookie sheet that has been lined with parchment paper. Place the cookie in the fridge for approximately an hour to harden. Remove from the pan, place in an airtight container, and store them back in the fridge. I have read that you can freeze these for up to 3 months as well so if you are a food prep kind of person, I would whip up a few batches and put them in the freezer for a grab and go snack that can thaw over a few hours. (I’m thinking they would be great packed in a lunch and used for that sweet treat at the end to finish up your meal. As for me, I like to pack a few for my morning and afternoon snacks at work (See, I love all the snacks. My husband calls me a squirrel because I always have some food on hand…). As for my kids, they eat them like an after dinner treat, so I think I am winning. I hope you enjoy! –Jess