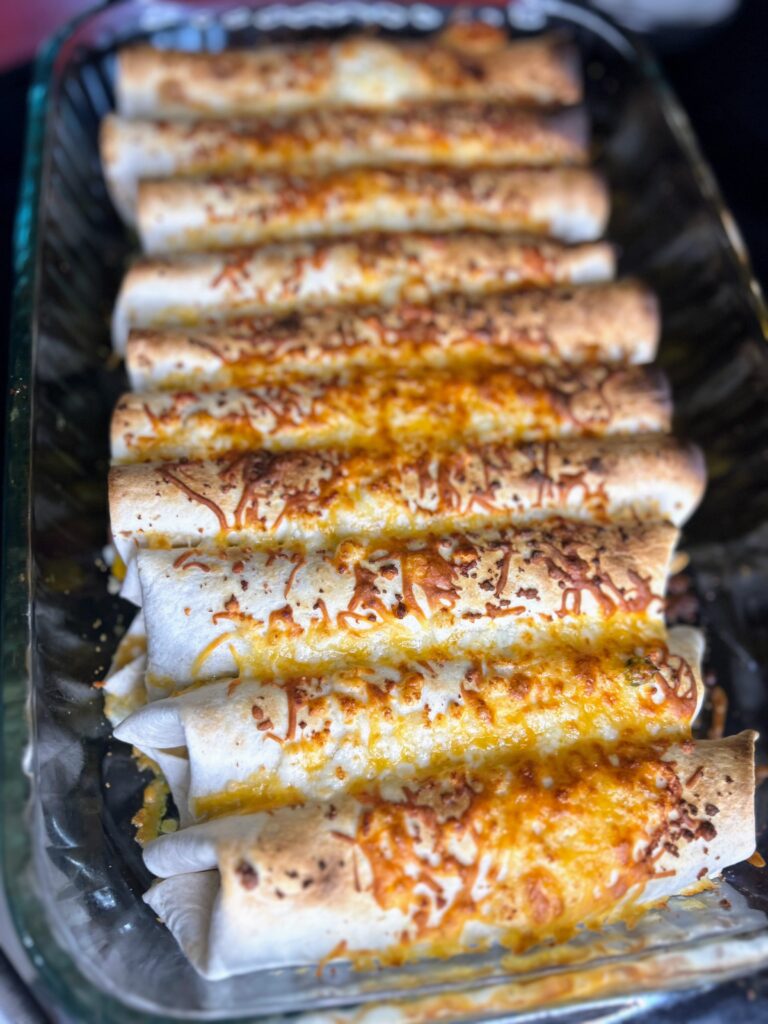
Tex Mex Burrito Bake

In Wisconsin, we are in the beginnings of deer hunting season. The time when deer hunters around the state are taking stock of what is left in their freezer from last season’s successful hunts and figuring out how much meat they need to eat to make room for a new deer or two. At our house, we found we had 40 (FORTY!) pounds of ground venison left. Oh man. Don’t get me wrong, that’s a great problem to have but at the same time, we need to use it up. We have our go to meals: tacos, Korean BBQ Inspired Beef, and pasta. But we are always looking for something new, and man, I think I hit the jackpot in the creation of this stupidly simple Tex Mex Burrito Bake. 

What I adore about this meal is two fold: My family LOVED it. Like, ‘my big kiddo couldn’t get enough’ loved it and it is honestly one of the easiest meals I have put together in a long time. 

Nearly every ingredient is a pantry item at our house. We love tacos so much that it’s a rare day that we don’t have soft shells in our pantry. Salsa is a constant in our fridge and we always have some Mexi-corn in our pantry for Kelly’s Texas Caviar. And I just started keeping Cotija cheese on hand as a great alternative to feta (It’s a Mexican take on a dry salty cheese). If you don’t have it, it’s optional anyway!

This Tex Mex Burrito Bake will be start to finish in under 40 minutes, including its bake time. I know my kids have been requesting it again and again. I hope your family will love it that much too!

Let’s get cooking! 

Your Ingredients

  • 1 tablespoon olive oil 
  • 1 pound ground protein (I did venison) 
  • 1 cup diced onion (about 2 small)
  • 2 cloves garlic, minced 
  • ½ teaspoon cumin
  • ¼ teaspoon smoked paprika
  • Cayenne pepper and salt, to taste
  • 1 14 ounce can Mexicorn (corn with peppers), drained
  • 1 cup salsa, whatever level of heat you prefer
  • 2 cups shredded cheese, divided 
  • 10 fajita style soft tortillas 
  • Cotija cheese, optional 
  • Sour Cream and Cilantro, optional 

You Steps to Tex Mex Burrito Bake

Preheat the oven to 400 degrees. Spray a 9×13 glass baking dish with non-stick cooking spray. 

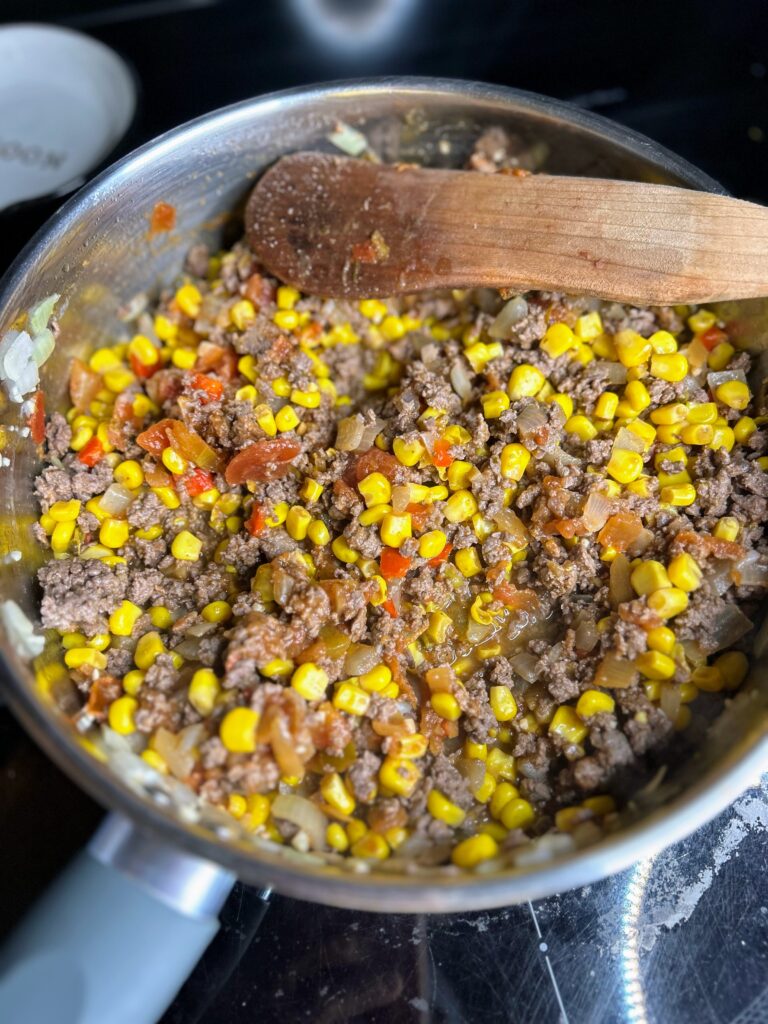
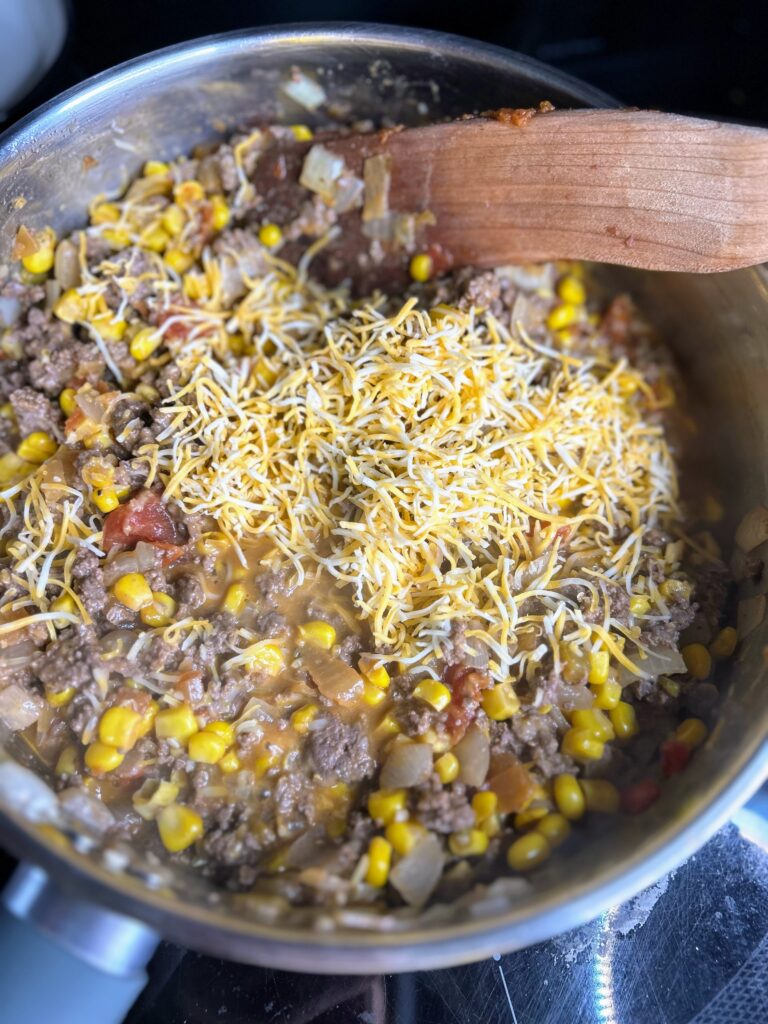
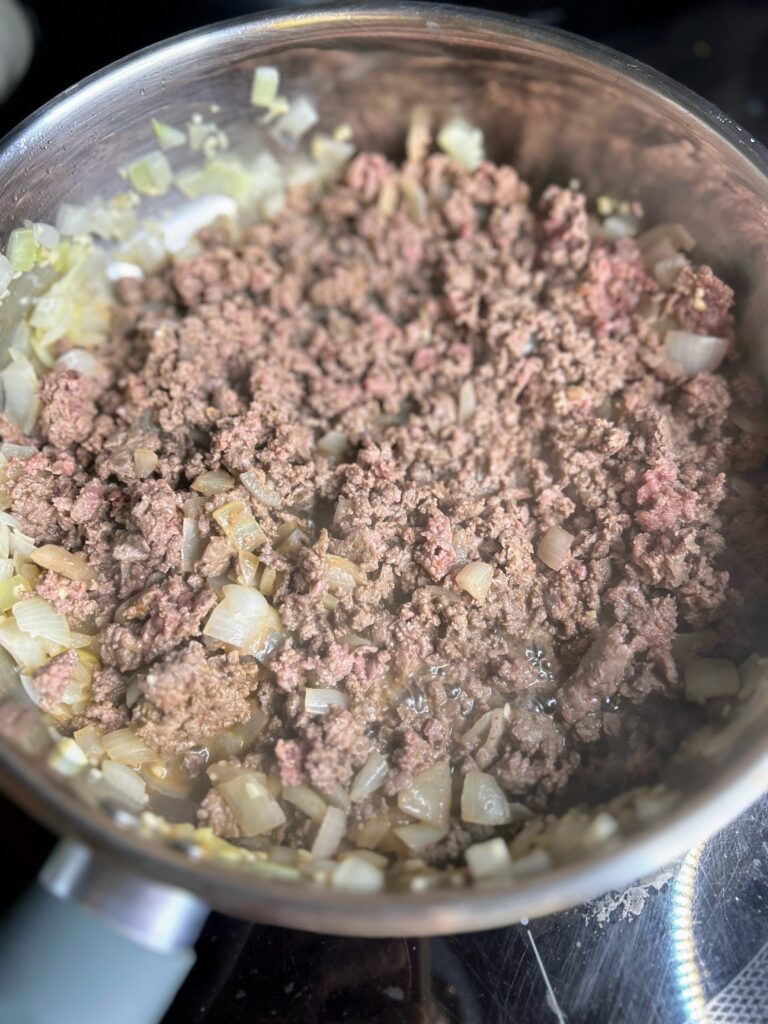
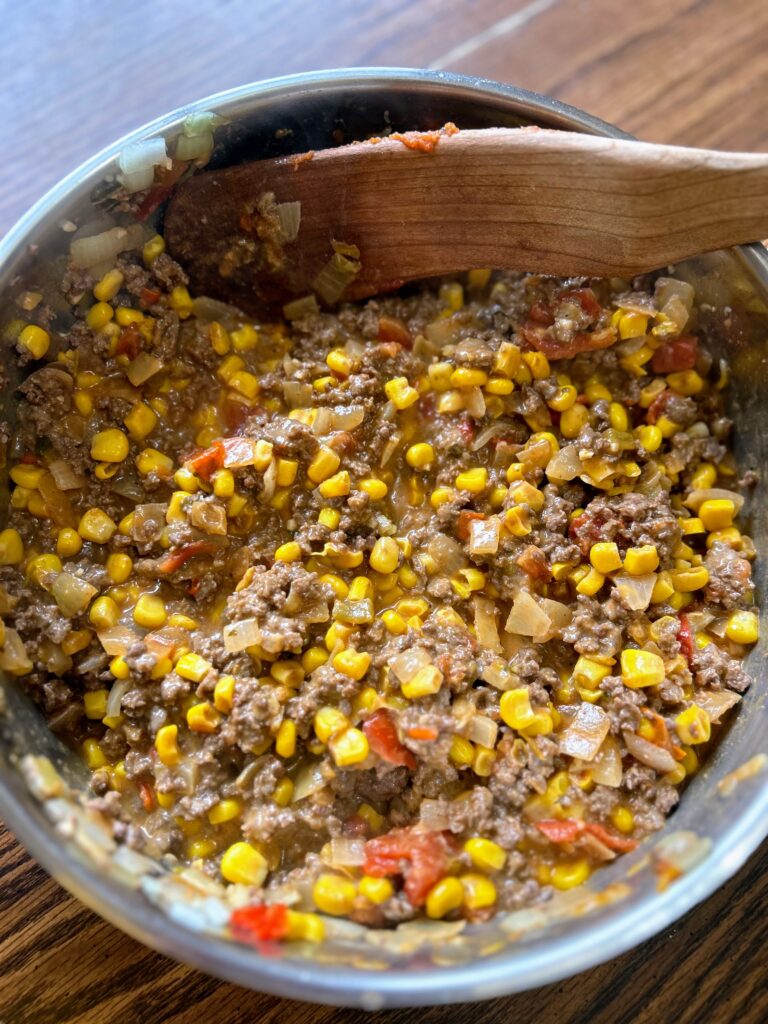
In a large skillet, heat the oil. Add onions and minced garlic. Cook 3-4 minutes, until just starting to soften. Add ground protein, cumin, paprika, and cayenne pepper, cooking until no longer pink. Stir in salsa, Mexi-corn and 1 ½ cups of shredded cheese. Mix until the cheese is melted through and remove from heat. Test the filling, adding salt and pepper as needed.

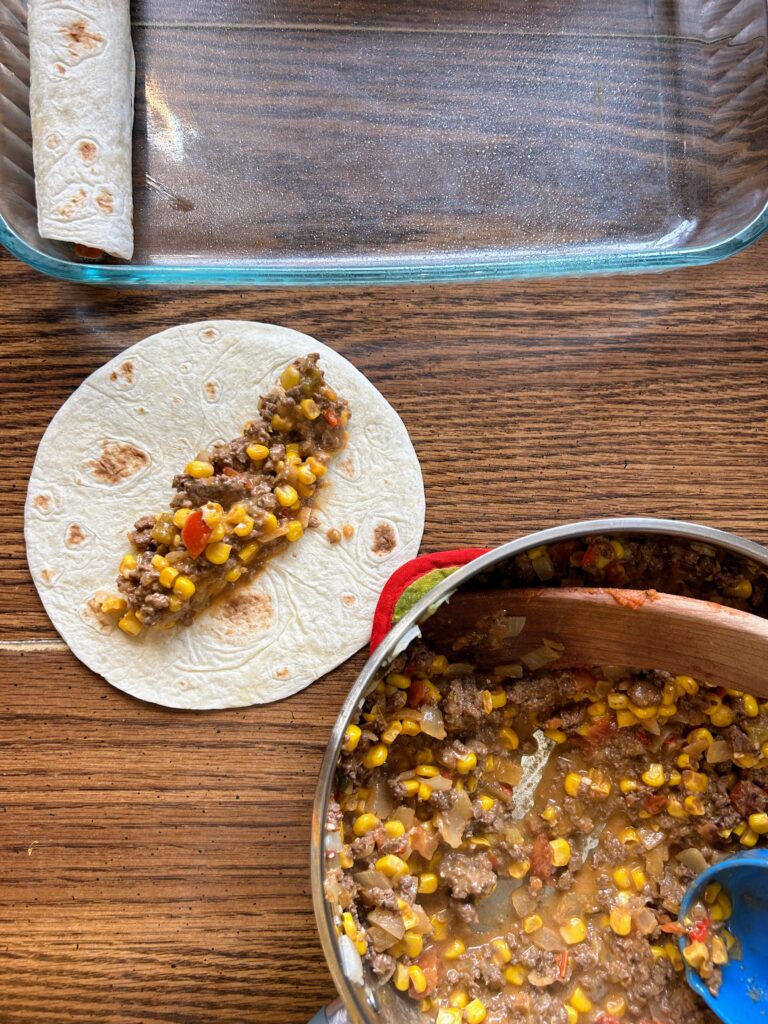
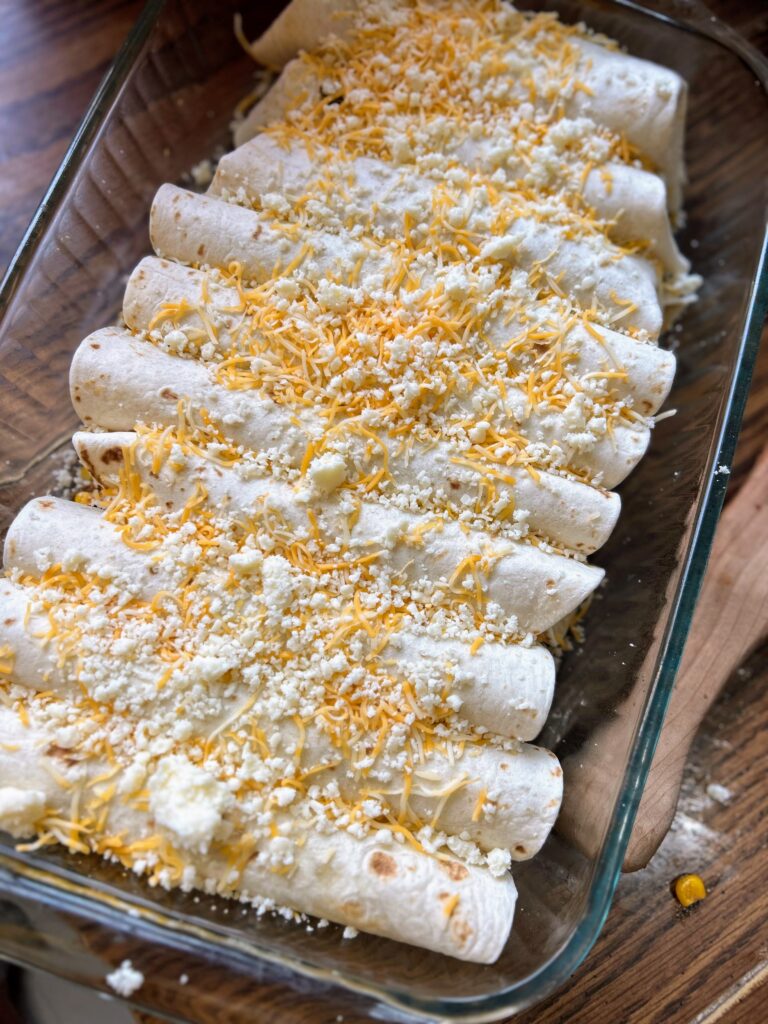
Spoon ½ cup of filling into each shell and roll up, placing seam side down in the prepared baking dish. Top with additional shredded cheese and Cotija cheese. Bake uncovered for 10-12 minutes. If you like your cheese browned like I do, feel free to turn on the broiler and cook for an additional 1-2 minutes, but watch carefully! 

Serve with sour cream and cilantro.
Tex Mex Burrito Bake

This Tex Mex Burrito Bake is a quick and easy dish that can be made with ingredients you probably already have on hand. It's perfect for a busy weeknight dinner!
Prep Time 30 minutes
Cook Time 15 minutes
Course Main Course
Cuisine American, Tex Mex
Servings 10 burritos

Ingredients
  

  • 1 tablespoon olive oil
  • 1 pound ground protein I did venison
  • 1 cup diced onion about 2 small
  • 2 cloves garlic minced
  • ½ teaspoon cumin
  • ¼ teaspoon smoked paprika
  • Cayenne pepper to taste
  • 1 14 ounce can Mexicorn corn with peppers, drained
  • 1 cup salsa whatever level of heat you prefer
  • 2 cups shredded cheese divided
  • 10 fajita style soft tortillas
  • Cotija cheese optional
  • Sour Cream and Cilantro optional

Instructions
 

  • Preheat the oven to 400 degrees. Spray a 9×13 glass baking dish with non-stick cooking spray.
  • In a large skillet, heat the oil. Add onions and minced garlic. Cook 3-4 minutes, until just starting to soften.
  • Add ground protein, cumin, paprika, and cayenne pepper, cooking until no longer pink.
  • Stir in salsa, Mexicorn and 1 ½ cups of shredded cheese. Mix until the cheese is melted through and remove from heat.
  • Spoon ½ cup of filling into each shell and roll up, placing seam side down in the prepared baking dish.
  • Top with additional shredded cheese and Cotija cheese. Bake uncovered for 10-12 minutes.
  • If you like your cheese browned turn on the broiler and cook for an additional 1-2 minutes, but watch carefully!
  • Serve with sour cream and cilantro.
Keyword burritos, family friendly, ground beef, quick meals, Tex Mex, tortillas, venison
Tried this recipe?Let us know how it was!

Looking for other Great Recipes?

What’s for dinner this week? Maybe I can suggest some of these family favorites! Our simply check out my cooking page for more inspiration.


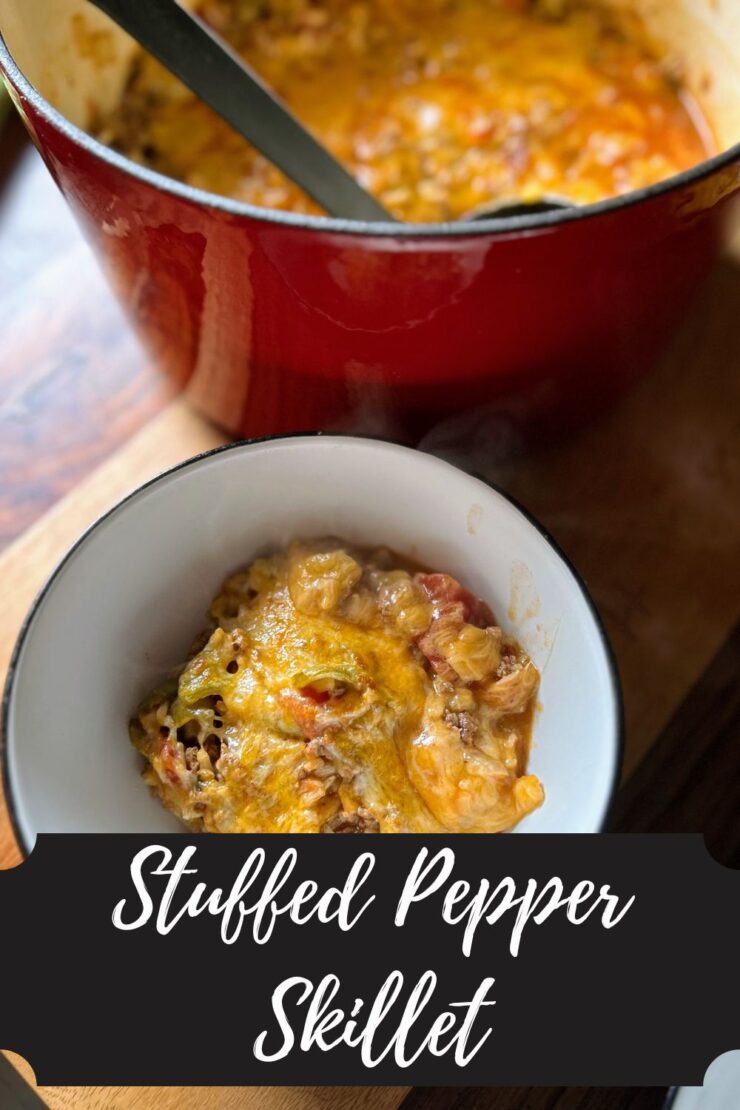
Stuffed Pepper Skillet

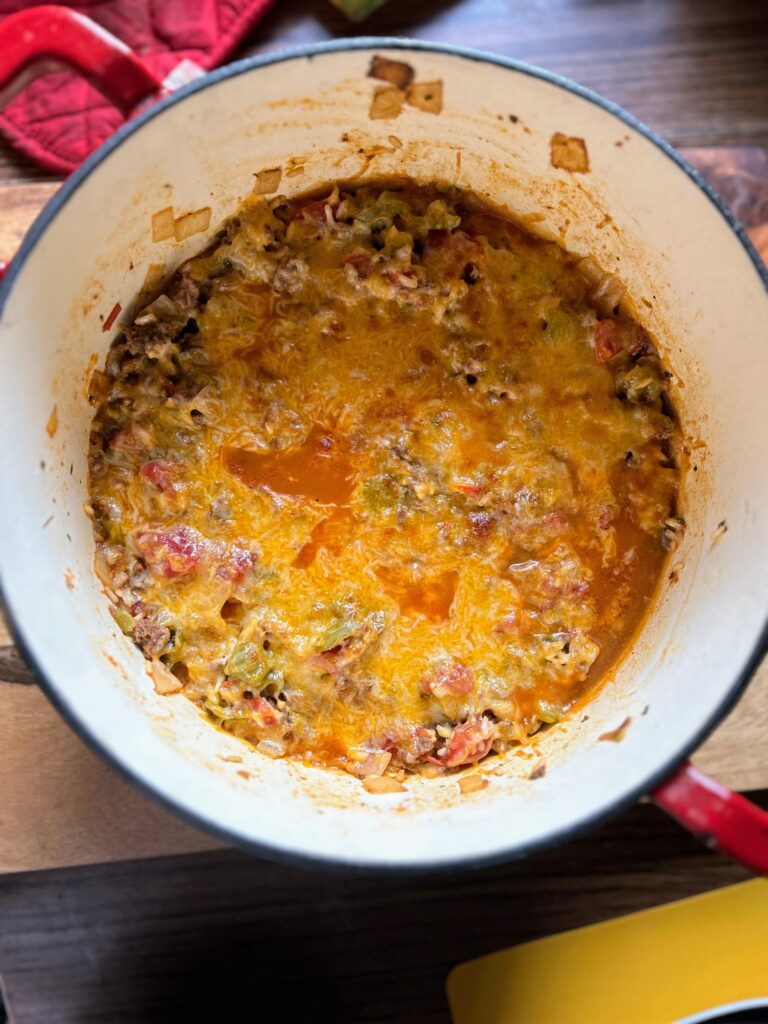
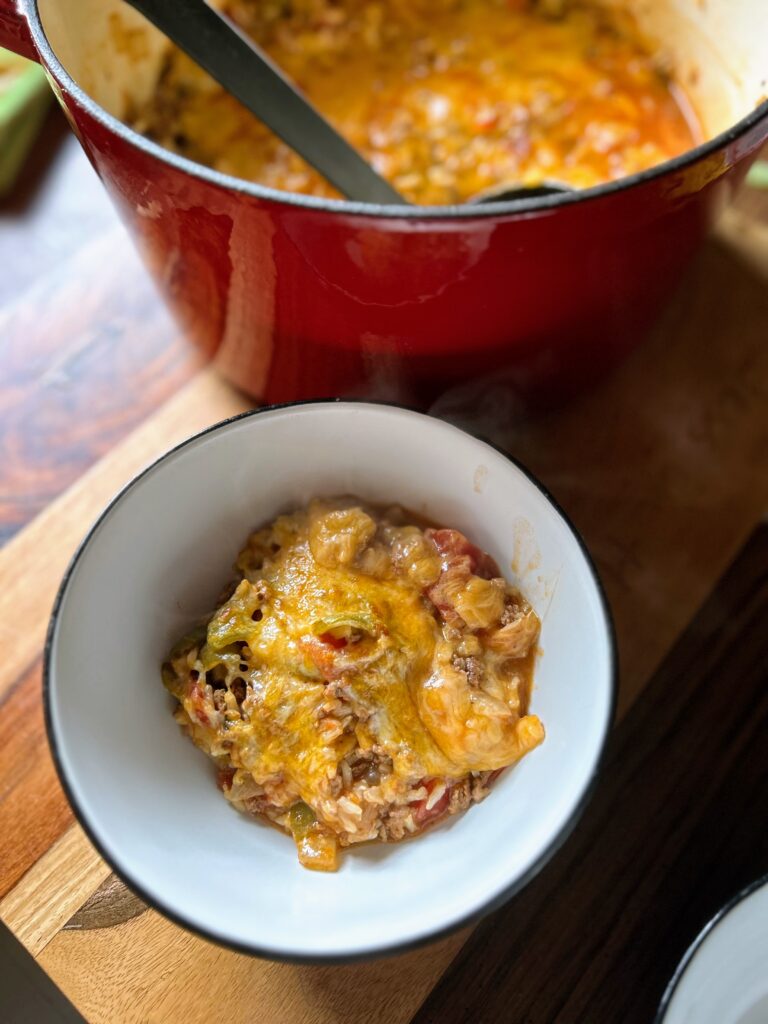
If the Mr is cooking at our house, there are likely three distinct quantities of food: protein (usually venison chops), roasted potatoes, and some form of steamed vegetable. Is it delicious? Absolutely. It just isn’t the way I cook. I love a good skillet or bake. Bring on the mixtures of flavors and more importantly, the leftovers so I don’t have to worry about making a lunch the next day. Because bakes and skillets are my jam, this simple stuffed pepper skillet was born. 

I don’t love raw peppers. I have grown to enjoy them cooked, and I know they are good for me so I try to infuse them into my dinners when I can. If you’ve been around for some time, you may have noticed that I don’t like super tedious recipes. I don’t want to make stuffed peppers in their truest form. That’s work (Ha!).  Let me make something good, filling, and full of nutrient dense ingredients that fits in a pan and I am the happiest of women. 

This stuffed pepper skillet seems to fit all the bills

It has protein from the Italian sausage (I use my Italian sausage inspired venison), starches in the rice, and it’s full of vegetables in the tomatoes, peppers, and onions. Even better? It has minimal hands-on time and once it’s time to cook the rice, you cover it and let it be. No stirring. No checking it constantly. Just get the veg cooked up and you’re almost done. 

And your family will love it (at least I hope they do!). The first time I made it, I was just using up sad ingredients from the fridge: halves of peppers and sad onions. I was trying to clear out some of the freezer before the Mr starts hunting again and we had a ton of Italian venison. As soon as my kids dug in, they said, “Of course you didn’t measure…it’s so good!” We quickly ate it three weeks in a row! On that third week, I measured so that I could share with all of you!

Ready to start creating this great, family friendly meal for the people you love too? Let’s go!

Your ingredients

  • 1 ½ cups chopped sweet pepper, any color
  • 1 ½ cups diced onion 
  • 2 tablespoons olive oil
  • 2 teaspoons minced garlic
  • 1 pound ground Italian sausage 
  • 1 can of diced tomatoes, unsalted 
  • 8 ounces tomato sauce 
  • 2 ⅔ cup low sodium chicken stock
  • 1 ½ cups brown rice 
  • 1 cup shredded cheese, your favorite kind
  • Pinch of red pepper flakes (optional) 
  • Salt and pepper, to taste

Your Steps to Stuffed Pepper Skillet

If available, cook this in an oven safe Dutch oven with a cover so that the cheese can go under the broiler. If that’s not available, any large brazier or saute pan with a cover will do. 

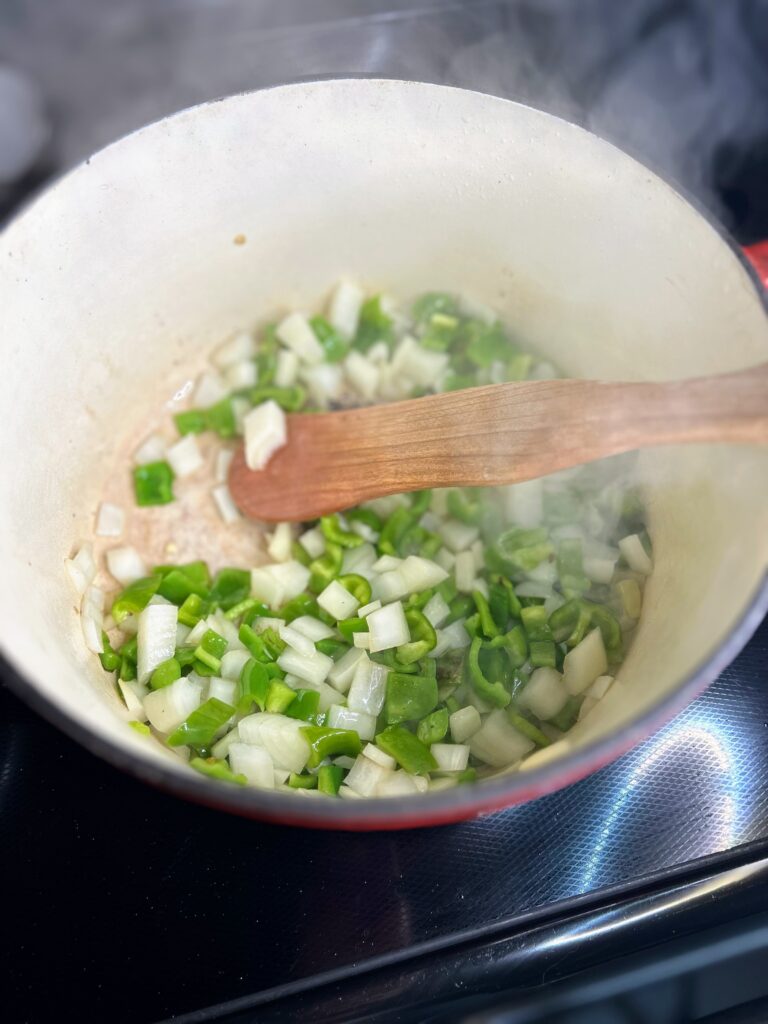
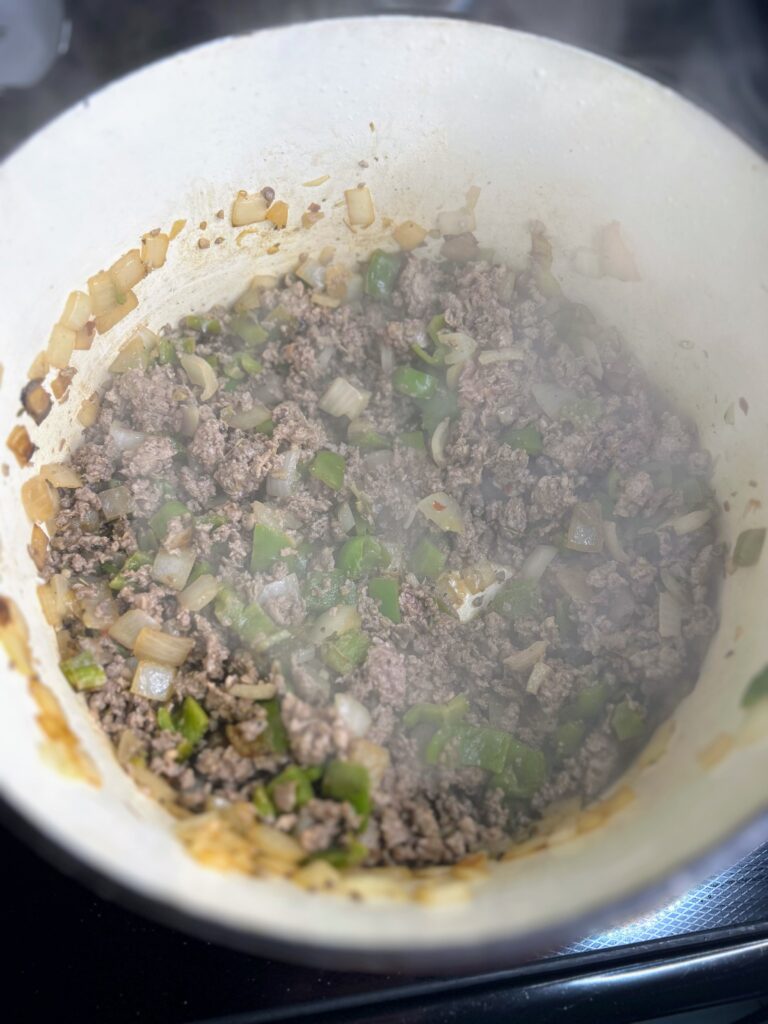
Over medium-high heat, add the olive oil to the pan. Once hot, add green peppers and onion. Saute for 5-10 minutes, until just softening. Then add the Italian sausage and minced garlic, cooking until the sausage is browned. From here, drain if necessary (I use a half venison/pork mixture, so I don’t need to drain any extra fat).

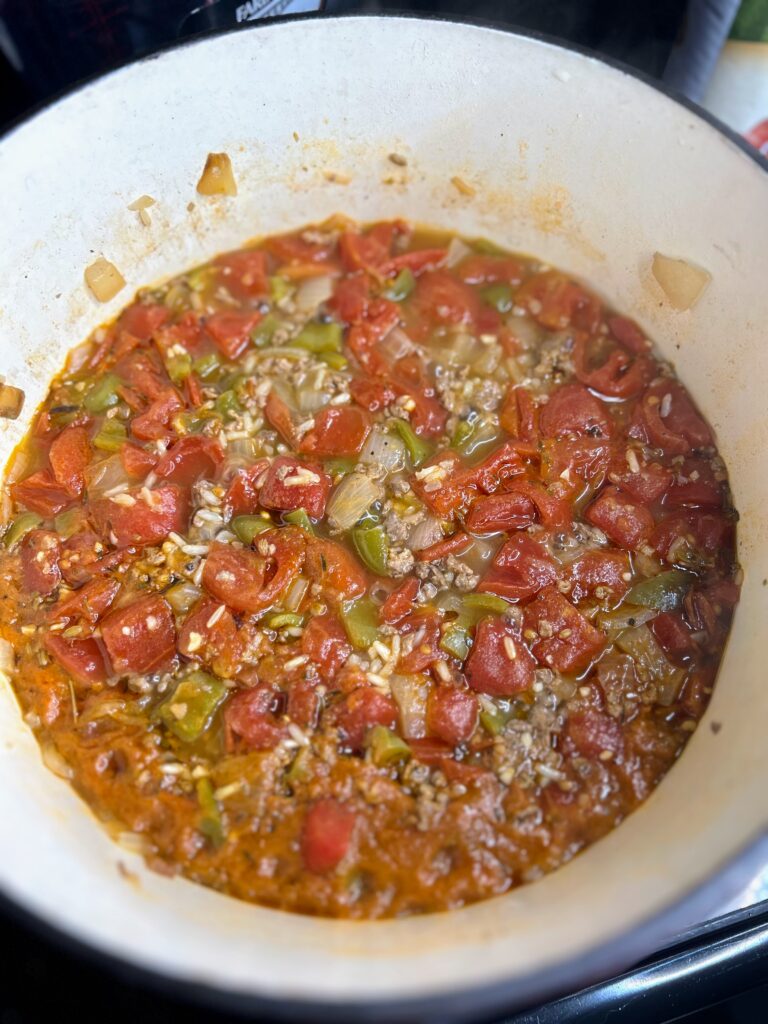
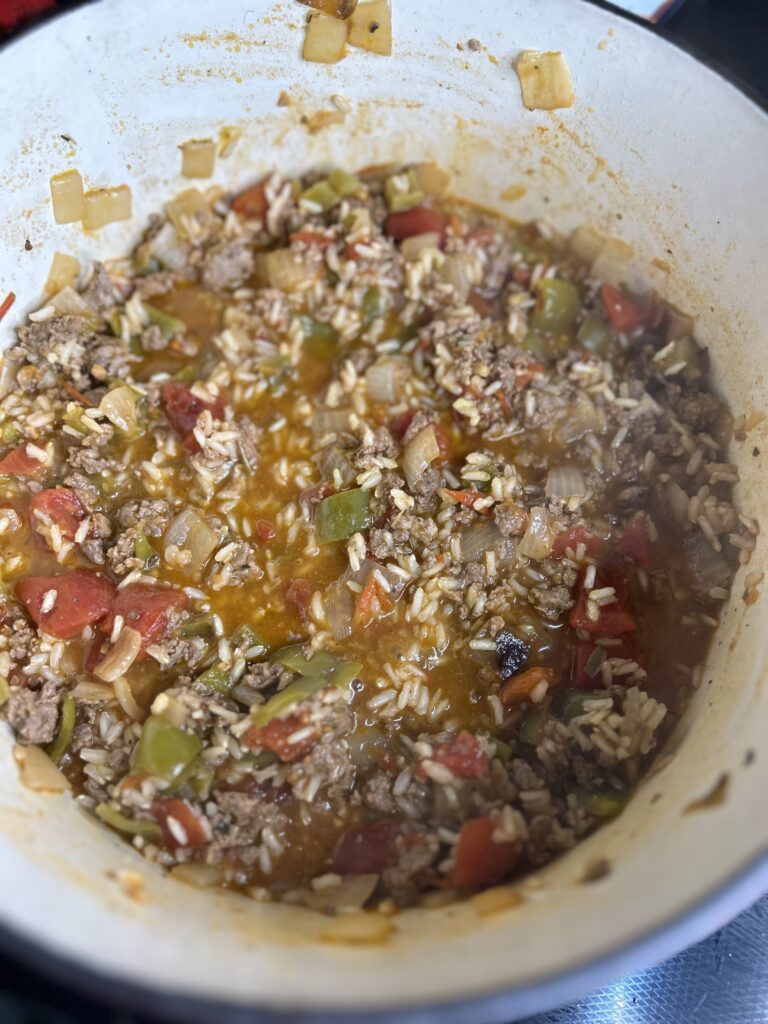
Add diced tomatoes, tomato sauce, chicken stock, and salt and pepper (including the pepper flakes). Bring to a boil. Add the rice, stirring to combine. Return to a boil, then reduce to a simmer and cover. Allow your wonderful meal to cook for 40 minutes, covered. After 40 minutes, check the texture of the rice, cooking for an additional 5-10 minutes if necessary. 

Once the rice is fully cooked, top with shredded cheese. If you are able to put your pan in the oven, cook under the broiler at 475 for 3-5 minutes, until the cheese is perfect and bubbly. 

If you are not able to put your pan in the oven, add the cheese and immediately put the cover back on. Allow to sit for 5-10 minutes (and up to 20 minutes, if you are busy), to let the cheese melt. 

That’s it. It really is such a simple meal that has you doing just a few things at the beginning and then setting and forgetting it. If you are busy at night, you could totally precook the sausage, onion, and peppers and just add everything together when you get home. 

Stuffed Pepper Skillet

This Stuffed Pepper Skillet is packed with flavor and simple to prepare, even on a weeknight, thanks to its minimal hands-on time.
Prep Time 20 minutes
Cook Time 40 minutes
Course dinner, Main Course
Cuisine American

Ingredients
  

  • 1 ½ cups chopped sweet pepper any color
  • 1 ½ cups diced onion
  • 2 tablespoons olive oil
  • 2 teaspoons minced garlic
  • 1 pound ground Italian sausage
  • 1 can of diced tomatoes unsalted
  • 8 ounces tomato sauce
  • 2 ⅔ cup low sodium chicken stock
  • 1 ½ cups brown rice
  • 1 cup shredded cheese your favorite kind
  • Pinch of red pepper flakes optional
  • Salt and pepper to taste

Instructions
 

  • If available, cook this in an oven safe Dutch oven with a cover so that the cheese can go under the broiler. If that’s not available, any large brazier or saute pan with a cover will do.
  • Over medium-high heat, add the olive oil to the pan. Once hot, add green peppers and onion. Saute for 5-10 minutes, until just softening. Then add the Italian sausage and minced garlic, cooking until the sausage is browned. From here, drain if necessary.
  • Add diced tomatoes, tomato sauce, chicken stock, and salt and pepper (including the pepper flakes). Bring to a boil. Add the rice, stirring to combine. Return to a boil, then reduce to a simmer and cover. Allow your wonderful meal to cook for 40 minutes, covered. After 40 minutes, check the texture of the rice, cooking for an additional 5-10 minutes if necessary.
  • Once the rice is fully cooked, top with shredded cheese. If you are able to put your pan in the oven, cook under the broiler at 475 for 3-5 minutes, until the cheese is perfect and bubbly.
  • If you are not able to put your pan in the oven, add the cheese and immediately put the cover back on. Allow to sit for 5-10 minutes (and up to 20 minutes, if you are busy), to let the cheese melt.
Keyword cherry tomatoes, green peppers, Italian sausage, Italian venison, one pot meals, peppers, stuffed peppers
Tried this recipe?Let us know how it was!

Looking for other great dinner recipes?

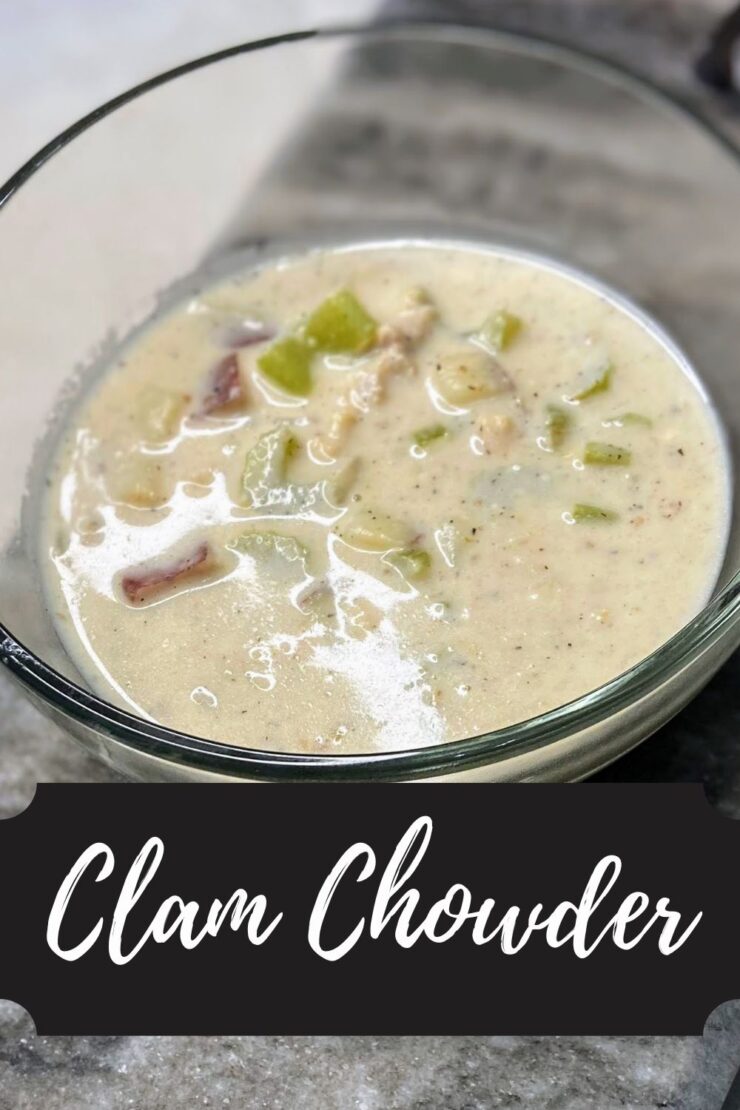
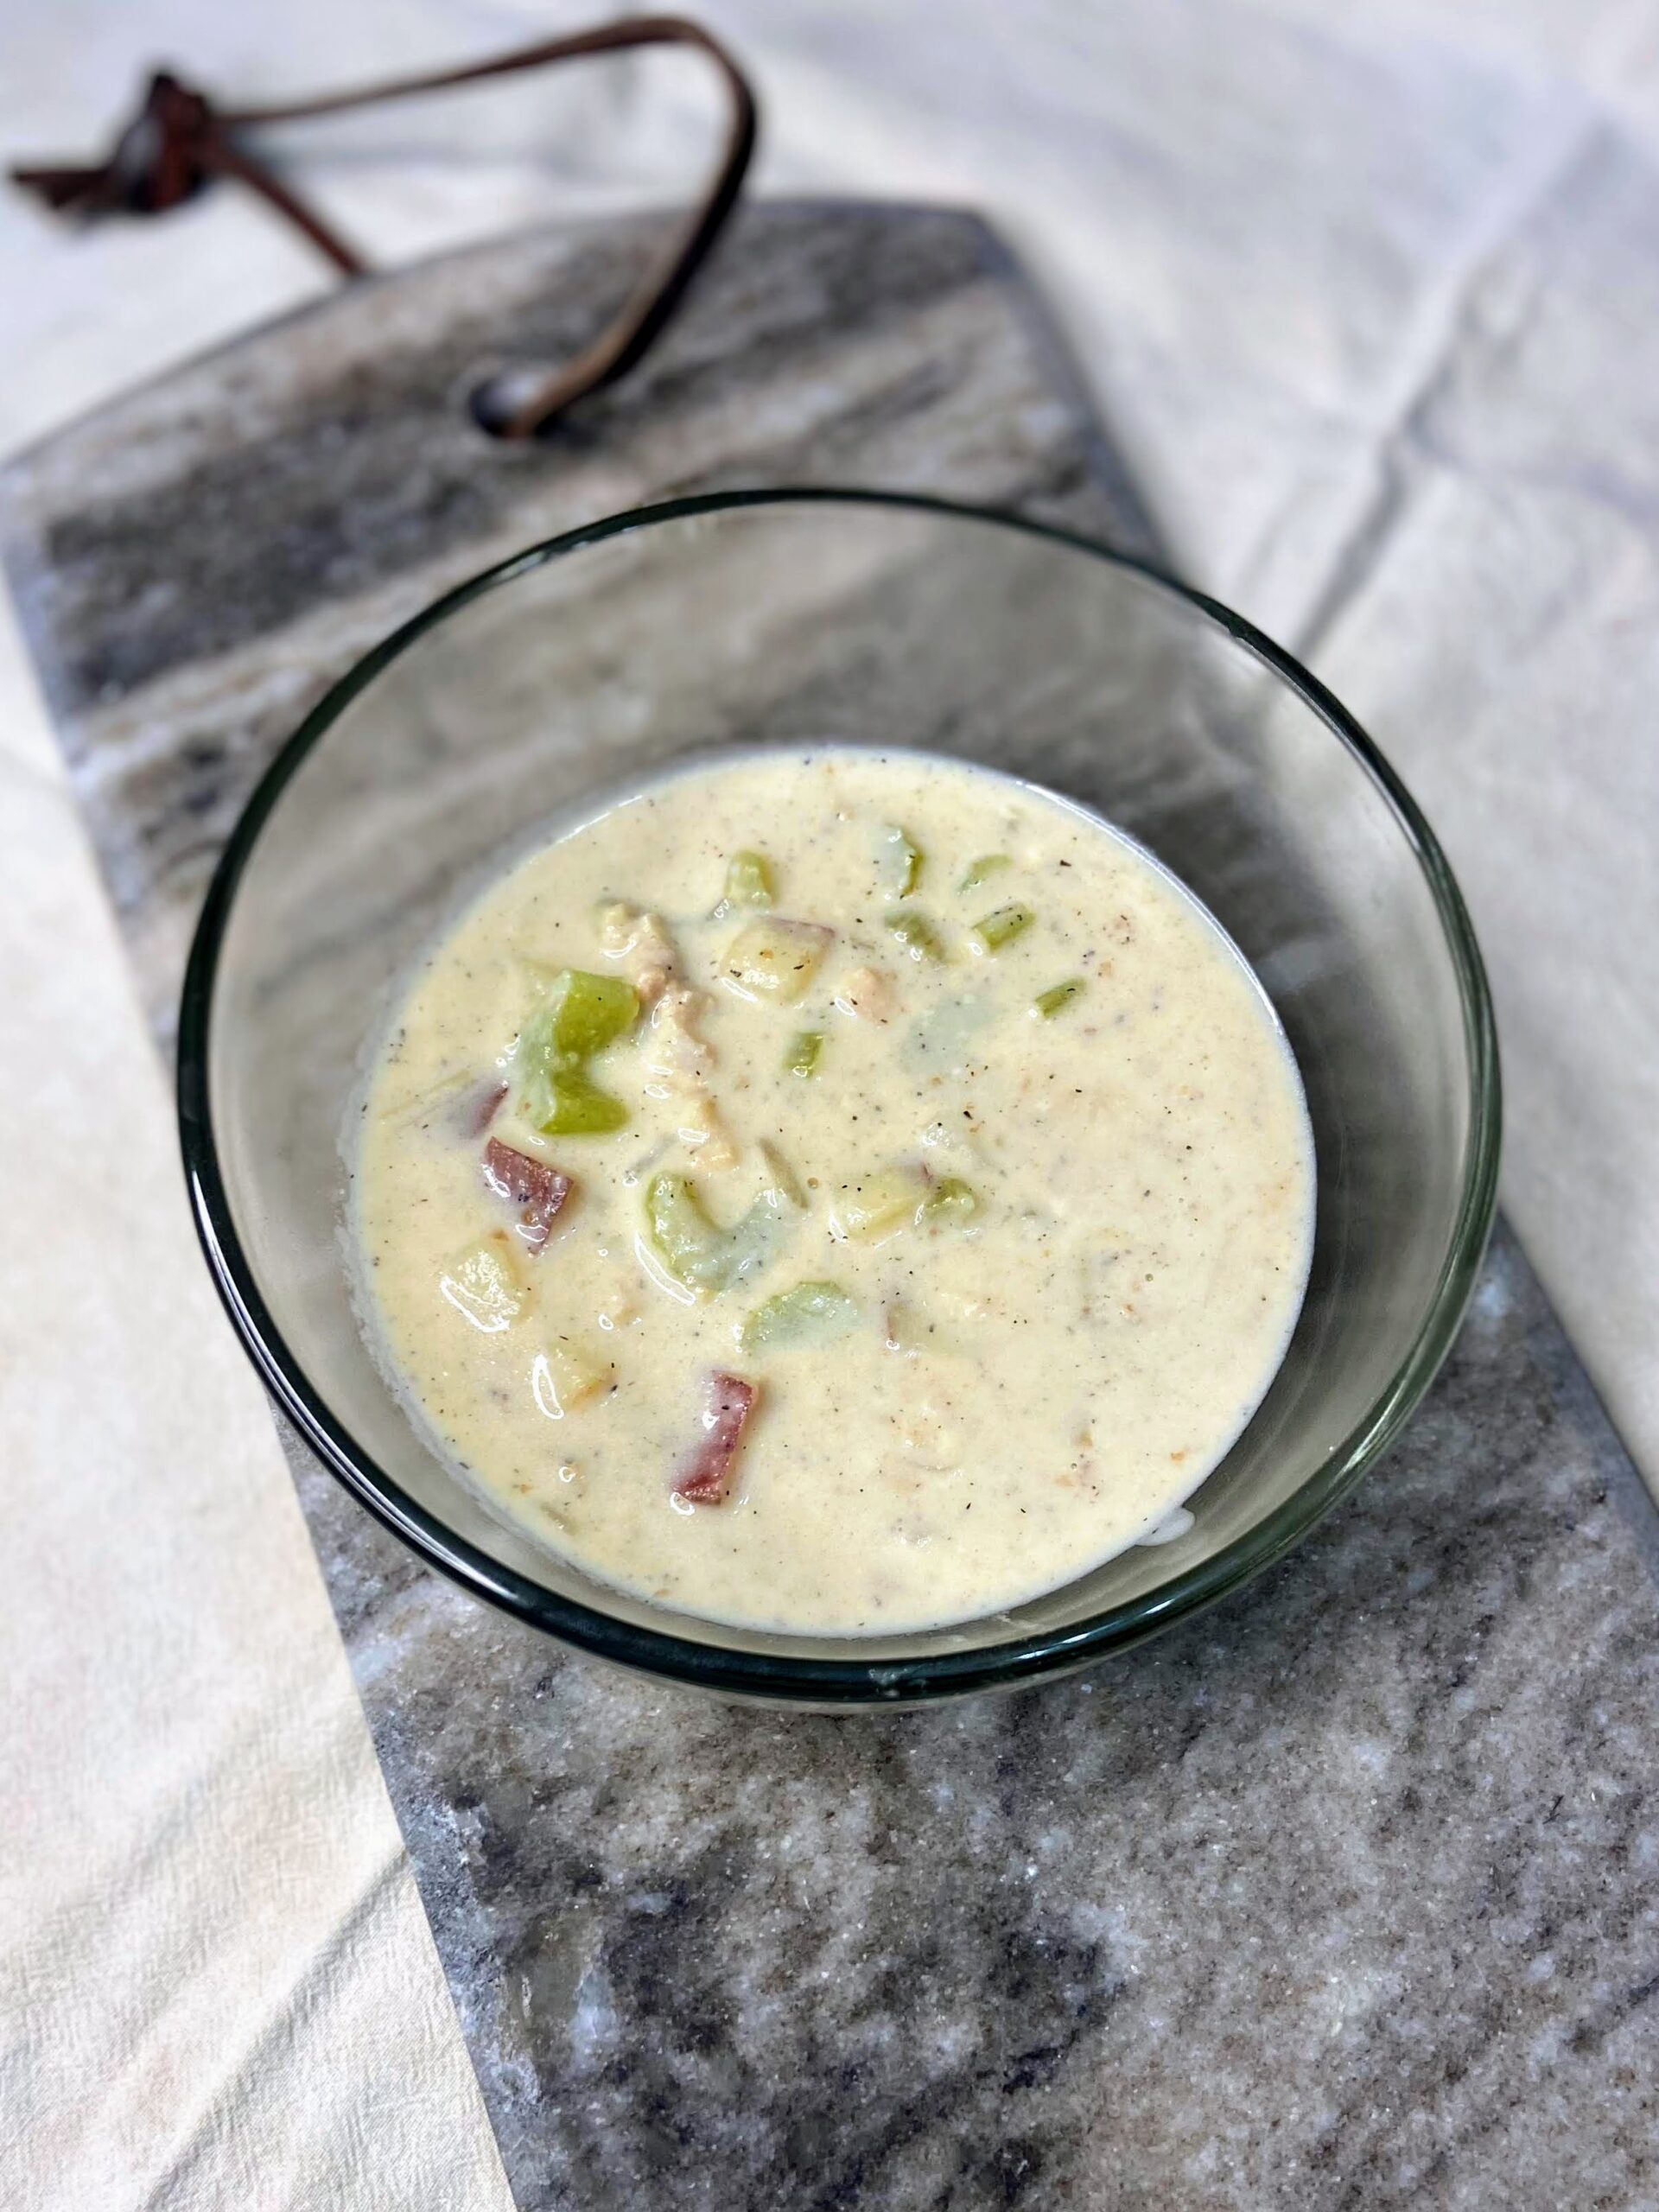
Homemade Clam Chowder

If you hang out with me on Instagram, you may know that I am part of a collab that cooks from a different cookbook each month. The intent was to use those books that are collecting dust, but for many of us, it has led to us purchasing more books. Ha! For me, it has also led to some new explorations and recipe development. Case in point, this homemade clam chowder. 

A month ago, I had pulled out the first cookbook I ever bought, Betty Crocker’s Big Red Cookbook (okay, that might not be it’s name, but that’s what I am calling it) and in flipping through the pages for our challenge, I stumbled on the clam chowder recipe. That’s one of the Mr’s favorites!

It was super simple; too simple. And when I cook for our cookbook collab, I try my best to stick to the recipe and avoid going rogue, as much as I would like to. That meant I picked different recipes for the collab, but also that it was time for me to play and create my own take on clam chowder. I knew my husband would love it!

Ready to give it a try? Let’s cook together! 

Your Ingredients 

  • 2 cans of clams, reserving the juice
  • 2 tablespoons olive oil
  • 1 cup diced onion
  • 2 cups diced potatoes
  • 1 ½ cups diced celery
  • 1 teaspoon garlic 
  • 1 cup water 
  • ¼ cup flour 
  • ¼ cup butter
  • 1 cup half and half 
  • 1 ½ cups milk 
  • ½ teaspoon pepper 
  • ½ teaspoon salt 

Your Steps to Homemade Clam Chowder

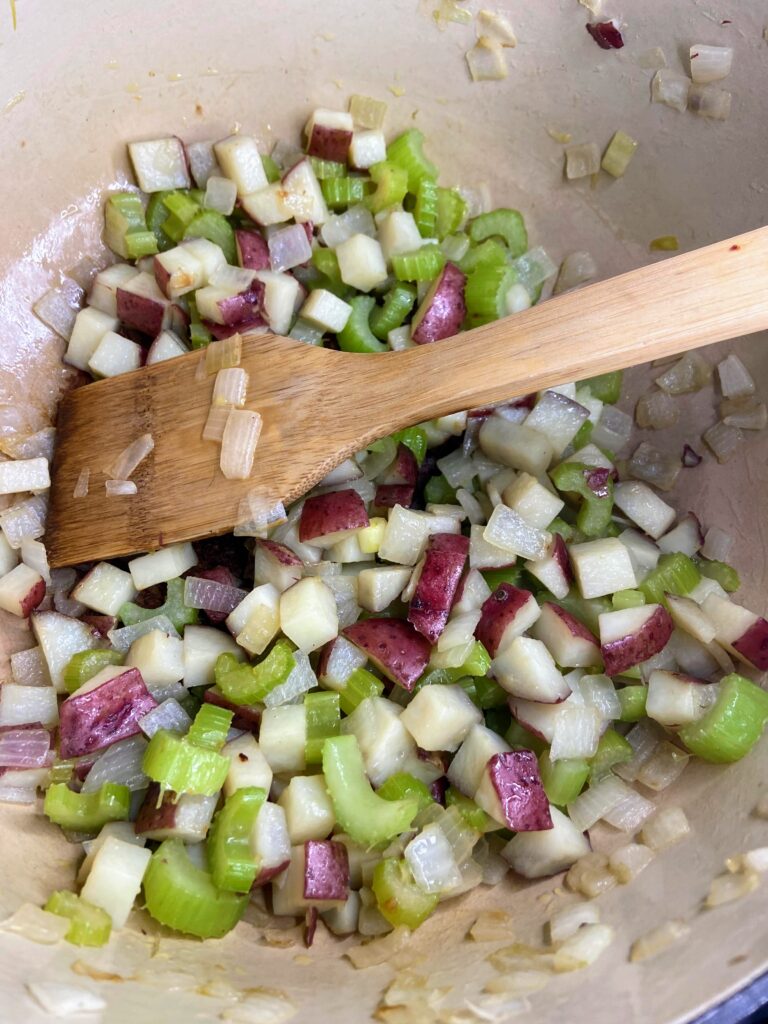
In a dutch oven (I love my cast iron Dutch oven!), heat olive oil over medium heat. Once hot, add onion, potatoes, and celery. Saute for 8-10 minutes, until the onion has softened. Stir in garlic, water, and clam juice. Add additional water to make sure the vegetables are covered, if needed. 

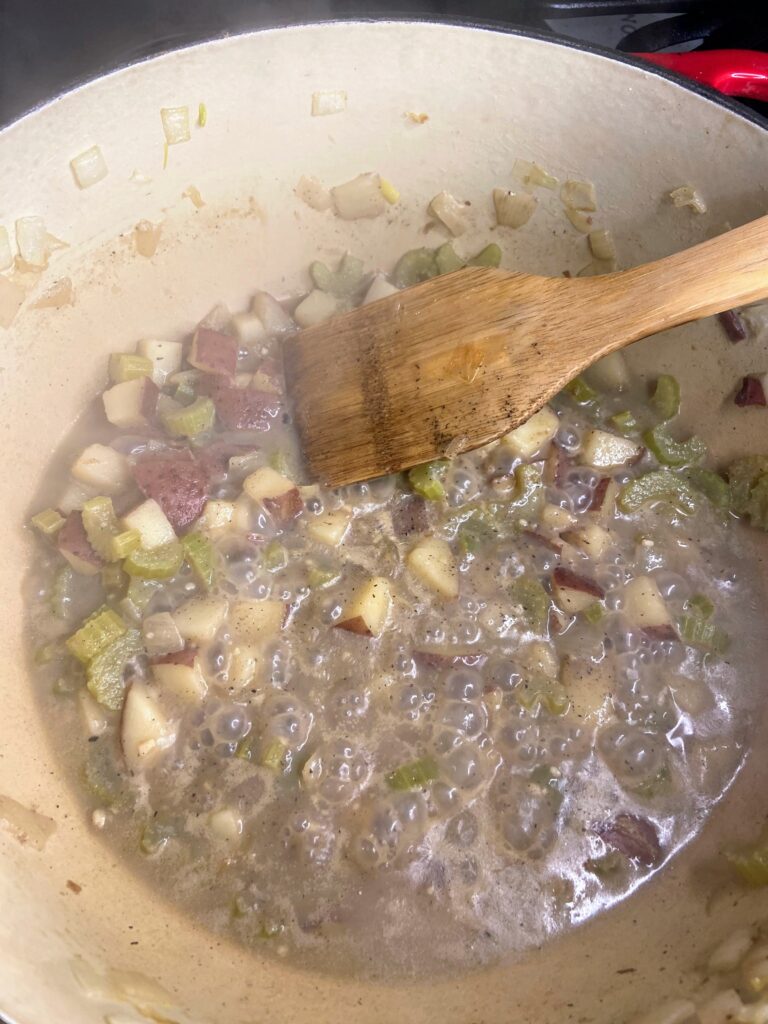
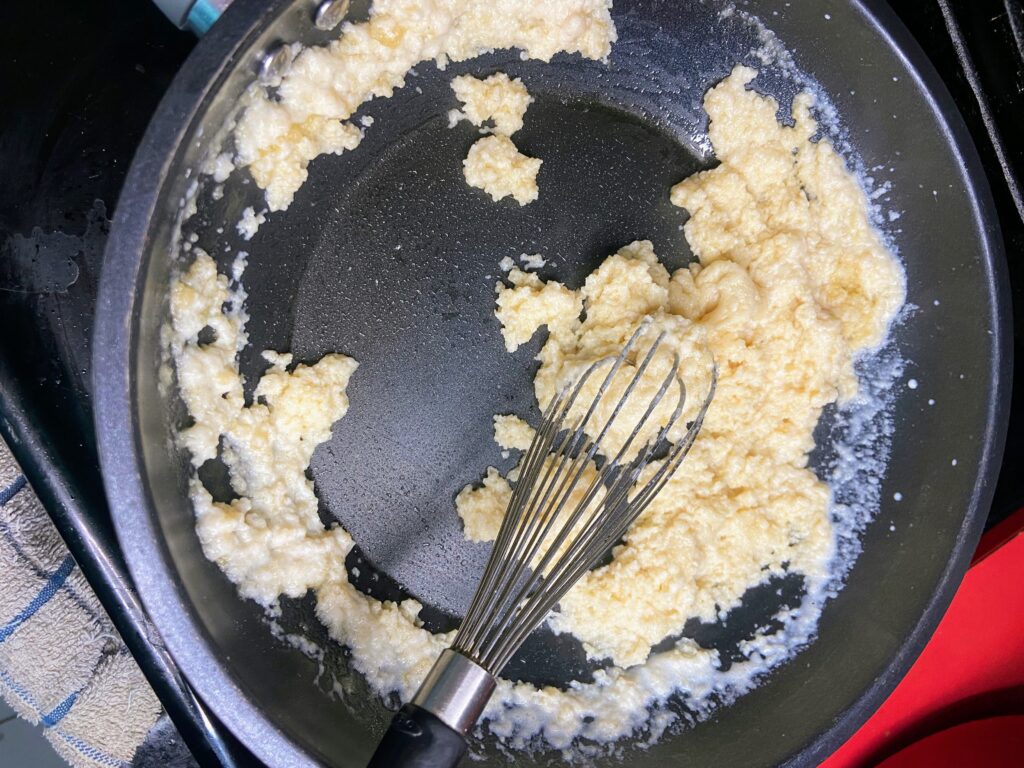
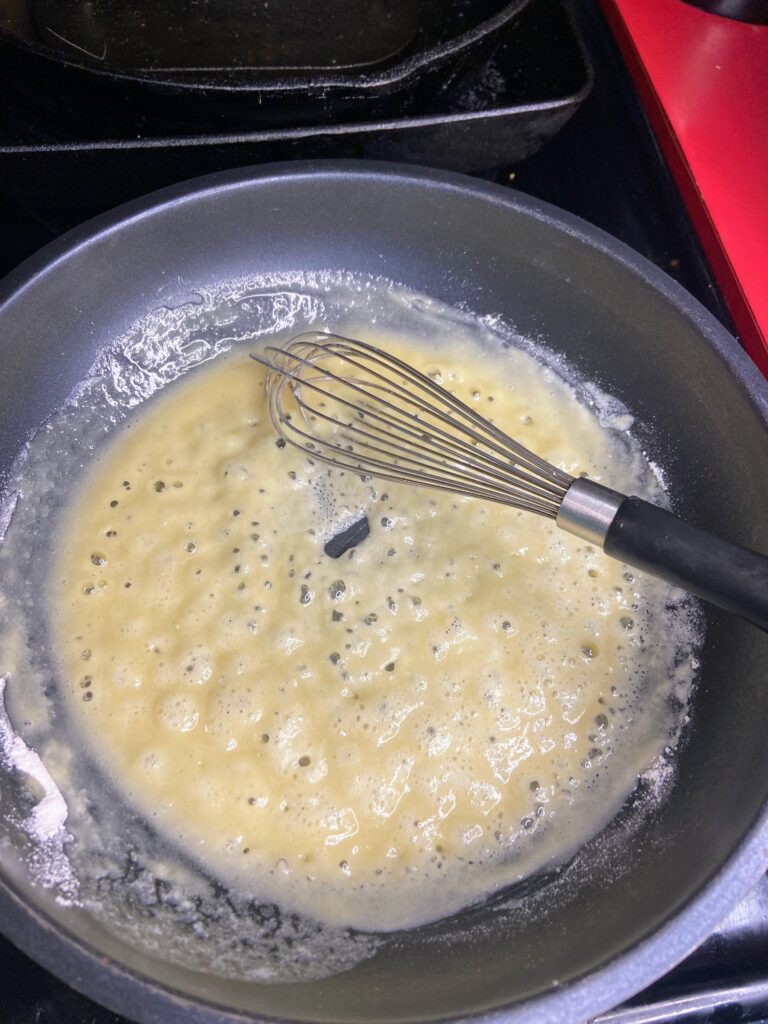
Bring to a boil and simmer the vegetables for ten minutes, until potatoes are soft. Meanwhile, add the butter to a medium skillet on medium heat. Once melted, whisk in the flour and cook until it starts to just brown. SLOWLY, slowly stir in the half and half, ¼ cup or so at a time. Add salt and pepper. 

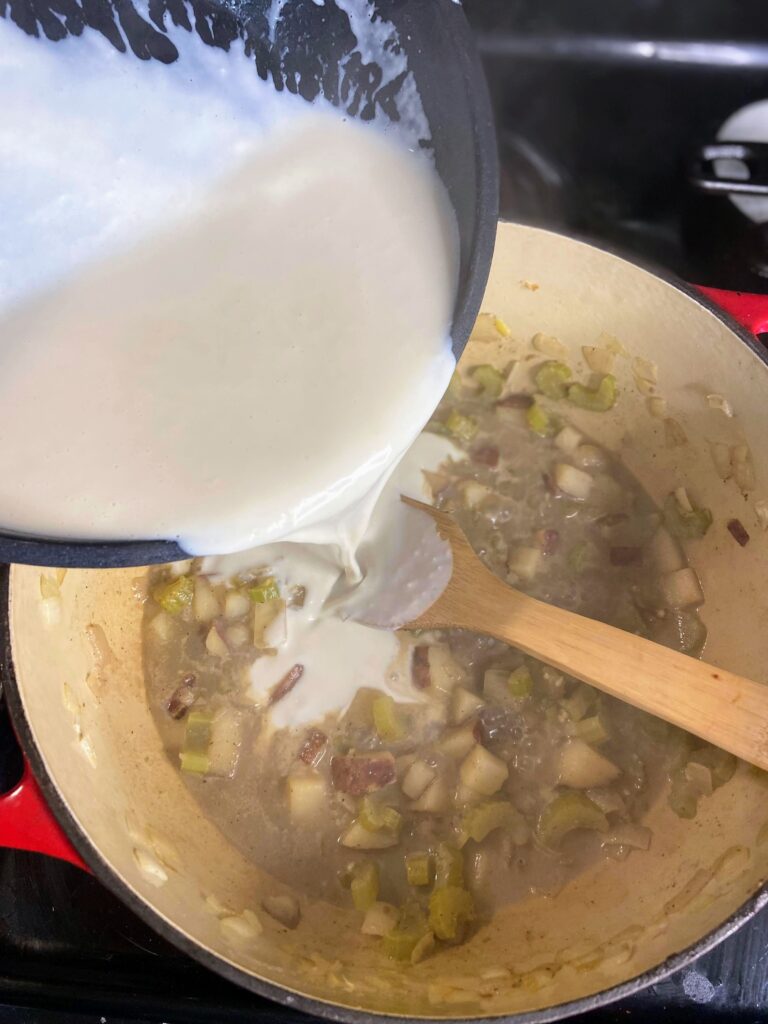
Whisk the half and half mixture into the vegetable mixture. Stir in milk and clams and cook until just heated through to prevent the clams from getting chewy. 

Note: If you dig a creamier soup, swap some of the milk for more half and half or use a whole milk rather than something like skim.

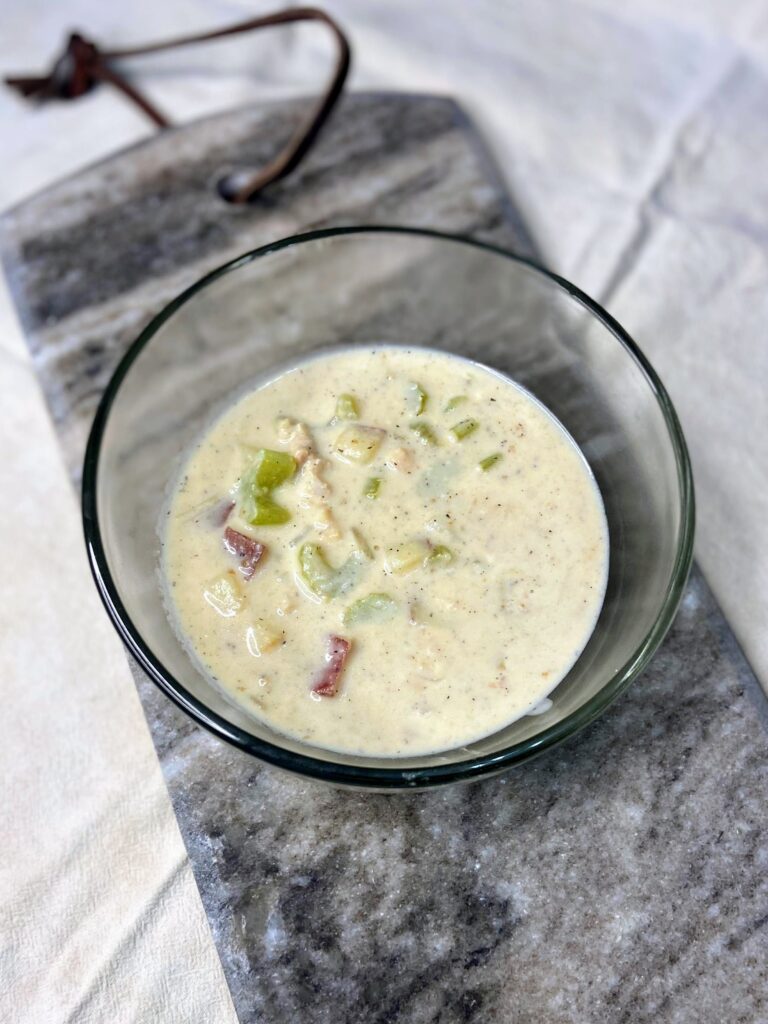
Completed clam chowder

Homemade Clam Chowder

A simple and delicious take on clam chowder that can be put together in under 40 minutes!
Prep Time 10 minutes
Cook Time 20 minutes
Course dinner, Main Course, Soup
Cuisine American
Servings 6

Ingredients
  

  • 2 cans clams reserving the juice
  • 2 tablespoons olive oil
  • 1 cup diced onion
  • 2 cups diced potatoes
  • 1 ½ cups diced celery
  • 1 teaspoon garlic
  • 1 cup water
  • ¼ cup flour
  • ¼ cup butter
  • 1 cup half and half
  • 1 ½ cups milk
  • ½ teaspoon pepper
  • ½ teaspoon salt

Instructions
 

  • In a dutch oven, heat olive oil over medium heat. Once hot, add onion, potatoes, and celery. Saute for 8-10 minutes, until the onion has softened.
  • Stir in garlic, water, and clam juice. Add additional water to make sure the vegetables are covered, if needed. Bring to a boil and simmer the vegetables for ten minutes, until potatoes are soft.
  • Meanwhile, add the butter to a medium skillet on medium heat. Once melted, whisk in the flour and cook until it starts to just brown. SLOWLY, slowly whisk in the half and half, ¼ cup or so at a time. Add salt and pepper.
  • Whisk the half and half mixture into the vegetable mixture. Stir in milk and clams and cook until just heated through to prevent the clams from getting chewy. Serve immediately.

Notes

Note: If you dig a creamier soup, swap some of the milk for more half and half or use a whole milk rather than something like skim.
Keyword cast iron cooking, clam chowder, clams, cream soup, fall eats, Potatoes, sides, soup, soups and stews, winter eats
Tried this recipe?Let us know how it was!

Looking for other recipes?

Might I suggest some of my other favorite soups and stews and a dessert or two! Or you can head right to my Baking or Cooking page for more inspiration.

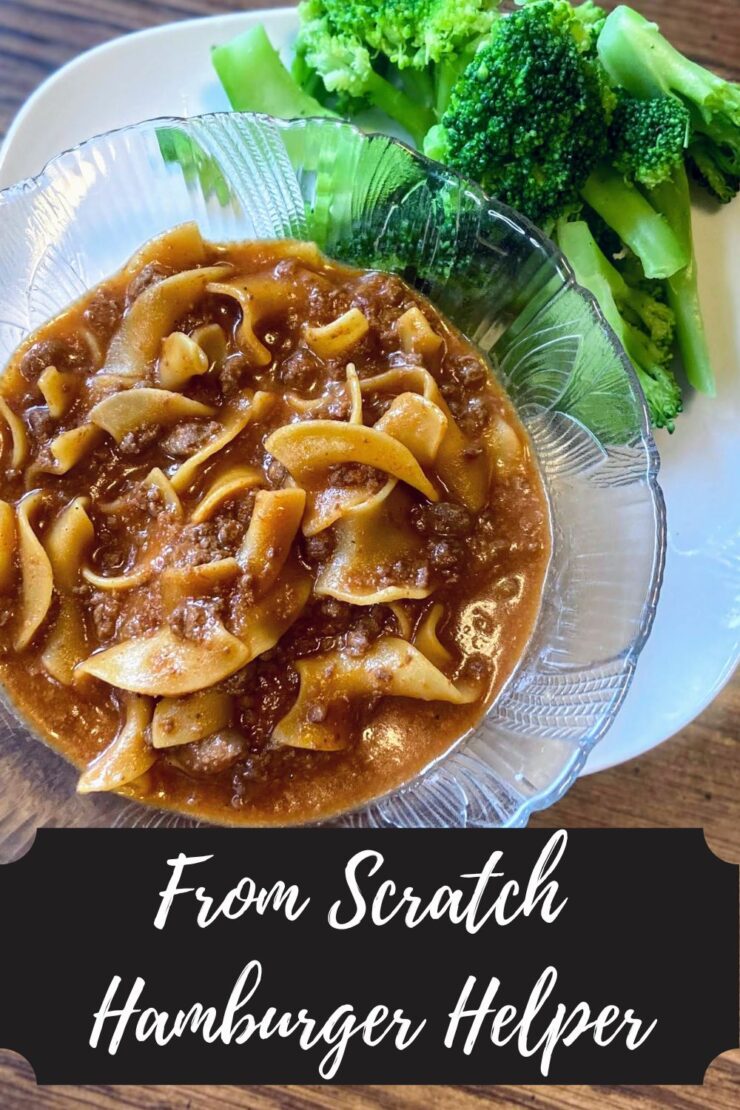
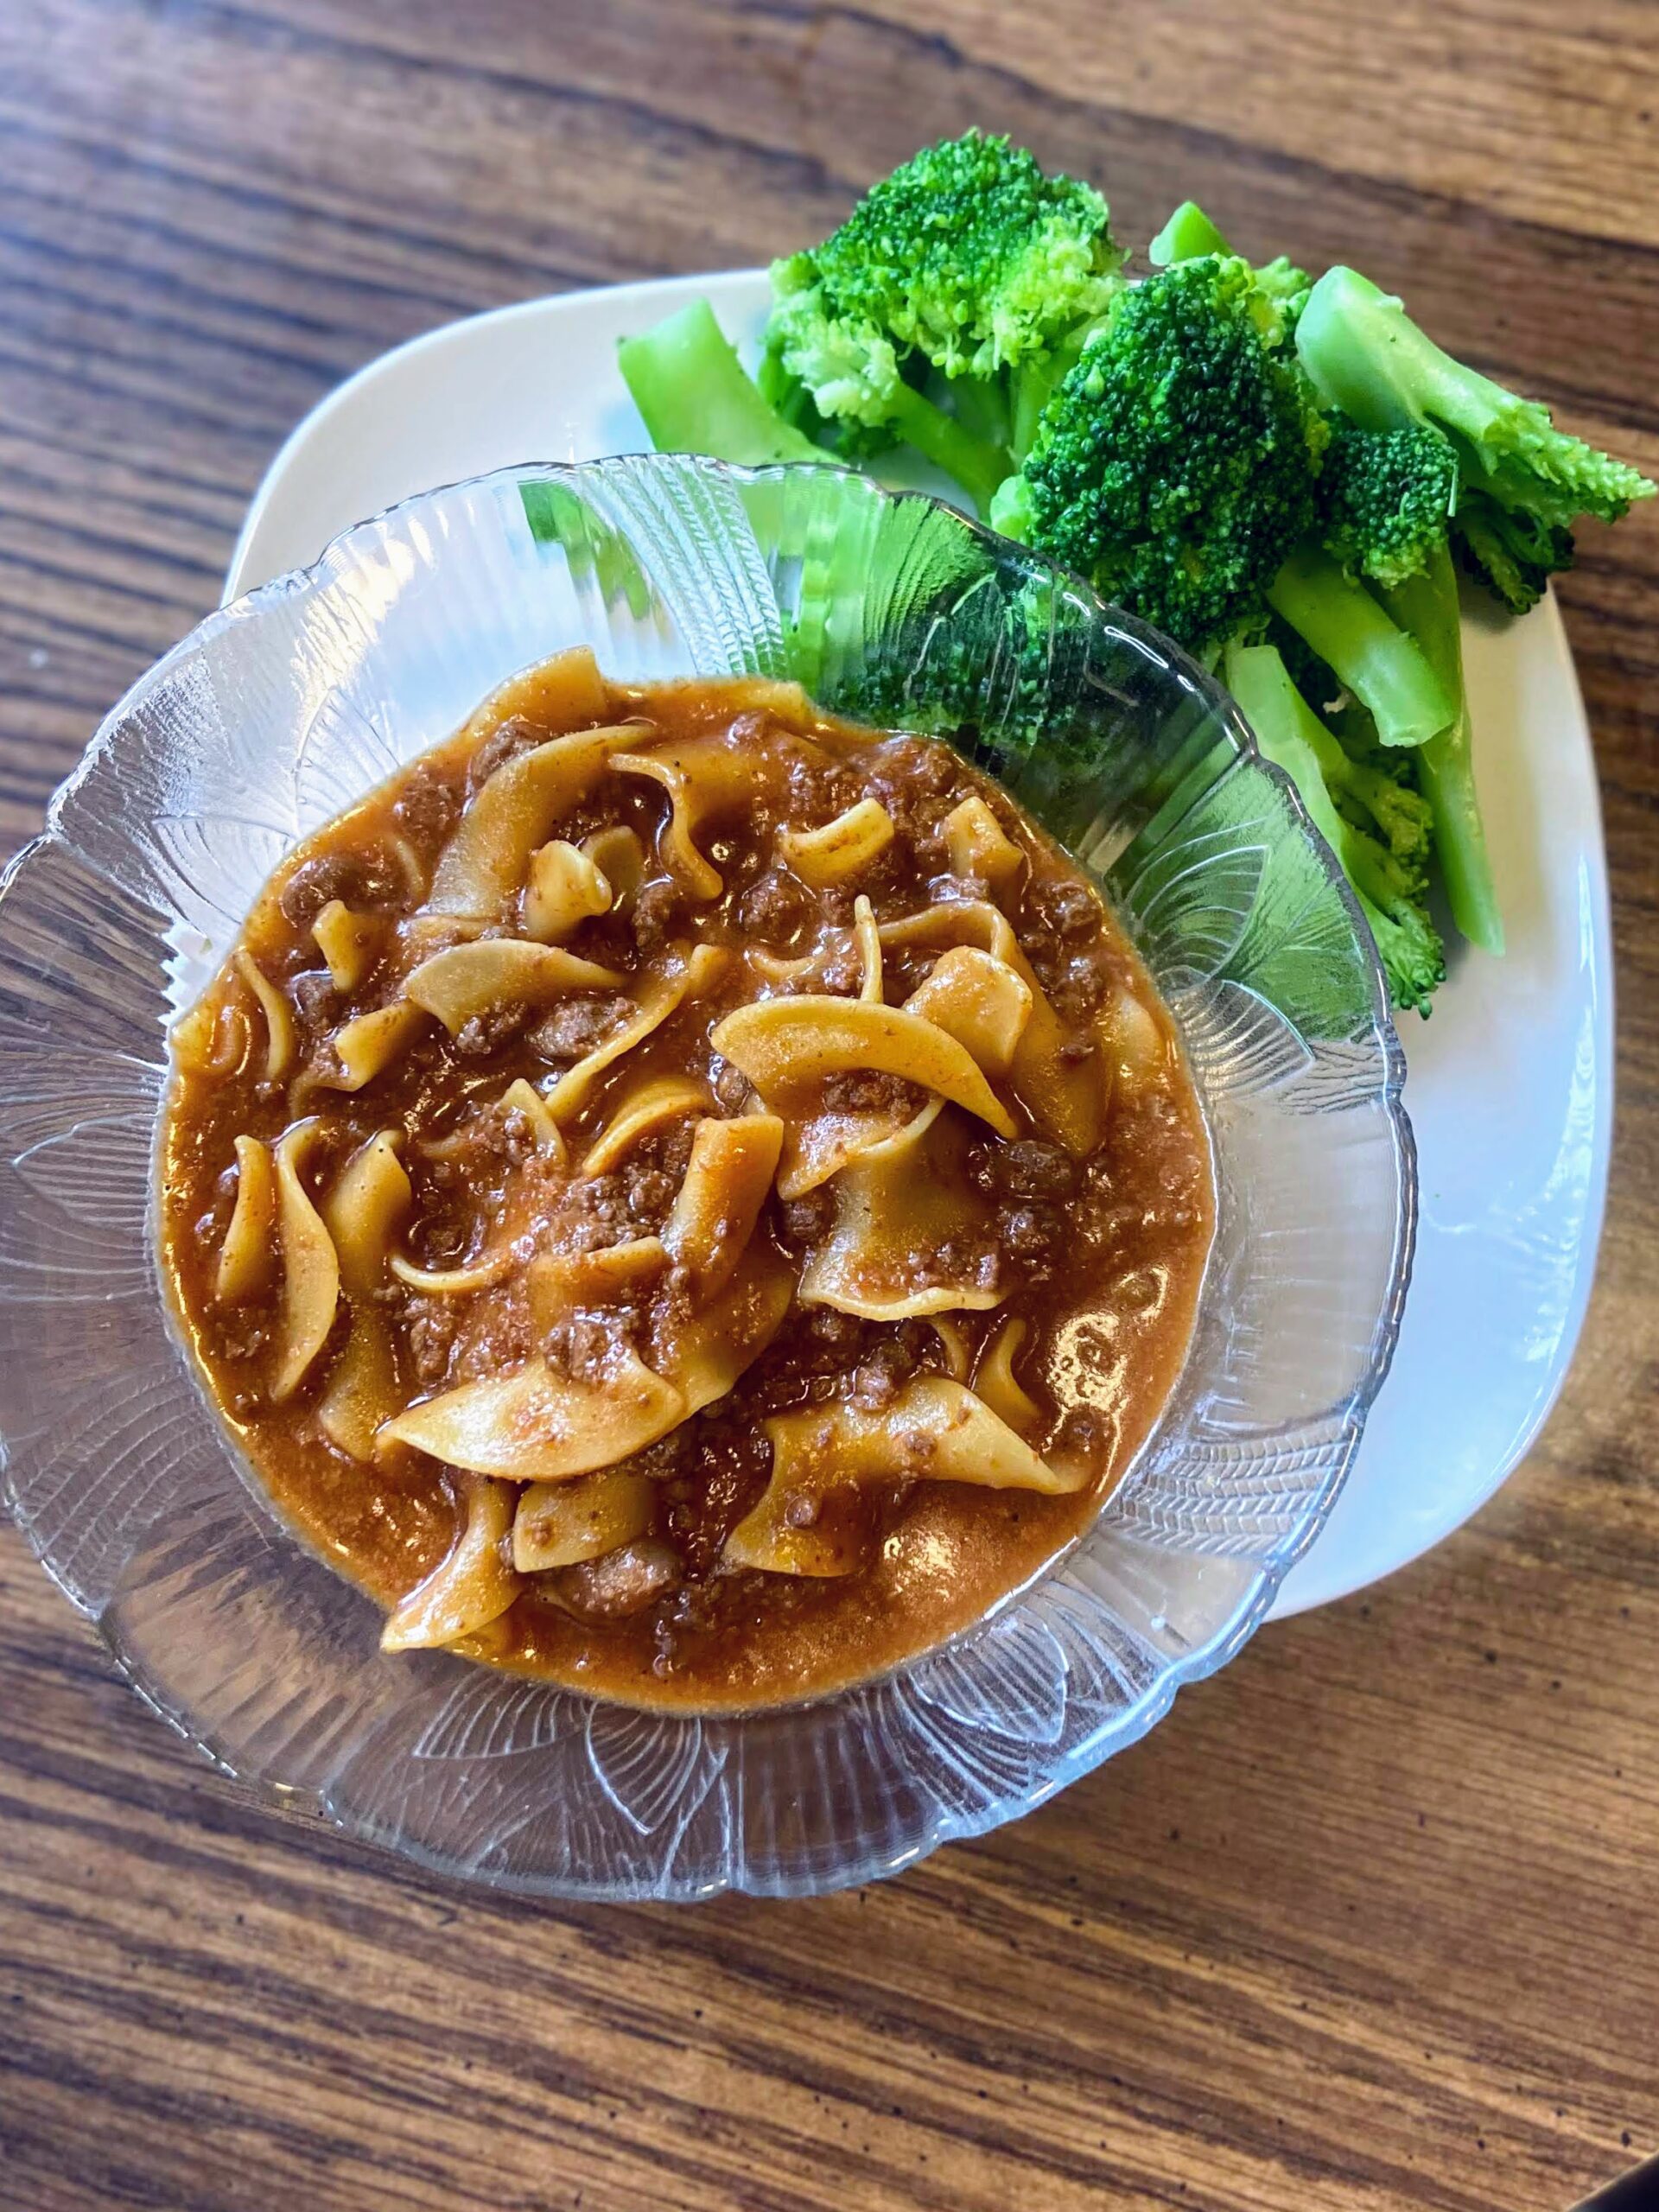
Homemade Hamburger Helper

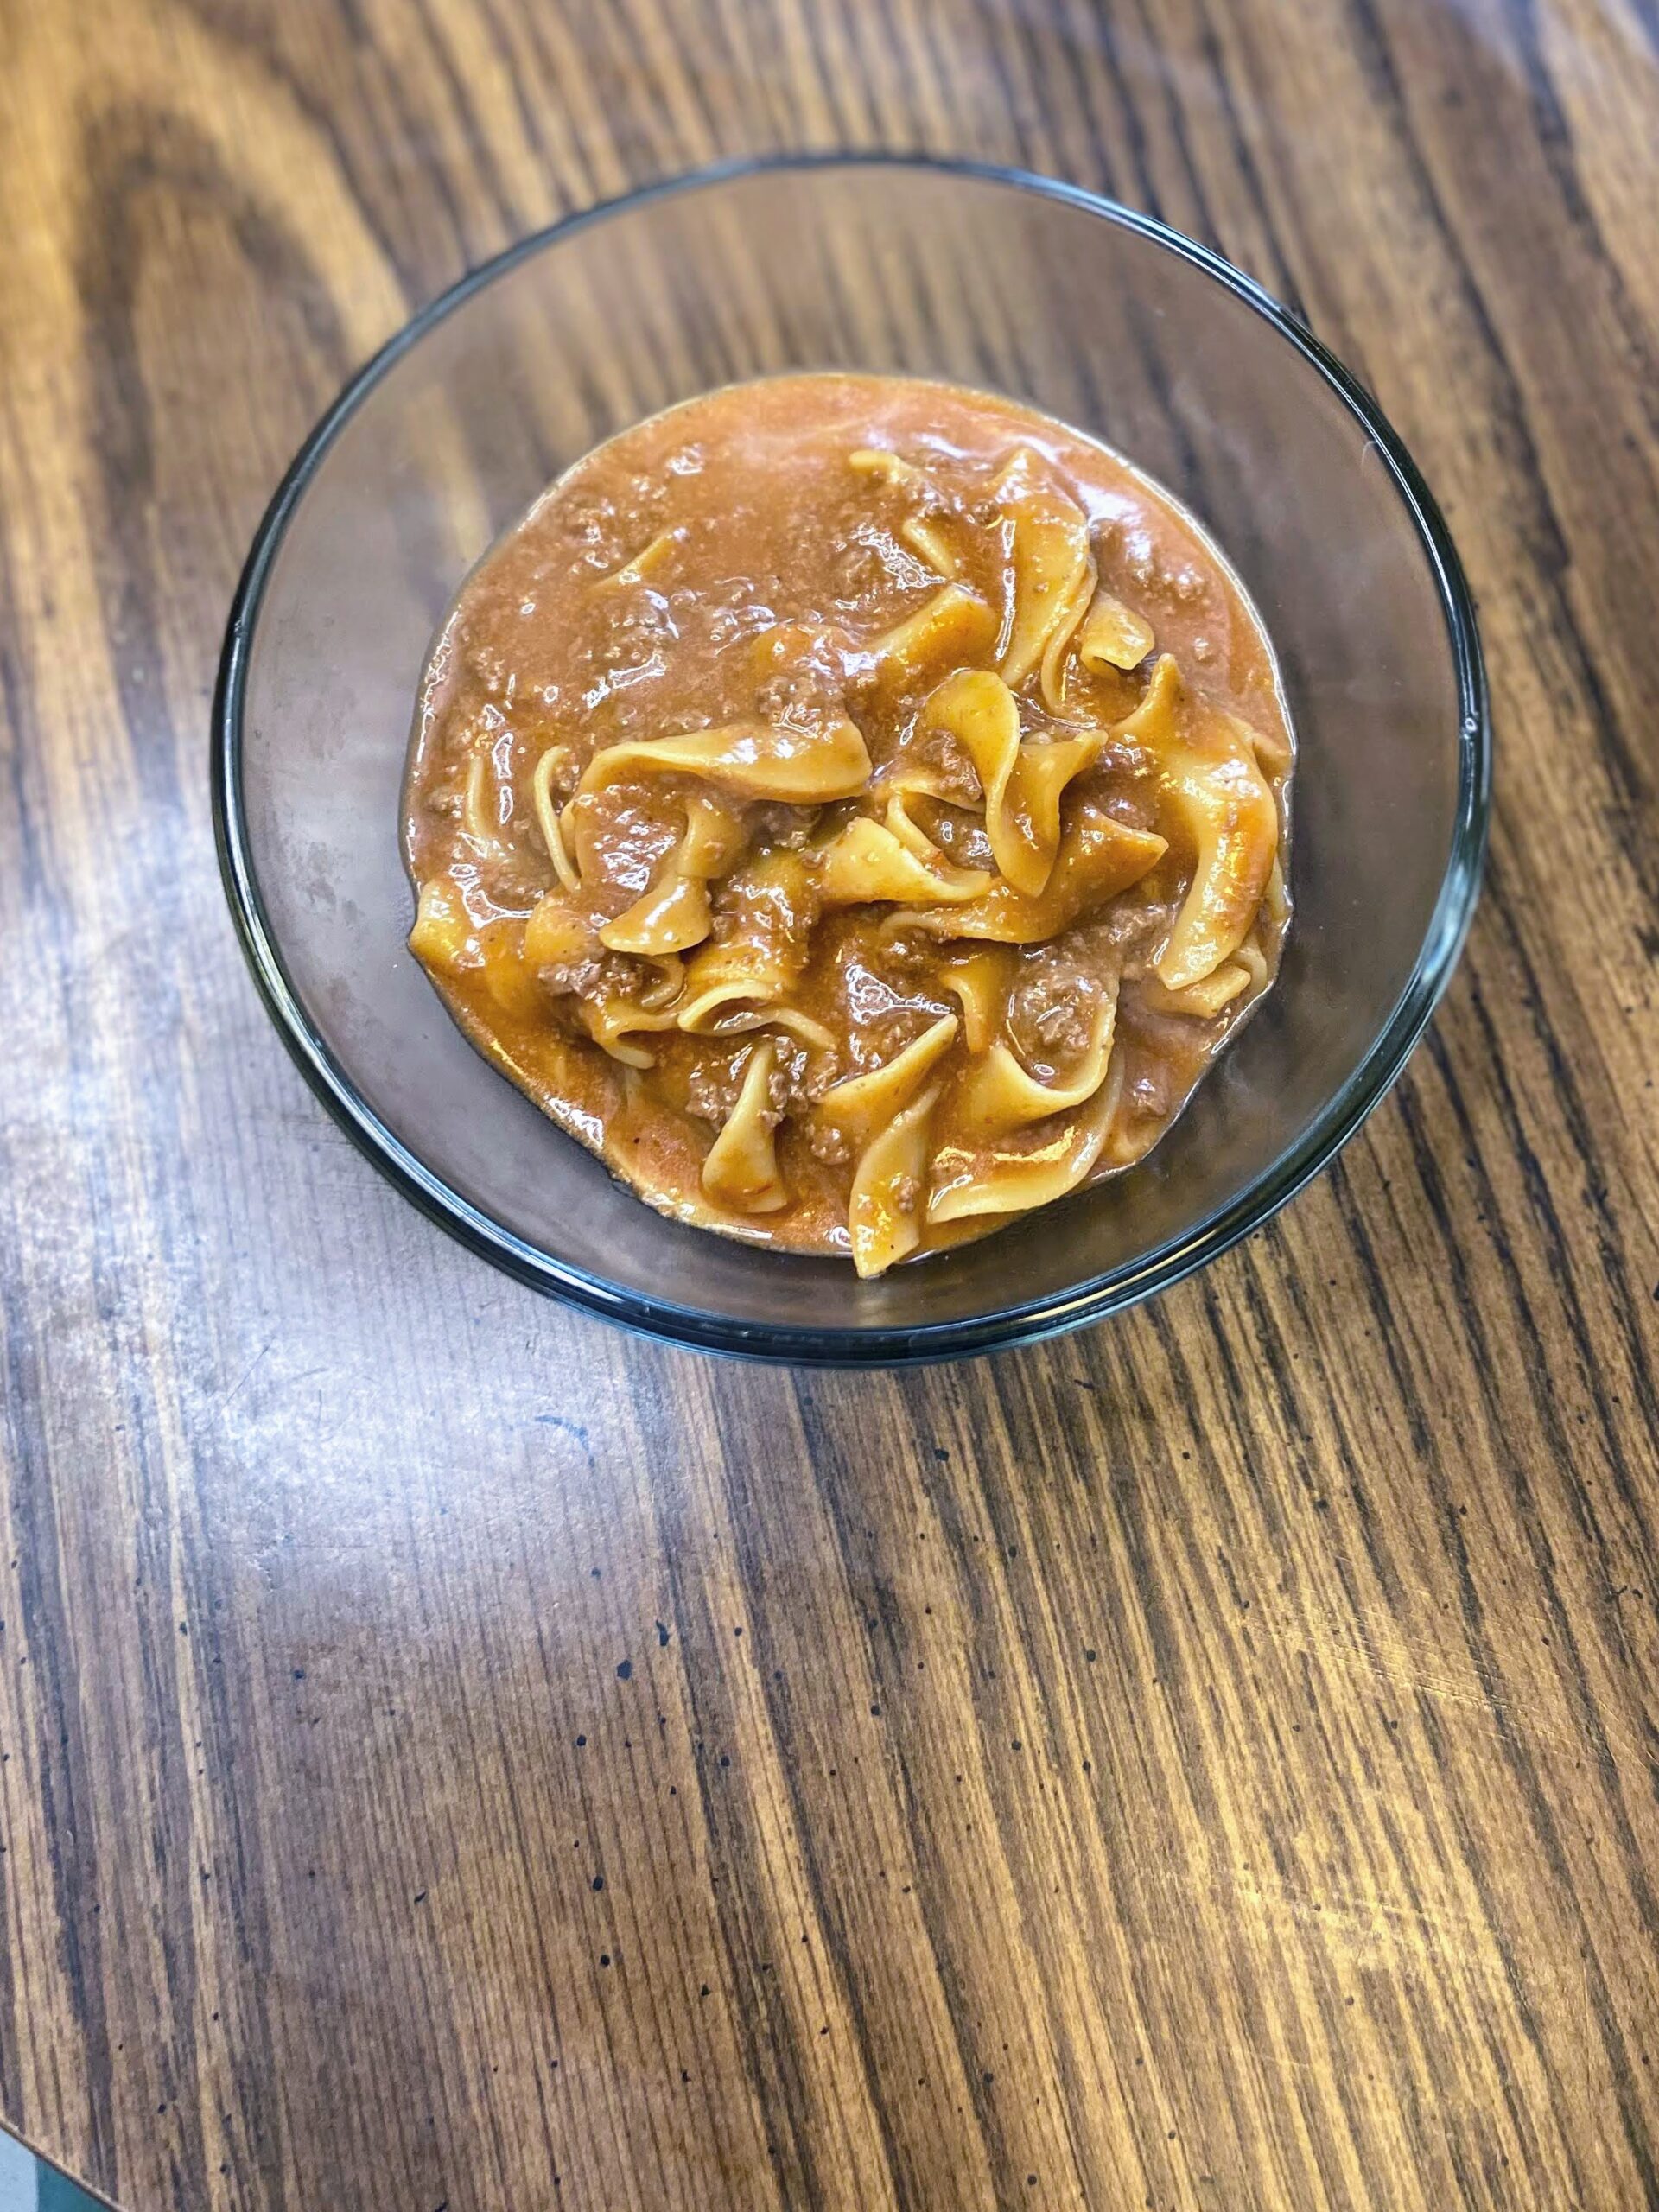
When I am asked what my niche is as a food blogger, I have a hard time coming up with a description because I truly am a dabbler. I love to can and preserve food from our homestead. I am a baker and comfort food is my jam. When I start to think about it deeper and see the big picture, my passion is creating good food for families from scratch. This homemade hamburger helper is such a perfect example of it. 

I don’t know about you, but I grew up eating a lot of hamburger helper as a kid. It was delicious, but now, I try to avoid as much pre-packaged and processed food as possible. When a friend shared her version of homemade hamburger helper, I had to give it a try. The skillet quickly became a family favorite and I had to ask if I could share it here. 

This homemade hamburger helper cooks up just a quick, if not quicker, than the box stuff. It’s a delicious and so simple recipe for busy people who still want to put good food on the table for their families. And without all the preservatives and added salt, it’s a meal parents can feel good about their kiddos devouring. 

Your Ingredients 

  • 1 pound ground protein (beef, venison, turkey)
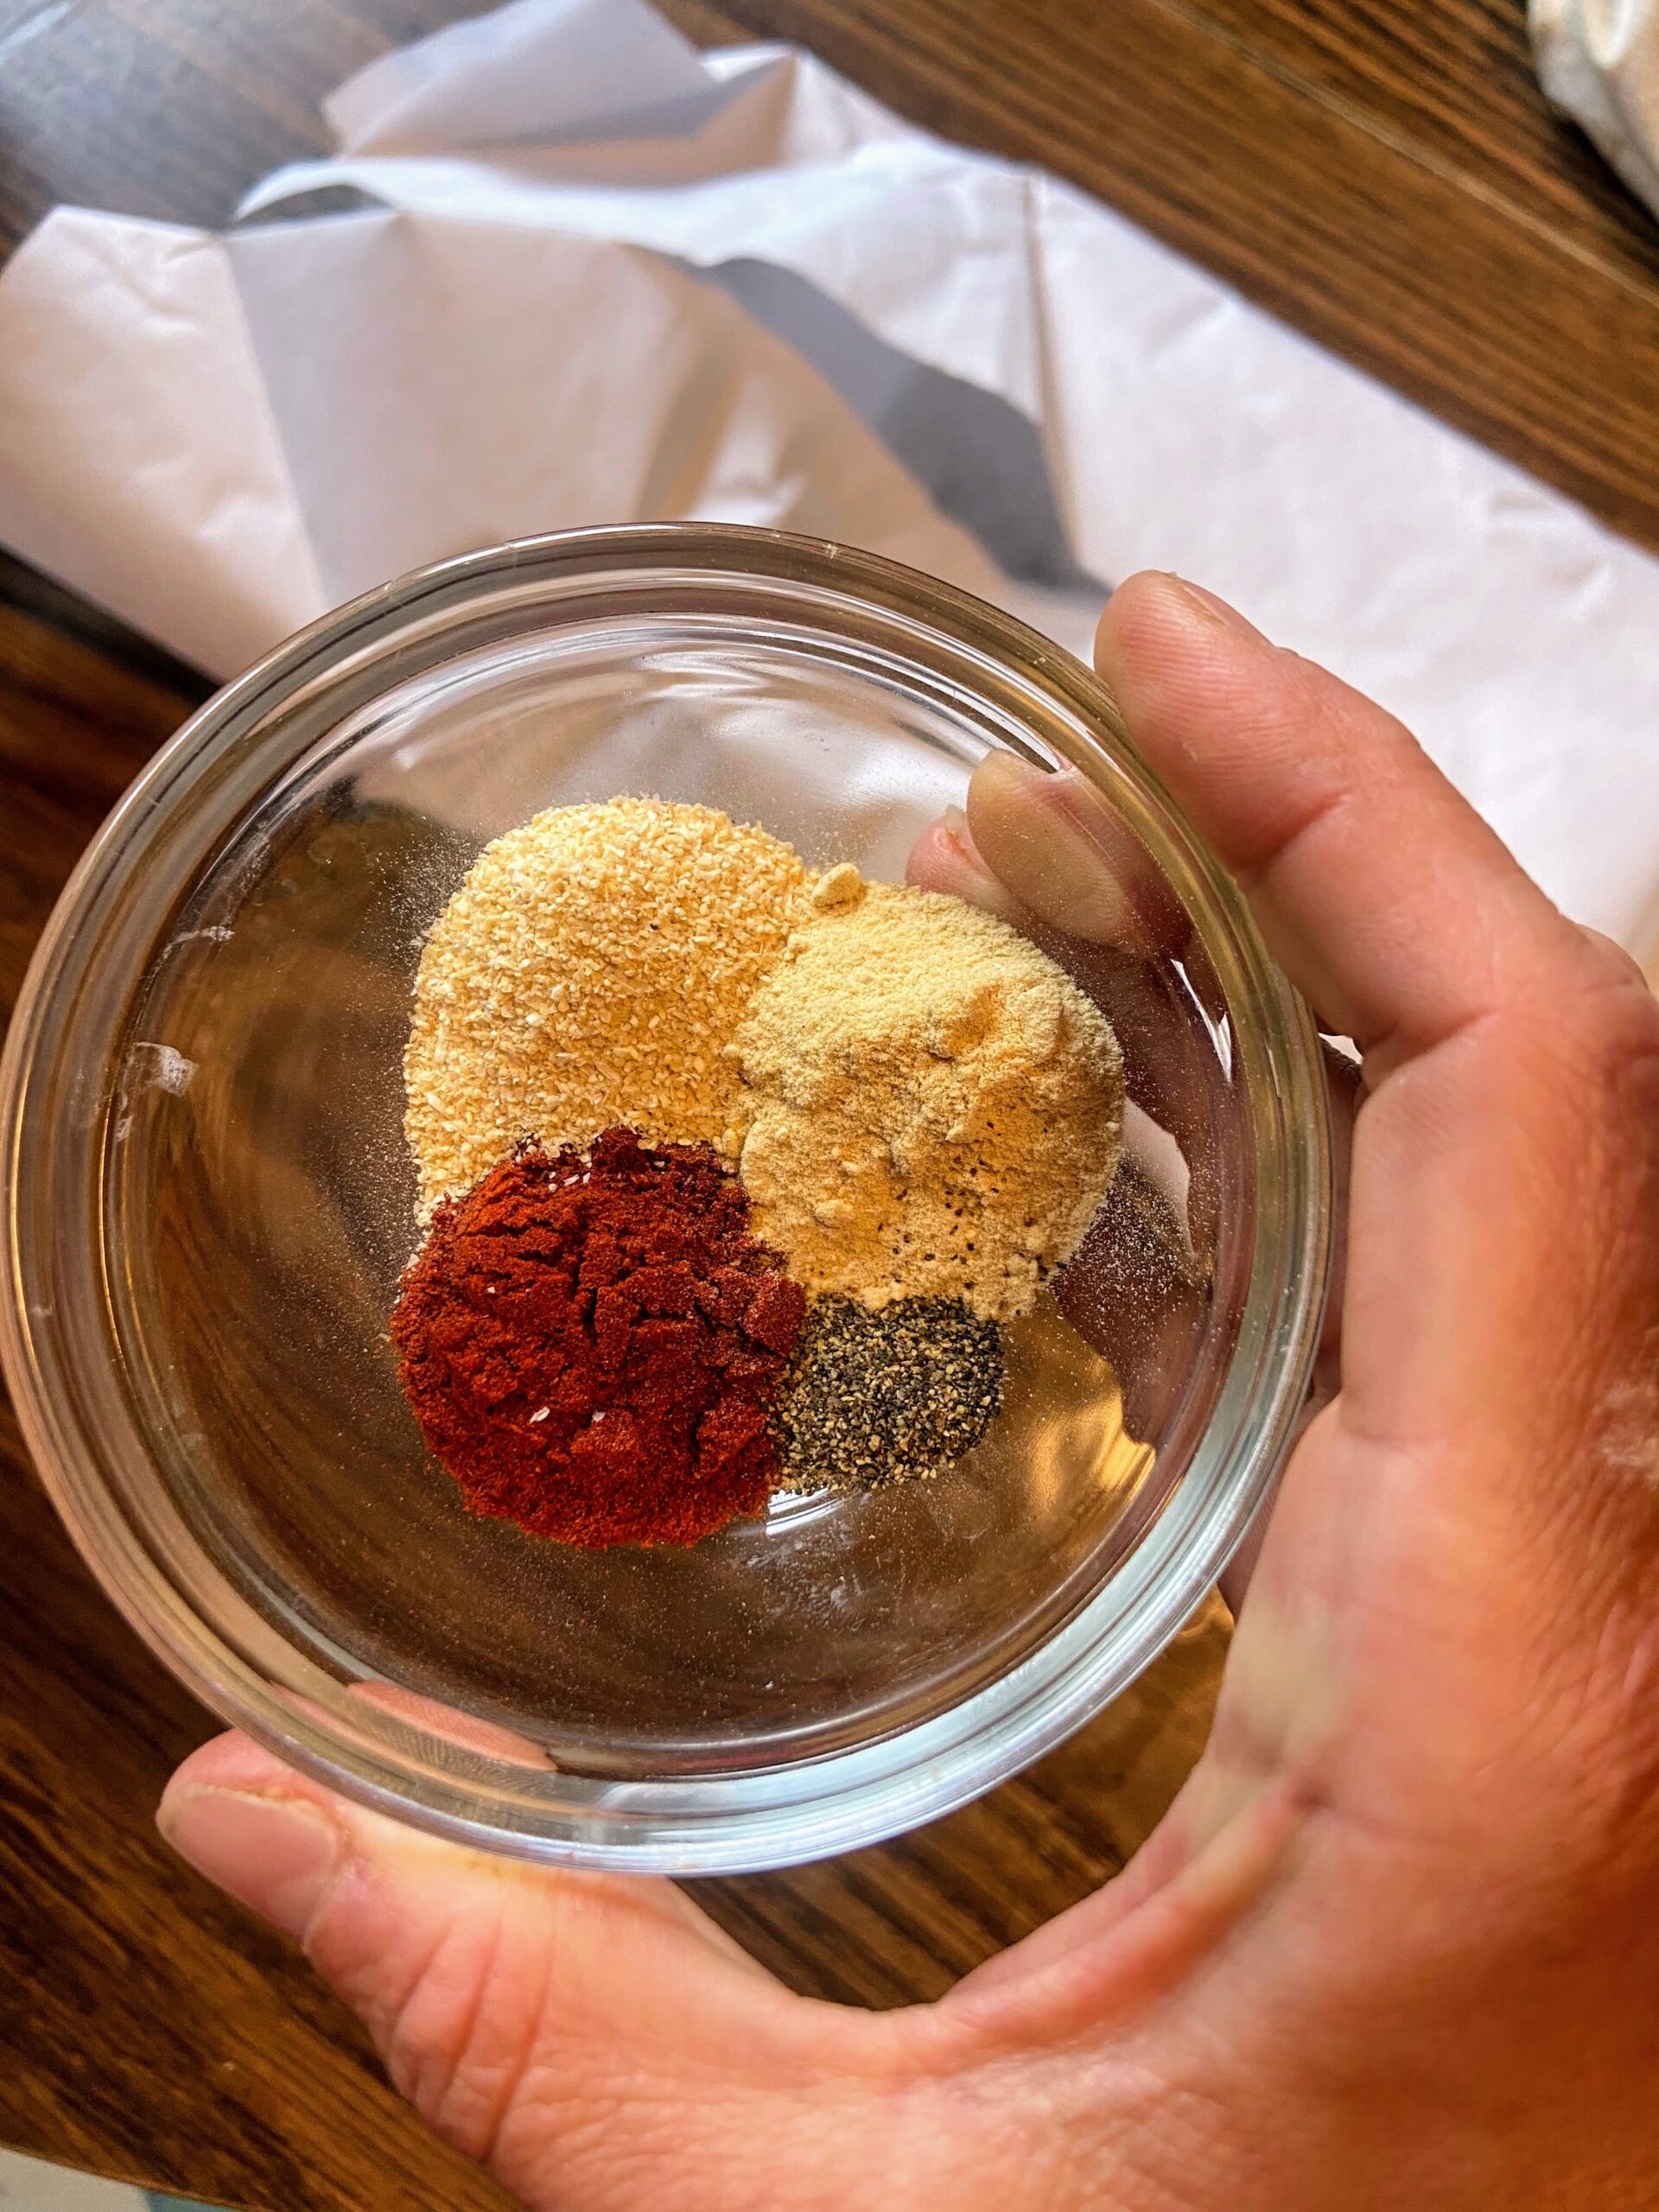
  • 1 teaspoon onion powder 
  • ¼ teaspoon ground pepper
  • 1 teaspoon paprika 
  • 1 teaspoon garlic powder 
  • 6 ounces tomato paste or 8 ounces tomato sauce 
  • 1 ½ cups milk of your choice (regular, almond, etc) 
  • 1 ½ cups low sodium beef broth
    3 cups egg noodles
  • 1 ½ cups shredded cheddar cheese 
  • Olive oil, optional 
  • Salt, to taste

Your Steps to Homemade Hamburger Helper

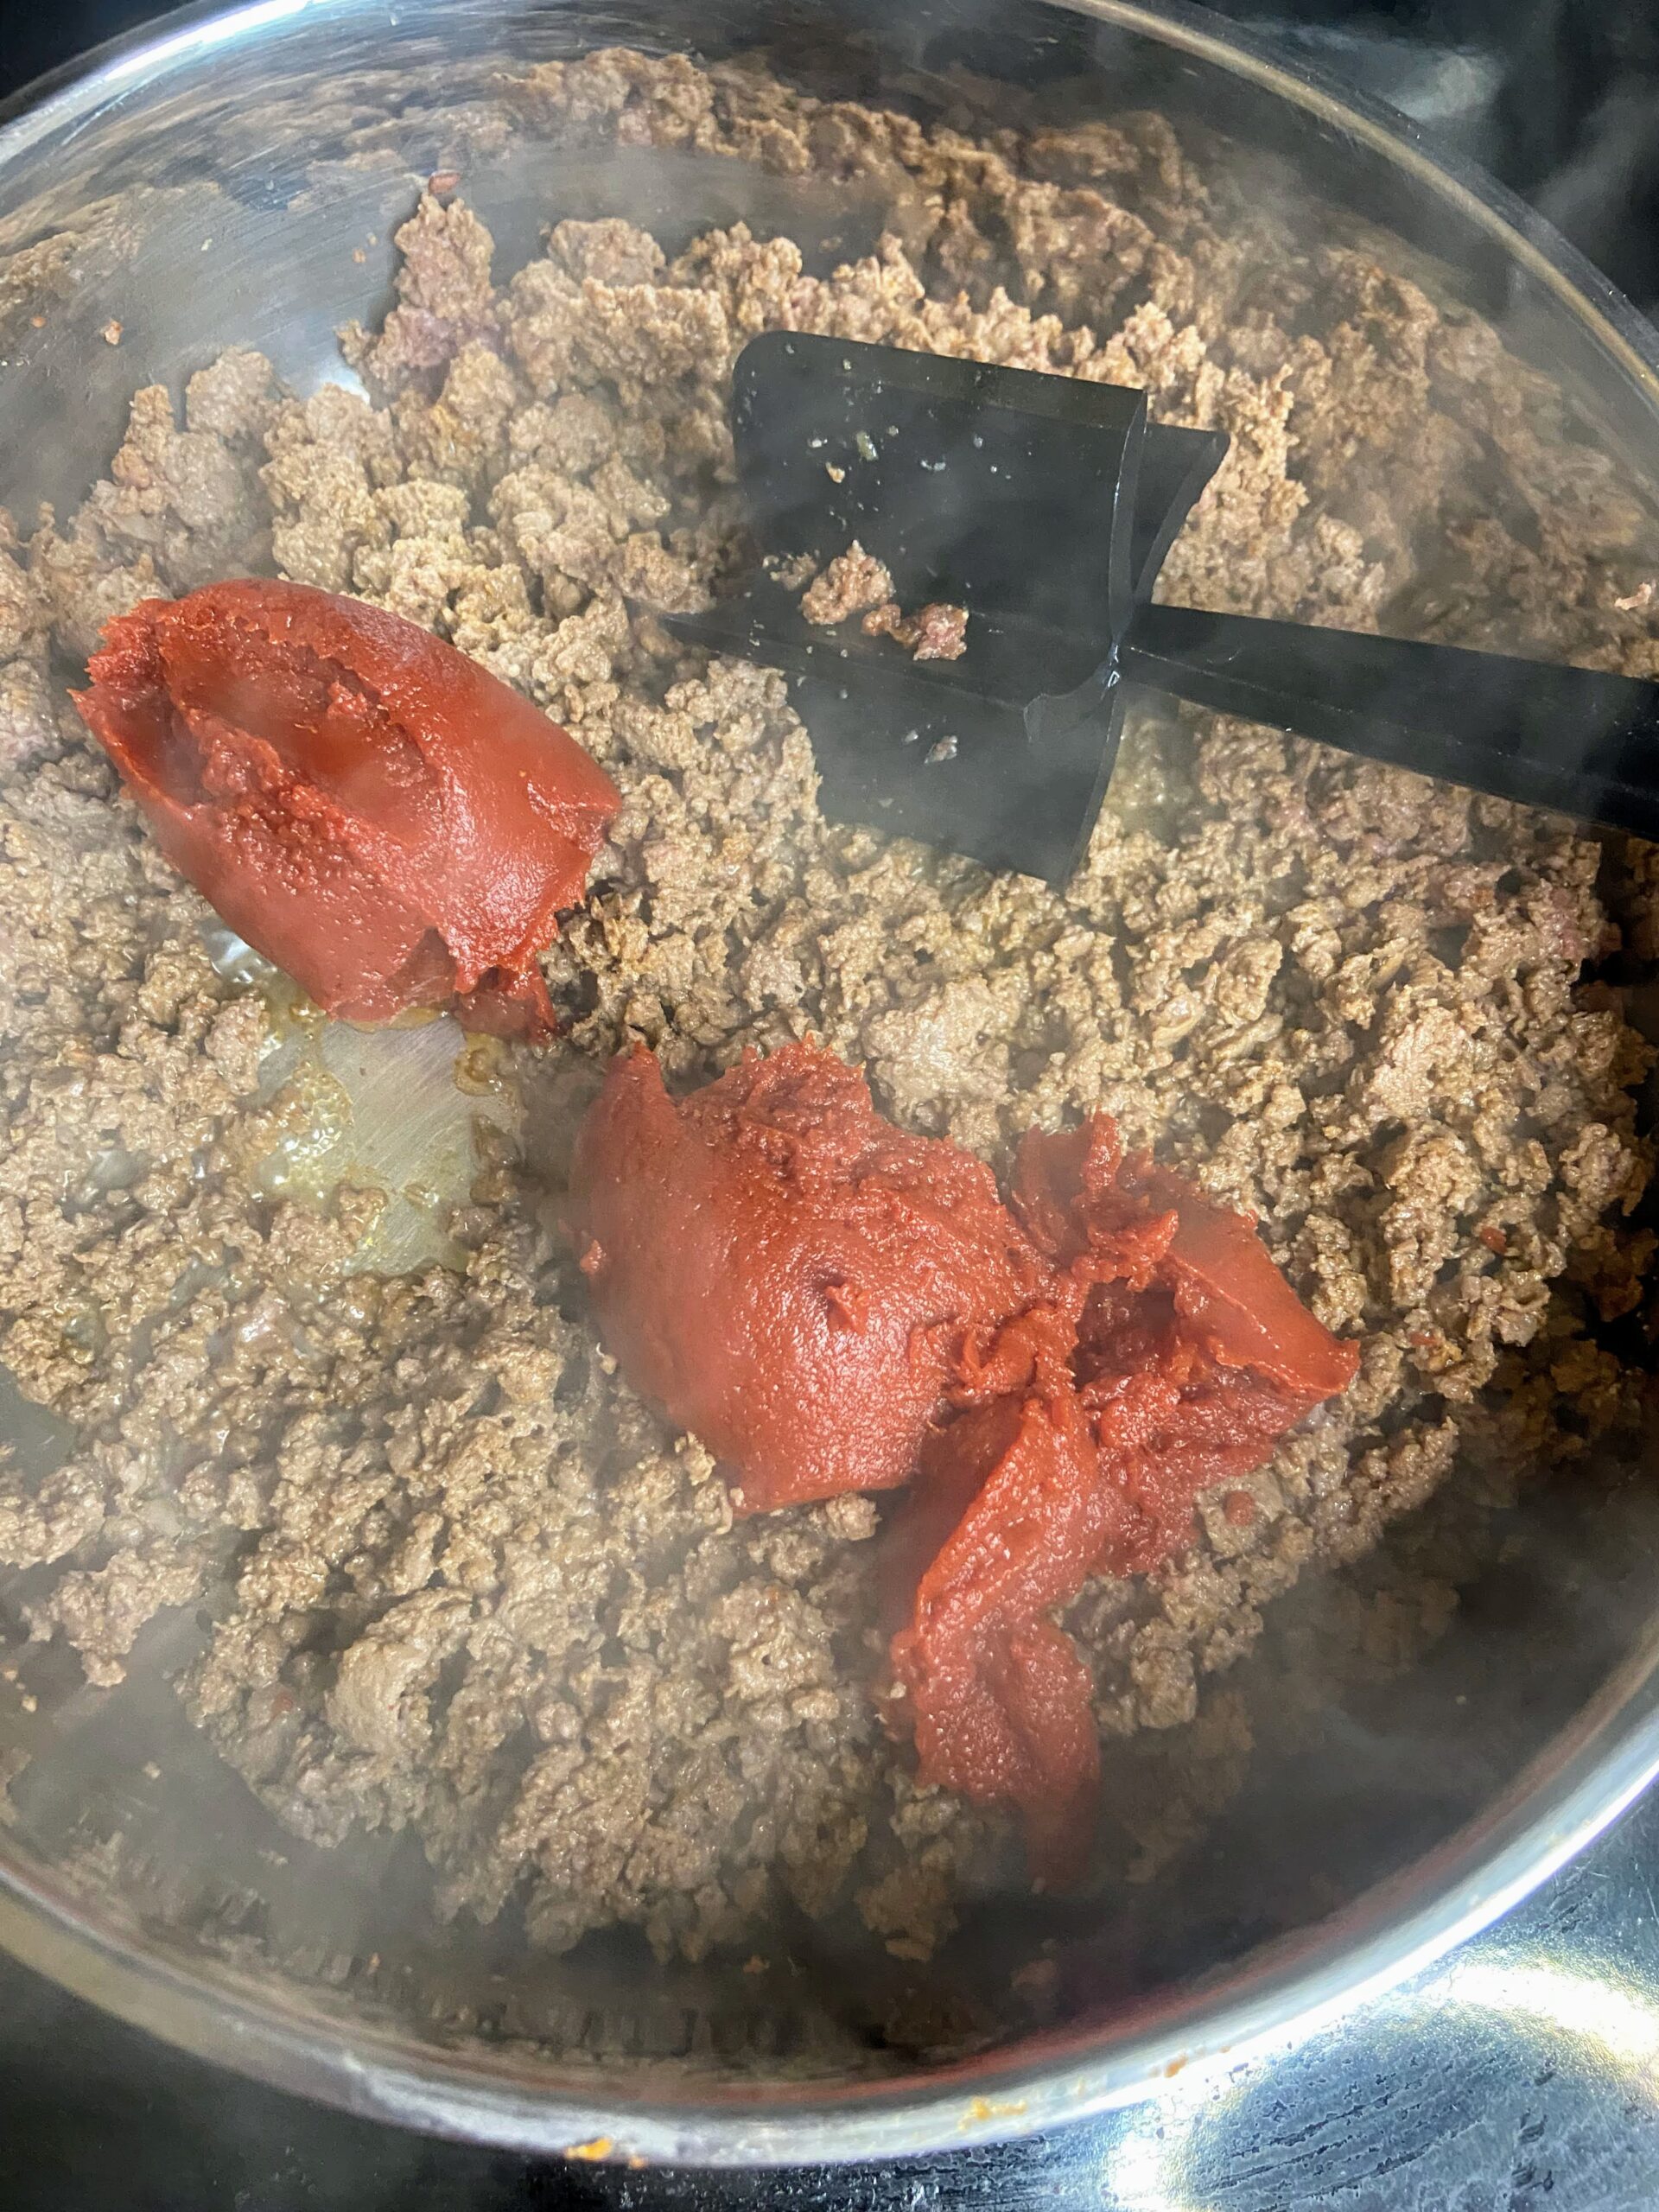
Over medium heat, begin to heat olive oil (if using a low fat protein) in a large saute pan (that has a cover). Add ground protein. Season with onion powder, paprika, garlic powder, and ground pepper. Brown. Drain if necessary. 
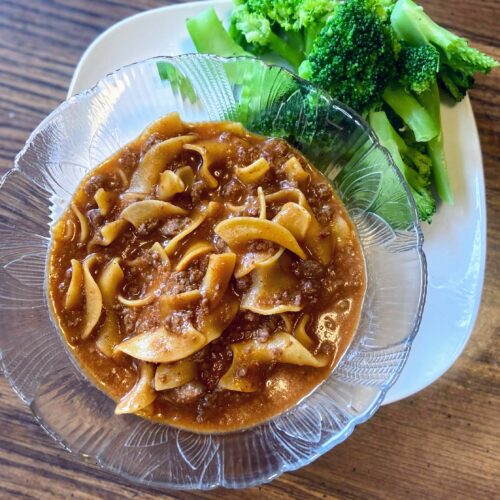

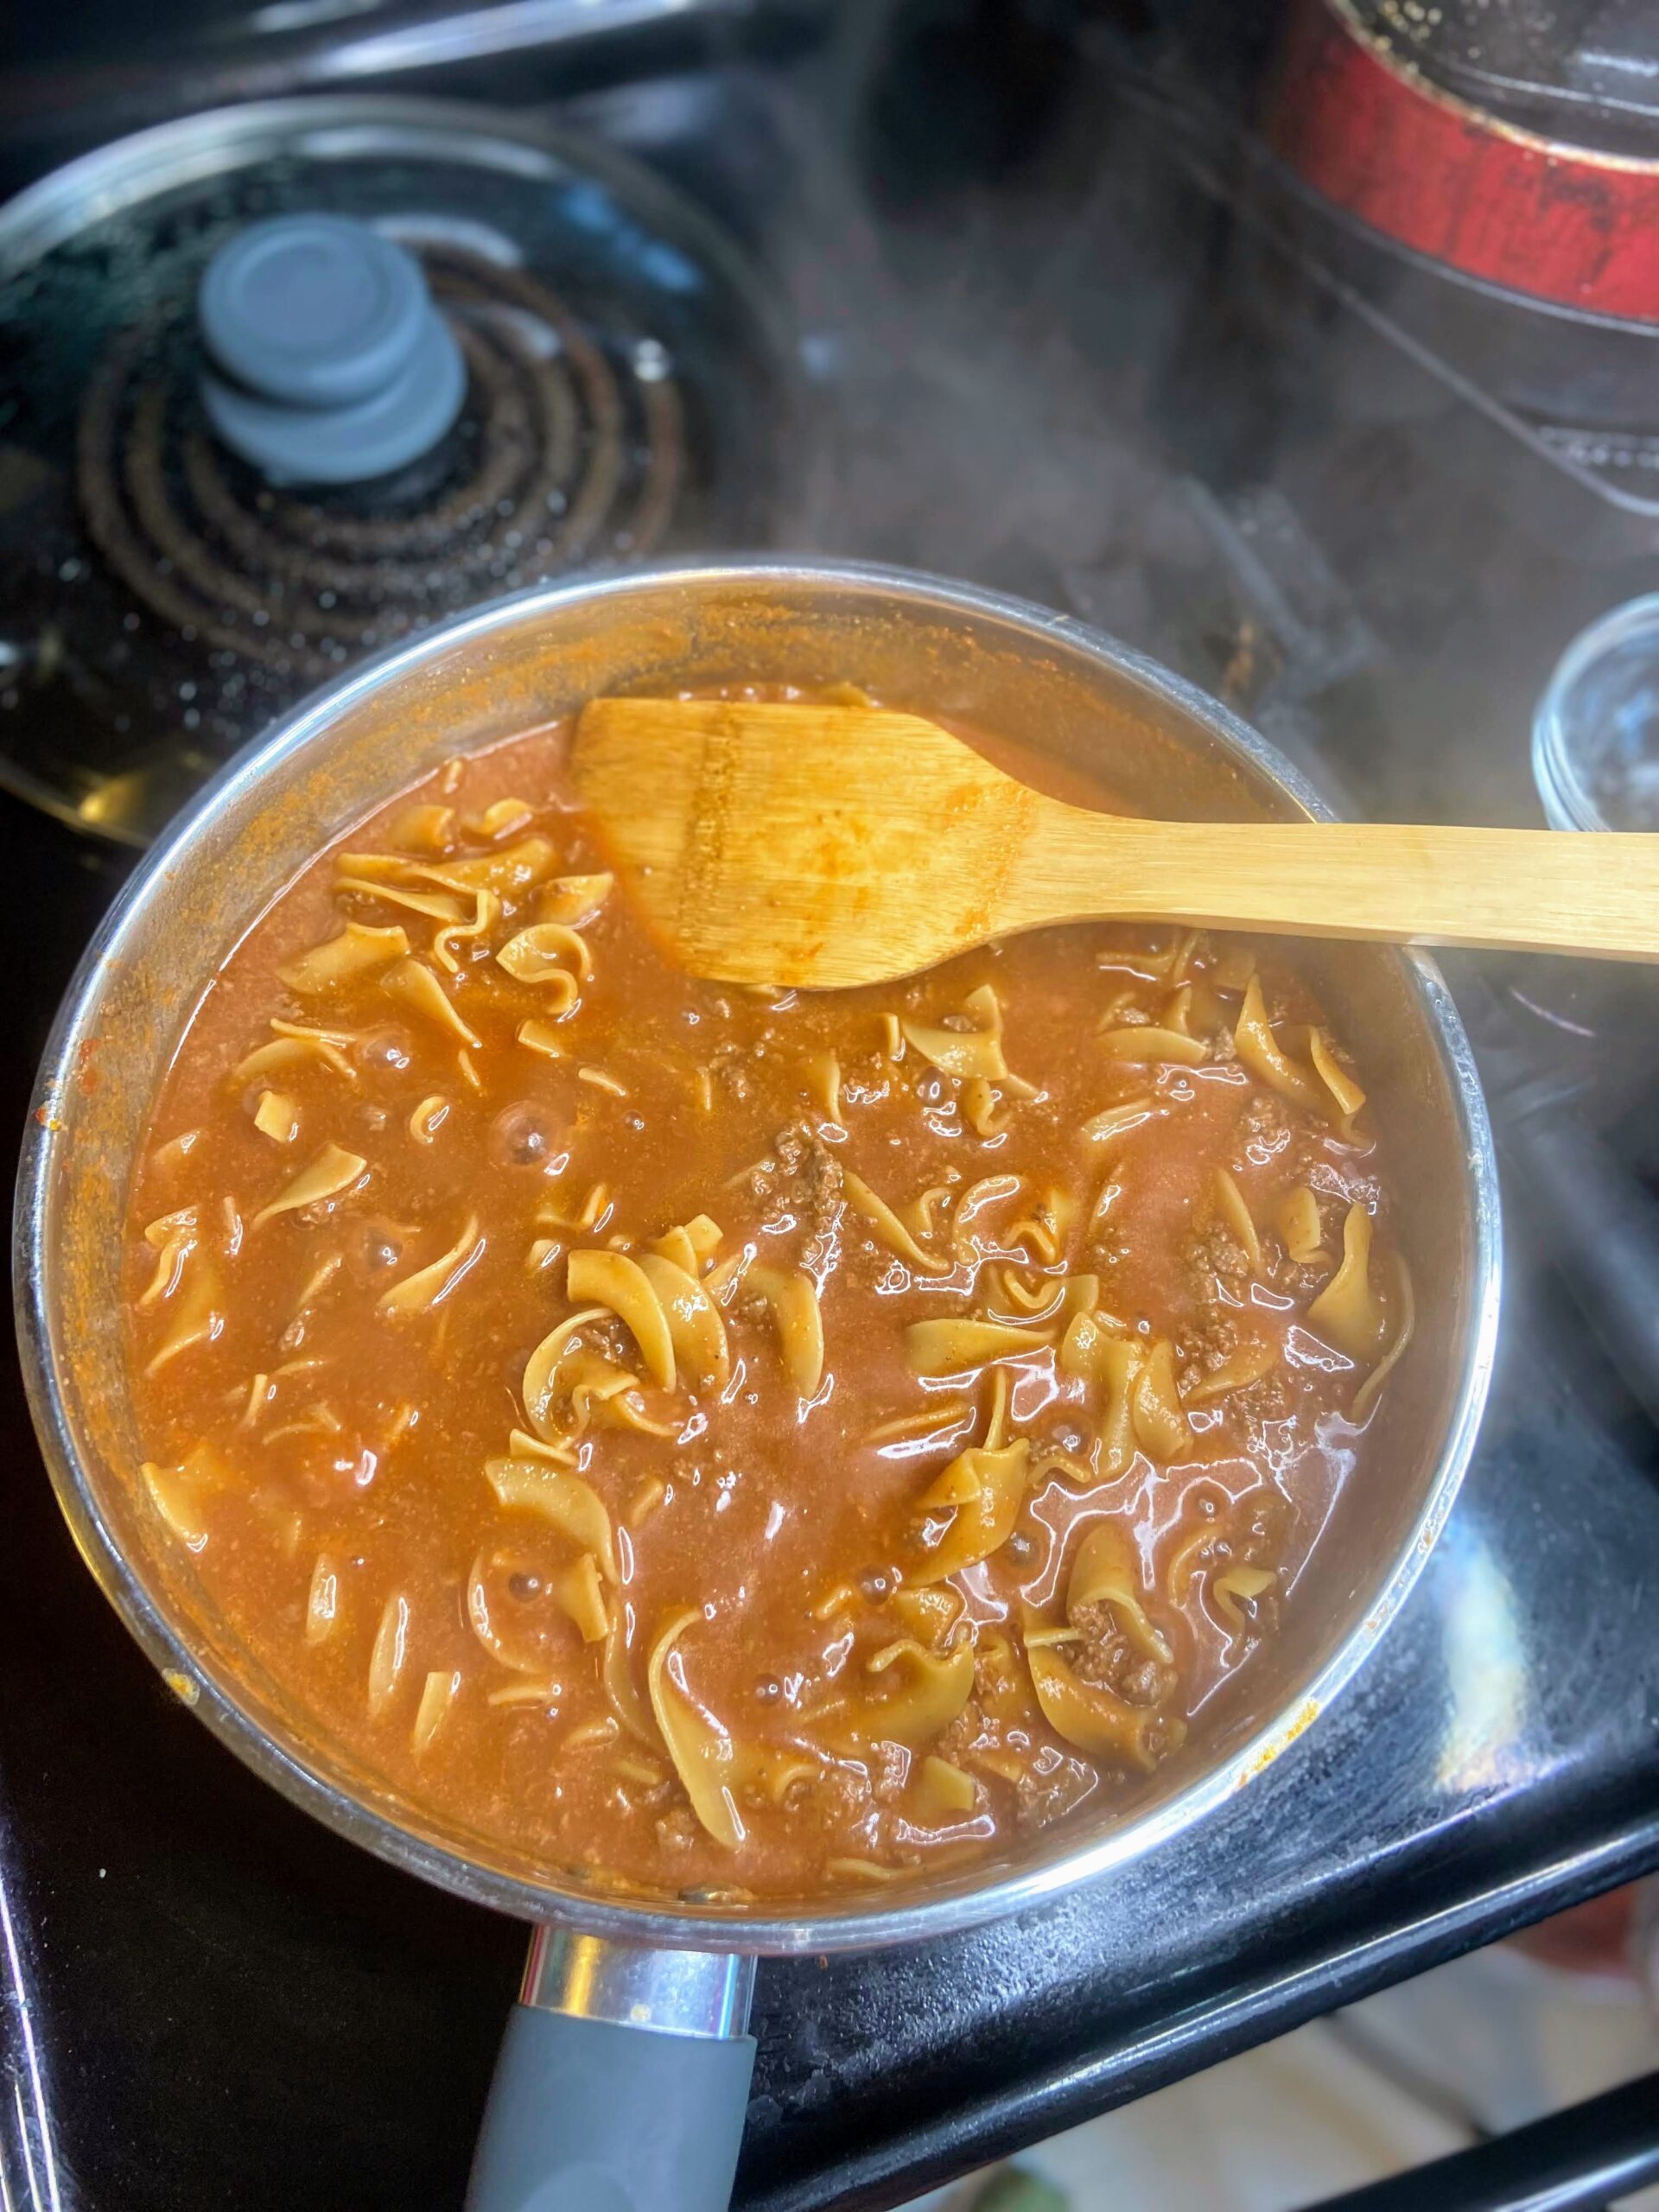
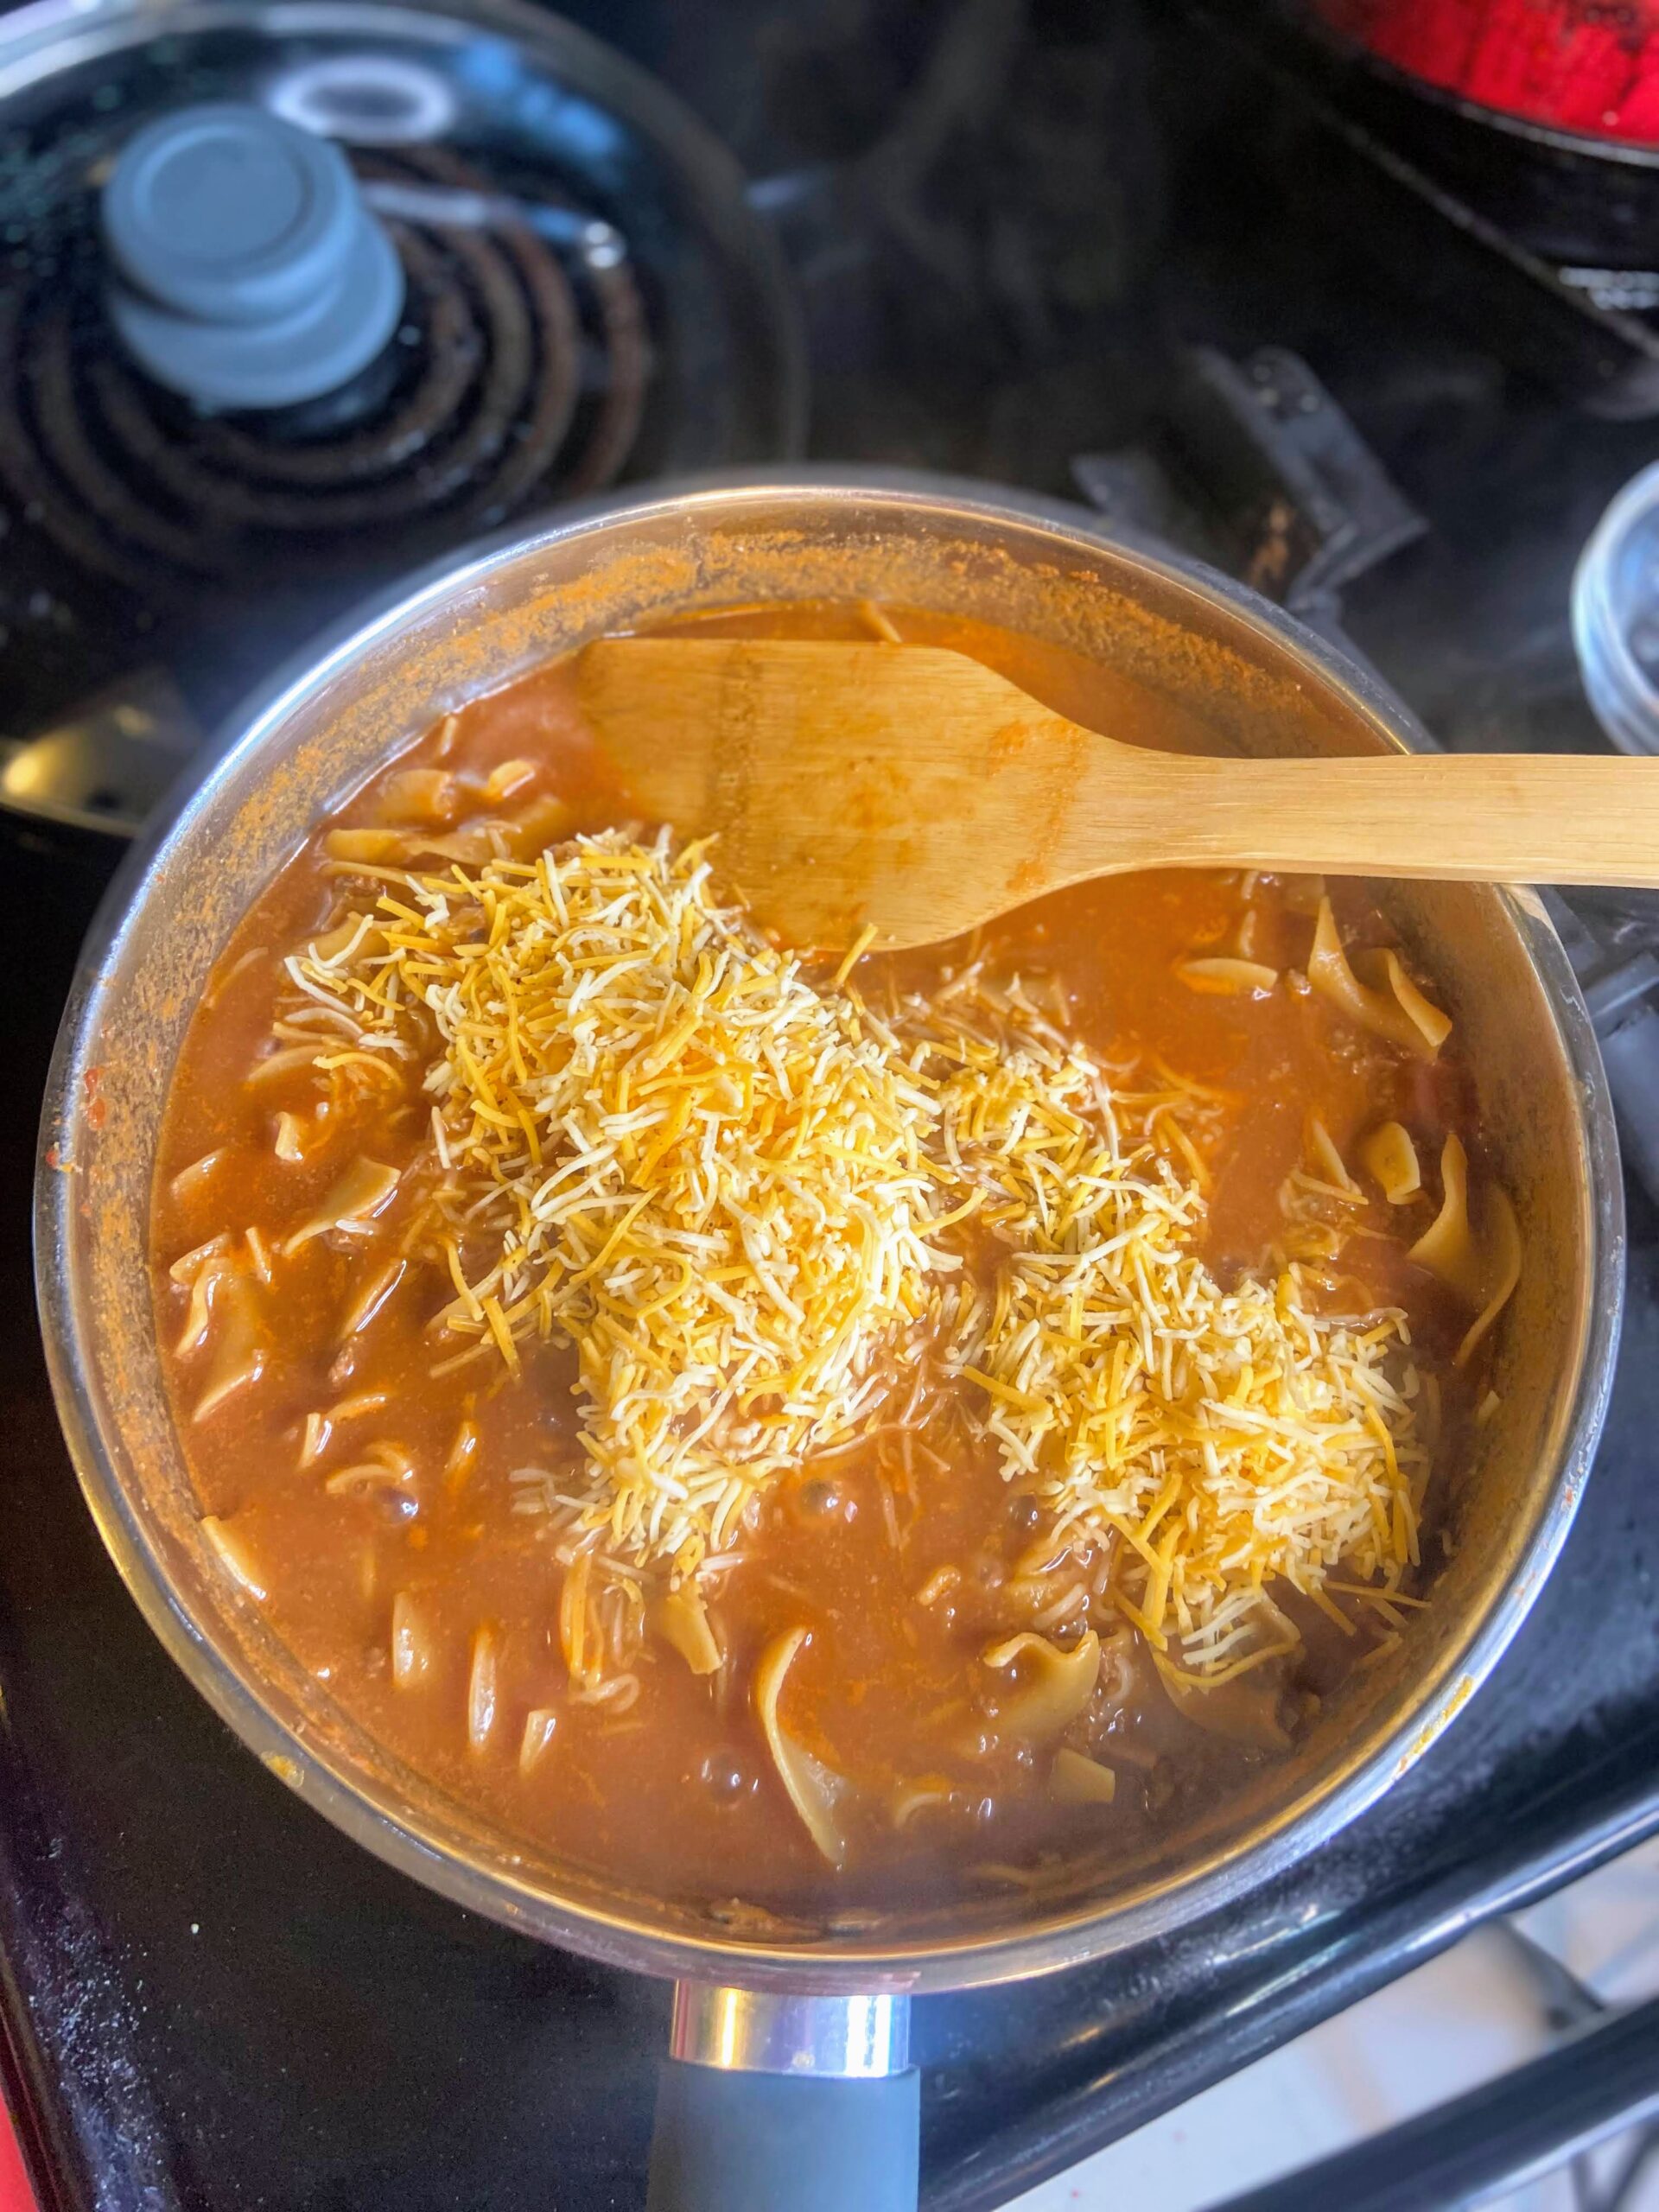
Stir in tomatoes, continuing to heat over medium-high temperature. Cook for 2-3 minutes. Stir in milk and beef broth. Bring to a boil. Add egg noodles, reduce heat, cover, and cook for 8-10 minutes, until the egg noodles are cooked through. Remove from heat and stir in cheese. Season with salt if needed. 

Homemade Hamburger Helper

Comfort food at its finest with the flavors of childhood without all the preservatives.
Prep Time 10 minutes
Cook Time 12 minutes
Servings 6 servings

Ingredients
  

  • 1 pound ground protein beef, venison, turkey
  • 1 teaspoon onion powder
  • ¼ teaspoon ground pepper
  • 1 teaspoon paprika
  • 1 teaspoon garlic powder
  • 6 ounces tomato paste or 8 ounces tomato sauce
  • 1 ½ cups milk of your choice regular, almond, etc
  • 1 ½ cups low sodium beef broth
  • 3 cups egg noodles
  • 1 ½ cups shredded cheddar cheese
  • Olive oil optional
  • Salt to taste

Instructions
 

  • Over medium heat, begin to heat olive oil (if using a low fat protein) in a large saute pan (that has a cover). Add ground protein. Season with onion powder, paprika, garlic powder, and ground pepper. Brown. Drain if necessary.
  • Stir in tomatoes, continuing to heat over medium-high temperature. Cook for 2-3 minutes.
  • Stir in milk and beef broth. Bring to a boil.
  • Add egg noodles, reduce heat, cover, and cook for 8-10 minutes, until the egg noodles are cooked through.
  • Remove from heat and stir in cheese. Season with salt if needed.
Tried this recipe?Let us know how it was!

Looking for other recipes?

Check out some great, family-friendly recipes below!