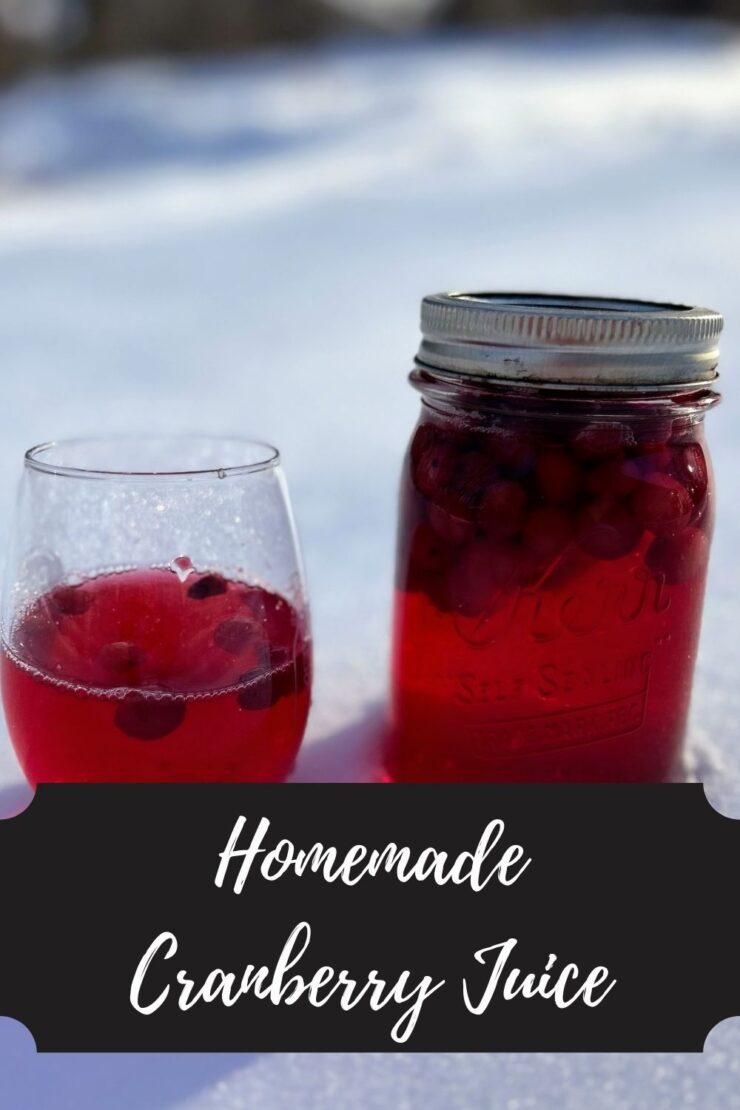
Homemade Cranberry Juice

I adore all things cranberry. Drinks. Bakes. Jams. And how could I almost forget sauce? They are all so delicious. That combination of tart with a bit of sweet is just the perfect treat for my tastebuds. So when I started seeing cranberries on sale this time of year last year, I started thinking about how I could make my own homemade cranberry juice. 

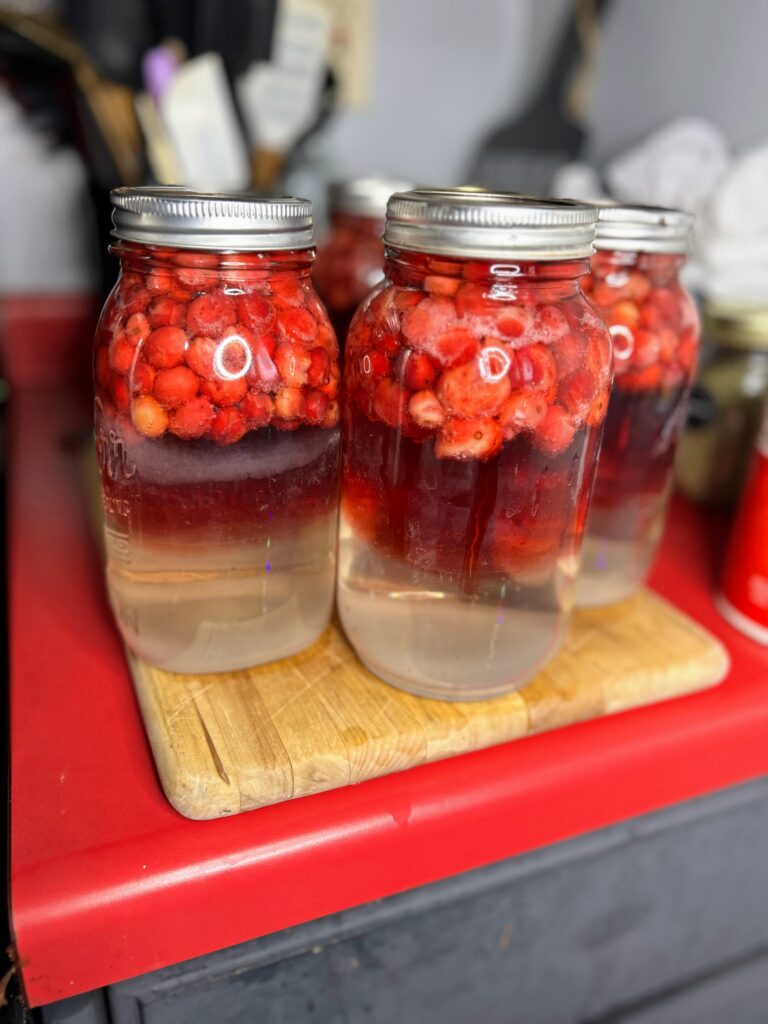
After a few Google searches, I learned there were a few different ways to go about canning cranberry juice: A long way that resulted in unsweetened juice that was very concentrated and a less labor intensive way that required you to wait 4-6 weeks before opening a jar. And while I do like to try the fruits of my labor soon after, I figured the quick process with the wait time was the way to go. 

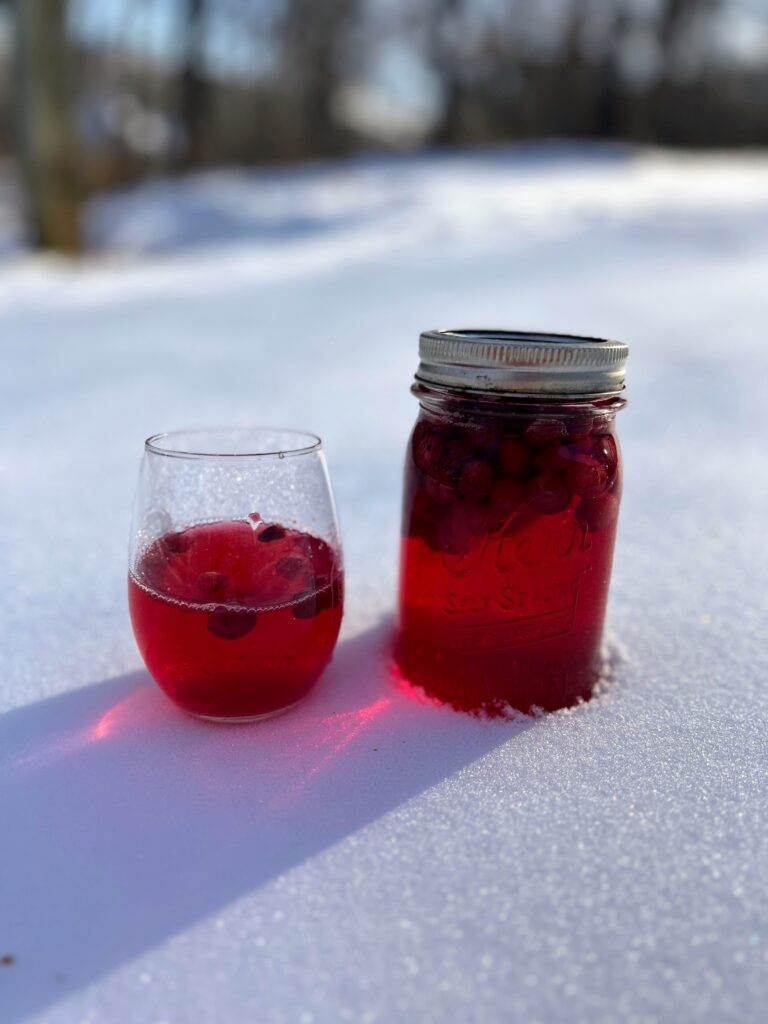
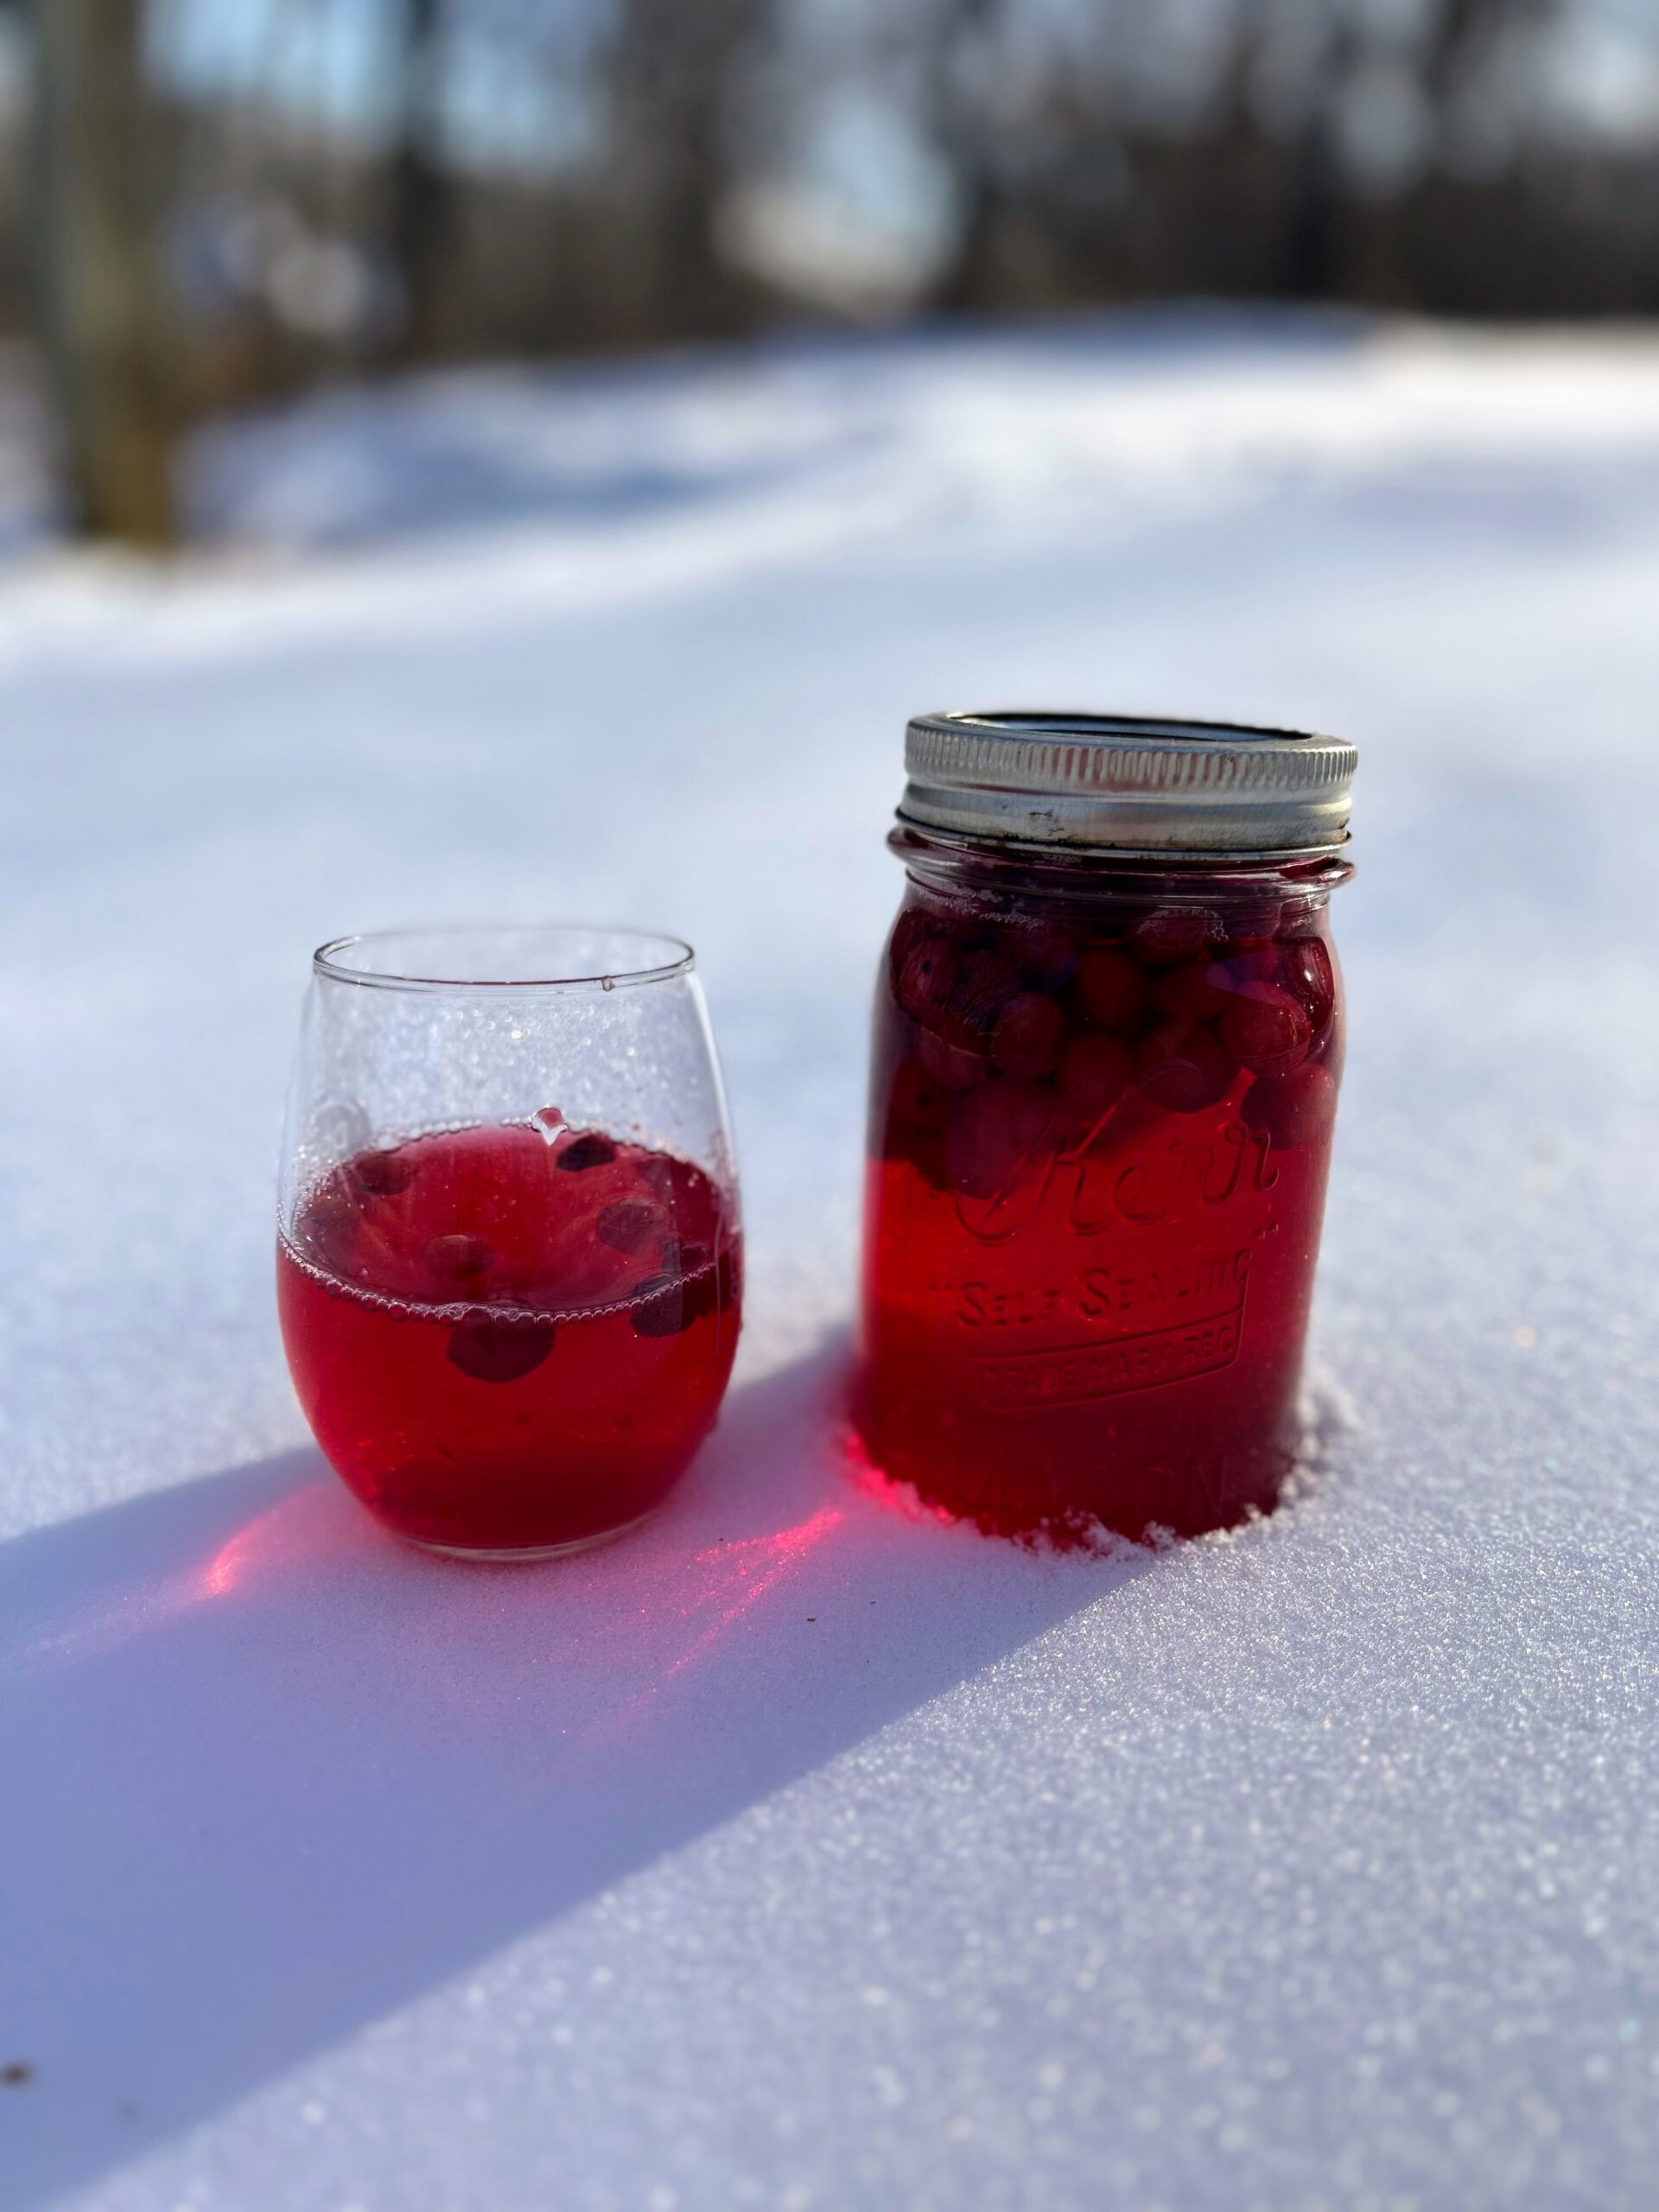
And boy was it ever! What I love about this process is that putting the jars together takes just moments and it requires very little hands on time. The beautiful juice that is formed in a month is the perfect amount of sweet and the berries that have soaked are still tasty. I like to use them as the berry topping in my Greek yogurt. They would also bake nicely into my baked oatmeal recipe.

And good news: 4 bags of cranberries will be just over what you need to make 7 quarts. It should leave you just enough to make a few servings of cranberry sauce (yum, right?!) 

About the Canning

This recipe will result in approximately 7 quart jars. You can use wide mouth or narrow mouth jars. Just be sure you have rings and lids for them and that they will all fit in your canner at once.

You will need a water bath canner or large stock pot with a lid. The jars need to be off the bottom of the pot. A water bath canner will have a rack to use. If you use a stock pot, I would invest in canning racks. You can also put a towel down in a pinch, but it is MESSY in terms of getting water everywhere.  

It is also helpful to have the tools in a canning kit like this, but it isn’t necessary. Canning would be crazy challenging without the jar funnel and jar tongs. The lid lifter is also very handy. 

While we are here, I will give you all the information you need to successfully can a batch of jam. However, if you are new to canning, you may likely want to gather additional information. My favorite places to learn more are The Ball’s Book of Canning or the National Center for Home Food Preservation

Ready to take advantage of that tart little fruit being in season and make your own homemade cranberry juice?

 Let’s do this thing!

Your Ingredients (for 7 quarts of homemade cranberry juice) 

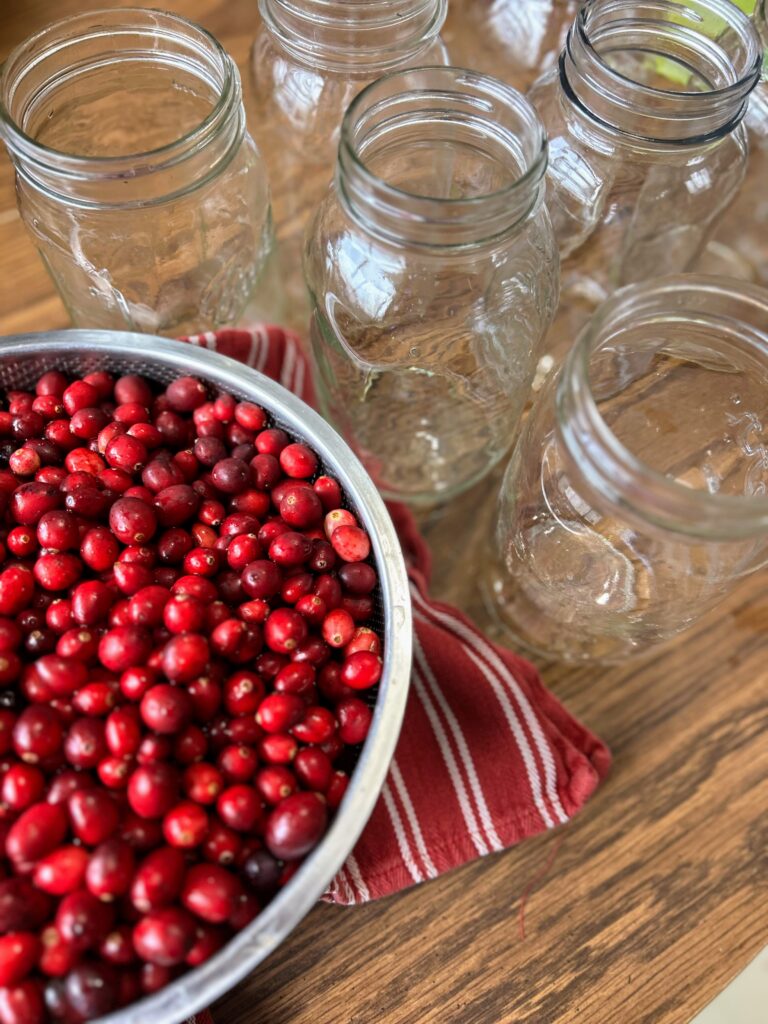
  • 4 bags of fresh cranberries, rinsed and picked through, discarding yucky berries 
  • 1 ¾ – 3 ½ cups of sugar, depending on your level of sweetness
  • Boiling water (4-5 quarts) 

Your Steps to Homemade Cranberry Juice 

Fill the canning kettle with enough water that the jars will be covered by at least ½” water. More is better in this case so over estimate. Begin to heat over high heat. Place the canning rack so that it is hooked over the side of the canner and put clean jars on it to keep them warm. Note: You don’t have to keep the jars in the rack, although it is helpful to keep them warm. You want the jars warm to prevent breaking when they are being filled. 

Set the clean rings aside. I like to simmer my lids on low low heat in a small saucepan. Not necessary, but I like to think it helps them seal better. 

Start the canner!

If you have not started, begin a large kettle with water and heat over high heat to get it to boiling. Once boiling, you can reduce to a simmer. (Honestly, I don’t measure here. I fill a kettle and if I need to add more water as I am filling jars, I do) 

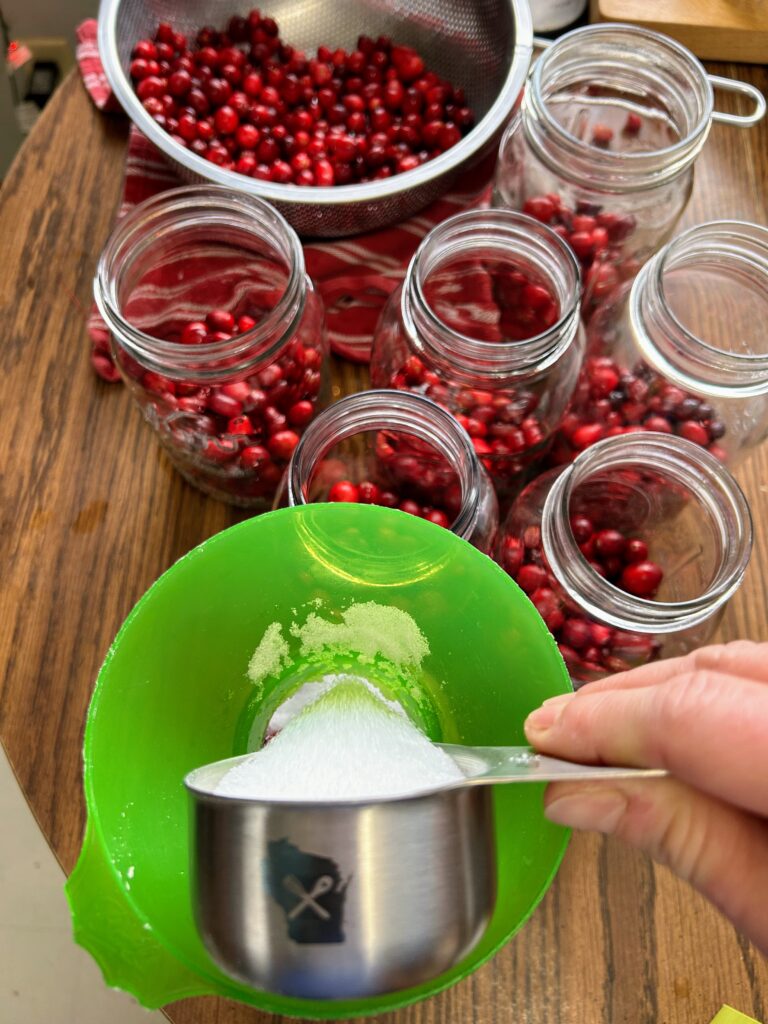
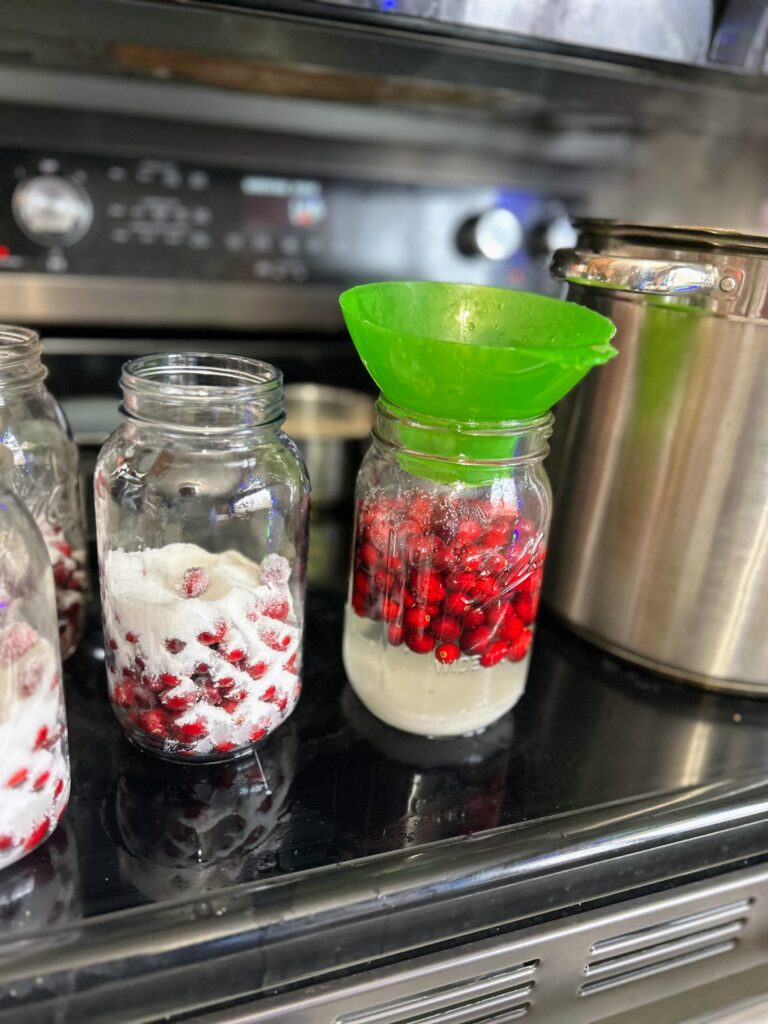
Fill each quart jar with 1 ¾ cups of rinsed cranberries. Add ¼ cup to ½ of sugar to each jar, depending on your sweetness preference. You can not go any lower as the sugar is what draws out the cranberry flavor. 

Ladle bowling water into each jar to ½ inch headspace.  Wipe the rims of the jars with a damp cloth as you go, top with a lid, and put on a ring so that it is finger tip tight. Fingertip tight means you know it’s tight but you aren’t sealing it so much so that it wouldn’t leak on its side, if that makes sense. (Any leftover jam can go in a small container and get placed in the fridge to be enjoyed immediately)

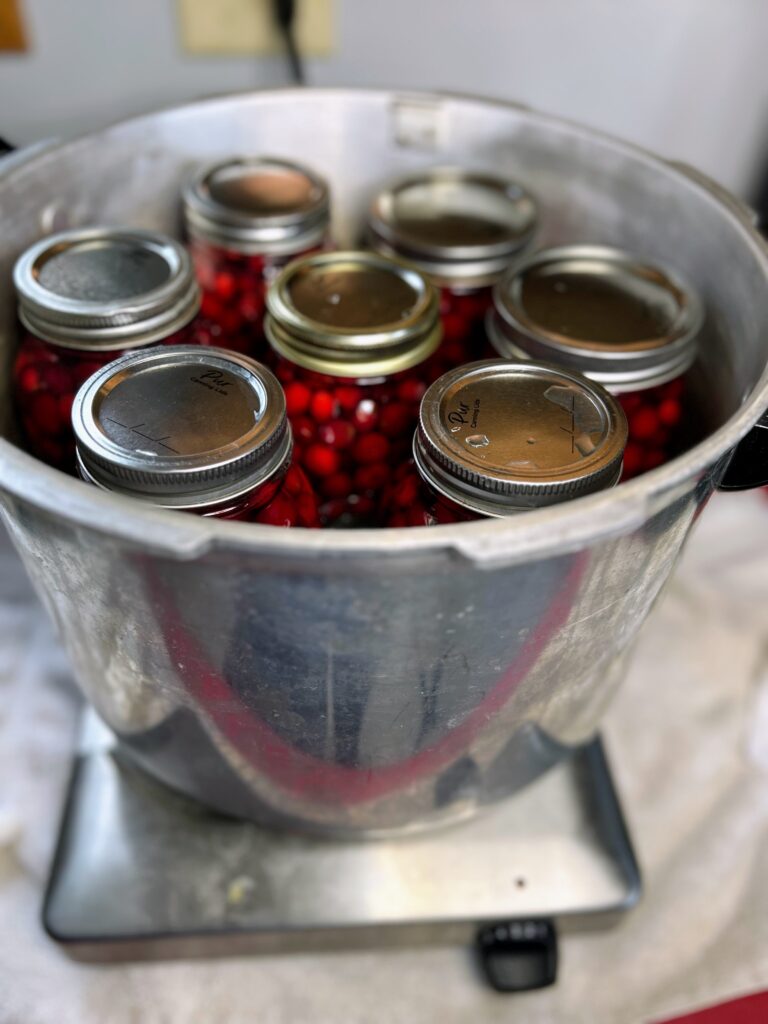
Place jars in JUST about boiling water bath canner. Cover and raise the heat until a rolling boil is reached. Process jars for 25 minutes (adjusting for your altitude…under 1000 feet, you’re good. Over? Add 5 minutes for every 1000 feet). Once the time is complete, remove canner from heat and remove the cover. Allow the jars to sit in the canner for an additional 5 minutes. Then remove and place on a towel on the counter. 

Afterward

Listen for the ping as the jars seal and just let them be for 24 hours. I know it will be hard to let them be because you’ll be so proud, but it’s recommended to make sure you get a good seal. Any jars that do not seal can be refrigerated and enjoyed right away. Note: It is recommended to store canned goods with their rings removed so that you can know if a false seal occurs. I generally just loosen them as loose as they can go. In just a few weeks, enjoy your homemade cranberry juice!

Homemade Cranberry Juice

This delicious and vibrant homemade cranberry juice can be preserved with just a few simple ingredients: whole cranberries, boiling water, and sugar.
Prep Time 10 minutes
Cook Time 25 minutes
Bring to Boil Time 30 minutes
Course Drinks
Cuisine Canning, Preserving
Servings 7 quart jars

Equipment

Ingredients
  

  • 4 bags of fresh cranberries rinsed and picked through
  • 1 ¾ – 3 ½ cups of sugar depending on your level of sweetness
  • Boiling water 4-5 quarts

Instructions
 

  • Prepare your water bath canner. Fill the canner with enough water so that once the jars are in the canner, they will be covered by at least one inch of water. Cover and begin to heat over a medium-high heat.
  • Begin a large kettle with water and heat over high heat to get to boiling. Once boiling, reduce to a simmer.
  • Fill each quart jar with 1 ¾ cups of rinsed cranberries. Add ¼ cup to ½ of sugar to each jar, depending on your sweetness preference. You can not go any lower as the sugar is what draws out the cranberry flavor.
  • Ladle boiling water into prepared quart jars to ½ inch headspace.
  • Wipe the rims with a damp cloth, add lids, and tighten rings to fingertip tight. Put into the water bath canner. When the canner has a steady boil going, time and process for 25 minutes, adjusting for altitude (if you are about 1000 feet, add 5 min)
  • Once the processing time is up, remove the canner from heat and let jars rest in the water for an additional 5 minutes. Finally, remove jars from the canner and allow to cool for 12-24 hours before moving.

Notes

  • If you have never canned, you can reference the National Center for Home Preservation for more detailed information. 
  • Sealed jars are shelf-stable, meaning they can be stored on a shelf unrefrigerated. If your jars don’t ping (a sign that they have sealed), they are still good. You will just need to store them in the refrigerator. 
  • Most sources recommend removing the rings from jars for storage so that you will know if they unseal for any reason. I generally just loosen them as much as I can without removing them.
Keyword Canning, cranberries, cranberry juice, Waterbath Canning
Tried this recipe?Let us know how it was!

Other fun Cranberry recipes!

These are a few of my favorite cranberry recipes! I hope you find one you love too!

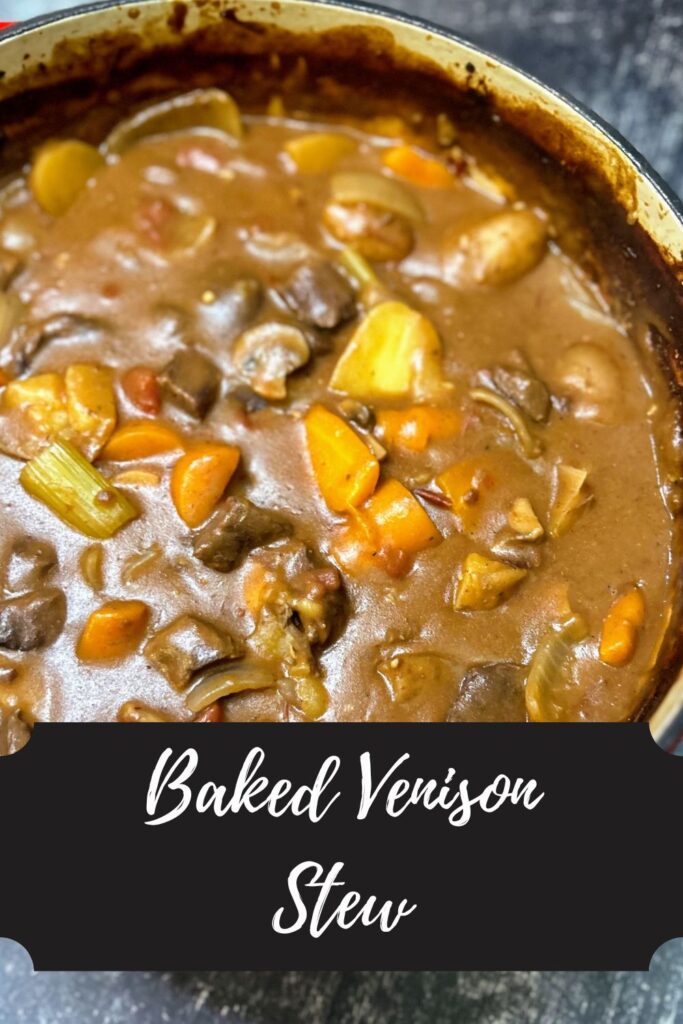
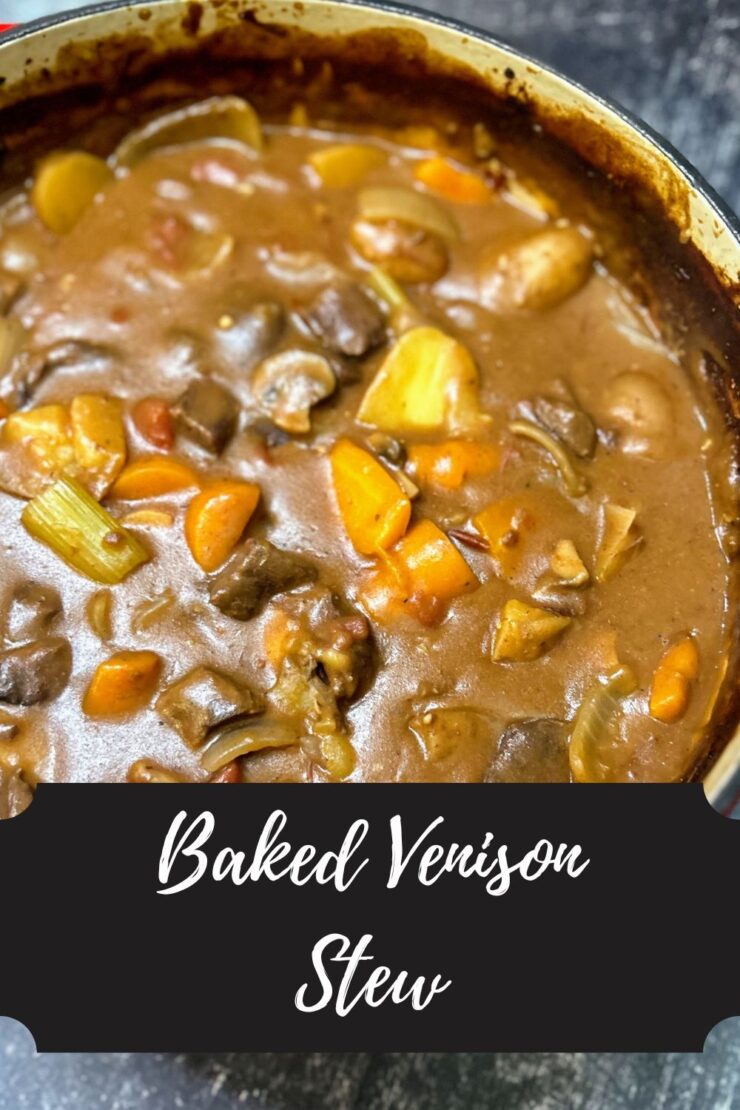
Baked Venison Stew

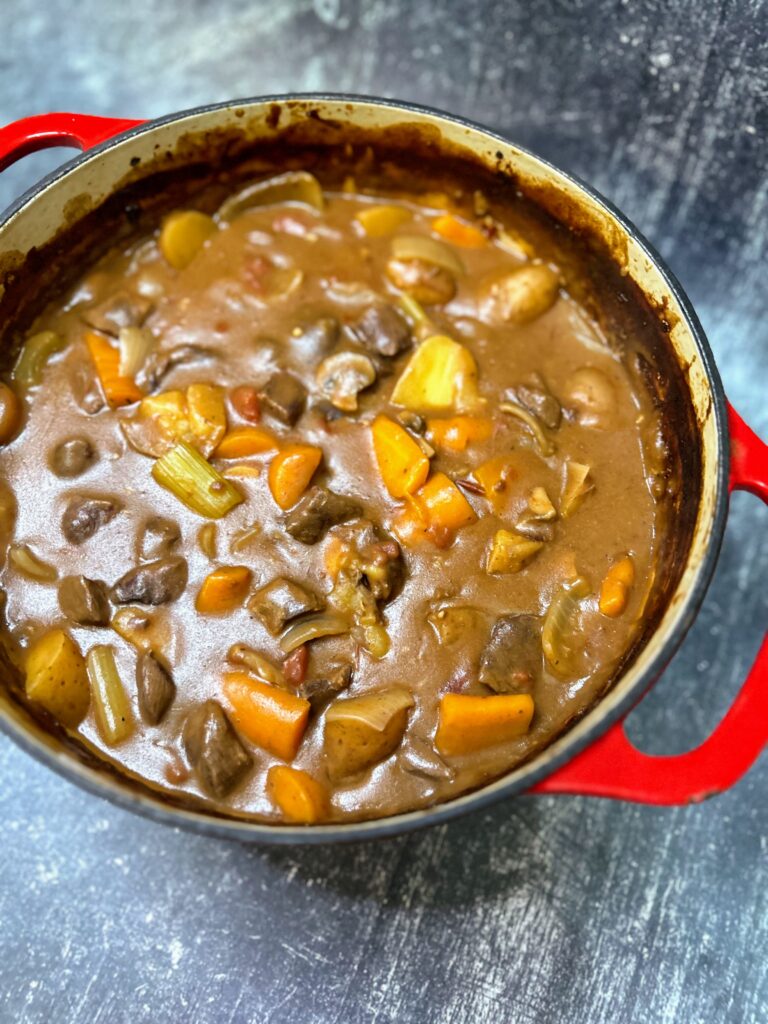
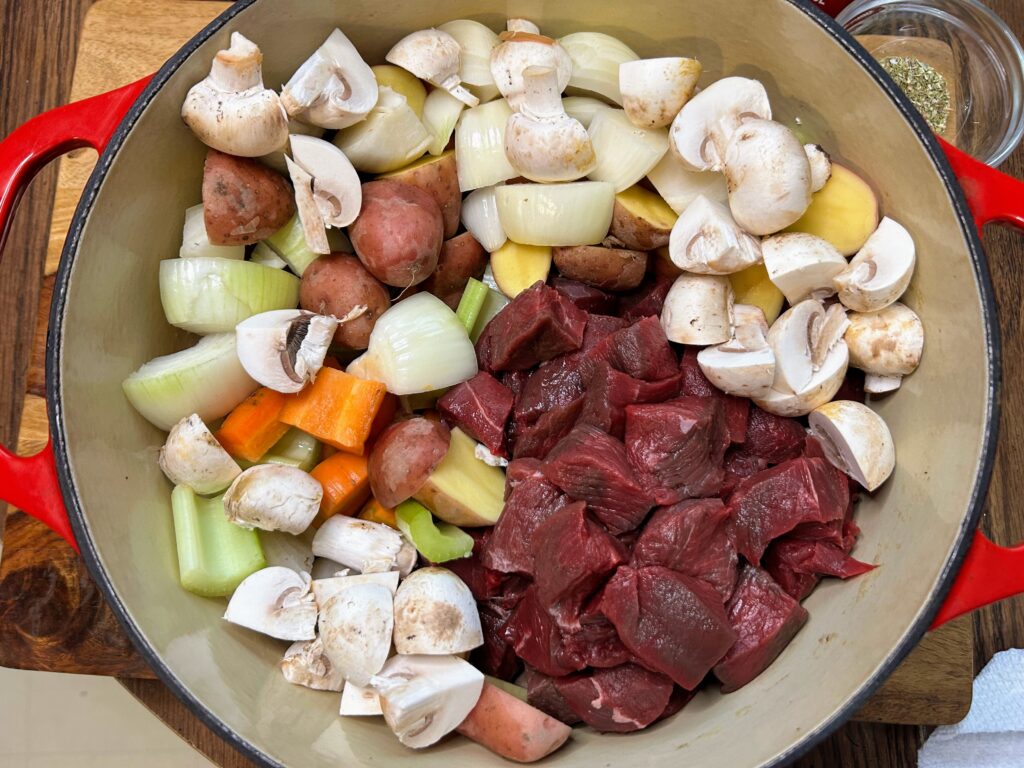
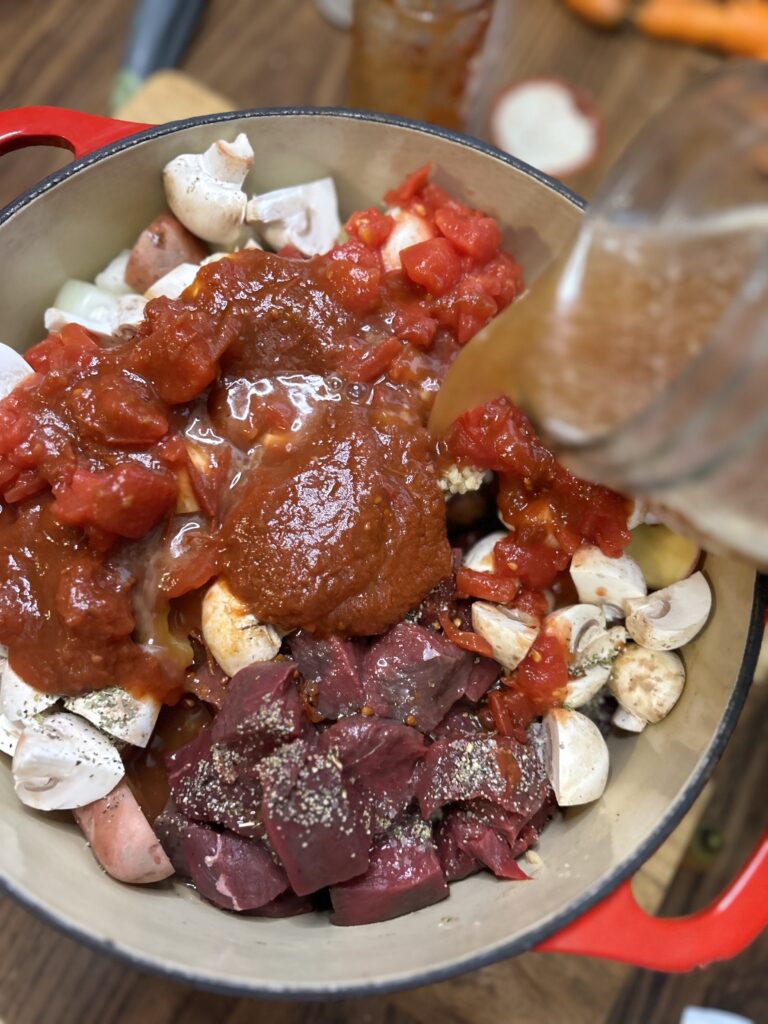
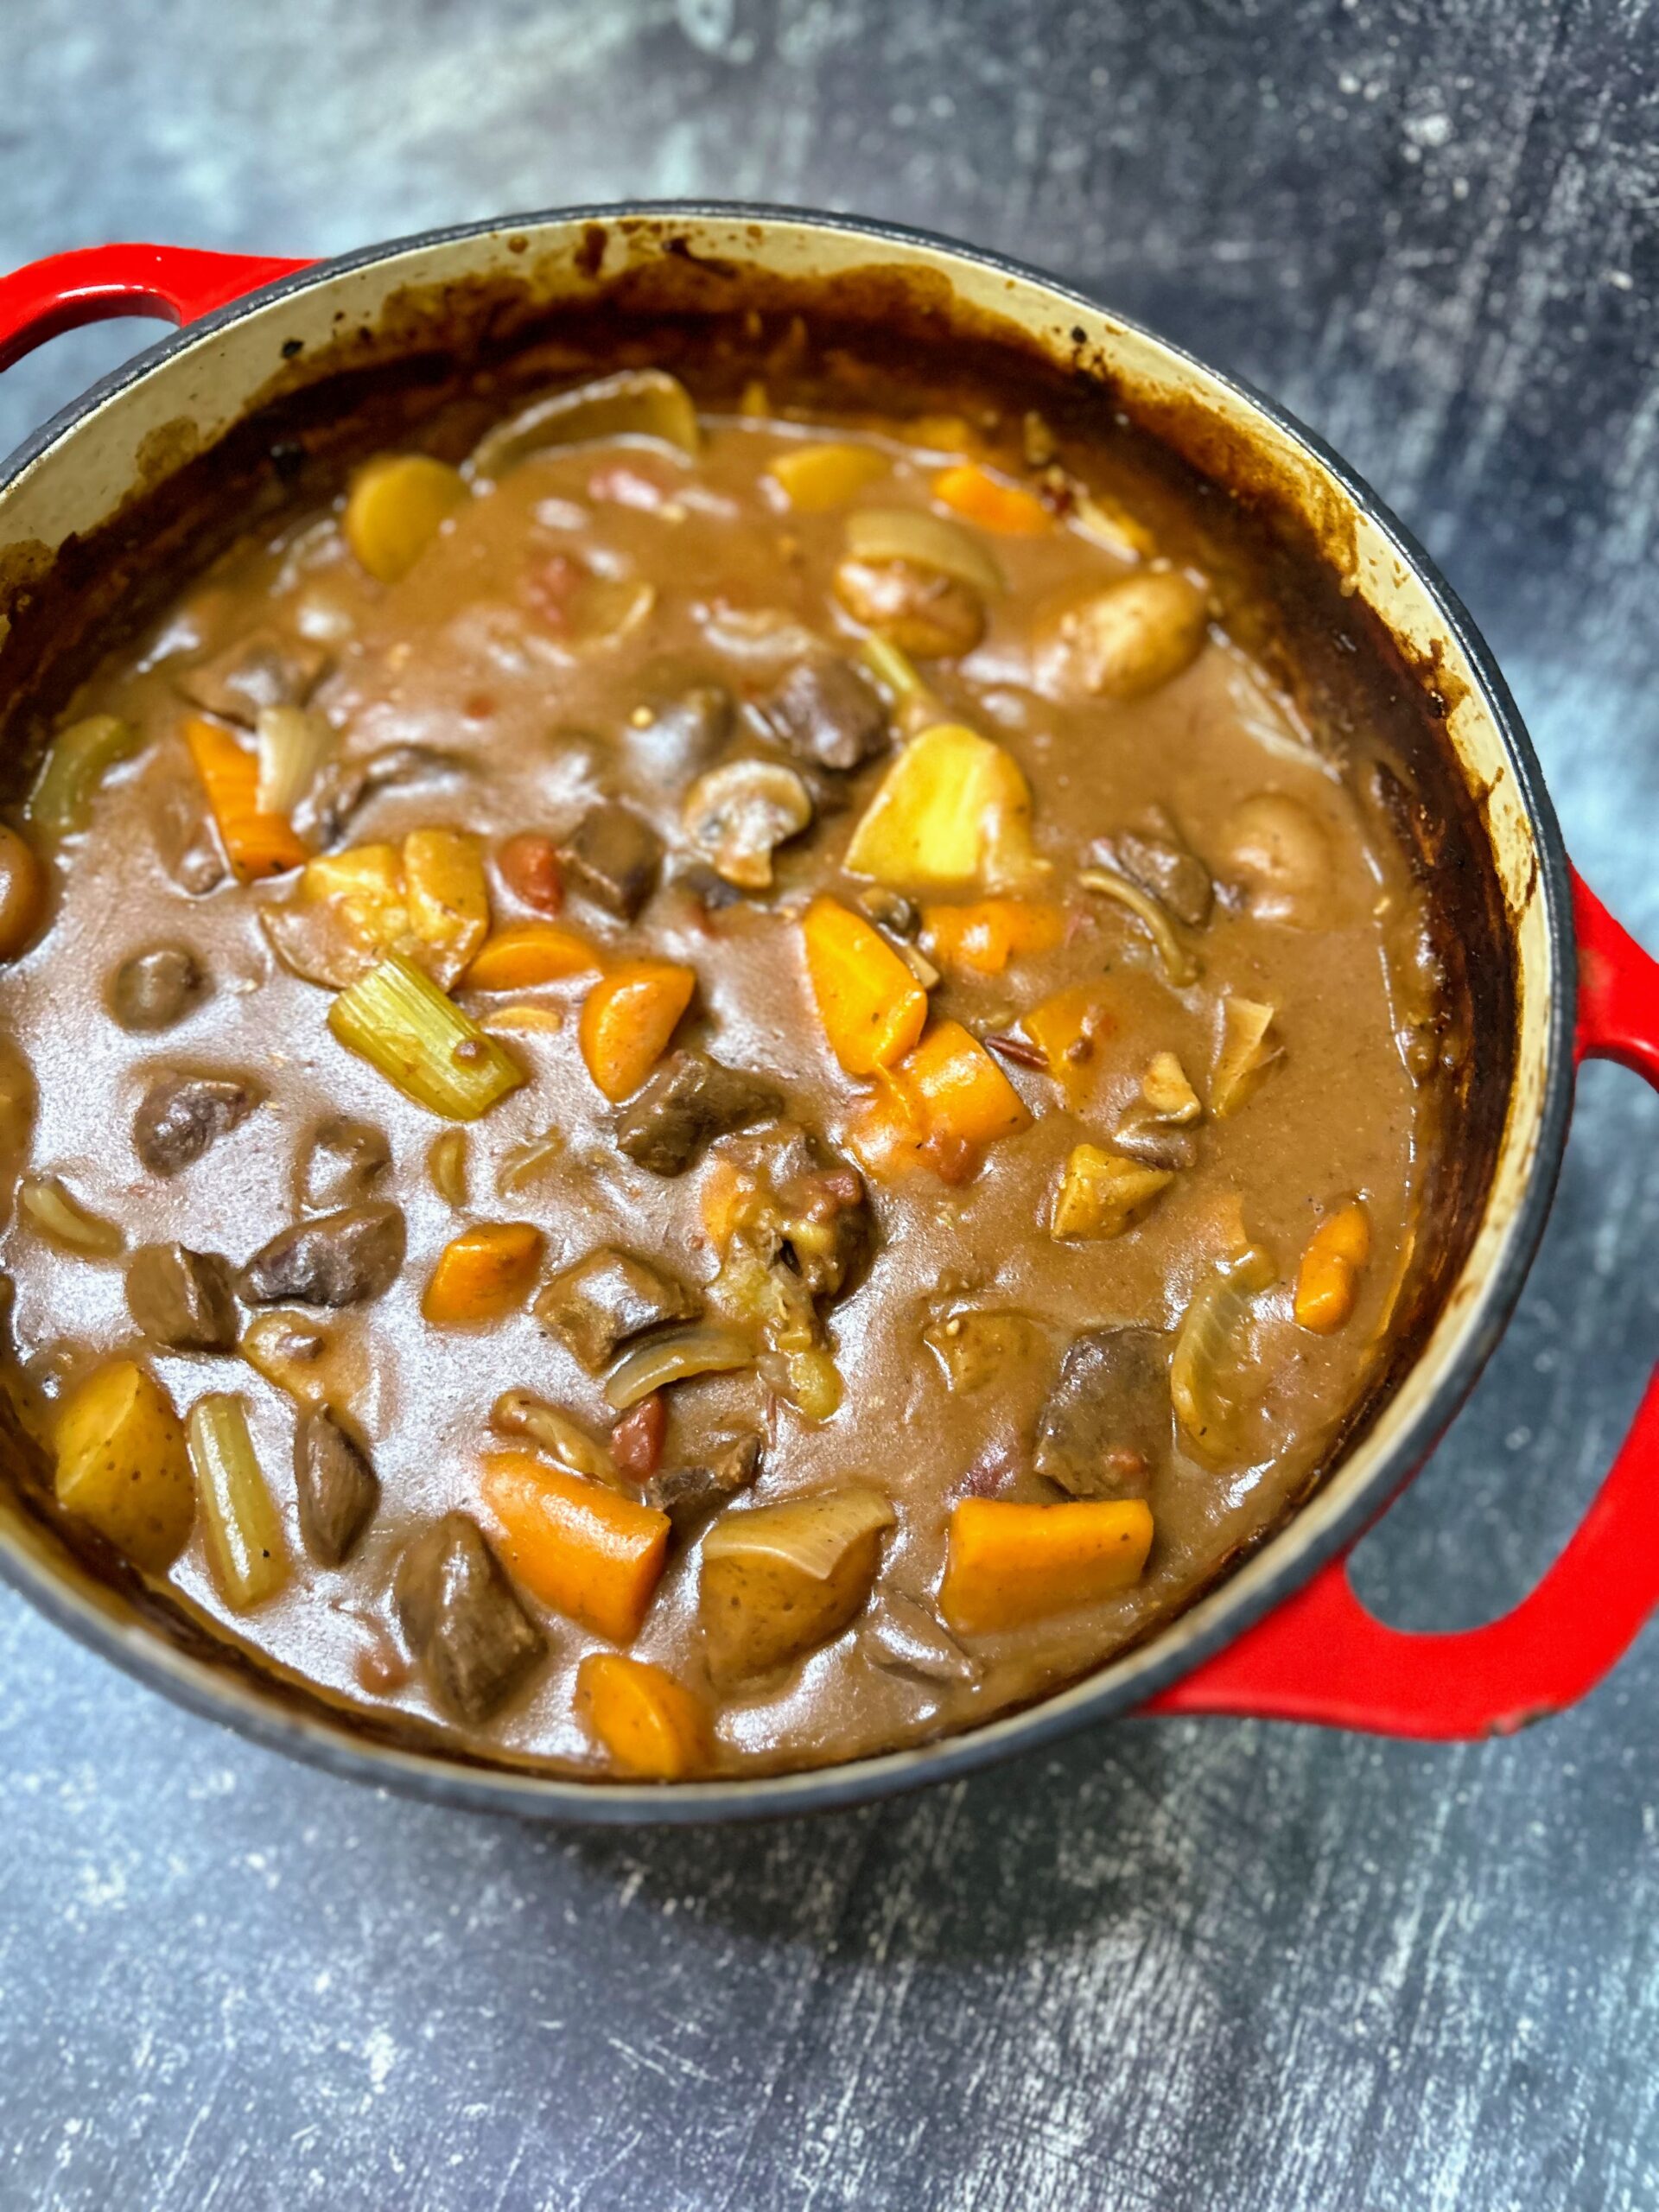
I am not going to sugar coat this: Baked Venison Stew is my new obsession. You guys, it is quite possibly one of the easiest yet most delicious, comforting meals you can make. And when I say easy, I mean, “Roughly chop, dump it in the kettle, put it in the oven and bake” kind of easy. From start to finish, you can have it in the oven in less than ten minutes. It bakes for three hours and turns into perfection. 

I know venison may not be a common household protein for many, and guess what, that’s okay! Beef stew meat would work just as well, but for my deer hunting friends, this is the ticket to another recipe you can keep in your back pocket for a comforting autumn and winter meal. 

Also, speaking of venison, I have done this recipe two different ways and it has worked beautifully in both: one with raw cubed venison stew meat (as written in the recipe), and also with my canned seasoned venison. In terms of flavor, I would say we can’t tell the difference. The canned seasoned venison is already cooked when it goes into the Dutch oven, so you have to stir with care or it will fall apart. But I think this is good news because sometimes you want stew, but you don’t have thawed stew meat on hand. 

The Key to your Baked Venison stew

Finally, key to this recipe is a quality Dutch oven. A quick Google search of Dutch ovens will result in tons of articles about why you need a Dutch oven (Click here to find one!). If you don’t have a cast iron Dutch oven, I can’t recommend it enough. I use it for baking bread and stew and it is my go to pot when I am making any soup or stew on the stove top.

I love my Lodge Dutch Oven! (Truth be told, I often have two Dutch ovens going at one!)

Now, are you ready to start making some baked venison stew? Let’s go!

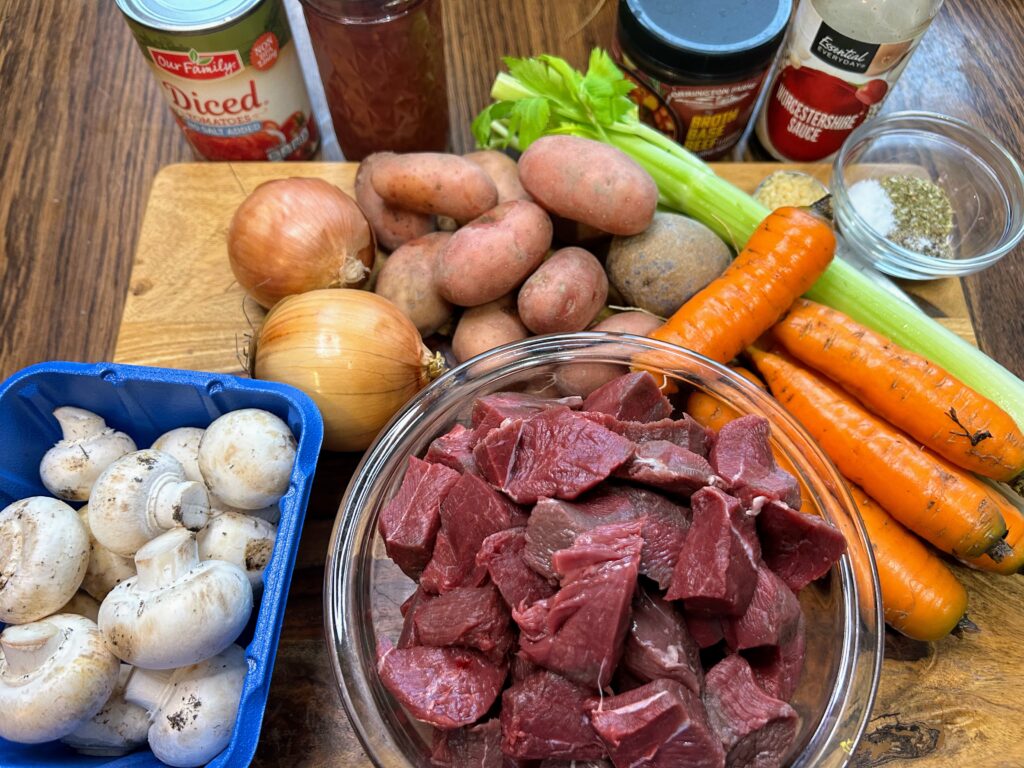
Your Ingredients (for about 10 servings)

  • 2 pounds cubed stew venison
  • 4 carrots 
  • 3 celery stalks
  • 2 onions
  • 1 1/2 pounds potatoes
  • 1 package button mushrooms
  • 1 teaspoon each: salt, pepper, dried oregano
  • 1 tablespoon minced garlic
  • 1 can diced tomatoes
  • 12 ounces tomato sauce
  • 3 cups beef stock (or venison stock if you have it!)
  • 1 tablespoon Worcestershire sauce
  • 2/3 cup flour

Your Steps to Baked Venison Stew

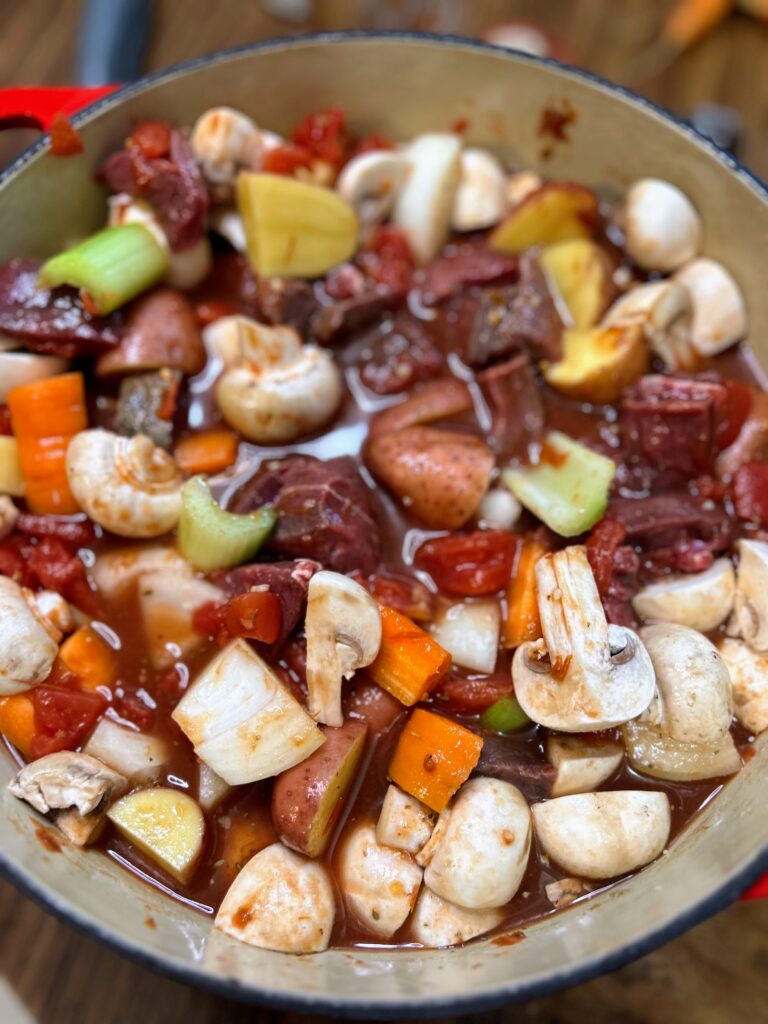
And here’s the easy part! Roughly chop the vegetables. Throw them all in a heavy cast iron Dutch oven and stir well. Cover and bake at 350 degrees for three hours. (Make sure your cover is oven safe!) 

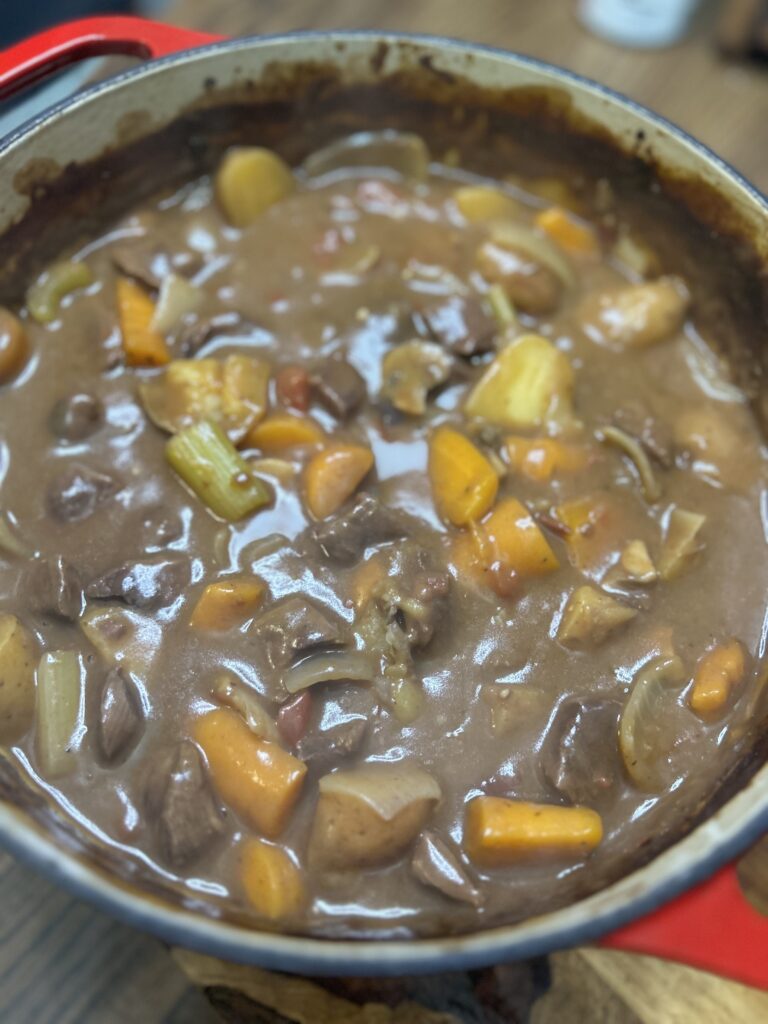
I stir it about every hour to make sure nothing is sticking, but it turns to perfection. Thick and hearty. A perfect meal. If you want yours a little less thick, add another 1/2 cup to 1 full cup of beef stock. But I am telling you, this is comfort in a bowl.

Baked Venison Stew

Thick and hearty, this baked venison stew is the ultimate comfort food with its chunky vegetables and tender meat.
Prep Time 10 minutes
Cook Time 3 hours
Course dinner, Main Course
Cuisine American
Servings 10 servings

Ingredients
  

  • 2 pounds cubed stew venison
  • 4 carrots
  • 3 celery stalks
  • 2 onions
  • 1 1/2 pounds potatoes
  • 1 package button mushrooms
  • 1 teaspoon each: salt pepper, dried oregano
  • 1 tablespoon minced garlic
  • 1 can diced tomatoes
  • 12 ounces tomato sauce
  • 3 cups beef stock or venison stock if you have it!
  • 1 tablespoon Worcestershire sauce
  • 2/3 cup flour

Instructions
 

  • Roughly chop the vegetables.
  • Throw them all in a heavy cast iron Dutch oven and stir well.
  • Cover and bake at 350 degrees for three hours. (Make sure your cover is oven safe!)
  • Stir every hour or so to make sure nothing is sticking to the bottom.
  • If you want it a little less thick, add another 1/2 cup to 1 full cup of beef stock.
Keyword baked stew, carrots, celery, comfort food, mushrooms, Potatoes, soup and stews, stew, venison, venison recipe, venison recipes, venison stew
Tried this recipe?Let us know how it was!

Looking for other venison recipes?

These are some of my favorite ways to use our venison each season!

Sweet Potato Casserole

Sweet potatoes. I was in my thirties when I discovered just how much I loved them. Maybe they are a relatively new “mainstream” phenomenon like Brussels sprouts. Either way, I have developed a deep love for them in all forms. Roasted. Mashed. Baked. They are SO GOOD. A few years ago, I got to host my very first Thanksgiving for the Mr’s side of the family and you know we had to have a great sweet potato casserole. 

As I was looking at recipes, I saw your typical “overly sweet” sweet potatoes. I didn’t want to serve that to my family. That’s what dessert is for, right? 

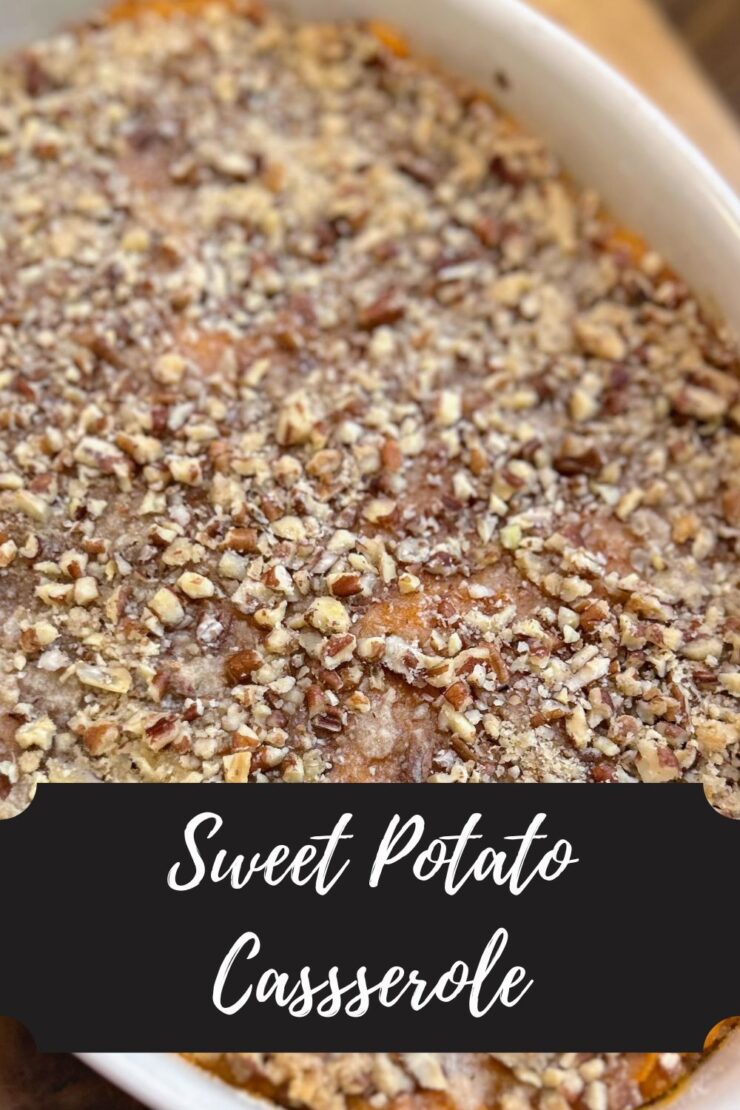
What I developed was a blend of sweet potatoes with just a touch of sweetness in brown sugar to satisfy those “sweet” sweet potato lovers without going overboard. Let me tell you, I could sit and eat an entire dish of these in nearly a sitting. I have loved baking up a batch nowhere near Thanksgiving and using it for my meal prep vegetables when I am packing my lunches for school. It’s comfort in a dish and SO good. But if you are making it for Thanksgiving, let me recommend you pair it with my homemade cranberry sauce too!

Now, I try to keep the conversation to a minimum in my blog and get us to the cooking. Are we ready for the recipe? Let’s go! 

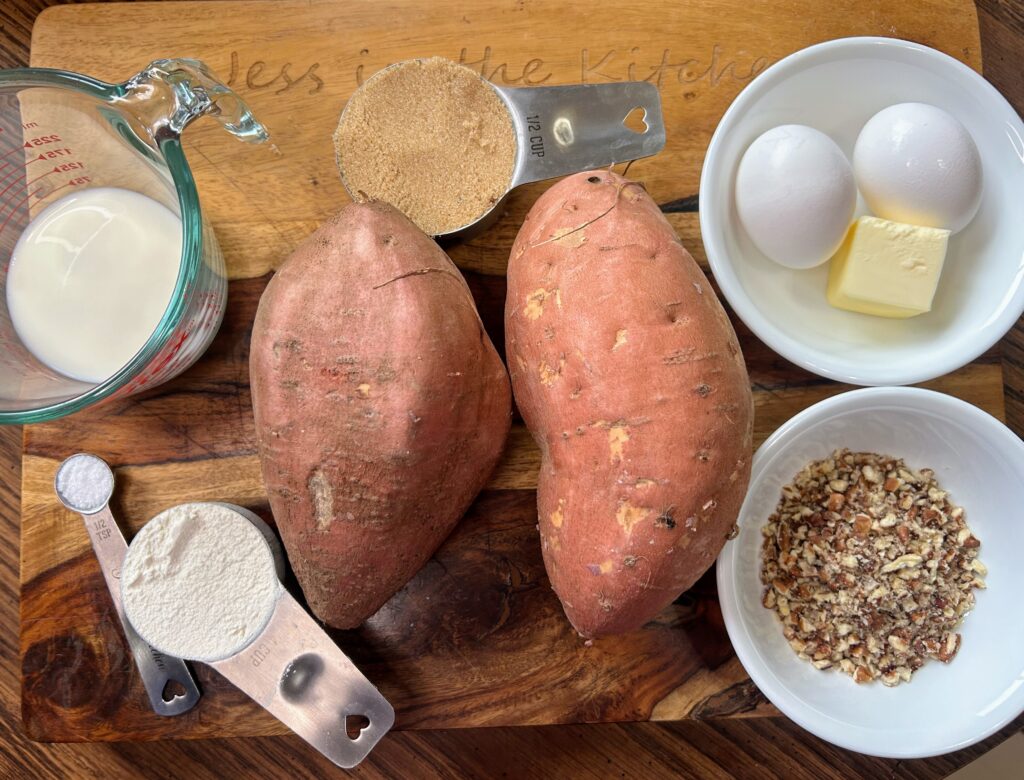
Your Ingredients for Sweet Potato Casserole

  • 2 ½ pounds of sweet potatoes, peeled and roughly cubed
  • ½ cup brown sugar, divided
  • ⅓ cup milk (I did whole)
  • 2 tablespoons butter, divided
  • 2 eggs, beaten
  • ½ teaspoon salt
  • ¼ cup flour
  • ⅓ cup chopped pecans

Your Steps 

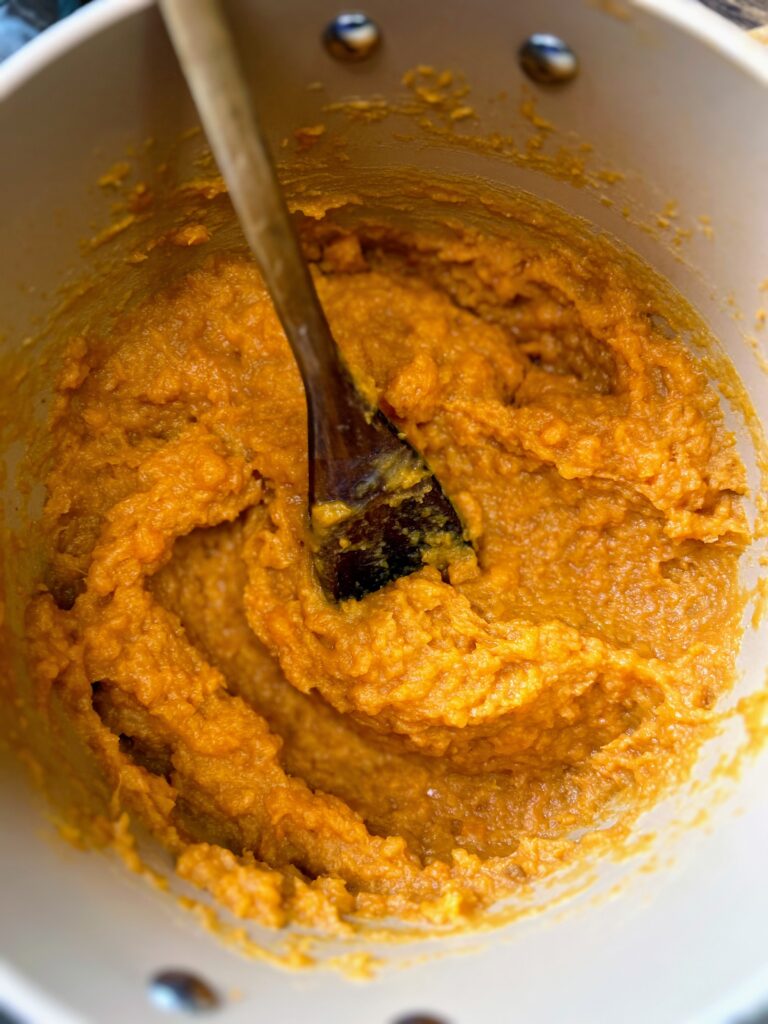
Place the potatoes in a large kettle and cover with water. Bring to a boil and cook until tender, about 25 minutes. Drain and mash with a potato masher. 

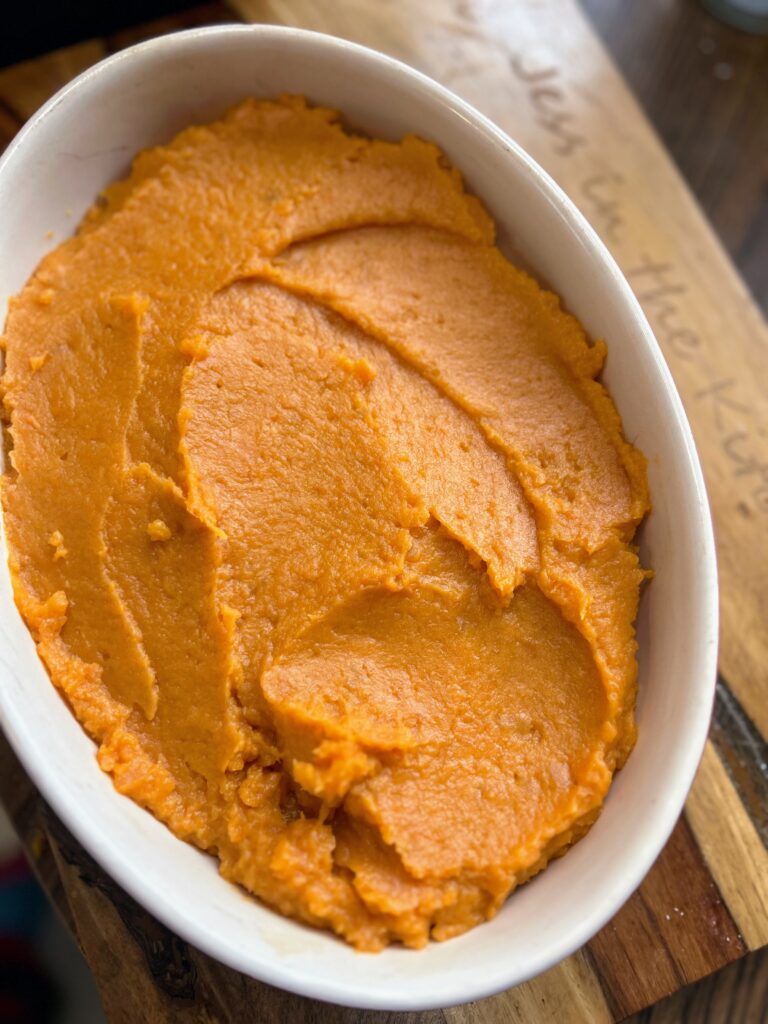
Preheat the oven to 350 degrees F. Allow the sweet potatoes to cool slightly (I always worry about “scrambling” eggs when I add them so I am careful to make sure the potatoes are cool enough). Stir in the milk, 1 tablespoon of butter (reserving 1 tablespoon for the topping), and sugar (reserving 3 tablespoons for the topping). Add the salt and eggs. Stir well. 

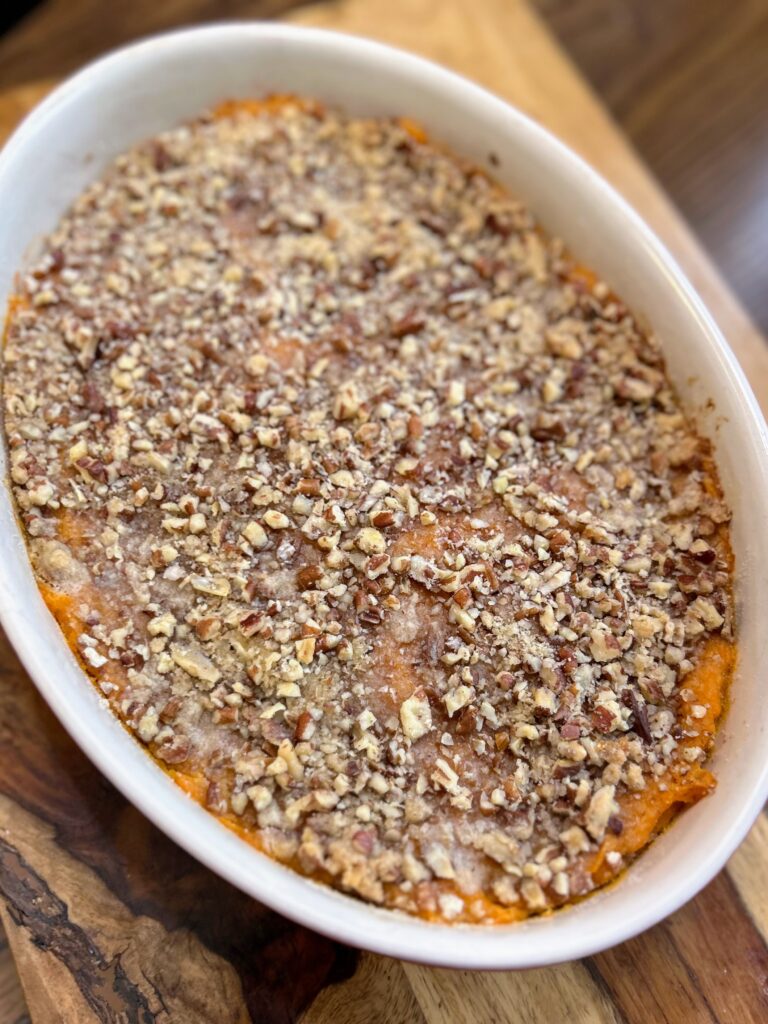
Spoon the mixture into an 8 in. by 8 in. casserole dish. In a small bowl, combine the reserved brown sugar, flour and butter. Cut with a pastry cutter until it looks like coarse sand. Alternatively, you can simply crumble with your fingers until it looks like coarse sand. Mix in the pecans. Sprinkle over the sweet potato mixture. 

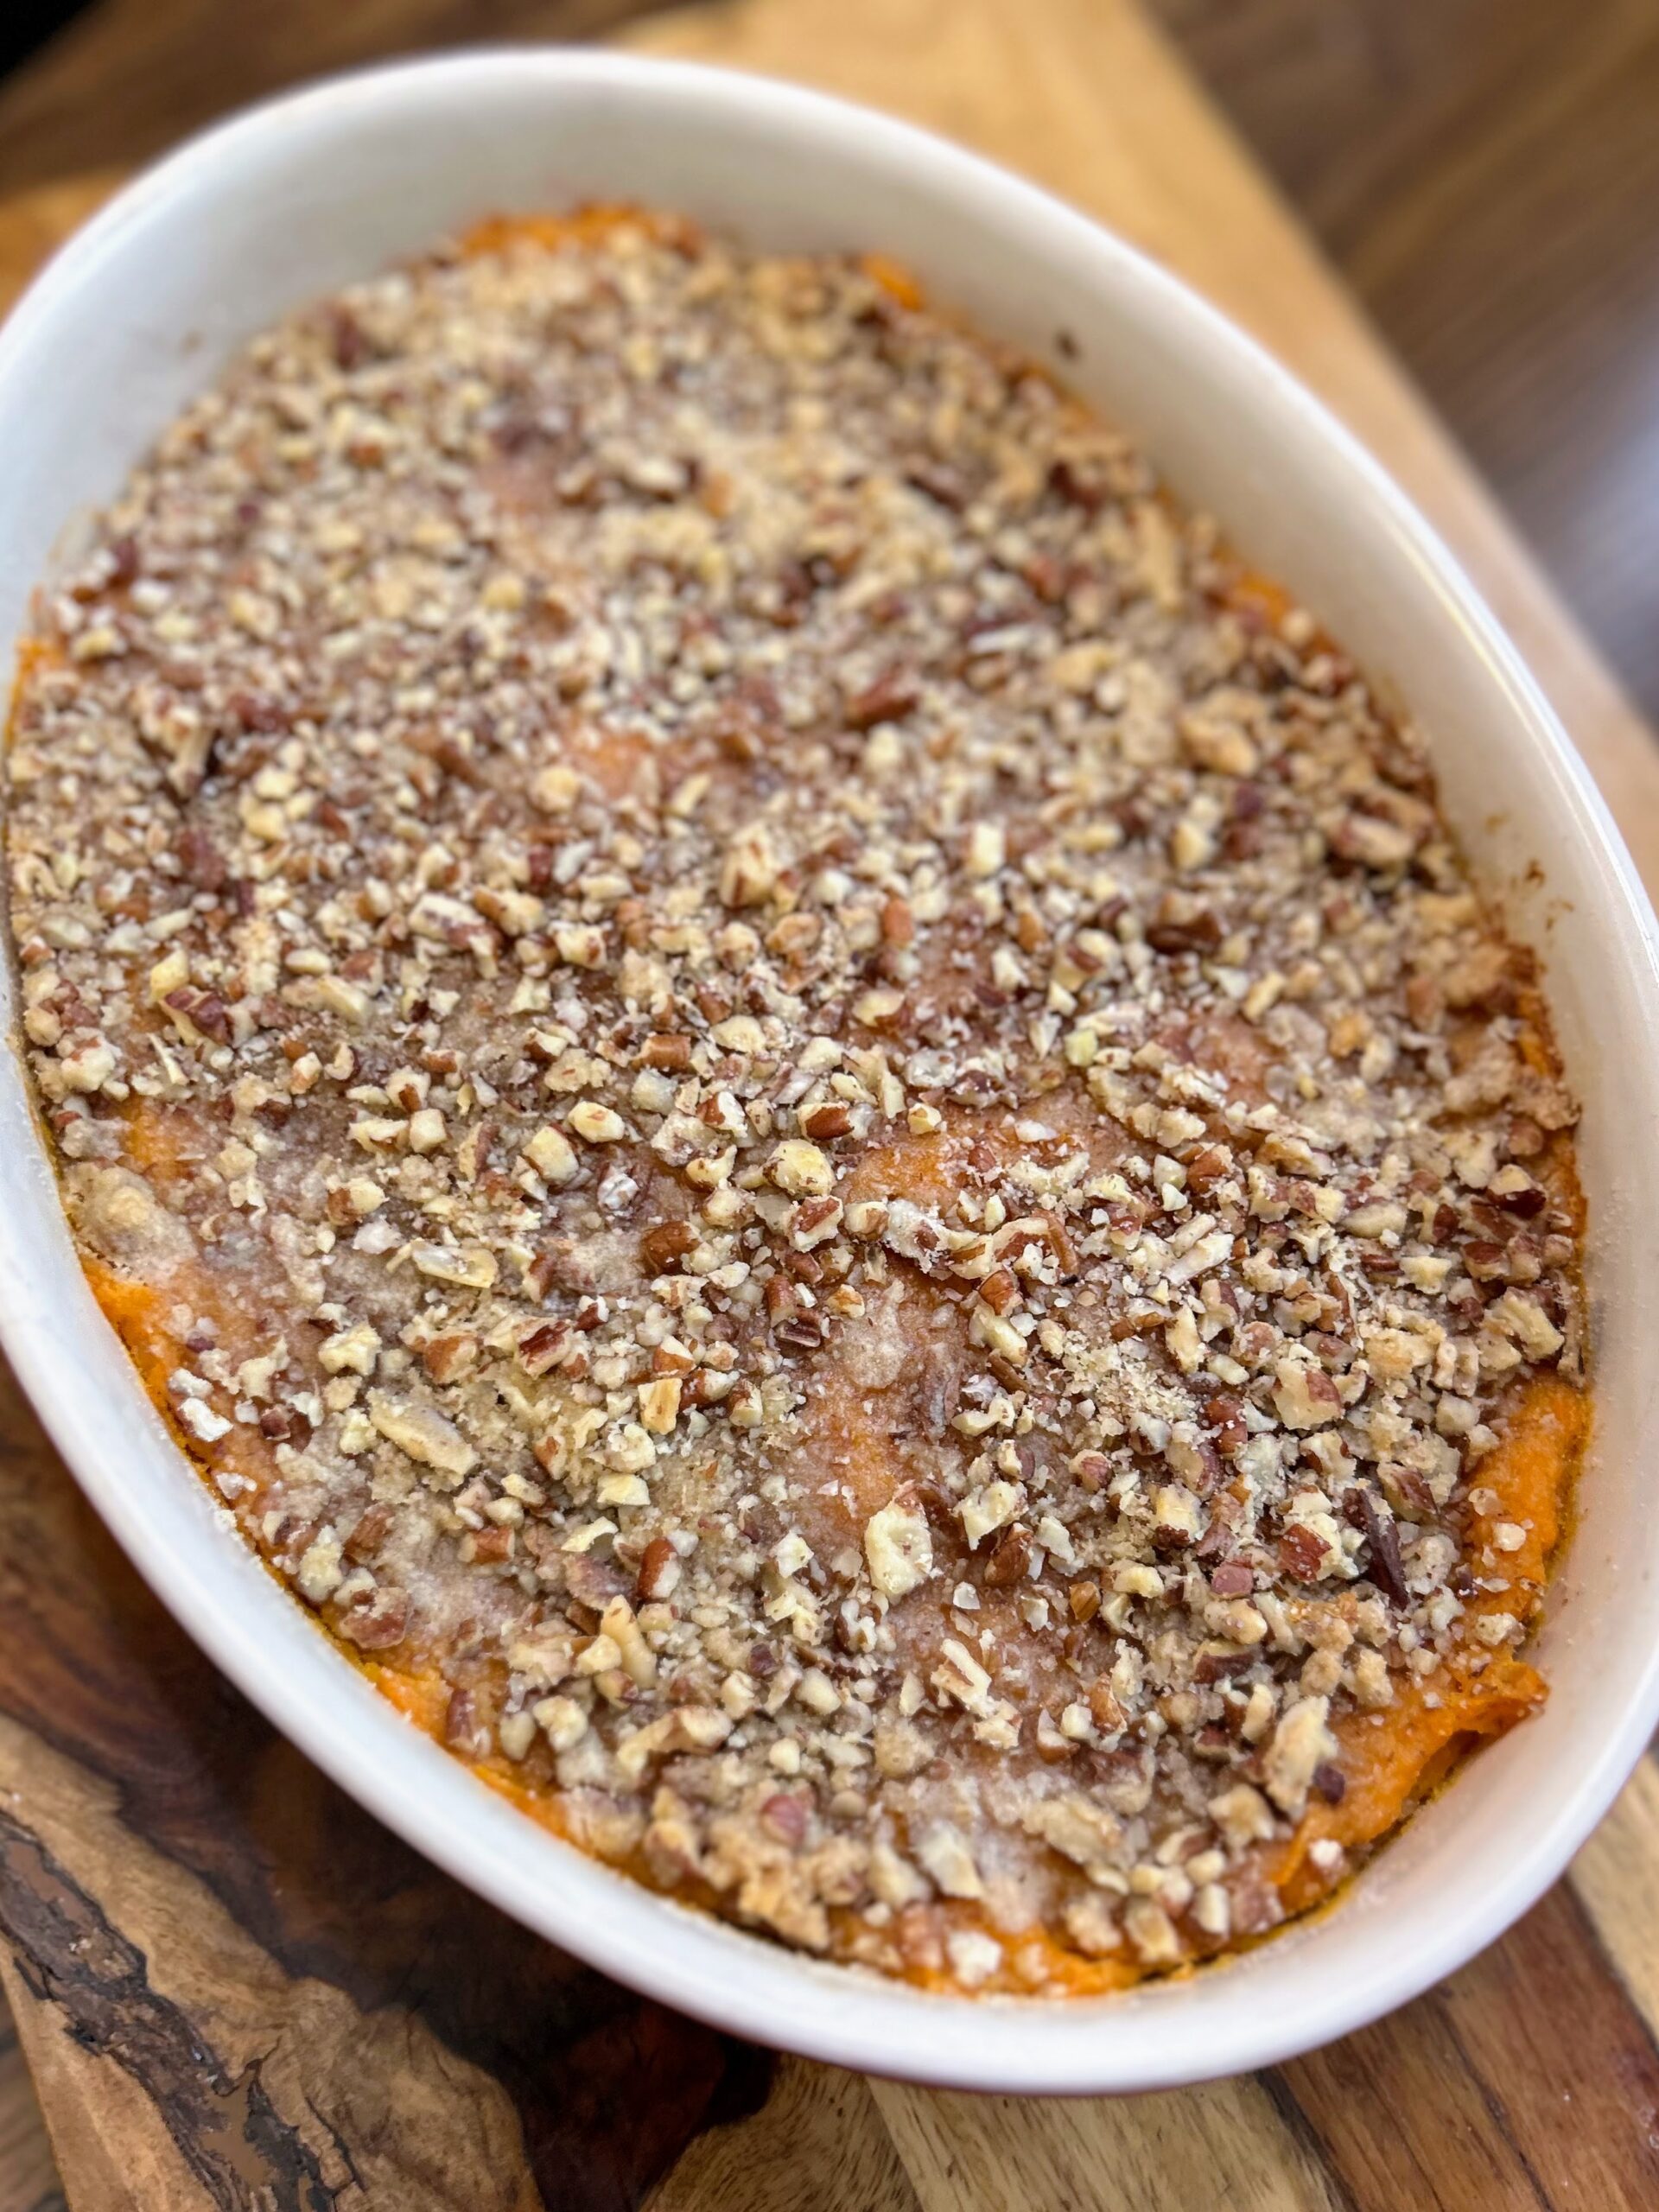
Bake for 45-50 minutes, until the mixture is heated through and the topping is slightly browned. 

Sweet Potato Casserole

This sweet potato casserole strikes the perfect balance between sweetness and flavor, avoiding excessive sweetness. The delectable texture is further enhanced by the addition of crunchy pecans.
Prep Time 35 minutes
Cook Time 45 minutes
Course Side Dish
Cuisine American
Servings 10 servings

Equipment

  • casserole dish

Ingredients
  

  • 2 ½ pounds of sweet potatoes peeled and roughly cubed
  • ½ cup brown sugar divided
  • cup milk I did whole
  • 2 tablespoons butter divided
  • 2 eggs beaten
  • ½ teaspoon salt
  • ¼ cup flour
  • cup chopped pecans

Instructions
 

  • Place the potatoes in a large kettle and cover with water. Bring to a boil and cook until tender, about 25 minutes. Drain and mash with a potato masher.
  • Preheat the oven to 350 degrees F. Allow the sweet potatoes to cool slightly. Stir in the milk, 1 tablespoon of butter (reserving 1 tablespoon for the topping), and sugar (reserving 3 tablespoons for the topping). Add the salt and eggs. Stir well.
  • Spoon the mixture into an 8 in. by 8 in. casserole dish. In a small bowl, combine the reserved brown sugar, flour and butter. Cut with a pastry cutter until it looks like coarse sand. Alternatively, you can simply crumble with your fingers until it looks like coarse sand. Mix in the pecans. Sprinkle over the sweet potato mixture.
  • Bake for 45-50 minutes, until the mixture is heated through and the topping is slightly browned.
Keyword autumn flavor, autumn food, fall food, mashed sweet potato, pecans, sweet potato, sweet potato casserole, Thanksgiving sides
Tried this recipe?Let us know how it was!

Looking for other dishes to pass?

Let’s be honest, Sweet Potato Casserole is one of those “family get togethers” dishes. Maybe you need another dish to pass too! Check out some of my favorites below!

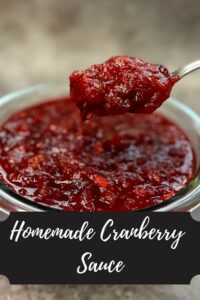
Homemade Cranberry Sauce

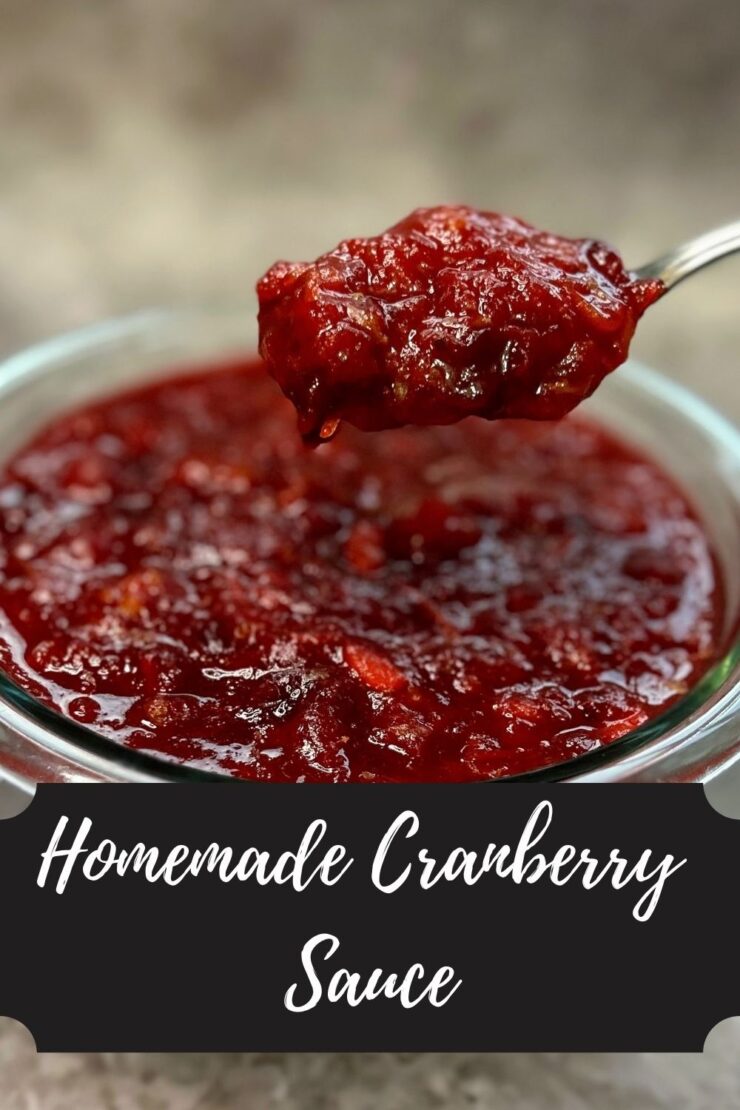
I believe cranberry to be one of those polarizing flavors. Okay, maybe not quick polarizing like, say, coconut, but it is still a flavor that elicits strong responses. If you like cranberries, you LOVE cranberries and can’t get enough. Or is that just my family? Ha! Well, I can tell you that the cranberries at Thanksgiving are important at our household, and this homemade cranberry sauce is just the ticket. 

Speaking of polarizing flavors: cinnamon. My sister and I double down on cinnamon almost always. Turns out, my mom hates it. It’s why she doesn’t like apple desserts in the fall. I do think she is in the minority, but still, cinnamon is an optional addition to this cranberry sauce. Do I love it? Absolutely. But maybe it isn’t for you and your family. 

Whether you add the cinnamon or not, this homemade cranberry sauce will likely have you licking out the kettle as you transfer it to a serving dish. It’s the perfect blend of tart and sweet (although, if you like it extra tart, consider removing a few tablespoons of sugar), and is beyond simple to make. The best part: It’s easy to prep ahead of time during that busy Thanksgiving week! 

And if you want to try it ahead of time, let me recommend mixing it into some plain or vanilla Greek yogurt. Holy yum! It’s definitely a favorite flavor combination this fall for me! 

Ready to give it a go? Let’s start cooking! 

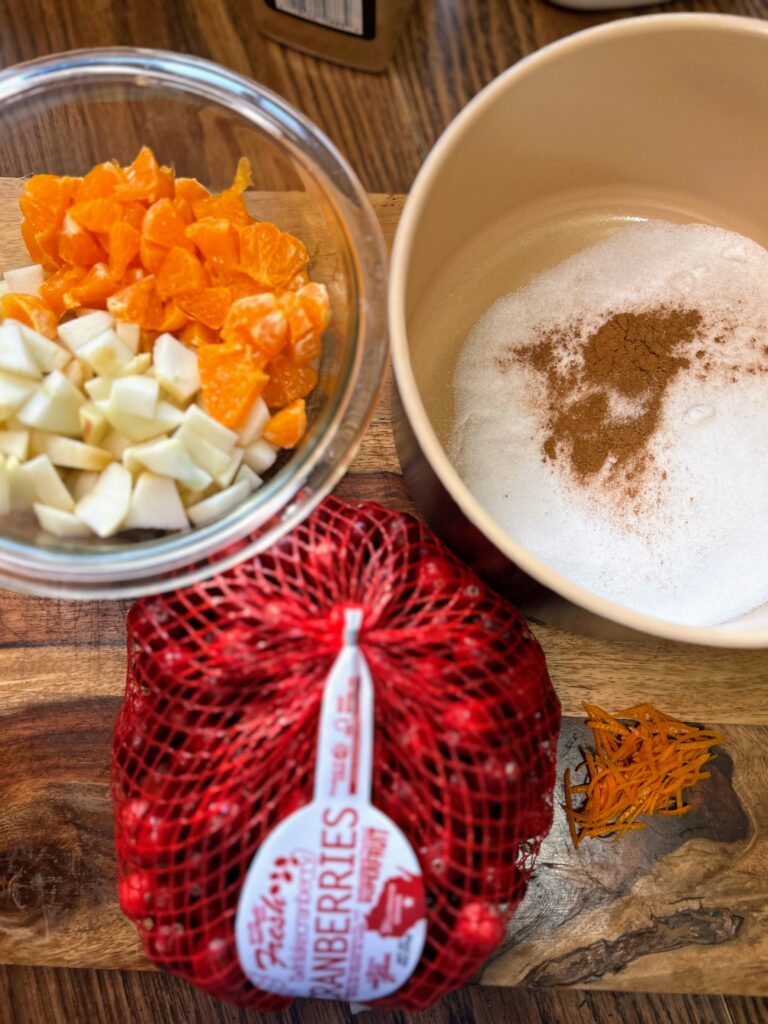
Your Ingredients for Homemade Cranberry Sauce

  • ⅔ cup water
  • ⅔ cup sugar (up to a cup if you want it sweet) 
  • 3 cups fresh cranberries 
  • 2 apples, peeled and diced (about 2 cups)
  • 3 mandarin oranges, peeled and diced (or 1 large orange)
  • ½ tablespoon orange zest
  • ½ teaspoon cinnamon (optional) 
  • ¼ teaspoon salt 

Your Steps 

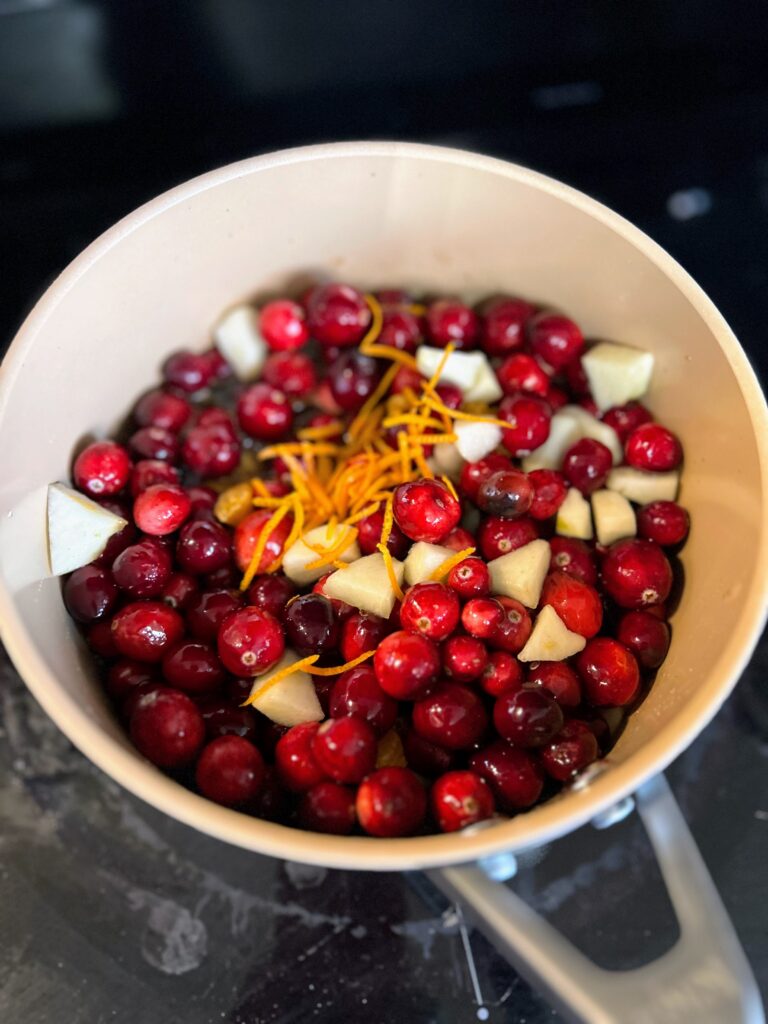
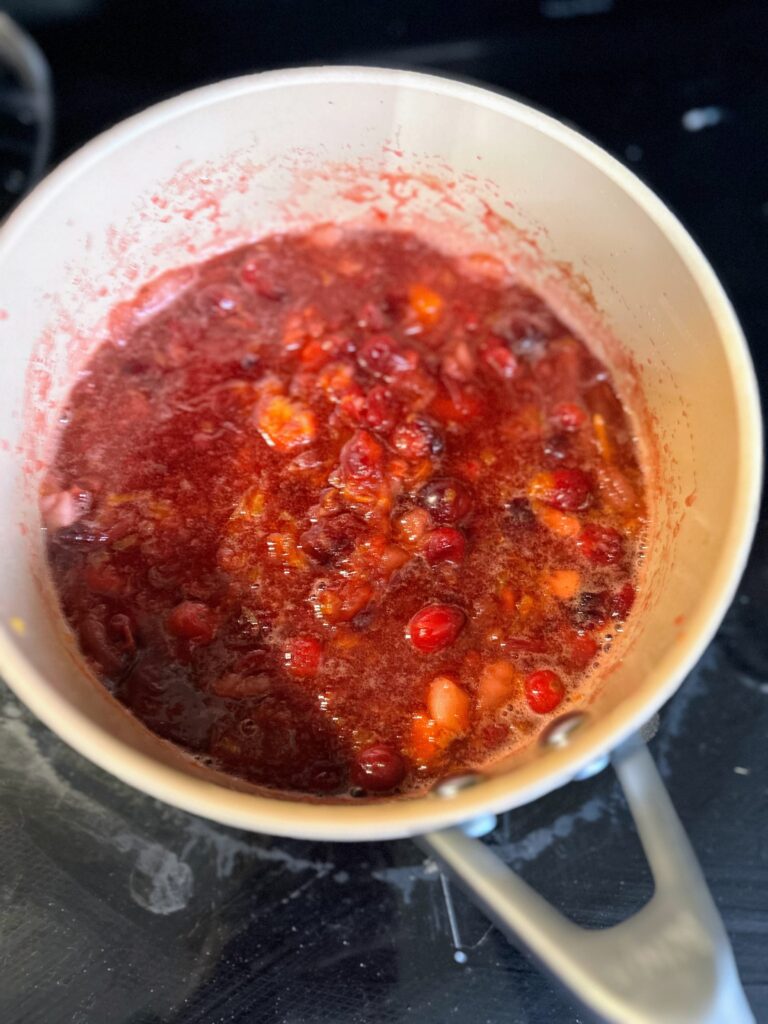
Bring water, sugar, cinnamon, and salt to a boil, stirring to dissolve the sugar and aslt. Once boiling, add the remaining ingredients. Heat over high heat to a boil once again. 

Lower to a simmer, cover, and cook for 15 minutes. 

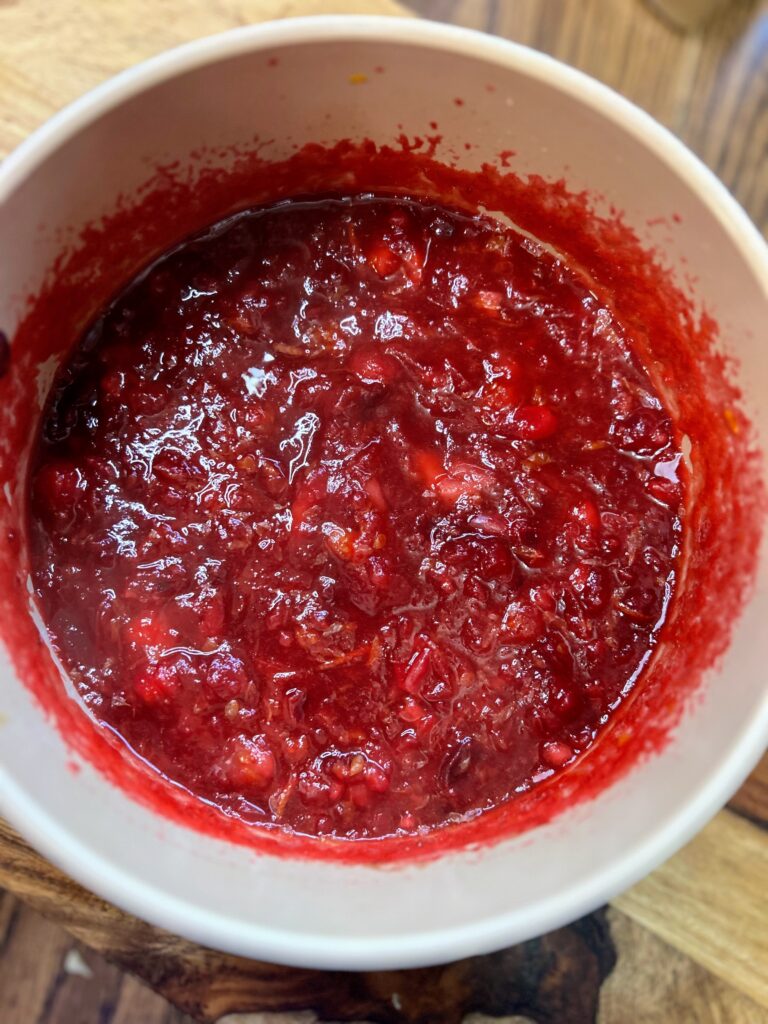
Remove the cover and simmer for an additional 10 minutes, stirring frequently as it thickens. Remove from heat and transfer to a serving dish. Allow to cool before refrigerating. 

This cranberry sauce can be prepared a week in advance.

Homemade Cranberry Sauce

This homemade cranberry sauce strikes a perfect balance of sweet and tart, making it a delightful addition to any table.
Prep Time 9 minutes
Cook Time 25 minutes
Course Side Dish
Cuisine American
Servings 10 servings

Equipment

Ingredients
  

  • cup water
  • cup sugar up to a cup if you want it sweet
  • 3 cups fresh cranberries
  • 2 apples peeled and diced (about 2 cups)
  • 3 mandarin oranges peeled and diced (or 1 large orange)
  • ½ tablespoon orange zest
  • ½ teaspoon cinnamon optional
  • ¼ teaspoon salt

Instructions
 

  • Bring water, sugar, cinnamon, and salt to a boil, stirring to dissolve the sugar and aslt. Once boiling, add the remaining ingredients. Heat over high heat to a boil once again.
  • Lower to a simmer, cover, and cook for 15 minutes.
  • Remove the cover and simmer for an additional 10 minutes, stirring frequently as it thickens. Remove from heat and transfer to a serving dish. Allow to cool before refrigerating.
  • This cranberry sauce can be prepared a week in advance.
Keyword apples, cranberries, cranberry sauce, from scratch cranberry sauce, fruits, homemade cranberry sauce, oranges, side dishes, Thanksgiving
Tried this recipe?Let us know how it was!

Other favorite sides

Okay, so you have cranberry sauce, but do you have the rest of your sides? These are some favorites for me!

Butternut Squash Soup

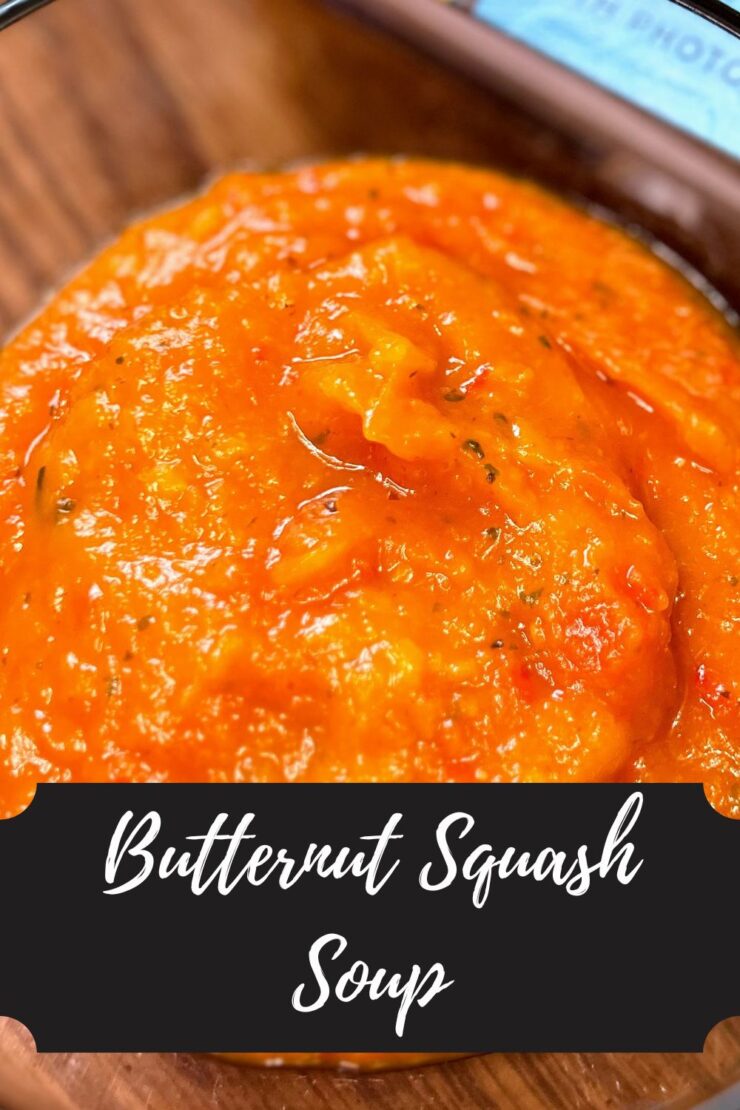
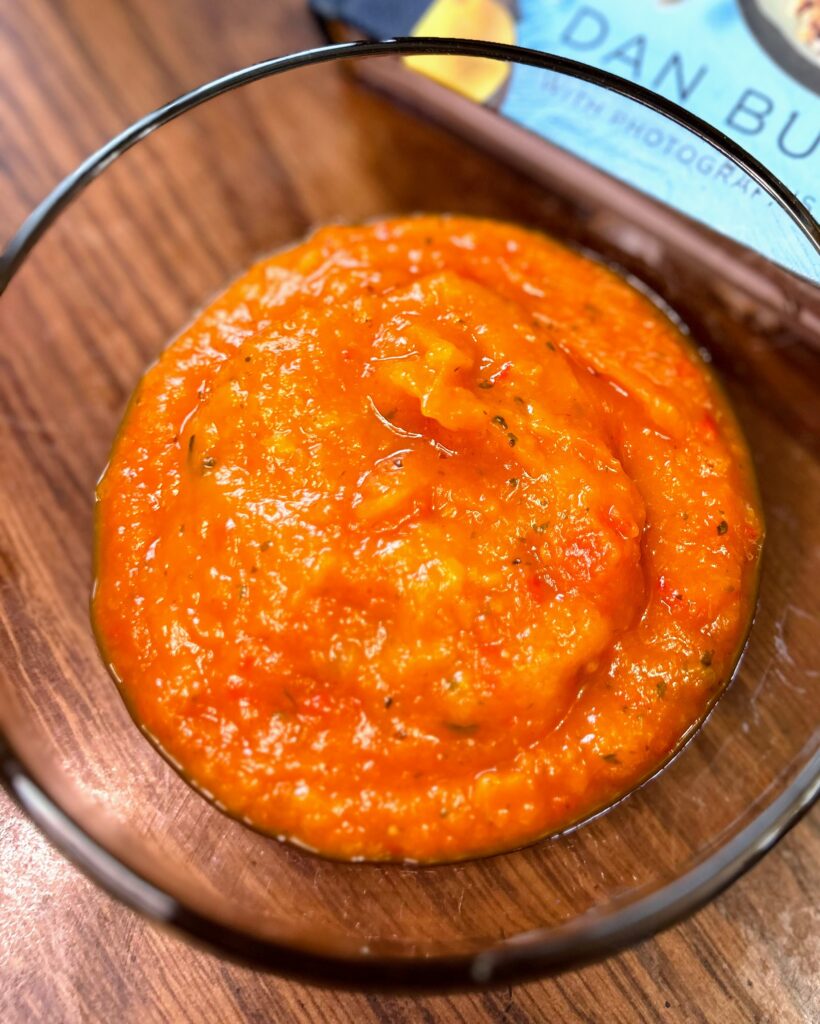
A few blogs ago, I shared that I have this WONDERFUL collaboration on Instagram where we randomly choose a country to explore its cuisine each month. There are no restrictions on what we cook, as long as it is from the country at hand. Additionally, I have a collaboration that we choose a cookbook and try three different recipes of our choosing each month. This month, I hit both collabs in one cook: This delightful butternut squash soup!

This month, I am cooking from The Blue Zone Kitchen by Dan Buettner. If you are unaware, the Blue Zones are regions on Earth where people live the longest based on healthy lifestyles. Dan has done extraordinary research in the area and then compiled a cookbook using recipes from each of the five zones:  Ikaria, Greece; Okinawa, Japan; Nicoya, Costa Rica; Sardinia, Italy; Loma Linda, United States. 

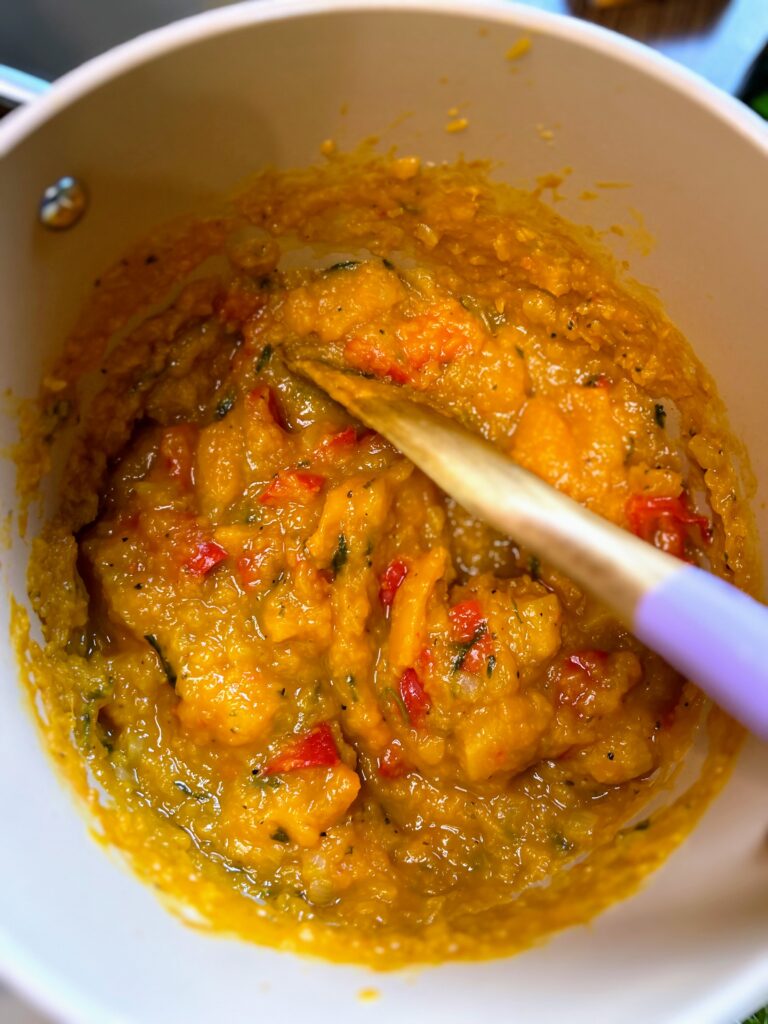
My first cook was Creamy Butternut Squash Soup from Nicoya, Costa Rica. It is fall in Wisconsin and a vegetable based soup sounded divine. Boy, was I right. Normally, I work hard to follow the recipe to the T, but in this case, I had a squash that was much bigger than what the recipe called for, so I modified it a bit to suit the ingredients I had on hand. Regardless, it turned out to be a delicious soup that I can not wait to make again! 
Your Ingredients to Butternut Squash Soup

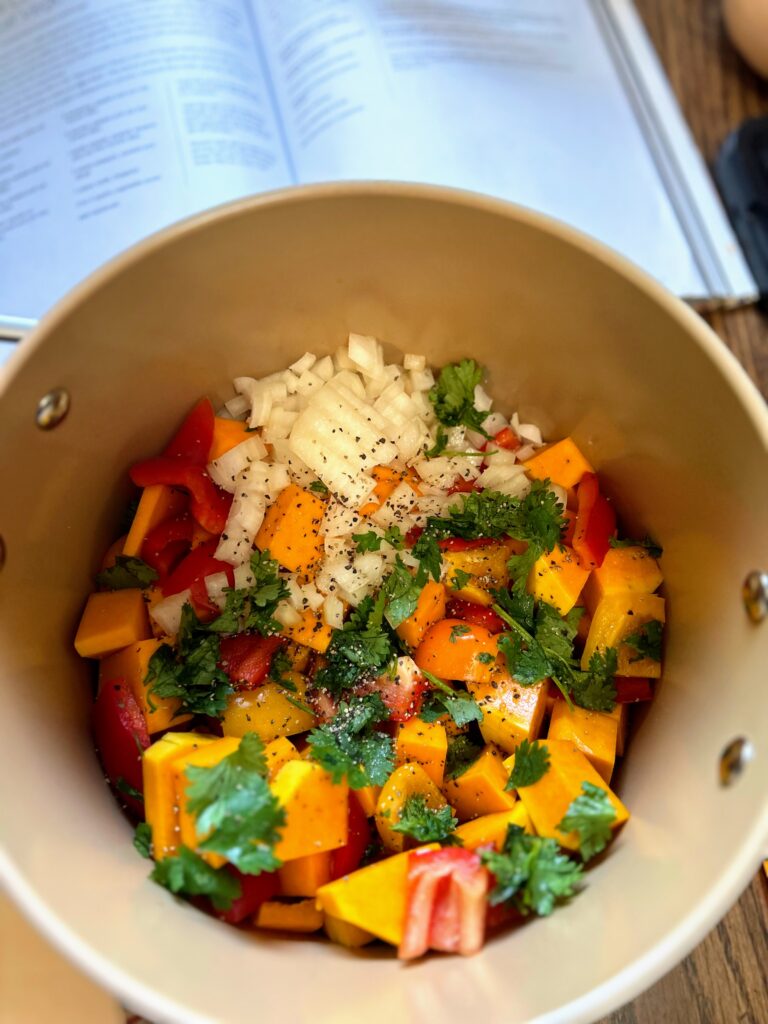
  • 2 pound butternut squash, peeled and seeded, coarsely chopped 
  • 4 sweet peppers, seeded and coarsely chopped
  • 2 tablespoons chopped cilantro
  • ¾ cup diced onion
  • 2 cups chicken stock
  • salt and pepper

Your Steps (It’s so easy!)

Combine all the ingredients in a large, heavy Dutch oven. Bring to a boil and then lower to a simmer and allow to cook for 30 minutes. Use an immersion blender to blend the ingredients for a creamy soup.

If you prefer a chunky soup, cut the peppers and onions a bit finer. Then use a potato masher to break down the butternut squash after simmering.

Butternut Squash Soup

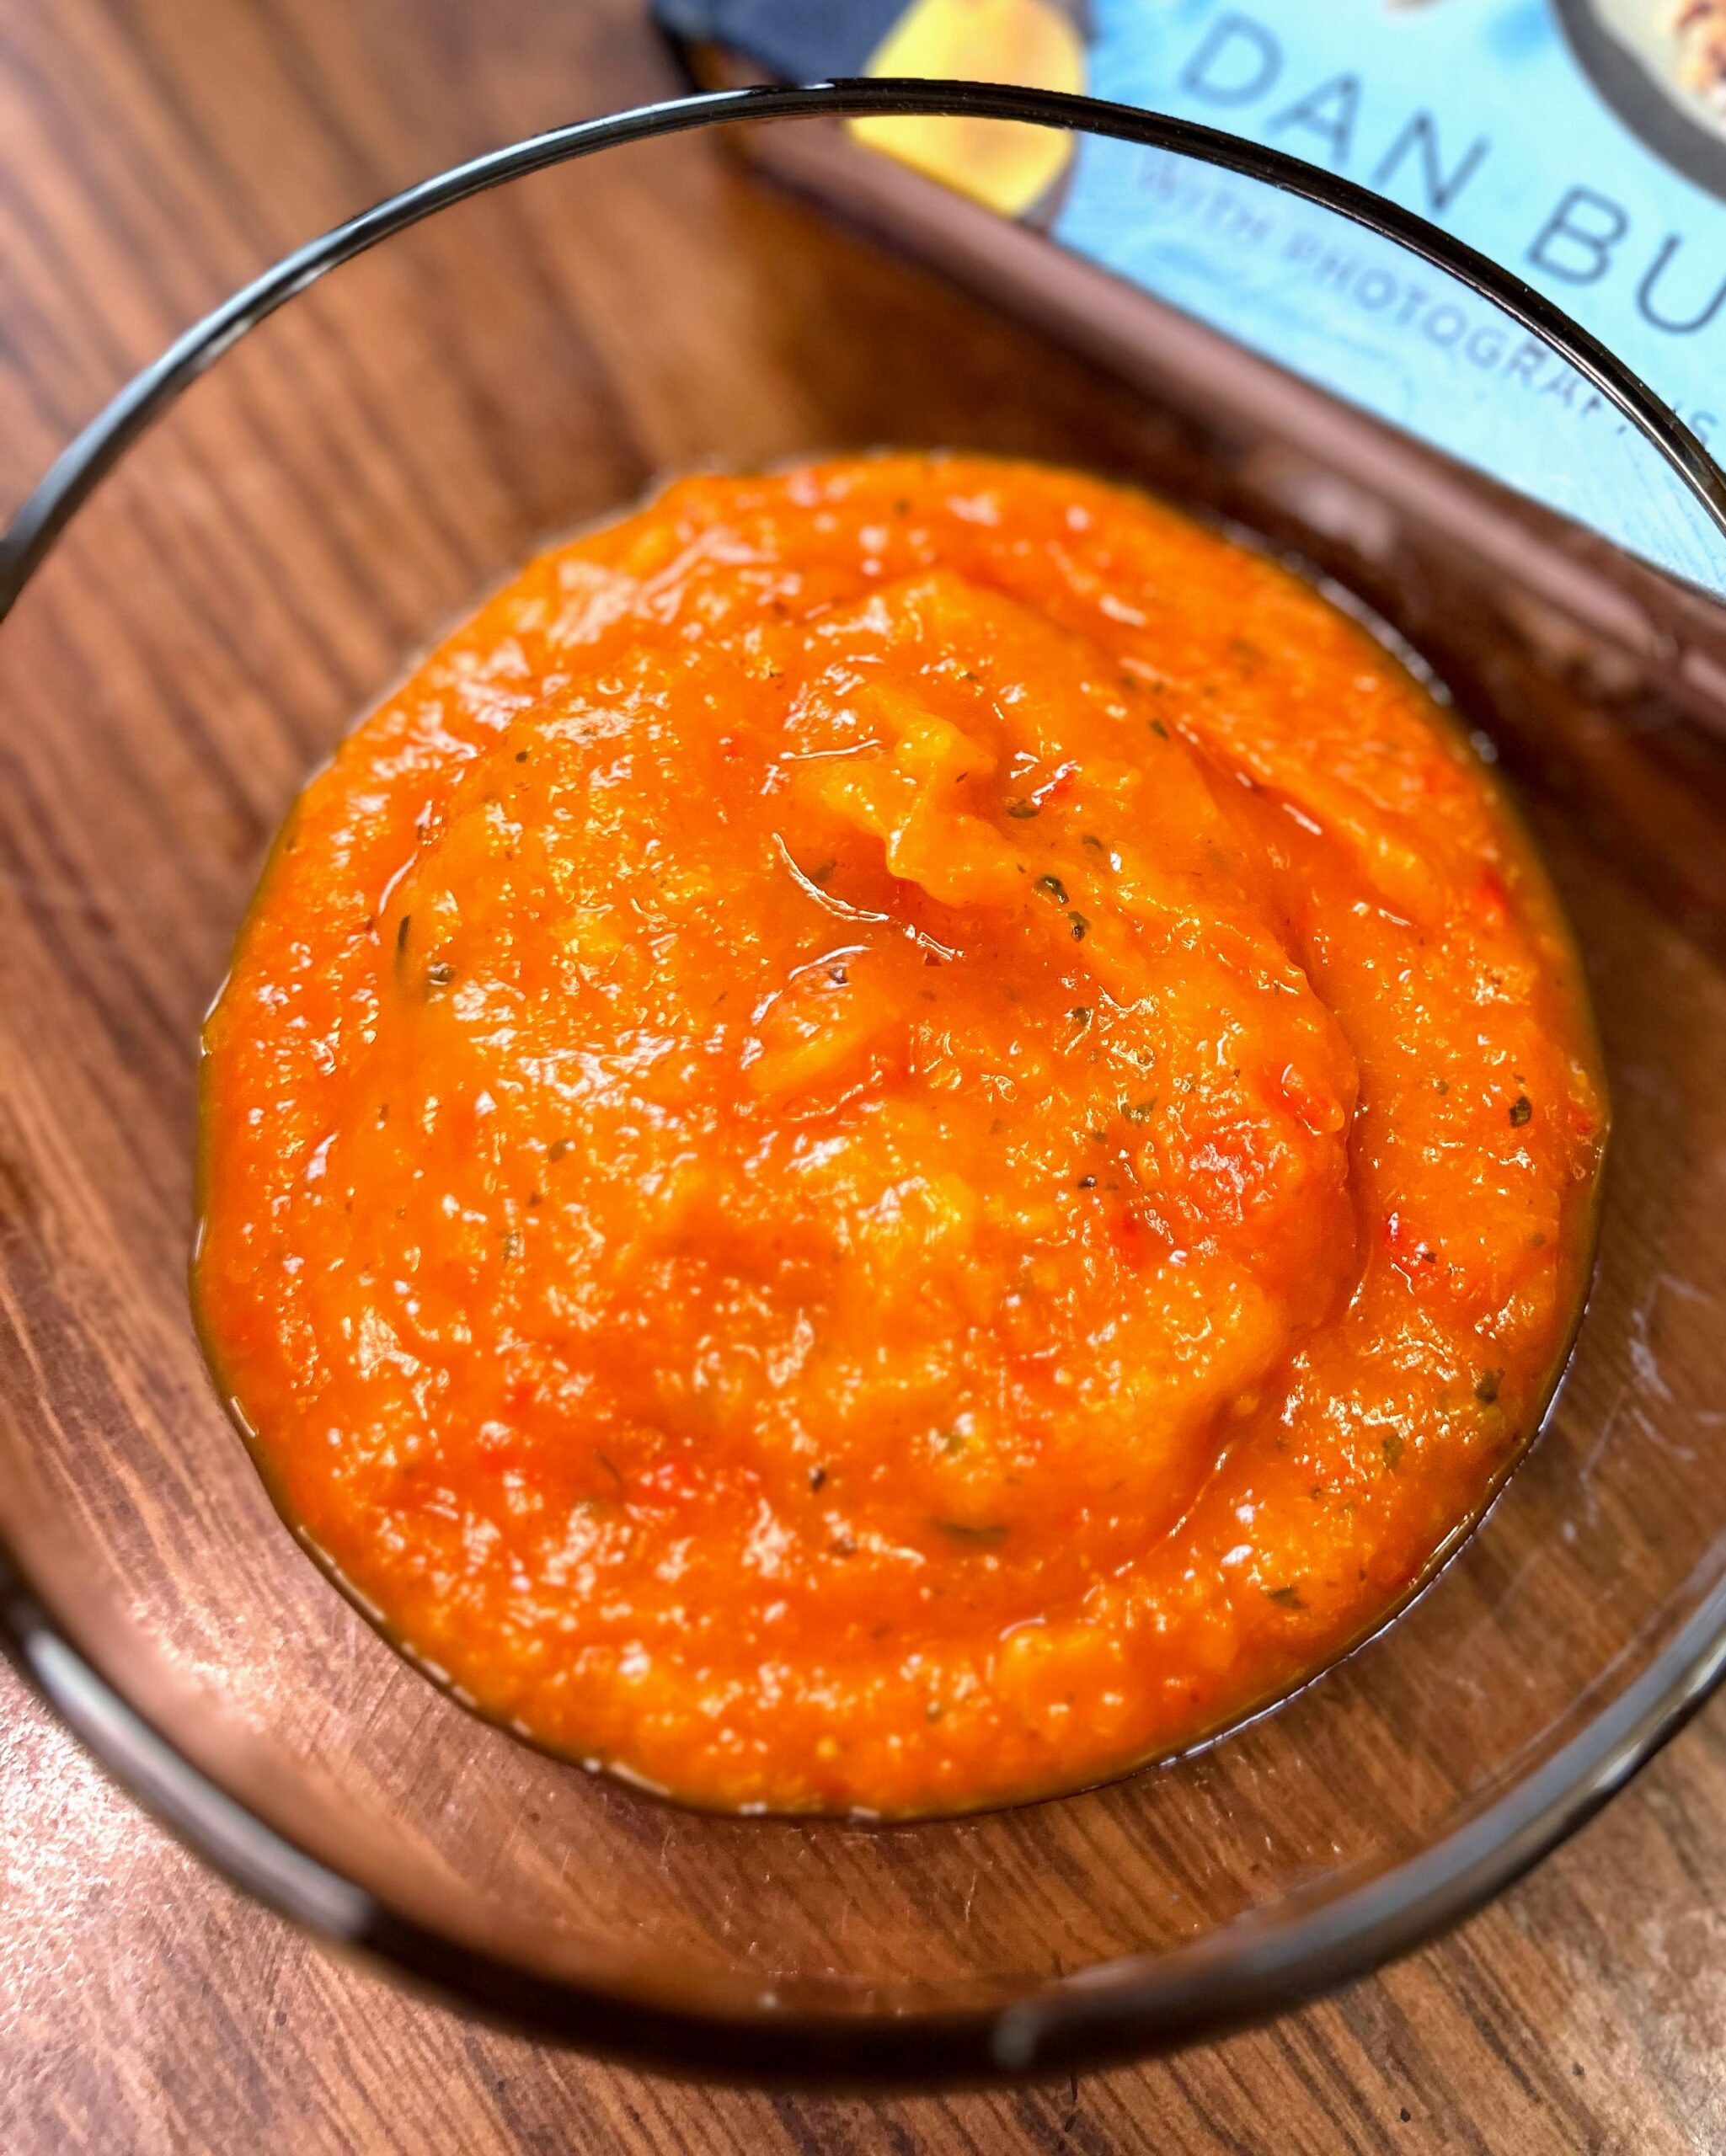
Indulge in the ultimate comfort food with this Butternut Squash Soup, a creamy and flavorful delight.

Ingredients
  

  • 2 pounds butternut squash peeled and seeded, coarsely chopped
  • 4 sweet peppers seeded and coarsely chopped
  • 2 tablespoons chopped cilantro
  • ¾ cup diced onion
  • 2 cups chicken stock
  • salt and pepper

Instructions
 

  • Combine all the ingredients in a large, heavy Dutch oven.
  • Bring to a boil and then lower to a simmer and allow to cook for 30 minutes.
  • Use an immersion blender to blend the ingredients for a creamy soup.
  • If you prefer a chunky soup, cut the peppers and onions a bit finer. Then use a potato masher to break down the butternut squash after simmering.
Tried this recipe?Let us know how it was!

Looking for other great soups?

Check out my cooking page or maybe find some of my favorites below!

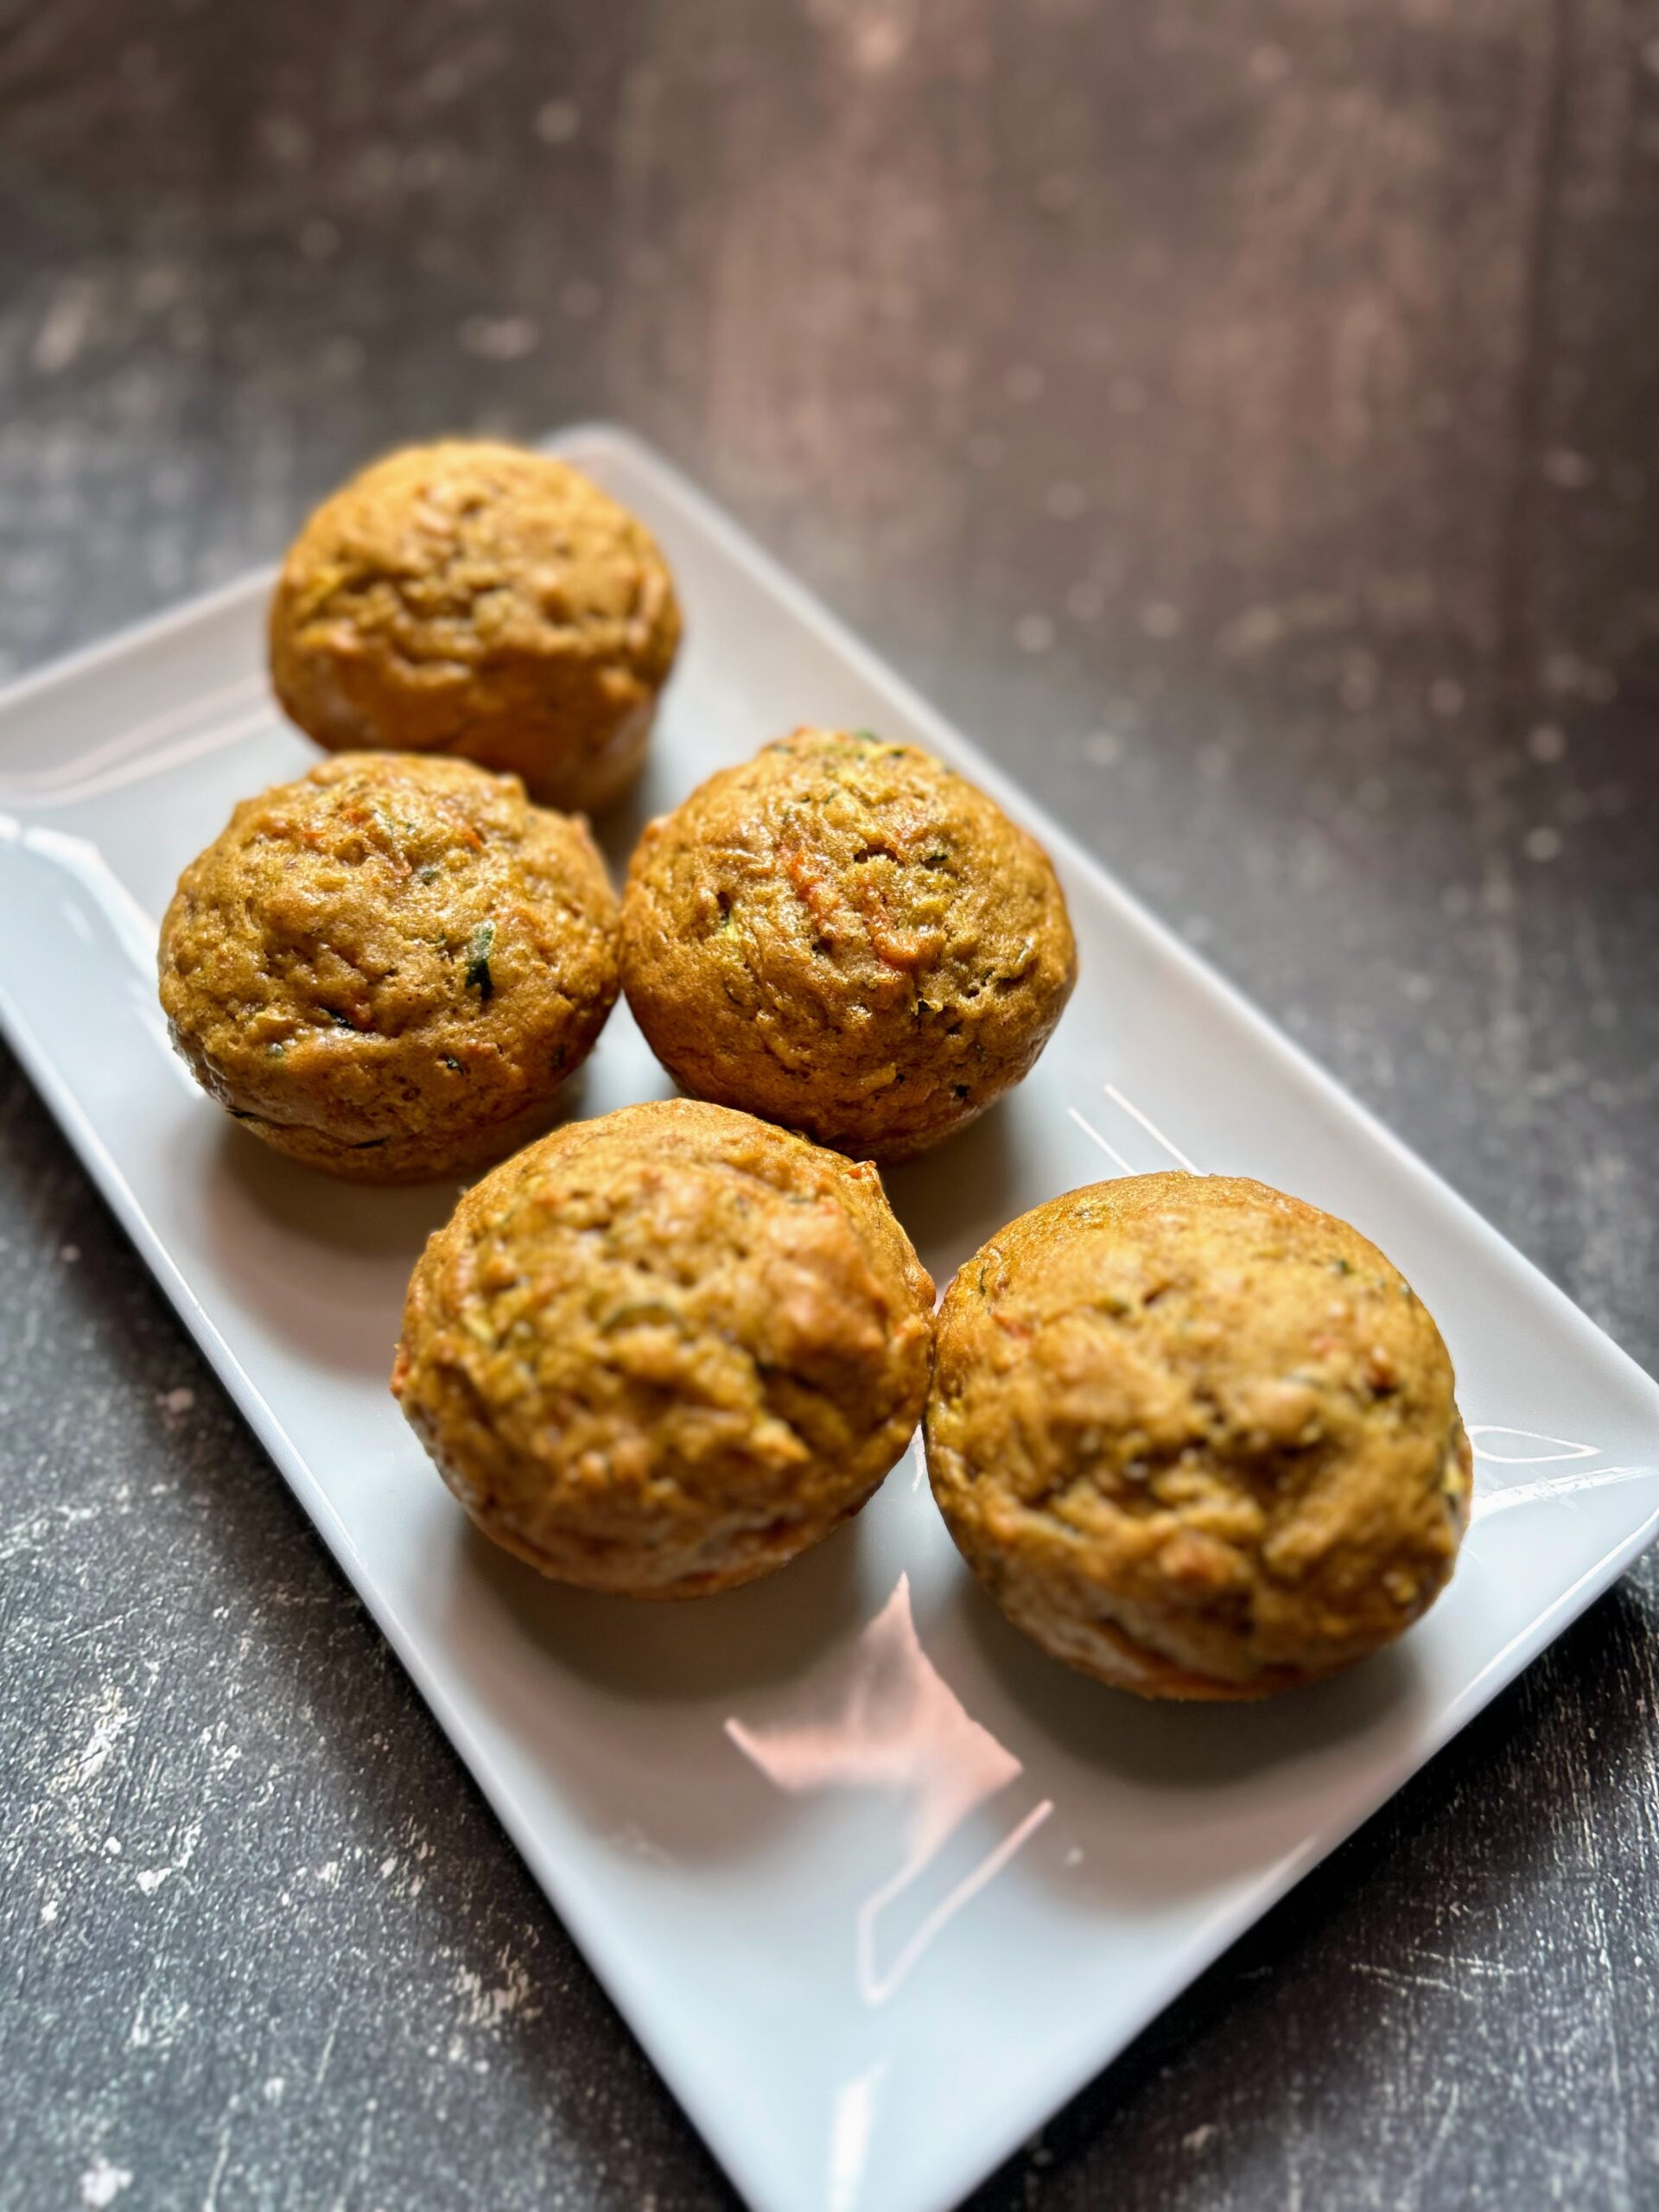
Zucchini Carrot Muffins

This year, my zucchini plants have been perfectly prolific. Not too many, not too little. Just the right amount of squash has grown in our garden and I couldn’t be happier. While my babies were requesting my chocolate zucchini bread, I was fermenting some zucchini and carrot relish. It got me thinking, how good would zucchini carrot muffins be?! So I got to work! 

Years ago, I ate a zucchini, carrot, and apple bread that I adored. I perhaps baked it a few times while my big kiddo was a tot (he’s in high school now!), but hadn’t made it since then. While that was delicious, I thought giving the two a try might be equally good. I gathered a few ingredients, shredded some zucchini and carrots, and got to work. 

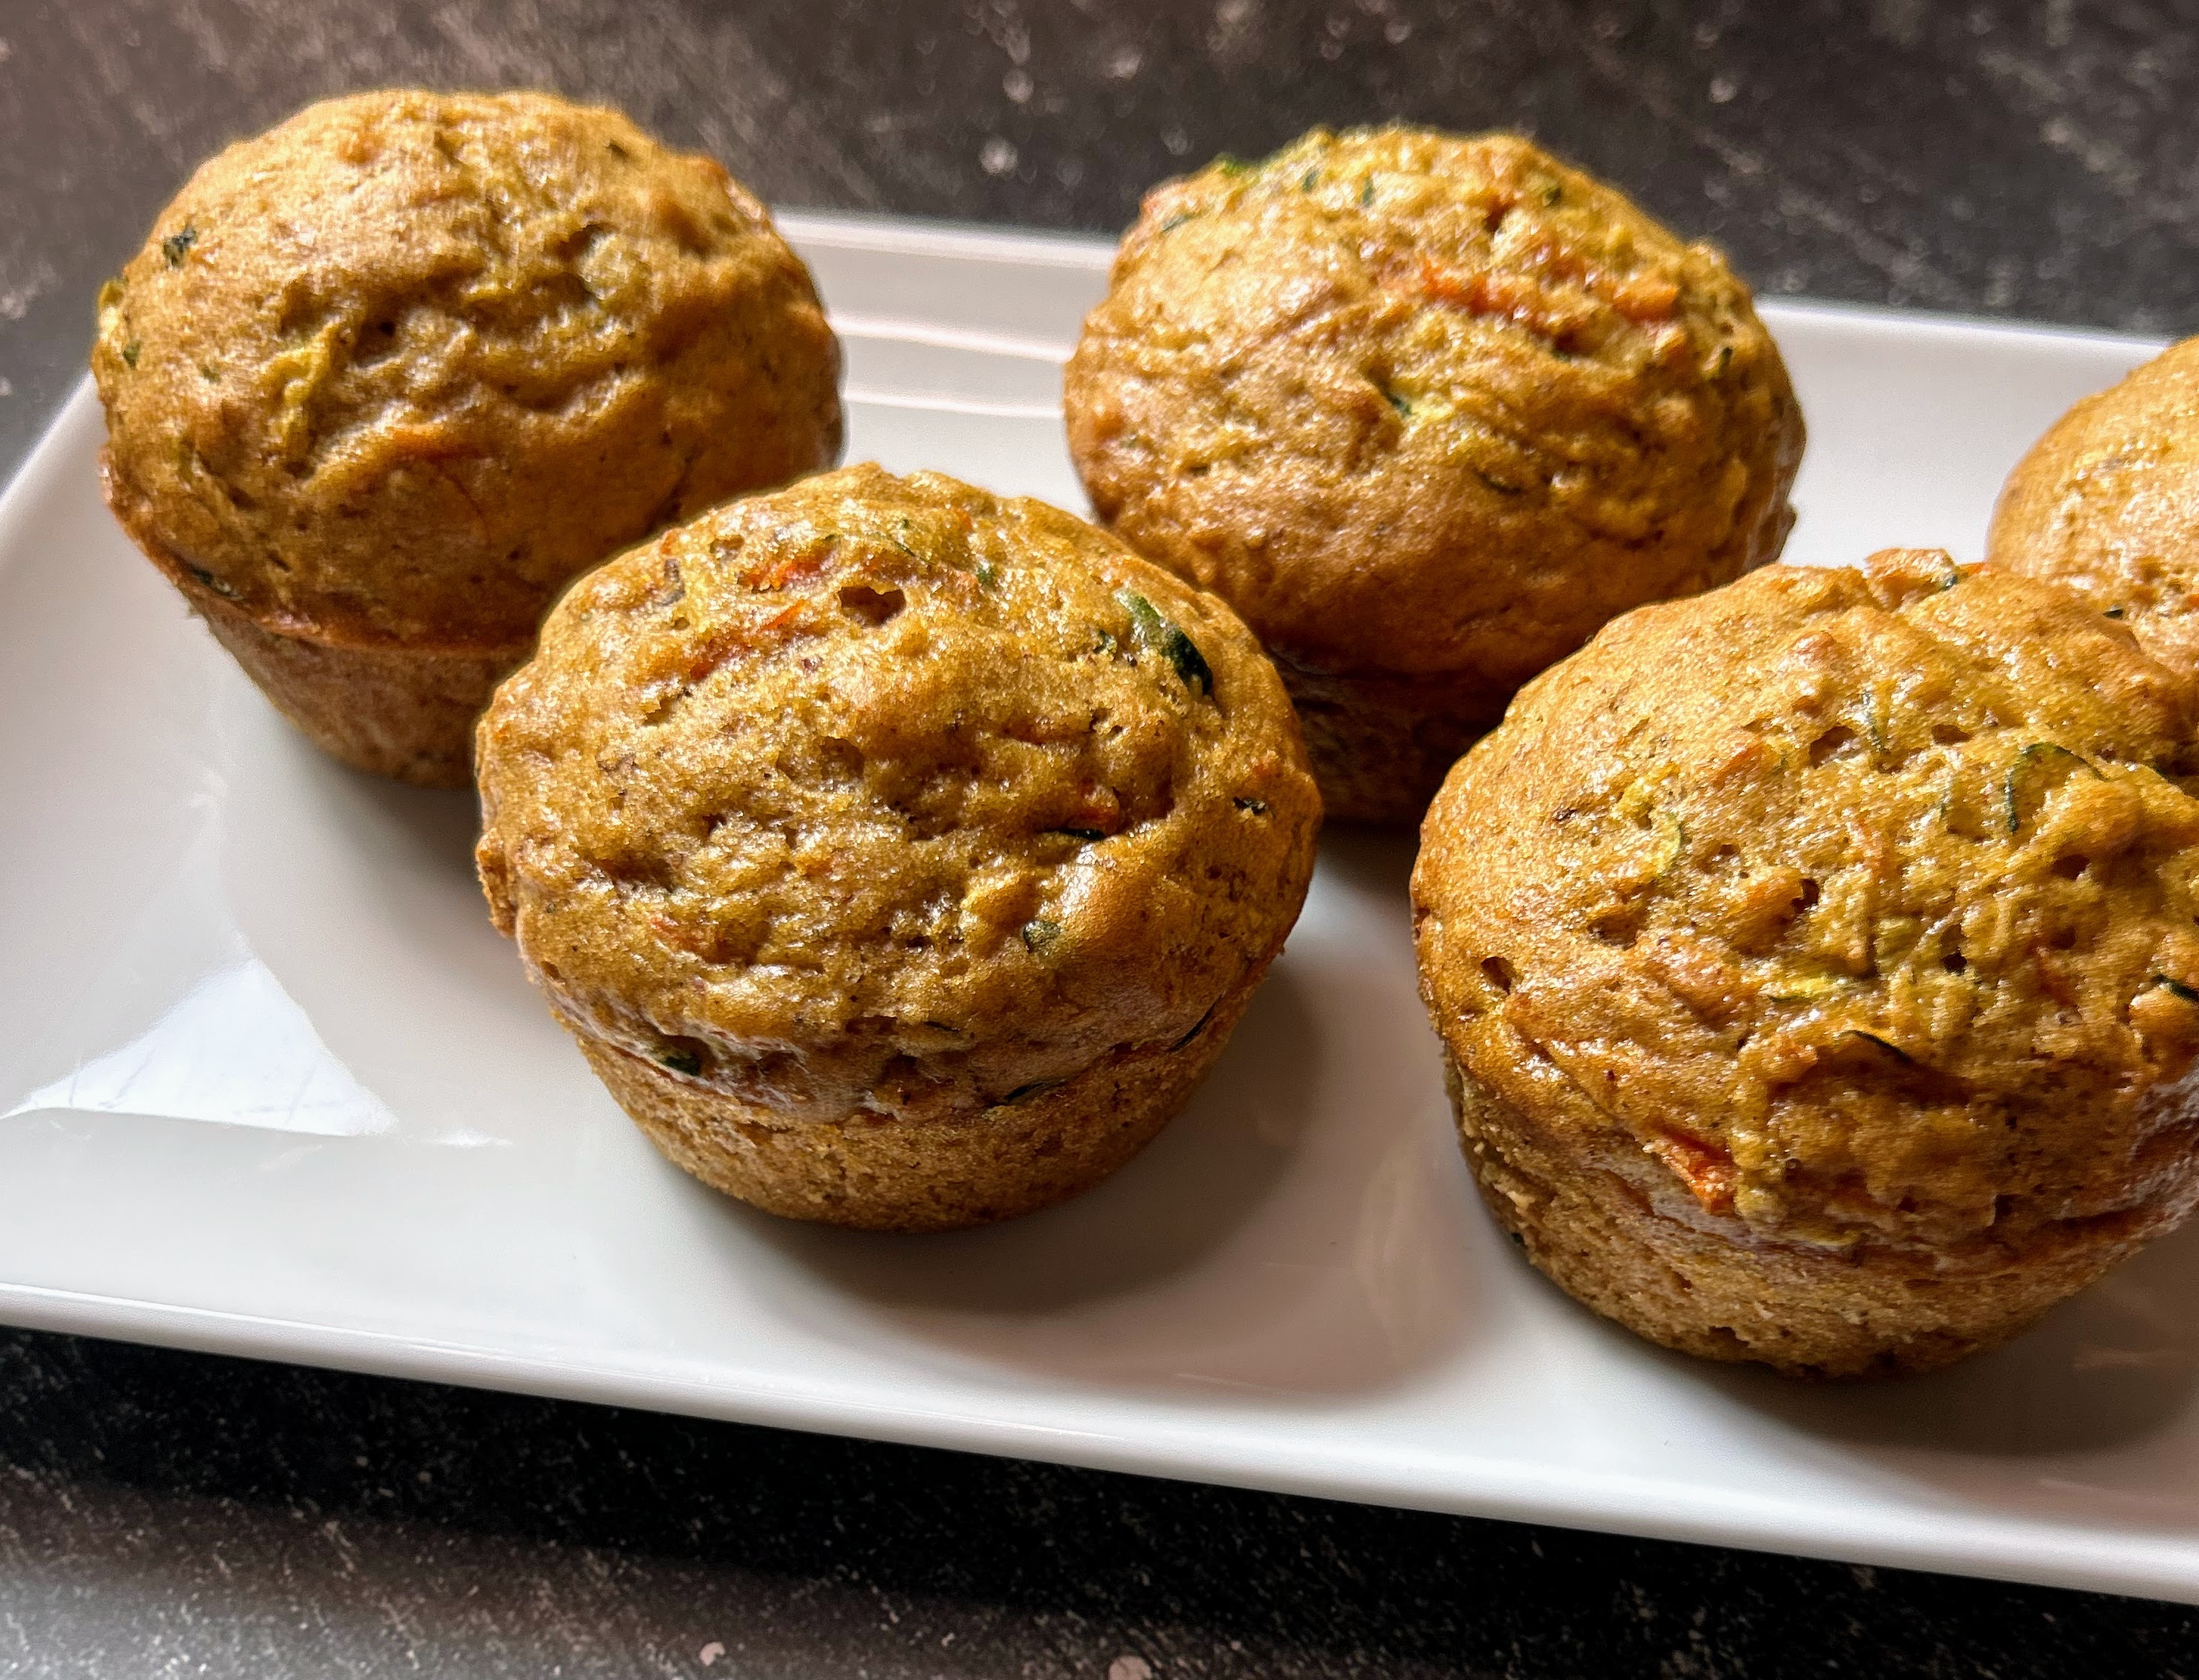
Needless to say, my little one ate them all for breakfast. And when I saved a few for snacks during the day, she was disappointed in me. What I know is that it’s a fun way to sneak a few veggies into breakfast for my babies and I am totally happy with that! Ready to start baking? Let’s get going! 

Your Ingredients for Zucchini Carrot Muffins

  • ¼  cup oil 
  • ½ cup brown sugar 
  • 2 eggs
  • ½ tablespoon vanilla 
  • 1 ½ cup flour 
  • 1 teaspoon baking soda 
  • ½ teaspoon salt
  • ½ teaspoon baking powder
  • ½ teaspoon cinnamon
  • ¼ teaspoon nutmeg
  • ⅛ teaspoon cloves
  • 1 cup shredded zucchini
  • 1 cup shredded carrot
  • ½ cup ground nuts, optional 

Your Steps

Preheat the oven to 350 degrees. Prepare 12-15 muffin tin vessels with liners or by spraying with cooking spray.

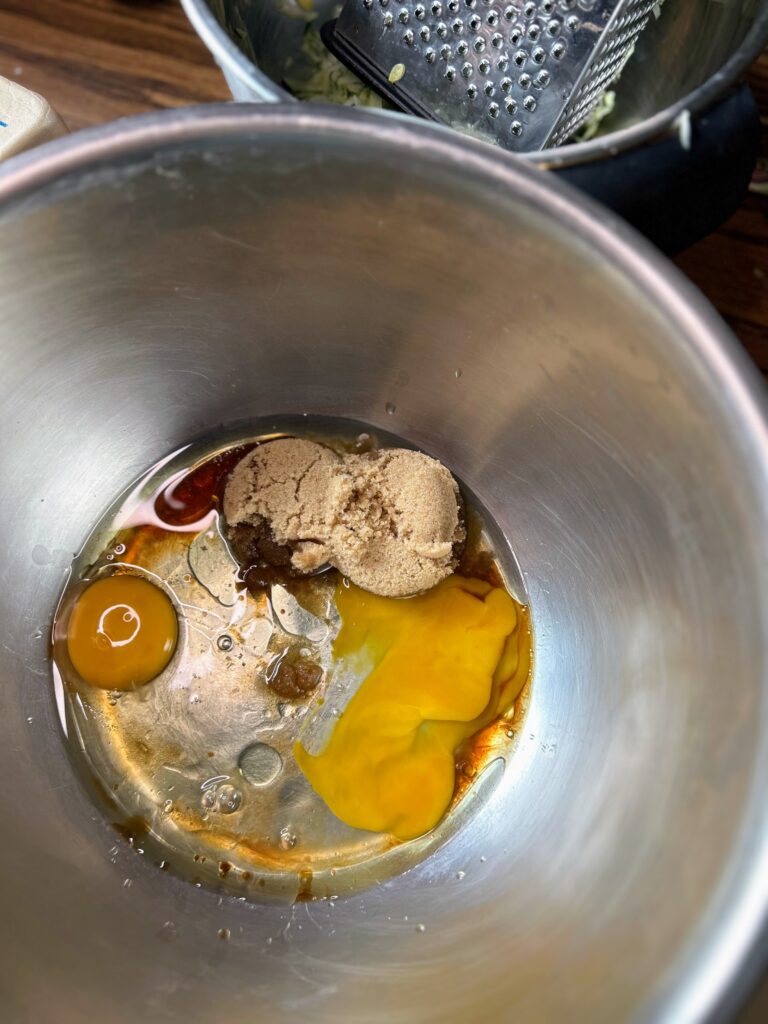
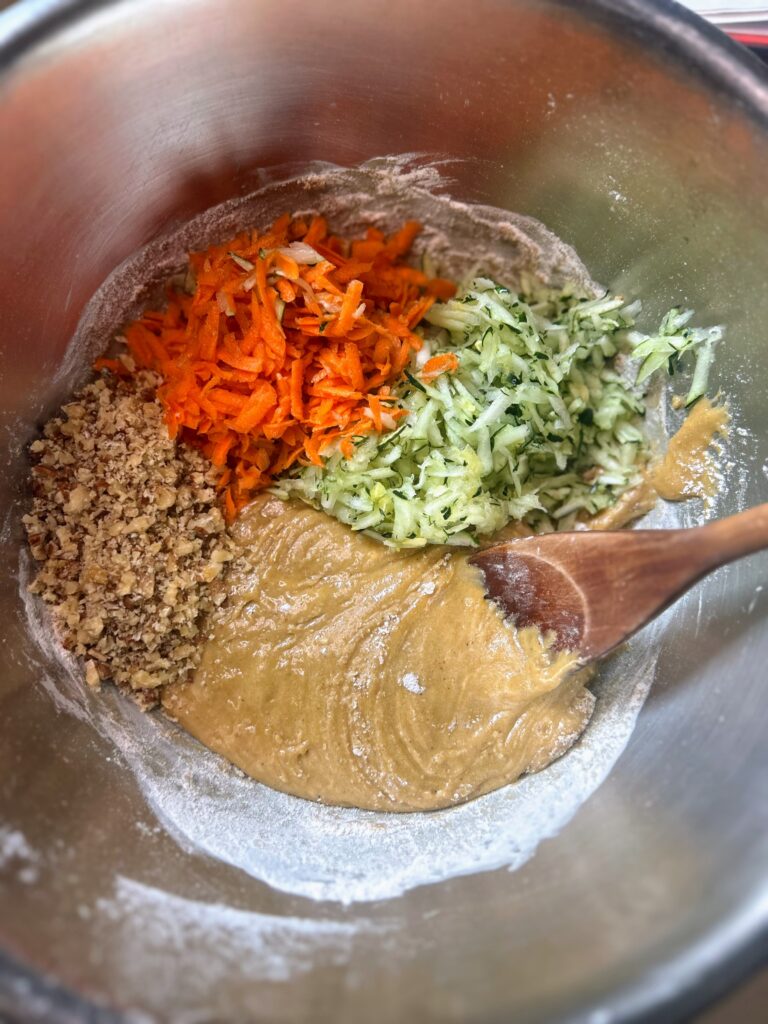
In a large bowl, combine oil, brown sugar, eggs, and vanilla. Combine well. In a separate bowl, combine flour, salt, baking powder, baking soda, cinnamon, nutmeg, and cloves. Stir into the wet ingredients until just combined. Add zucchini, carrot, and nuts. Fold them into the batter. 

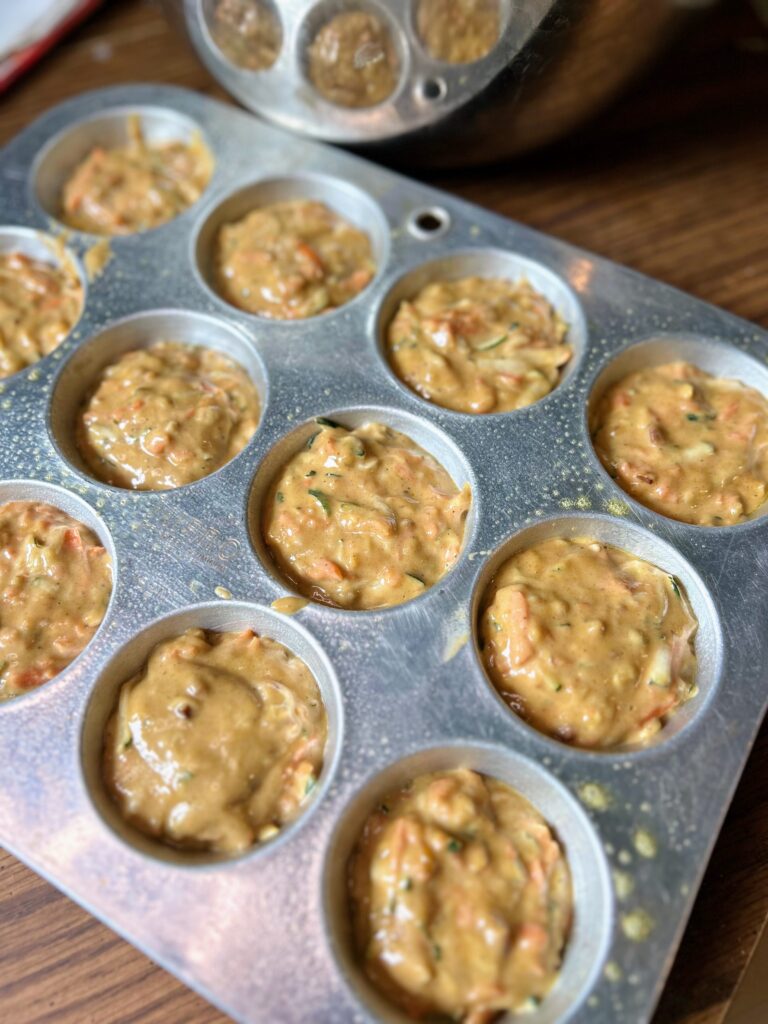
Spoon the batter into prepared muffin tin, filling ¾ of the way full. Bake for 16-20 minutes, until a toothpick can be inserted and when removed, comes out clean.

zucchini carrot muffins

Zucchini Carrot Muffins

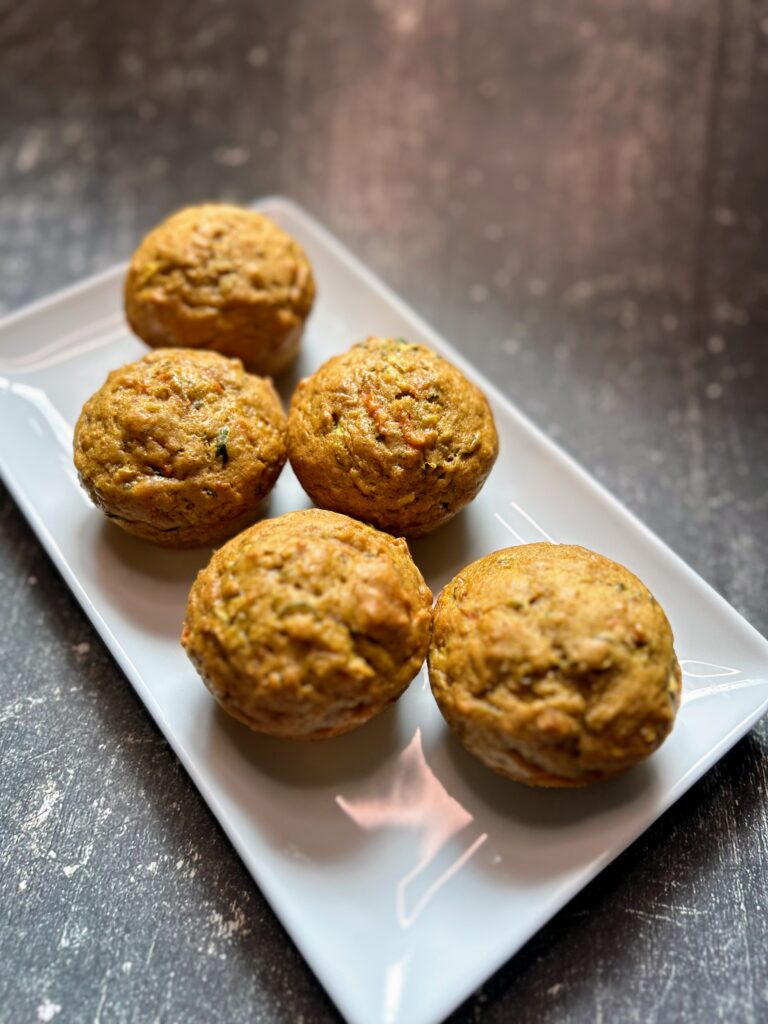
These zucchini carrot muffins are a perfect fall treat with their warming spices. Give them a try for breakfast or a snack throughout the day!
Prep Time 10 minutes
Cook Time 20 minutes
Course Breakfast
Cuisine American
Servings 12 muffins

Equipment

Ingredients
  

  • ¼ cup oil
  • ½ cup brown sugar
  • 2 eggs
  • ½ tablespoon vanilla
  • 1 ½ cup flour
  • 1 teaspoon baking soda
  • ½ teaspoon salt
  • ½ teaspoon baking powder
  • ½ teaspoon cinnamon
  • ¼ teaspoon nutmeg
  • teaspoon cloves
  • 1 cup shredded zucchini
  • 1 cup shredded carrot
  • ½ cup ground nuts optional

Instructions
 

  • Preheat the oven to 350 degrees. Prepare 12-15 muffin tin vessels with liners or by spraying with cooking spray.
  • In a large bowl, combine oil, brown sugar, eggs, and vanilla.
  • Combine well. In a separate bowl, combine flour, salt, baking powder, baking soda, cinnamon, nutmeg, and cloves.
  • Stir into the wet ingredients until just combined. Add zucchini, carrot, and nuts. Fold them into the batter.
  • Spoon the batter into prepared muffin tin, filling ¾ of the way full. Bake for 16-20 minutes, until a toothpick can be inserted and when removed, comes out clean.
Keyword baking, breakfast muffins, carrots, muffin recipe, muffins, zucchini, zucchini and carrot, zucchini bread
Tried this recipe?Let us know how it was!

Looking for other delicious muffin recipes?

I love a good muffin and that means I have a ton of recipes for you to try! Check out my baking page to find all of them. Or click a link below!

Dehydrated Zucchini

We’ve all been there. Our mind knows we shouldn’t plant so many zucchini plants, but our heart says, “Dooooo it.” And then we end up with a kitchen counter full of zucchinis that we can’t even give away anymore. We baked with them. Cooked with them. Now what? This is where dehydrated zucchini comes in!

I love to add zucchini as an additional vegetable to countless pasta dishes. However, I am not about to buy it in the winter months when I know how easy it is to grow in the summer. It just kills me to spend money on it. That’s when I started to make dehydrated zucchini as summer started winding down. 

It is beyond simple and is a great way to keep zucchini for future usage. My absolute favorite way to use them is to add them as I am making any kind of veggie-ful soup or pasta dish. Generally speaking, they get thrown in at the beginning of the simmer step so they rehydrate as I cook. 

Once dehydrated, I simply store it in a mason jar. You can use a handheld mason jar vacuum sealer, but I have had success keeping the zucchini for over a year in a mason jar that has not been vacuum sealed. 

Ready to get started? Let’s go!

Your Steps to Dehydrated Zucchini 

Wash the zucchini. No need to peel it. I prefer to cut it into about 1- 2 inch pieces, but zucchini chips or half moons are perfect too! Regardless, you’ll want to slice them to about ⅛ inch thickness, being sure to keep them uniform. 

Arrange the zucchini on the dehydrator trays, being sure to leave space for the air to circulate. This is my dehydrator and I LOVE it.

Dehydrate at 120-140 degrees F for 6-10 hours until the zucchini is dry and brittle. You do not want it to be pliable. Allow to cool completely before storing. 

Store the dehydrated zucchini in a clean, airtight container. I am partial to mason jars, but any will do. If you do choose a clear container (like a mason jar), be sure to store it in a dark, cool area. 

Dehydrated Zucchini

Out of ideas for your zucchini crop? When your done baking and cooking, preserve it for later by making dehydrated zucchini!
Prep Time 10 minutes
Drying Time 8 hours
Course Homesteading, Preserving
Cuisine American

Equipment

Ingredients
  

  • Zucchini

Instructions
 

  • Wash the zucchini. No need to peel it. I prefer to cut it into about 1 inch pieces, but zucchini chips or half moons are perfect too! Regardless, you’ll want to slice them to about ⅛ inch thickness, being sure to keep them uniform.
  • Arrange the zucchini on the dehydrator trays, being sure to leave space for the air to circulate.
  • Dehydrate at 120-140 degrees F for 6-10 hours until the zucchini is dry and brittle. You do not want it to be pliable. Allow to cool completely before storing.
  • Store the dehydrated zucchini in a clean, airtight container. I am partial to mason jars, but any will do. If you do choose a clear container (like a mason jar), be sure to store it in a dark, cool area.
Keyword dehydrating, dried zucchini, drying, preserved zucchini, preserving, zucchini
Tried this recipe?Let us know how it was!

Looking for other ideas for your zucchini crop?

Here are a few of my favorites!

Energy D’Lite Balls

What’s the inspiration behind these Energy D’Lite Balls? During my college career, I spent my summers working at a delightful drive in restaurant called Northern D’Lites in Lakewood, WI. I was hired as a cook, but was trained as an ice cream artist as well. I loved that little place and actually learned a thing or two about food there! 

Did I finally make the connection that “malted milk balls” that I loved had malt powder in them and that I subsequently LOVED malts? Heck yes I did. And so my obsession started. We made this sundae called a Dusty Road: vanilla soft serve, hot fudge, dusted with malt powder and topped with a cherry. It was DIVINE.

I also loved that the nuts we used to top our sundaes were salted. I mean, salty and sweet?! So dang good, right? 

So I set out to make an energy ball that combined those ideas. Pecans and a pinch of salt for the savory aspect. Cocoa powder and malt powder for the Dusty Road sundae. What I know is the Mr quite literally ate the ENTIRE batch in just a few days. I don’t know if anyone else got a single one. I quote, “What can I say? They are addicting!” 

I hope you enjoy them as much as my family did! They would make a great after school snack, post workout fuel, or mid afternoon treat between meals! And hey, if you are looking for another energy ball recipe, I’ve got you covered!

Your Ingredients 

  • 1 cup old fashioned oats
  • 2 tablespoons cocoa powder
  • 2 tablespoons malt powder
  • ¼ cup ground flaxseed
  • Pinch of salt
  • ½ cup creamy peanut butter
  • ¼ cup maple syrup 
  • 1 tablespoon coconut oil, melted
  • ½ cup chocolate chips 
  • ½ cup pecans 

A gathering of ingredients.

Flaxseed, oatmeal, malt powder, cocoa powder, peanut butter, coconut oil, pecans, maple syrup, and chocolate chips.

Also, can we just admire my measuring cups and spoons? They were a gift from the Mr and are personalized for my blog! How sweet!

Your Steps to Energy D’Lite Balls

In a large bowl, combine oats, cocoa powder, malt powder, flaxseed, and salt. Stir to combine. Add the peanut butter, maple syrup, melted coconut oil, chocolate chips, and pecans. Mix well, until all the dry ingredients are incorporated into the wet. 

From here, use a rounded tablespoon to scoop mixture and form into a ball. Place on a baking sheet. Chill for 1-2 hours before moving to an airtight container. Store in the refrigerator.

Energy D’Lite Balls

The flavors of a favorite ice cream sundae come together in these Energy D'Lite Balls with chocolate, peanut butter, pecans, and malt powder!
Prep Time 10 minutes
Cook Time 0 minutes
Chill Time 1 hour
Course Snack
Cuisine American
Servings 2 dozen

Ingredients
  

  • 1 cup old fashioned oats
  • 2 tablespoons cocoa powder
  • 2 tablespoons malt powder
  • ¼ cup ground flaxseed
  • Pinch of salt
  • ½ cup creamy peanut butter
  • ¼ cup maple syrup
  • 1 tablespoon coconut oil melted
  • ½ cup chocolate chips
  • ½ cup pecans

Instructions
 

  • In a large bowl, combine oats, cocoa powder, malt powder, flaxseed, and salt. Stir to combine.
  • Add the peanut butter, maple syrup, melted coconut oil, chocolate chips, and pecans.
  • Mix well, until all the dry ingredients are incorporated into the wet.
  • Use a rounded tablespoon to scoop mixture and form into a ball. Place on a baking sheet.
  • Chill for 1-2 hours before moving to an airtight container. Store in the refrigerator.
Keyword after school snacks, chocolate, energy balls, no bake, no bake snacks, oatmeal, snacks
Tried this recipe?Let us know how it was!

Looking for other delicious snacks?

Give one of my favorites a try!

Maltese Caponata

Cooking and baking my way around the world. Let’s create some Maltese Caponata!

For nearly three years, I have been involved in a special collaboration on Instagram hosted by my friend Claire. Each month, she spins a random country generator for us to explore and cook their cuisine. There are no other rules. We can create any dish we want, sweet or savory; cooking or baking; For a small town midwestern girl, this has been an eye opening and taste bud awakening. 

However, I haven’t shared this journey on Jess in the Kitchen. For the longest time, I thought that since it wasn’t a recipe created by me, I shouldn’t share it. After this last month, I asked myself, “Why not? Don’t you want to inspire others to experience cuisines from around the world as well?” So here we are! I am excited to share the dish I cooked for Malta: Caponata!

Caponata is a perfect fresh garden or farmer’s market dish. It’s an appetizer with a perfect blend of sweet and sour flavors. It can be served hot or cold; on its own or on top of a toasted baguette. I used the recipe from Yesenia at Apron and Whisk (please check it out!) and it couldn’t be easier! 

This was my take on Caponata. 

Your Ingredients 

  • 1 small eggplant, about 300 g
  • 4 tablespoons olive oil
  • 2 bell peppers (I did two green), diced 
  • 1 medium onion, diced
  • 1 teaspoon of minced garlic
  • 2-3 large tomatoes, cored and diced
  • 3 tablespoons tomato paste 
  • 2 tablespoons red wine vinegar
  • ½ apple, peeled and diced
  • 3 tablespoons capers
  • ⅓ cup olives (half black, half green; both halved)
  • 1 tablespoon fresh mint, chiffonade 
  • 1 tablespoon fresh basil, chiffonade
  • Salt and pepper

I did try to follow the recipe as Yesenia wrote it. It truly was a simple and delightful side dish!

Steps to Maltese Caponata

Start by dicing the eggplant. Sprinkle it with salt and allow the salt to draw out the moisture, about 20 minutes. While the eggplant is resting, dice the peppers, onions, and tomatoes. Halve the olives as well. 

Begin heating a large saucepan. Meanwhile, use a paper towel to dry the moisture from the eggplant. Once hot, add 2 tablespoons of olive oil to the pan and add the eggplant. Cook until tender and browned, about 5 minutes. Remove it from the pan and set aside. If necessary, wash the saucepan before adding remaining oil. 

Add the onions and peppers to the pan, cooking until they are soft, about 5 minutes. Stir in the garlic, cooking an additional 30 seconds, until fragrant. Add in the tomatoes, tomato paste, and apple. Also add a pinch of pepper and salt. Cook for about 10 minutes. 

One the tomatoes have created a sauce, add the eggplant, capers, olives, and red wine vinegar. Cook for just a few minutes. Season with additional salt and pepper, if necessary. 

Top with basil and mint. You can serve it hot or cold, on its own or on top of crusty bread (I have also enjoyed it over leftover rice. It’s so good!). Enjoy your own Maltese Caponata!

A gathering of ingredients.
Cooked down eggplant. Tasty!
Finished dish! Serve it up!

Maltese Caponata

This Maltese Caponata makes a great summer salad from all those beautiful garden vegetables with notes of sweet, salty, and savory flavors!
Prep Time 10 minutes
Cook Time 25 minutes
Course Appetizer, Salad, Side Dish
Cuisine Maltese
Servings 6 servings

Ingredients
  

  • 1 small eggplant about 300 g
  • 4 tablespoons olive oil
  • 2 bell peppers I did two green, diced
  • 1 medium onion diced
  • 1 teaspoon of minced garlic
  • 2-3 large tomatoes cored and diced
  • 3 tablespoons tomato paste
  • 2 tablespoons red wine vinegar
  • ½ apple peeled and diced
  • 3 tablespoons capers
  • cup olives half black, half green; both halved
  • 1 tablespoon fresh mint chiffonade
  • 1 tablespoon fresh basil chiffonade
  • Salt and pepper

Instructions
 

  • Start by dicing the eggplant. Sprinkle it with salt and allow the salt to draw out the moisture, about 20 minutes. While the eggplant is resting, dice the peppers, onions, and tomatoes. Halve the olives as well.
  • Begin heating a large saucepan. Meanwhile, use a paper towel to dry the moisture from the eggplant. Once hot, add 2 tablespoons of olive oil to the pan and add the eggplant. Cook until tender and browned, about 5 minutes. Remove it from the pan and set aside. If necessary, wash the saucepan before adding remaining oil.
  • Add the onions and peppers to the pan, cooking until they are soft, about 5 minutes. Stir in the garlic, cooking an additional 30 seconds, until fragrant. Add in the tomatoes, tomato paste, and apple. Also add a pinch of pepper and salt. Cook for about 10 minutes.
  • One the tomatoes have created a sauce, add the eggplant, capers, olives, and red wine vinegar. Cook for just a few minutes. Season with additional salt and pepper, if necessary.
  • Top with basil and mint. You can serve it hot or cold, on its own or on top of crusty bread.
Keyword Caponata, cold vegetable salad, easy sides, Eggplant, green peppers, Kapunata, Malta, Maltese, side dish, summer salad, summer side dish, tomatoes, vegetables, vegetarian
Tried this recipe?Let us know how it was!

Looking for other Salad Inspiration?

Check out a few of my favorite summer salads below! Or feel free to head to my cooking page to pick your own!

Gooseberry Muffins

Gooseberries are not a traditional midwestern gardener’s fruit. I stumbled on them when I thought I had tried some at a farmer’s market and loved the fruit so much I wanted to grow my own. Turns out, gooseberries weren’t the correct fruit, but it certainly was a happy mistake. Each year, I make a few batches of delicious gooseberry jam and now these upgraded gooseberry muffins. 

Never had a gooseberry? They are about the size of a large blueberry, but look like a miniature watermelon with the texture of a grape. Typing that just makes me smile. It almost sounds like a description from a Dr. Seuss book, but I think it’s a great description. They can be tart like a green grape or sweeter like a red grape. They grow on bushes with some gnarly thorns. I see that as part of the adventure of having them…can I get away without getting pricked? 

I have an original gooseberry muffin recipe that went light on the sugar, heavy on the whole wheat, and may not be everyone’s cup of tea. This recipe has dropped the whole wheat, added some brown sugar, and has been tested by my family with two thumbs up! I hope you enjoy! 

I have an original gooseberry muffin recipe that went light on the sugar, heavy on the whole wheat, and may not be everyone’s cup of tea. This recipe has dropped the whole wheat, added some brown sugar, and has been tested by my family with two thumbs up! I hope you enjoy! 

Your Ingredients

  • 1 egg 
  • ½ cup Greek yogurt
  • ¼ cup+ 2 tablespoons milk
  • 1 teaspoon vanilla
  • 2 tablespoon oil 
  • ¼ cup brown sugar, packed 
  • ¼ cup white sugar
  • 1 – 1 ½ cups gooseberries, cleaned (1 ½ cups if you dig the tart flavor. 1 cup if you want it a little sweeter) 
  • ½ cup old fashioned oats
  • 1 ½  cups all purpose flour
  • ½ teaspoon salt
  • 1 teaspoon baking powder 

Your steps to Gooseberry Muffins

If you haven’t yet, nip off the ends on the gooseberries. You only want the berry portion in the muffin, Then, preheat the oven to 400 degrees. Prepare your muffin tin with non-stick cooking spray or muffin liners. This recipe will result in approximately 12 muffins. 

In a large bowl, combine the flour, salt, and baking powder. Set aside. 

In a small bowl, whisk egg. Add the yogurt, milk, vanilla, and oil. Whisk well. Stir in the white and brown sugar. Pour into the dry ingredients, stirring until just combined. Fold in oats and cleaned gooseberries. Again, you can use one to one and a half cups, depending on your preference of flavor. My family loves tart (think, rhubarb bread and pie), so I add more berries. 

Divide the batter among the 12 muffin cups. Bake for 20-25 minutes, until cooked through. Allow to cool in the tin a few minutes before removing. I think these are best served warm with a cup of coffee.

Mix up the wet ingredients!
Stir in the berries and oats.
Portion it out!
Yum!
Let’s eat!

Gooseberry Muffins

Little bit of tart and a little bit of sweet make these gooseberry muffins a perfect treat!
Prep Time 15 minutes
Cook Time 25 minutes
Course Breakfast
Cuisine American
Servings 12 muffins

Ingredients
  

  • 1 egg
  • ½ cup Greek yogurt
  • ¼ cup + 2 tablespoons milk
  • 1 teaspoon vanilla
  • 2 tablespoon oil
  • ¼ cup brown sugar packed
  • ¼ cup white sugar
  • 1 – 1 ½ cups gooseberries cleaned (1 ½ cups if you dig the tart flavor. 1 cup if you want it a little sweeter)
  • ½ cup old fashioned oats
  • 1 ½ cups all purpose flour
  • ½ teaspoon salt
  • 1 teaspoon baking powder

Instructions
 

  • If you haven’t yet, nip off the ends on the gooseberries. You only want the berry portion in the muffin, Then, preheat the oven to 400 degrees. Grease or line a muffin tin. This recipe will result in approximately 12 muffins.
  • In a large bowl, combine the flour, salt, and baking powder. Set aside.
  • In a small bowl, whisk egg. Add the yogurt, milk, vanilla, and oil. Whisk well.
  • Stir in the white and brown sugar.
  • Pour into the dry ingredients, stirring until just combined. Fold in oats and cleaned gooseberries.
  • Divide the batter among the 12 muffin cups. Bake for 20-25 minutes, until cooked through. Allow to cool in the tin a few minutes before removing.

Notes

You can use one to one and a half cups, depending on your preference of flavor. My family loves tart (think, rhubarb bread and pie), so I add more berries.
Keyword Breakfast, gooseberries, gooseberry, gooseberry muffins, gooseberry recipes, muffin, muffins
Tried this recipe?Let us know how it was!

Looking for other fun ways to use berries in your kitchen?

Check out my canning and preserving page for more inspiration or perhaps one of my favorites below will become a favorite of yours!