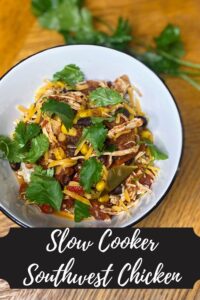
If you’ve been around for any length of time (or if you happen to be on my email list…why aren’t you?!), you know that I am a mom of two busy athletic kiddos that have me at practice and at games on weeknights quite often on weekends. The focus in my kitchen as of late has been meal prep on Sunday so we can simply reheat and eat in under 30 minutes during the week. This creation of Slow Cooker Fiesta Chicken has happened a time or two before, but I amped it up a bit the last few weekends and it’s ready for all of you!
A few Sundays ago, I came home from Aldi with some boneless, skinless chicken thighs and needed something to do with them. I remembered from this summer that cooking them in the slow cooker with some taco seasoning (make it homemade!) was dynamite as a taco filling, but I wanted more.
What else did I add to make this Slow COoker Fiesta Chicken?
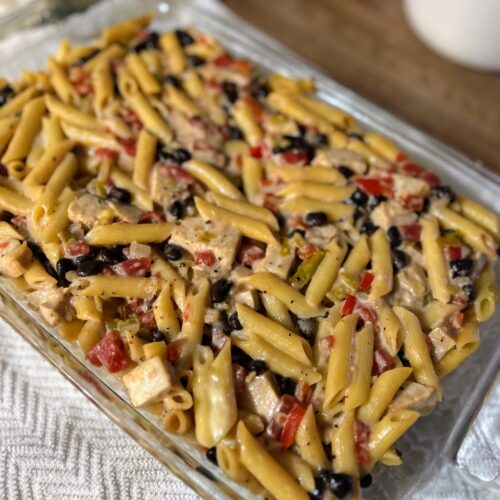
If you’ve also been around for a while, you know I like to sneak veggies in where I can. So of course this is a perfect opportunity: onions, sweet peppers, diced tomatoes, and black beans. You could even add in some jalapeños if you dig something with a kick. I’ll be honest, beans are hit and miss with my own kiddos, but I add them anyway (Extra protein?! Heck yes!). When I asked for feedback from my family, my big kiddo specifically said he liked the addition of the beans. Big win!
If you’ve also been around for a while, you know I like to sneak veggies in where I can. So of course this is a perfect opportunity: onions, sweet peppers, diced tomatoes, and black beans. You could even add in some jalapeños if you dig something with a kick. I’ll be honest, beans are hit and miss with my own kiddos, but I add them anyway (Extra protein?! Heck yes!). When I asked for feedback from my family, my big kiddo specifically said he liked the addition of the beans. Big win!
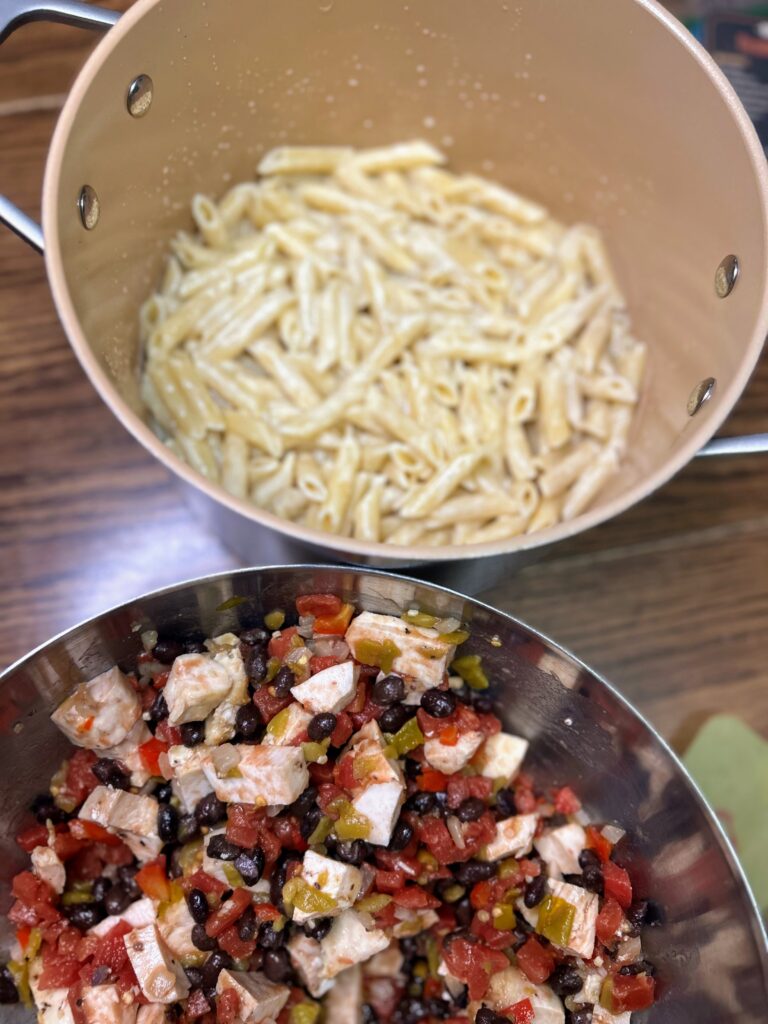
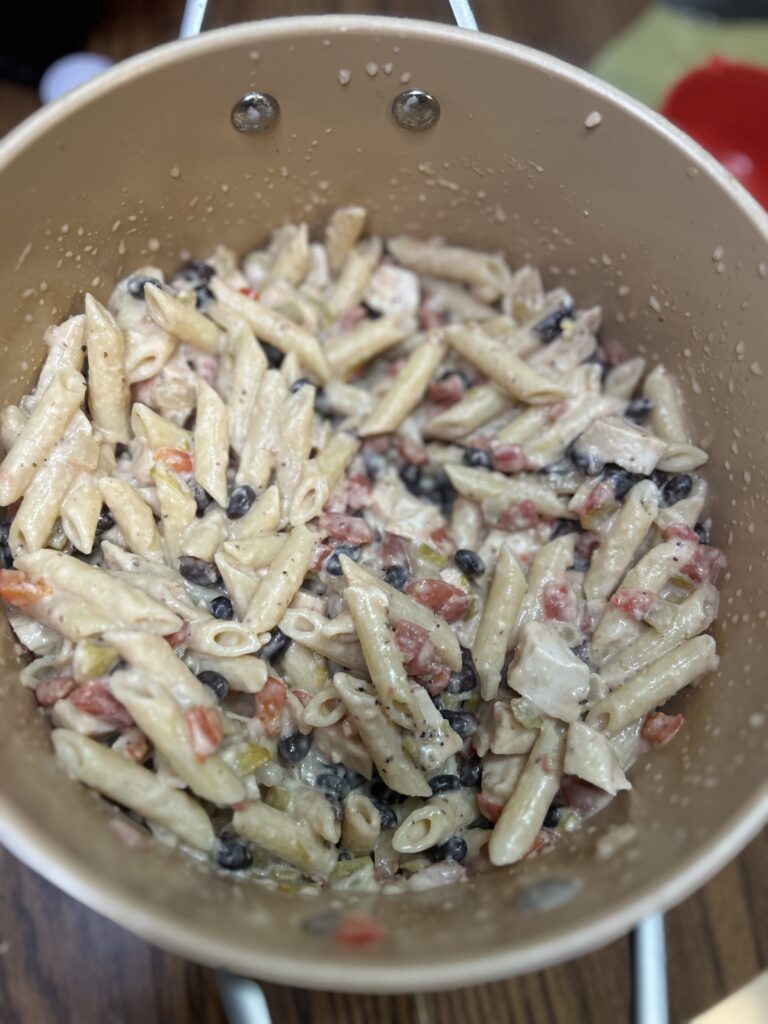
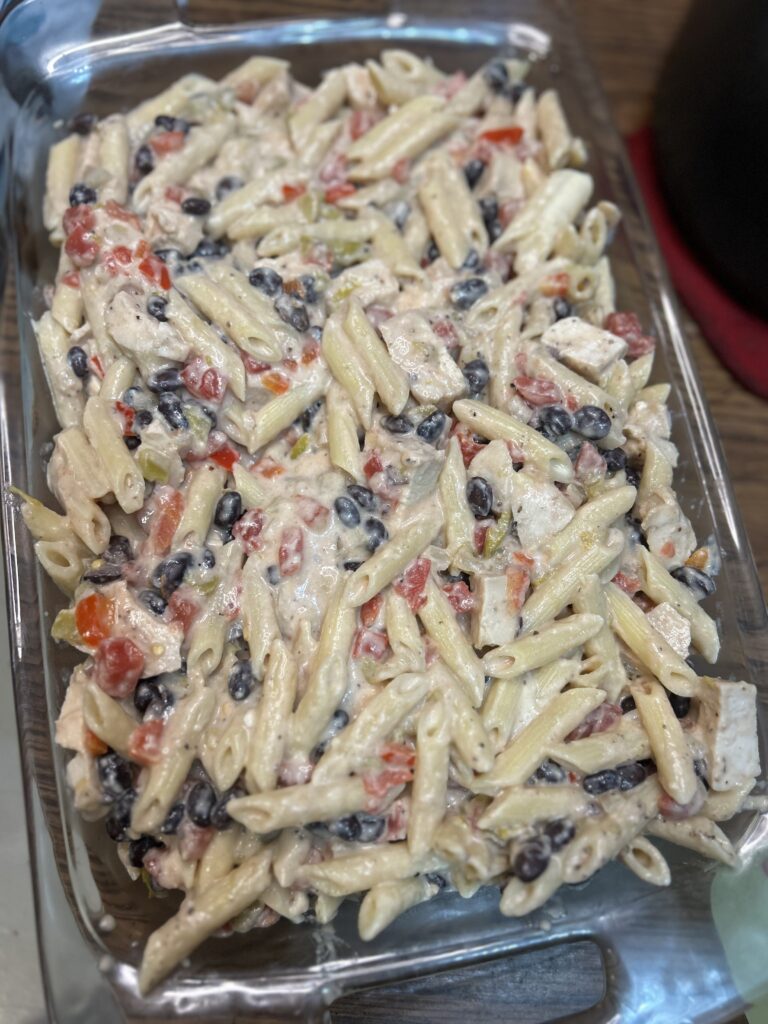
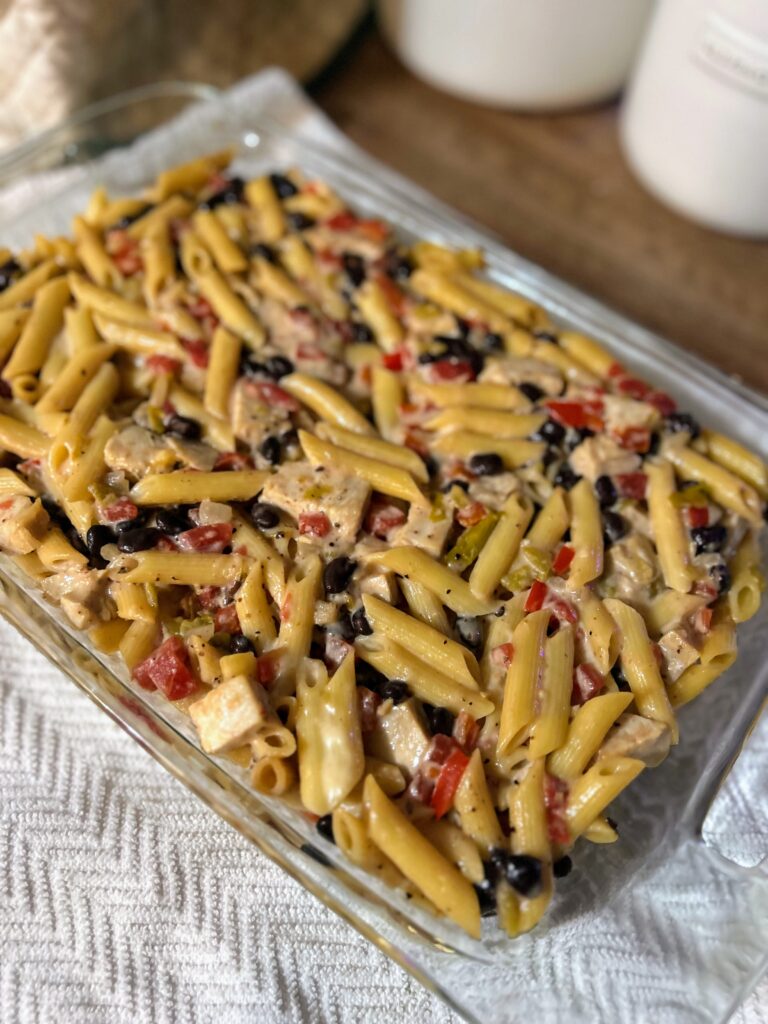
But what I love most about this Slow Cooker Fiesta Chicken recipe (besides its prep that takes all of 5 minutes), is the versatility of the result. I originally made it with intent to be chicken taco filling and that’s how we ate it the first two times. However, it works really well as a rice bowl topping and I have also topped it with extra veggies and ate it as a sort of dip with tortilla chips. It easily could be served as all three at a meal with minimal work.
Ready to get dinner ready for this week? Let’s go!
Your Ingredients
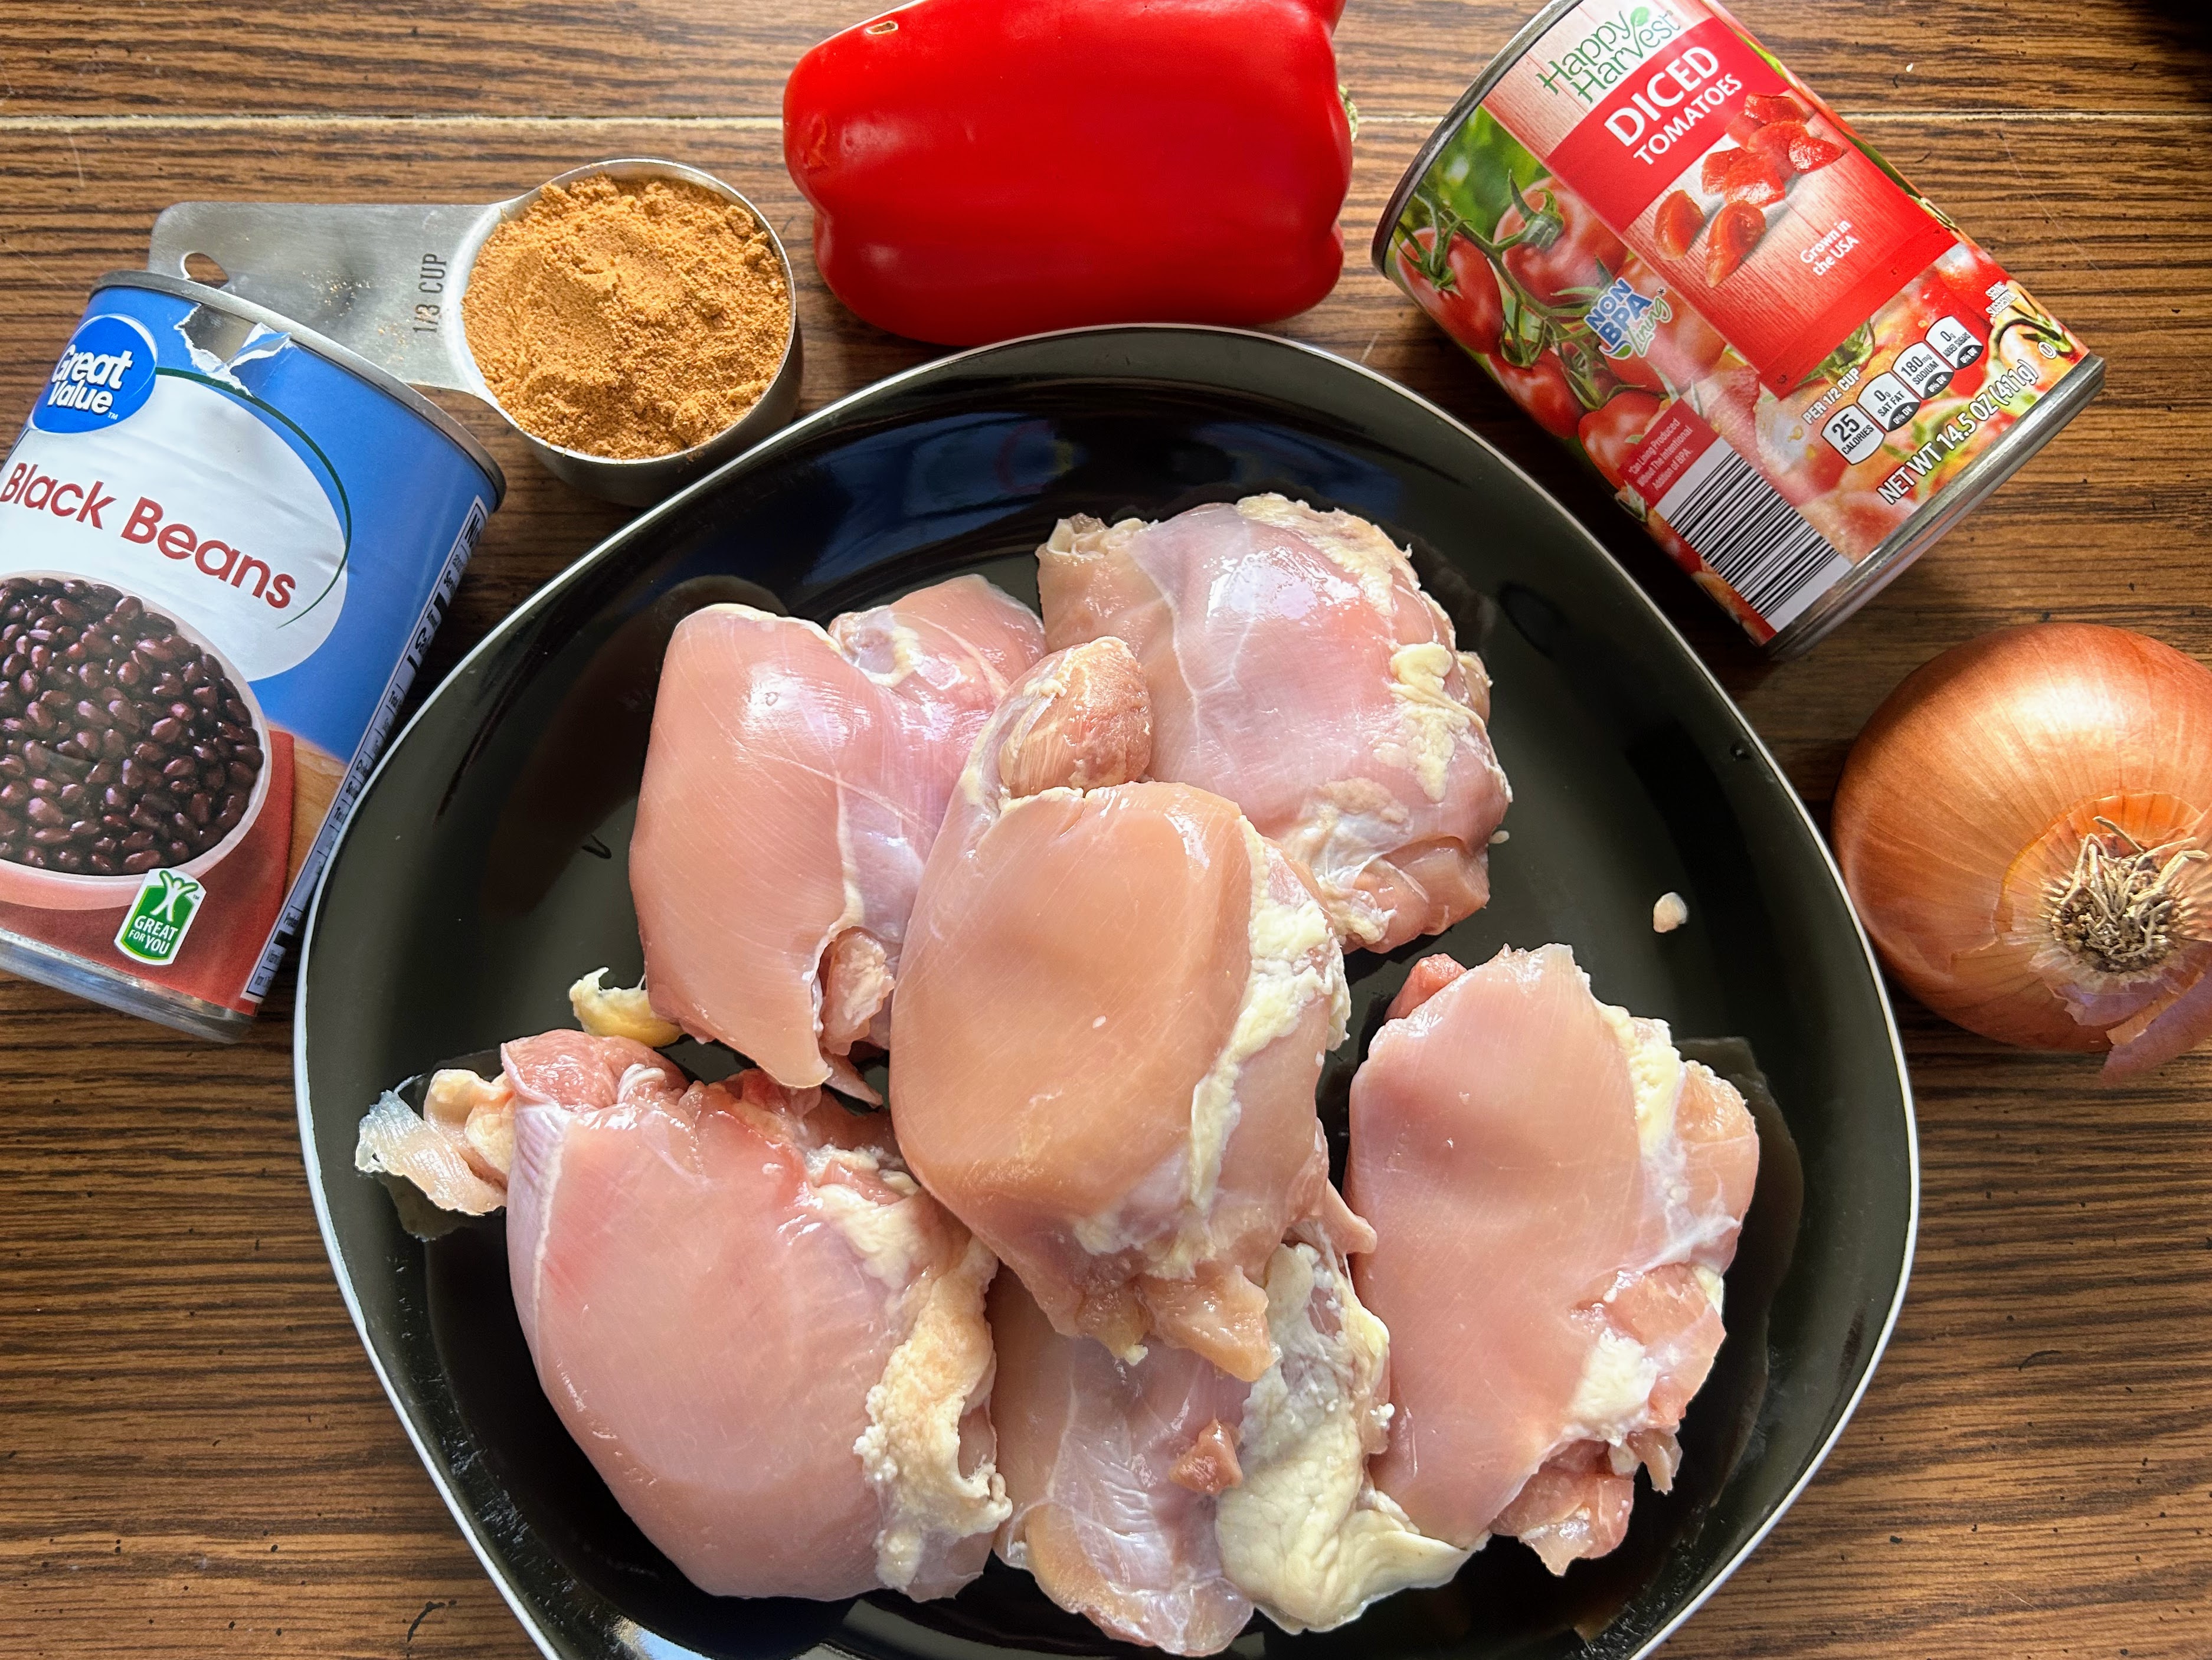
- 2 pounds boneless, skinless chicken (I did thighs, but breasts would work)
- 1 cup diced onion (about 1 large)
- 1 diced sweet pepper, any color
- 1 can unsalted diced tomatoes, drained
- ⅓ cup taco seasoning (about two packets)
- 1 can black beans, drained but not rinsed
- Diced jalapenos, optional (I don’t like a kick, but I think it would be great!)
Your Steps to Slow Cooker Fiesta Chicken
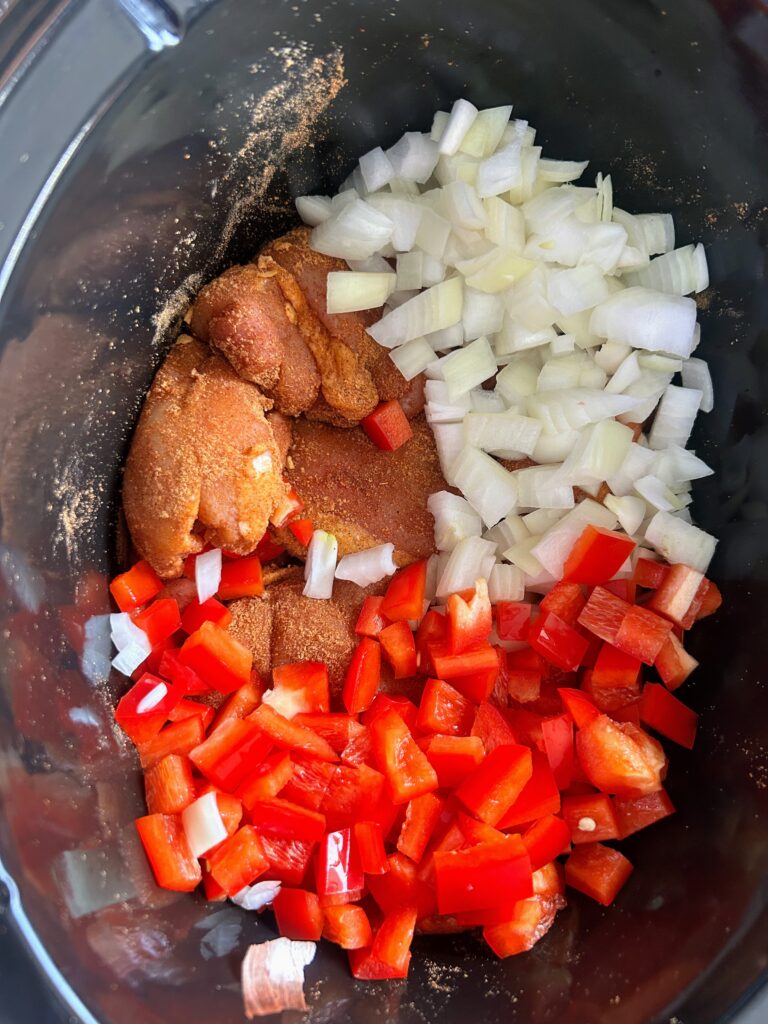
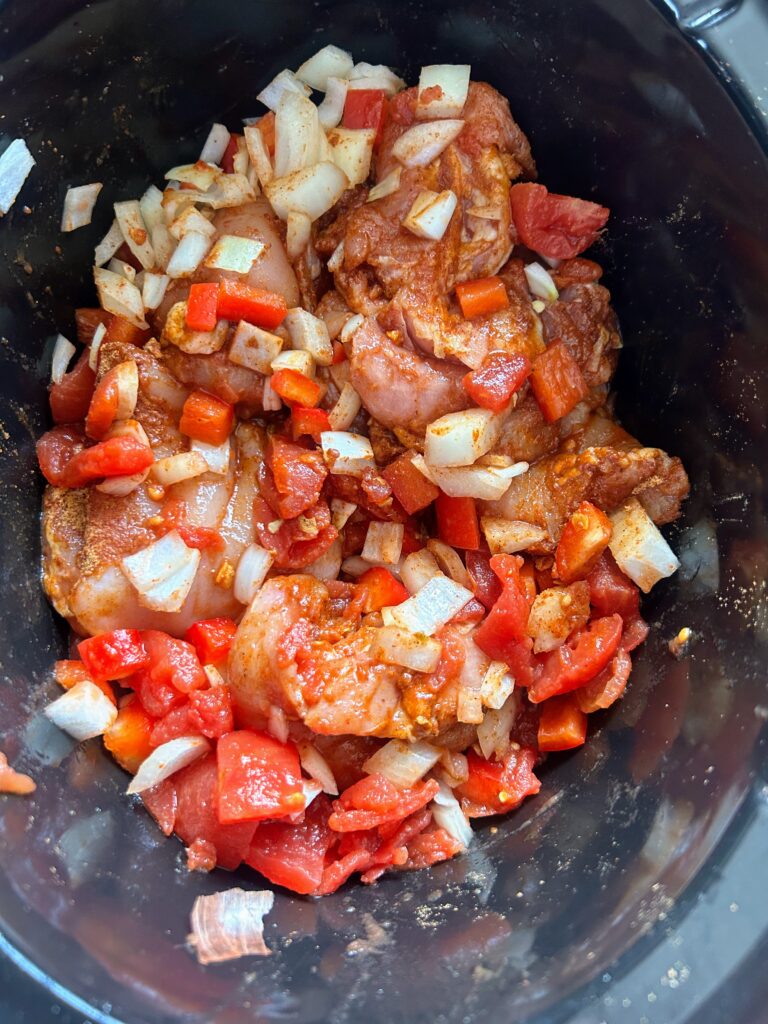
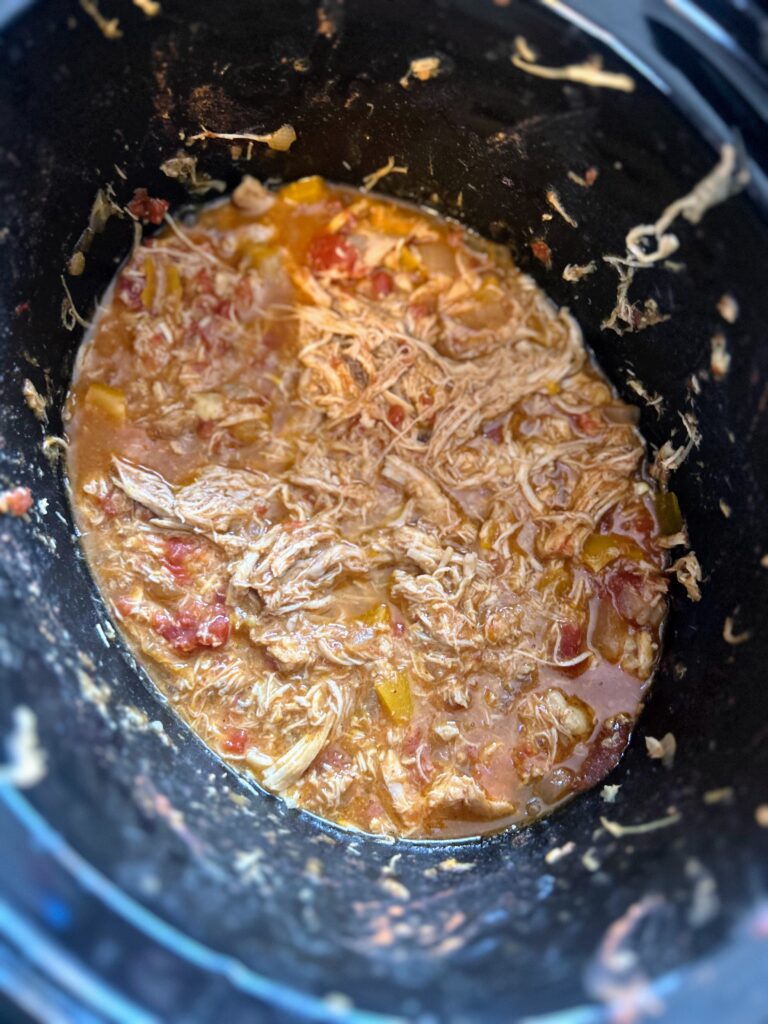
Add the chicken to the slow cooker. Sprinkle with the taco seasoning and toss to completely cover. Add in diced onion, pepper, and drained diced tomatoes. Stir once more. Set on low for 8 hours or high for four hours.
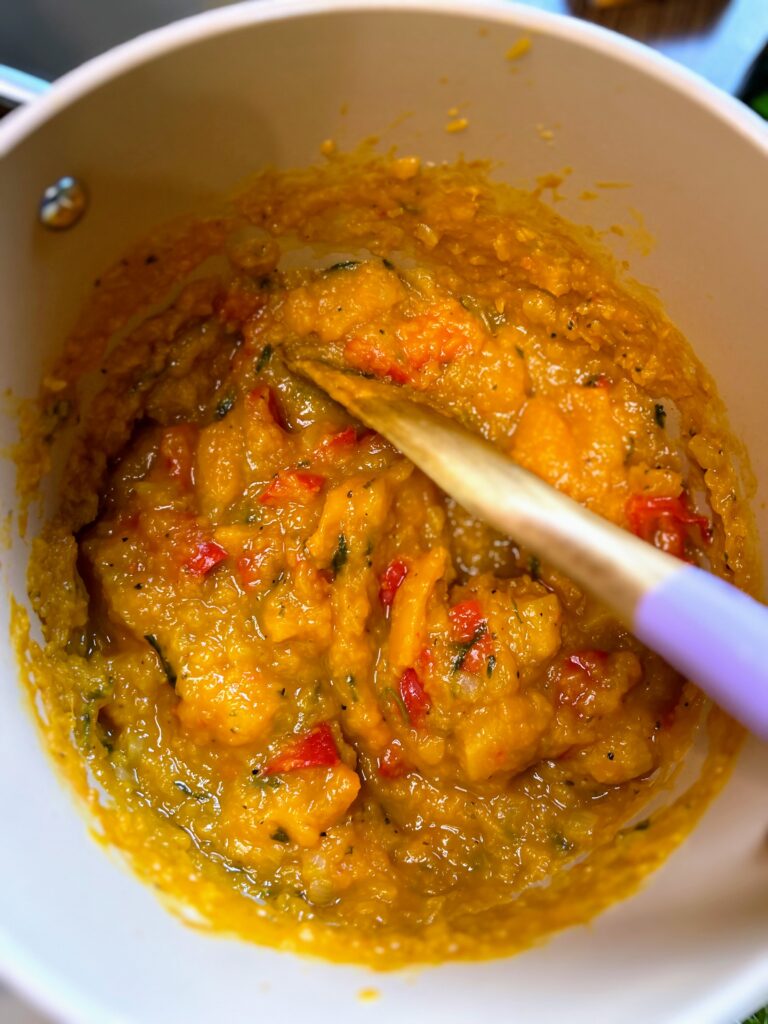
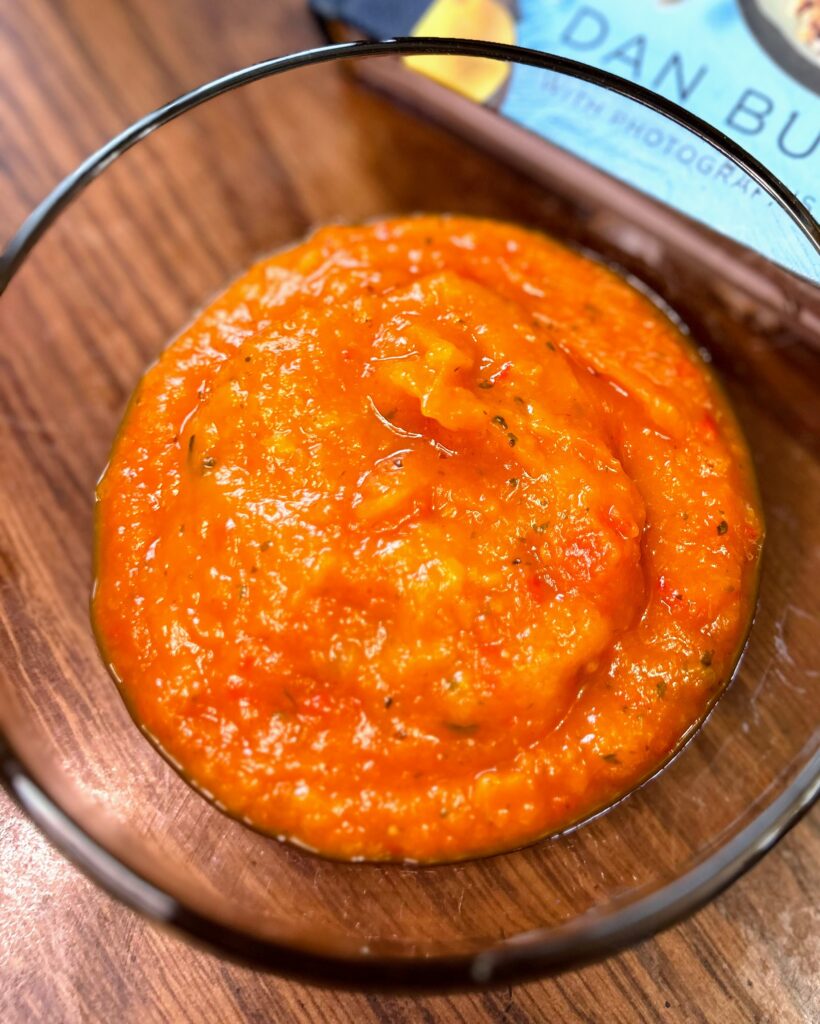
Once the chicken is fully cooked, shred. If you have a family that is opposed to chunky tomatoes, you can use a hand mixer to break down the chicken and subsequently the tomatoes will also break down too. If your family doesn’t mind chunky tomatoes, you can simply shred with a fork.
(Note: If your chicken produced a ton of liquid while cooking, you can scoop some off before shredding. Reserve it, and add it back as needed. If you’re serving tacos, reserve less liquid. If you are putting it over rice, maybe add more back.)
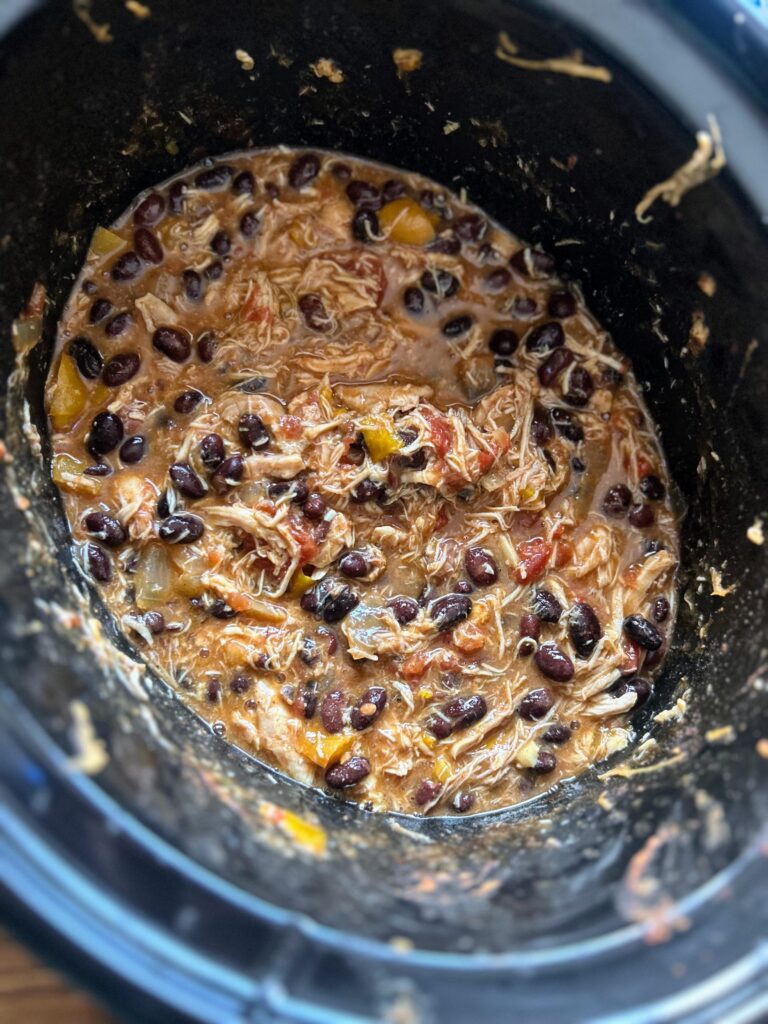
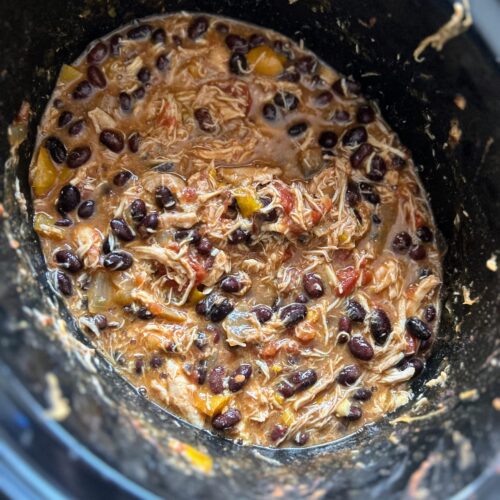
Once the chicken is shredded, drain the beans and then add them to the mixture. Stir in and allow to cook for 10-15 minutes or so to heat the beans through. If there was a lot of liquid, you can leave the lid open on your slow cooker.
Serve up the way you want: as filling for tacos with your favorite toppings, as the protein in a rice bowl, or with chips as a dip.
I like to have lettuce, additional onion, additional diced tomatoes, salsa, cilantro, and cheese on hand as toppings, but you do you my friend! Enjoy!
Slow Cooker Fiesta Chicken
Equipment
Ingredients
- 2 pounds boneless skinless chicken (I did thighs, but breasts would work)
- 1 cup diced onion about 1 large
- 1 diced sweet pepper any color
- 1 can unsalted diced tomatoes drained
- ⅓ cup taco seasoning about two packets
- 1 can black beans drained but not rinsed
- Diced jalapenos optional
Instructions
- Add the chicken to the slow cooker. Sprinkle with the taco seasoning and toss to completely cover. Add in diced onion, pepper, and drained diced tomatoes. Stir once more. Set on low for 8 hours or high for four hours.
- Once the chicken is fully cooked, shred. If you have a family that is opposed to chunky tomatoes, you can use a hand mixer to break down the chicken and subsequently the tomatoes will also break down too. If your family doesn’t mind chunky tomatoes, you can simply shred with a fork.
- Once the chicken is shredded, drain the beans and then add them to the mixture. Stir in and allow to cook for 10-15 minutes or so to heat the beans through. If there was a lot of liquid, you can leave the lid open on your slow cooker.
- Serve up the way you want: as filling for tacos with your favorite toppings, as the protein in a rice bowl, or with chips as a dip.
Notes
Looking for another great dinner?
Check out some of my favorite dishes below or head to my cooking page!