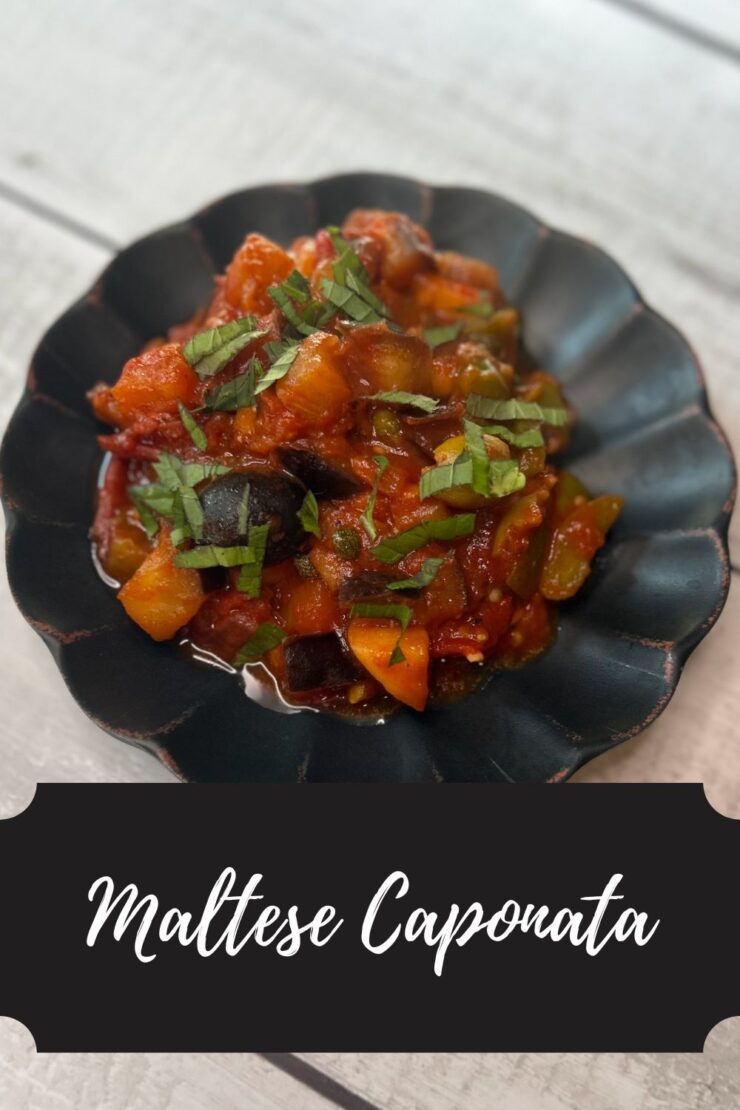
Cooking and baking my way around the world. Let’s create some Maltese Caponata!
For nearly three years, I have been involved in a special collaboration on Instagram hosted by my friend Claire. Each month, she spins a random country generator for us to explore and cook their cuisine. There are no other rules. We can create any dish we want, sweet or savory; cooking or baking; For a small town midwestern girl, this has been an eye opening and taste bud awakening.
However, I haven’t shared this journey on Jess in the Kitchen. For the longest time, I thought that since it wasn’t a recipe created by me, I shouldn’t share it. After this last month, I asked myself, “Why not? Don’t you want to inspire others to experience cuisines from around the world as well?” So here we are! I am excited to share the dish I cooked for Malta: Caponata!
Caponata is a perfect fresh garden or farmer’s market dish. It’s an appetizer with a perfect blend of sweet and sour flavors. It can be served hot or cold; on its own or on top of a toasted baguette. I used the recipe from Yesenia at Apron and Whisk (please check it out!) and it couldn’t be easier!
This was my take on Caponata.
Your Ingredients
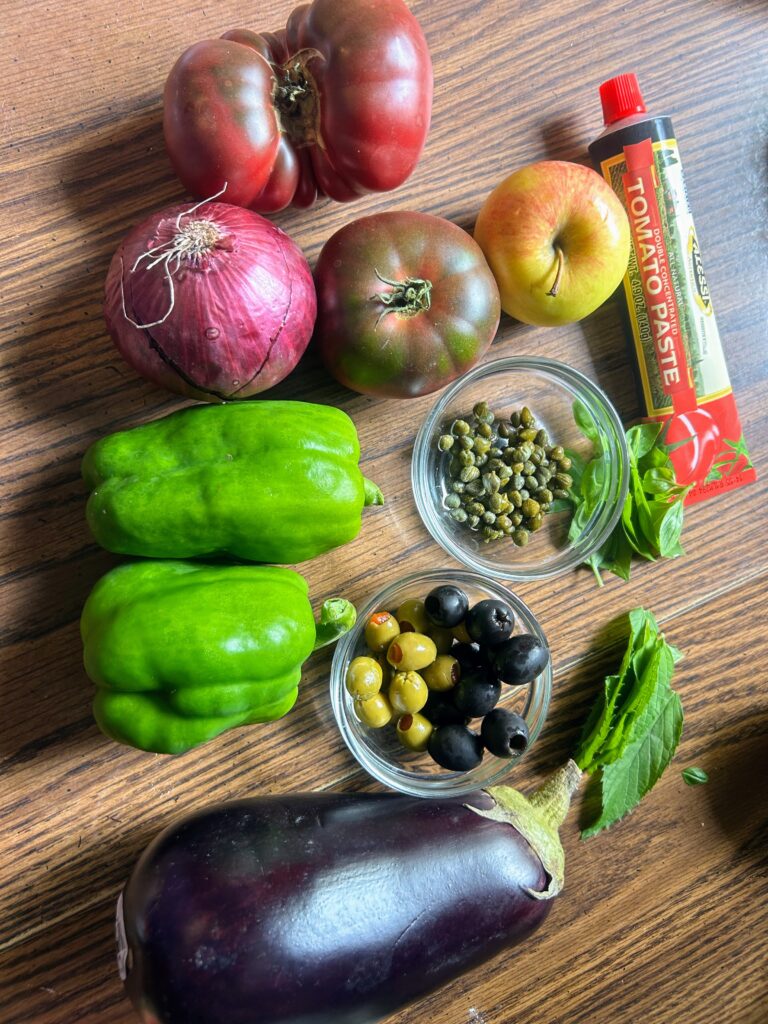
- 1 small eggplant, about 300 g
- 4 tablespoons olive oil
- 2 bell peppers (I did two green), diced
- 1 medium onion, diced
- 1 teaspoon of minced garlic
- 2-3 large tomatoes, cored and diced
- 3 tablespoons tomato paste
- 2 tablespoons red wine vinegar
- ½ apple, peeled and diced
- 3 tablespoons capers
- ⅓ cup olives (half black, half green; both halved)
- 1 tablespoon fresh mint, chiffonade
- 1 tablespoon fresh basil, chiffonade
- Salt and pepper
I did try to follow the recipe as Yesenia wrote it. It truly was a simple and delightful side dish!
Steps to Maltese Caponata
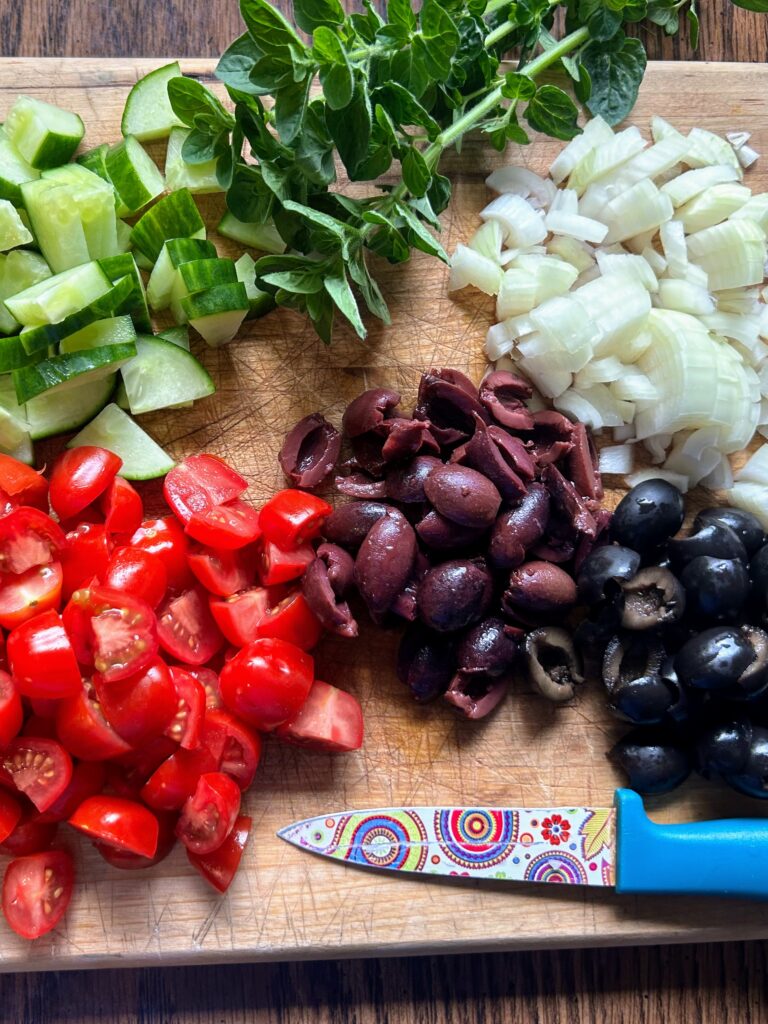
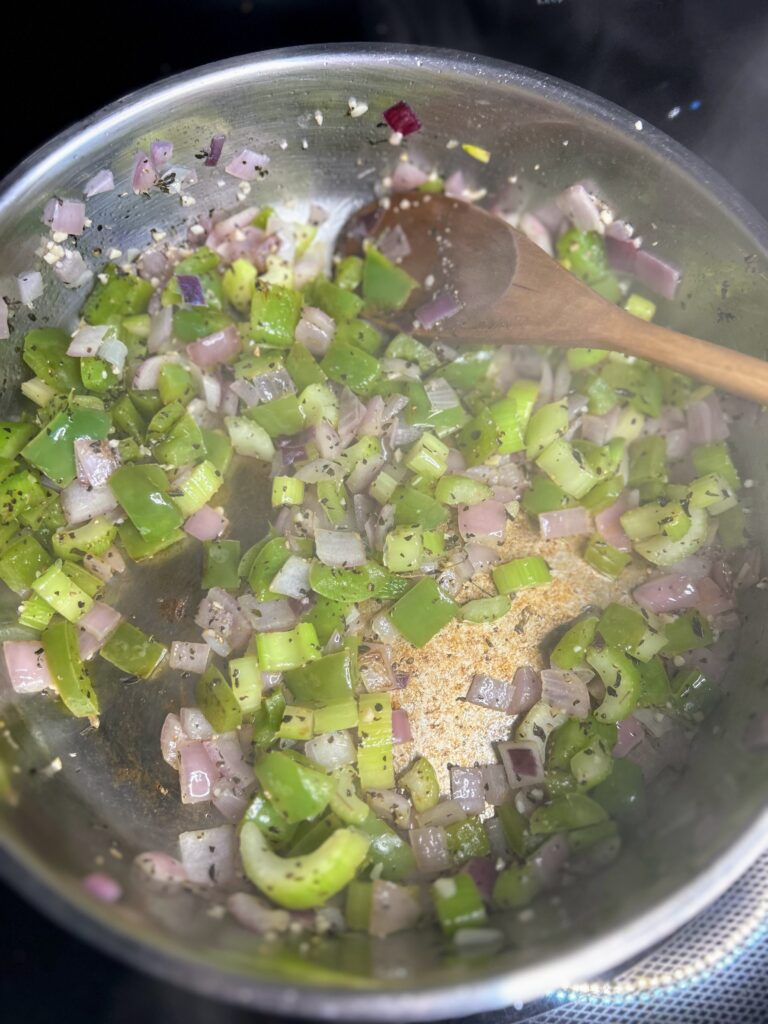
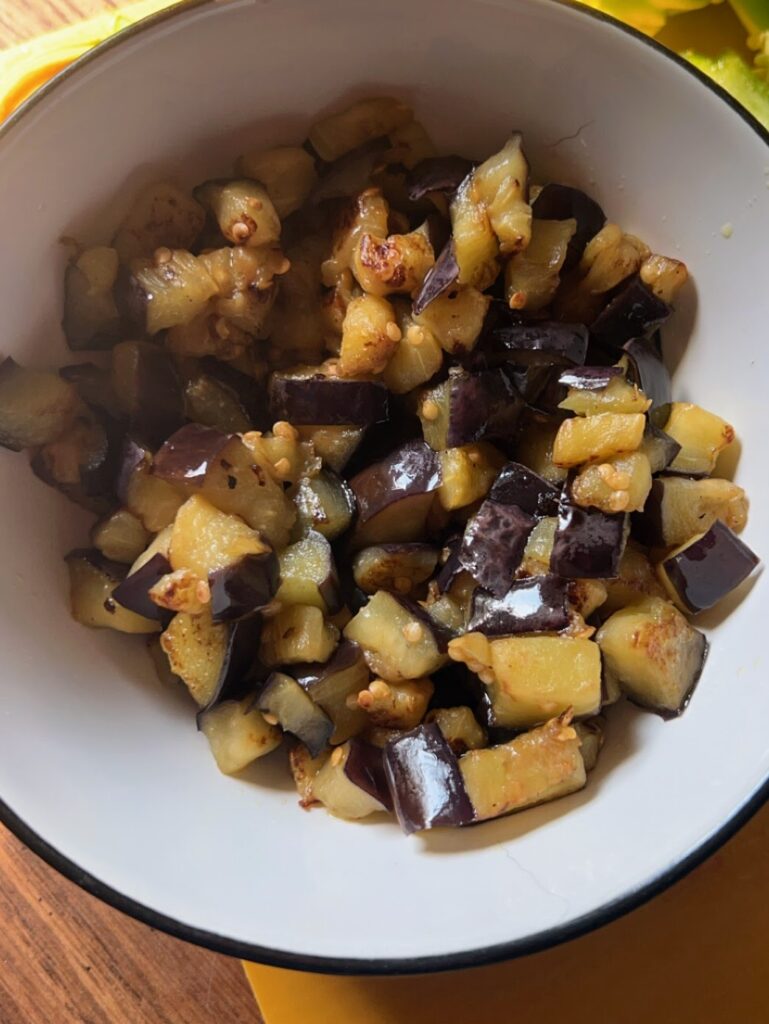
Start by dicing the eggplant. Sprinkle it with salt and allow the salt to draw out the moisture, about 20 minutes. While the eggplant is resting, dice the peppers, onions, and tomatoes. Halve the olives as well.
Begin heating a large saucepan. Meanwhile, use a paper towel to dry the moisture from the eggplant. Once hot, add 2 tablespoons of olive oil to the pan and add the eggplant. Cook until tender and browned, about 5 minutes. Remove it from the pan and set aside. If necessary, wash the saucepan before adding remaining oil.
Add the onions and peppers to the pan, cooking until they are soft, about 5 minutes. Stir in the garlic, cooking an additional 30 seconds, until fragrant. Add in the tomatoes, tomato paste, and apple. Also add a pinch of pepper and salt. Cook for about 10 minutes.
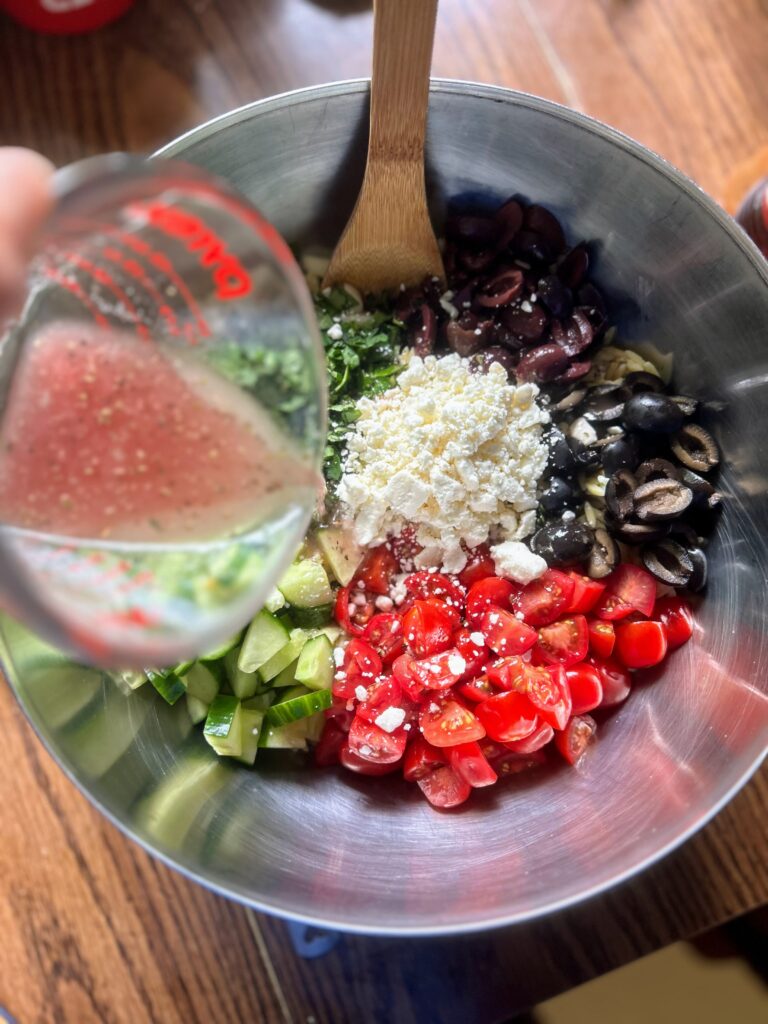
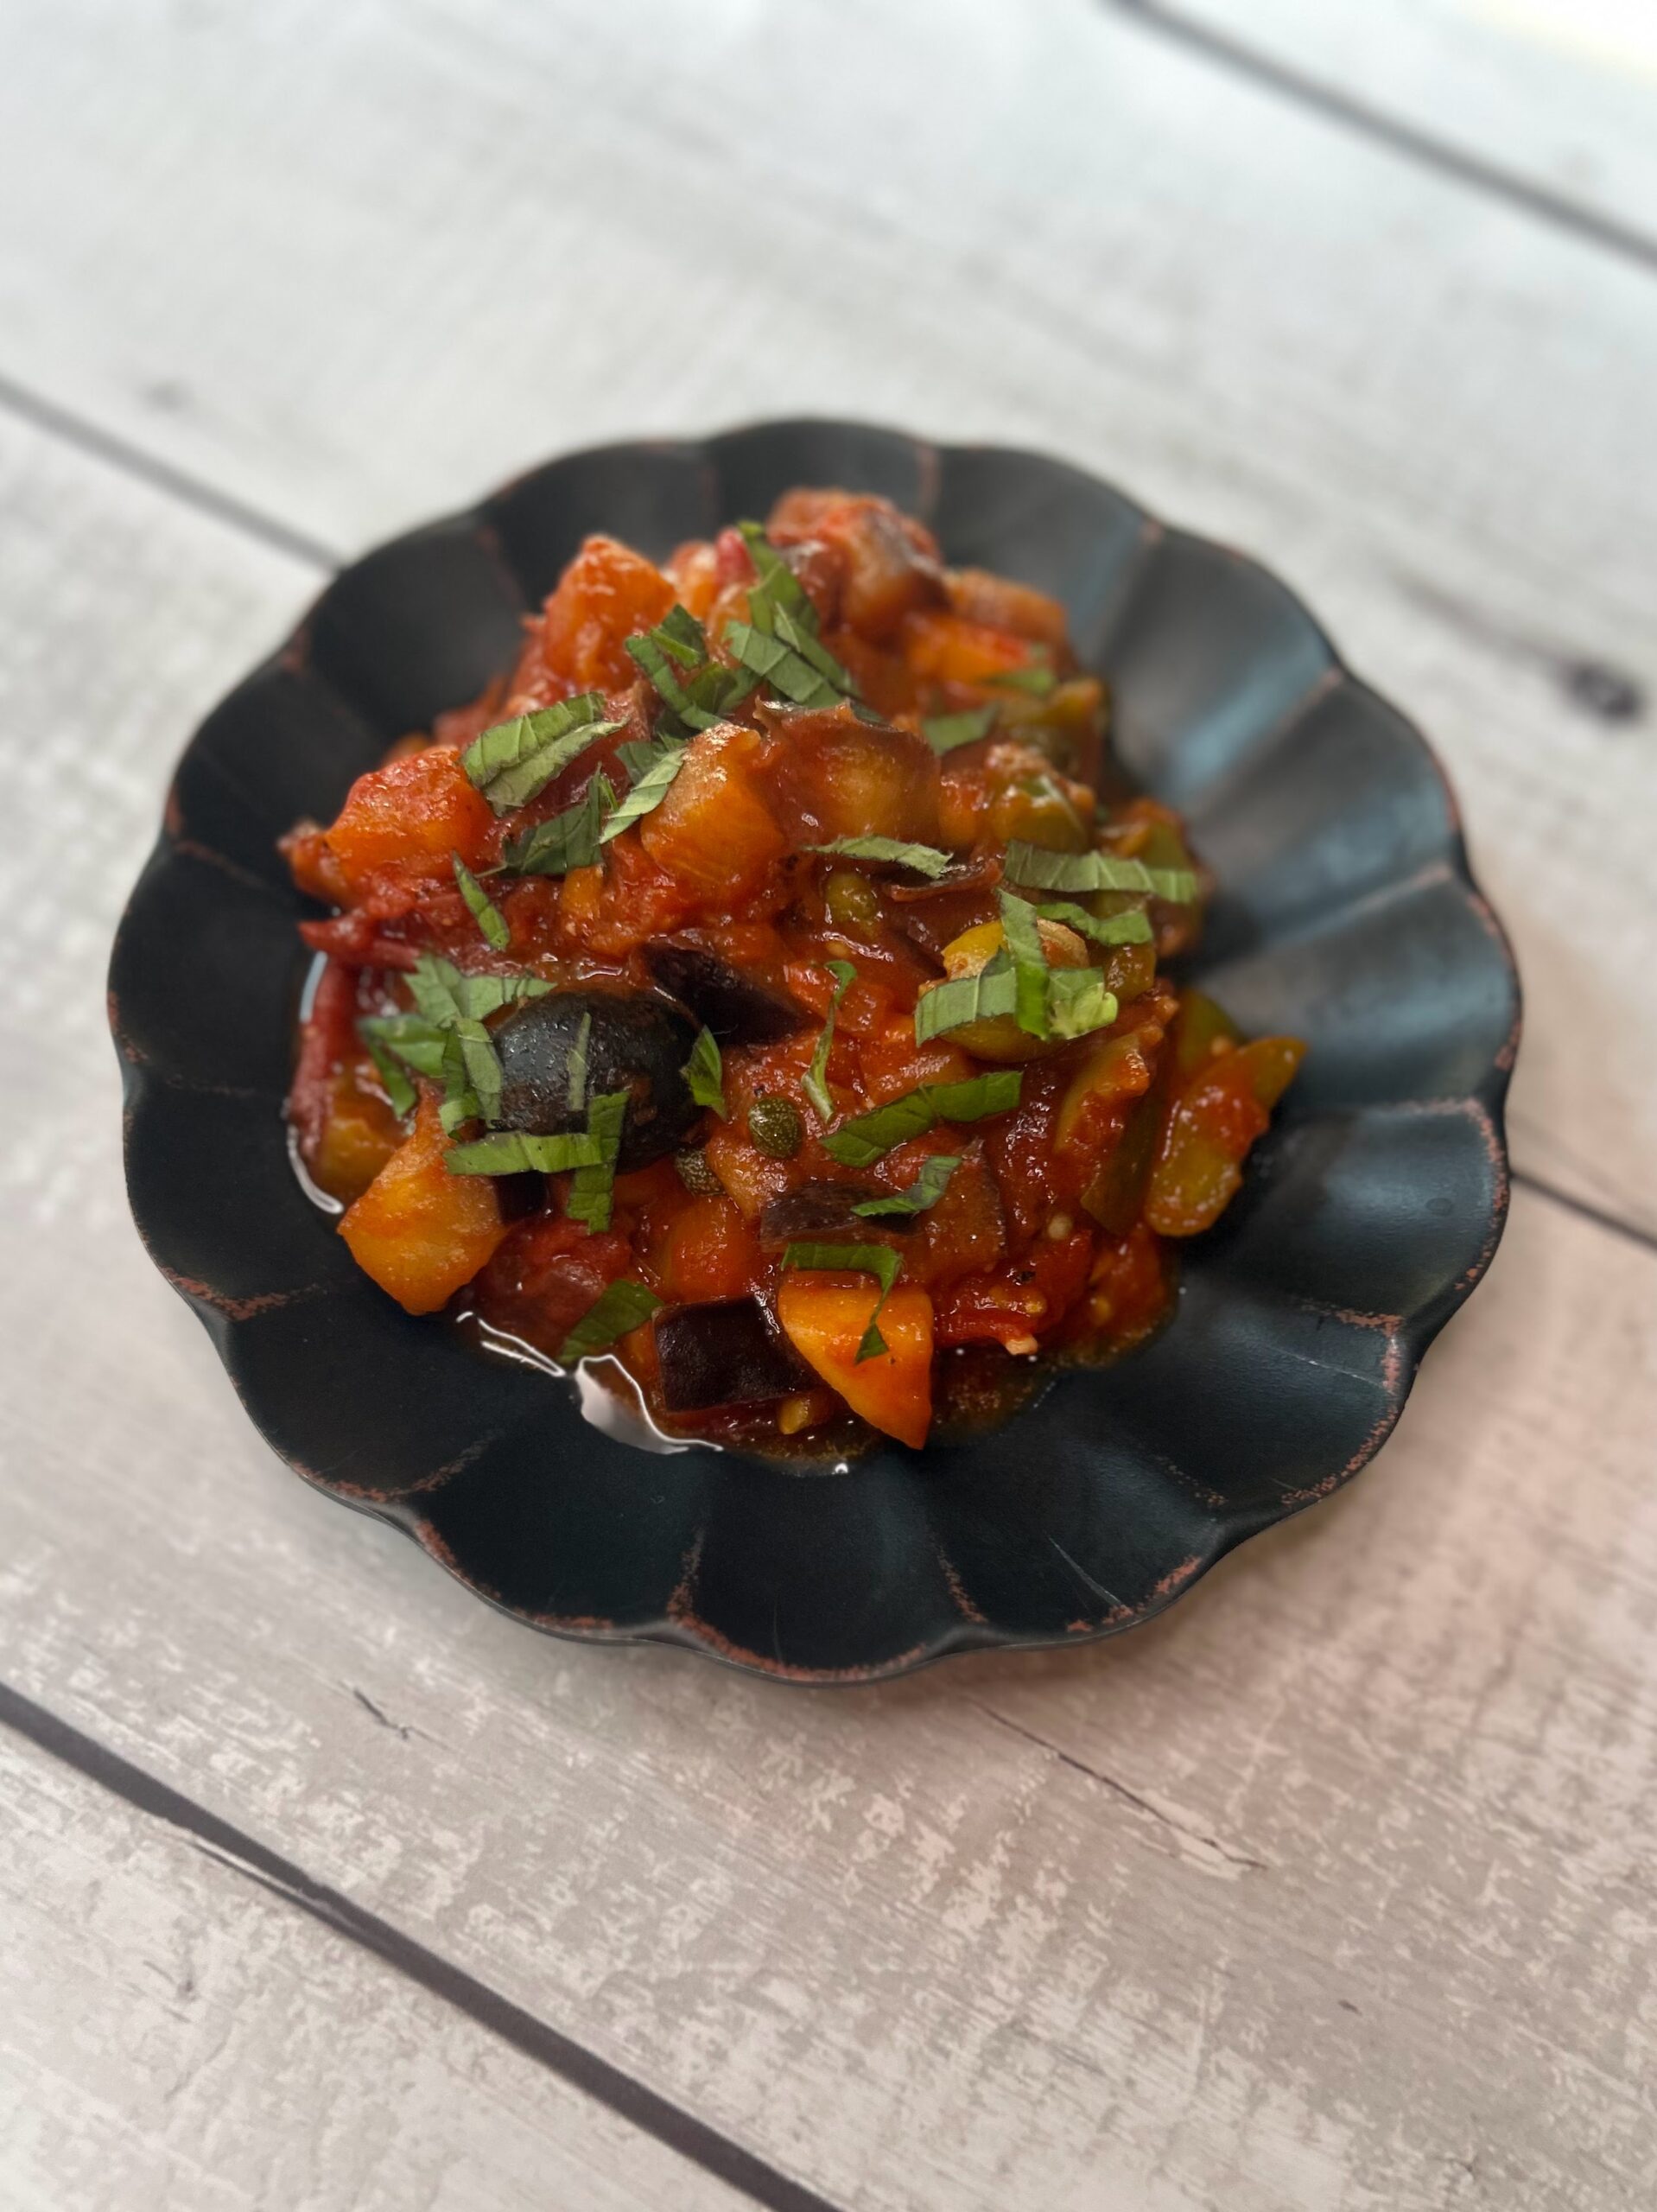
One the tomatoes have created a sauce, add the eggplant, capers, olives, and red wine vinegar. Cook for just a few minutes. Season with additional salt and pepper, if necessary.
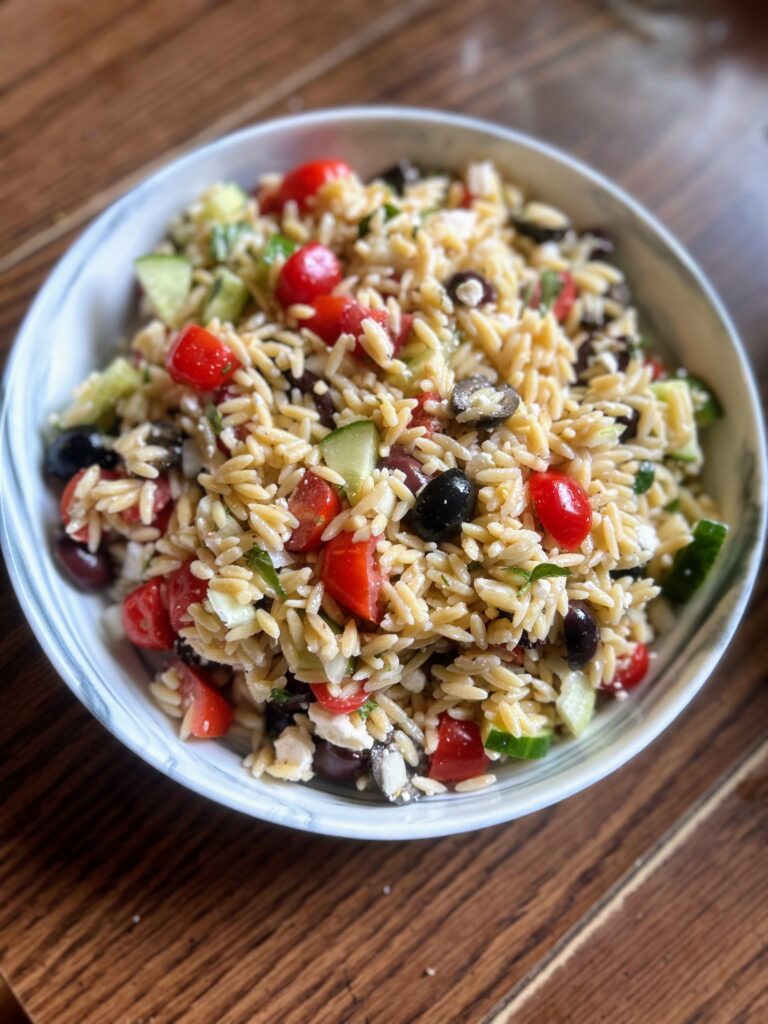
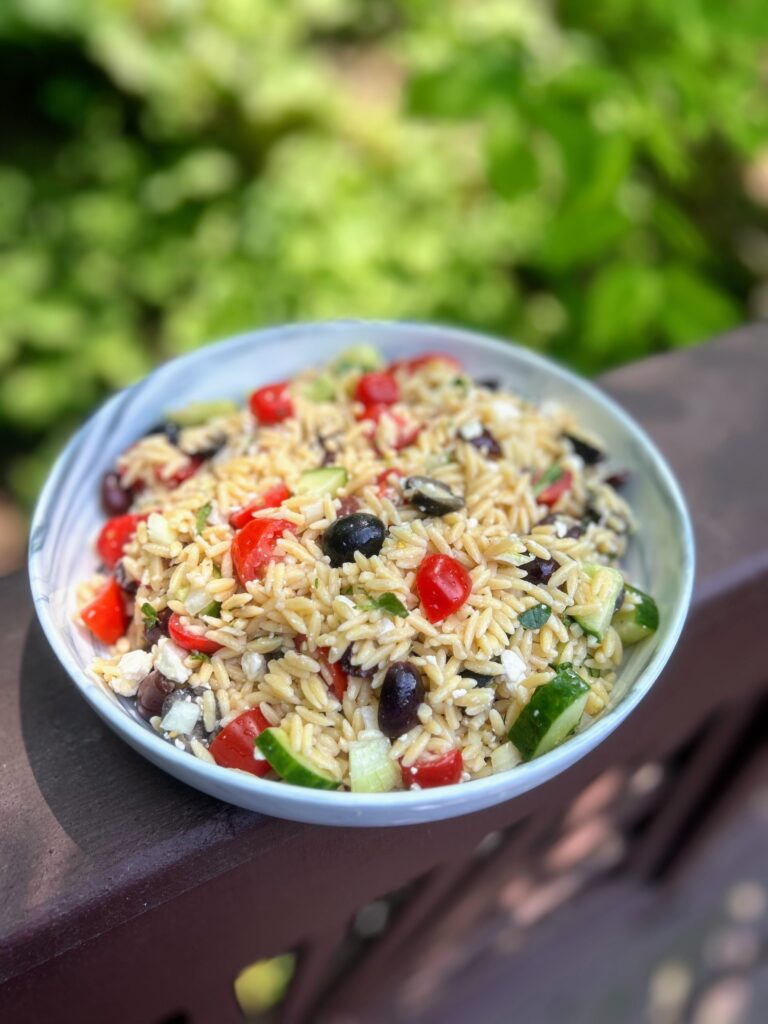
Top with basil and mint. You can serve it hot or cold, on its own or on top of crusty bread (I have also enjoyed it over leftover rice. It’s so good!). Enjoy your own Maltese Caponata!

Maltese Caponata
Equipment
Ingredients
- 1 small eggplant about 300 g
- 4 tablespoons olive oil
- 2 bell peppers I did two green, diced
- 1 medium onion diced
- 1 teaspoon of minced garlic
- 2-3 large tomatoes cored and diced
- 3 tablespoons tomato paste
- 2 tablespoons red wine vinegar
- ½ apple peeled and diced
- 3 tablespoons capers
- ⅓ cup olives half black, half green; both halved
- 1 tablespoon fresh mint chiffonade
- 1 tablespoon fresh basil chiffonade
- Salt and pepper
Instructions
- Start by dicing the eggplant. Sprinkle it with salt and allow the salt to draw out the moisture, about 20 minutes. While the eggplant is resting, dice the peppers, onions, and tomatoes. Halve the olives as well.
- Begin heating a large saucepan. Meanwhile, use a paper towel to dry the moisture from the eggplant. Once hot, add 2 tablespoons of olive oil to the pan and add the eggplant. Cook until tender and browned, about 5 minutes. Remove it from the pan and set aside. If necessary, wash the saucepan before adding remaining oil.
- Add the onions and peppers to the pan, cooking until they are soft, about 5 minutes. Stir in the garlic, cooking an additional 30 seconds, until fragrant. Add in the tomatoes, tomato paste, and apple. Also add a pinch of pepper and salt. Cook for about 10 minutes.
- One the tomatoes have created a sauce, add the eggplant, capers, olives, and red wine vinegar. Cook for just a few minutes. Season with additional salt and pepper, if necessary.
- Top with basil and mint. You can serve it hot or cold, on its own or on top of crusty bread.
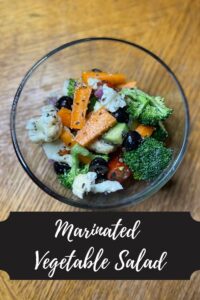
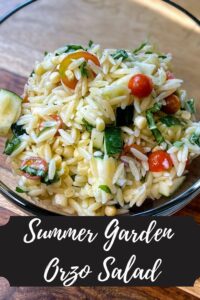
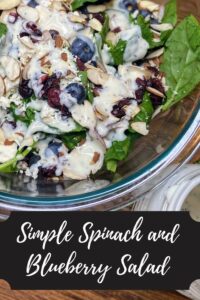
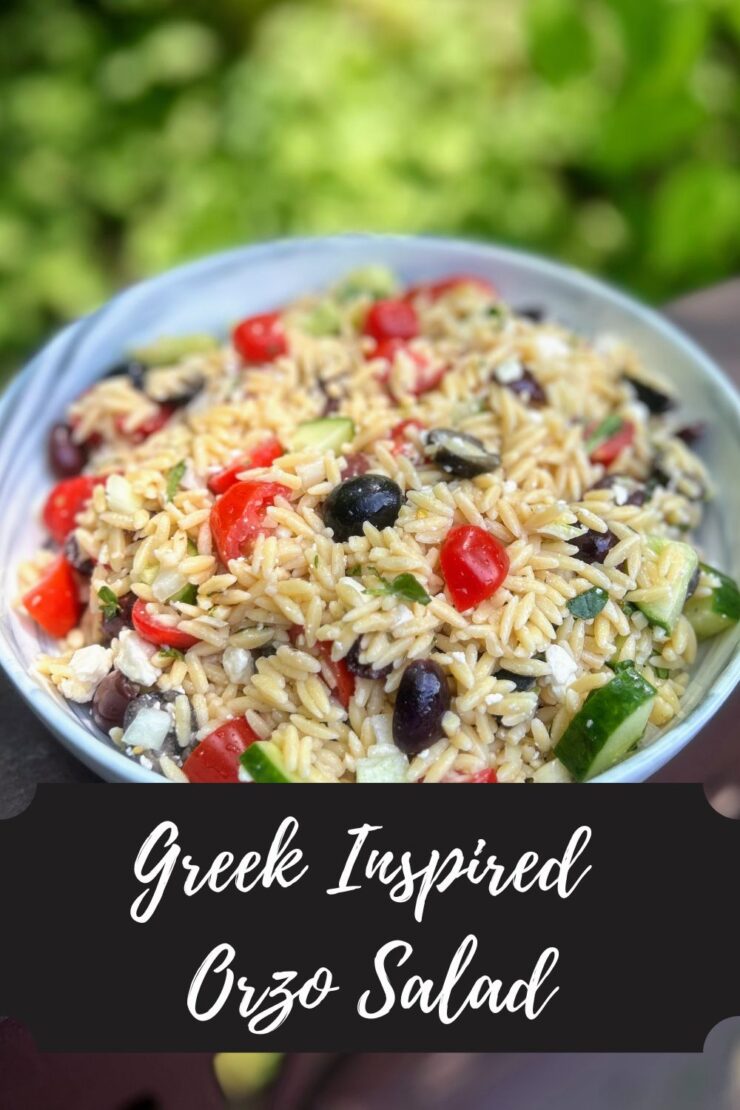
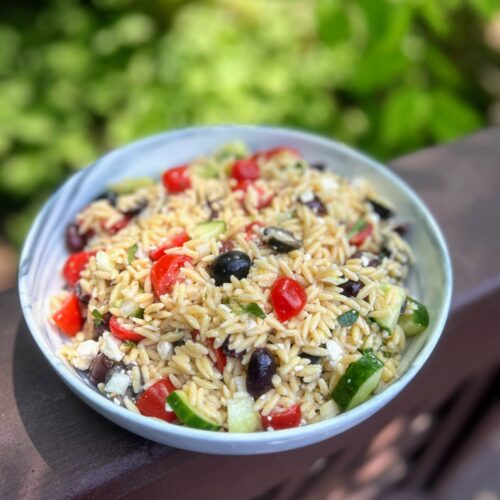
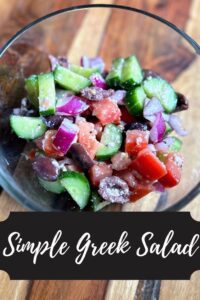
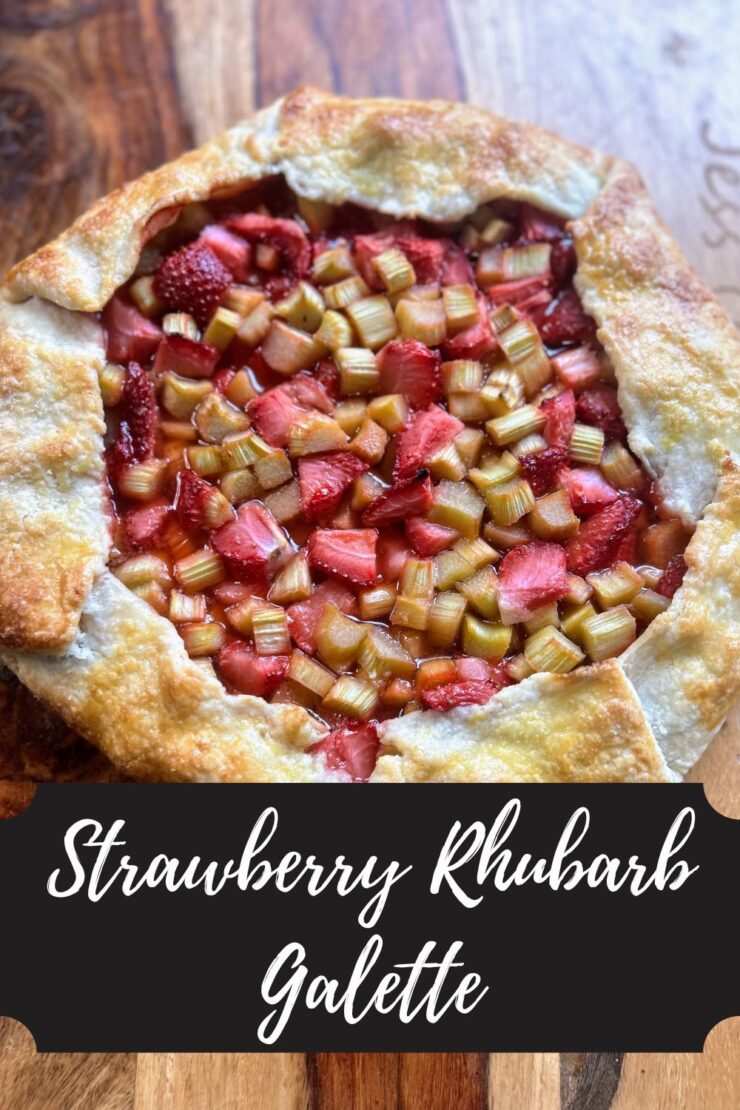
Looking for other Salad Inspiration?
Check out a few of my favorite summer salads below! Or feel free to head to my cooking page to pick your own!