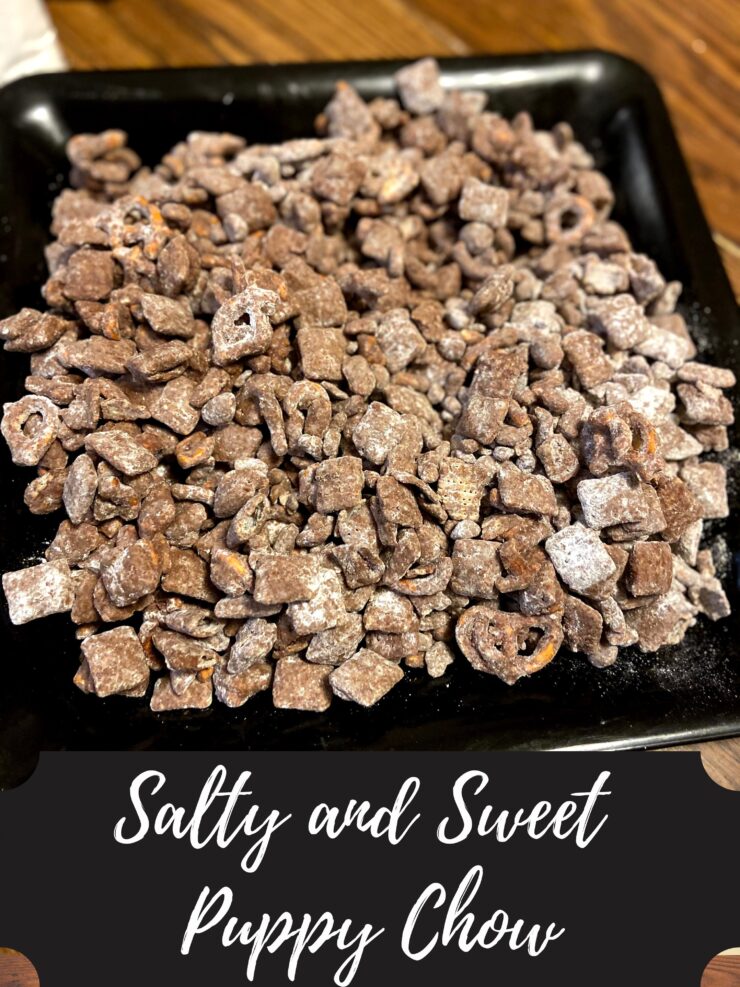
My very first memory of puppy chow comes from junior high family and consumer education class. I am certain all the upperclassmen knew and perhaps helped schedule puppy chow day as they found all the kids who made it and immediately requested that they share it. It’s one of those oh so simple, yet delightful treats for that I will always had the ingredients on hand. Then a friend shared that she added pretzels to hers for a salty and sweet puppy chow and oh man, it’s a game changer. Add pretzels, dry roasted peanuts, and Chex cereal to your shopping lists friends. This is a must for a quick sweet treat!
Your Ingredients
- 5 cups Chex cereal
- 2 cups crushed pretzels
- 1 cup roasted peanuts
- 1 cup chocolate chips
- ½ cup creamy peanut butter
- 2 tablespoons butter
- 1 teaspoon vanilla
- 1 ½ cups powdered sugar, divided
Your Steps to Salty and Sweet Puppy Chow
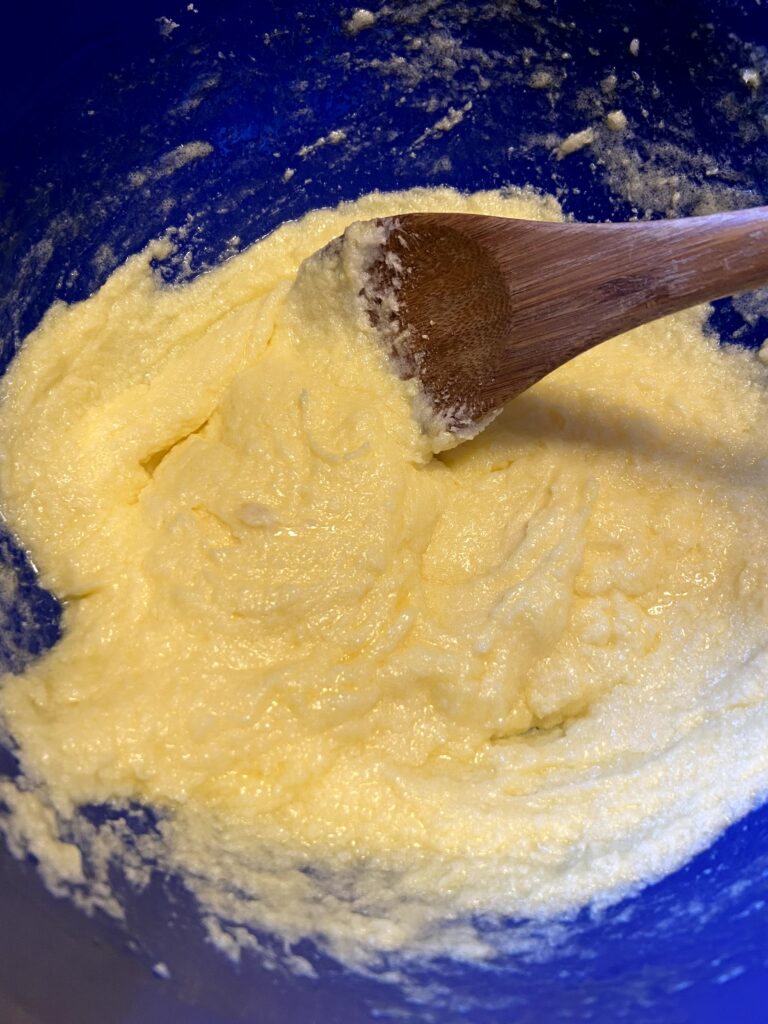
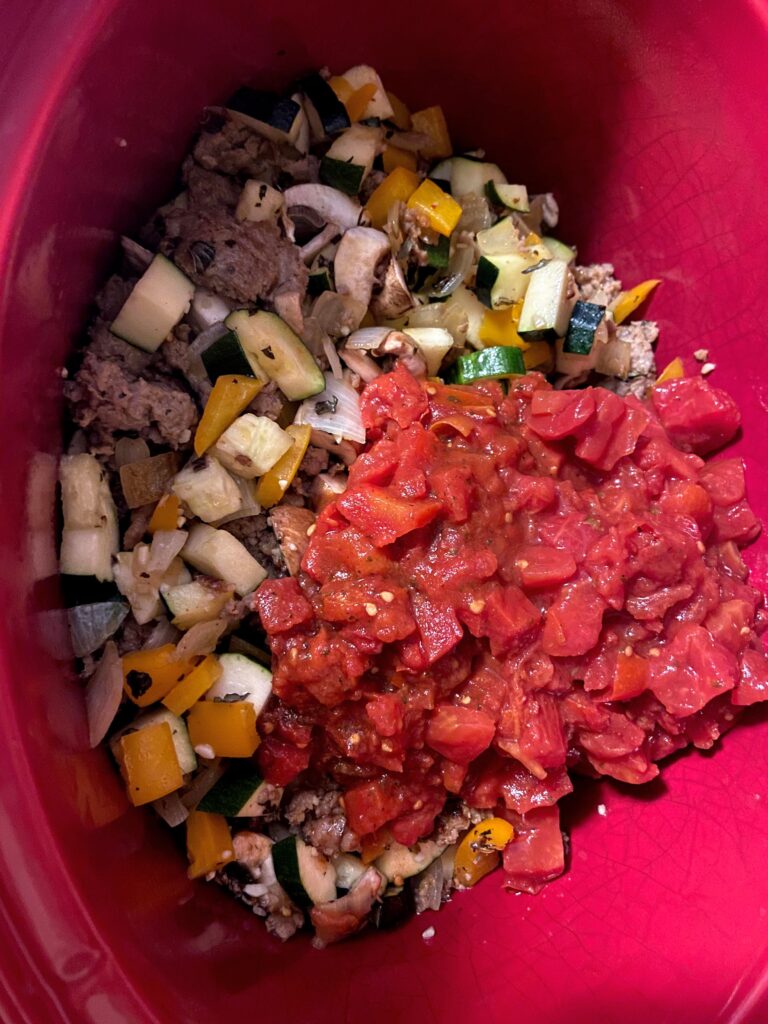
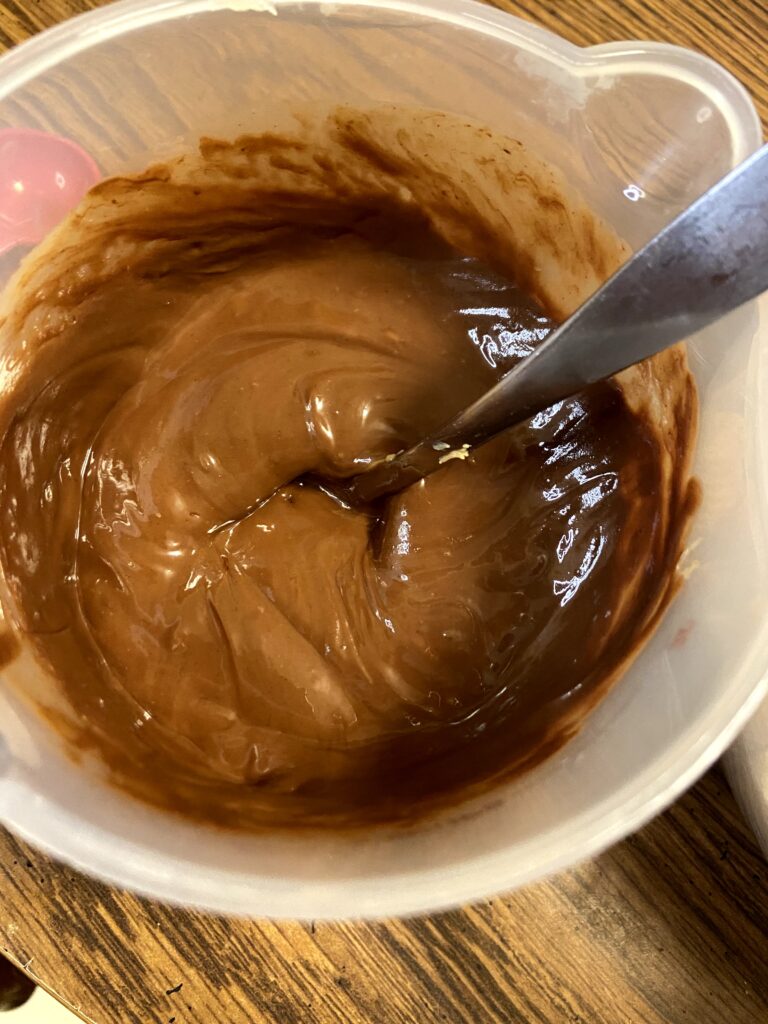
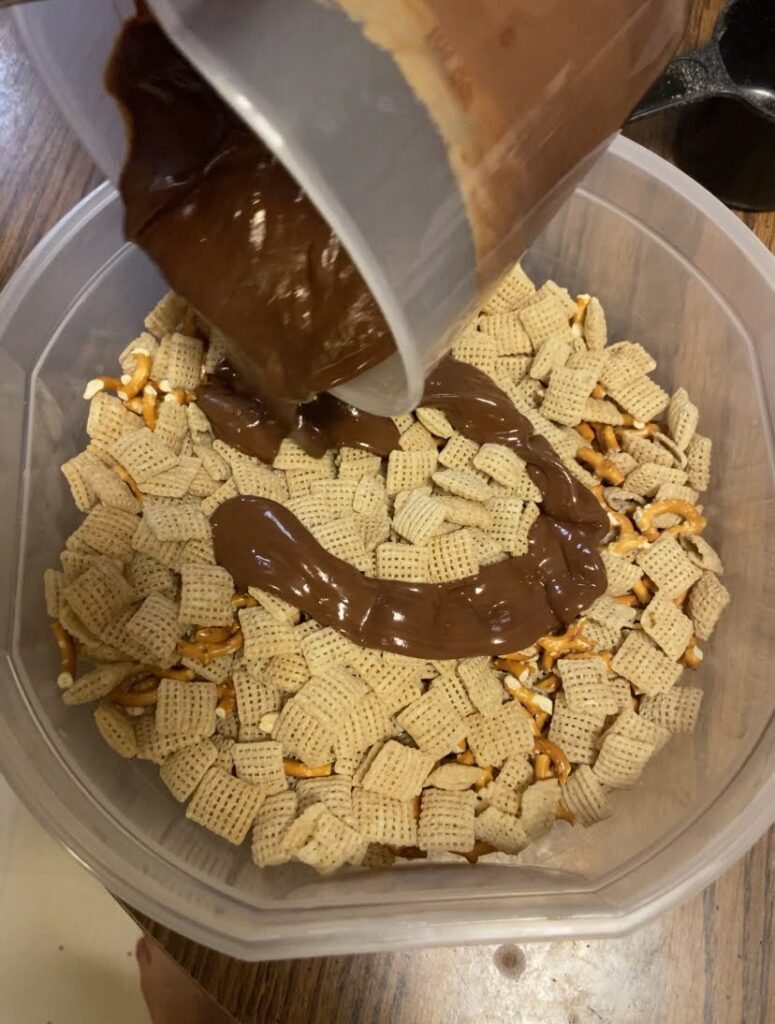
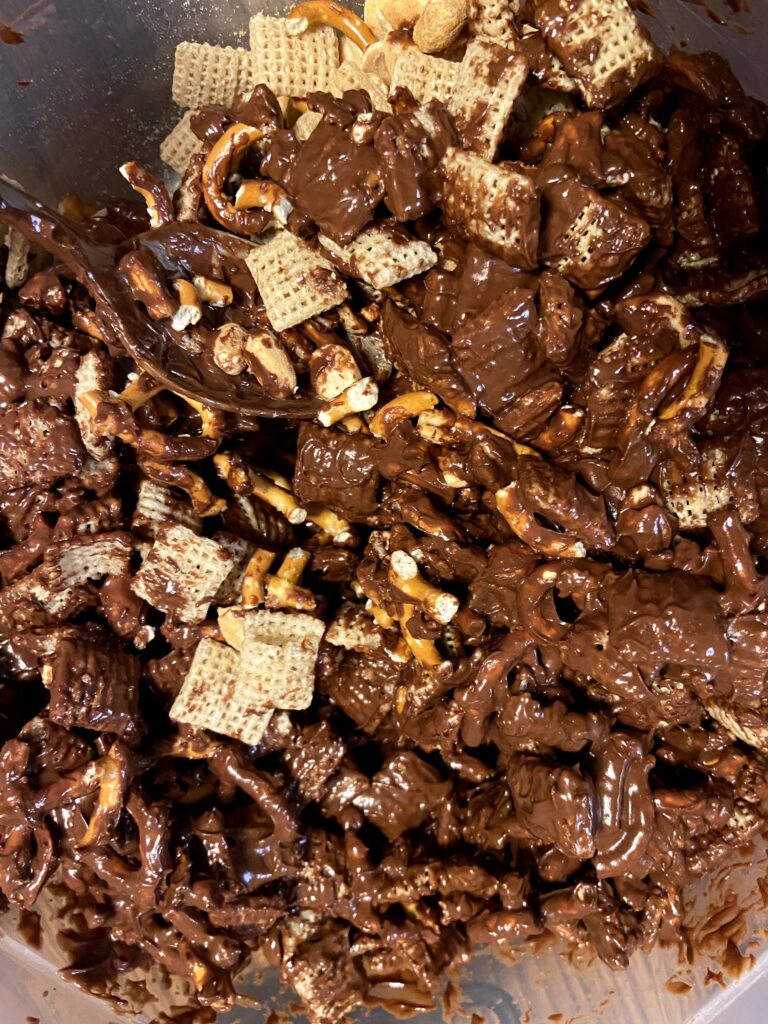
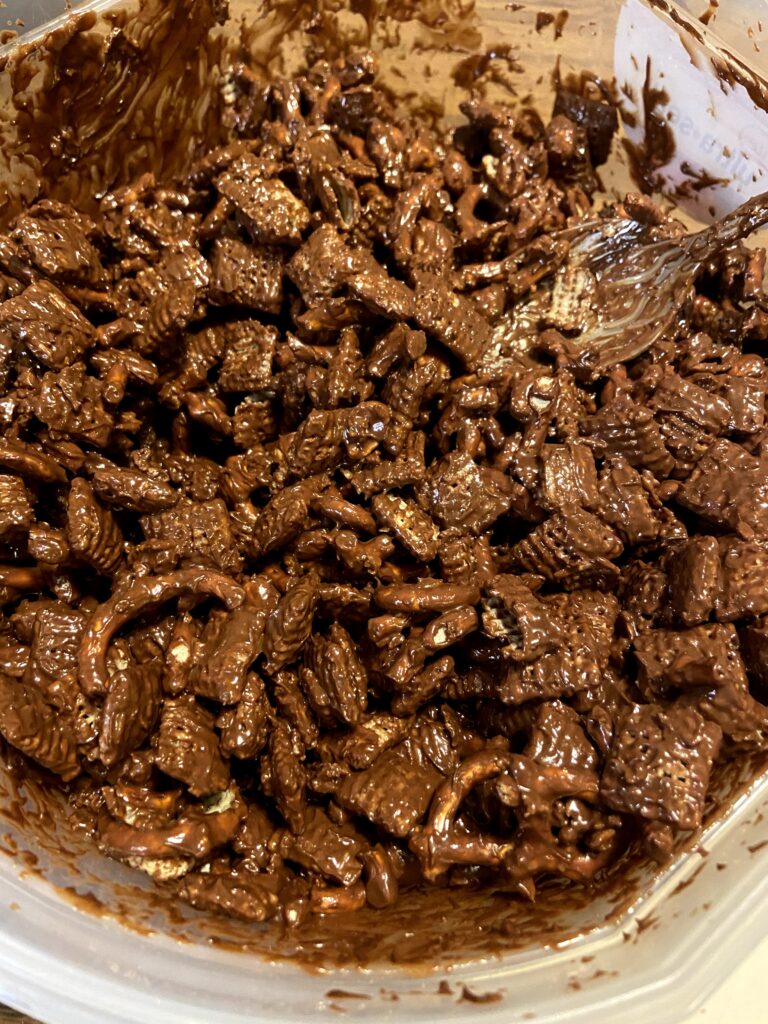
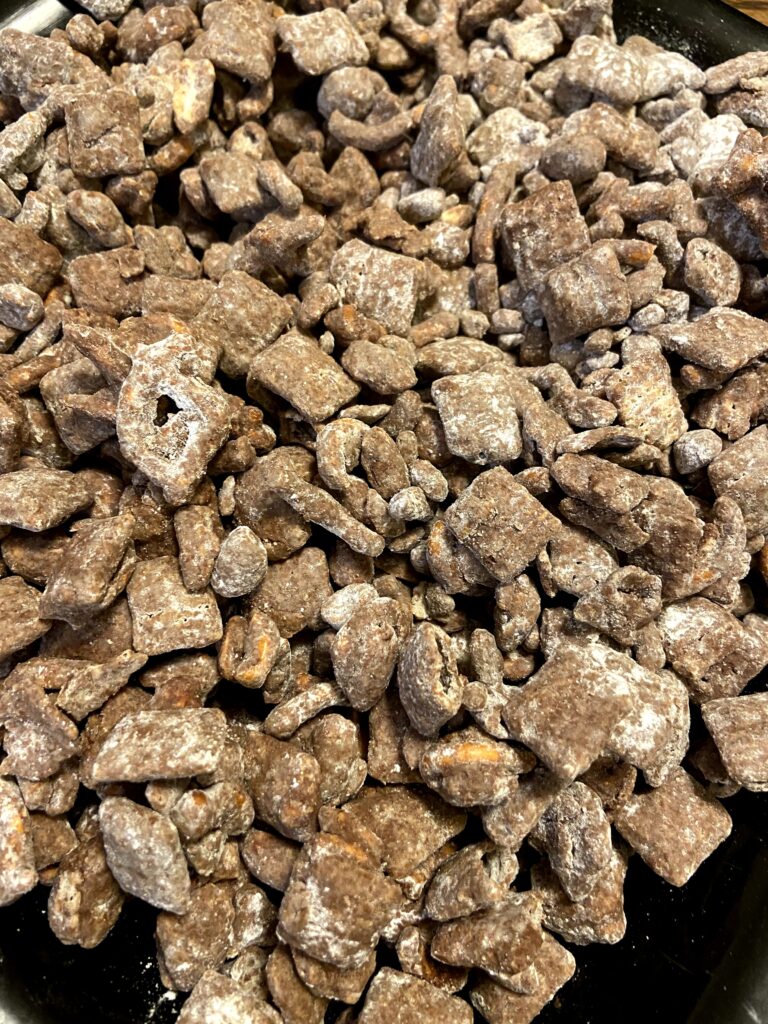
In a large container (that has a cover. I love these containers for all things Chex and also for my sourdough bread baking), combine the cereal, pretzels, and roasted peanuts. Set aside. In a microwave safe container, contain chocolate chips, creamy peanut butter, and butter. Microwave on high for 90 seconds, stirring after 60 seconds. Once smooth, stir in vanilla. Pour chocolate mixture over the cereal mixture and stir well. Allow to cool for 5-10 minutes. Sprinkle with 1 cup powdered sugar. Cover the container and shake and shake and shake some more. You may need to stir it a bit to break it apart from the side, but sure as heck don’t dirty another bowl or container here.
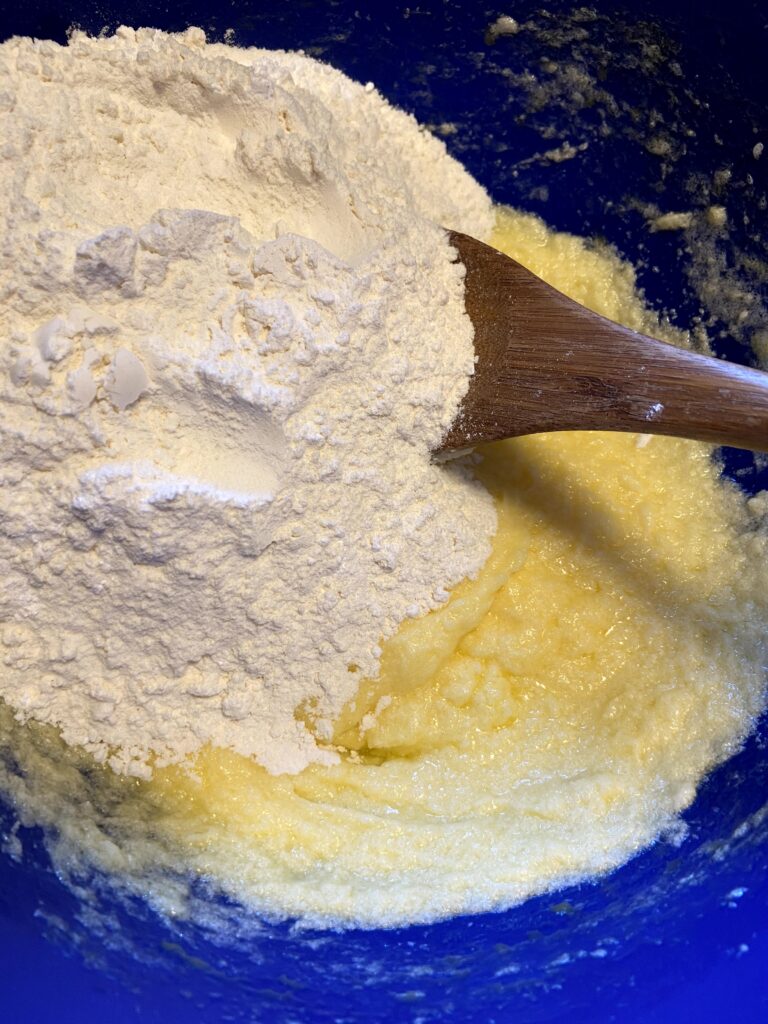
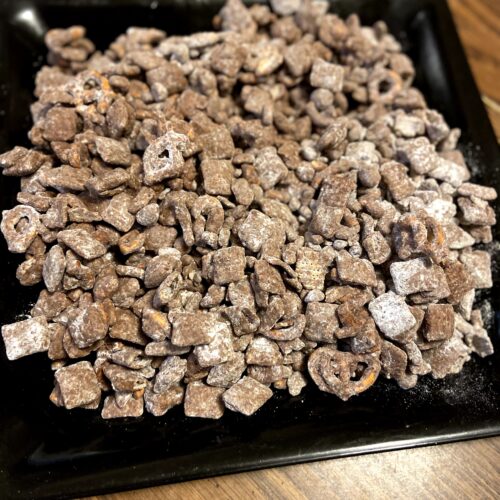
Once fully coated, allow to cool for 5-10 more minutes. Add remaining powered sugar and shake once more. Now, in theory, you should spread this out on a cookie sheet and allow to cool completely to room temperature. In theory. But I am seriously against making extra dirty dishes. I avoid it at all costs. If you are like me, simply stir it every 10-15 minutes to allow it to cool all the way through.

Break up the pretzels, but don’t destroy them completely Smooth and velvety chocolate and peanut butter! Drizzle over the cereal! Stir, but don’t stop here! Fully coated cereal! Good luck having this last more than 48 hours!

Looking to bake something else to satisfy your sweet tooth? Maybe check out my baking page for information! Click the button below!
Tools of the Trade
I seriously dig these containers. I use them for all sorts of things in our kitchen. Baked sourdough bread? Throw it in a container. Mixing my bread together? Put it in a container. Making Chex Mix or Puppy Chow? It goes into these containers!
Salty and Sweet Puppy Chow
Ingredients
- 5 cups Chex cereal
- 2 cups crushed pretzels
- 1 cup roasted peanuts
- 1 cup chocolate chips
- ½ cup peanut butter
- 2 tablespoons butter
- 1 teaspoon vanilla
- 1 ½ cups powdered sugar
Instructions
- In a large container with a lid, combine cereal, pretzels, and peanuts.
- Combine chocolate chips, peanut butter, and butter in a microwave safe container. Microwave for 90 seconds, stirring after 60 seconds. Heat until smooth. Stir in vanilla.
- Pour chocolate mixture over the cereal mixture. Stir until coated completely. Allow to rest 5-10 minutes.
- Add 1 cup of powdered sugar, cover and shake until fully coated. Allow to rest an additional 5-10 minutes.
- Add remaining powdered sugar. Cover and shake once more.
- Spread on a baking sheet and allow to fully cool before returning to the airtight container.