Inspiration comes from interesting places, doesn’t it? I have this lovely friend who is immensely creative and loves to create food masterpieces often. Since she is working from home part time right now, this happens regularly for her. She shared that she made homemade hamburger rolls and that her husband declared them better than store bought. Well, those lingered in my head and I was intrigued, hoping to find a reason to make them. (Wait for it…Sloppy Joes to come!)
Two days later, my son and I were flipping through my most recent cooking magazine as we are waiting for the time to start teaching and learning from home, and we see Sloppy Joes. Alas, we don’t have any rolls and with COVID-19, we have been strictly holding to one grocery trip a week, and my husband is the one to do it (he’s at work…bummer). But! The recipe of the rolls! So I quickly set to work to put my own spin on a from scratch Sloppy Joe mix with yeast rolls.
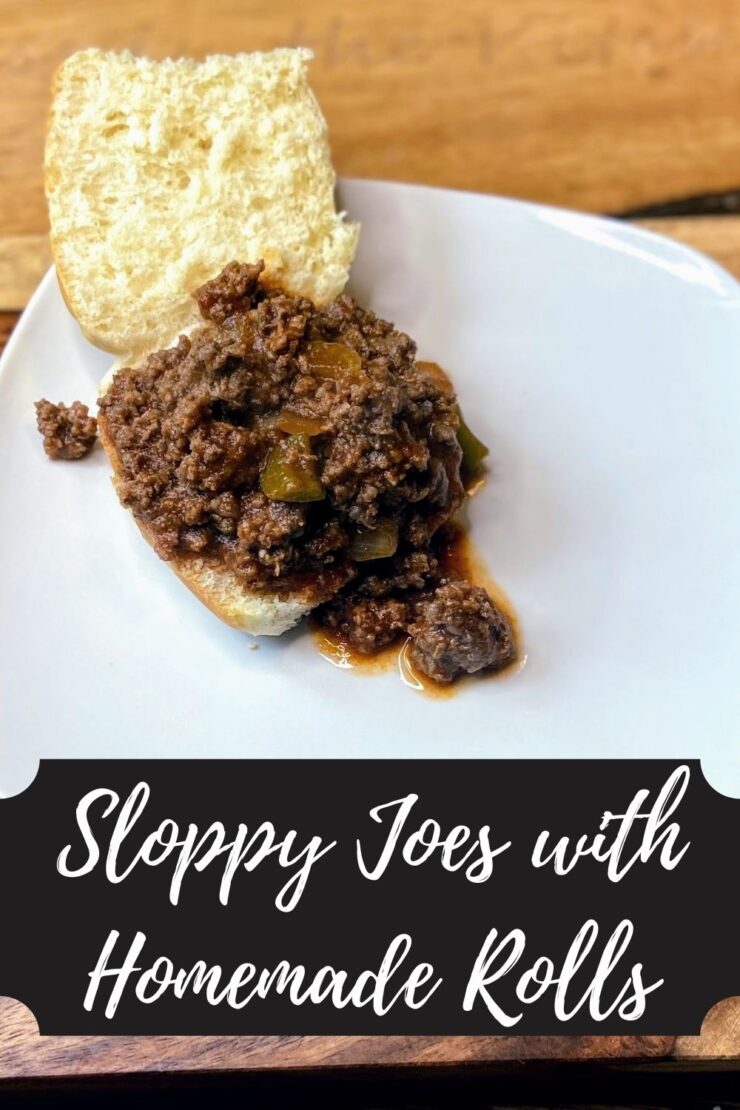
Oh my goodness, these rolls. Simple to put together. Leaves the house smelling amazing, and tastes delightful. If yeast wasn’t such a hot commodity right now, I am certain my family would have a batch of these baked up every week. My kids snack on them like crazy. And the Sloppy Joe mix? Once we ate through the first batch of rolls, my kiddos were more than happy to eat it out of the bowl or on top of a slice of sourdough. Needless to say, this was a big hit at our house and lasted for a couple dinners as well as a few lunches for my kiddos. I hope it’s a hit at your house too!
First, the Sloppy Joes
Your ingredients:
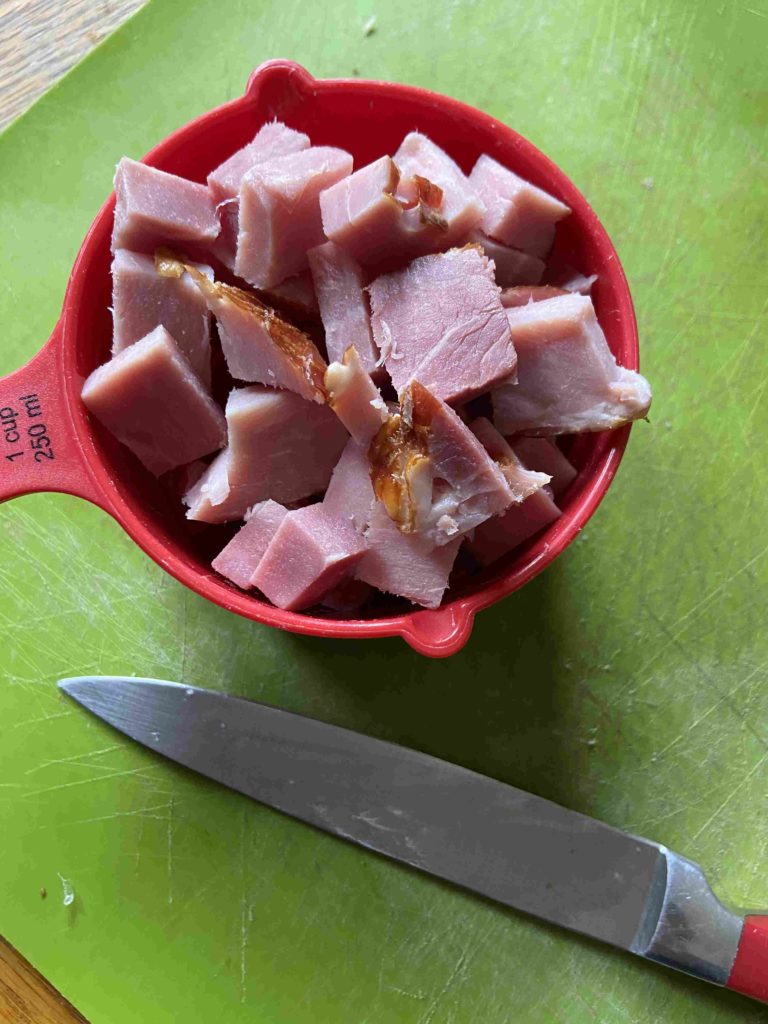
- 2 pounds ground meat (We do home ground venison, but do what suits your family)
- 1 tablespoon olive oil
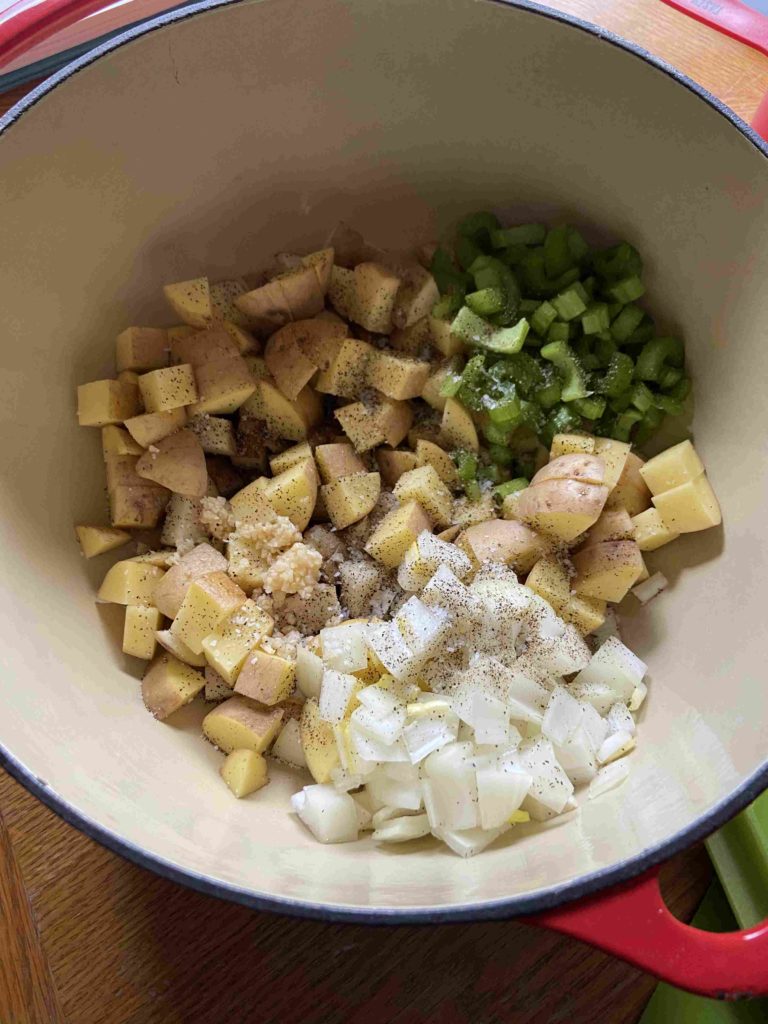
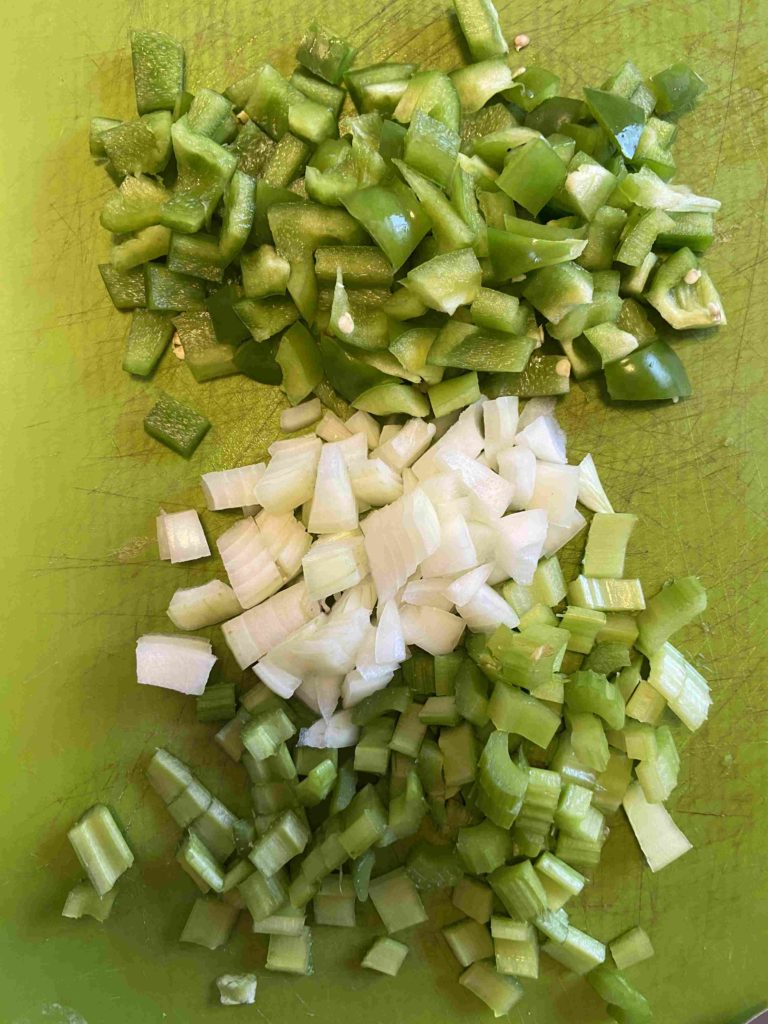
- 1 cup diced green pepper (about 1 pepper)
- 1/2 cup diced onion
- 1/2 cup diced celery
- 2 teaspoons minced garlic
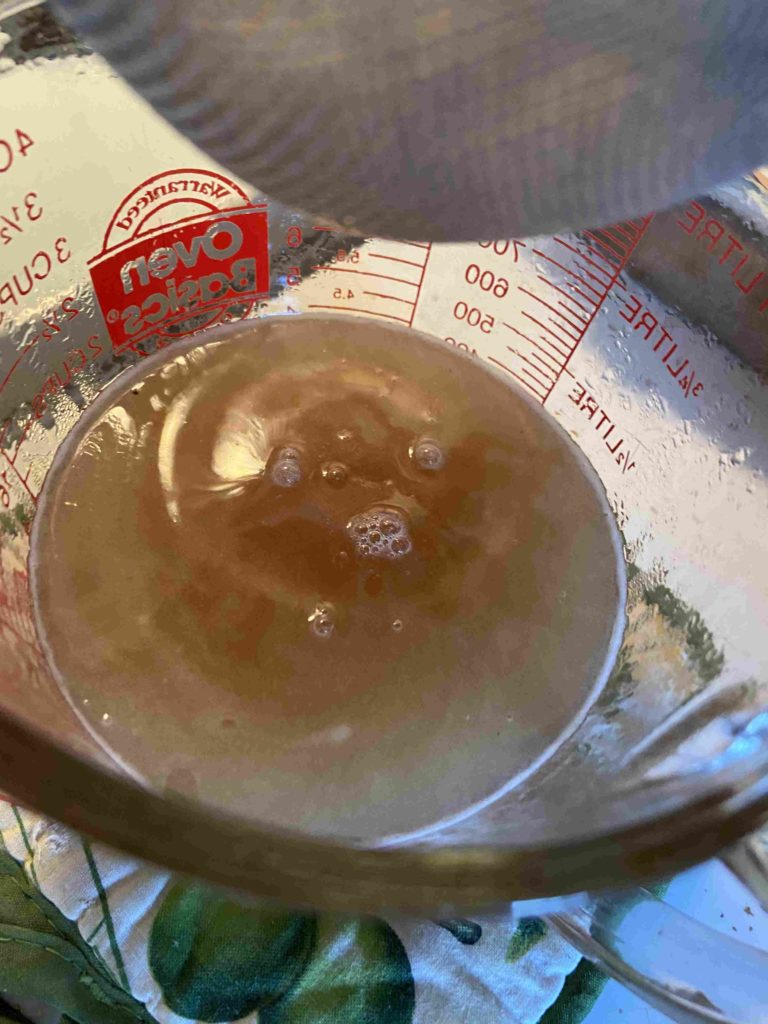
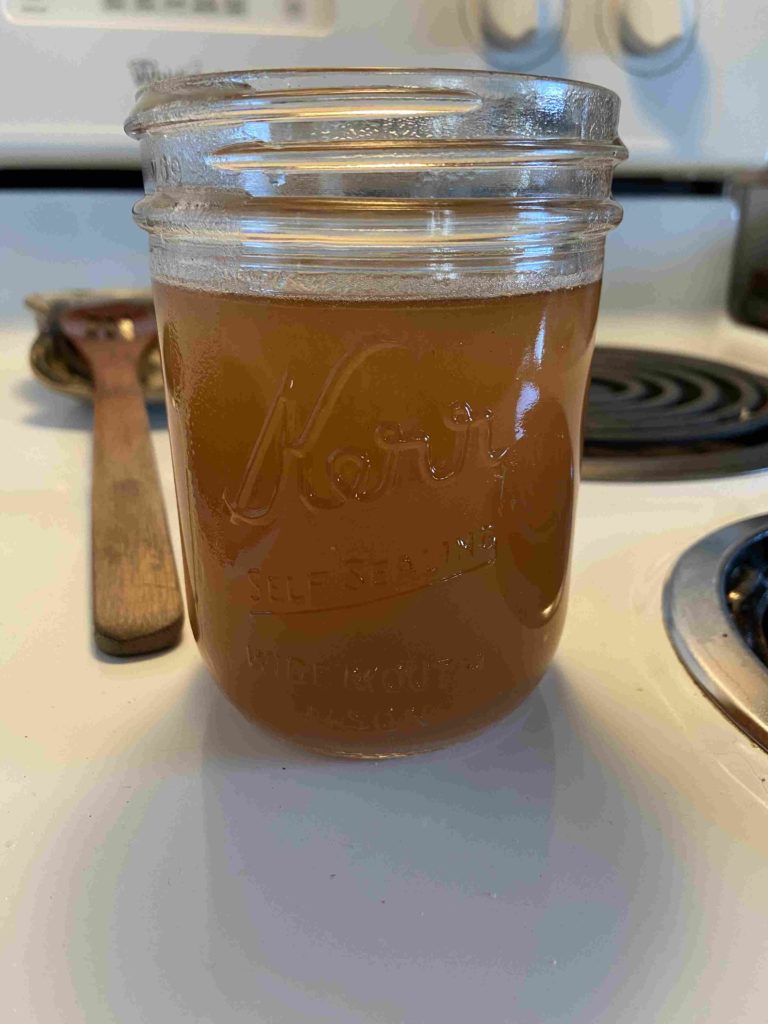
- 2 1/2 cup beef broth/stock
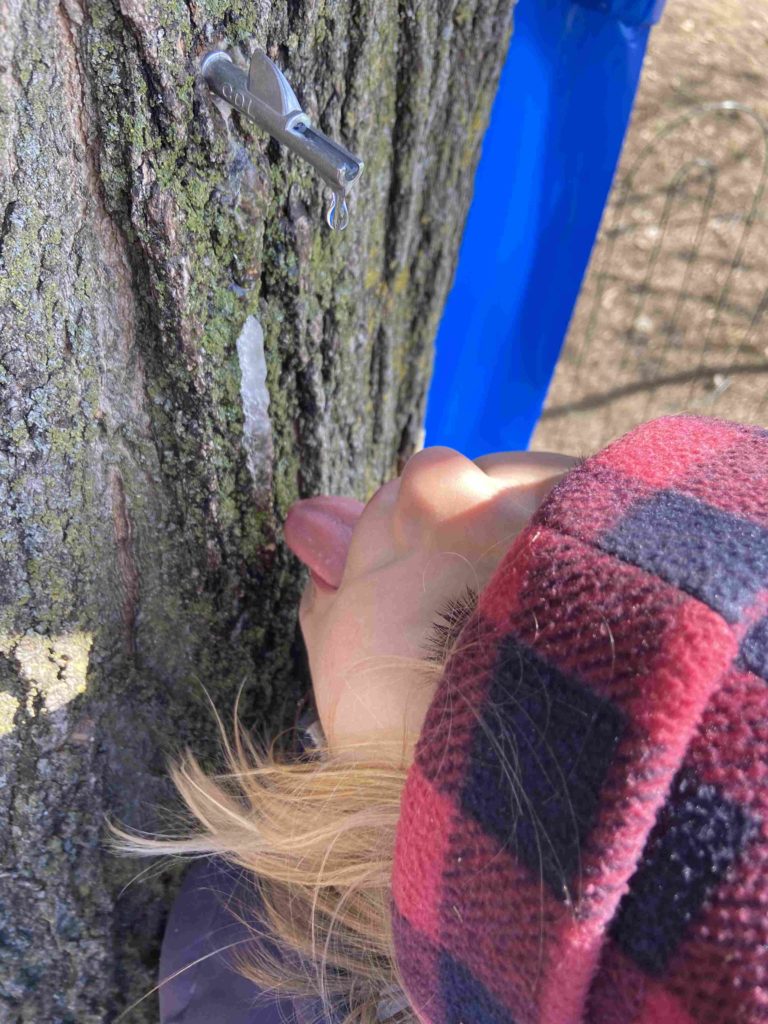
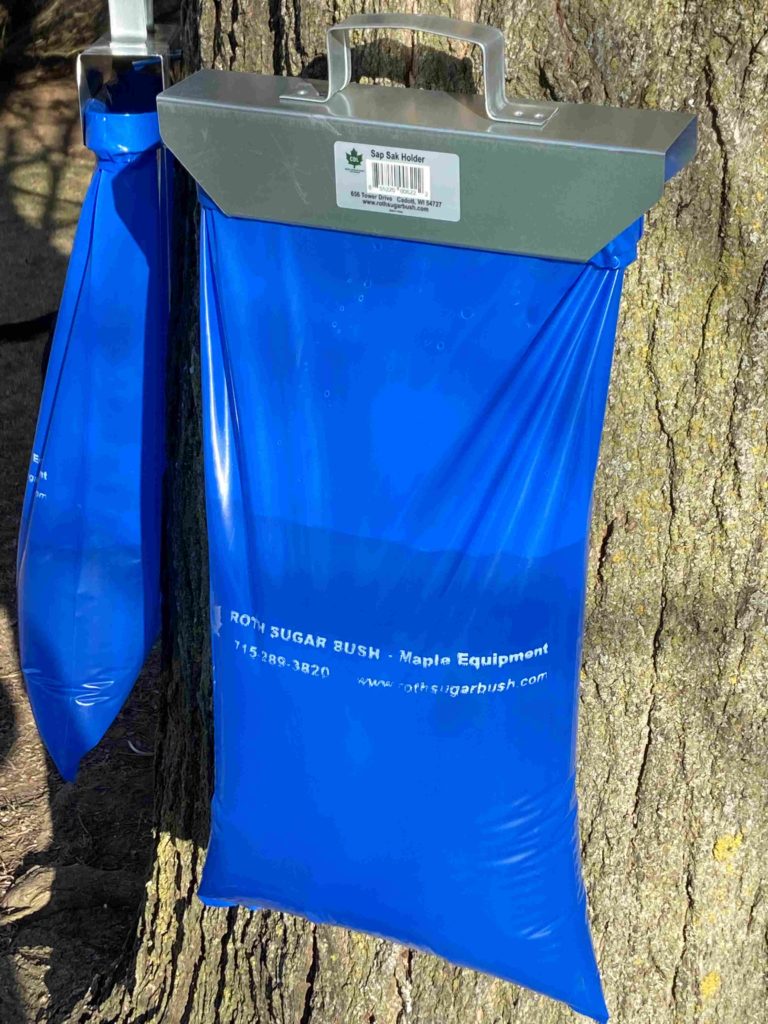
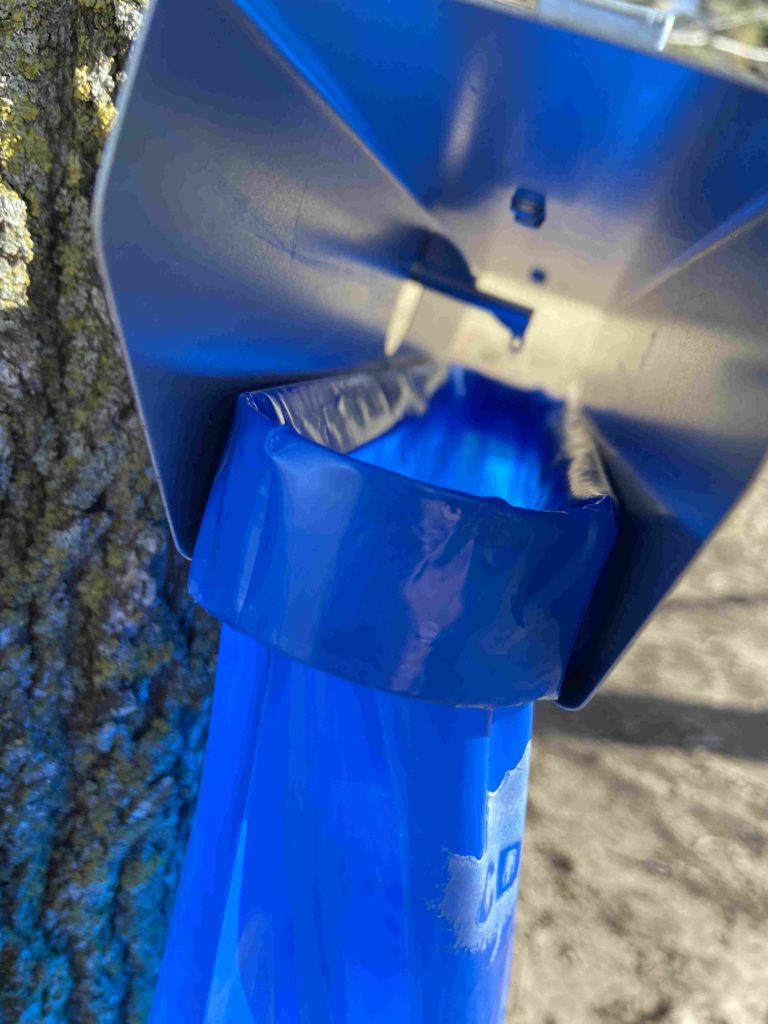
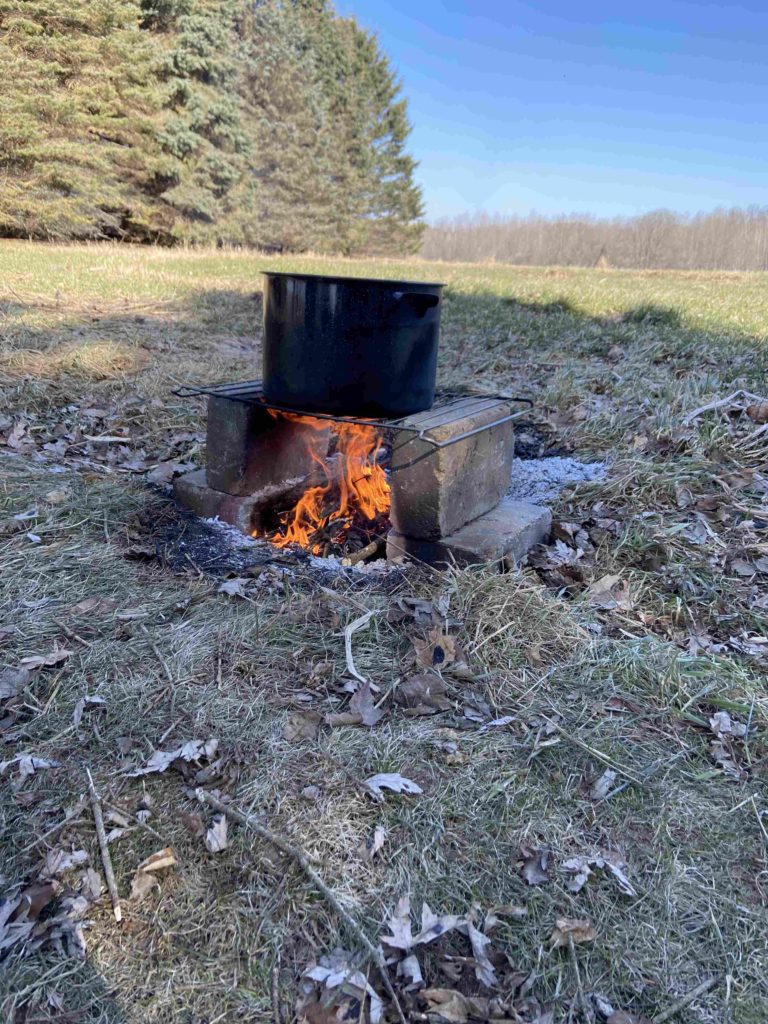
- 3 tablespoons pure maple syrup (Or sub in brown sugar. We just have syrup on hand and I like to use it whenever possible)
- 2/3 cup tomato paste
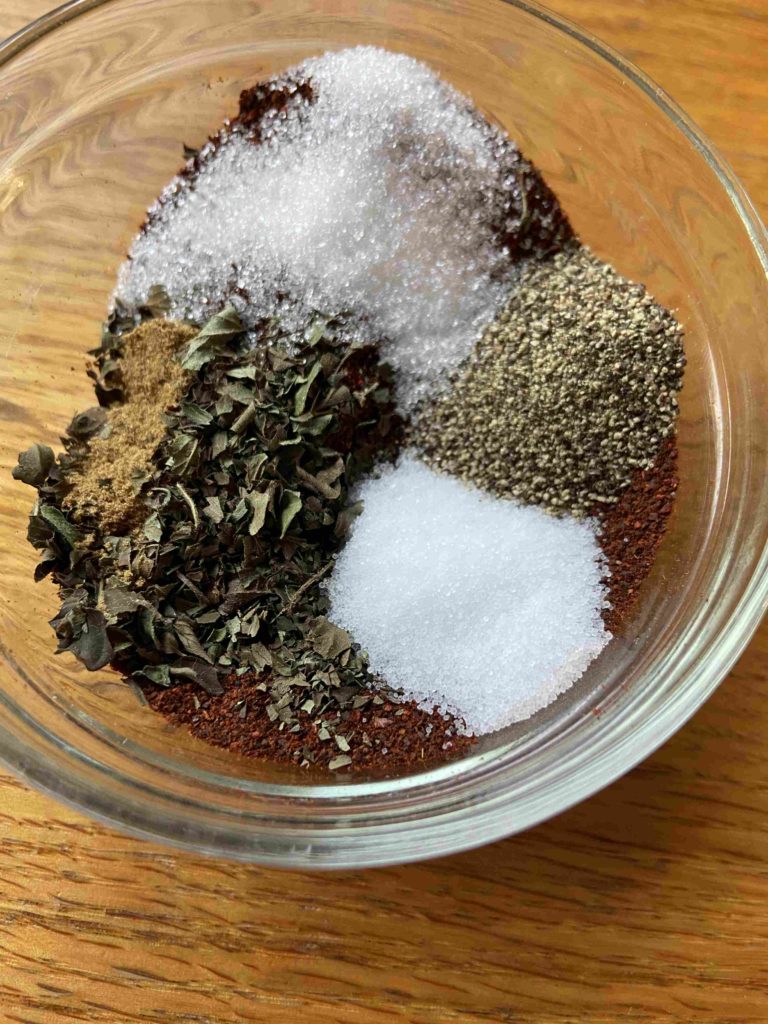
- 1/2 teaspoon pepper
- 1/2 teaspoon Worcestershire sauce
- 1 teaspoon mustard powder
- 1/4 cup ketchup
- 1 tablespoon white vinegar
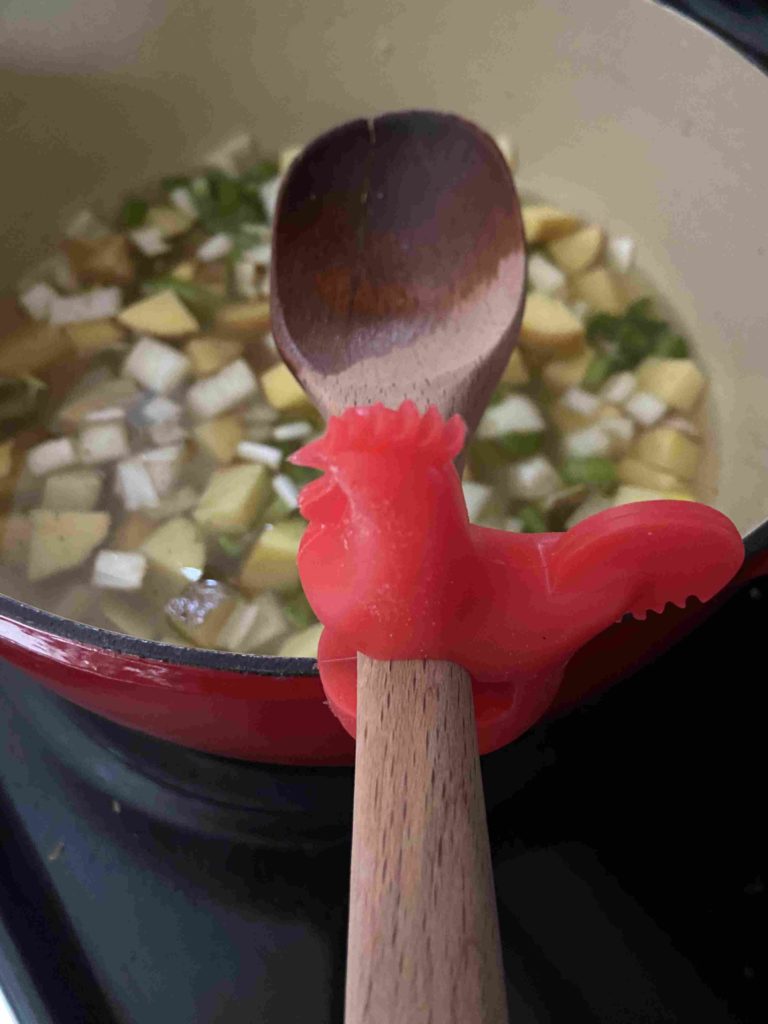
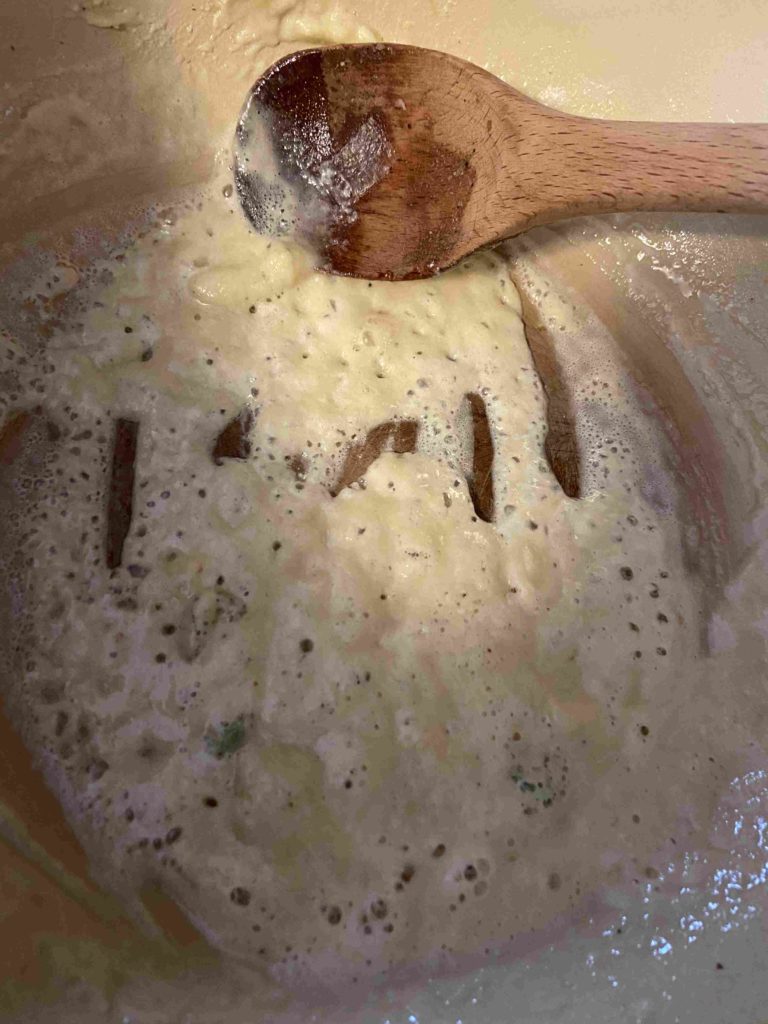
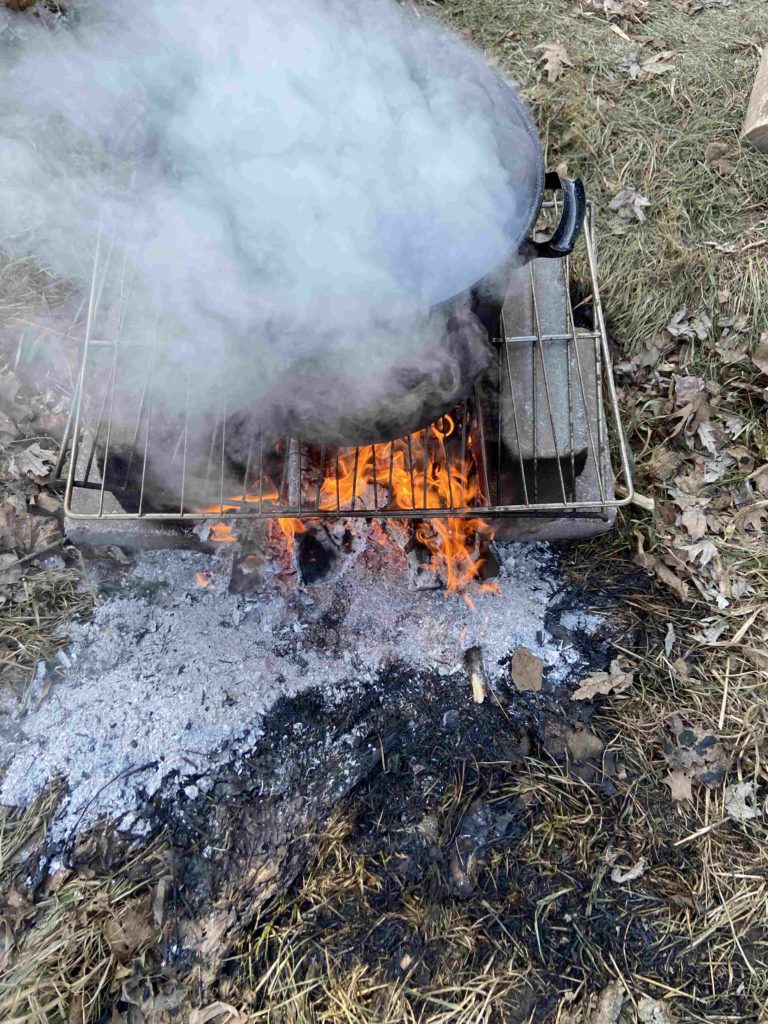
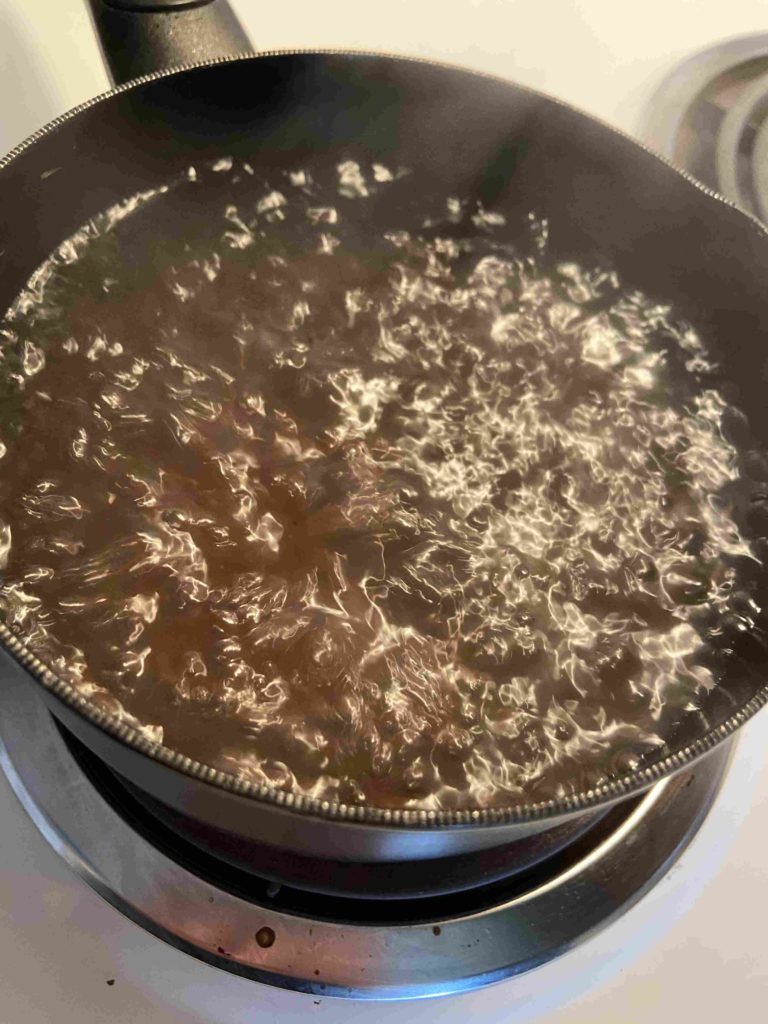
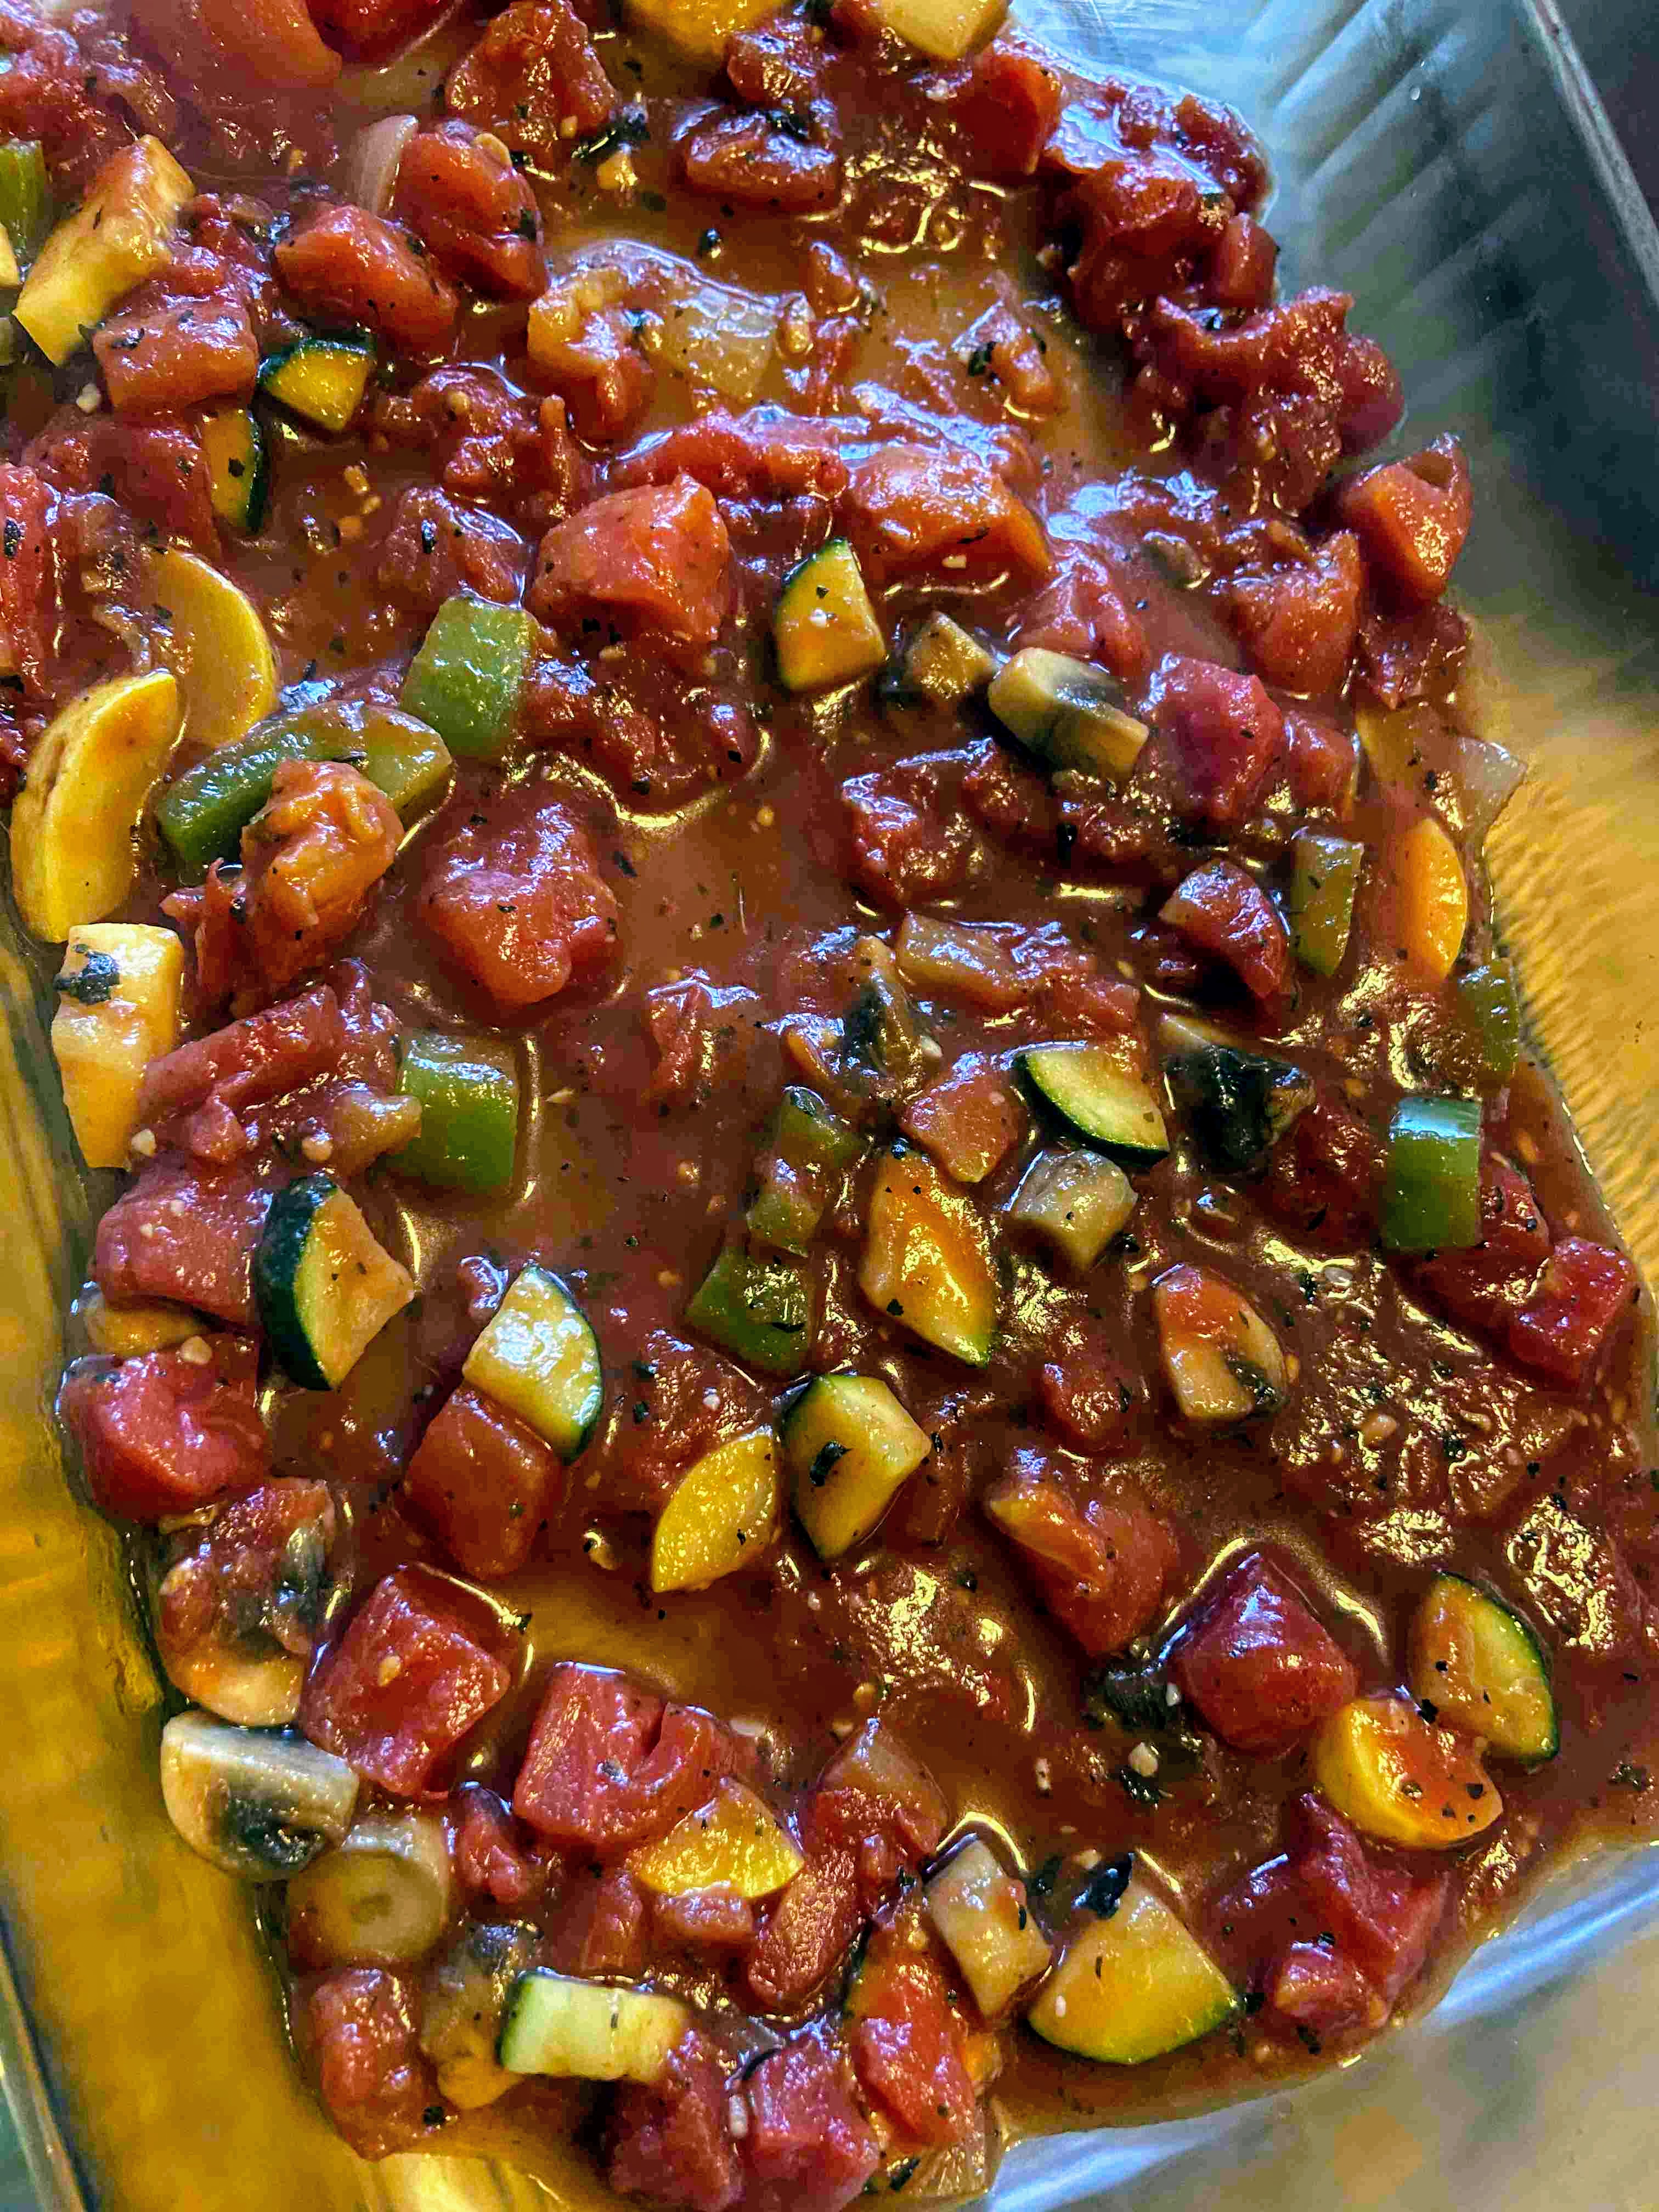
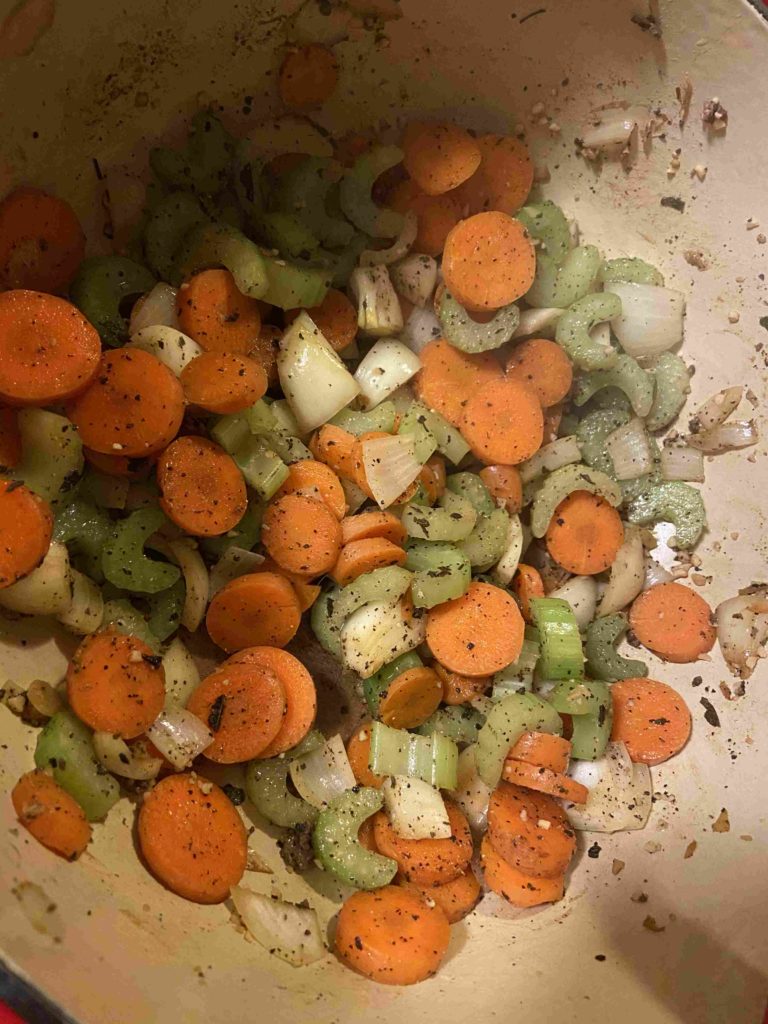
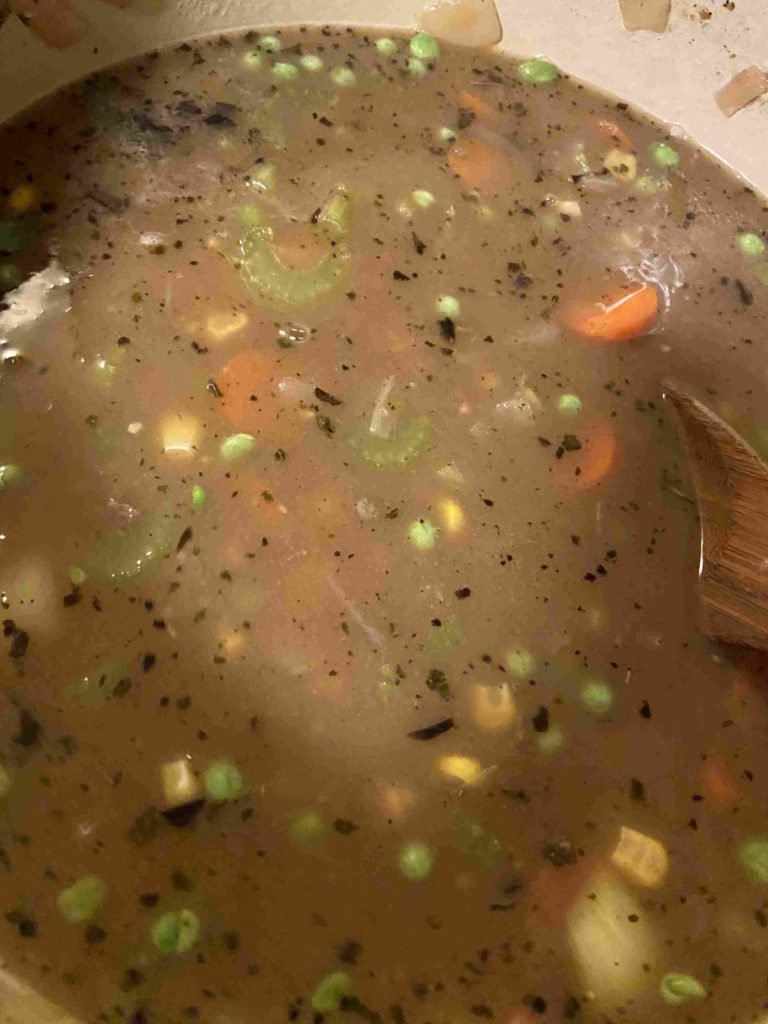
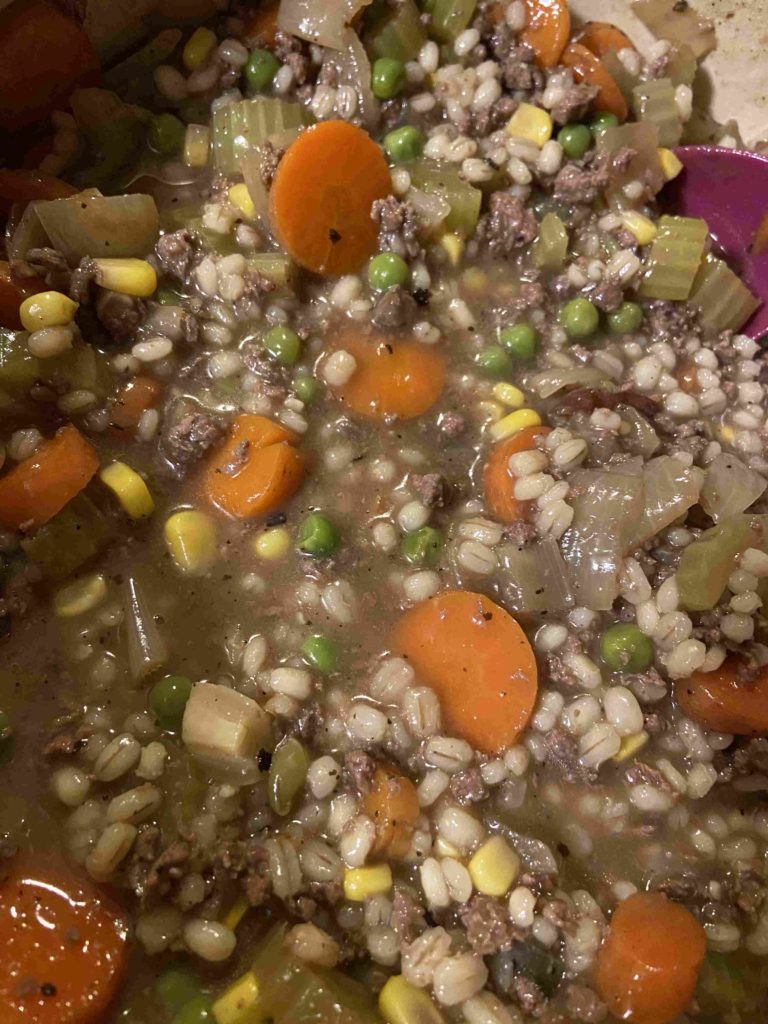
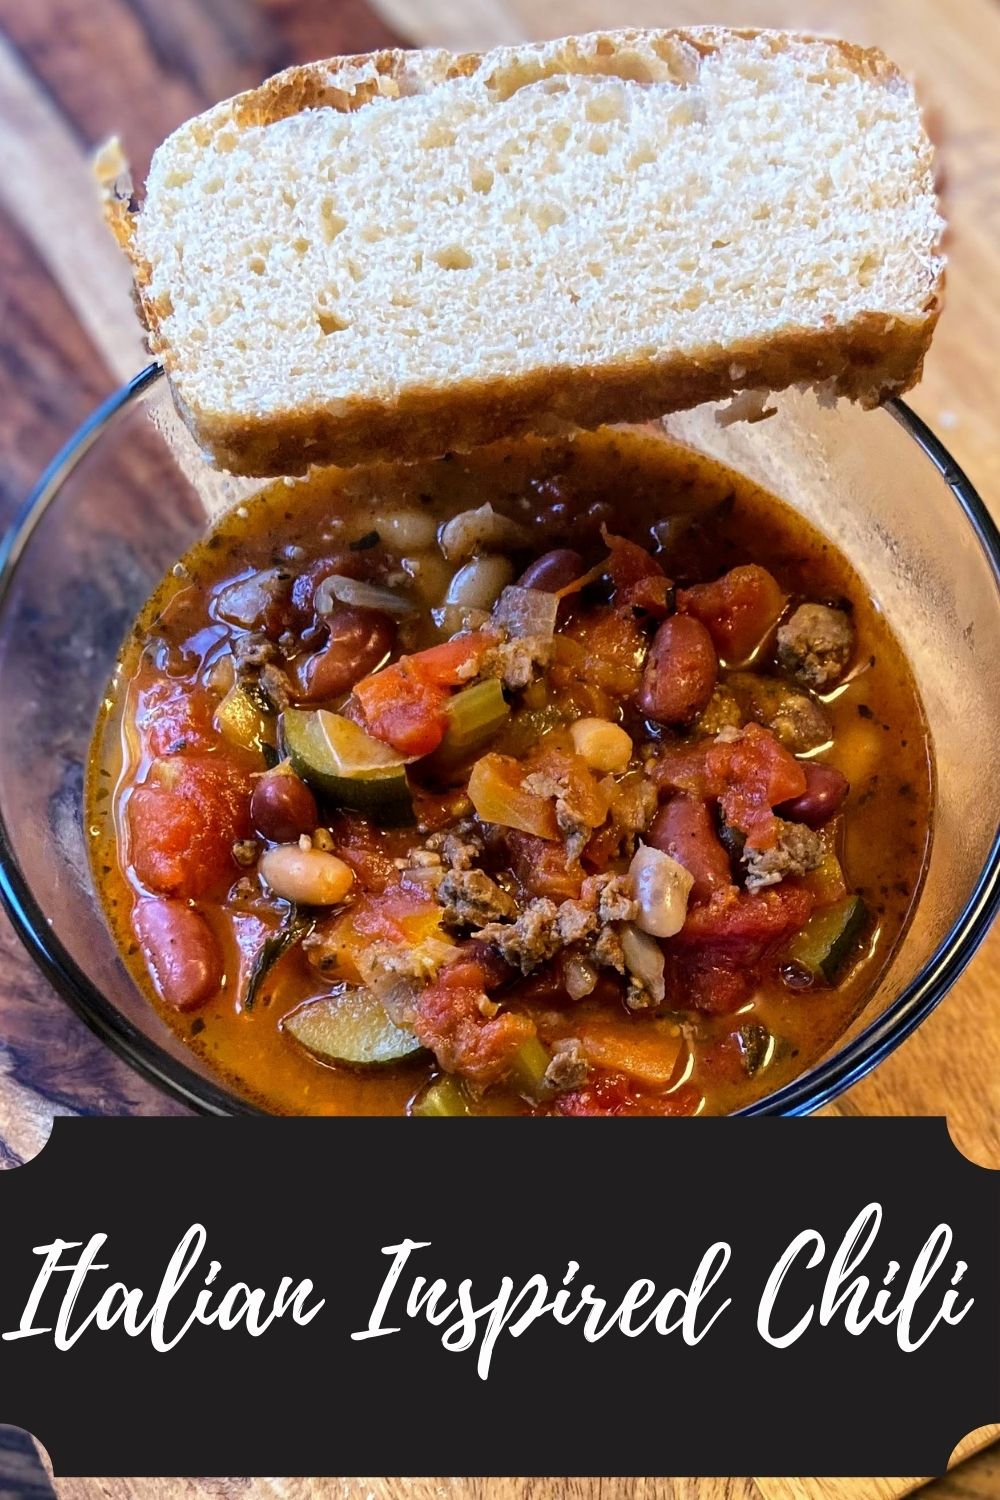
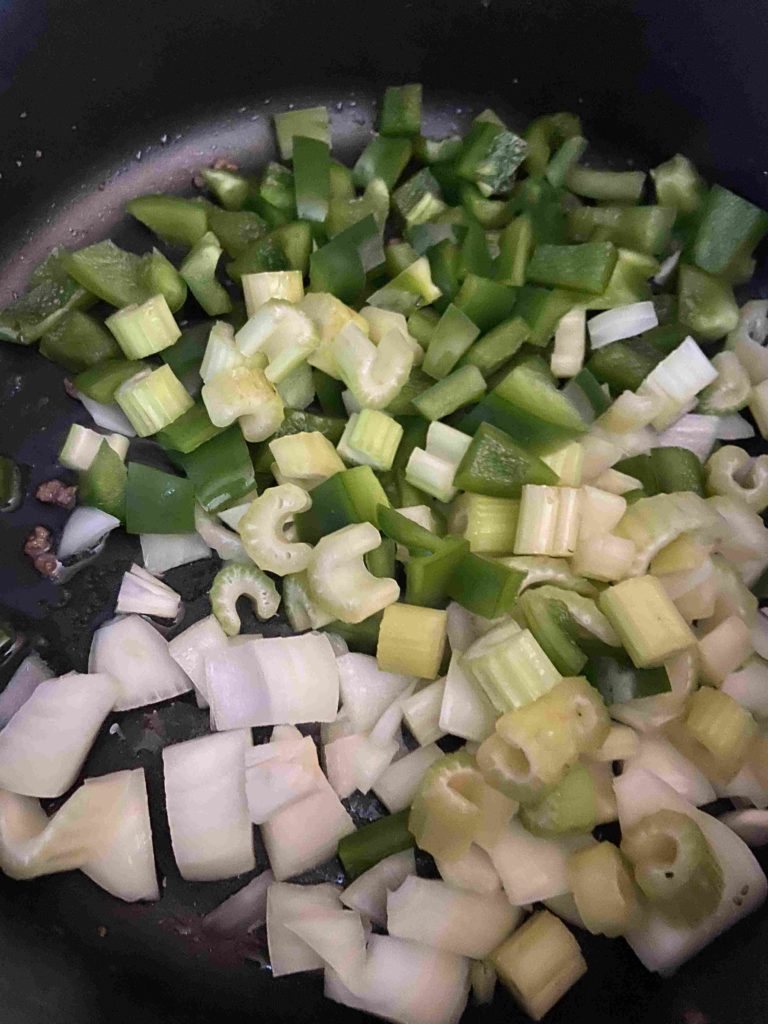
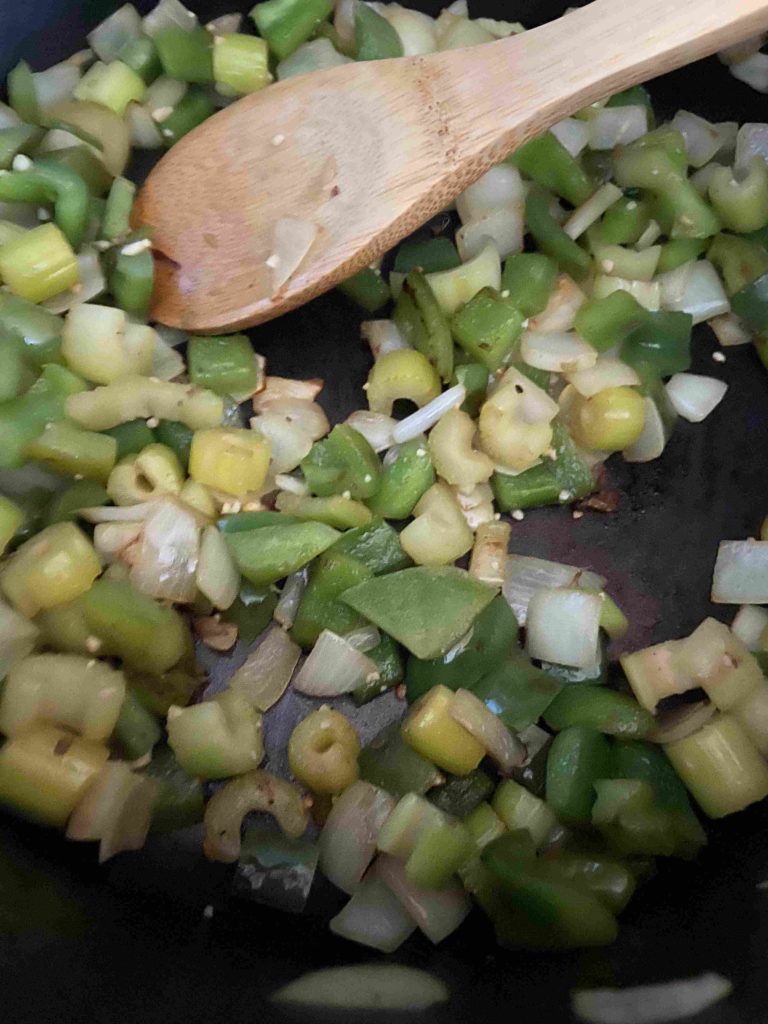
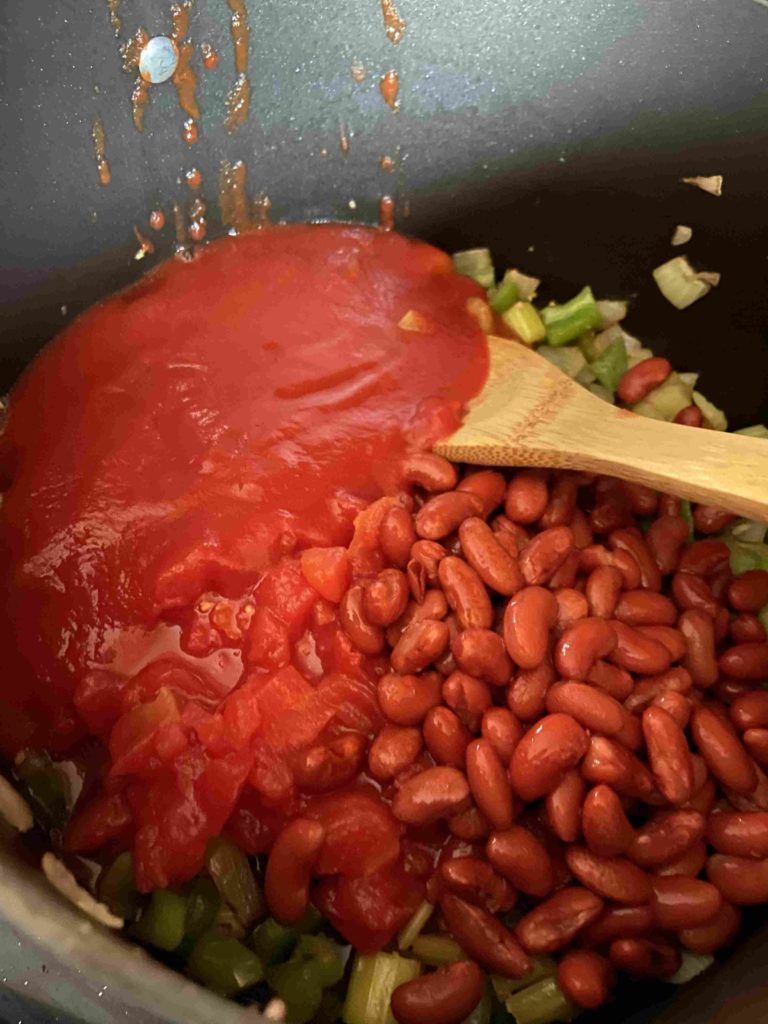
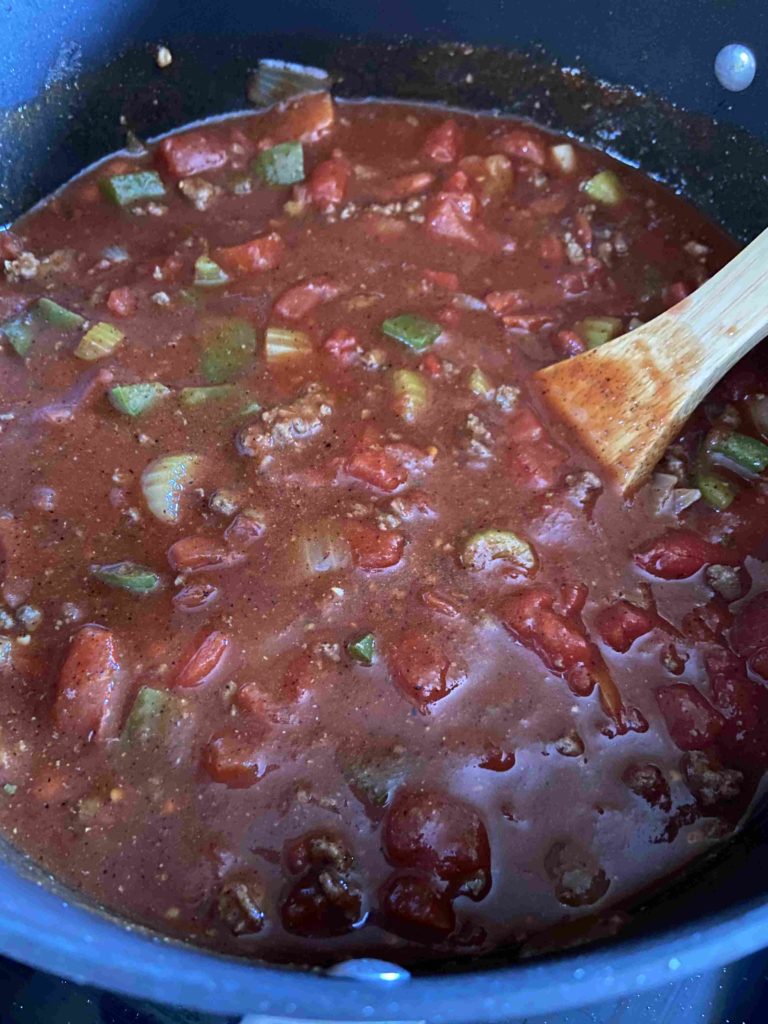
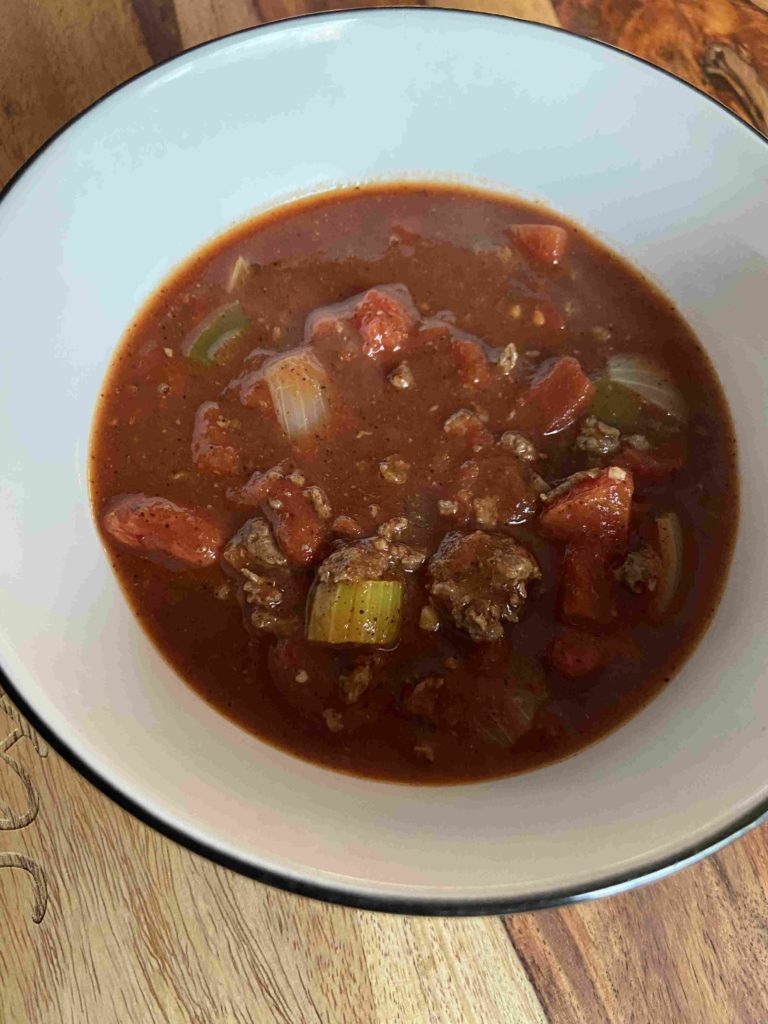
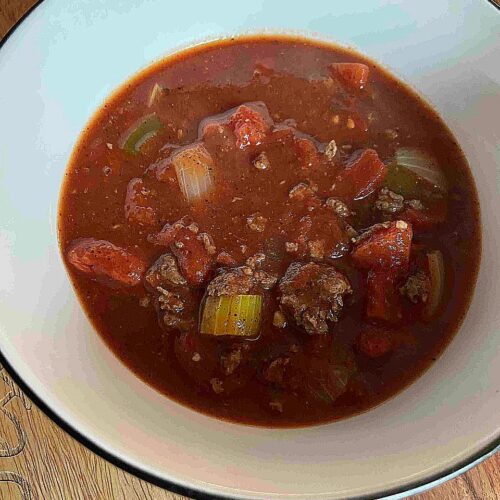
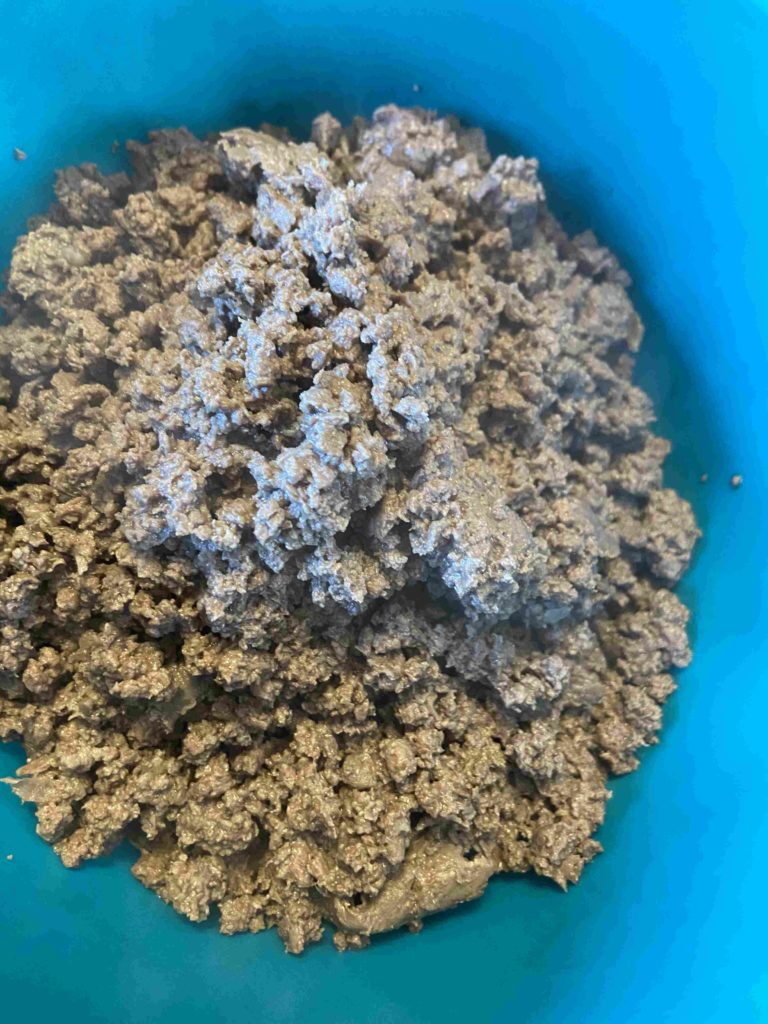
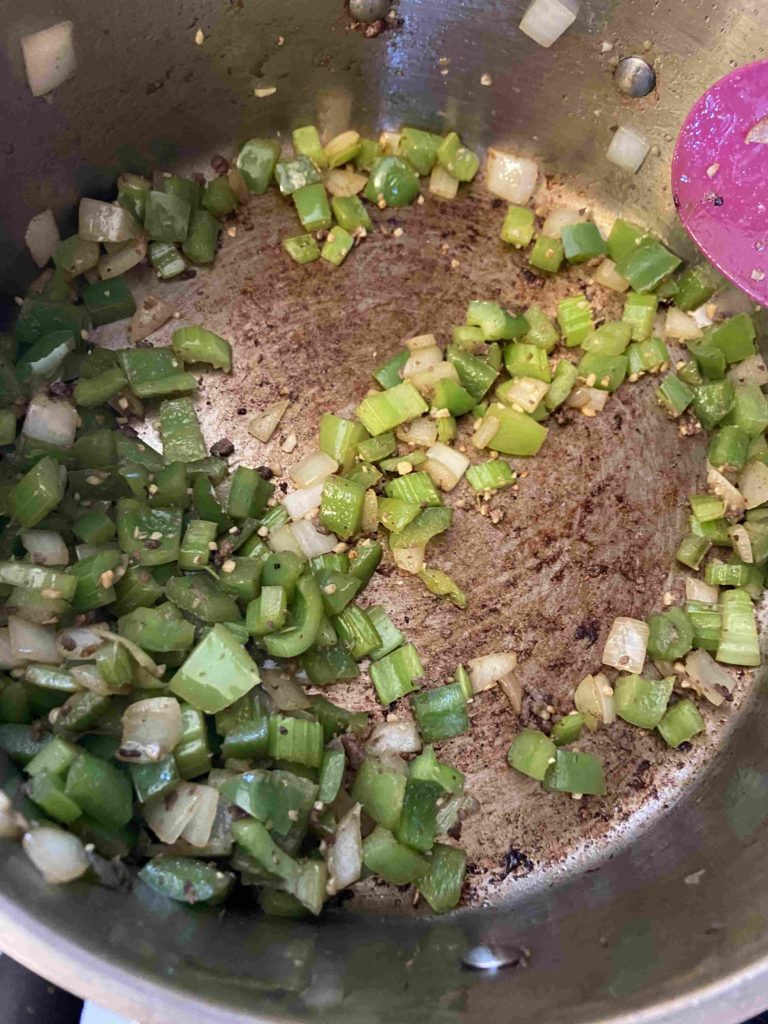
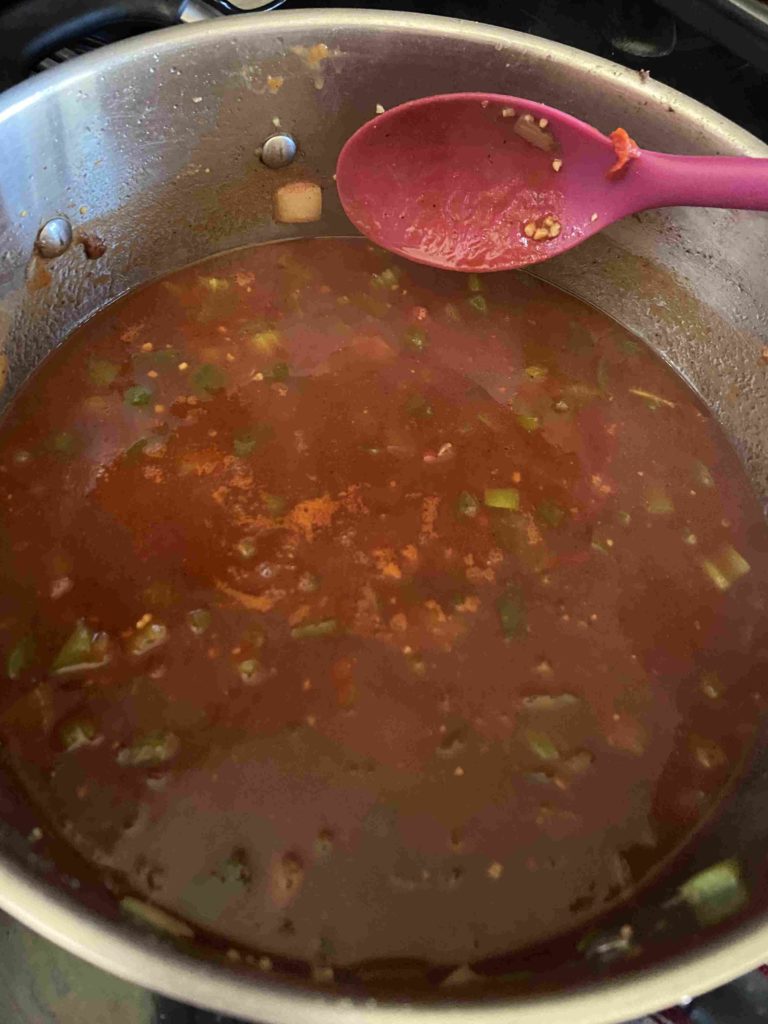
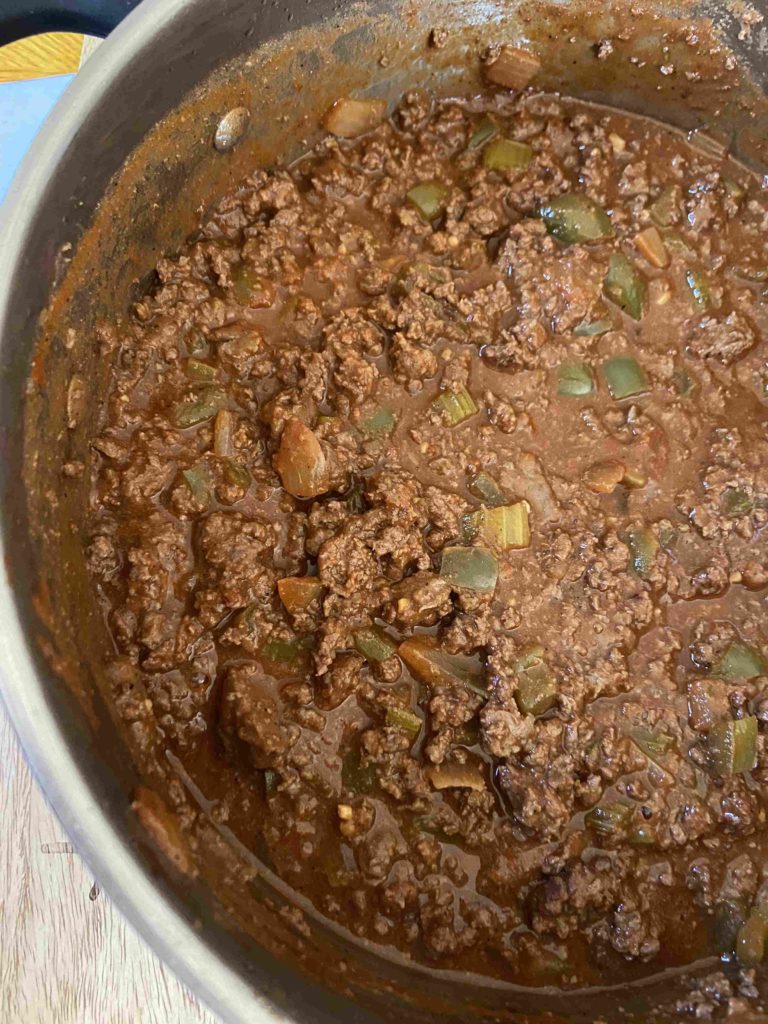
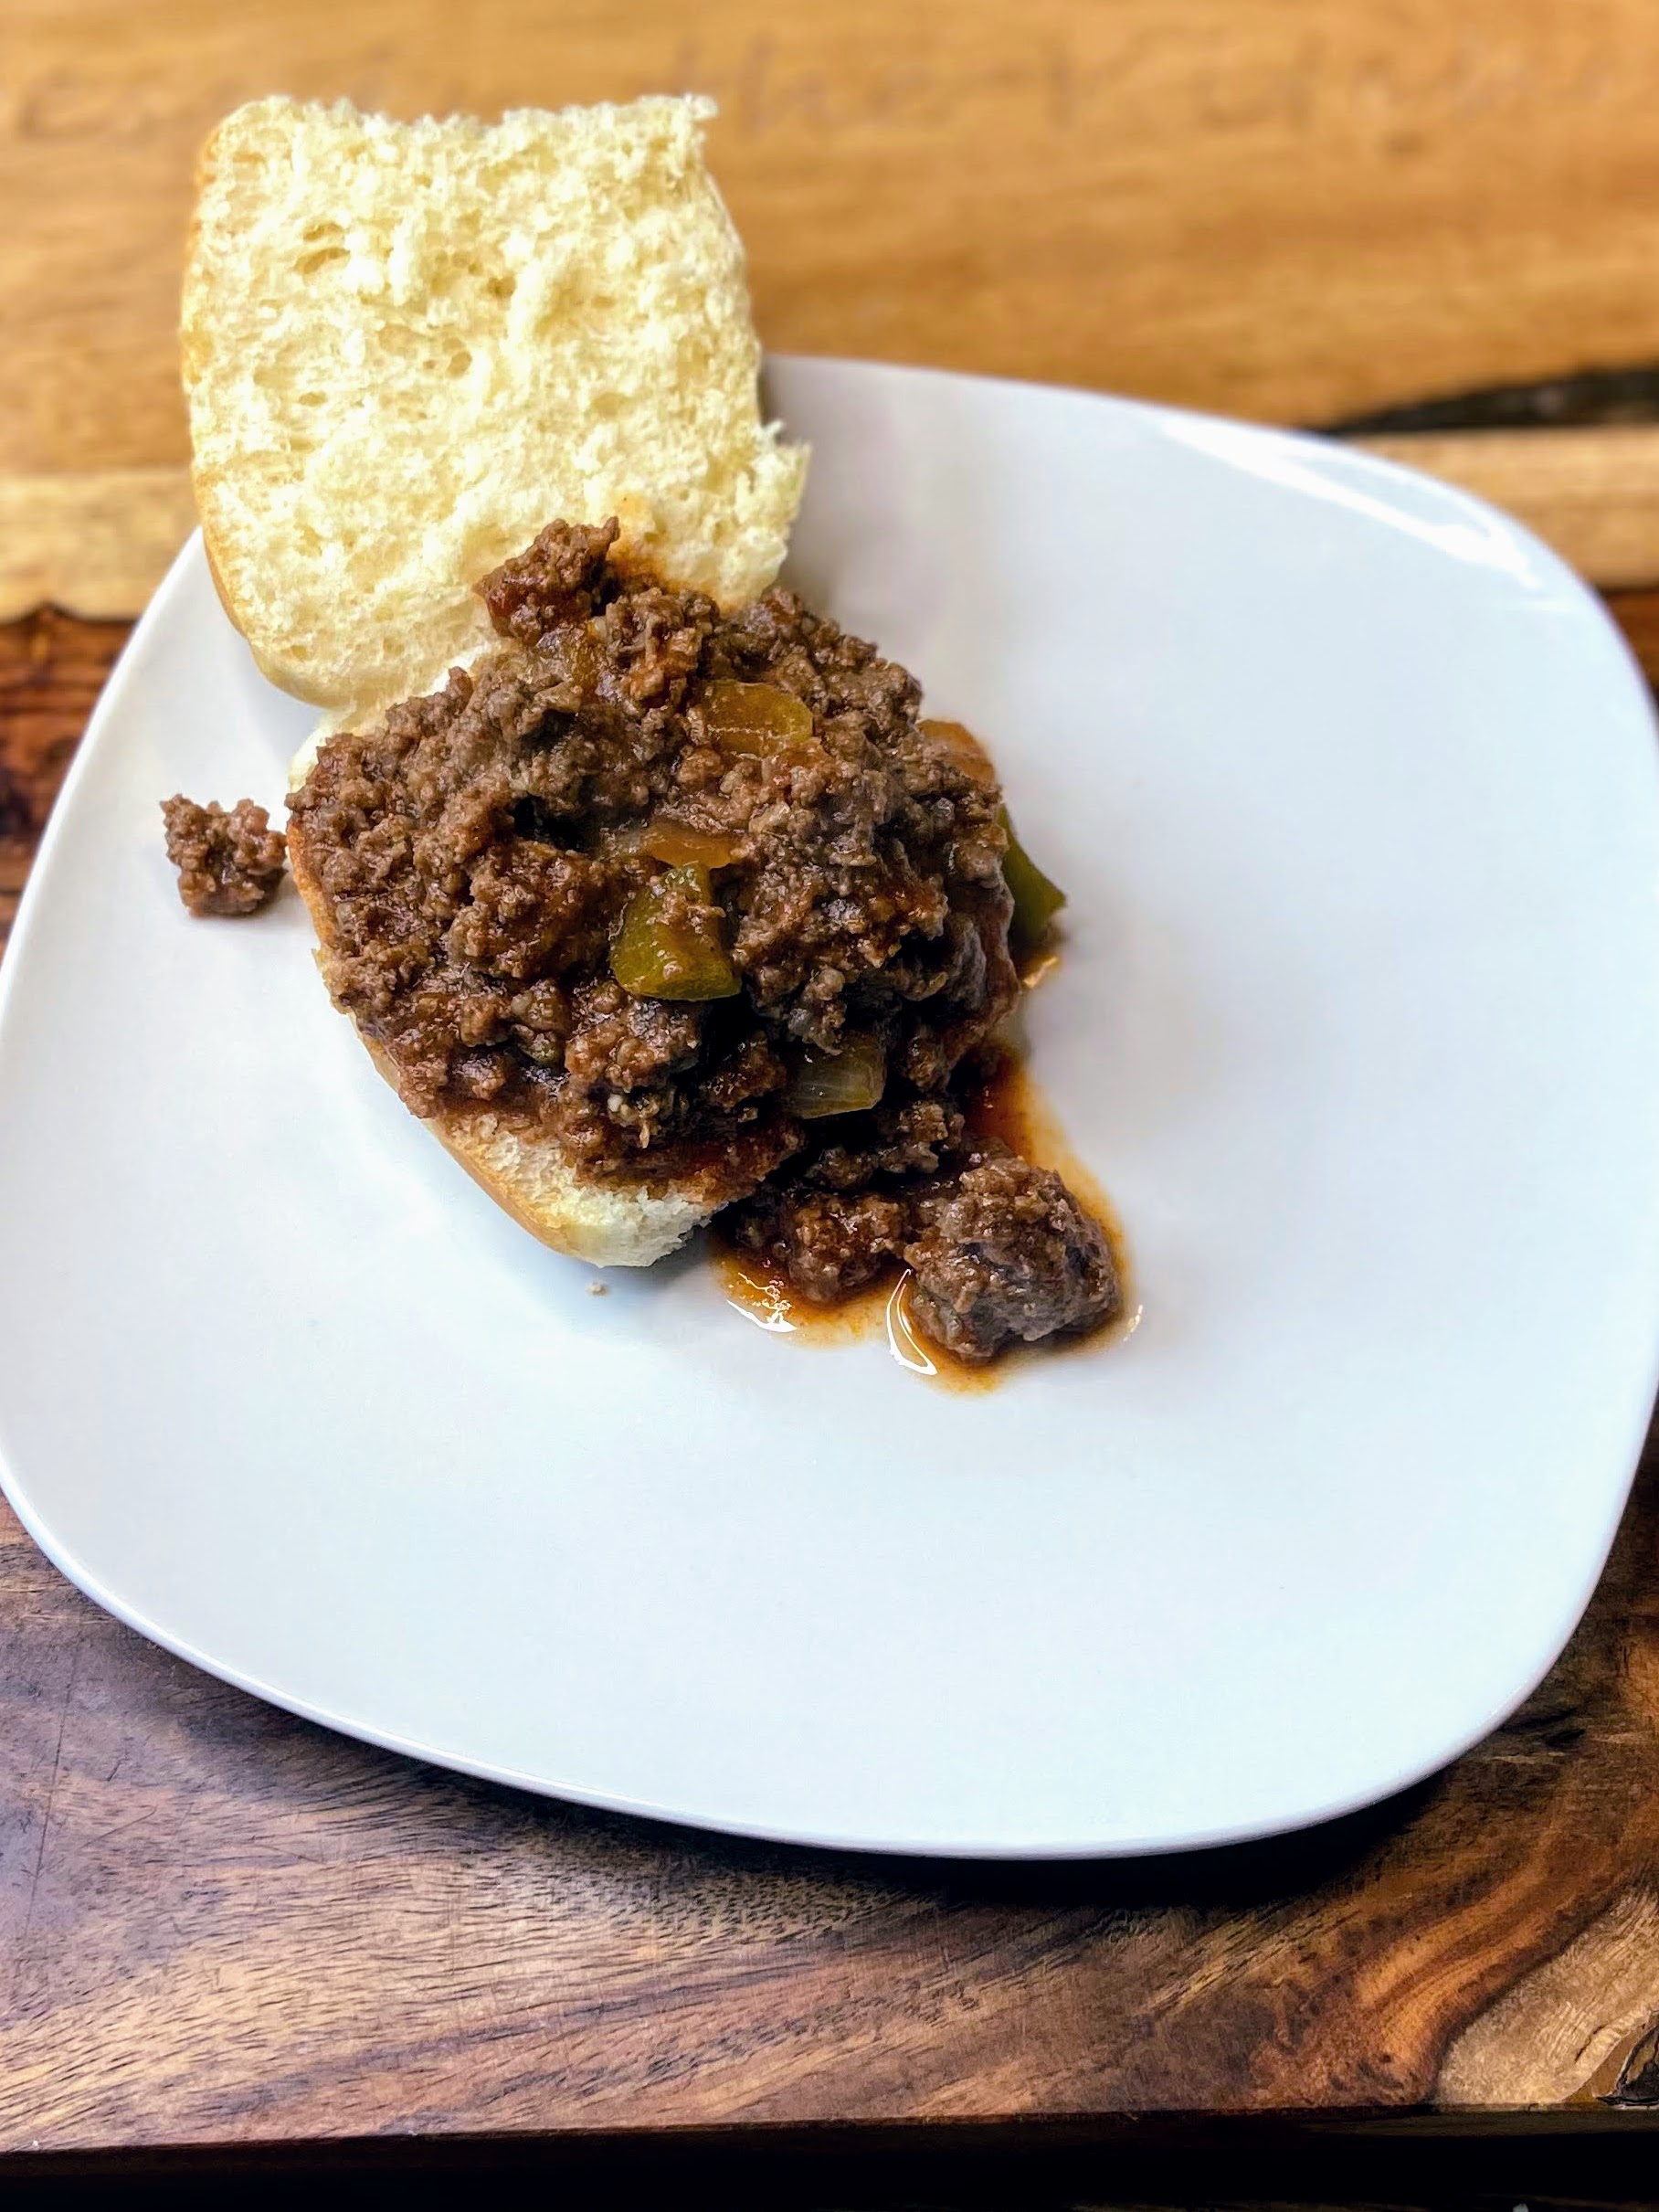
Brown ground meat in a large sauté pan. Remove and set aside in a bowl. If your protein is lean like venison is, add and heat the olive oil to the pan. Add pepper, onion, celery, and garlic. Sauté for 5-10 minutes, until soft. Stir in remaining ingredients and heat to boiling. Bring down to a simmer, stir in the browned meat, and simmer for 40 minutes over low-medium heat. And just like that, you have delicious, from scratch Sloppy Joe’s! Now for the rolls (After Sloppy Joe pictures of course 🙂 )

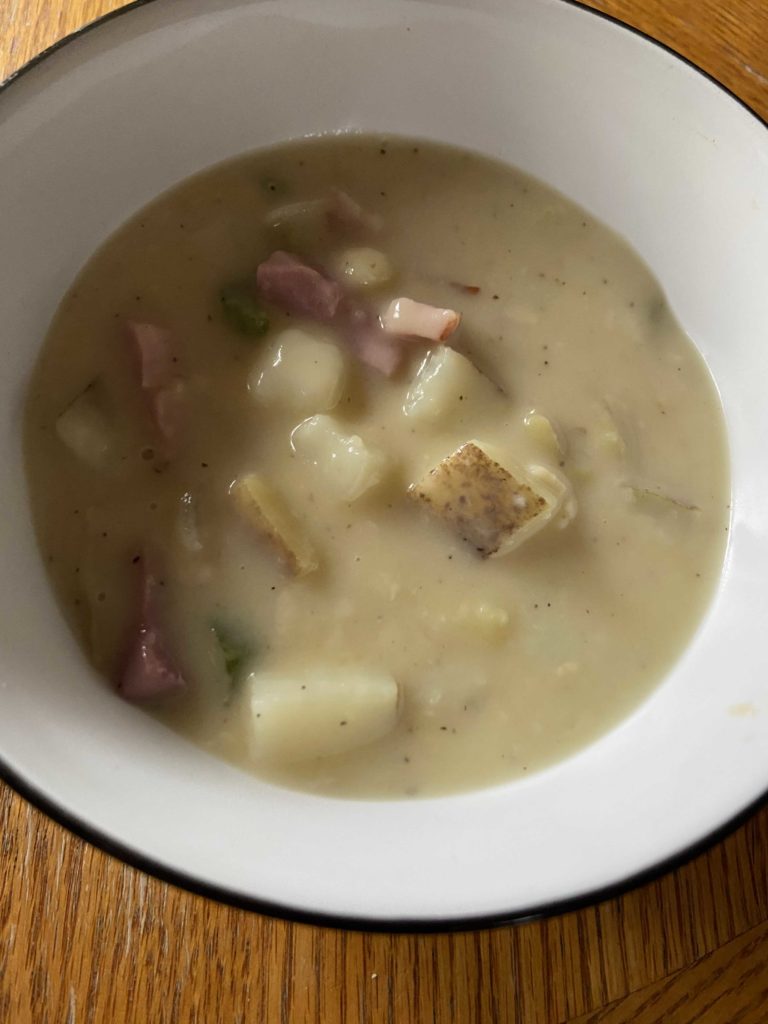
Brown it up ! Dice up those veggies! Get the cook on! Looks thin, but let it simmer! So good!
From Scratch Dollar rolls
My inspiration came from Cooking with Curls, but I modified her recipe just a touch to suit my own taste. You can find her original post here. Here’s how I put mine together:
Your ingredients:
- 1 tablespoon instant yeast
- 1 cup hot water (110-115 degrees Fahrenheit)
- 2 tablespoons sugar (This has total flexibility though. I accidentally did 2 teaspoons the other day and they turned out fine. The original recipe calls for 4 tablespoons)
- 1 large egg, beaten
- 3 1/2 cups all purpose flour
- 1 1/4 teaspoon salt
- 2-3 tablespoons butter, divided (1 tablespoon softened and remaining melted to brush on top of the rolls prior to baking)
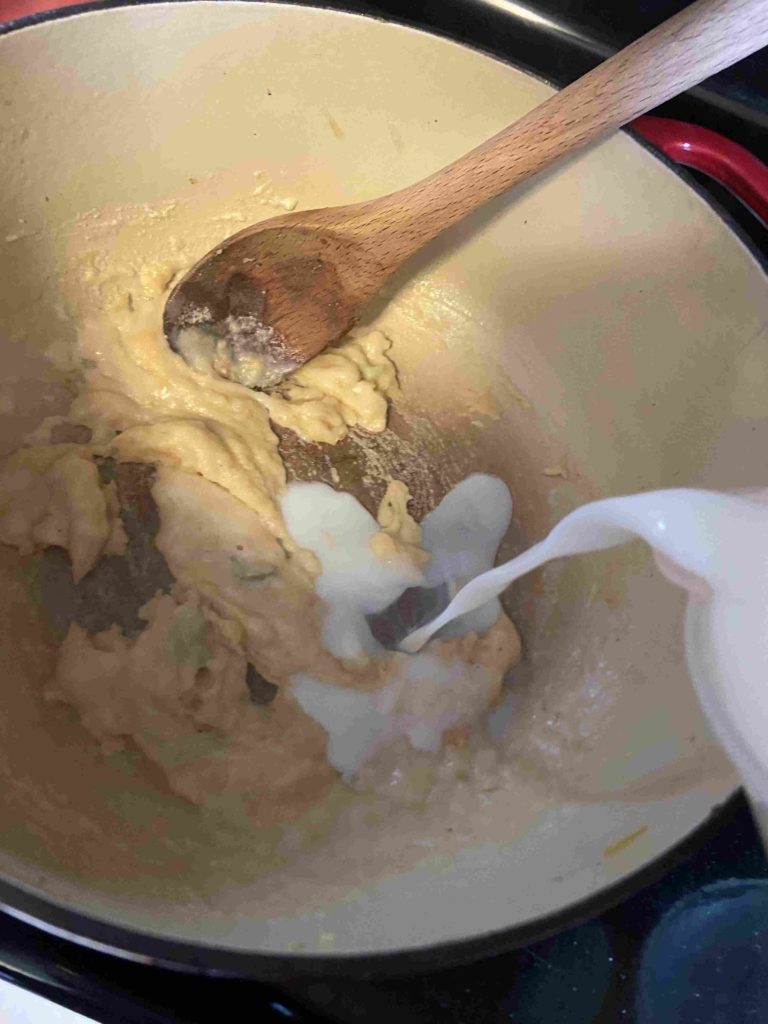
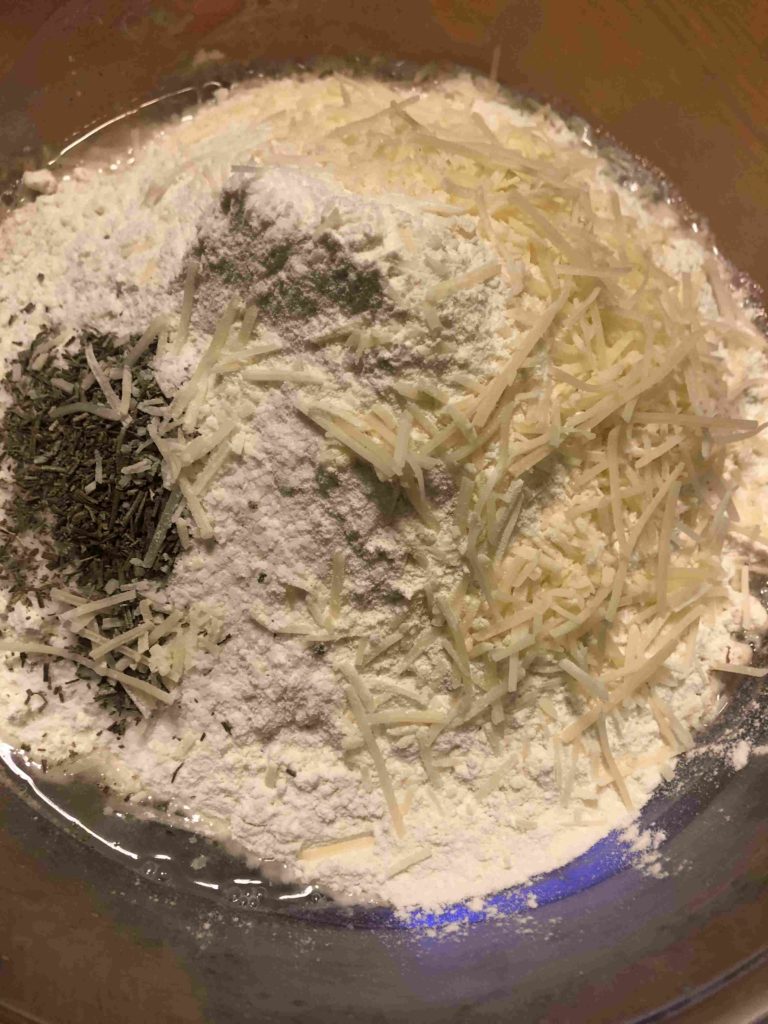
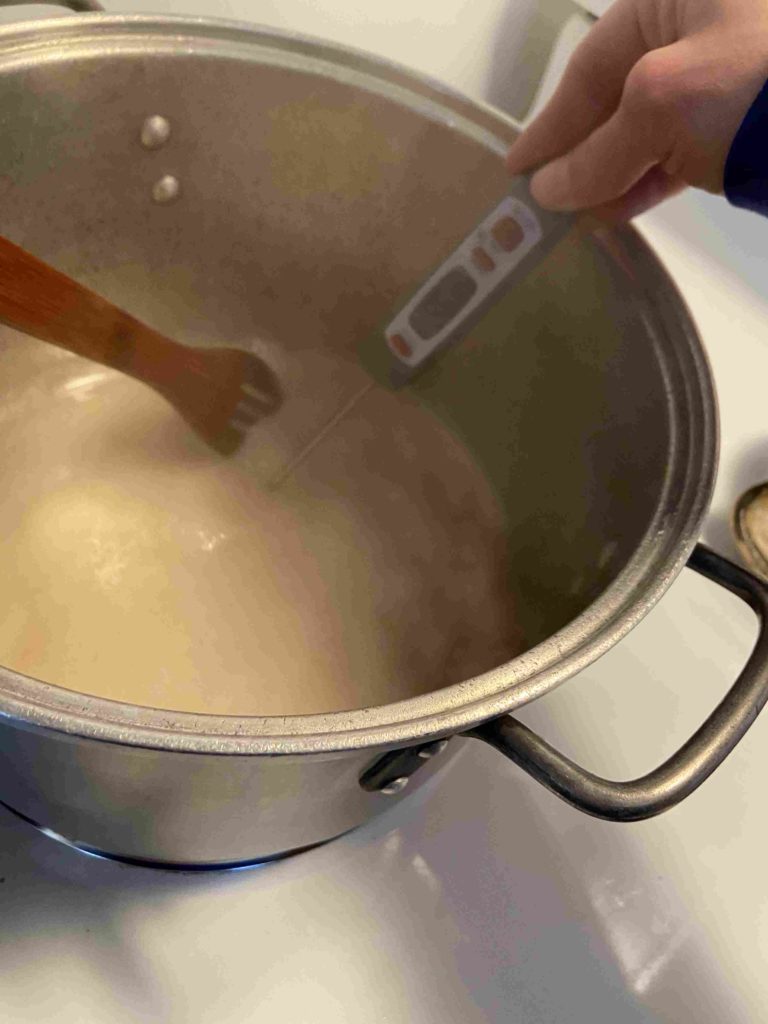
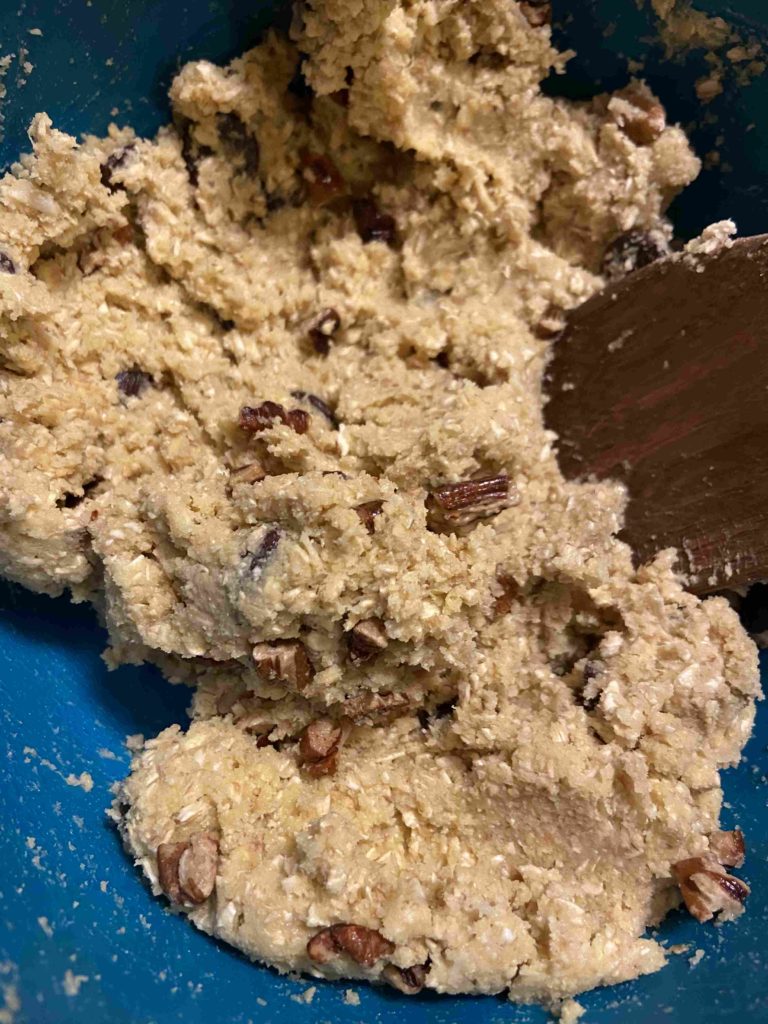
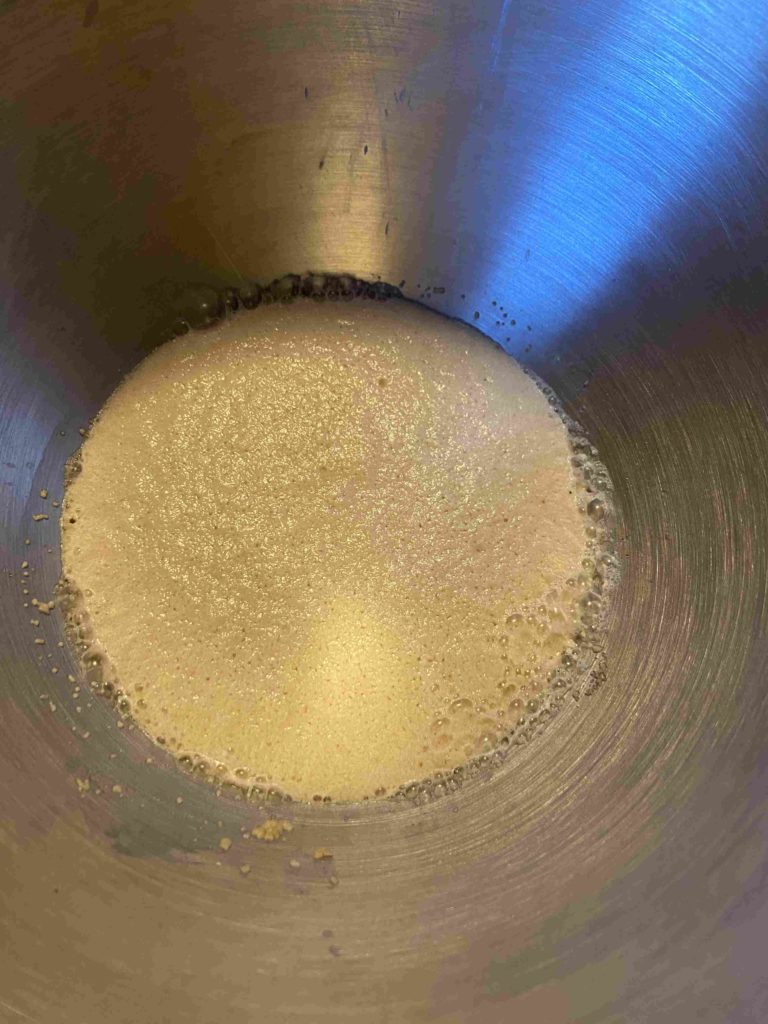
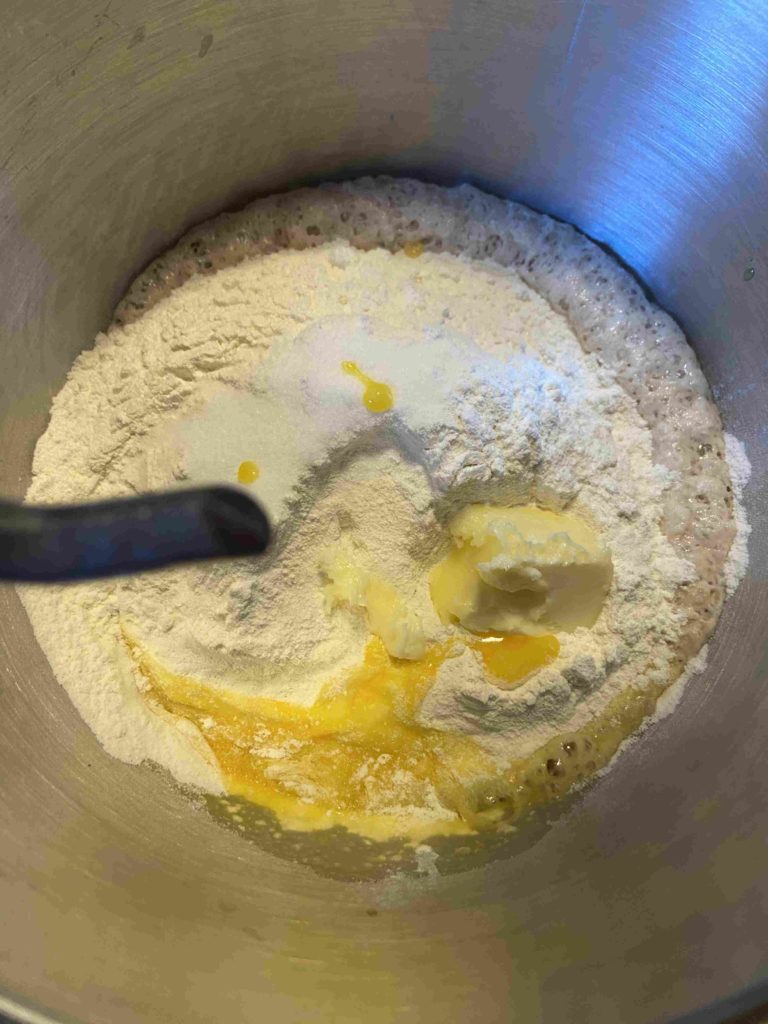
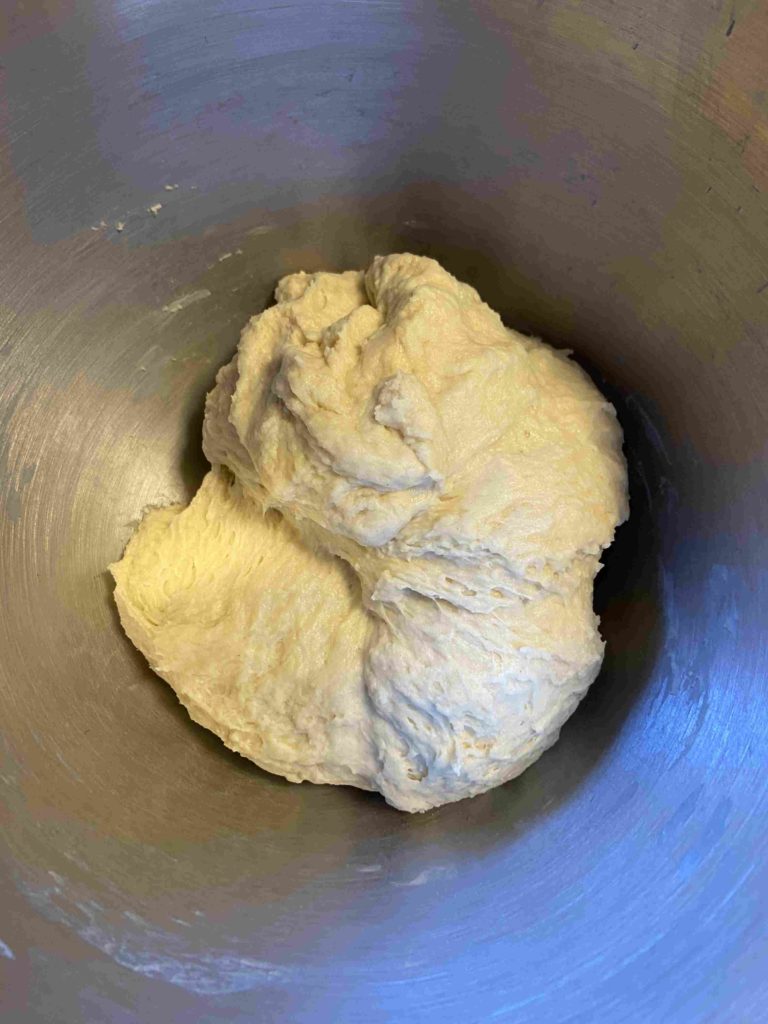
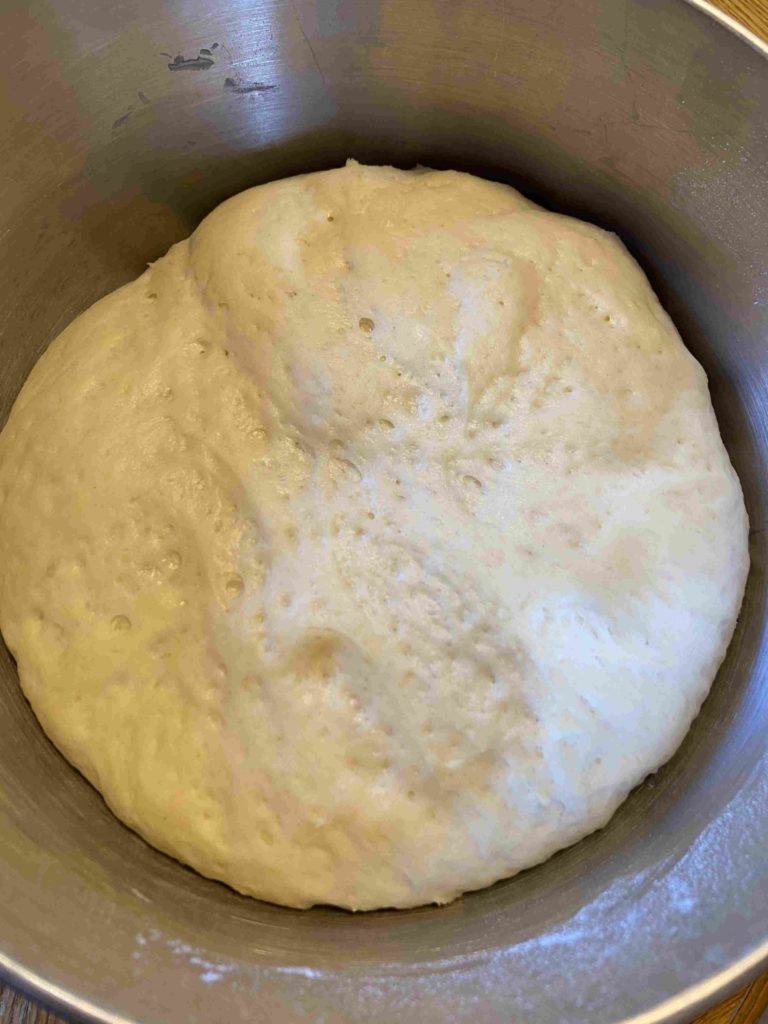
In a stand mixer bowl, add yeast, sugar, and hot water. Allow to proof for five minutes. Stir in egg, flour, salt, and one tablespoon softened butter. From here, allow stand mixer to mix the ingredients on a low speed for 4 minutes, until a soft dough is formed. Cover the bowl and allow to rest and rise for an hour and a half.
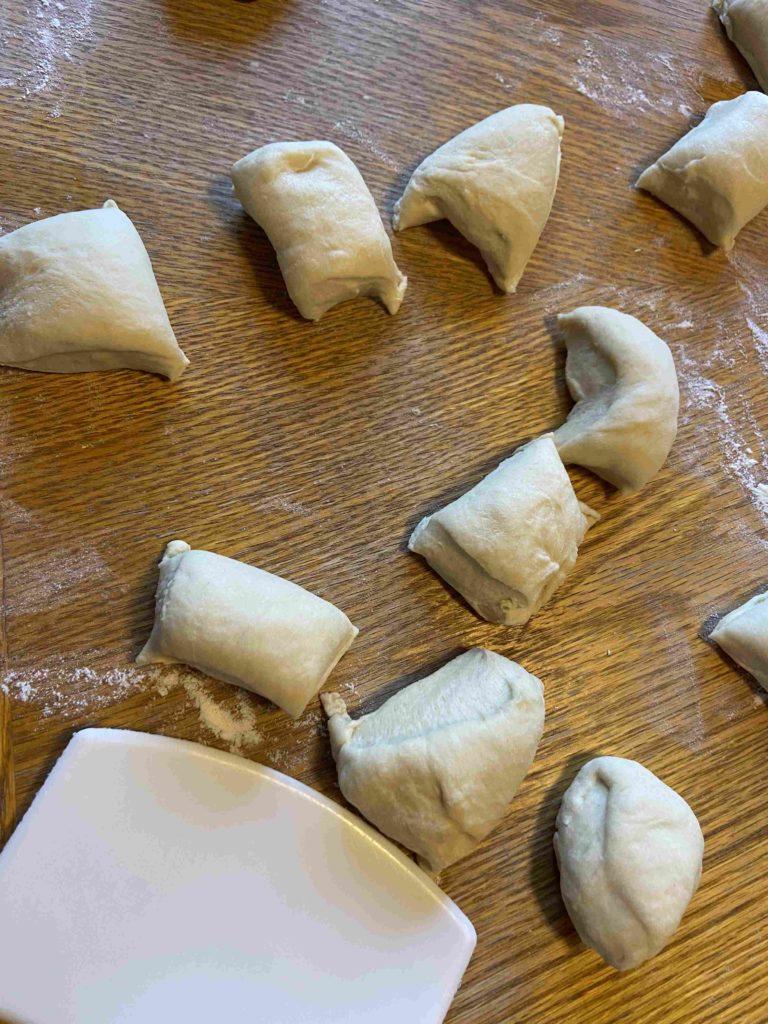
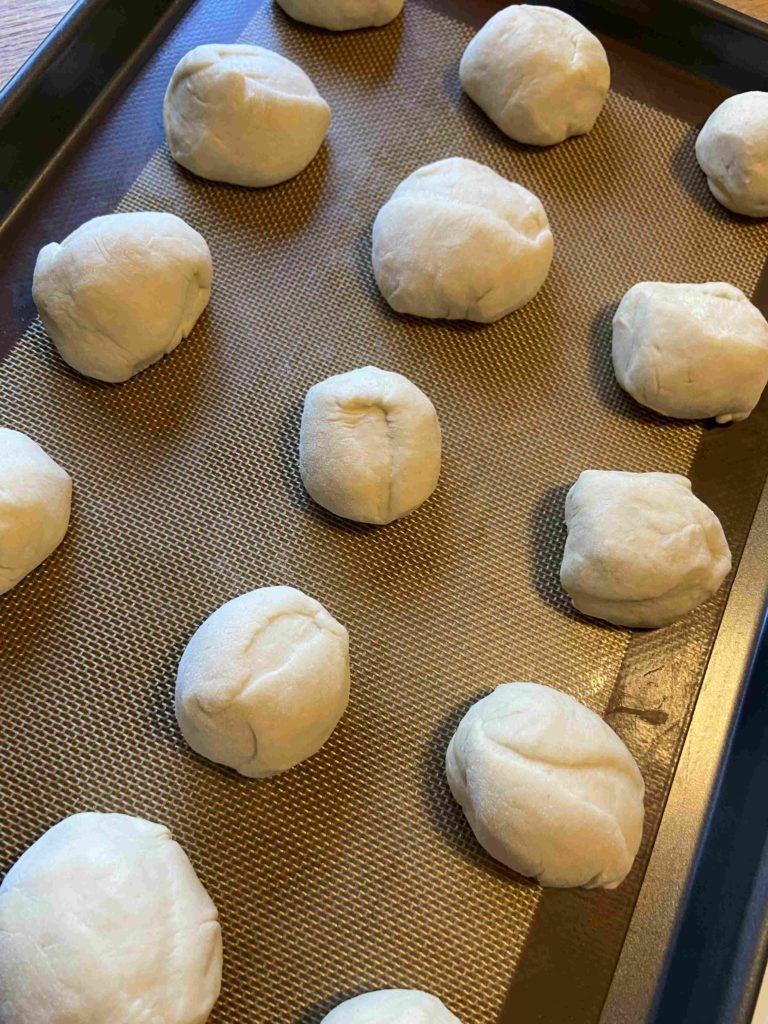
After the dough has risen, turn the dough out onto a lightly floured surface. Cut dough into 9-16 equal pieces, depending on your family likes their rolls. We dig smaller rolls, we we went for 16. Place on a jelly roll pan lined in parchment paper or silicone cookie sheet liners. Cover and allow them to rest an additional hour, until they double in size.
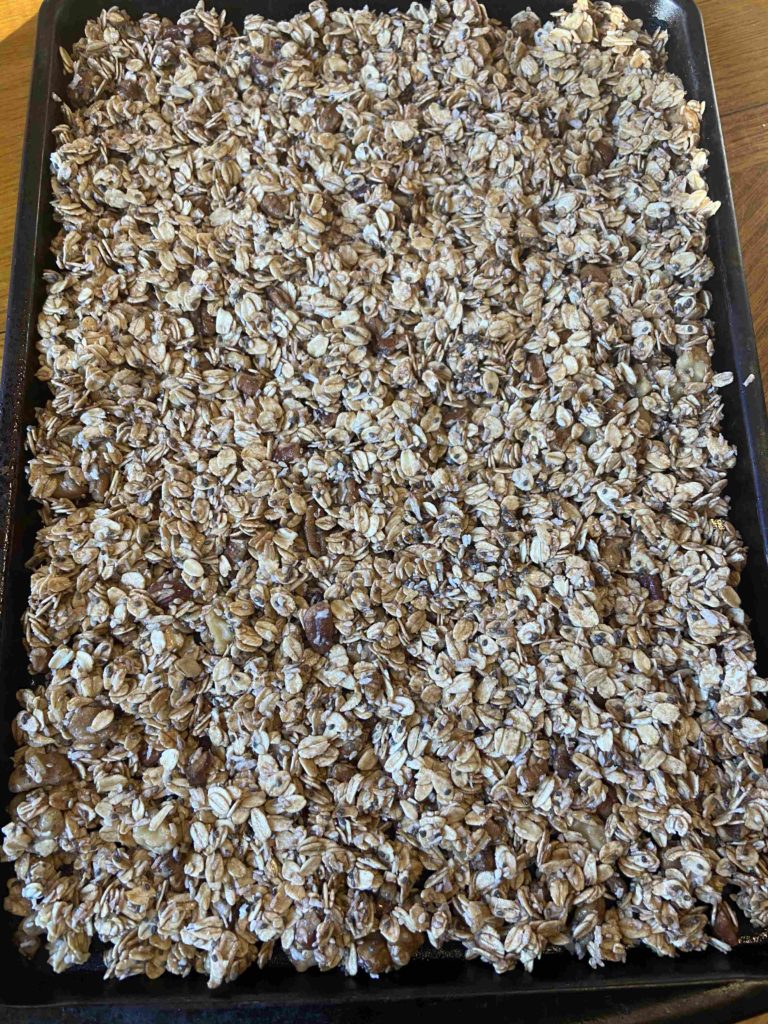
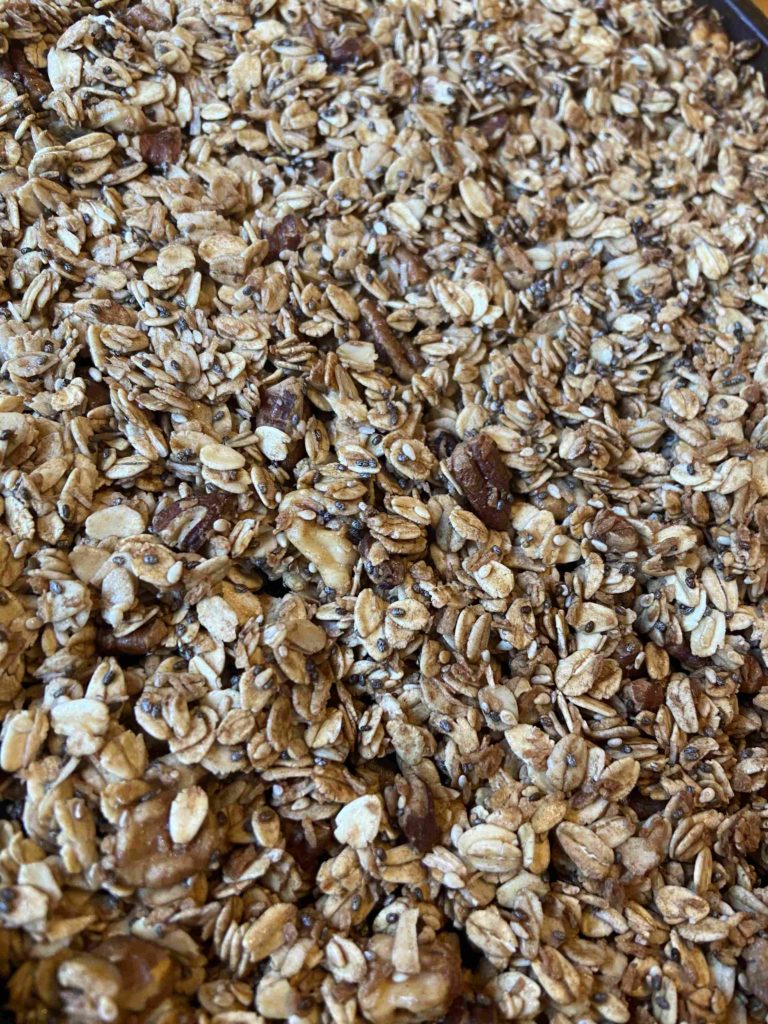
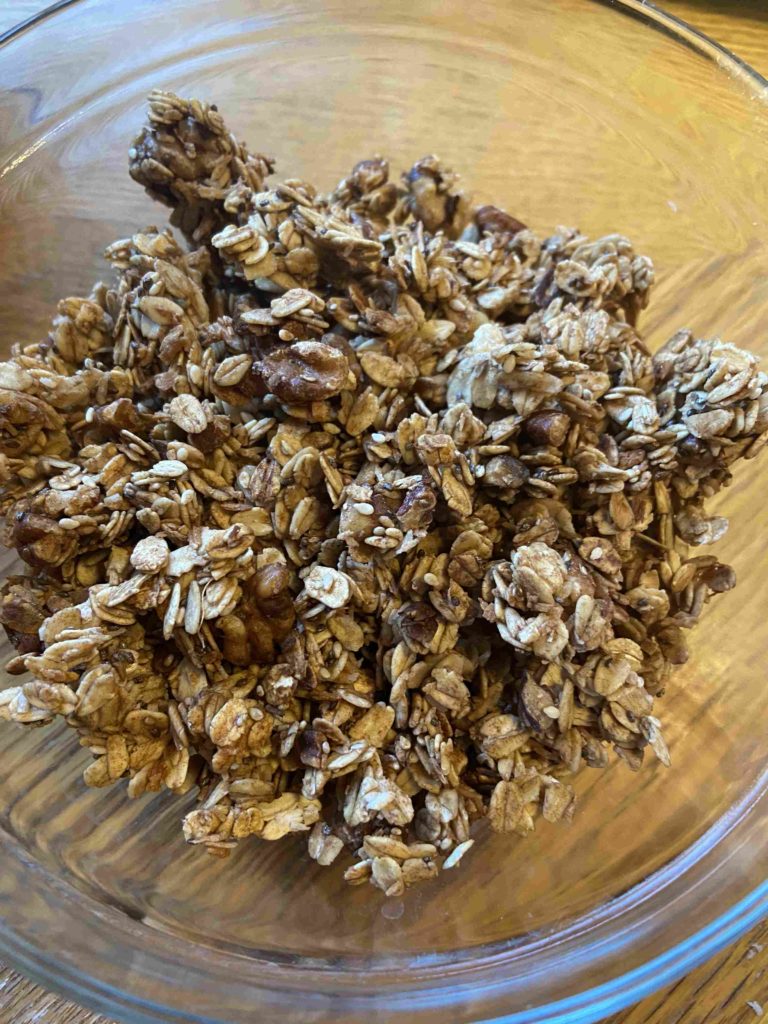
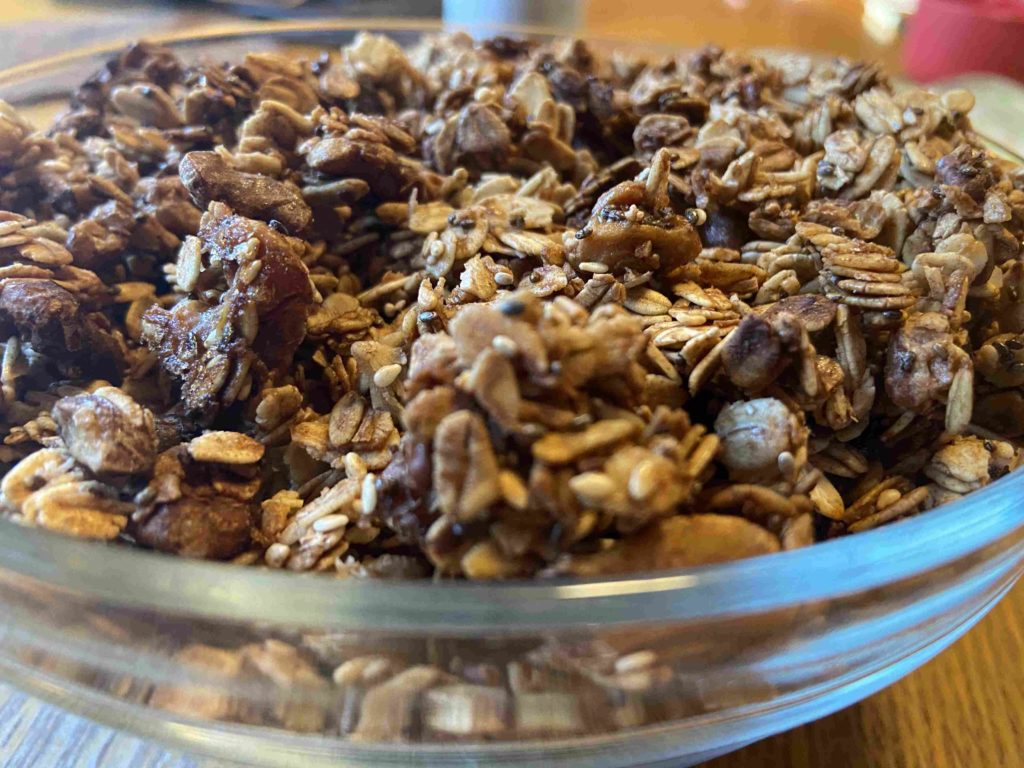
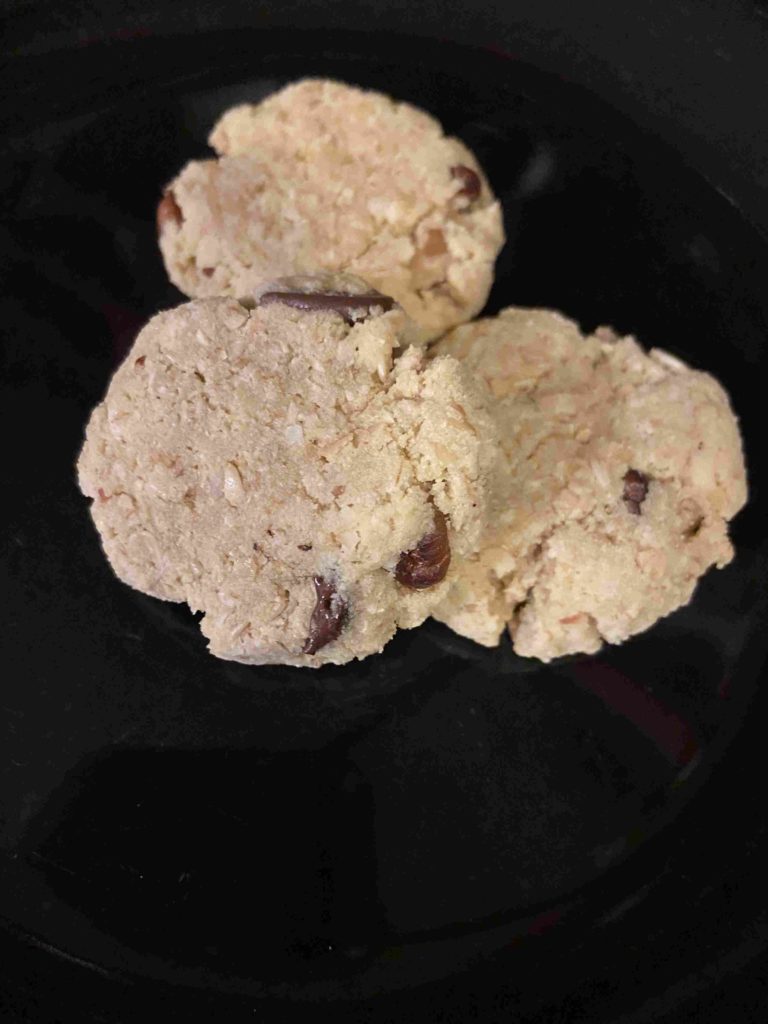
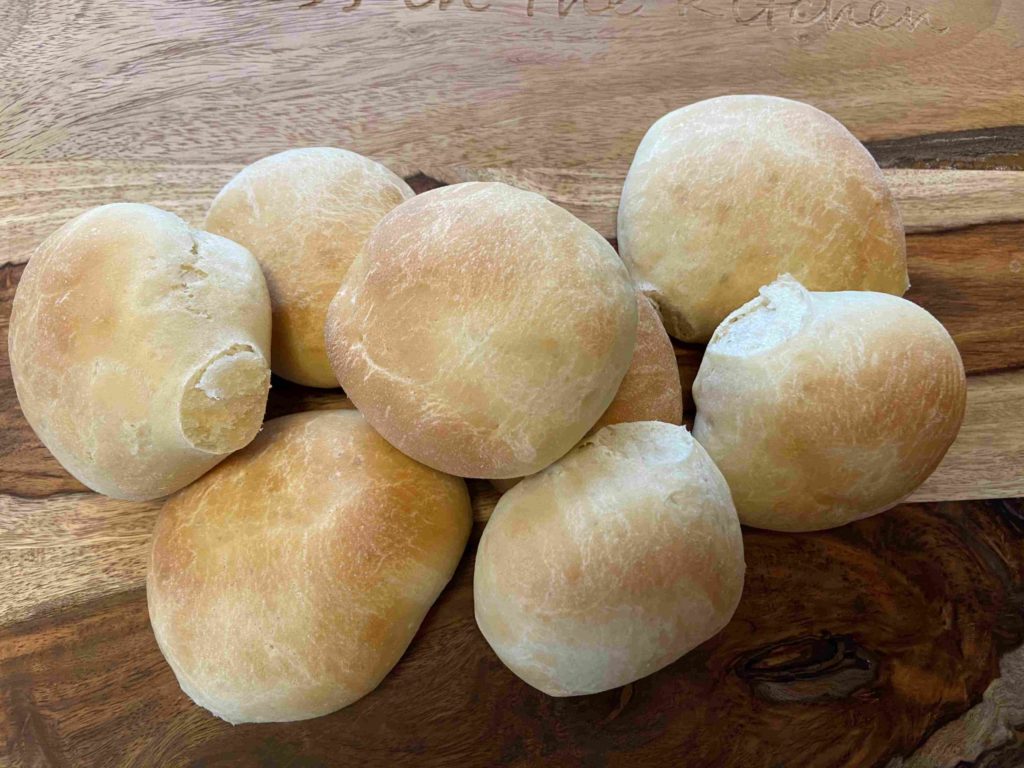
Preheat the oven to 375 degrees. Uncover rolls and brush with melted butter (sprinkle with sesame seeds? I mean, that would be fun!). Bake for 15-18 minutes. Then take in just how good your house smells and revel in the fact that you just made homemade rolls that are SO MUCH BETTER than store bought, I promise!
Science class-yeast, hot water, and sugar. So cool. The rest of the ingredients. Time to rest. I love the change after just 90 minutes. Cut into your pieces (half the size you want) Allow to rest for an additional hour. Hot and ready rolls right out of the oven. Perhaps the best smell ever!
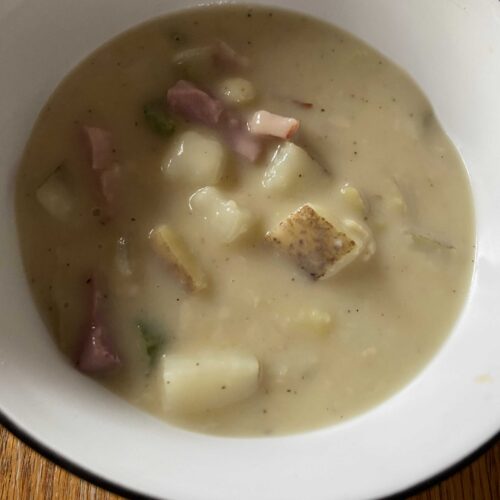
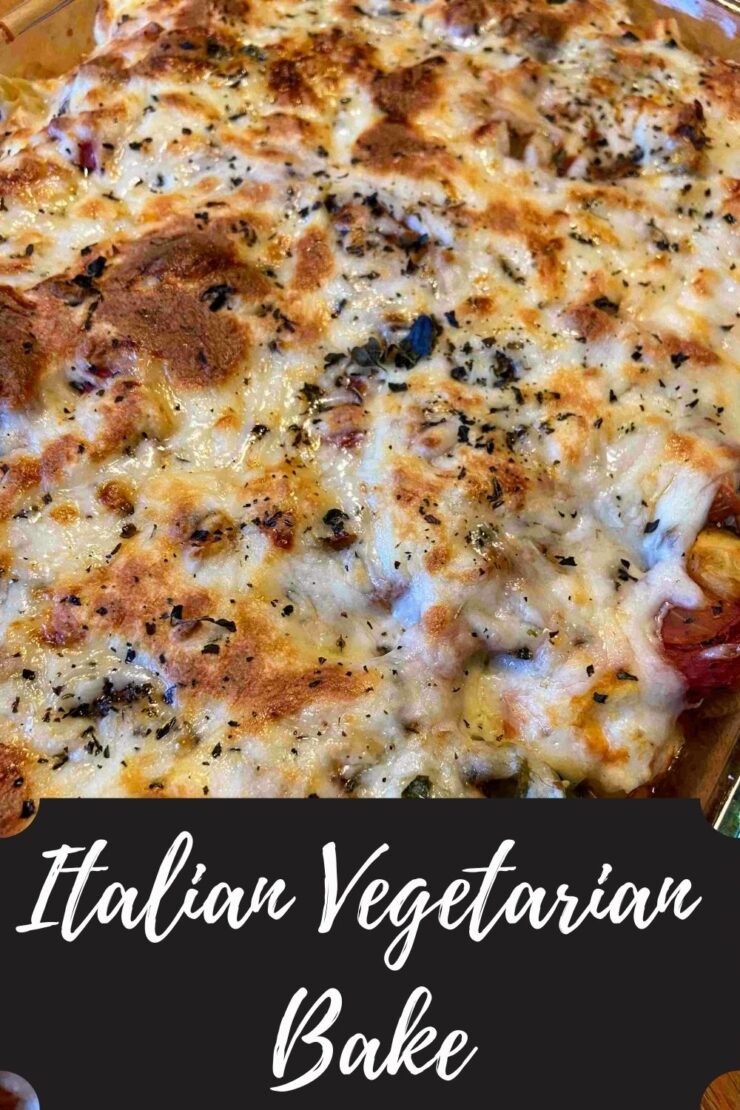
From Scratch Sloppy Joes
Ingredients
- 2 pounds ground meat
- 1 tablespoon olive oil
- 1 cup diced green pepper about 1 pepper
- 1/2 cup diced onion
- 1/2 cup diced celery
- 2 teaspoons minced garlic
- 2 1/2 cup beef broth/stock
- 3 tablespoons pure maple syrup or brown sugar
- 2/3 cup tomato paste
- 1/2 teaspoon pepper
- 1 teaspoon Worcestershire sauce
- 1 teaspoon mustard powder
- 1/4 cup ketchup
- 1 tablespoon white vinegar
Instructions
- Heat oil in a large kettle. Add ground protein. Brown ground meat. Remove and set aside in a bowl.
- If your protein is lean like venison is, add and heat additional tablespoon of olive oil to the pan.
- Add pepper, onion, celery, and garlic. Sauté for 5-10 minutes, until soft.
- Stir in remaining ingredients and heat to boiling.
- Bring down to a simmer, stir in the browned meat, and simmer for 40 minutes over low-medium heat, until thickened.