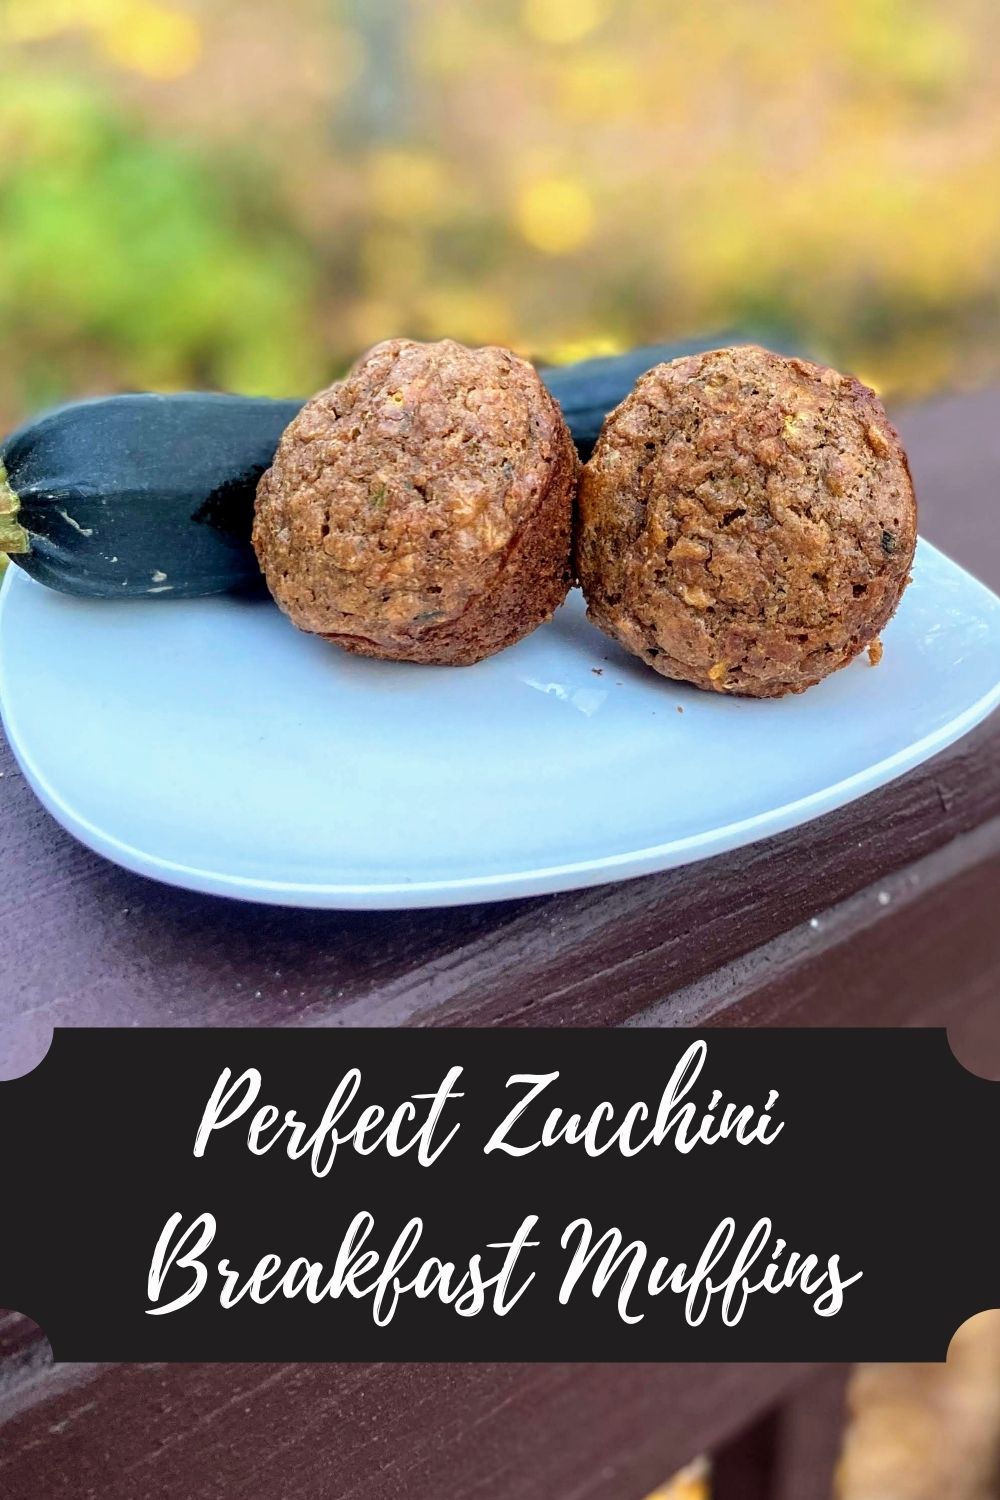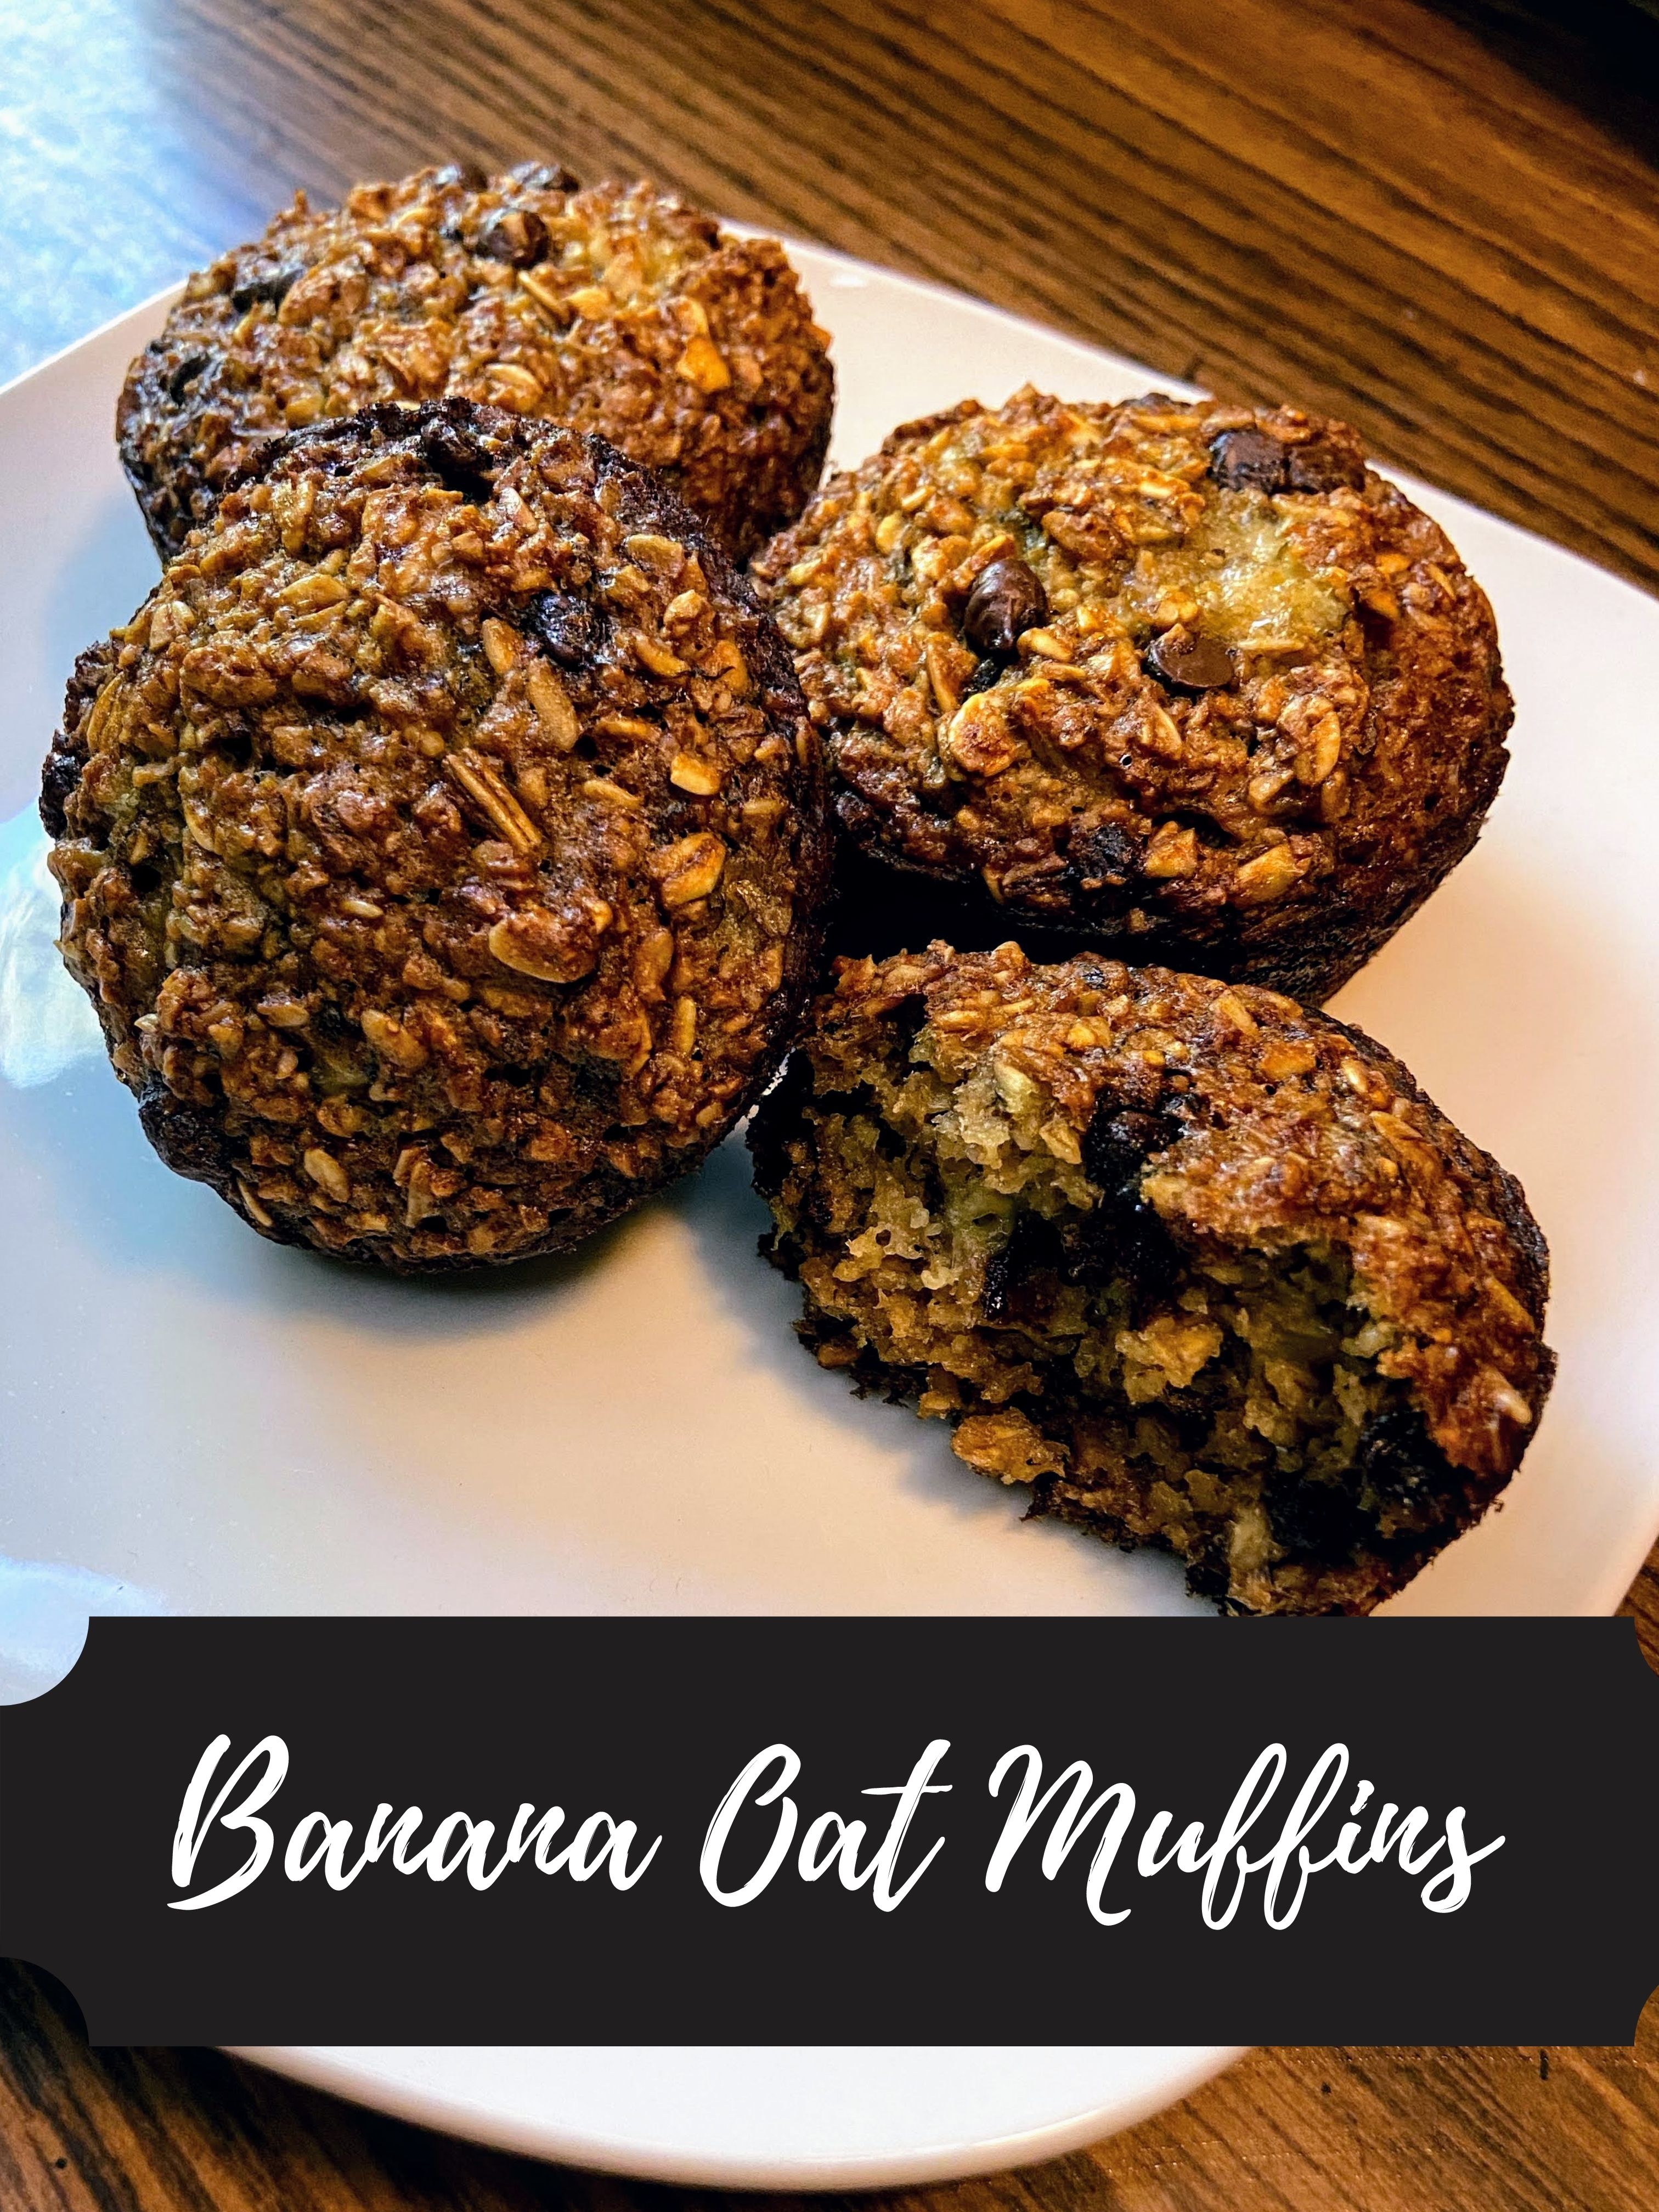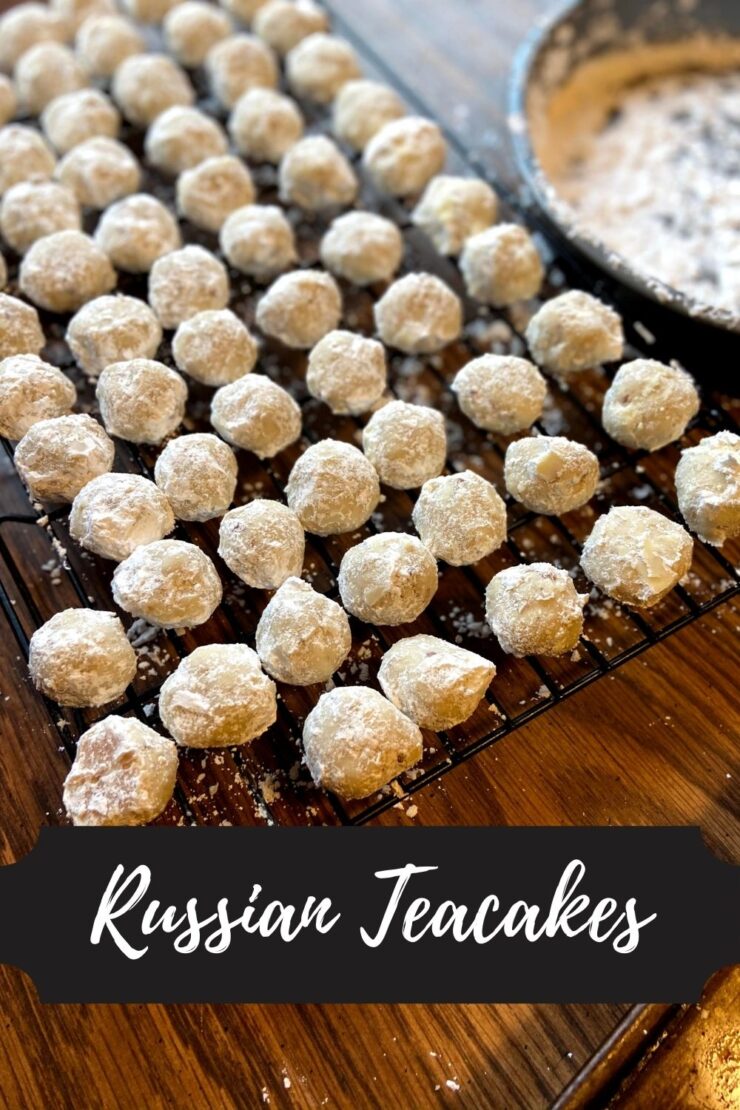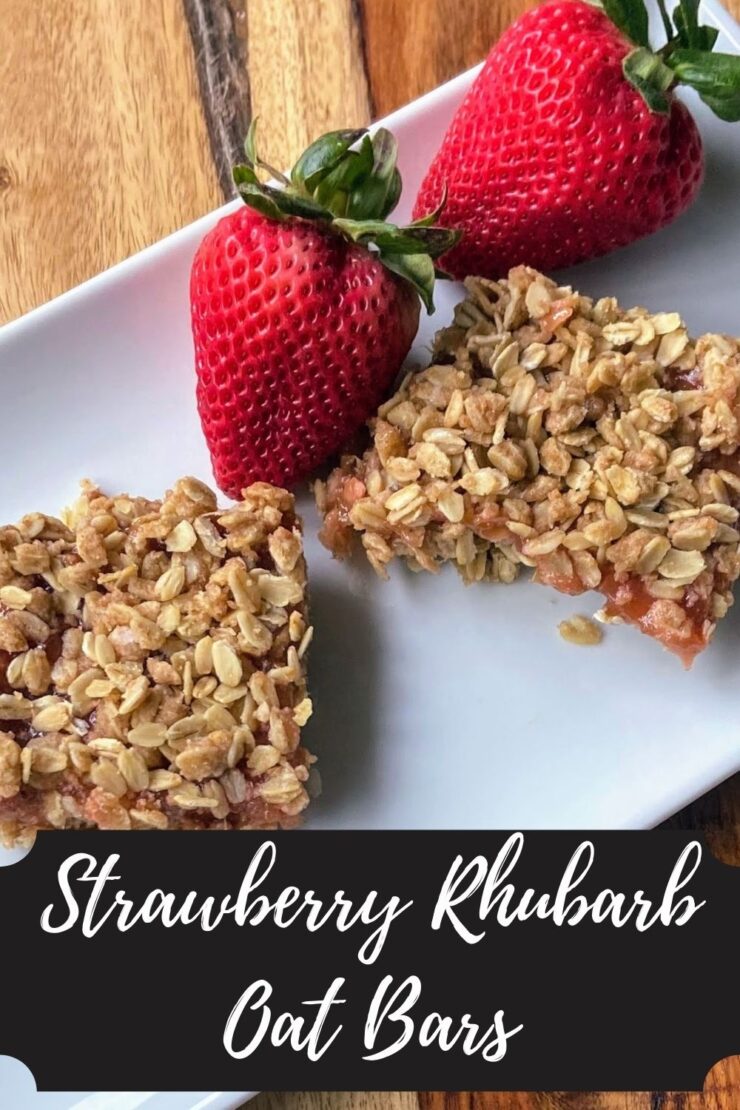
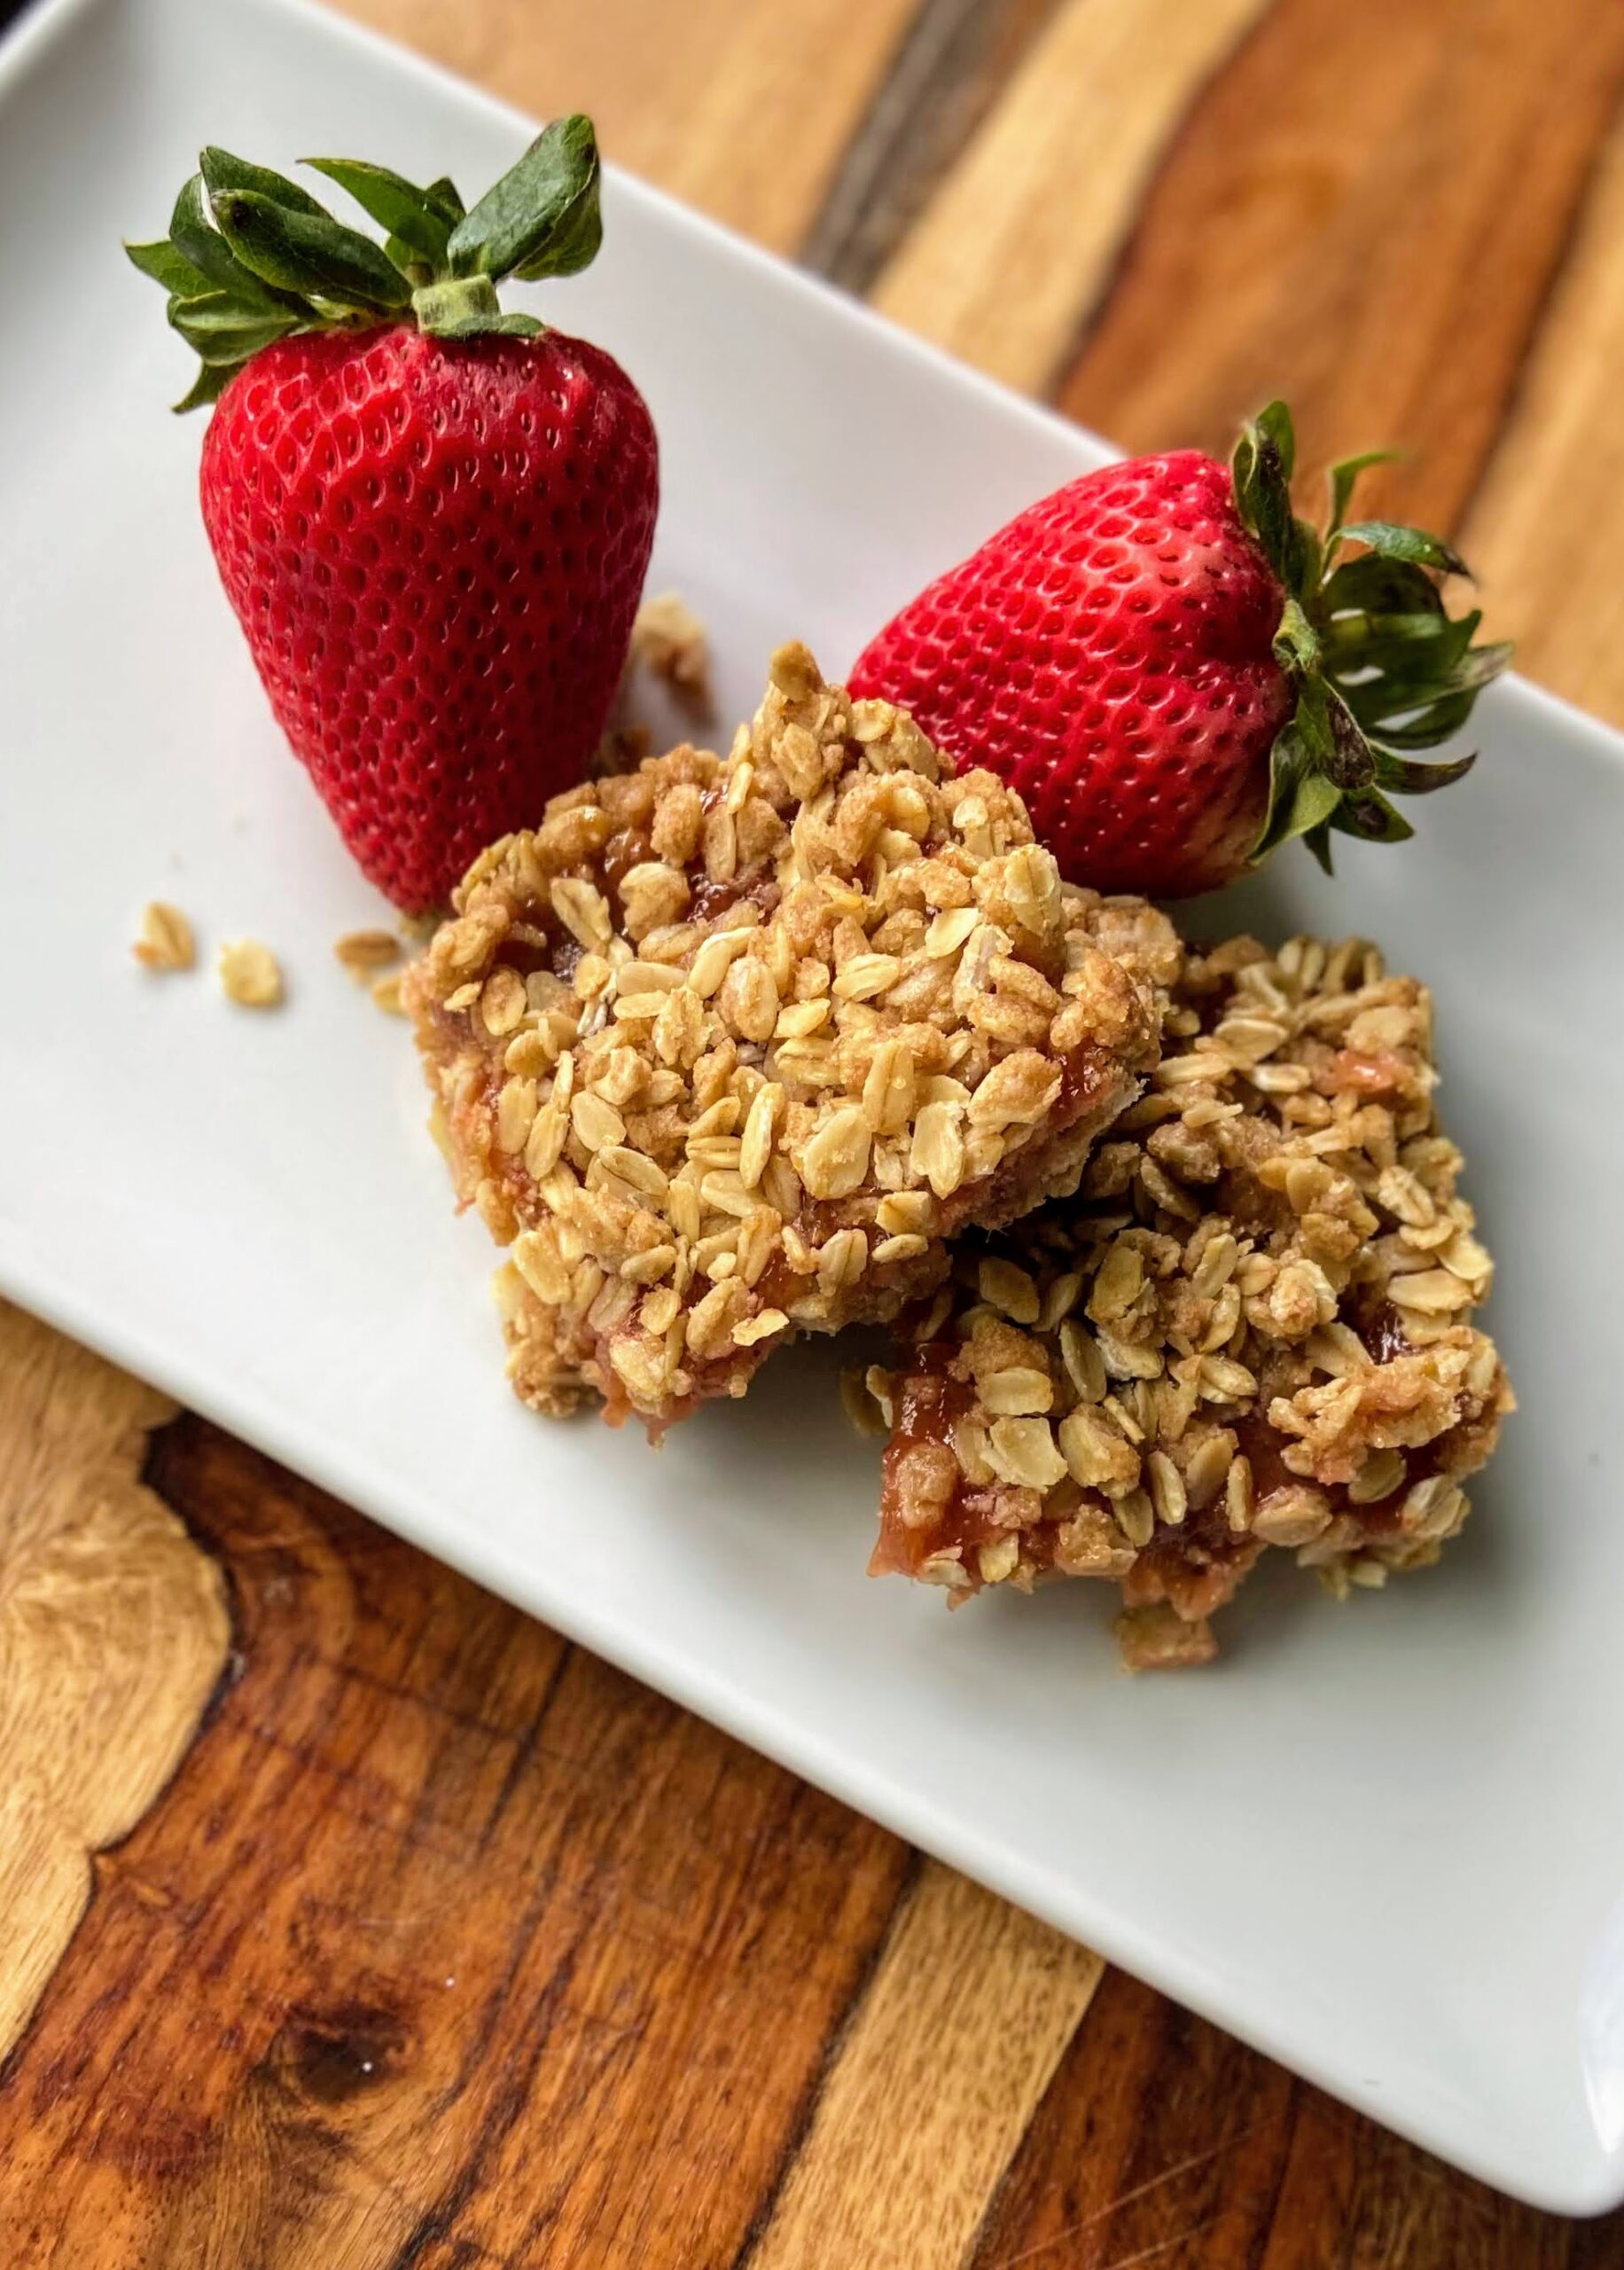
Are you ready for some Strawberry Rhubarb Oat Bars?
Springtime has finally arrived in Wisconsin, and I am here for it. Unfortunately, my rhubarb is JUST starting to be ready for harvesting. (Just started growing it? Get all the information at the University of Minnesota Extension). Luckily, I have an awesome neighbor just down the road that had an abundance of rhubarb and she invited me over to harvest some.
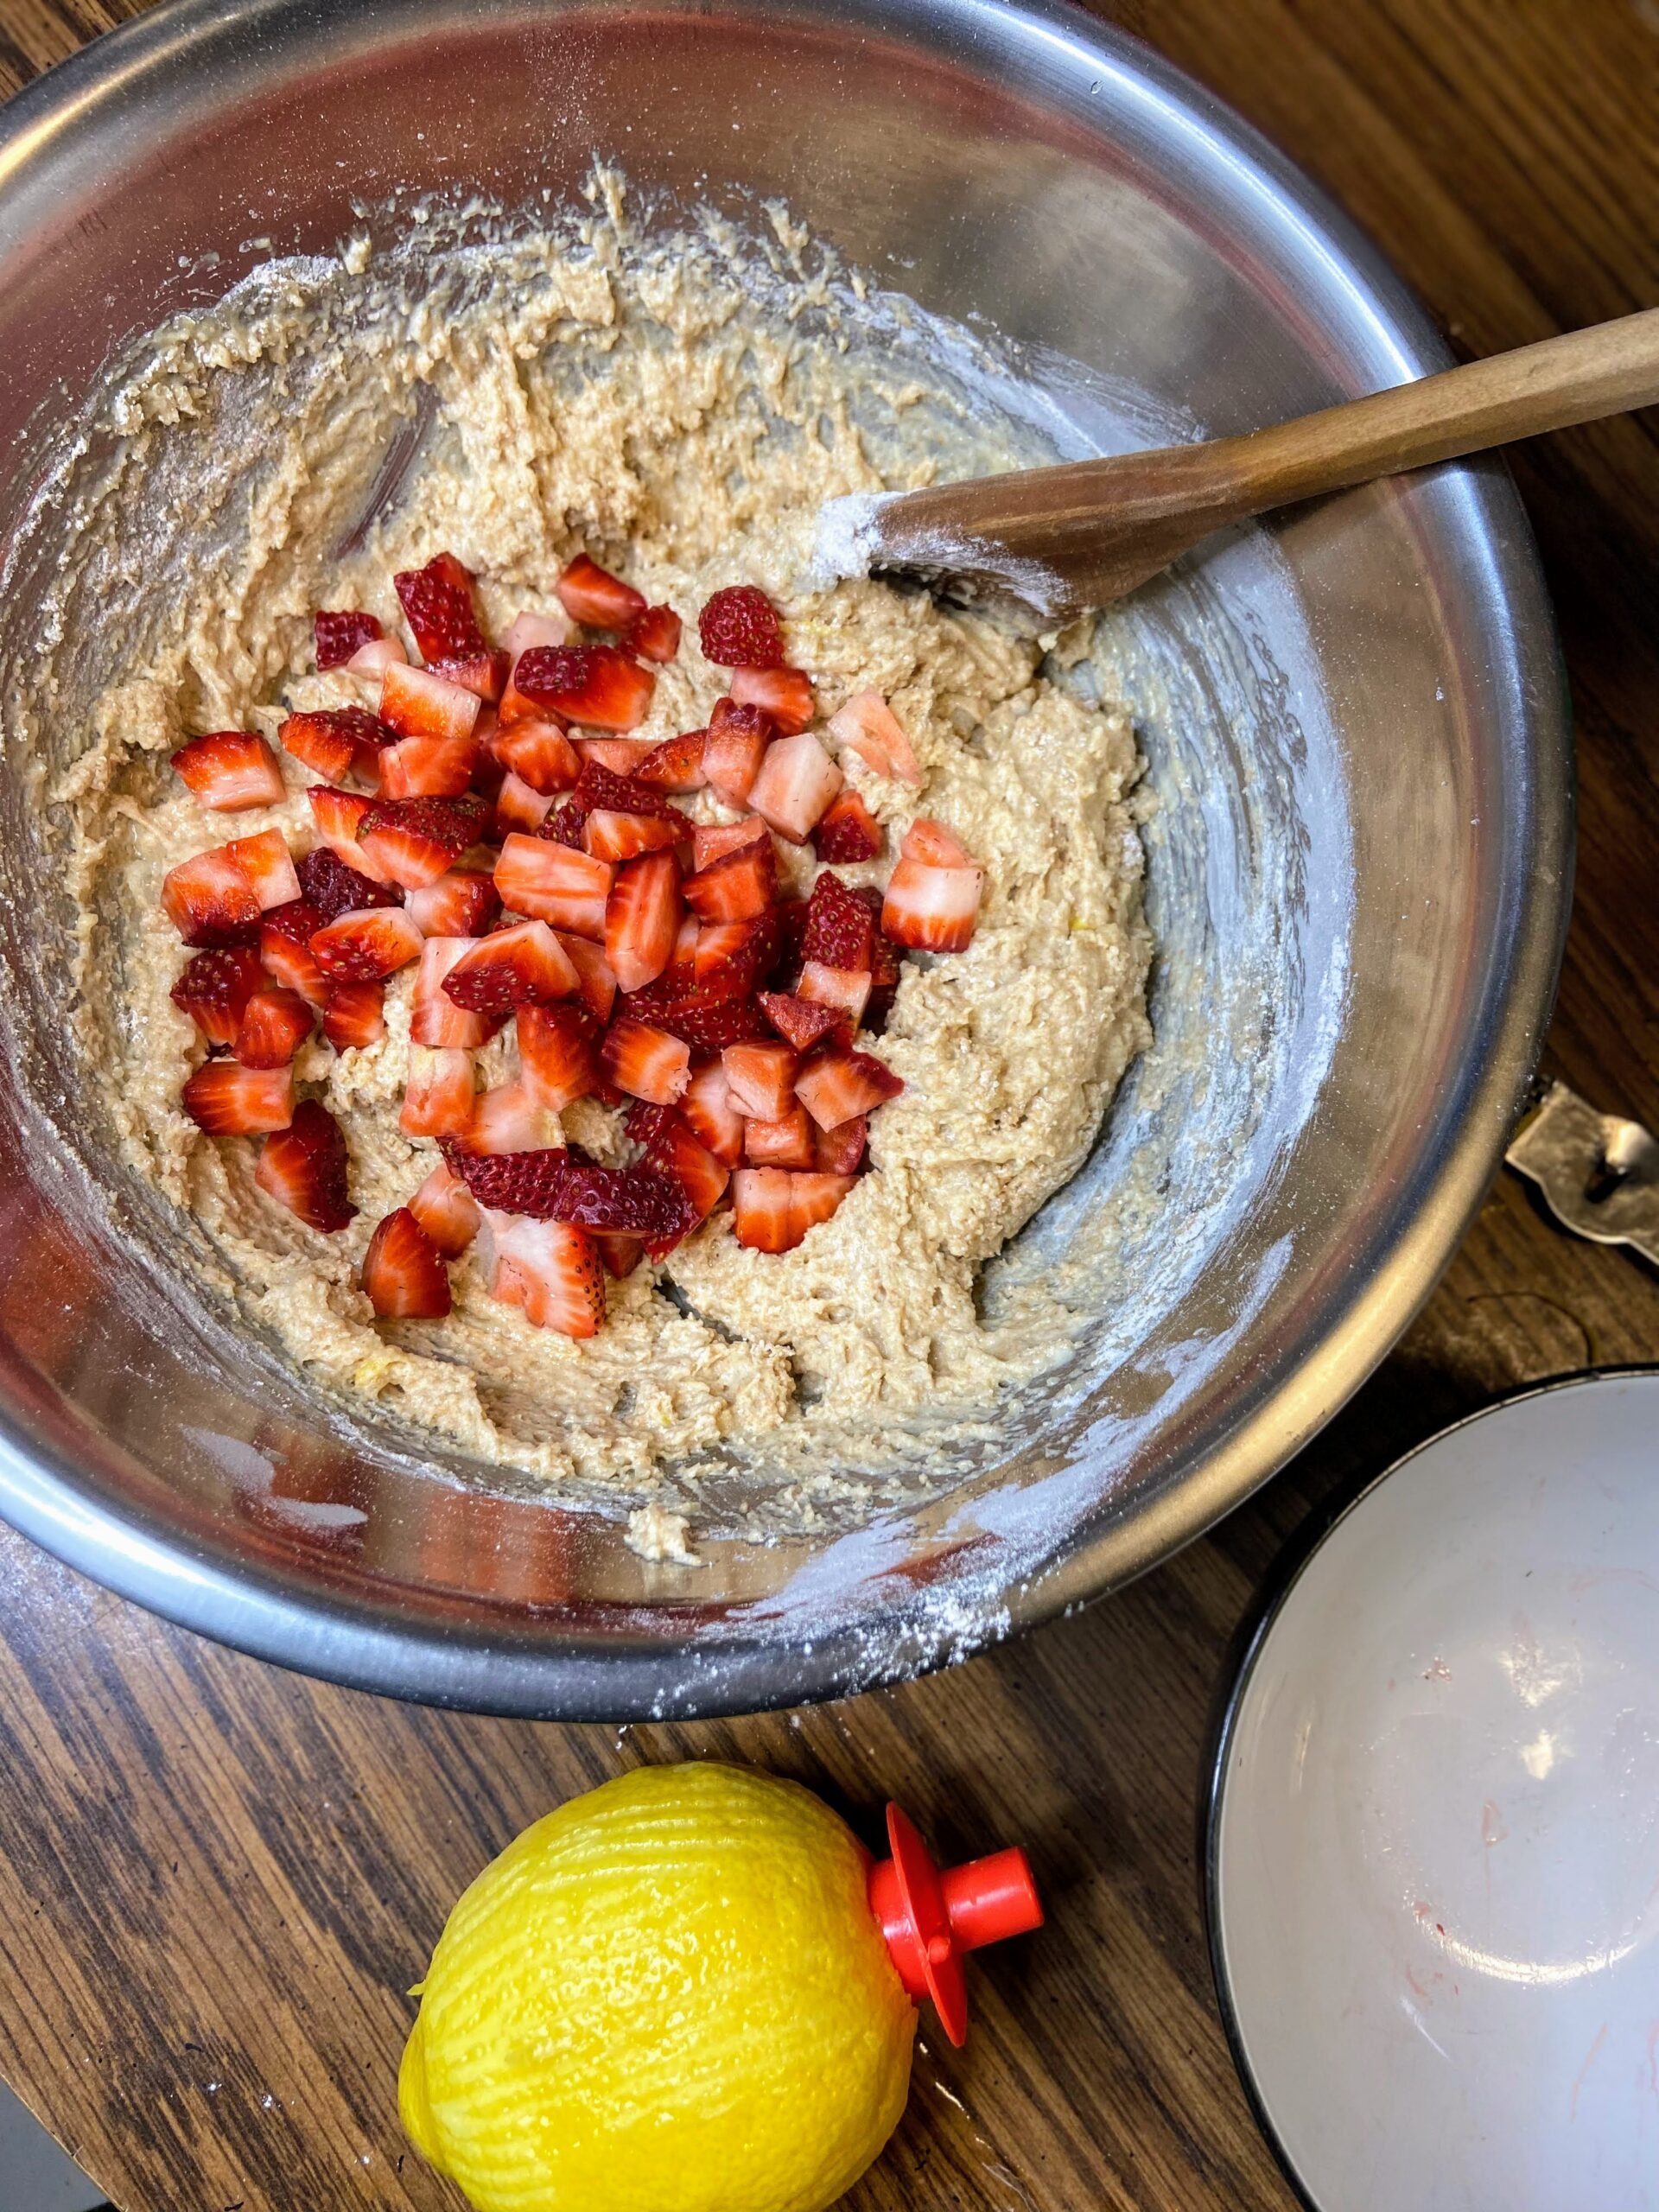
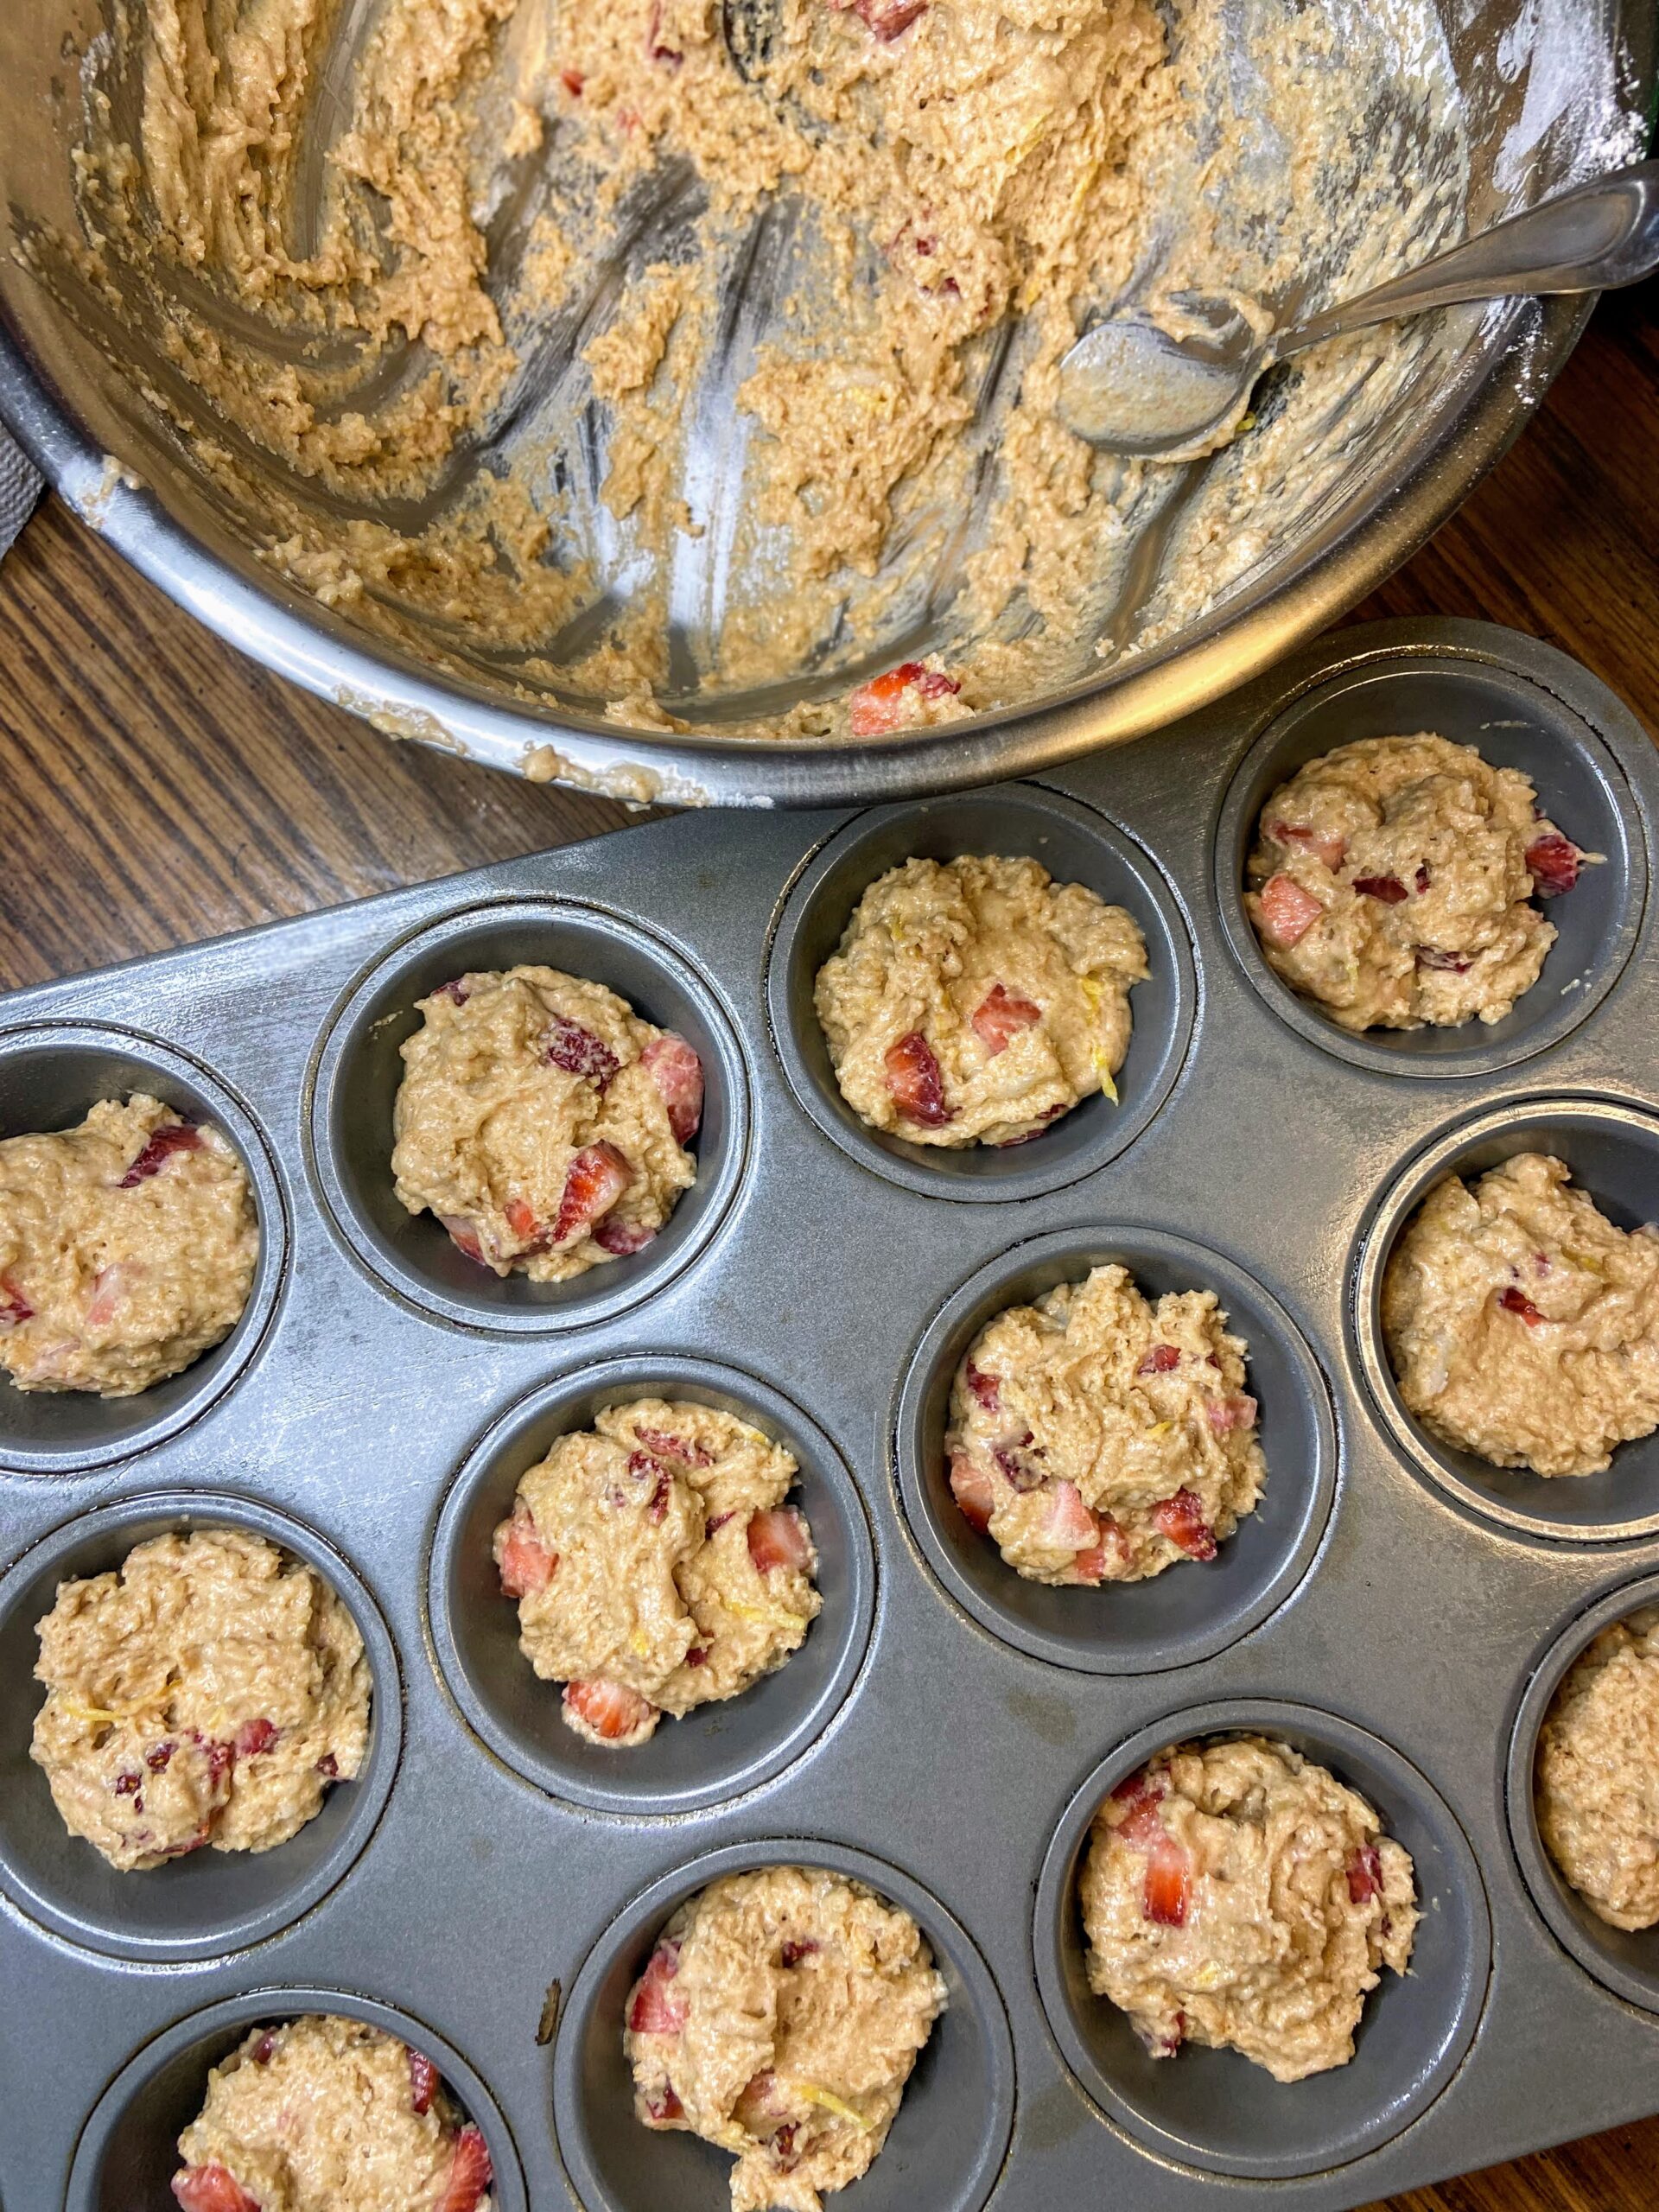
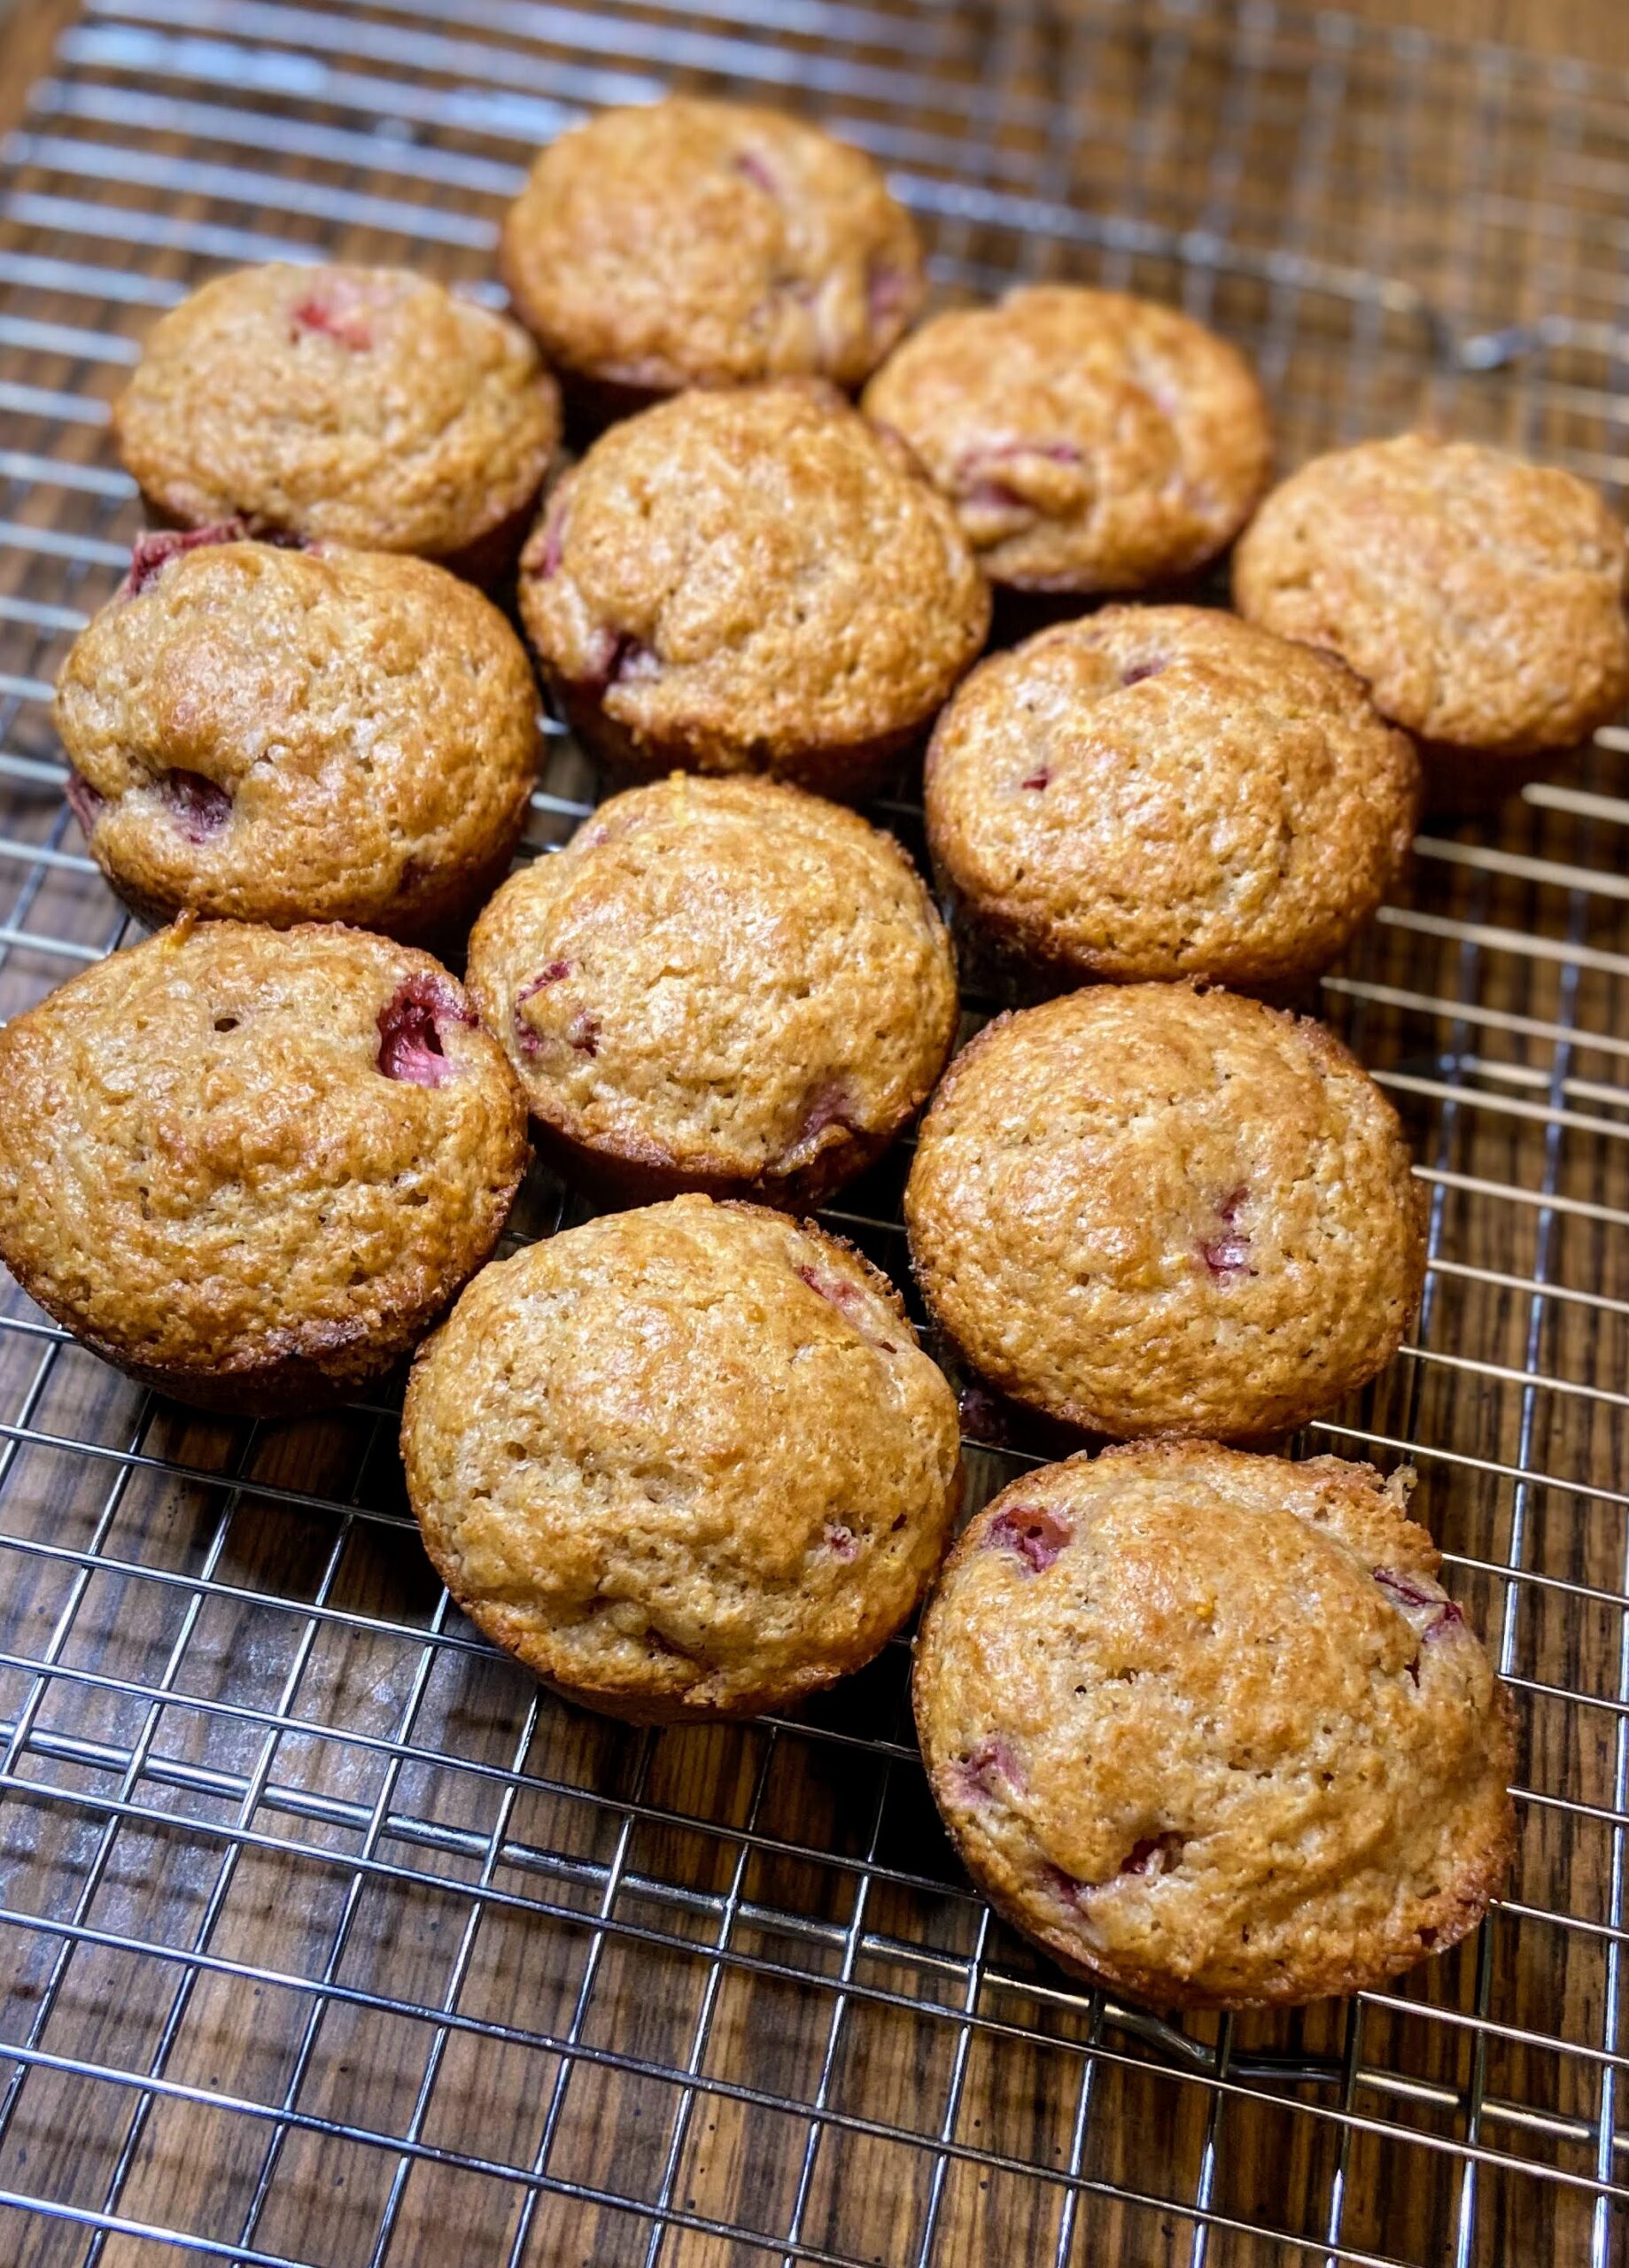
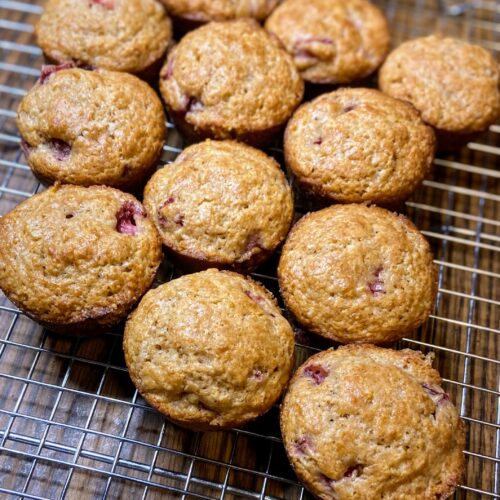
Now I would normally bake a pie first for the Mr. but I wanted to try something new. I happened to have some strawberries in the fridge and Strawberry Rhubarb Oat Bars seemed to be the ticket. I tried to cut back a little on the sugar and butter and subbed in whole wheat flour and the results were perfect. The Mr. promptly ate two servings and said they were great!
Ready to get baking? Let’s Go!
Your Ingredients
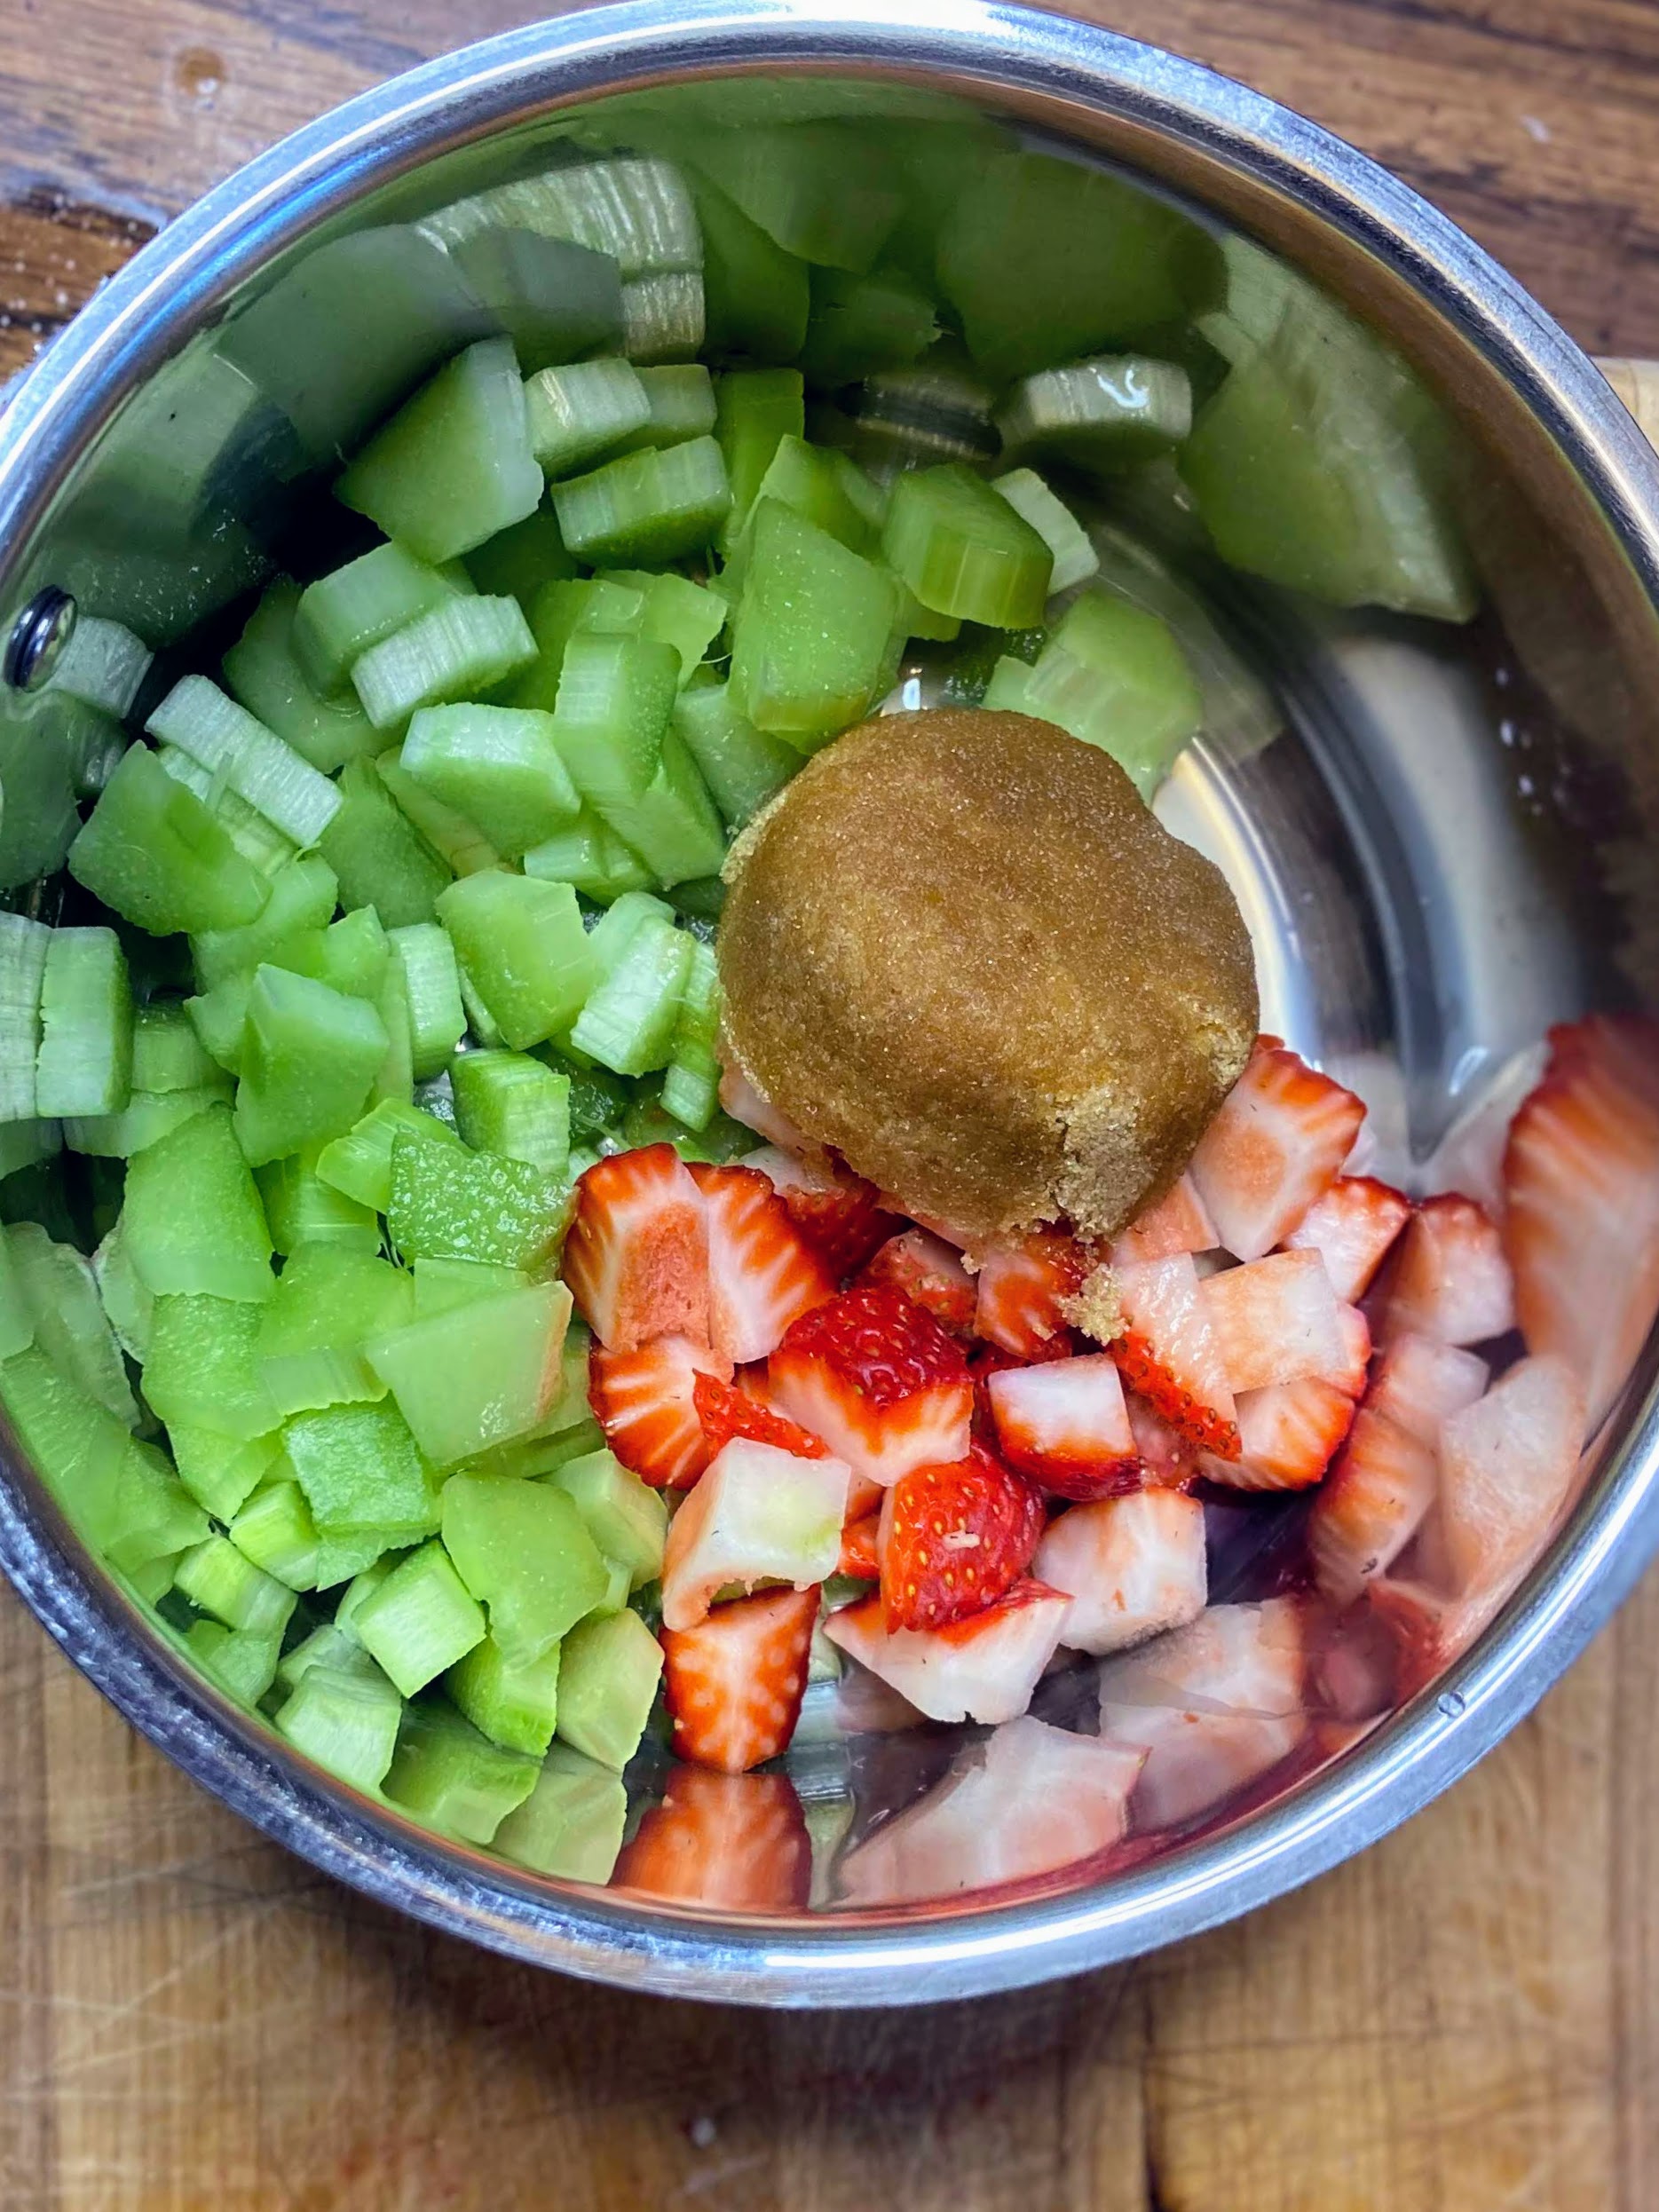
- 1 ½ cups chopped fresh or frozen rhubarb
- ½ cup chopped fresh strawberries
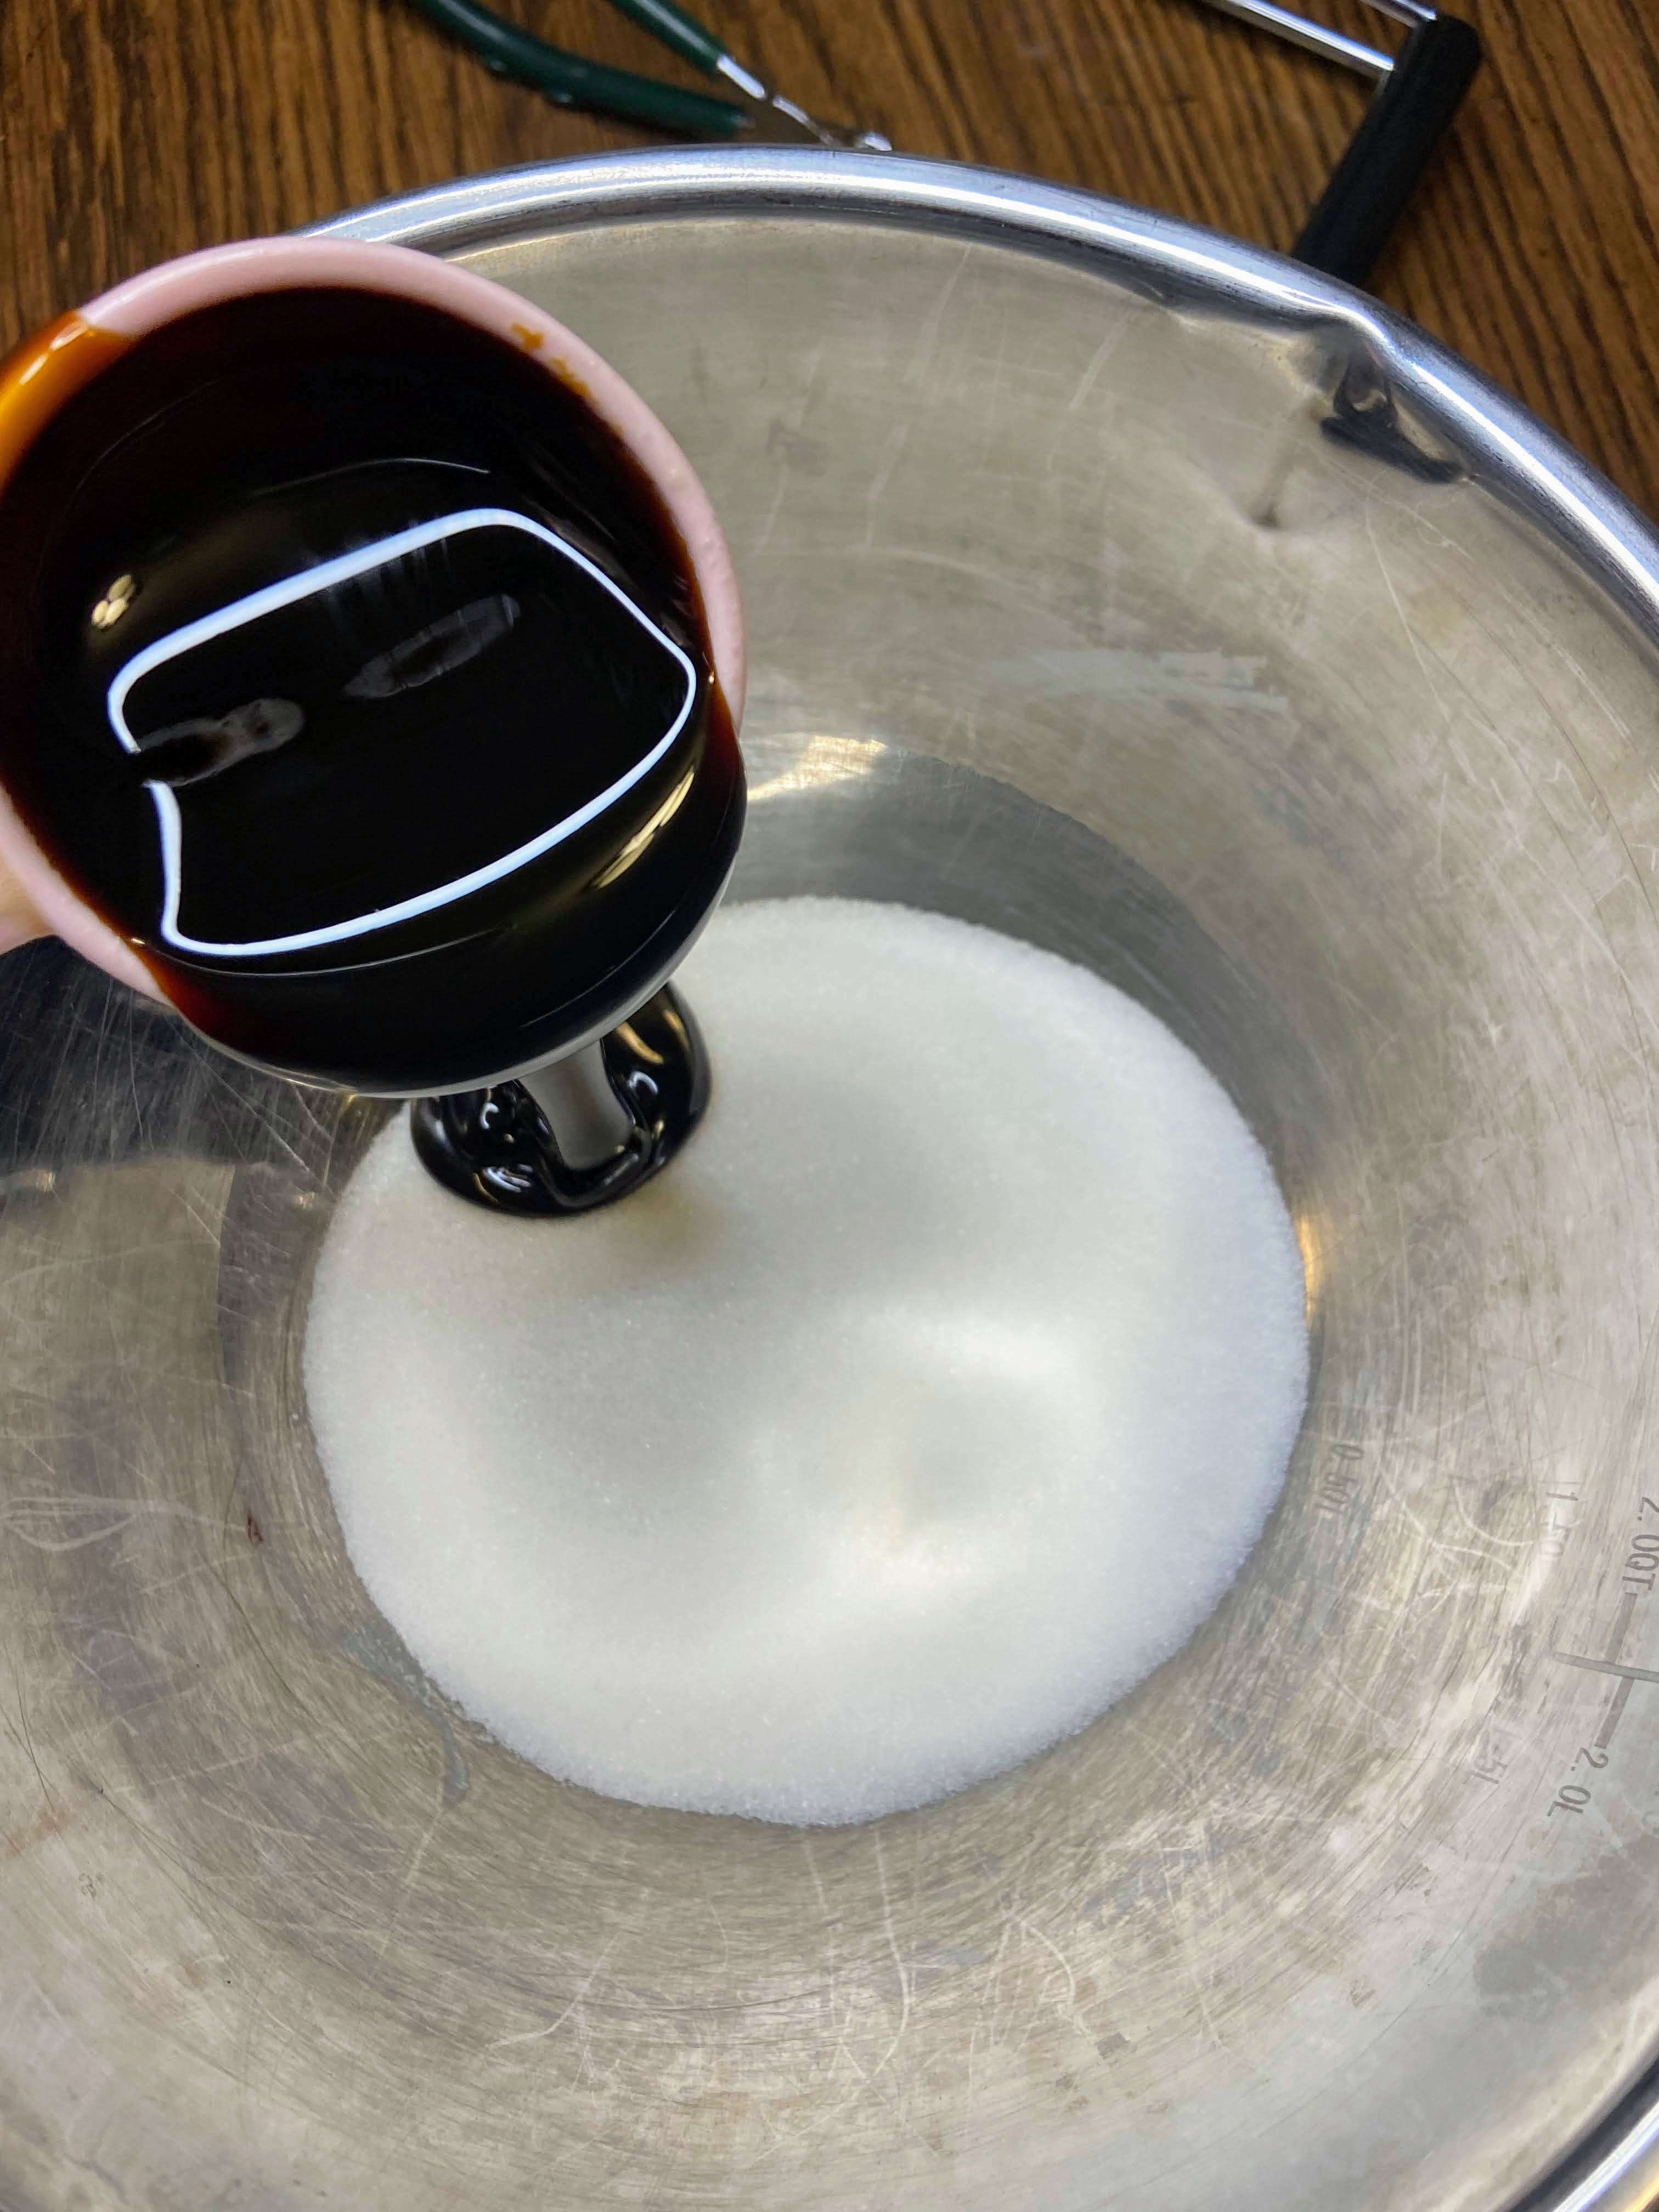
- ⅔ cup packed brown sugar, divided
- 3 tablespoons water, divided
- 1 teaspoon lemon juice
- 1 tablespoon cornstarch
- ¾ cup whole wheat flour
- 1 ½ cups old fashioned oats
- ½ teaspoon salt
- 5 tablespoons butter, melted
Your Steps to Strawberry Rhubarb Oat Bars
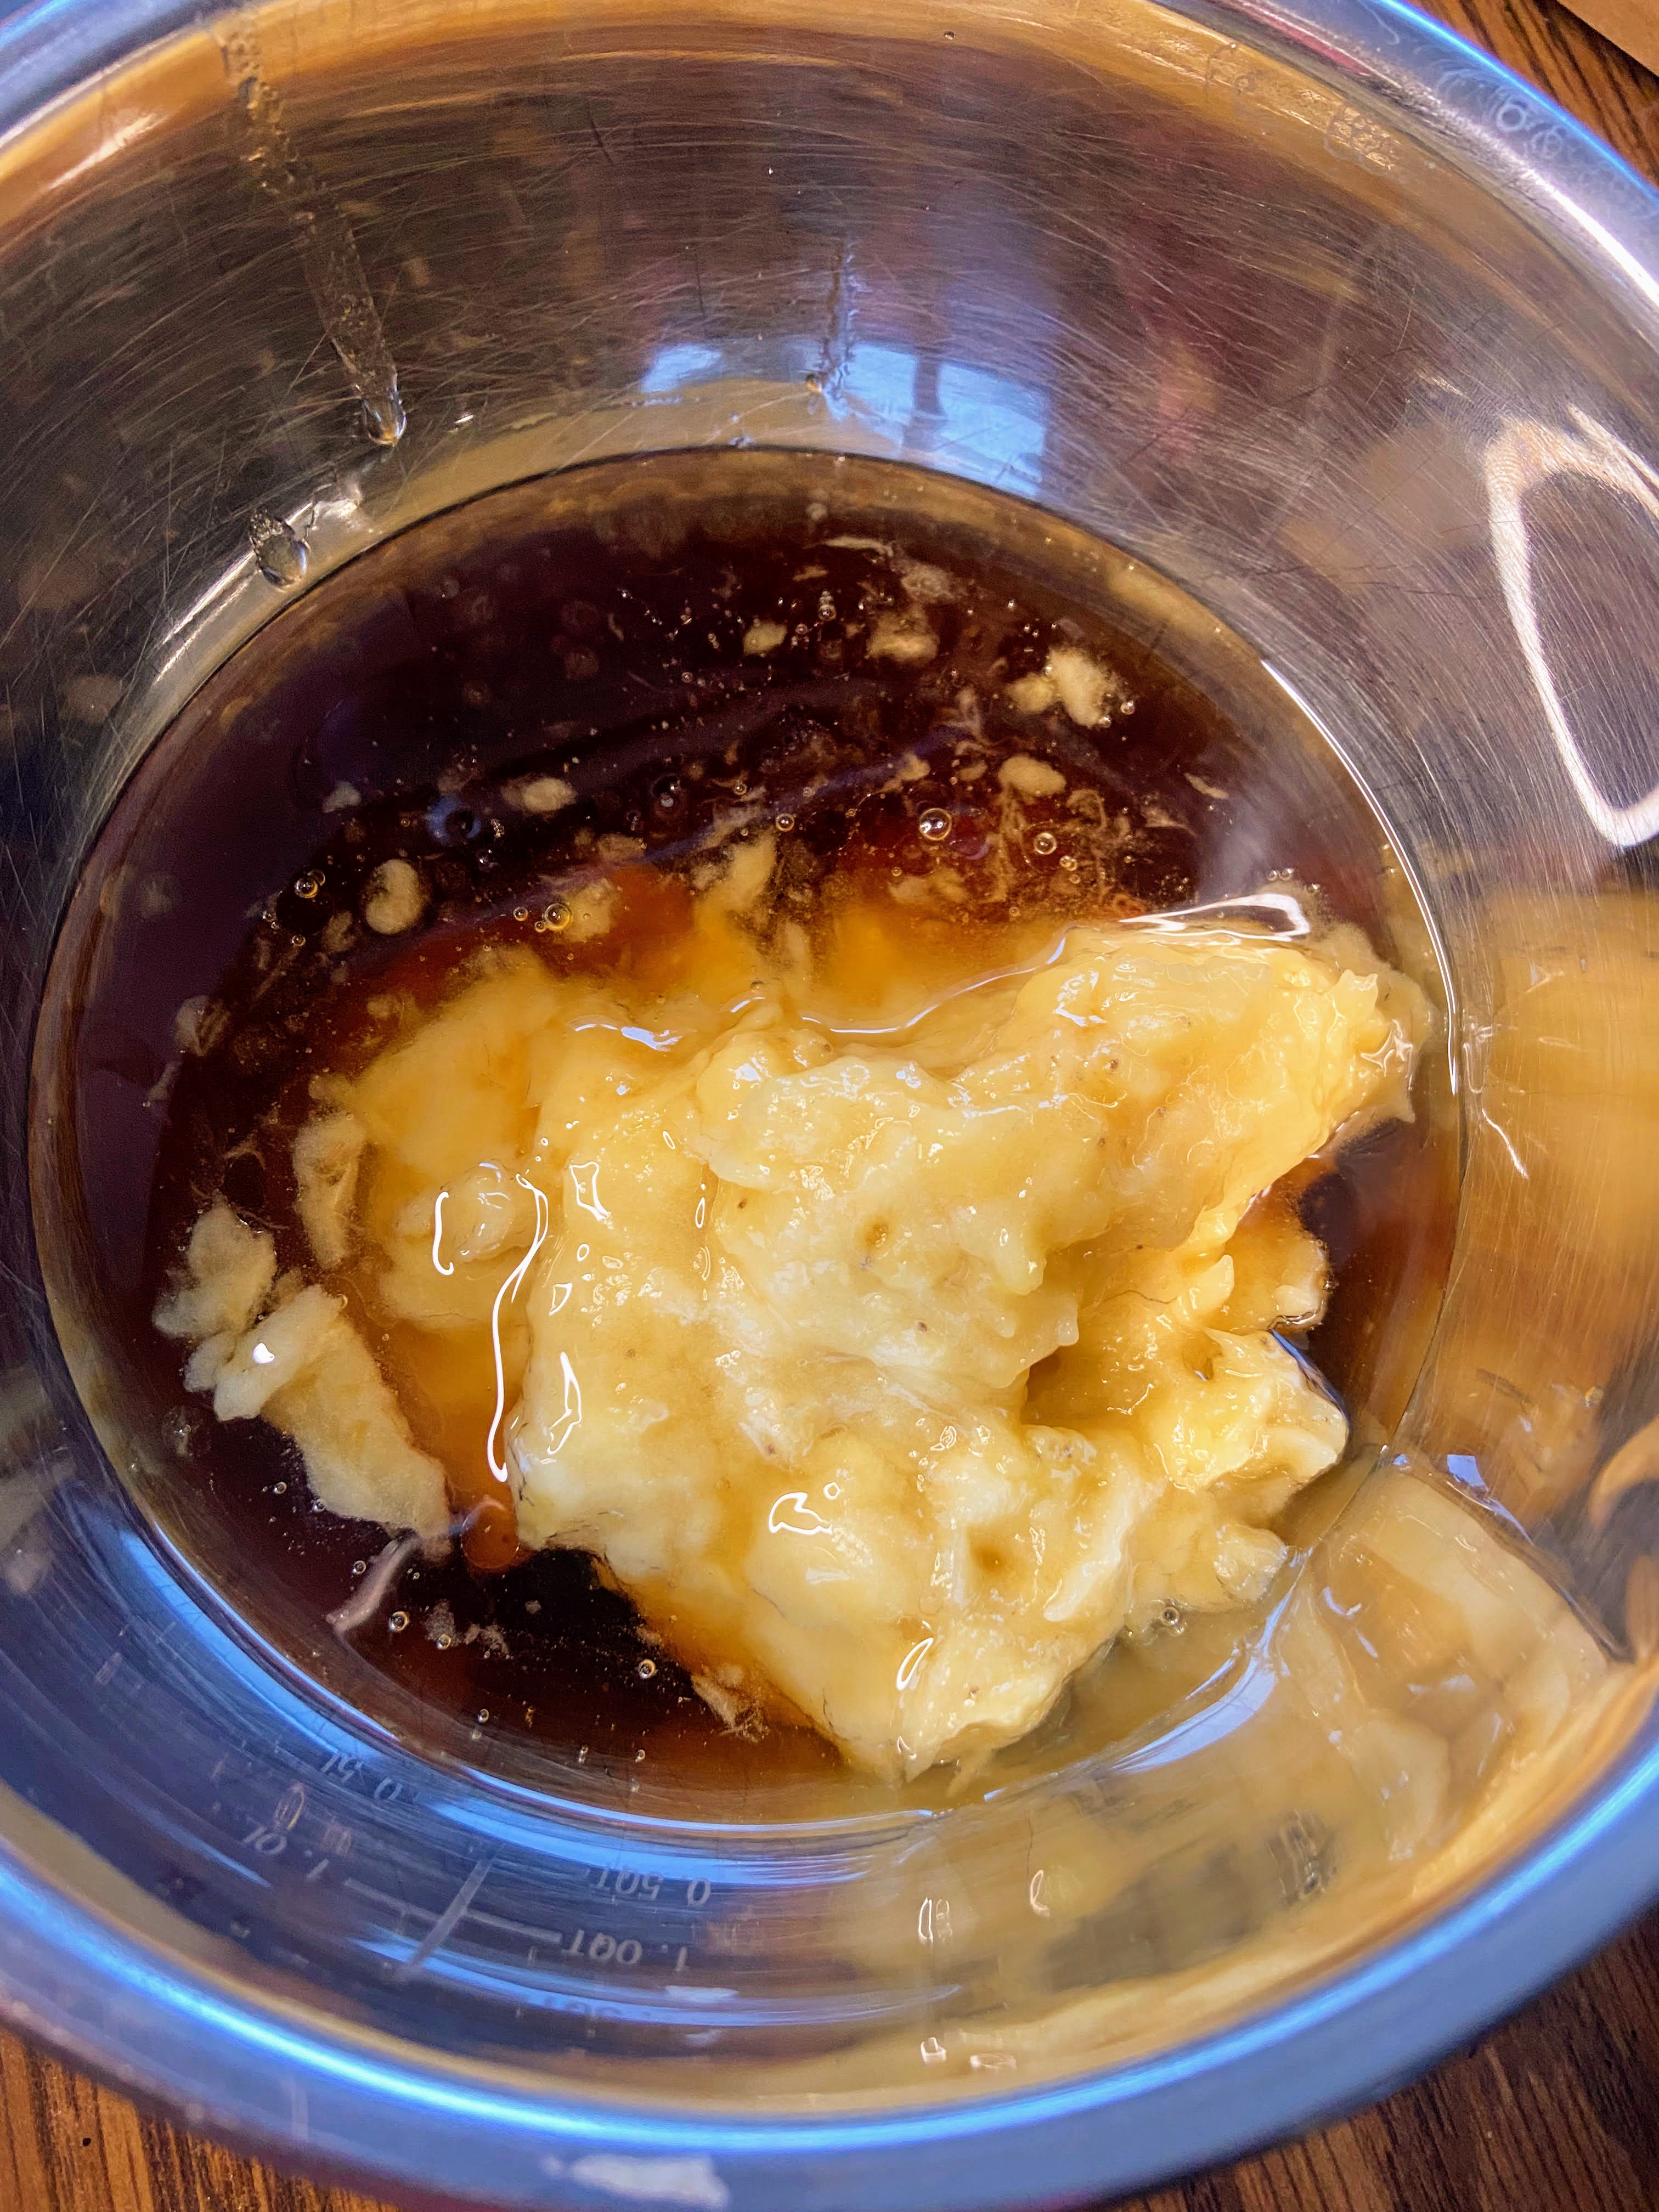
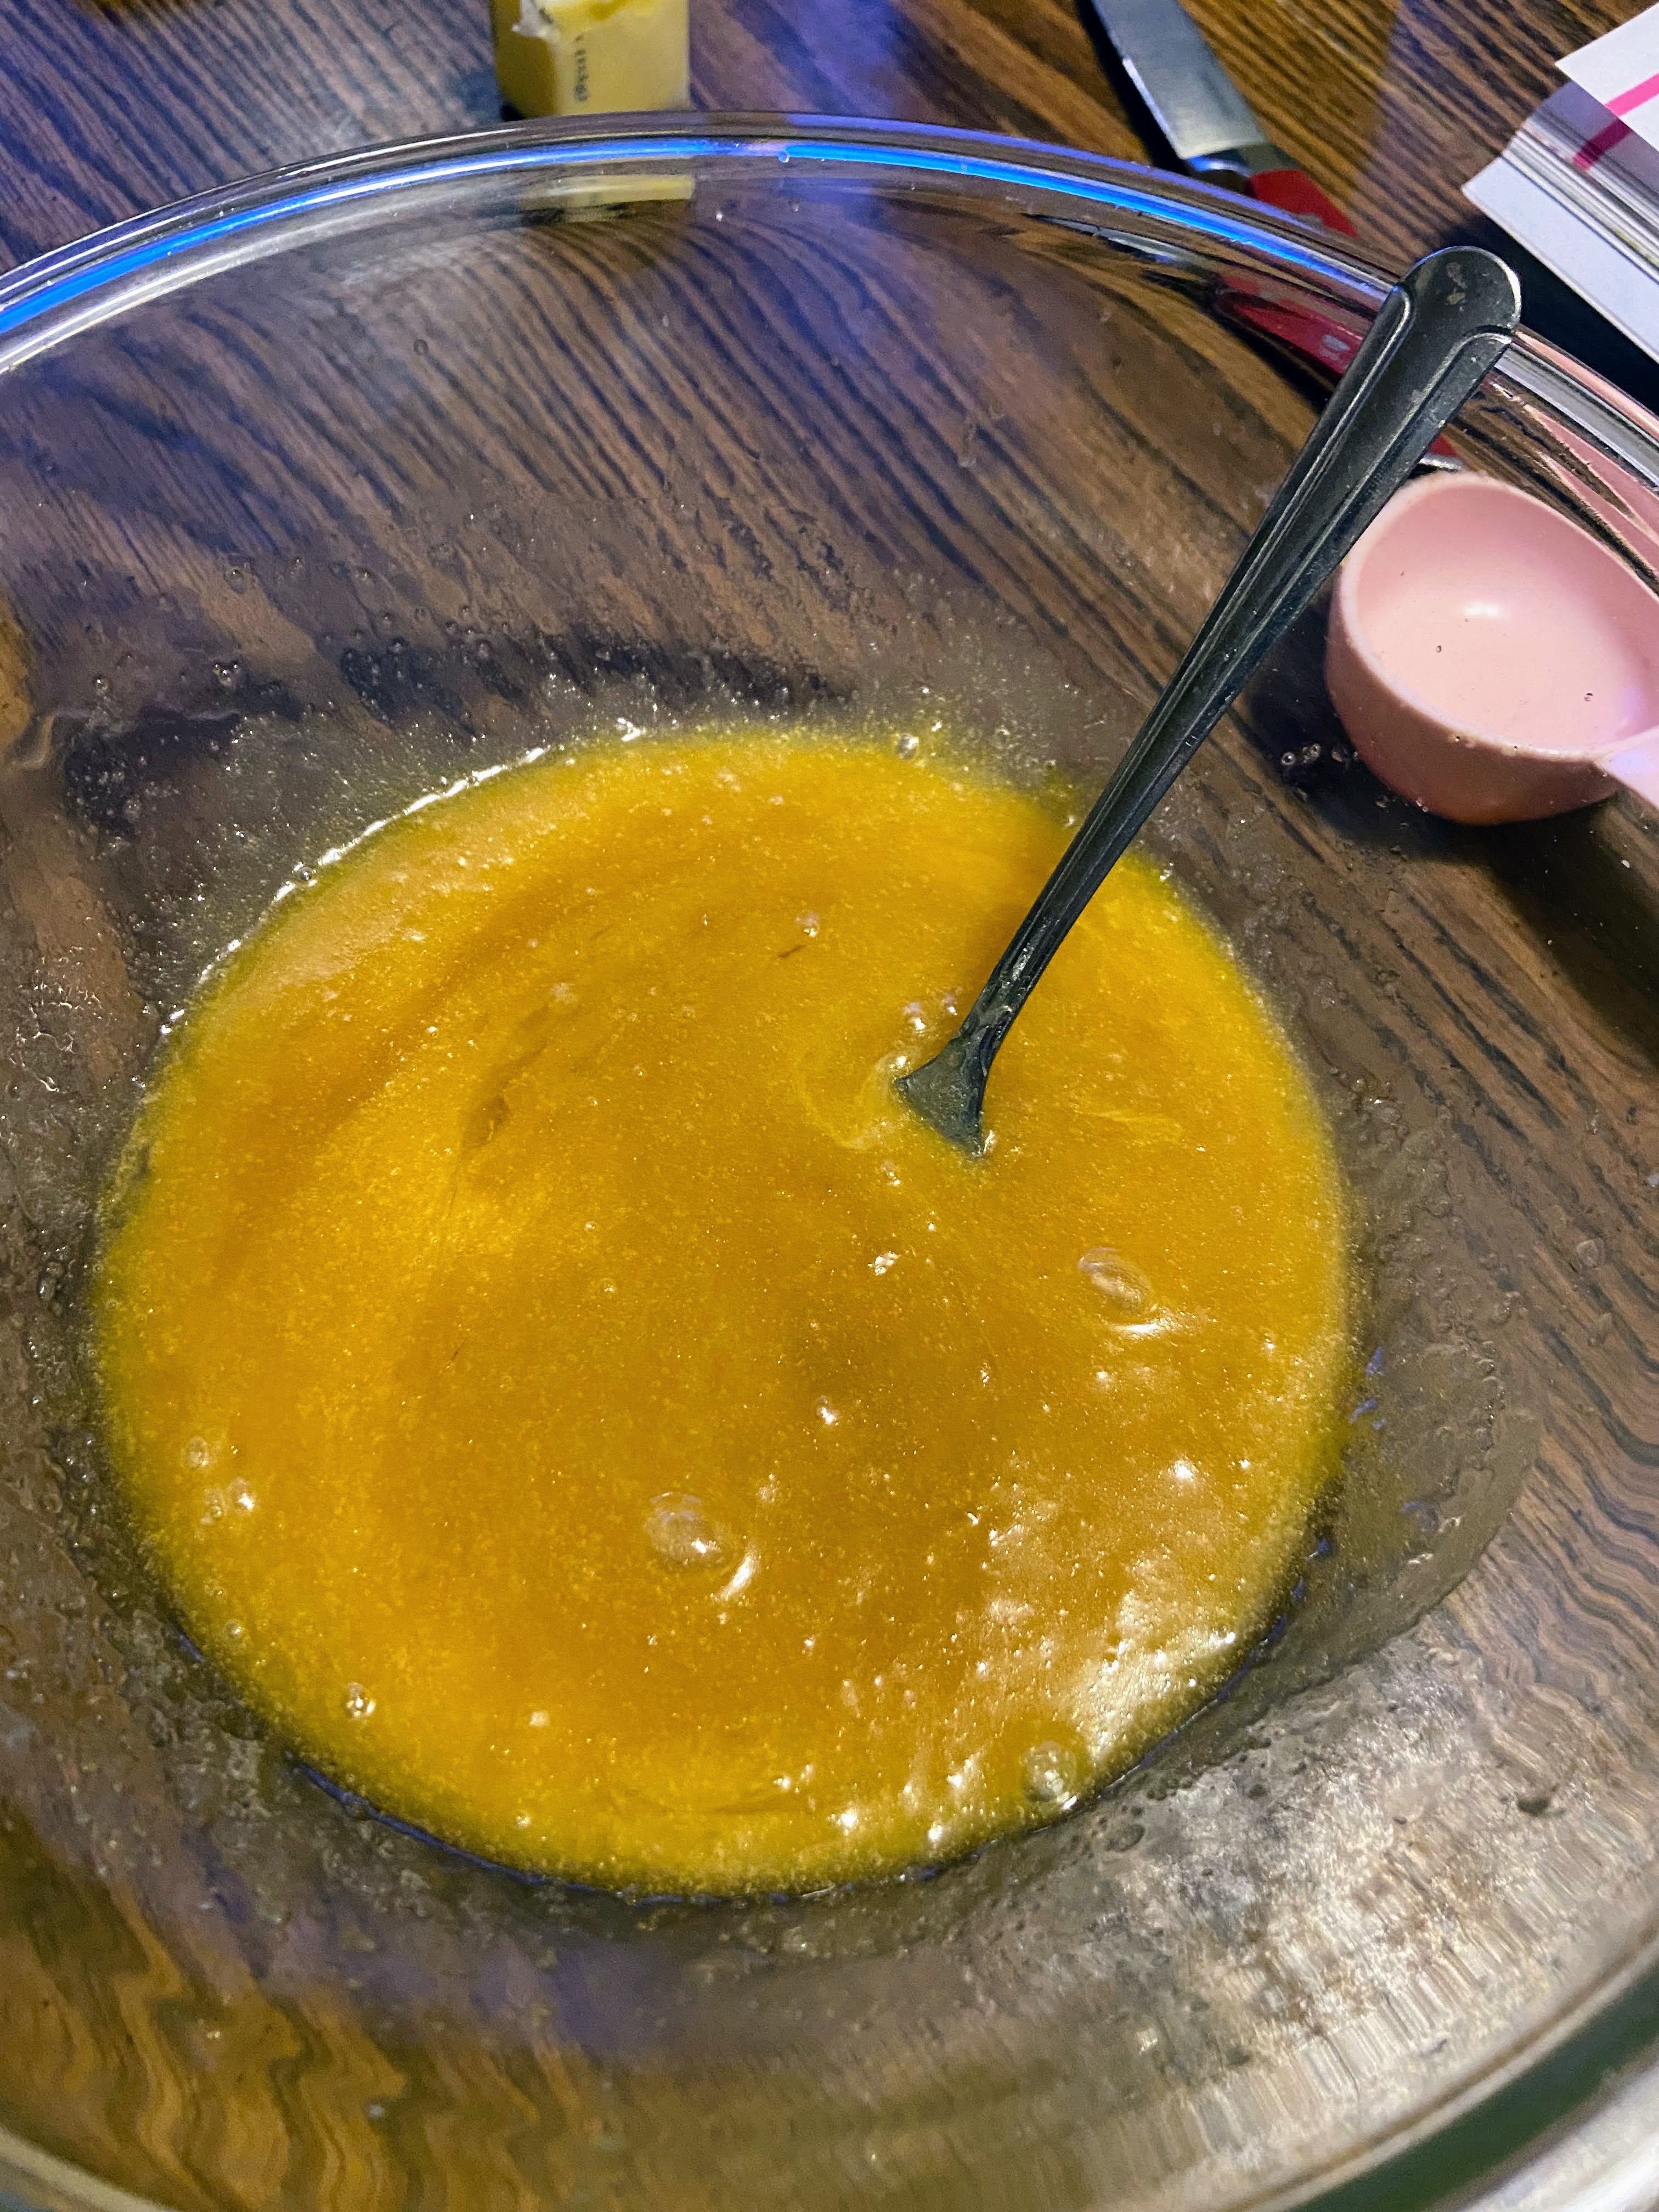
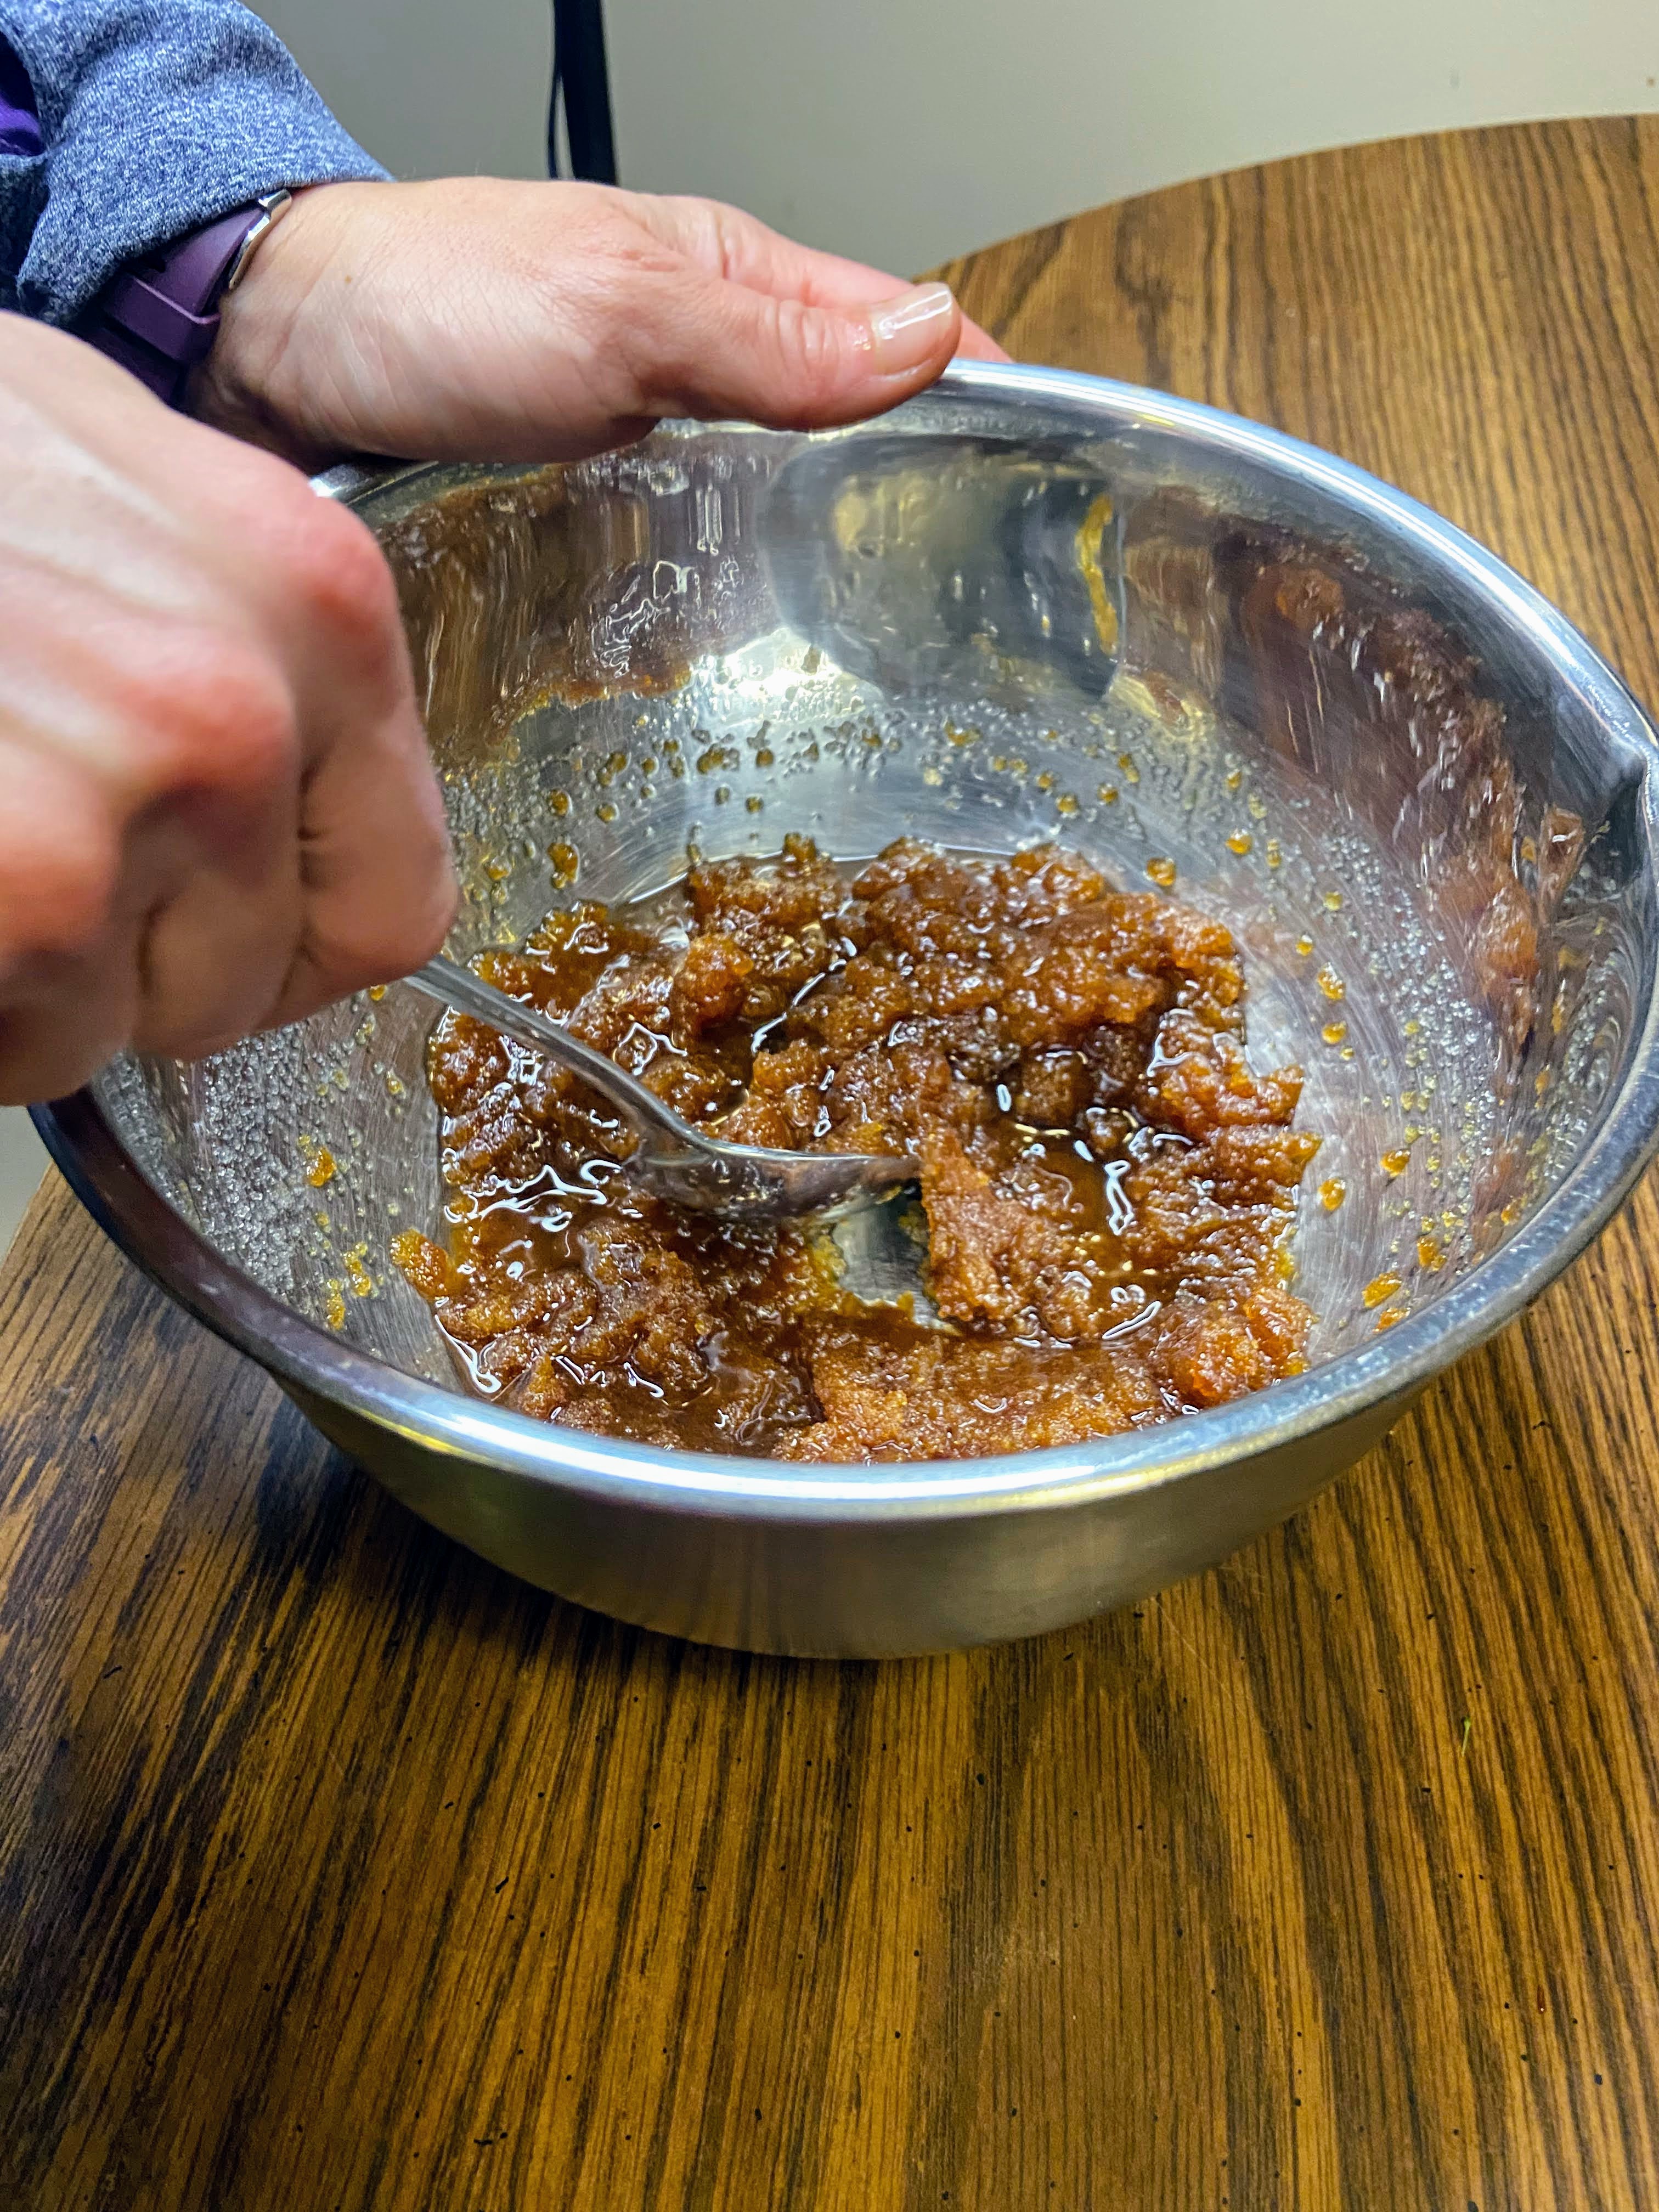
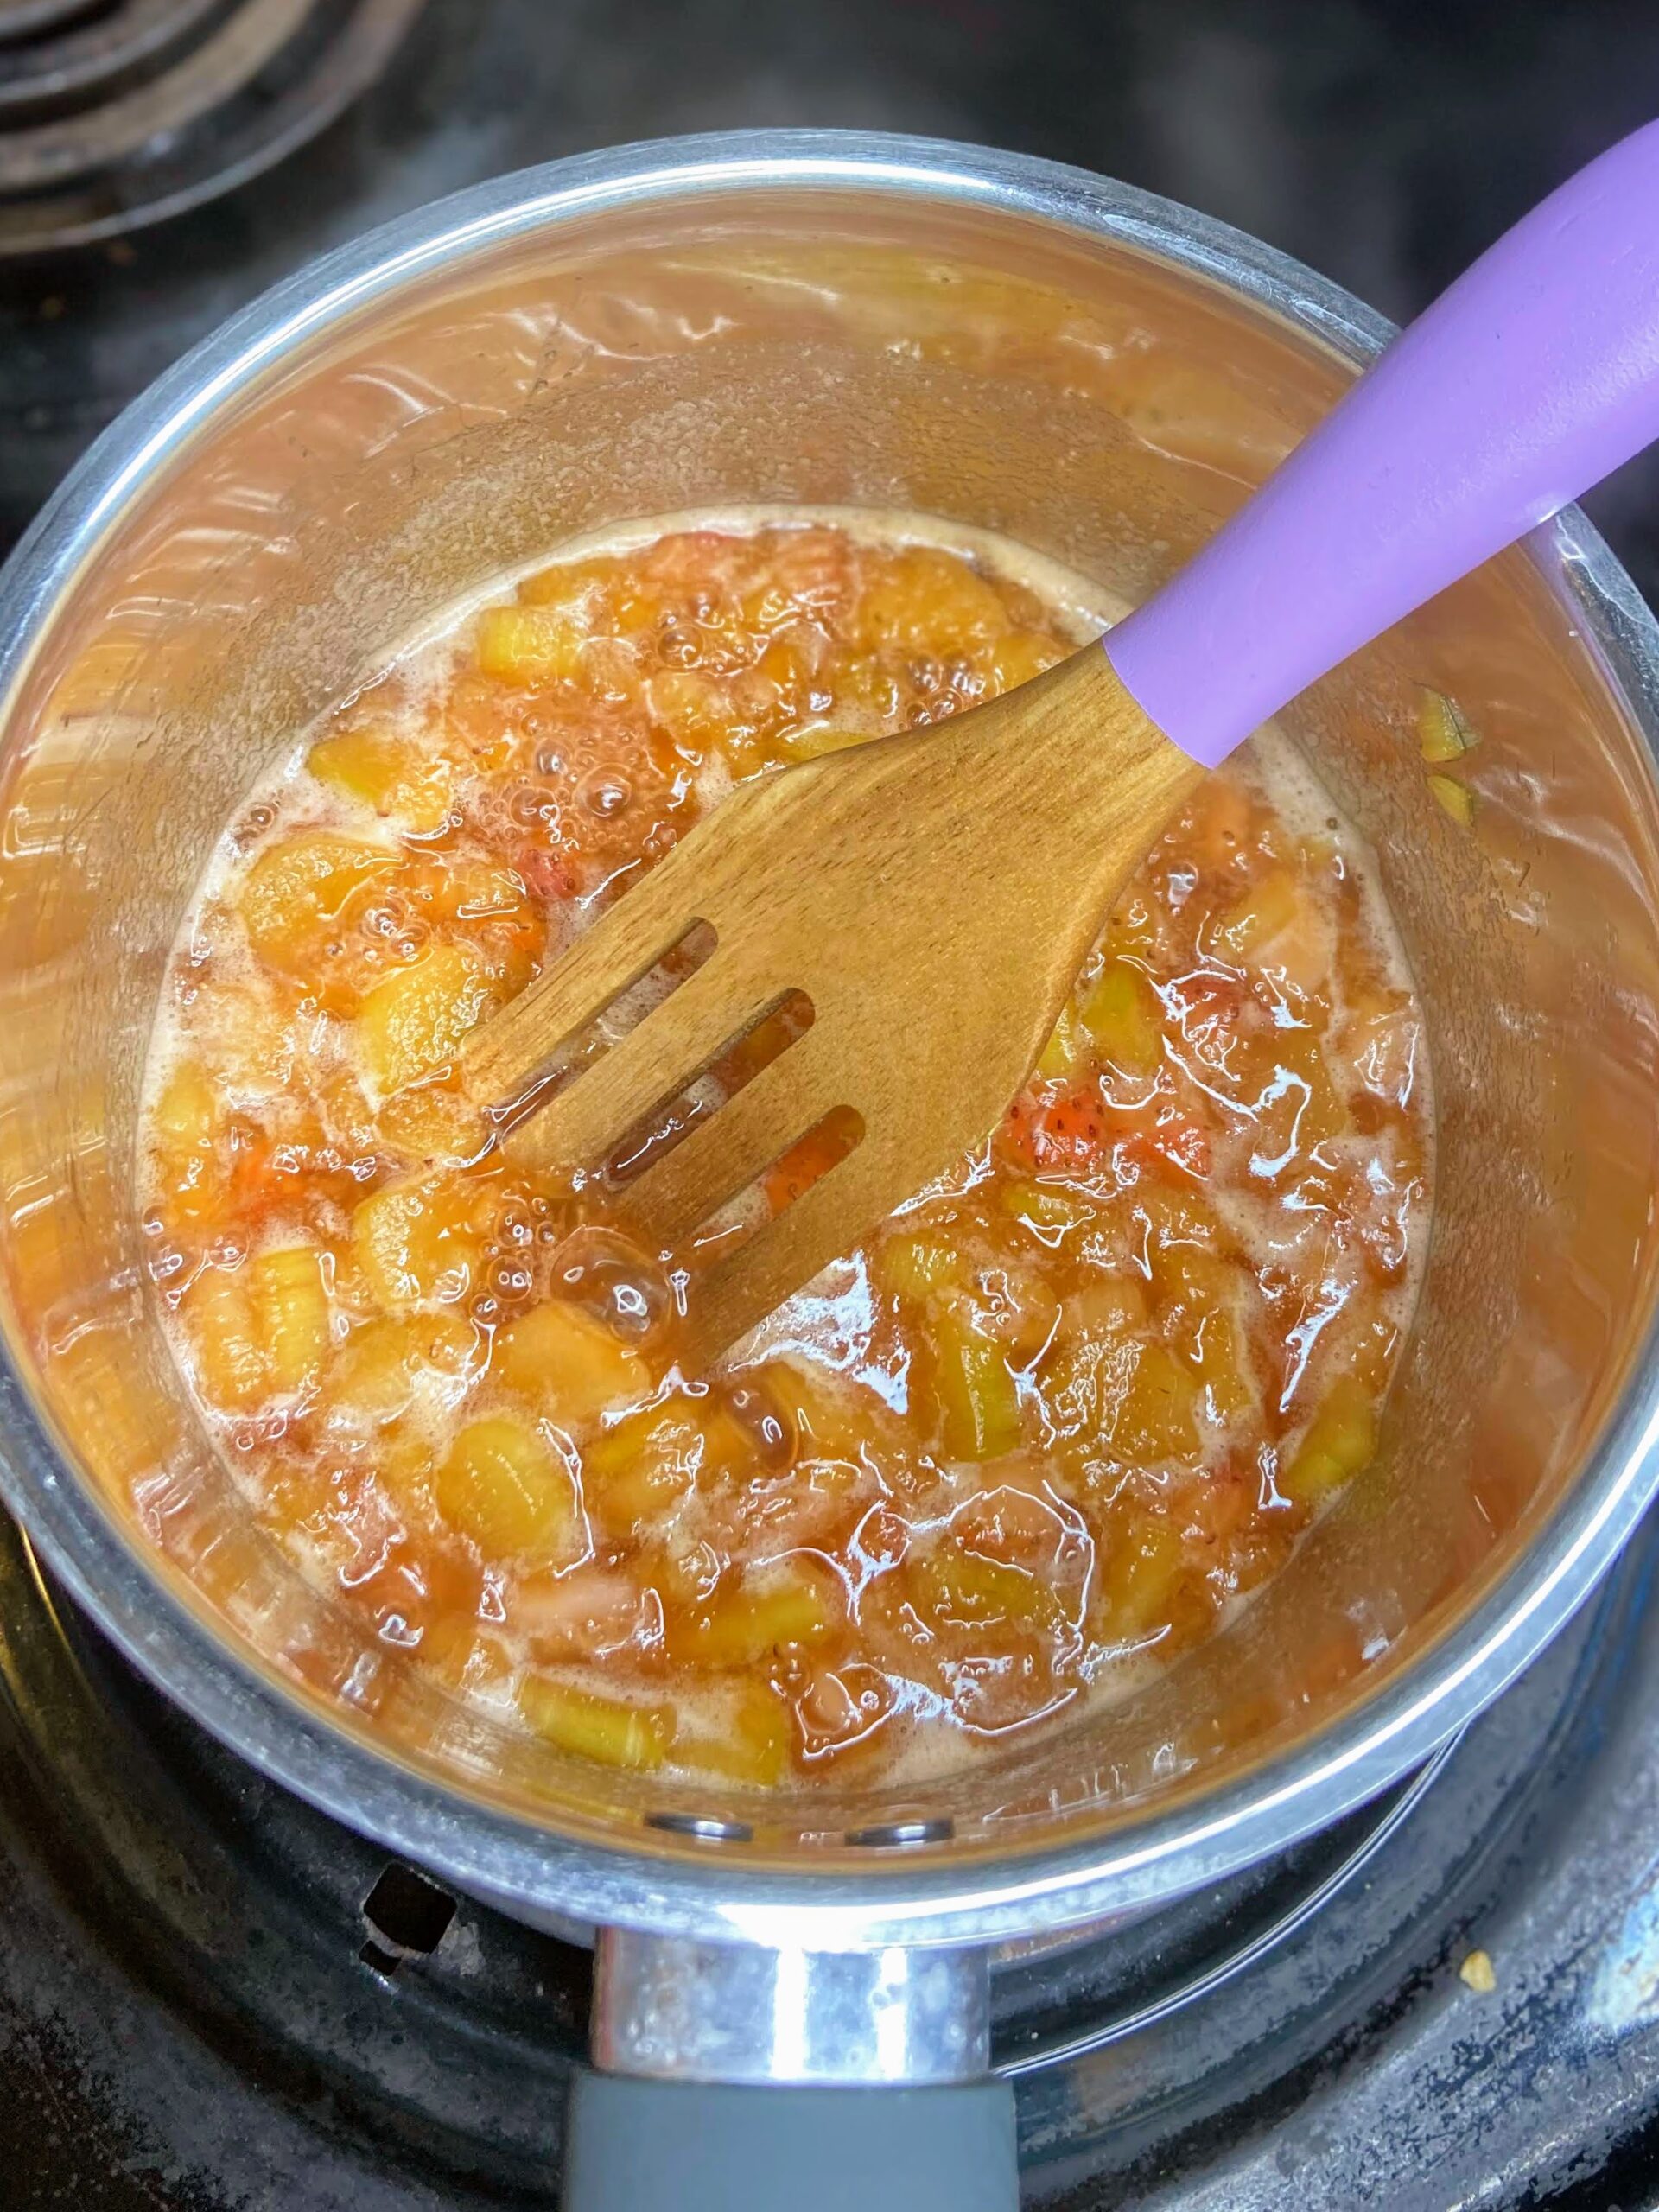
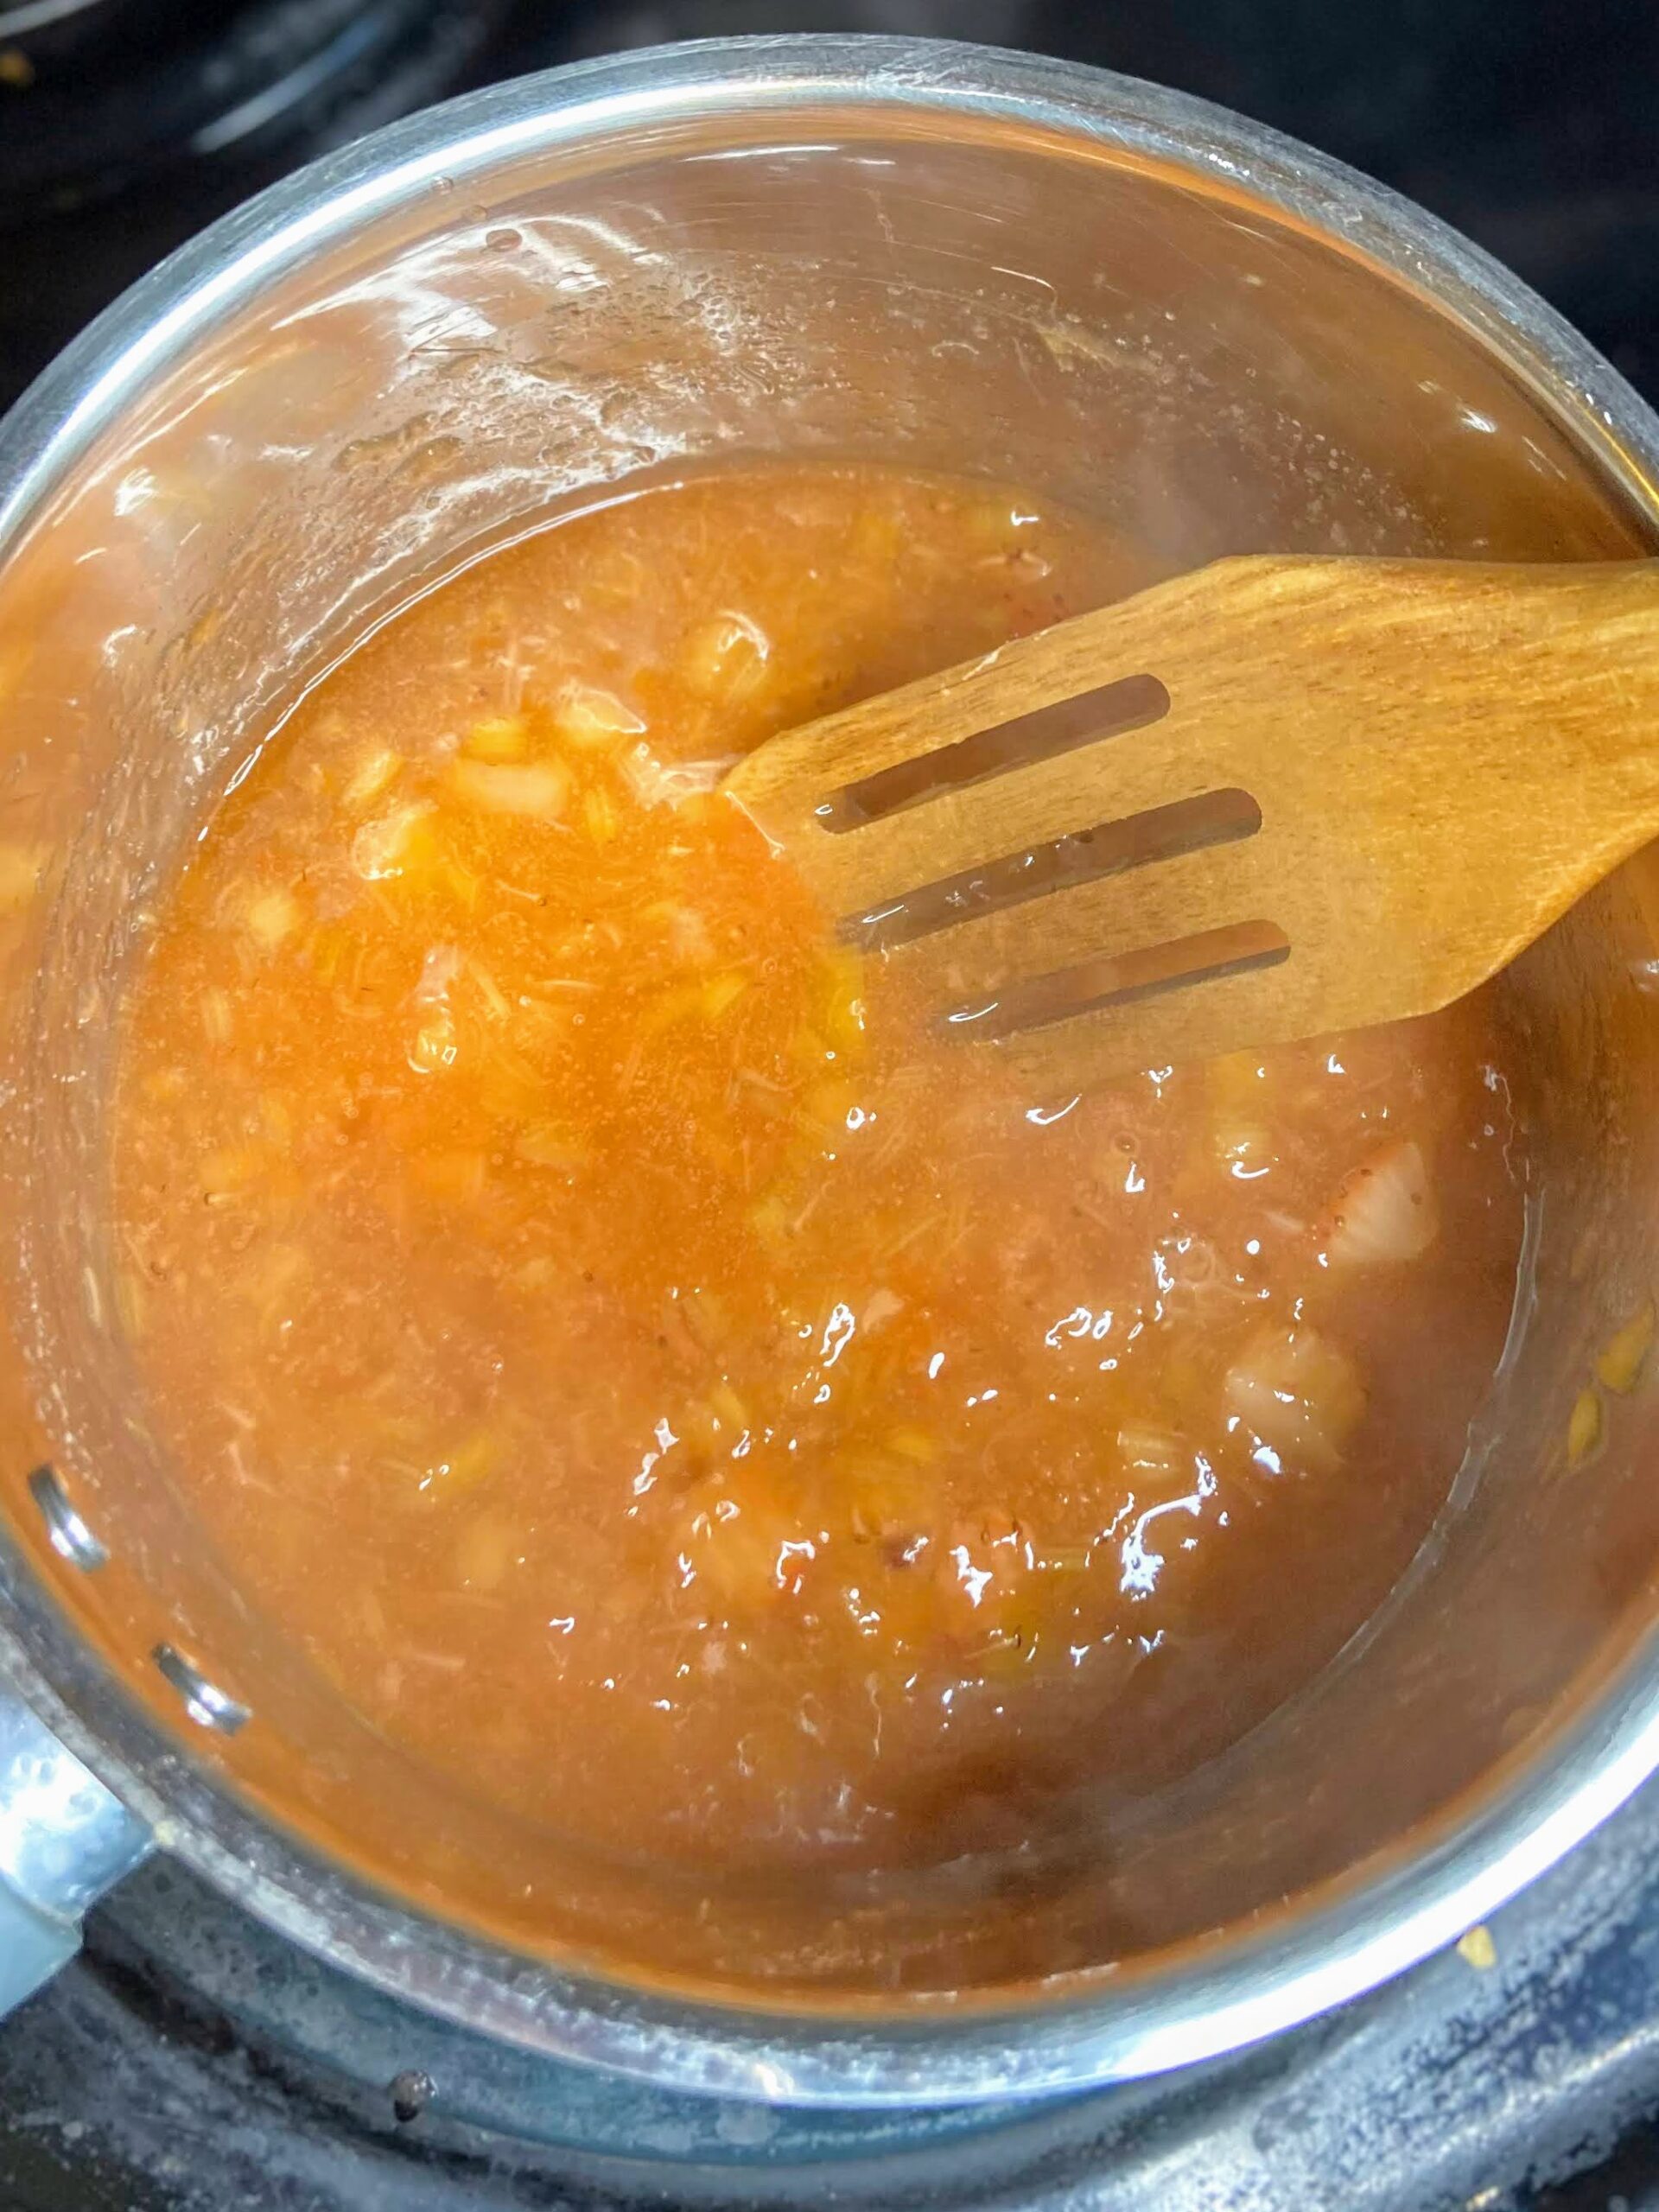
Preheat the oven to 375 degrees. In a large saucepan, combine the rhubarb, strawberries, ⅓ cup brown sugar, 2 tablespoons water, and lemon juice. Bring to a boil. Reduce heat to medium and cook for 4-5 minutes, stirring often, until rhubarb is soft.
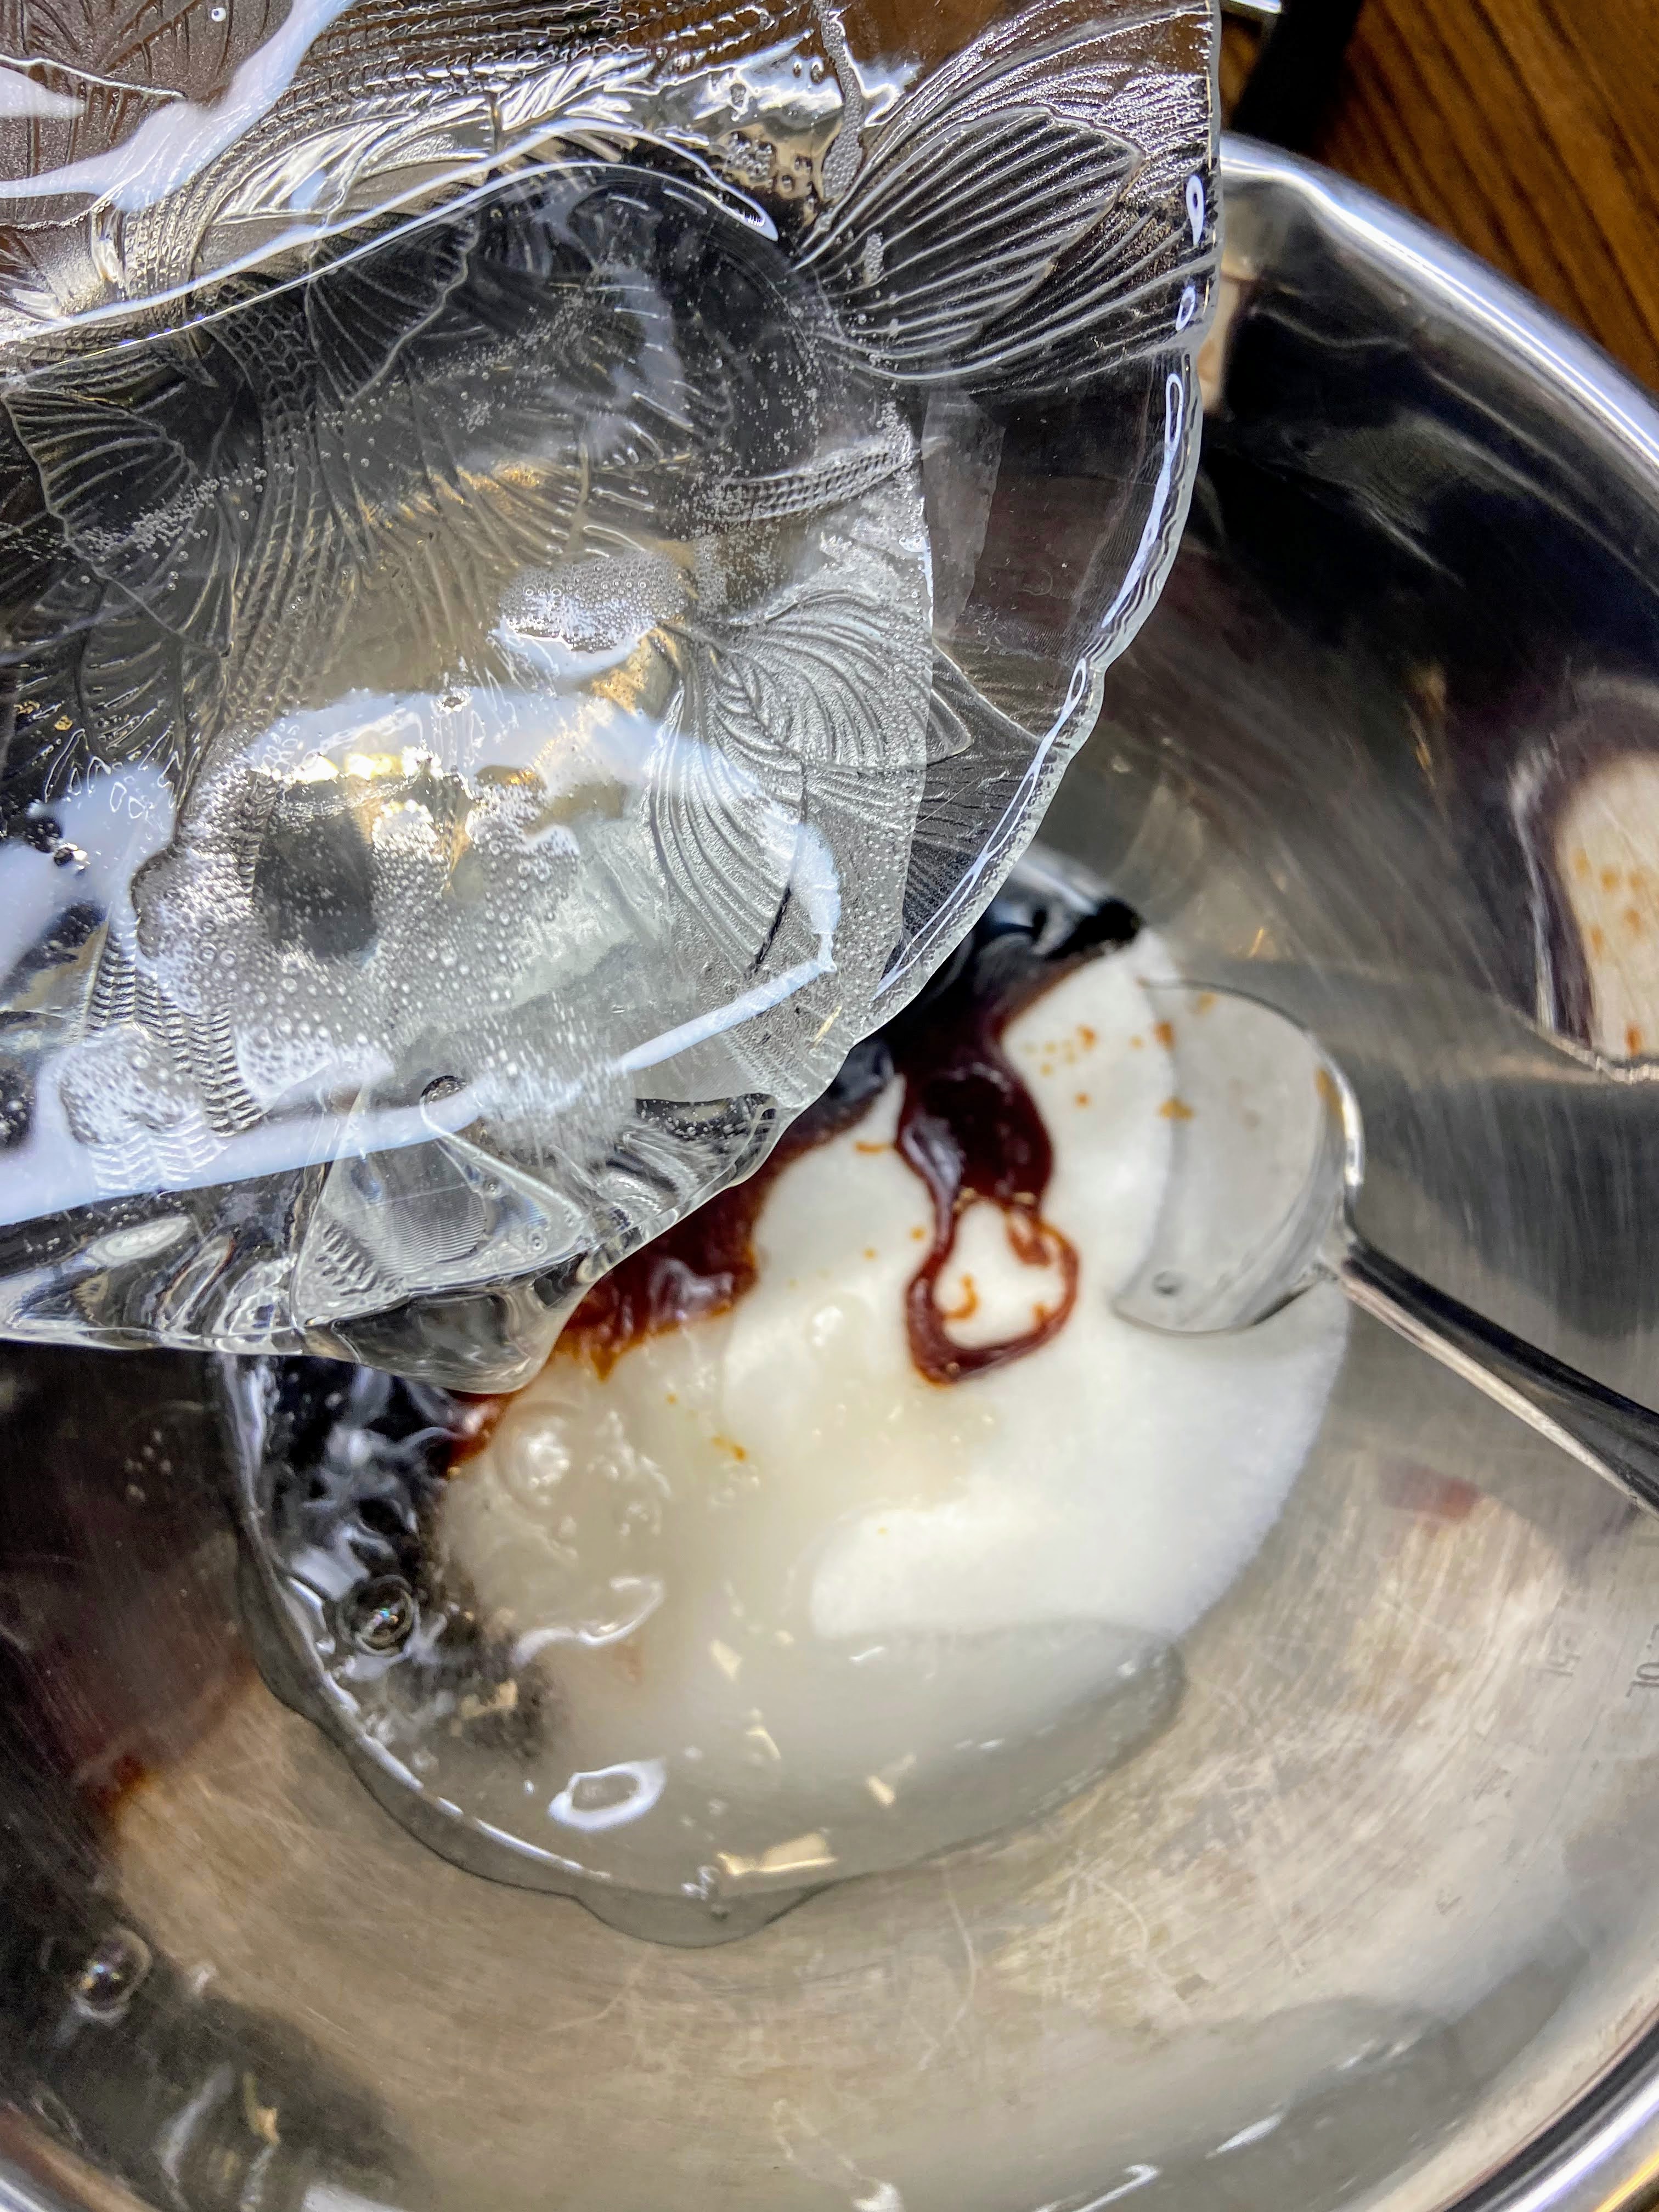
Combine cornstarch and the remaining tablespoon of water. Gradually stir into the rhubarb mixture over medium heat. Bring to a boil, cooking and stirring for 2-3 minutes, until thickened. Remove from heat and set aside.
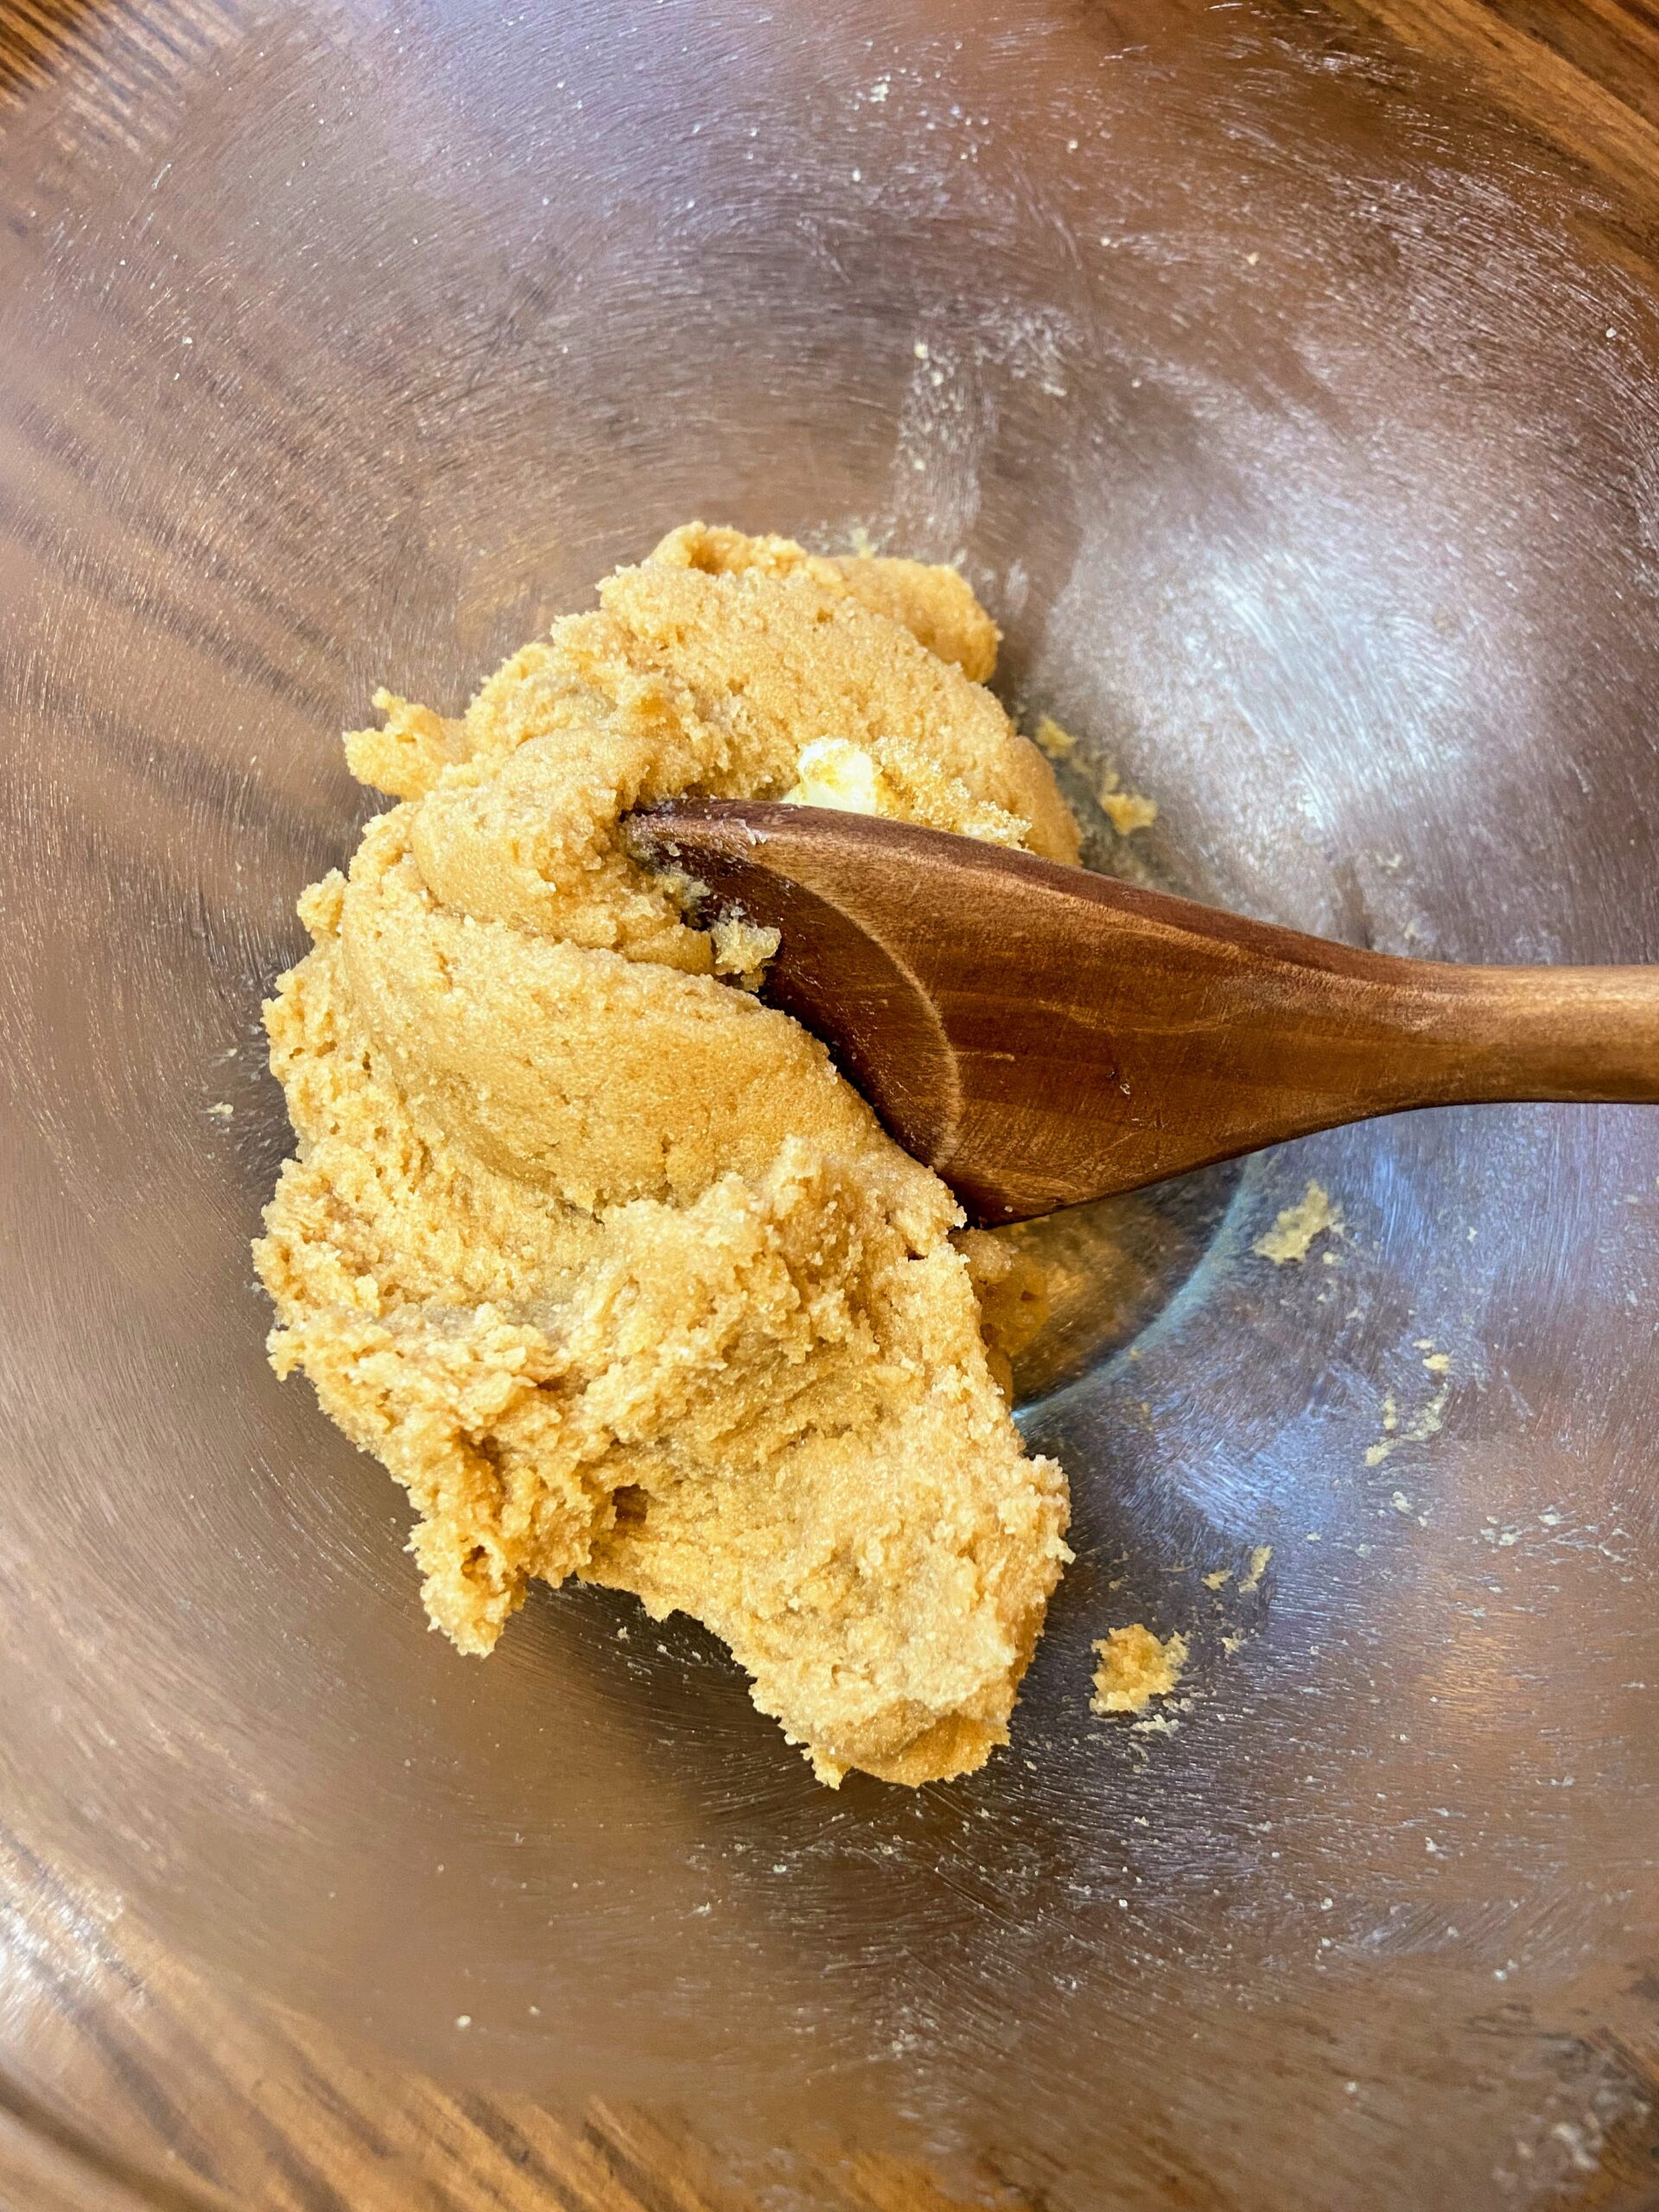
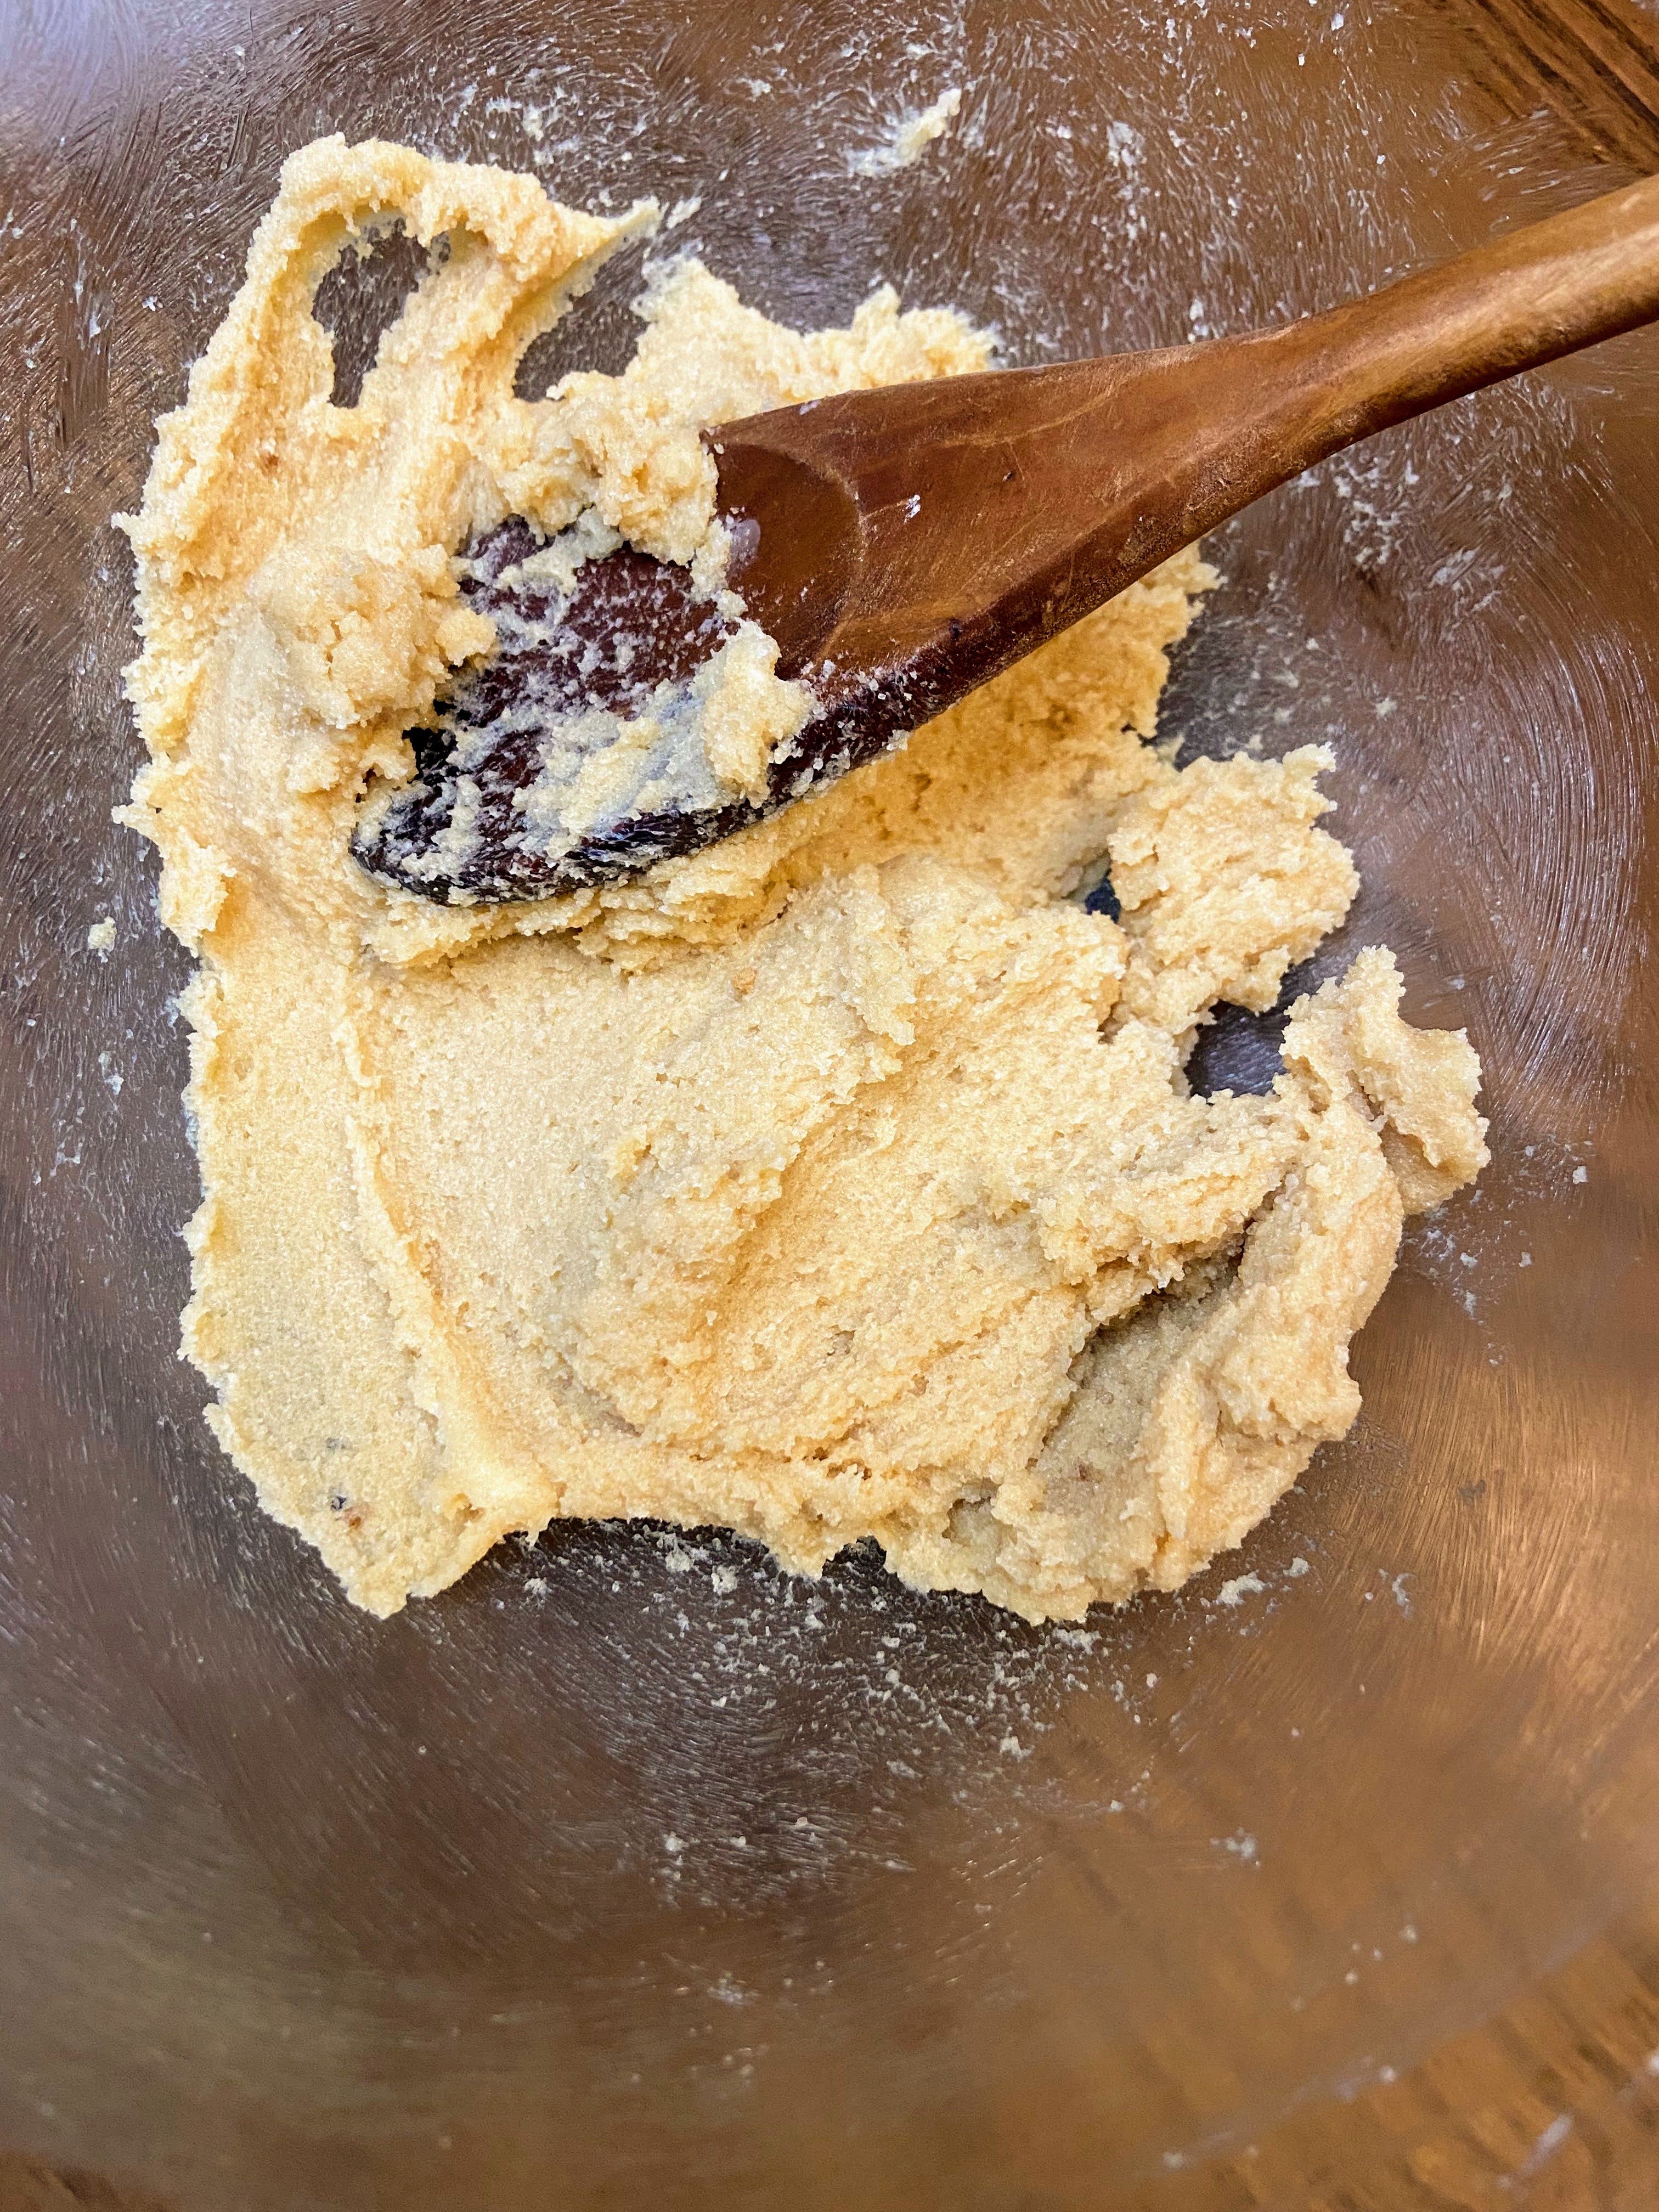
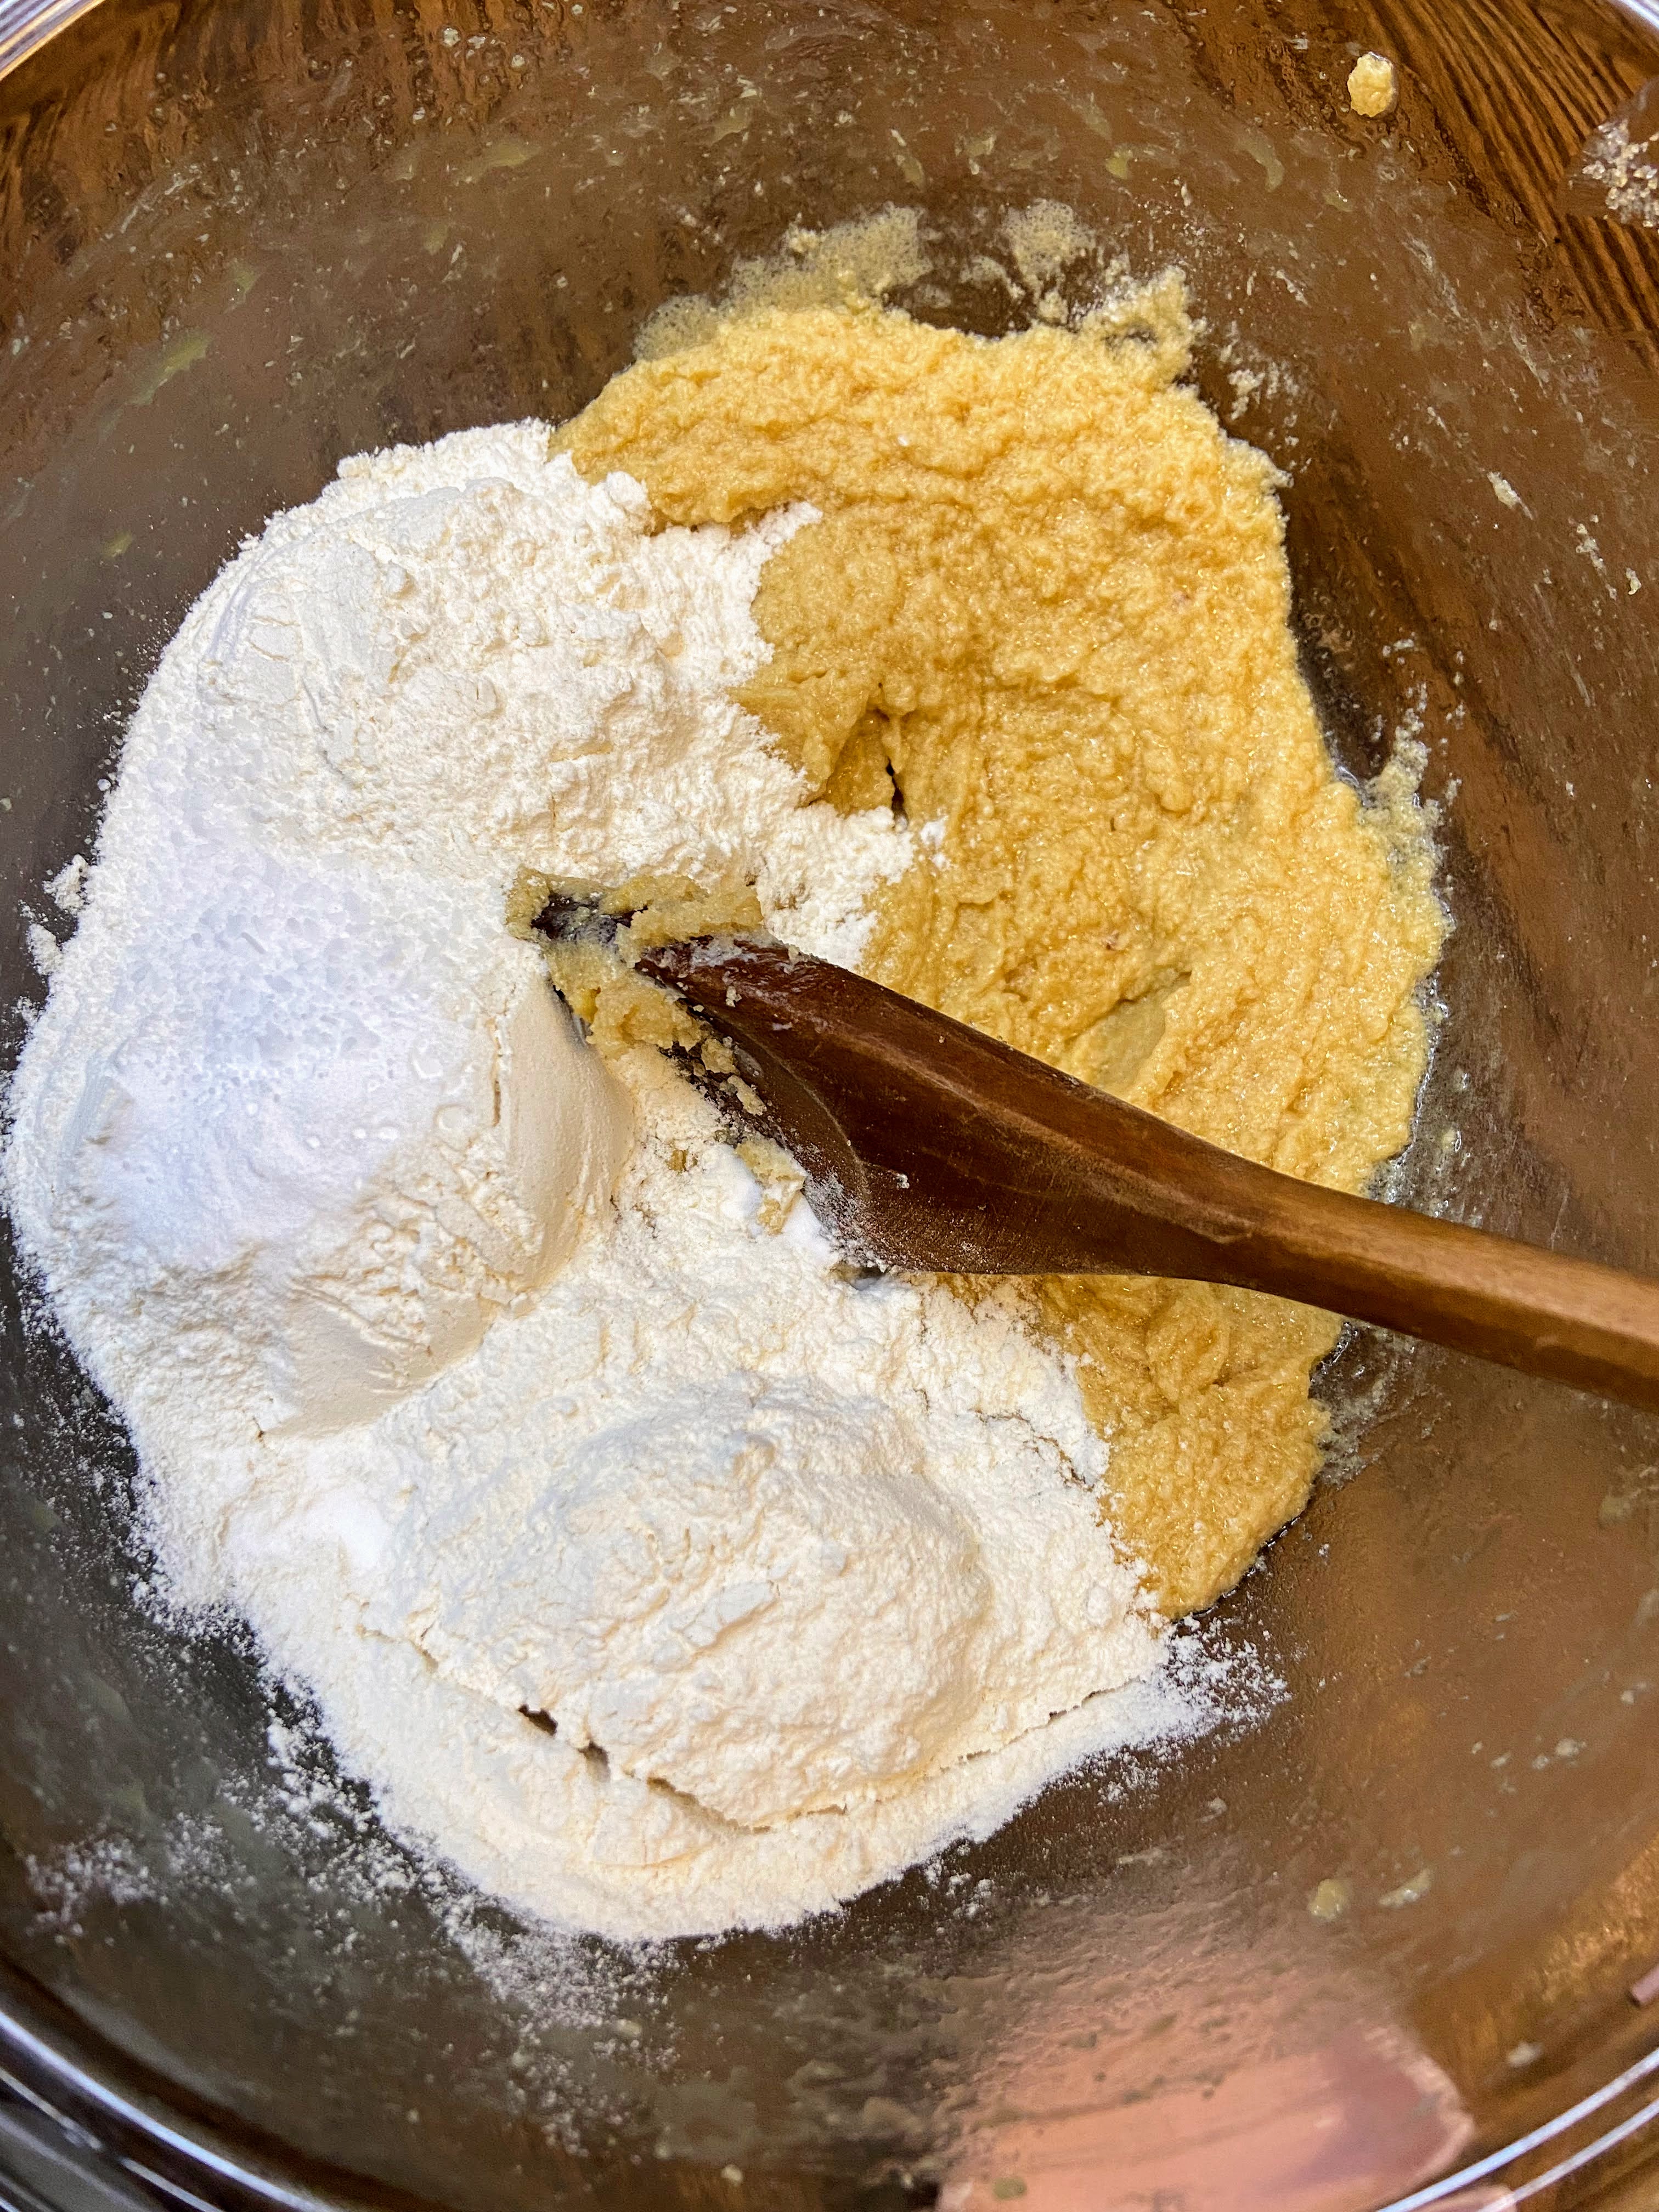
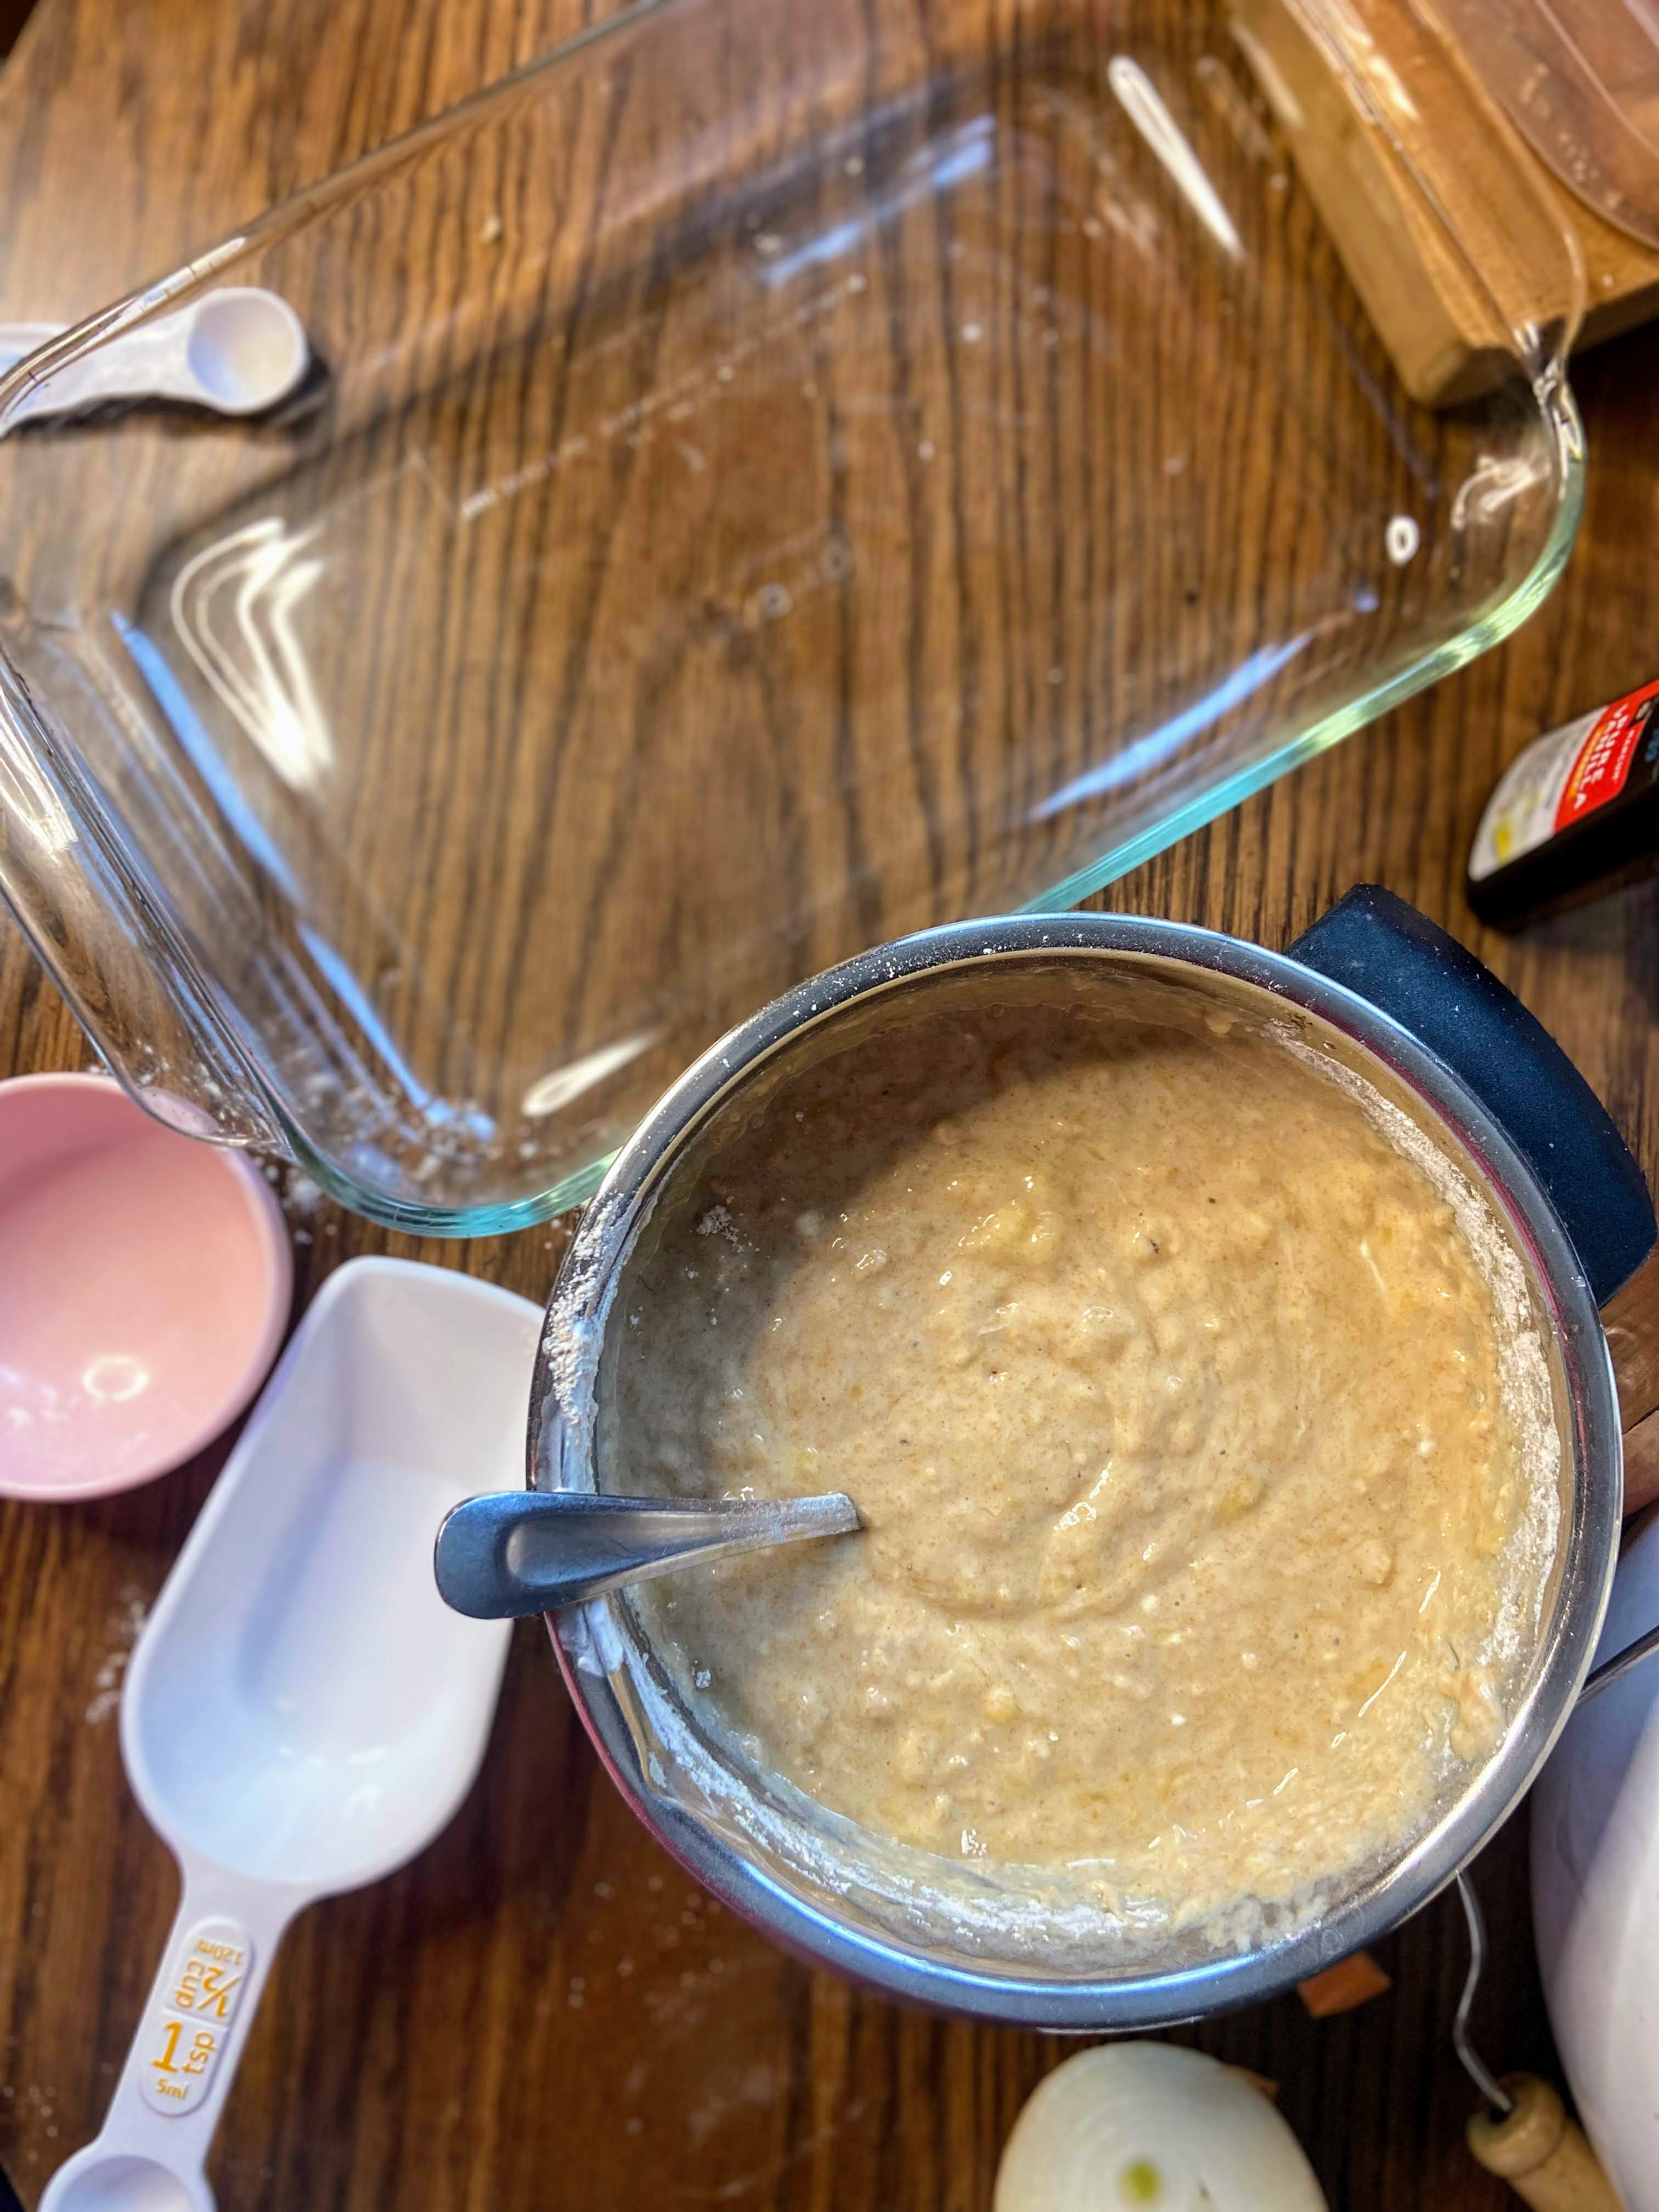
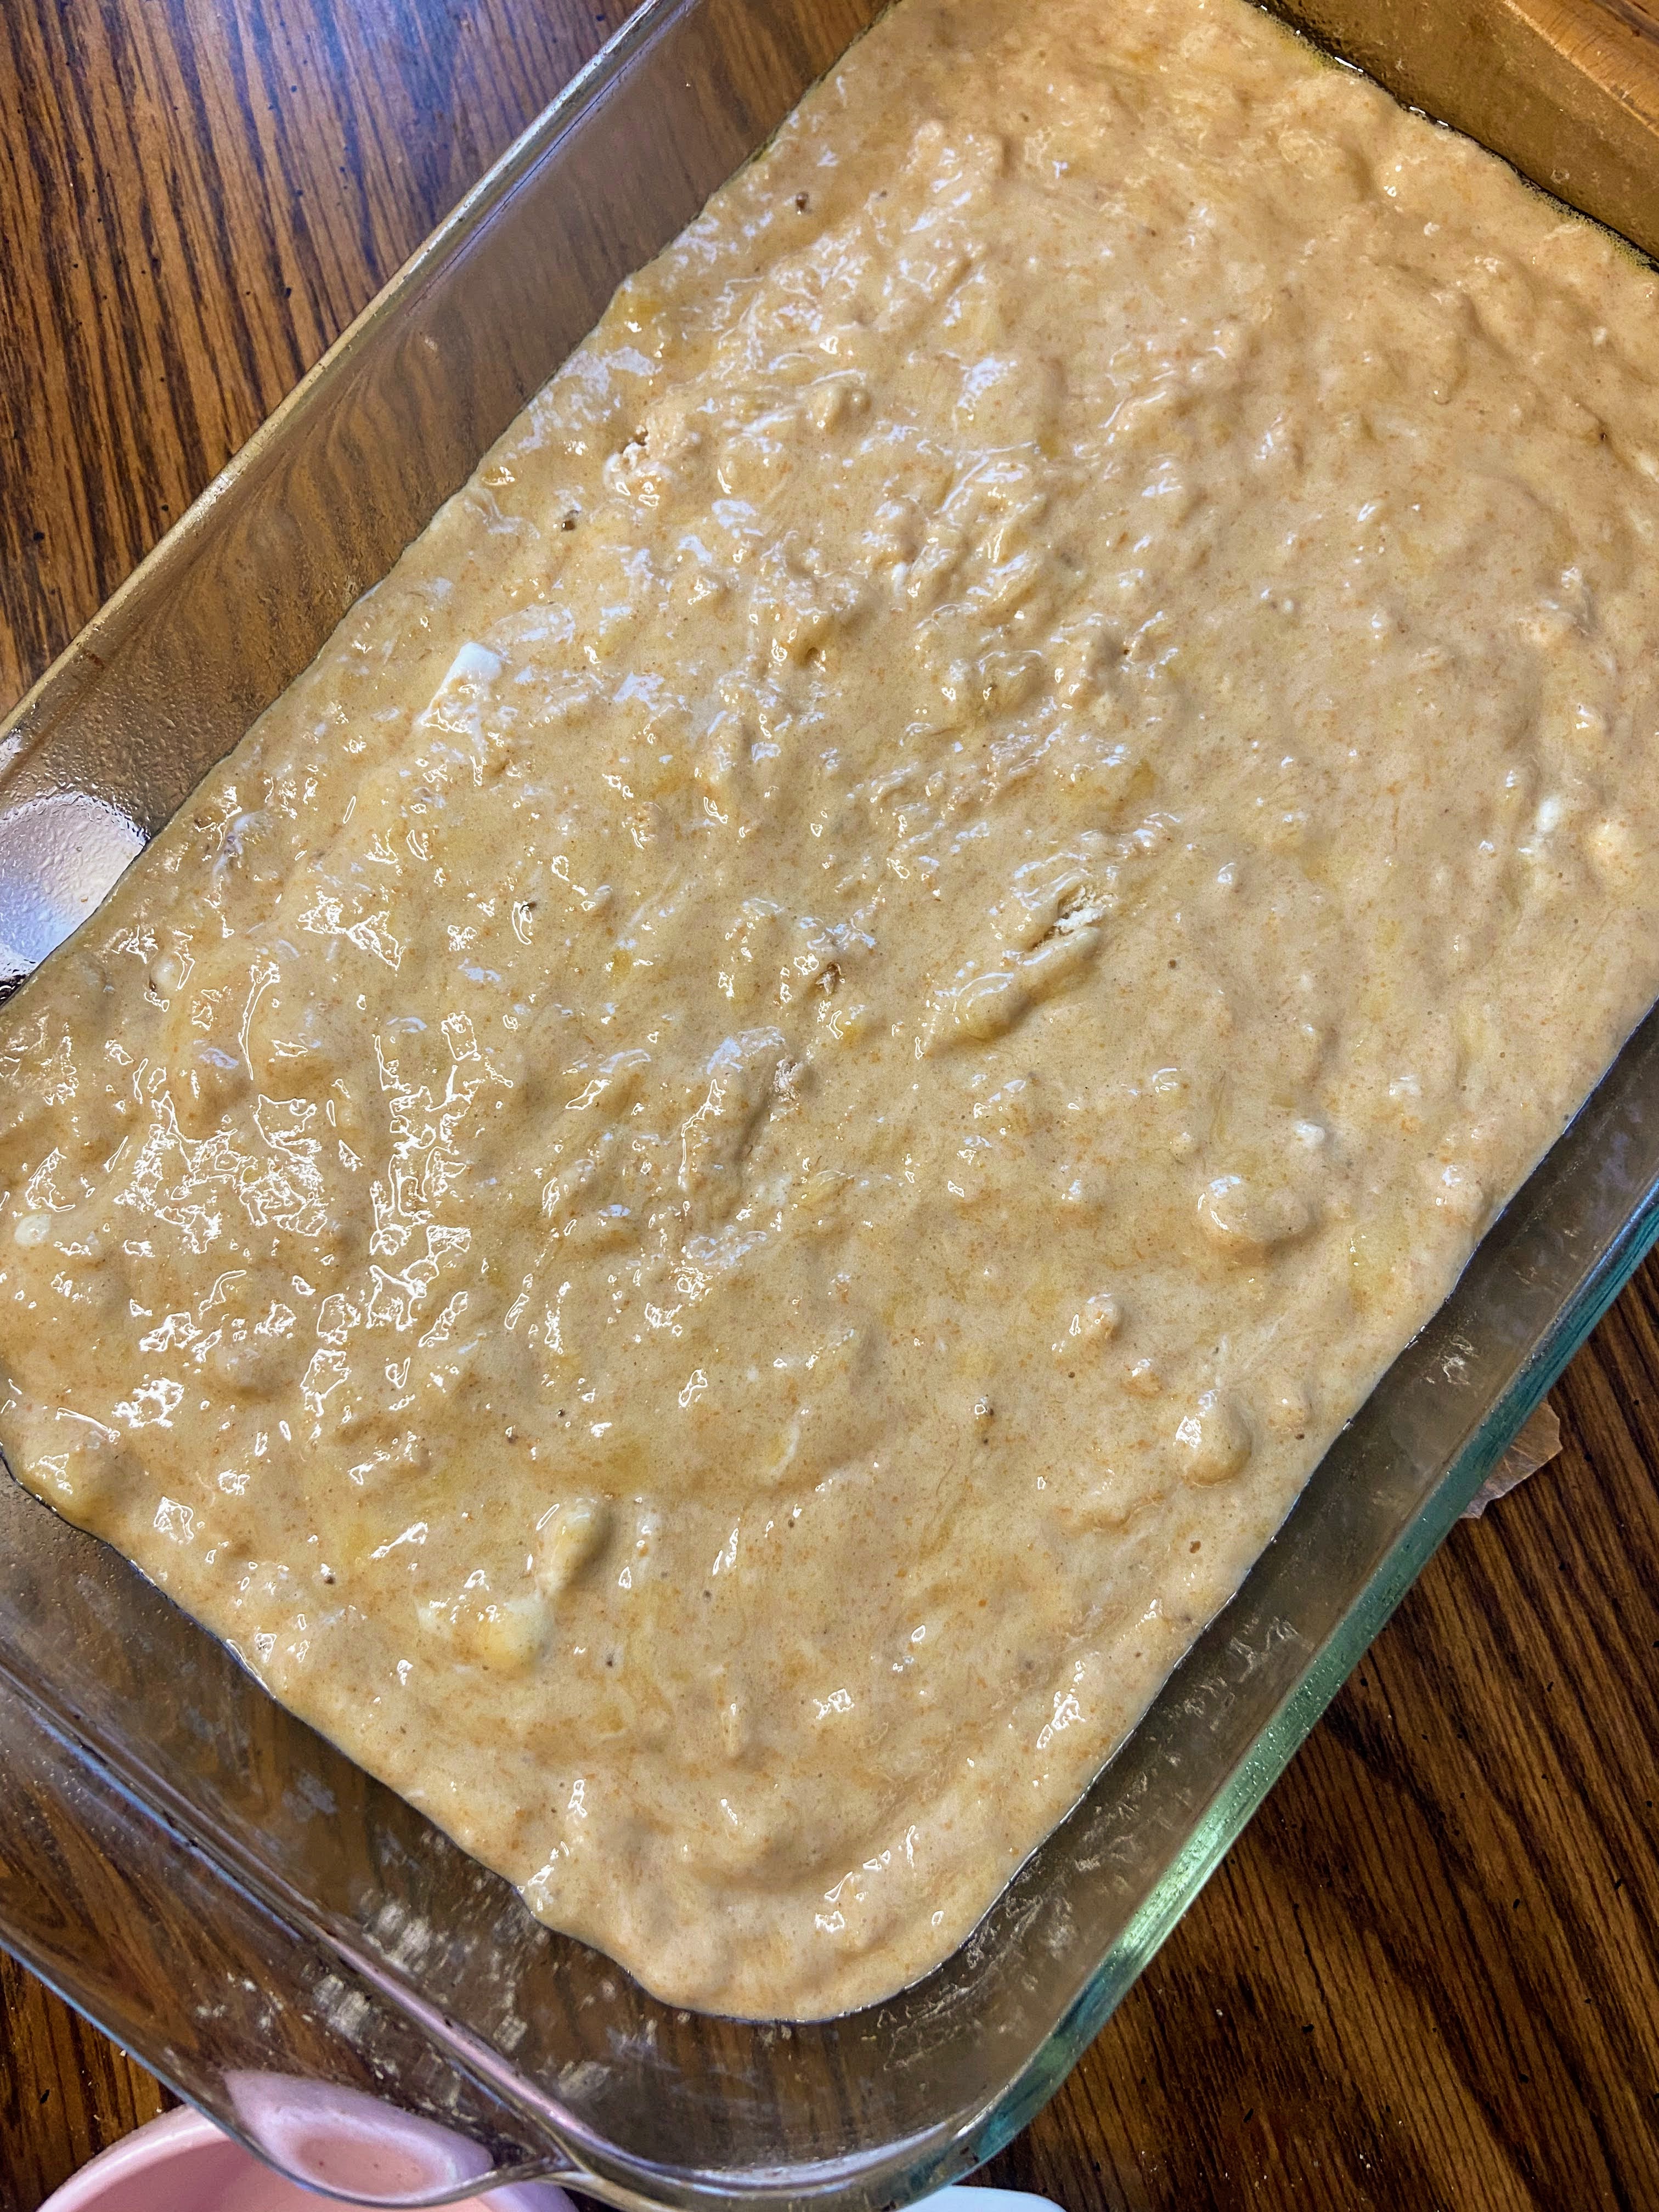
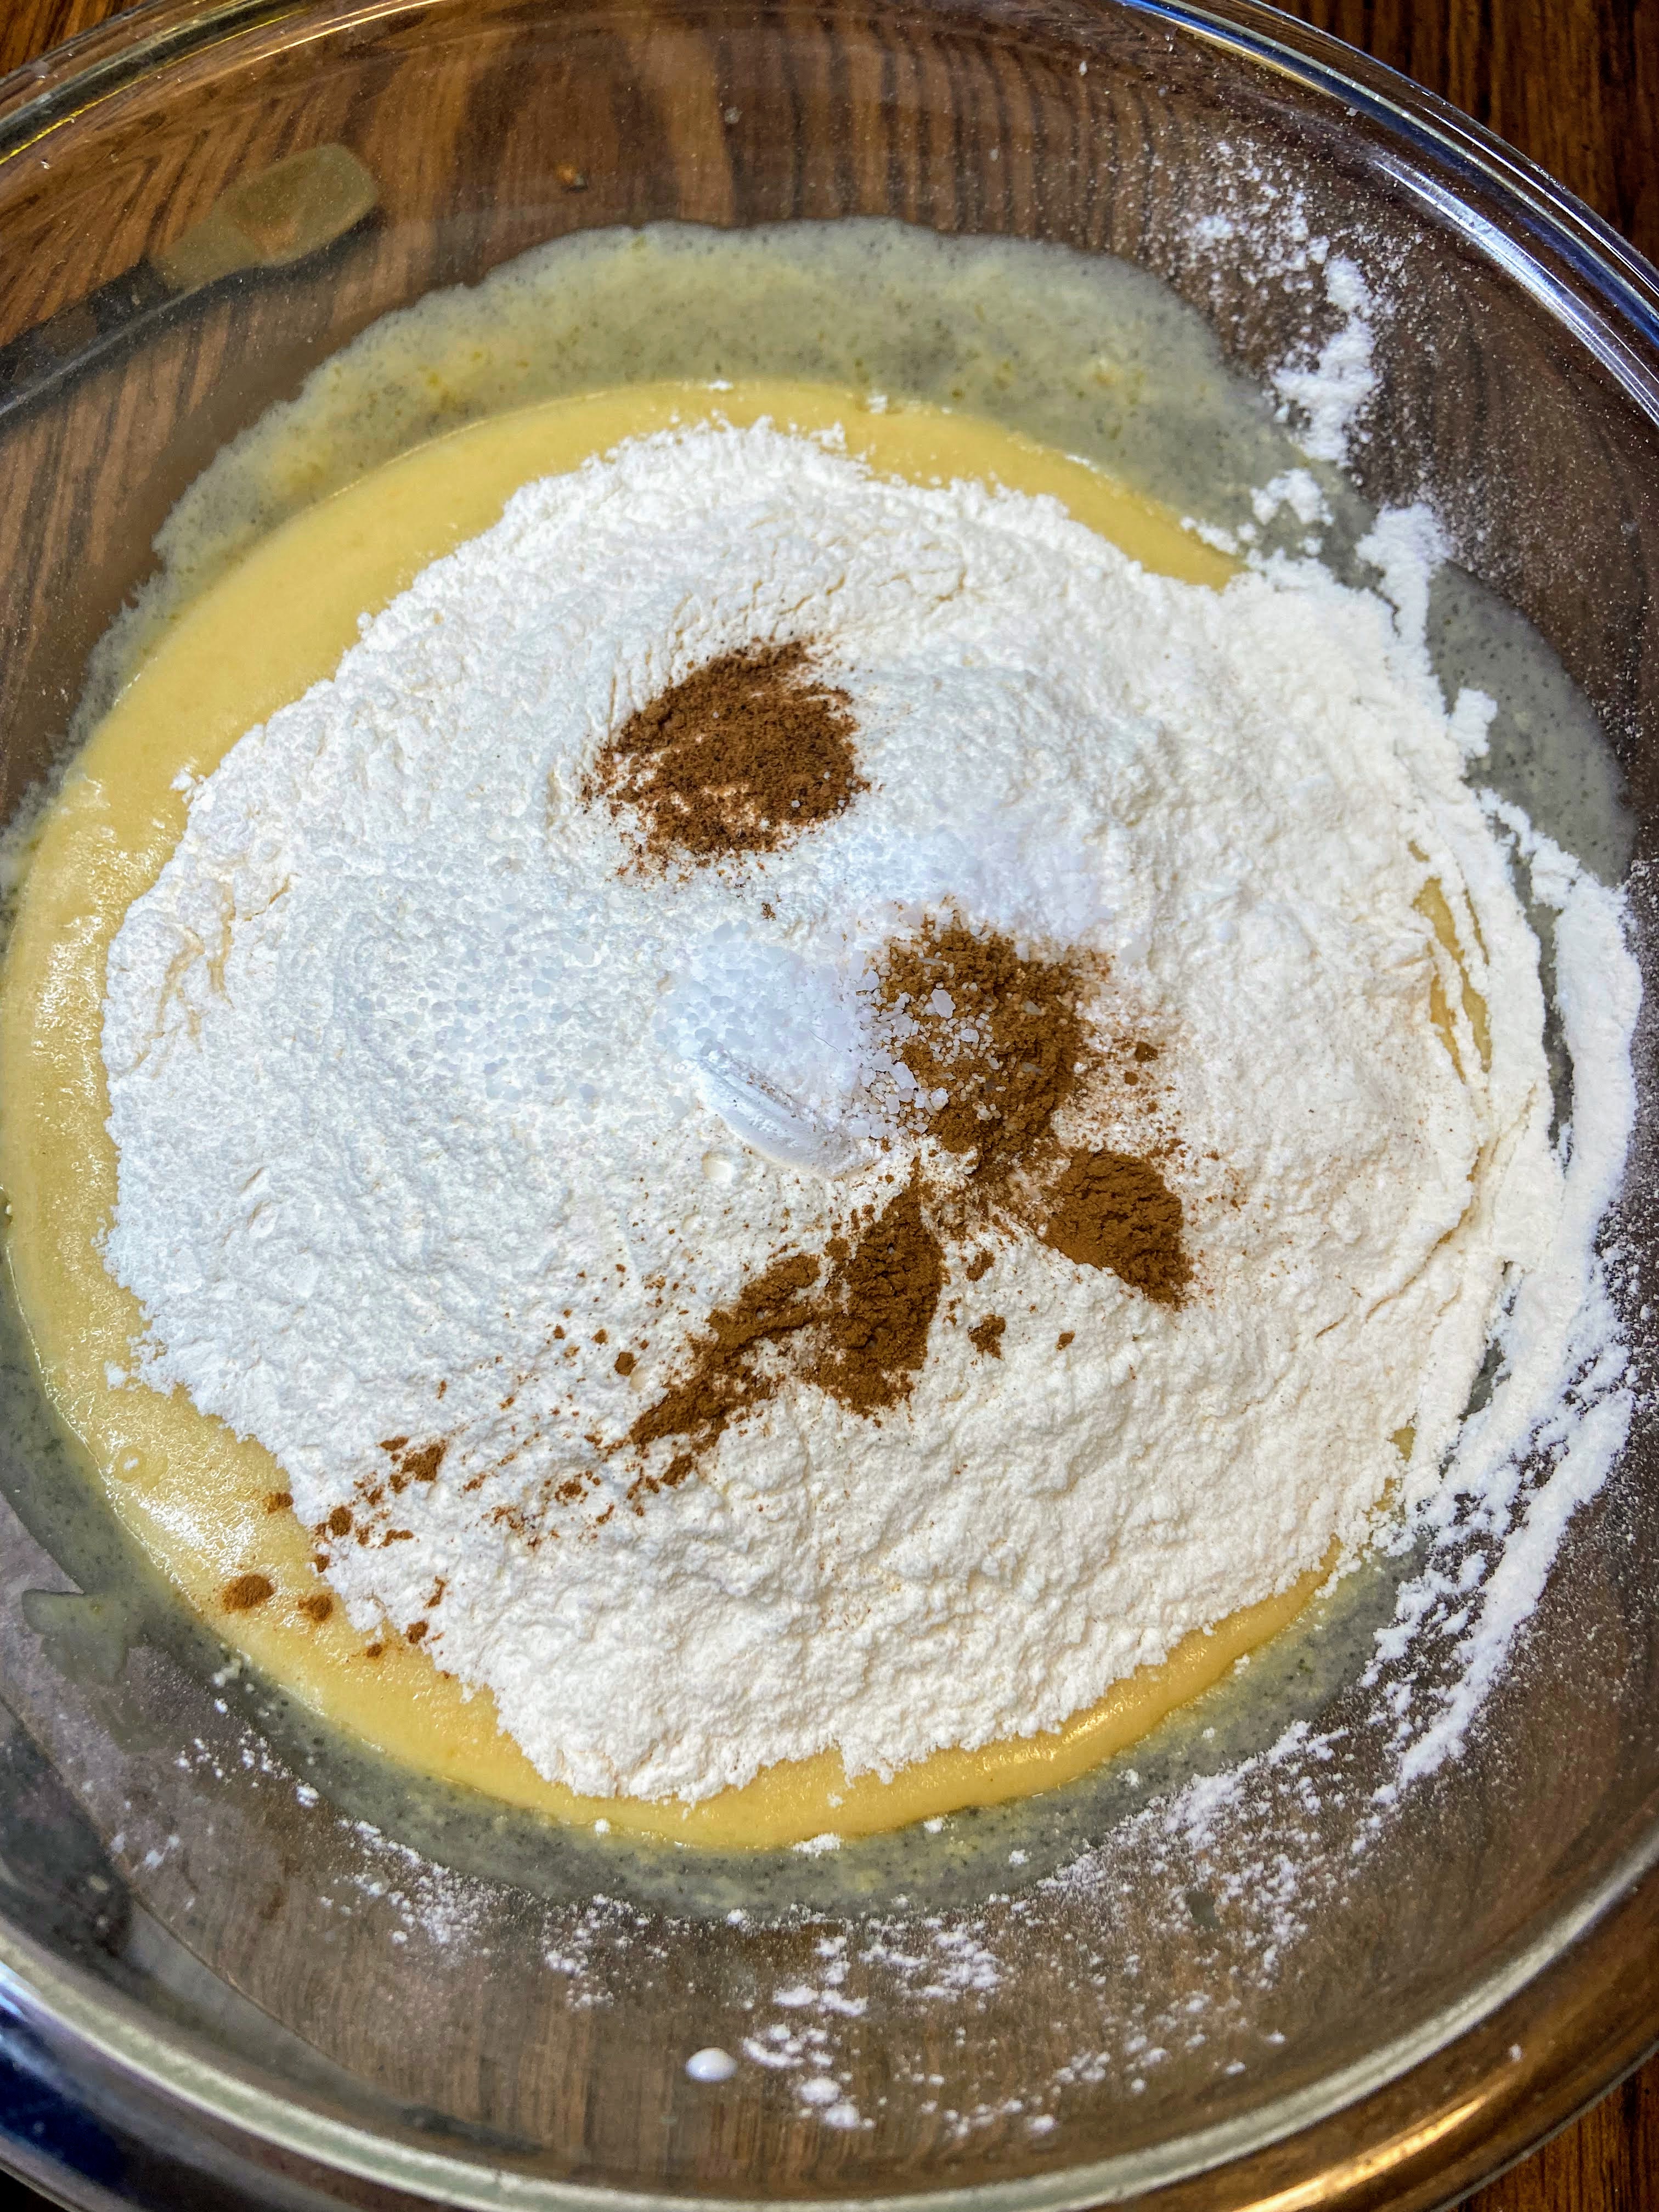
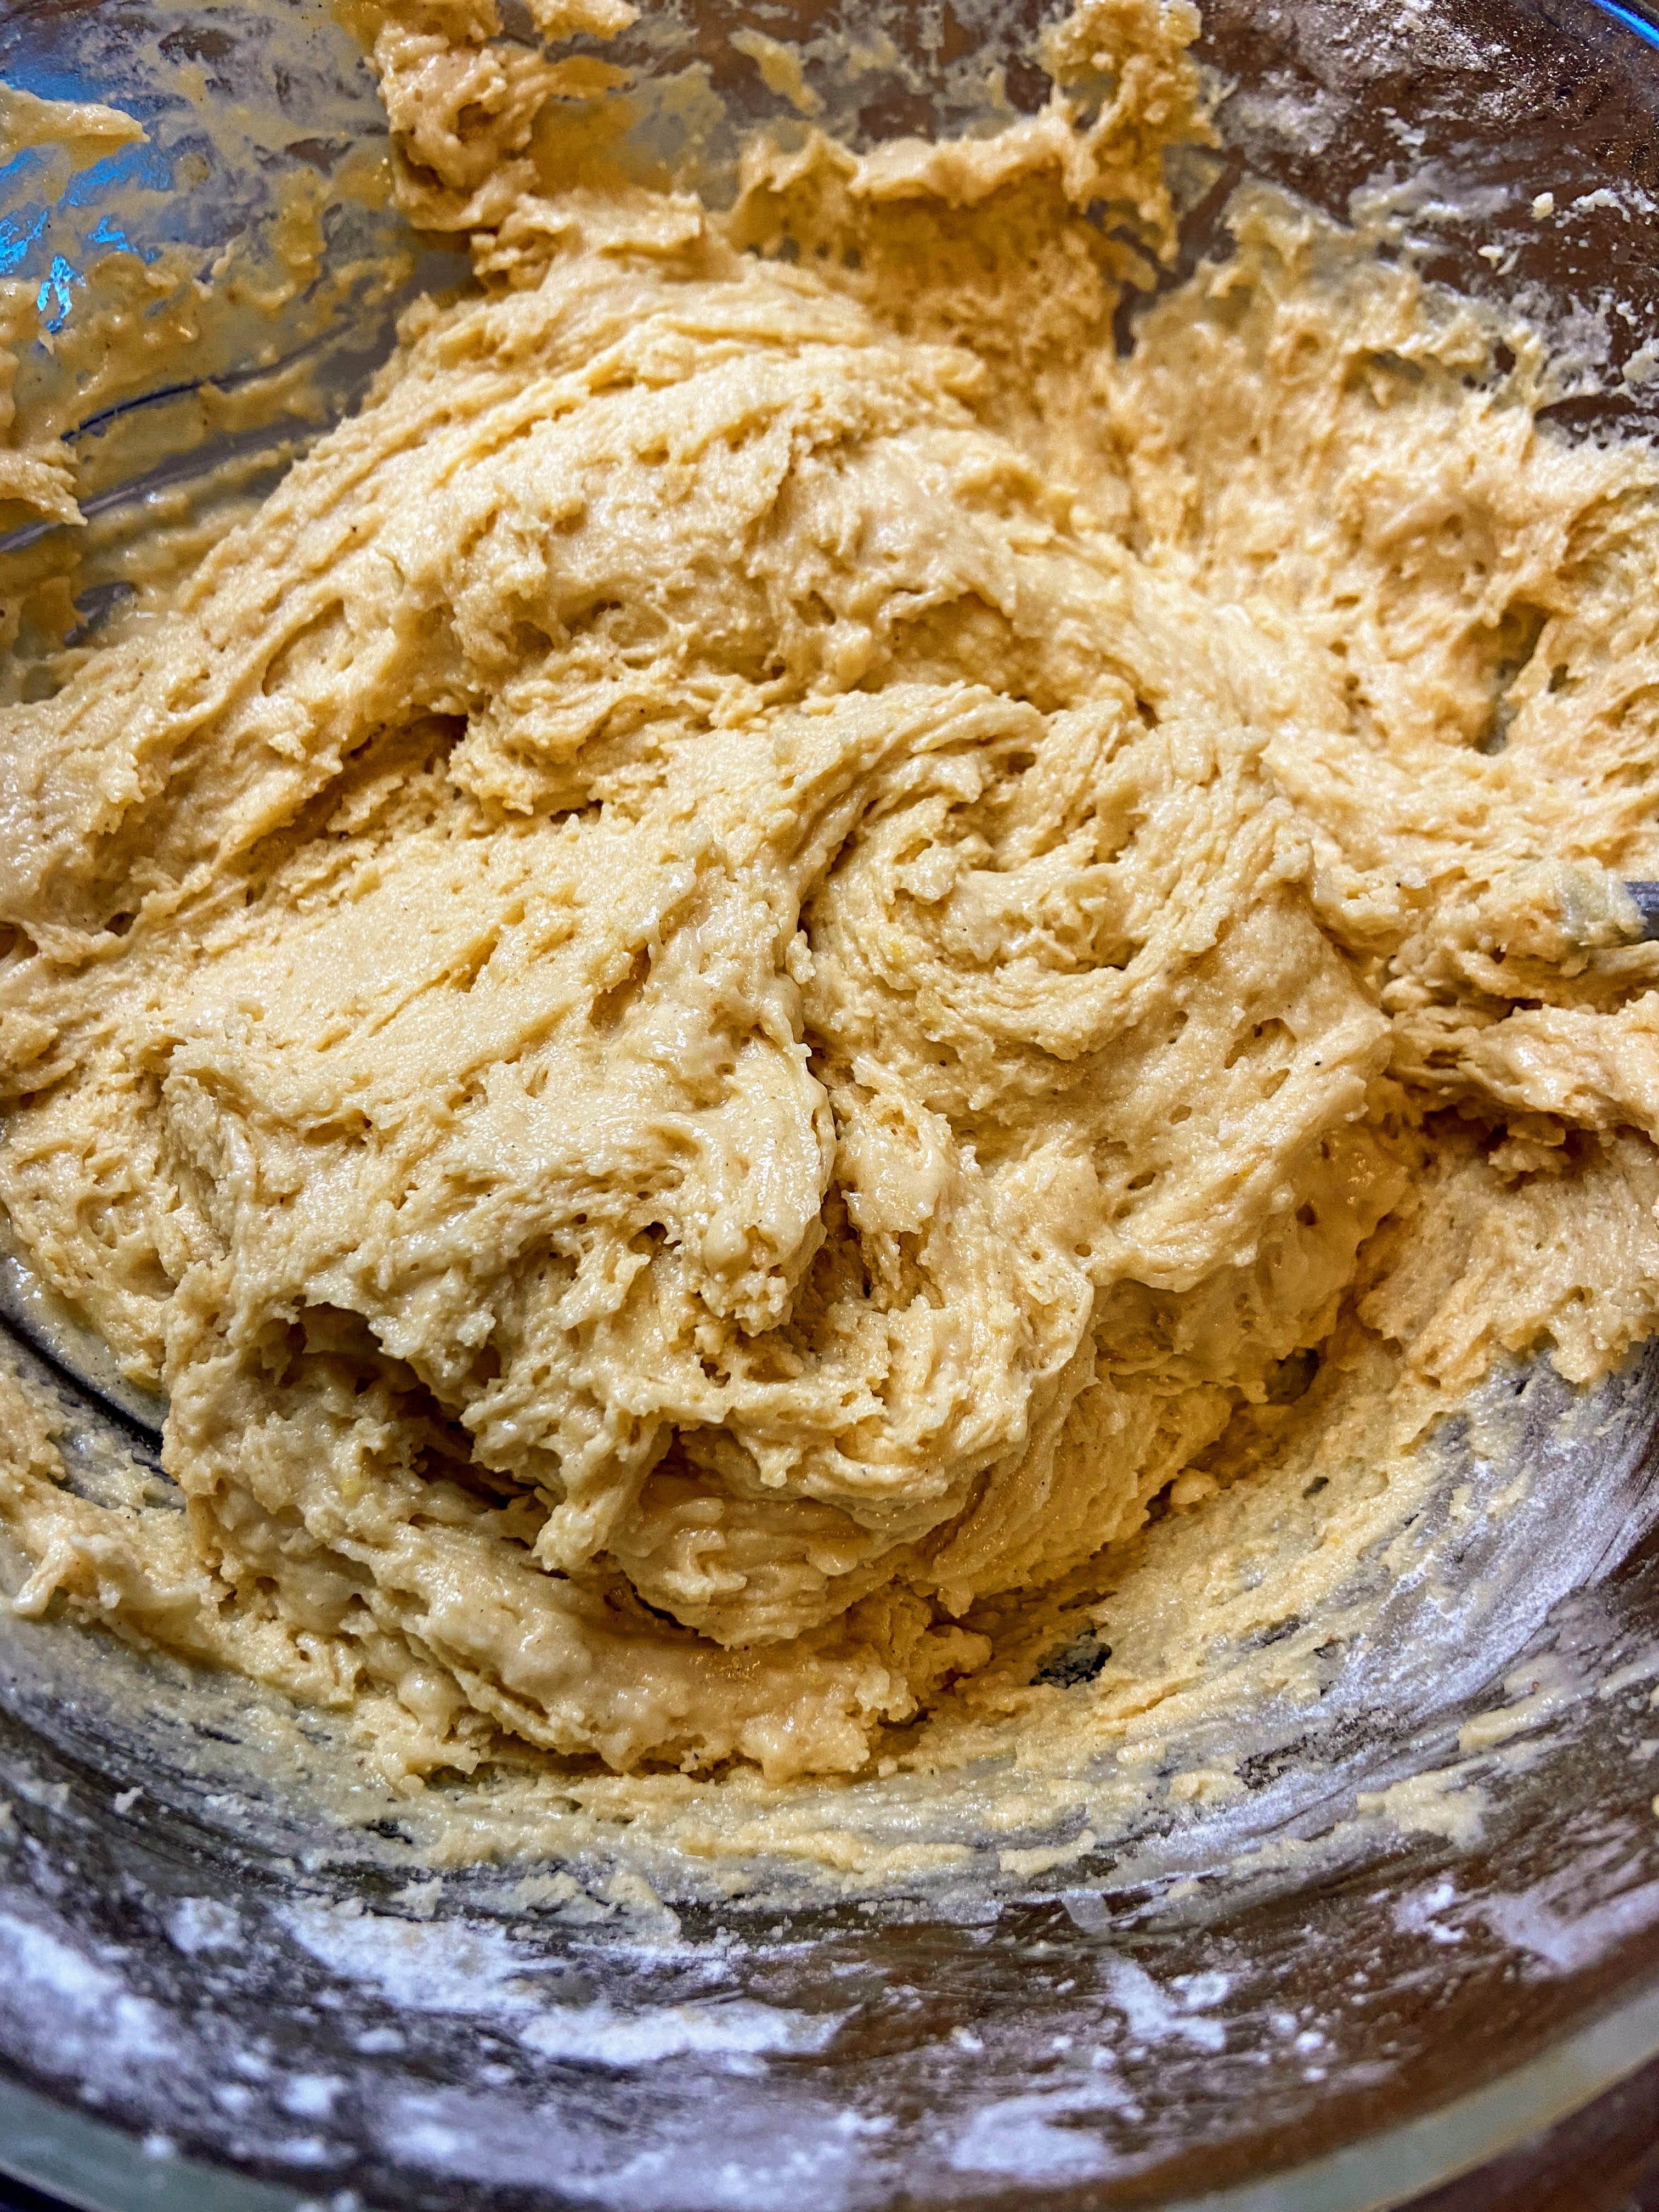
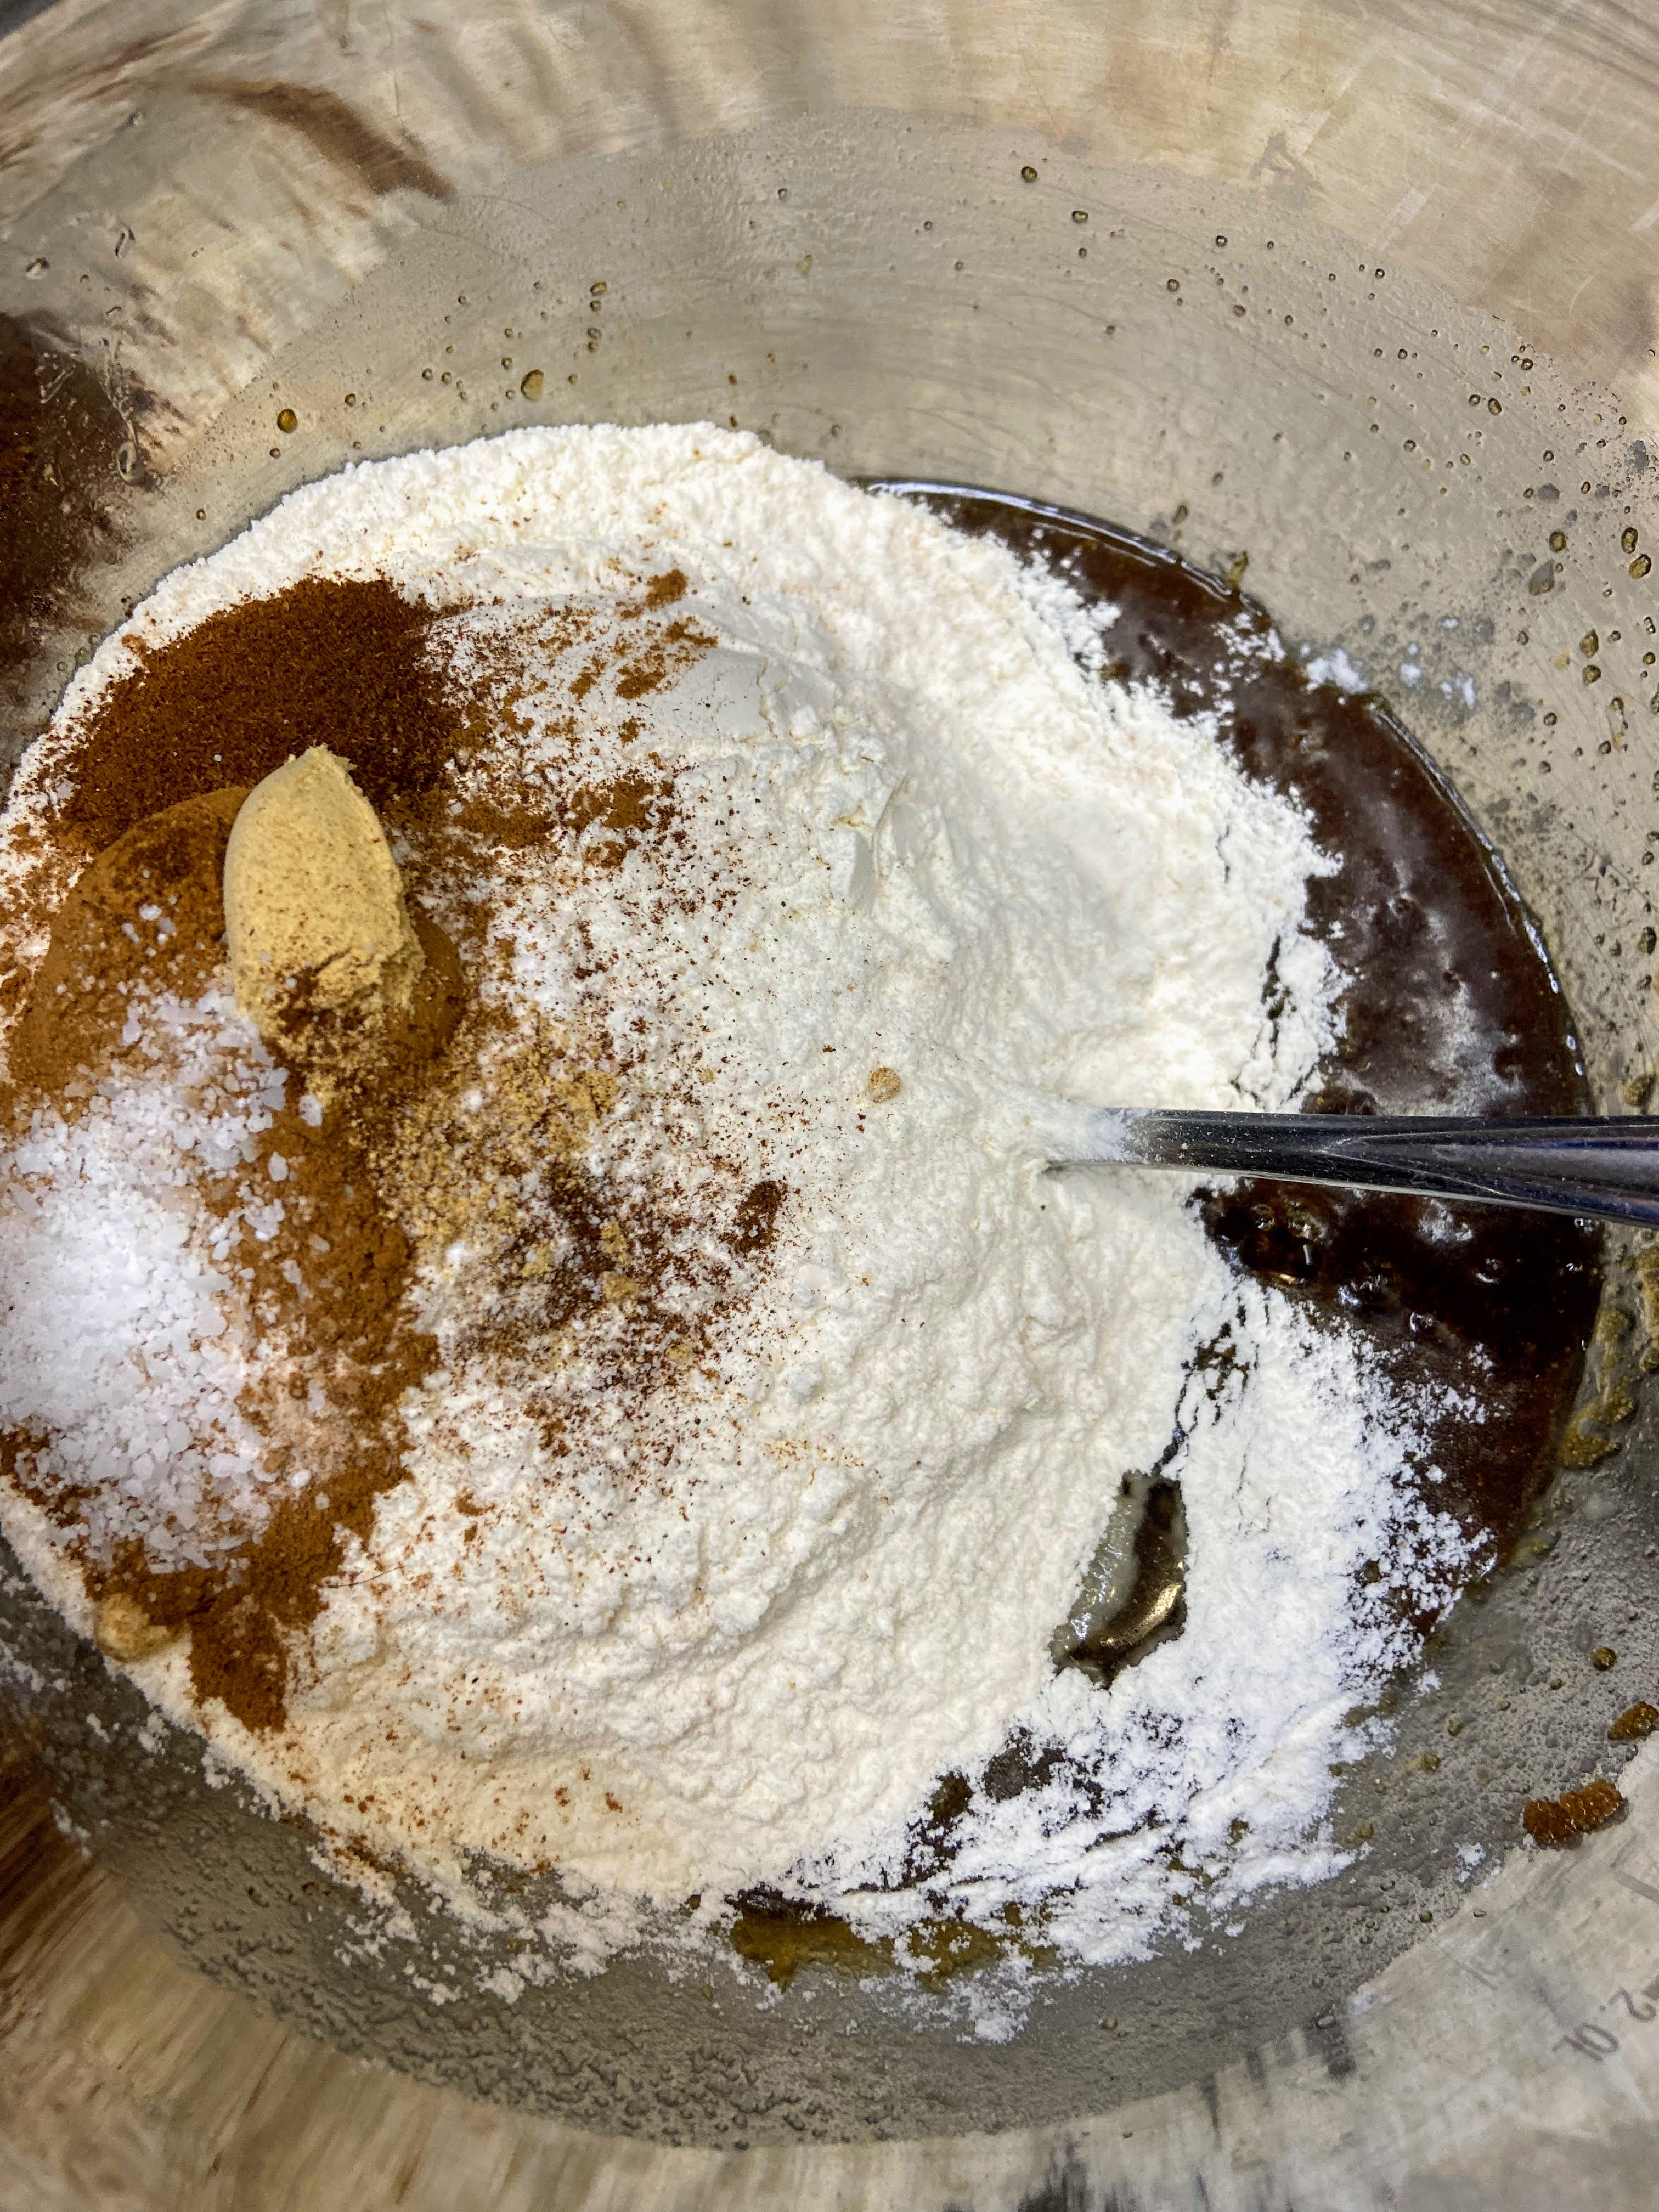
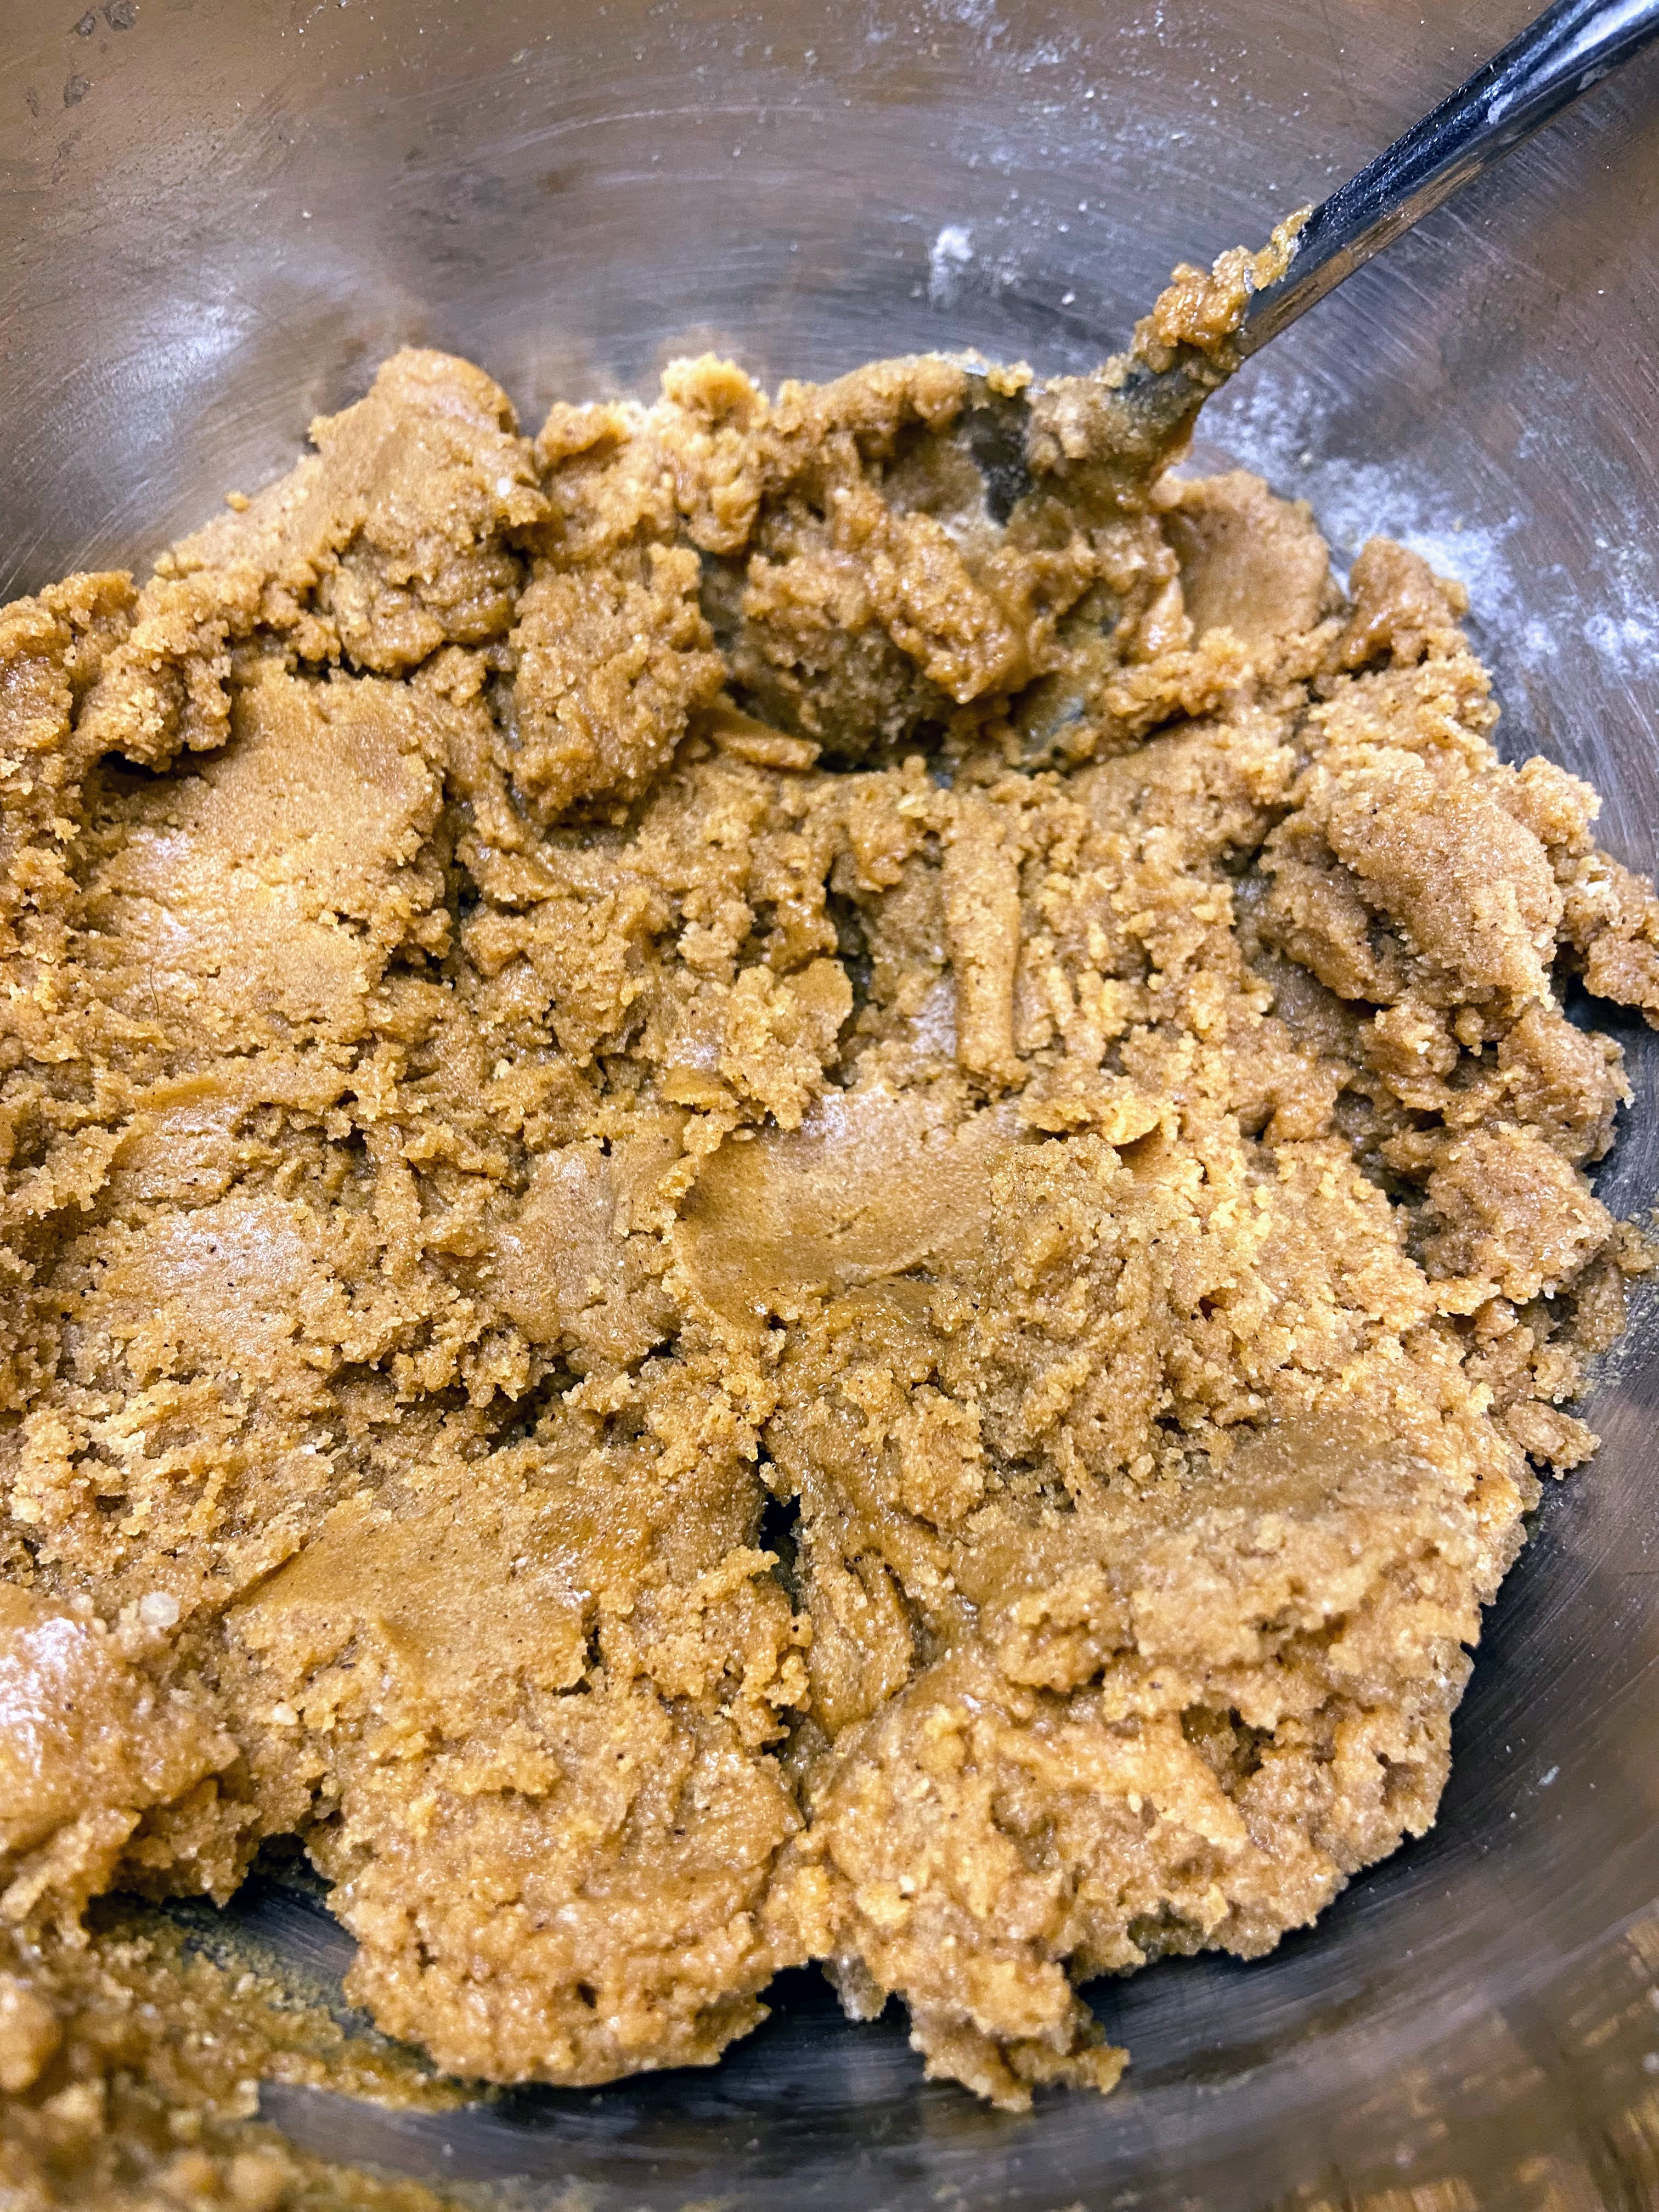
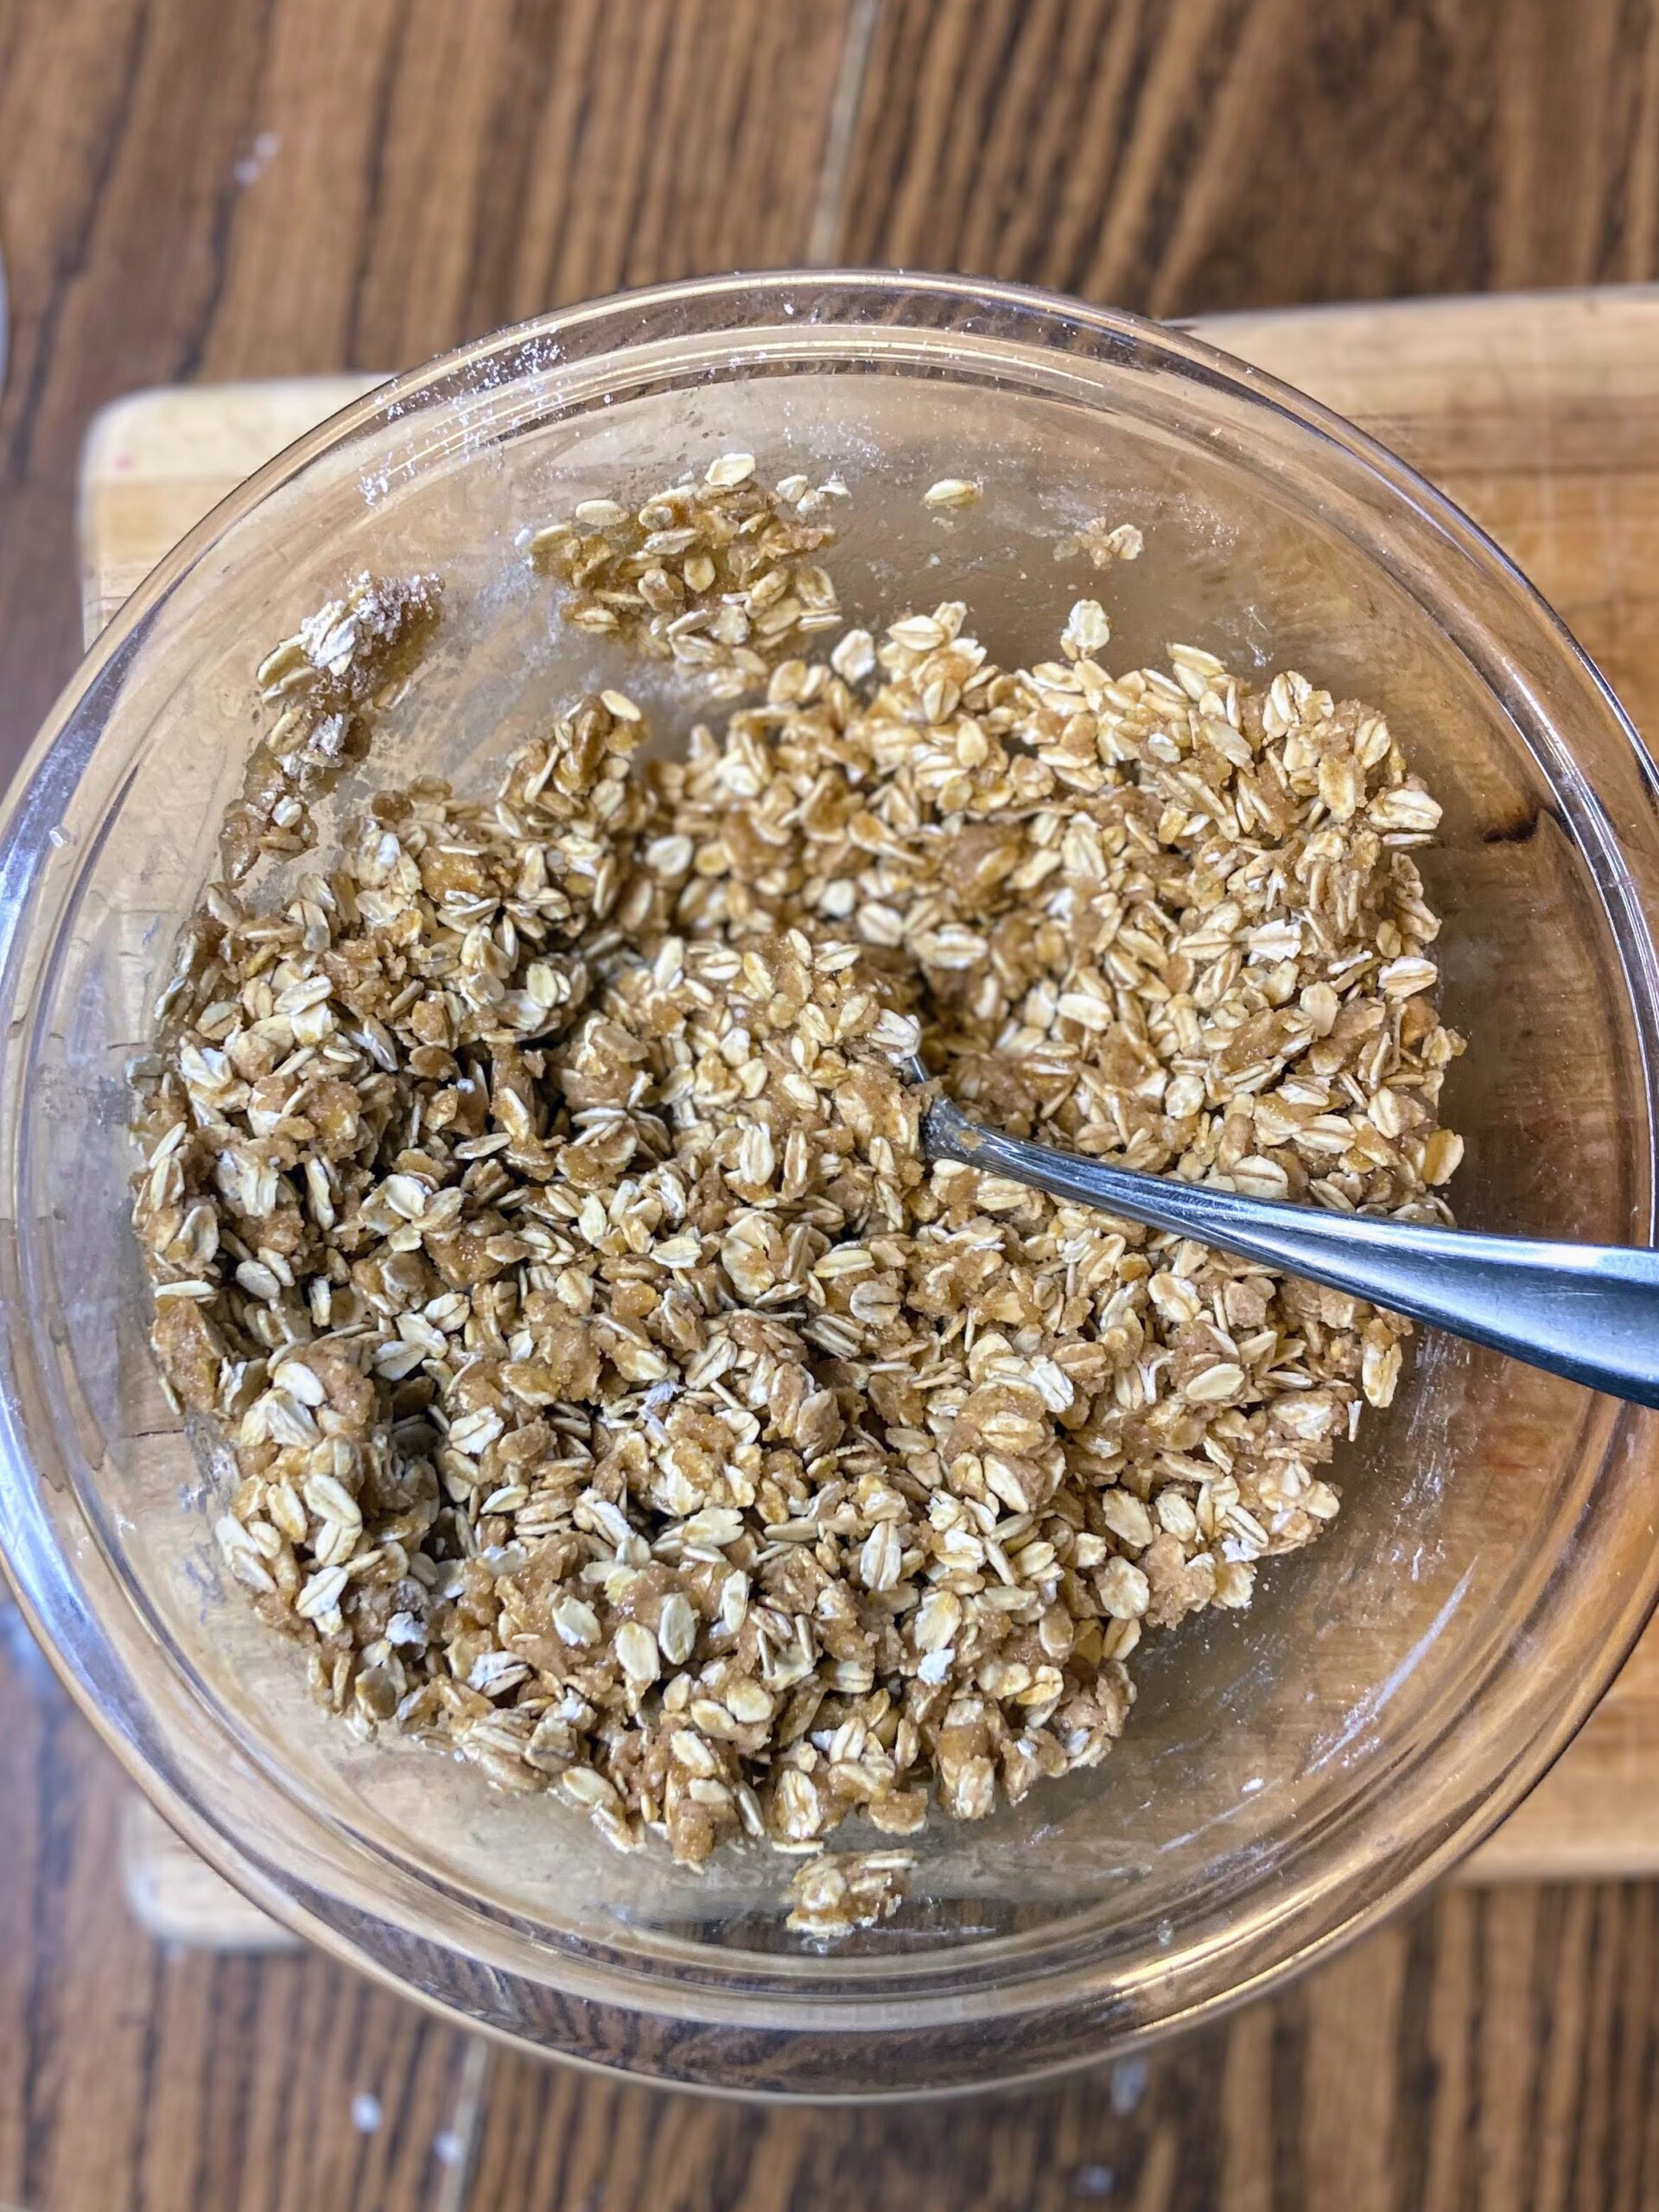
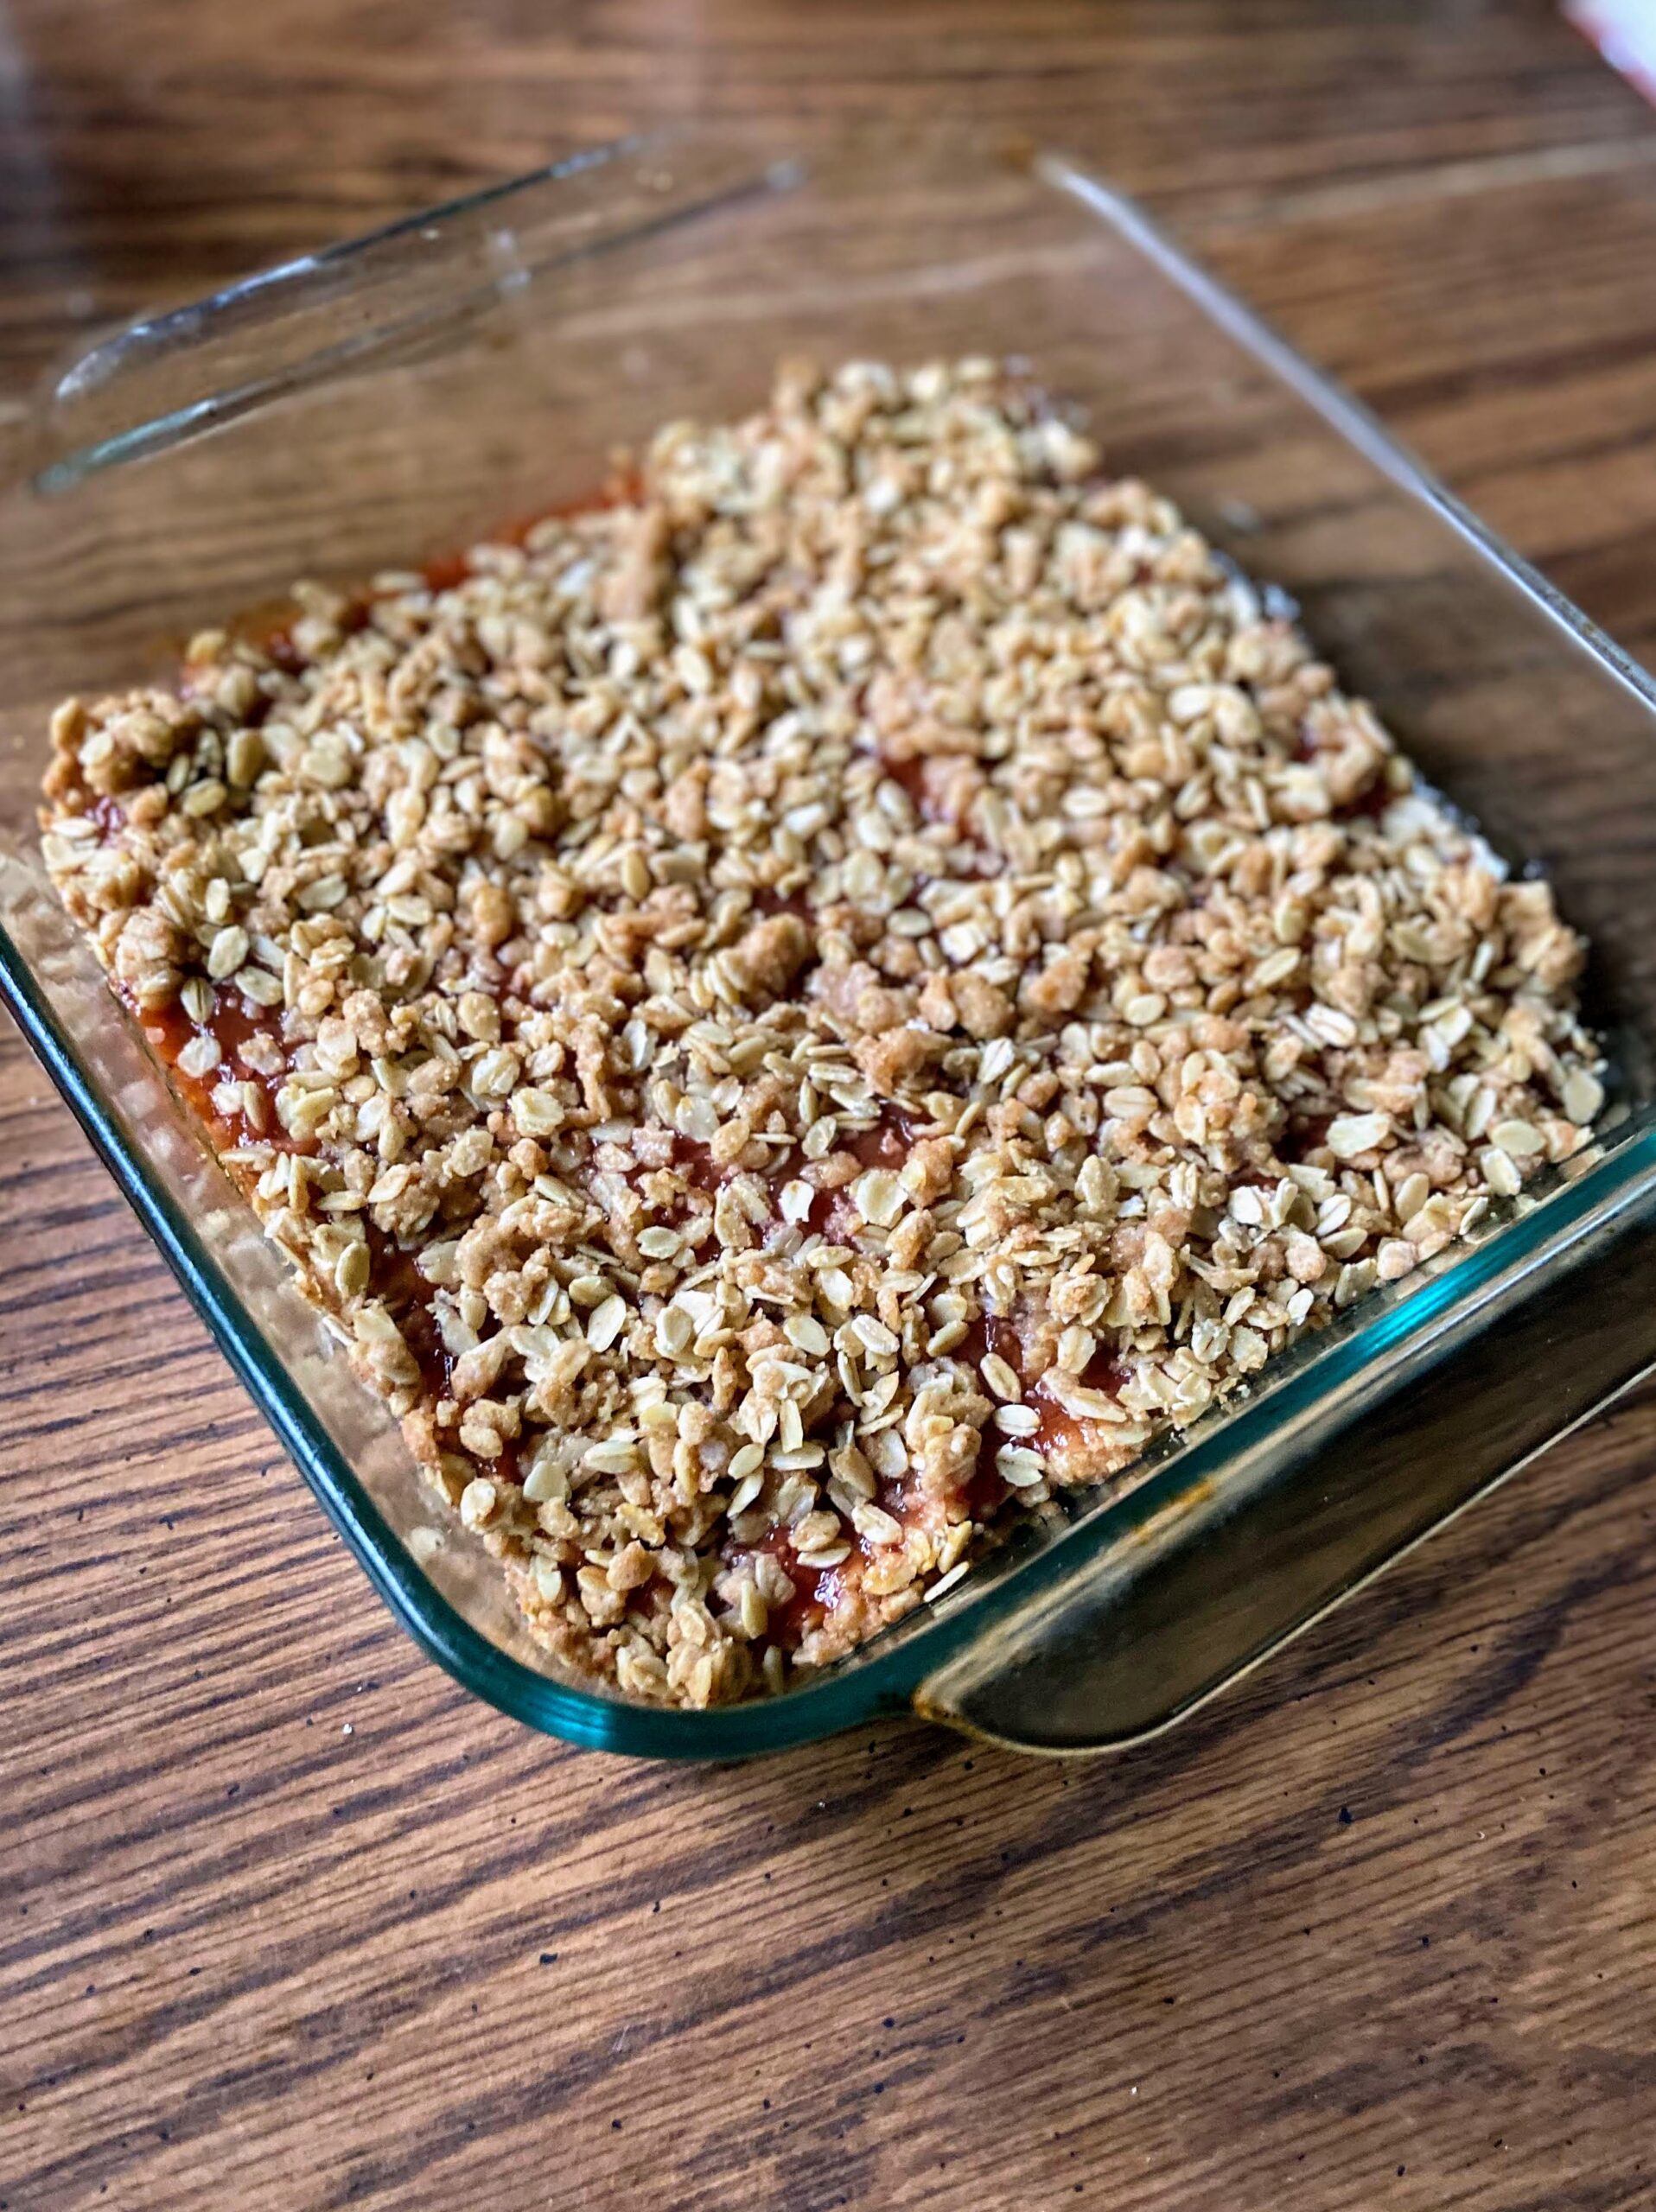
In a large bowl, combine the butter, oats, flour, salt, and remaining sugar. Mix until crumbly. Press ⅔ of the mixture into a greased 8 inch square baking dish. Bake at 375 for 10 minutes. Remove from the oven and decrease the temperature to 350 degrees. Spread rhubarb mixture onto the crust and sprinkle the remaining oat mixture on top. Bake an additional 15-20 minutes, until golden brown. Allow to cool and then cut into 16 squares.


Strawberry Rhubarb Oat Bars
Equipment
Ingredients
- 1 ½ cups chopped fresh or frozen rhubarb
- ½ cup chopped fresh strawberries
- ⅔ cup packed brown sugar divided
- 3 tablespoons water divided
- 1 teaspoon lemon juice
- 1 tablespoon cornstarch
- 1 ½ cups old fashioned oats
- ¾ cup whole wheat flour
- ½ teaspoon salt
- 5 tablespoons butter melted
Instructions
- Preheat the oven to 375 degrees.
- In a large saucepan, combine the rhubarb, strawberries, ⅓ cup brown sugar, 2 tablespoons water, and lemon juice.
- Bring to a boil. Reduce heat to medium and cook for 4-5 minutes, stirring often, until rhubarb is soft.
- Combine cornstarch and the remaining tablespoon of water. Gradually stir into the rhubarb mixture over medium heat. Bring to a boil, cooking and stirring for 2-3 minutes, until thickened. Remove from heat and set aside.
- In a large bowl, combine the butter, oats, flour, salt, and remaining sugar. Mix until crumbly.
- Press ⅔ of the mixture into a greased 8 inch square baking dish. Bake at 375 for 10 minutes.
- Remove from the oven and decrease the temperature to 350 degrees.
- Spread rhubarb mixture onto the crust and sprinkle the remaining oat mixture on top.
- Bake an additional 15-20 minutes, until golden brown. Allow to cool and then cut into 16 squares.
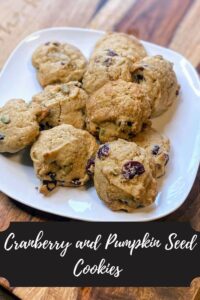
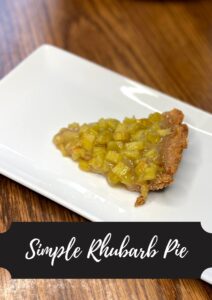
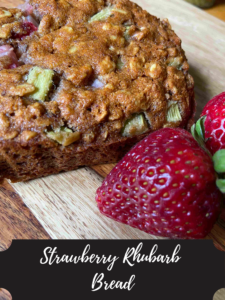
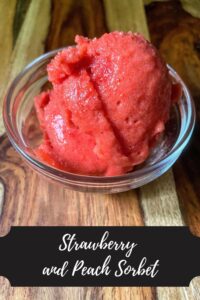
Looking for other great recipes?