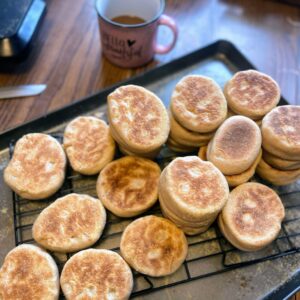
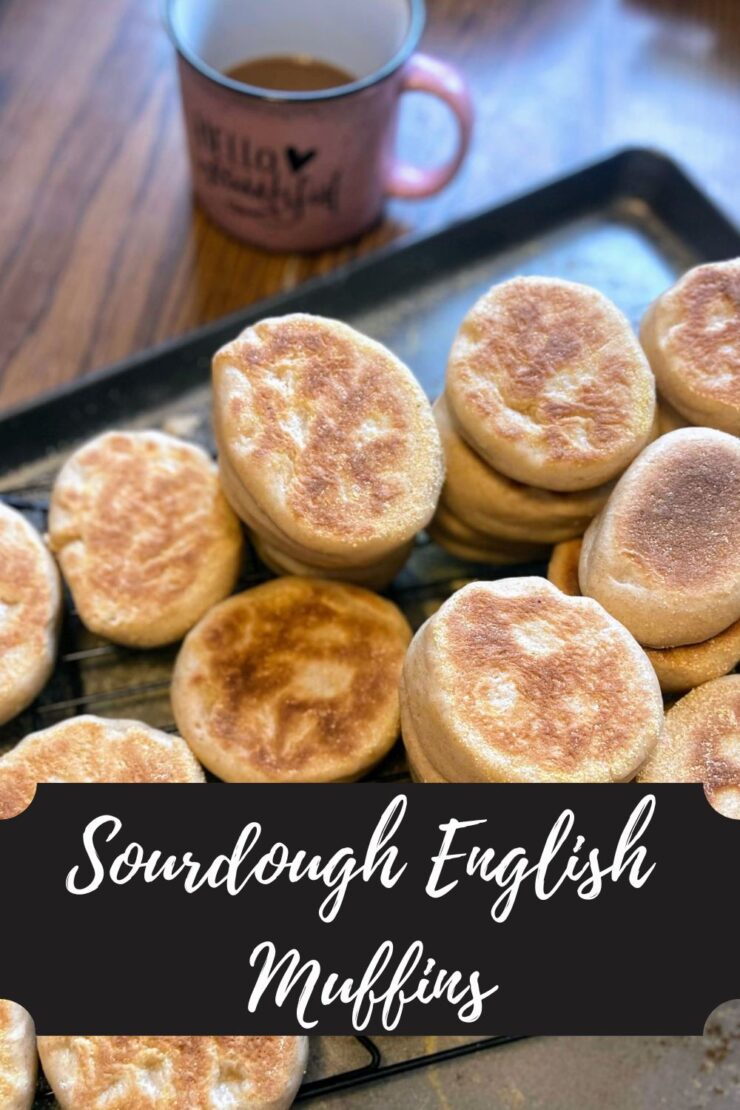
Sourdough English Muffins

I have been on an English muffin kick. I love the size of them and the flavor is definitely a step above a bagel. They pair so well with a little jam and a piece of ham. We also have our own chickens, so an egg on the side is divine. However, for months, I was buying them because baking them myself and finding a recipe didn’t seem to be the best use of my time. But in the back of my mind, I was thinking, “These aren’t hard to make. And you have sourdough starter. You should make sourdough English muffins.” 

I mentally added “make Sourdough English muffins” to my to do list every weekend. Then life happened and I never would get to it. Life of a mom and a teacher and a person who generally is a doer. 

Finally, the day came that I had time, but I couldn’t find the recipe I had used one or two other time in the past from Sunrise Flour Mill. I read a few different recipes, tried a few recipes, and then took what I loved from each to develop my own. 

And while lots of sourdough recipes have a lot of wait time, I love that you can have English muffins before lunch time with this recipe. Yes, this recipe results in between 2 and 2 ½ dozens muffins, but let me tell you, if you are making six you might as well make thirty. English muffins freeze incredibly well and keep well in the fridge as well. 

And I promise, it may seem like this is a long recipe, but it comes together so quick and had minimal work. It’s worth every moment! Let’s start cooking! 

Your Ingredients

  • 2 ¼ teaspoon dry active yeast 
  • 2 cups milk (warmed)
  • 2 tablespoons sugar
  • 4 tablespoons butter, softened 
  • 1 cup sourdough starter 
  • 2 eggs
  • 1 tablespoon salt 
  • 2 cups whole wheat flour 
  • 3-4 cups white flour 
  • Cornmeal, for dusting

Your Steps to Sourdough English Muffins

In a stand mixer, combine milk, dry yeast, and sugar. Allow to sit for 5 minutes to activate the yeast. 

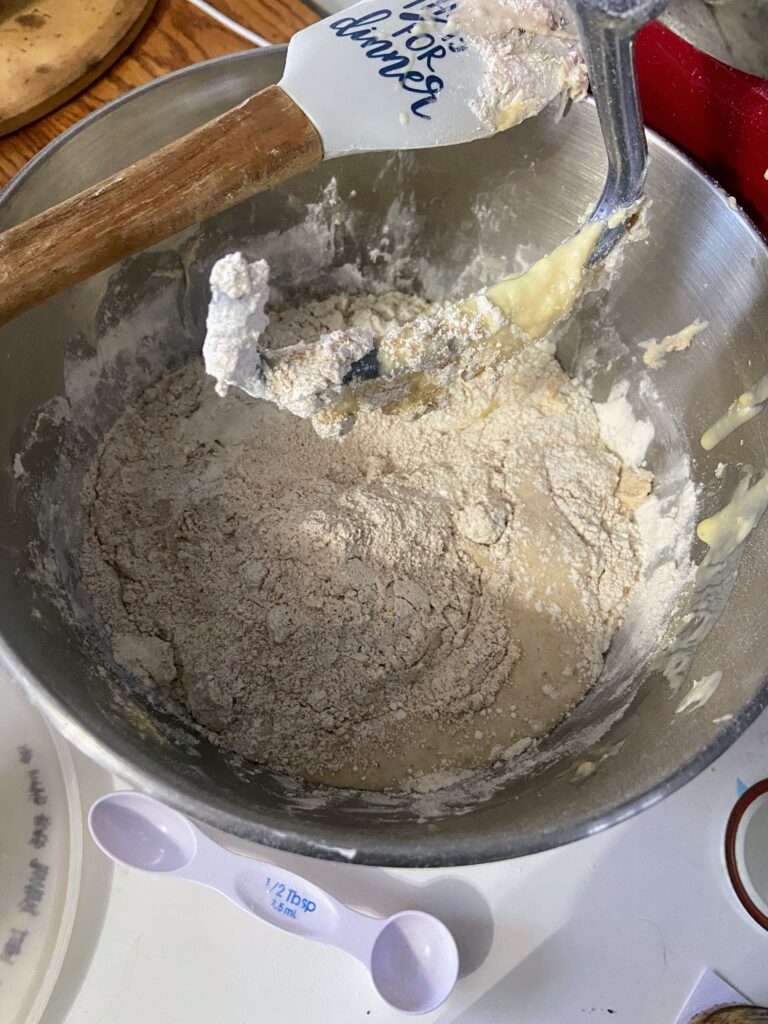
Add the sourdough starter, butter (cut into ½ tablespoon pieces), eggs, and salt. Mix until well combined. Slowly add flour, alternating wheat and white, by the ½ cup increments, until it forms a ball. The dough should not be too sticky. That is, you should be able to touch it and not have dough stuck to you. 

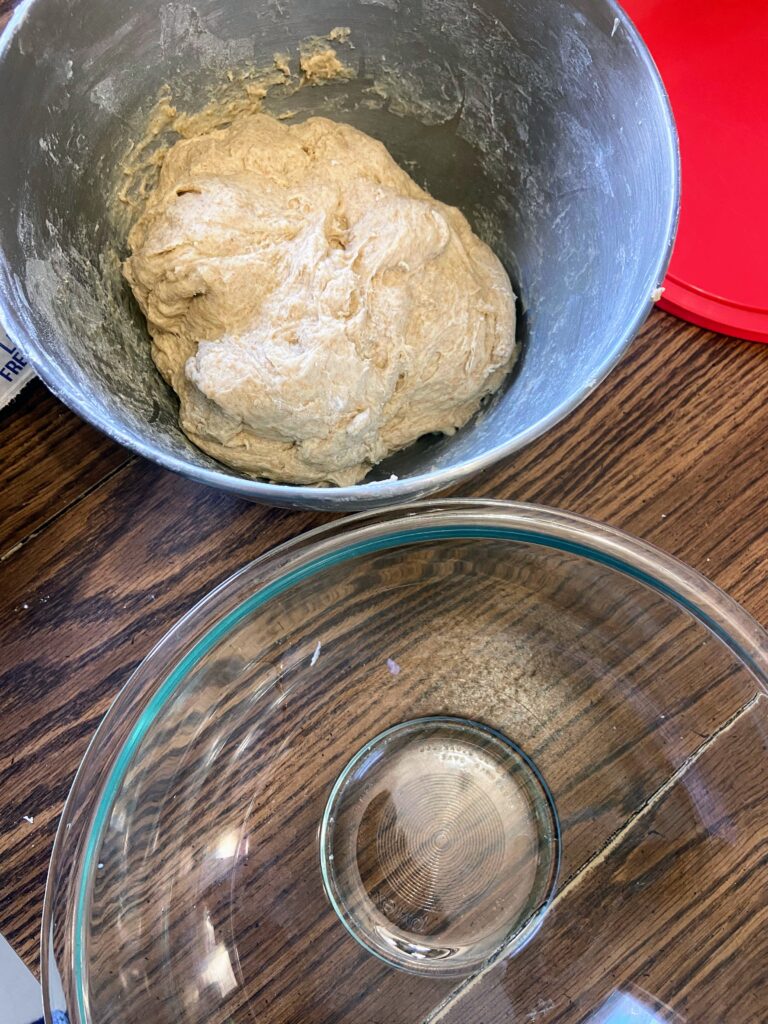
Allow the mixer to knead the dough for 5 minutes. Form the dough into a ball and put it in a greased bowl. Cover and allow to rest for 1-2 hours, until it has doubled in size. 

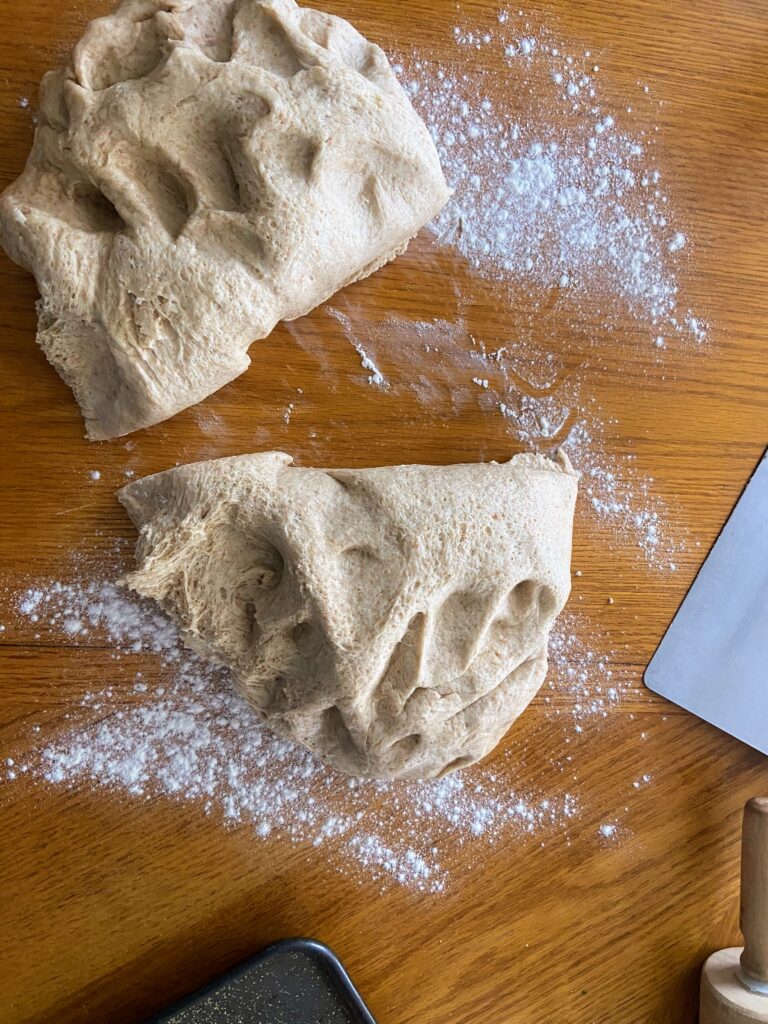
When the dough has doubled in size, gently punch it down and then form it into another bowl. Remove from the bowl and place on a lightly floured surface. Cut the dough into two portions. Set one aside. 

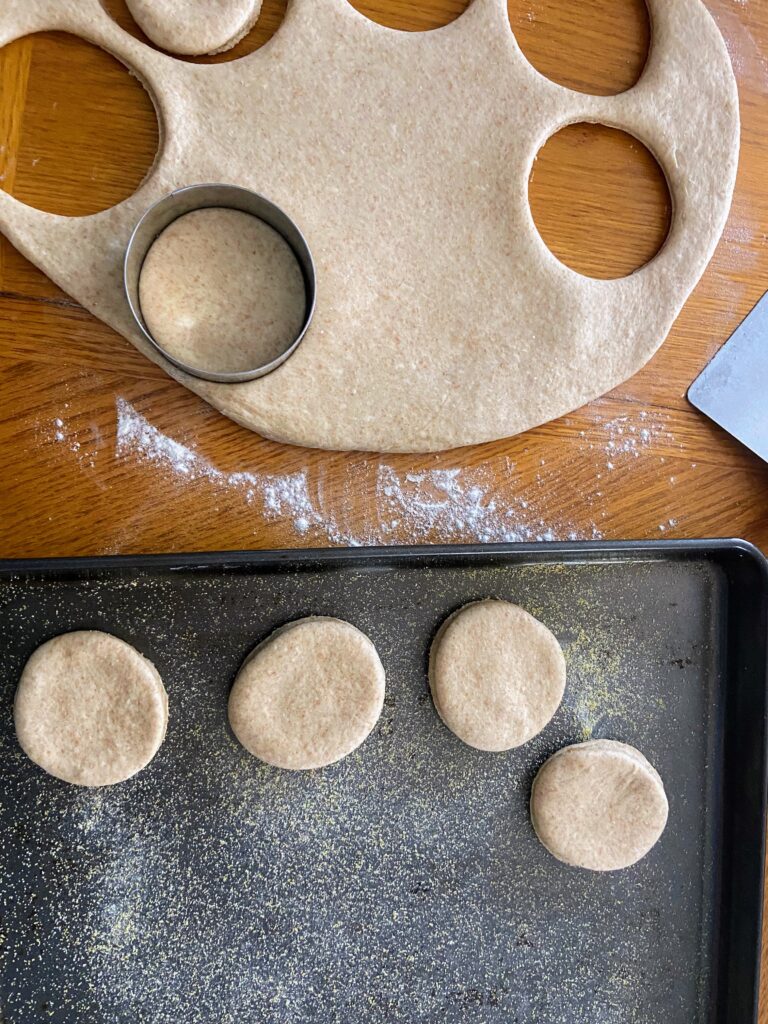
Roll one portion out until approximately ½ inch thick. Cut into discs using a 3 inch biscuit cutter (or a glass if you don’t have one!) Continue to roll out leftovers and cut discs until dough is used up. Do the same with the other portion. 

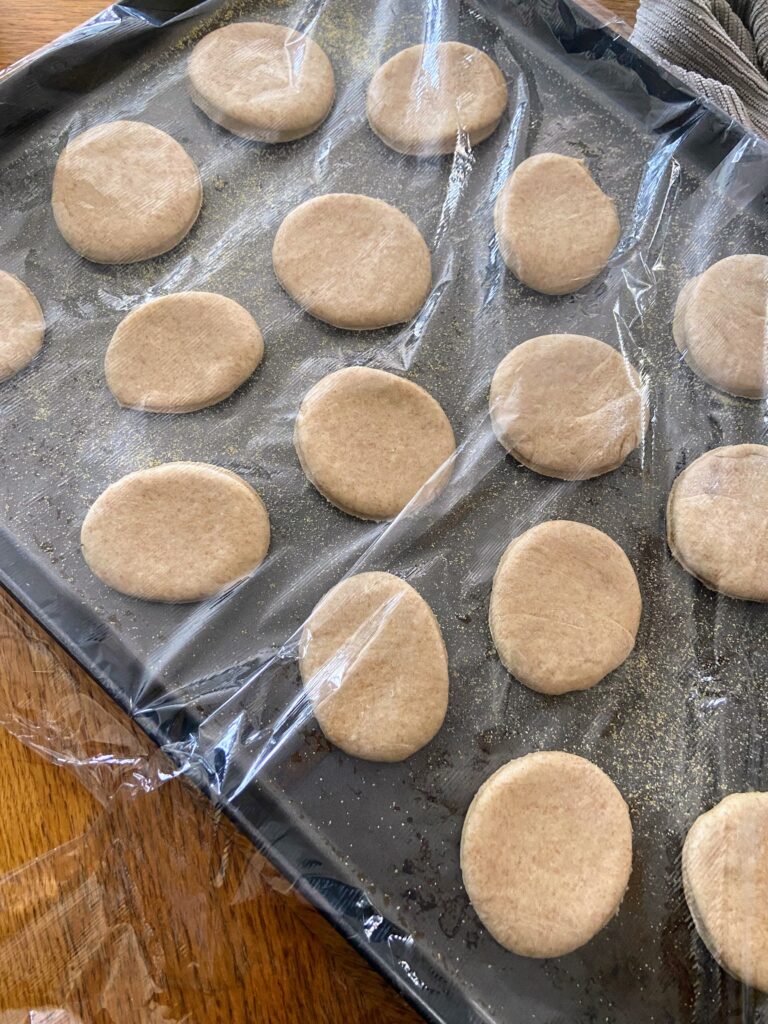
Place discs on baking sheets that have been sprinkled with cornmeal, leaving space for them to rise. Sprinkle the tops with cornmeal as well. Cover with plastic wrap and allow to rise for another hour or so. 

Let’s Cook them up!

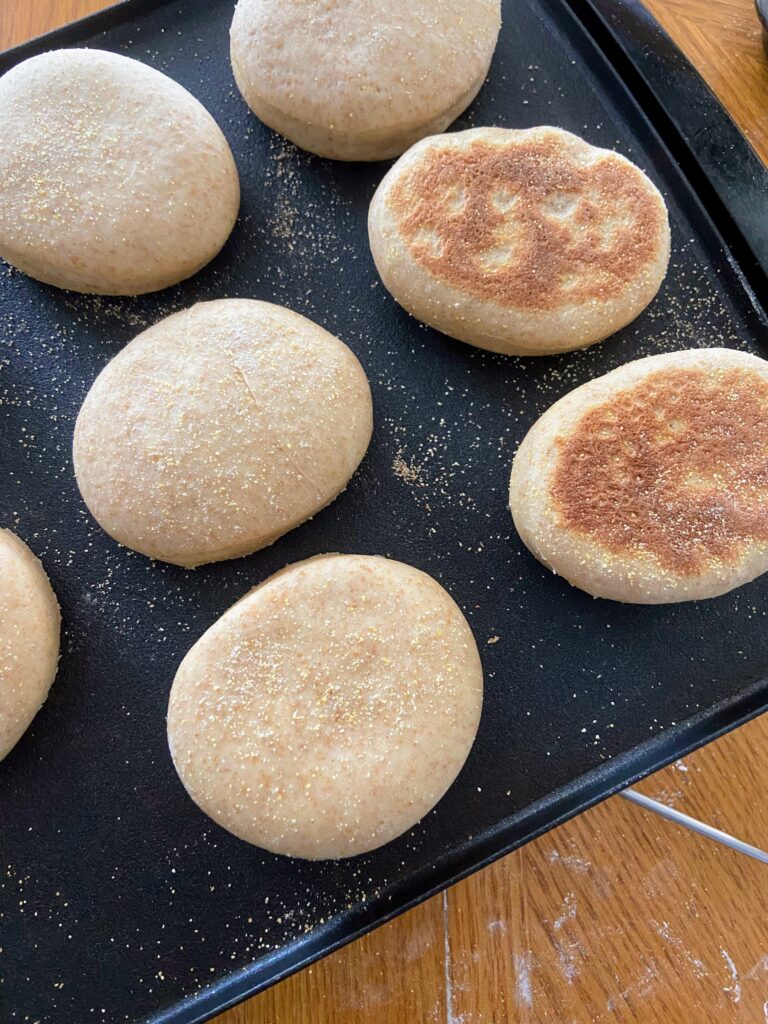
Preheat an electric griddle to 350 degrees. Leave it ungreased. Transfer discs to the griddle and cook for 5 minutes. Flip muffins. Once all muffins have been flipped, place a light baking sheet on top to keep the flat muffin shape rather than a rounded muffin. Cook an additional 5-7 minutes, until the muffins have reached an internal temperature of 190 degrees. 

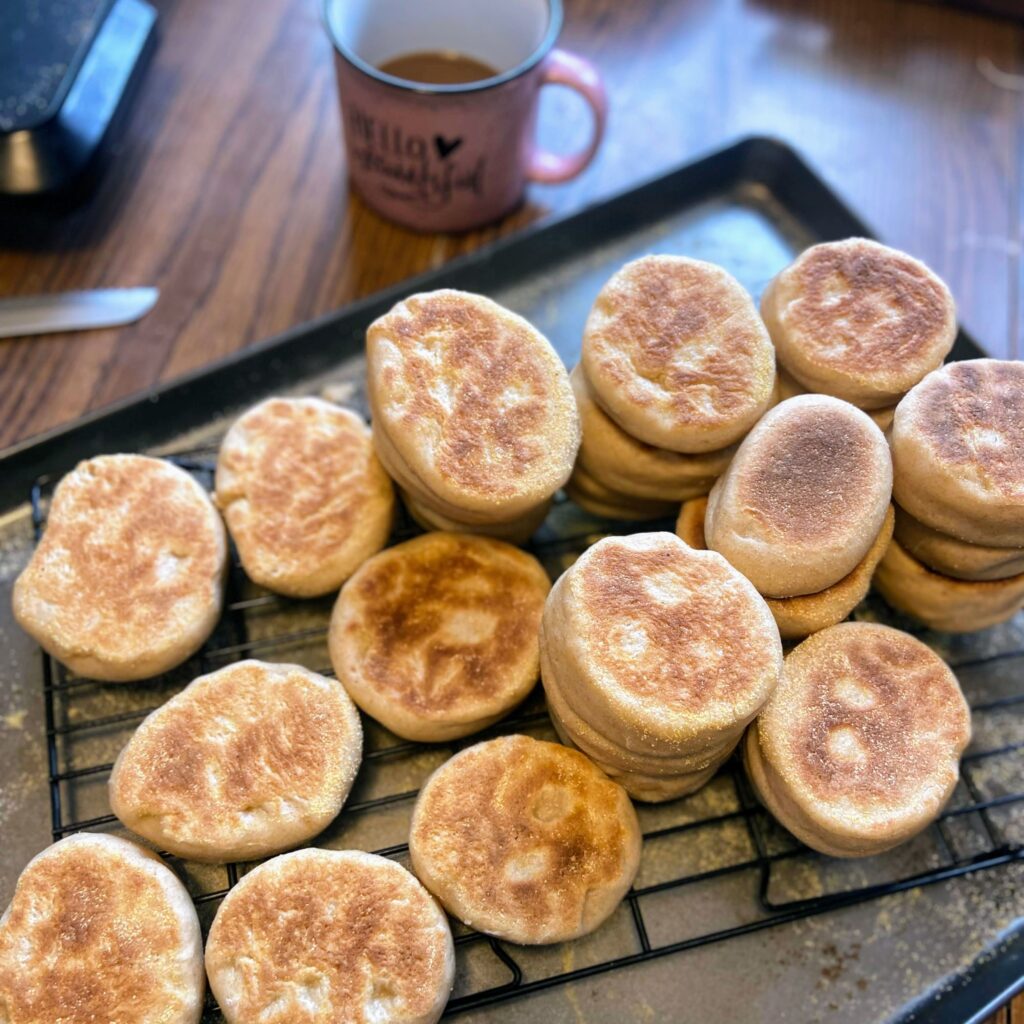
Store muffins at room temperature for 4-5 days, in the fridge for a few weeks, or freeze them for longer storage. They freeze REALLY well.
Tools of the Trade

Now, I have done English muffins with an electric griddle and without and let me tell you, the griddle is the way to go. You can get them done so much quicker. And I am always surprised how often I want to pull out my biscuit cutter for various things. Definitely a couple tools that are handy to have on hand!

Sourdough English Muffins

Grab that leftover sourdough discard or fresh starter and create these delicious English muffins in no time!
Prep Time 25 minutes
Cook Time 30 minutes
Resting Time 3 hours
Course Breakfast
Cuisine American
Servings 2 dozen

Ingredients
  

  • 2 ¼ teaspoon instant dry yeast
  • 2 cups milk warmed
  • 2 tablespoons sugar
  • 4 tablespoons butter softened
  • 1 cup sourdough starter
  • 2 eggs
  • 1 tablespoon salt
  • 2 cups whole wheat flour
  • 3-4 cups white flour
  • Cornmeal for dusting

Instructions
 

  • In a stand mixer, combine milk, dry yeast, and sugar. Allow to sit for 5 minutes to activate the yeast.
  • Add the sourdough starter, butter (cut into ½ tablespoon pieces), eggs, and salt. Mix until well combined.
  • Slowly add flour, alternating wheat and white, by the ½ cup increments, until it forms a ball. The dough should not be too sticky. That is, you should be able to touch it and not have dough stuck to you.
  • Allow the mixer to knead the dough for 5 minutes. Form the dough into a ball and put it in a greased bowl. Cover and allow to rest for 1-2 hours, until it has doubled in size.
  • When the dough has doubled in size, gently punch it down and then form it into another bowl. Remove from the bowl and place on a lightly floured surface. Cut the dough into two portions. Set one aside.
  • Roll one portion out until approximately ½ inch thick. Cut into discs using a 3 inch biscuit cutter (or a glass if you don’t have one!) Continue to roll out leftovers and cut discs until dough is used up. Do the same with the other portion.
  • Place discs on baking sheets that have been sprinkled with cornmeal, leaving space for them to rise. Sprinkle the tops with cornmeal as well. Cover with plastic wrap and allow to rise for another hour or so.
  • Preheat an electric griddle to 350 degrees. Leave it ungreased. Transfer discs to the griddle and cook for 5 minutes. Flip muffins.
  • Once all muffins have been flipped, place a light baking sheet on top to keep the flat muffin shape rather than a rounded muffin. Cook an additional 5-7 minutes, until the muffins have reached an internal temperature of 190 degrees.
  • Store muffins at room temperature for 4-5 days, in the fridge for a few weeks, or freeze them for longer storage. They freeze REALLY well.
Notes

The recipe can easily be halved, but I wouldn’t. The work to make 2 dozen is just about the same as it is to make 1 dozen and they freeze really well. 
Keyword baking, breakast, breakfast breads, English muffins, sourdough, sourdough English muffins
Tried this recipe?Let us know how it was!

Looking for some other breakfast inspiration?

Check out a couple of the posts below or just head right to my breakfast page for more recipes!
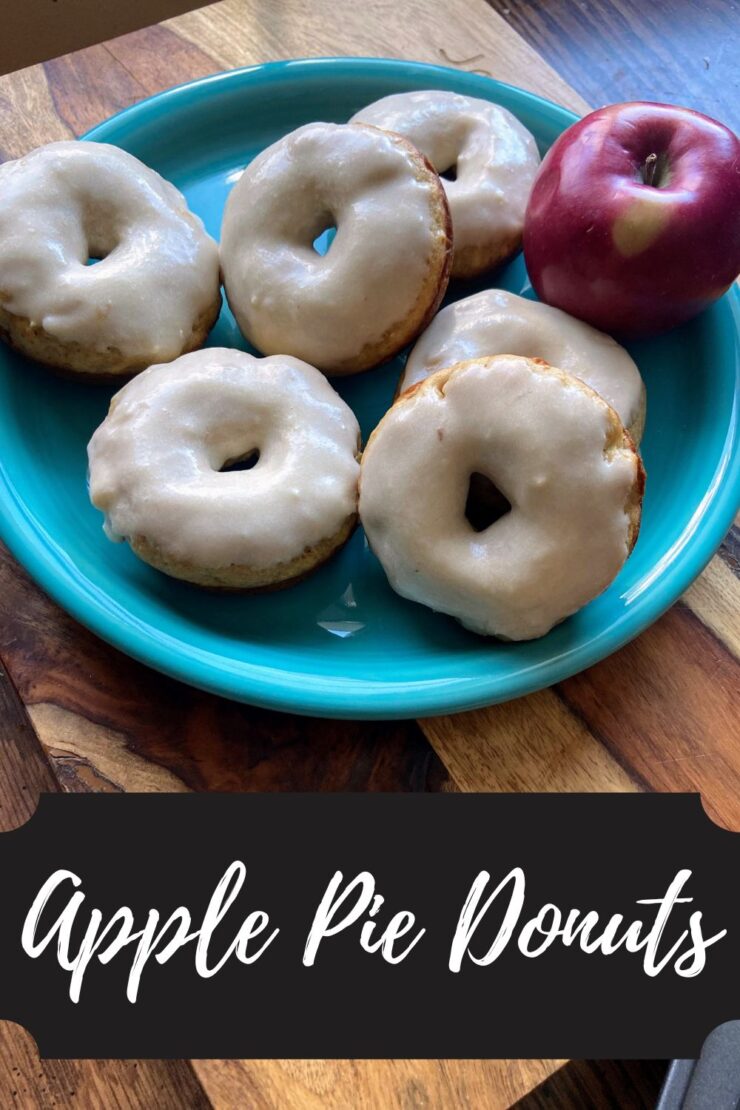
Apple Pie Donuts

How is an apple pie donuts recipe created in the last month of the year in Wisconsin? Picture this: 

It’s December 20th and my mini me gets to bring a treat to school for the holiday party. All year, she has brought apples for a snack for herself, so she naturally chooses apples (and candy canes) as her treat. So off to the store we go to buy bags of apples for her and her classmates. Then a winter storm hits and school is canceled, canceling her party and leaving us with A LOT of apples. 

Don’t get me wrong, my family eats a lot of fruit, but I had JUST finished creating apple sauce with the last of our fall apples and I wasn’t sure what to do with them. Then I spied my donut pan (a gift for the Mr. with a donut cookbook a few Valentine’s Days ago), and got to thinking, “I haven’t played with a donut recipe in a lonnnggg time.” 

And that winter storm? It was still going so I had nothing but time on my hands. I set to work. 

If you know me, you likely know I live for more simple, from scratch recipes with a healthy twist. I wanted these donuts to have the flavor of apple without a whole lot of chunks of apple in them. So out went some of the butter and oil I usually add and in went applesauce (Healthy and flavor! Big win!). To give a greater apple pie flavor, I amped up the cinnamon and nutmeg. And the frosting? Oh my goodness, it’s the best part. To give an apple flavor, I swapped more applesauce for the milk and it worked SO well. I can’t wait for you to give them a try!

Ready to get baking? Let’s go!

Your Ingredients for Apple Pie Donuts

  • 3 tablespoons butter, melted
  • ½ cup unsweetened applesauce
  • ½ cup packed light brown sugar
  • ¼ cup white sugar
  • 2 large eggs
  • 2 teaspoons vanilla 
  • ½ cup plain Greek yogurt (or low sugar vanilla)
  • 2 tablespoons milk 
  • 2 ¼ cup flour
  • 2 teaspoons baking powder
  • ½ teaspoon baking soda
  • 1 teaspoon cinnamon 
  • ¼  teaspoon ground nutmeg
  • ¾ teaspoon salt 
  • ½ cup apples, diced finely

Donut Frosting

  • 2 tablespoons butter, softened
  • 1 teaspoon vanilla
  • 3 tablespoons unsweetened applesauce
  • 2 cups powdered sugar

Your Steps to Apple Pie Donuts

Preheat the oven to 350 degrees. Spray a regular donut pan with non-stick cooking spray. 

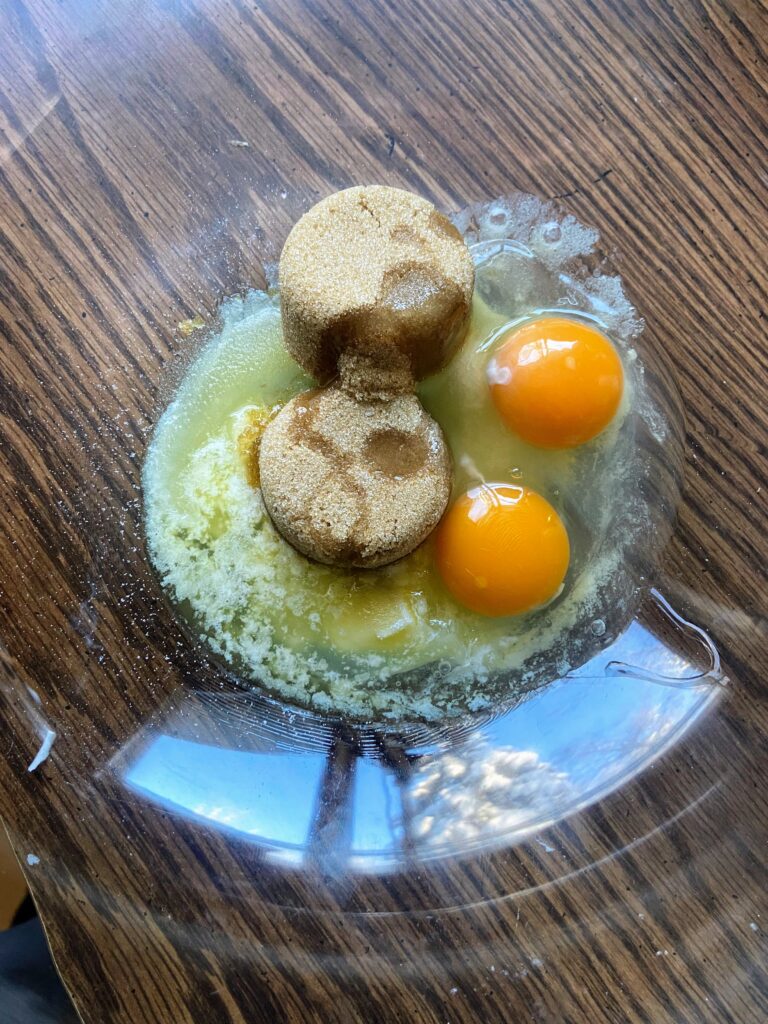
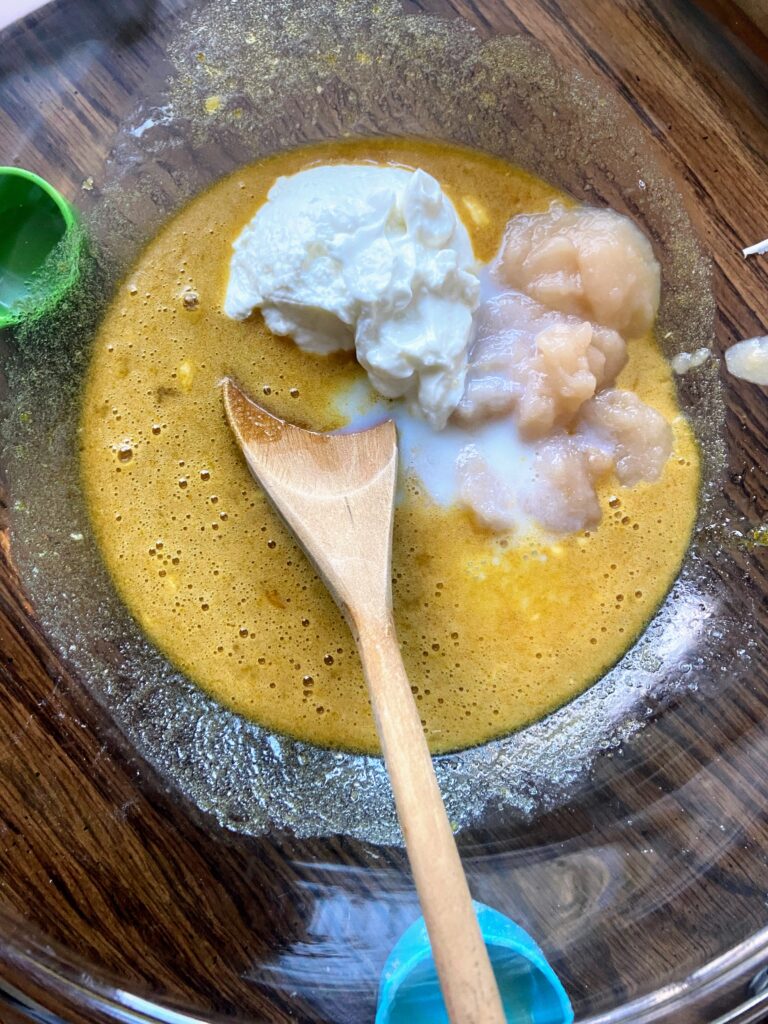
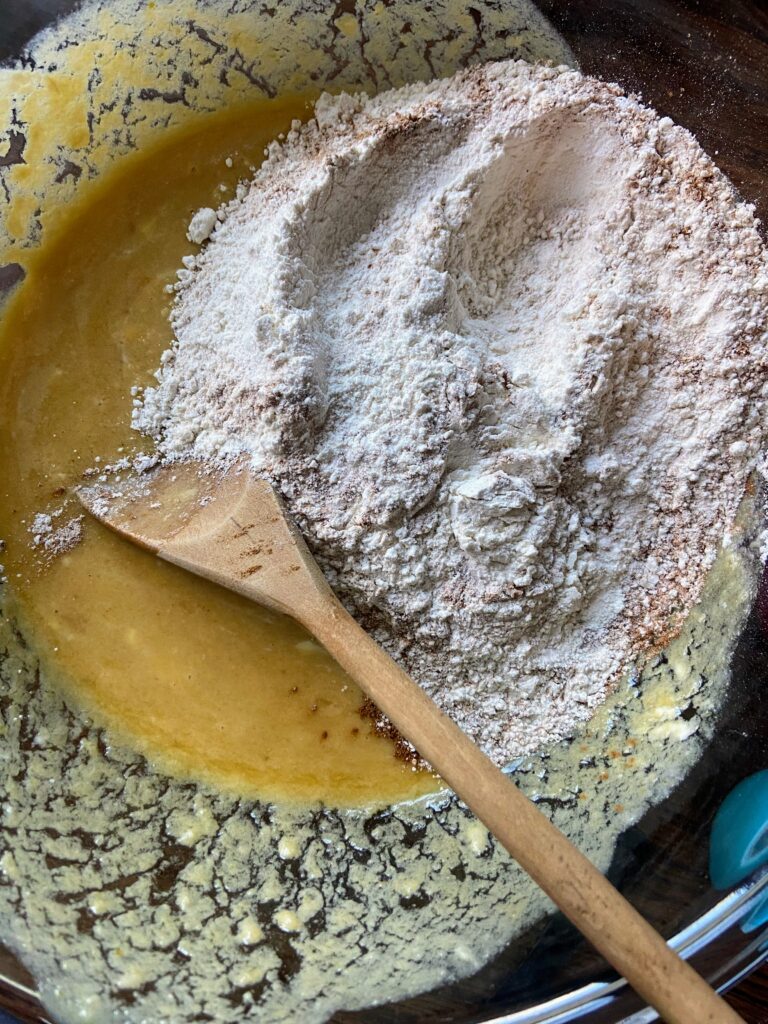
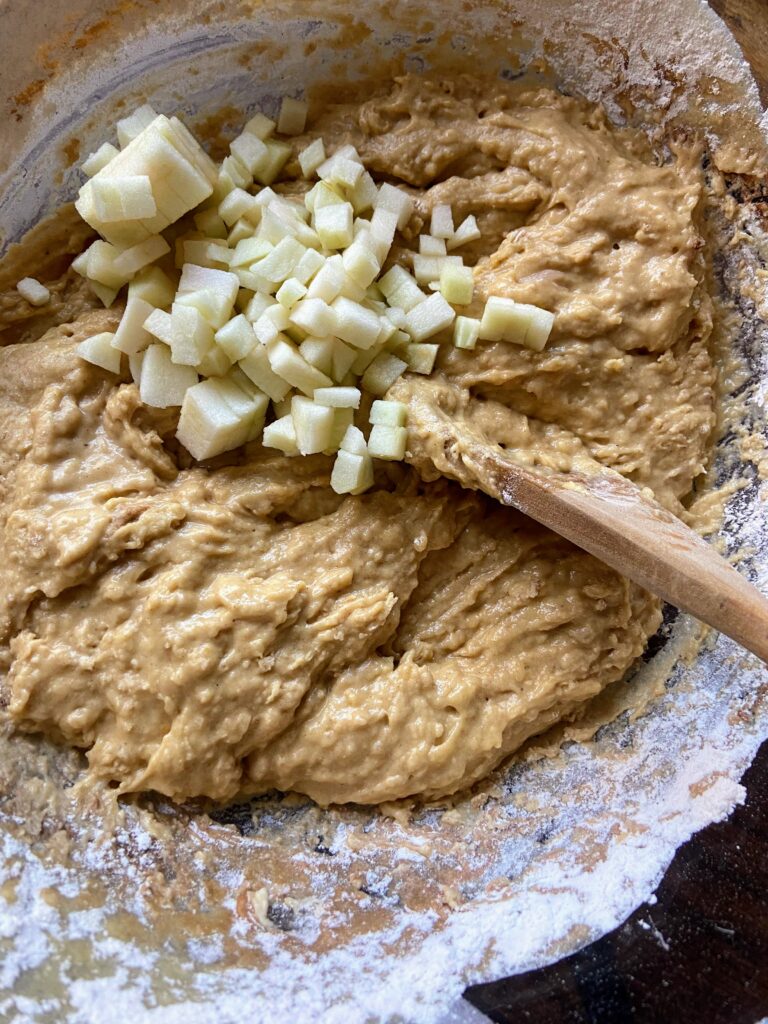
In a large bowl, combine butter, sugar, eggs, and vanilla. Stir in applesauce, milk, and yogurt. Whisk until smooth. In a separate bowl, combine flour, baking powder, baking soda, cinnamon, nutmeg, and salt.  Add to wet ingredients and stir until fully incorporated. Fold in the apples.

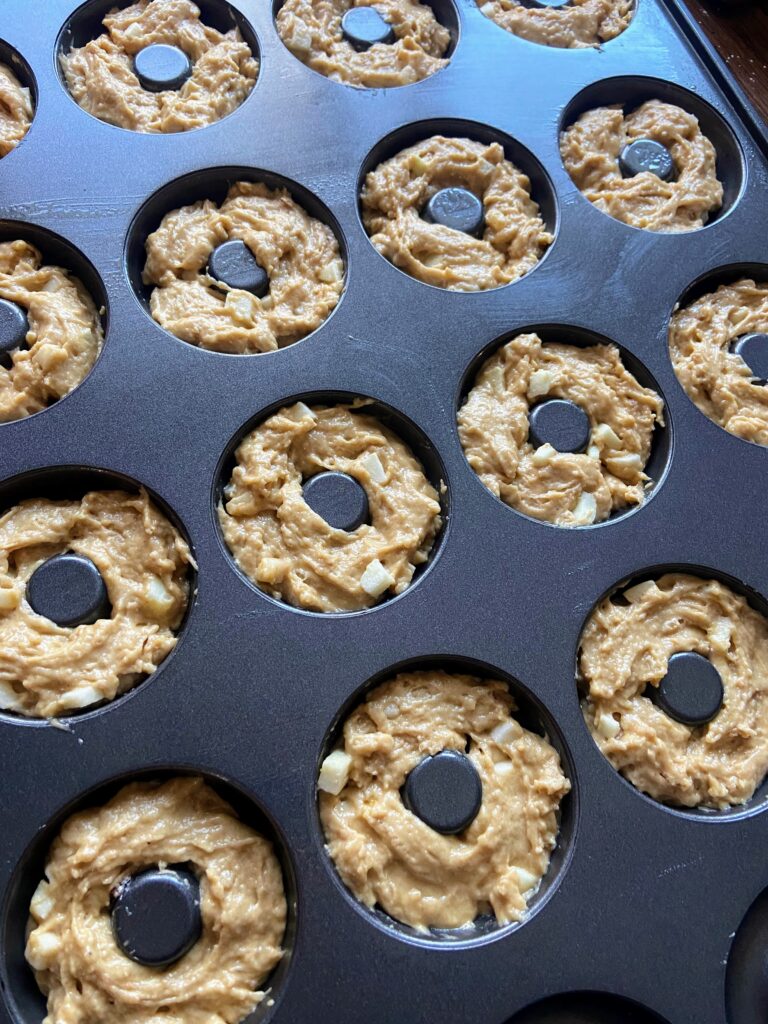
Divide the batter among 16 donut cavities, filling ¾ of the way full. Bake for 12-14 minutes, until firm to the touch or passes the toothpick test (a toothpick inserted comes out clean). Allow to cool in the pan for 10 minutes. Remove the donuts from the pan and place on a cooling rack. 

While the donuts finish cooling, mix donut frosting. Using a fork, cream the butter. Add vanilla and mix until combined. Mix in applesauce, still using the fork. Whisk in the powdered sugar with the fork until smooth. 

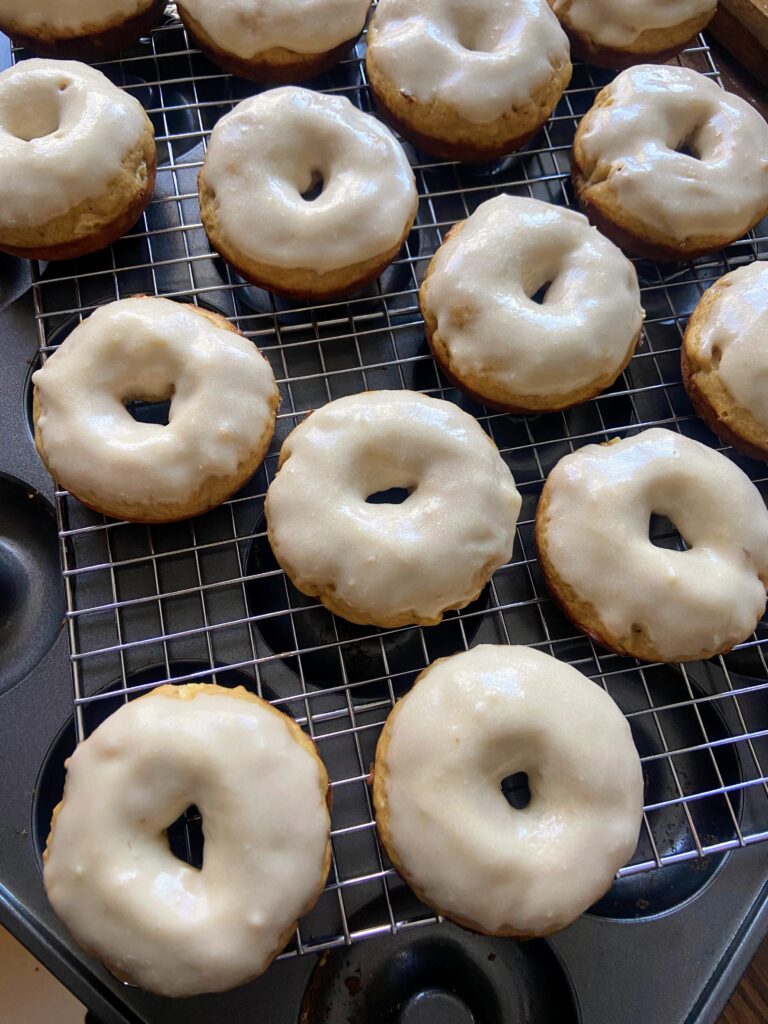
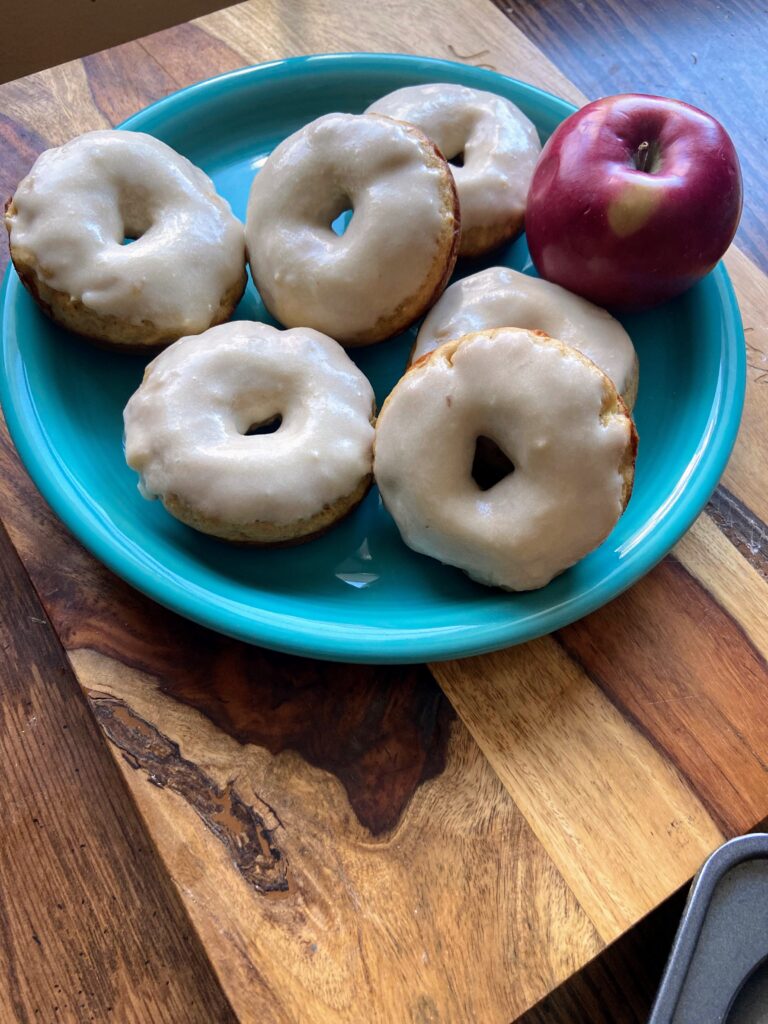
When cool, frost or dip each donut in the frosting. It is a great consistency that you can dip it like a glaze but it will hold up like a frosting. Cover them anyway you choose!

Apple Pie Donuts

Love apple pie? These baked apple pie donuts with a great frosting  will give you that warm comforting feeling you get from pie and ice cream!
Prep Time 20 minutes
Cook Time 16 minutes
Course Appetizer, Breakfast, Dessert, Sweets
Cuisine American
Servings 16 donuts

Equipment

Ingredients
  

  • 3 tablespoons butter melted
  • ½ cup unsweetened applesauce
  • ½ cup packed light brown sugar
  • ¼ cup white sugar
  • 2 large eggs
  • 2 teaspoons vanilla
  • ½ cup plain Greek yogurt or low sugar vanilla
  • 2 tablespoons milk
  • 2 ¼ cup flour
  • 2 teaspoons baking powder
  • ½ teaspoon baking soda
  • 1 teaspoon cinnamon
  • ¼ teaspoon ground nutmeg
  • ¾ teaspoon salt
  • ½ cup apples diced finely

Donut Frosting

  • 2 tablespoons butter softened
  • 1 teaspoon vanilla
  • 3 tablespoons unsweetened applesauce
  • 2 cups powdered sugar

Instructions
 

  • Preheat the oven to 350 degrees. Spray a regular donut pan with non-stick cooking spray.
  • In a large bowl, combine butter, sugar, eggs, and vanilla. Stir in applesauce, milk and yogurt. Whisk until smooth.
  • In a separate bowl, combine flour, baking powder, baking soda, cinnamon, nutmeg, and salt.
  • Add to wet ingredients and stir until fully incorporated. Fold in the apples
  • Divide the batter among 16 donut cavities, filling ¾ of the way full.
  • Bake for 12-14 minutes, until firm to the touch or passes the toothpick test (a toothpick inserted comes out clean).
  • Allow to cool in the pan for 10 minutes. Remove the donuts from the pan and place on a cooling rack.
  • While the donuts finish cooling, mix donut frosting. Using a fork, cream the butter. Add vanilla and mix until combined. Mix in applesauce, still using the fork. Whisk in the powdered sugar with the fork until smooth.
  • When cool, frost or dip each donut in the frosting. It is a great consistency that you can dip it like a glaze but it will hold up like a frosting.
Keyword apple and cinnamon, apple pie, apple recipe, apples, baked donuts, Breakfast, donut recipe, donuts
Tried this recipe?Let us know how it was!

LOOKING FOR OTHER GREAT RECIPES?

Check out the delicious breakfast inspiration below or head right to my breakfast page!

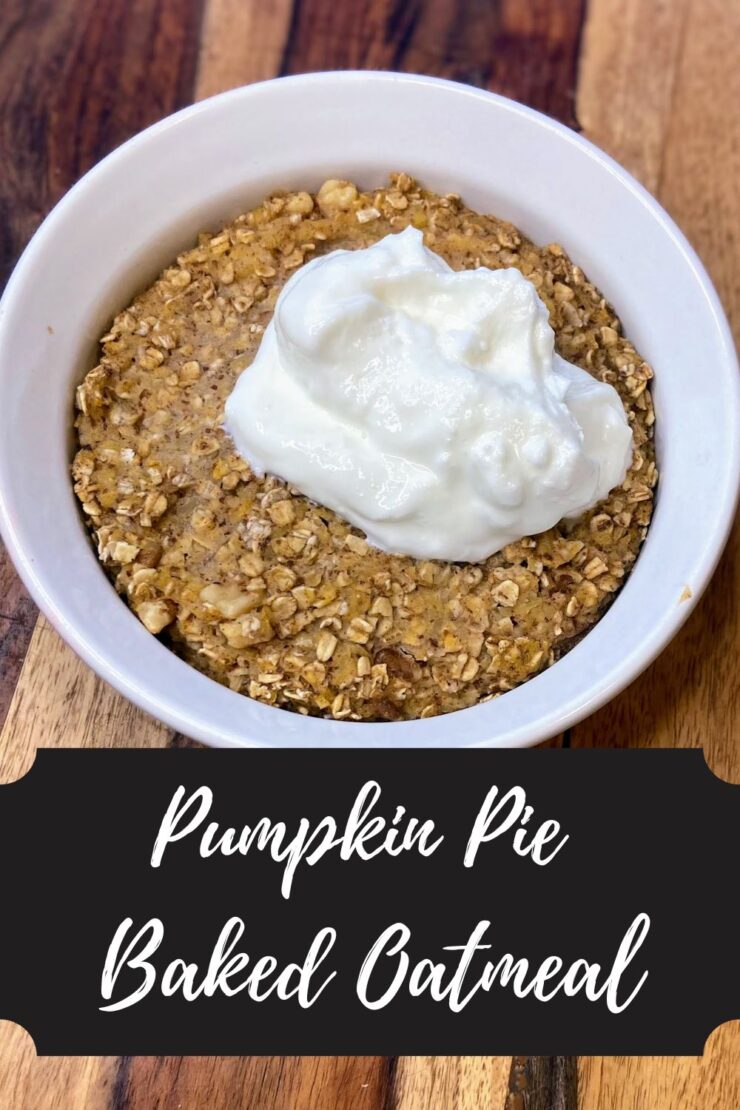
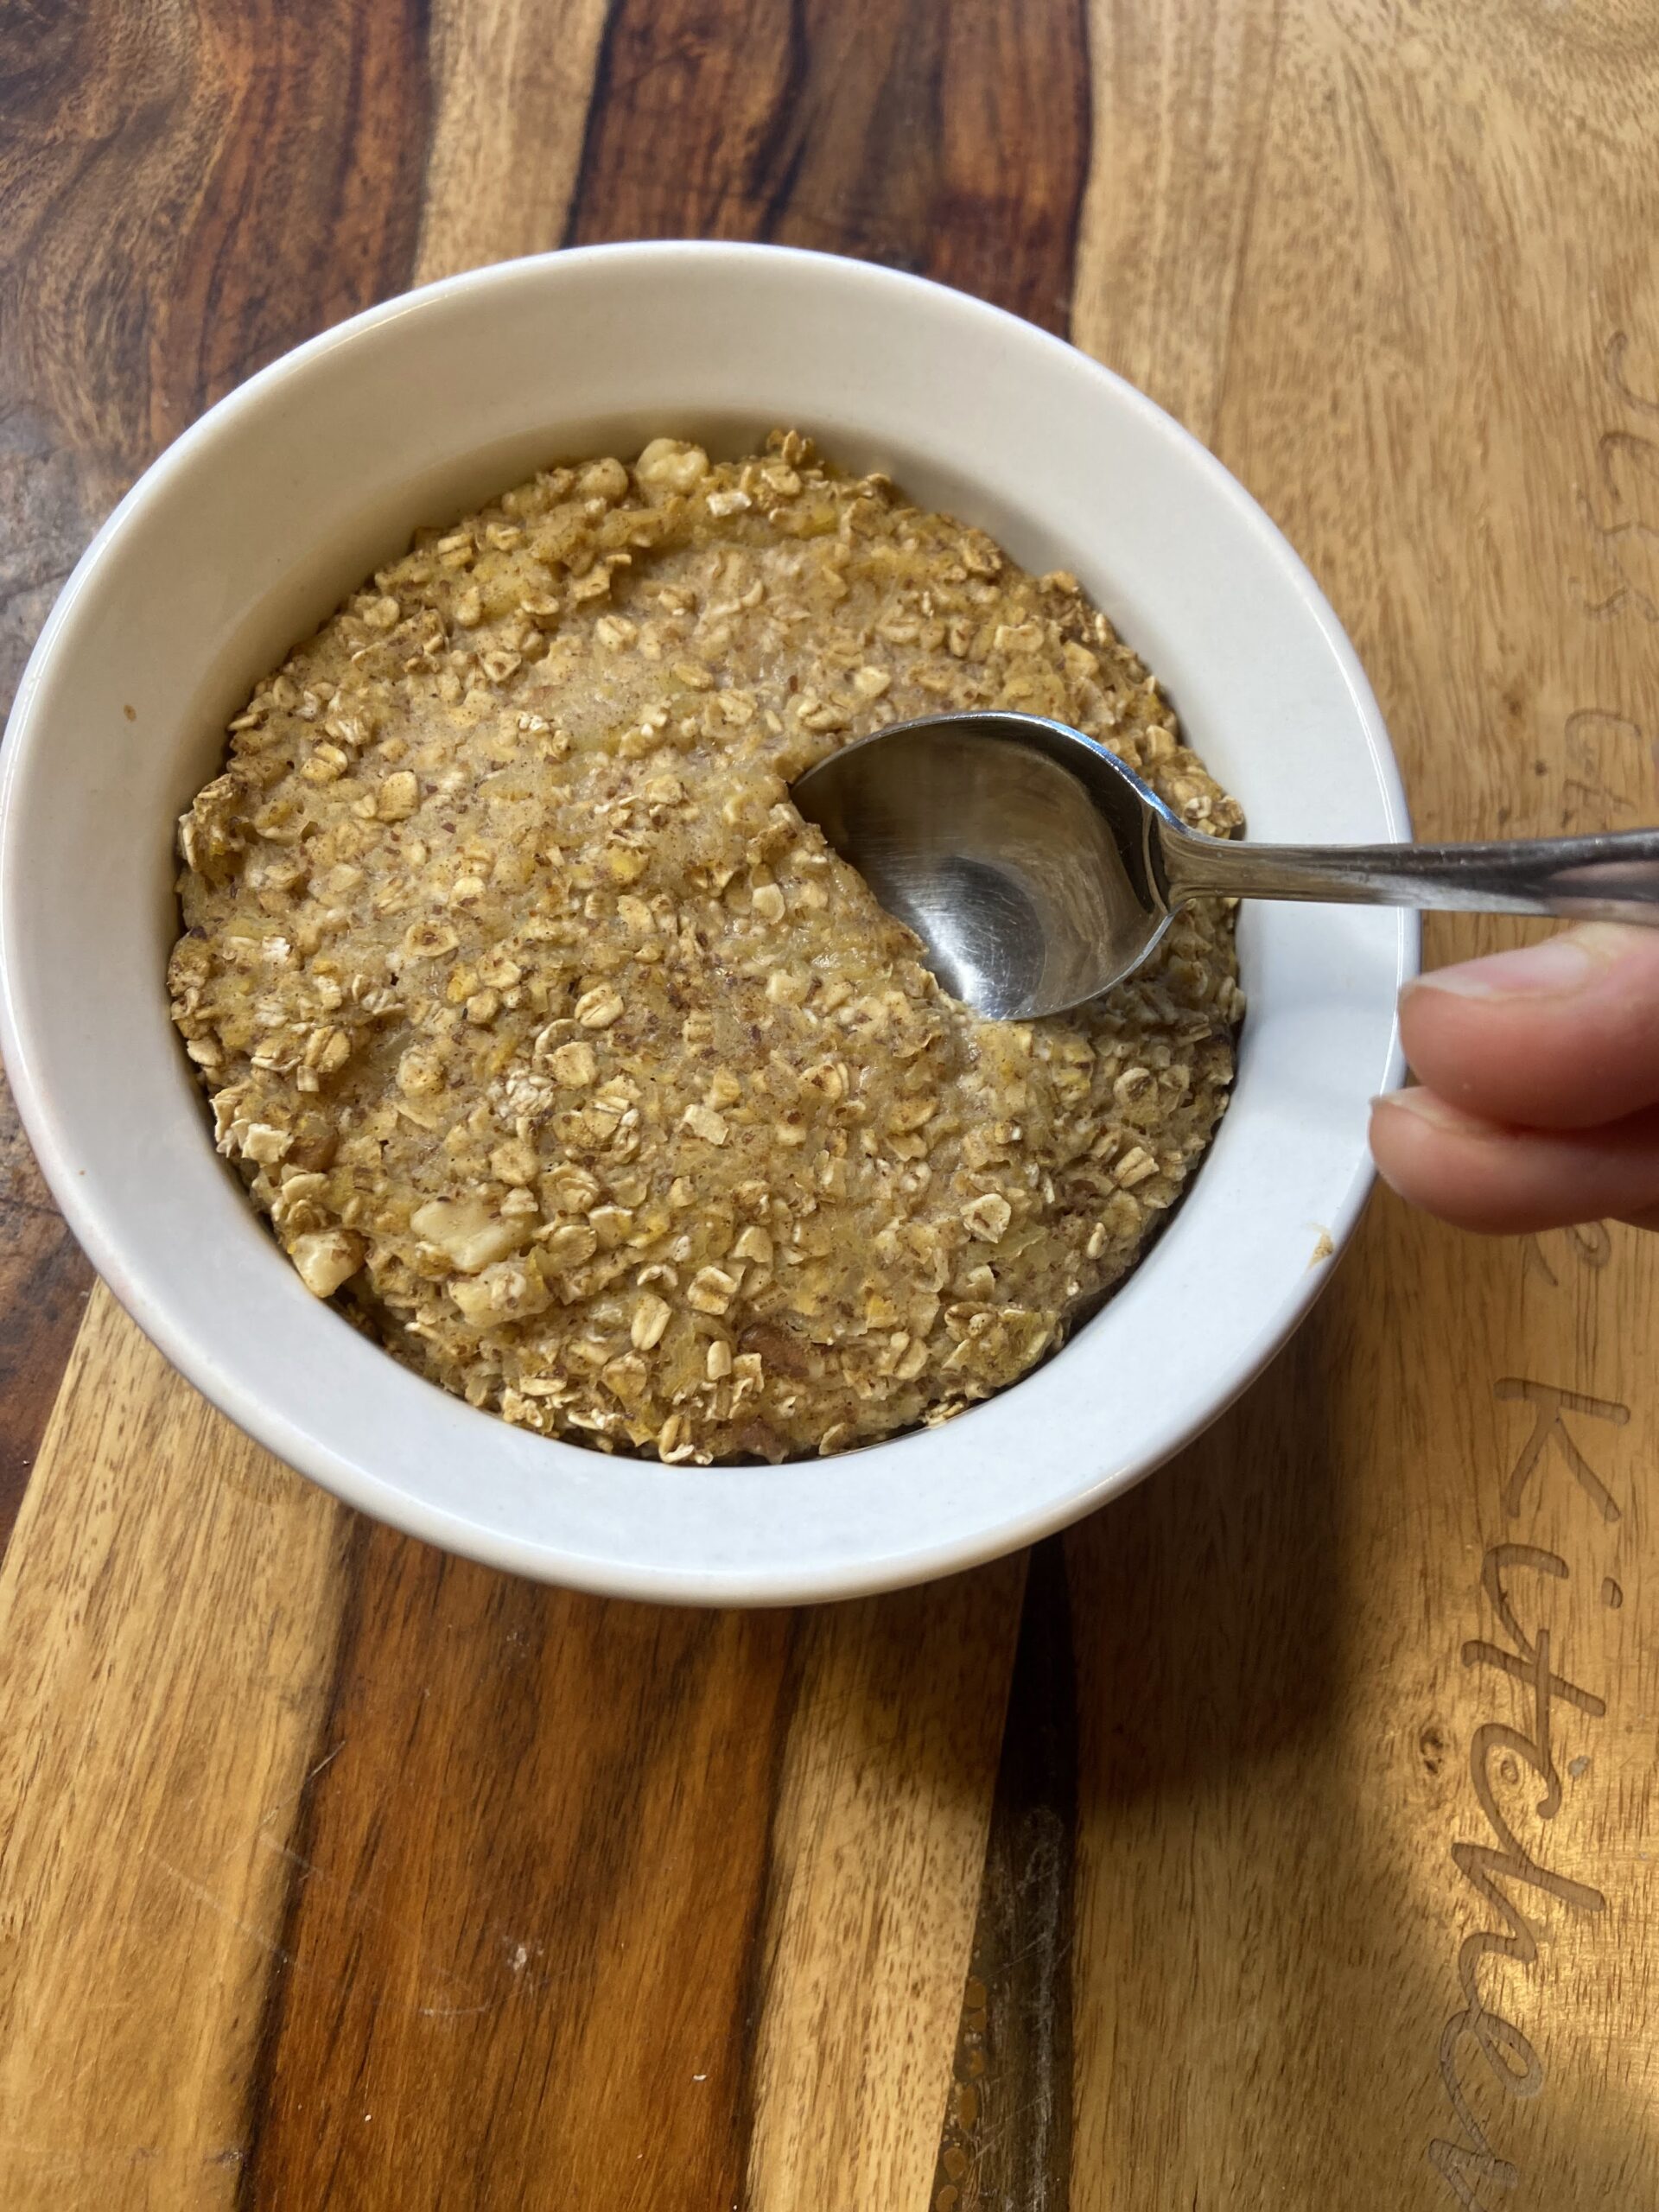
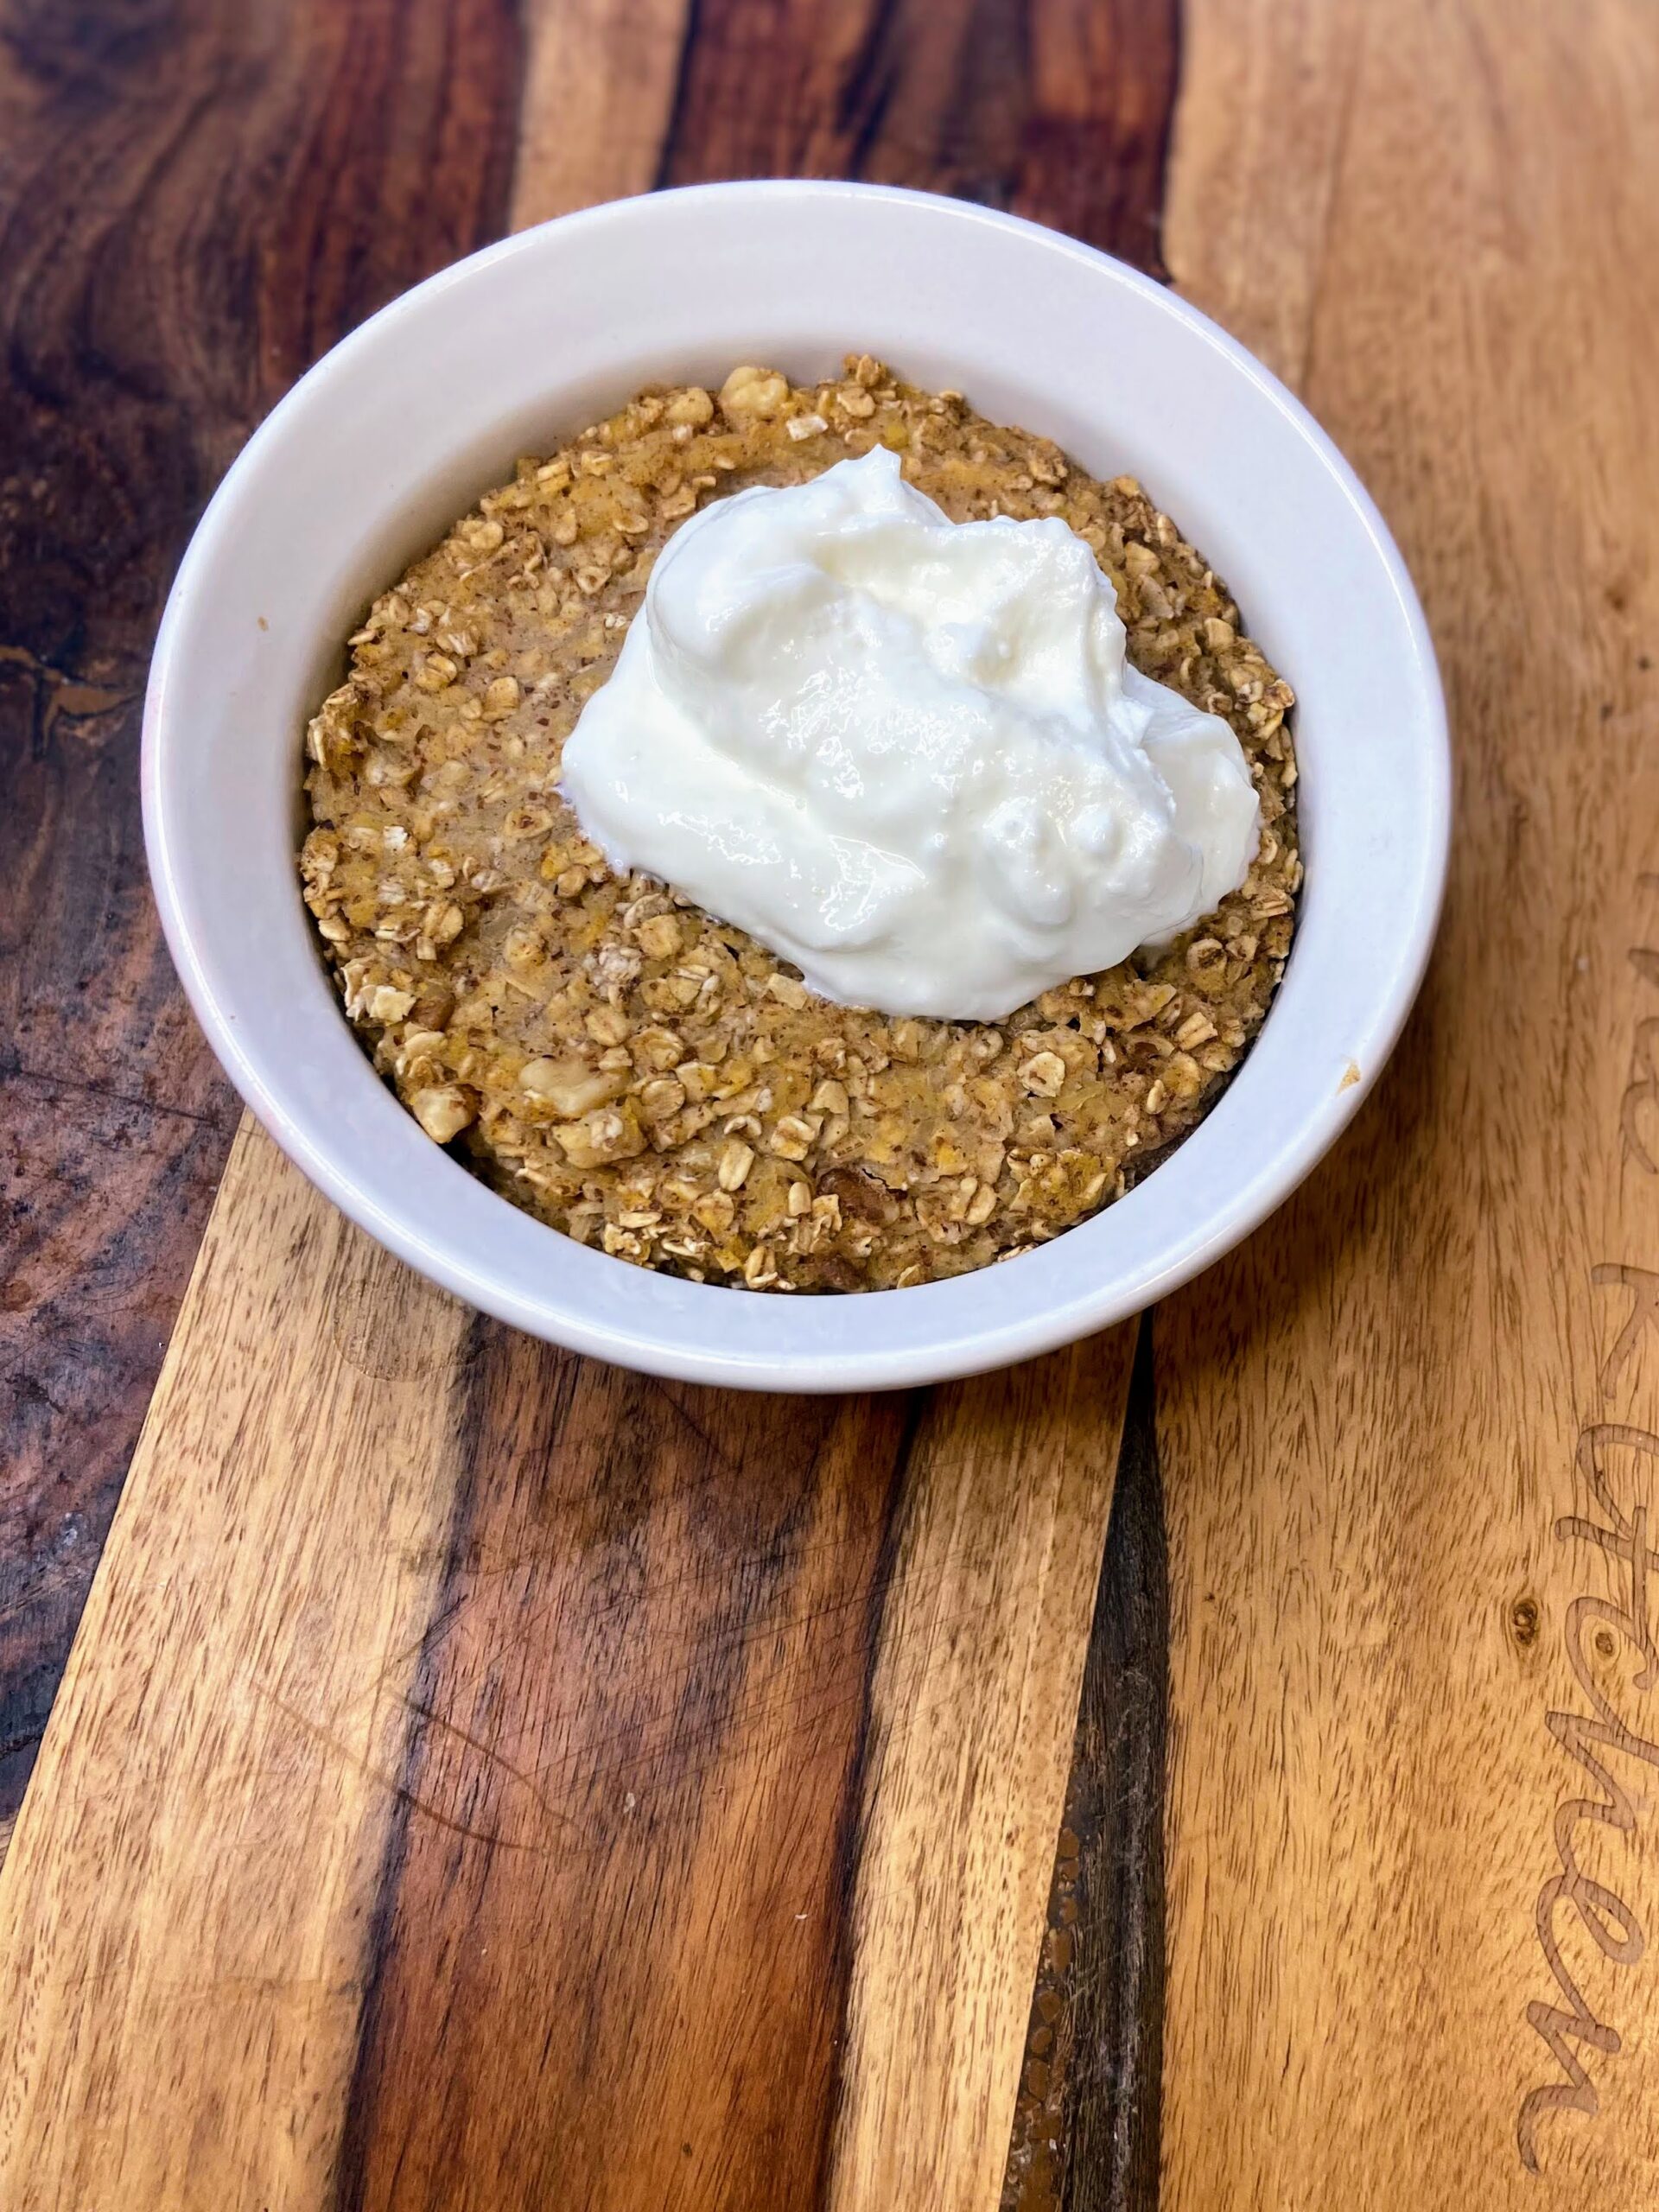
Pumpkin Pie Baked Oatmeal

Pumpkin Pie Baked Oatmeal

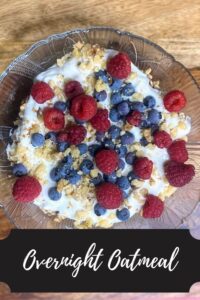
Weekends in the fall are for cozy breakfasts. Warm breakfasts that you can curl your hands around with a cup of coffee and just take in the cool, beautiful weather. At least, that’s what I believe. Most days of the week, I go for overnight oats with Greek yogurt (Grab this recipe here!), but on the weekend, I like to play around with my breakfast a little more and this pumpkin pie baked oatmeal is just the ticket. 

I don’t know your story, but I am a mom that lives for the quiet on the weekends. For me, I intentionally wake up before everyone else so I can enjoy my coffee and breakfast with a candle and some Christmas lights (don’t judge!). I love mixing together baked oatmeal to savor while it’s still before dawn. This pumpkin pie baked oatmeal is a single serving dish of deliciousness that mixes up in minutes and bakes in just twenty minutes. I top it with a little Triple Zero Vanilla Greek Yogurt to get those whipped cream vibes without all the sugar. So dang good!

Ready to make your own breakfast? Let’s go! 

Your Ingredients for Pumpkin Pie Baked Oatmeal 

  • ½ cup quick oats
  • ½ tablespoon ground flaxseed
  • ⅛ teaspoon nutmeg 
  • ½ teaspoon cinnamon
  • Pinch of salt
  • ½ teaspoon baking powder 
  • 1 tablespoon maple syrup
  • ⅓ cup unsweetened almond milk (or other milk of your choice)
  • ⅛ teaspoon vanilla
  • ½ cup pumpkin puree (I always roast my own! Learn how here!)
    2 tablespoons walnuts (optional) 

Your Steps

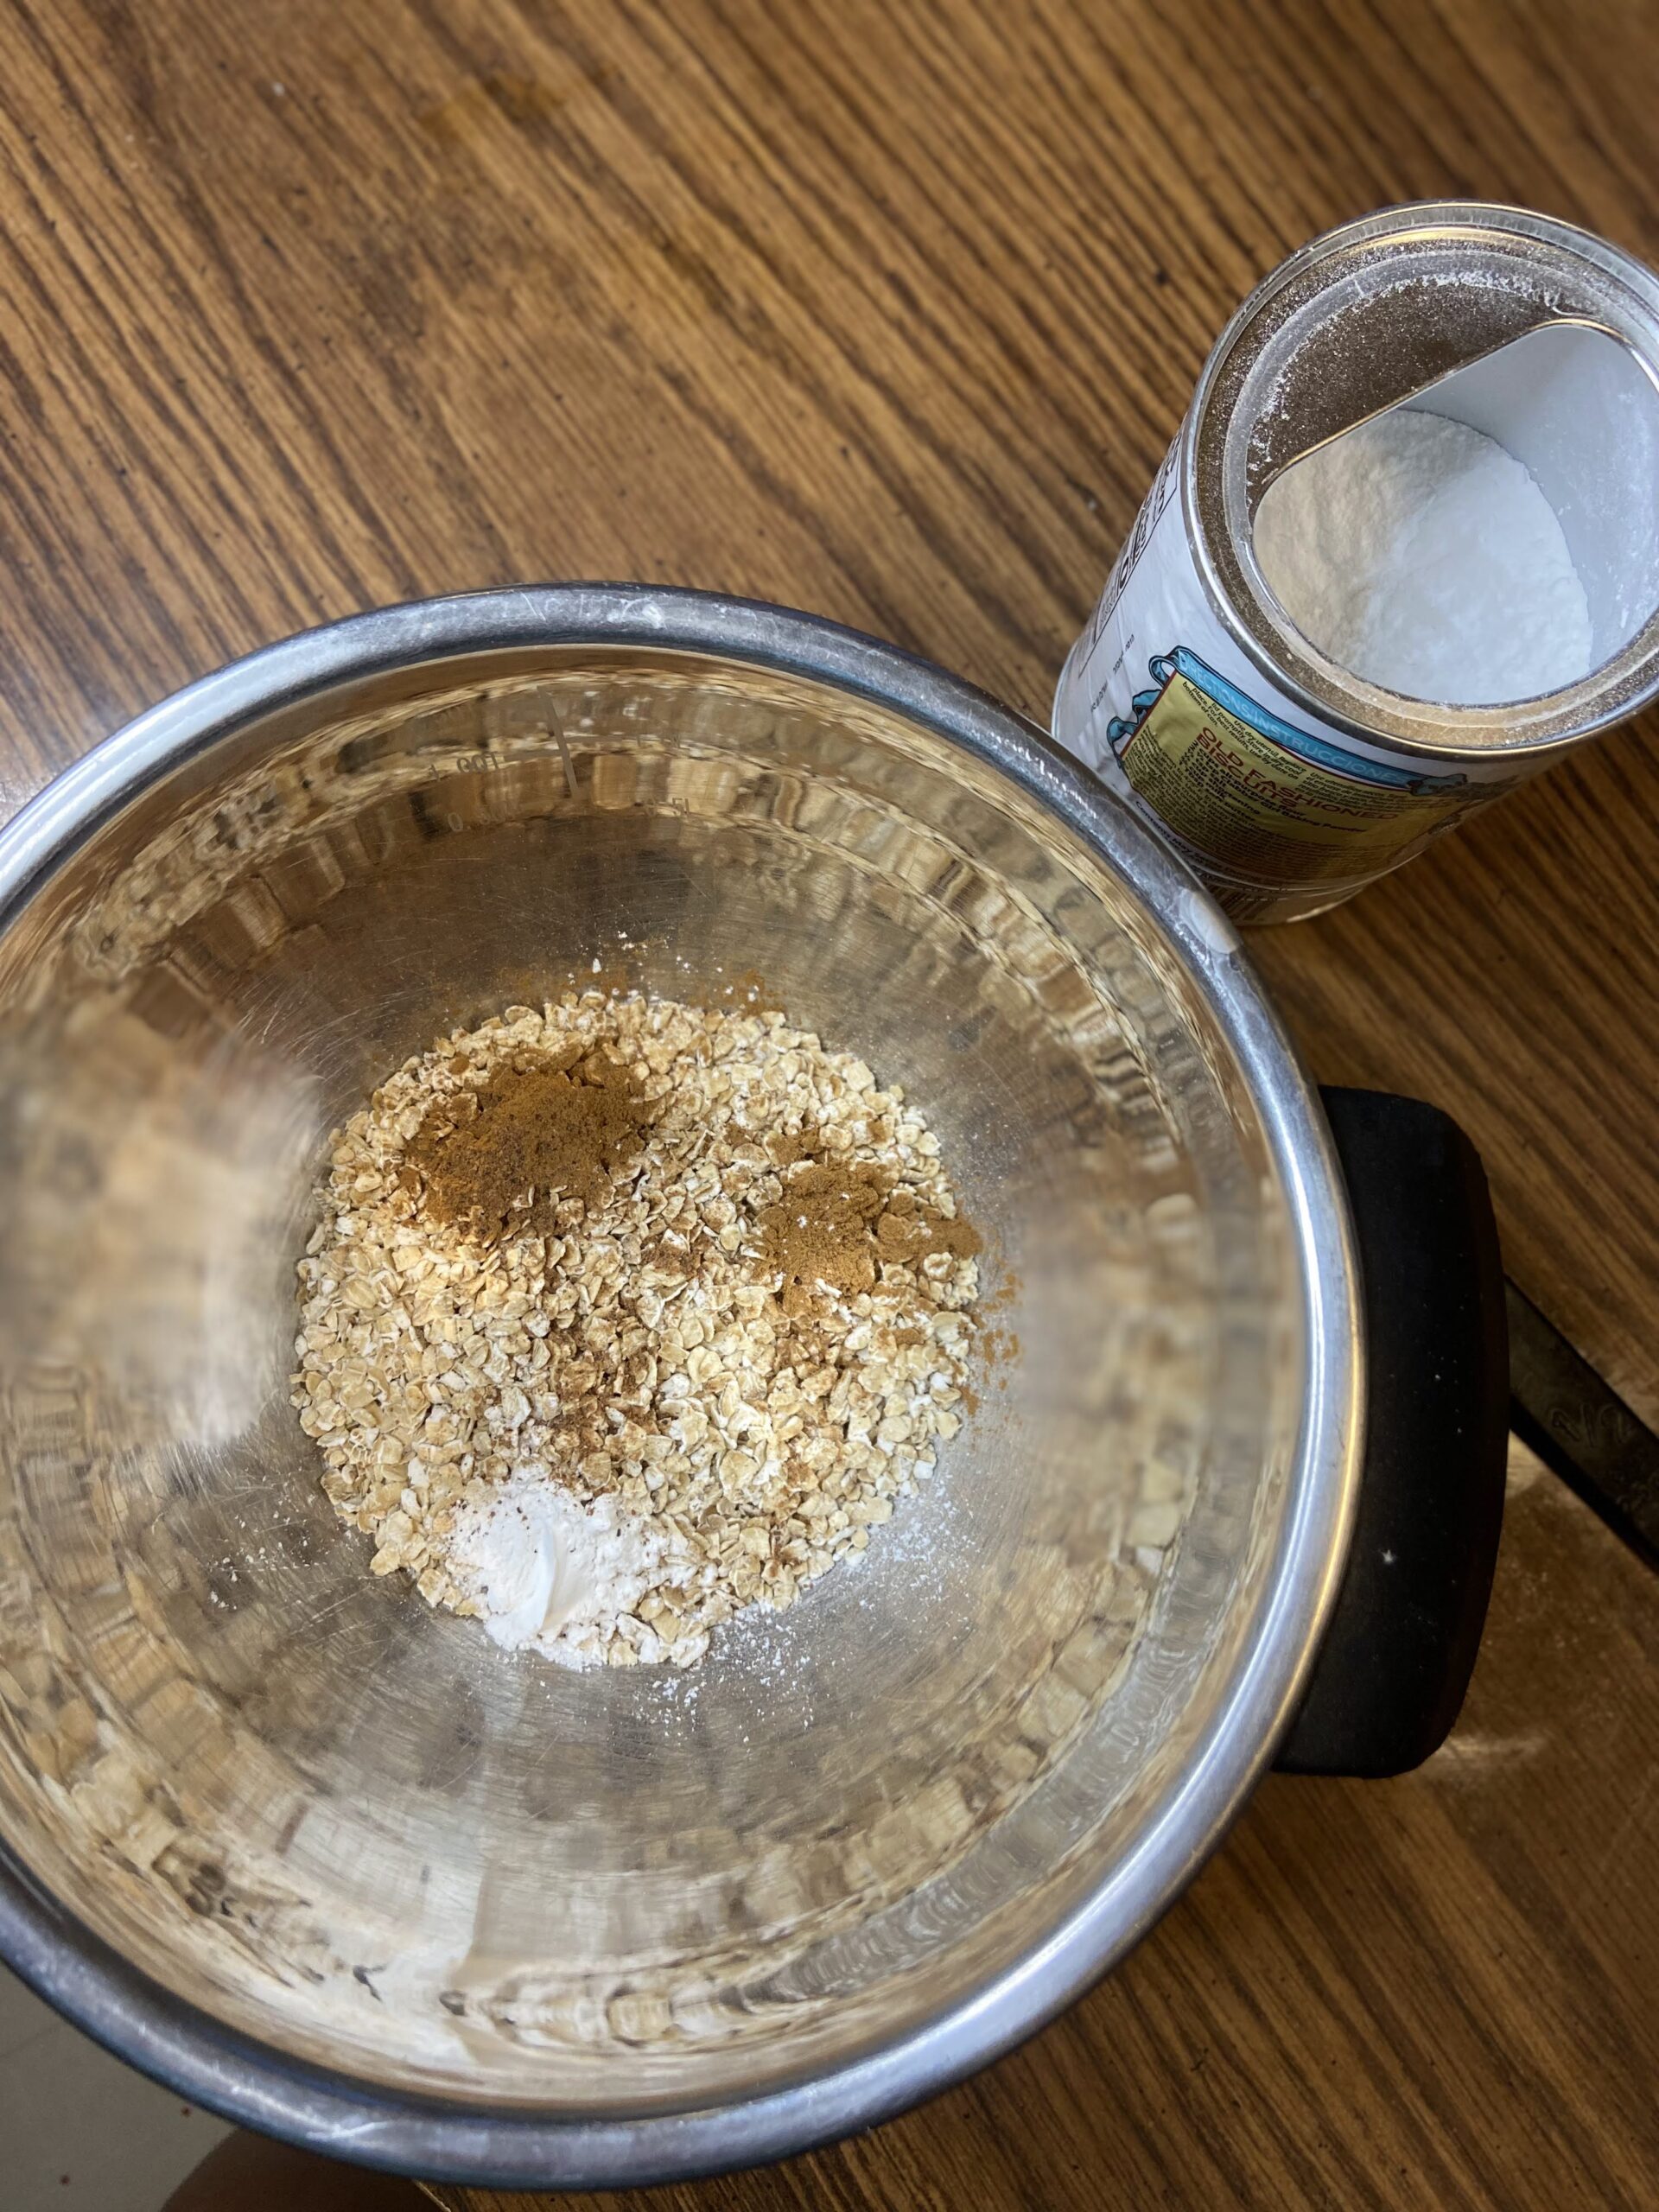
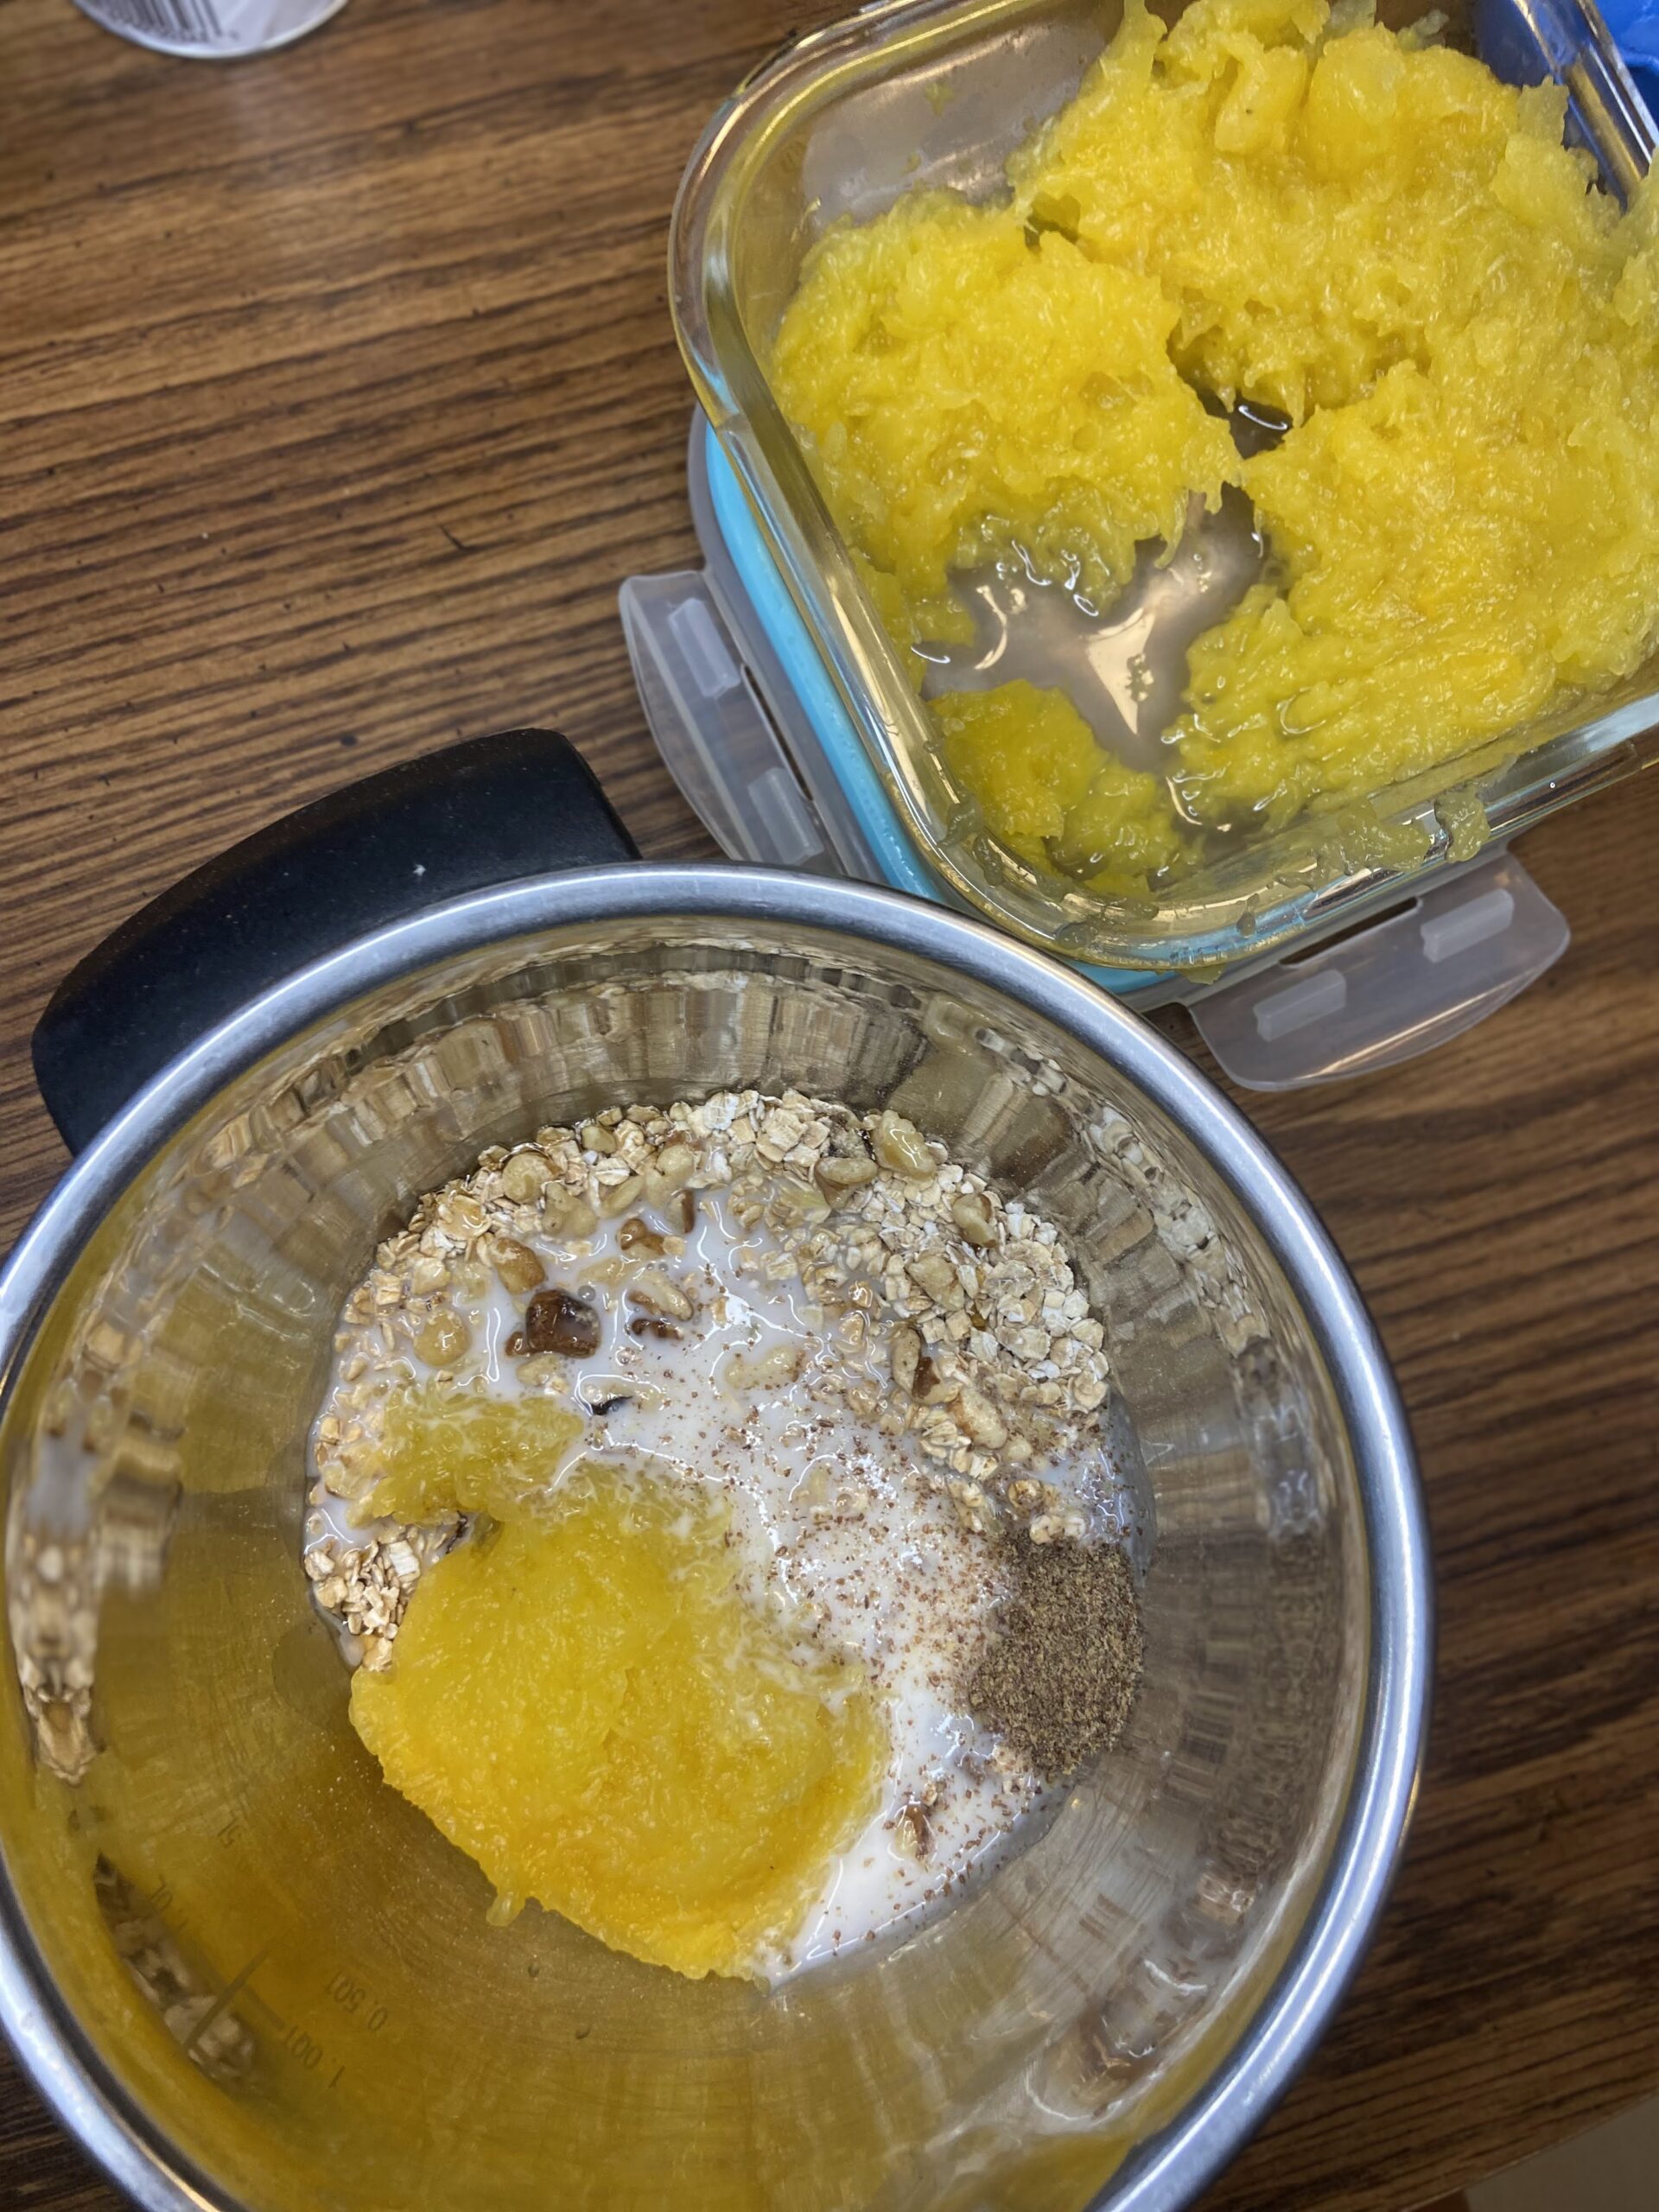
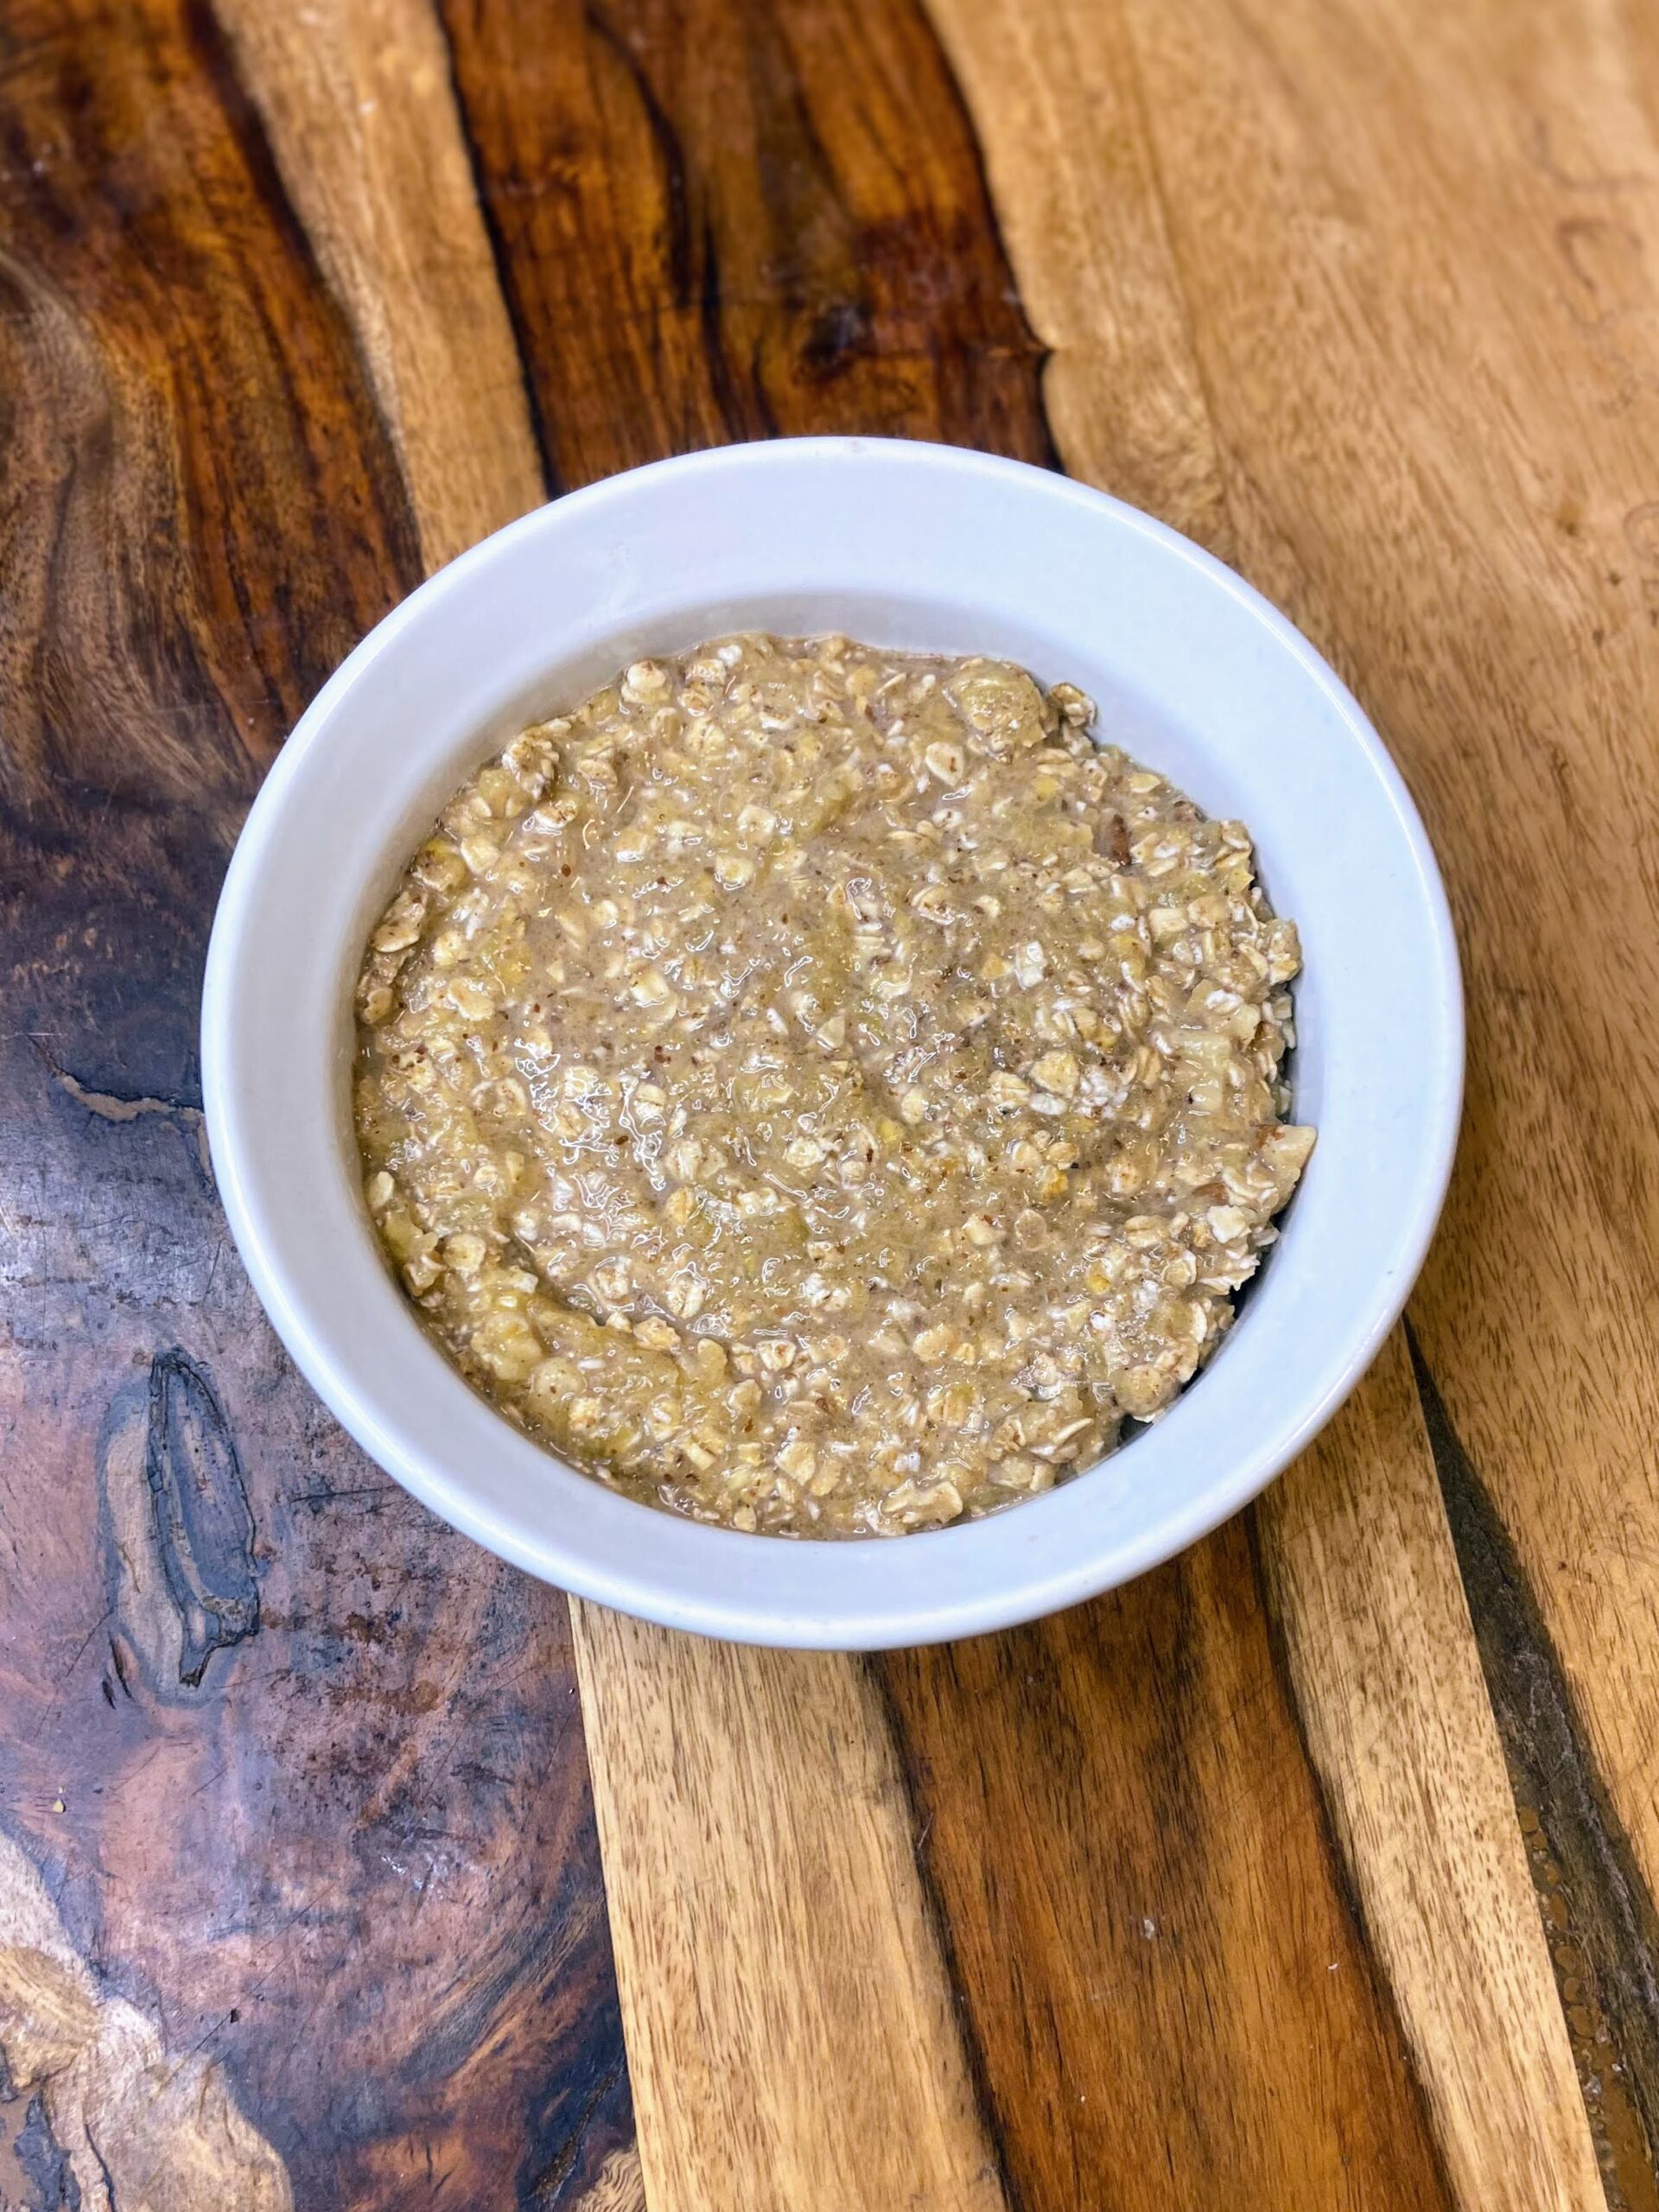
Preheat the oven to 375 degrees. In a small bowl, combine oats, flaxseed, nutmeg, cinnamon, salt, and baking powder. Add remaining ingredients and stir well. Pour the mixture into a small round baking dish. Bake for 15-20 minutes, until the top of the oatmeal is solid. Eat it plain, or top with vanilla Greek yogurt for extra protein and a little treat! 

Finished Baked Oatmeal

Pumpkin Pie Baked Oatmeal

A warm and cozy pumpkin pie baked oatmeal is the ticket for a single serving breakfast full of good for you ingredients
Prep Time 3 minutes
Cook Time 15 minutes
Course Breakfast
Cuisine American
Servings 1

Ingredients
  

  • ½ cup quick oats
  • ½ tablespoon ground flaxseed
  • teaspoon nutmeg
  • ½ teaspoon cinnamon
  • Pinch of salt
  • ½ teaspoon baking powder
  • 1 tablespoon maple syrup
  • cup unsweetened almond milk or other milk of your choice
  • teaspoon vanilla
  • ½ cup pumpkin puree
  • 2 tablespoons walnuts optional

Instructions
 

  • Preheat the oven to 375 degrees.
  • In a small bowl, combine oats, flaxseed, nutmeg, cinnamon, salt, and baking powder.
  • Add remaining ingredients and stir well. Pour the mixture into a small round baking dish.
  • Bake for 15-20 minutes, until the top of the oatmeal is solid.
  • Eat it plain, or top with vanilla Greek yogurt for extra protein and a little treat!
Keyword baked oatmeal, Breakfast, oatmeal, pumpkin, pumpkin recipes, single serving
Tried this recipe?Let us know how it was!

Looking for other breakfast inspiration?

Here are a few of my favorites!
Spiced Pumpkin Bread

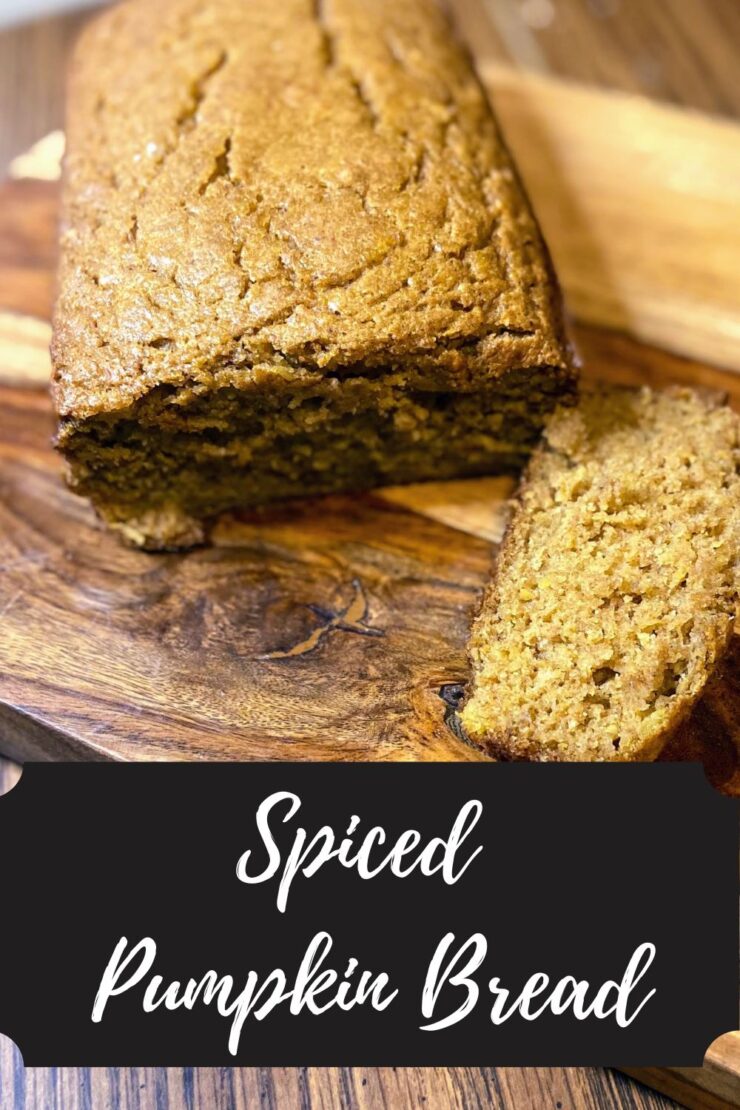
Are you team pumpkin or team apple in the fall? Hands down, I was team apple for years. Then I slowly shifted. It started when I grew my own pumpkins and subsequently roasted them. I had to bake with them, and once I did that, there was no looking back. At about that same time, I discovered a pumpkin bread I adored. But…it had THREE cups of sugar. Three. I just can’t do that anymore. So this is my take on that bread I adored: a spiced pumpkin bread. 

When I bake something I am especially proud of, I share with allll the friends and family. One friend said it had a feeling of spice cake with pumpkin on the finish. The Mr’s best friend grabbed a piece and before I could even ask what he thought, he said, “this is REALLY good.” 

I opted to go maple syrup with just a touch of brown sugar for that molasses taste. And the oil? I actually used some rendered lard from our half of a pig we purchased earlier this fall. It got melted/softened and worked like a dream. No lard? No problem, go with some coconut oil or regular oil and it will work just fine. 

Ready to start baking? Let’s go! 

Your Ingredients

  • 1 ½ cups pumpkin puree (roast your own! It’s incredible!)
  • 2 eggs
  • ¼ cup oil (lard)
  • ⅔ cup maple syrup 
  • 2 tablespoons brown sugar
  • 2 cups whole wheat flour 
  • 1 teaspoon baking soda
  • ¾ teaspoon salt 
  • ½ teaspoon ground cinnamon 
  • ½ teaspoon ground nutmeg
  • ¼ teaspoon cloves 
  • ½ cup chopped nuts, optional 

You Steps to Spiced pumpkin Bread

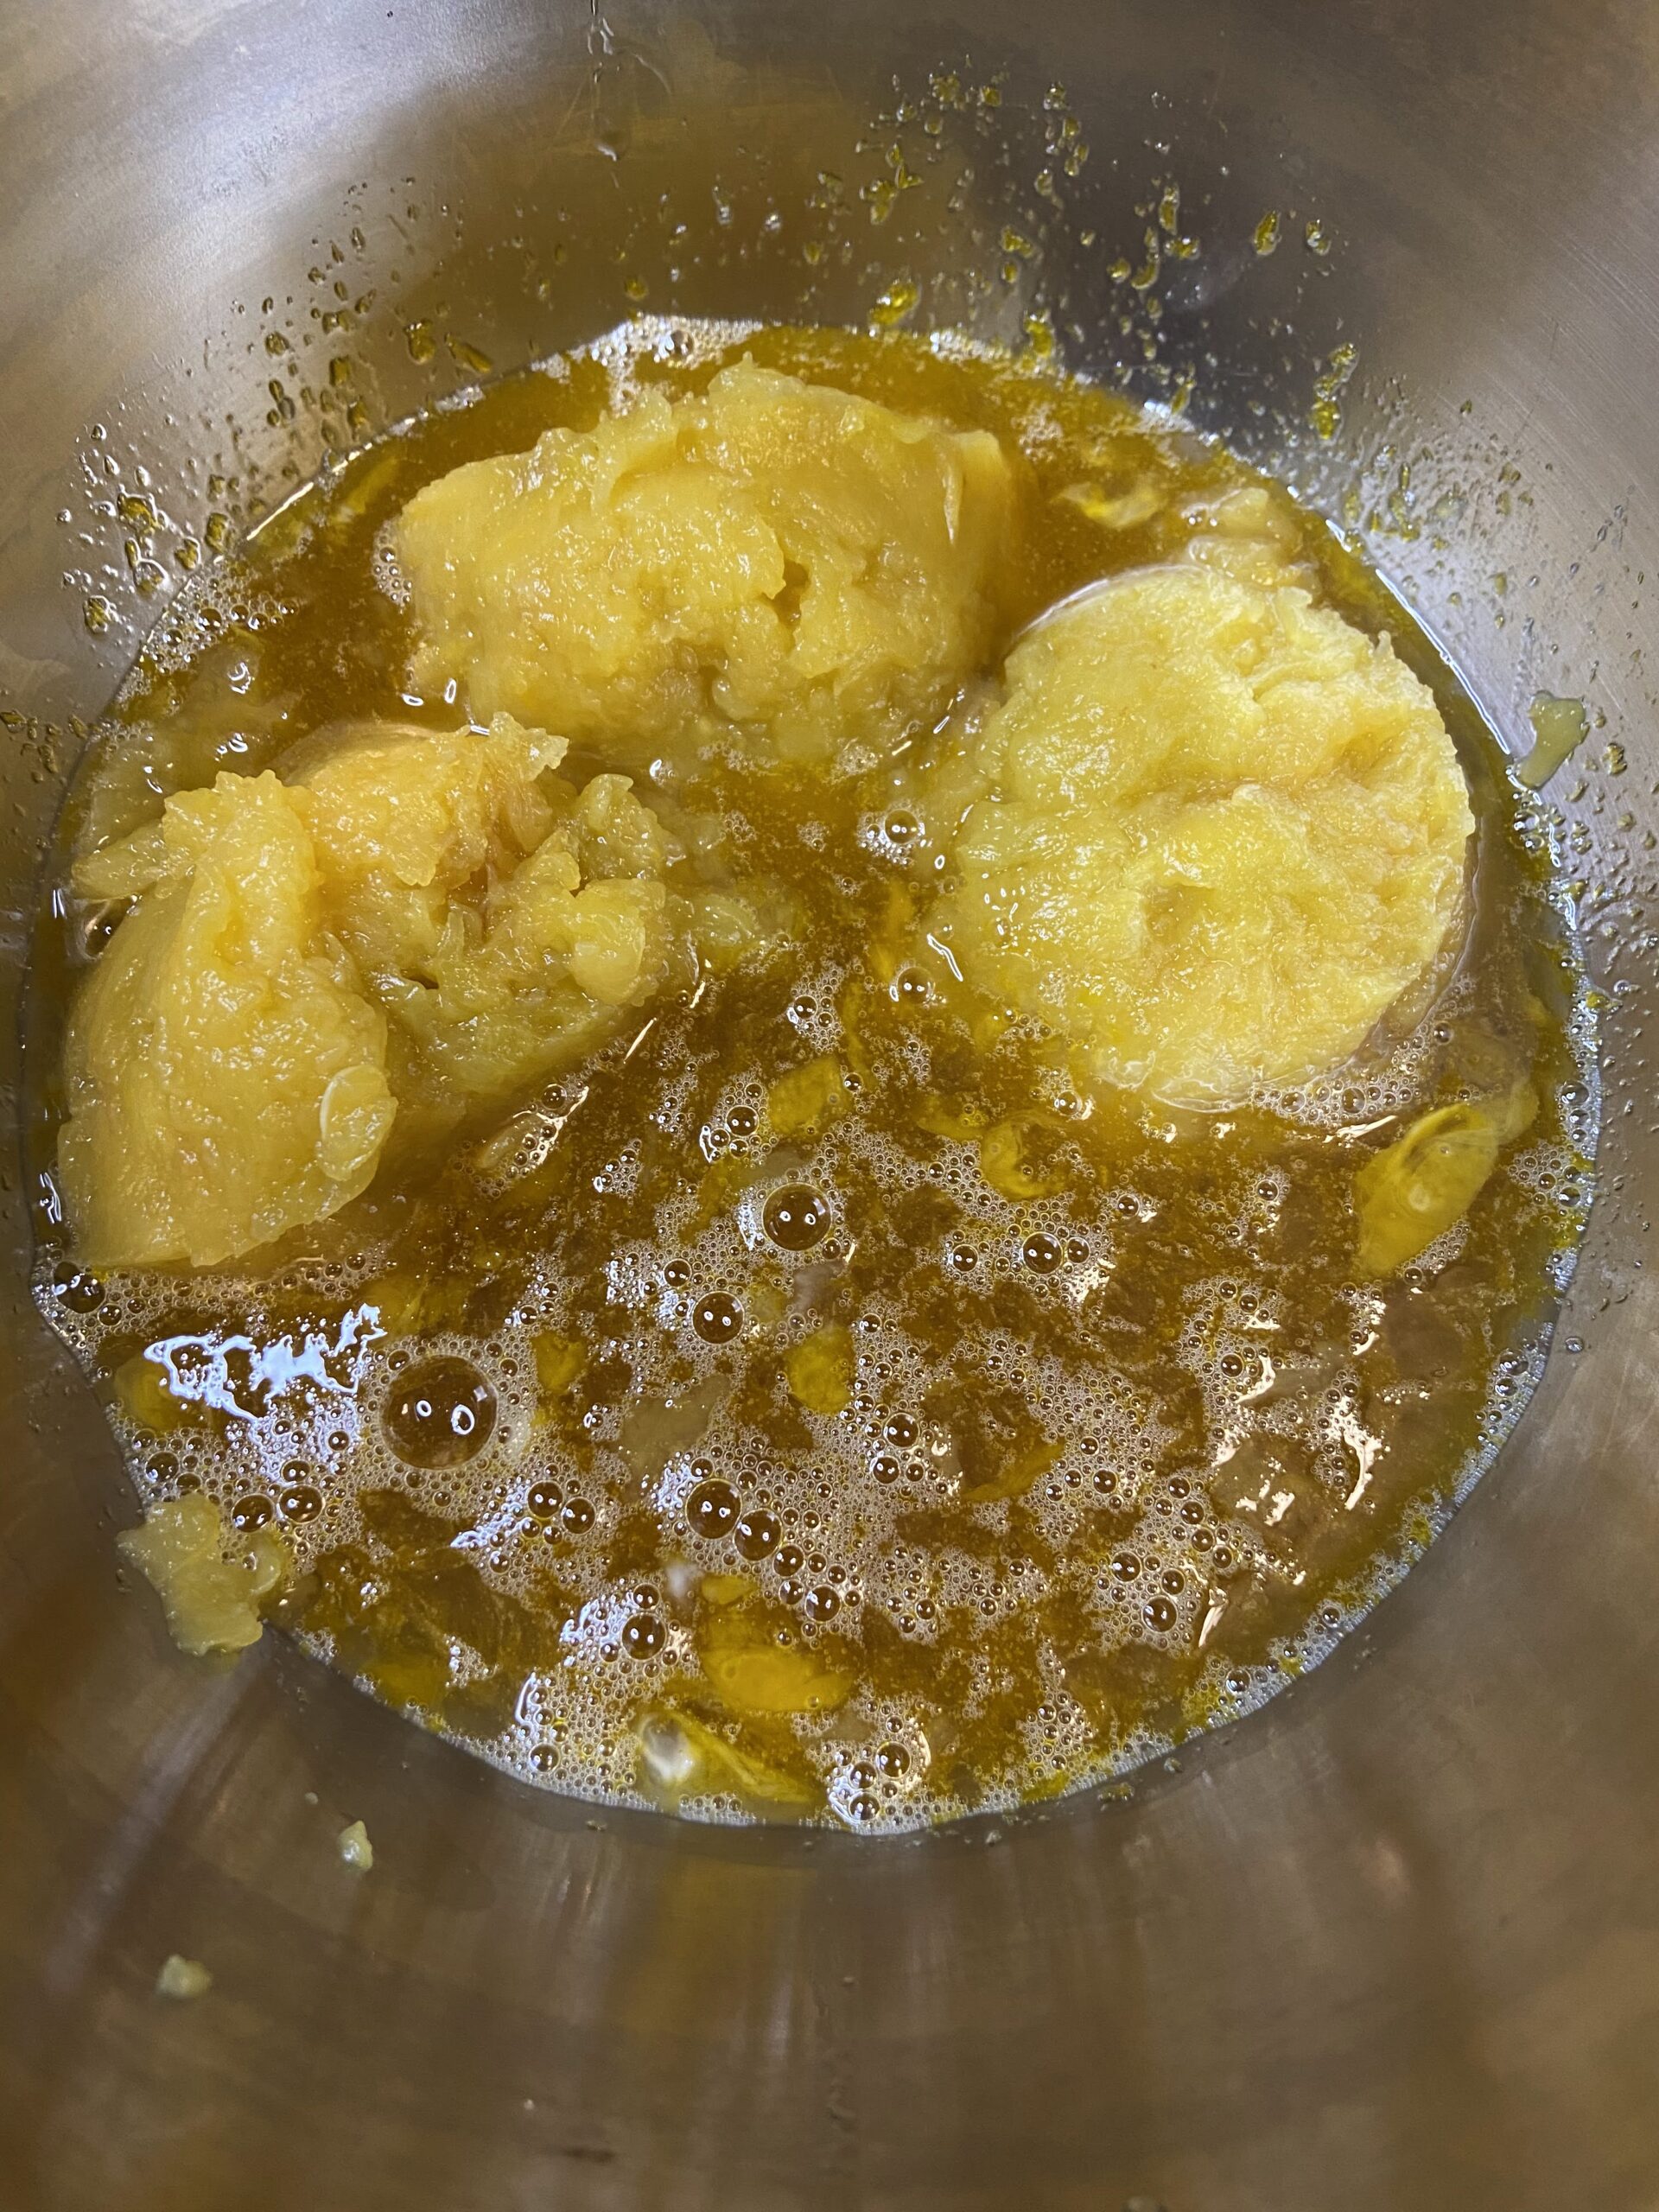
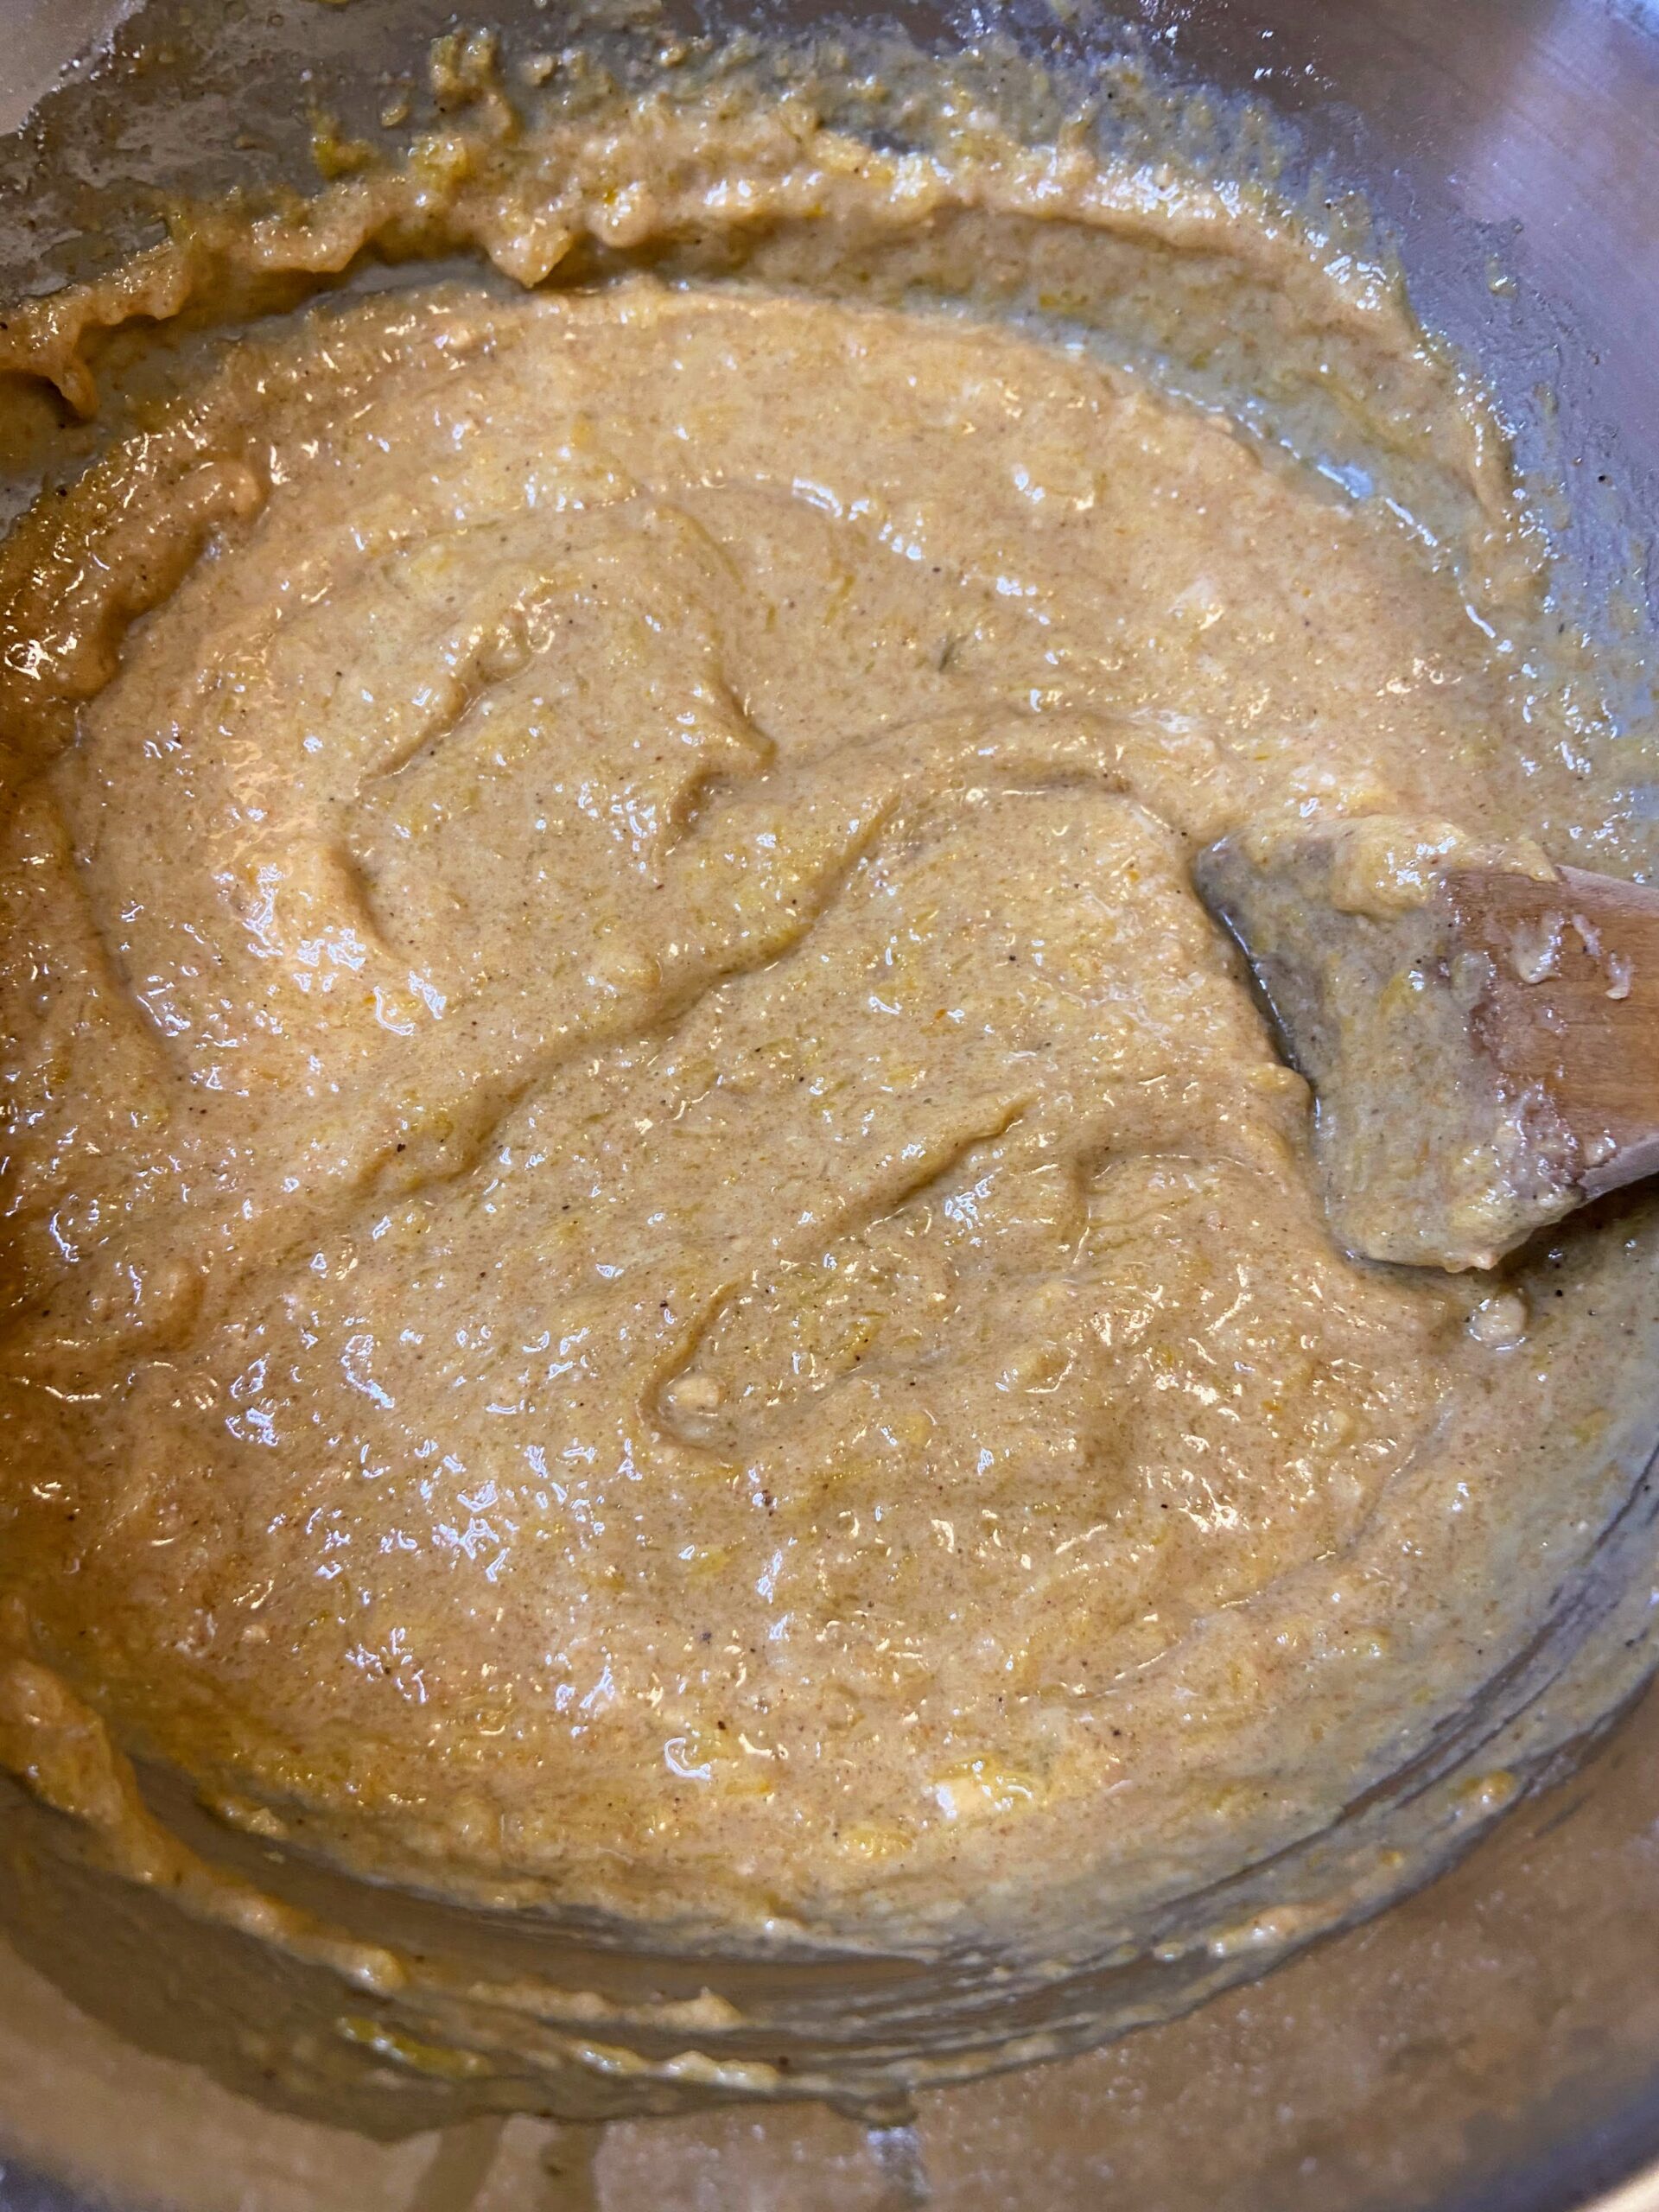
Preheat the oven to 350 degrees. In a large bowl, combine the eggs, oil, maple syrup, and brown sugar. Mix in the pumpkin puree.

Add the whole wheat flour, baking soda, salt, cinnamon, nutmeg, and cloves. Mix until just combined. Fold in chopped nuts, if desired. 

Pour into a greased loaf pan. Bake 50-60 minutes, until cooked through and passes the toothpick test.

Spiced Pumpkin Bread

Home roasted pumpkin with a collection of spices makes the best quick bread. This healthier twist on a spiced pumpkin bread is sure to be a hit!
Prep Time 10 minutes
Cook Time 50 minutes
Course Breakfast
Cuisine American, Bread
Servings 12 slices

Ingredients
  

  • 1 ½ cups pumpkin puree
  • 2 eggs
  • ¼ cup oil lard
  • cup maple syrup
  • 2 tablespoons brown sugar
  • 2 cups whole wheat flour
  • 1 teaspoon baking soda
  • ¾ teaspoon salt
  • ½ teaspoon ground cinnamon
  • ½ teaspoon ground nutmeg
  • ¼ teaspoon cloves
  • ½ cup chopped nuts optional

Instructions
 

  • Preheat the oven to 350 degrees.
  • In a large bowl, combine the eggs, oil, maple syrup, and brown sugar.
  • Mix in the pumpkin puree.
  • Add whole wheat flour, baking soda, salt, cinnamon, nutmeg, and cloves. Mix until just combined.
  • Fold in chopped nuts, if desired.
  • Pour into a greased loaf pan. Bake 50-60 minutes, until cooked through and passes the toothpick test.

Notes

We purchased a half of a hog the last few years, and I always have the lard rendered. It works AMAZINGLY well in baked goods. I melted it about halfway so that it had some soft sold parts yet. No lard? No problem. Coconut oil would work great too!
Keyword healthy breads, maple syrup, pumpkin, pumpkin bread, quick breads
Tried this recipe?Let us know how it was!
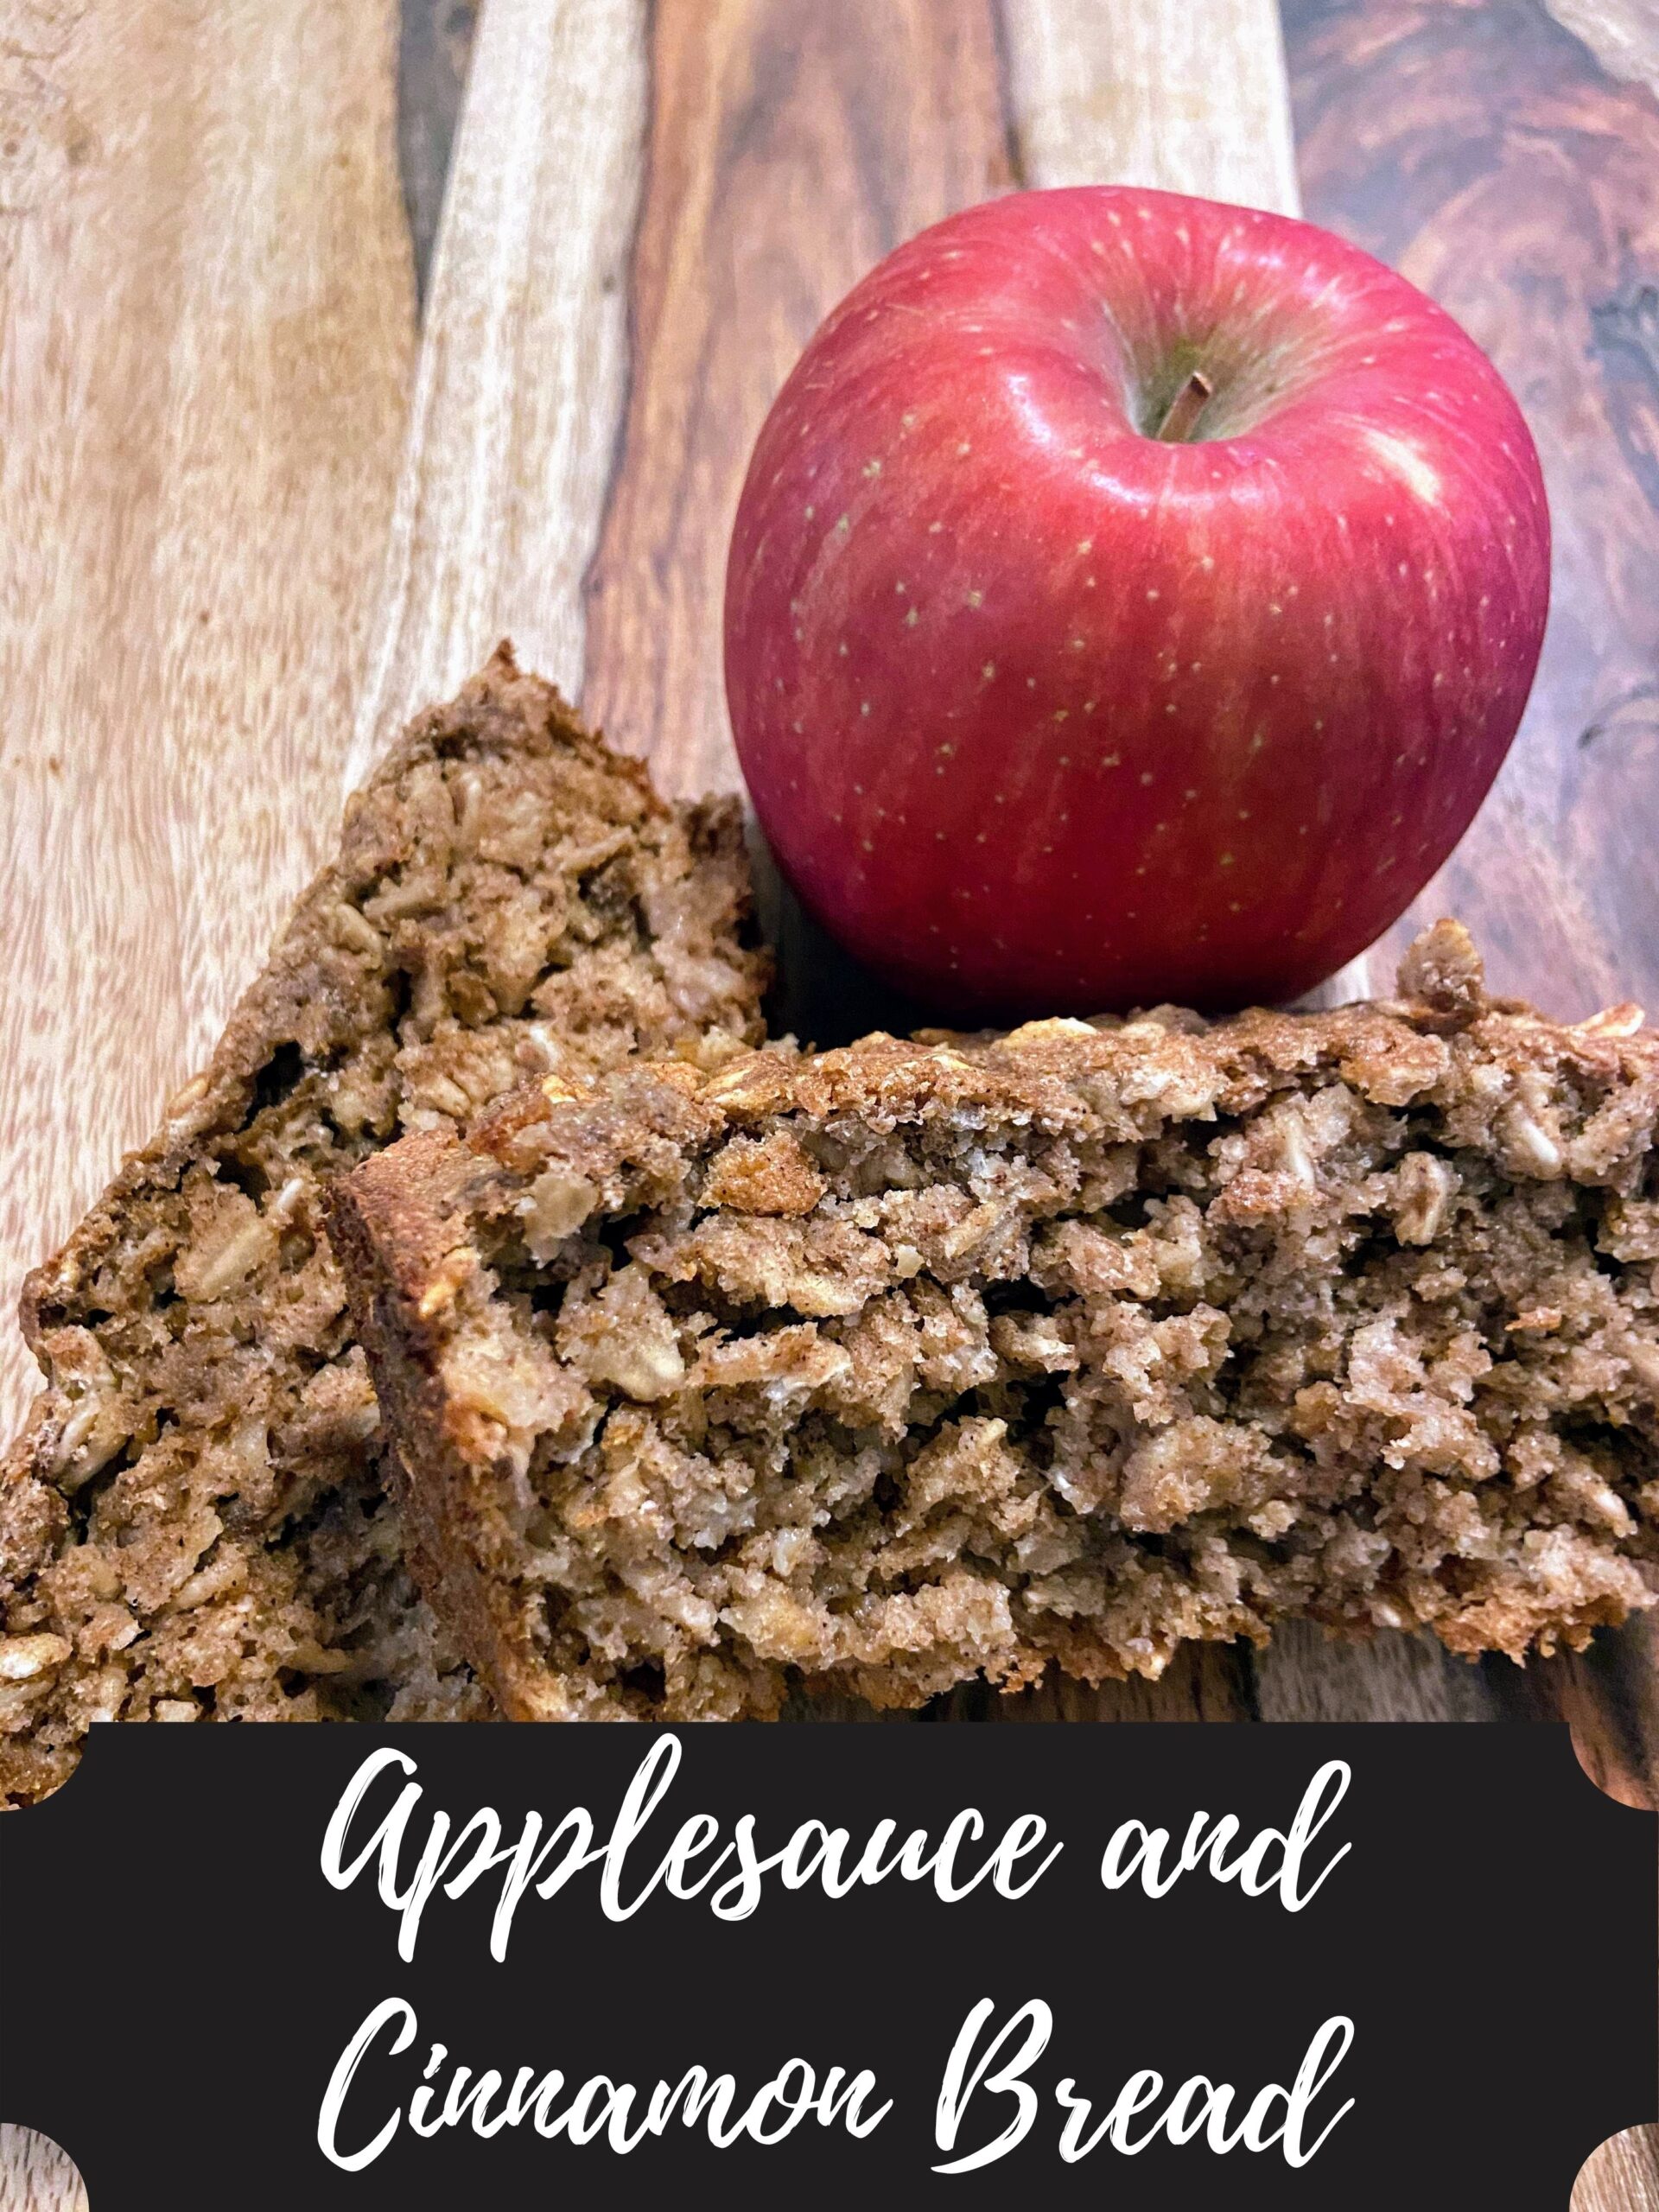
Looking for other fun recipes?

Check out any of the ones below and if they don’t tickle your fancy, find lots more on my baking page!
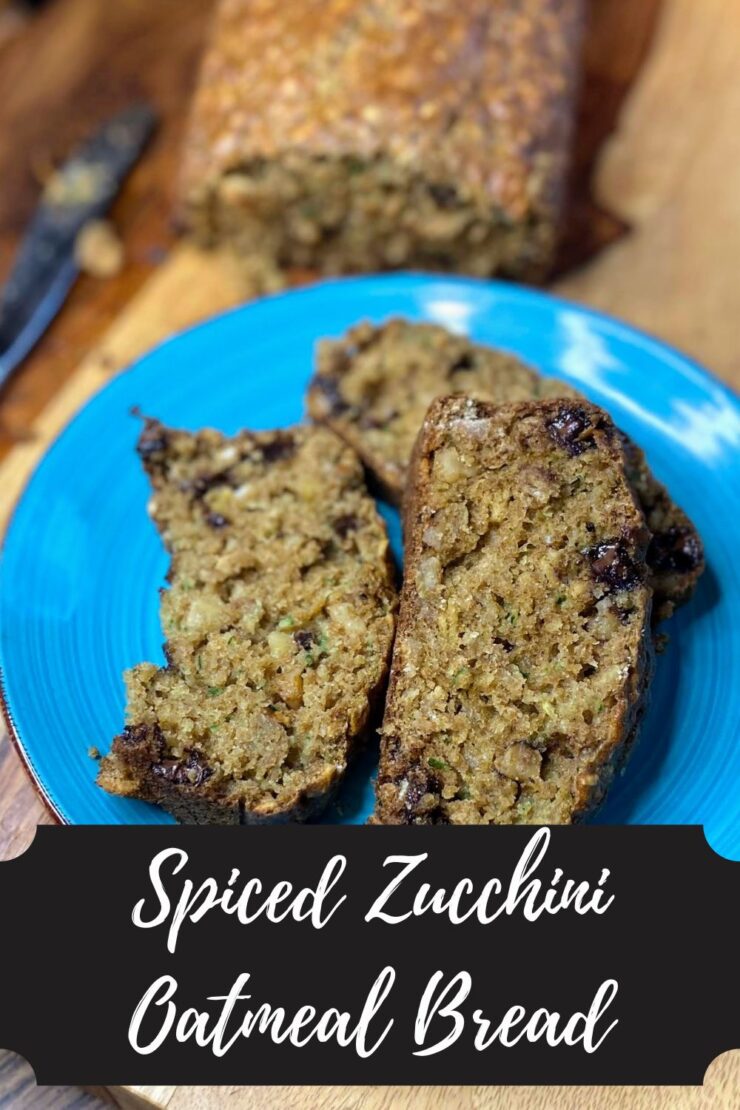
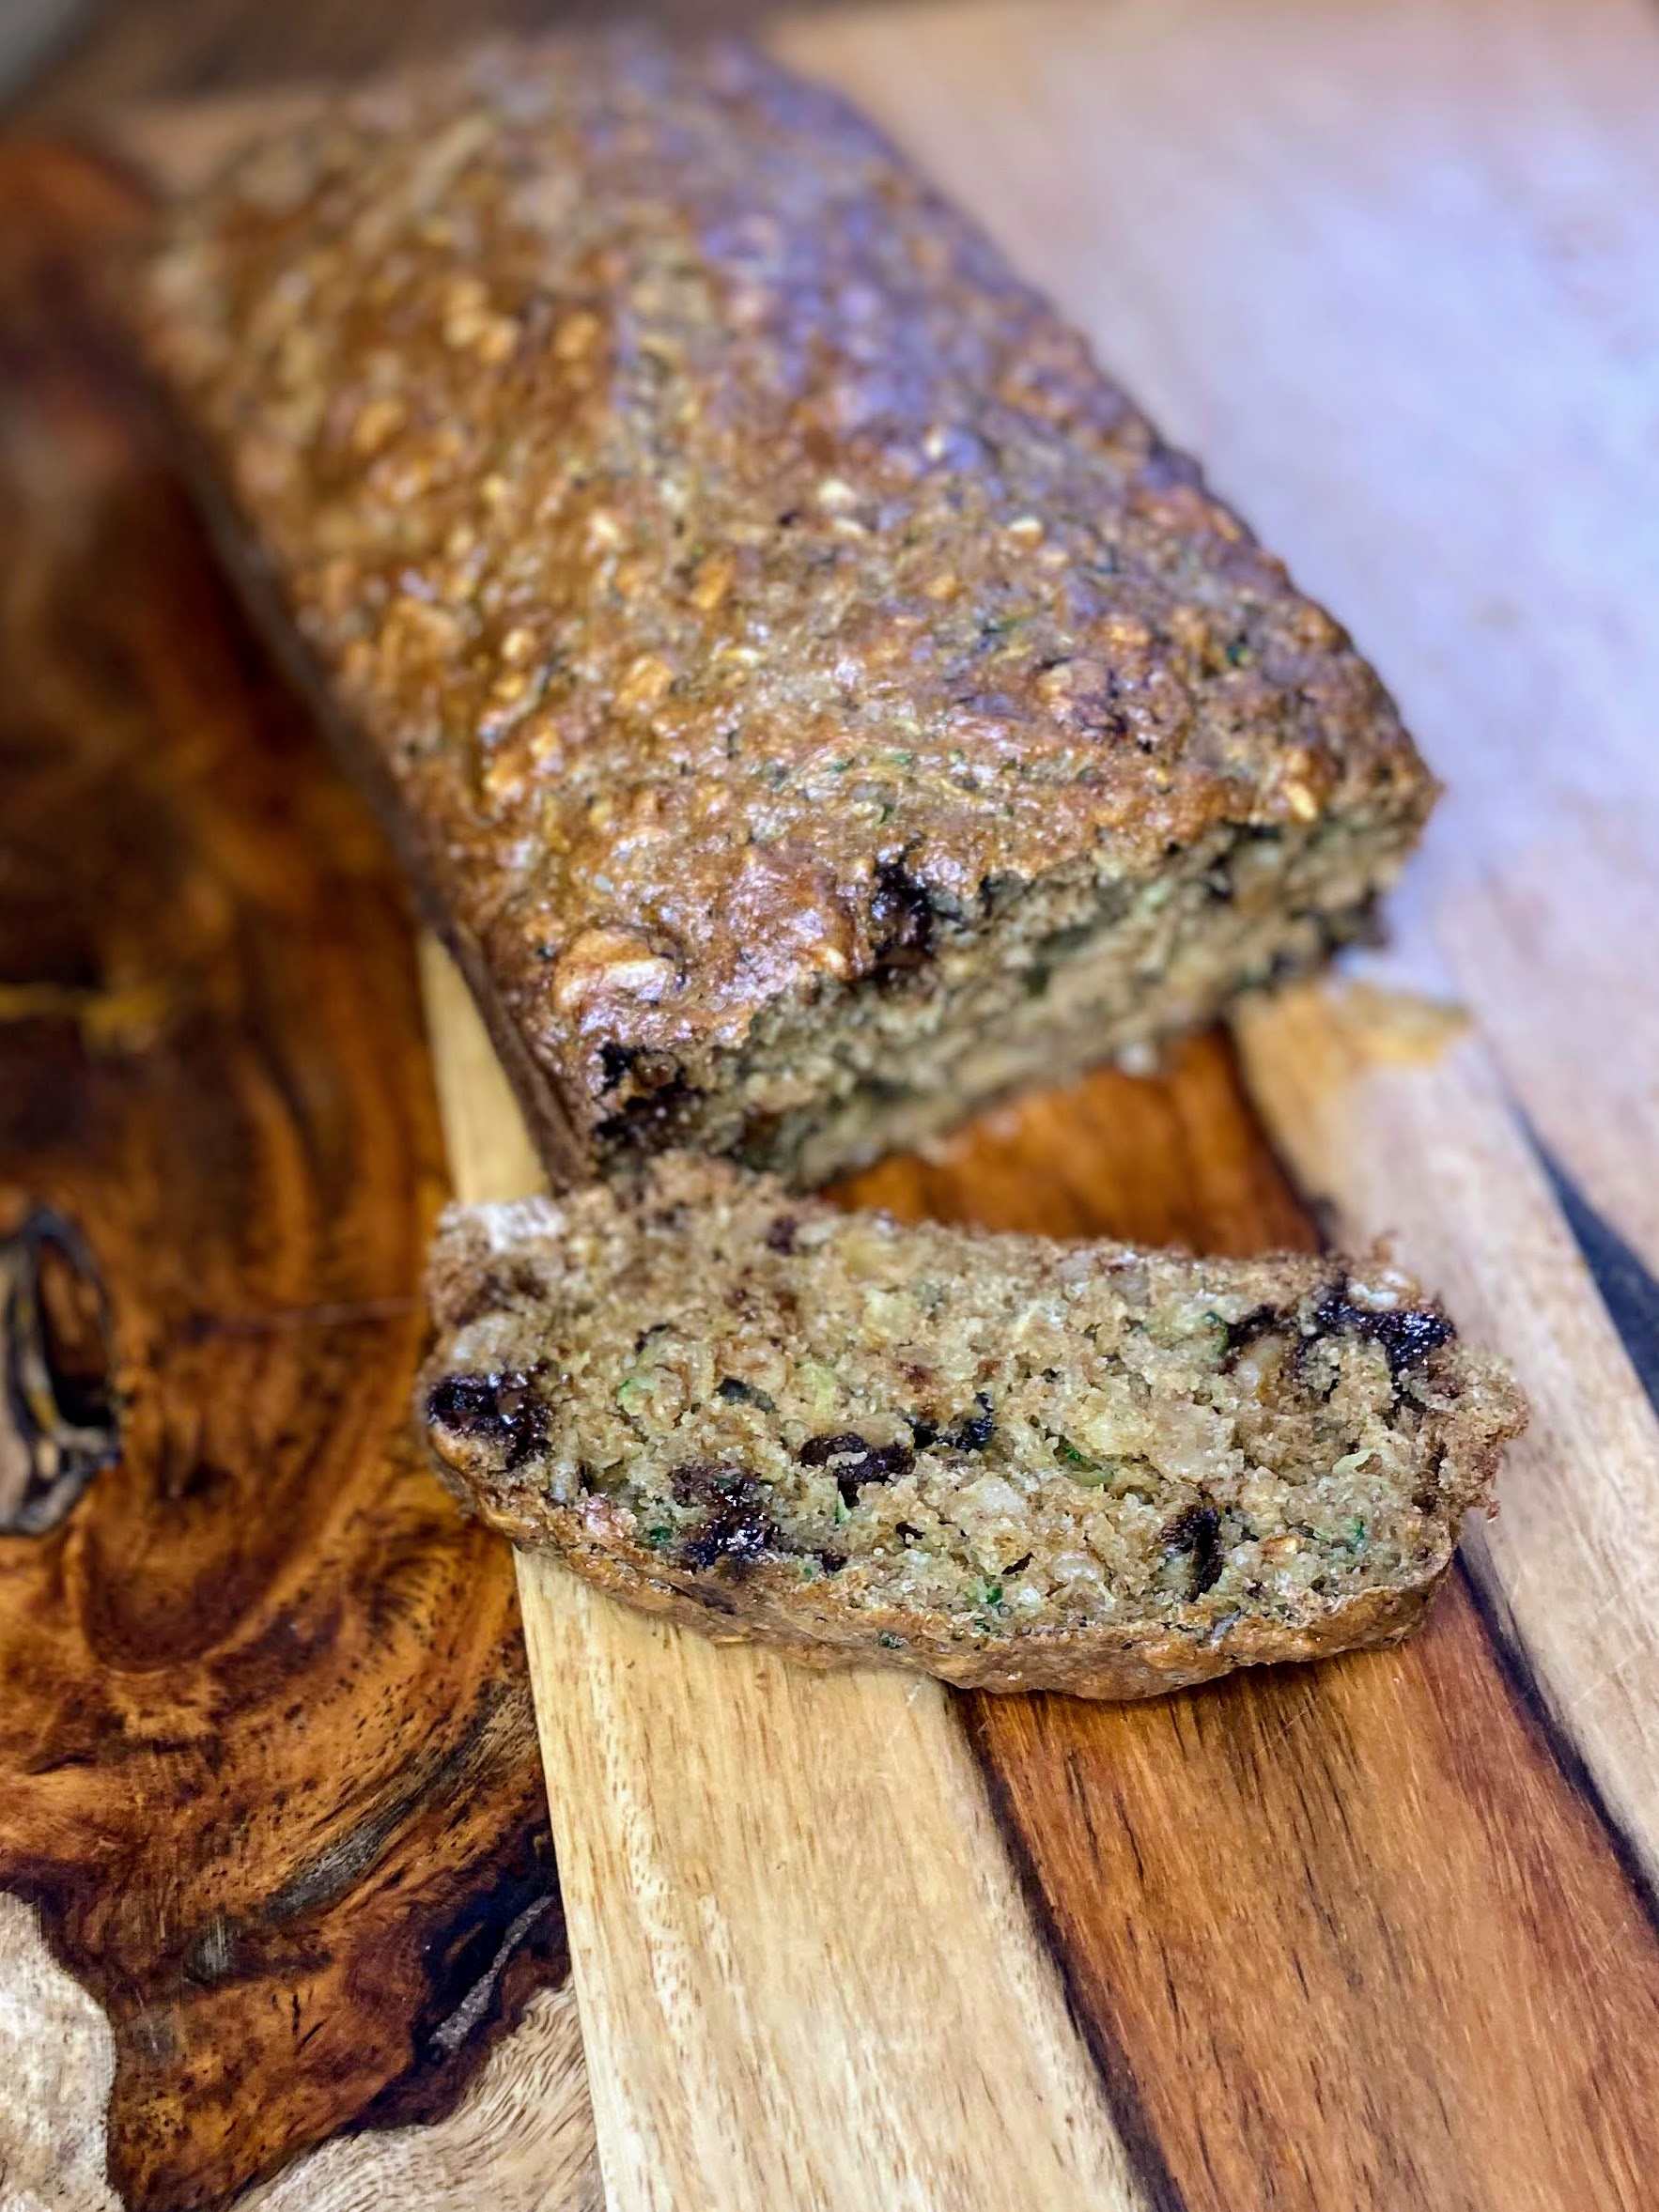
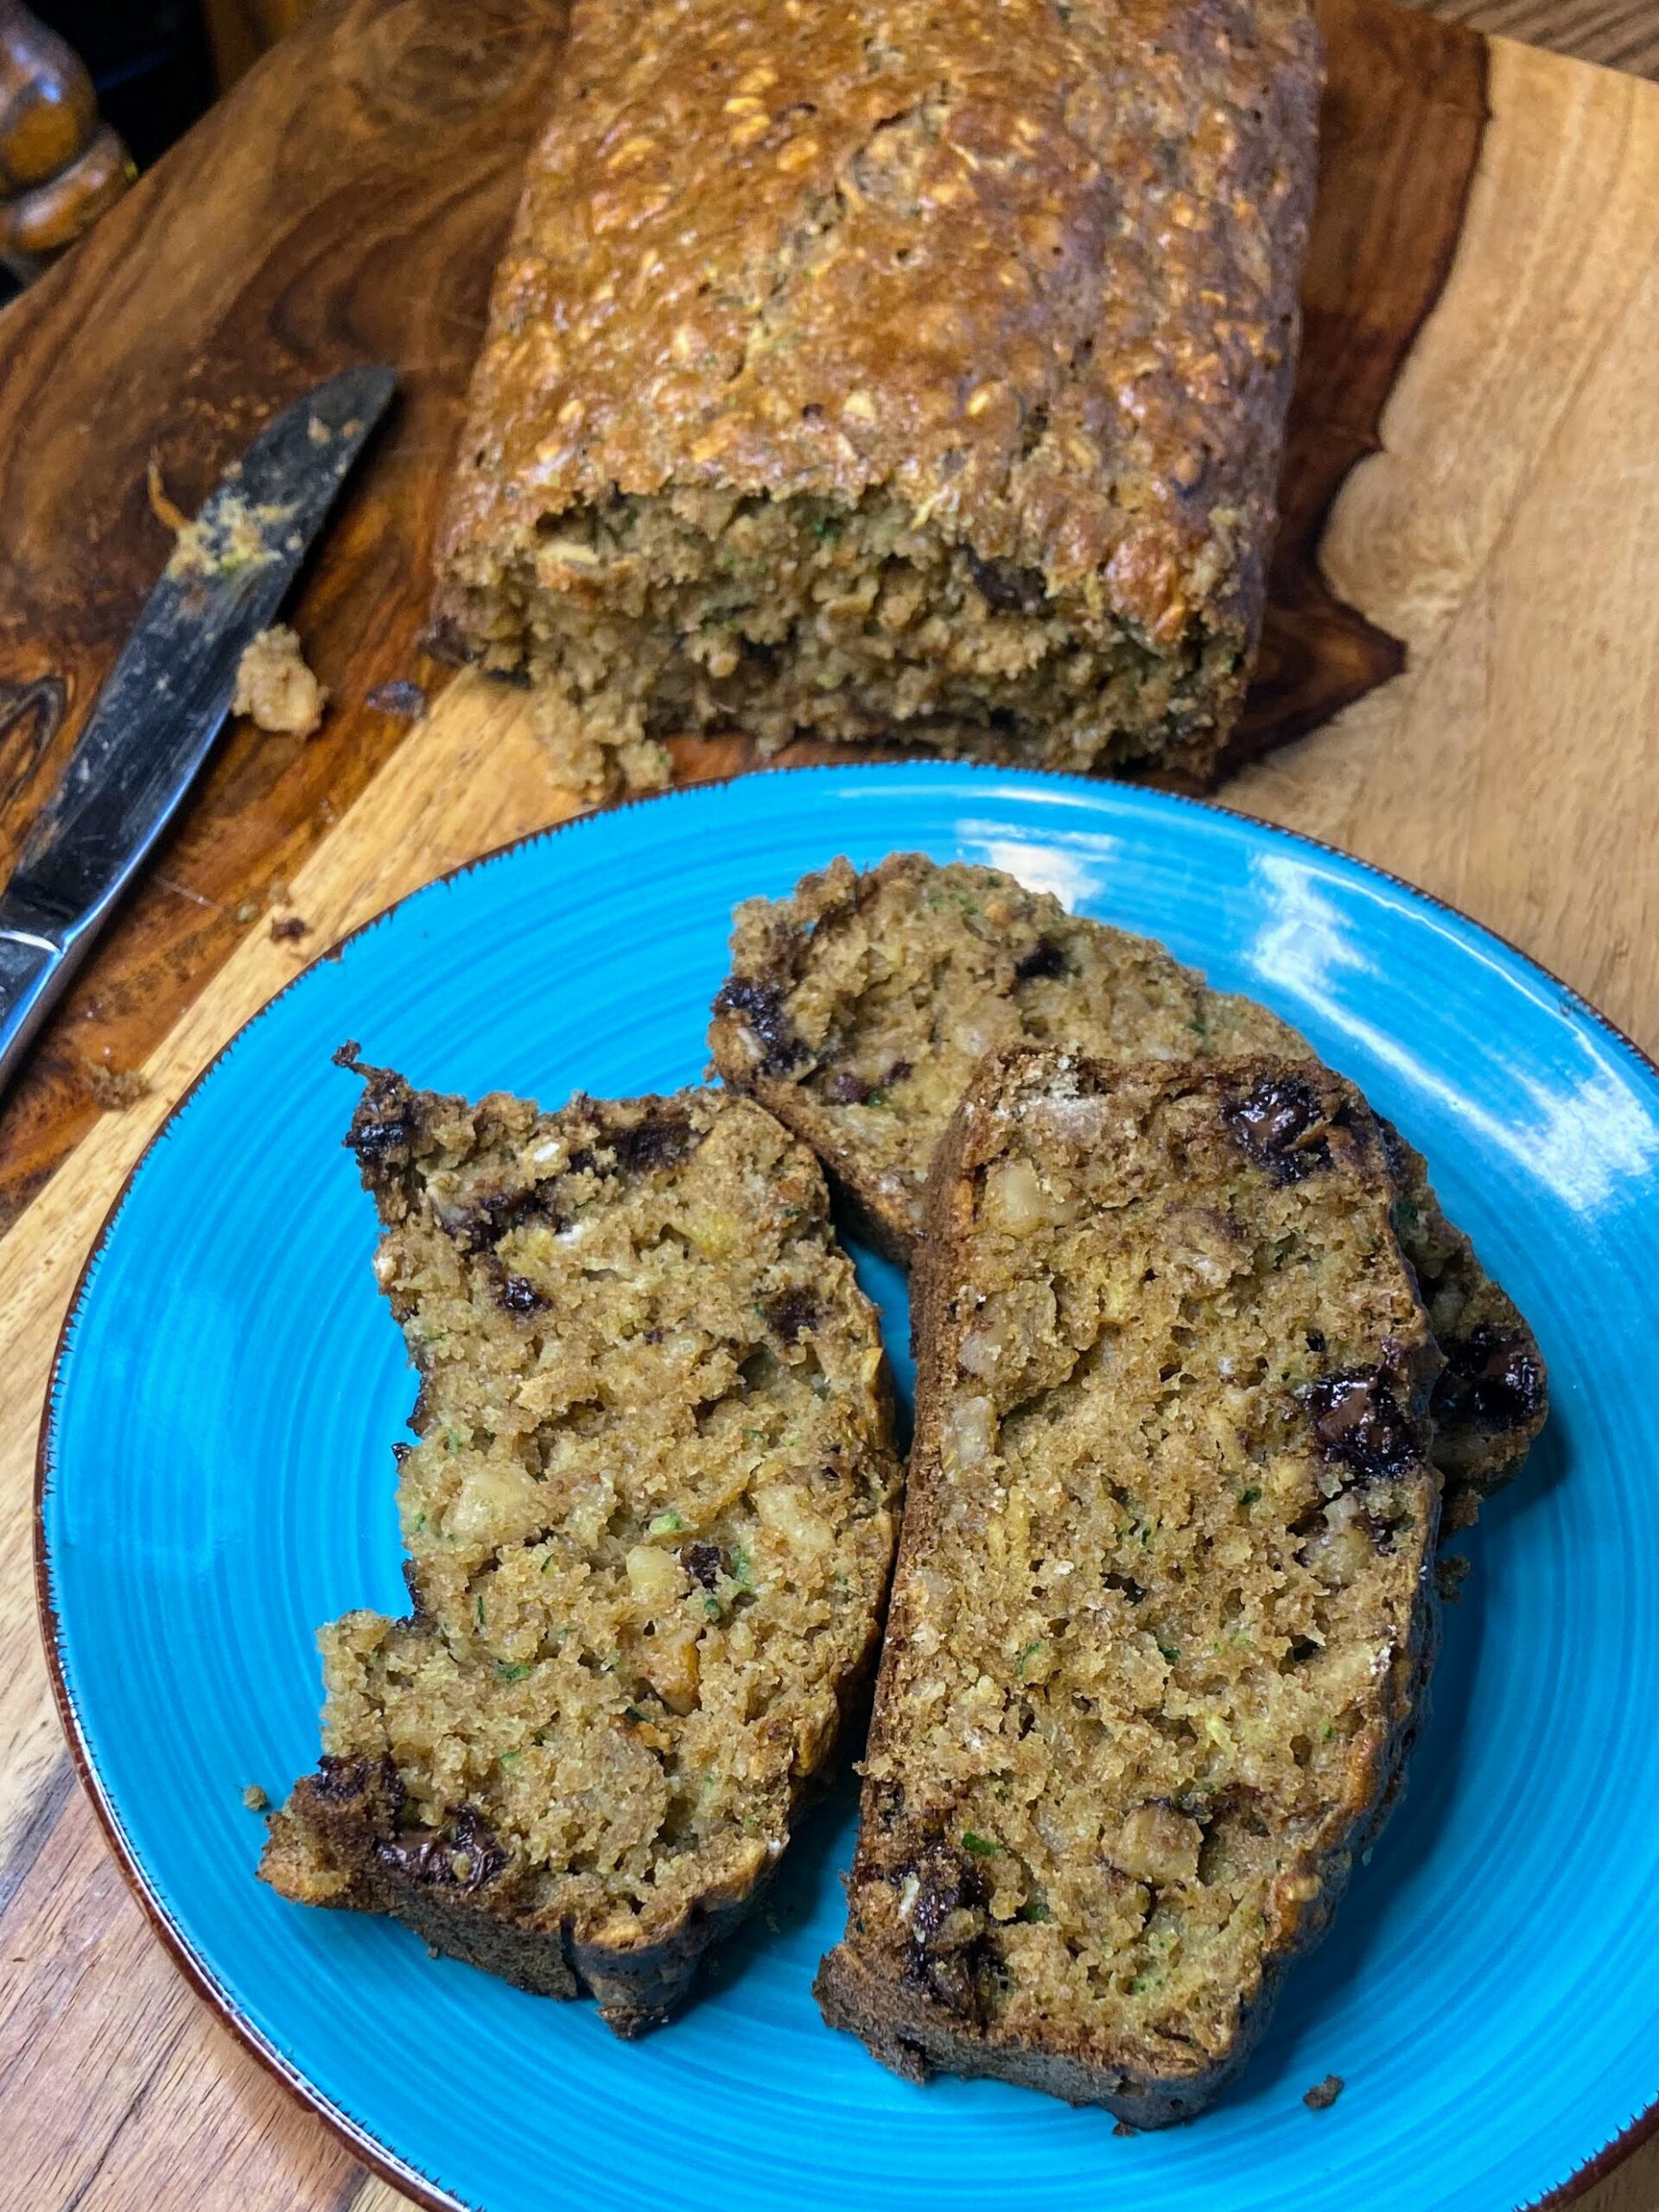
Spiced Zucchini Oatmeal Bread

Spiced Zucchini Oatmeal Bread

“Mama! Will you make more chocolate zucchini bread?” That’s what I heard a few weekends back, and while I really love my chocolate zucchini bread recipe (Find it here!) I wanted to skip the chocolate and go for a new recipe; A spiced zucchini oatmeal bread. 

The goal? Make a zucchini bread my kids would gobble up while making some healthy swaps. If you’ve been here a while, you know my MO is maple syrup (or honey!) instead of sugar, whole wheat flour rather than white, and oatmeal is so heart-healthy I have to throw it in there! 

And while lots of my recipes are gluten-free (because darn it, I care about you, gluten-free friends!), this recipe uses some Sunrise Flour Mill Heritage Wheat Flour. If you are gluten-free, I highly recommend checking out their flour. They are well known in the St. Paul/Minneapolis area for creating heritage wheat that is more digestible. Freaking dang cool, right? 

This recipe was a great breakfast for my mini me and mid morning snack for myself. I eat breakfast at 6 am and lunch at 12:20 pm. I don’t know about you, but this girl can not last that long. There is definitely a second breakfast around 9:30 with some form of granola, graham cracker, or bread and a piece of fruit. It’s how this active teacher rolls. But enough about my eating habits, let’s get baking! 

Your Ingredients for Spiced Zucchini Oatmeal Bread 

  • ¾ cup maple syrup 
  • 1 tablespoon vanilla
  • 3 eggs 
  • ⅓ cup oil 
  • 2 cups whole wheat flour 
  • 1 cup old-fashioned oats 
  • 2 teaspoons baking soda
  • ½ teaspoon baking powder 
  • 1 teaspoon salt 
  • 1 teaspoon ground cinnamon 
  • ⅛  teaspoon ground cloves 
  • ½ cup chocolate chips
  • ½ cup chopped nuts
  • 2 ½ – 3 cups shredded zucchini

Your Steps

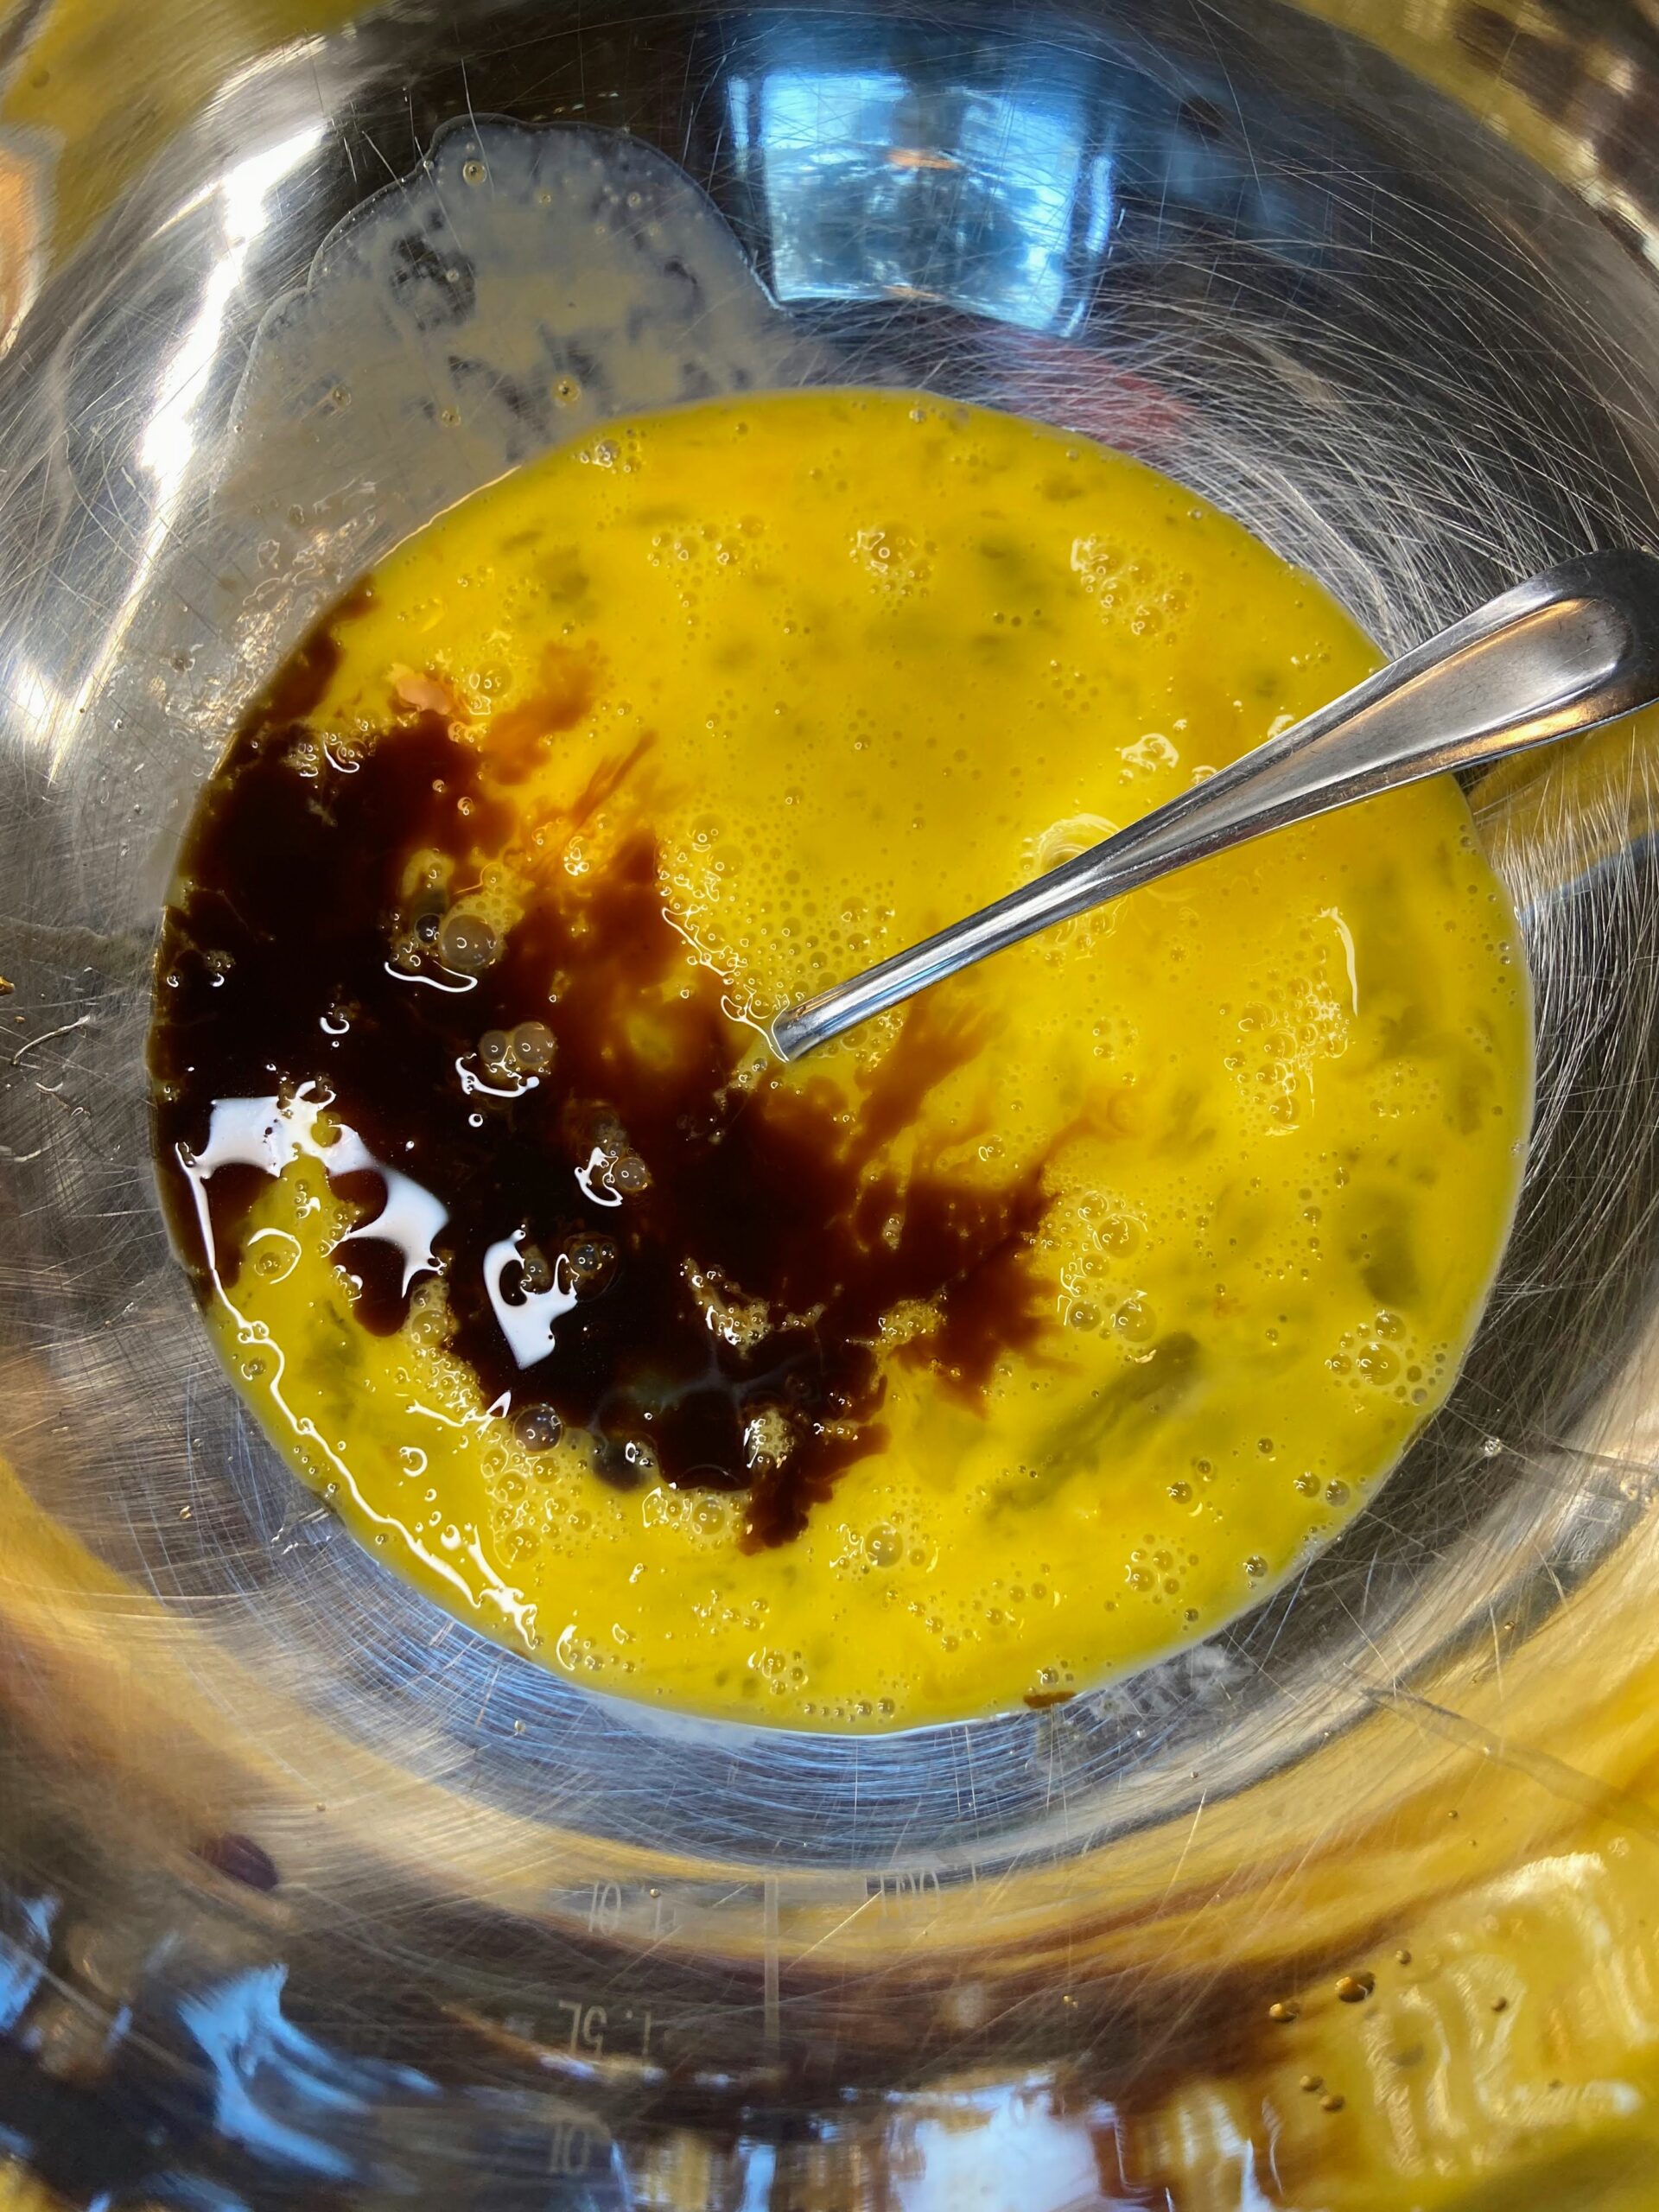
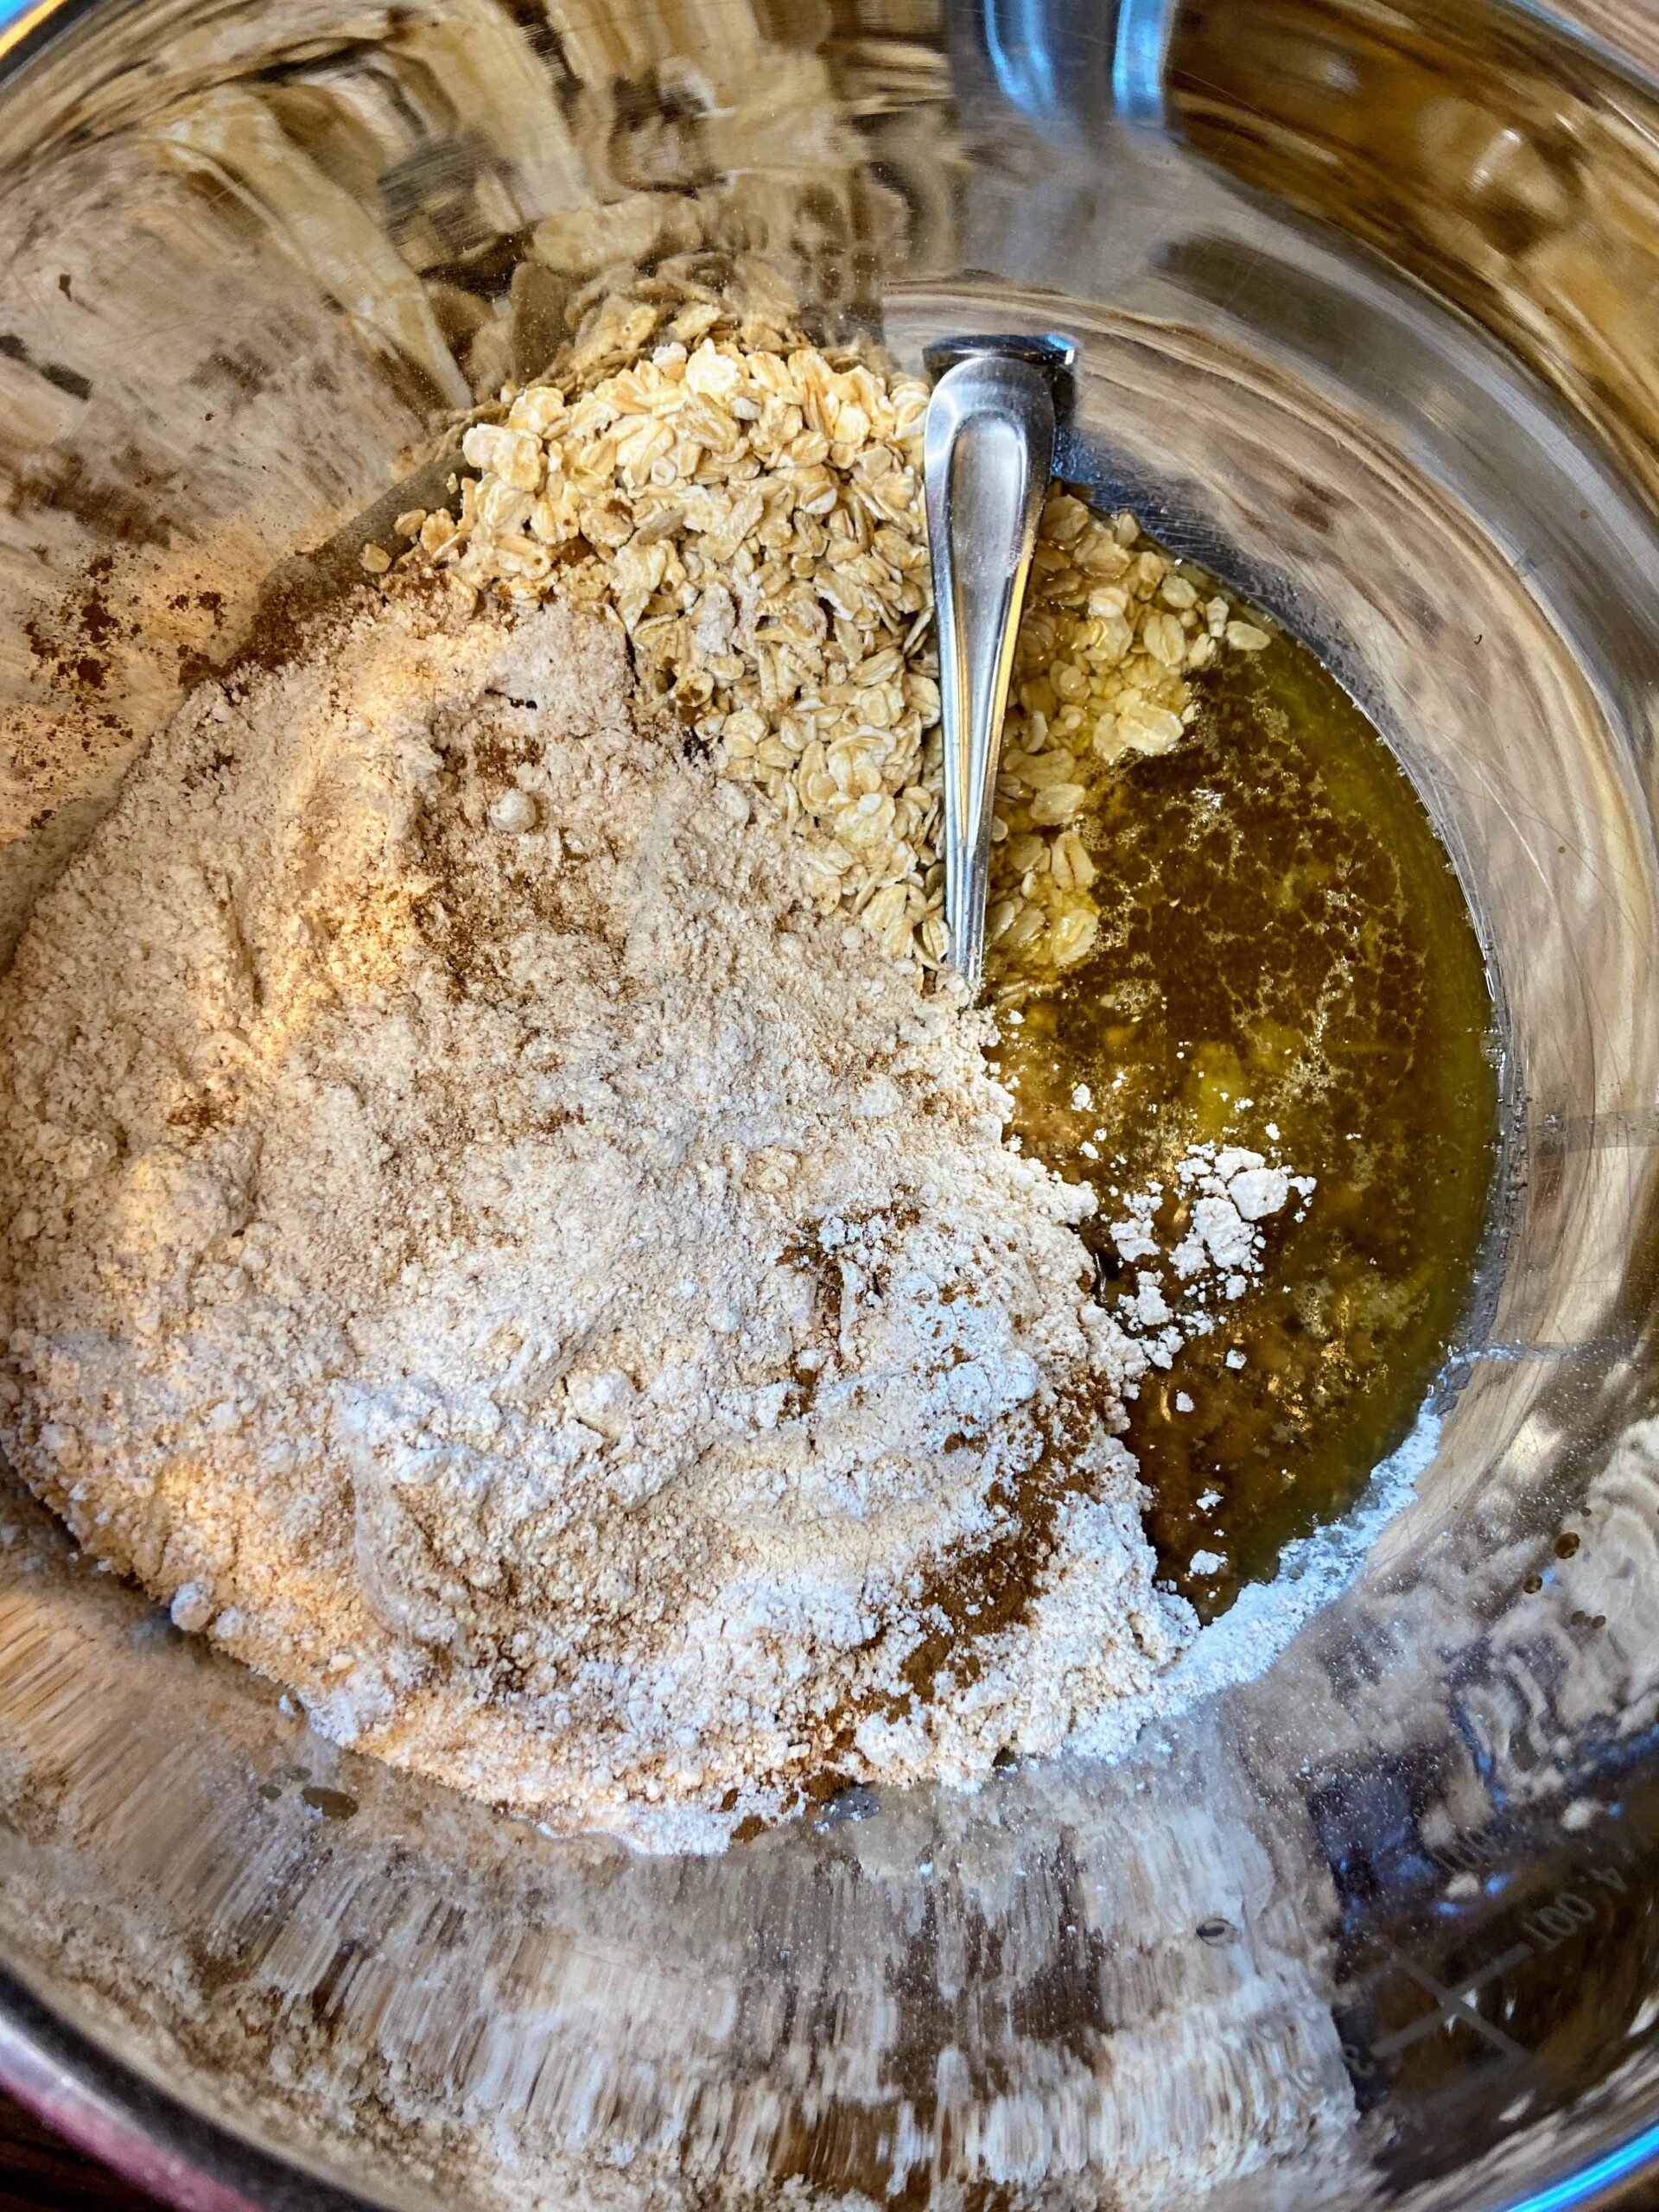
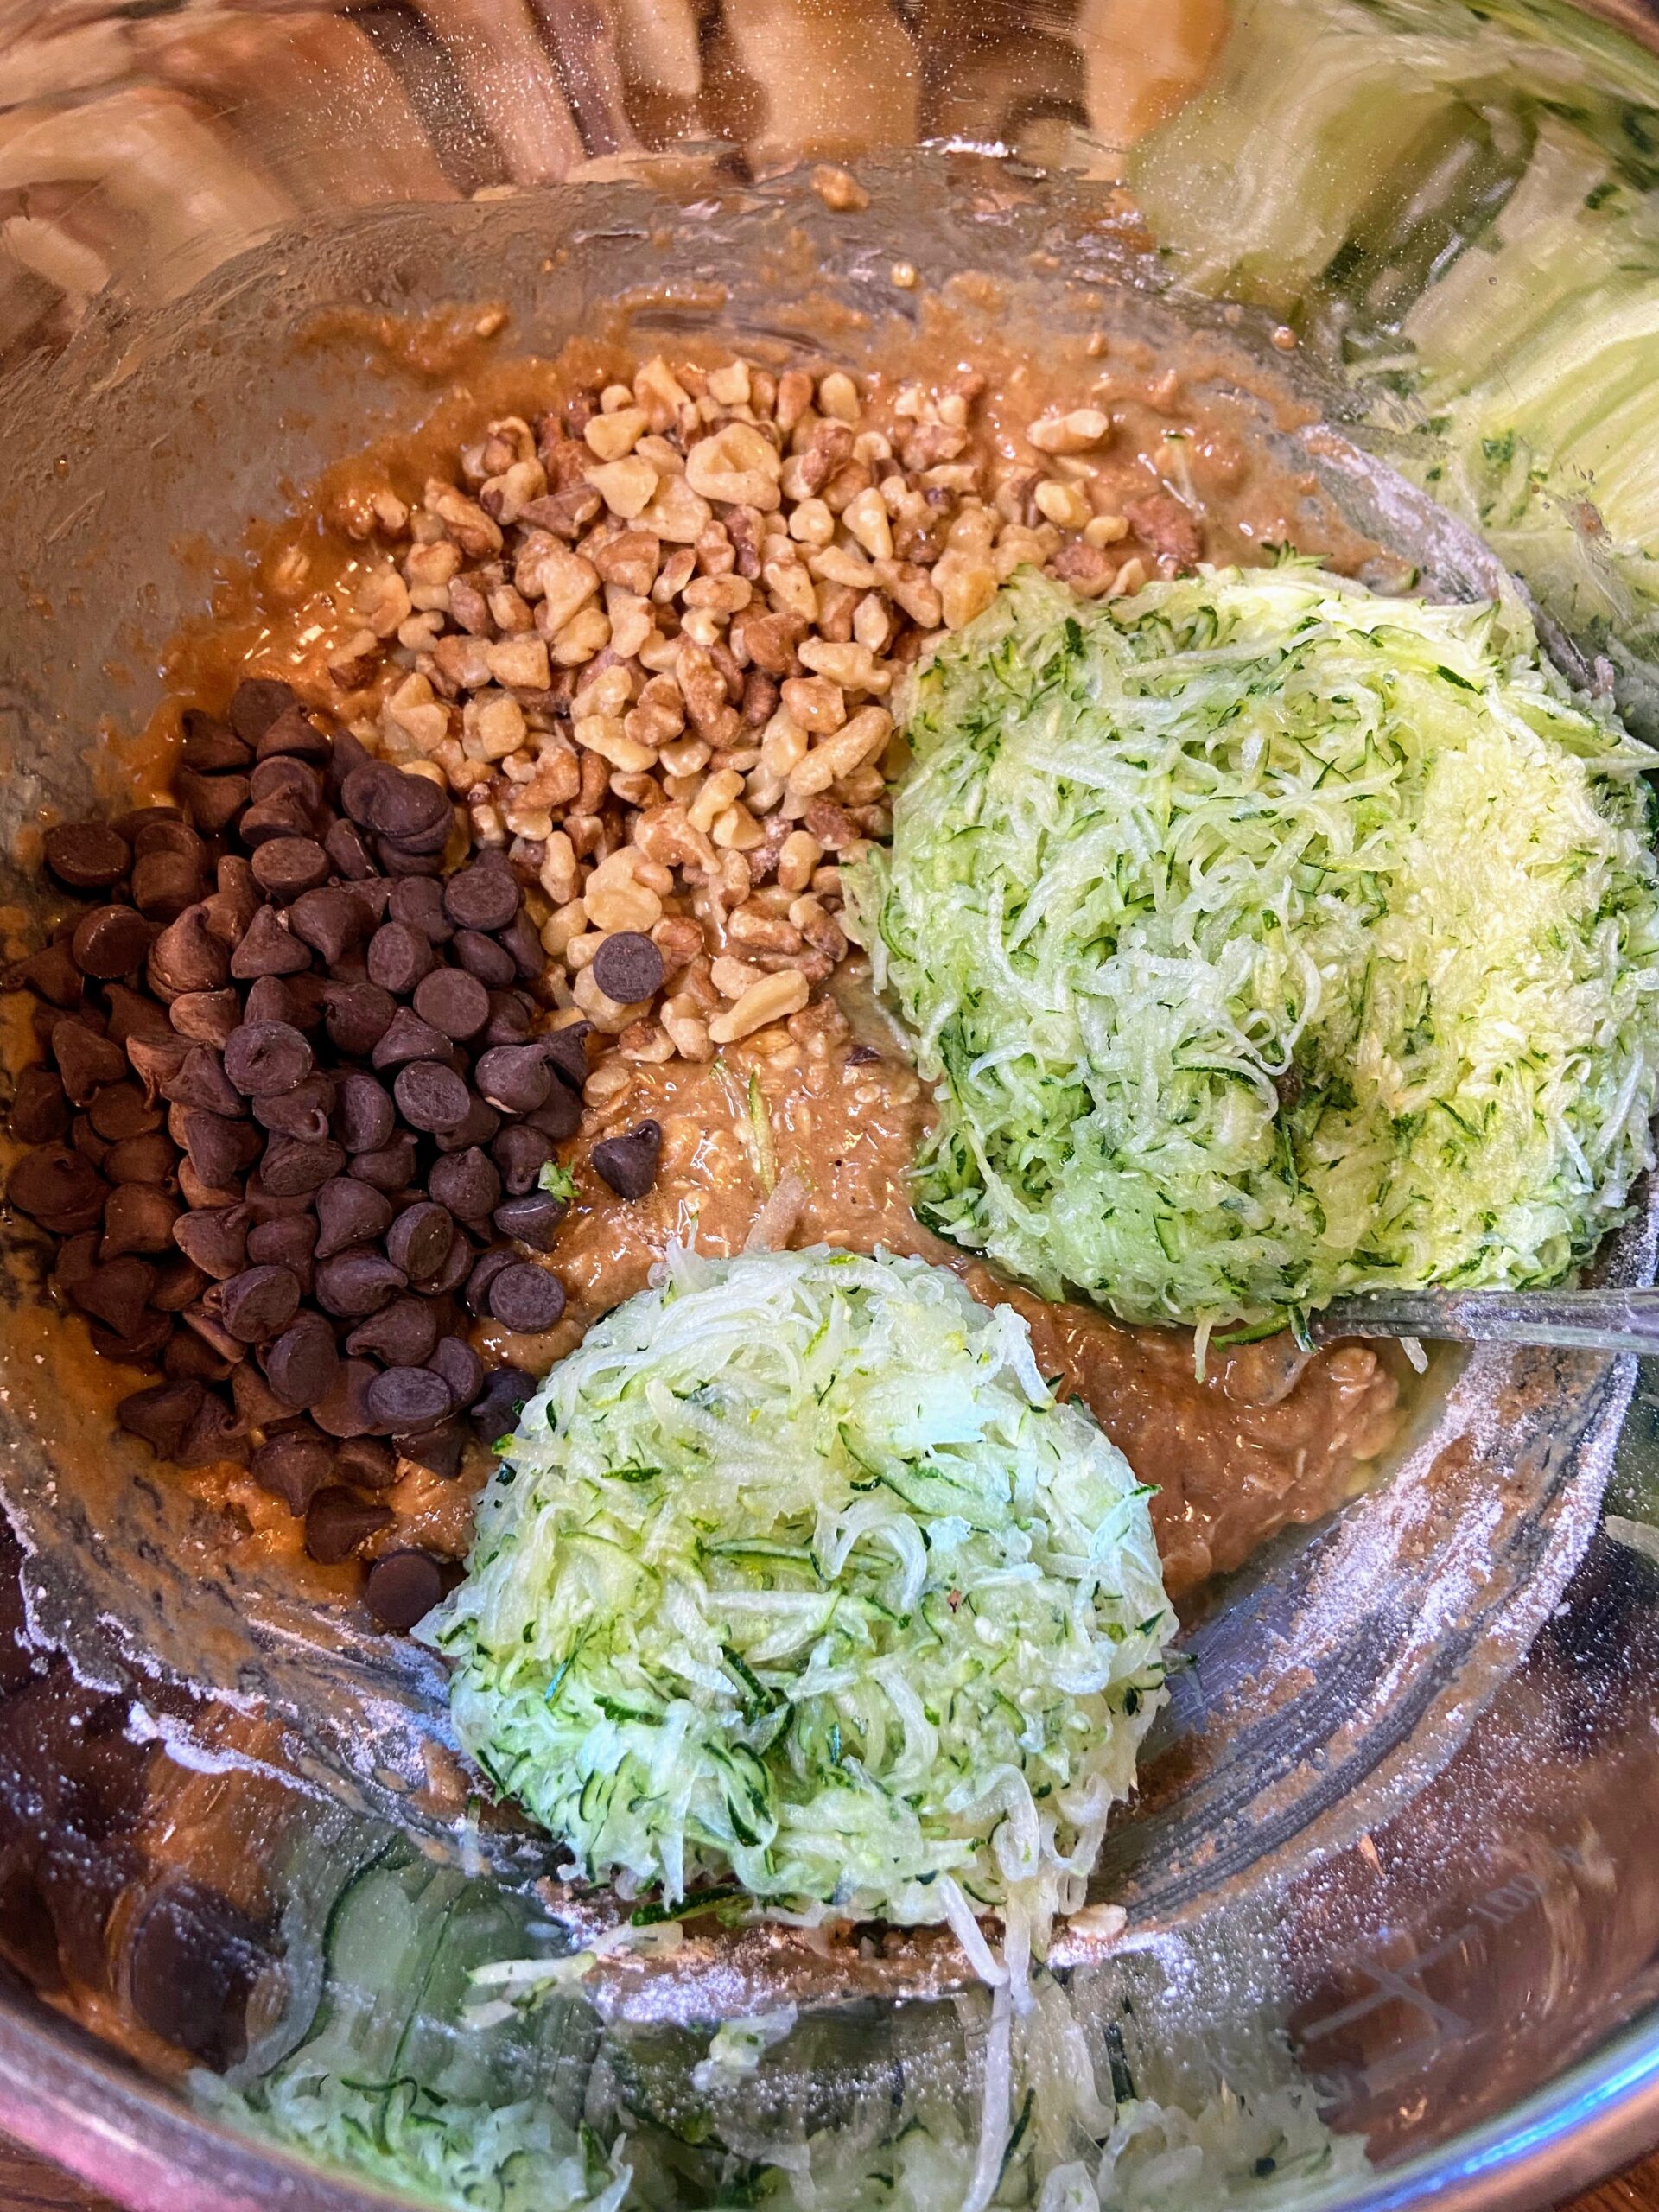
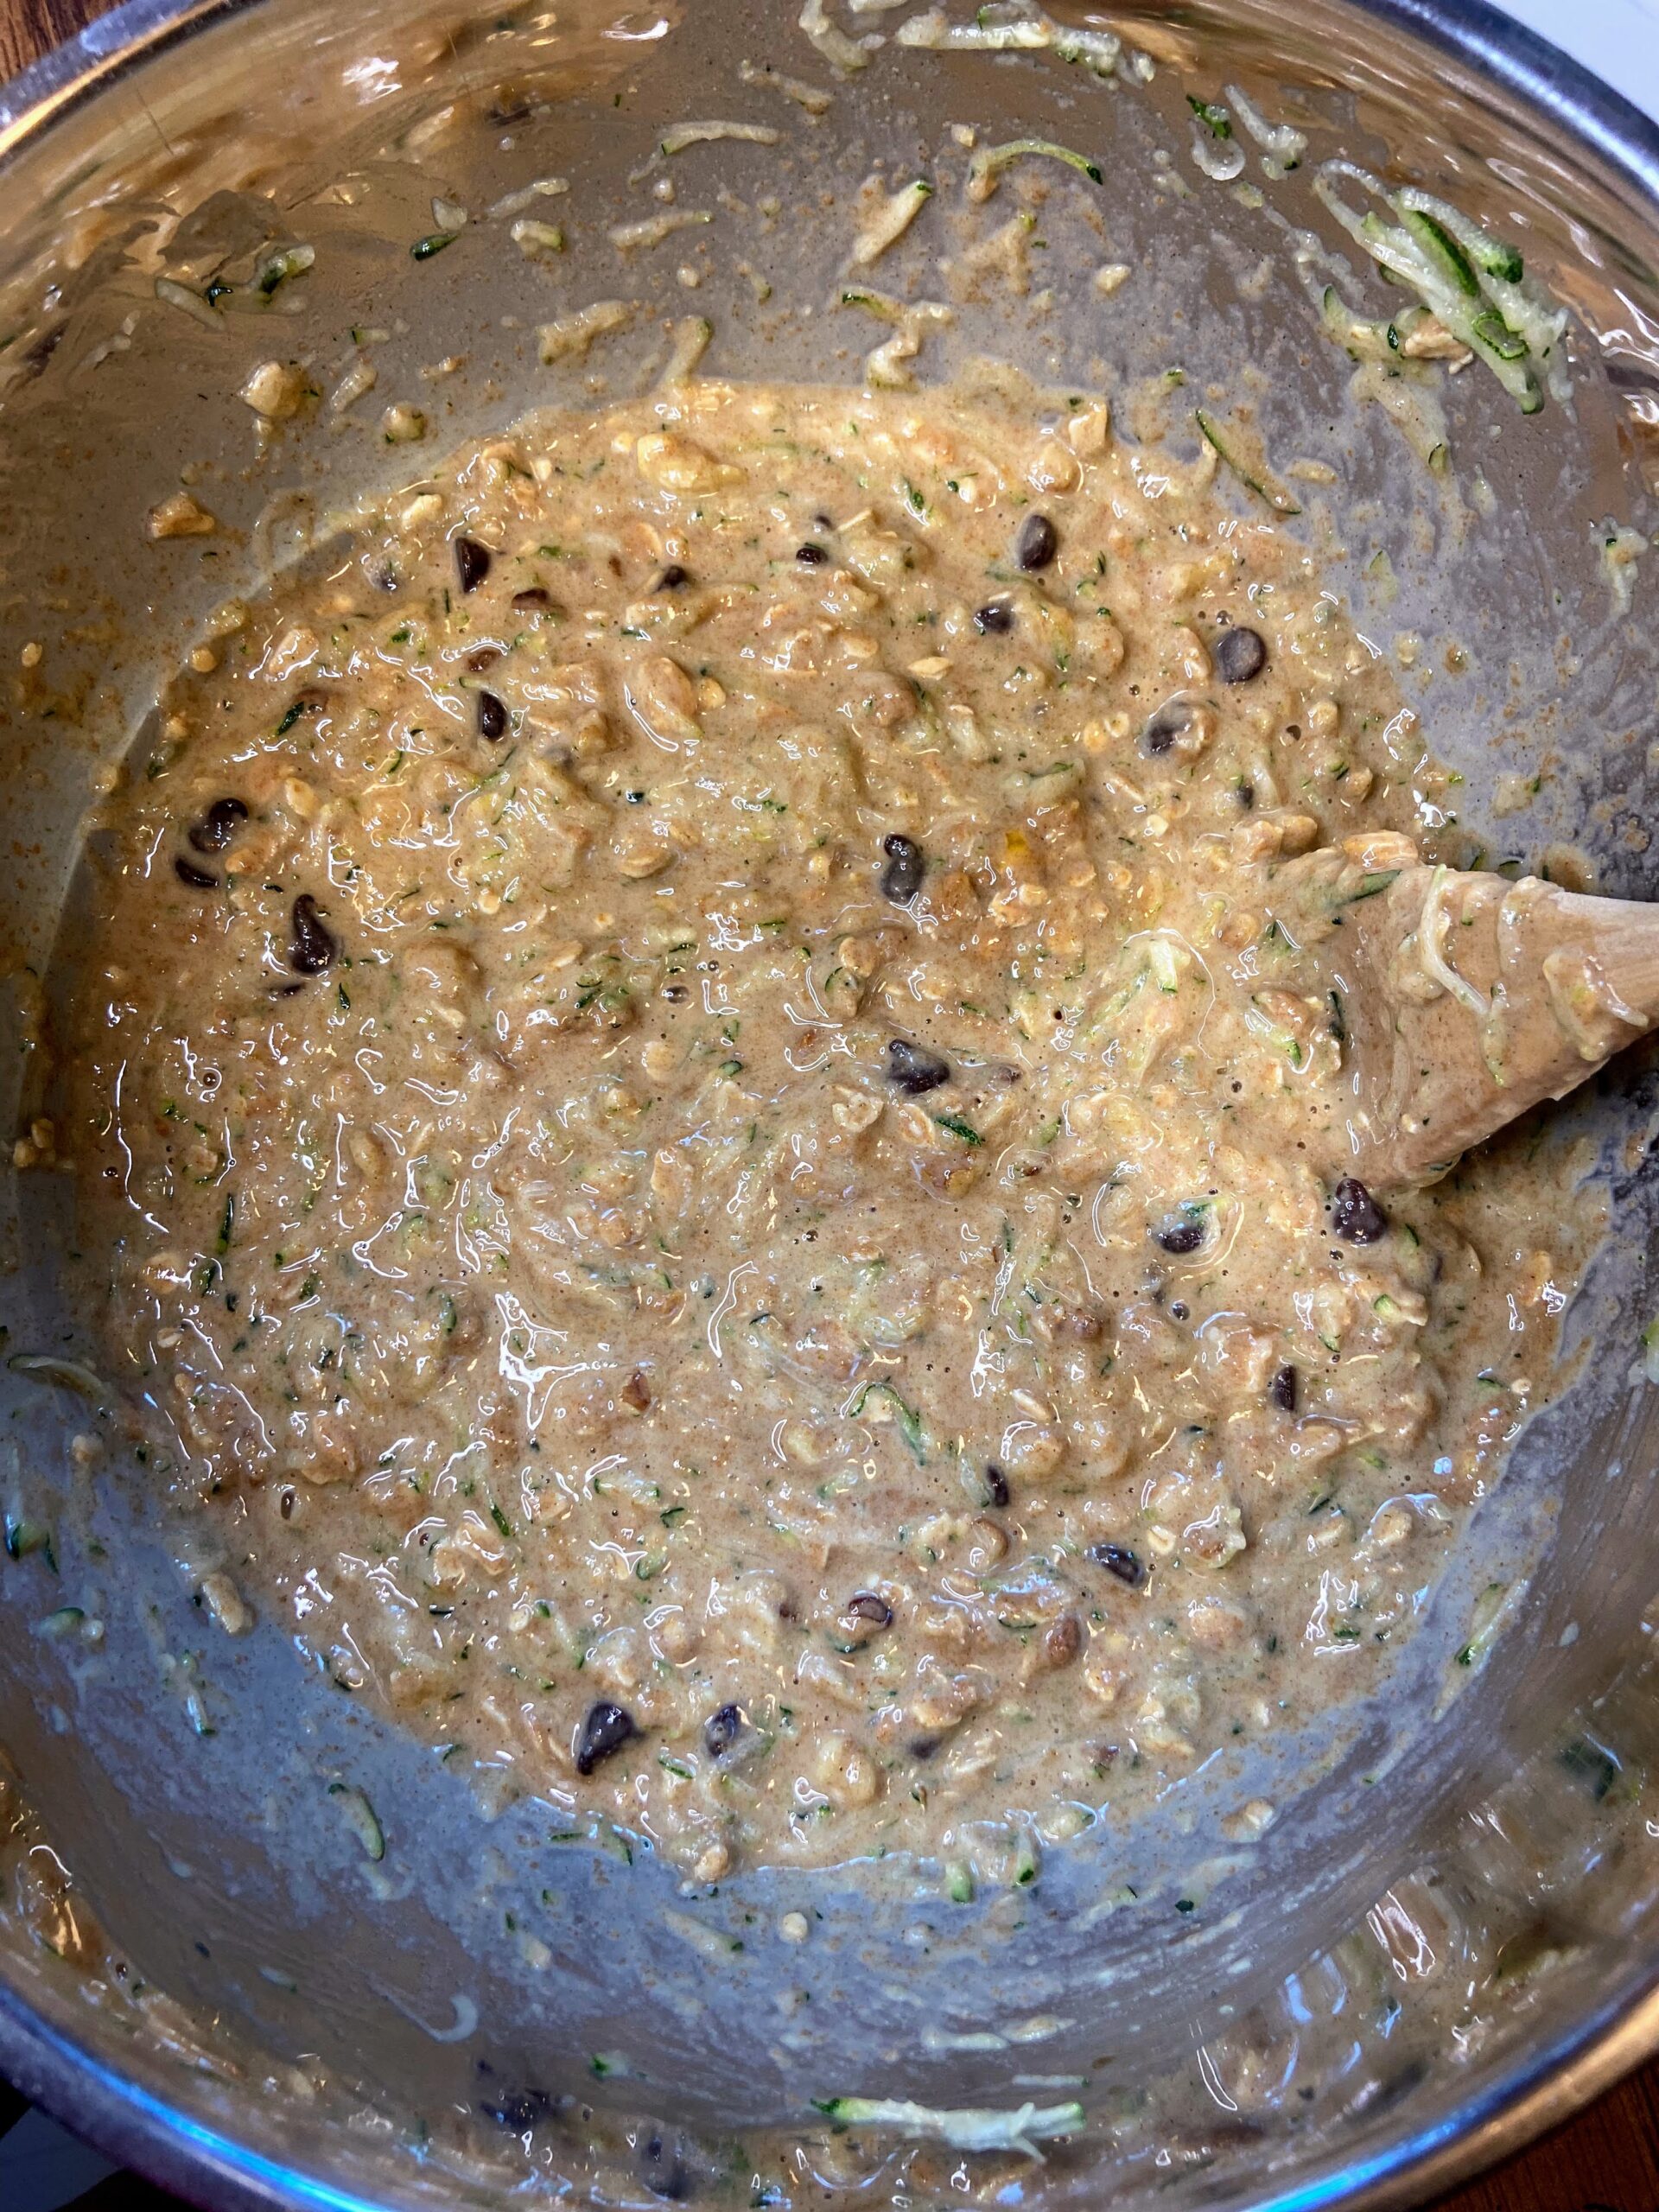
Preheat the oven to 350 degrees. Prepare two 9×5 inch loaf pans with non-stick cooking spray. Mix maple syrup, vanilla, eggs, and oil in a medium bowl. Whisk until well combined. Add whole wheat flour, oats, baking soda, baking powder, salt, cinnamon, and cloves. Mix until just combined. Fold in chocolate chips, chopped nuts, and shredded zucchini. 

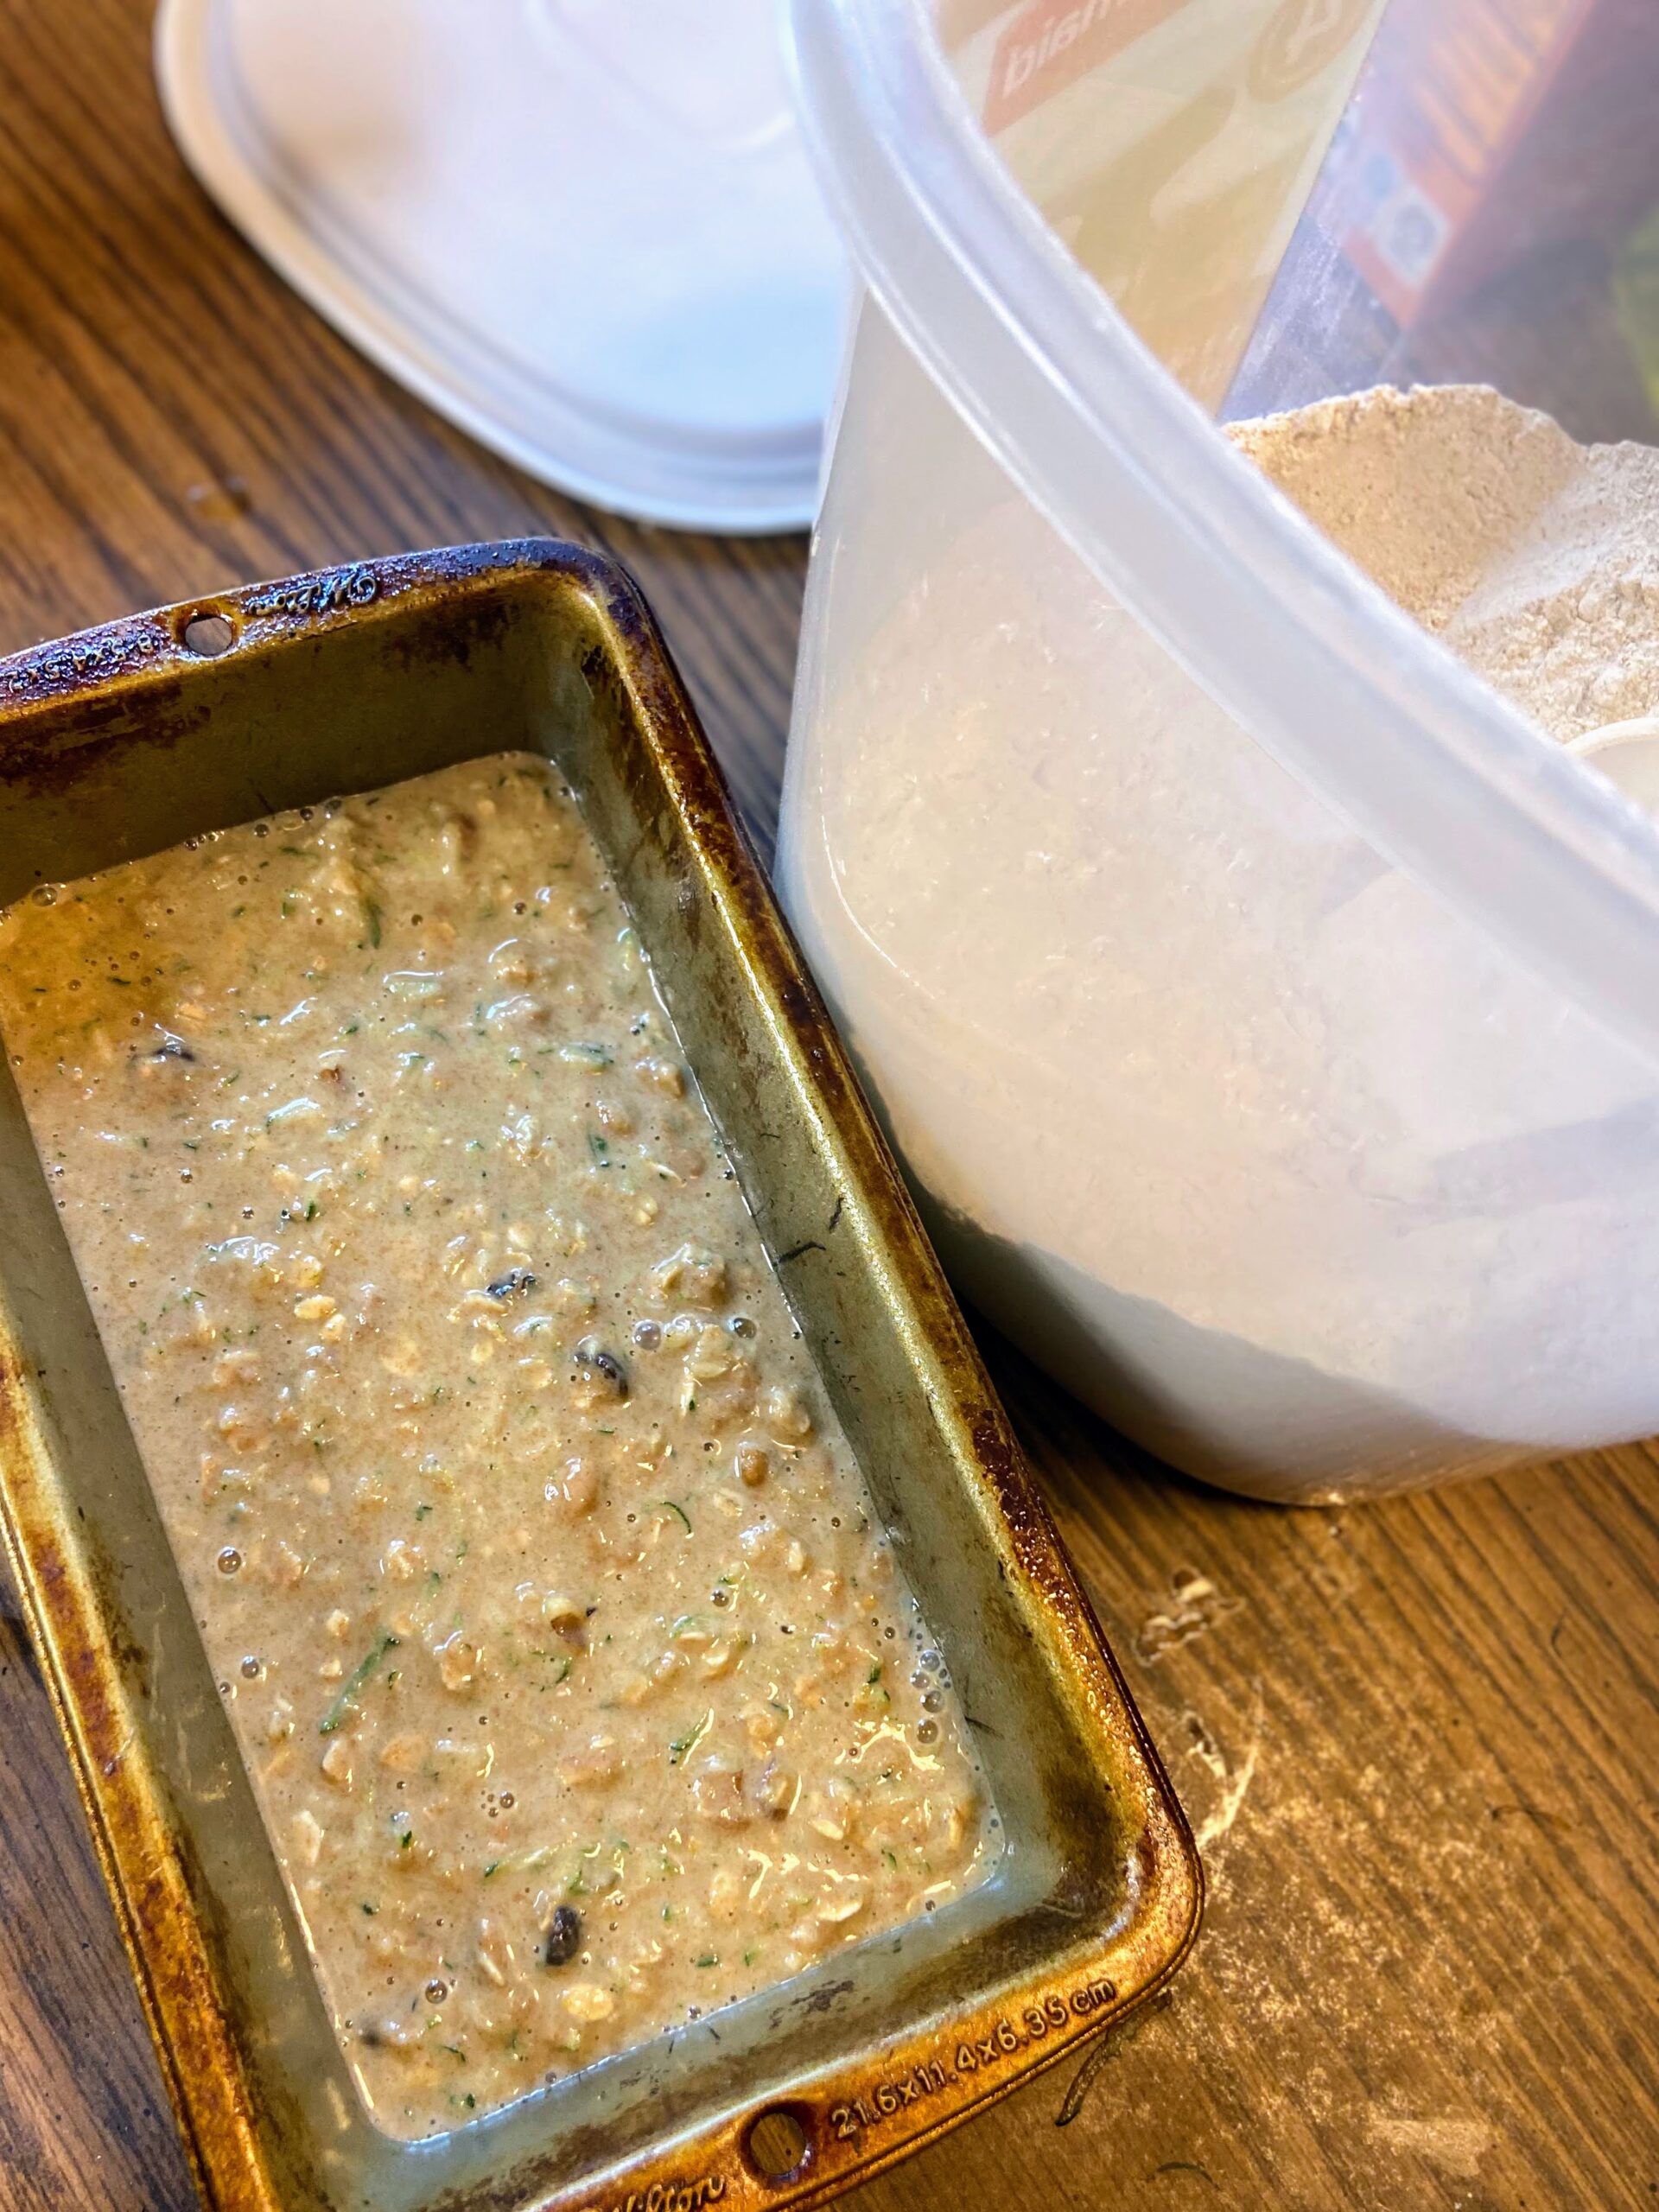
Divide the batter between the two prepared loaf pans. Place in the center of the oven and bake for 45-55 minutes, until a toothpick inserted comes out clean, without raw batter. 

Spiced Zucchini Oatmeal Bread

Cinnamon, maple syrup, and some oatmeal make this heart healthy zucchini bread a delight while still being kid friendly!
Prep Time 10 minutes
Cook Time 50 minutes
Course Breakfast
Cuisine American
Servings 12 slices

Ingredients
  

  • ¾ cup maple syrup
  • 1 tablespoon vanilla
  • 3 eggs
  • cup oil
  • 2 cups whole wheat flour
  • 1 cup old fashioned oats
  • 2 teaspoons baking soda
  • ½ teaspoon baking powder
  • 1 teaspoon salt
  • 1 teaspoon ground cinnamon
  • teaspoon ground cloves
  • ½ cup chocolate chips
  • ½ cup chopped nuts
  • 2 ½ – 3 cups shredded zucchini

Instructions
 

  • Preheat the oven to 350 degrees. Prepare two 9×5 inch loaf pans with non-stick cooking spray.
  • In a medium bowl, combine maple syrup, vanilla, eggs, and oil. Whisk until well combined.
  • Add whole wheat flour, oats, baking soda, baking powder, salt, cinnamon, and cloves. Mix until just combined.
  • Fold in chocolate chips, chopped nuts, and shredded zucchini.
  • Divide the batter between the two prepared loaf pans.
  • Place in the center of the oven and bake for 45-55 minutes, until a toothpick inserted comes out clean, without raw batter.
Keyword Breakfast Bread, chocolate zucchini bread, oatmeal, Quick Bread, whole wheat flour, zucchini, zucchini bread, zucchini recipe
Tried this recipe?Let us know how it was!
Looking for more zucchini recipes?

Check out any of the ideas below!
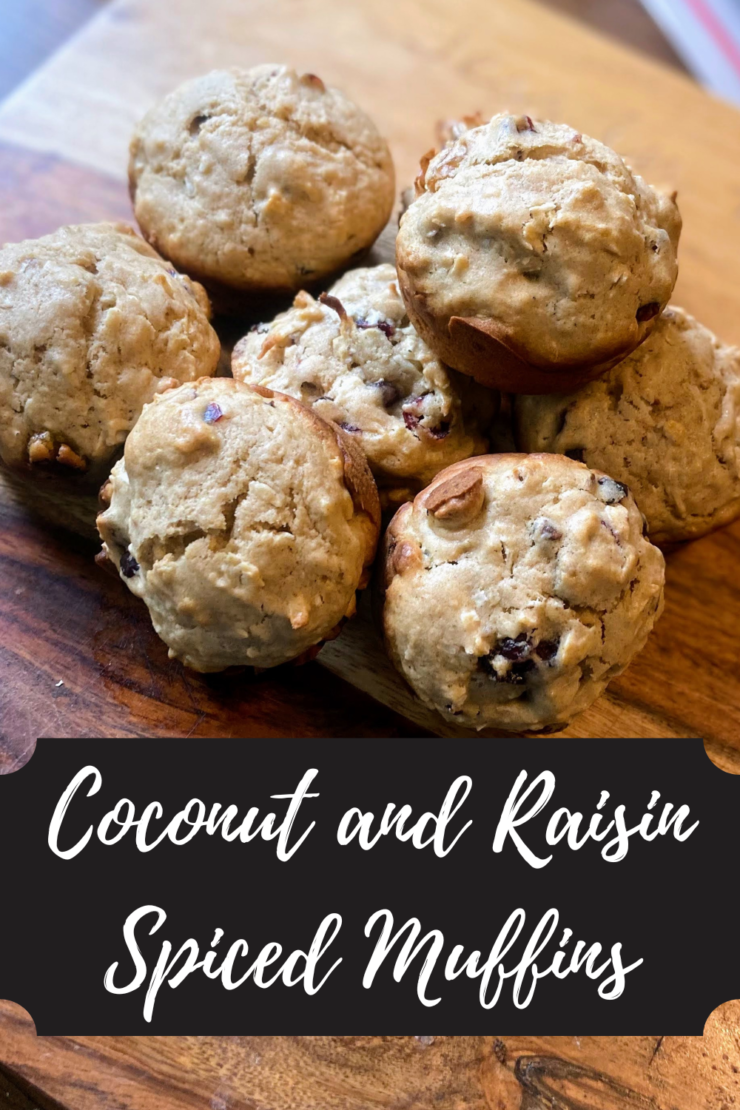
Coconut and Raisin Spiced Muffins

If you follow me on Instagram or Facebook, you may know that I have a couple of fun foodie groups that I get to be a part of: Around the World in 80 Dishes where we pick a different country every month to cook from and One Book, Three Recipes where we pick a different cookbook off our shelves each month and we cook three recipes from it. This fun coconut and raisin spiced muffins recipe was a child that came from the later challenge. 

I had been debating on a few different recipes from one particular book and then turned to a page that had a recipe for coconut bread. I set out to make the recipe, and I found myself saying, “huh…there’s none of this ingredient? Or that one? And yet another? This seems strange.” What I had was some sand-textured ingredients in a bowl. There was no way it was going to create a loaf of bread. A few typos that missed the editor’s desk, I presume.

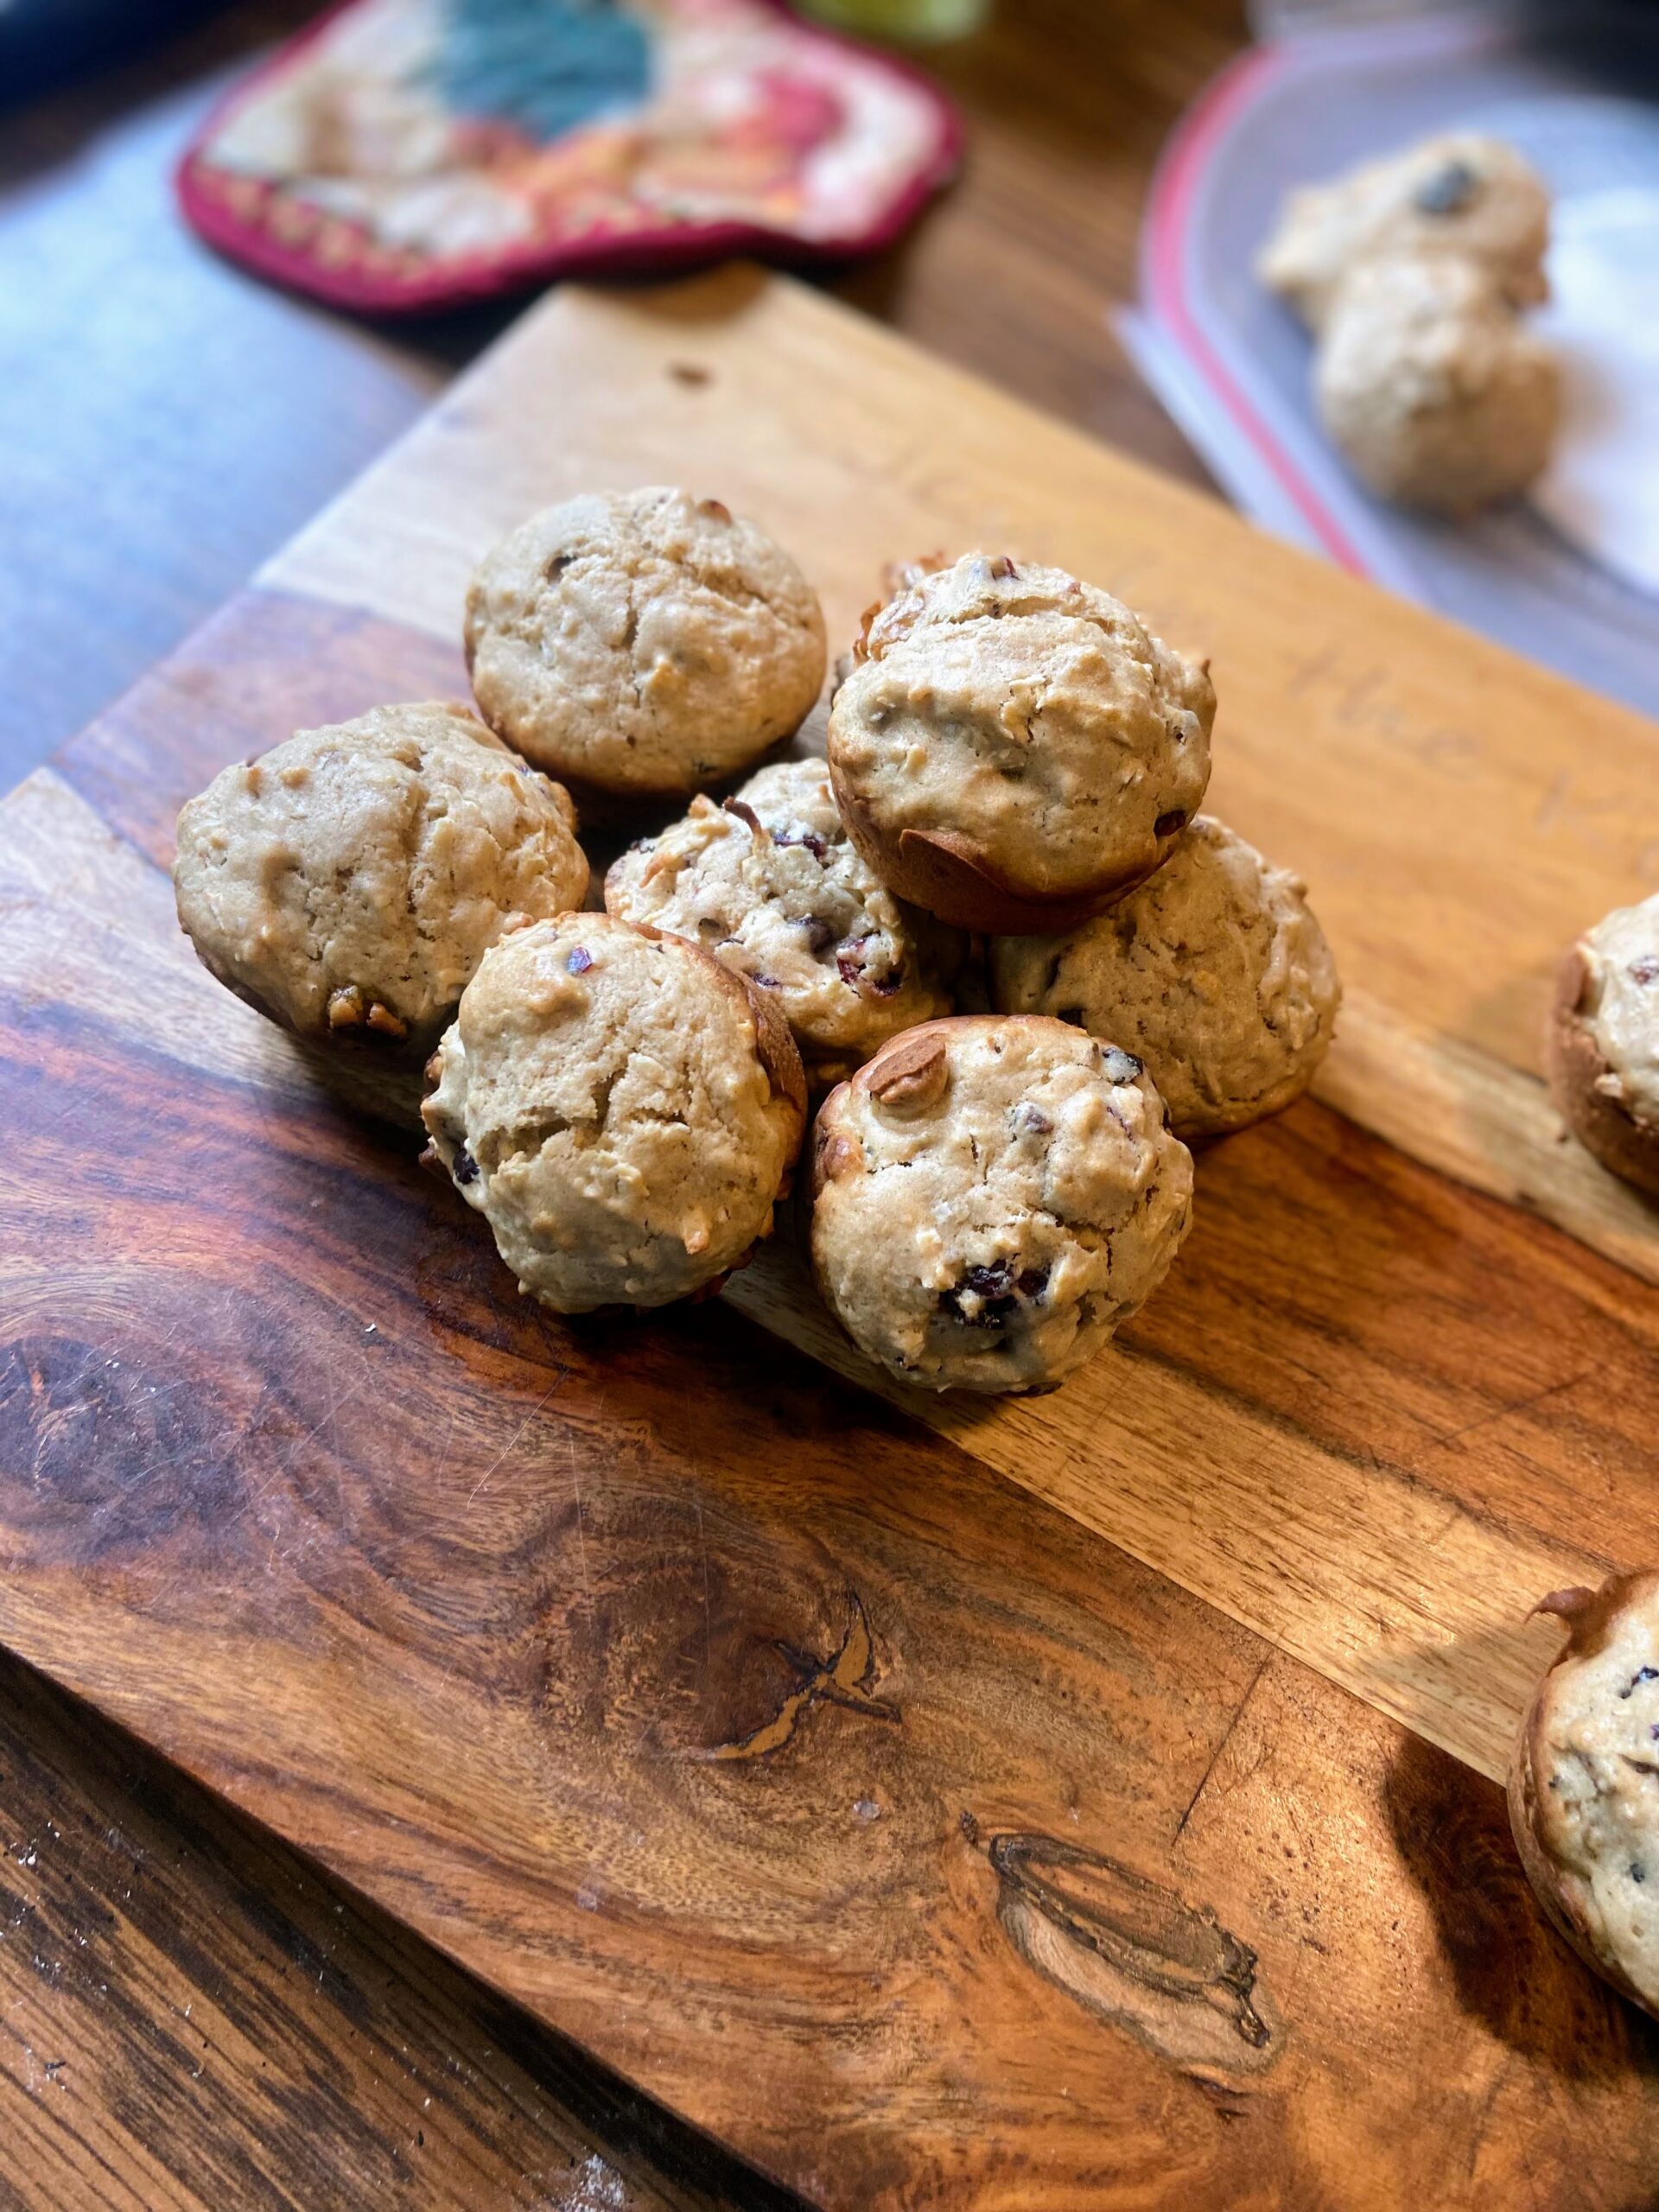
And so I played with it and was instantly in love with the results. Now, if you’ve been with me for a while, you know that I usually sub maple syrup for sugar and try to give a healthy twist. These coconut and raisin spiced muffins are not that. They are dense, warming, and delicious; totally different from my average fruit muffin. Give them a try! 

Your Ingredients

  • ½ cup butter, softened
  • 1 cup packed light brown sugar 
  • 2 eggs
  • 1 teaspoon vanilla
  • ⅔ cup milk 
  • 2 ⅓ cup all purpose flour
  • 1 teaspoon baking powder 
  • ¼ teaspoon nutmeg
  • 1 teaspoon cinnamon 
  • ¾ teaspoon salt 
  • 1 cup dried unsweetened coconut
  • 1 cup raisins or other dried fruit (cranberries, cherries, etc) 
  • ½ cup chopped nuts 

Your Steps to Coconut and Raisin Spiced Cookies

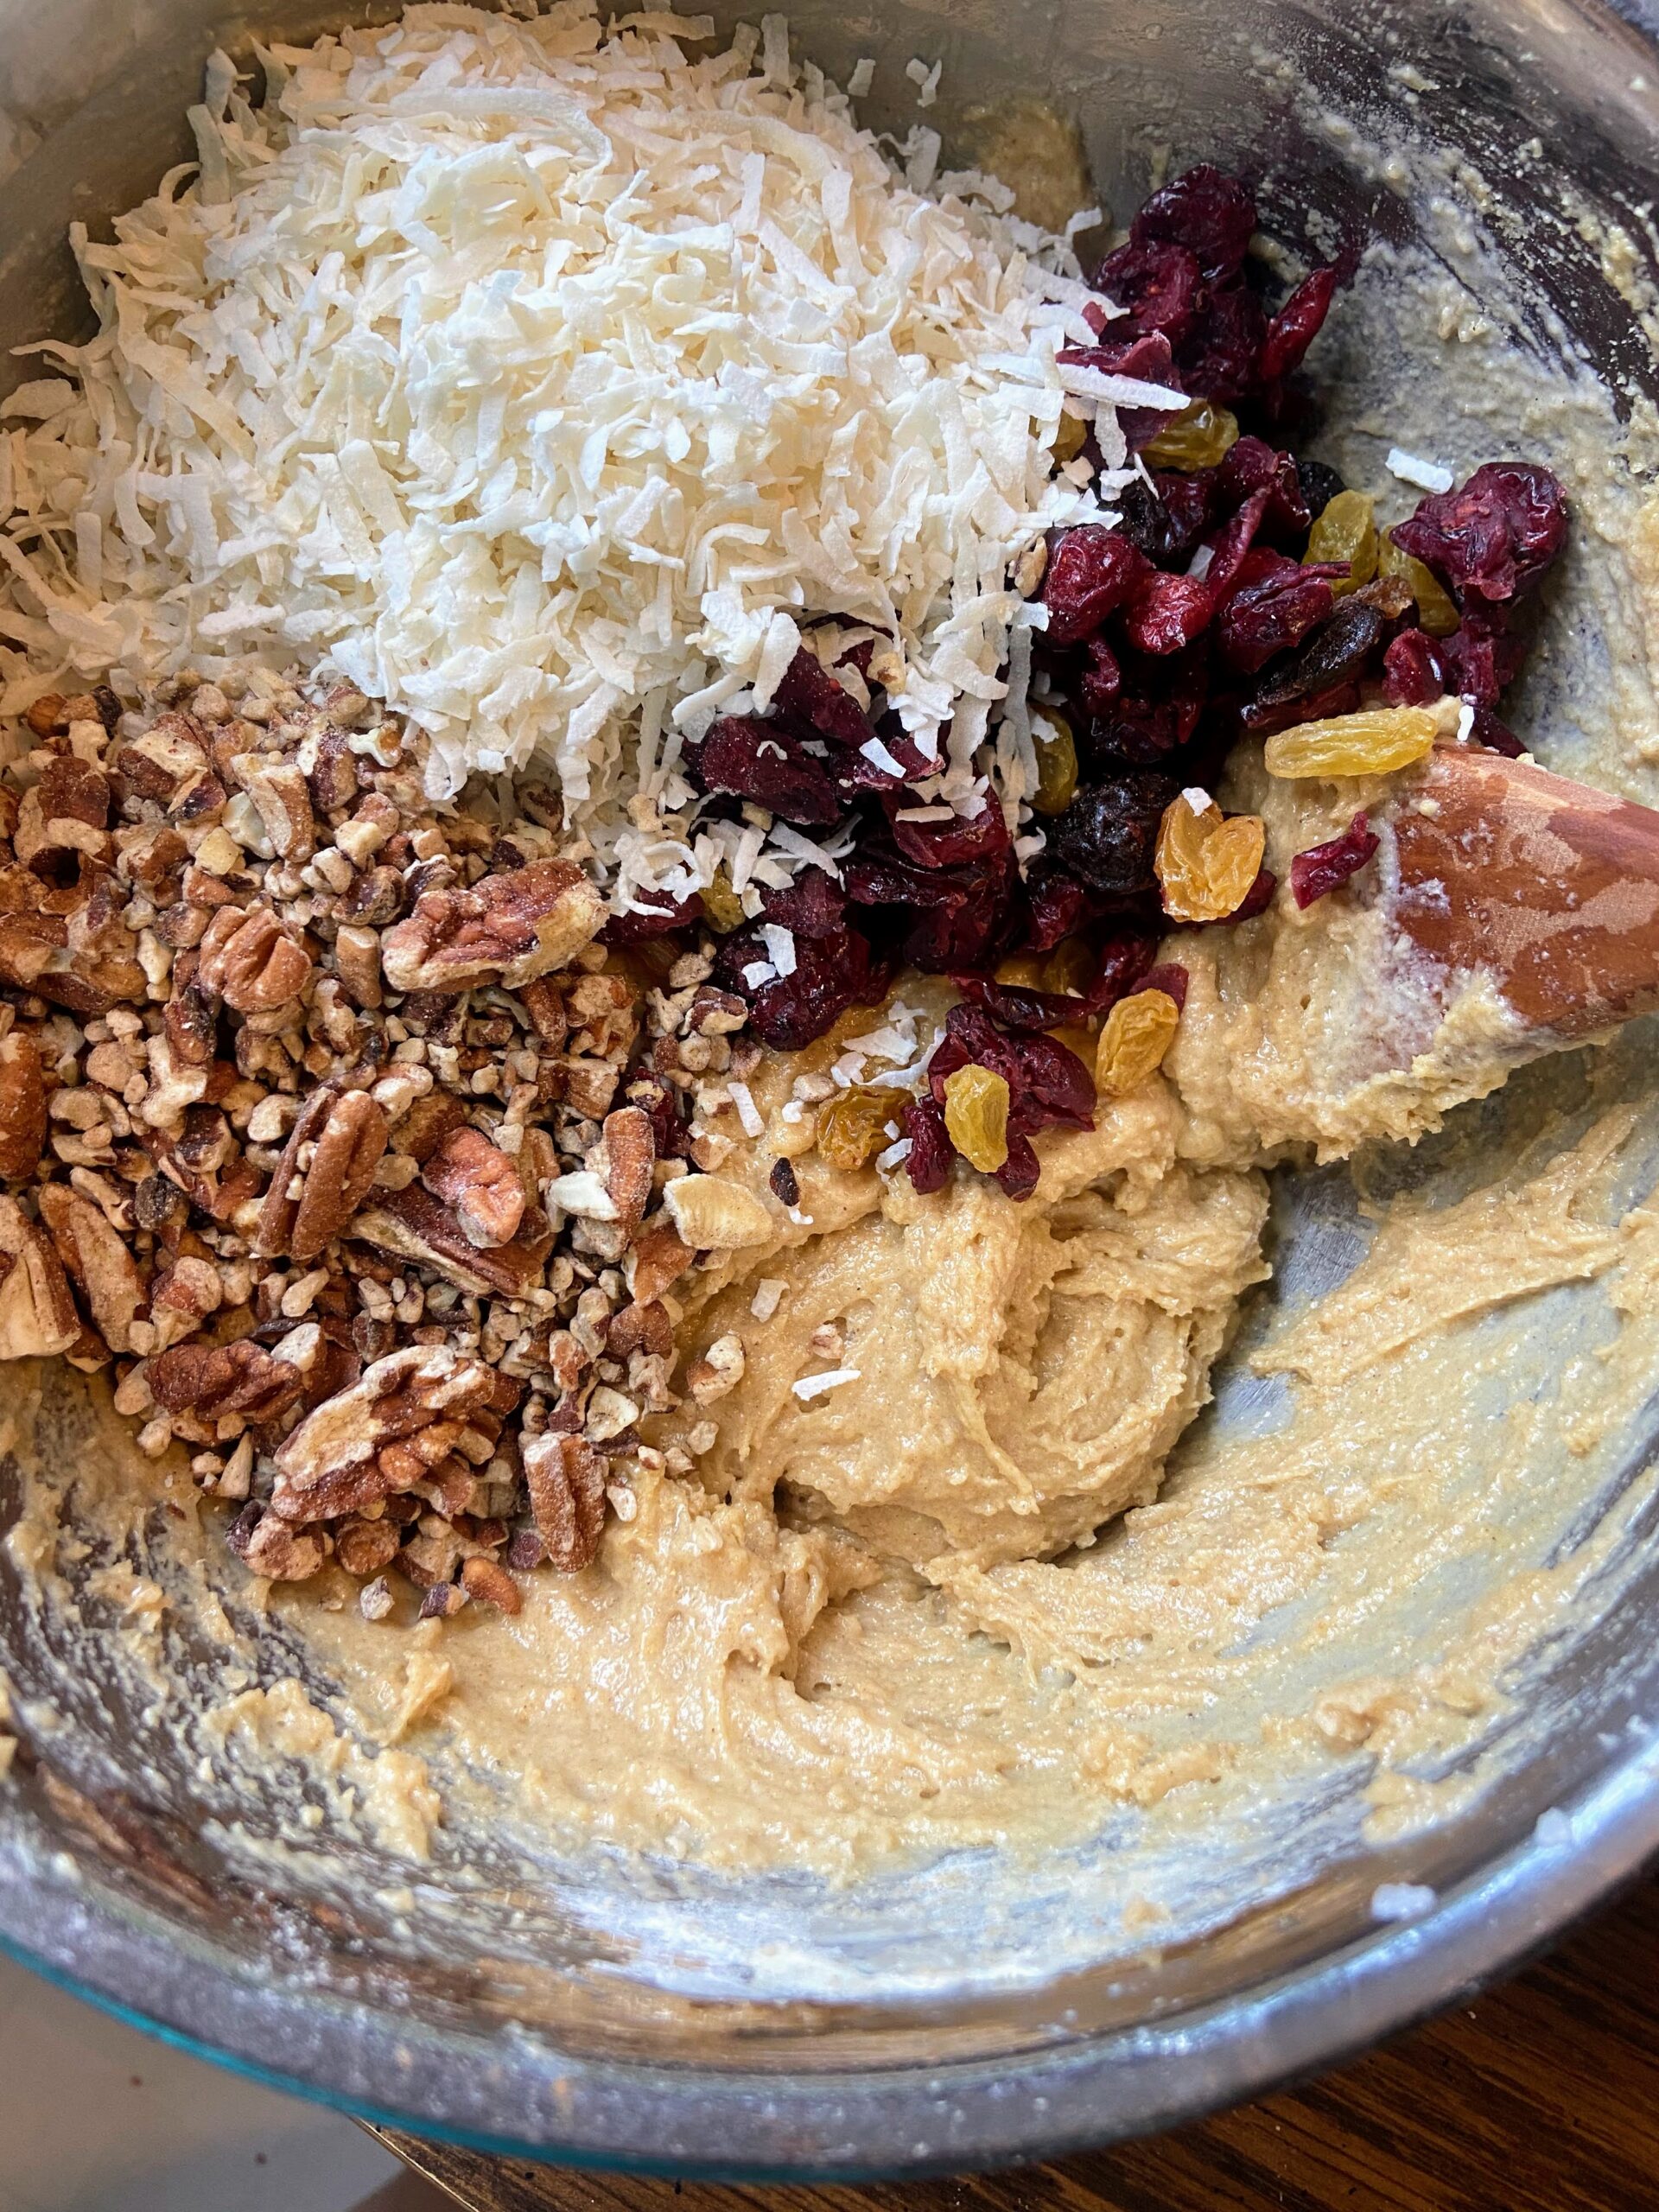
Preheat the oven to 350 degrees. Prepare 18 muffin vessels with liners or by greasing them. Combine the butter and brown sugar in a large mixing bowl until light and fluffy. Add eggs, vanilla, and milk. 

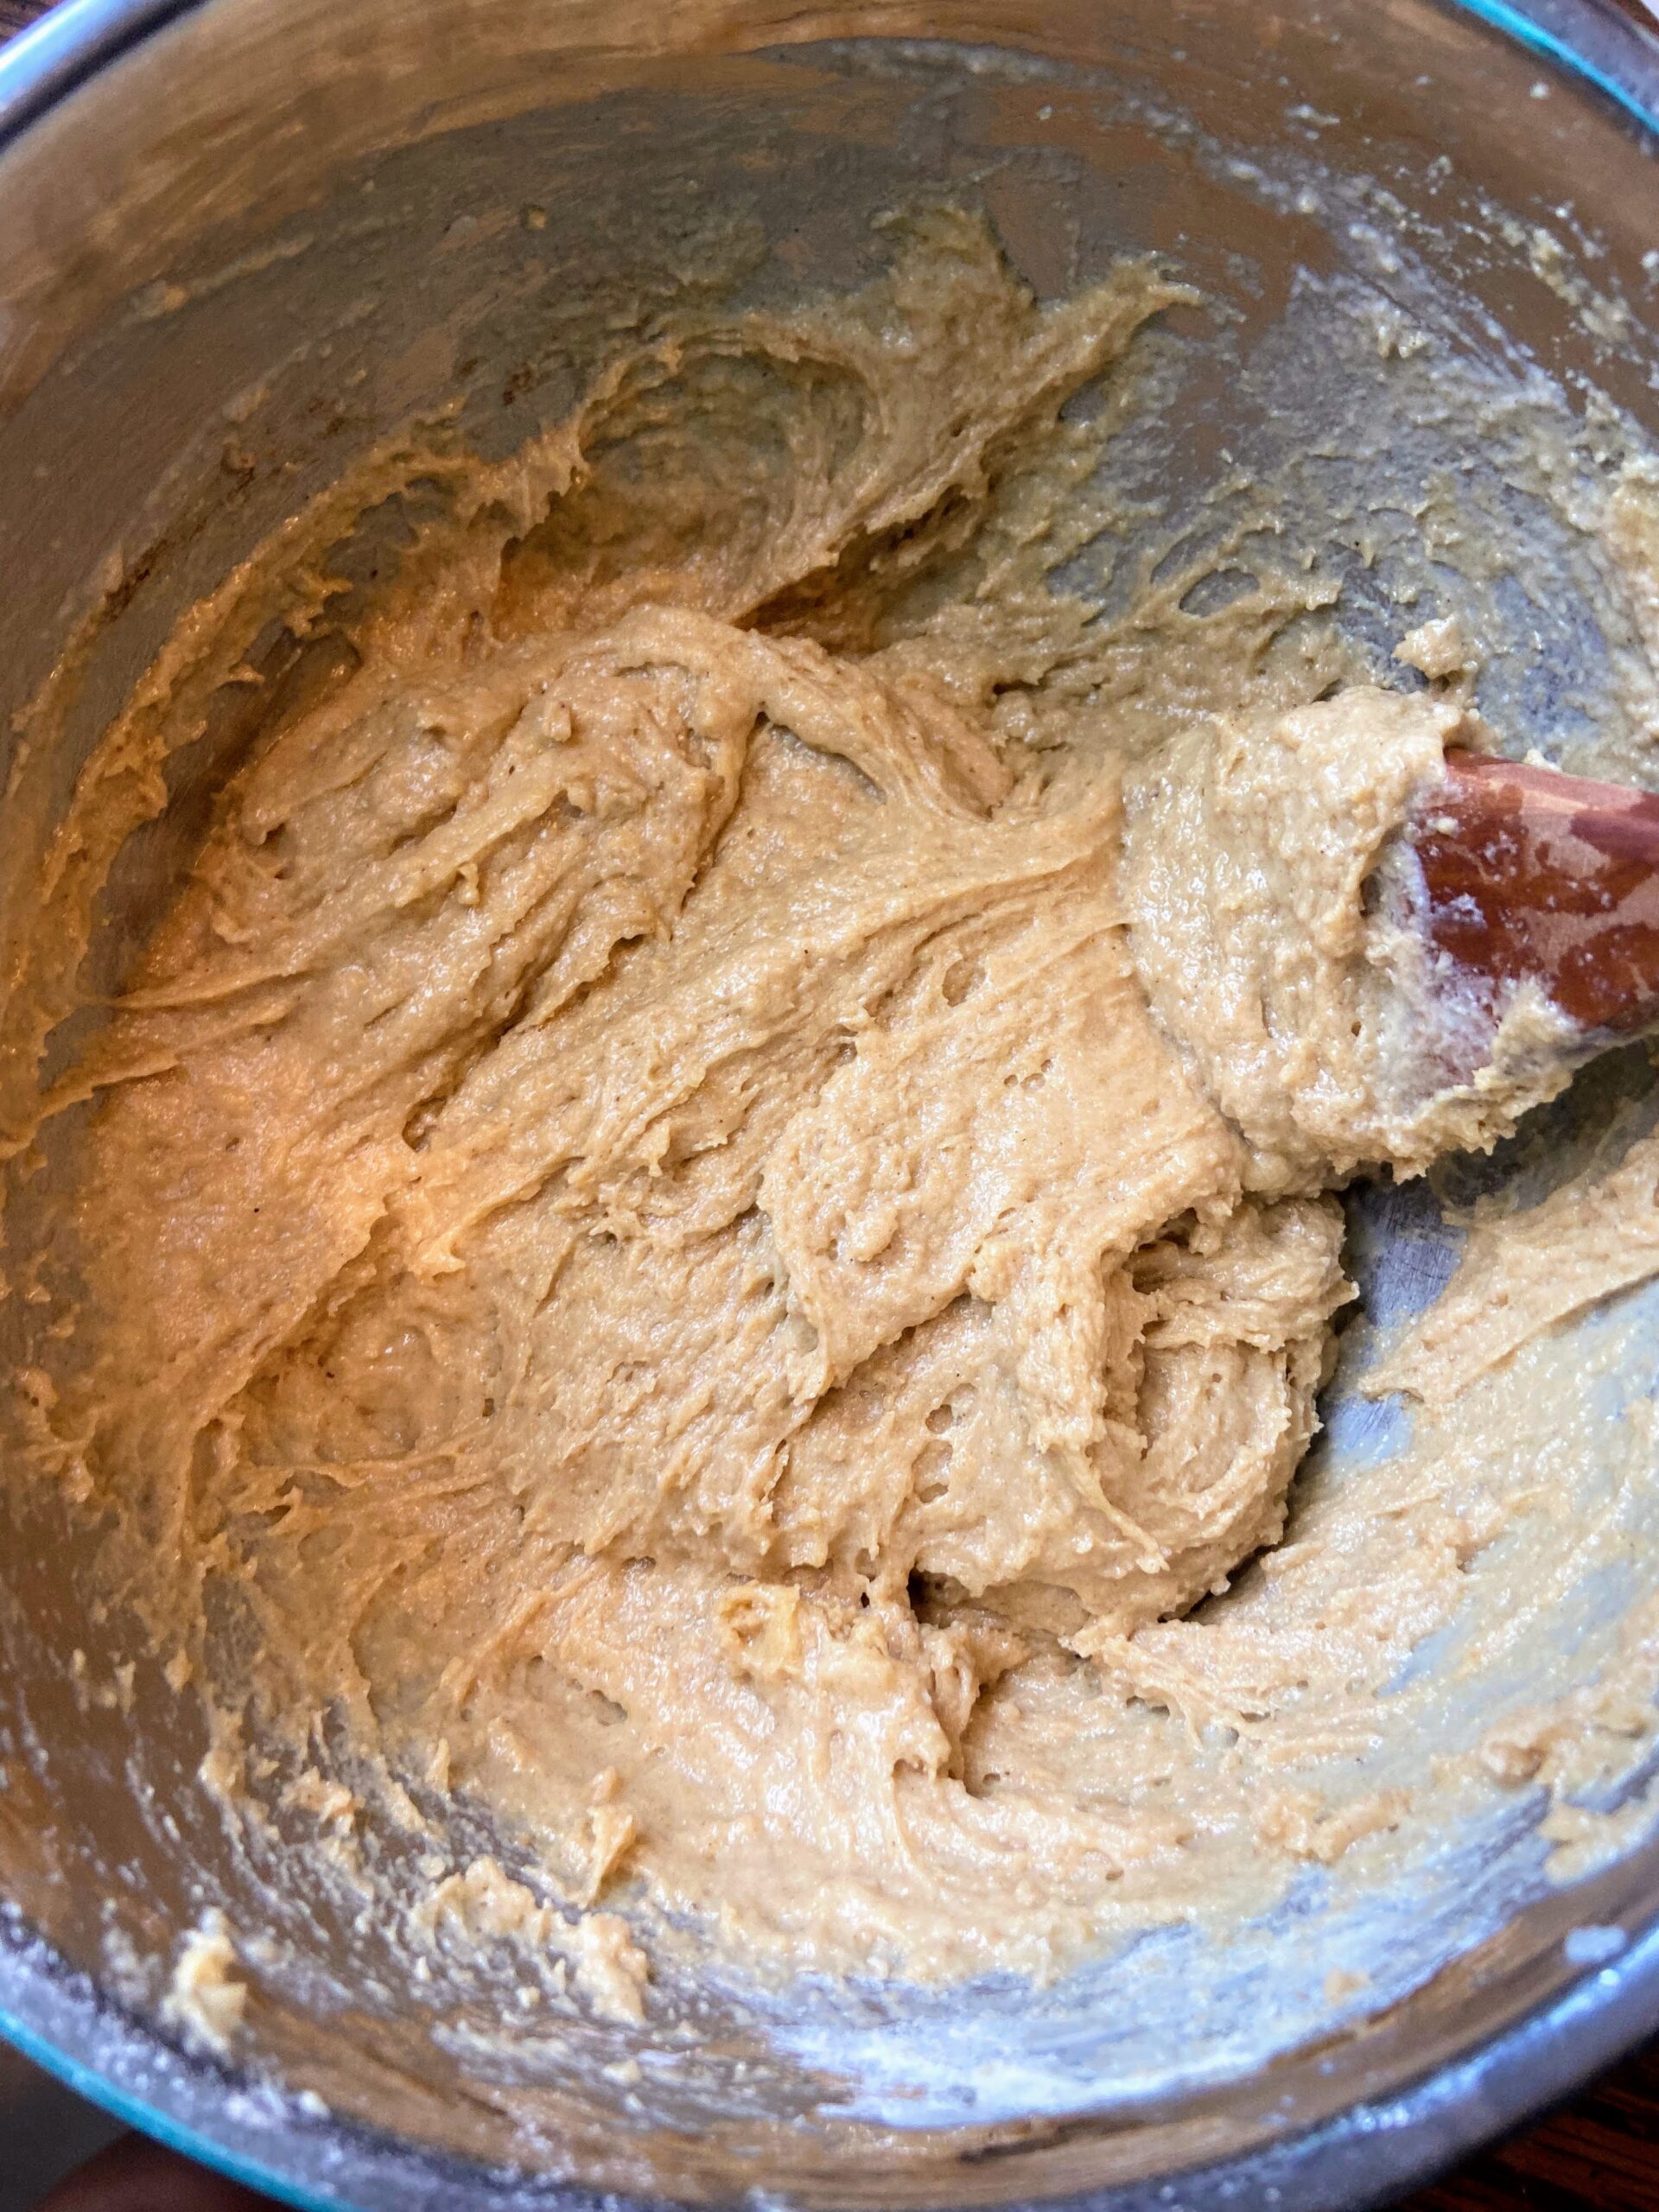
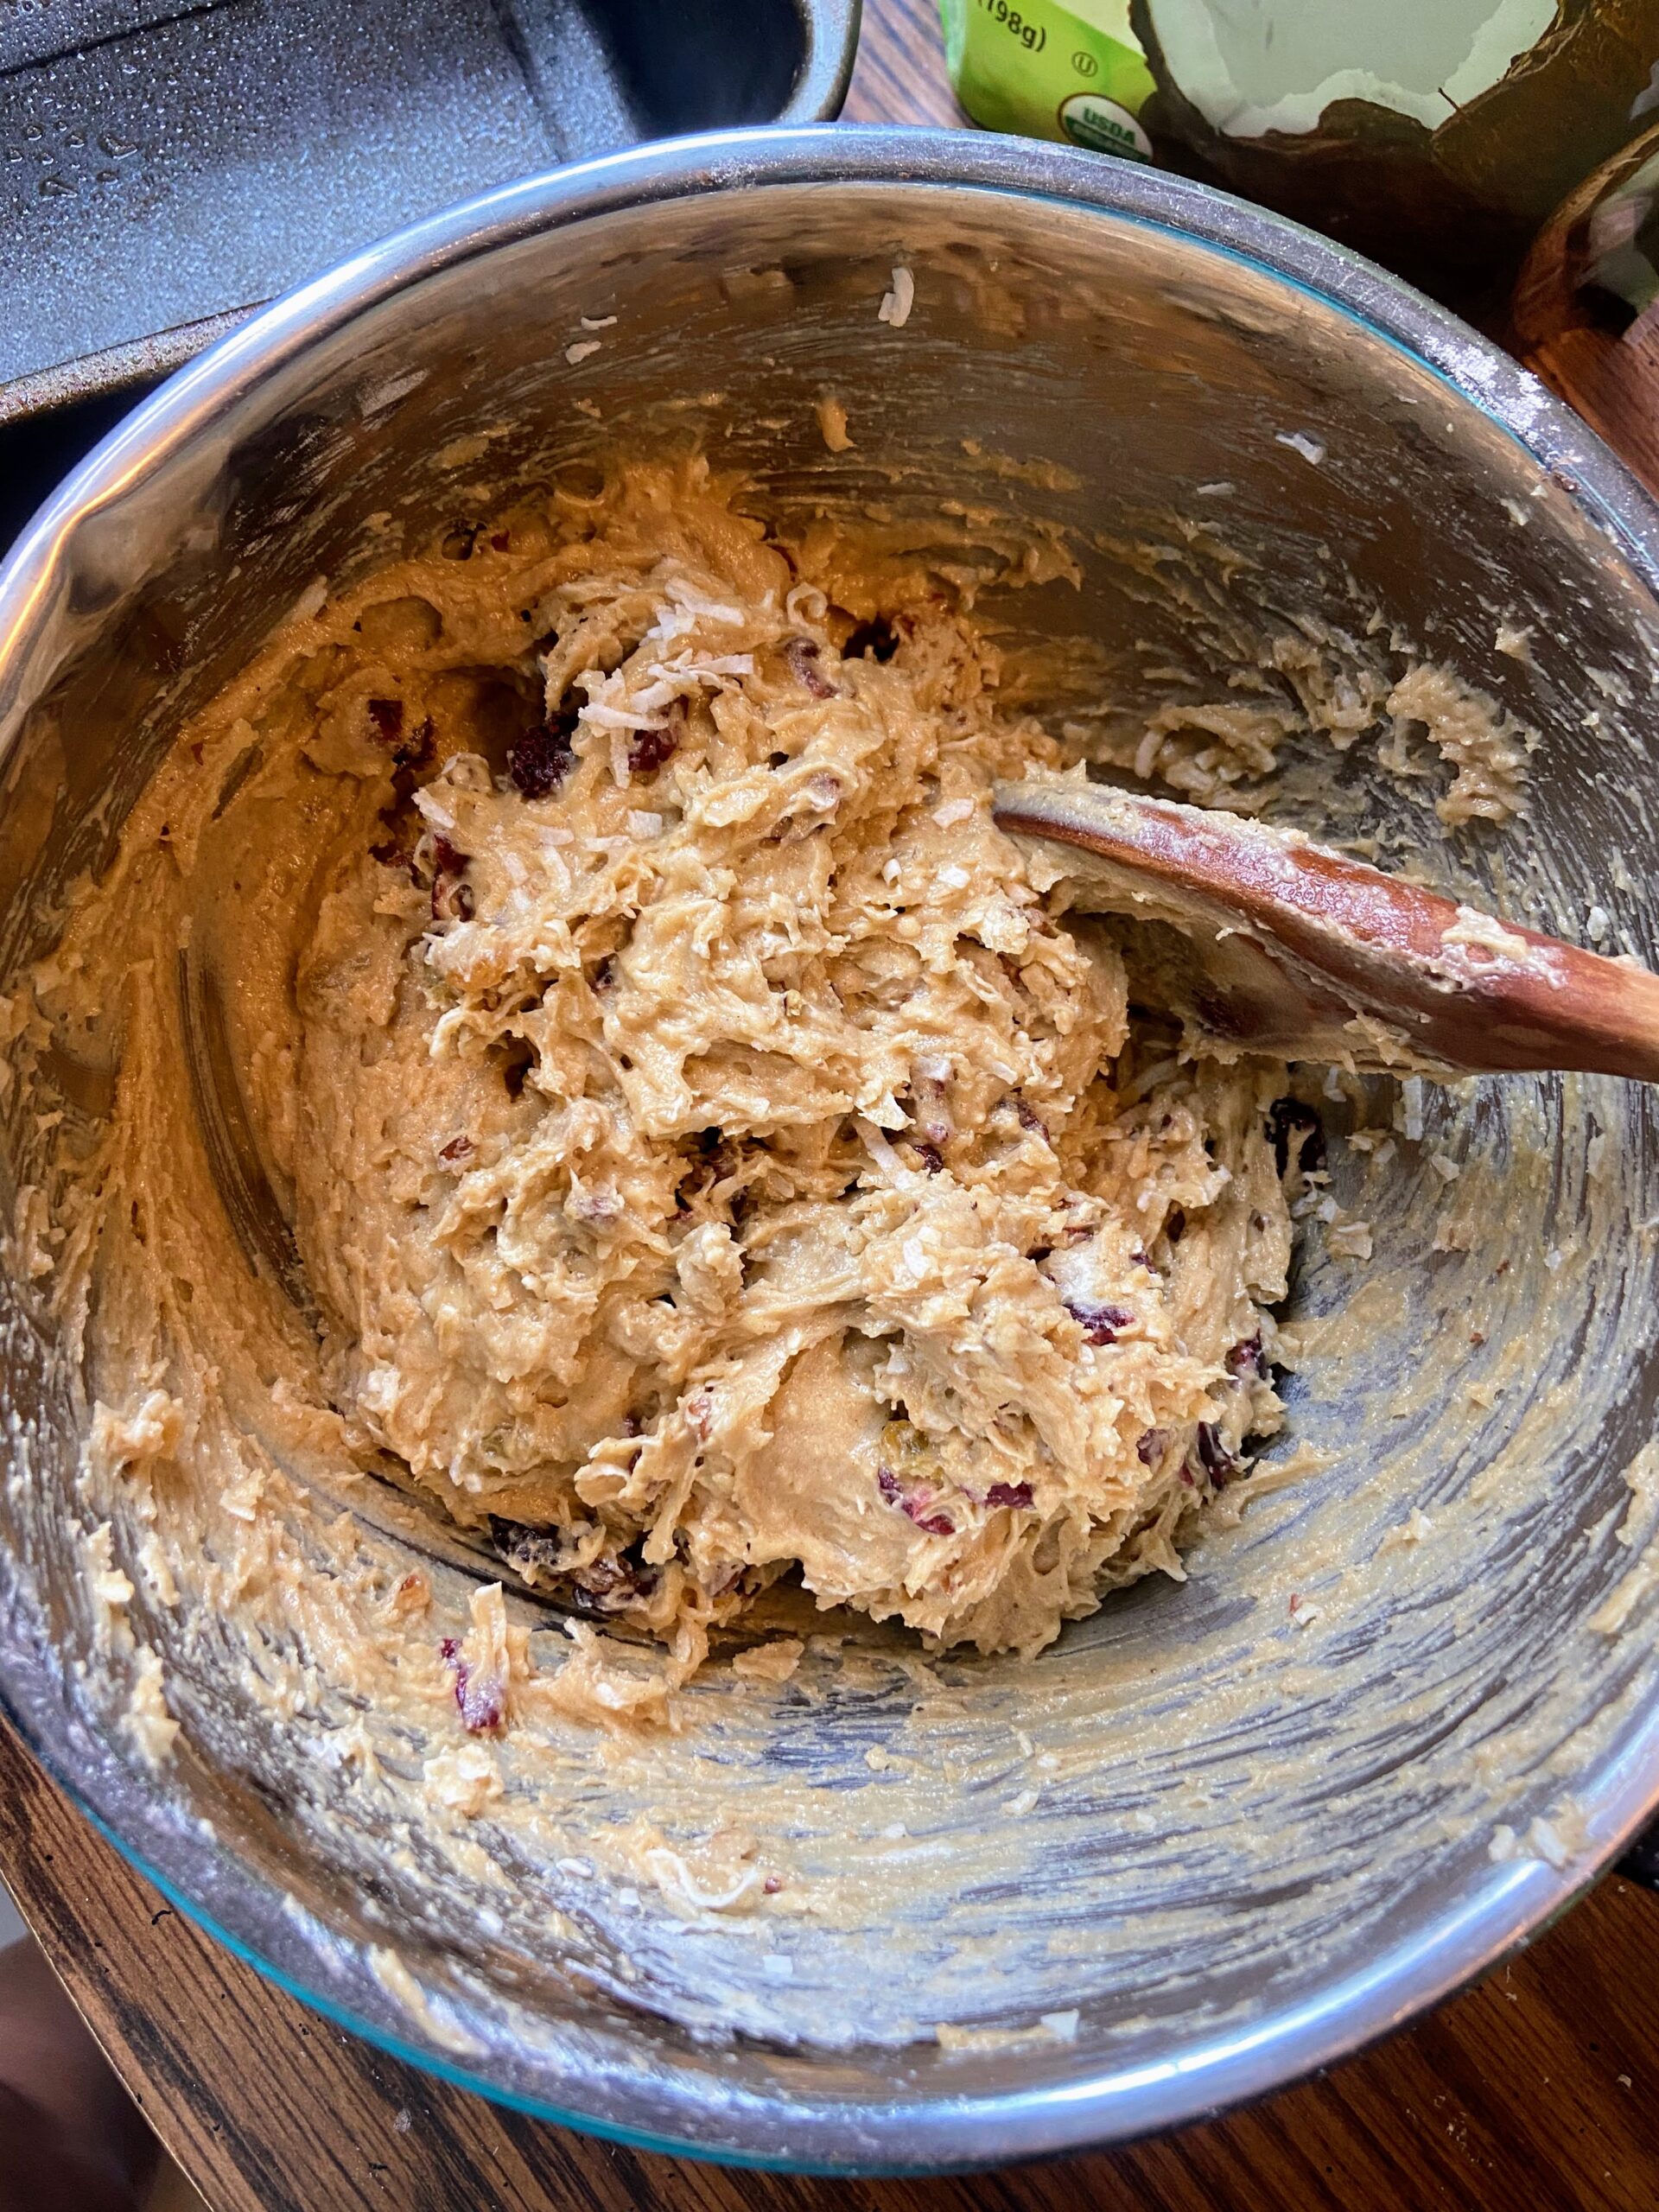
In a separate bowl, combine flour, baking powder, nutmeg, cinnamon, and salt. Add to wet ingredients until just combined. Stir in coconut, dried fruit, and nuts. Place the mixture into the prepared tin, filling ¾ of the full.

Bake for 20-24 minutes, until an inserted toothpick comes out clean. 

Coconut and Raisin Spiced Muffins

Coconut and Raisin Spiced Muffins

These coconut and raisin spiced muffins are full of texture and flavor, creating a delicious and dense muffin full of warming spices.
Prep Time 10 minutes
Cook Time 20 minutes
Course Breakfast
Cuisine American
Servings 18 muffins

Equipment

Ingredients
  

  • ½ cup butter softened
  • 1 cup packed light brown sugar
  • 2 eggs
  • 1 teaspoon vanilla
  • cup milk
  • 2 ⅓ cup all purpose flour
  • 1 teaspoon baking powder
  • ¼ teaspoon nutmeg
  • 1 teaspoon cinnamon
  • ¾ teaspoon salt
  • 1 cup dried unsweetened coconut
  • 1 cup raisins or other dried fruit cranberries, cherries, etc
  • ½ cup chopped nuts

Instructions
 

  • Preheat the oven to 350 degrees. Prepare 18 muffin vessels with liners or by greasing them.
  • Combine the butter and brown sugar in a large mixing bowl until light and fluffy.
  • Add eggs, vanilla, and milk. Stir until well combined.
  • In a separate bowl, combine flour, baking powder, nutmeg, cinnamon, and salt.
  • Add to wet ingredients until just combined. Stir in coconut, dried fruit, and nuts.
  • Place the mixture into the prepared tin, filling ¾ of the full.
  • Bake for 20-24 minutes, until an inserted toothpick comes out clean.
Keyword Breakfast, coconut, coconut muffins, muffins, Quick Bread, raisins, spiced bread
Tried this recipe?Let us know how it was!

Looking for more breakfast Inspiration?

Check out any of the recipes below or just head to my breakfast page for more ideas!

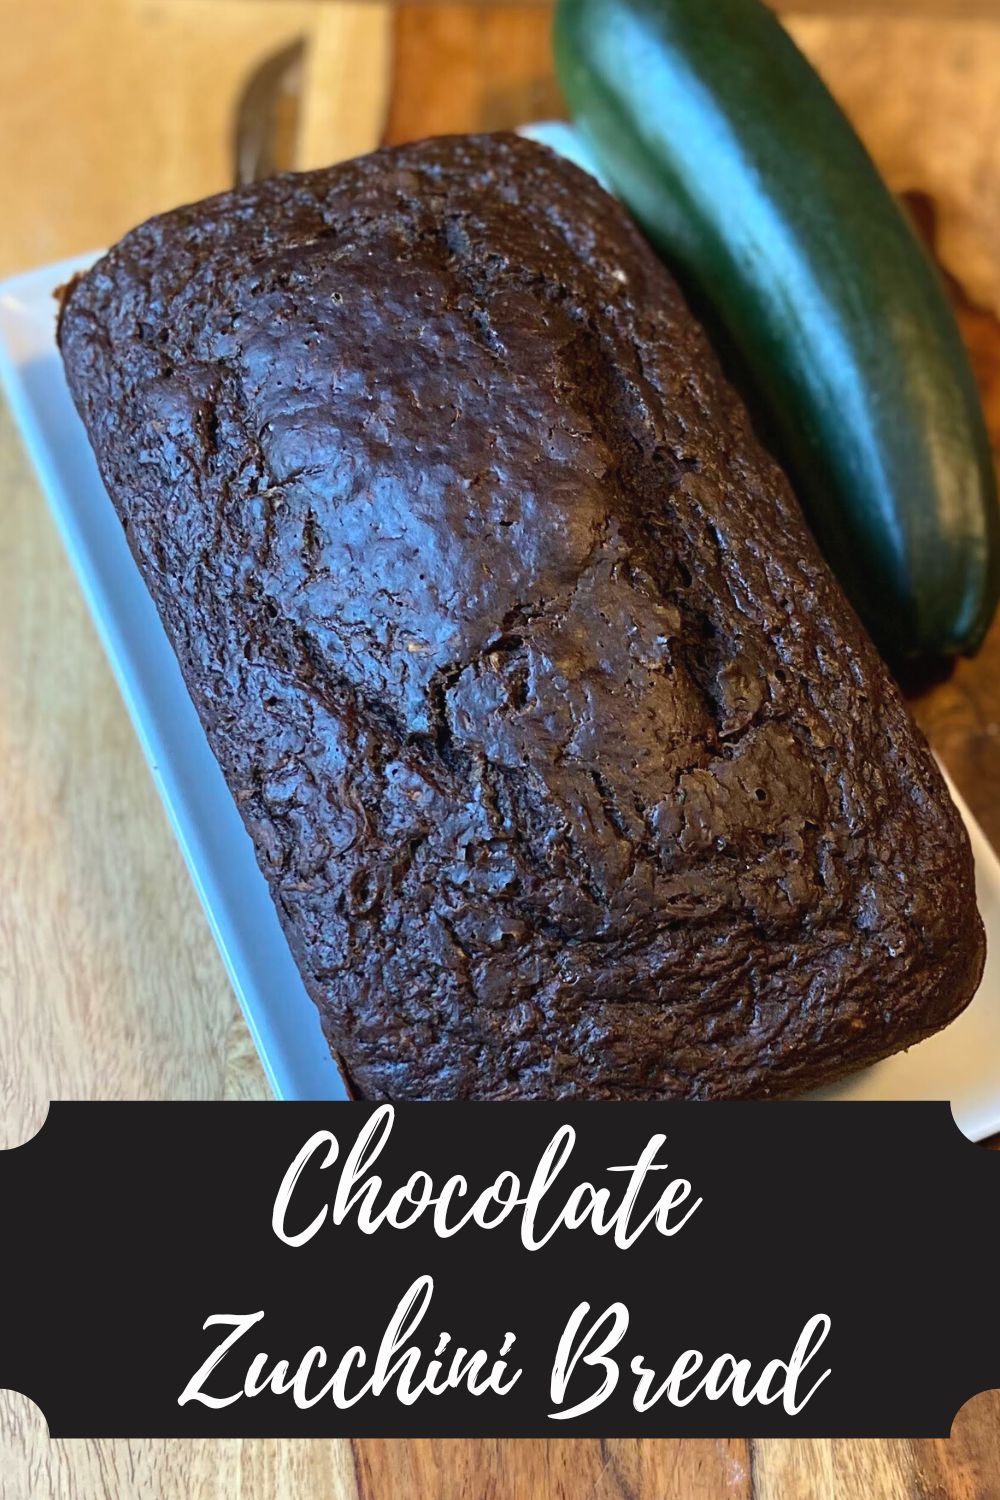
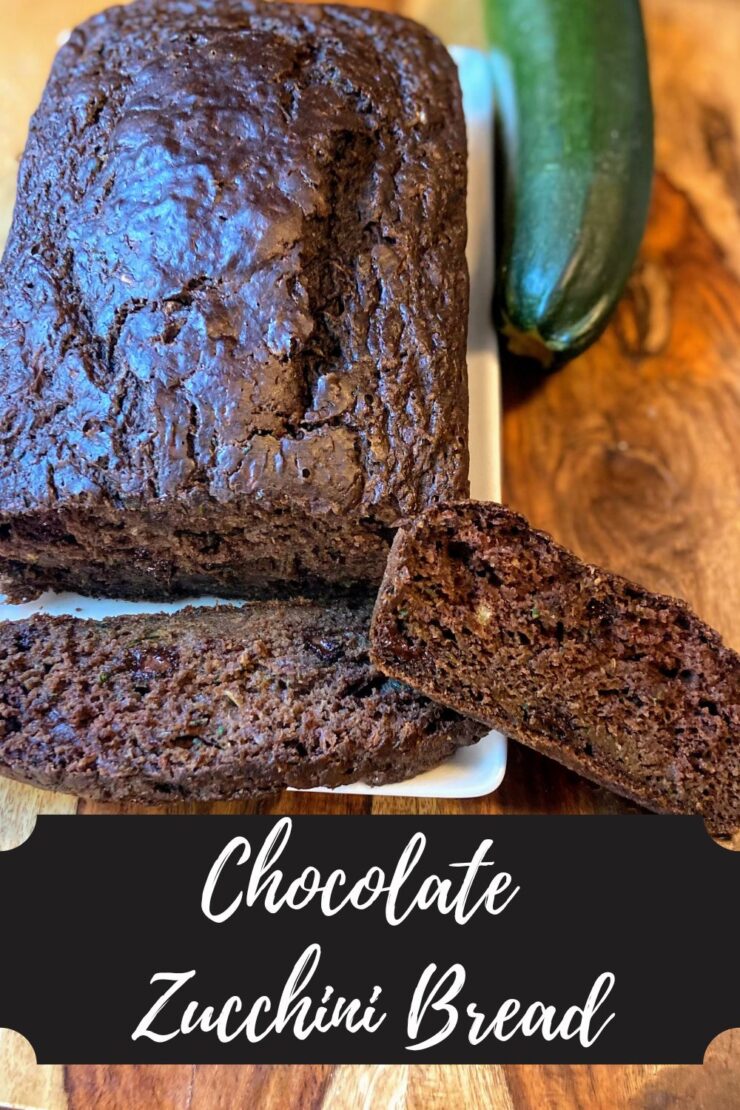
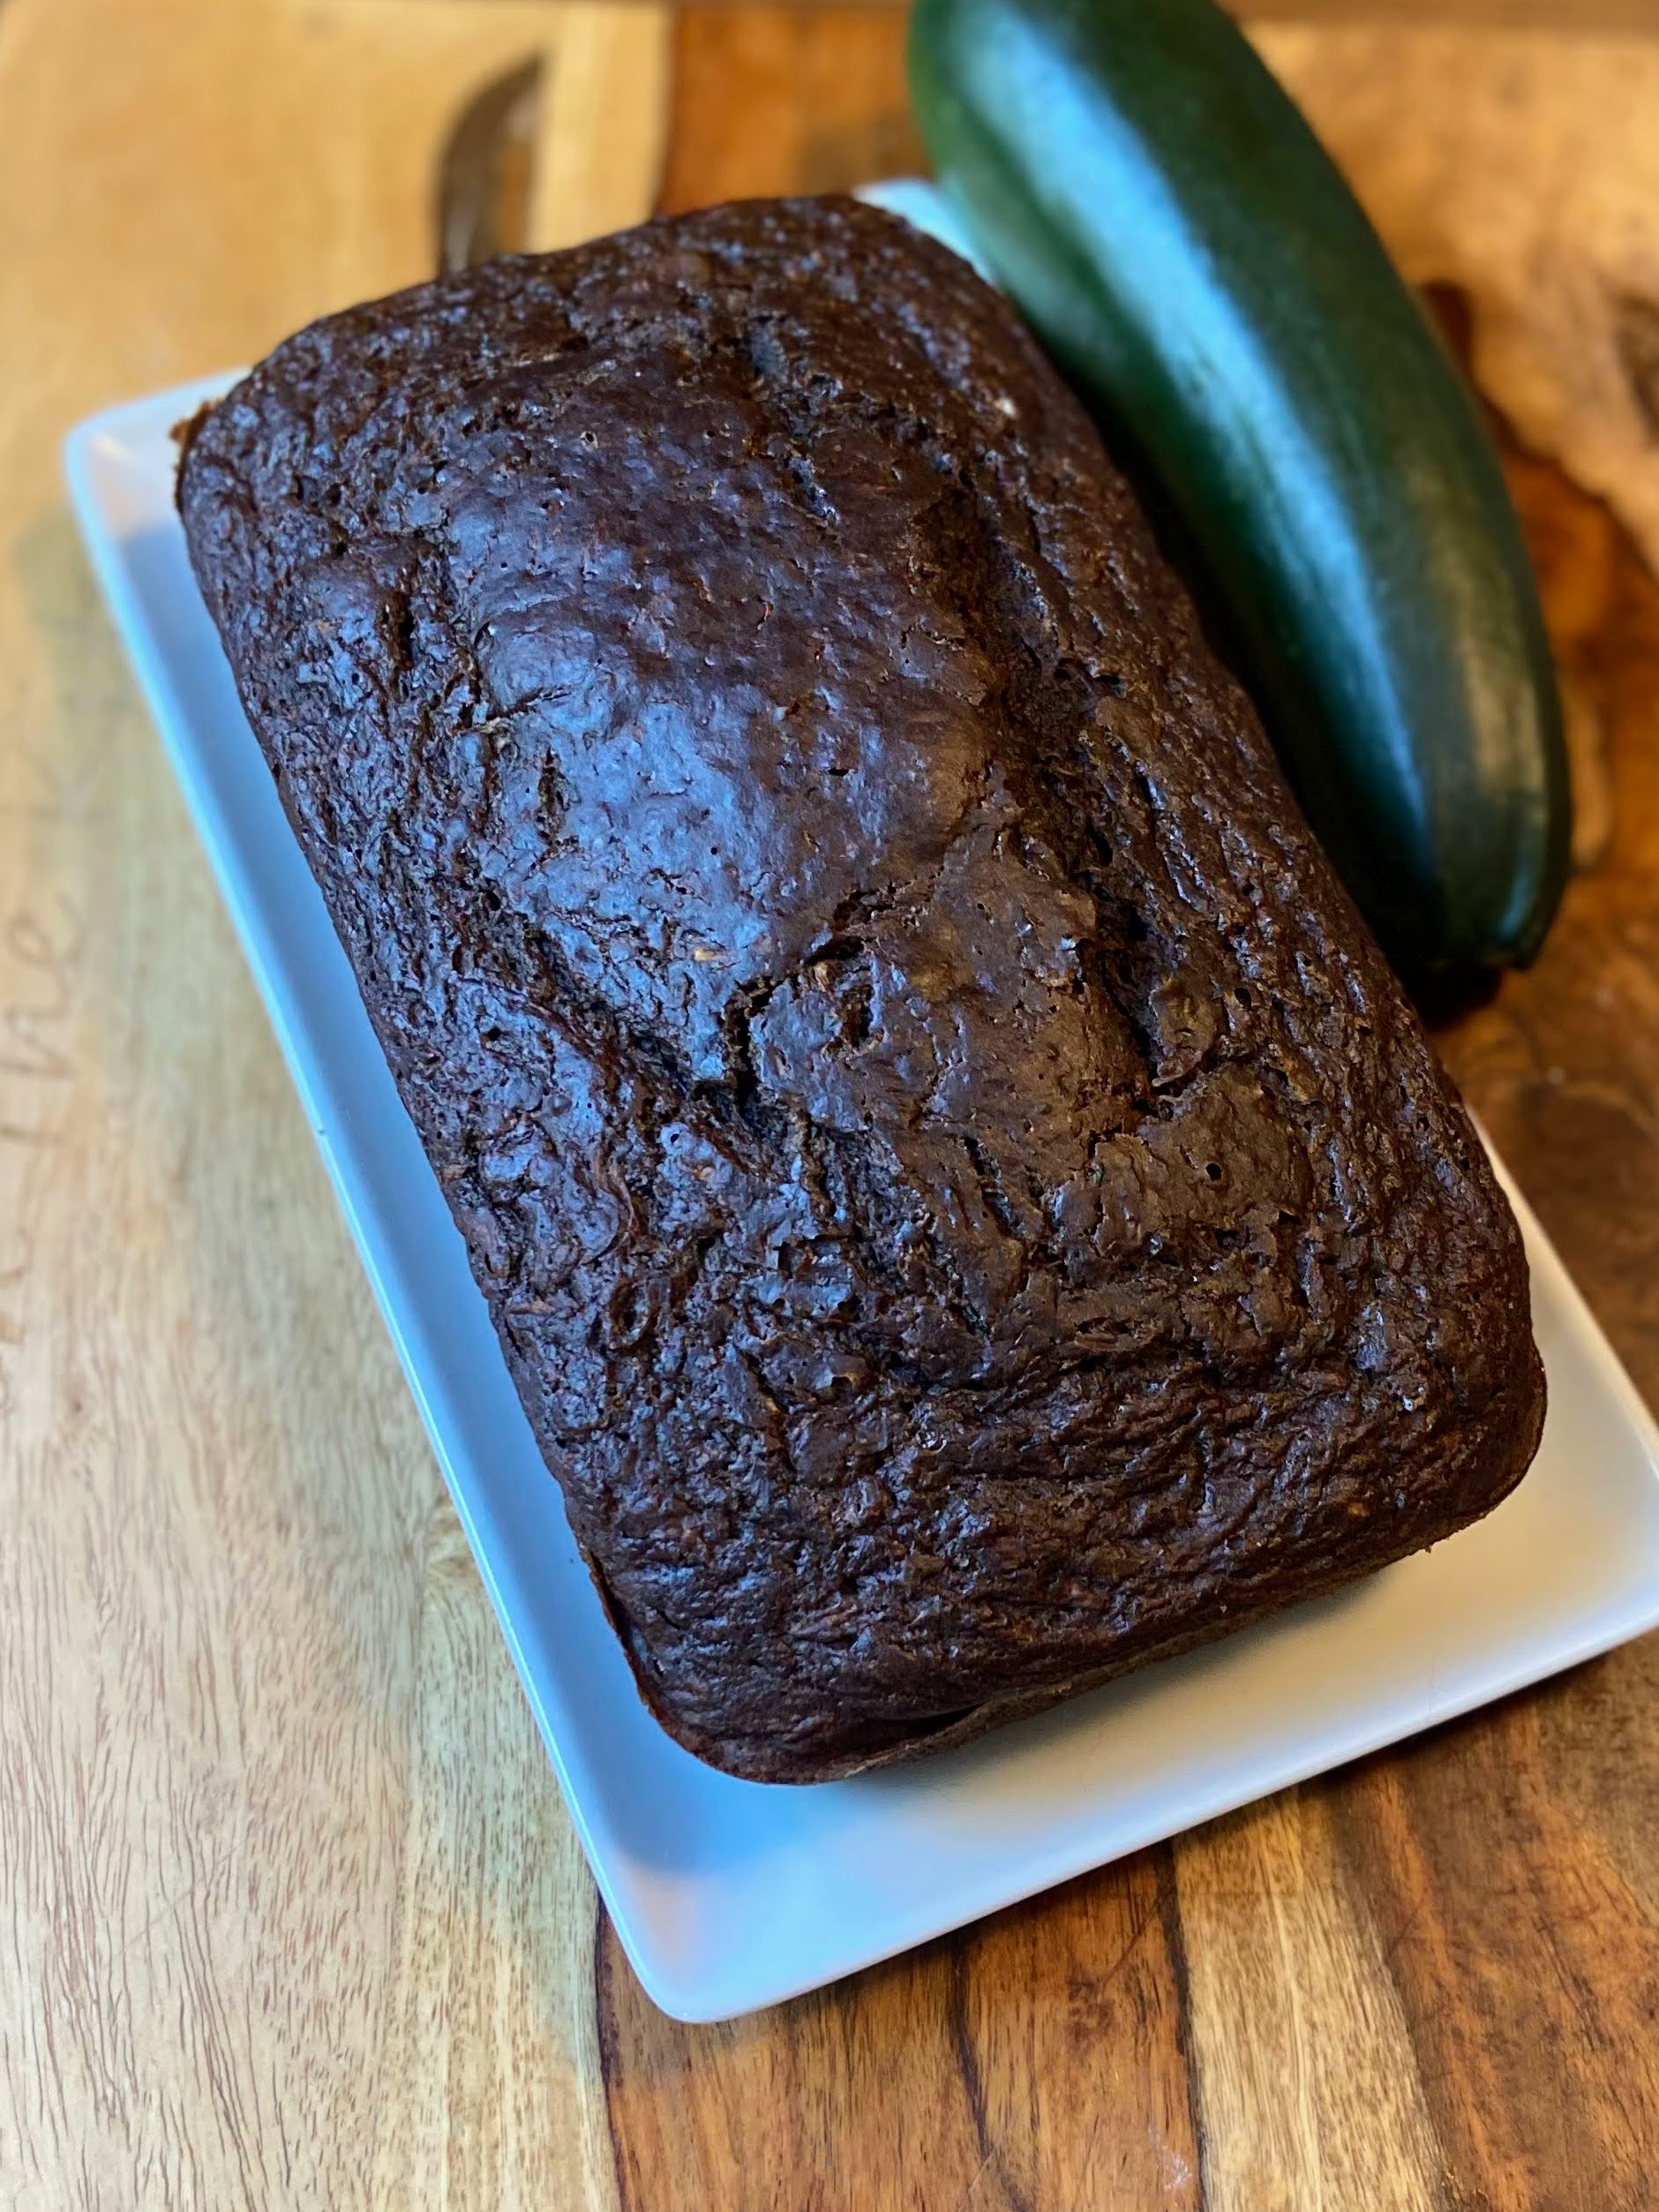
Chocolate Zucchini Bread

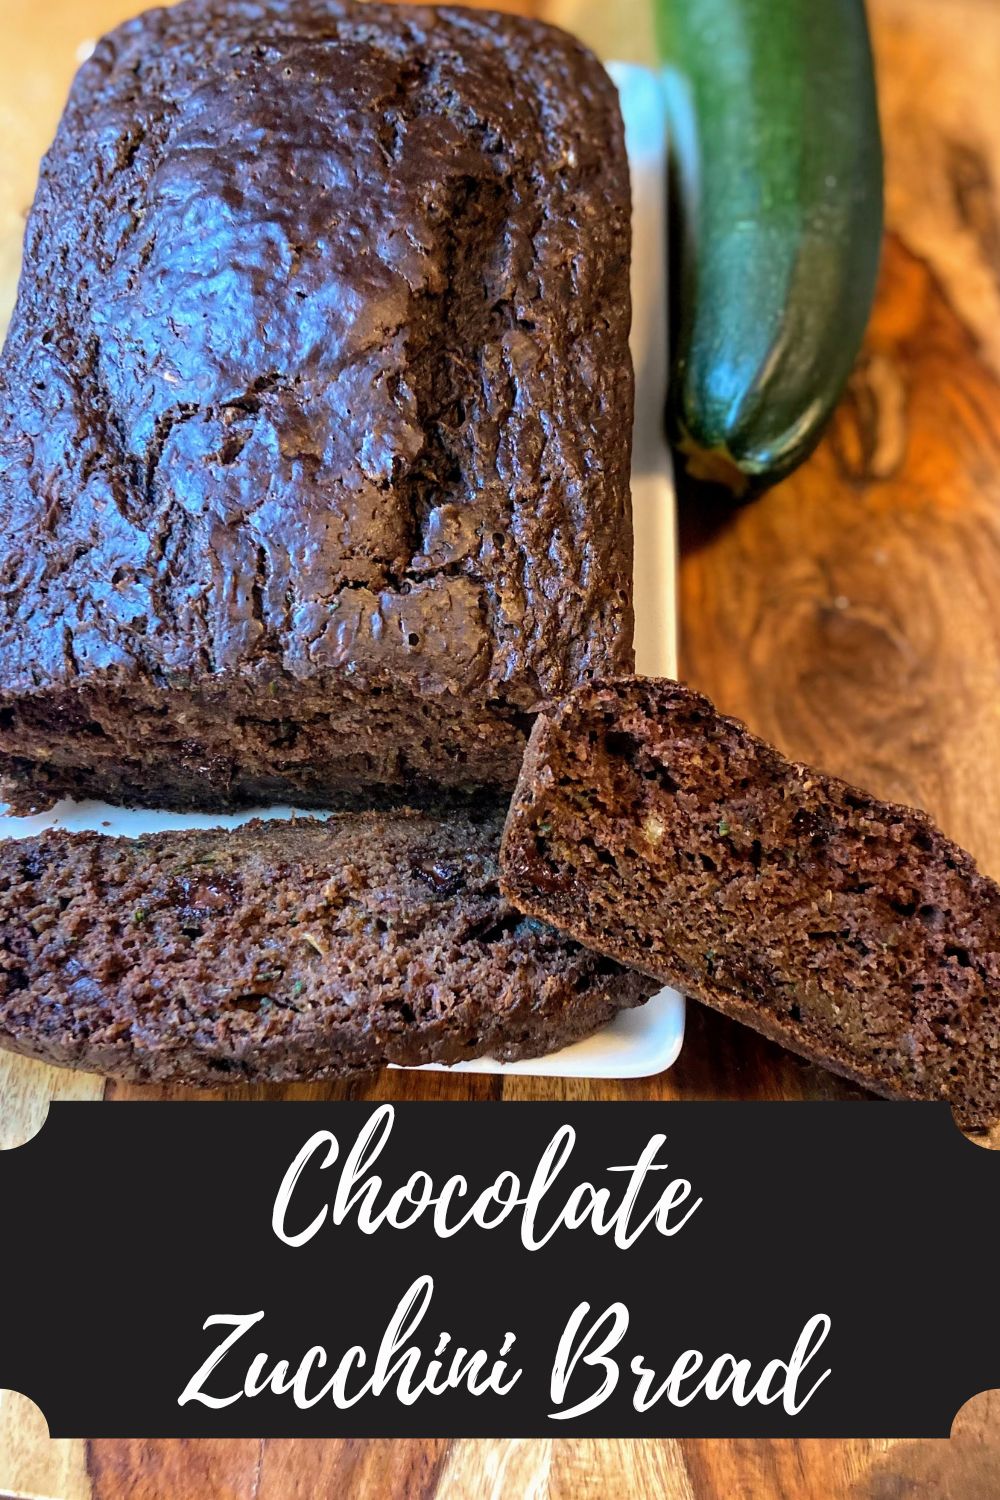
Who here has a kiddo who is much more likely to eat something that is chocolatey? *Raises hand.* Who here likes chocolate zucchini bread themselves? *Raises hand again* 

I love zucchini bread in all forms, but my big kiddo isn’t a zucchini fan and will complain if it isn’t disguised well. Knowing that we have the intent to send our kids to school with more home lunches this year, I set out to create a chocolate zucchini bread that had some healthier ingredients while still pleasing the 12 year old. 

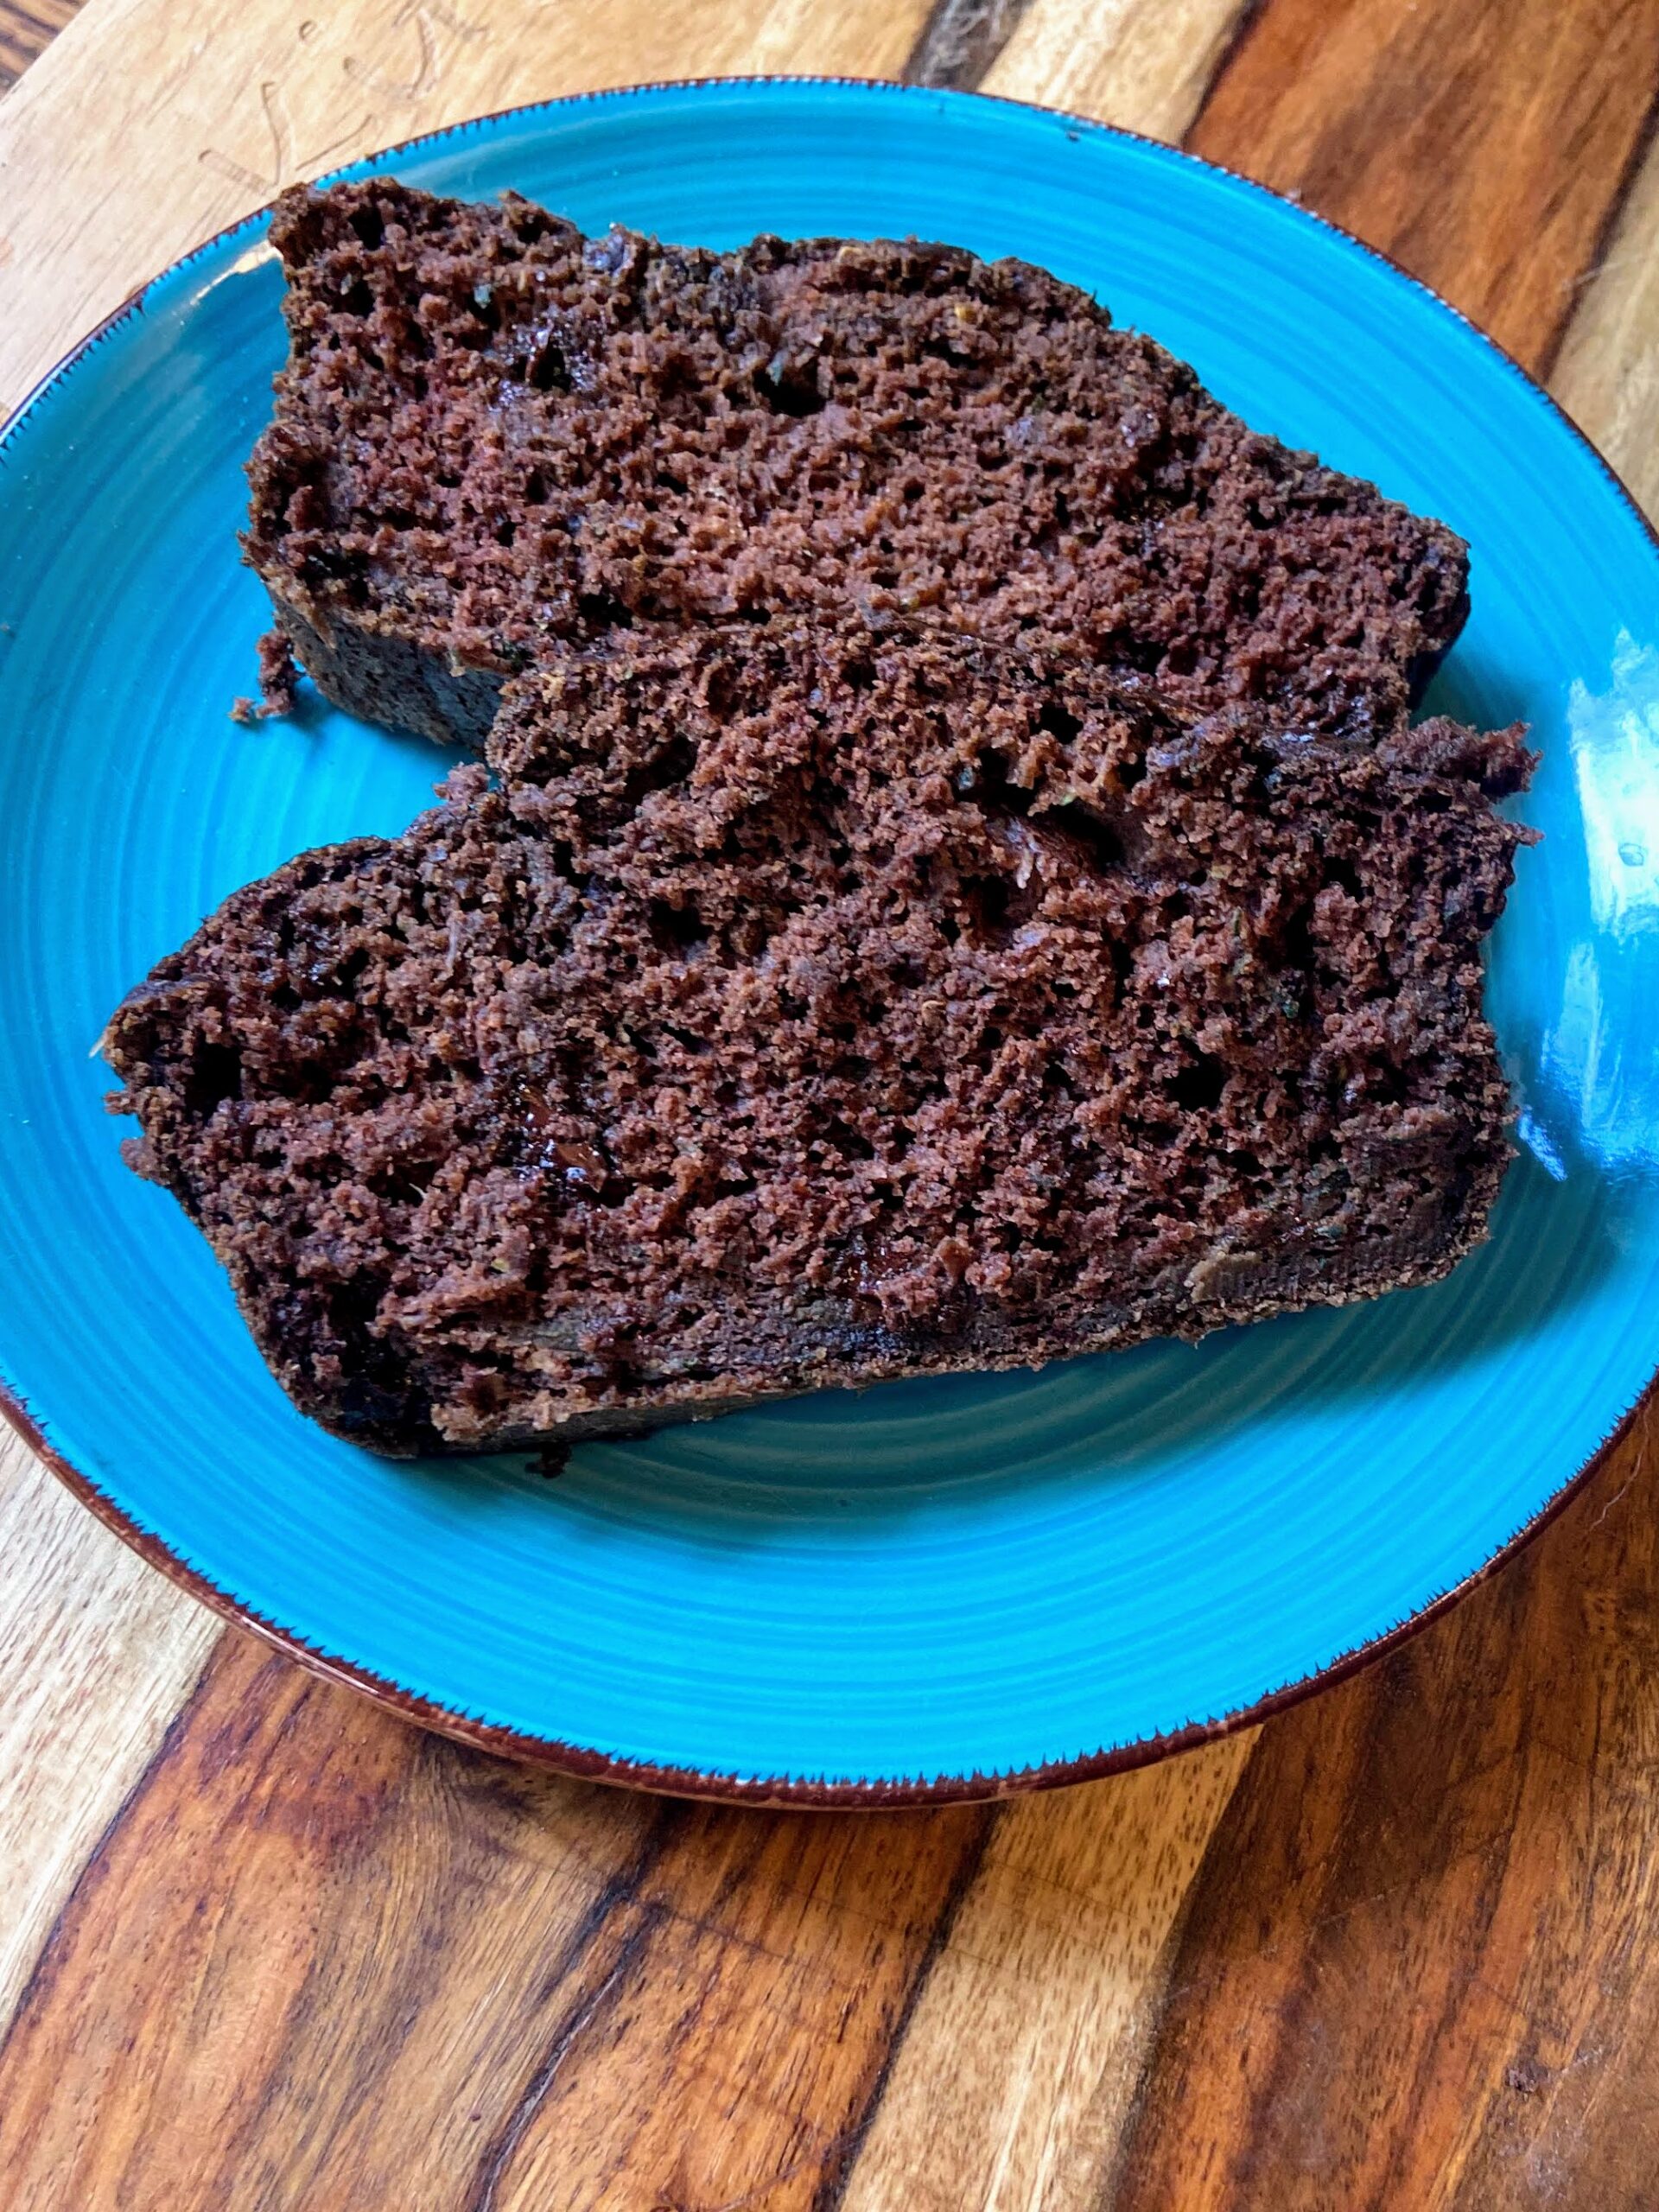
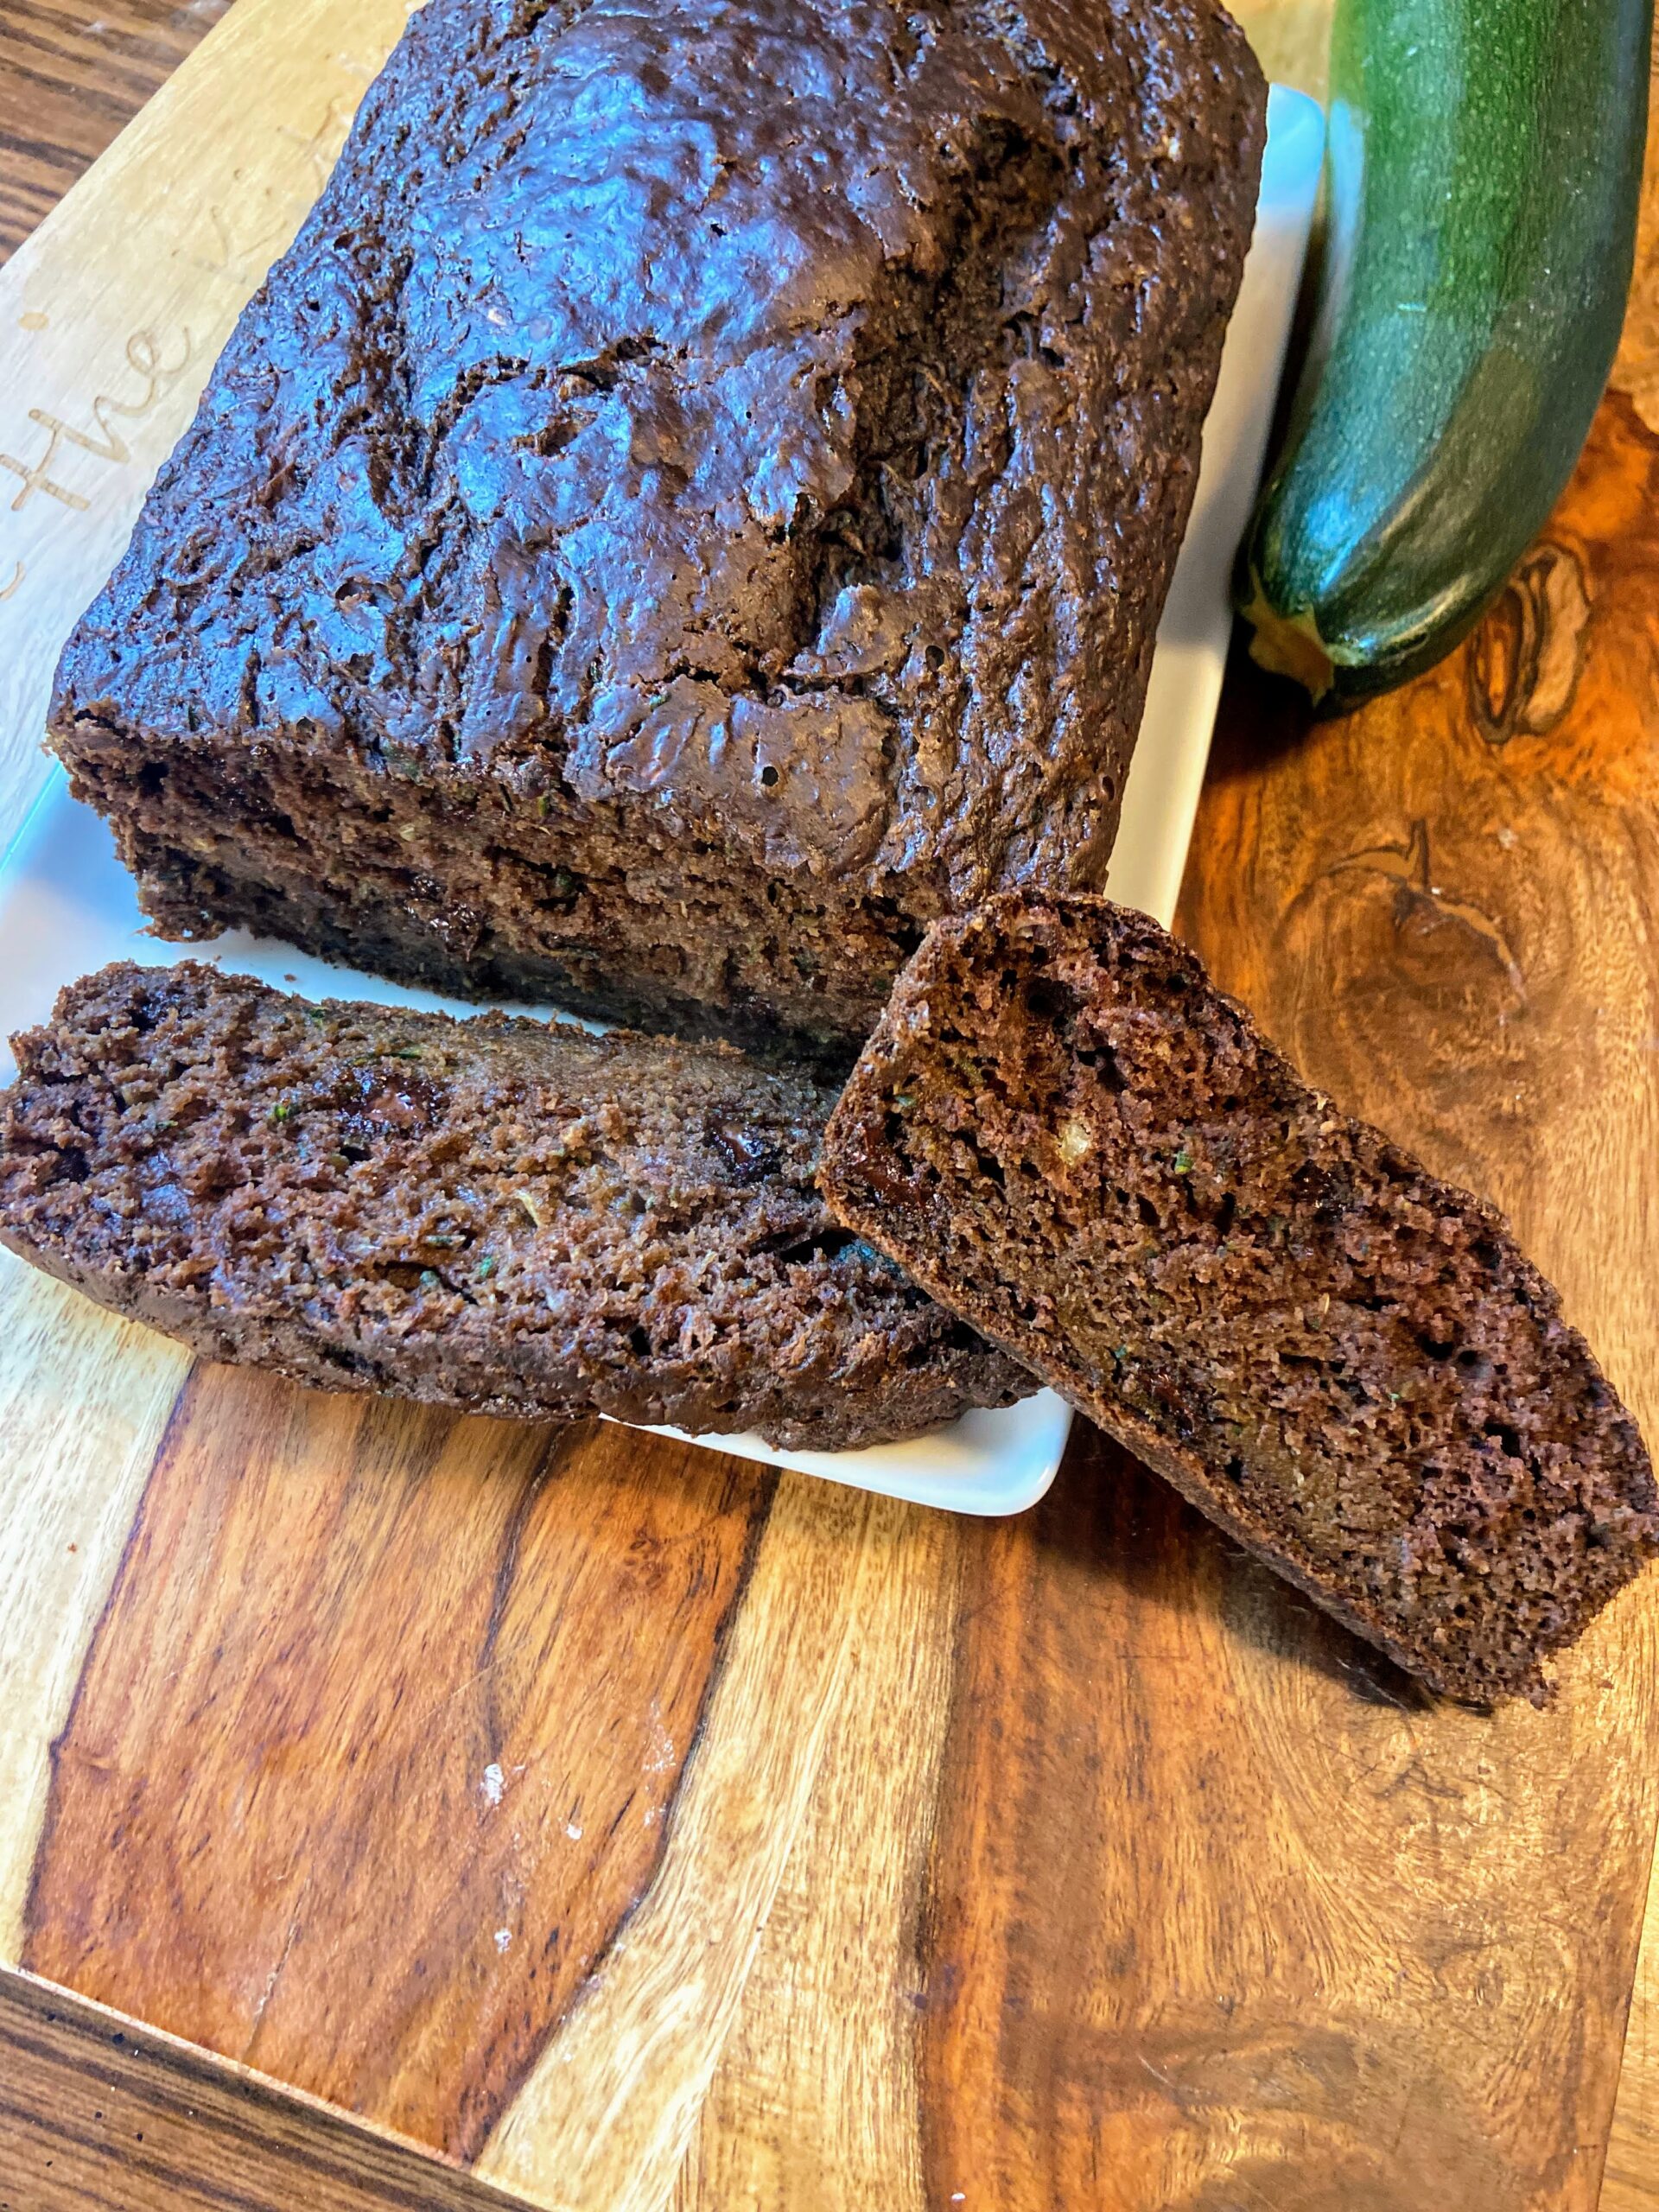
Upon taking it from the oven, he was questioning it. “Zucchini bread, really?” Then he cut himself a warm slice. He smiled and finished it with his eyes closed (the tell-tale sign that I won his tastebuds over). Then he cut another and finally stopped after ⅓ of the loaf was gone. When he and his sister finished the loaf a few days later, he immediately asked me to make more.

I played with the recipe in a few more batches, but the first one was “the one.” The one I will be baking this summer in this fun petite pan from Epicure. From there, I will freeze the portions and then place them in a freezer-safe bag. I think they will be perfect in lunch boxes. What do you think? 

Don’t worry if you don’t have that sweet pan. The original recipe was baked in a 9 inch loaf pan, so you are set to go! Want muffins? That’s cool too! Cut the bake time to 20 minutes and you’ll be set! 

Ready to start creating? Let’s go!

Your Ingredients for Chocolate Zucchini Bread

  • ¼ cup olive oil or melted coconut oil
  • ½ cup maple syrup
  • ½ tablespoon vanilla
  • 2 eggs
  • 1 teaspoon baking soda
  • ¾ teaspoon salt 
  • ½ teaspoon baking powder
  • 1 cup whole wheat flour
  • ½ cup all-purpose flour 
  • ¼ cup cocoa powder
  • ¼-½ cup chocolate chips
  • 2 cups shredded zucchini, water squeezed out 
  • ½ cup chopped nuts, optional

Your Steps

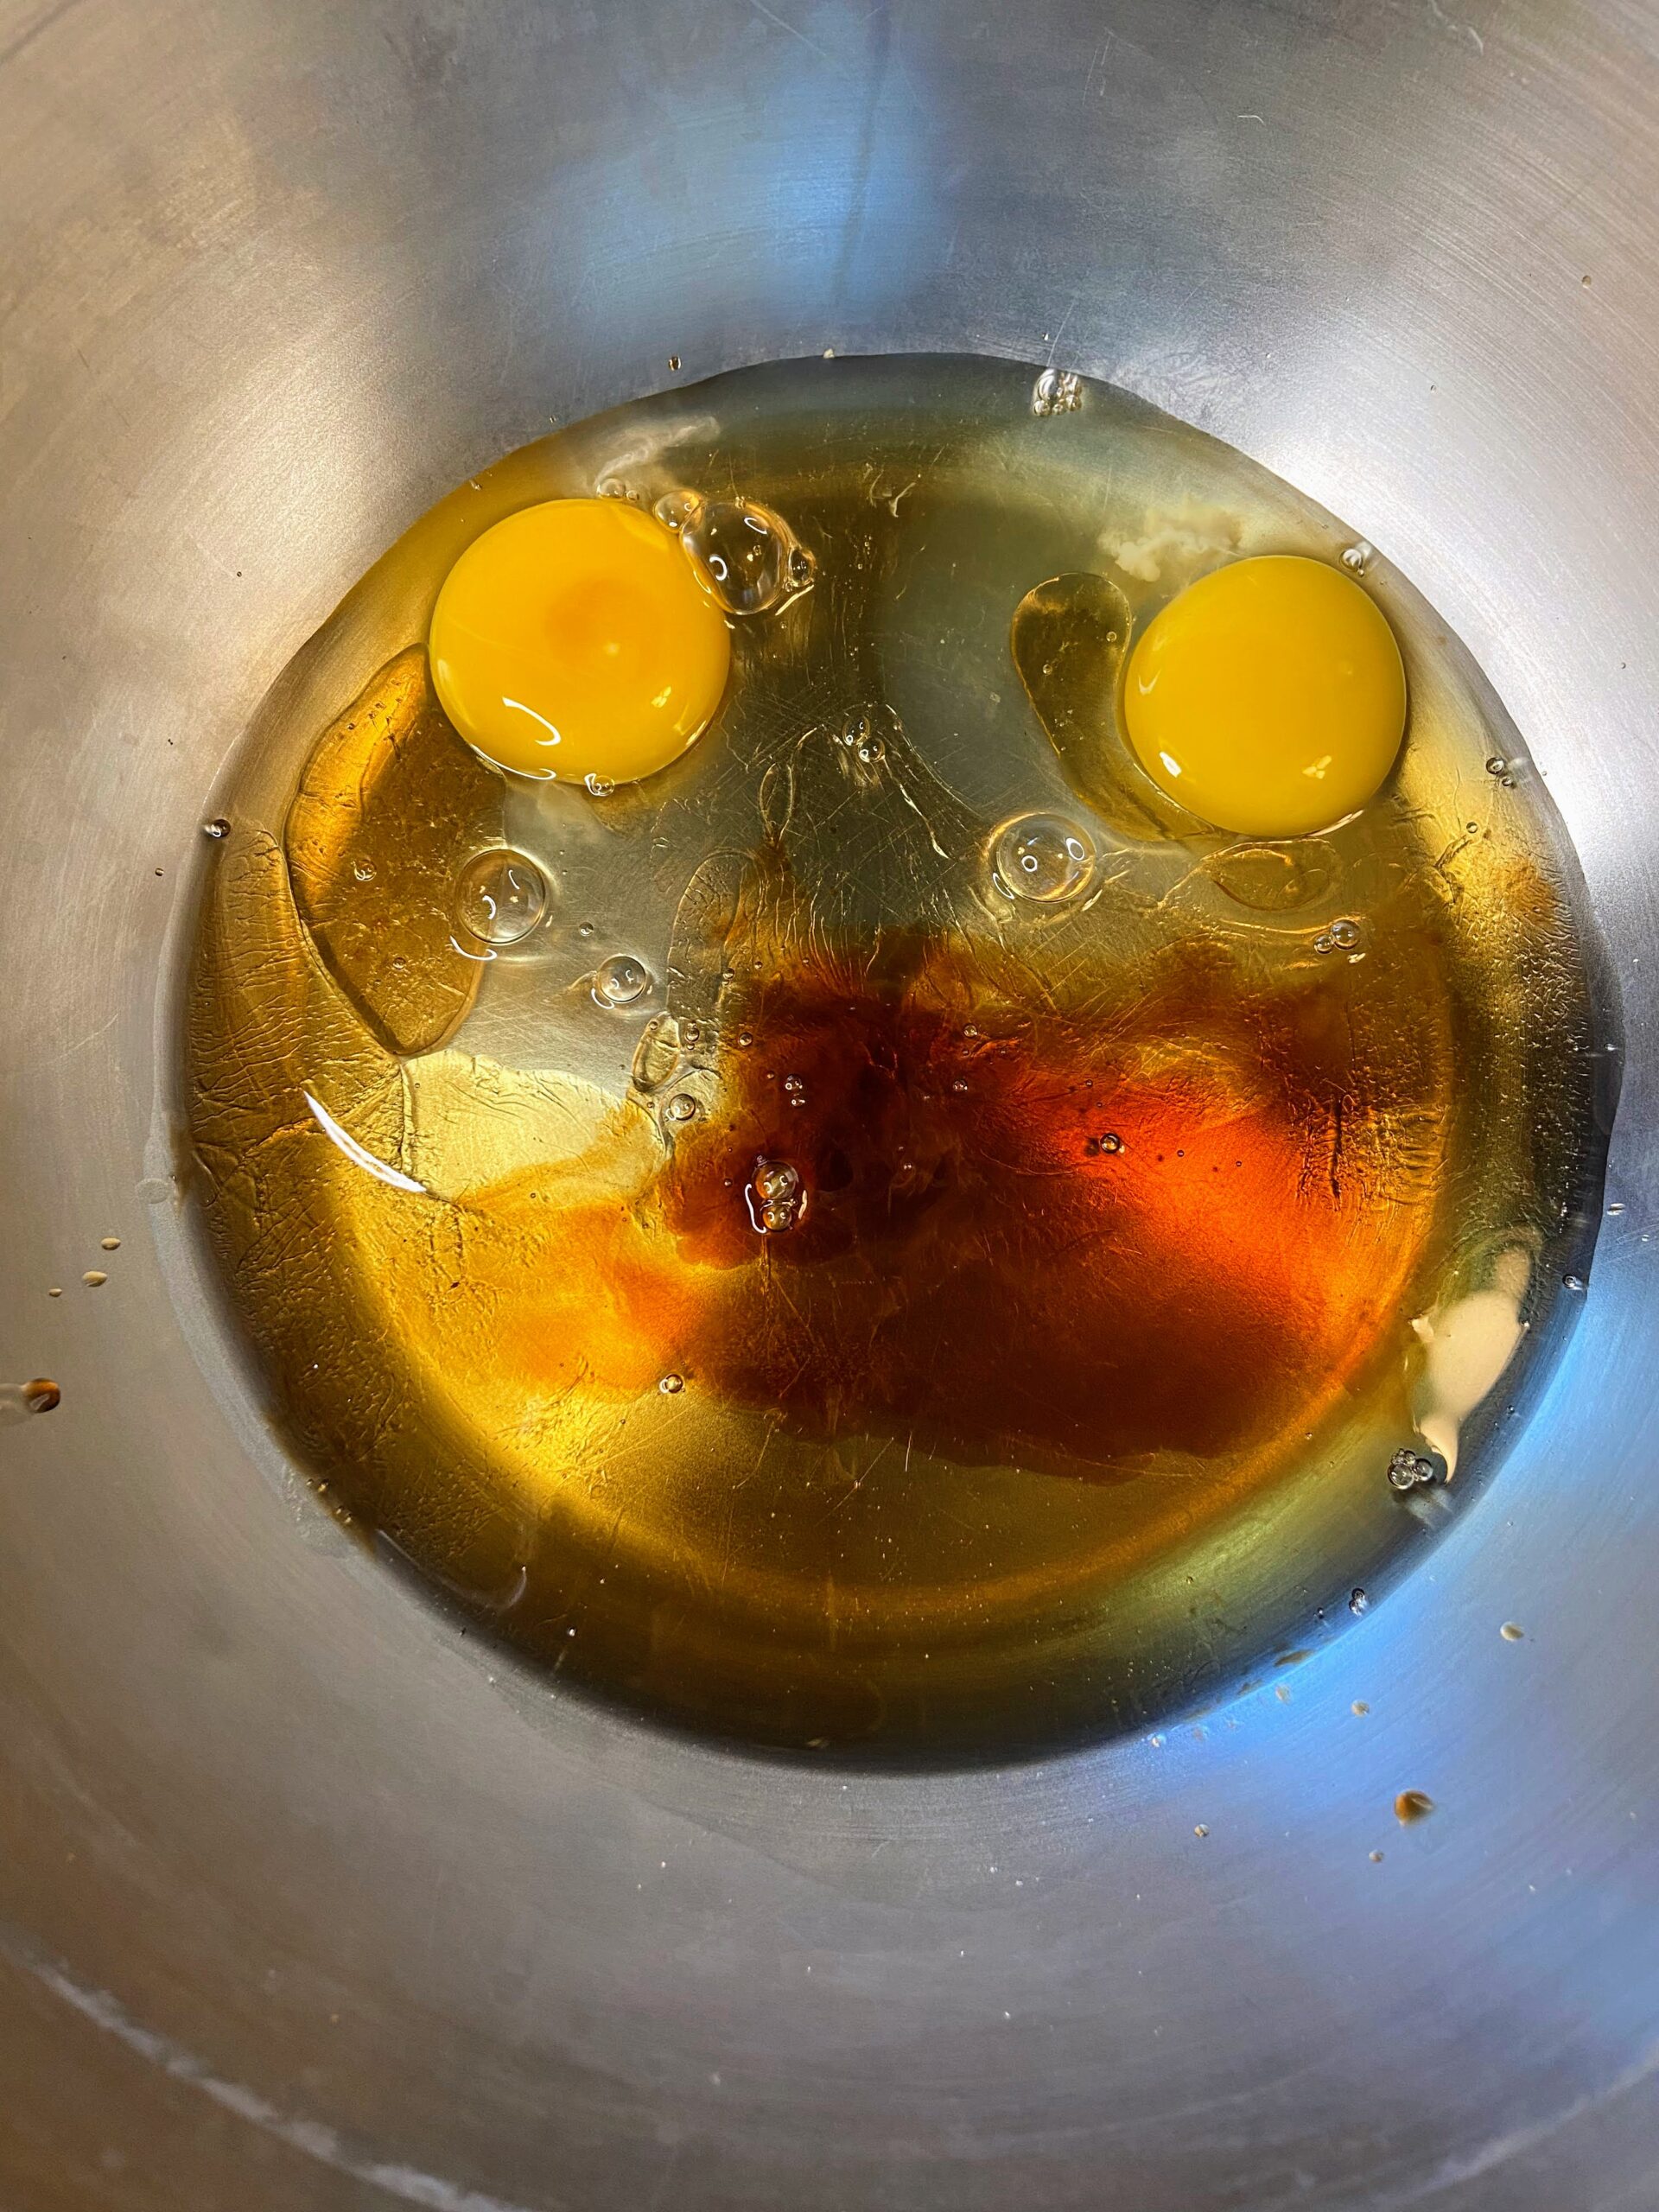
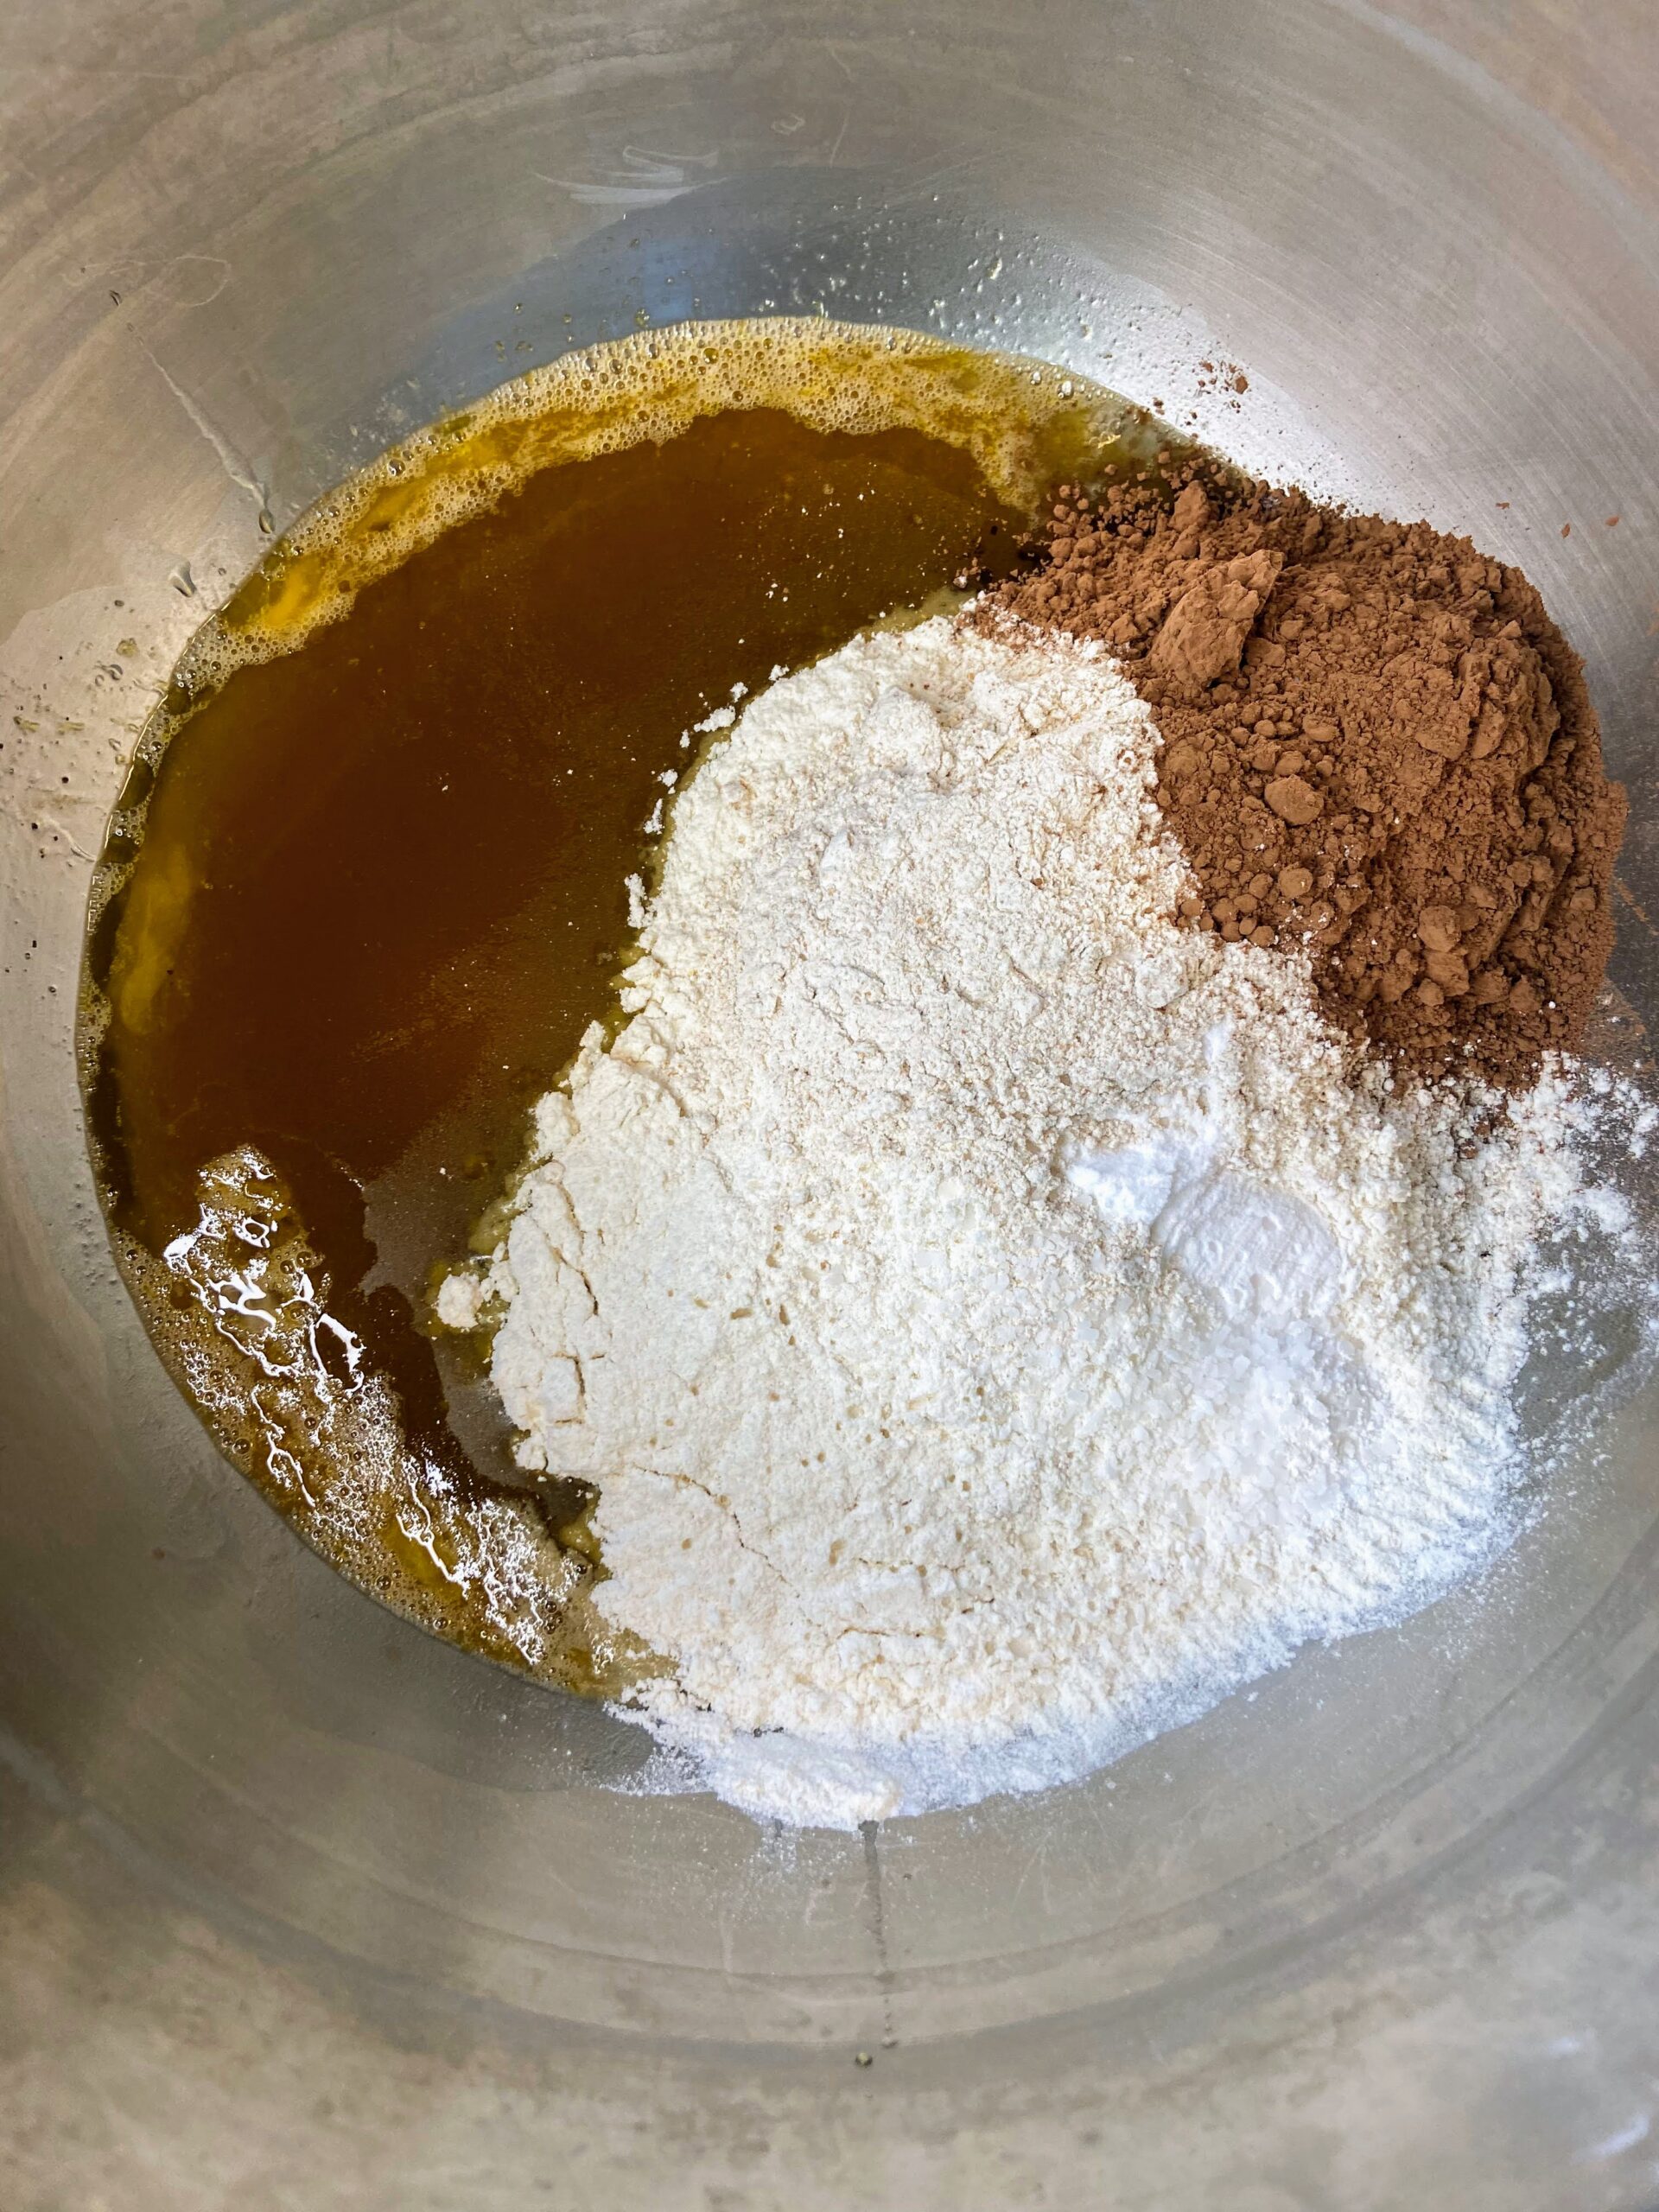
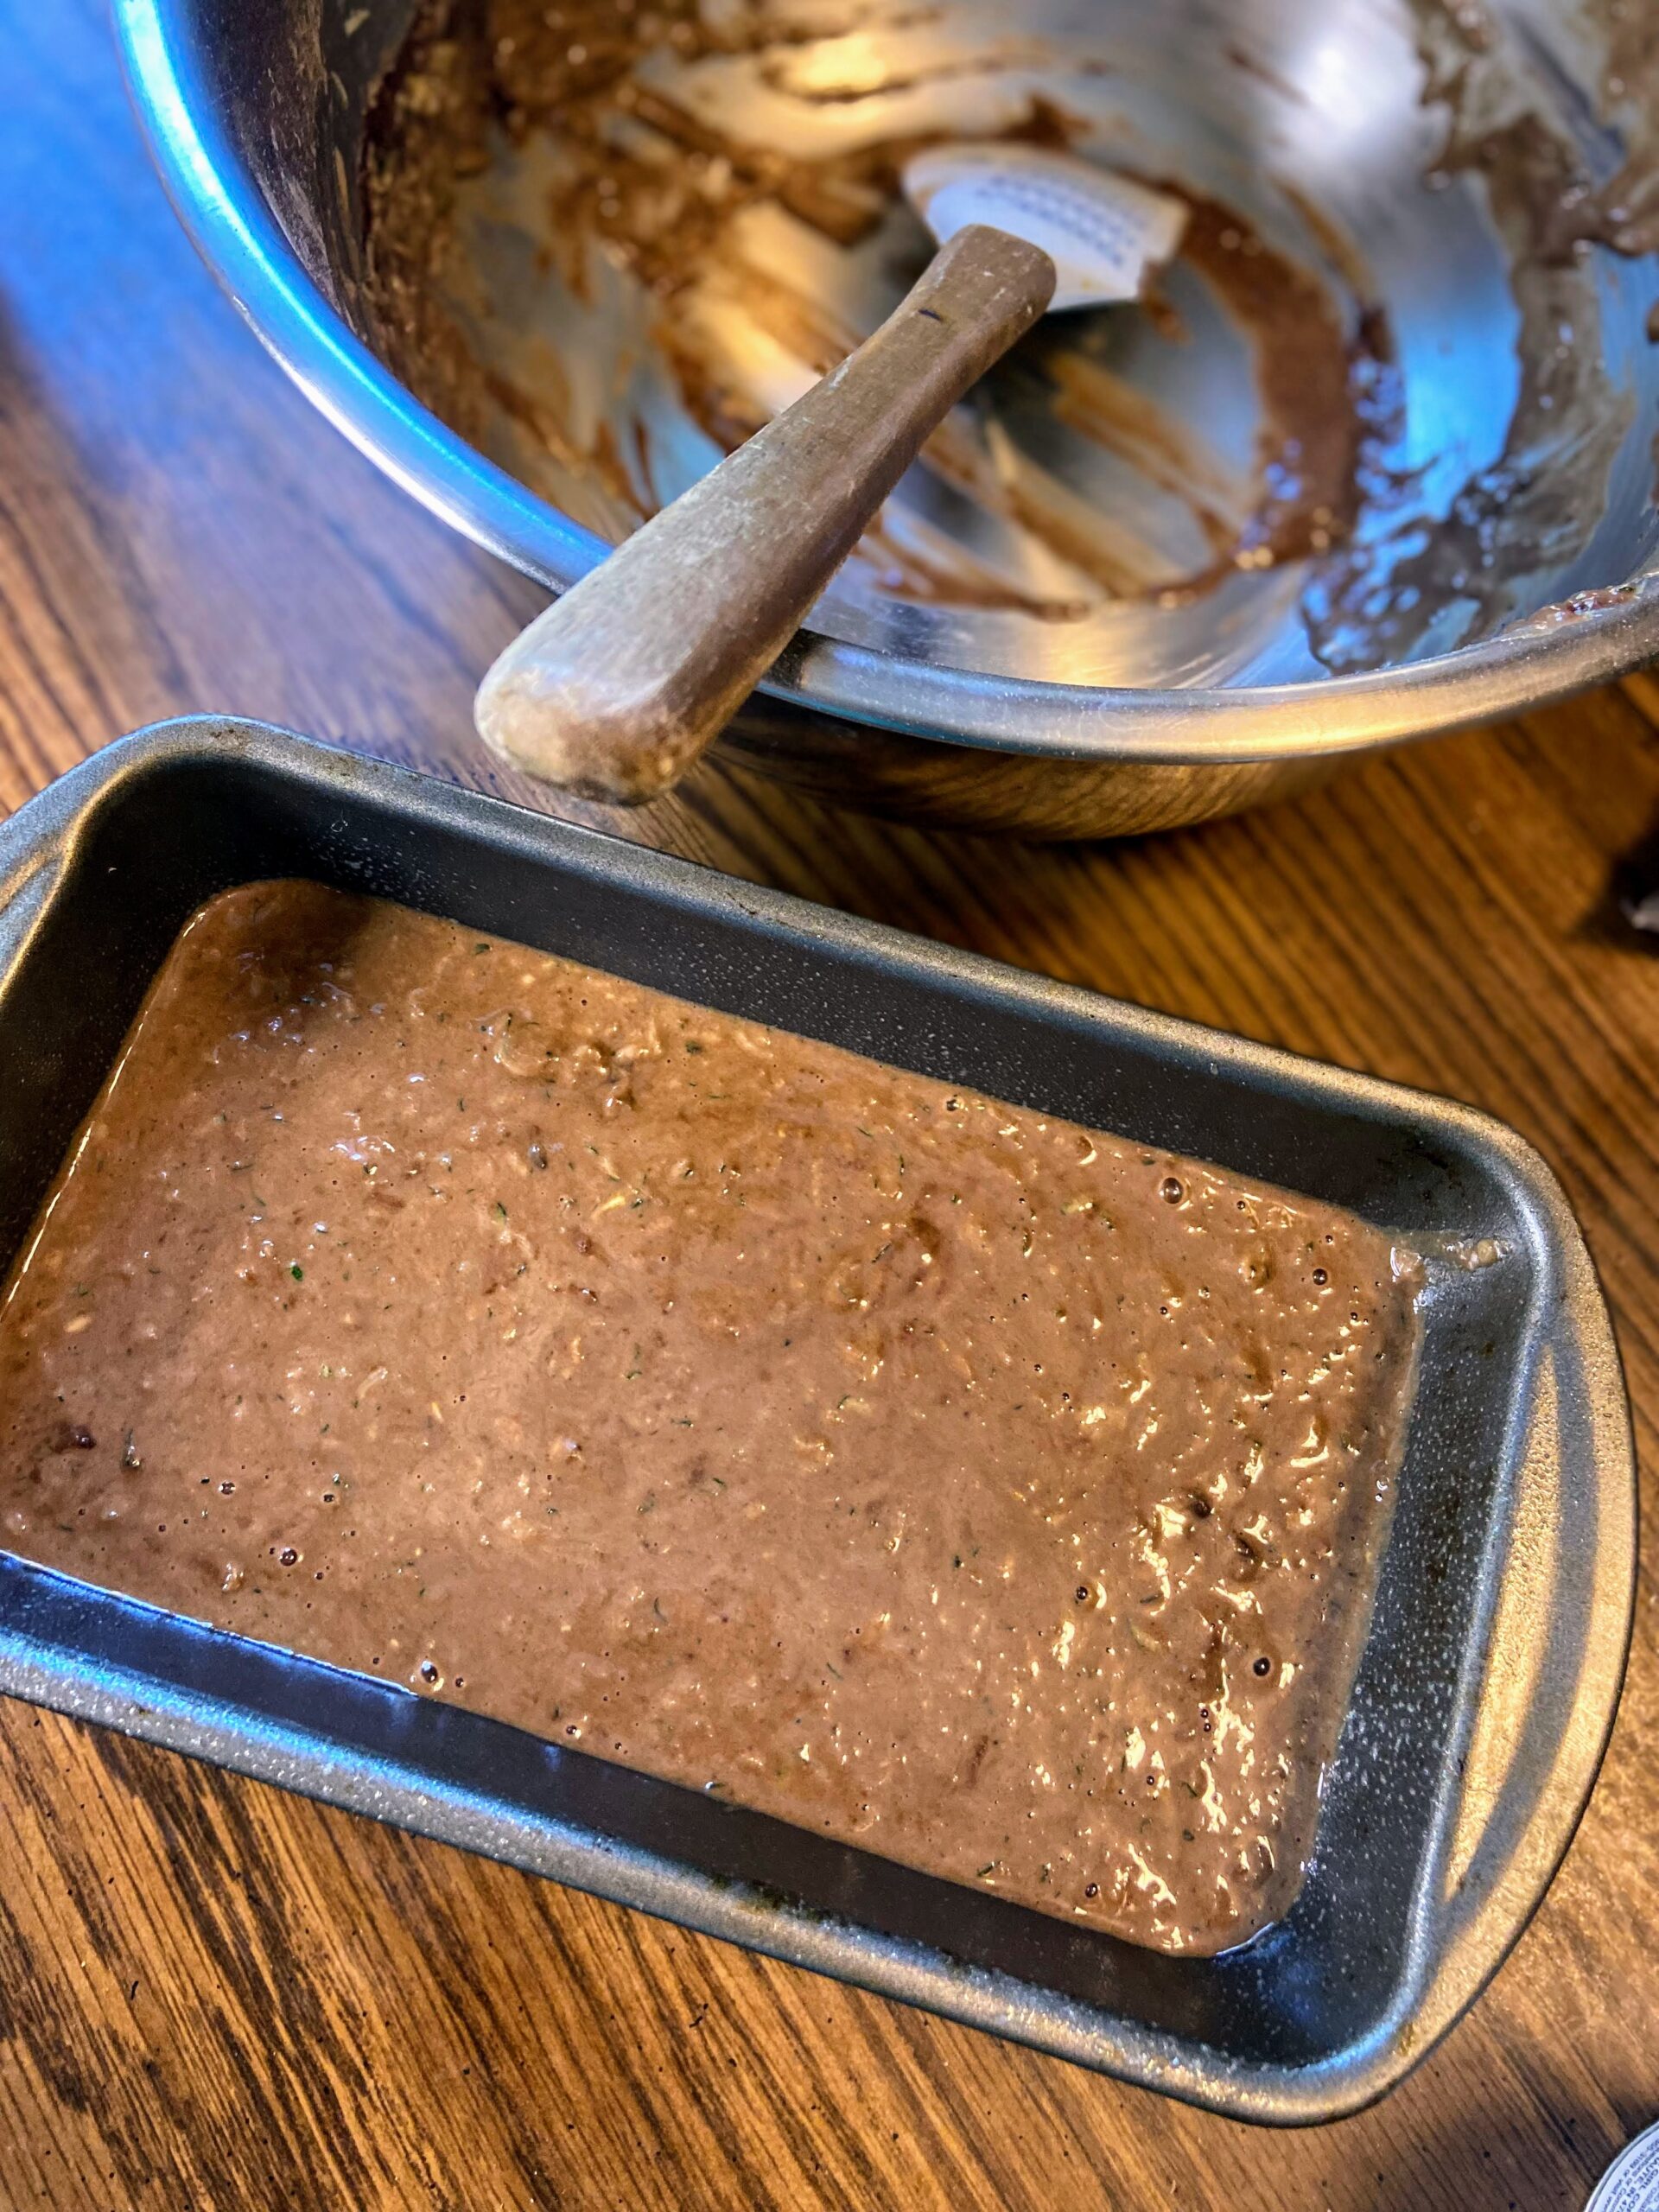
Preheat the oven to 350 degrees and prepare a 9-inch loaf pan with non-stick cooking spray. In a medium bowl, combine oil, syrup, vanilla, and eggs. In a separate bowl, combine the baking soda, salt, baking powder, flours, and cocoa powder. Stir into the wet ingredients until just combined. 

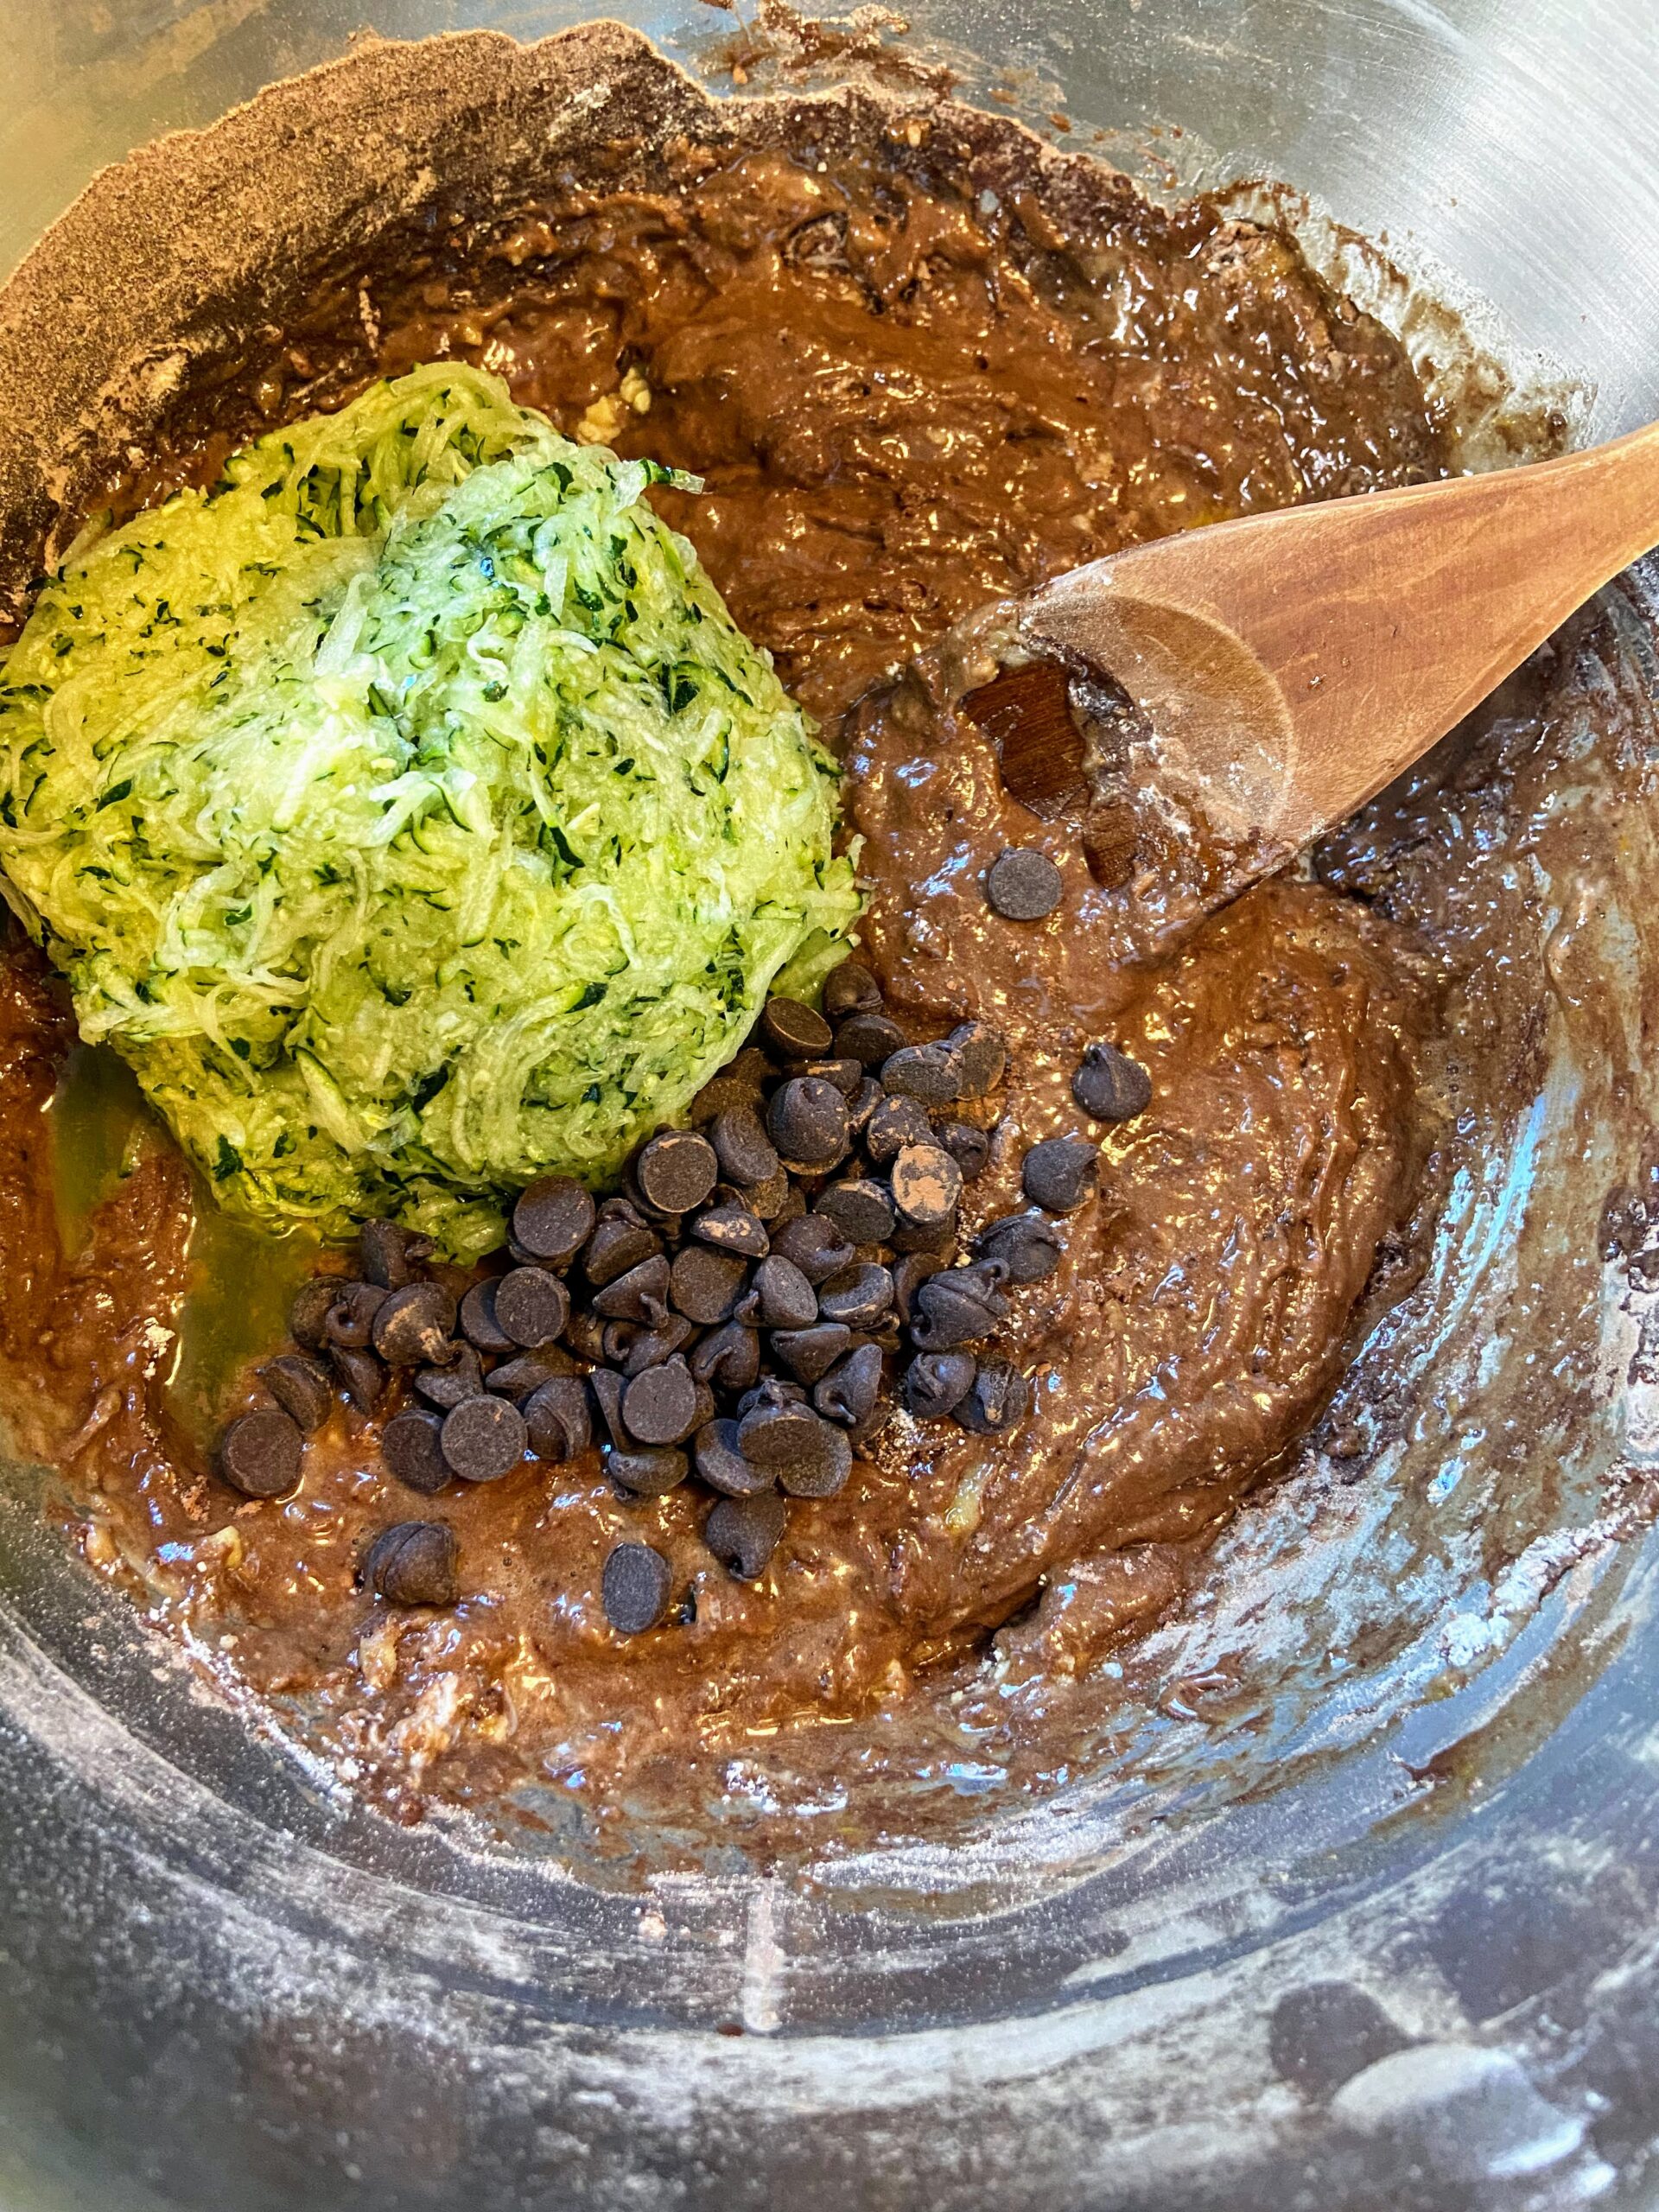
Add zucchini, chocolate chips, and nuts, if using. Fold into batter. 

Pour into prepared loaf pan and bake for 50-60 min, until a toothpick inserted in the center comes out clean with no raw batter. 

Chocolate Zucchini Bread

A classic chocolate zucchini bread with a bit of a healthy twist that is still kid approved!
Prep Time 10 minutes
Cook Time 50 minutes
Course Breakfast
Cuisine American
Servings 12 slices

Ingredients
  

  • ¼ cup olive oil or melted coconut oil
  • ½ cup maple syrup
  • ½ tablespoon vanilla
  • 2 eggs
  • 1 teaspoon baking soda
  • ¾ teaspoon salt
  • ½ teaspoon baking powder
  • 1 cup whole wheat flour
  • ½ cup all-purpose flour
  • ¼ cup cocoa powder
  • ¼-½ cup chocolate chips
  • 2 cups shredded zucchini water squeezed out
  • ½ cup chopped nuts optional

Instructions
 

  • Preheat the oven to 350 degrees and prepare a 9-inch loaf pan with non-stick cooking spray.
  • In a medium bowl, combine oil, syrup, vanilla, and eggs. In a separate bowl, combine the baking soda, salt, baking powder, flours, and cocoa powder.
  • Stir into the wet ingredients until just combined.
  • Add zucchini, chocolate chips, and nuts, if using. Fold into batter.
  • Pour into prepared loaf pan and bake for 50-60, until a toothpick inserted in the center comes out clean with no raw batter.

Notes

This recipe bakes up nicely as a muffin too! Just prepare a muffin tin by greasing or using liners and drop the bake time to 20 minutes or so. 
 
Keyword chocolate, chocolate zucchini bread, Quick Bread, zucchini, zucchini bread
Tried this recipe?Let us know how it was!

Looking for other great recipes?

Check out a few suggestions below! Or feel free to head to my baking or cooking pages for all sorts of inspiration!

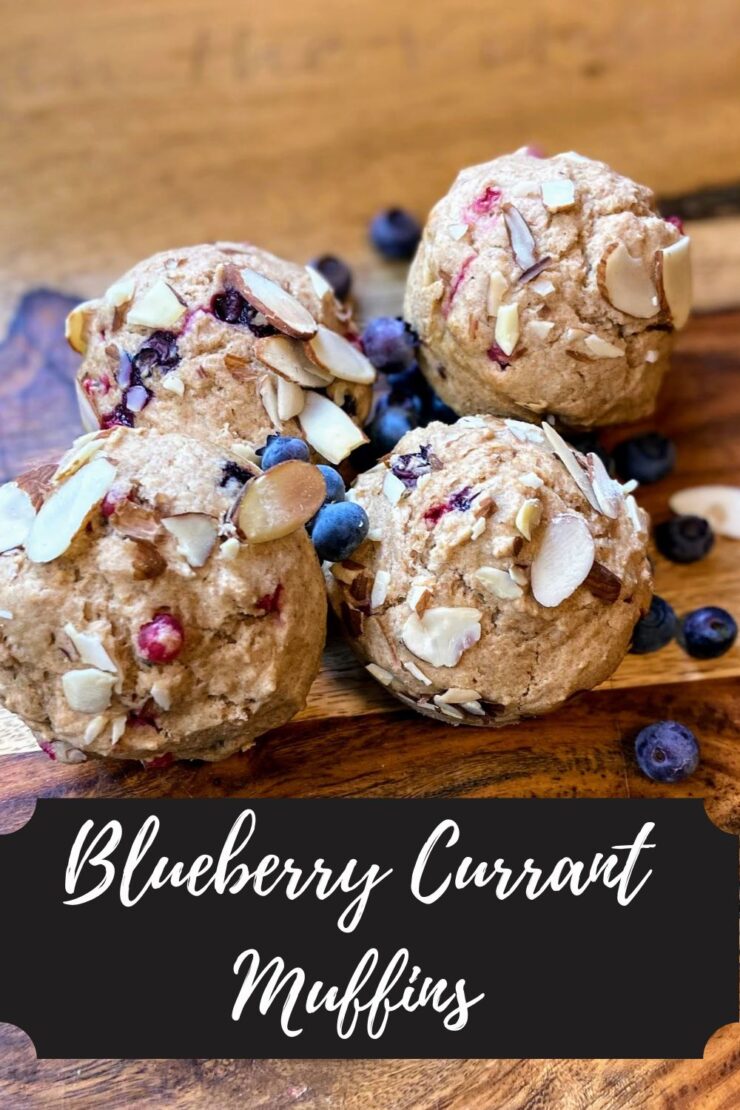
Blueberry Currant Muffins

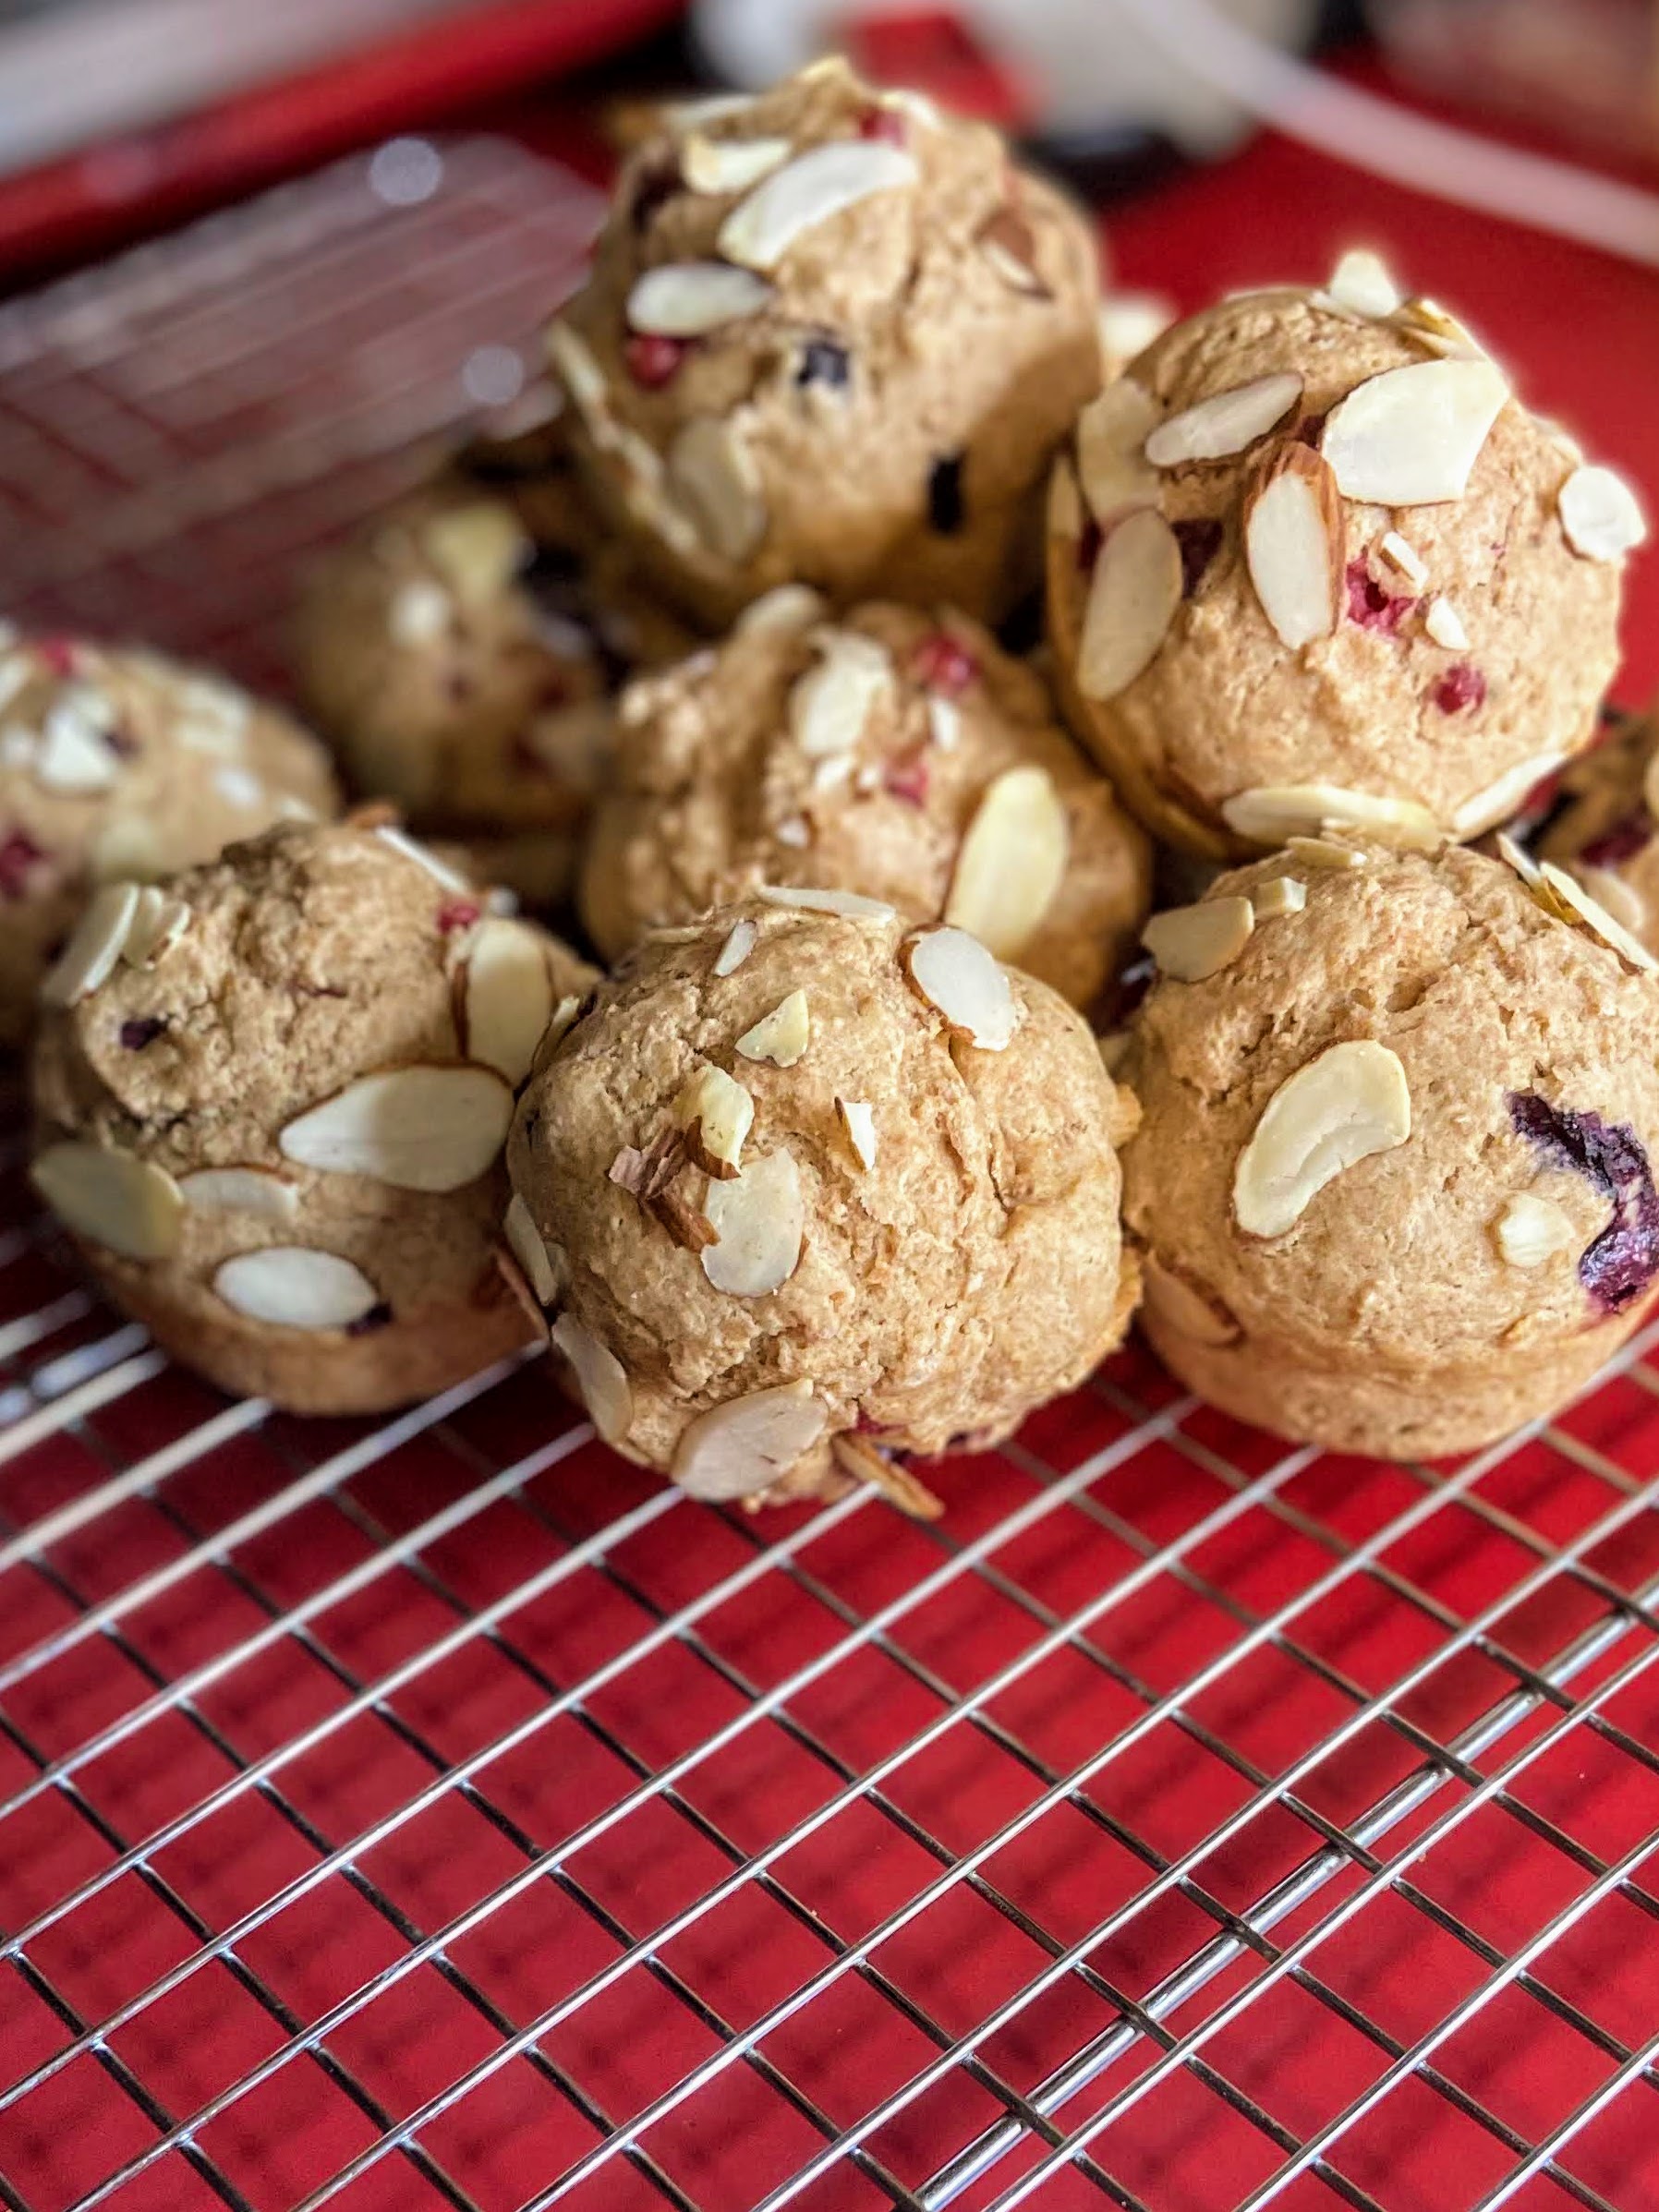
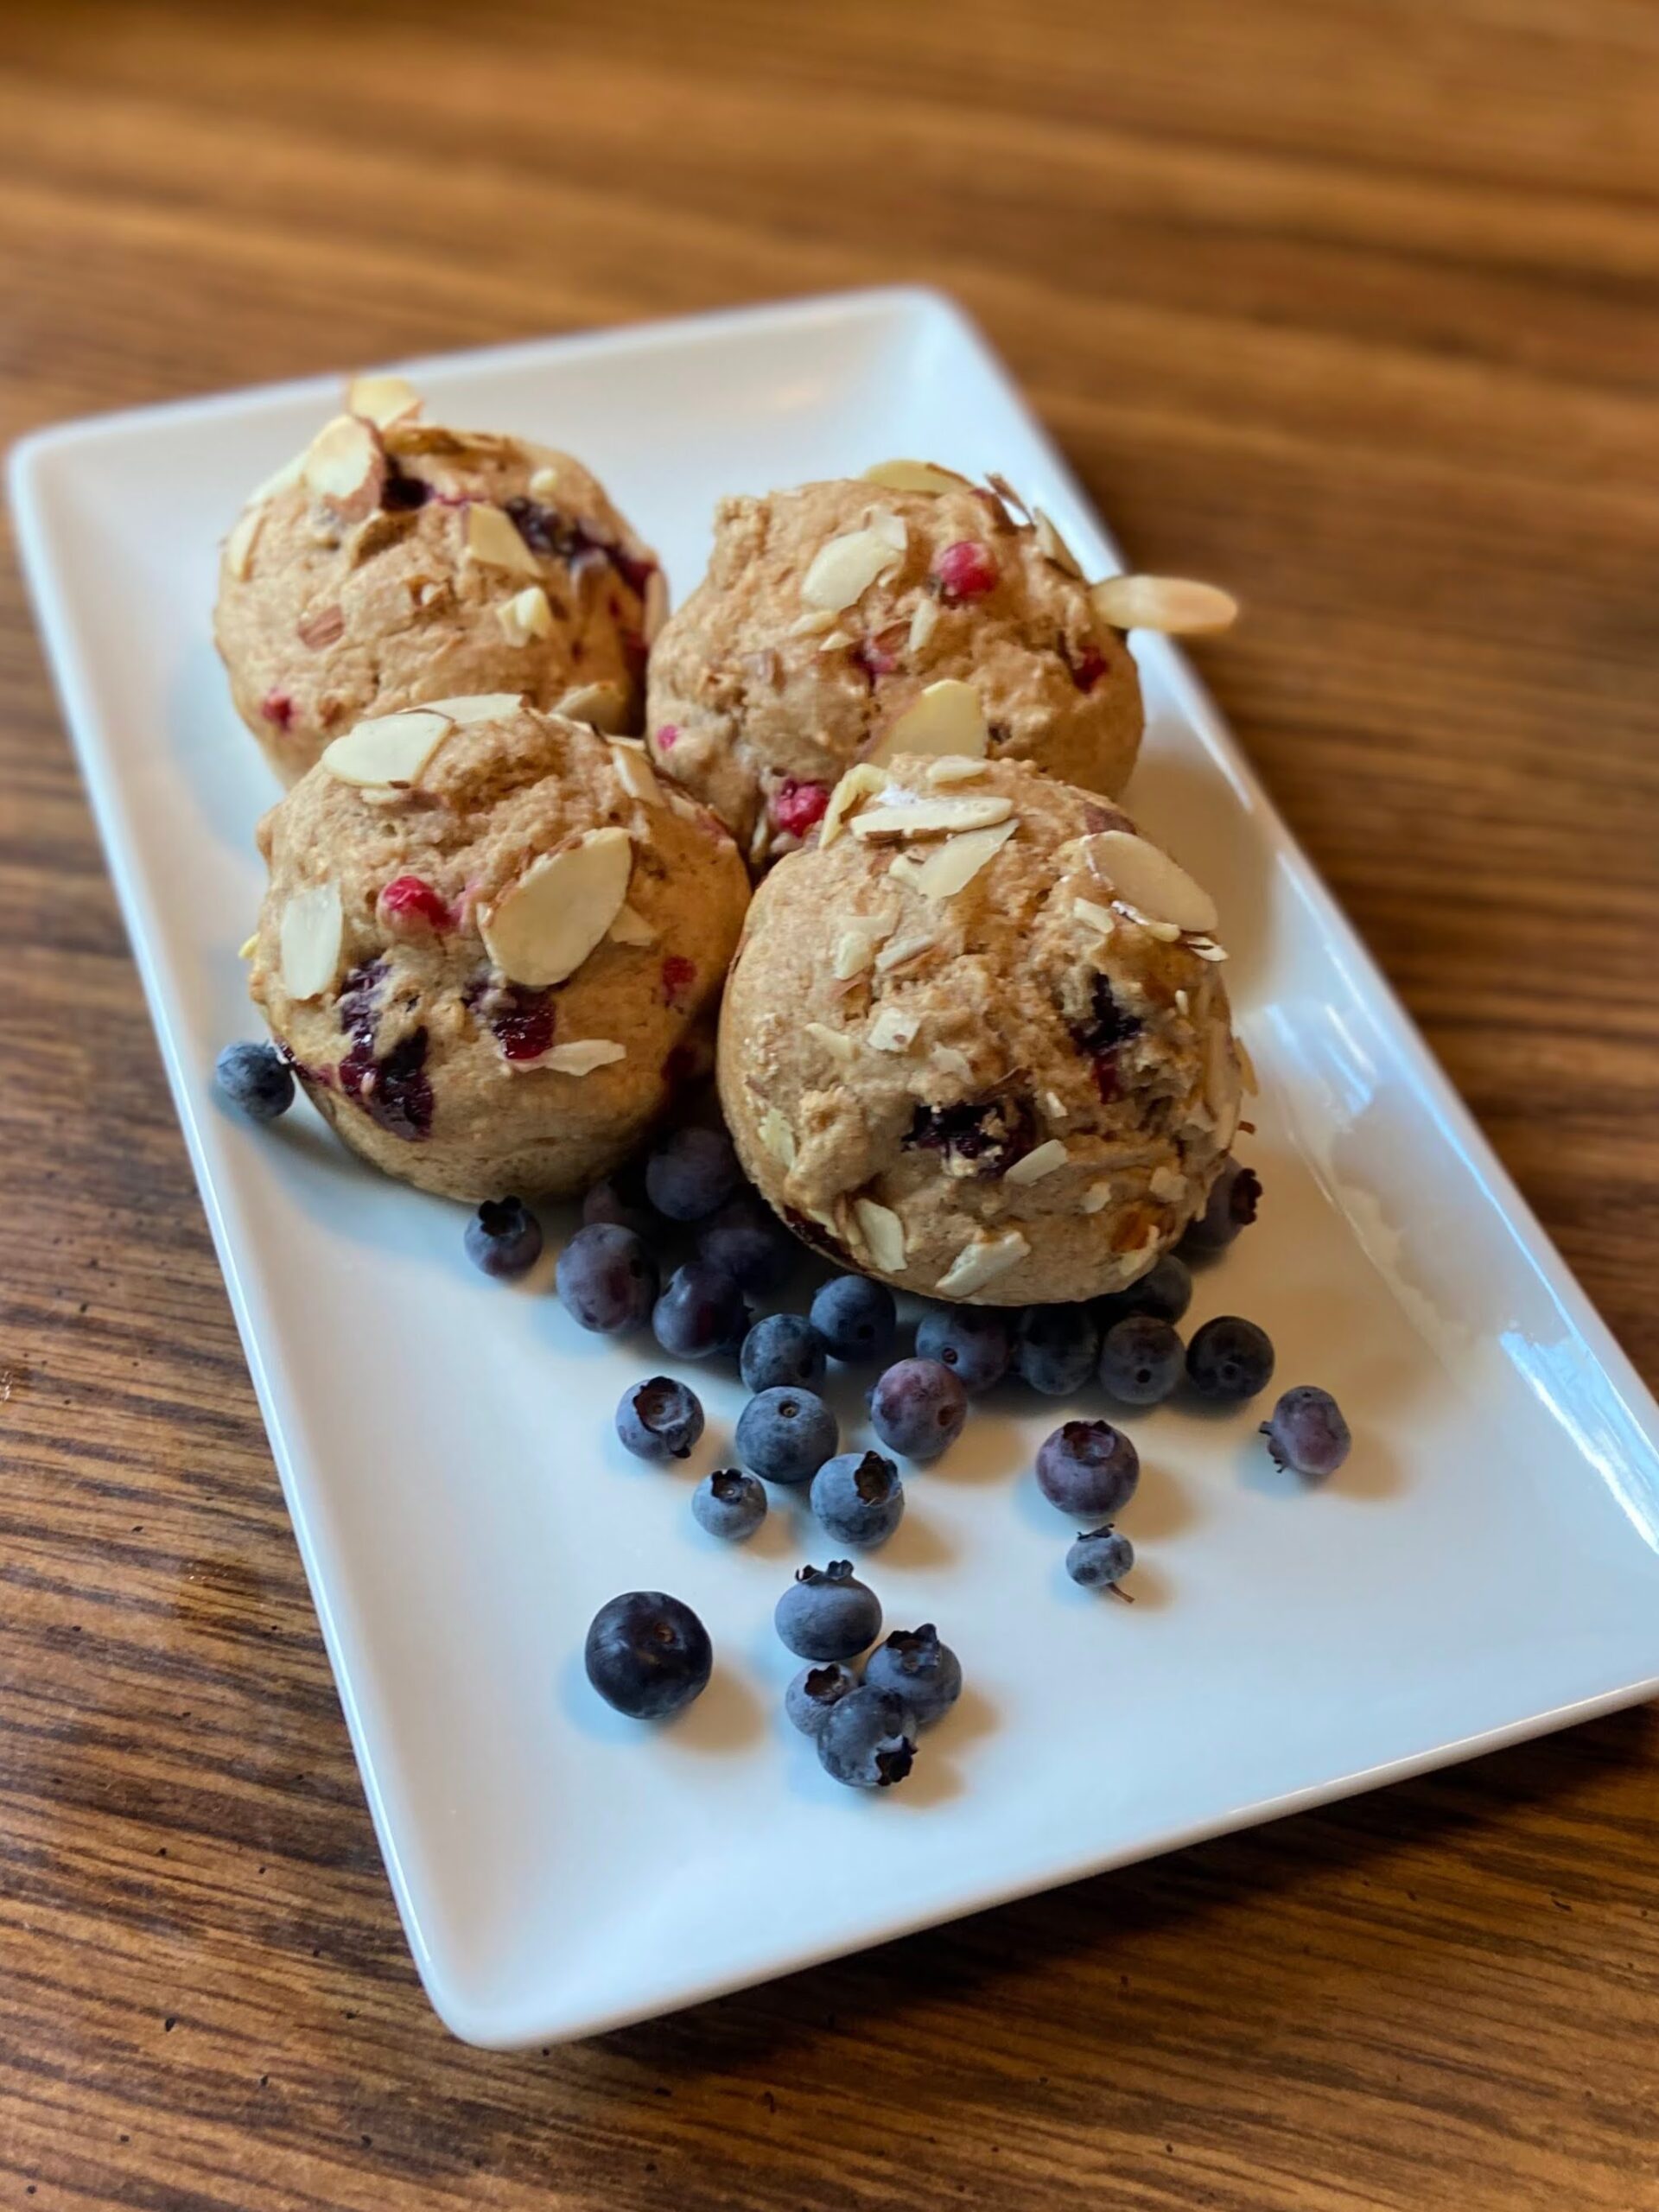
For the last ten years, I have slowly (okay, not so slowly) become an avid gardener, preserver, and aspiring homesteader. I often joke the Mr. that I can’t wait for him to ‘make all the monies’ so I can stay home and grow and create good food. One of most favorite parts of gardening is the harvesting of the berries, which we grow by the pounds. It’s mediative for me. But with all those berries, must come preservation and I dig a good muffin! As the red currants and blueberries came in, I knew I had to combine them to get that beautiful pop of color. And so, I proudly present blueberry currant muffins. 

I generally like to keep things healthy around here, but have been straying from that a bit. It’s about balance, right? So I went back to my roots and did a little healthier take on a muffin, using maple syrup (If you’ve never made your own, I can’t recommend it enough. Check out my post on our adventure here!)

I hope you enjoy the bursts of flavor in these muffins as much as we did! Let’s get baking!

Your Ingredients

  • ½ cup almond milk 
  • 1 egg
  • ⅓ cup maple syrup 
  • ¼ teaspoon almond extract
  • 2 cups flour (I do high quality whole wheat from Sunrise Flour Mill
  • 2 teaspoons baking soda
  • ½ teaspoon salt
  • 2 tablespoons coconut oil, melted 
  • ¾ cup fresh blueberries 
  • ¼ cup red currants 
  • ¼ cup sliced almonds 

Your Steps to Blueberry Currant Muffins

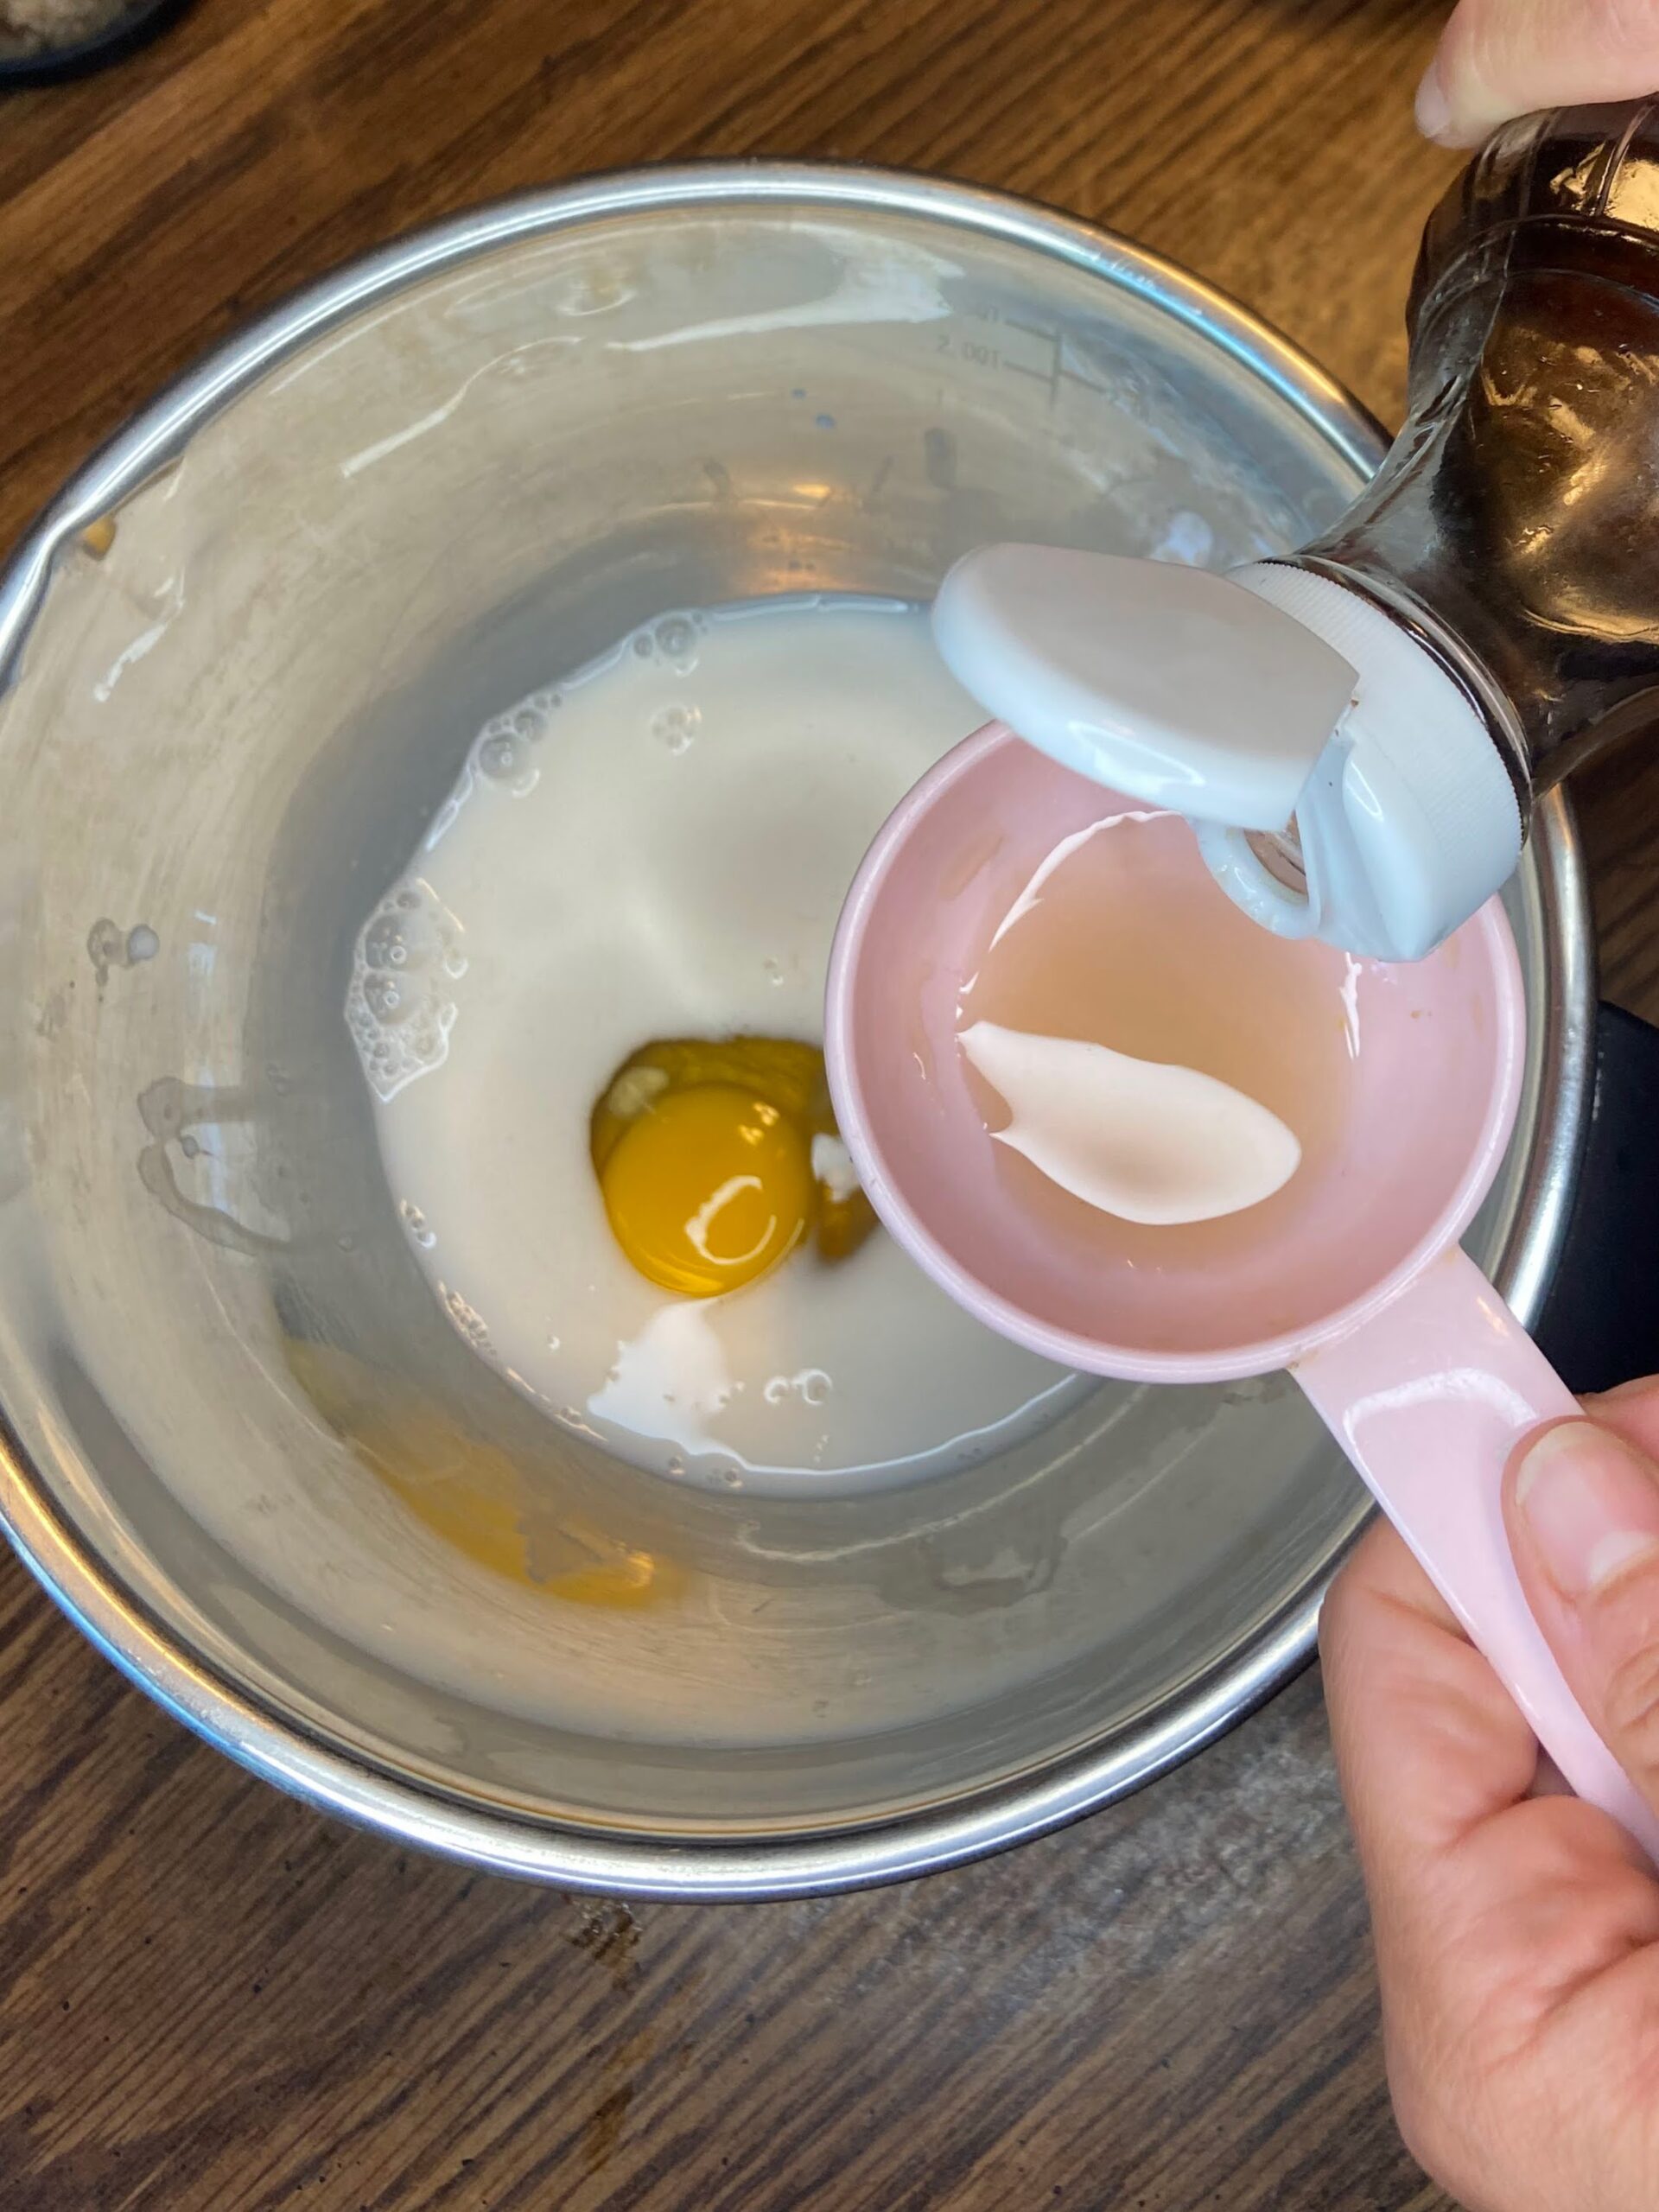
Preheat the oven to 350 degrees. In a medium bowl, combine milk, egg, syrup, and almond extract. Add flour, baking soda, and salt, mixing until just combined.

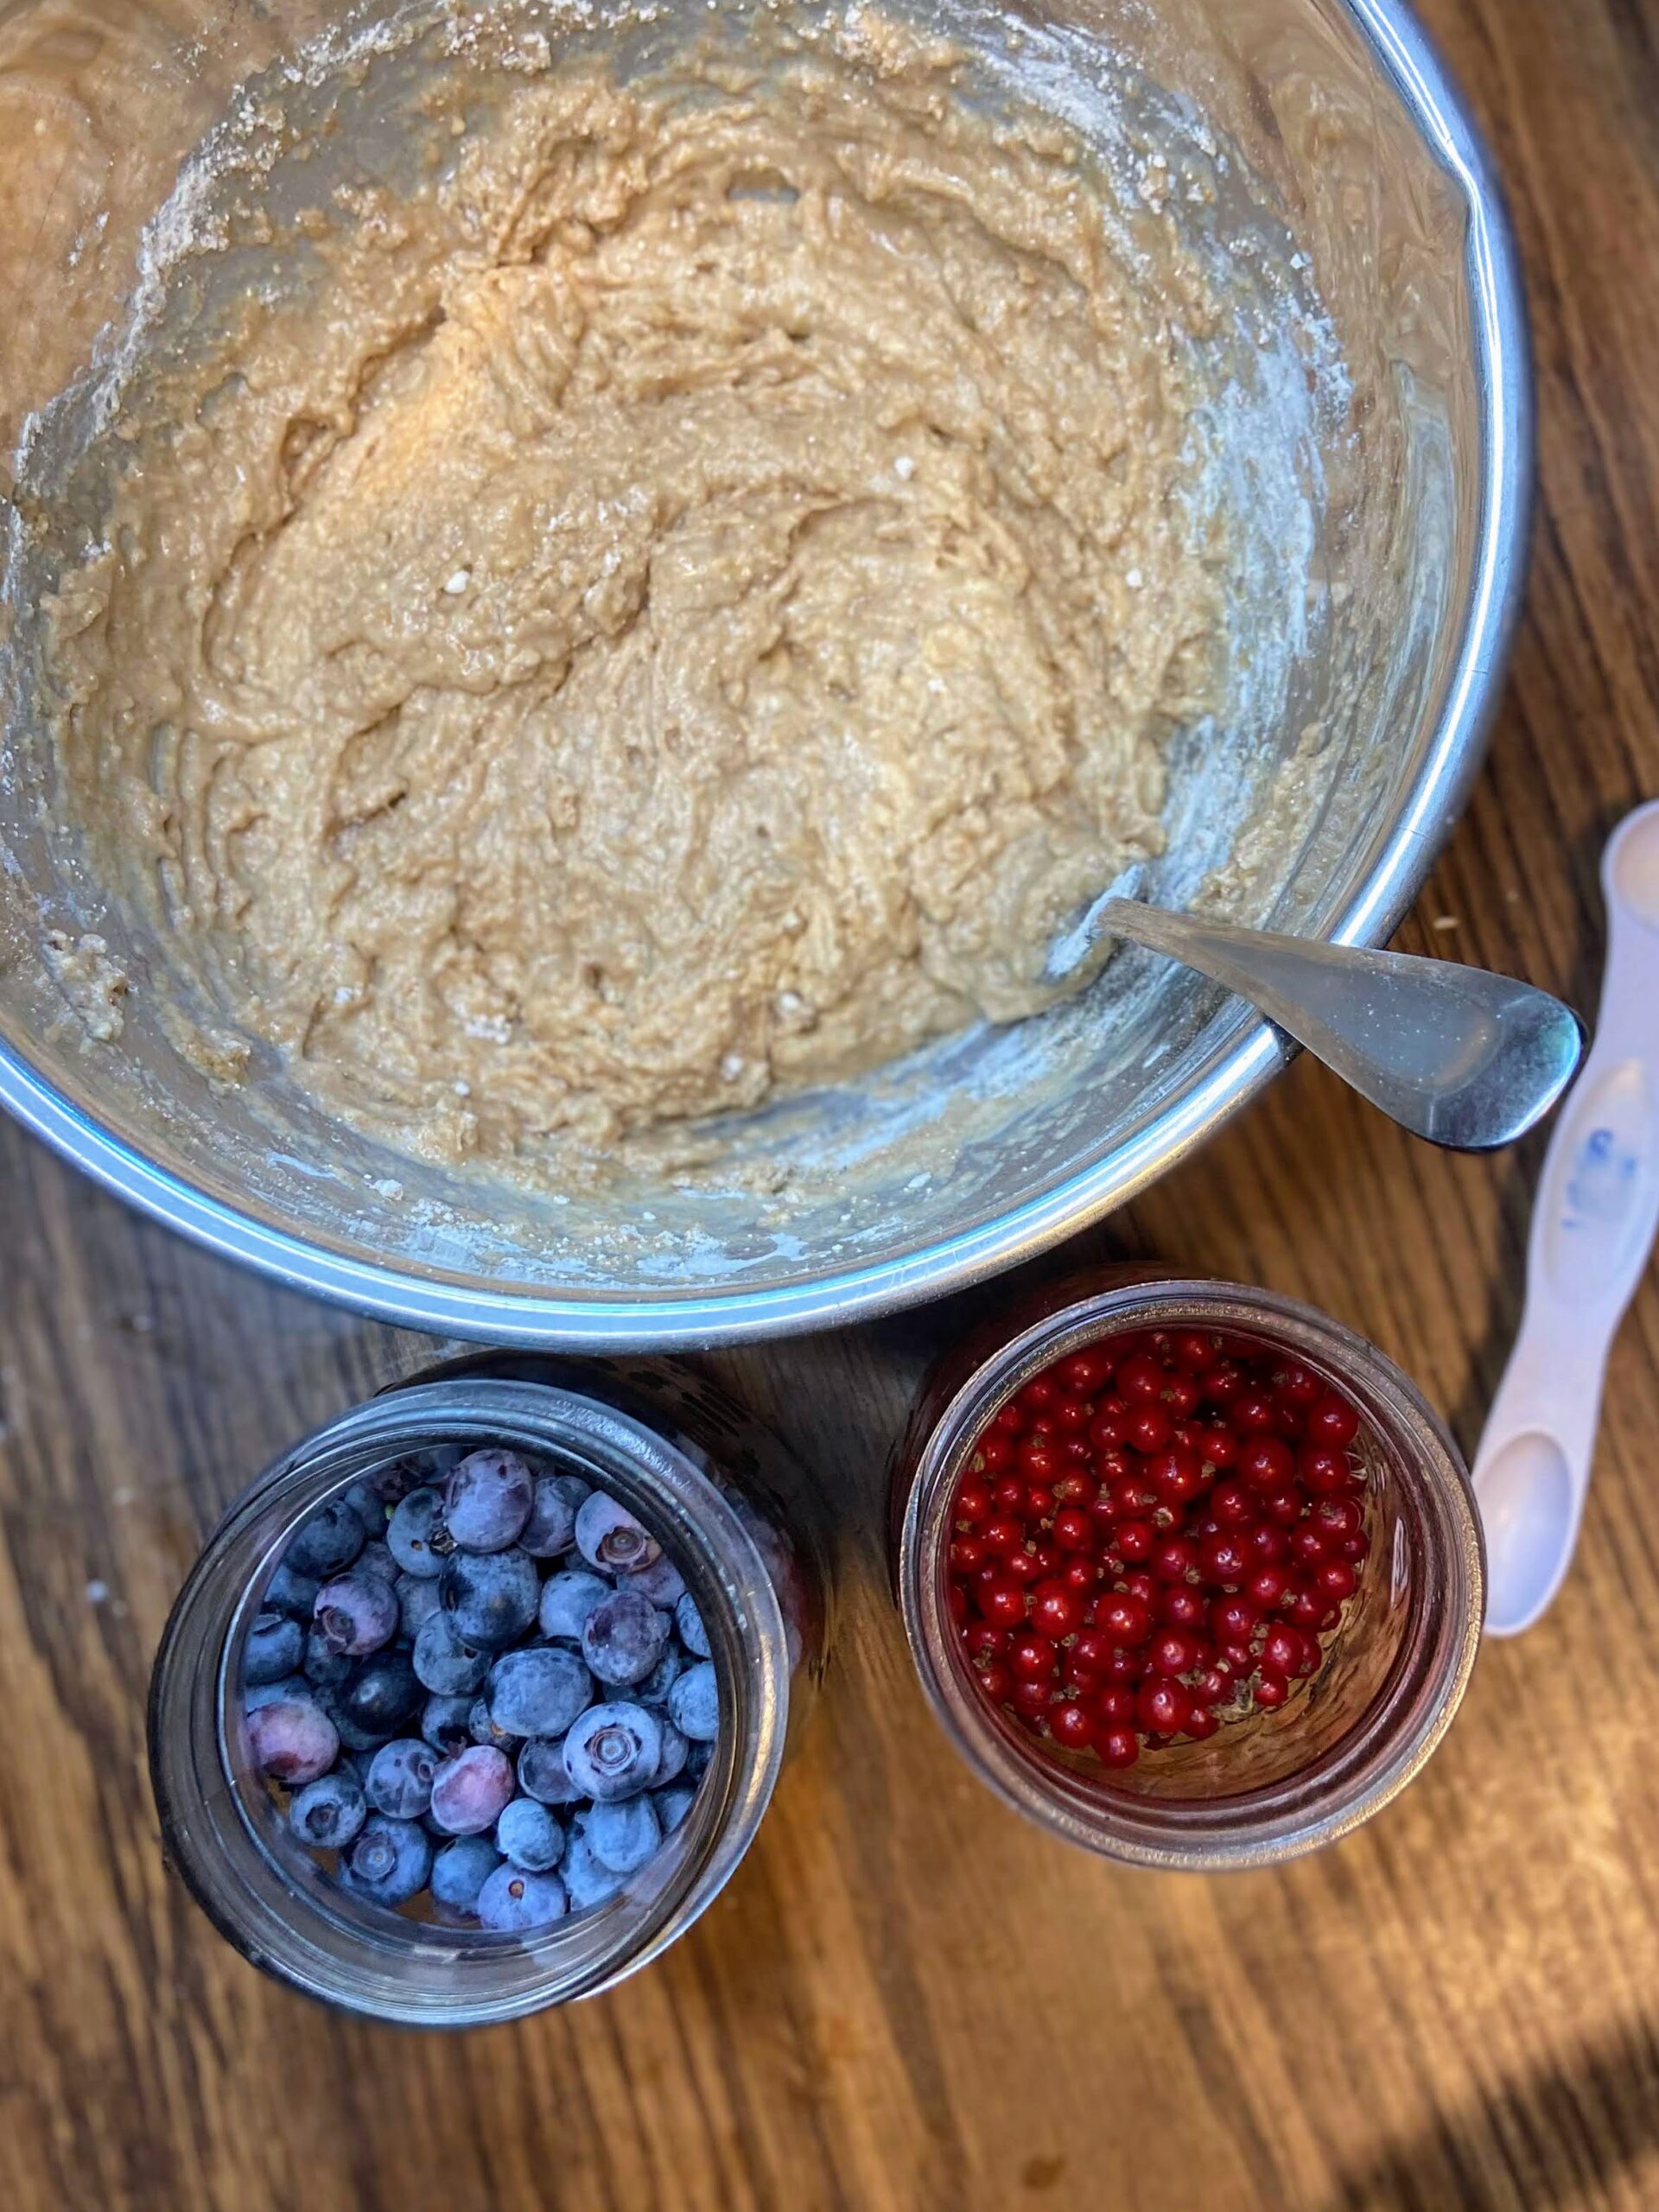
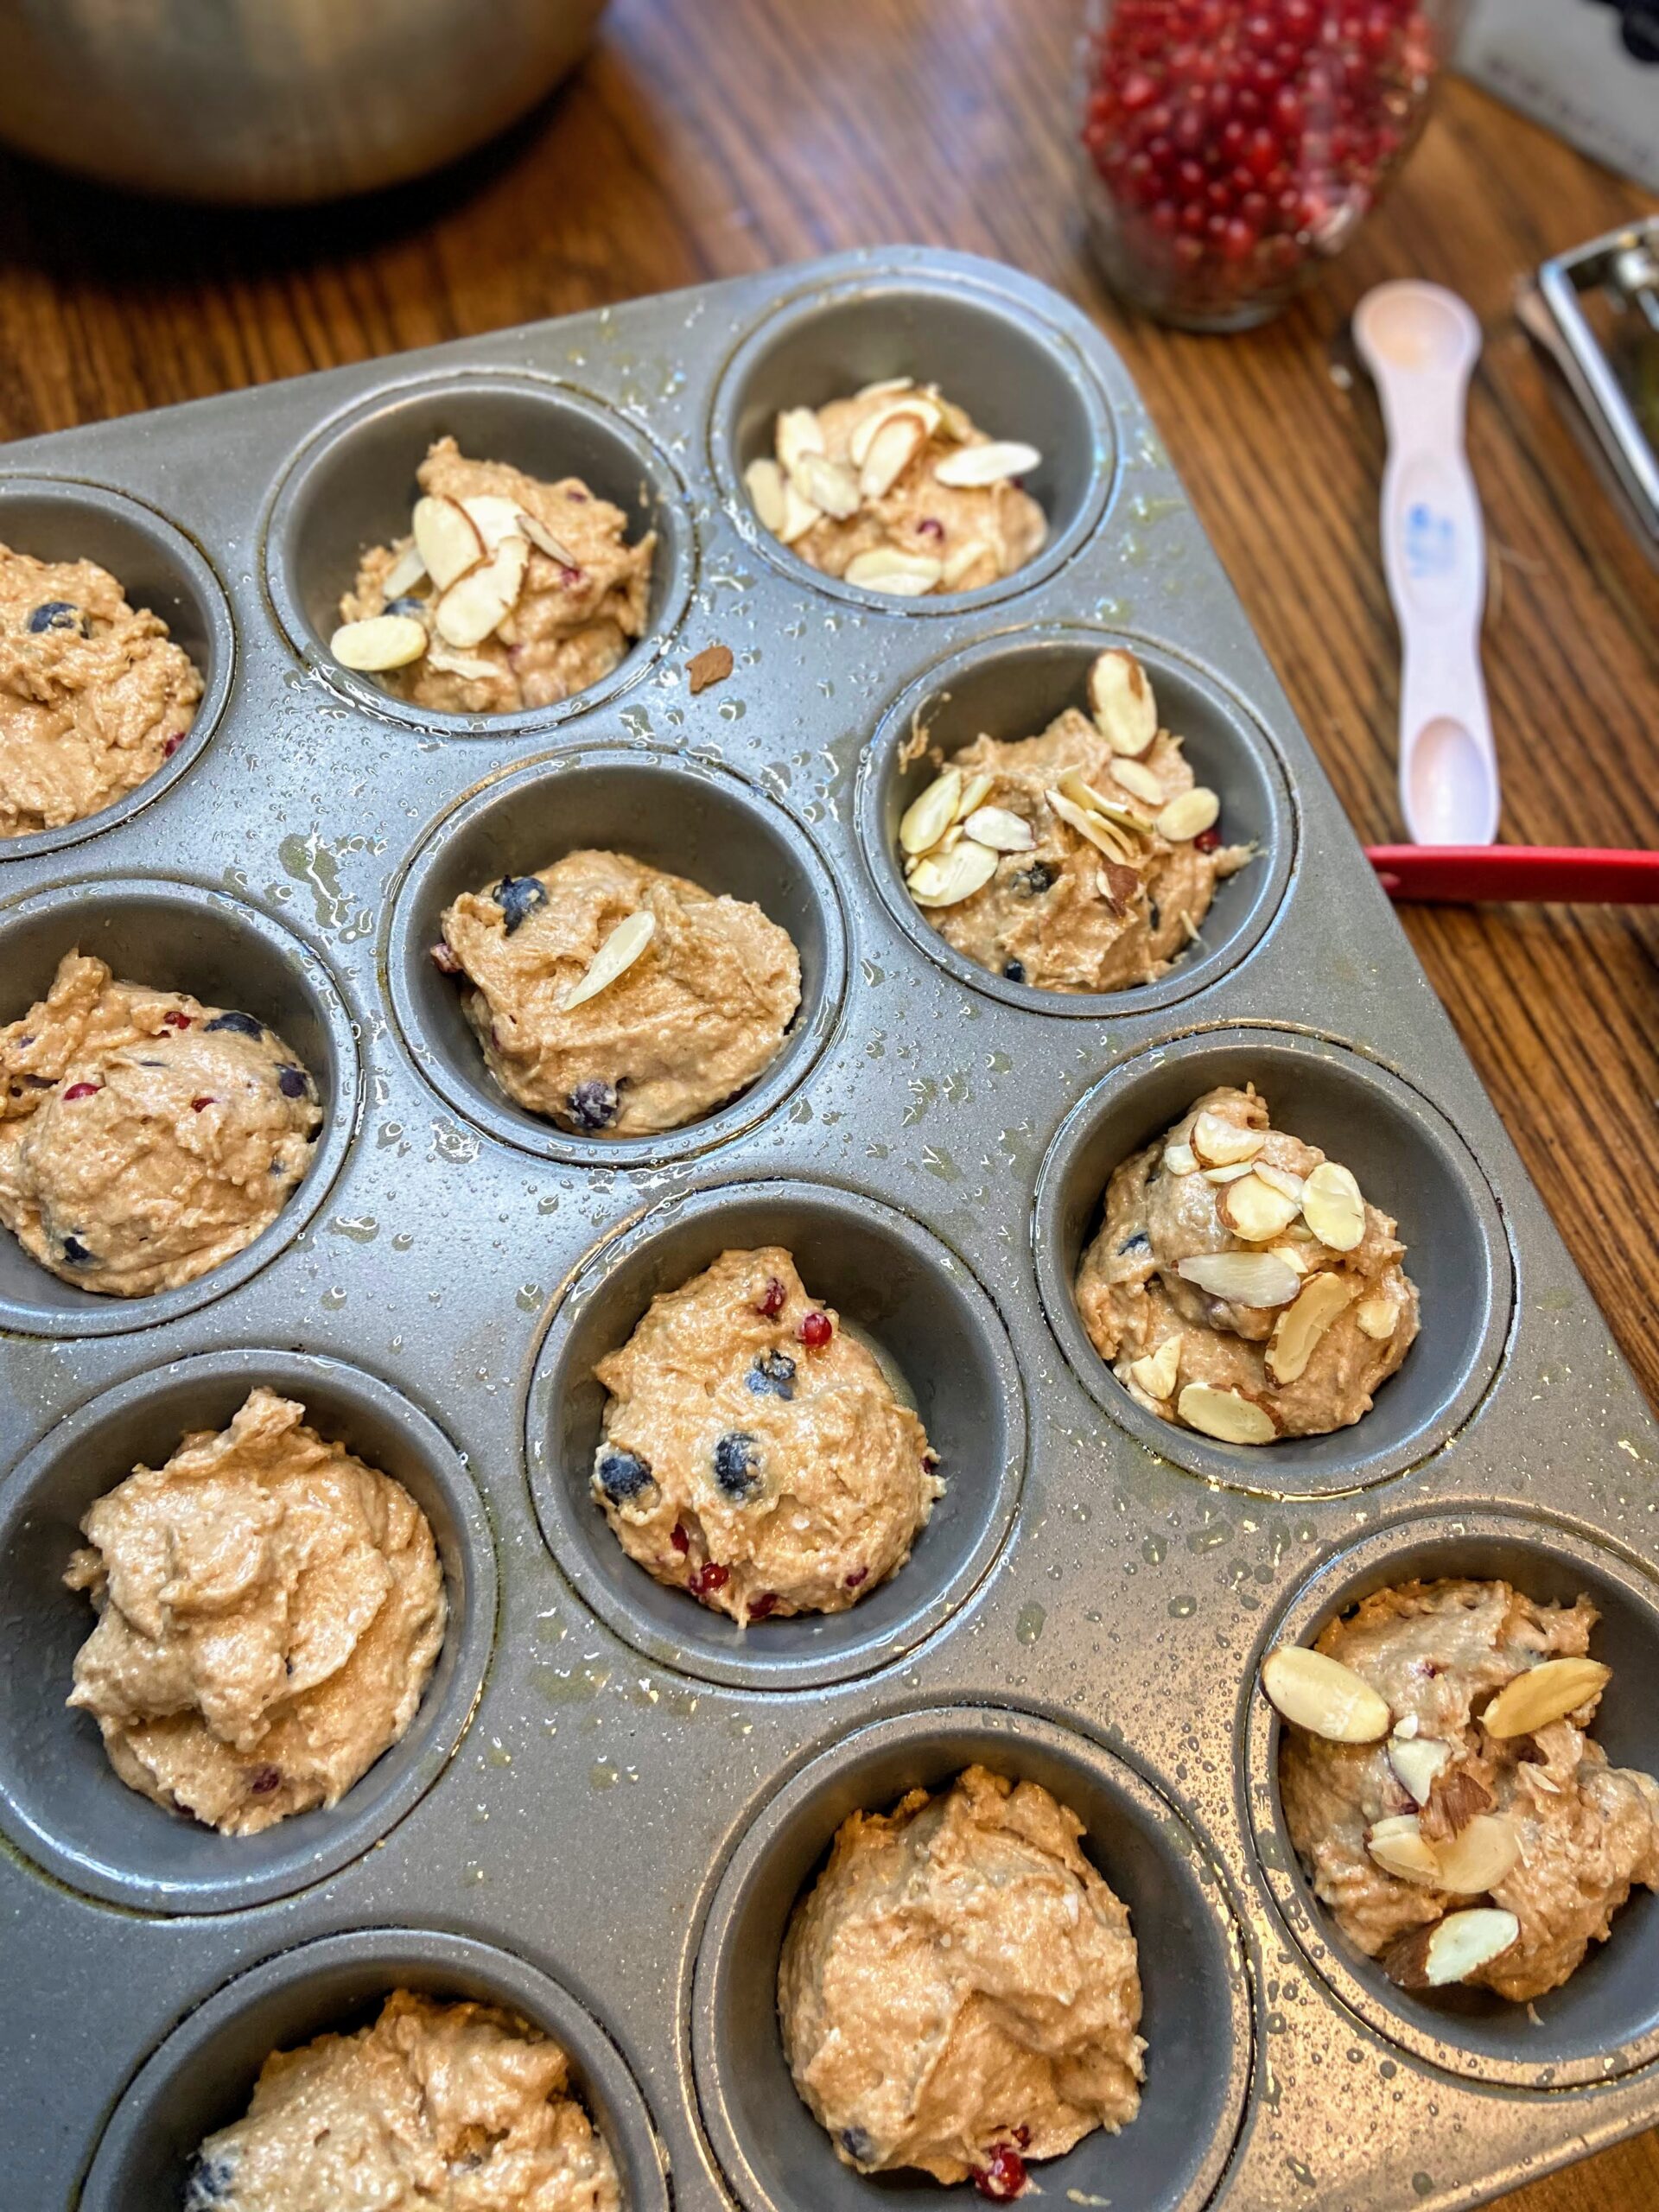
Gently fold in coconut oil, blueberries, and currants. Place in a well greased muffin tin, filling about ¾ of the way.

Top with sliced almonds. Bake for 18-22 minutes, until baked through. 

Blueberry Currant Muffins

Beautiful pops of color and flavor are abundant in these blueberry currant muffins perfect for breakfast, snacks, and anywhere in between!
Prep Time 10 minutes
Cook Time 20 minutes
Course Breakfast, Snack
Cuisine American
Servings 12 muffins

Equipment

Ingredients
  

  • ½ cup almond milk
  • 1 egg
  • cup maple syrup
  • ¼ teaspoon almond extract
  • 2 cups flour
  • 2 teaspoons baking soda
  • ½ teaspoon salt
  • 2 tablespoons coconut oil melted
  • ¾ cup fresh blueberries
  • ¼ cup red currants
  • ¼ cup sliced almonds

Instructions
 

  • Preheat the oven to 350 degrees. In a medium bowl, combine milk, egg, syrup, and almond extract.
  • Add flour, baking soda, and salt, mixing until just combined.
  • Gently fold in coconut oil, blueberries, and currants.
  • Place in a well greased muffin tin, filling about ¾ of the way. Top with sliced almonds.
  • Bake for 18-22 minutes, until baked through.
Keyword blueberries, Breakfast, currant muffins, maple syrup, muffins
Tried this recipe?Let us know how it was!

Looking for other great recipes?

Check out my baking page for all things muffins or maybe check out a recipe below!

Black Raspberry Jam

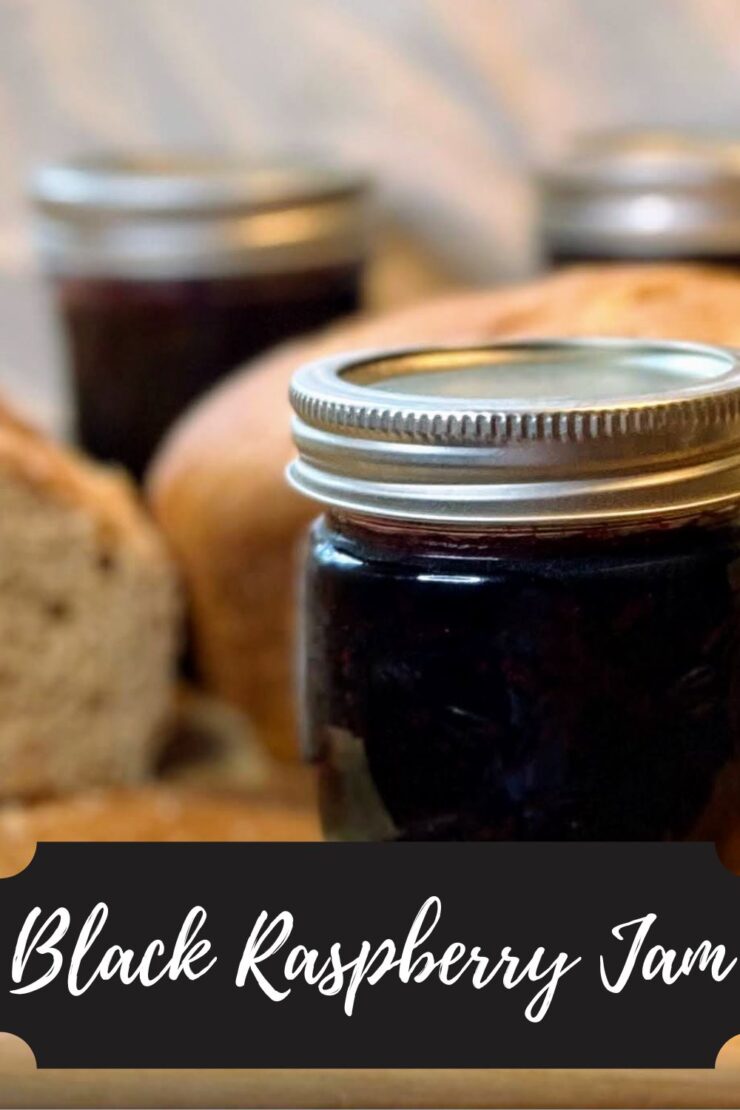
It is black raspberry season and with that comes black raspberry jam creating! 

Growing up, I have fond memories of harvesting wild red raspberries while my dad set up deer stands, checked for hunting activity, and the like. My sister and I would keep containers with us and would harvest away, swatting bugs and getting scratched by the branches. It wasn’t until I met the Mr. that I even knew black raspberries were a thing. 

Around our home, the red raspberries are referred to as “mama’s raspberries” and the black are “daddy’s raspberries.” As I started to learn to can early in our marriage, the first thing my husband requested was black raspberry jam. Of course, I had to oblige. 

I do want to share that I did not grow up in a canning household. I learned about ten years ago, as soon as we bought our home and started our first garden. And while I had some support of my mother in law (thank you so much!), I learned SO MUCH from reading. If you are a first generation canner like I was, let me share some of my favorite resources: 

Ball Complete Book of Home Canning: This book gives you a good idea of all the basics from the people who know canning forwards and backwards. I love that I can dig in and get just what I need. 

Not Your Mama’s Canning Book: Modern Canned Goods and What to Make with Them: This book is SO FUN. It has some out of the ordinary recipes. We especially love the tomato soup and seasoned black bean recipes. 

And finally, the National Center for Home Food Preservation has all the information you need for all sorts of food preservation, not just canning. I reference it often! 

But enough about resources, you want to can right? (But seriously, I am going to give you the basics. If you are a newbie (Yay!), head to any of those resources for more detailed information)

Your Ingredients for Black Raspberry Jam

For approximately 4 half-pints, gather: 

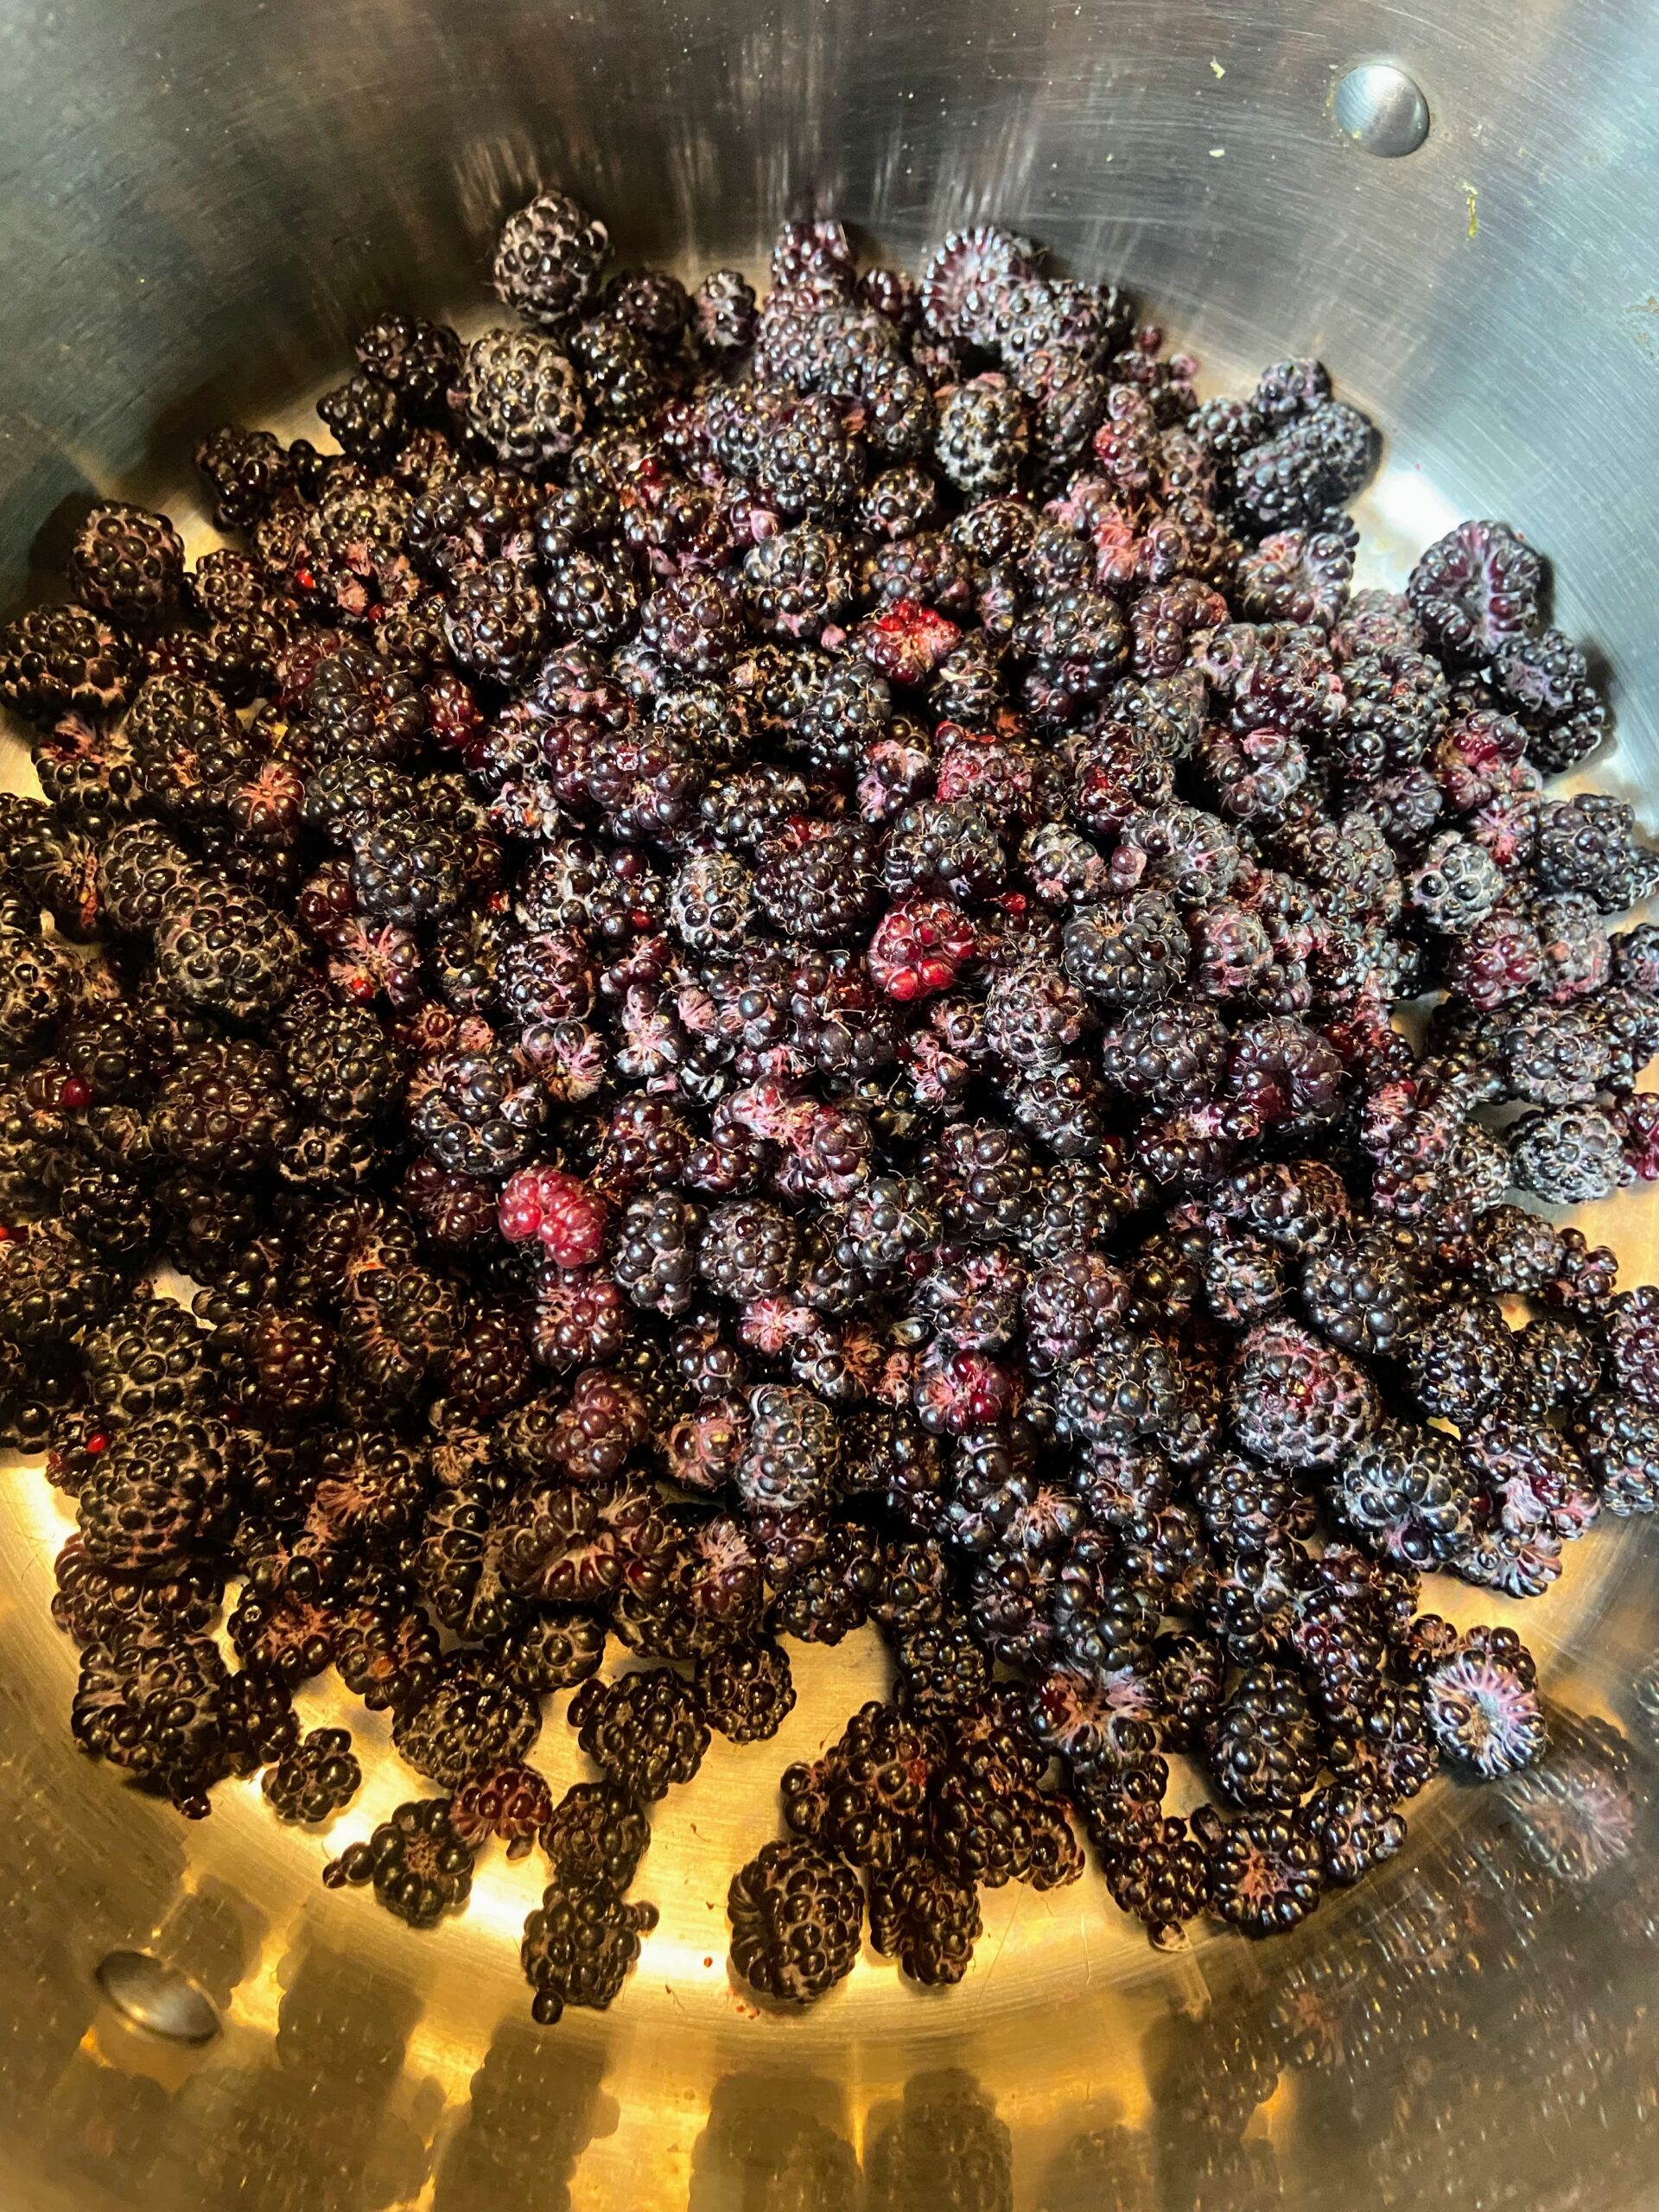
  • 5 cups black raspberries
  • 3 cups sugar 

(Yes, that’s it! No, you can’t swap out the sugar for a different sweetener. Canning is finicky like that)

The Prep Work

Fill the canning kettle with enough water that the jars will be covered by at least 2 inches of water. More is better in this case so overestimate. Begin to heat over high heat. Place the canning rack so that it is hooked over the side of the canner and put clean jars on it to keep them warm. Note: You don’t have to keep the jars in the rack, although it is helpful to keep them warm. You want the jars warm to prevent breaking when they are being filled. 

Set the clean rings aside. I like to simmer my lids on low low heat in a small saucepan. Not necessary, but I like to think it helps them seal better. 

If you have not already done so, measure out the sugar and the berries. 

The black raspberry Jam Making

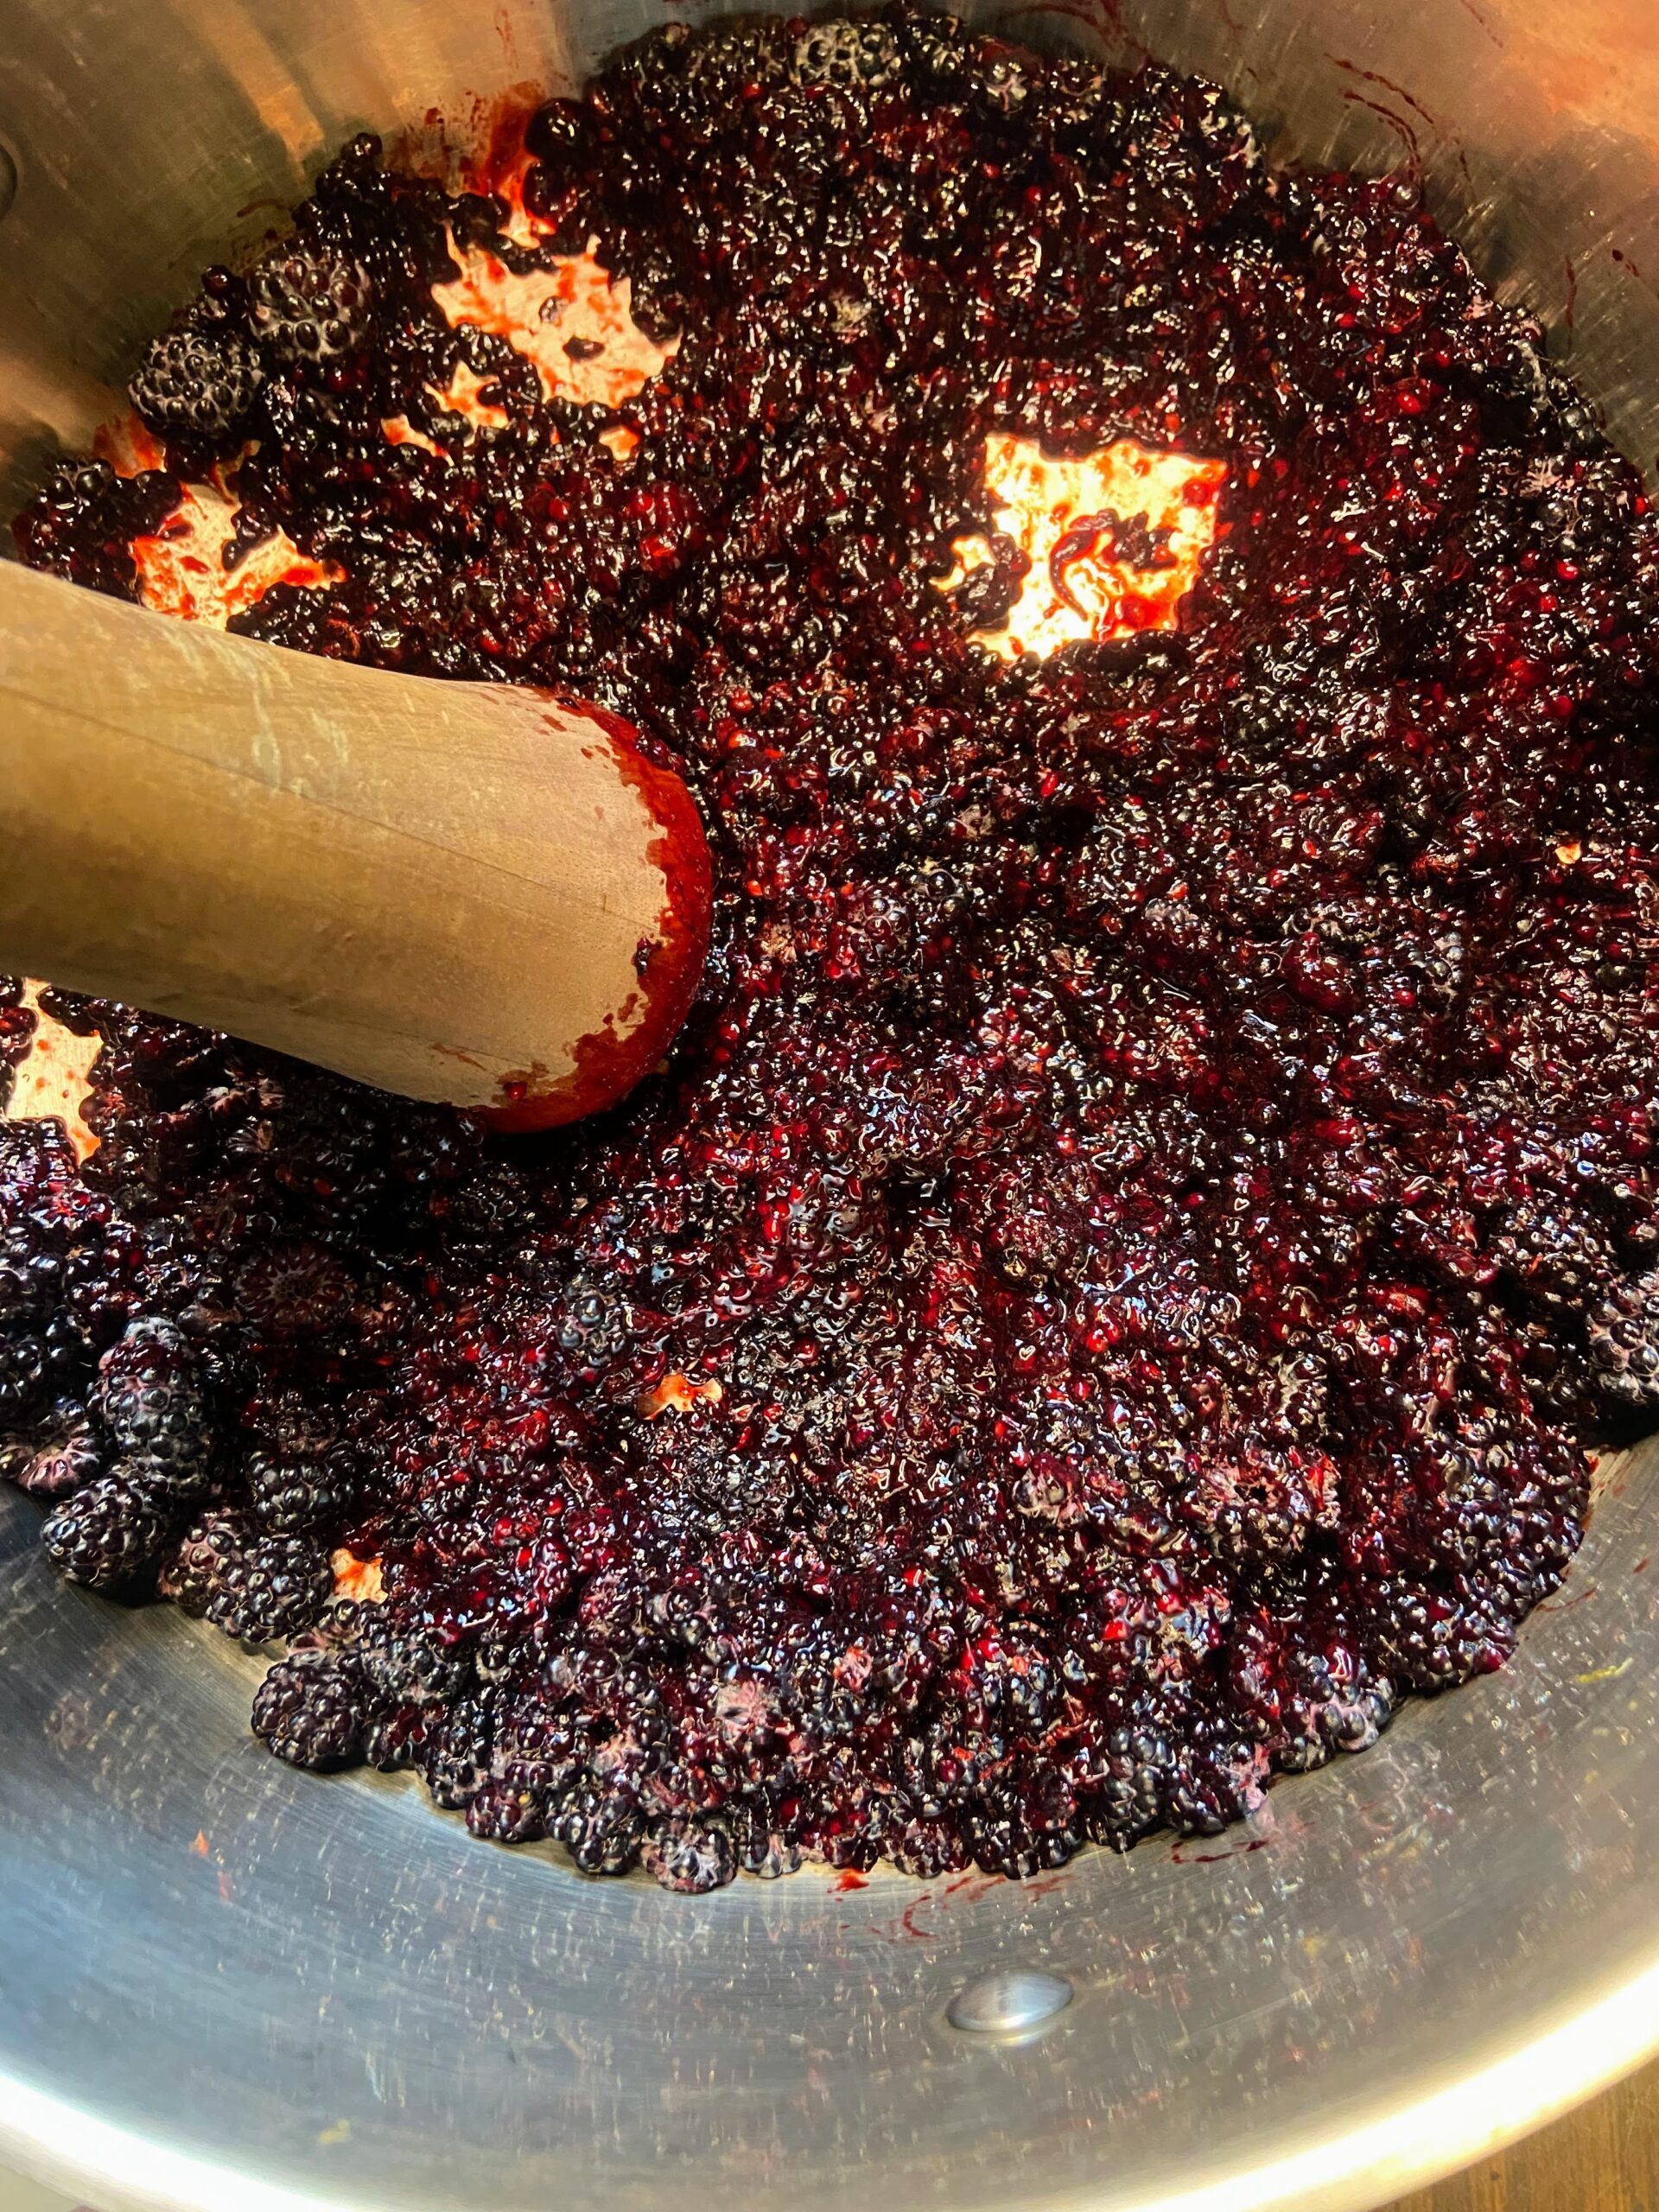
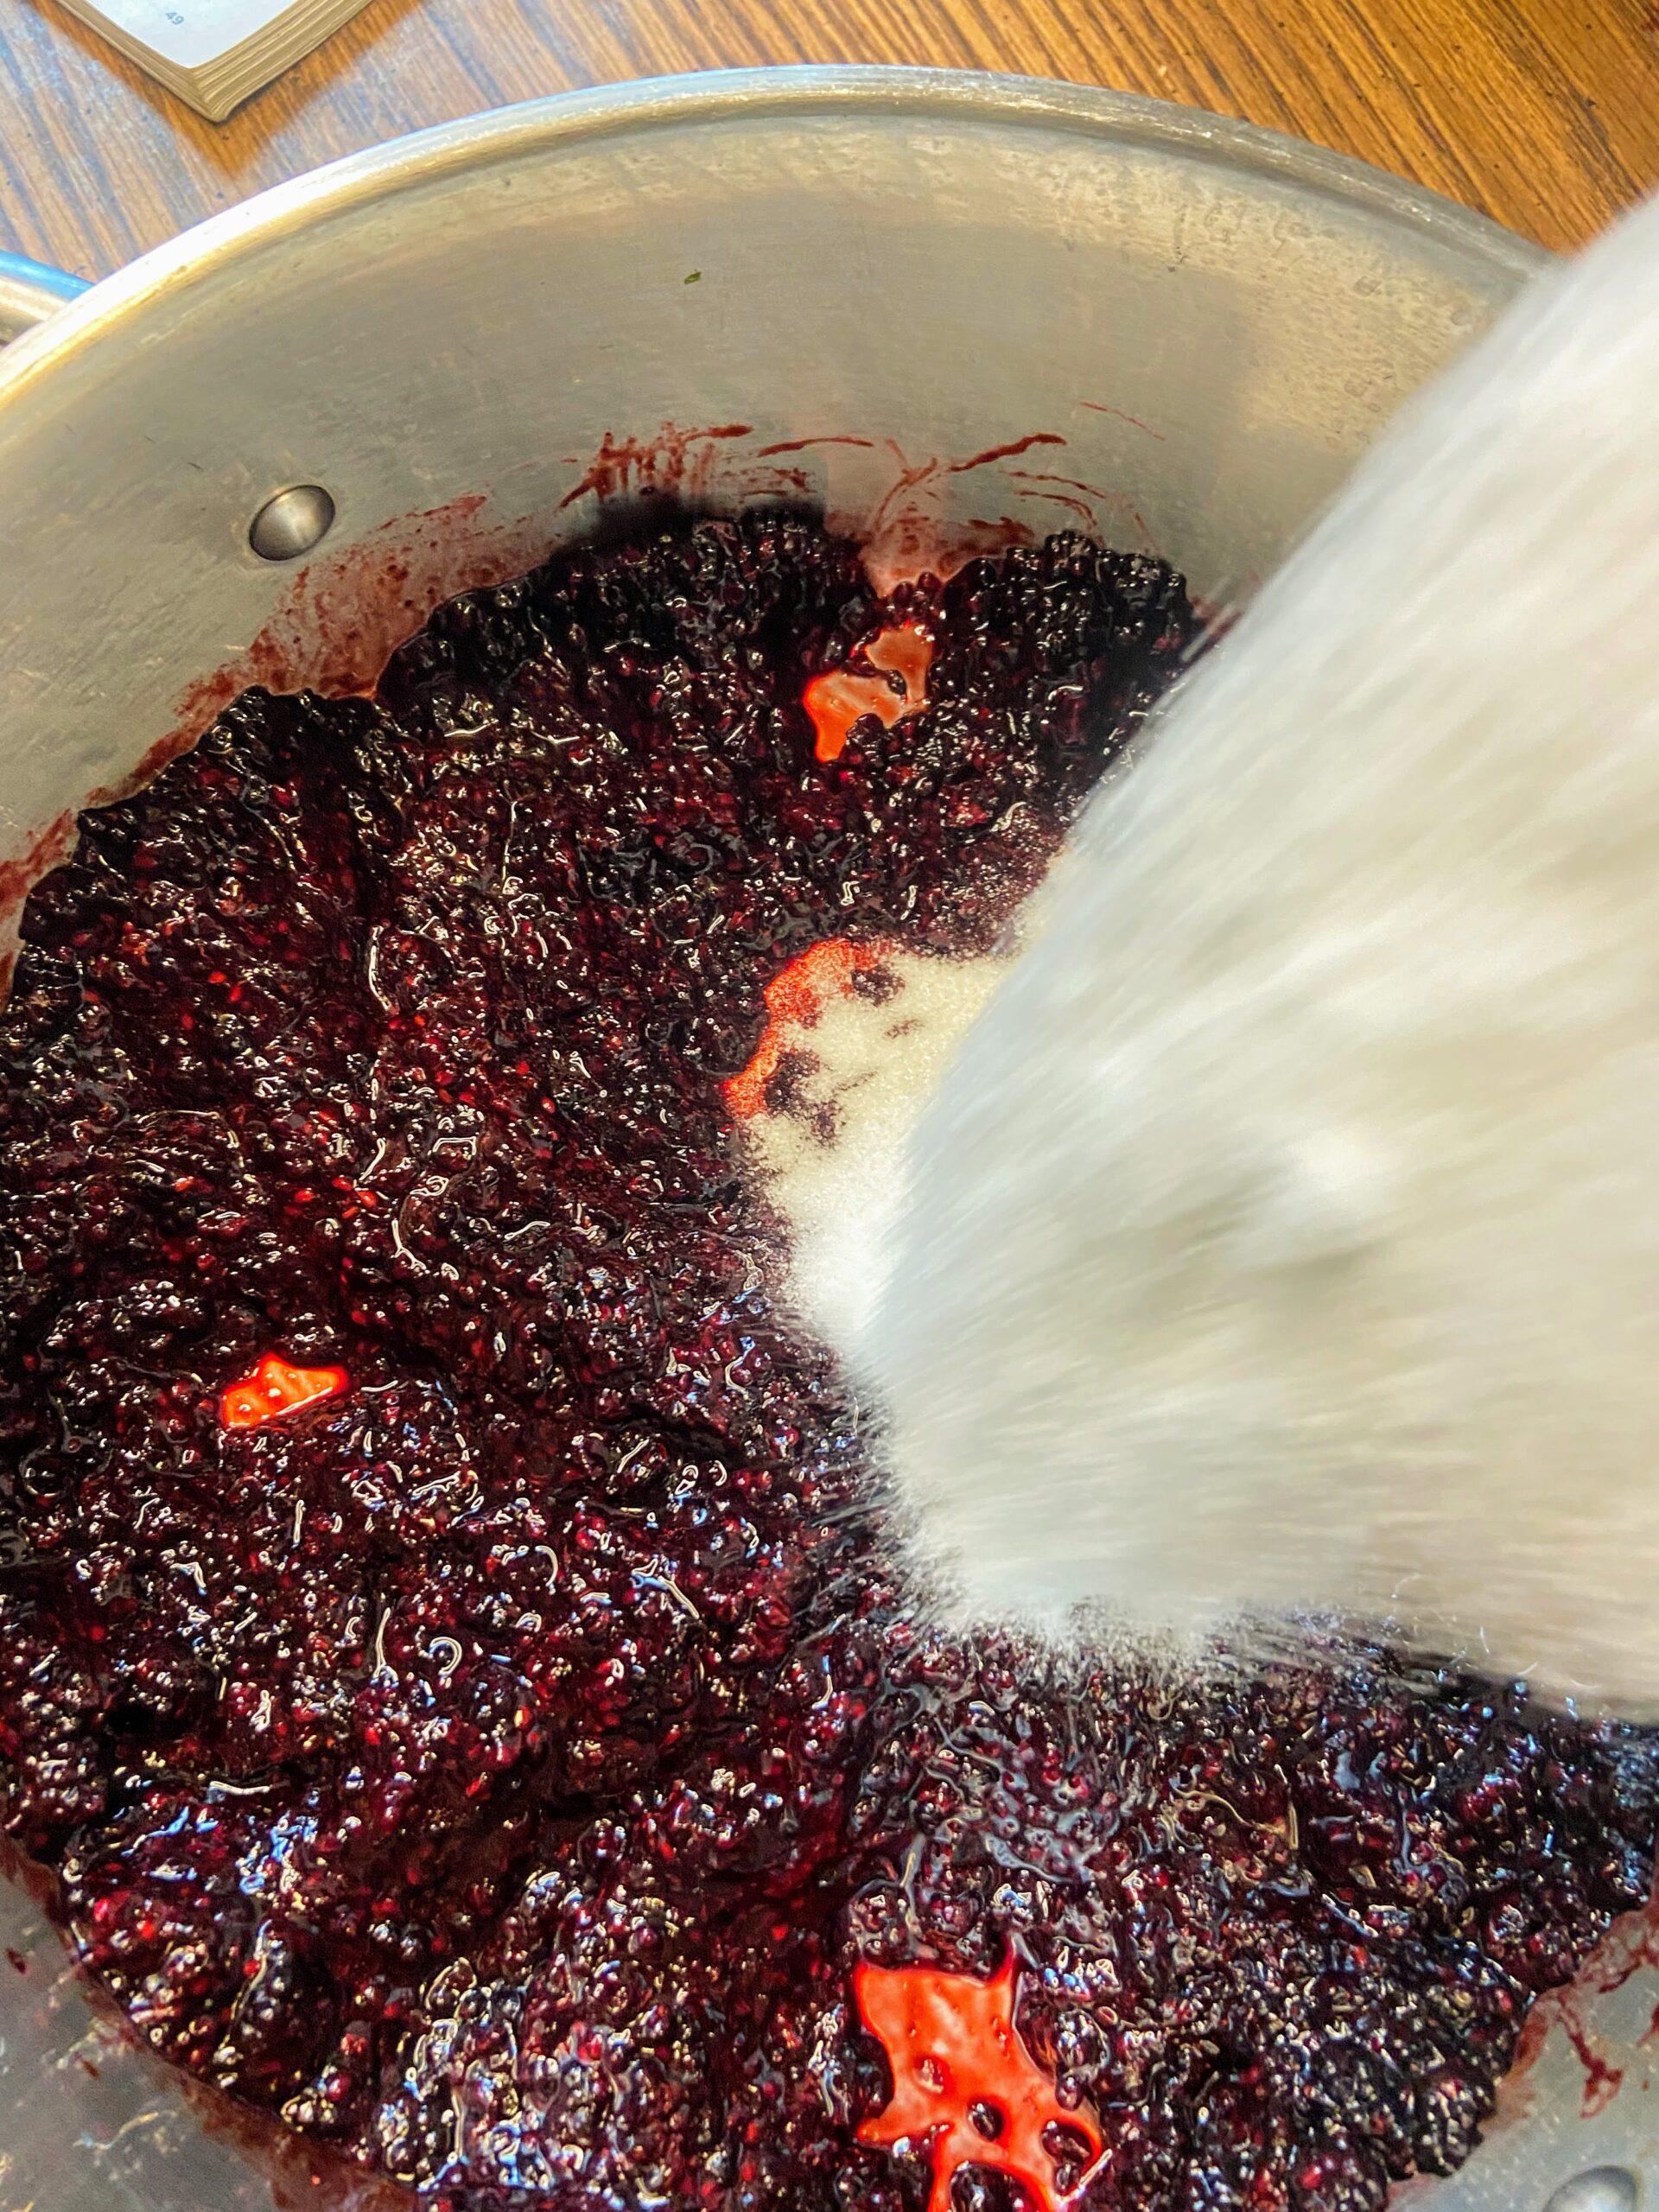
In a large, preferably shallow kettle, smash the black raspberries with a potato masher. Stir in the sugar. Begin to heat over medium-high heat, stirring often. I like to smash the berries more as they are cooking down. 

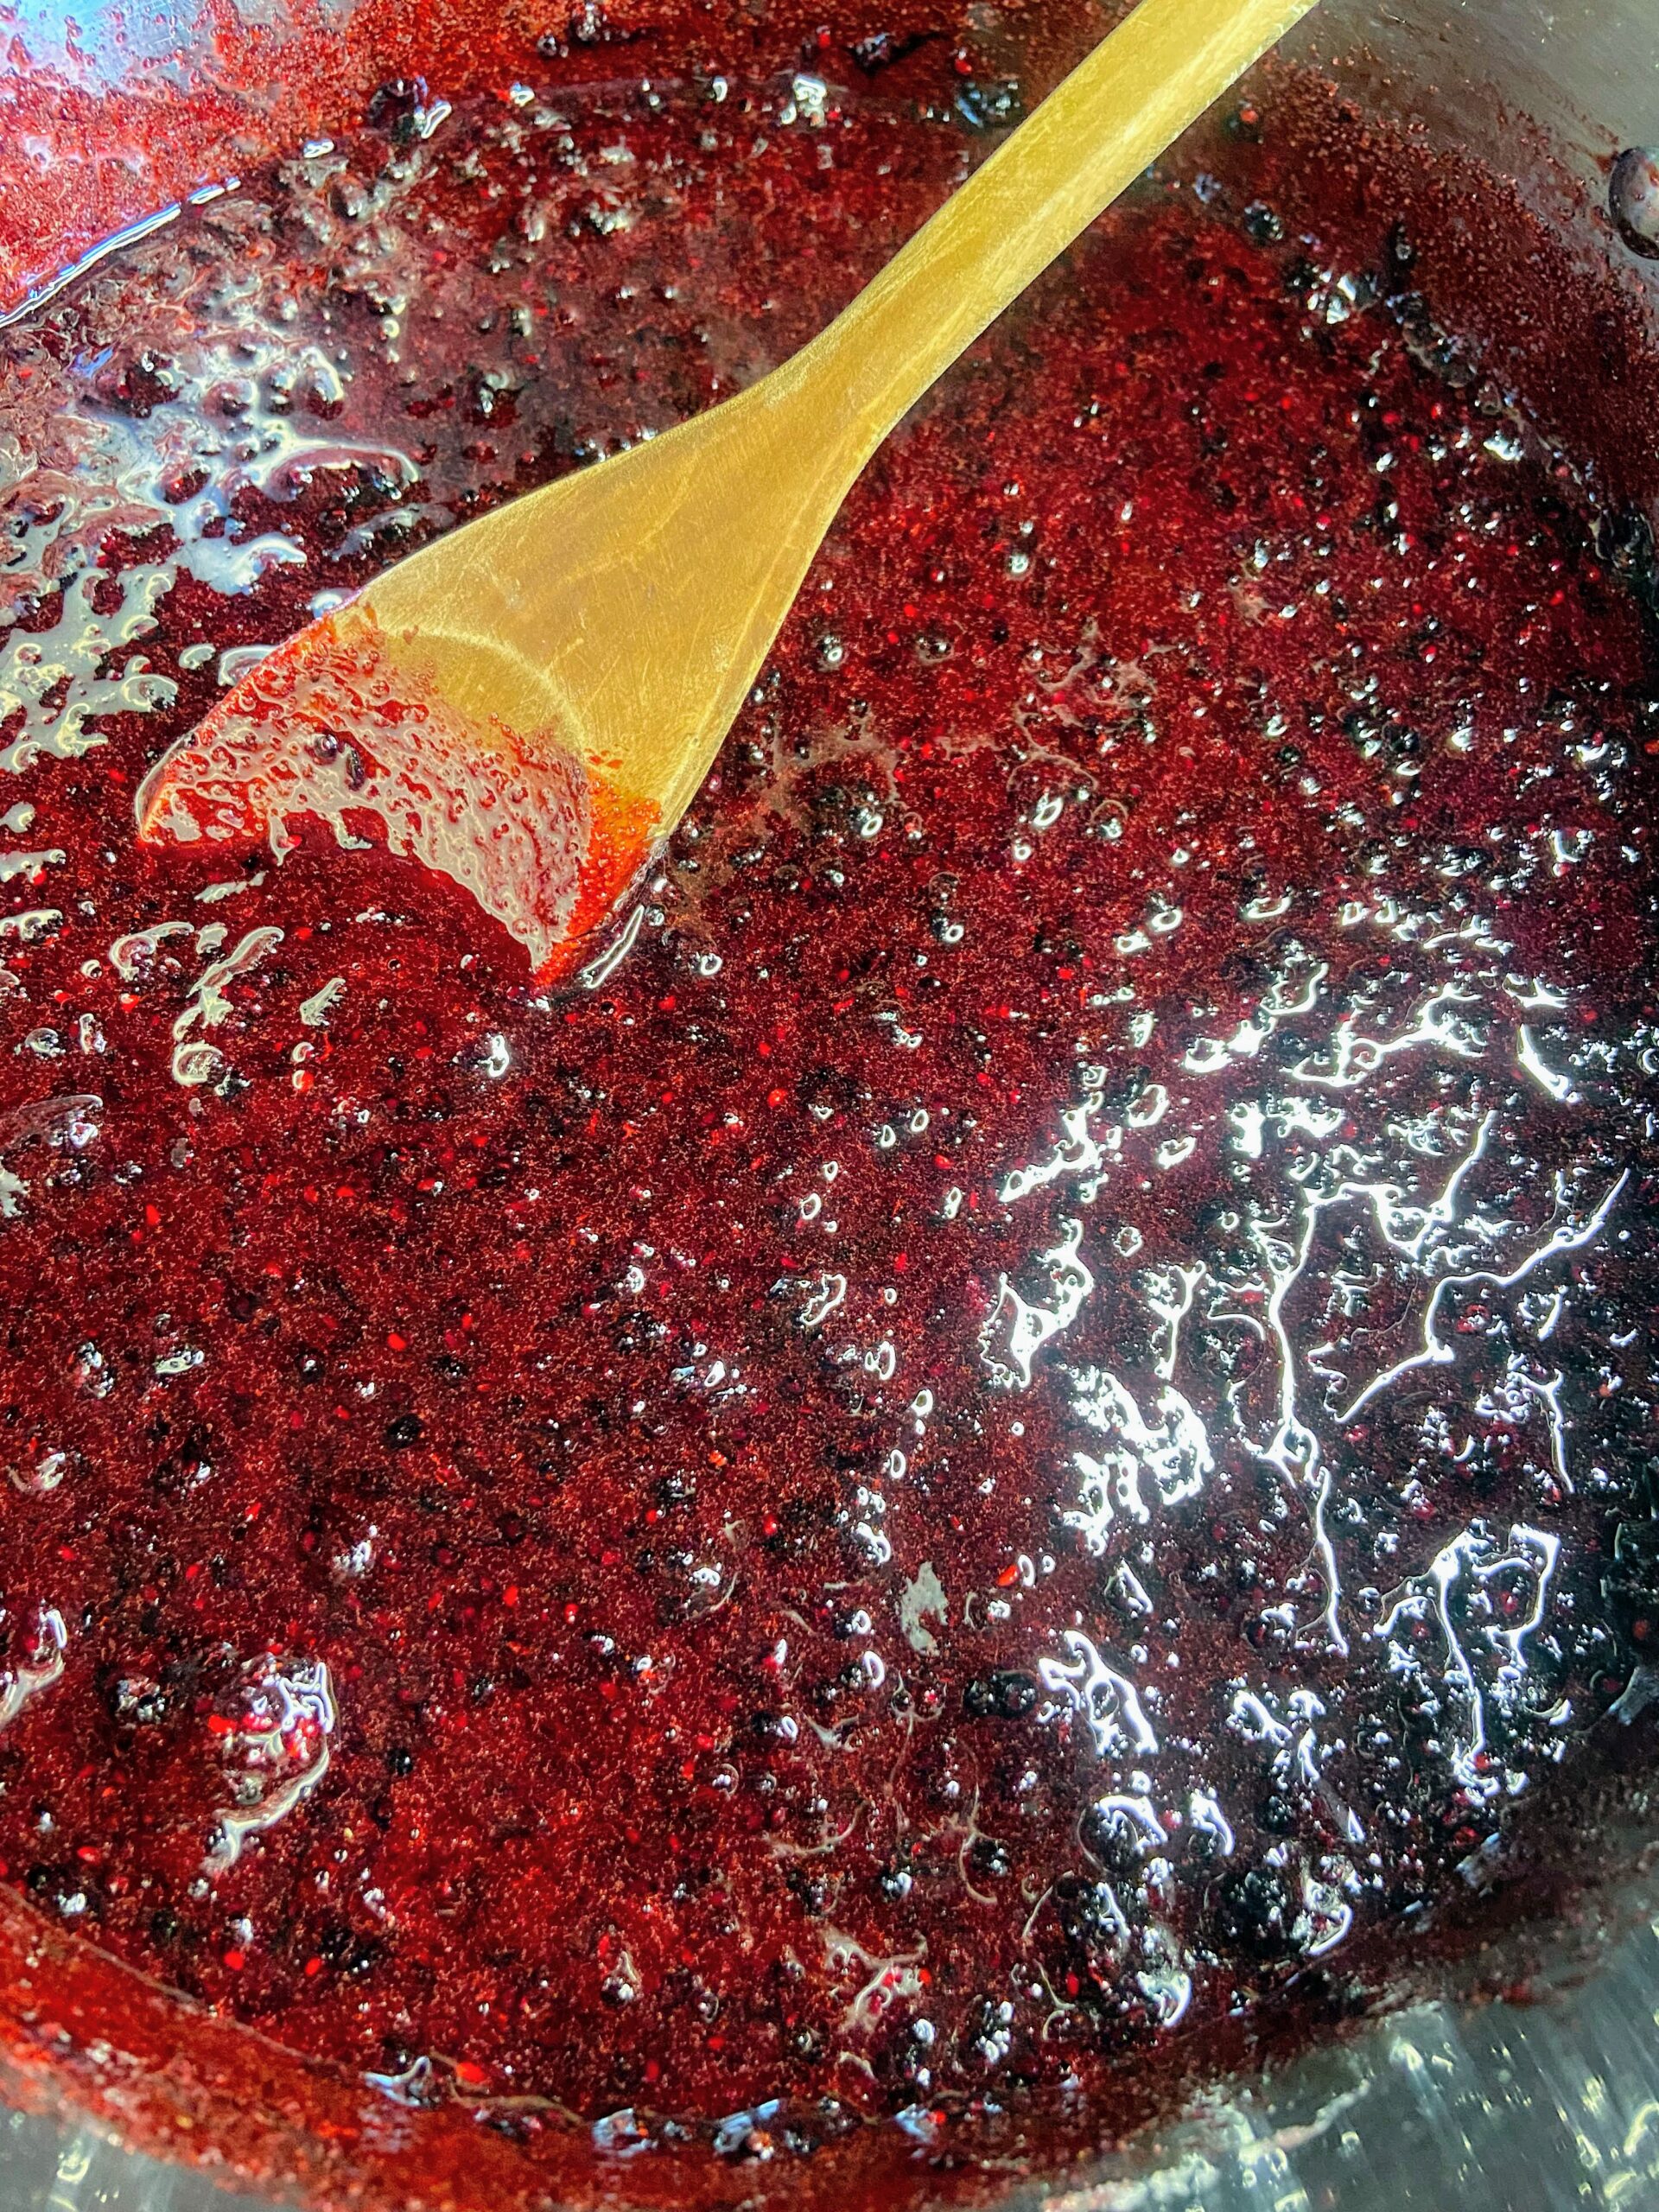
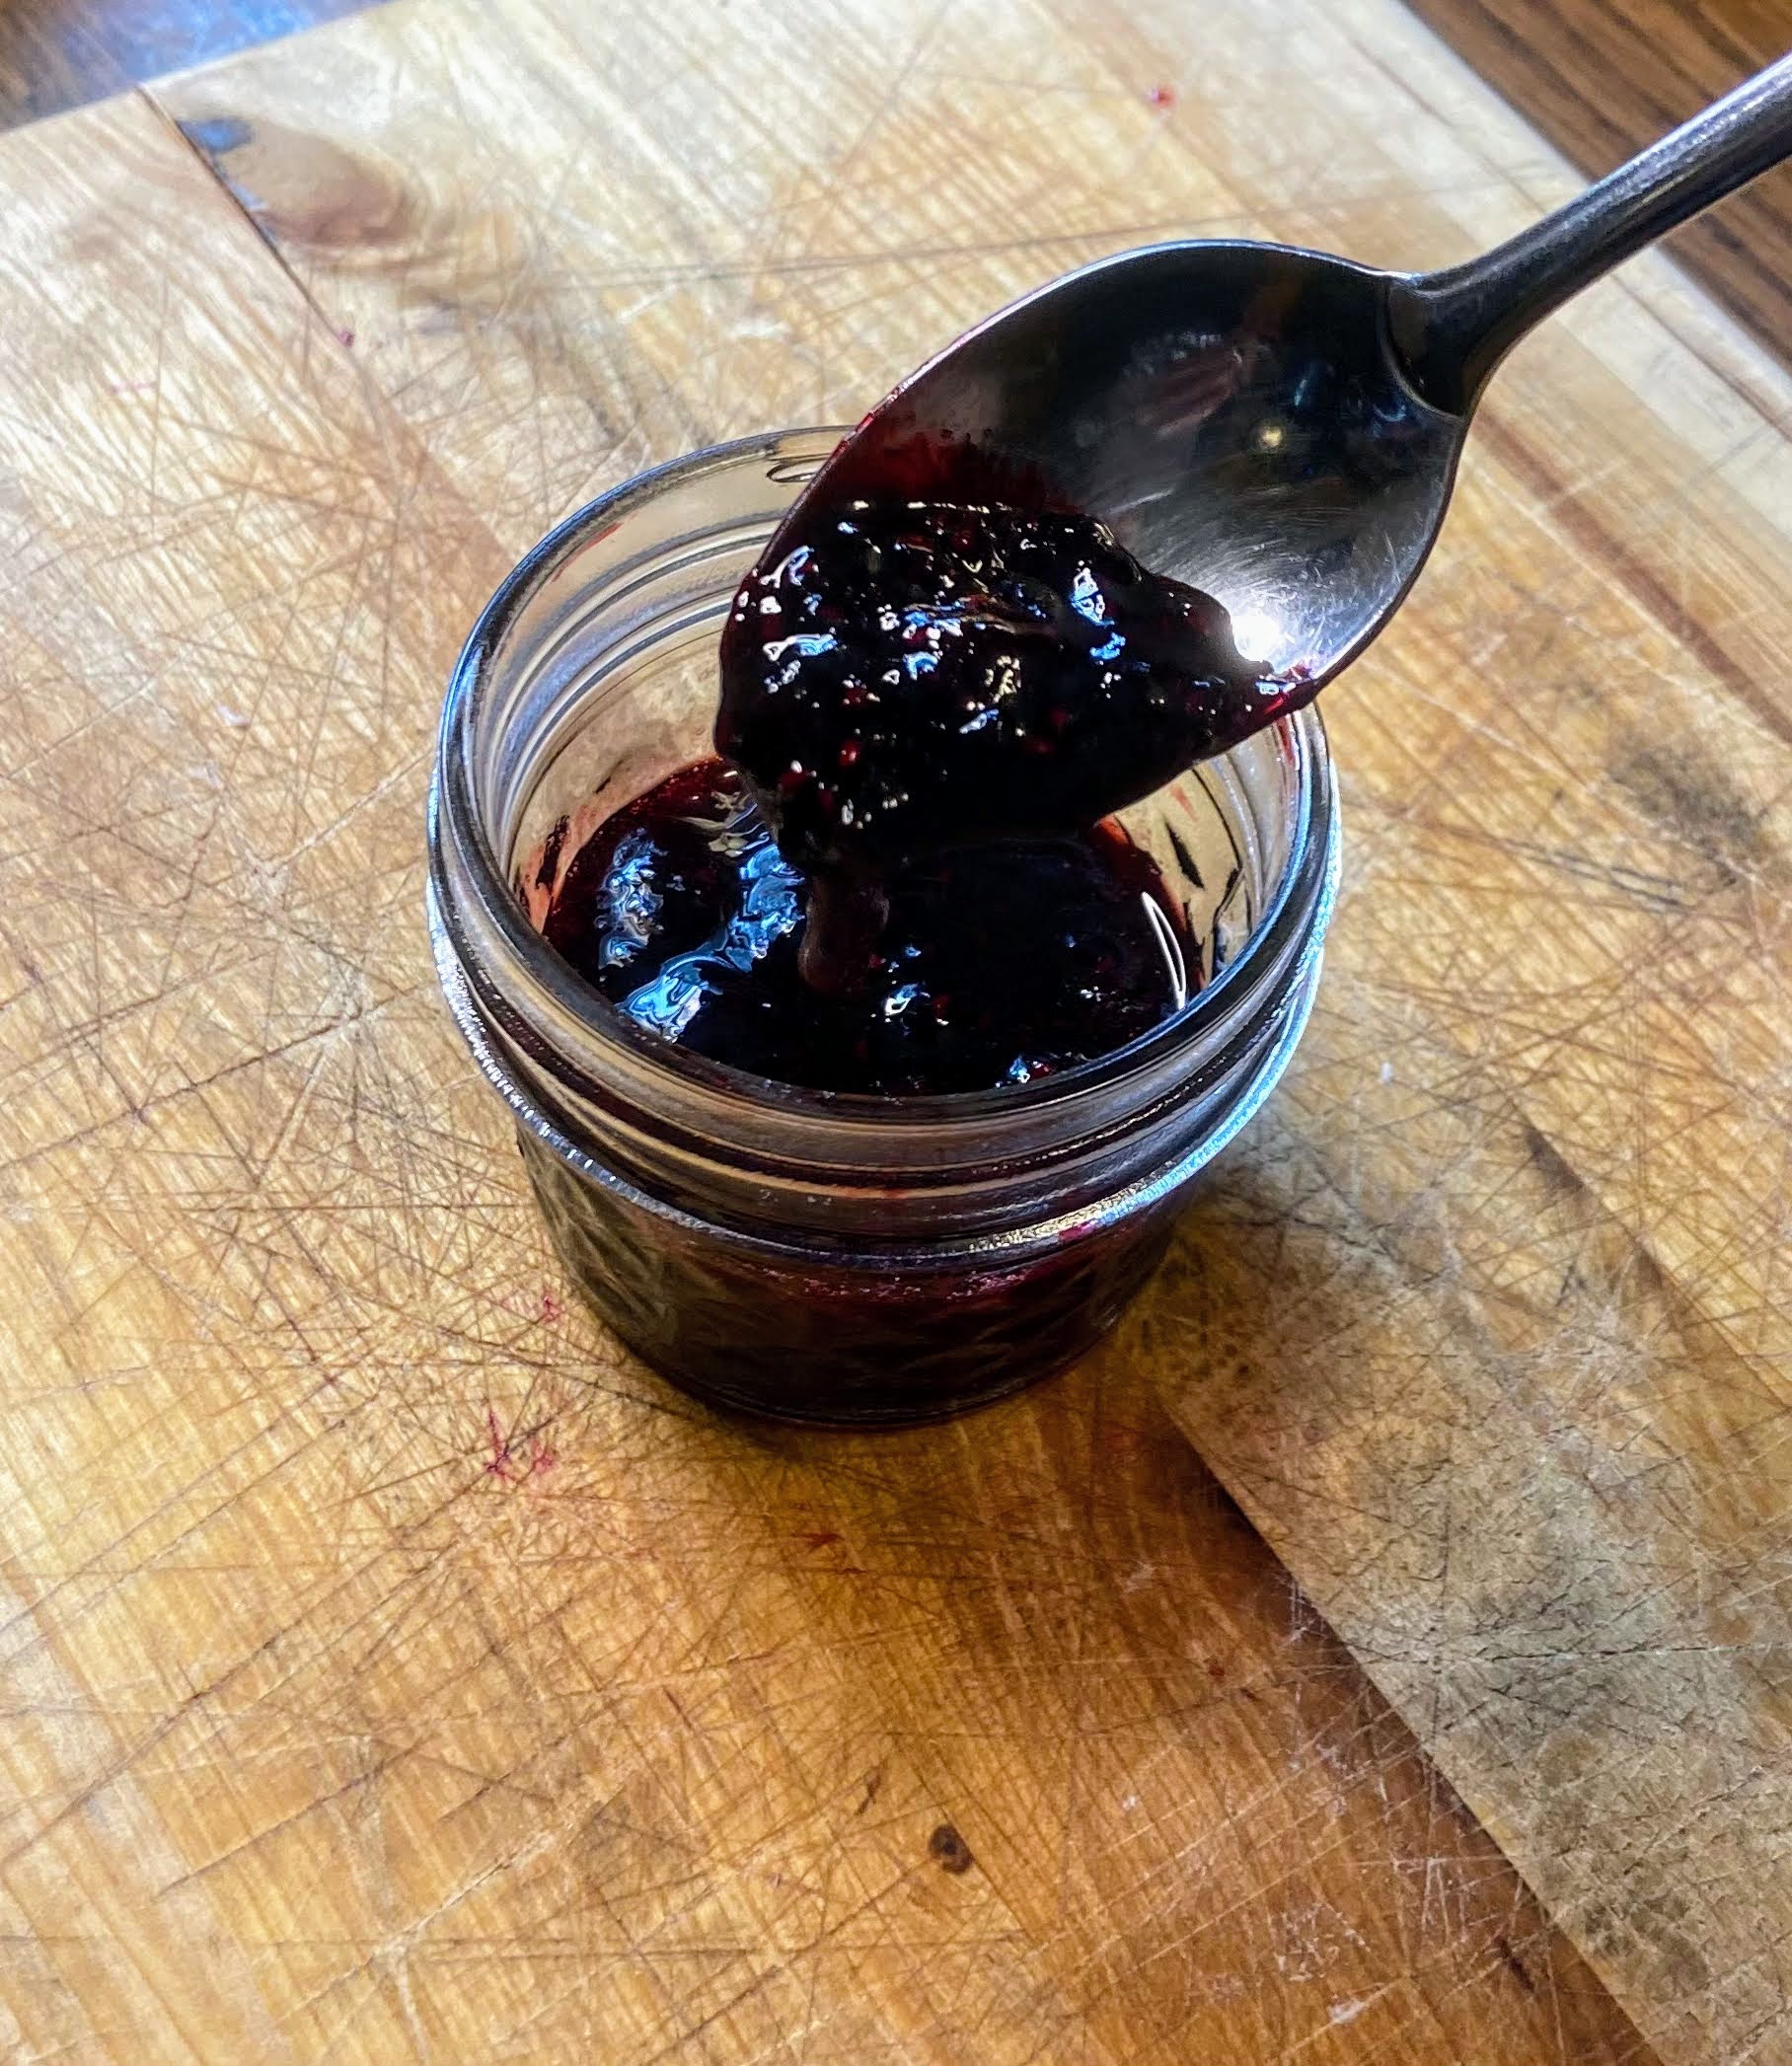
Your end goal is to reach the gelling point. There are lots of tests for this, but I prefer the temperature test. If you are at sea level, the gelling point is at 220 degrees. For every 1000 feet of elevation, you subtract 2 degrees. For me, the gelling point is 218 degrees. Don’t have a decent food thermometer? Check out the National Center for Home Preservation website for other ways of testing for the gelling point. 

It takes longer to reach the gelling point than I think it should. It also goes from needing 3 degrees to reaching the gelling point fast. You can get complacent while you are waiting and suddenly hit the temperature, so I am trying to warn you 🙂 

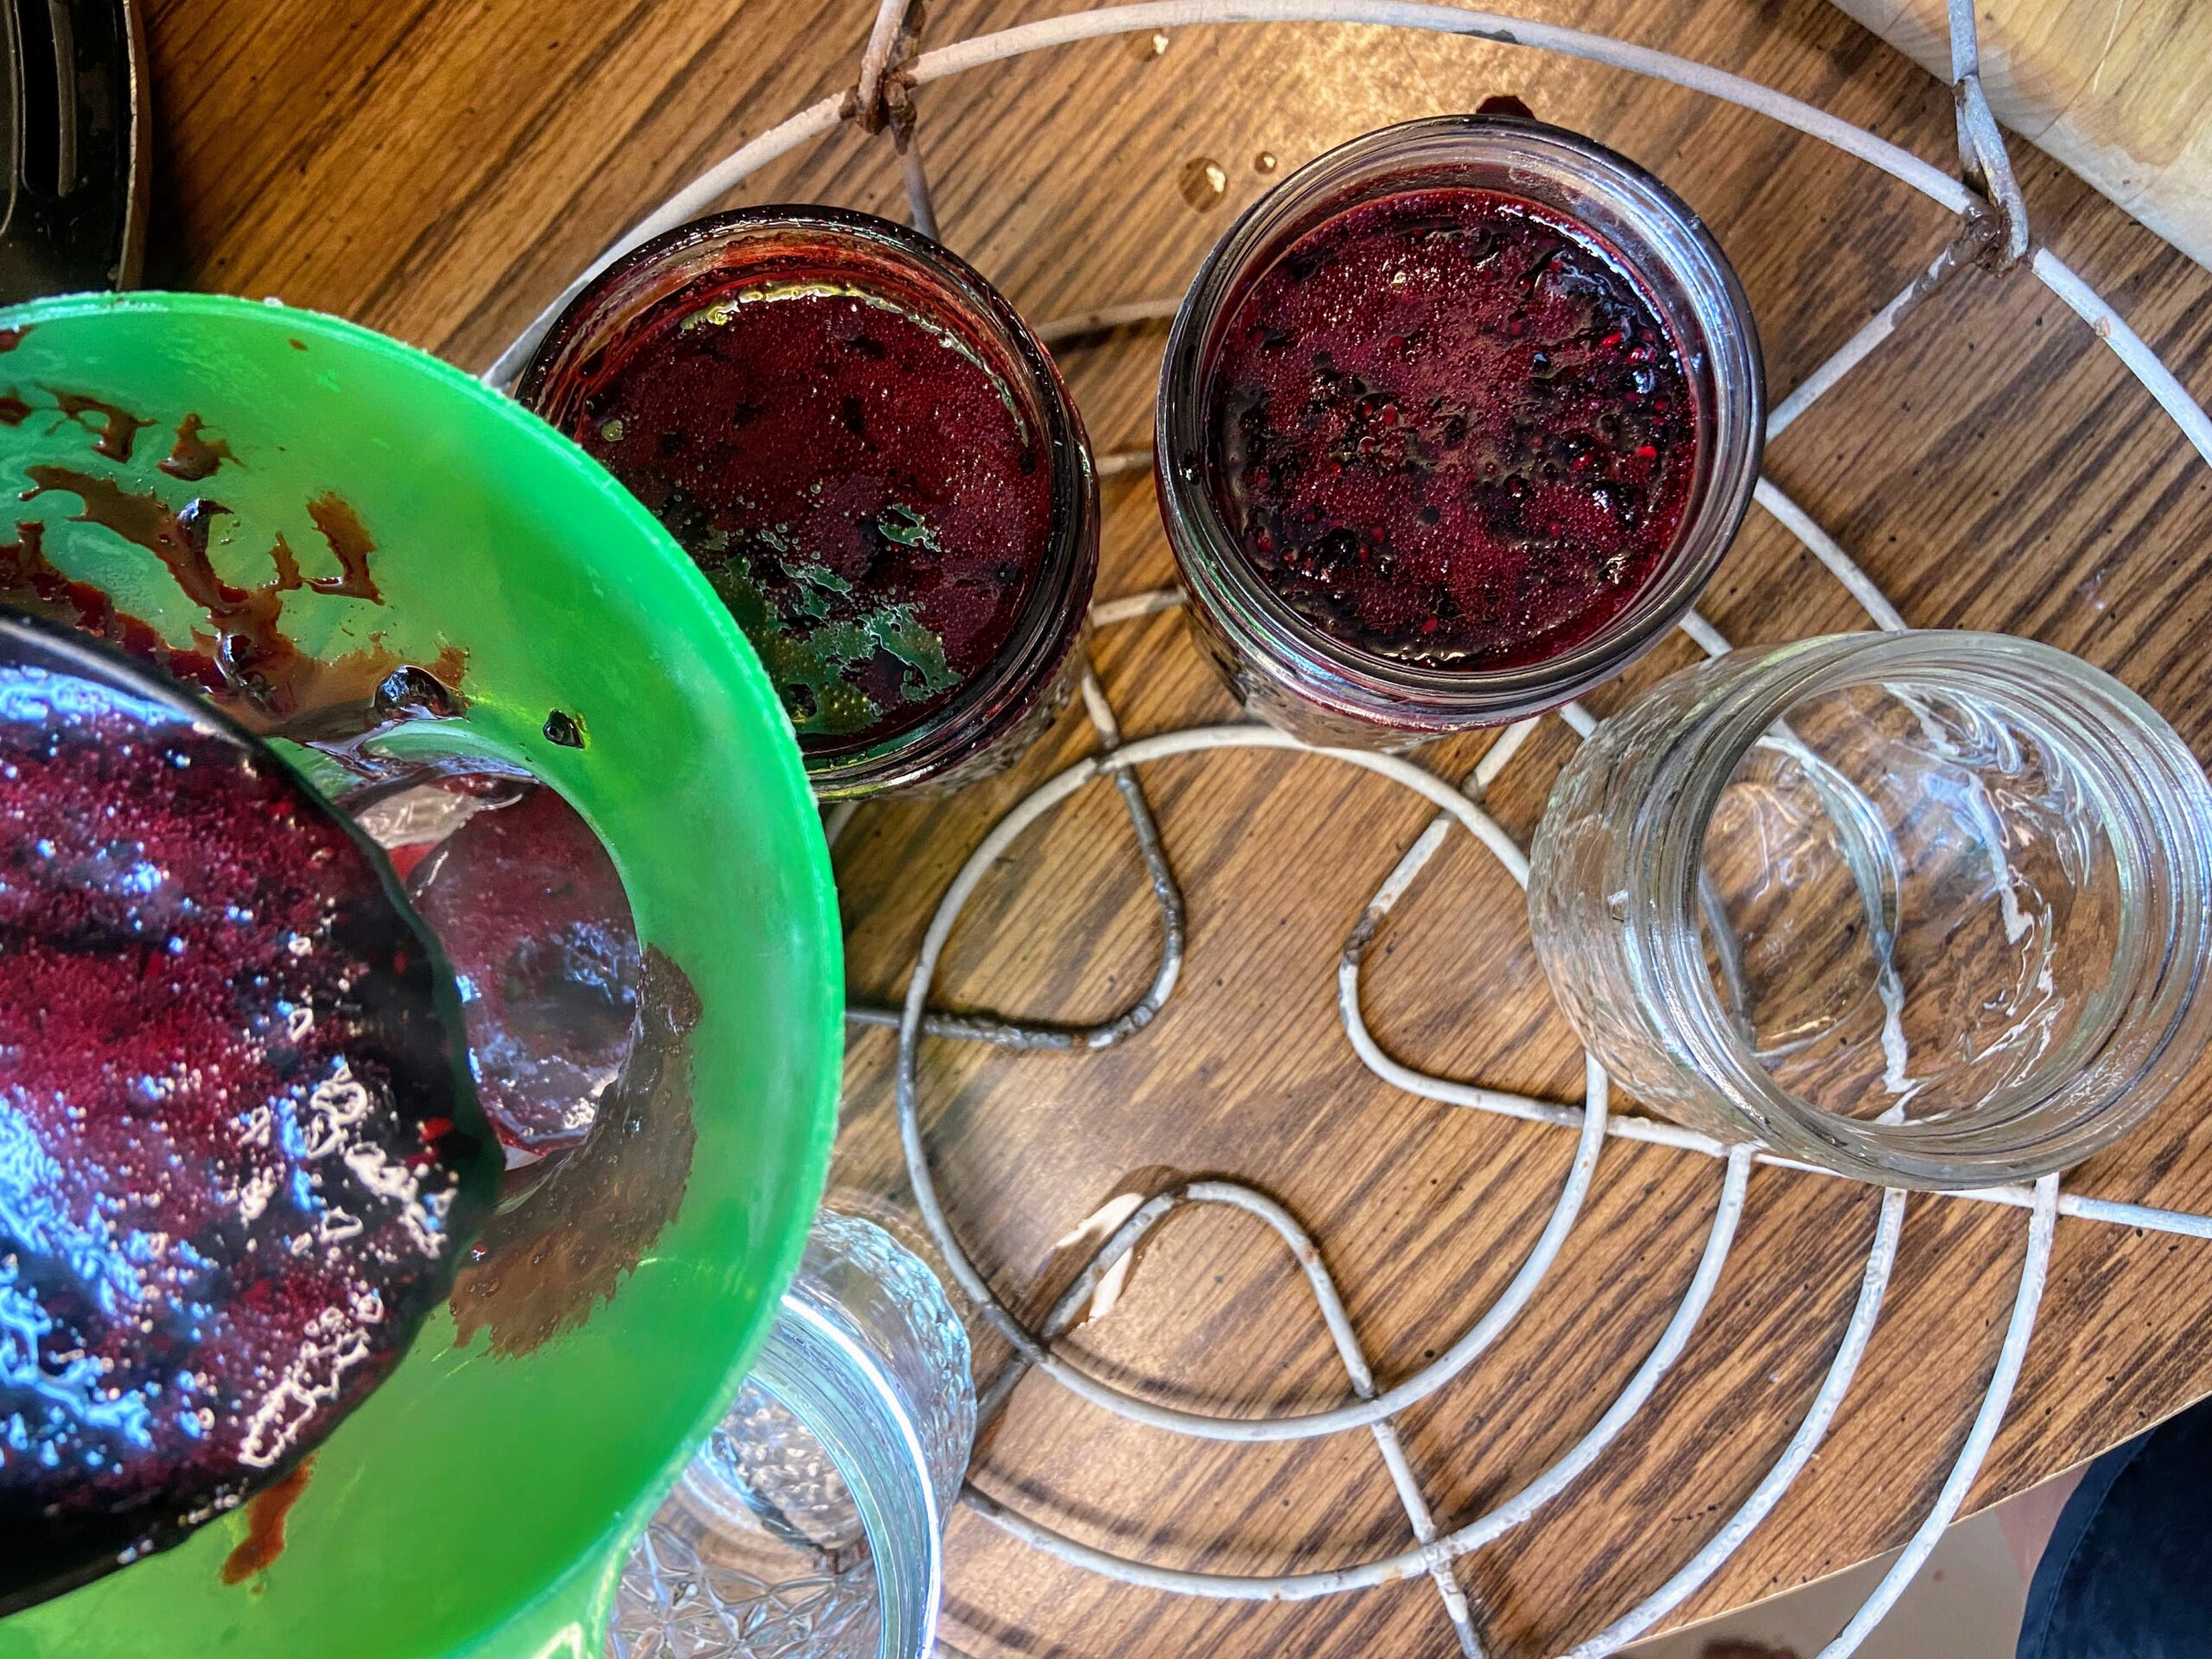
Once the jam has reached the gelling point, remove from heat. Ladle into prepared jars, leaving ½ inch head space. Wipe rims of the jars with a damp, clean cloth, add lids and rings, tightening to fingertip tight. Place in the canner, increasing the heat to high. Once the canner reaches a boil, process for 15 minutes. Remove from heat and allow jars to cool in the canner over 5 minutes. Remove from canner, placing on the counter. Listen for the ping of the lids over the next 12 hours. Sealed jars are self stable. If any jar doesn’t seal, simply place it right in the refrigerator. 

Note: You can skip the processing step all together if you feel more comfortable. If you do so, the black raspberry jam will need to be stored in the refrigerator. The process of water bath canning creates a self-stable jam. That is, a jam that can be stored on the shelf. 

Black Raspberry Jam

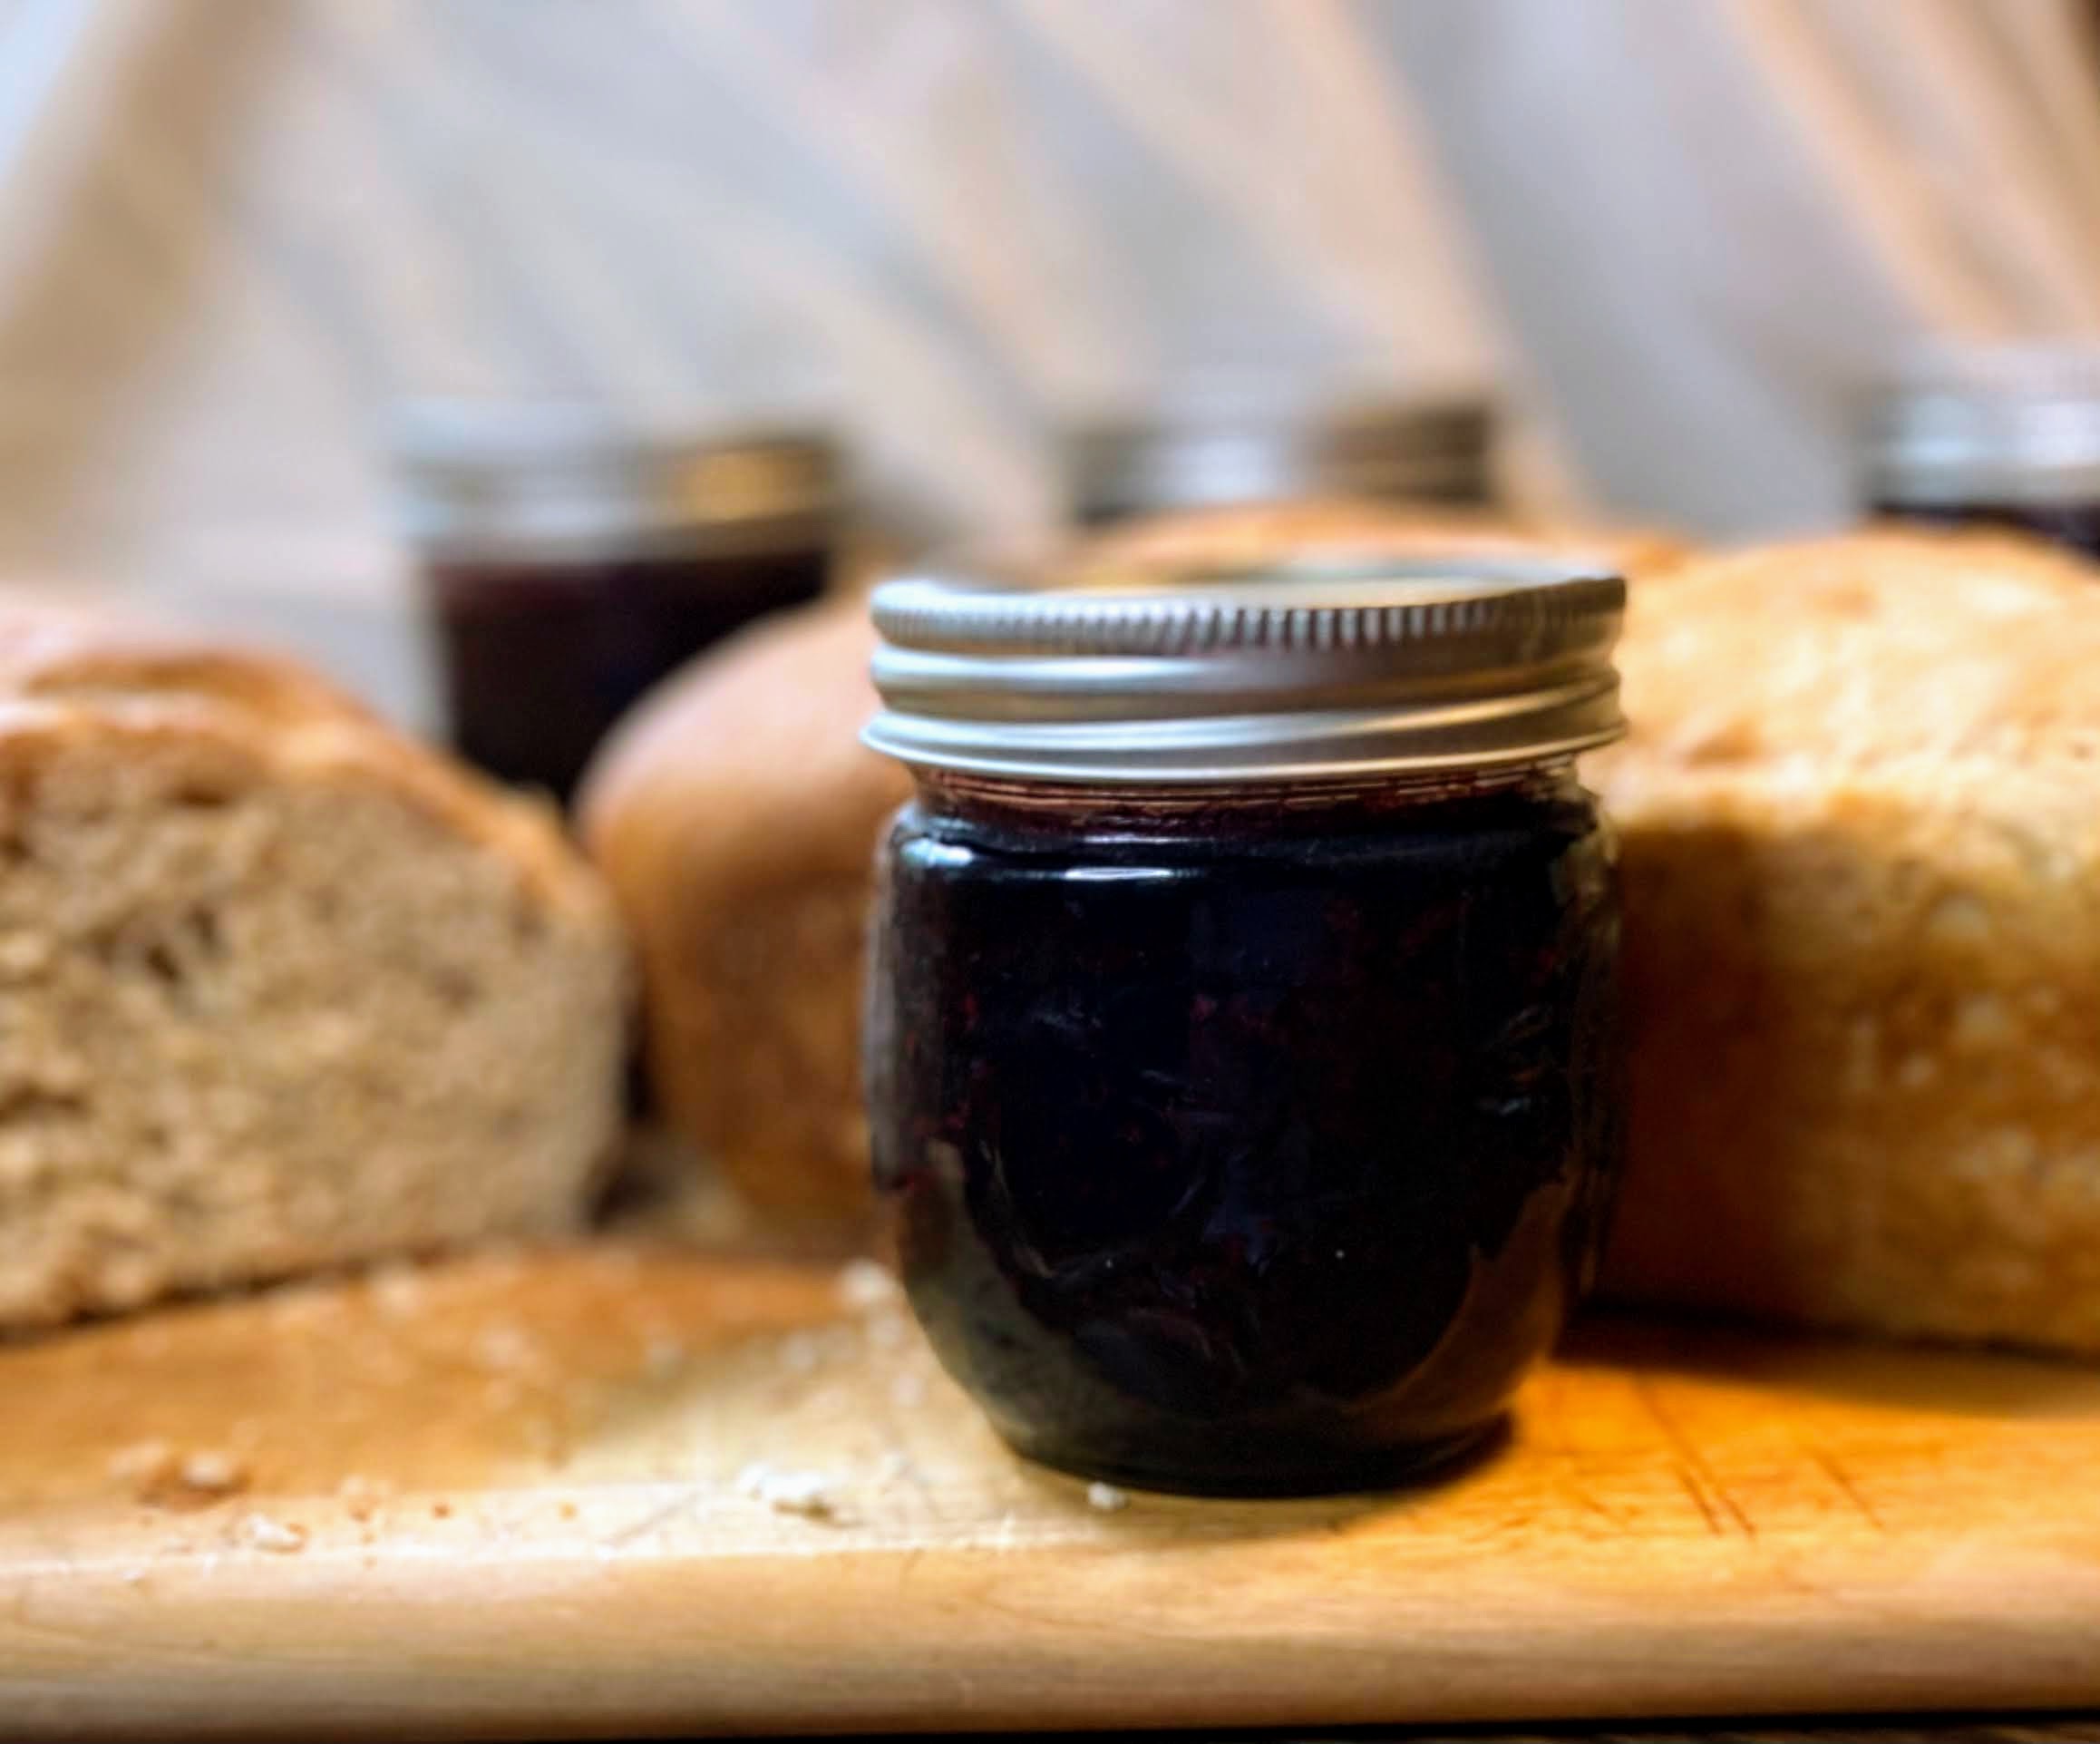
Two little ingredients (sugar and black raspberries) combine to make this wonderful taste of summer treat!
Prep Time 10 minutes
Cook Time 1 hour
Course Breakfast
Cuisine Canning
Servings 4 1/2 pint jars

Ingredients
  

  • 5 cup black raspberries
  • 3 cups sugar

Instructions
 

  • If you have not done so, measure out raspberries and sugar.
  • Wash and sanitize 4 1/2 pint jars, rings, and lids. Keep warm. Fill the canner with enough water to cover the jars by at least 2 inches of water. Cover and heat on high. Watch the temperature, you want a simmer but not a boil when you place the jars in the water.
  • In a large, shallow kettle, smash raspberries with a potato masher. Stir in sugar. Begin to heat over medium-high heat, stirring often. Smash more as they are cooking down.
  • Heat to 8 degrees above the boiling point of water. If you are at sea level, the gelling point is at 220 degrees. For every 1000 feet of elevation, you subtract 2 degrees.
  • Once the jam has reached the gelling point, remove from heat. Ladle into prepared jars, leaving ½ inch head space. Wipe rims of the jars with a damp cloth, add lids and rings, tightening to fingertip tight. Place in the canner, increasing the heat to high. Once the canner reaches a boil, process for 10 minutes. Remove from heat and allow jars to cool in the canner over 5 minutes. Remove from canner and allow to rest for 12 hours before storing.

Notes

You can skip the processing step all together if you feel more comfortable. If you do so, the jam will need to be stored in the refrigerator. The process of water bath canning creates a self-stable jam. That is, a jam that can be stored on the shelf.
Keyword black raspberry, Jam, Jam Recipes, Jellies and Jams, raspberries
Tried this recipe?Let us know how it was!

Looking for other canning inspiration?

Click here to head to my canning page or click any of the recipes below!

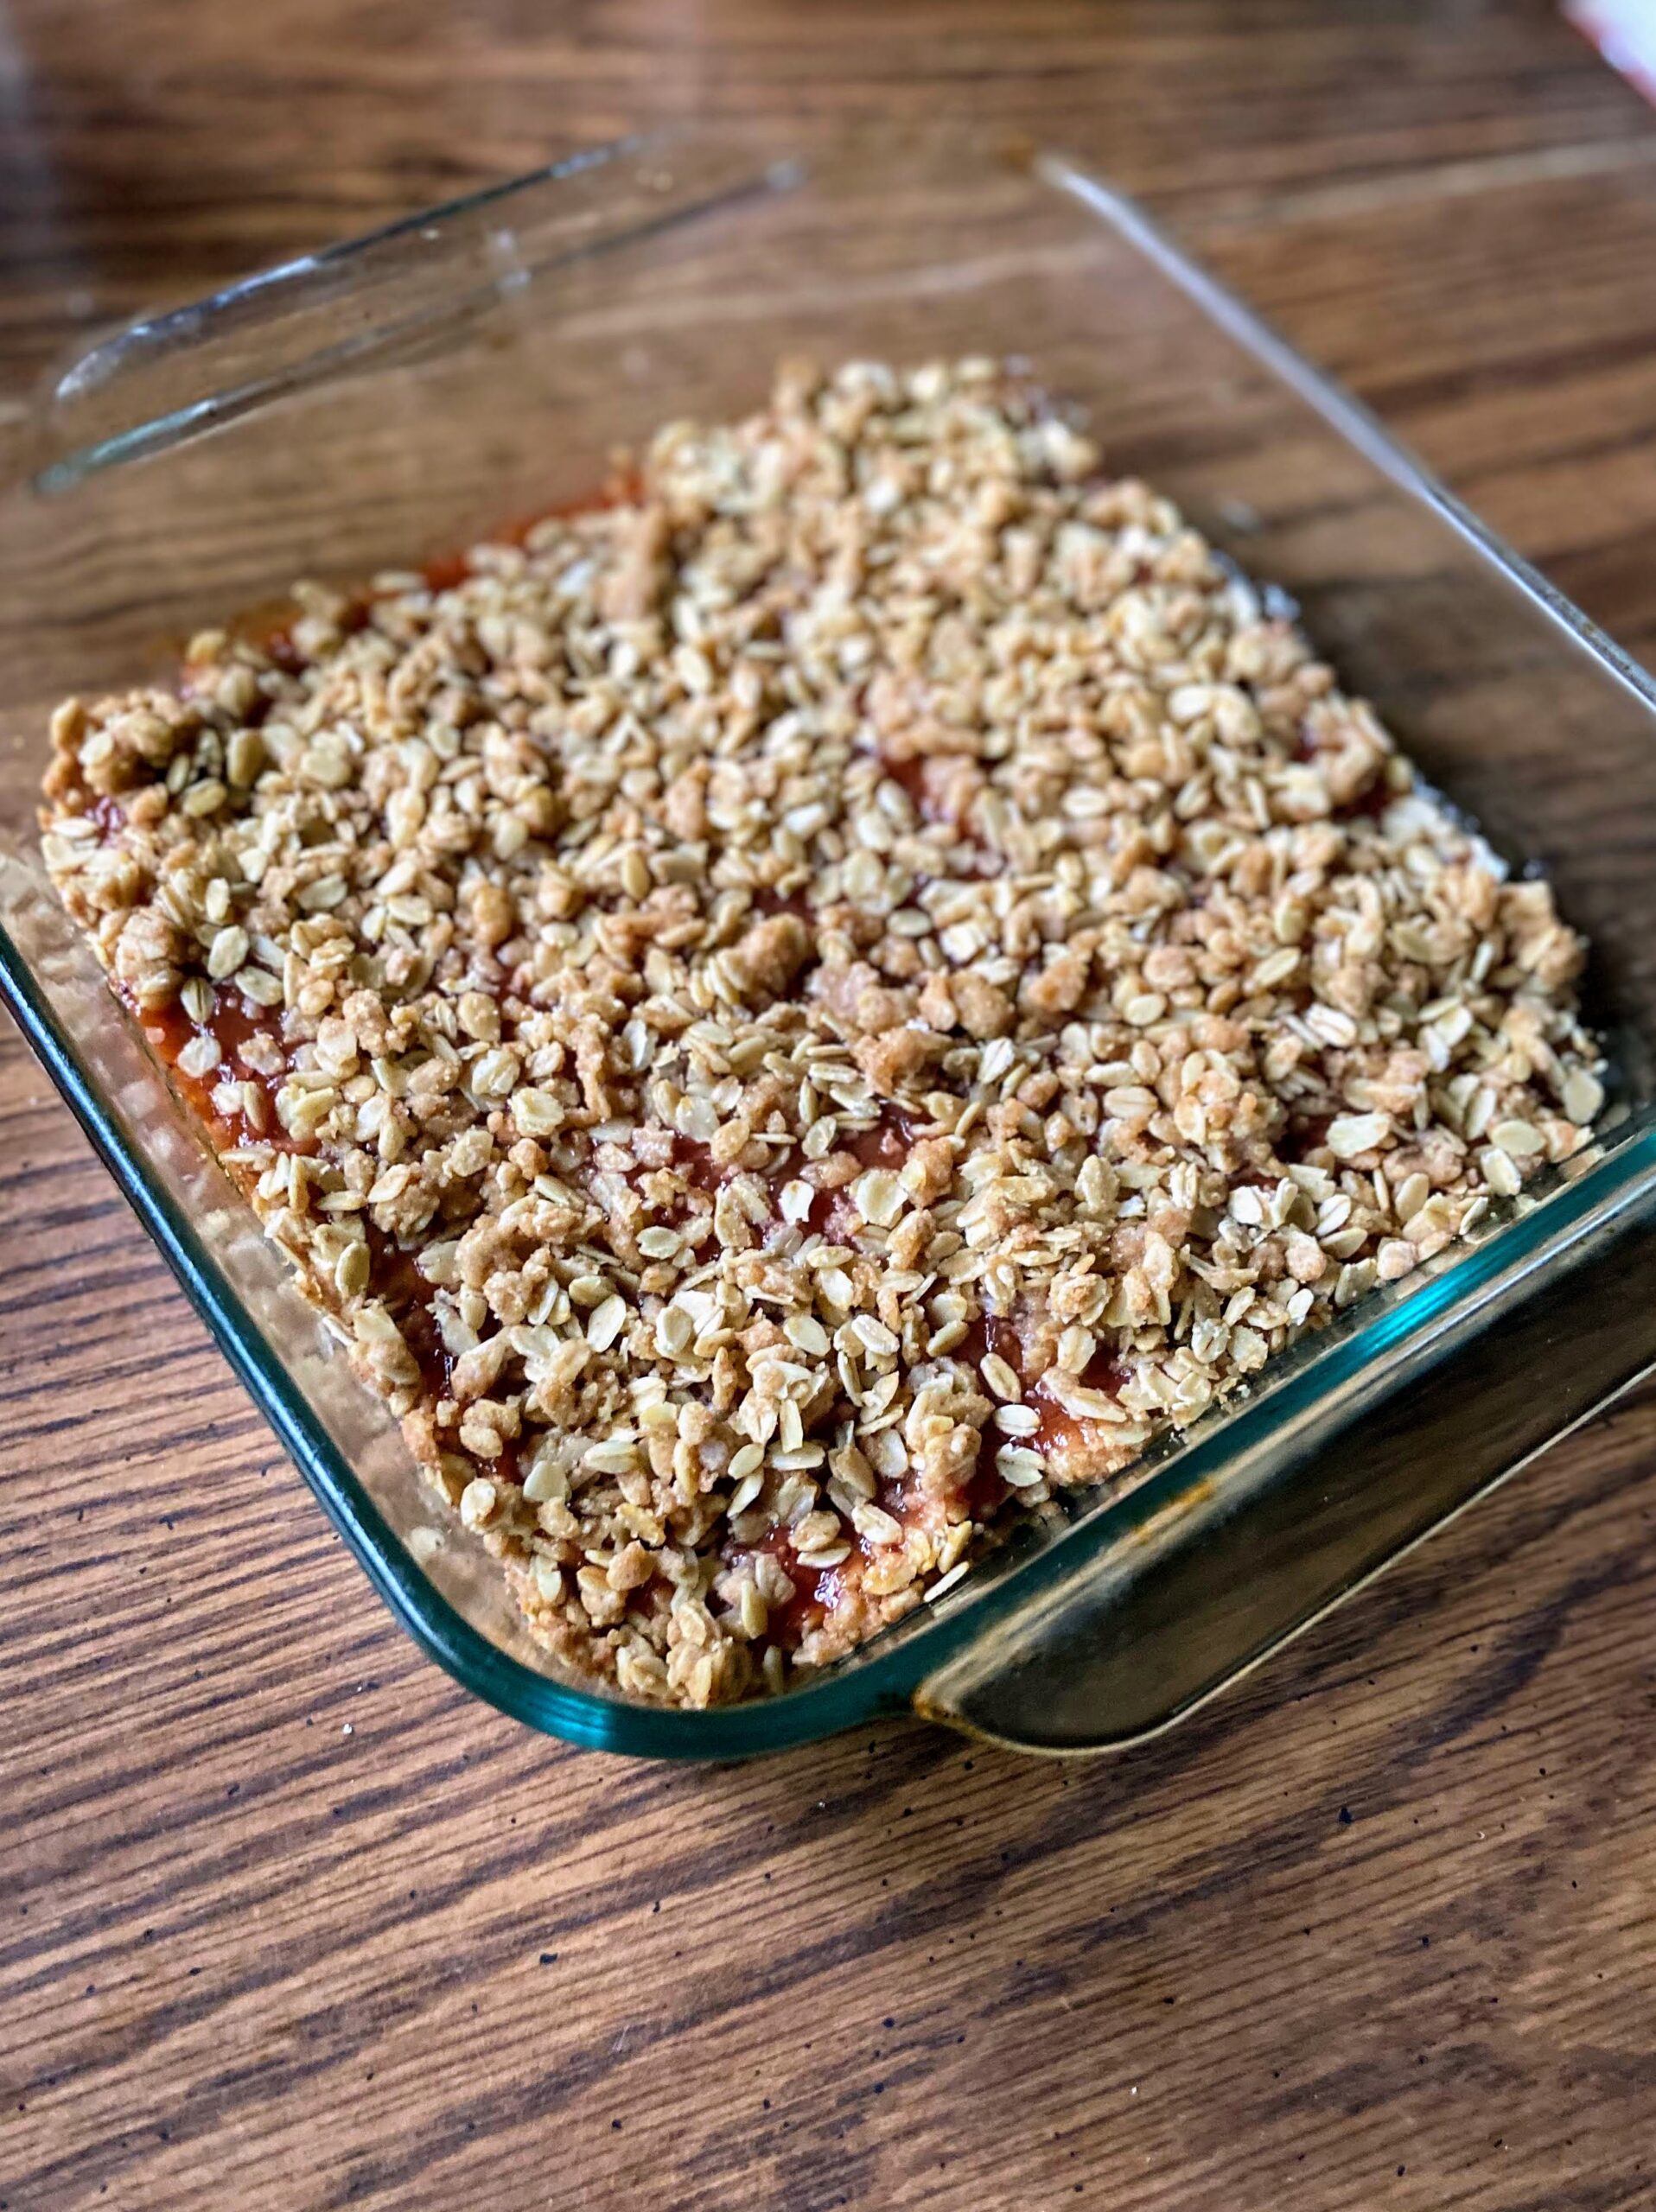
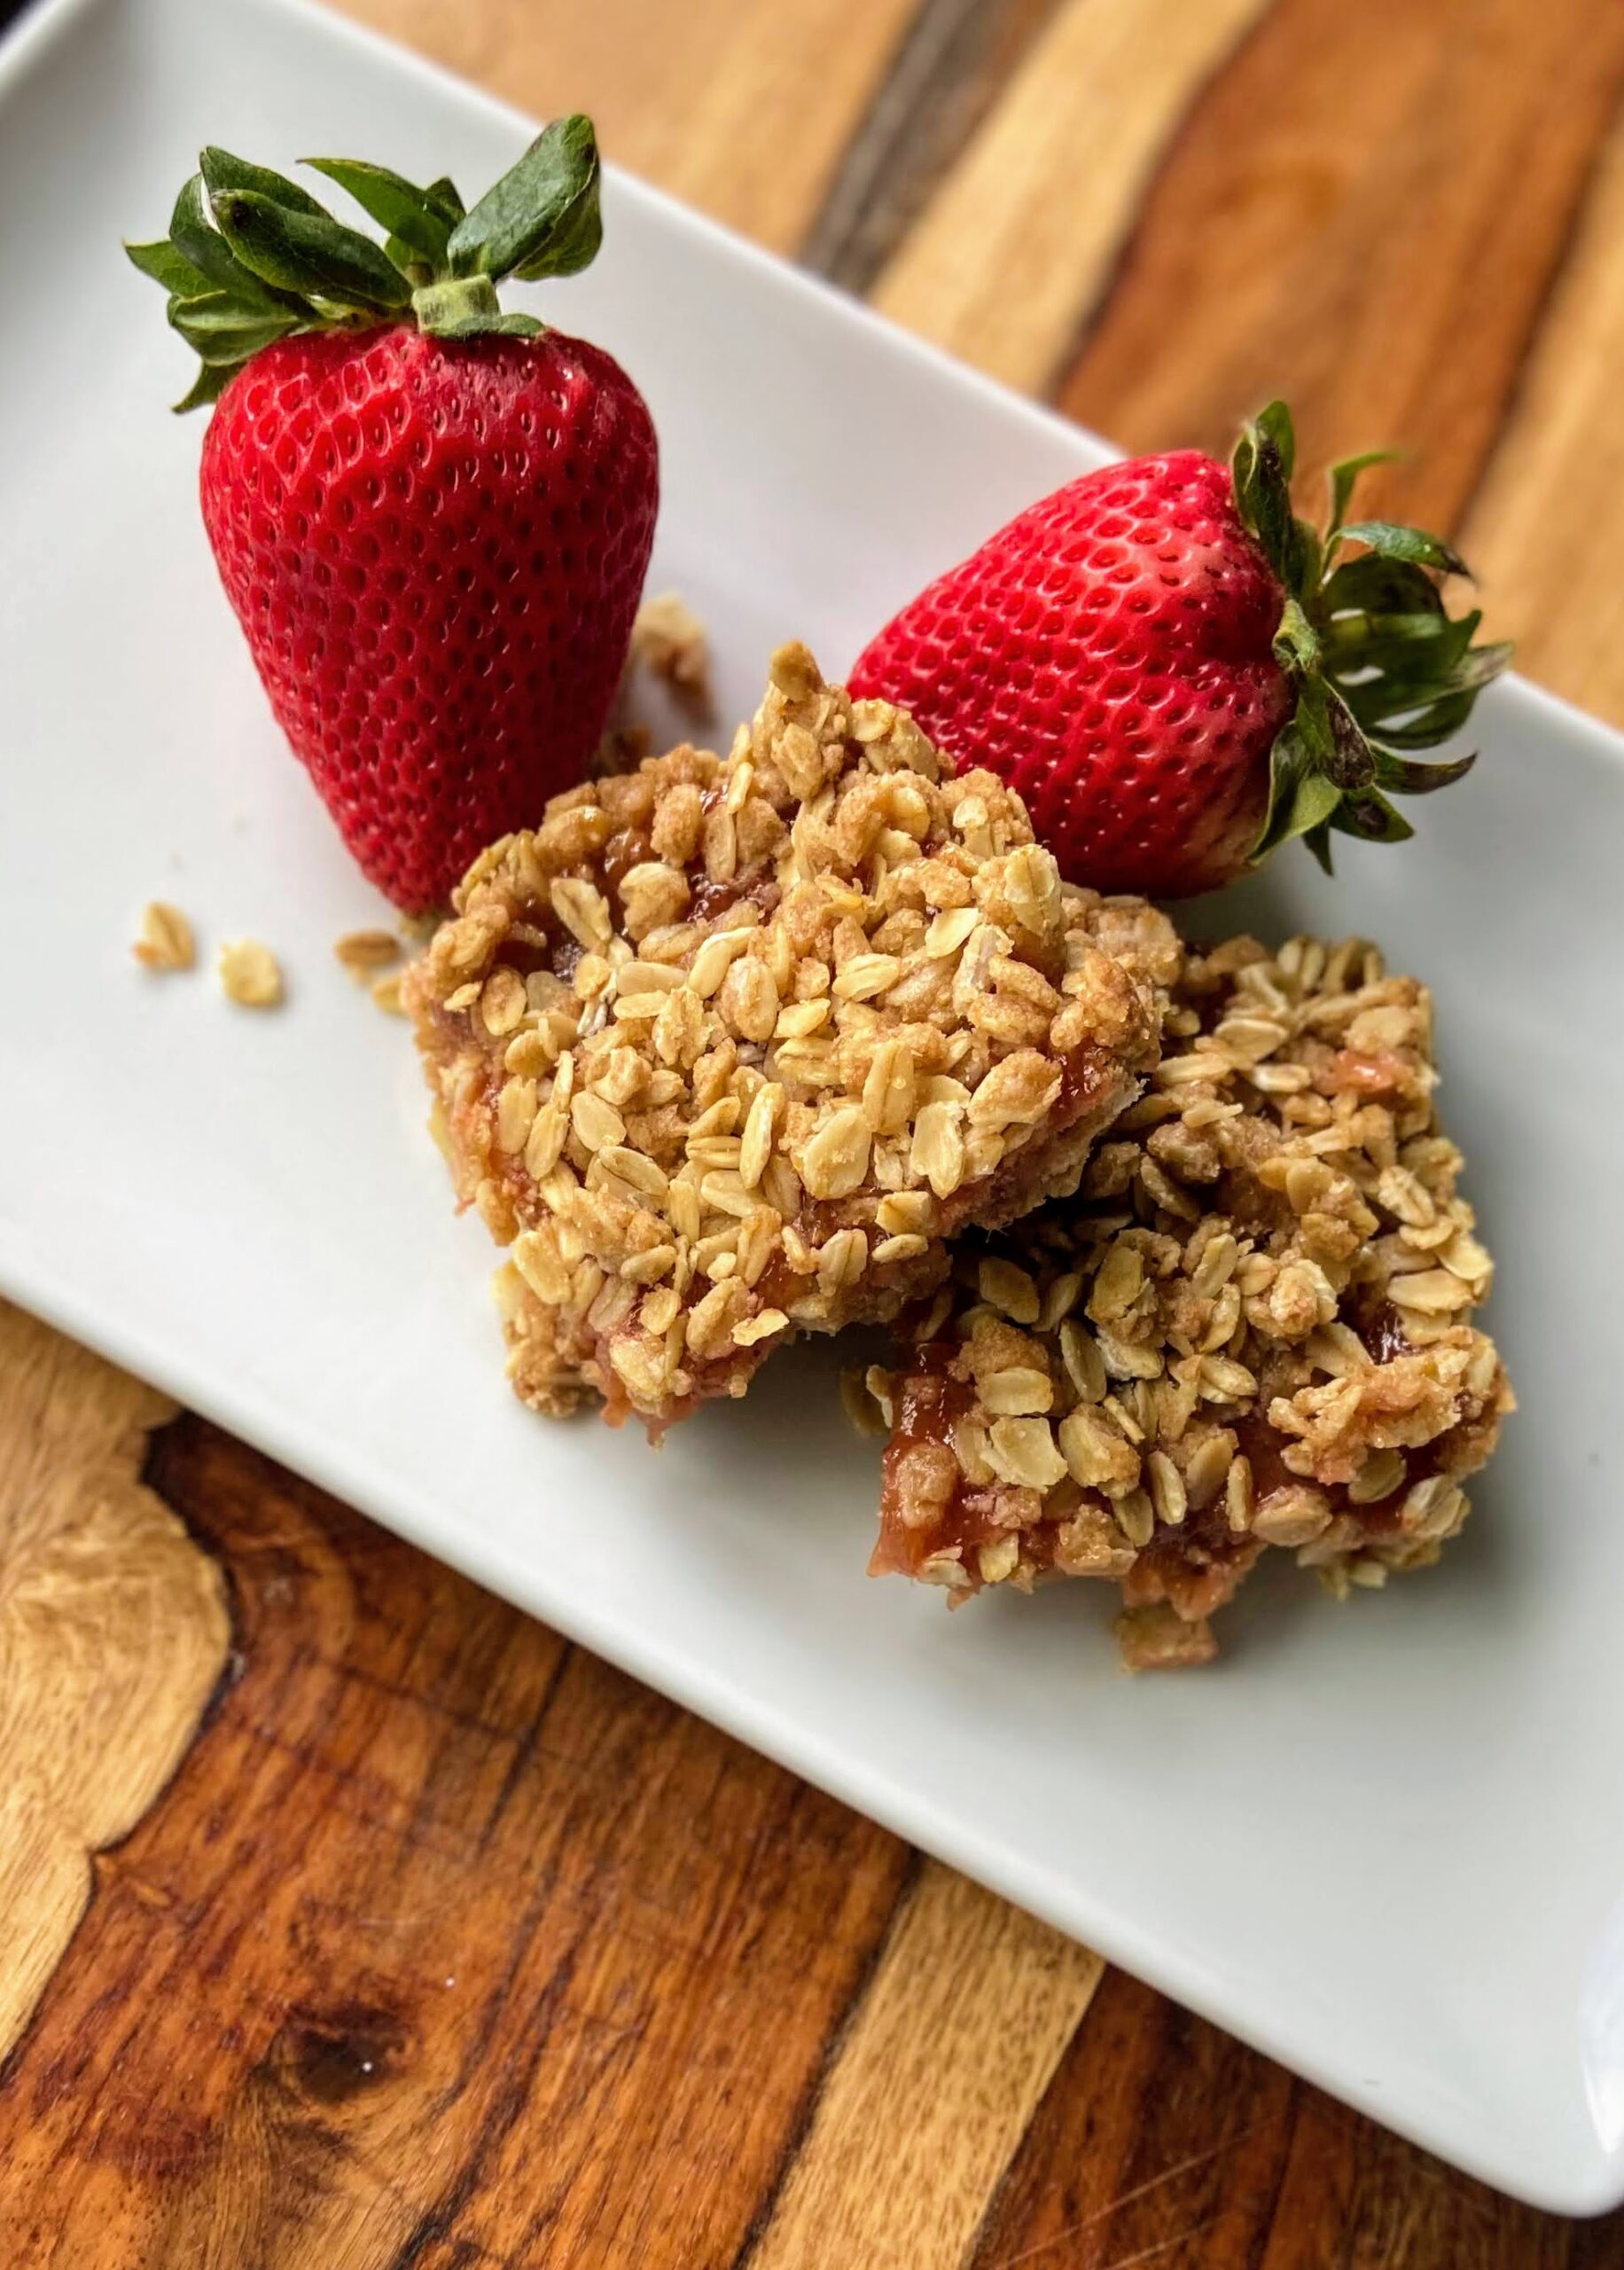
Strawberry Rhubarb Oat Bars

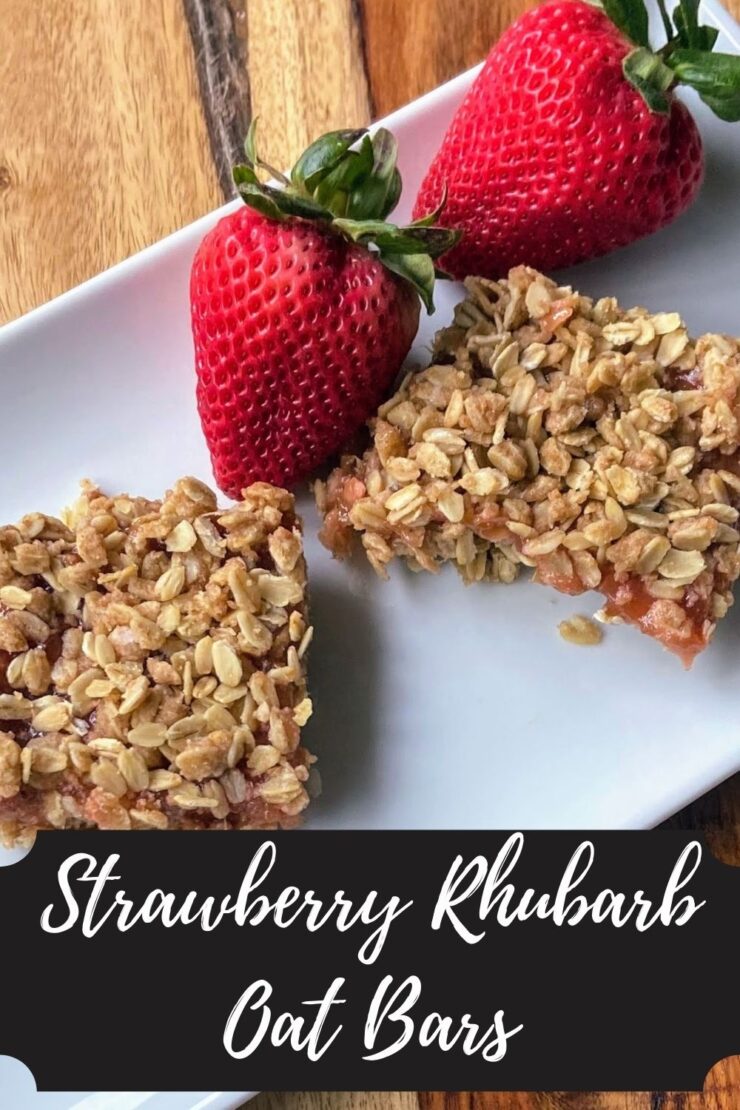
Are you ready for some Strawberry Rhubarb Oat Bars? 

Springtime has finally arrived in Wisconsin, and I am here for it. Unfortunately, my rhubarb is JUST starting to be ready for harvesting. (Just started growing it? Get all the information at the University of Minnesota Extension). Luckily, I have an awesome neighbor just down the road that had an abundance of rhubarb and she invited me over to harvest some. 

Now I would normally bake a pie first for the Mr. but I wanted to try something new. I happened to have some strawberries in the fridge and Strawberry Rhubarb Oat Bars seemed to be the ticket. I tried to cut back a little on the sugar and butter and subbed in whole wheat flour and the results were perfect. The Mr. promptly ate two servings and said they were great! 

Ready to get baking? Let’s Go!

Your Ingredients 

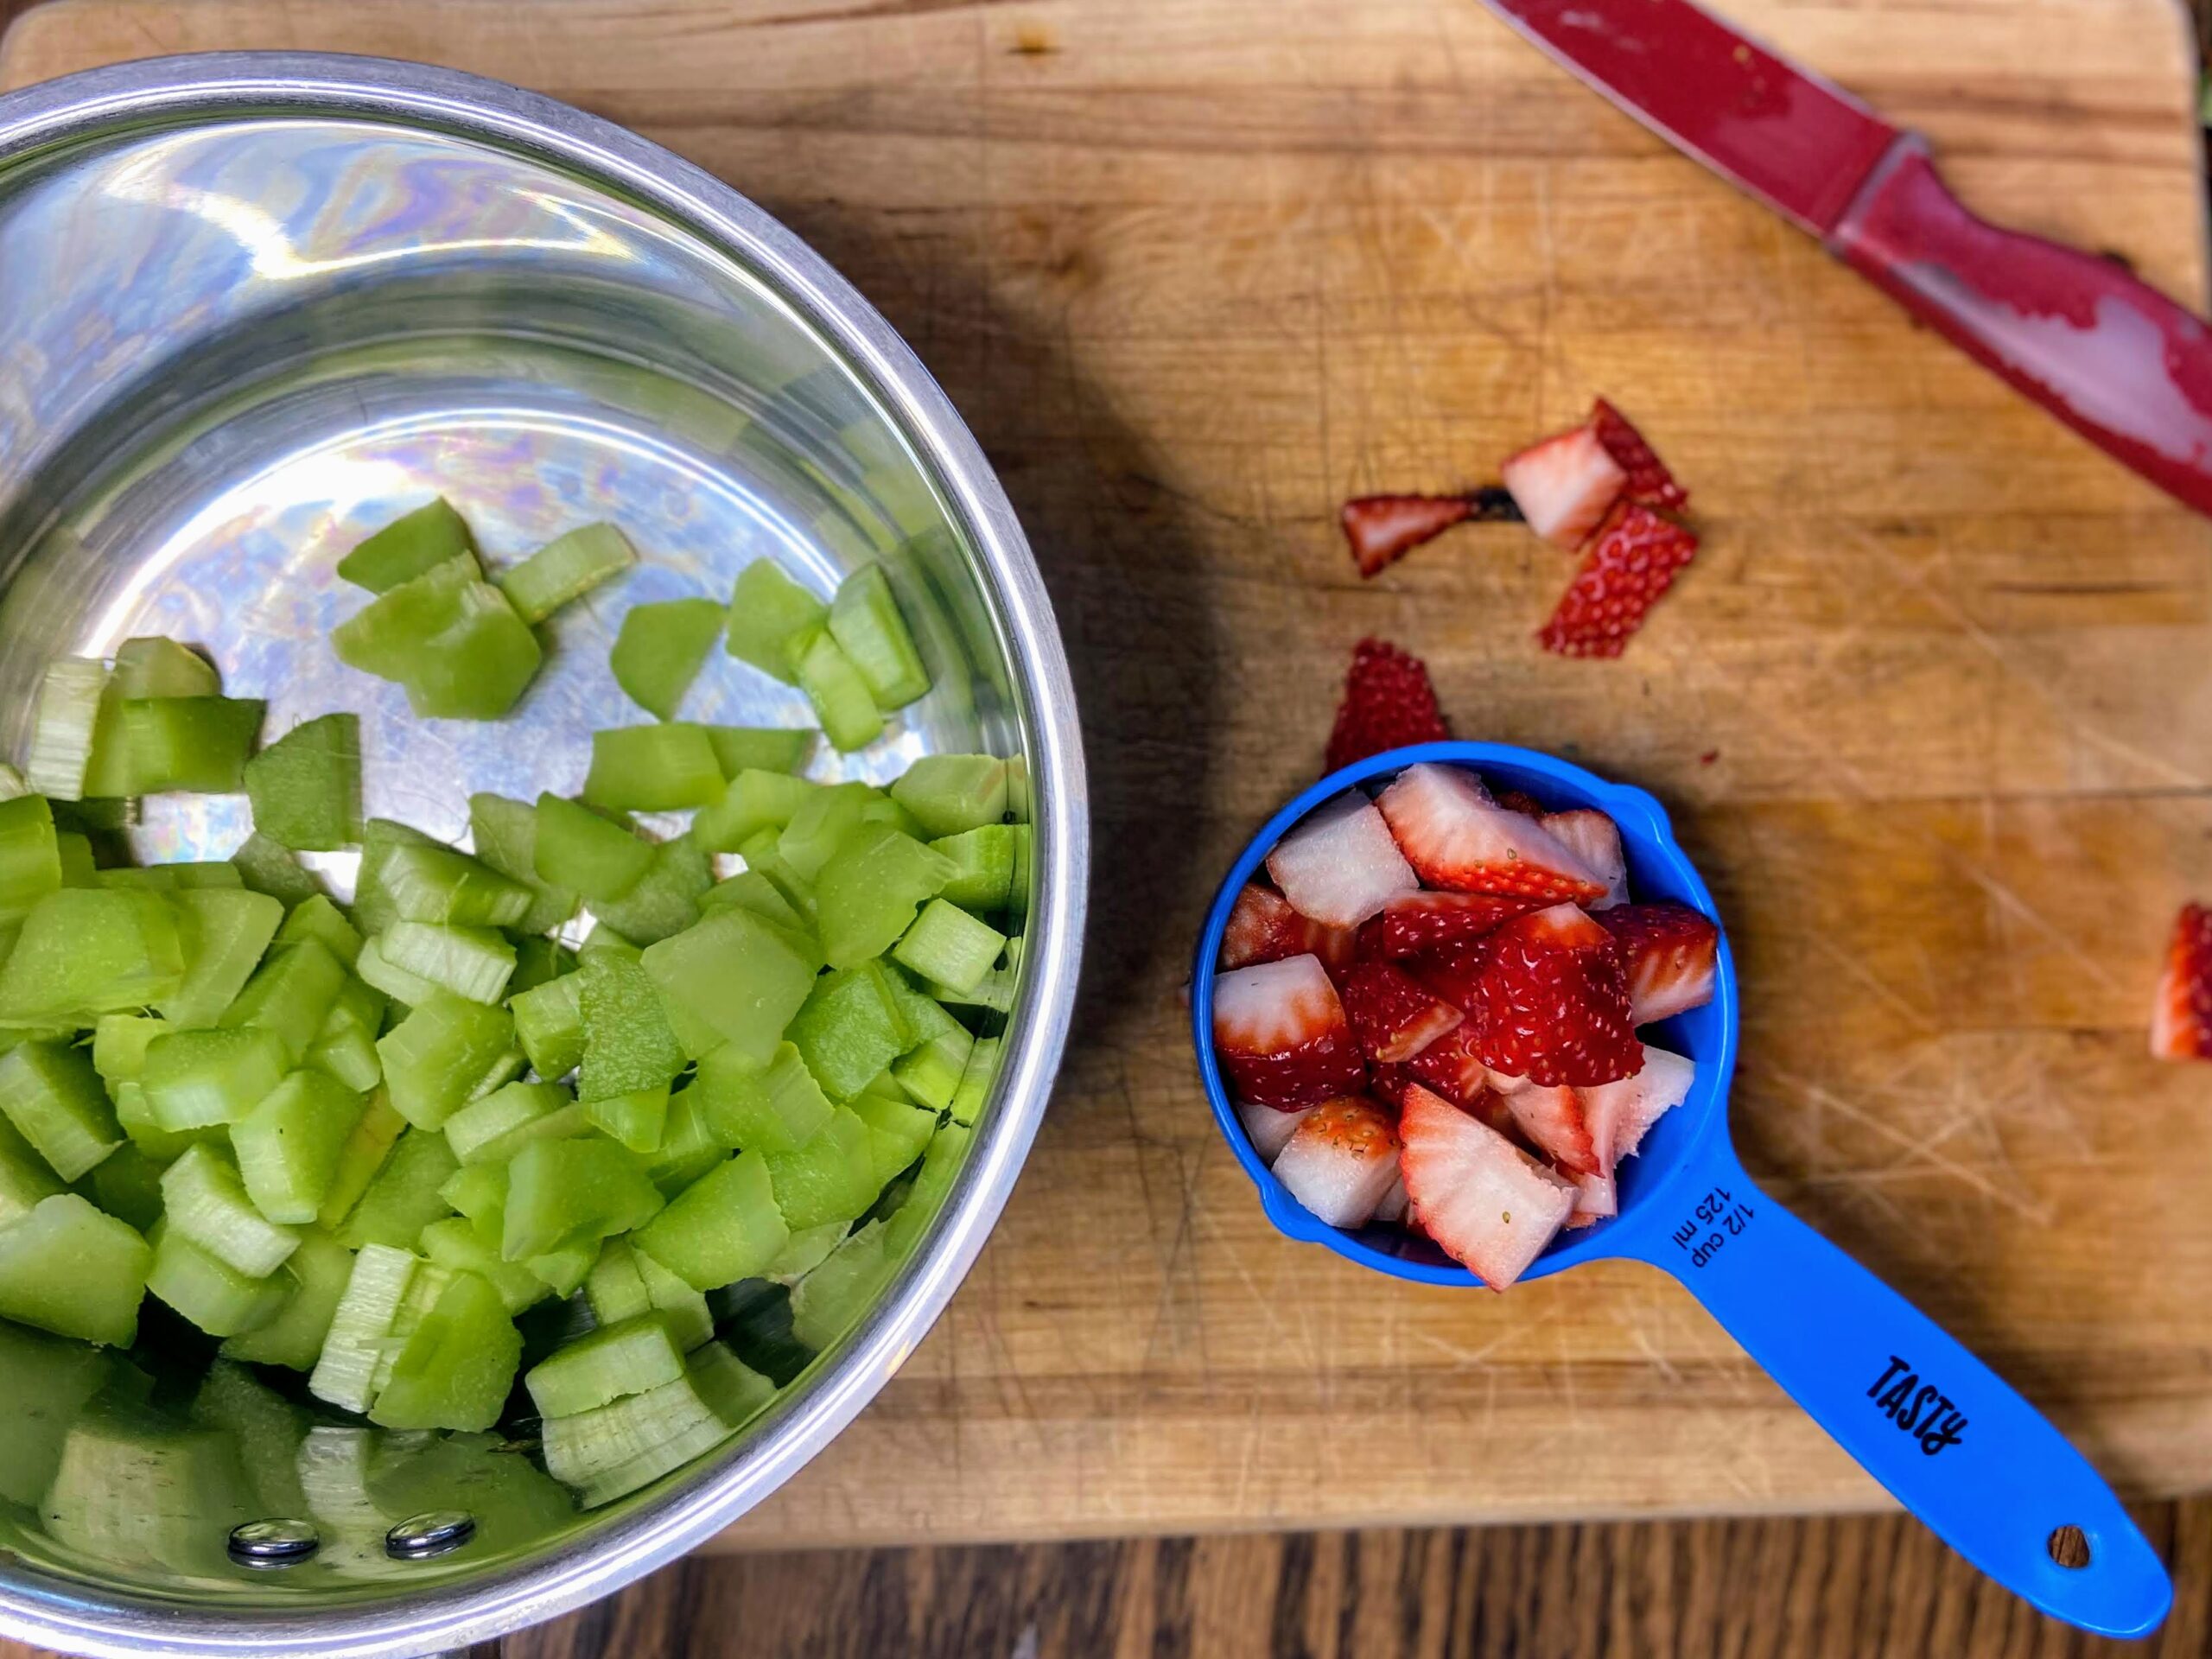
  • 1 ½ cups chopped fresh or frozen rhubarb 
  • ½ cup chopped fresh strawberries 
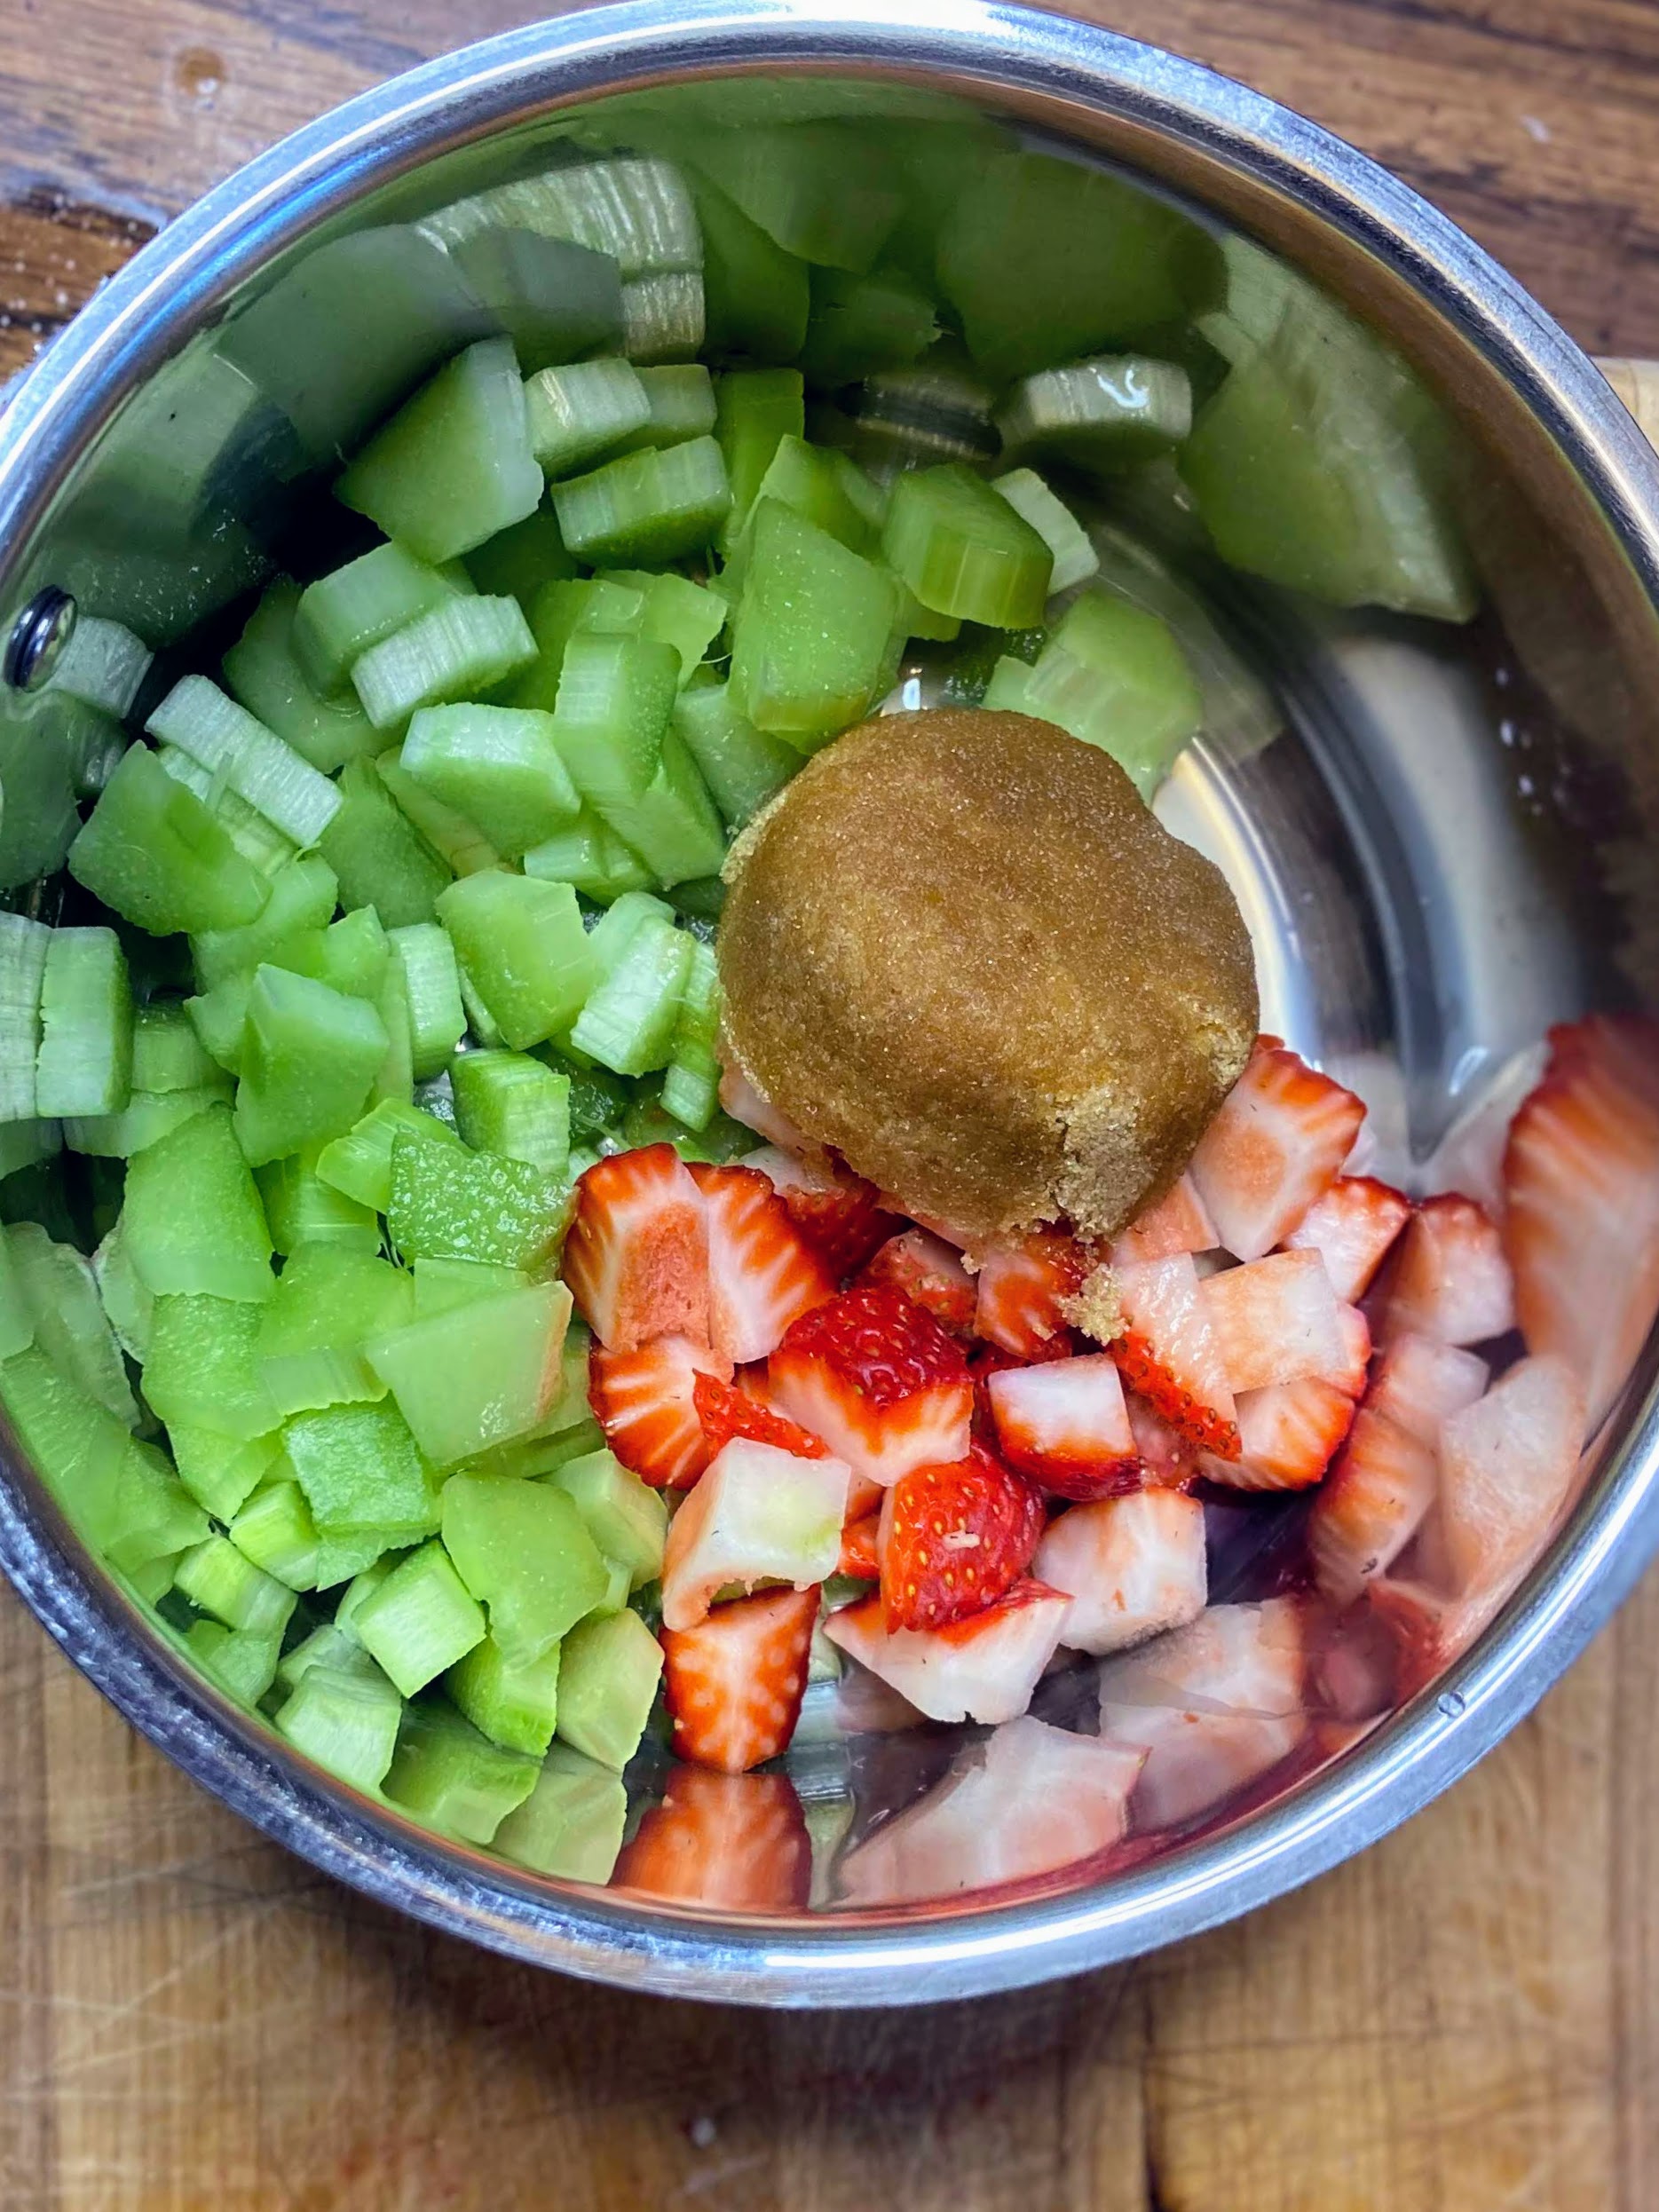
  • ⅔ cup packed brown sugar, divided
  • 3 tablespoons water, divided
  • 1 teaspoon lemon juice 
  • 1 tablespoon cornstarch 
  • ¾ cup whole wheat flour
  • 1 ½ cups old fashioned oats
  • ½ teaspoon salt
  • 5 tablespoons butter, melted

Your Steps to Strawberry Rhubarb Oat Bars 

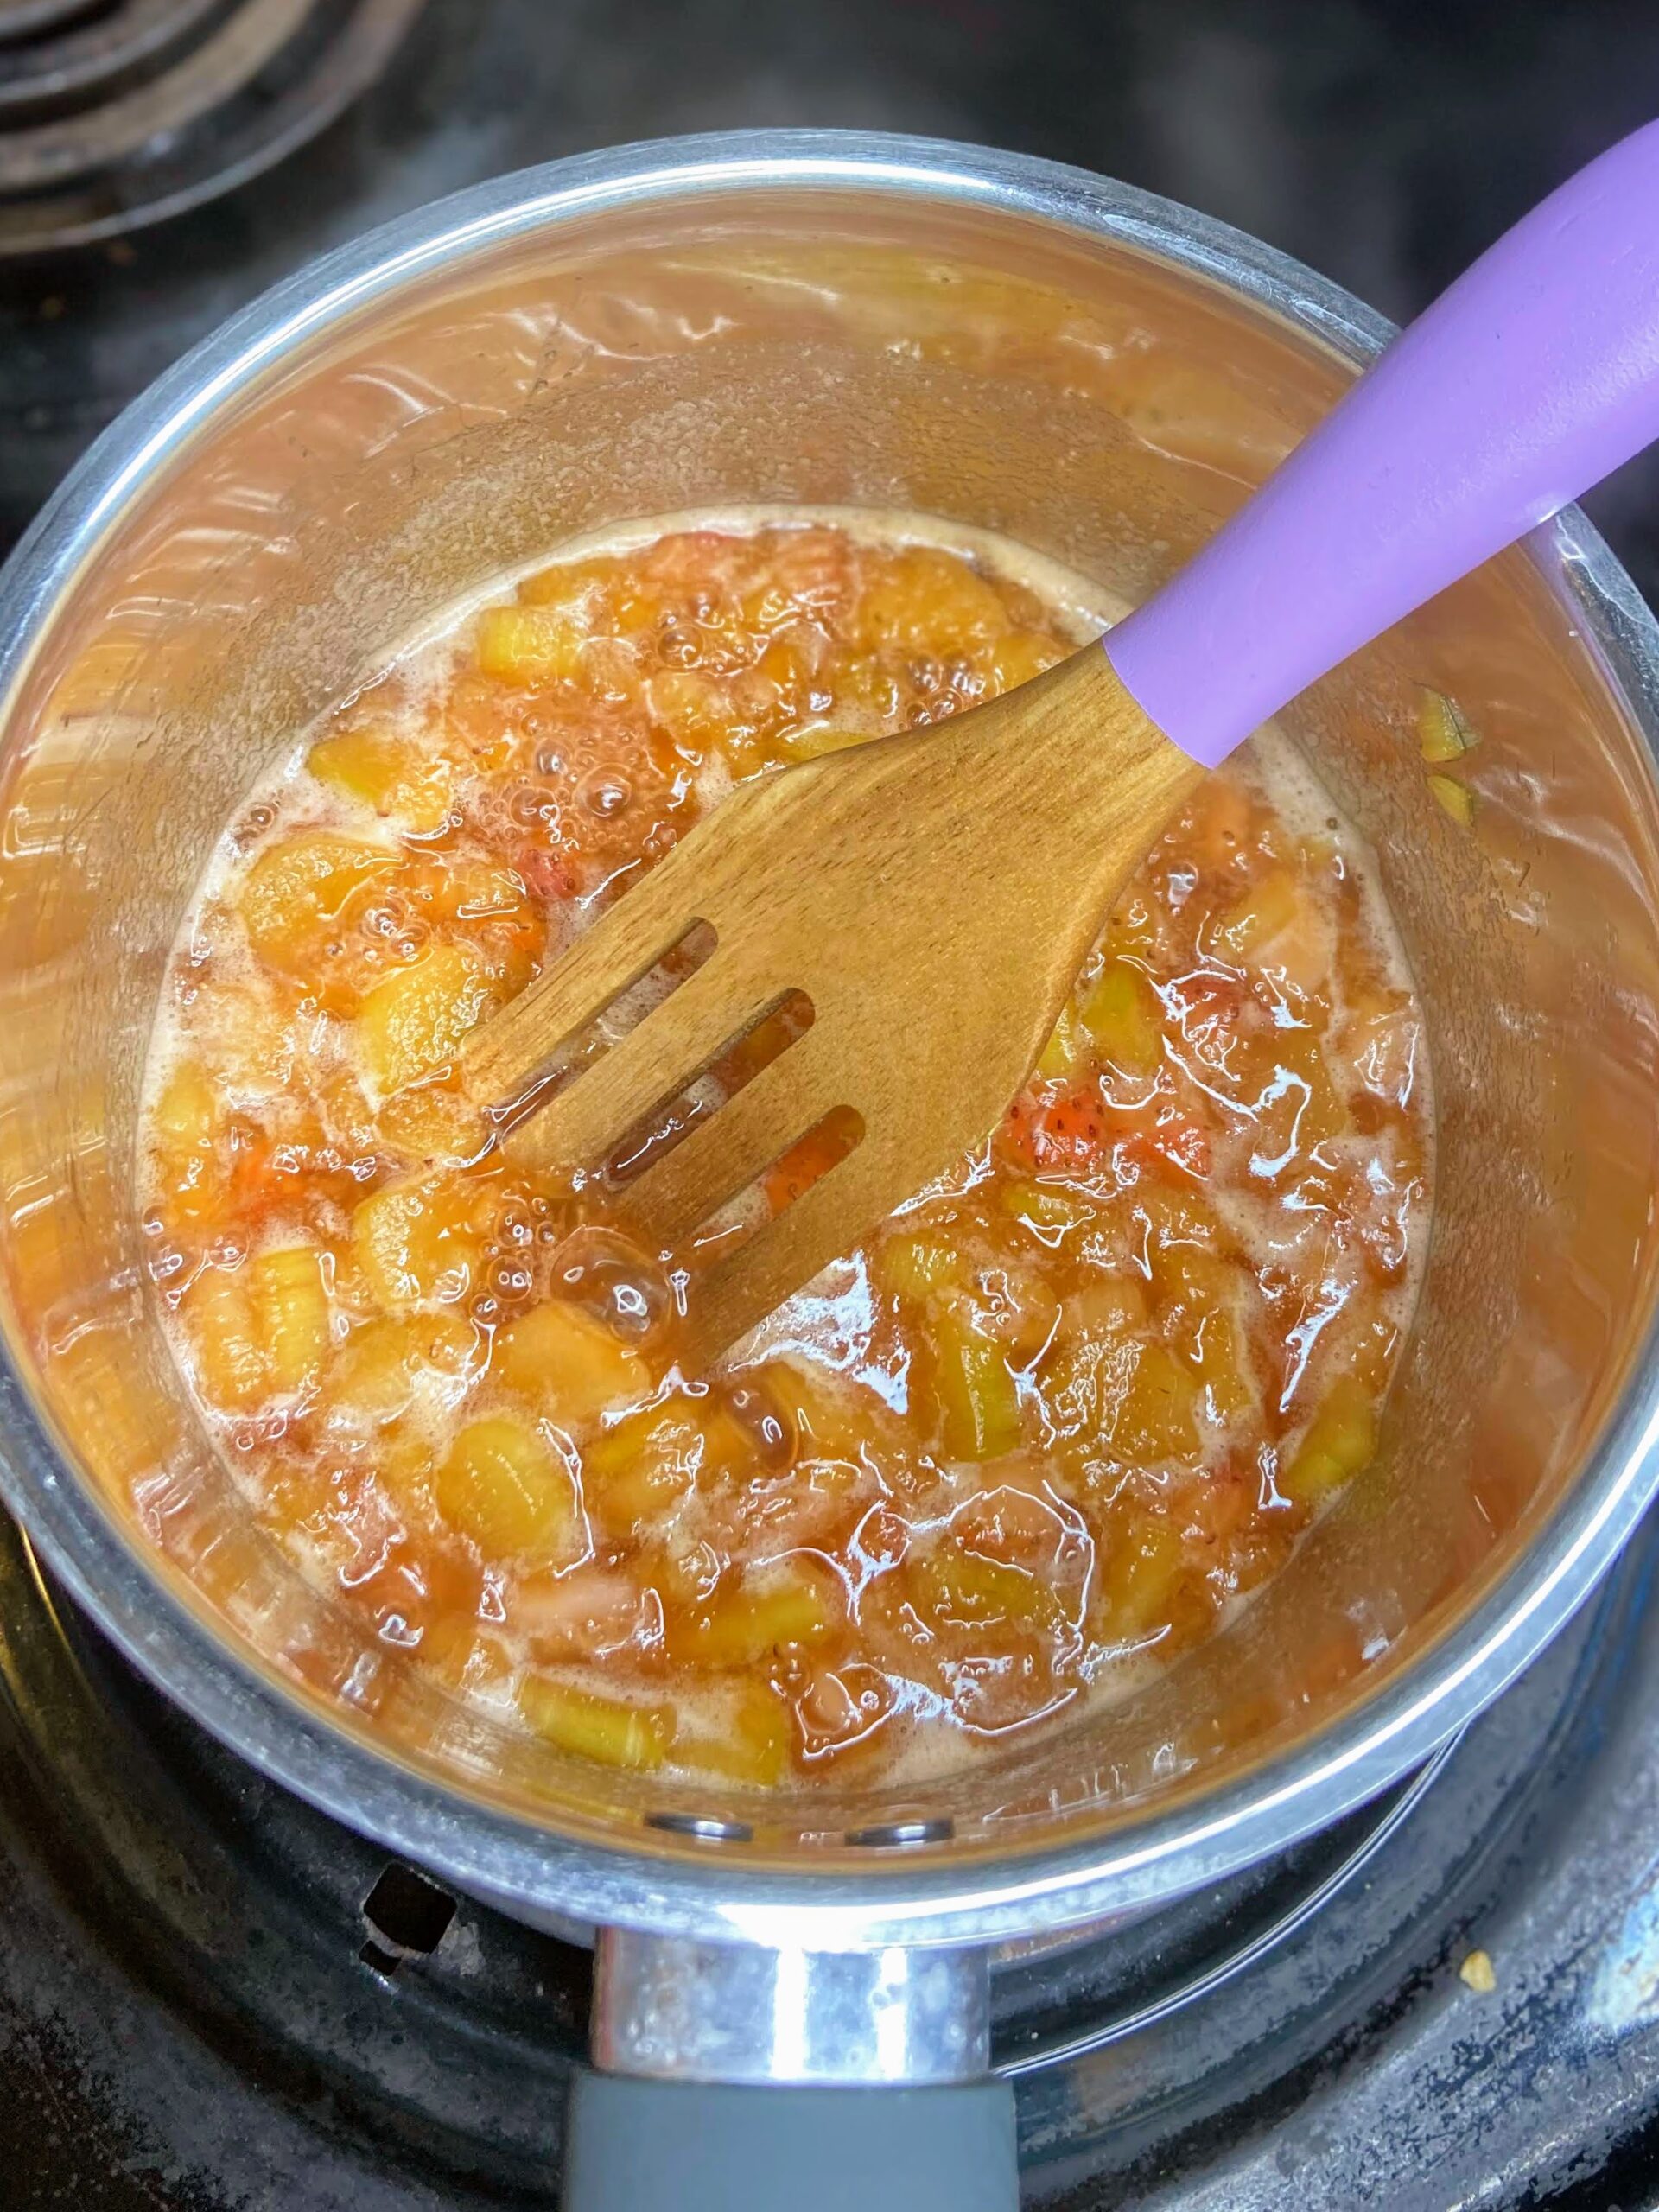
Preheat the oven to 375 degrees. In a large saucepan, combine the rhubarb, strawberries, ⅓ cup brown sugar, 2 tablespoons water, and lemon juice. Bring to a boil. Reduce heat to medium and cook for 4-5 minutes, stirring often, until rhubarb is soft. 

Combine cornstarch and the remaining tablespoon of water. Gradually stir into the rhubarb mixture over medium heat. Bring to a boil, cooking and stirring for 2-3 minutes, until thickened. Remove from heat and set aside. 

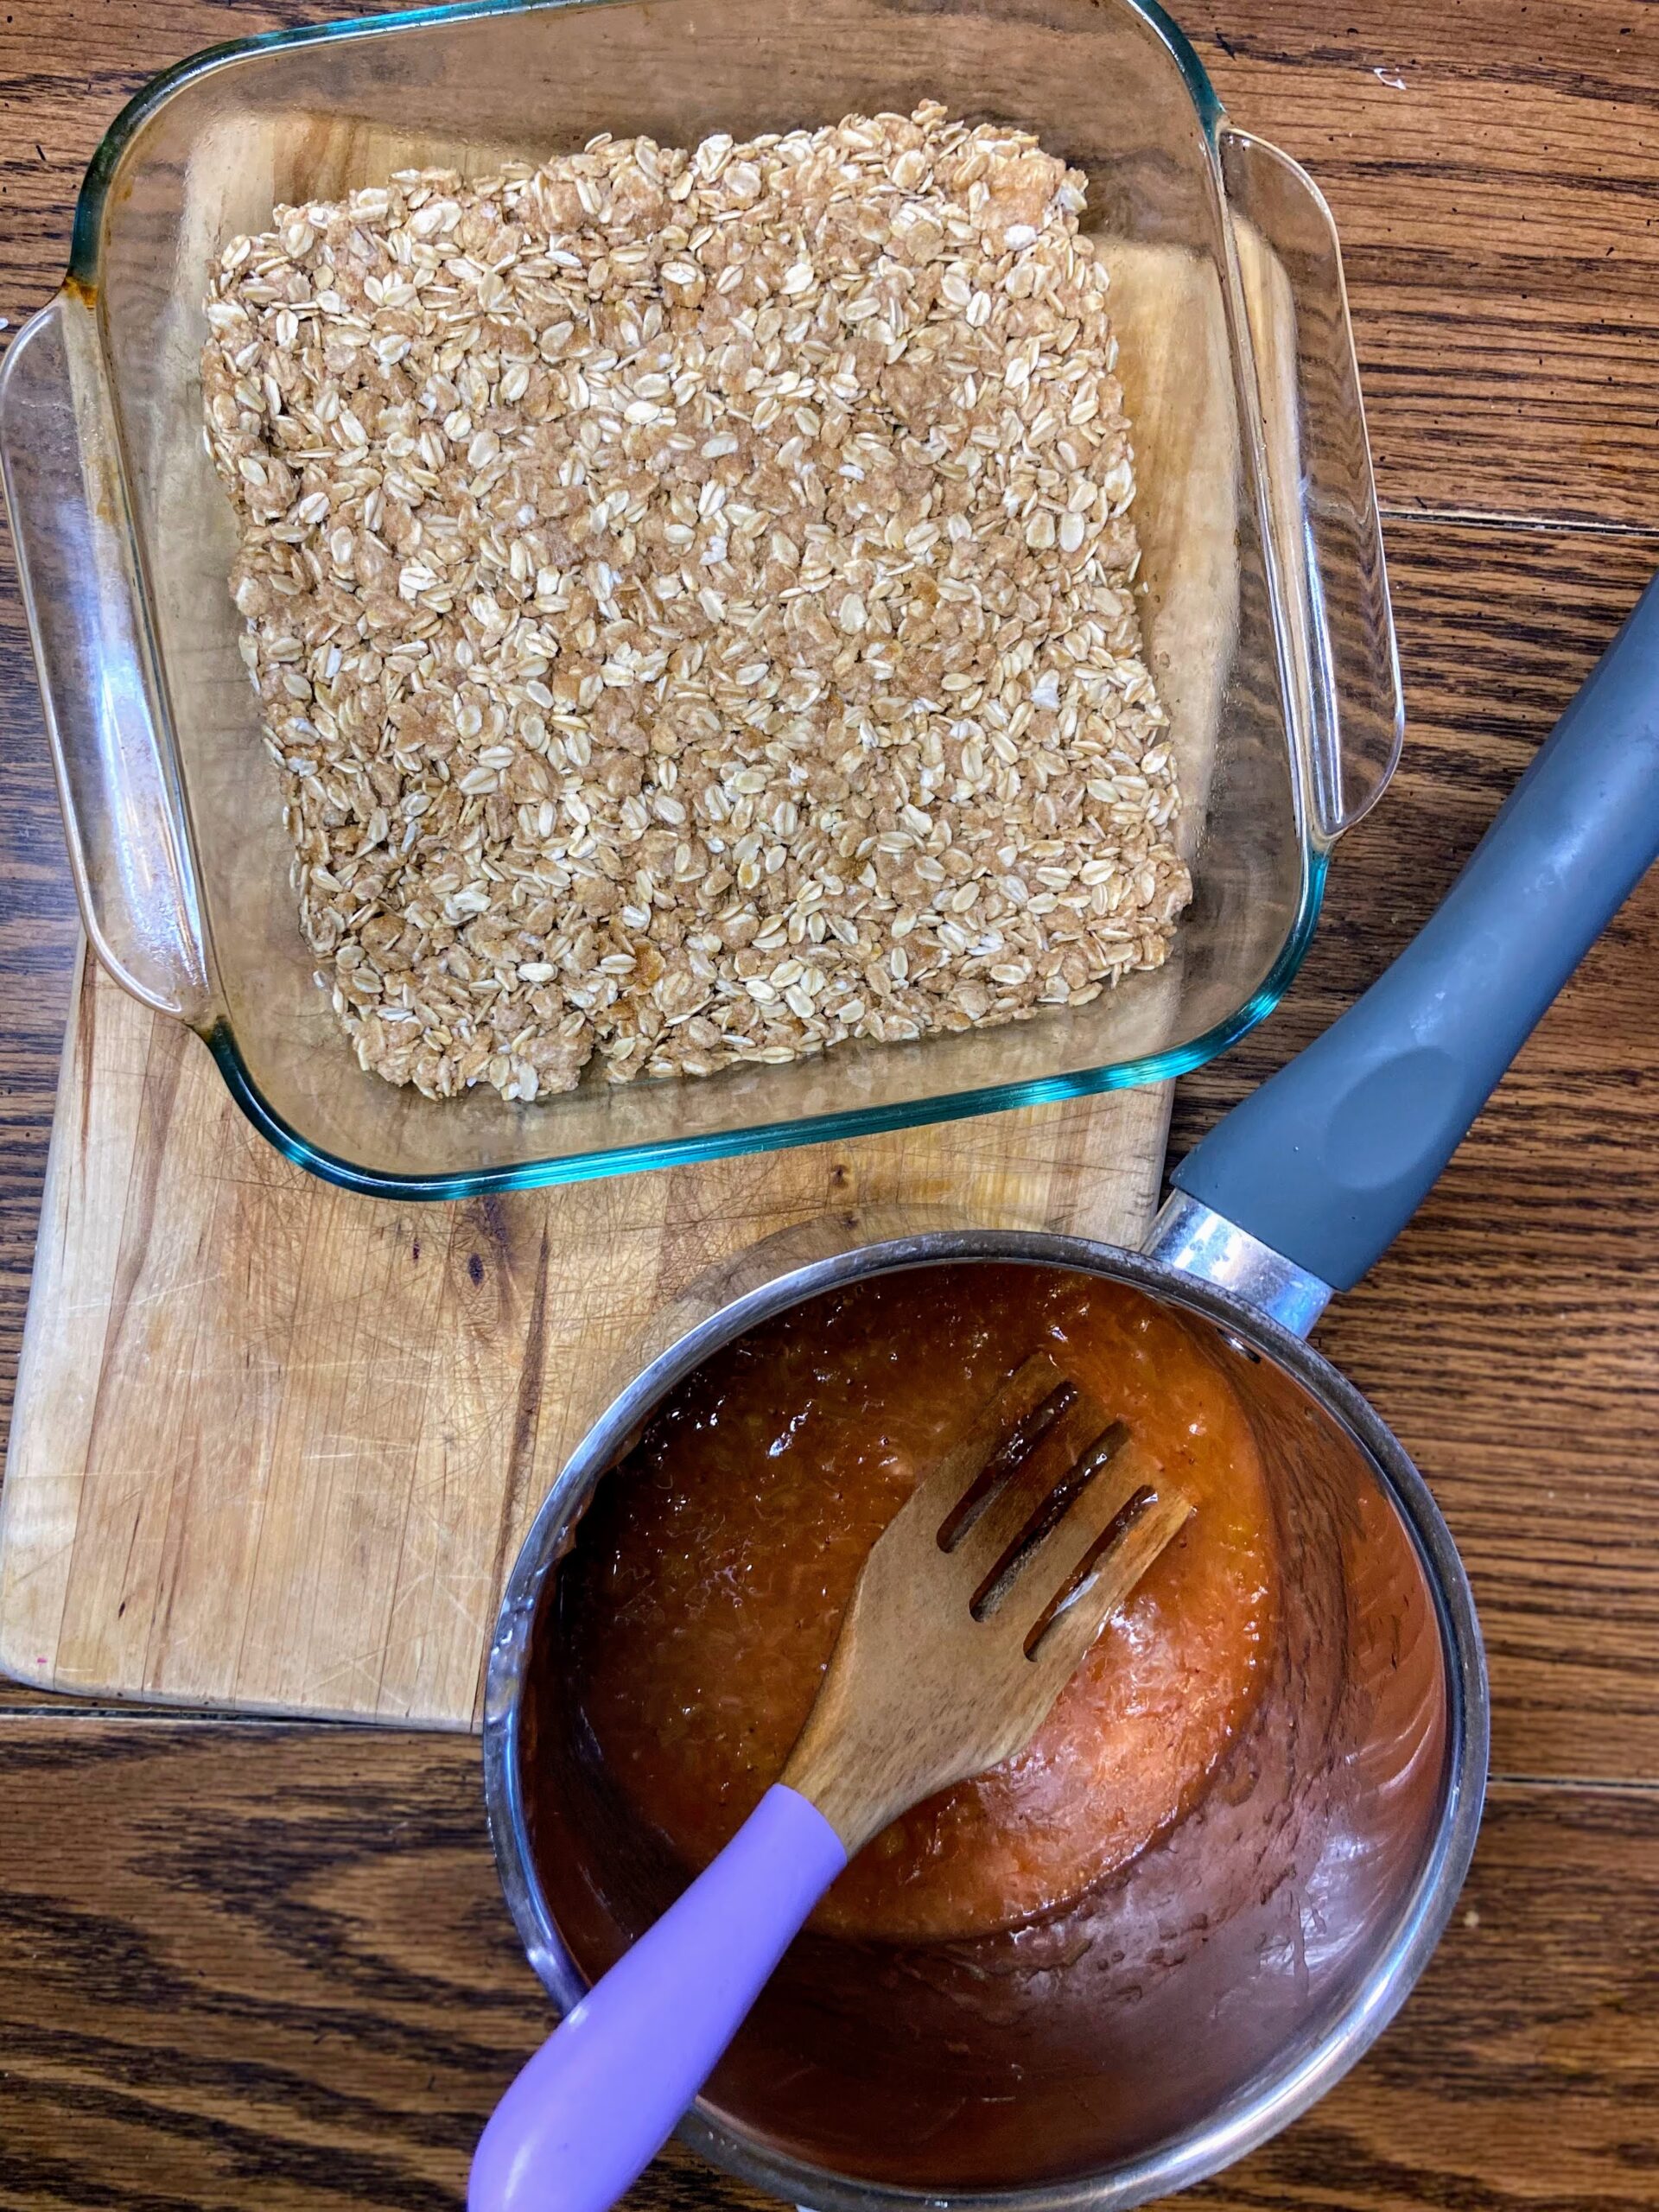
In a large bowl, combine the butter, oats, flour, and salt. Mix until crumbly. Press ⅔ of the mixture into a greased 8 inch square baking dish. Bake at 375 for 10 minutes. Remove from the oven and decrease the temperature to 350 degrees. Spread rhubarb mixture onto the crust and sprinkle the remaining oat mixture on top. Bake an additional 15-20 minutes, until golden brown. Allow to cool and then cut into 16 squares. 

Strawberry Rhubarb Oat Bars

The flavors of spring combine in these strawberry rhubarb oat bars to create a delicious treat for any time of the day!
Prep Time 20 minutes
Cook Time 30 minutes
Course Breakfast, Dessert
Cuisine American
Servings 16 bars

Ingredients
  

  • 1 ½ cups chopped fresh or frozen rhubarb
  • ½ cup chopped fresh strawberries
  • cup packed brown sugar divided
  • 3 tablespoons water divided
  • 1 teaspoon lemon juice
  • 1 tablespoon cornstarch
  • 1 ½ cups old fashioned oats
  • ¾ cup whole wheat flour
  • ½ teaspoon salt
  • 5 tablespoons butter melted

Instructions
 

  • Preheat the oven to 375 degrees.
  • In a large saucepan, combine the rhubarb, strawberries, ⅓ cup brown sugar, 2 tablespoons water, and lemon juice.
  • Bring to a boil. Reduce heat to medium and cook for 4-5 minutes, stirring often, until rhubarb is soft.
  • Combine cornstarch and the remaining tablespoon of water. Gradually stir into the rhubarb mixture over medium heat. Bring to a boil, cooking and stirring for 2-3 minutes, until thickened. Remove from heat and set aside.
  • In a large bowl, combine the butter, oats, flour, and salt. Mix until crumbly.
  • Press ⅔ of the mixture into a greased 8 inch square baking dish. Bake at 375 for 10 minutes.
  • Remove from the oven and decrease the temperature to 350 degrees.
  • Spread rhubarb mixture onto the crust and sprinkle the remaining oat mixture on top.
  • Bake an additional 15-20 minutes, until golden brown. Allow to cool and then cut into 16 squares.
Keyword Oat Bars, oats, Rhubarb, Rhubarb Bars, Strawberries, Strawberry Rhubarb
Tried this recipe?Let us know how it was!

Looking for other great recipes?