Homemade Applesauce: Slow Cooker Style

Growing up, I don’t remember either of my parents making homemade applesauce. That isn’t to say they didn’t do it, but I certainly have no memory of it. It wasn’t until I was almost entirely through college that I even realized canning and preserving food was something commonplace. I didn’t start my own journey with homegrown and preserved food until late into my twenties, after my son was born. 

After we purchased our home in 2009, we immediately set to work to plant a garden and get trees started for our own mini orchard. At that point, I still had no idea where my future in home preservation was headed. My in-laws are avid canners and freezers of food they produce in their garden. I don’t know if it was a push by my husband or a curiosity of mine, but I became interested. Slowly, I started by canning pickles and jams. Then tomato sauce. Then my in-laws brought me bushels of apples from their own orchard (ours are JUST starting to produce enough to preserve them. For now, we eat ours and preserve gifted apples). I became interested in making homemade applesauce. Then apple jelly and apple pie filling

Now, I’ve learned that preserving homemade applesauce doesn’t have to look like canning it (although I like to do a little of both). It can look like freezing it, which is a little less daunting for many. And while I love a low simmer on the stove, a slow cooker does the trick and takes the pressure off of worrying if it’s going to burn. Big win, right? 

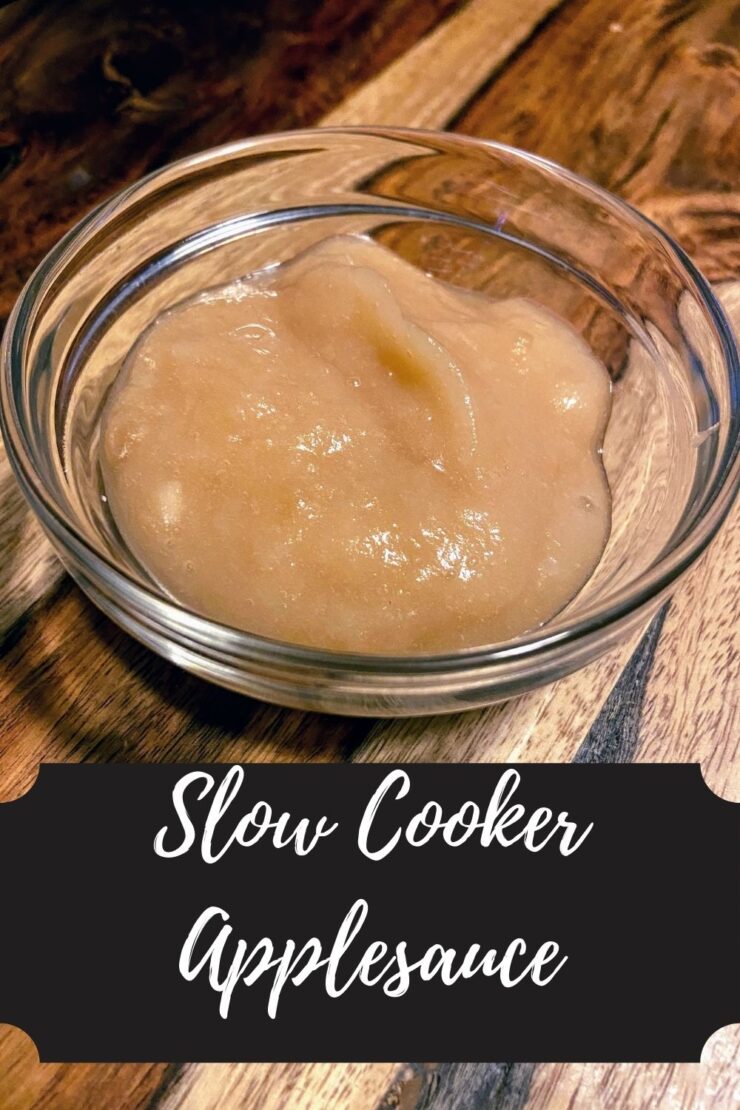
So if you’re ready, I am excited to share my homemade applesauce recipe for freezing. 

Your Ingredients for HOmemade AppleSauce

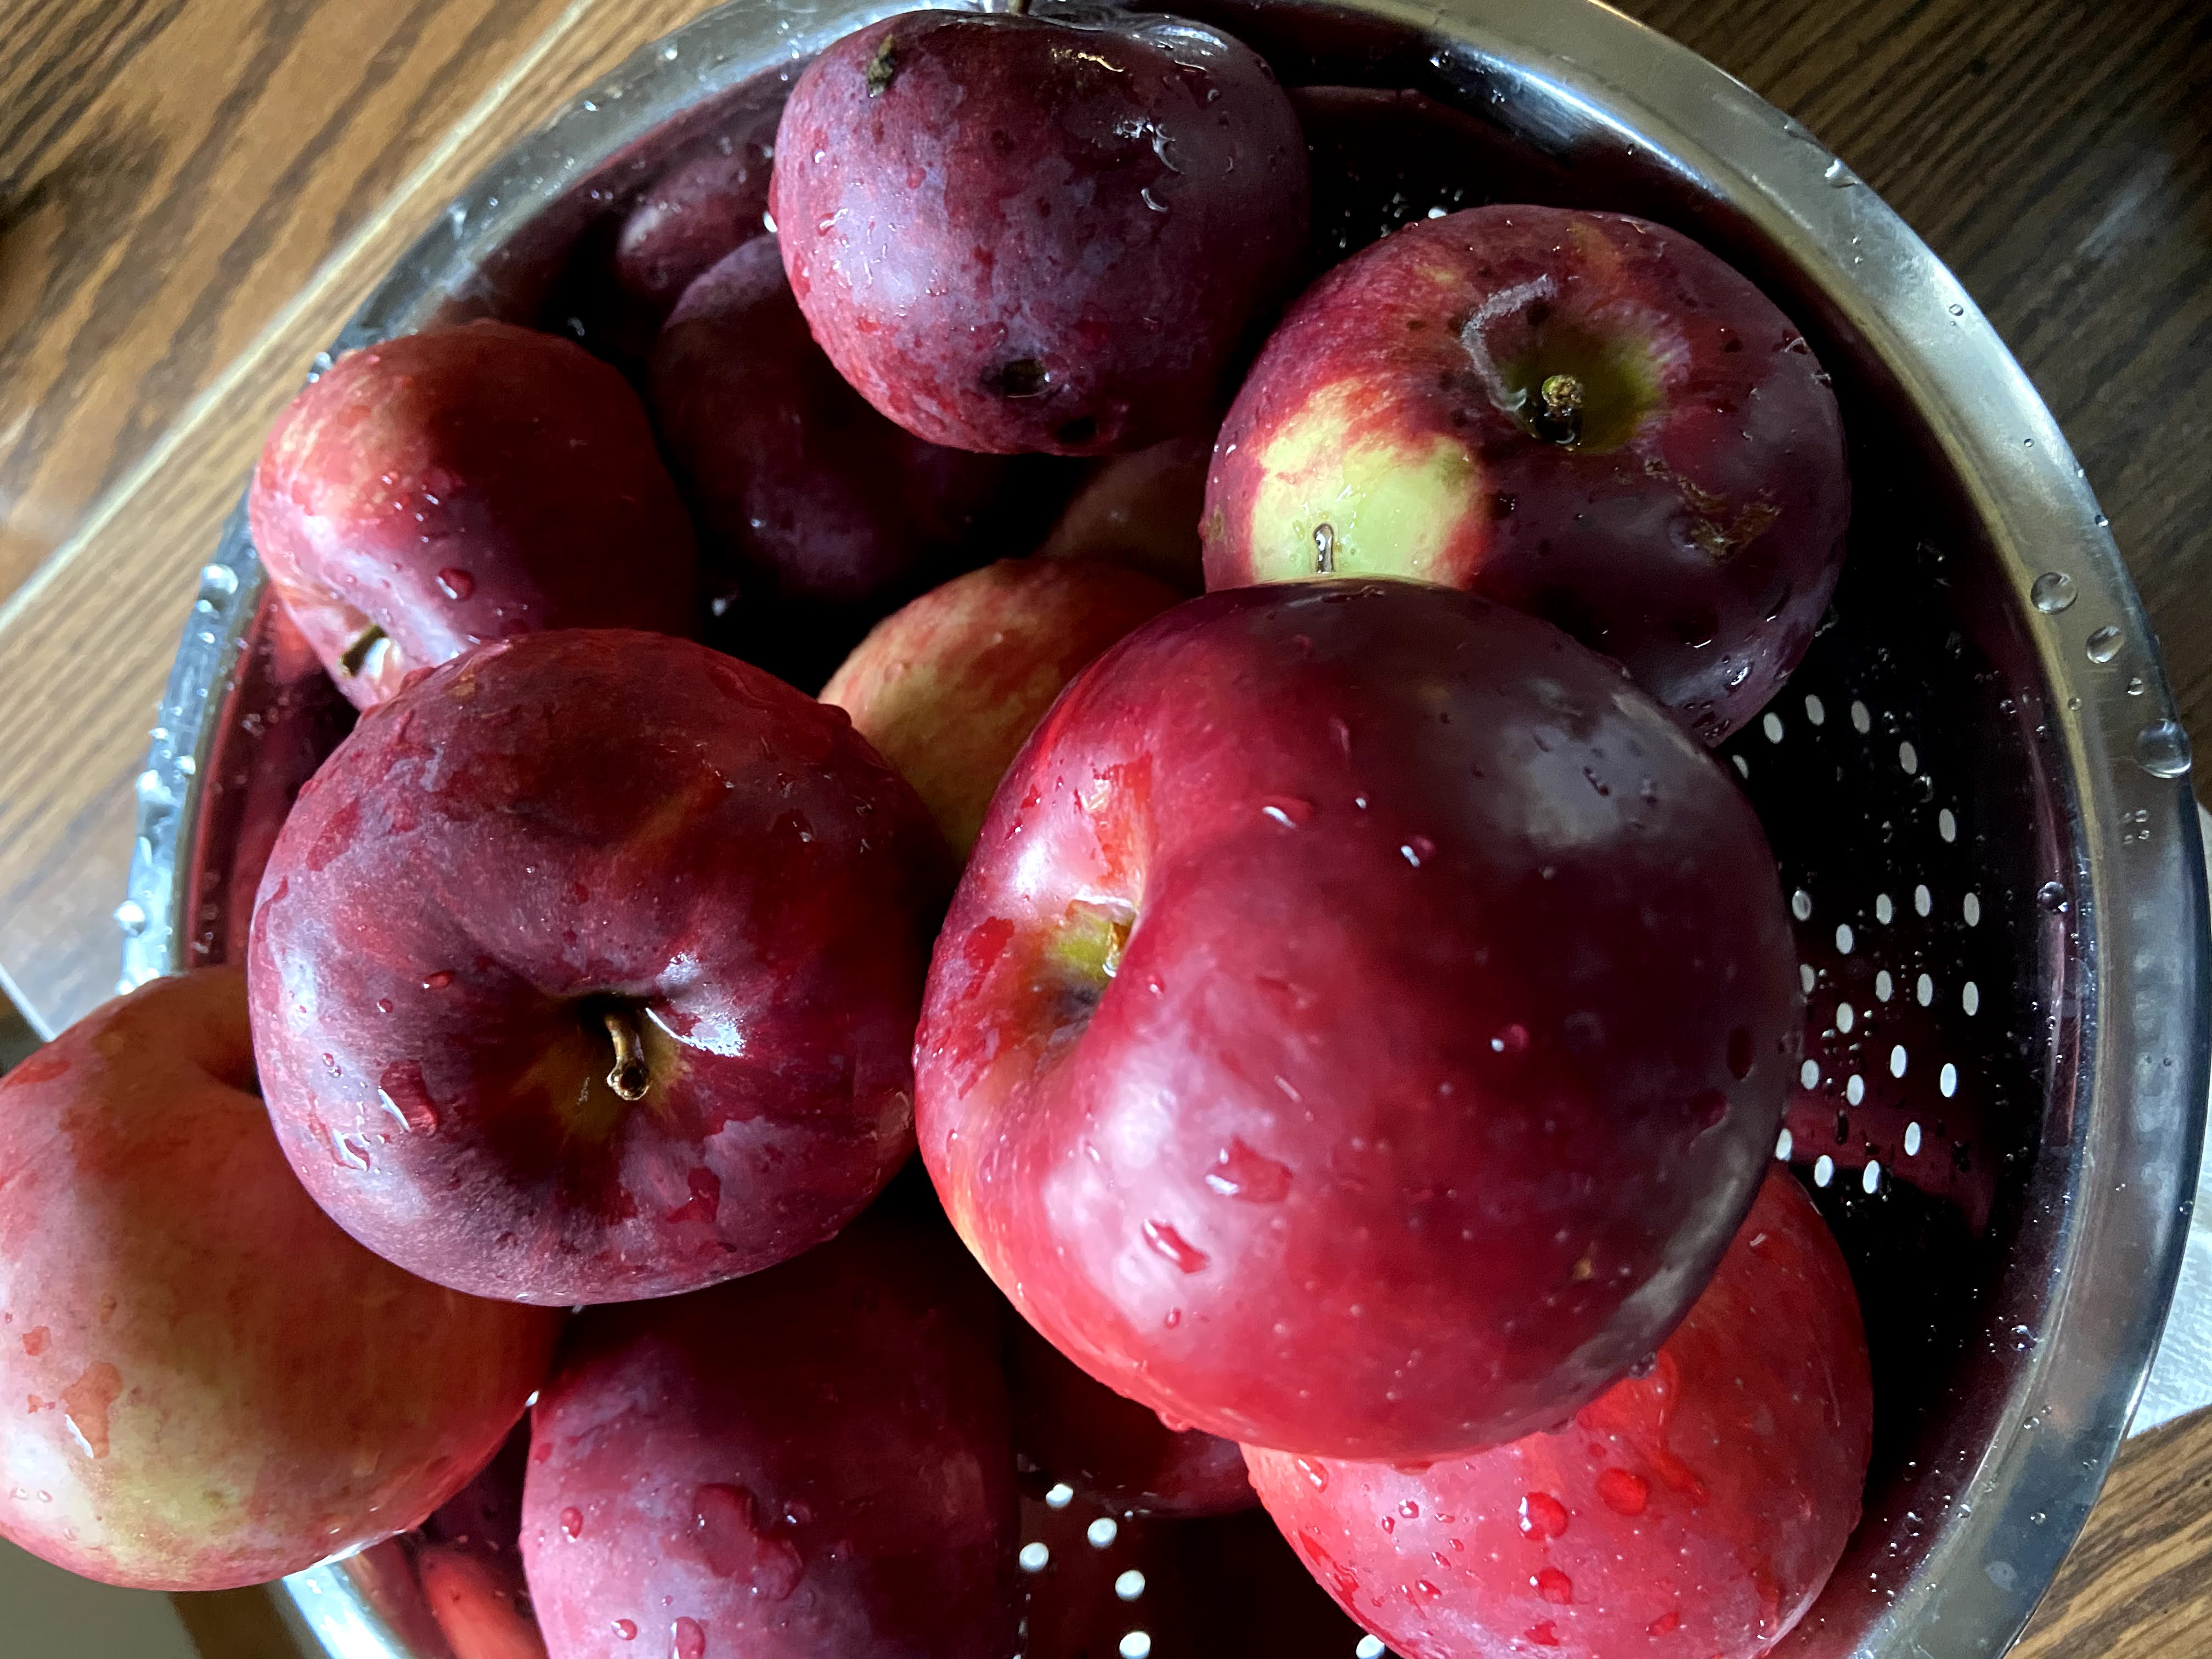
  • 8-9 pounds of apples (between 27-36 apples)
  • 2-3 cinnamon sticks (optional) 
  • 1 cup of water 

Note: I never add sugar. Apples are sweet enough on their own that I don’t think you need it. If you want to add sugar, I recommend starting low, say, ½ cup. You can add it later, but you can’t unsweeten applesauce after you add it. 

Directions for Slow cooker Applesauce

Gather a bowl and a 7-8 quart slow cooker. Peel, core, and slice your apples. Place the scraps in the bowl for Apple Scrap Jelly (yes, you didn’t know you were also making jelly, but here you are, getting ready to!). Set aside (or compost them if you must.) 

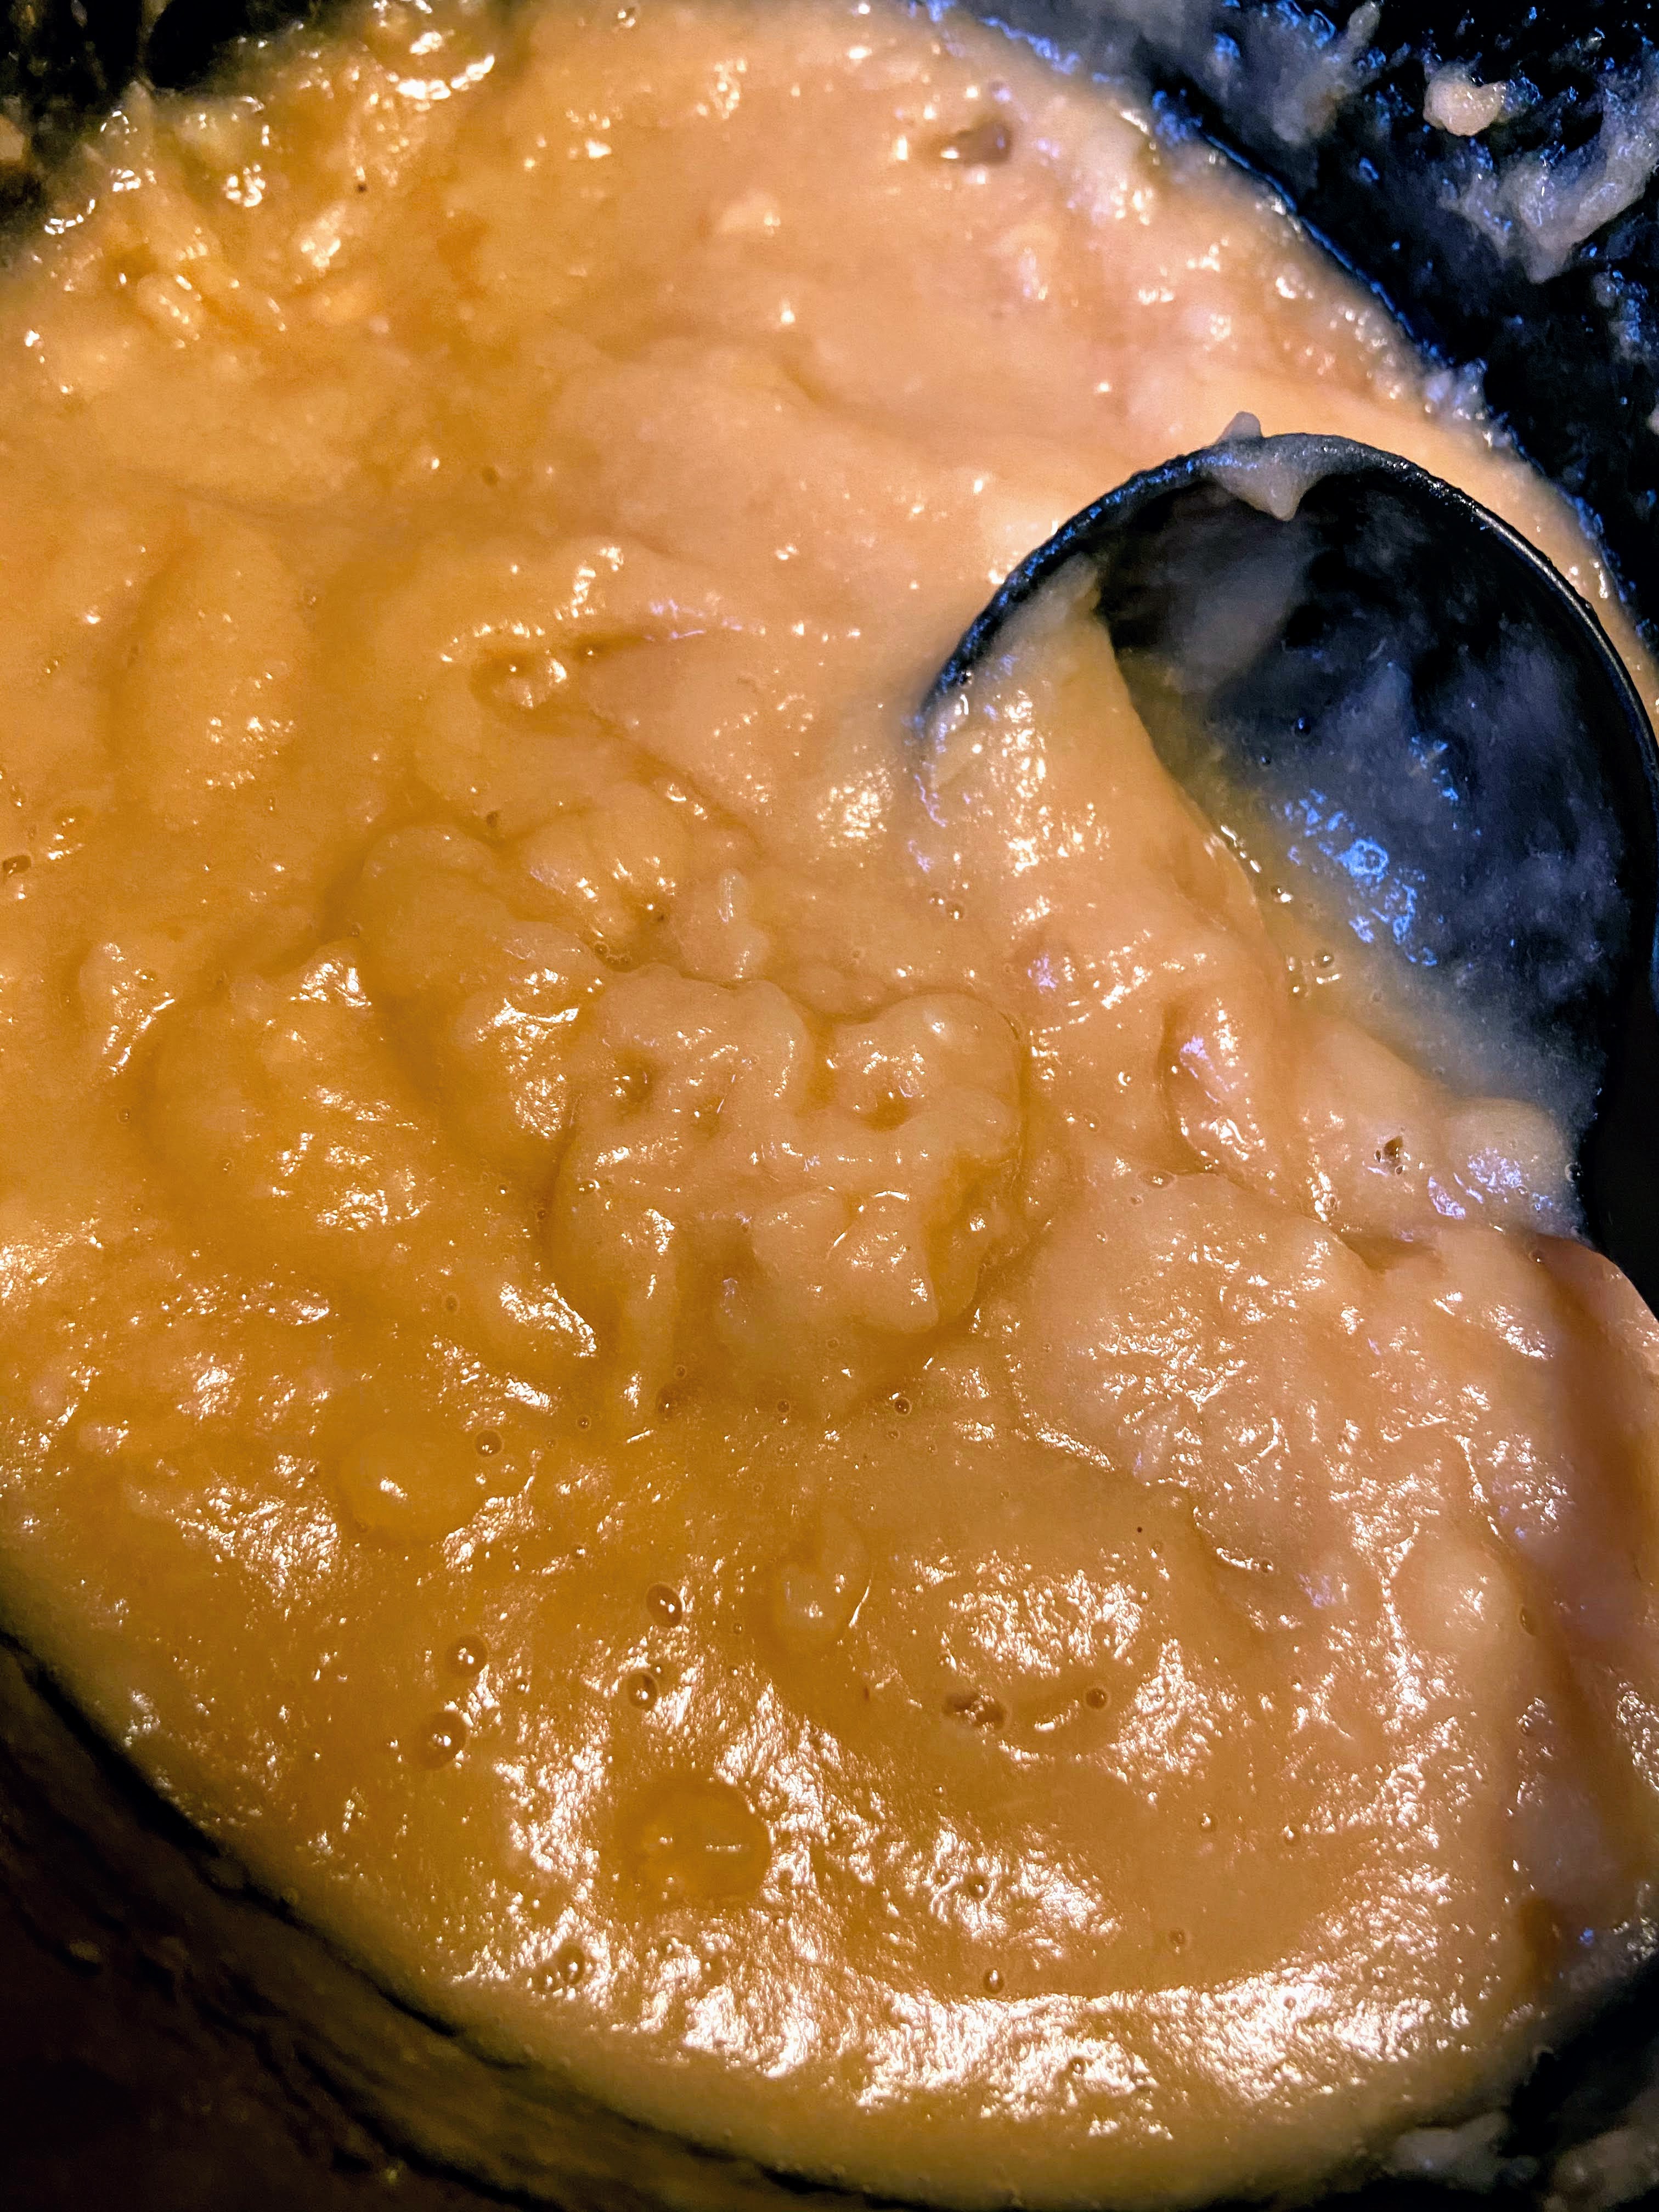
Place the sliced apples in the slow cooker. Add cinnamon sticks and water. Set on high for 3-4 hours. Every 30 minutes or so, stir and mash a bit with a potato masher or pastry cutter to break down the apples. Cook until apples are soft. 

Remove the cinnamon sticks. Now, you have a decision to make: chunky or smooth? 

Chunky Applesauce? Continue to mash with the potato masher until you like the texture. 

Smooth Applesauce? Hit it with an immersion blender until you get the texture you love. 

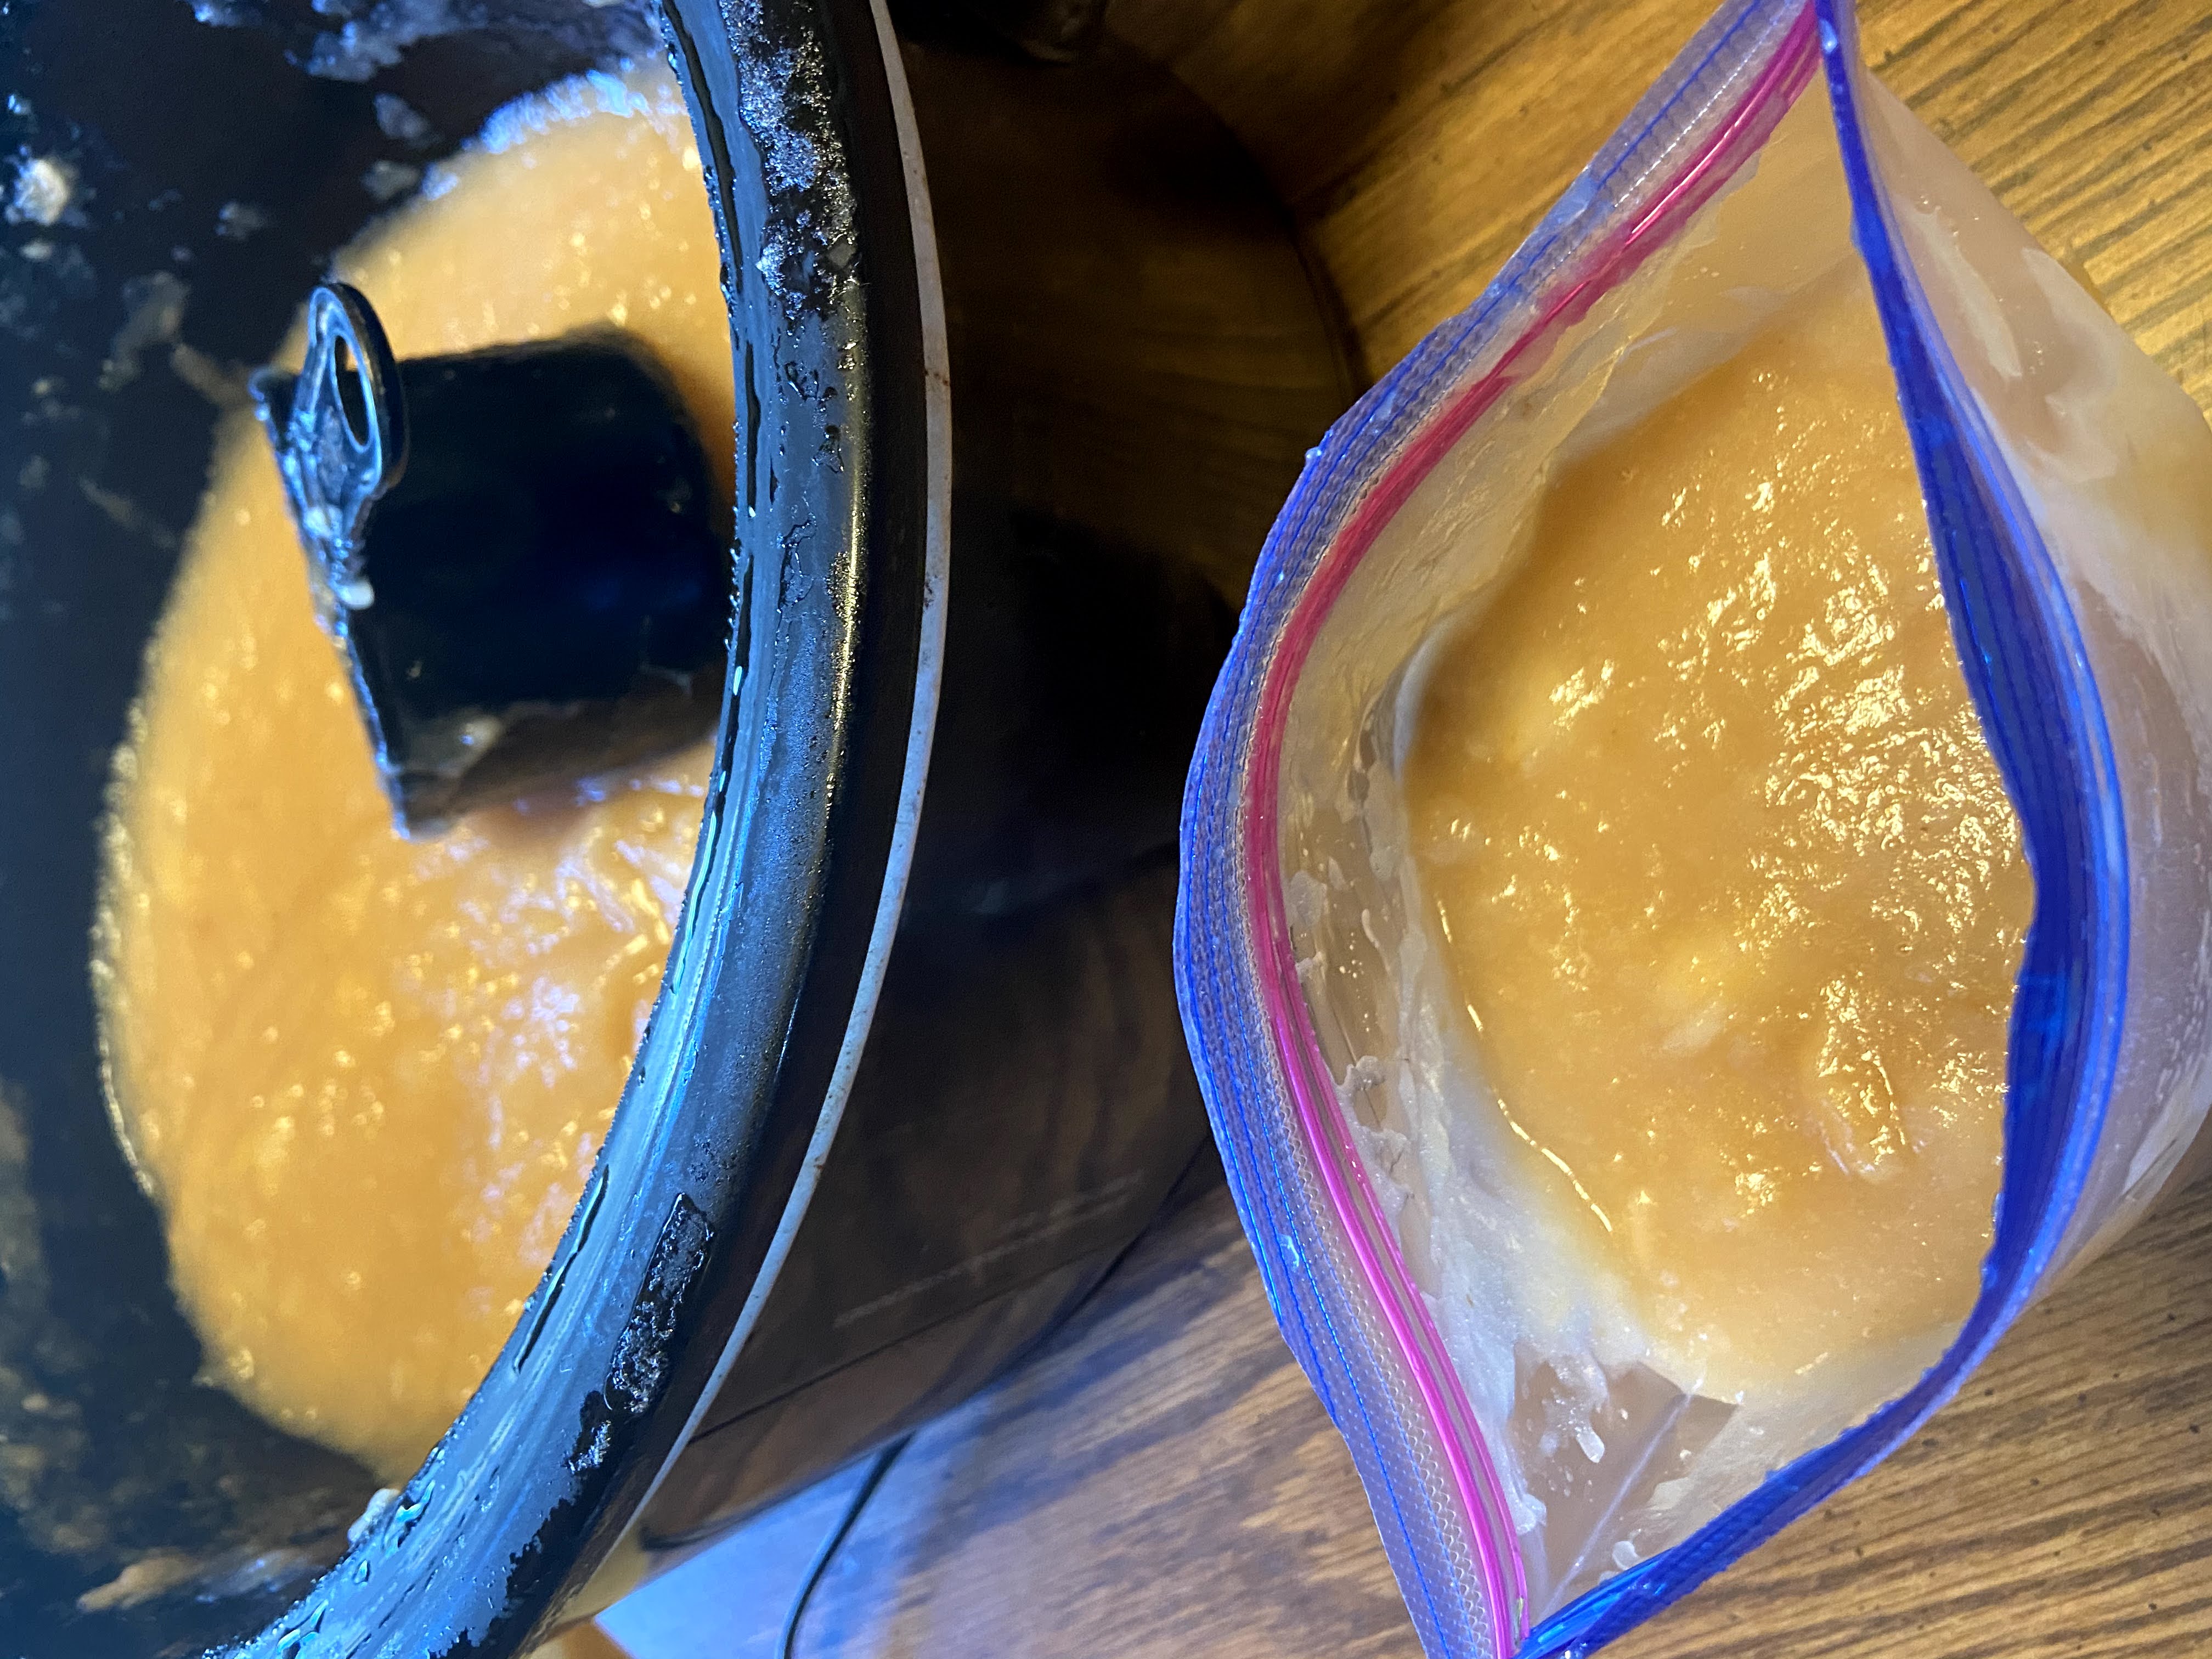
Allow to cool for approximately an hour. Ladle cooled applesauce into freezer safe containers (I love these container from Arrow). Label and store in the freezer. My mom likes to ladle her applesauce into freezer bags. She likes that they lay flat in the freezer. You do you. (Yes, I know I started by saying my mom didn’t preserve food. She does now. Maybe I inspired her?) 

This recipe should result in about 6 pints of applesauce. 

Tools of the Trade

In my post, I talk about my immersion blender (a favorite tool of mine!), my Arrow freezer containers (a go to for apples, portioned leftovers, apple pie filling, and so much more!), and I love my Crock pot. I mean, you can’t go wrong!

Slow Cooker Applesauce

Apple season equals time for homemade applesauce! Get out the slow cooker and some freezer safe containers and get set to create!
Prep Time 30 minutes
Cook Time 4 hours
Course Side Dish
Cuisine Preserving
Servings 6 pints

Ingredients
  

  • 8-9 pounds of apples between 27-36 apples
  • 2-3 cinnamon sticks optional
  • 1 cup of water

Instructions
 

  • Peel, core, and slice your apples. Place in the slow cooker.
  • Add cinnamon sticks and water. Set on high for 3-4 hours.
  • Every 30 minutes or so, stir and mash a bit with a potato masher or pastry cutter to break down the apples. Cook until apples are soft.
  • Remove the cinnamon sticks.
  • If you prefer chunky applesauce, continue to mash with the potato masher until preferred texture. If you prefer smooth applesauce, blend with an immersion blender.
  • Allow to cool for approximately an hour. Ladle cooled applesauce into freezer safe containers. Label and freeze.

Notes

I never add sugar. Apples are sweet enough on their own that I don’t think you need it. If you want to add sugar, I recommend starting low, say, ½ cup. You can add it later, but you can’t unsweeten applesauce after you add it.
Keyword apple and cinnamon, apples, applesauce, freezer meals, preserving
Tried this recipe?Let us know how it was!

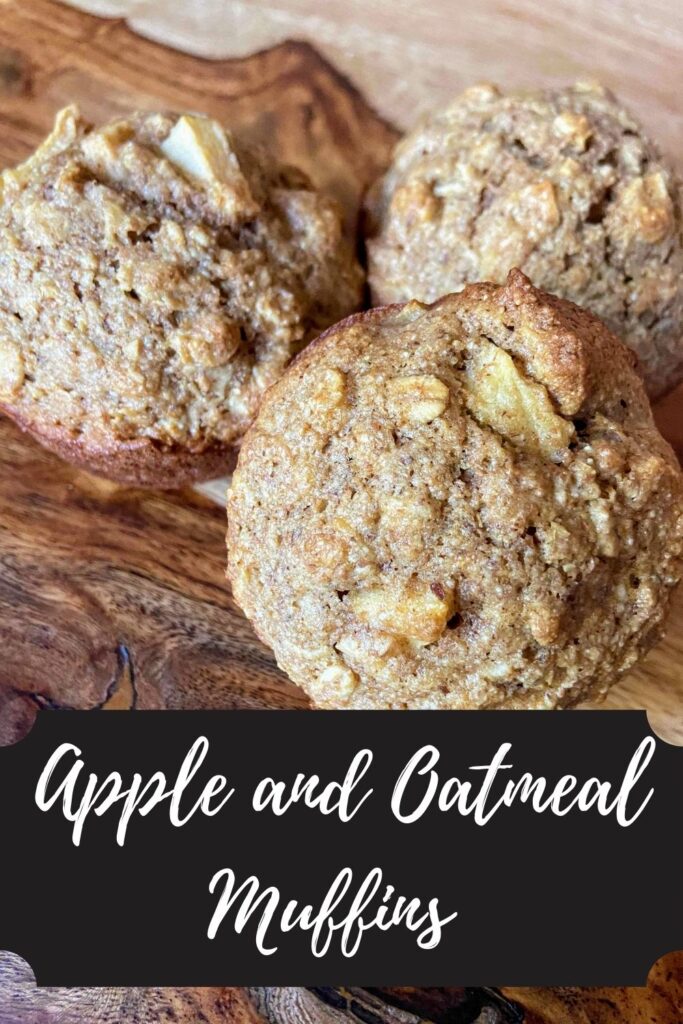
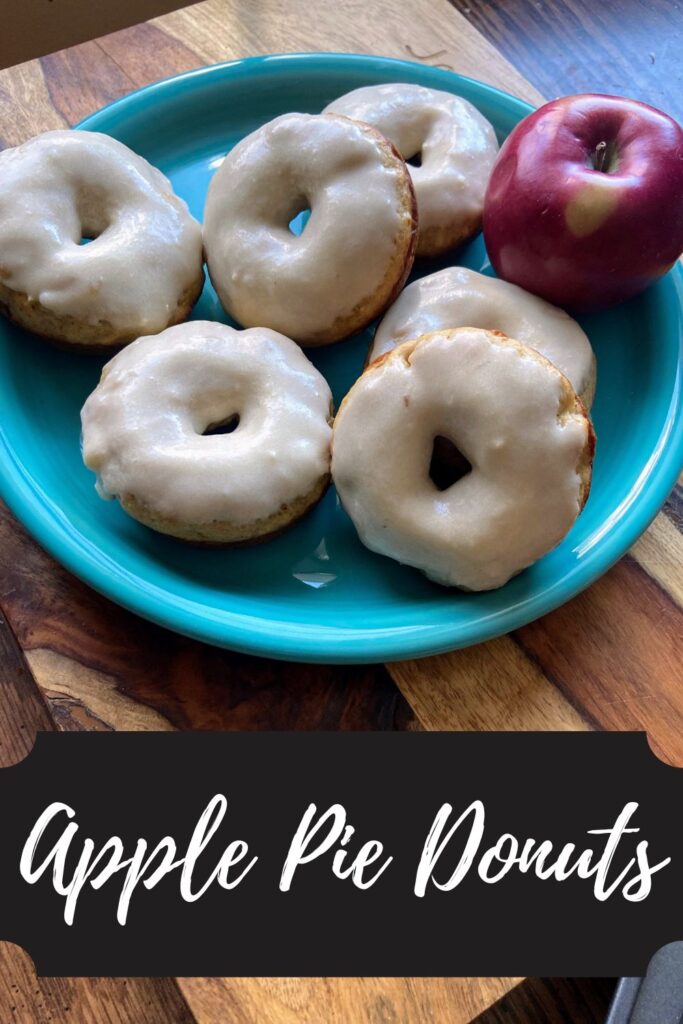
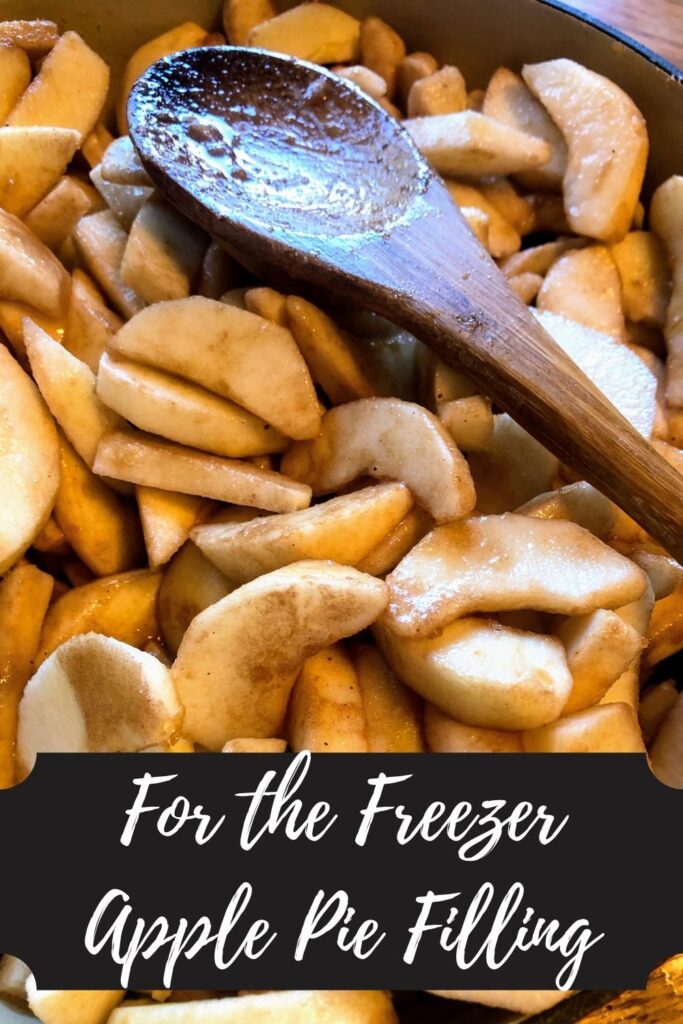
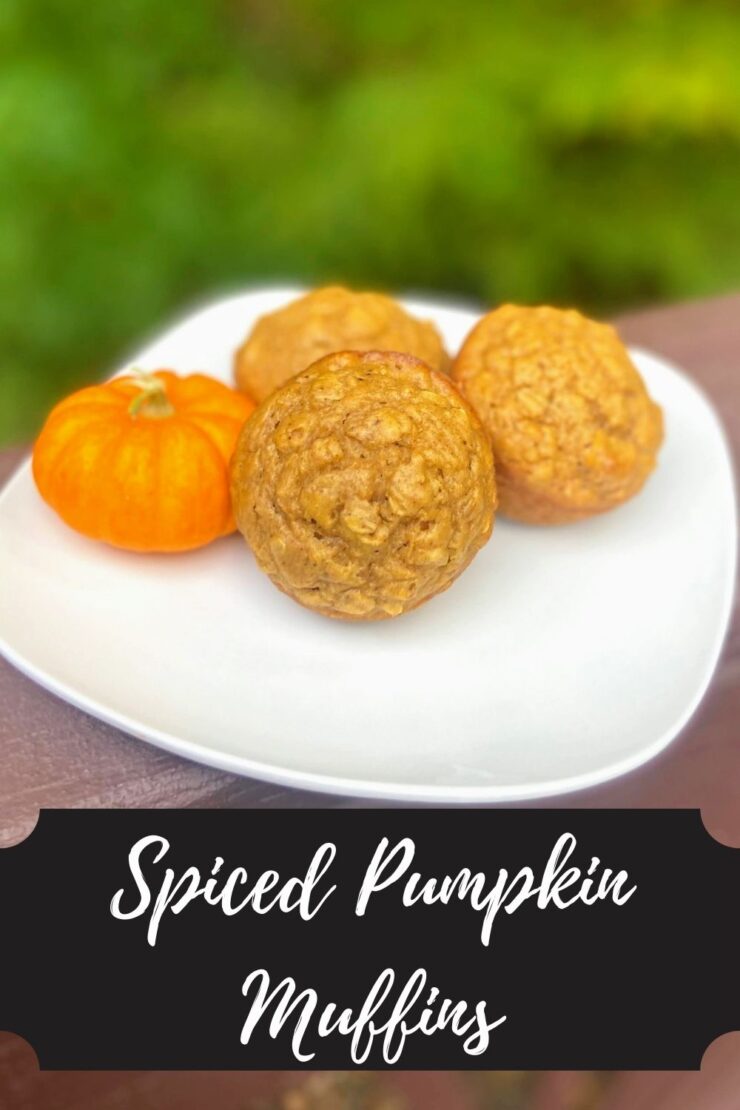
Looking for other apple REcipes?

Here are a few of my favorites!

Spiced Pumpkin Muffins

Gosh, I have to tell you, fall is my favorite season. I love the change in colors. Jeans and sweatshirt weather while the sun is still shining. Brisk mornings and sort of warm afternoons. All wonderful, right? And the flavors! It’s soup season and apples are ripening. So many wonderful things, including these spiced pumpkin muffins. 

If you’ve followed me for a while, you know I dig making a recipe a touch healthier by substituting maple syrup for regular sugar. I love homegrown ingredients, so of course this was made from pumpkin I roasted (Have you never? You must try! Get the recipe for Roasted Pumpkin here!). And the warming spices. So good in the fall, right? And I don’t know about you, but there’s something so autumn about baking fresh goodies for your friends and family on the weekends.

Okay, enough chatter, let’s get baking some delicious spiced pumpkin muffins! 

Your Ingredients

  • 1 cup pumpkin puree, canned or home roasted
  • 2 eggs
  • 2 tablespoons oil 
  • ⅓ cup maple syrup 
  • ½ teaspoon vanilla 
  • 1 ½ cups all purpose flour
  • ¾ cup oats 
  • ½ teaspoon salt
  • 1 teaspoon baking soda
  • ½ teaspoon cinnamon
  • ¼ teaspoon nutmeg 
  • ¼ teaspoon ginger
  • ⅛ teaspoon ground cloves 
  • ½ cup chocolate chips or nuts (optional) 

Your Directions to Spiced Pumpkin Muffins

In a large bowl, combine pumpkin puree, eggs, oil, and maple syrup. Whisk until well combined. Add flour, oats, salt, baking soda, cinnamon, nutmeg, ginger, and cloves. Mix until just combined. Fold in chocolate chips or nuts if adding. 

Spoon into greased muffin tins, approximately ⅓ cup in each, about ¾ of the way full. Bake at 350 degrees for 15-20 minutes, until muffins spring back when touched. Allow to cool five minutes in the pan. Then remove and place on a cooling rack to finish.

Spiced Pumpkin Muffins

Simple and zero refined sugar, these spiced pumpkin muffins are a great recipe for a fall baking weekend!
Prep Time 10 minutes
Cook Time 15 minutes
Course Breakfast
Cuisine American
Servings 12 muffins

Ingredients
  

  • 1 cup pumpkin puree canned or home roasted
  • 2 eggs
  • 2 tablespoons oil
  • cup maple syrup
  • ½ teaspoon vanilla
  • 1 ½ cups all purpose flour
  • ¾ cup oats
  • ½ teaspoon salt
  • 1 teaspoon baking soda
  • ½ teaspoon cinnamon
  • ¼ teaspoon nutmeg
  • ¼ teaspoon ginger
  • teaspoon ground cloves
  • ½ cup chocolate chips or nuts optional

Instructions
 

  • Preheat oven to 350 degrees. Line or spray muffin tin with non stick cooking spray.
  • In a large bowl, combine pumpkin puree, eggs, oil, and maple syrup. Whisk until well combined.
  • Add flour, oats, salt, baking soda, cinnamon, nutmeg, ginger, and cloves. Mix until just combined.
  • Fold in chocolate chips or nuts if desired.
  • Spoon into muffin tins, approximately ⅓ cup in each, about ¾ of the way full.
  • Bake at for 15-20 minutes, until muffins spring back when touched.
Keyword Breakfast, muffins, pumpkin, quick breads
Tried this recipe?Let us know how it was!

Warm Your Soul apple Cinnamon Oatmeal

Generally speaking, I am an overnight oatmeal kind of gal. I love that you can prep five servings in five minutes flat on a Sunday evening and be set for the work week. There are so many good for you ingredients in overnight oatmeal: old fashioned oats, chia seeds, honey, cinnamon, almond milk. But sometimes, a good old fashioned bowl of warm, cooked on the stove top oatmeal hits the spot, especially on the weekends. This warm your soul apple cinnamon oatmeal still has the simplicity in terms of mixing together, but is full of big flavor and is perfect as the weather gets cooler. 

While I am going to give you the measurements and all the ingredients, please know that this is a great recipe to play around with. Have some blueberries laying around? Toss those in. Want to give almond extract a try instead of vanilla? Do it! Want to skip the crunch of walnuts? Hey, go for it, I won’t judge.

Here’s the low down on the ingredients to Warm Your Soul Apple Cinnamon Oatmeal!

Your Ingredients (for one serving)

  • ¾ cup unsweetened vanilla almond milk (or your favorite milk of choice)
  • 1 tablespoon pure maple syrup 
  • ¼ teaspoon vanilla extract
  • Pinch of salt 
  • ¼ teaspoon cinnamon 
  • ⅓ cup diced apples
  • ½ cup old fashioned oats

Your Steps to Apple Cinnamon Oatmeal

In a small soup kettle, combine the almond milk, syrup, vanilla, and walnuts. Bring to a boil over medium high heat. Lower to a simmer. Stir in the apples, oats, and cinnamon. Simmer for five minutes and serve. 

Pro tip: Start the milk mixture on medium heat, go finish your bathroom routine (makeup and the like), and then add the oatmeal. By the time the rest of your breakfast is done, you’ll be done too!

Apple Cinnamon Oatmeal

Seven ingredients combine in this warm your soul apple cinnamon oatmeal perfect for cool mornings. Let's get cooking these classic flavors!
Prep Time 1 minute
Cook Time 8 minutes
Course Breakfast
Cuisine American
Servings 1 serving

Ingredients
  

  • ¾ cup unsweetened vanilla almond milk or your favorite milk of choice
  • 1 tablespoon pure maple syrup
  • ¼ teaspoon vanilla extract
  • Pinch of salt
  • ¼ teaspoon cinnamon
  • cup diced apples
  • ½ cup old fashioned oats

Instructions
 

  • In a small soup kettle, combine the almond milk, syrup, vanilla, walnuts, and pinch of salt.
  • Bring to a boil over medium high heat.
  • Lower to a simmer. Stir in the apples, oats, and cinnamon. Simmer for five minutes and serve.
Keyword apple and cinnamon, apples, Breakfast, dairy free, Gluten Free, oatmeal
Tried this recipe?Let us know how it was!

Looking for other great breakfast inspiration?

You can definitely check out my breakfast page, or maybe one of the recipes below will tickle your fancy!

Gooseberry Jam

My journey to gooseberry jam has been an interesting one with more than one road traveled. The beginning of the story starts at the farmer’s market. Initially, I had tried a berry and loved it. I left, forgetting what it was that I had tried, and decided it was gooseberries and had to plant some. 

Well, they grew fruit and they were not the fruit I remembered from the farmer’s market trip. But I still enjoyed them. Around the same time, I became fascinated by foraging and the idea of finding the edibles of the woods. And would you know it, wild gooseberries became on my radar. Friends, they are everywhere! I find them in our woods, on the side of the road, and in so many state parks. If you are a midwesterner like myself, check your woods. I bet you have some too! Here’s a great link to get an idea of what you’re looking for. I became enamored with the berries in my yard and all around me. I wanted to share them with everyone!

Currently, I have four bushes (some red, some green) that I tend to. And boy, do they produce. We snack on them, but I have also taken to canning these sweet-tart berries into three ingredient jam. It can’t get much better than that, can it? (See what I did there? I am punny!) Ready? Let’s get gooseberry jam creating!

Your Ingredients for Gooseberry Jam

Per ½ pint jar (jelly jar), you will need: 

  • 1 cup of gooseberries, cleaned
  • ½ cup sugar
  • ½ tablespoon lemon juice 

The Prep Work

Fill the canning kettle with enough water that the jars will be covered by at least 2 inches of water. More is better in this case so over estimate. Begin to heat over high heat. Place the canning rack so that it is hooked over the side of the canner and put clean jars on it to keep them warm. Note: You don’t have to keep the jars in the rack, although it is helpful to keep them warm. You want the jars warm to prevent breaking when they are being filled. 

Set the clean rings aside. I like to simmer my lids on low low heat in a small saucepan. Not necessary, but I like to think it helps them seal better. 

If you have not already done so, clean 1 cup of gooseberries for every ½ pint jar of jam you intend on canning. To clean, you need to remove both the stem and the flower portion of the berry. See the picture below. 

The Gooseberry Jam Making

In a large, preferably shallow, kettle, smash the gooseberries with a potato masher. Then, for every cup of berries, stir in ½ cup sugar and a ½ tablespoon lemon juice. Begin to heat over medium-high heat, stirring often. I like to smash the berries more as they are cooking down. 

Your end goal is to reach the gelling point. There are lots of tests for this, but I prefer the temperature test. If you are at sea level, the gelling point is at 220 degrees. For every 1000 feet of elevation, you subtract 2 degrees. For me, the gelling point is 218 degrees. Don’t have a decent food thermometer? Check out the National Center for Home Preservation website for other ways of testing for the gelling point. 

It takes longer to reach the gelling point than I think it should. It also goes from needing 3 degrees to reaching the gelling point fast. You can get complacent while you are waiting and suddenly hit the temperature, so I am trying to warn you 🙂 

The Canning

Once the jam has reached the gelling point, remove from heat. Ladle into prepared jars, leaving ½ inch head space. Wipe rims of the jars with a damp cloth, add lids and rings, tightening to fingertip tight. Place in the canner, increasing the heat to high. Once the canner reaches a boil, process for 5 minutes. Remove from heat and allow jars to cool in the canner over 5 minutes. Remove from canner, placing on the counter. Listen for the ping of the lids over the next 12 hours. Sealed jars are self stable. If any jar doesn’t seal, simply place it right in the refrigerator. 

Note: You can skip the processing step all together if you feel more comfortable. If you do so, the jam will need to be stored in the refrigerator. The process of water bath canning creates a self-stable jam. That is, a jam that can be stored on the shelf. 

Gooseberry Jam

Three little ingredients (lemon juice, sugar, and gooseberries) combine to make this wonderful sweet-tart jam.
Prep Time 40 minutes
Cook Time 2 hours
Course Breakfast
Cuisine Canning
Servings 12 per jar

Ingredients
  

  • 1 cup gooseberries cleaned, per 1/2 pint jar
  • 1/2 cup sugar per 1/2 pint jar
  • 1/2 tbsp lemon juice per 1/2 pint jar

Instructions
 

  • If you have not done so, clean and measure gooseberries by cutting off the stem and tail on each berry. You will need 1 cup of berries per 1/2 pint of jam you want to create.
  • Wash and sanitize jars, rings, and lids. Keep warm. Fill the canner with enough water to cover the jars by at least 2 inches of water. Cover and heat on high. Watch the temperature, you want a simmer but not a boil when you place the jars in the water.
  • In a large, shallow kettle, smash gooseberries with a potato masher. For every cup of berries, stir in 1/2 cup sugar and 1/2 tablespoon lemon juice. Begin to heat over medium-high heat, stirring often. Smash more as they are cooking down.
  • Heat to 8 degrees above the boiling point of water. If you are at sea level, the gelling point is at 220 degrees. For every 1000 feet of elevation, you subtract 2 degrees.
  • Once the jam has reached the gelling point, remove from heat. Ladle into prepared jars, leaving ½ inch head space. Wipe rims of the jars with a damp cloth, add lids and rings, tightening to fingertip tight. Place in the canner, increasing the heat to high. Once the canner reaches a boil, process for 10 minutes. Remove from heat and allow jars to cool in the canner over 5 minutes. Remove from canner and allow to rest for 12 hours before storing.

Notes

You can skip the processing step all together if you feel more comfortable. If you do so, the jam will need to be stored in the refrigerator. The process of water bath canning creates a self-stable jam. That is, a jam that can be stored on the shelf.
Keyword gooseberries, gooseberry, gooseberry jam, Jam, Waterbath Canning
Tried this recipe?Let us know how it was!

Looking for other berry inspiration?

Check out any of the recipes below!

Lemon Zested Blueberry Muffins

Friends! My blueberry bushes are FINALLY producing enough blueberries to actually create with them. It brings me such joy to see these little splashes of blue among the sturdy green bushes. And while it seems to take a long time to harvest, I find it to be meditative. I do it silently and alone, taking in the sounds and smells; experiencing a nature bath. Once I harvested a pint, I got to work at creating lemon zested blueberry muffins. I have been so excited to share with everyone. 

I dig using oatmeal as a base in quick breads and muffins for the added nutrition and texture. However, I don’t see it mixing well with blueberries. Maybe I am wrong, but this recipe doesn’t use them. (You can check out some that do by checking out my baking page here.) In order to attempt to add some nutrients, I went with coconut oil and some Greek yogurt. I cut the sugar slightly as well. And don’t be afraid to try a quality whole wheat for some of the flour. You may be surprised! Now let’s get baking those lemon zested blueberry muffins. 

Your Ingredients for Lemon Zested Blueberry Muffins

  • ½ cup sugar
  • ⅓ cup coconut oil, room temperature (about 70 degrees) 
  • ½ tablespoon vanilla
  • 2 eggs
  • 1 ½ cups all purpose flour 
  • 1 ½ teaspoons baking powder
  • ¼ teaspoon baking soda
  • ½ teaspoon salt
  • ½ cup vanilla Greek yogurt, room temperature
  • 2 tablespoons fresh squeezed lemon juice
  • Zest of one lemon 
  • 1 cup fresh or frozen blueberries (If frozen, measure frozen)

Your Steps

Begin by preheating the oven to 350 degrees and preparing two muffin baking tins by spraying with non-stick cooking spray.

In a large bowl, cream sugar and coconut oil (Note: the coconut should be solid but soft).  Add in vanilla and eggs, whisking until well combined. Stir in Greek yogurt, lemon juice, and zest. Combine flour, baking powder, baking soda, and salt. Mix into the wet ingredients until just combined. Fold in blueberries. 

Bake at 350 degrees for 20-24 minutes until baked through. Serve them with a warm cup of coffee or tea!

Lemon Zested Blueberry Muffins

Does it get more classic than lemon and blueberry? These lemon zested blueberry muffins are more nutrient dense with all the flavor!
Prep Time 10 minutes
Cook Time 20 minutes
Course Breakfast
Cuisine American
Servings 15 muffins

Ingredients
  

  • ½ cup sugar
  • cup coconut oil room temperature (about 70 degrees)
  • ½ tablespoon vanilla
  • 2 eggs
  • 1 ½ cups all purpose flour
  • 1 ½ teaspoons baking powder
  • ¼ teaspoon baking soda
  • ½ teaspoon salt
  • ½ cup vanilla Greek yogurt
  • 2 tablespoons fresh squeezed lemon juice
  • Zest of one lemon
  • 1 cup fresh or frozen blueberries If frozen, measure frozen

Instructions
 

  • Preheat the oven to 350 degrees and preparing two muffin baking tins by spraying with non-stick cooking spray.
  • In a large bowl, cream sugar and coconut oil (Note: the coconut oil should be solid but soft).
  • Add in vanilla and eggs, whisking until well combined.
  • Stir in Greek yogurt, lemon juice, and zest.
  • Combine flour, baking powder, baking soda, and salt. Mix into the wet ingredients until just combined.
  • Fold in blueberries.
  • Bake at 350 degrees for 20-24 minutes until baked through. Serve them with a warm cup of coffee or tea!
Keyword blueberry, Breakfast, currant muffins, lemon, lemon blueberry
Tried this recipe?Let us know how it was!

Baked Tortilla Egg Muffins

A few months ago, we had guests coming up for the weekend. The week prior had been hectic and crazy and meal prep was not in the cards. Because of this, I didn’t have a whole lot planned besides baking fresh cherry donuts (get the recipe by clicking the link. They are amazing and have been a request for guests around here). However, the guests also raise chickens so we were gifted a few dozen eggs. I developed these baked tortilla egg muffins with various leftovers in the fridge. 

Let me tell you, they were a huge hit. I was able to customize them for different preferences: drop the tortilla for those watching their carbs, skip the spinach for the kids, etc. I couldn’t believe how fast they came together. Beyond the speed, they were beautiful and looked like I had to have worked hard putting them together (Let them believe it, right?). Oh, and the tortilla egg muffins were no fuss with minimal mess. All the winning. 

I tweaked it a little for this recipe, using street taco sized tortillas. If you can’t find them, you can cut regular shells into thick strips and layer them (what I did the first time). I am impressed with the crisp tortilla shells and how the egg bakes up perfectly. Okay, enough talk. I hope you all enjoy baked tortilla egg muffins as much as my family did! 

Your Ingredients for Baked Tortilla Egg Muffins

  • 18 street taco size tortillas
  • 10 eggs
  • ¼ teaspoon each of salt, pepper, garlic powder, onion powder, and paprika 
  • ⅛-¼ cup milk 
  • ½ cup diced ham or browned breakfast sausage
  • ½ cup each spinach, diced peppers, tomatoes
  • Shredded cheese

Your Steps

Begin by preheating the oven to 350 degrees and preparing two muffin baking tins by spraying with non-stick cooking spray. Press tortillas into the muffin tin, folding in get them to form a cup. 

Begin by In a large liquid measuring cup (or bowl with a pour spout), whisk eggs, milk, salt, pepper, garlic powder, onion powder, and paprika until well combined. Pour into tortilla cups, filling approximately ¾ of the way full. 

Here, you can personalize each cup by dropping pieces of ham or sausage, spinach, peppers, and tomatoes. For a final touch, sprinkle them with the shredded cheese of your choice.

Finally, bake at 350 degrees for 20-25 minutes. The shells will become perfectly crispy and delicious. Serve immediately. 

Baked Tortilla Egg Muffins

Tortilla shells, eggs, some basic pantry and refrigerator items come together to make these quick and filling baked tortilla egg muffins.
5 from 1 vote
Prep Time 10 minutes
Cook Time 20 minutes
Course Breakfast
Cuisine American
Servings 18 muffins

Ingredients
  

  • 18 street taco size tortillas
  • 10 eggs
  • ¼ teaspoon each of salt pepper, garlic powder, onion powder, and paprika
  • ⅛-¼ cup milk
  • ½ cup diced ham or browned breakfast sausage
  • ½ cup each spinach diced peppers, tomatoes
  • Shredded cheese

Instructions
 

  • Begin by preheating the oven to 350 degrees and preparing two muffin baking tins by spraying with non-stick cooking spray. Press tortillas into the muffin tin, folding in get them to form a cup.
  • In a large liquid measuring cup (or bowl with a pour spout), whisk eggs, milk, salt, pepper, garlic powder, onion powder, and paprika until well combined. Pour into tortilla cups, filling approximately ¾ of the way full.
  • Personalize each cup by dropping pieces of ham or sausage, spinach, peppers, and tomatoes. For a final touch, sprinkle them with the shredded cheese of your choice.
  • Bake at 350 degrees for 20-25 minutes, until the egg is cooked through. The shells will become perfectly crispy and delicious. Serve immediately.

Notes

Note: Using fresh shells will be ideal as they are more flexible. However, if your shells aren’t fitting into the tins well, you can microwave them for a few seconds to soften them up. Just be sure to use them right away. 
Keyword baked eggs, Breakfast, Eggs
Tried this recipe?Let us know how it was!

Looking for other breakfast dishes?

Check out my breakfast page or maybe one of my favorites below will tickle your fancy!

Raspberry Cherry Jam

We are knee deep into berry season around our garden. The red and black raspberries are in full force. The blueberries are starting, and I just stripped the gooseberries and the naking cherries (which are super versatile! Learn more by clicking here!) Normally, the cherries grow in abundance, but with the near drought we have experienced this year, they just didn’t produce as much. That meant we had some to eat, and just a little to process. Enter a beautiful raspberry cherry jam.

Don’t worry if you don’t have access to naking cherries (but seriously, a great plant that is low maintenance with fun tart cherries that grow through zone 3!). Any tart cherry will do. I recommend using fresh red raspberries so the two fruits blend together nicely. I made the mistake of mixing red and black raspberries in a jam once, and let me just say, it looked as though there were some insects I didn’t quite clean out of the berries. Yuck! 

While we are here, I will give you all the information you need to successfully can a batch of jam. However, if you are new to canning, you may likely want to gather additional information. My favorite places to learn more are The Ball’s Book of Canning or the National Center for Home Food Preservation

Your Supplies

This recipe will result in approximately nine 8 ounce jelly jars. Be sure you have rings and lids for them.

You will need a water bath canner or large stock pot with a lid. The jars need to be off the bottom of the pot. A water bath canner will have a rack to use if you go that route. If you use a stock pot, I would invest in canning racks. You can also put a towel down in a pinch, but it is MESSY in terms of getting water everywhere.  

It is also helpful to have the tools in a canning kit like this, but it isn’t necessary. Canning would be crazy challenging without the jar funnel and jar tongs. The lid lifter is also very handy. 

Your Ingredients

  • 4 cups raspberries (If frozen, measure first. Then thaw)
  • 1 ½ cups pitted tart cherries
  • 4 cups sugar 
  • 6 tablespoons powdered pectin 
  • ¼ teaspoon butter, optional

Your Steps to Raspberry Cherry Jam

Begin by measuring out your sugar in a large bowl and set aside. It’s important to have all your ingredients prepared before beginning the canning process so don’t skip this step. I also highly recommend reading through the steps more than once before beginning (I know that we are all guilty of flying by the seat of our pants when cooking). 

Fill the canning kettle with enough water that the jars will be covered by at least ½” water. More is better in this case so over estimate. Begin to heat over high heat. Place the canning rack so that it is hooked over the side of the canner and put clean jars on it to keep them warm. Note: You don’t have to keep the jars in the rack, although it is helpful to keep them warm. You want the jars warm to prevent breaking when they are being filled. 

Set the clean rings aside. I like to simmer my lids on low low heat in a small saucepan. Not necessary, but I like to think it helps them seal better. 

Now to Create the Raspberry Cherry Jam 

In a large, preferably shallow kettle, smash the raspberries and cherries with a potato masher. Stir in powder pectin. Add butter if desired. It will decrease foaming while the jam is cooking, but is not necessary. The foam isn’t bad. It just makes the jam a little less pretty. 

Heat raspberries and pectin over medium high heat, stirring consistently. Once it is close to a boil, stir constantly until you cannot stir down a rolling boil. On more than one occasion, I have thought I reached this point only to go a little longer and see what a “real rolling boil” looked like. 

Once a rolling boil has been reached, quickly stir in the sugar. I find a strong whisk is helpful to make sure there are no clumps of sugar in the jam. Continue to heat over medium-high heat until a rolling boil is reached again, stirring constantly. Once the roiling boil is reached, time for EXACTLY one minute. Remove from heat. 

Ladle hot jam into jars using the canning funnel, leaving ¼” head space. Wipe rims of the jars as you go, top with a lid, and put on a ring so that it is finger tip tight. Finger tip tight means you know its tight but you aren’t sealing it so much so that it wouln’t leak on it’s side, if that makes sense. (Any leftover jam can go in a small container and get placed in the fridge to be enjoyed immediately)

Place jars in JUST about boiling water bath canner. Place the cover on the kettle and raise heat until a rolling boil is reached. Cook jam for 10 minutes (adjusting for your altitude…under 1000 feet, you’re good. Over? Add 5 minutes for every 1000 feet). Once the time is complete, remove canner from heat and remove the cover. Allow the jam to sit in the canner an additional 5 minutes. Then remove and place on a towel on the counter. 

Afterward

Listen for the ping as the jars seal and just let them be for 24 hours. I know it will be hard to let them be because you’ll be so proud, but it’s recommended to make sure you get a good seal. Any jars that do not seal can be refrigerated and enjoyed right away. Note: It is recommended to store canned goods with their rings removed so that you can know if a false seal occurs. I generally just loosen them as loose as they can go. 

Looking for other canning and preserving recipes? Check out my page below!

Raspberry Cherry Jam

The flavor of summer in a jar: raspberries and cherries, oh my!
Prep Time 10 minutes
Cook Time 40 minutes
Course Appetizer
Cuisine Canning

Ingredients
  

  • 4 cups raspberries
  • 1 ½ cups pitted cherries
  • 4 cups sugar
  • ¼ teaspoon butter optional
  • 4 ½ tablespoons powder pectin

Instructions
 

  • Prepare your water bath canner. Fill the canner with enough water so that once the jars are in the canner, they will be covered by at least one inch of water. Cover and begin to heat over a medium-high heat.
  • Measure out sugar. Set aside.
  • Place the raspberries and cherries in a large, non reactive kettle. Crush them with potato masher. Add ¼ teaspoon of butter, if desired, to reduce foaming.
  • Sprinkle and stir in the pectin. Cook over high heat until a rolling boil is reached, stirring consistently.
  • Once a rolling boil is reached, slowly stir in sugar.
  • Continue to stir until you reach another rolling boil that can not be stirred down. Once a rolling boil is reached, cook for 1 minute, stirring constantly.
  • Ladle jam into prepared jelly jars, wipe the rims with a damp cloth, add lids, and tighten rings to fingertip tight. Put into the water bath canner. When the canner has a steady boil going, time and process for 10 minutes.
  • Once the jam is done processing, remove the canner from heat and let jars rest in the water for an additional 5 minutes. Finally, remove jars from the canner and allow to cool for 12-24 hours before moving.

Notes

  • Make sure you are using powdered pectin rather than liquid pectin. They do not set the same. 
  • If you have never canned, you can reference the instructions within the pectin box for additional, more detailed directions. 
  • Sealed jars are shelf-stable, meaning they can be stored on a shelf unrefrigerated. If your jars don’t ping (a sign that they have sealed), they are still good. You will just need to store them in the refrigerator. 
  • Most sources recommend removing the rings from jars for storage so that you will know if they unseal for any reason. I generally just loosen them as much as I can without removing them.
Keyword Canning, Jalapeño, Jam, Jam Recipes, Raspberry
Tried this recipe?Let us know how it was!

Red Currant and Lemon Muffins

A crazy amount of years ago, I was at a farmer’s market and tasted a small red berry. It was tart and delicious. I promptly brought a container. I remember loving them so much. What I don’t remember, however, is what type of berry they were. I was sure they were gooseberries, so I bought some bushes. Nope, not it. Then I was sure they had to have been currants. I planted a few bushes of currants, and now that they have come to fruition (haha, see what I did there? Fruition? Fruit. I am not that witty), I am still not sure that was it. So who knows what fruit I loved. But what I know is that I now have currant bushes and with them, I have created these beautifully light and sweet-tart red currant and lemon muffins. 

I developed this recipe by tweaking and adjusting my favorite strawberry bread. You can find that bread by clicking here. These muffins started as currant, but screamed for some lemon zest. I dropped the cinnamon in the strawberry bread and adjusted the moisture just a little bit. 

I hope you enjoy them as much as my family and I did. They were a delight to enjoy over the Fourth of July and bring me joy with a perfectly creatd cup of coffee. (I mean, is there much better than a well baked breakfast sweet with a cup of coffee? I think not.)

Your Ingredients

  • ½ cup butter, softened
  • ½ cup white sugar
  • ¼ cup brown sugar, packed
  • 1 teaspoon vanilla
  • 2 eggs
  • ¾ cup Vanilla Greek yogurt (I dig Oikos Triple Zero Yogurt for zero added sugar)
  • Zest of one large lemon
  • 1 ½ cup whole wheat flour
  • ½ teaspoon baking powder
  • ¼ teaspoon baking soda
  • ½ teaspoon salt 
  • 1 cup currants

Your Steps to Red Currant and Lemon Currant Muffins

Preheat the oven to 350 degrees F. Prepare 12-16 muffin wells by spraying with nonstick cooking spray. 

In a large bowl, cream butter, white sugar, and brown sugar until light and fluffy. Add vanilla. Mix in eggs one at a time. Whisk in yogurt and lemon zest until well combined. Combine flour, baking powder, baking soda, and salt. Mix until just blended in. Fold in currants. 

Divide the batter among the 12-15 muffin cups, filling about 3/4 of the way full. Bake for 20-25 minutes, until cooked through. Allow to cool in the tin a few minutes before removing. I think these are best served warm with a cup of coffee.

Looking for other great baking recipes? Check out my baking page by clicking the button below!

Red Currant and Lemon Muffins

The zest of lemon and tartness of currants combine to make a red currant and lemon muffins that are moist and full of pockets of delight!
Prep Time 10 minutes
Cook Time 25 minutes
Course Breakfast
Cuisine American
Servings 15 muffins

Ingredients
  

  • ½ cup butter softened
  • ½ cup white sugar
  • ¼ cup brown sugar packed
  • 1 teaspoon vanilla
  • 2 eggs
  • ¾ cup Vanilla Greek yogurt
  • Zest of one large lemon
  • 1 ½ cup whole wheat flour
  • ½ teaspoon baking powder
  • ¼ teaspoon baking soda
  • ½ teaspoon salt
  • 1 cup currants

Instructions
 

  • Preheat the oven to 350 degrees F. Prepare 12-16 muffin wells by spraying with nonstick cooking spray.
  • In a large bowl, cream butter, white sugar, and brown sugar until light and fluffy.
  • Add vanilla. Mix in eggs one at a time.
  • Whisk in yogurt and lemon zest until well combined.
  • Combine flour, baking powder, baking soda, and salt. Mix until just blended in.
  • Fold in currants.
  • Scoop batter into the muffin tins, filling the wells ¾ of the way full.
  • Bake at 350 degrees for 20-25 minutes, until baked through.
Keyword currant muffins, currants, lemon, muffins
Tried this recipe?Let us know how it was!

Homemade Baked Granola Bars

The internet is full of no bake energy balls, granolas, you name it. And don’t get me wrong, I dig them. I mean, I have my own recipe for energy balls that is dynamite. However, no bake energy balls and granola bars typically need to be refrigerated, and as an active runner, this isn’t always ideal. So of course I set out to create my own homemade baked granola bars. And oh my goodness, these are a delight. 

These homemade baked granola bars are full of simple, clean eating ingredients that are likely to be in your pantry if you are a homemade granola kind of friend. They also come together quickly, with a total bake time of under 30 minutes and all your work can be done in the first 8 minutes or so. How great is that? And friends, they pair a little peanut butter and chocolate without being overwhelming. All the winning, am I right? Let’s get baking!

Your Ingredients for Homemade Baked Granola Bars

  • 1 cup old fashioned oats
  • 1 cup oat flour (store bought, or better yet, just processed in your food processor)
  • ½ cup unsweetened, shredded coconut
  • ½ cup chopped nuts (walnuts, almonds, peanuts, etc)
  • ¼ cup creamy peanut butter
  • ½ cup honey 
  • ¼ teaspoon salt
  • ¼ cup chocolate chips 
  • 1 tablespoon ground flaxseed
  • 1 tablespoon chia seeds

Your Steps

Preheat oven to 350 degrees. Spray a baking sheet with nonstick cooking spray. Spread oats, oat flour, coconut, and nuts on the sheet. Bake in the oven for 8 minutes, until just becoming toasted (I sprayed the top of mine with some olive oil cooking spray as well). Remove from the oven and immediately place in a large mixing bowl. 

Add remaining ingredients to oatmeal mixture. Stir until well combined. Set aside. Line a 9×12 glass baking dish with foil. Spray with nonstick cooking spray. Press the granola mixture into the pan. Bake for 13-18 minutes at 350 degrees, cutting into bars halfway through (A steel scraper/chopper like this guy works great!). If you want them softer, less crunchy, stick with the 13-15 minute range. Dig a crunchier granola bar, shoot for 15-18 minutes.  

Once bars are done baking, cut on the lines once more. Allow to cool completely in the pan. Remove by lifting the foil. Break bars apart and store in an airtight container. 

Looking for other great breakfast baked goods? Check out my baking page by clicking the button below!

Homemade Baked Granola Bars

Why eat packaged granola bars when you can make your own homemade baked granola bars! Create your own with items from your pantry!
Prep Time 5 minutes
Cook Time 25 minutes
Course Breakfast
Cuisine American
Servings 20 bars

Ingredients
  

  • 1 cup old fashioned oats
  • 1 cup oat flour store bought or just processed in your food processor
  • ½ cup unsweetened shredded coconut
  • ½ cup chopped nuts
  • ¼ cup creamy peanut butter
  • ½ cup honey
  • ¼ teaspoon salt
  • ¼ cup chocolate chips
  • 1 tablespoon ground flaxseed
  • 1 tablespoon chia seeds

Instructions
 

  • Preheat oven to 350 degrees. Spray a baking sheet with nonstick cooking spray.
  • Spread oats, oat flour, coconut, and nuts on the sheet. Bake in the oven for 8 minutes, until just becoming toasted.
  • Remove from the oven and immediately place in a large mixing bowl.
  • Add remaining ingredients to oatmeal mixture. Stir until well combined.
  • Set aside. Line a 9×12 glass baking dish with foil. Spray with nonstick cooking spray.
  • Press the granola mixture into the pan. Bake for 13-18 minutes at 350 degrees, cutting into bars halfway through.
  • For a softer granola bar, bake for 13-15 minutes. For a crunchier granola bar, bake 15-18 minutes.
  • Once bars are done baking, cut on the lines once more.
  • Allow to cool completely in the pan. Remove by lifting the foil. Break bars apart and store in an airtight container.
Keyword granola, granola bar, oatmeal, snacks
Tried this recipe?Let us know how it was!

Banana Oat Muffins

I have an eleven year old boy this summer. If you have ever had an eleven year old, you know this means he’s eating CONSTANTLY. We try to encourage healthy foods for his forever snacking, and generally begin our sentences with “have a banana or a string cheese.” Then he eats three of them. What’s a mom to do? This also means we buy bananas in bulk. Most of the time we are making second trips to the grocery store for more. But sometimes we end up with some overly ripe ones. When that happens, I make banana bread, banana ice cream, or banana oat muffins. 

This banana oat muffin recipe is everything you would hope for. They are beautifully dense. Perfectly sweet using maple syrup for the sweetener. They have texture and the right amount of chocolate chips to make anyone happy. And friends, it’s gluten free to boot. It’s full of good for you ingredients and only two tablespoons of oil. How can you go wrong, right? 

These muffins will pair great with your coffee in the morning, as a mid morning snack to get you to lunch time or for a guilt free dessert (although I totally believe in not feeling bad about dessert, but that’s another story for another time). I’m excited for you to give them a try and share them with your littles or your bigs or better yet, keep them to yourself. (You did hear I have an eleven year old right? I have to start hiding my favorite foods and treats from him!) 

Let’s get baking some banana oat muffins

YOUR INGREDIENTS FOR THE BANANA Oat Muffins

  • 2 cups old fashioned oats
  • 1 teaspoon baking soda
  • 1/2 teaspoon salt
  • 3 very ripe bananas, mashed (My go to tool for this? A pastry cutter. It works great AND young kids can easily get involved and do this step for you)
  • 2 eggs
  • 1/4 cup real maple syrup
  • 2 tablespoons melted coconut oil
  • 1/4 mini chocolate chips

Your Steps to the banana Oat Muffins

First, preheat the oven to 350 degrees. Prepare a 12 muffin tin with non stick cooking spray. Then measure out and combine:

  • 2 cups old fashioned oats
  • 1 teaspoon baking soda
  • 1/2 teaspoon salt

Pulse these three ingredients in a food processor until they are a coarse flour texture.

In an additional bowl, combine:

  • 3 very ripe bananas, mashed (My go to tool for this? A pastry cutter. It works great AND young kids can easily get involved and do this step for you)
  • 2 eggs
  • 1/4 cup real maple syrup

Once mixed, stir in the oat mixture until just combined. Finally, fold in the melted coconut oil and 1/4 cup mini chocolate chips. Fill each muffin using a 1/4 cup measuring cup. Bake for 22-25 minutes, until cooked through.

I love that I can enjoy a good breakfast bread that is filling and the perfect amount of sweetness without overdoing it on the added sugar. It is also a perfect mid morning snack to get you to lunch! Give it a try!

A few Notes…

I always thought that a small, 2 cup food processor was good enough. It’s what my mom used growing up, and if it was good enough for her, it was good enough for me. However, a few holidays ago, I asked for a 7 cup Kitchen Aid Mixer. It’s AMAZING and I can’t tell you how often I use it. Highly recommend the investment. It’s great for chopping veggies for salsa, making oat flour, or even mixing banana ice cream. Click the image below to check out a similar model!

Banana Oat Muffins

Simple wholesome ingredients come together with a food processor to make these gluten free and perfectly sweet banana oat muffins
Prep Time 10 minutes
Cook Time 25 minutes
Total Time 1 hour
Course Breakfast
Cuisine American
Servings 12 muffins

Ingredients
  

  • 2 cups old fashioned oats
  • 1 teaspoon baking soda
  • 1/2 teaspoon salt
  • 3 bananas very ripe
  • 2 eggs
  • 1/4 cup maple syrup
  • 2 tablespoons coconut oil melted
  • 1/4 cup mini chocolate chips

Instructions
 

  • Preheat oven to 350° F. Prepare a muffin tin by spraying with non-stick cooking spray.
  • Combine oats, salt, and baking soda in a food processor. Pulse until a coarse flour texture is obtained.
  • In a large bowl, mash bananas. Add honey and eggs. Mix well.
  • Stir oat mixture into mashed bananas. Add chocolate chips and coconut oil. Mix until just combined.
  • Place about 1/4 cup batter in each cup. Bake for 22-25 minutes, until cooked through
Keyword Banana Bread, Breakfast, Gluten Free
Tried this recipe?Let us know how it was!

Looking for other Tasty treats?

Check out my baking page or maybe my breakfast page. Or perhaps you want to check out one of my favorites below?