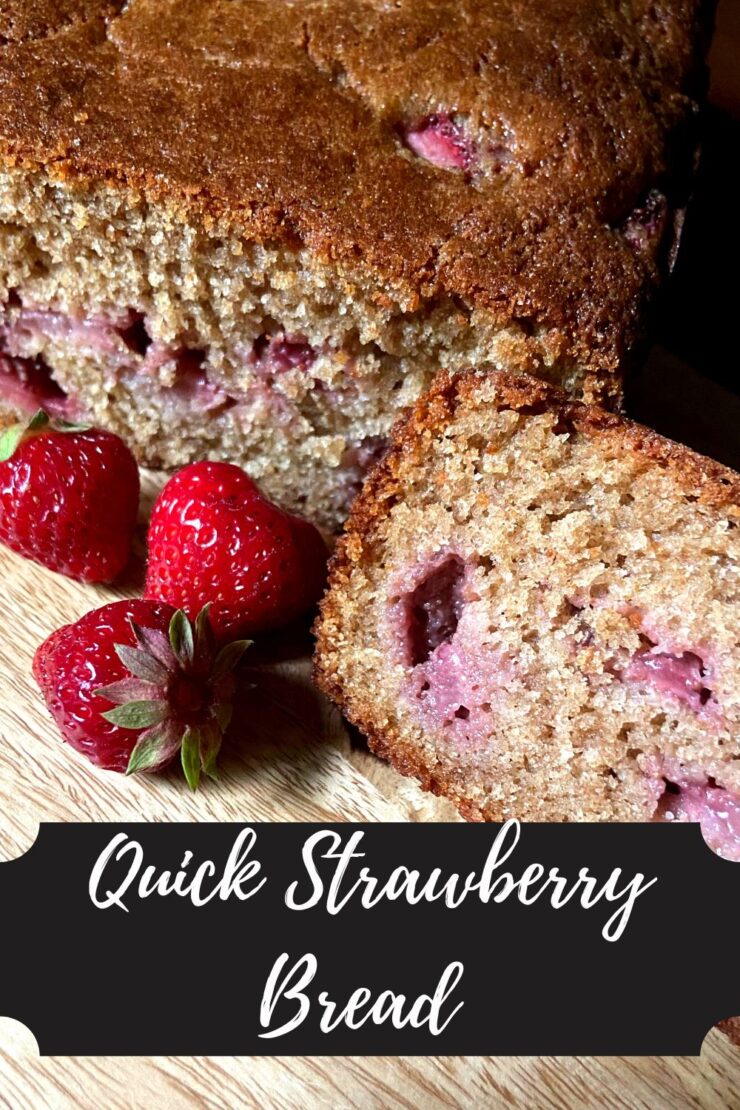
Quick Strawberry Bread

I never knew I needed strawberry bread in my life until I tried this recipe. A number of years ago, I was minding my own business at my end of the hallway while at school when three students ran over to me and HAD to share what they had just created in their Family and Consumer Science class. It was this bread. Let me tell you, it was delicious. If three teenage boys could create such a delicious treat, I knew I needed to give it a try on my own. 

I immediately went to the teacher and asked if I could have the recipe. She shared a folded up copy students had left in her classroom, and it went straight into my files. Now it’s a sheet of paper I hold dear because not only is it full of stains from repeated use (aren’t those THE best recipes?!), but it also reminds me of those awesome students I got to teach so early on in my career. 

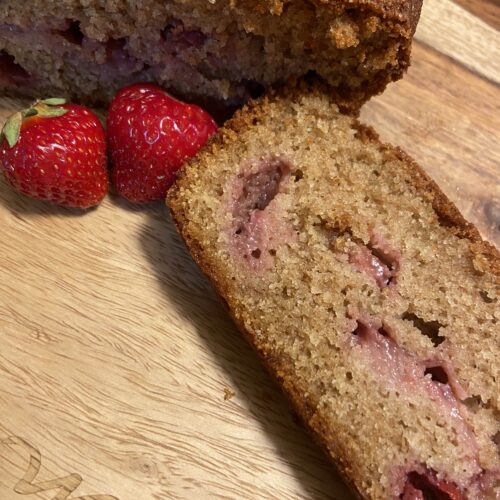
Wondering what makes this strawberry bread so good? I believe it’s the Greek yogurt (or sour cream, if that’s what you have on hand). It makes for this moist, delightful summer bread. In fact, when I want an indulgent quick bread, I look for Greek yogurt in the recipe. It’s a secret, take this recipe to the next level, kind of ingredient. 

Now, I know most recipes I share have had a “let’s make it healthier” make over. This strawberry bread will not be one of those recipes. Sometimes you just need to follow your taste buds and enjoy a little sugar and sweetness, right? 

Your ingredients

  • 1 ¾ cup flour (I used whole wheat)
  • ½ teaspoon baking powder
  • ¼ teaspoon baking soda
  • ½ teaspoon salt 
  • ¼ teaspoon cinnamon 
  • ½ cup butter, softened 
  • ½ cup white sugar
  • ¼ cup brown sugar
  • 2 eggs (room temperature)
  • ½ cup plain Greek yogurt (or sour cream) 
  • 1 teaspoon vanilla 
  • 1 ¼ cup finely chopped strawberries 

Your Steps

Preheat the oven to 350 degrees. In a small bowl, combine flour, baking powder, baking soda, salt, and cinnamon. Set aside. 

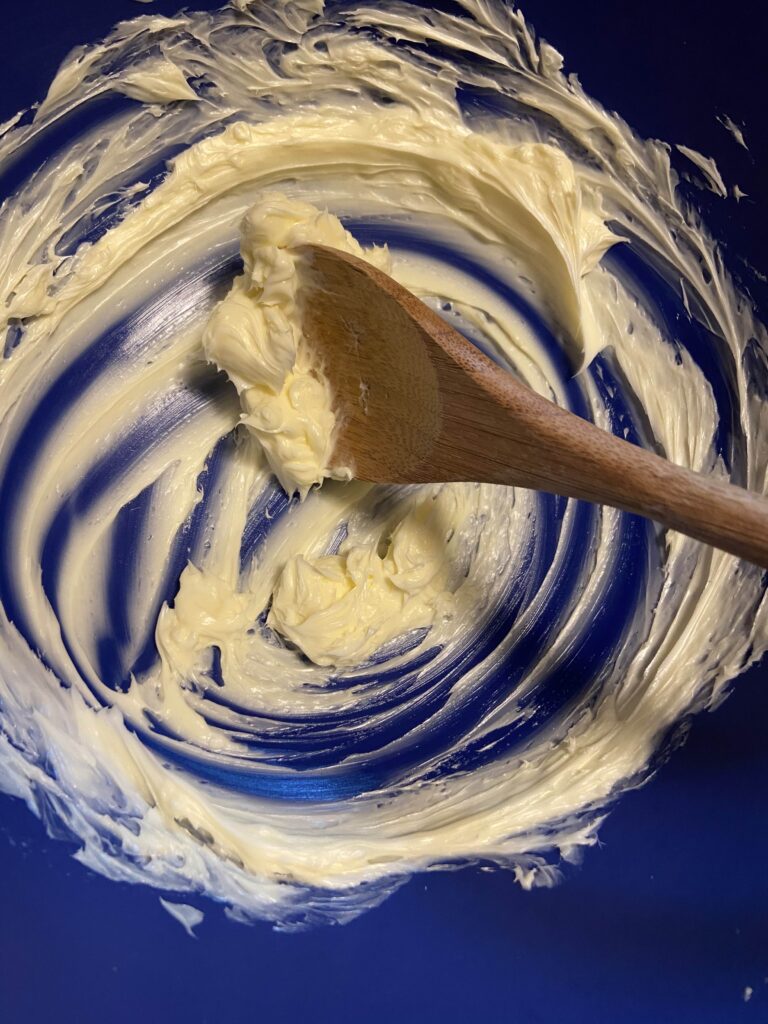
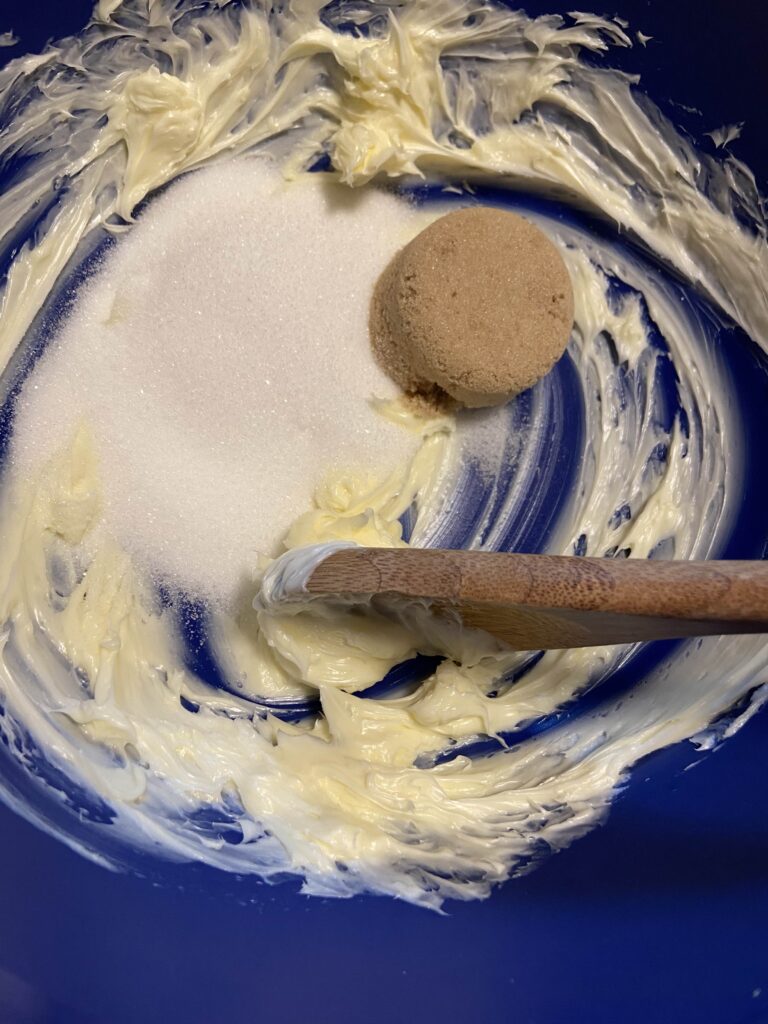
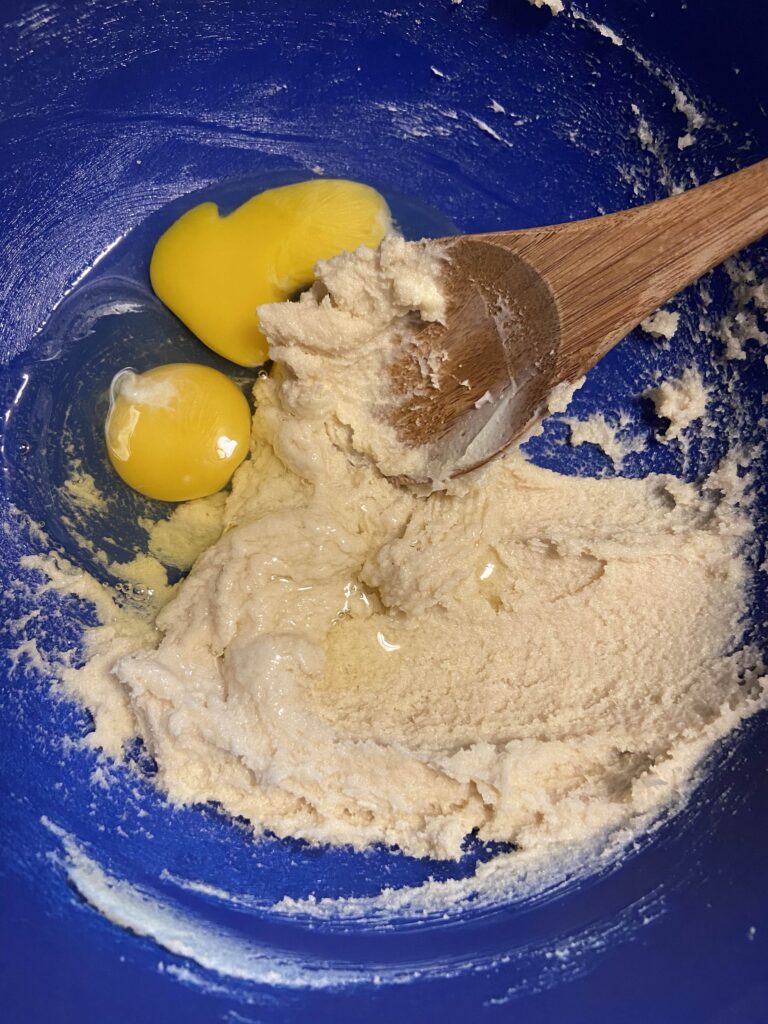
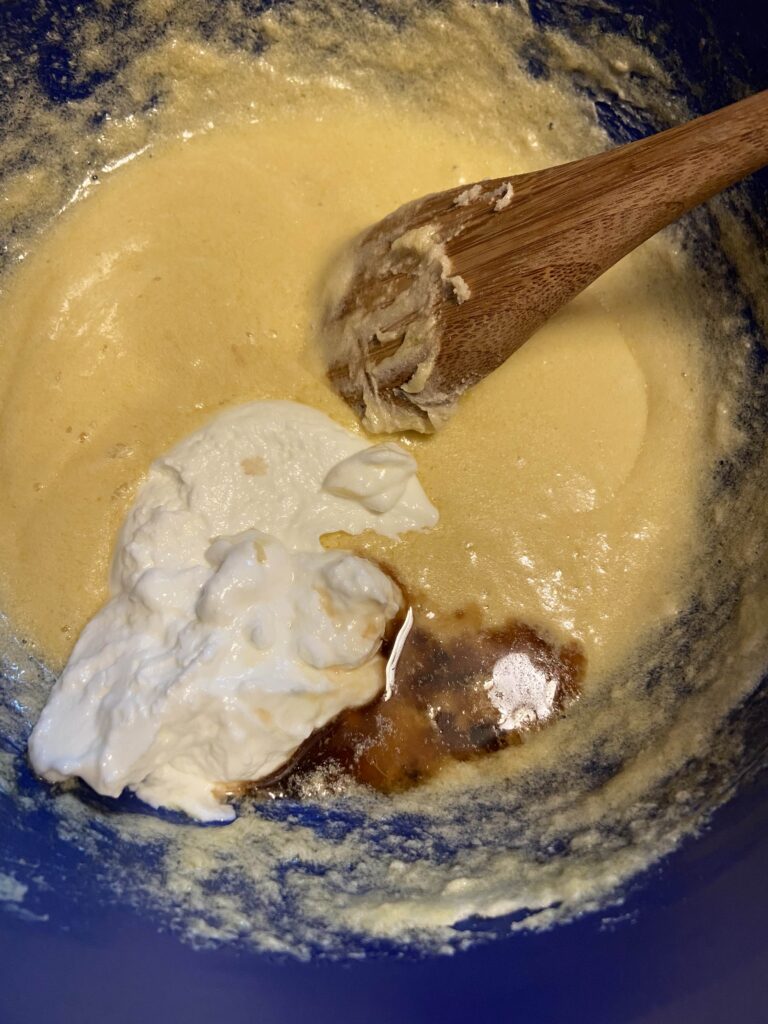
In a larger bowl, beat butter until creamy. Gradually add sugars and beat until light and airy. Beat in eggs, ideally one at a time. But let’s be real, who remembers to do that? I mean, I don’t ⅔ of the time. Add sour cream and vanilla and mix until well combined. 

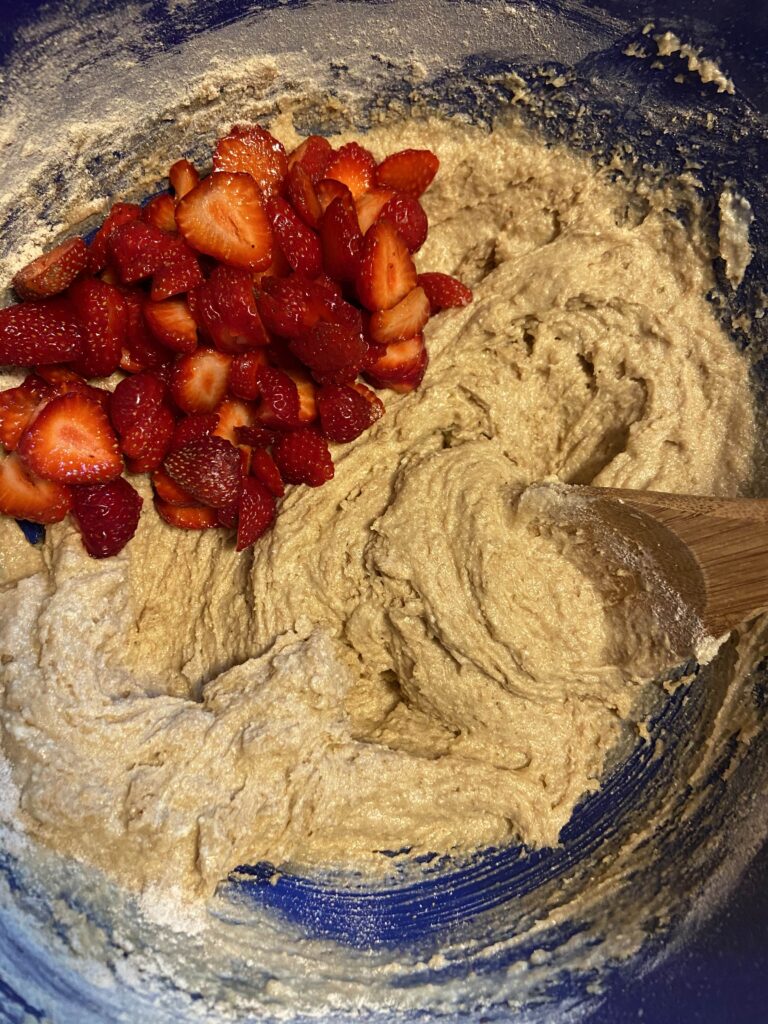
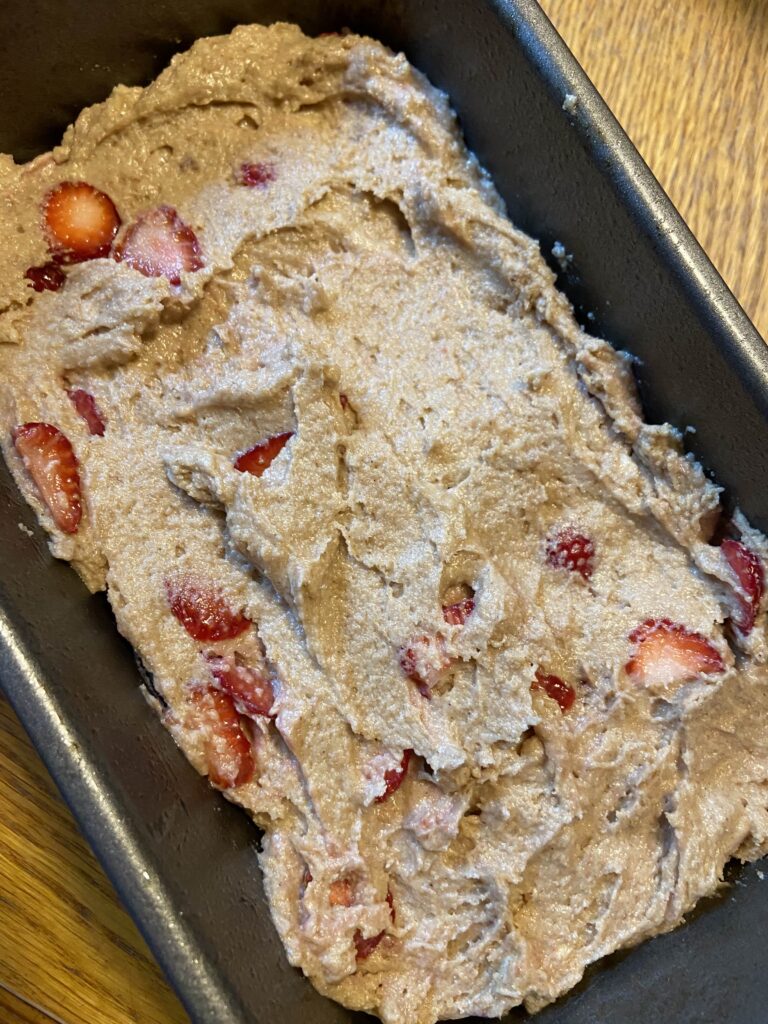
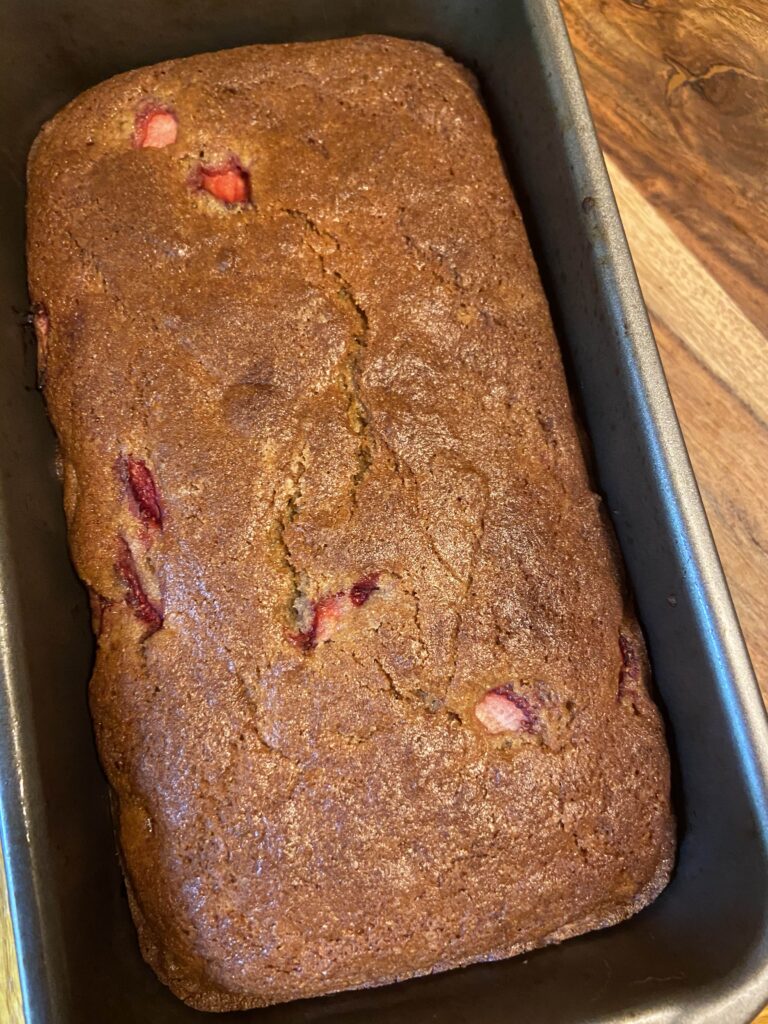
Stir in flour mixture until just combined. Avoid over mixing. Fold in strawberries. Be gentle with them or you will end up with a pink bread. Pour into a greased bread pan and bake for 60-65 minutes in the center of the oven. 

A few notes:

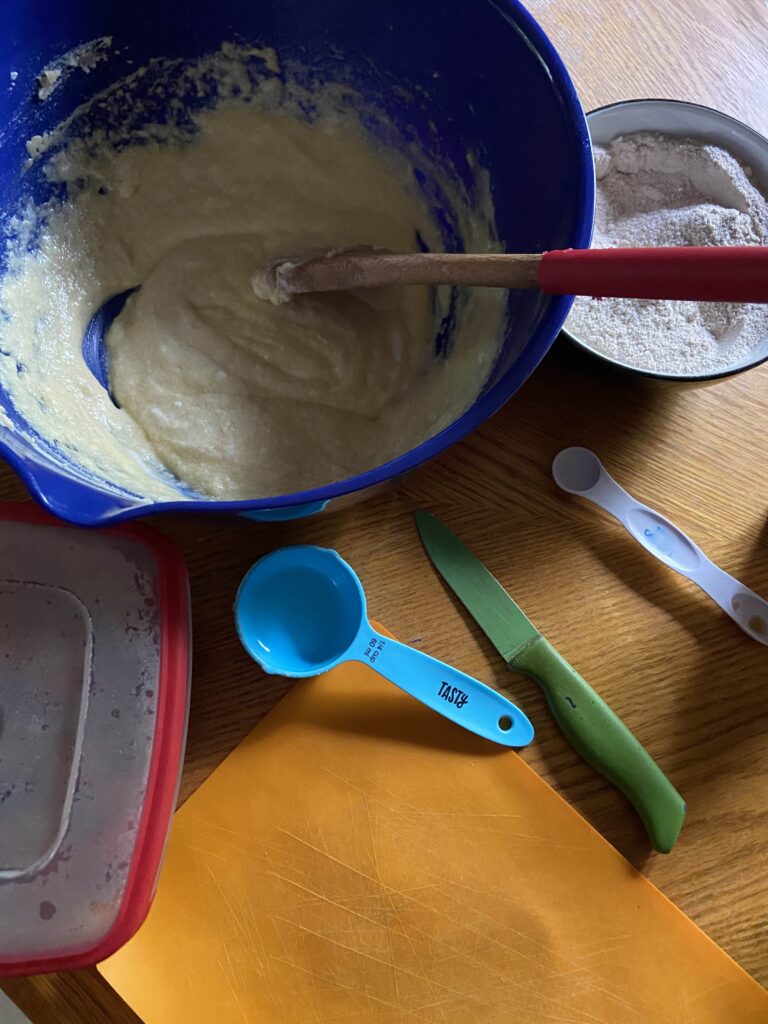
  • I know I said mix the dry ingredients in a small bowl. But for real, I hate extra dishes. I am the kind of cook that will intentionally use a smaller measuring cup to measure out 1 cup measurements if it means using one less dish. That being said, I have often made this recipe by adding the dry ingredients to the top of the wet, mixing slightly to blend the spices, and then stirring it all together. But you do you 🙂
  • I ADORE my flexible cutting boards for all sorts of cooking. They are actually the only kind of cutting boards I use (if I can help it). If you haven’t used them before, check out the link below. They are color coded for different types of food and make scraping into a bowl or pan easy as can be.
  • I used fresh strawberries from our garden, which are generally smaller than store bought. Because of this, I simply sliced them rather than chopping them small. Again, do what you prefer.

Looking for other sweet treats to bake? Check out my baking page here!

Quick Strawberry Bread

Greek yogurt and strawberries combine to make a perfect addition to your breakfast table.
Prep Time 30 minutes
Cook Time 1 hour
Course Breakfast
Cuisine American
Servings 12

Ingredients
  

  • 1 ¾ cup flour
  • ½ teaspoon baking powder
  • ¼ teaspoon baking soda
  • ½ teaspoon salt
  • ¼ teaspoon cinnamon
  • ½ cup butter softened
  • ½ cup white sugar
  • ¼ cup brown sugar
  • 2 eggs room temperature
  • ½ cup plain Greek yogurt or sour cream
  • 1 teaspoon vanilla
  • 1 ¼ cup finely chopped strawberries

Instructions
 

  • Preheat the oven to 350 degrees. In a small bowl, combine flour, baking powder, baking soda, salt, and cinnamon. Set aside.
  • In a larger bowl, beat butter until creamy.
  • Gradually add sugars and beat until light and airy.
  • Beat in eggs, one at a time.
  • Add sour cream and vanilla and mix until well combined.
  • Stir in flour mixture until just combined. Avoid over mixing.
  • Gently fold in strawberries.
  • Pour into a greased bread pan and bake for 60-65 minutes in the center of the oven.
Keyword Breakfast Bread, Quick Bread, Strawberries
Tried this recipe?Let us know how it was!

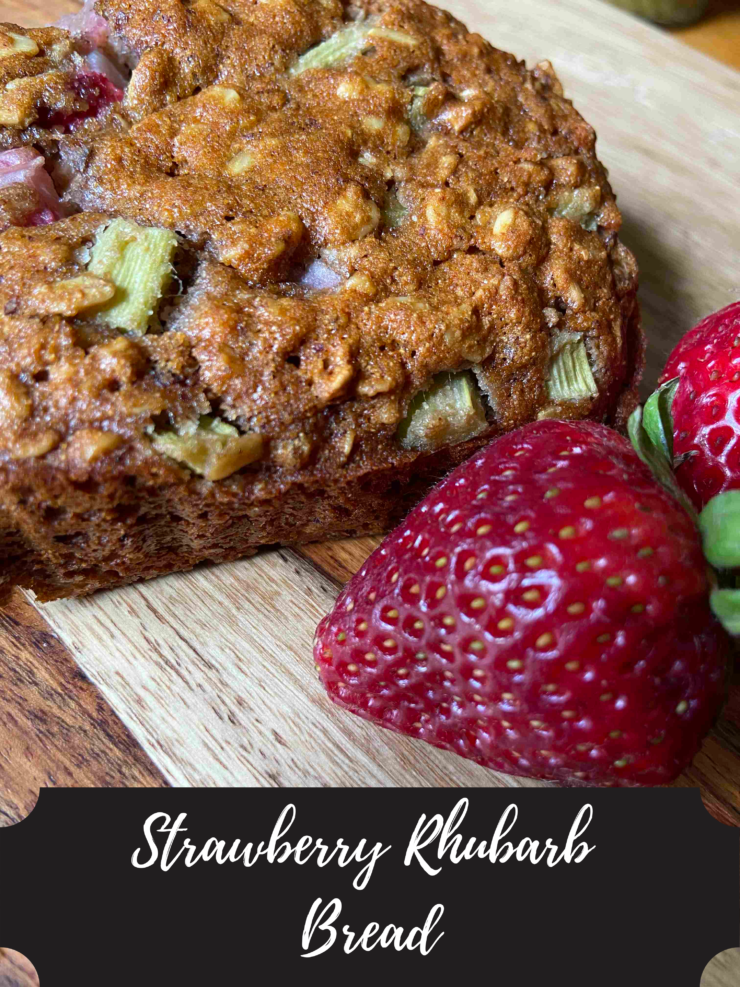
Strawberry Rhubarb Bread

Jump to Recipe

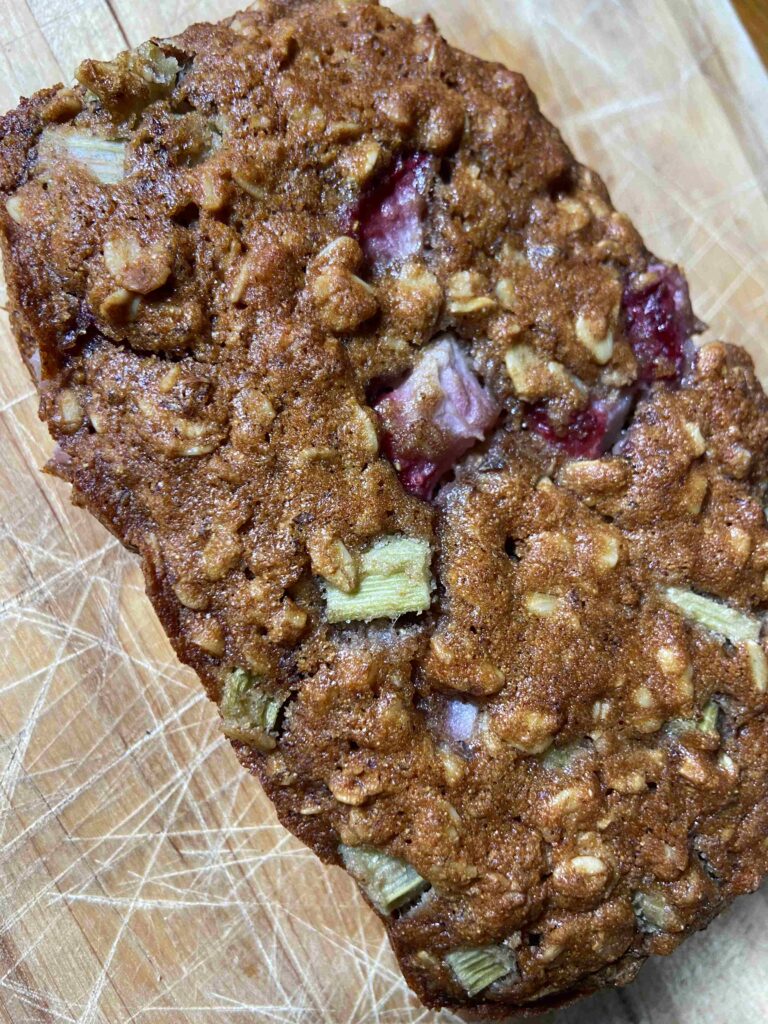
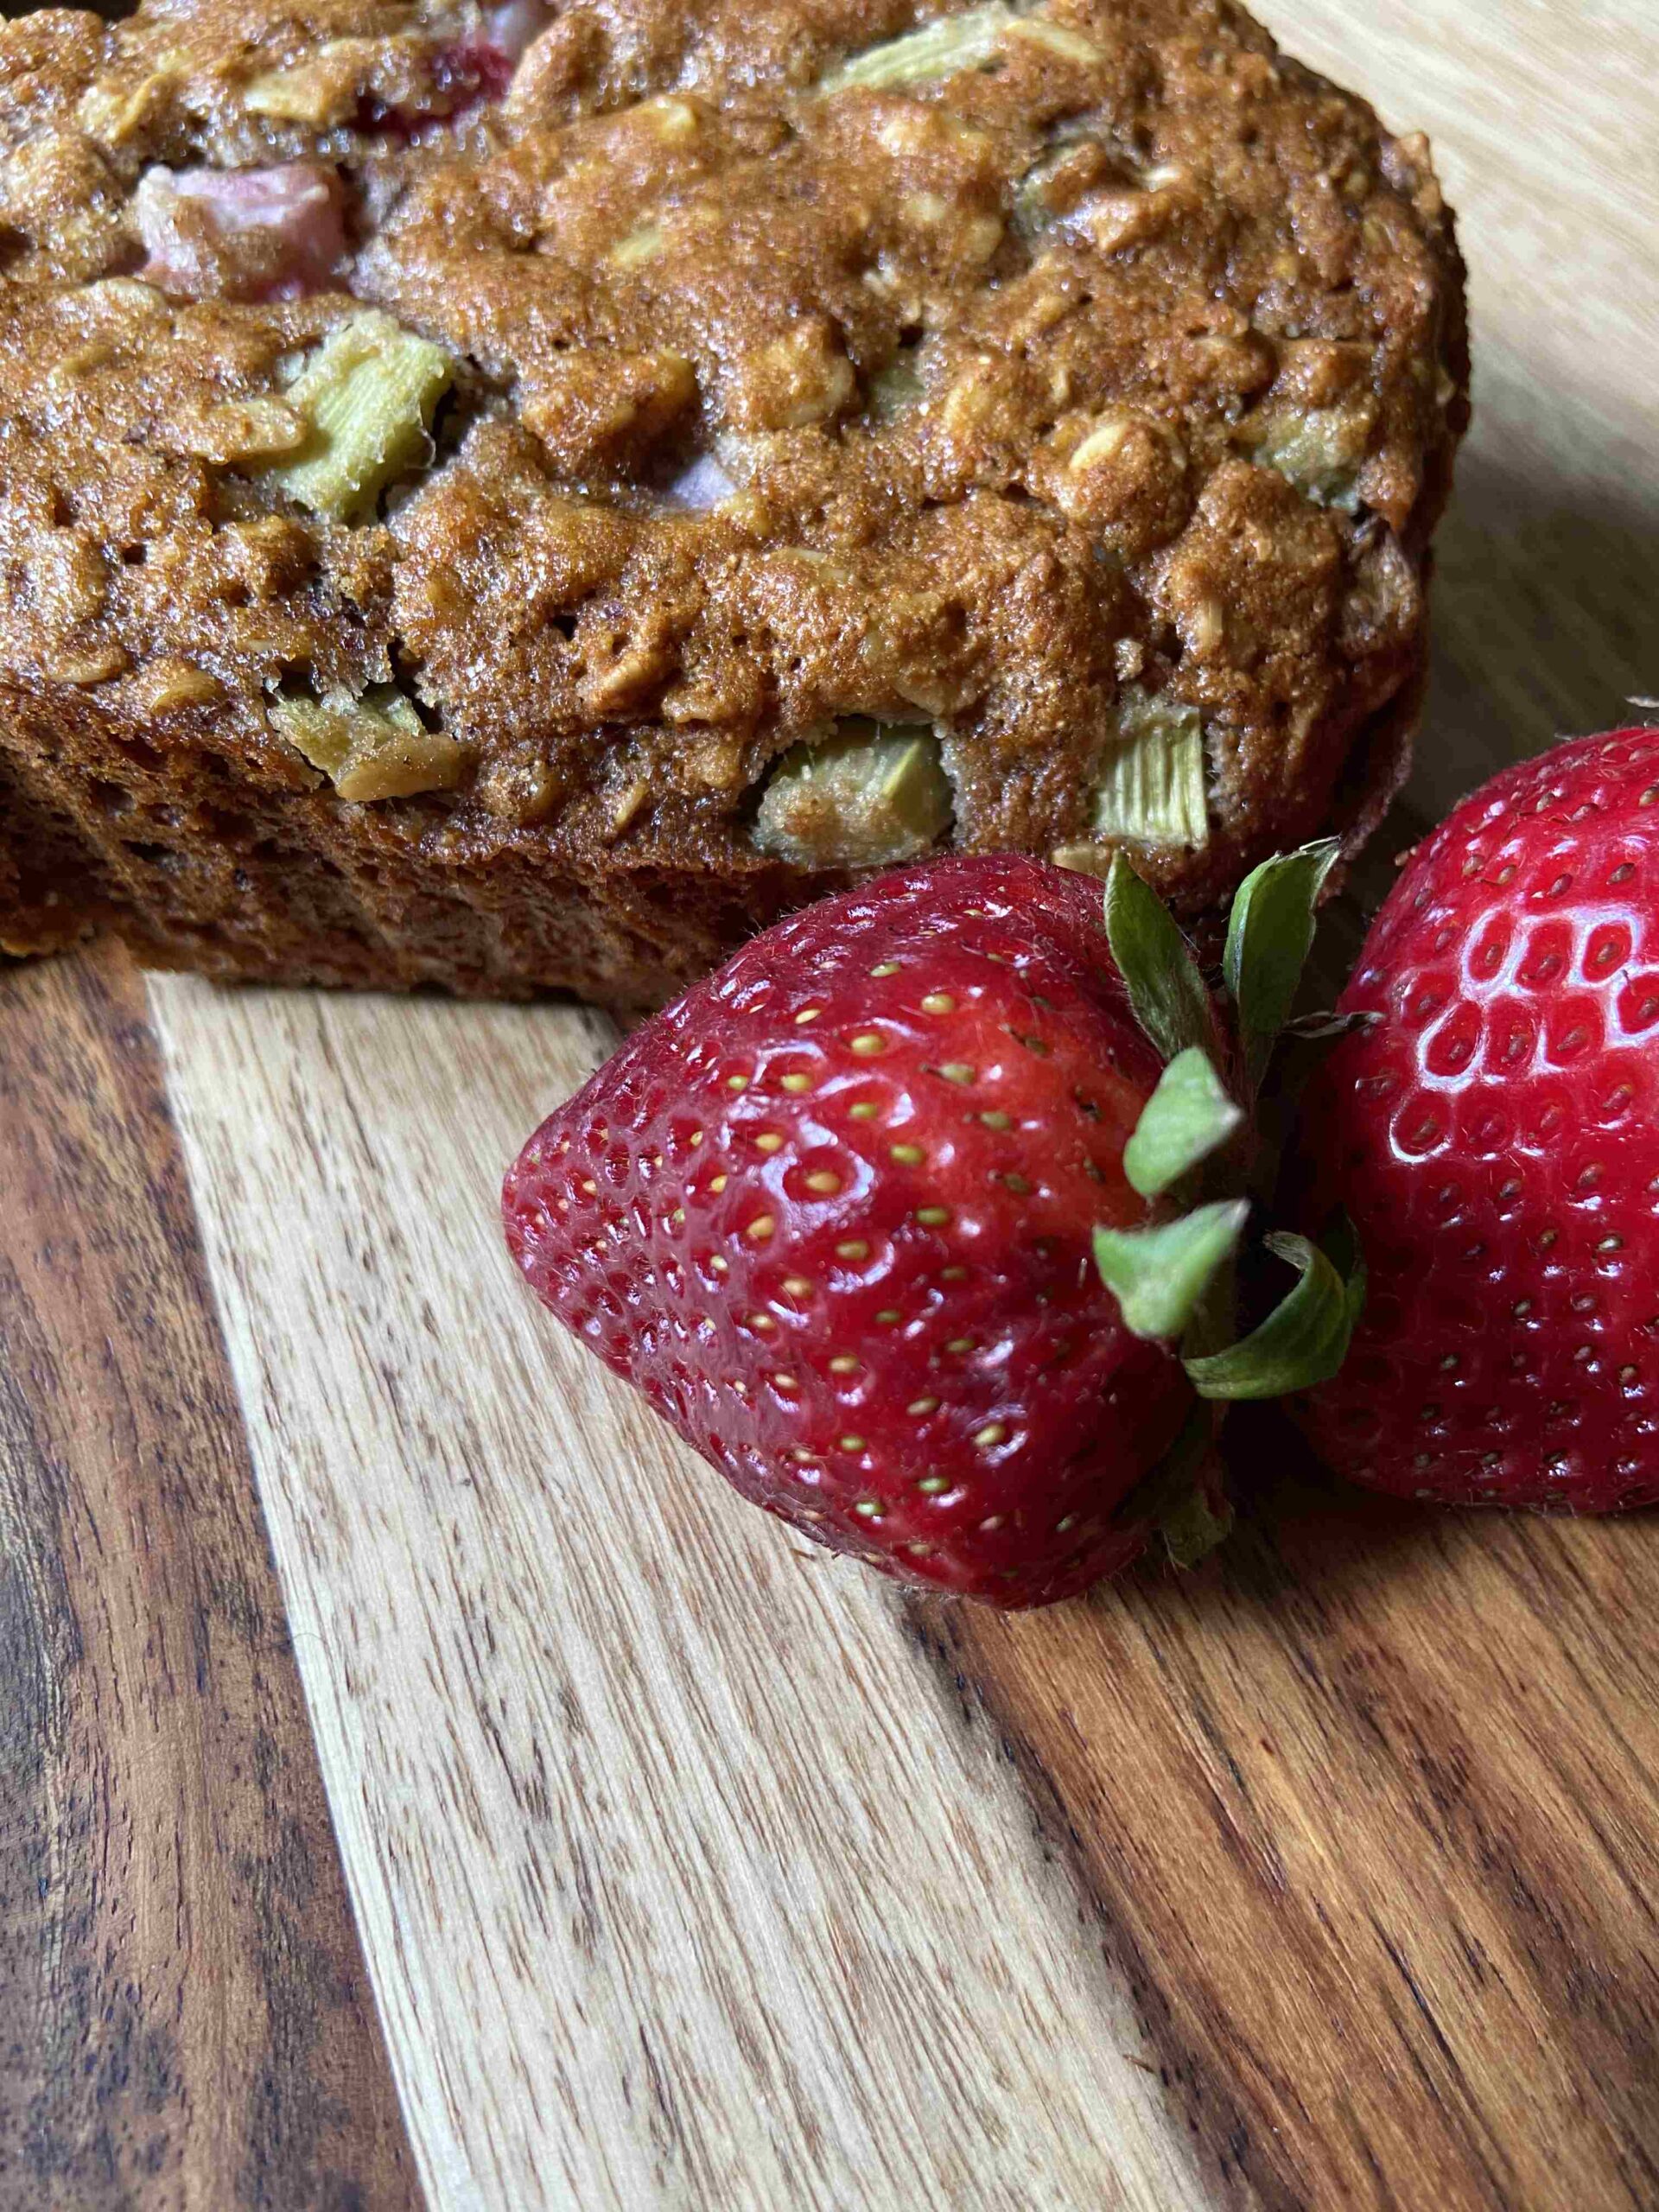
As spring makes way to summer, gardeners all around Wisconsin watch for the rhubarb to break through the ground and produce stems of tart goodness. Then you can pair that with the strawberries that are turning red right now, and you have some tasty baking and cooking that happens. Rhubarb pie. Jams and jellies. However, my favorite is probably strawberry rhubarb bread.

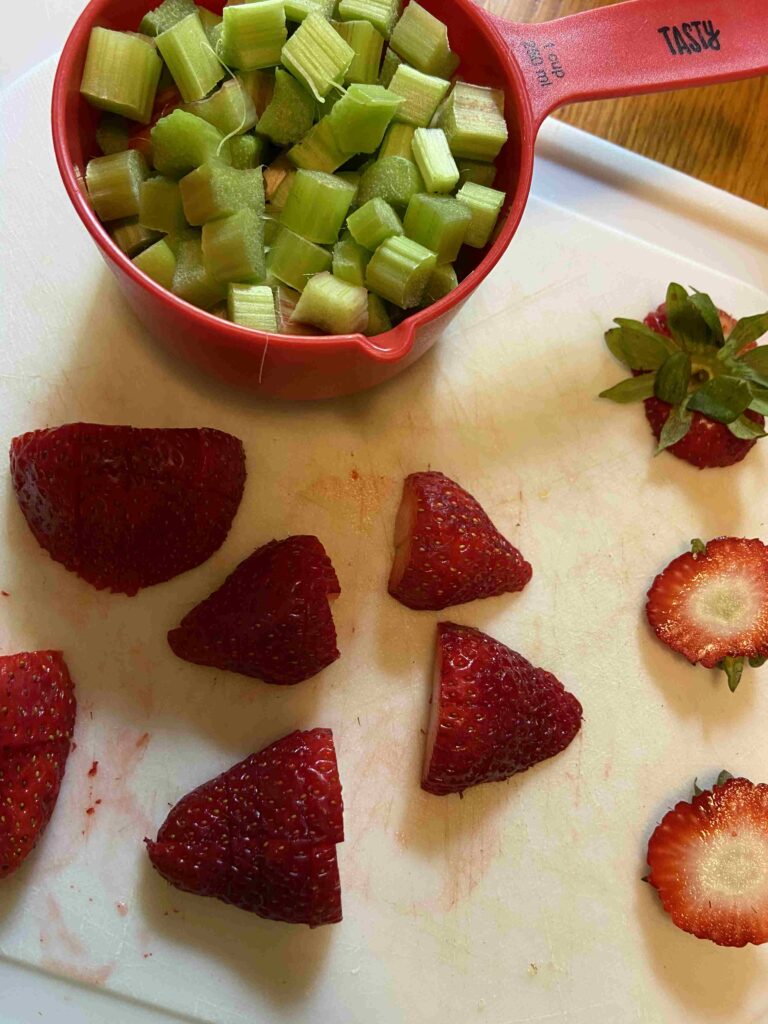
Springtime on a cutting board: strawberries and rhubarb

Here, the sweetness from the berries and the tart from the rhubarb mix perfectly. And the color! It brings me so much joy. My mother-in-law has a fantastic recipe for strawberry rhubarb bread; however, I try to be mindful of the amount of sugar I serve my family and friends so I began to play with a few recipes to make my own, healthier version. 

A few weeks ago, I tried to tweak this great banana bread recipe to work as a strawberry rhubarb bread. Let me tell you, it was a fail. Maybe not an EPIC fail. But I will say, I don’t waste much food, and it went in the garbage after a few days.

Determined not to fail, I wrote in my planner, “FIX THE STRAWBERRY RHUBARB BREAD,” everyday. I found the time, sat down with the banana bread recipe and my mother in law’s recipe and boom…this recipe was born as a hybrid of them both. A cleaner, healthier Strawberry Rhubarb Bread.

As an aside, my husband is my go to recipe tester when I try to make it healthier. He isn’t quiet about when I “ruin” things by cutting too much sugar or replacing pasta with vegetables. He hated the first “banana bread” try. However, he gave glowing reviews to the one you’re about to bake. It’s tasty, just the right amount of sweetness, and perfectly moist. Yum. I can’t wait for you to try it and let me know what you think! Let’s get baking 🙂 

Your Ingredients

  • 1 cup old fashioned oats (I get these fantastic thick oats from the natural food store in town)
  • 1 cup whole wheat flour
  • ½ teaspoon salt
  • 1 teaspoon baking soda
  • ½ cup chopped nuts (I did walnuts) 
  • 1 cup peeled and chopped rhubarb
  • 1 cup chopped strawberries
  • ½ cup honey or maple syrup (I did honey) 
  • ¼ cup coconut oil, melted (but any oil will do) 
  • 1 teaspoon vanilla 
  • 1 egg, beaten
  • 6 tablespoons milk (I did almond)

Your Steps 

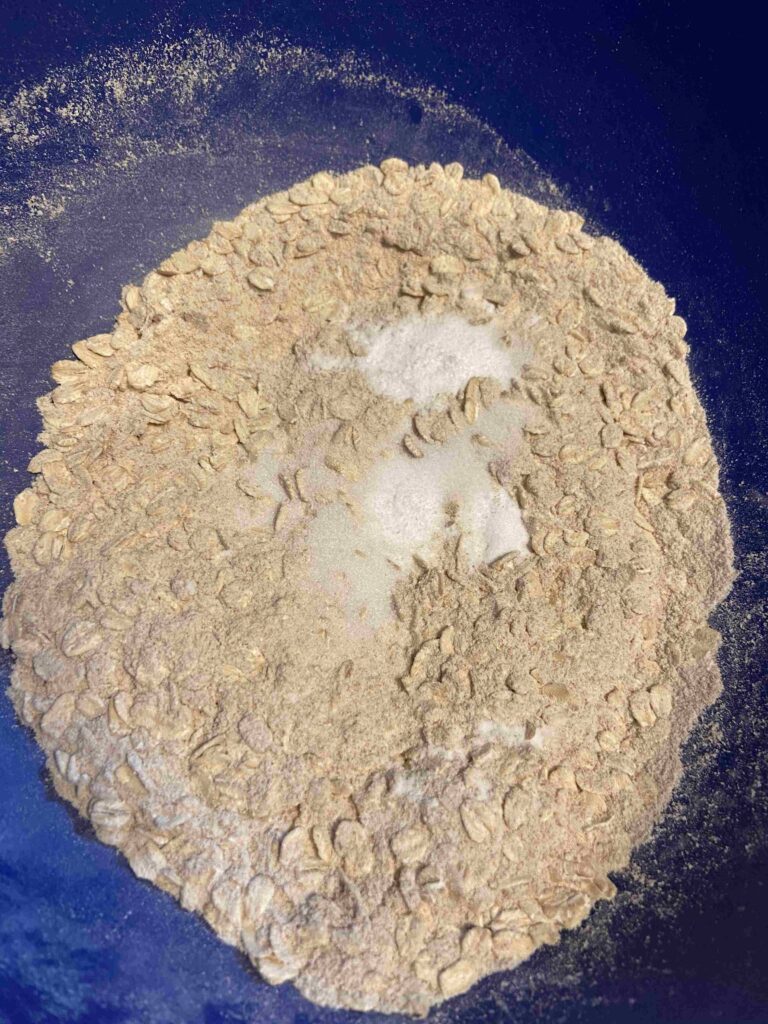
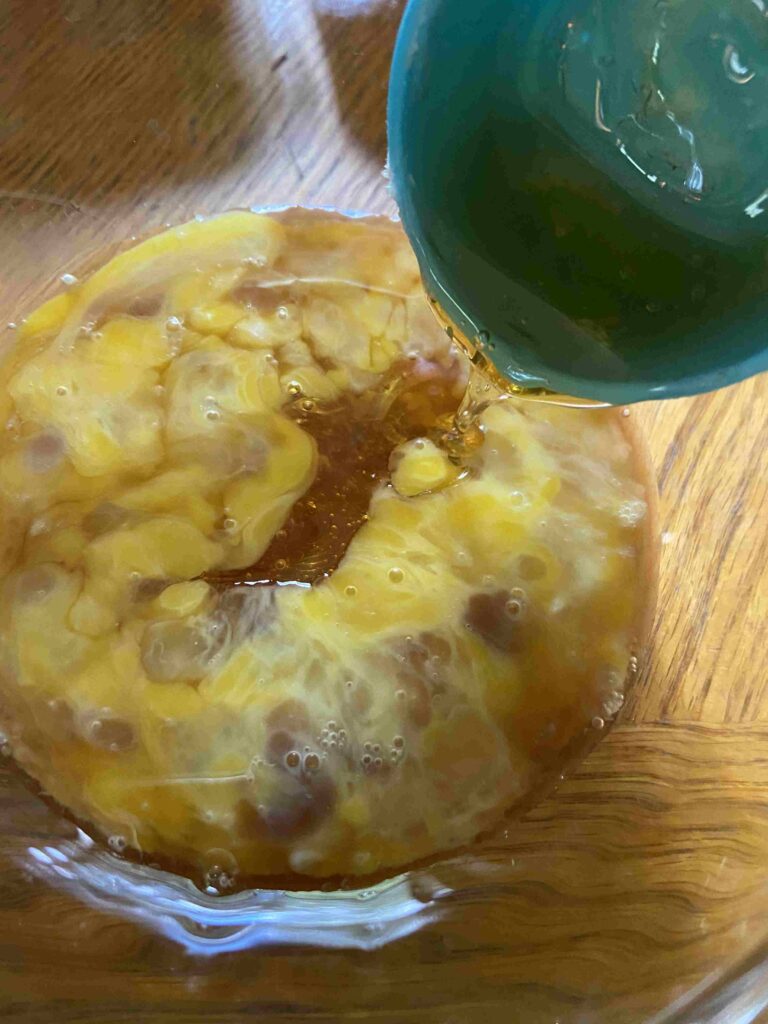
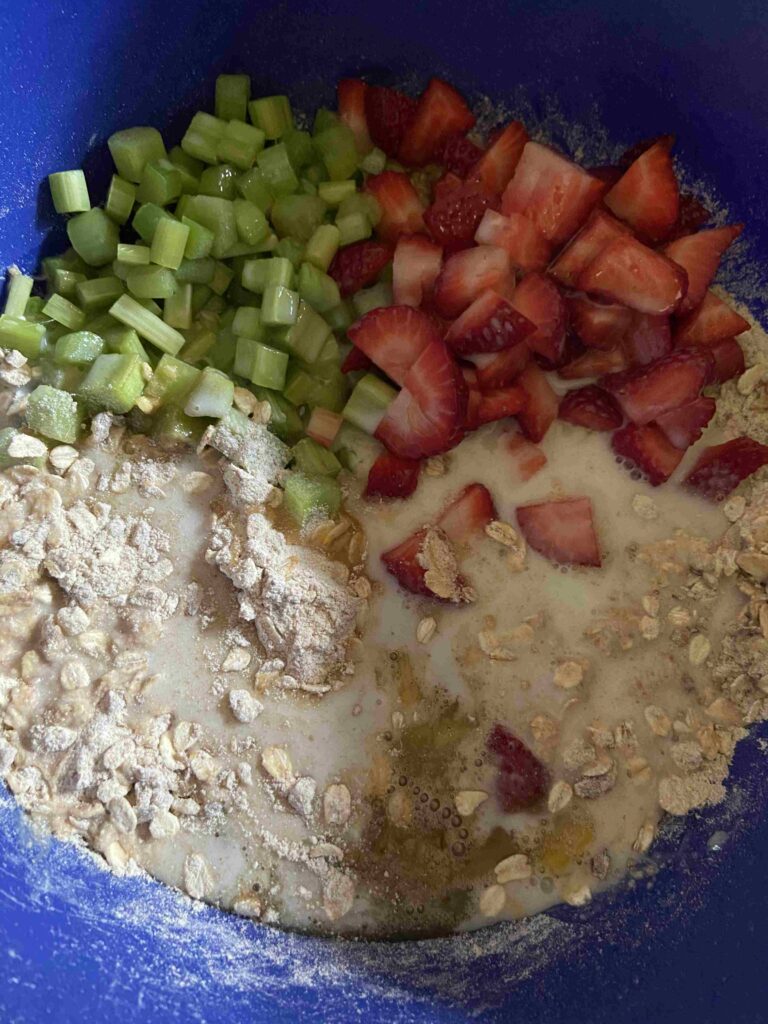
Preheat oven to 350 degrees. Prepare one loaf pan (or three miniature pans) by spraying with cooking spray. Combine oats, flour, salt, baking soda, and nuts in a large bowl. In a small bowl, combine honey, vanilla, egg, and milk.

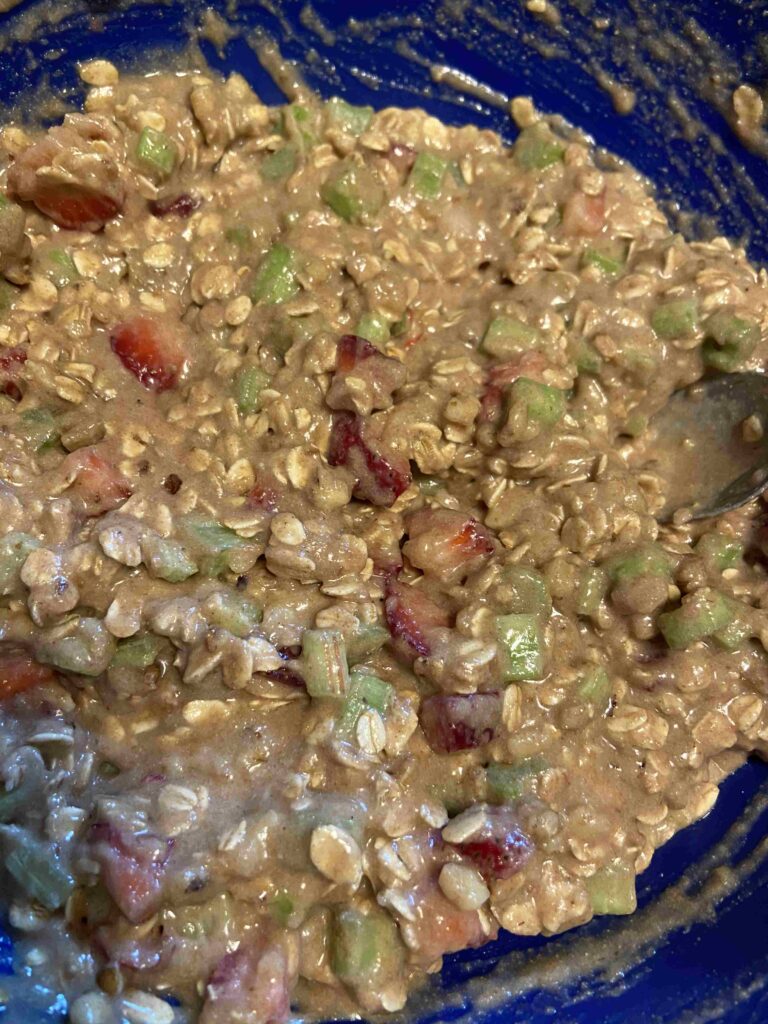
Add the honey mixture to dry mixture along with rhubarb and strawberries. Stir until just combined. (Be sure to mix all the way to the bottom. I can’t tell you how often I pour my batter into a pan and find dry ingredients I missed while mixing to “just combined.” Alas, I will learn someday.)

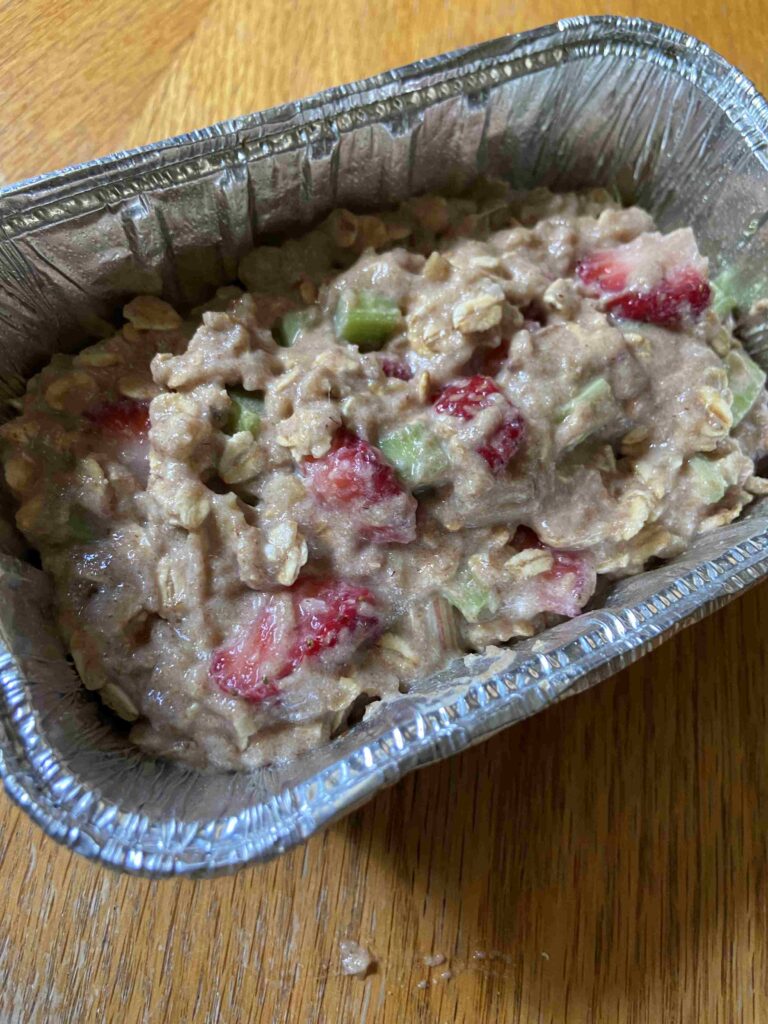
Quickly pour in oil and stir. Pour into prepared pan(s) and bake for 40-55 minutes, depending on the depth of your batter. Finally, use a toothpick or knife to check if it is cooked all the way to through. Enjoy! 

A few notes

  • The batter will seem dry. That’s okay. It will moisten up at it bakes.
  • You should be able to switch up the ratios of strawberries and rhubarb. Just shoot for about 2 cups of cut up fruits/vegetables. (Did you know rhubarb is technically a vegetable?!
  • I add the oil last and stir fast so that it doesn’t have the time to begin to turn solid. This was a recent “ah ha” moment I had while making my own waffles with friends. Get that recipe here!

Looking for more baking recipes? Click here!

Strawberry Rhubarb Bread

Sweet Strawberries and Tart Rhubarb join together in this cleaner version of a classic combination.
Prep Time 30 minutes
Cook Time 50 minutes
Course Breakfast
Cuisine American
Servings 12

Ingredients
  

  • 1 cup old fashioned oats
  • 1 cup whole wheat flour
  • ½ teaspoon salt
  • 1 teaspoon baking soda
  • ½ cup chopped walnuts
  • 1 cup chopped rhubarb peeled
  • 1 cup chopped strawberries
  • ½ cup honey (or maple syrup)
  • ¼ cup coconut oil melted
  • 1 teaspoon vanilla
  • 1 egg beaten
  • 6 tablespoons milk your choice

Instructions
 

  • Preheat oven to 350° F. Grease bread pan.
  • Combine oats, flour, salt, baking soda, and chopped nuts in a large bowl.
  • In a small bowl, combine honey, vanilla, egg, and milk.
  • Stir wet ingredients, strawberries, and rhubarb into dry ingredients until just combined.
  • Stir in melted coconut oil.
  • Pour into prepared pan and bake for 40-55 minutes, until cooked all the way through. Test using a toothpick or knife. If it comes out clean, it is done.

Notes

  • The batter will seem dry. That’s okay. It will moisten up at it bakes.
  • You should be able to switch up the ratios of strawberries and rhubarb. Just shoot for about 2 cups of cut up fruits/vegetables. (Did you know rhubarb is technically a vegetable?!)
  • I used almond milk in this recipe, but I am certain any milk will be fine. 
Keyword Bread, Breakfast, Rhubarb, Strawberries
Tried this recipe?Let us know how it was!

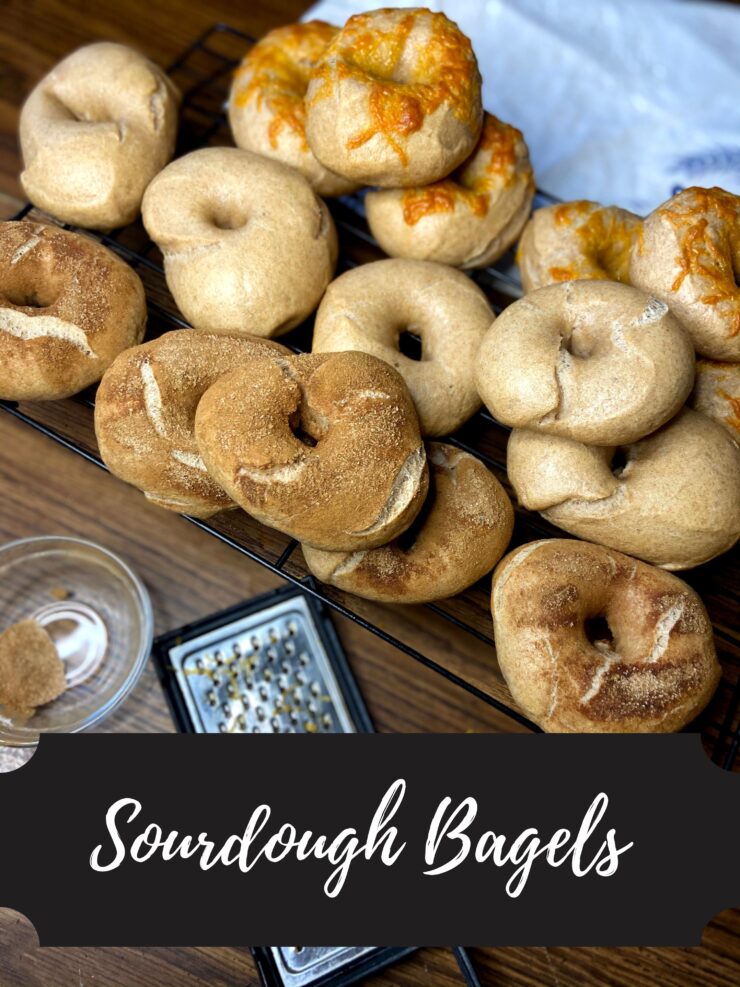
Sourdough Bagels

Do you love bagels in the morning? Or perhaps you have excess sourdough starter, and my goodness, you aren’t about to waste it? Well, then it seems sourdough bagels are a recipe begging to be made!

In the months prior to turning 33, I made a list of 33 things to do while I was 33. They ranged from bake a fruit tart, compete in an obstacle run, visit three new state parks, all the way to take a to class at the local farm to table foundation. Oddly enough, this little list changed my life forever. I chose two different classes: Baking Bread with Sourdough Starter (having no idea what sourdough really was) and a Restorative Yoga Class (totally outside of my comfort zone). The Restorative Yoga Class led me to the instructor who exactly one year later led me through a training to become a barre instructor, which I now do on the side. And the Baking Bread with Sourdough Starter class? Well, my family hasn’t eaten store bought bread since I started baking 2 years ago. 

Fast forward a few months after the class

The scene: My husband making his usual breakfast of an egg and bagel sandwich. Consequently, this got him husband thinking. He off-handedly said, “I wonder if you could make sourdough bagels…” A Google search later, and I had a recipe I was ready to follow, which I found at EveryDayFull (Click here for the link). 

I promise making sourdough bagels is so much easier than it seems. You just need a little time and be willing to spend it in the best room in the house, the kitchen. My bread baking schedule usually has me feeding my starter and prepping my loaves to ferment over the weekend. Because of this, it is also a perfect time to make bagels since your starter will be nice and healthy. There will also likely be a lot of it; a perfect time to use up two cups of starter! Remember, if you don’t have two cups of starter to part with, just pull it from the refrigerator a few days early and double it each day. You’ll have enough before you know it! (Thank goodness for exponential growth-I am a math teacher in my other life 🙂 ) 

Enough small talk. Let’s get to creating sourdough bagels! 

Your ingredients for sourdough bagels

  • 2 cups healthy sourdough starter
  • 1 ¼ to 1 ½  cups water
  • 1 T olive oil
  • 5 ½  cups flour (I like to do a combination of white and wheat; most recently, 3 cups white and 2 ½ cups) 
  • 1 T kosher salt
  • 1 T of baking soda (to be used when you boil the bagels)

Additionally, you will also need a wash to brush the bagels with prior to baking. You have lots of options: 

  • 1 egg and 1 tablespoon of water, beaten (This is the best choice, but I don’t love how much egg is “wasted” when you get done so I often choose one of the other options)
  • 2-3 tablespoons of milk 
  • 1-2 tablespoons of butter 

Your steps To Sourdough Bagels

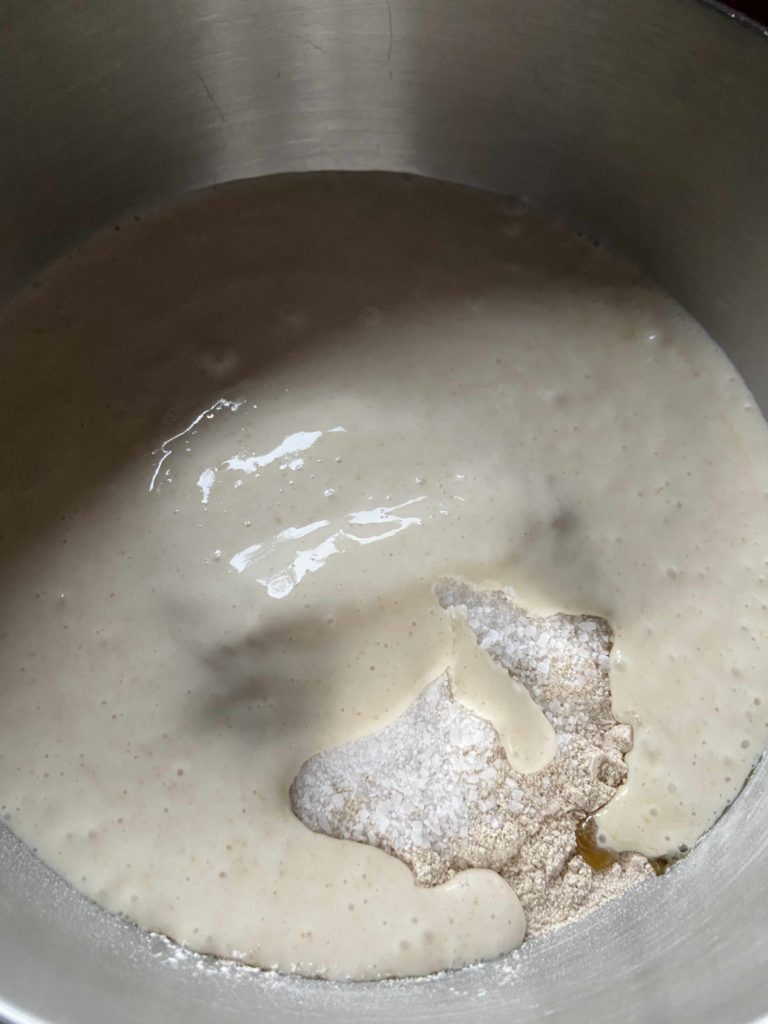
  • In a stand mixer, combine the starter, flour, water, salt and olive oil. I start with 1 ¼ cup of water, and then judge if I need the other ¼  cup when I get to the next step. Mix for 30 seconds or so. Then allow to rest for 10-15 min.
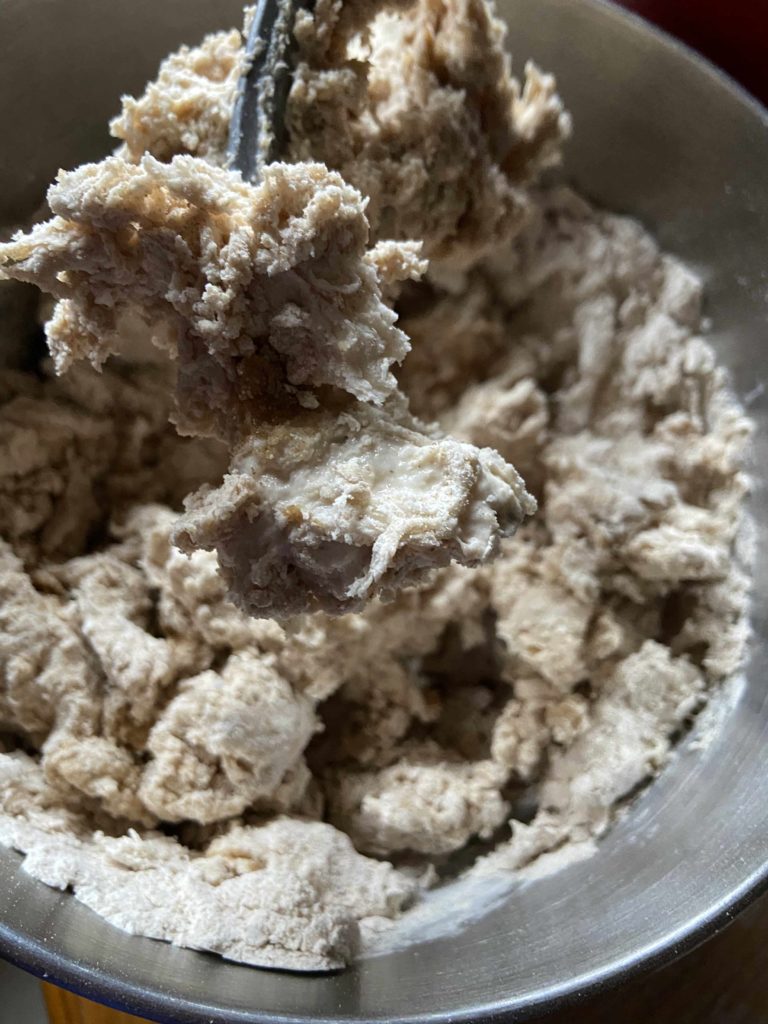
  • Turn on the mixer again and mix on low for 4 minutes. You have to watch this and take care of your mixer. The dough is thick and will cause your mixer to struggle. Just watch it. If it doesn’t seem to be combining well, you can slowly add another ¼ cup of water. 
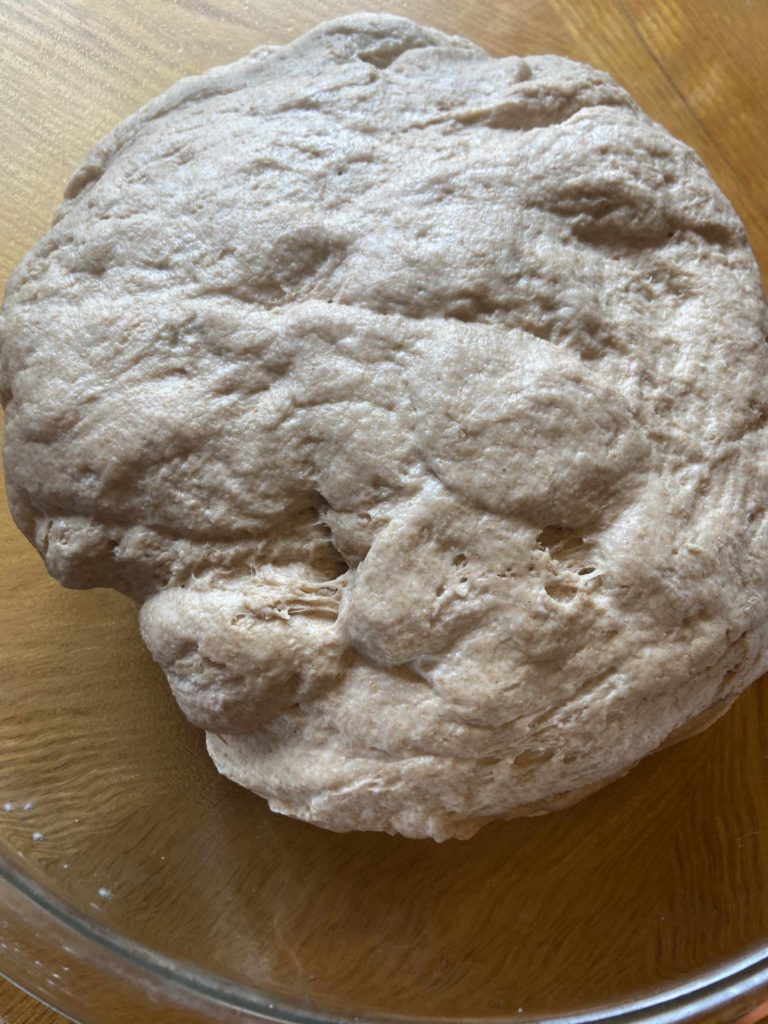
  • Turn your dough into a greased bowl. Cover and allow to rest for 4-5 hours. I have let it rest as long as 6 hours without issue in the winter. However, my house is cooler, so just play with it. That’s the joy of sourdough, the time has some flexibility.

resting time

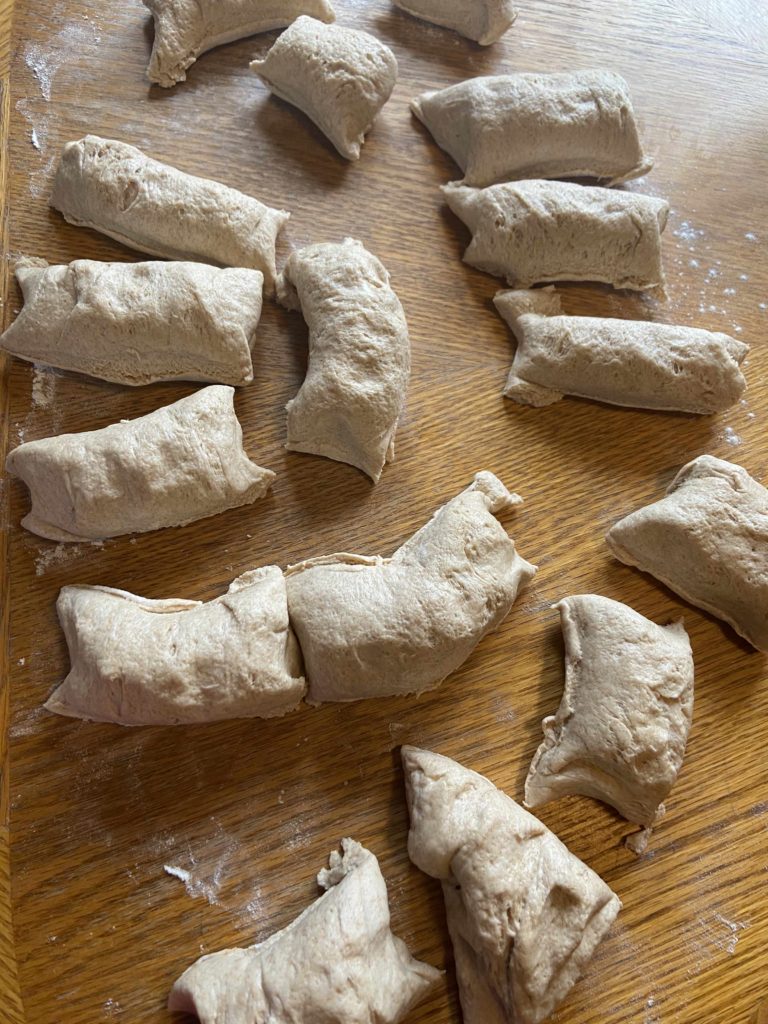
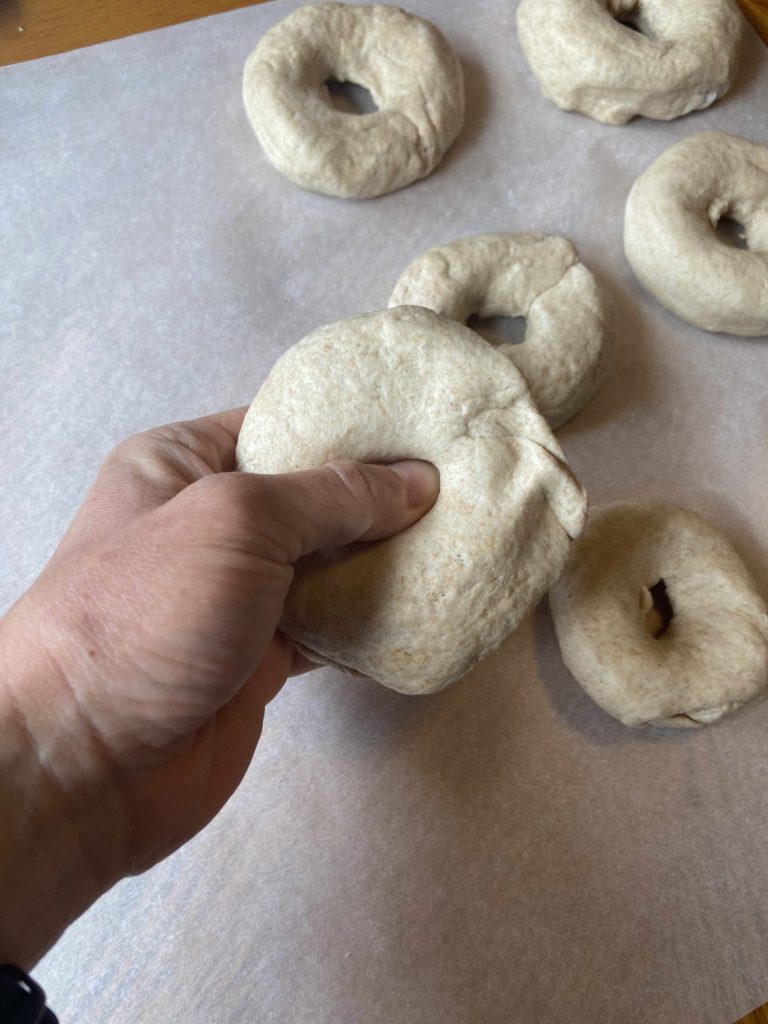
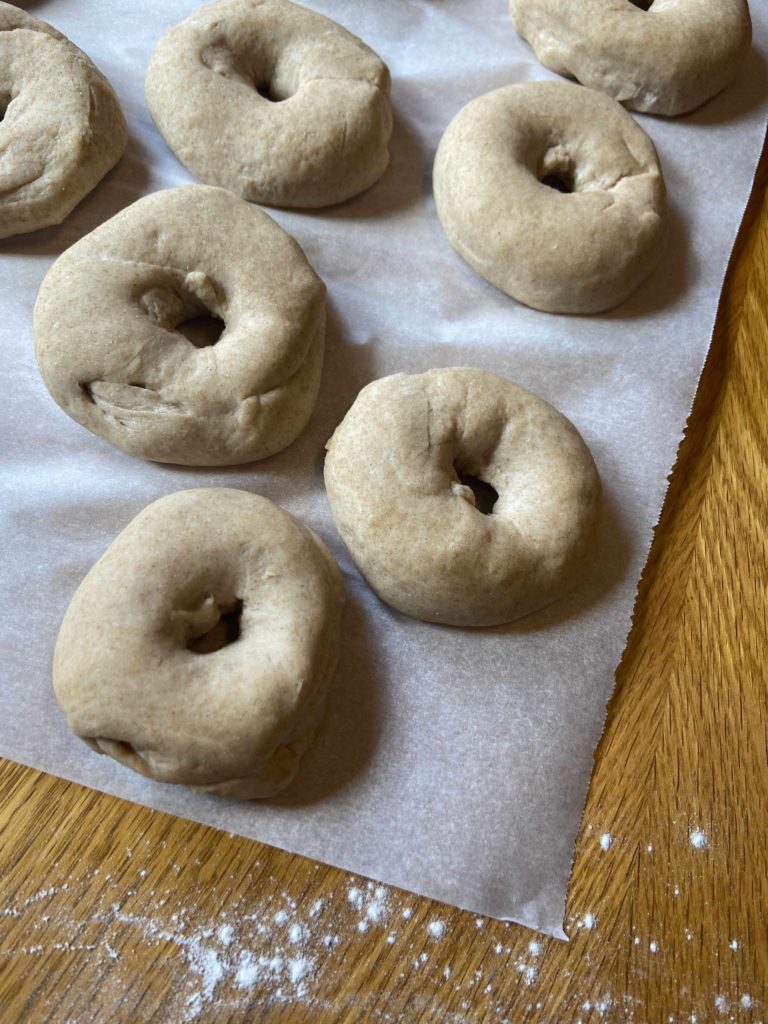
  • Turn it out onto a lightly floured surface and cut into anywhere from 12-18 pieces, depending on the size of bagel you enjoy. Roll these pieces into balls, flatten, and use your thumb and forefinger to create a hole in your bagel, about 1 ½ – 2 inches diameter. Set these on parchment paper, cover with a towel, and allow to rest an additional hour.
  • Meanwhile, bring a large kettle of water 1/2 full to boil. Once it reaches boiling, add the baking soda. Do this SLOWLY. It can boil over and make a big mess. Believe me, the glass on my oven has forever stains to prove it. Also grease two large cookie sheets so they are ready for you!
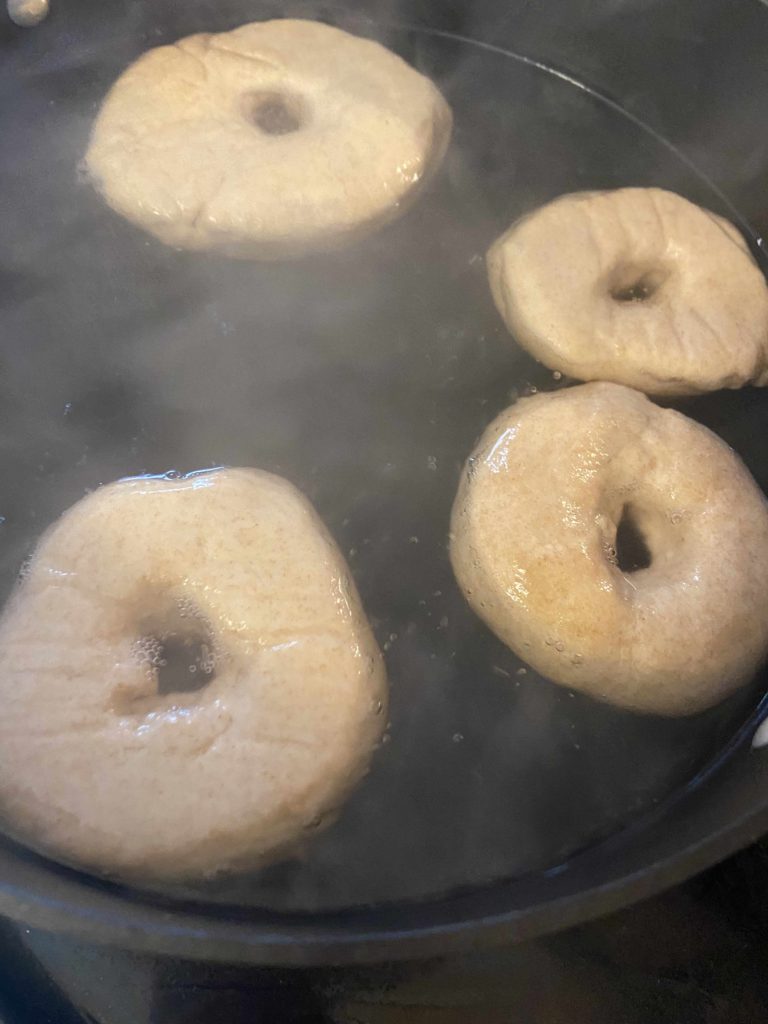
  • Drop each bagel into the boiling water for 1 min, flipping halfway through. You can put 4-7 in the kettle at a time. Then place them on the greased cookie sheets.

Baking Time

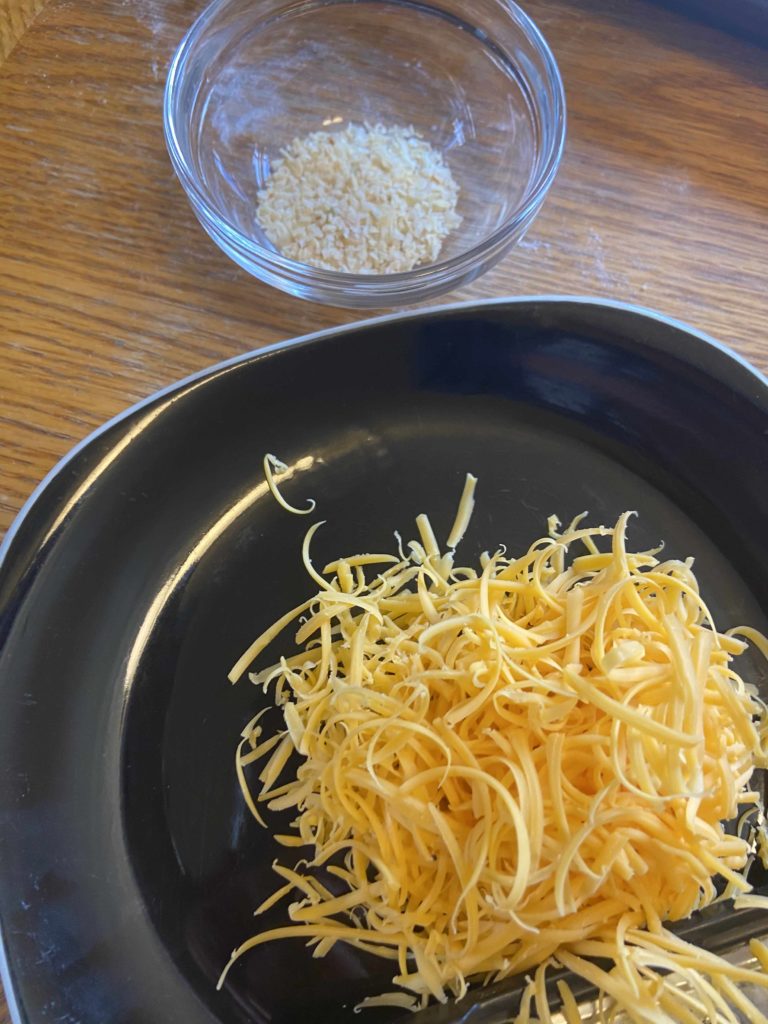
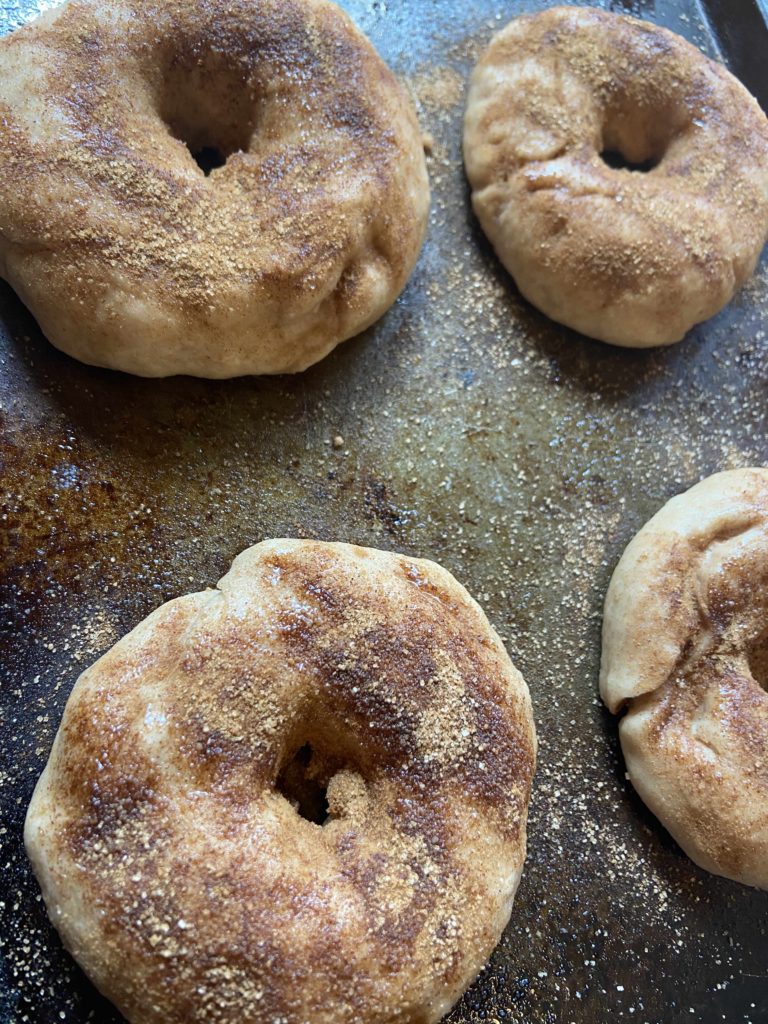
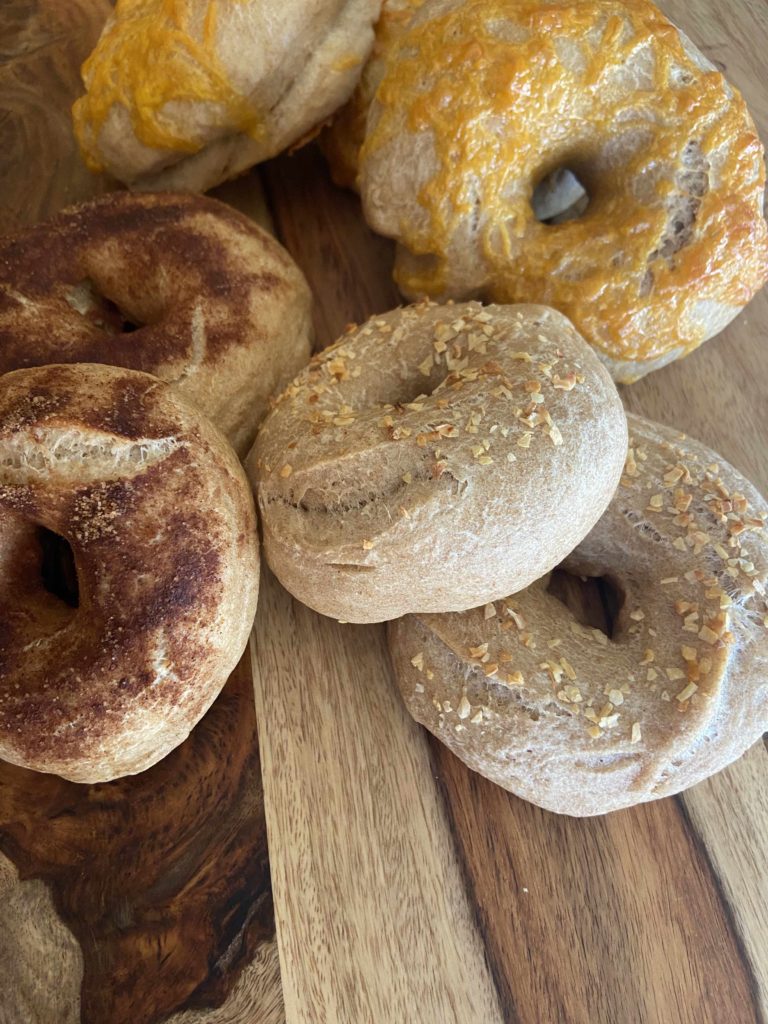
  • Use a brush to put the egg wash on each bagel (this gets them nice and shiny!), and put toppings on if interested! Our favorites are dried minced onion, cheddar cheese, and sesame seeds.
  • Bake at 450 degrees for 15-20 minutes, until golden brown. Then you must enjoy one straight out of the oven. It’s required. They are THAT good.

What are your favorite toppings? How do you eat your bagels? Are they just a breakfast food or an all day kind of thing? Me, I like the cinnamon and sugar ones for a mid morning snack 🙂

Don’t have a sourdough starter, but you want to create one? Check out King Arthur Flour’s directions here.

Once you have created a starter, I bet you’ll be baking bread. You’ll also have to maintain the starter. I have a set of videos on how to do that! Just click here!

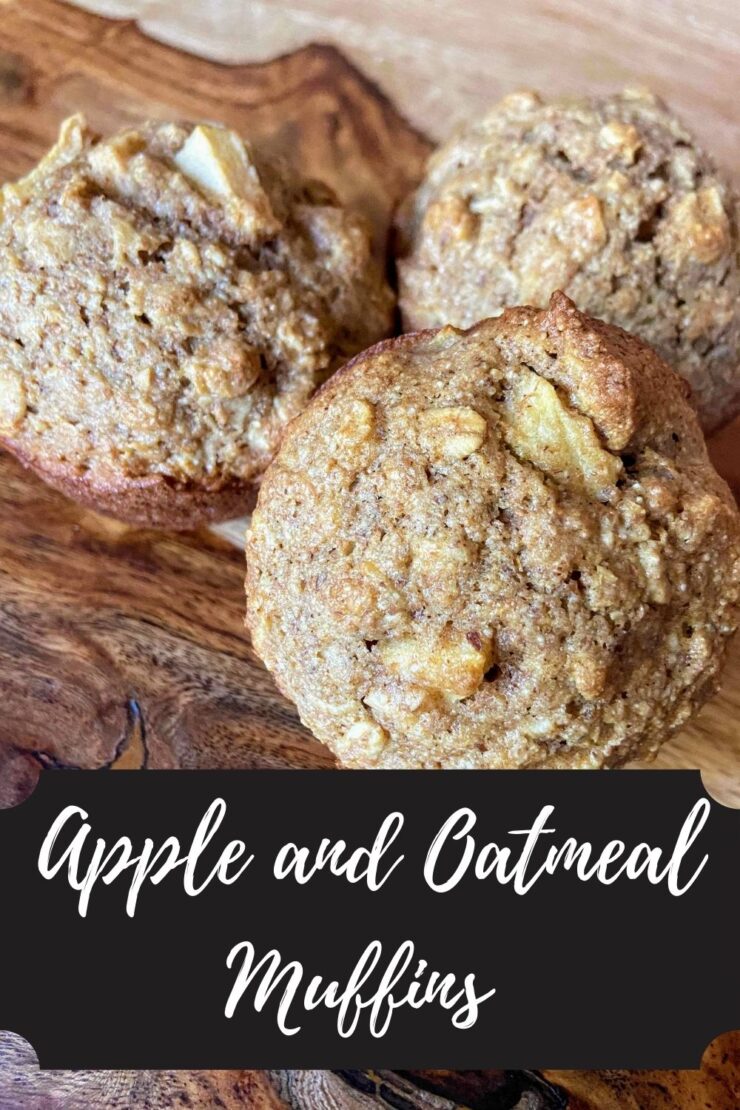
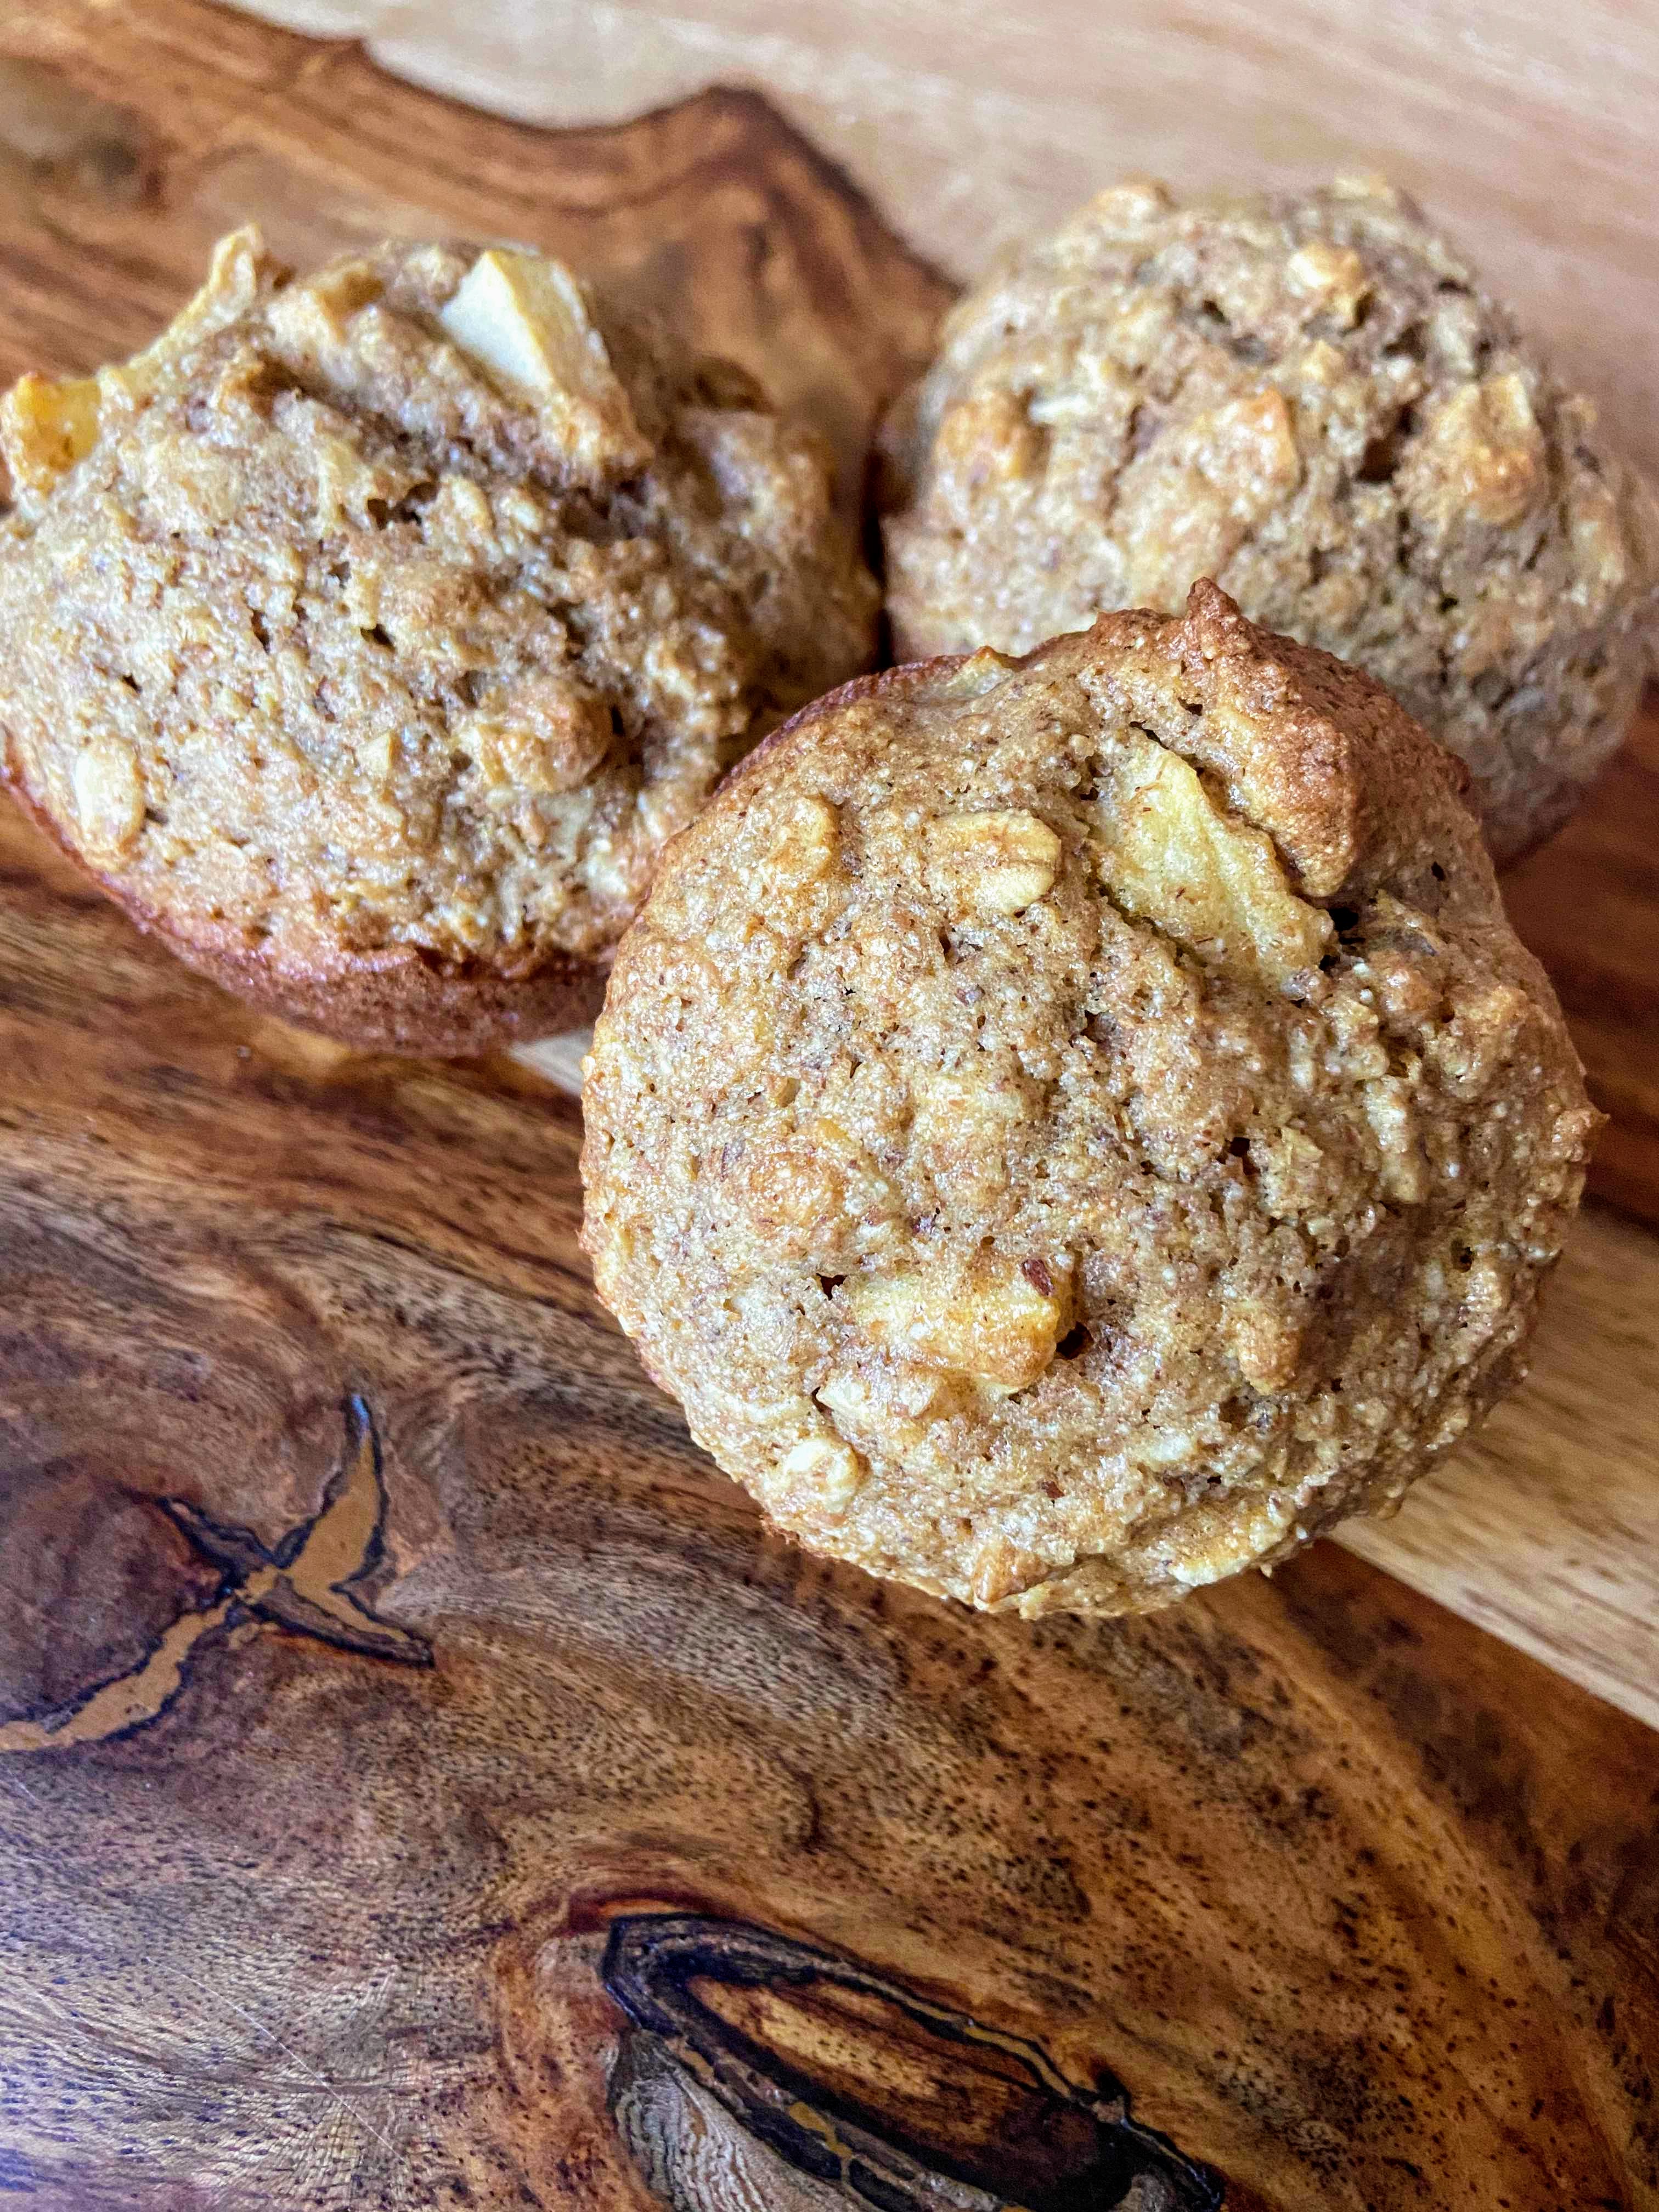
Apple and Oatmeal Muffins

At our house, we get very few days where both my husband and I are not working, getting to enjoy a true “weekend.” He’s a property manager of a state park which means his busy time is the opposite of my teacher schedule’s busy time. When we do get those special days that we are both home, breakfast can be a production. He’s in charge of the eggs (for all of the cooking I love to do, he still makes the best eggs…scrambled, omelette, you name it, he can do it). As for me, I love to put together some sort of baked good, warming the house with the oven and making the house smell just delightful.

This past weekend, I was inspired by all the muffins I saw on social media. What resulted was this clean, healthy apple and oatmeal muffin. Texture in the oatmeal and apple and just the right amount of cinnamon. My family approved and ate them all week. I loved them for a mid morning snack while I have been checking up on my students virtually. If you have a busy lifestyle, mix up a double batch and throw them in the freezer. 

Note that I have been into using maple syrup for my sweetener because we have it on hand and it’s a fun way for me to challenge myself to make the swap for refined sugar. If you don’t have access to maple syrup there are a few options here: 

  • Use honey instead 
  • Use regular sugar (or maybe brown for a hint of molasses?) and leave out the flax to compensate for dry ingredient addition. 

Okay, enough talk. Let’s get baking so you and your family can enjoy these muffins too!

Your ingredients (for approximately 18 regular sized muffins):

  • 2 cups old fashioned oatmeal
  • 1 ½ cups whole wheat flour
  • 1 teaspoon baking powder
  • ¾ teaspoon cinnamon 
  • ½ teaspoon salt 
  • 2 tablespoons ground flaxseed (If you don’t have this, you can leave it out, but I would replace with flour to keep the consistency right)
  • ¼ teaspoon nutmeg 
  • 1 cup milk
  • ¾ cup maple syrup 
  • ⅓ cup oil of your choice (vegetable, olive, coconut)
  • 1 egg, beaten
  • 1 apple, peeled and diced (about 1 cup) 
  • ½ cup chopped nuts (optional-if you dig additional texture)

Your Steps to Apple and Oatmeal Muffins

Preheat oven to 400 degrees and move a rack to the center of the oven. In a large bowl, combine oatmeal, flour, baking powder, cinnamon, salt, and nutmeg. In a separate bowl, mix milk, maple syrup, oil, egg. Mix into the dry ingredients until just incorporated. Fold in apples. Pour into greased or line muffin tins approximately ¾ of the way full. Bake for 16-22 minutes. Enjoy right out of the oven with just a hint of butter, because if you ask me, there isn’t much better than a baked good straight out of the oven with a very small tab of butter. Yum!

Looking for more baking recipes? Check out my baking page here!

Apple and Oatmeal Muffins

Light and full of good for you ingredients, these muffins will hit the spot and be on the table in 30 minutes.
Prep Time 10 minutes
Cook Time 18 minutes
Servings 12 muffins

Ingredients
  

  • 2 cups old fashioned oatmeal
  • 1 ½ cups whole wheat flour
  • 1 teaspoon baking powder
  • ¾ teaspoon cinnamon
  • ½ teaspoon salt
  • 2 tablespoons ground flaxseed If you don’t have this, you can leave it out, but I would replace with flour to keep the consistency right
  • ¼ teaspoon nutmeg
  • 1 cup milk
  • ¾ cup maple syrup
  • cup olive oil
  • 1 egg beaten
  • 1 apple peeled and diced (about 1 cup)
  • ½ cup chopped nuts optional-if you dig additional texture

Instructions
 

  • Preheat oven to 400 degrees and move a rack to the center of the oven.
  • In a large bowl, combine oatmeal, flour, baking powder, cinnamon, salt, and nutmeg.
  • In a separate bowl, mix milk, maple syrup, oil, egg.
  • Mix into the dry ingredients until just incorporated. Fold in apples and nuts.
  • Pour into greased or line muffin tins approximately ¾ of the way full. Bake for 16-22 minutes.
Tried this recipe?Let us know how it was!

Homemade Peanut Butter

Do you ever think to yourself, “I know I could easily buy this for much cheaper, BUT can I make it from scratch? I mean, just because I can?” I function in that world quite often; It has rubbed off on my children. Case in point, last night. I rarely eat the Oreos my husband buys, but last night, I thought, “Oooo…a crumbled Oreo on ice cream sounds so good.”

I went to grab an Oreo, and of course my husband and children had JUST finished them hours ago. When I pointed out to my family that of course I decided I wanted one right after they finished them, my 5-year-old daughter quickly responded, “Maybe you can find a recipe to make them homemade?!” I have apparently created monsters (Or not, because how cool is it that both of my children get excited about making things from scratch?! #momwin)

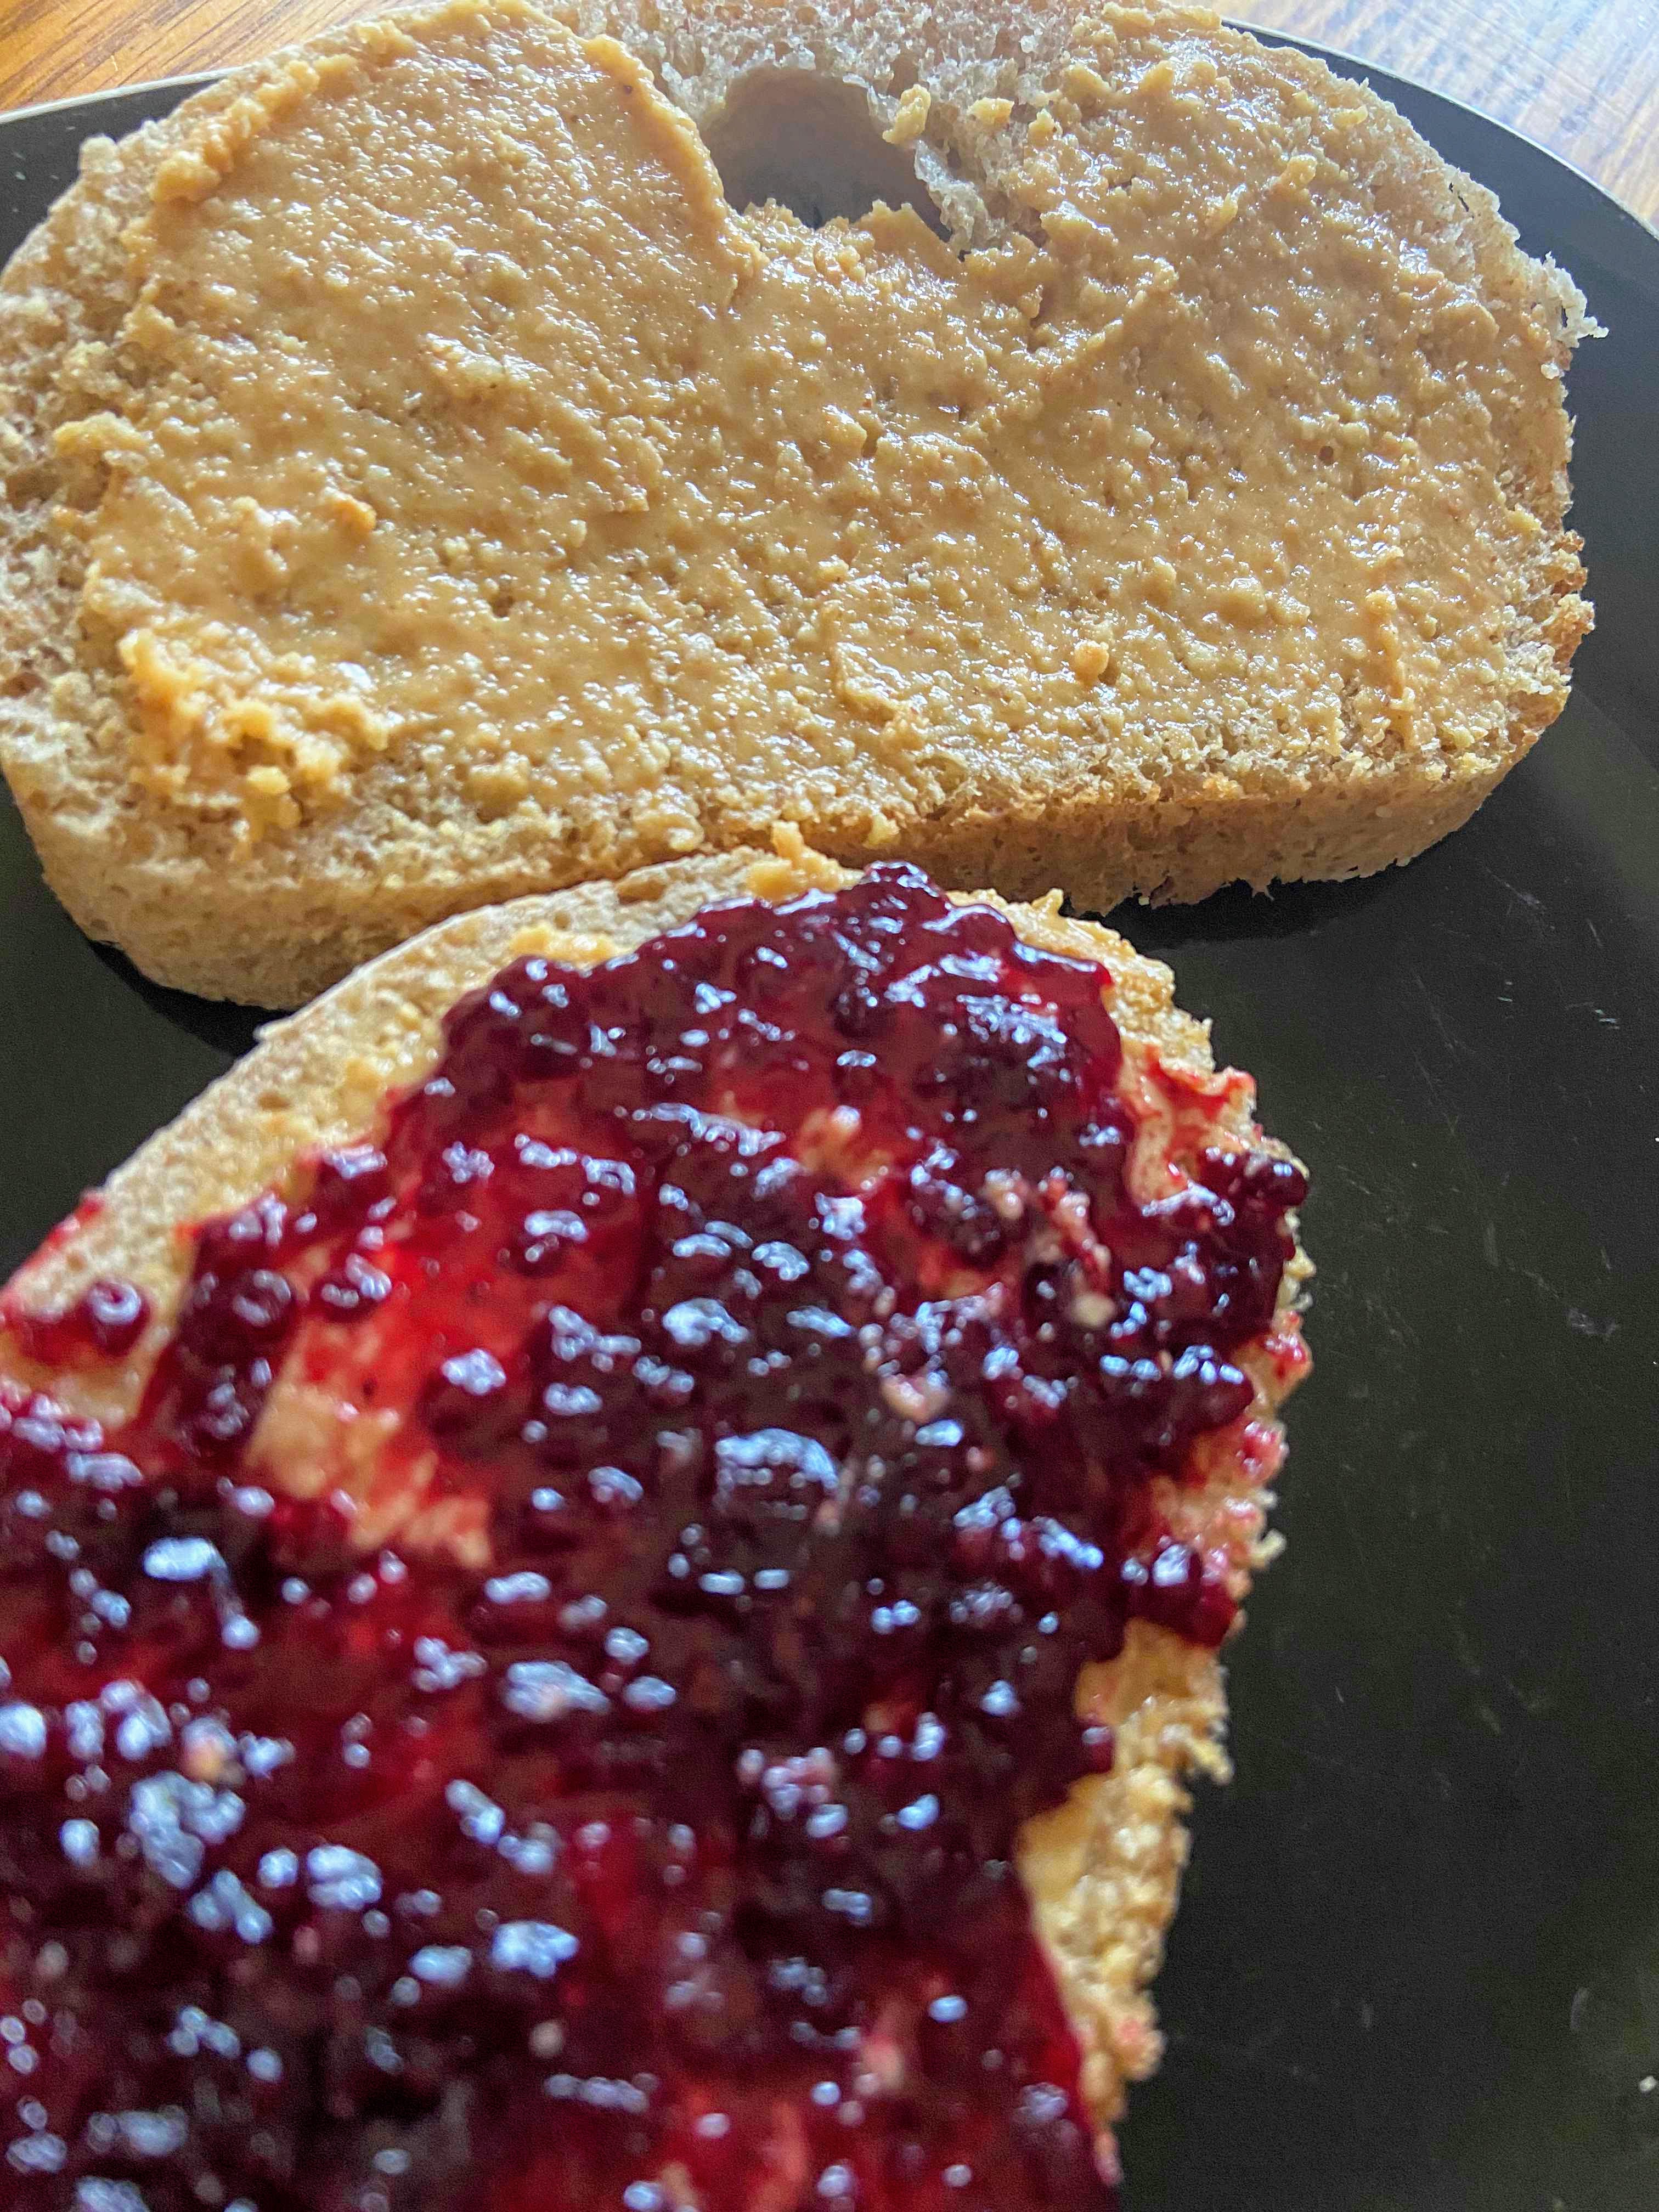
The “what can I make from scratch” itch has been stronger since we started being “safer at home.” My kids’ go to lunch is peanut butter and jelly on a tortilla shell. I like it on sourdough. Because we have a substantial garden and I love canning, we also have enough homemade jelly and jam to feed a small army.

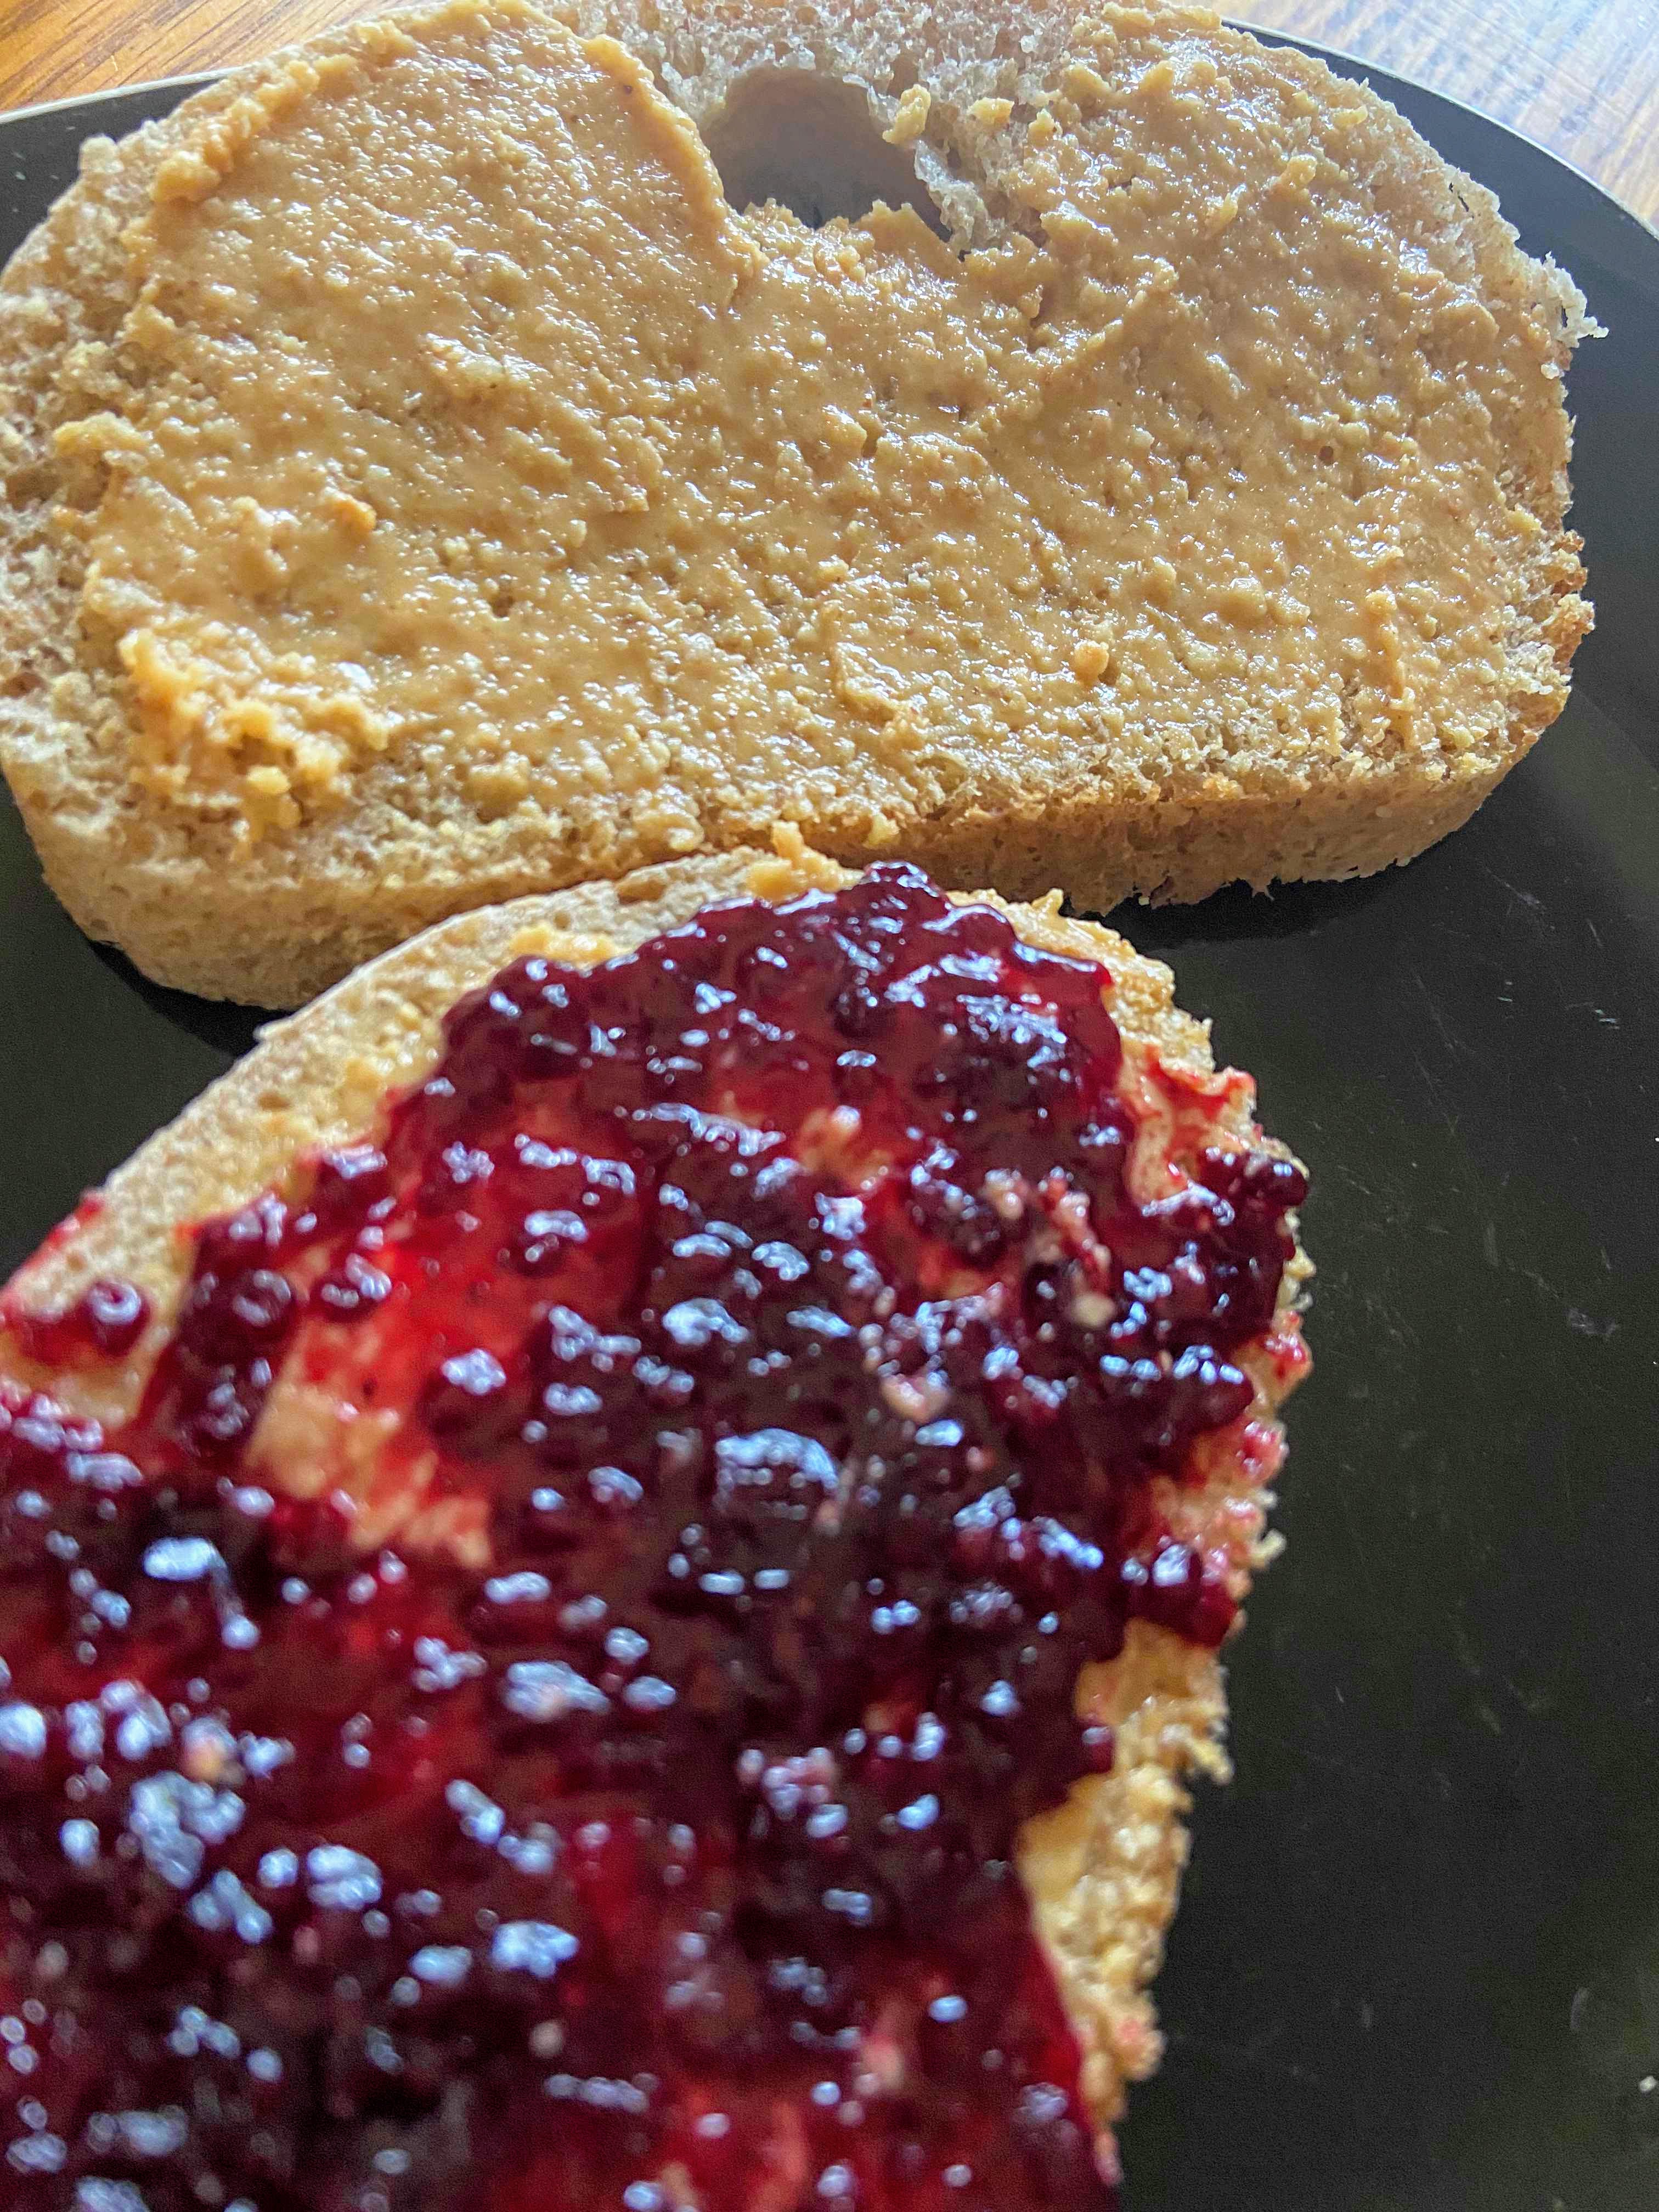
So let’s see, I have a fresh loaf of sourdough bread. I have homegrown and canned black raspberry jam open in the fridge. Wouldn’t it be awesome if I made homemade peanut butter so the whole sandwich was produced by me? (This is another passion of mine…having the whole meal be from scratch and the protein harvested by my husband through hunting. So fun!). I gave it a try and the results were delicious. When my 10-year-old son (the go-to taste tester) gave it a try, he just closed his eyes and smiled. He makes it special.

This process was so much easier than I expected and your kids will be tickled pink to know they took peanuts from the pantry and made peanut butter from them! Give it a try!

Your ingredients

  • 1/2 cup dry roasted peanuts
  • 1 – 1 1/2 teaspoons olive oil (or other oil, I went olive)
  • 1/2 – 1 teaspoon honey (to taste)

(Feel free to double or triple this recipe. I wanted to start small in case we didn’t love it. It was such an easy process that making it in small, fresh batches is a great idea too!)

Your Steps to Homemade Peanut Butter

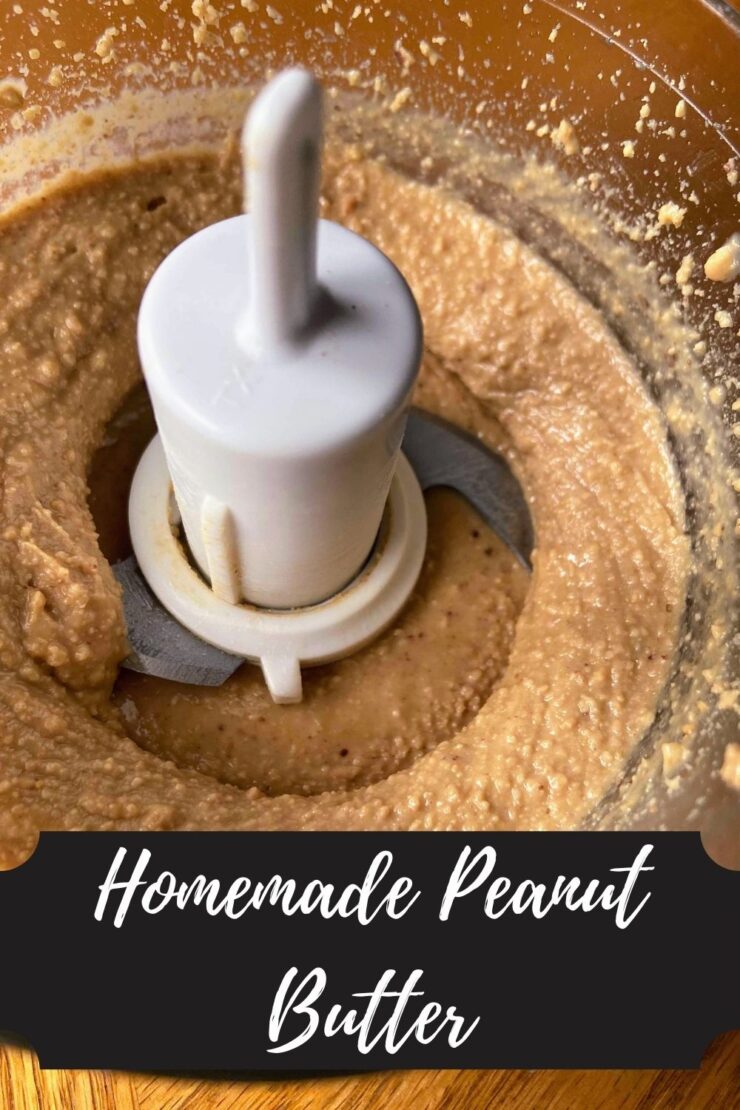
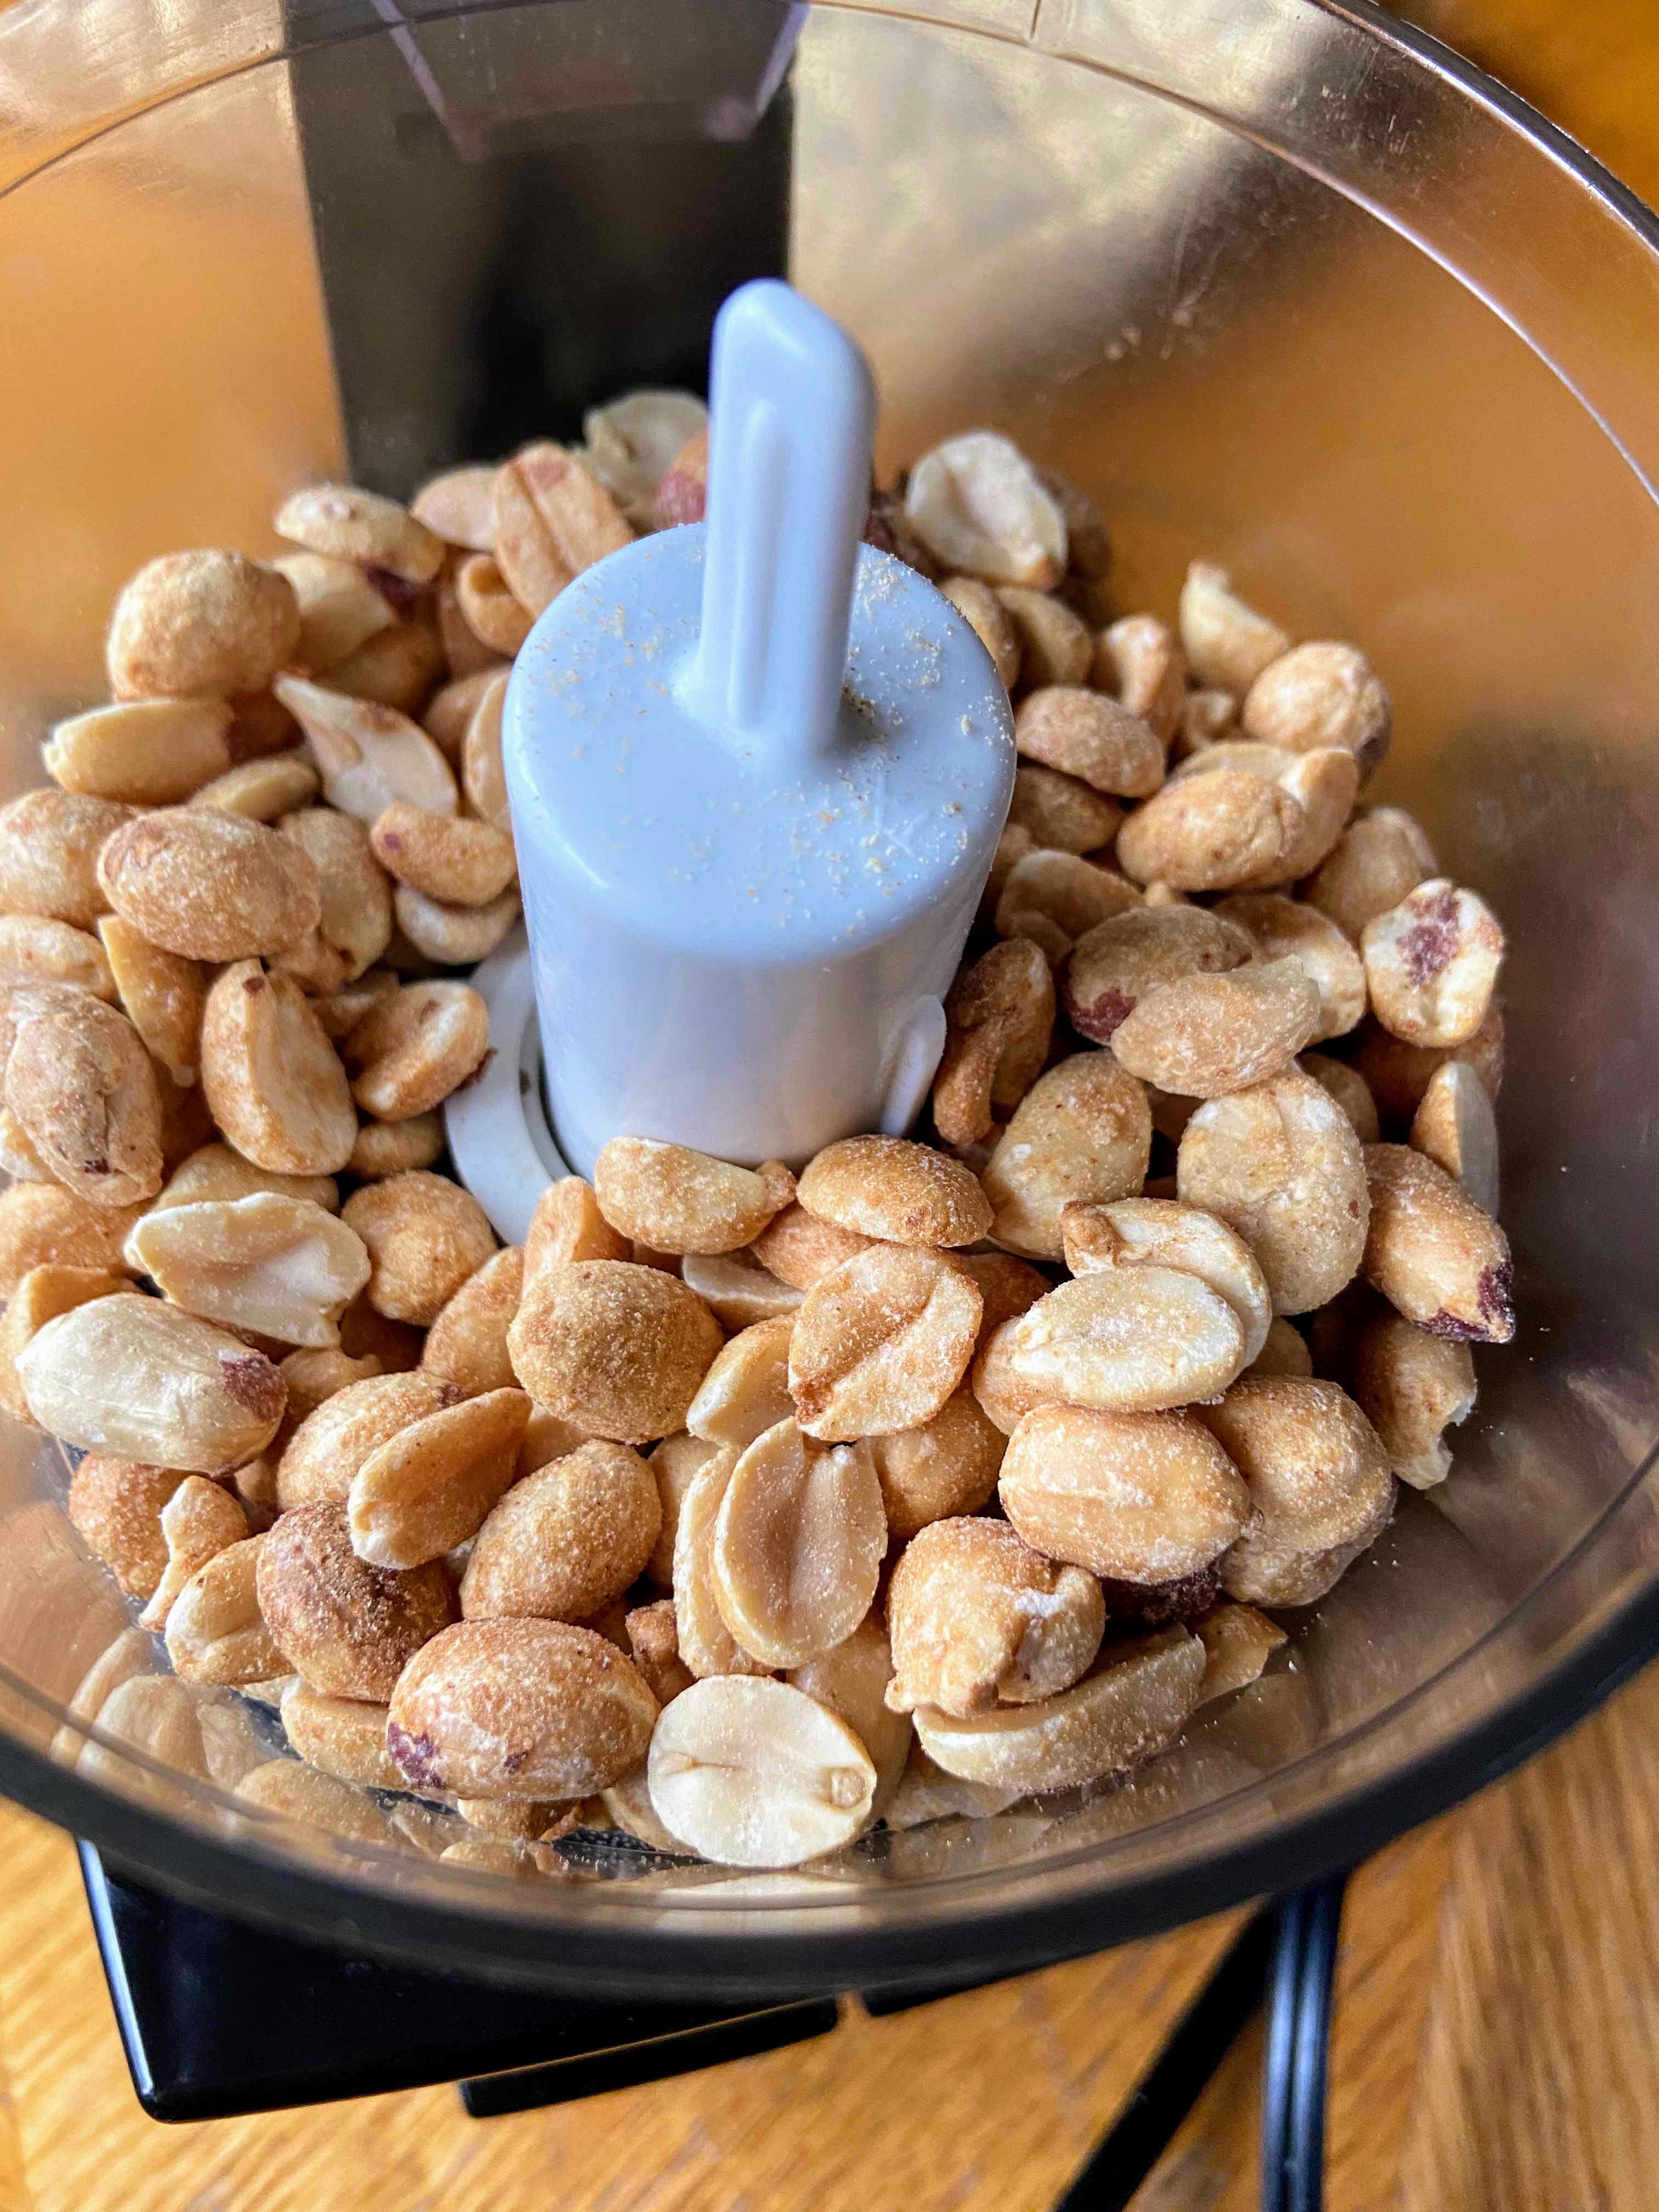
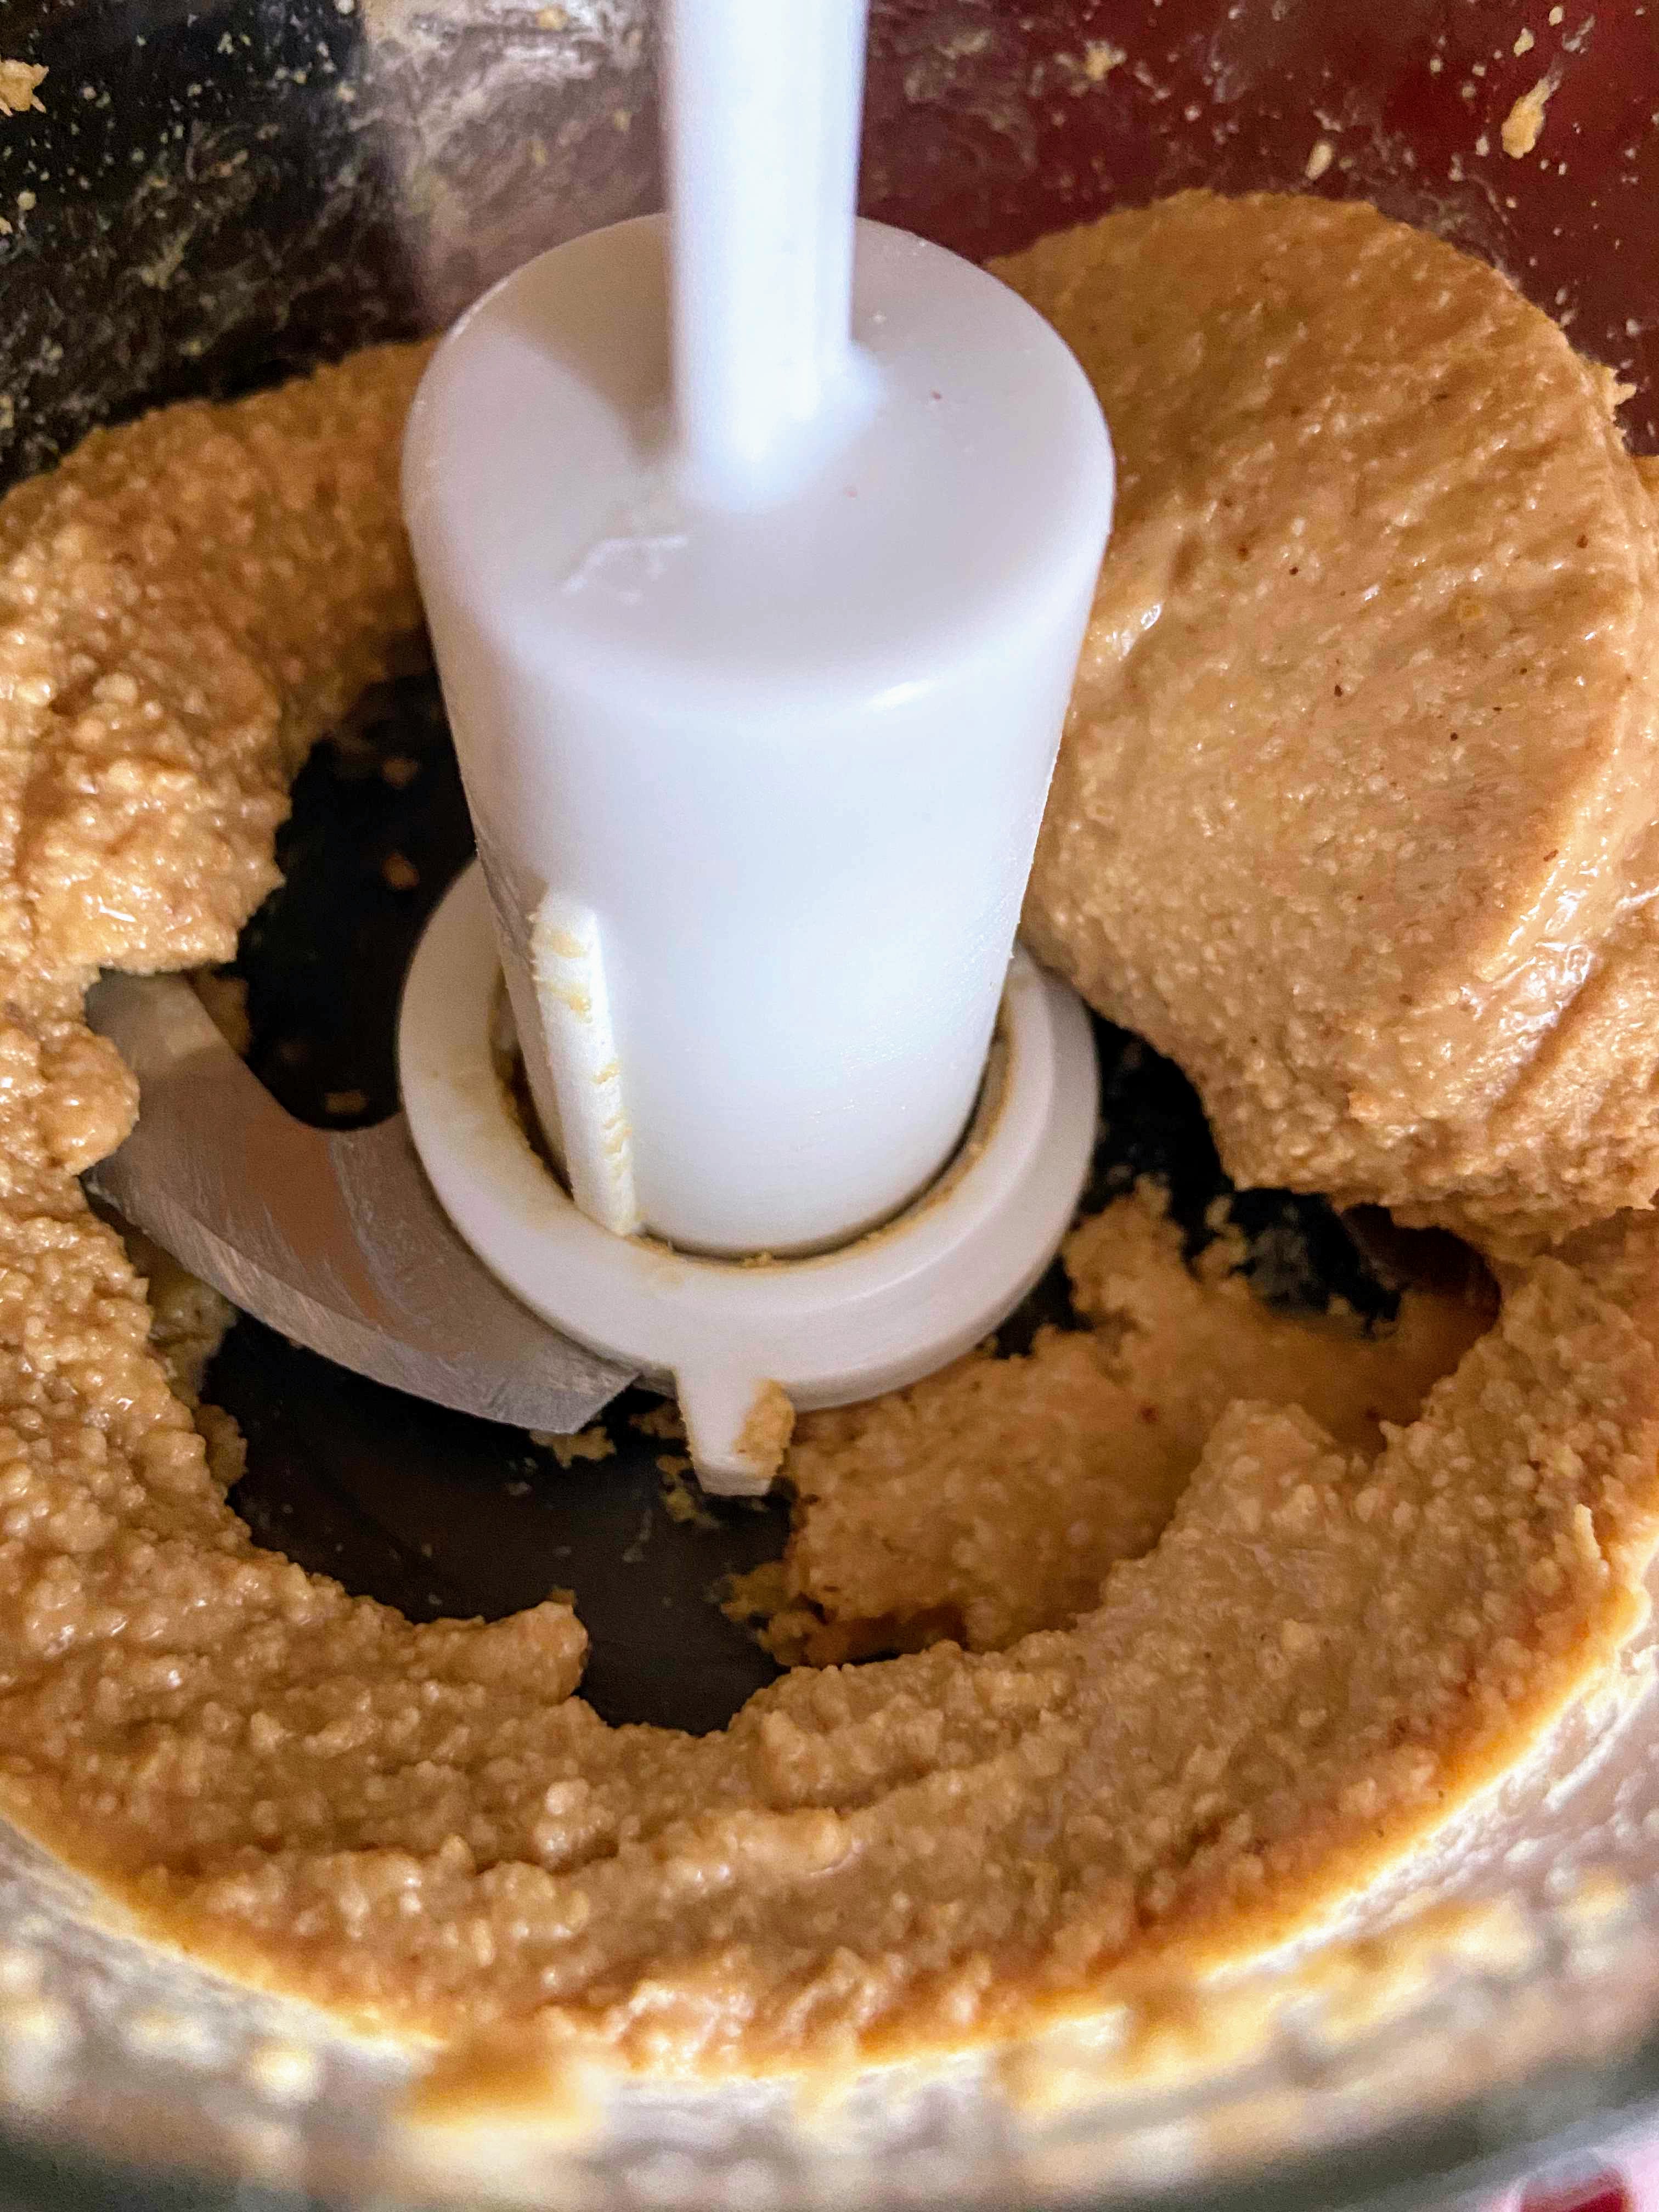
Place the peanuts in a small food processor and pulse on high. This will take a few minutes. Be patient. As I watched the peanut go from whole to chopped to a large sand texture, I thought there was no way they were going to turn to butter. Keep going.

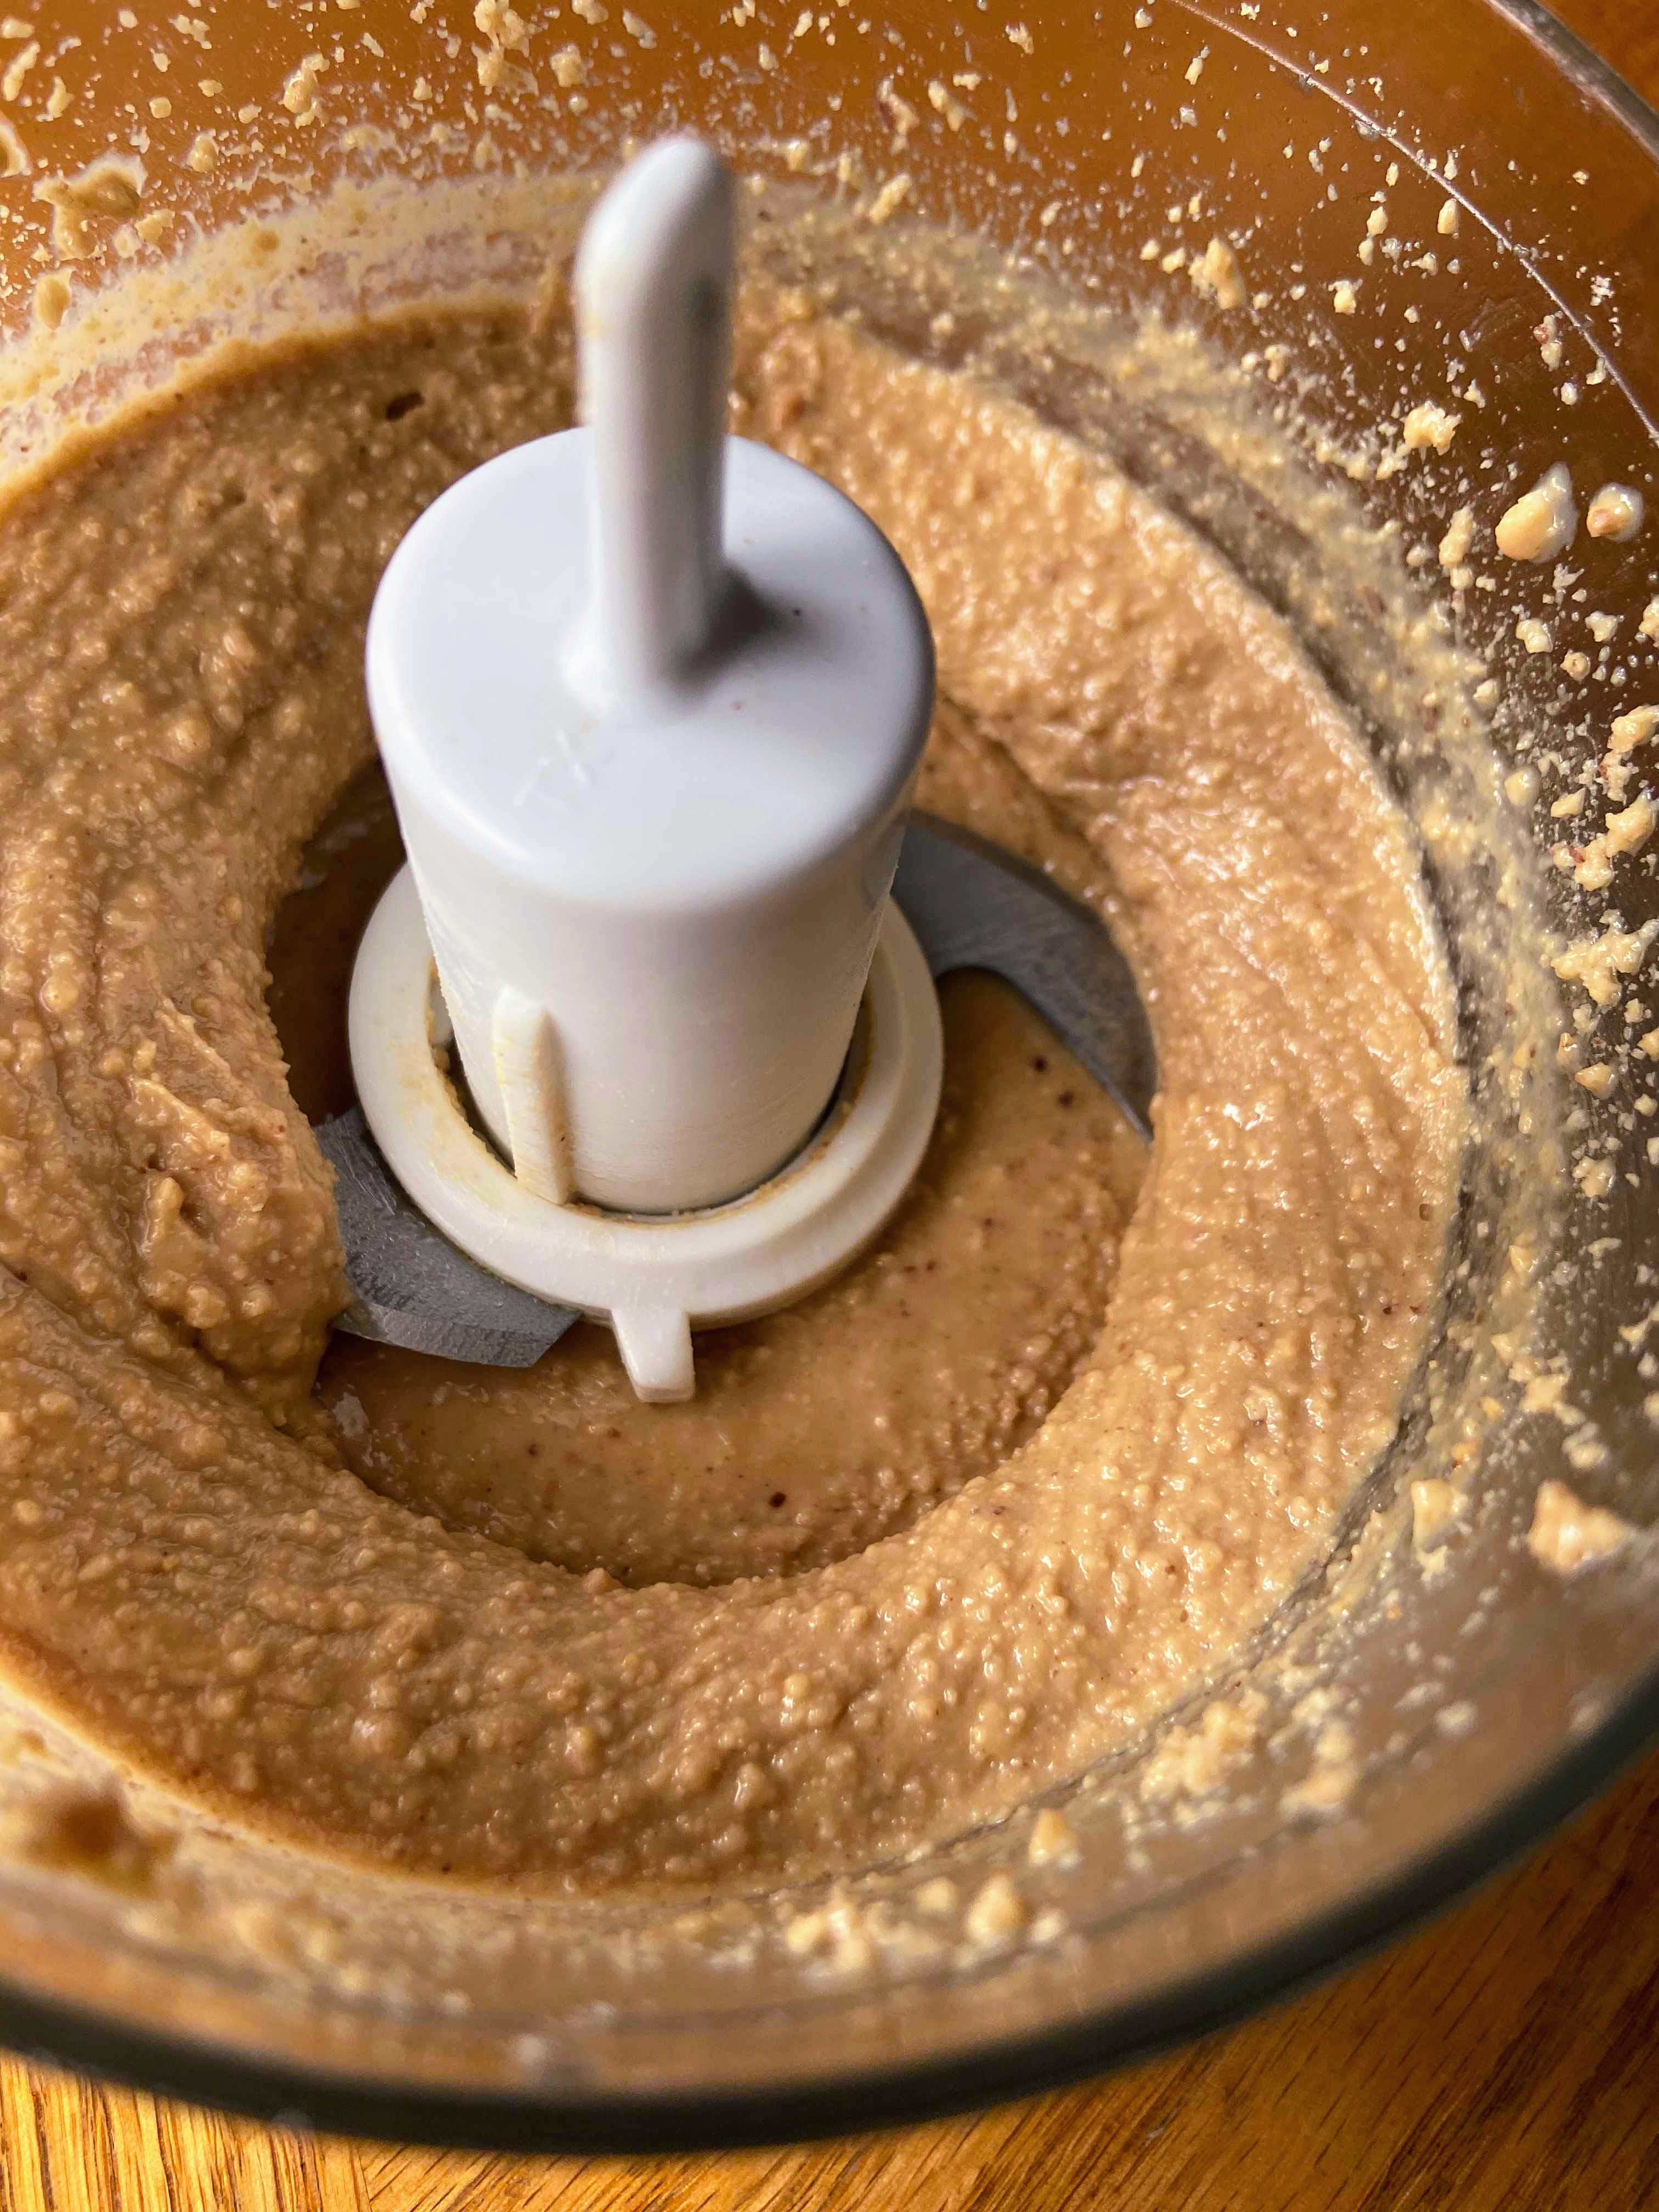
Once you have obtained a very fine sand texture, drizzle oil into the mixture, 1/2 teaspoon at a time, blending it in as you go. Again, be patient and suddenly you’ll think, “Holy cow! I made peanut butter!” The initial plan was not to put honey in mine, but I gave it a try and thought it would be good to have it be a touch sweeter. I added 1/2 teaspoon, blended it in, and then gave it to my son. He gave it two thumbs up so I stopped there. If you have a sweeter tooth than we do, you may want to add a little more.

What I love about this peanut butter is that you can control the consistency. I like a little texture so I opt for crunchy on my PB and Js. While I didn’t get crunchy per say, I did have texture which was good. I haven’t tried it yet, but you could totally mix in some additional chopped peanuts for true crunchy peanut butter. I hope you enjoy it as much we did at our house. Although I have a hard time sharing…I mean, they get all the Oreos right?

Let me know what you think! —Jess

PS…Ready for a game changer? Put a thin layer of homemade peanut butter on BOTH sides of the bread then put the jelly/jam on one side. My PB and J game has been forever changed because of this small hint!

TOOLS OF THE TRADE

I do love my little food processor for creating small batches. Sometimes bigger isn’t always better, right?

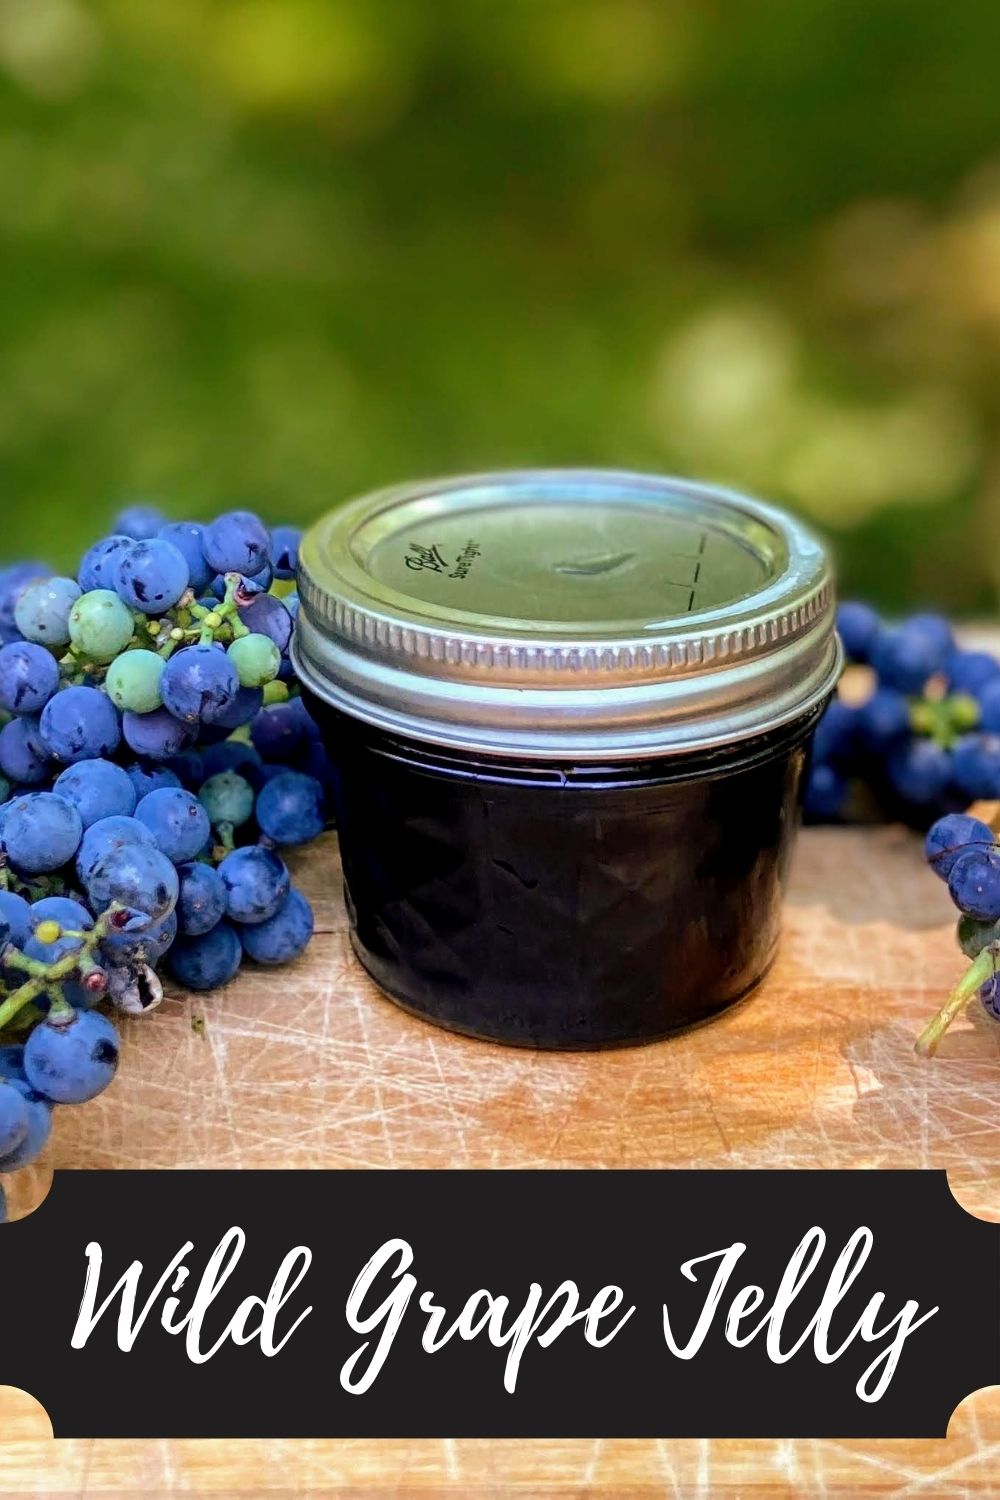
Looking for homemade jam or jelly to pair with your peanut butter? Check out my canning and preserving page to get a recipe! Click the button below! Or click any of the pictures below for the direct link!

Homemade Peanut Butter

From scratch food is almost always better, but sometimes it isn't easy. Not the case with this homemade peanut butter! You are truly five minutes away!
Prep Time 10 minutes
Cook Time 0 minutes
Course Appetizer
Cuisine American
Servings 4

Ingredients
  

  • 1/2 cup dry roasted peanuts
  • 1 – 1 1/2 teaspoons olive oil or other oil, I went olive
  • 1/2 – 1 teaspoon honey to taste
  • dash of salt optional

Instructions
 

  • Place the peanuts in a small food processor and pulse on high. This will take a few minutes. Be patient.
  • Once you have obtained a very fine sand texture, drizzle oil into the mixture, 1/2 teaspoon at a time, blending it in as you go.
  • Drizzle in honey and sprinkle in salt. Blend once more.
Keyword peanut butter, peanuts, sandwiches
Tried this recipe?Let us know how it was!

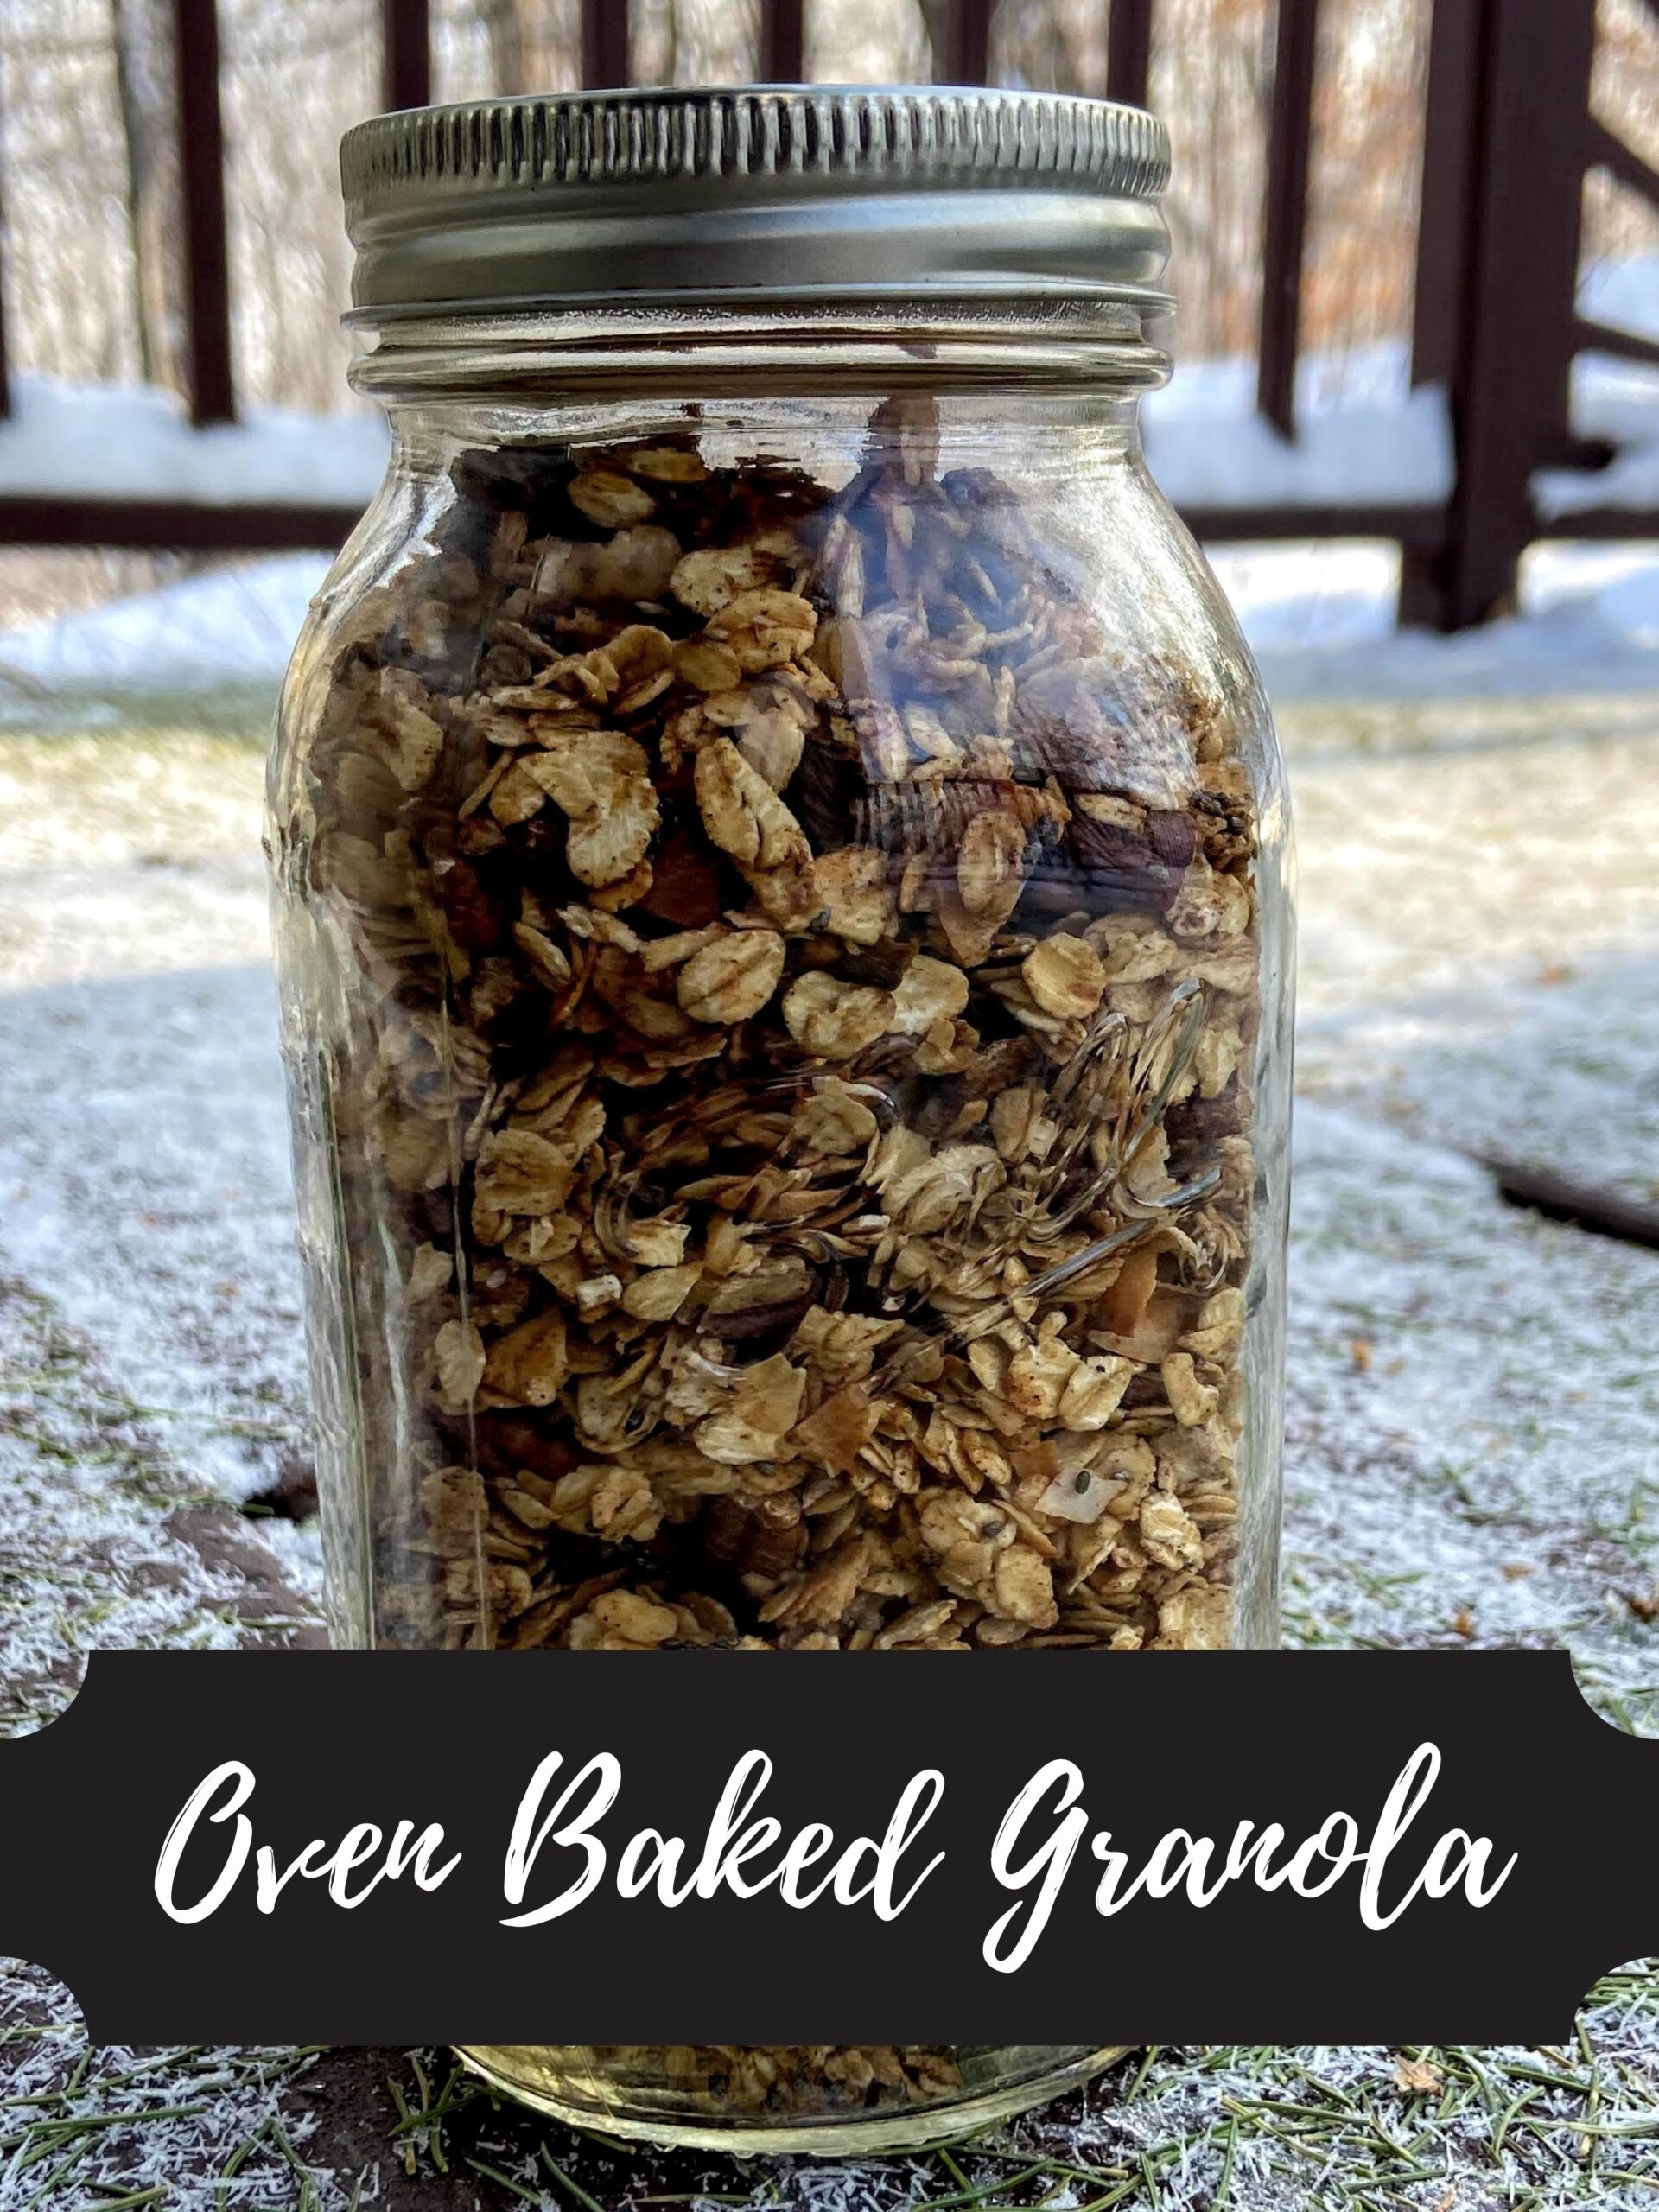
Oven Baked Granola

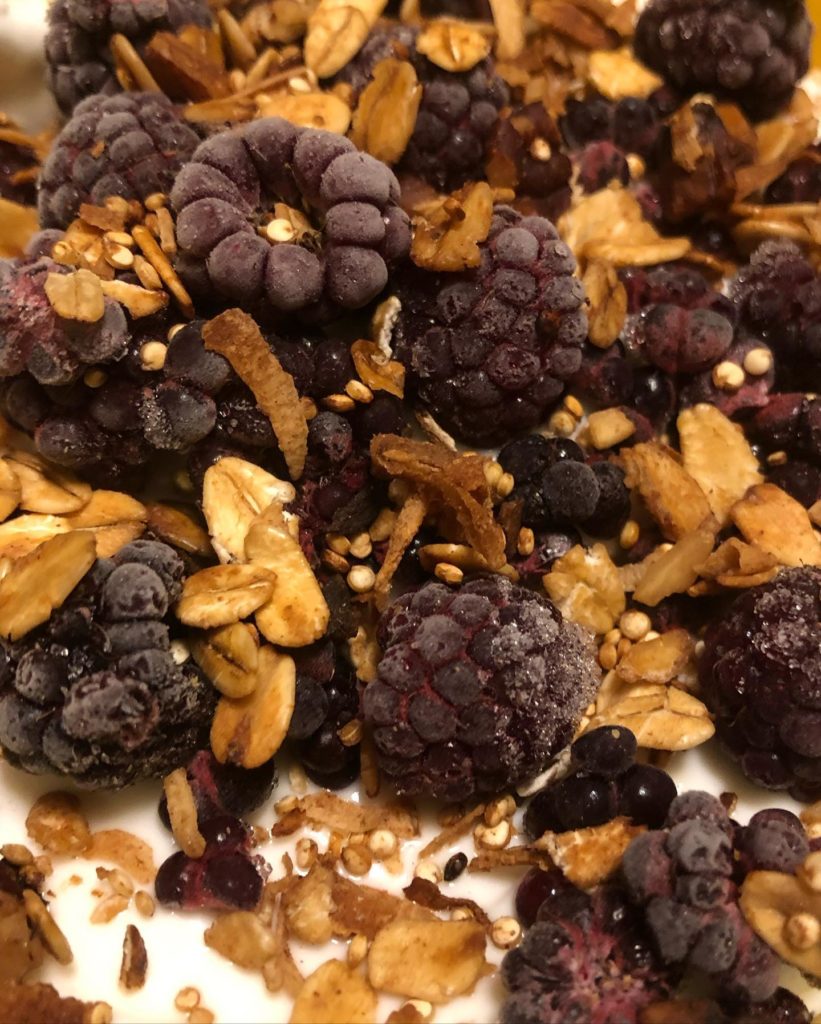
My go to breakfast is overnight oatmeal (check out my recipe here!) topped with Greek yogurt and some frozen berries. However, straight overnight oatmeal lacks the crunch I love, so I really like to have some granola to sprinkle on top. However, I don’t love how much added sugar store bought granola can add to my breakfast so I often default to adding a few chopped nuts instead because I forget just how easy and cost efficient homemade granola is. Well, I remembered yesterday, and put this recipe together. Let me tell you, my husband walked into the house after work and said, “It smells like fresh cookies in here!”…That’s how good this oven baked granola is.

And did I mention easy?! I think it went from containers on the shelves to cooling on the counter in 30 minutes or less. I don’t know about you, but sometimes I start one of those “low temp, bake for an hour or two” recipes and totally get distracted. And you know what that gets me? Burned food. This recipe bakes for 16 minutes, and it’s done! How wonderful is that?! Ready to make some granola? Let’s go!

Your ingredients:

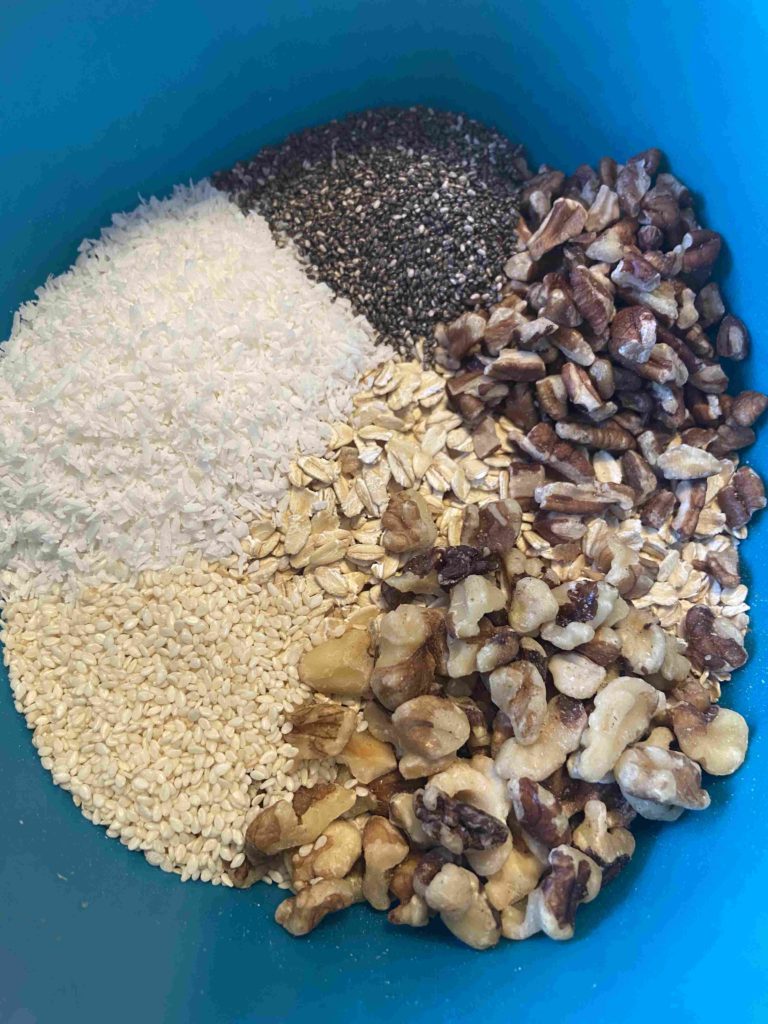
  • 2 cups old fashioned oats (I love these thick cut ones from our local natural food store)
  • 1/4 cup unsweetened coconut (optional…if you skip it, add an extra 1/4 cup nuts)
  • 1/3 cup pecan pieces
  • 1/3 cup walnut pieces (or whatever type of nuts you dig…just put in 2/3 cup total)
  • 1 tablespoon sesame seeds (optional)
  • 2 tablespoons chia seeds
  • 1 1/2 tablespoons coconut oil, melted
  • 1/4 cup pure maple syrup or honey
  • 1/2 tablespoon cinnamon
  • 1/4 teaspoon salt

Your Steps to Oven Baked Granola

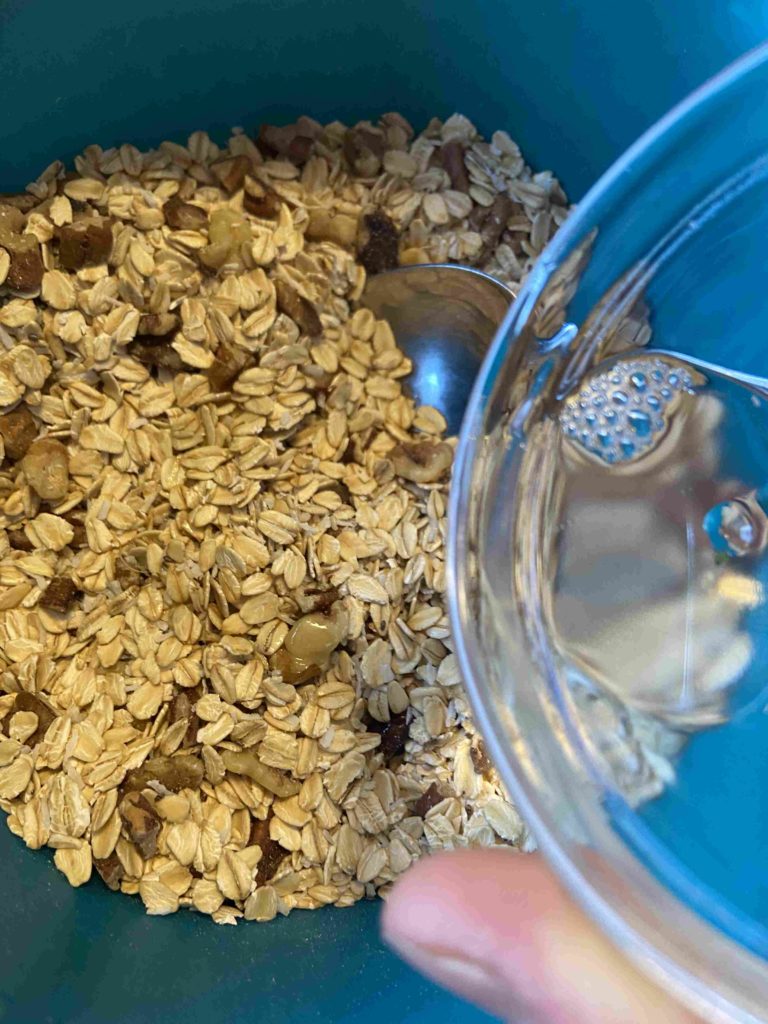
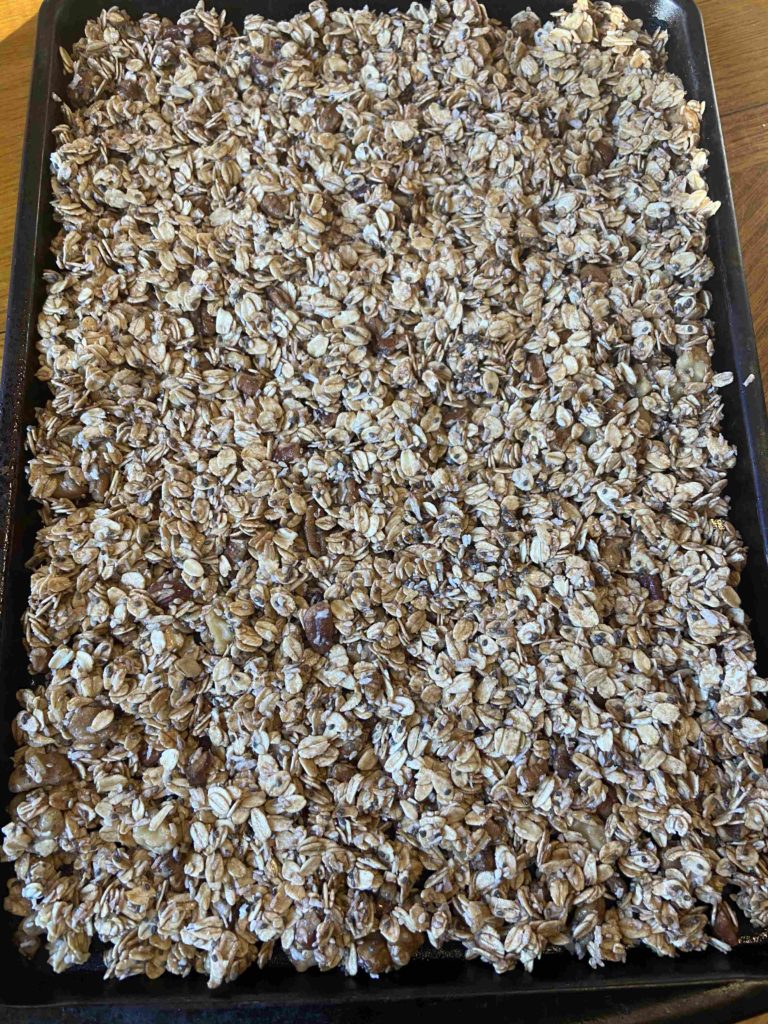
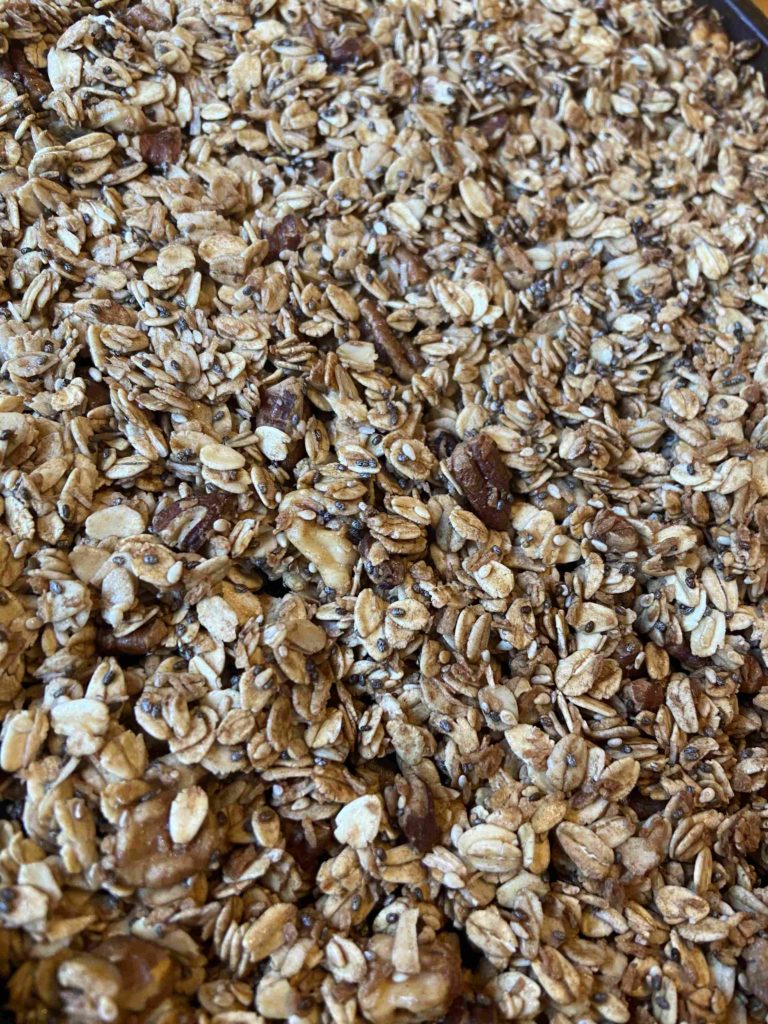
Preheat your oven to 400 degrees and move a rack near the top. Mix all dry ingredients in a medium bowl, including cinnamon and salt. Drizzle the melted coconut oil and syrup on top. Stir until well coated. Grease a medium jelly roll pan (mine was the perfect size at 9 by 13 inches). I greased mine using olive oil cooking spray liberally. Spread the granola evenly onto the pan, pressing down slightly. The granola will likely just come up to the top of the pan. That’s okay.

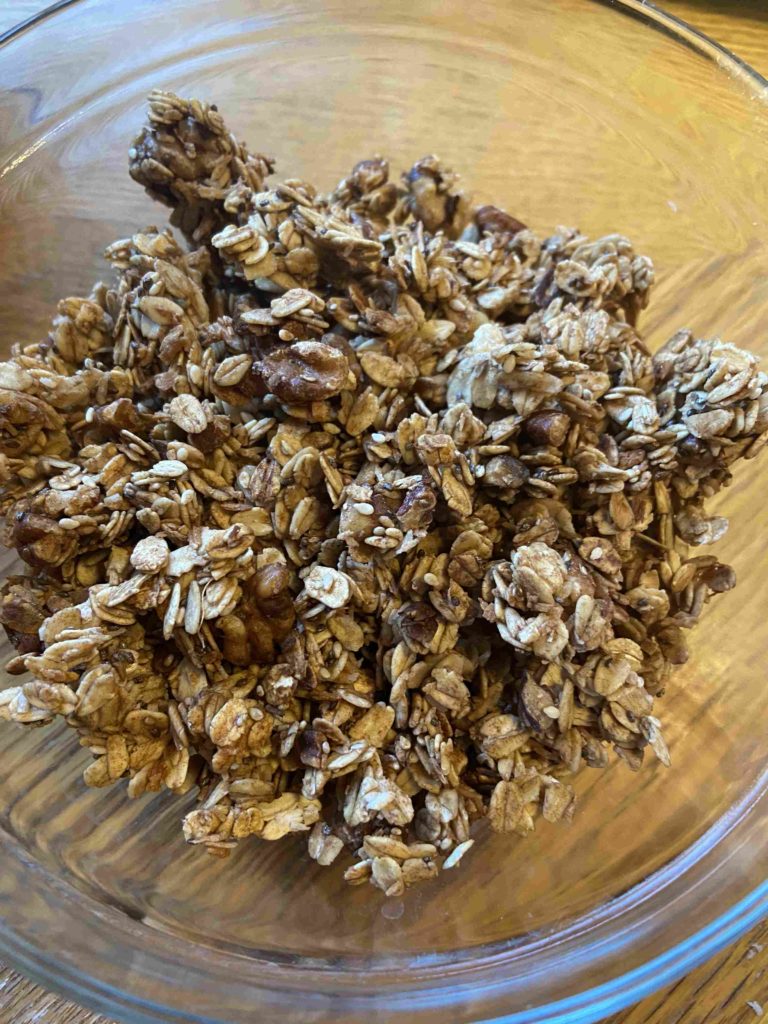
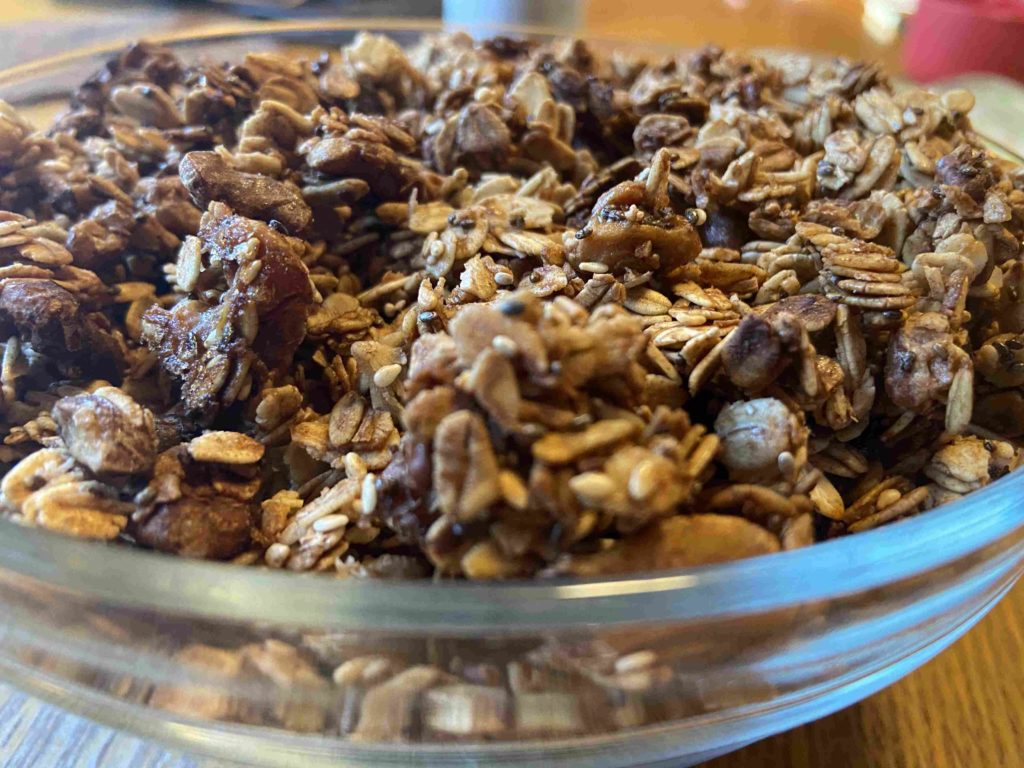
Place the pan on the top rack and allow to bake for 16 minutes, until it is just browning on the edges. If you like granola that has bigger chunks, DO NOT stir it during that 16 minutes. Remove granola from the oven after 16 minutes and allow it to cool on the counter before you break it apart (again, this will get you that bigger, chunkier granola). Mine was cool in 20 minutes. Store at room temperature in an air tight container. Eat on its own, on top of yogurt, or topped with milk. It’s delicious however you serve it! —Jess

Oven Baked Granola

Homemade granola will always win when put head to head with store bought and it's so simple to make!
Prep Time 5 minutes
Cook Time 15 minutes
Course Breakfast
Cuisine American
Servings 12 servings

Ingredients
  

  • 2 cups old fashioned oats
  • 1/4 cup unsweetened coconut
  • 1/3 cup pecan pieces
  • 1/3 cup walnut pieces
  • 1 tablespoon sesame seeds optional
  • 2 tablespoons chia seeds
  • 1 1/2 tablespoons coconut oil melted
  • 1/4 cup pure maple syrup or honey
  • 1/2 tablespoon cinnamon
  • 1/4 teaspoon salt

Instructions
 

  • Preheat your oven to 400 degrees and move a rack near the top.
  • Mix all dry ingredients in a medium bowl, including cinnamon and salt. Drizzle the melted coconut oil and syrup on top. Stir until well coated.
  • Grease a medium jelly roll pan (mine was the perfect size at 9 by 13 inches).
  • Spread the granola evenly onto the pan, pressing down slightly. The granola will likely just come up to the top of the pan.
  • Place the pan on the top rack and allow to bake for 16 minutes, until it is just browning on the edges.
  • If you like granola that has bigger chunks, DO NOT stir it during that 16 minutes.
  • Remove granola from the oven after 16 minutes and allow it to cool on the counter before you break it apart (Again, this will get you that bigger, chunkier granola).
  • Store at room temperature in an air tight container.
Keyword Breakfast, granola, homemade granola, low sugar granola, oatmeal
Tried this recipe?Let us know how it was!

Chocolate Chip Peanut Butter Energy Balls

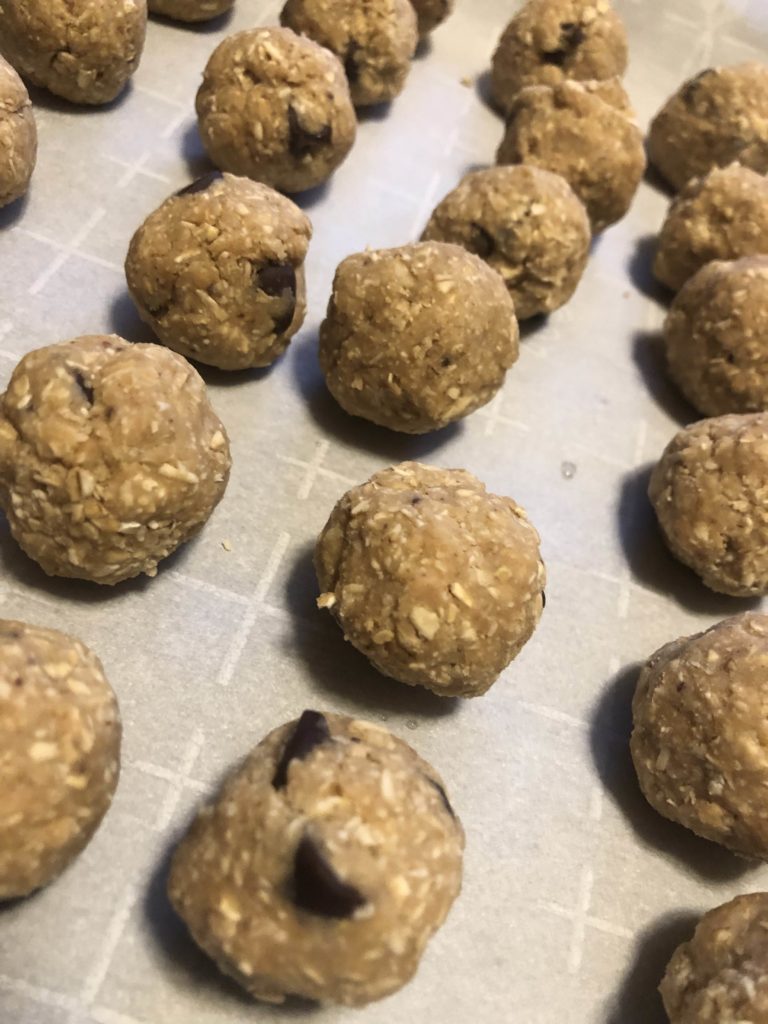
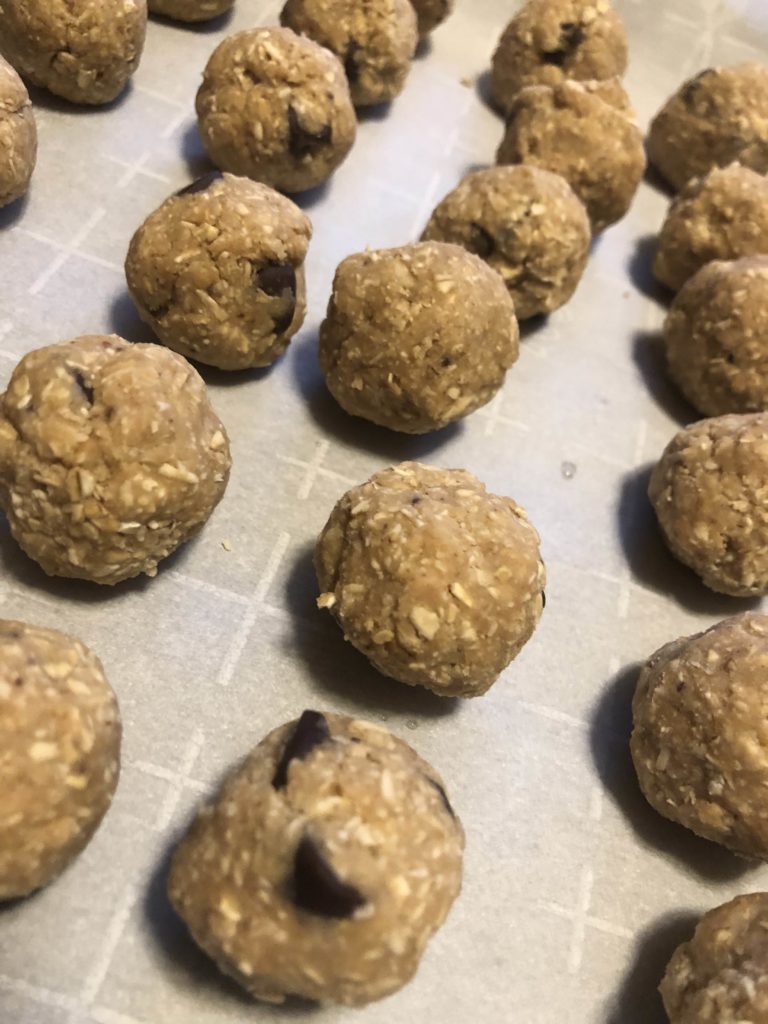
Aren’t they pretty, all in a row? Albeit it crooked?

As an avid runner and overall fitness nut, I am always looking for healthy ways to fuel my body quickly and easily. I also enjoy snacking….a lot. My sister and I were just talking about how there has to be a snack break between breakfast and lunch. We can’t make it otherwise–and these are perfect for that!

When I am cooking and meal prepping, I can tell I have a winning clean eating recipe when my husband approves; With this recipe, he has been known to say, “You know what we are almost out of? Your yummy energy balls. You need to make more!” Guys, that’s a big deal. He is generally the biggest critic of my “overly-healthy” recipes so when he said that, you can bet I got into the kitchen and made another batch! I hope you enjoy them as much as we do! (The original recipe came from Rachel from Clean Food Crush, but has been modified by me to meet our needs at home)

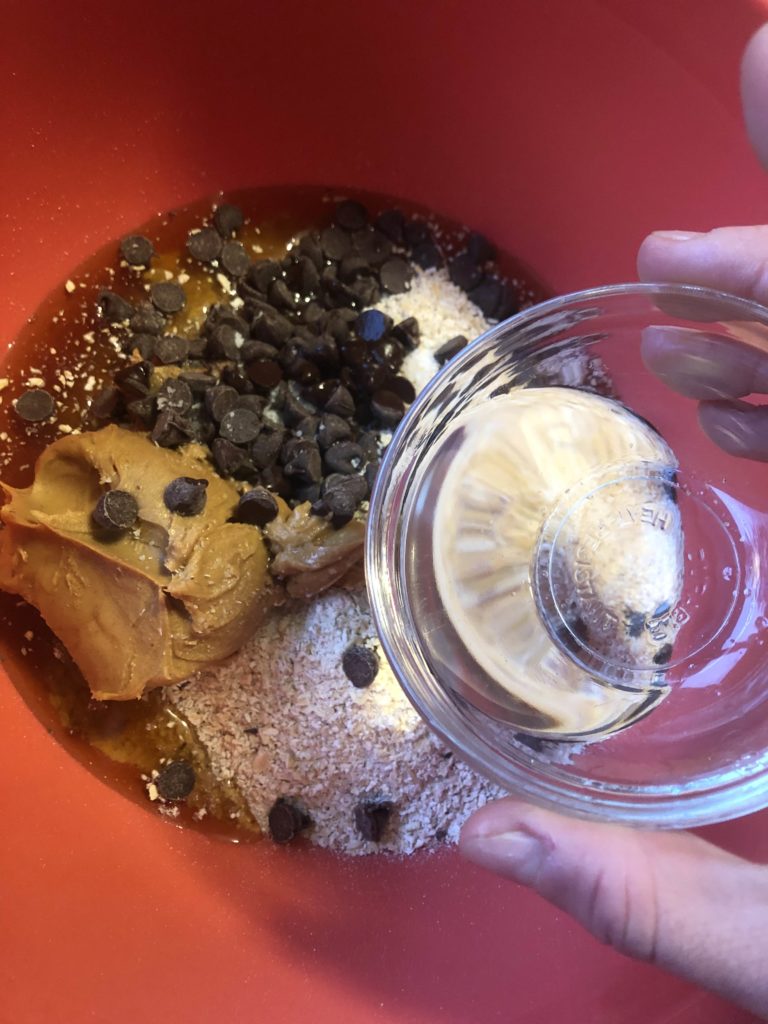
Here are your ingredients

  • 2 cups ground old-fashioned oatmeal (see details in the recipe)
  • 1/2 cup coconut flour ( It smells so delightful!)
  • 1/2 cup real maple syrup (honey would work too!)
  • 1/2 cup natural peanut butter
  • 1/4 t kosher salt
  • 1 1/2 Tablespoons coconut oil, melted (I accidentally forgot this once, and we didn’t even notice, so if you don’t have it, it won’t make or break the recipe)
  • 1/3 semisweet chocolate chips
  • 1 teaspoon almond extract (I LOVE the flavor this brings in)

First, grind the oats to make a sort of oatmeal flour. To do this, place the old fashioned oats into a food processor and pulse them until you have a very coarse flour like texture. I like to be able to cook with what I have on hand so rather than buy oat flour, I did this and it worked great.

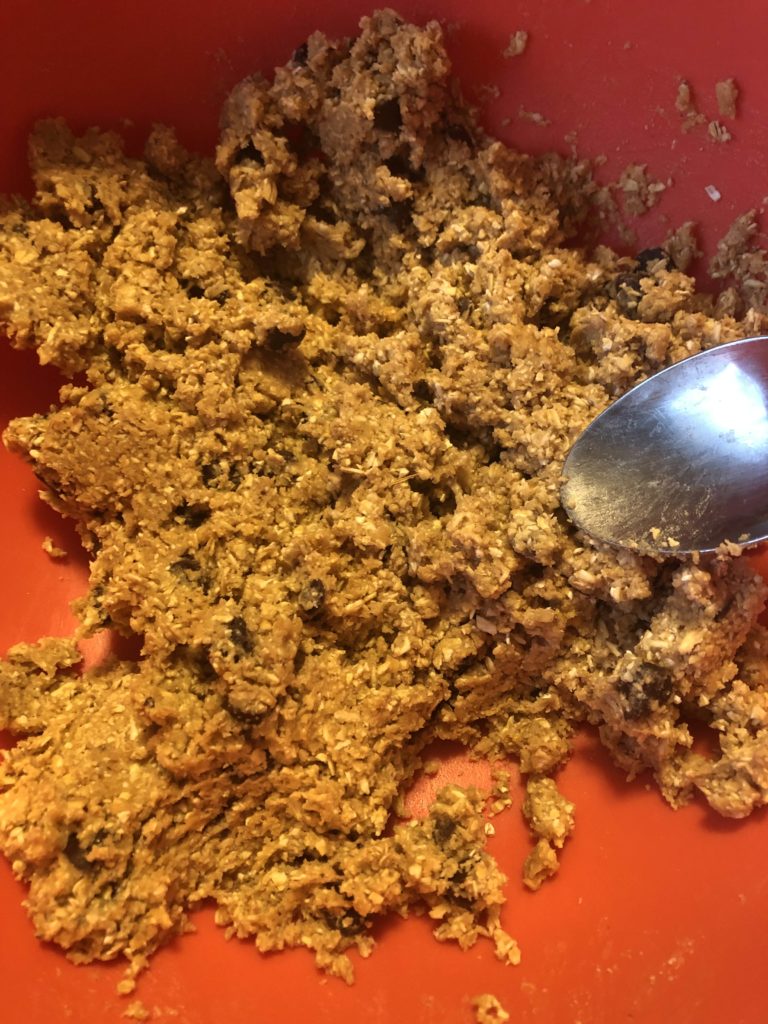
Then, combine all the ingredients in a large bowl and mix them with a wooden spoon (or by hand!) until well mixed. Form them into 1-2 inch balls (whatever suits your family. We like 1 inch energy balls around here.). Place on a cookie sheet that has been lined with parchment paper. Place the cookie in the fridge for approximately an hour to harden. Remove from the pan, place in an airtight container, and store them back in the fridge. I have read that you can freeze these for up to 3 months as well so if you are a food prep kind of person, I would whip up a few batches and put them in the freezer for a grab and go snack that can thaw over a few hours. (I’m thinking they would be great packed in a lunch and used for that sweet treat at the end to finish up your meal. As for me, I like to pack a few for my morning and afternoon snacks at work (See, I love all the snacks. My husband calls me a squirrel because I always have some food on hand…). As for my kids, they eat them like an after dinner treat, so I think I am winning. I hope you enjoy! –Jess

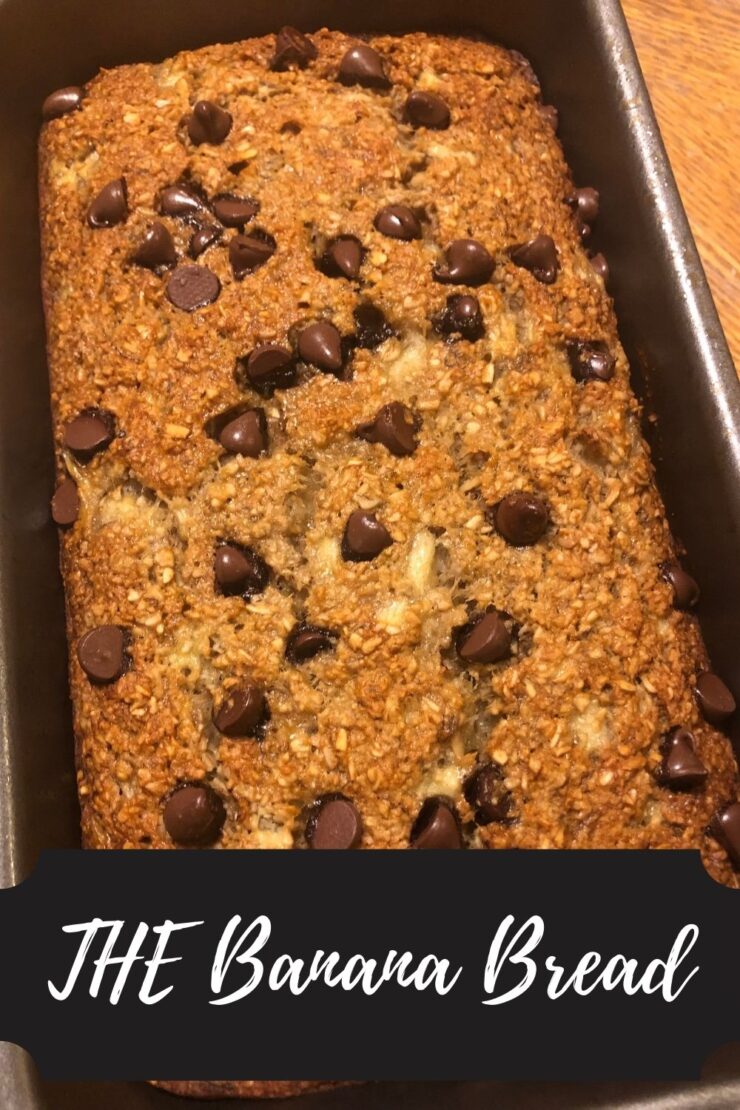
THE Banana Bread.

Jump to Recipe

I wanted to name this post, “The banana bread to make you forget all other banana breads.” Or maybe, “The banana bread you never new you were missing.” Or my favorite, “THE banana bread. Mic drop.” But those seemed a little long, and perhaps like they wouldn’t survive well as a link, so we will just stick with THE banana bread.

Honestly. This banana bread is dense. It’s so flavorful. It’s got great texture. And the best part? It’s made of good for you ingredients so when you go for your third slice, you know you’re putting good fuel into your body. Did I mention it’s gluten free too?! (I’m not gluten free, but I have a good friend who is so I am always on the look out for good recipes for her) Don’t get me wrong, I love my old school quick breakfast breads that my mother-in-law makes and what sits in my freezer for when guests show up, but I know that I will be hungry in an hour and the sugar will make my belly feel icky if I eat too much. It’s just the way it is for me.

So back to the bread, because seriously, you need to make it yesterday.

YOUR INGREDIENTS FOR THE BANANA BREAD

  • 2 cups old fashioned oats
  • 1 teaspoon baking soda
  • 1/2 teaspoon salt
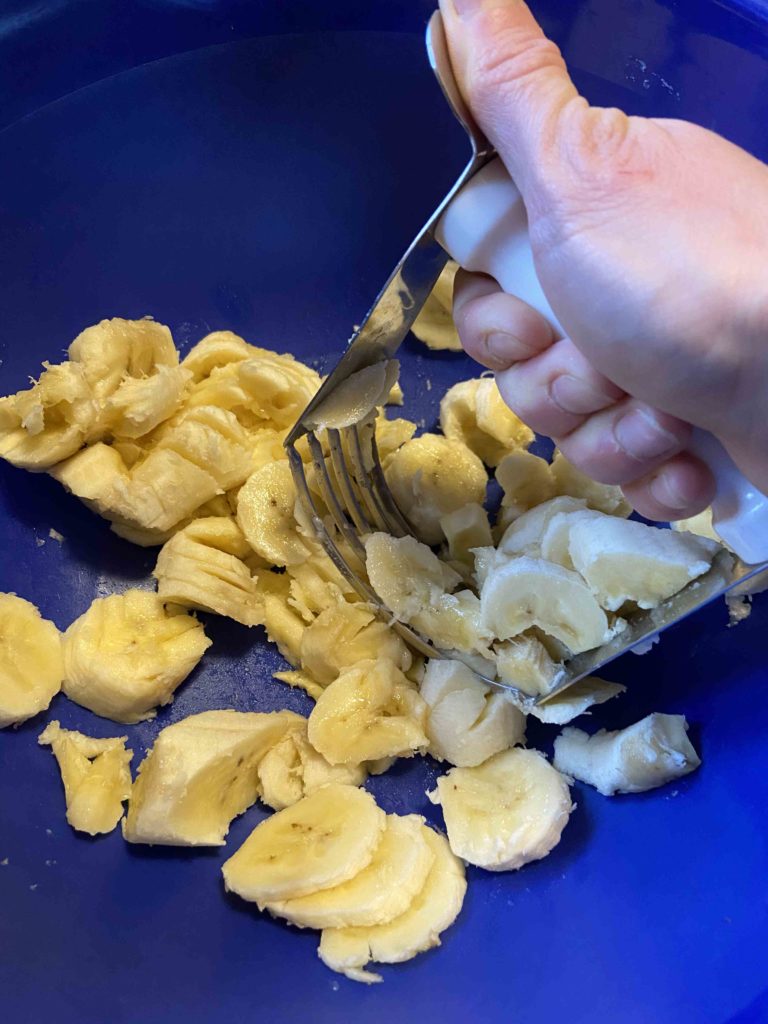
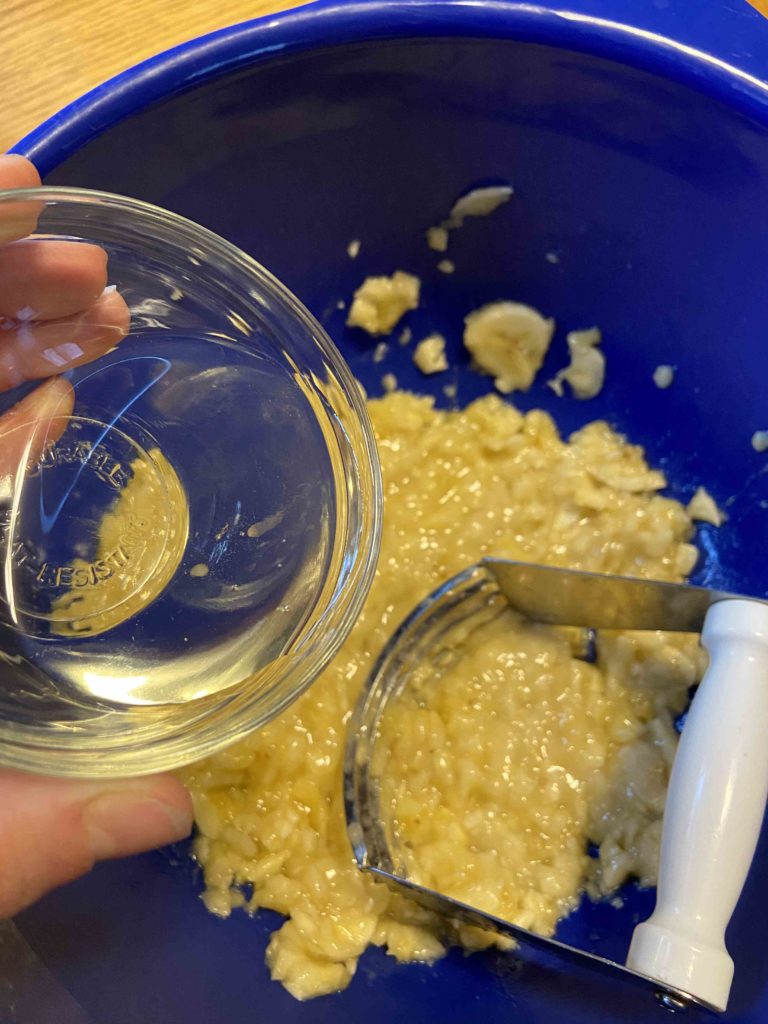
  • 3 very ripe bananas, mashed (My go to tool for this? A pastry cutter. It works great AND young kids can easily get involved and do this step for you)
  • 2 eggs
  • 1/4 cup honey or real maple syrup
  • 2 tablespoons melted coconut oil
  • 1/4-1/2 cups chocolate chips

Your Steps to the banana bread

First, measure out and combine:

  • 2 cups old fashioned oats
  • 1 teaspoon baking soda
  • 1/2 teaspoon salt

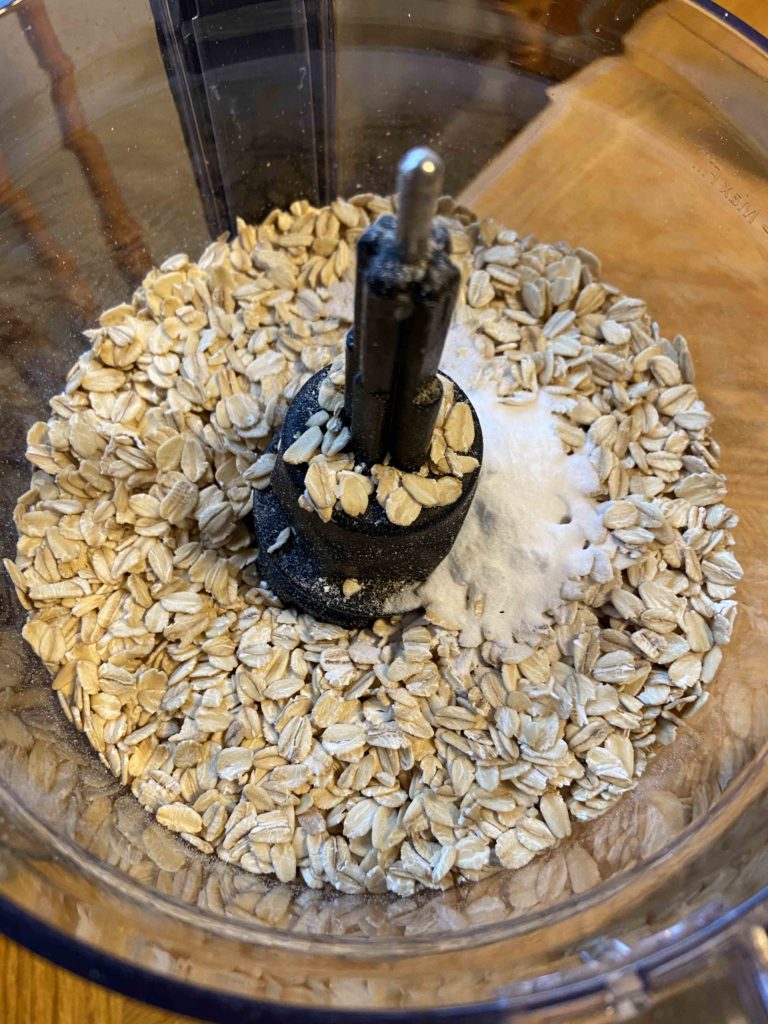
Pulse these three ingredients in a food processor until they are a coarse flour texture.

In an additional bowl, combine:

  • 3 very ripe bananas, mashed (My go to tool for this? A pastry cutter. It works great AND young kids can easily get involved and do this step for you)
  • 2 eggs
  • 1/4 cup honey or real maple syrup
  • 2 tablespoons melted coconut oil

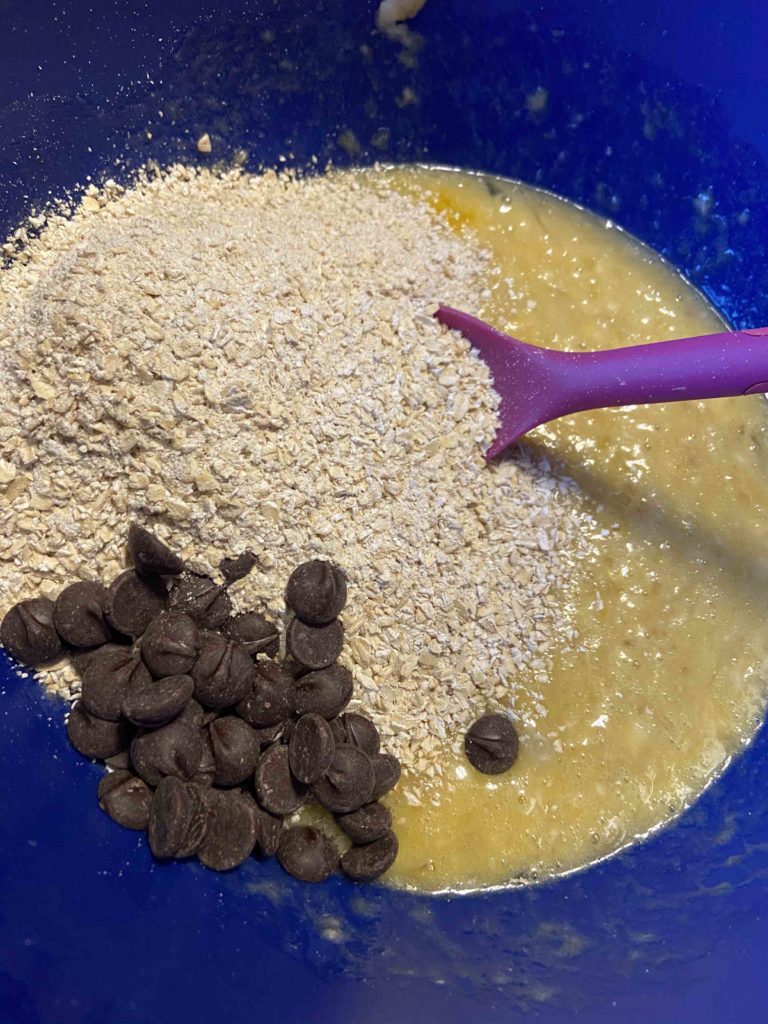
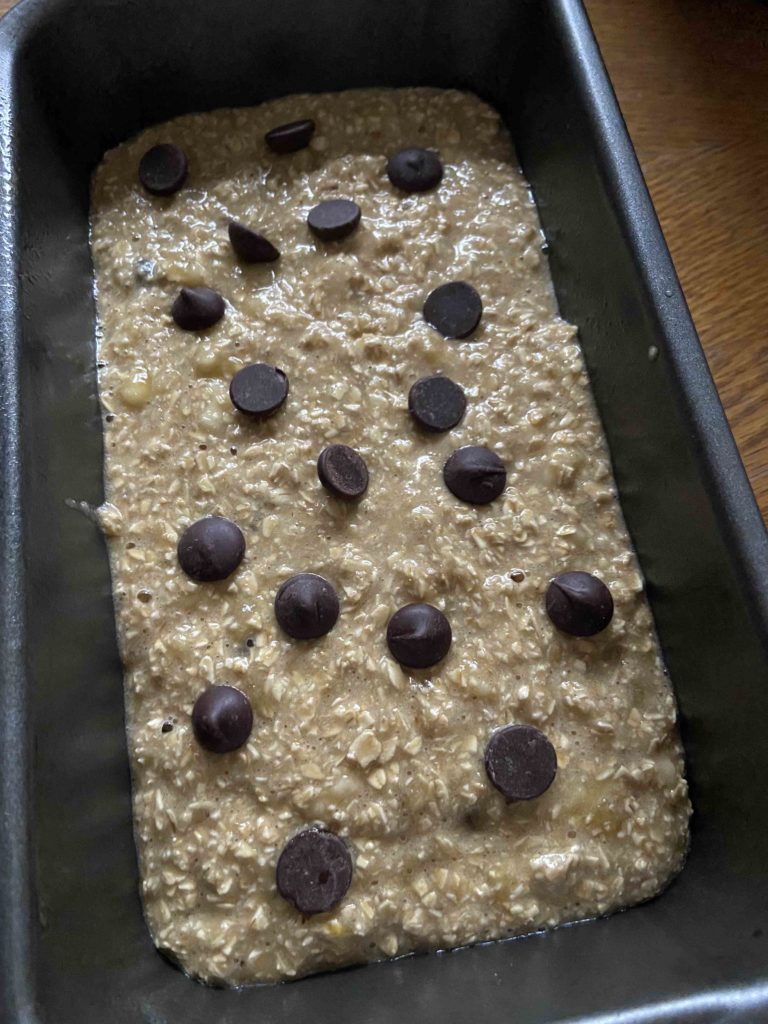
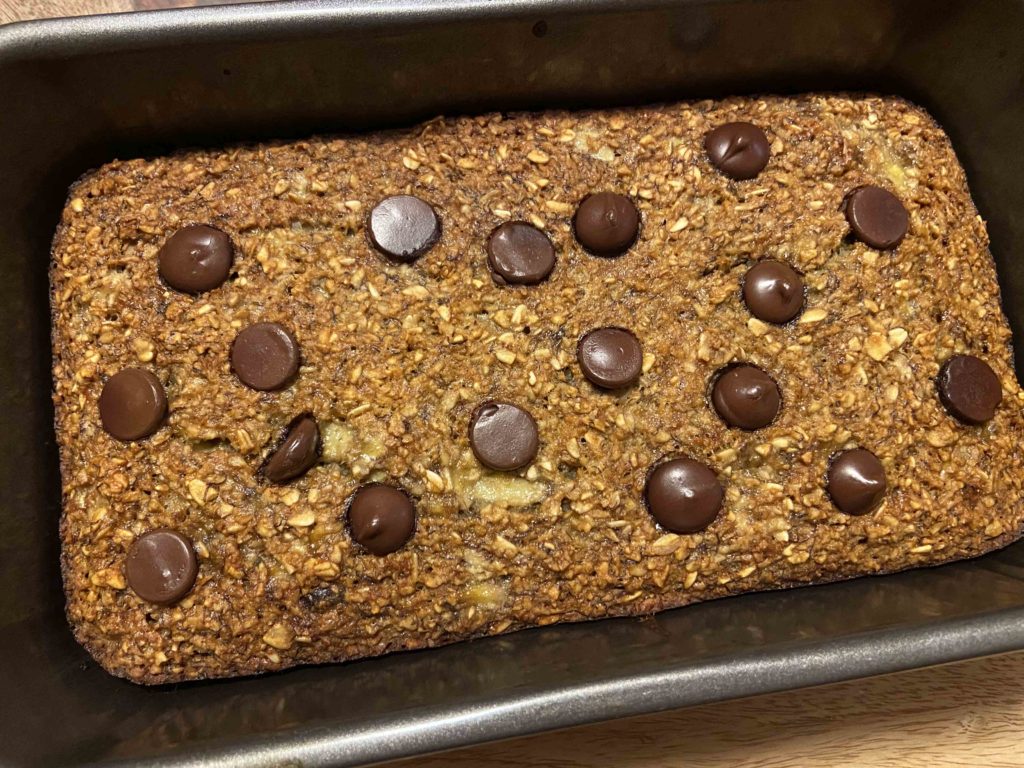
Stir in the oat mixture and 1/4-1/2 cup chocolate chips (dark chips are our new go to at our house…not to mention they fill the chocolate fix you may need after dinner!). Pour into a well greased bread pan and sprinkle a few chocolate chips on top, because, well, it’s pretty. Bake at 350 degrees for 40-50 minutes, until baked through.

I love that I can enjoy a good breakfast bread that is filling and the perfect amount of sweetness without overdoing it on the added sugar. It is also a perfect mid morning snack to get you to lunch! Give it a try! You may just toss out your old banana recipe and have a new favorite 🙂 —Jess

A few Notes…

I always thought that a small, 2 cup food processor was good enough. It’s what my mom used growing up, and if it was good enough for her, it was good enough for me. However, a few holidays ago, I asked for a 7 cup Kitchen Aid Mixer. It’s AMAZING and I can’t tell you how often I use it. Highly recommend the investment. It’s great for chopping veggies for salsa, making oat flour, or even mixing banana ice cream. Click the image below to check out a similar model!

THE Banana Bread

Gluten Free, Clean Eating Banana Bread
Prep Time 20 minutes
Cook Time 40 minutes
Total Time 1 hour
Course Breakfast
Cuisine American
Servings 12

Ingredients
  

  • 2 cups old fashioned oats
  • 1 teaspoon baking soda
  • 1/2 teaspoon salt
  • 3 bananas very ripe
  • 2 eggs
  • 1/4 cup honey (maple syrup)
  • 2 tablespoons coconut oil melted
  • 1/4-1/2 cup dark chocolate chips

Instructions
 

  • Preheat oven to 350° F.
  • Combine oats, salt, and baking soda in a food processor. Pulse until a coarse flour texture is obtained.
  • In a large bowl, mash bananas. Add honey and eggs. Mix well.
  • Stir oat mixture into mashed bananas. Add chocolate chips and coconut oil. Mix until just combined.
  • Pour into well greased bread pan. Bake for 40-50 minutes, until baked through.
Keyword Banana Bread, Breakfast, Gluten Free
Tried this recipe?Let us know how it was!

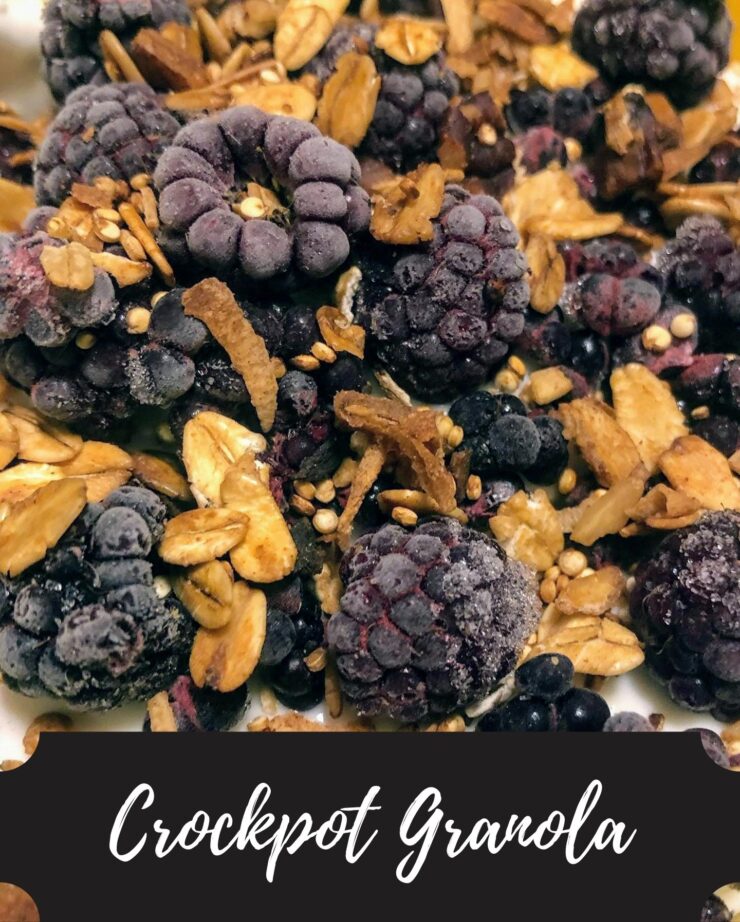
Crockpot Granola

The crockpot. Under utilized at my house and I realize how much I love it every time I use it…and then I promptly put it away for another month or so. I can’t be alone on that one, right? Any who, I eat overnight oats for breakfast five or so times a week. It fills me up and makes my taste buds dance. If you’re looking for a new recipe, this recipe is my go to and mixes together in literally 5 minutes. One complaint I hear about overnight oatmeal is the lack of texture. I get it. So I like to top mine with some extra walnuts, almonds, or granola. And let me tell you, this homemade crockpot granola is the way to go!

The inspiration came from sitting with a cup of coffee at my sisters, flipping through magazines. I saw a crockpot granola recipe and I was inspired! I promptly got home and made my own take on granola, and here it is for you. It isn’t too sweet, so if you have a sweet tooth, you may want to add a little more honey or maple sugar. When mixed with vanilla Greek yogurt, it is perfect for me. Give it a try. Then personalize it to your own liking and enjoy on its own, with yogurt, or with some milk.

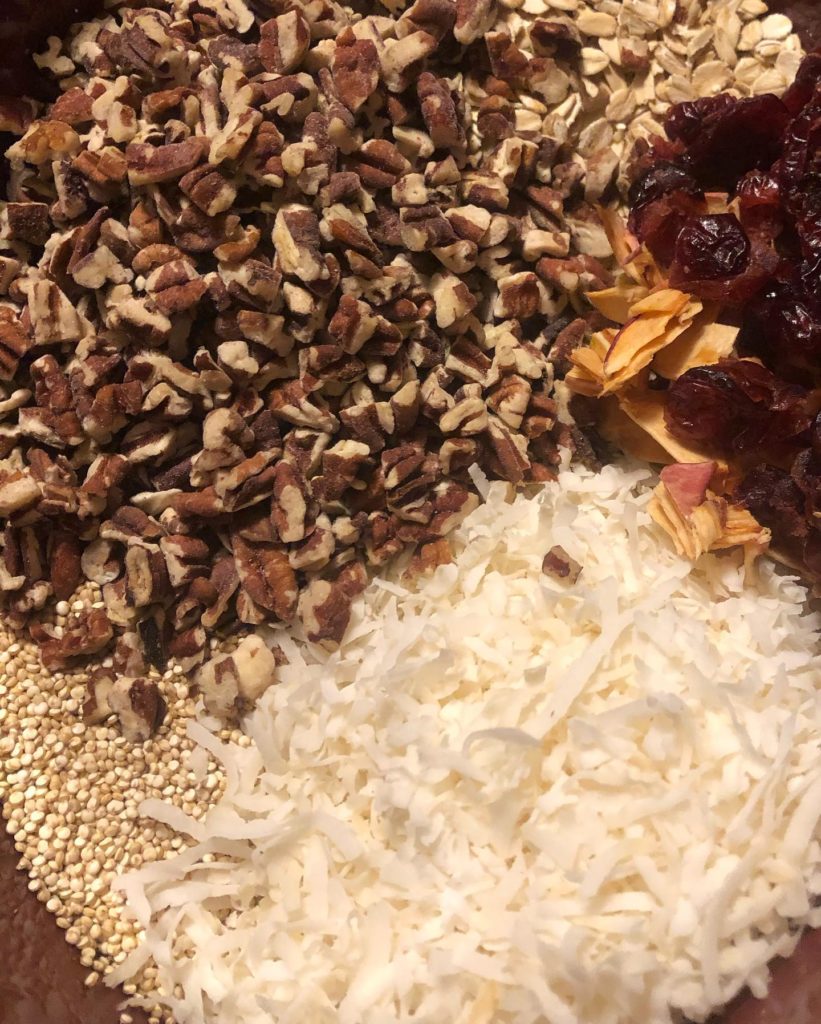
Your ingredients for Crockpot Granola

  • 3 cups old fashioned oats
  • 1 cup uncooked quinoa
  • 1 cup unsweetened coconut
  • 1/2 cup dried cranberries and apples (or any combination of your favorite dried fruit!)
  • 1 cup nuts of your choice (I used pecans)
  • 1/4 cup honey
  • 2 tablespoons melted coconut oil
  • 1/2 tablespoon cinnamon
  • 1 teaspoon nutmeg
  • dash of salt
  • 1 teaspoon vanilla

Your Steps to Crockpot Granola

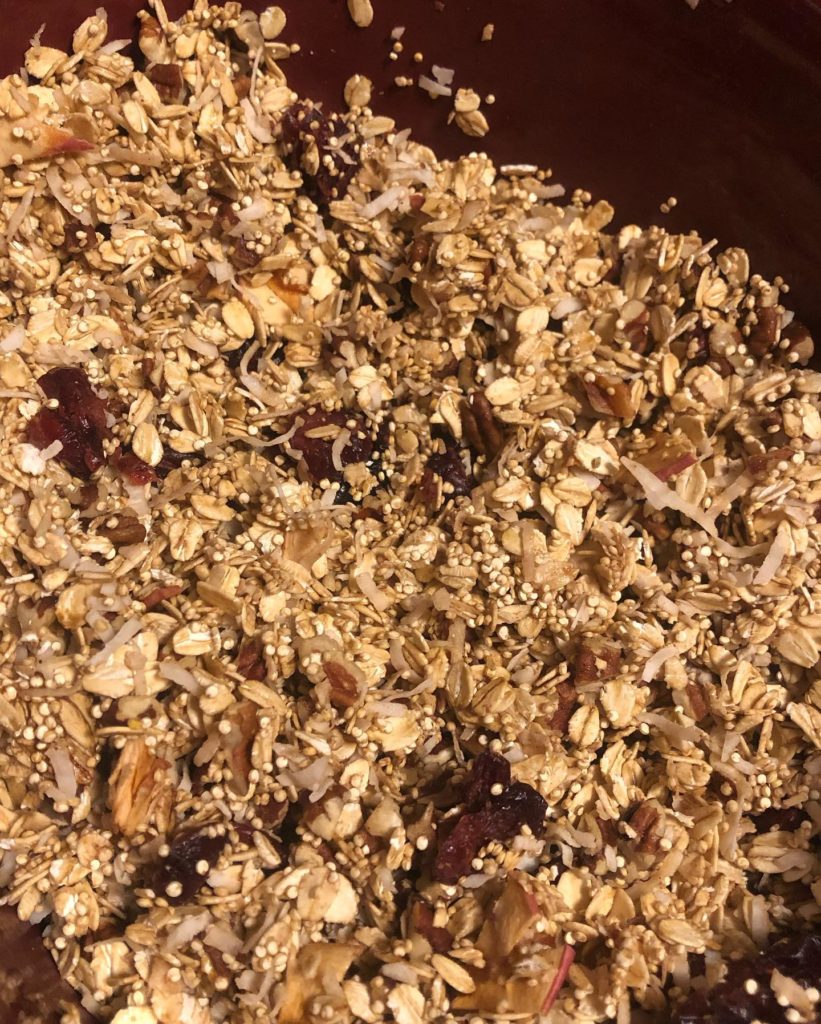
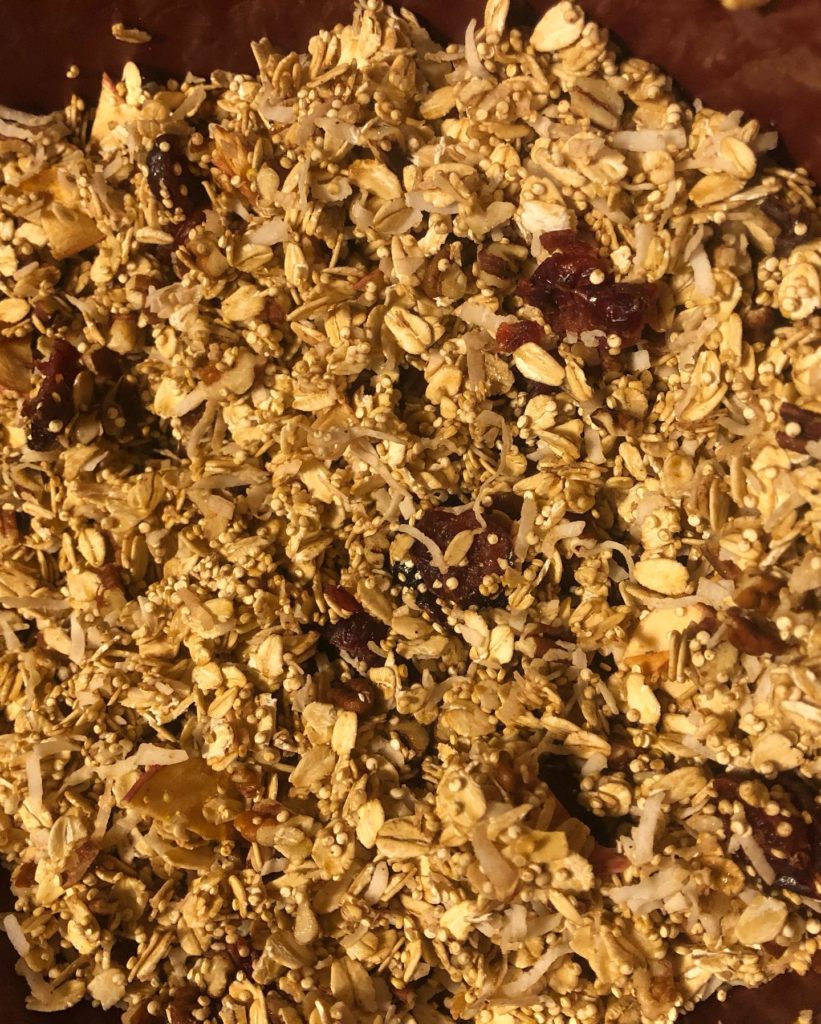
Liberally spray a crockpot with cooking spray. Then mix all ingredients in the crockpot, making sure to evenly distribute the honey and coconut oil. Cook on high for 1-1 1/2 hours, stirring every 15 minutes or so. Watch closely for the last half hour as it can burn easily and who likes cleaning a burned on crockpot? Definitely not me. This recipe does make quite a lot of granola. That’s okay! Less prep later, right? As long as you keep it in an air tight container, it should keep for quite some time. Enjoy! —Jess

Crockpot Granola

Homemade granola: simple and so much better than store bought. Better than that, it is made in the crockpot to minimize the work. Big win!
Prep Time 5 minutes
Cook Time 1 hour
Course Breakfast
Cuisine American

Equipment

Ingredients
  

  • 1 cup uncooked quinoa
  • 1 cup unsweetened coconut
  • 1/2 cup dried cranberries and apples or any combination of your favorite dried fruit!
  • 1 cup nuts of your choice
  • 1/4 cup honey
  • 2 tablespoons melted coconut oil
  • 1/2 tablespoon cinnamon
  • 1 teaspoon nutmeg
  • dash of salt
  • 1 teaspoon vanilla

Instructions
 

  • Liberally spray a crockpot with cooking spray.
  • Then mix all ingredients in the crockpot, making sure to evenly distribute the honey and coconut oil.
  • Cook on high for 1-1 1/2 hours, stirring every 15 minutes or so. Leave the cover slightly ajar so that moisture can escape.
  • Watch closely for the last half hour as it can burn easily.
  • Allow to cool by spreading onto a baking sheet. Store cooled granola in an airtight container.
Keyword crockpot, granola, slow cooker
Tried this recipe?Let us know how it was!

Looking for other favorite Breakfast Recipes?

Give a couple of these a try!

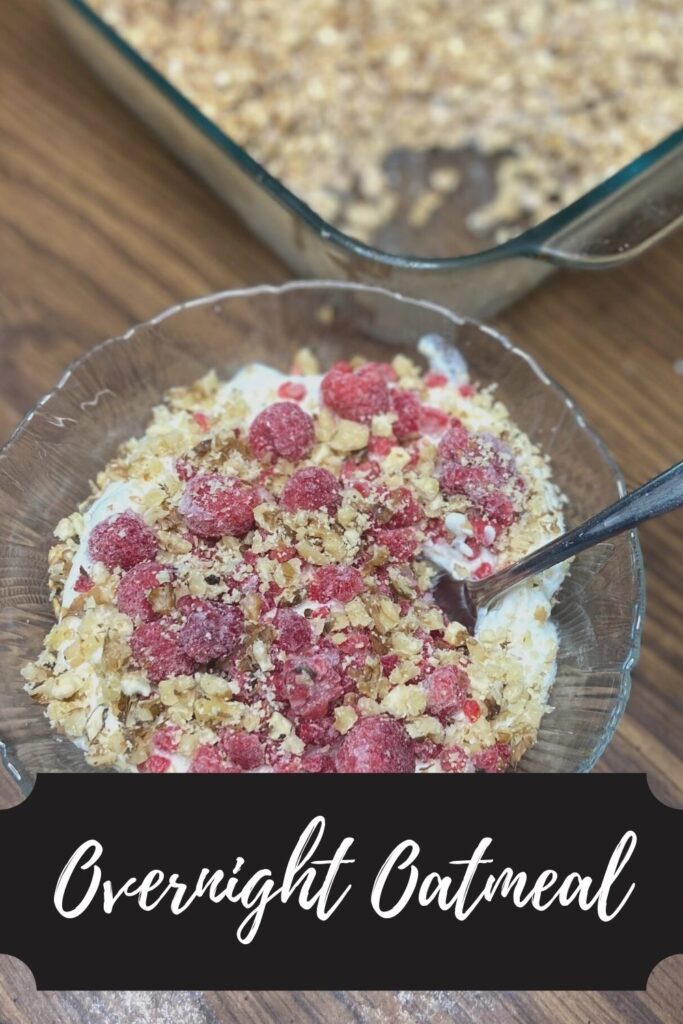
Overnight Oatmeal

I love the holidays. I love the time with family. The food. The fun. It’s all so marvelous. But my body, it gets a little annoyed with me when I over indulge for a number of days a week for a number of weeks. It’s ready for a reset: Overnight oatmeal.

Get past the big family breakfasts and back to the fuel it craves and for me, that’s overnight oatmeal (or some wheat filled cereal when I am too lazy to make another batch…It happens!) So tonight I put together 5-6 servings of overnight oatmeal for myself so I am ready for breakfast through the weekend! It’s the best! PS…When I say I am lazy, it really is out of laziness. Every time I skip making my oatmeal for a few days, I am disappointed with myself when I finally get around to making it. “Seriously, Jess, you couldn’t take 5 minutes to mix this together? Come on…”

But in all seriousness, this is a great recipe that fills you up and has all sorts of options for variations. I like to add sliced bananas or frozen raspberries with vanilla Greek yogurt. It’s perfect and easy. And if you like a hot breakfast, you can pop it in the microwave for 30 seconds to a minute there you go!

Your ingredients:

  • 2 1/2 cups old fashioned oats (I get thick cut ones from our local natural food store. They are divine!)
  • 1/4-1/2 cup chopped nuts (I use walnuts or pecans)
  • 1/4 cup unsweetened coconut
  • 1/2 tablespoon vanilla
  • 1 teaspoon cinnamon (or more if you love cinnamon)
  • 2 tablespoons honey or maple syrup
  • 1 tablespoon chia seeds
  • 2 cups unsweetened almond milk (I am sure regular milk would be great too!)

Your Steps to Overnight Oatmeal

In a brownie pan, mix oats, nuts, coconut, and cinnamon. Sprinkle with vanilla and and slowly top with honey. Stir until well-combined. THEN sprinkle with chia seeds. I find if you do this with the honey, they clump together and do weird things that texture wise, I just don’t enjoy. If you forget, it’s not the end of the world, but don’t say I didn’t warn you 🙂 Pour over the almond milk slowly to cover all the services. You can add an additional 1/2 cup if you feel like it isn’t moist enough. Cover and place in the fridge overnight. Enjoy plain or top with your favorite sliced fruit and yogurt. Sprinkling a little granola for texture is great too! I hope you enjoy it like I do! —Jess

Quick to create 5-6 servings, overnight oatmeal is full of flavor and texture, is filling, and good for you!
Prep Time 5 minutes
Cook Time 0 minutes
Total Time 5 minutes
Course Breakfast
Cuisine American
Servings 6 people

Ingredients
  

  • 2 1/2 cups old fashioned oats
  • 1/4-1/2 cup chopped nuts
  • 1/4 cup unsweetened coconut optional
  • 1/2 tablespoon vanilla or almond extract if almond, do 1/2 -1 teaspoon
  • 1 teaspoon cinnamon
  • 2 tablespoons honey or maple syrup
  • 2 tablespoon chia seeds
  • 2 cups unsweetened almond milk

Instructions
 

  • In a baking dish with a cover, mix oatmeal, nuts, coconut, cinnamon, and vanilla or almond extract.
  • Top with honey and mix.
  • Sprinkle oatmeal mixture with chia seeds and mix once more.
  • Top oatmeal mixture with almond milk, making sure to hit all corners of the dish. Cover and allow to chill overnight.
  • Serve oatmeal in the morning with Greek yogurt, berries, and granola or extra chopped nuts.
Keyword Breakfast, oatmeal, overnight oats
Tried this recipe?Let us know how it was!