I'm an affiliate
I hope you love the products I recommend! Just so you know, I may collect a share of sales or other compensation from the links on this page. If you use the links, thank you for supporting me! I really appreciate it!
If you don’t have a sourdough starter yet, what are you waiting for?! I was given mine after attending a class on baking with sourdough and I have successfully kept it alive, but if don’t have access to one you can click here . I have a number of friends who have successfully created their own starter using these directions. Once you have a wonderfully healthy yeasty sourdough starter, you will be ready to bake bread. If you are the reading type, check out my page on baking with starter. If you are the video type learner (always the teacher here), Check out the library below!
If you want to double up on the video and reading, you can click here to see the directions typed up!
Some final thoughts: Your first loaves will likely not be perfect. I have countless, “not perfect loaves” (see the pictures below). They still taste great and this is a learning process for you to find your favorite “recipe.”
Experiment. Try different types of flour. I originally made my levain preferment using 28 grams of starter, 100 grams of flour, and 80 grams of water. I have since switched it up. You can totally try that ratio and see if you like it better.
Experiment again. Try mixing in herbs, cheese, cinnamon, nutmeg, you name it. The options are endless.
You can bake in regular loaf pans or on a stone. I started with bread pans (and still use them), but then I wanted to experiment with the bread stone and banneton proofing baskets because “why not?”
Once you get going, start Googling (and check out my page!) for ways to use your sourdough “waste.” The possibilities are endless: scones, bagels, pancakes, cookies, brownies, yum.
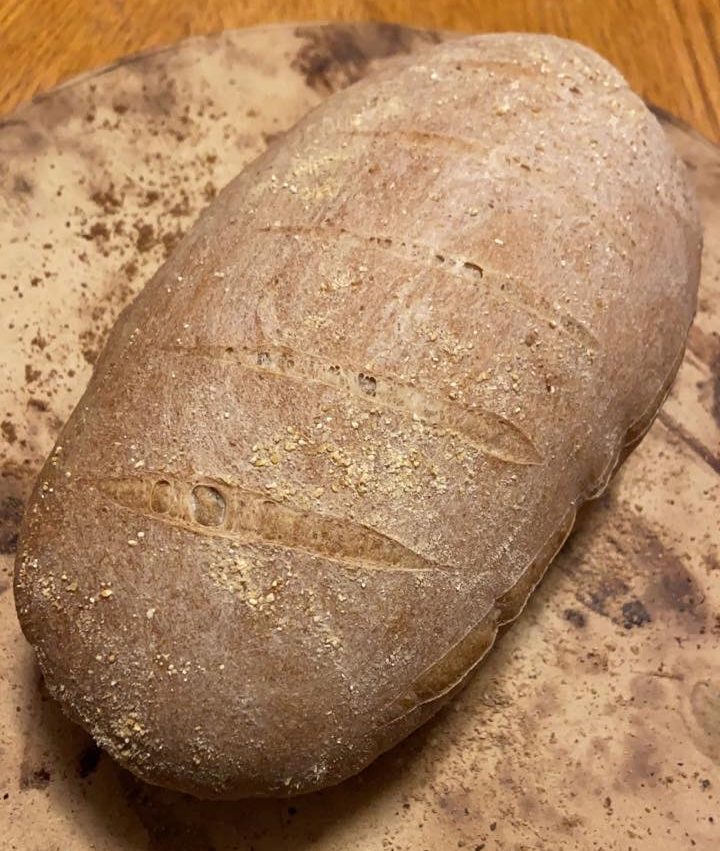
I recently read that your bread will split if you don’t proof it long enough. (Proof–Letting it ferment in the refrigerator after it’s been put in the banneton or bread pan. Longer it proofs, the more “sourdough” it becomes.) Mine splits sometimes when I bake on the stone, but I often am baking just 24-36 hours after I finished putting it together because #life.

A beautiful loaf with a bit of an explosion A loaf of perfection with a well loved pizza stone


I am SO EXCITED for your adventure into sourdough. It’s fun and so much easier than I ever thought it would be. There are countless ways to experiment and try new things. Enjoy and don’t be afraid to try something new! —Jess
I love using the banneton and the stone also! woot woot. This looks amazing- so proud of you! way to go friend <3.