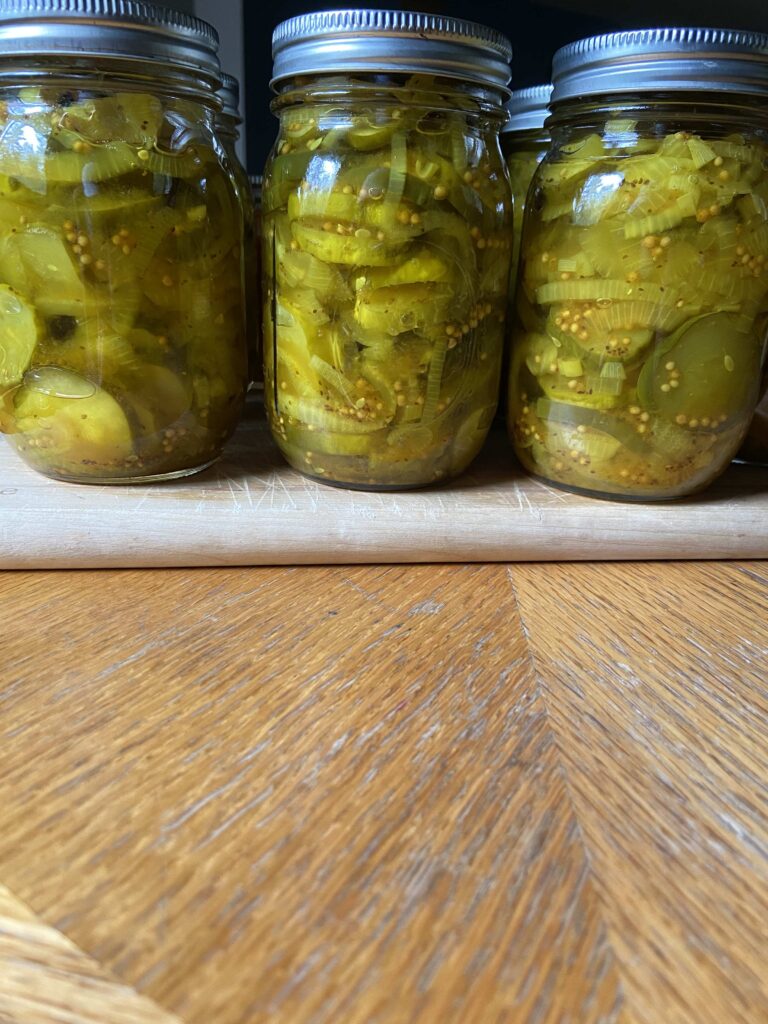
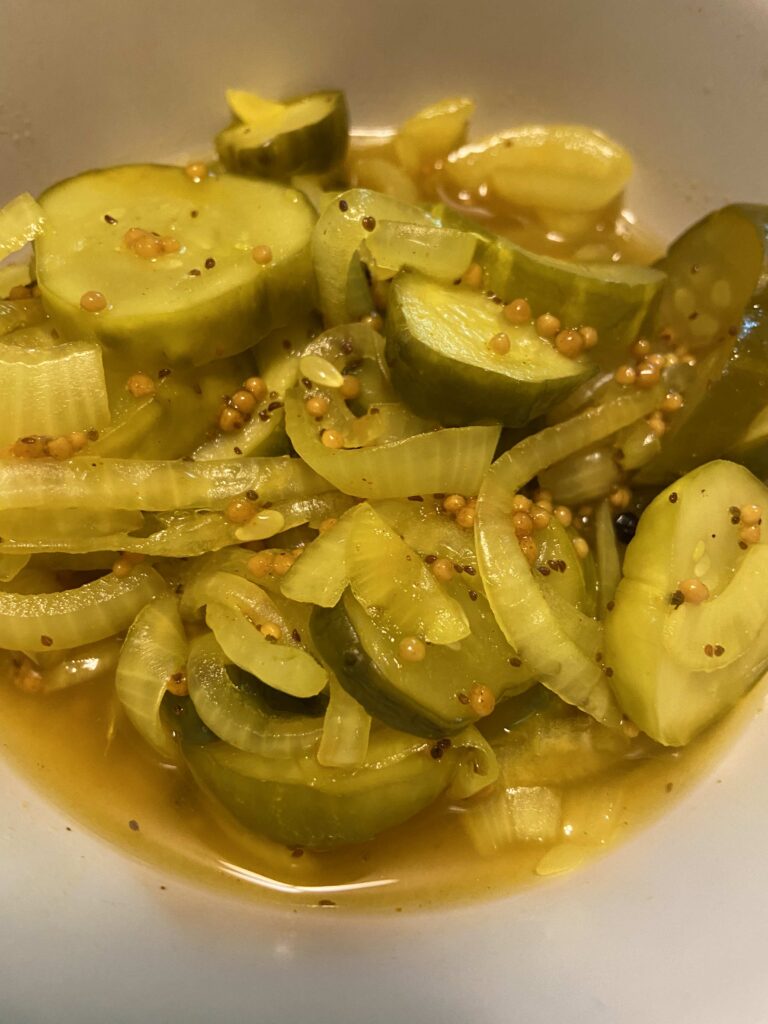
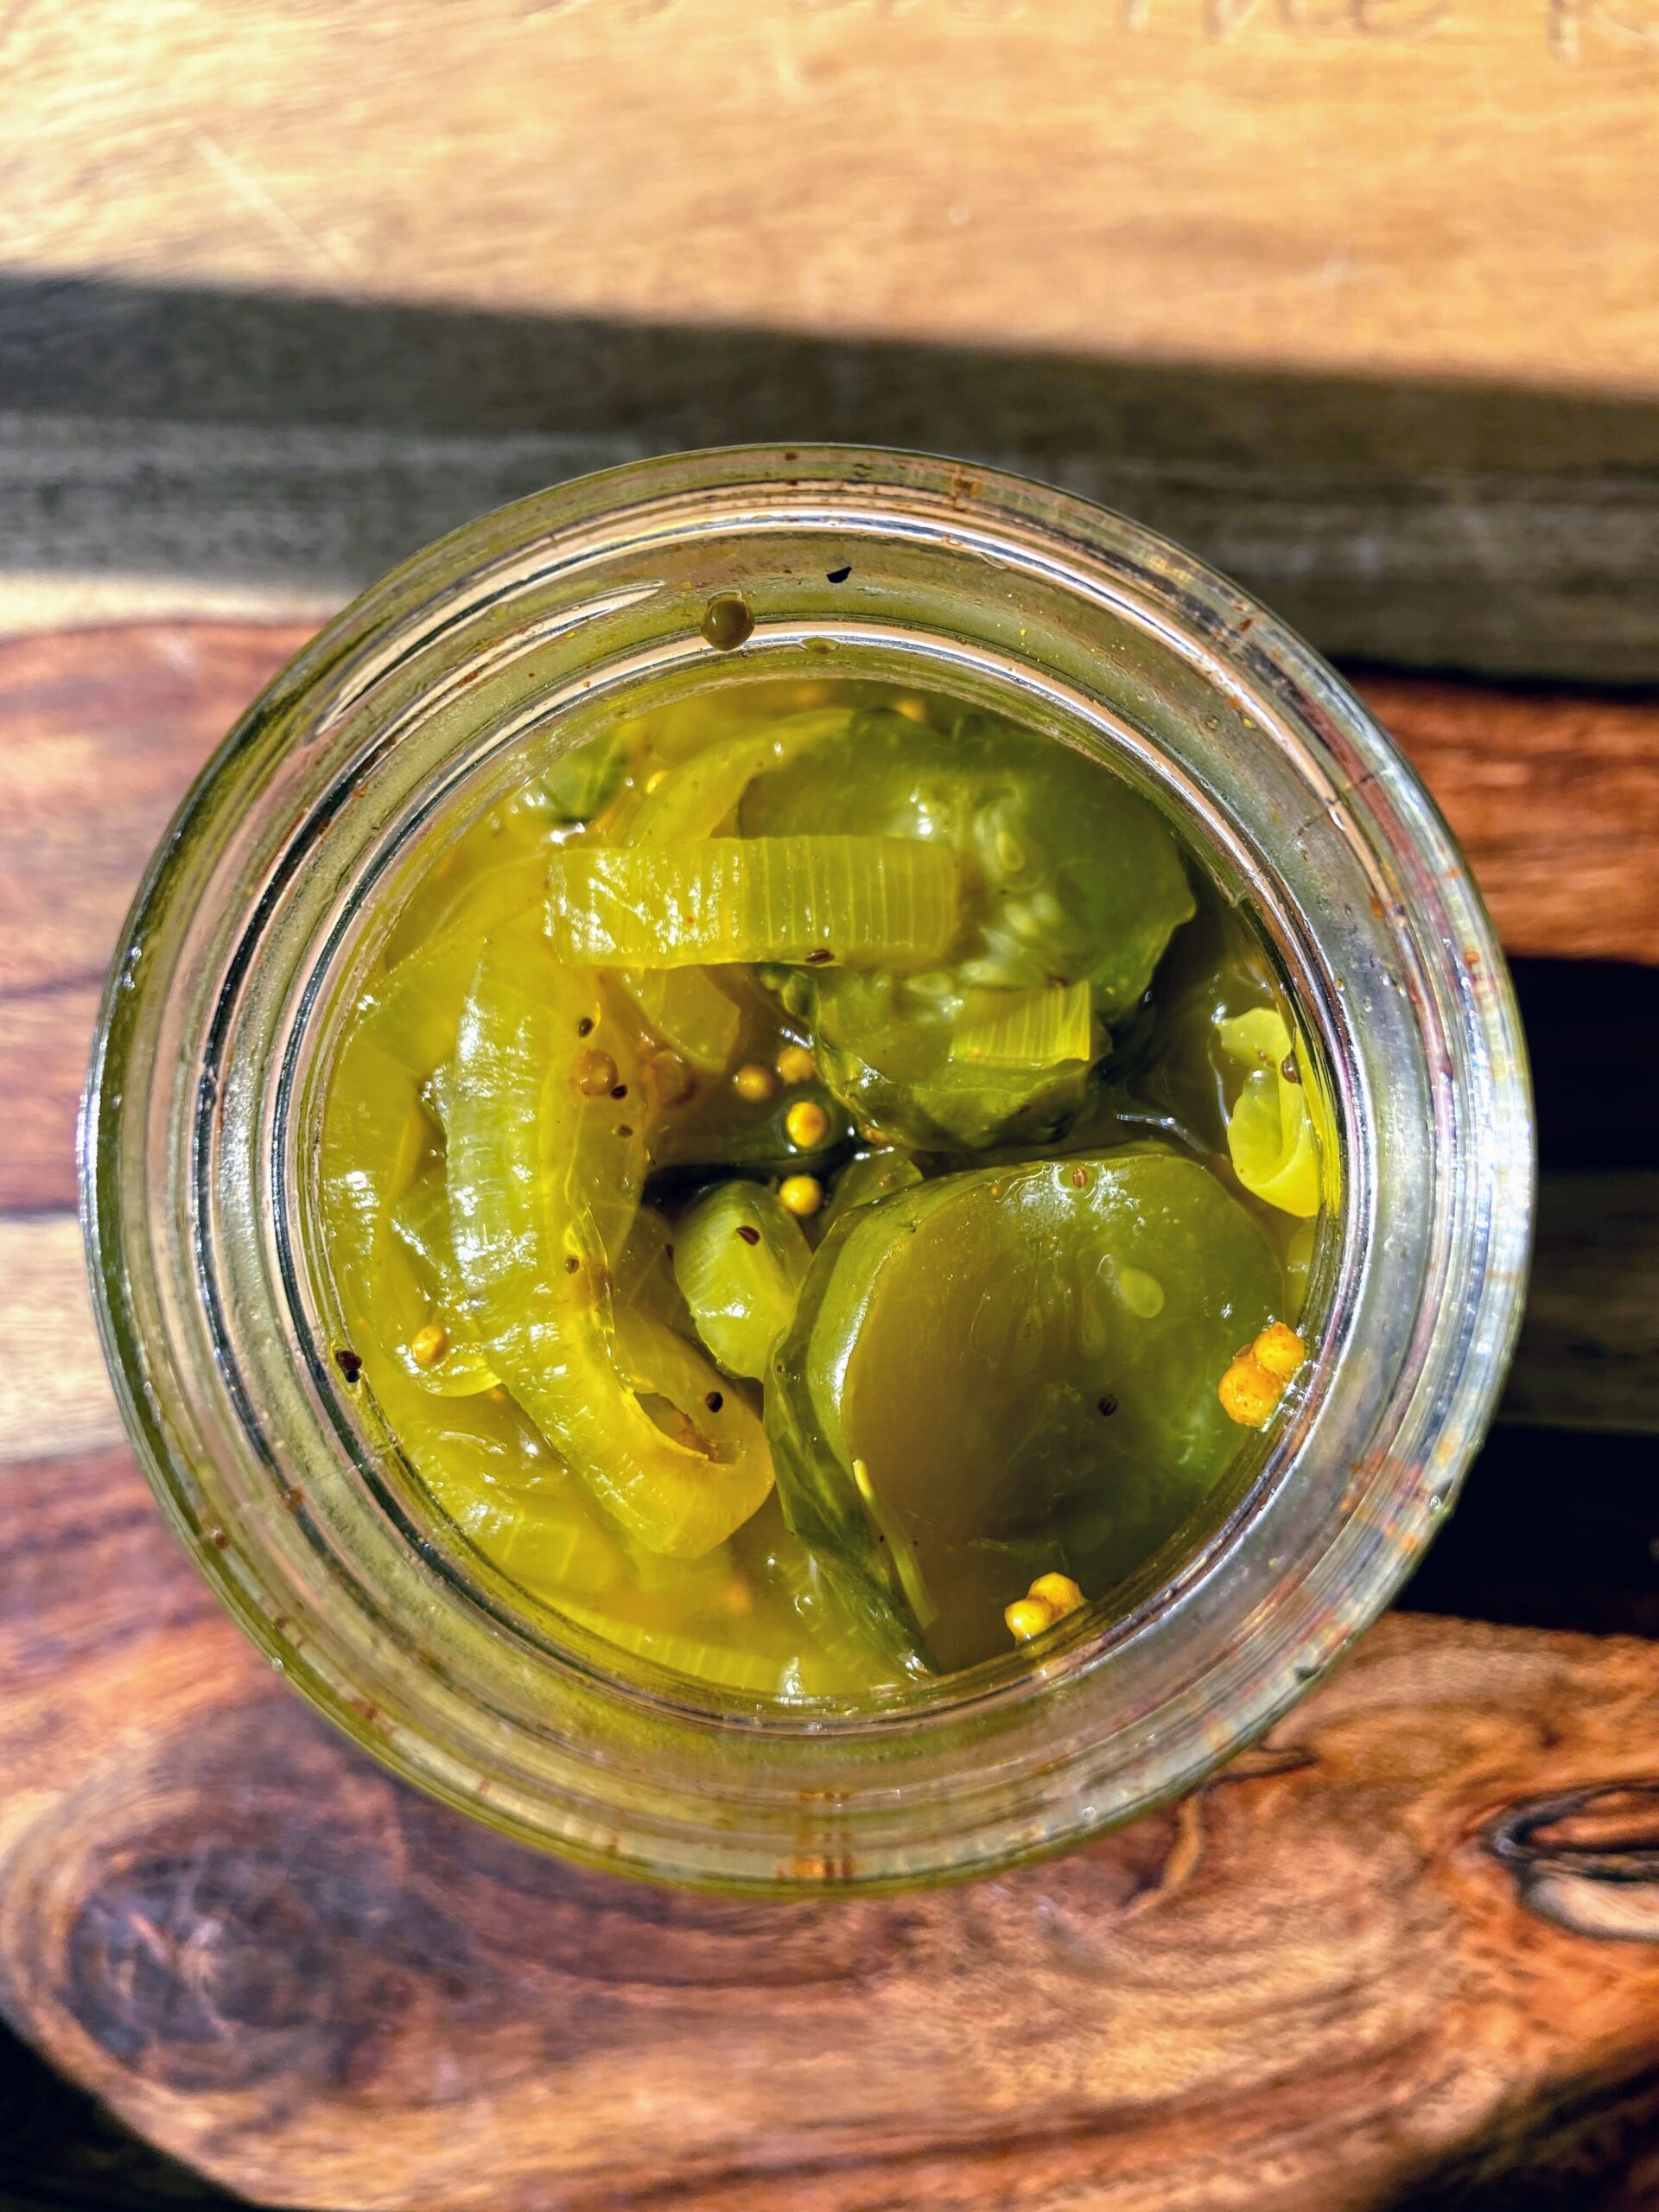
Kick in the Taste buds Cucumber and Pepper Relish

A blog or two ago, I wrote about my zucchini crop and how it is producing beautifully this year. I could copy and paste that paragraph and exchange each “zucchini” with “cucumber.” It’s been a CRAZY cucumber year. A year ago, I believe I grew enough to perhaps make one batch of pickles. This year, I can not keep up and have been giving them away. Gardening life, right? It keeps you on your toes. Because of this bumper crop, I have put together more than one batch of this fantastic cucumber and pepper relish. 

I don’t know about you, but when I hear relish, I think of that neon green stuff you put on top of Chicago style hot dogs. Not my jam. This, my friends, is not that kind of relish. Can you still eat this on top of hot dogs? Sure thing. But I will tell you what, I love this spice-ful relish on the side of any grilled dinner. So freaking good. 

I can’t quite figure out how to describe the flavor. The cinnamon, all spice, cloves, and mustard seed provide a depth of flavor that is unreal. It’s full of chunky cut vegetables that are slightly sweet from the brown sugar and sour from the vinegar. Let’s just say this, it’s a party for your tastebuds. 

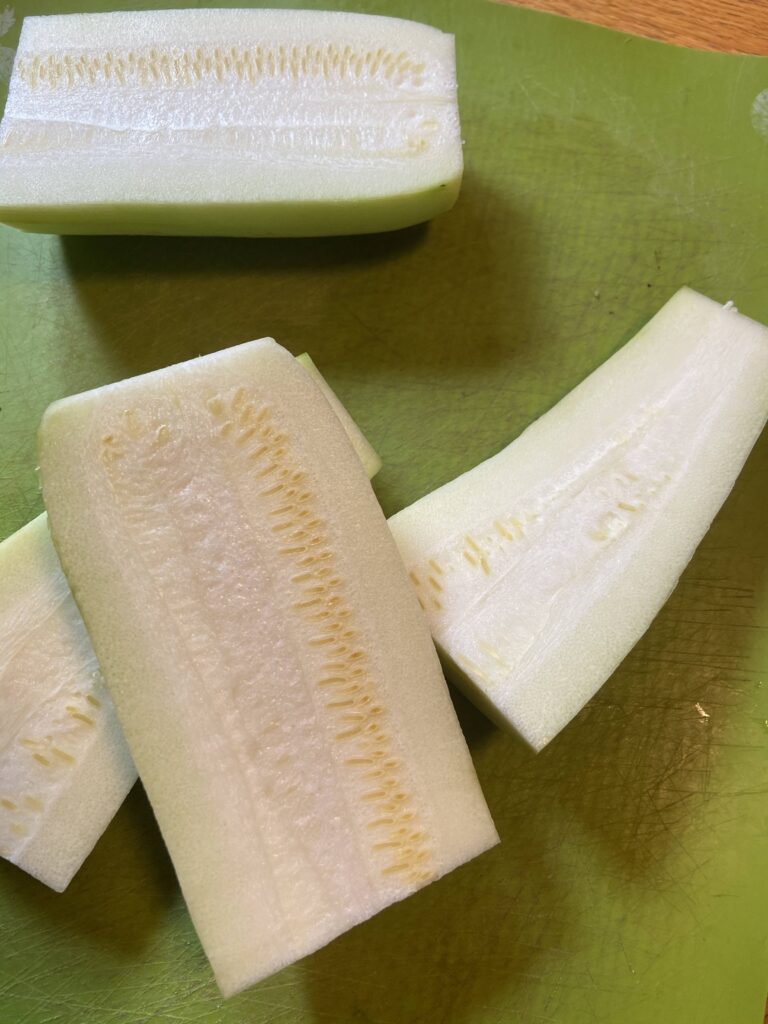
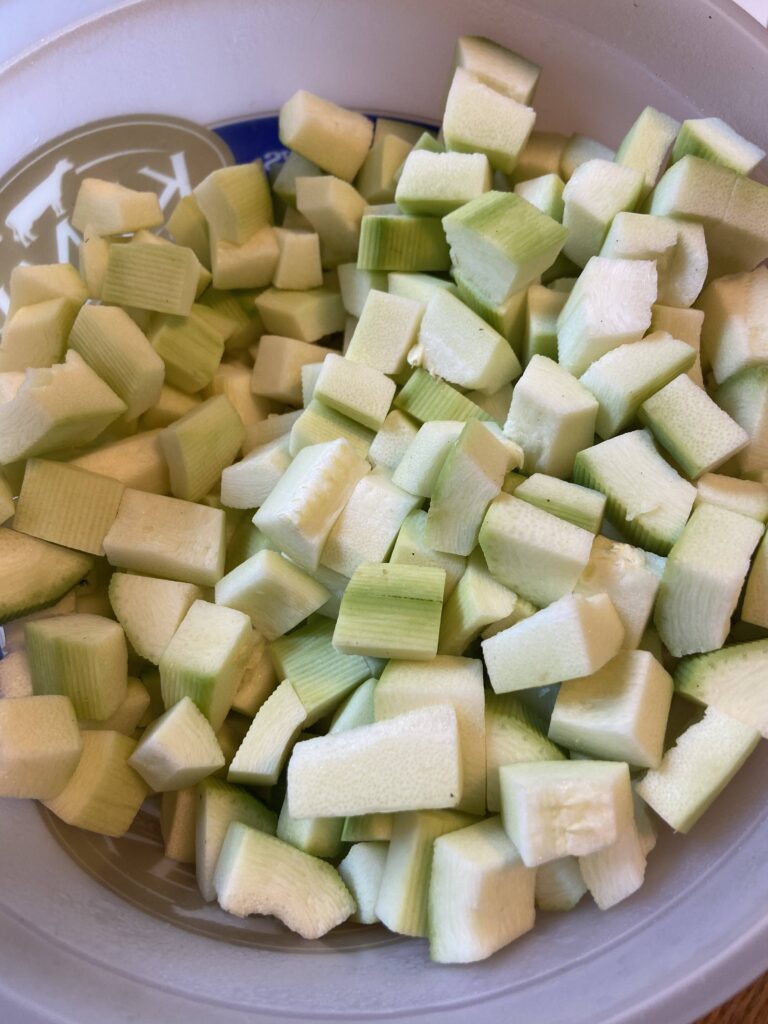
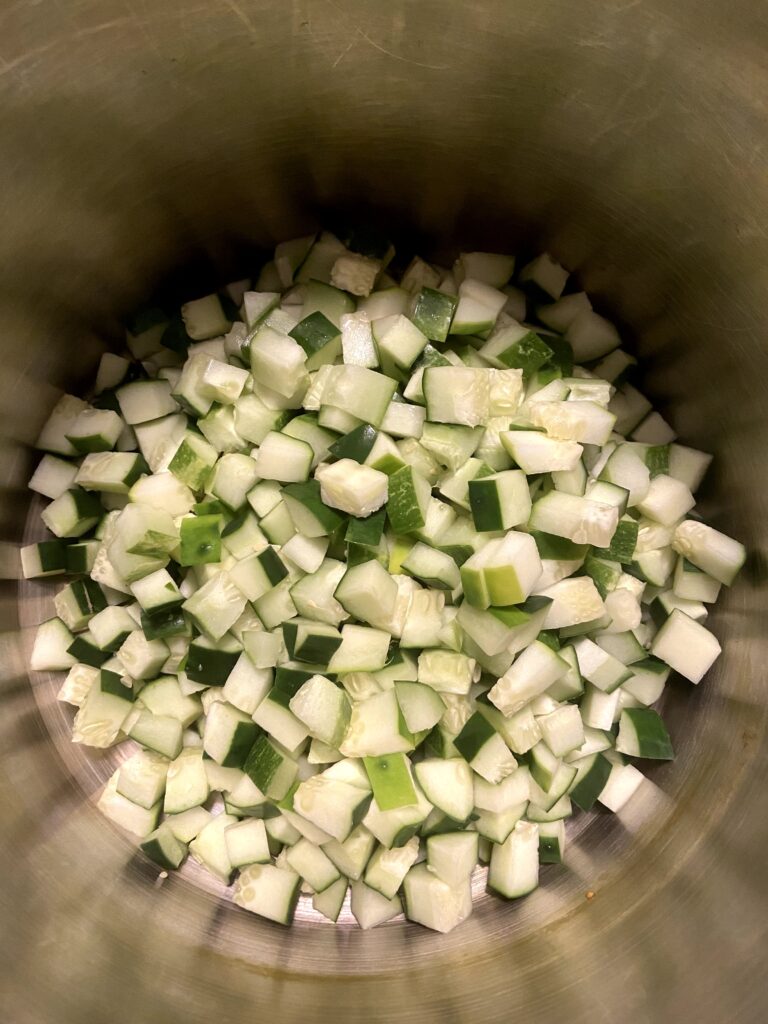
One more thing before we get started! This is a great recipe to use up those cucumbers that “get away from you” in the garden. You know the ones, hiding under leaves until they are the size of your forearm. Since you are dicing the cucumbers, I reccommend cutting whole cucumbers in half length wise and then in half once again (as if you are making spears). Then you can cut out the seeds and dice from there. You’re looking for ½ inch chunks. 

Okay, I lied.

I have ONE more thing. This recipe does require time to sit. You will want to start prepping about 24 hours prior to when you want to actually waterbath can it. There isn’t a lot of actually work to do beyond the chopping, but know that you will need to plan ahead for this cucumber and pepper relish.

Let’s get canning! 

Your Utensils:

  • Water bath canner with rack and lid
  • Eight pint jars with lids and rings (wide or narrow mouth)
  • Large, non reactive kettle to cook the cucumbers and onions in the pickling brine

Before you begin…

If you’re new to canning, be sure to check out Ball’s Book of Canning or The National Center for Home Food Preservation for more detailed information. I will give you the low down, but it will be short and sweet. You will want to read up more, I promise 🙂

Your Ingredients

  • 8 cups chopped cucumbers 
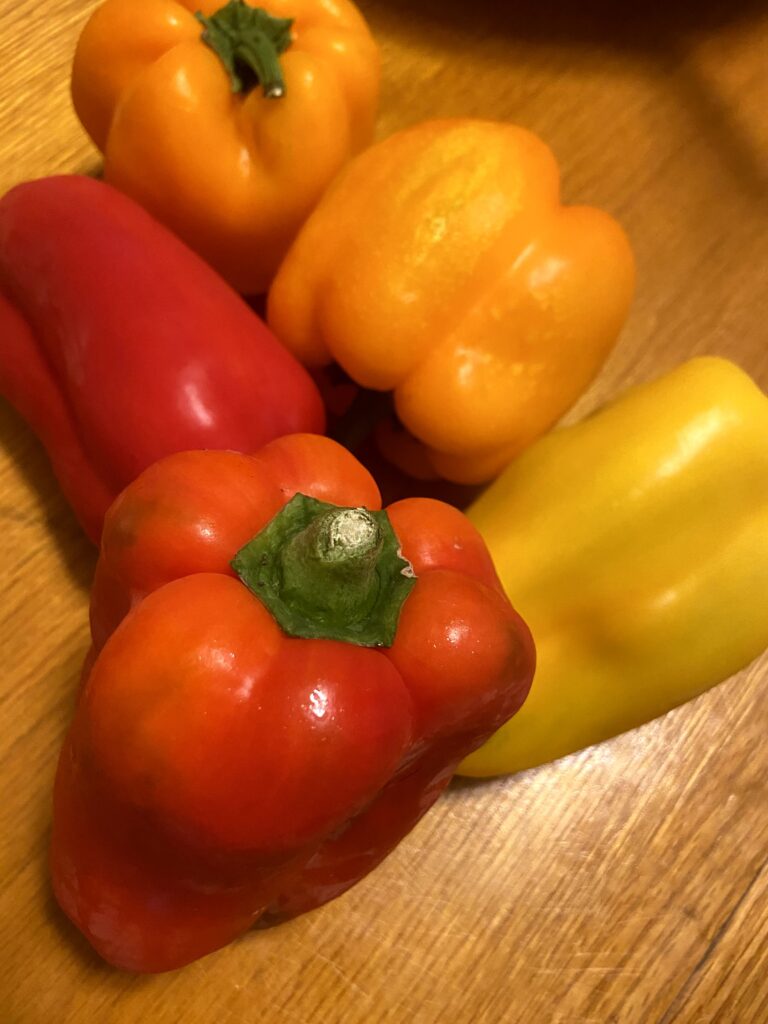
  • 4 cups chopped sweet peppers (any combination of green, red, yellow, orange)
  • 2 cups chopped onion 
  • 1 tablespoon turmeric 
  • ½ cup canning salt 
  • 4 quarts of water, divided
  • 1 ½ cups brown sugar 
  • 1 quart vinegar, 5-6% acidity 
  • 2 sticks cinnamon 
  • 1 tablespoon mustard seed 
  • 2 teaspoons whole allspice 
  • 2 teaspoons whole cloves 

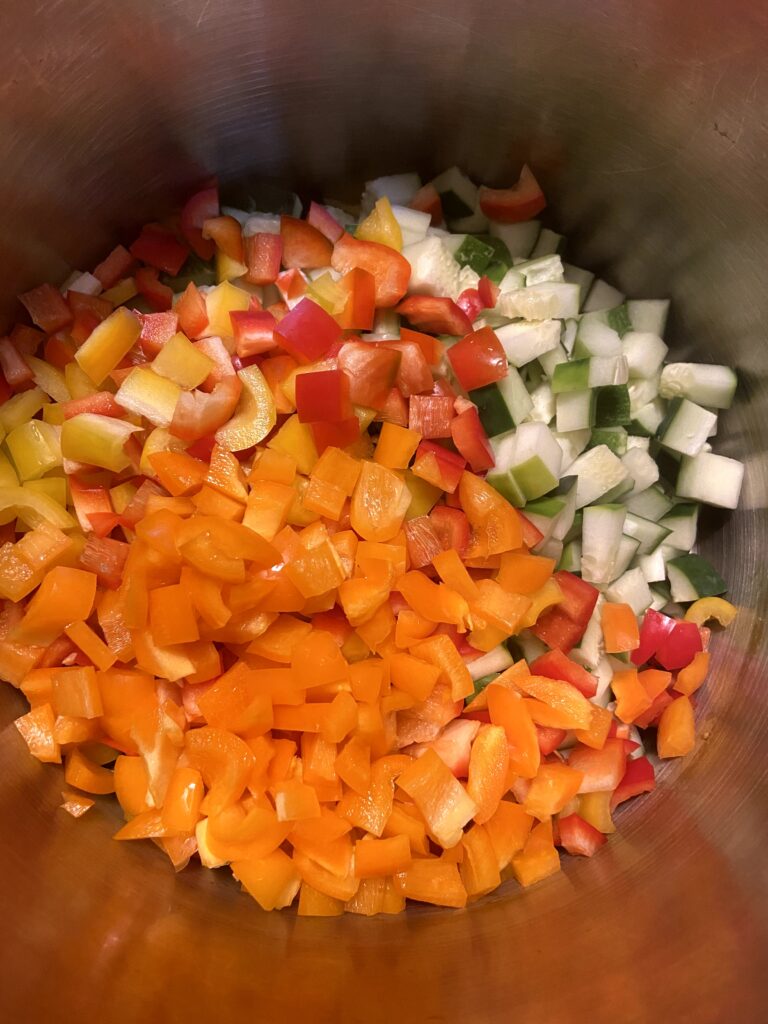
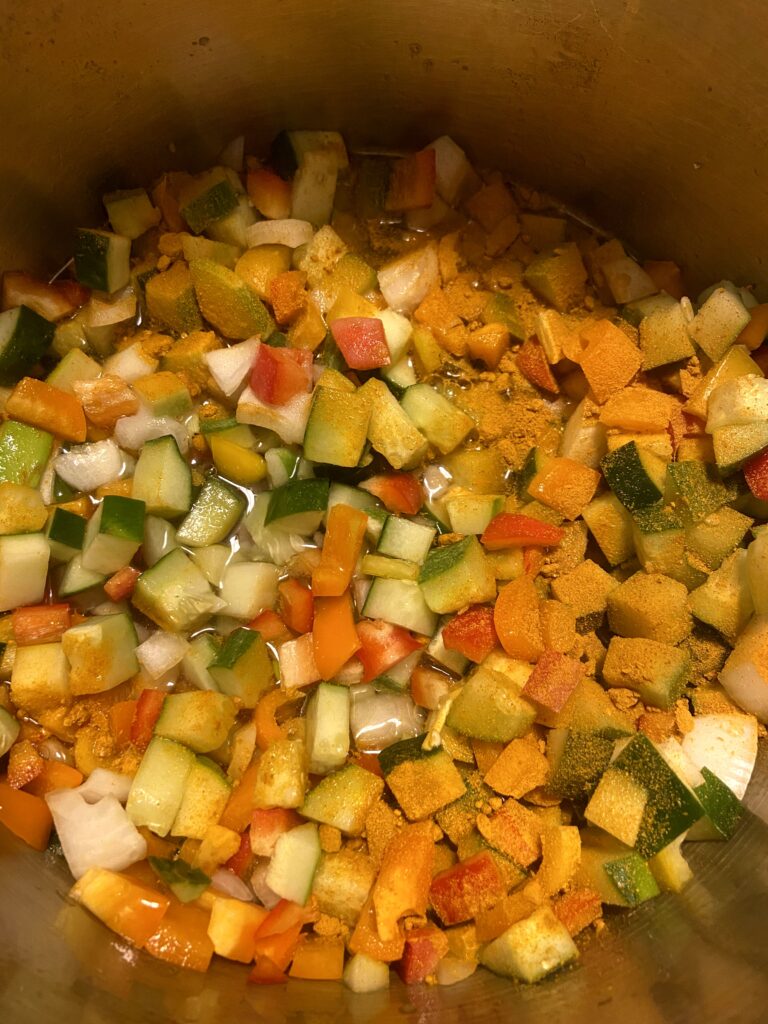
Combine chopped cucumbers, bell peppers, and onions in a large, non-reactive kettle that has a cover. Sprinkle turmeric on top. Combine 2 quarts of water and canning salt, stirring until the salt has dissolved. Pour the water over the vegetables. Cover and let rest in the refrigerator. 

Rest Time: 3-4 Hours 

Using the cover of the kettle, carefully drain off the water. Pour remaining 2 quarts of cold water over the chopped vegetables. Cover and let rest in the refrigerator. 

Rest Time: 1 Hour

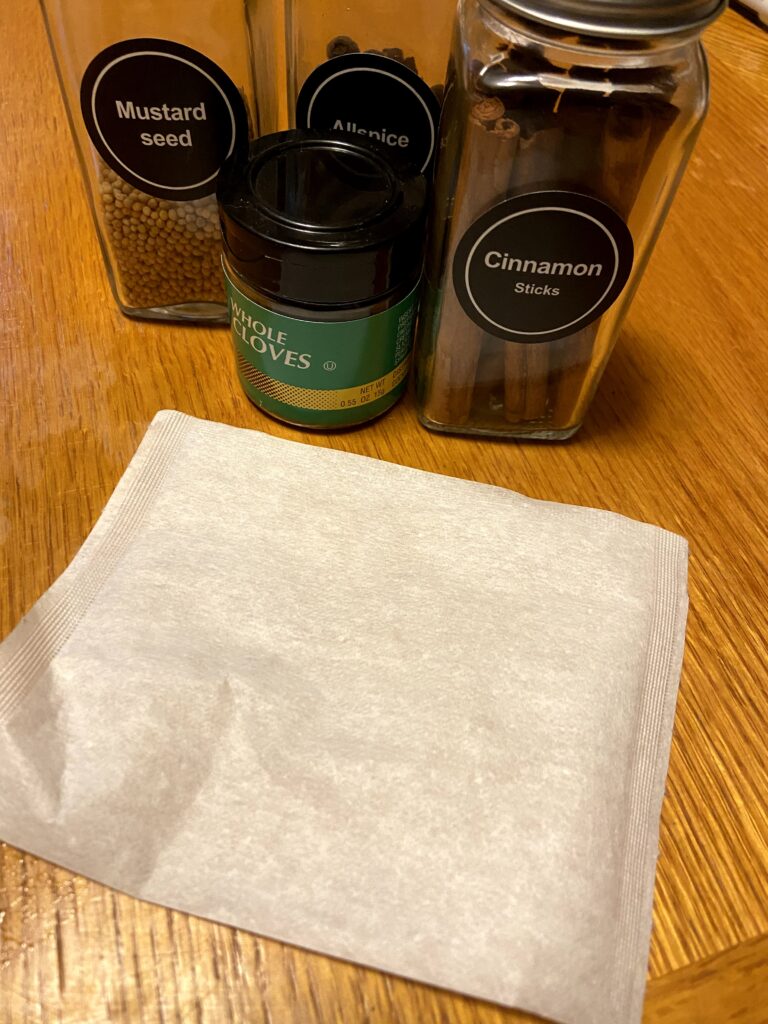
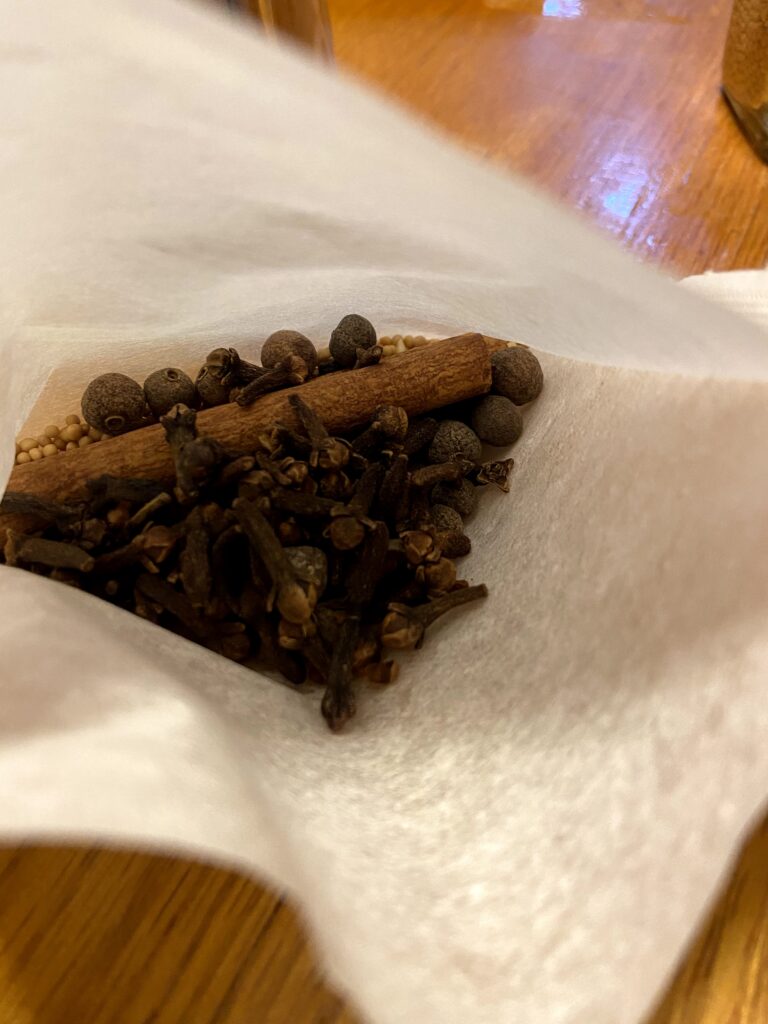
While vegetables are resting, place cinnamon, mustard seed, all spice, and cloves in a spice bag (I don’t have spice bags on hand, so I use a tea pot “fill your own tea bags” that I can seal. They work marvelously. I find them at the local natural food store.) If you don’t have anything on hand, these drawstring soup bags would work great! Place vinegar, brown sugar, and spice bag in a medium saucepan and bring to a boil over medium heat, stirring to help dissolve the brown sugar. 

Once 1 hour has elapsed, drain water off of vegetables. Pour hot pickling liquid over chopped vegetables and allow to cool. Cover and replace in the refrigerator one more time, likely overnight. 

Rest Time: 12-18 Hours

After rest time (I just reread that, and it made me think of being in Kindergarten. Ah, the simpler times 🙂 ), begin to prepare jars, lids, and rings by washing and keeping warm. I generally set the jars in the rack of canner and have it rest above the water.  Begin heating the water bath canner (make sure water will be at least one inch above jars once submerged). It is better to have too much water than too little. 

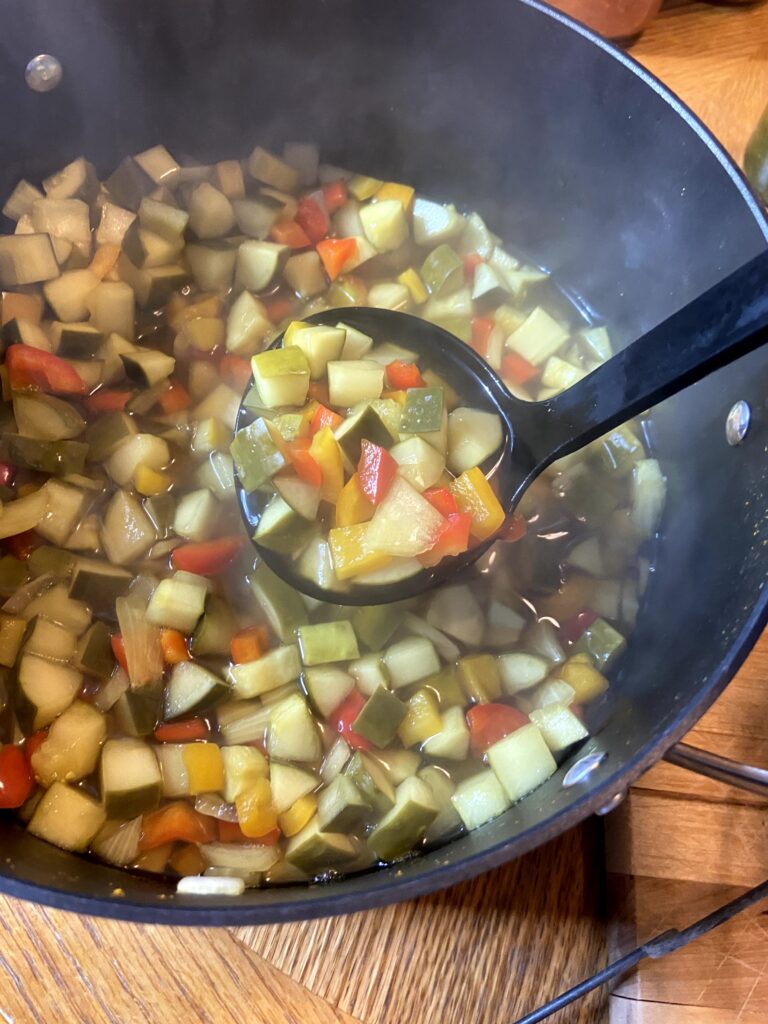
Remove the spice bag. Bring the cucumber and pepper relish with the vinegar mixture to a boil over medium-high heat, be sure to stir so as not to burn to the bottom. Ladle into hot pint jars, leaving ½ inch headspace. Remove air bubbles, wipe the rim with a clean, damp cloth, and add lid and ring, tightening to finger tip tight. 

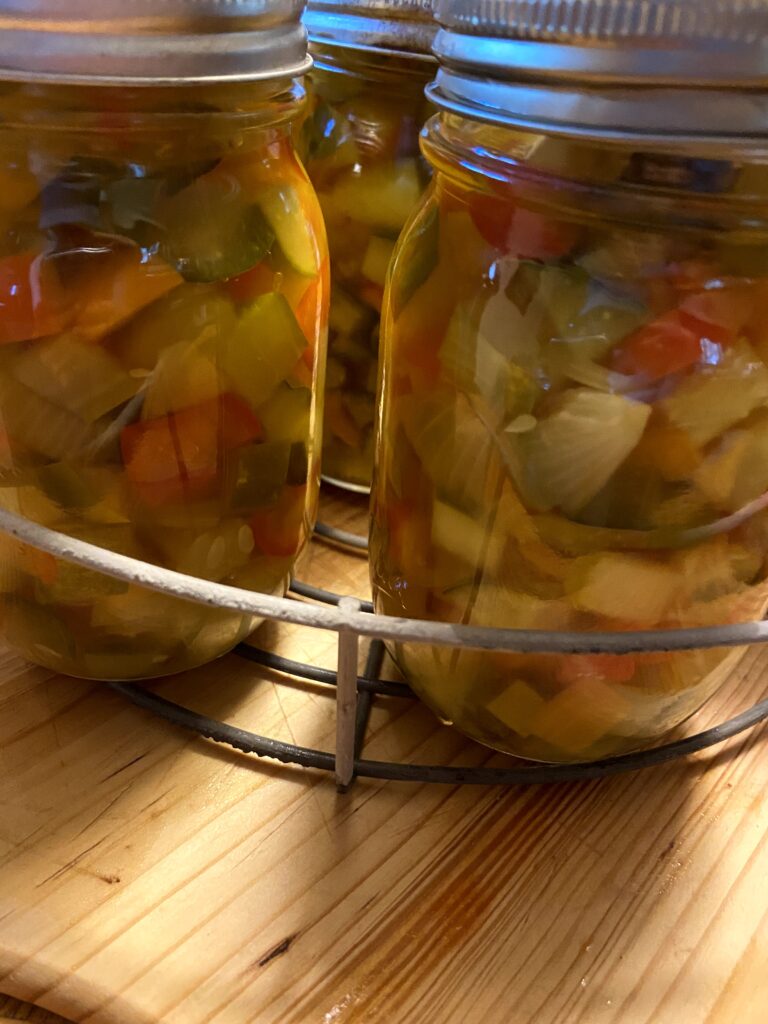
Lower jars into the simmering waterbath canner. Cover, increase heat, and bring to a boil. Once a boil is reached, process for 10 minutes, adjusting for altitude (since I am over 1000 feet, I add 5 minutes, but check online for your own location). Remove the canner from heat, and allow jars to rest 5 min. Remove from the canner and allow to cool at least 12 hours before storing jars. 

There is no need to tighten rings. In fact, it is recommended they are removed entirely while storing. Generally, I get between 5-6 pint jars with this recipe. 

TOOLS OF THE TRADE

While you can truly can with any deep kettle and rack to keep the jars off the bottom of the canner, it is definitely easier if you invest in a few of the tools listed below!

Looking for more ways to savor summer in a jar? Check out the link below!
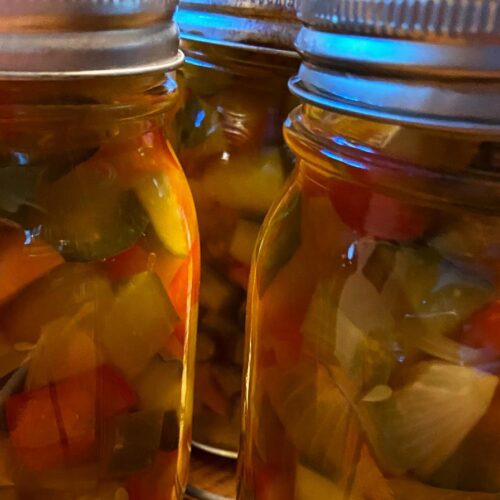
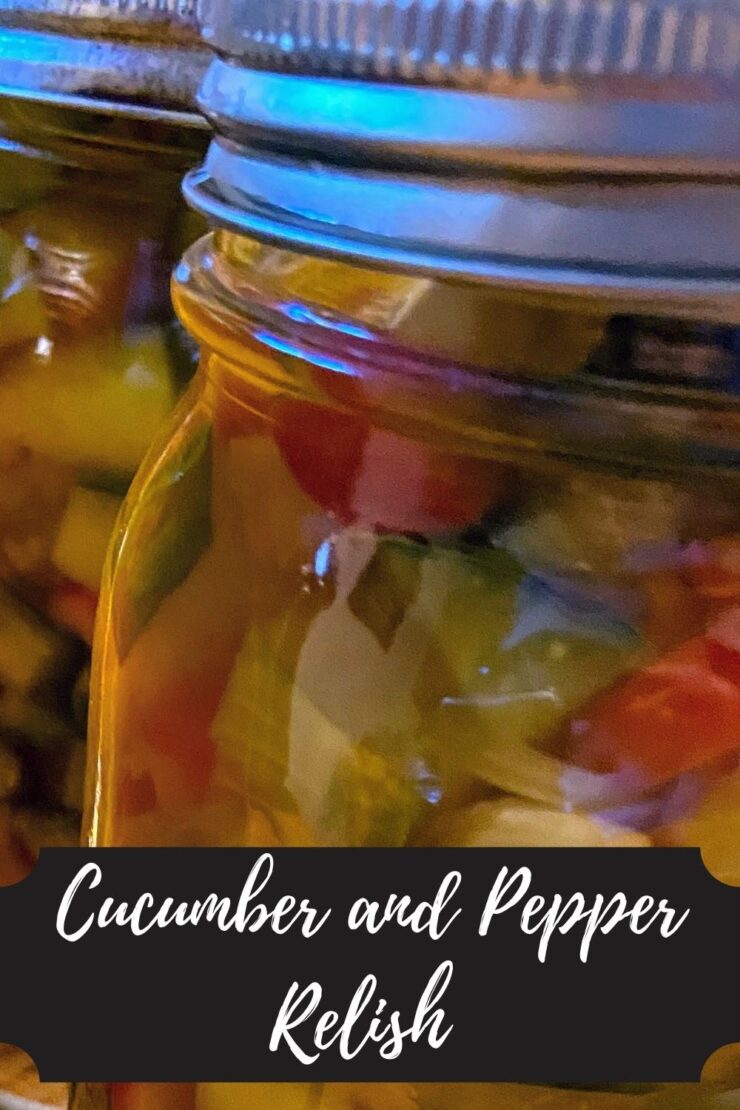
Cucumber and Pepper Relish

A little bit of spicy. A little bit of sweet. This cucumber and pepper relish uses all those cucumbers you grew! A dance for your tastebuds!
Prep Time 1 hour
Cook Time 15 minutes
Rest Time 22 hours
Course Side Dish
Cuisine Canning
Servings 12 people

Equipment

Ingredients
  

  • 8 cups chopped cucumbers
  • 4 cups chopped sweet peppers any combination of green, red, yellow, orange
  • 2 cups chopped onion
  • 1 tablespoon turmeric
  • ½ cup canning salt
  • 4 quarts of water divided
  • 1 ½ cups brown sugar
  • 1 quart vinegar 5-6% acidity
  • 2 sticks cinnamon
  • 1 tablespoon mustard seed
  • 2 teaspoons whole allspice
  • 2 teaspoons whole cloves

Instructions
 

  • Combine chopped cucumbers, bell peppers, and onions in a large, non-reactive kettle that has a cover. Sprinkle turmeric on top. Combine 2 quarts of water and canning salt, stirring until the salt has dissolved. Pour the water over the vegetables. Cover and let rest in the refrigerator for 3-4 hours.
  • Using the cover of the kettle, carefully drain off the water. Pour remaining 2 quarts of cold water over the chopped vegetables. Cover and let rest in the refrigerator for one hour.
  • While vegetables are resting, place cinnamon, mustard seed, all spice, and cloves in a spice bag. Place vinegar, brown sugar, and spice bag in a medium saucepan and bring to a boil over medium heat, stirring to help dissolve the brown sugar.
  • Once 1 hour has elapsed, drain water off of vegetables. Pour hot pickling liquid over chopped vegetables and allow to cool. Cover and replace in the refrigerator one more time for 12-18 hours.
  • After the vegetables have rested, begin to prepare jars, lids, and rings by washing and keeping warm.
  • Remove the spice bag. Bring the chopped vegetable and vinegar mixture to a boil over medium-high heat, be sure to stir so as not to burn to the bottom. Ladle into hot pint jars, leaving ½ inch headspace. Remove air bubbles, wipe the rim with a clean, damp cloth, and add lid and ring, tightening to finger tip tight.
  • Lower jars into the simmering water bath canner. Cover, increase heat, and bring to a boil. Once a boil is reached, process for 10 minutes, adjusting for altitude (since I am over 1000 feet, I add 5 minutes, but check online for your own location). Remove the canner from heat, and allow jars to rest 5 min. Remove from the canner and allow to cool at least 12 hours before storing jars.
Keyword Canning, cucumbers, peppers, relish
Tried this recipe?Let us know how it was!

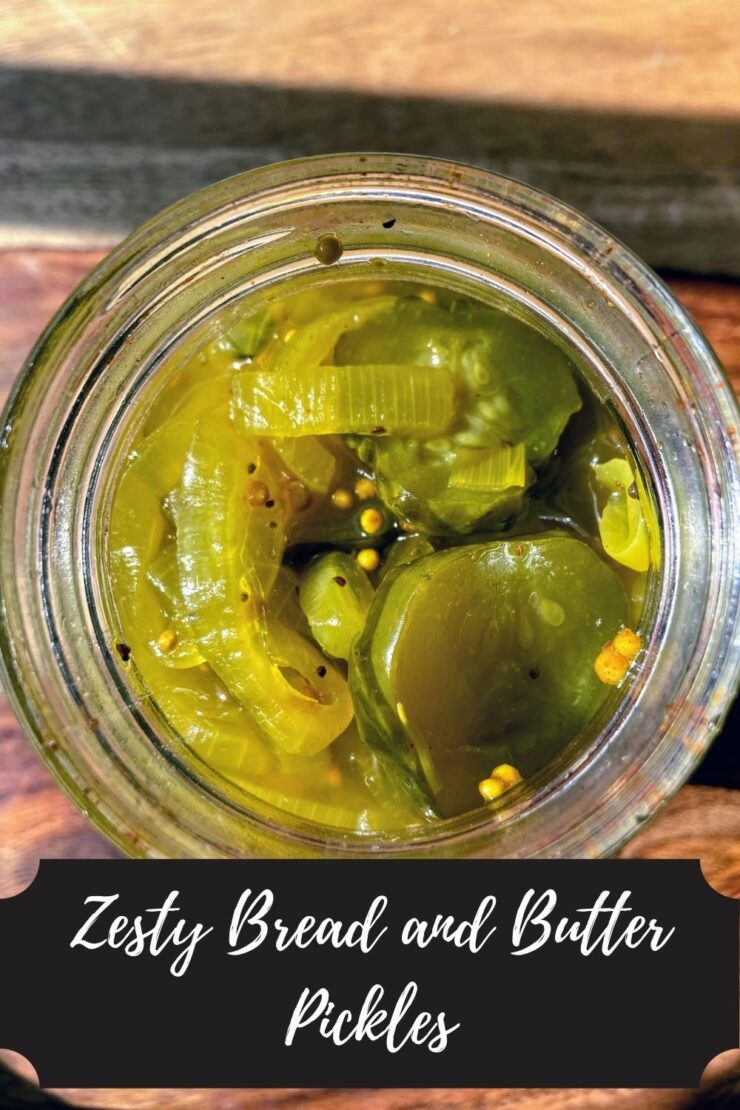
Zesty Bread and Butter Pickles

What’s going on in the Jess’s kitchen lately? Let me tell you, so much processing and canning of vegetables from the garden. Most recently, we have had a bumper crop of cucumbers. I have been embracing serving them fresh from the garden, but we can’t quite keep up with them still. When that happens, I love to create some pickles; this week, it was bread and butter pickles that were to die for!

Until recently, I would have scoffed at bread and butter pickles. Pickles should be full of dill and garlic, and that’s it. At least that’s the way I used to feel. I’m not certain what turned me on to bread and butter (maybe a trip to the farmer’s market?), but once I had them, I was hooked. I love the combination of all the spices that mix to make a sweet pickle with a kick. 

A transition, covid style.

However, I had never done them truly by scratch. I had always purchased Mrs. Wage’s Zesty Bread and Butter mix. Family and friends raved about them and the Mrs. Wage’s mixes are a cinch to through together so I stuck with them. 

Then COVID hit and I especially loved the challenge of cooking with the items I had on hand. It just so happens that I had all the spices needed to make “from scratch” bread and butter pickles from the Ball canning book, so I had to give it a try. The results? Spectacular. I could eat these pickles all day and they truly are a special treat you might not know you love…yet. And lucky for you, I am going to share the recipe below 🙂 Give it a try! 

Your Ingredients

  • 4 pounds pickling cucumbers
  • 2 pounds onions
  • ⅓ cup pickling salt 
  • Ice cubes
  • 3 cups vinegar, 5% acidity
  • 2 cups white sugar 
  • 2 tablespoons whole mustard seed 
  • 1 teaspoon turmeric 
  • 2 teaspoons celery seed
  • 1 teaspoon black peppercorns
  • 1 teaspoon ground ginger 

Your Utensils

  • Water bath canner with rack and lid
  • Eight pint jars with lids and rings (wide or narrow mouth)
  • Large, non reactive kettle to cook the cucumbers and onions in the pickling brine

Before you begin…

If you’re new to canning, be sure to check out Ball’s Book of Canning or The National Center for Home Food Preservation for more detailed information. I will give you the low down, but it will be short and sweet. You will want to read up more, I promise 🙂

Let’s Get Canning! 

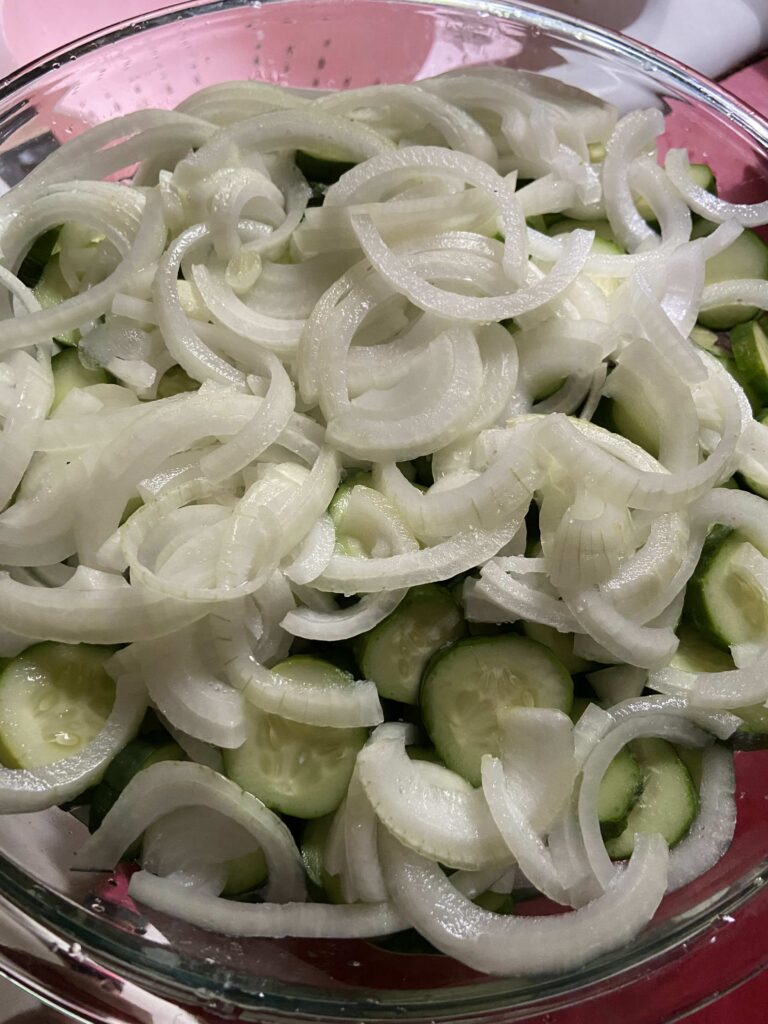
To begin, trim both ends of cucumbers. As you are doing so, slice into ¼ inch slices. In addition, slice the onions into thin slices. Layer ⅓ of the cucumbers and onions in a large bowl. Cover with ⅓ of the canning salt. Repeat two more times. Top the final layer with ice cubes. Allow the bowl to sit for 1 ½ hours. 

After approximately one hour, begin to prepare jars, lids, and rings by washing and keeping warm. I generally set the jars in the rack of canner and have it rest above the water.  Begin heating the water bath canner (make sure water will be at least one inch above jars once submerged). It is better to have too much water than too little. 

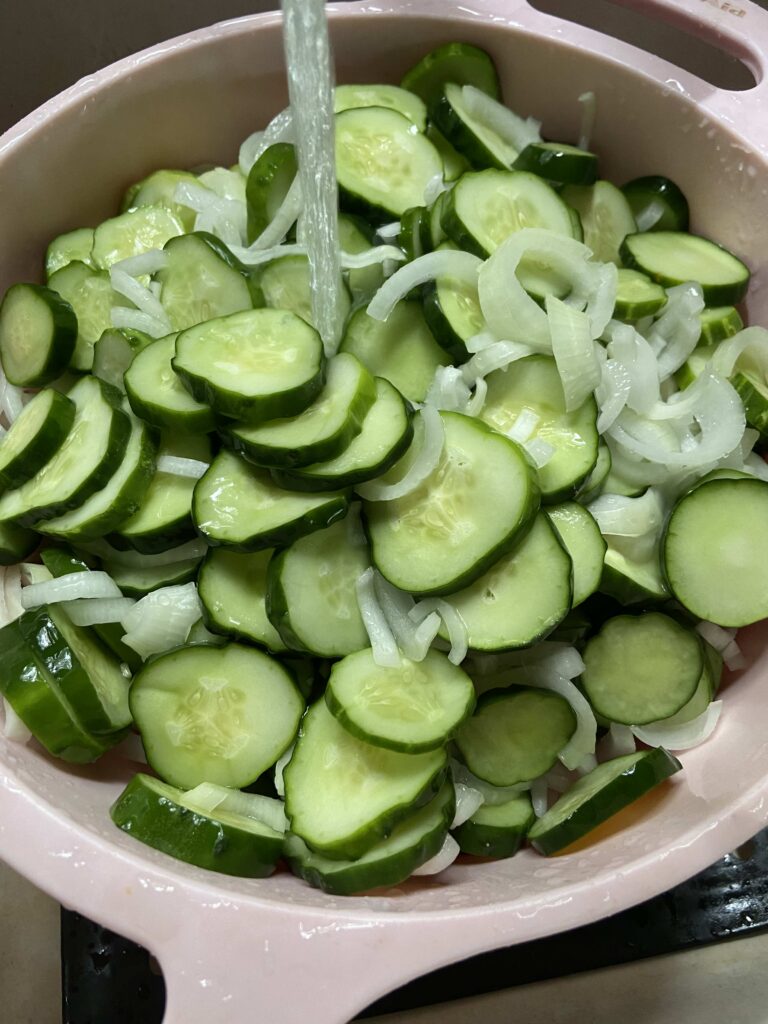
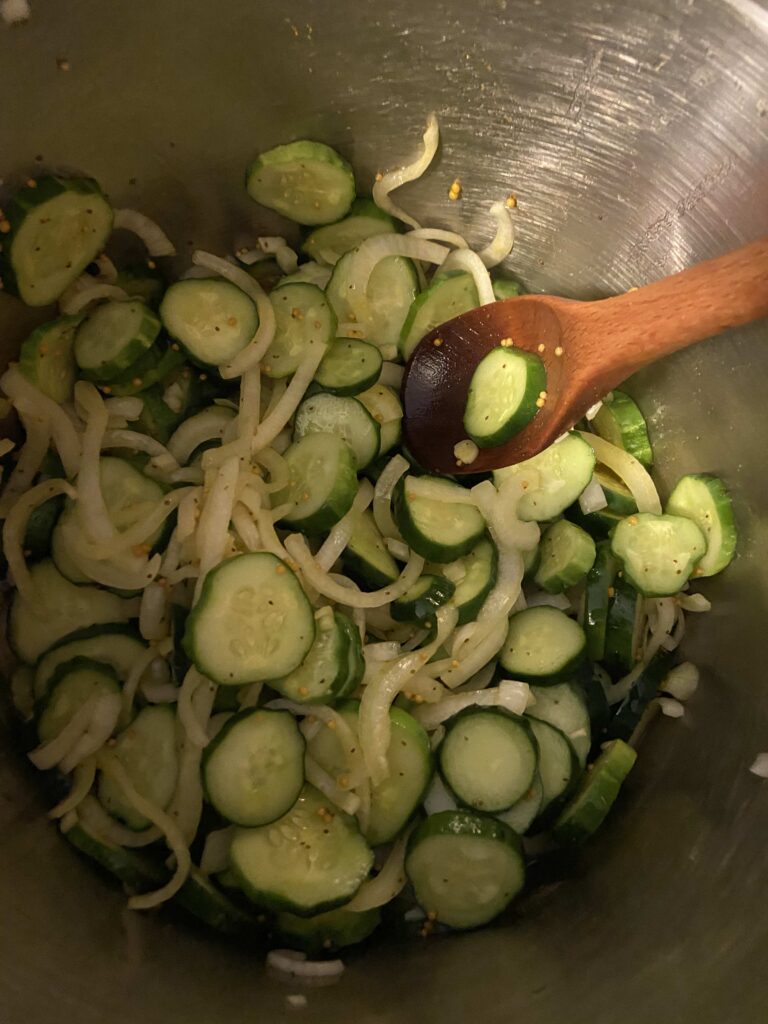
After the cucumbers and onions have rested, rinse with cold water and allow to drain. Combine vinegar, sugar, and spices in a large non-reactive kettle. Heat over a medium heat, slowly reaching a boil. Add drained pickles and onions. Cook until the liquid returns to a boil. Remove from heat. 

Time to finish it up !

Ladle cucumbers, onions, and liquid into hot jars, leaving ½ inch headspace. Be sure to equally distribute the pickling brine into each jar. Wipe jar rim with a damp, clean cloth. Put lids and rings on, tightening to finger tip tight. Lower into canner, raising heat and bringing to a rolling boil. Process for 15 min, adjusting for altitude (if over 1000 feet). Remove the canner from heat, and allow jars to rest 5 min. Remove from canner and allow to cool at least 12 hours before storing jars. Any jars that do not seal can go straight into the refrigerator for you to enjoy in the next few weeks.

There is no need to tighten rings. In fact, it is recommended they are removed entirely while storing. I have had enough pickles to fill anywhere from seven to eight pint jars. If you have extra, you can store them in a container with a lid and stick them right in the fridge!

Tools of the Trade

While you can truly can with any deep kettle and rack to keep the jars off the bottom of the canner, it is definitely easier if you invest in a few of the tools listed below!

Looking for more ways to savor summer in a jar? Check out the page below:

Zesty Bread and Butter Pickles

A sweeter pickle with an extra kick of spice to make your taste buds dance!
5 from 1 vote
Prep Time 40 minutes
Cook Time 15 minutes
Resting Time 1 hour 30 minutes
Course Side Dish
Cuisine Canning
Servings 12

Equipment

Ingredients
  

  • 4 pounds pickling cucumbers
  • 2 pounds onions
  • cup pickling salt
  • Ice cubes
  • 3 cups vinegar 5% acidity
  • 2 cups white sugar
  • 2 tablespoons mustard seed
  • 1 teaspoon turmeric
  • 2 teaspoons celery seed
  • 1 teaspoon black peppercorns
  • 1 teaspoon ground ginger

Instructions
 

  • Trim both ends of cucumbers and slice into ¼ inch slices. Slice the onions into thin slices.
  • Layer ⅓ of the cucumbers and onions in a large bowl. Cover with ⅓ of the canning salt. Repeat two more times.
  • Top the final layer with ice cubes. Allow the bowl to sit for 1 ½ hours.
  • After approximately one hour, begin to prepare jars, lids, and rings by washing and keeping warm. Begin heating the water bath canner over medium high heat.
  • After the cucumbers and onions have rested, rinse with cold water and allow to drain.
  • Combine vinegar, sugar, and spices in a large non-reactive kettle.
  • Heat over a medium heat, slowly reaching a boil. Add drained pickles and onions.
  • Cook until the liquid returns to a boil. Remove from heat.
  • Ladle cucumbers, onions, and liquid into hot jars, leaving ½ inch headspace. (Be sure to equally distribute the pickling brine into each jar.)
  • Wipe jar rim with a damp, clean cloth. Put lids and rings on, tightening to fingertip tight.
  • Lower into canner, raising heat and bringing to a rolling boil.
  • Process for 15 min, adjusting for altitude (if over 1000 feet).
  • Remove the canner from heat, and allow jars to rest 5 min. Remove from the canner and allow to cool at least 12 hours before storing jars.
Keyword bread and butter pickles, Canning, from the garden, pickles, preserving
Tried this recipe?Let us know how it was!

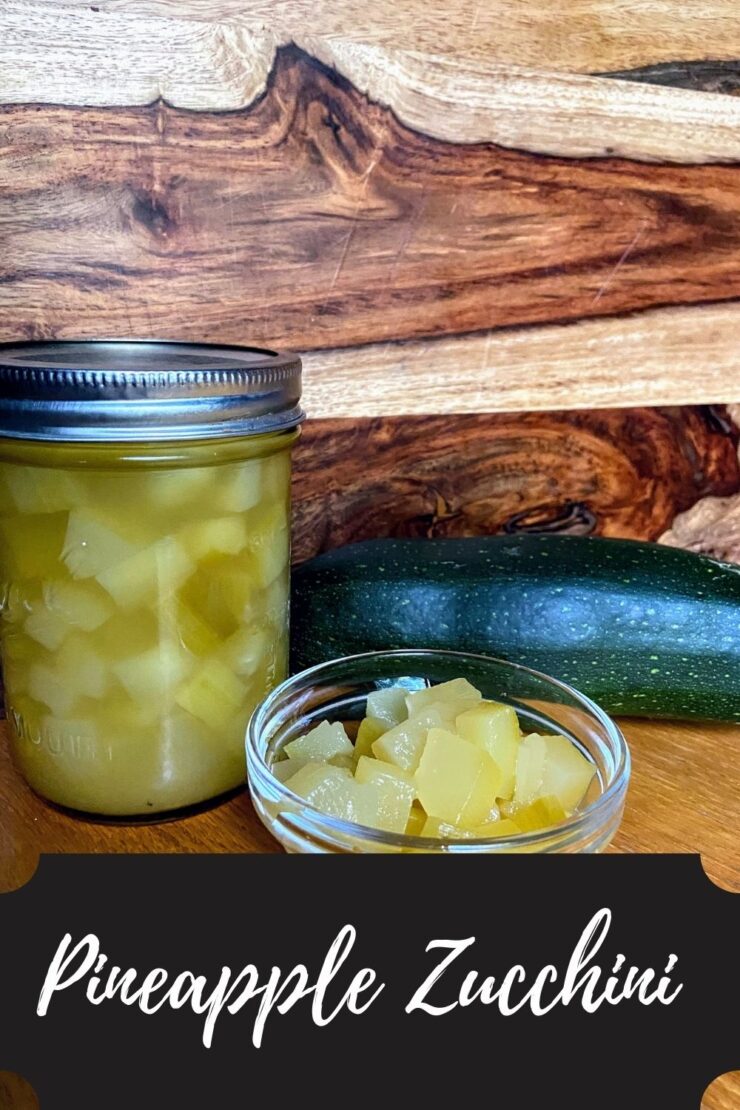
Pineapple Zucchini

Everyone who plants zucchini over plants zucchini. And because of this, pineapple zucchini is a recipe everyone needs in their back pocket as they harvest their bounty from the garden. 

Recently, I was visiting my mom and dad. I was out in the garden, helping my mother harvest her blueberries, beans, and other various vegetables. It’s funny, growing up I thought a few things: 

  1. Gardening was awful. I dreaded planting and harvesting. In particular, I hated cleaning the spinach and lettuce. However, it was always what my mom asked us to do for Mother’s Day: simply help her plant the garden. 
  2. My mom’s garden was HUGE! I couldn’t believe she would have such a big garden. 

As an adult, I adore gardening. It is one of my favorite things and as the snow melts, I just itch to get in the soil and get dirt under my nails. I also have a garden that is approximately seven times the size of my mom’s. The way perspective changes as you grow older and wiser makes me giggle. 

Now, why am I sharing this?

Well, I do love my mom and this is a fun little memory. I also share because she has this small little garden. Because of this, she chooses not to grow zucchini. However, she will tell you it’s because if you have any sort of friend who grows zucchini, you will be gifted with zucchini after zucchini after zucchini. I mean, the plants are prolific, aren’t they? 

Prolific zucchini plants are what lead me to pineapple zucchini. One particular year, we had a bumper crop of zucchini that often had “hidden zucchini.” You know, those zucchini (and cucumbers!) that you just don’t see under the leaves of the plant until they have grown past twice the size of ideal harvesting. I needed to do something with them. Fortunately, women in my canning group turned me on to the idea of pineapple zucchini.

What is it, you ask? 

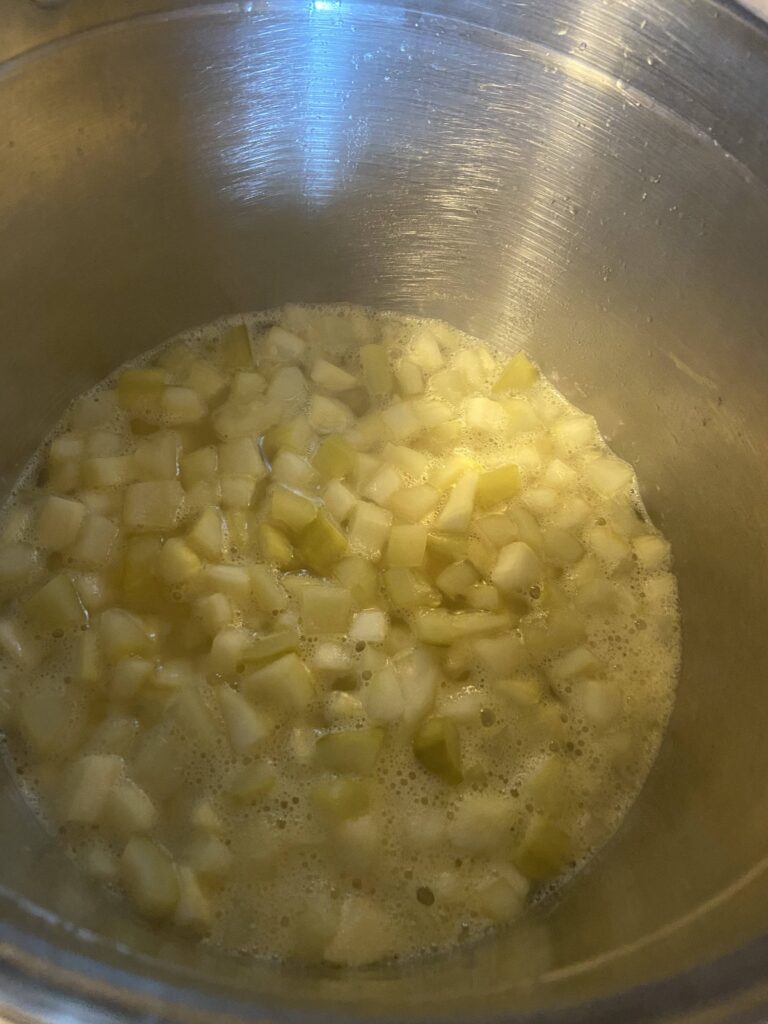
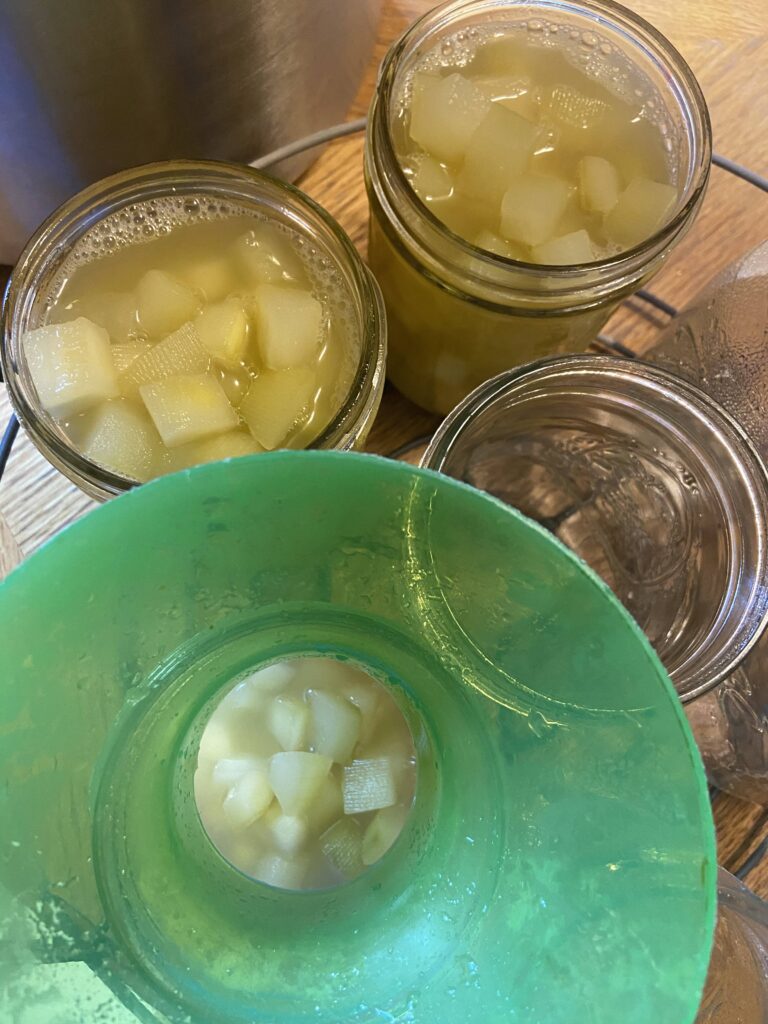
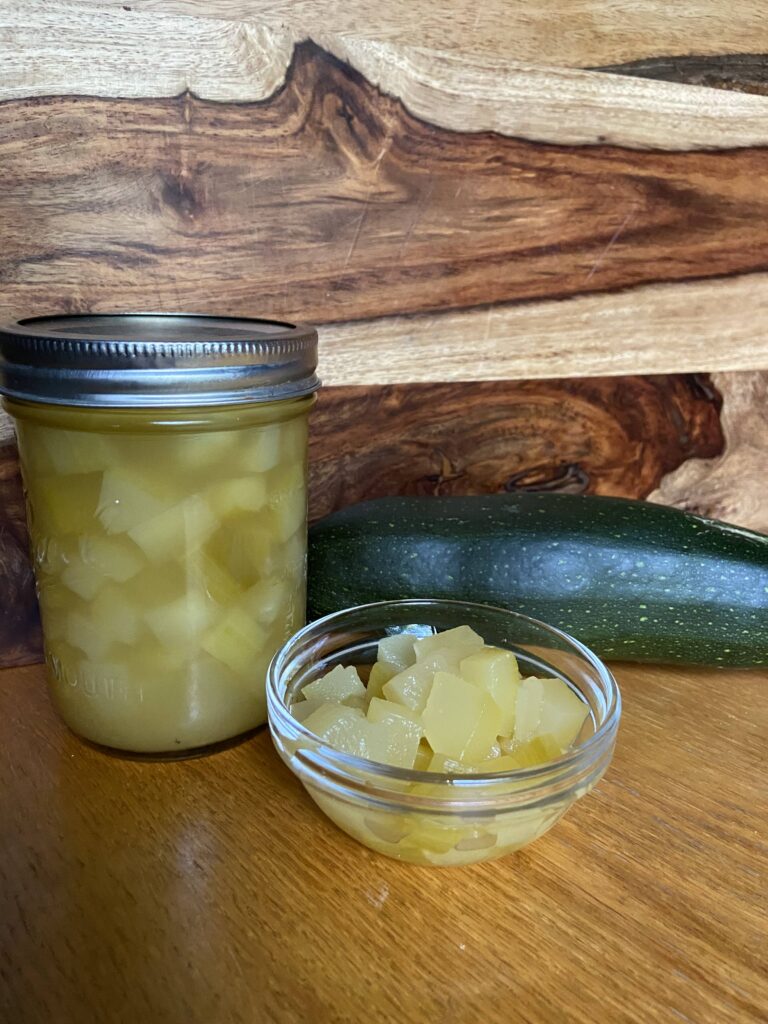
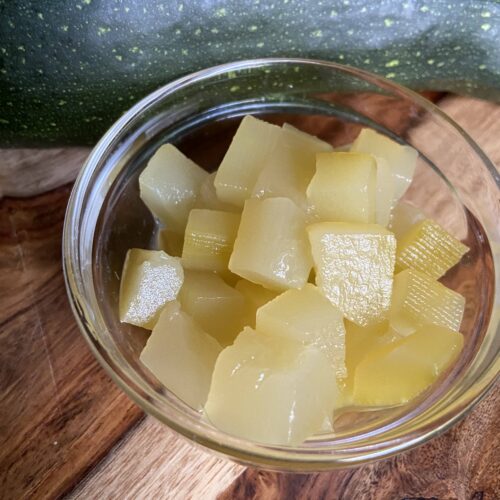
Well, it’s a water bath canned diced zucchini that takes on the flavor of pineapple with the texture of a pear. I have relatives on both sides of the family that special request the recipe. It makes for a fun addition to the breakfast table and can be used anywhere pineapple pieces are used recipe wise. If you have a lot of zucchini on your hands, I highly recommend you give it a try! 

New to canning? Check out the Ball’s Book of Canning or The National Center for Home Food Preservation for more detailed information. I will give you the low down, but it will be short and sweet. You will want to read up more, I promise 🙂

Your Ingredients

  • 16 cups cubed zucchini (be sure to peel and seed beforehand) 
  • 46 ounces canned unsweetened pineapple juice
  • 2 cups sugar 
  • 1 ½ cups bottled lemon juice 

Your Utensils 

  • Water bath canner with rack and lid
  • Eight pint jars with lids and rings (wide or narrow mouth)
  • Large, non reactive kettle to cook the zucchini in the liquids and sugar

steps To Pineapple Zucchini

If you have not done so already, prepare the zucchini. To do so, peel skin. Cut the zucchini in half and scrap out any seeds (this is especially important if you are using some of those “larger than life” zucchini that get away from you). Dice into ½ inch pieces and measure out 16 cups worth. 

Prepare jars, lids, and rings by washing and keeping warm. I generally set the jars in the rack of canner and have it rest above the water.  Begin heating the water bath canner (make sure water will be at least one inch above jars once submerged). It is better to have too much water than too little. 

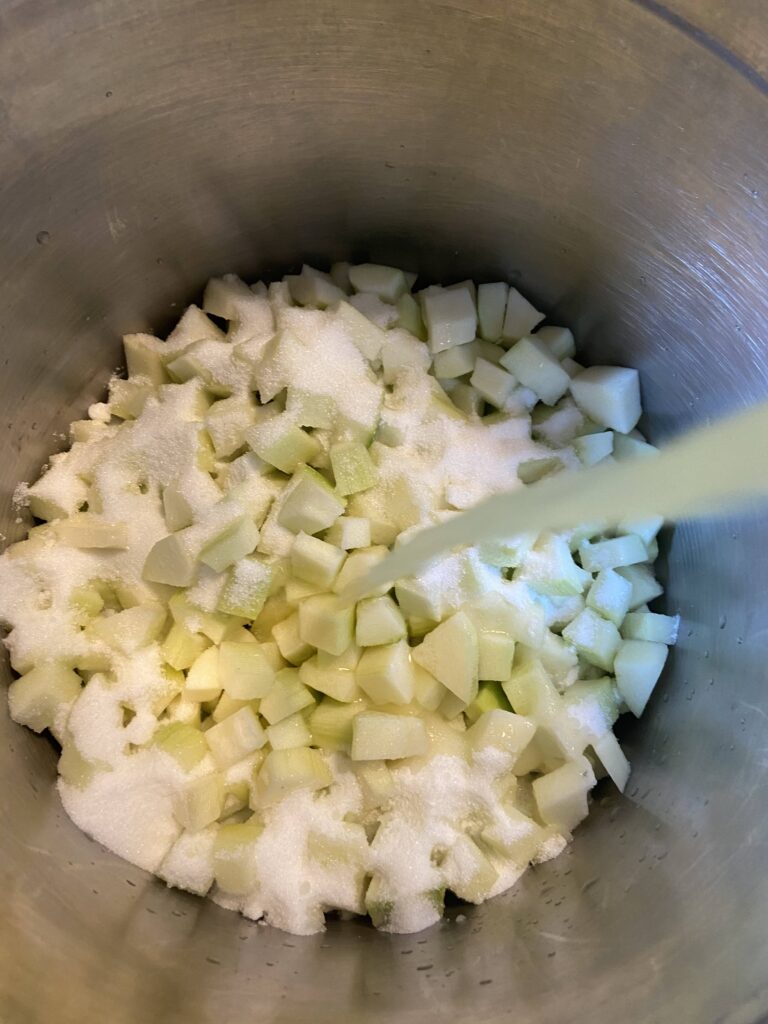
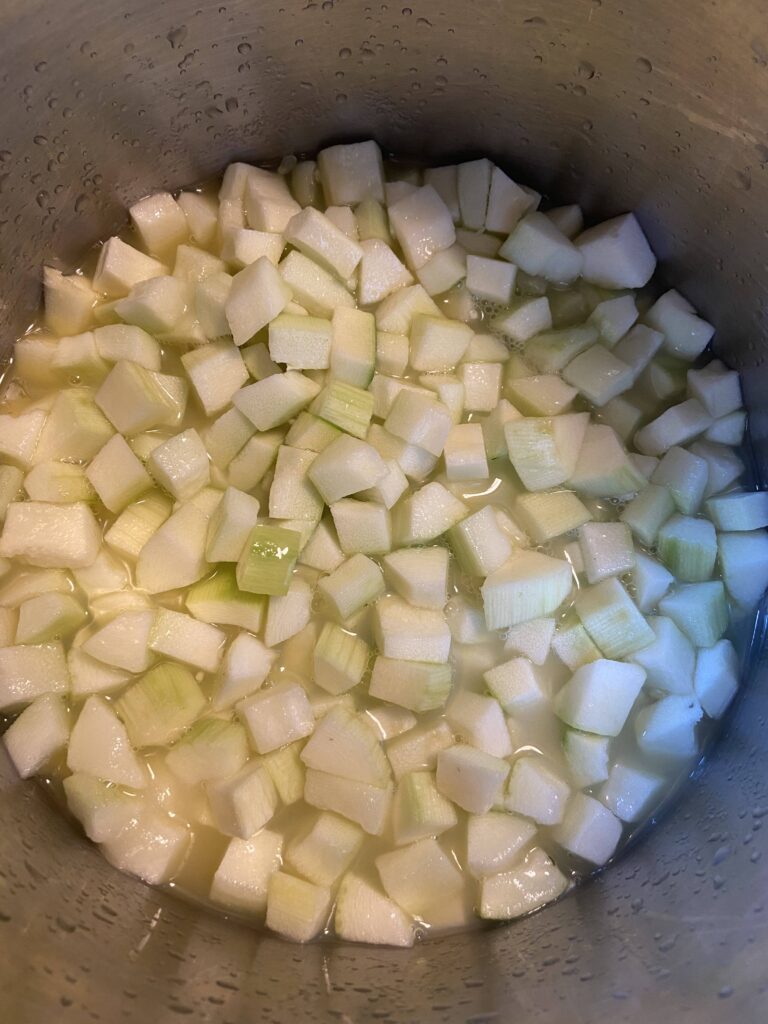
Meanwhile, combine the diced zucchini, sugar, lemon juice, and pineapple juice. Heat to a boil, stirring periodically. Lower to a simmer and cook for 20 minutes. Stir periodically to prevent sticking. 

Ladle zucchini and juice into hot jars, leaving ½ inch headspace. Wipe jar rim with a damp, clean cloth. Put lids and rings on, tightening to finger tip tight. Lower into canner, raising heat and bringing to a rolling boil. Process for 15 min, adjusting for altitude (if over 1000 feet). Remove the canner from heat, and allow jars to rest 5 min. Remove from canner and allow to cool at least 12 hours before storing jars. 
There is no need to tighten rings. In fact, it is recommended they are removed entirely while storing. Enjoy the unique flavor of pineapple zucchini.

A few notes

  • It’s okay if you are short on zucchini. Prepare as indicated, but know that you will fill less jars. It takes approximately 2 cups of zucchini to fill a jar.
  • Don’t toss out that left over liquid! My kiddos love to drink it.

Tools of the Trade

While you can truly can with any deep kettle and rack to keep the jars off the bottom of the canner, it is definitely easier if you invest in a few of the tools listed below!

Looking for more ways to savor summer in a jar? Check out the page below:

Pineapple Zucchini

An abundance of zucchini paired with pineapple juice result in a delicious home canned treat that tastes like pineapple but has the texture of a pear.

Equipment

Ingredients
  

  • 16 cups cubed zucchini be sure to peel and seed beforehand
  • 46 ounces canned unsweetened pineapple juice
  • 2 cups sugar
  • 1 ½ cups bottled lemon juice

Instructions
 

  • Prepare the zucchini. To do so, peel skin. Cut the zucchini in half and scrap out any seeds.
  • Dice into ½ inch pieces and measure out 16 cups worth.
  • Prepare jars, lids, and rings by washing and keeping warm. Begin heating the water bath canner over medium heat.
  • Meanwhile, combine the diced zucchini, sugar, lemon juice, and pineapple juice. Heat to a boil, stirring periodically. Lower to a simmer and cook for 20 minutes. Stir periodically to prevent sticking.
  • Ladle zucchini and juice into hot jars, leaving ½ inch headspace.
  • Wipe jar rim with a damp, clean cloth.
  • Put lids and rings on, tightening to finger tip tight. Lower into canner, raising heat and bringing to a rolling boil. Process for 15 min, adjusting for altitude (if over 1000 feet).
  • Remove the canner from heat, and allow jars to rest 5 min. Remove from canner and allow to cool at least 12 hours before storing jars.
Notes

If you are short on zucchini, that’s okay. Prepare as directed but prep for less jars. It will take approximately 2 cups of zucchini to fill a jar. 
Tried this recipe?Let us know how it was!

Looking for other Zucchini Treats?

Try some of my favorites below!

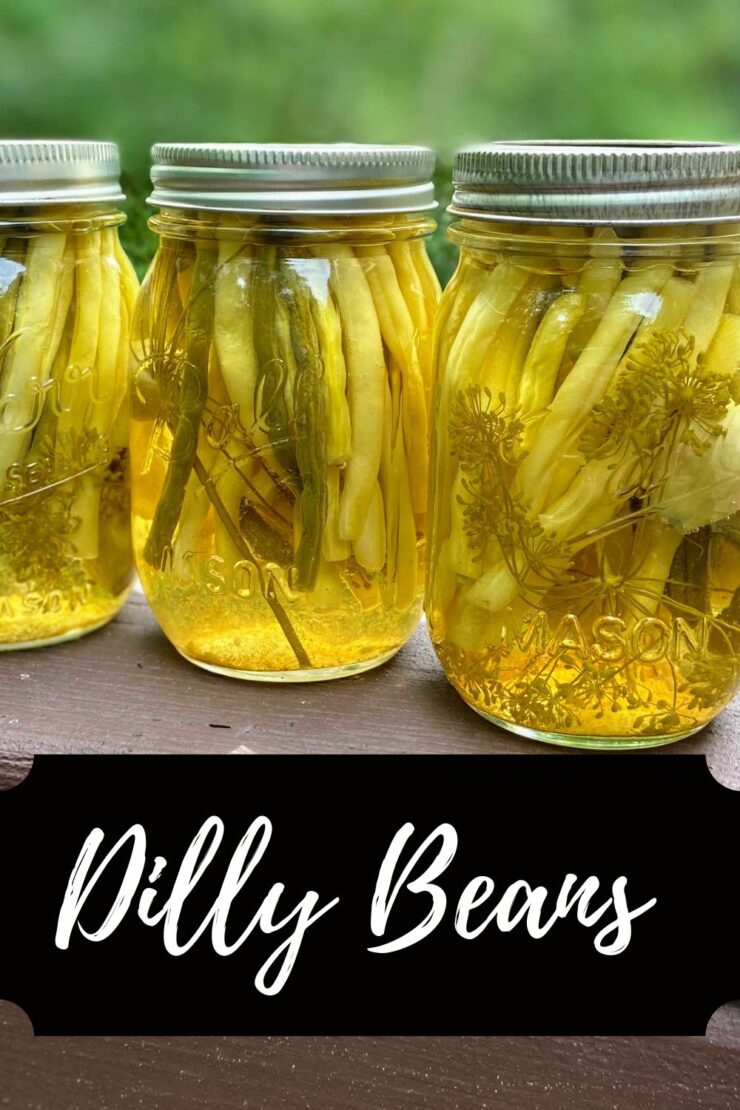
Dilly Beans

It’s pickling season! Okay, really, it’s gardening season which means it’s canning season around our house. But if it is canning season, you can bet some pickling is going to go down. One of my favorite things to pickle are dilly beans. 

We always plant two to three rows of beans. This results in enough to eat plenty raw, put some in the freezer, pressure can some for meals, and then when I am feeling ambitious, some for dilly beans. Never had a dilly bean? They are similar to a dill pickle, but have a little more kick (if you want it), and stay crisp longer. 

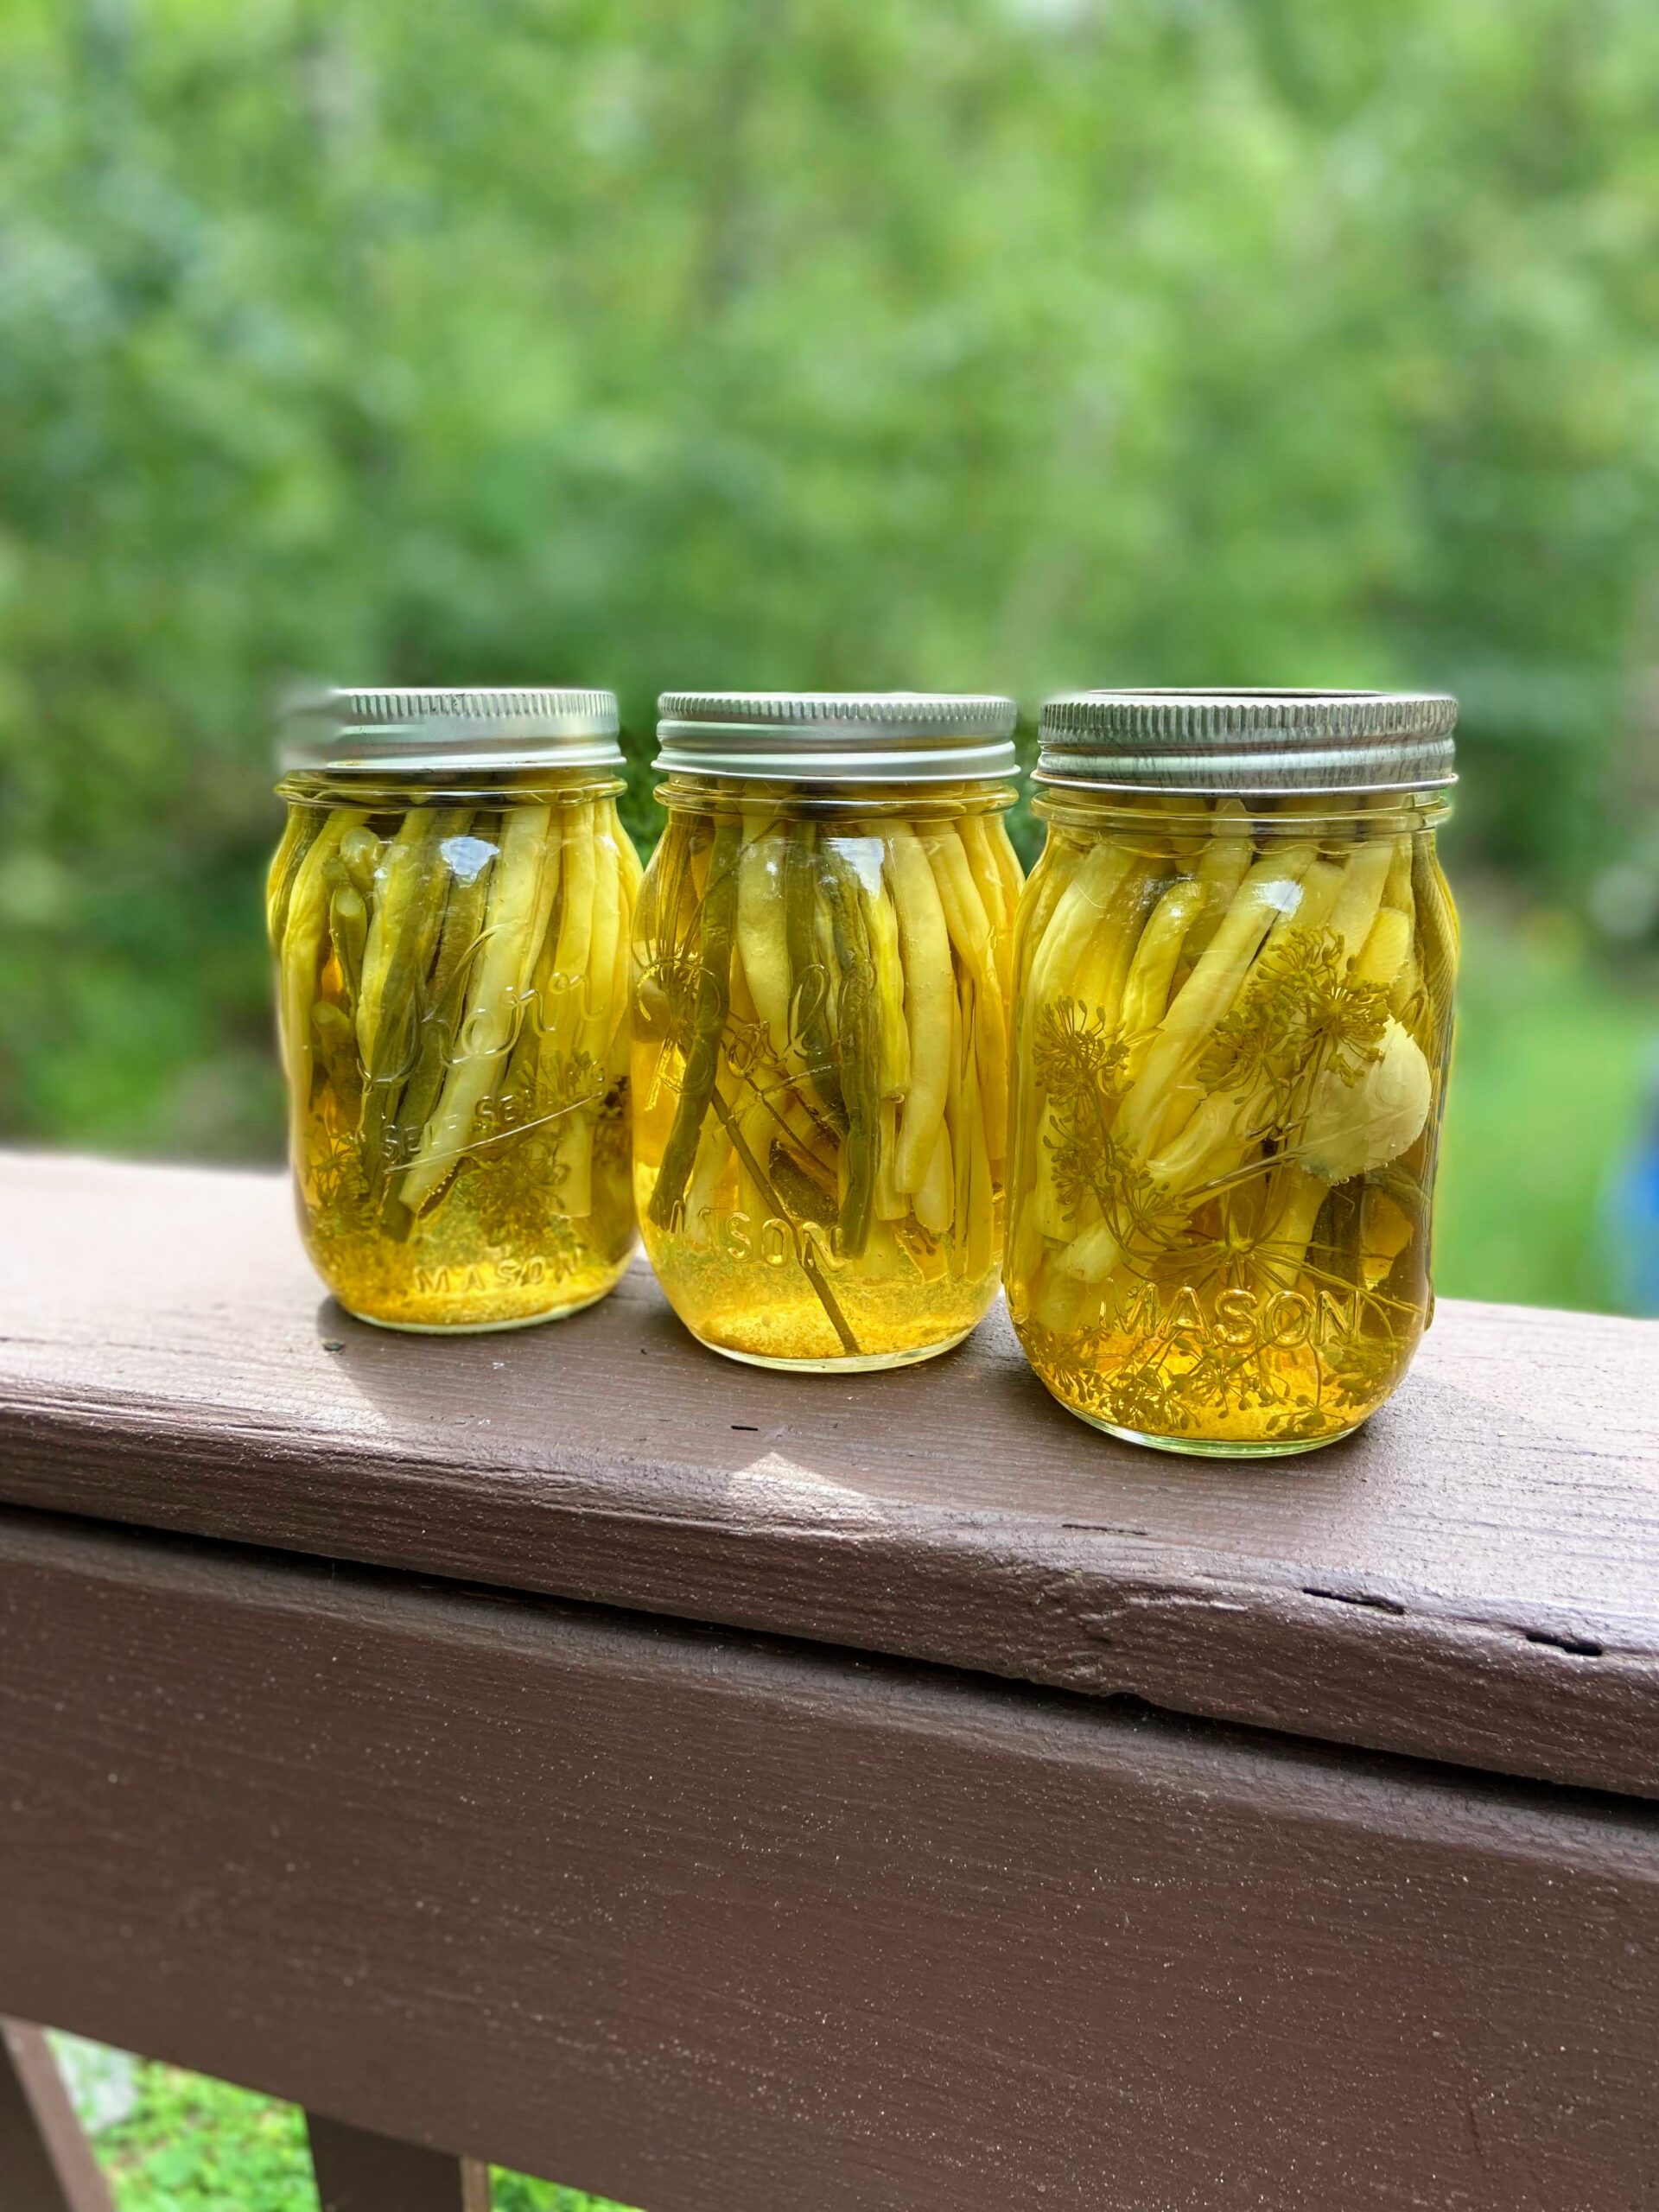
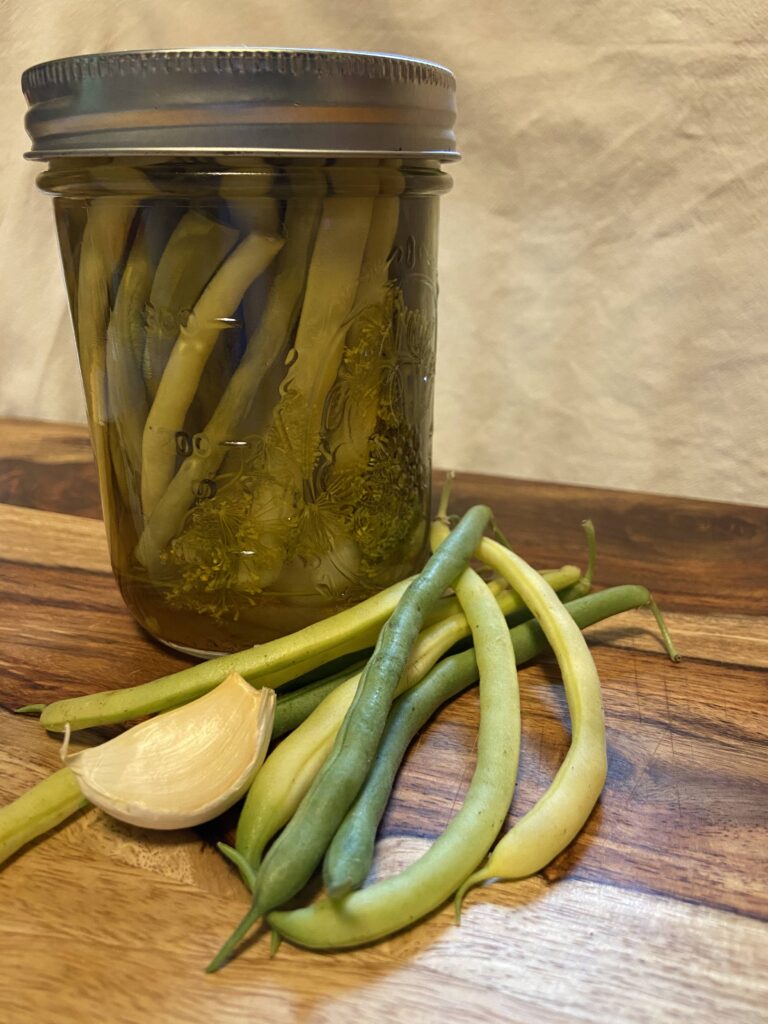
In our home, we eat them when we grill out or simply for a snack. The bonus treat is the pickled garlic clove at the bottom of the jar. My kids fight over it every time. I don’t love a Bloody Mary, but they are a great addition to a killer Bloody. 

Originally, this recipe came from the Ball Canning and Perserving Book, but like any good recipe, has been modified to suit our needs in our home. I hope you enjoy them as much as my family does!

New to canning? Check out the Ball’s Book of Canning or The National Center for Home Food Preservation for more detailed information. I will give you the low down, but it will be short and sweet. You will want to read up more, I promise 🙂 

Your Ingredients (per six pint jars) 

  • 2 ½ pounds green beans and/or yellow wax beans, washed and trimmed 
  • 4 cups vinegar
  • 4 cups water 
  • 6 tablespoons pickling salt 
  • ⅛ – ¼ teaspoon cayenne pepper, PER jar (to taste) 
  • 6 heads of dill 
  • 6-12 cloves of garlic (1-2 cloves per jar) 

The Utensils 

  • Water bath canner with rack and lid
  • Six pint jars with lids and rings (wide or narrow mouth)
  • Large, non reactive kettle for pickling liquid 

Your Preparation 

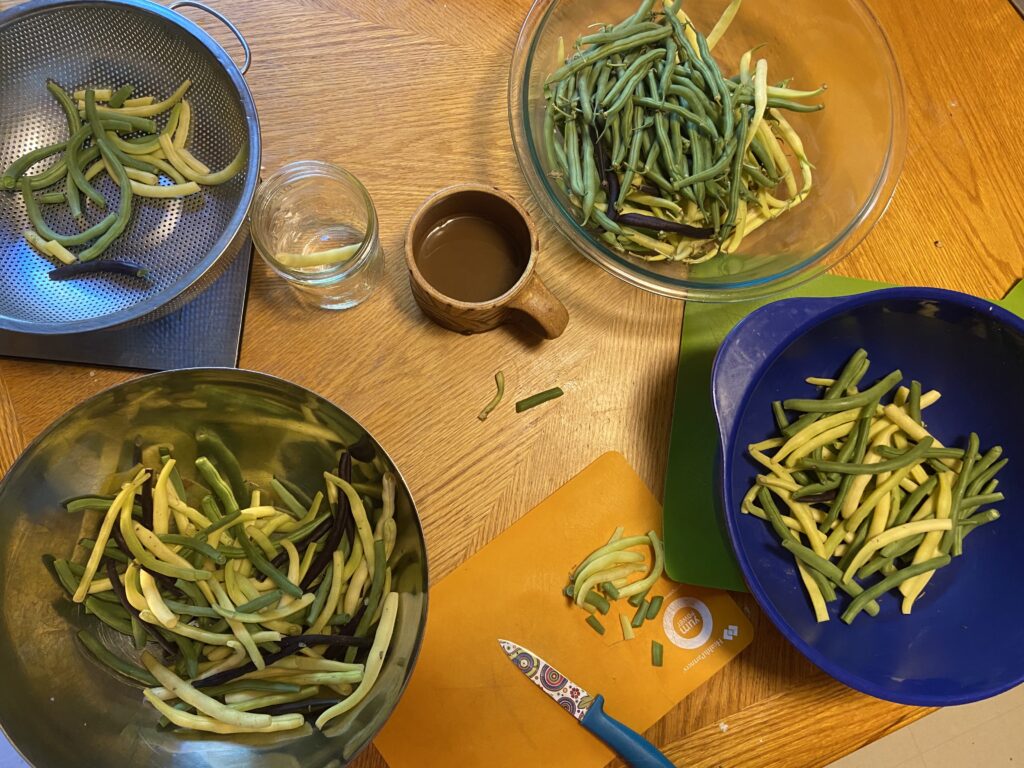
The prep: the most time consuming portion of this recipe. When you make regular pickles, you just slice and fill jars. However, dilly beans need to be cut to length. After a number of years of canning, the following method has worked the best for me. Trim one bean to length so that it will fit just under the rim of the jar, approximately 4 inches. Now you have two options: 

-Use this bean as your fondly called “measuring bean.” Measure the rest of the beans to that length, double checking from time to time because it’s easy to cut too long. 

-If you have a non-opaque cutting board (think thin, flexible boards), make a mark with a permanent marker on the bottom of the board. Use this line to cut your beans to length. This is my preferred method. 

Ultimately, you need to trim your beans so they will fit in your jar. Get there how you get there 🙂 

Additionally, peel the garlic cloves and have them prepared. 

Time to Can

Prepare jars, lids, and rings by washing and keeping warm. I generally set the jars in the rack of canner and have it rest above the water.  Begin heating the water bath canner (make sure water will be at least one inch above jars once submerged). It is better to have too much water than too little. 

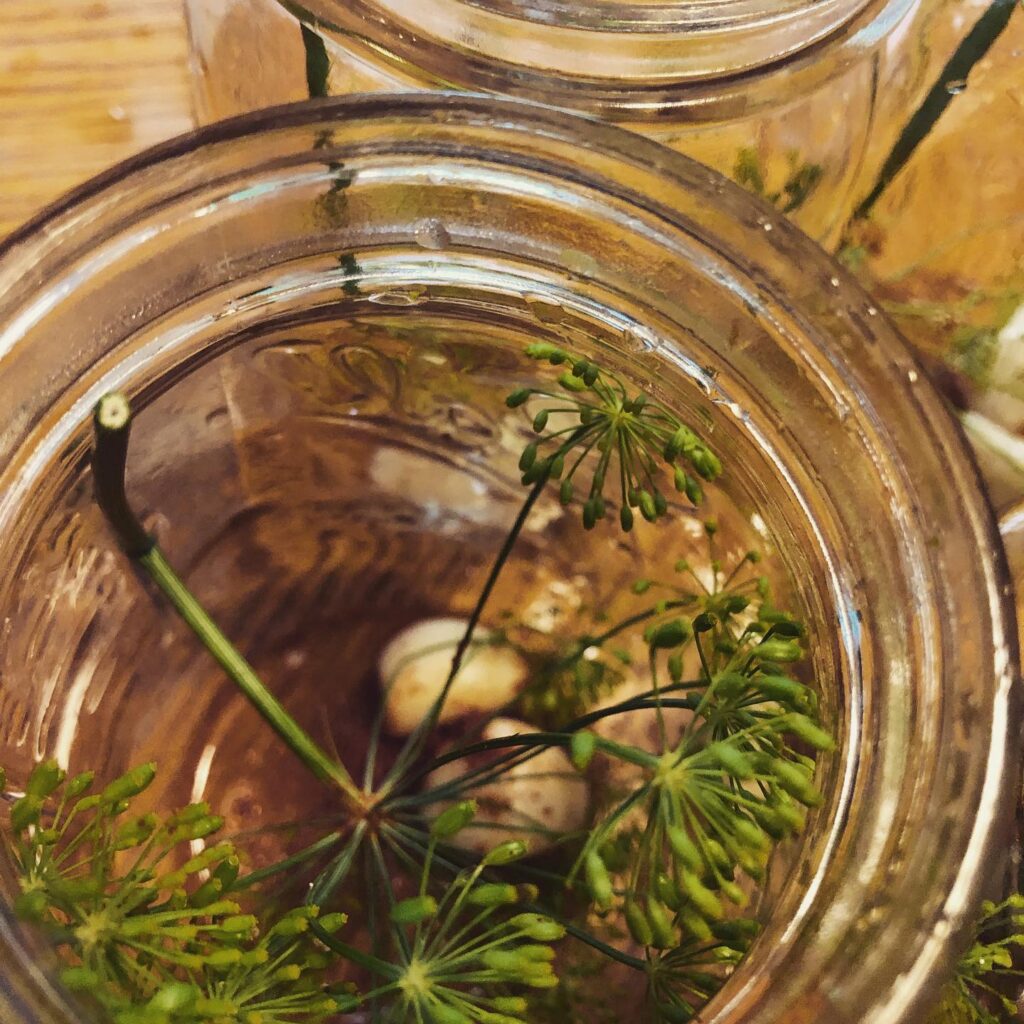
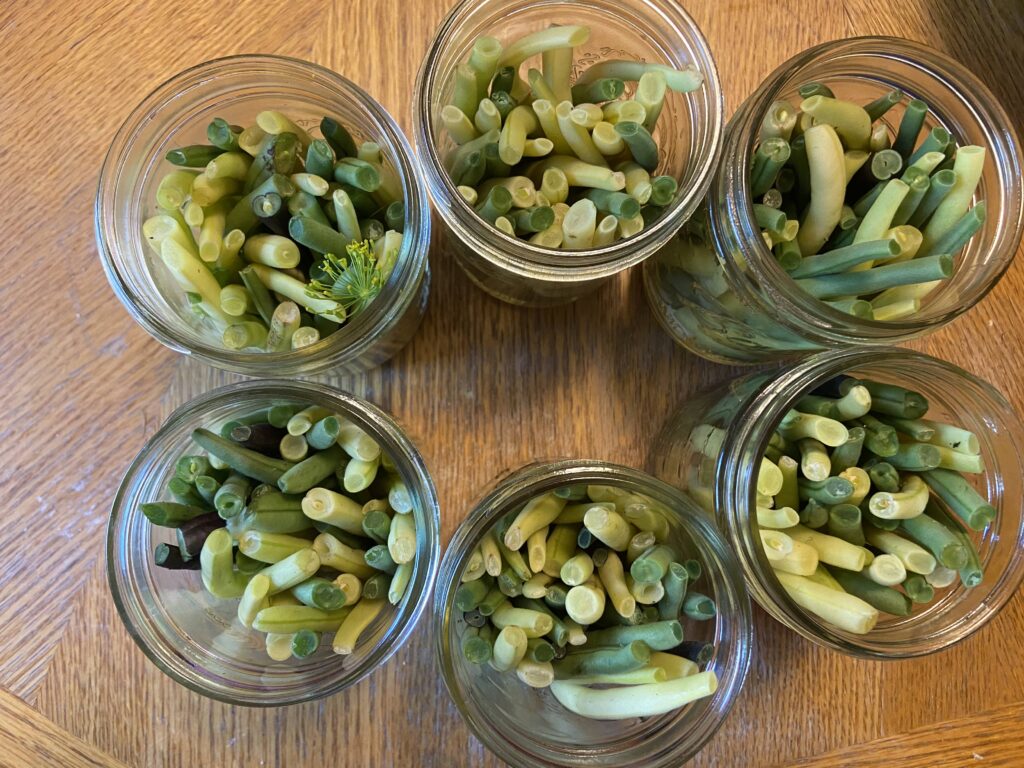
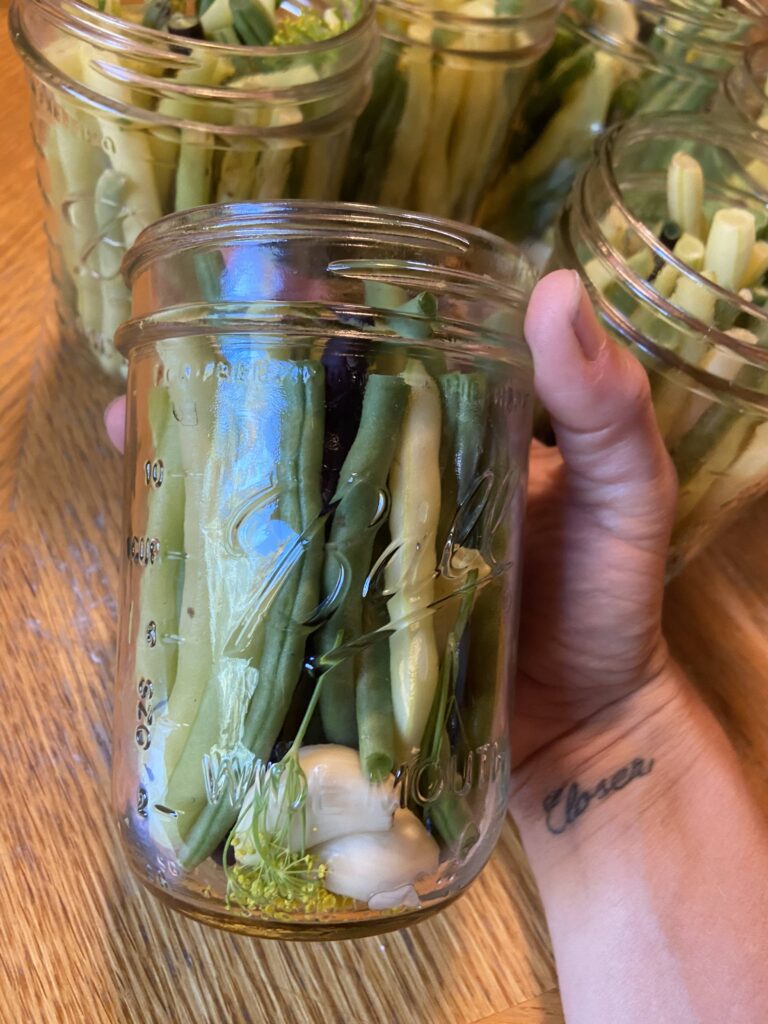
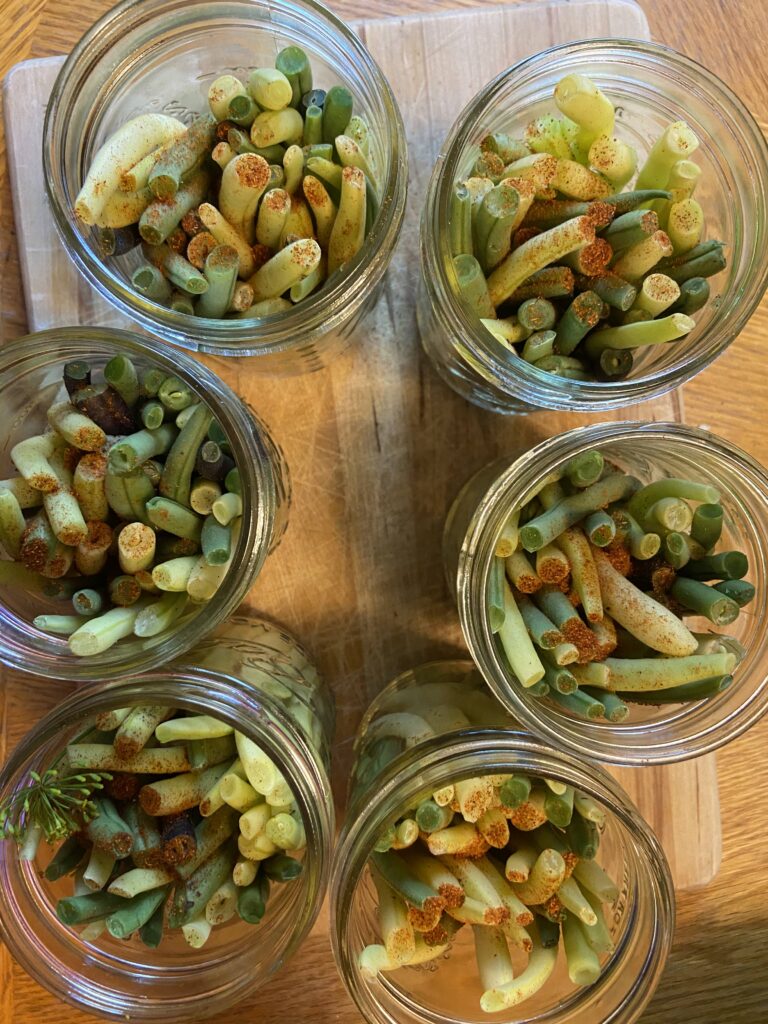
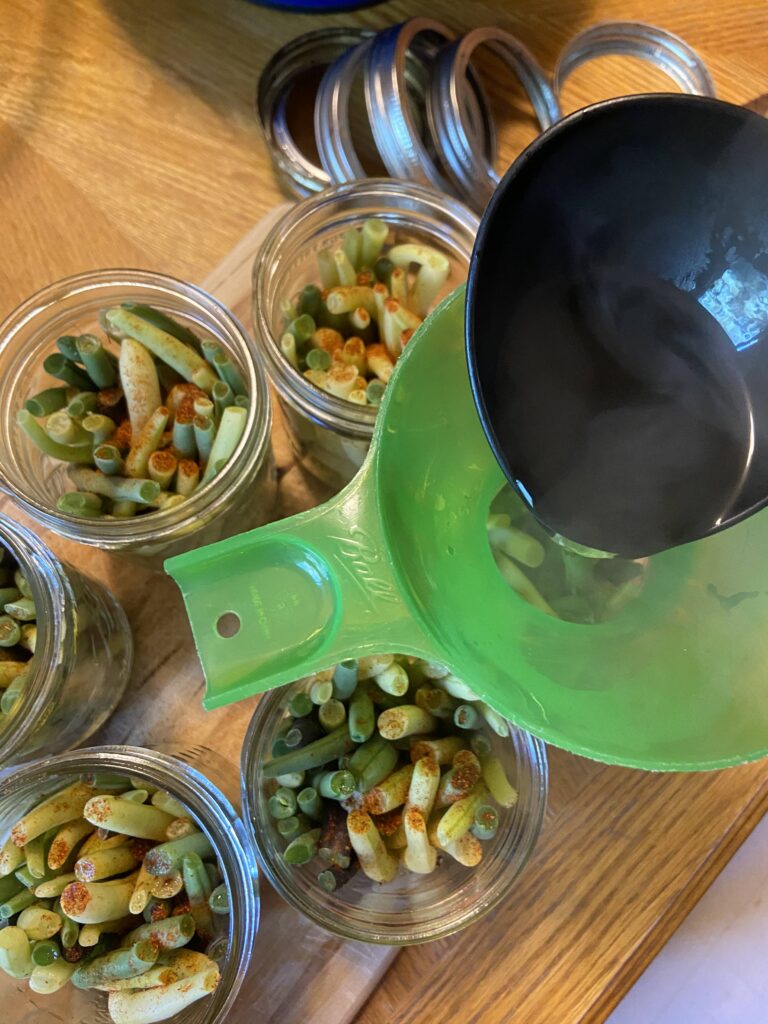
Fill each jar with one to two cloves of garlic, one head of dill, and 1/8-1/4 teaspoon cayenne pepper. Stuff jars with trimmed beans, keeping the beans below the top ring portion. This generally takes longer than I think it should, but not too terribly long. 

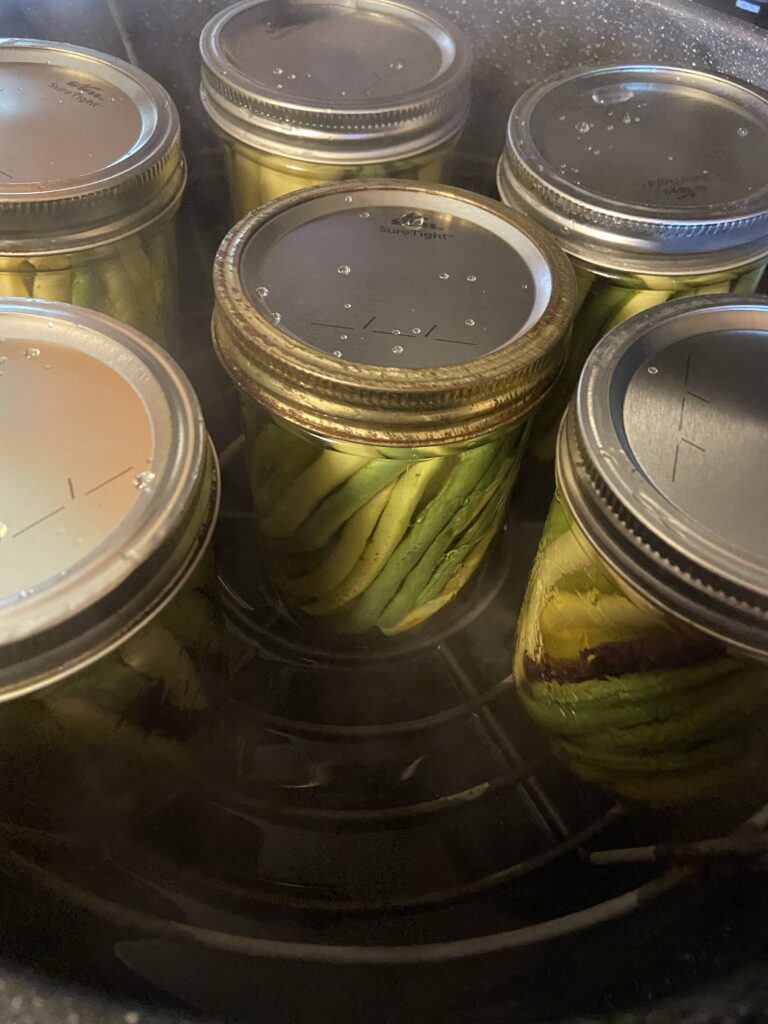
Meanwhile, bring salt, vinegar, and water to a boil reduce to a simmer until the jars are prepped.  Pour the pickling liquid over beans, wipe the top of the jar with a damp piece of paper towel. Put lids and rings on, tightening to finger tip tight. Lower into canner, raising heat and bringing to a rolling boil. Process for 10 min, adjusting for altitude (if over 1000 feet). Remove the canner from heat, and allow jars to rest 5 min. Remove from canner and allow to cool at least 12 hours before storing jars. 
There is no need to tighten rings. In fact, it is recommended they are removed entirely while storing. Enjoy! My kids say the best part is the garlic but those beans don’t last long either 😉 

Dilly Beans with Garlic

Whether you are simply a pickle lover or you really dig a good Bloody Mary, these dilly beans are for you! A little garlic and cayenne pepper add zip!
Prep Time 1 hour
Cook Time 15 minutes
Total Time 1 hour 15 minutes
Course Side Dish
Cuisine Canning
Servings 6 pint jars

Equipment

Ingredients
  

  • 2 ½ pounds green beans and/or yellow wax beans washed and trimmed
  • 4 cups vinegar
  • 4 cups water
  • 6 tablespoons pickling salt
  • ⅛ – ¼ teaspoon cayenne pepper PER jar (to taste)
  • 6 heads of dill
  • 6-12 cloves of garlic 1-2 cloves per jar

Instructions
 

  • To prepare, trim beans so that they will just fit under the rim of pint jars, approximately 4 inches long. Additionally, peel the garlic cloves and have them prepared for canning.
  • Prepare jars, lids, and rings by washing and keeping warm. Begin heating the water bath canner (make sure water will be at least one inch above jars once submerged).
  • Fill each jar with one to two cloves of garlic, one head of dill, and 1/8-1/4 teaspoon cayenne pepper. Stuff jars with trimmed beans, keeping the beans below the top ring portion.
  • Meanwhile, bring salt, vinegar, and water to a boil reduce to a simmer until the jars are prepped. Pour the pickling liquid over beans. Remove air bubbles.
  • Wipe the top of the jar with a damp piece of paper towel. Put lids and rings on, tightening to finger tip tight.
  • Lower into canner, raising heat and bringing to a rolling boil. Process for 10 min, adjusting for altitude (if over 1000 feet).
  • Remove the canner from heat, and allow jars to rest 5 min. Remove from canner and allow to cool at least 12 hours before storing jars.
Notes

  • Sealed jars are shelf-stable, meaning they can be stored on a shelf unrefrigerated. If your jars don’t ping (a sign that they have sealed), they are still good. Simply store them in the refrigerator.
  • Most sources recommend removing the rings from jars for storage so that you will know if they unseal for any reason. I generally just loosen them as much as I can without removing them.
Keyword Canning, Dilly Beans, Pickled Beans, Pickling, Waterbath Canning
Tried this recipe?Let us know how it was!

Looking for other canning and preserving recipes? Check out the page below!

Tools of the Trade

There are a handful of canning tools I can not live without. I love my water bath canner but also use my pressure canner as a water bath canner when I don’t want to use two different ones! You also need a set of canning tools to make the process so much easier!

Raspberry Jalapeño Jam

Before I get to the raspberry jalapeño jam recipe, I want to share a little of my history. For as long as I can remember, raspberries have been my very favorite fruit. When I was little, I would go with my dad to bait deer stands (very Wisconsin, right?) and I could eat wild raspberries to my heart’s content while I wasted time in the woods. I am certain part of my love started there. I always had the rule that you couldn’t eat them until you were done picking. If you started eating, it was just impossible to stop. 

Now that I am an adult with a larger than life raspberry patch, I still hold true to that rule. A few years ago, we had the biggest bumper crop we had ever had. First, I made regular jam. After that, I froze them straight. I made raspberry sorbet (Check out that recipe here!). I even made raspberry salsa. The salsa inspired me to try mixing jalapeños and raspberries in a different way. Raspberry jalapeño jam was born. If you have ever had pepper jelly, this has a similar spicy-sweet flavor. This is better, of course 😉 

How would you eat a raspberry jalapeño jam? It’s great spread on top of cream cheese (or the healthier cousin, Neufchatel) and served with wheat crackers. If you have never had this, oh my goodness, you need to give it a try! I like to put it on burgers, replacing barbecue sauce. It even goes well on a PB and J, believe it or not. It isn’t so much spicy as it simply has a depth to the flavor. Serious yum factor. 

Okay, enough talking. Let’s get canning and make this delicious treat! 

The Supplies 

This recipe will result in approximately eight 8 ounce jelly jars. You can use wide mouth or narrow mouth jars. Just be sure you have rings and lids for them and that they will all fit in your canner at once. 
You will need a water bath canner or large stock pot with a lid. The jars need to be off the bottom of the pot. A water bath canner will have a rack to use if you go that route. If you use a stock pot, I would invest in canning racks. Alternatively, you can also put a towel down in a pinch, but it is MESSY in terms of getting water everywhere.  

It is also helpful to have the tools in a canning kit like this, but it isn’t necessary. Canning would be crazy challenging without the jar funnel and jar tongs. The lid lifter is also very handy. 

New to canning? Check out the Ball’s Book of Canning or The National Center for Home Food Preservation for more detailed information. I will give you the low down, but it will be short and sweet. You will want to read up more, I promise 🙂 

Your Ingredients 

  • 6 ½ cups raspberries 
  • 5 cups sugar 
  • 2 jalapenos, finely chopped (between ¾-1 cup) 
  • 4 ½ tablespoons powder pectin (or one packet) 

Your Steps 

Prep Work

To begin, prepare your water bath canner. Be sure to fill the canner with enough water so that once the jars are in the canner, they will be covered by at least one inch of water. Too much water is better than not enough, but remember that some water will be displaced by the jars. Cover and begin to heat over a medium-high heat. 
Meanwhile, measure out the sugar. Set aside. You want to do this ahead of time because the process of canning is slow until it hits “go time” and then you need to be prepared. You will stir this in when you hit a rolling boil. 

It’s Cooking time

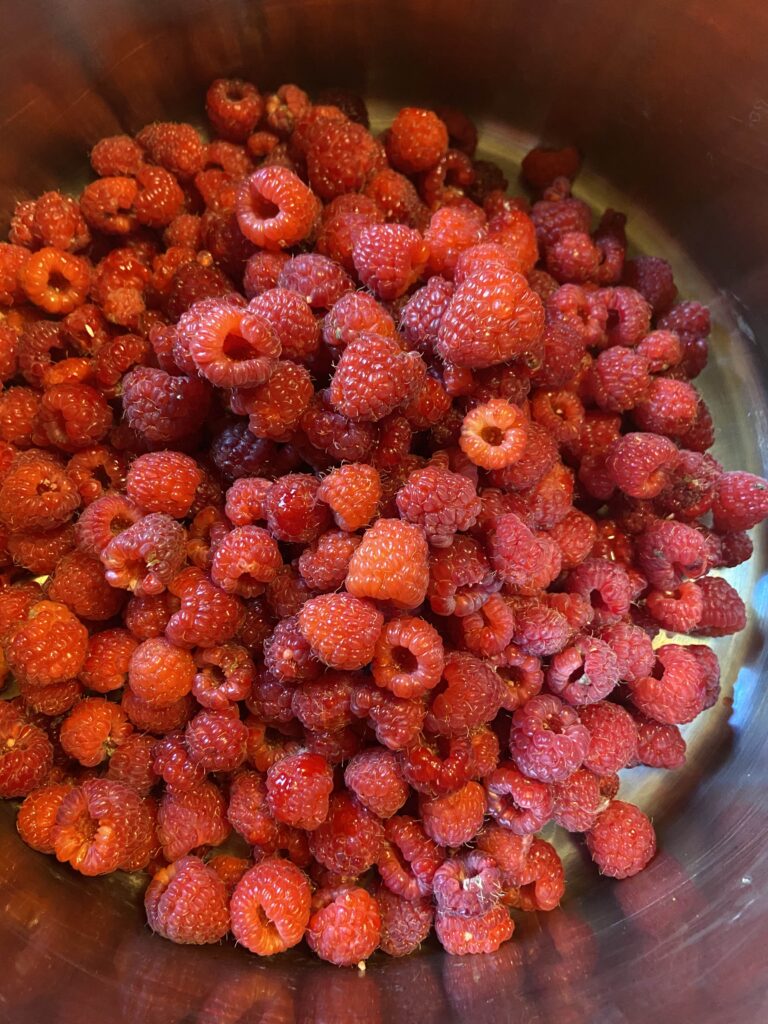
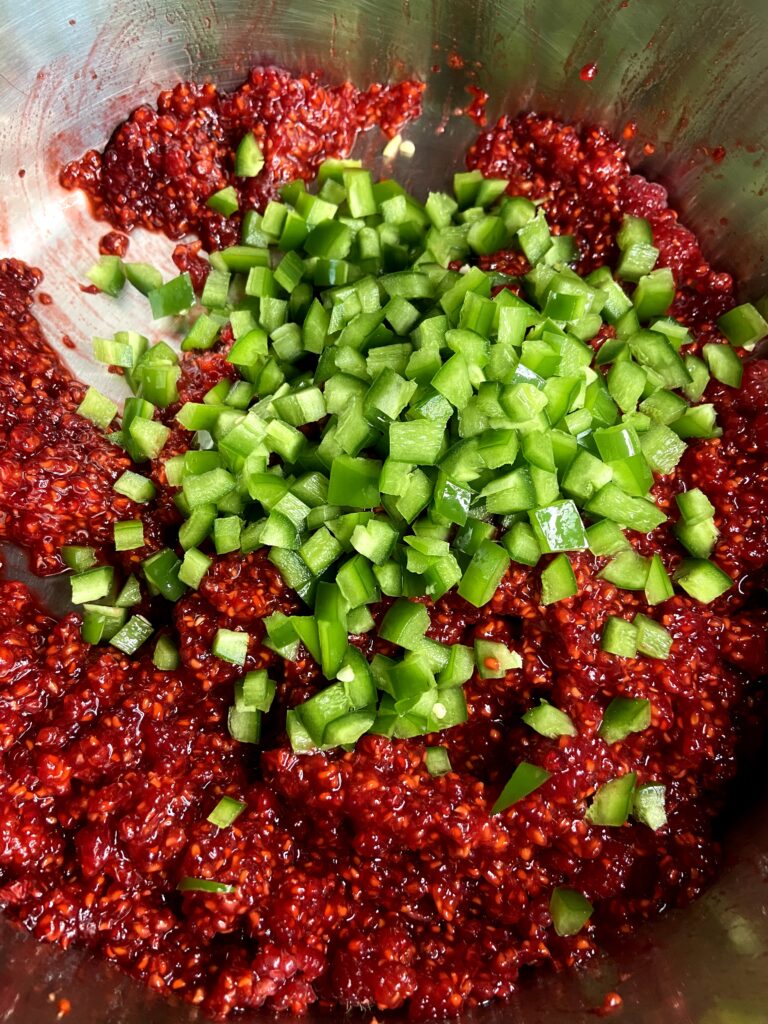
First, place the raspberries in a large, non reactive kettle. Crush them. I like to use a potato masher for this task. Stir in the jalapeños. Add ¼ teaspoon of butter, if desired. This will reduce the foaming. Sprinkle and stir in the pectin. Cook over high heat until a rolling boil is reached, stirring consistently. 

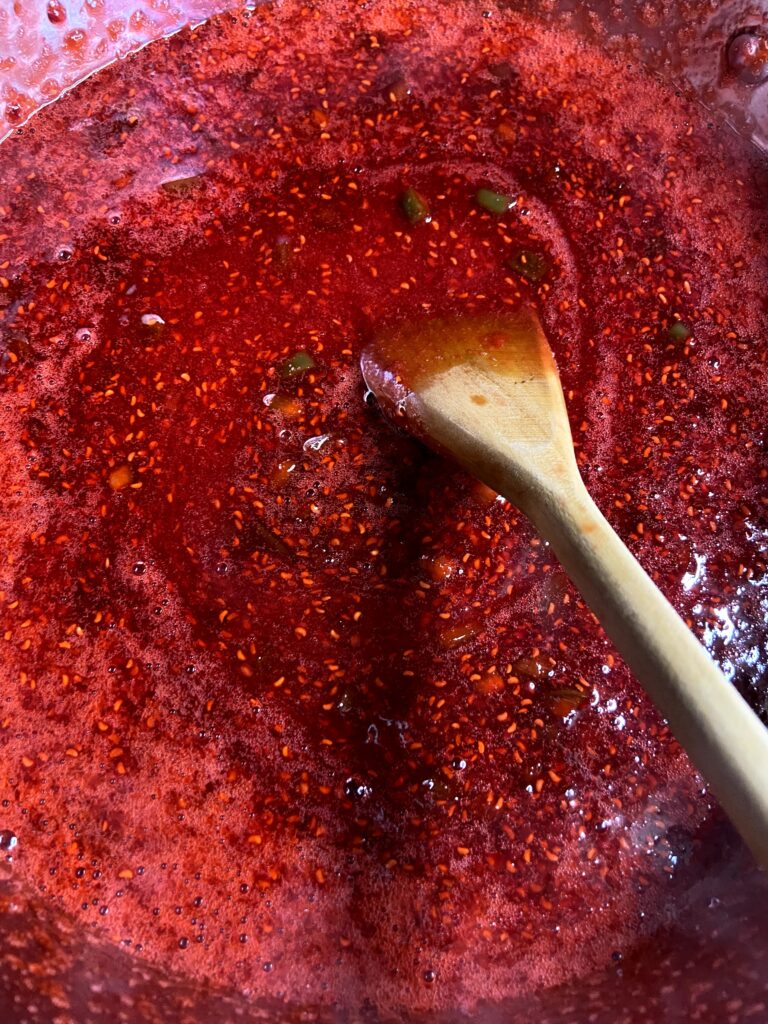
At this point, stir in sugar. You will want to do this slowly. If you pour it all in at once, you will likely get clumps. Continue to stir until you reach another rolling boil that can not be stirred down. (I try to rush this and think it rolling before it really is. Be better than me 🙂 ). Once a rolling boil is reached, cook for 1 minute, stirring constantly. 

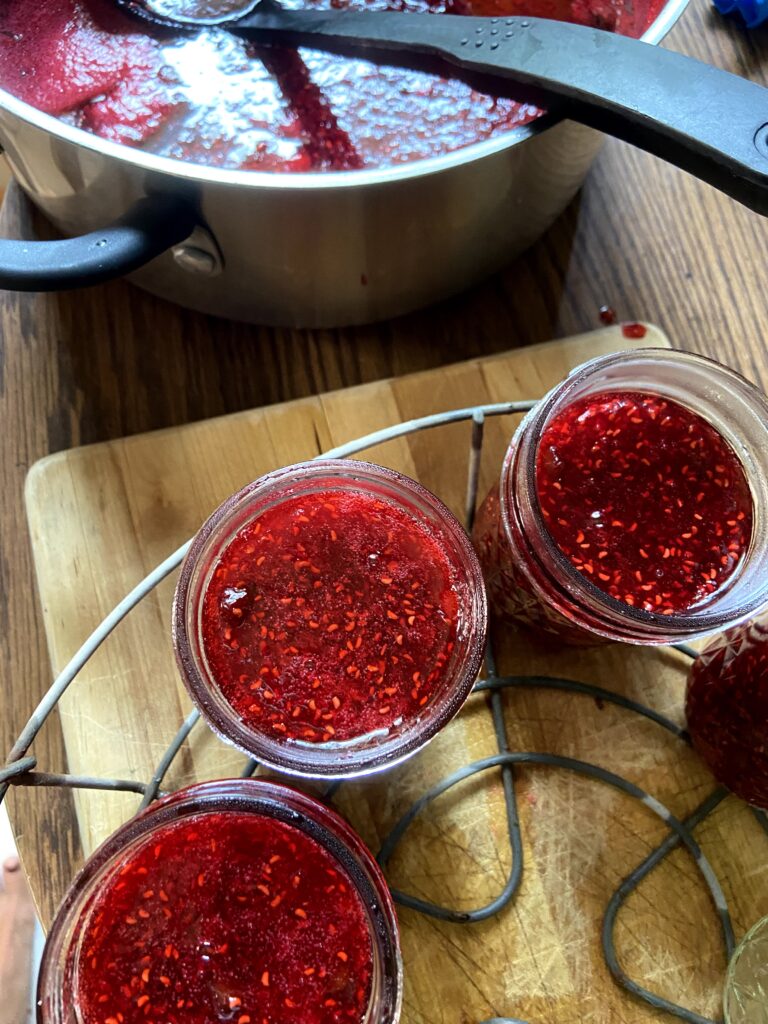
Finally, ladle jelly into prepared jelly jars, wipe the rims with a damp cloth, add lids, and tighten rings to fingertip tight. Put into the water bath canner and process for 10 minutes. Once the jelly is done processing, remove the canner from heat and let jars rest in the water for an additional 5 minutes. Finally, remove jars from the canner and allow to cool for 12-24 hours before moving. Listen for the ping of the lids (best part of canning…apart from the eating of the beautiful food you create). 

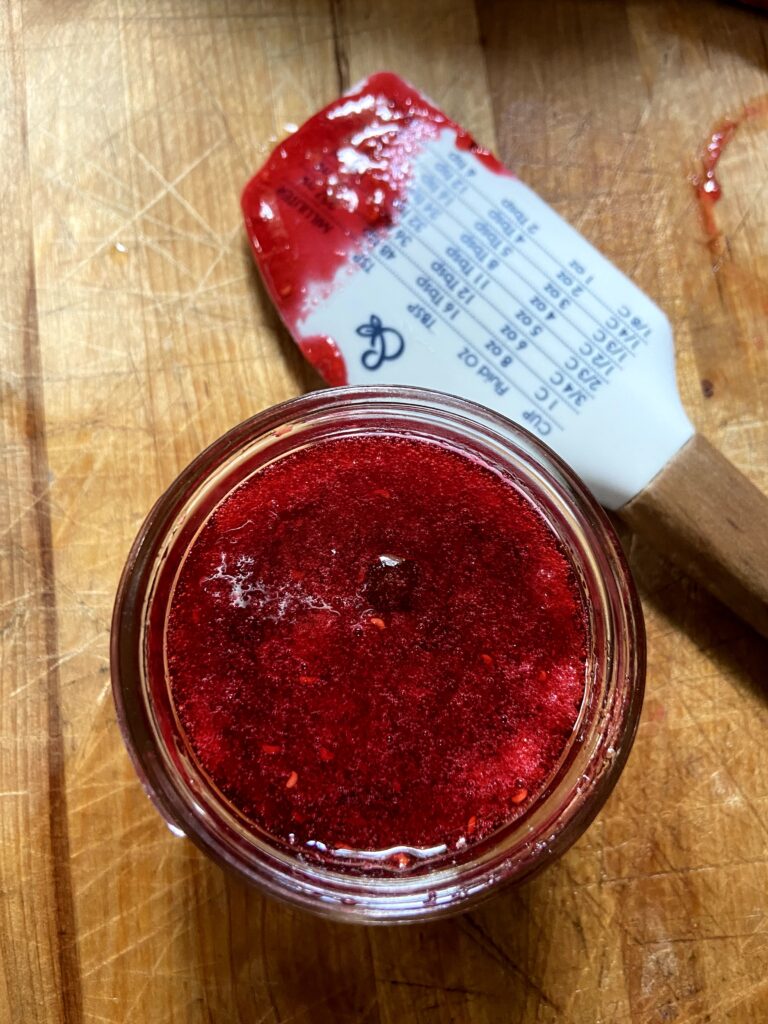
Oh, and don’t forget to just try your jelly on the sides of the kettle after the jars are in the canner. It’s SO good. Trust me, you may want to make sure you have some homemade bread handy. 

A few notes: 

  • Make sure you are using powdered pectin rather than liquid pectin. They do not set the same. Early in my canning career I didn’t know the difference and had a few batches of jelly never set. 
  • If you have never canned, you can reference the instructions within the pectin box for additional, more detailed directions. 
  • Sealed jars are shelf-stable, meaning they can be stored on a shelf unrefrigerated. If your jars don’t ping (a sign that they have sealed), they are still good. You will just need to store them in the refrigerator. 
  • Most sources recommend removing the rings from jars for storage so that you will know if they unseal for any reason. When I know they have sealed, I generally just loosen them as much as I can without removing them. 

Looking for other canning and preserving recipes? Check out the page below!

Raspberry Jalapeño Jam

A little bit spicy. A little bit sweet. This raspberry jalapeño jam is great way to use your bountiful harvest this summer!
4.25 from 4 votes
Prep Time 10 minutes
Cook Time 40 minutes
Course Appetizer
Cuisine Canning
Servings 12

Ingredients
  

  • 6 ½ cups raspberries
  • 5 cups sugar
  • 2 jalapenos finely chopped (between ¾-1 cup)
  • 4 ½ tablespoons powder pectin or one packet

Instructions
 

  • Prepare your water bath canner. Fill the canner with enough water so that once the jars are in the canner, they will be covered by at least one inch of water. Cover and begin to heat over a medium-high heat.
  • Measure out sugar. Set aside.
  • Place the raspberries in a large, non reactive kettle. Crush them. Stir in jalapeños. Add ¼ teaspoon of butter, if desired, to reduce foaming.
  • Sprinkle and stir in the pectin. Cook over high heat until a rolling boil is reached, stirring consistently.
  • Once a rolling boil is reached, slowly stir in sugar.
  • Continue to stir until you reach another rolling boil that can not be stirred down. Once a rolling boil is reached, cook for 1 minute, stirring constantly.
  • Ladle jelly into prepared jelly jars, wipe the rims with a damp cloth, add lids, and tighten rings to fingertip tight. Put into the water bath canner. When the canner has a steady boil going, time and process for 10 minutes.
  • Once the jelly is done processing, remove the canner from heat and let jars rest in the water for an additional 5 minutes. Finally, remove jars from the canner and allow to cool for 12-24 hours before moving.

Notes

  • Make sure you are using powdered pectin rather than liquid pectin. They do not set the same. 
  • If you have never canned, you can reference the instructions within the pectin box for additional, more detailed directions. 
  • Sealed jars are shelf-stable, meaning they can be stored on a shelf unrefrigerated. If your jars don’t ping (a sign that they have sealed), they are still good. You will just need to store them in the refrigerator. 
  • Most sources recommend removing the rings from jars for storage so that you will know if they unseal for any reason. I generally just loosen them as much as I can without removing them.
Keyword Canning, Jalapeño, Jam, Jam Recipes, Raspberry
Tried this recipe?Let us know how it was!

Here are some of my other favorite ways to use Raspberries!

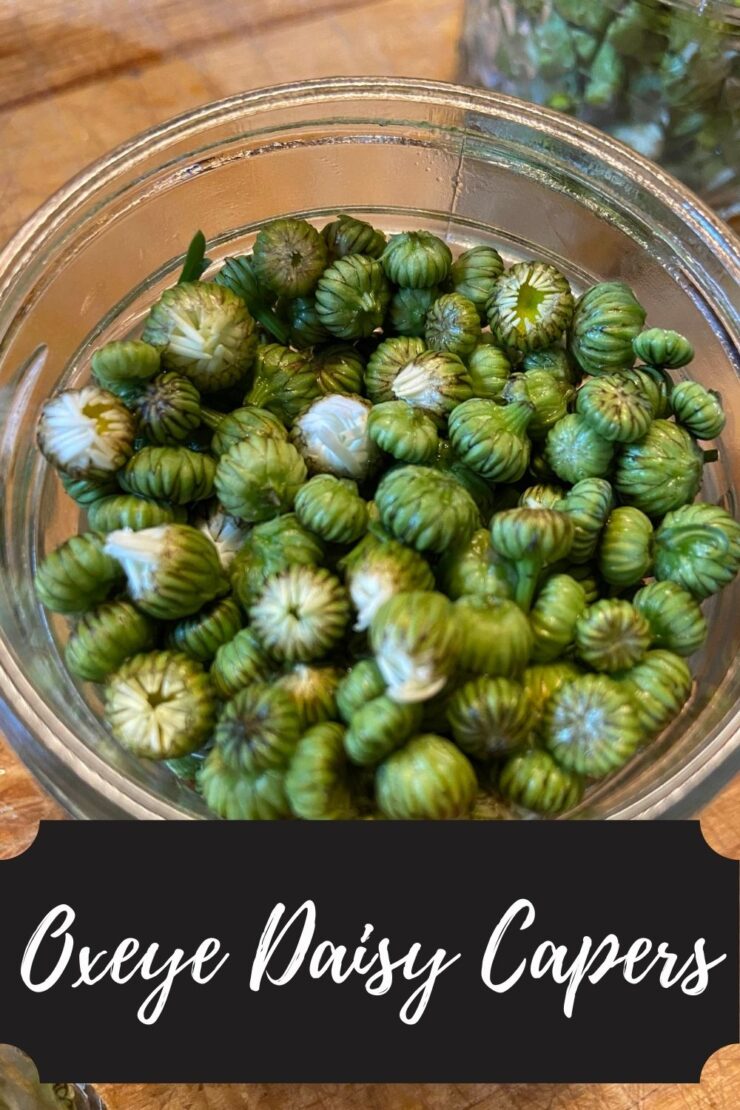
Oxeye Daisy Capers

Once I started learning about foraging, wild edibles was all I thought about as I walked around the yard, went for walks on the road, went to state parks…you get the idea. I would look with intent, wondering what was edible. If it was edible, I then would wonder if it tasted any good. As my husband would say, “Just because you CAN eat it, doesn’t mean it isn’t just survival food.” (Case in point: Spruce tree tips. Yes, they just taste like a pine tree. And I like gin. Spruce tips, not so much) However, Ox Eyed Daisy Capers are a great homemade caper if you’re willing to let them rest like you should 🙂 

If you’ve read my foraging page, you know that my gateway to foraging was acorns, not the average starting point. This lead to dandelions, which I still LOVE finding uses for. Once such use is dandelion bud capers (You can find a recipe at the link), but by the time I found out about them, the dandelions had given way to summer. Enter the Ox Eyed Daisy. 

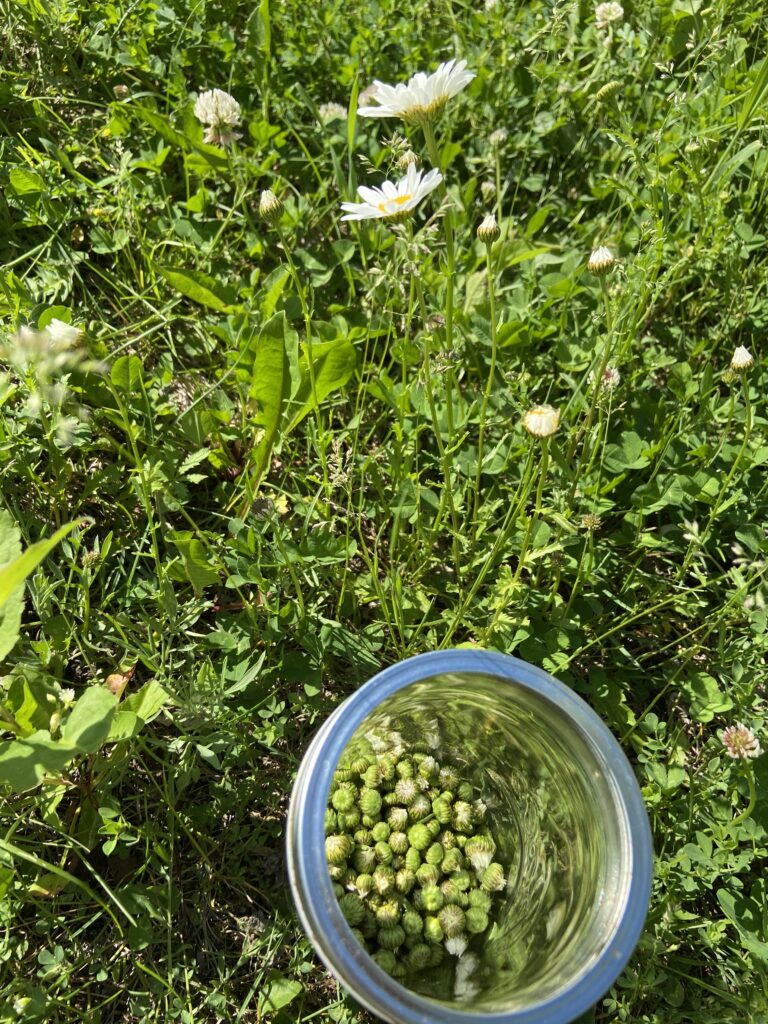
Ox eyed daisies are edible (both leaves and flowers) and are prevalent in our area. While they are native to Wisconsin, my husband (who works in natural resources) shares that they are border line invasive. In my mind, I hear “Honey! You should cook with them!” and so I did. 

The Supplies

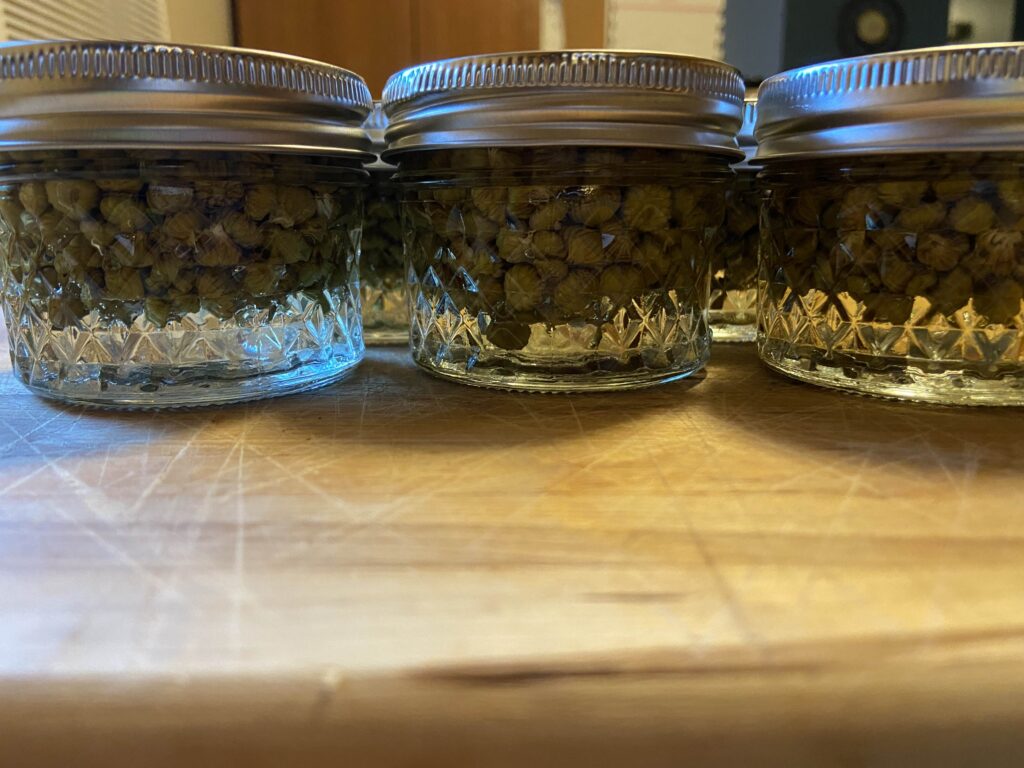
Capers are an item that is generally found in smaller quantities. I canned my oxeye daisy capers in 4 ounce jars, which is a great size. I usually use Ball or Kerr jars, but I was gifted these Verone jars, and I love the versatility that they provide with both two and one part lids. 

You will need a water bath canner or large stock pot with a lid. The jars need to be off the bottom of the pot. A water bath canner will have a rack to use. If you use a stock pot, I would invest in canning racks. You can also put a towel down in a pinch, but it is MESSY in terms of getting water everywhere.  

It is also helpful to have the tools in a canning kit like this, but it isn’t necessary. Canning would be crazy challenging without the jar funnel and jar tongs. The lid lifter is also very handy. 

New to canning? Check out the Ball’s Book of Canning or The National Center for Home Food Preservation for more detailed information. I will give you the low down, but it will be short and sweet. You will want to read up more, I promise 🙂 

The Process 

Harvesting 

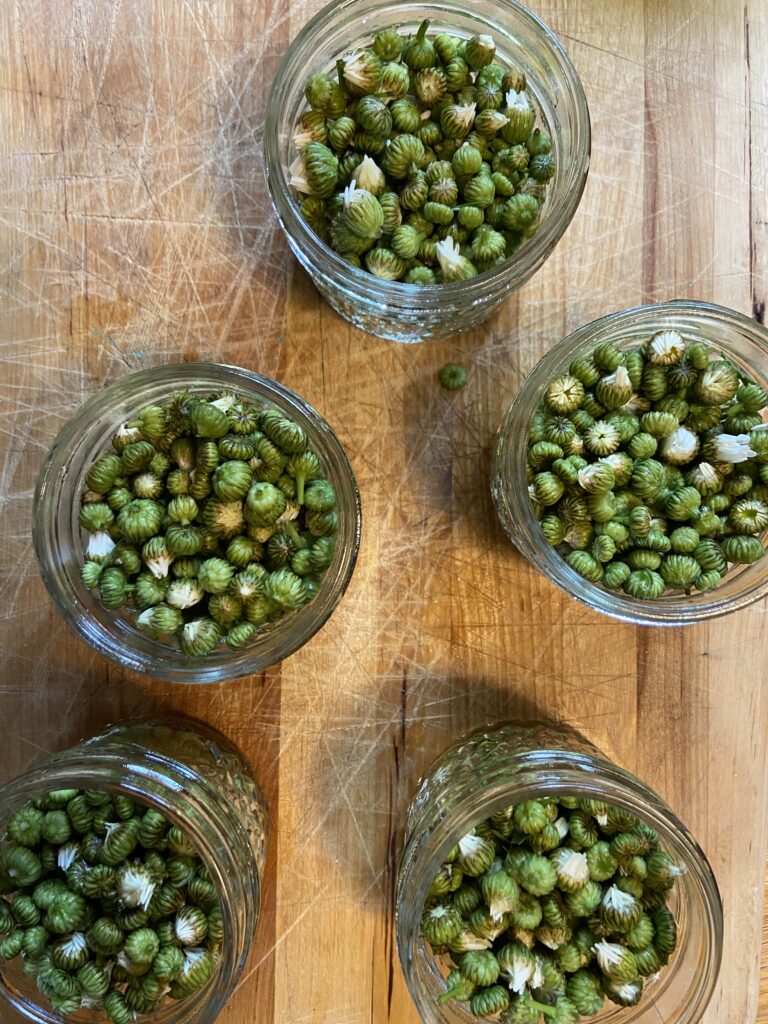
The buds are small and similar in size to dandelion buds. Well, if you can create capers from dandelion buds, you must be able to make daisy capers, right? So I did. I found the harvesting of the capers strangely meditative. It took time; I had to sit on the ground, move around, looking for perfect, unopened buds. I listened to nature. The birds. The wind. It was calming and what my mind needed. For each four ounce jar, you will need approximately a ½ cup of buds. I took a 24 ounce pint and a half jar outside and filled it. This resulted two cups of buds which made five 4 ounce jars of capers when everything was said and done. 

Your Ingredients

  • 2 cups oxeye daisy buds
  • ¾ cup water
  • ¾ cup vinegar (5% acidity)
  • 1 ½ tablespoons salt 

Canning

Once you have finished harvesting, rinse and drain the buds. Meanwhile, prepare your water bath canner. Fill the canner with enough water so that once the jars are in the canner, they will be covered by at least one inch of water. Too much water is better than not enough, but remember that some water will be displaced by the jars. Cover and begin to heat over a medium-high heat. 
Prepare jars, rings, and lids by washing with soapy water and keeping warm. (You should use two part lids) Combine salt, water, and vinegar in a large non-reactive saucepan. Heat to a boil and then reduce to a simmer. As the pickling liquid is heating up, fill each 4 ounce jar with buds, leaving ½ inch head space (Generally speaking, I go to the bottom of the rim). 

Ladle pickling liquid over buds, leaving ½ inch head space. Remove air bubbles. Wipe the jar rim with a damp paper towel. Place lids and rings on jars, tightening to finger-tip tight. 
Place jars on rack in canner, lower into simmering water, cover, and bring to a rolling boil. Process jars for 10 minutes. Remove from heat and allow to cool 5 additional minutes. Remove the jars from the canner and leave to cool completely over 12-24 hours. Do not touch the lids or the rings, but definitely listen for the ping of the jars sealing. It’s the best! 

While you can eat anything pickled immediately, I highly recommend waiting a few weeks before breaking into a jar. The flavor will intensify over time. 

Hints and Tips

  • Be mindful of where you harvest. Make sure you have permission if necessary and that the area you are harvesting from does not have chemicals sprayed on it. 
  • Daisies are plentiful. There shouldn’t be a concern about whether you are harvesting sustainably as there is with edibles such as fiddleheads. 
  • As with most pickled foods, daisy capers get better with age. You may be tempted to open the jar soon after you finish processing them. Give them a few weeks for the flavor to become enhanced. 
  • Interested in learning more about foraging? One book that has been imperative to my learning is Midwest Foraging by Lisa M. Rose. I reference it for everything from identification to various recipes. If you’re a Midwesterner like me, do yourself a favor and order the book. You’ll thank me 🙂

Looking for other recipes? Check out the pages below!

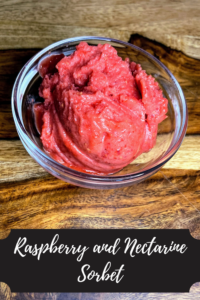
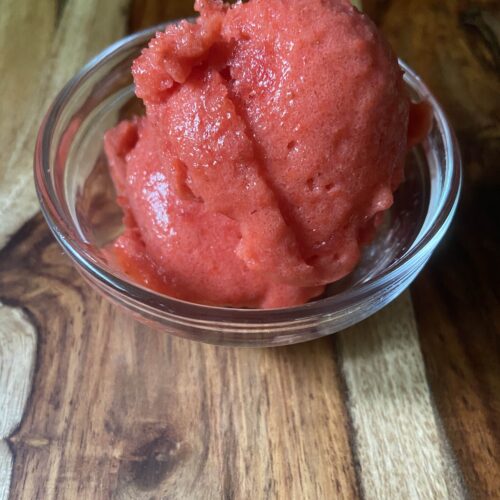
Strawberry and Peach Sorbet

The Scenario…

Over picking at the strawberry patch because you don’t realize just how many berries fit in your bucket until you weigh it.

Looking at the fruits at the farmer’s market and buying it all because the color is beyond appealing.

Planting countless raspberry plants and then not being able to keep up with the bounty they produce in July.

The delicious solution!

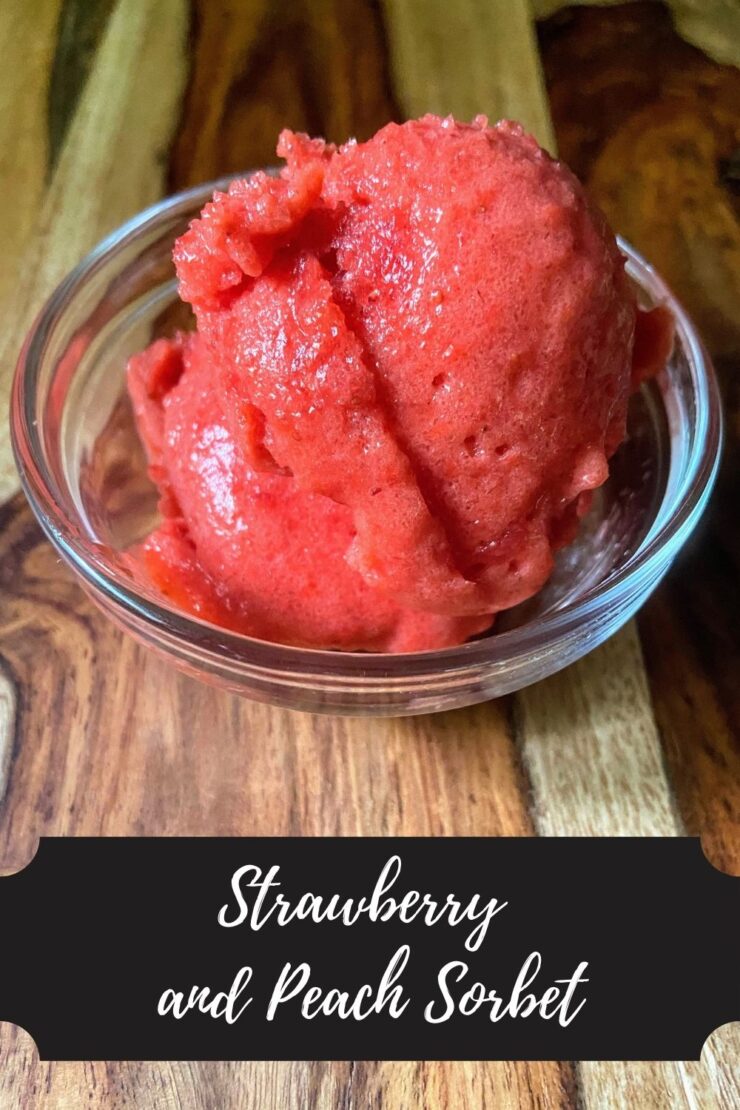
Do any of these scenarios sound familiar? Let me tell you, I have experienced them all. One would think that I would learn from my mistakes, but I still continue to get sucked into ALLLLL the fruits and then need to find something to do with them. This week, it was strawberries and peaches. And thus, a homemade strawberry and peach sorbet was born. 

Strawberries and peaches

Last year, I had a crazy red raspberry crop. Crazy, as in it took me over an hour to harvest during its peak time. This meant I needed to find new and fun ways to preserve them. I made all the jam. I froze bags of them. Then I stumbled across a fruit sorbet recipe while flipping through my Ball’s Guide to Preserving Book. It sounded amazing, but had SO much added sugar. I modified it some last year, and now have improved it again to not use raspberries but the strawberries from our garden and peaches from the store. 

If you’ve been following me for a little time, you know that I like to use my son as my ultimate taste tester. He isn’t afraid to tell me something is too healthy tasting, too salty, lacking vegetables, etc. He’s a good egg, that kid. Anywho…I took a scoop of what couldn’t fit in the jars and had him try it. He closed his eyes, smiled, and kind of whispered, “What IS that?!” I don’t know about you, but that screams approval if you ask me 😉

Don’t have strawberries and/or peaches? I have such good news! This recipe is totally moldable to your favorite flavor combination. Ultimately, you will need 4 cups of chopped soft fruit. Think berries, peaches, nectarines, etc. (Ball says you can use melon, but I haven’t tested it). 

Your Ingredients: 

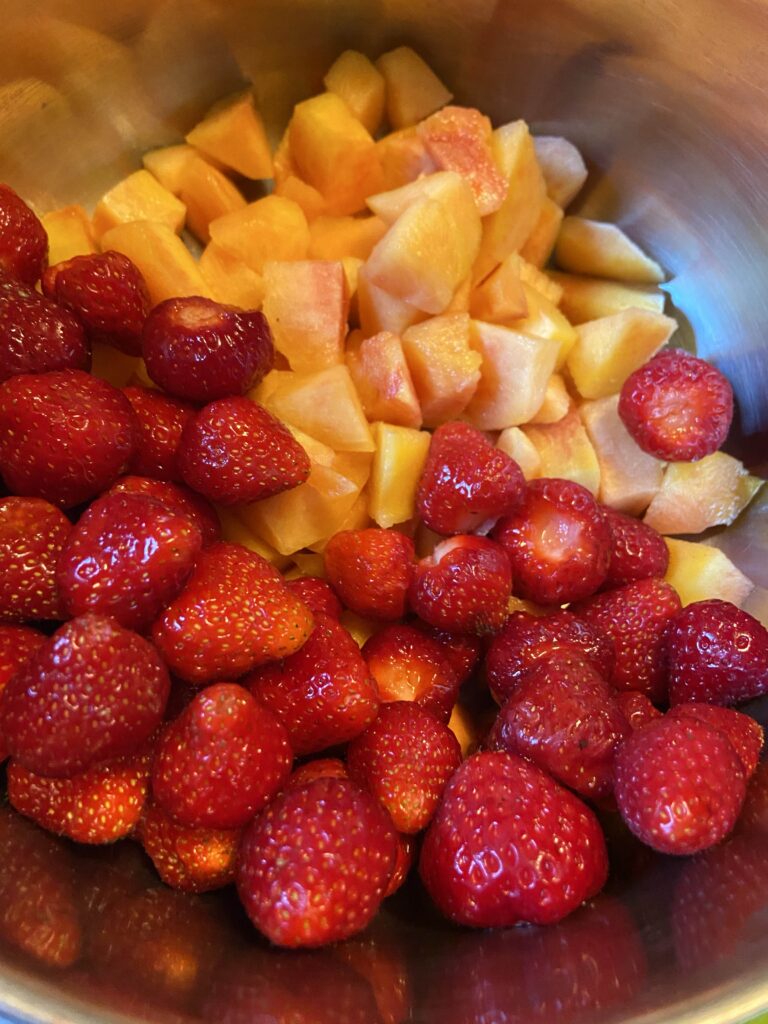
  • 2 cups chopped strawberries
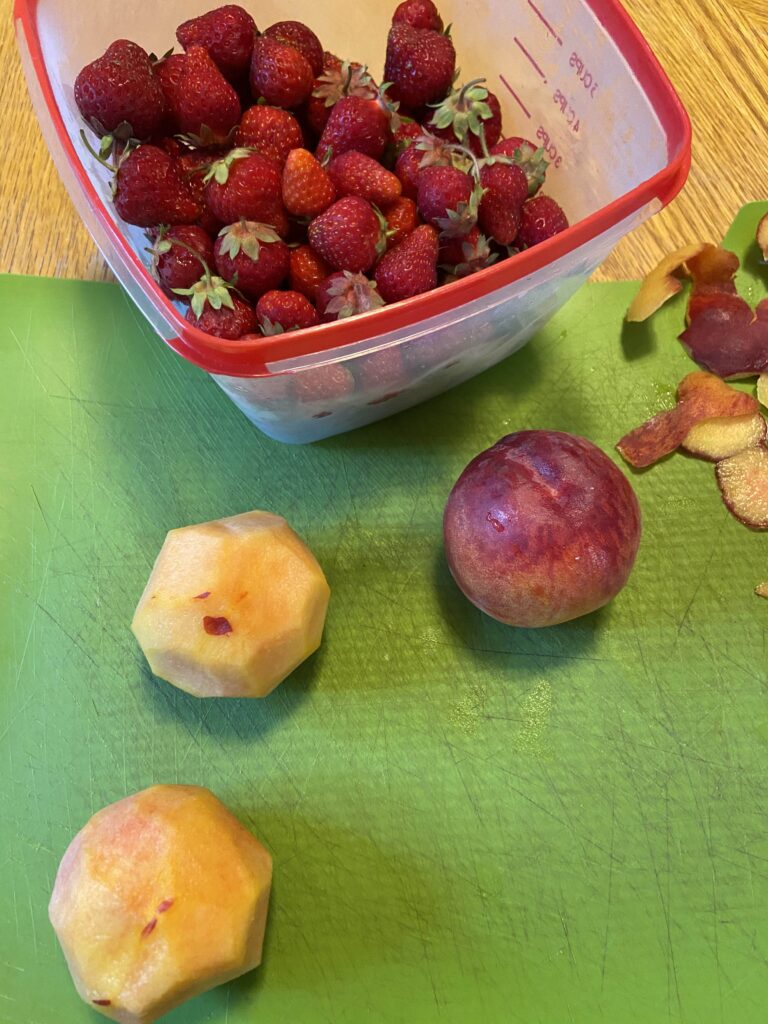
  • 2 cups diced peaches, peeled first then cut up
  • ½ cup orange juice
  • 2 tablespoons lemon juice 
  • 2 tablespoons honey 

Your steps

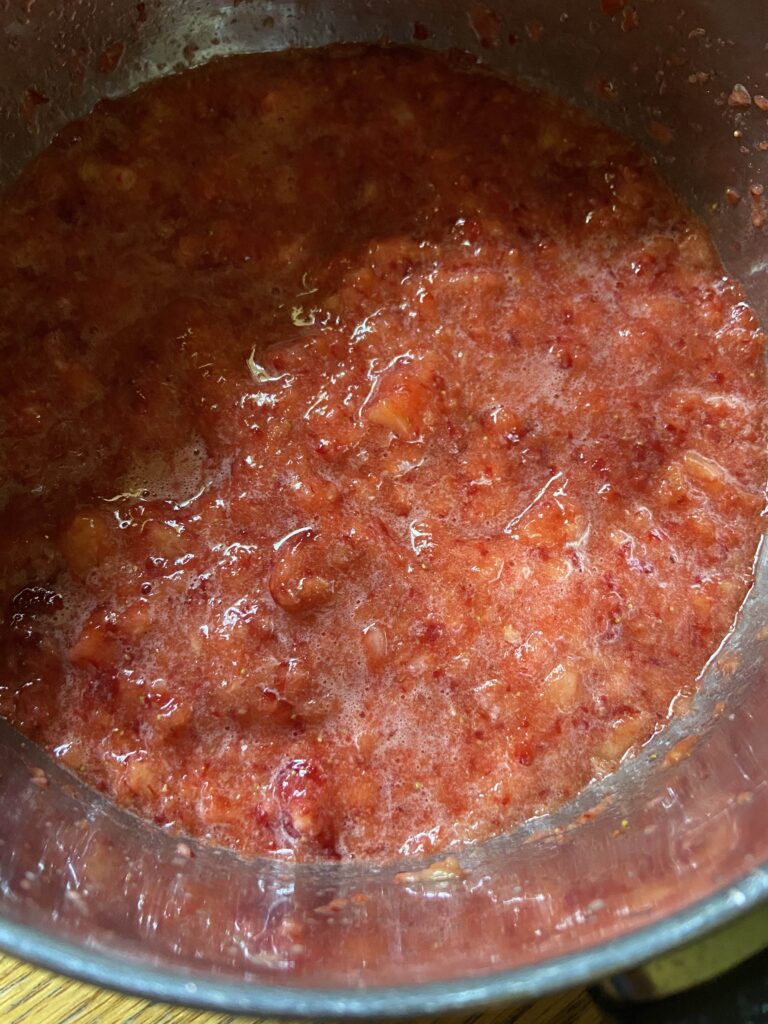
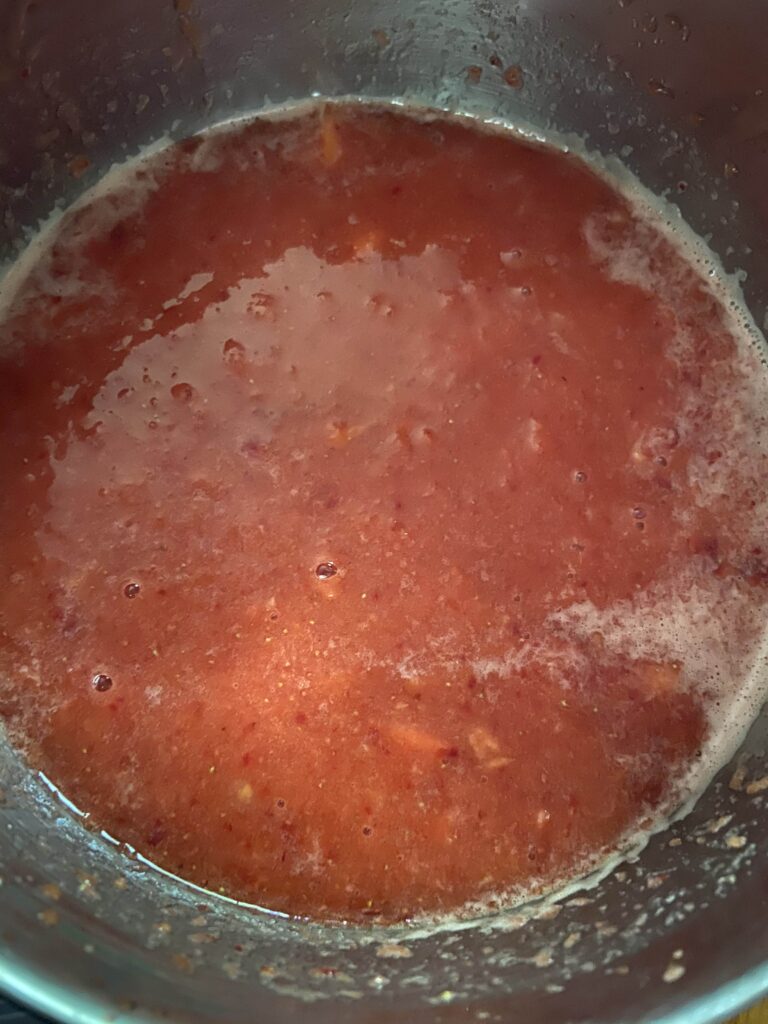
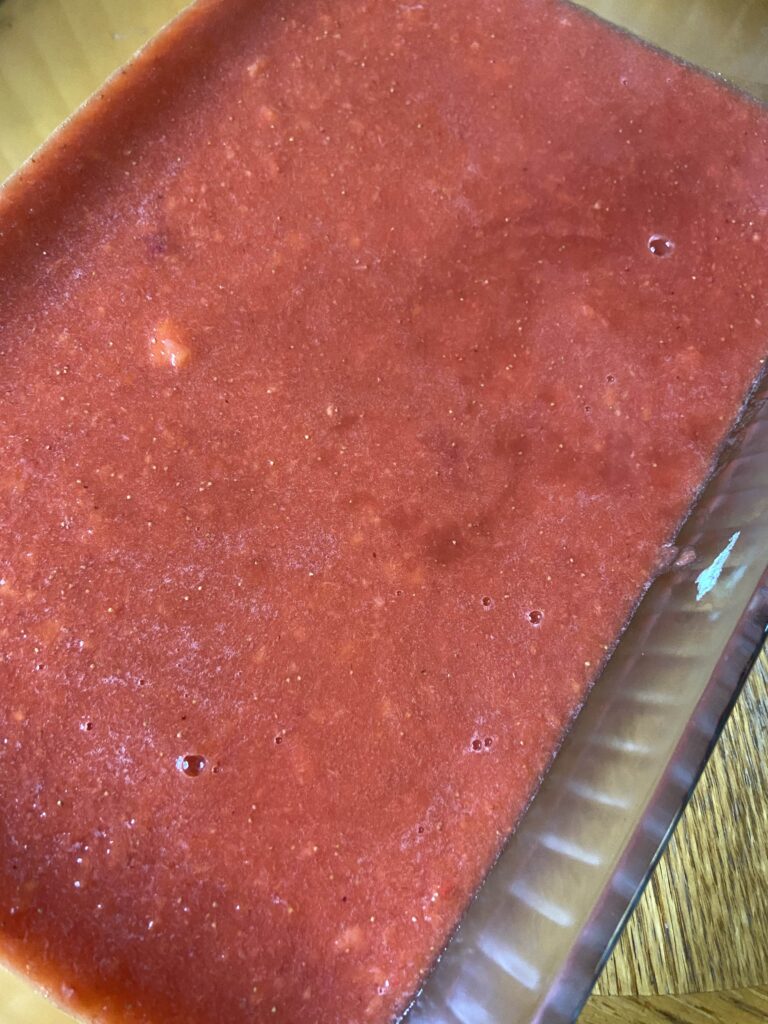
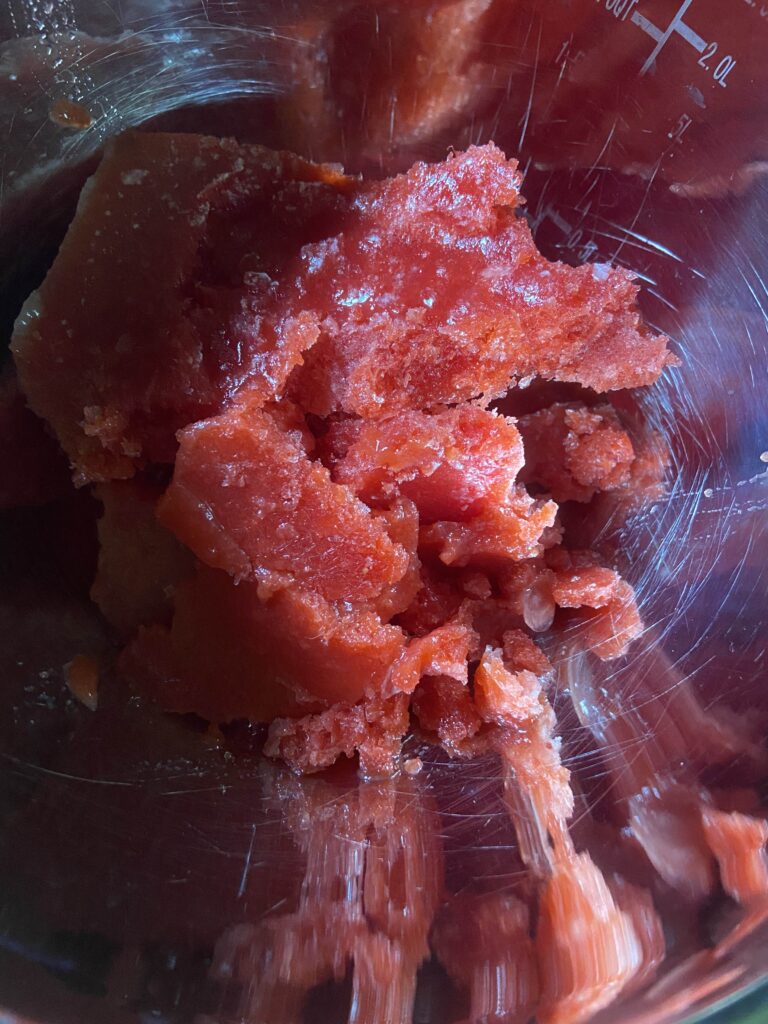
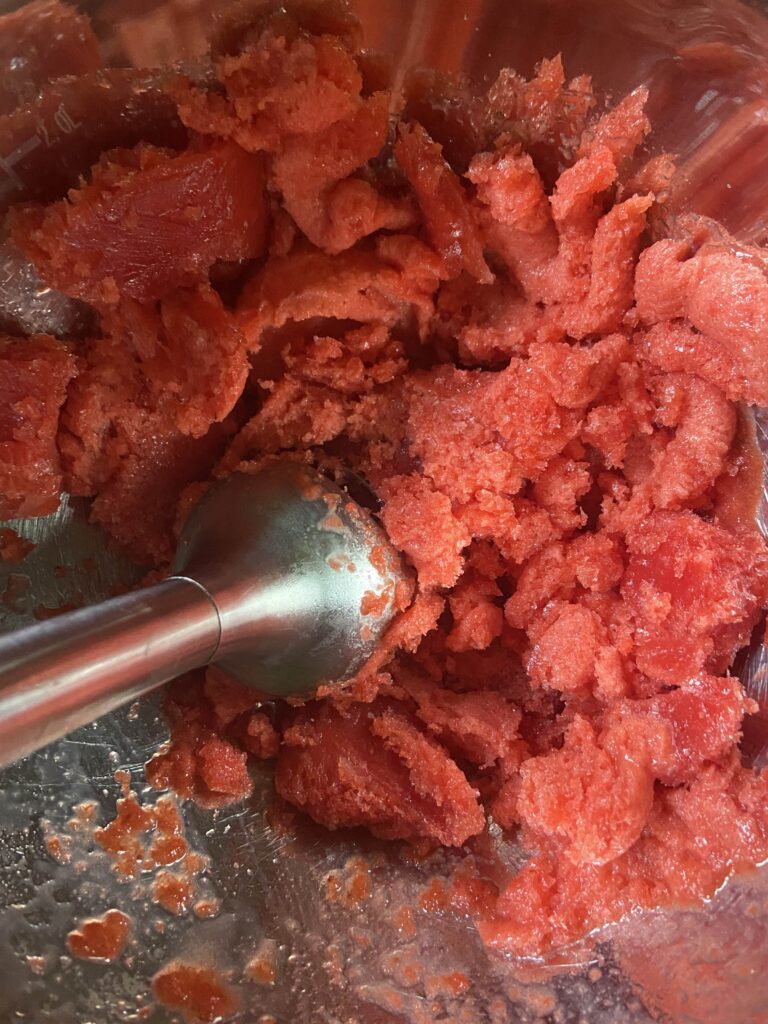
Combine fruit. Use a blender or immersion blender to break fruit down. I use an immersion blender and blend right in the kettle I will be heating them in. Add remaining ingredients. From here, use the immersion blender to mix everything together once more. Once combined, heat over medium heat until the mixture is beginning to simmer, stirring often. Pour into a 9×13 pan, cover, and place in the freezer and allow to freeze solid. 

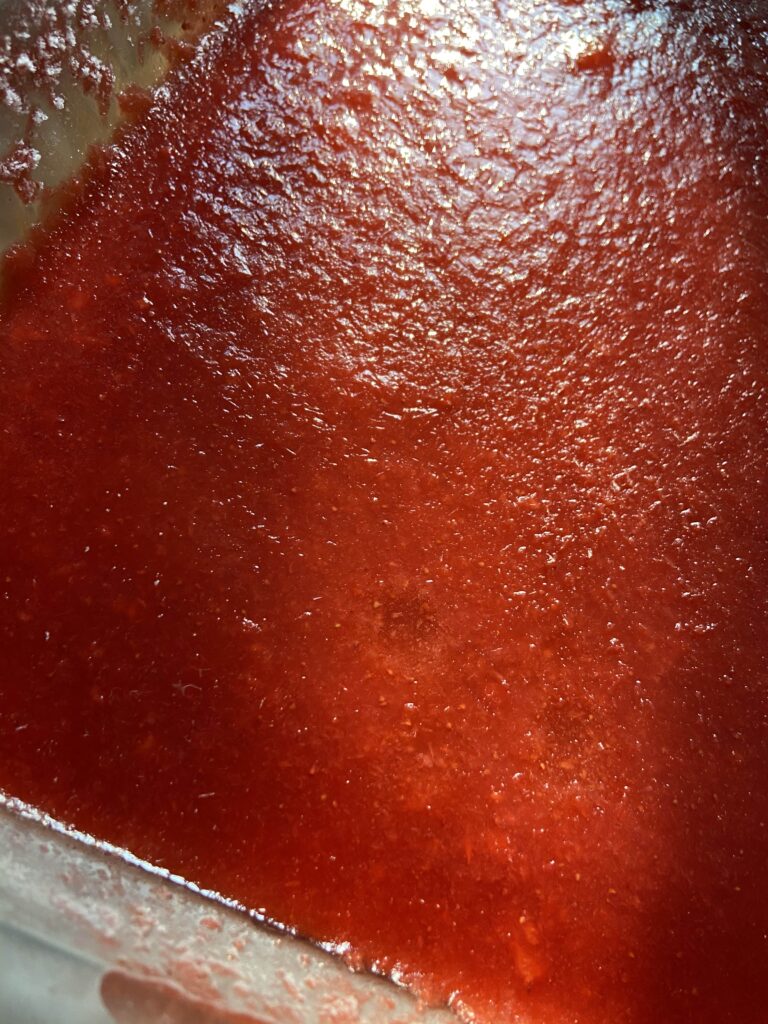
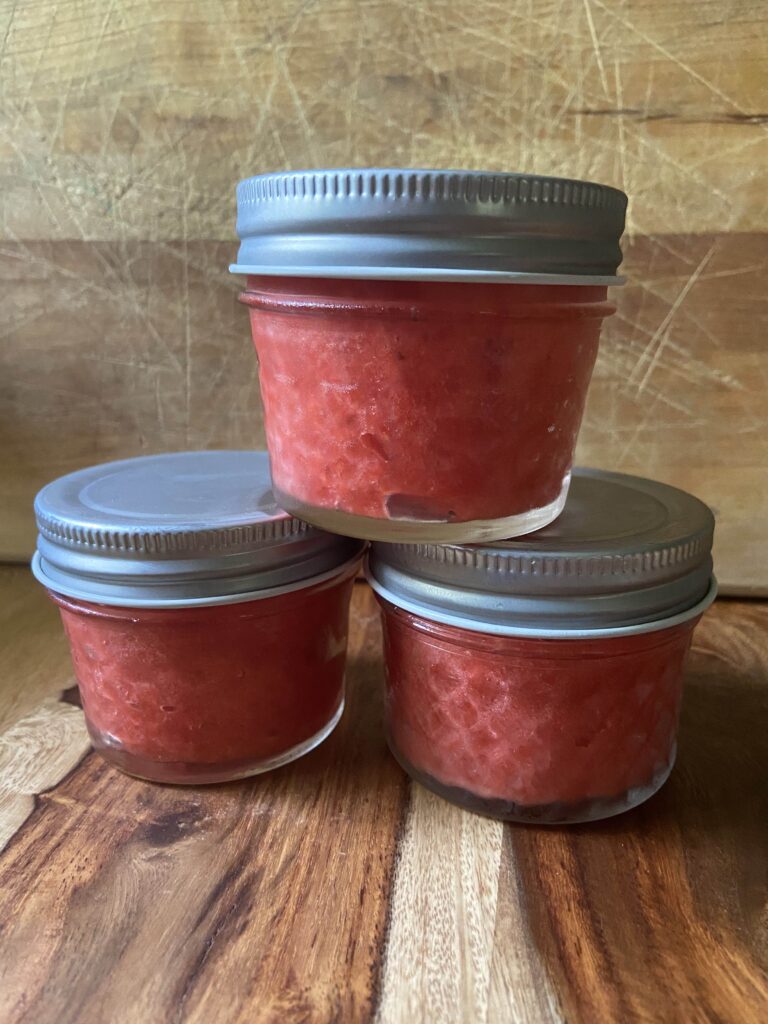
Once fully frozen, remove and allow to sit at room temperature for 5-10 minutes. This will make it easier to remove the sorbet. Working in small batches, puree frozen sorbet. There are lots of options for this. You can use a blender, a food processor, or an immersion blender. For me, I dig the immersion blender because clean up is so easy. Scoop the puree into freezer safe containers, leaving ½ inch headspace at the top. I like to use 4 ounce jelly jars for ½ cup servings ready to go! Finally, be sure to label and return to the freezer until you’re ready to enjoy them! 

A few notes

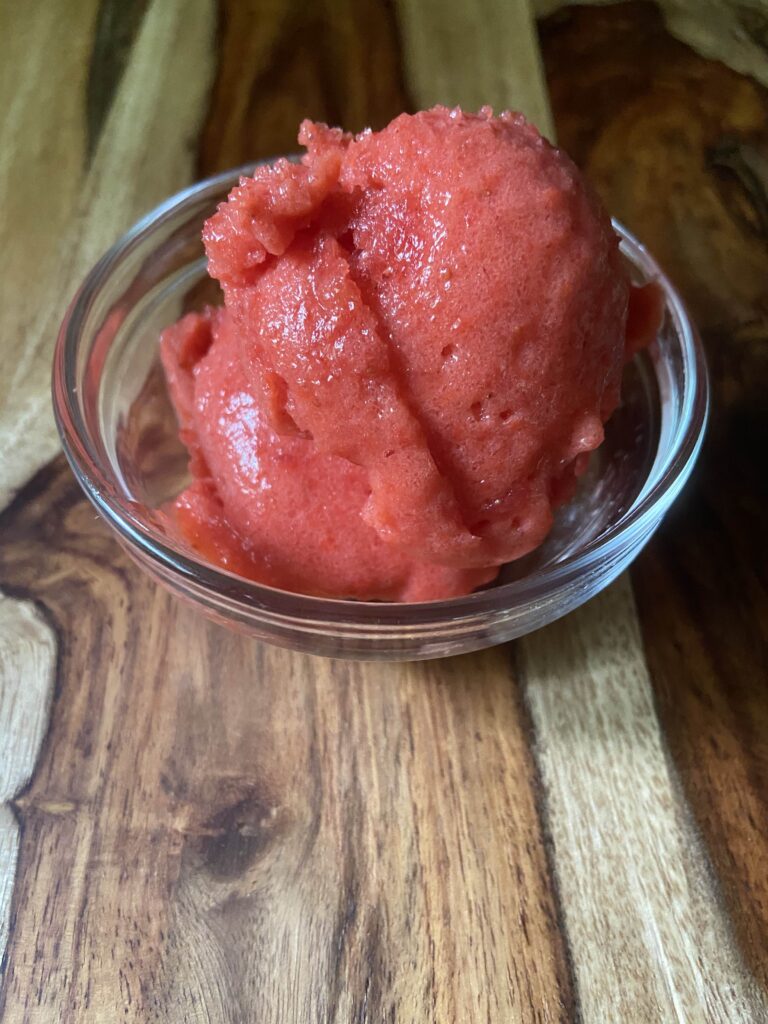
When I initially found this recipe, I wanted to cut the second blending of the sorbet. It is critical to complete if you want fluffy sorbet that you remember from childhood. It’s worth the extra step. Don’t skip it! 

Initially, I tried this recipe freshly picked raspberries so feel free to mix it up in terms of fruit. Ultimately, you need 4 cups of chopped/crushed fruit so let your taste buds to the work here. 

Looking for an adult version? I found that adding ½ cup of lime twisted gin was a delight to the raspberry sorbet! Be mindful of how much alcohol you add as it will effect the ability of the sorbet to freeze. 

Have a sweeter tooth? The recipe originally calls for 2 cups of sugar. If you’d like, add more to suit your own tastes.

Tools I use

Hoping to use some of the tools I love for creating these? Here’s the link for the 4 ounce jelly jars I used as well an immersion blender. Seriously, the immersion blender is an underrated tool in the kitchen and it hardly takes up any storage space! If you don’t have one yet, I highly recommend investing. You’ll thank me! 

As for the jelly jars, I am usually a Ball or Kerr jar lover, but a friend gifted me these Verone jars and I loved that they came with two piece lids for canning as well as one piece lids for storage. Double duty in one pack of jars. Super cool 🙂
Looking for other ways to preserve your summer bounty? Check out my canning and preserving page!

Strawberry and Peach Sorbet

A fruit sorbet
Prep Time 30 minutes
Freeze Time 4 hours
Course Dessert
Cuisine Canning
Servings 7 1/2 cup servings

Ingredients
  

  • 2 cups chopped strawberries
  • 2 cups diced peaches peeled first then cut up
  • ½ cup orange juice
  • 2 tablespoons lemon juice
  • 2 tablespoons honey more to taste

Instructions
 

  • Combine fruit.
  • Use a blender or immersion blender to break fruit down into a puree.
  • Add remaining ingredients. Blend once more to fully break down the fruit and incorporate added ingredients.
  • Once combined, heat over medium heat until the mixture is beginning to simmer, stirring often.
  • Pour into a 9×13 pan, cover, and place in the freezer and allow to freeze solid.
  • Once fully frozen, remove and allow to sit at room temperature for 5-10 minutes to make it easier to remove from pan. Working in small batches, puree frozen sorbet using food processor, blender or immersion blender.
  • Scoop the puree into freezer safe containers, leaving ½ inch headspace at the top. Label and return to freezer if not enjoying immediately.

Notes

Don’t have strawberries or peaches? No problem. Any soft fruit will do. Think, berries of any kind, nectarines, even melon perhaps? 
You may be tempted to skip the second blend step. Don’t! It’s critical for the sorbet to be fluffy, just the way you remember it. 
Keyword clean, peach, sorbet, strawberry, sweets
Tried this recipe?Let us know how it was!

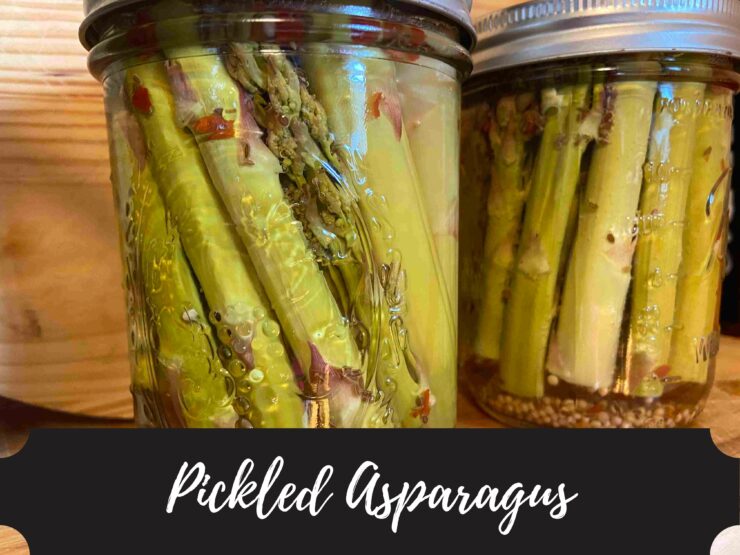
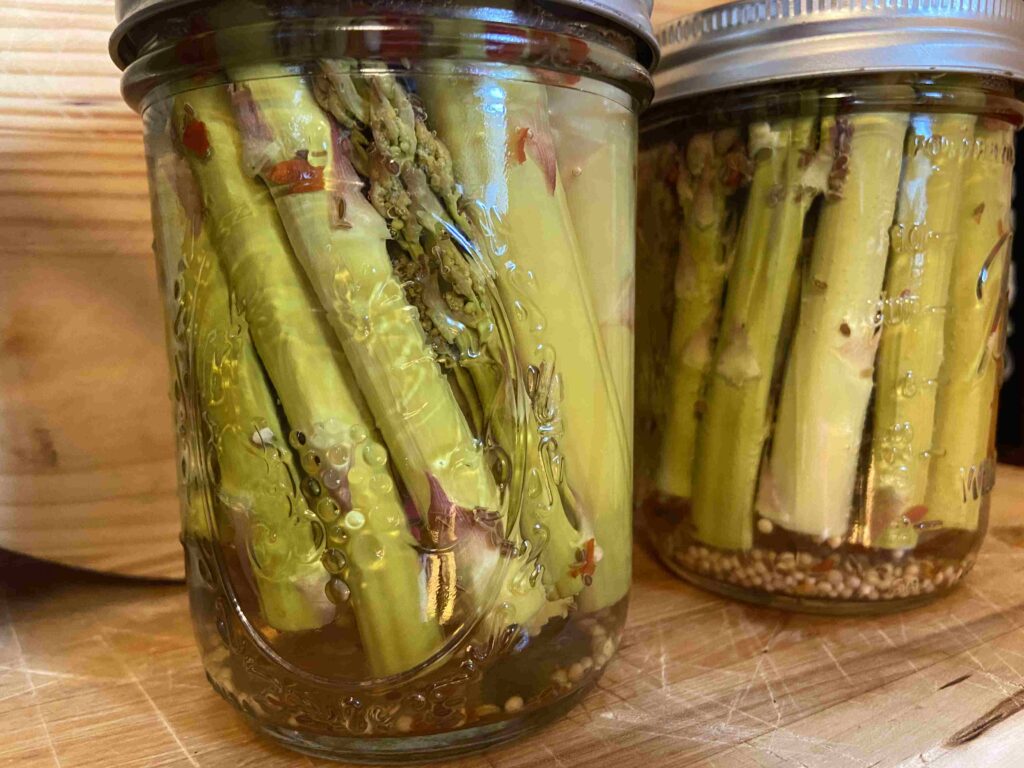
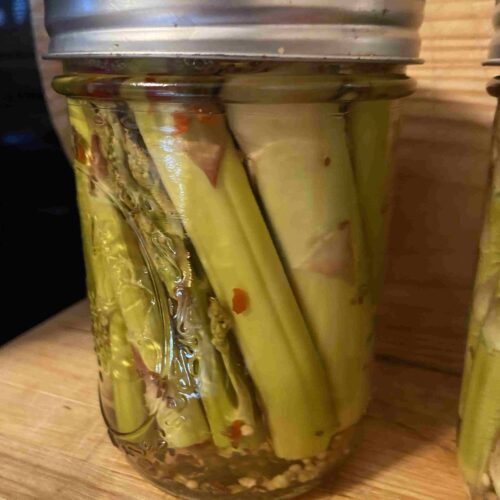
Pickled Asparagus

Here in Wisconsin, we are finally entering the full swing of gardening season. The seeds are sprouting, plants are in the ground, and the spring plants are ready for harvest. At our home, that means we have rhubarb, winter onions, and asparagus all around us. My husband and I love asparagus. Our kids, not so much. Generally, I am not the mom that avoids foods because her kids don’t like them (“suck it up buttercup”), but my son REALLY doesn’t like it even after we’ve made him try it countless times. Because of this, we have an abundance of it that isn’t being eaten during meals. So of course, I got my water bath canner out and put together some pickled asparagus. 

Since there isn’t a ton of other vegetables to be harvested out of the garden yet, I tend to forget to harvest the asparagus. My husband and I walk around the garden every morning with our coffee. And almost every morning I say, “OH! I must harvest the asparagus today!” If you know me, you won’t be surprised that it is out of my head by the time we get back inside and I am back to saying, “OH! I must harvest the asparagus today!” the next day. 

Why am I telling you this? Well, this factoid actually worked in my favor. I ended up with longer stalks than normal, but they made for perfect pickled asparagus. I could cut them into the exact length for a pint jar without wasting too much. So excited for that! And although I am not a Bloody Mary lover (gosh, I wish I were), I know that pickled asparagus is almost a quintessential accompaniment to the Sunday morning drink. 

Don’t have a garden to harvest asparagus from? Hop on over to your local farmer’s market, support local farmers, and make yourself something delicious you can enjoy, with or without a Bloody Mary underneath it. 

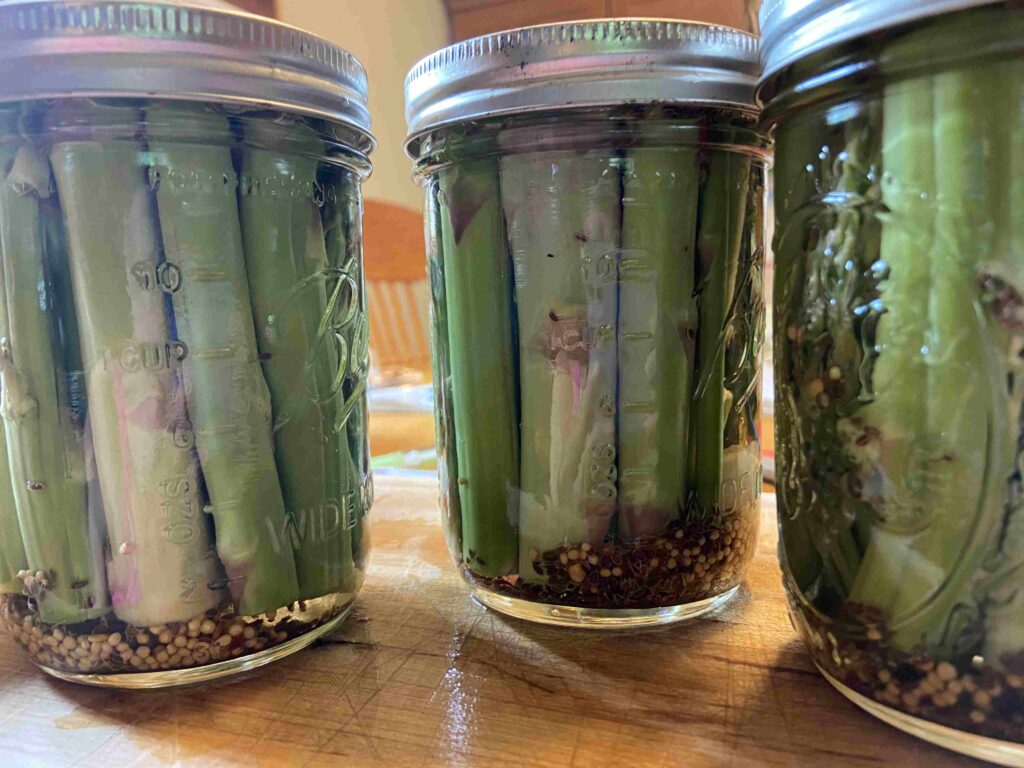
For this recipe, I had a 1 ½ pounds of asparagus, which was the ideal amount to make three pint jars. That is, you can assume you’ll get one pint jar per half pound of asparagus. The recipe will be written “per jar” so you can make as little or as much as you desire! 
New to canning?

The Ball’s Blue Book Guide to Preserving has been my go to resource for the past 4 years or so. But they also have a few other great books you can get on Amazon:

Your ingredients (per pint jar): 

  • ½ cup water
  • ½ cup vinegar
  • 1 tablespoon canning salt 
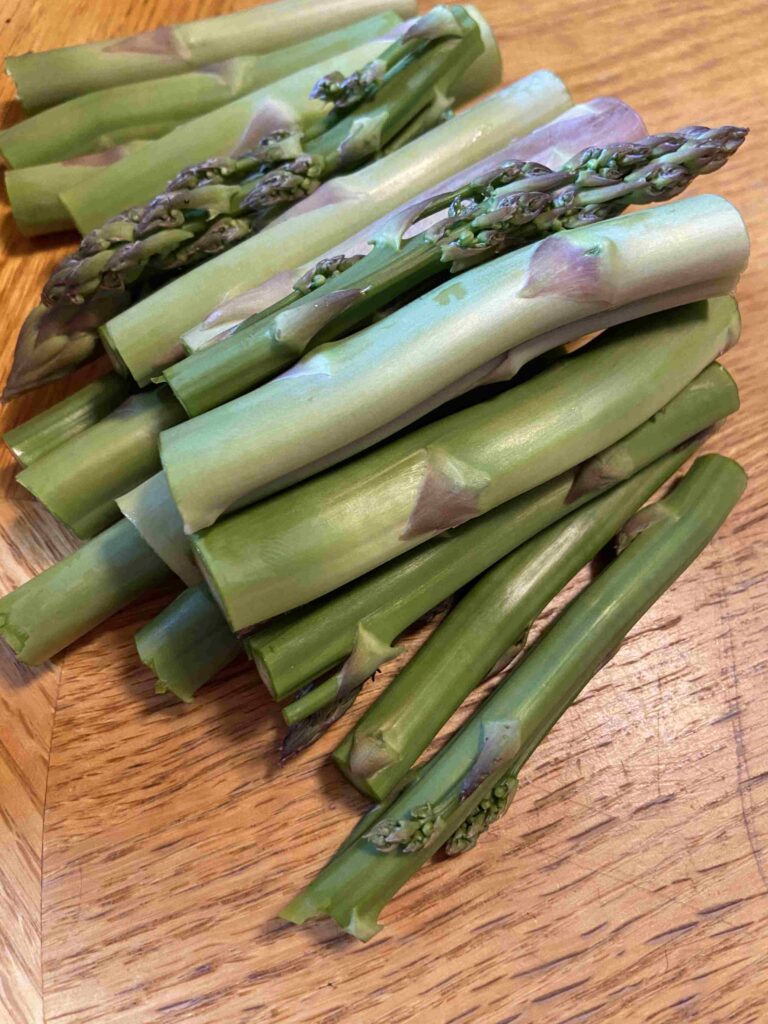
  • ½ pound asparagus, cleaned and the woody stem broken off
  • ½ teaspoon dill seed
  • 1 clove garlic, peeled
  • ⅛ teaspoon red pepper flakes
  • ½ teaspoon mustard seed 

Your Steps 

To begin, prepare your water bath canner. Fill the canner with enough water so that once the jars are in the canner, they will be covered by at least one inch of water. Too much water is better than not enough, but remember that some water will be displaced by the jars. Begin to heat over a medium-high heat. 
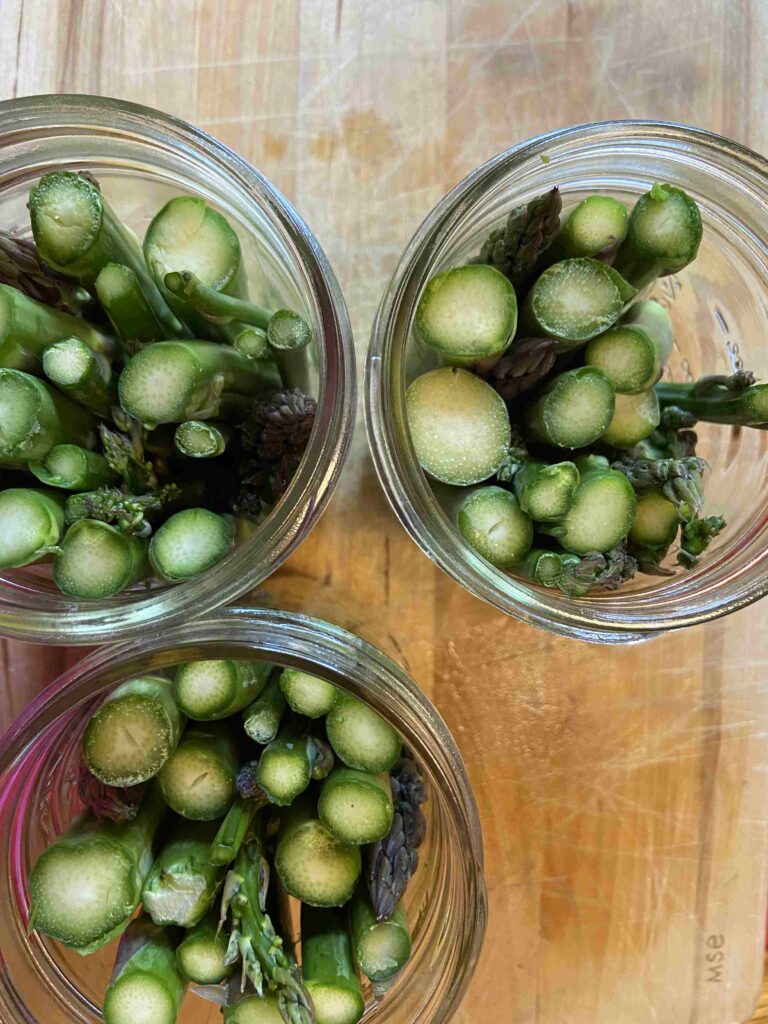
Prepare jars, rings, and lids by washing with soapy water and keeping warm. Cut asparagus to length that will fit within the pint jars, ending just before the ring. I like to cut one spear to length and then use that spear as a “measuring spear” for the rest of the asparagus. 

Combine salt, water, and vinegar in a large non-reactive saucepan. Heat to a boil and then reduce to a simmer. 

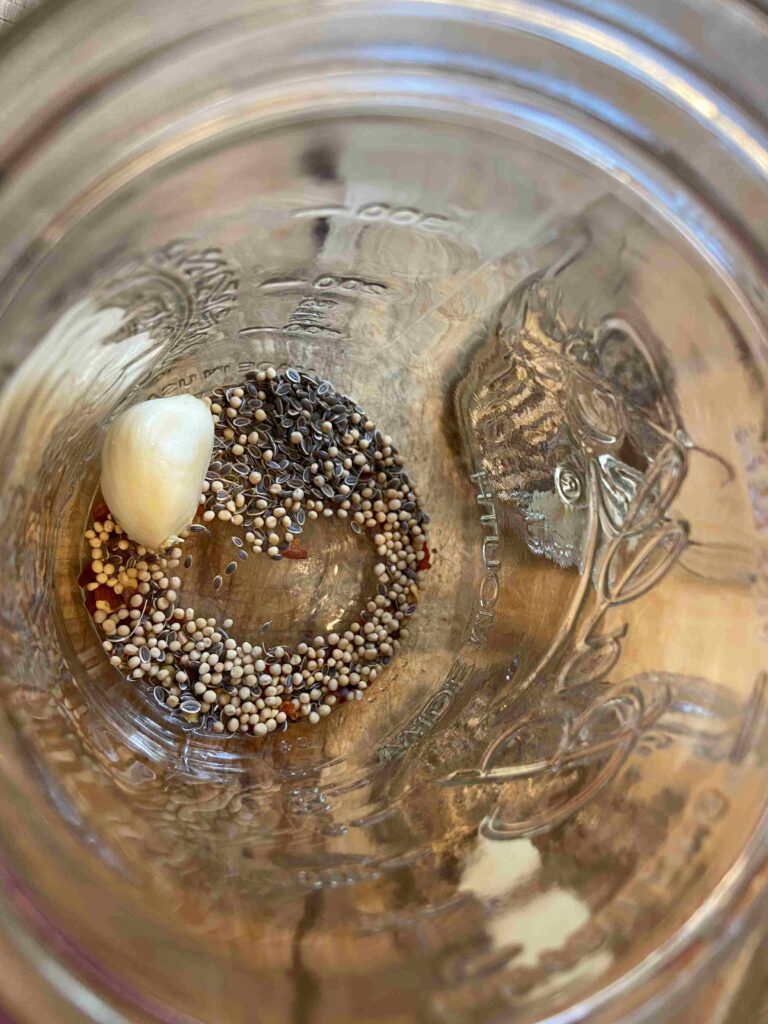
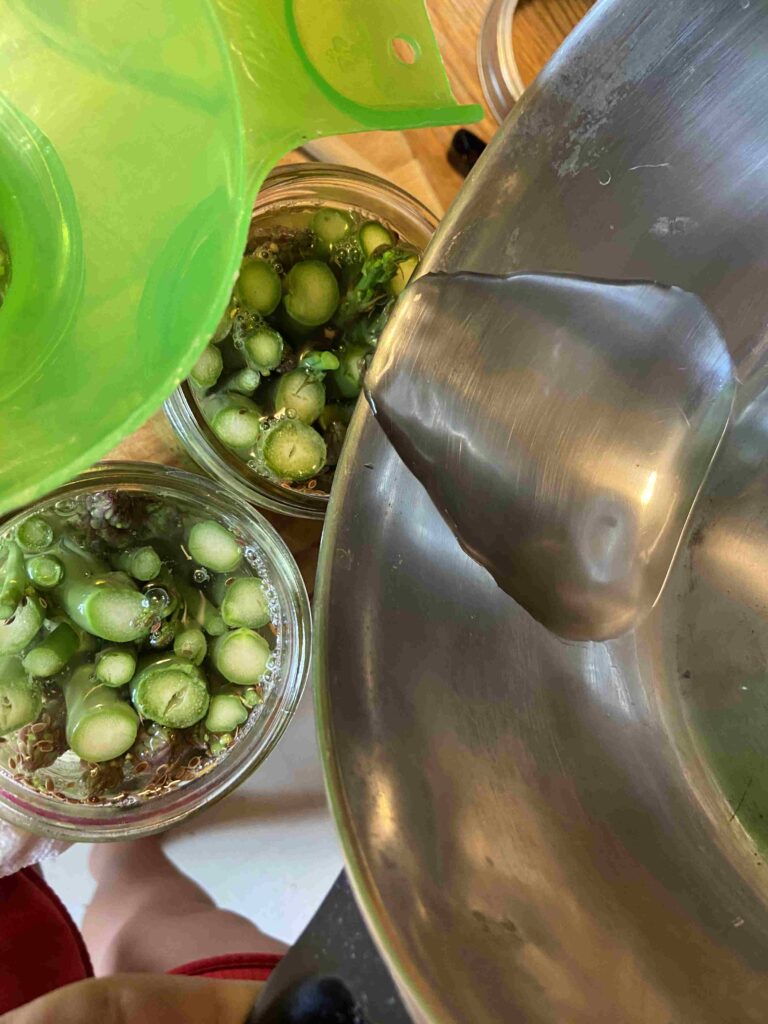
While the pickling liquid is heating, pack the jars (they should be hot when you pack them). First, add dill seed, garlic clove, red pepper flakes, and mustard seed. Then add asparagus, leaving ½ inch head space. Ladle pickling liquid over asparagus, leaving ½ inch head space. Remove air bubbles. Wipe the jar rim with a damp paper towel. Place lids and rings on jars, tightening to finger-tip tight. 

Place jars on rack in canner, lower into simmering water, cover, and bring to a rolling boil. Process jars for 15 minutes. Remove from heat and allow to cool 5 additional minutes. Remove the jars from the canner and leave to cool completely over 12-24 hours. Do not touch the lids or the rings, but definitely listen for the ping of the jars sealing. It’s the best! 
Pickled Asparagus

Whether you simply crave pickled treats or you love a good Bloody Mary, this pickled asparagus is for you!
Prep Time 20 minutes
Cook Time 20 minutes
Servings 1 pint jar

Ingredients
  

  • ½ cup water
  • ½ cup vinegar
  • 1 tablespoon canning salt
  • ½ pound asparagus cleaned and the woody stem broken off
  • ½ teaspoon dill seed
  • 1 clove garlic peeled
  • teaspoon red pepper flakes
  • ½ teaspoon mustard seed

Instructions
 

  • To begin, prepare your water bath canner. Fill the canner with enough water so that once the jars are in the canner, they will be covered by at least one inch of water. Too much water is better than not enough, but remember that some water will be displaced by the jars. Begin to heat over a medium-high heat.
  • Prepare jars, rings, and lids by washing with soapy water and keeping warm. Cut asparagus to length that will fit within the pint jars, ending just before the ring. I like to cut one spear to length and then use that spear as a “measuring spear” for the rest of the asparagus.
  • Combine salt, water, and vinegar in a large non-reactive saucepan. Heat to a boil and then reduce to a simmer.
  • While the pickling liquid is heating, pack the jars (they should be hot when you pack them). First, add dill seed, garlic clove, red pepper flakes, and mustard seed. Then add asparagus, leaving ½ inch head space. Ladle pickling liquid over asparagus, leaving ½ inch head space. Remove air bubbles. Wipe the jar rim with a damp paper towel. Place lids and rings on jars, tightening to finger-tip tight.
  • Place jars on rack in canner, lower into simmering water, cover, and bring to a rolling boil. Process jars for 15 minutes. Remove from heat and allow to cool 5 additional minutes. Remove the jars from the canner and leave to cool completely over 12-24 hours.
Tried this recipe?Let us know how it was!

Looking for more canning recipes? Check out this page here!

Notes: 

  • You can add pickle crisp to each jar (following directions on the container) to keep the asparagus more crisp. Some swear by it. Others don’t like the idea of adding more ingredients to your jars. 
  • Canning is totally doable alone, but I love to have my husband by my side during “GO TIME!” That is, the time when I am ladling the pickling liquid and putting on the lids. It’s helpful to have a second set of hands to put the lids and rings on. In case you’re wondering, I do actually yell, “IT’S GO TIME!” and my family assembles. Otherwise, canning is my jam and I don’t let him help 😉 
  • When I say break off the woody stem of the asparagus, I really mean that. The awesome thing about asparagus is that if you bend it slightly, it will naturally break at the point where it begins to be woody (NOT fun for chewing). In the past, I thought the canning process would soften this up so I wouldn’t be wasting it. Not the case. 

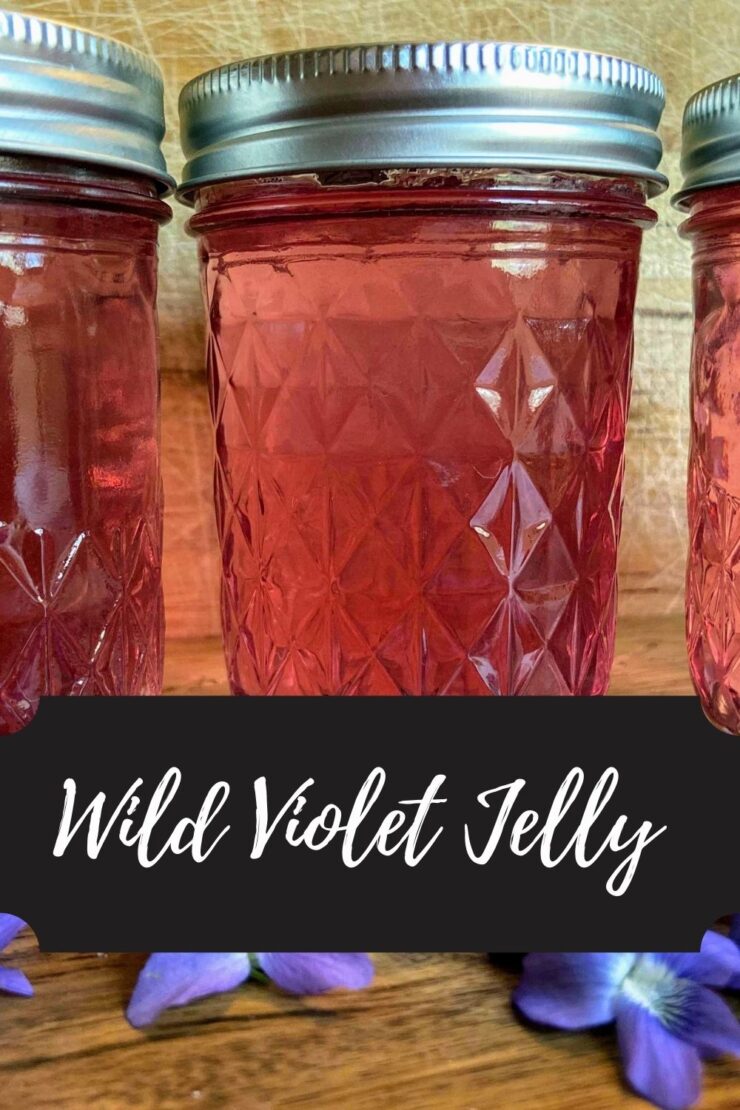
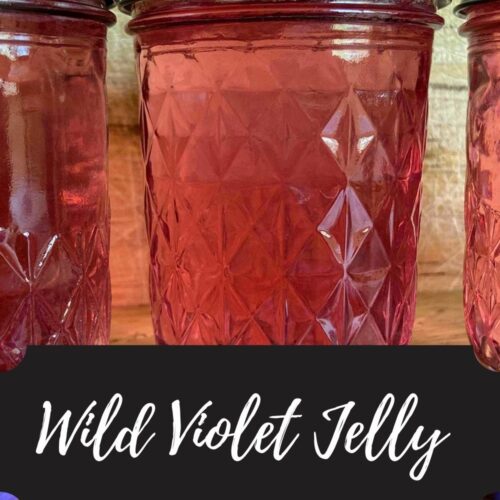
Wild Violet Jelly

Jump to Recipe

Most of my foraging adventures begin with me learning of a recipe and saying, “You can do that?!”  after reading online, and immediately heading out to forage for whatever it is that you need. Wild Violet Jelly is one of those adventures. I had just finished baking up dandelion cookies and had more dandelions in the fridge ready to be cleaned when a friend sent me a wild violet recipe. 

Oh my goodness! I have those ALL OVER my yard and along the edge of our woods. Time to switch gears and try something different before they disappear. Also, if you don’t know me personally, you may not know that I have a 5 year old spitfire of a daughter who’s name is, you guessed it, Violet. Imagine the joy on her face when I shared the idea for Violet to harvest violets to make Violet Jelly. So fun! 

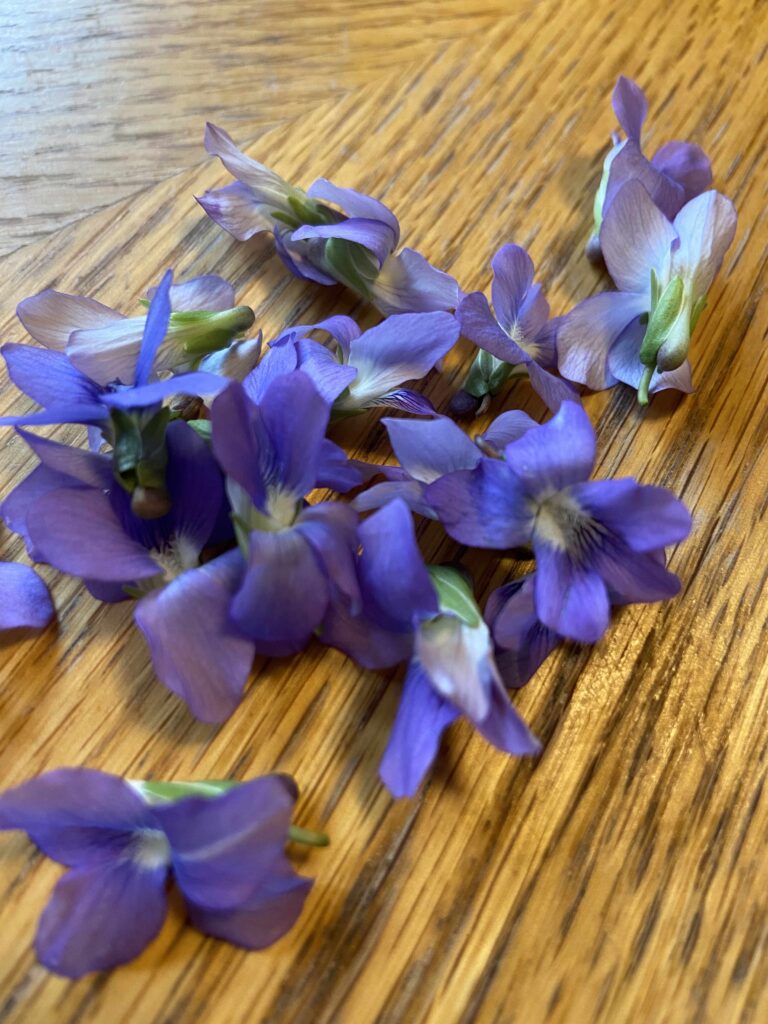
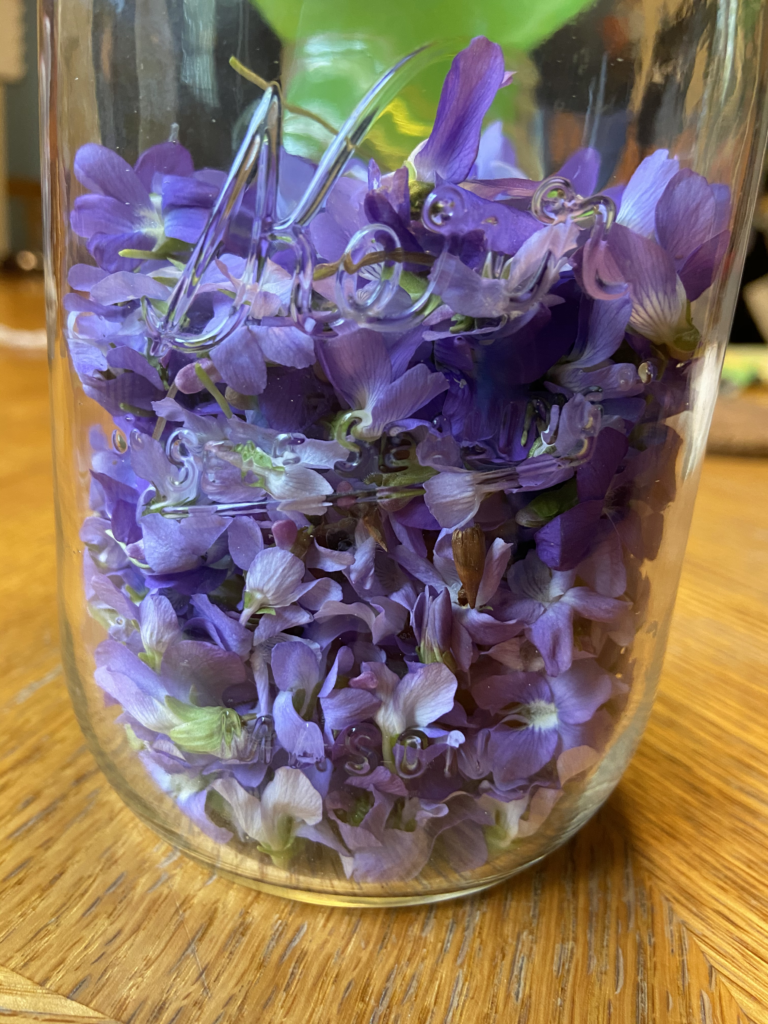
Wild Violets, freshly harvested.

Of course, we needed to use mason jars to do our harvesting. I grabbed a quart jar and gave her a pint jar without lids. We set out on a walkabout around our yard and within an hour or so, we had found a pint jar’s worth of violets. As with anyexperience with a 5 year old, it wasn’t without tears. The silly girl got so excited she started skipping, tripped over a root, and immediately lost all her violets. I share as a lesson for all you. I know you’ll be excited, but please refrain from getting so excited you skip and lose your jar! 

Although the harvesting took about an hour, this was the most labor intensive part of the recipe. In all the foraging and cooking I’ve done so far, I would say this is a great toe dipper. It didn’t require too much work and you’ll end up with about six beautiful jars of lavender colored jam. 

Get ready so if you’re ready, grab your jars and start foraging! 

Your Ingredients: 
  • 1 pint (2 cups) wild violet flowers
  • 4 cups boiling water
  • 3 tablespoons bottled lemon juice
  • 4 ½ cups sugar
  • 1 package powdered pectin 
Your equipment: 
  • 1 pint jar and 1 quart jar 
  • Cheese cloth or mesh strainer 
  • 6 half pint jelly jars with rings and lids
  • Water bath canner with lid 

If this is your first go at canning, you can totally use a deep kettle with a dish towel rather than purchasing a water bath canner.  The dish towel on the bottom is to keep the jars off the bottom of the kettle. This will be a little messier with the water, but it works. When I first started canning, I did my first four batches of pickles and jellies this way. I wasn’t sure I was going to love it and didn’t want to invest. Silly me 🙂 

Harvest the Flowers

After spending days harvesting dandelions, this was surprisingly easy. Be sure that you’ve identified the right flower, and pick away. It’s best to look at the leaves to make sure you are picking the right one. Once you start, be sure to be a responsible forager, leaving some flowers in each bunch. Try to be mindful that you just get the flower. This was easy for me, but I had to pull stems from my daughter’s harvest since she’s five. Pick enough flowers to fill a pint jar, or just over two cups. 

Create a Violet Tea

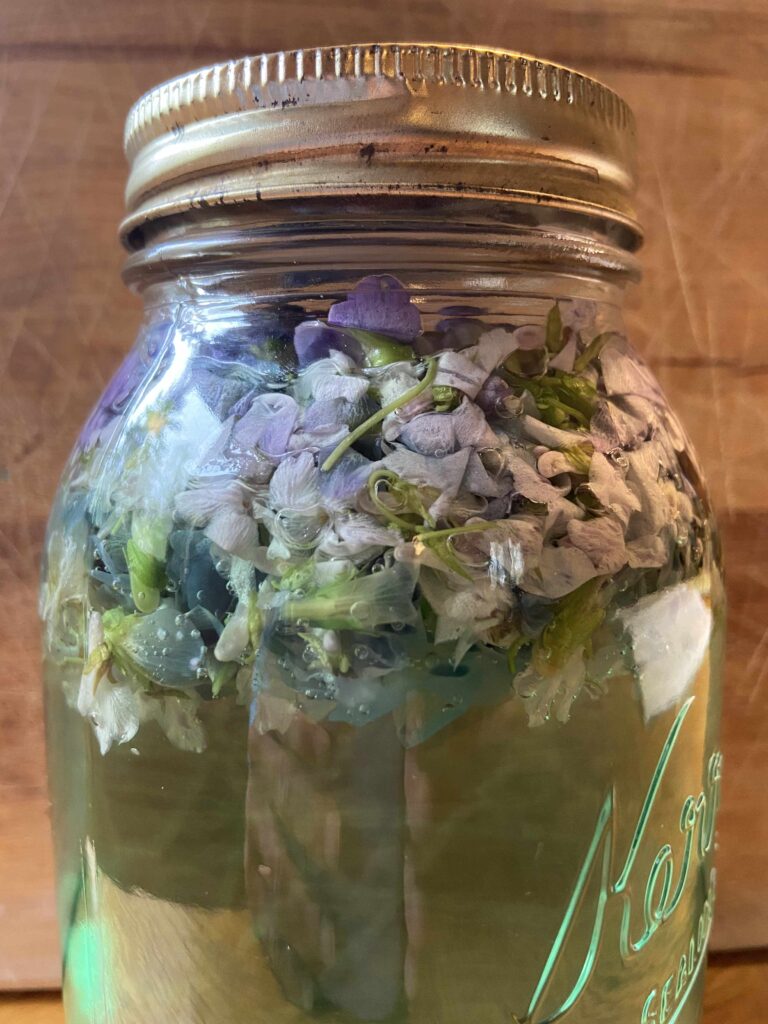
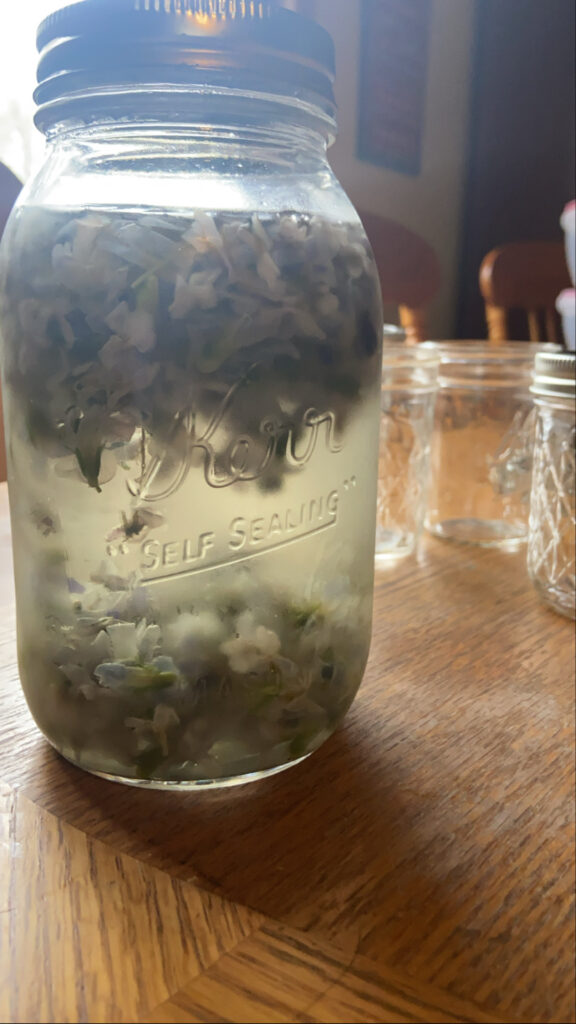
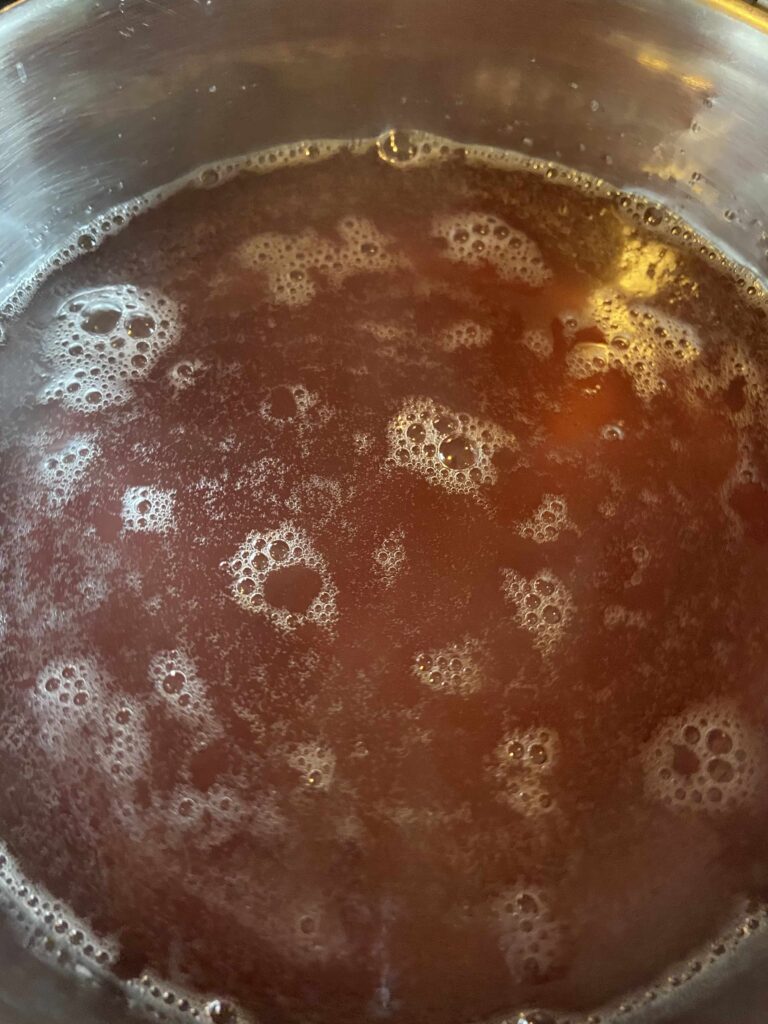
Once you have harvested the violets, transfer them into a quart jar. Pour boiling water over the flowers and cover. If you don’t have a quart jar, any container that you can cover and refrigerate will be fine. After the jar has come to room temperature, place in the refrigerator for at least 4 hours but up to 24 hours. I was amazed at the color that came from the flowers. It went from purple flowers to teal water to a much more muted green as the time pasted in the refrigerator. I let it sit overnight.

Time for Jelly

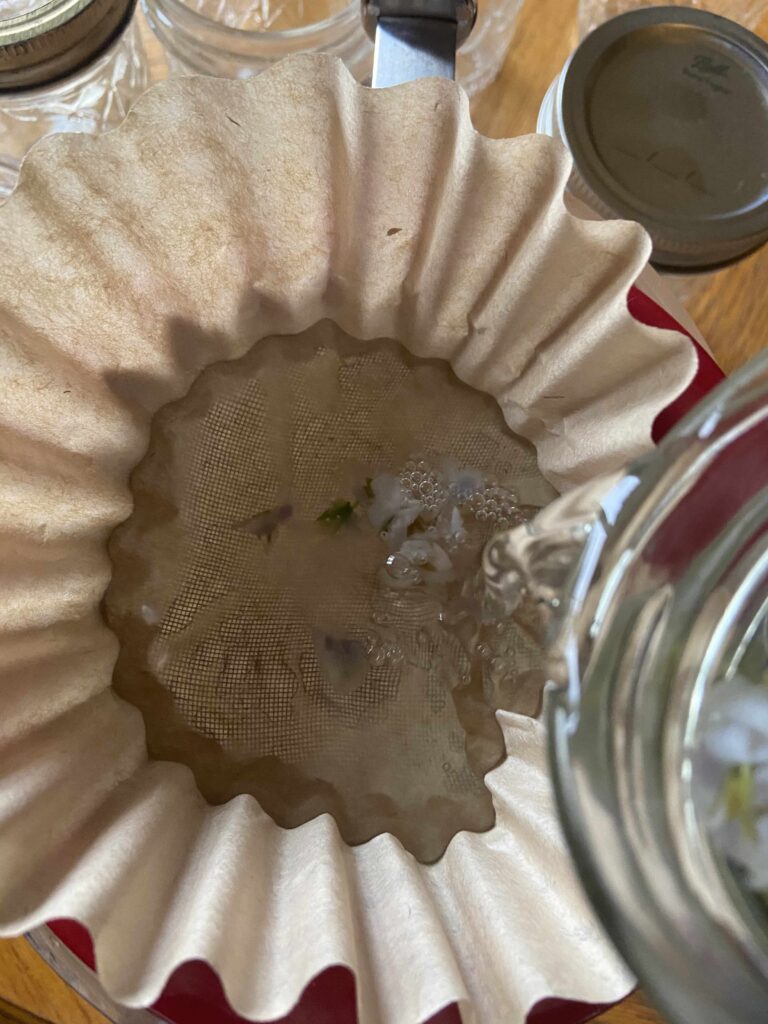
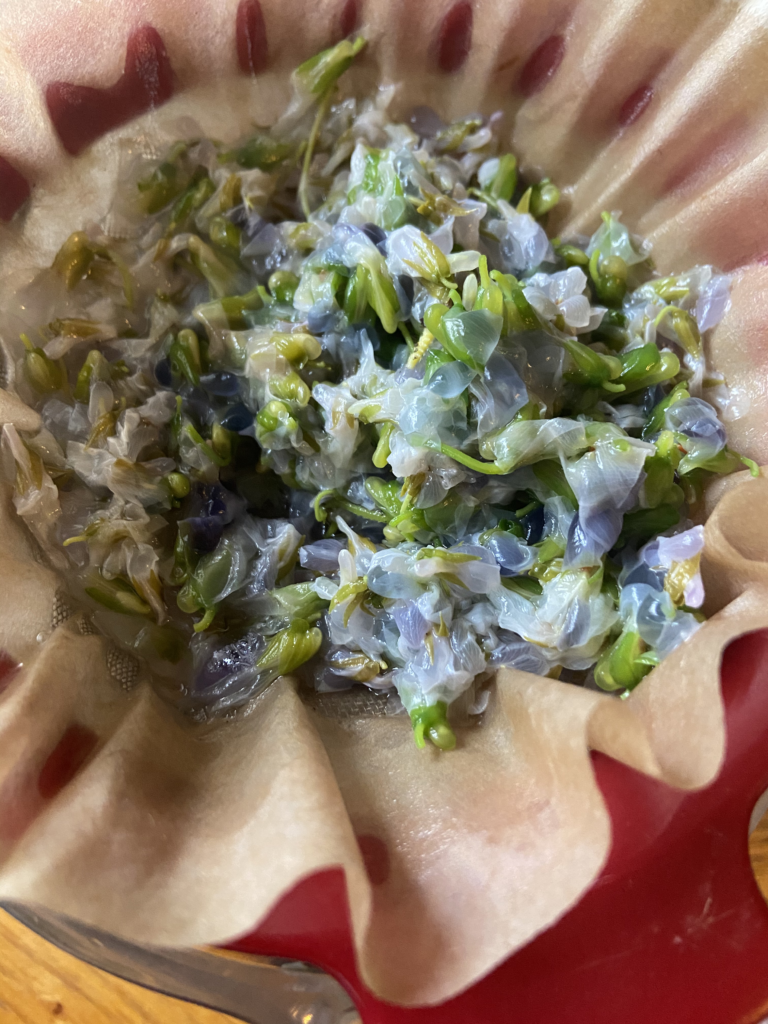
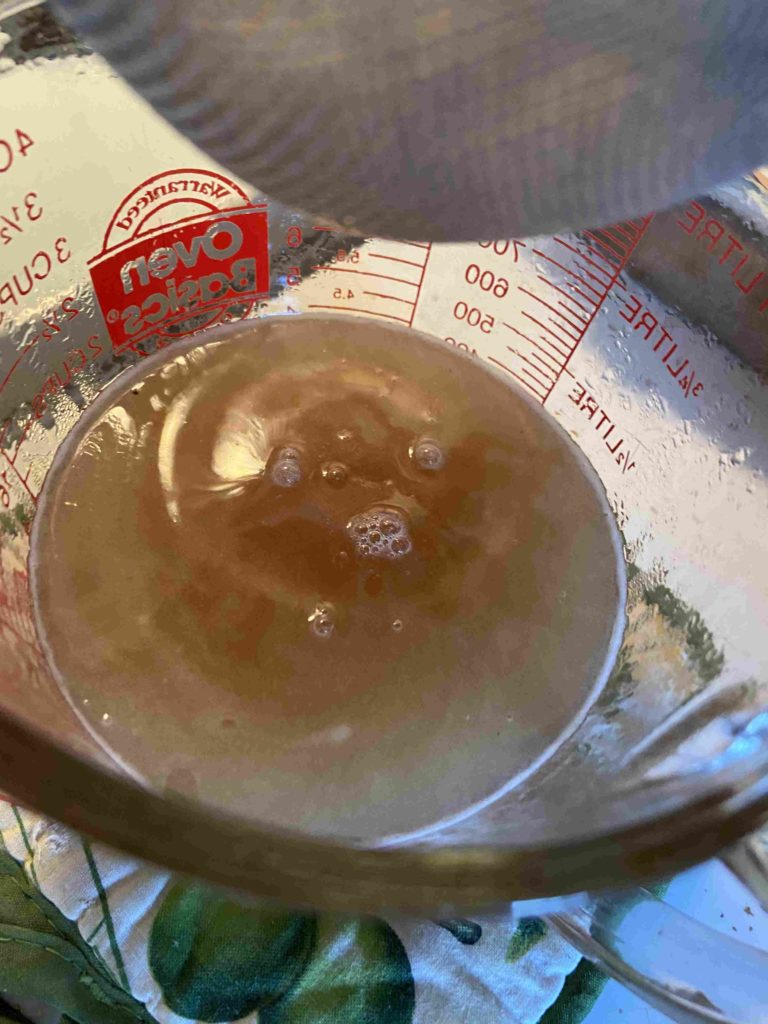
The following day, start heating your water bath canner with enough water to cover your jelly jars with at least 2 inches of water. Strain the flowers from the tea. To do this, I used a fine mesh strainer with a natural coffee filter in it. I poured from the quart jar into a measuring cup (see picture). Straining through cheesecloth would also be a great option. End game: You need them separated. You do you 🙂 

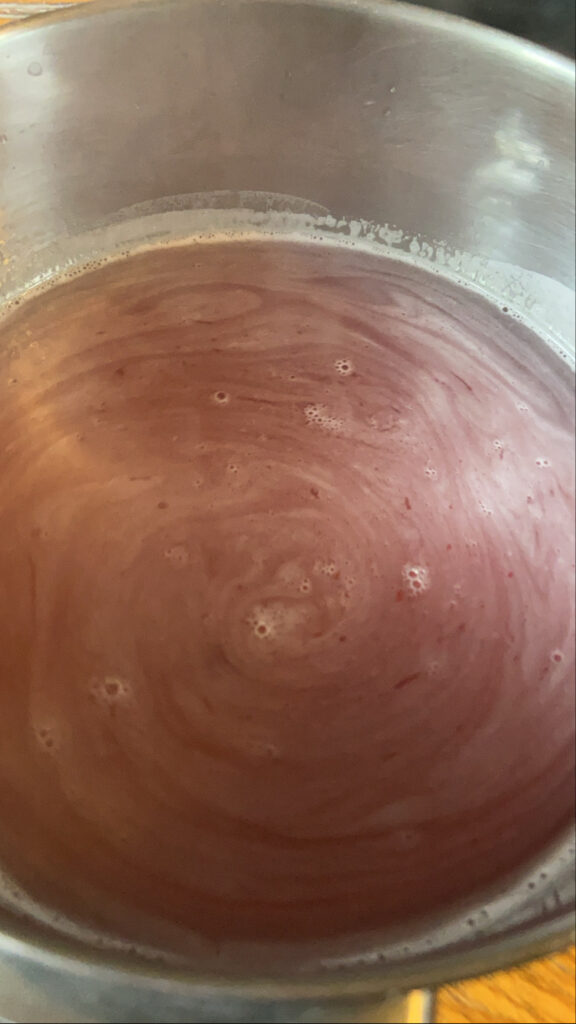
Once separated, measure out 3 cups of violet tea. You may add additional water to reach 3 cups if necessary. Pour this into a larger non-reactive kettle. Add powdered pectin and lemon juice, whisking to incorporate. This will be THE coolest thing you do. The violet tea is a muted green when made, but just be ready when you add the lemon juice. It will instantly go from green to a beautiful lavender color. I knew it was going to happen and I still got so excited I knocked over my bottle of lemon juice, spilling it all over my kitchen floor. Oh well…making memories, right? Back to the recipe…

Bring the tea, pectin, and lemon juice mixture to a boil. Once you have achieved a rolling boil, add sugar. Return to a rolling boil, stirring quite often, if not always. Once you have reached a rolling boil, time for 1 minute, stirring the whole time. Ladle jelly into prepared jelly jars, leaving 1/2 inch head space. Wipe the edges with a damp cloth, add lids, and tighten rings to fingertip tight. Put into the water bath canner and process for 5-10 minutes. I did 10 minutes because my altitude is greater than 1000 feet. (Always read the pectin directions and follow those for your altitude).

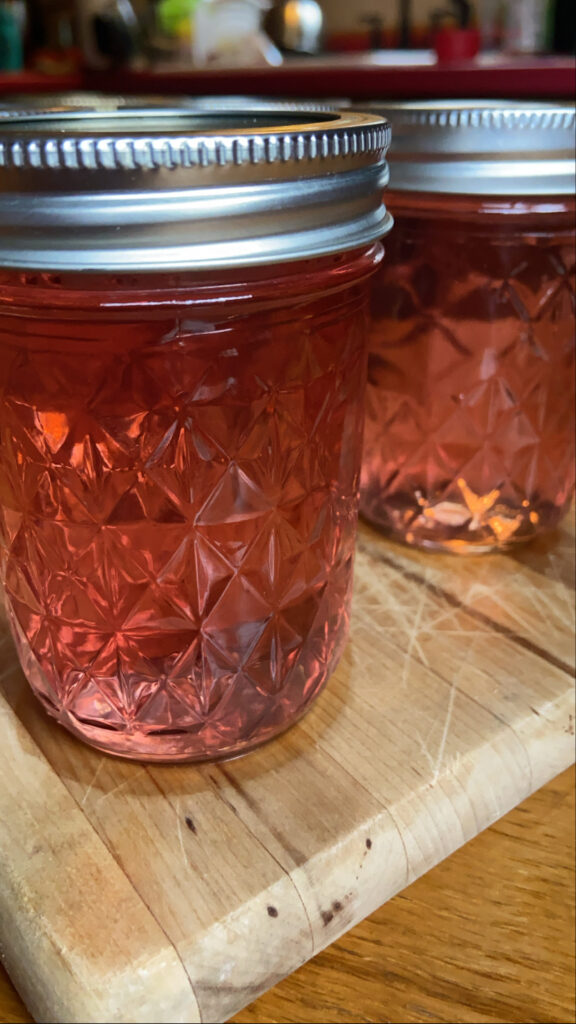
Once the jelly is done processing, remove the canner from heat and let jars rest in the water for an additional 5 minutes. Finally, remove jars from the canner and allow to cool for 12-24 hours before moving. Listen for the ping of the lids (best part of canning…apart from the eating of the beautiful food you create) and marvel at the beautiful spring jelly; the other best part of canning 🙂 

A few notes: 

  • Make sure you are using powdered pectin rather than liquid pectin. They do not set the same. Early in my canning career I didn’t know the difference and had a few batches of jelly never set. 
  • If you have never canned, you can reference the instructions within the pectin box for additional, more detailed directions. While you aren’t using fruit, the directions will still be very similar. 
  • I adore this book and using it as my canning bible. If you are at all interested in all you can can, check out Ball’s Blue Book Guide to Preserving. 
  • If foraging is your jam and you’re in the midwest, Midwest Foraging by Lisa M. Rose is a great resource. 
  • Sealed jars are shelf-stable, meaning they can be stored on a shelf unrefrigerated. If your jars don’t ping (a sign that they have sealed), they are still good. You will just need to store them in the refrigerator. 
  • Most sources recommend removing the rings from jars for storage so that you will know if they unseal for any reason. I generally just loosen them as much as I can without removing them. 

Looking for more canning recipes? Click here!

Looking to forage and then create? Click here!

Wild Violet Jelly

A beautiful lavender colored jelly created from wild violet tea
Prep Time 1 hour
Cook Time 30 minutes
Tea Resting Time 1 day
Course Snack
Cuisine Canning
Servings 16

Equipment

  • Cheese Cloth or Mesh Strainer
  • Quart Canning Jar
  • 6 Half Pint Jelly Jars with Rings and Lids
  • Pint Canning Jar (optional)

Ingredients
  

  • 1 pint (2 cups) wild violet flowers
  • 4 cups boiling water
  • 3 tbsp bottled lemon juice
  • 4 1/2 cups sugar
  • 1 package powdered pectin

Instructions
 

  • Harvest 1 pint (2 cups) of wild violet flowers. Be sure they are clean and rid of debris. Place inside a clean quart jar with lid and ring.
  • Pour boiling water over violets, filling the jar. Cover. Allow to cool to room temperature. Place in fridge to steep for 4-24 hours.
  • Prepare water bath canner by filling with water so that the jars will have at least 2 inches of water over them when placed inside. Begin to heat. Clean and prep canning jars, rings, and lids. Set aside.
  • Strain flowers from tea using cheese cloth and mesh strainer. Remove any flower debris and discard. Measure 3 cups of tea, adding water if necessary. Pour into a non-reactive kettle.
  • Measure sugar in a separate bowl. Set aside. Add pectin and lemon juice to tea. Heat over medium high heat. Bring to a rolling boil, stirring often.
  • Once rolling boil has been reached, stir in sugar. Continue to stir until rolling boil is reached again. Time for exactly one minute, stirring constantly.
  • Remove from heat. Pour into prepared jelly jars, leaving 1/2 inch head space. Wipe rims of jars, put on lids and rings, tightening to finger tip tightness.
  • Process in water bath canner for 10 minutes. Remove from heat. Allow to sit in canner 5 additional minutes. Remove from canner, place on counter, and let sit for at least 24 hours.

Notes

More in depth directions regarding canning jelly can be found with the directions with powdered pectin. Be sure to read through those directions as well. 
Keyword Canning, Foraging, Jelly, Violet, Violet Jelly, Waterbath Canning
Tried this recipe?Let us know how it was!

Maple Syrup Season

My Story…An Adventure…

Cooking Sap: A new family tradition

(You can totally skip this part if you aren’t into hearing the back story, but I do have some big hints and tips that I learned in my first adventure into maple syrup 🙂 ) Click here to skip my story!

How I roll

I have to begin this post by saying I’m the type of person who gets approximately 75% of the information needed for a grand plan and then I go all in, and my husband has to strap in for a wild ride. This is true with my food blog, fitness activities, you name it. But our favorite example of me doing this is maple syrup. Being from the Northwoods of Wisconsin, we know a number of people who tap trees every spring and cook down their own maple syrup. My new found obsession with foraging and all things homesteading meant I became interested over the last few years.

Gathering

Last March, I was doing some shopping at the local (ish) Fleet Farm and saw the tree tapping supplies. I had done MINIMAL research, but I quickly texted two different friends who tap and got some quick info. Yes, it was late in the season. But I had made my mind up and picked up the materials to tap four (yes, just four) trees. I figured it would be an adventure for my family and worst case scenario, we were out a few hours of work and about $35.

I brought it home, read a little more about gathering maple syrup online, and we began the quick process of hanging the sap bags. Little did I realize just how much sap we would get! After just 48 hours, we had multiple gallons of sap and no real place to store it (again, 75% of the information is all I ever have and then I fake it till I make it).

Cooking

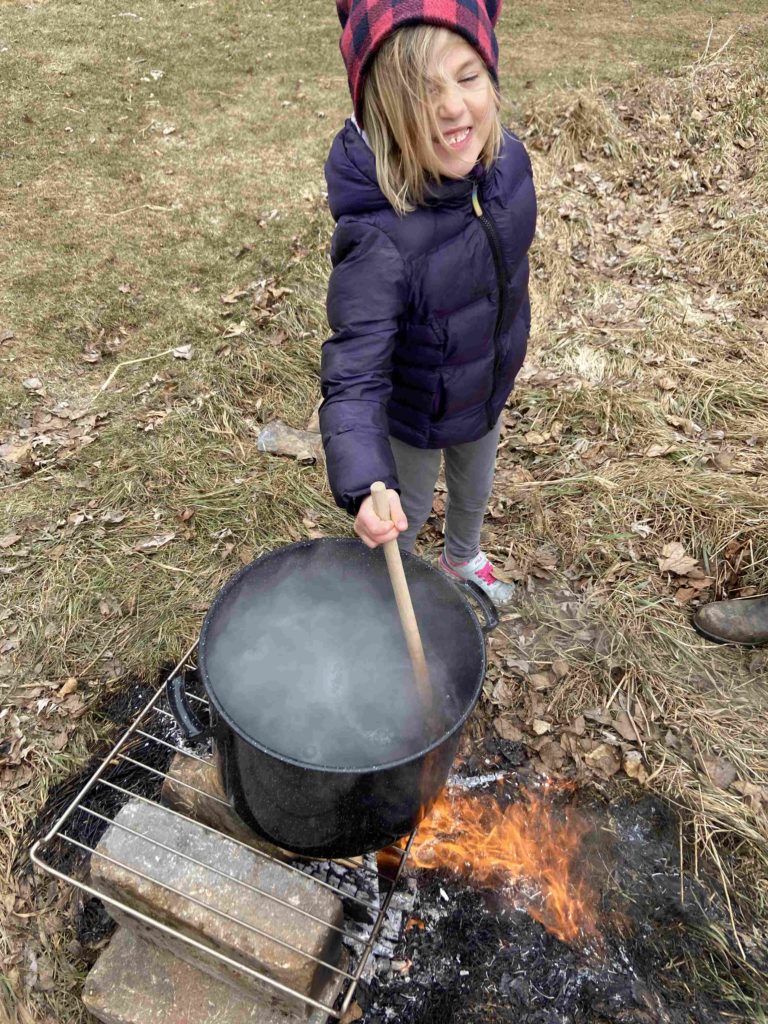
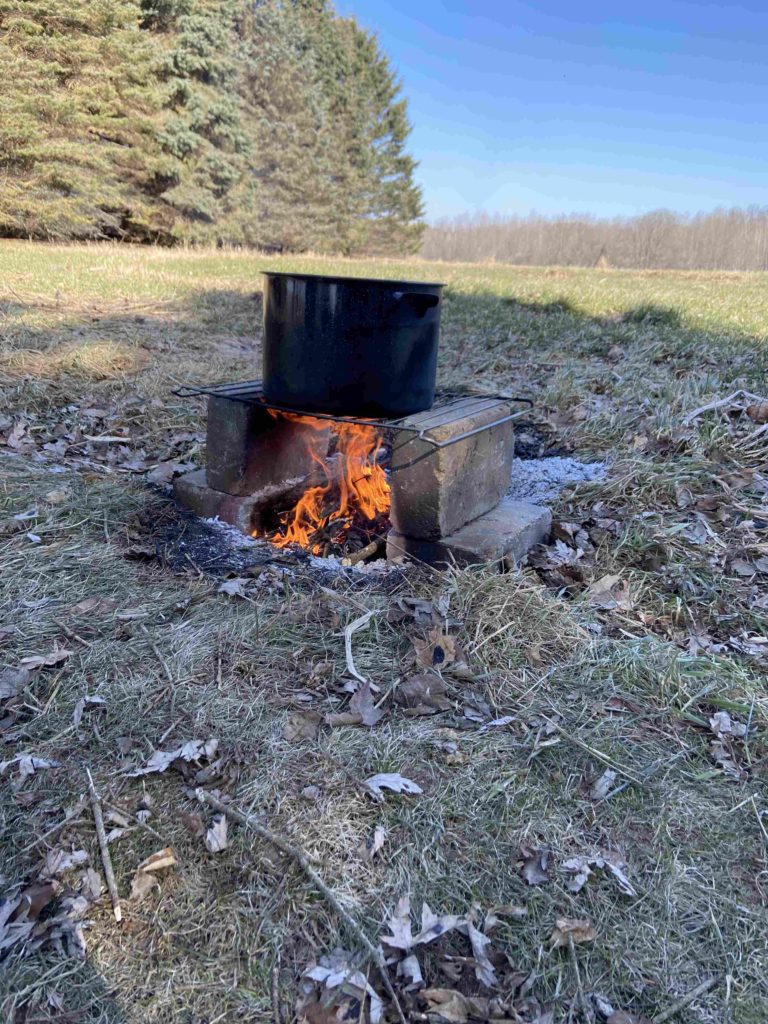
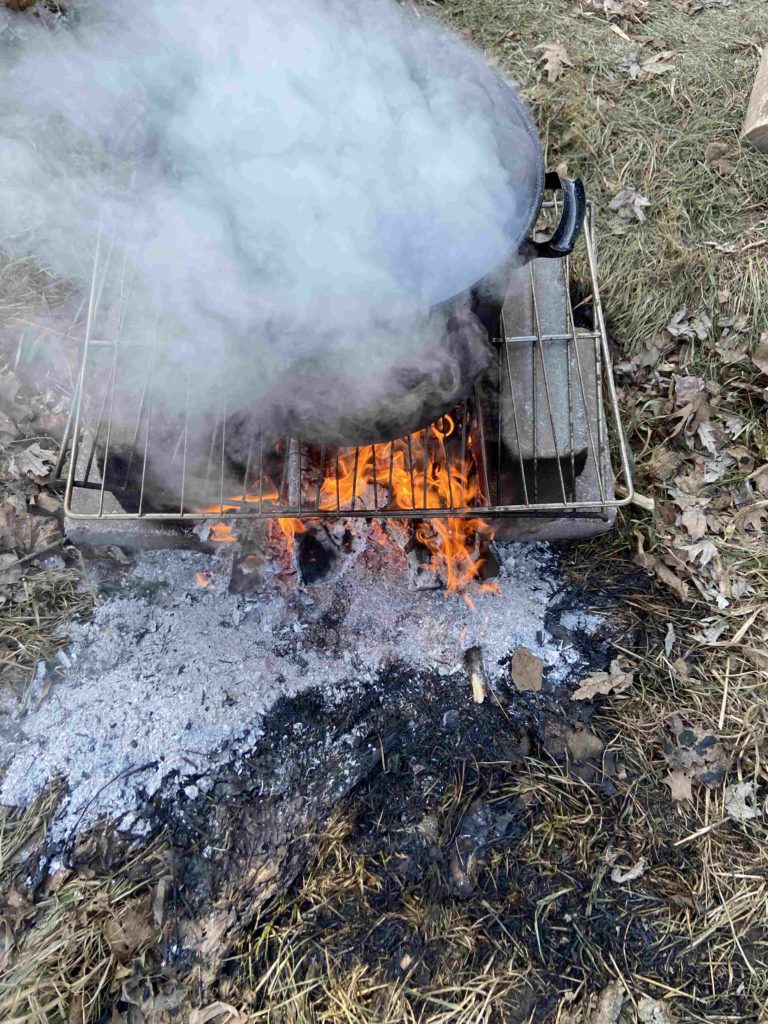
So begins the process of cooking maple sap down, in the middle of the week, after my husband and I had both worked a full day. We got home, ate dinner, and put together a fire outside, setting some 2 inch metal fencing from our garden on top of a few cinder blocks for the old kettles we had to sit on top. The sap got poured into the kettles and we boiled away, keeping the fire stoked.

Because we were using an old canning kettle (something taller than it was wide, so less surface area for the heat to reach), it took longer to boil down than either of us anticipated (75% of the information…maybe more like 50% 🙂 ), and we were so tired. The first time we cooked, we went to bed at 10:30-11 pm, but set an alarm for every 30 minutes so we could stoke the fire. I can’t help but laugh now as I remember that. I think I blocked that from my memory!

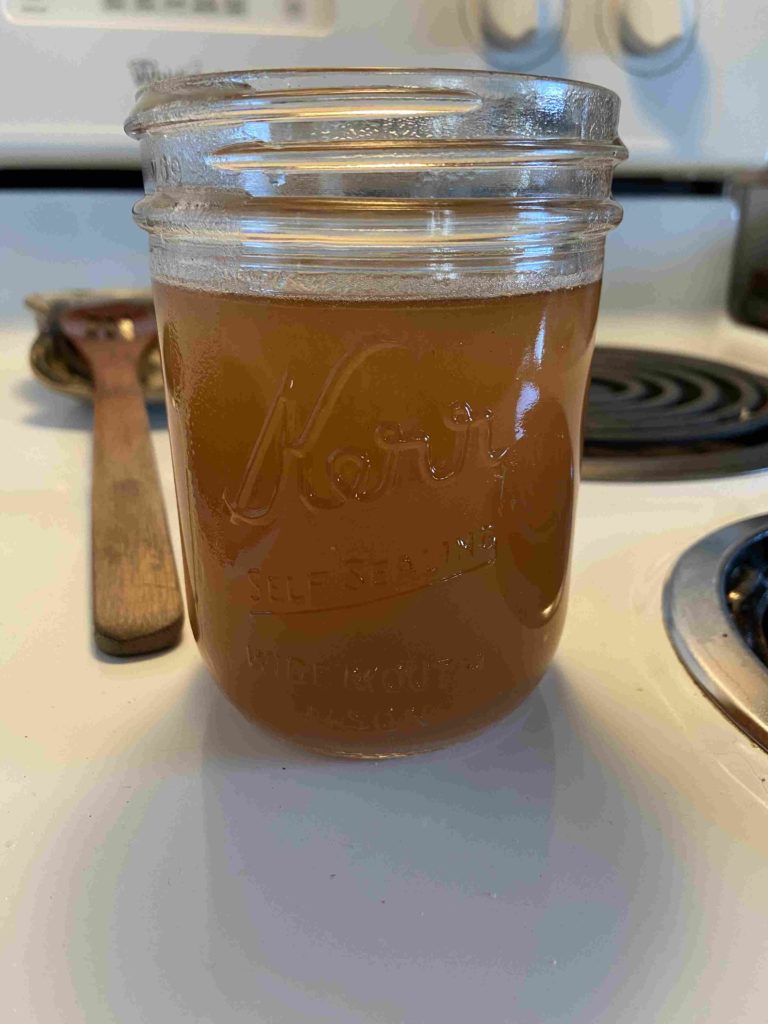
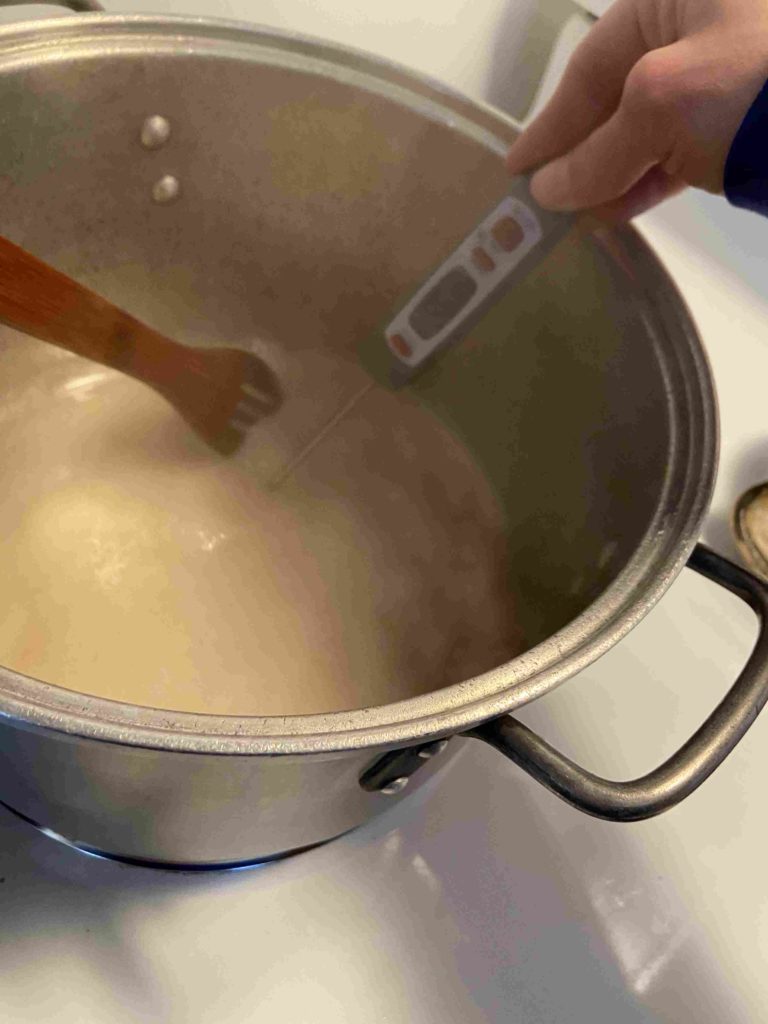
By 1 am, the sap had cooked down to about 1-1 1/2 quarts of maple syrup and we were able to bring it inside to finish it on the stove. From here, we boiled away until we had a hard boil, checking the temperature every few minutes. You have maple syrup once the temperature reaches 7 degrees above the boiling point of water (which varies based on your elevation). We hit that point, filtered it through cheese cloth twice, tasted the delicious syrup we had just made and worked SO hard to finish, and immediately collapsed back in our bed.

A sane person may quit after that experience 🙂 It wasn’t hard by any means, but it sure took a lot out of us. However, I got more excited (so did our kids), and although he would never admit it, my husband loved it. He got to spend hours around a fire with a beverage of his choice, watching the sap boil. It’s calming and healing, believe me. We learned crazy amounts after that first experience.

A few hints Before you start

  • Start the fire AS SOON AS YOU GET HOME.
  • Try to use wider pans to cook in to increase the surface area.
  • It’s best if you cook on the weekends so you can cook in the daylight.
  • Don’t chop your wood too close to the fire or hitting the kettle and losing all your sap may occur. Super sad!
  • You don’t need to fill the kettle to the top with sap to begin. Get a boil going and slowly add the rest of your sap.
  • Anyone can do this! It is rewarding and fun to learn.
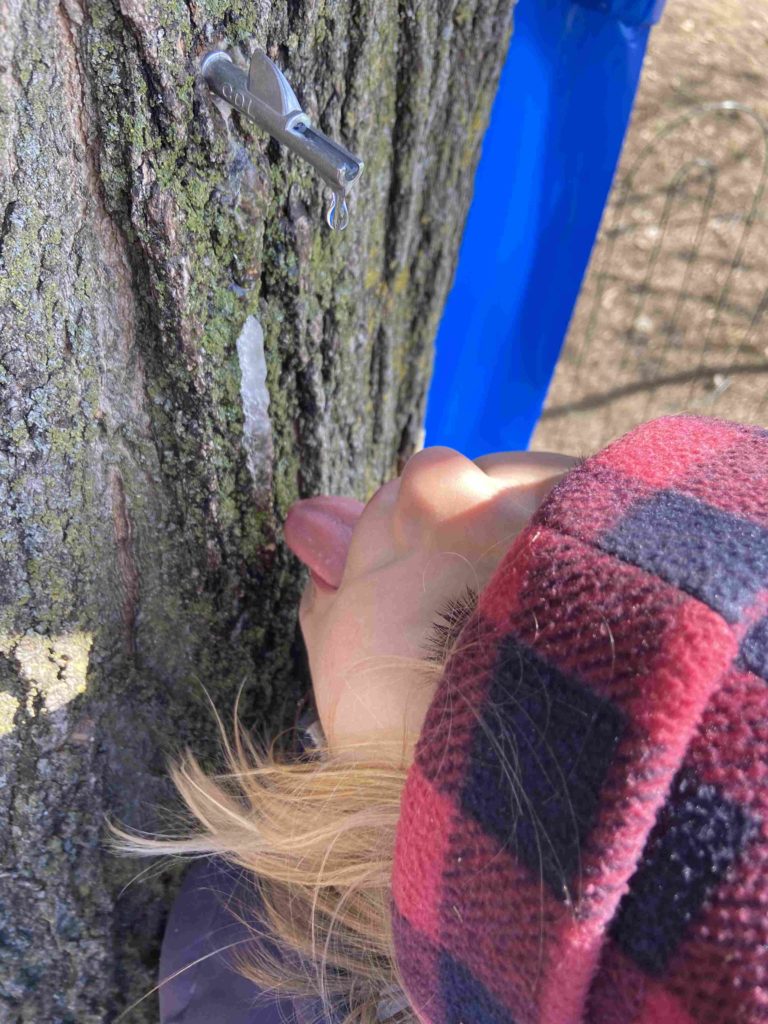
A perk for the littles: tasting the sap right out of the tree!

Now It’s your Turn!

This year, we tapped just two trees with four taps at my in-laws after our spring break trip fell apart. We figured we would be around and my husband’s family had never experienced it before. It wasn’t the plan, so we began by picking up a kit (simply because then we knew we had everything we needed. You will need:

  • Taps (four is plenty for your first go!)
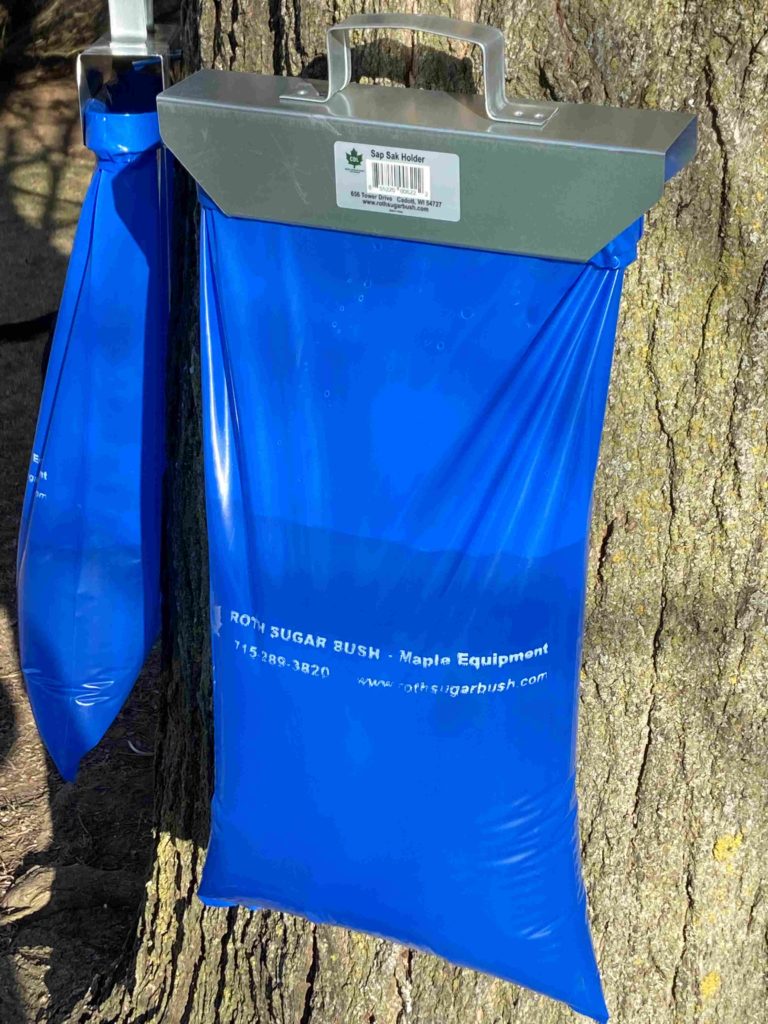
  • Sap collecting bags (one bag per tap)
  • Hangers for the bags
  • A drill and drill bit to match the size of the tap as well as a hammer
  • Large cooking vessels that you are okay getting covered in carbon as they sit over the fire (think, the soup kettle you never liked anyway)
  • Lots of dry wood, cut smaller
  • Cinder blocks and some form of metal to set the cooking vessel on (wire, an old grill grate, metal posts, etc)
  • Cheese cloth to filter syrup when your finished cooking it down
  • Cooking thermometer, preferably digital

Tapping happens in the spring, when the nights are still below freezing but the days are warmer. The sap should run clear out of the tree. If it is cloudy, it is time to be done collecting. One trick sappers use is to watch for the tree leaves to bud out.  Once the leaves bud out you know that sapping season has come to a close. You can tap any maple tree, but sugar maple are going to be the highest sugar content. You will want to have the bags facing the south to keep them warmest during the day. I am going to write these directions assuming you have the same quantity sap we did with about 4 taps. I want the directions short and sweet so feel free to read around the Internet for more information!

1. Drill a hole into the tree at about chest height, initially going straight in but angling up just slightly to encourage sap flow. The depth of your hole should be about 2 – 2 1/2 inches. (How many taps can a tree hold? Check the diameter: 10-20 inches = 1 tap, 20-25 inches = 2 taps, over 25 inches = 3 taps)

2. Insert the tap into the tree and gently use a hammer to get it inserted the rest of the way. Depending on the temperature outside, the tree may begin dripping sap immediately (if it is warmer). It dripped immediately at my in-laws, but took a while to drip at our own home. Don’t fret.

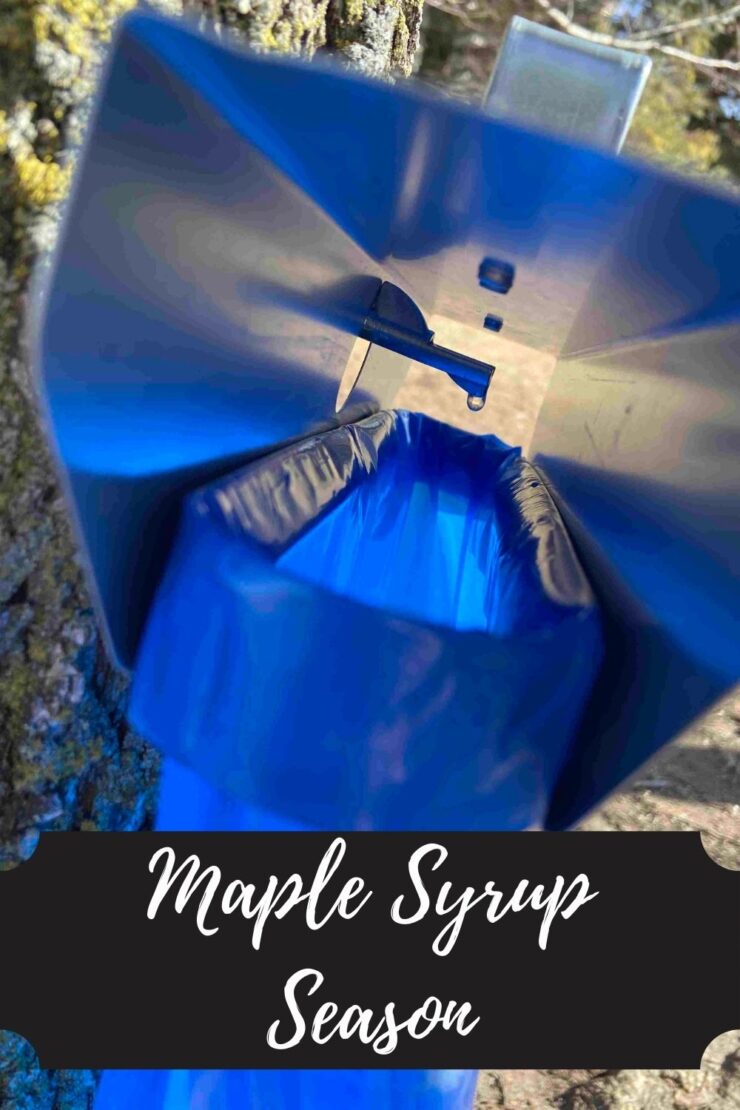
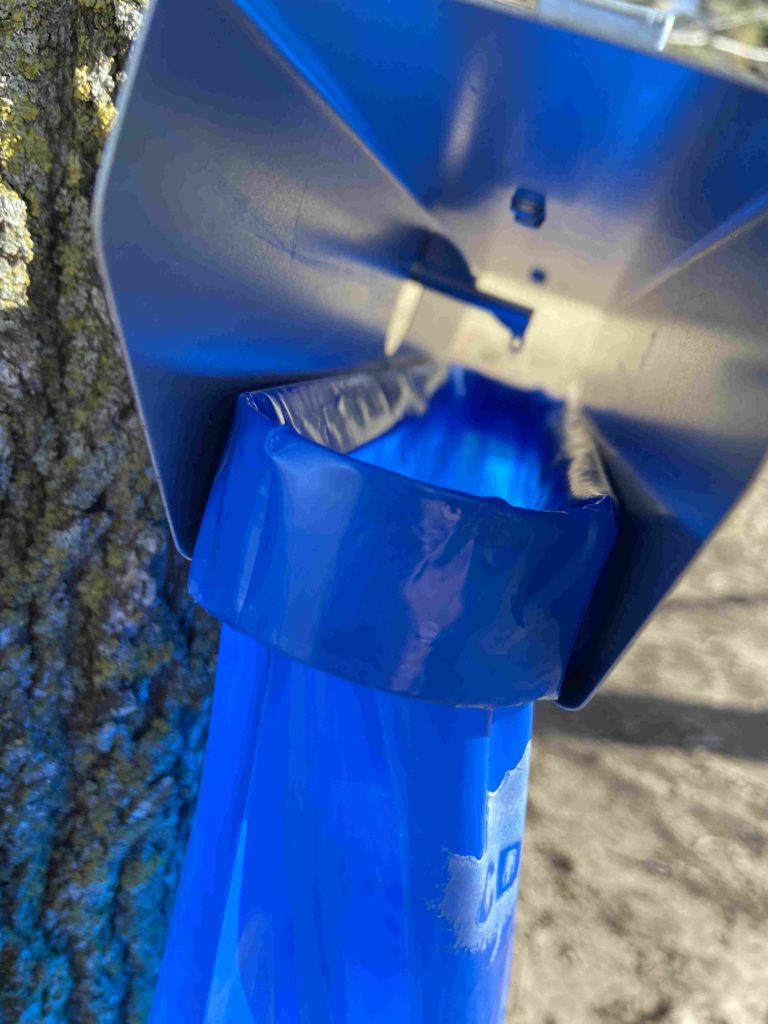
3. Wrap your bags around the metal ring and insert back into the hanger. Hang bags on the tap, making sure that the spout is dripping inside the bag.

4. Walk around and check on them because you’re just so happy you tapped your first trees.

5. As your bags fill, know that you can truly cook at any time, but be mindful of the size of your cooking vessel. The ratio of sap to syrup is approximately 40:1, that is for every 40 gallons (cups, whatever) of sap you collect, you will get 1 gallon (cup, whatever) of syrup. Whenever you are ready, pour the sap into a kettle and place the bags back on the hangers to continue to collect.

6. We like to build a fire, but protect it with cinder blocks on each side. The first year, we use blocks that had holes in them. This year, we bought solid blocks from Fleet Farm, and they held up to the heat much better. Place the metal grate, wire, etc. on top of the blocks and put the kettle on top.

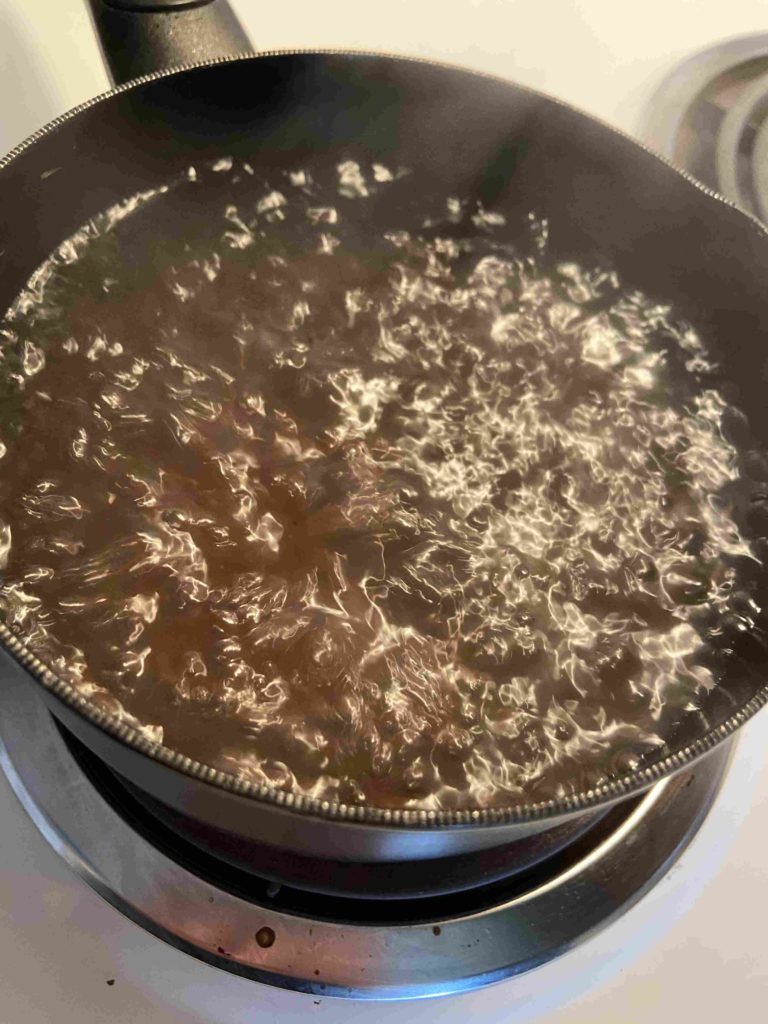
7. Boil. And boil some more. Keep the fire hot. Sit around with a beverage of your choice (coffee til cocktails, anyone?) and reconnect with nature and your friends. Boil until you’ve reached the point that you have approximately 1-2 quarts left of your sap. That is, once it has begun to turn that glorious syrup color and you have a kettle small enough to finish it off on the stove.

8. CAREFULLY pour your “almost syrup” into the smaller kettle, and bring to a boil on your stove. I told my husband the boil changes when it’s getting closer and he agreed, but I don’t quite know how to describe it. You will notice it too though, I am certain. Stir the “almost syrup” often, and check the temperature every few minutes. It will take longer than you think it should.

9. You have syrup once the temperature reaches 7 degrees above the boiling point of water at your elevation. If you are under 1000 ft above sea level, that will be 219 degrees, but you may want to do an Internet search on the boiling point for your own town. (There are other ways to check for syrup beyond temperature…fancy: hydrometer that measures sugar content, not fancy: spoon test and seeing how it falls off a metal spoon. I recommend just using a digital thermometer)

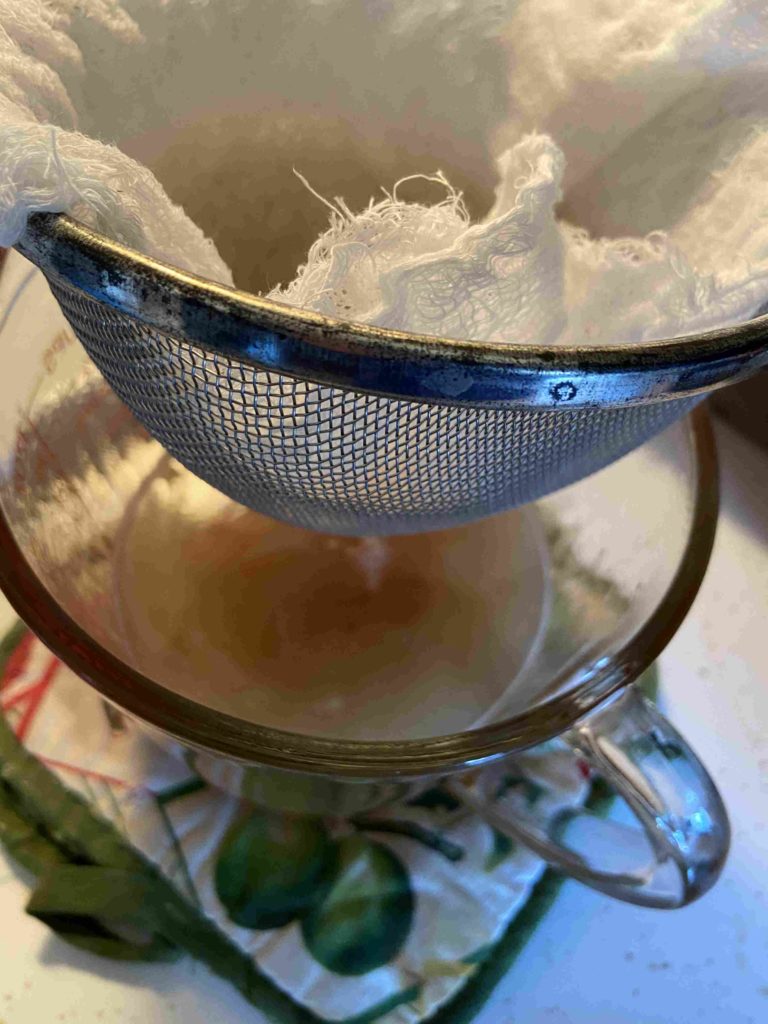
10. Once you reach the right temperature, you will want to filter the syrup through cheese cloth. We like to put the cheese cloth over a small mesh colander and pour it into a larger measuring cup (see picture). Then we filter it once more from the measuring cup into a mason jar (or whatever you want to store your syrup in). Allow to cool, and then store in your refrigerator.

That’s it! In just 10 steps, you have made your very own maple syrup. It’s great with all of your breakfast goodies like waffles (I have a great recipe here!), as a refined sugar replacement (check out the energy balls here!), or even as your sweetener in your coffee. I hope you enjoyed it as much as we do and start a family tradition like we have 💗

Looking to find more treats that the Earth has to offer? Check out some of the links below: