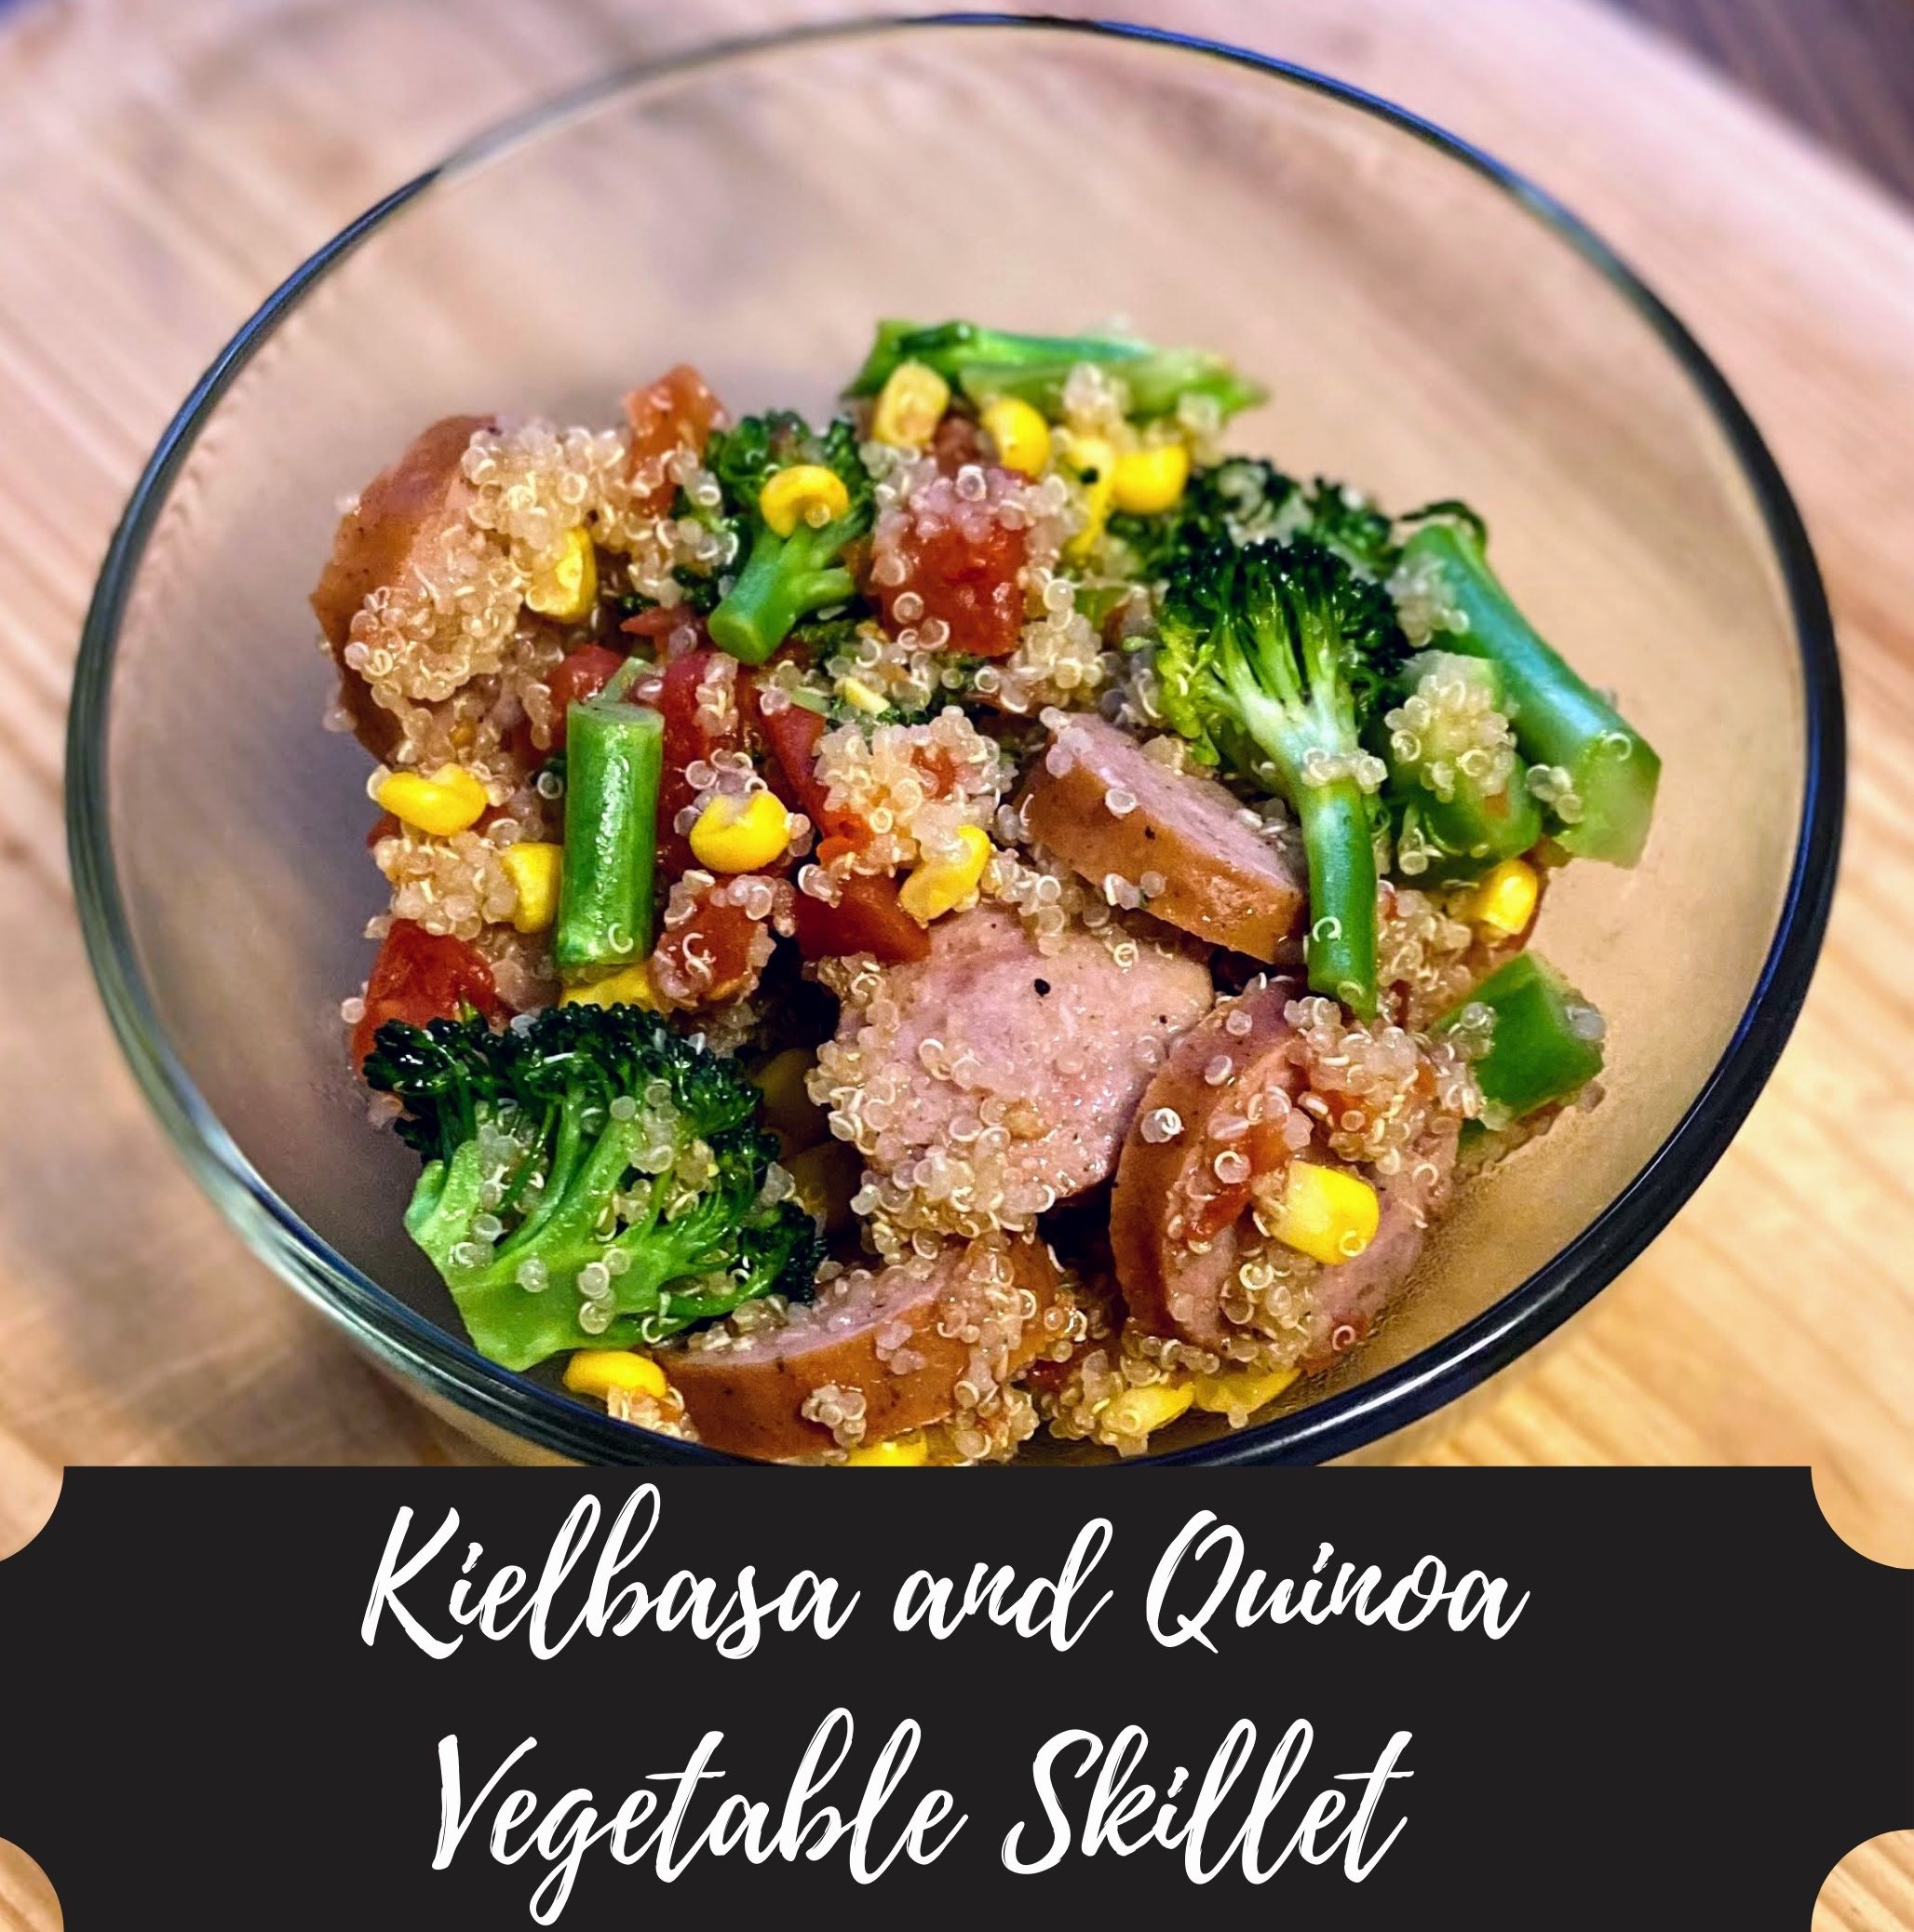
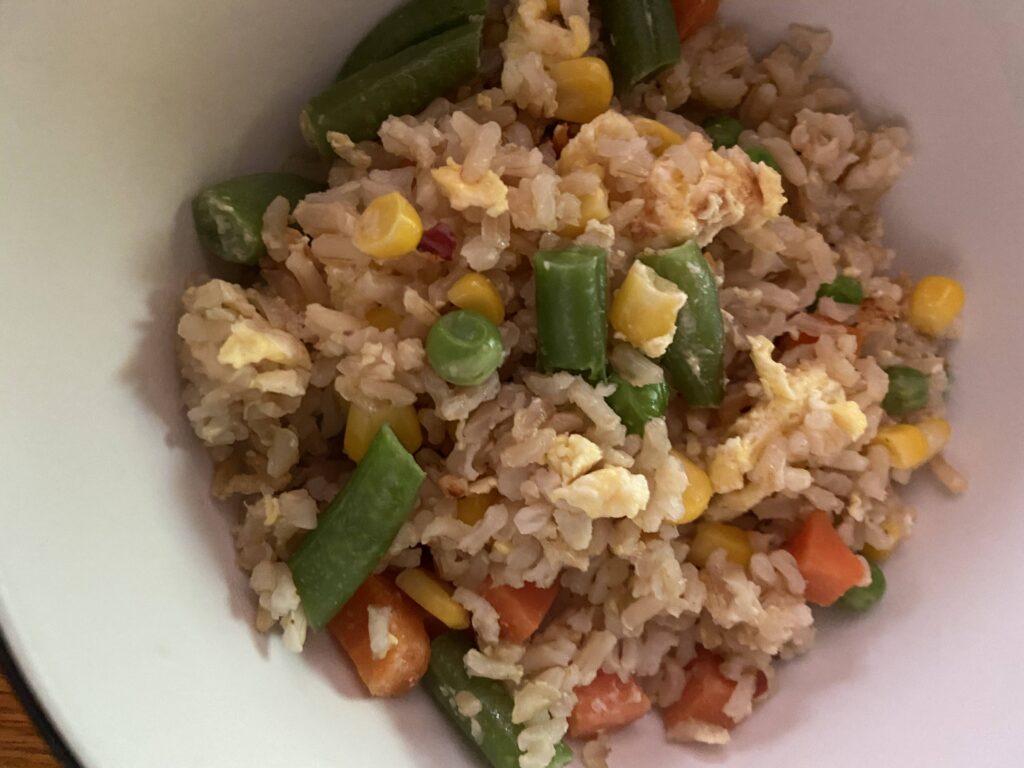
Kielbasa and Quinoa Vegetable Skillet

The scene: It’s 5 o’clock and you still have no idea what’s for dinner, but you know you don’t want to cave to the temptation of take out or the quick rotisserie chicken from the local grocery store. You know that life? It was mine just recently. I was coming home from a training to teach cycling (Eeee!) and hadn’t a clue what was for dinner. Enter this delightful little diddy: Kielbasa and Quinoa Skillet. 

You guys know me…I sneak all the extra vegetables into a meal. And this one is full of about 5 cups of them. You get all the color with broccoli, tomatoes, and corn. Quinoa provides a nice little base, and the kielbasa has the spices mixed in already so you only need a little garlic, some salt, and some pepper. Best yet? It comes together in under 30 minutes! Winning on all the fronts. 

Ready to get cooking? I sure am! 

Your Ingredients 

  • ¾ cup dry quinoa 
  • 1 ½ cups chicken stock (or water will do!)
  • 2 teaspoons minced garlic 
  • 1 tablespoon olive oil 
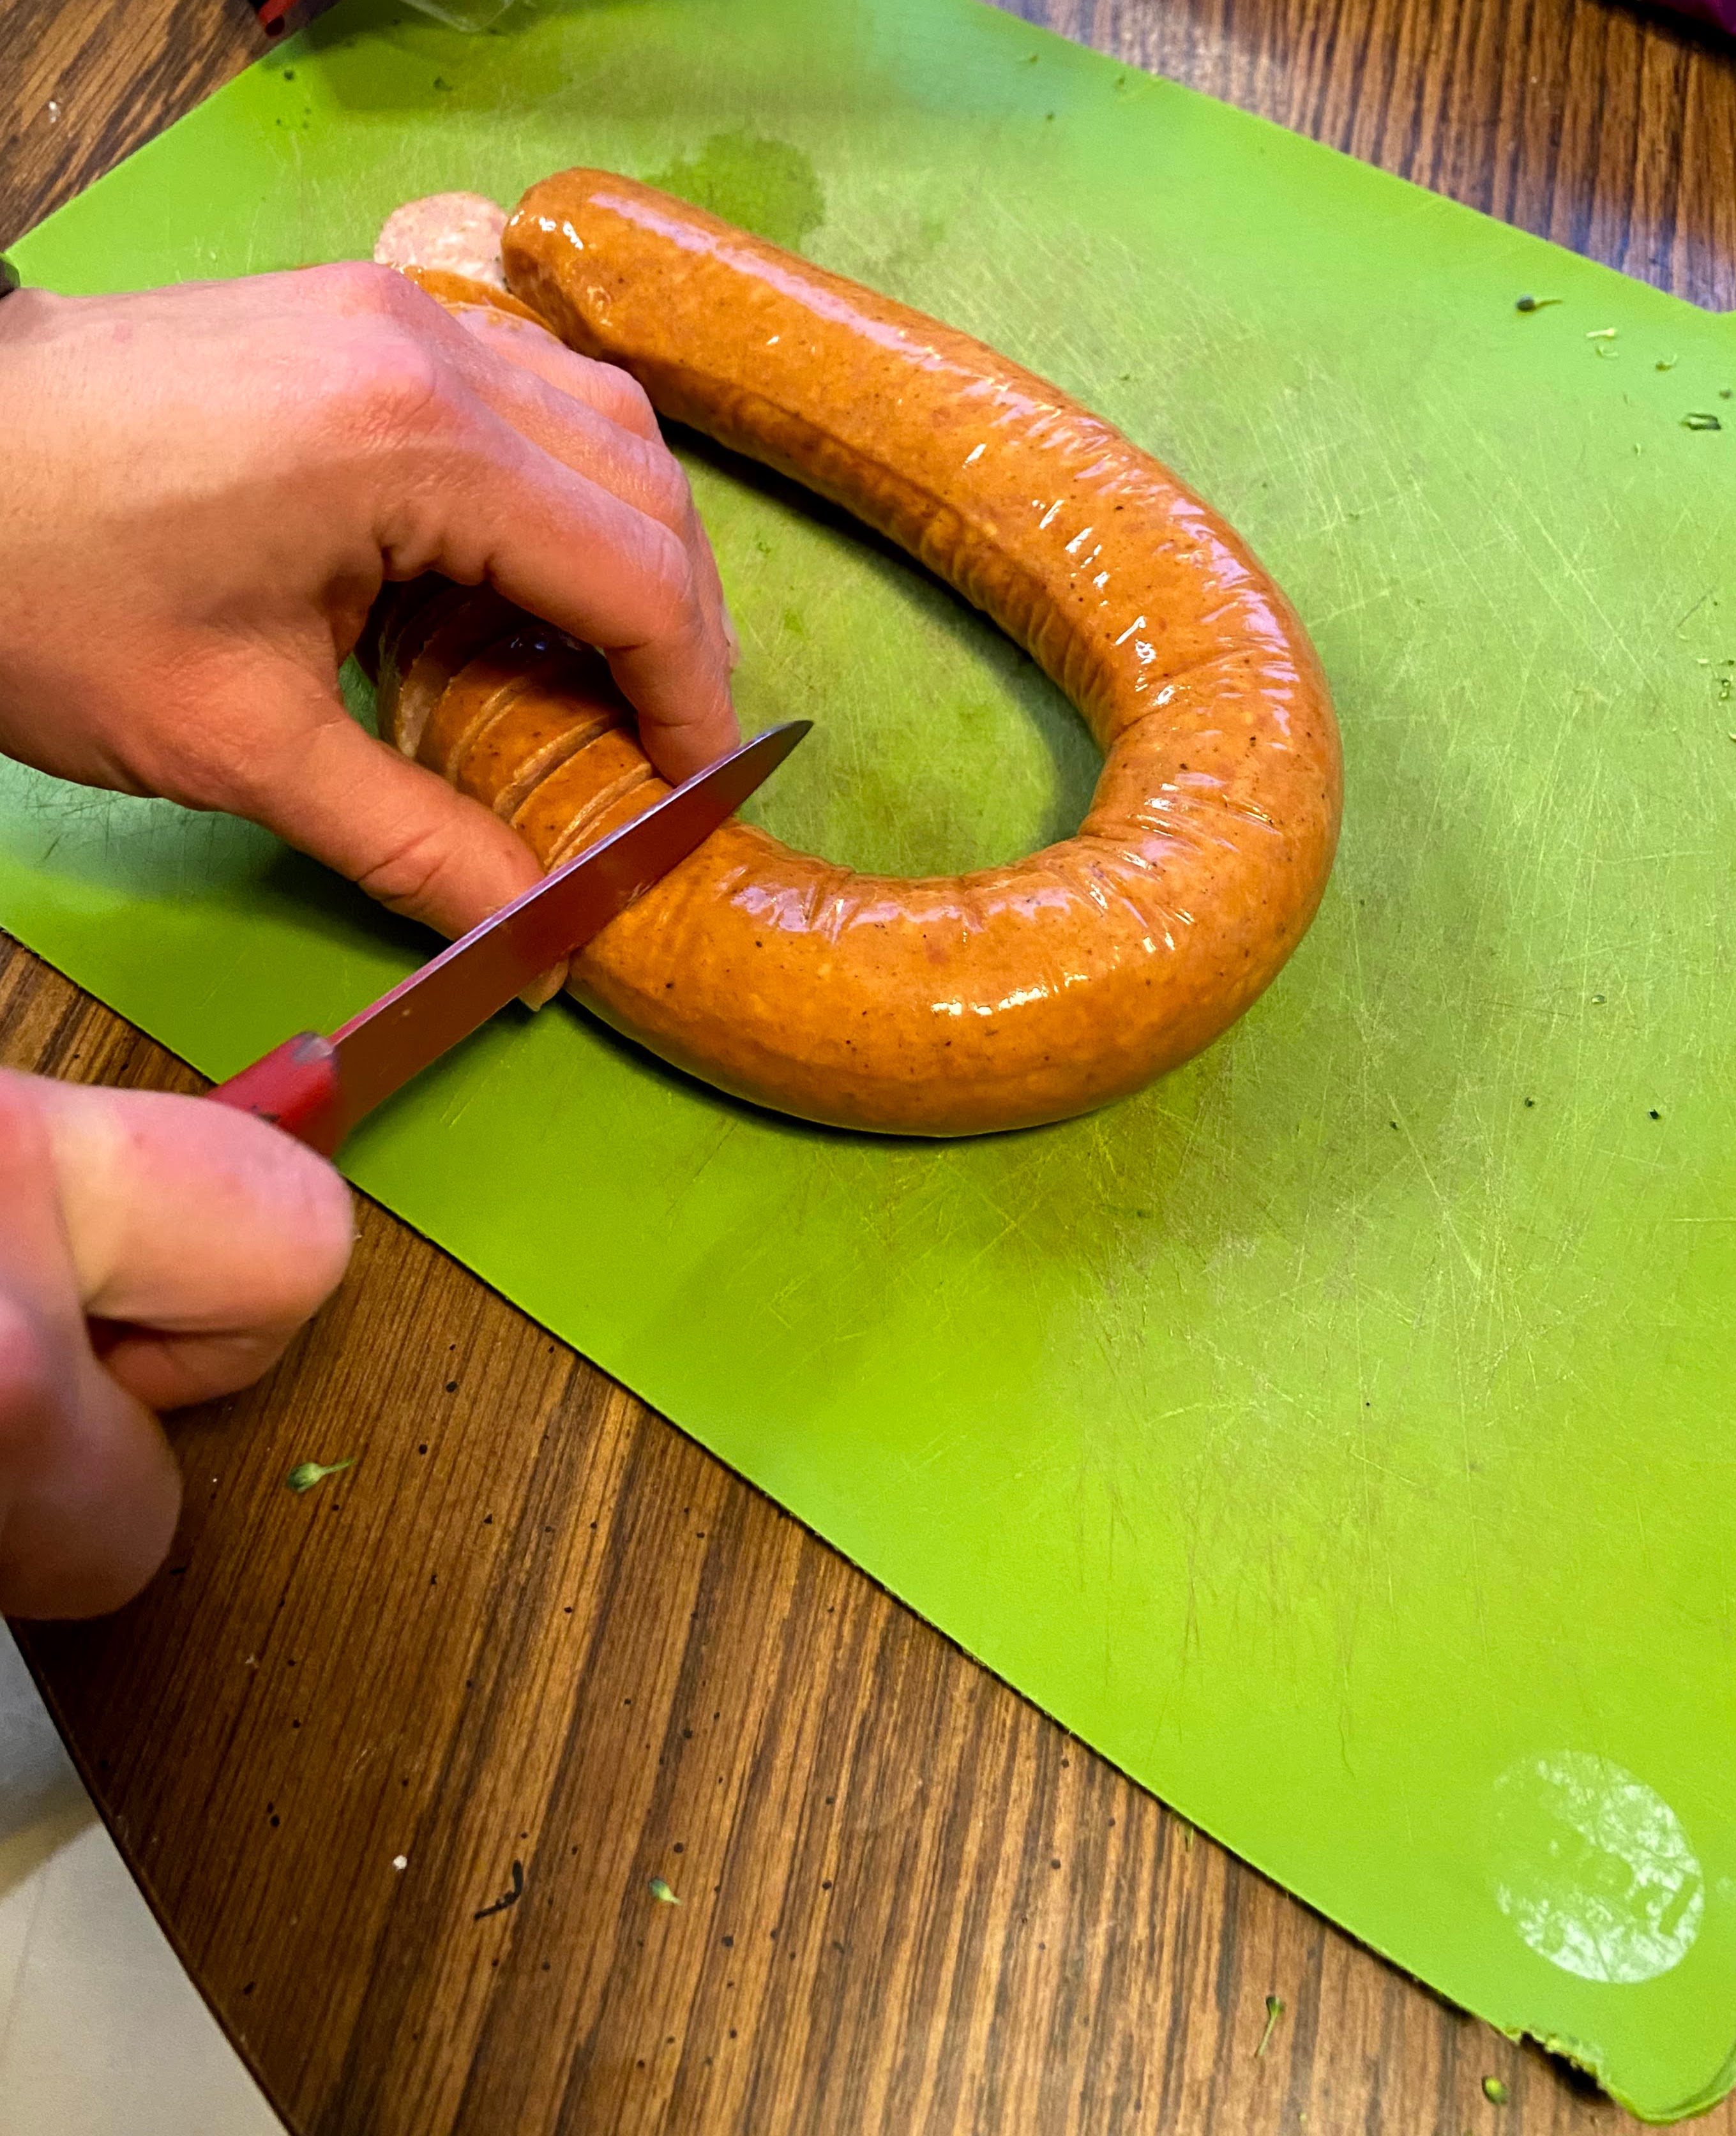
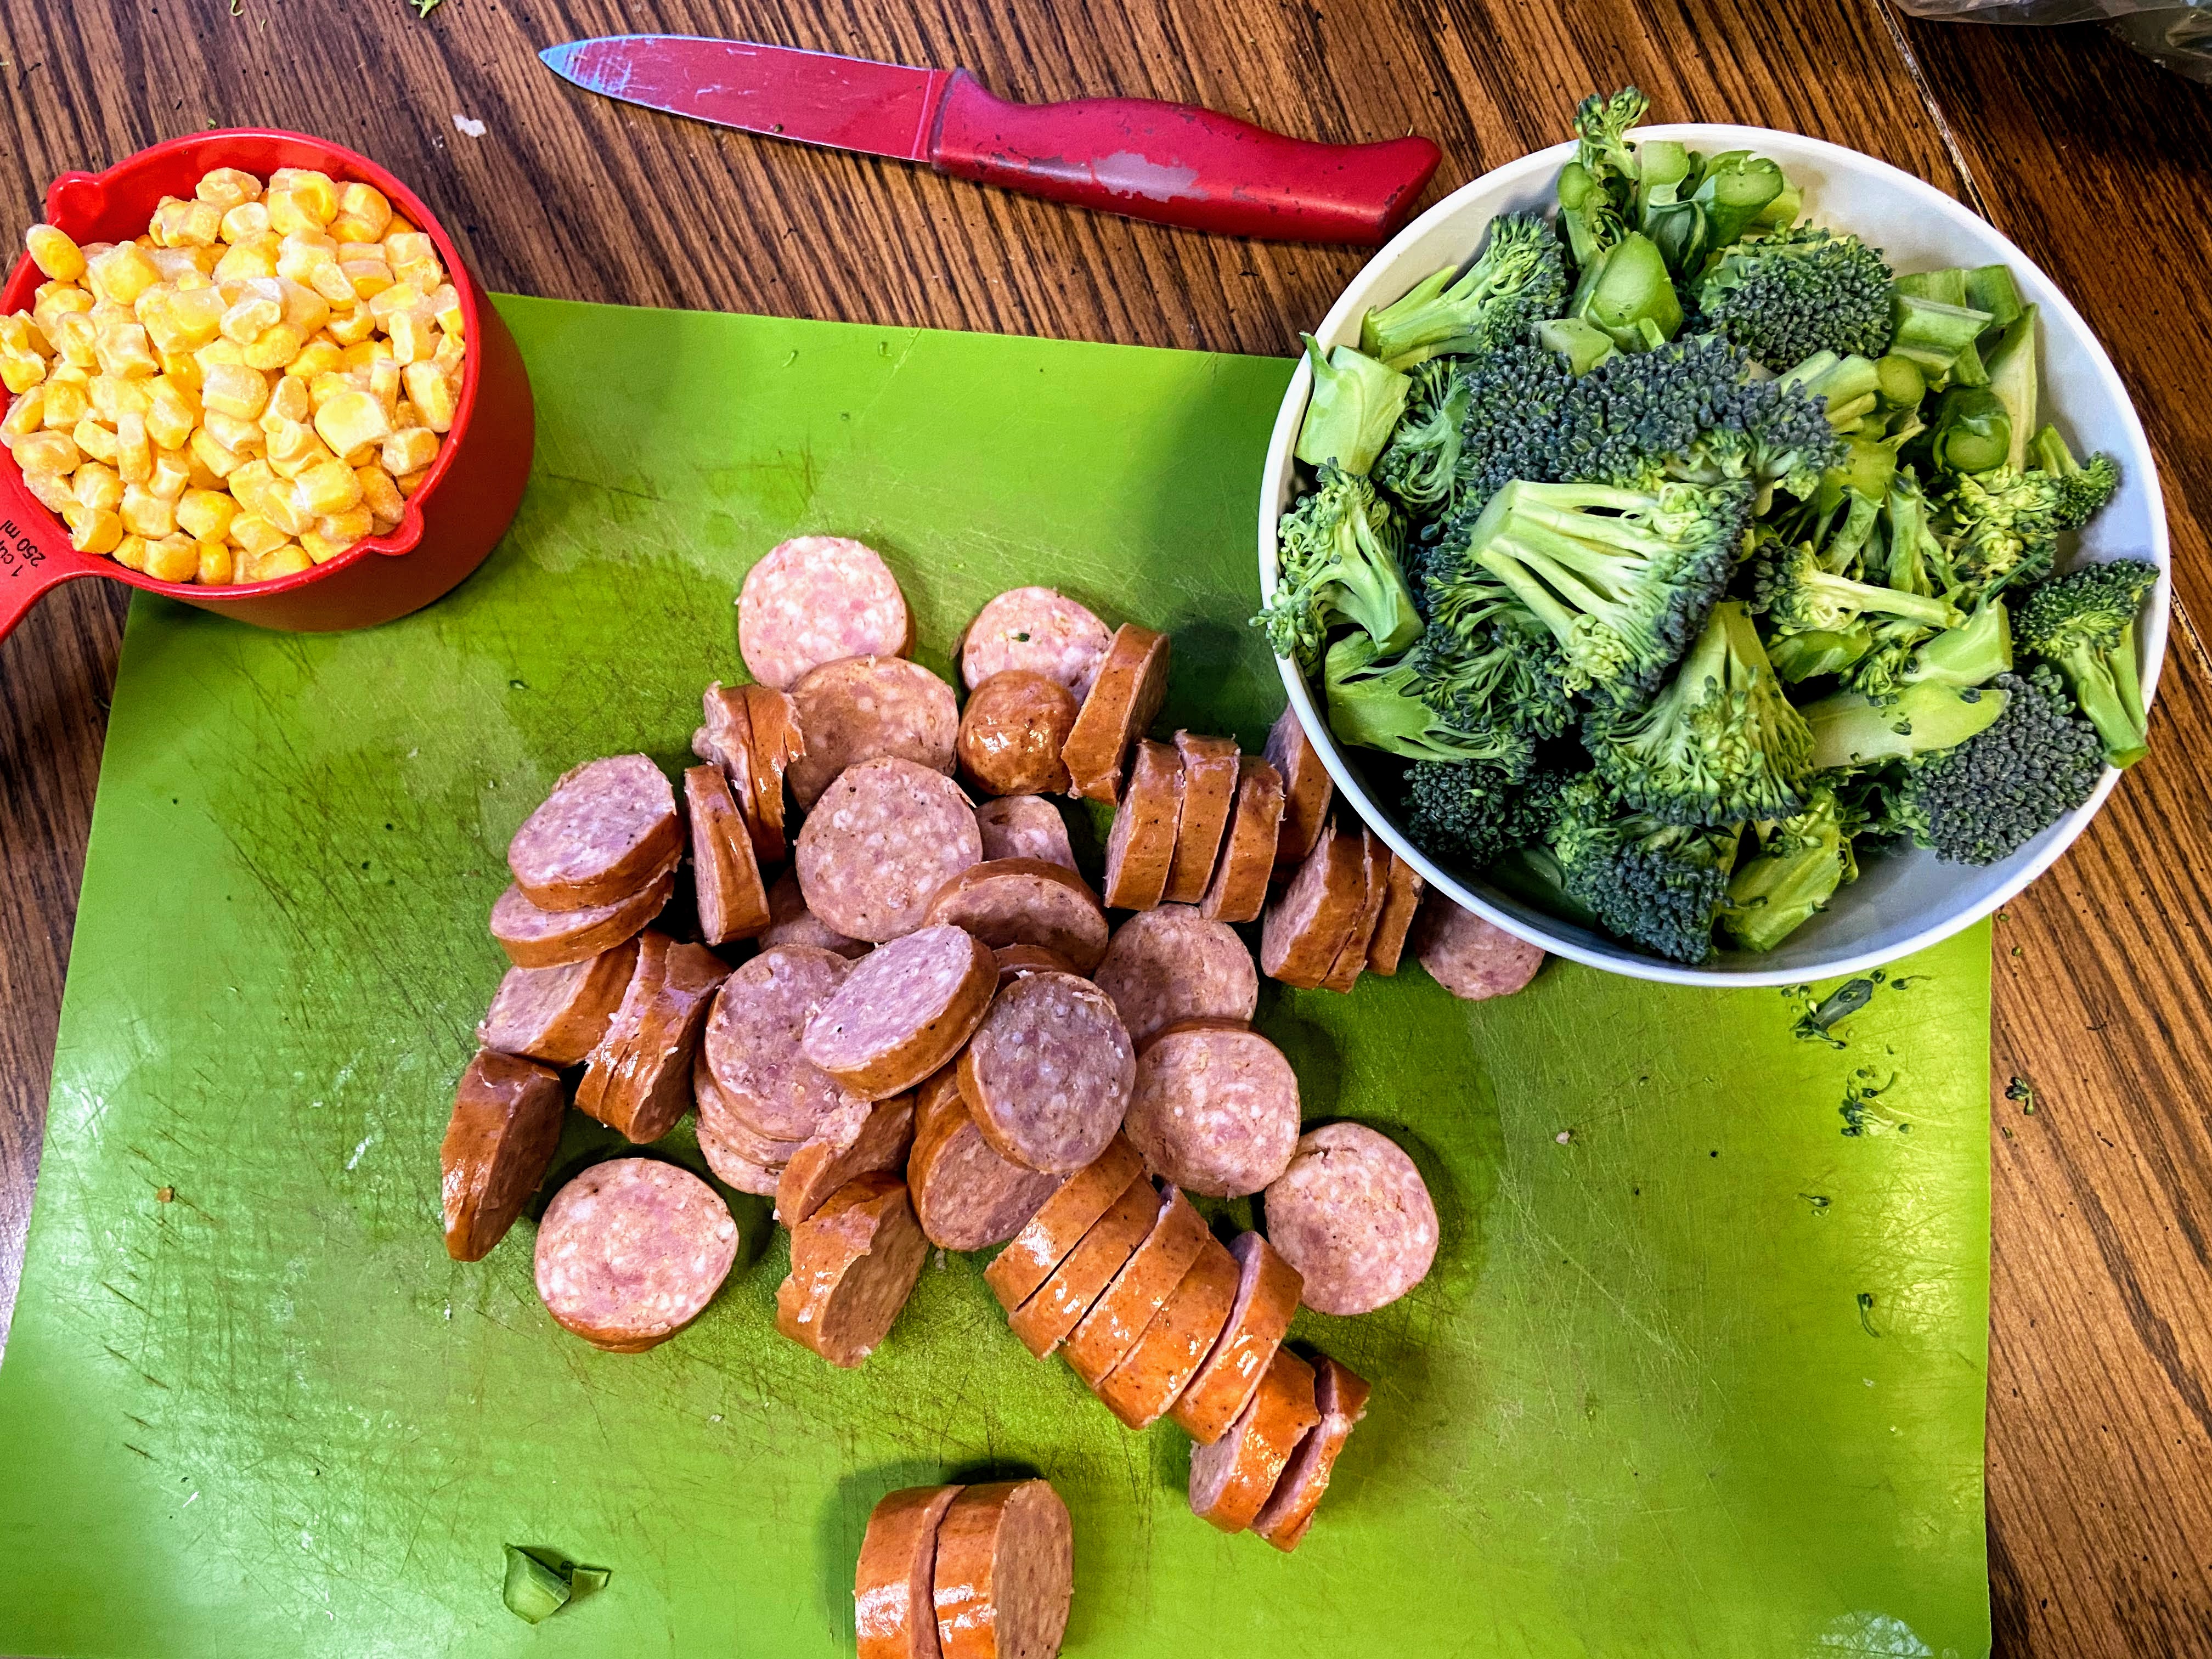
  • 1 kielbasa, sliced
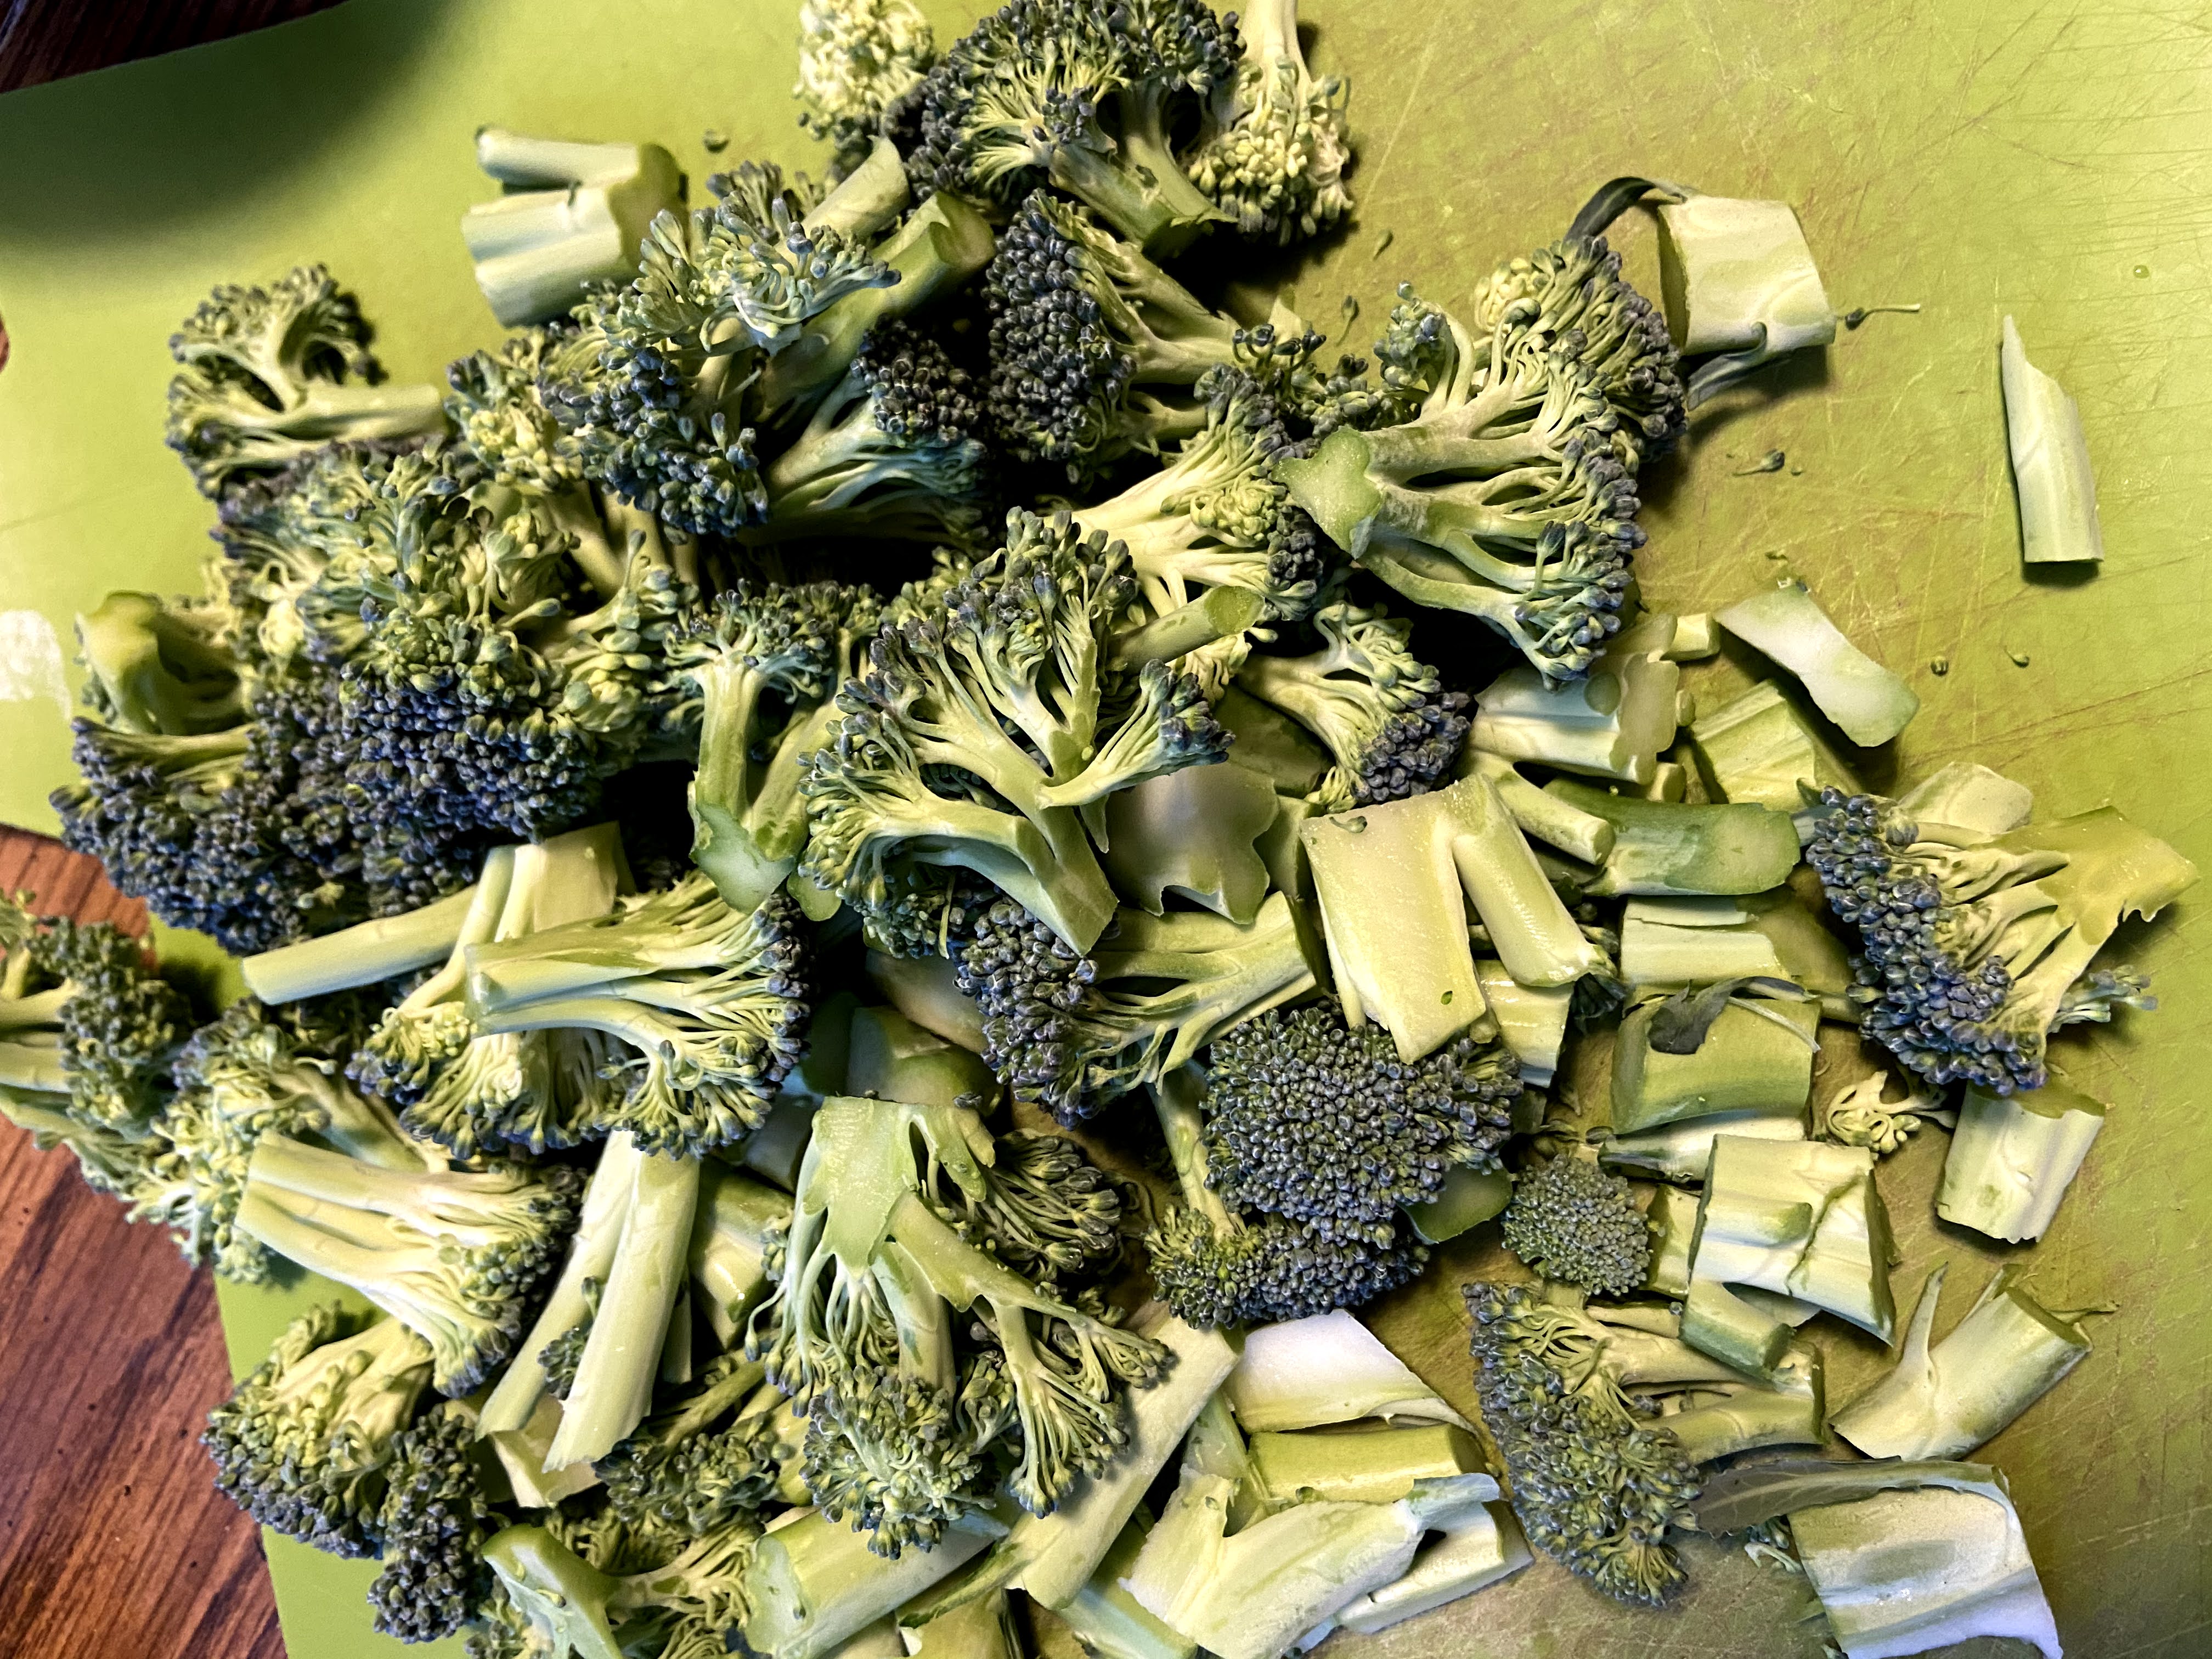
  • 3 ½ cups broccoli, chopped (include the stems!)
  • 1 15 ounce canned diced tomatoes, drained and salt free
  • 1 cup frozen corn
  • Salt, pepper, and red pepper flakes, to taste

Your Steps to Kielbasa and Quinoa Skillet

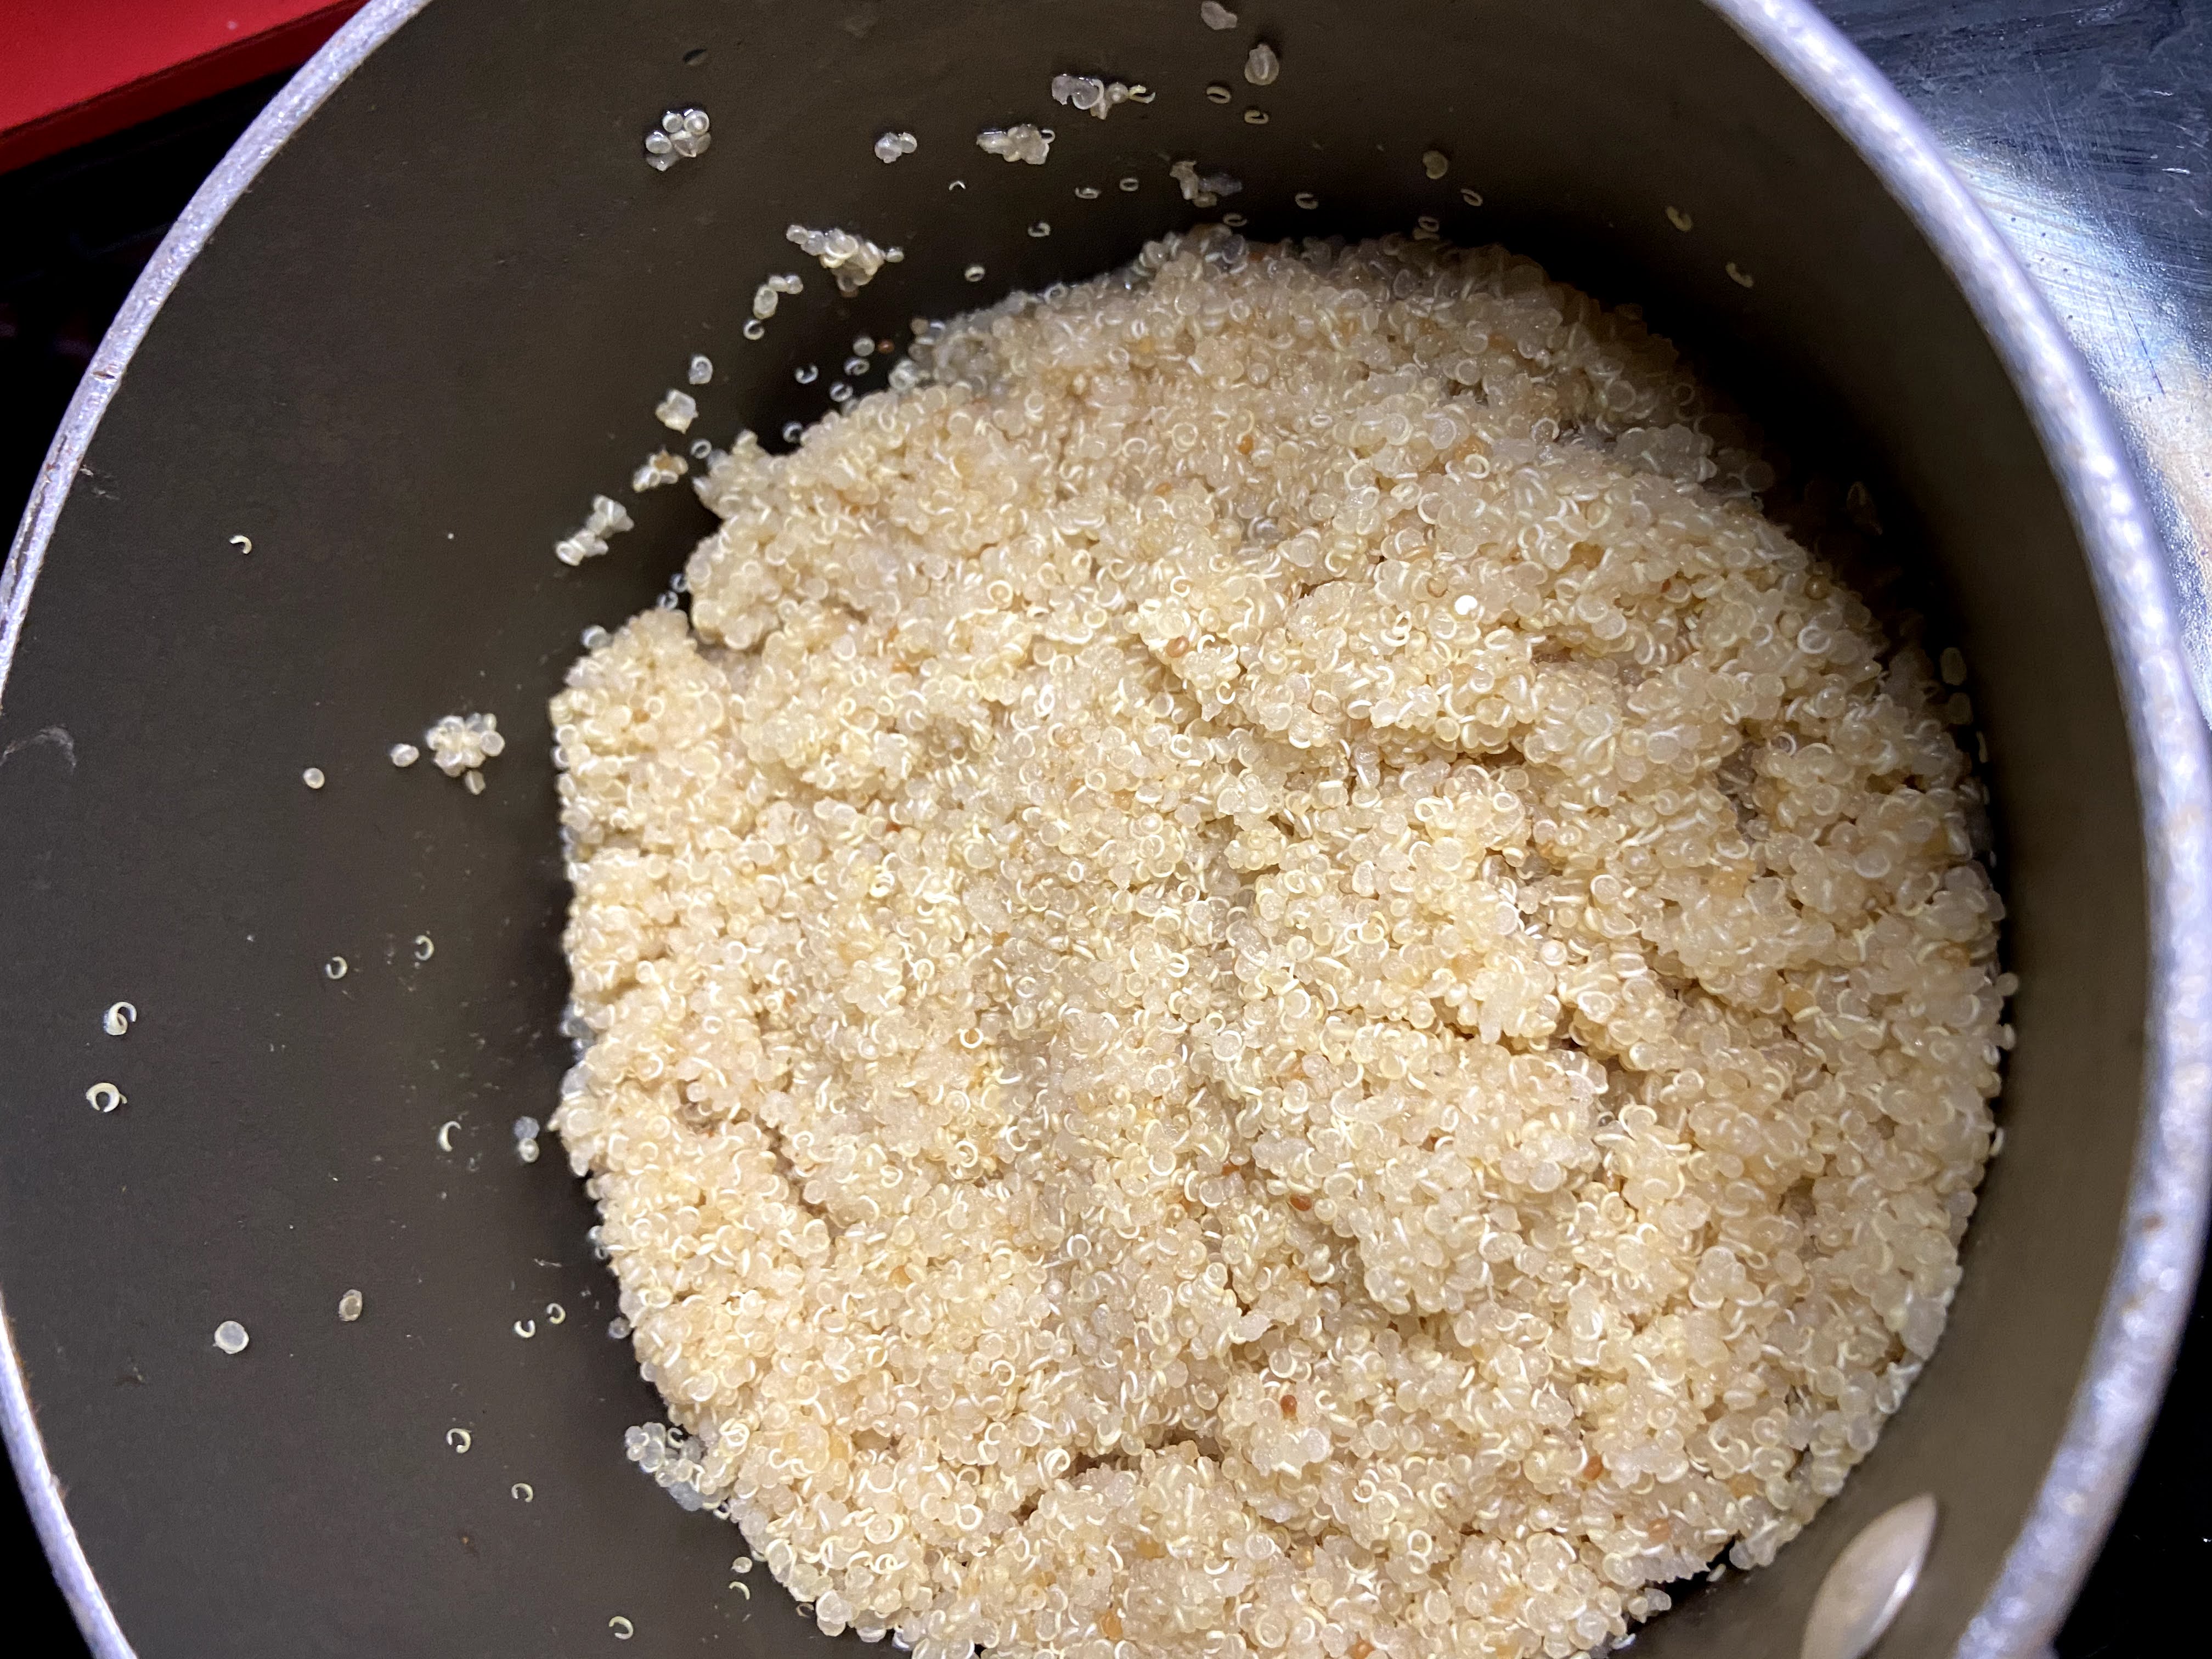
In a saucepan, bring chicken stock to a boil. Add quinoa and lower the temperature to a simmer. Cover and simmer for 15 minutes. 

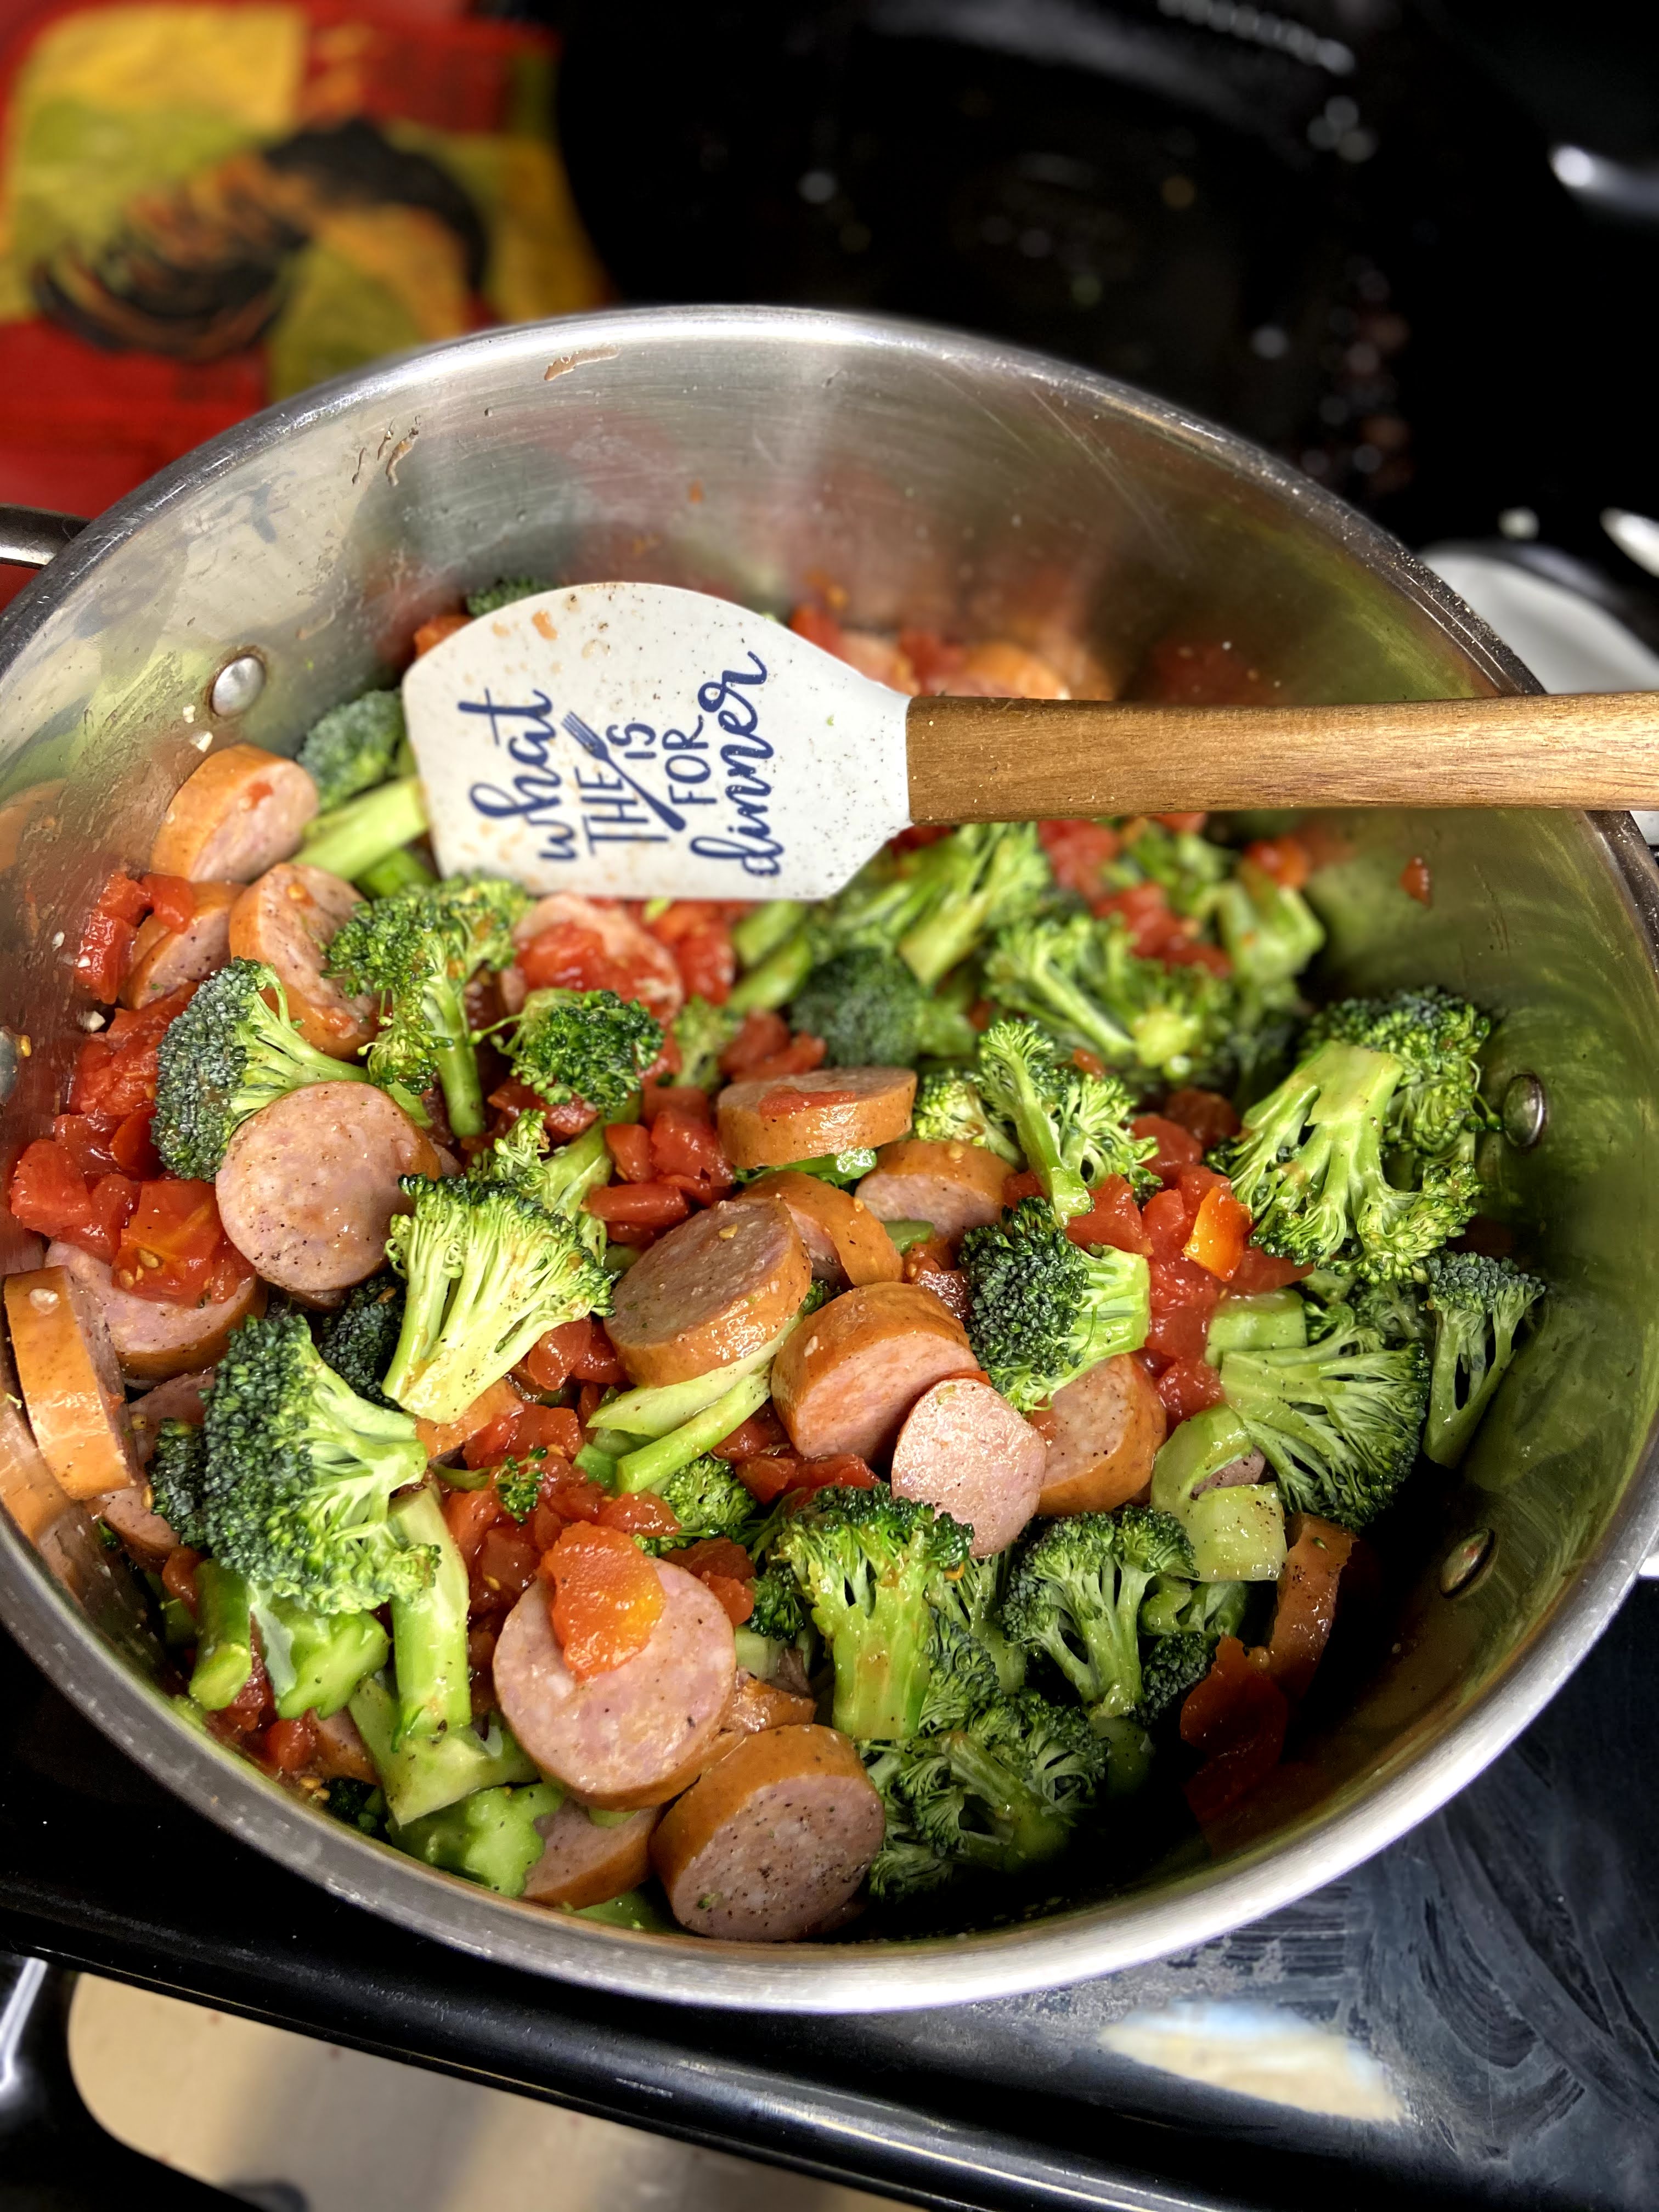
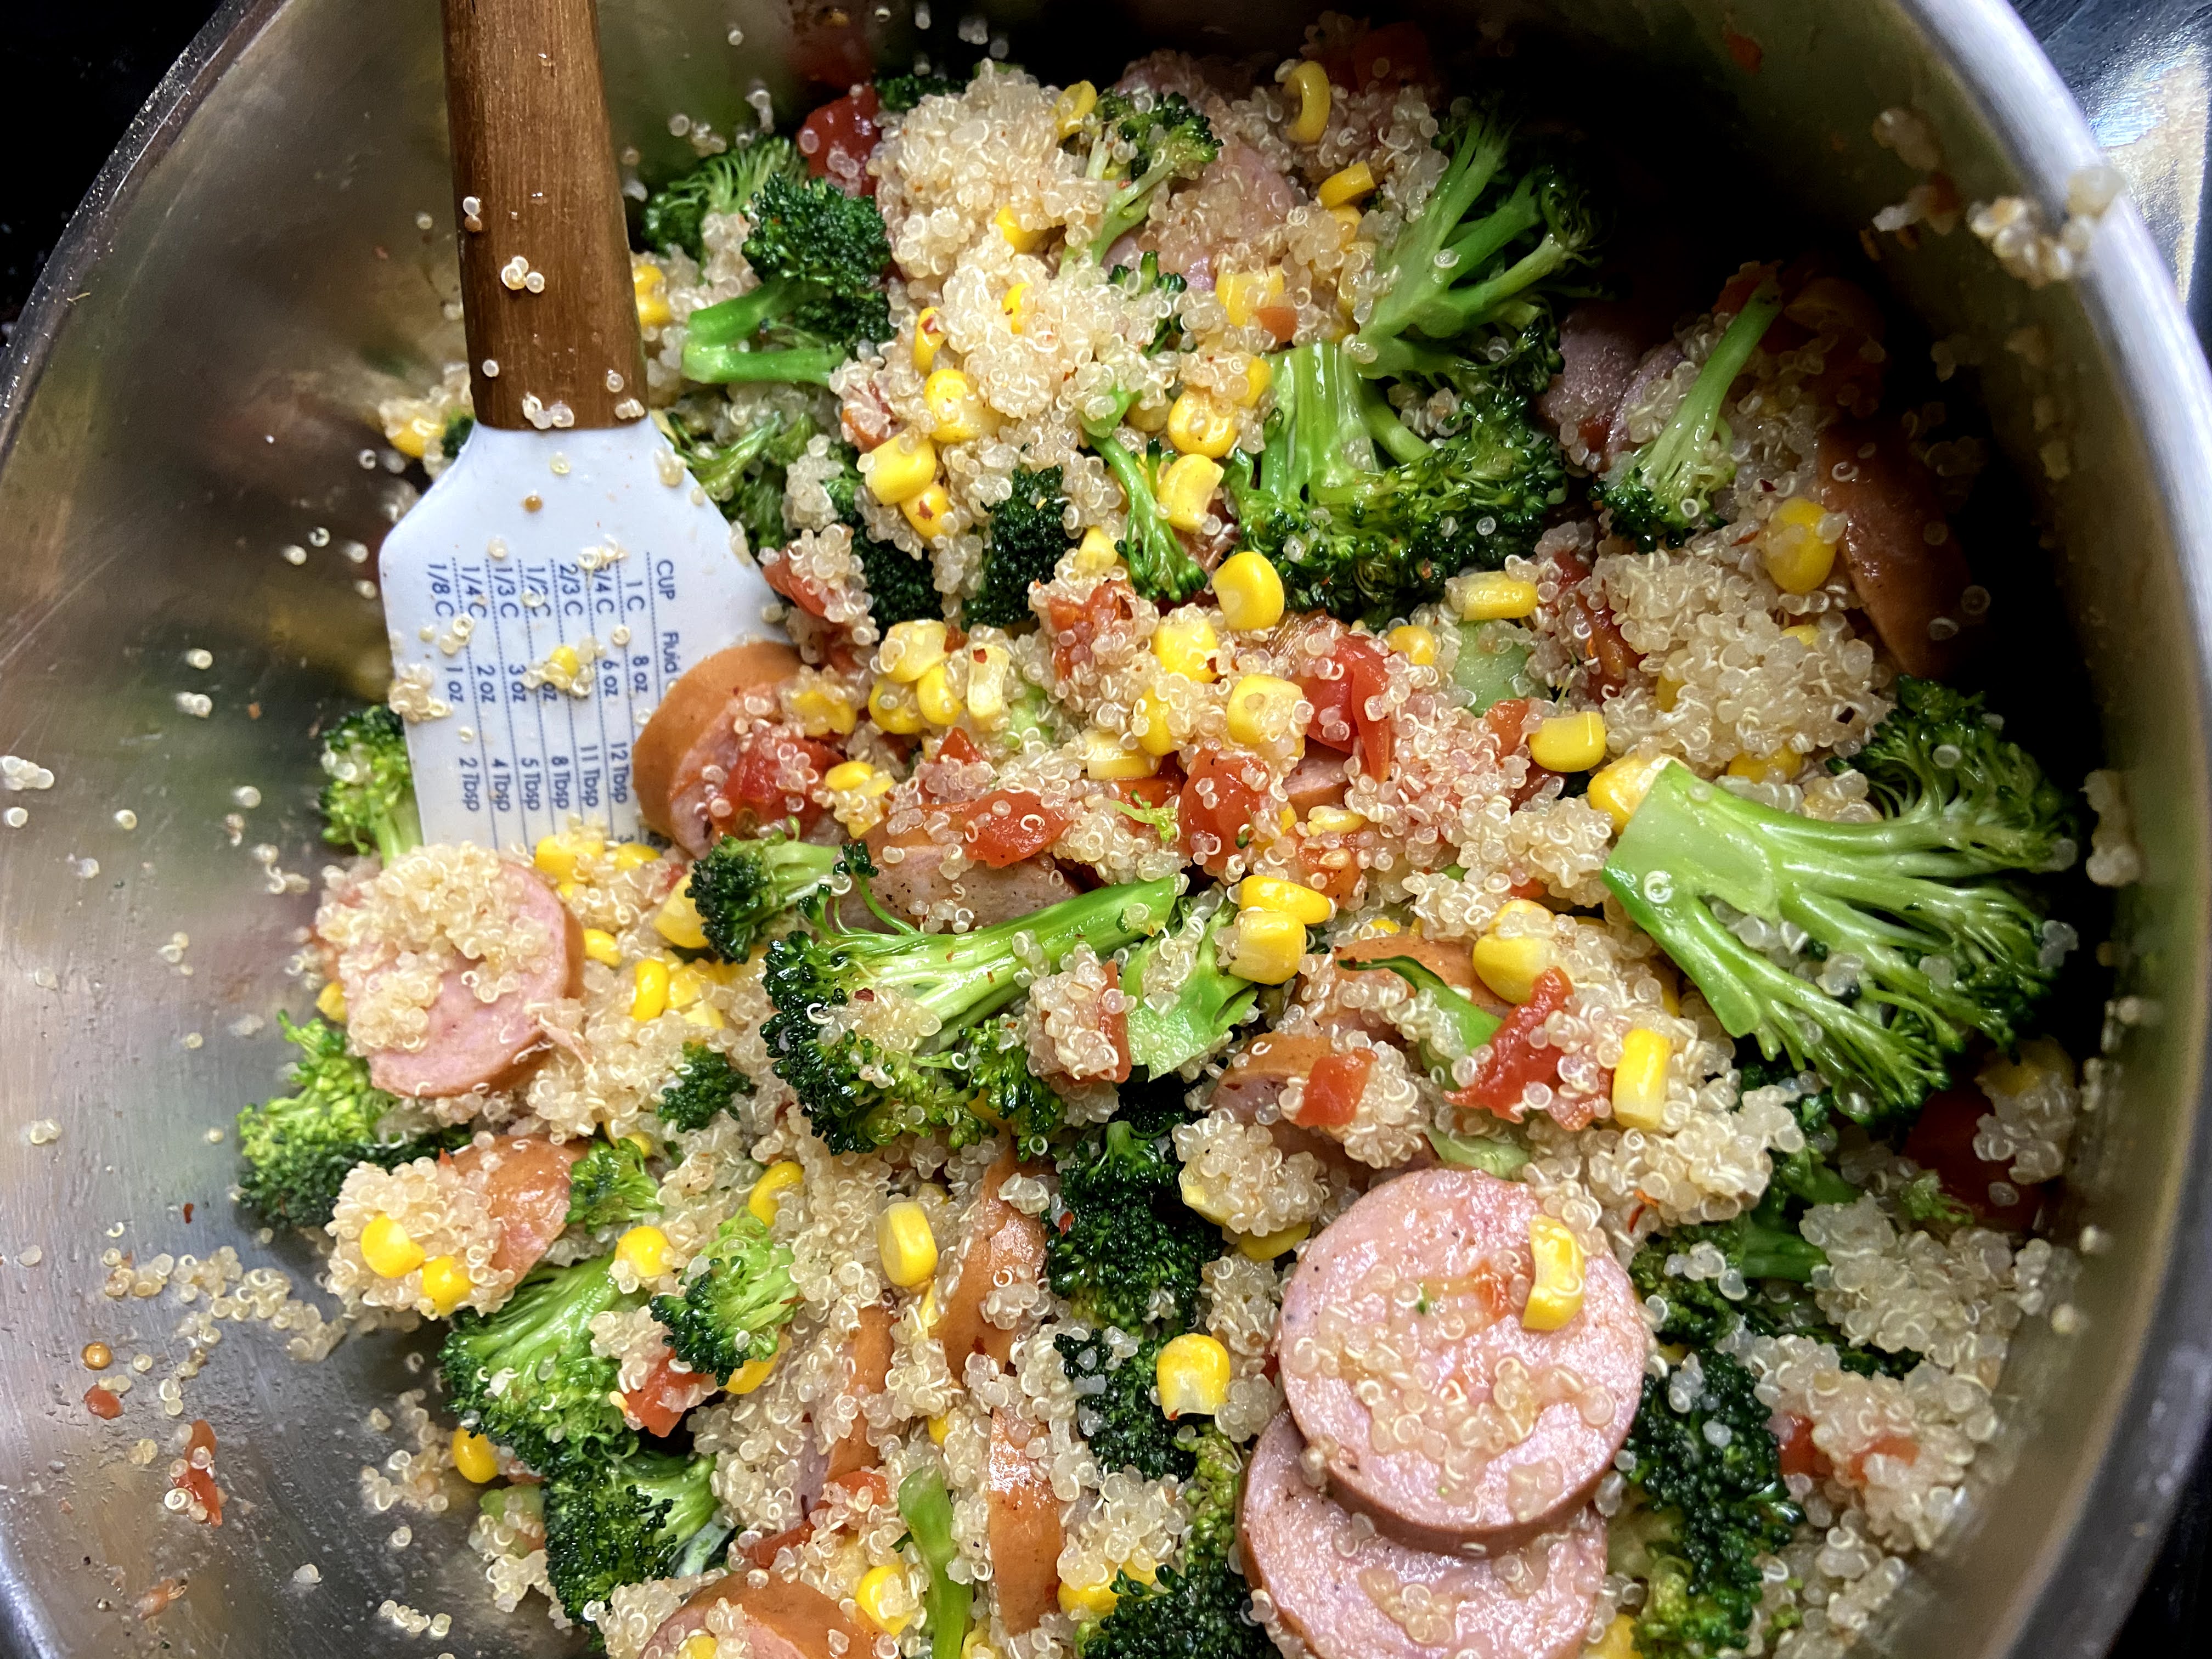
Meanwhile, heat olive oil in a large pan over medium heat. Once the oil is hot, add garlic and saute for 30 seconds. Add broccoli and kielbasa. Cook for 5 minutes over medium heat. Stir in the tomatoes and cook an additional 4 minutes. Finally, add corn, quinoa, salt, pepper, and red pepper flakes. Cook over medium-high heat until the corn is heated all the way through. 

Yup. That’s it. A complete dinner in truly 20 minutes. Does it get any better than that? And yes, it seems short on spices, but the kielbasa will give it all it needs. And the color? It’s dreamy. A definite recipe to add to your rotation. 

Interested in planning out some other meals? Check out my cooking page for all sorts of soups, bakes, and more! Click here!
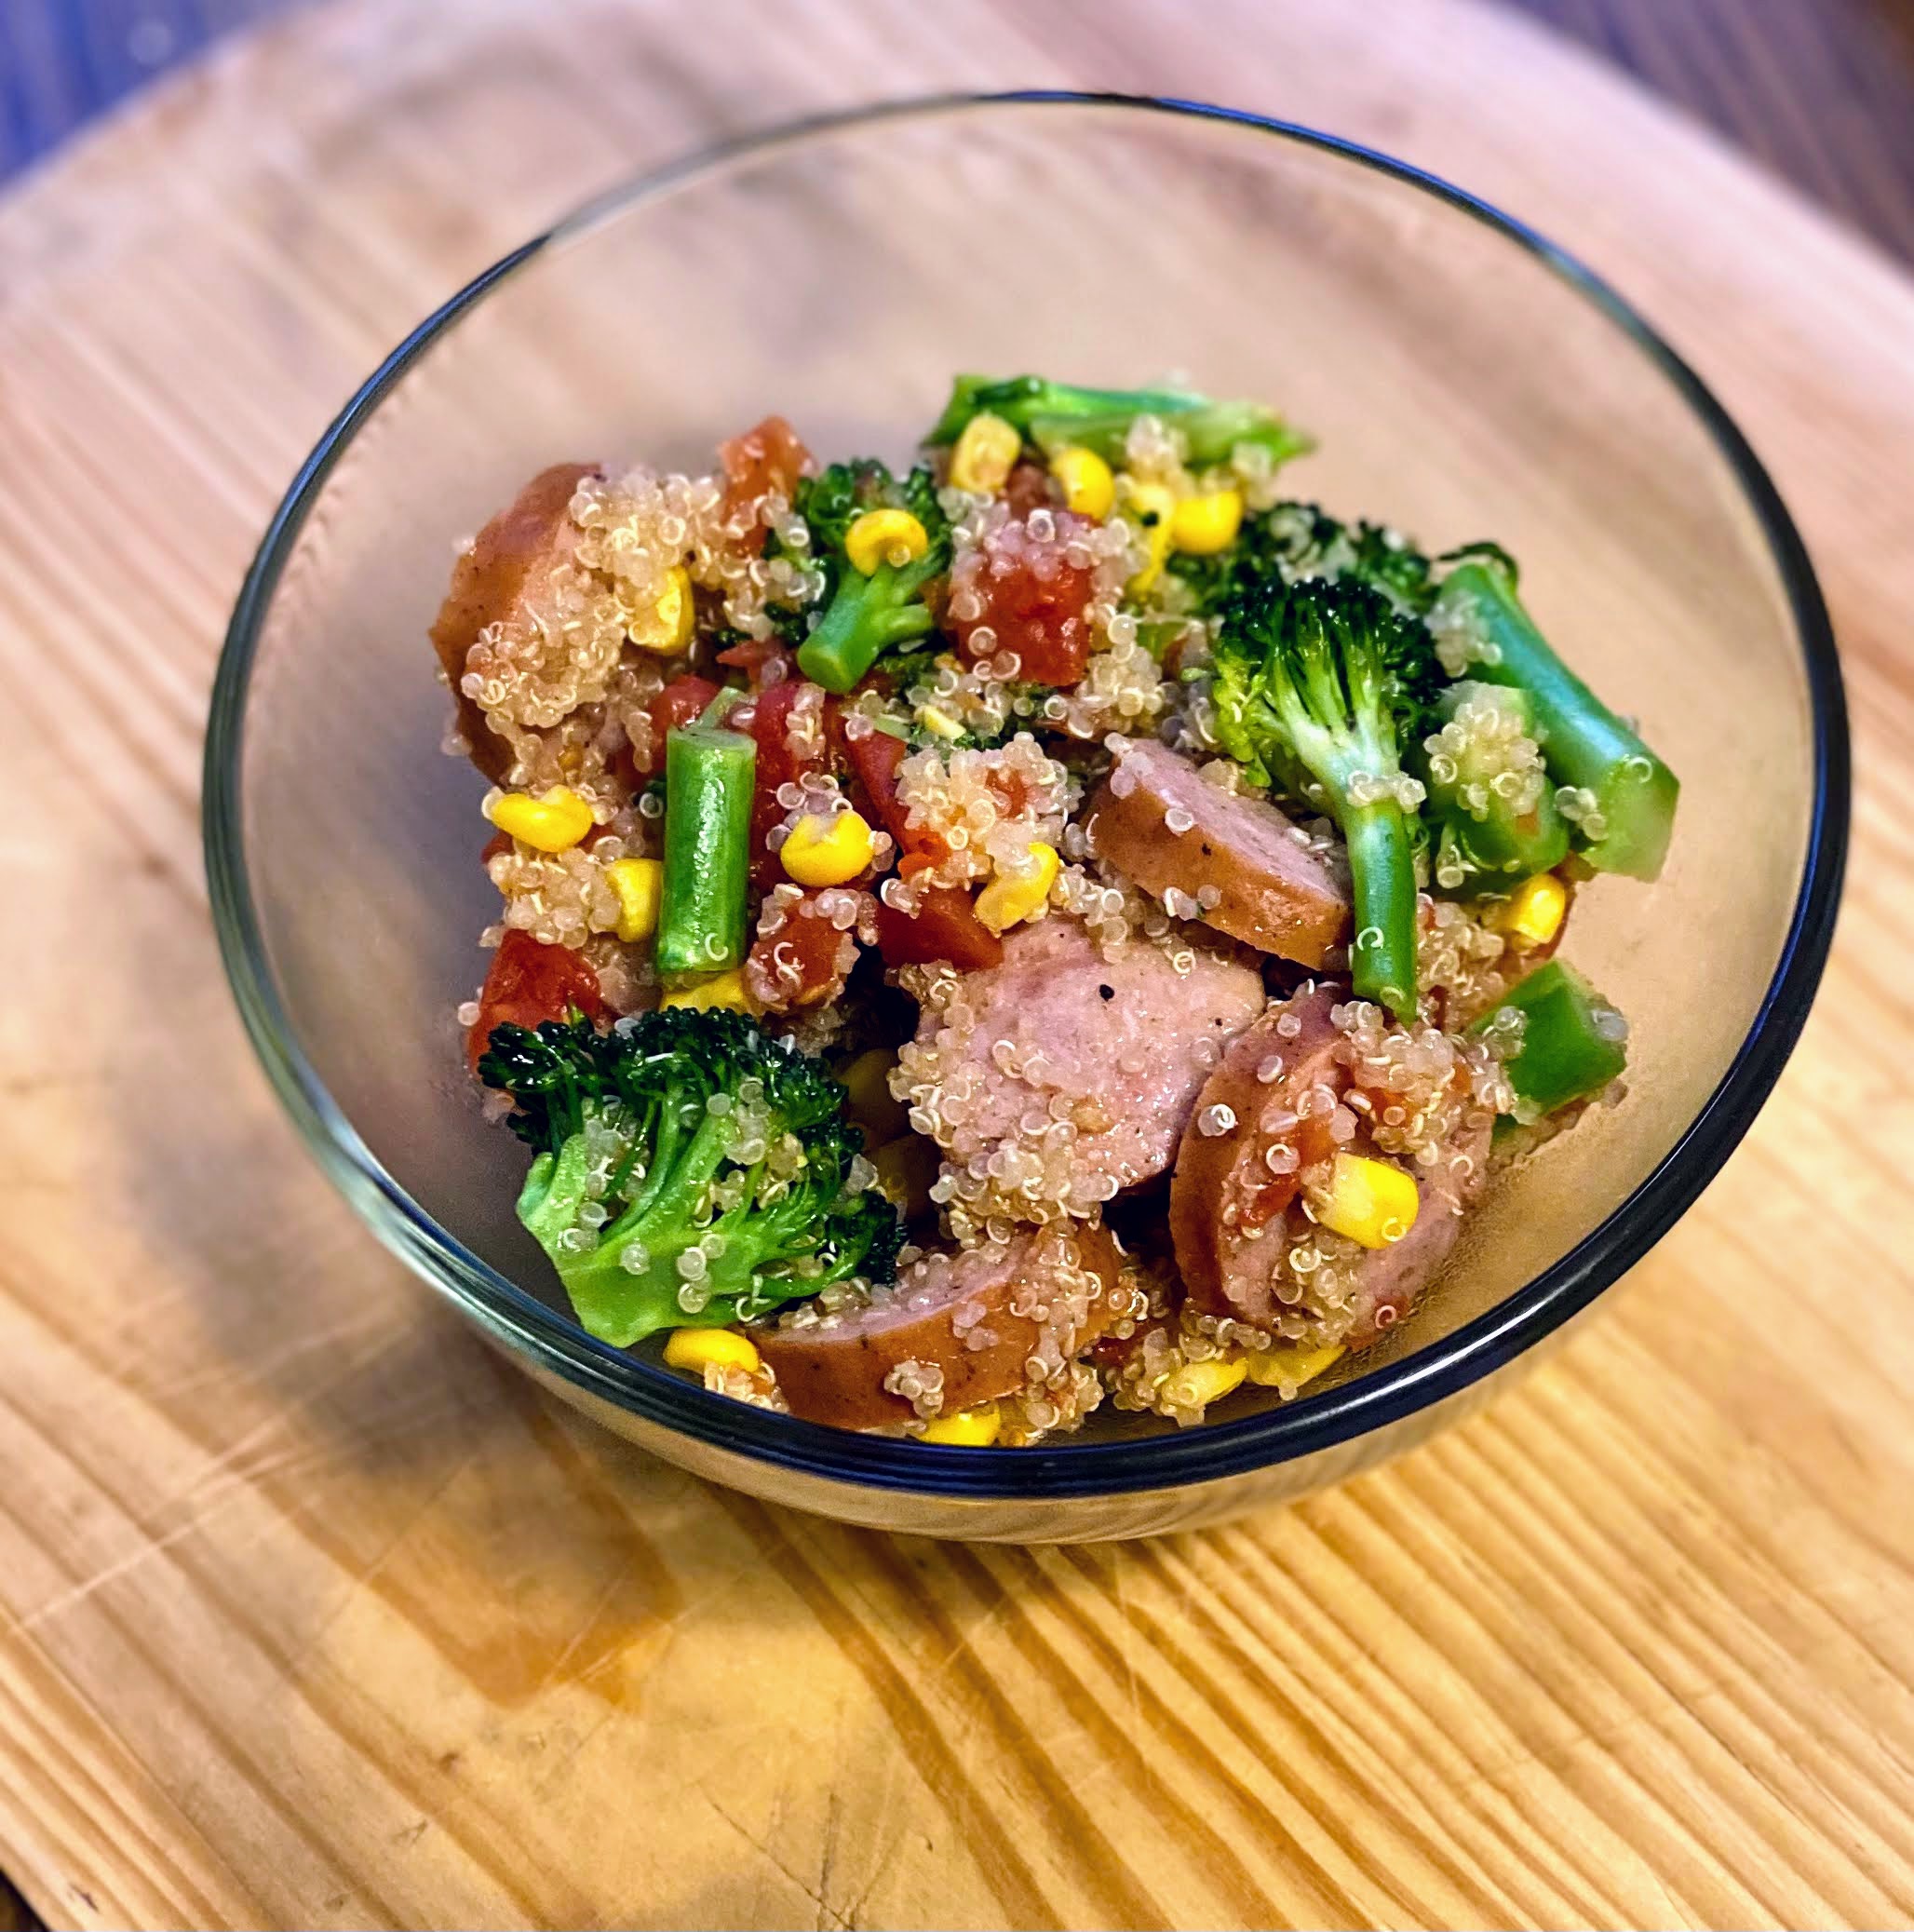
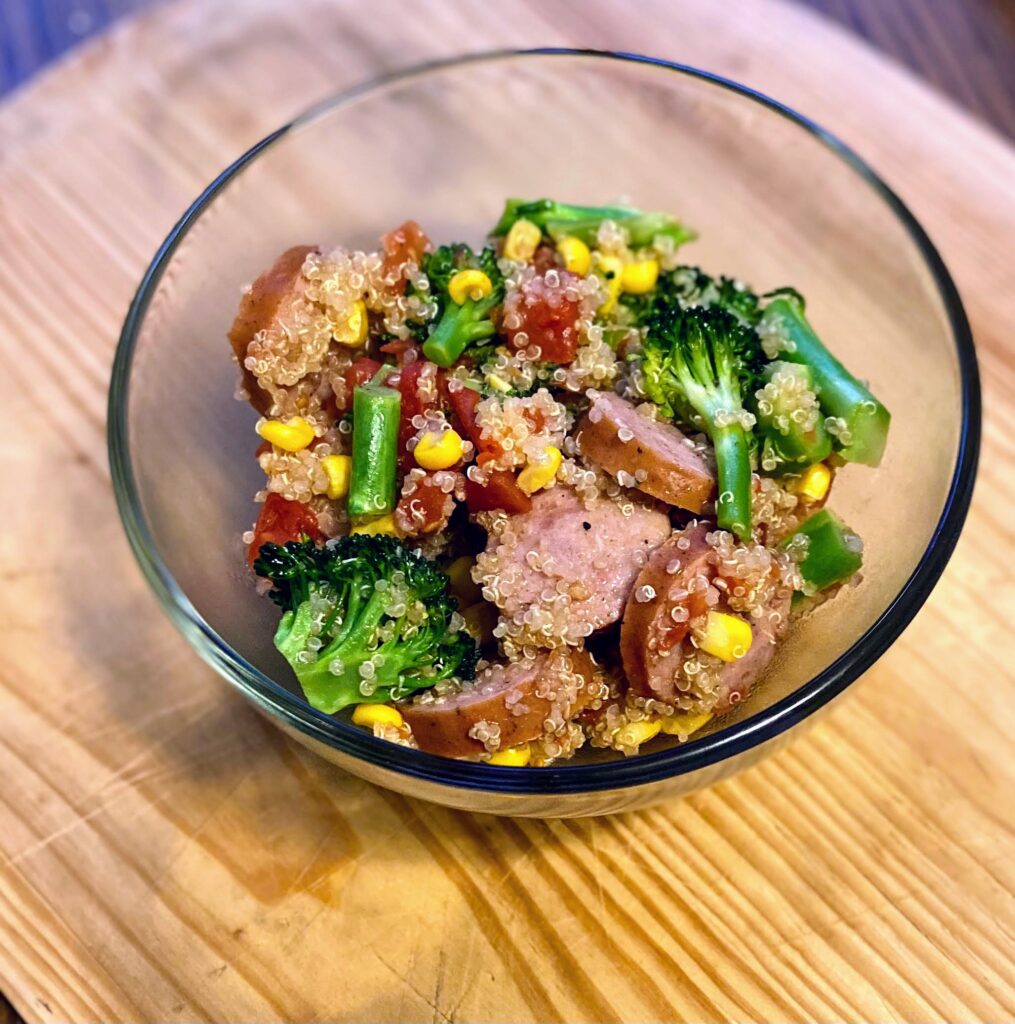
Finished bowl

Kielbasa and Quinoa Vegetable Skillet

Kielbasa and Quinoa Skillet: Eight ingredients, full of color, and comes together in under 30 minutes. This complete dinner is perfect for any weeknight!
5 from 3 votes
Prep Time 5 minutes
Cook Time 15 minutes
Total Time 20 minutes
Course Main Course
Cuisine American
Servings 4

Ingredients
  

  • ¾ cup dry quinoa
  • 1 ½ cups chicken stock or water will do!
  • 2 teaspoons minced garlic
  • 1 tablespoon olive oil
  • 1 kielbasa sliced
  • 3 ½ cups broccoli chopped (include the stems!)
  • 1 15 ounce canned diced tomatoes drained and salt free
  • 1 cup frozen corn
  • Salt pepper, and red pepper flakes, to taste

Instructions
 

  • In a saucepan, bring chicken stock to a boil. Add quinoa and lower the temperature to a simmer. Cover and simmer for 15 minutes.
  • Meanwhile, heat olive oil in a large pan over medium heat.
  • Once the oil is hot, add garlic and saute for 30 seconds. Add broccoli and kielbasa.
  • Cook for 5 minutes over medium heat.
  • Stir in the tomatoes and cook an additional 4 minutes.
  • Finally, add corn, quinoa, salt, pepper, and red pepper flakes. Cook over medium-high heat until the corn is heated all the way through. Serve.
Keyword kielbasa, quinoa, skillet, vegetables
Tried this recipe?Let us know how it was!
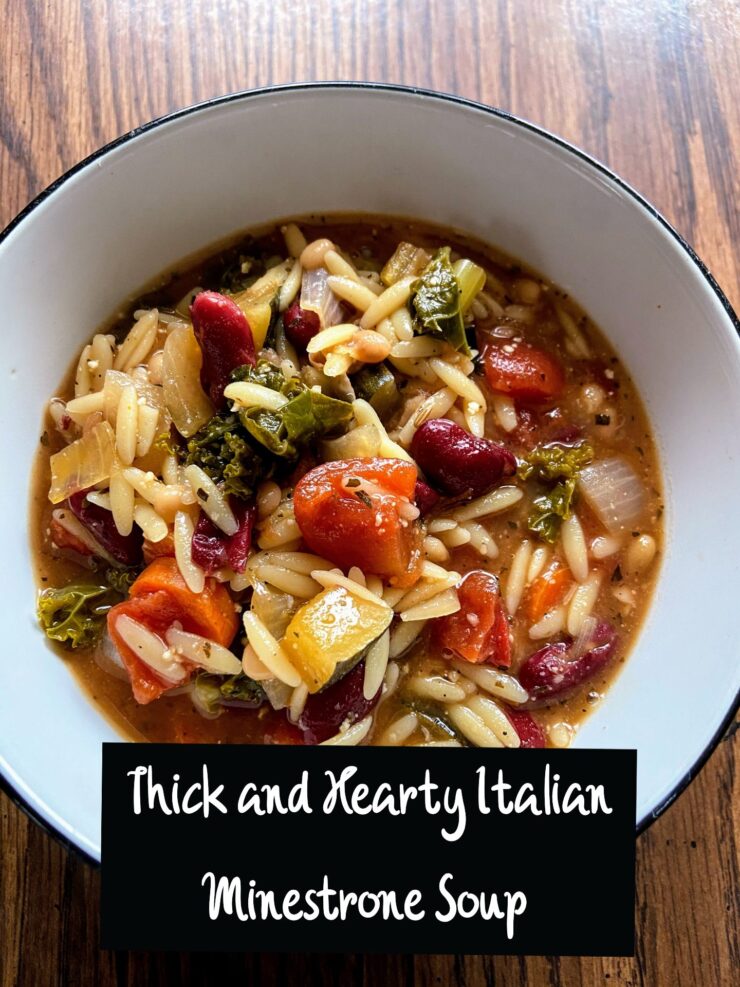
Minestrone Soup Cover Photo

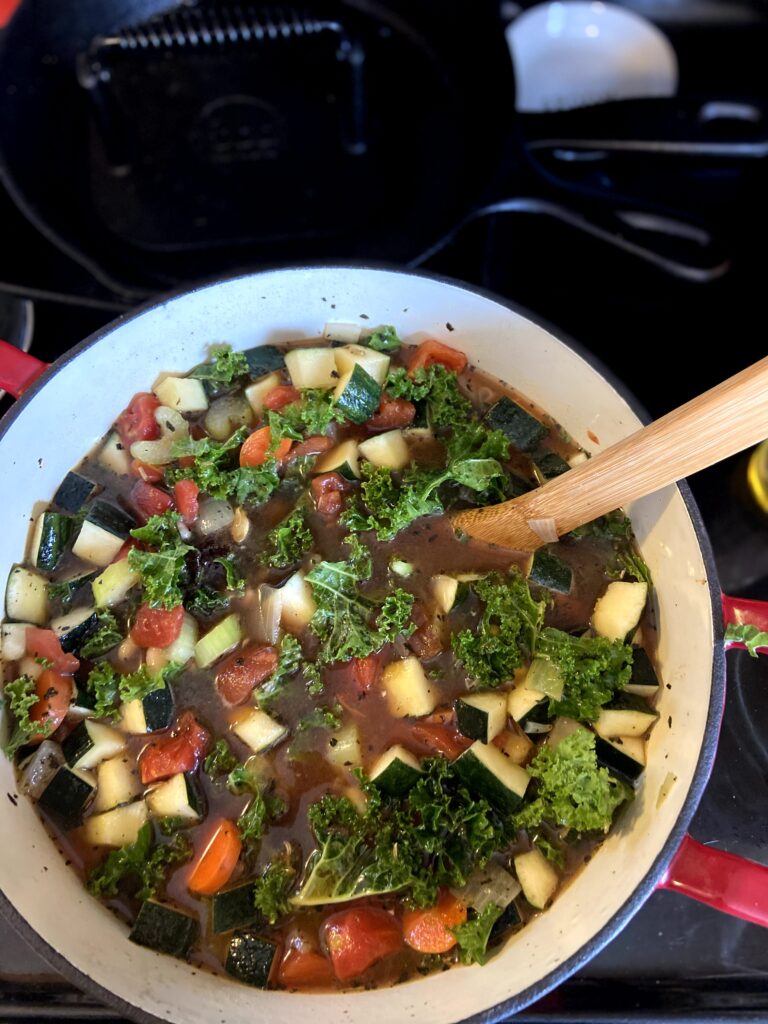
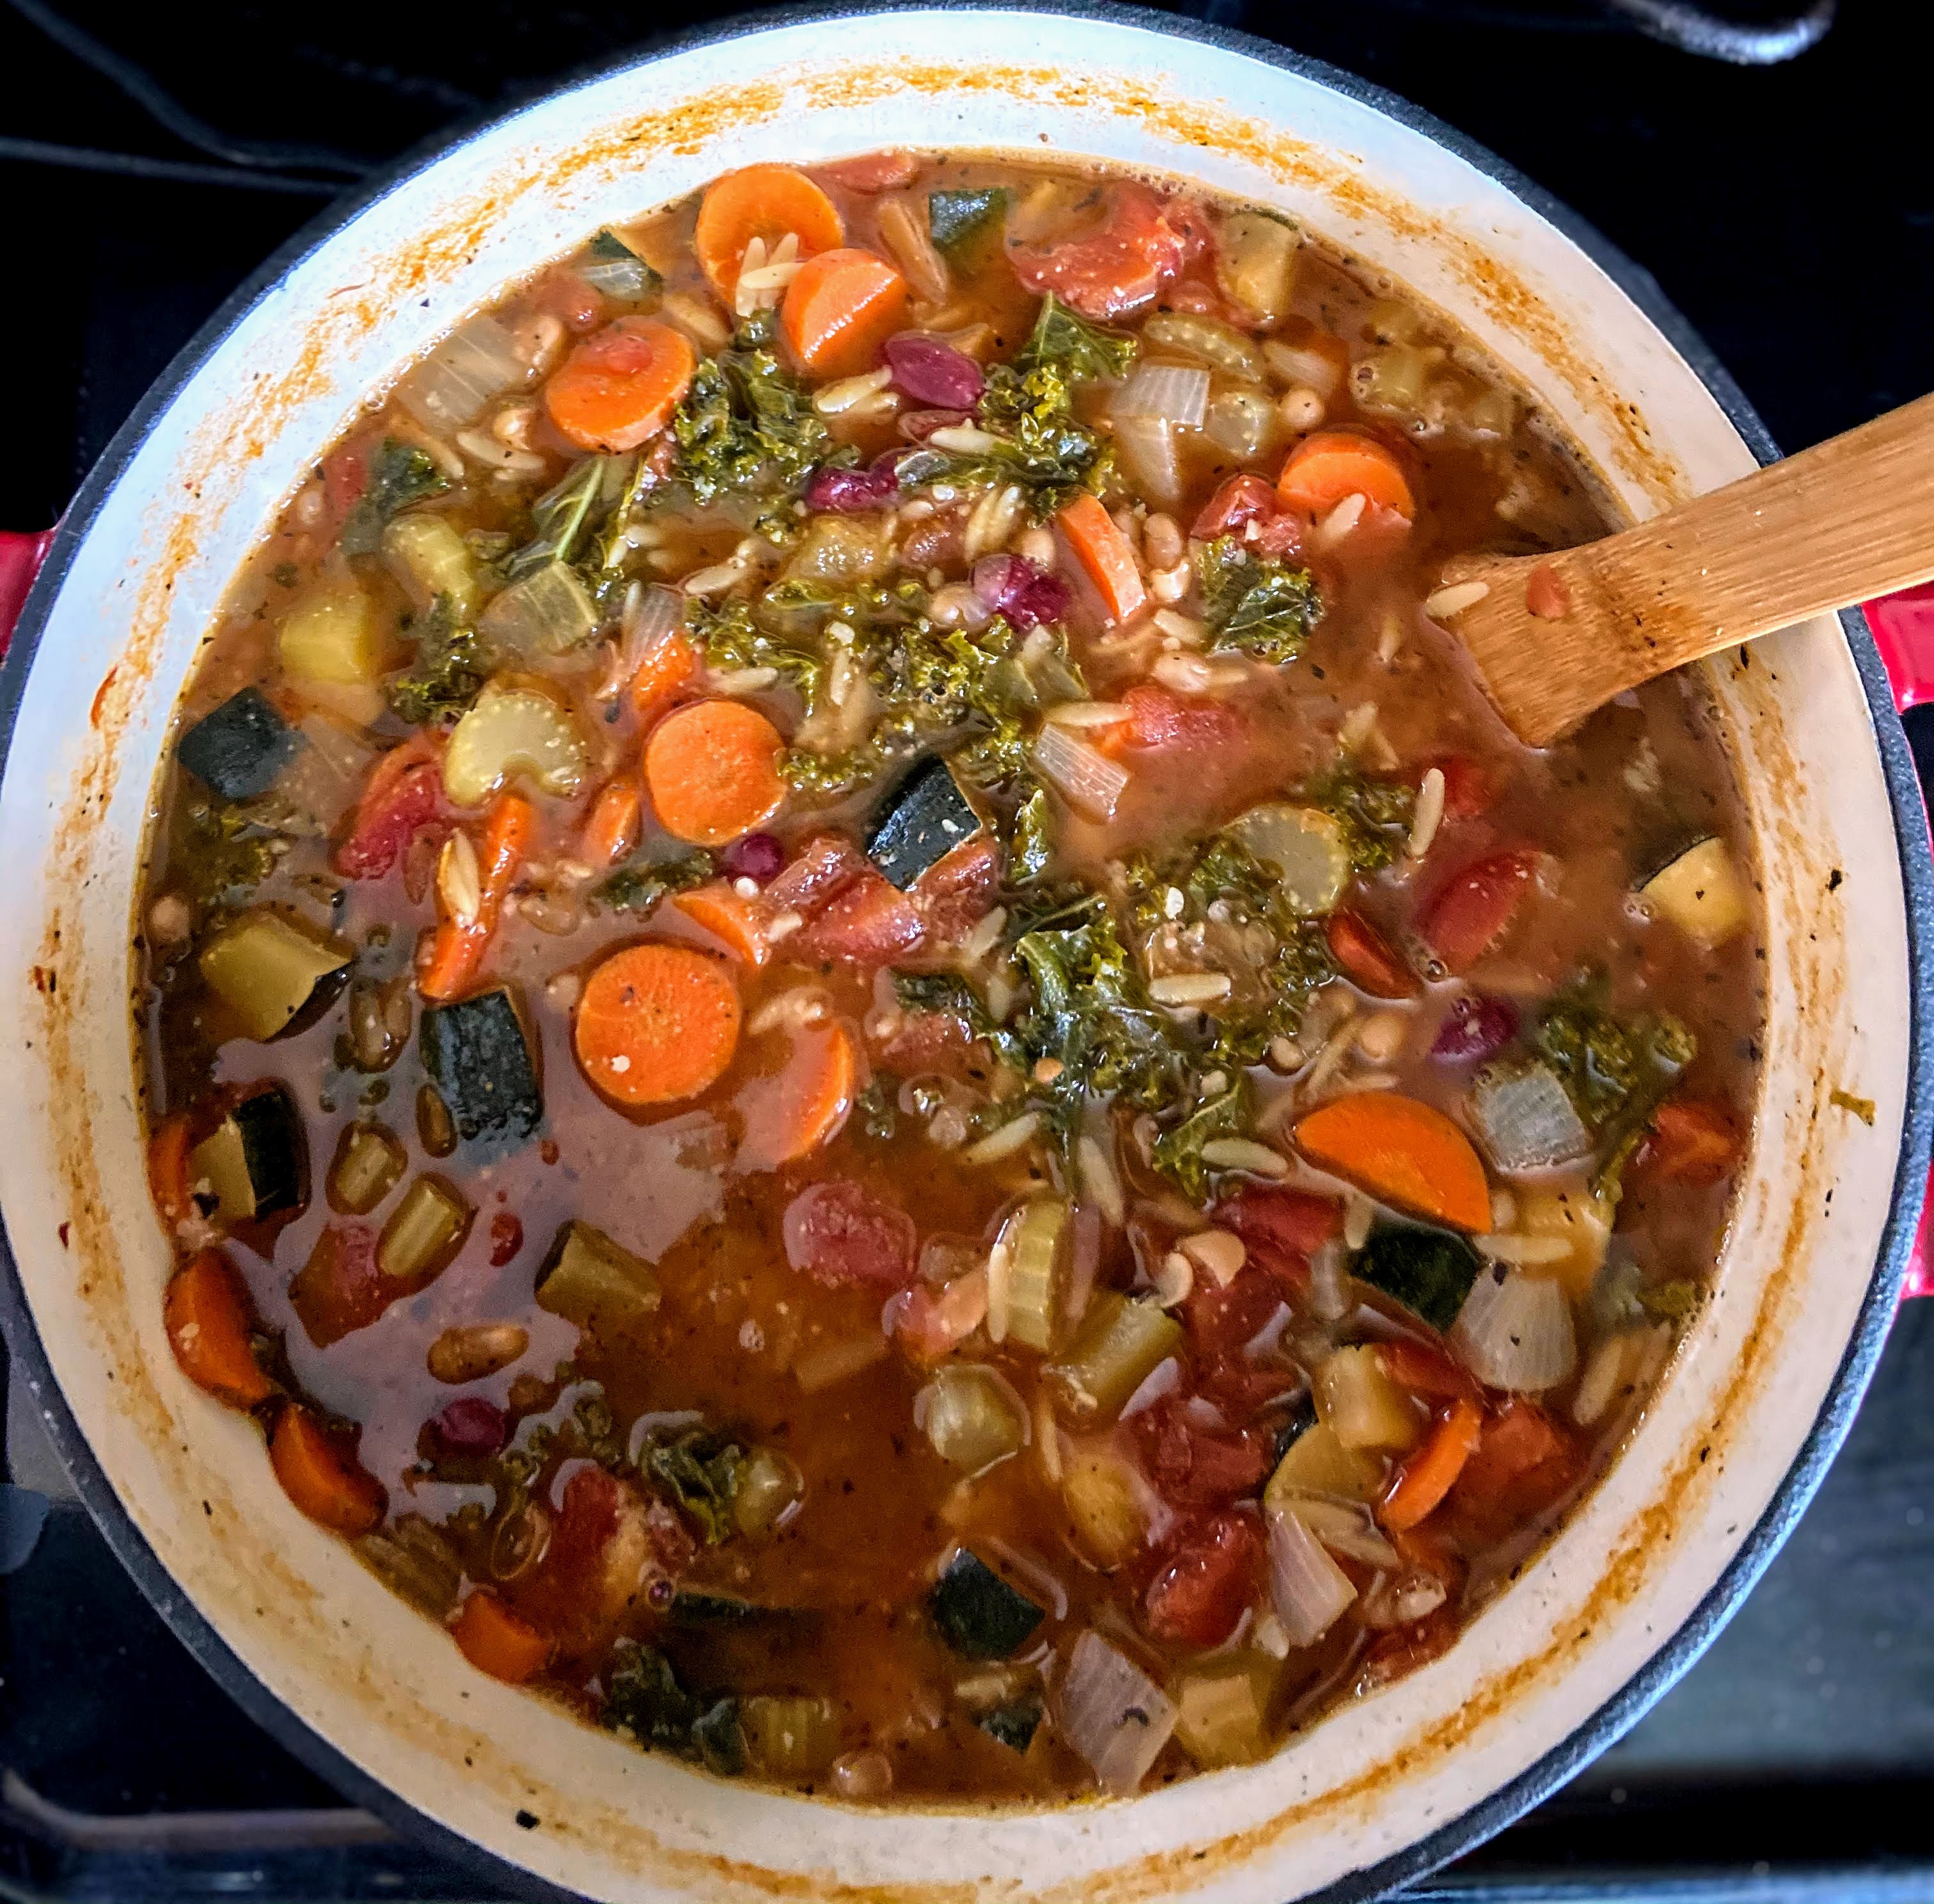
Thick and Hearty Italian Minestrone Soup

Welcome to that strange time between New Year’s and Christmas. For some, this is a time to continue to reflect, rest, and reset. Others are continuing to indulge in the leftover cookies, cocktails, and creations from meals. Yet others are feeling sluggish from the over indulgent food, ready to workout and eat right. Do you live in the eat right category? Then man, have I got a nutrient dense, delicious recipe for you in this Minestrone Soup. 

I usually live a little in each school of life this week. I love the cookies (oh man, I am all about the ginger snaps this year!). As a school teacher, I want to reset before we hit January and cabin fever. But I am also a big fitness gal, so I am focused on my goals set for the year, whether that be in instructing barre or hitting my 1000th mile of running (Christmas Eve Eve baby!). 

I try to enjoy all the good foods of the holidays in moderation. Seriously, they only come around once a year, it’s okay to enjoy them!  But man, after a holiday get together or two, my body is screaming at me, “Get back to the usual diet Jess!” That usually means adding 2-3 more servings of fruits and veggies, cutting back on the meat intake, and skipping the wine for a week or two. 

I love that soup can be made for a small army and tastes just as good (or better!) in the days that follow as it did the day you put it together. Measurements are mere suggestions. I don’t know that you can break a soup (besides the occasional over pour of pasta or pepper). This Minestrone Soup fits all the bills: its filling, comforting, and full of nutrient dense food to keep your body happy. 

Your Ingredients

  • 1-2 tablespoons olive oil 
  • 2 cups chopped carrots (about 3 large)
  • 1 ½ cups chopped celery (about 3 stalks)
  • 1 ½ cups diced onion (about 2 yellow onions)
  • ½ tablespoon minced garlic 
  • 1 teaspoon dried basil 
  • 1 teaspoon dried oregano 
  • ¾ teaspoon fennel seed 
  • ¼ teaspoon caraway seed 
  • ¾ teaspoon pepper 
  • 2 ½ cups diced zucchini, skin on
  • 2 15 ounce cans diced tomatoes, undrained
  • 6 cups beef broth
  • 1 15 ounce can cannellini beans, drained and rinsed
  • 1 15 ounce can red kidney beans, drained and rinsed
  • 4 cups chopped kale, ribs removed 
  • 1 cup orzo (or small pasta of your choice)
  • ¼ cup grated or fresh parmesan 

Your Steps to Fulfilling Minestrone Soup 

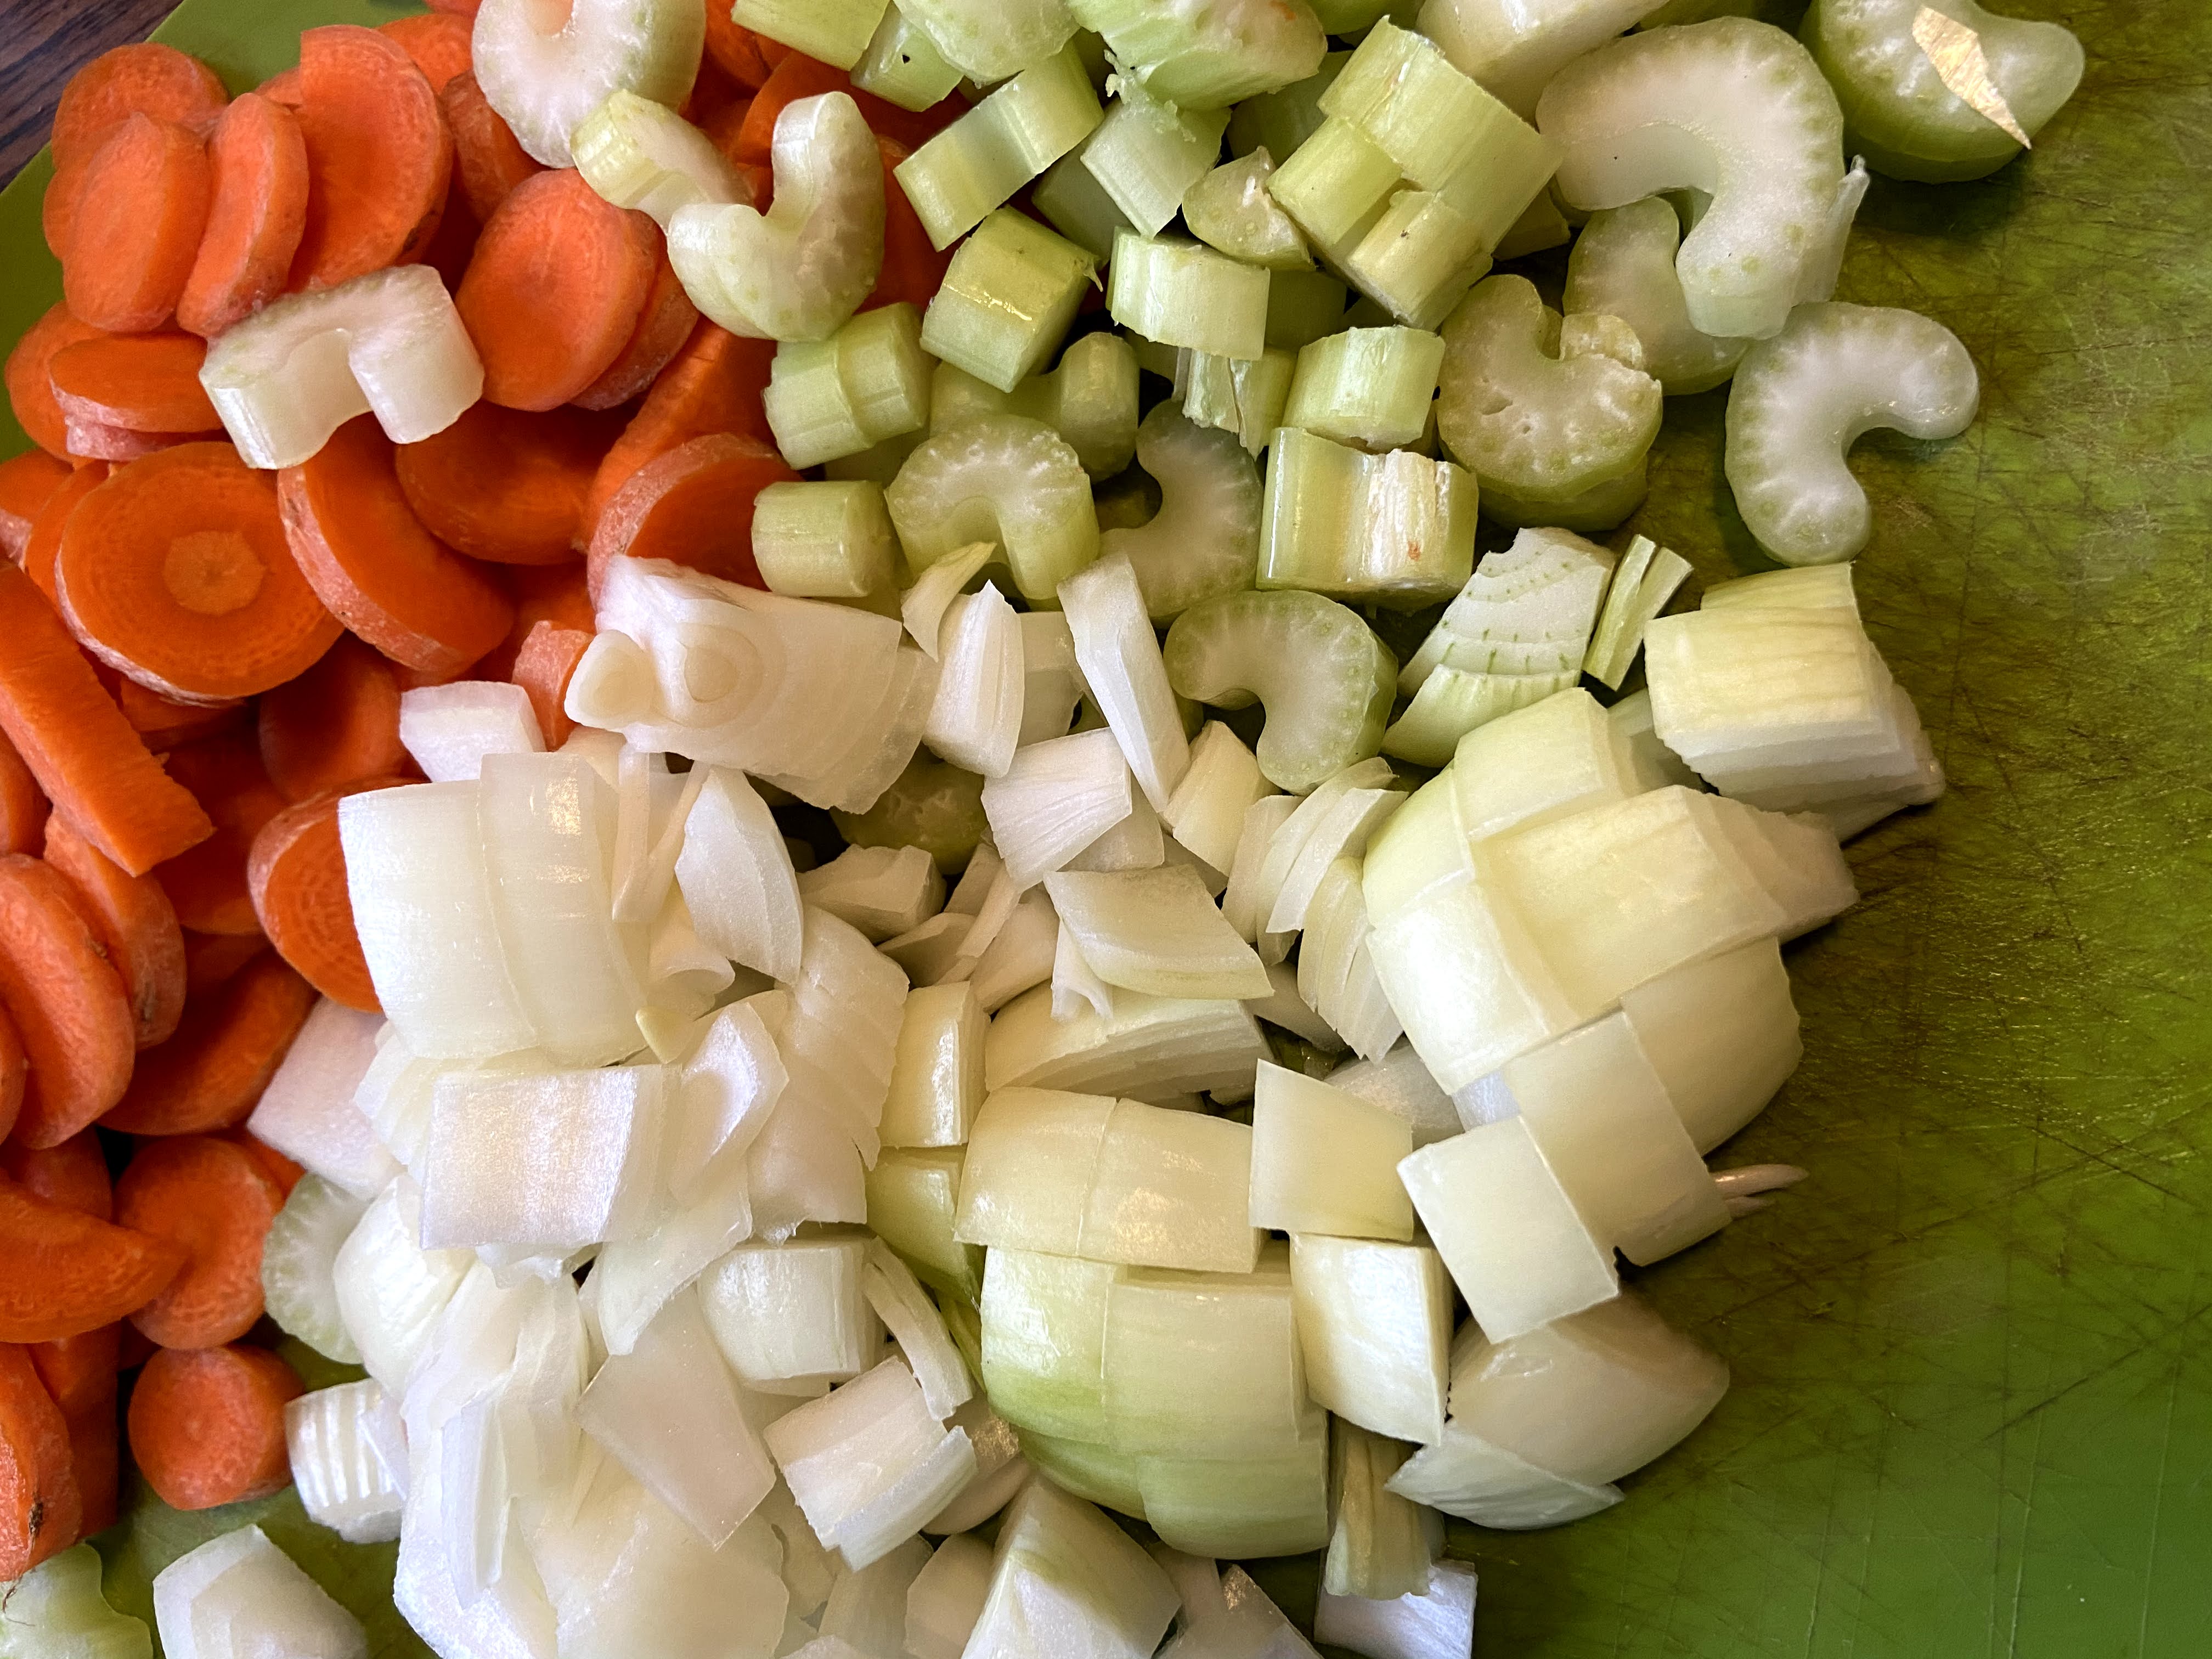
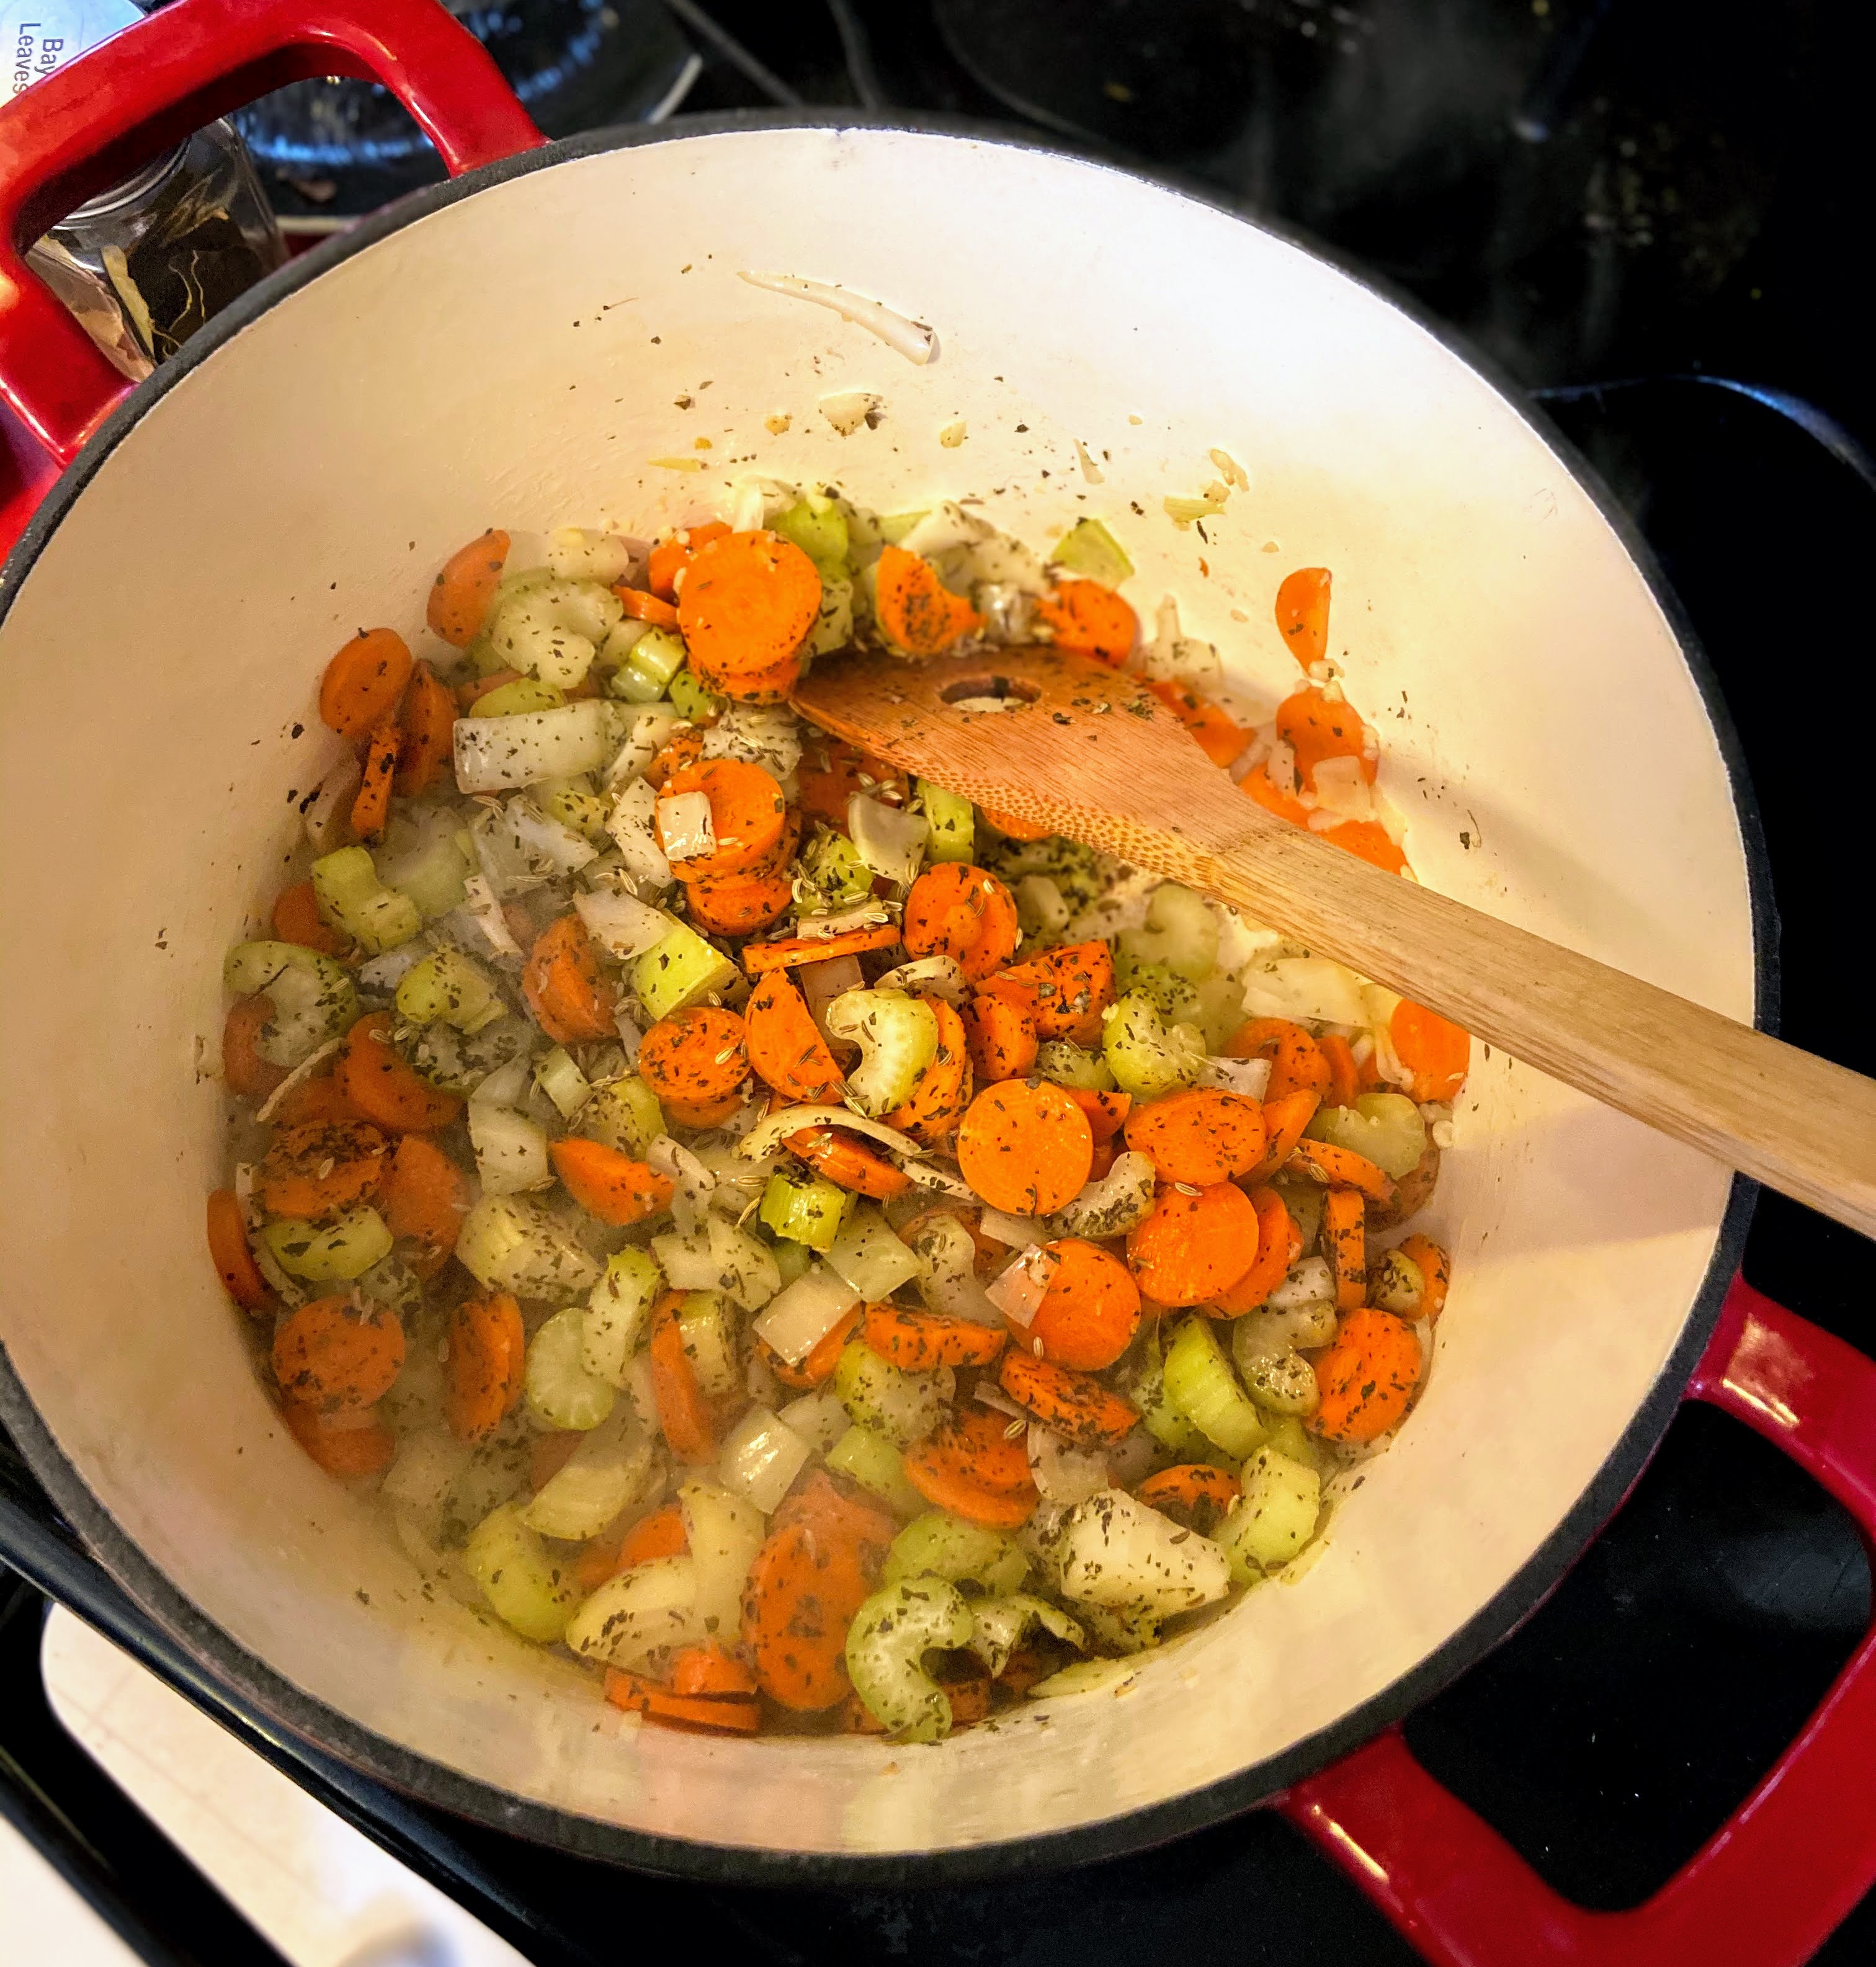
In a large Dutch oven, heat olive oil over medium heat. Once hot, add carrots, celery, onion, and garlic. Season with basil, oregano, fennel, caraway, and pepper. Cook over medium heat for 8-10 minutes, until the vegetables begin to soften. 

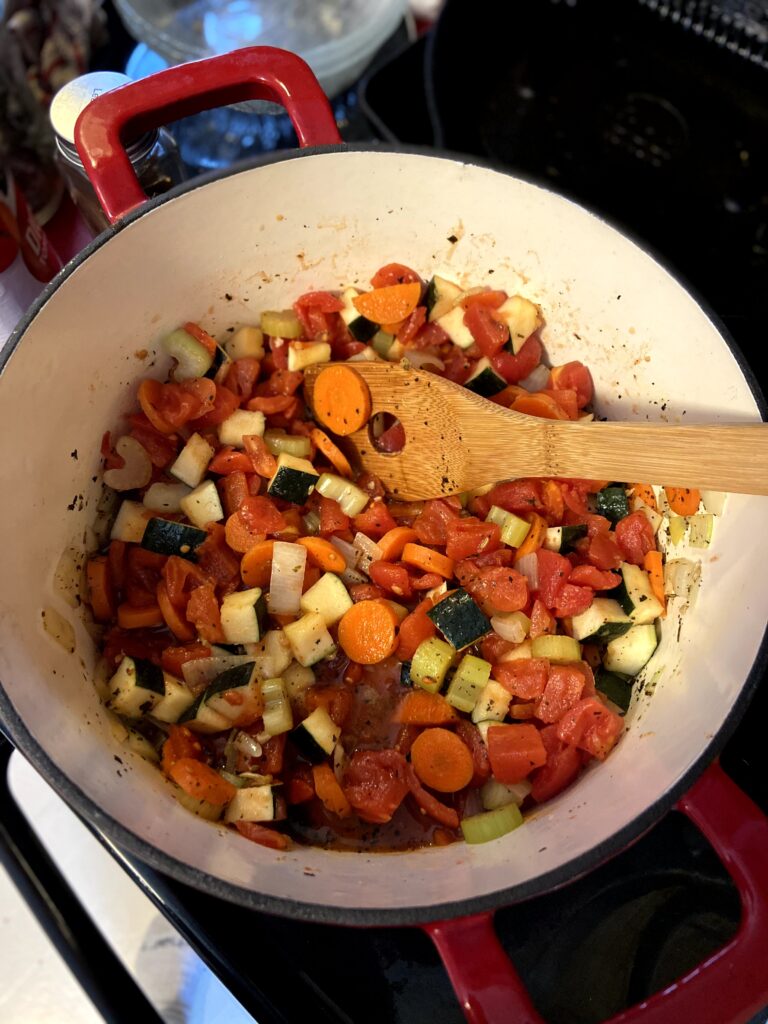
To soften vegetables, add zucchini and tomatoes. Cook an additional 5 minutes. Stir in both cans of rinsed beans, beef broth, and kale. Lower heat to medium low and allow to simmer for 25-30 minutes, stirring periodically. 

Once the vegetables have mingled 30 minutes, increase heat to medium high and stir in orzo. Cook for 8-9 minutes, until al dente. Remove from heat, stir in grated parmesan and be ready to serve! Note: This will thicken over time. You may want to have some additional beef broth on hand if you don’t dig a stew and plan on eating it over the next few days.

Tools of the Trade

I truly believe every home kitchen needs a selection of good cast iron pans. We cook everything in them, from corn bread to chicken, from sourdough bread to soups and stews. They can go from stove top to oven and create beautiful food. I also love flexible cutting boards. I am telling you, if you don’t have some, check them out! Finally, this beef broth base is ALWAYS in my kitchen. I can’t imagine cooking without it.

Thick and Hearty Italian Minestrone Soup

Over twelve cups of vegetables combine with beans and orzo in this thick and hearty Minestrone Soup. Perfect for a "clean out the fridge" or winter night meal.
Prep Time 30 minutes
Cook Time 50 minutes
Course Main Course, Soup
Cuisine Italian
Servings 12

Ingredients
  

  • 1-2 tablespoons olive oil
  • 2 cups chopped carrots about 3 large
  • 1 ½ cups chopped celery about 3 stalks
  • 1 ½ cups diced onion about 2 yellow onions
  • ½ tablespoon minced garlic
  • 1 teaspoon dried basil
  • 1 teaspoon dried oregano
  • ¾ teaspoon fennel seed
  • ¼ teaspoon caraway seed
  • ¾ teaspoon pepper
  • 2 ½ cups diced zucchini skin on
  • 2 15 ounce cans diced tomatoes undrained
  • 6 cups beef broth
  • 1 15 ounce can cannellini beans drained and rinsed
  • 1 15 ounce can red kidney beans drained and rinsed
  • 4 cups chopped kale ribs removed
  • 1 cup orzo or small pasta of your choice

Instructions
 

  • In a large Dutch oven, heat olive oil over medium heat. Once hot, add carrots, celery, onion, and garlic. Season with basil, oregano, fennel, caraway, and pepper. Cook over medium heat for 8-10 minutes, until the vegetables begin to soften.
  • To softened vegetables, add zucchini and tomatoes. Cook an additional 5 minutes.
  • Stir in both cans of rinsed beans, beef broth, and kale. Lower heat to medium low and allow to simmer for 25-30 minutes, stirring periodically.
  • Once the vegetables have mingled 30 minutes, increase heat to medium high and stir in orzo.
  • Cook for 8-9 minutes, until al dente. Remove from heat, stir in grated parmesan and be ready to serve!

Notes

This soup will thicken over time. You may want to have an extra cup or so of beef broth handy if you don’t love a thick stew and plan on eating it over a few days.
Keyword Italian, minestrone, soups and stews
Tried this recipe?Let us know how it was!

Looking for other great soups?

Check out the links below!

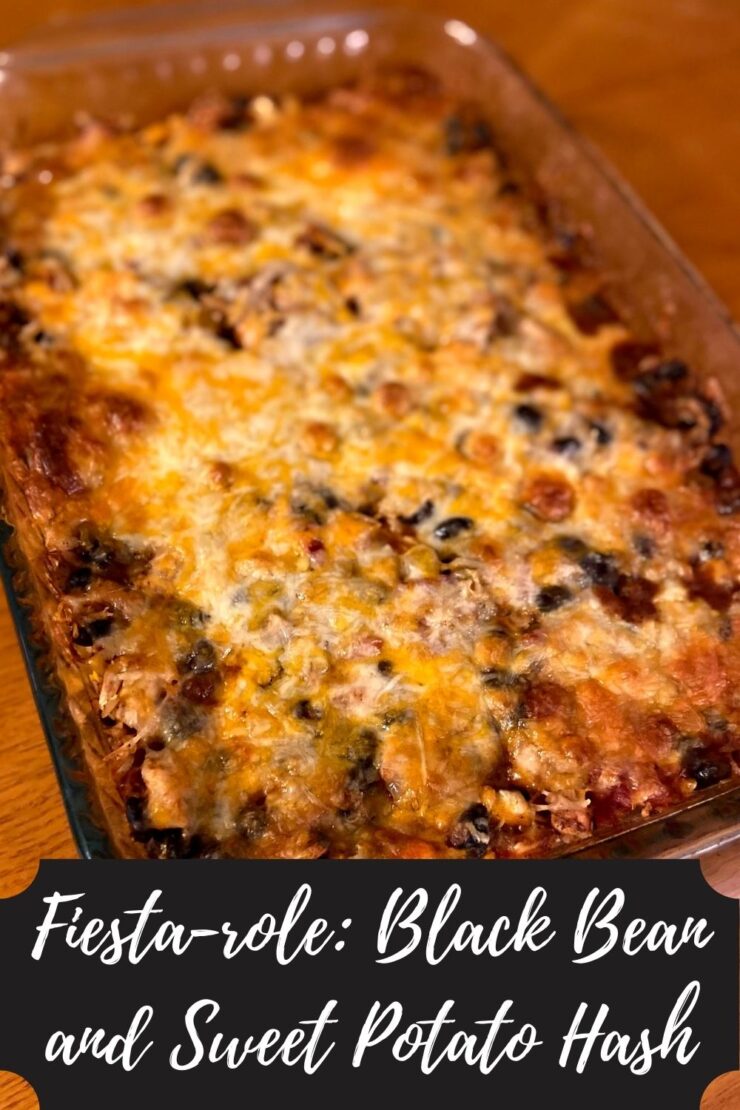
Fiesta-Role Black Bean and Sweet Potato Hash

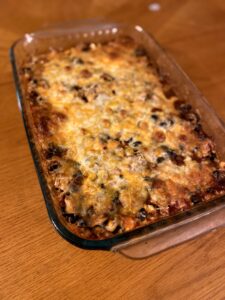
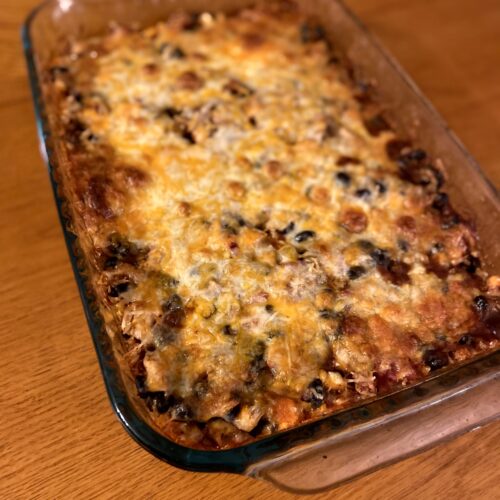
I don’t know about you, but after Thanksgiving, I found myself looking at about 17 pounds of leftover turkey. Our little family of four did Thanksgiving on our own, but my husband couldn’t find a turkey breast when he did the shopping, so he of course came home with a 20 pound bird. Life, right? A few days later, I was inspired to play with the white meat and try some different recipes. From that inspiration, I created a delightful Mexican casserole. But the name? I wasn’t sure. For now, we shall enjoy a play on words and call it “Fiesta-role Sweet Potato and Black Bean Hash”. 

I loved the simplicity of this recipe with my cooked, leftover turkey. And truly, if you wanted to go vegetarian, the cooked turkey or chicken could be left out and it would still be delicious. I didn’t have to plan ahead as I had some homemade enchilada sauce in the freezer and everything else were “on hand” ingredients at our home. Don’t get me wrong, sweet potatoes haven’t always been on hand, but man, I have fallen hard for them since COVID hit. If you have only ever eaten them at Thanksgiving, covered in all the sweet goodness, I recommend giving them a try roasted or as fries. They are dang good. 

Ready to get cooking and having an “I’ll have seconds or thirds” kind of meal? The kind you think you’ll have all sorts of leftovers, but then the family devours it? Let’s do it! 

Your Ingredients

  • ½ tablespoon olive oil 
  • 1 cup diced sweet potato
  • ½ cup diced onion 
  • 1 15 ounce can diced tomatoes, undrained 
  • 1 15 ounce can low sodium black beans, rinsed and drained
  • 2 cups diced cooked chicken or turkey 
  • 1 4 ounce can of diced green chiles
  • ½ cup enchilada sauce
  • 2 cups cooked long grain brown rice
  • 2 cups shredded cheese (I used a taco blend. Cheddar would be great too!)
  • 1 teaspoon cumin
  • 1 teaspoon chili powder
  • ½ teaspoon salt
  • ½ teaspoon pepper 

Your Steps to Sweet Potato and Black Bean Hash

If you don’t have cooked rice on hand, begin with cooking rice according to directions on package. Rice is a great side dish you can customize throughout the week, so may I recommend cooking extra and storing it in the fridge for later meals? 🙂 

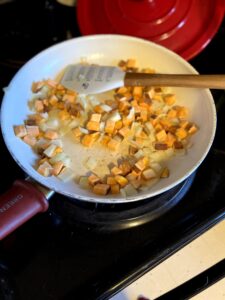
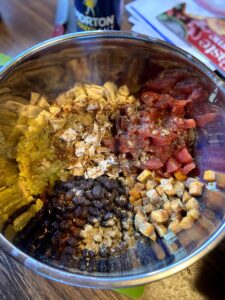
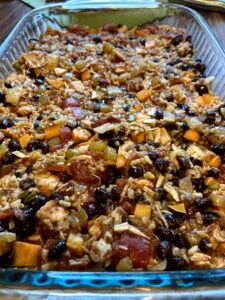
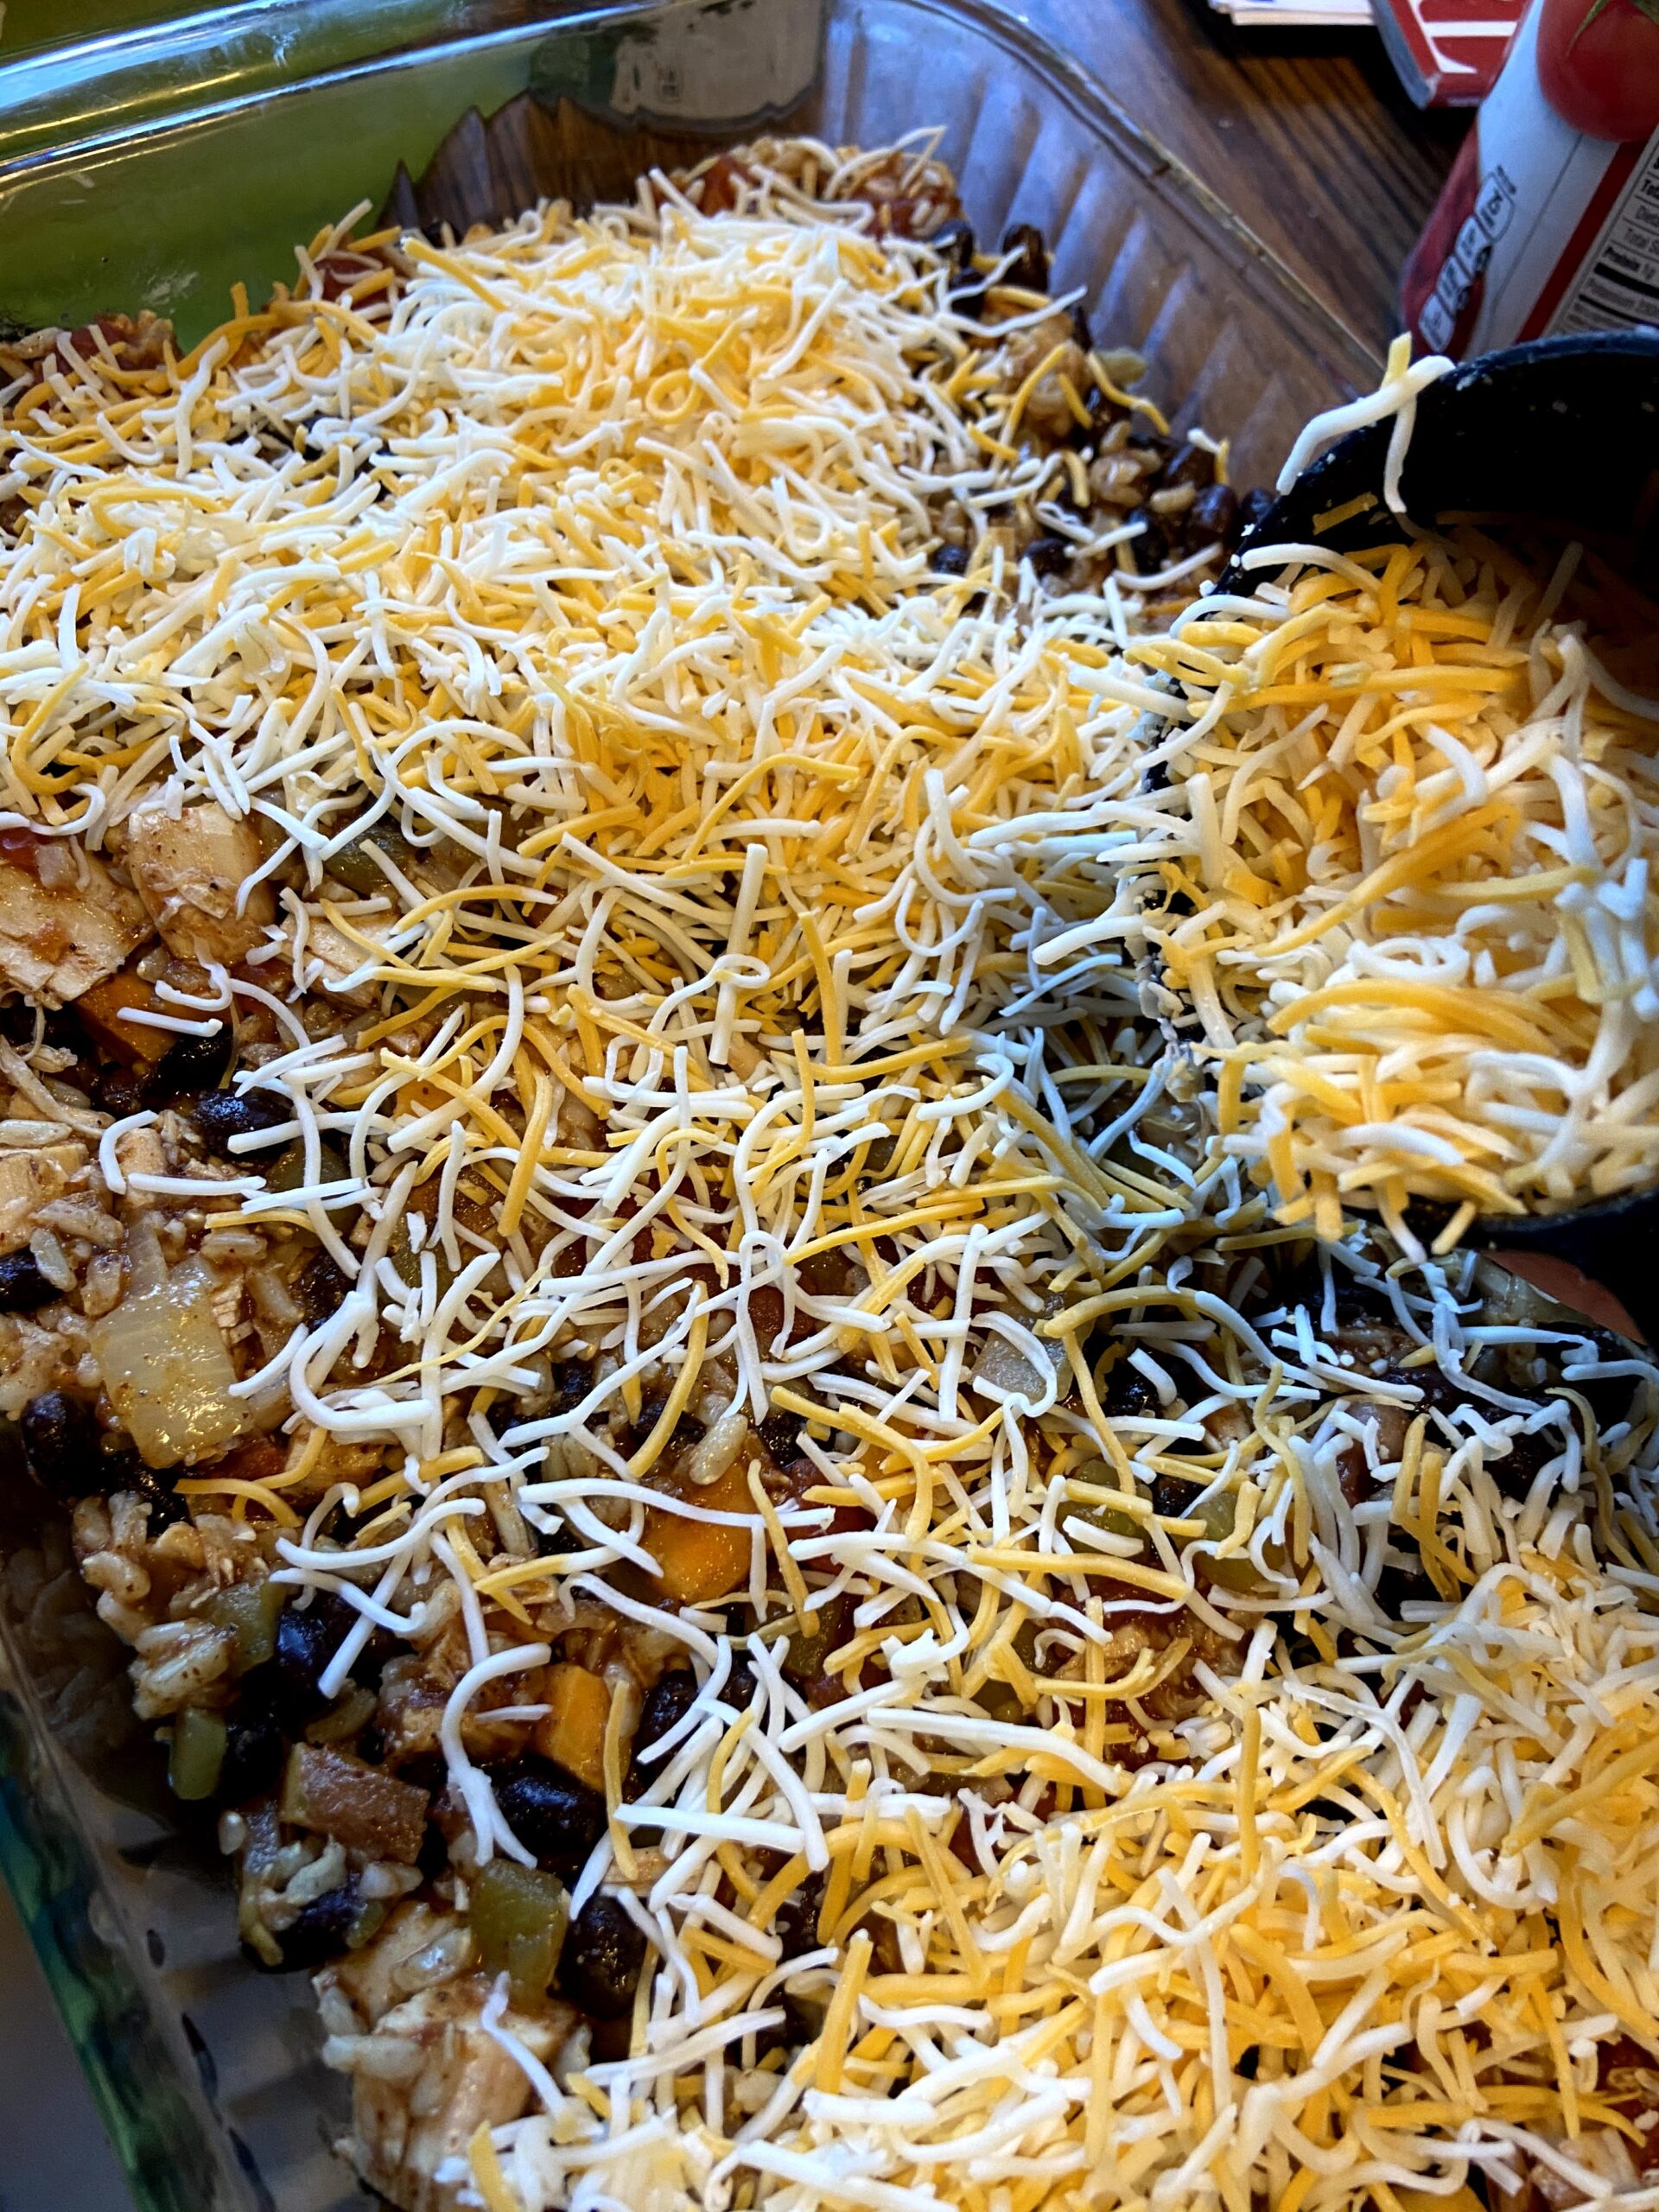
While rice is cooking, add olive oil to a large skillet, heating over medium-high heat. Once hot, add sweet potato and onion. Cook for 5-8 minutes over medium heat until they begin to soften. Remove from heat. Stir in diced tomatoes, black beans, cooked chicken or turkey, green chiles, enchilada sauce, rice, cumin, chili powder, salt and pepper. Mix well. Spoon into a 9×13 casserole dish. Cover with cheese. Bake at 375 degrees for 30-35 minutes, until the cheese is melty and perfect. Serve on its own or with all the taco fixings like sour cream, shredded lettuce, and green onions. 

Looking for other Dinner Inspiration? Check out my cooking page below!

Tools of the Trade

A kitchen isn’t complete with a few pieces of Pyrex!

I adore flexible cutting boards of all kinds. In fact, they are essentially all I use!

While I am generally a wooden spoon kinda gal, I am starting to love my silicone spatulas when I cooking. Give them a try!

baked to perfection

Fiesta-role Black Bean and Sweet Potato Hash

Leftover roast chicken or turkey? Feeling some Mexican? Throw together this delicious black bean and sweet potato hash for a different take on casserole!
Prep Time 20 minutes
Cook Time 35 minutes
Course Main Course
Cuisine Mexican
Servings 10

Ingredients
  

  • ½ tablespoon olive oil
  • 1 cup diced sweet potato
  • ½ cup diced onion
  • 1 15 ounce can diced tomatoes undrained
  • 1 15 ounce can low sodium black beans rinsed and drained
  • 2 cups diced cooked chicken or turkey
  • 1 4 ounce can of diced green chiles
  • ½ cup enchilada sauce
  • 2 cups cooked long grain brown rice
  • 2 cups shredded cheese I used a taco blend. Cheddar would be great too!
  • 1 teaspoon cumin
  • 1 teaspoon chili powder
  • ½ teaspoon salt
  • ½ teaspoon pepper

Instructions
 

  • If you don’t have cooked rice on hand, begin with cooking rice according to directions on the package. Set aside until ready to mix in with the remaining ingredients.
  • While rice is cooking, add olive oil to a large skillet, heating over medium-high heat.
  • Once hot, add sweet potato and onion. Cook for 5-8 minutes over medium heat until they begin to soften.
  • Remove from heat. Stir in diced tomatoes, black beans, cooked chicken or turkey, green chiles, enchilada sauce, rice, cumin, chili powder, salt and pepper. Mix well.
  • Spoon into a 9×13 casserole dish. Cover with cheese.
  • Bake at 375 degrees for 30-35 minutes, until the cheese is melty and perfect.
  • Serve on its own or with all the taco fixings like sour cream, shredded lettuce, and green onions.
Keyword black beans, casserole, Mexican, sweet potato
Tried this recipe?Let us know how it was!

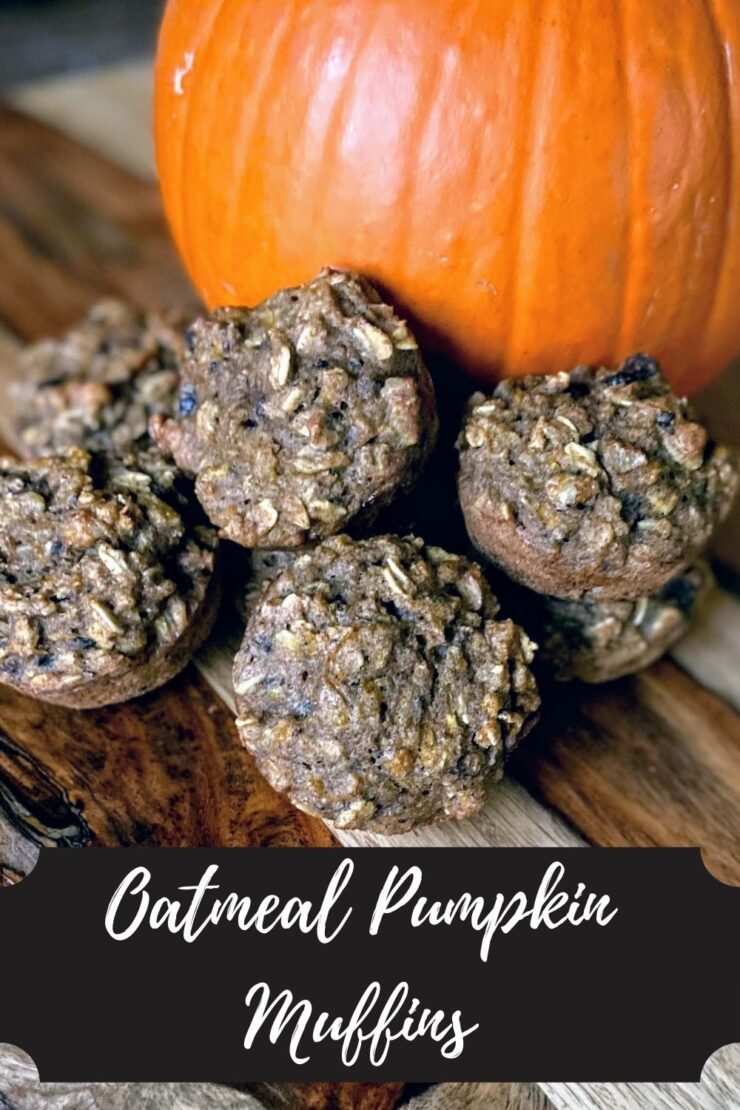
Oatmeal Pumpkin Muffins: Clean Eating Style

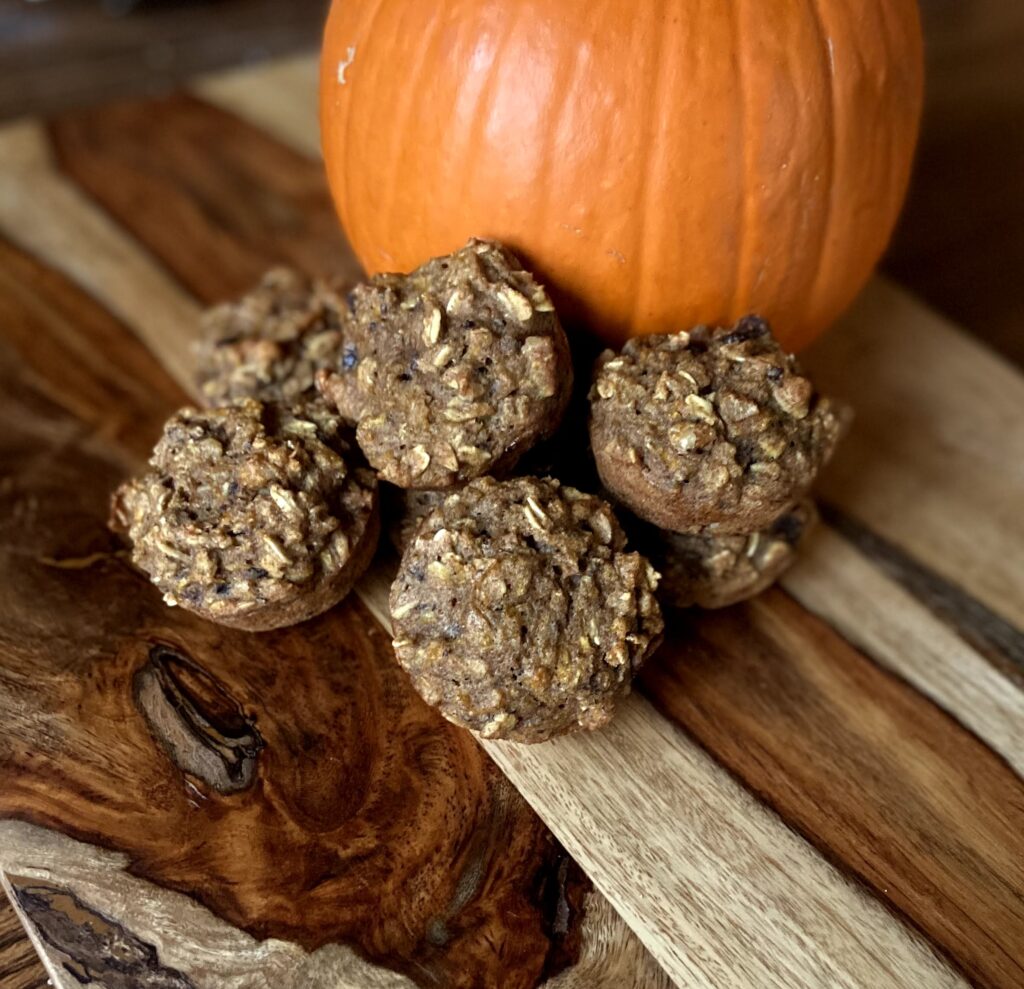
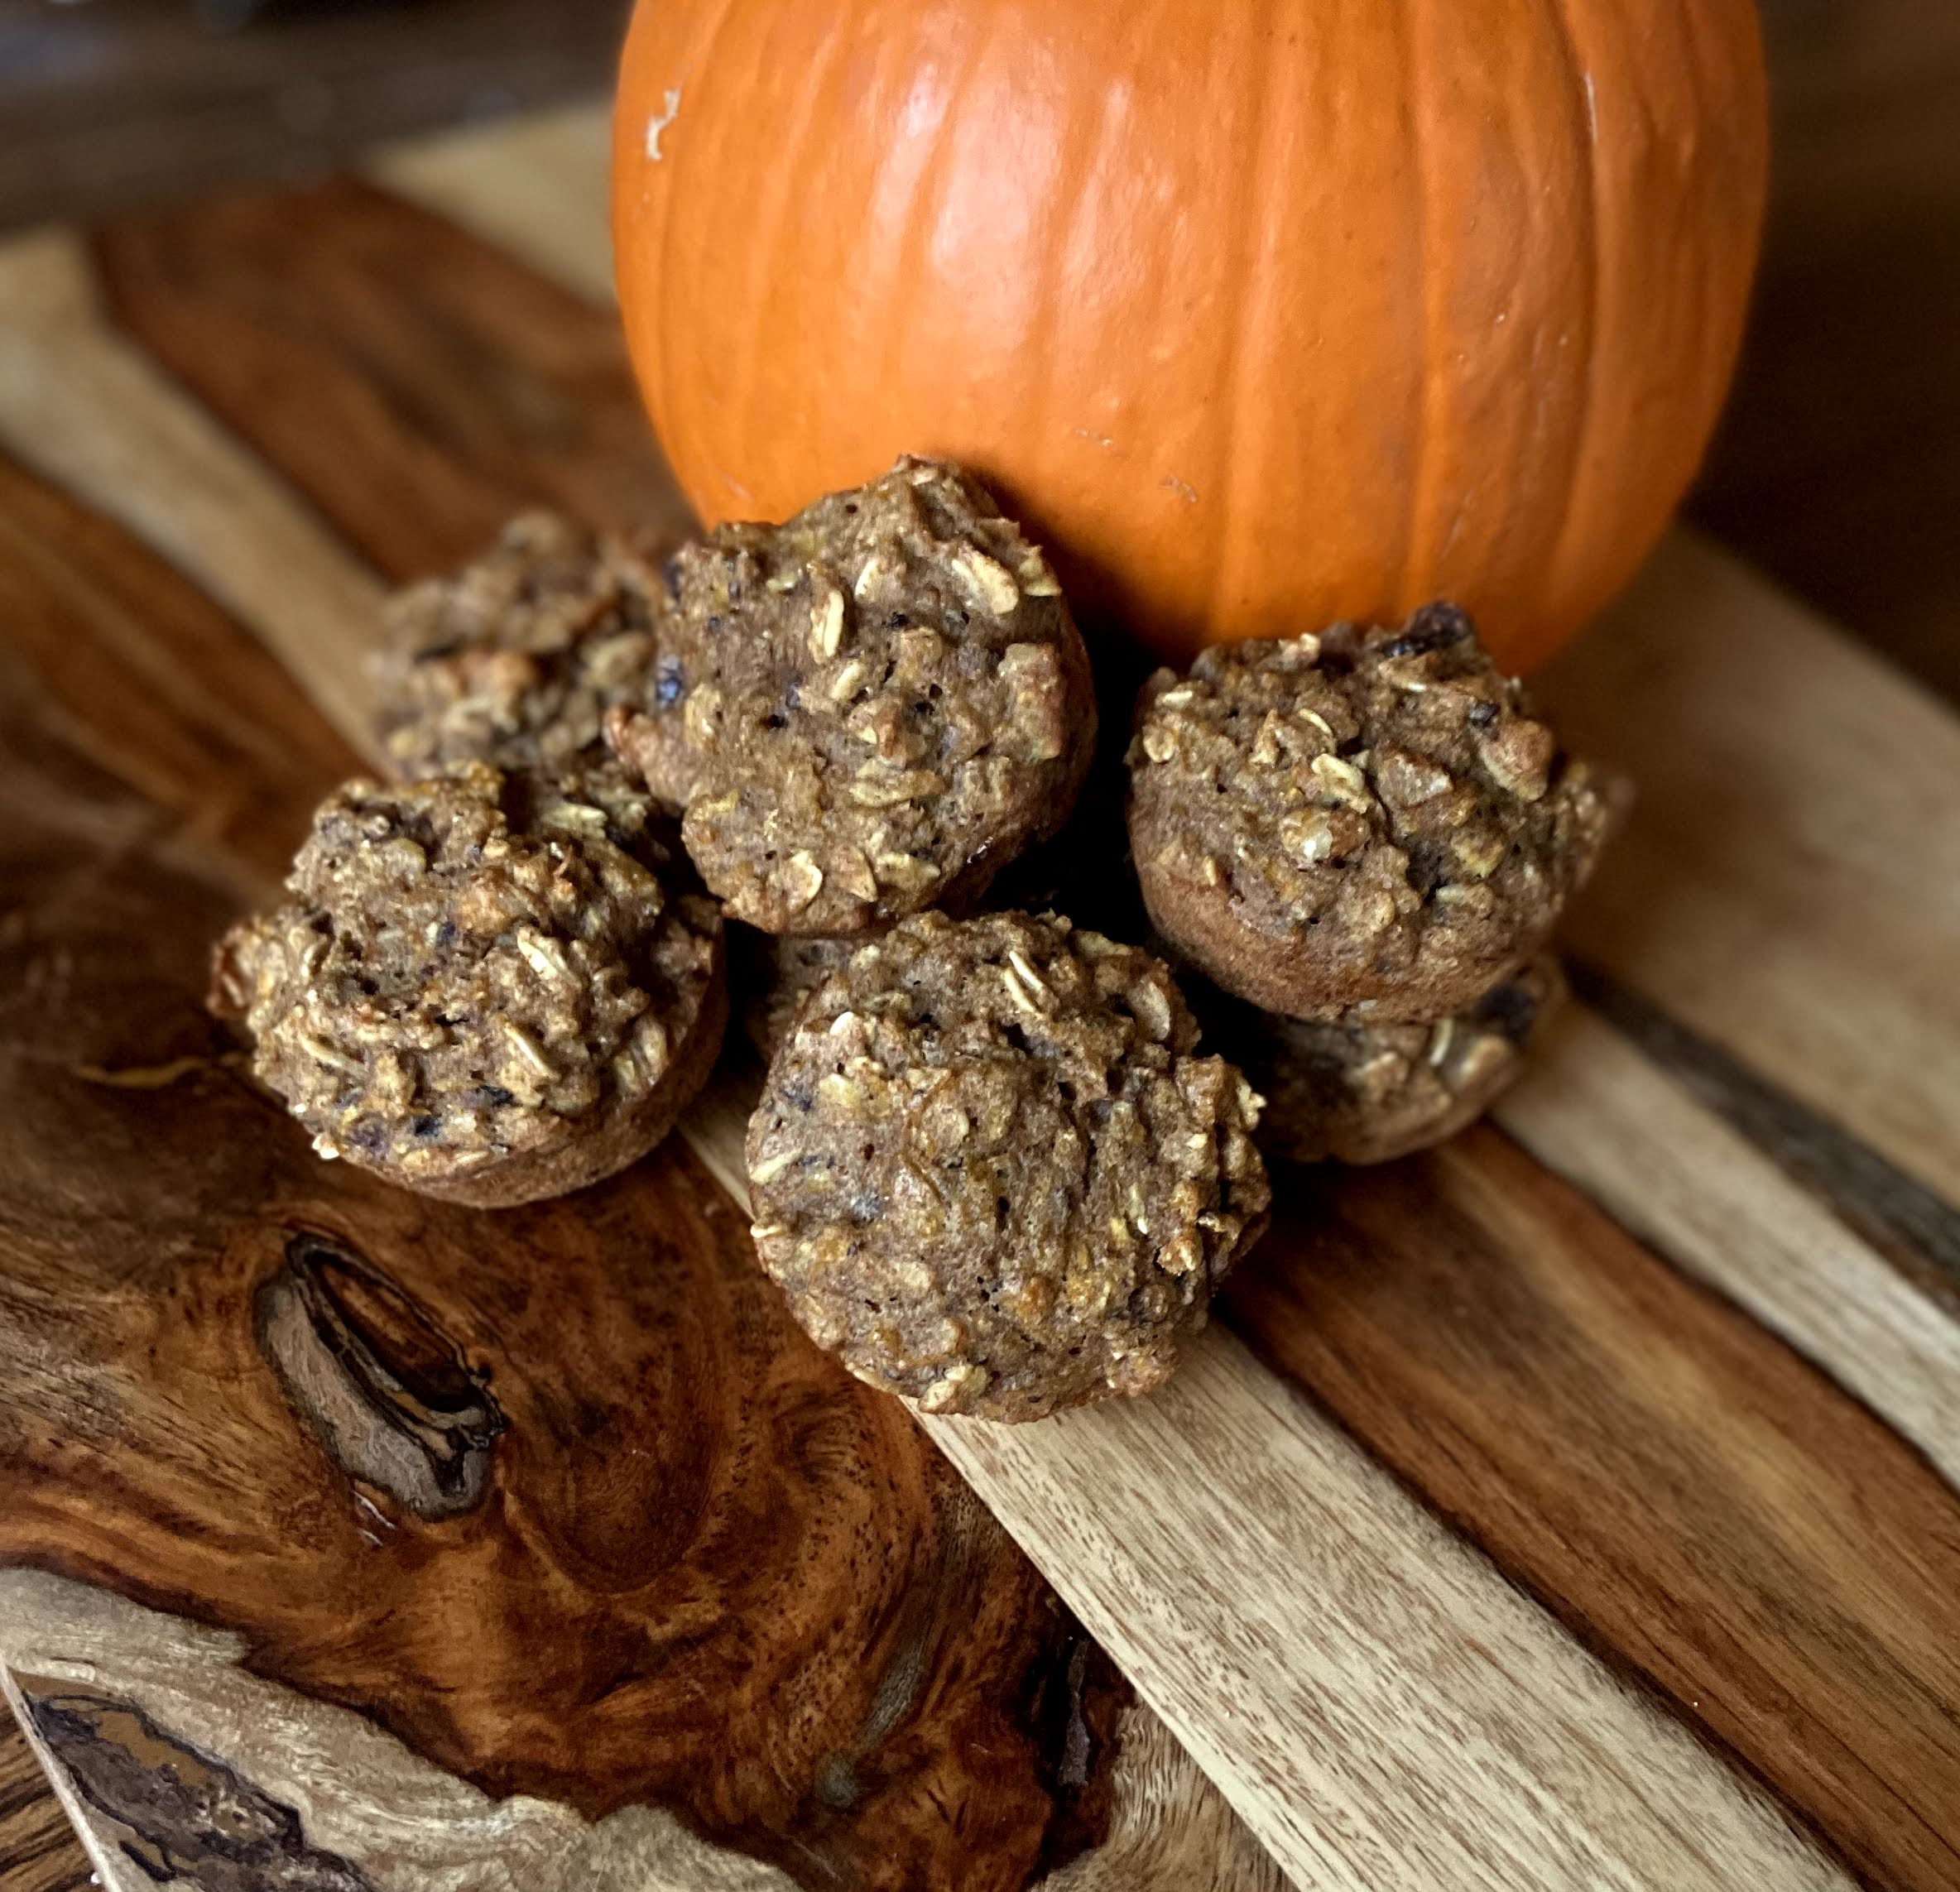
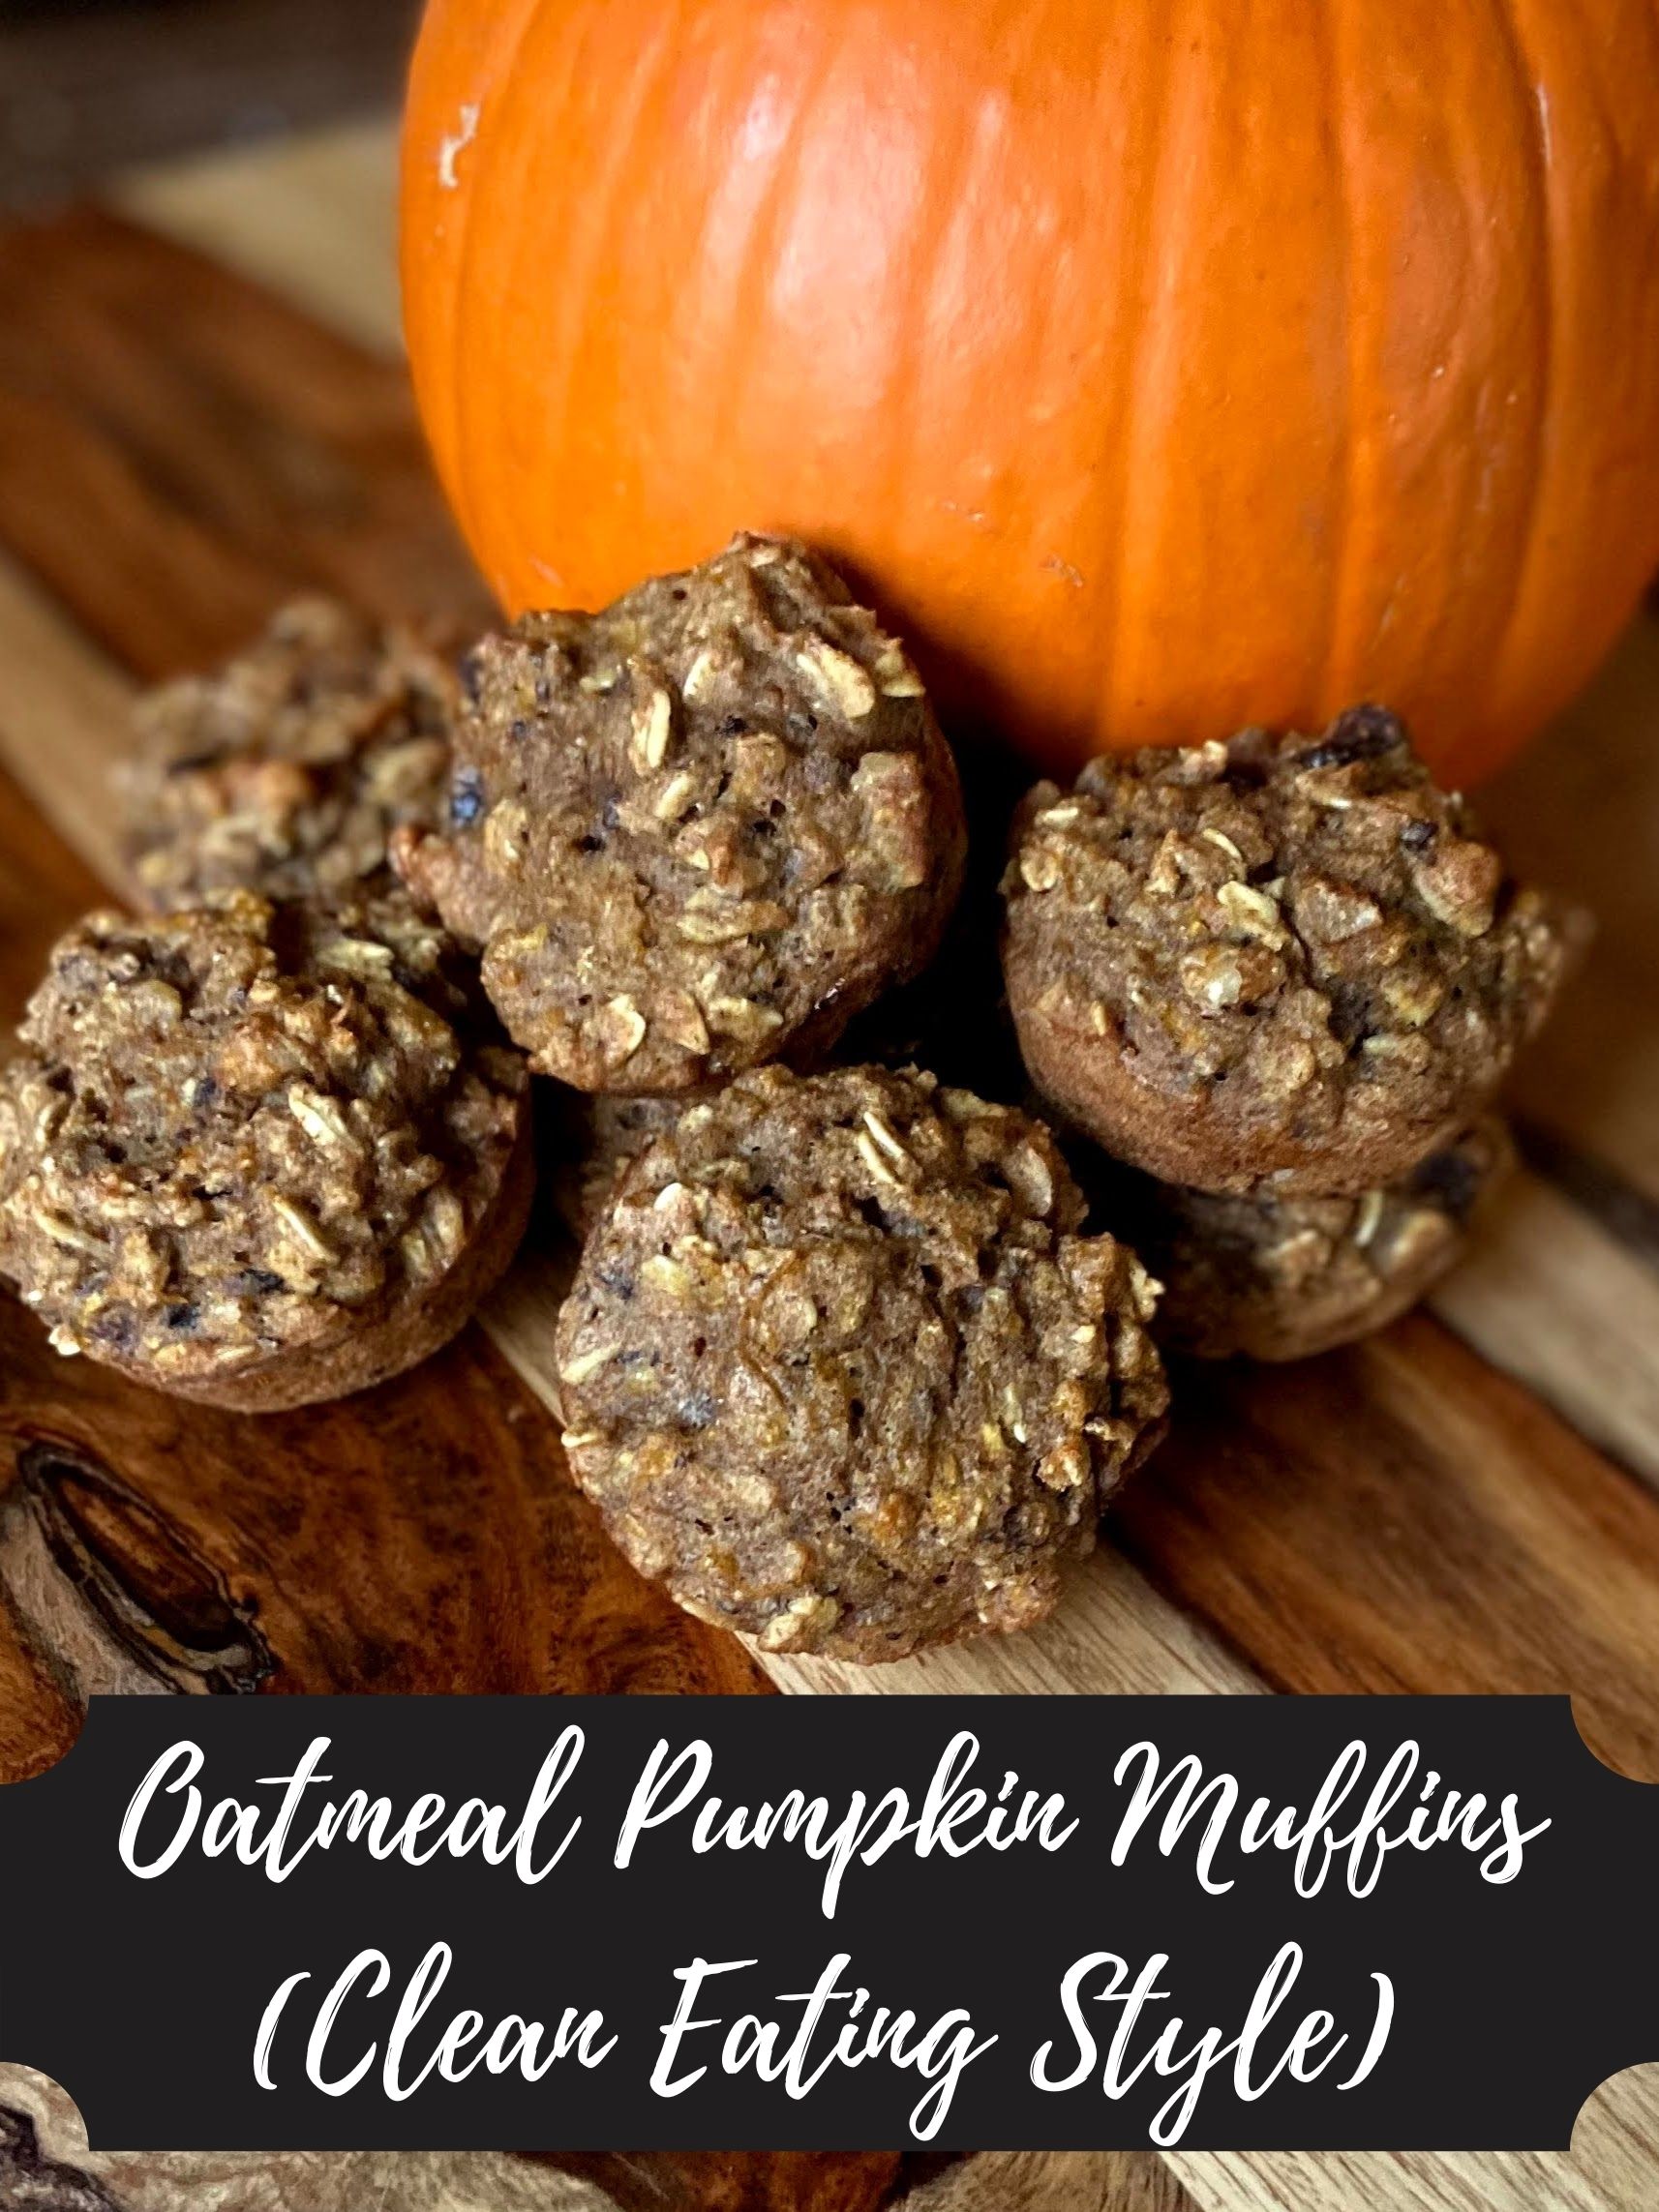
Recently, I put together some delightful sourdough pumpkin muffins. However, all my friends who aren’t sourdough bakers yet (You know you want to! Here’s a great link by King Arthur’s Flour on how to get started!) requested a non-sourdough pumpkin muffin, preferably of the healthy persuasion. After a little bit of testing and trying, here it is! Oatmeal Pumpkin Muffins (with chocolate chips!). 

This Oatmeal Pumpkin Muffin pairs well with a warm cup of coffee in the morning. I love that it isn’t overly sweet and that it’s a baked good I can feel good about putting into my body. While it pains me at times, I just can’t do too much sweet in the morning. It leaves me a feeling out of sorts and not fueled the right way to tackle all the big goals I have! 

One more note: This recipe was created using a home roasted pumpkin. If you haven’t tried roasting your own pumpkin yet, I highly recommend it and the time is still right. Pick up a pumpkin or two from the local market, roast them up using the directions you can find here. Then freeze some so you can have fresh pumpkin baked goods all year round!

Okay, enough talking, let’s get baking some Oatmeal Pumpkin muffins my friends! 

Your Ingredients (about 18 muffins)

  • 2 cups pumpkin puree 
  • 2 eggs, room temperature 
  • ⅓ cup real maple syrup (if you like things on the sweeter side, up this to ½ cup) 
  • 2 tablespoons coconut oil, melted 
  • 1 ½ cups whole wheat flour 
  • 1 cup old fashioned oats
  • ¾ teaspoon pumpkin spice (or a combination of cinnamon and nutmeg with a dash of clove)
  • 1 teaspoon baking soda
  • ½ teaspoon salt 
  • ⅓ cup chopped walnuts 
  • ⅓ cup chocolate chips 

Your Steps to great Oatmeal Pumpkin Muffins

Preheat the oven to 350 degrees. Prepare two muffin tins with muffin cups or by spraying with non-stick cooking spray. 

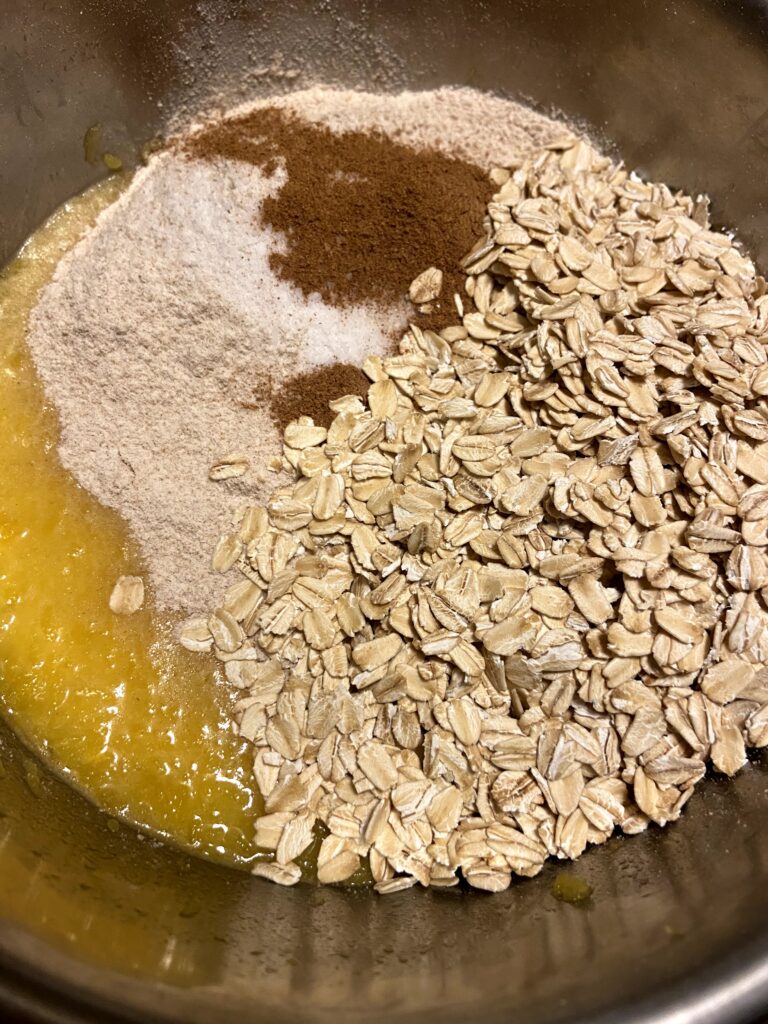
In a large bowl, combine puree, eggs, and maple syrup. Combine flour, oats, pumpkin spice, baking soda, and salt. Add to wet ingredients and stir until just combined. Fold in the walnuts, and chocolate chips. Add coconut oil and stir once more. 

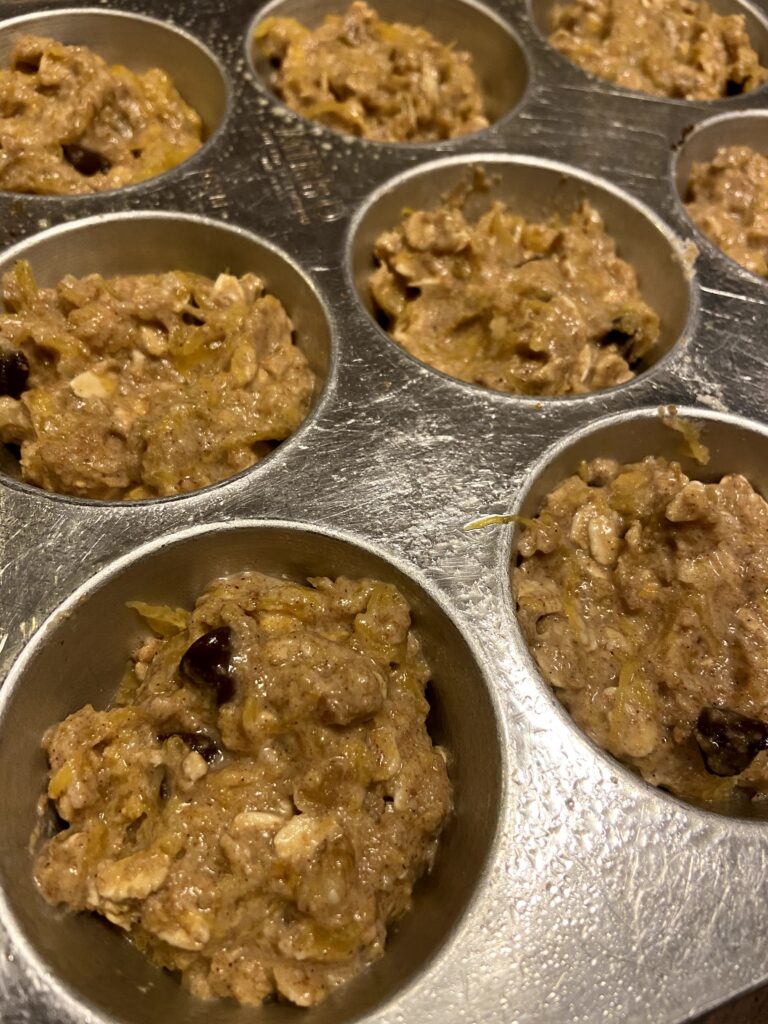
Spoon into prepared muffin tins, filling approximately ¾ of the way. Bake for 15-20 minutes, until cooked all the way through. Marvel at the beautiful texture and promptly pop one in your mouth. Aren’t the melty chocolate chips just the best?!

Tools of the trade

If you’re baking, you need a great muffin tin. If you are fortunate enough to have a pumpkin to roast, I recommend a nice thick baking sheet lined in foil. Looking to get a new one? Check out the links below!

Oatmeal Pumpkin Muffins

Oatmeal Pumpkin Muffins: Good for you ingredients combine in these pumpkin muffins made from freshly roasted pumpkin!
Prep Time 10 minutes
Cook Time 20 minutes
Course Breakfast
Cuisine American
Servings 18 muffins

Ingredients
  

  • 2 cups pumpkin puree
  • 2 eggs room temperature
  • cup real maple syrup if you like things on the sweeter side, up this to ½ cup
  • 2 tablespoons coconut oil melted
  • 1 ½ cups whole wheat flour
  • 1 cup old fashioned oats
  • ¾ teaspoon pumpkin spice or a combination of cinnamon and nutmeg with a dash of clove
  • 1 teaspoon baking soda
  • ½ teaspoon salt
  • cup chopped walnuts
  • cup chocolate chips

Instructions
 

  • Preheat the oven to 350 degrees. Prepare two muffin tins with muffin cups or by spraying with non-stick cooking spray.
  • In a large bowl, combine puree, eggs, and maple syrup.
  • Combine flour, oats, pumpkin spice, baking soda, and salt. Add to wet ingredients and stir until just combined.
  • Fold in the walnuts, and chocolate chips.
  • Add coconut oil and stir once more.
  • Spoon into prepared muffin tins, filling approximately ¾ of the way.
  • Bake for 15-20 minutes, until cooked all the way through.
Tried this recipe?Let us know how it was!

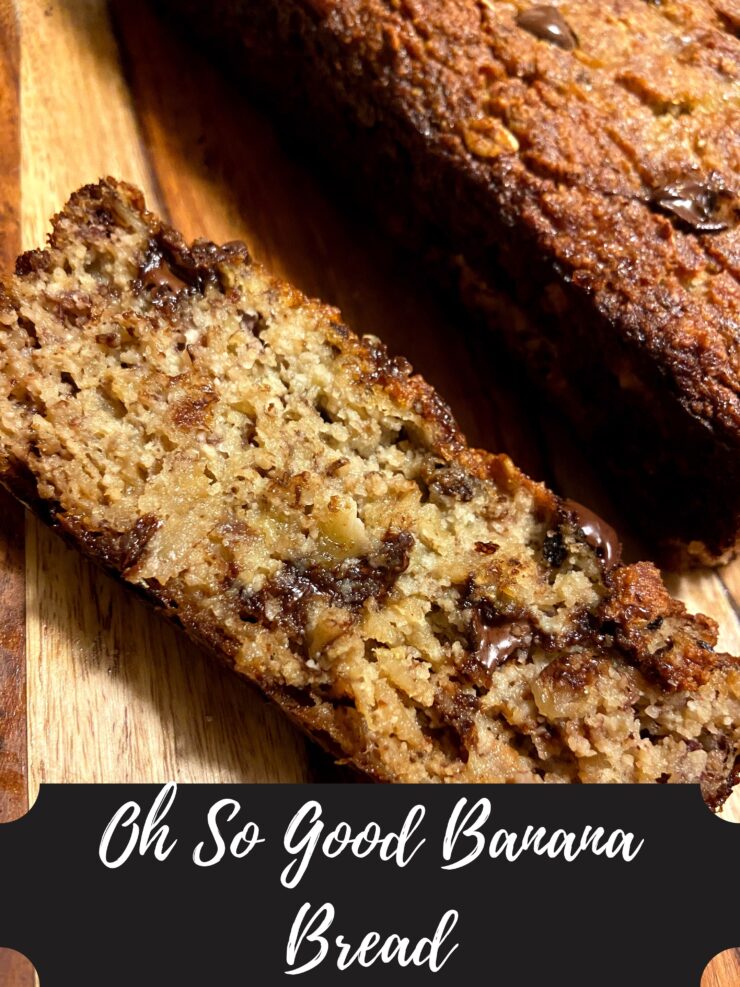
Oh So Good Banana Bread (Gluten Free!)

I have this great banana bread recipe. In fact, I had declared it THE best banana bread. It was clean and gluten free, which, let’s be honest, when combined can mean it doesn’t taste that great. But my friends and family will agree, it is darn good banana bread. You can get the recipe by clicking here

However, THE best banana bread requires the baker to create oat flour by putting all the dry ingredients in a food processor. I love my food processor, but the other evening, I was not interested in heading to the basement to grab it to make banana bread. Yes, I know this is slightly lazy. Okay, a lot lazy. But out of my refusal to grab an appliance, another great recipe was born. 

This recipe is STILL gluten free. While I am not gluten free myself, I dig being able to create for my friends who are. It still doesn’t have refined sugar. While I still love me some sugar, I enjoy finding good substitutes for my friends who try hard to cut extra sugar from their life. So if you are gluten free, watching your sugar, or you’re like me who really just loves a great banana bread recipe, I hope you give this a try. My husband (who doesn’t love banana bread) definitely went for seconds. And thirds. 

Ready? Let’s get baking!

Your Ingredients

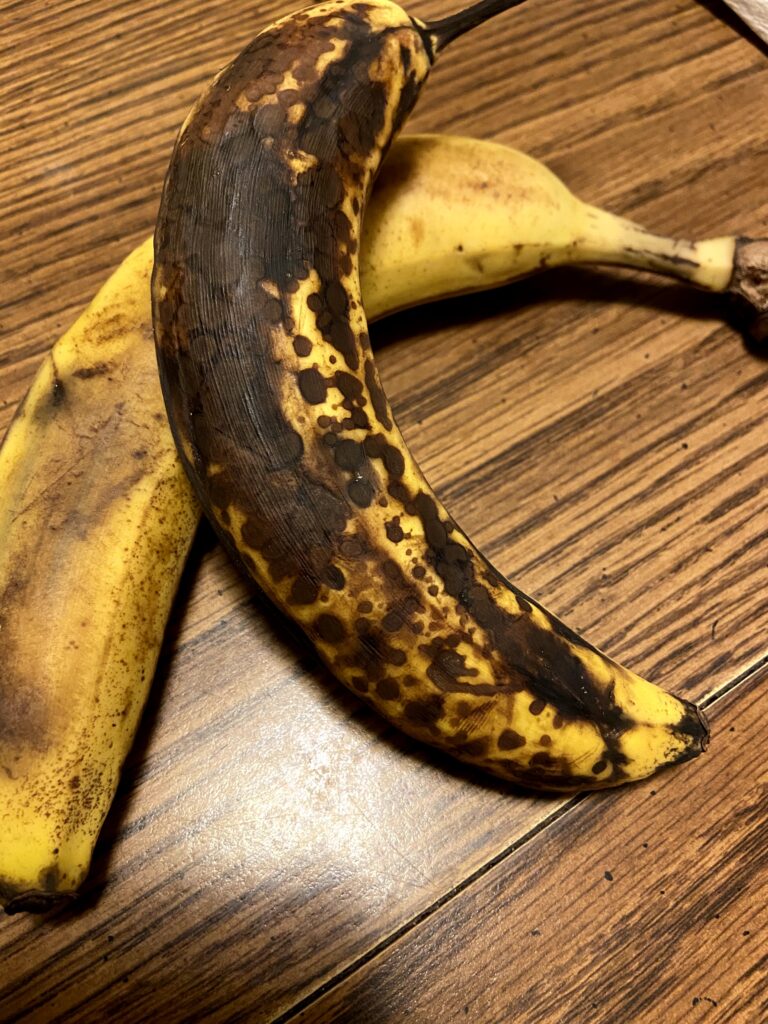
  • 3 very ripe bananas, mashed
  • 2 eggs, room temperature
  • 2 tablespoons coconut oil, melted (olive oil would do fine too!)
  • ¼ cup real maple syrup
  • ½ teaspoon vanilla extract
  • 1 ½ cups almond flour
  • ¾ cup old fashioned oats
  • 1 teaspoon baking soda
  • ½ teaspoon salt 
  • ¼ cup chopped walnuts 
  • ¼ cup dark chocolate chips 

Your Steps for Great Banana Bread 

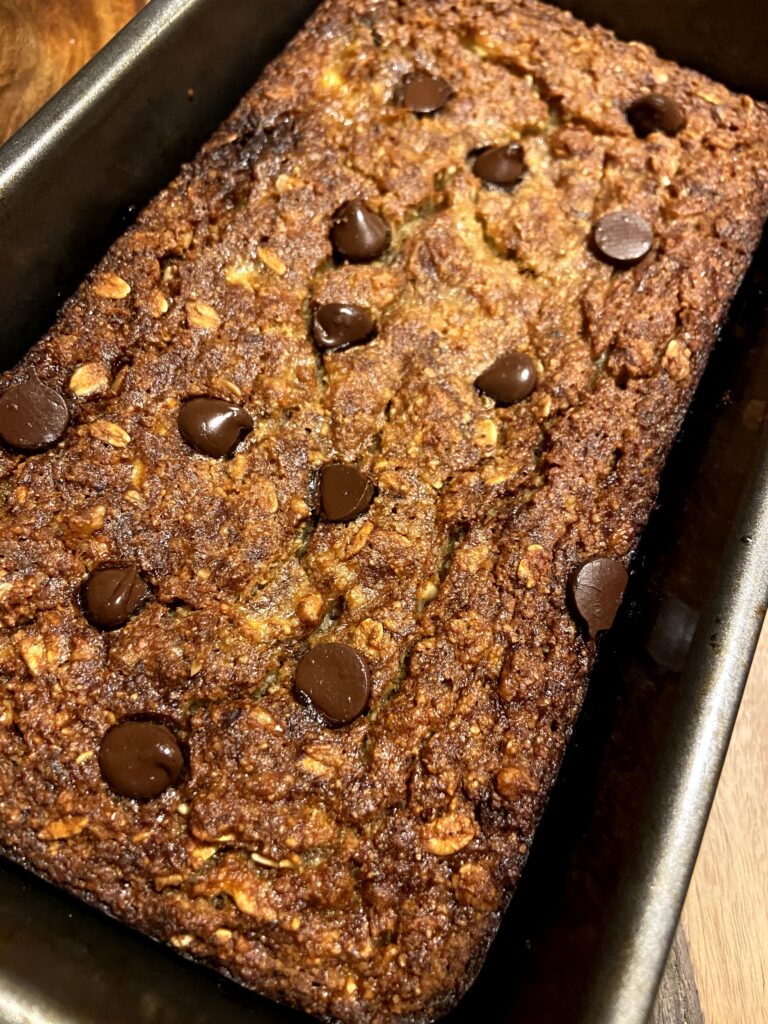
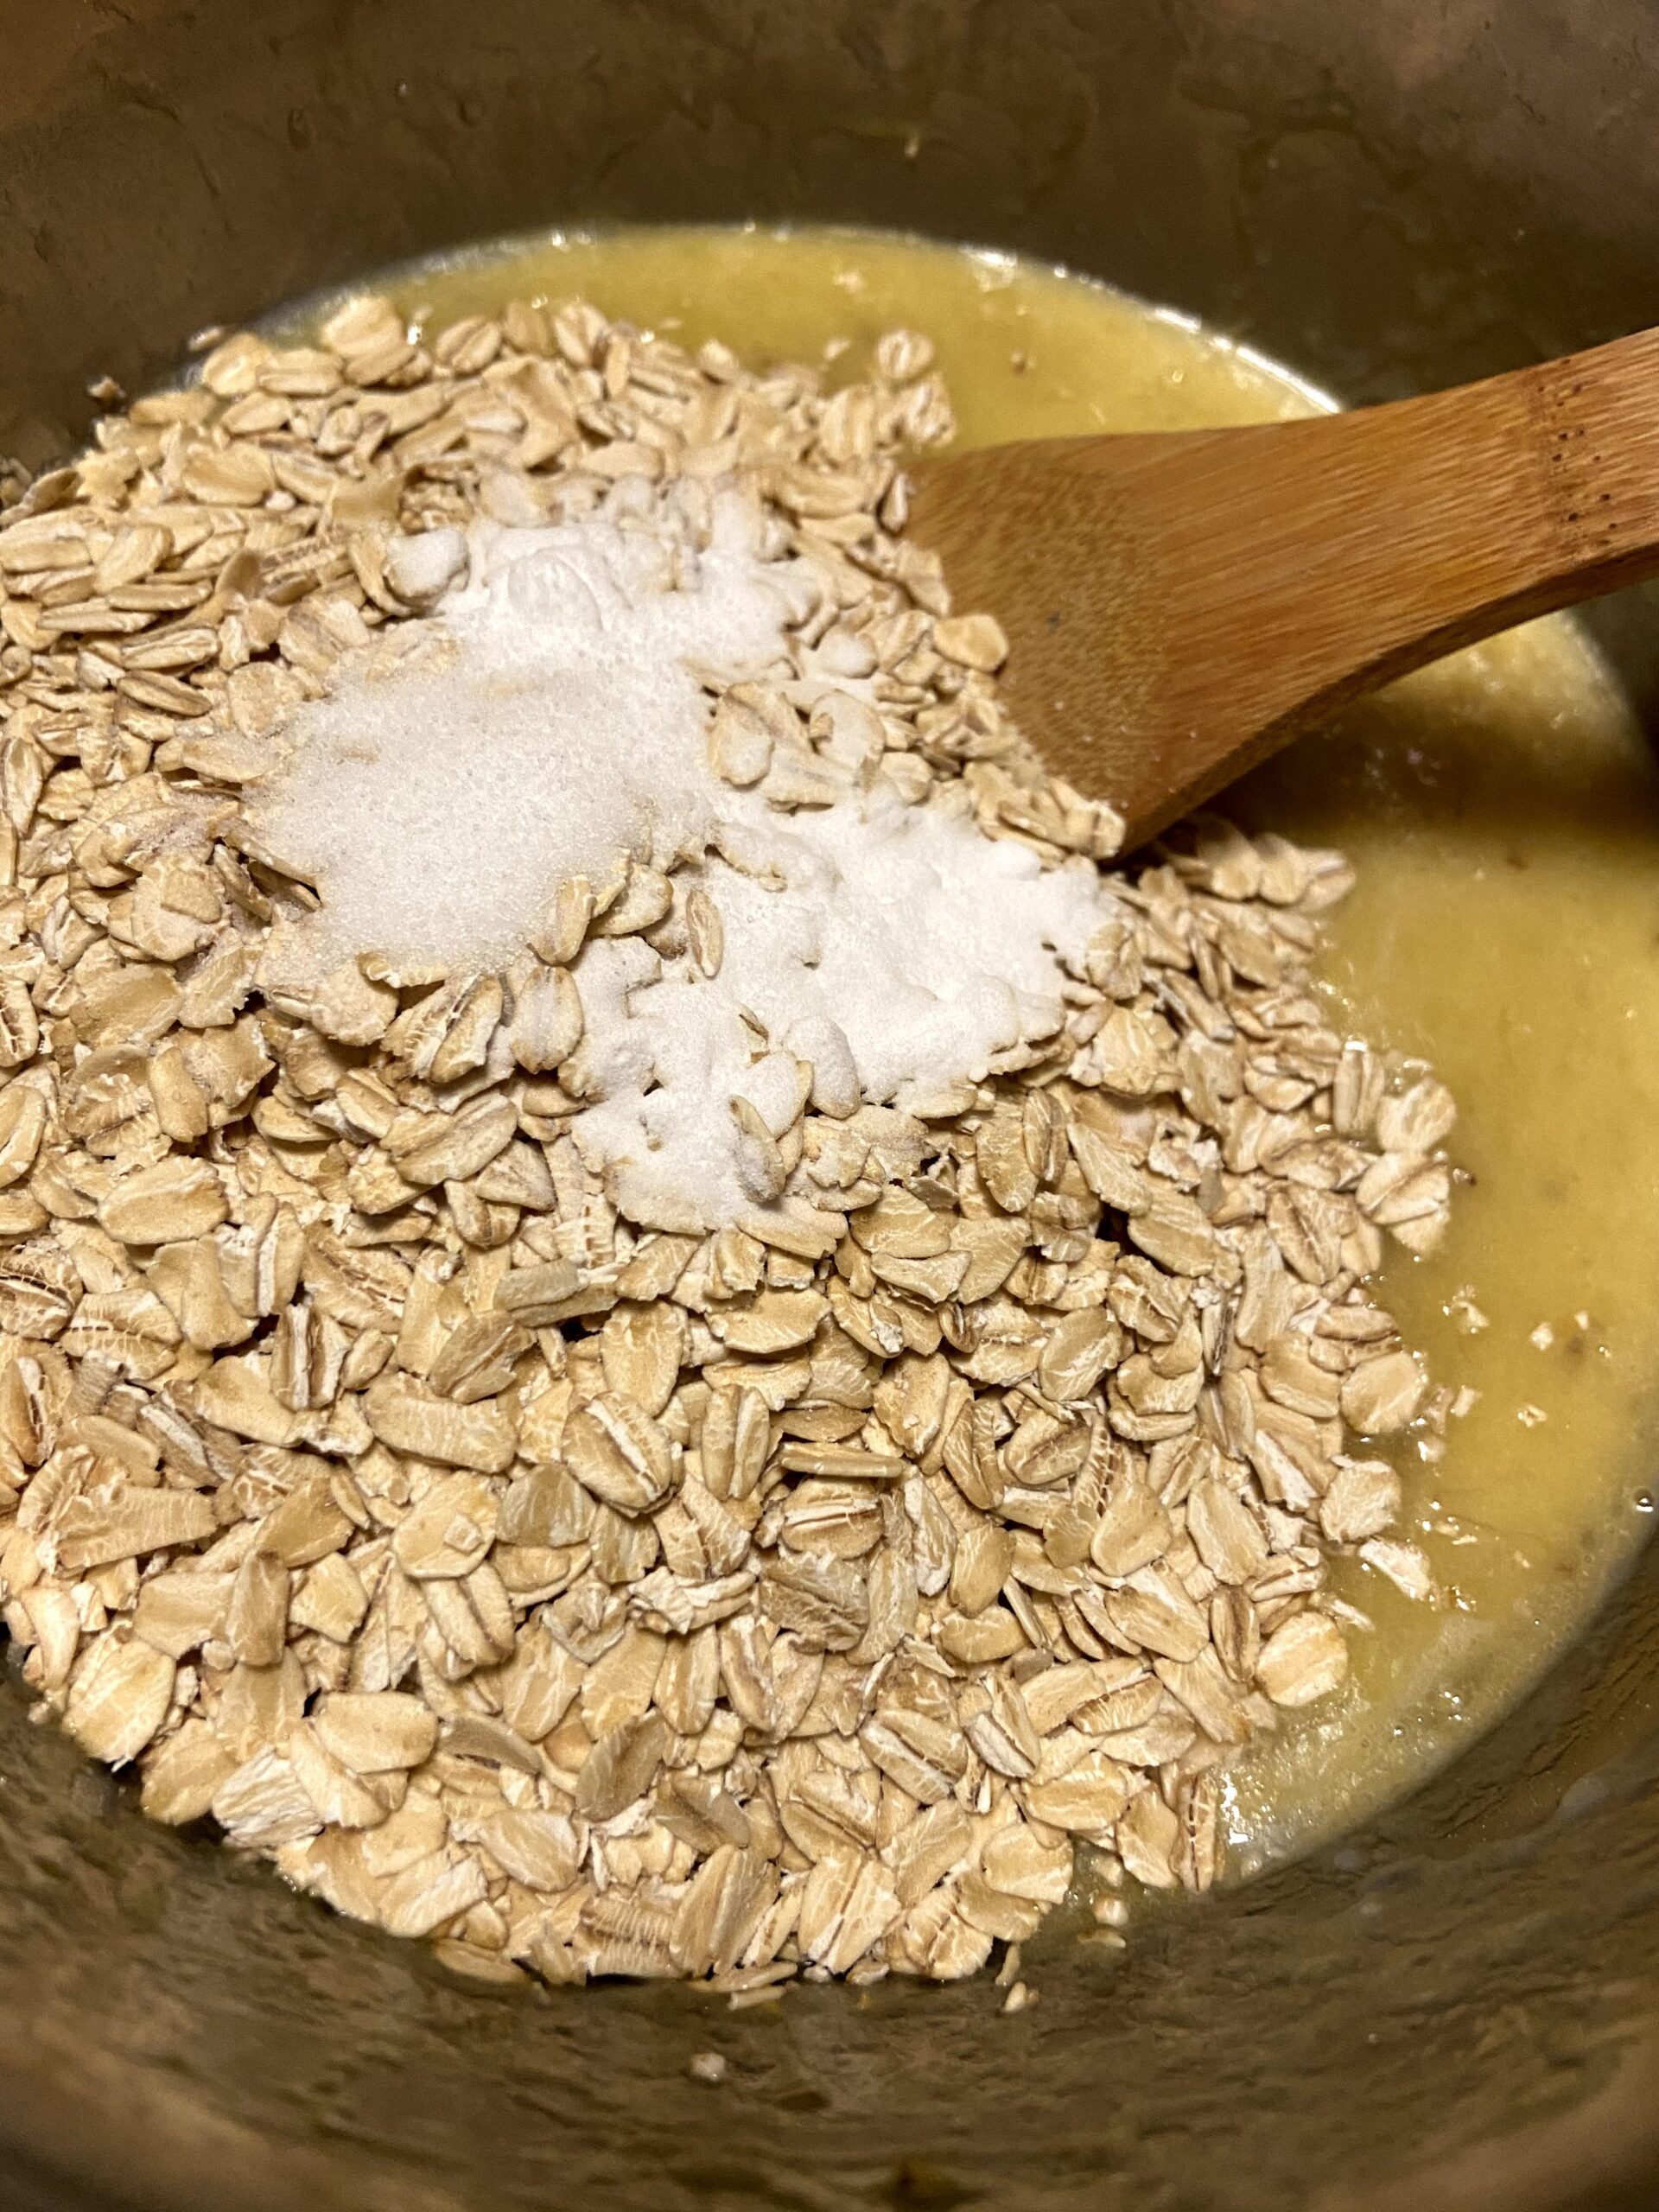
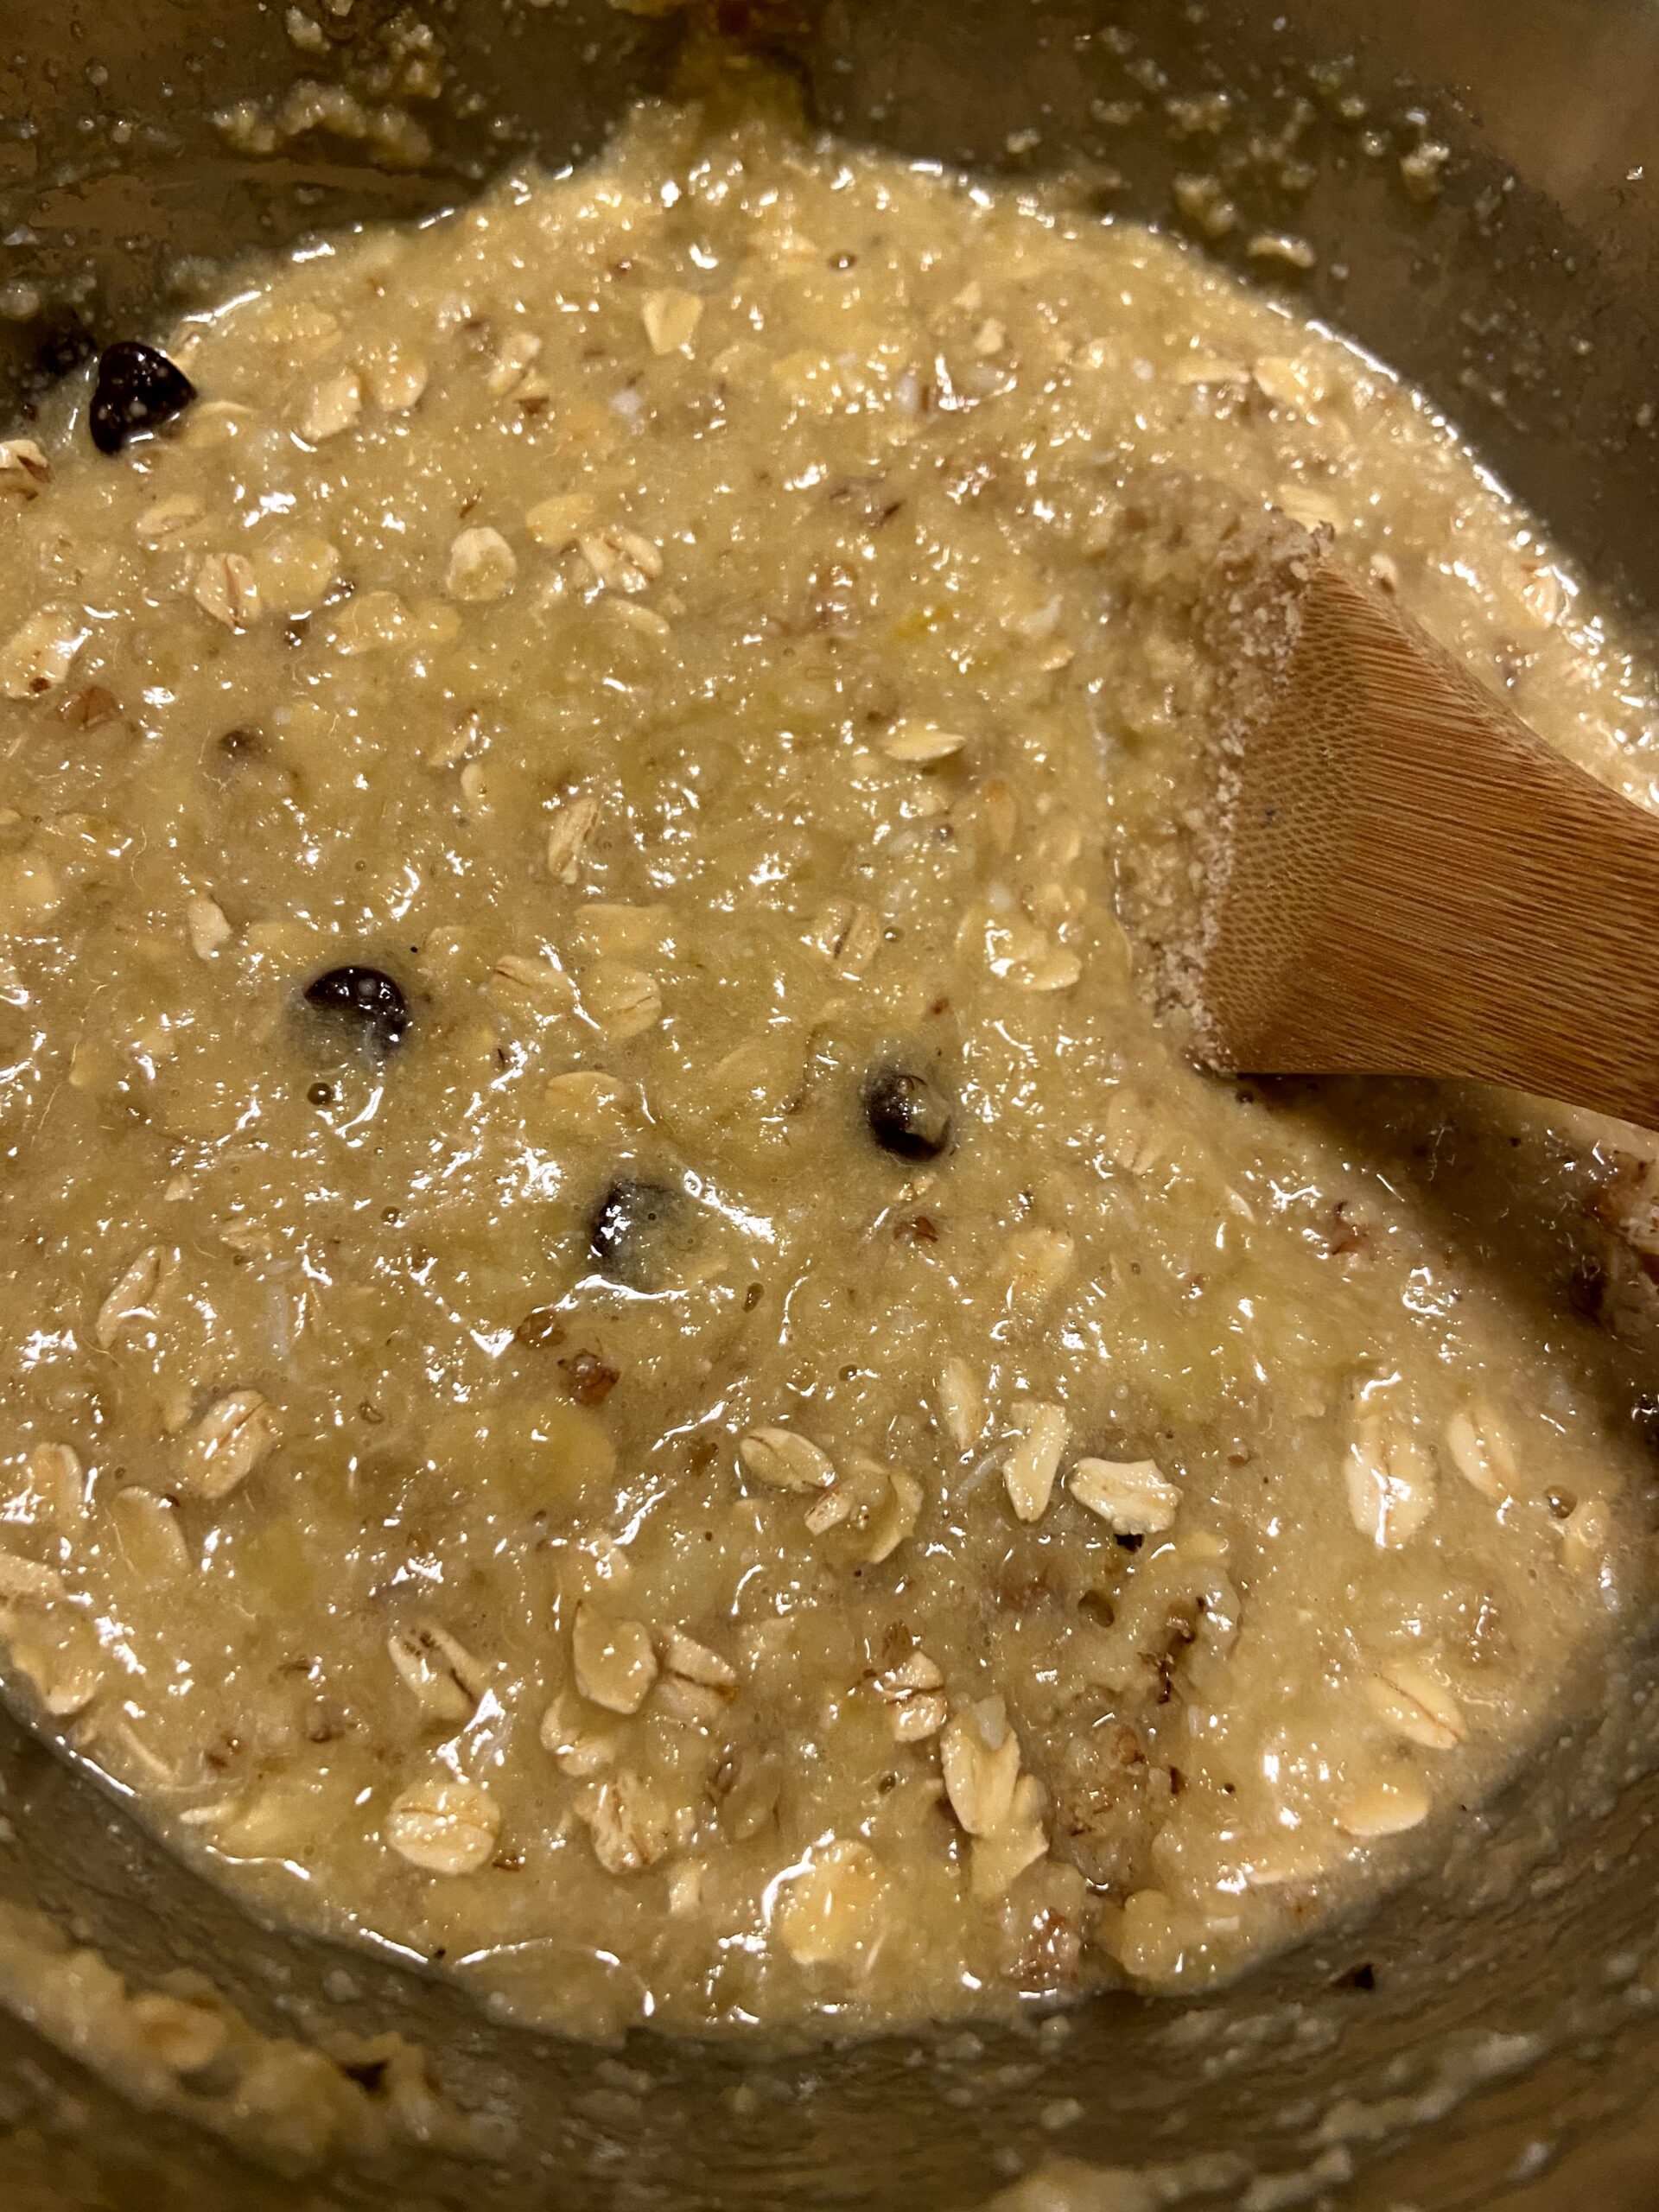
Preheat oven to 350 degrees. Lightly grease a 9×5 quick bread pan. In a large bowl, combine mashed bananas, eggs, maple syrup, and vanilla. Stir in oil. Combine flour, oats, baking soda, and salt. Stir into the wet mixture. Fold in walnuts and chocolate chips. If you want it to look extra beautiful, sprinkle a few extra chocolate chips on top. Pour into prepared pan. Bake for 45-60 minutes, until cooked through. 

Looking to bake other delicious treats? Head on over to my baking page for more inspiration!

Tools of the Trade

There isn’t much you need for a quick bread, but I want to share out the tools I love when I am baking!

Oh So Good Banana Bread

Oh So Good Banana Bread (Gluten Free!): Clean eating doesn't have to be flavorless. This banana bread is to die for and is gluten free too!
Prep Time 20 minutes
Cook Time 55 minutes
Course Breakfast
Cuisine American
Servings 12

Ingredients
  

  • 3 very ripe bananas mashed
  • 2 eggs room temperature
  • 2 tablespoons coconut oil melted (olive oil would do fine too!)
  • ¼ cup real maple syrup
  • ½ teaspoon vanilla extract
  • 1 ½ cups almond flour
  • ¾ cup old fashioned oats
  • 1 teaspoon baking soda
  • ½ teaspoon salt
  • ¼ cup chopped walnuts
  • ¼ cup dark chocolate chips

Instructions
 

  • Preheat oven to 350 degrees. Lightly grease a 9×5 quick bread pan.
  • In a large bowl, combine mashed bananas, eggs, maple syrup, and vanilla.
  • Stir in oil. Combine flour, oats, baking soda, and salt. Stir into the wet mixture.
  • Fold in walnuts and chocolate chips. Sprinkle a few extra chocolate chips on top.
  • Pour into prepared pan. Bake for 45-60 minutes, until cooked through.
Keyword Banana Bread, bananas, Breakfast, Quick Bread
Tried this recipe?Let us know how it was!

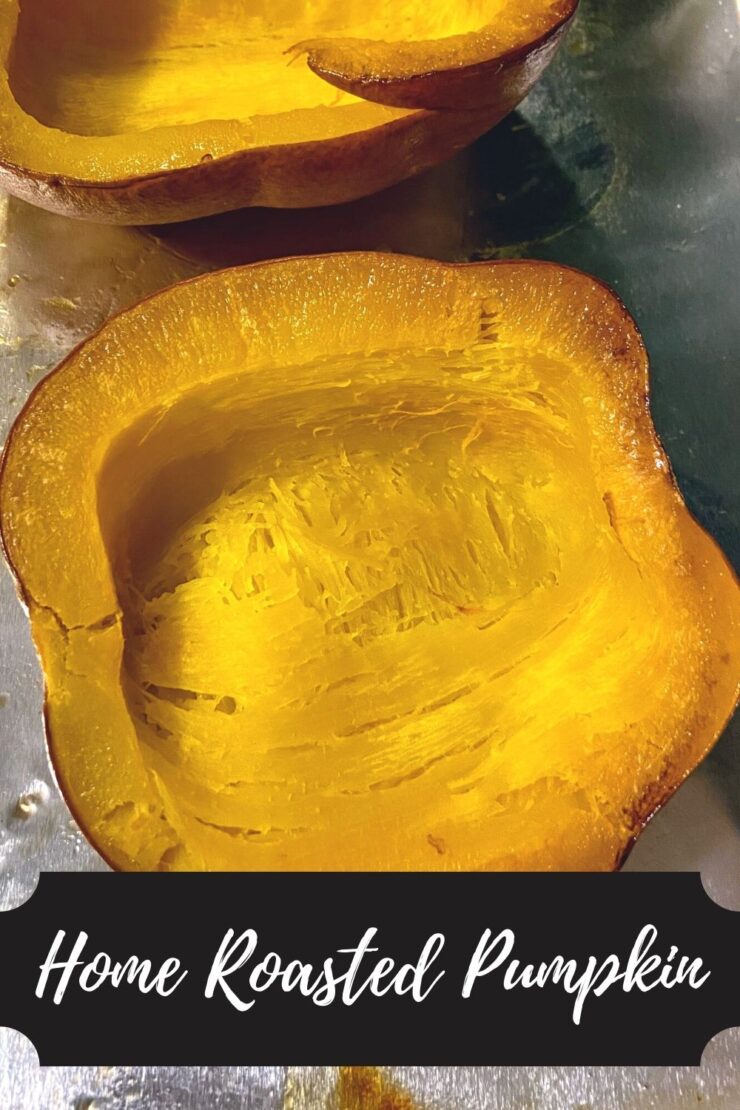
How Can it Be This Easy Home Roasted Pumpkin

I love everything about autumn. The jeans and sweatshirt weather. The leaves changing. All the smells. Fresh apples from the orchard and warm cider. I love all of it. I even got married in the fall so we could have the changing trees as a backdrop with mums in every bouquet. However, one thing I could never get behind was pumpkin spice. It just wasn’t my jam. I’ll just skip that flavor and jump to peppermint mocha, thank you very much. Then my mother in law introduced me to home roasted pumpkin, and it was a game changer. 

If you have never roasted your own pumpkin, get to the store and pick up a pie pumpkin. Or really, any small pumpkin. I am telling you, it’s SO good. And did I mention it’s easy? Oh, and you even get the seeds out of the pumpkin so you can roast them. Win, win, and win. 

If you are an “all things pumpkin” baked goods lover, the even better news is that roasted pumpkin freezes great. If you have a few tried and true recipes, pre measure the pumpkin you need for that specific recipe, place it in a freezer container or bag, label it, and you’ll be good to go the next time you want to get baking. Or you can be like my friend Britt and just eat it by the forkful as you stand around the stove, sipping hot apple cider. I won’t judge. 

Your Ingredients 

  • 1 pie pumpkin
  • Olive oil cooking spray (or any other means to grease the pan)
  • Salt and pepper or cinnamon and brown sugar (optional)

Your Steps

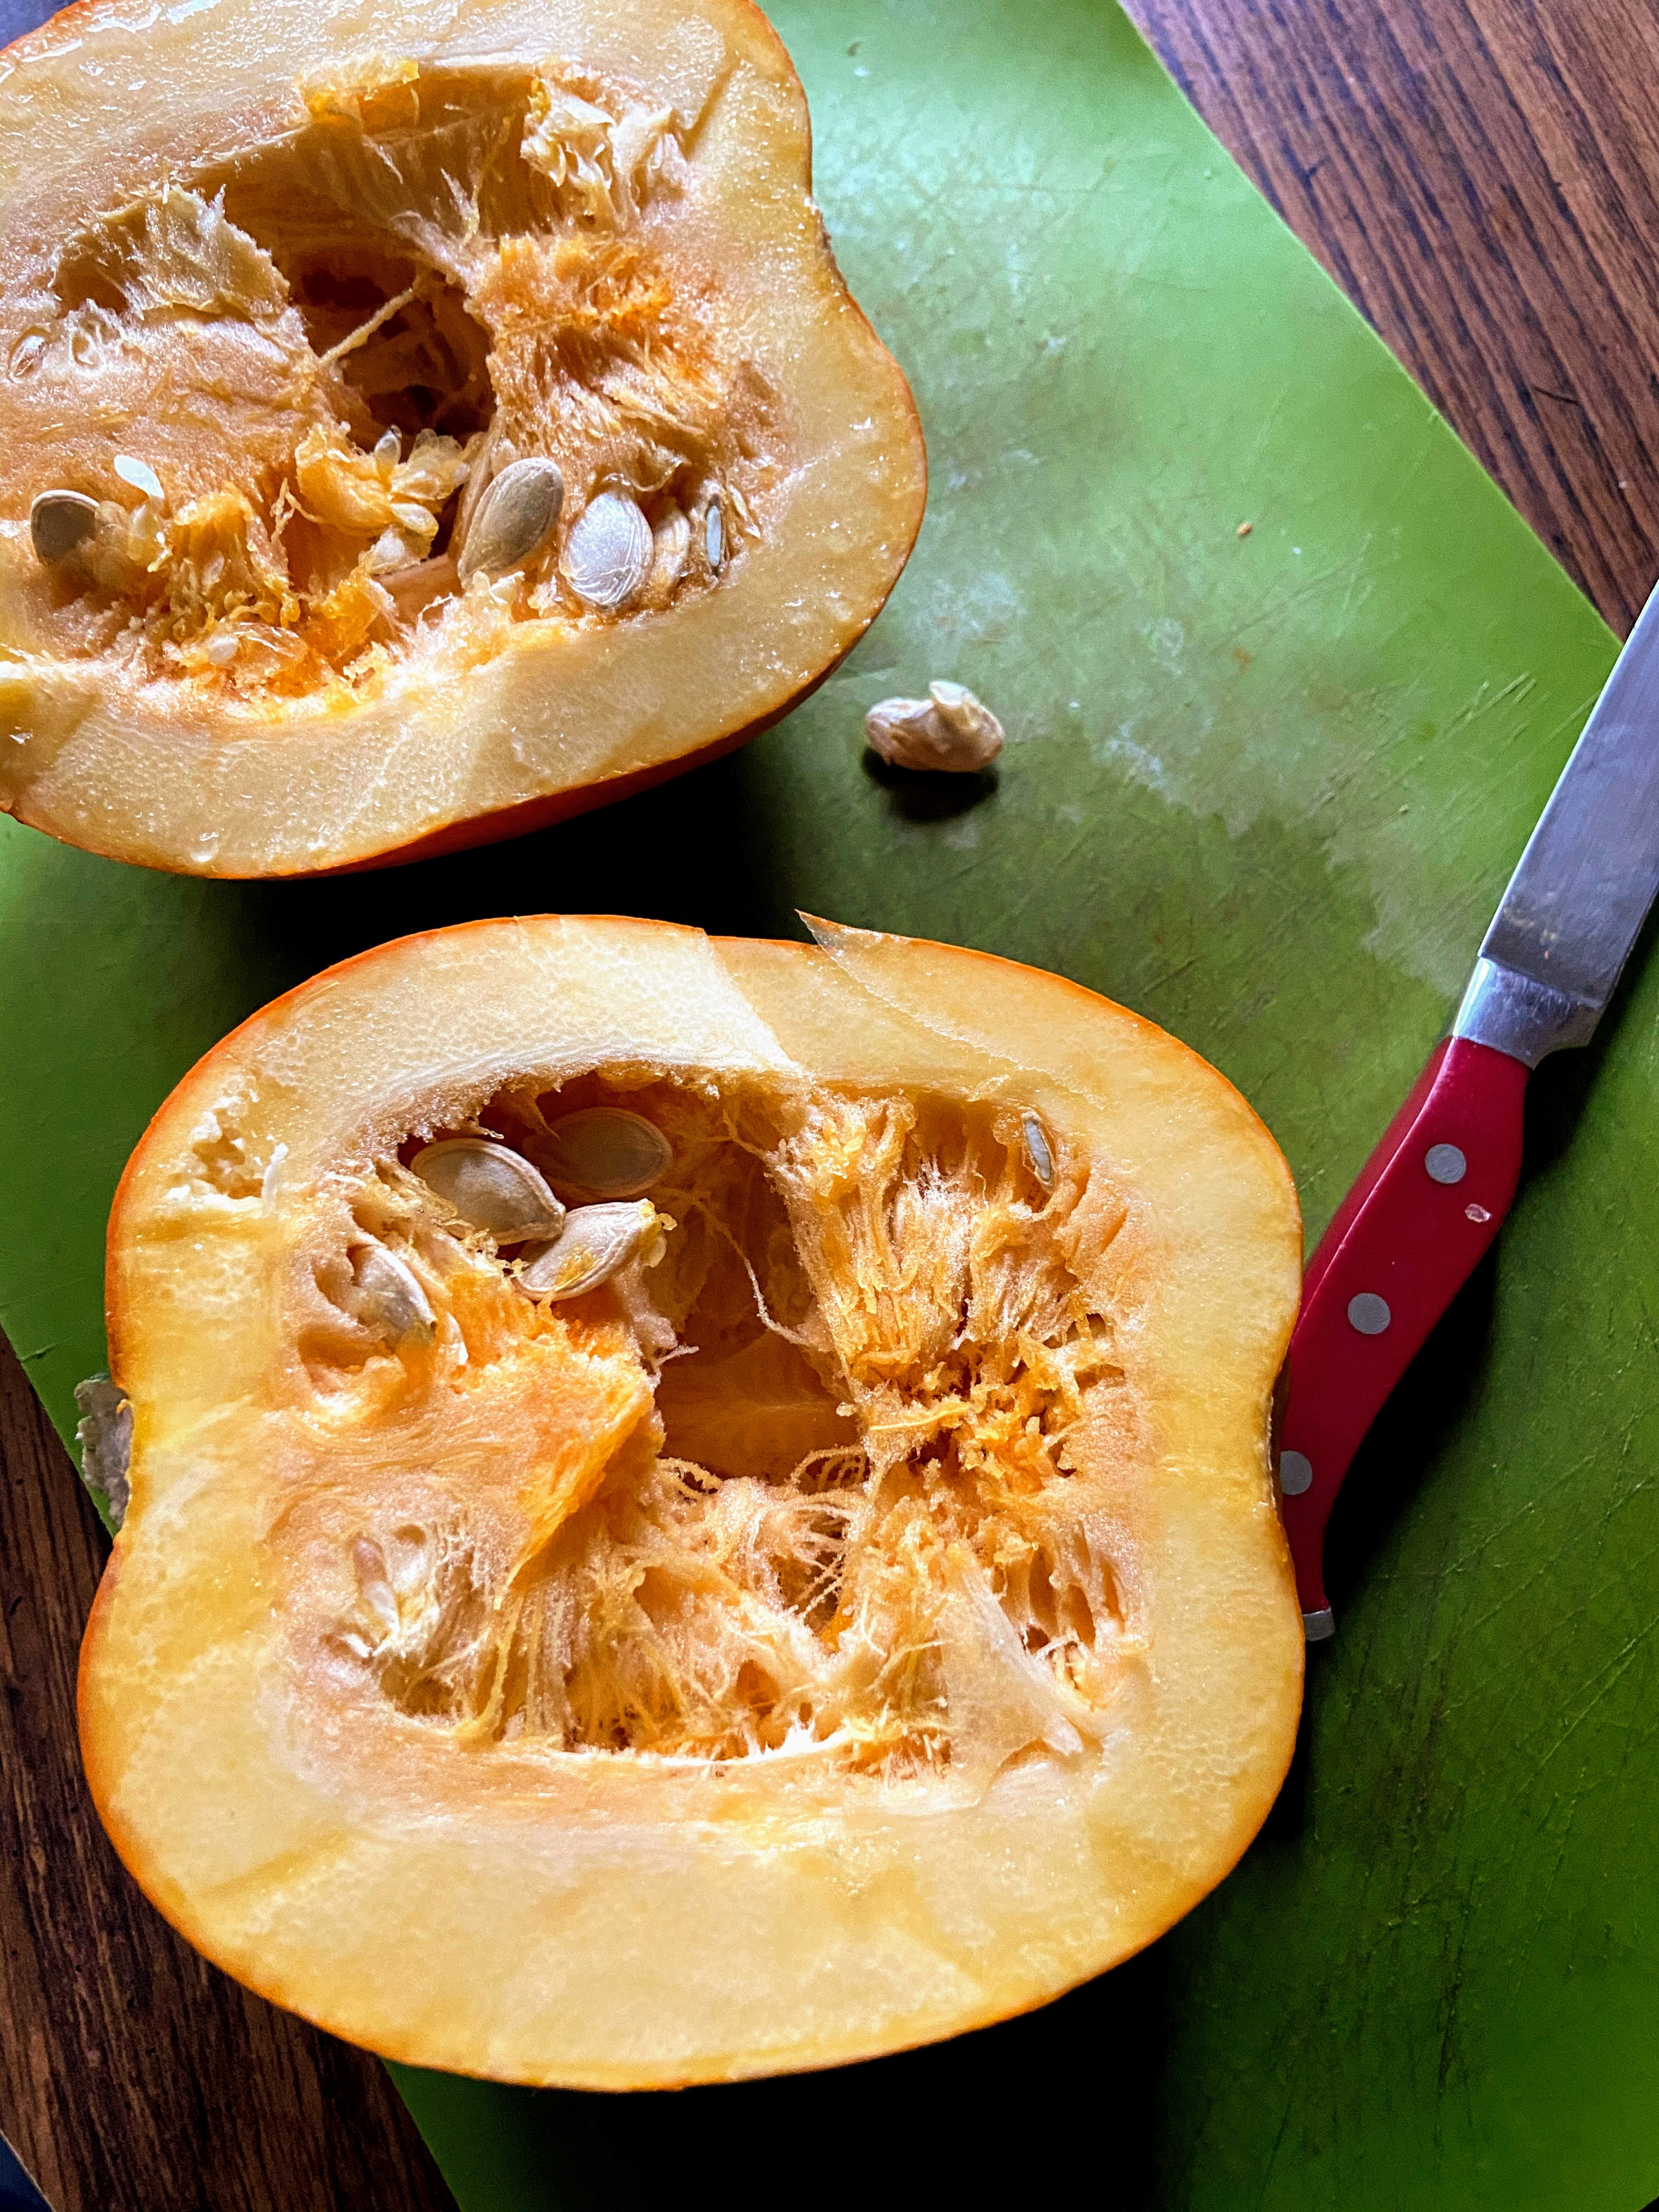
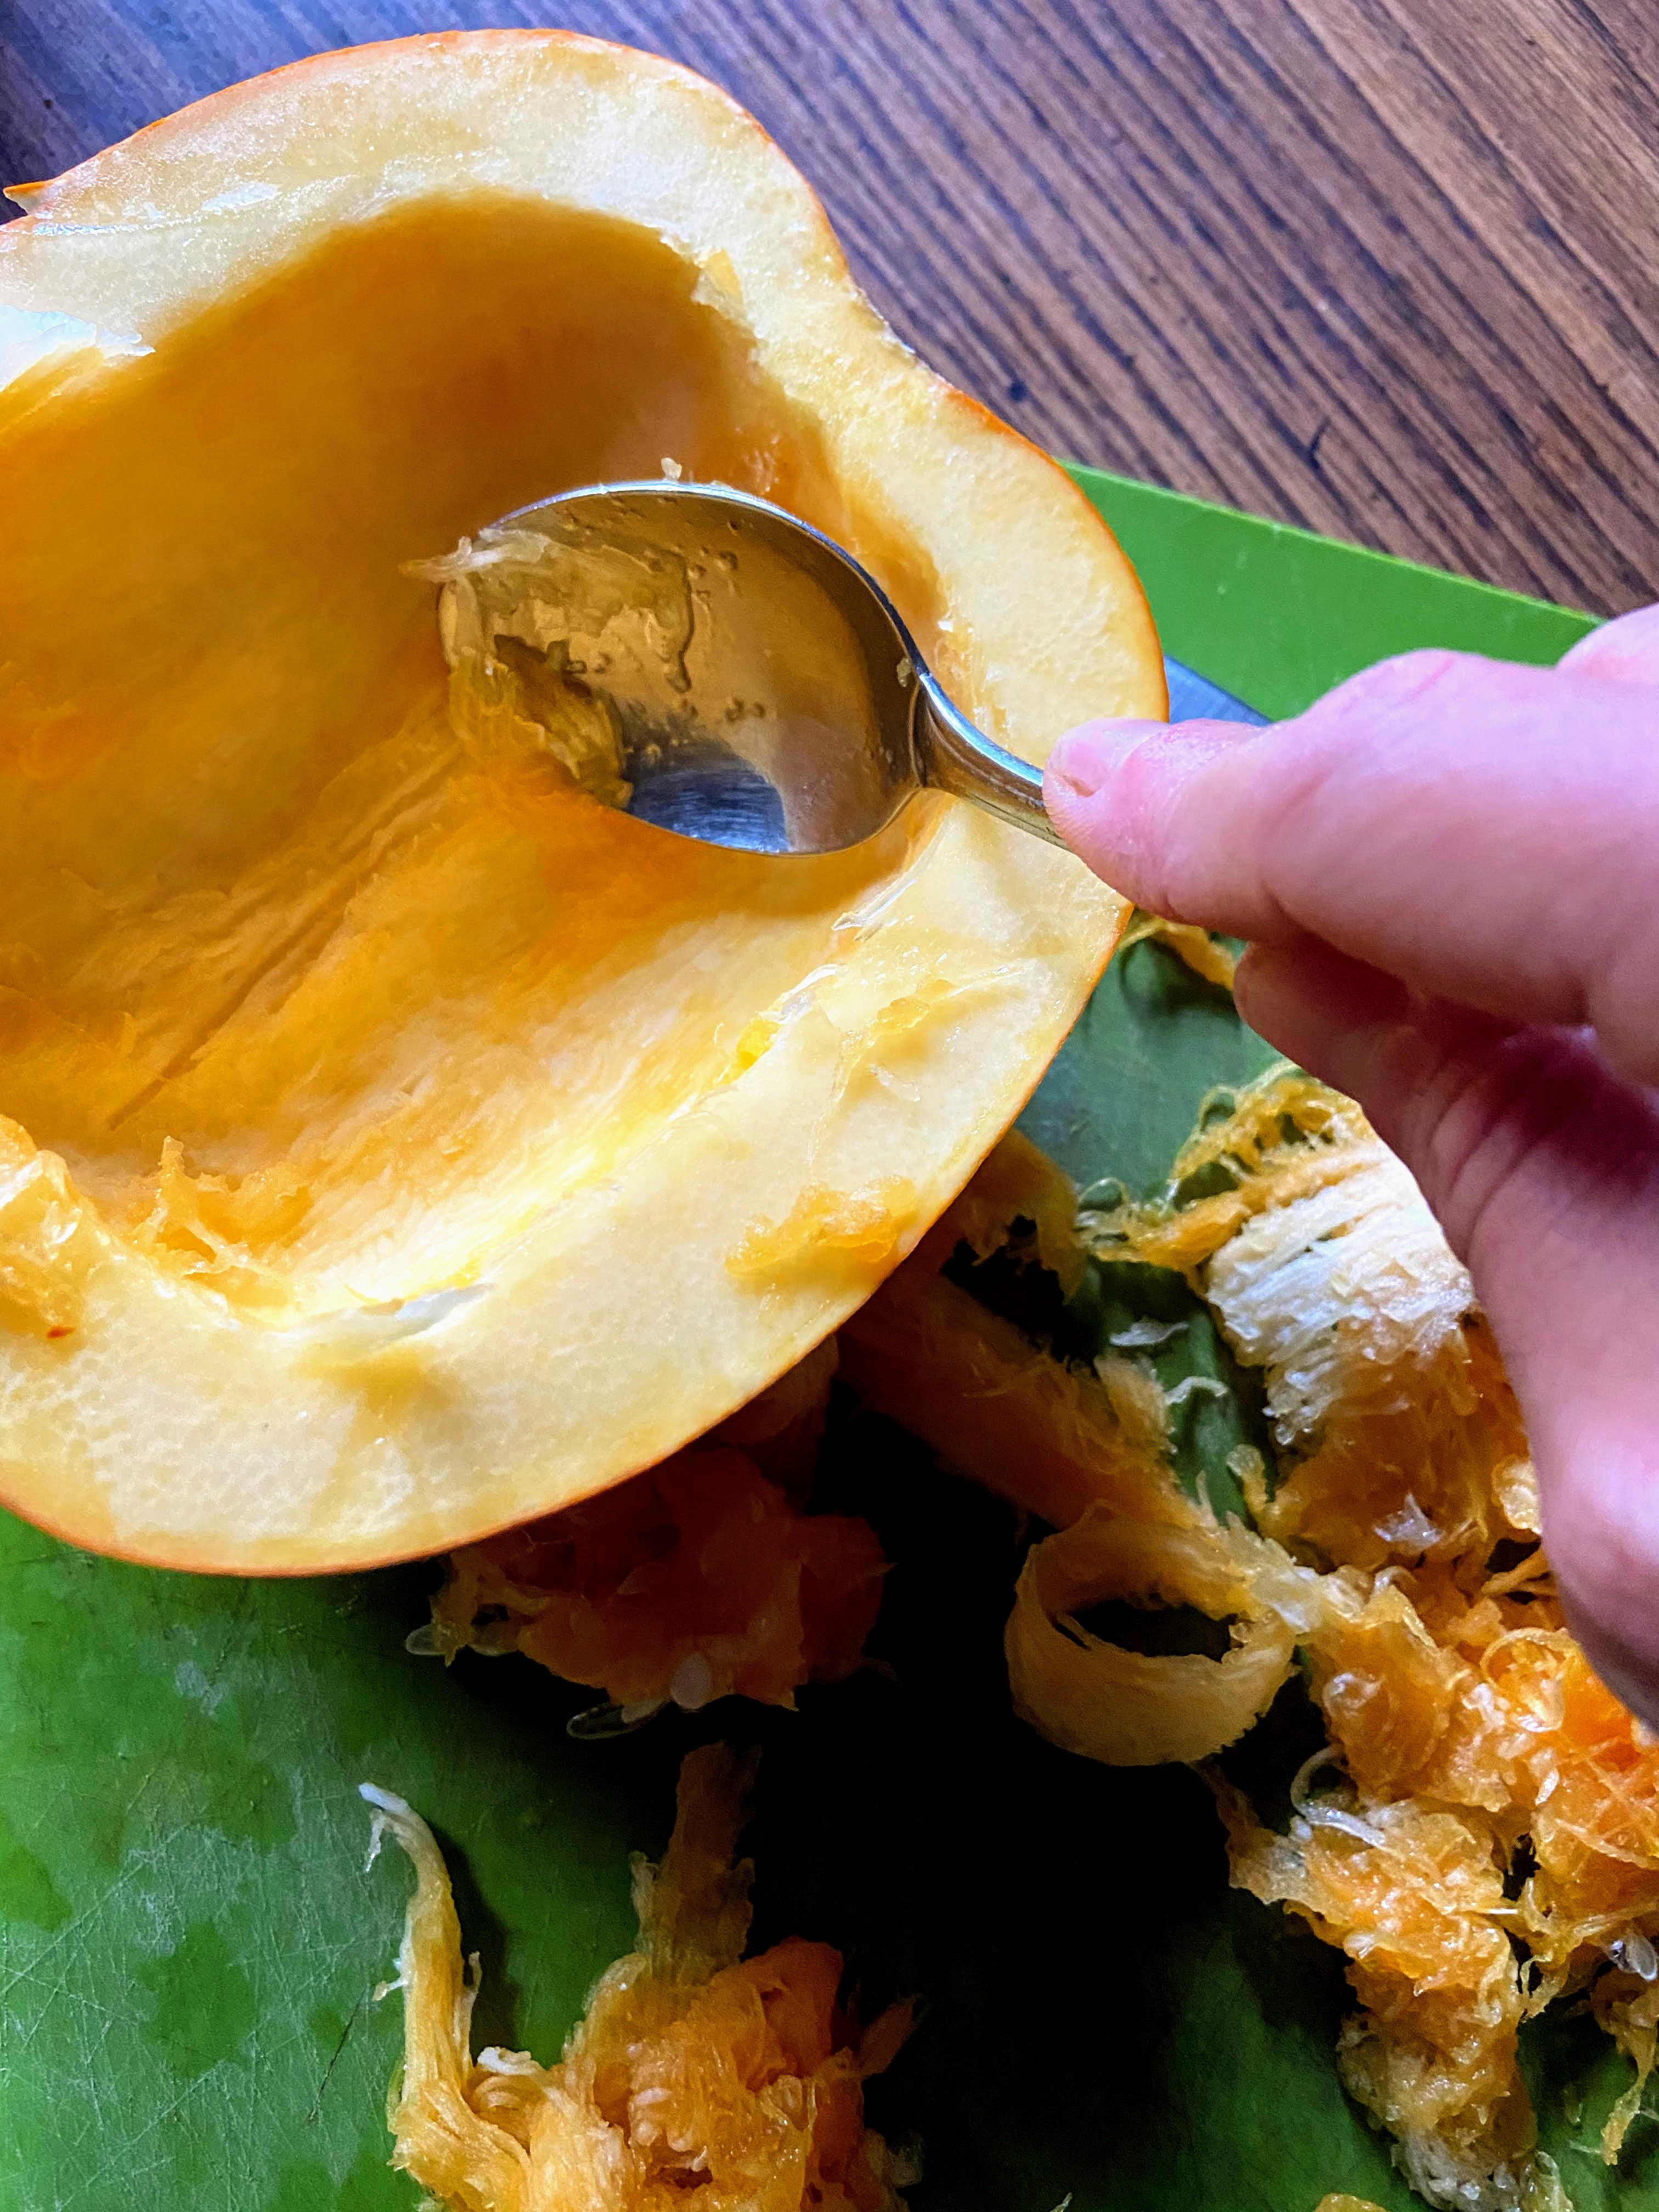
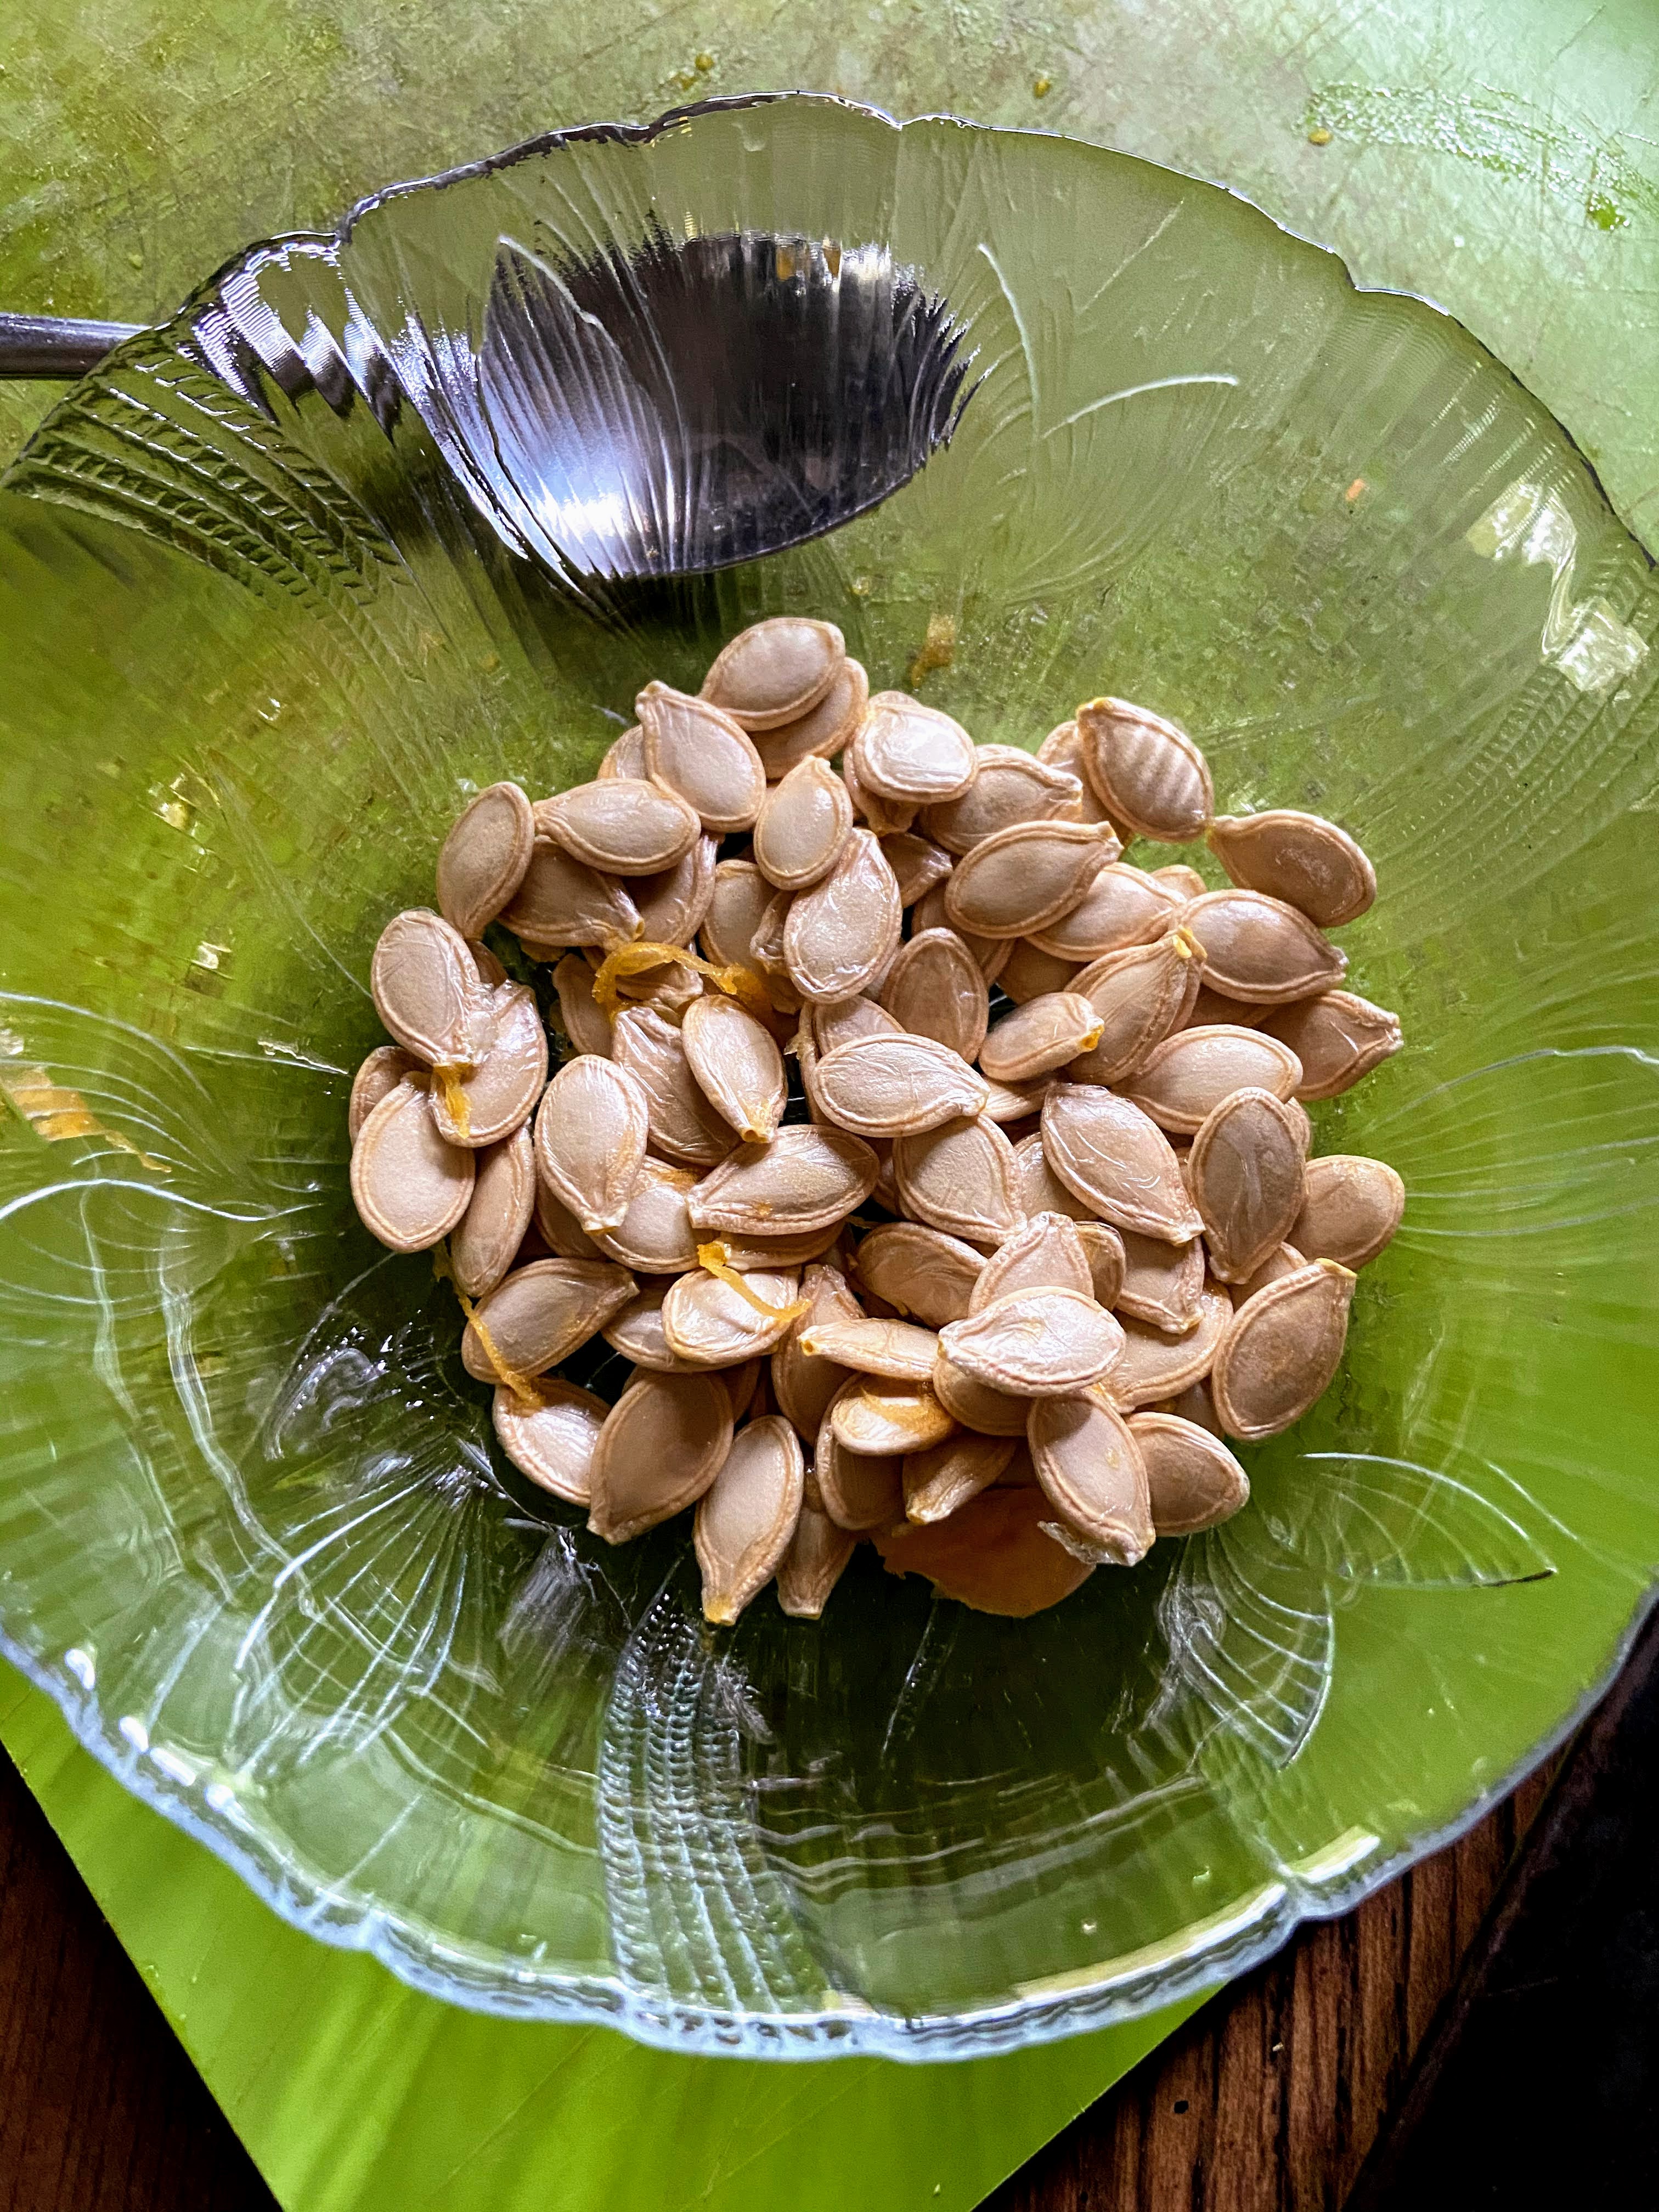
Preheat the oven to 400 degrees. While the oven is preheating, cut the pumpkin in half with a sharp knife. Using a large spoon, clean out the insides and seeds. (I highly recommend separating the seeds from the pulp and placing them in another bowl. Cover with a little water until you’re able to roast them.) 

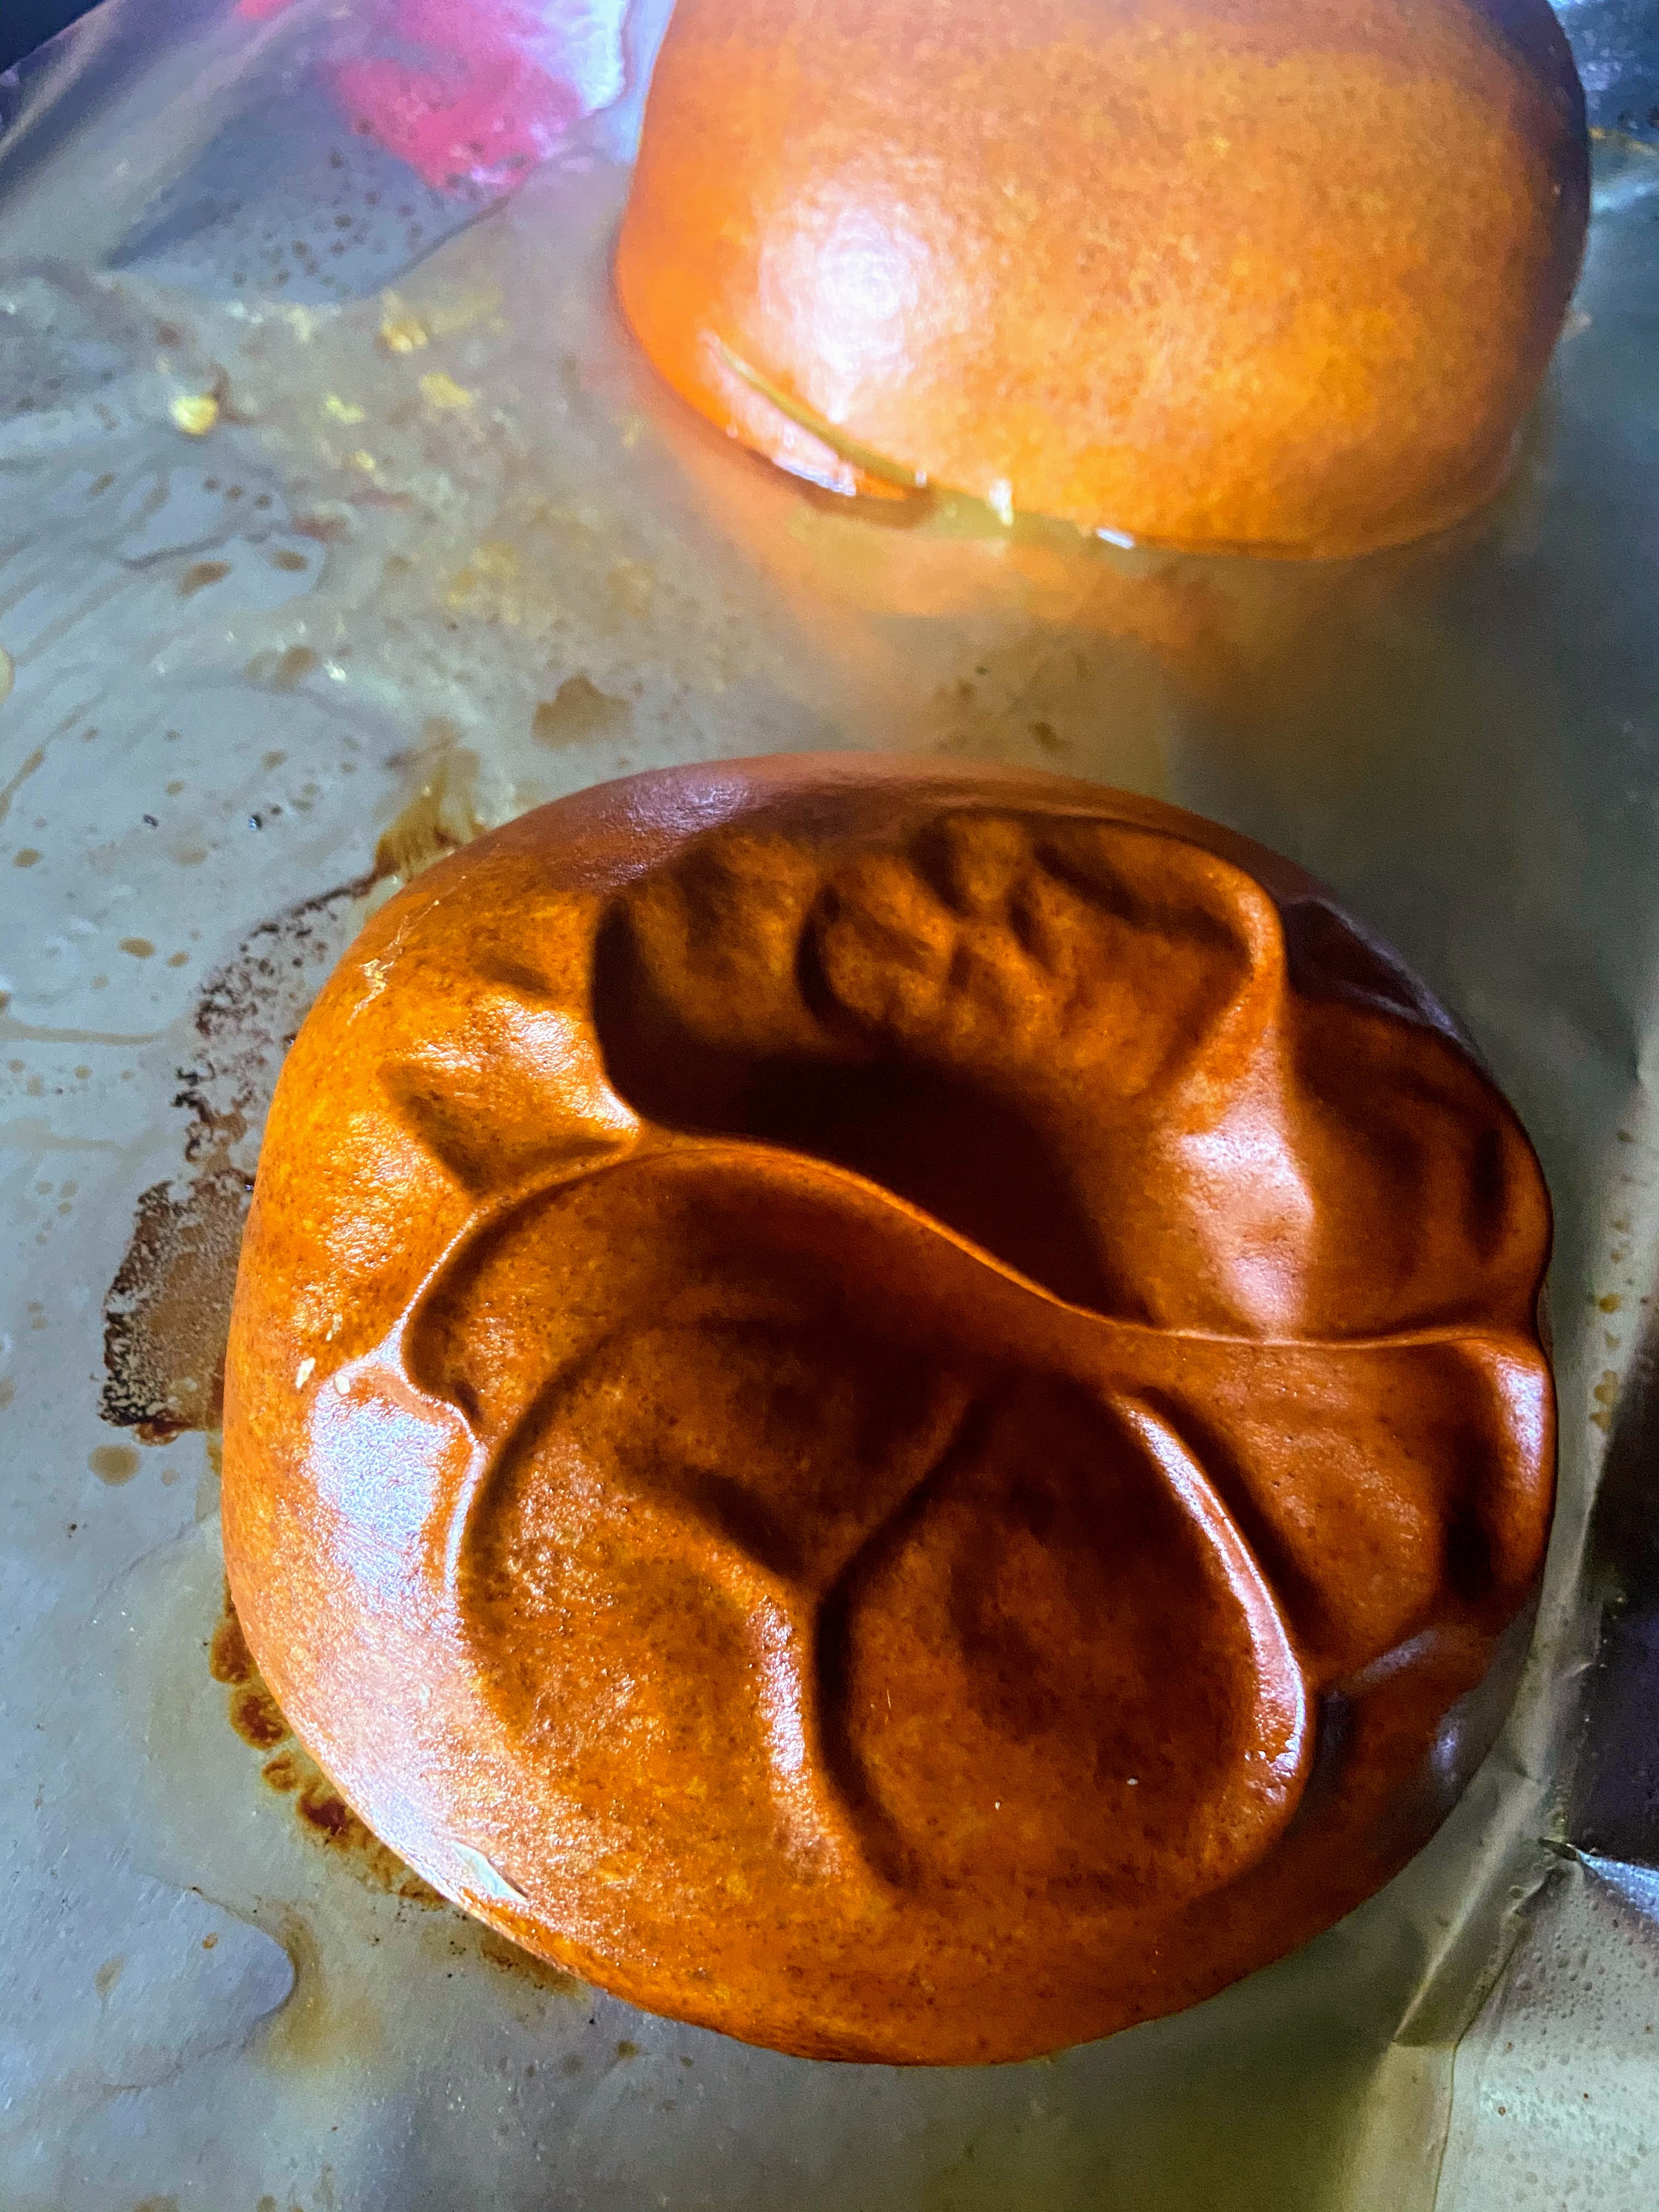
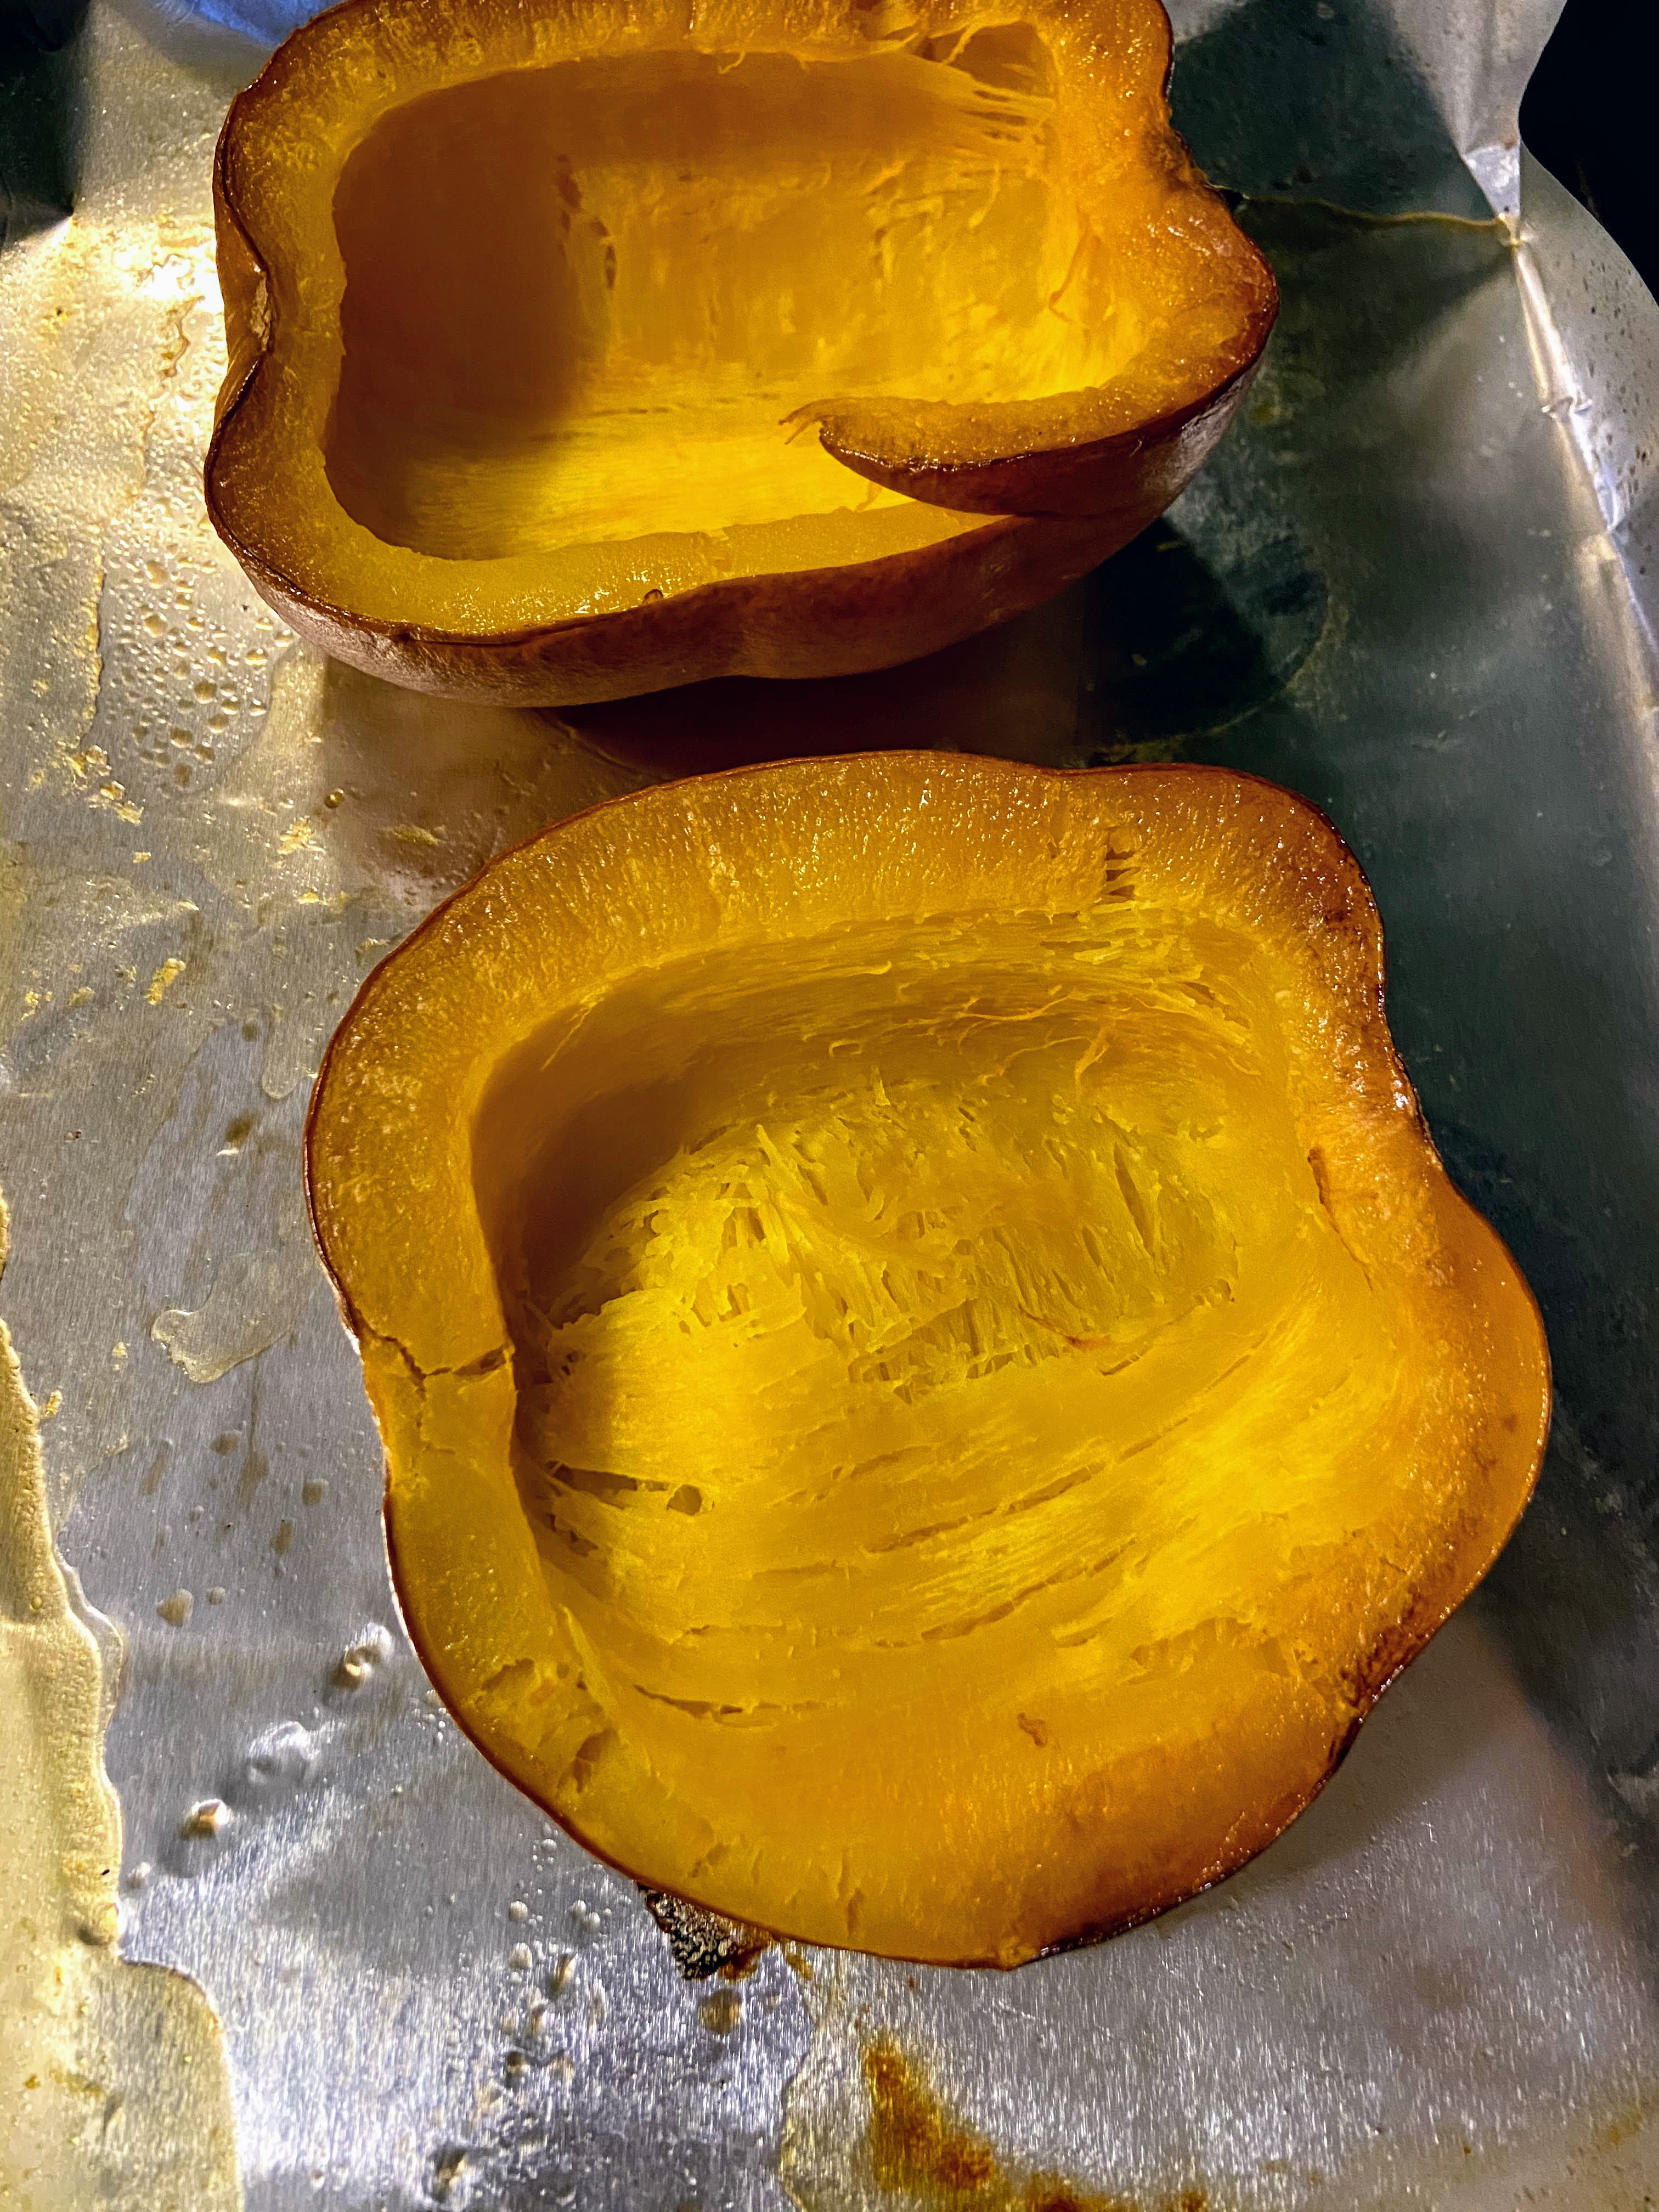
Line a large baking sheet with aluminum foil and spray with cooking spray. Lay the pumpkins cut side down. Roast for 25-40 minutes, depending on the size of your pumpkin. It is done when you can easily pierce the skin with a fork. Remove from oven and allow to cool. Once cool, scrape the flesh from the skins. You can totally puree it, but I just leave it in its natural form. 

From here, you have a few options:

  • Eat it straight from the skin. If you choose this option, might I recommend making it sweet or savory with a sprinkle of a little cinnamon and brown sugar or salt and pepper before you roast it? 
  • Measure it out for your favorite recipes and freeze it. Although many will say it only lasts a few months, I have had zero issues using year old frozen pumpkin.
  • Measure it out and bake right away. I often will roast one day and bake a few days later. It will keep in the fridge for up to a week in my experience. 

What’s your favorite pumpkin recipe? Or are you more of an apple cider kind of guy or gal?

Don’t have a favorite recipe? This is a great, indulgent pumpkin bread recipe from All Recipes.

Hoping to bake other treats? Check out my baking page by clicking the button below!

Home Roasted Pumpkin

You'll never want to buy canned pumpkin again after you've eaten your own home roasted pumpkin. Simple and delicious: plain, savory, or sweet
Prep Time 5 minutes
Cook Time 40 minutes
Course Side Dish
Cuisine Preserving
Servings 1 pumpkin

Ingredients
  

  • 1 pie pumpkin
  • Olive oil cooking spray
  • Salt and pepper or cinnamon and brown sugar optional

Instructions
 

  • Preheat the oven to 400 degrees.
  • While the oven is preheating, cut the pumpkin in half with a sharp knife.
  • Using a large spoon, clean out the insides and seeds, saving the seeds to be roasted later.
  • Line a large baking sheet with aluminum foil and spray with cooking spray. Lay the pumpkins cut side down.
  • Roast for 25-40 minutes, depending on the size of your pumpkin. It is done when you can easily pierce the skin with a fork.
  • Remove from oven and allow to cool. Once cool, scrape the flesh from the skins. For smoother pumpkin, puree it using an immersion blender.

Notes

Options for eating:
Eat it straight from the skin. If you choose this option, I recommend making it sweet or savory with a sprinkle of a little cinnamon and brown sugar or salt and pepper before you roast it. 
Measure it out for your favorite recipes and freeze it. Although many will say it only lasts a few months, I have had zero issues using year old frozen pumpkin.
Measure it out and bake right away. I often will roast one day and bake a few days later. It will keep in the fridge for up to a week in my experience. 
Keyword fall, pumpkin, roasted vegetables
Tried this recipe?Let us know how it was!

Looking for other great recipes?

Check some out below!

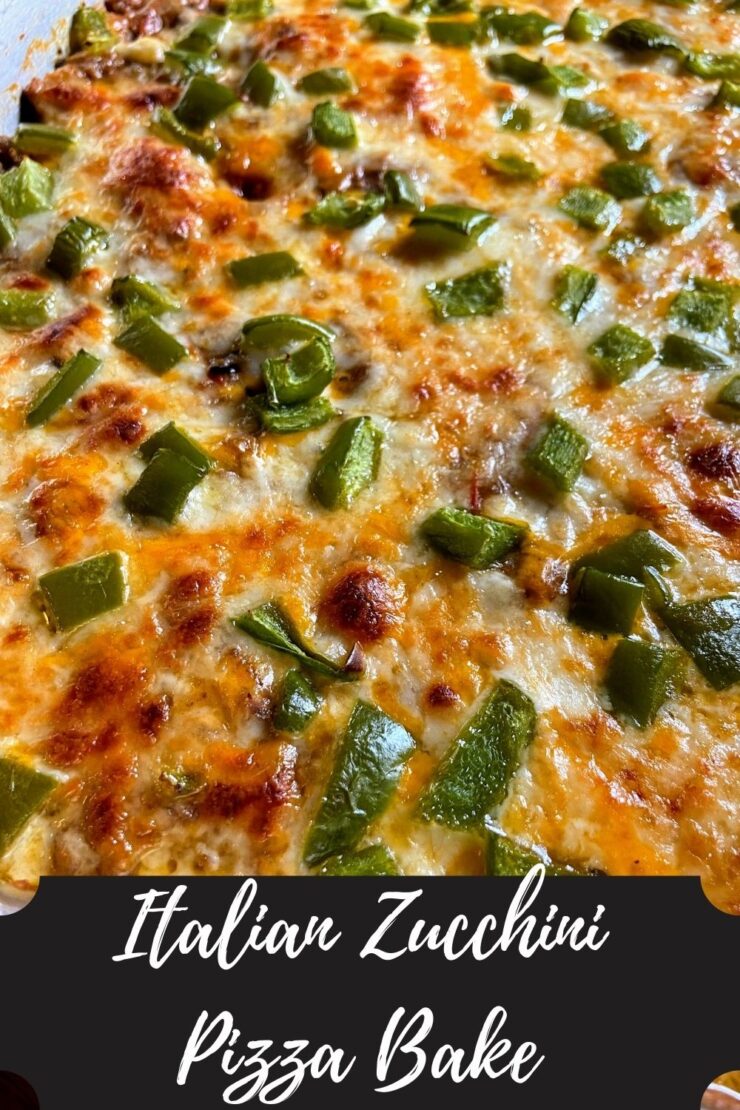
Easy Italian Zucchini Pizza Bake

Some years, my zucchini plants hardly produce. Other years, they can’t stop. This year, it’s an “other” year and I keep harvesting away! Fortunately, zucchinis have a great staying power and they can hang out on my counter until I am ready to cook with them. This week, I whipped up this Italian Zucchini Pizza Bake for dinner and everyone devoured it! 

In terms of prep, it takes a little bit of time so you will need to start about an hour before you want to eat. It does include a fair amount of wait and bake time, so don’t despair. You too can whip this up quickly. 

I love it because it is full of vegetables. If you’ve followed me for any time, you know I try to sneak extra servings of vegetables into most everything I cook for my family. If I am honest, my kids have been veggie lovers from day one, but truly, no one complains about the extra servings of vegetables. I mean, they do make fun of me, but that’s with love…I think. 

Now, if you are still harvesting zucchini, you must give this a try. In our household, we were in agreement that you couldn’t even tell that there wasn’t a carb in the dish, which is big win for my kids. (We definitely are not afraid of all the bread and pasta in our home). 

Enough talk. Let’s get cooking that Italian Zucchini Pizza Bake!

Your Ingredients

  • 4 cups shredded zucchini 
  • ½ teaspoon salt
  • 2 eggs 
  • ½ cup grated Parmesan
  • 3 cups shredded cheese (mozzarella and cheddar make a good combination), divided
  • ½ teaspoon each of: dried basil, dried oregano, and garlic powder
  • ¼ teaspoon black pepper 
  • 1 pound ground Italian sausage (we use Italian seasoned ground venison that we grind at home)
  • Olive oil 
  • ½ cup diced onion 
  • ½ tablespoon minced garlic 
  •  15 ounces Italian seasoned tomato sauce (or 1 ¾ cup) 
  • ½ cup diced green pepper 

Your steps 

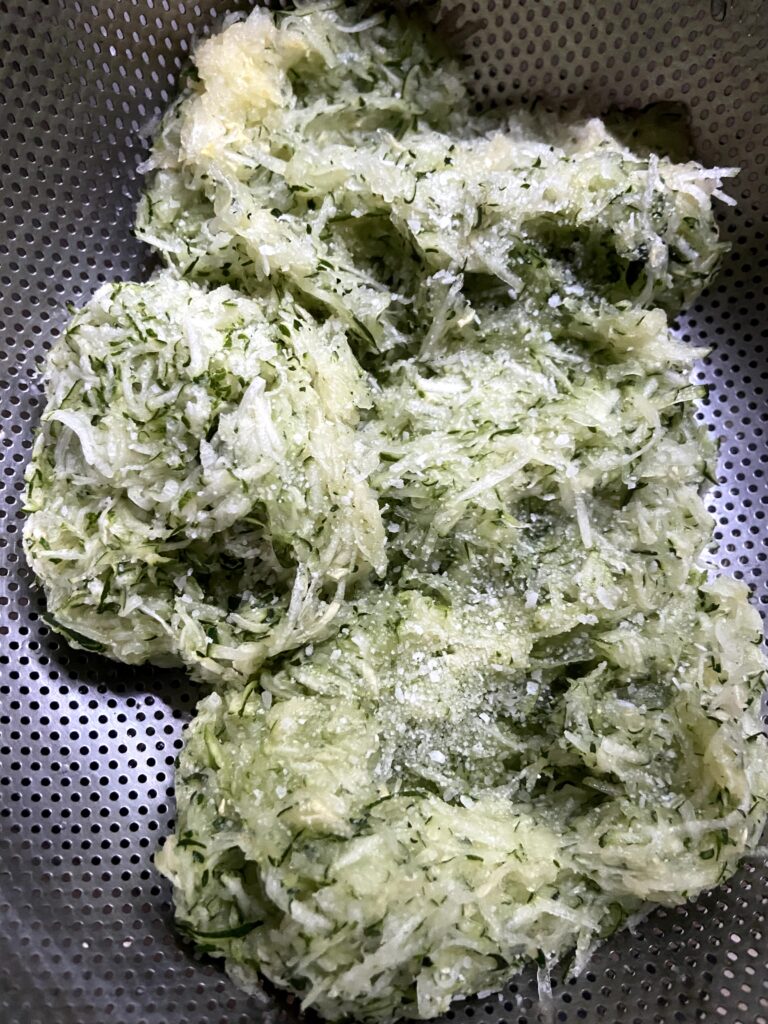
Preheat the oven to 400 degrees and spray a 9 by 13 baking dish with cooking spray. Set aside. Place shredded zucchini in a strainer and sprinkle with salt. Allow the zucchini to sit for 10 minutes. Press out all extra moisture, the more the better. (I tend to quit early. It’s fine, but will leave you with a more watery bake when you’re done). 

Before I continue, a comment on the cheese. We have a great dairy nearby that does a 3 cheese blend of mozzarella, provolone, and yellow cheddar (80/10/10). That’s the cheese I use for this bake if I have it on hand. Feel free to play with this though. A true Wisconsinite knows that the cheese possibilities are endless. And if you aren’t a Wisconsinite, you may just be a Wisconsinite at heart 😉

Back to cooking…

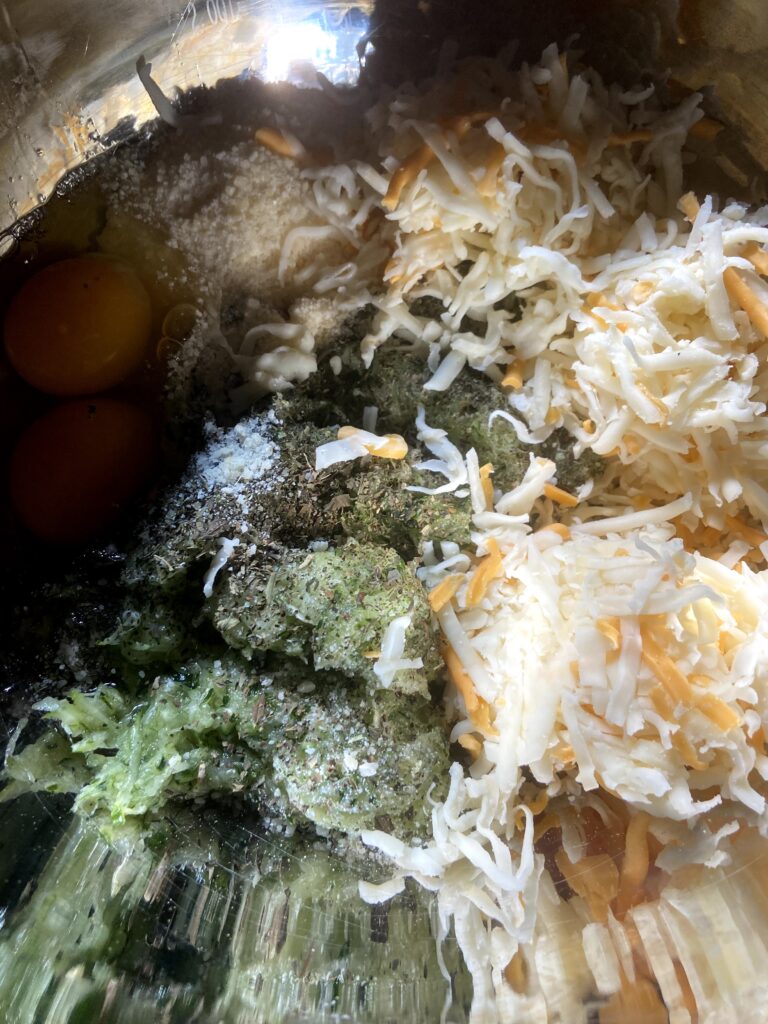
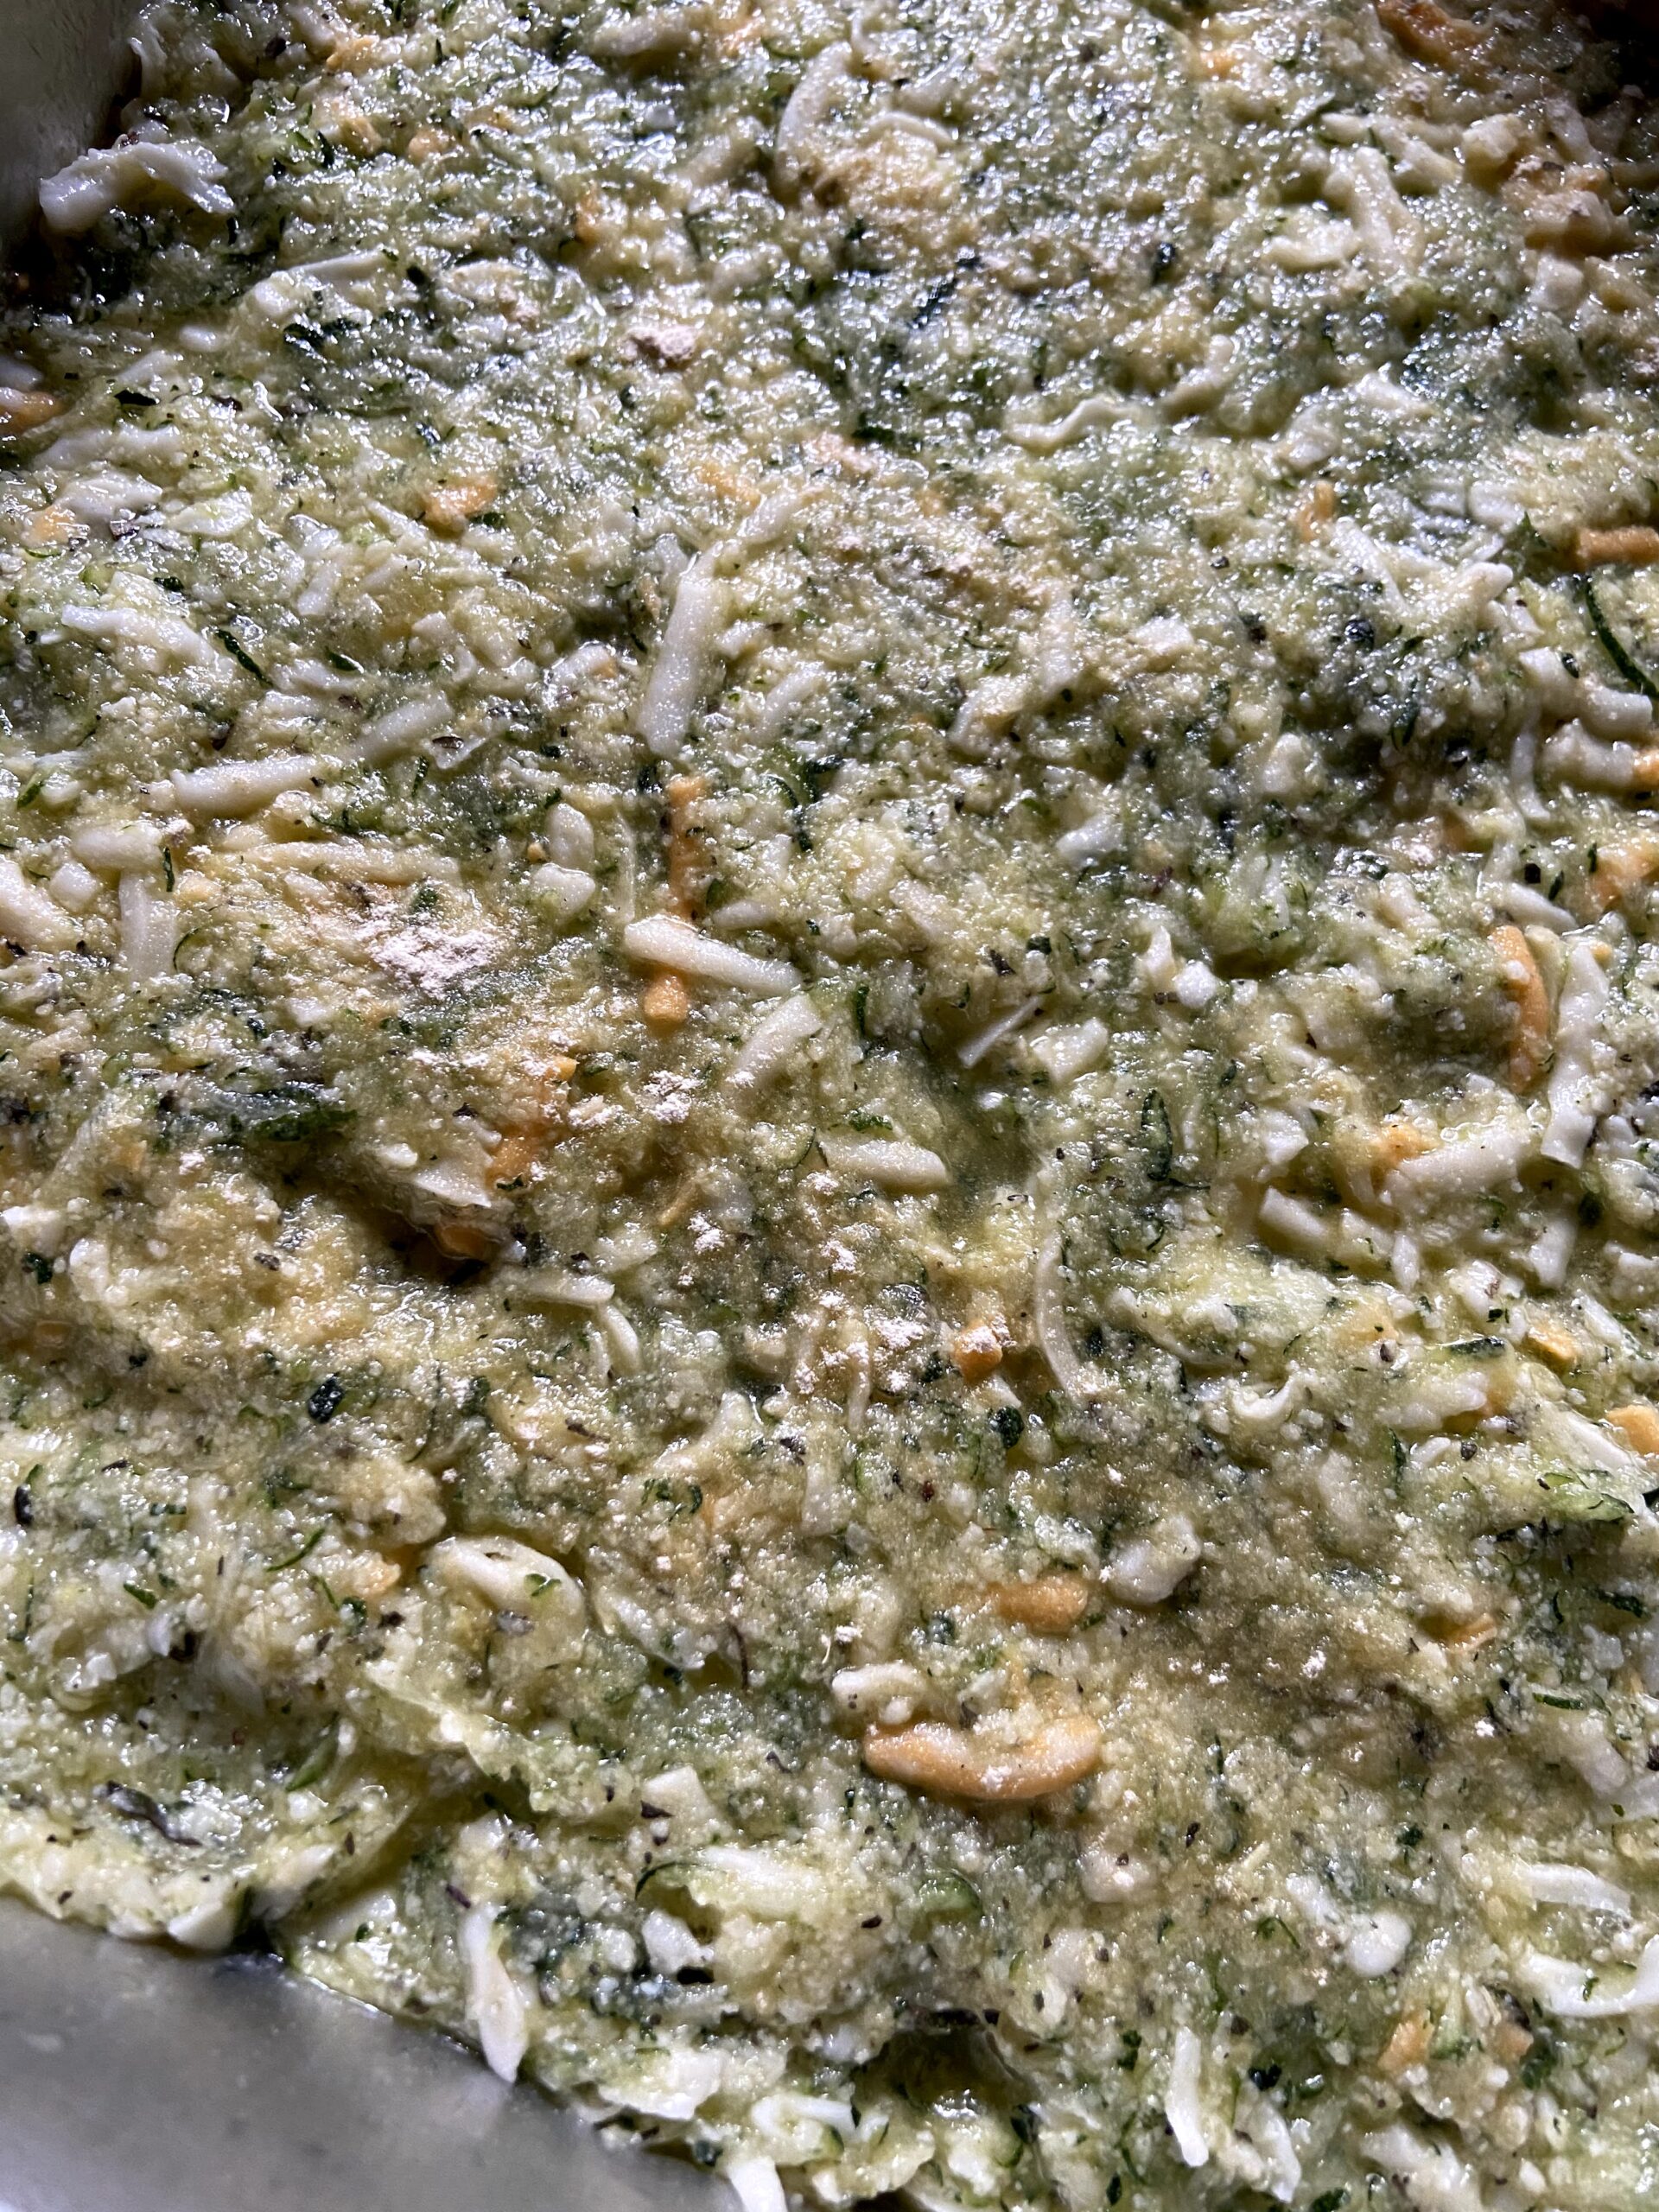
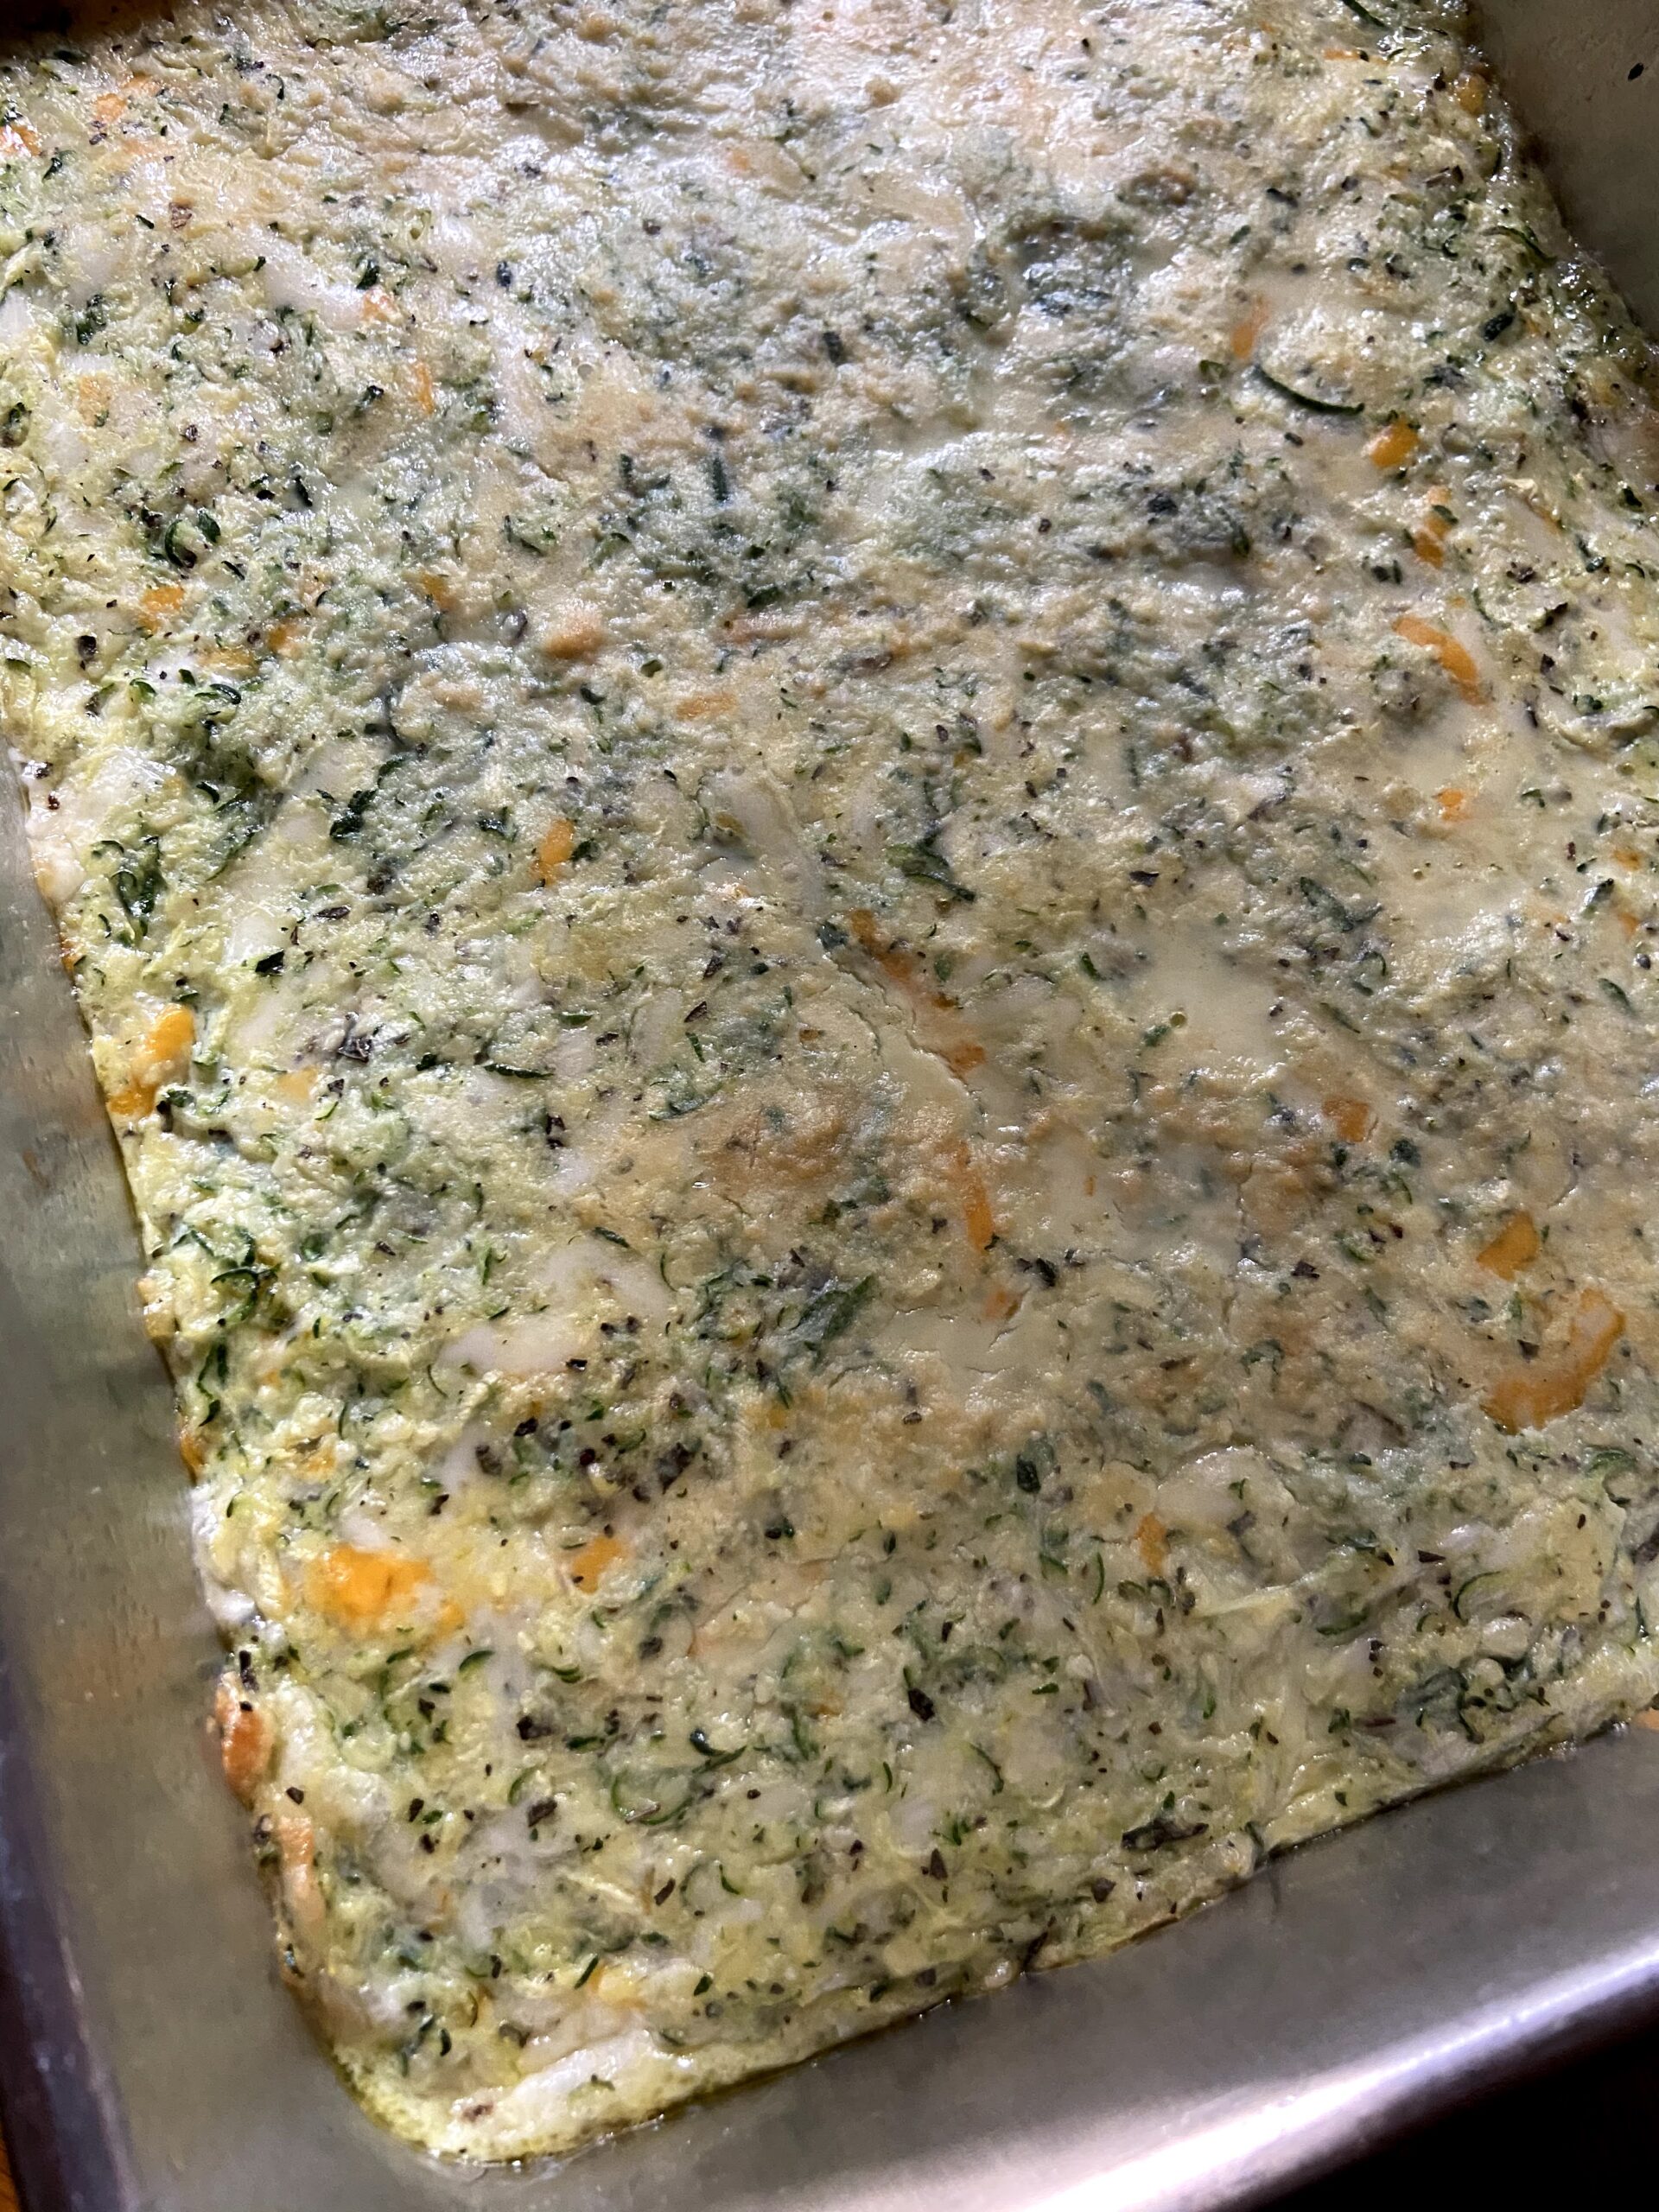
Combine zucchini, eggs, basil, oregano, garlic powder, pepper, parmesean cheese, and 1 ½ cups of shredded cheese. Mix well. Press into the prepared 9 x 13 pan. Bake for 20 minutes. 

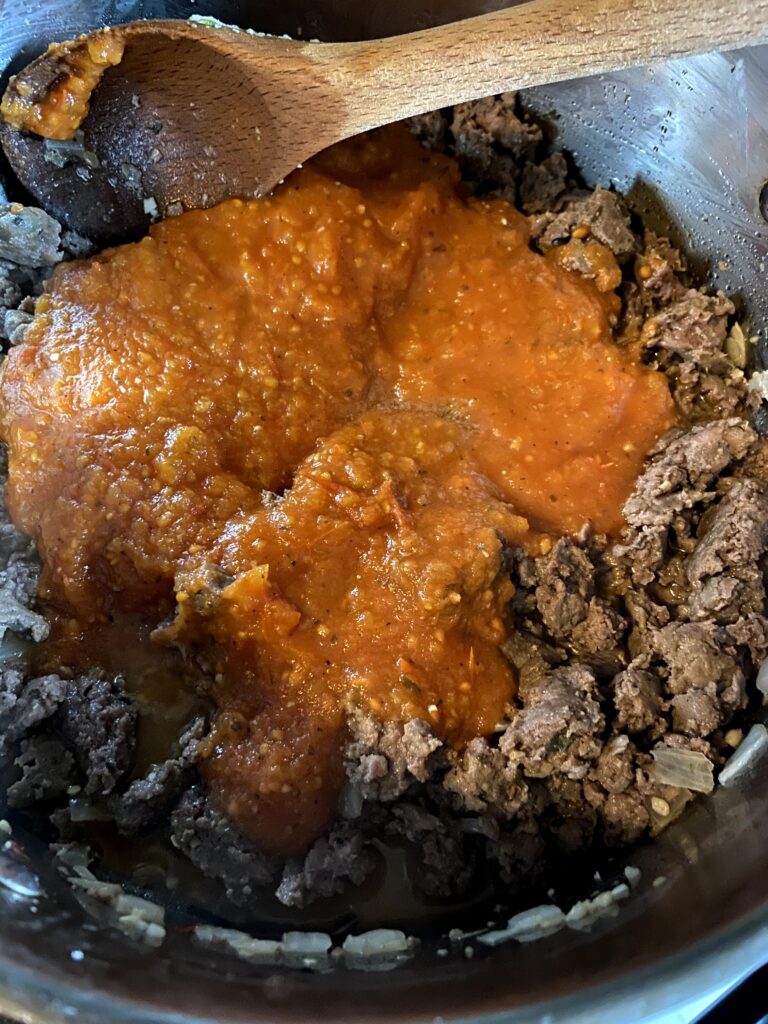
Meanwhile, heat 1- 1 ½ teaspoons of olive oil over medium heat. Add onion and minced garlic. Cook for 3 minutes. Add ground sausage (and if you can’t find ground Italian sausage, any ground meat will do. Again, play with it!). Cook until no longer pink. Drain if necessary. Stir in tomato sauce. 

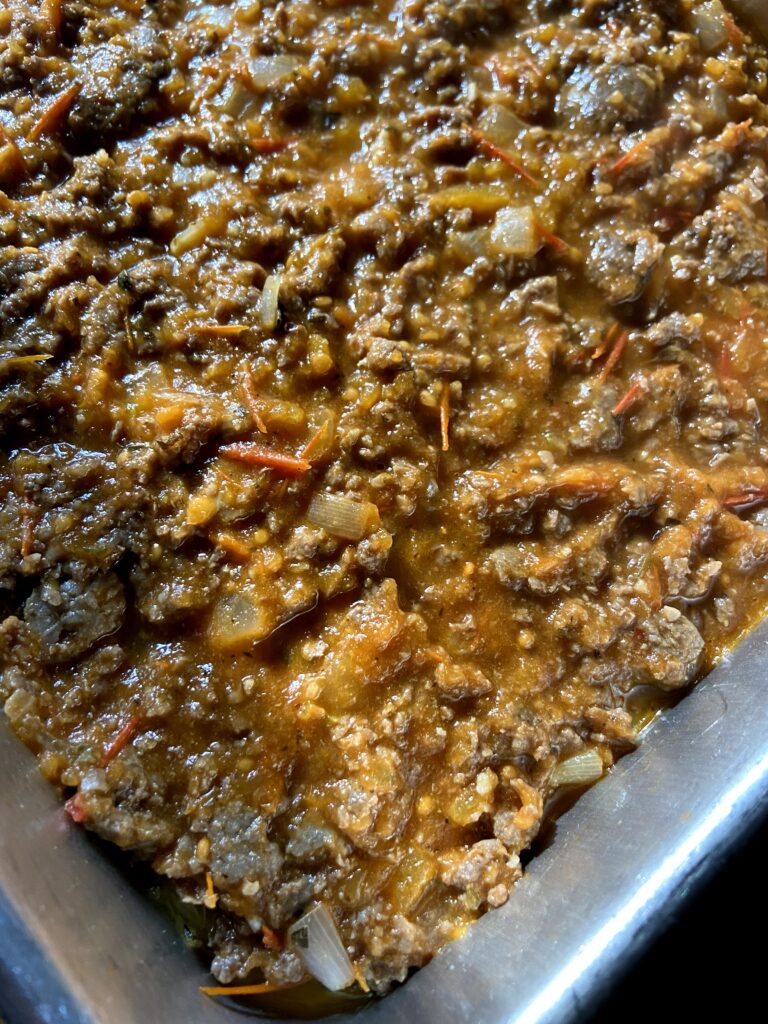
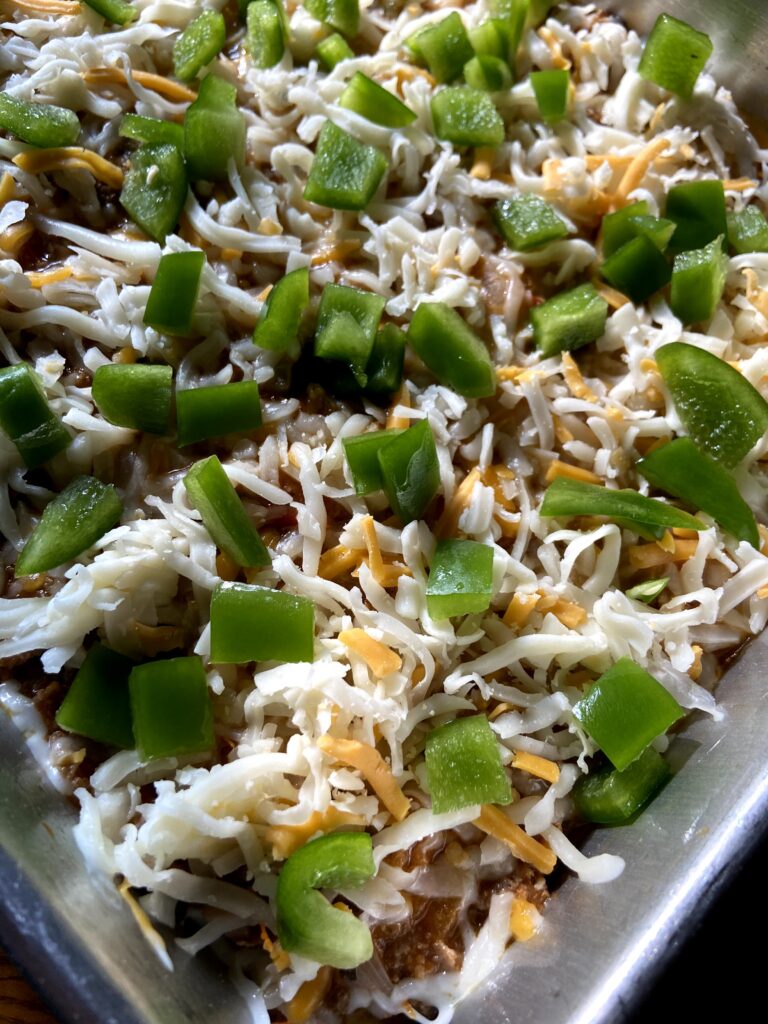
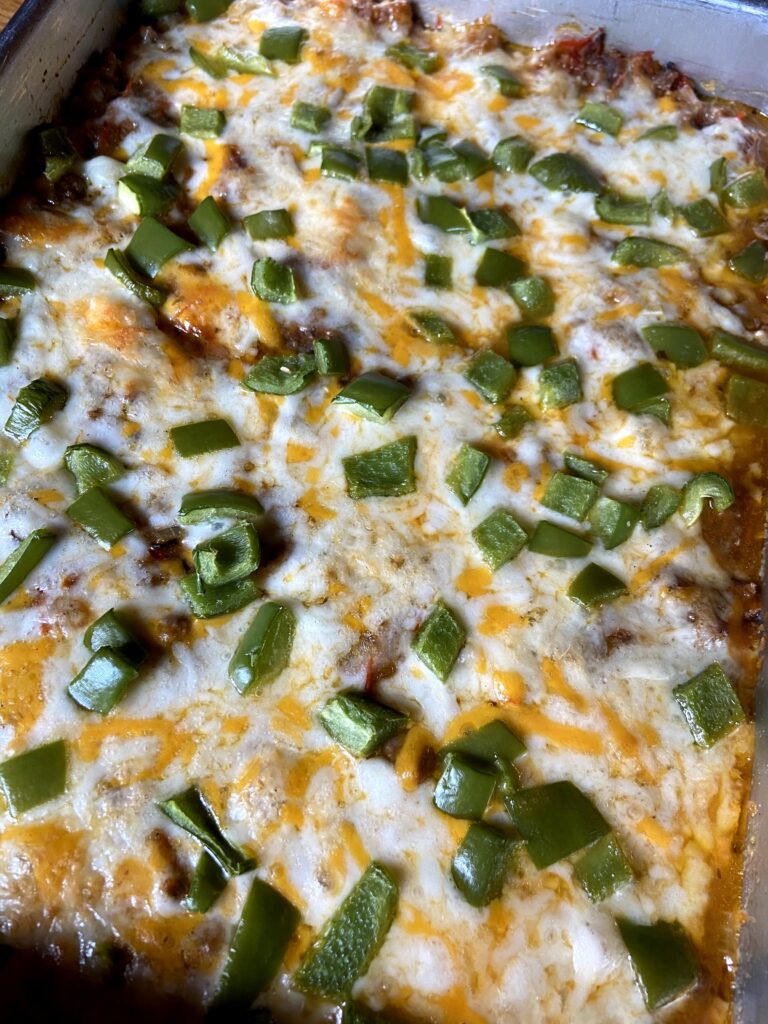
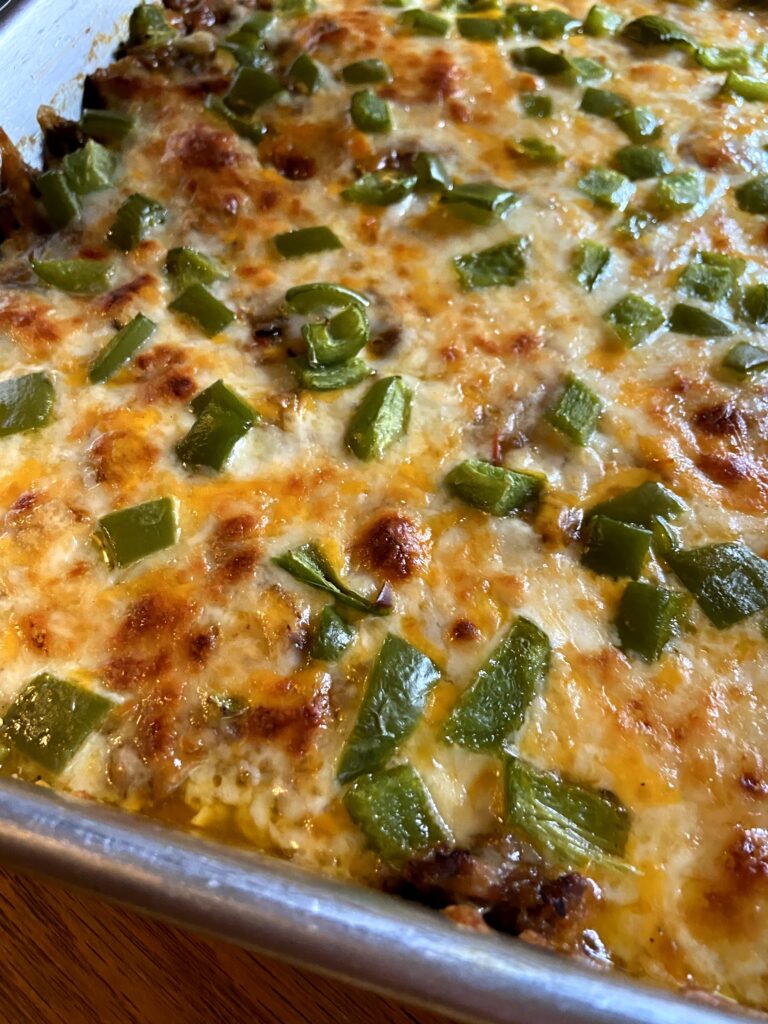
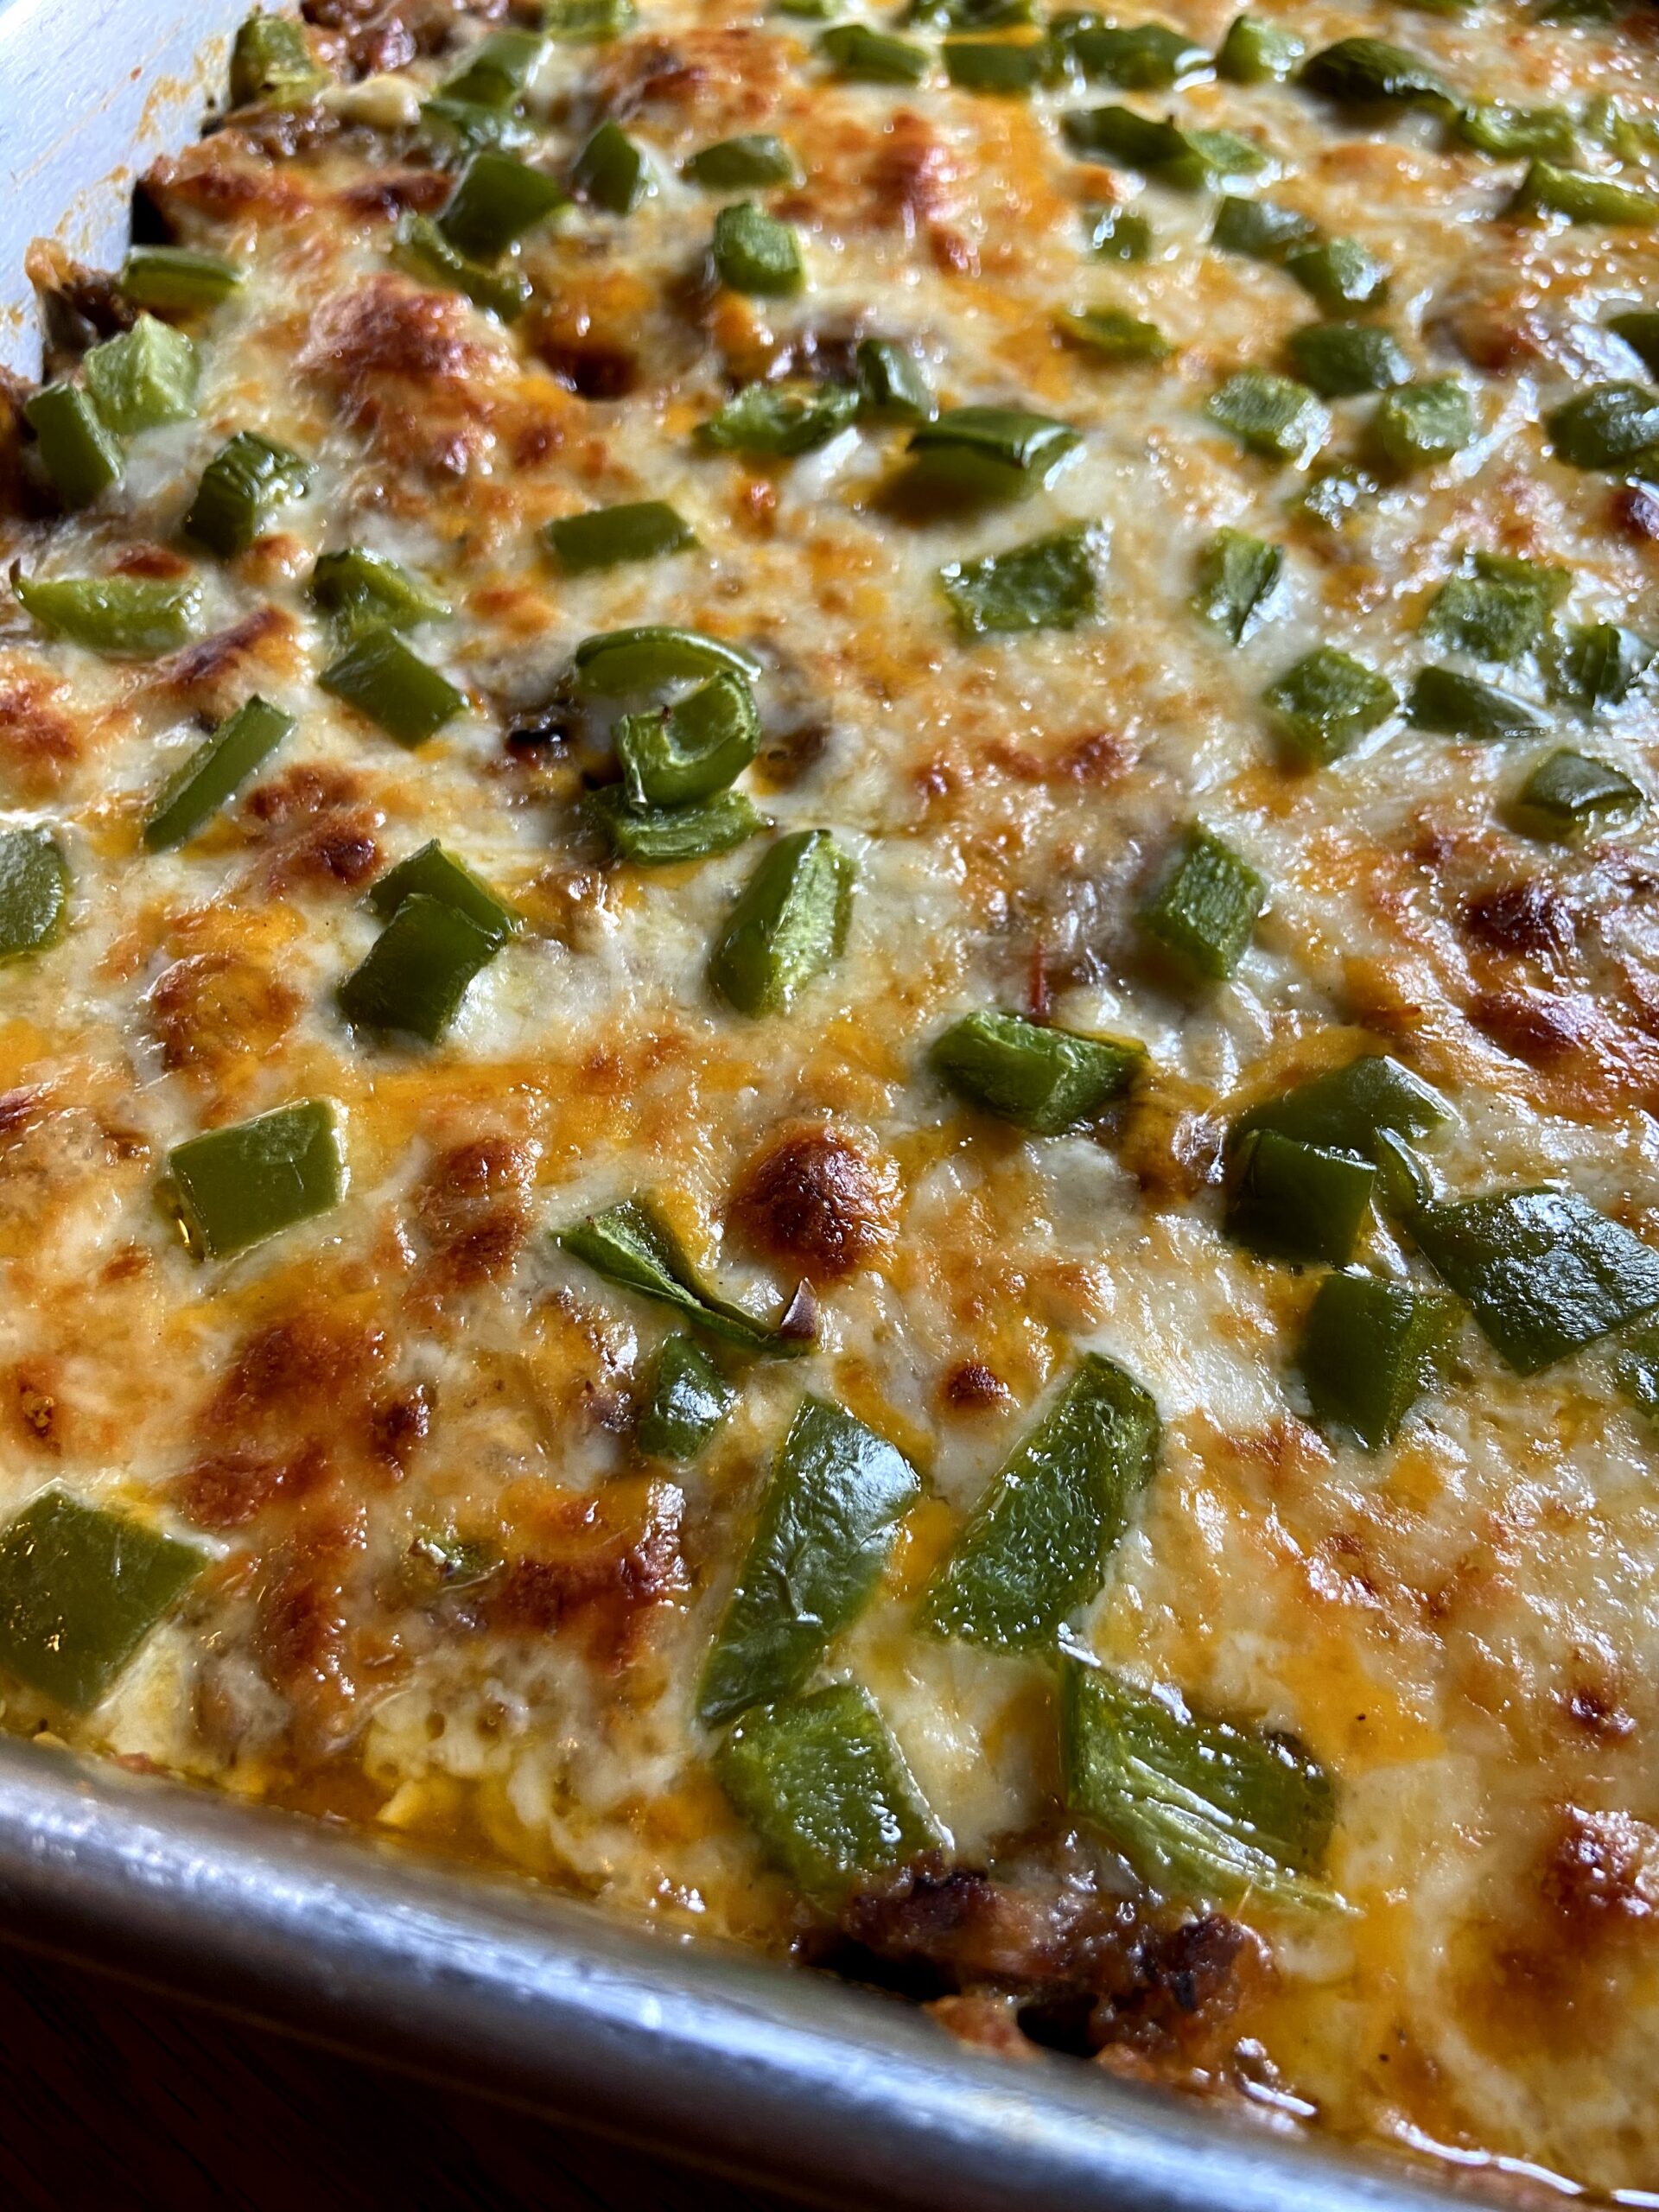
Spread meat mixture over the zucchini crust. Cover with remaining cheese and sprinkle diced green pepper on top. Feel free to sprinkle a little more oregano, basil, or even some parsley on top. Increase the oven temperature to 450 degrees and bake for an additional 20 minutes, until cheese is melted. 

Now, you can 100% serve it here. However, I LOVE browned cheese. I always quickly heat up the broiler in the top of my oven to 450-500 degrees, toss my finished bake under it, and watch it carefully. Let it cook 2-3 minutes and your cheese will be PERFECT. Serve it up with, of course, some additional vegetables for a side and maybe some garlic toast if you need that carb. I know I do 😉 

Looking for other ideas for dinner? Check out my cooking page below!

Easy Italian Zucchini Pizza Bake

Zucchini is the star but you'd never know it's there in this gluten free Italian Zucchini Pizza Bake. Adults and kids alike will devour it!
Prep Time 20 minutes
Cook Time 40 minutes
Total Time 1 hour
Course Main Course
Cuisine Italian
Servings 6

Ingredients
  

  • 4 cups shredded zucchini
  • ½ teaspoon salt
  • 2 eggs
  • ½ cup grated parmesan
  • 3 cups shredded cheese mozzarella and cheddar make a good combination, divided
  • ½ teaspoon each of: dried basil dried oregano, and garlic powder
  • ¼ teaspoon black pepper
  • 1 pound ground Italian sausage
  • Olive oil
  • ½ cup diced onion
  • ½ tablespoon minced garlic
  • 15 ounces Italian seasoned tomato sauce or 1 ¾ cup
  • ½ cup diced green pepper

Instructions
 

  • Preheat the oven to 400 degrees and spray a 9 by 13 baking dish with cooking spray. Set aside.
  • Place shredded zucchini in a strainer and sprinkle with salt. Allow the zucchini to sit for 10 minutes.
  • Press out all extra moisture, the more the better.
  • Combine zucchini, eggs, basil, oregano, garlic powder, pepper, Parmesan cheese, and 1 ½ cups of shredded cheese. Mix well. Press into the prepared 9 x 13 pan. Bake for 20 minutes.
  • Meanwhile, heat 1- 1 ½ teaspoons of olive oil over medium heat. Add onion and minced garlic. Cook for 3 minutes.
  • Add ground sausage. Cook until no longer pink. Drain if necessary.
  • Stir in tomato sauce.
  • Spread meat mixture over the zucchini crust.
  • Cover with remaining cheese and sprinkle diced green pepper on top. Feel free to sprinkle a little more oregano, basil, or even some parsley on top.
  • Increase the oven temperature to 450 degrees and bake for an additional 20 minutes, until cheese is melted.
Keyword Gluten Free, Italian, Italian bake, zucchini, zucchini pizza
Tried this recipe?Let us know how it was!

Other zucchini Inspiration!

Check out any of the recipes below to help use up the rest of that zucchini!

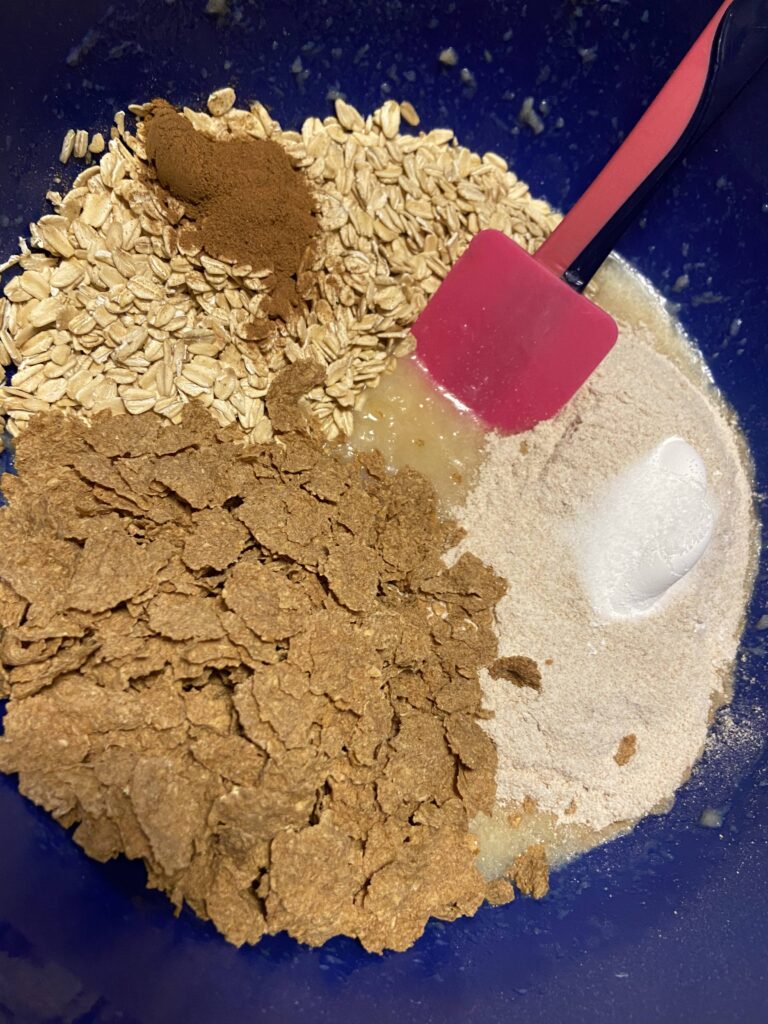
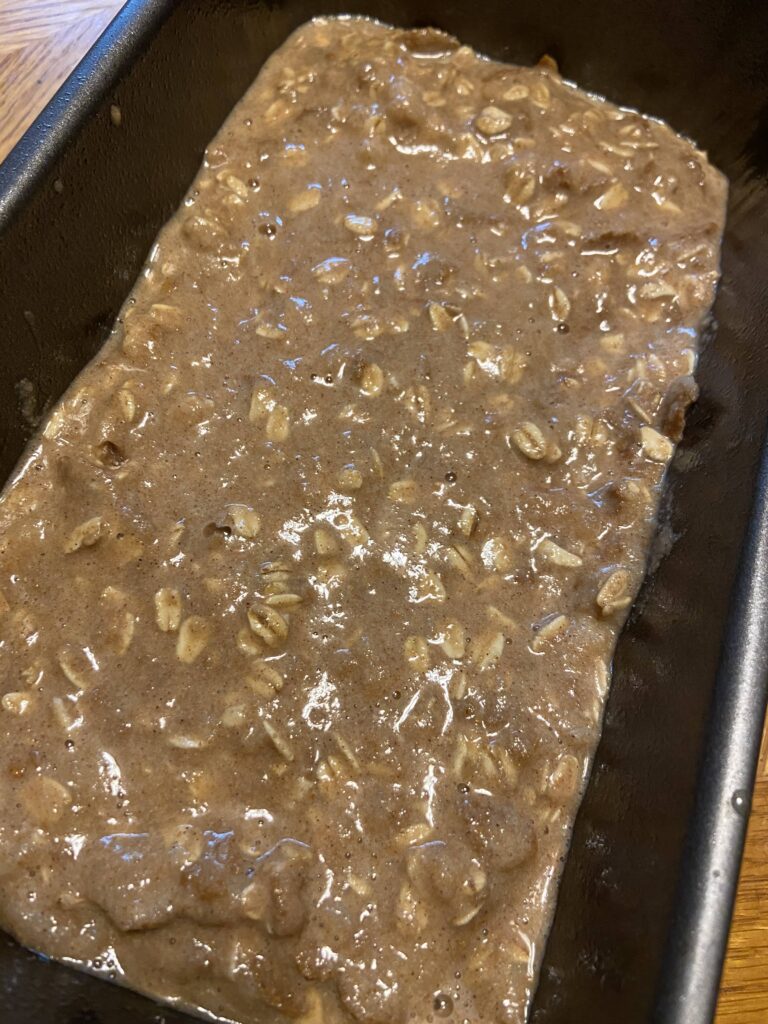
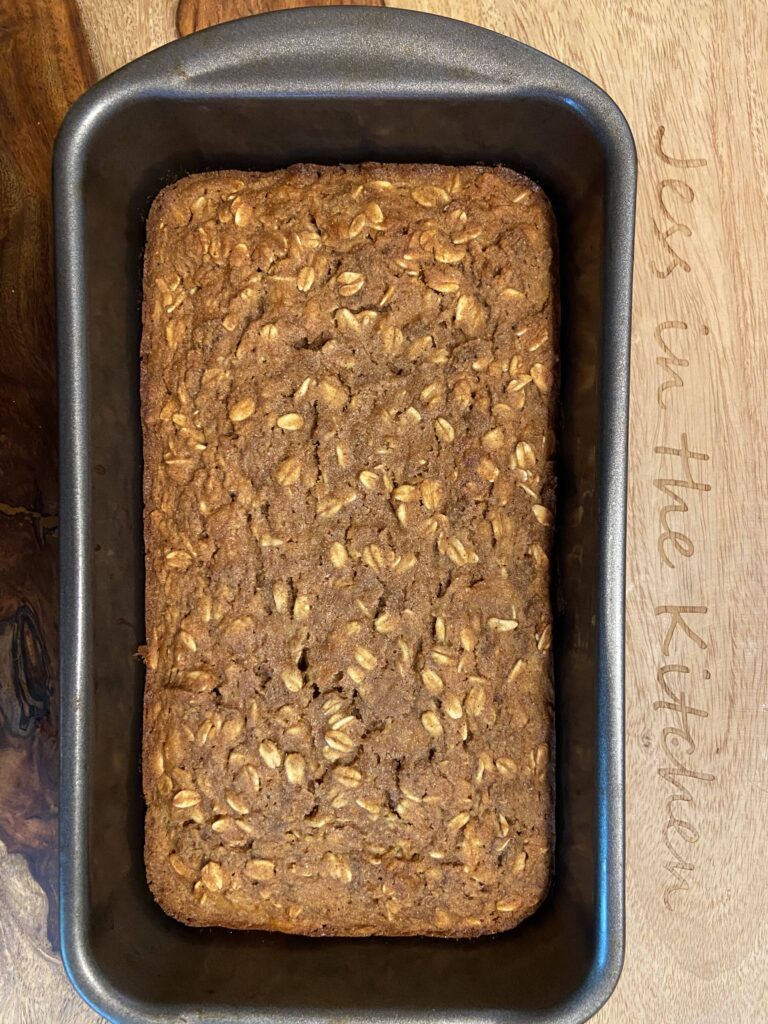
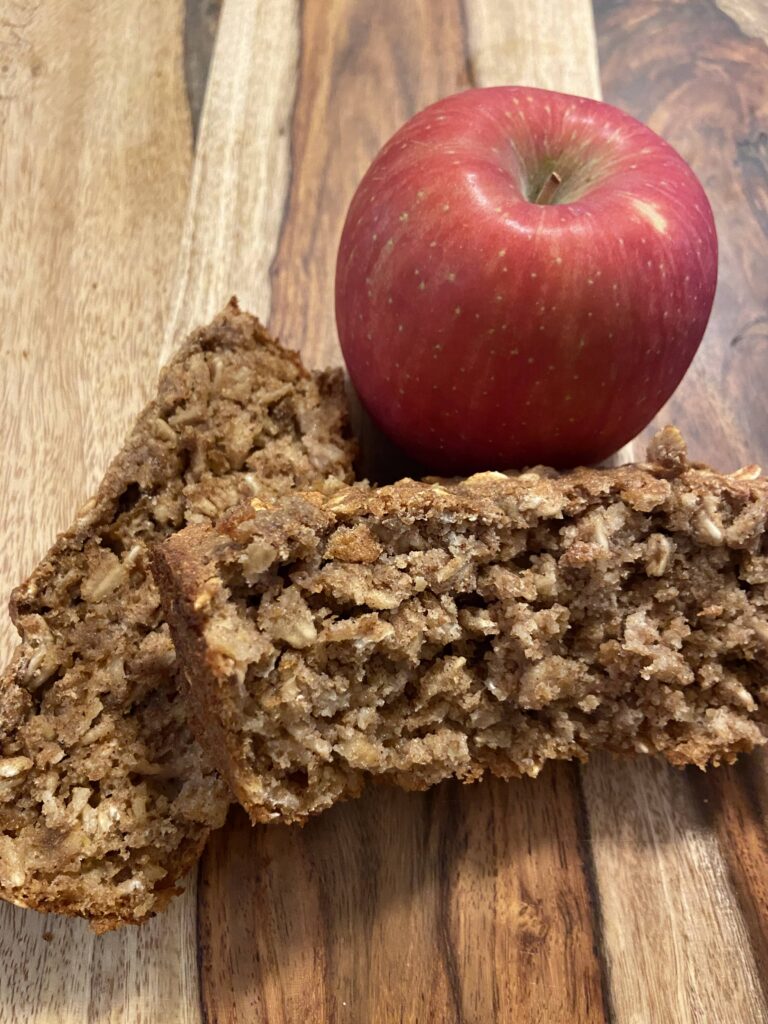
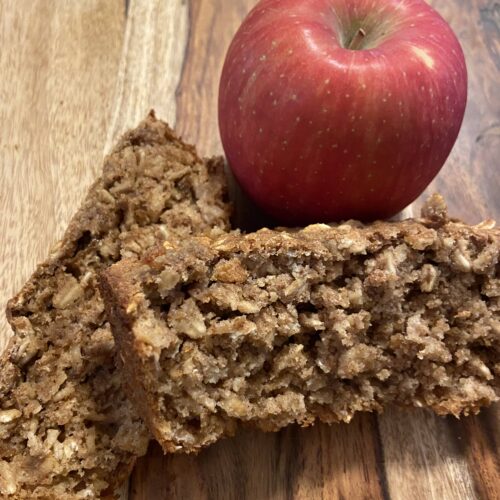
Applesauce and Cinnamon Bread

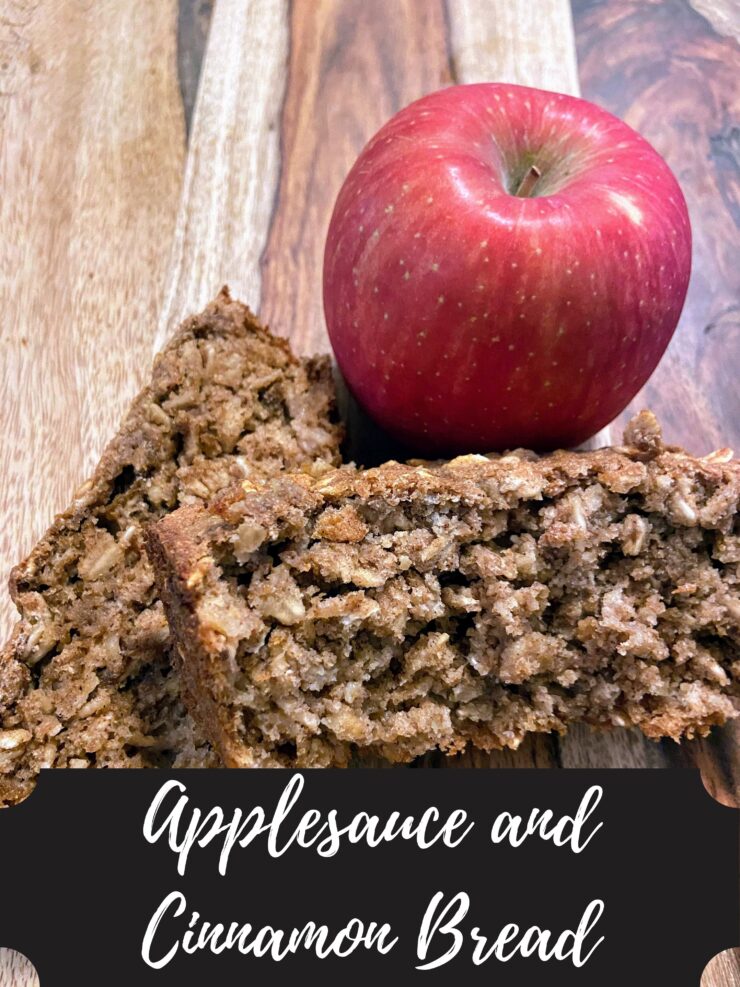
I love an apple bread (or really, any apple baked good, let’s be honest), but peeling and coring apples is a tedious process I don’t love. Enter an applesauce and cinnamon bread. When I saw a version of this recipe on the back of a bran flakes box, I had to give it a try. I have modified it quite a lot to add more wholesome ingredients and cut down on some sugar. Believe me, the final result is equally delicious. The husband even gave it two thumbs up and was excited to eat it for breakfast this week. I always call that a big win! 
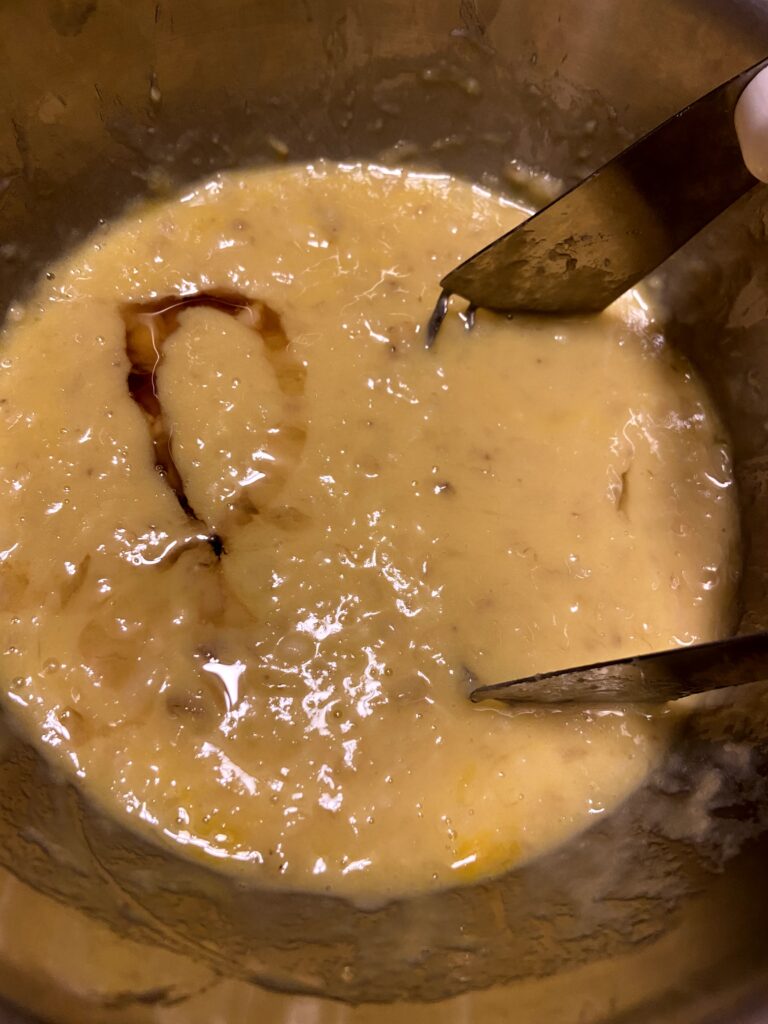
As an aside, I love adding oats to all of my recipes, but I know that some don’t love them. I even have a friend who is allergic, which I didn’t even know was possible until recently. If you don’t want to add oats, you can certainly modify this simple applesauce and cinnamon bread to have 1 ½ cups of flour and 1 ½ cups bran flakes.

Your Ingredients

  • 1 cup whole wheat flour
  • 1 cup old fashioned oats
  • 2 teaspoons baking powder
  • 1 cup bran flakes cereal 
  • 1 ½ teaspoons ground cinnamon 
  • ¼ teaspoon salt 
  • 1 egg 
  • 1 cup unsweetened applesauce 
  • ½ cup maple syrup or honey 
  • ½ cup milk 
  • ¼ cup chopped nuts (optional)

Your Steps

Preheat the oven to 350 degrees. Prepare a 9×5 inch loaf pan with cooking spray. 

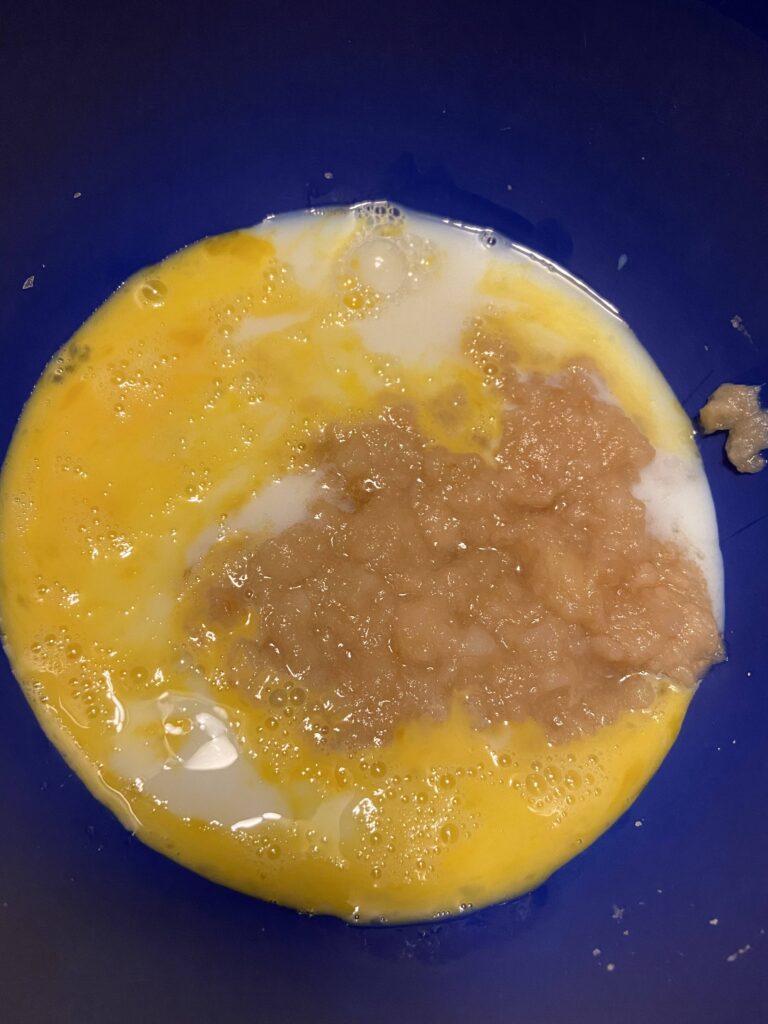
In a large bowl, combine egg, applesauce, maple syrup, and milk. Whisk until well combined. Add flour, oats, bran flakes, baking powder, cinnamon, and salt. Stir until just moistened throughout. Fold in chopped nuts if adding. 

Pour into the prepared pan and bake for 55 minutes or until a toothpick inserted in the center comes out clean. Allow to cool before removing from the pan. Enjoy!

Interested in other baked goods? Go ahead, check out my baking page!

Applesauce and Cinnamon Bread

The classic combination of apple and cinnamon combine with bran flake cereal and oatmeal in this quick bread.
Prep Time 10 minutes
Cook Time 55 minutes
Course Breakfast
Cuisine American
Servings 12

Ingredients
  

  • 1 cup whole wheat flour
  • 1 cup old fashioned oats
  • 1 cup bran flakes cereal
  • 2 teaspoons baking powder
  • 1 ½ teaspoons ground cinnamon
  • ¼ teaspoon salt
  • 1 egg
  • 1 cup unsweetened applesauce
  • ½ cup maple syrup or honey
  • ½ cup milk
  • ¼ cup chopped nuts optional

Instructions
 

  • Preheat the oven to 350 degrees. Prepare a 9×5 inch loaf pan with cooking spray.
  • In a large bowl, combine egg, applesauce, maple syrup, and milk.
  • Whisk until well combined.
  • Add flour, oats, bran flakes, baking powder, cinnamon, and salt.
  • Stir until just moistened throughout. Fold in chopped nuts if adding.
  • Pour into the prepared pan and bake for 55 minutes or until a toothpick inserted in the center comes out clean.
  • Allow to cool before removing from the pan. Enjoy!

Notes

If you don’t want to add oats, you can modify to have 1 ½ cups of flour and 1 ½ cups bran flakes.
Keyword apple and cinnamon, applesauce, Breakfast Bread, cinnamon, Quick Bread
Tried this recipe?Let us know how it was!

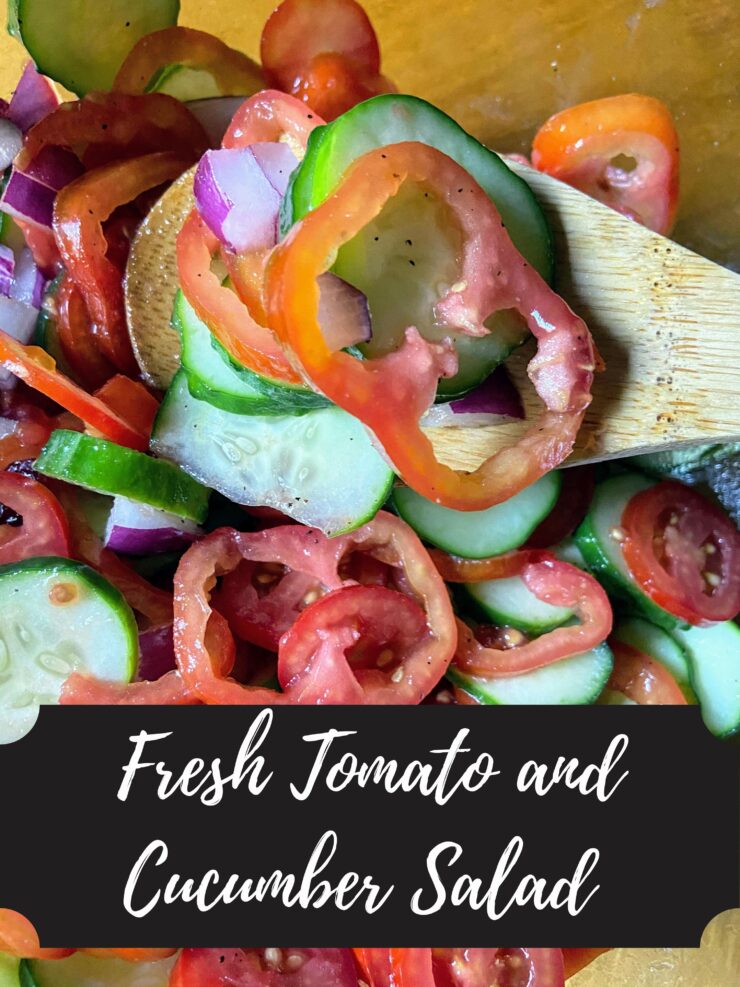
Fresh Tomato and Cucumber Salad

Gardens and farmer’s markets alike are full of fresh tomatoes and cucumbers. Often, I think preserve for pasta or create pickles, but if you have 10 minutes to spare, you can have a fresh tomato and cucumber salad prepped and ready to marinate for your next picnic or cook out. 

Truly, I am a preserver at heart. I want to save all our produce that we grow for the future. I love filling our shelves and freezer with our garden delights. It’s almost an addiction. What can I say? It’s quite the rewarding process and full shelves are beautiful. Plus, we will be prepared in the case of a zombie apocalypse or…shall I say it, world pandemic. Too soon? Anywho..
This year, I am trying to slow down and really appreciate the harvest as it is brought into our home. Recently, we had a set of pork chops to grill and I realized this light and simple tomato and cucumber salad would be the perfect side. It truly takes moments to prepare in the afternoon and by dinner time, the vinegar had created a sort of quick pickle our whole family can enjoy. 

Your Ingredients 

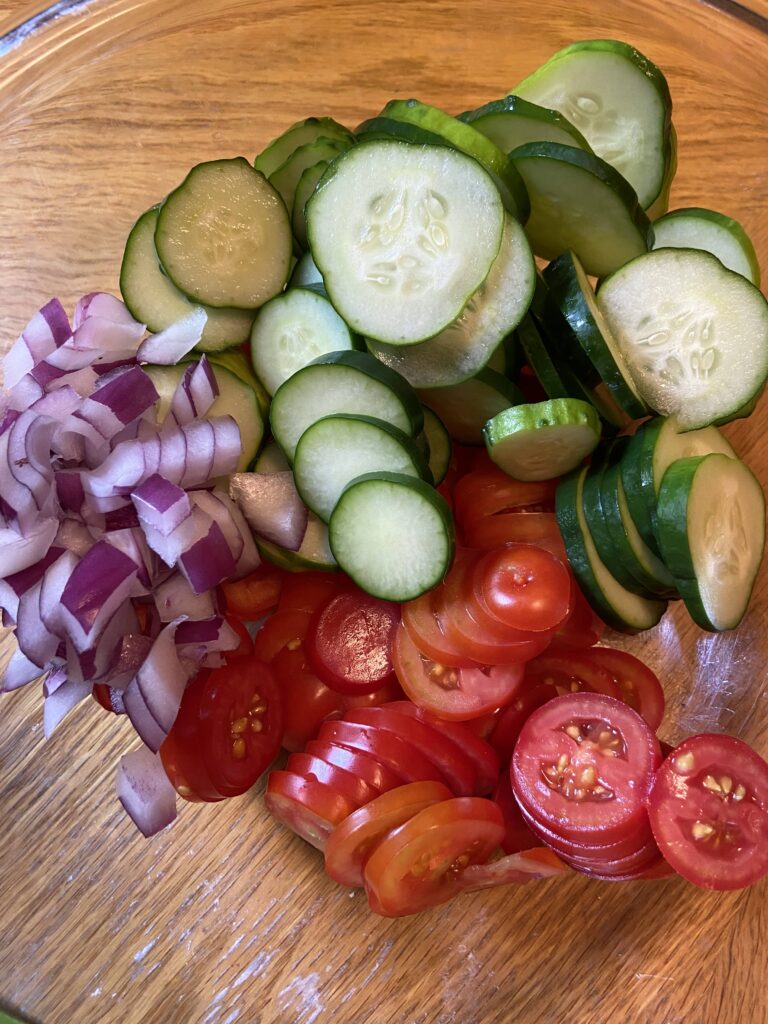
  • 2 cups sliced Roma tomatoes
  • 2 cups sliced cucumber
  • ½ cup diced red onion 
  • 1 ½ tablespoons olive oil 
  • 2 – 3 tablespoons red wine vinegar 
  • ¼ teaspoon salt 
  • ¼ teaspoon pepper 

Your Steps

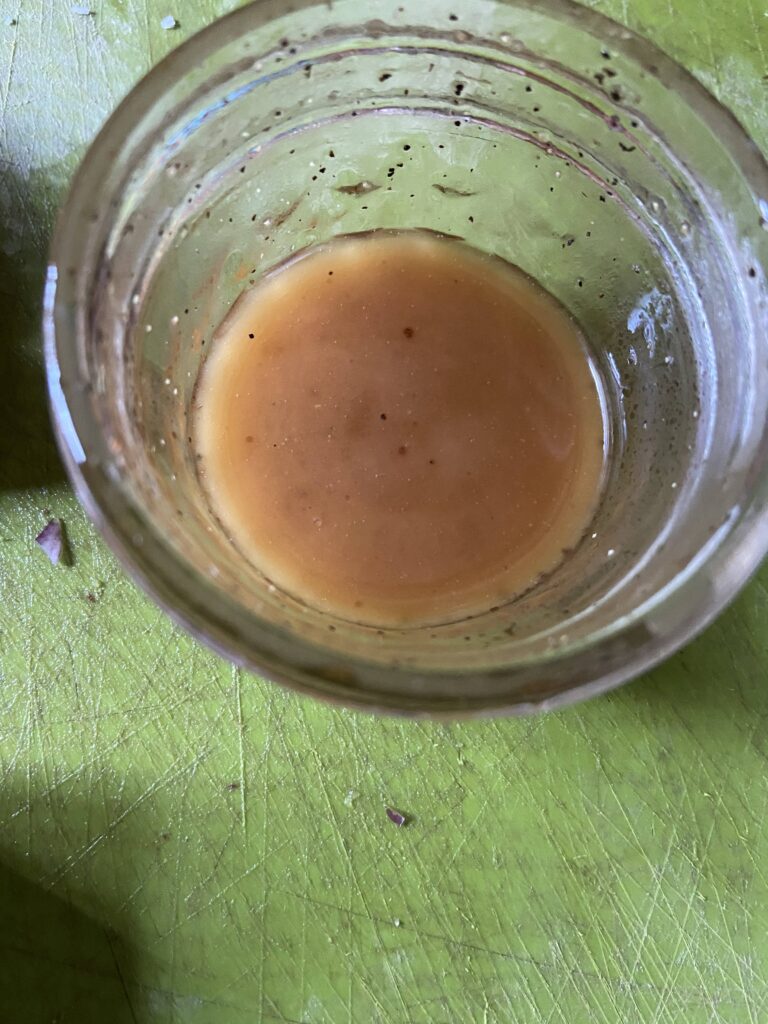
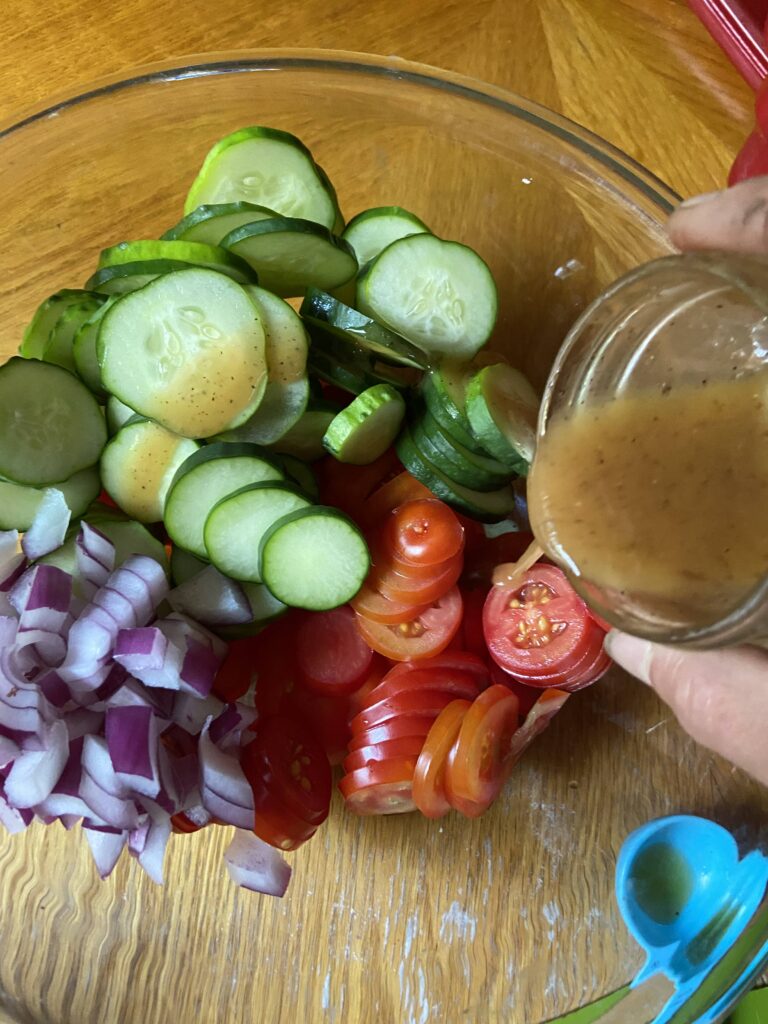
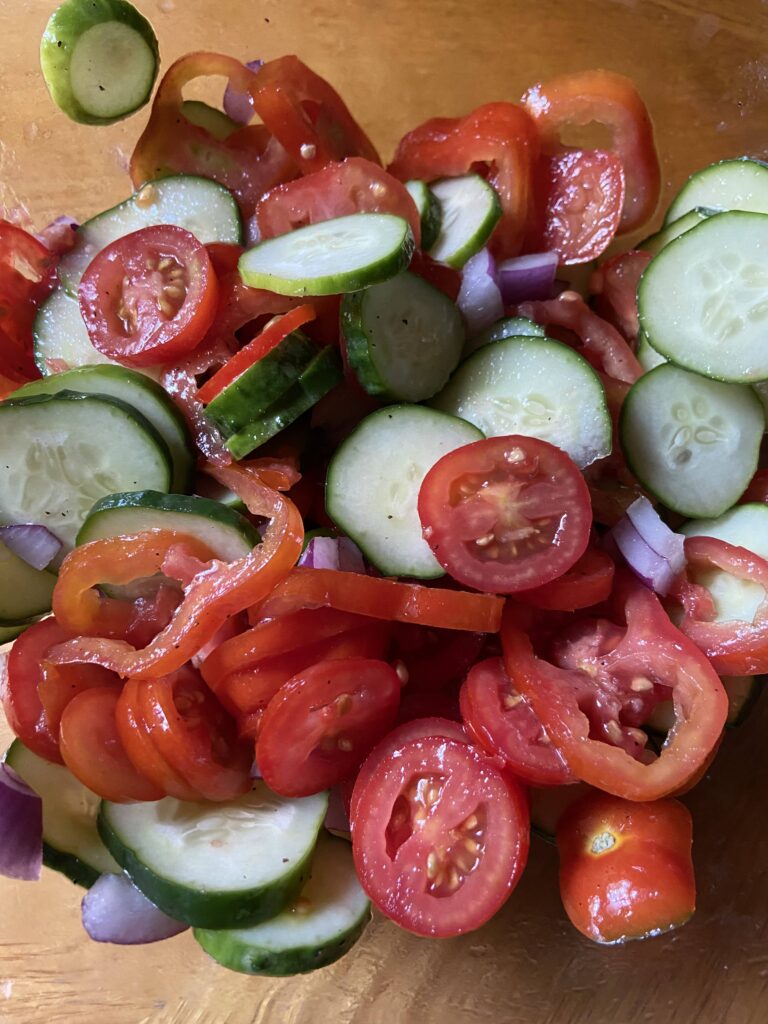
Combine sliced tomatoes, cucumbers, and onion in a large bowl. In a small bowl or measuring cup, whisk the remaining ingredients together. I recommend taste testing the dressing here. Everyone has their own preference in terms of the bite of vinegar, salt, and pepper. Add more as needed. Whisk once more and immediately pour over vegetables. Stir. Cover and allow to chill for at least an hour prior to serving for best flavor. 

Notes 

  • The Roma tomato isn’t required, but nice because of firmness. Two cups of halved cherry or grape tomatoes would work great as well. 
  • If you are purchasing cucumbers from the store, English cucumbers work great since they have a lower seed count. However, any smaller cucumber will do. 

Looking for other fun and fresh side dishes? Or maybe you want to preserve the bounty from your garden or farmer’s market? Check out the links below!

Fresh Tomato and Cucumber Salad

Fresh, crisp flavors of the garden combine with vinegar and oil to make this light tomato and cucumber salad perfect for any cookout or barbecue.
Prep Time 10 minutes
Chill Time 1 hour
Servings 4

Ingredients
  

  • 2 cups sliced Roma tomatoes
  • 2 cups sliced cucumber
  • ½ cup diced red onion
  • 1 ½ tablespoons olive oil
  • 2 – 3 tablespoons red wine vinegar
  • ¼ teaspoon salt
  • ¼ teaspoon pepper

Instructions
 

  • Combine sliced tomatoes, cucumbers, and onion in a large bowl.
  • In a small bowl or measuring cup, whisk the remaining ingredients together.
  • Taste test dressing here, adding more salt, pepper, or vinegar as needed.
  • Whisk once more and immediately pour over vegetables.
  • Stir.
  • Cover and allow to chill for at least an hour prior to serving for best flavor.

Notes

The Roma tomato isn’t required, but nice because of their firmness. Two cups of halved cherry or grape tomatoes would work great as well.
If you are purchasing cucumbers from the store, English cucumbers work great since they have a lower seed count. However, any smaller cucumber will do.
Tried this recipe?Let us know how it was!

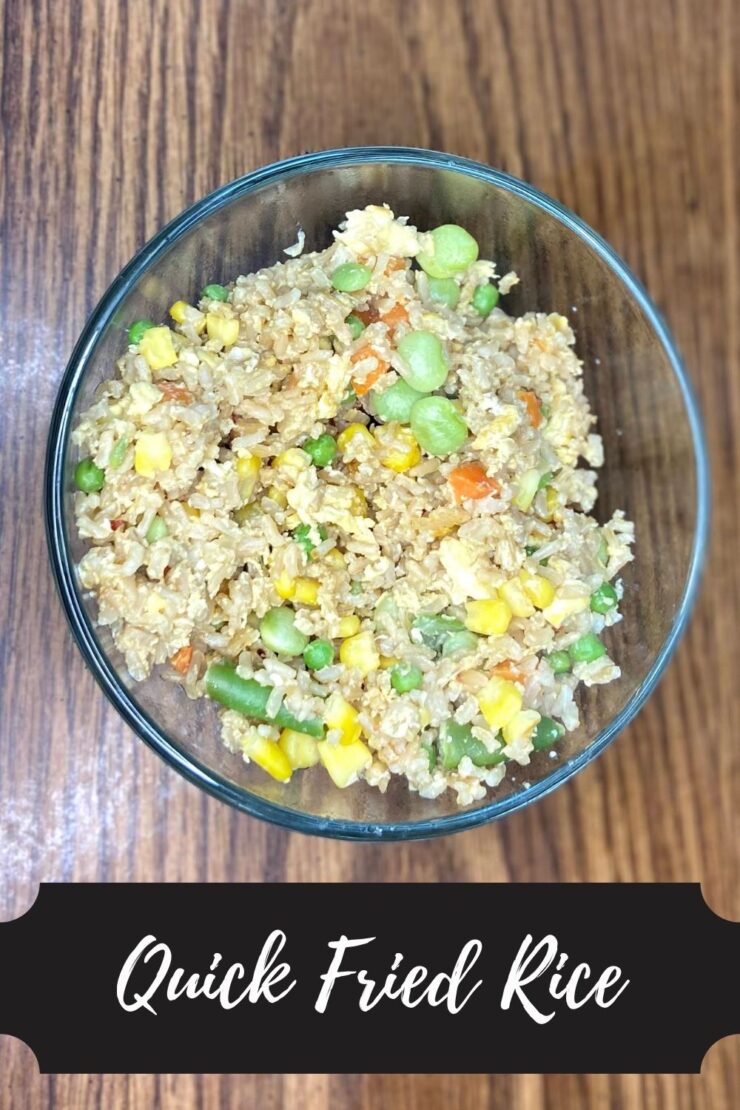
Quick Dish: Fried Rice

Recently, my family and I were away from home for a week. I don’t know about you, but when I get home from a week away, I need at least another day to reset. I do not want to do a thing but sit on the couch for hours, even if I was in the car for six hours leading up to getting home. And although the fridge is empty (if we did things right before we left), I certainly do not want to go grocery shopping. That, my friends, is unfortunate because I still need food for lunch the next day. However, I have discovered quick fried rice and my life has become a little easier and definitely a lot tastier.

After said trip, I looked around at what we had for food and realized we were low on proteins, at least any that were thawed. I am passionate about eating wholesome foods that are minimally processed, so this was a bit of a problem. However, I love me some brown rice with vegetables. I had some instant brown rice on hand as well as frozen Asian vegetables. Good. We also had cooked some Asian food while on vacation, so those flavors were on my mind. I opened the refrigerator to gather some liquid aminos and saw eggs. Eggs! Oh man, I can make a quick fried rice for lunch!

I felt as though I was winning at life. This meal had a starch/carb, vegetables, and a protein; a complete meal. It came together in less than 15 minutes, which is a major win in my book. Measuring is somewhat optional as you can really find flavors you love. Finally, nothing was processed and the ingredients are pantry items at our house. Let me tell you, this recipe is going into my everyday cooking brain when I need a quick, wholesome meal. I hope it does for you too!

Your Ingredients

  • 2 cups brown rice, cooked (instant or regular)
  • 8 ounces frozen mixed vegetables
  • 1-2 eggs, whisked
  • ½ tablespoon sesame oil 
  • ½ teaspoon minced garlic 

Seasonings, to taste: 

  • Ground ginger (¼-½ teaspoon) 
  • Pinch of red pepper flakes
  • Onion Powder
  • Soy sauce or liquid aminos (½ – 1 tablespoon)

Cook the vegetables according to the directions on the package. We adore these awesome steam bags that Ziploc makes for steaming frozen and raw vegetables in the microwave. (Here’s the link for them if you want to check them out: Ziploc Zip n’ Steam Bags)

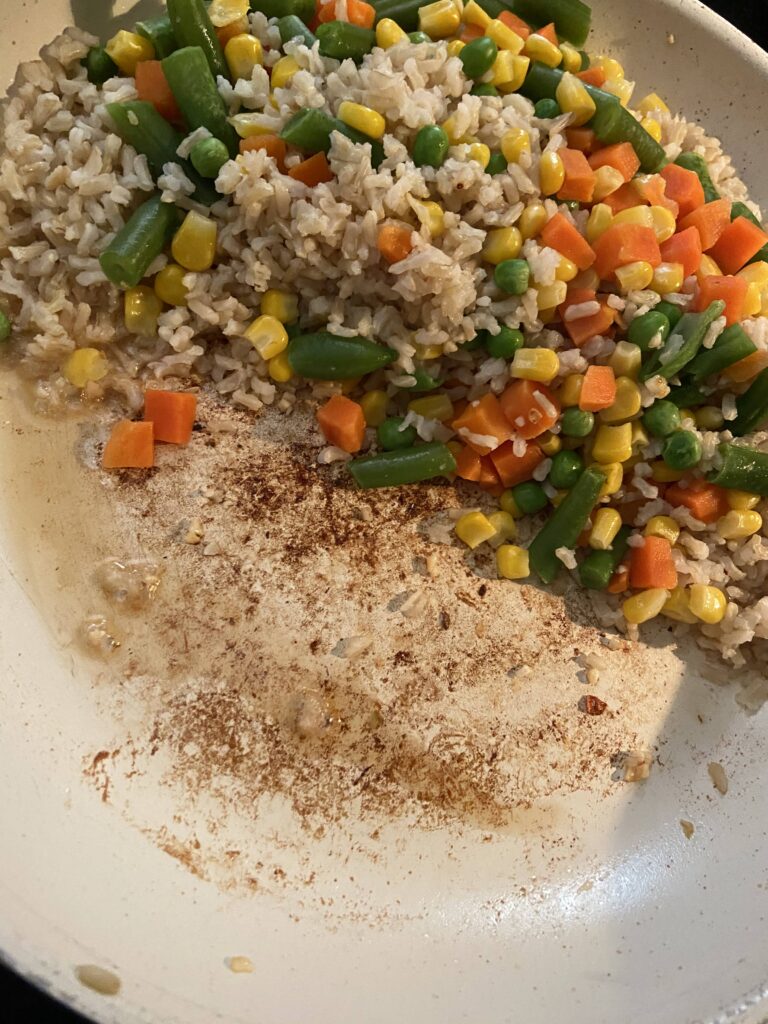
Meanwhile, heat the oil in a large skillet over medium high heat. Add the garlic and cook for 30 seconds, until fragrant. Add the rice, steamed vegetables, and seasonings to taste. Allow to cook for 2-3 minutes, stirring every 30 seconds or so. 

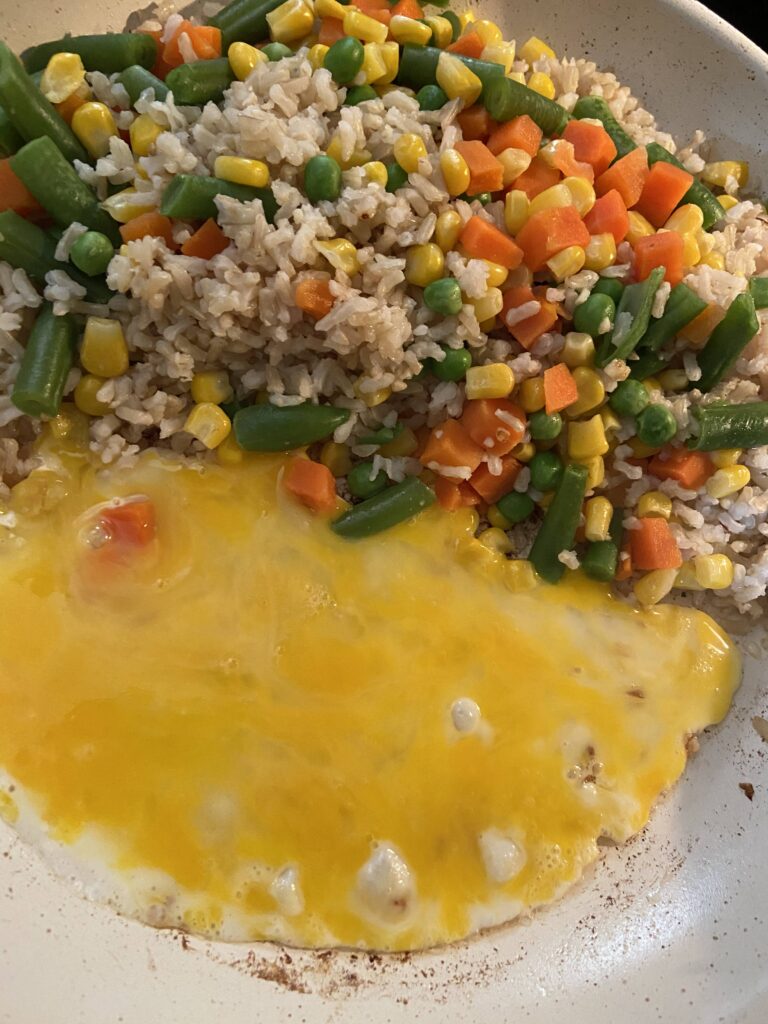
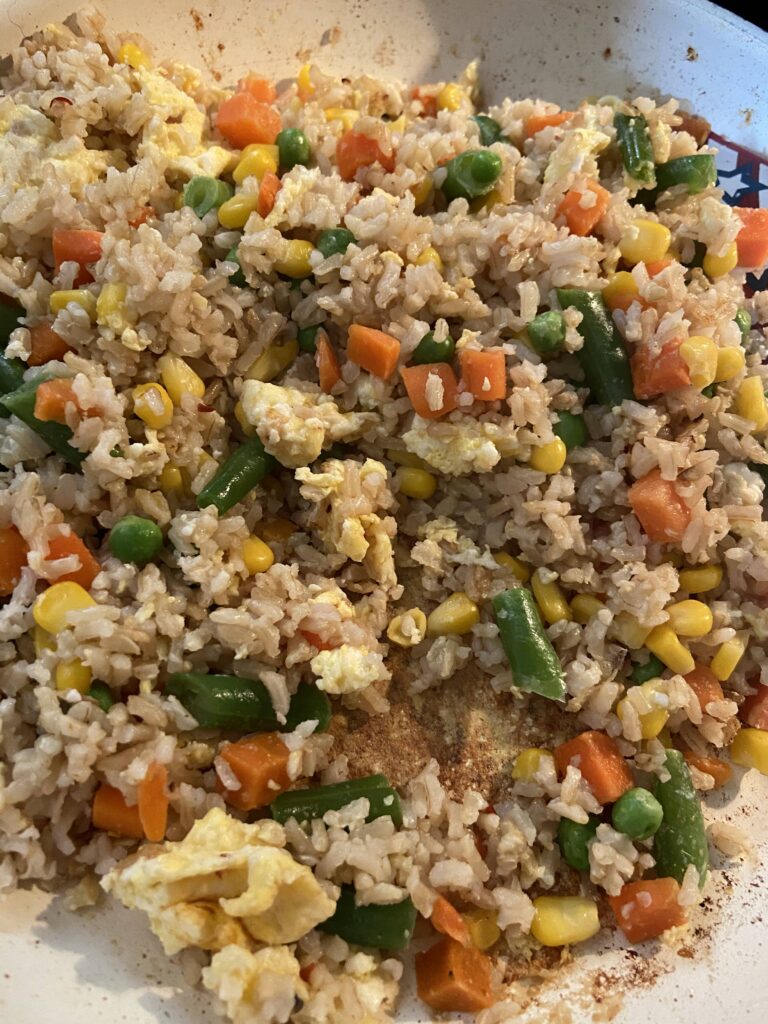
Push rice and vegetable mixture to the side. Pour in the whisked egg(s) in the cleared spot (spraying with cooking spray prior if there is worry the egg will stick. I add a touch more sesame oil). Allow to cook 1-2 minutes, as though you are going to scramble the egg. Once the egg is starting to become solid, fully incorporate it into the rice and vegetable mixture. Saute until the egg is fully cooked. Taste and add more soy sauce, ginger, or red pepper flakes as needed. 

Quick and easy. Delish, wholesome, and a complete meal from your pantry. That’s what I call a winner in my book. Give it a try next time you’re not quite ready to make a run to the grocery store. Or maybe anytime you need a meal at your fingertip in minutes. 

Looking for other from scratch recipes to cook for a meal? Click below.

Tools of the Trade

Quick Fried Rice

Short on grocery store items? Put together this quick fried rice using ingredients from your fridge and pantry in 15 minutes flat!
Prep Time 5 minutes
Cook Time 10 minutes
Course Main Course
Cuisine Chinese
Servings 2

Ingredients
  

  • 2 cups brown rice cooked (instant or regular)
  • 8 ounces frozen mixed vegetables
  • 1-2 eggs whisked
  • ½ tablespoon sesame oil
  • ½ teaspoon minced garlic

Seasonings, to taste:

  • Ground ginger ¼-½ teaspoon
  • Pinch of red pepper flakes
  • Soy sauce or liquid aminos ½ – 1 tablespoon
  • onion powder

Instructions
 

  • Cook the vegetables according to the directions on the package.
  • Meanwhile, heat the oil in a large skillet over medium high heat. Add the garlic and cook for 30 seconds, until fragrant.
  • Add the rice, steamed vegetables, and seasonings to taste. Allow to cook for 2-3 minutes, stirring every 30 seconds or so.
  • Push rice and vegetable mixture to the side.
  • Pour in the whisked egg(s) in the cleared spot, spraying with cooking spray if necessary.
  • Allow to cook 1-2 minutes.
  • Once the egg is starting to become solid, fully incorporate it into the rice and vegetable mixture.
  • Sauté until the egg is fully cooked.
  • Taste and add more soy sauce, ginger, or red pepper flakes as needed.

Notes

This will always be better if you use rice you cooked a day or two before. But I get it, you may not always have thought ahead. Go ahead and use what you have. 
Keyword Brown Rice, Eggs, Fried Rice
Tried this recipe?Let us know how it was!