Gosh my friends, I love me some soup season. I do believe that I could eat soup every week without complaint, even in the heat of the summer. But this time of year? When fall is sneaking up on us and it’s sweatshirt season but the sun is still warm in the afternoon? That’s just about the perfect time of year. Around our house, it’s all the time we start thinking about clearing out our freezer because hunting season is just around the corner. Right now, our freezer is full of our Italian sausage inspired venison and we are using it in so many ways, including this awesome kale and white bean sausage soup.
This soup was also inspired by one of my oldest friends. We don’t talk too often, but when we do, it often begins with a text about the food one of us is cooking. About a month ago, he texted me to say he loves cooking in cast iron for soup; that he often makes the soup in the morning, puts the cover on it, and lets the flavors meld together for a few hours. This time, it was a bean, roasted tomato, and artichoke soup. Well, needless to say, the pictures looked amazing!
Of course I needed it in my life
I switched it up a bit, adding the sausage and extra beans. When I described a kale and white bean sausage soup to my kiddos, they were immediately sold. I’ll be honest, I was a bit surprised they were ready for the kale as they don’t love cooked greens, but excited kids means mom has to make the soup pronto.
When it was done, my babies ate multiple servings and I had to say that I was planning on leftovers for lunch the next day so they would stop. I hope your family loves it as much as mine did. It will definitely be a dinner one repeat at our house, I’ll tell you that! Let’s start cooking!
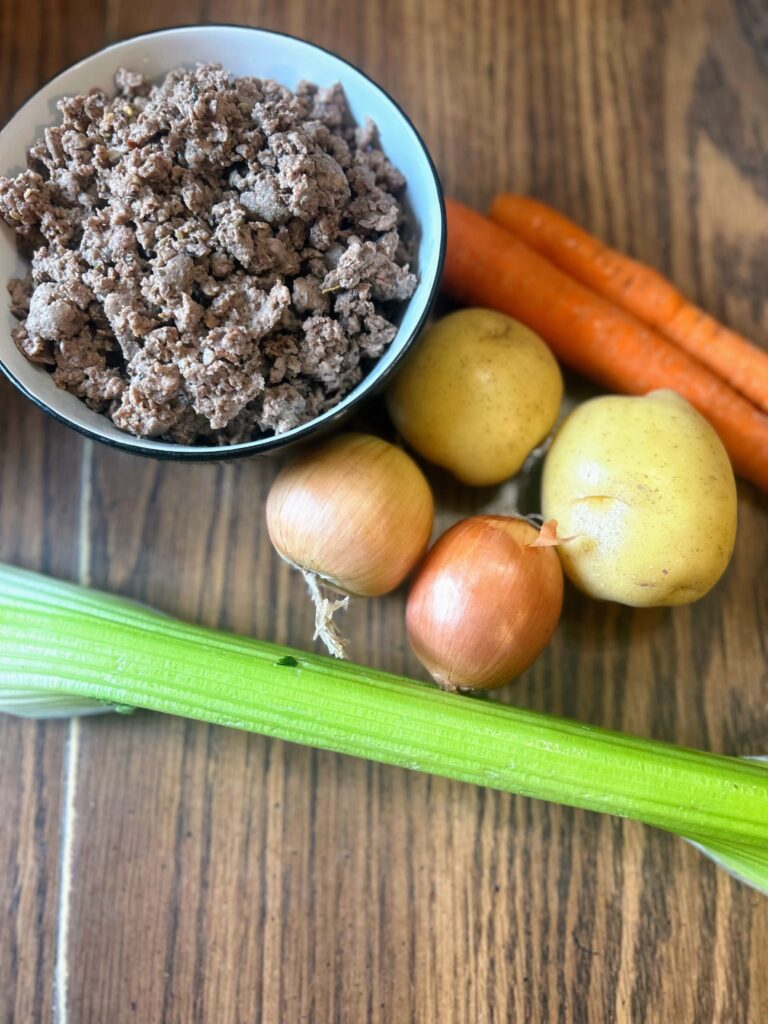
Your Ingredients
- 1 pound ground Italian sausage (We use ground Italian venison. It’s great!)
- 3 cans cannellini beans, drained and rinsed
- 5 cups chicken stock
- 1 cup diced onion, about two small onions
- 1 cup diced celery, about two ribs
- 1 cup diced carrot
- 1 ½ cups diced potatoes (I prefer Yukon gold)
- 4 cloves garlic, minced
- 2 cups kale
- 2 tablespoons olive oil
- Salt and pepper to taste
- Shaved Parmesan cheese, optional
Your Steps to Kale and White Bean Sausage Soup
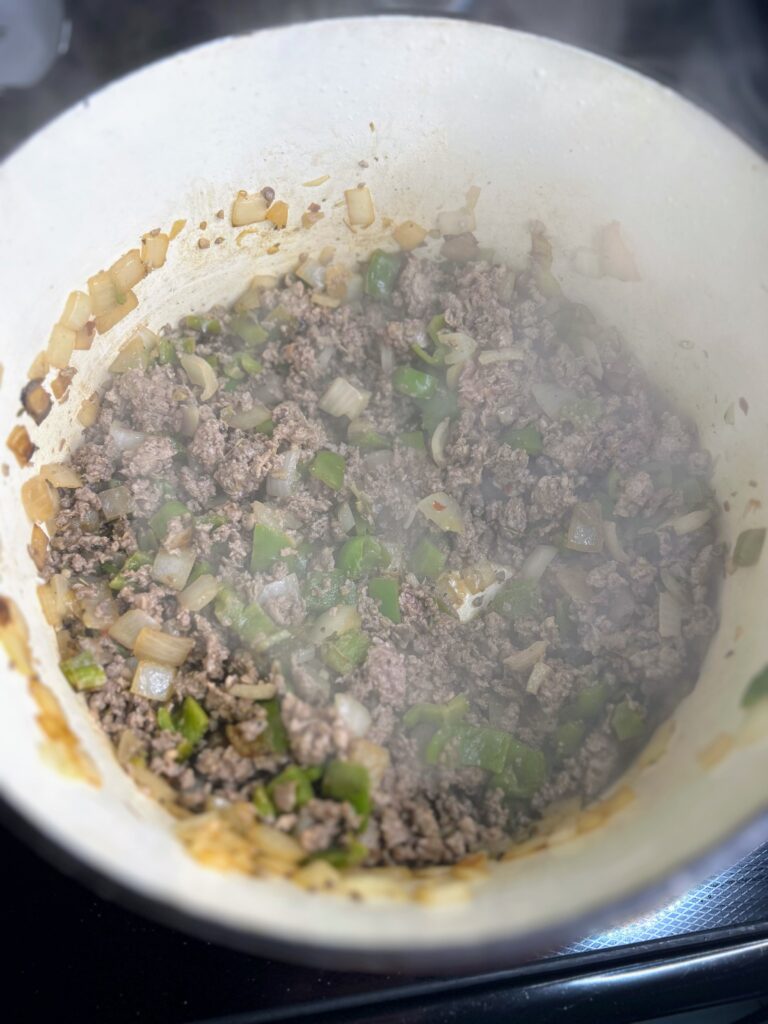
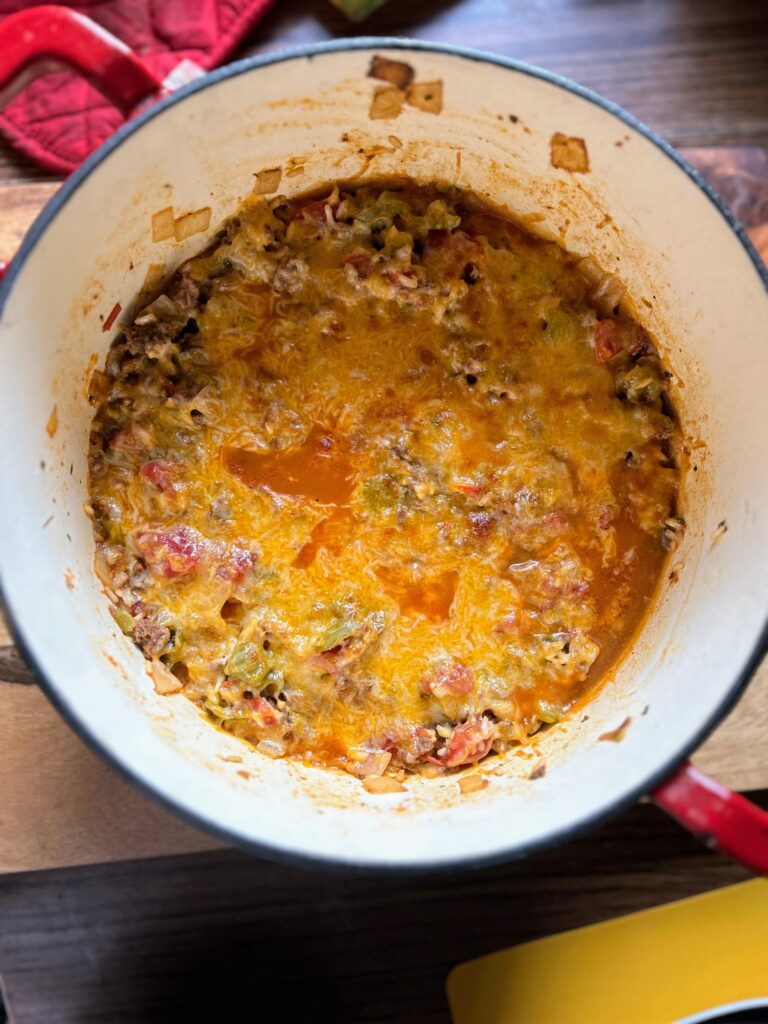
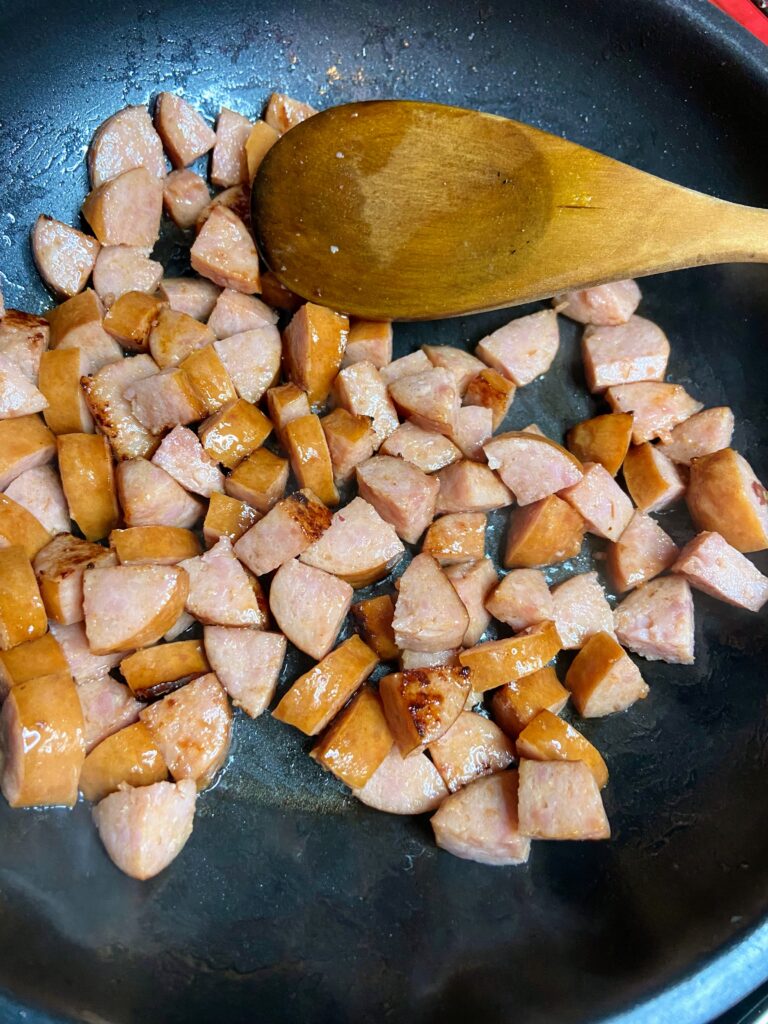
Begin to heat a large dutch oven over medium-high heat. Add Italian sausage and brown. (Option to add a bit of oil to the pan before you add the sausage. I find that it helps keep the sausage from sticking.)
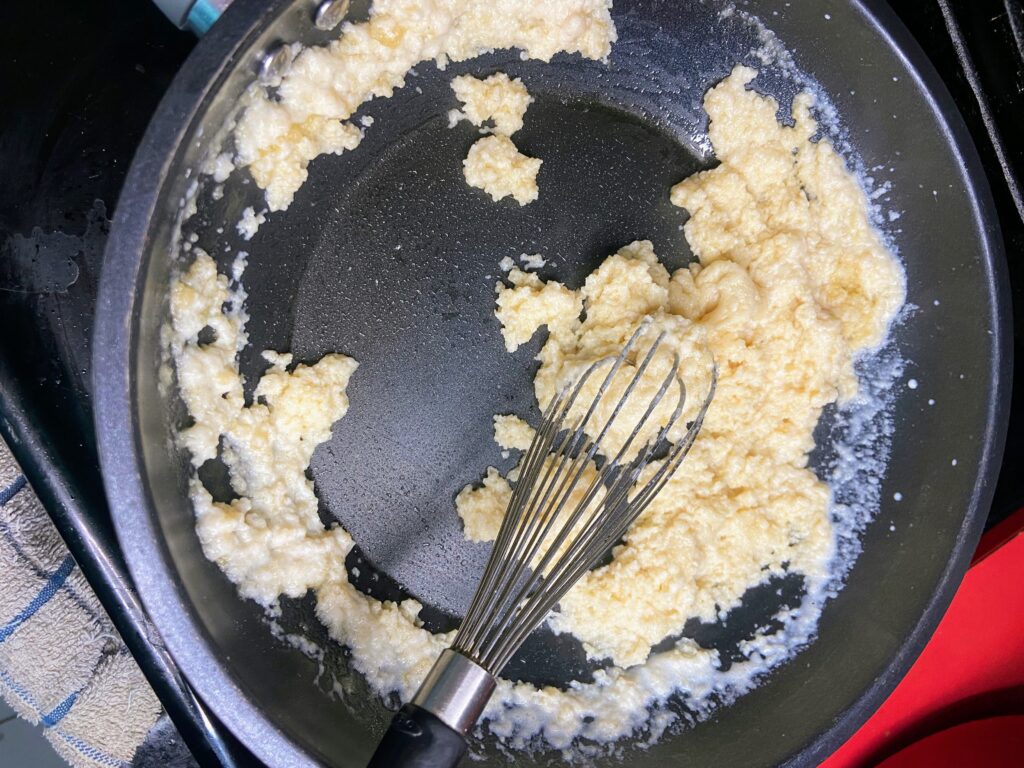
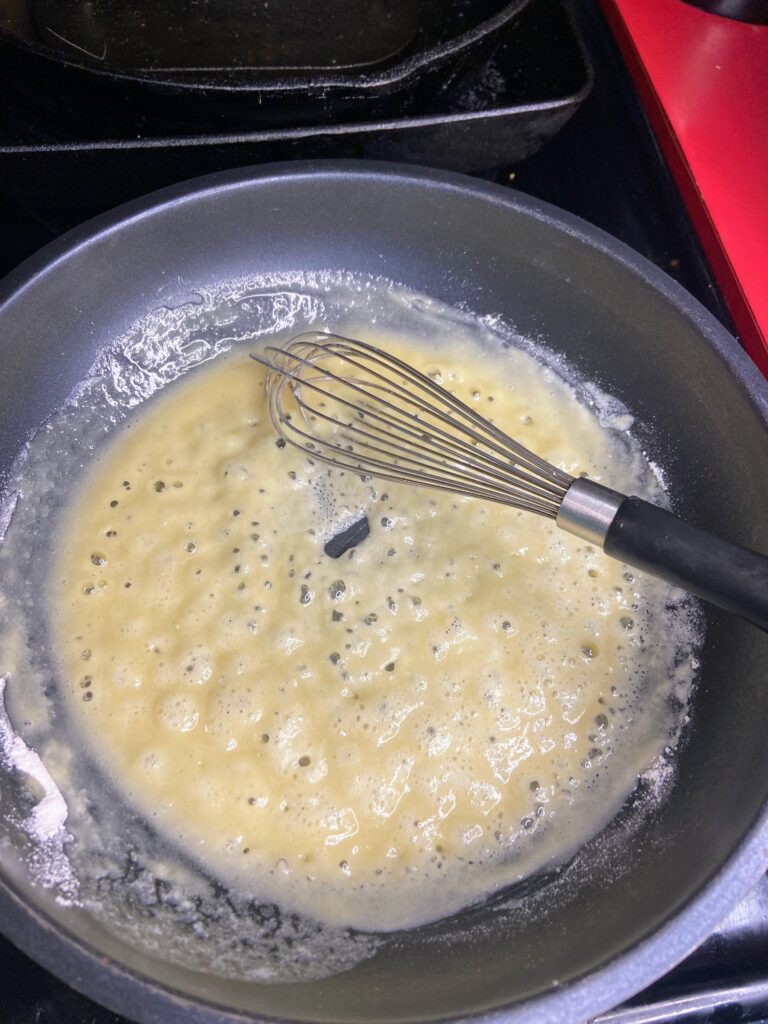
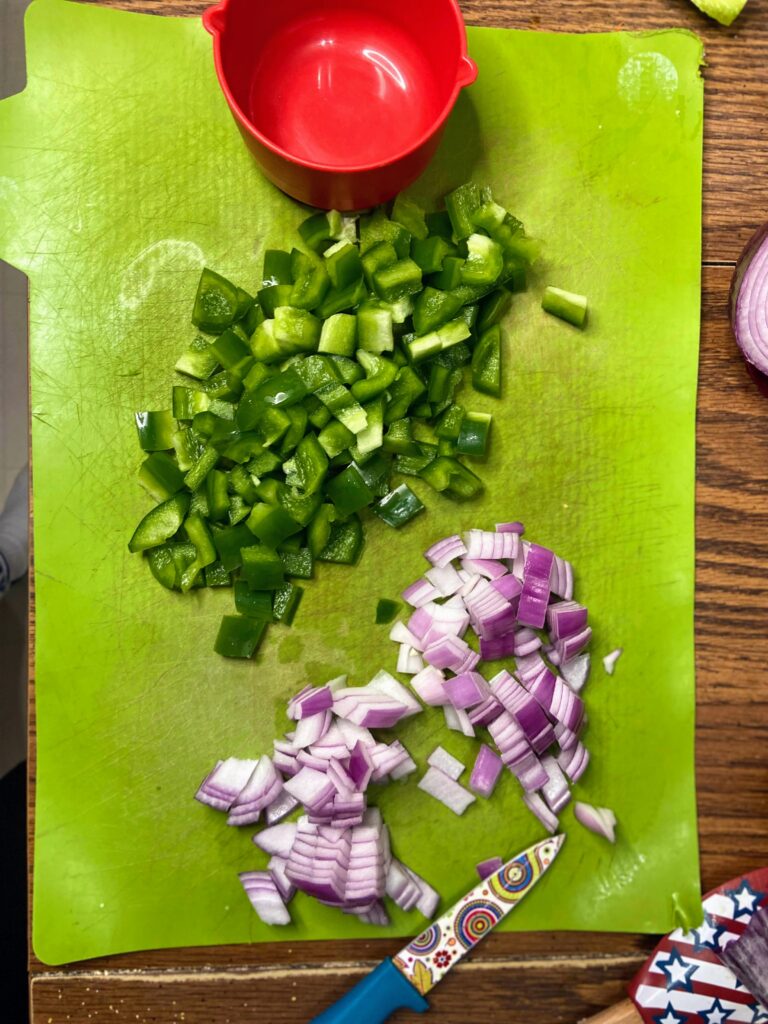
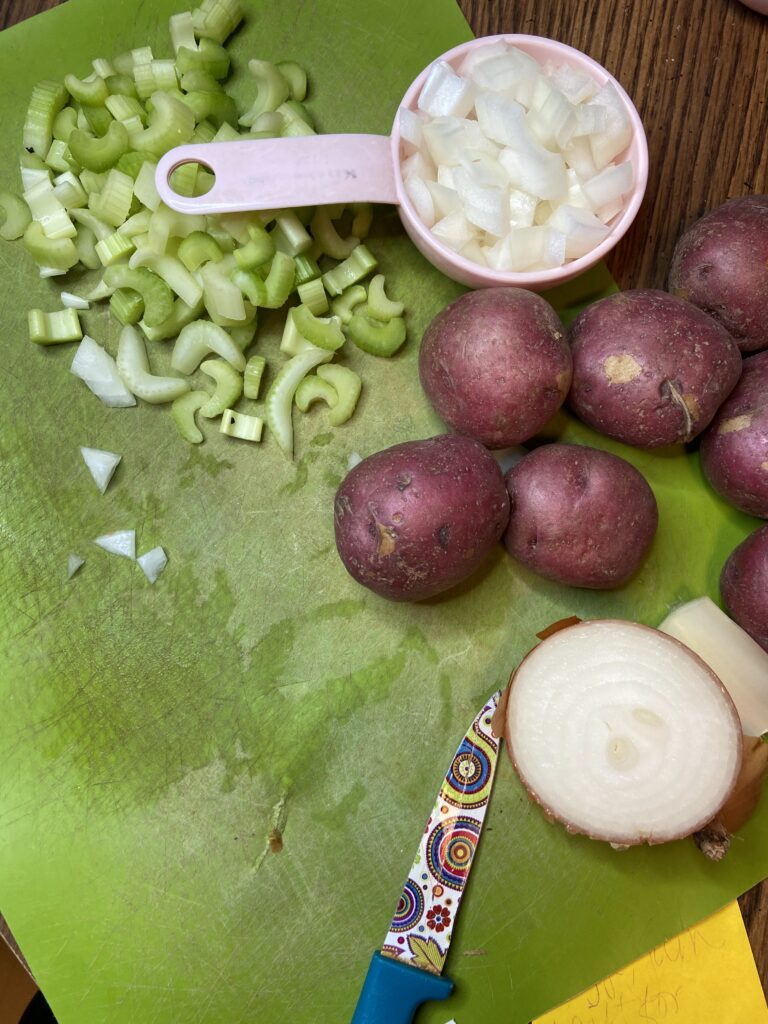
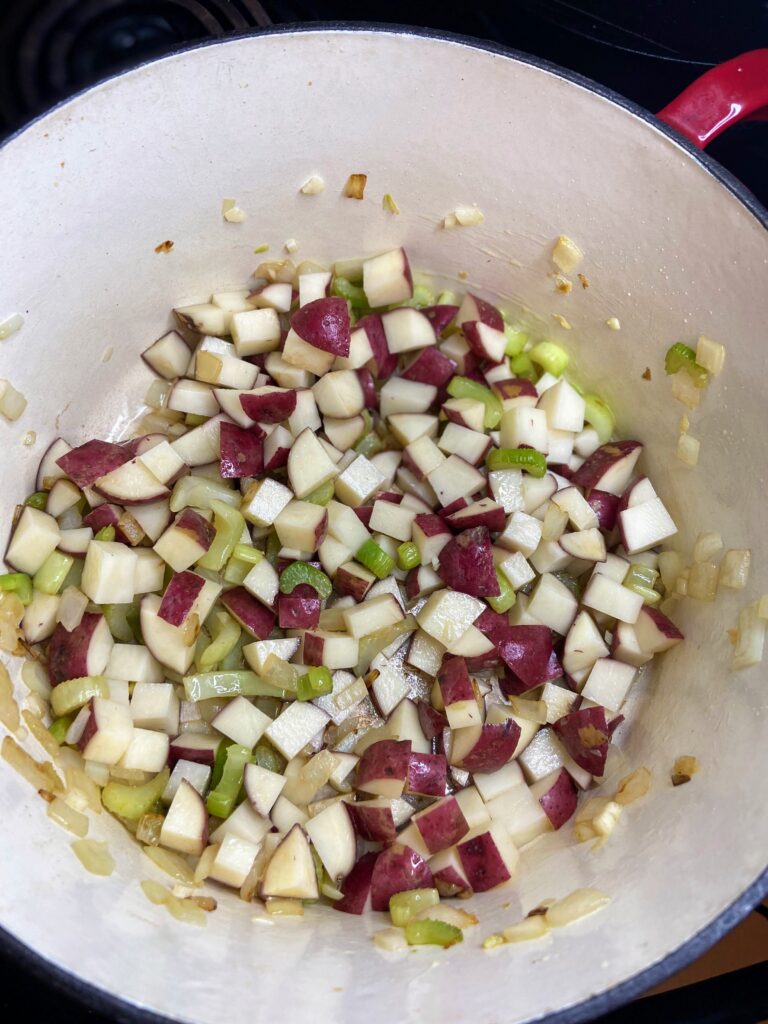
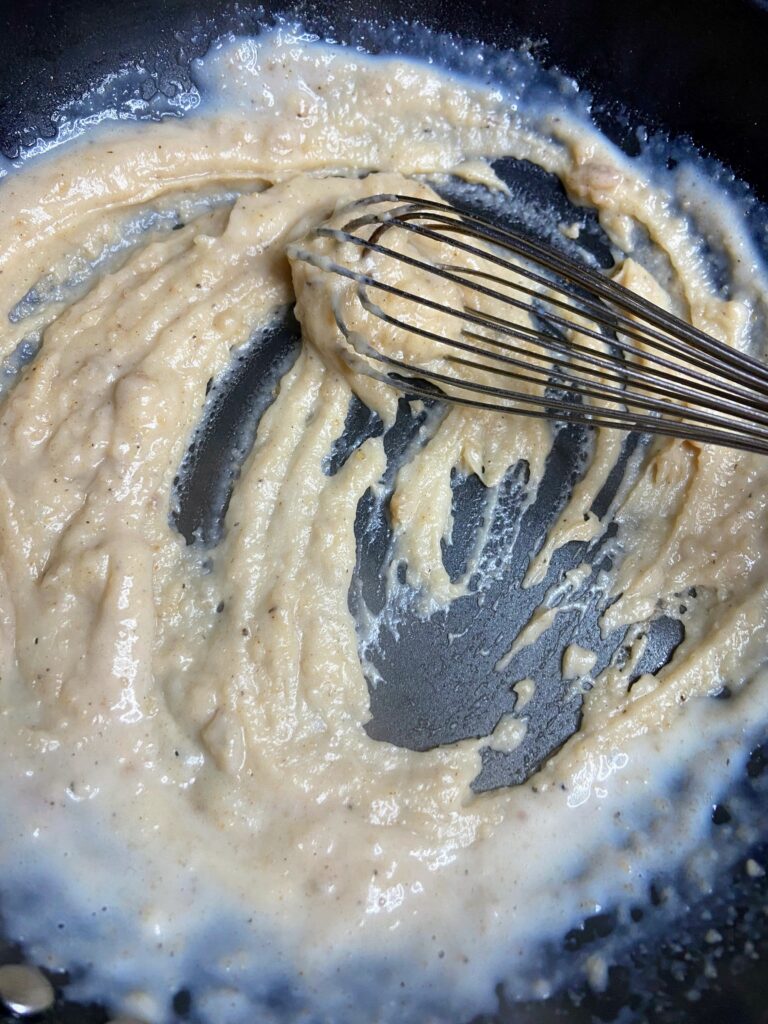
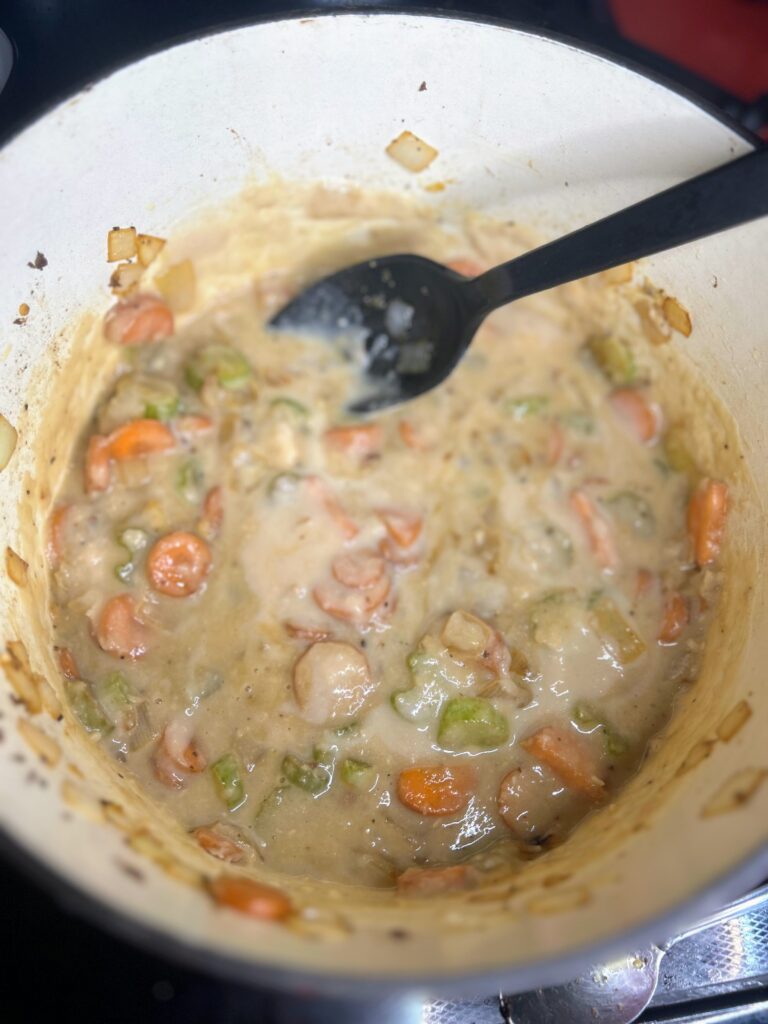
Meanwhile, dice the onion, celery, carrots, and potatoes. Additionally, drain and rinse the cannellini beans. Combine 1 ½ cans of beans and about 1 cup of chicken stock. Blend with a stick (immersion) blender. I like to do this in a wide mouth mason jar.
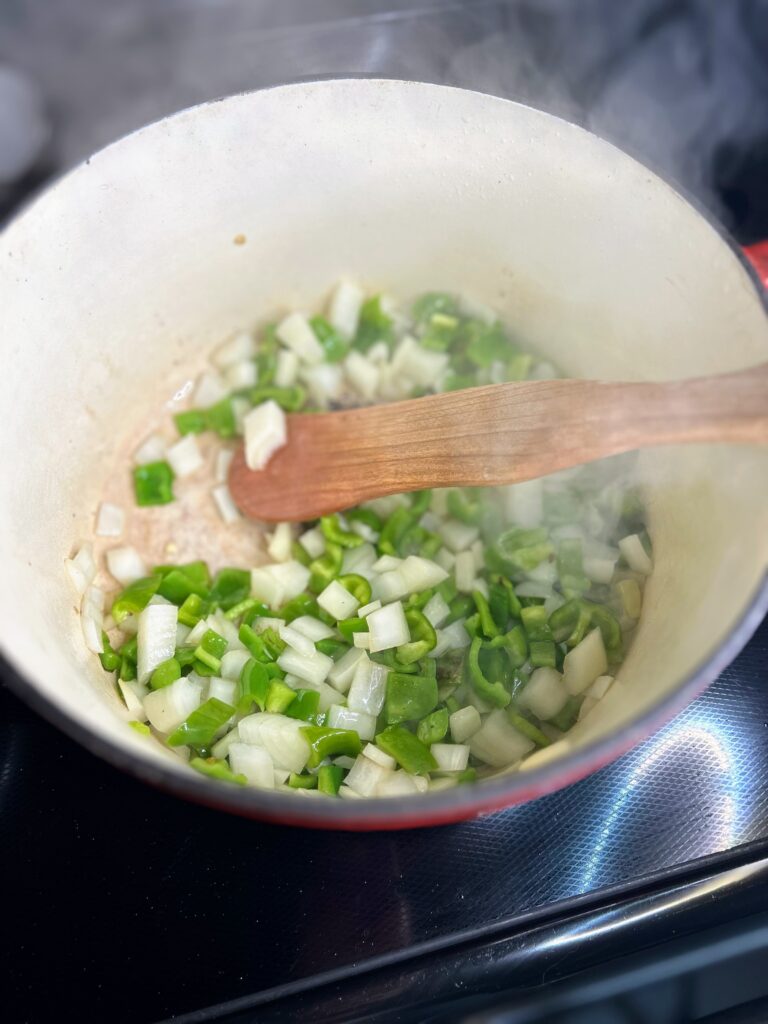
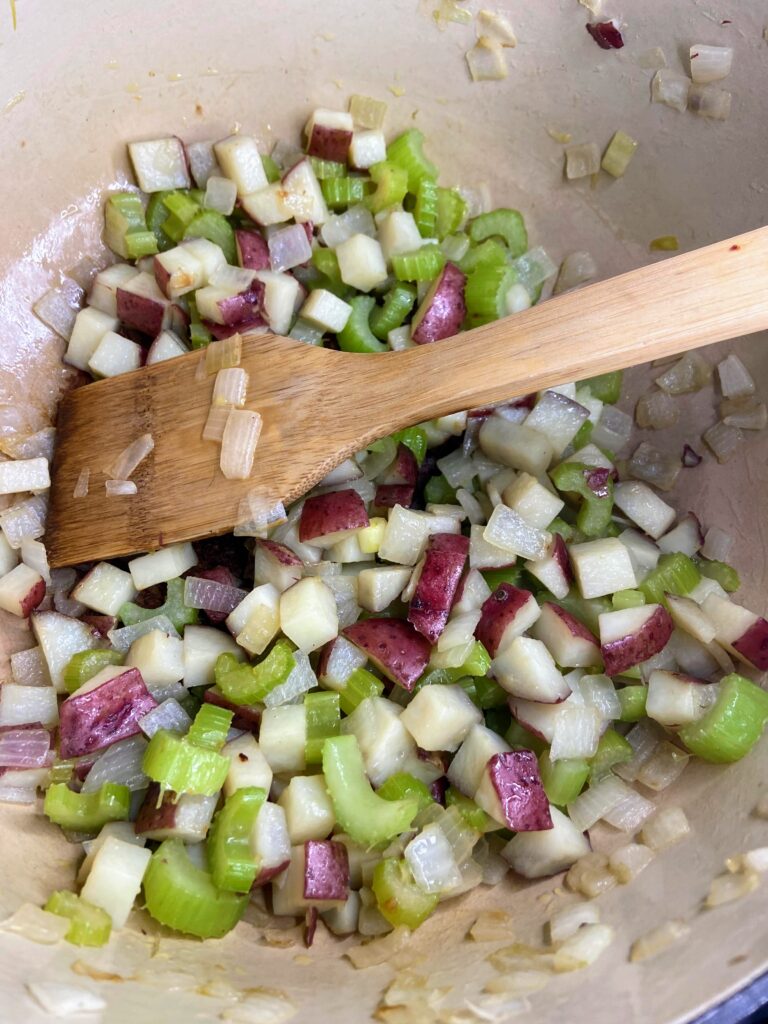
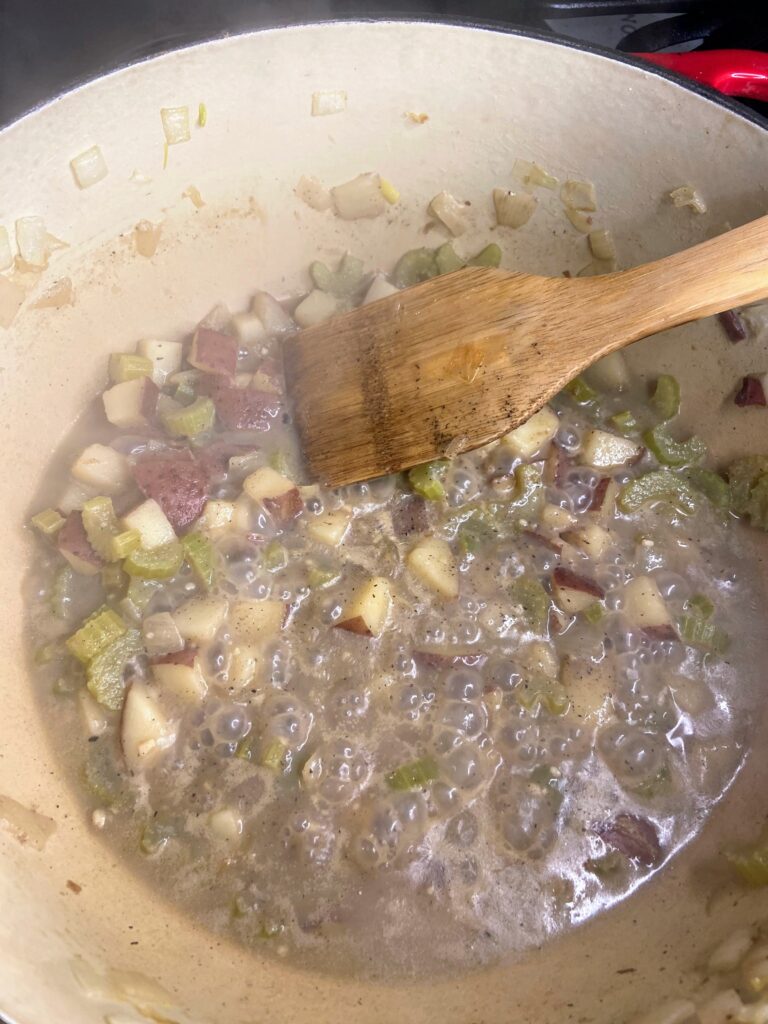
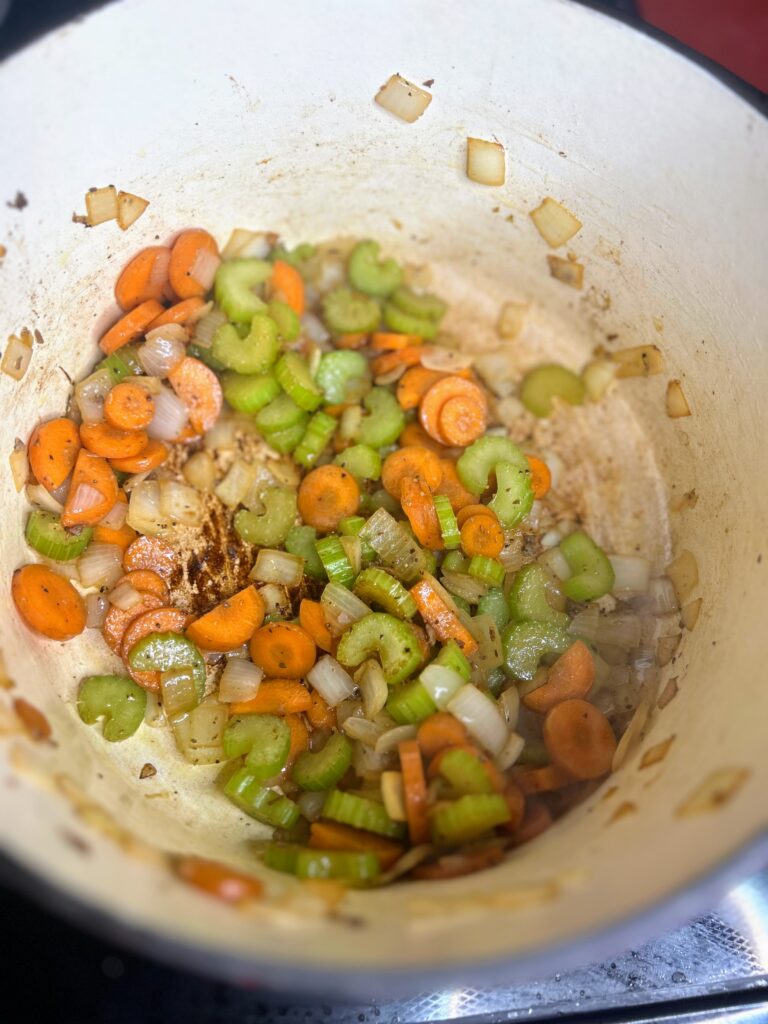
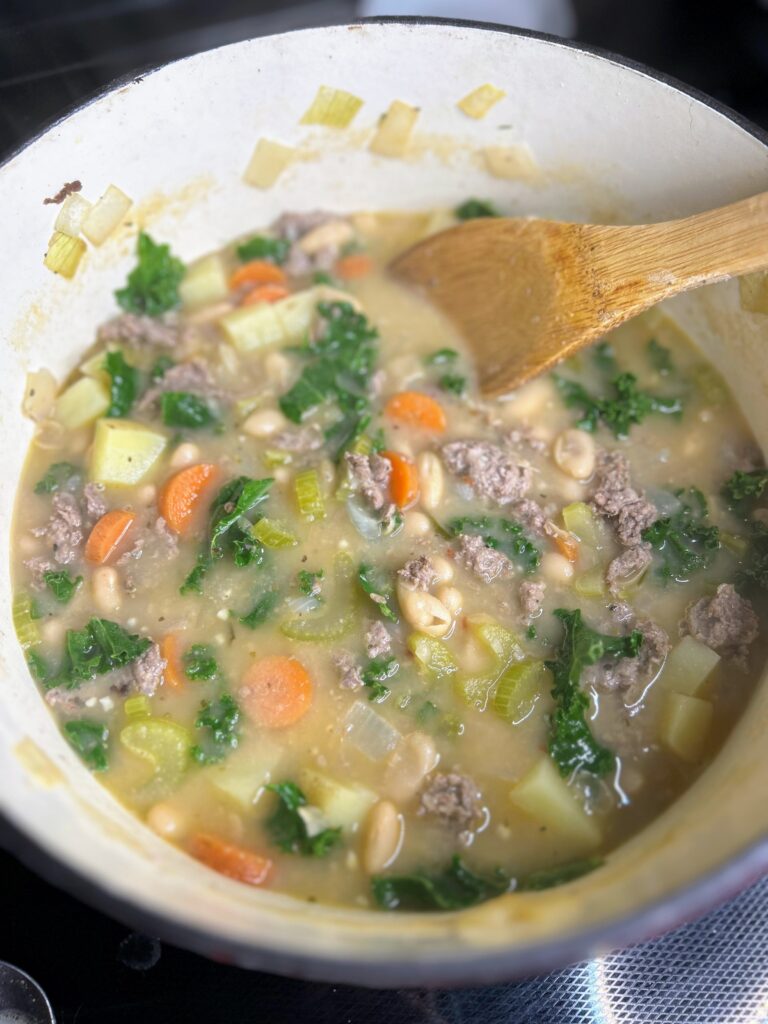
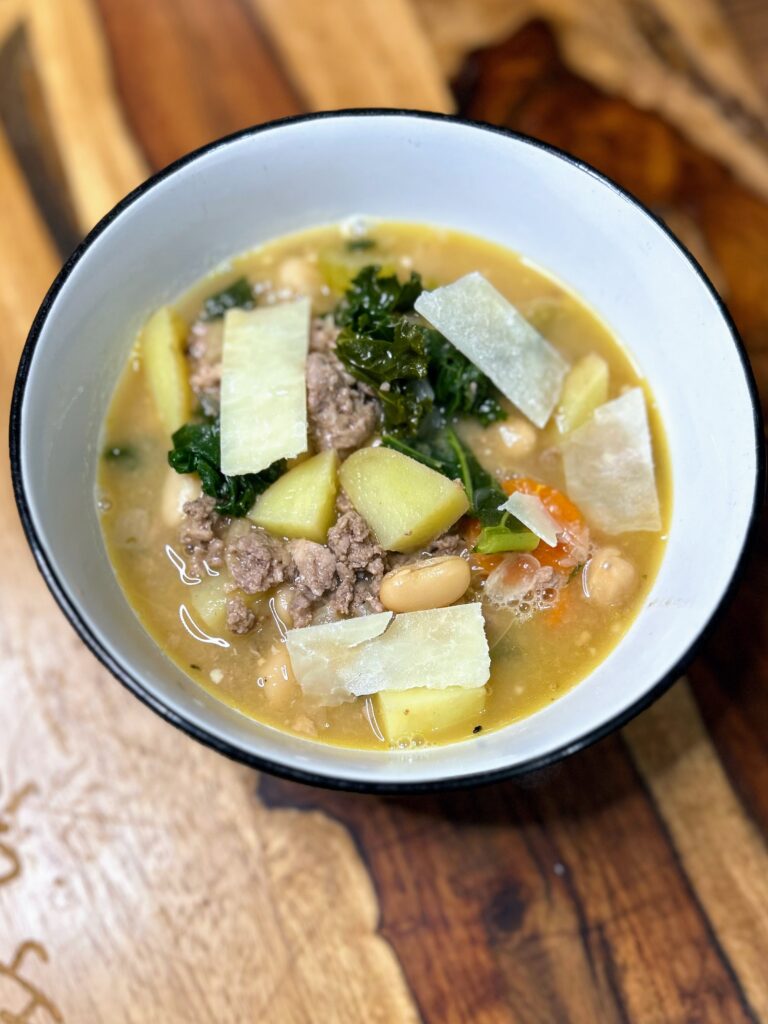
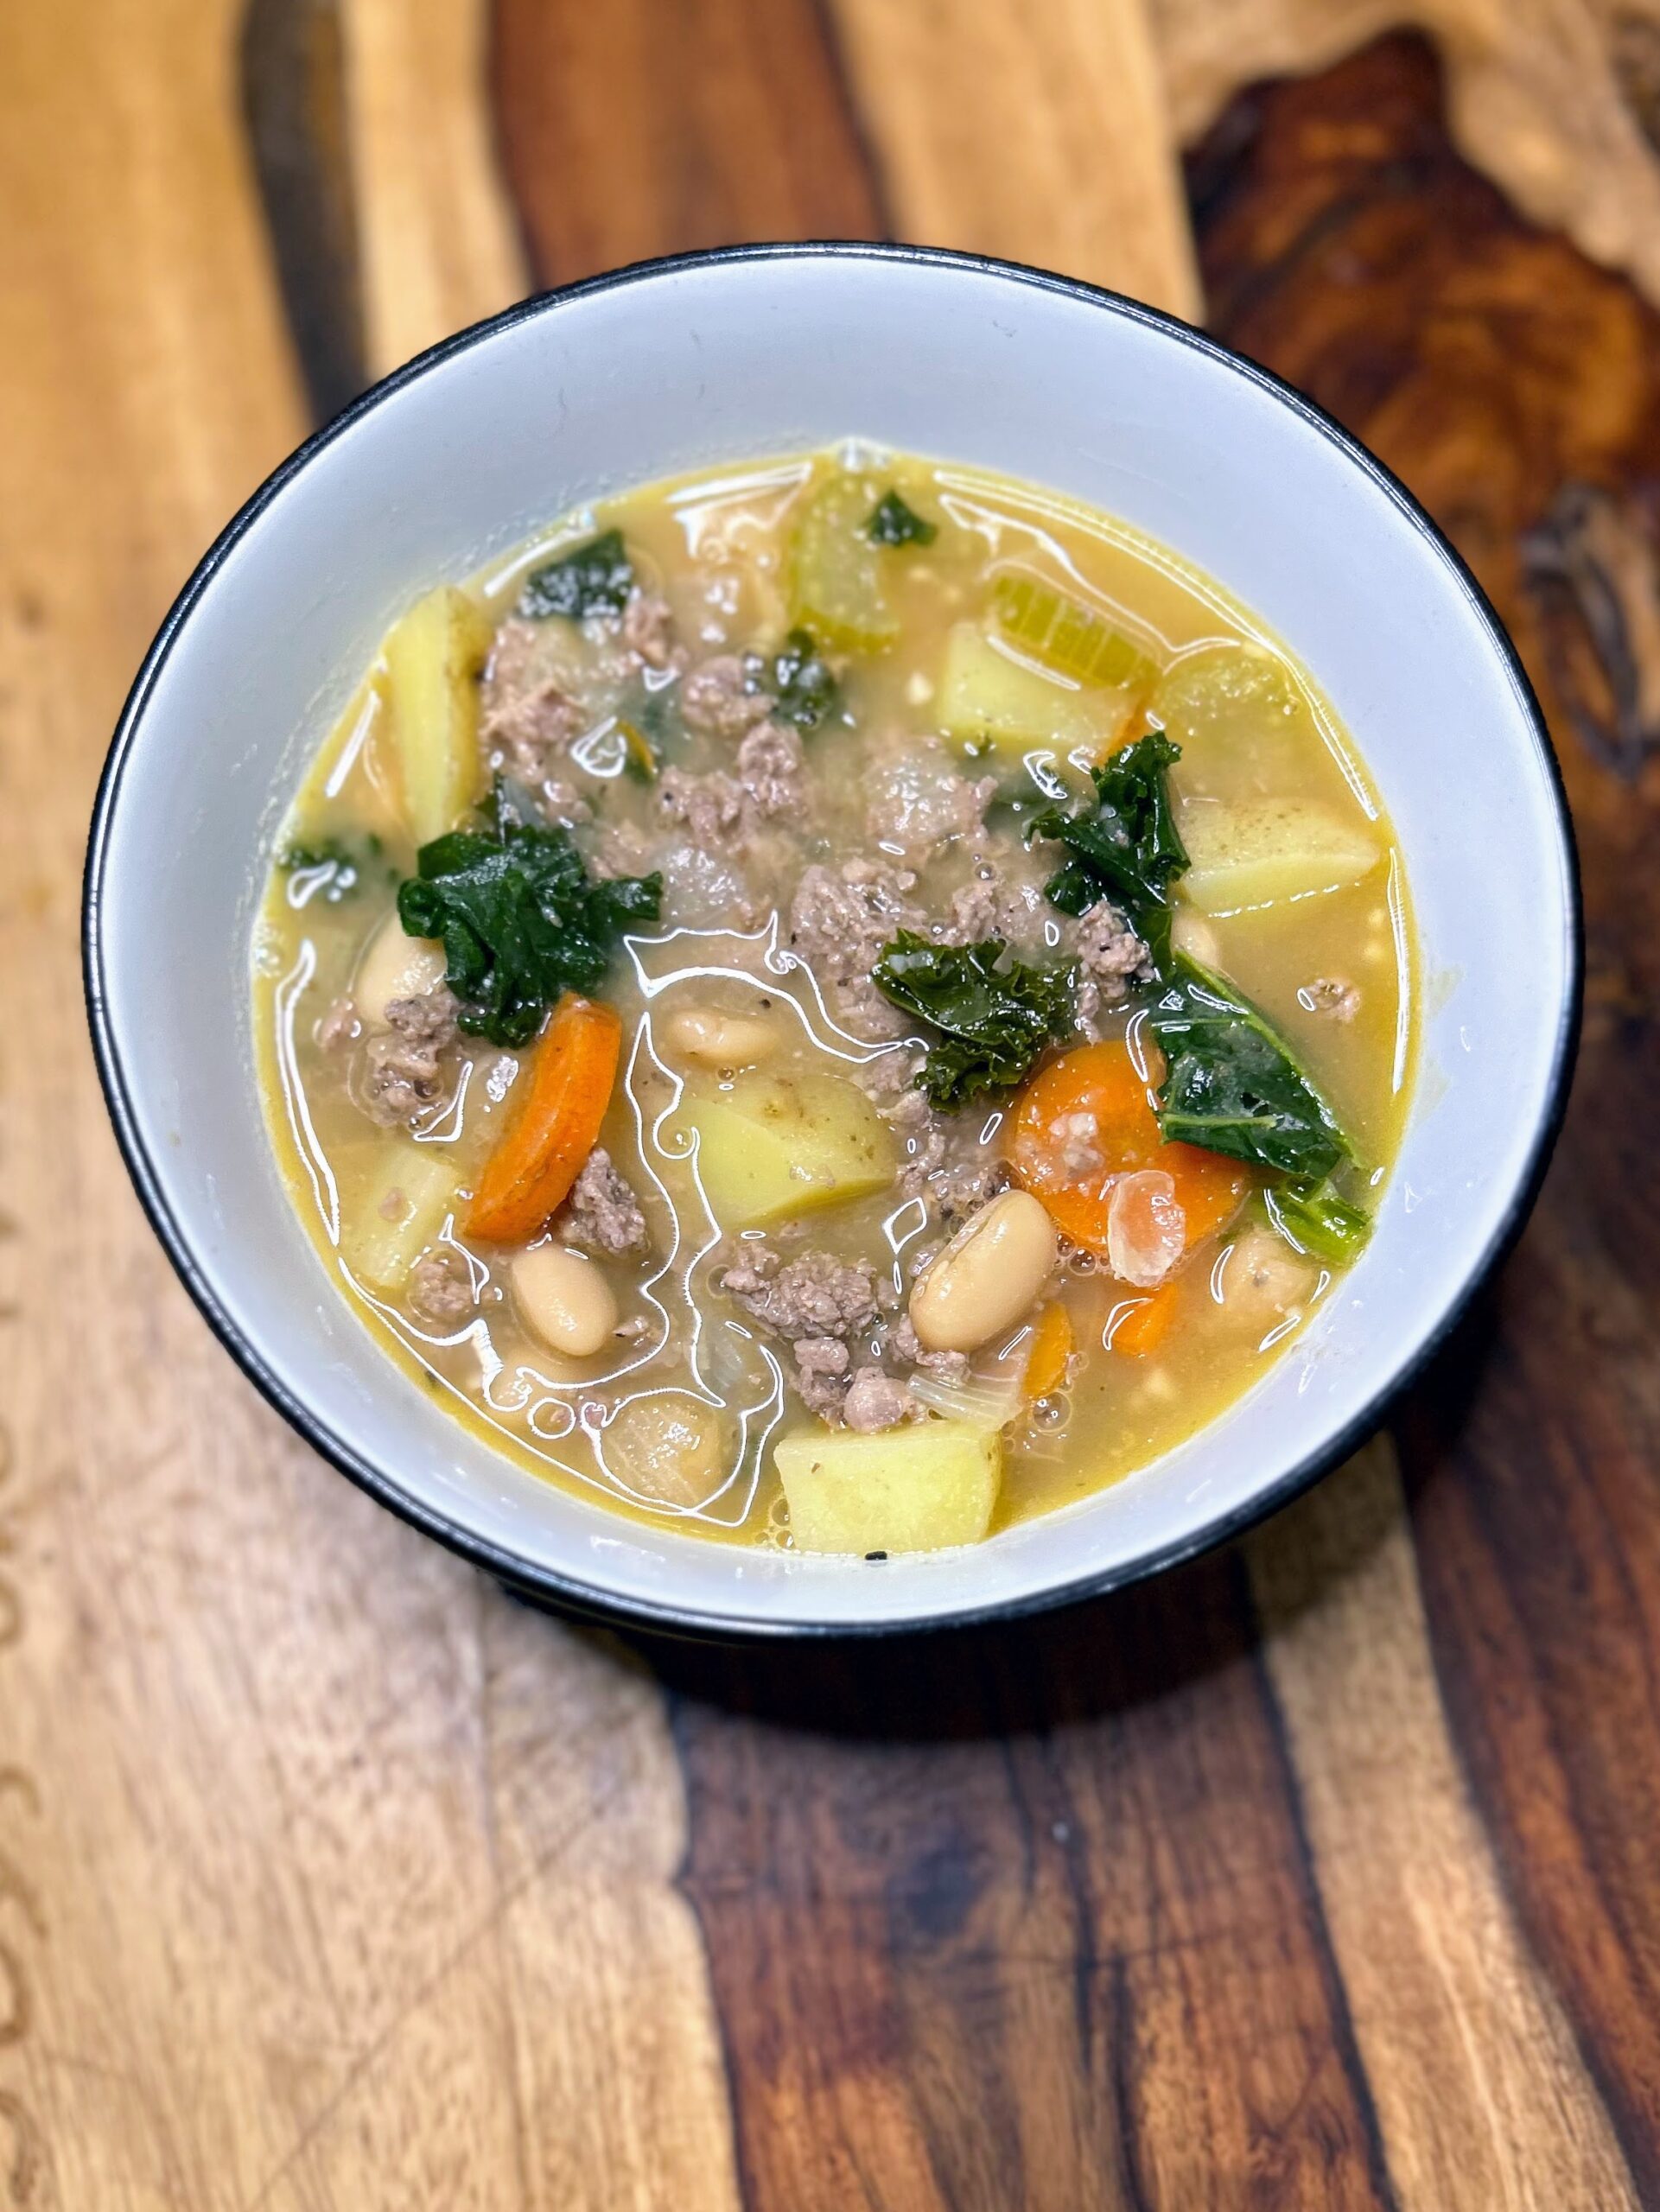
Once cooked through, remove browned sausage and drain. Add the olive oil to the Dutch oven and heat over medium. Once hot, add the diced onions, celery, and carrot. Cook until soft, about 7-10 minutes, stirring periodically. Add the garlic and cook for an additional 30 seconds. Add the diced potatoes, beans, pureed beans, and remaining chicken stock. Bring to a simmer and cook for 20-25 minutes, until the potatoes are soft. Add the kale and perhaps some shaved Parmesan as well as salt and pepper to taste. Cook for an additional 5 minutes,
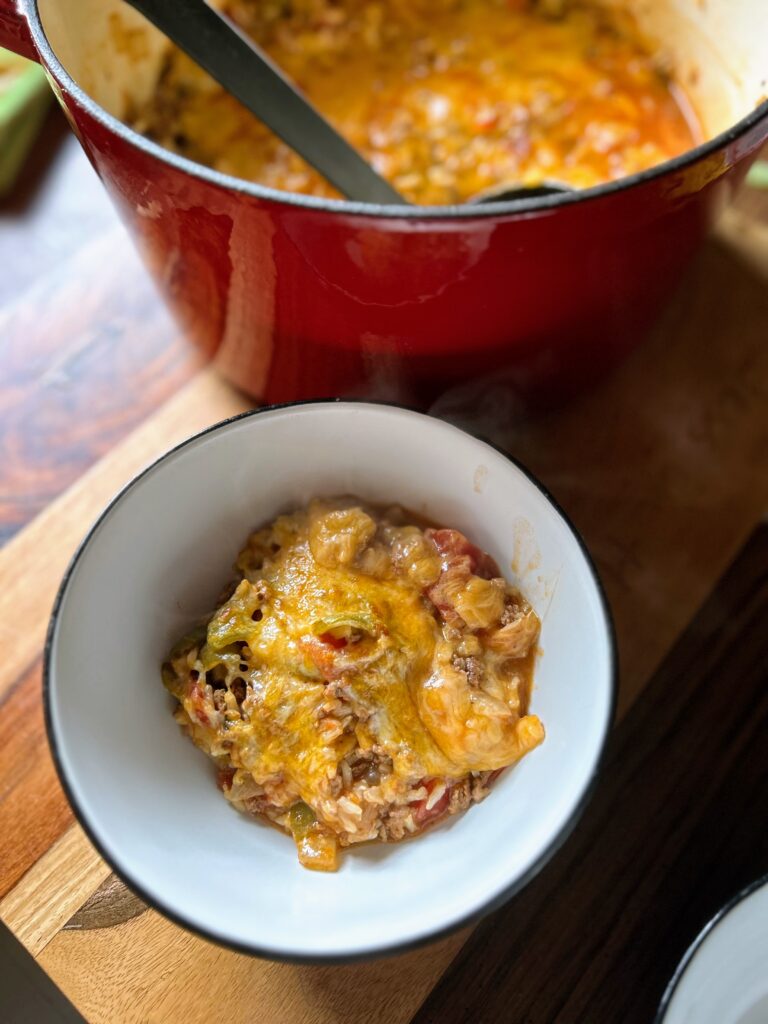
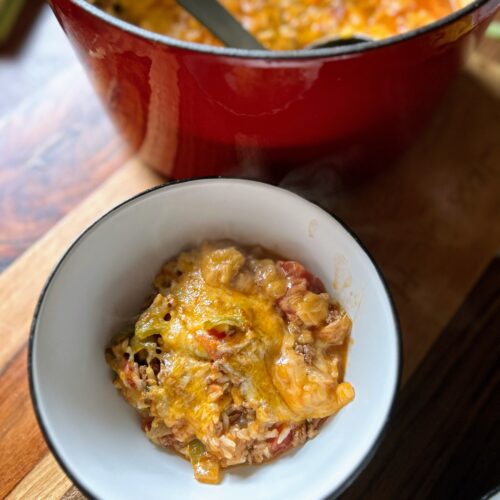
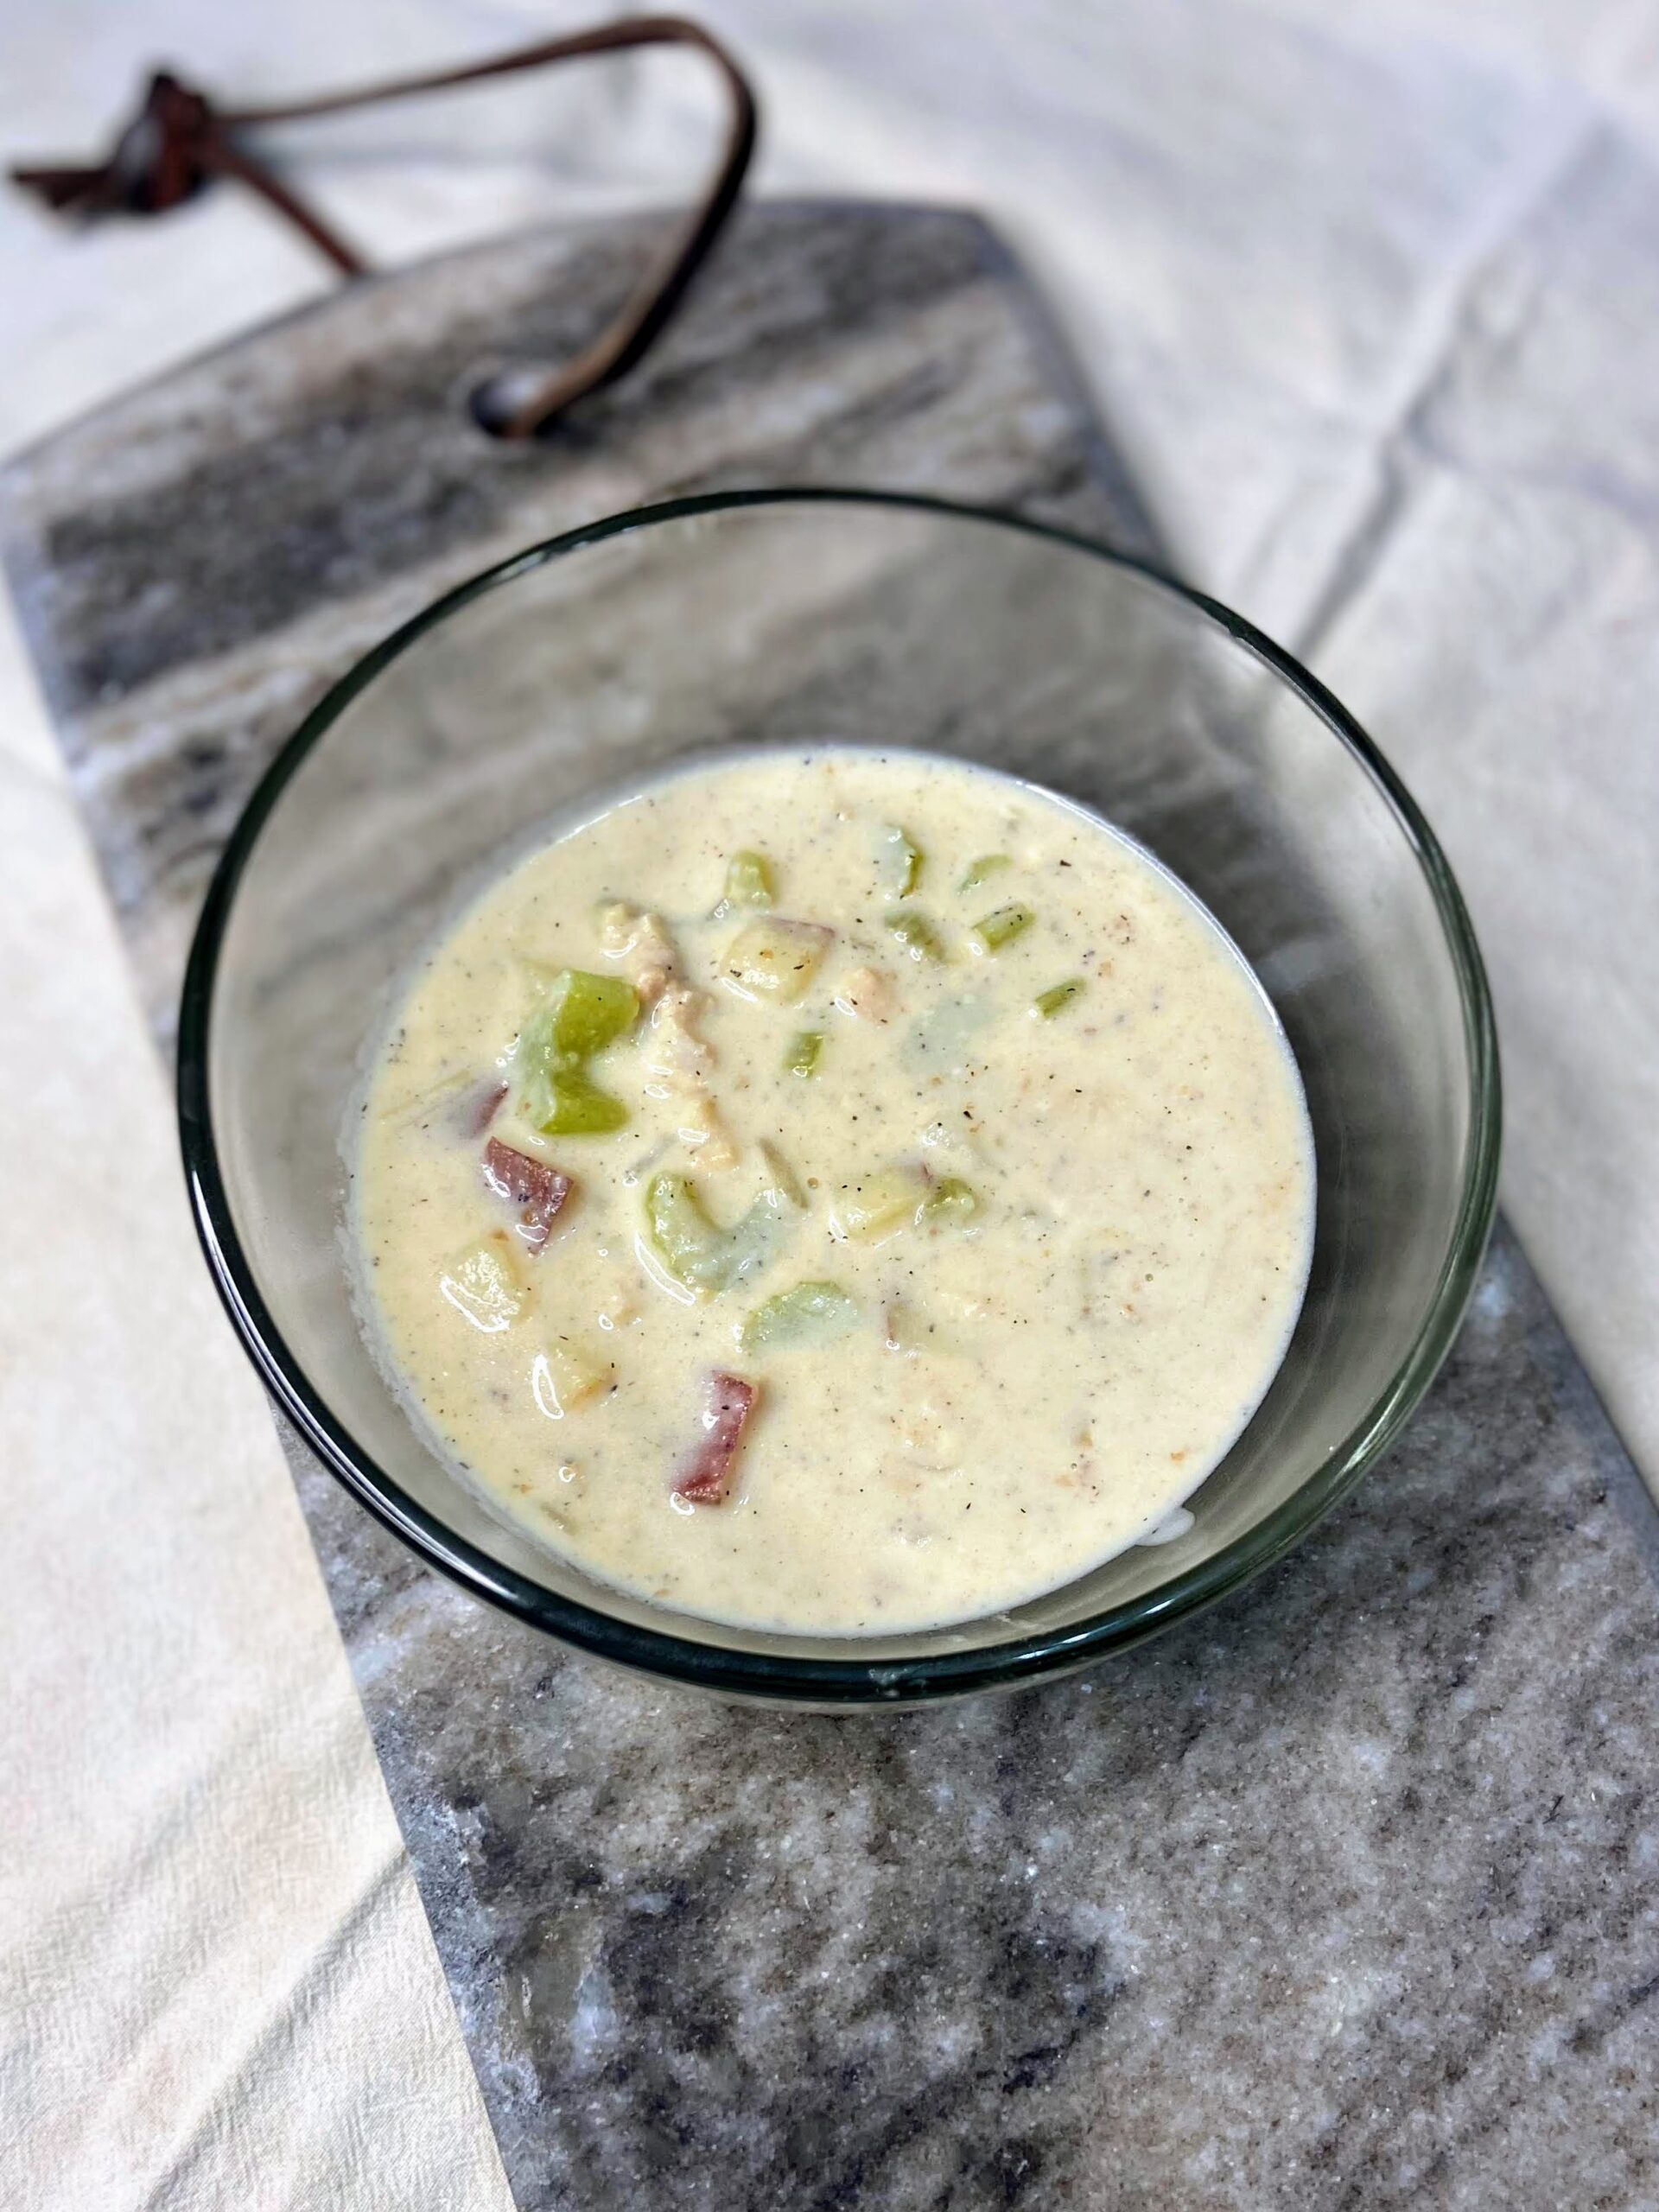
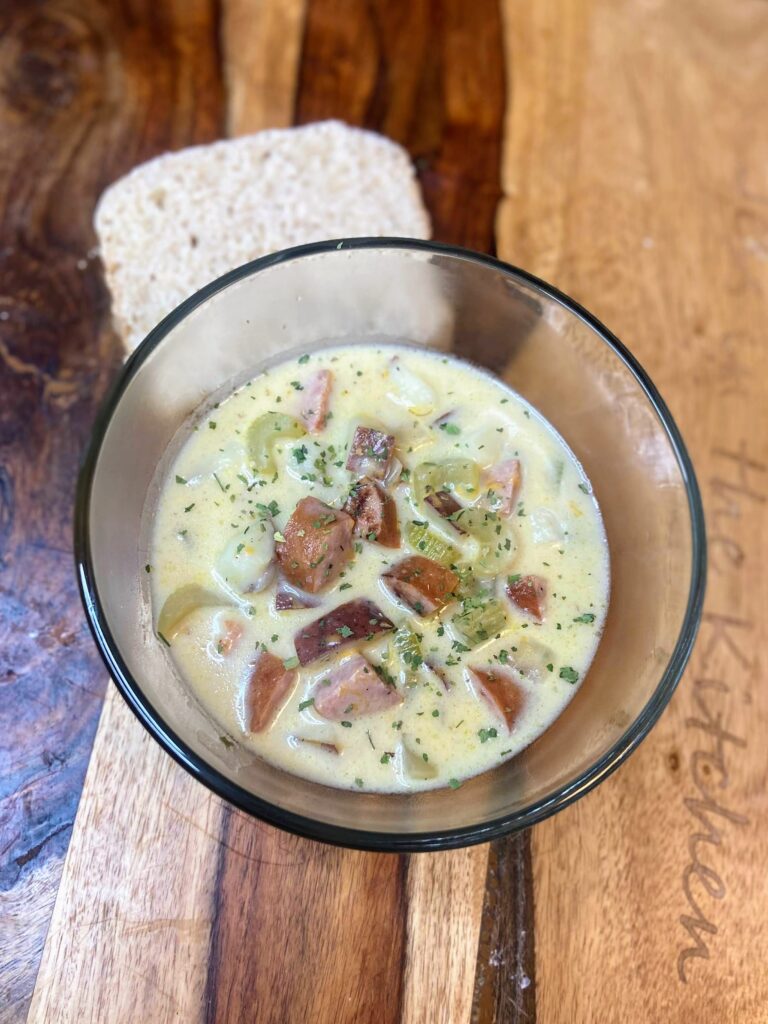
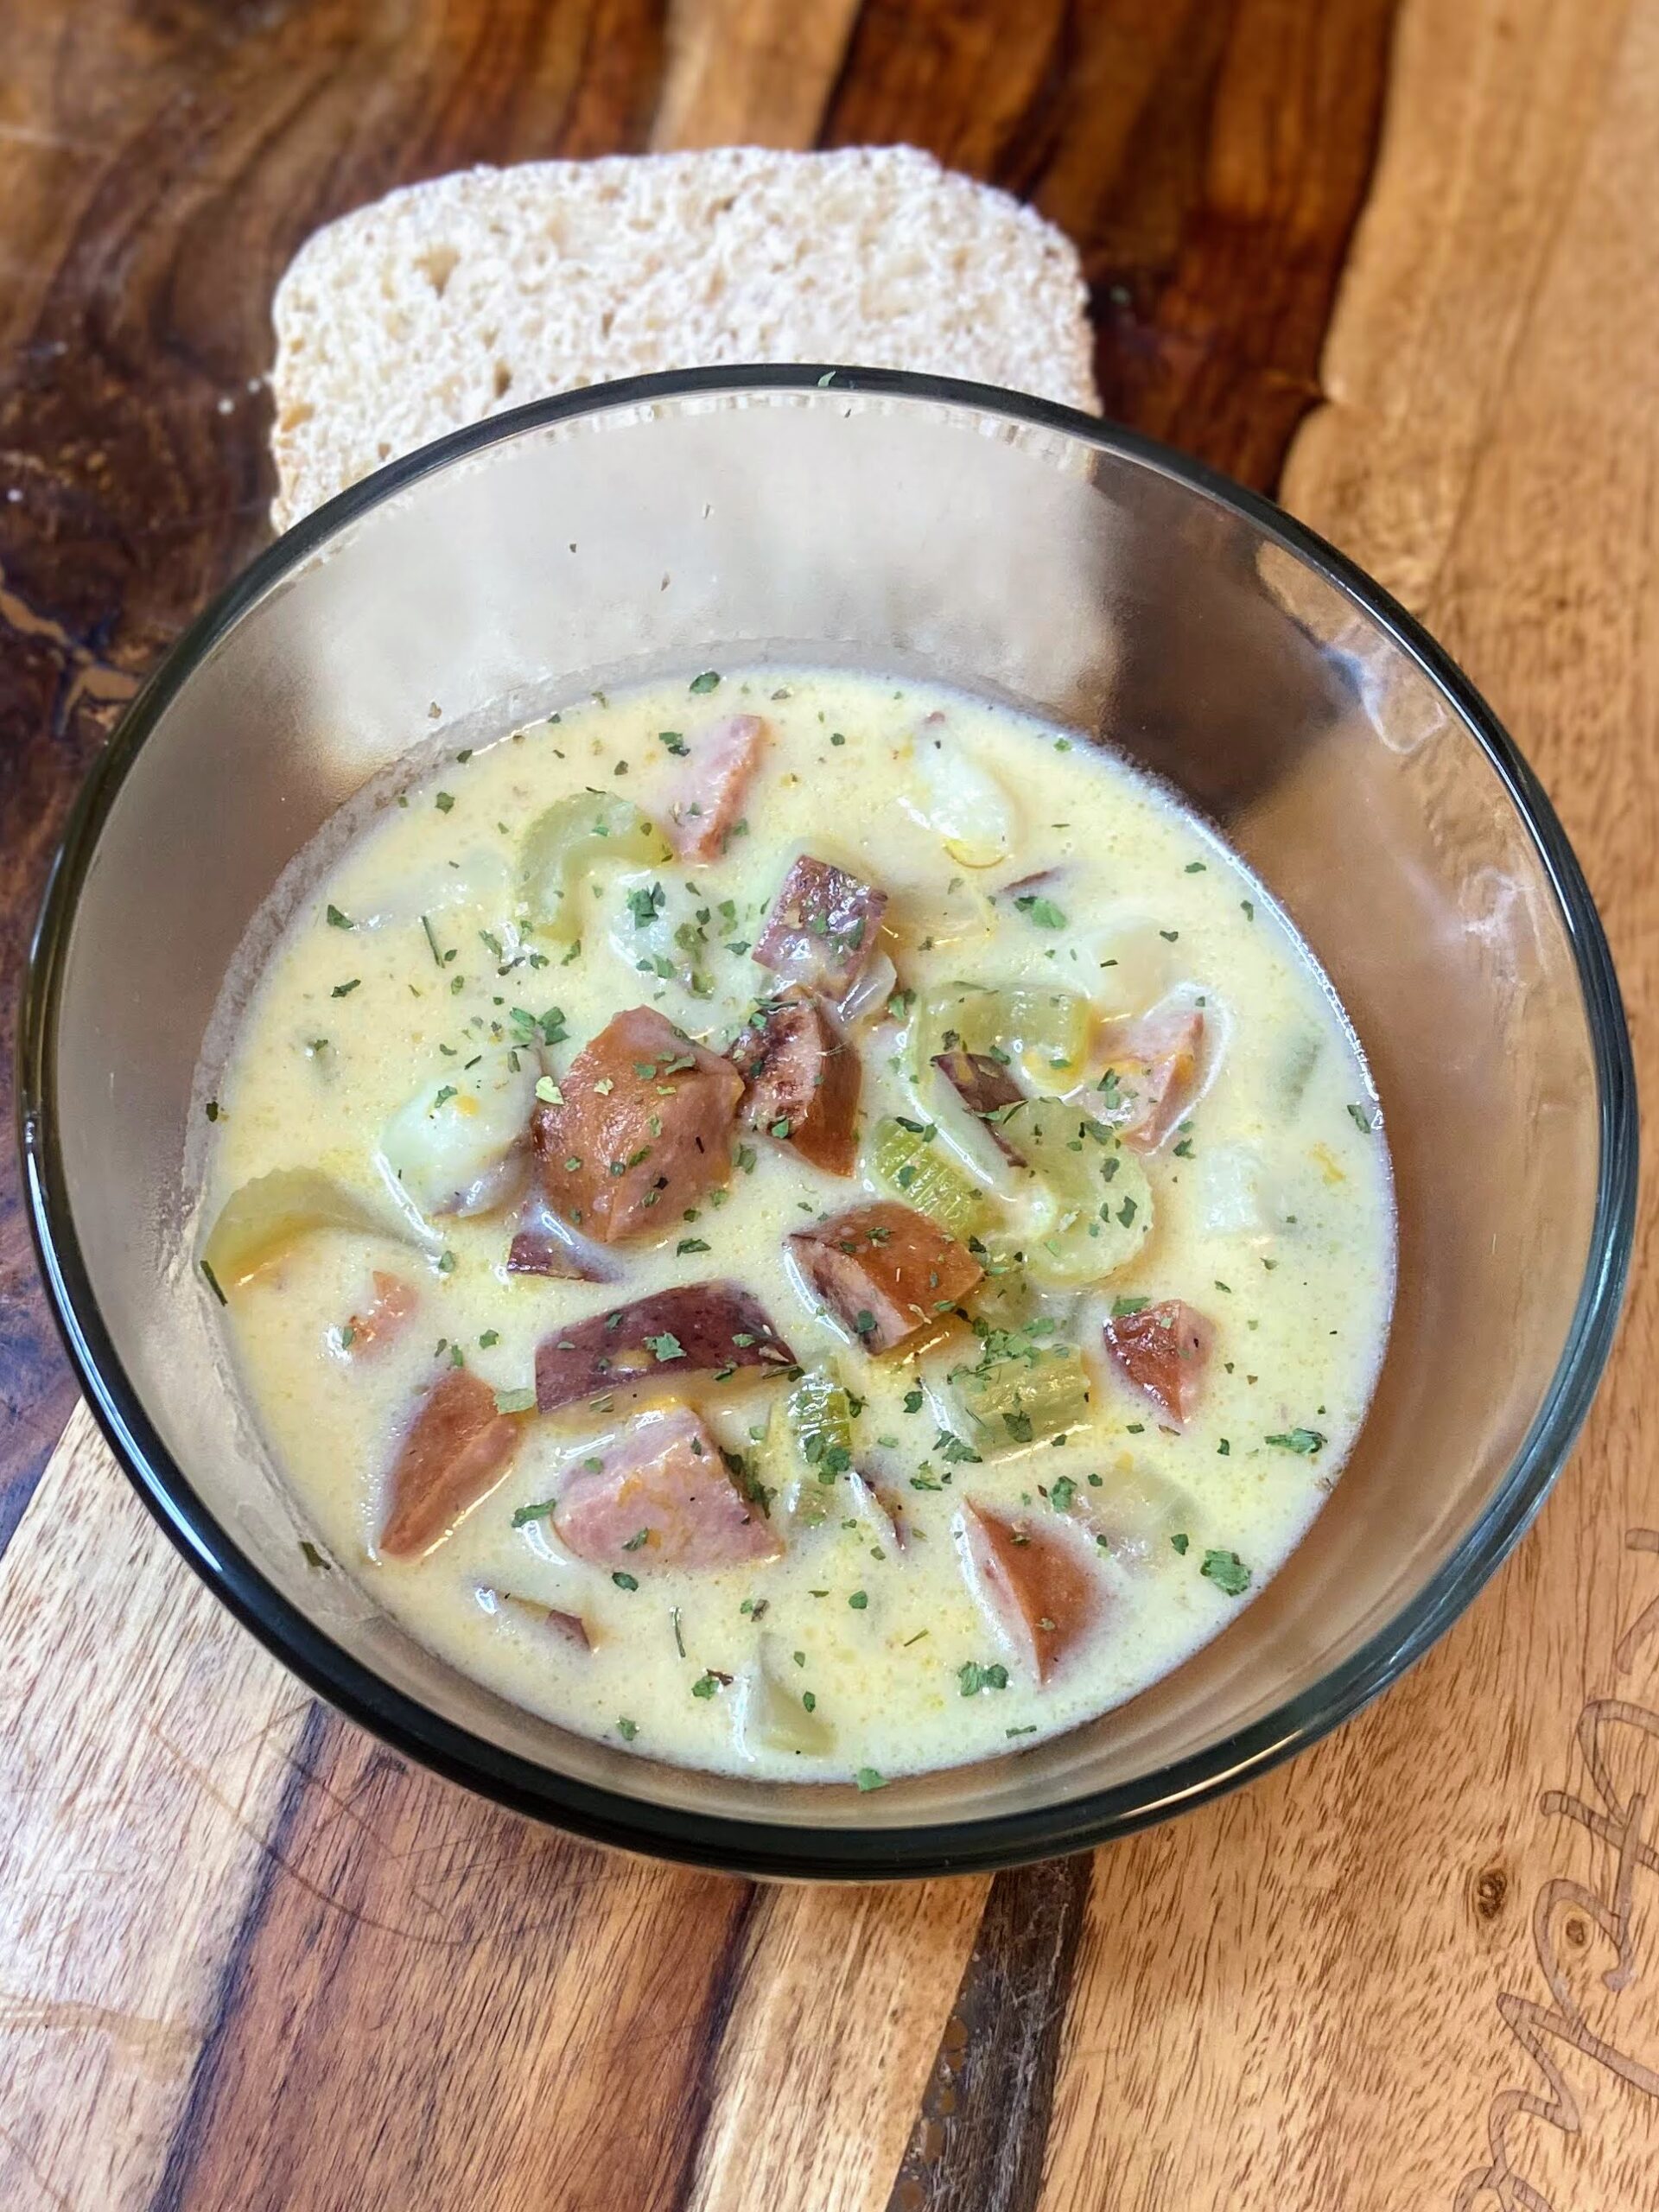
Serve with crusty bread, a salad, and additional shaved Parmesan.
Tools of the Trade
I love all things from the The Lodge Cast Iron, but most of all, I love my Dutch Oven; so much so that I actually own three of them! They are great for soups and stews as well as bread baking. They can go straight in the oven from the stove top and hold heat so well. A stick blender is awesome in this recipe as well!
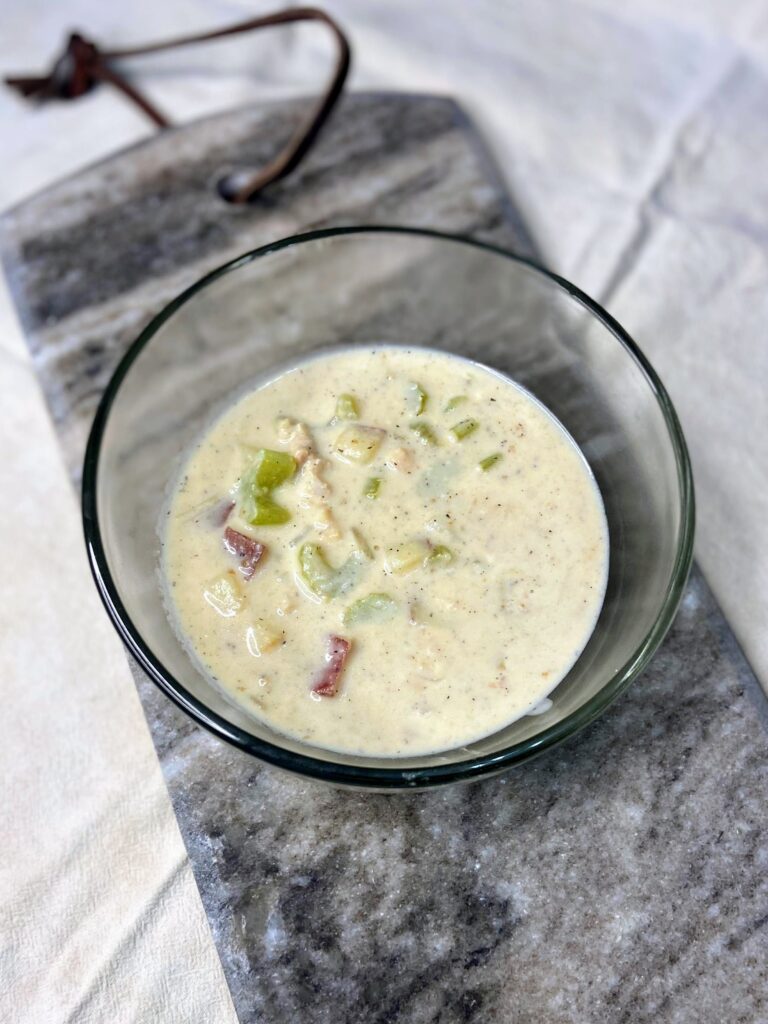
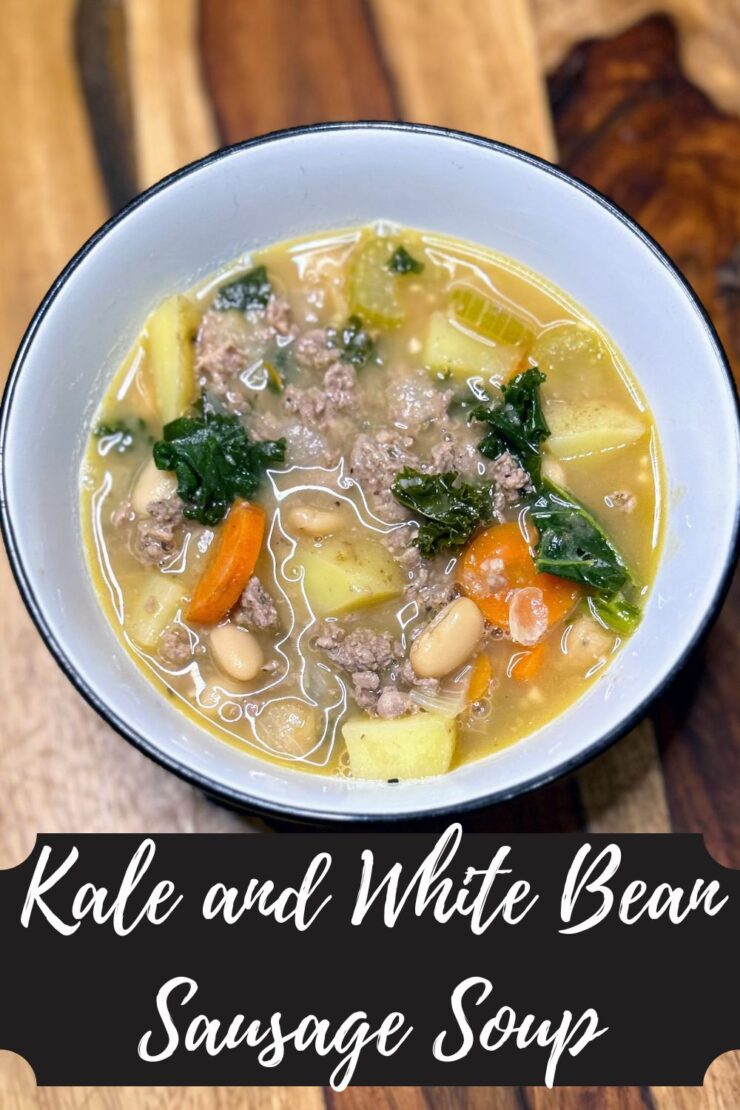
Kale and White Bean Sausage Soup
Ingredients
- 1 pound ground Italian sausage
- 3 cans cannellini beans rinsed
- 5 cups chicken stock
- 1 cup diced onion about two small onions
- 1 cup diced celery about two ribs
- 1 cup diced carrot
- 1 ½ cups diced potatoes I prefer Yukon gold
- 4 cloves garlic minced
- 2 cups kale
- 2 tablespoons olive oil
- Salt and pepper to taste
- Shaved Parmesan cheese optional
Instructions
- Begin to heat a large dutch oven over medium-high heat. Add Italian sausage and brown. (Option to add a bit of oil to the pan before you add the sausage. I find that it helps keep the sausage from sticking.)
- Meanwhile, dice the onion, celery, carrots, and potatoes. Additionally, drain and rinse the cannellini beans.
- Combine 1 ½ cans of beans and about 1 cup of chicken stock. Blend with a stick (hand) blender.
- Once cooked through, remove browned sausage and drain. Add the olive oil to the Dutch oven and heat over medium. Once hot, add the diced onions, celery, and carrot. Cook until soft, about 7-10 minutes, stirring periodically.
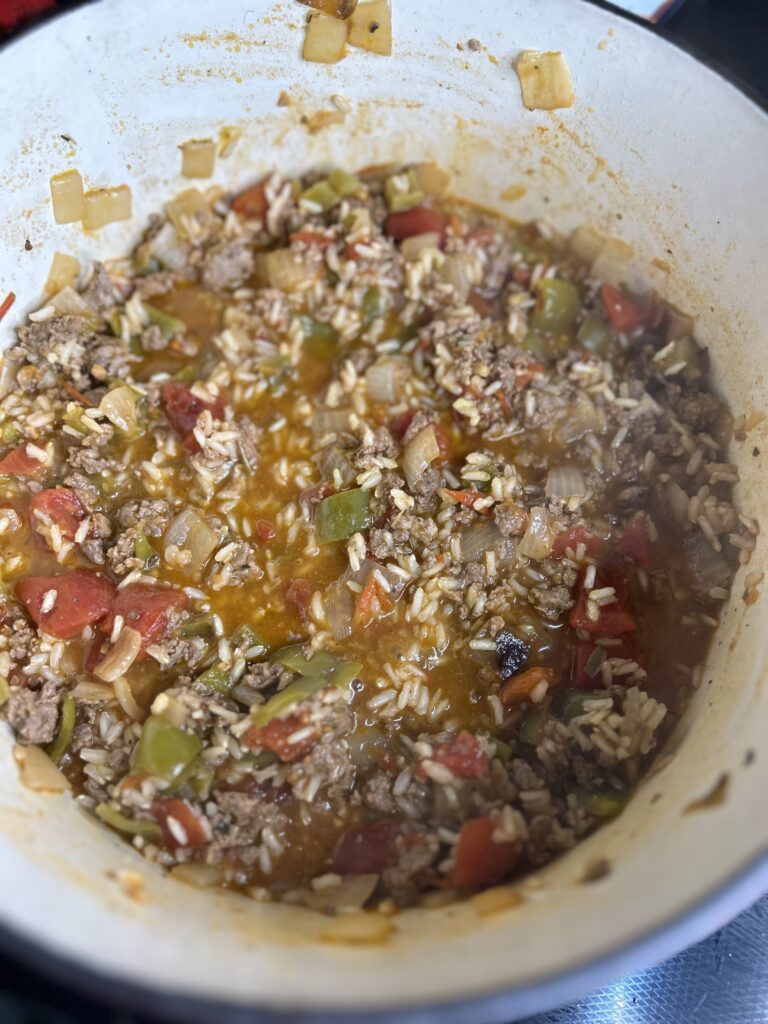
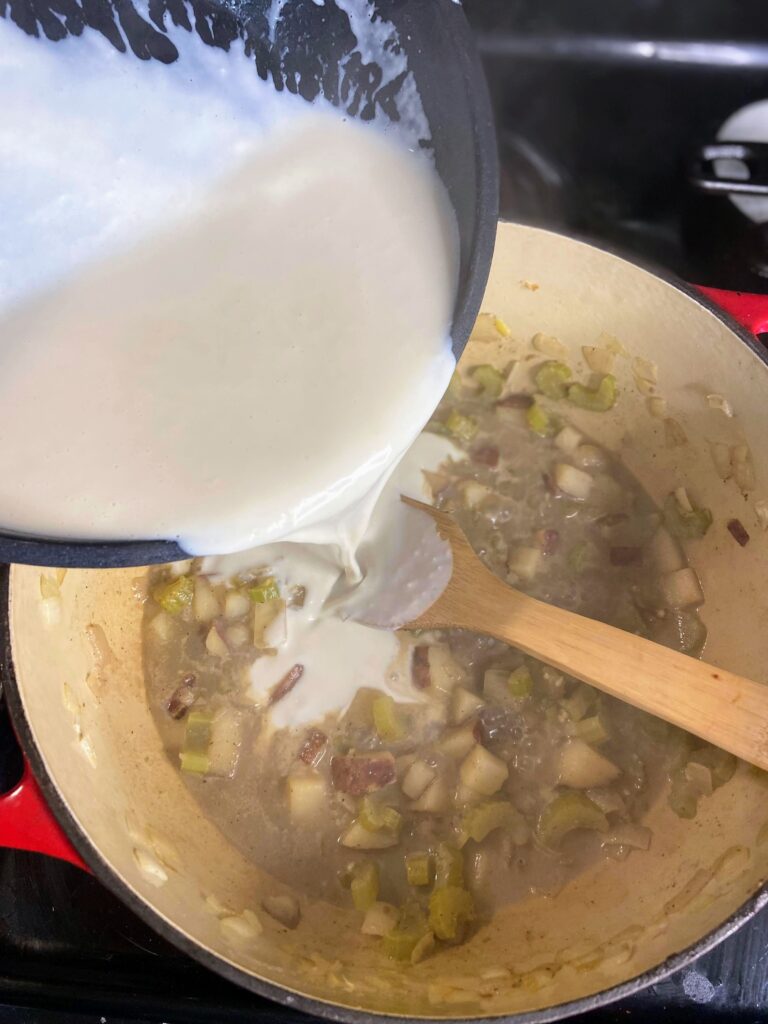
- Add the garlic and cook for an additional 30 seconds. Add the diced potatoes, beans, pureed beans, and remaining chicken stock.
- Bring to a simmer and cook for 20-25 minutes, until the potatoes are soft. Add the kale and shaved Parmesan (optional) as well as salt and pepper to taste. Cook for an additional 5 minutes, until the kale is soft.
- Serve with a salad and crusty bread.
Loved the Kale and White Bean Sausage SOup and Want more?
Check out my cooking page for all sorts of dinner inspiration! Or perhaps some of my favorites will tickle your fancy.