This Korean BBQ Inspired Beef with Broccoli has been are recipe that has hung out on my Instagram page for a long time and is an ultimate go to dinner for our family when time is short. Sitting down together for meals is incredibly important to everyone in our house, but basketball, baseball, barre classes, and the like can make that challenging. This complete meal can be done in under 25 minutes (depending on your rice) and provides a healthy and nutritious meal everyone can love!
What I love best about it (besides the flavor of course!) is that it truly can be a pantry meal that gets thrown together last minute. We are a hunting family which means our freezer is full of home-ground venison, which is what we use in place of ground beef 90% of the time. We always have Minute Rice on hand (they make a great brown rice), and if we don’t have fresh broccoli, we will definitely have some frozen. As long as we don’t run out of the sauce ingredients, we are golden and can make this any day of the week.
Also, I ADORE these steamer bags by Ziploc. It allows us to quickly cook up some broccoli (fresh or frozen) without heating up the house. We use them for cooking vegetables on a regular basis!
Ready to get cooking?! Let’s go!
Your Ingredients For Korean BBQ Inspired Beef and Broccoli
- 1 pound ground protein (beef, venison, turkey)
- ¼ cup low sodium soy sauce
- ⅛ cup water
- ¼ cup brown sugar
- ¼ teaspoon ginger
- 2 teaspoons sesame oil
- Red pepper flakes, to taste
- 3 cloves garlic
- 4-6 servings brown rice, cooked
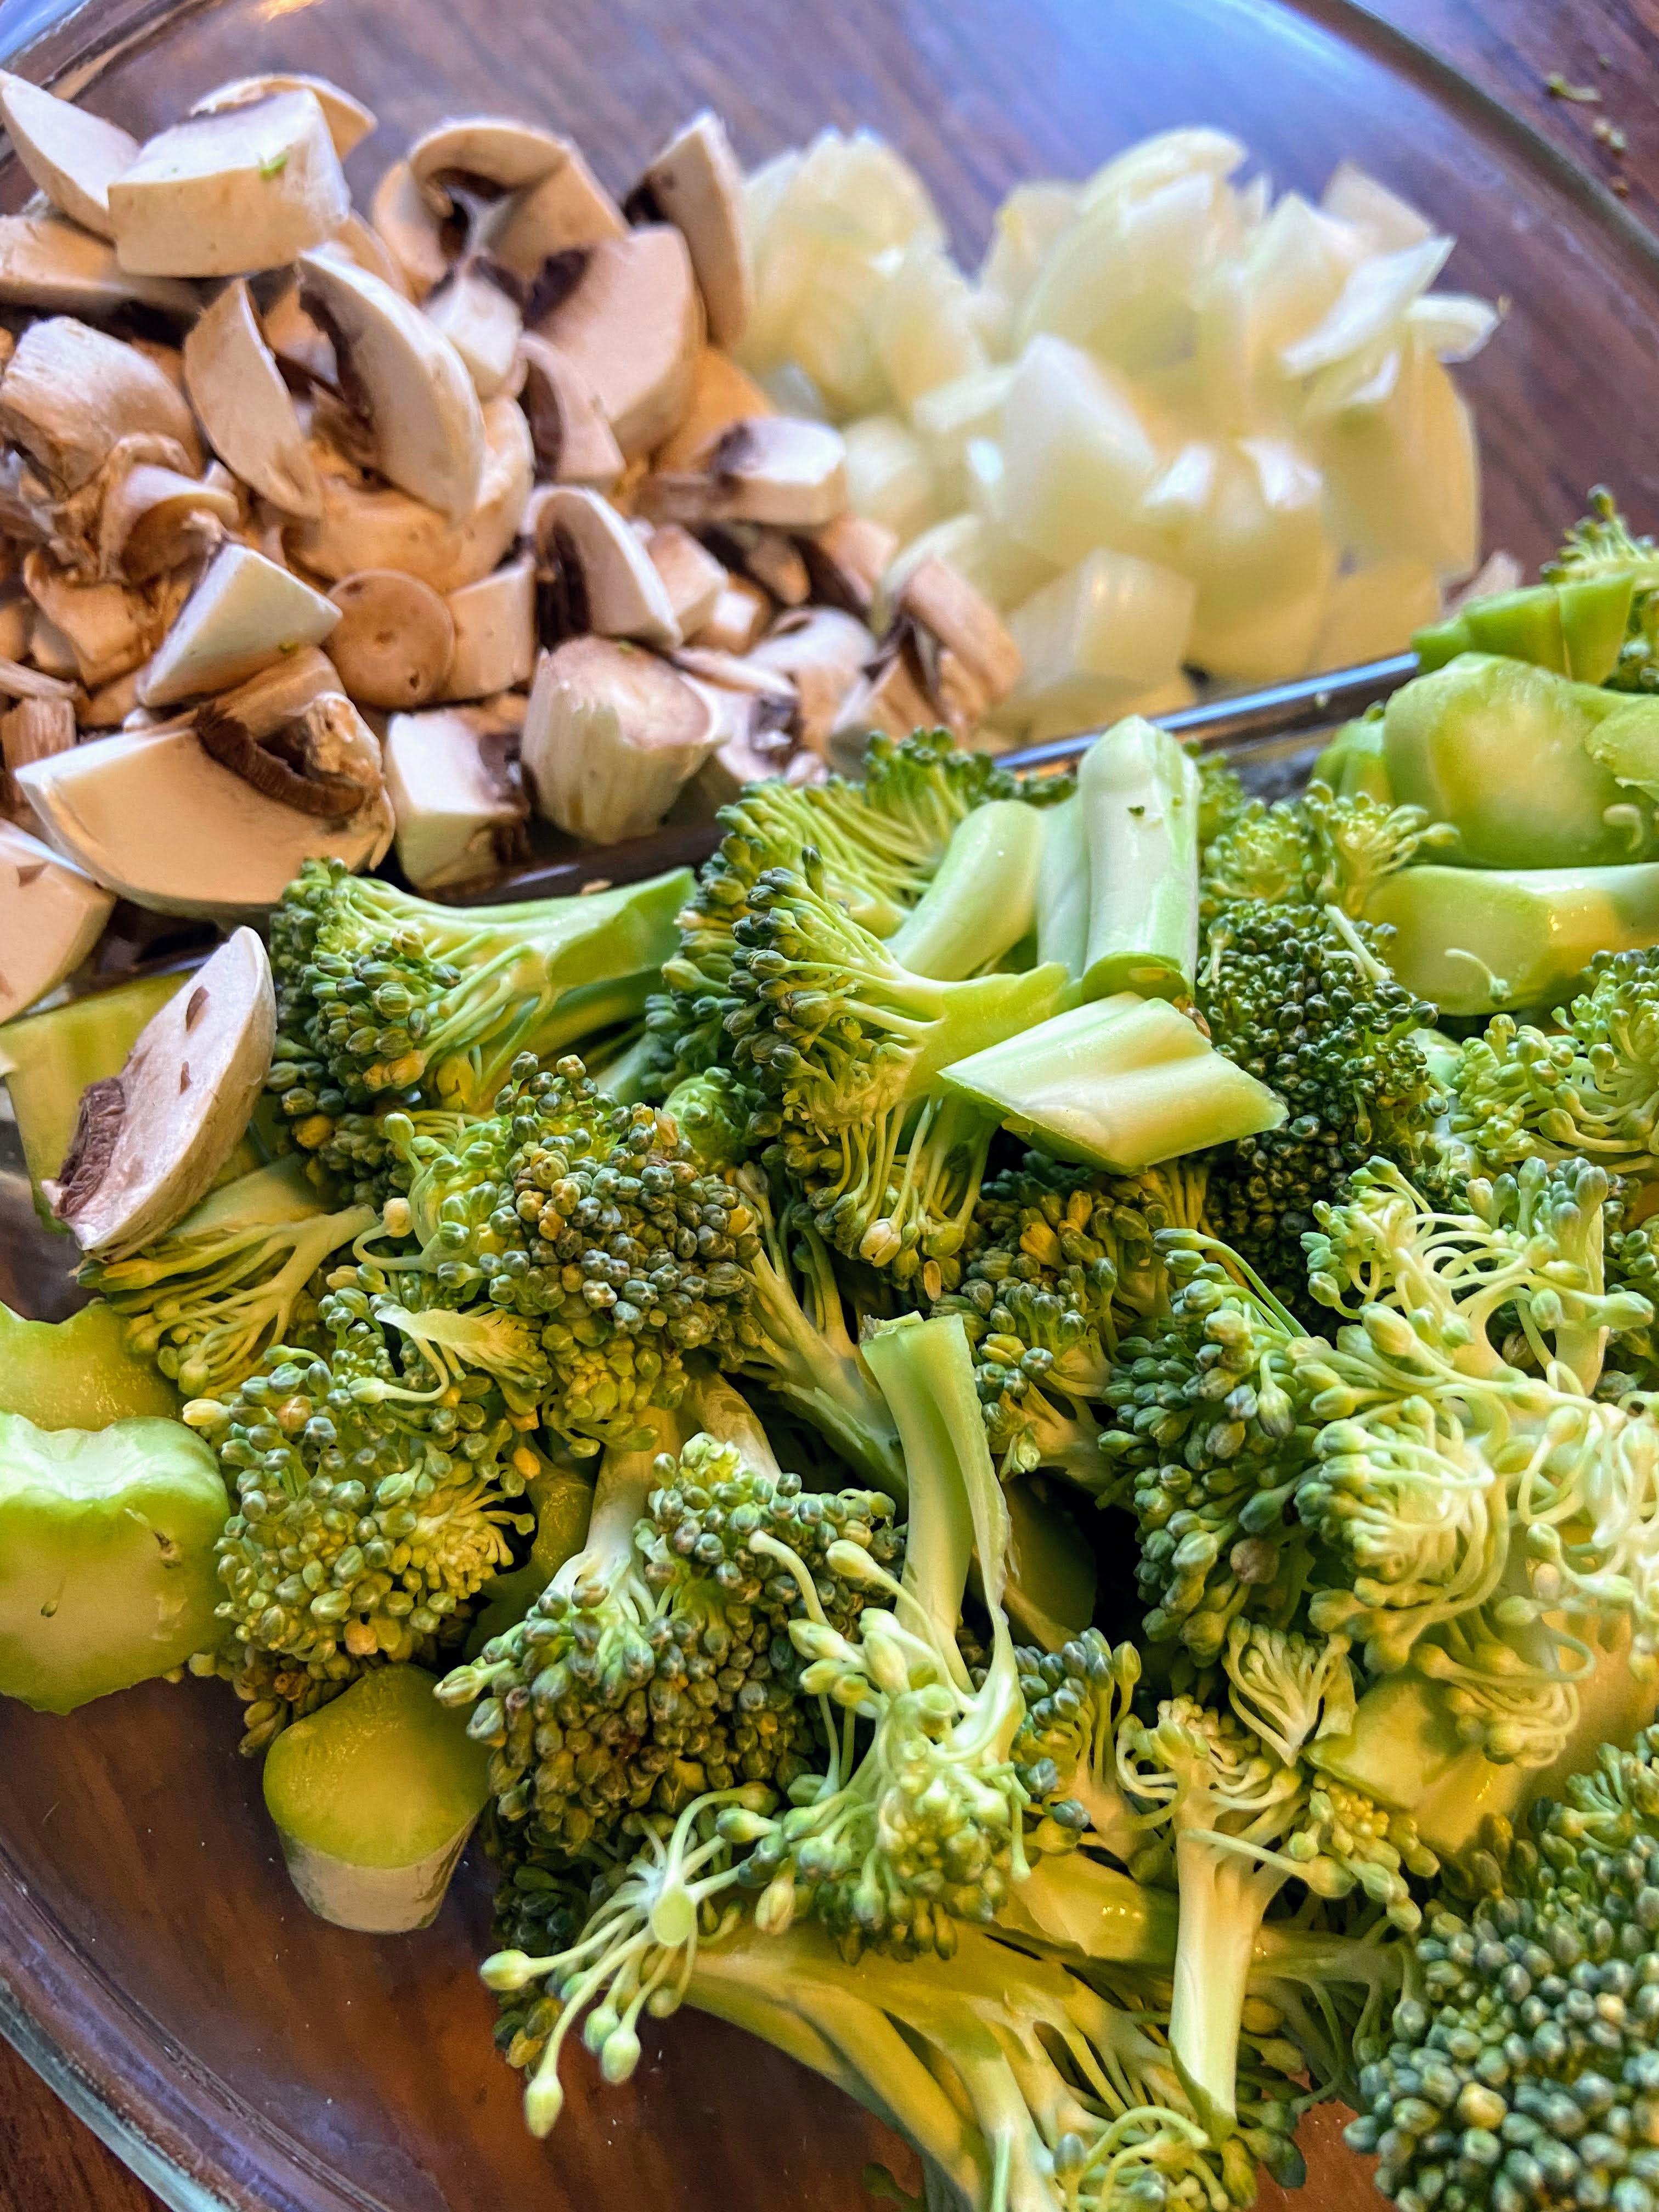
- Two heads of broccoli, chopped into bite size pieces (four servings frozen broccoli florets)
- Sesame seeds
Your Steps
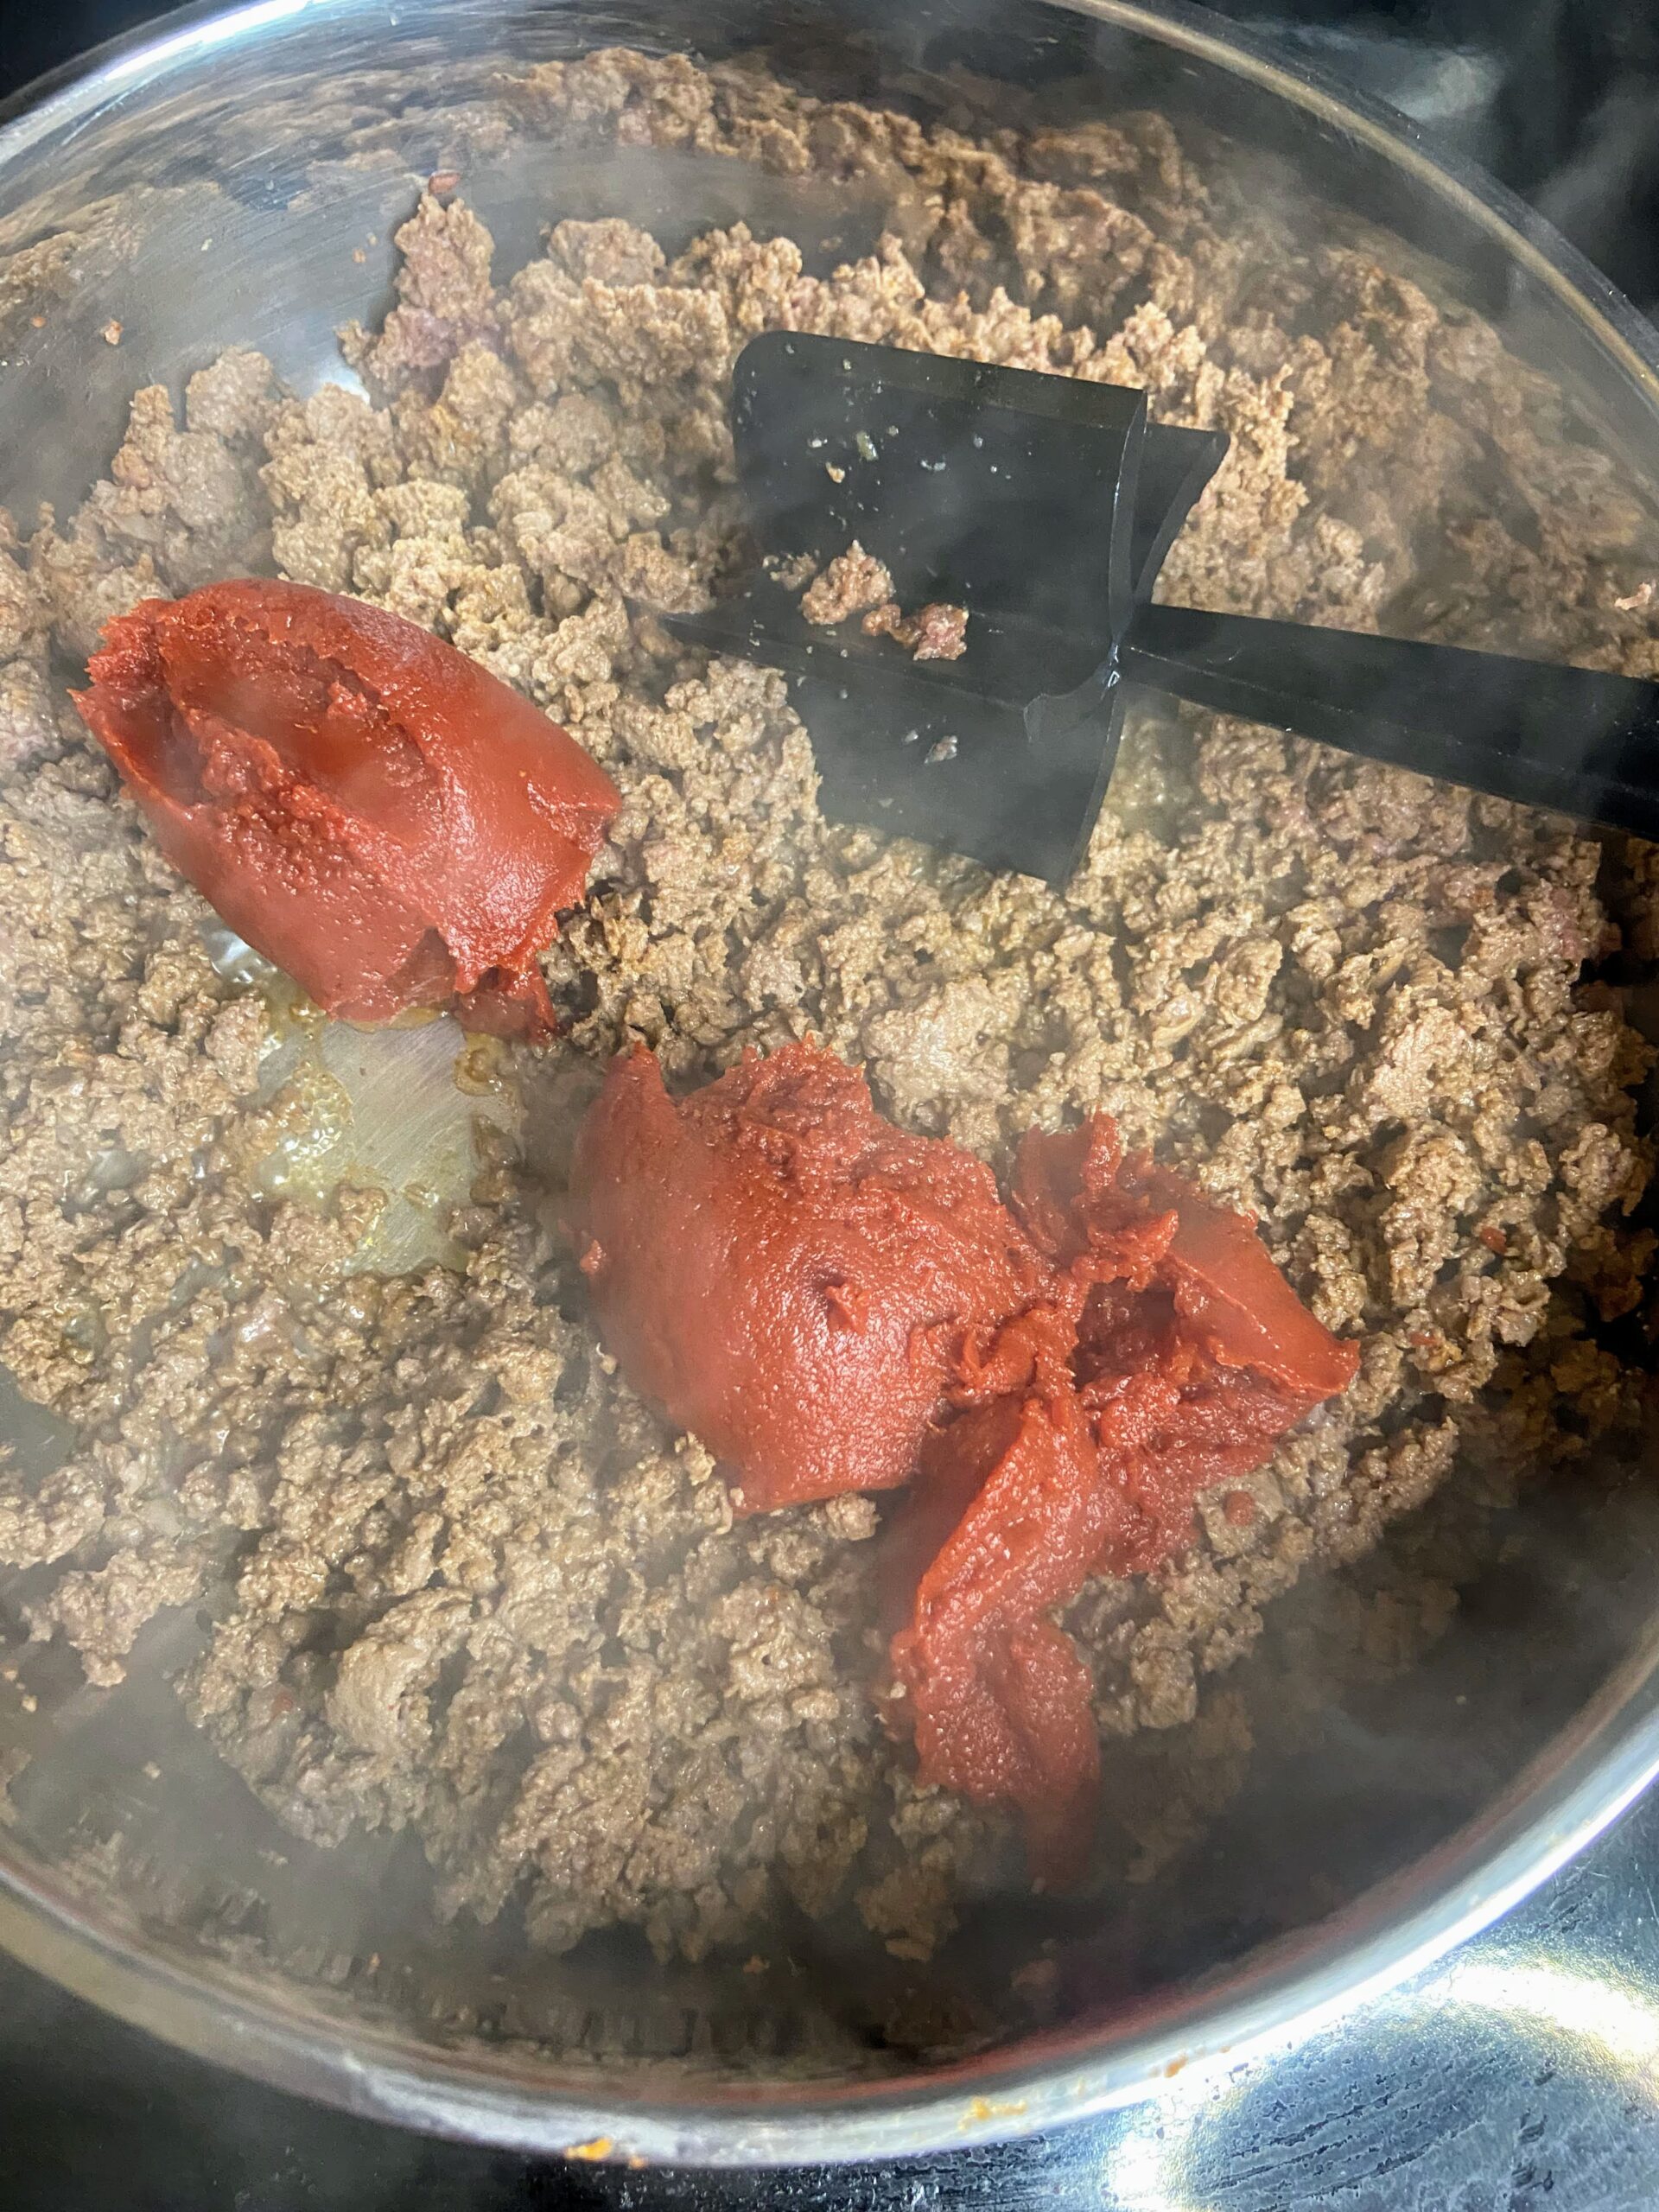
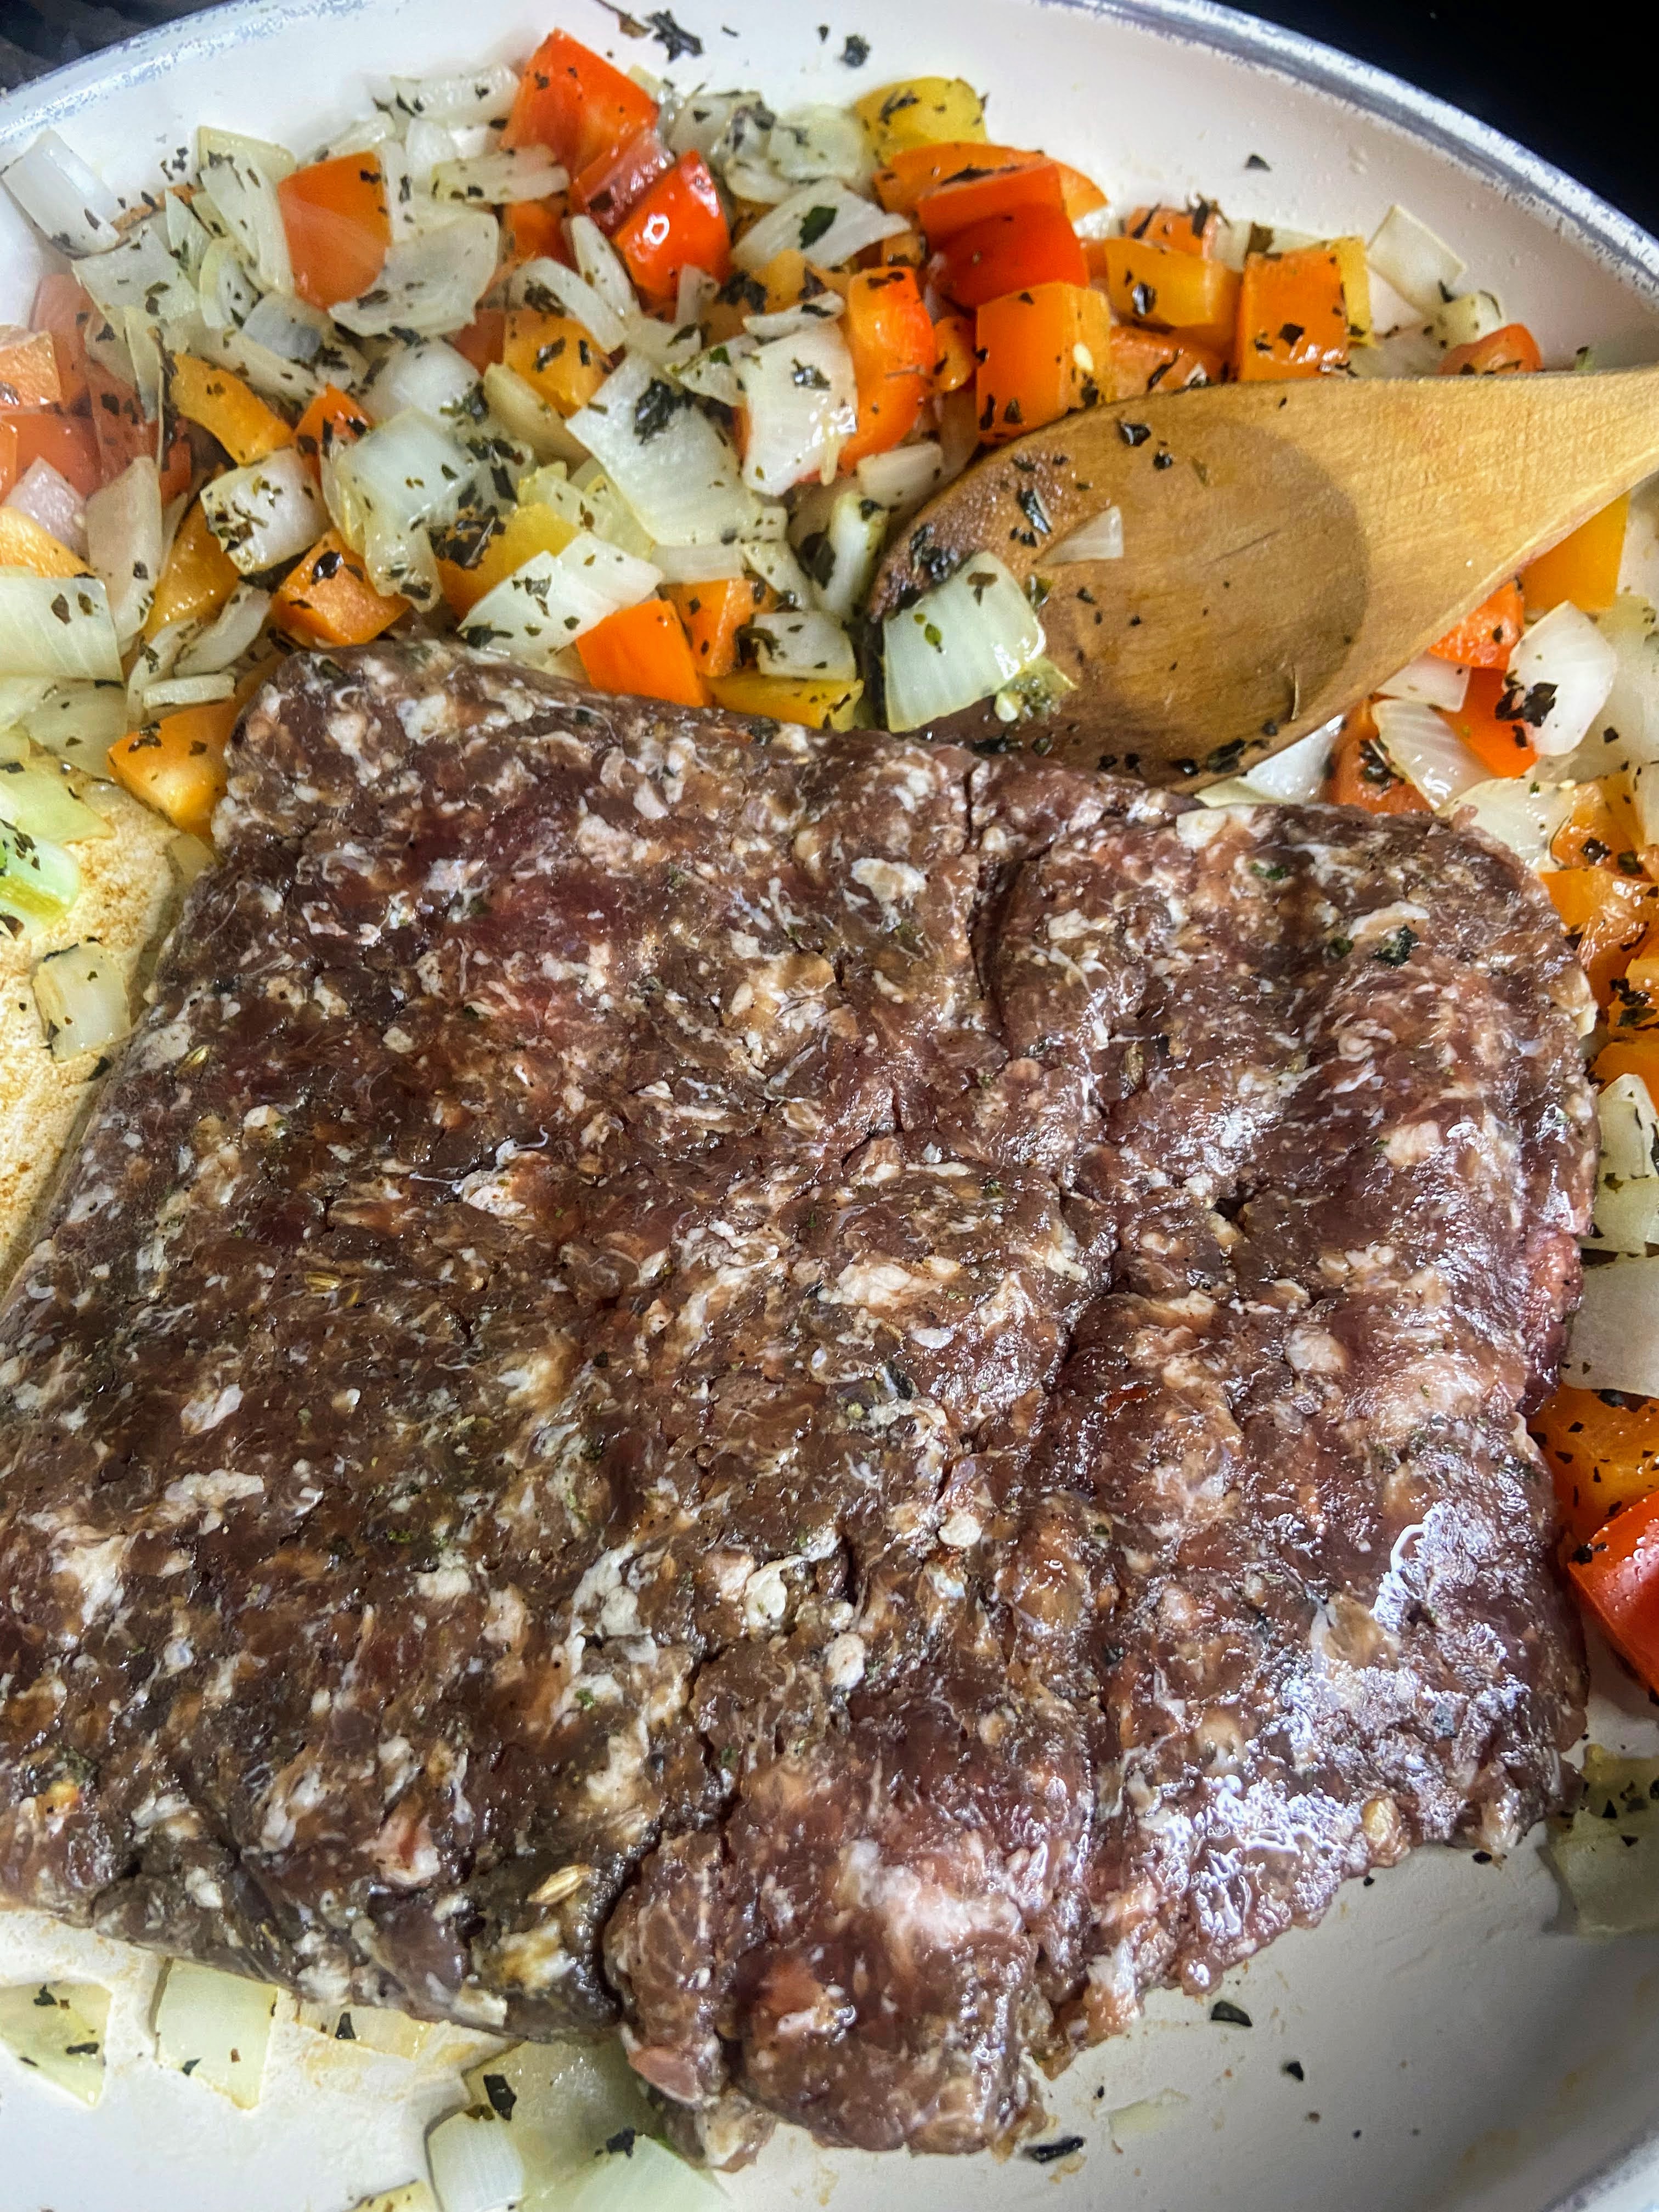
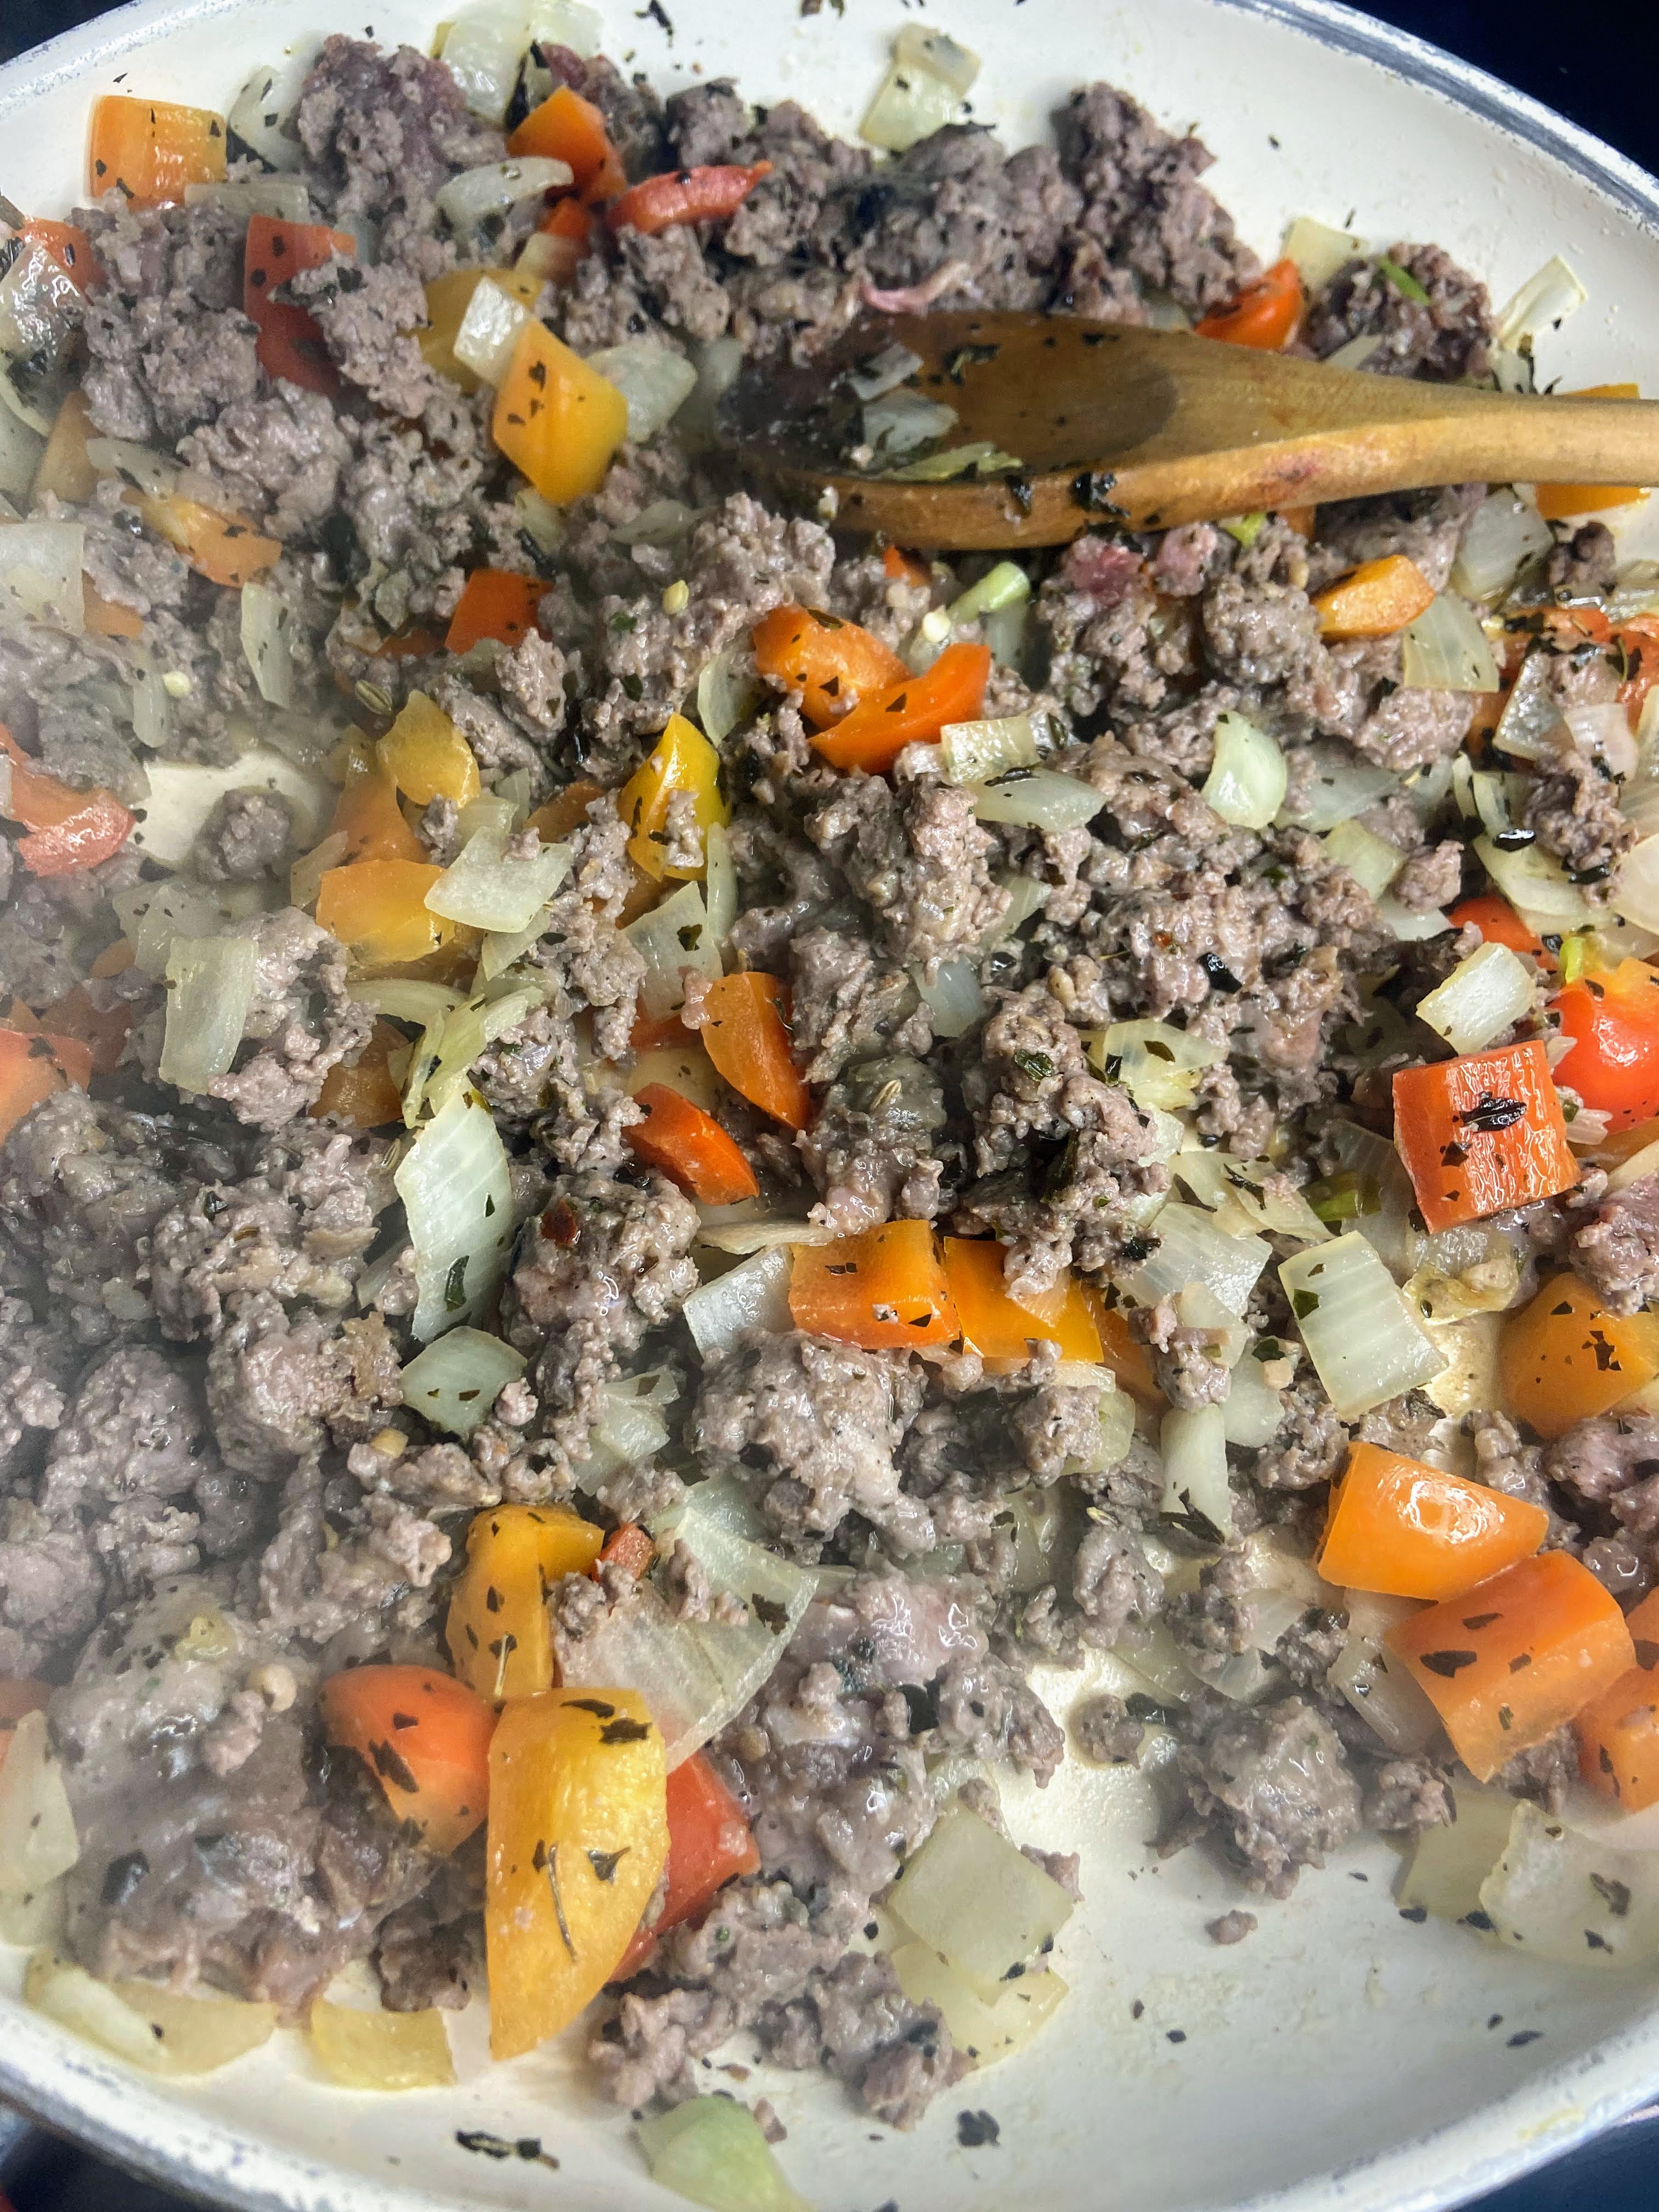
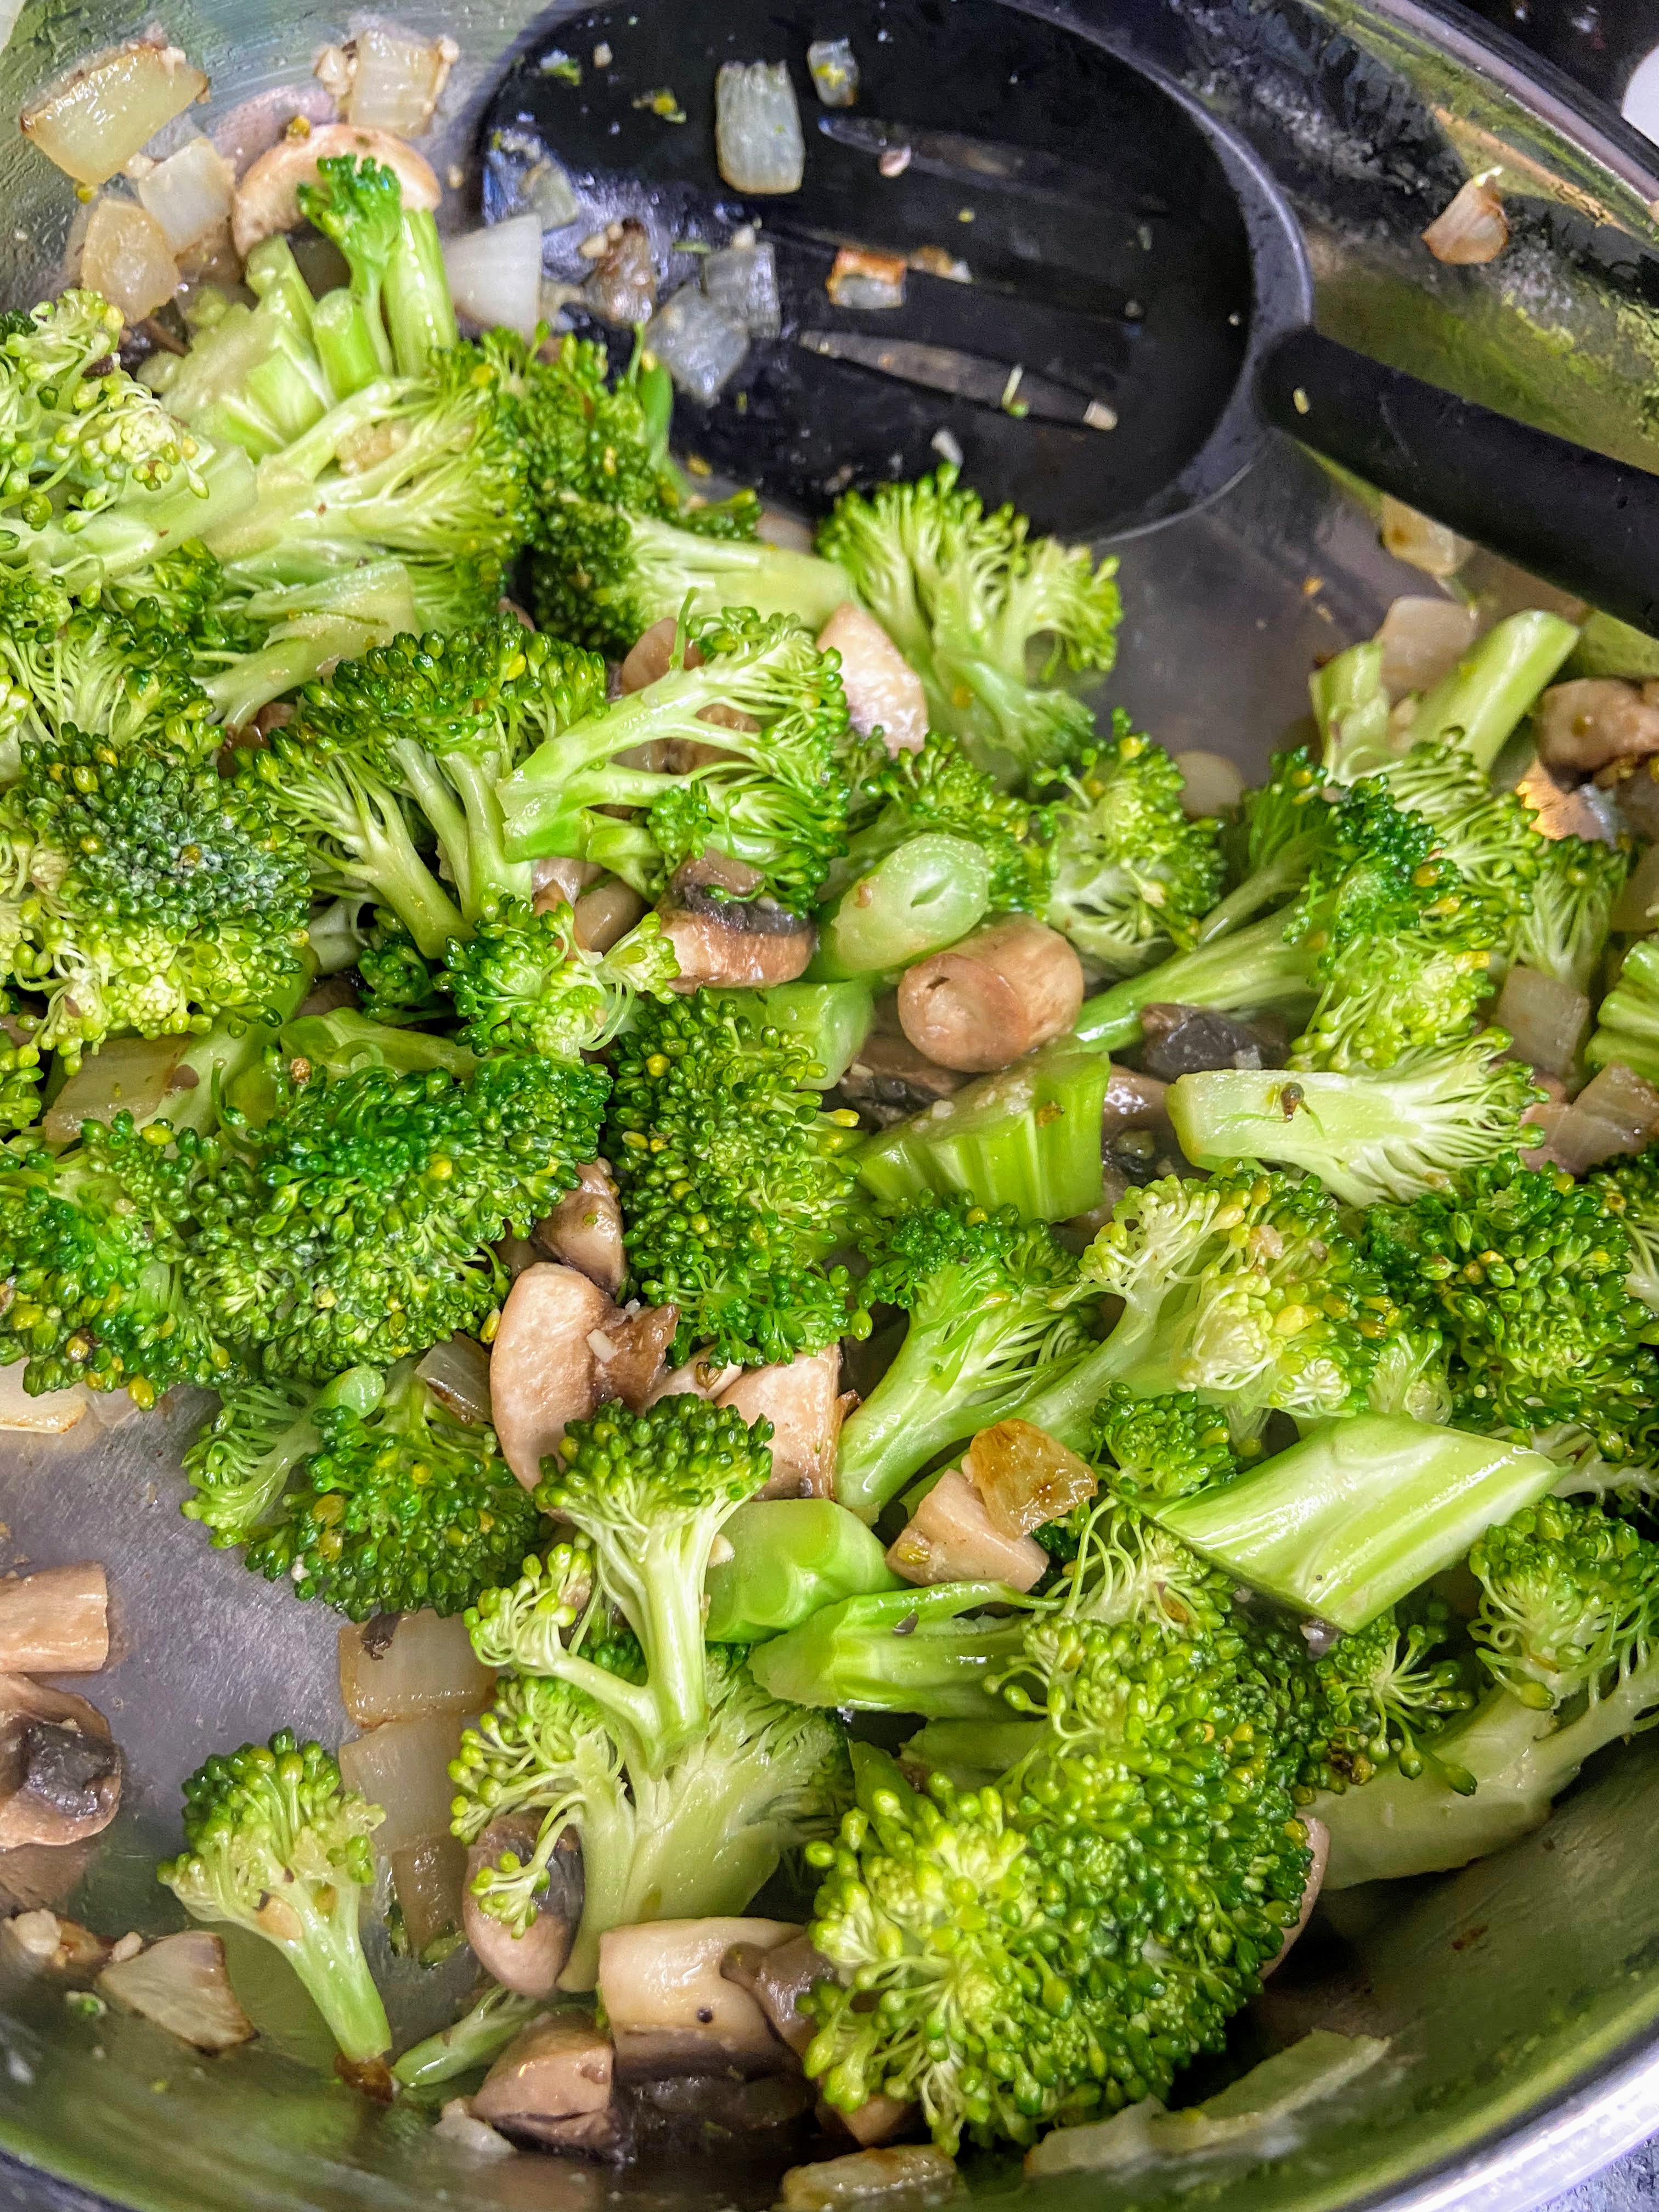
Over medium heat, brown protein, adding oil as needed. Venison benefits from a ½ tablespoon of olive oil in the pan to help keep it from sticking. Meanwhile, steam broccoli and cook instant brown rice if you haven’t already.
I highly recommend these Ziploc steam bags for all things vegetables. I think we cook our vegetables in these bags 2-3 times a week for simplicities sake. They are amazing and come with timings for all types of food, fresh and frozen! I dig any kind of instant brown rice and have also fallen in love with frozen, par-cooked rice for those busy nights!
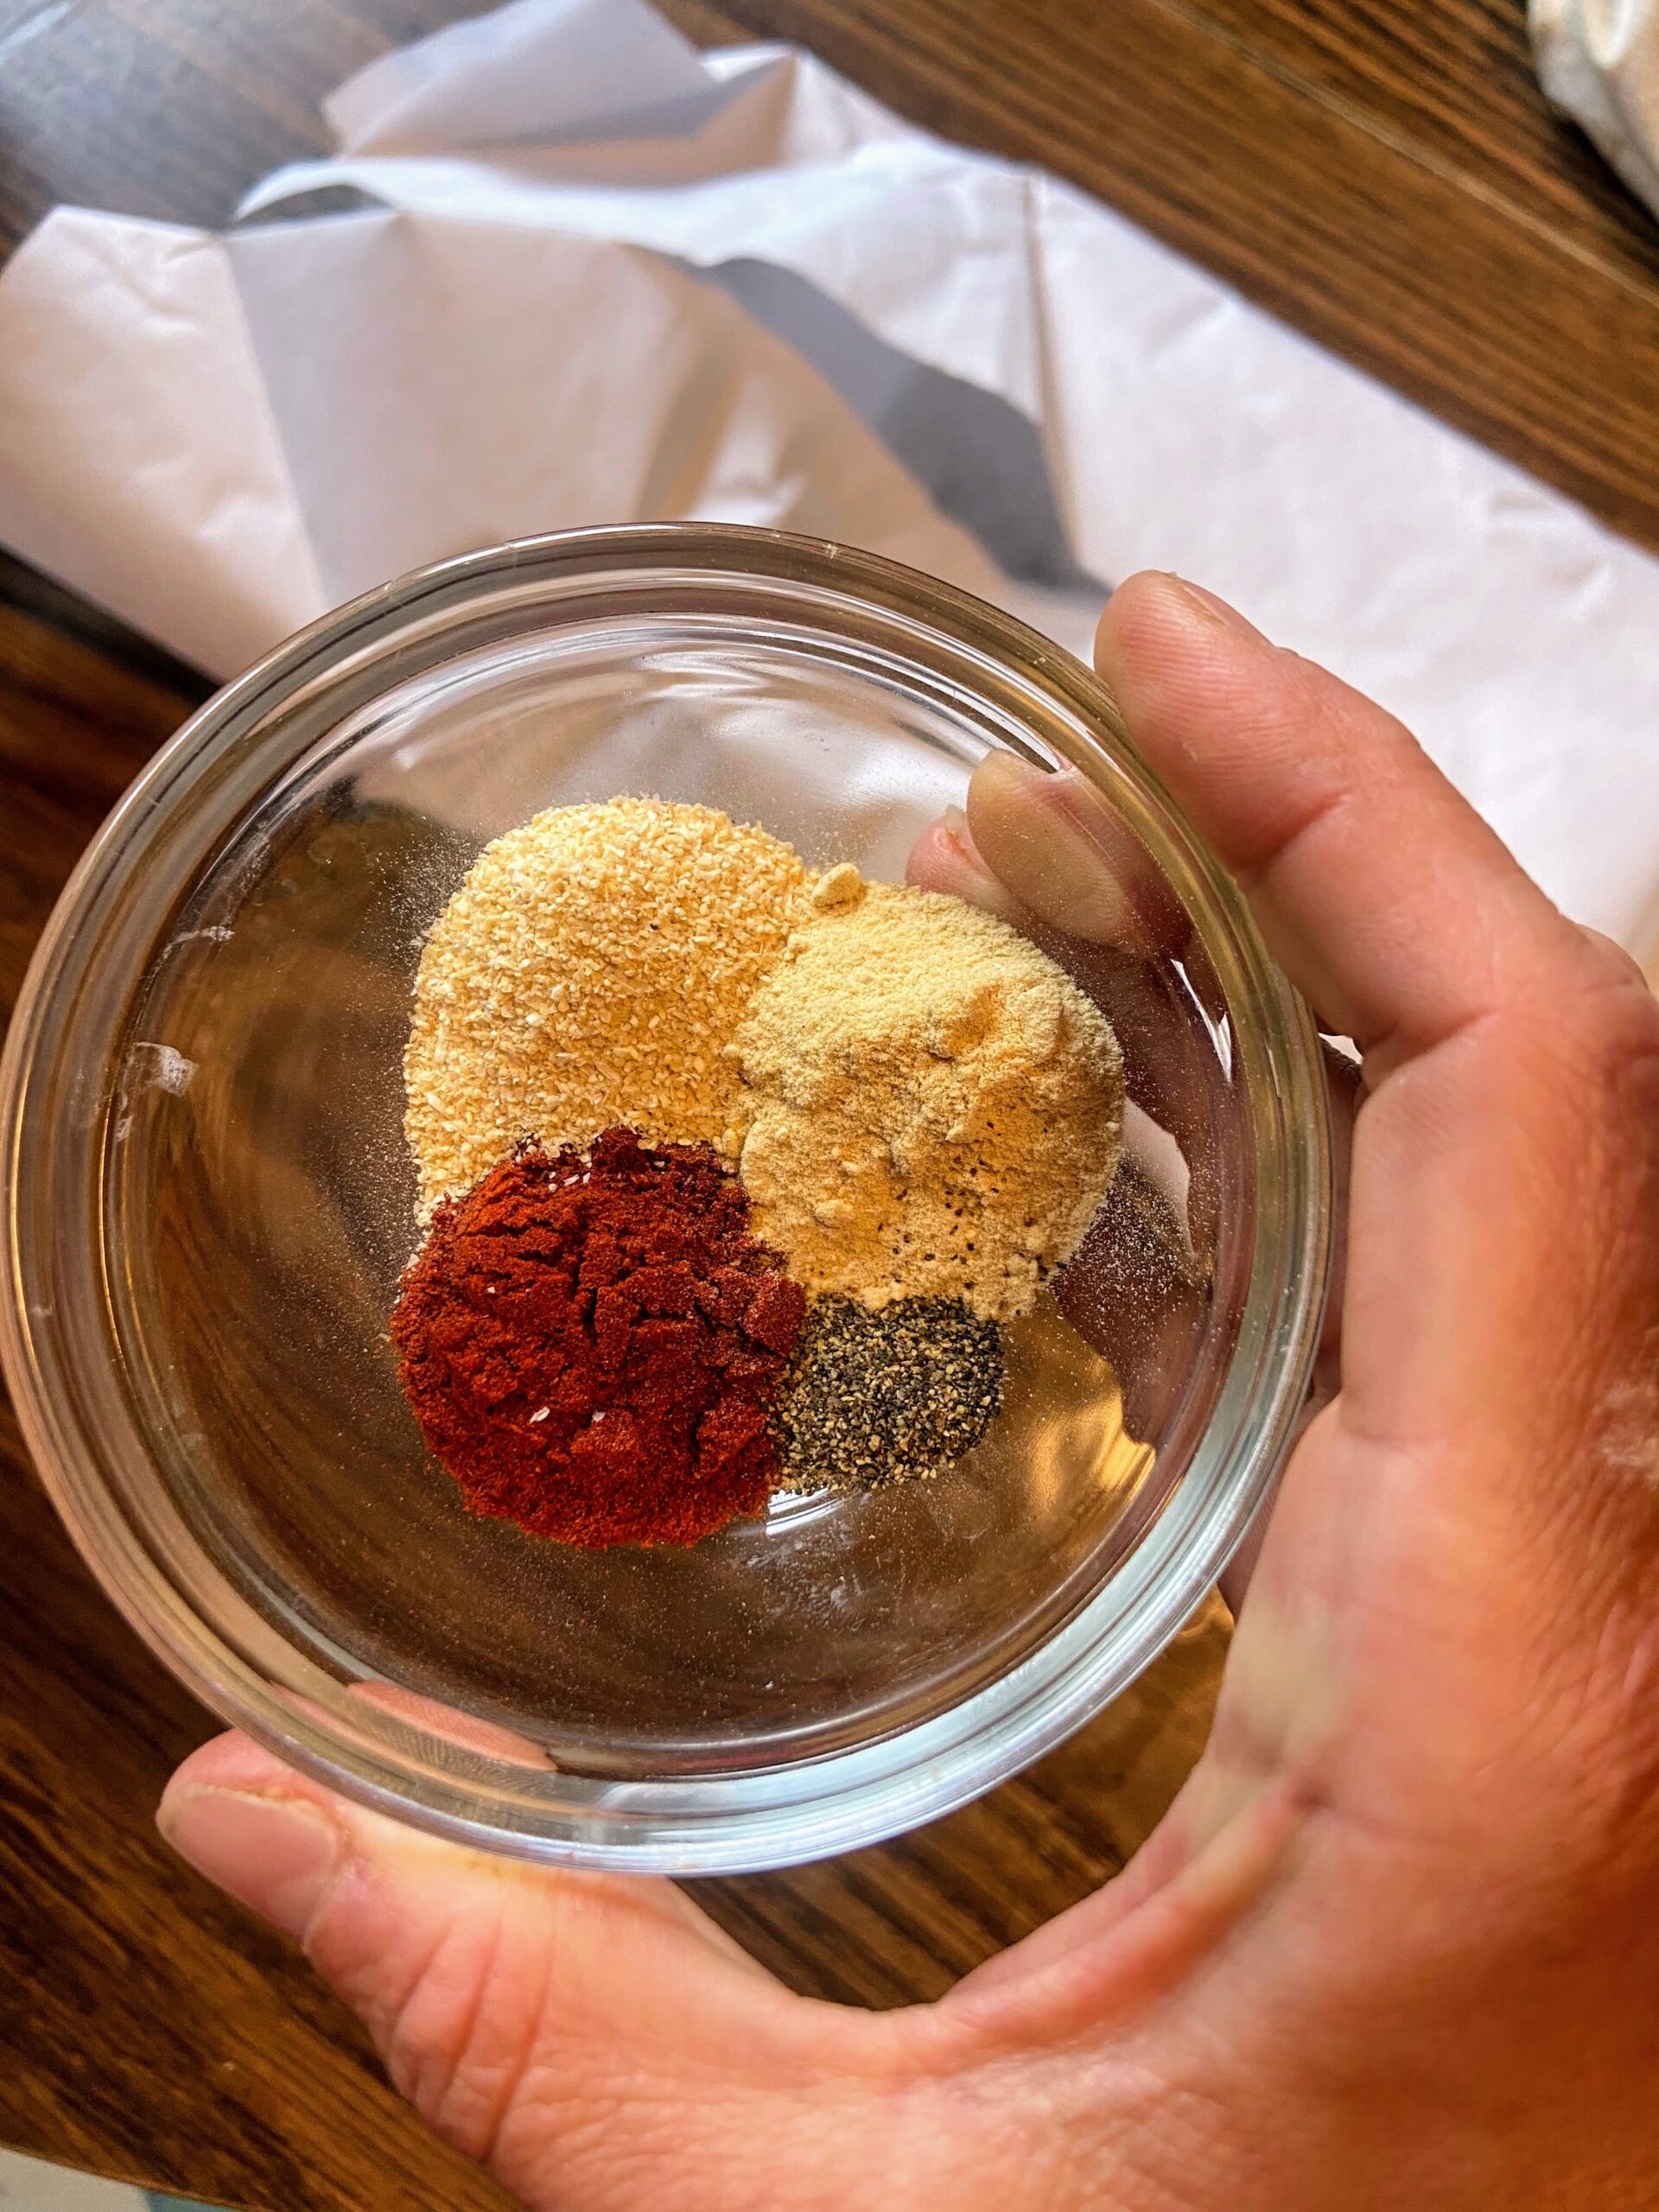
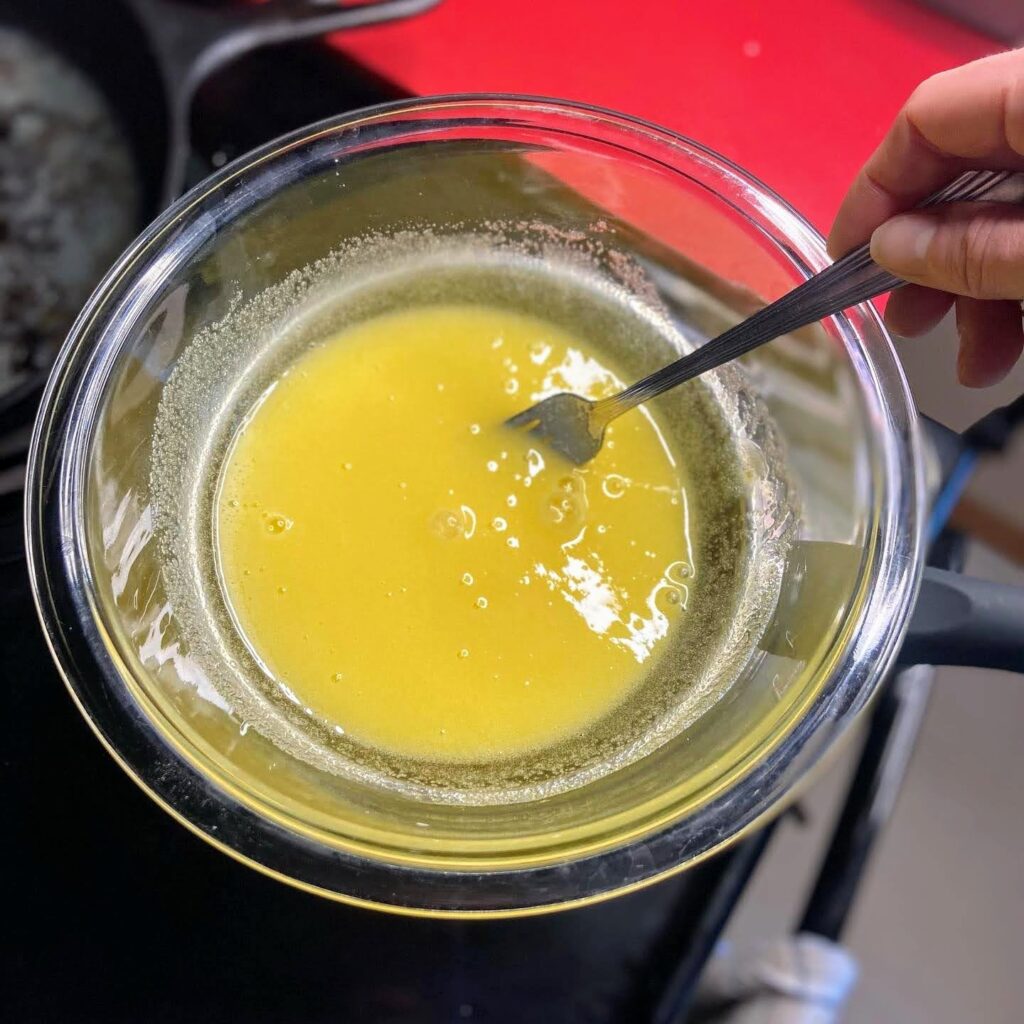
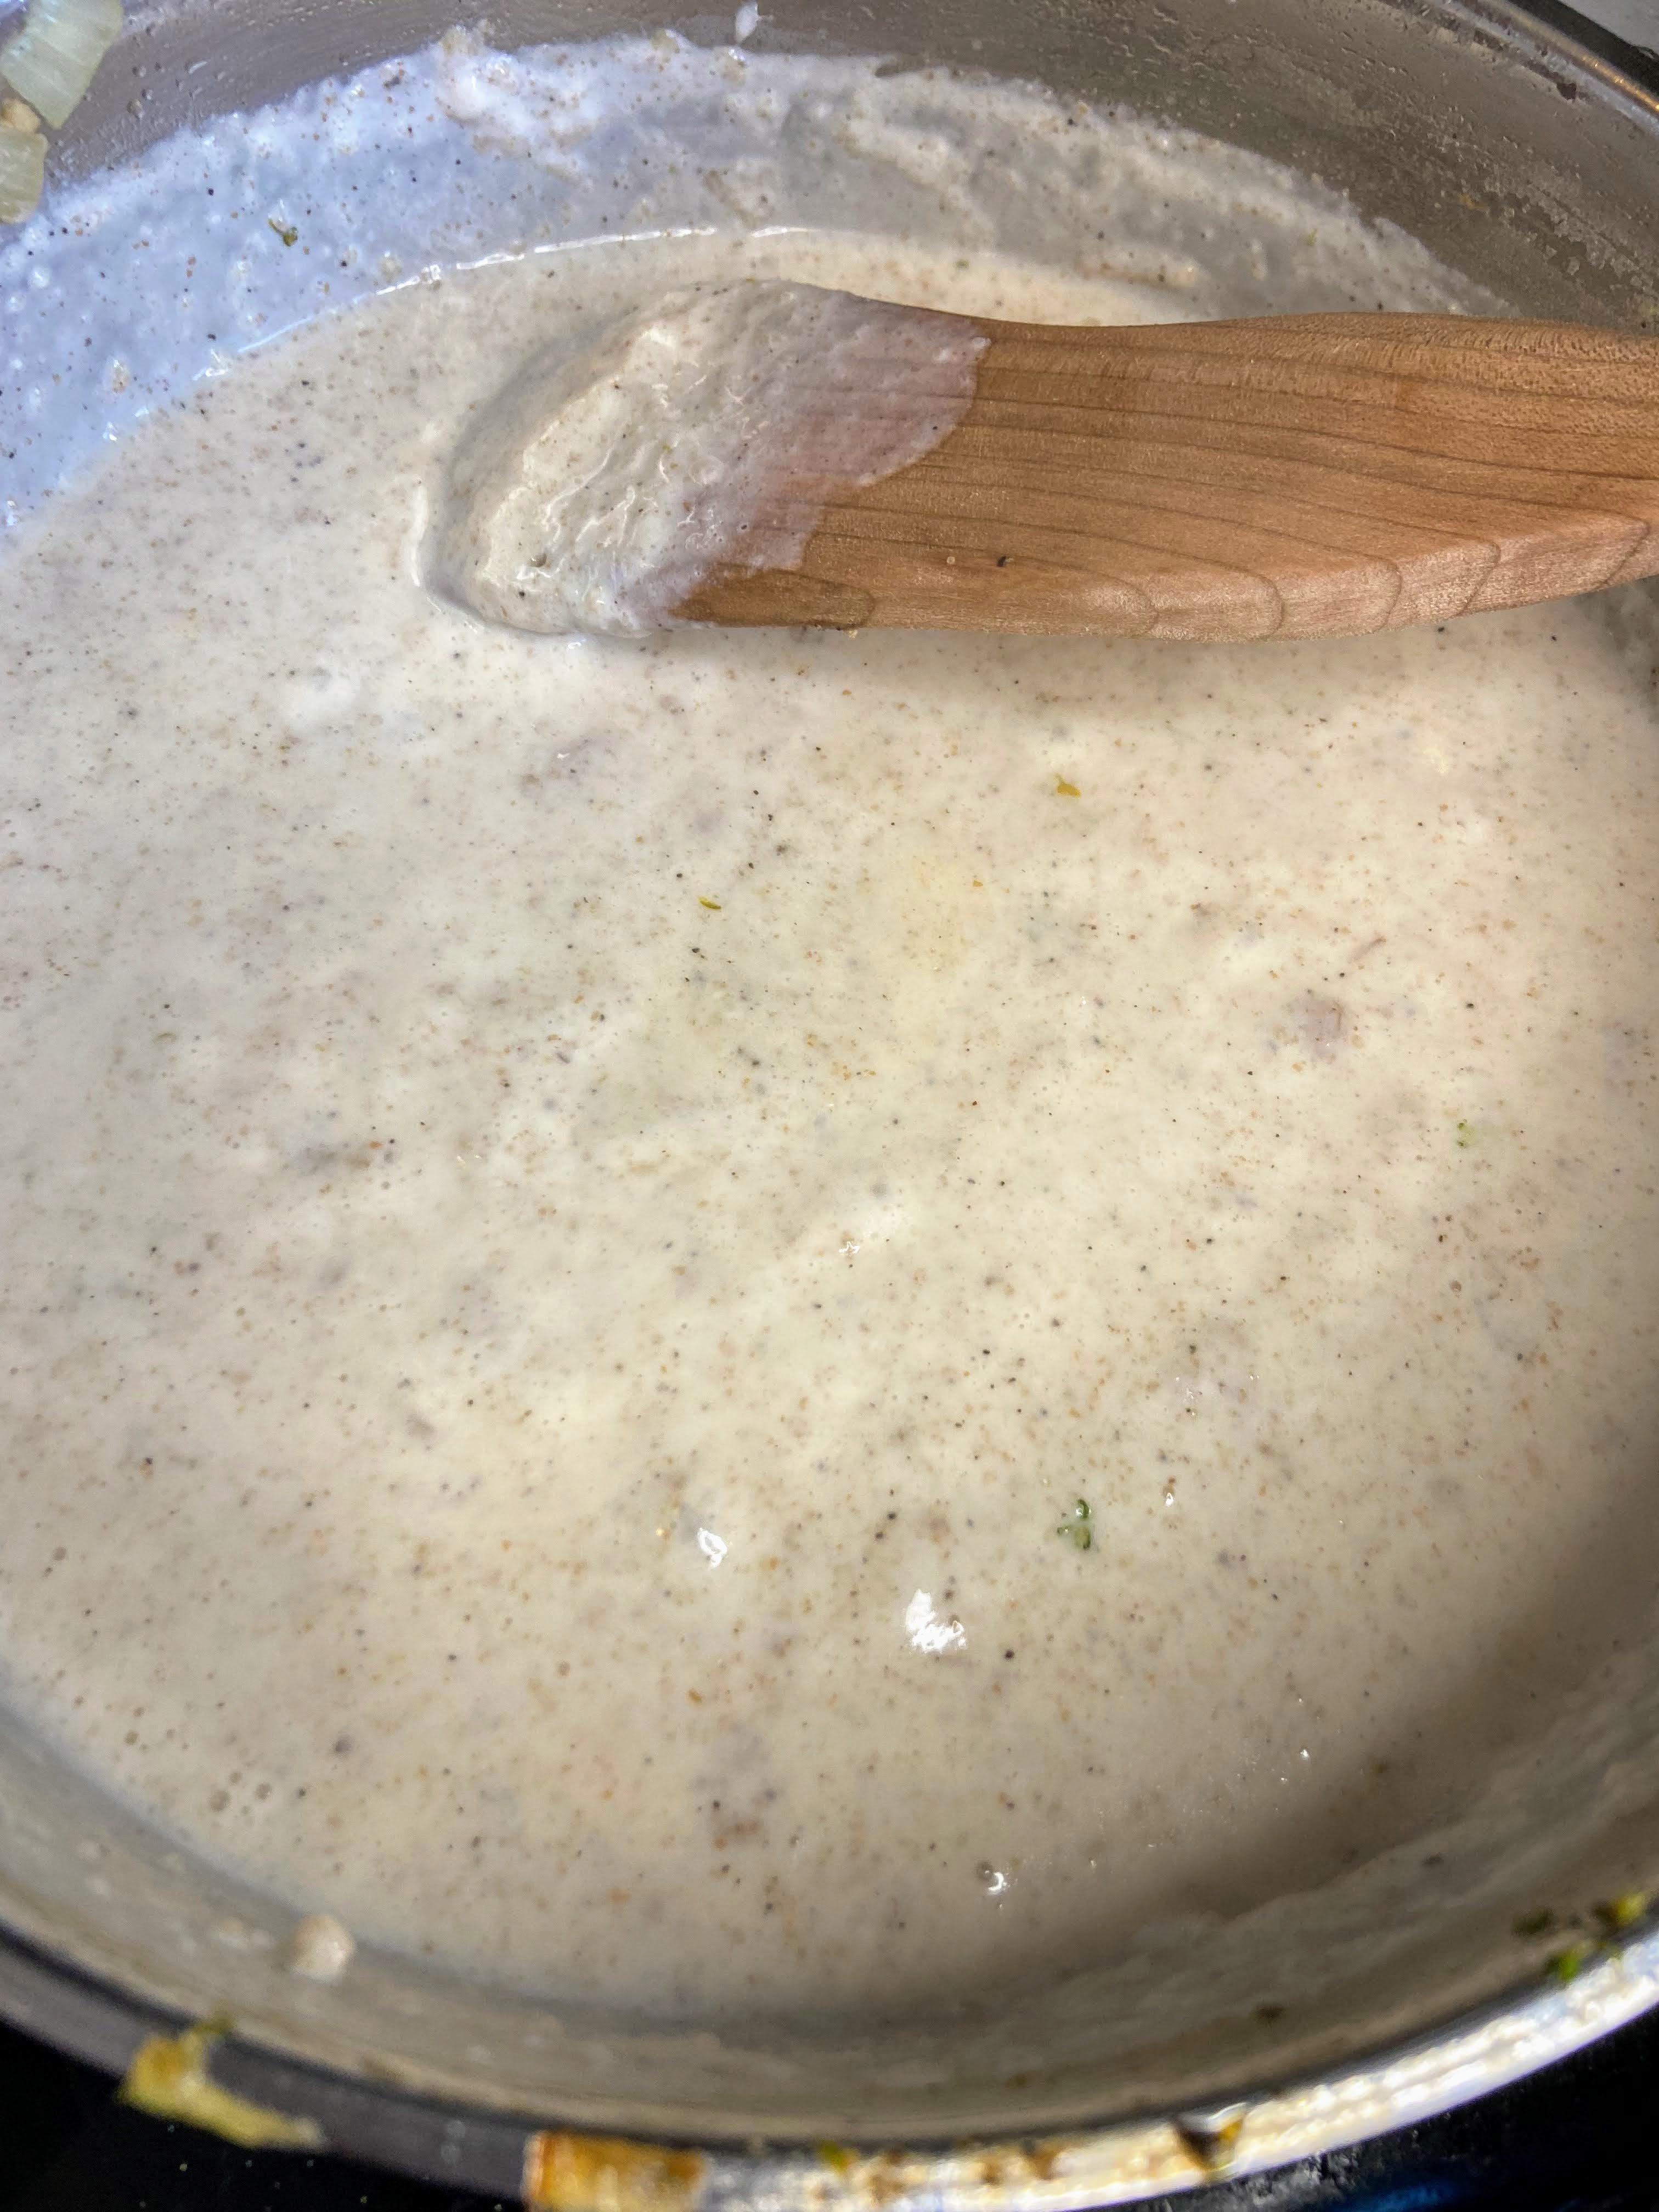
While your meat is browning and rice and broccoli are cooking, mix your sauce. I like to add the liquids in a 1 cup liquid measuring cup and then add the rest of the spices. Don’t skip the sesame oil! It makes the dish!
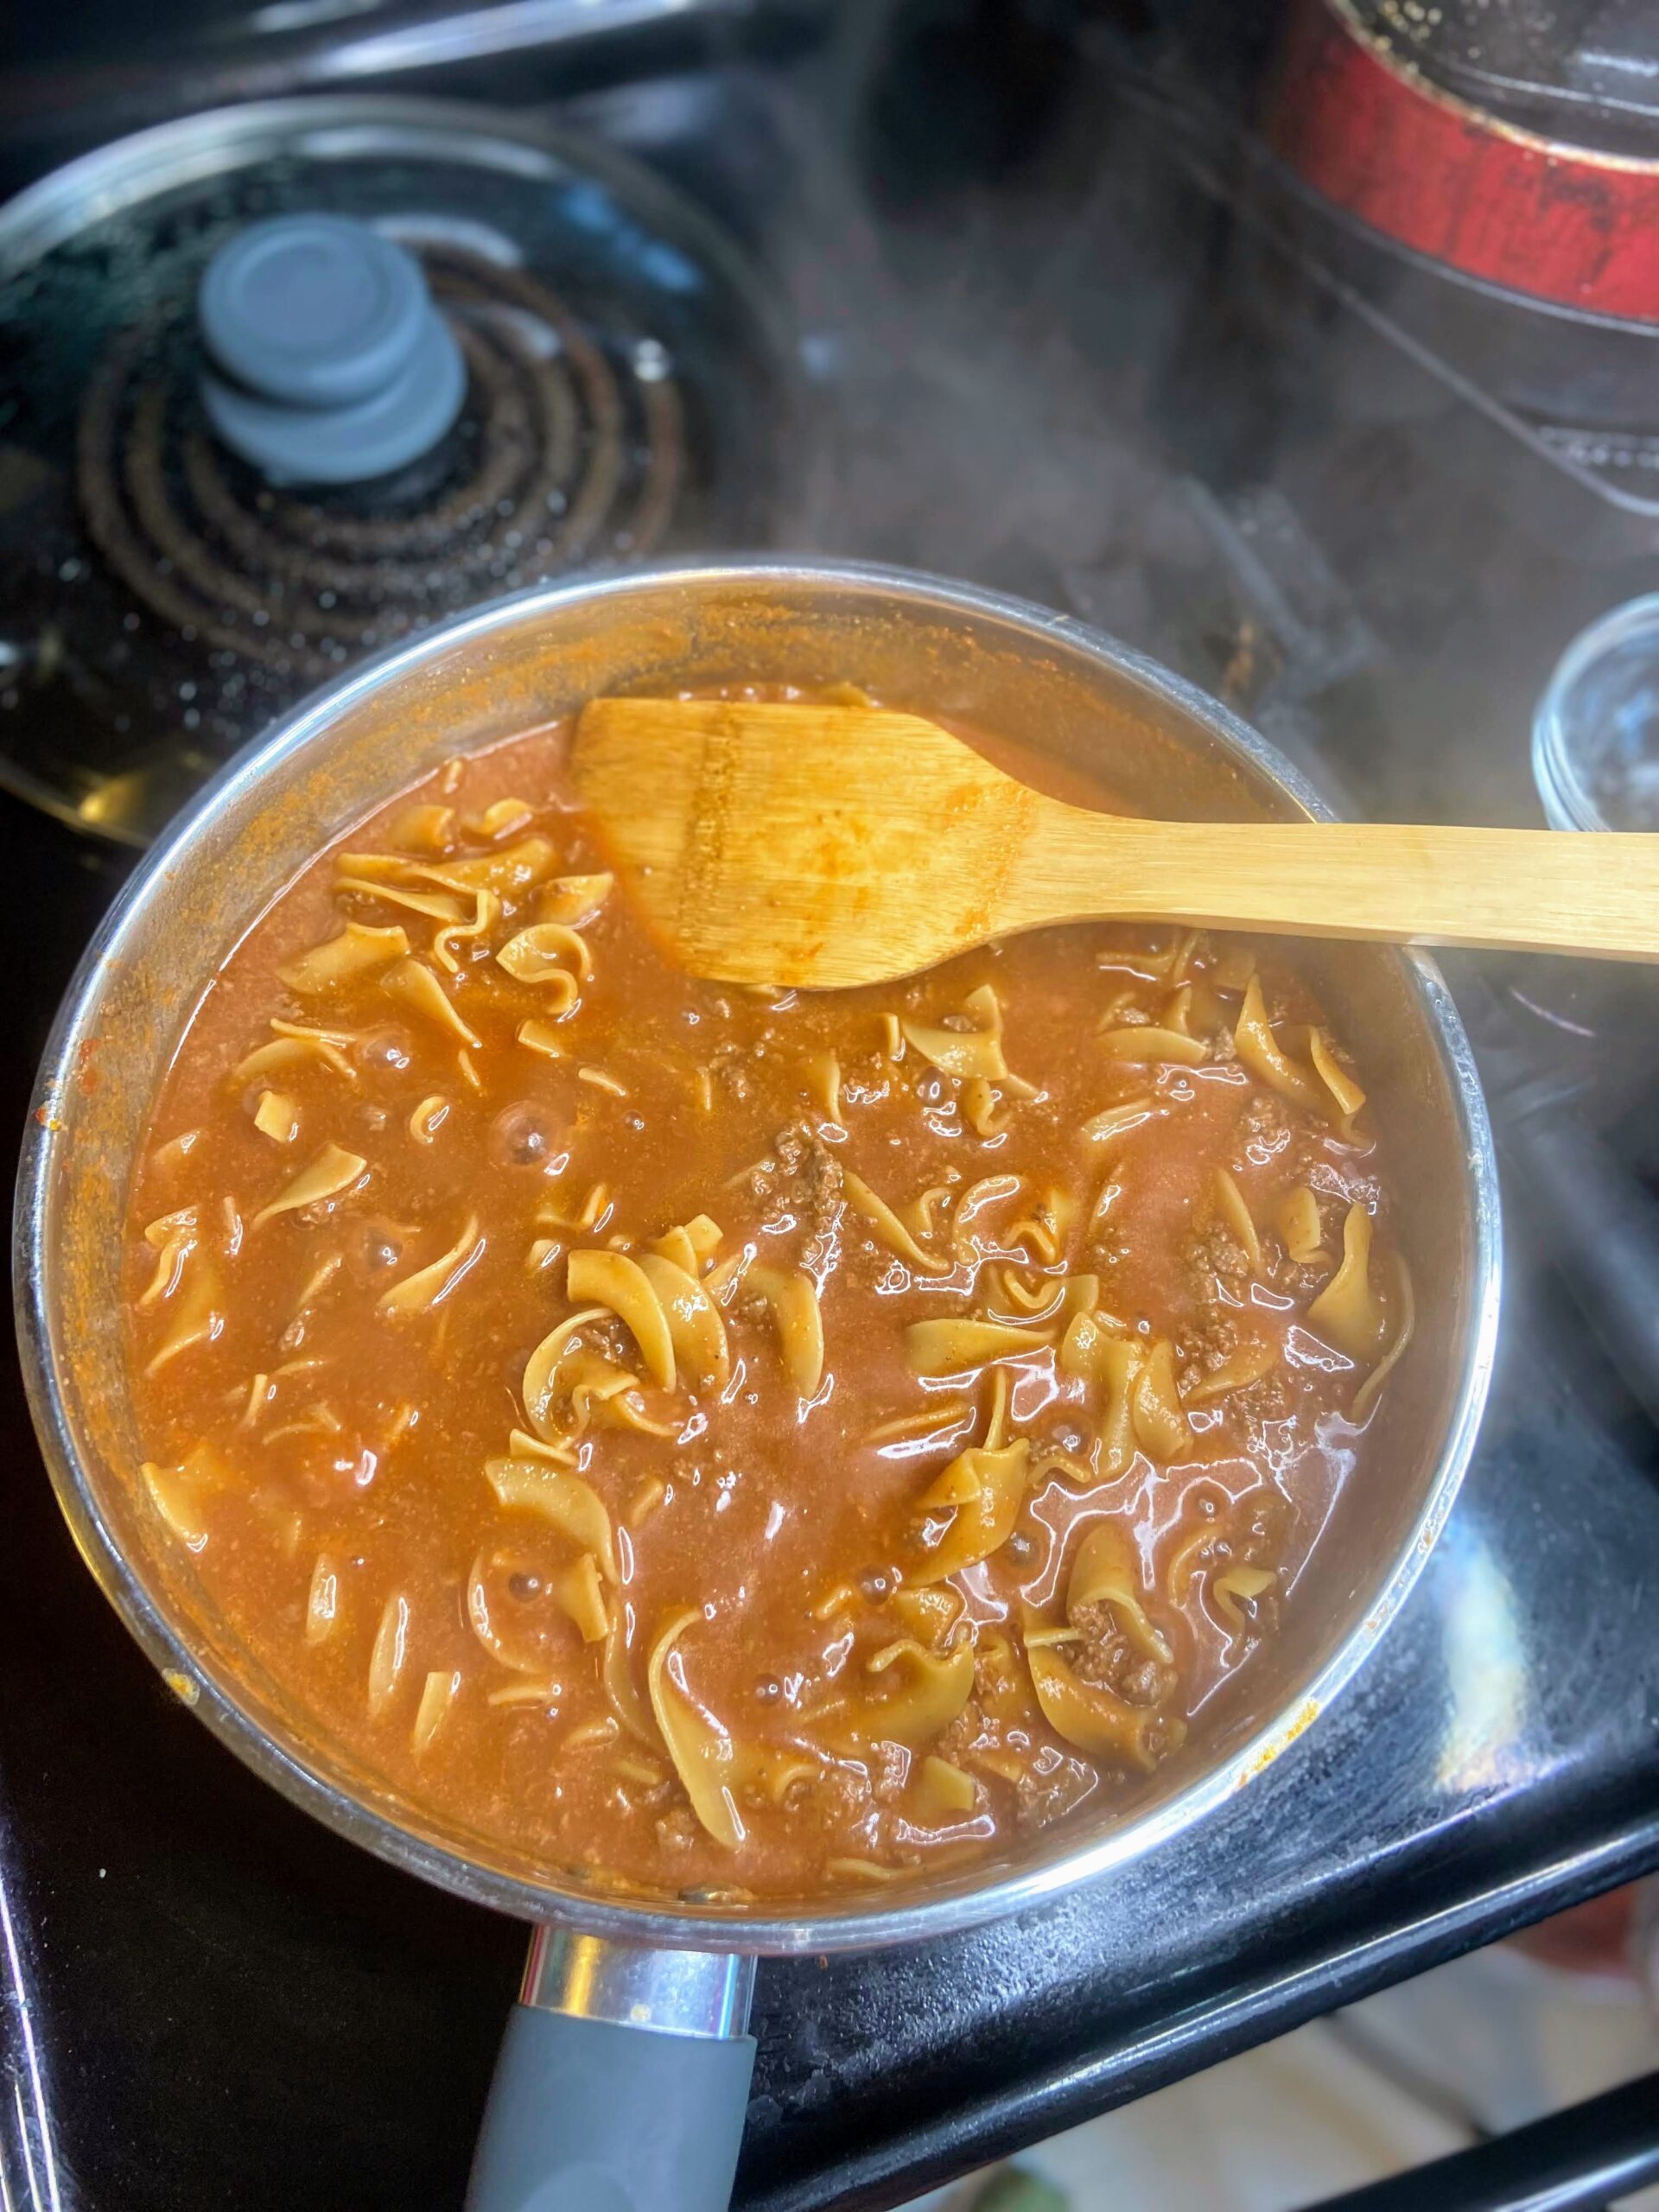
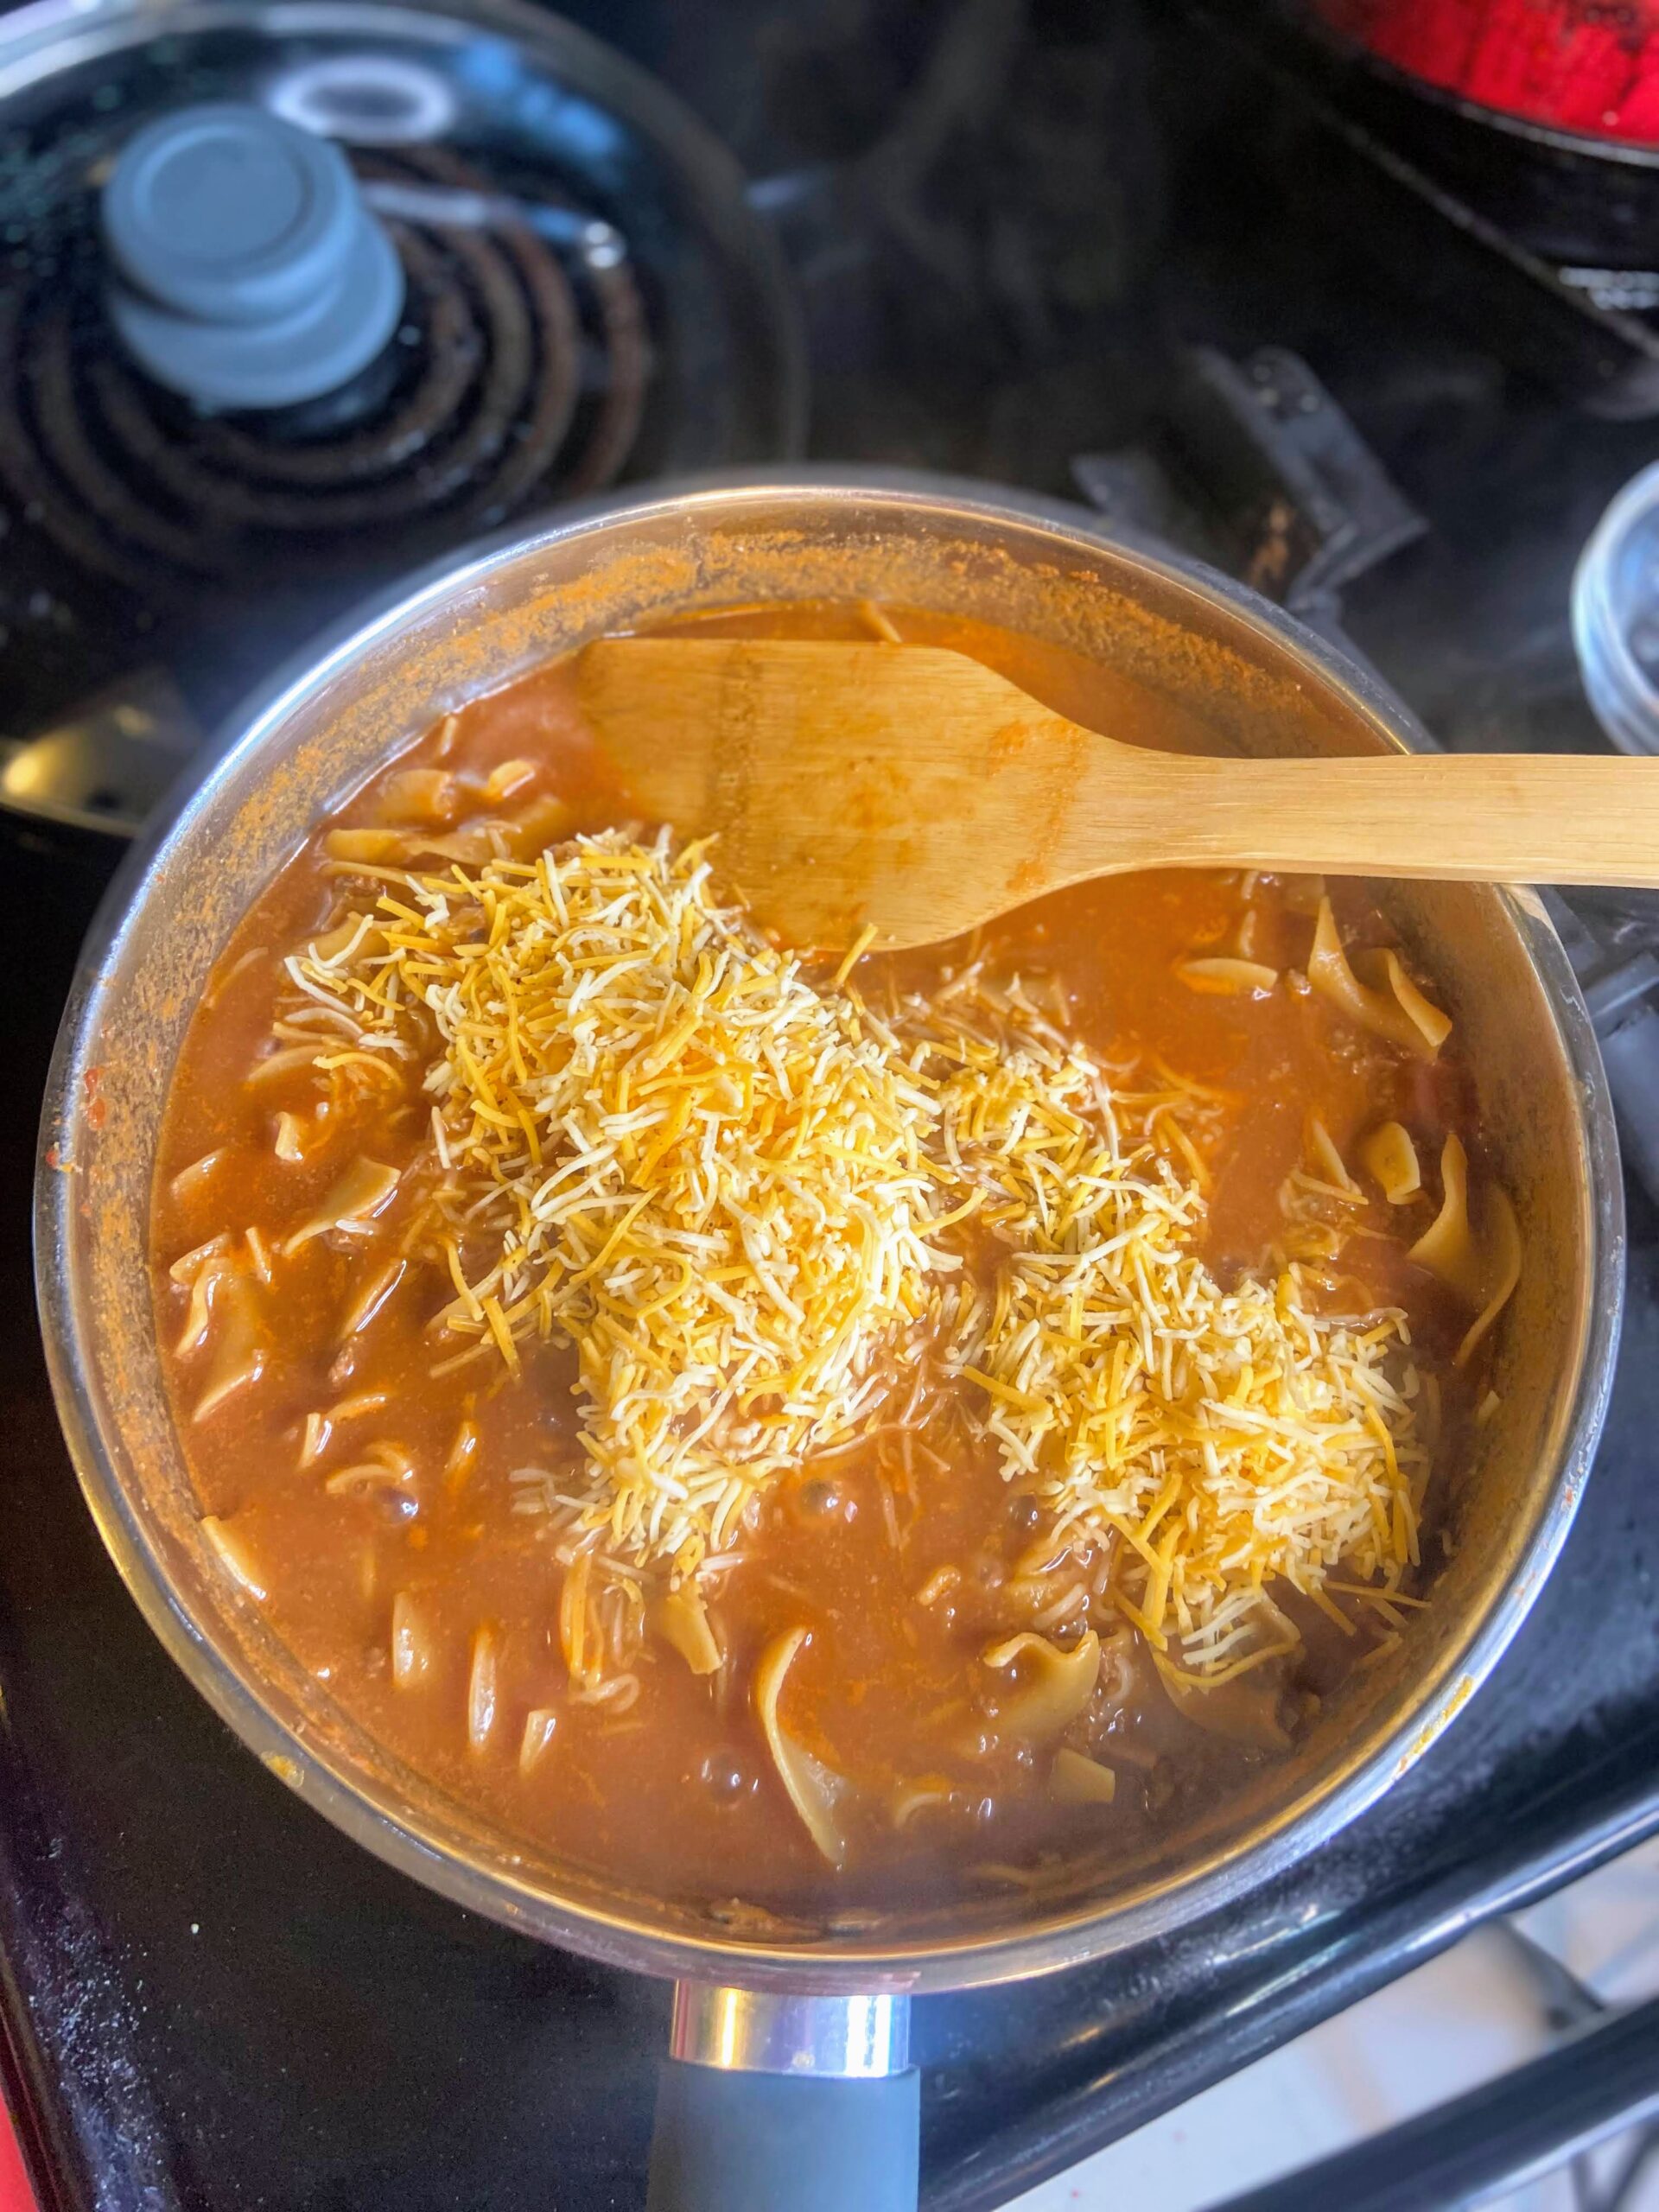
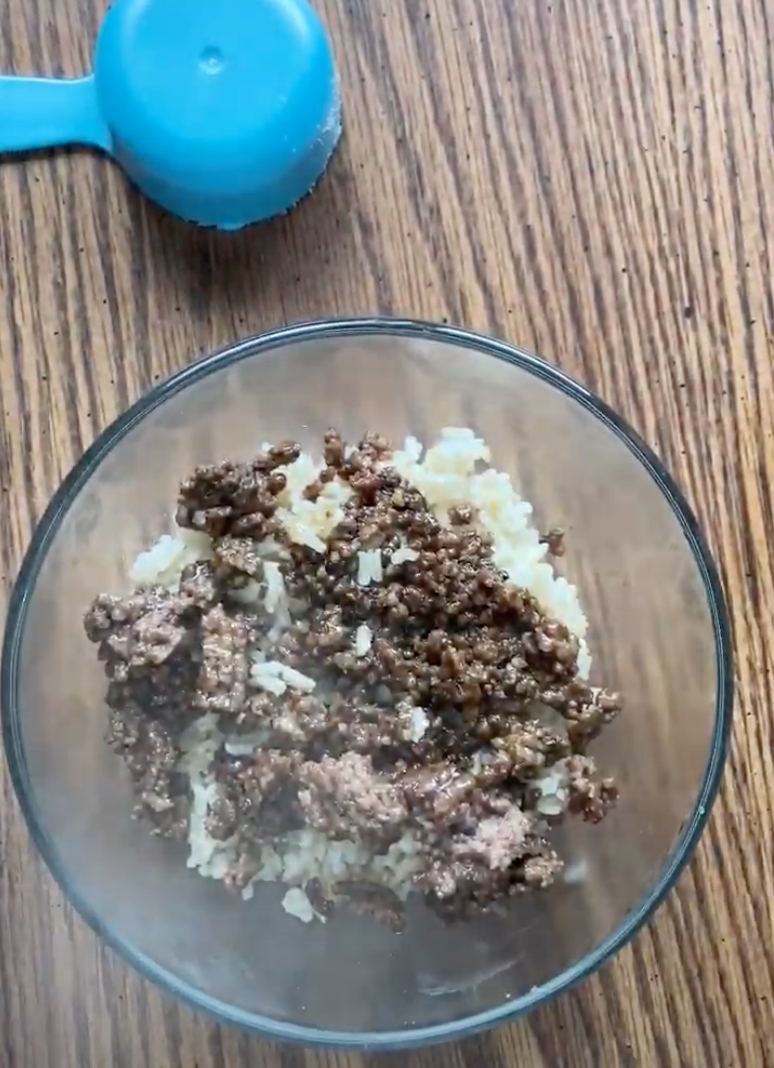
Once the meat is cooked, drain if necessary. Pour sauce over the browned protein, cooking over medium for 4-5 minutes, until slightly thickened.
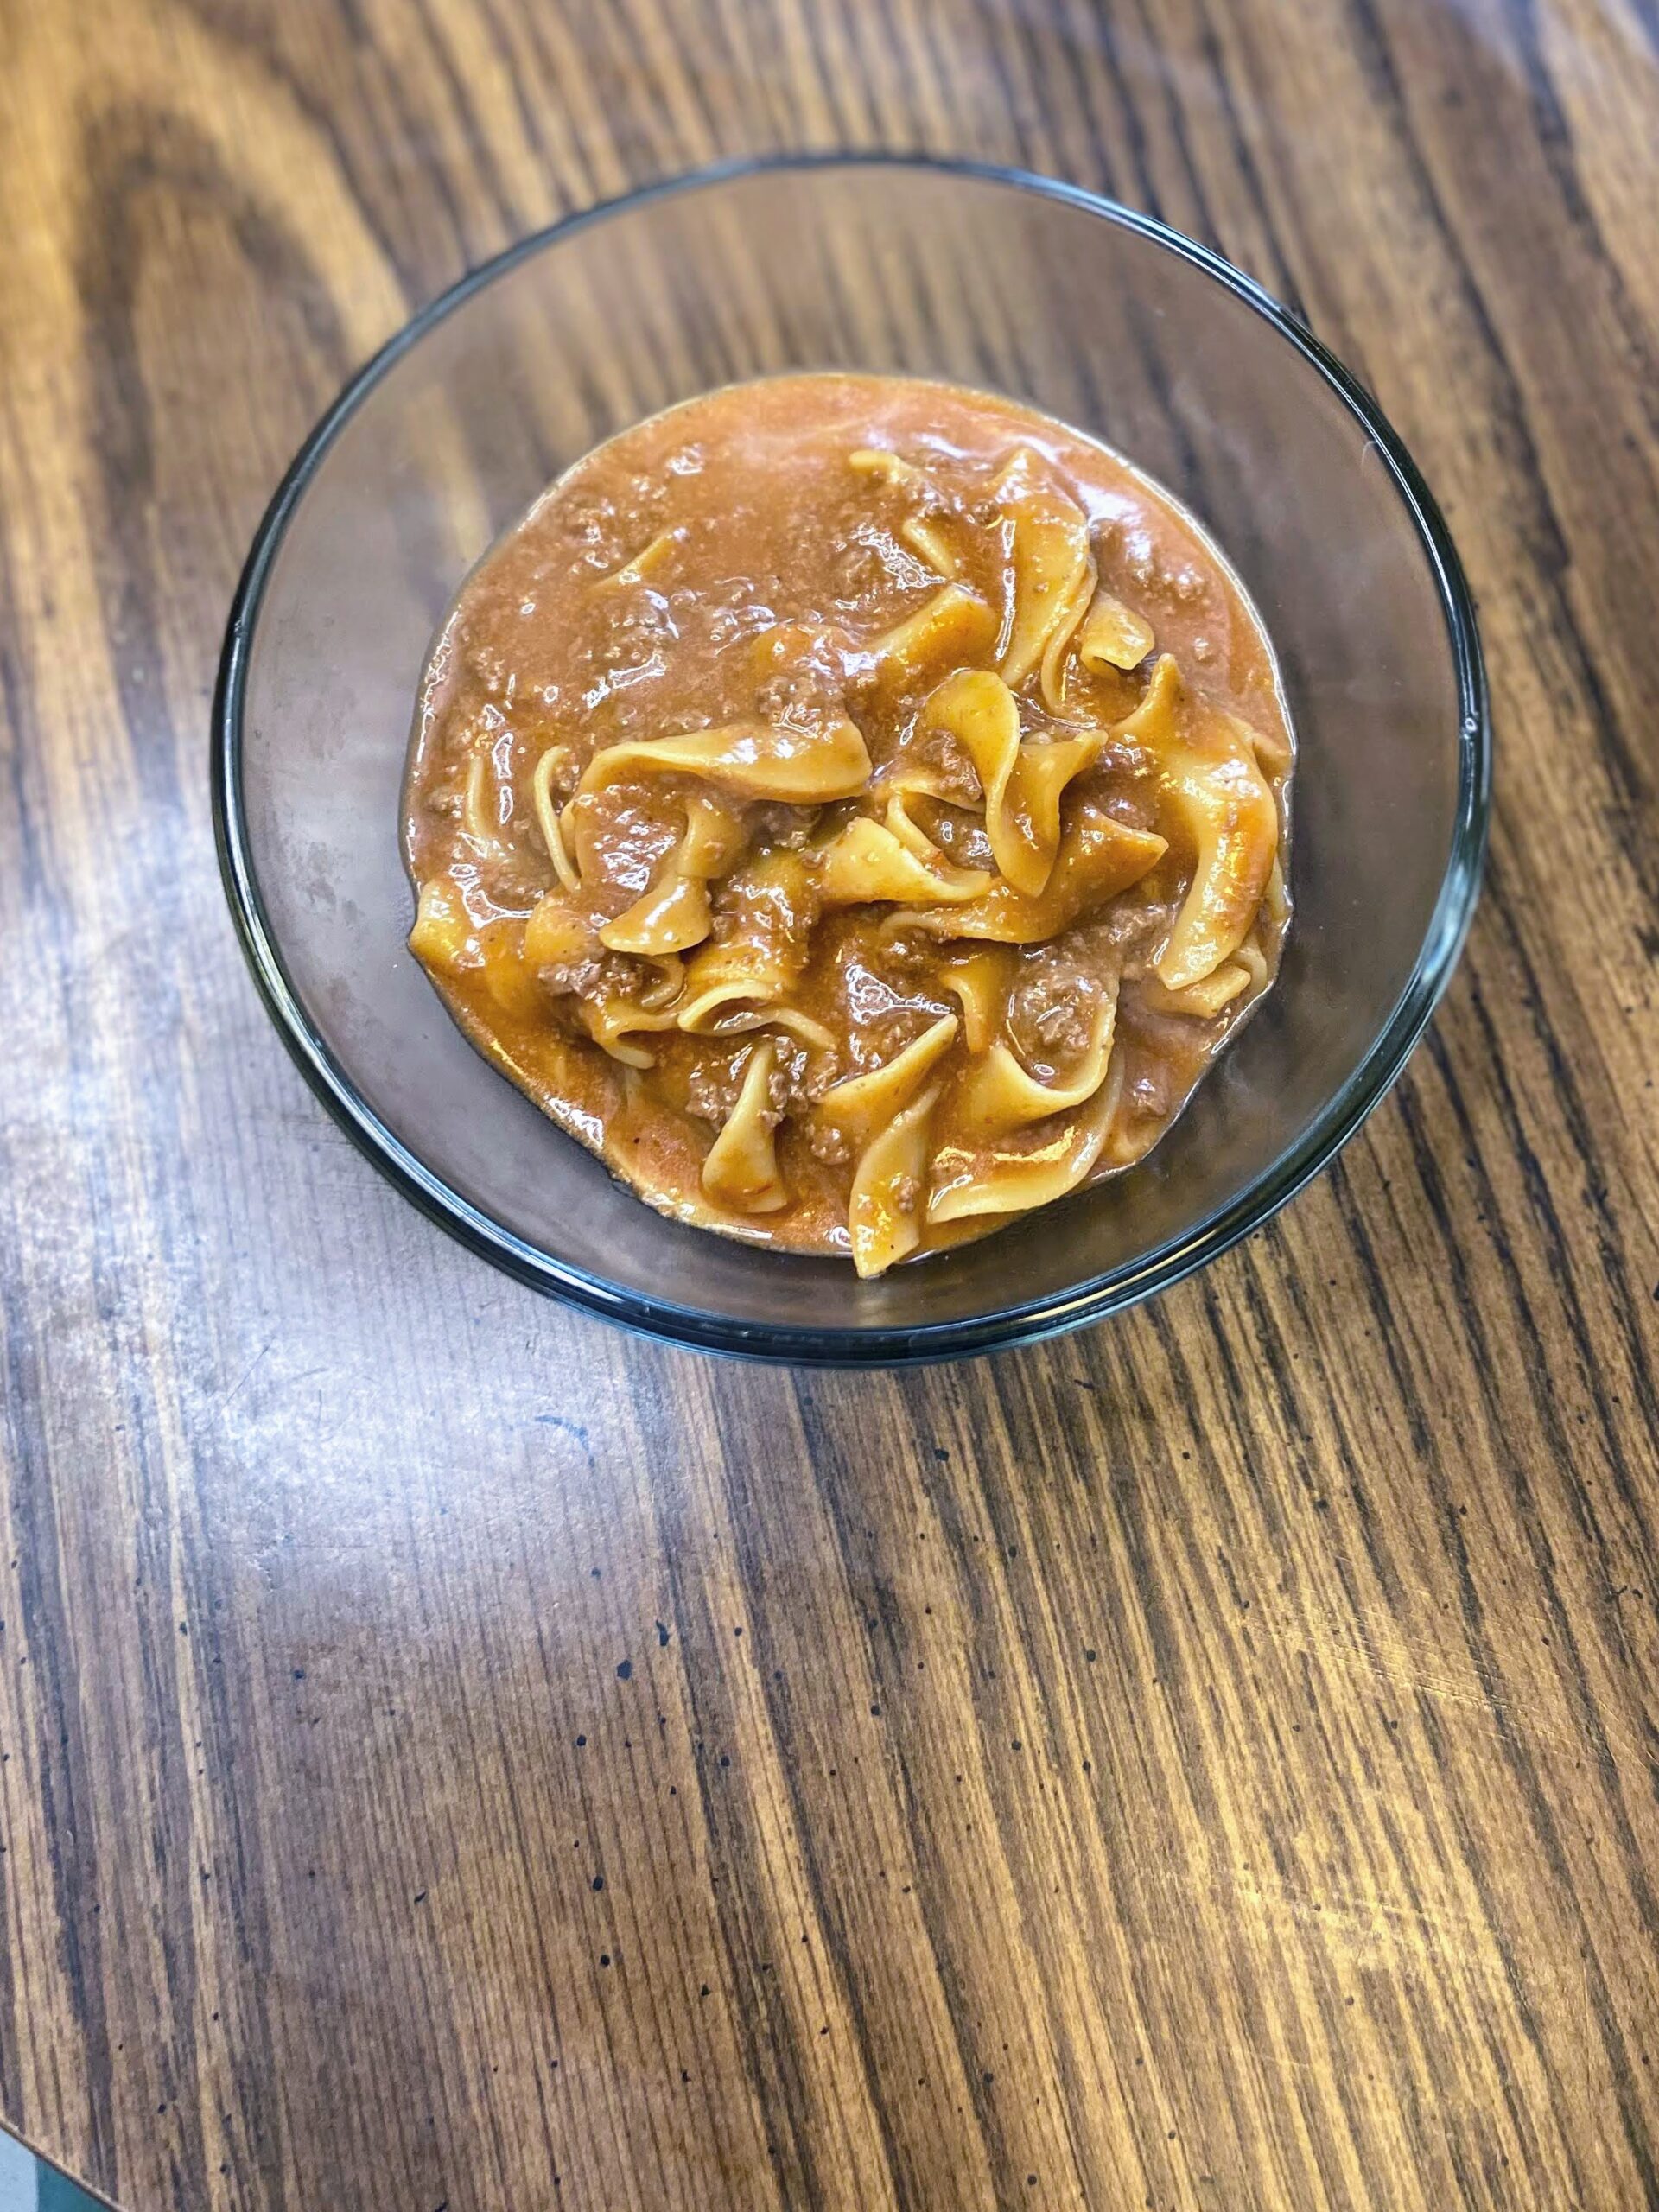
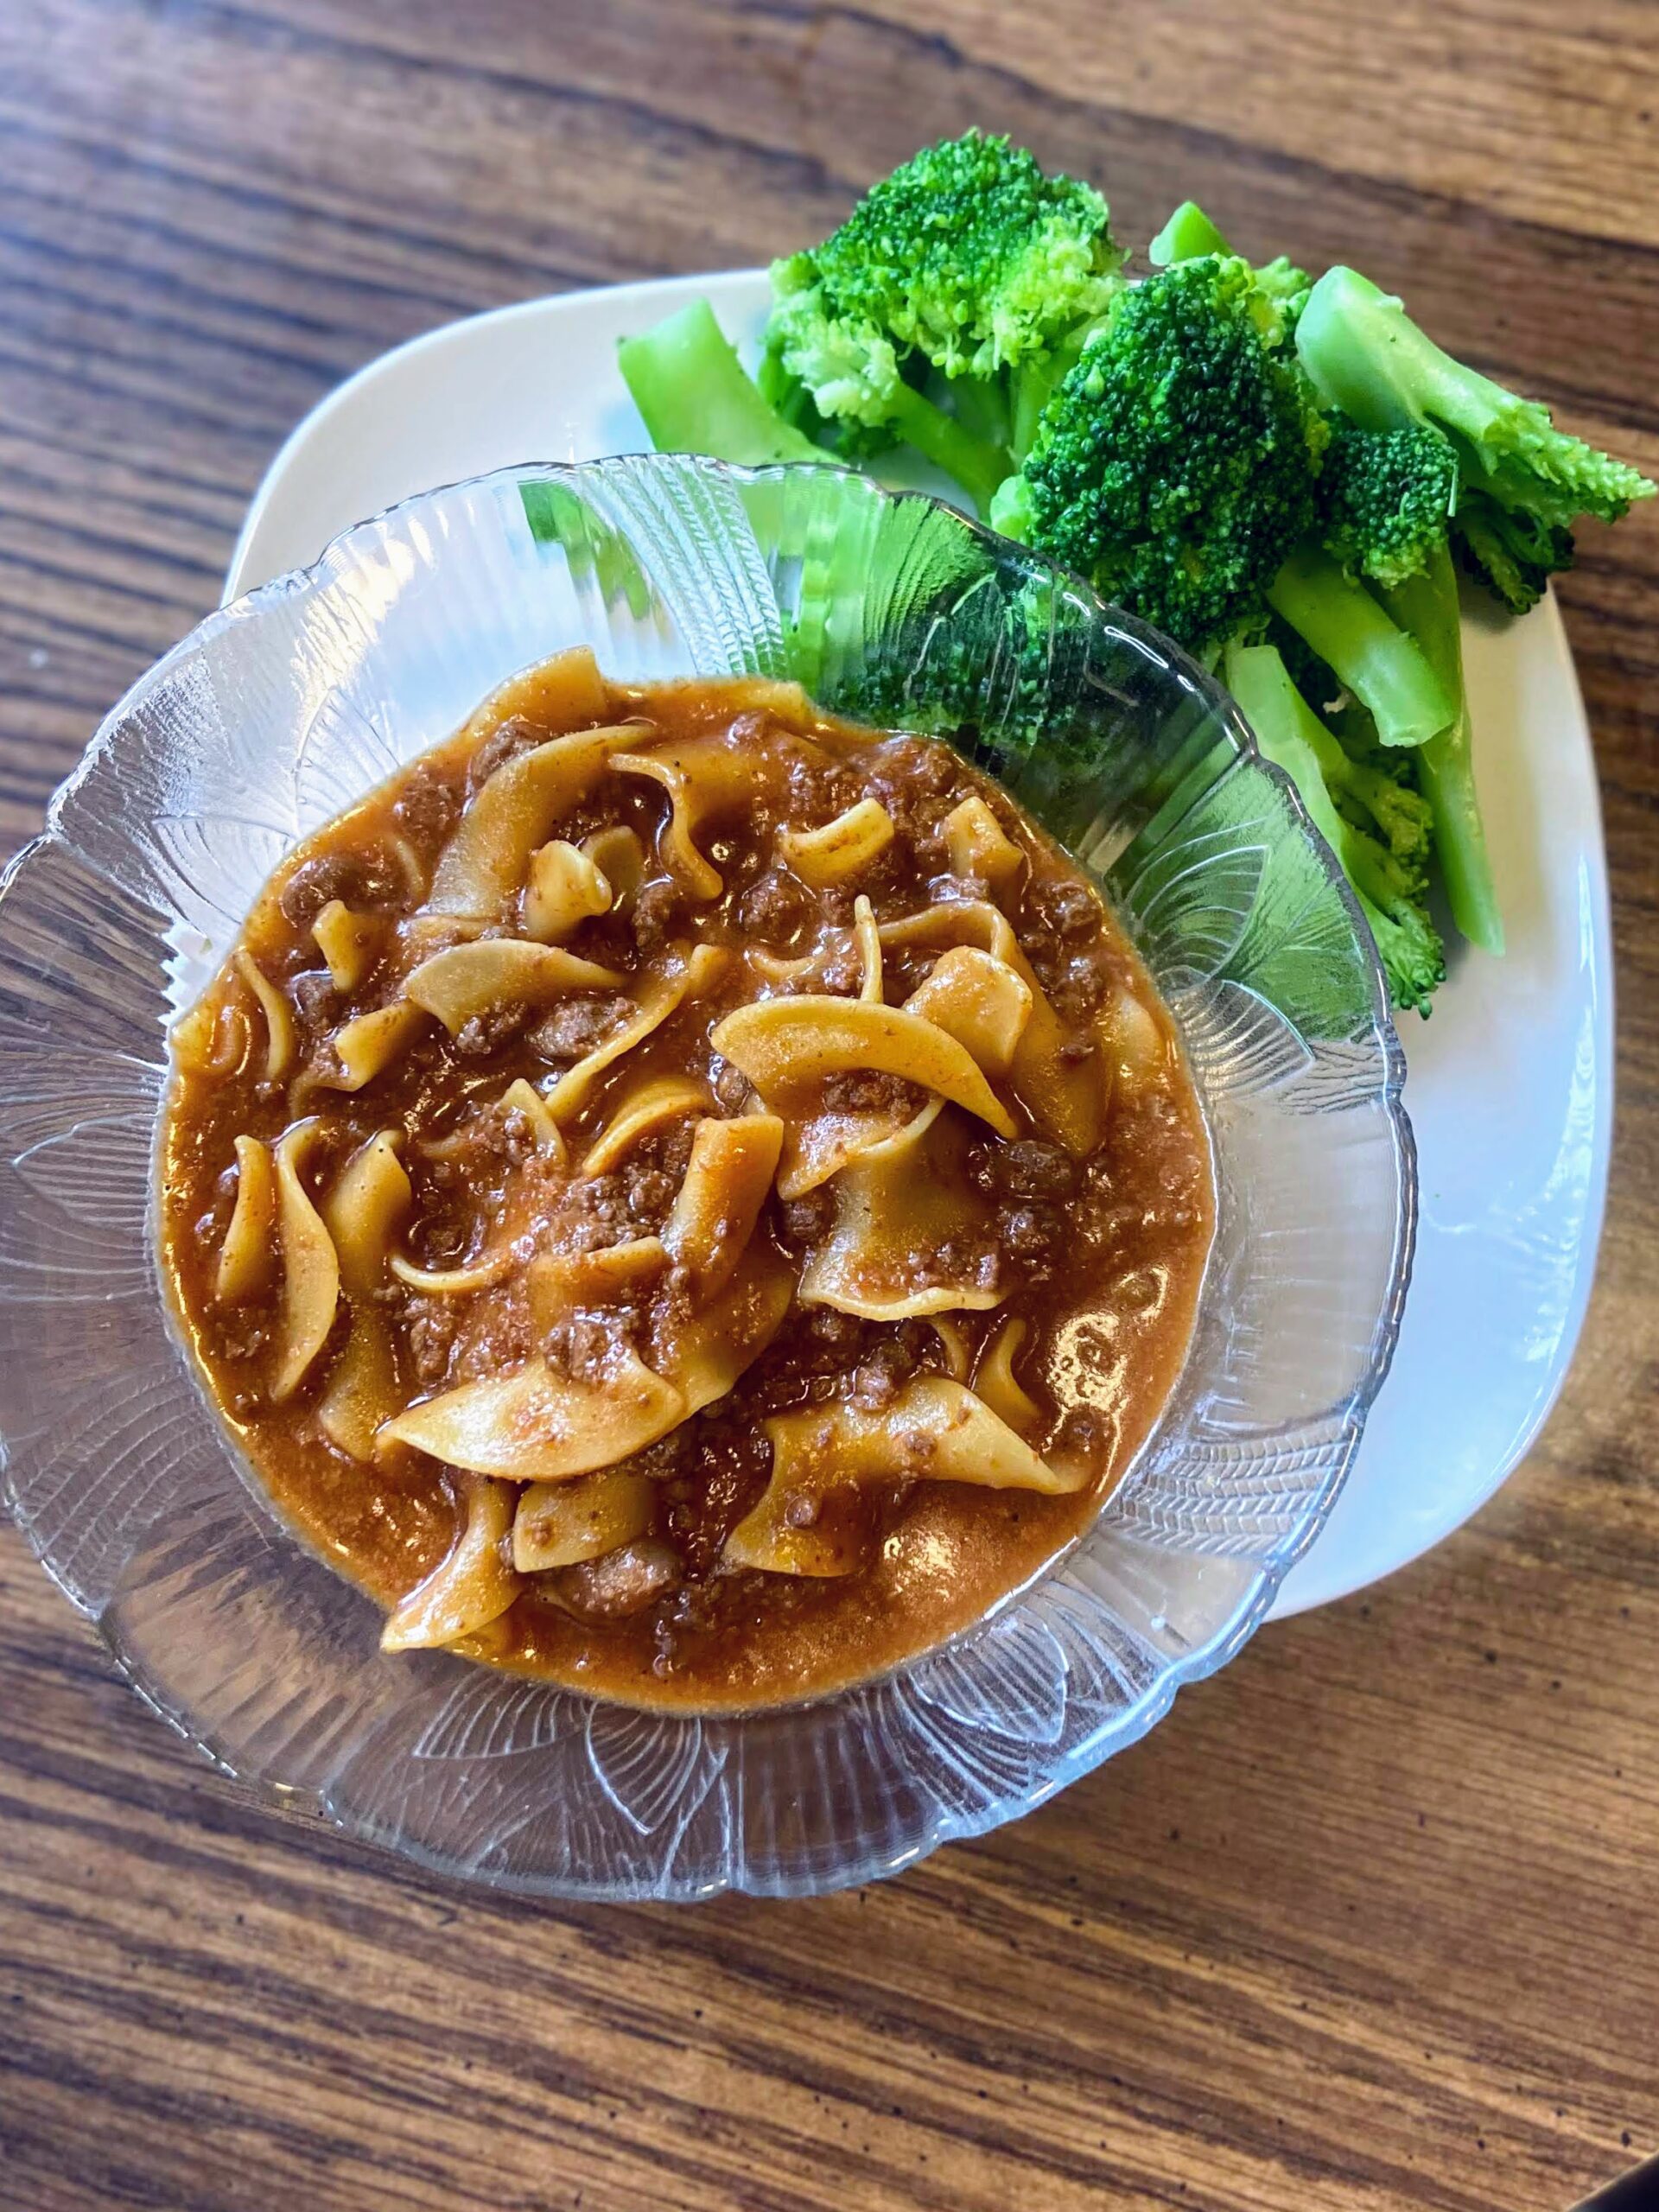
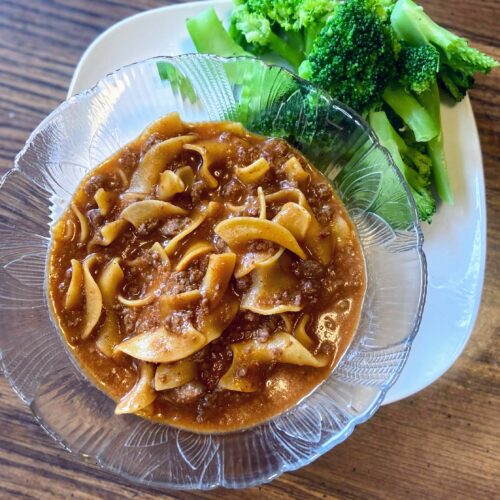
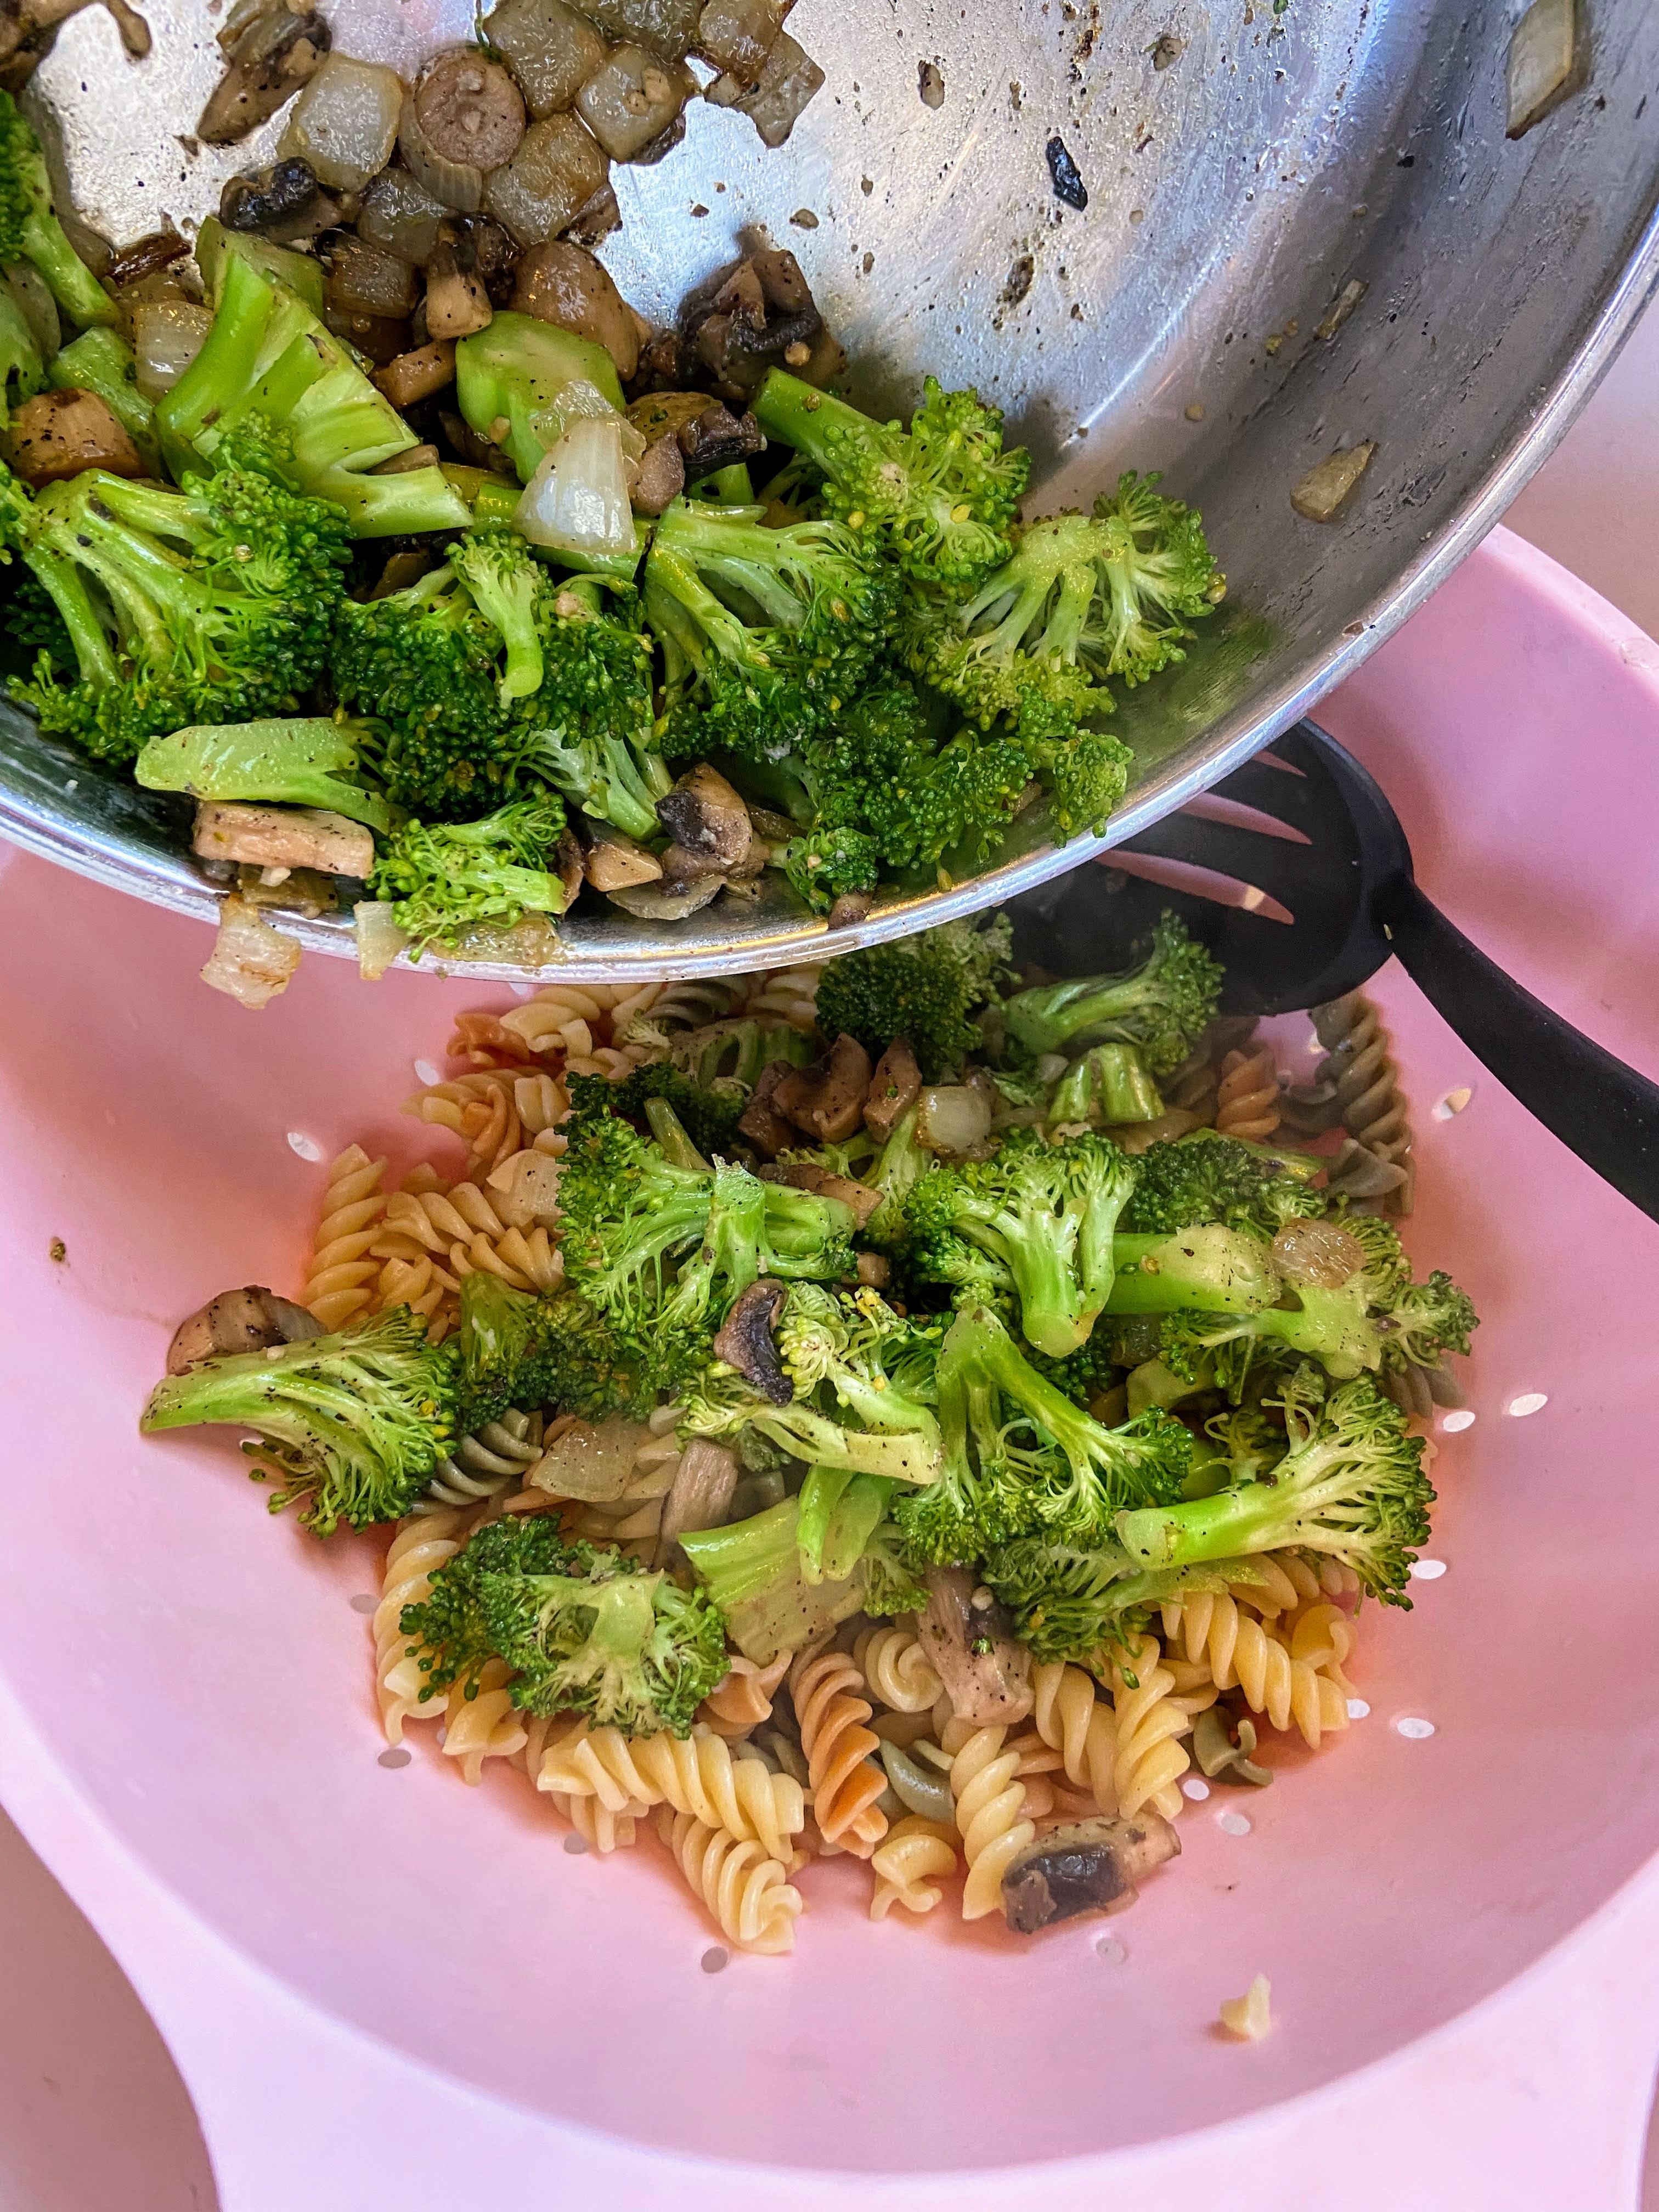
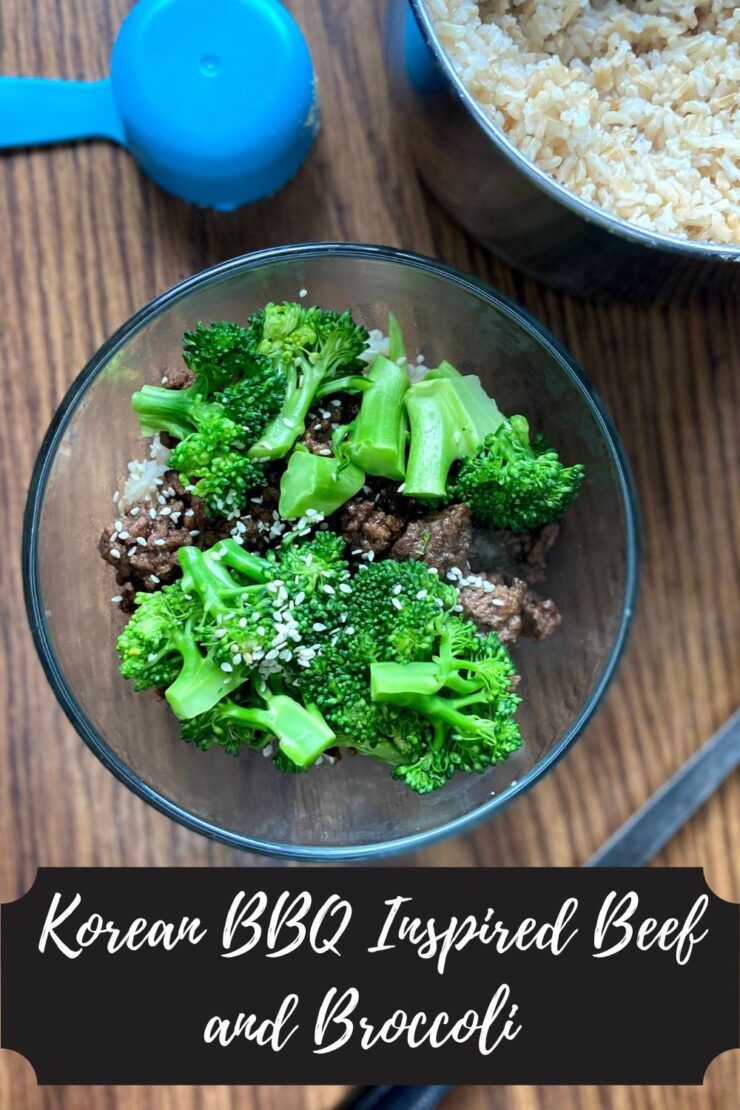
Serve protein over rice, topped with steamed broccoli and sprinkle with sesame seeds. Good luck having any left overs!


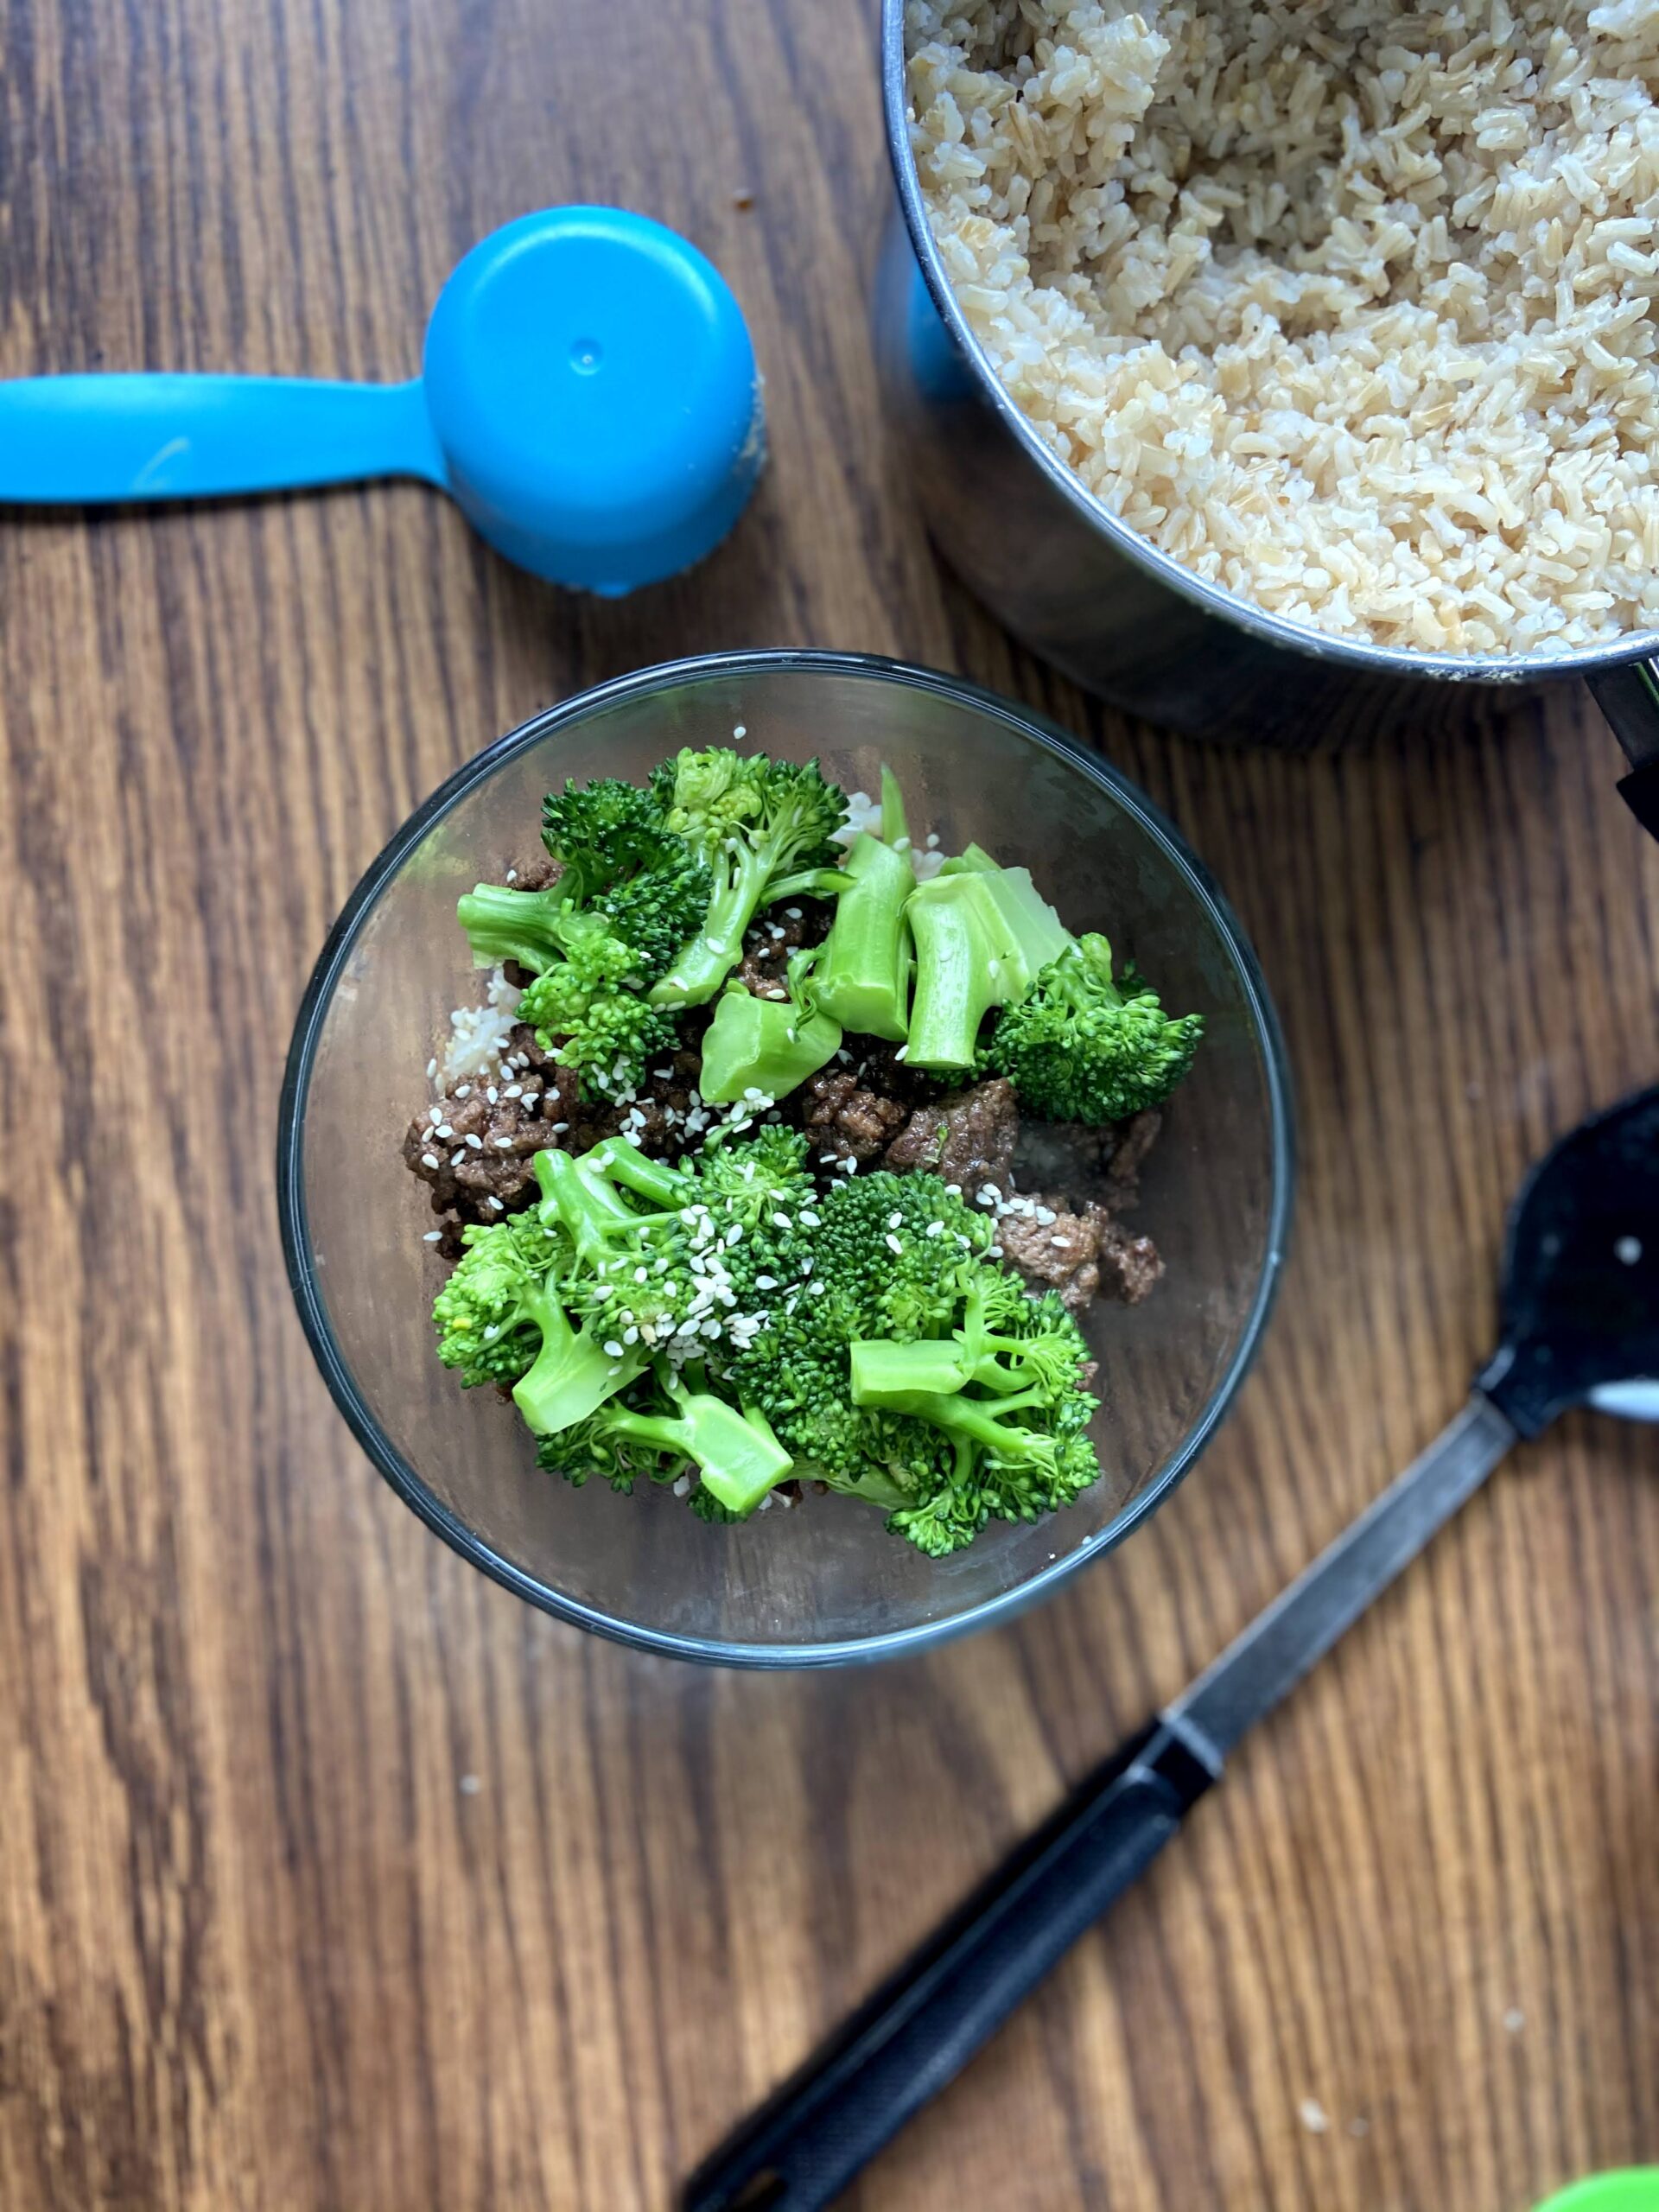
Korean BBQ Inspired Beef and Broccoli
Ingredients
- 1 pound ground protein beef, venison, turkey
- ¼ cup low sodium soy sauce
- ⅛ cup water
- ¼ cup brown sugar
- ¼ teaspoon ginger
- 2 teaspoons sesame oil
- Red pepper flakes to taste
- 3 cloves garlic
- 4-6 servings brown rice cooked
- Two heads of broccoli chopped into bite size pieces (four servings frozen broccoli florets)
- Sesame seeds
Instructions
- Over medium heat, brown protein, adding oil as needed. Venison benefits from a ½ tablespoon of olive oil in the pan to help keep it from sticking.
- Meanwhile, steam broccoli and cook instant brown rice if you haven’t already.
- While the meat is browning and rice and broccoli are cooking, mix your sauce.
- Once the meat is cooked, drain if necessary. Pour sauce over the browned protein, cooking over medium for 4-5 minutes, until slightly thickened.
- Serve protein over rice, topped with steamed broccoli and sprinkle with sesame seeds. Good luck having any left overs!
Notes
Looking for other delicious dinner inspirations?
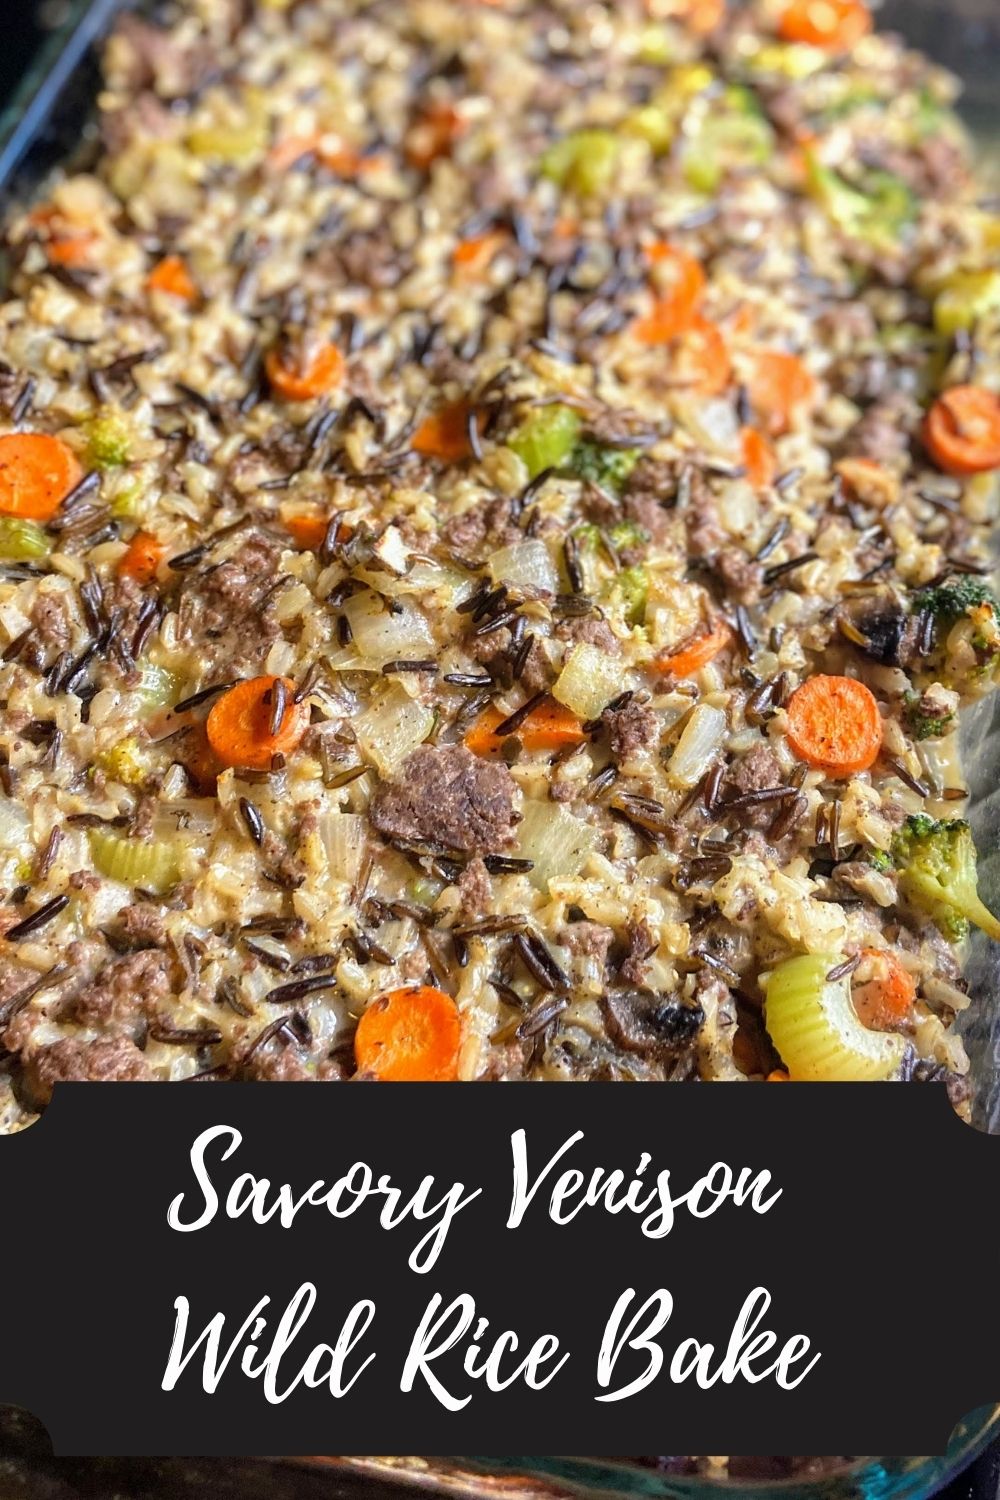

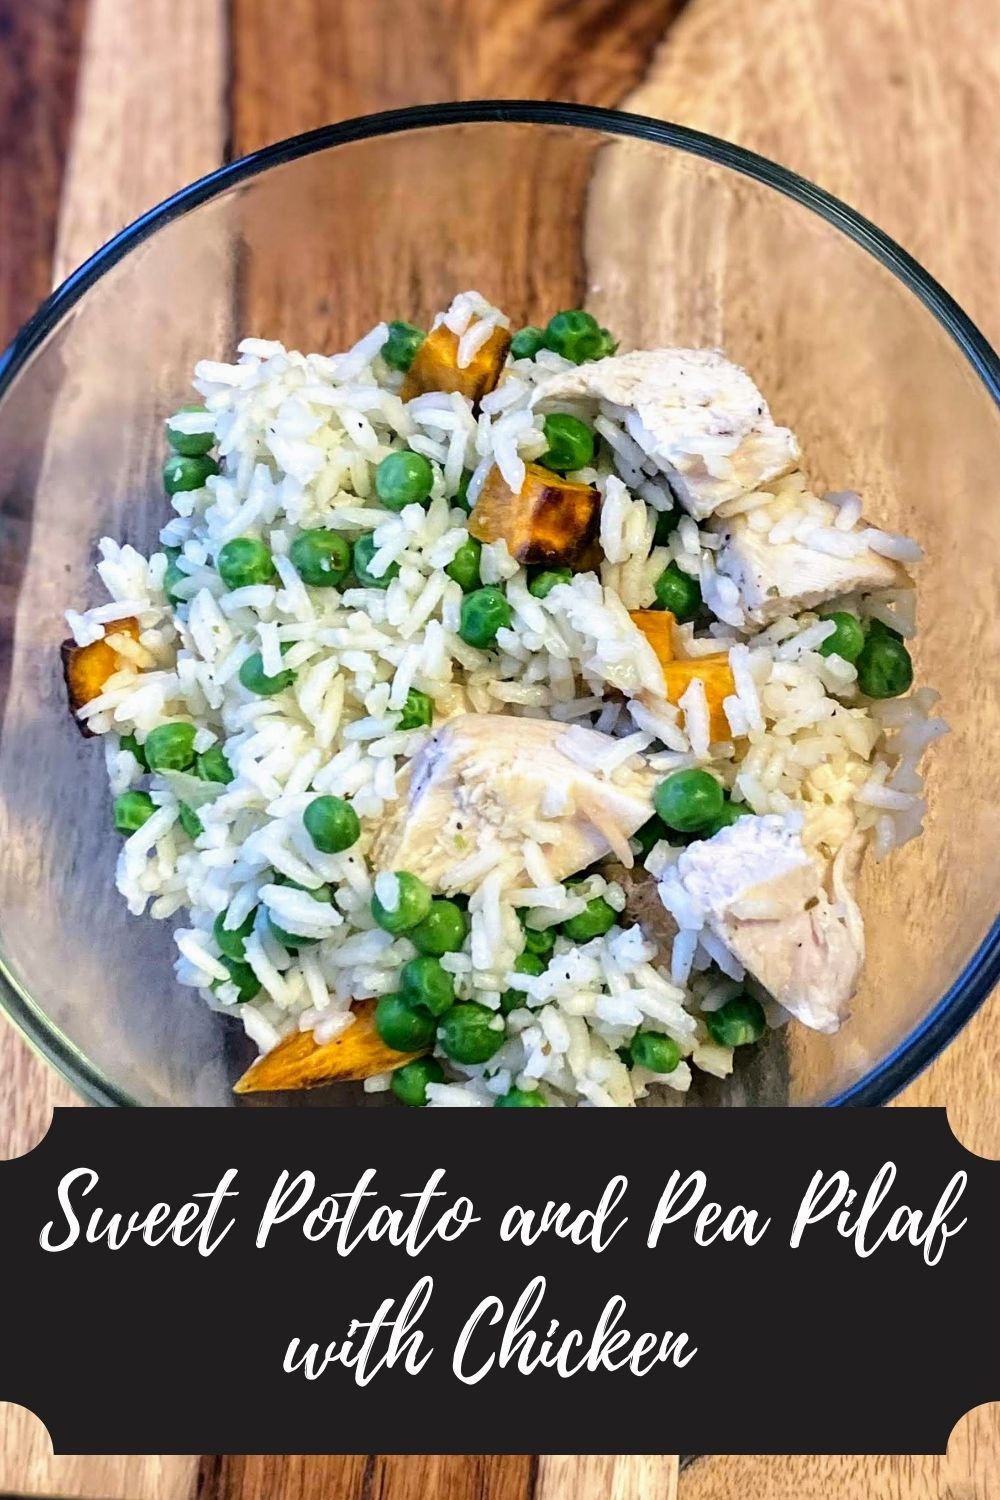

You can also head to my cooking page or perhaps the baking page for other meal and dessert ideas!