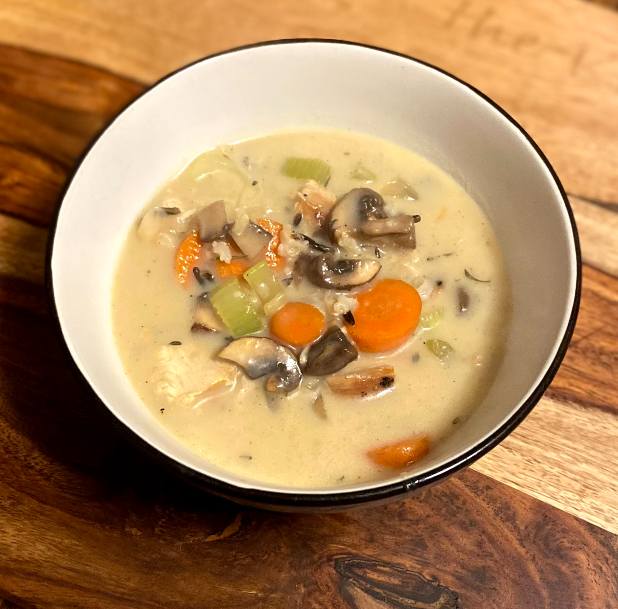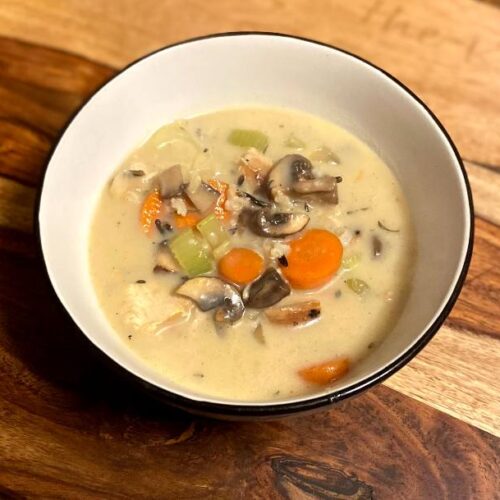
Ready for some savory venison and wild rice bake? I am so excited to share! Being a northern Wisconsin family, it may come as no surprise that a primary protein source at our house is venison. We harvest 2-4 deer a year between the gun and bow season and butcher them ourselves. Using our Kitchen Aid mixer, we grind upwards of 60 pounds of venison a year, which we use instead of ground beef or turkey 90% of the time.
I’m always looking for new ways to use it, and this was a fun recipe to develop from scratch a few years ago. This venison and wild rice bake has a feel of tater tot hotdish (I’m close to the Minnesota border, don’t ya know?) with a true from scratch taste. You won’t find any “cream of whatever” soups in the ingredients; only true delicious wholesome foods here. I hope it becomes a go to comfort food for you like it has for us.
Oh! And no ground venison? No problem! Substitute your favorite ground protein: beef, turkey, you name it.
The ingredients For Venison and Wild Rice bake
- 1 pound ground venison, seasoned with salt and pepper
- 6 cups low sodium chicken stock, divided
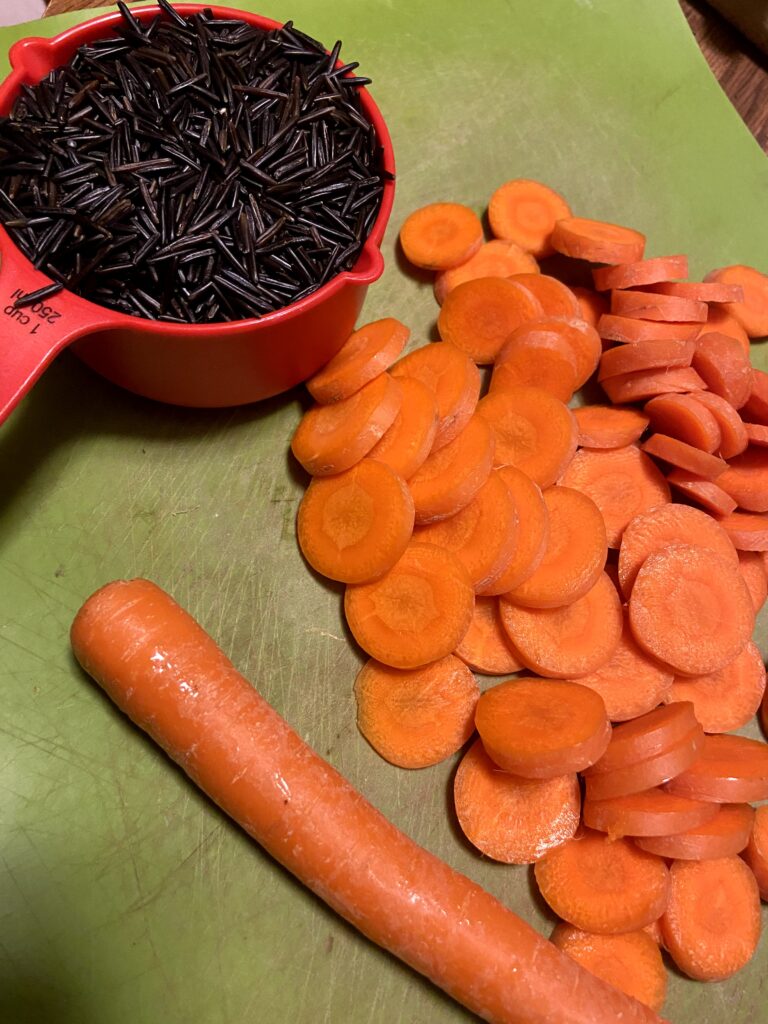
- 1 cup long grain rice
- 1 cup wild rice
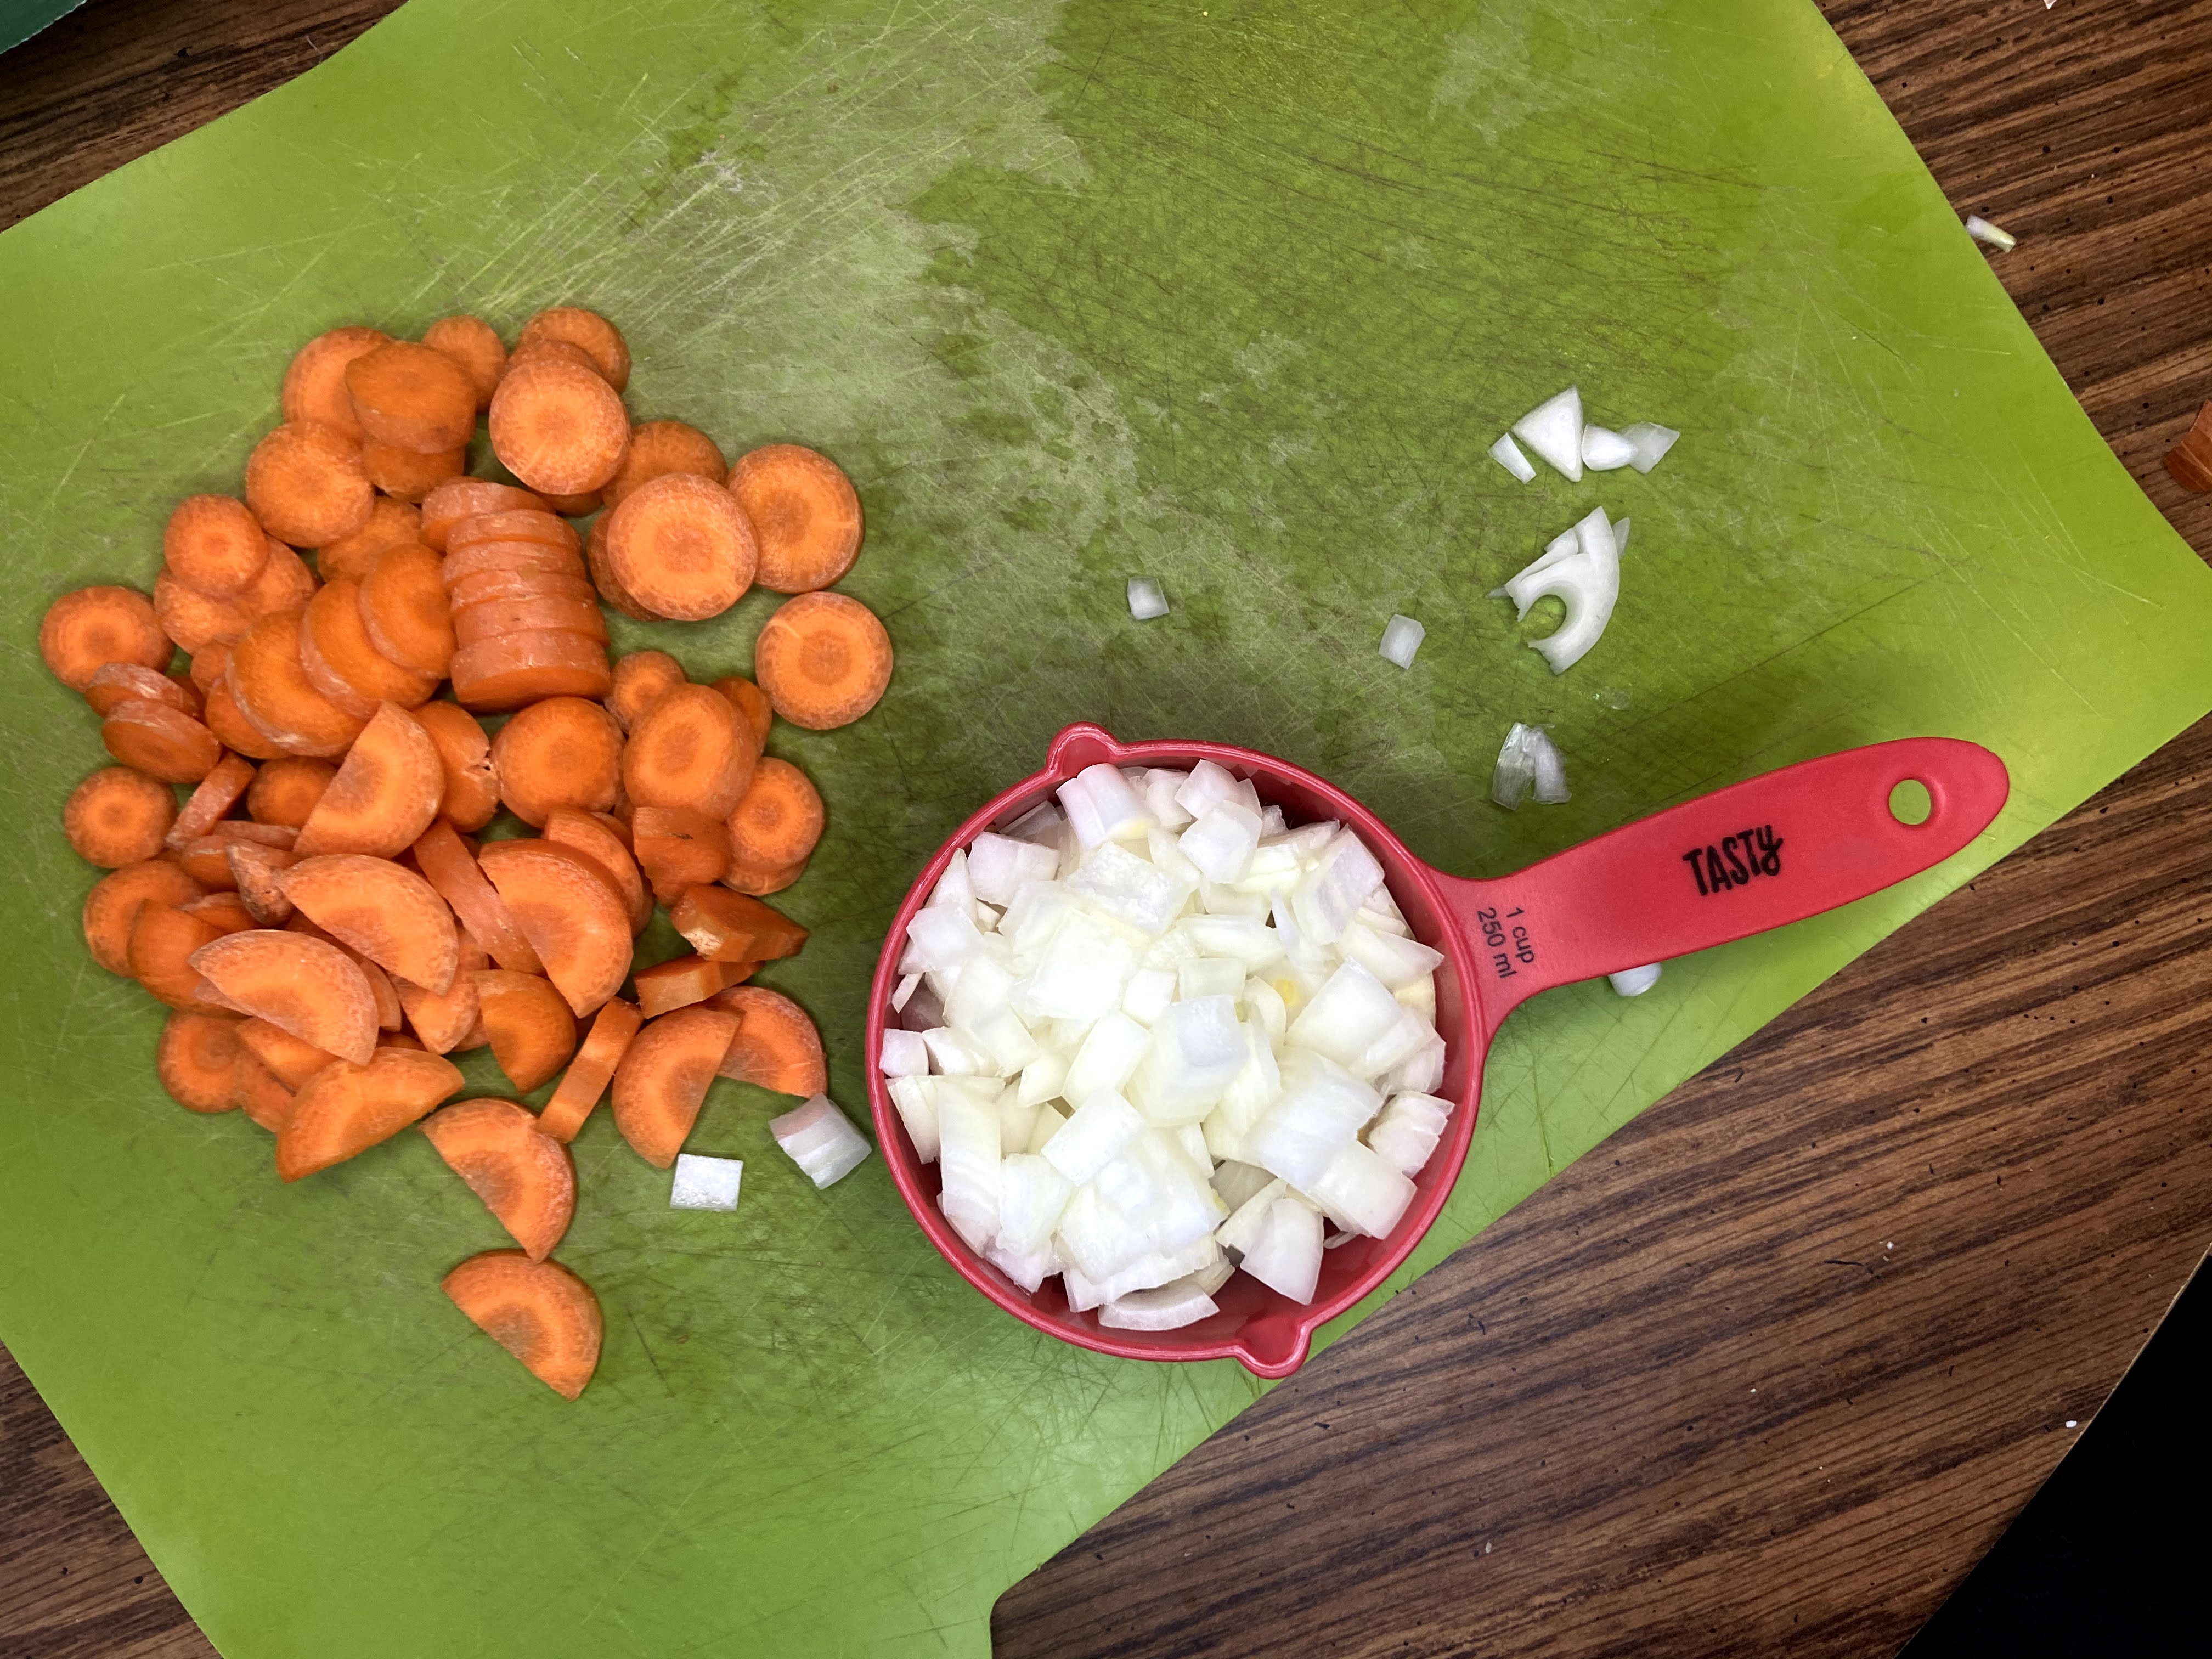
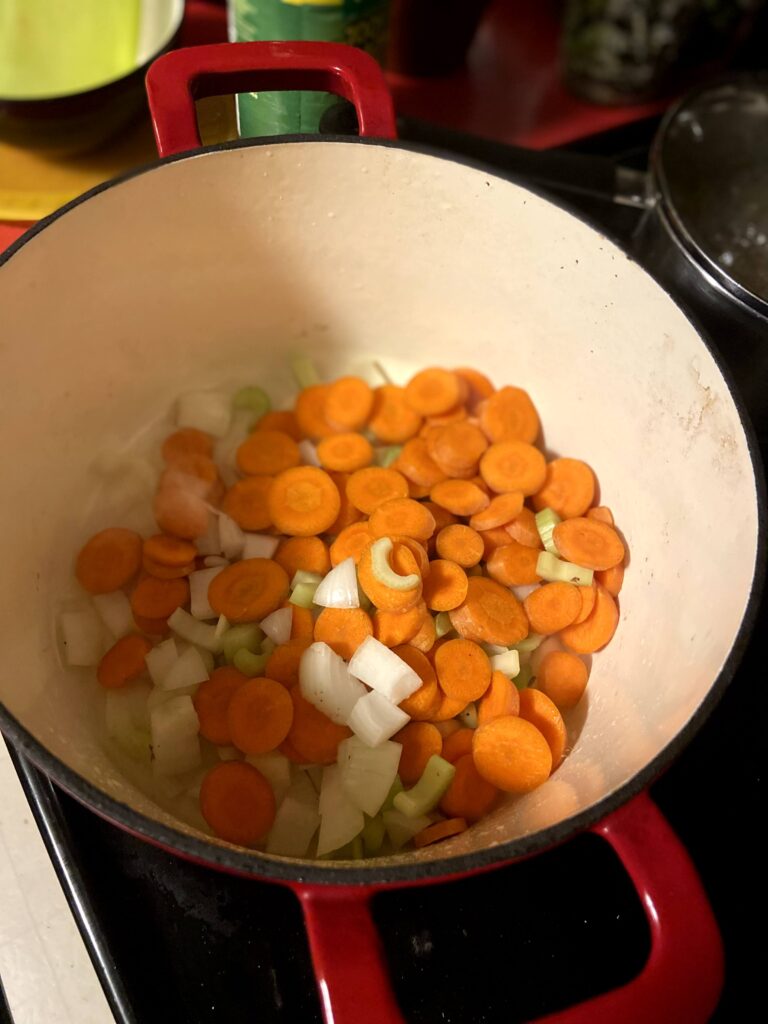
- 2 cups carrots, diced
- 1 ¼ cup onion (1 large), diced
- 1 ¼ cup celery (6 stalks), diced
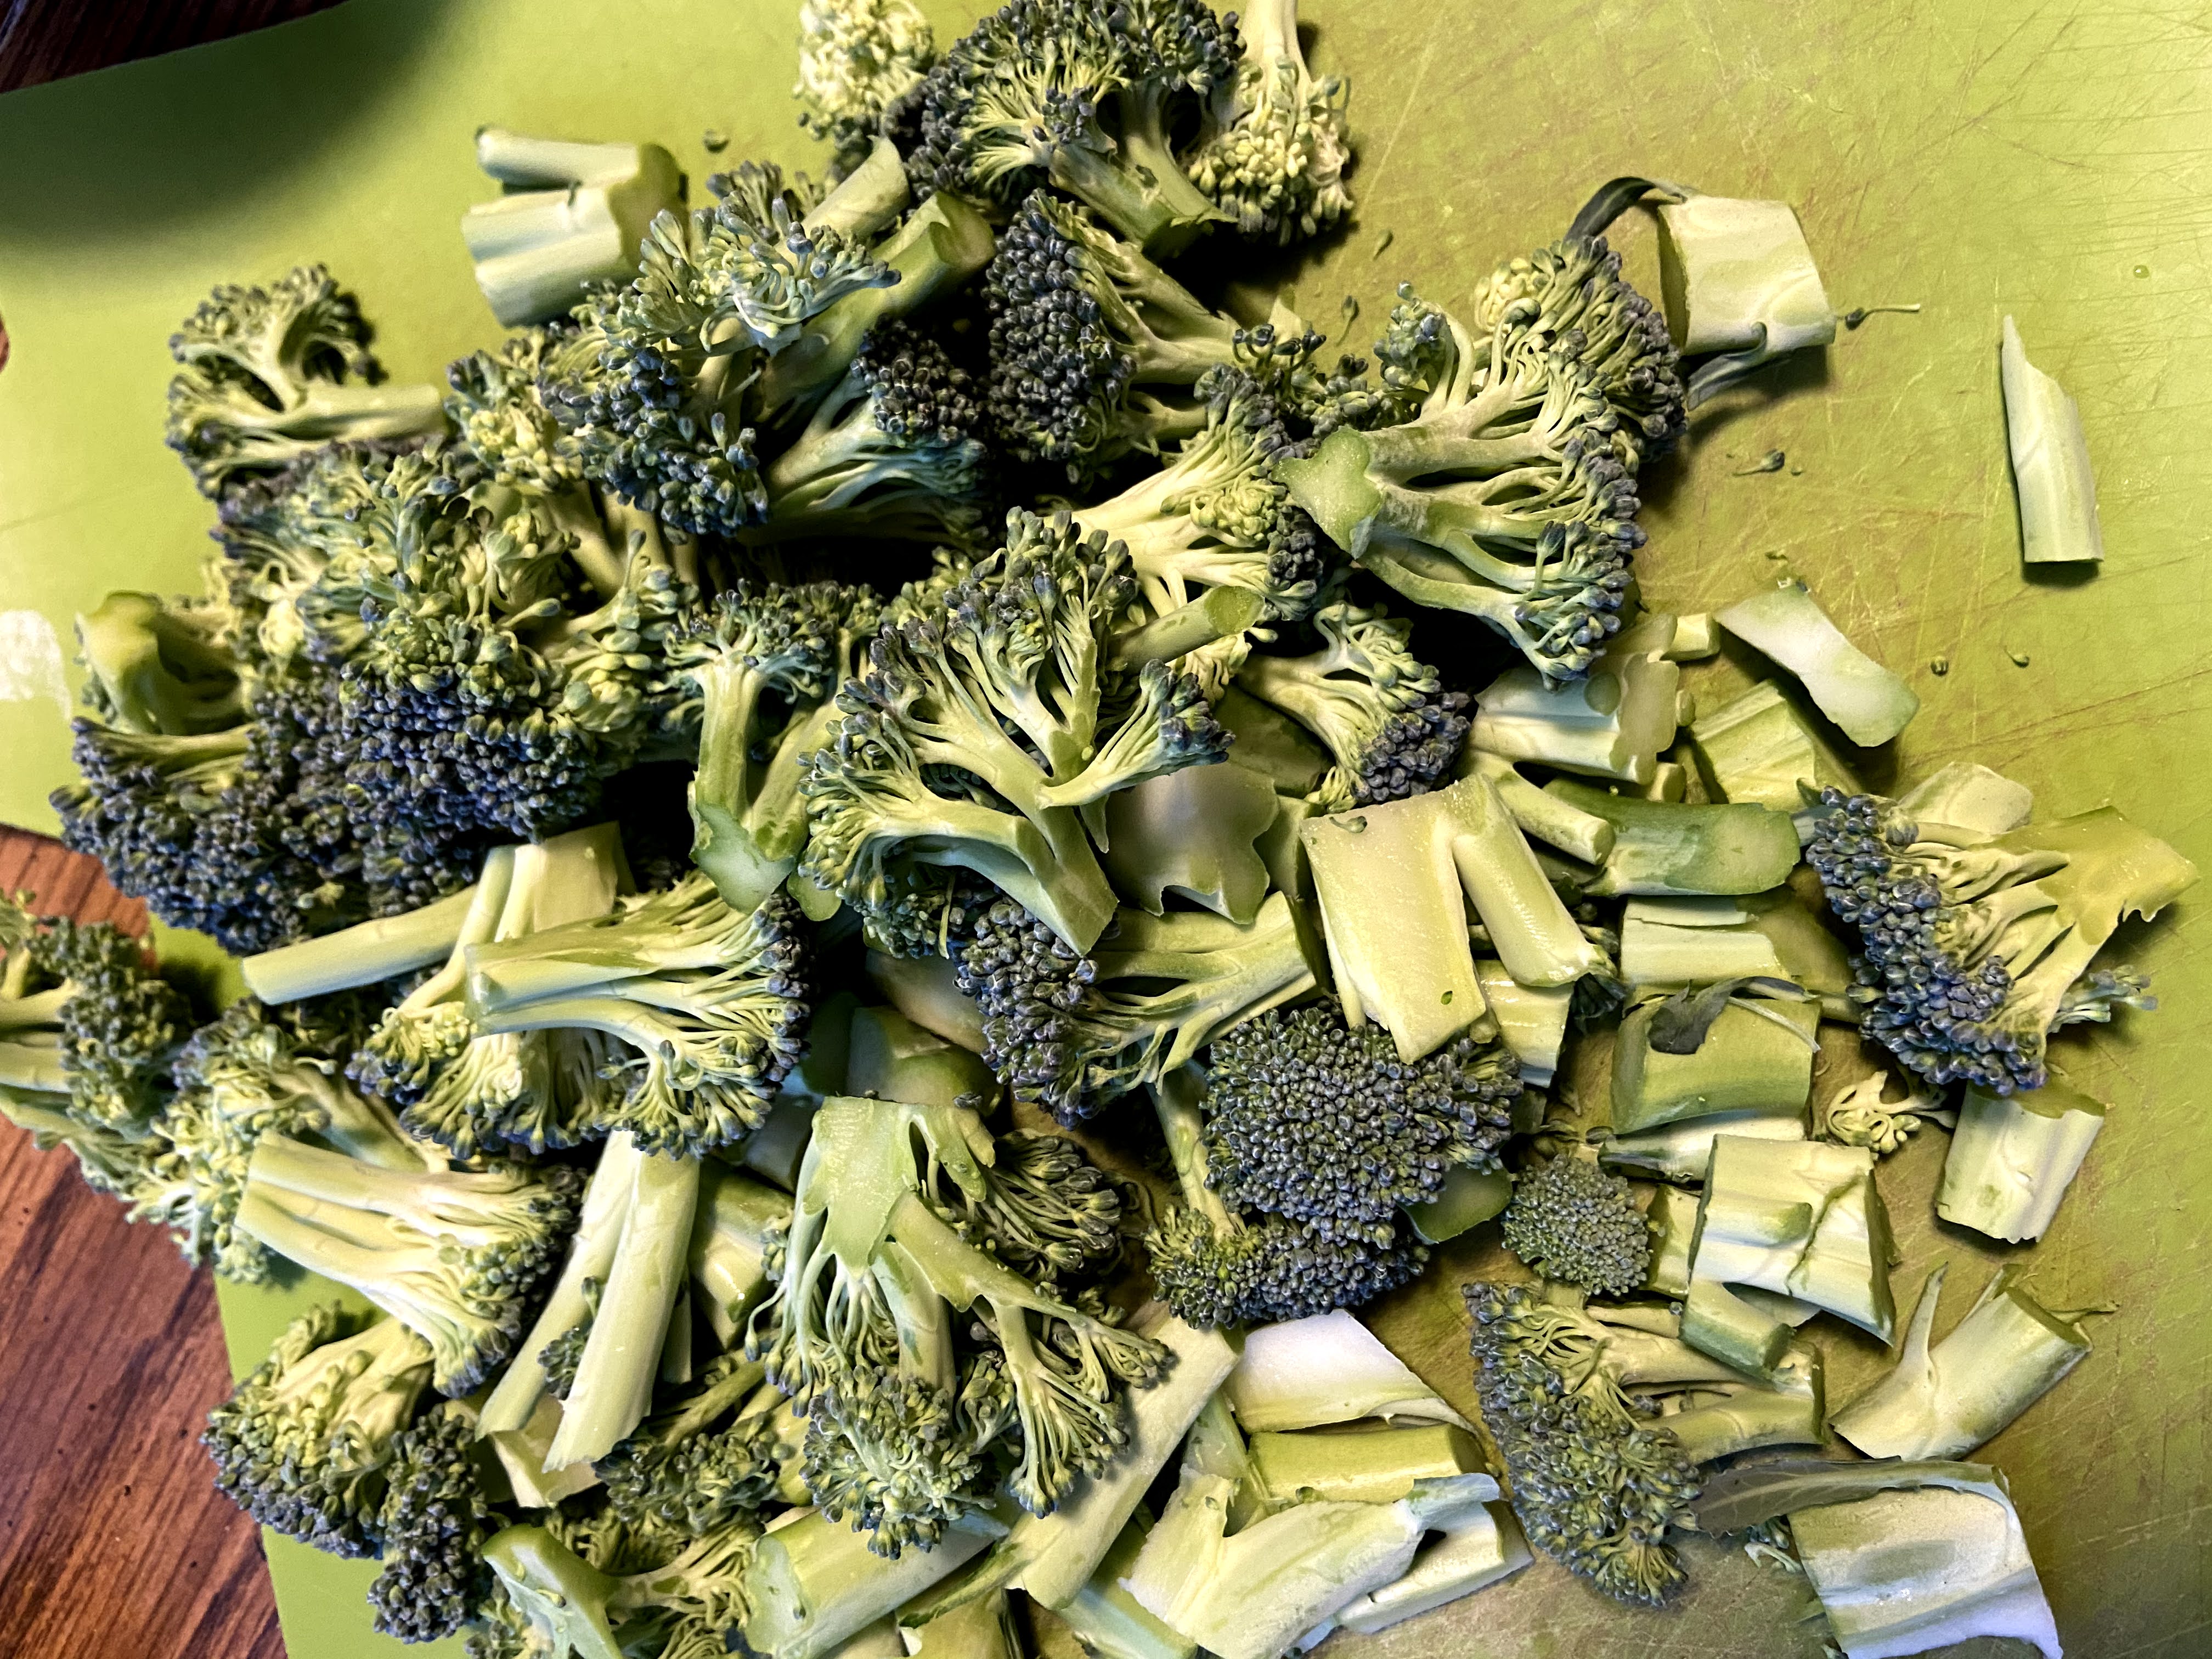
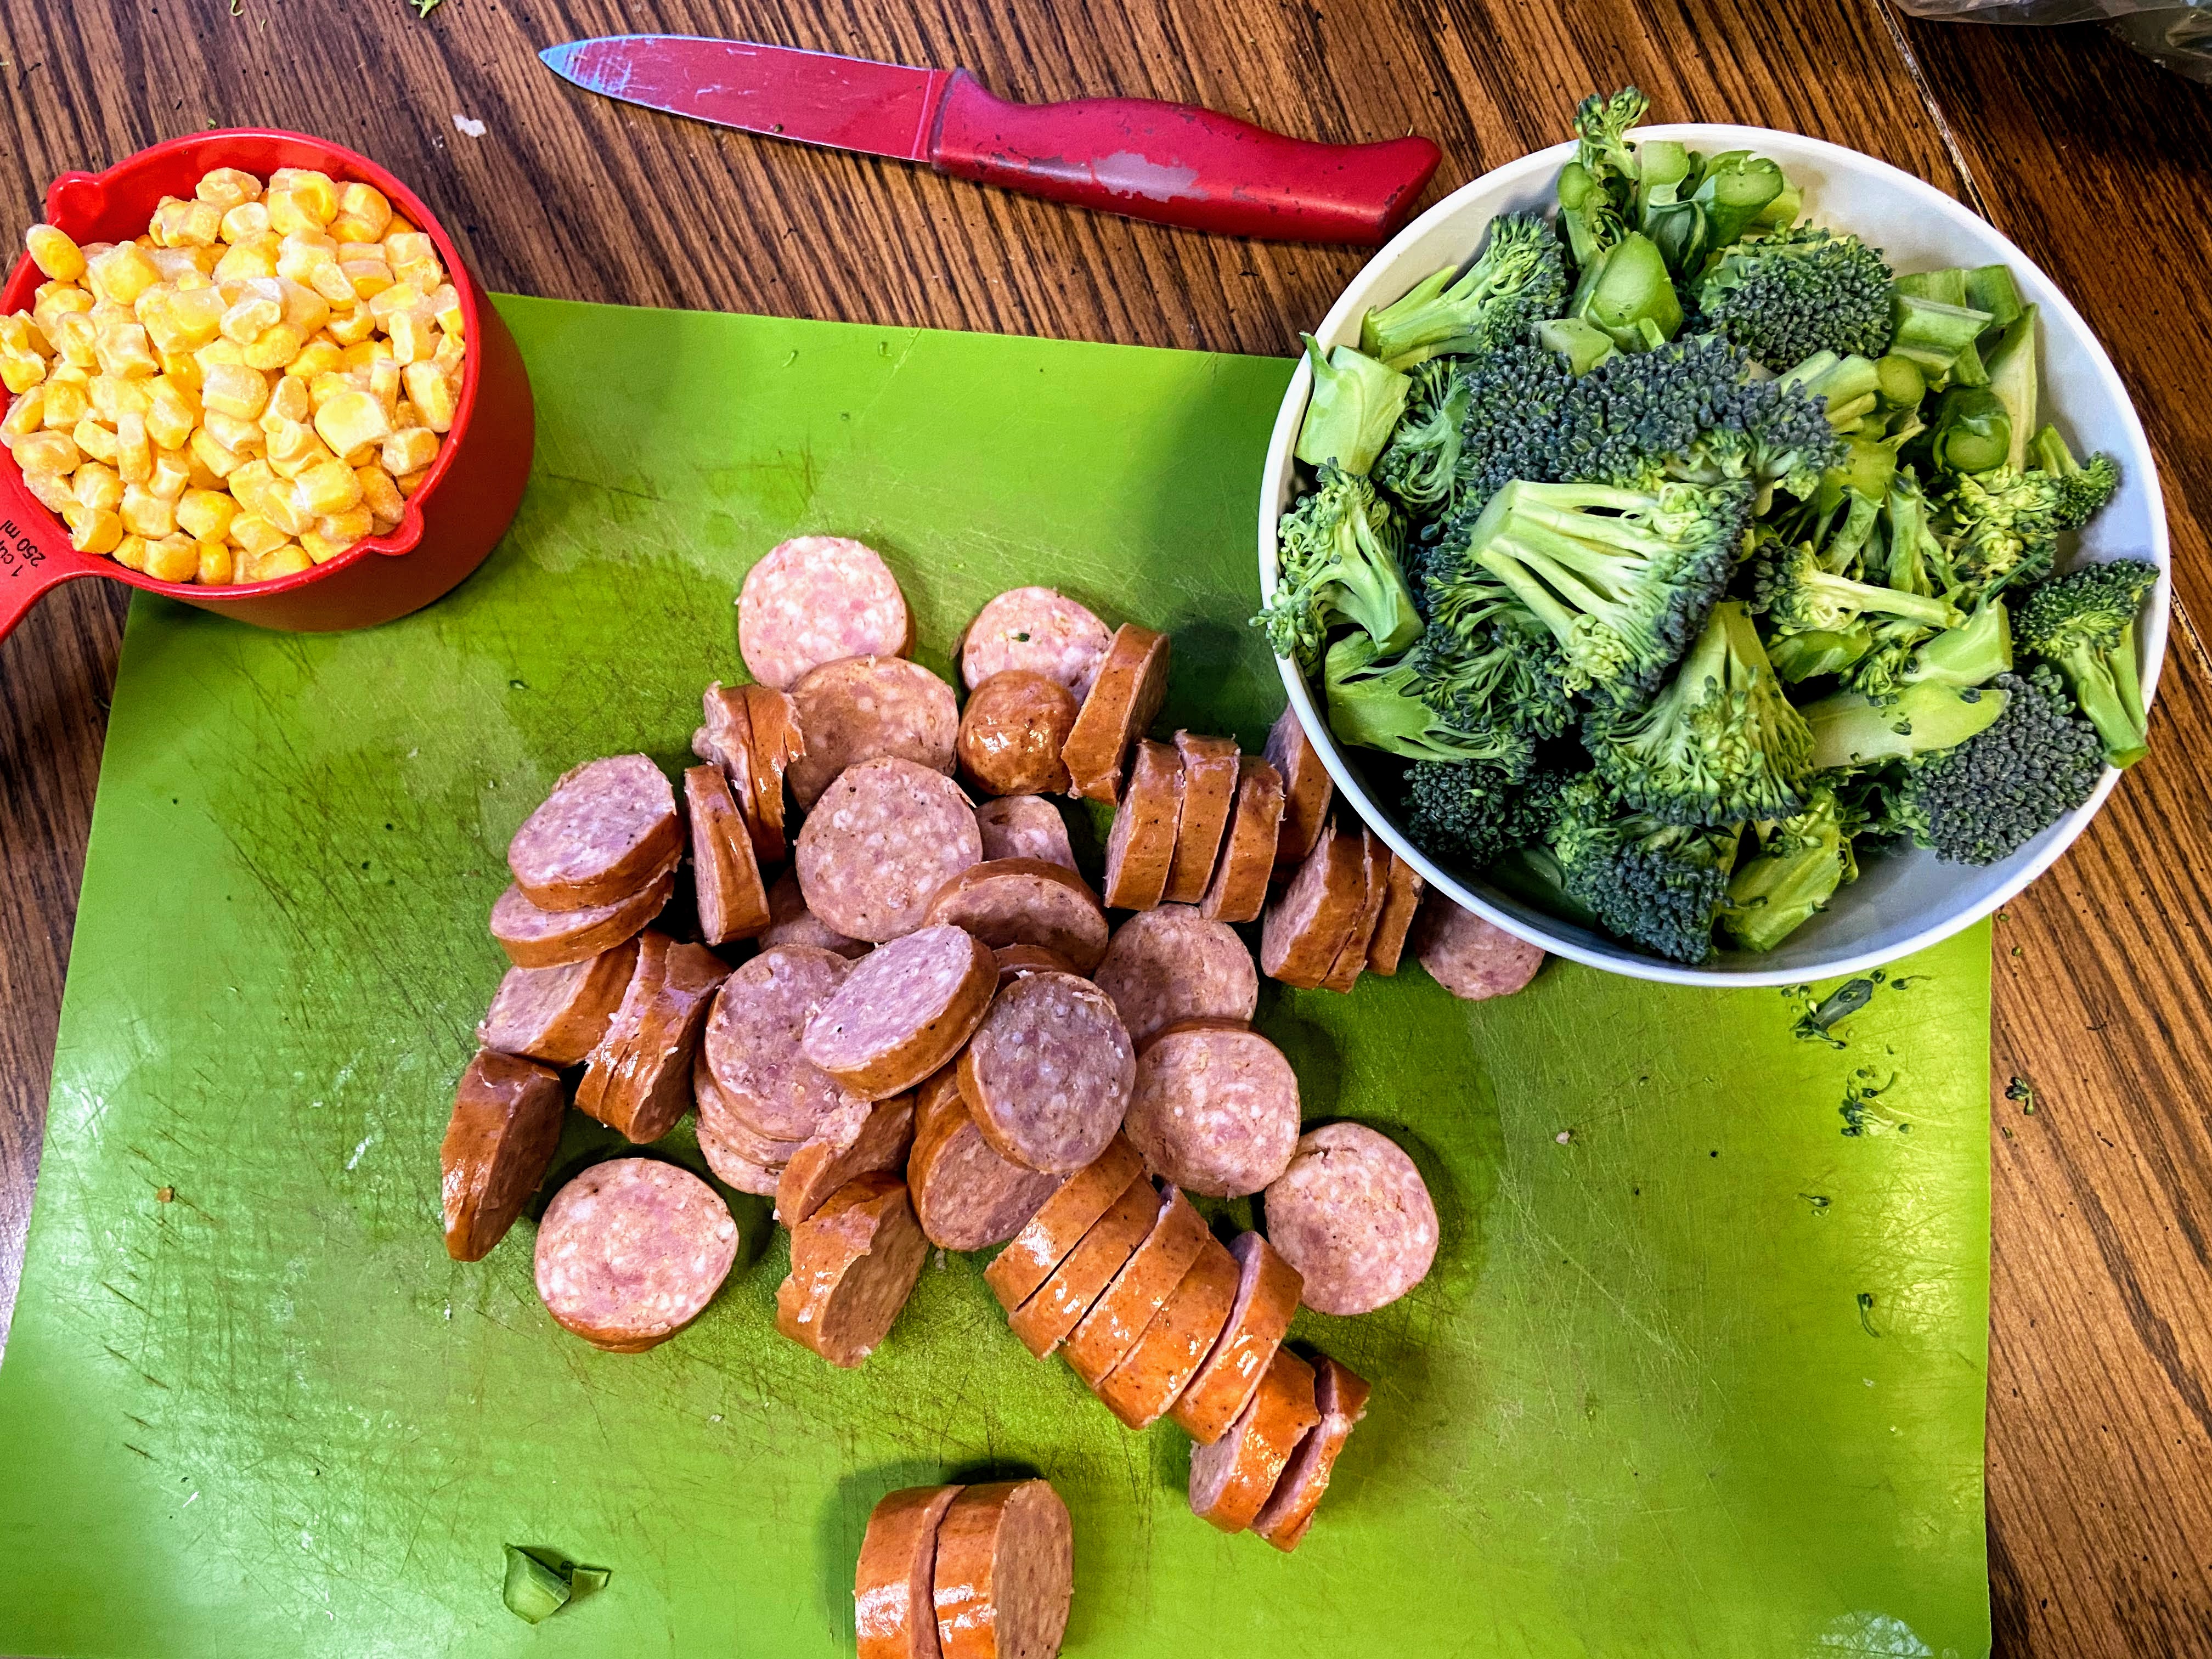
- 2 cups broccoli, diced
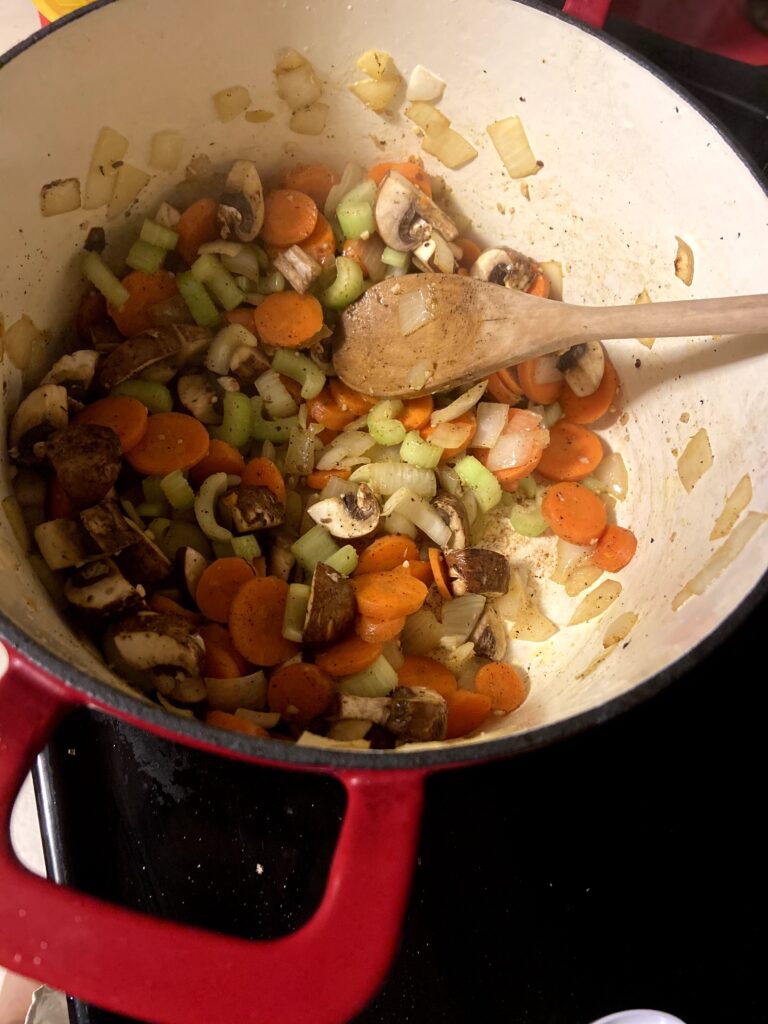
- 1 cup mushrooms, sliced
- Olive oil
- 4 cloves garlic, minced
- 1 teaspoon pepper
- 1 teaspoon salt
- 2 teaspoons sage
- 2 teaspoons thyme
- 1 cup milk
- 3 tablespoons butter
- 3 tablespoons flour
Your Steps
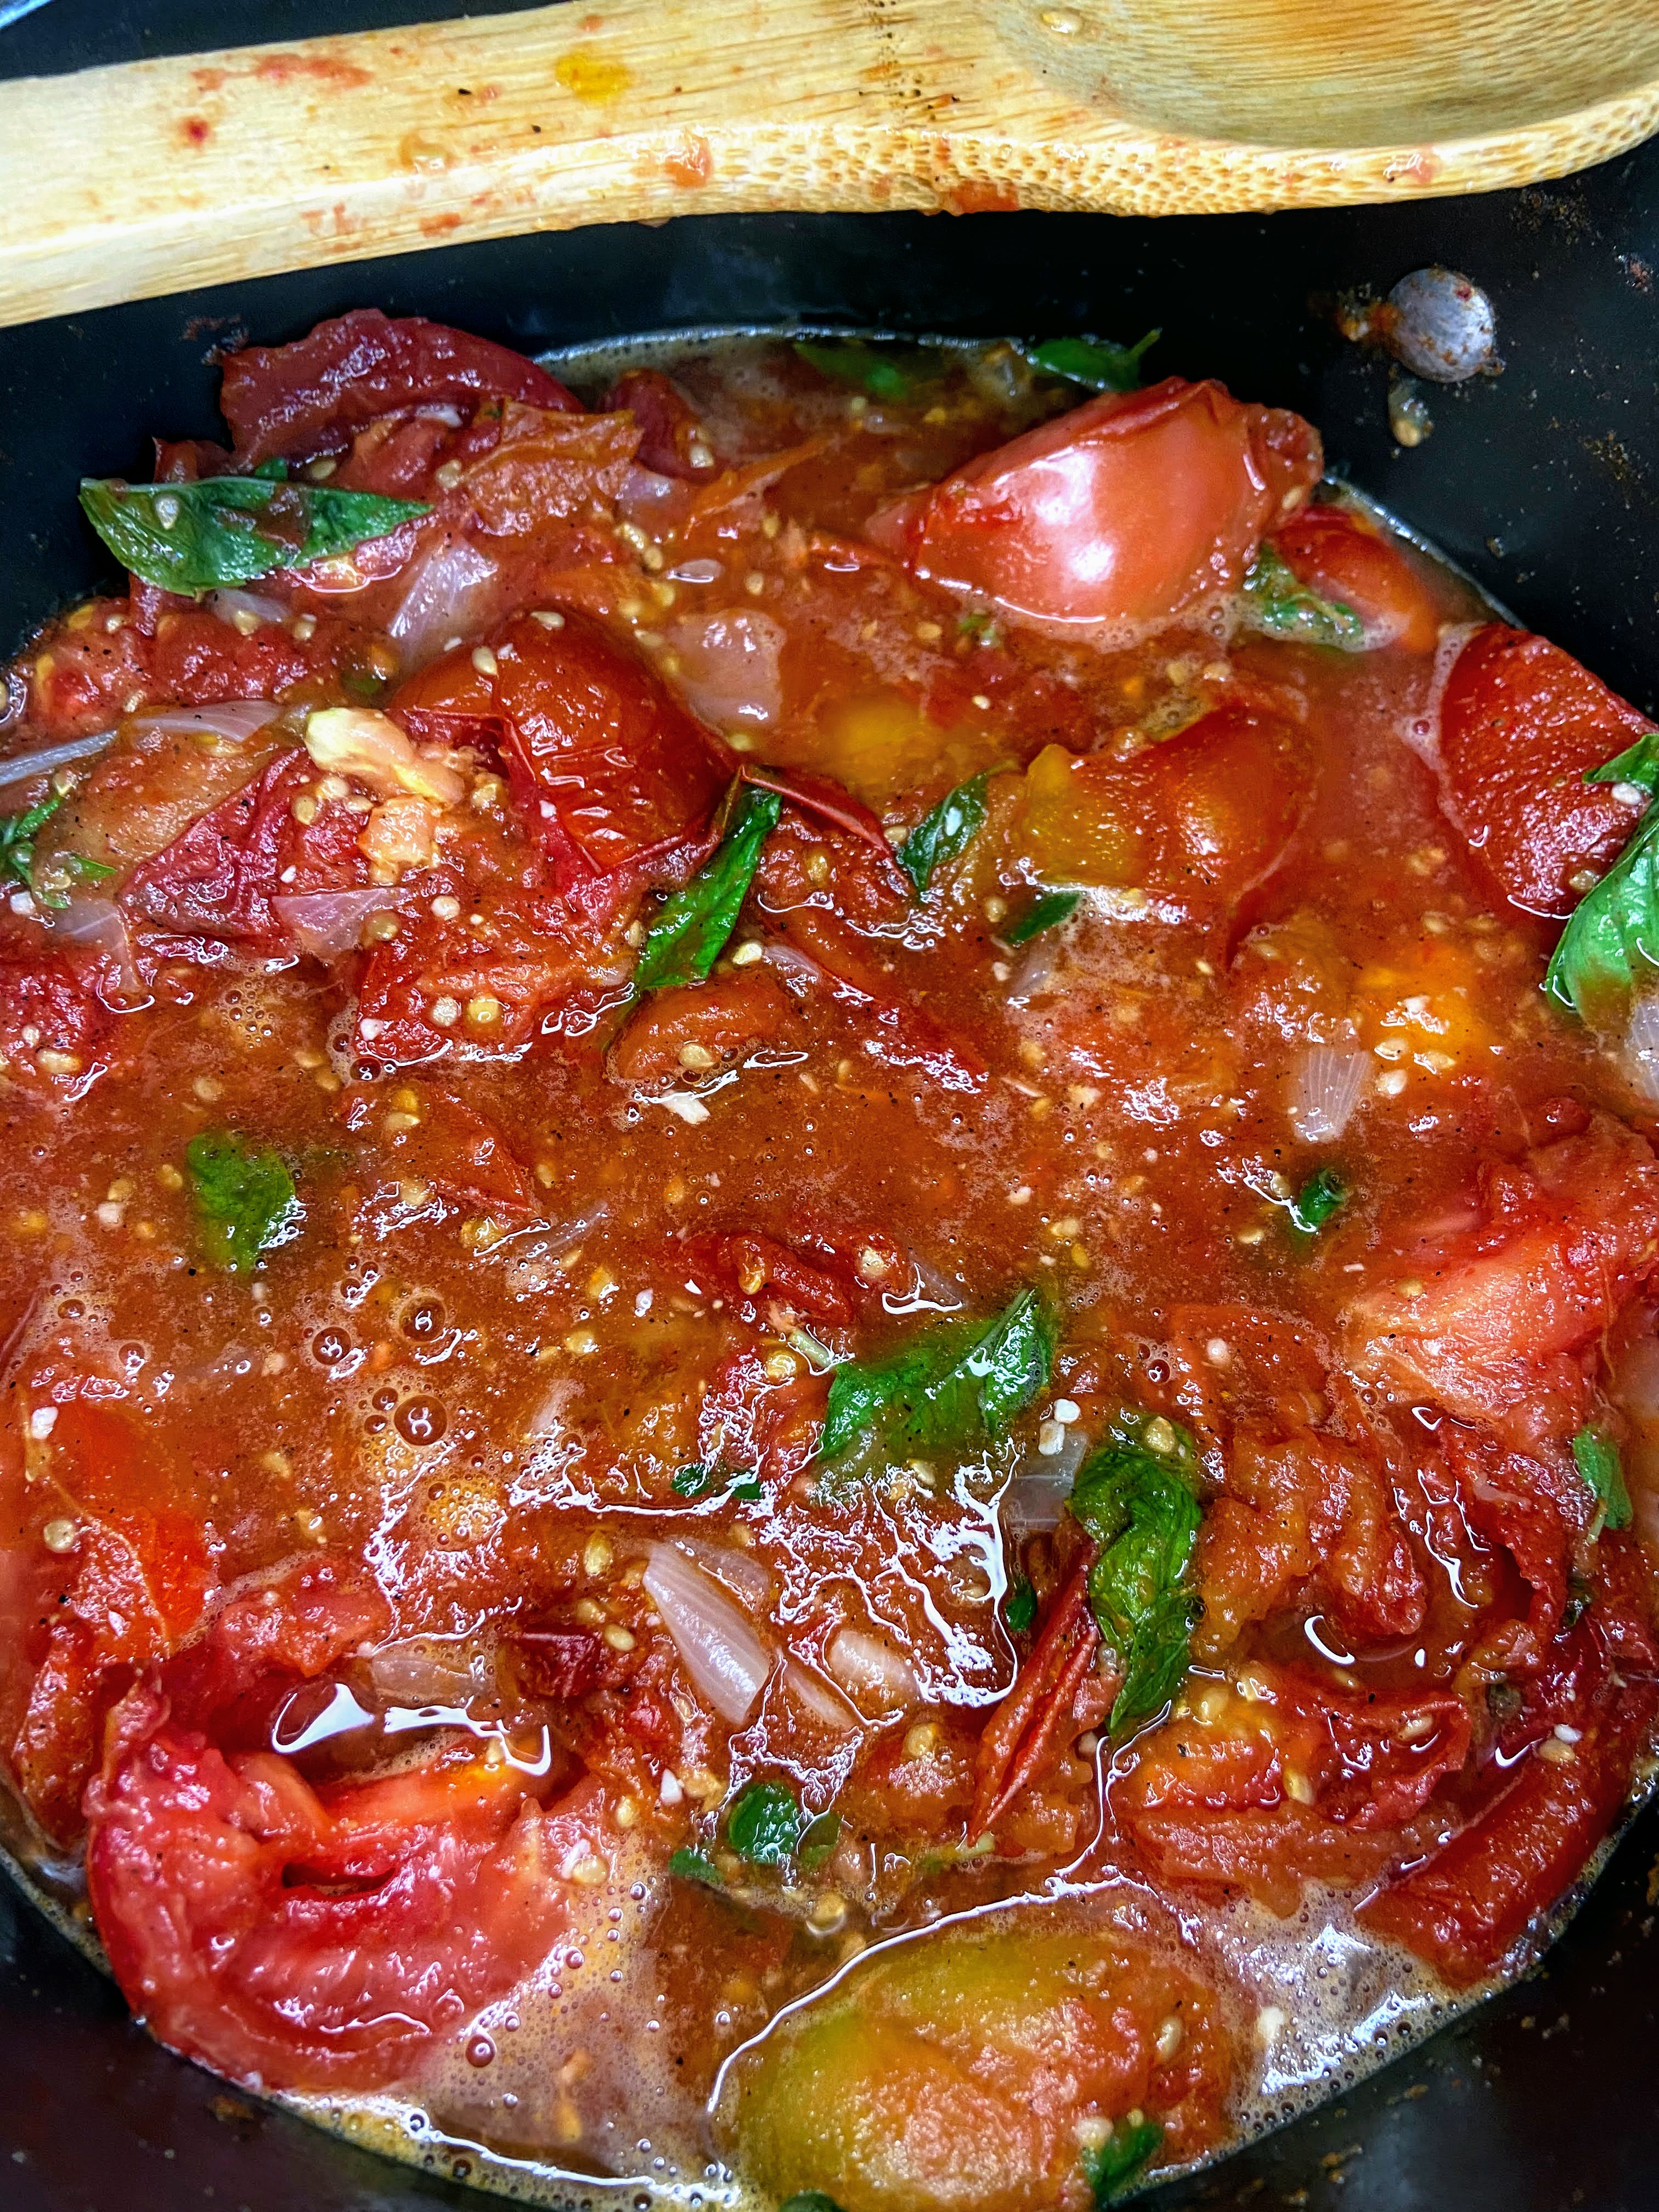
In a medium saucepan, bring 5 cups chicken stock to a boil. Add sage, 1/2 teaspoon pepper, 1/2 teaspoon garlic and wild rice. Cover, lower to a simmer, and cook for 10 minutes. Add long grain rice and cook for an additional 25-30 minutes, stirring periodically to check that you still have water. You want your rice to just be tender. Test it at 40 minutes. If it gets over cooked, it will be mush once you bake it.
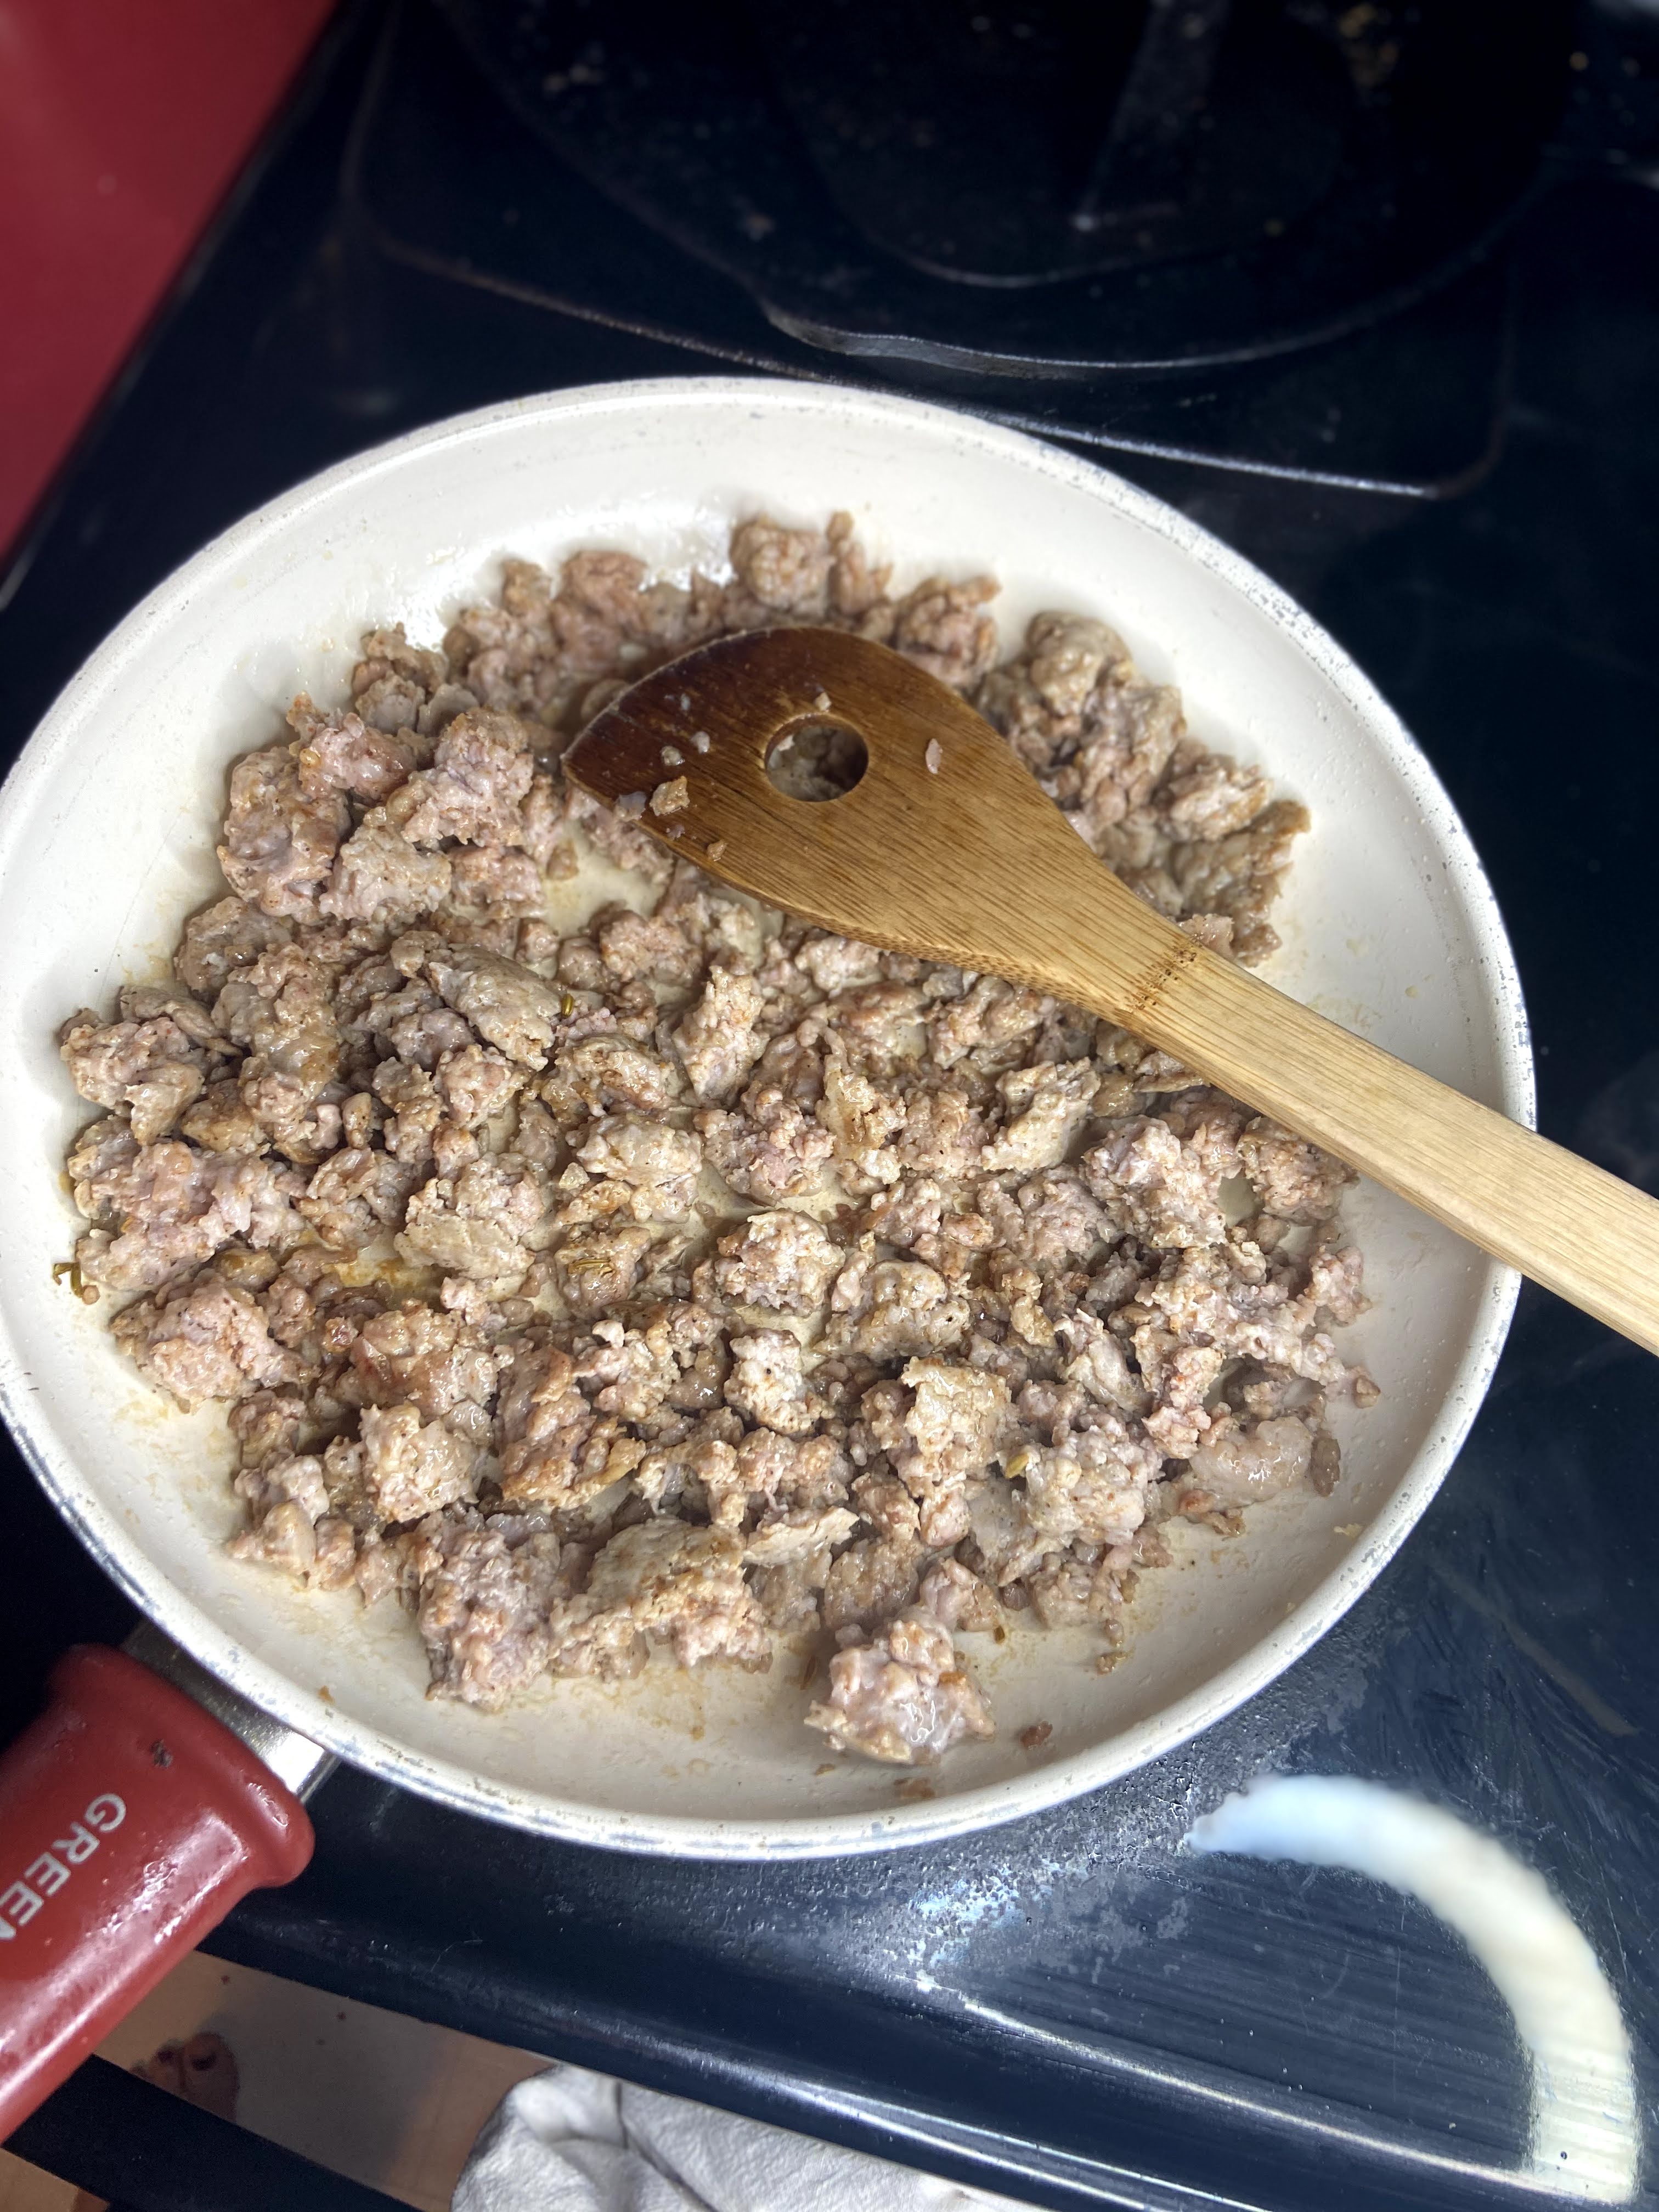
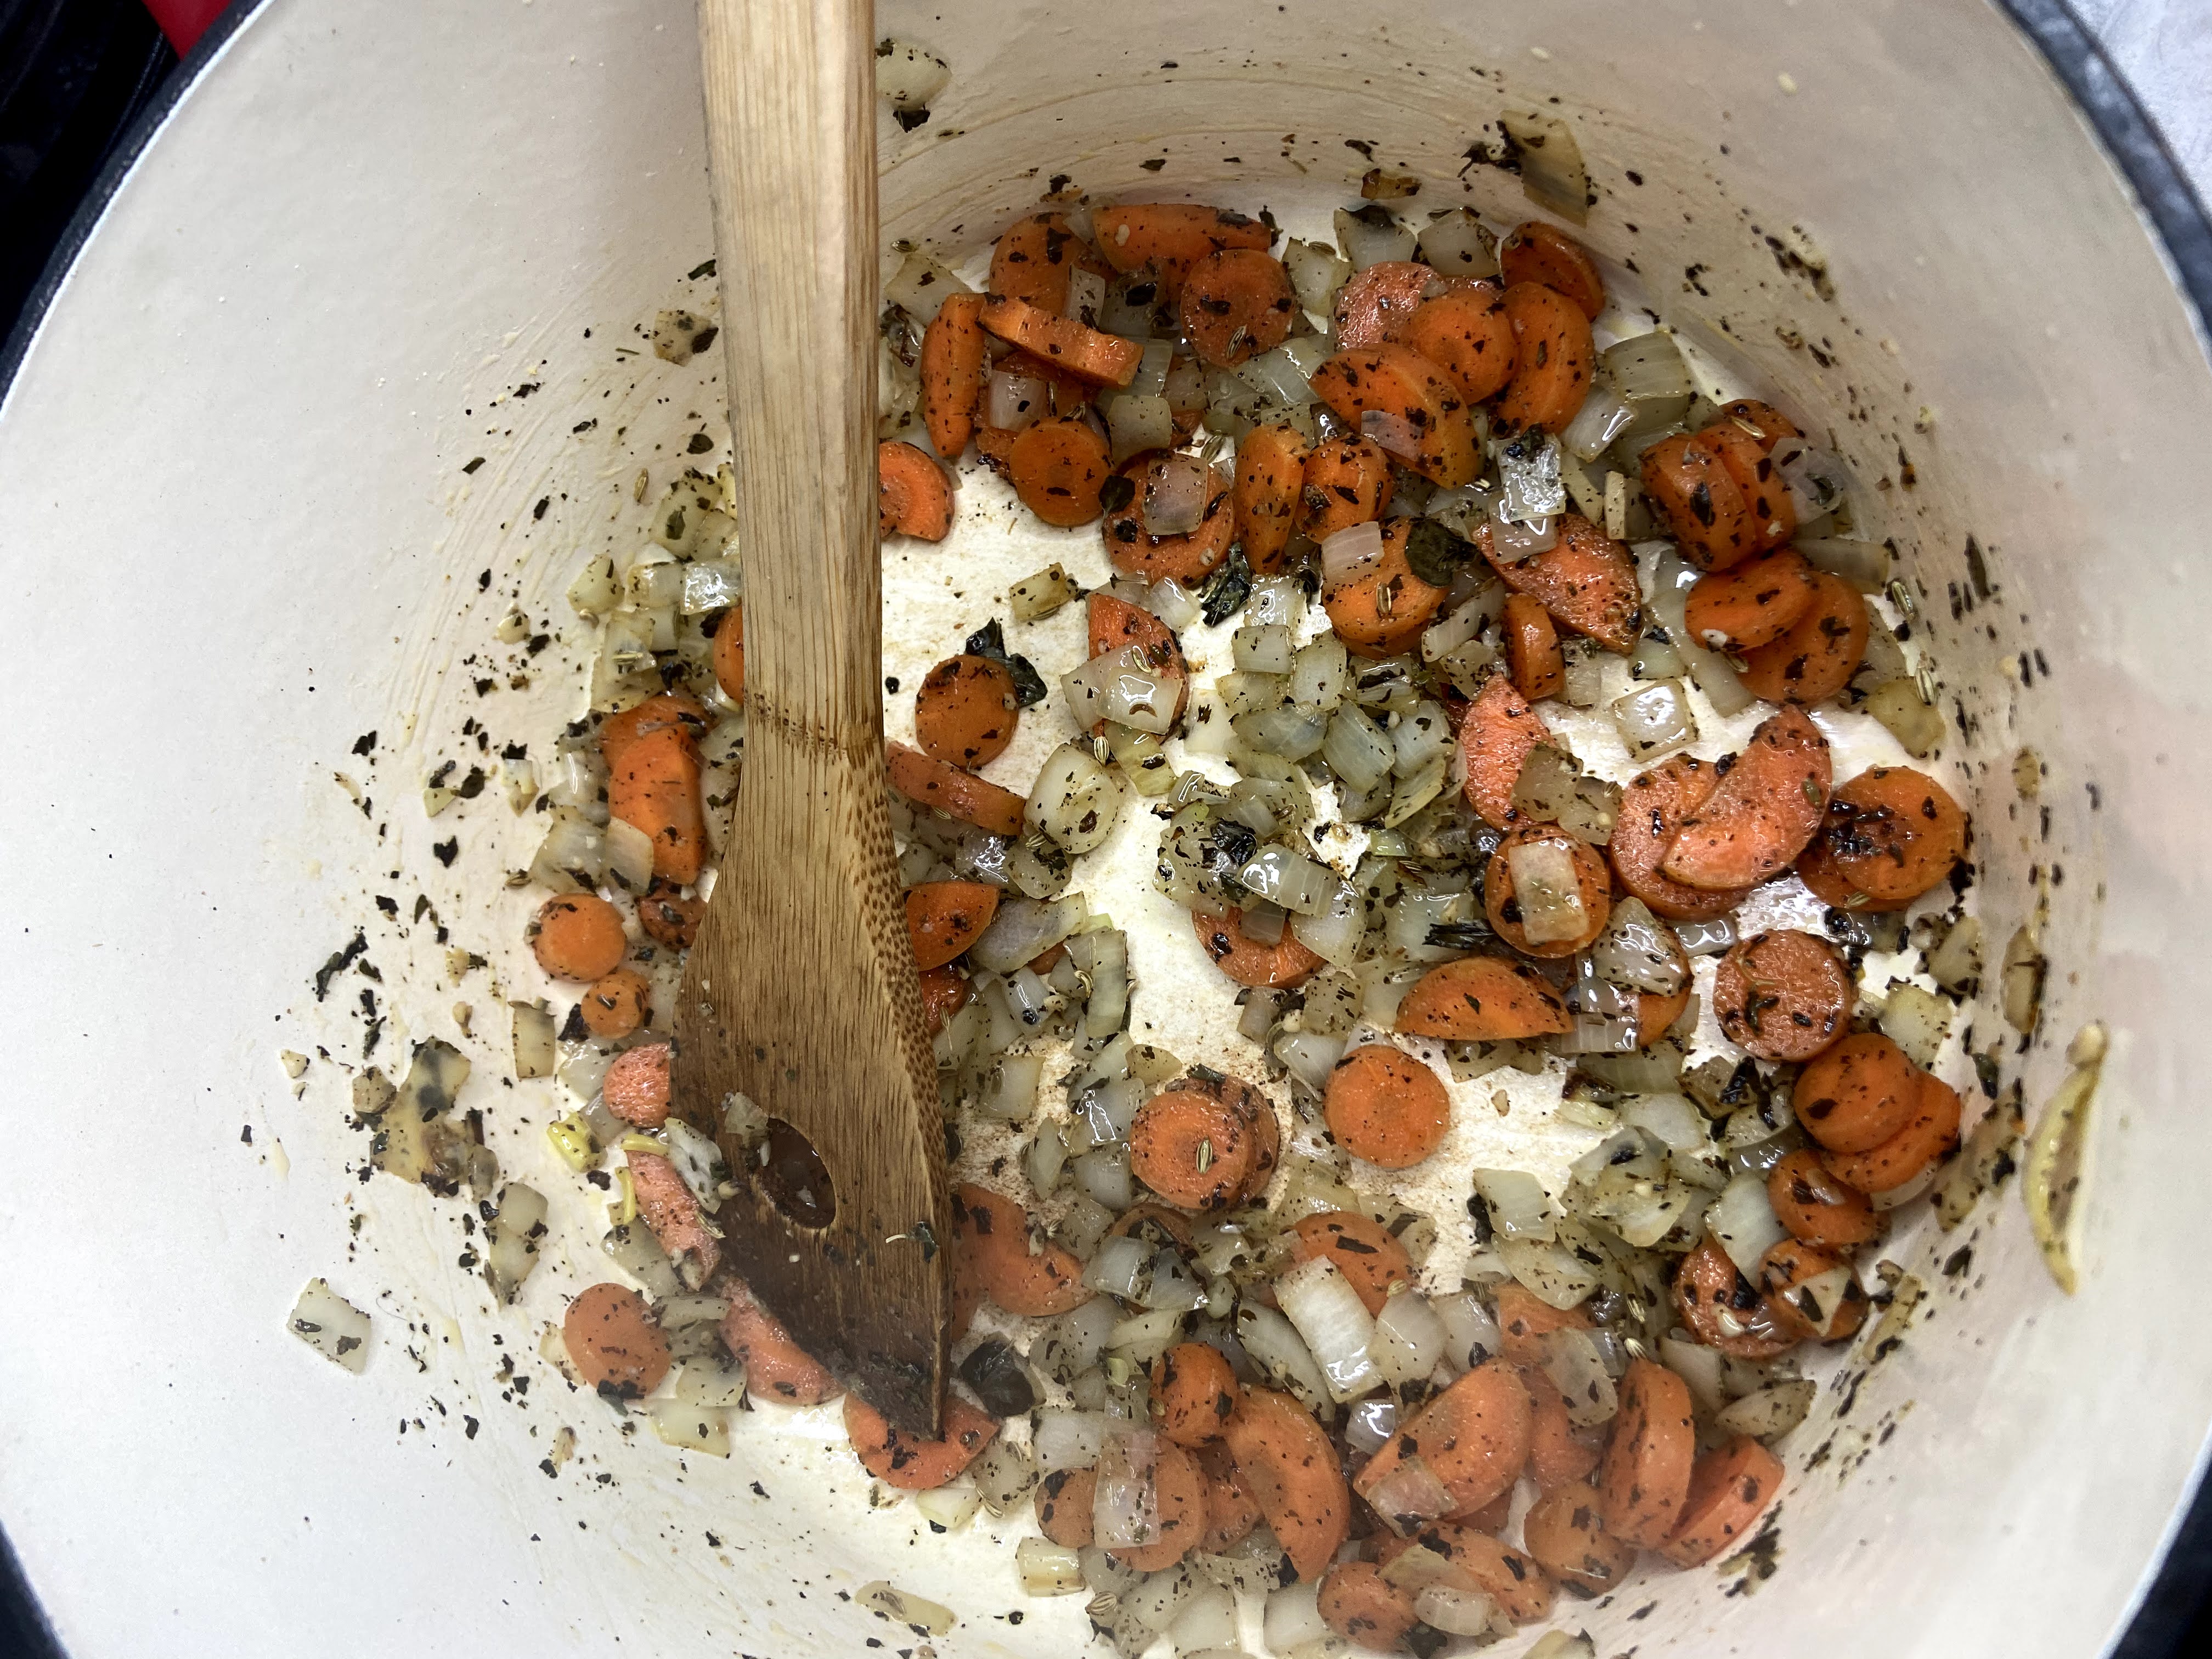
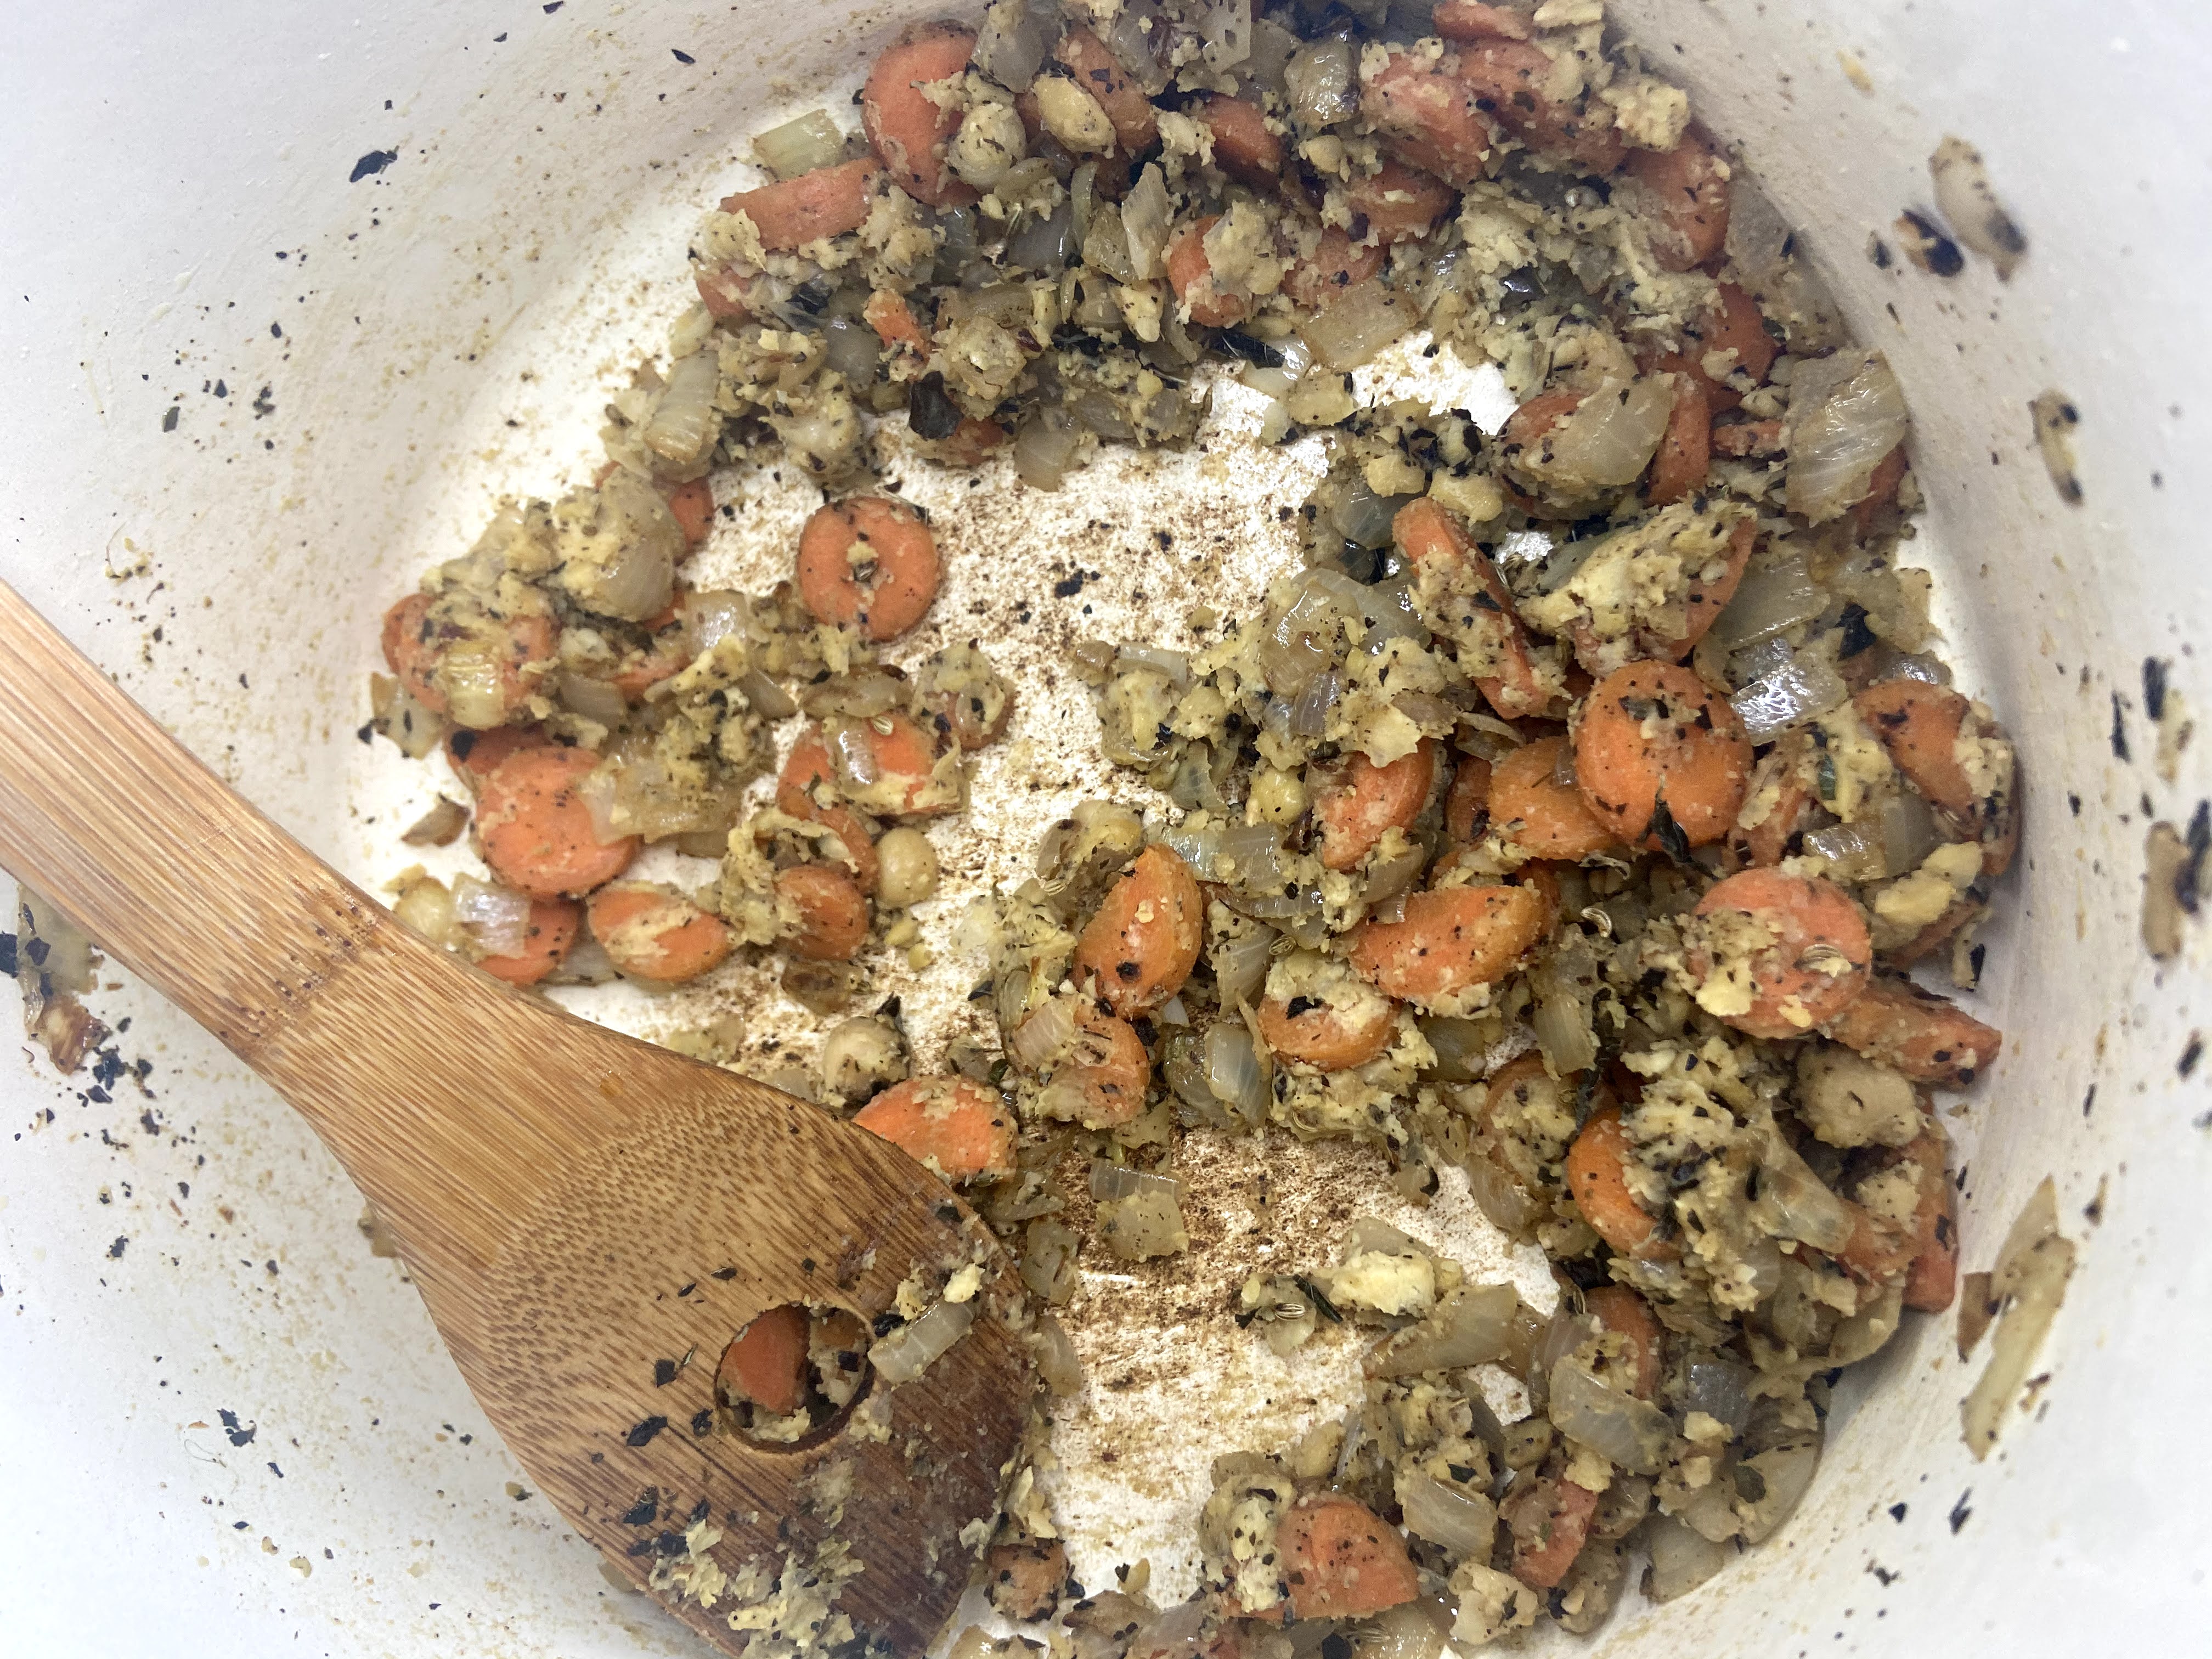
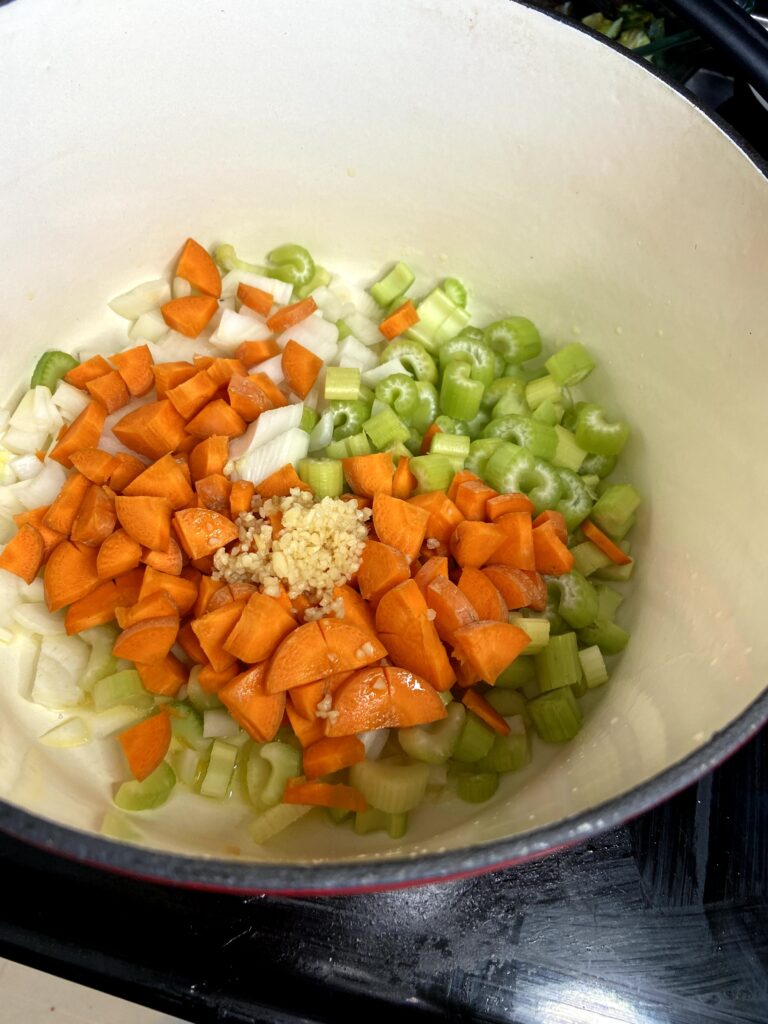
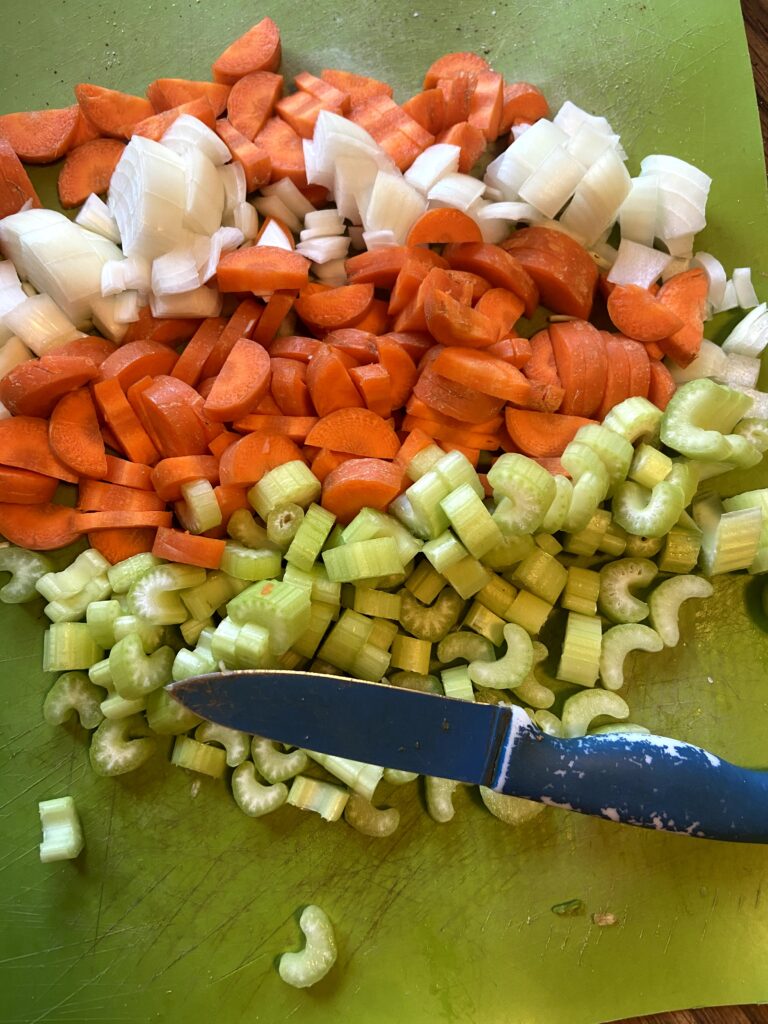
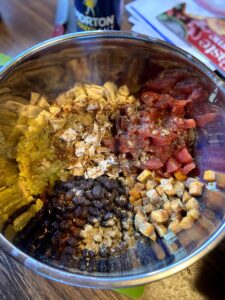
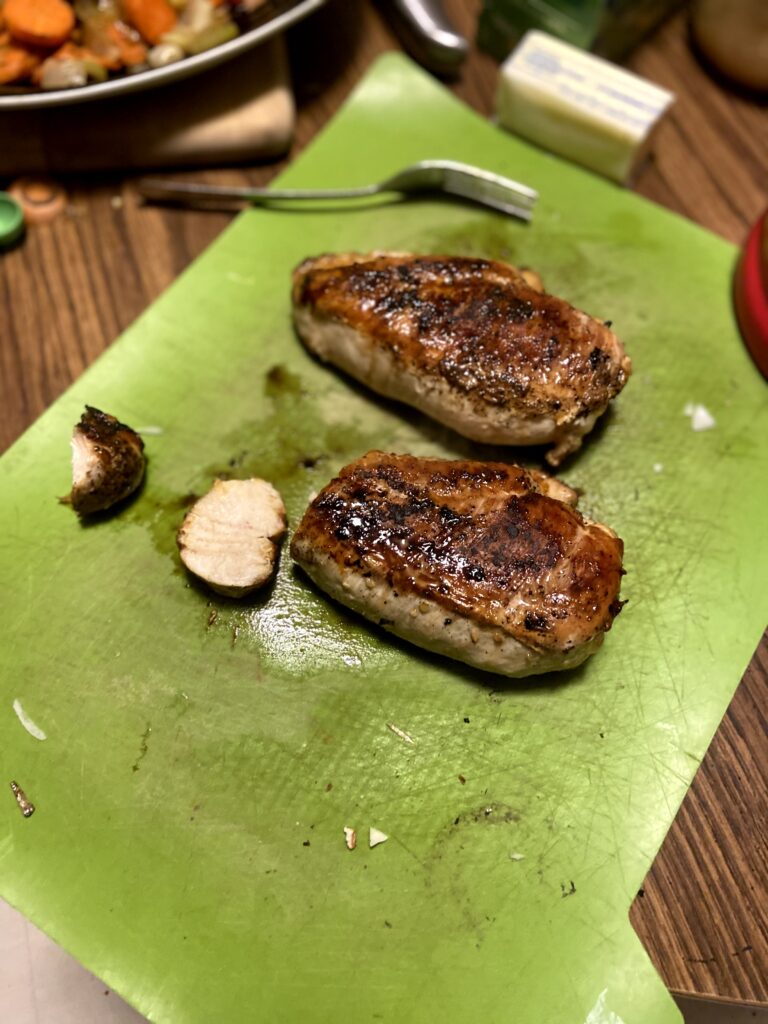
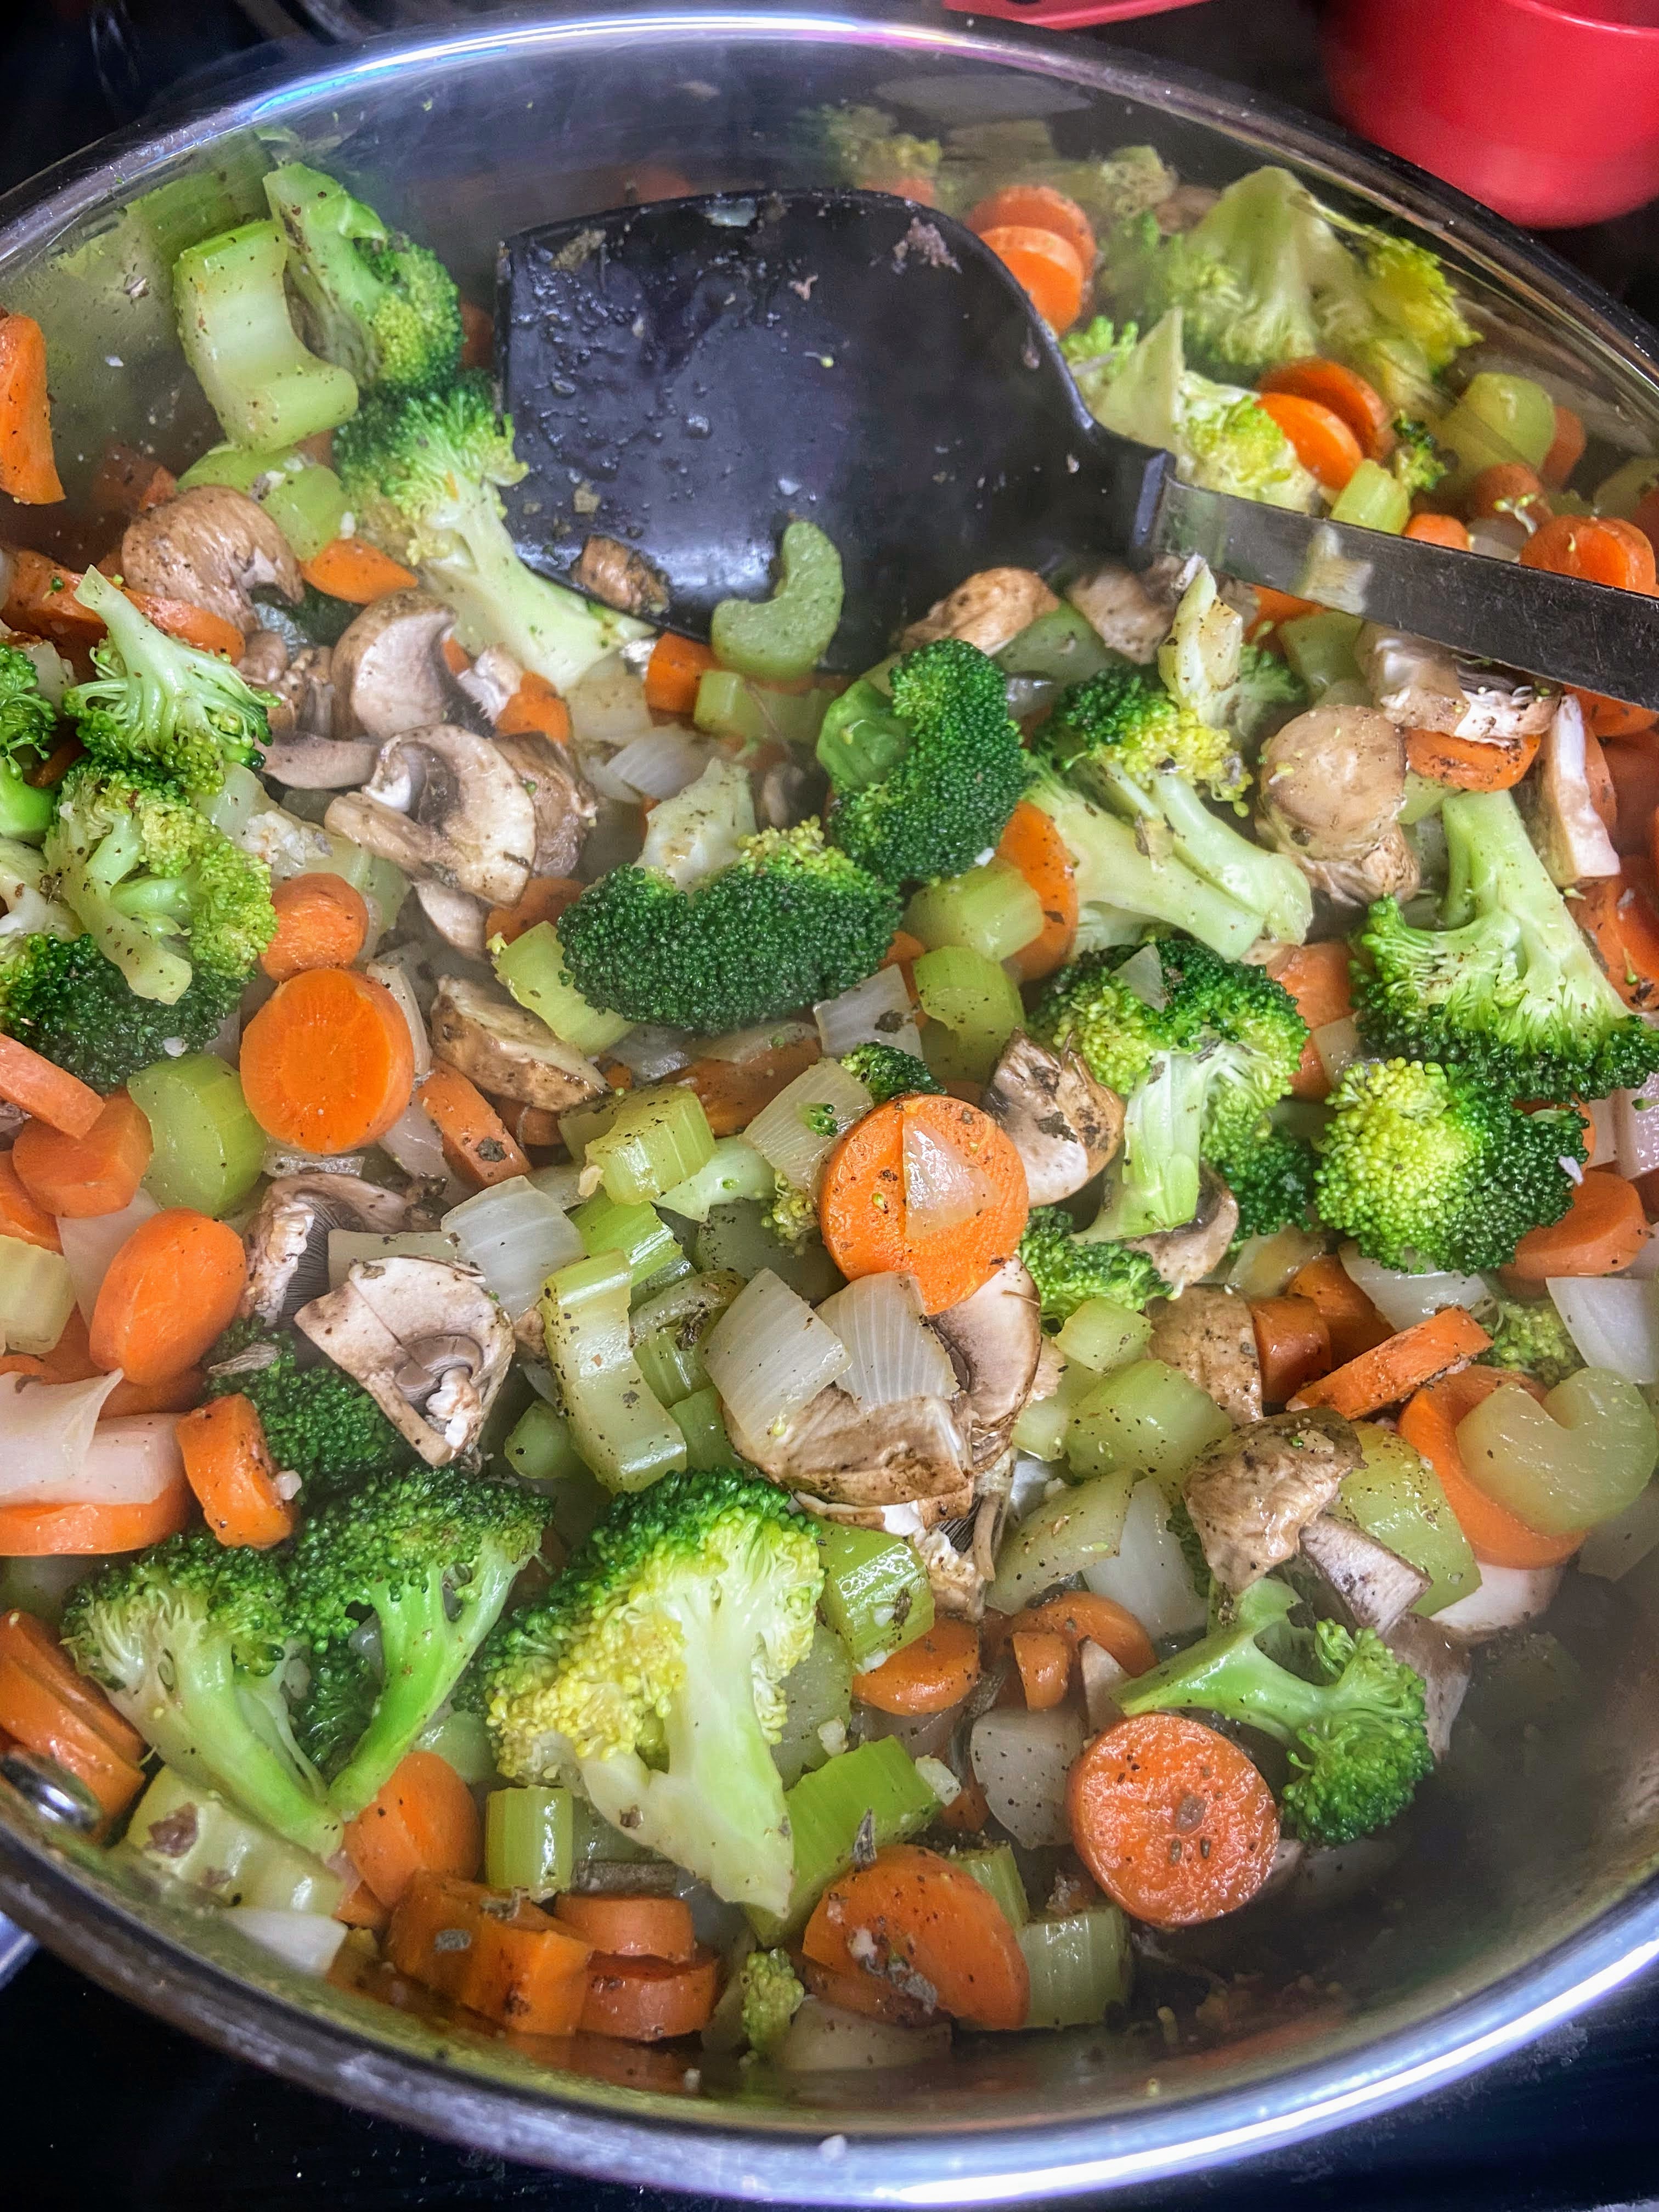
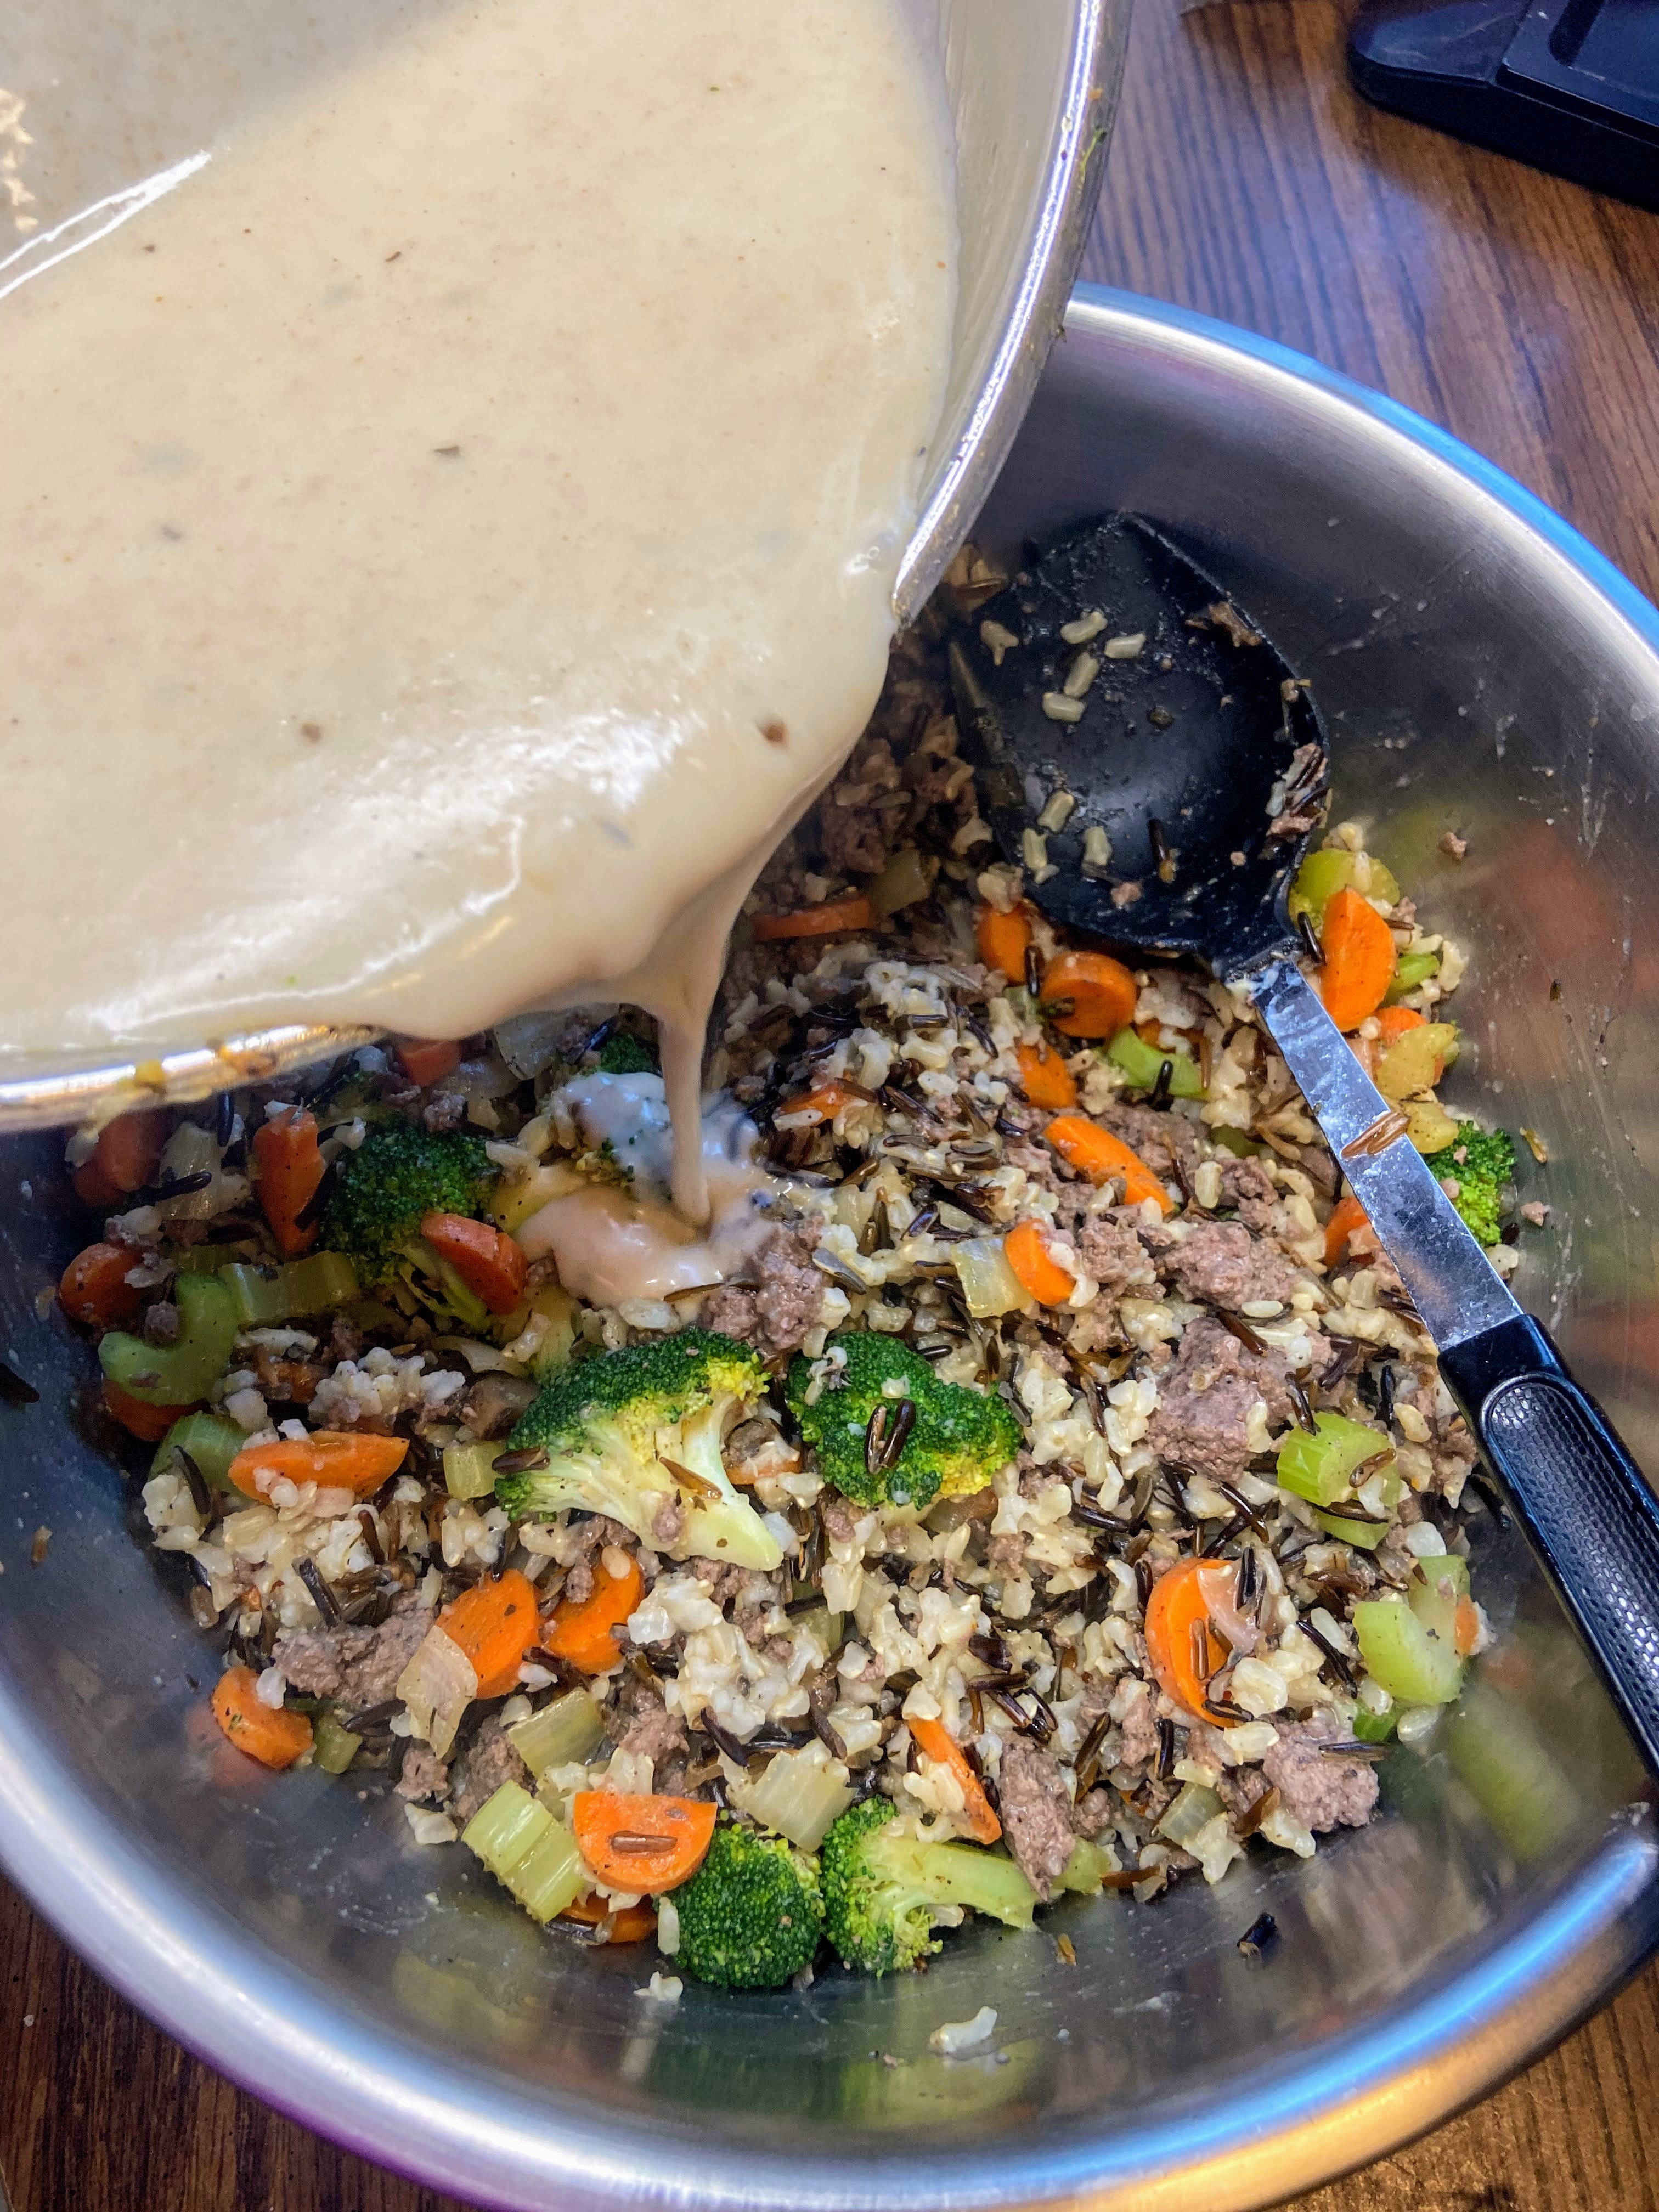
Meanwhile, dice and chop the onion, celery, carrots, broccoli, and mushrooms. Heat a large kettle (I love my cast iron Dutch oven) with ½ to 1 tablespoon of olive oil. Add the vegetables (except the mushrooms) remaining garlic, salt, pepper, sage, and thyme, cooking on a medium heat for ten minutes. Add mushrooms and cook for an additional five minutes. Remove the vegetables from the kettle and place them in a large bowl. In the same pan (The less dishes, the better, right?), cook the ground venison (or hamburger or turkey) until no longer pink. Stir into the bowl of vegetables along with cooked rice.
Now for the Creamy part
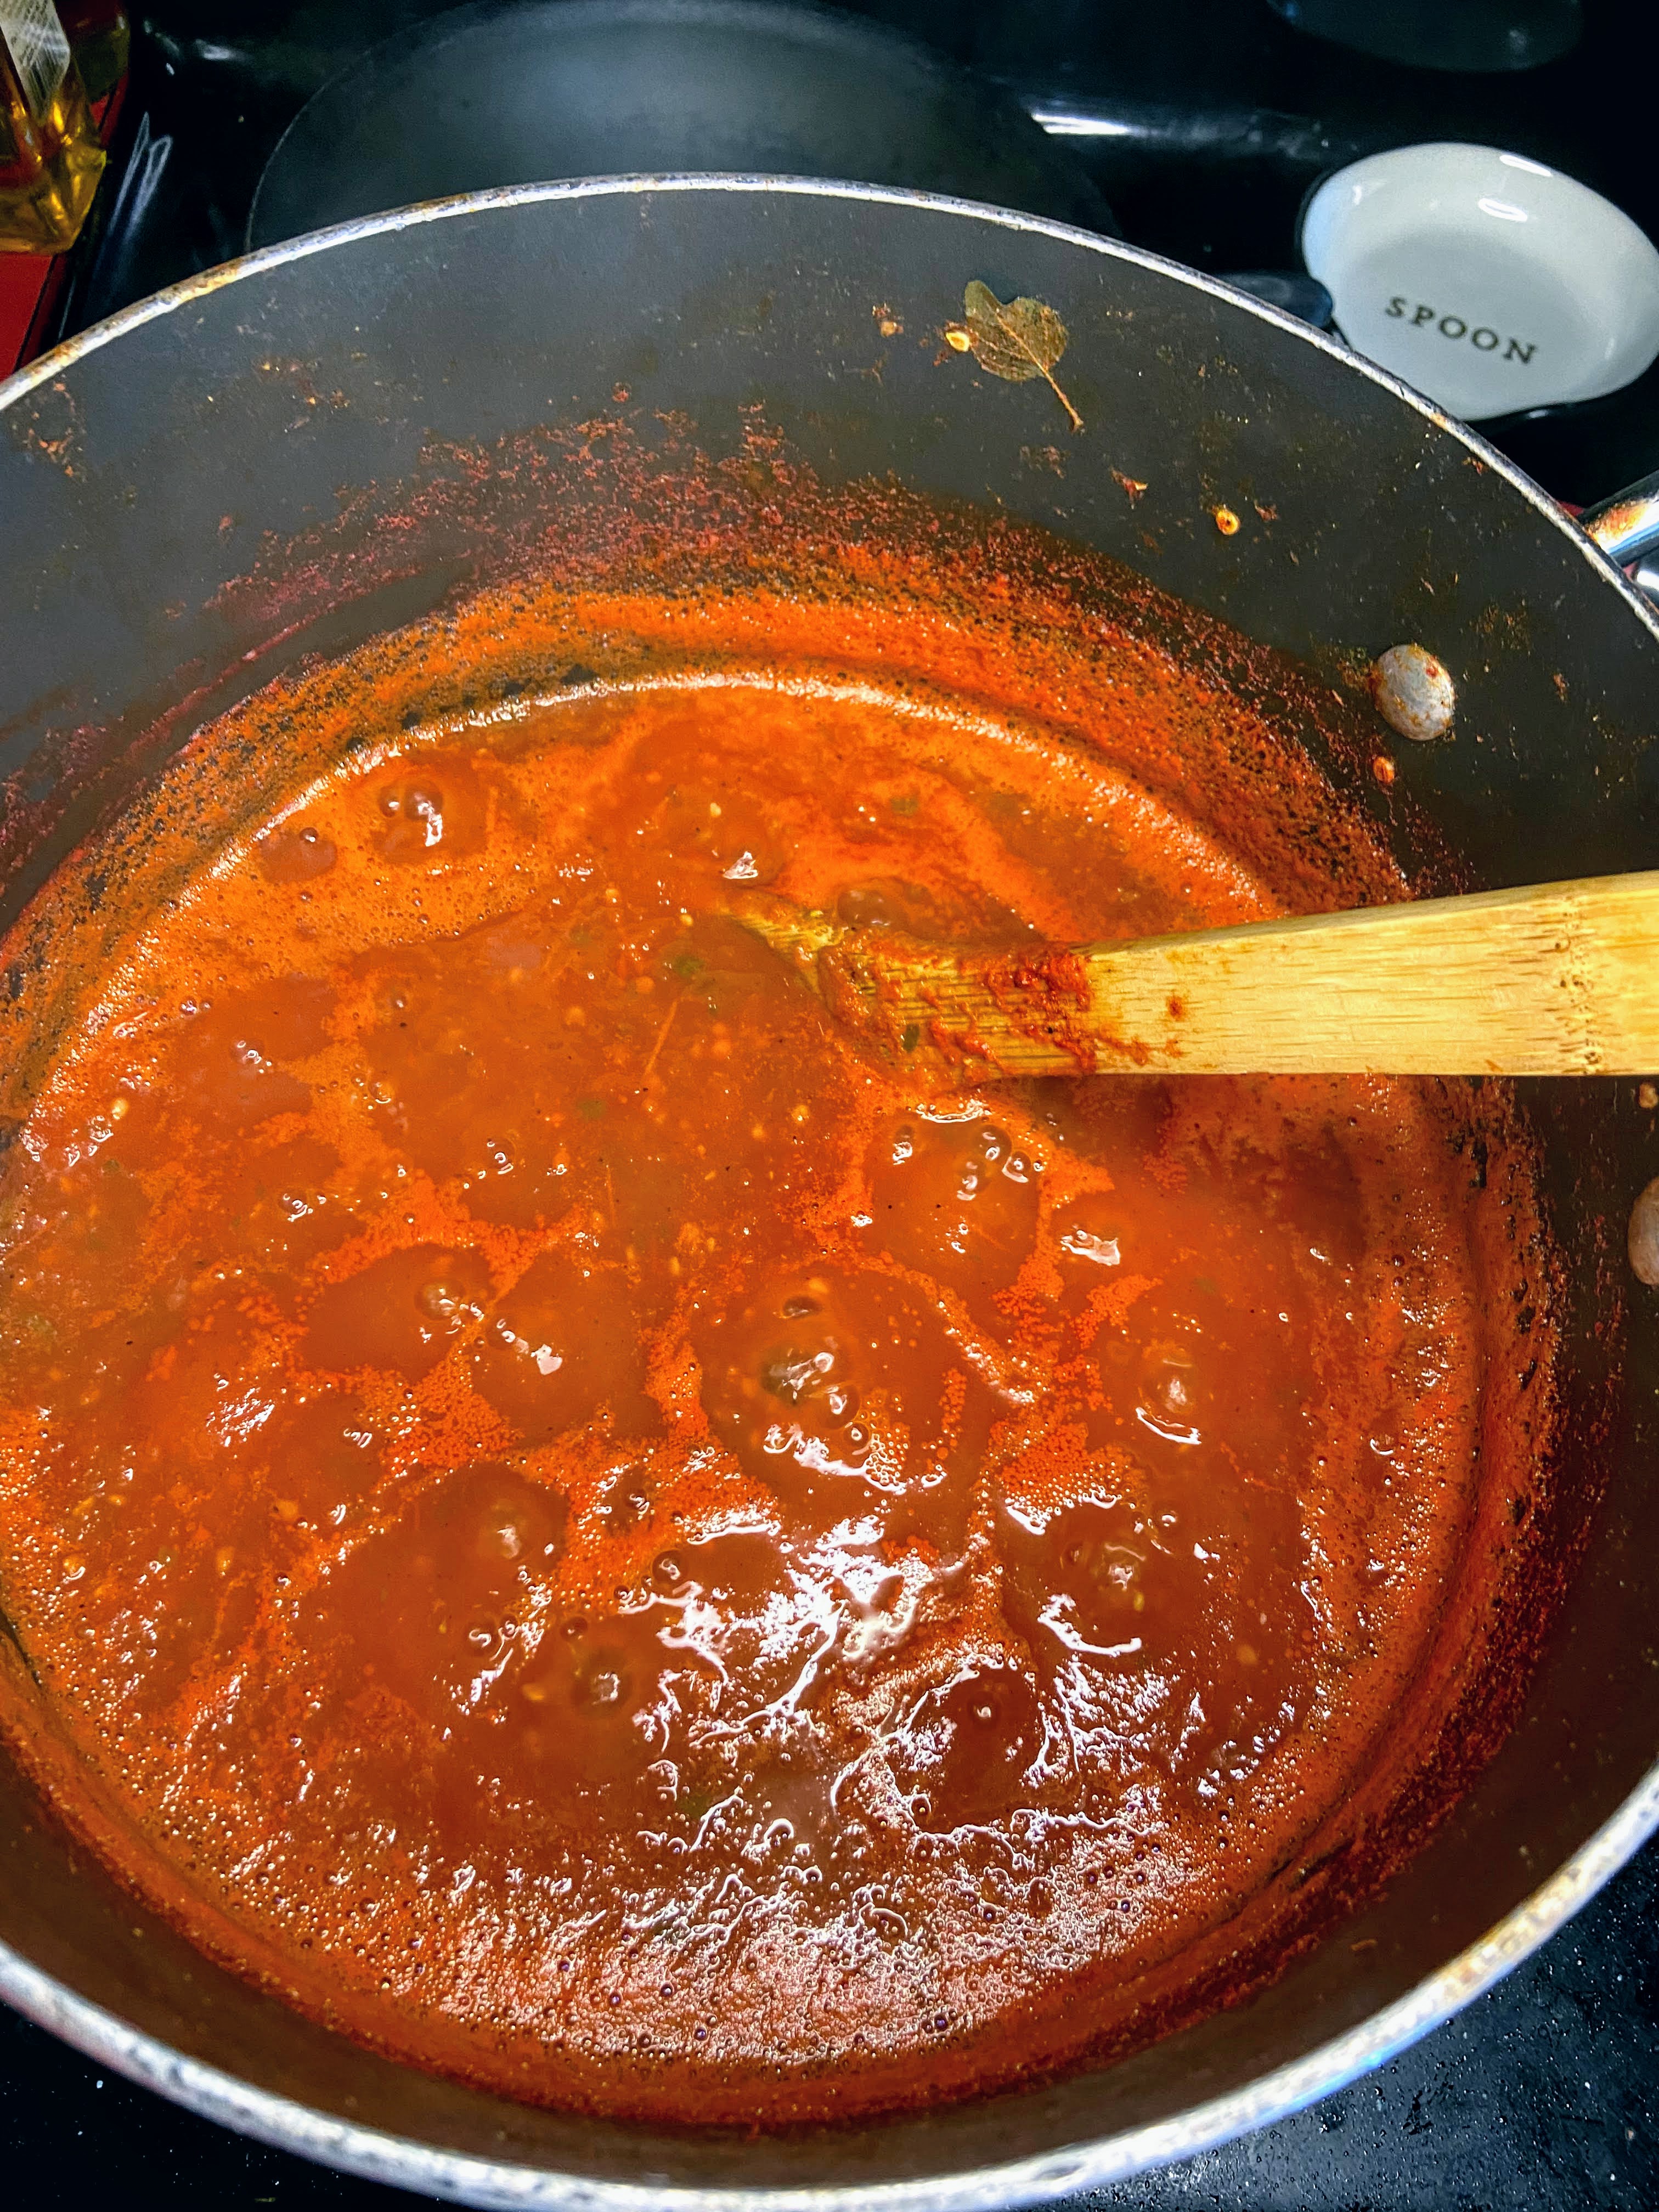
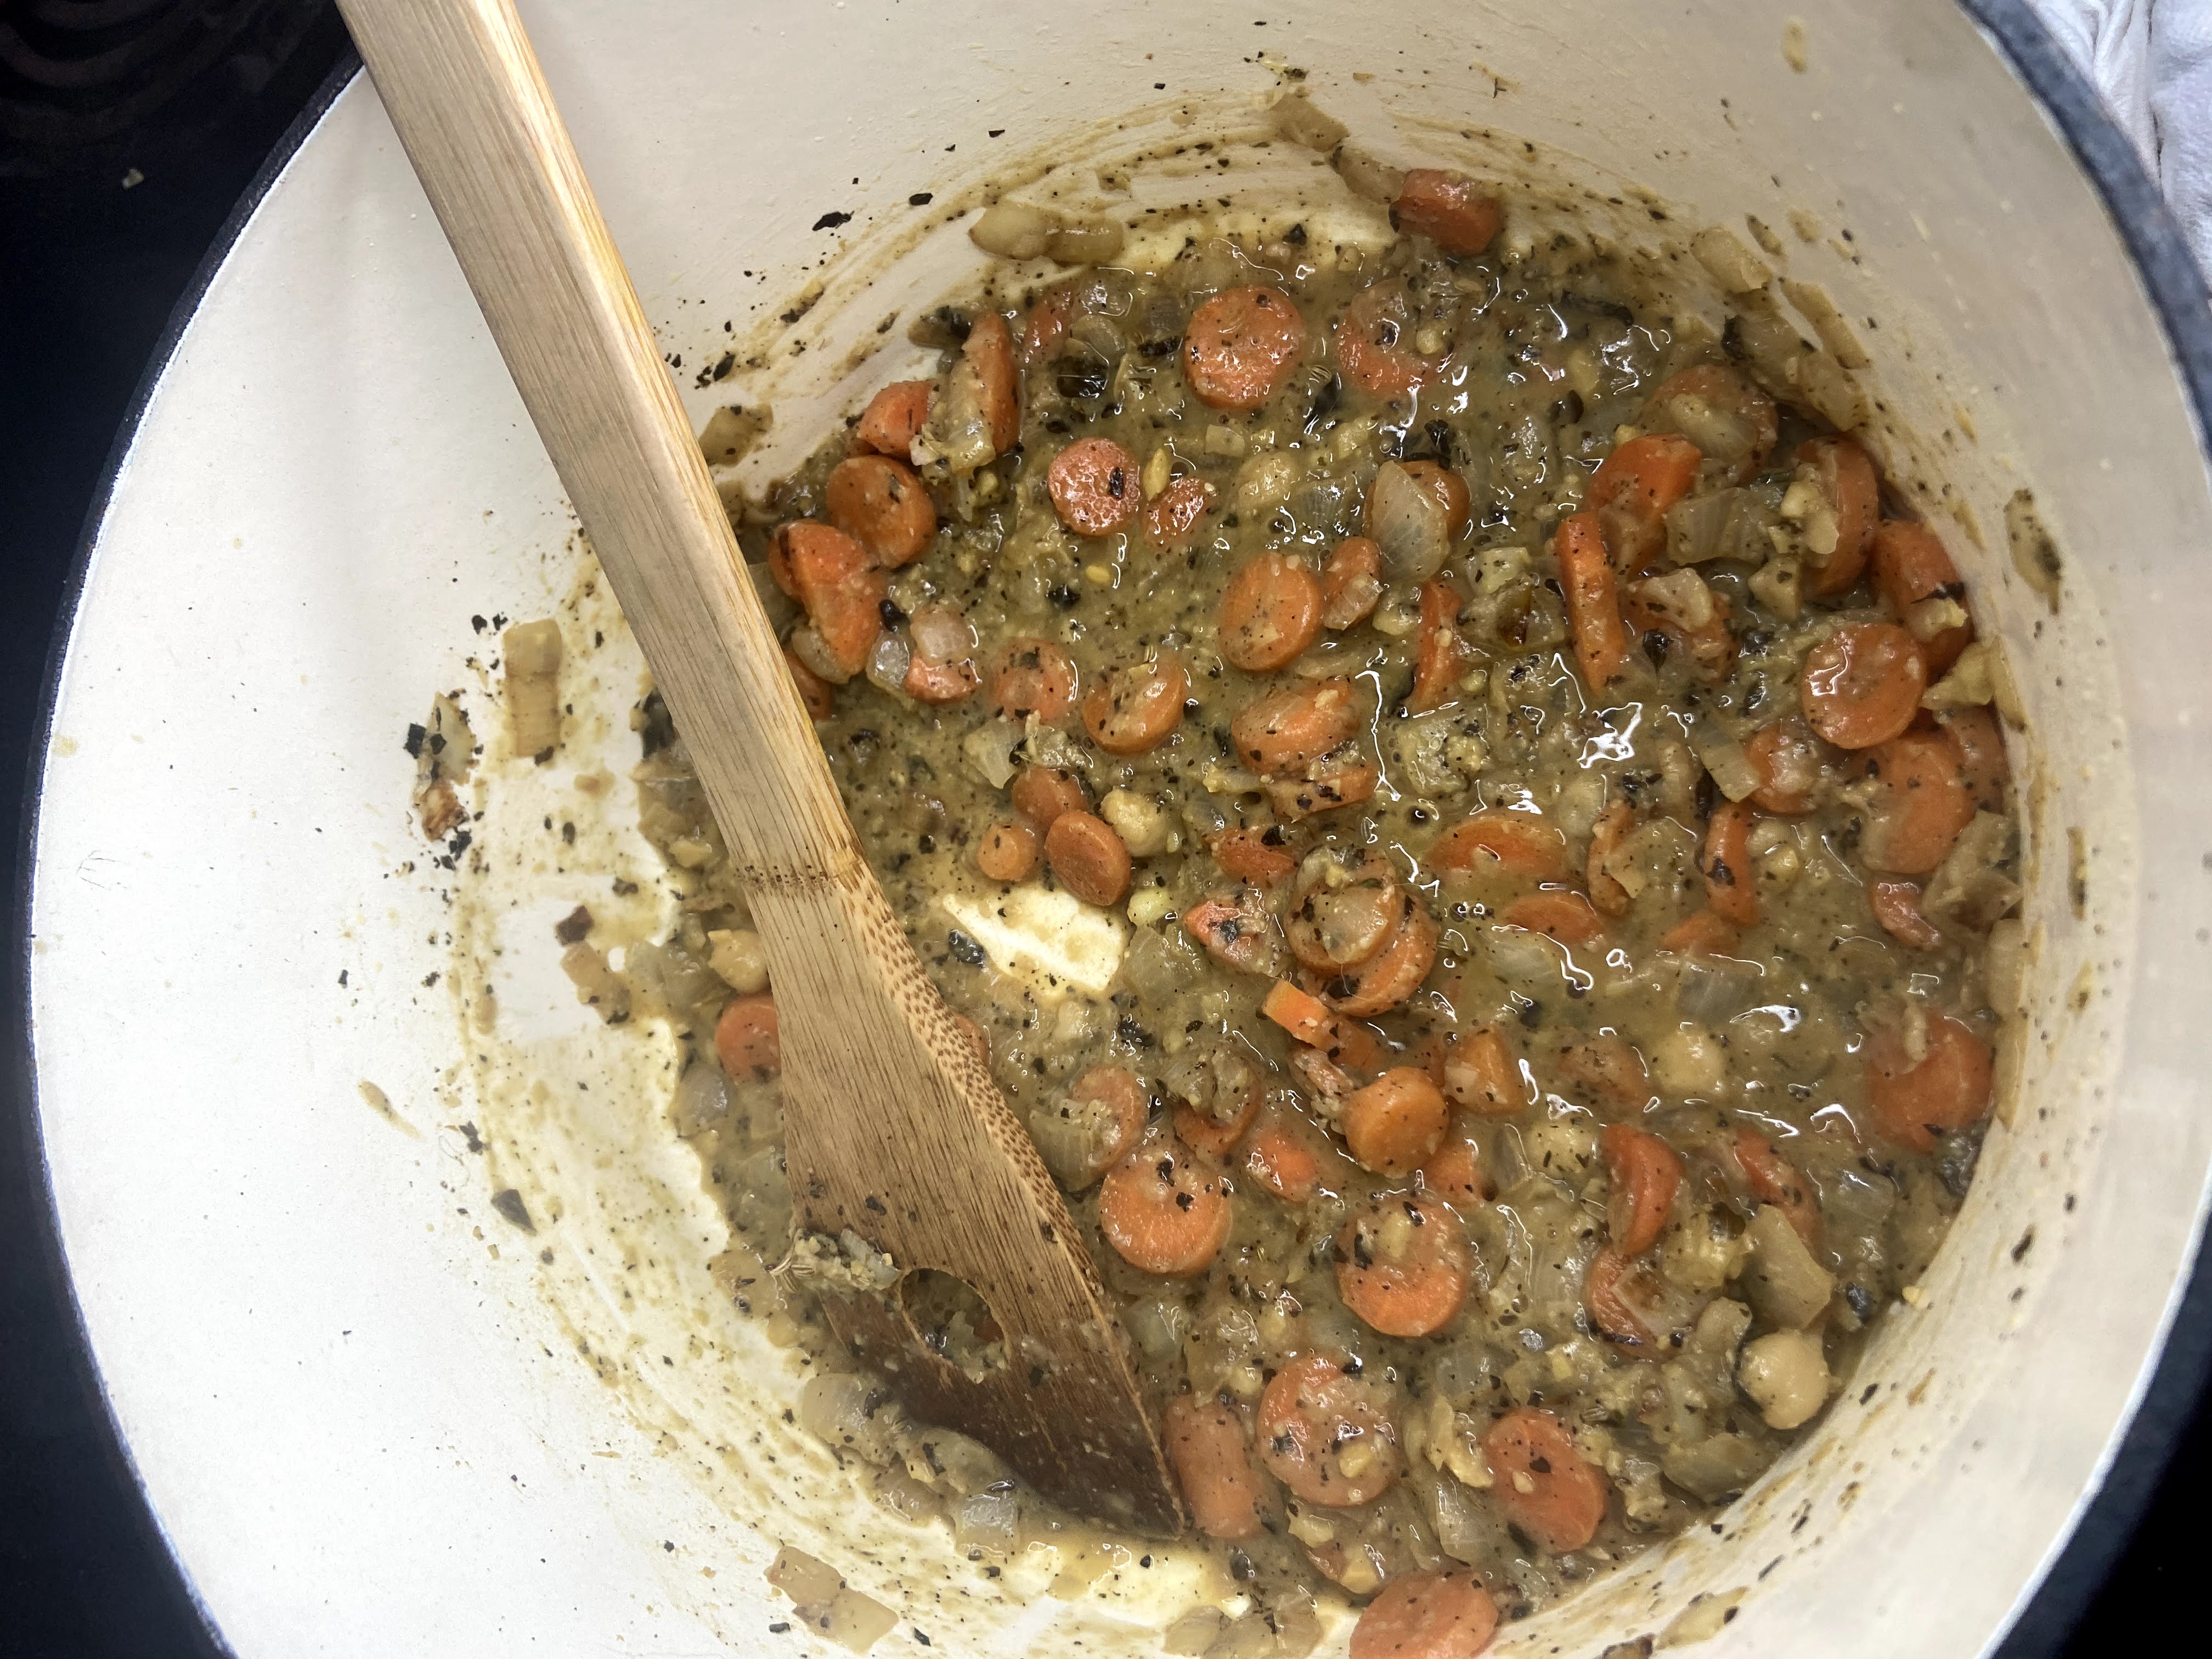
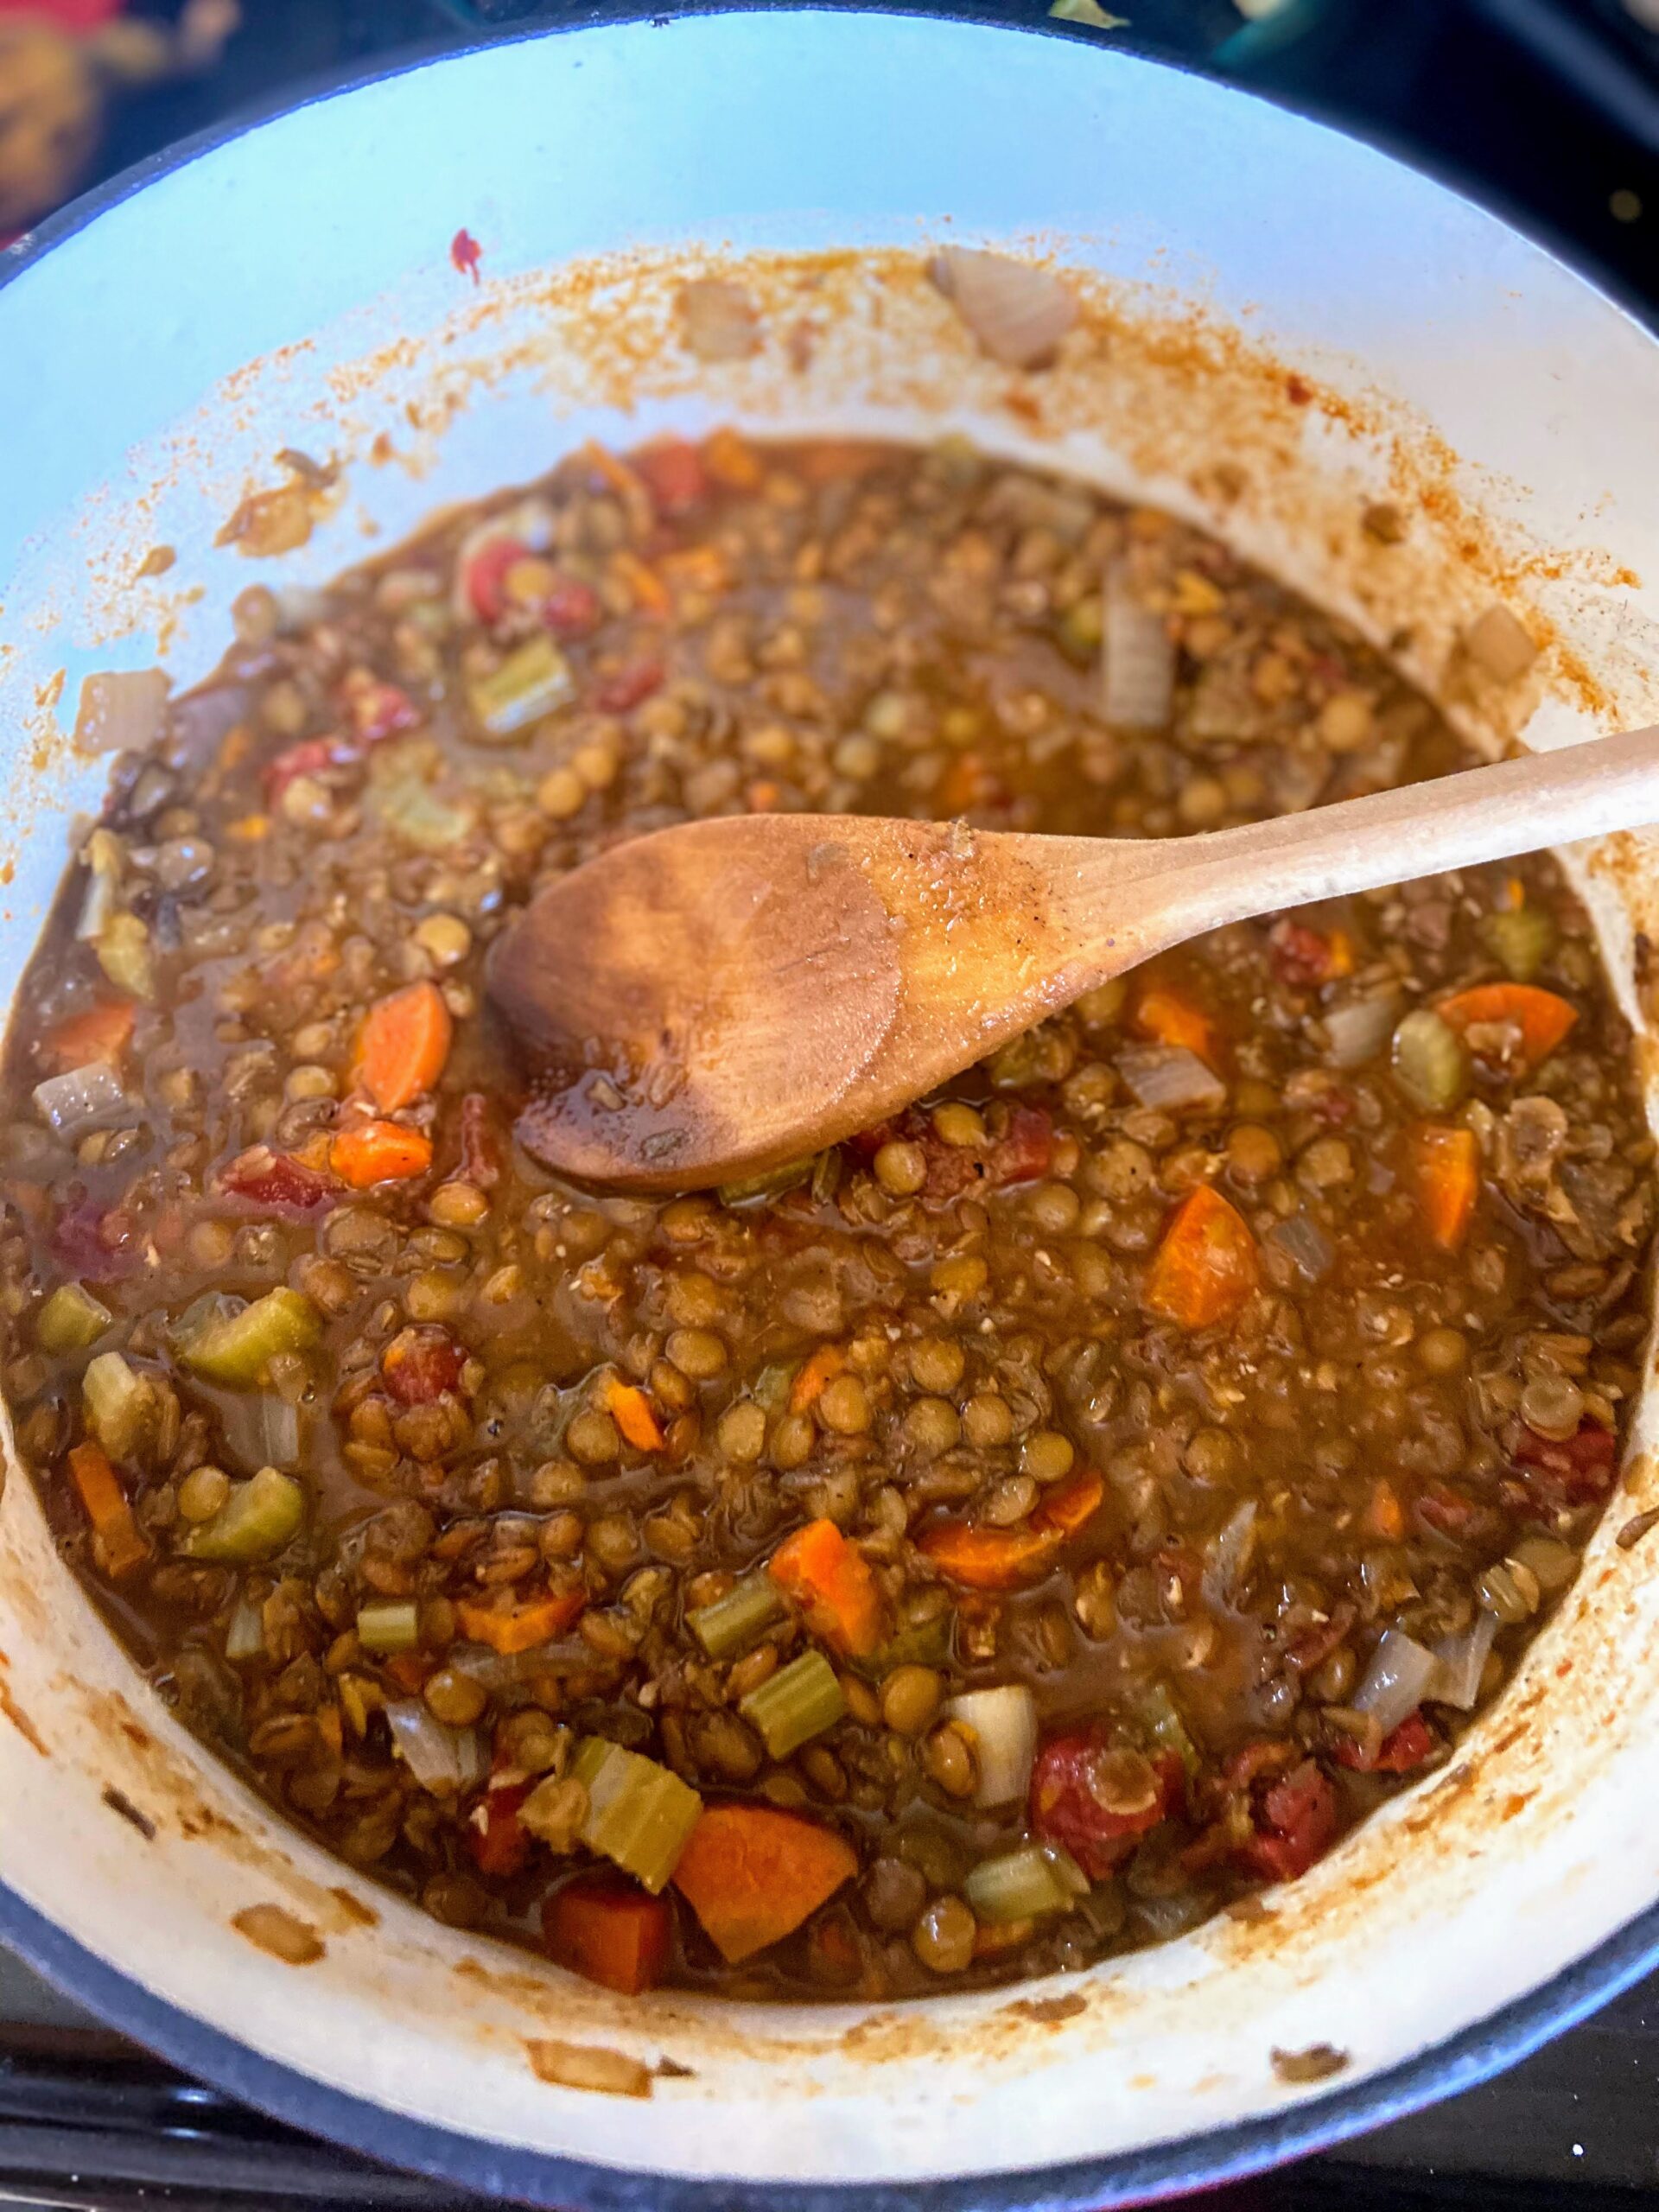
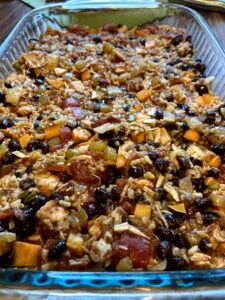
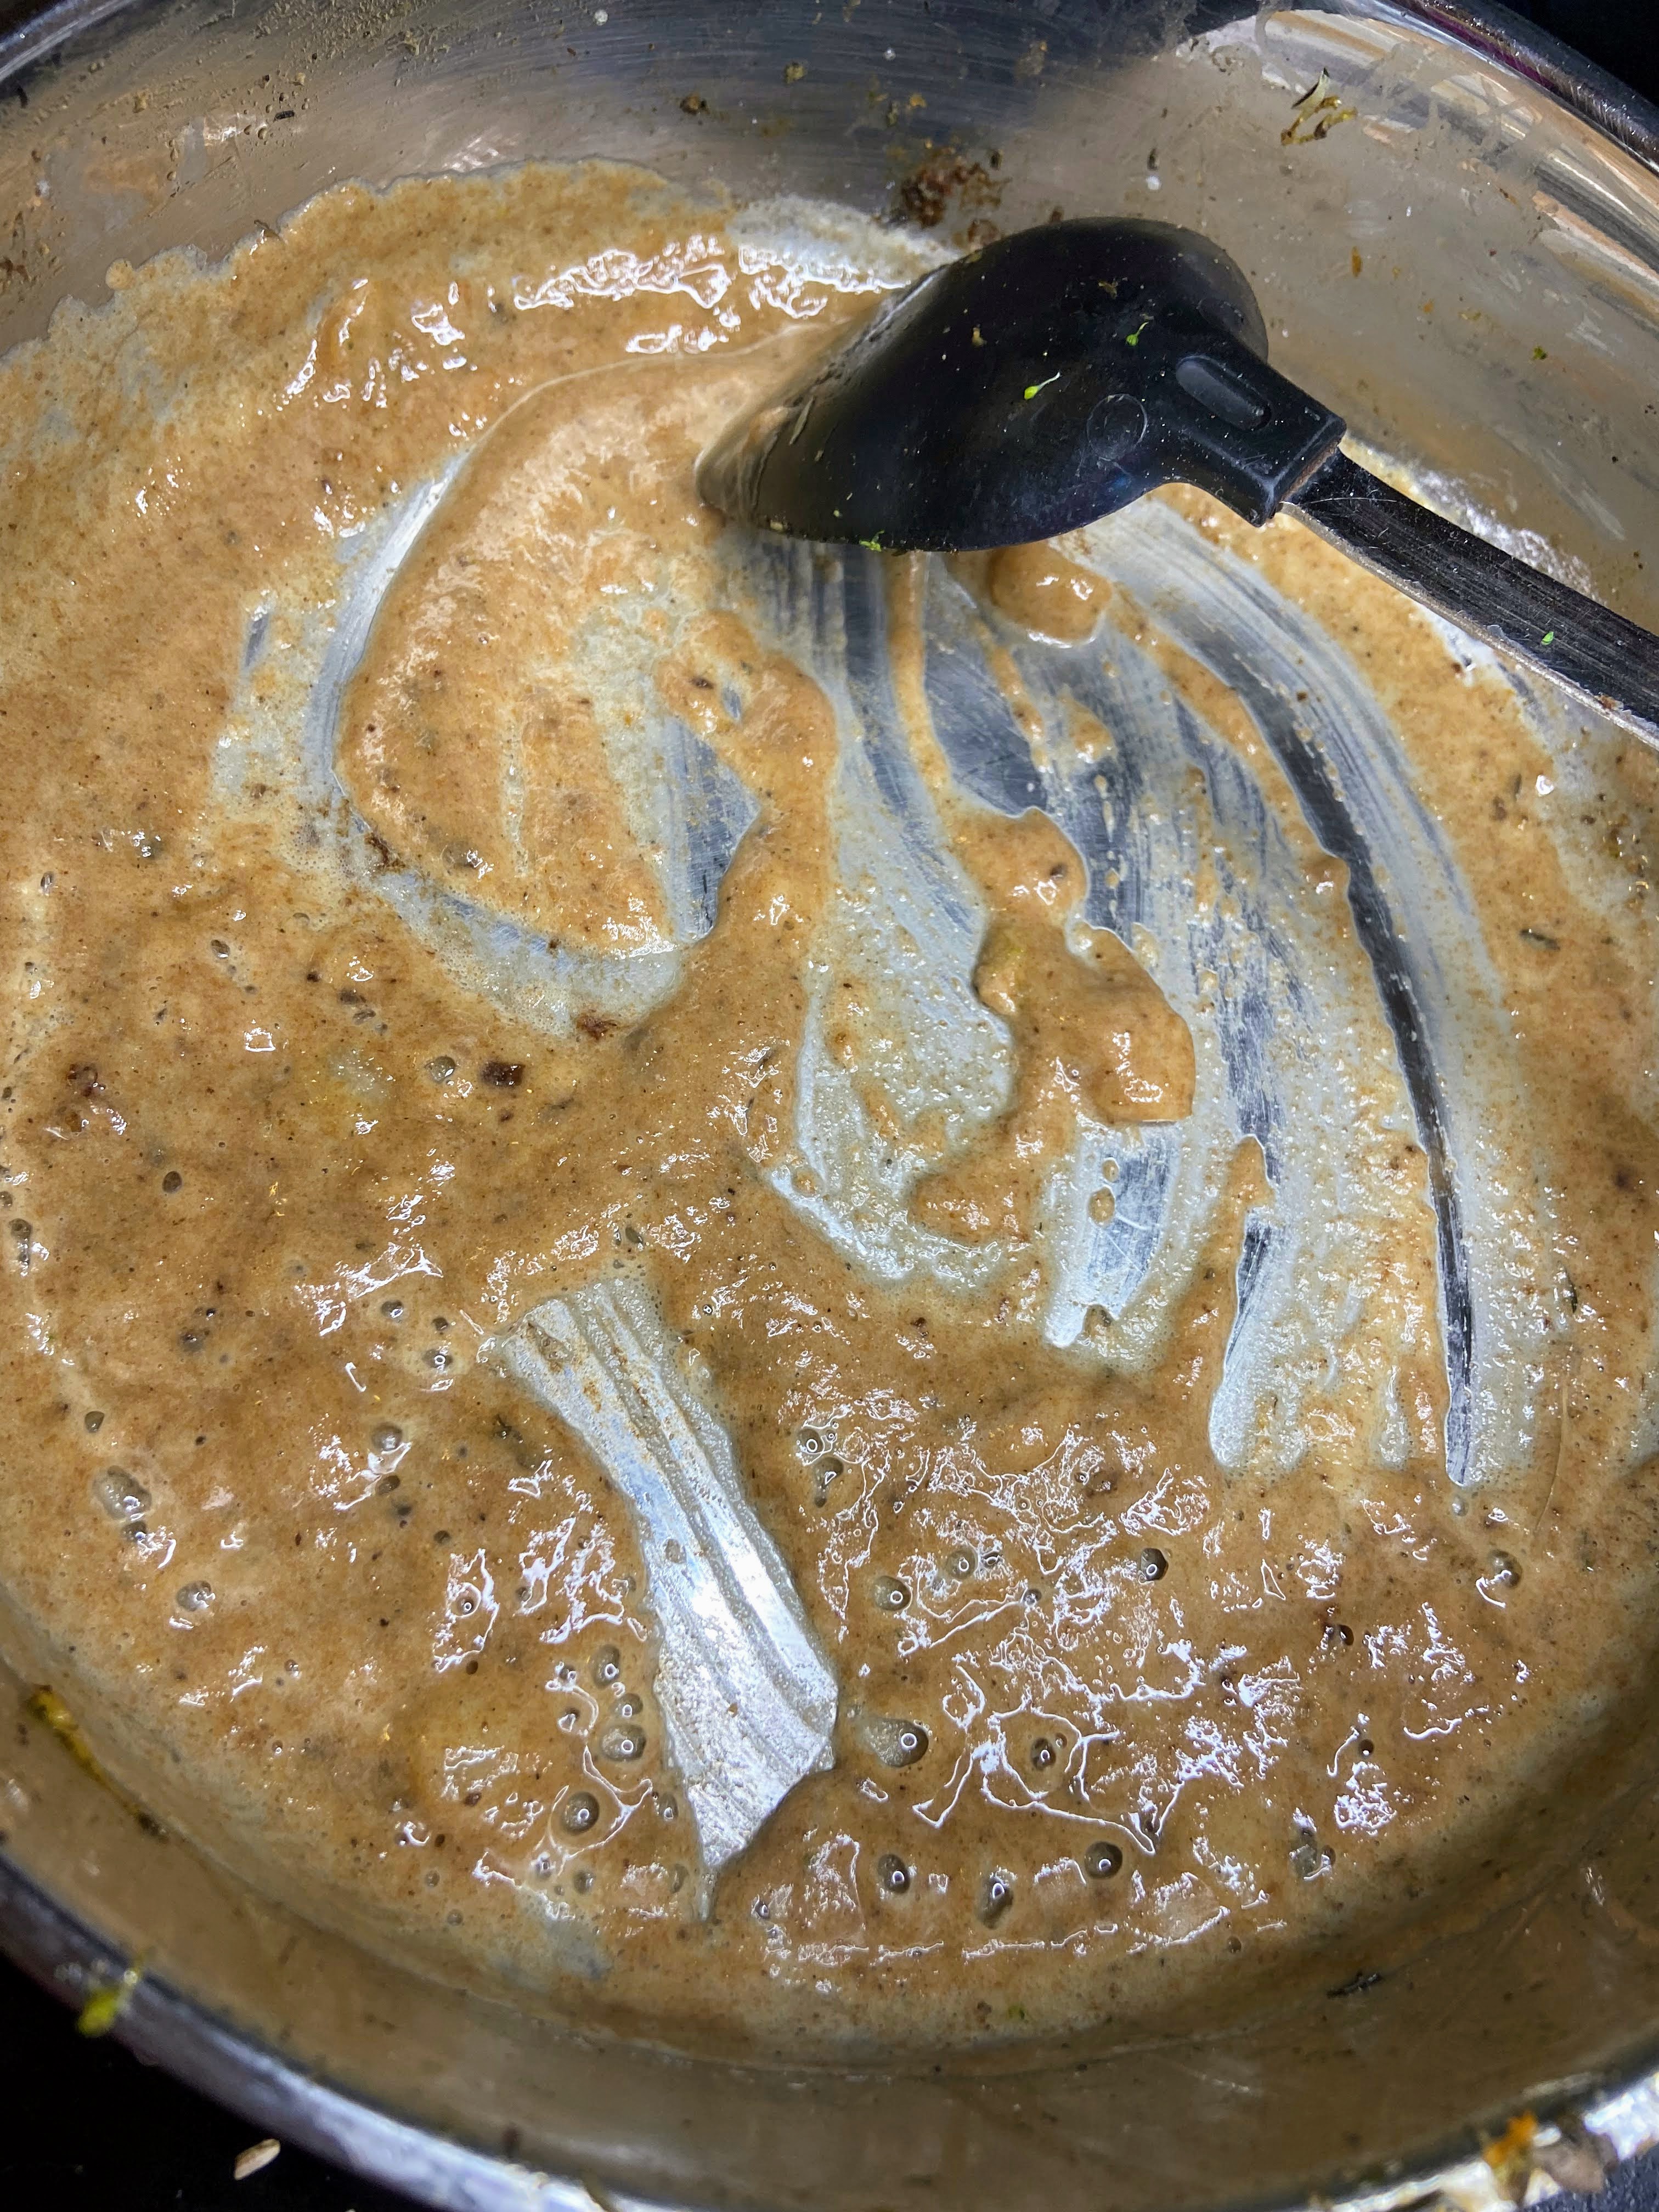
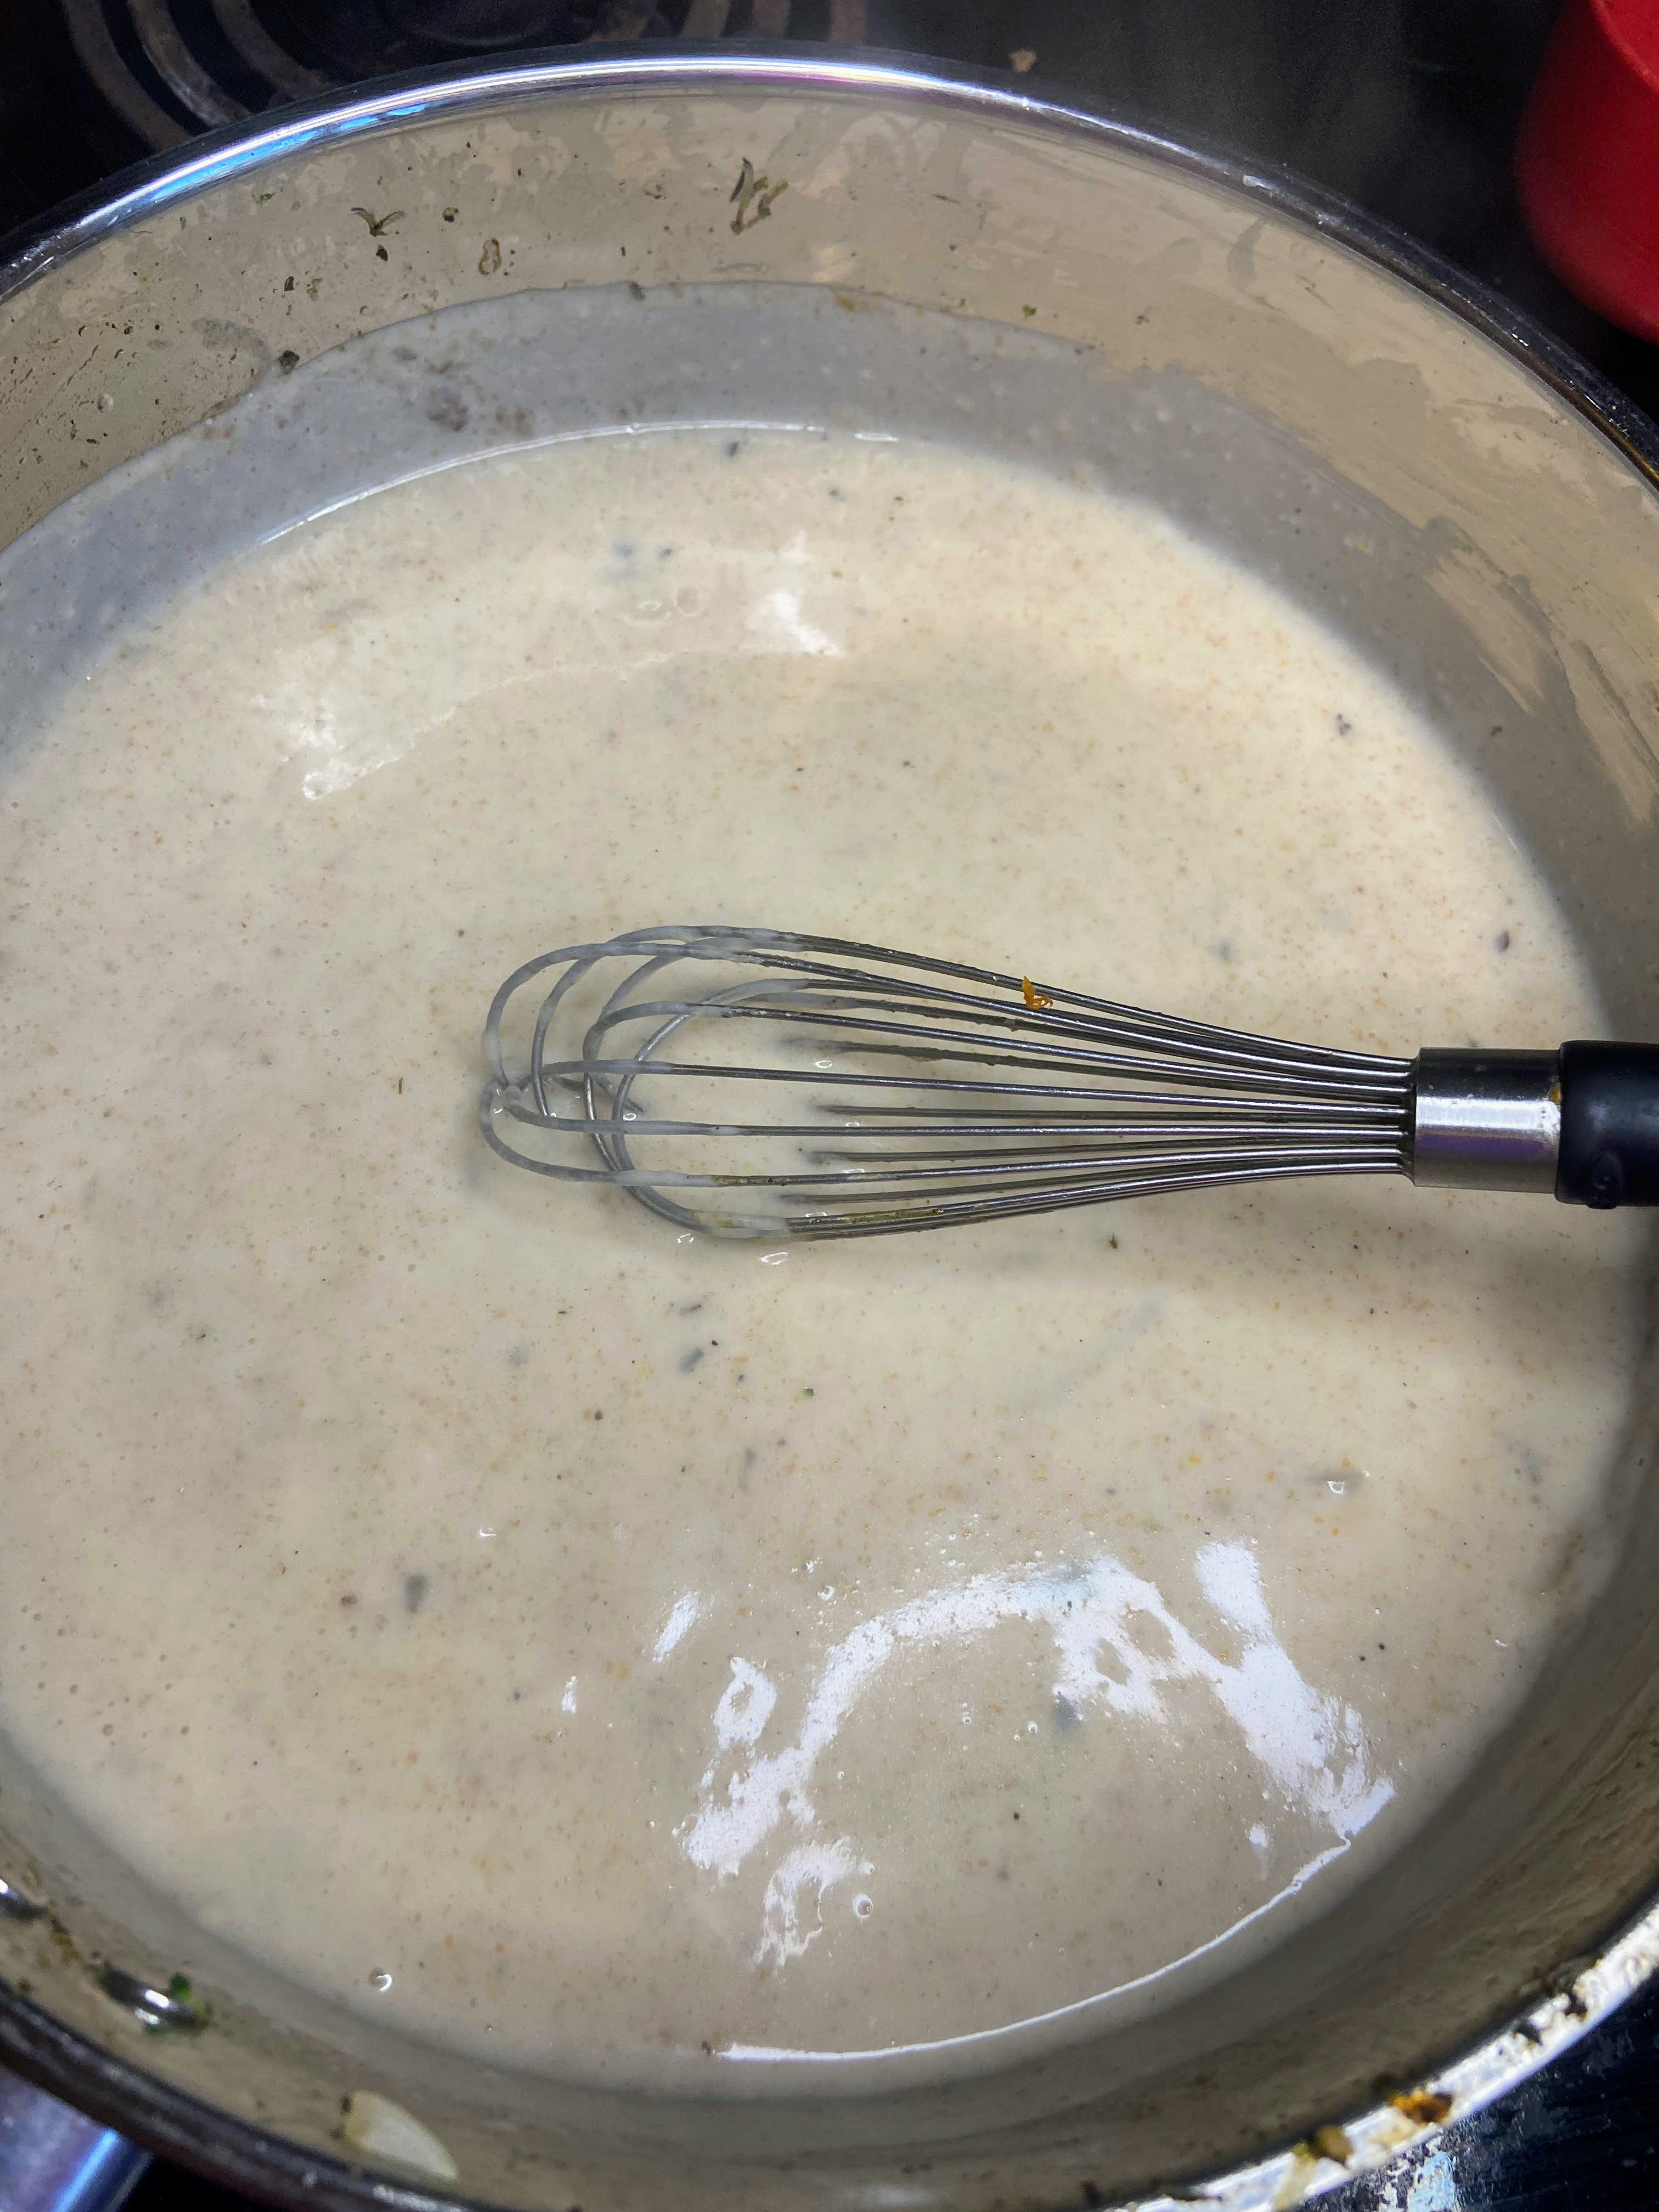
In the same kettle, melt the butter under medium heat. Stir in flour and continue to stir until you have a beautiful golden brown color. To this, add milk, 1/4 of a cup at a time, whisking until well combined and thickened. Repeat with the remaining chicken stock. Pepper to taste. Stir in to the vegetables, rice, and browned venison. Taste once more, adding salt and pepper as needed.
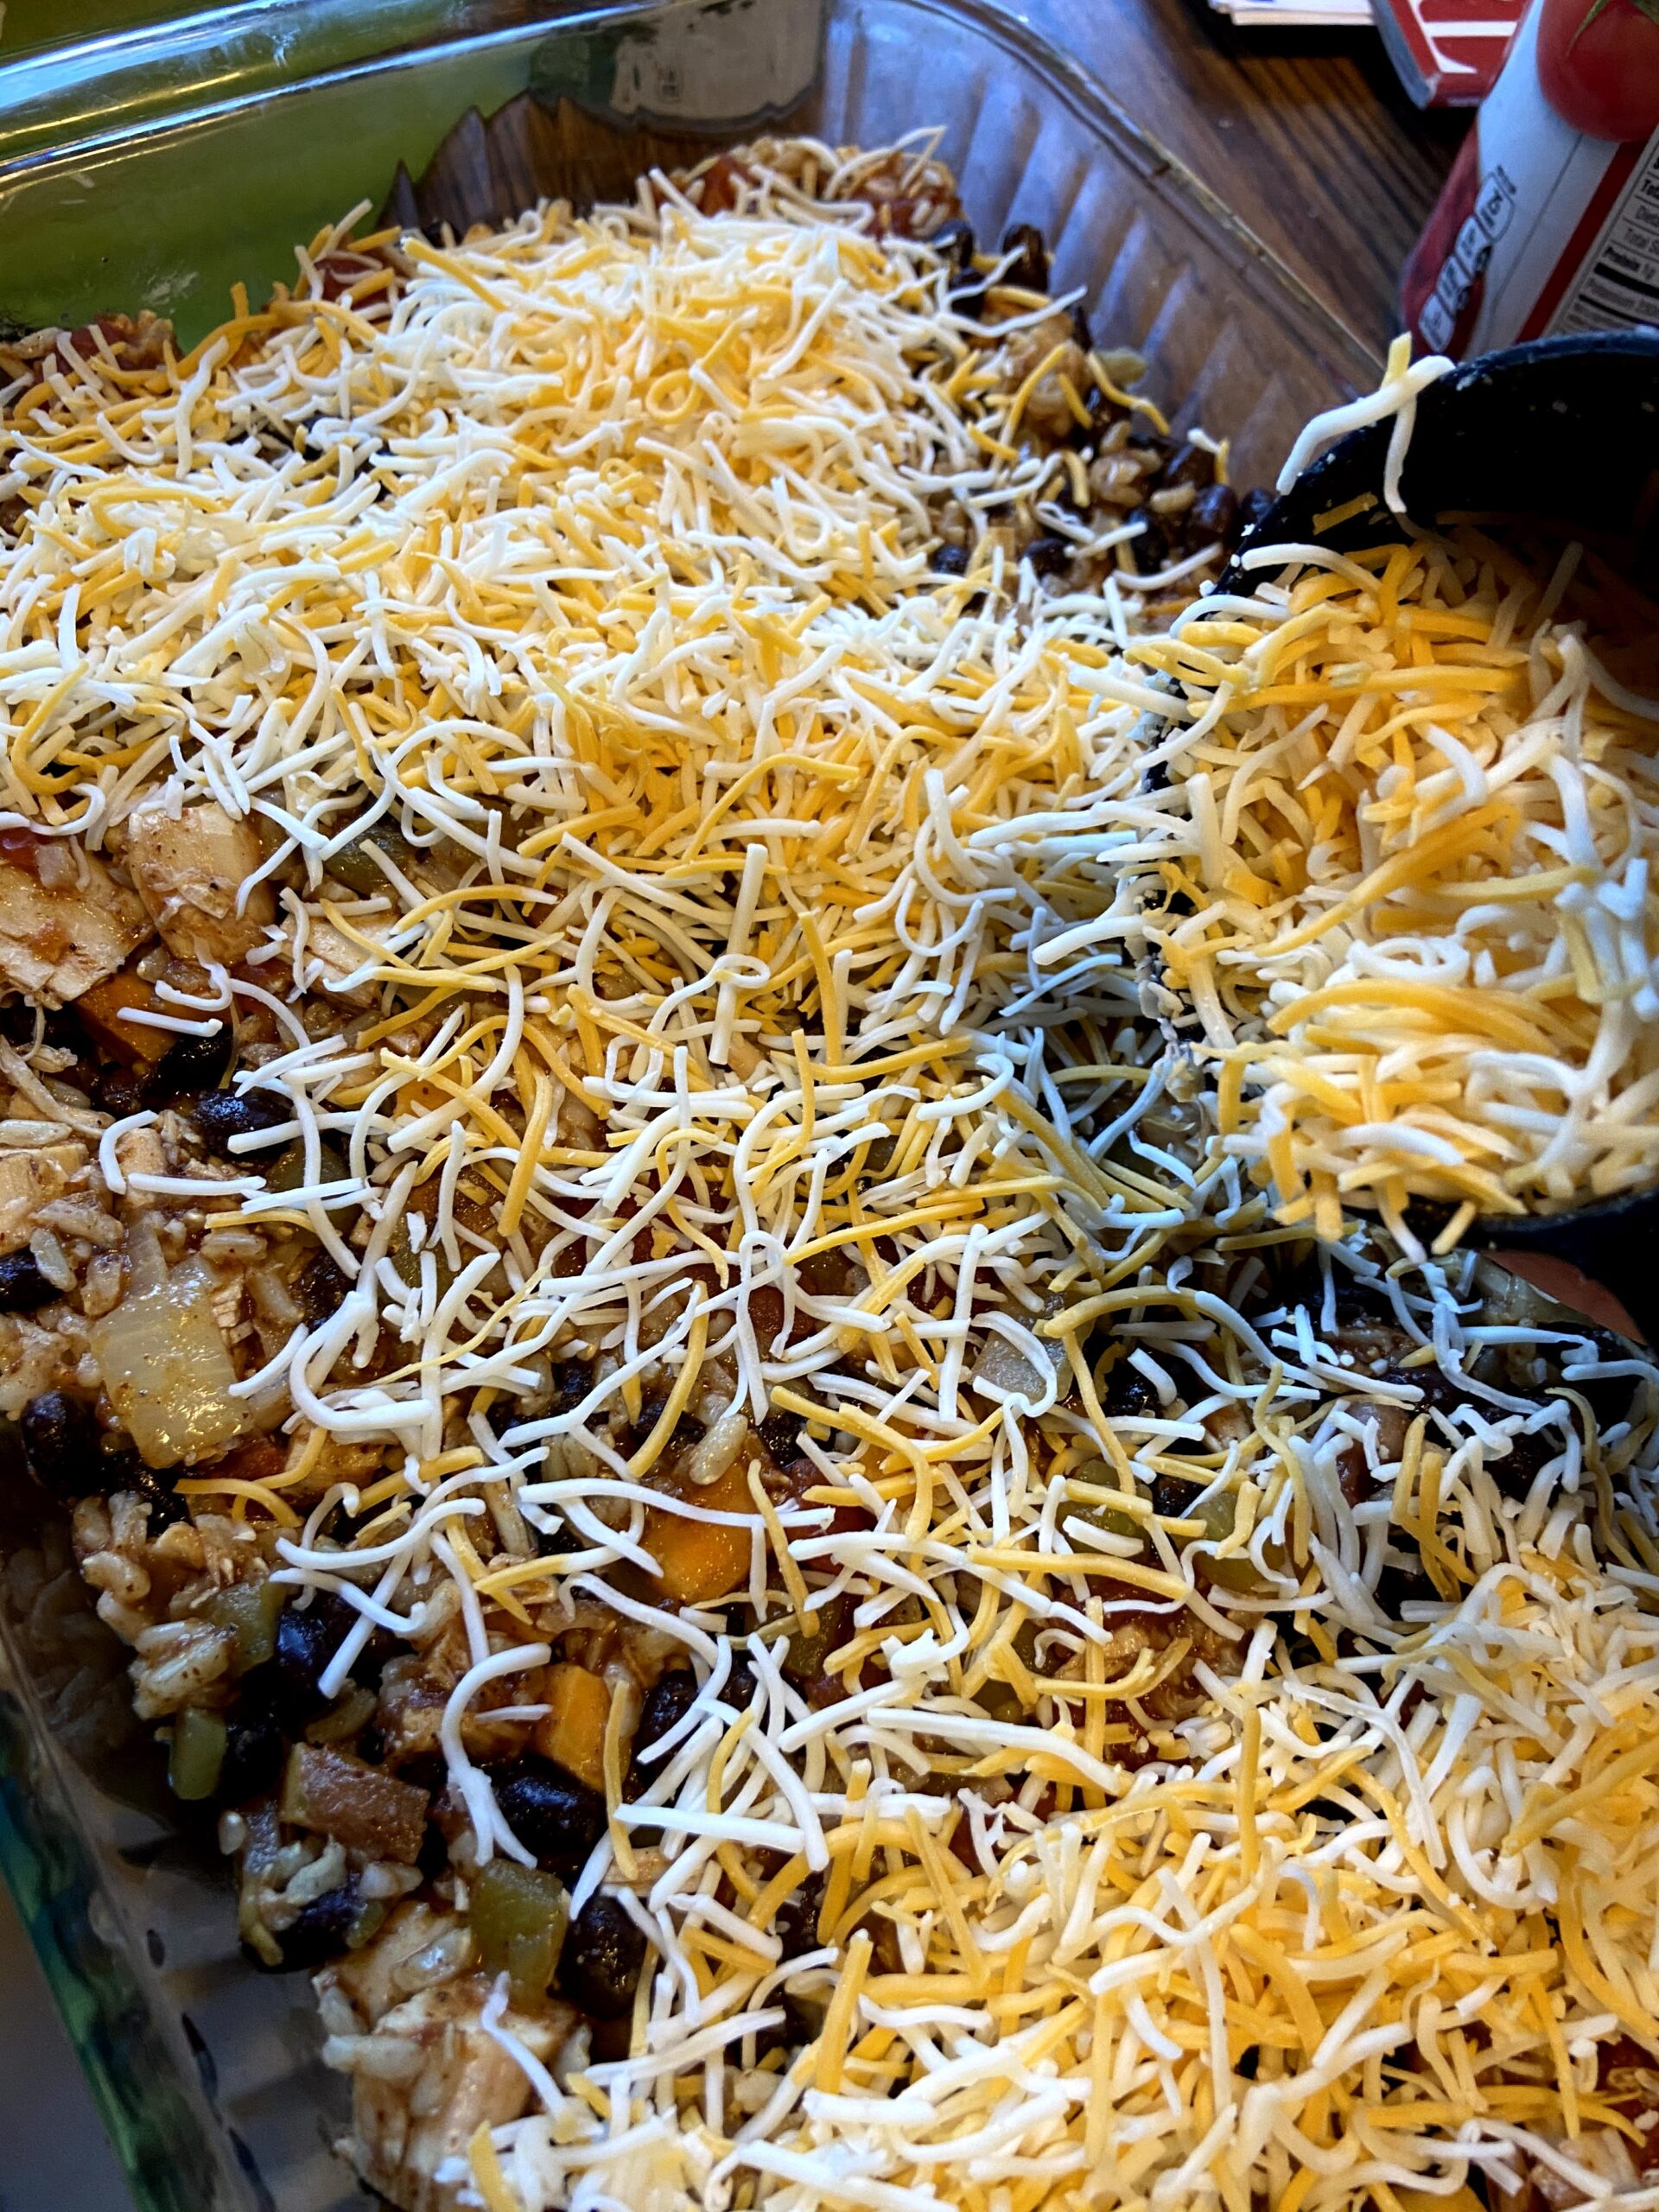
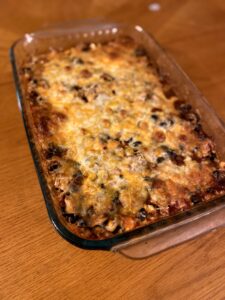
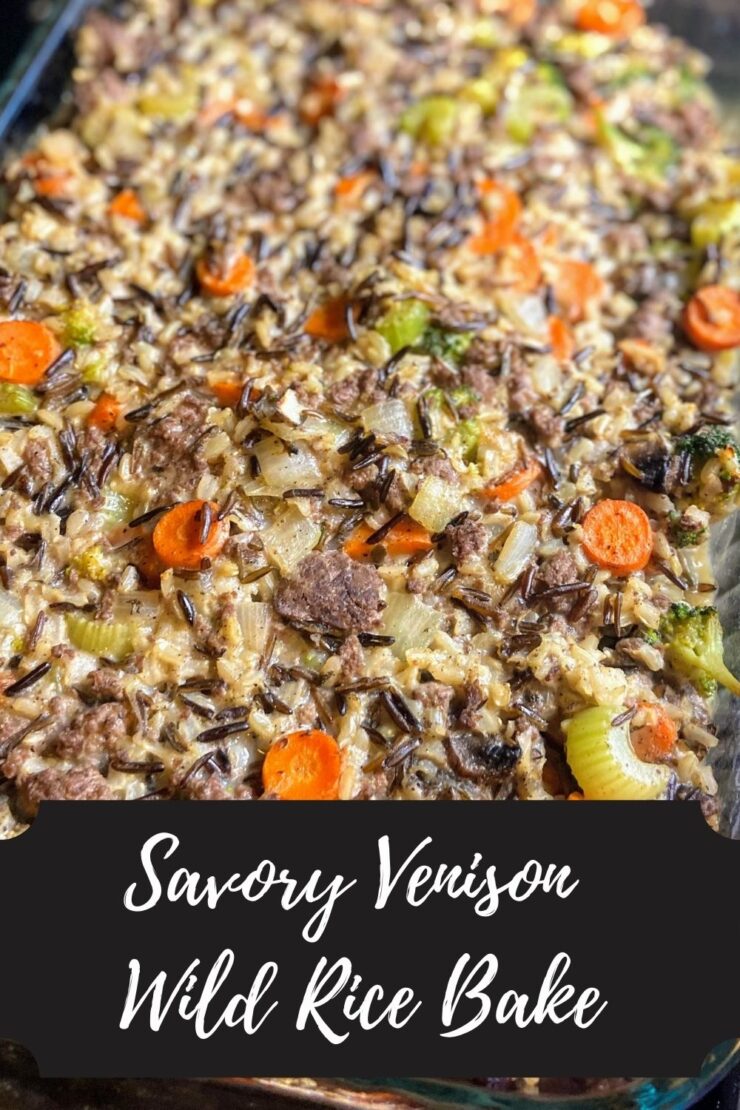
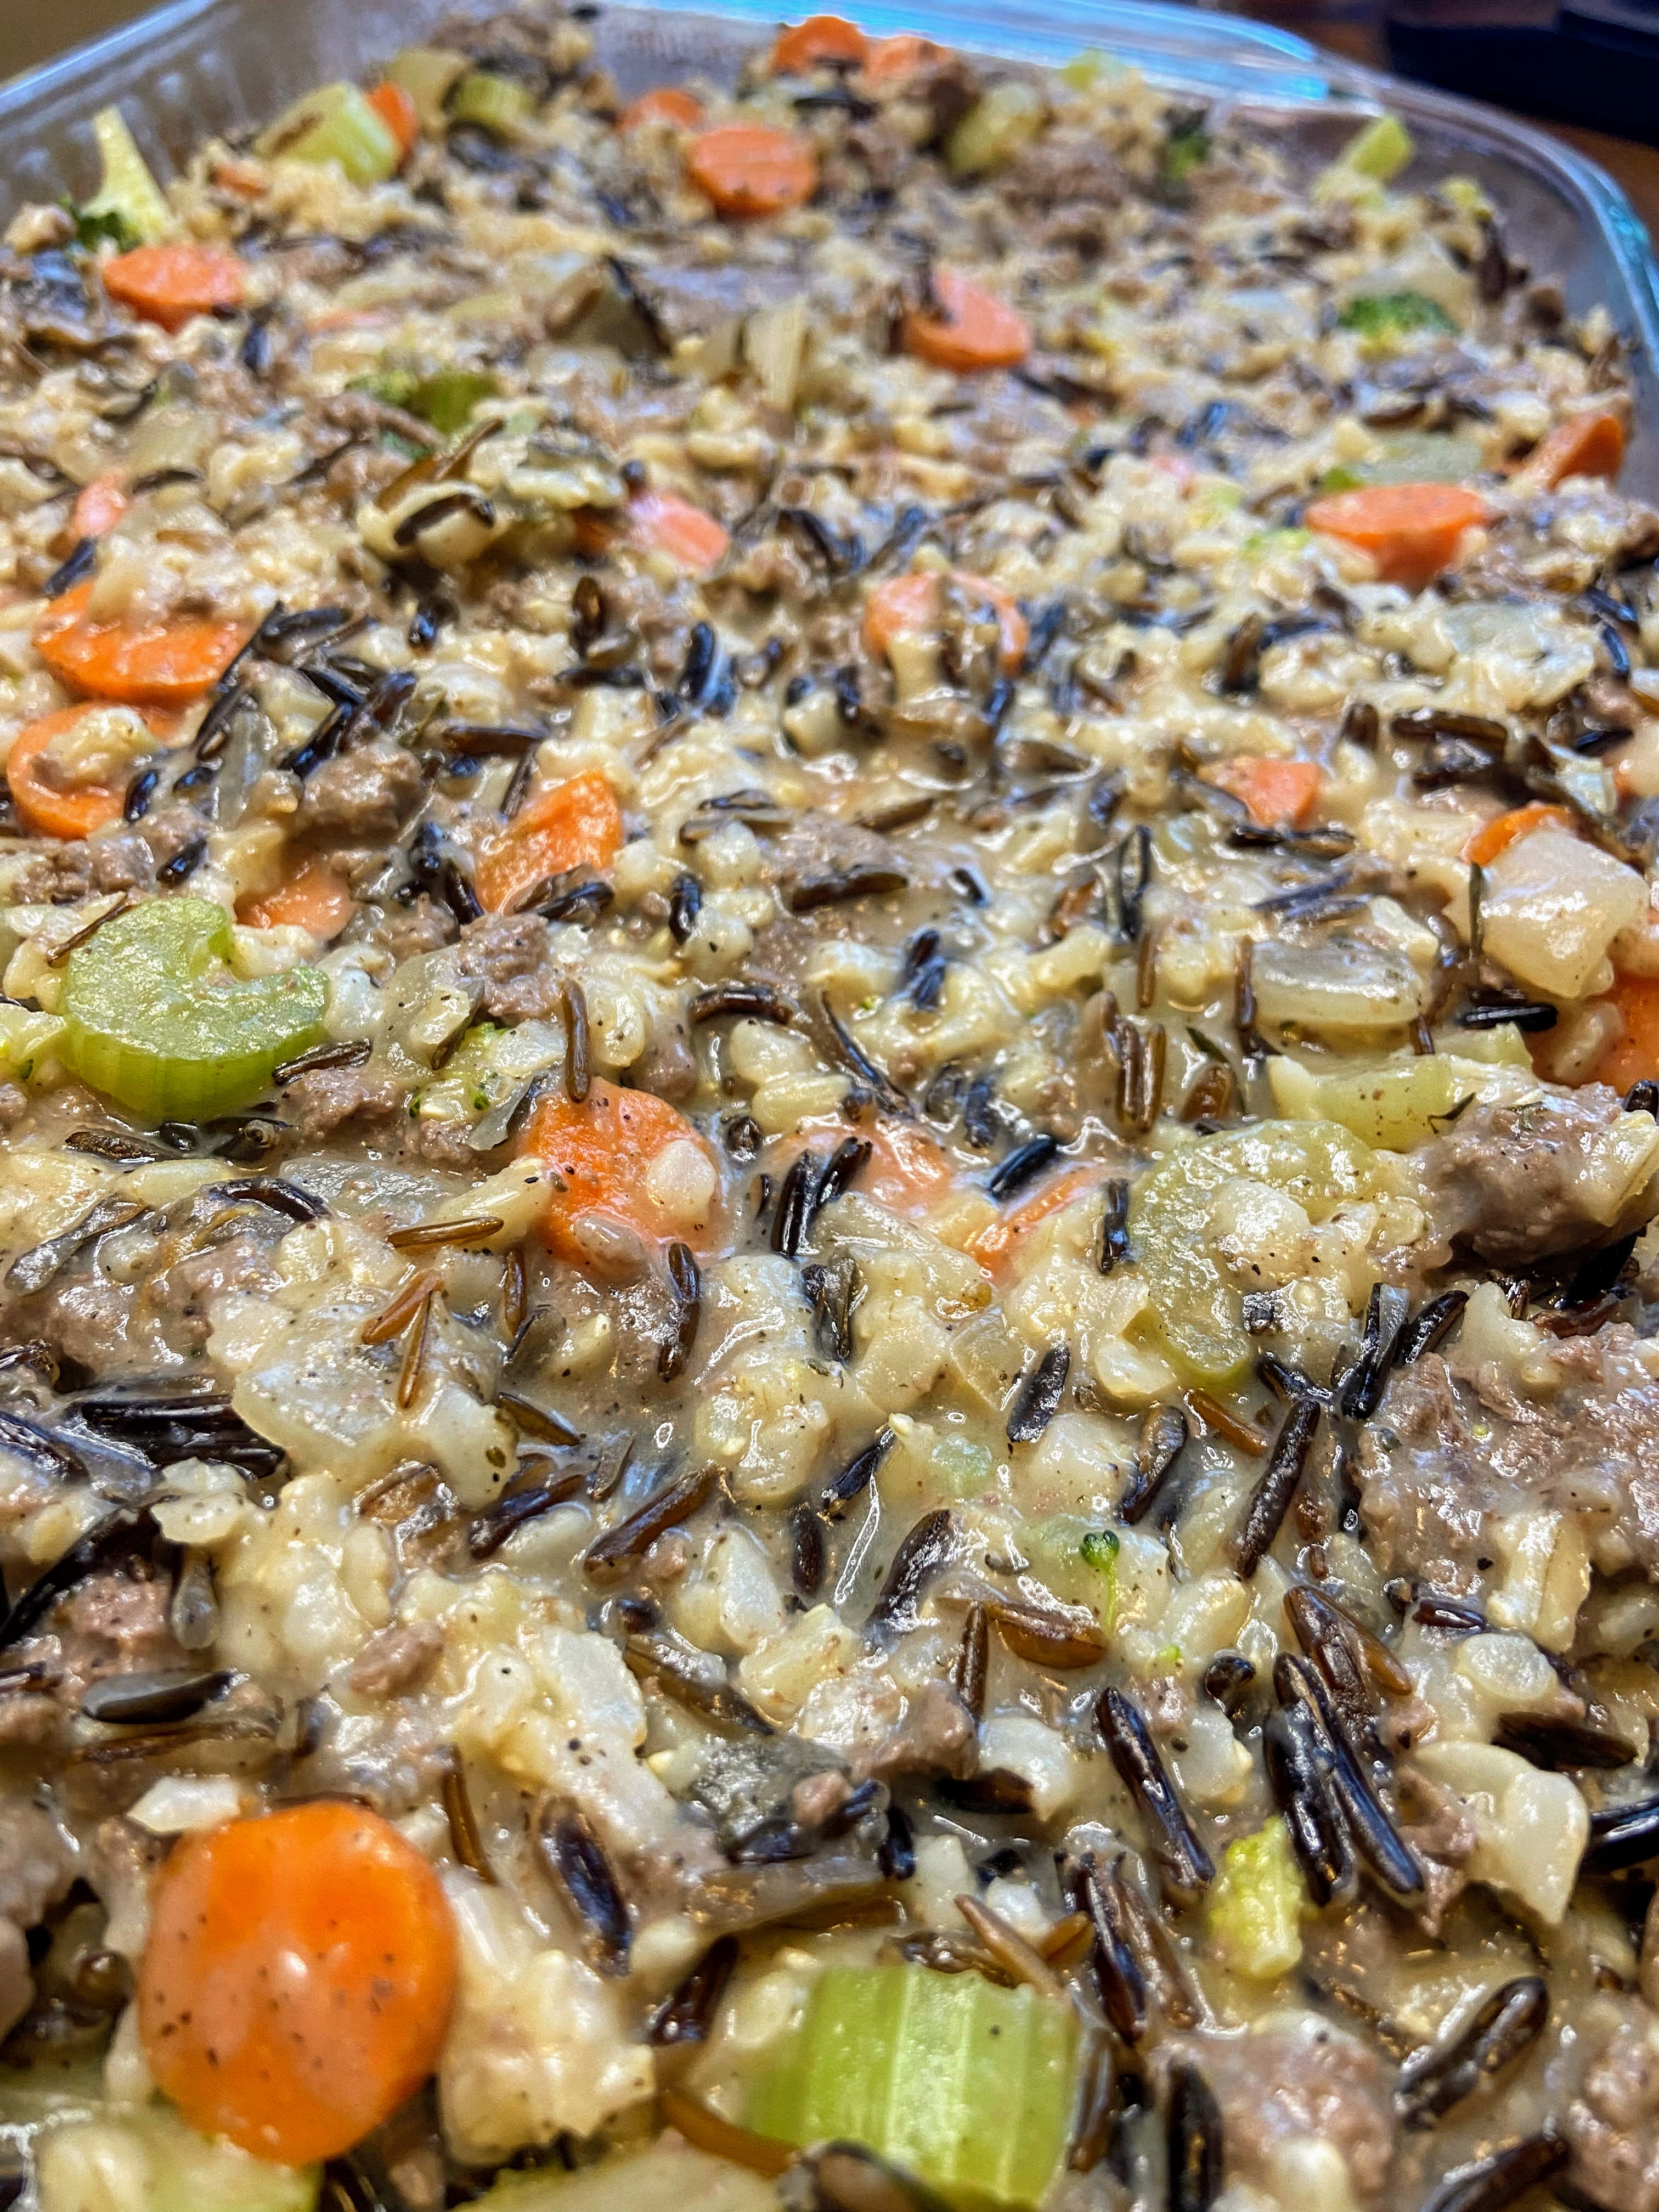
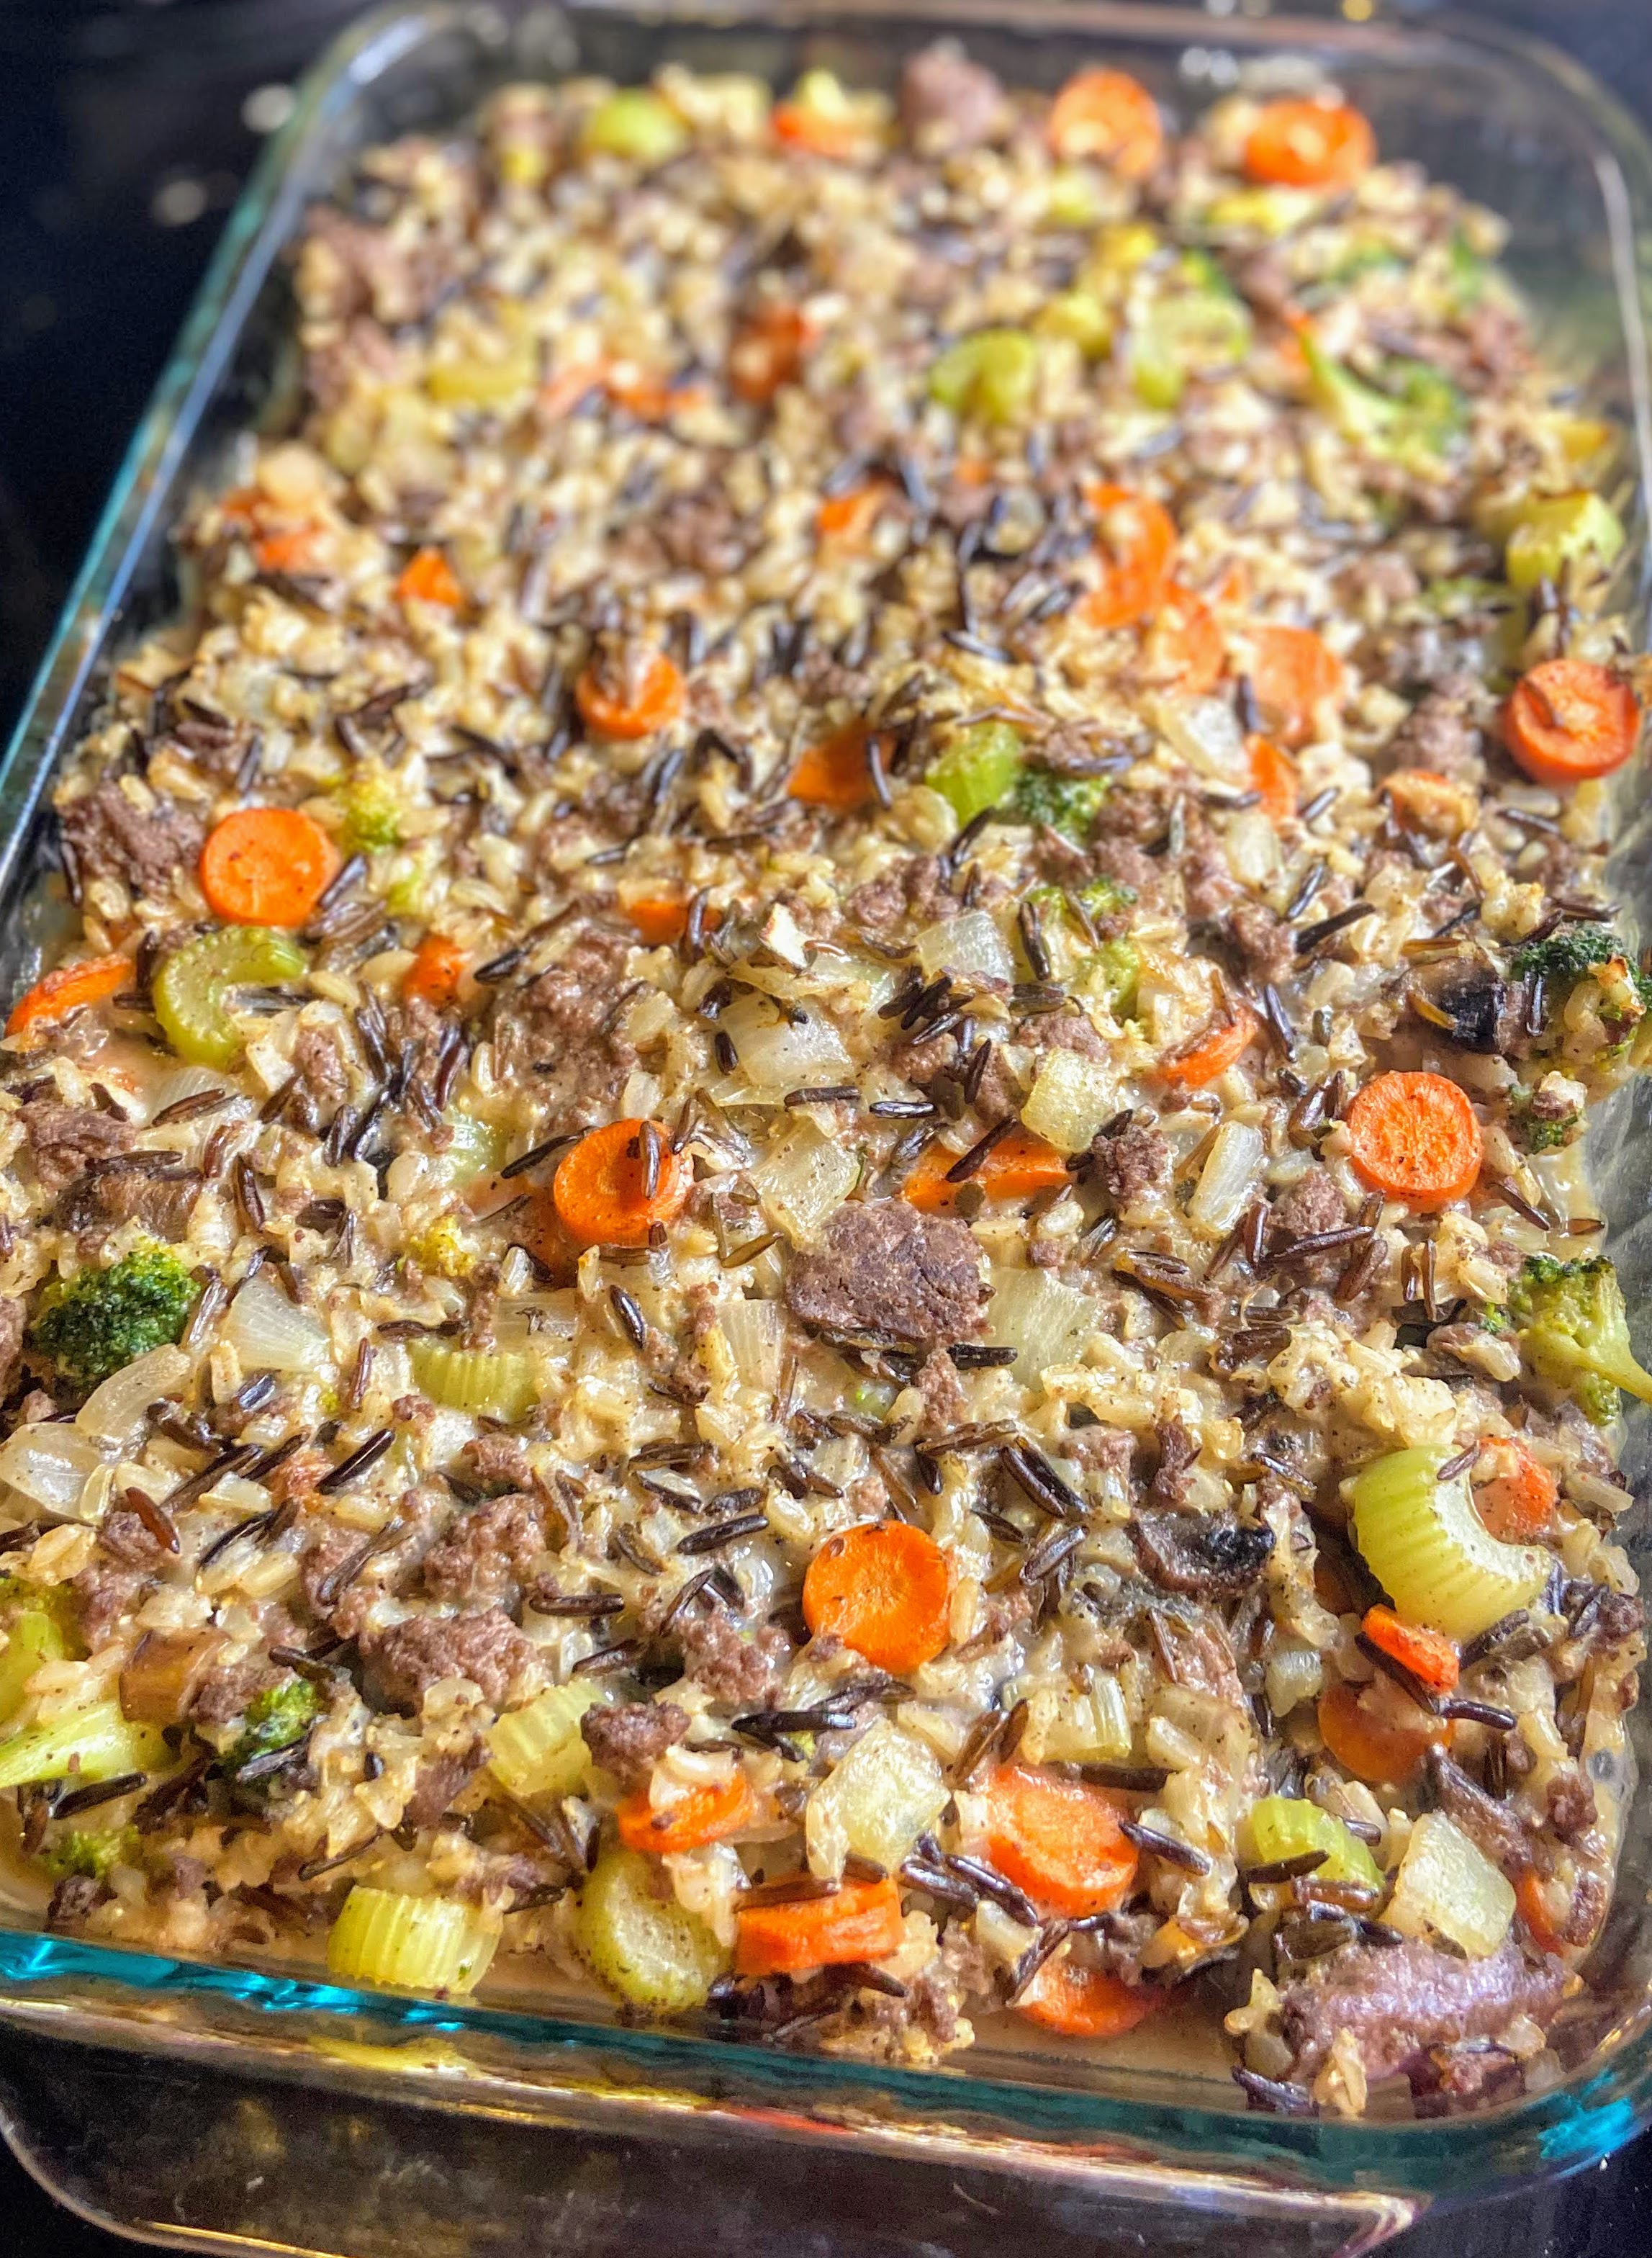
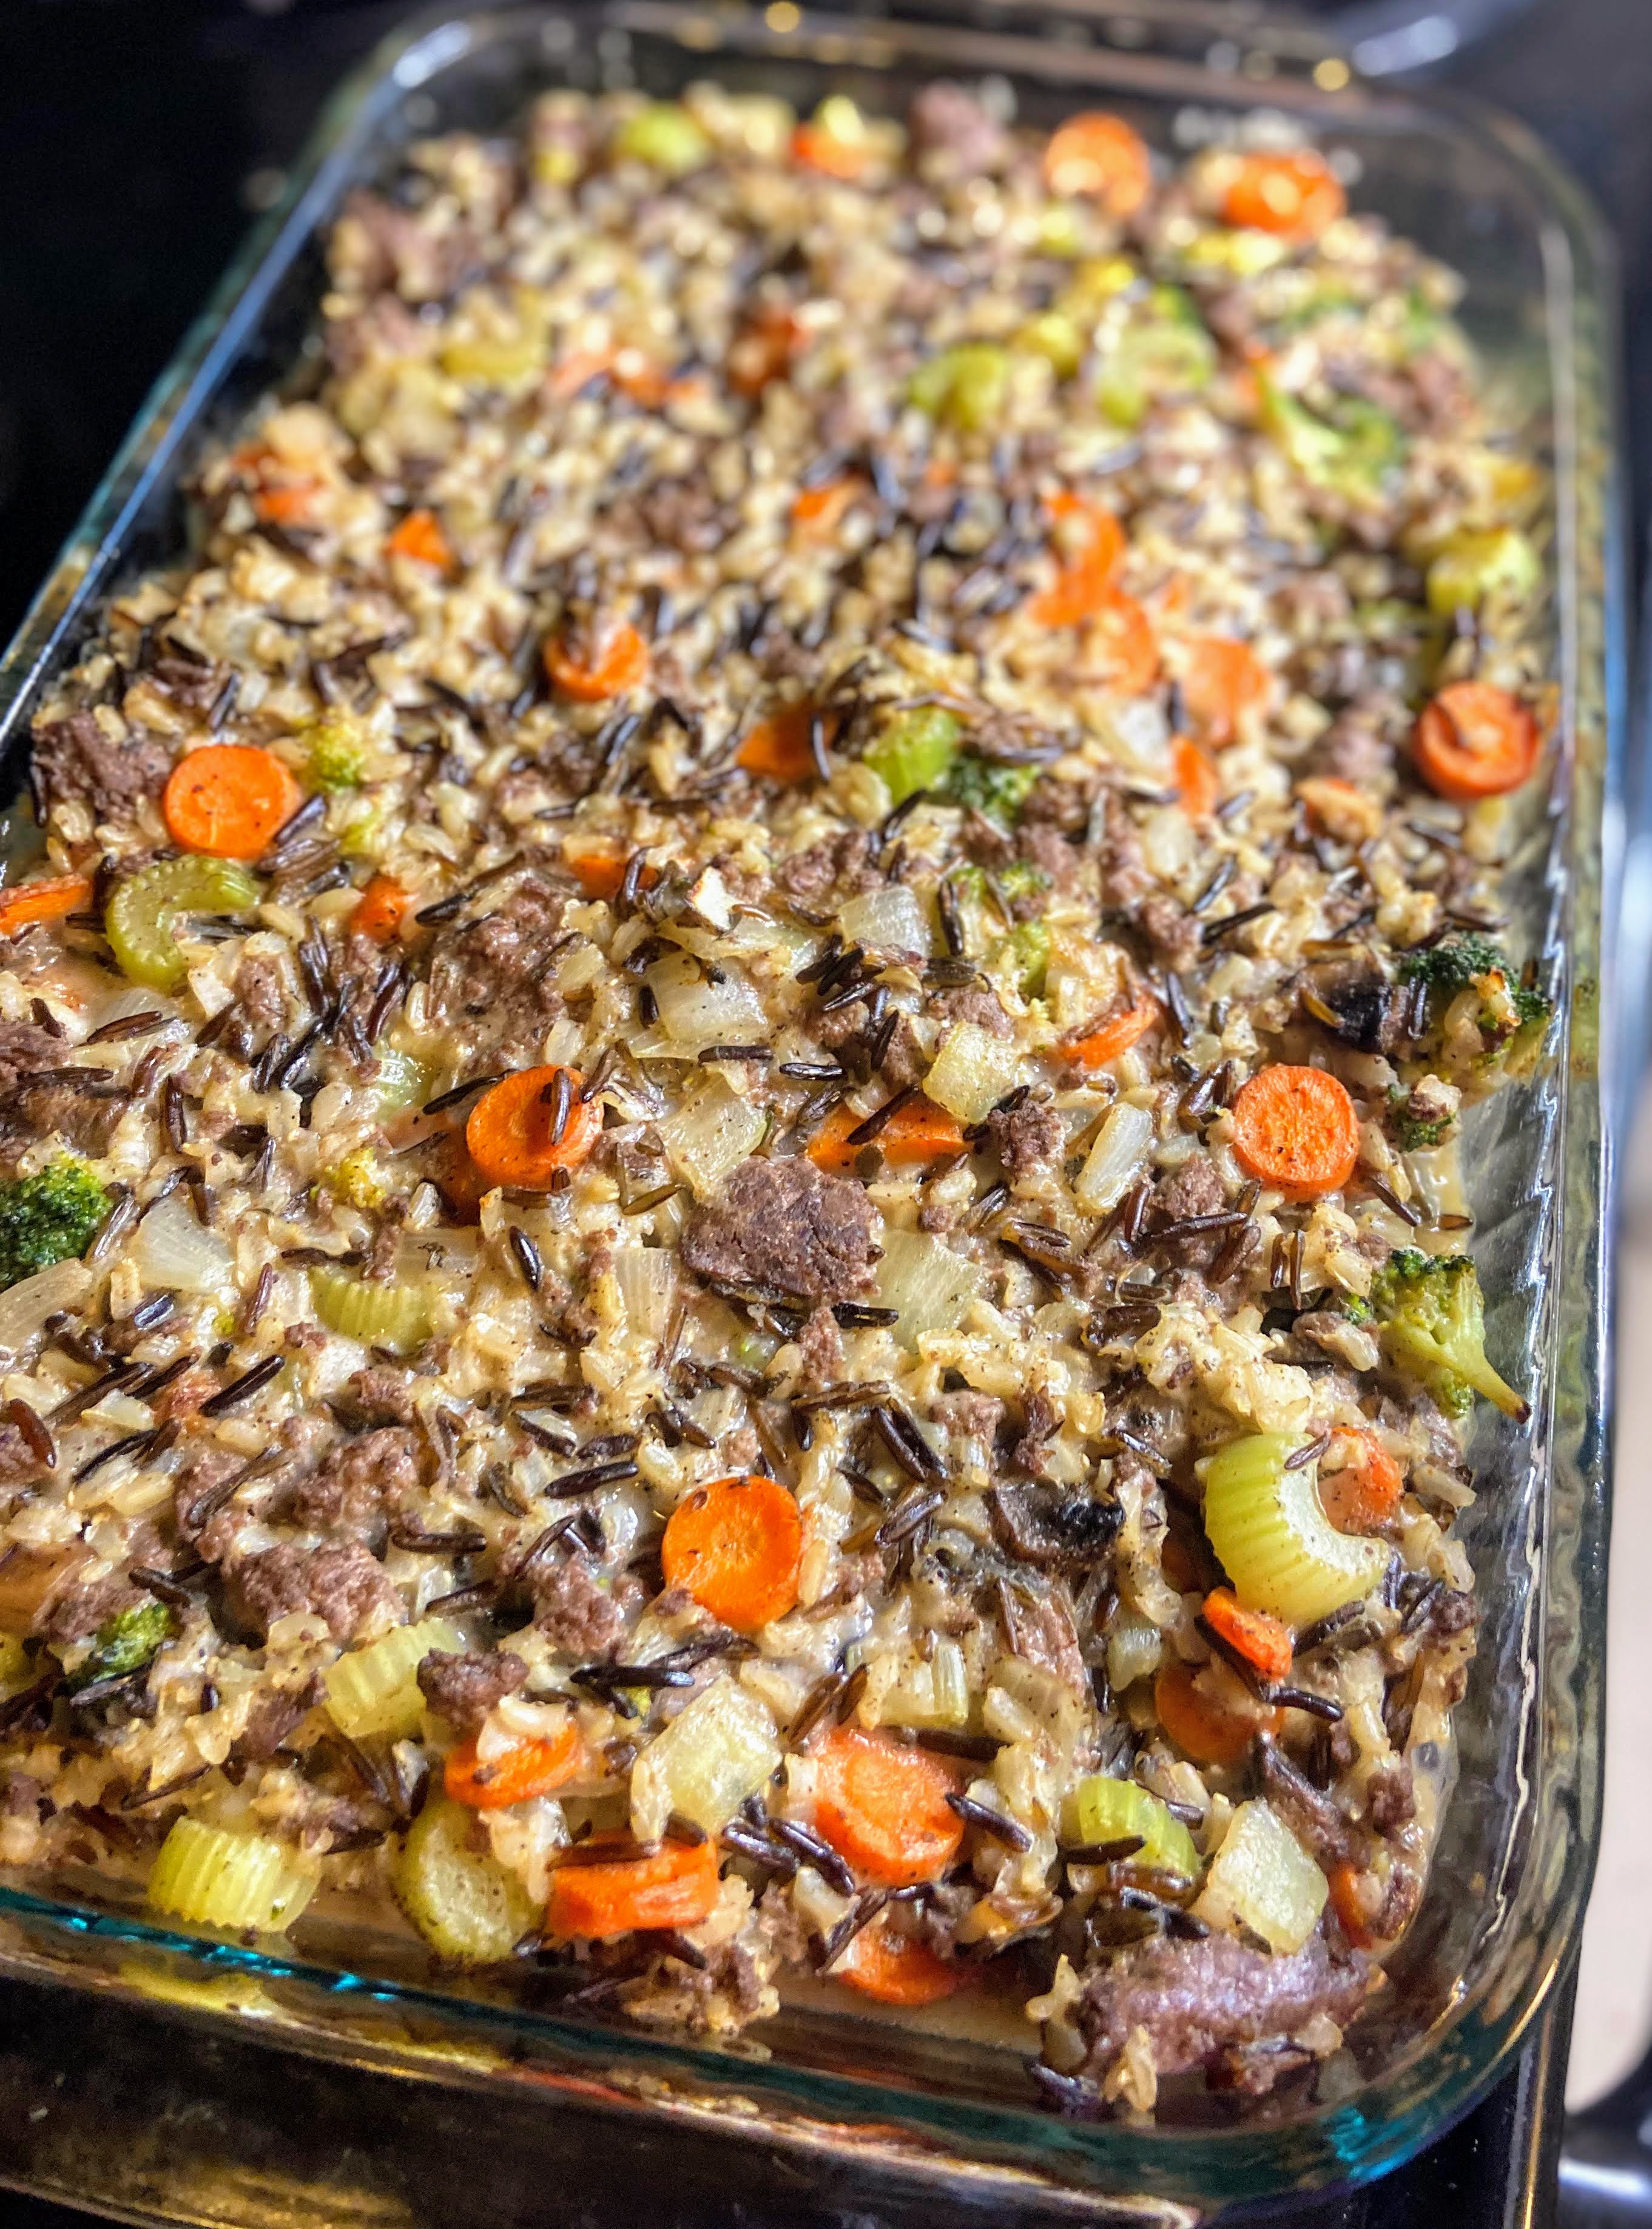
Spread the mixture into a greased casserole dish and bake uncovered for 20 minutes at 425 degrees, until just crispy on the top and hot all the way through. Often, I will prep mine in the morning or the day before and refrigerate until we are ready to eat. If baked after being refrigerated, bake covered for 15 minutes and then gave it an additional 15-20 minutes without a cover. It will be perfectly crispy on the top and creamy in the middle. A wonderful comfort food.
Tools of the Trade
What are some tools I can’t live without? First, my Pyrex baking dishes are a go to for all things baked. And I love a lot of baked dishes. I also really dig my flexible cutting boards and my goodness, as silly as this sounds, this is my favorite whisk. I have had it for years and it’s truly the only one I use.
Savory Venison Wild Rice Bake
Ingredients
- 1 pound ground venison seasoned with salt and pepper
- 6 cups low sodium chicken stock divided
- 1 cup long grain rice
- 1 cup wild rice
- 2 cups carrots diced
- 1 ¼ cup onion 1 large, diced
- 1 ¼ cup celery 6 stalks, diced
- 2 cups broccoli diced
- 1 cup mushrooms sliced
- Olive oil
- 4 cloves garlic minced
- 1 teaspoon pepper
- 1 teaspoon salt
- 2 teaspoons sage
- 2 teaspoons thyme
- 1 cup milk
- 3 tablespoons butter
- 3 tablespoons flour
Instructions
- In a medium saucepan, bring 5 cups chicken stock to a boil. Add sage, 1/2 teaspoon pepper, 1/2 teaspoon garlic and wild rice. Cover, lower to a simmer, and cook for 10 minutes.
- Add long grain rice and cook for an additional 30-35 minutes, stirring periodically to check that you still have water. You want your rice to just be tender. Test it at 40 minutes.
- Meanwhile, dice and chop the onion, celery, carrots, broccoli, and mushrooms. Heat a large kettle with ½ to 1 tablespoon of olive oil. Add the vegetables (except the mushrooms) remaining garlic, salt, pepper, sage, and thyme, cooking on a medium heat for ten minutes.
- Add mushrooms and cook for an additional five minutes. Remove the vegetables from the kettle and place them in a large bowl.
- In the same pan, add an additional 1/2 tablespoon olive oil and cook the ground venison (or hamburger or turkey) until no longer pink. Stir into the bowl of vegetables along with cooked rice.
- In the same kettle, melt the butter under medium-low heat. Stir in flour and continue to stir until you have a beautiful golden brown color. To this, add milk, 1/4 of a cup at a time, whisking until well combined and thickened. Repeat with the remaining chicken stock. Pepper to taste.
- Stir in to the vegetables, rice, and browned venison. Taste once more, adding salt and pepper as needed.
- Spread the mixture into a greased casserole dish and bake uncovered for 20 minutes at 425 degrees, until just crispy on the top and hot all the way through.
Notes
Can I share some other favorites of mine?
Check out the recipes below for other meal inspiration!