I’m telling you, I love summer and all that comes with that: swimming, warm skin, camping, gardening, and carefree days. But man, this time of year, I relish the beautiful fall weather. In Northern Wisconsin, this brings on duck hunting. When it’s duck hunting, I get to relish the enjoyment of cooking for a large crowd of hunters. Usually that means I throw together a few kettles of soup, and this year was no different. We had an abundance of root vegetables in our home and I couldn’t wait to cook with them. What resulted was a delightful Finally Fall Root Vegetable Soup.
From the Garden…
We grew potatoes, carrots, and rutabagas this year. I wanted sweet potatoes, but oddly enough, I forgot I wanted them until it was too late (story of my life). So alas, the sweet potatoes were store bought. However, the ground protein was last season’s venison so this root vegetable soup was almost a fully “home harvested meal.” My absolute favorite and leaves me feeling crazy proud.
Now, I recognize not everyone gets the opportunity to grow their own food. Totally okay (Although I am telling you, you should start. It’s the best for SO MANY reasons. I won’t start listing them here, even though I want to). The great thing is that all of these ingredients can be pantry items, which means you can throw it together anytime you are feeling soup without any special trips. How great is that? Ready to get cooking and put together a fantastic Finally Fall Root Vegetable Soup? Let’s get to it!
Your Ingredients
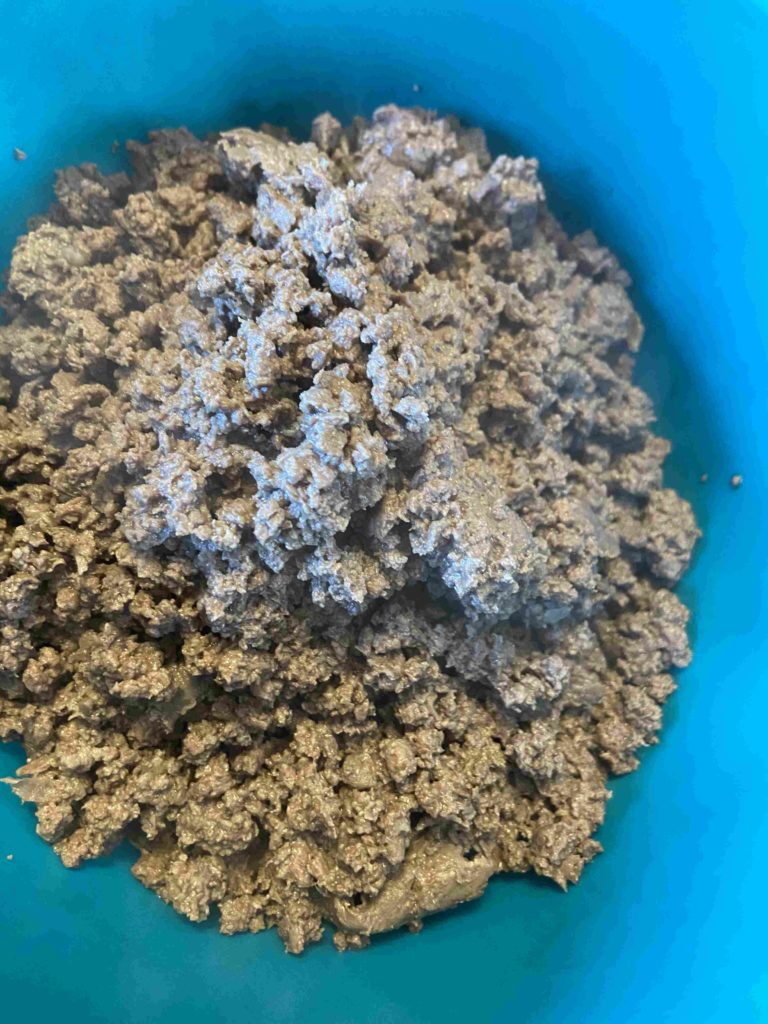
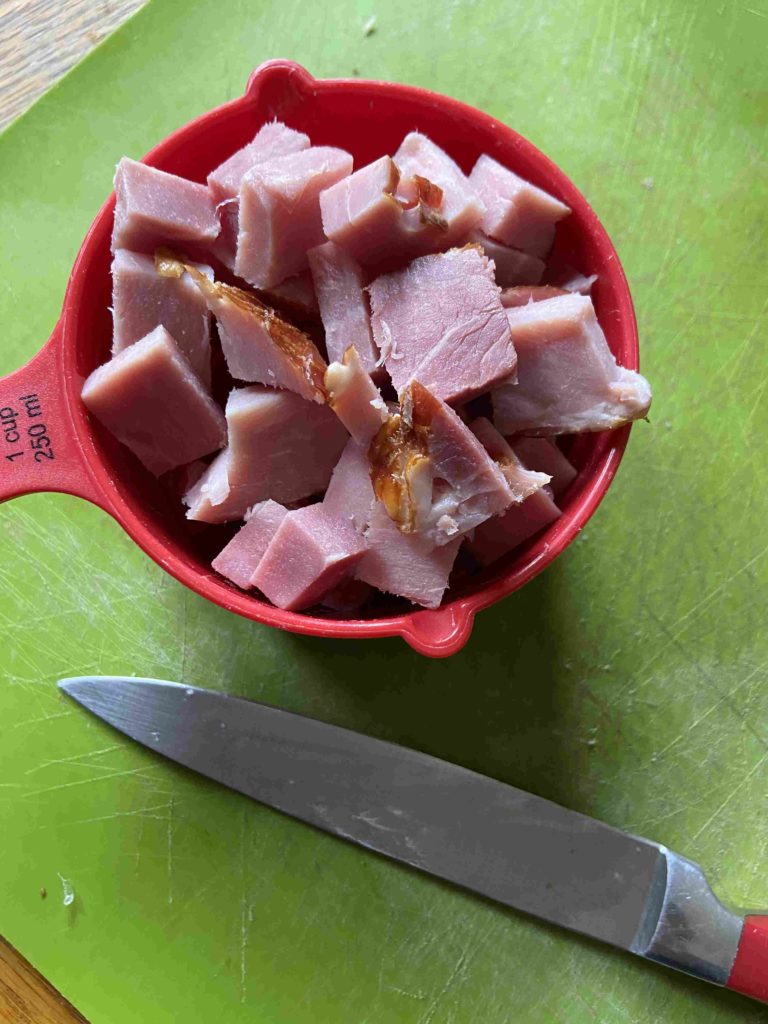
- 1 ½ pounds ground protein (we use venison, but any ground protein would do)
- Salt and pepper to taste
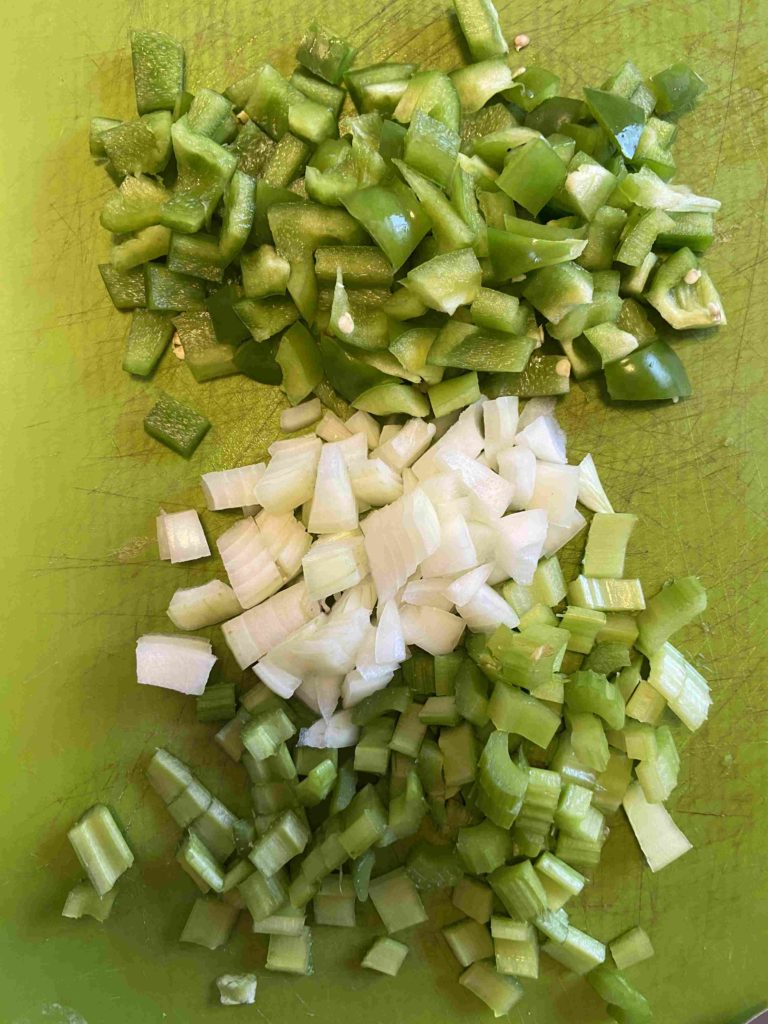
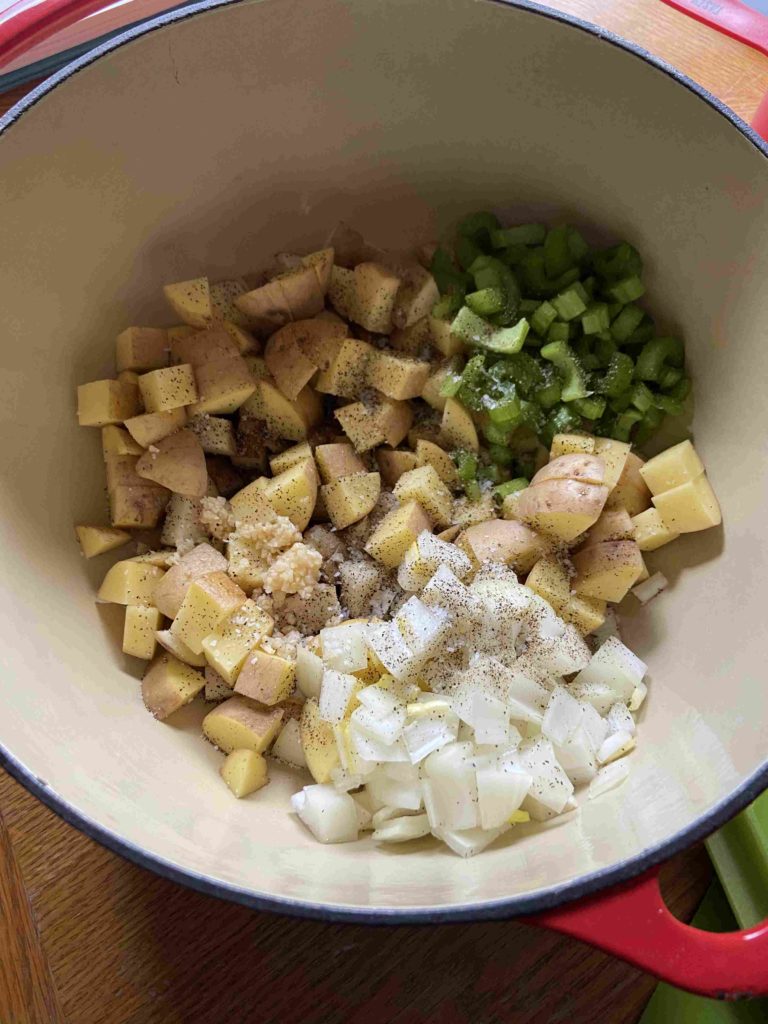
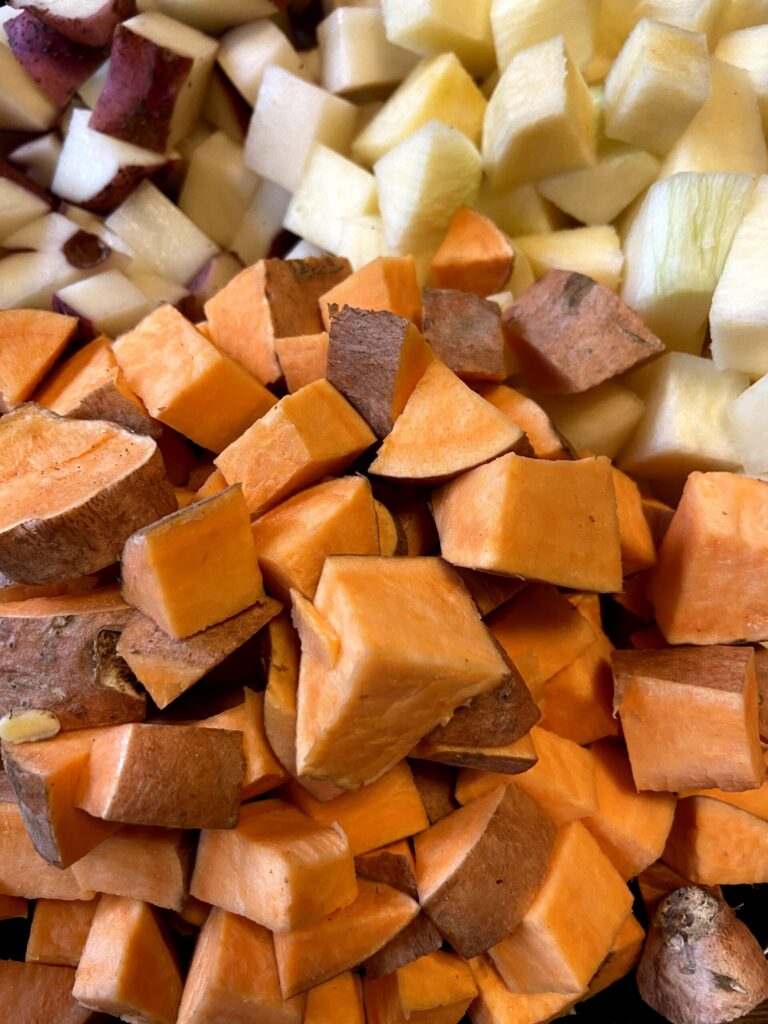
- 3 cups of each, diced: sweet potatoes, rutabaga, red potatoes, and carrots
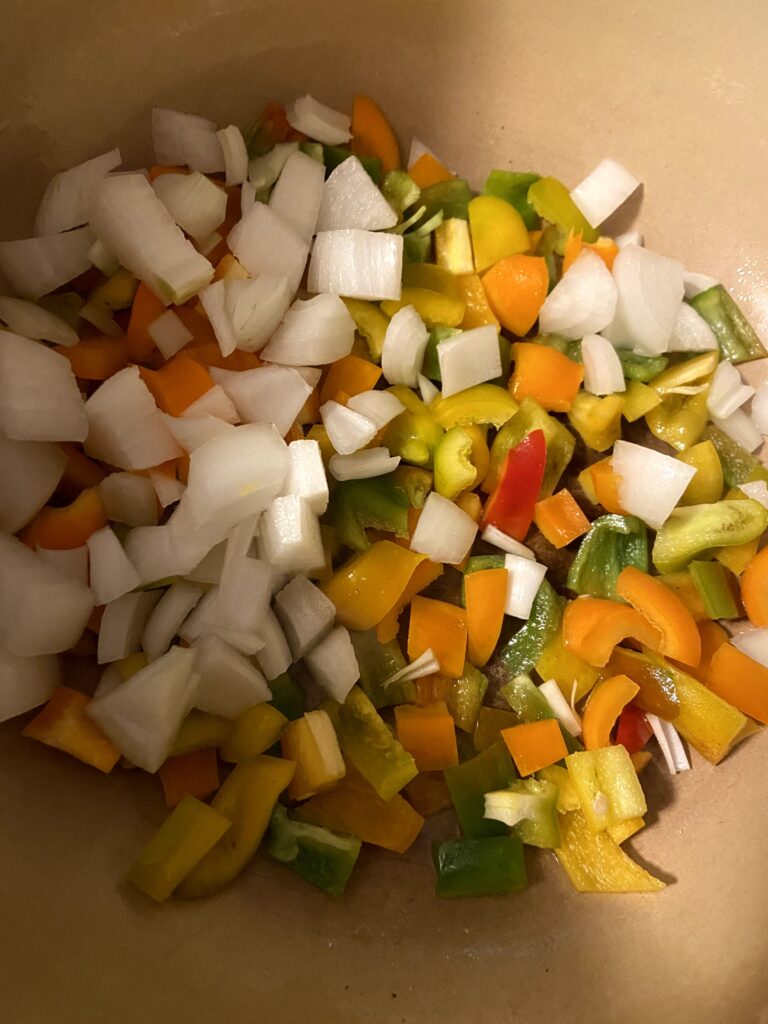
- 1 1/2 cups diced onion
- 2 tablespoons olive oil
- 1 tablespoon minced garlic
- ½ teaspoon pepper
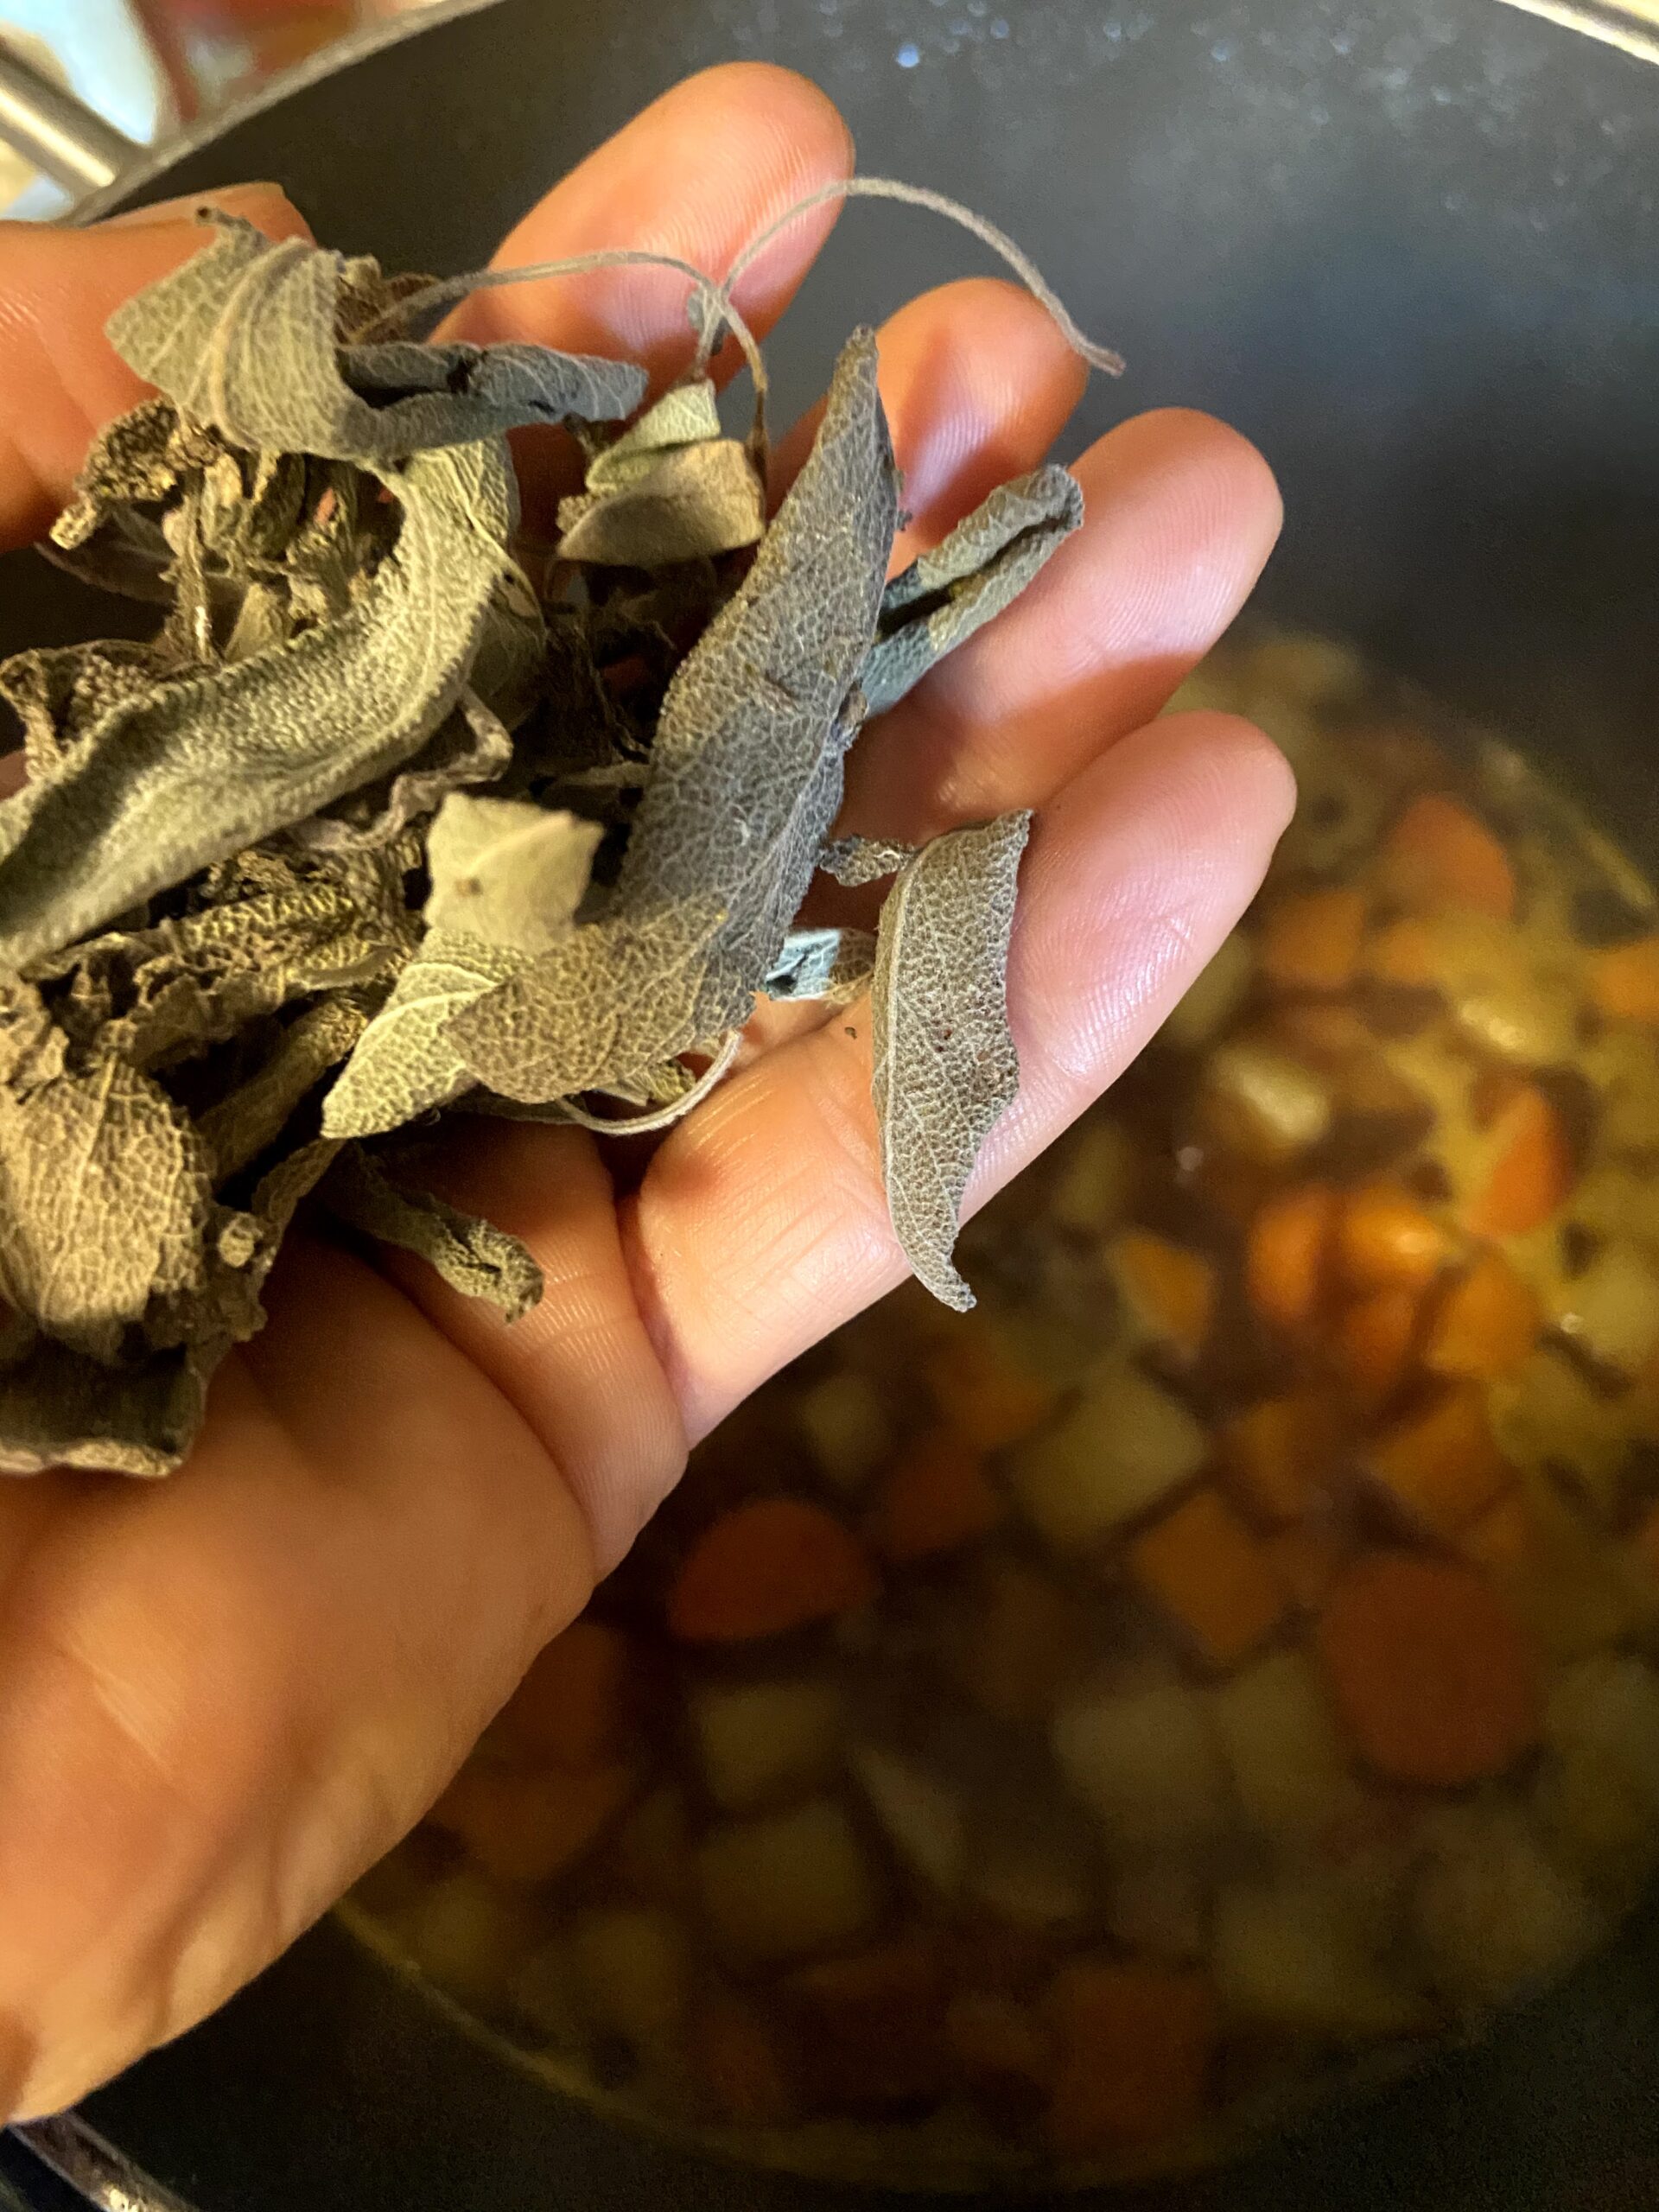
- 1 tablespoon dried sage
- 2 tablespoons butter
- 2 tablespoons flour
- 8 cups beef broth, divided
Your Steps
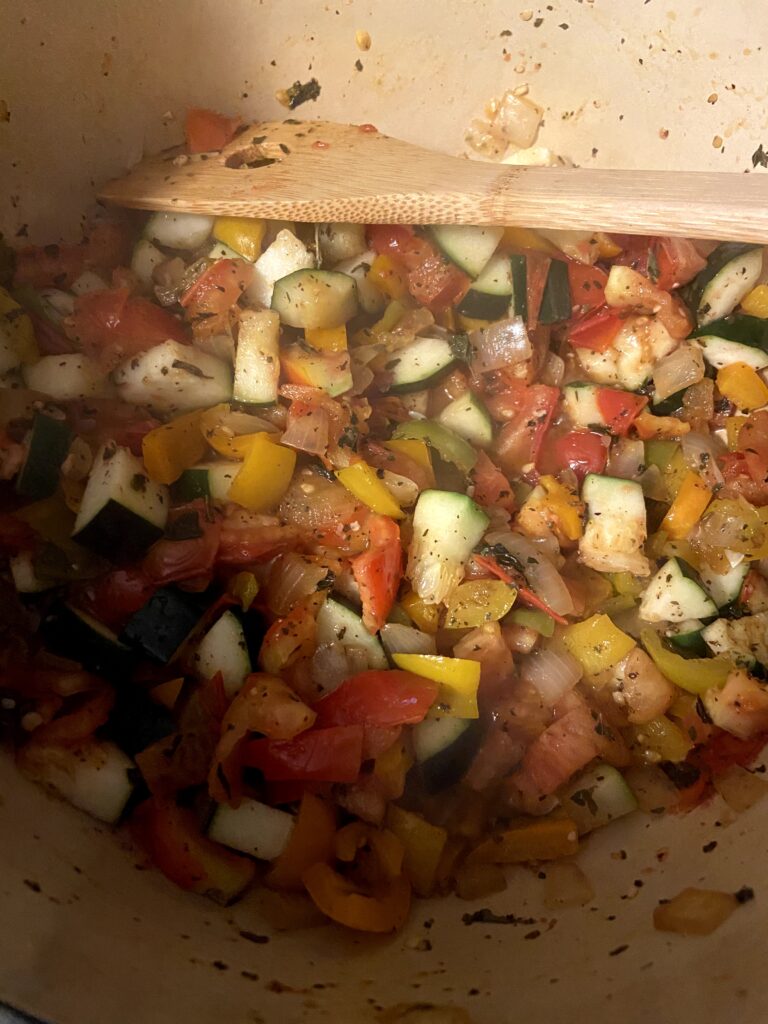
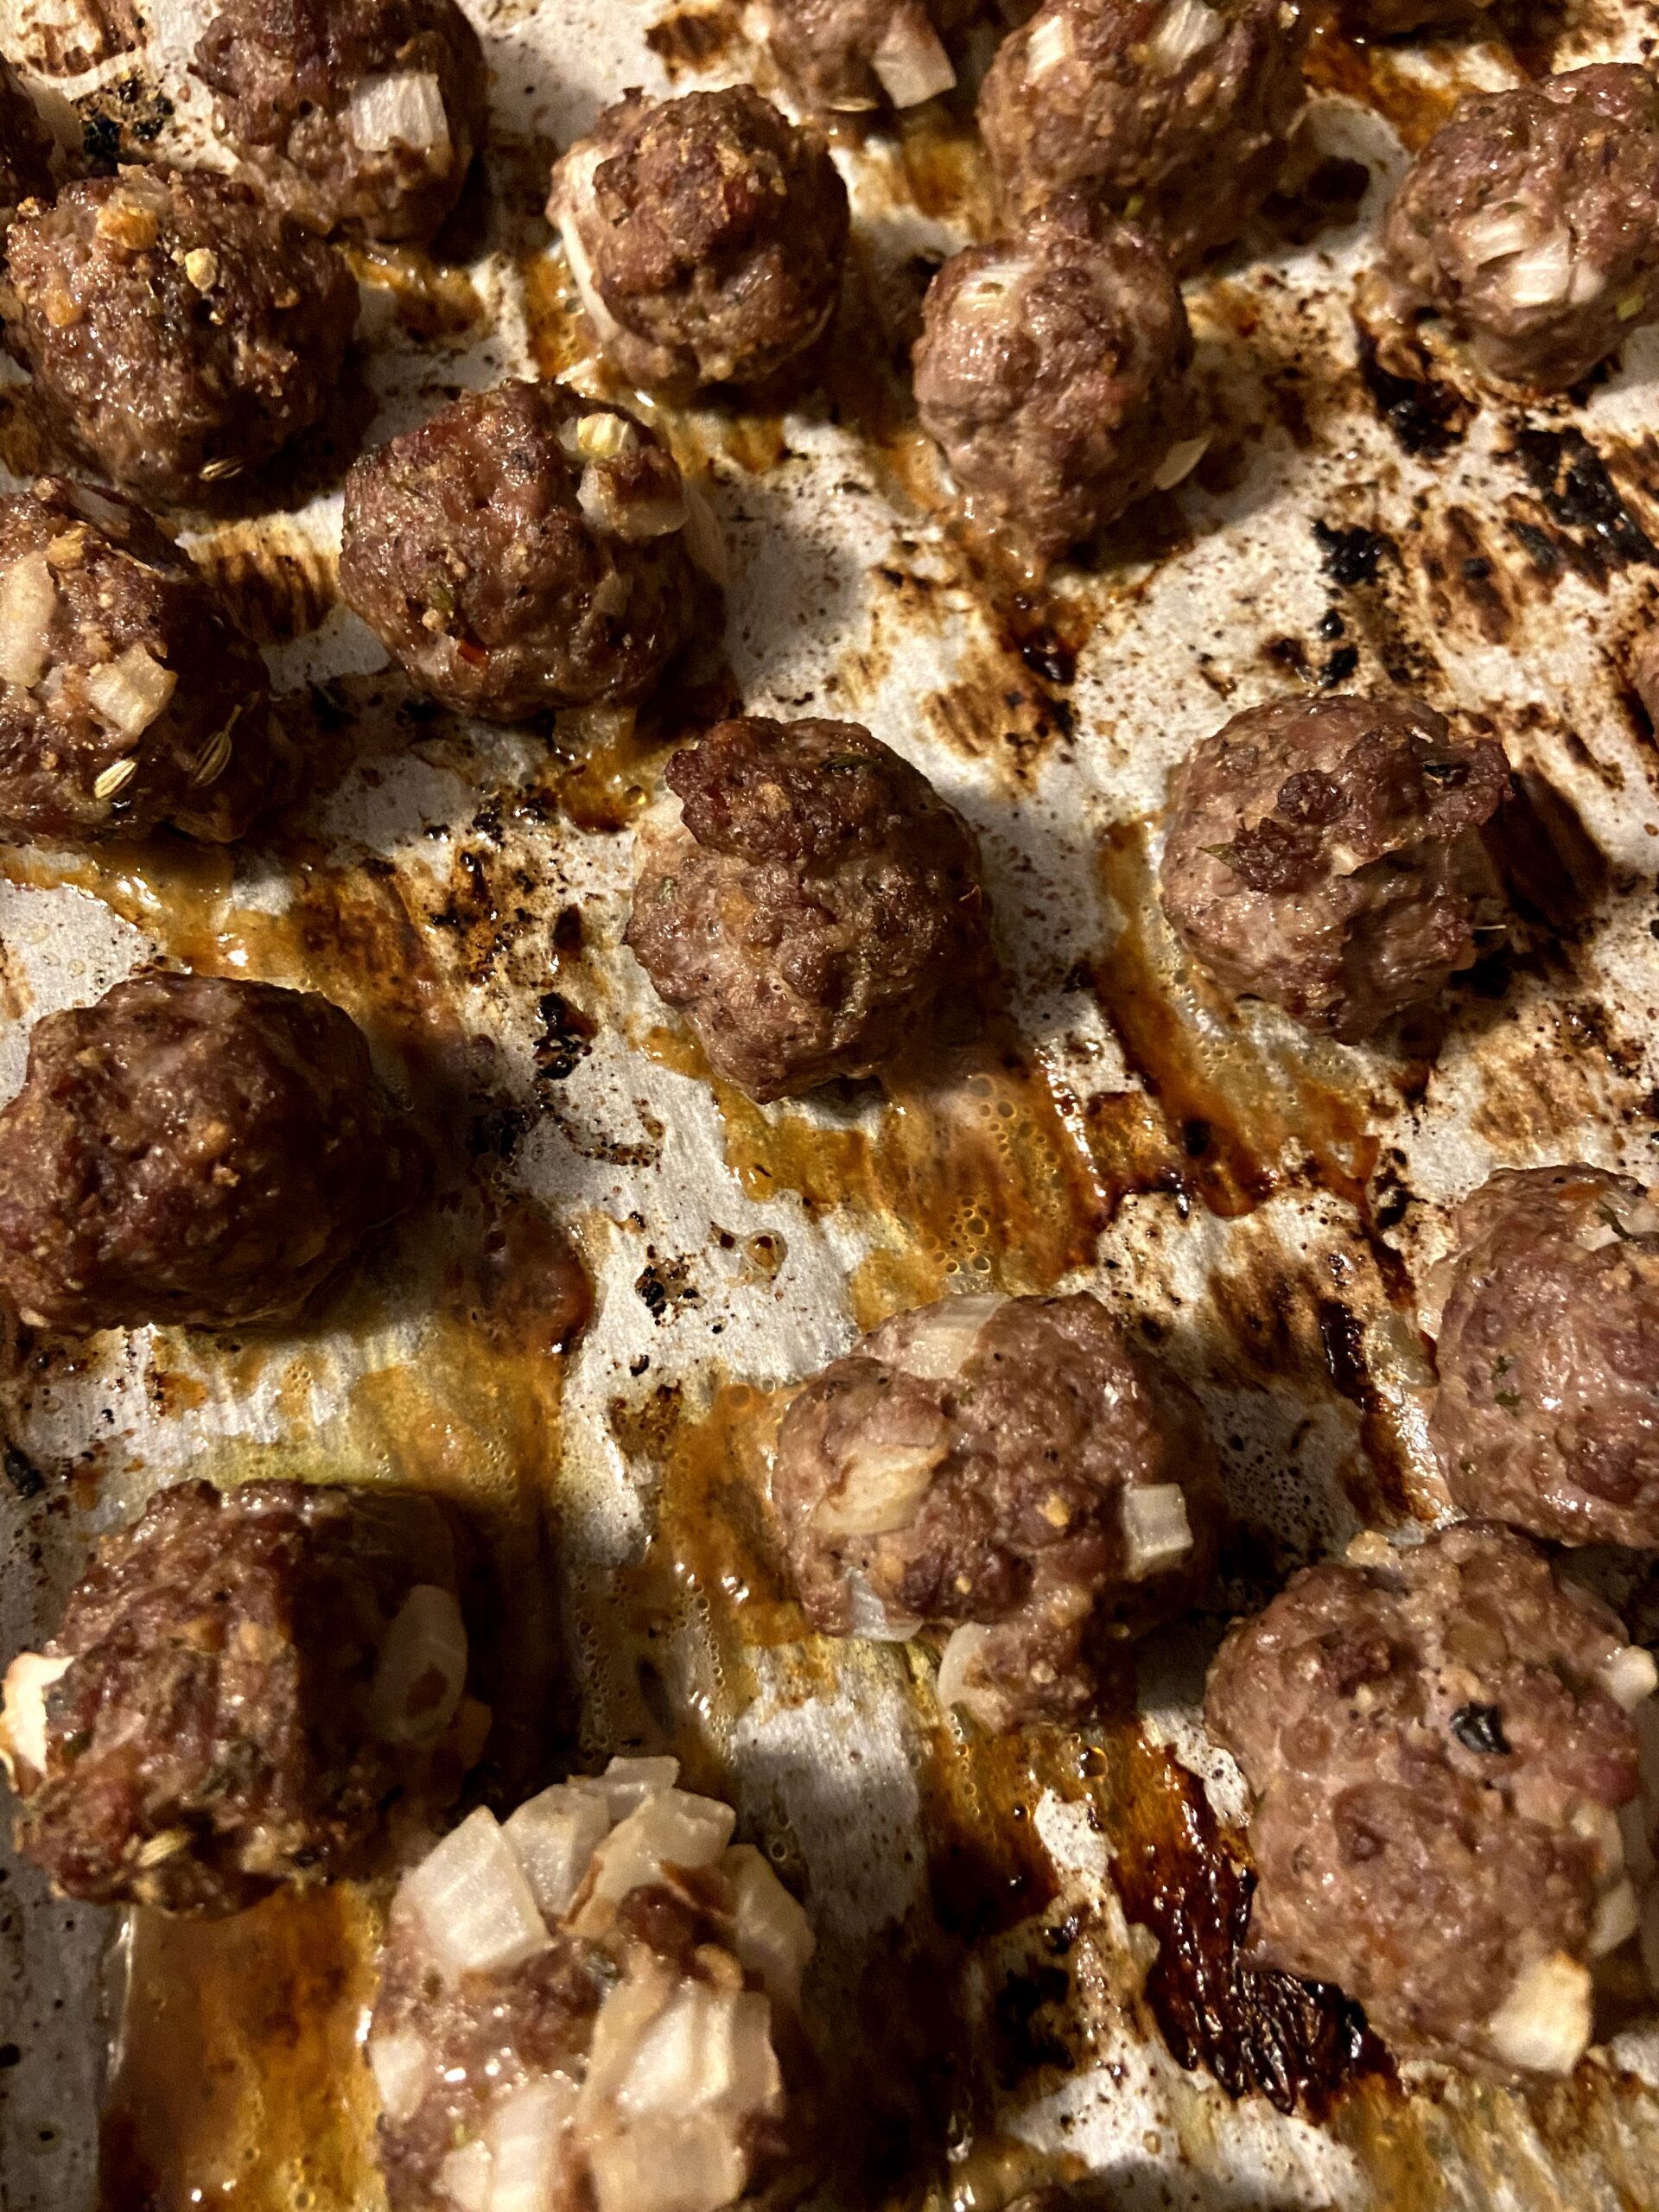
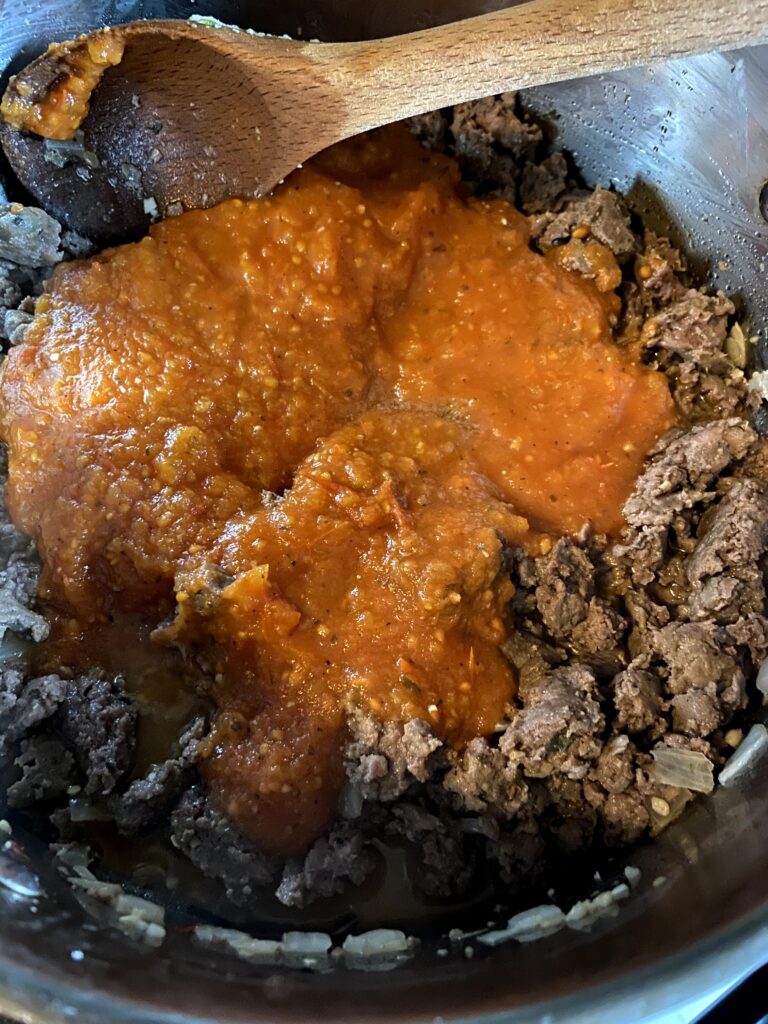
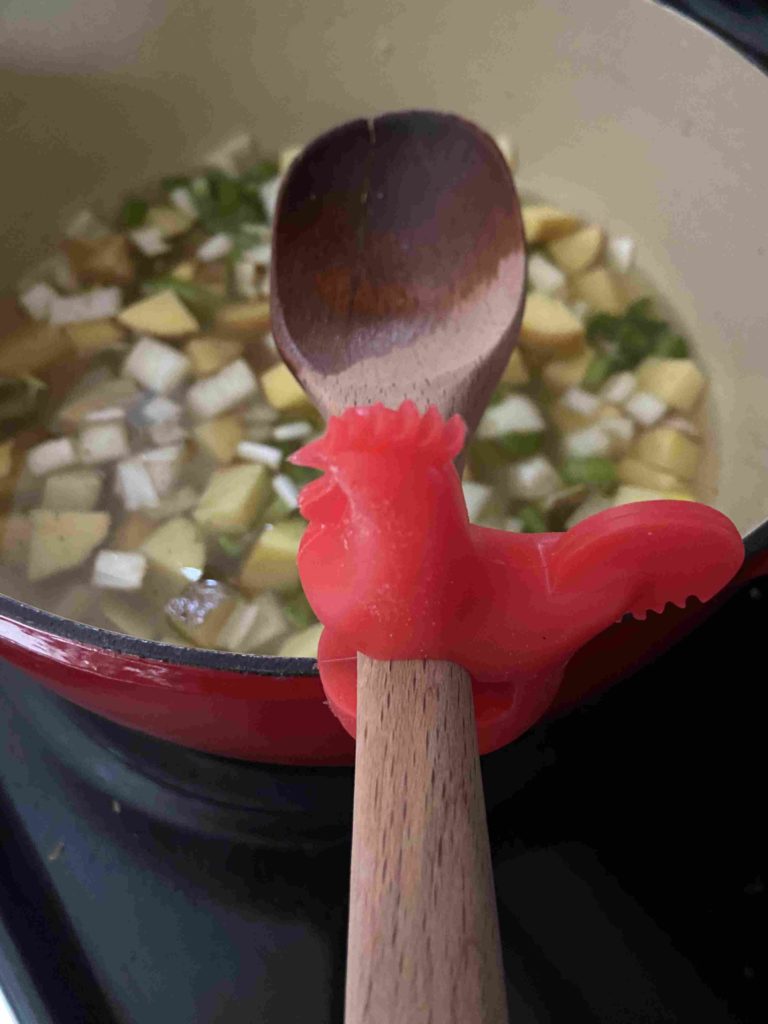
In a large Dutch oven, combine diced potatoes, rutabaga, carrots and 5 cups of beef broth. Bring to a boil and simmer for 15-20 minutes, until vegetables are tender. Meanwhile, in a large saucepan, brown ground protein, seasoning with salt and pepper to taste. Set aside.
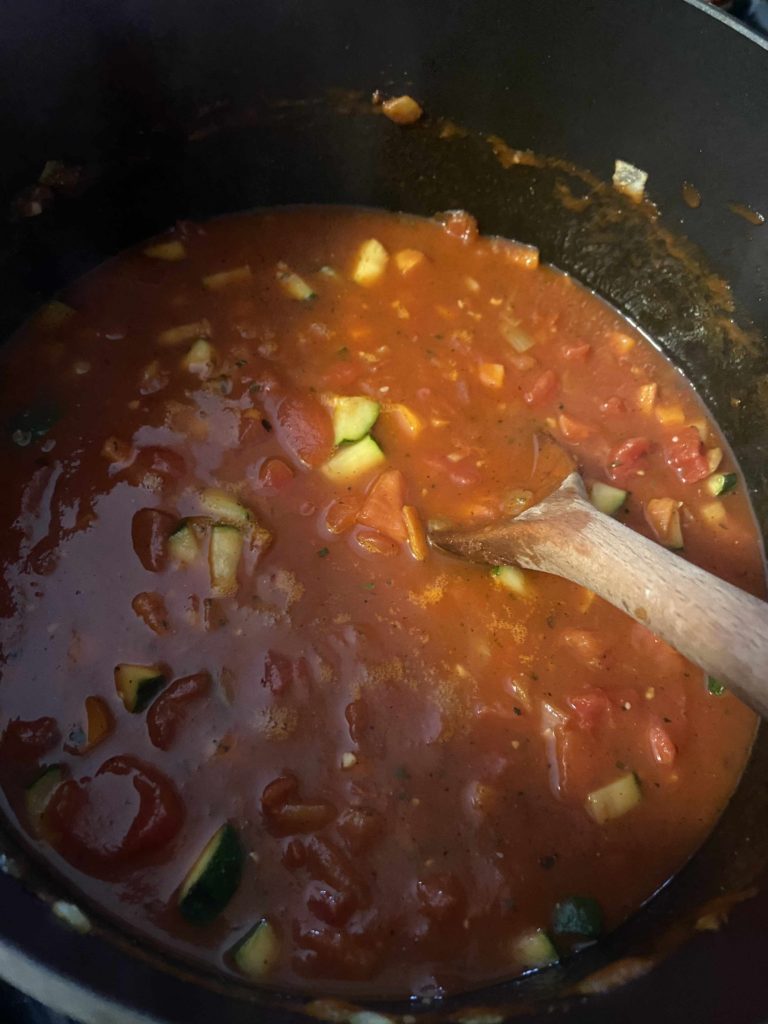
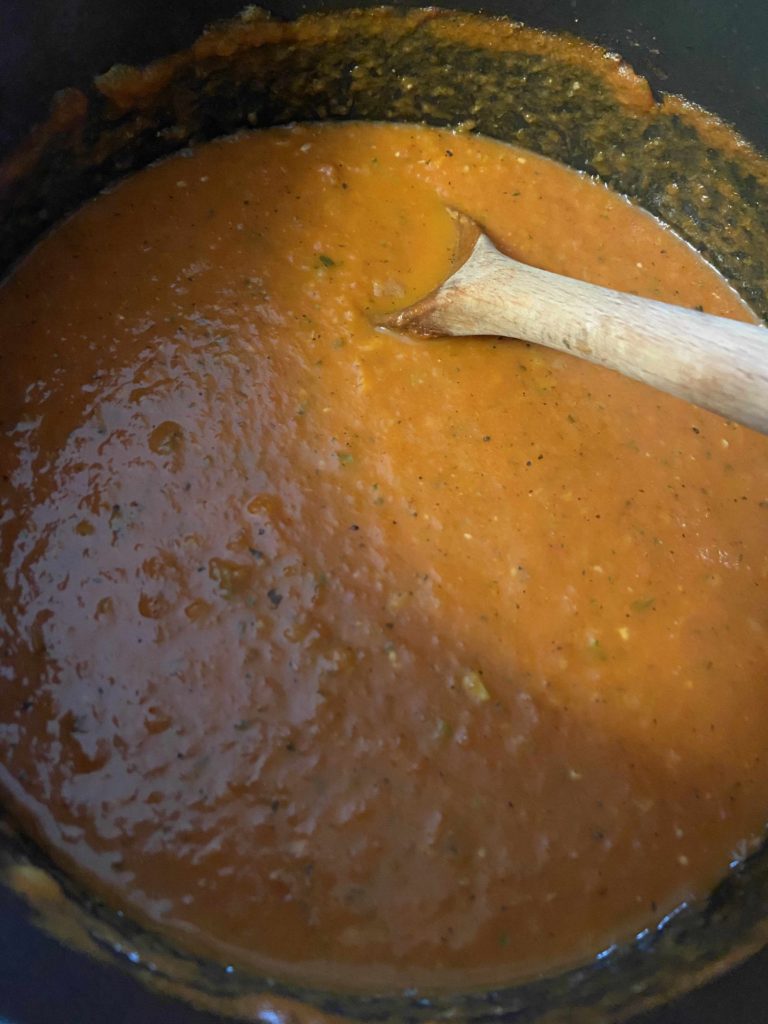
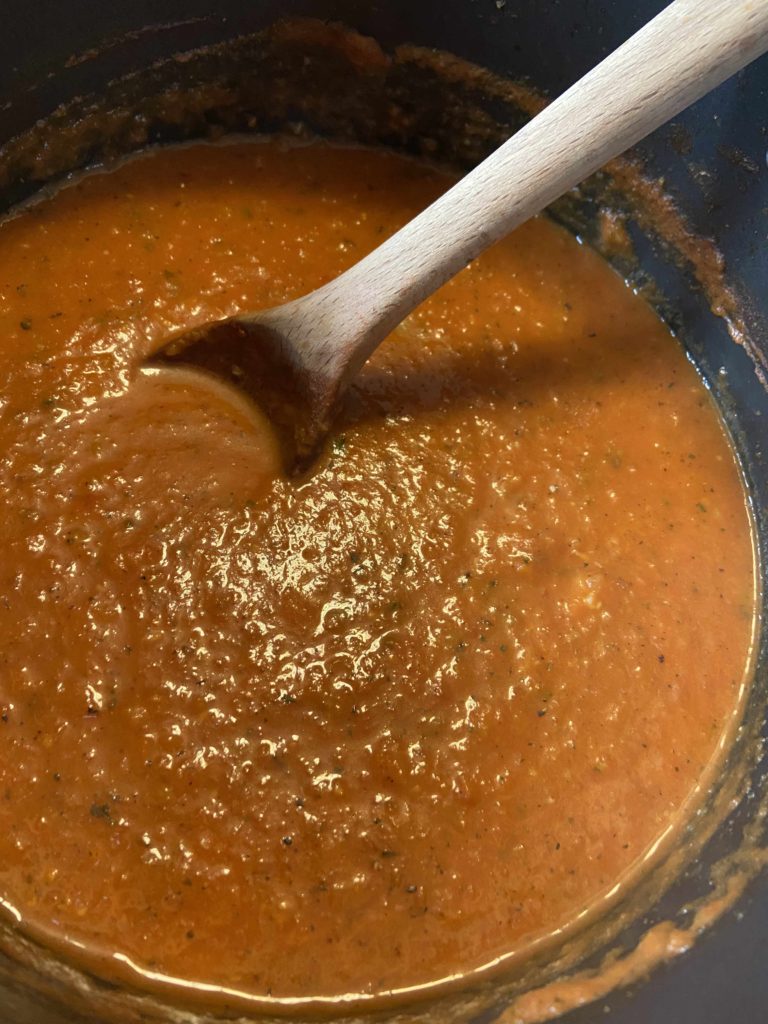
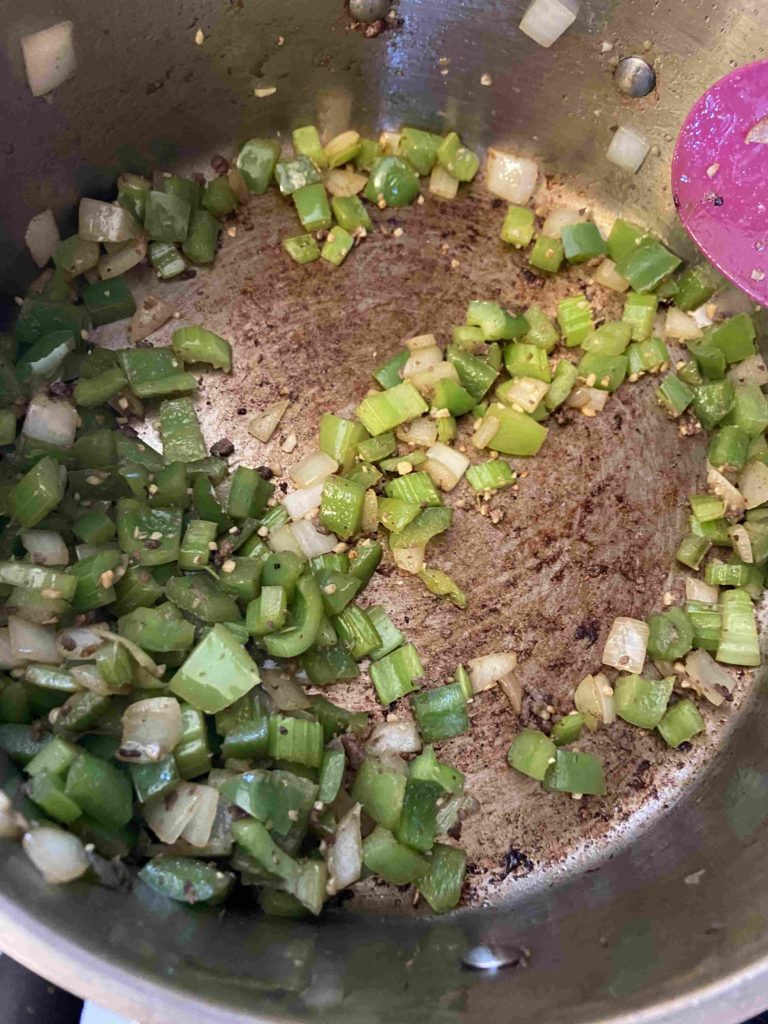
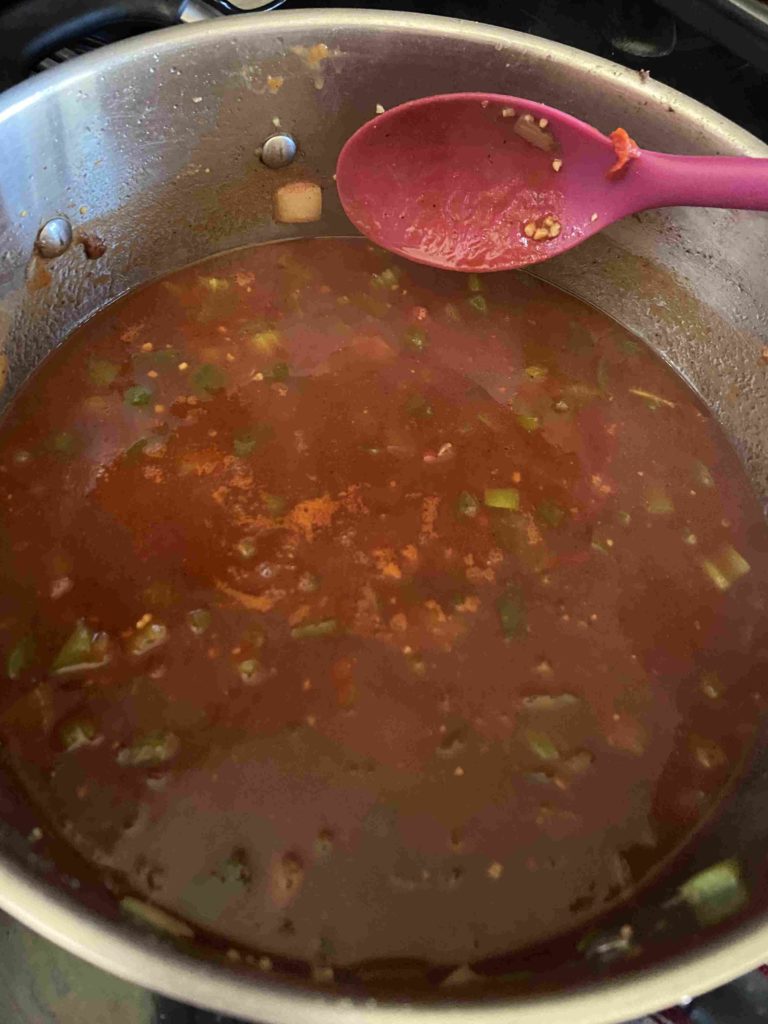
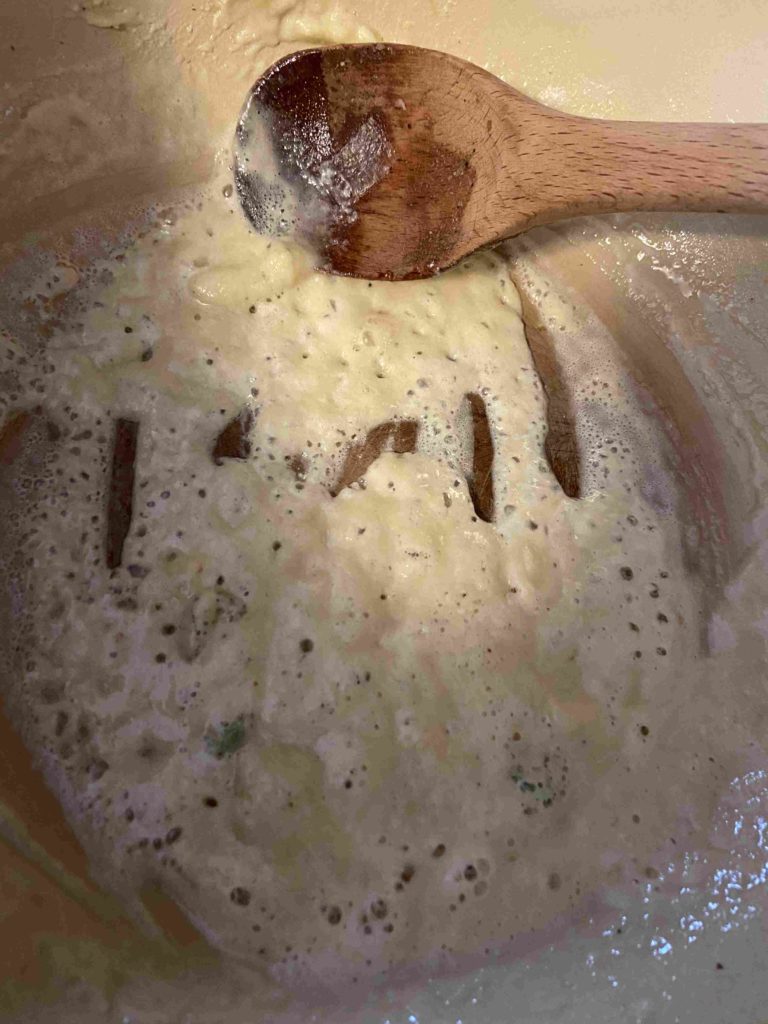
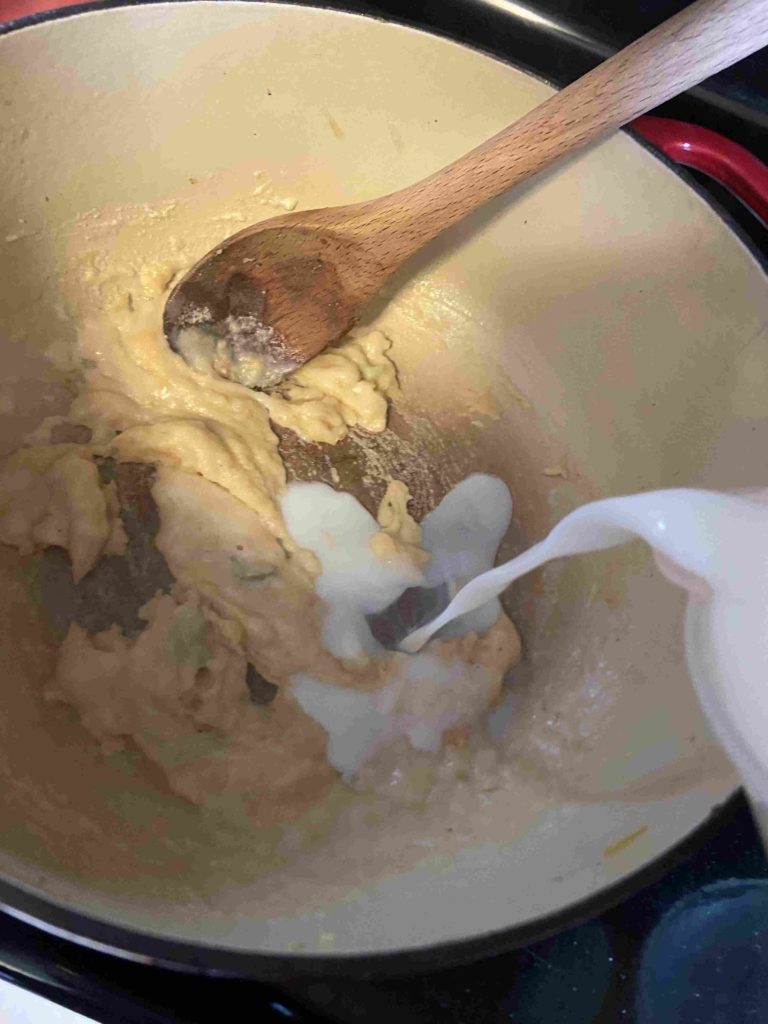
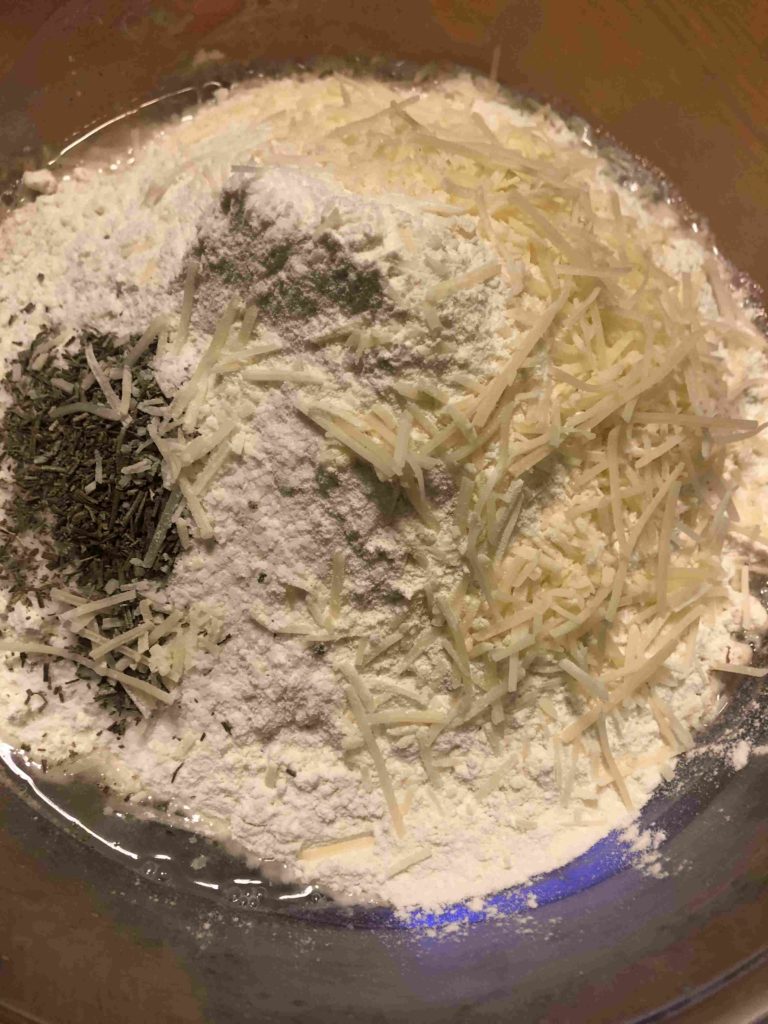
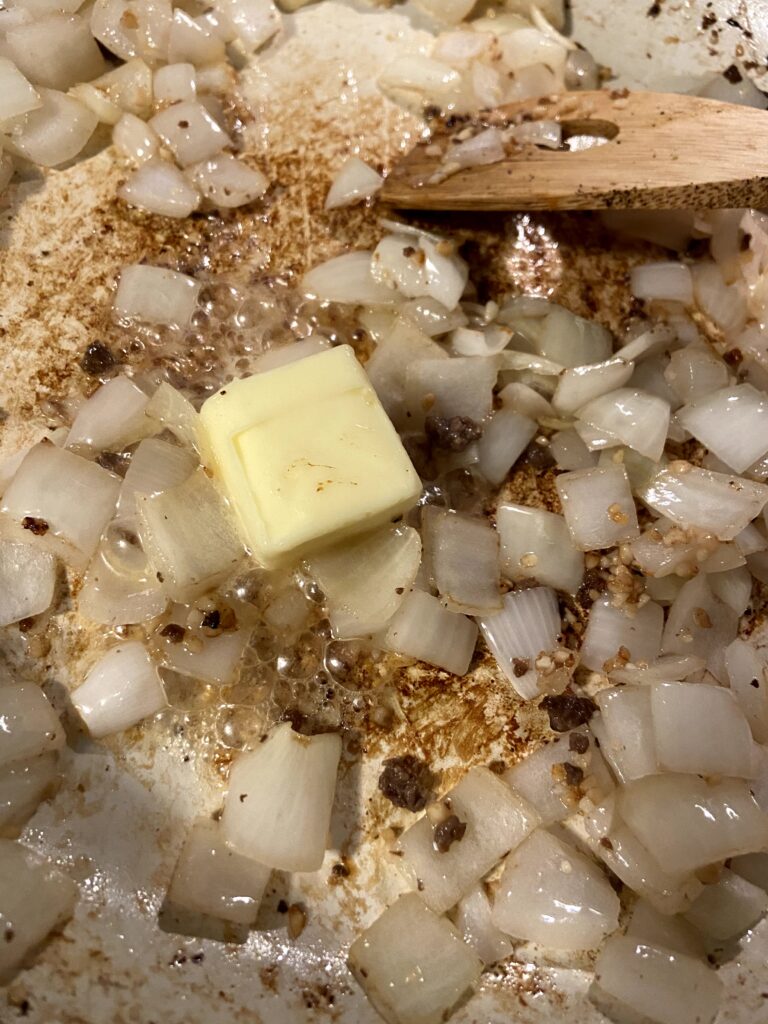
In the same large saucepan (I am all about minimizing dishes), begin to heat the onions and garlic, adding ½ tablespoon-1 tablespoon of oil if necessary. Sprinkle with ½ teaspoon pepper and 1 tablespoon dried sage. Once the onions have softened (about 5 minutes), add butter. Melt over medium heat. Once the butter is melted, stir in the flour, making a roux. VERY slowly, stir in remaining beef broth, ½ cup at a time, stirring the whole time, bringing to a boil before you add more broth. (Gluten free? You can 100% skip this and have a thinner broth).
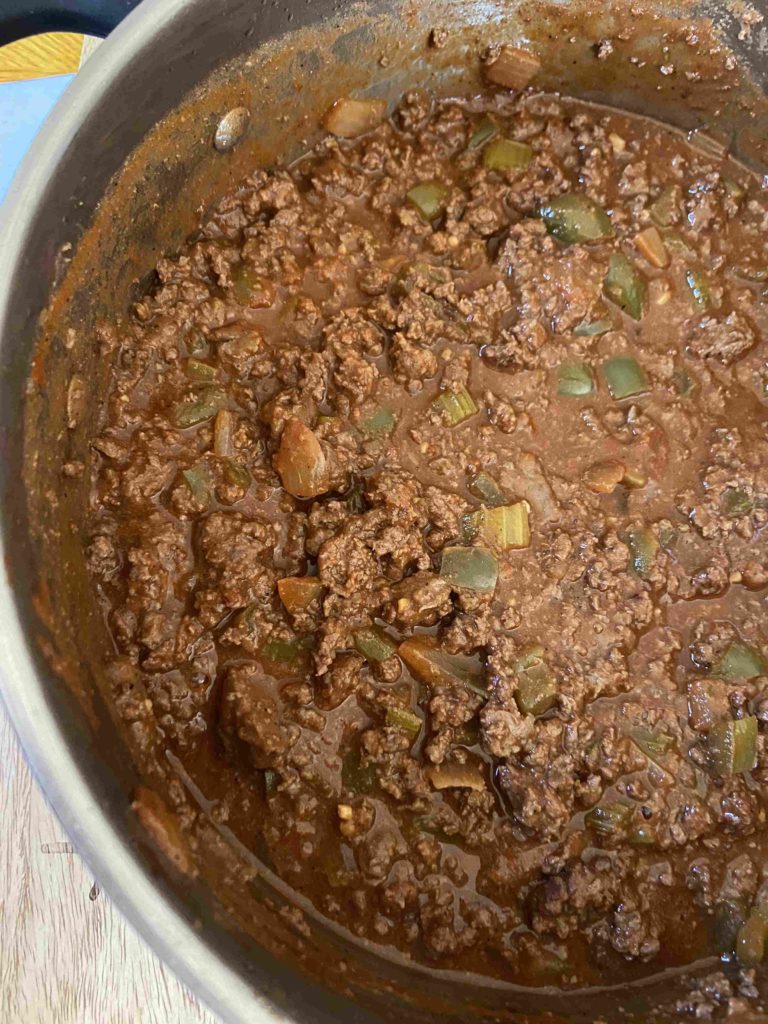
Once the broth has been fully incorporated, slowly add the onion mixture to other root vegetables. Stir in the ground protein and allow everything to come up to temperature. Give a quick taste test here, adding extra pepper or salt if needed. (I tend to get heavy with the pepper according to my kids, so I start light and almost always add a little more).
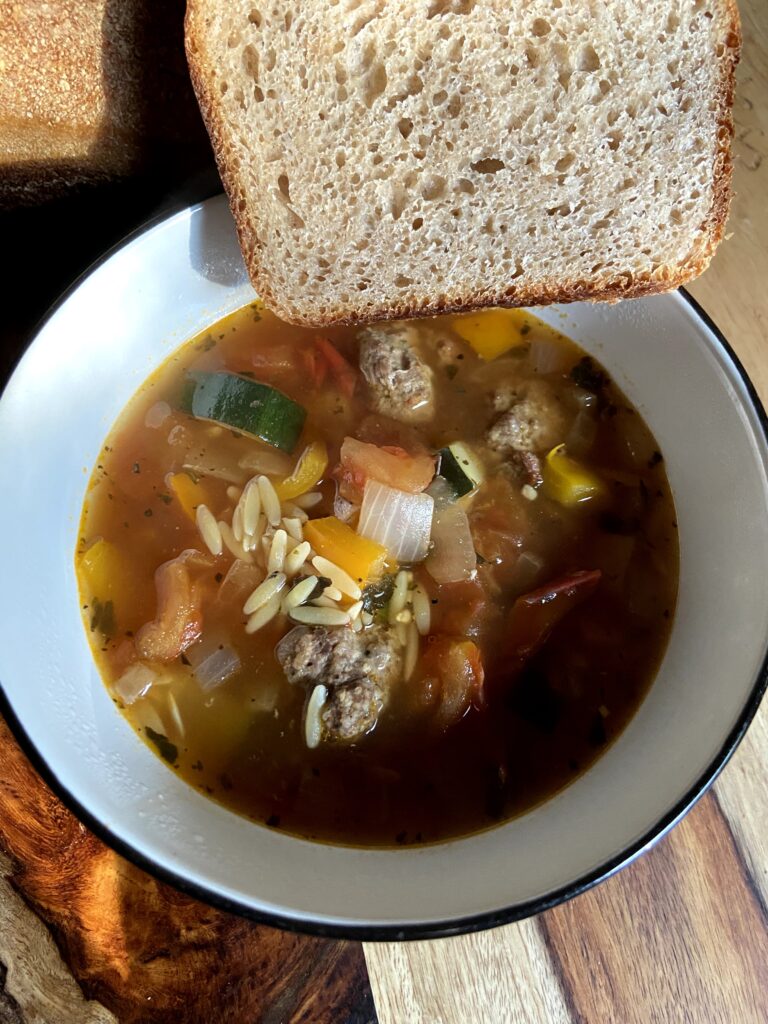
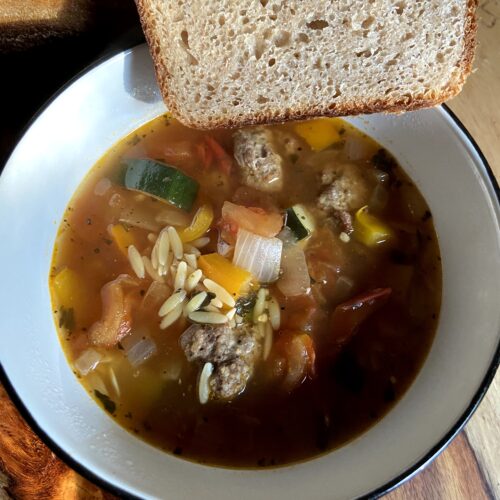
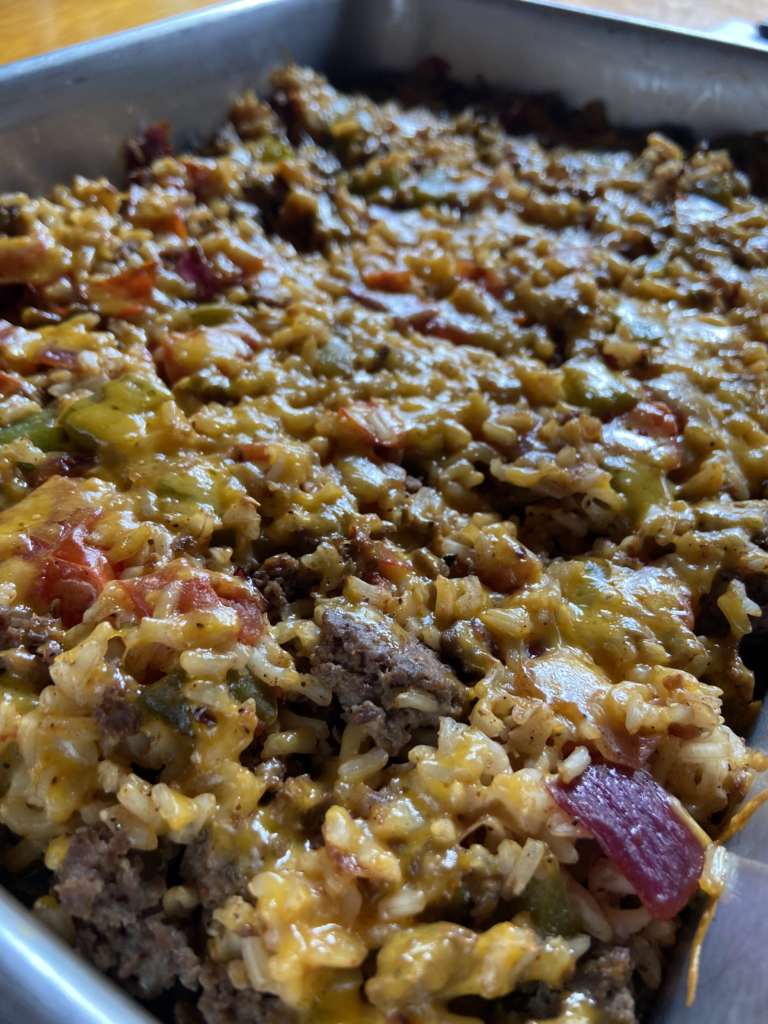
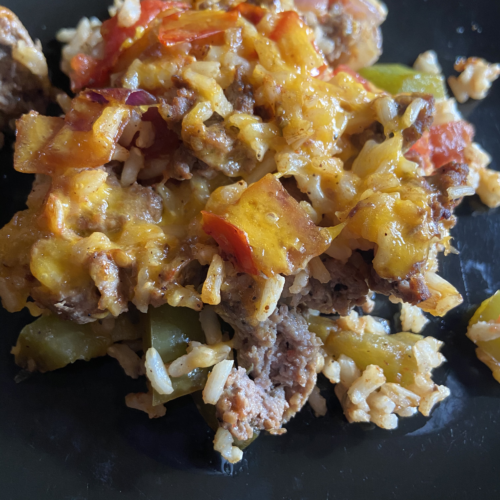
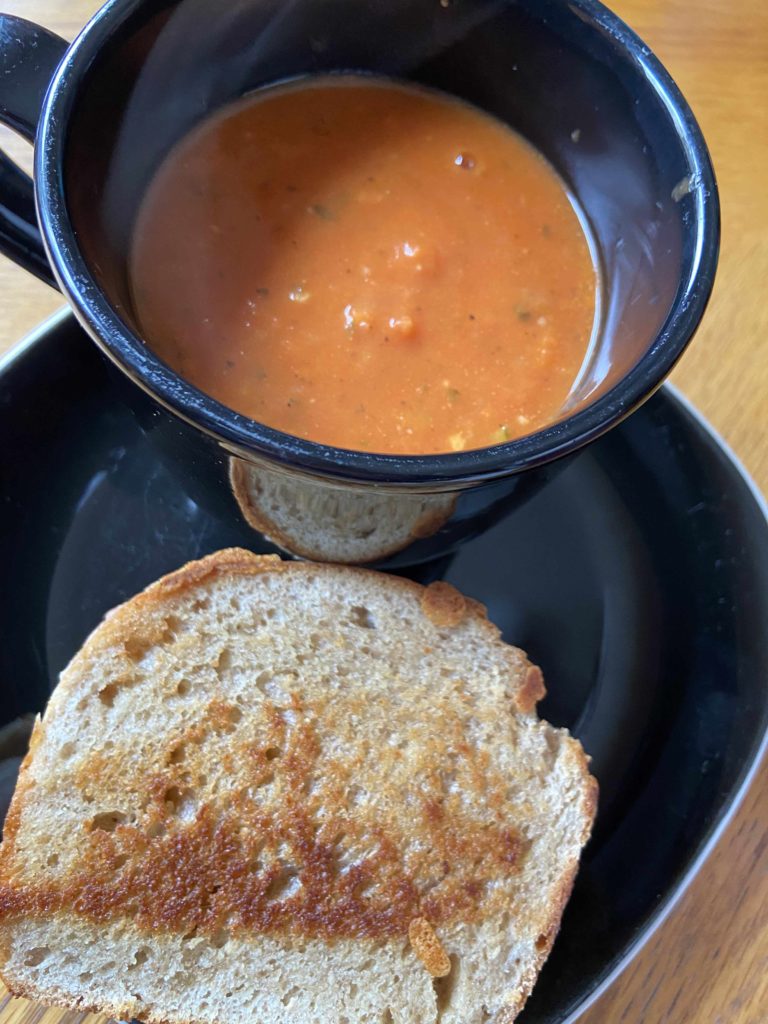
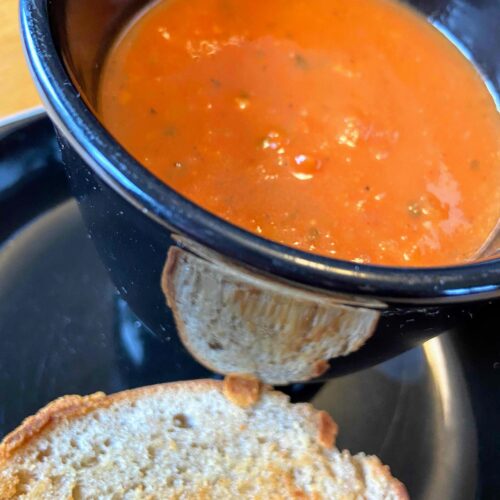
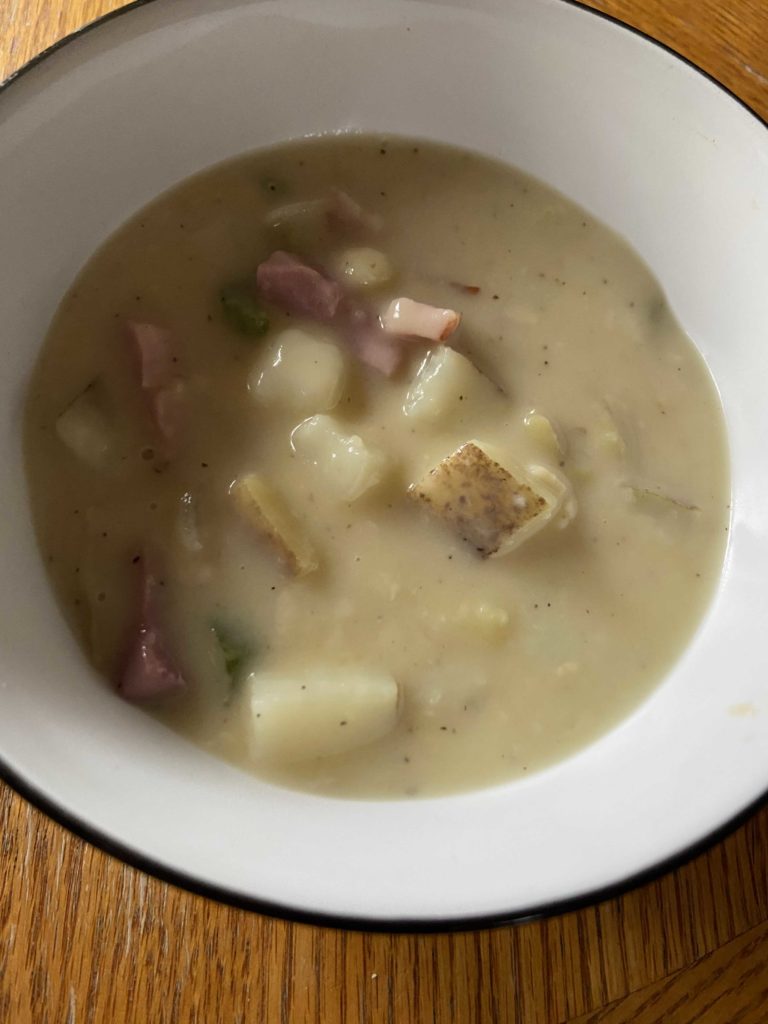
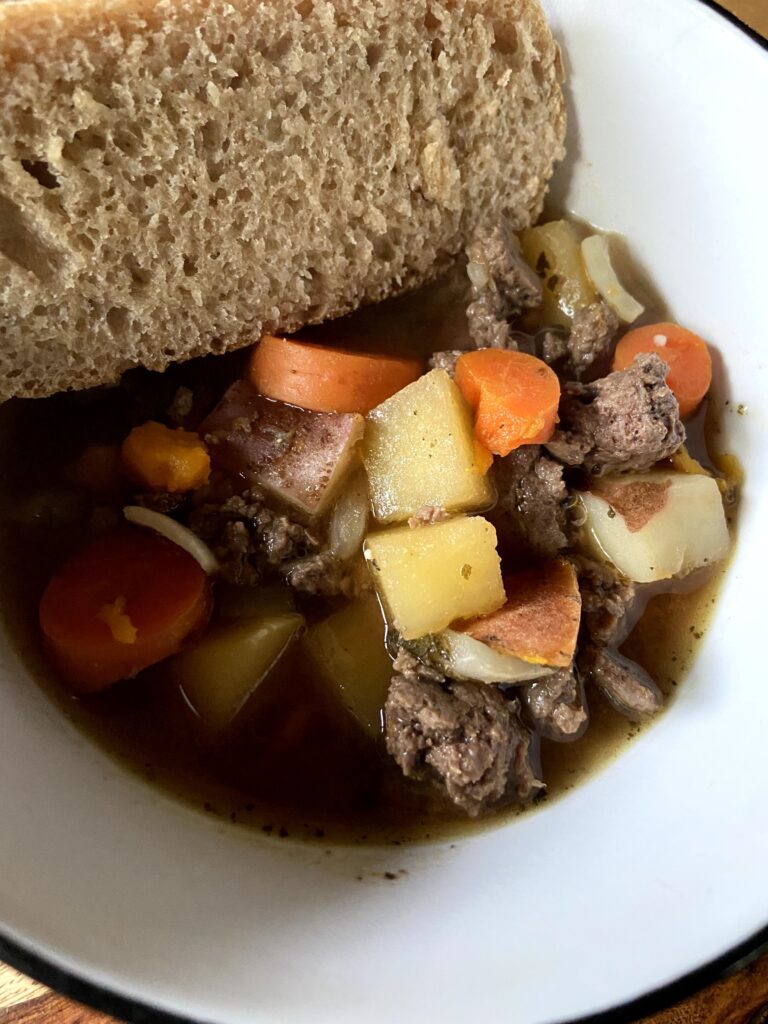
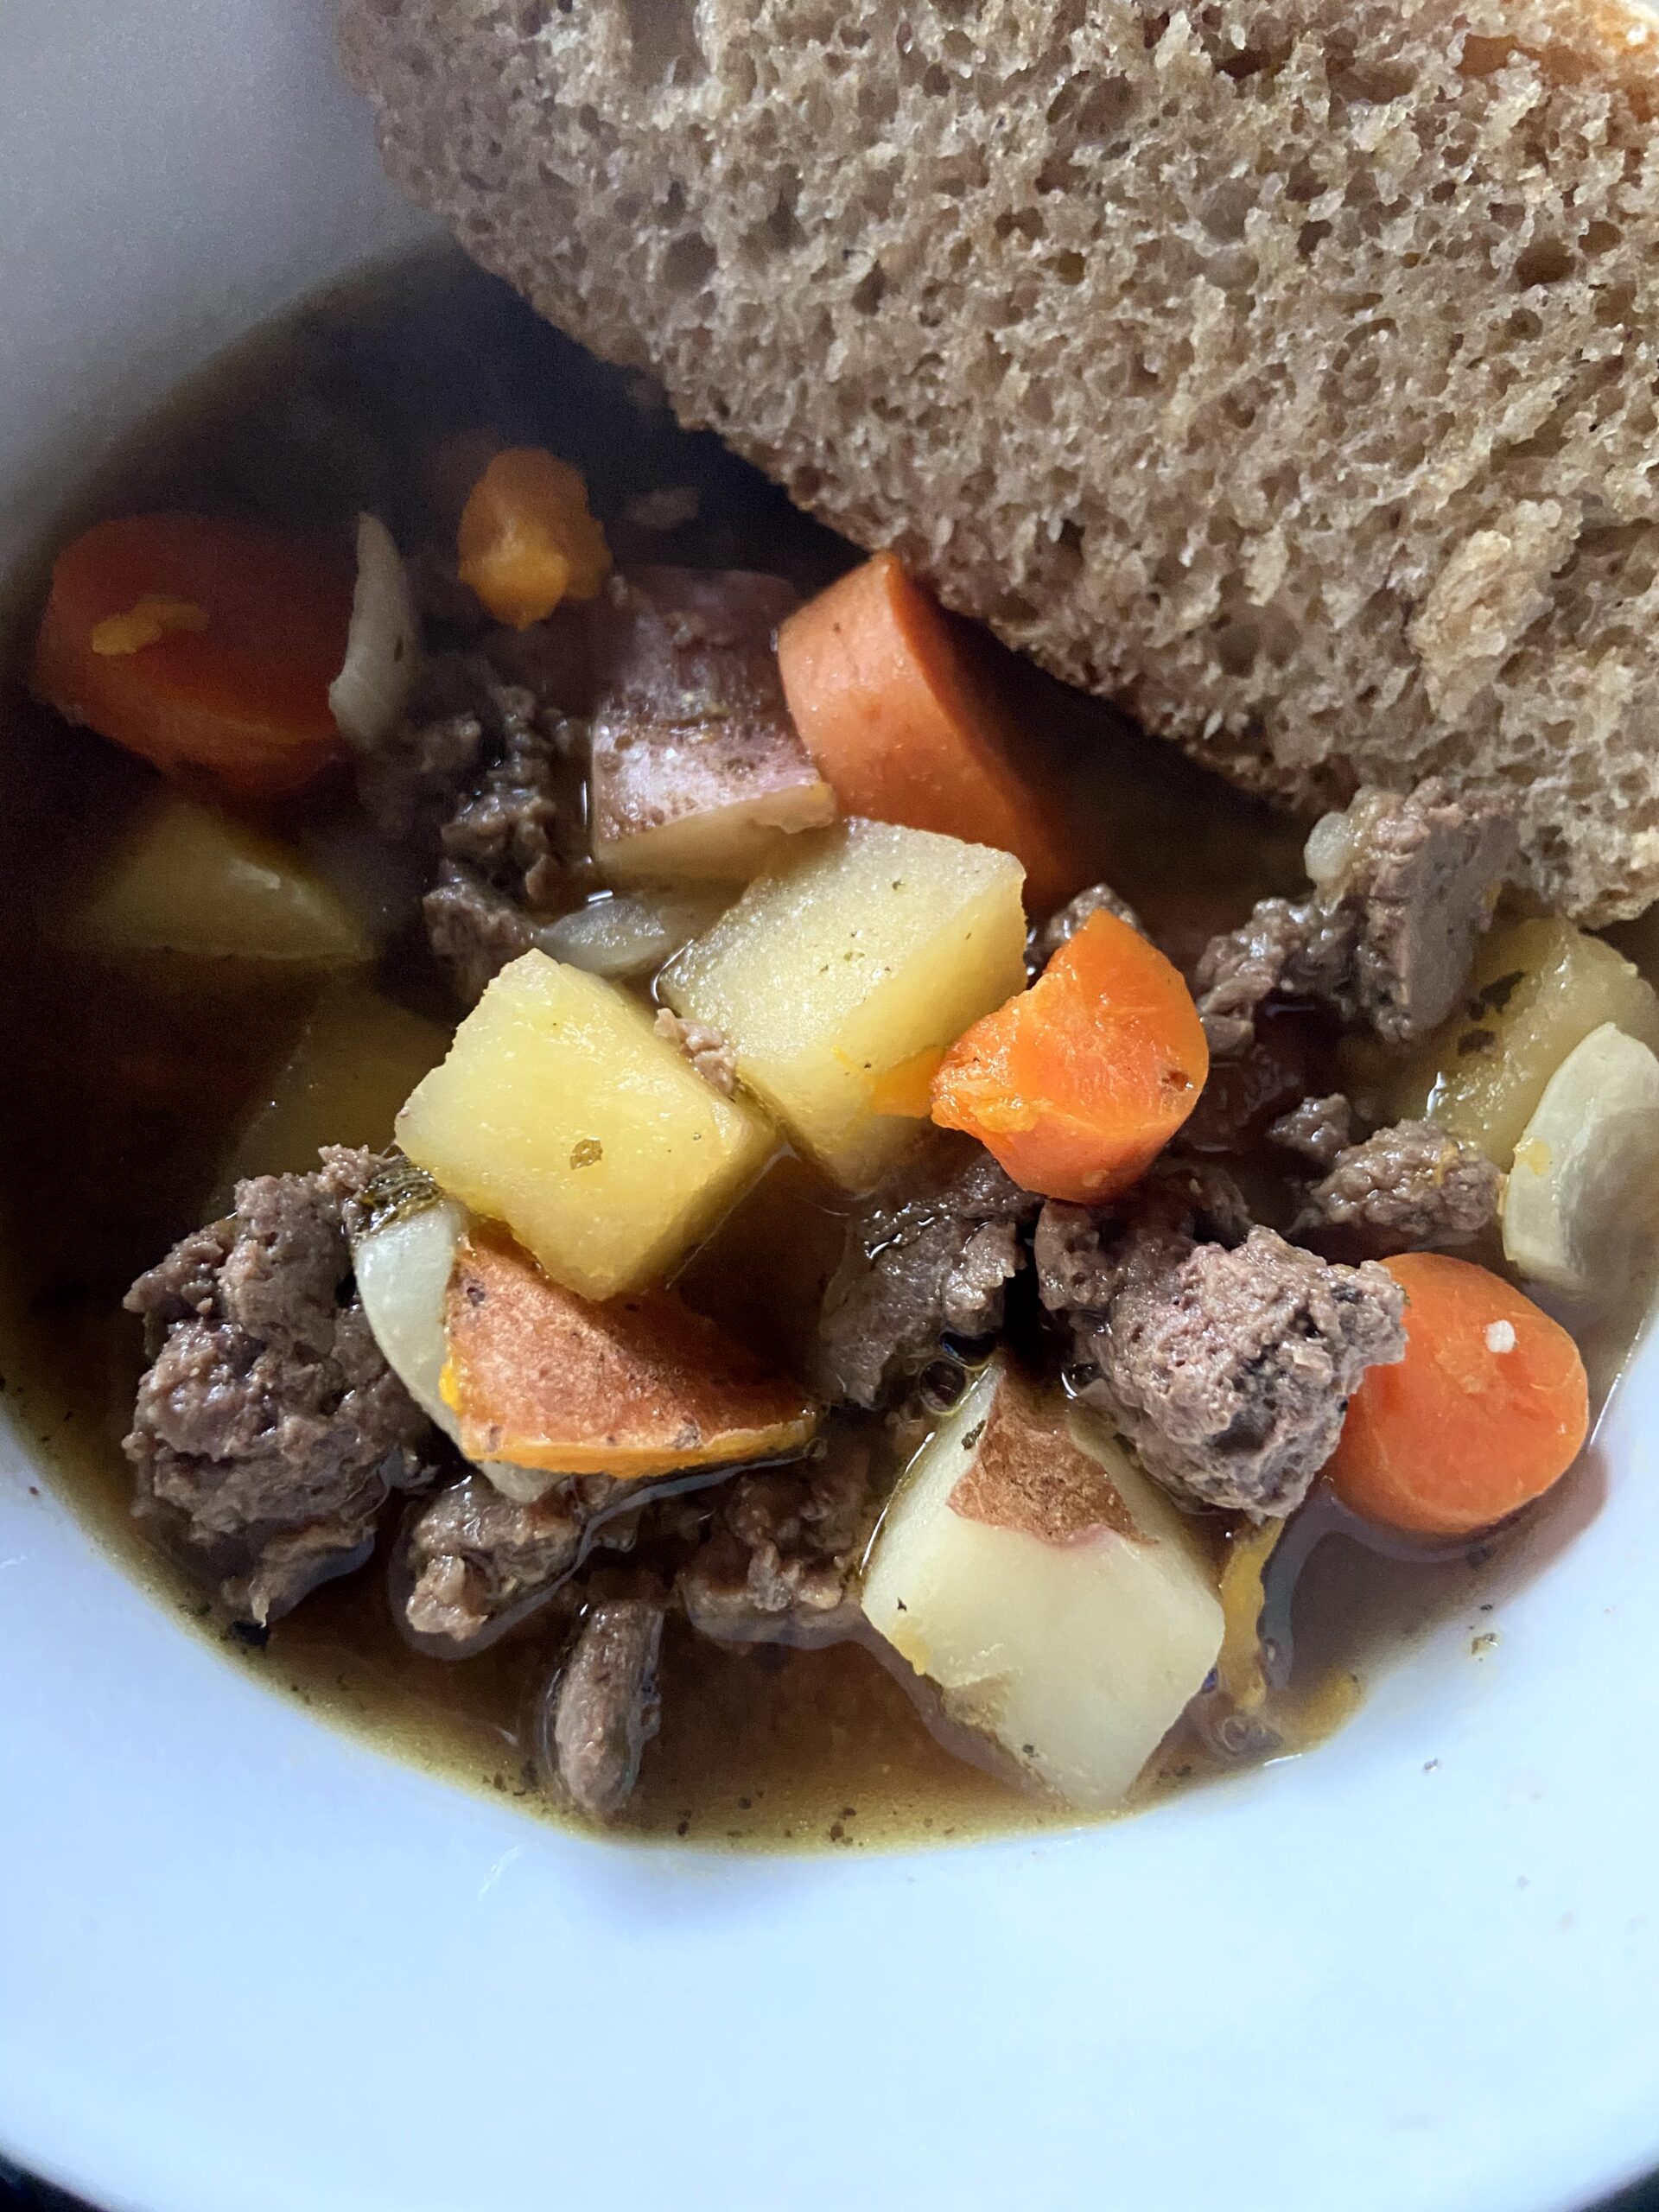
Serve the Root Vegetable Soup!
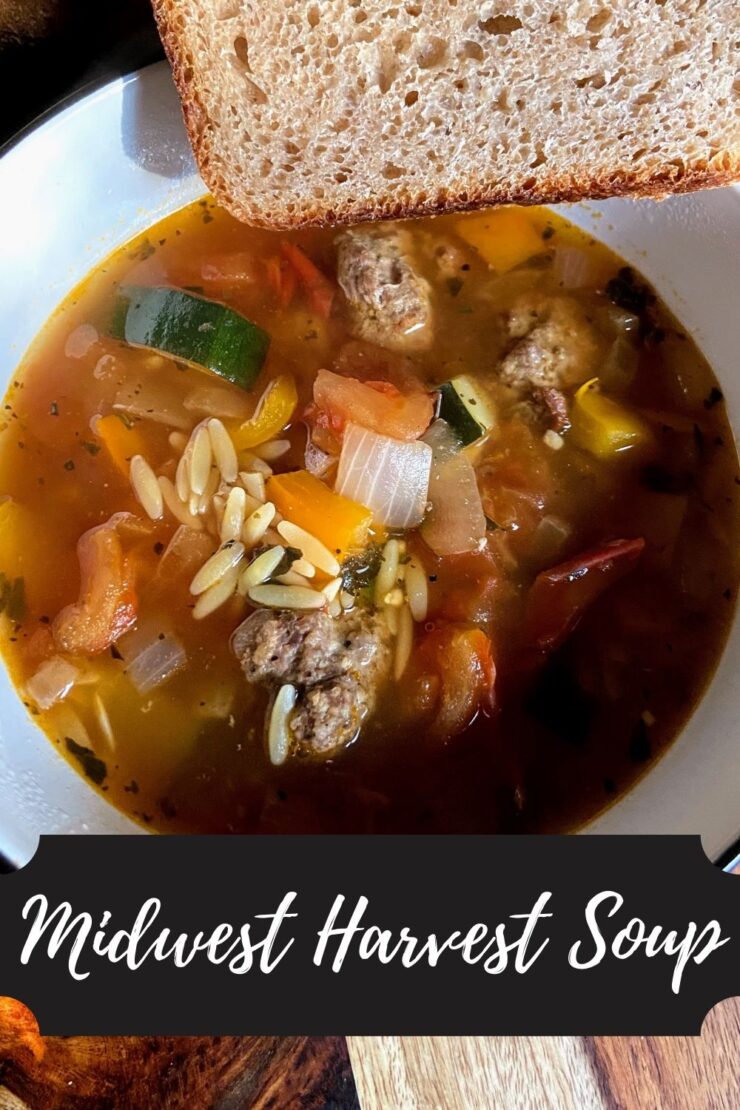
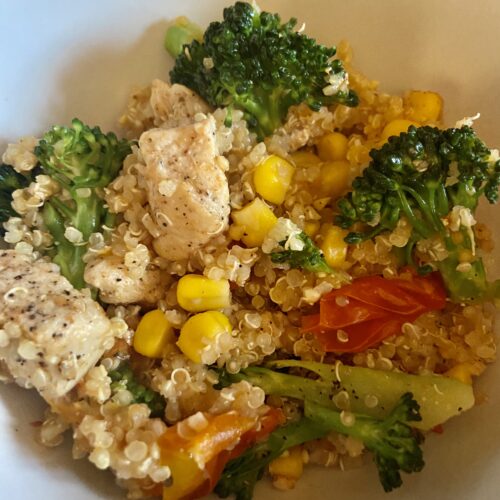
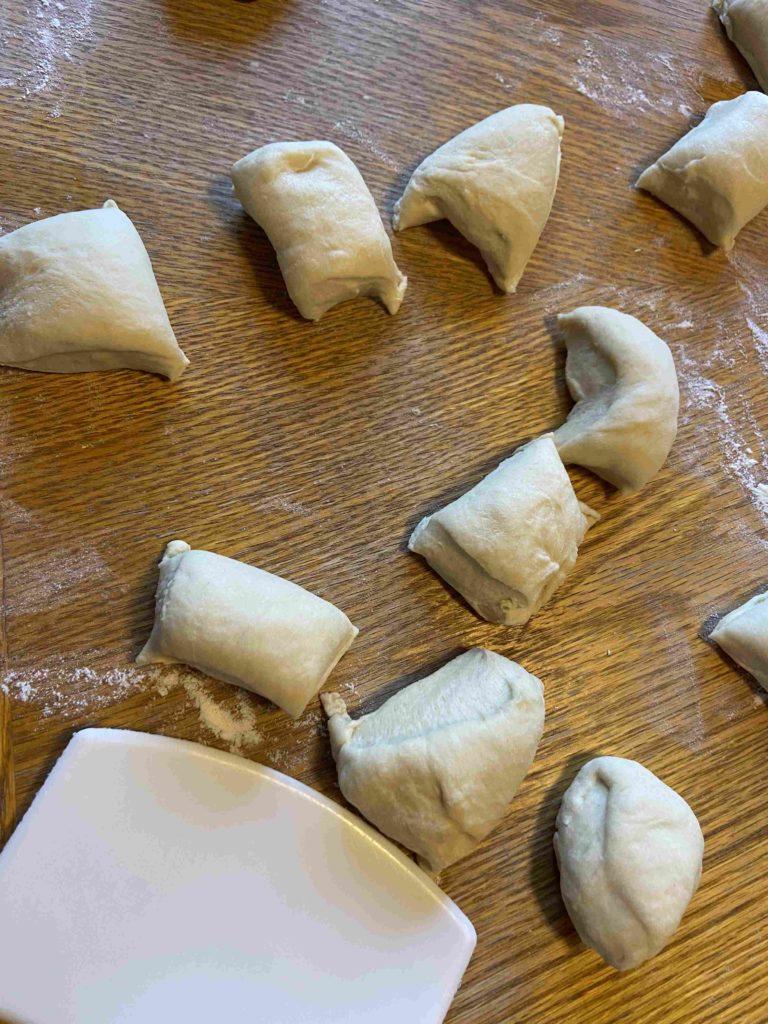
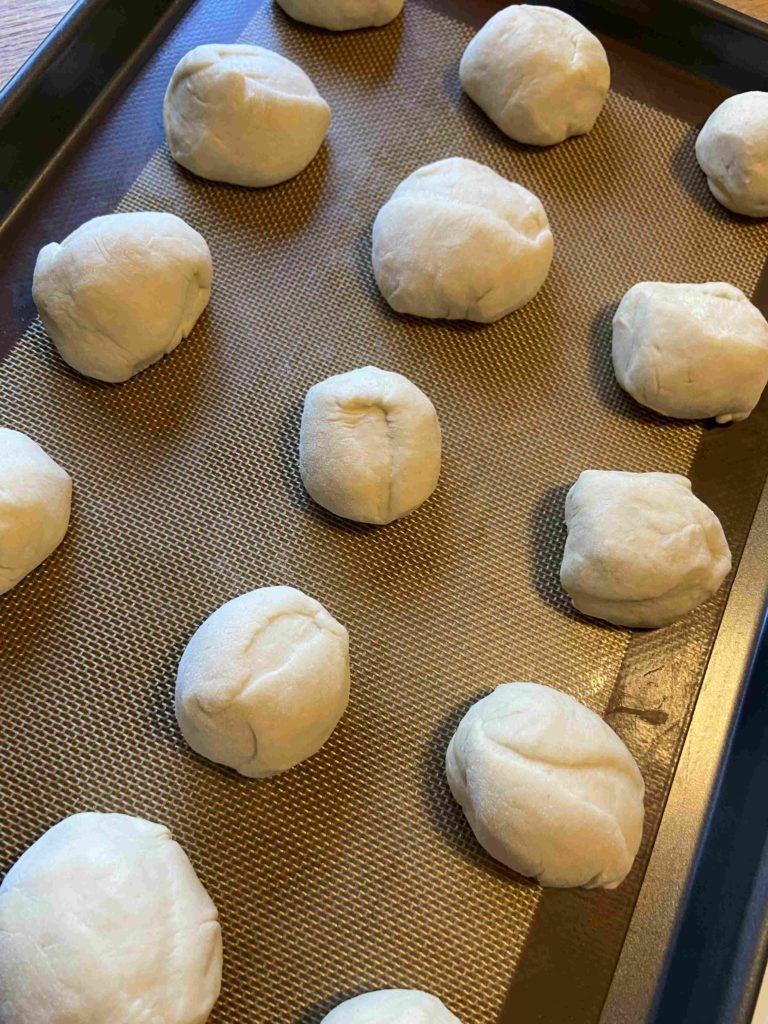
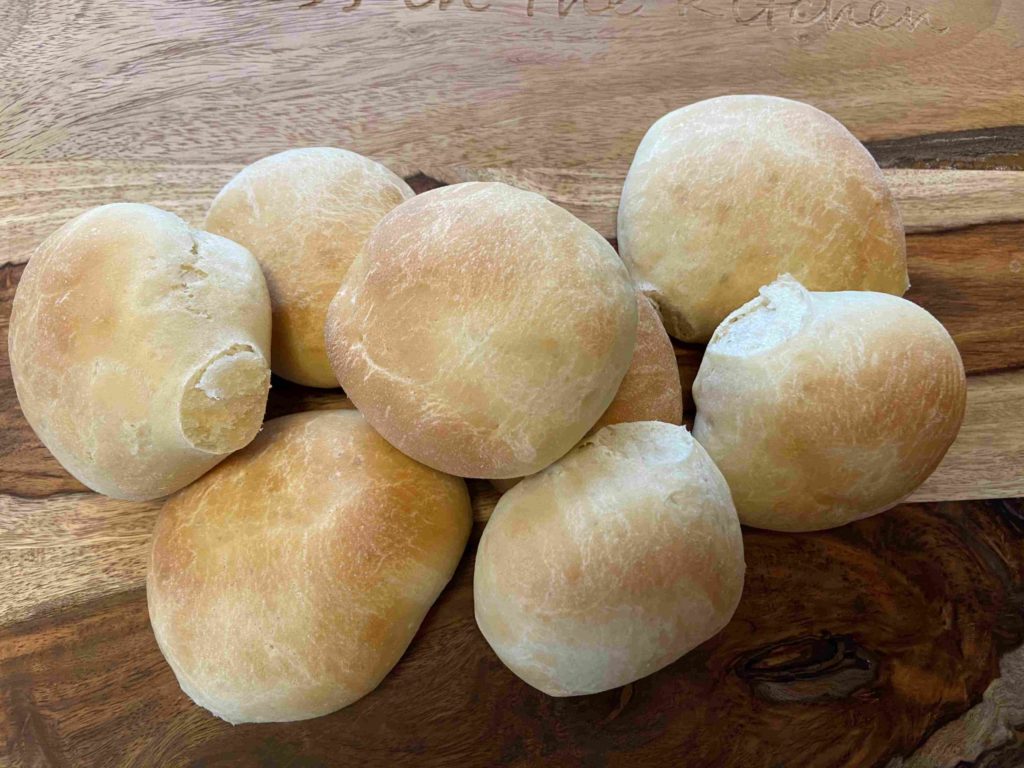
Serve right out of the kettle with a fresh slice of bread and perhaps a salad. I don’t think I am wrong when I say it doesn’t get much better than homemade soup, sourdough bread, and salad. It might just be my favorite meal of all time. Comfort food at it’s finest!
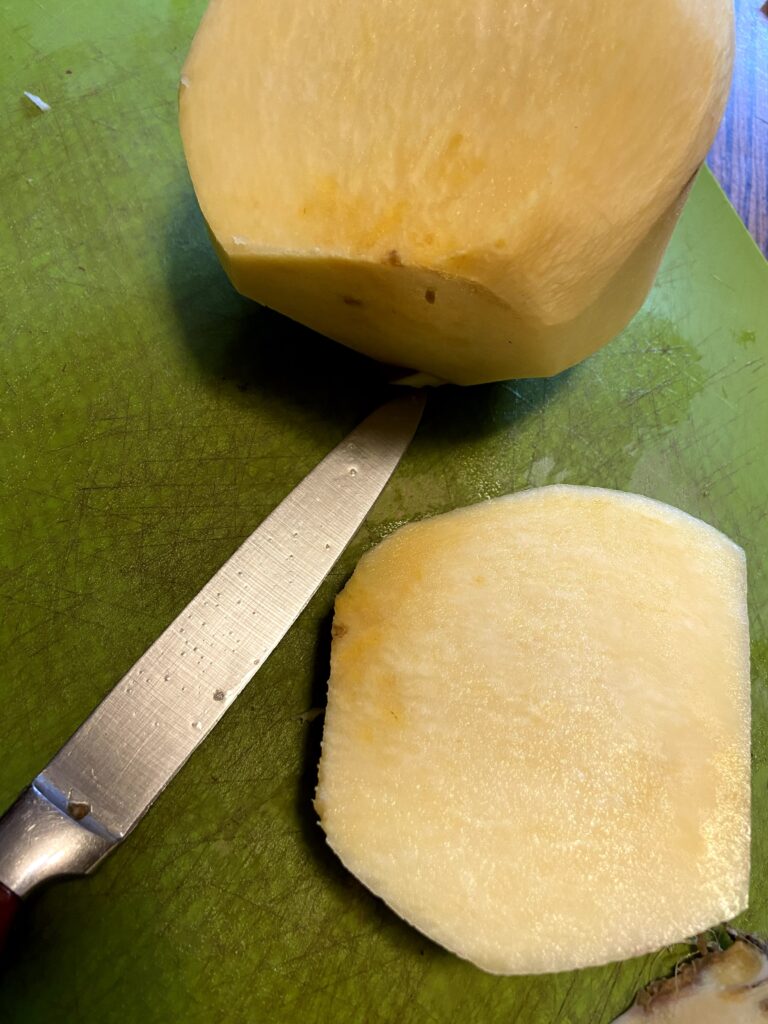
Rutabaga: An underrated vegetable 
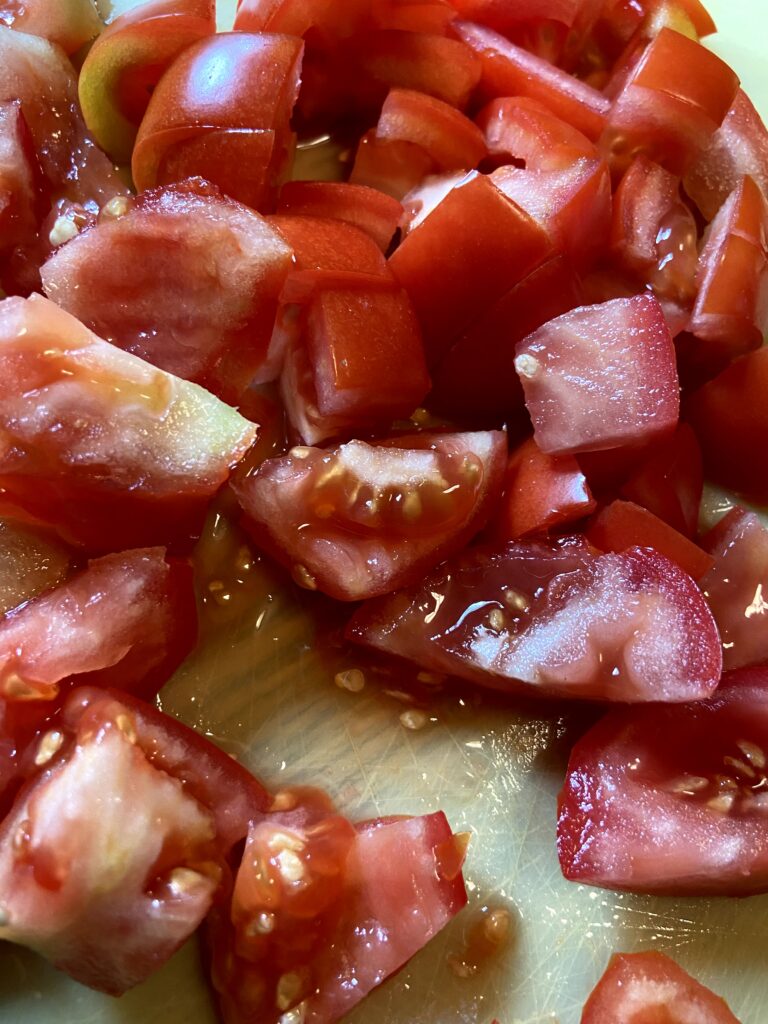
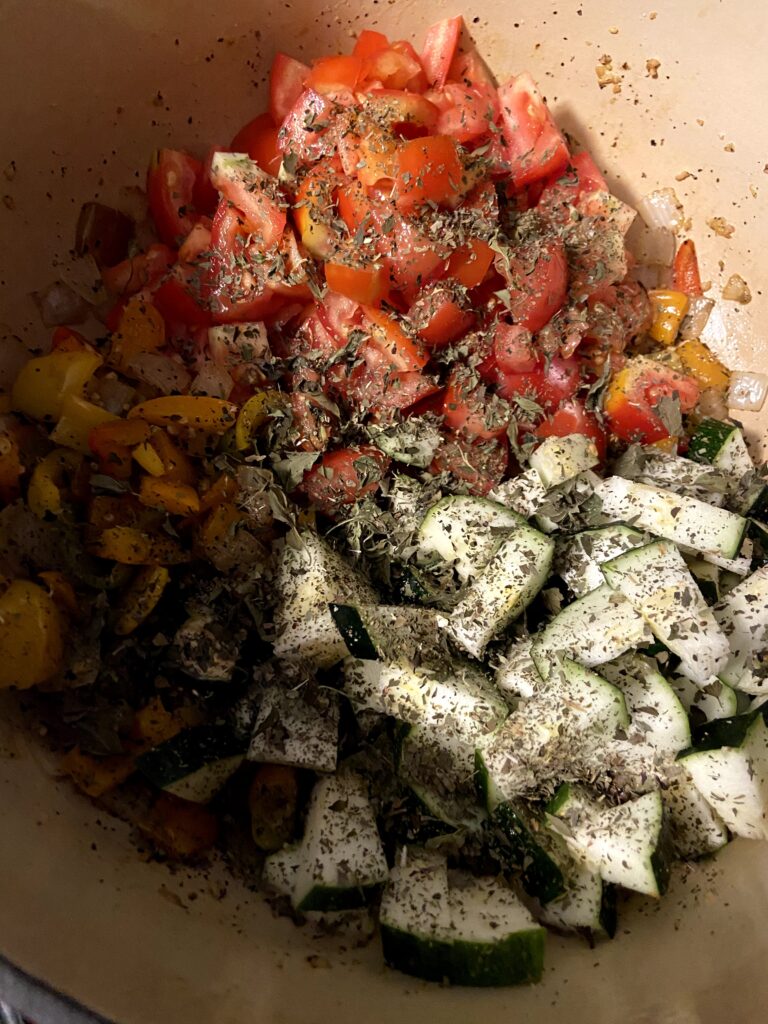
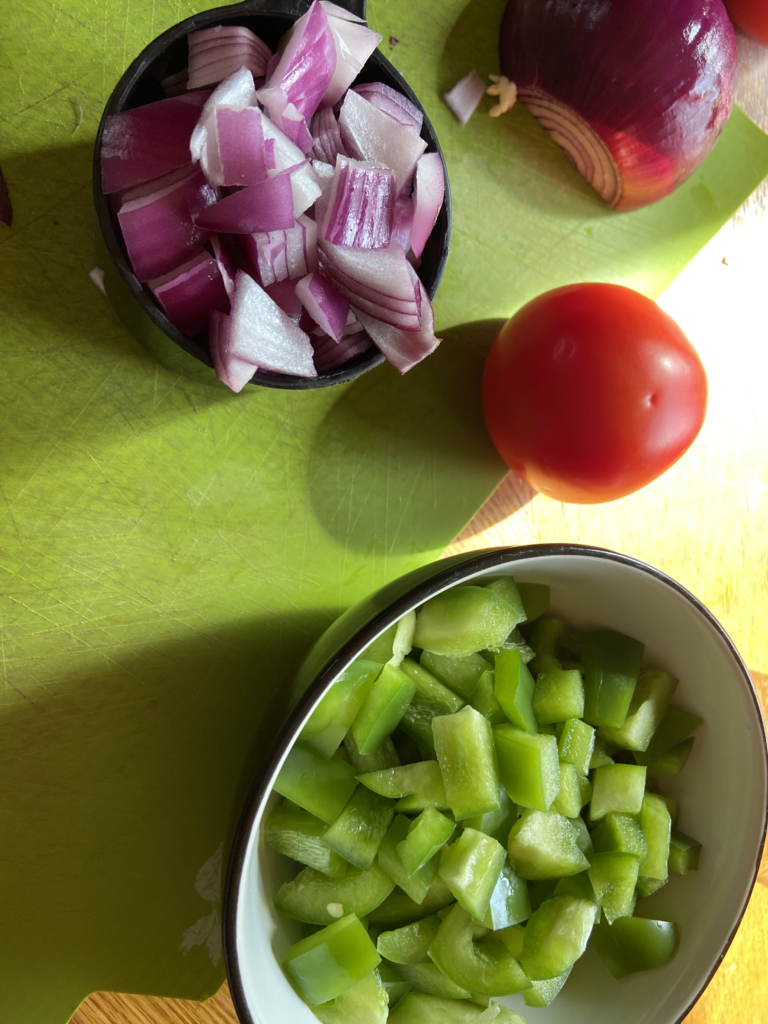
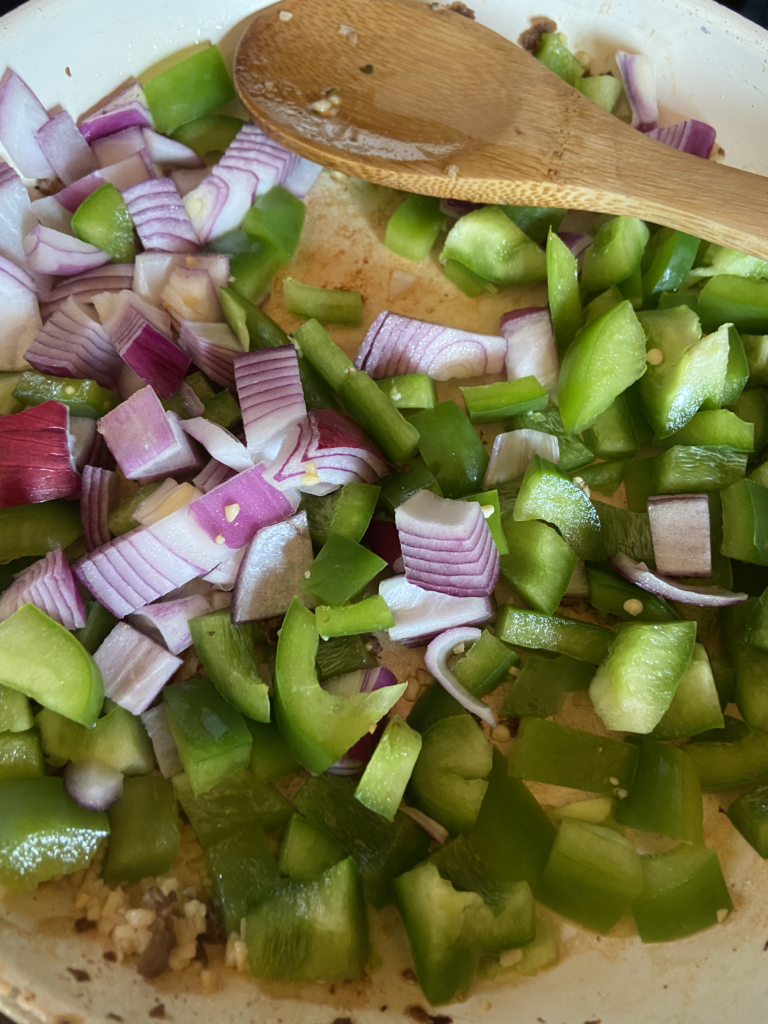
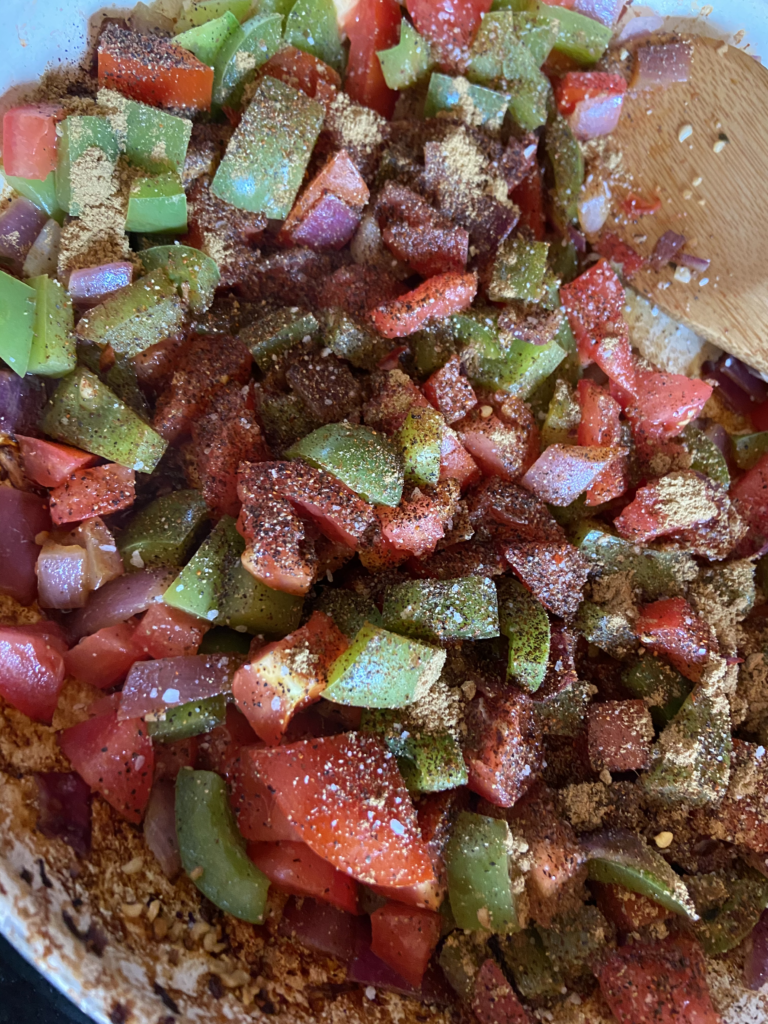
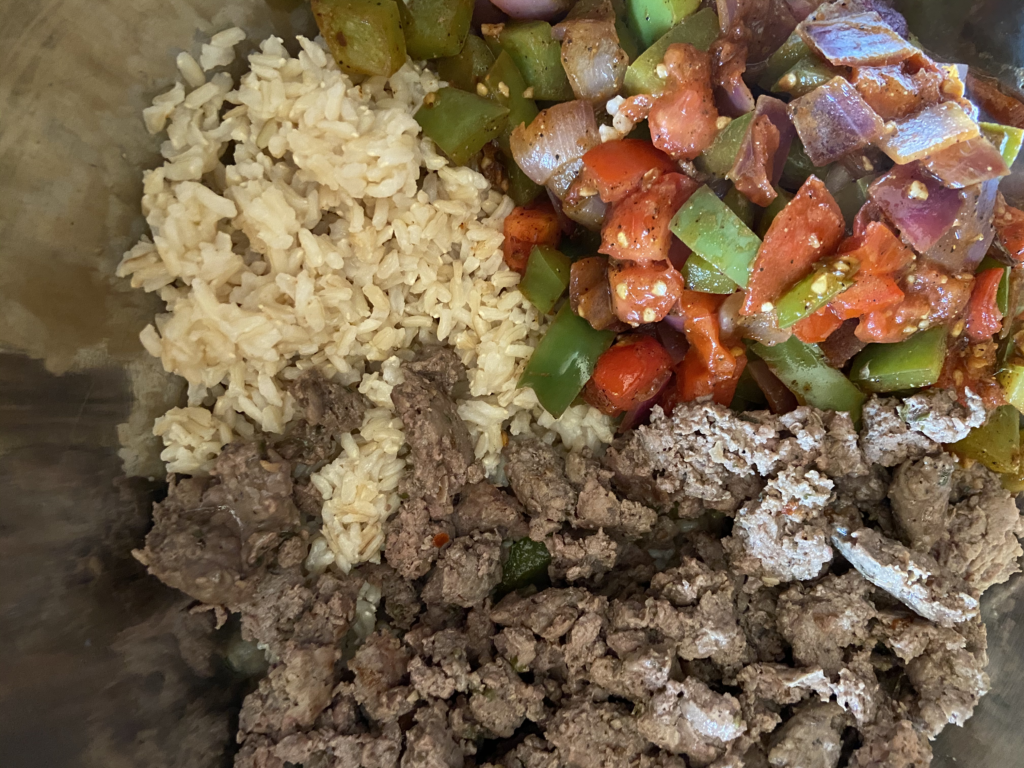
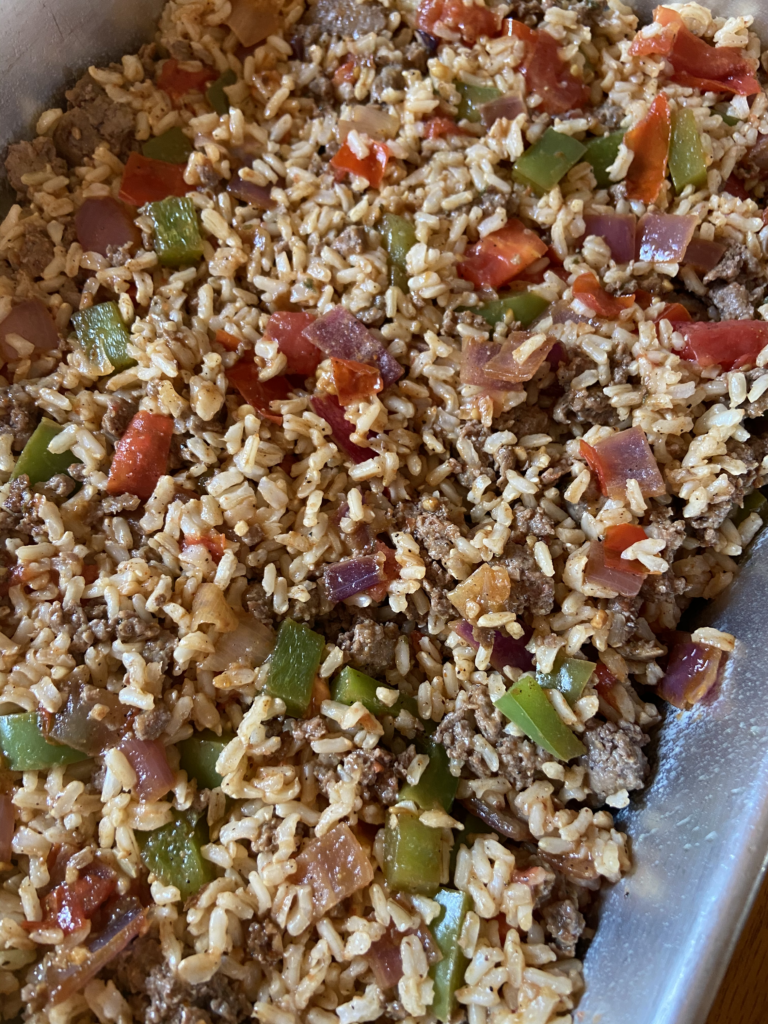
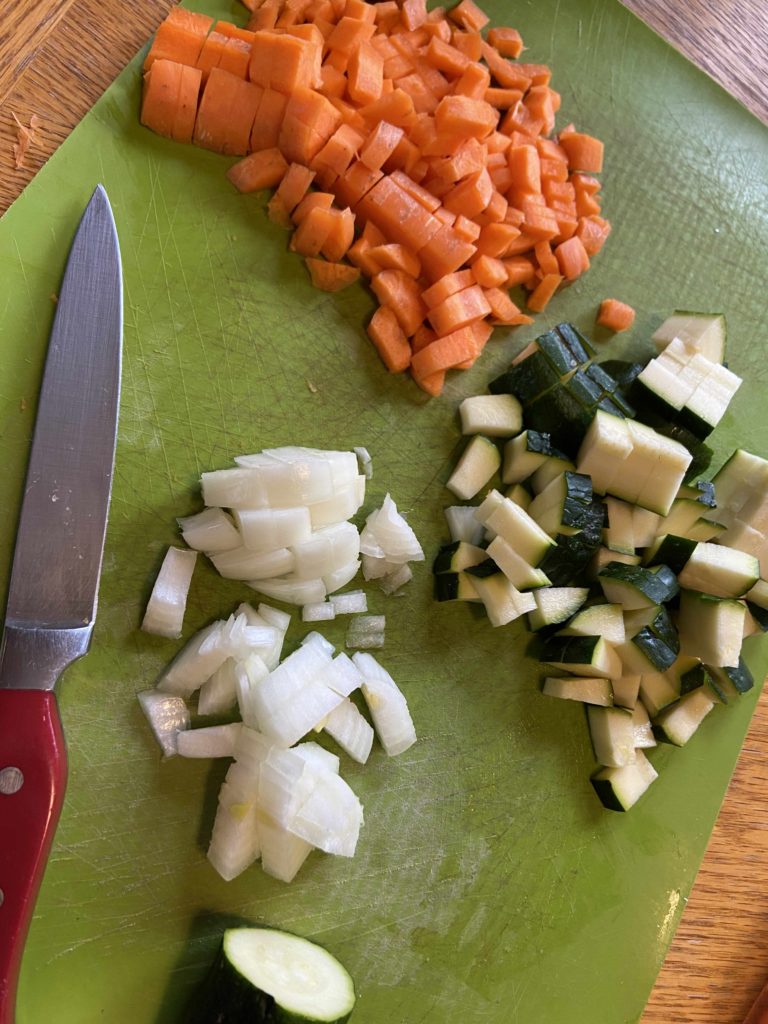
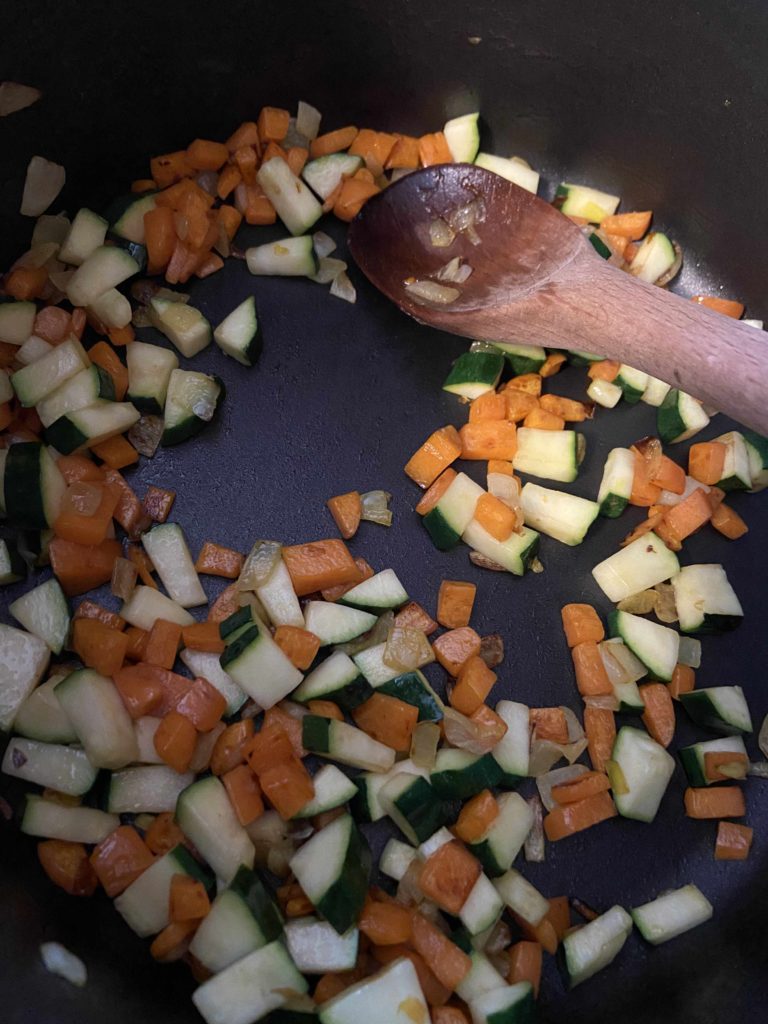
Spoonful sized diced vegetables. Ground venison, so lean! Veggies, done with their boiling bath. Get that roux going. Flour and broth, thickening just enough. A little sage. Serve it up!


Tools of the trade
There isn’t too many tools here, but I’m telling you, nothing beats a good cast iron Dutch Oven for your soups, bread baking, and everything in between. I love my red kitchen, so this is a perfect fit!
Looking for other soup? Check out my recipes on my cooking page below!
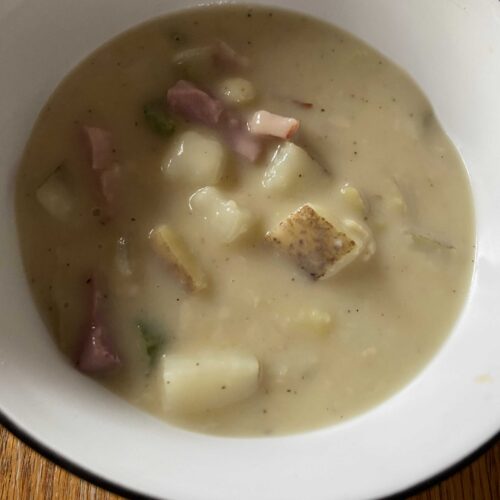
Finally Fall Root Vegetable Soup
Ingredients
- 1 ½ pounds ground protein we use venison, but any ground protein would do
- Salt and pepper to taste
- 3 cups sweet potatoes largely diced
- 3 cups rutabaga largely diced
- 3 cups red potatoes largely diced
- 3 cups carrots largely diced
- 1 ½ cups diced onion
- 1 tablespoon olive oil
- 1 tablespoon minced garlic
- ½ teaspoon pepper
- 1 tablespoon dried sage
- 2 tablespoons butter
- 2 tablespoons flour
- 7 cups beef broth divided
Instructions
- In a large Dutch oven, combine diced potatoes, rutabaga, carrots and 5 cups of beef broth.
- Bring to a boil and simmer for 15-20 minutes, until vegetables are tender.
- Meanwhile, in a large saucepan, brown ground protein, seasoning with salt and pepper to taste. Set aside.
- In the same large saucepan begin to heat the onions and garlic, adding ½ tablespoon-1 tablespoon of oil if necessary. Sprinkle with ½ teaspoon pepper and 1 tablespoon dried sage.
- Once the onions have softened (about 5 minutes), add butter.
- Melt over medium heat. Once the butter is melted, stir in the flour, making a roux.
- Slowly add in remaining beef broth, ½ cup at a time, stirring the whole time, bringing to a boil before you add more broth.
- Once the broth has been fully incorporated, slowly add the onion mixture to other root vegetables.
- Stir in the ground protein and allow everything to come up to temperature. Add additional salt or pepper as needed.