Skillet Cornbread

It’s soup season. And chili season. Really, it’s my favorite. I could chop, saute, and simmer soup or chili every weekend. The Mr. has a love of chili as well, especially during hunting season. And if I am cooking up a batch of chili, I can’t help but crave skillet cornbread. 

A number of years ago, I was making a kettle of chili and was longing for that perfect cornbread. I grew up with my dad making Jiffy cornbread often. He still does, and his love for corn muffins makes me smile. He often travels with a box as a “fun gift” for his grandkids. But alas, we didn’t have any gifted boxes this time. I did some Googling, played with a recipe or two, and developed this beauty. 

Don’t have a cast iron skillet? I am sure you could cook this skillet cornbread in a regular pan, but the skillet brings out this beautiful golden color that’s to die for. We adore our skillet and use it for baking, searing vegetables, and cooking protein. I love that it can go from the stove top to the oven and holds heat so well. Ours simply stays on the stove at all times; that’s how often it gets used! 

Enough on my love of cookware. Let’s get baking! 

Your Ingredients 

  • 1 ⅓ cups yellow cornmeal
  • 1 ⅓ cups flour
  • 3 tablespoons sugar 
  • 2 teaspoons baking powder
  • ⅛ teaspoon baking soda
  • 2 teaspoons kosher salt 
  • 5-6 tablespoons butter
  • 2 large eggs
  • 3 tablespoons honey 
  • ¾ cup milk or almond milk 
  • ¾ cup plain Greek yogurt (or Oikos Triple Zero Vanilla Yogurt with zero added sugar) 

Your Steps to Skillet Cornbread 

Preheat the oven to 400 degrees. Begin to heat the cast iron skillet over medium heat. Add butter. Heat until browned and beginning to smell nutty, about 7 minutes. Stir often. Remove from heat once browned. 

Meanwhile whisk together cornmeal, flour, sugar, baking powder, baking soda, and salt in a small bowl. Set aside. 

Whisk eggs, honey, almond milk, and Greek yogurt in a large bowl. Slowly stir in cooled butter, leaving some on the sides of the pan to grease it. Feel free to add an additional tab of butter to pan, melting it, to make sure the batter will not stick. I don’t think you need it, but you do you.

Slowly stir the flour mixture into the wet ingredients, mixing until just combined. Pour this mixture into the prepared cast iron skillet. Bake at 400 degrees for 20-25 minutes, until it springs back when touched. Serve with additional butter and honey. 

Tools of the Trade

Just one. I promise, a cast iron skillet is so versatile. Great for baking, searing, and more!

Skillet Cornbread

Perfectly baked, this cast iron skillet cornbread sweetened with honey is a great side dish full of comforting flavor!
Prep Time 10 minutes
Cook Time 20 minutes
Course Side Dish
Cuisine American
Servings 10

Ingredients
  

  • 1 ⅓ cups yellow cornmeal
  • 1 ⅓ cups flour
  • 3 tablespoons sugar
  • 2 teaspoons baking powder
  • teaspoon baking soda
  • 2 teaspoons kosher salt
  • 5-6 tablespoons butter
  • 2 large eggs
  • 3 tablespoons honey
  • ¾ cup milk or almond milk
  • ¾ cup plain Greek yogurt

Instructions
 

  • Preheat the oven to 400 degrees. Begin to heat the cast iron skillet over medium heat. Add butter. Heat until browned and beginning to smell nutty, about 7 minutes. Stir often. Remove from heat once browned.
  • Meanwhile whisk together cornmeal, flour, sugar, baking powder, baking soda, and salt in a small bowl. Set aside.
  • Whisk eggs, honey, almond milk, and Greek yogurt in a large bowl. Slowly stir in cooled butter, leaving some on the sides of the pan to grease it. Feel free to add an additional tab of butter to make sure the pan will not stick.
  • Slowly stir the flour mixture into the wet ingredients, mixing until just combined. Pour this mixture into the prepared cast iron skillet. Bake at 400 degrees for 20-25 minutes, until it springs back when touched. Serve with additional butter and honey.
Keyword baking, cast iron, cornbread
Tried this recipe?Let us know how it was!

Looking for some other recipes?

Might I recommend cooking up a batch of Wisconsin’s Cold Weather Chili to go with your cornbread? Get that recipe and more below!

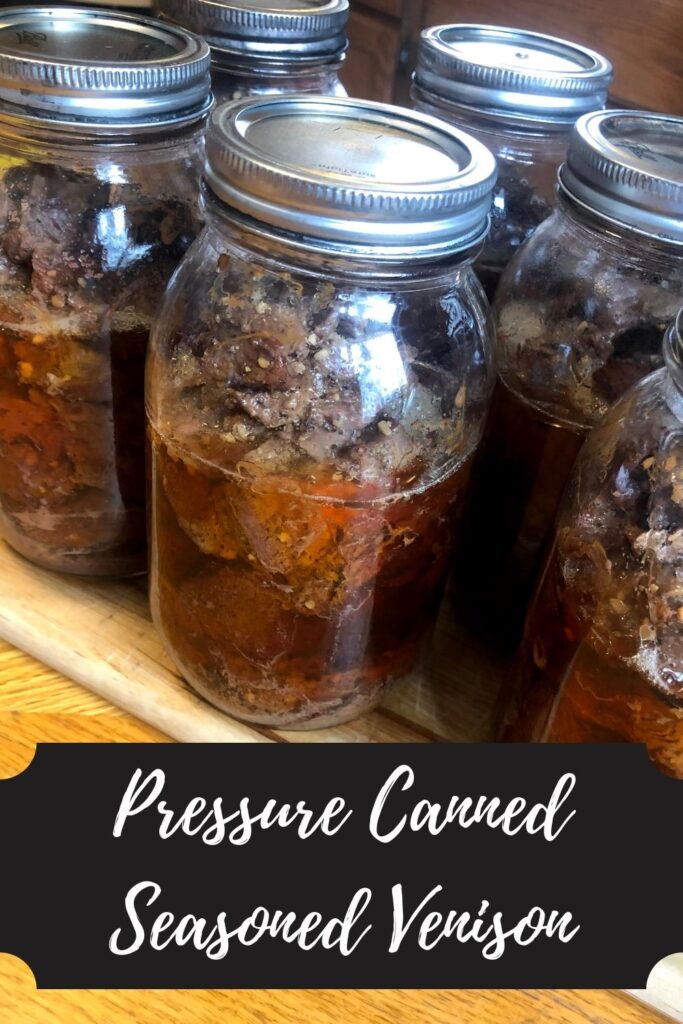
Pressure Canned Venison Stew

I can not begin to explain how excited I am to share this recipe. It’s two years in the making, and I am almost shaking in anticipation and am simply giddy. I was ready to share it last year; then the Mr. was skunked in the deer hunting category and we never put any pressure canned venison stew on our shelves. Tear. 

This year, he was determined to fill our freezer and got out early and often for the bow season. The hard work paid off and he came home with a seven pointer near the end of September. We fully process our deer at home. Even though I am not a hunter myself, I grew up grinding, weighing, and wrapping venison for the freezer. My husband has been a hunter from the moment he could be. In fact, the very first meal he cooked for me in the college dorms was a pheasant he shot the weekend before (his parents knew there must be a girl in the picture when he called to get the recipe!). 

But I digress and now I have to backtrack. About 8 years ago, we purchased a pressure canner to safely pressure can the excess of green beans I was growing. Once I had a pressure canner, it was only a matter of time before I canned meat. I was in a canning group on facebook that inspired me to give it a try. The act of canning meat didn’t scare me. Maybe it’s the fact that I never heard any of those “pressure canner horror stories.” I just dove right in, read canning manuals, and made it happen. 

Opening the Jar

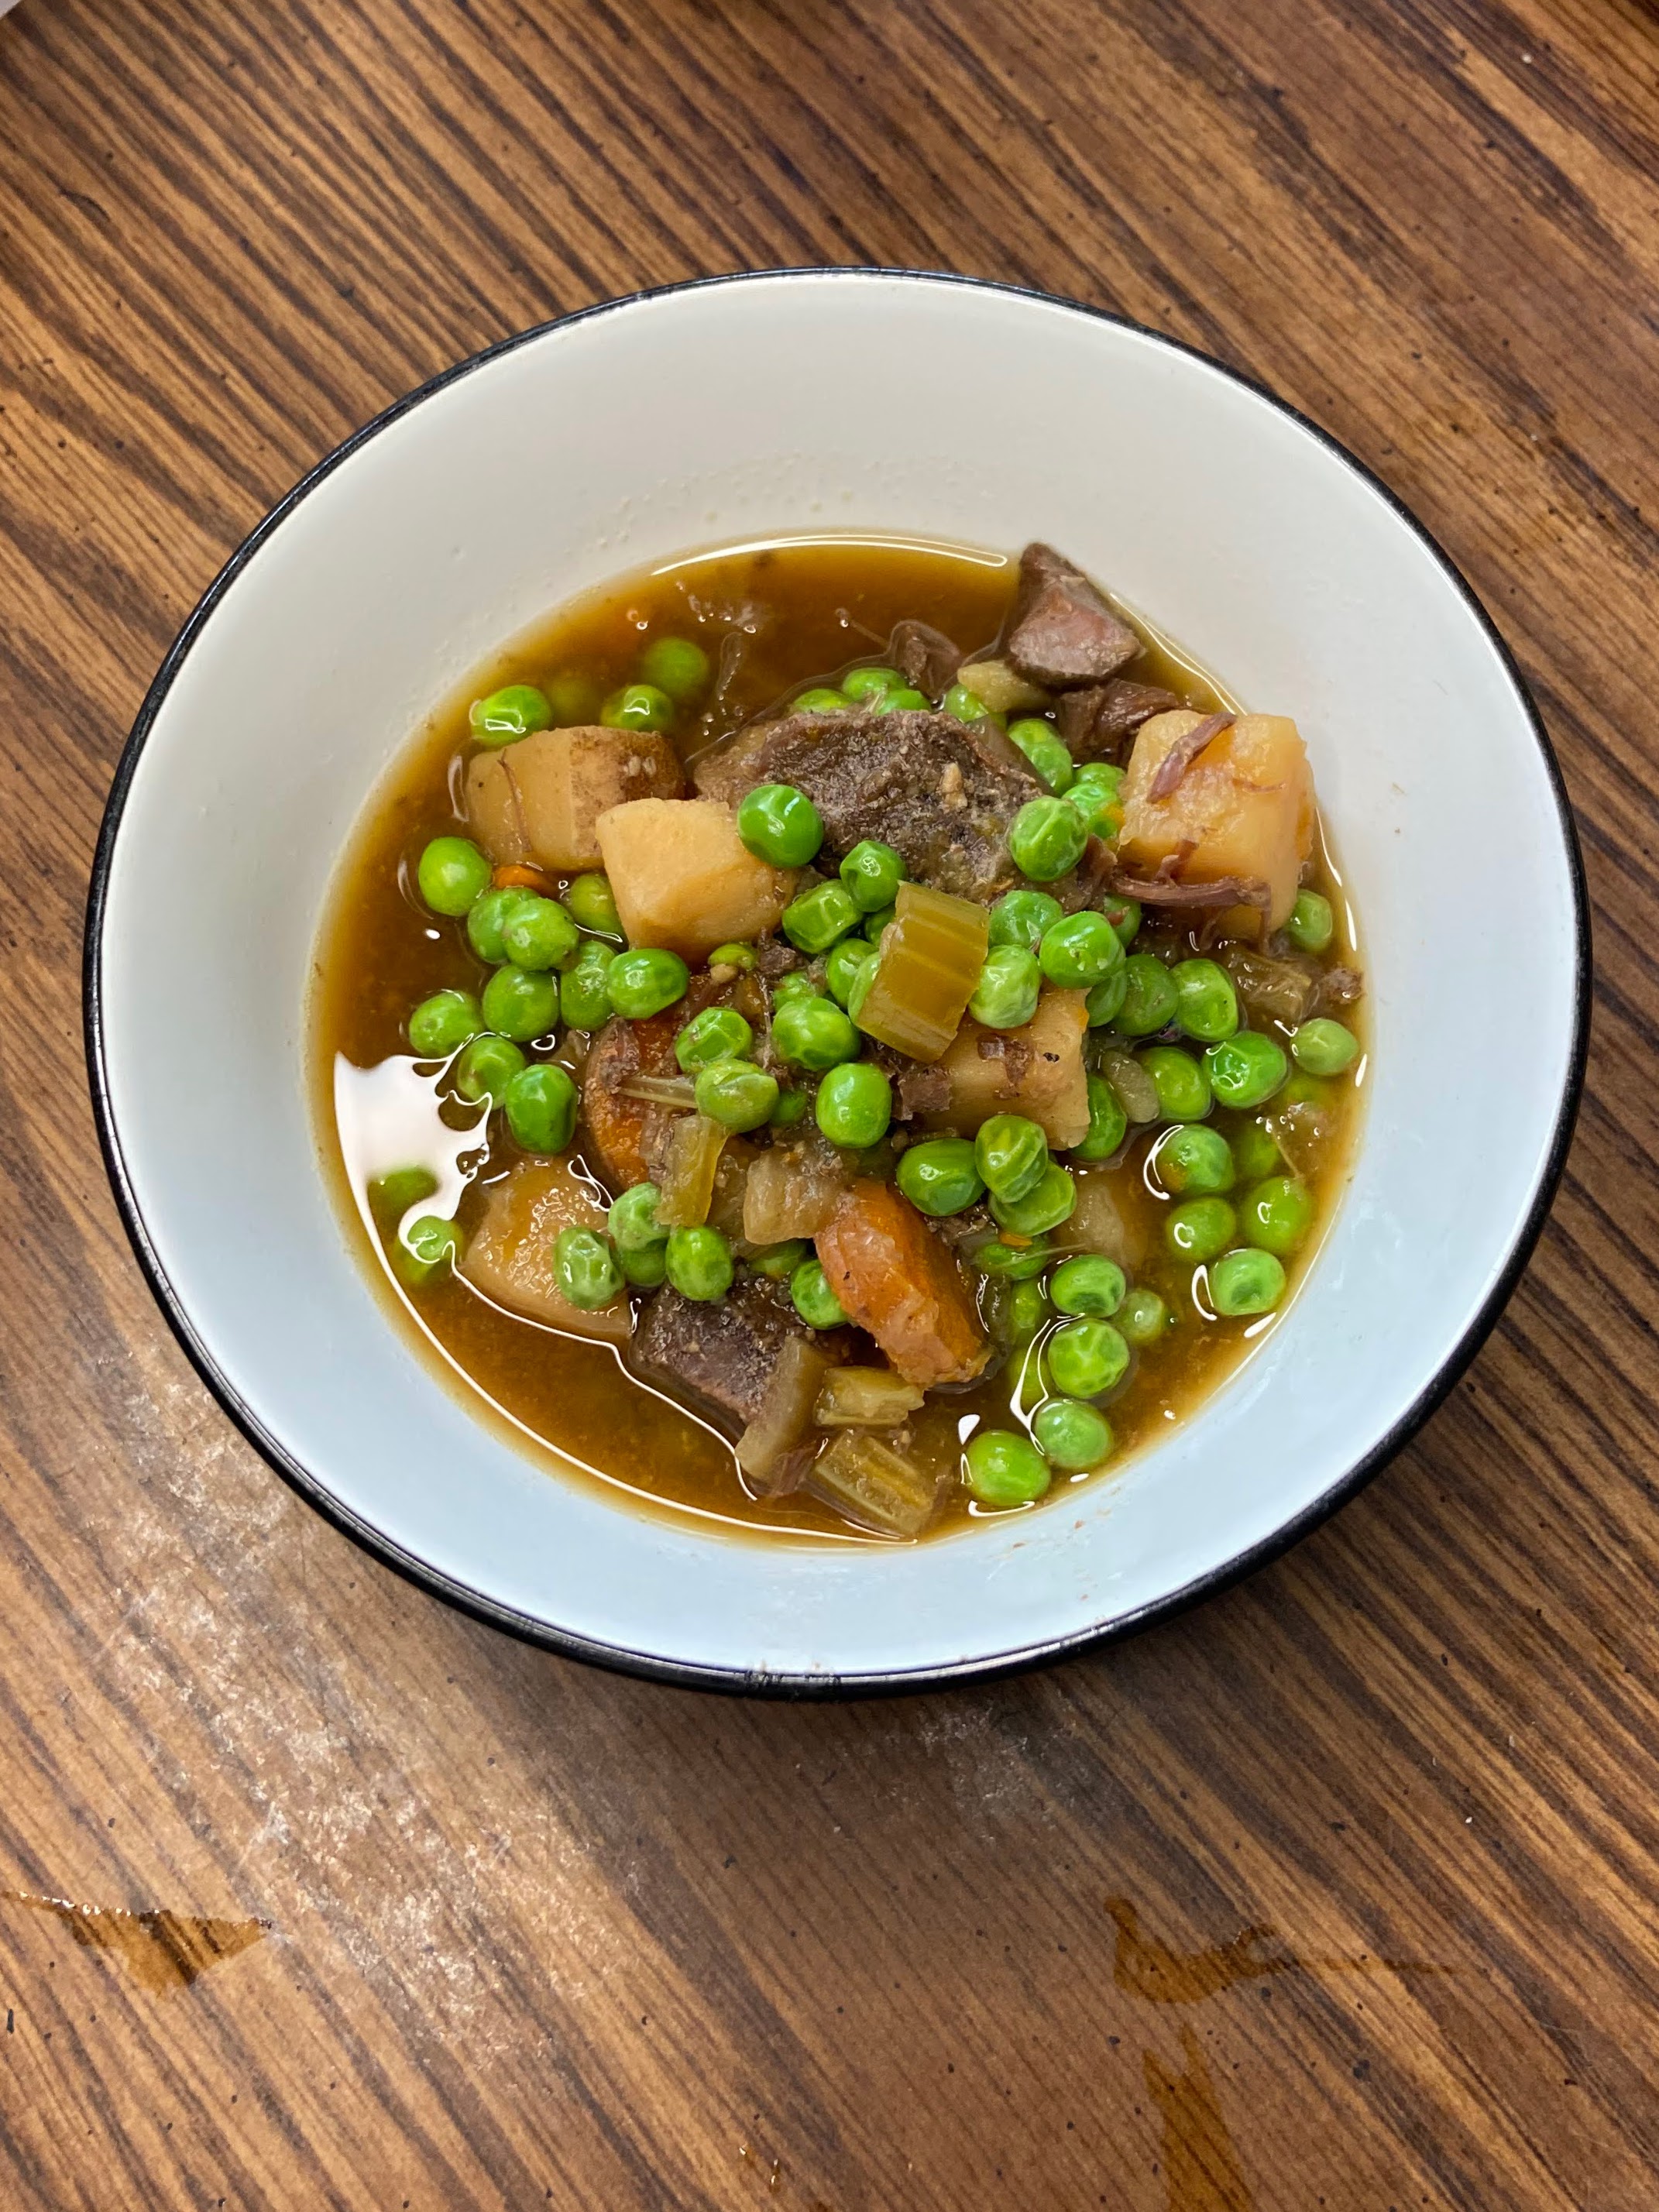
Then it came to actually opening a jar of pressure canned venison stew for dinner and to say I was nervous is an understatement. I cautiously opened it, smelled it, and very hesitantly heated it up. And oh my gosh, I was hooked at the very first bite. The meat is SO tender, the vegetables perfectly cooked. The convenience of it all is perhaps my favorite part. We are in the season of busy week nights with our kids and having homemade venison stew that can go from jar to table in under 10 minutes is incredible. If I am feeling fancy, I do a roux and slowly add the broth first. Short on time? I pour in some frozen peas for extra color and heat it up. 

Bottom line? I am beyond excited to share how I prepare this great stew with all of you. I promise there is no reason to be afraid of a pressure canner. Truly, I was 100% a novice who simply did some reading at the beginning. The only caution I want to give is that it does take time (primarily hands off) for it to cook. I would say make sure you have three hours to be around the house, but truly you can be doing other things while it cooks. Just be present.

Ready to create some pressure canned venison stew? Let’s go! 

Your Ingredients for Pressure Canned Venison Stew (per quart jar) 

  • 1 cup cubed venison stew meat, raw
  • ½ cup each: diced potatoes, celery, carrots and onions, cut large (I do just over ½ cup each)
  • 3 ladles or so of beef broth

Seasoning (see below)

We keep a seasoning mixture on hand of 1 part pepper, 1 part dried minced garlic, 1 part dried minced onion, and 1-2 parts kosher salt. I use this on everything from chicken to venison to roasted vegetables. It’s fantastic and versatile. When I am canning meat, I season every 2 ½ pounds of meat with about 1-2 tablespoons seasoning mix. This is to our taste. 

Tools of the Trade

Normally, I put this at the end of a post, but with a pressure canner, I feel as though I should put it at the beginning. I love using my weighted pressure canner. It doesn’t stress me out and I can create so many great things with it. I also think a canning funnel is a must here. 

Before you start this process, make sure you read the general directions to your own pressure canner. They may differ from what I am sharing, and you should always follow those directions first. Also, if you are a beginner canner or even advanced, it is always a great idea to check out the National Center for Home Preservation Site for more information! 

Your Steps to Pressure Canned Venison Stew

Begin by preparing your canner and jars. Wash and sterilize quart jars, rings, and lids. Keep warm. Check the seal and center vent of your lid of the canner. Set aside. 

Heat beef broth just to boiling, and then reduce to a simmer. You can be heating this while you fill the jars. It will be ladeled over the meat and vegetables. 

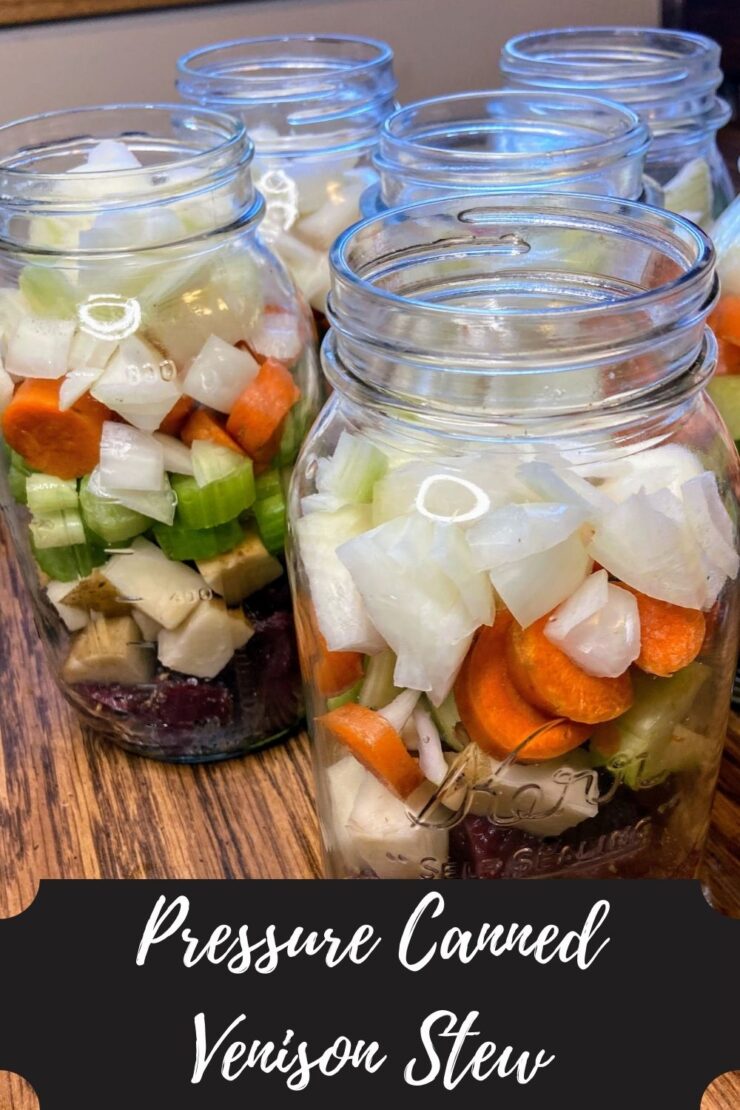
Season prepared meat with seasoning mixture mentioned above (2 tablespoons per 2 ½ pounds of meat). Using a canning funnel, stuff jars with 1 cup of raw meat each. Add potatoes, onions, carrots, and celery. You may need to shake the jars a little to get things to fit all the way. Make sure you have 1 inch of headspace. 

Ladle simmering beef broth over the meat and vegetables, filling the jars to about ¾-⅘ of the way full. The meat itself will create its own broth as it cooks. I have found that if you over fill the jars with broth, siphoning occurs. ¾-⅘  of the way seems to be a perfect amount.

Canning Time!

Wipe rims with a damp cloth, center the lid on the jar and adjust the band to fingertip tight. 

Place jars on the rack of a prepared pressure canner (mine needs 3 quarts of hot water plus a splash of vinegar). 

Place the lid on the canner and heat to high heat. Once a steady stream of steam can be seen/felt, vent for 10 minutes, adjusting the heat if needed to have a steady but not crazy stream of steam. After 10 minutes, put the weighted gauge on the vent. You will want 10 pounds if your altitude is under 1000 ft; 15 pounds if you are over 1000 ft. 

Once the weight starts to jiggle (indicating it has reached the appropriate pressure), begin timing. You will need to process pint jars for 75 minutes and quart jars for 90 minutes. Once the timer has gone off, turn off and remove the canner from heat. Allow the pressure to drop on the canner all the way (read specific canner instructions for the indicator). Remove weight and allow to cool an additional 10 minutes. Remove jars from canner; do not retighten bands. Cool 12 hours, then check their seals, label, and store jars. 

We like to enjoy our stew with some frozen peas and fresh sourdough bread. Not a sourdough baker? Click here to learn more

Let me reiterate, this is what works for my pressure canner. I HIGHLY recommend reading and then rereading your own pressure canner directions. They aren’t hard to use, but you also don’t want to dedicate this time and effort to have something not work out.

Pressure Canned Venison Stew

Fill your shelves with a pressure canned venison stew full of potatoes, onions, carrots, and celery. Delicious and simple, you'll be using this recipe for years
5 from 2 votes
Prep Time 30 minutes
Cook Time 2 hours
Course Main Course
Cuisine Canning
Servings 7 quarts

Ingredients
  

  • 7 cups cubed venison stew meat
  • 4 cups chopped onion
  • 4 cups diced carrot
  • 4 cups diced potato
  • 4 cups chopped celery
  • ¼ cup seasoning
  • 10-12 cups beef broth

Instructions
 

  • Begin by preparing your canner and jars. Wash and sterilize quart jars, rings, and lids. Keep warm. Check the seal and center vent of your lid the canner. Set aside.
  • Heat beef broth just to boiling, and then reduce to a simmer.
  • Season prepared meat with seasoning mixture. Fill jars with 1 cup of seasoned meat and 1/2 cup each of celery, carrots, onions, and potatoes.
  • Ladle simmering beef broth over the meat and vegetables, filling the jars to about ¾-⅘ of the way full.
  • Wipe rims with a damp cloth, center the lid on the jar and adjust the band to fingertip tight.
  • Place jars on the rack of a prepared pressure canner (mine needs 3 quarts of hot water plus a splash of vinegar).
  • Process quart jars for 90 minutes at 10 pounds. If your altitude is greater than 1000 feet, use 15 pounds. Follow the directions of your pressure canner or see the more detailed directions in the notes.

Notes

Place the lid on the canner and heat to high heat. Once a steady stream of steam can be seen/felt, vent for 10 minutes, adjusting the heat if needed to have a steady but not crazy stream of steam. After 10 minutes, put the weighted gauge on the vent. You will want 10 pounds if your altitude is under 1000 ft; 15 pounds if you are over 1000 ft.
Once the weight starts to jiggle (indicating it has reached the appropriate pressure), begin timing. You will need to process pint jars for 75 minutes and quart jars for 90 minutes. Once the timer has gone off, turn off and remove the canner from heat. Allow the pressure to drop on the canner all the way (read specific canner instructions for the indicator). Remove weight and allow to cool an additional 10 minutes. Remove jars from canner; do not retighten bands. Cool 12 hours, then check their seals, label, and store jars.
Keyword pressure canning, soup and stews, stew, venison, venison stew
Tried this recipe?Let us know how it was!

Looking for some sourdough to pair it with? Or perhaps other venison inspiration? Check out the links below!

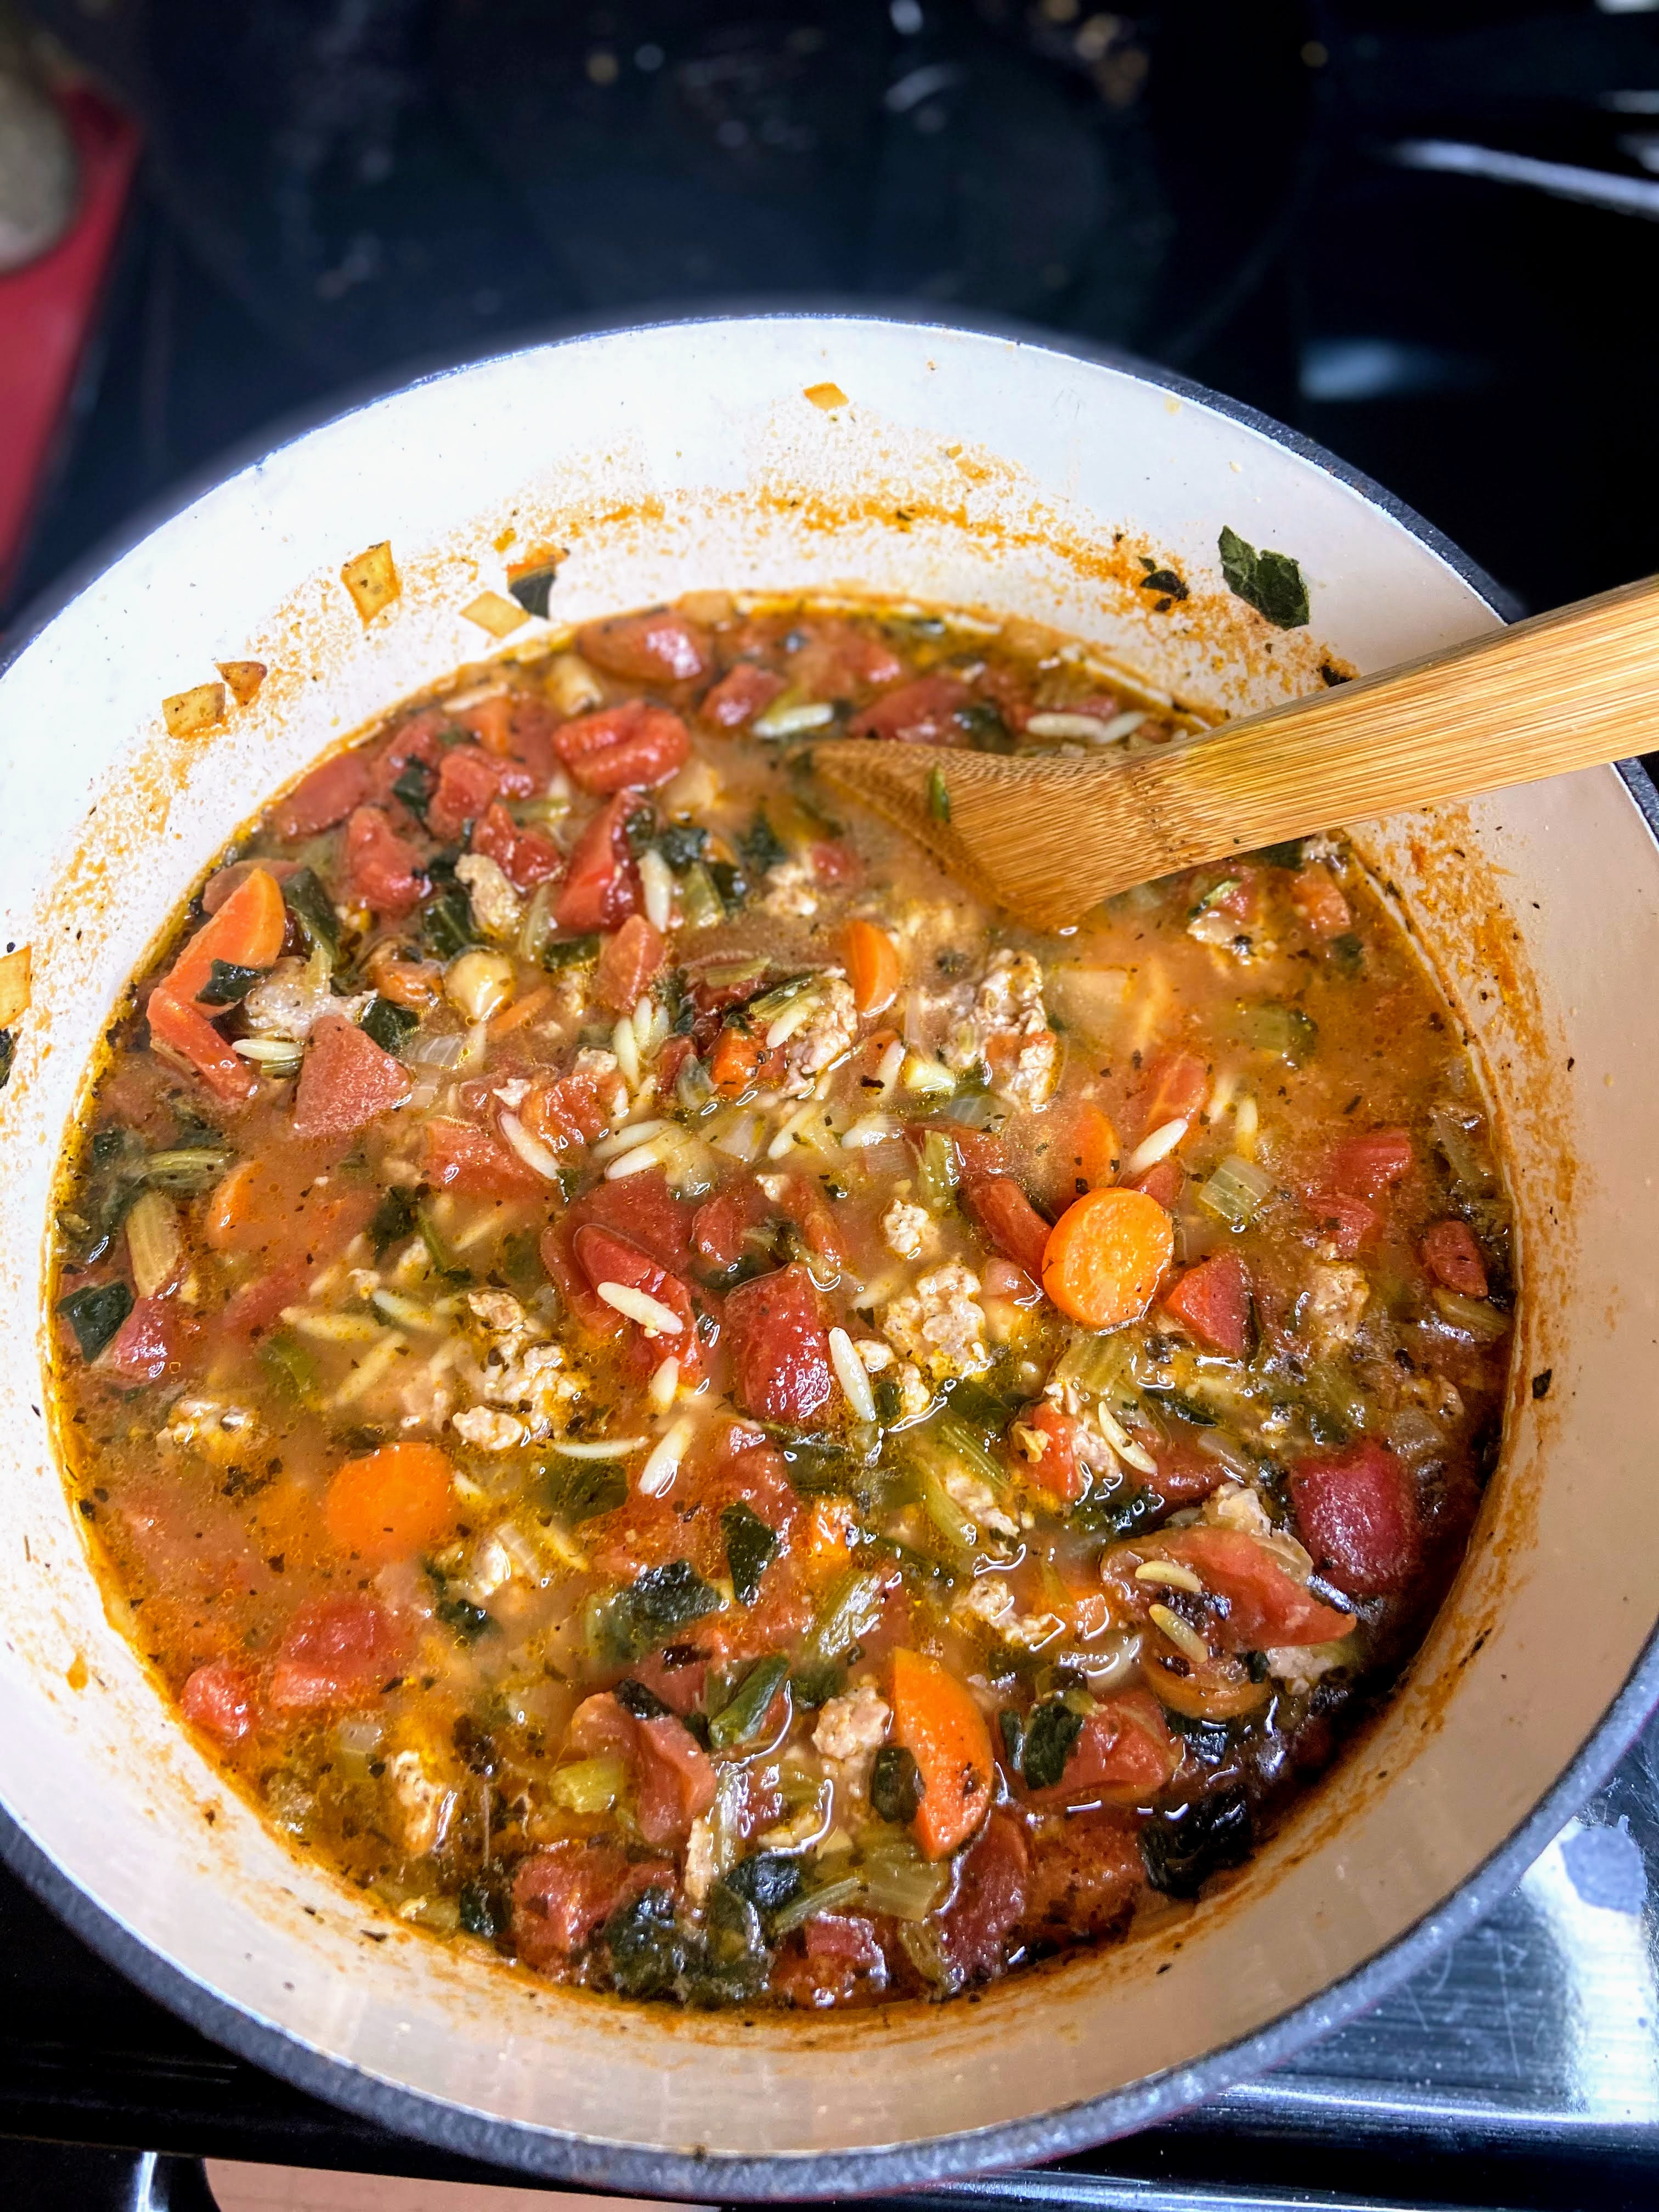
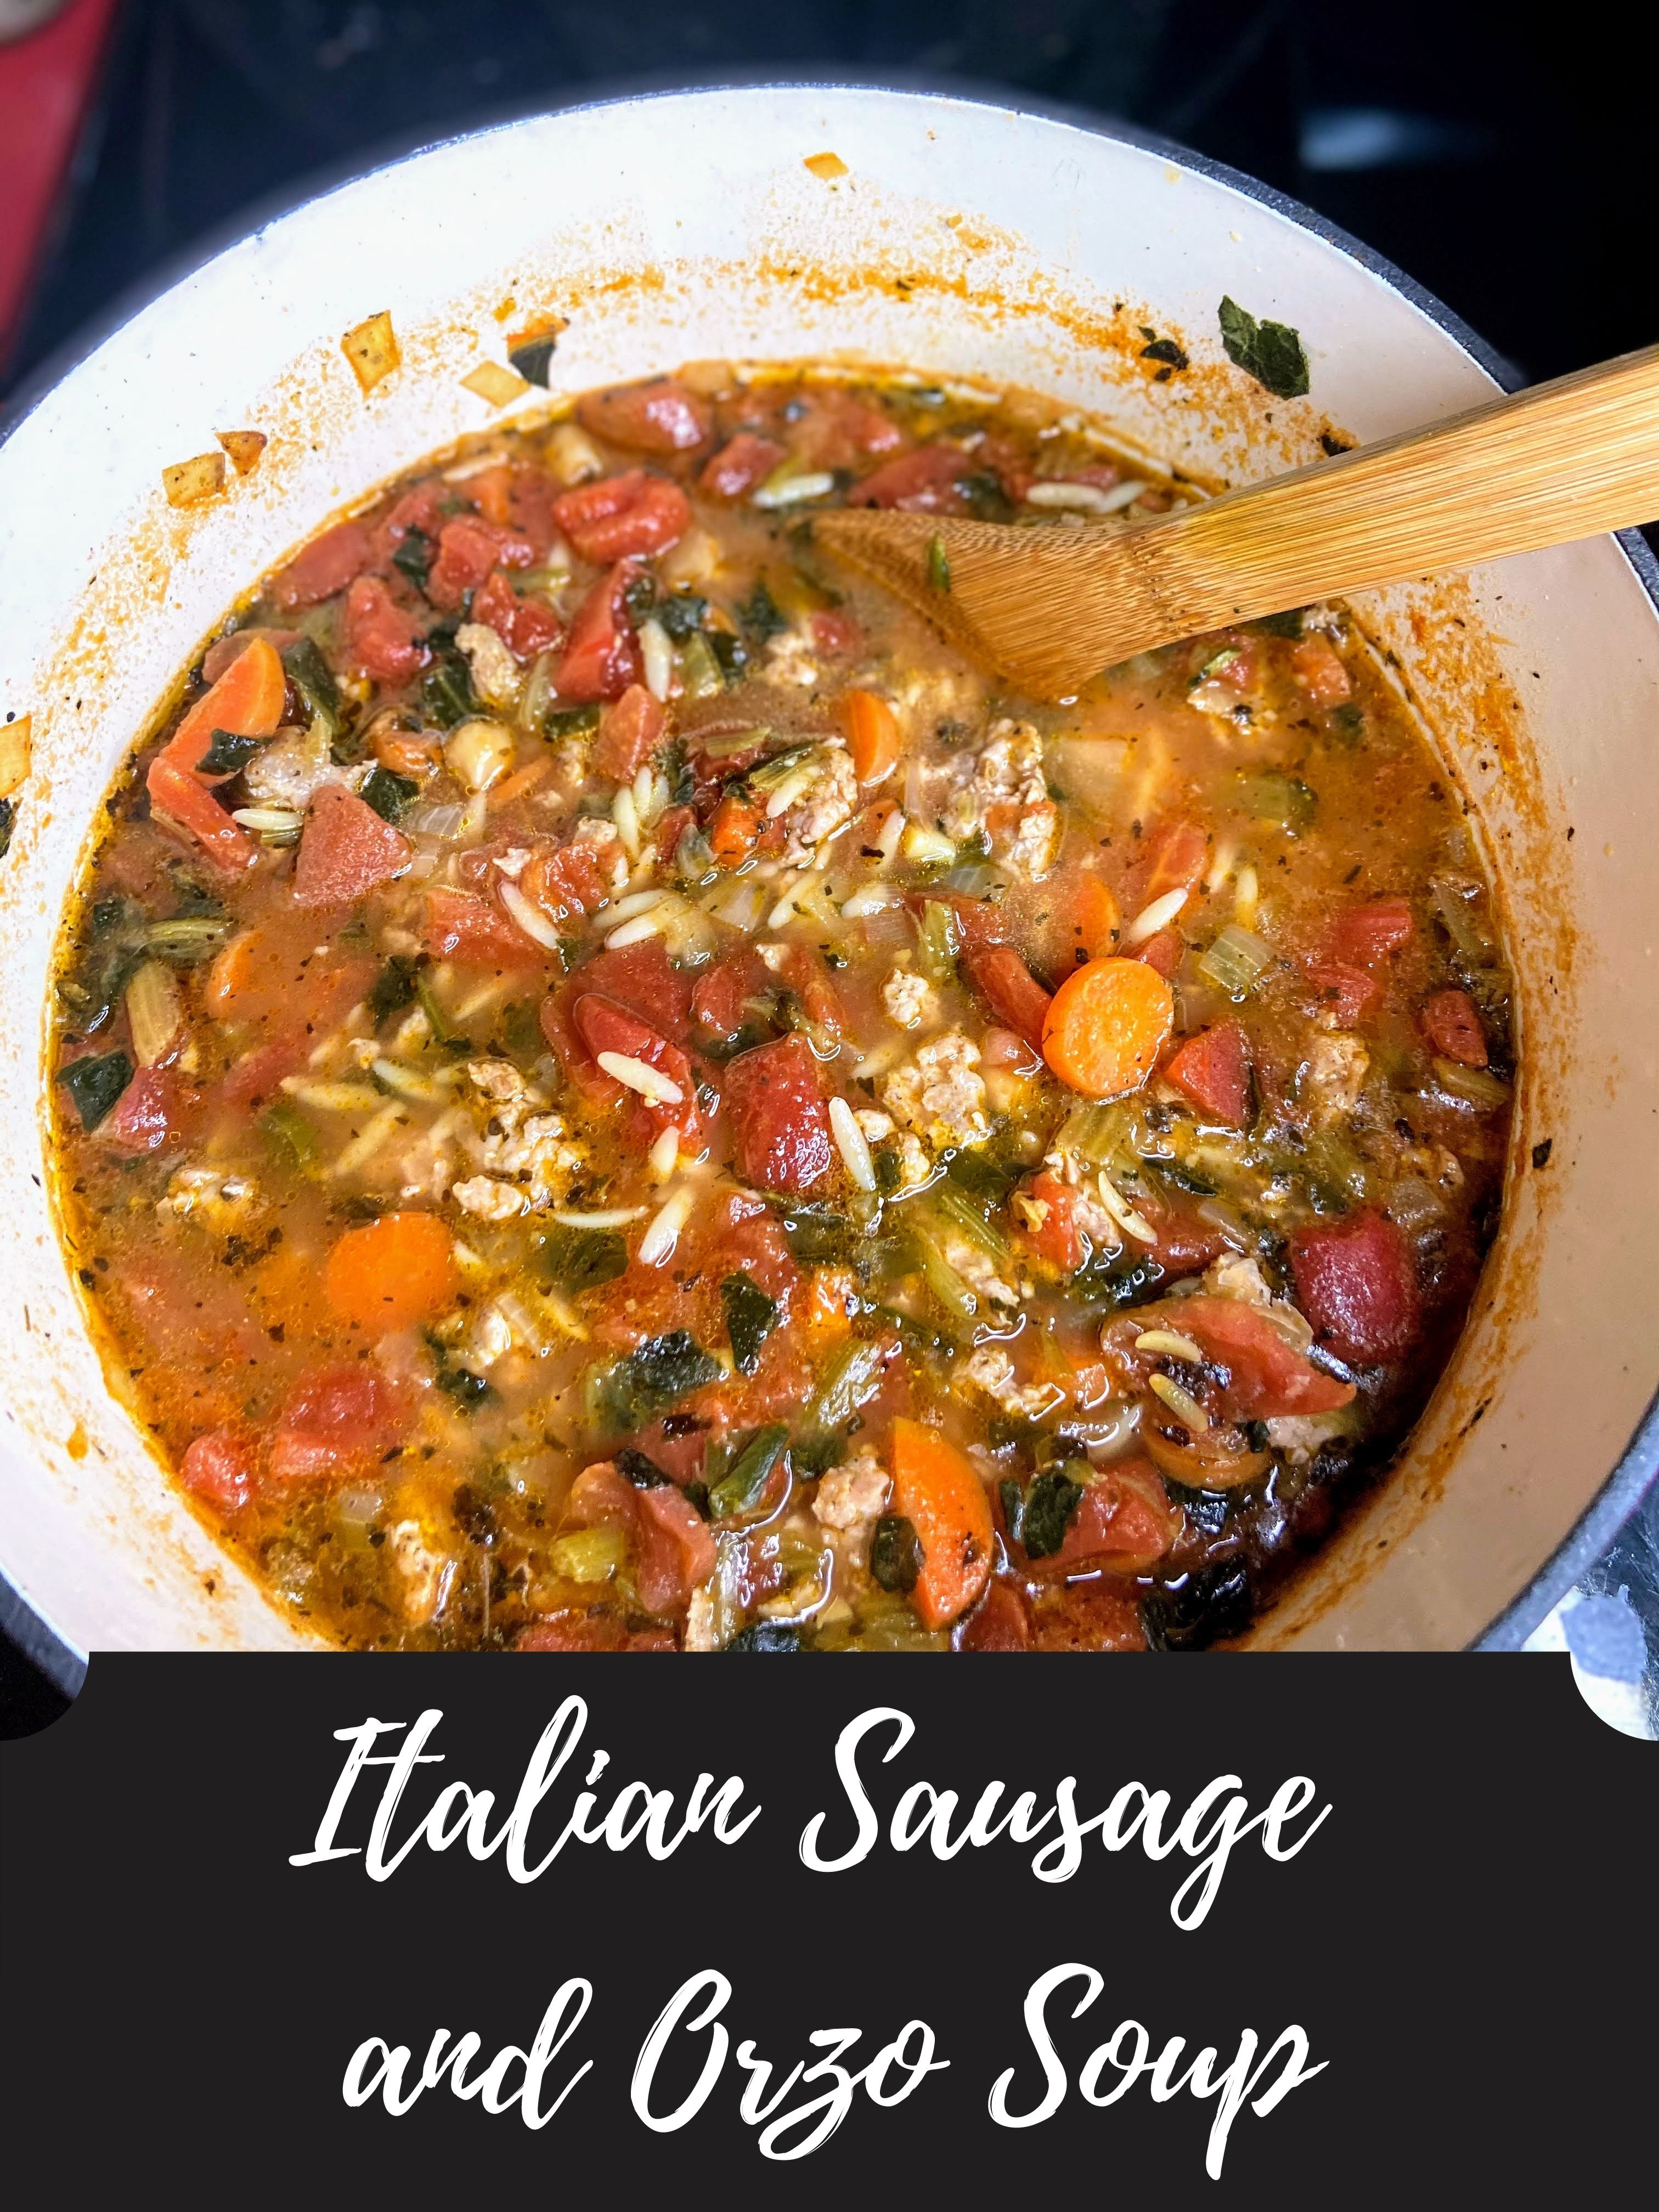
Italian Sausage and Orzo Soup

At our home, we try to do only one grocery store trip a week. Yes, we may need more bananas or perhaps some milk, but overall, we can make it on one trip. If we haven’t meal planned for the week, this also means we purchase random proteins and roll with them. A few weeks ago, ground Italian sausage was one of those proteins. It’s what I would call a staple at our house. While we don’t always have a plan for it when we purchase it,  I am always down for embracing my Italian roots. For this go around, I put together an Italian Sausage and Orzo Soup, and it’s a winner! 

Honestly, this soup was born from both “We have to use this protein up before it goes bad” and “What else can I combine with this sausage to make a great soup without going shopping?” If you know me, I am also about sneaking in all the vegetables possible…and then pairing a salad with the meal for good measure. It’s how I roll and a joke around our house: “Look at mom, adding MORE vegetables to the meal.” But I promise, no one will be complaining about the vegetables in this Italian Sausage and Orzo Soup because the flavor is just that good. 

Okay, we’ve talked enough. You want to get cooking right? Let’s go! 

Your Ingredients for Italian Sausage and Orzo Soup

  • 1 pound Italian sausage⁠
  • olive oil , about 1/2 to 1 tablespoon
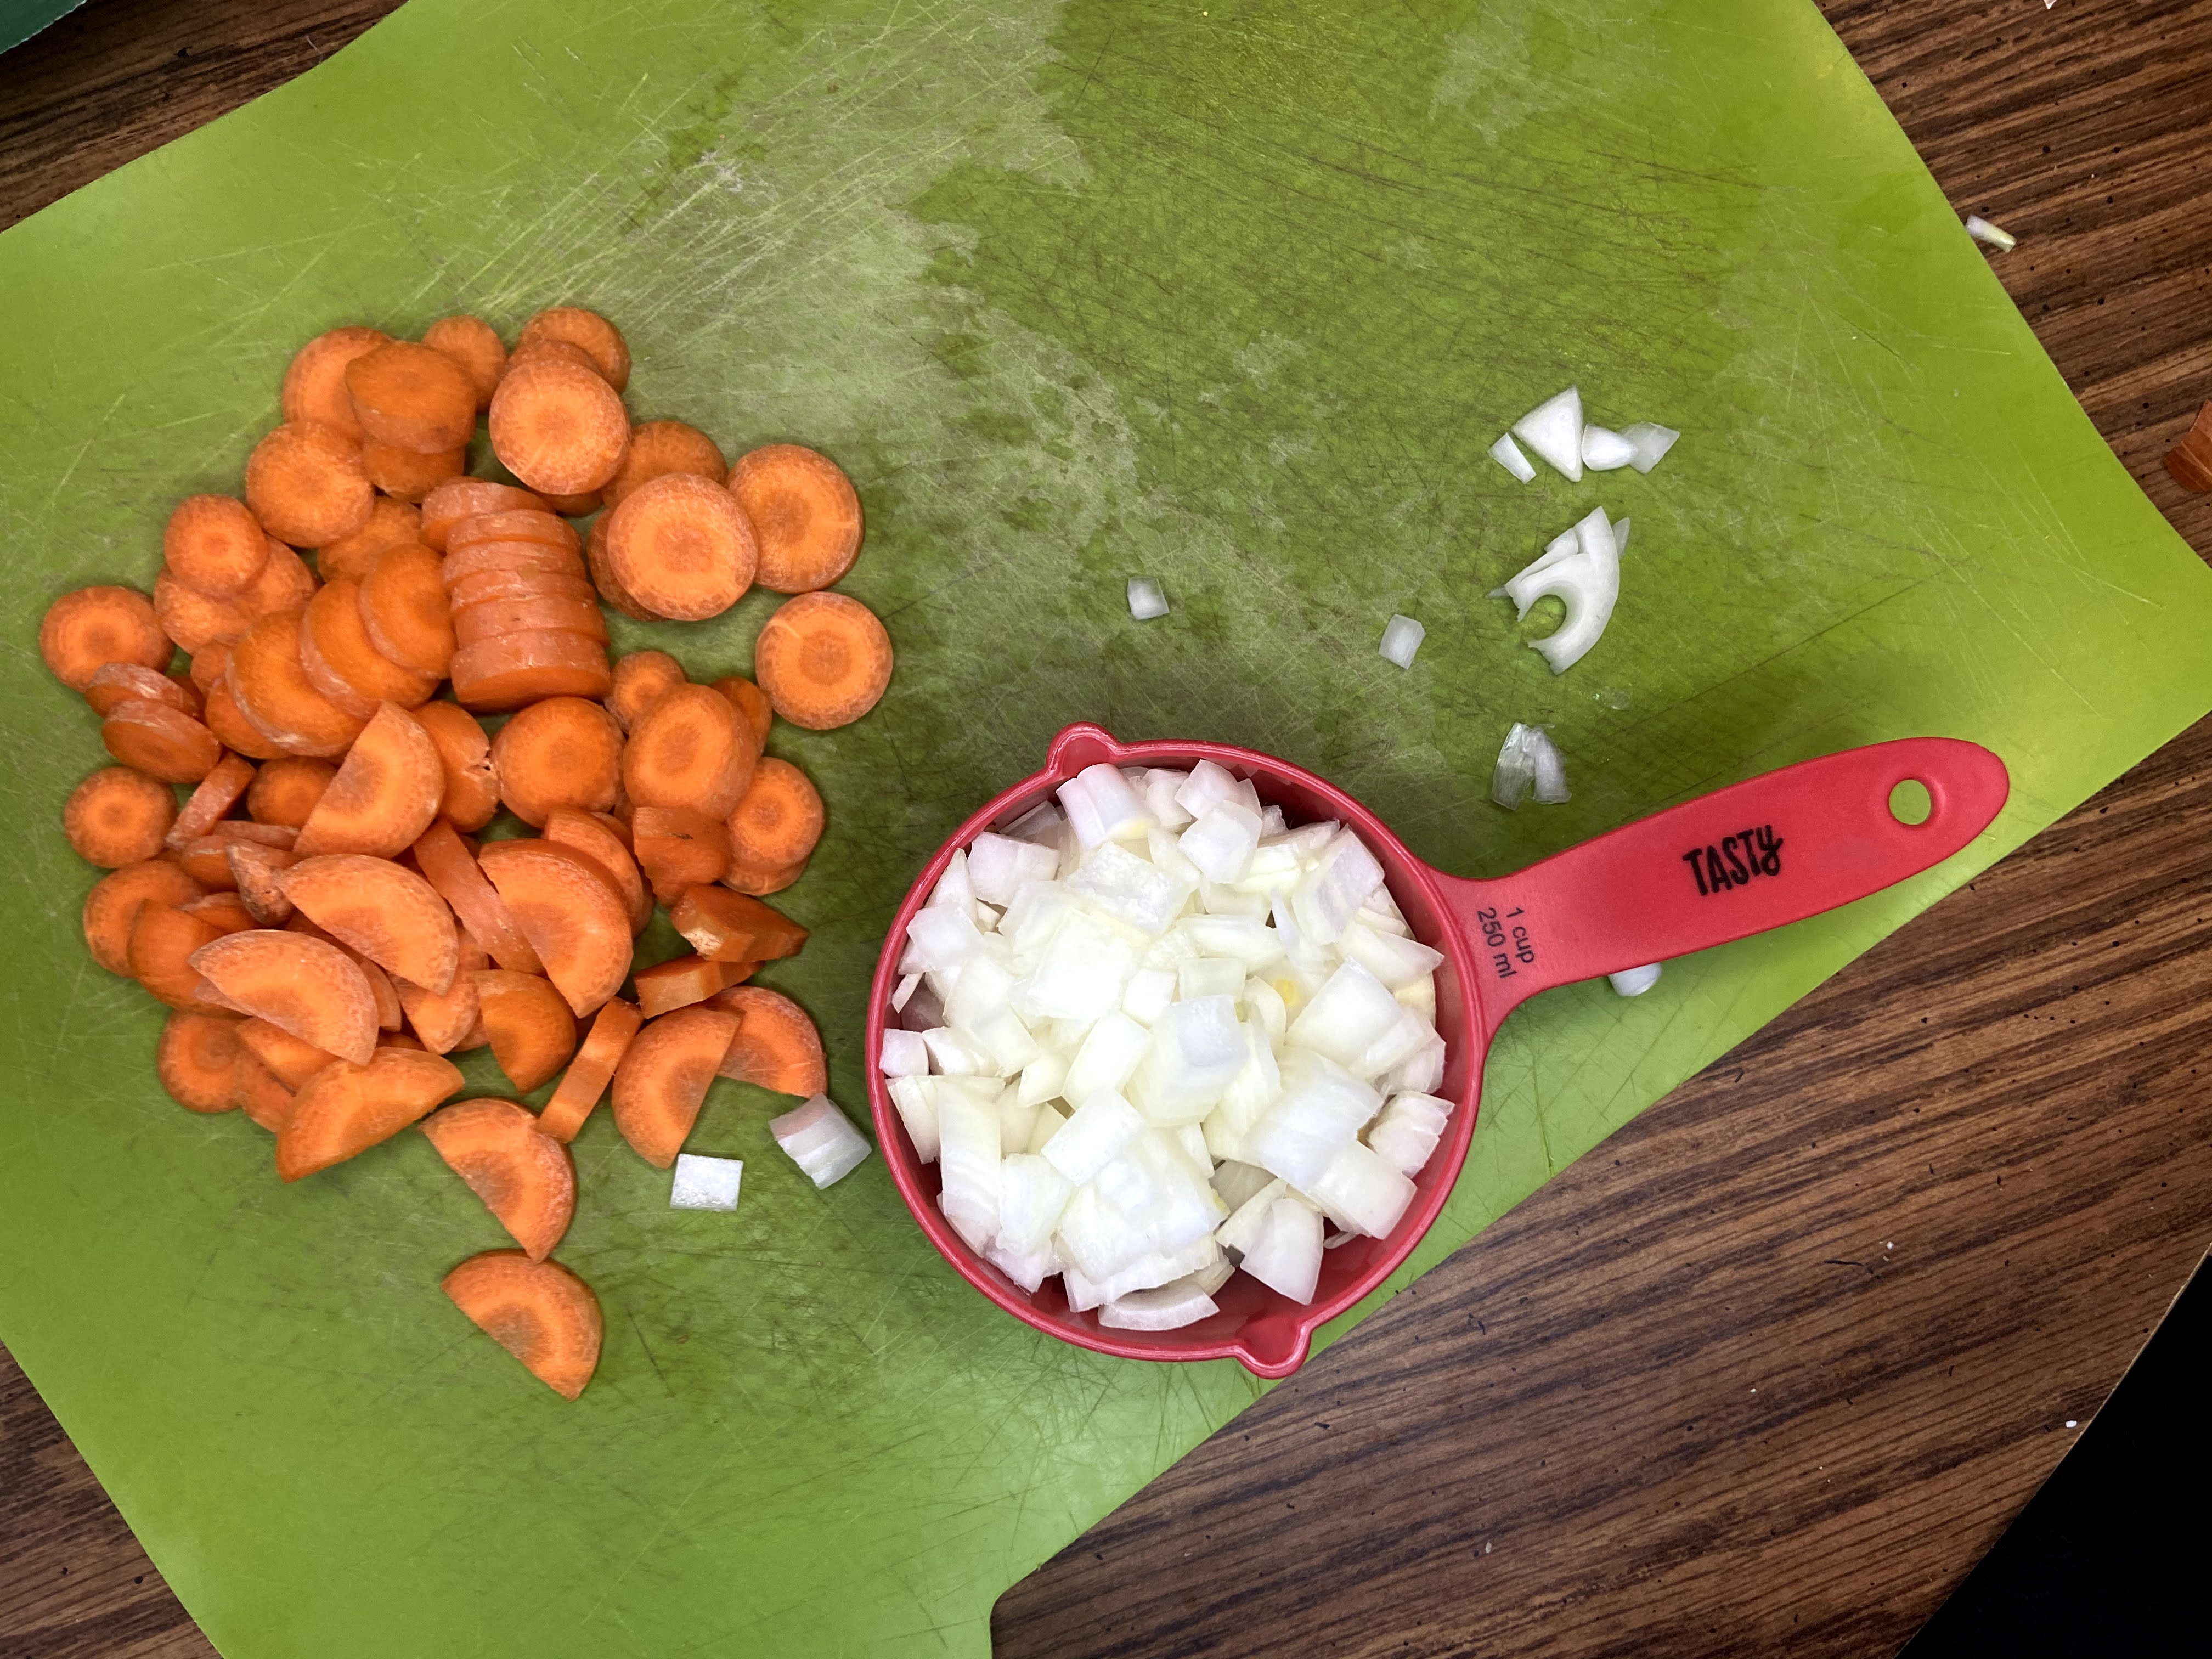
  • 1 cup diced onion⁠
  • 1 cup diced carrot⁠
  • 1/2 teaspoon fennel seed⁠
  • 2 cloves minced garlic
  • t teaspoon dried basil
  • 1 teaspoon dried oregano
  • 1/2 teaspoon pepper⁠
  • 1 cup chopped frozen spinach⁠
  • 1 can chick peas, rinsed (half of the can pureed)⁠
  • 4 cups chicken or vegetable stock⁠ (I love Orrington Farm’s Chicken Stock. They also make a Vegan option! How cool!)
  • 28 ounces diced tomatoes⁠
  • 1/2 cup dried orzo⁠
  • salt, to taste⁠

Your steps to Great Soup!

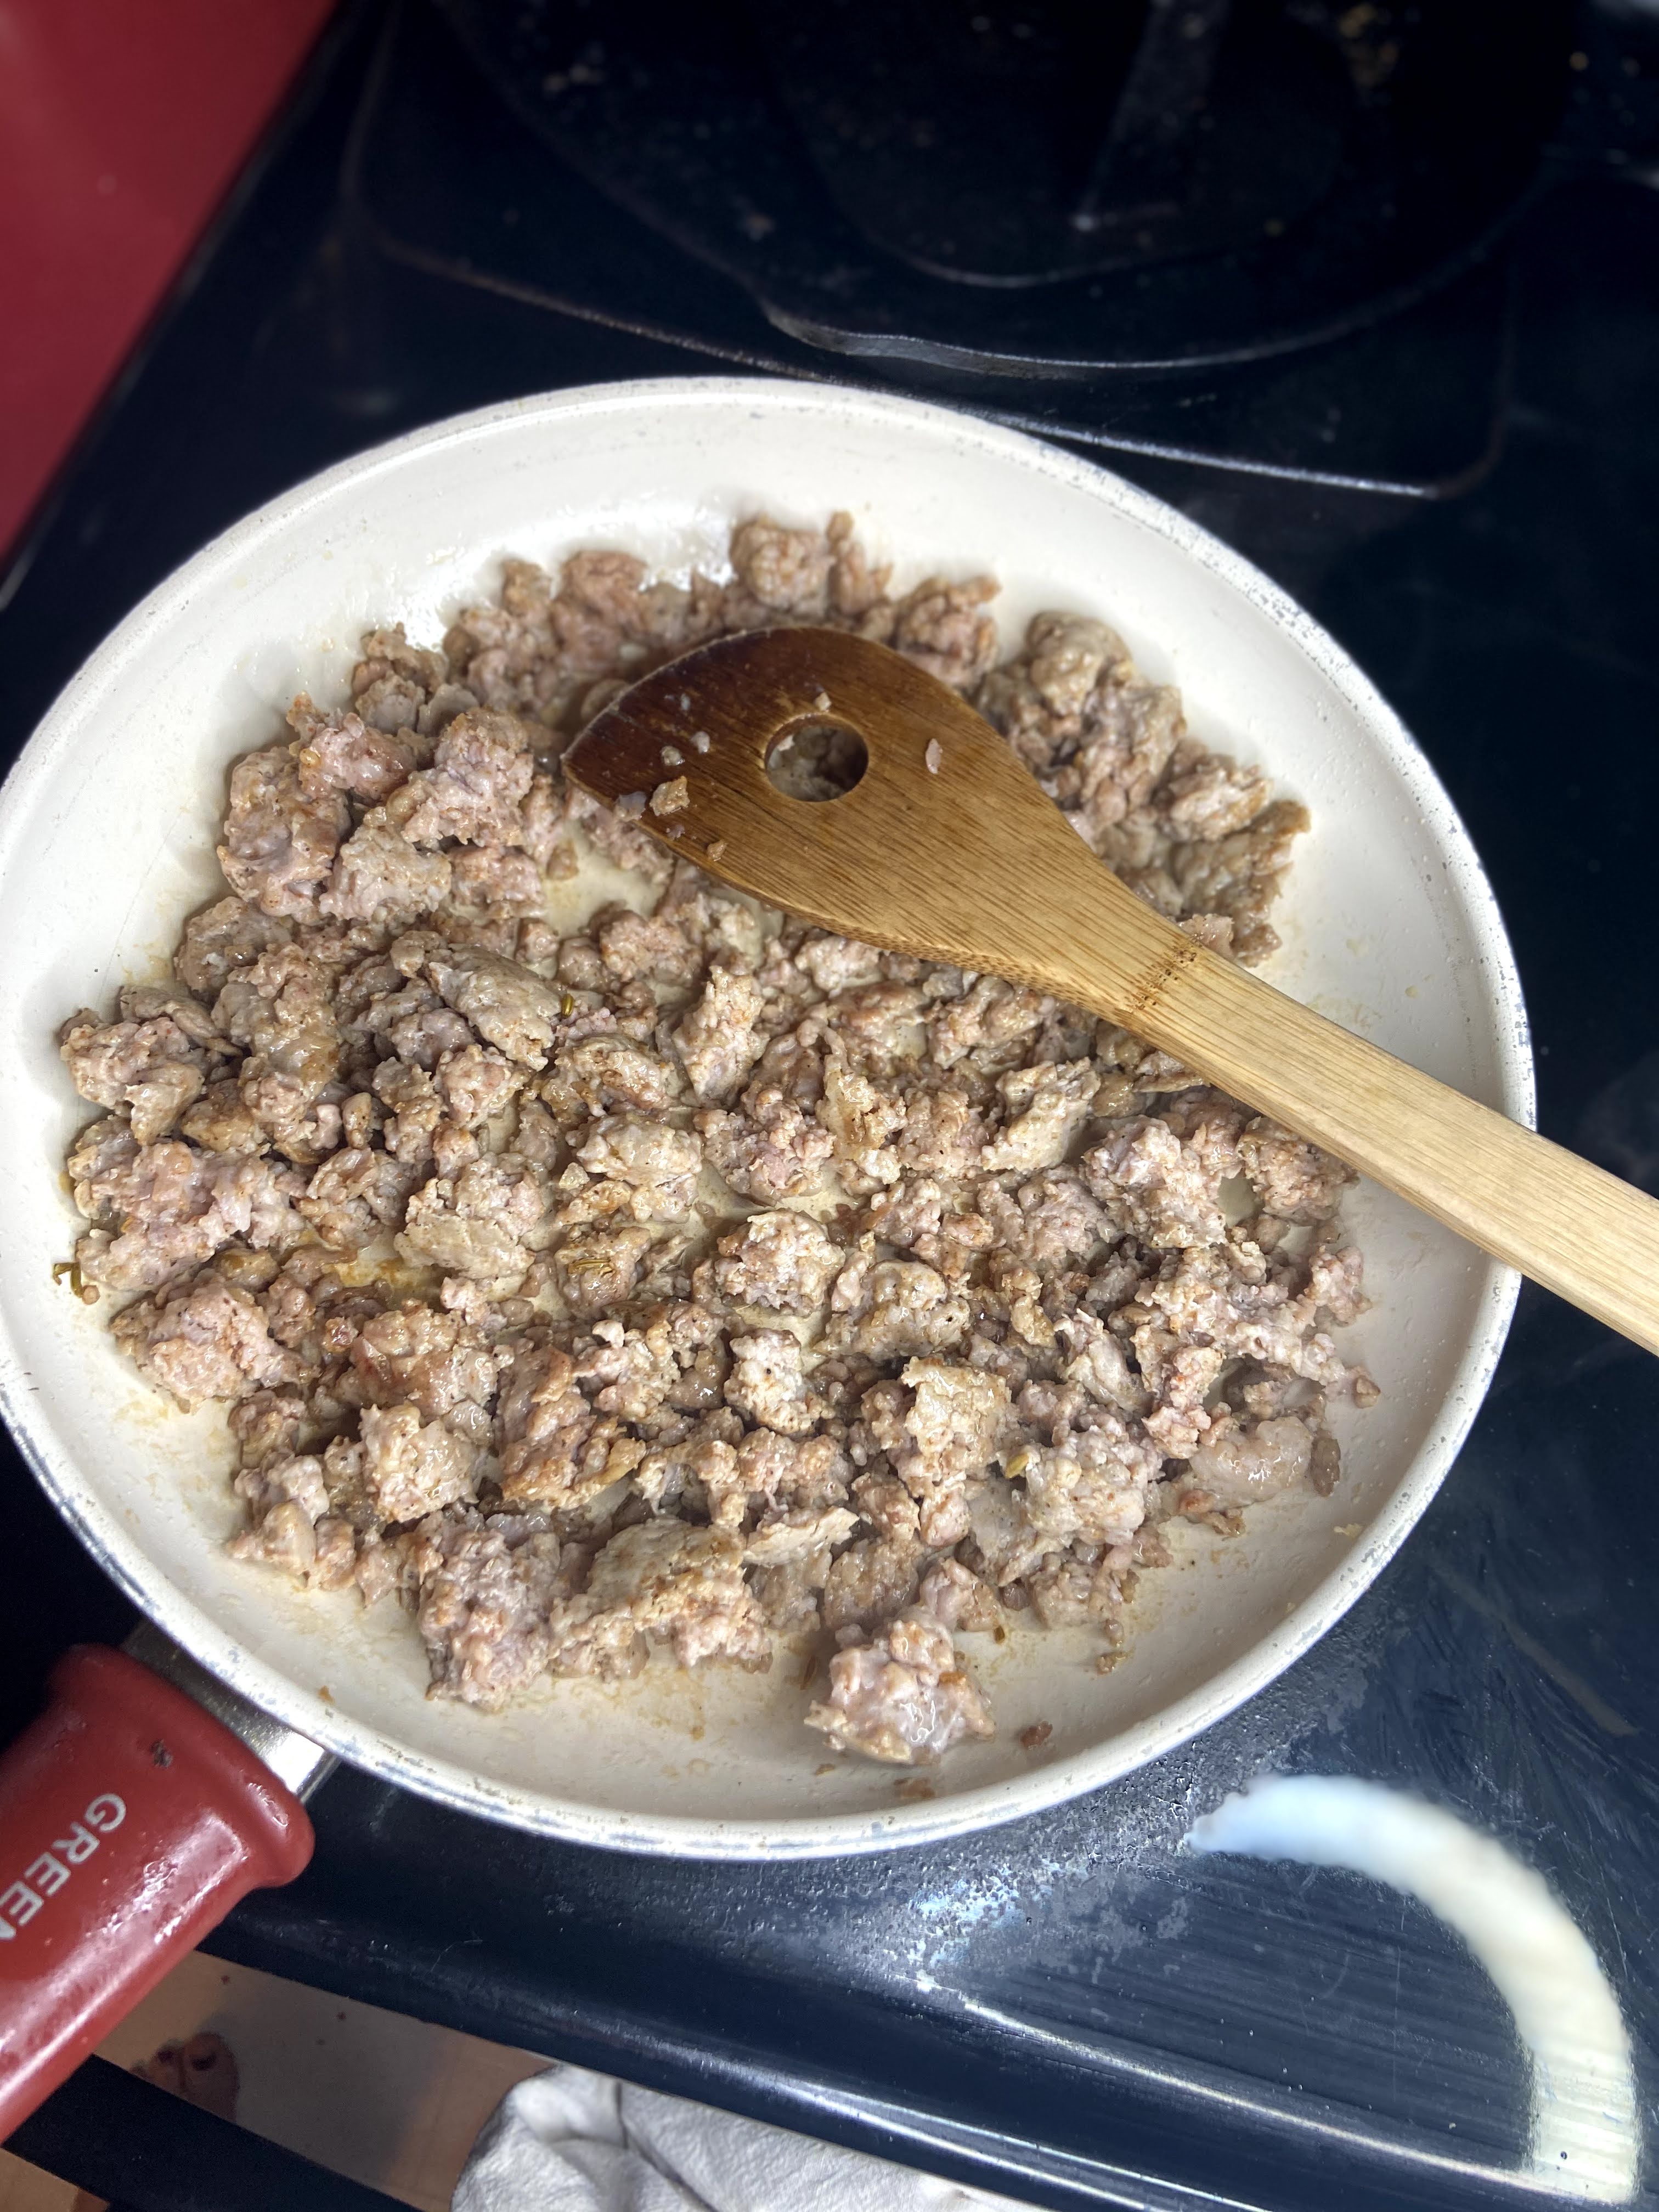
In a large dutch oven, heat olive oil. Add Italian sausage and cook until browned. Remove from the pan and set aside. 

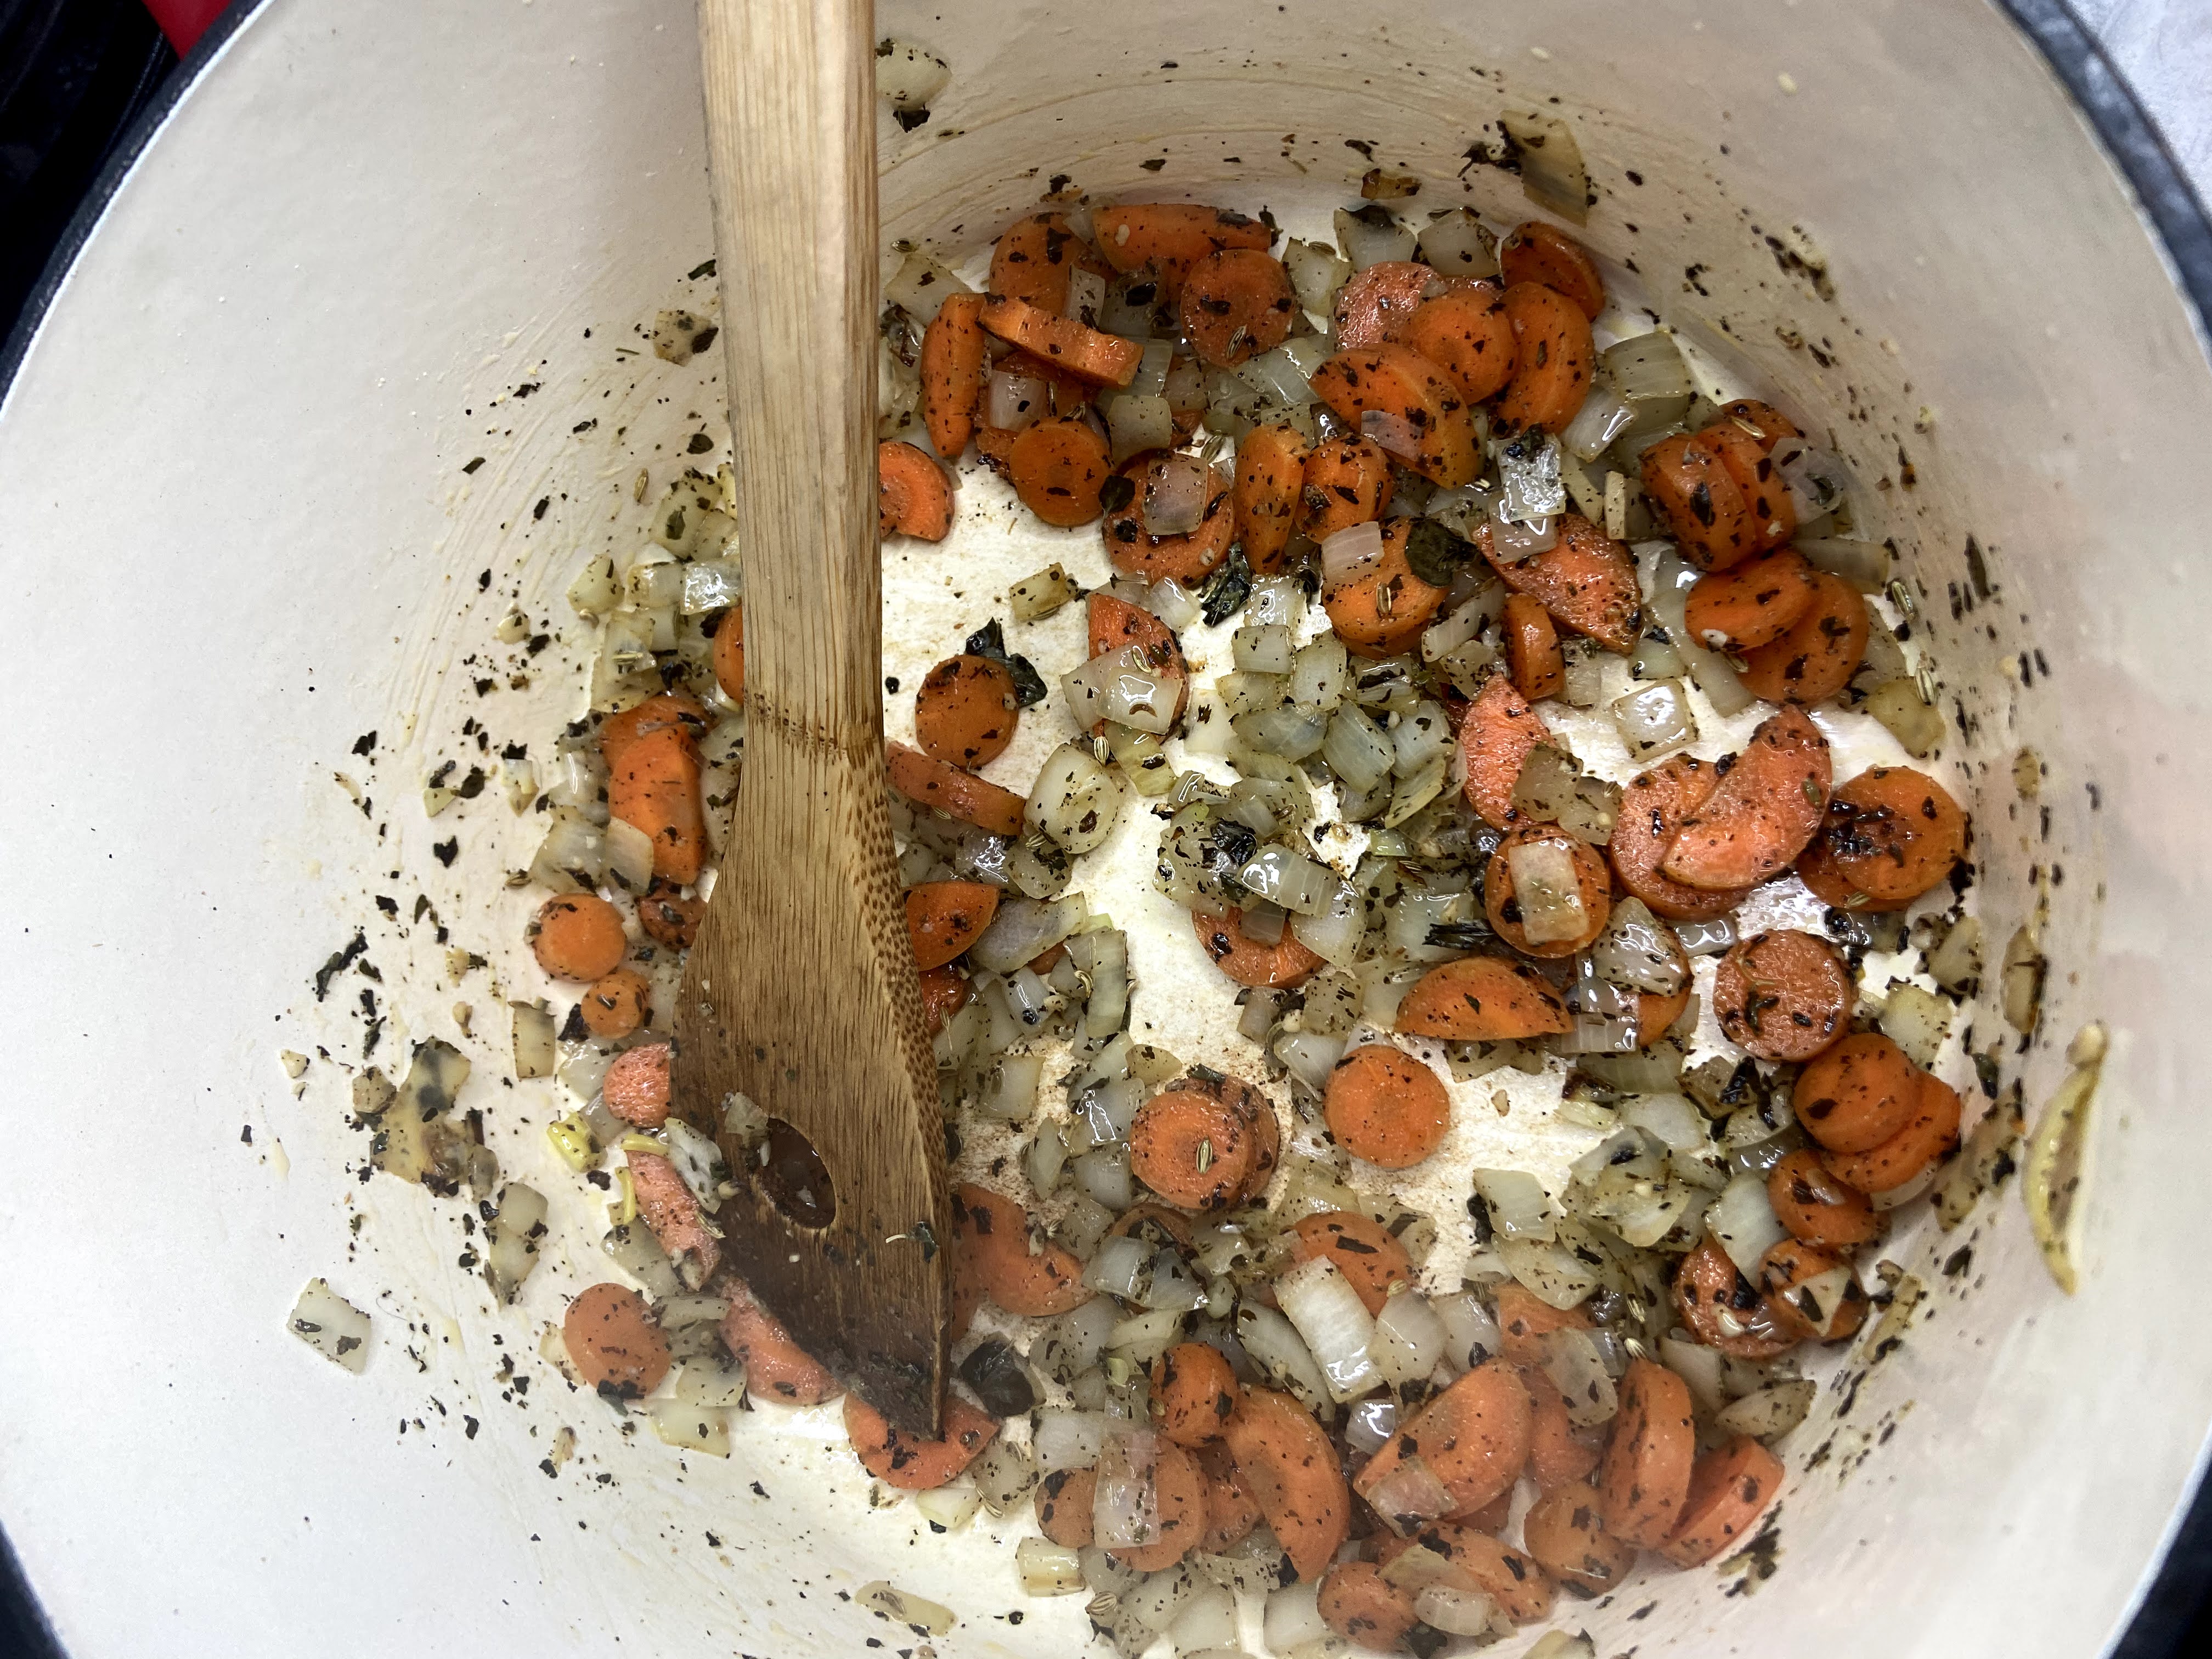
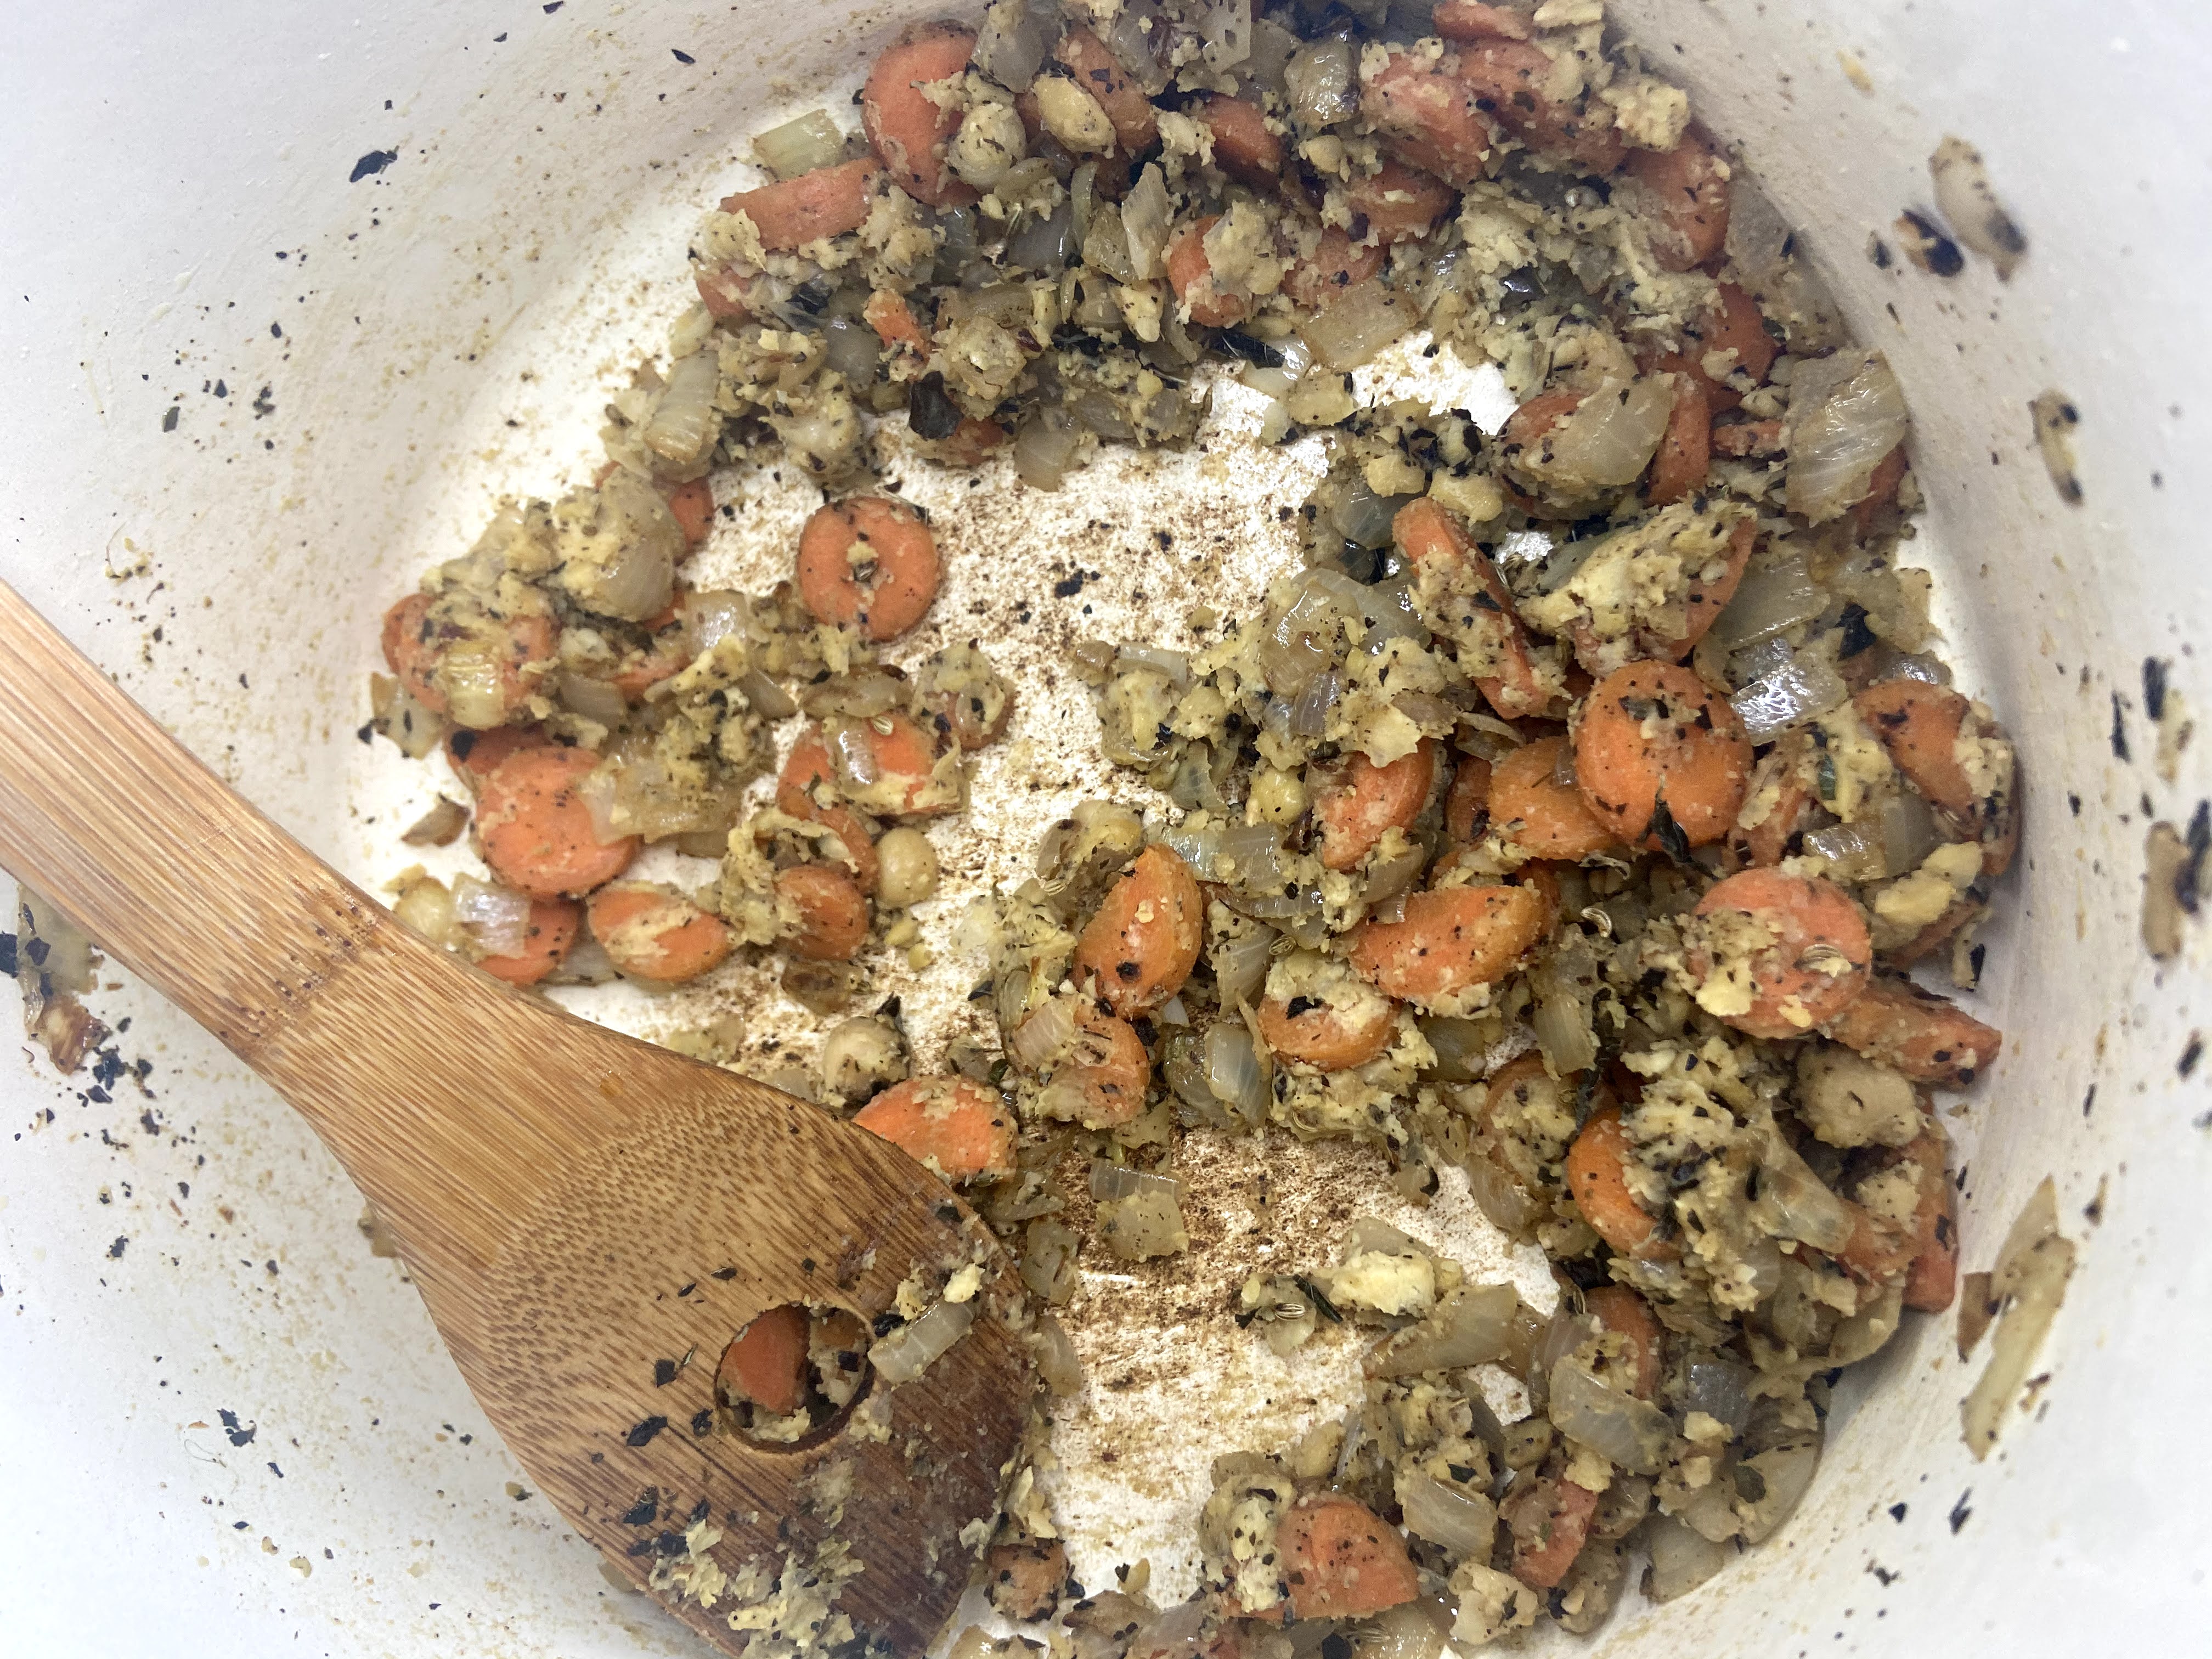
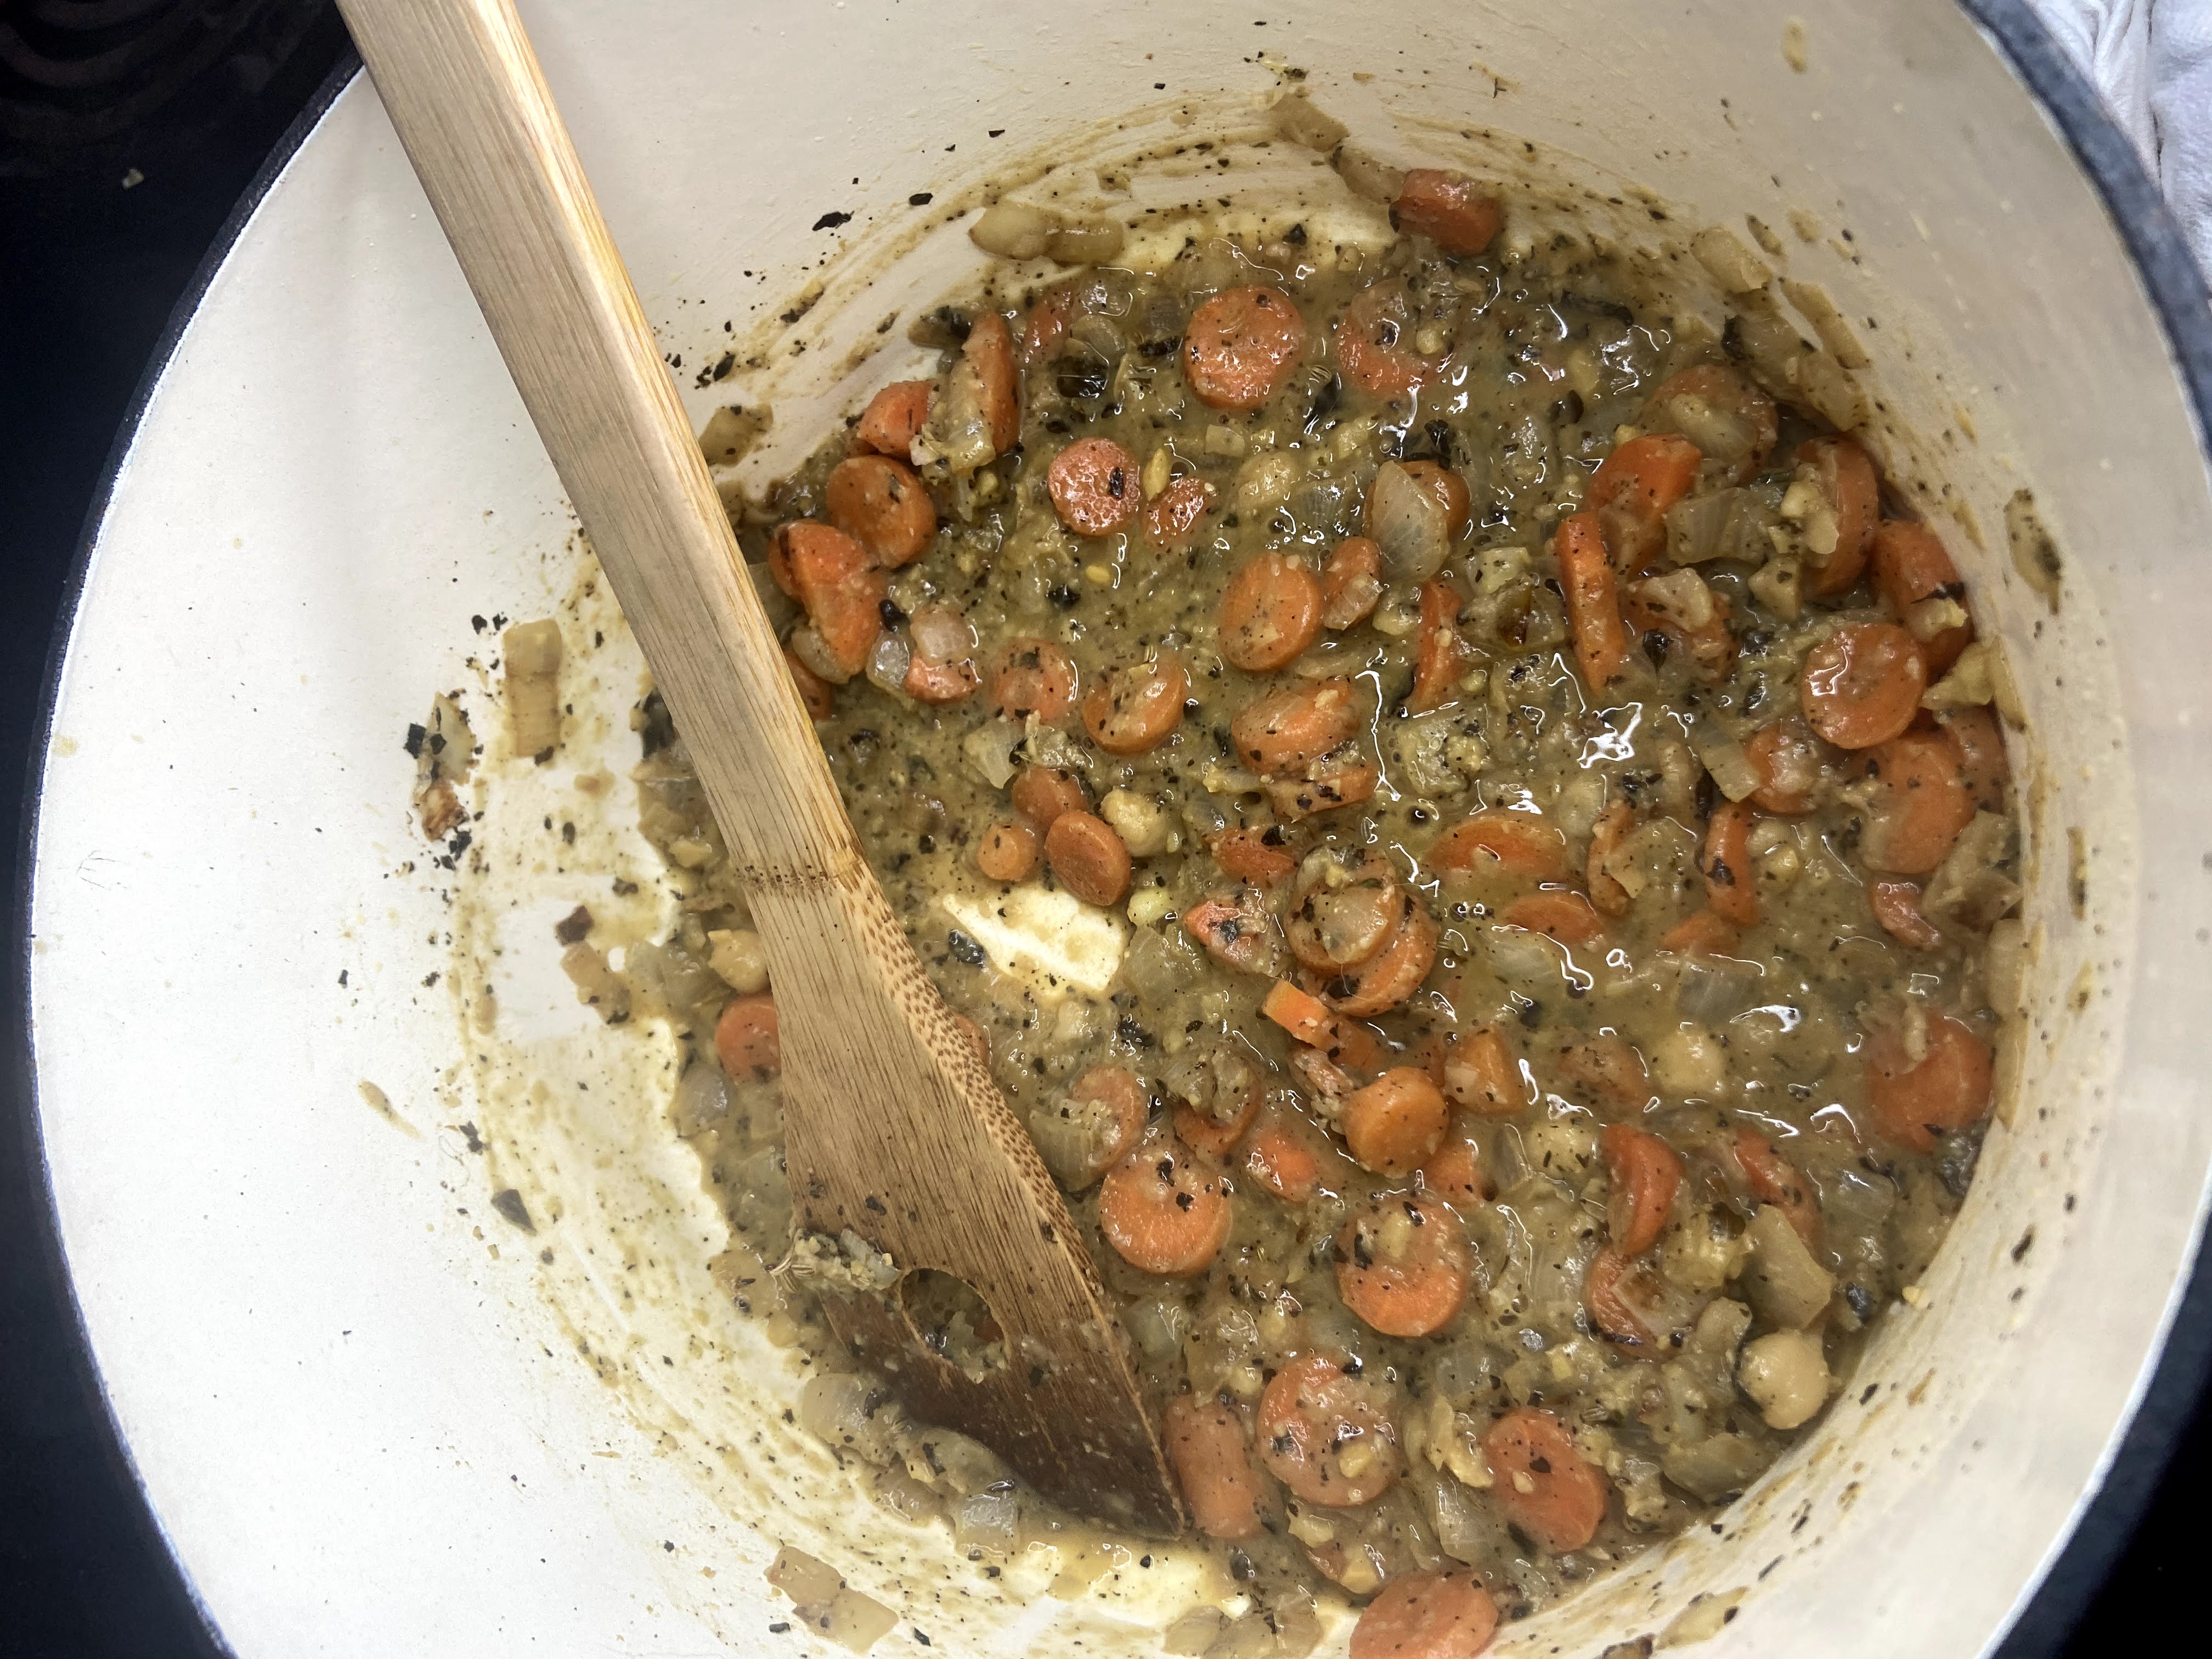
Add onion, carrot, garlic, fennel, basil, and oregano. Cook on medium heat until softened, about 8 minutes. Add pureed chick peas, stirring often. Slowly add chicken stock, stirring after each addition. 

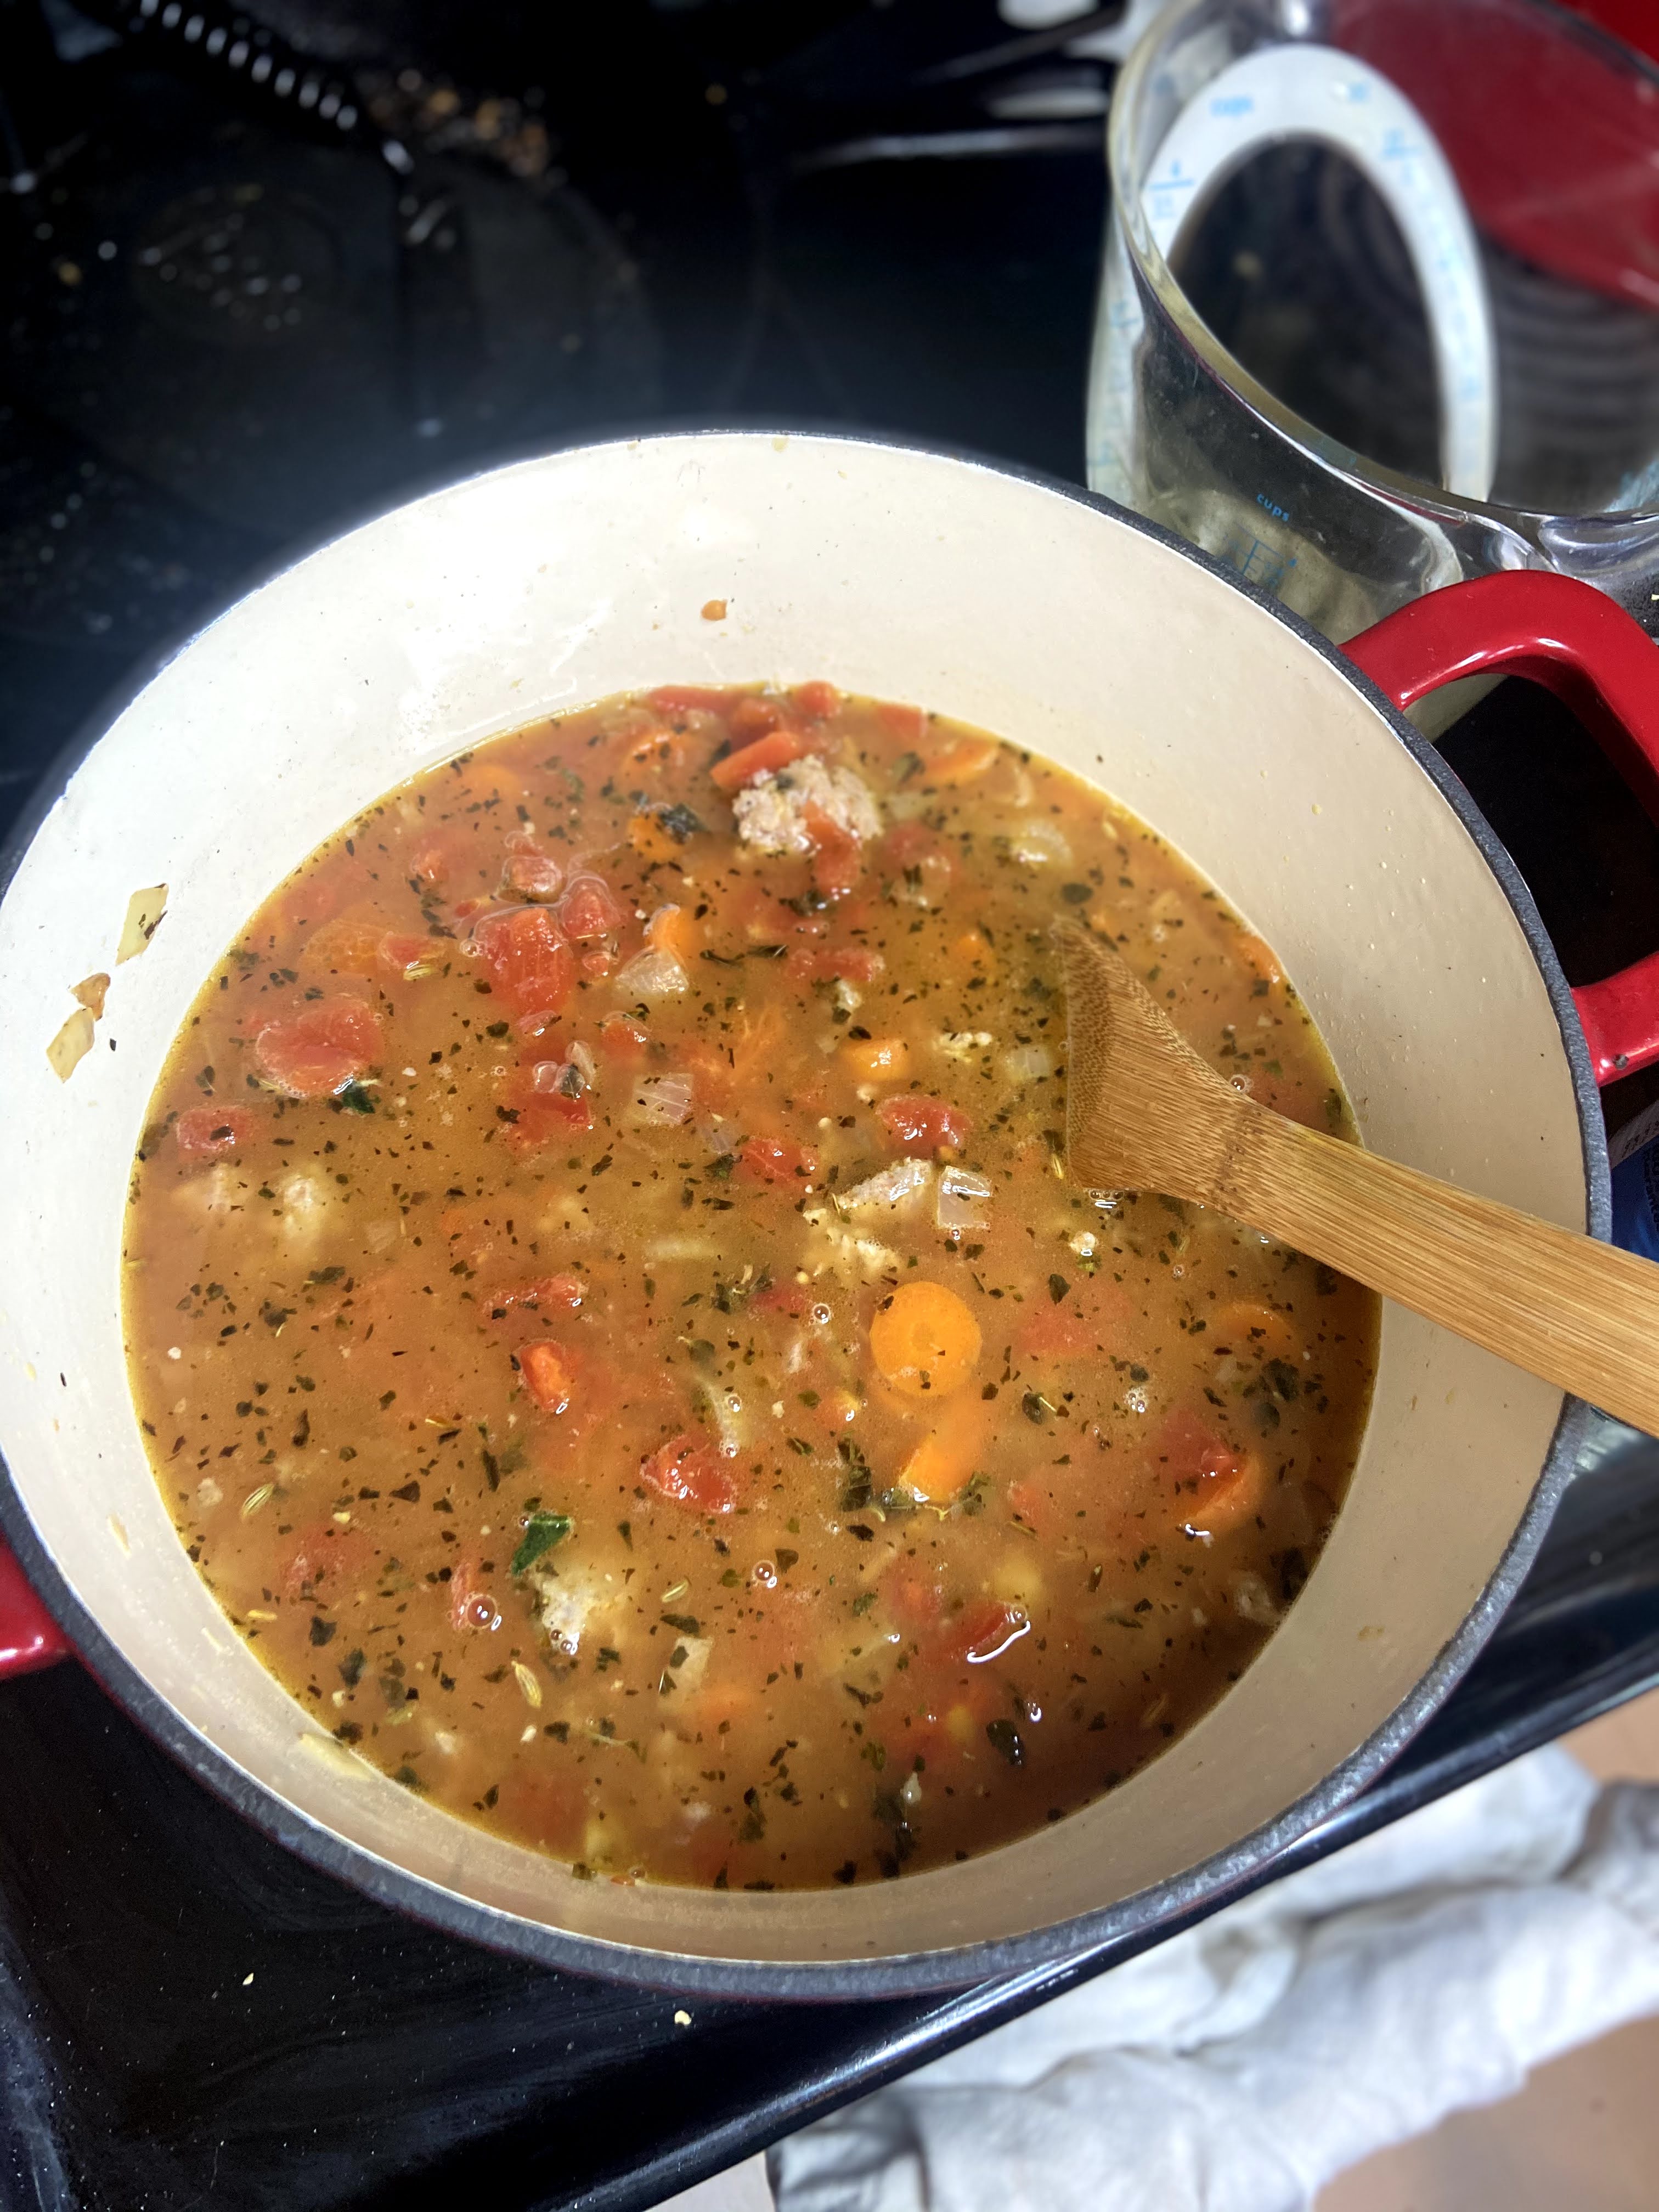
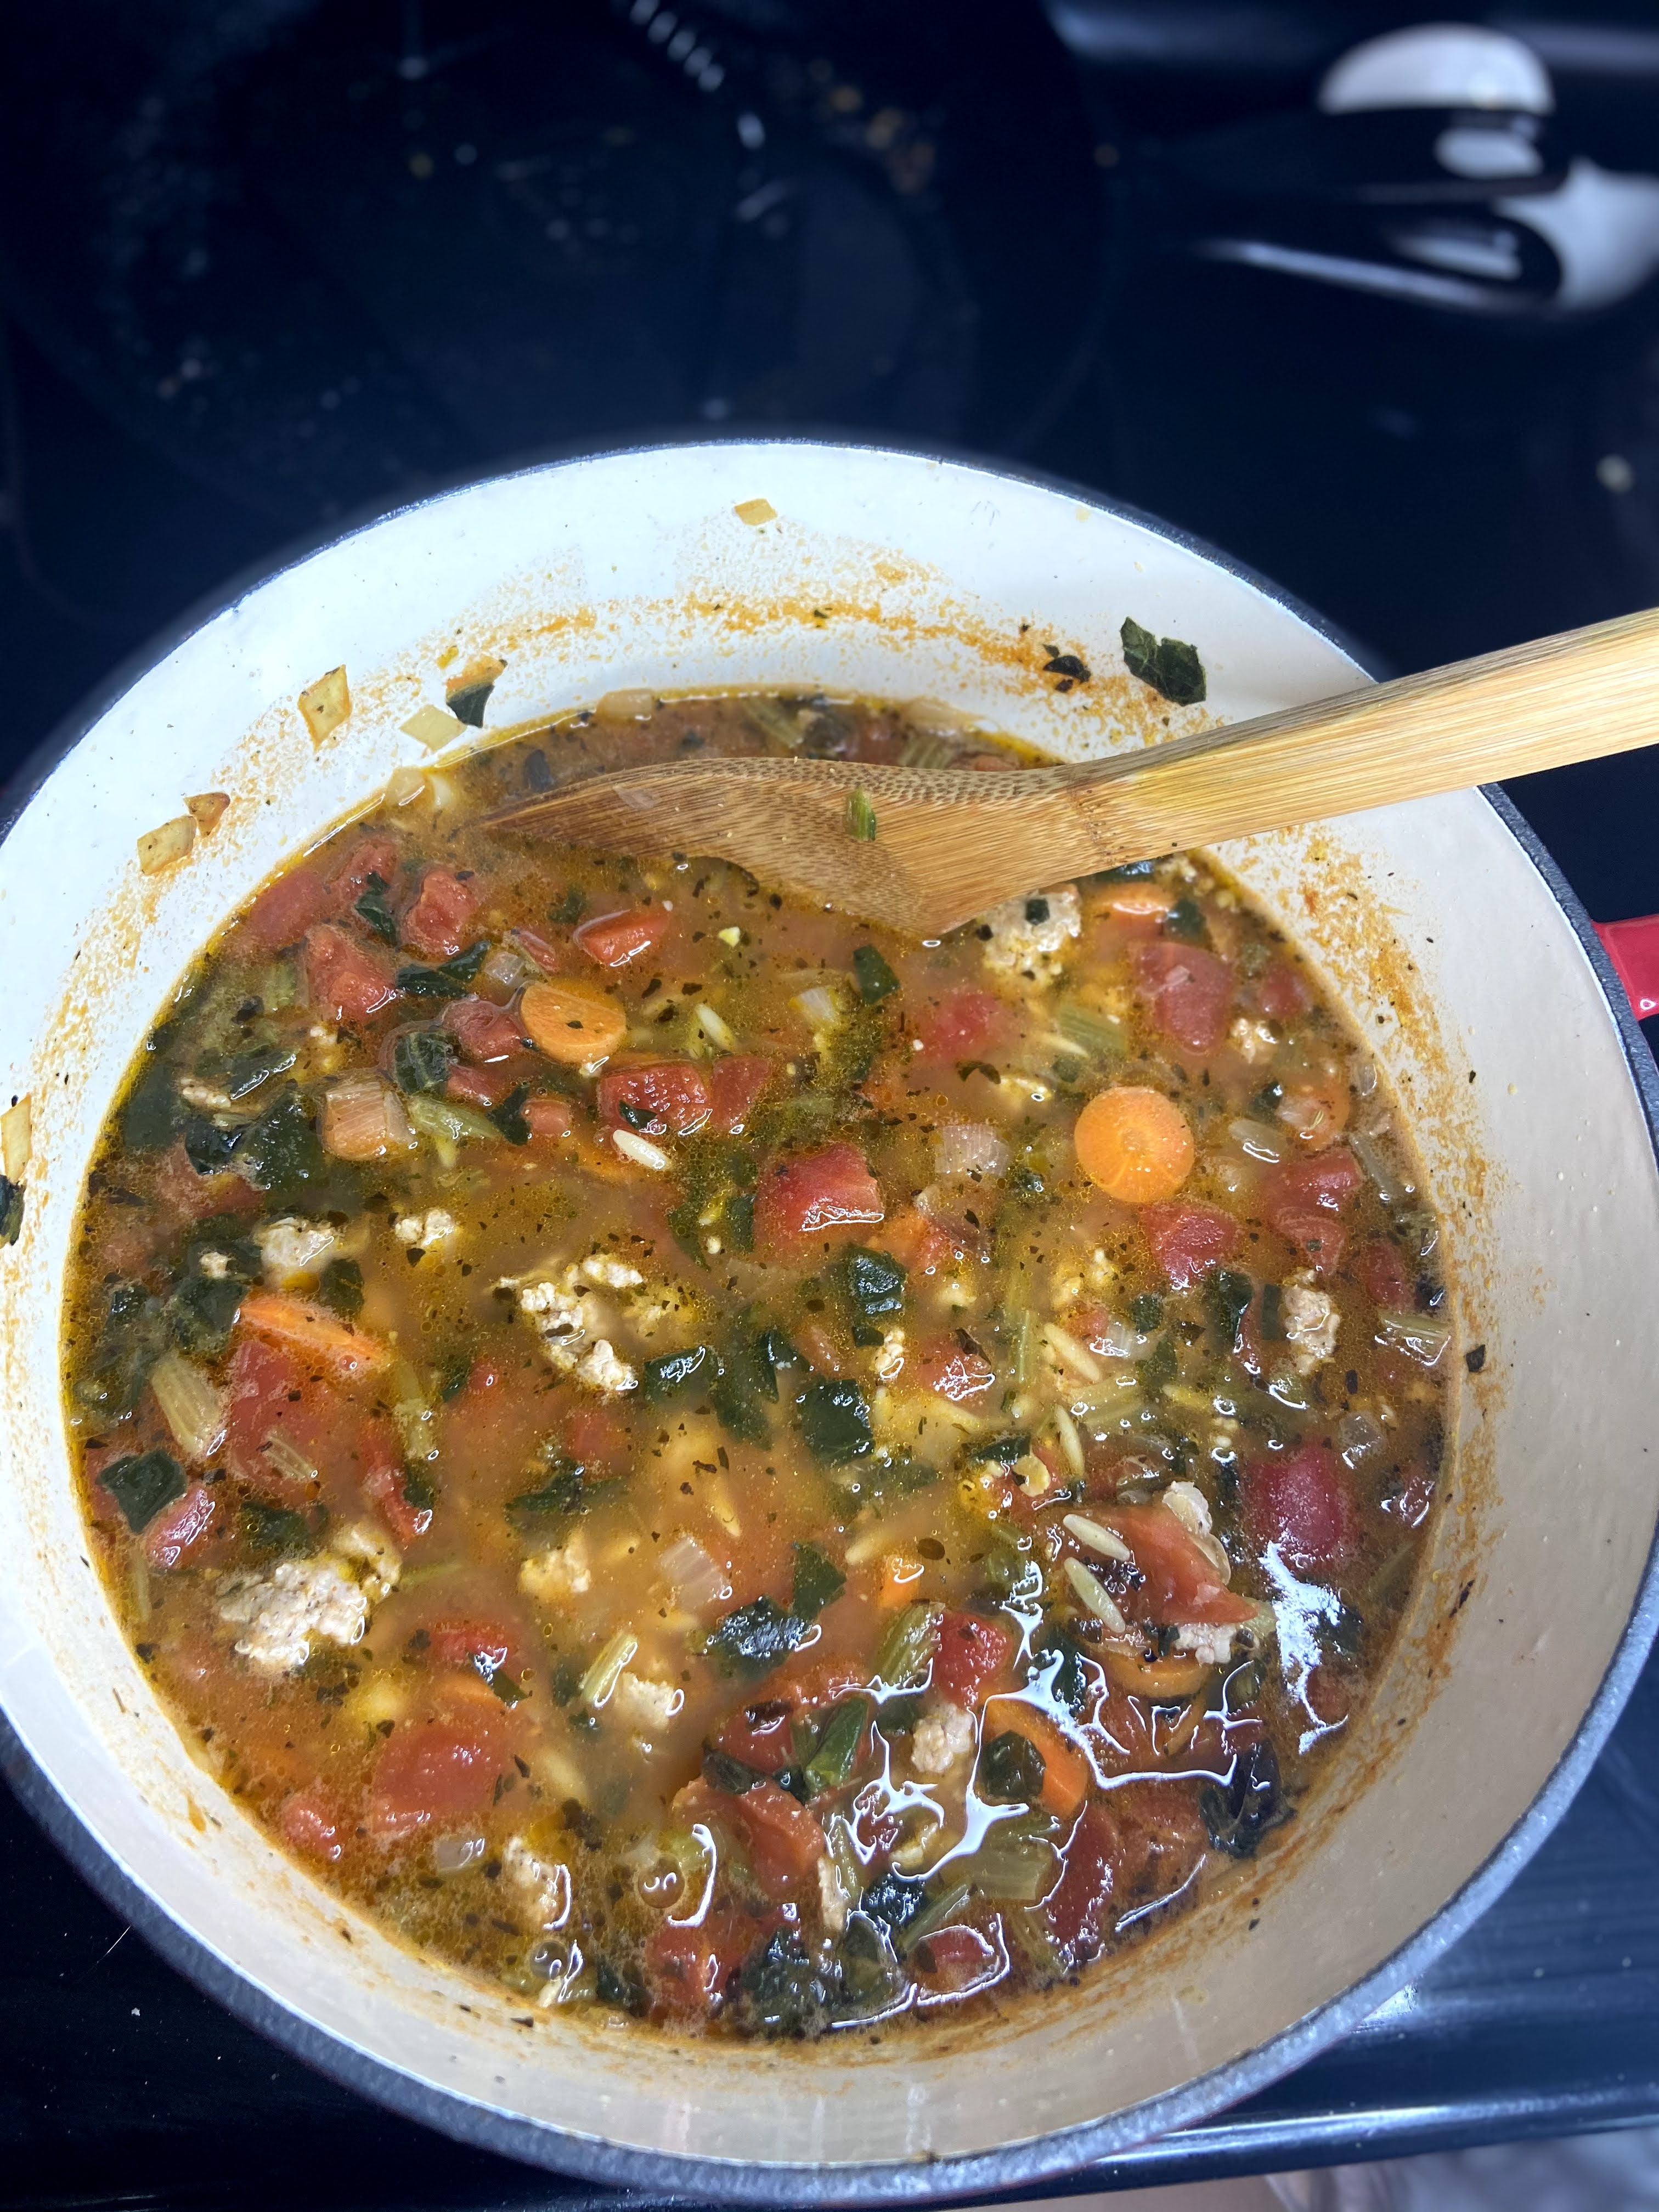
Stir in the tomatoes, spinach, and browned sausage. Bring the soup to a boil and add orzo. Cook according to package directions. Allow to cool slightly and serve!⁠

Tools of the Trade

I talk about using a cast iron Dutch oven all the time. I can’t help it, it truly is something I could not live without in my kitchen. Besides a Dutch oven, also talk about the Orrington Farm stock often enough. I always have at least two flavors at home. And now I see they have a vegan option. How cool is that? Finally, I just really dig a flexible cutting board. Those are my favorites, friends! Happy cooking!

Perfection

Italian Sausage and Orzo Soup

Pantry items abound in this veggie-ful soup that is sure to please all the eaters at your house
Prep Time 20 minutes
Cook Time 20 minutes
Course Main Course
Cuisine American
Servings 6 people

Equipment

Ingredients
  

  • 1 tablespoon olive oil ⁠
  • 1 pound Italian sausage⁠
  • 1 cup diced onion⁠
  • 1 cup diced carrot⁠
  • 1 teaspoon minced garlic⁠
  • 1/2 teaspoon fennel seed⁠
  • 1/2 teaspoon pepper⁠
  • 1 teaspoon dried basil⁠
  • 1 teaspoon dried oregano⁠
  • 1 cup chopped frozen spinach⁠
  • 1 can chick peas rinsed (half of the can pureed)⁠
  • 4 cups chicken or vegetable stock⁠
  • 28 ounces diced tomatoes⁠
  • 1/2 cup dried orzo⁠
  • salt to taste⁠

Instructions
 

  • In a large dutch oven, heat olive oil. Add Italian sausage and cook until browned. Remove from the pan and set aside.
  • Add onion, carrot, garlic, fennel, basil, and oregano.
  • Cook on medium heat until softened, abut 8 minutes. Add pureed chick peas, stirring often.
  • Slowly add chicken stock, stirring after each add.
  • Stir in the tomatoes, spinach, and browned sausage.
  • Bring the soup to a boil and add orzo. Cook according to package directions.
  • Allow to cool slightly and serve!⁠
Keyword Italian sausage, orzo, soup
Tried this recipe?Let us know how it was!

Looking for other great recipes?

Check out my cooking page for savory inspiration or click below to add a dessert or two!

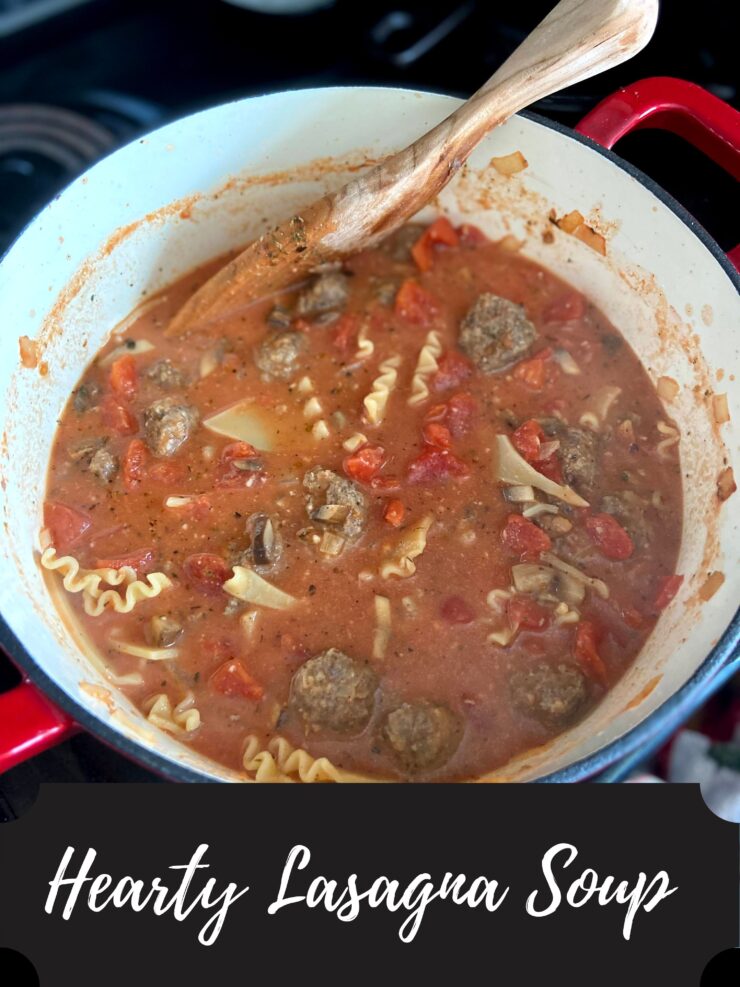
Hearty Lasagna Soup

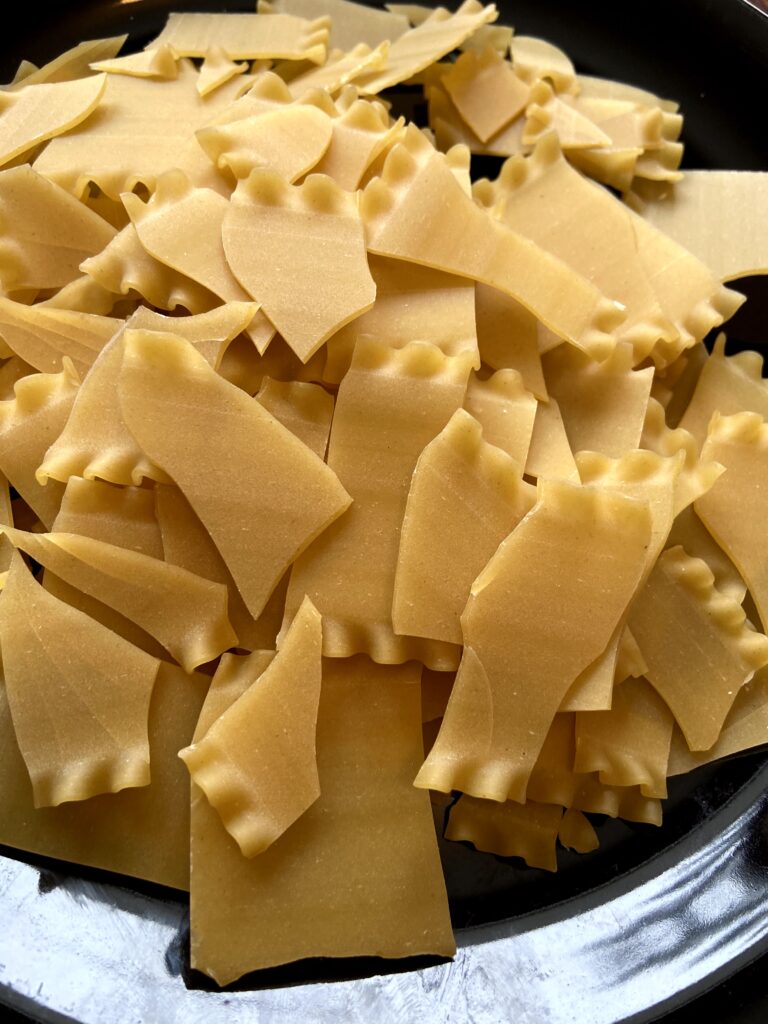
It’s Sunday morning and I don’t have a plan for dinner yet. See, Sunday’s are generally a low key day for me. I might have a long run to do if I didn’t get it done on Saturday, but more often than not, my workouts are more minimal and I often spend the day creating in the kitchen. But sometimes I am not feeling overly experimental. When those weekends happen, I find myself falling on my two go tos: soups and stews or Italian. Recently, I merged the two together in a hearty lasagna soup. 

I adore all things Italian. First of all, pasta. Am I right or am I right? I know it’s a thing to cut all the carbs and gluten from your diet, but I am here to say I embrace them, but simply go in moderation. Second of all, Italian food is quite possibly the biggest comfort food for me. And finally, it ALWAYS pairs well with a salad and I am all about the salad life. 

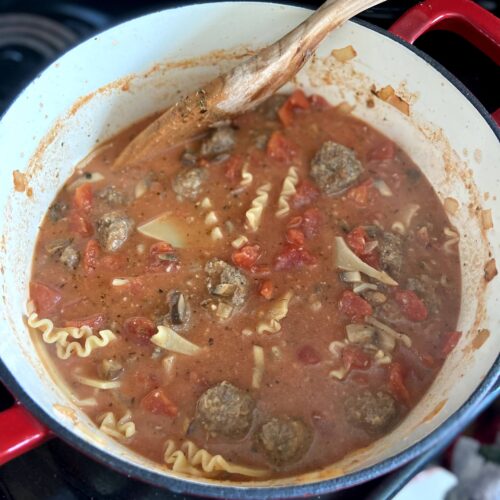
So when I had some ground beef and ricotta in my fridge, but wasn’t in the mood to actually put together a true lasagna, I tried my hand at this soup. It was easier to make than I suspected it would be and honestly, I loved eating it over a few days as the noodles absorbed some of the liquid. It became more of a casserole over time, and I wasn’t complaining. It’s like two different meals in one! 

Now, I used ground beef in the initial recipe, but I definitely think I will use ground Italian sausage from here on out, and that’s the route I am going to go in this recipe. Also, if you don’t have ground Italian sausage on hand, you could totally use actual Italian sausage sliced up or with the skins removed. Also, my family said they would have liked the noodles a little smaller; I liked them the way they were, but you can find your own jam. 

Ready to get cooking?! Let’s put together some Hearty Lasagna Soup!

Your Ingredients

  • 1 pound ground Italian sausage
  • 1 egg, beaten
  • 4 Tablespoons bread crumbs
  • 2 Tablespoons grated Parmesan

Or skip these ingredients and substitute premade meatballs, but you know I’m all about made from scratch

  • 8 lasagna noodles, broken apart and then cooked according to package directions
  • 28 ounces diced tomatoes, undrained
  • 2 cups beef stock (My go to is this Orrington Farms Broth Base and Seasoning)
  • 15 ounces tomato sauce
  • 1 tablespoon olive oil 
  • ½ cup diced onion 
  • 1 teaspoon minced garlic
  • ¾ cup sliced mushrooms
  • 2 teaspoons dried oregano
  • 1 teaspoon basil 
  • ½  teaspoon black pepper (or red pepper flakes if that’s your jam!)
  • ¼-½ cup grated parmesan 
  • ¼ cup heavy cream 
  • Salt, to taste
  • Ricotta, for topping 

Your Steps to Hearty Lasagna Soup

Preheat the oven to 350 degrees and line a baking sheet with foil for less clean up. In a medium bowl, combine the egg, bread crumbs, Italian sausage, and Parmesan cheese. Shape into one inch meatballs and place on the jelly roll pan. Bake for 10-15 minutes, until cooked through. 

While the meatballs are baking, you have a few tasks. First, cook the noodles to al dente if you have not already. Drain and set aside. 

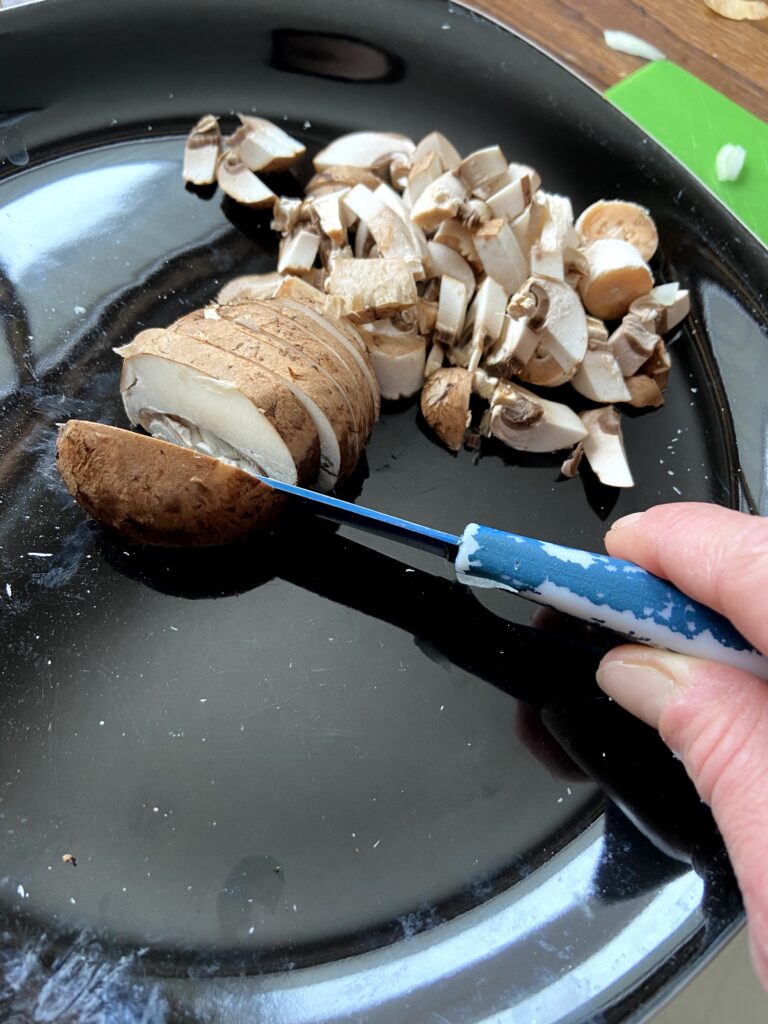
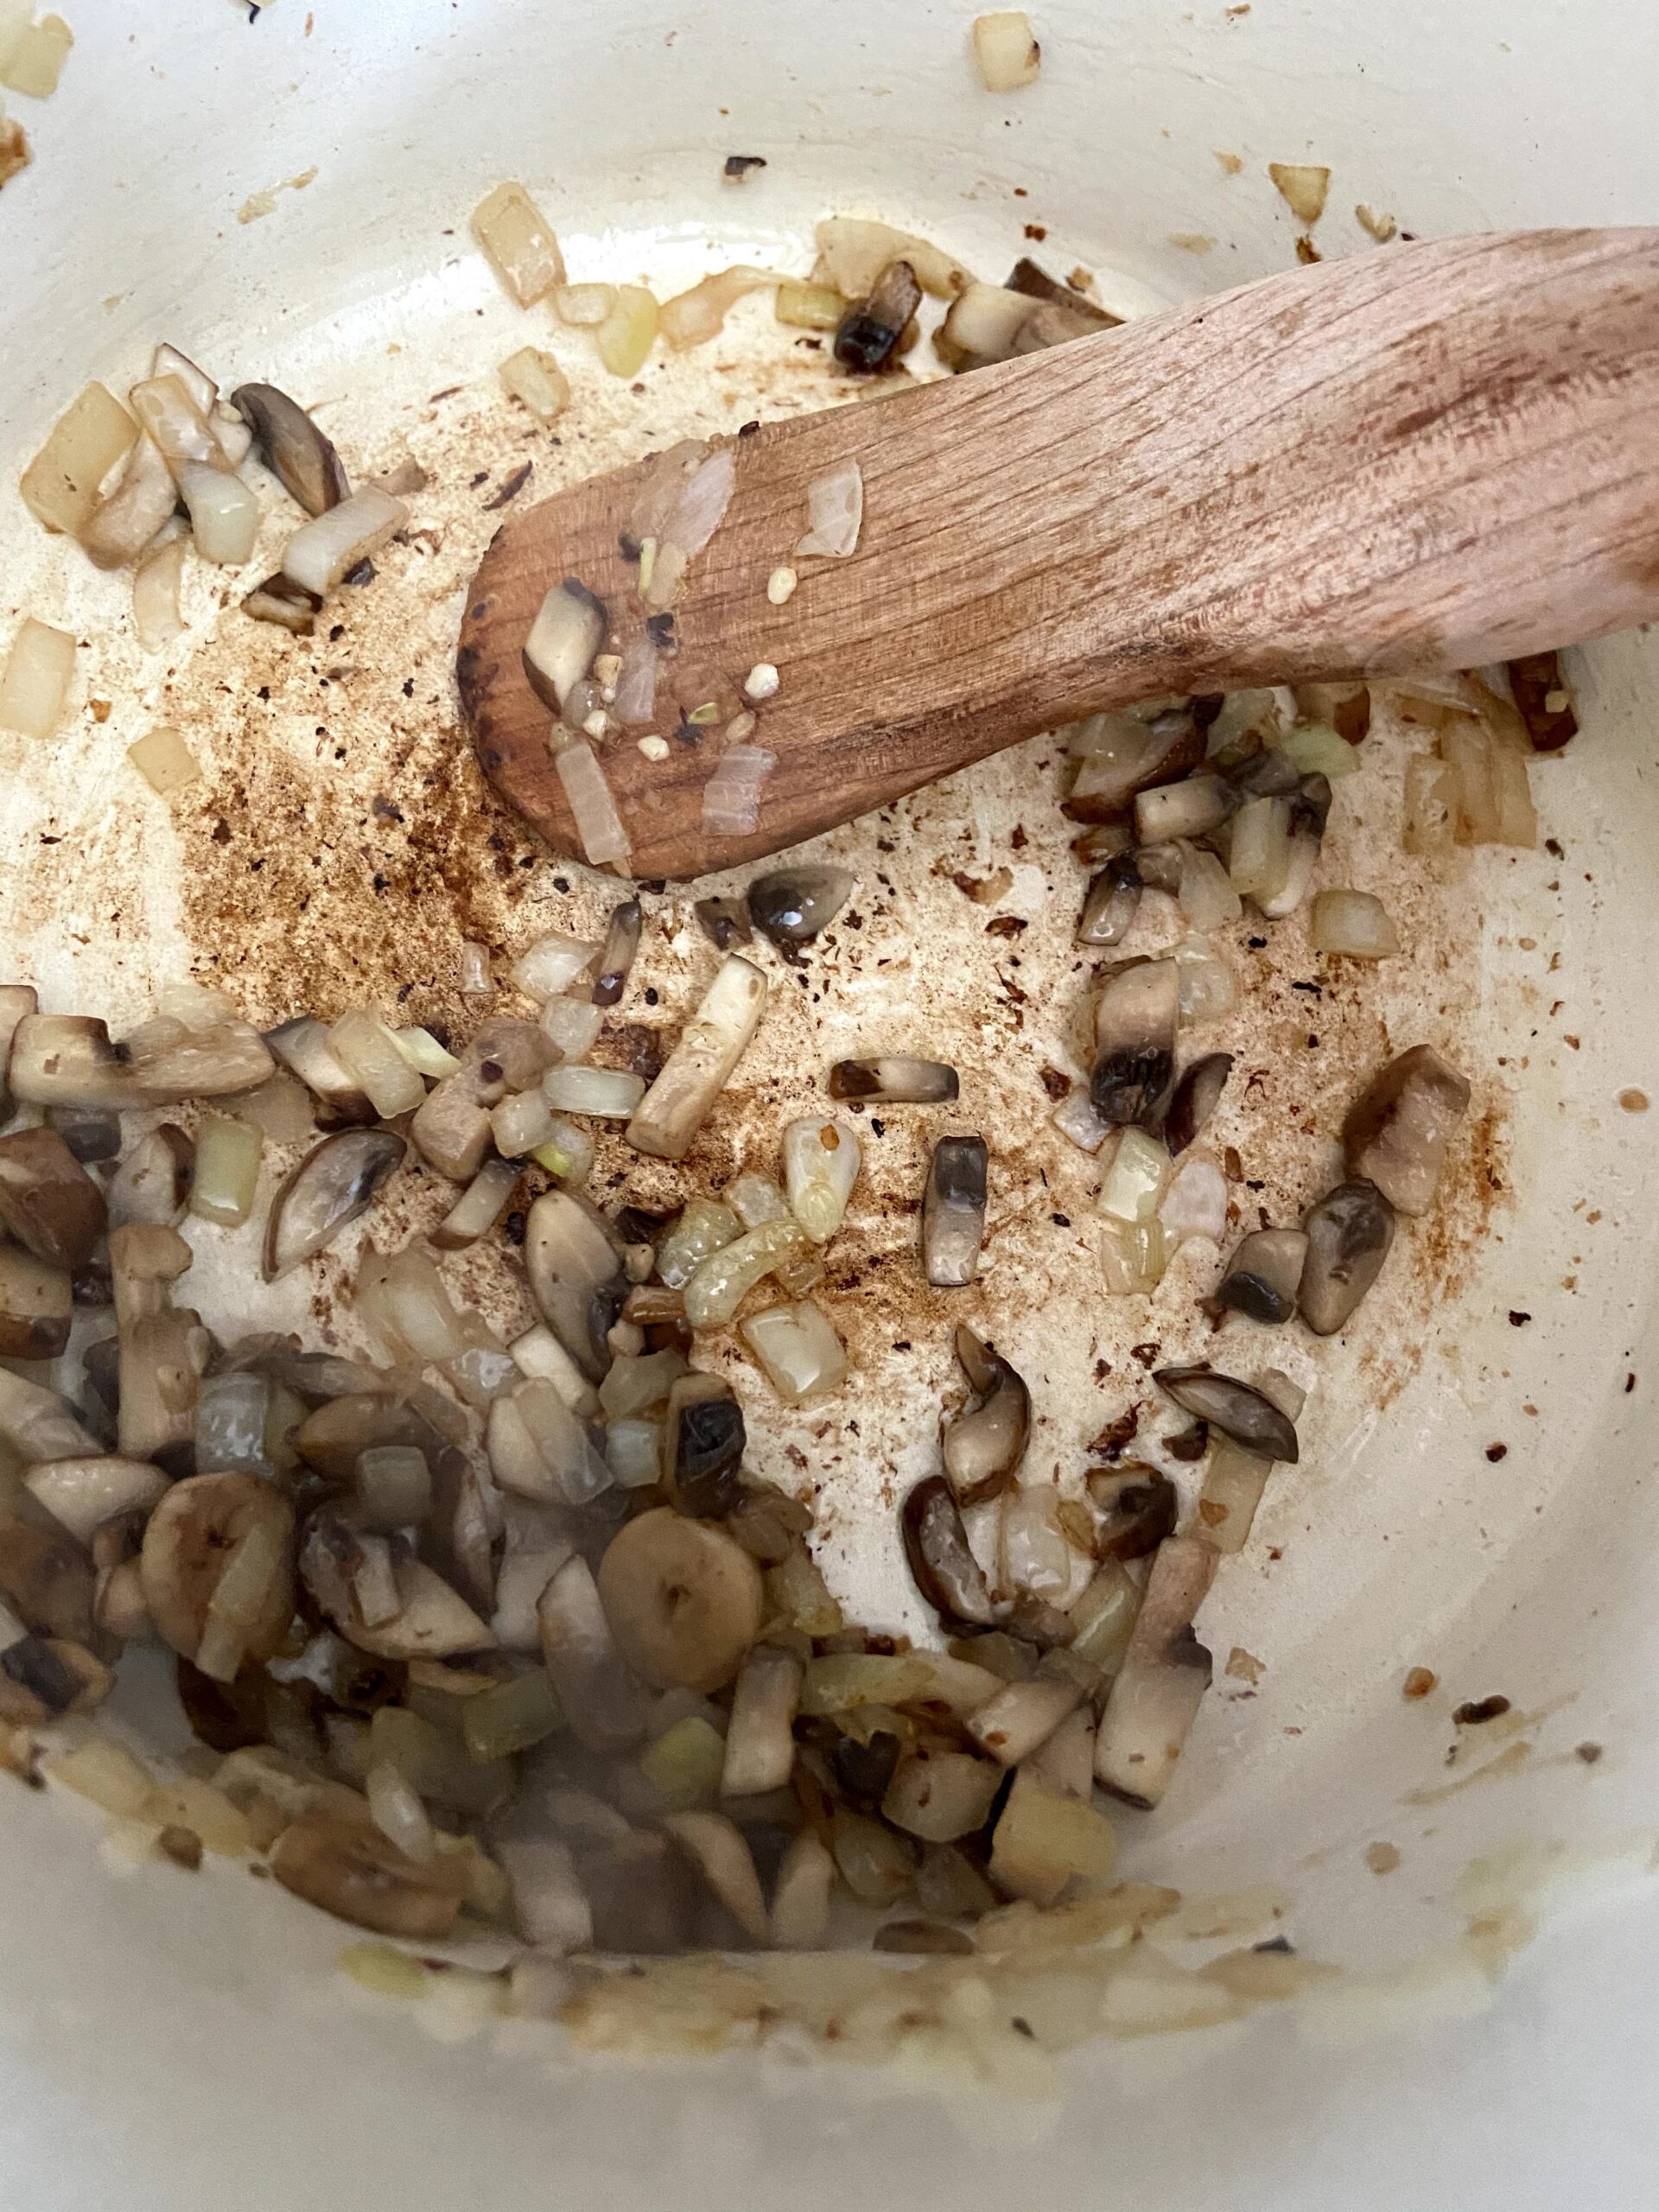
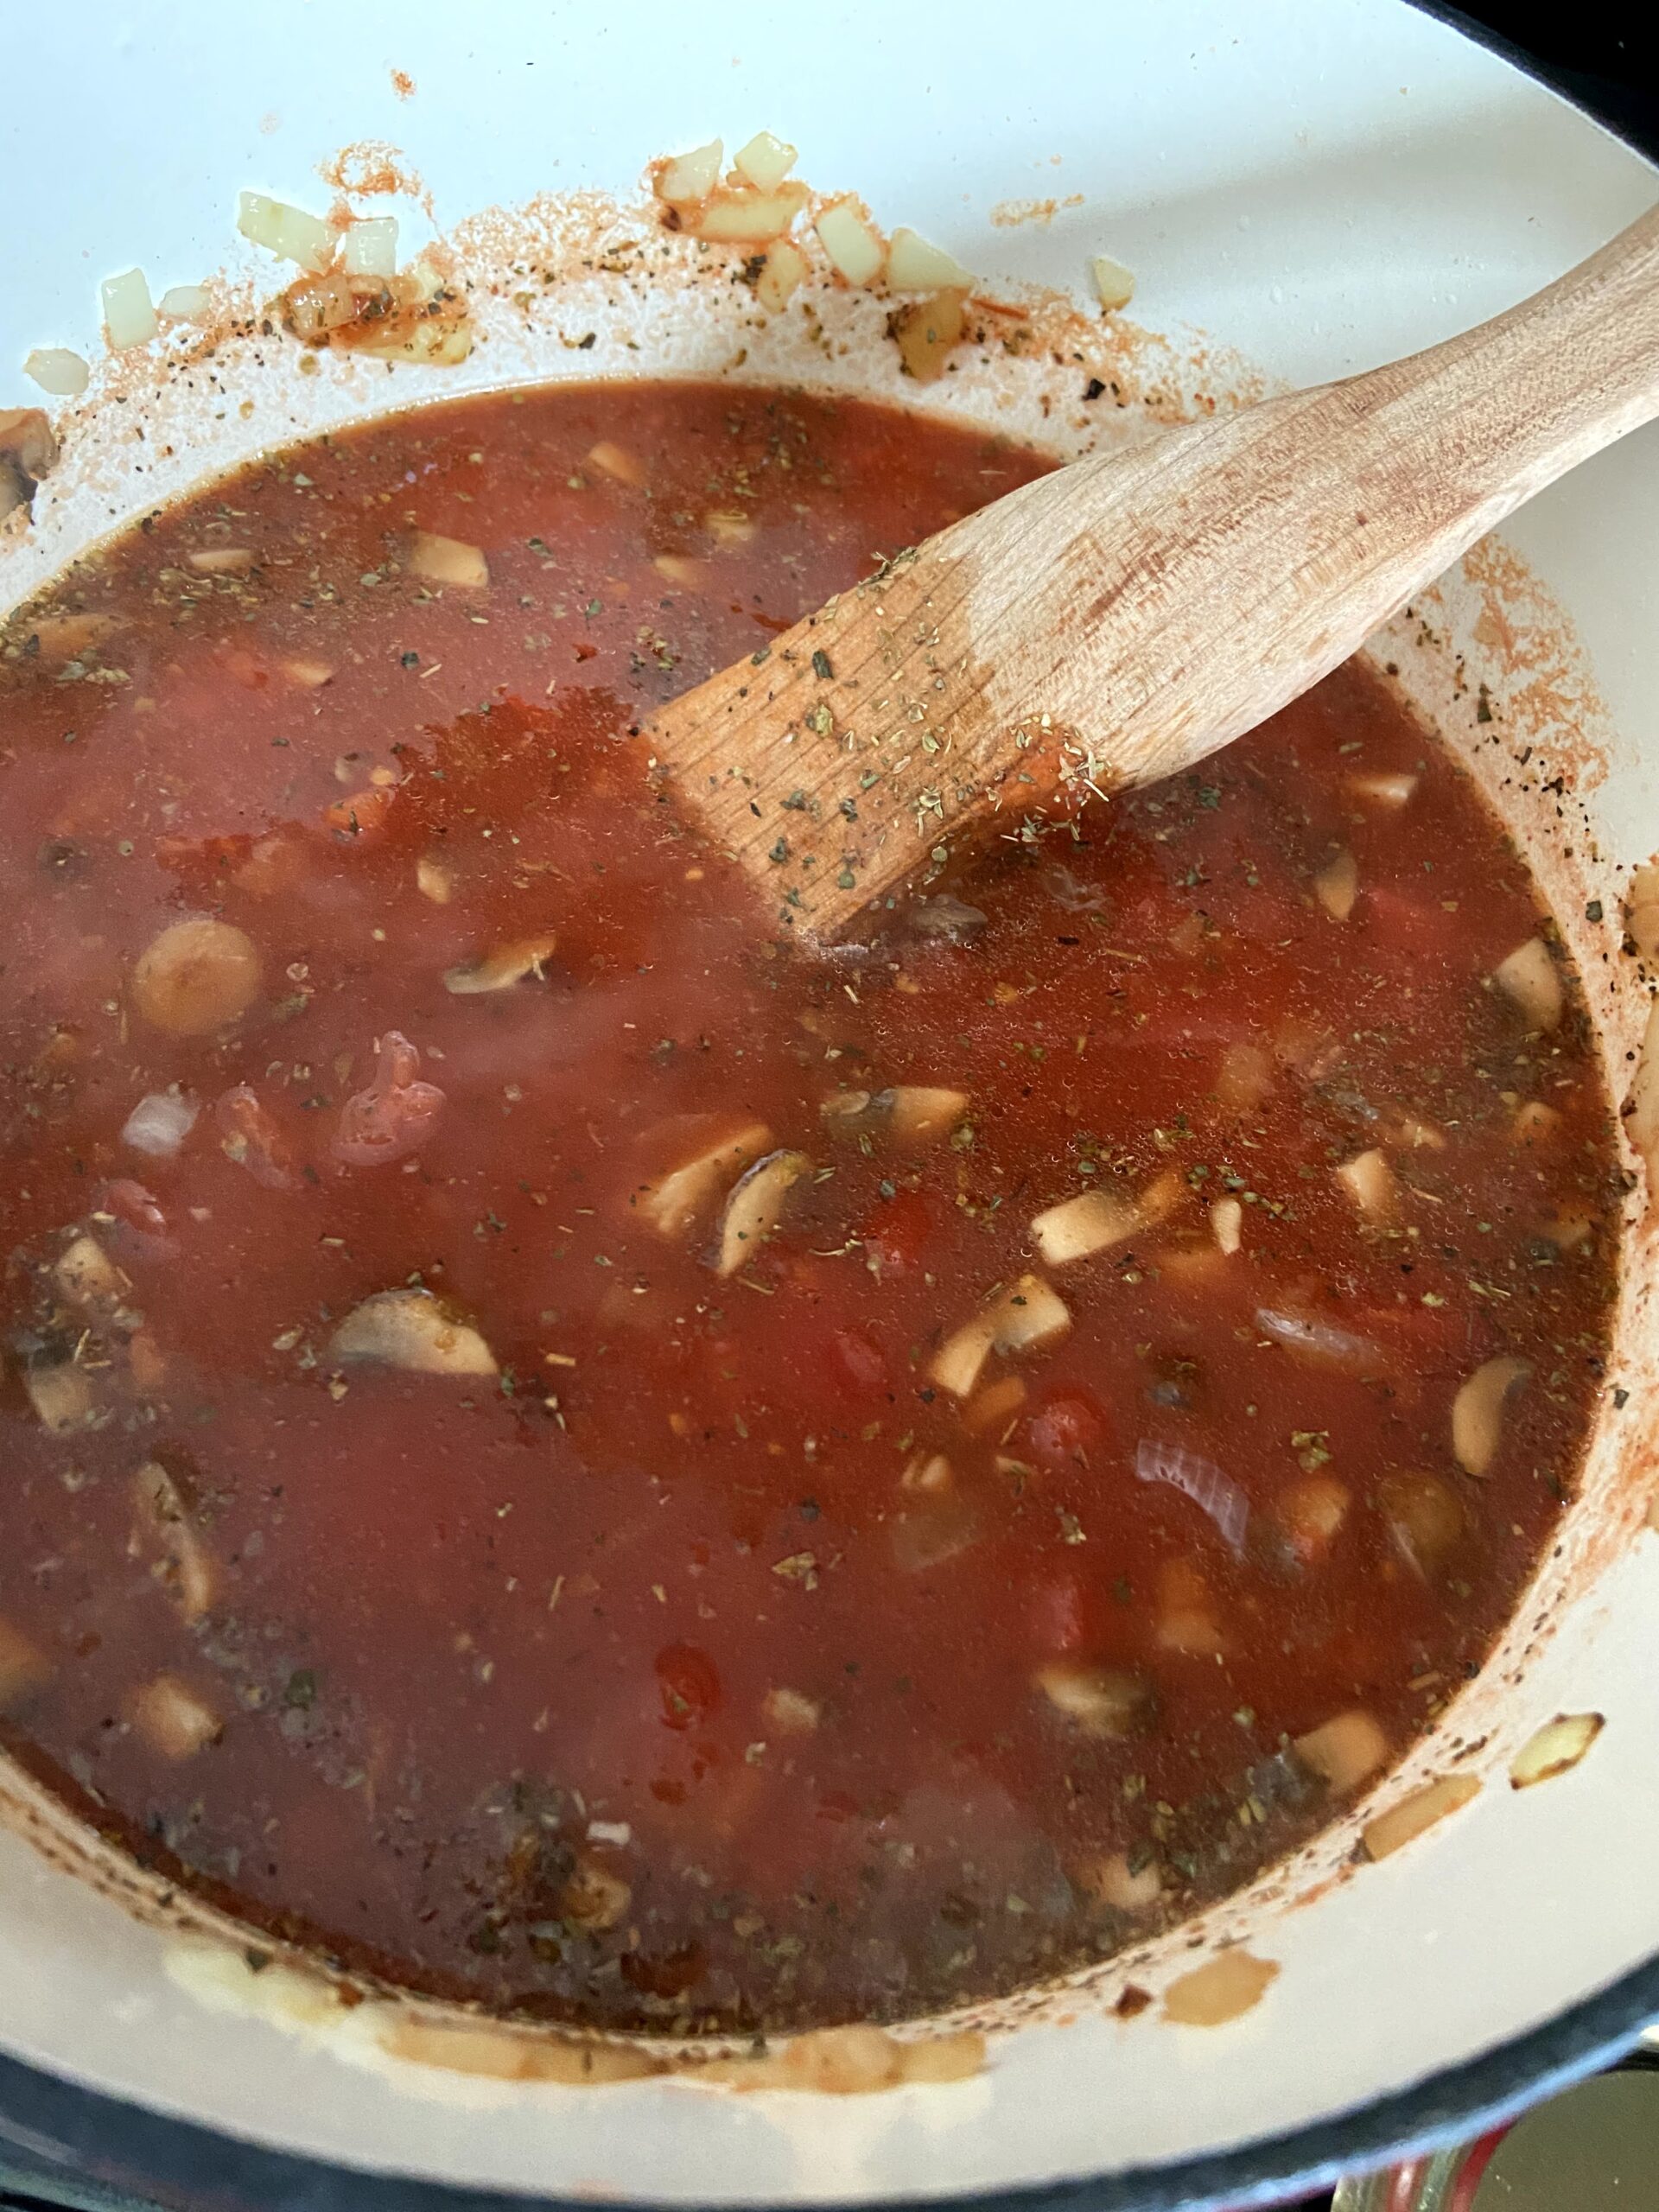
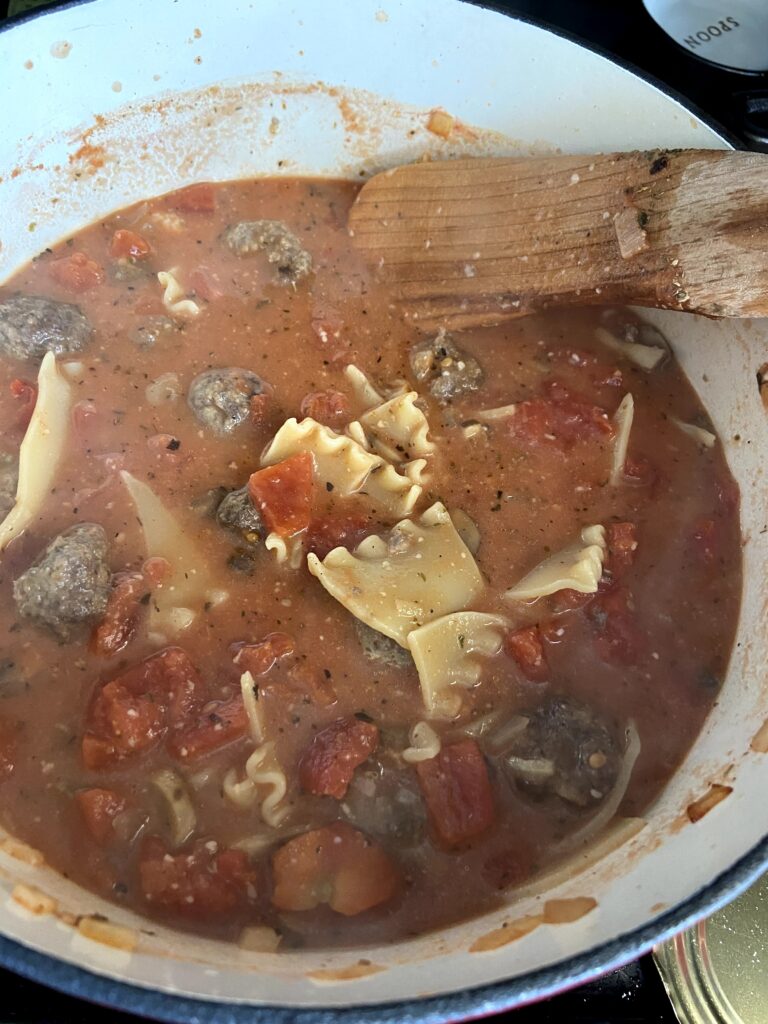
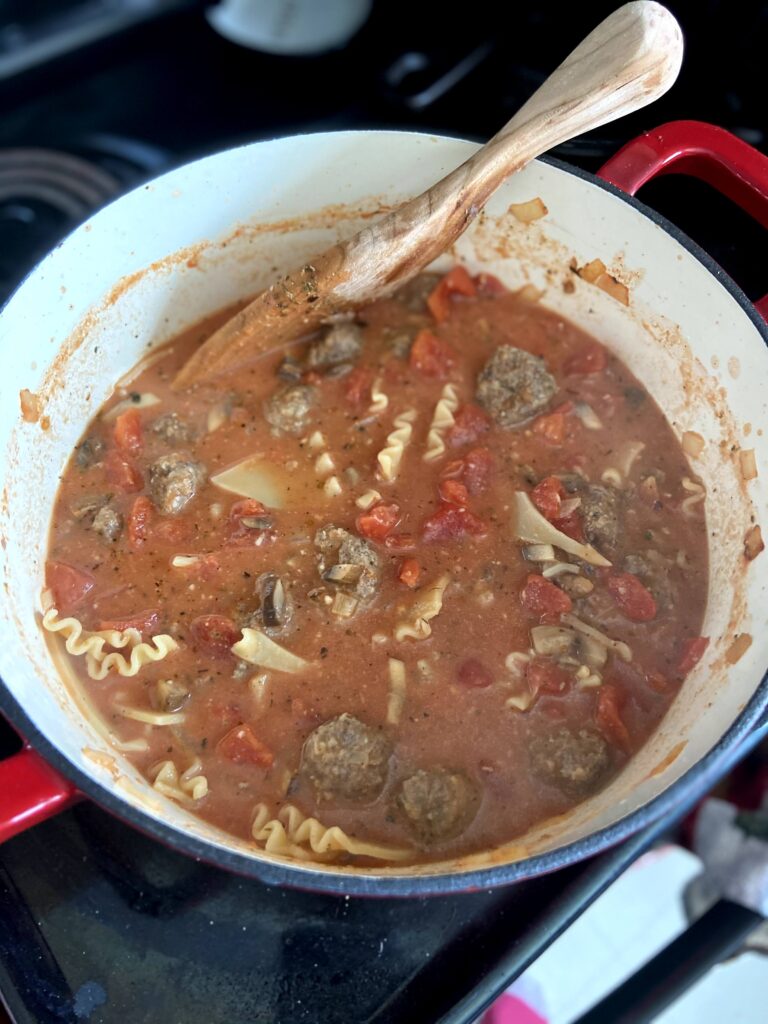
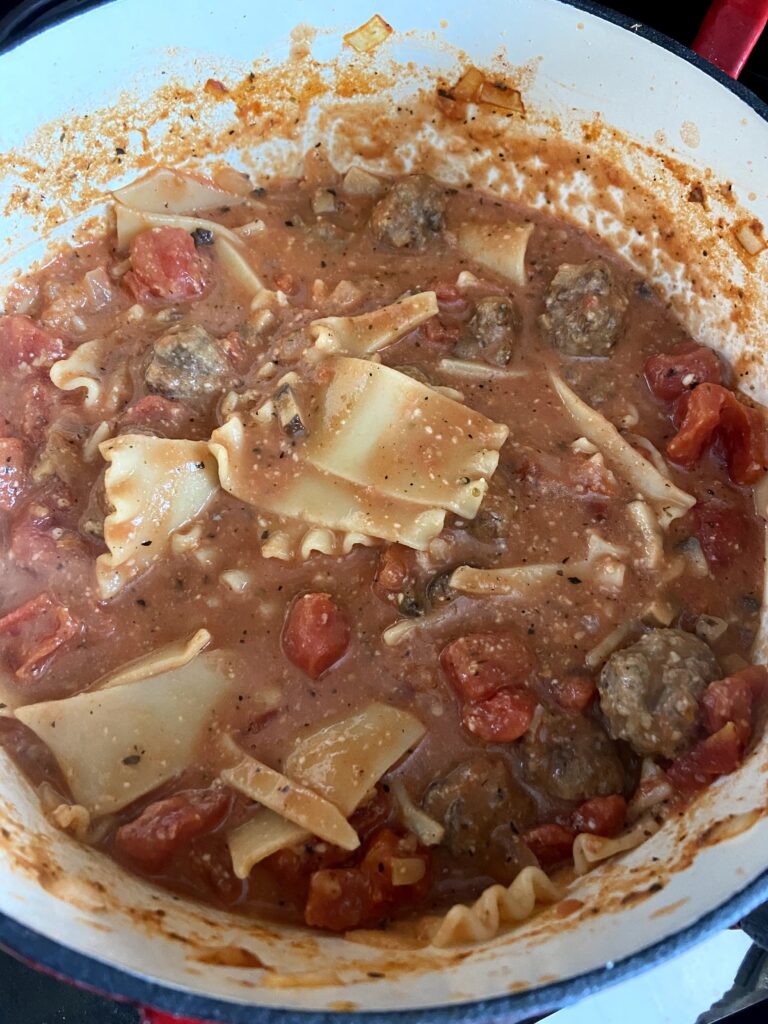
Then begin to heat olive oil in a large dutch oven (I love my Lodge Enameled Dutch Oven so much!) over medium-high heat. Add onions and garlic. Saute six minutes, until just translucent. Add mushrooms and cook an additional two minutes, until softened. Stir in tomato sauce, oregano, and pepper. Allow to simmer for 5 minutes. Add diced tomatoes, beef stock, parmesan cheese, meatballs, and salt, if necessary. Simmer an additional 15 minutes. Finally, stir in cooked noodles and heavy cream. Cook until heated through. Serve with a dollop of ricotta on top, a side salad (of course!), and perhaps some garlic bread for good measure. 

I don’t know about you, but that sure sounds like comfort food at its finest. And it’s so much easier than prepping a lasagna! 

Looking for other dinner inspiration? Check out my cooking page by clicking the button below!

Hearty Italian Soup

Any season is soup season and this hearty lasagna soup combines two of the best comfort foods: soups and stews and Italian. Doesn't get much better!
Prep Time 20 minutes
Cook Time 30 minutes
Course Main Course
Cuisine Italian
Servings 8

Ingredients
  

  • 1 pound ground Italian sausage
  • 1 egg beaten
  • 4 tablespoons bread crumbs
  • 2 tablespoons grated Parmesan
  • 8 lasagna noodles broken apart and then cooked according to package directions
  • 28 ounces diced tomatoes undrained
  • 2 cups beef stock
  • 15 ounces tomato sauce
  • 1 tablespoon olive oil
  • ½ cup diced onion
  • 1 teaspoon minced garlic
  • ¾ cup sliced mushrooms
  • 2 teaspoons dried oregano
  • 1 teaspoon basil
  • ½ teaspoon black pepper or red pepper flakes
  • ¼-½ cup grated parmesan
  • ¼ cup heavy cream
  • Salt to taste
  • Ricotta for topping

Instructions
 

  • Preheat the oven to 350 degrees and line a baking sheet with foil for less clean up. In a medium bowl, combine the egg, bread crumbs, Italian sausage, and Parmesan cheese.
  • Shape into one inch meatballs and place on the jelly roll pan. Bake for 10-15 minutes, until cooked through.
  • While the meatballs are cooking, cook the noodles to al dente if you have not already. Drain and set aside.
  • Begin to heat olive oil in a large dutch oven over medium-high heat.
  • Add onions and garlic. Saute six minutes, until just translucent.
  • Add mushrooms and cook an additional two minutes, until softened.
  • Stir in tomato sauce, oregano, and pepper. Allow to simmer for 5 minutes.
  • Add diced tomatoes, beef stock, parmesan cheese, meatballs, and salt, if necessary.
  • Simmer an additional 15 minutes. Finally, stir in cooked noodles and heavy cream. Cook until heated through. Serve with a dollop of ricotta on top.

Notes

Feel free to skip making your own meatballs and use pre made, frozen meatballs. 
Depending on if your tomato produces are salt free or not, you will need to add additional salt to bring out all the flavors. Be sure to taste test!
Keyword lasagna, lasagna soup, soup, soup and stews
Tried this recipe?Let us know how it was!

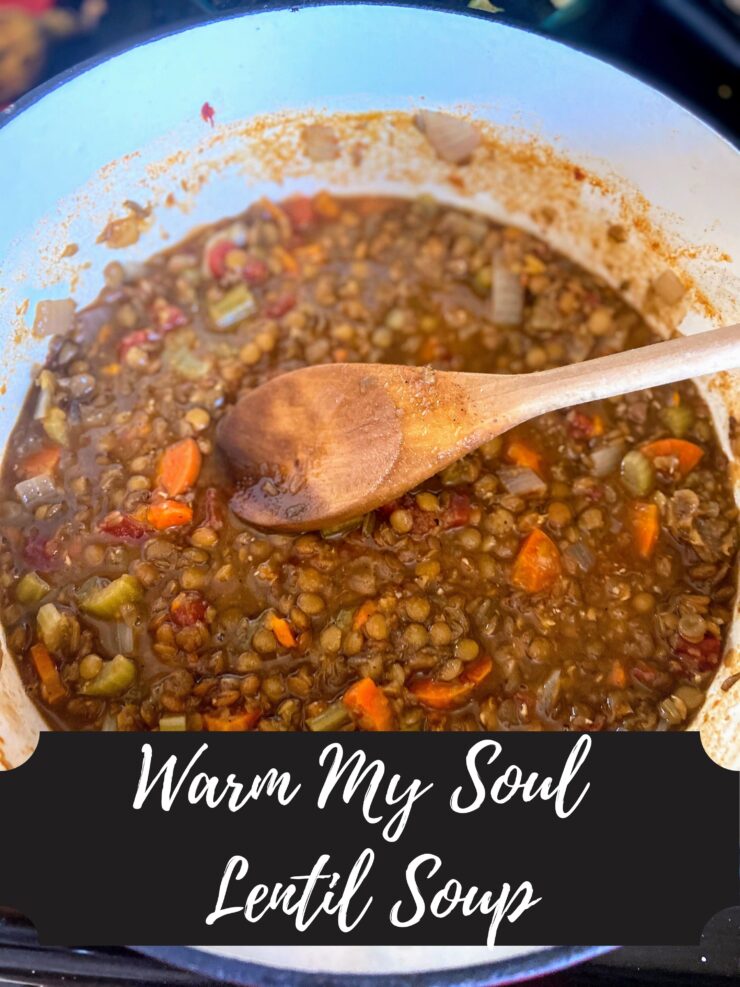
Warm My Soul Lentil Soup

A girl can do a lot with a cast iron Dutch oven (this one is from The Lodge is my favorite) and a wooden spoon. If I had to keep just two kitchen “gadgets,” those would be it. If you take a gander at my cooking page, you’ll see that I simply adore soup of all kinds and a cast iron Dutch oven is a must if you’re a soup lover. Classics like chicken noodle and a kitchen sink vegetable soup (Check out that recipe, it’s a pantry item soup that’s just to die for!) are my go to, but I’ve been trying to branch out as well.

When COVID hit, I found myself cooking more and feeling inspired to try new ingredients. I picked up lentils and gave them a try. First, I made a salad. It was okay. Went to lentil “meatballs” and it got better. Finally, I tried a warm my soul lentil soup, and I was sold. It was so easy to put together, filling, delicious, and easy on the pocketbook. What’s not to like, right?

Your Ingredients

  • 2-3 tablespoons olive oil ⁠
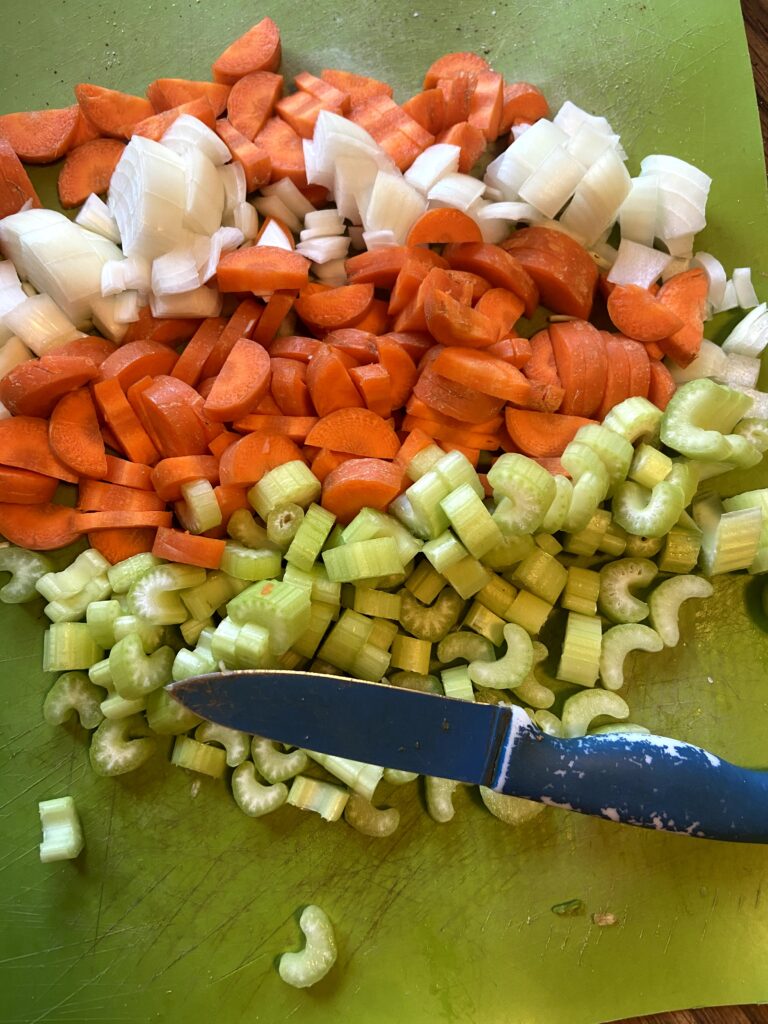
  • 1 onion, chopped⁠
  • 3 carrots, diced⁠
  • 3 celery stalks, diced⁠
  • 1 1/2 teaspoons minced garlic ⁠
  • 2 cups dried green lentils ⁠
  • 1 15.5 ounce can diced tomatoes with salt, undrained⁠
  • 5-6 cups chicken stock⁠
  • 1/2 teaspoon cumin powder⁠
  • 1/2 teaspoon coriander⁠
  • 1 1/2 tablespoon paprika ⁠
  • pepper, to taste⁠

Your Steps to Warm Your Soul Lentil Soup 

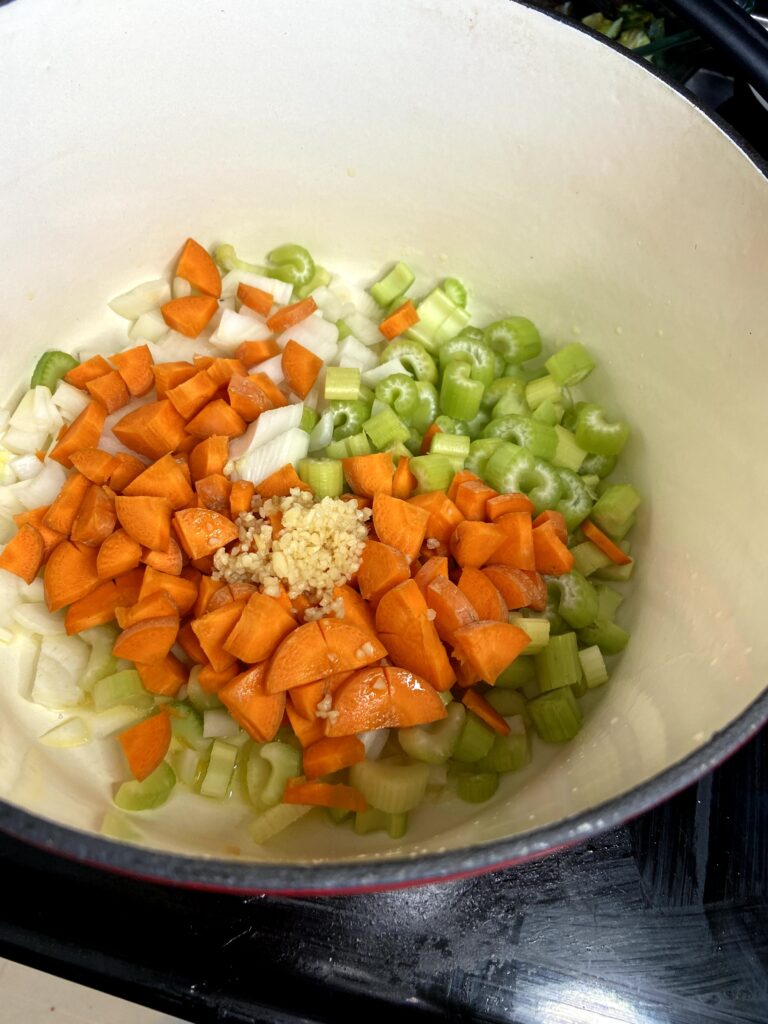
In a dutch oven, heat olive oil over medium heat. Once hot, add onion, celery, carrots, and minced garlic. Saute until soft, about 8 minutes. Stir in remaining ingredients. 

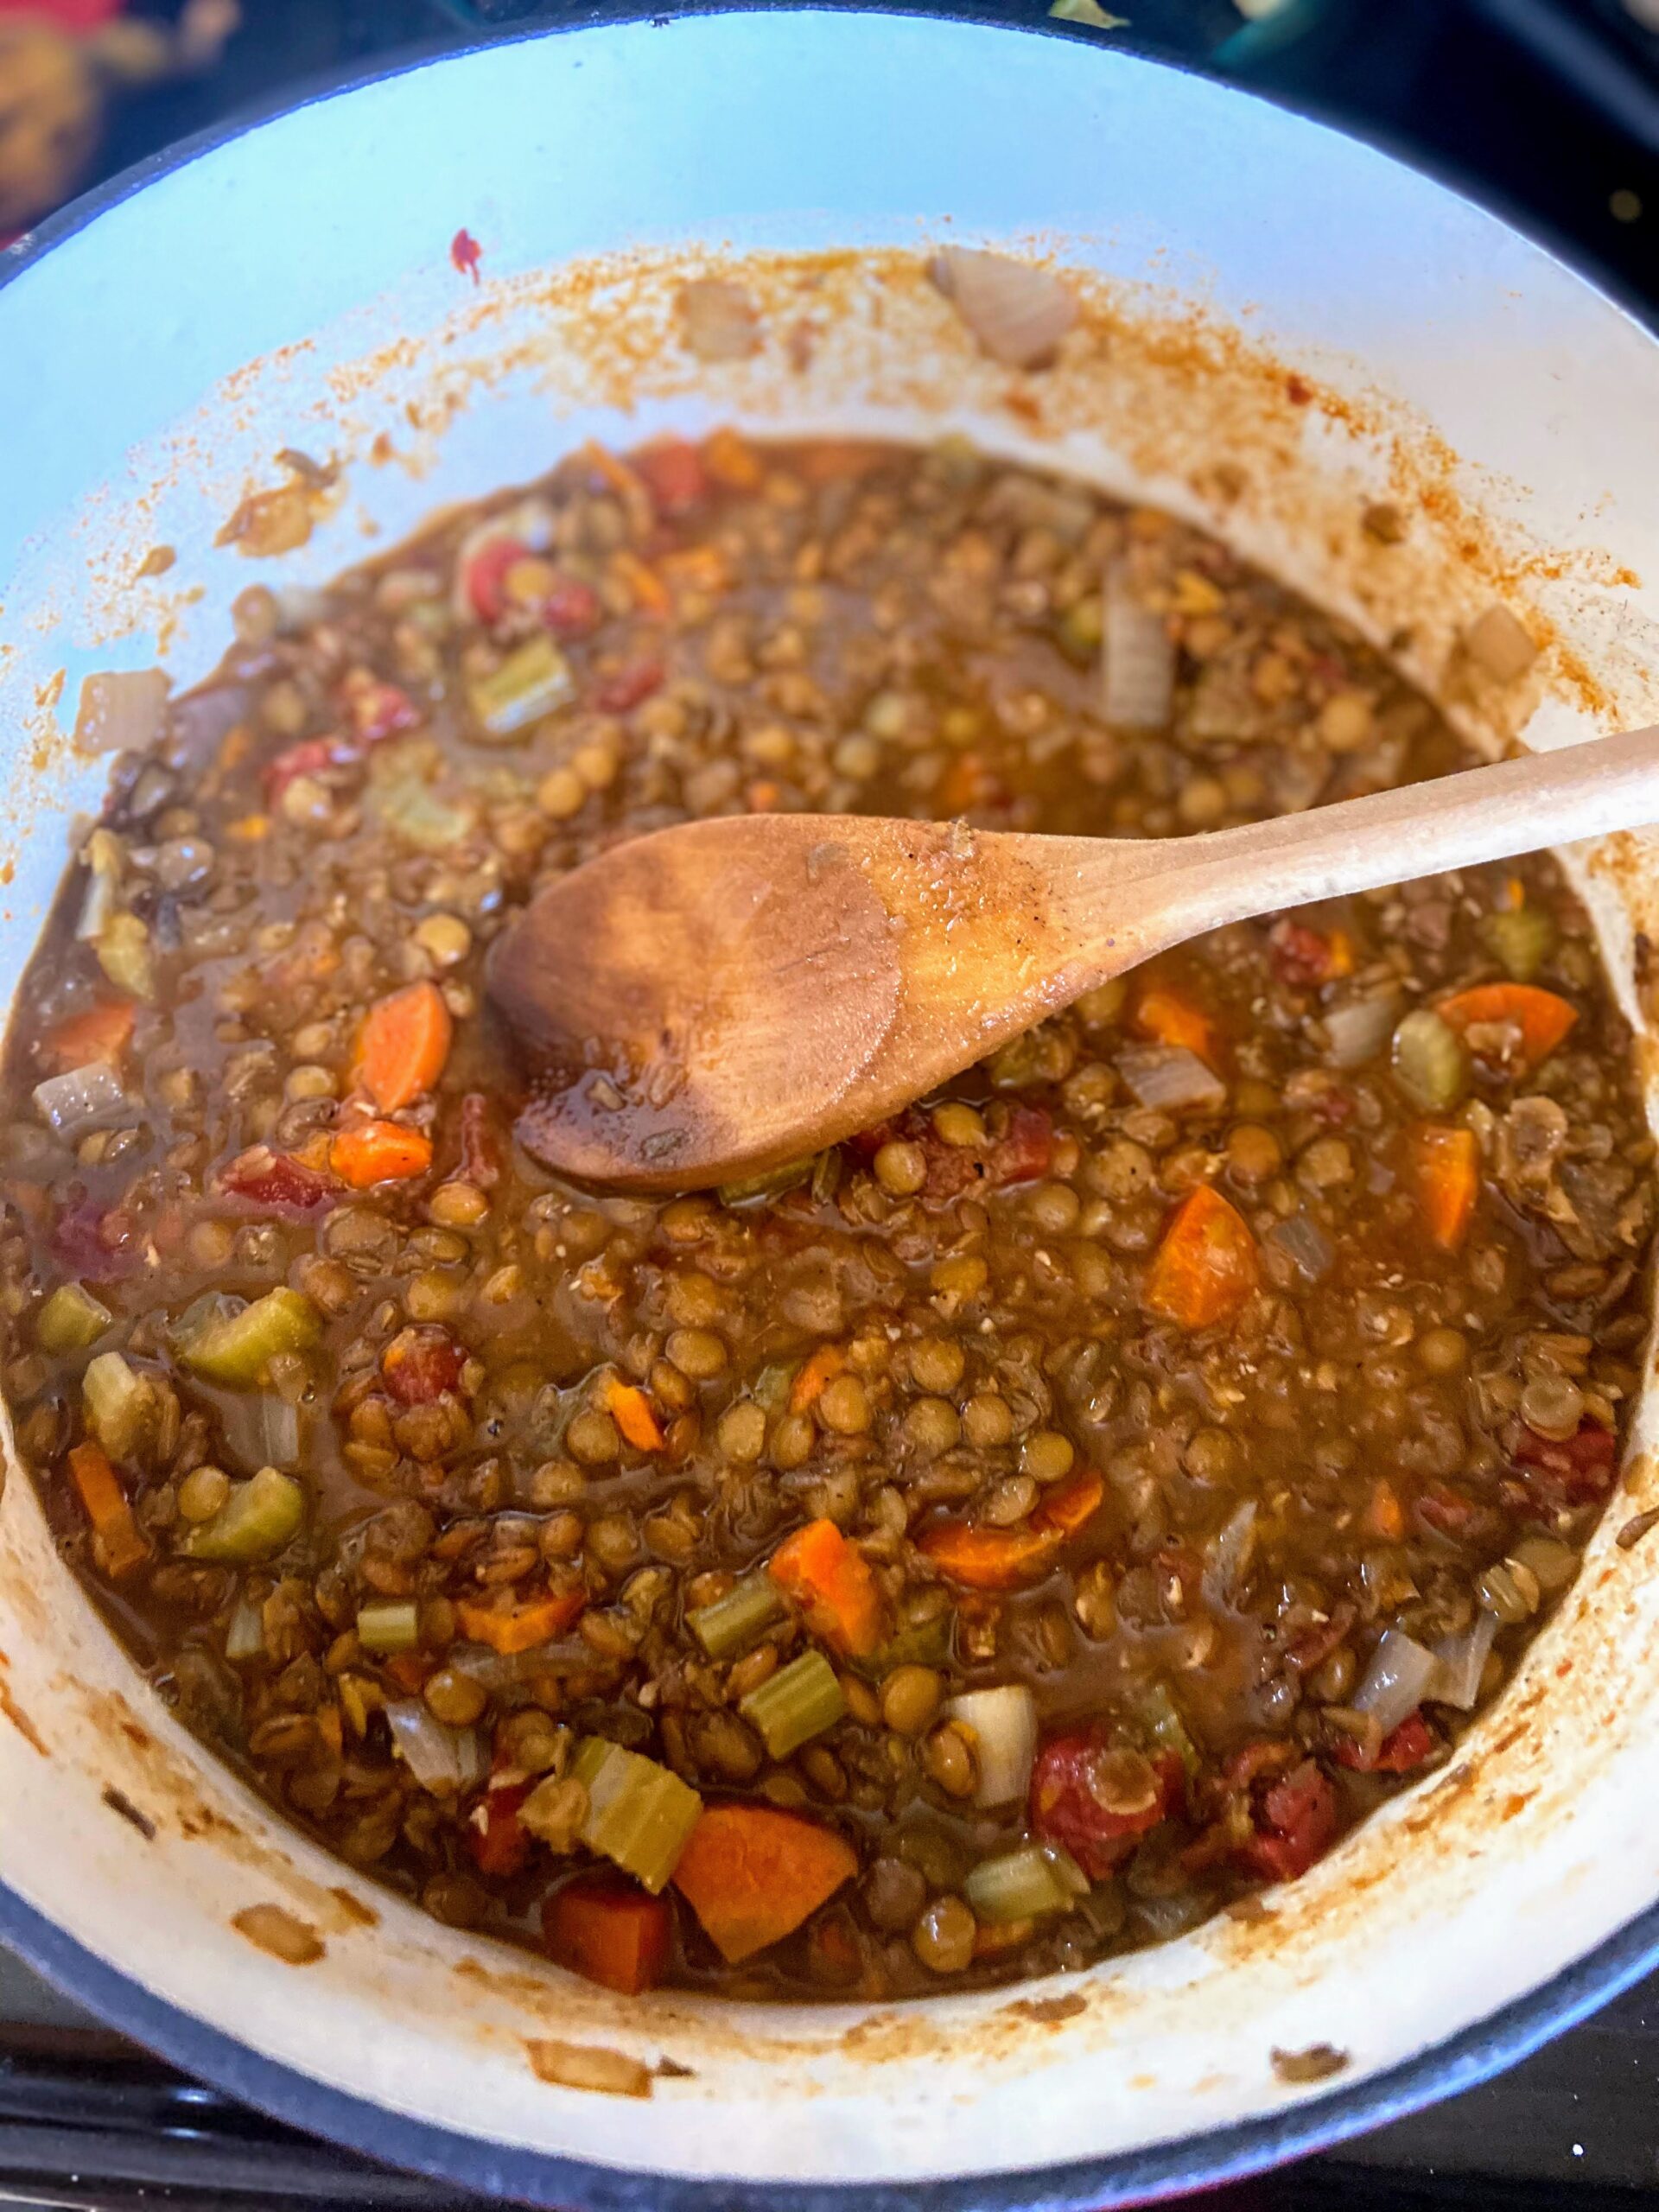
Raise the temperature to medium-high and heat the mixture to a boil. Lower the temperature to a simmer. Cook for 35-40 minutes, until the lentils are cooked through. 

Use an immersion blender to blend on high about 6-10 pulses. Alternatively, you can remove a few cups of the soup and blend it in a regular blender. If you do this, mix back in. This will thicken the soup and add a richness to it. 

Check the salt and pepper, adding more to taste. Ultimately, you can serve it immediately or allow to cool and eat later in the week (yay for meal prep!)

Warm My Belly Lentil Soup

Filling and full of flavor, this warm my soul lentil soup is perfect for those nights you want to go meat free but want to have a full tummy!
Servings 6 people

Ingredients
  

  • 2-3 tablespoons olive oil ⁠
  • 1 onion chopped⁠
  • 3 carrots diced⁠
  • 3 celery stalks diced⁠
  • 1 1/2 teaspoons minced garlic ⁠
  • 2 cups dried green lentils ⁠
  • 1 15.5 ounce can diced tomatoes with salt undrained⁠
  • 5-6 cups chicken stock⁠
  • 1/2 teaspoon cumin powder⁠
  • 1/2 teaspoon coriander⁠
  • 1/2 tablespoon paprika ⁠
  • pepper to taste⁠

Instructions
 

  • In a dutch oven, heat olive oil over medium heat. Once hot, add onion, celery, carrots, and minced garlic.
  • Saute until soft, about 8 minutes.
  • Stir in remaining ingredients.
  • Raise the temperature to medium-high and heat the mixture to a boil.
  • Lower the temperature to a simmer and cover. Cook for 35-40 minutes, until the lentils are cooked through.
  • Use an immersion blender to blend on high about 6-10 pulses. Alternatively, you can remove a few cups of the soup and blend it in a regular blender. If you do this, mix back in. This will thicken the soup and add a richness to it.
Tried this recipe?Let us know how it was!
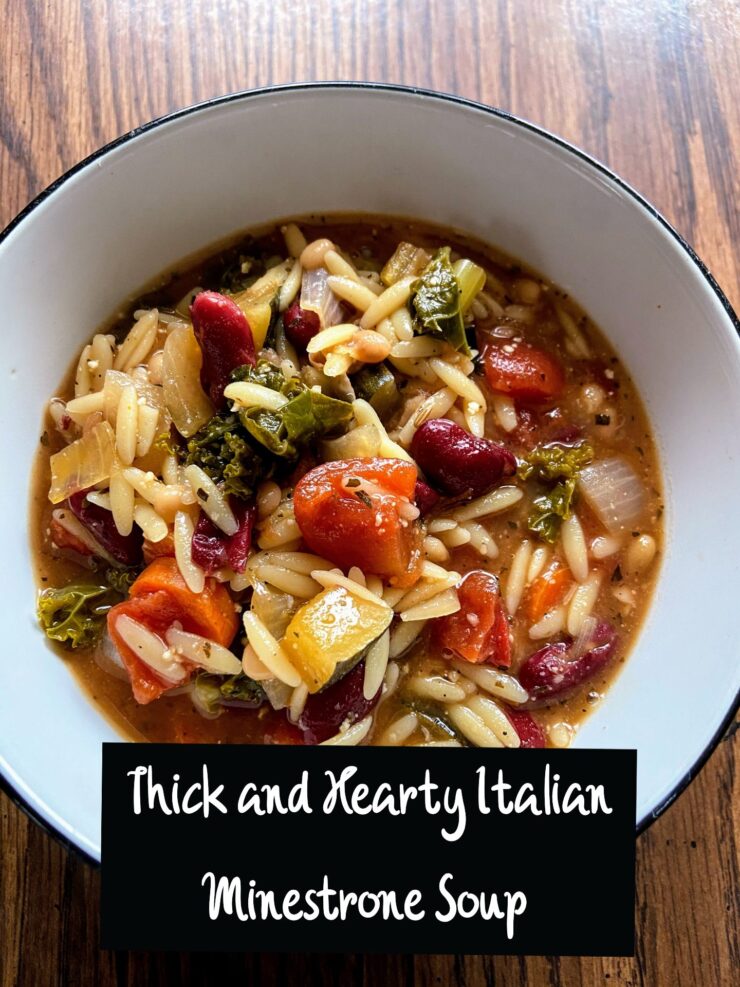
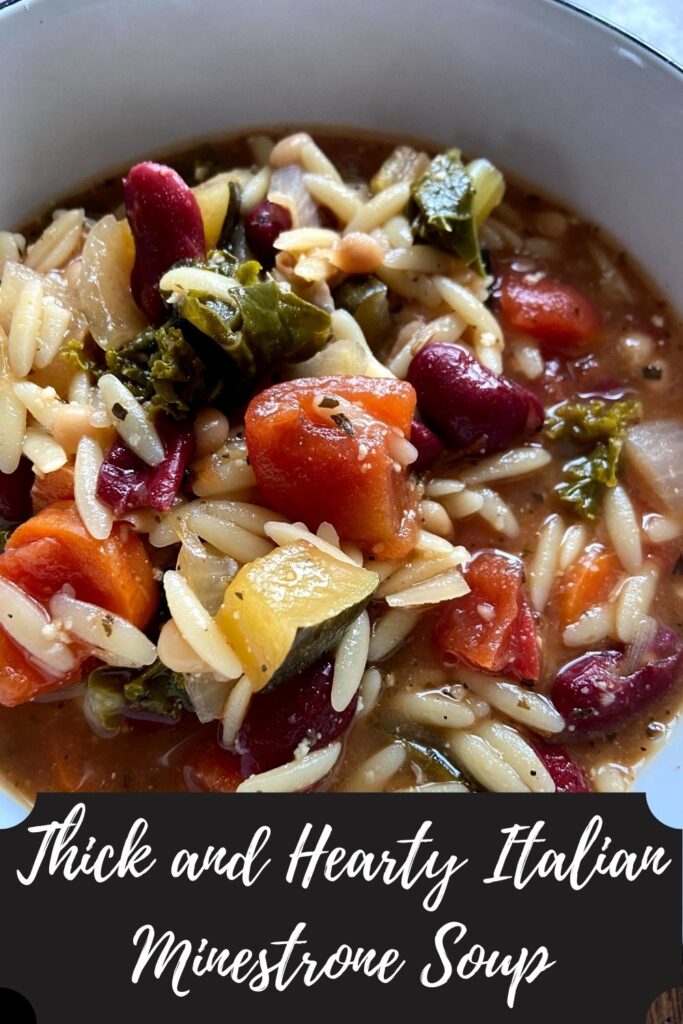
Minestrone Soup Cover Photo

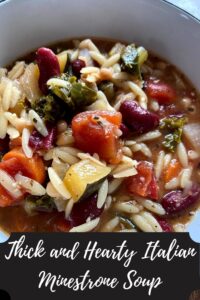
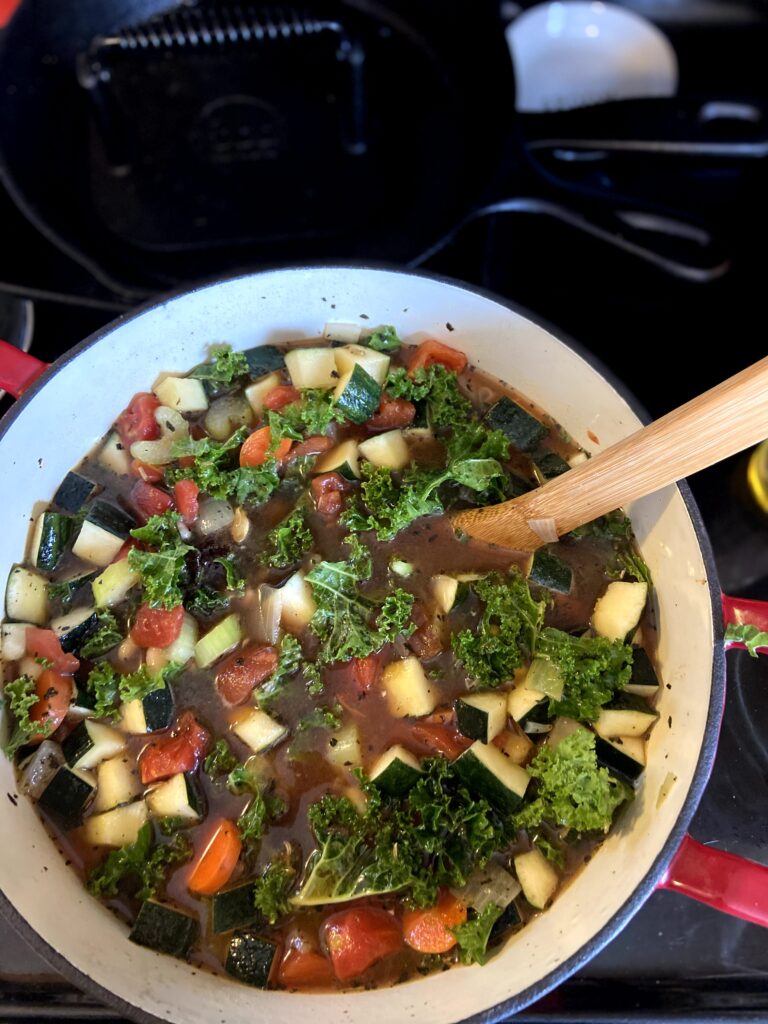
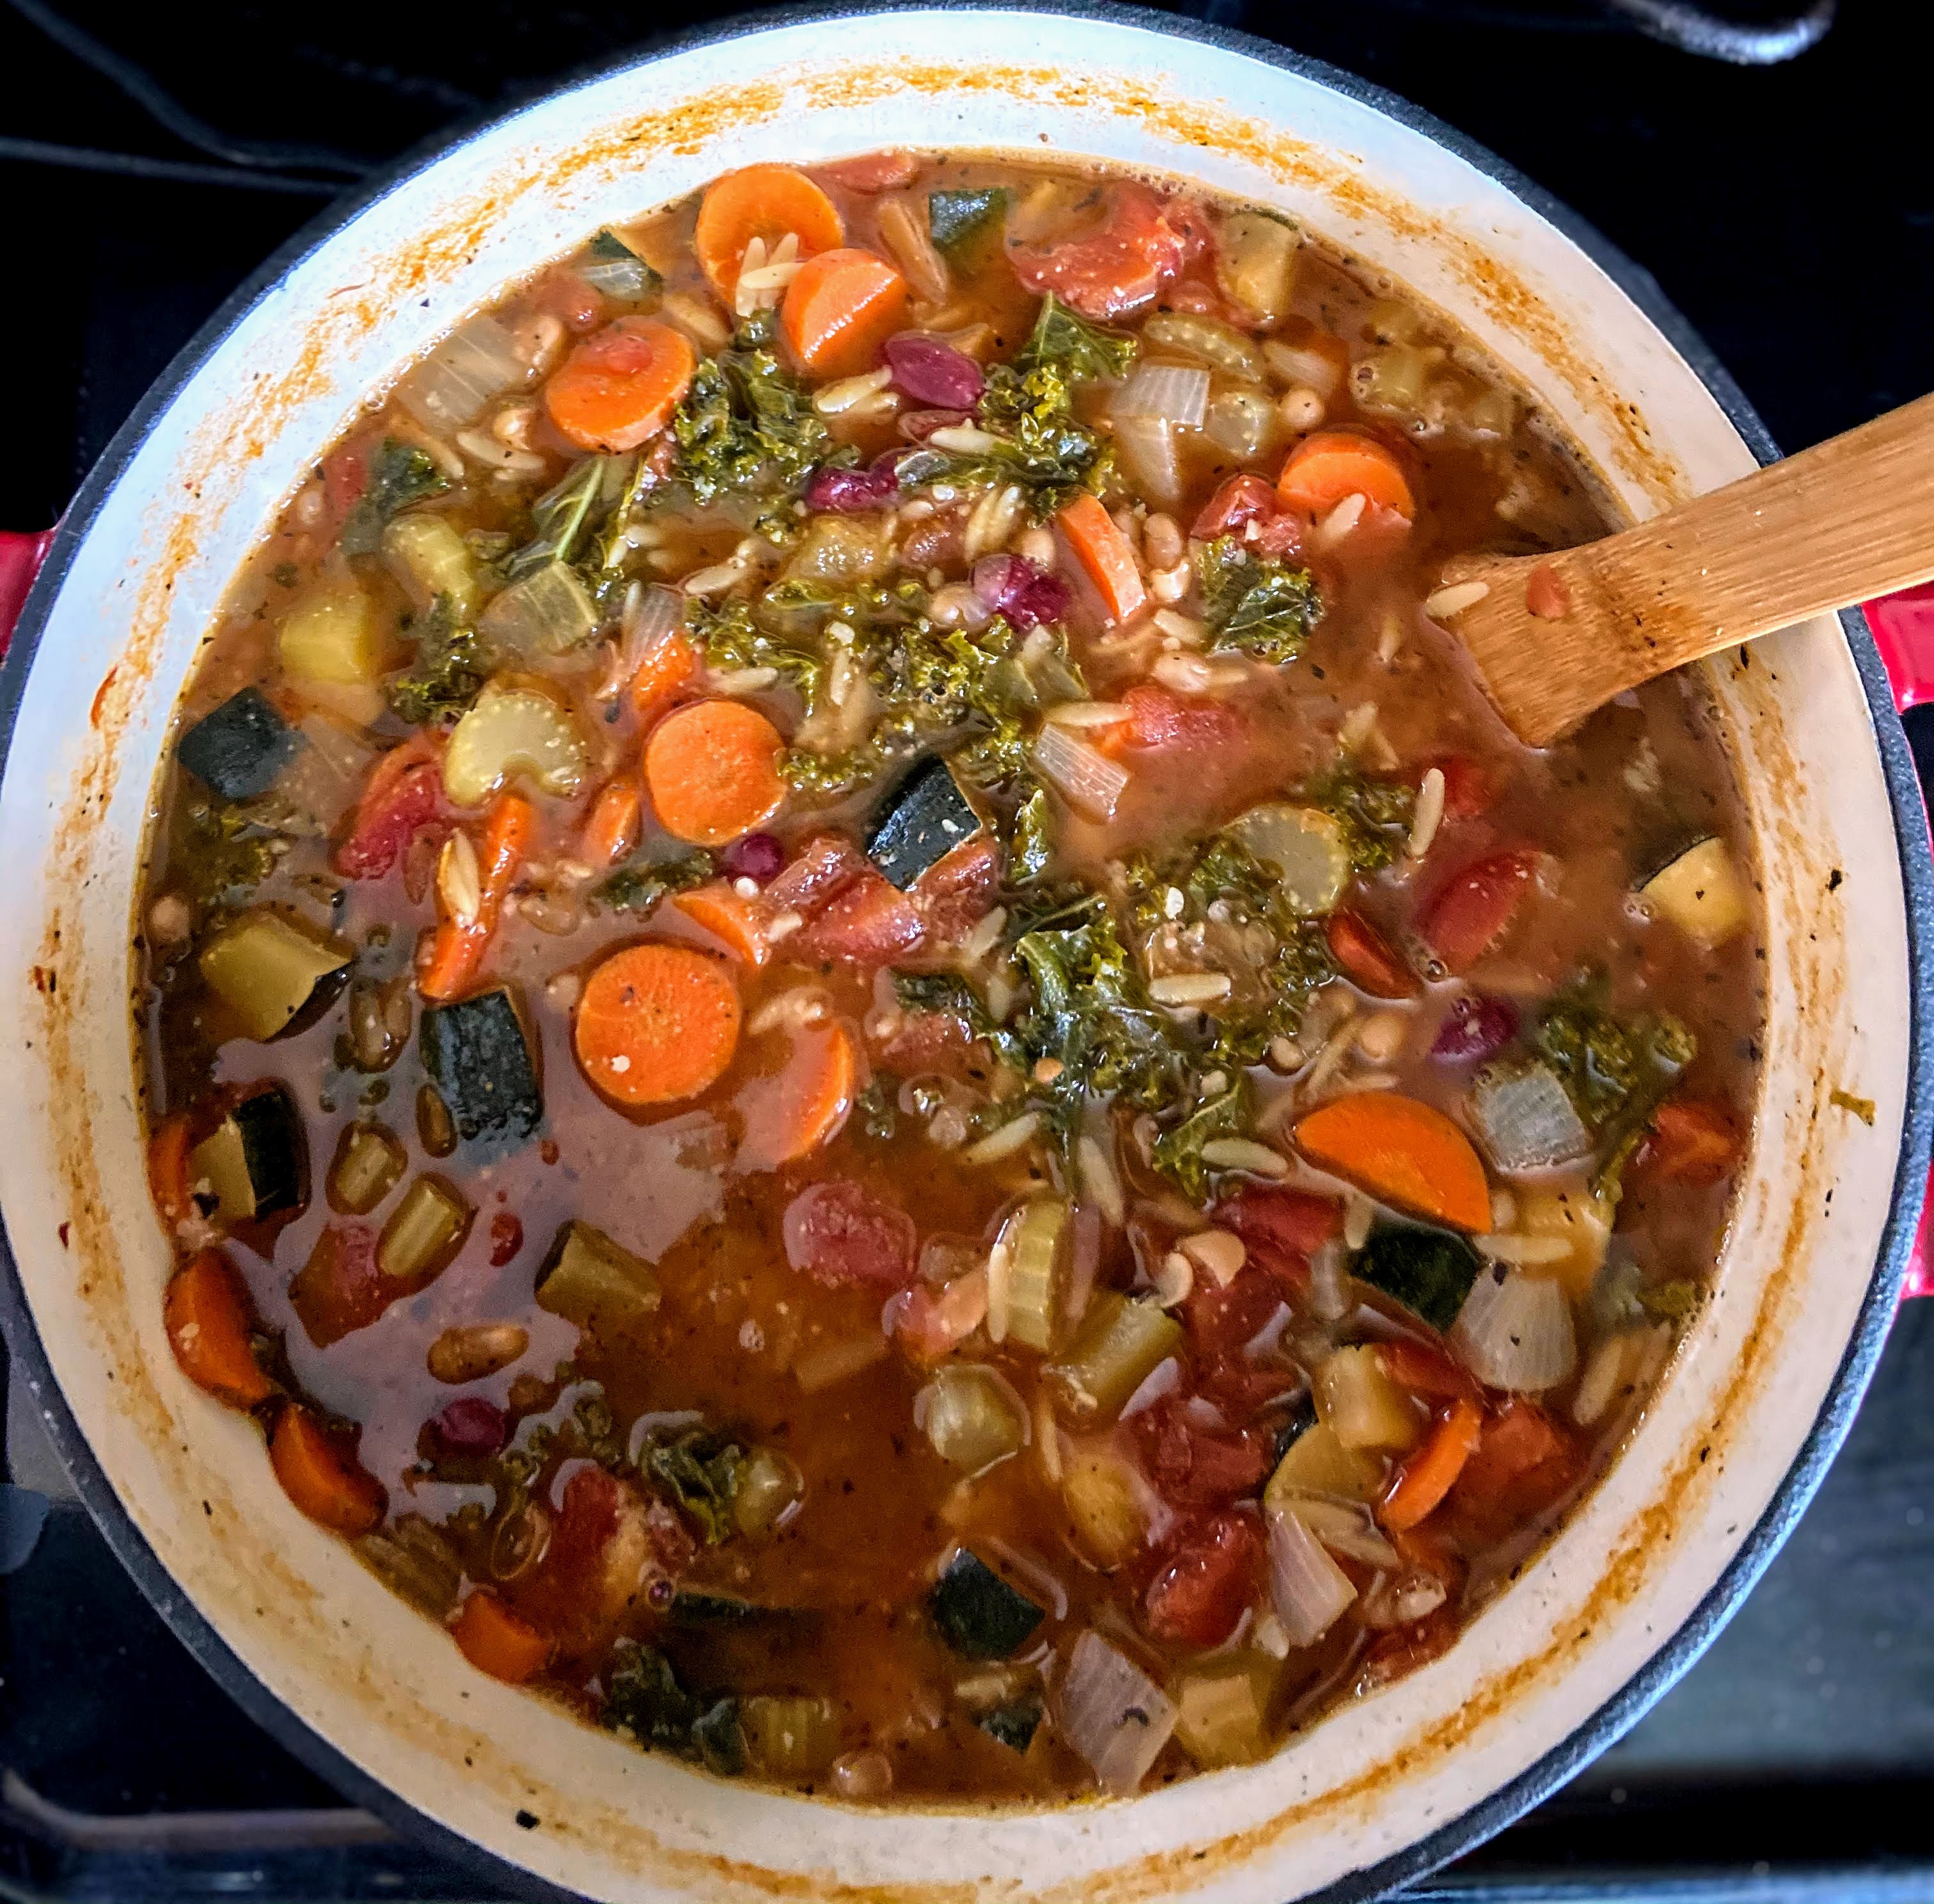
Thick and Hearty Italian Minestrone Soup

Welcome to that strange time between New Year’s and Christmas. For some, this is a time to continue to reflect, rest, and reset. Others are continuing to indulge in the leftover cookies, cocktails, and creations from meals. Yet others are feeling sluggish from the over indulgent food, ready to workout and eat right. Do you live in the eat right category? Then man, have I got a nutrient dense, delicious recipe for you in this Minestrone Soup. 

I usually live a little in each school of life this week. I love the cookies (oh man, I am all about the ginger snaps this year!). As a school teacher, I want to reset before we hit January and cabin fever. But I am also a big fitness gal, so I am focused on my goals set for the year, whether that be in instructing barre or hitting my 1000th mile of running (Christmas Eve Eve baby!). 

I try to enjoy all the good foods of the holidays in moderation. Seriously, they only come around once a year, it’s okay to enjoy them!  But man, after a holiday get together or two, my body is screaming at me, “Get back to the usual diet Jess!” That usually means adding 2-3 more servings of fruits and veggies, cutting back on the meat intake, and skipping the wine for a week or two. 

I love that soup can be made for a small army and tastes just as good (or better!) in the days that follow as it did the day you put it together. Measurements are mere suggestions. I don’t know that you can break a soup (besides the occasional over pour of pasta or pepper). This Minestrone Soup fits all the bills: its filling, comforting, and full of nutrient dense food to keep your body happy. 

Your Ingredients

  • 1-2 tablespoons olive oil 
  • 2 cups chopped carrots (about 3 large)
  • 1 ½ cups chopped celery (about 3 stalks)
  • 1 ½ cups diced onion (about 2 yellow onions)
  • ½ tablespoon minced garlic 
  • 1 teaspoon dried basil 
  • 1 teaspoon dried oregano 
  • ¾ teaspoon fennel seed 
  • ¼ teaspoon caraway seed 
  • ¾ teaspoon pepper 
  • 2 ½ cups diced zucchini, skin on
  • 2 15 ounce cans diced tomatoes, undrained
  • 6 cups beef broth
  • 1 15 ounce can cannellini beans, drained and rinsed
  • 1 15 ounce can red kidney beans, drained and rinsed
  • 4 cups chopped kale, ribs removed 
  • 1 cup orzo (or small pasta of your choice)
  • ¼ cup grated or fresh parmesan 

Your Steps to Fulfilling Minestrone Soup 

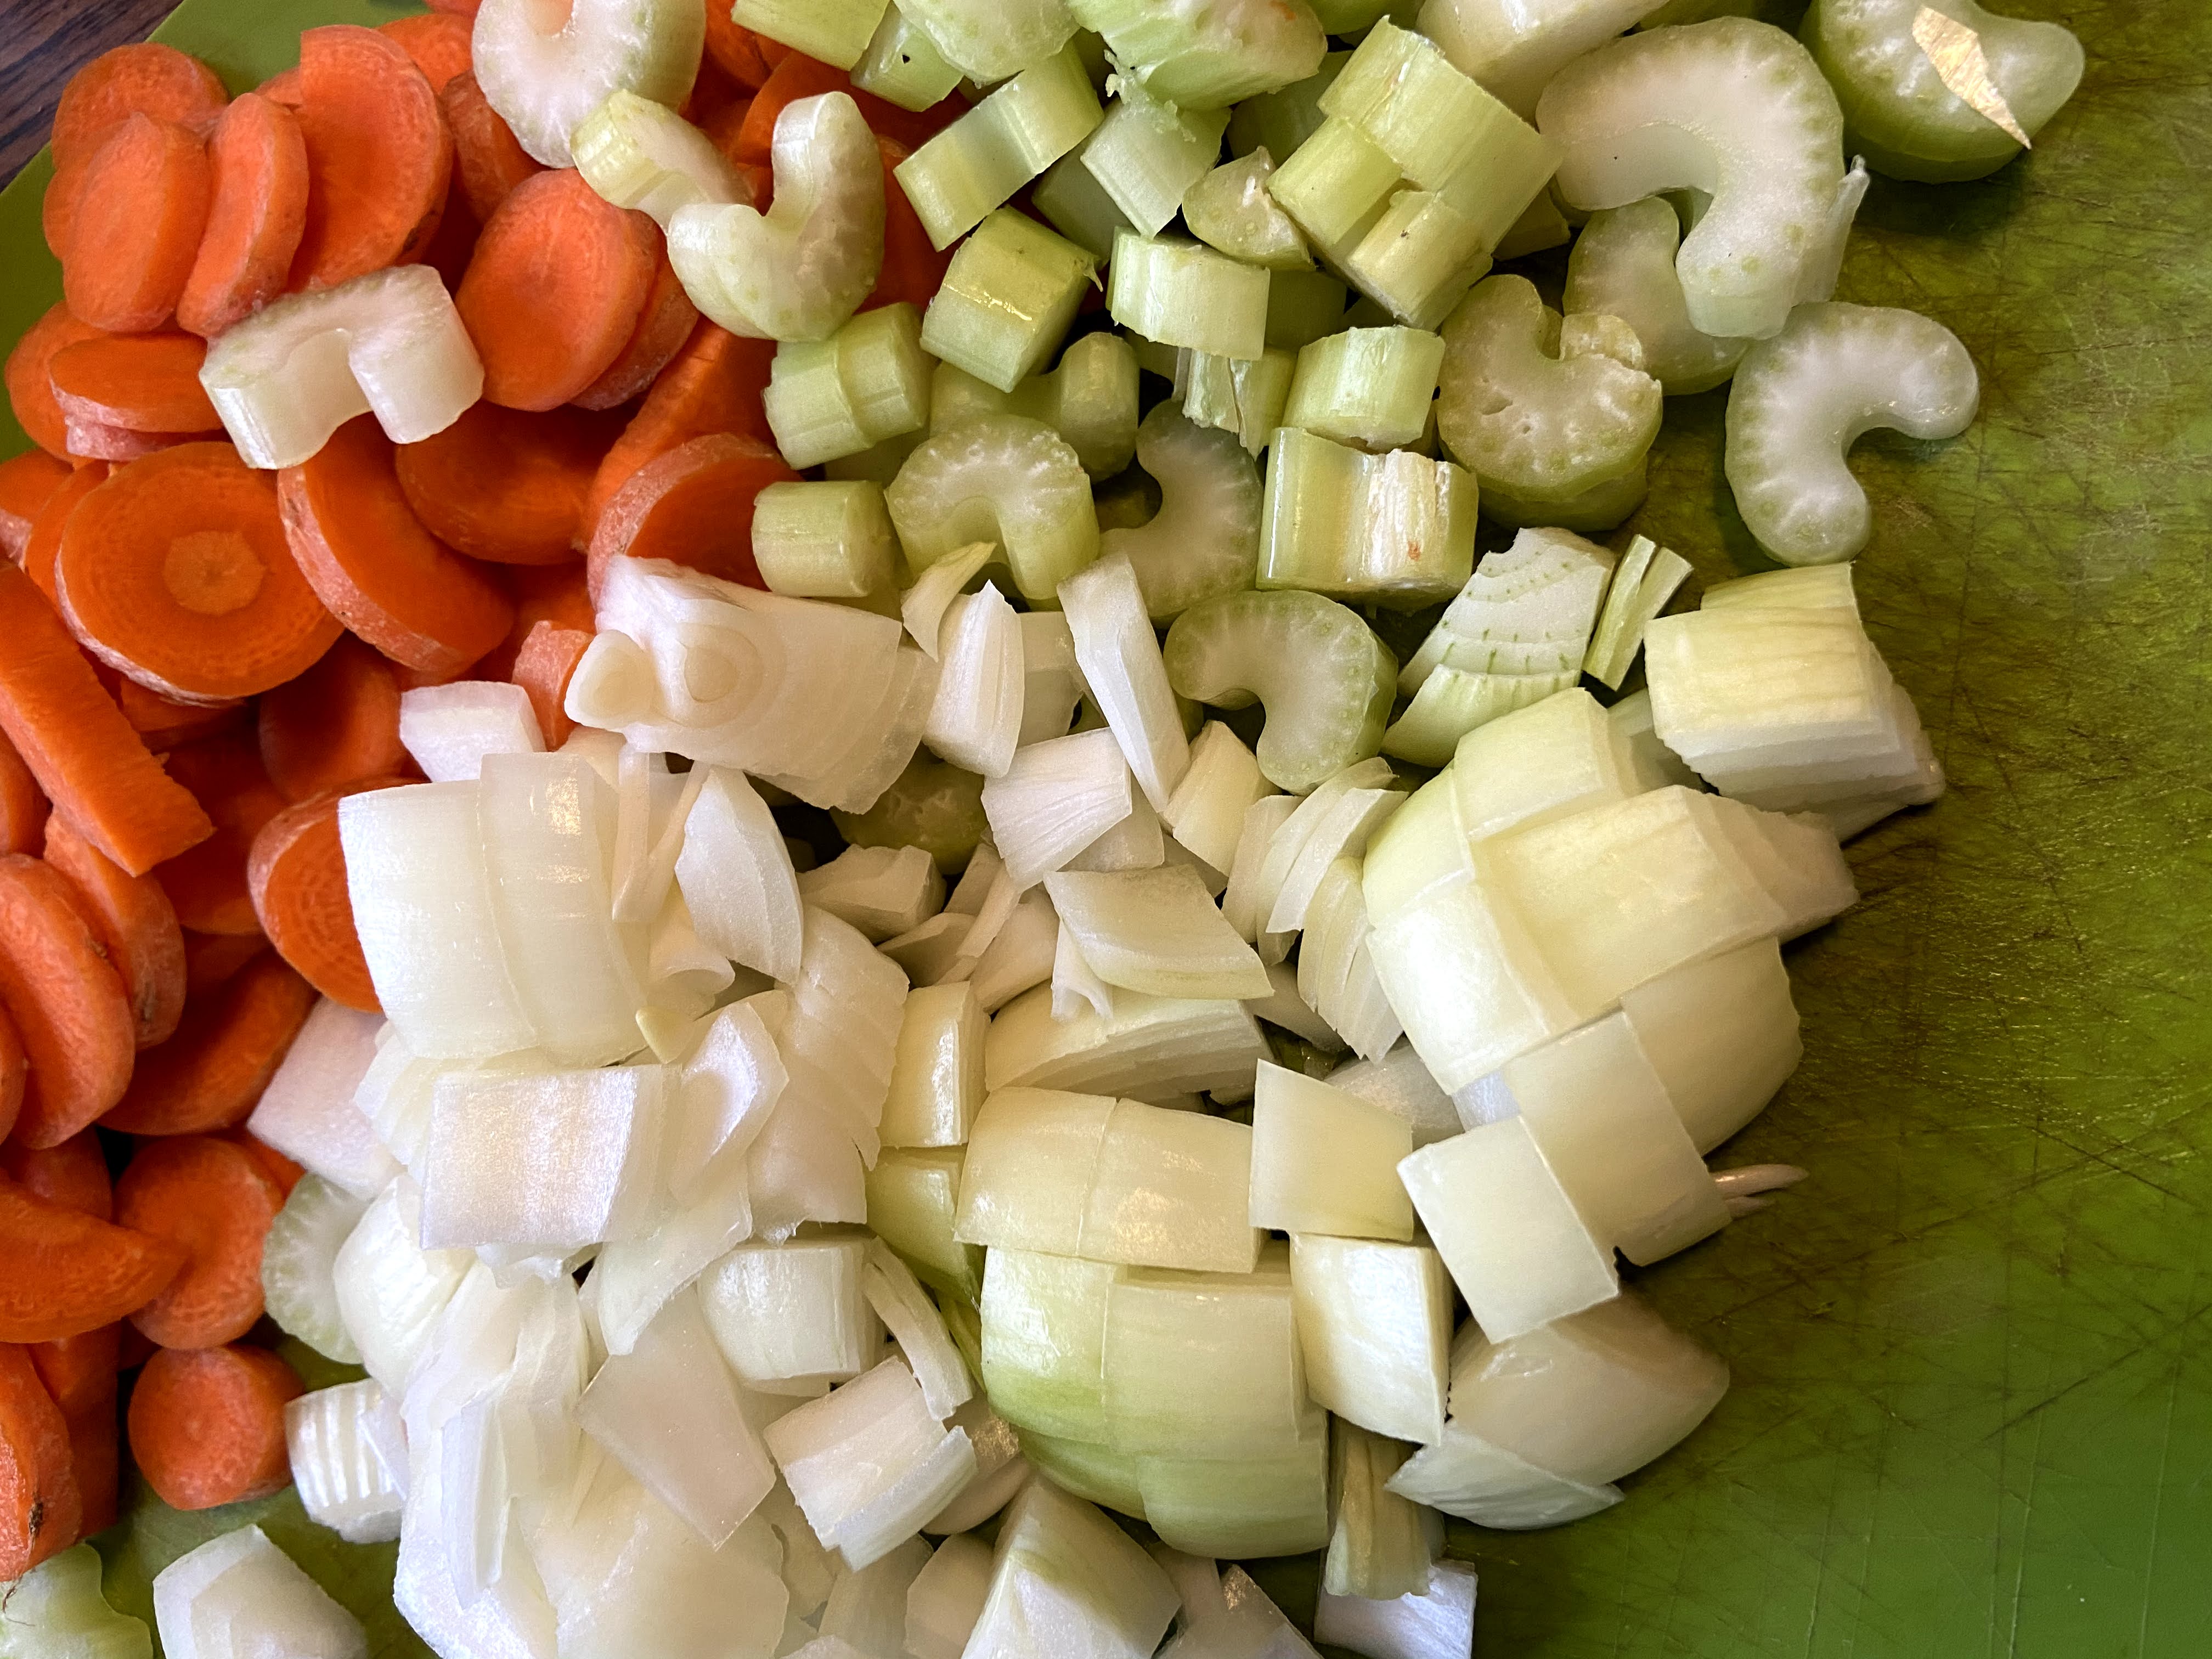
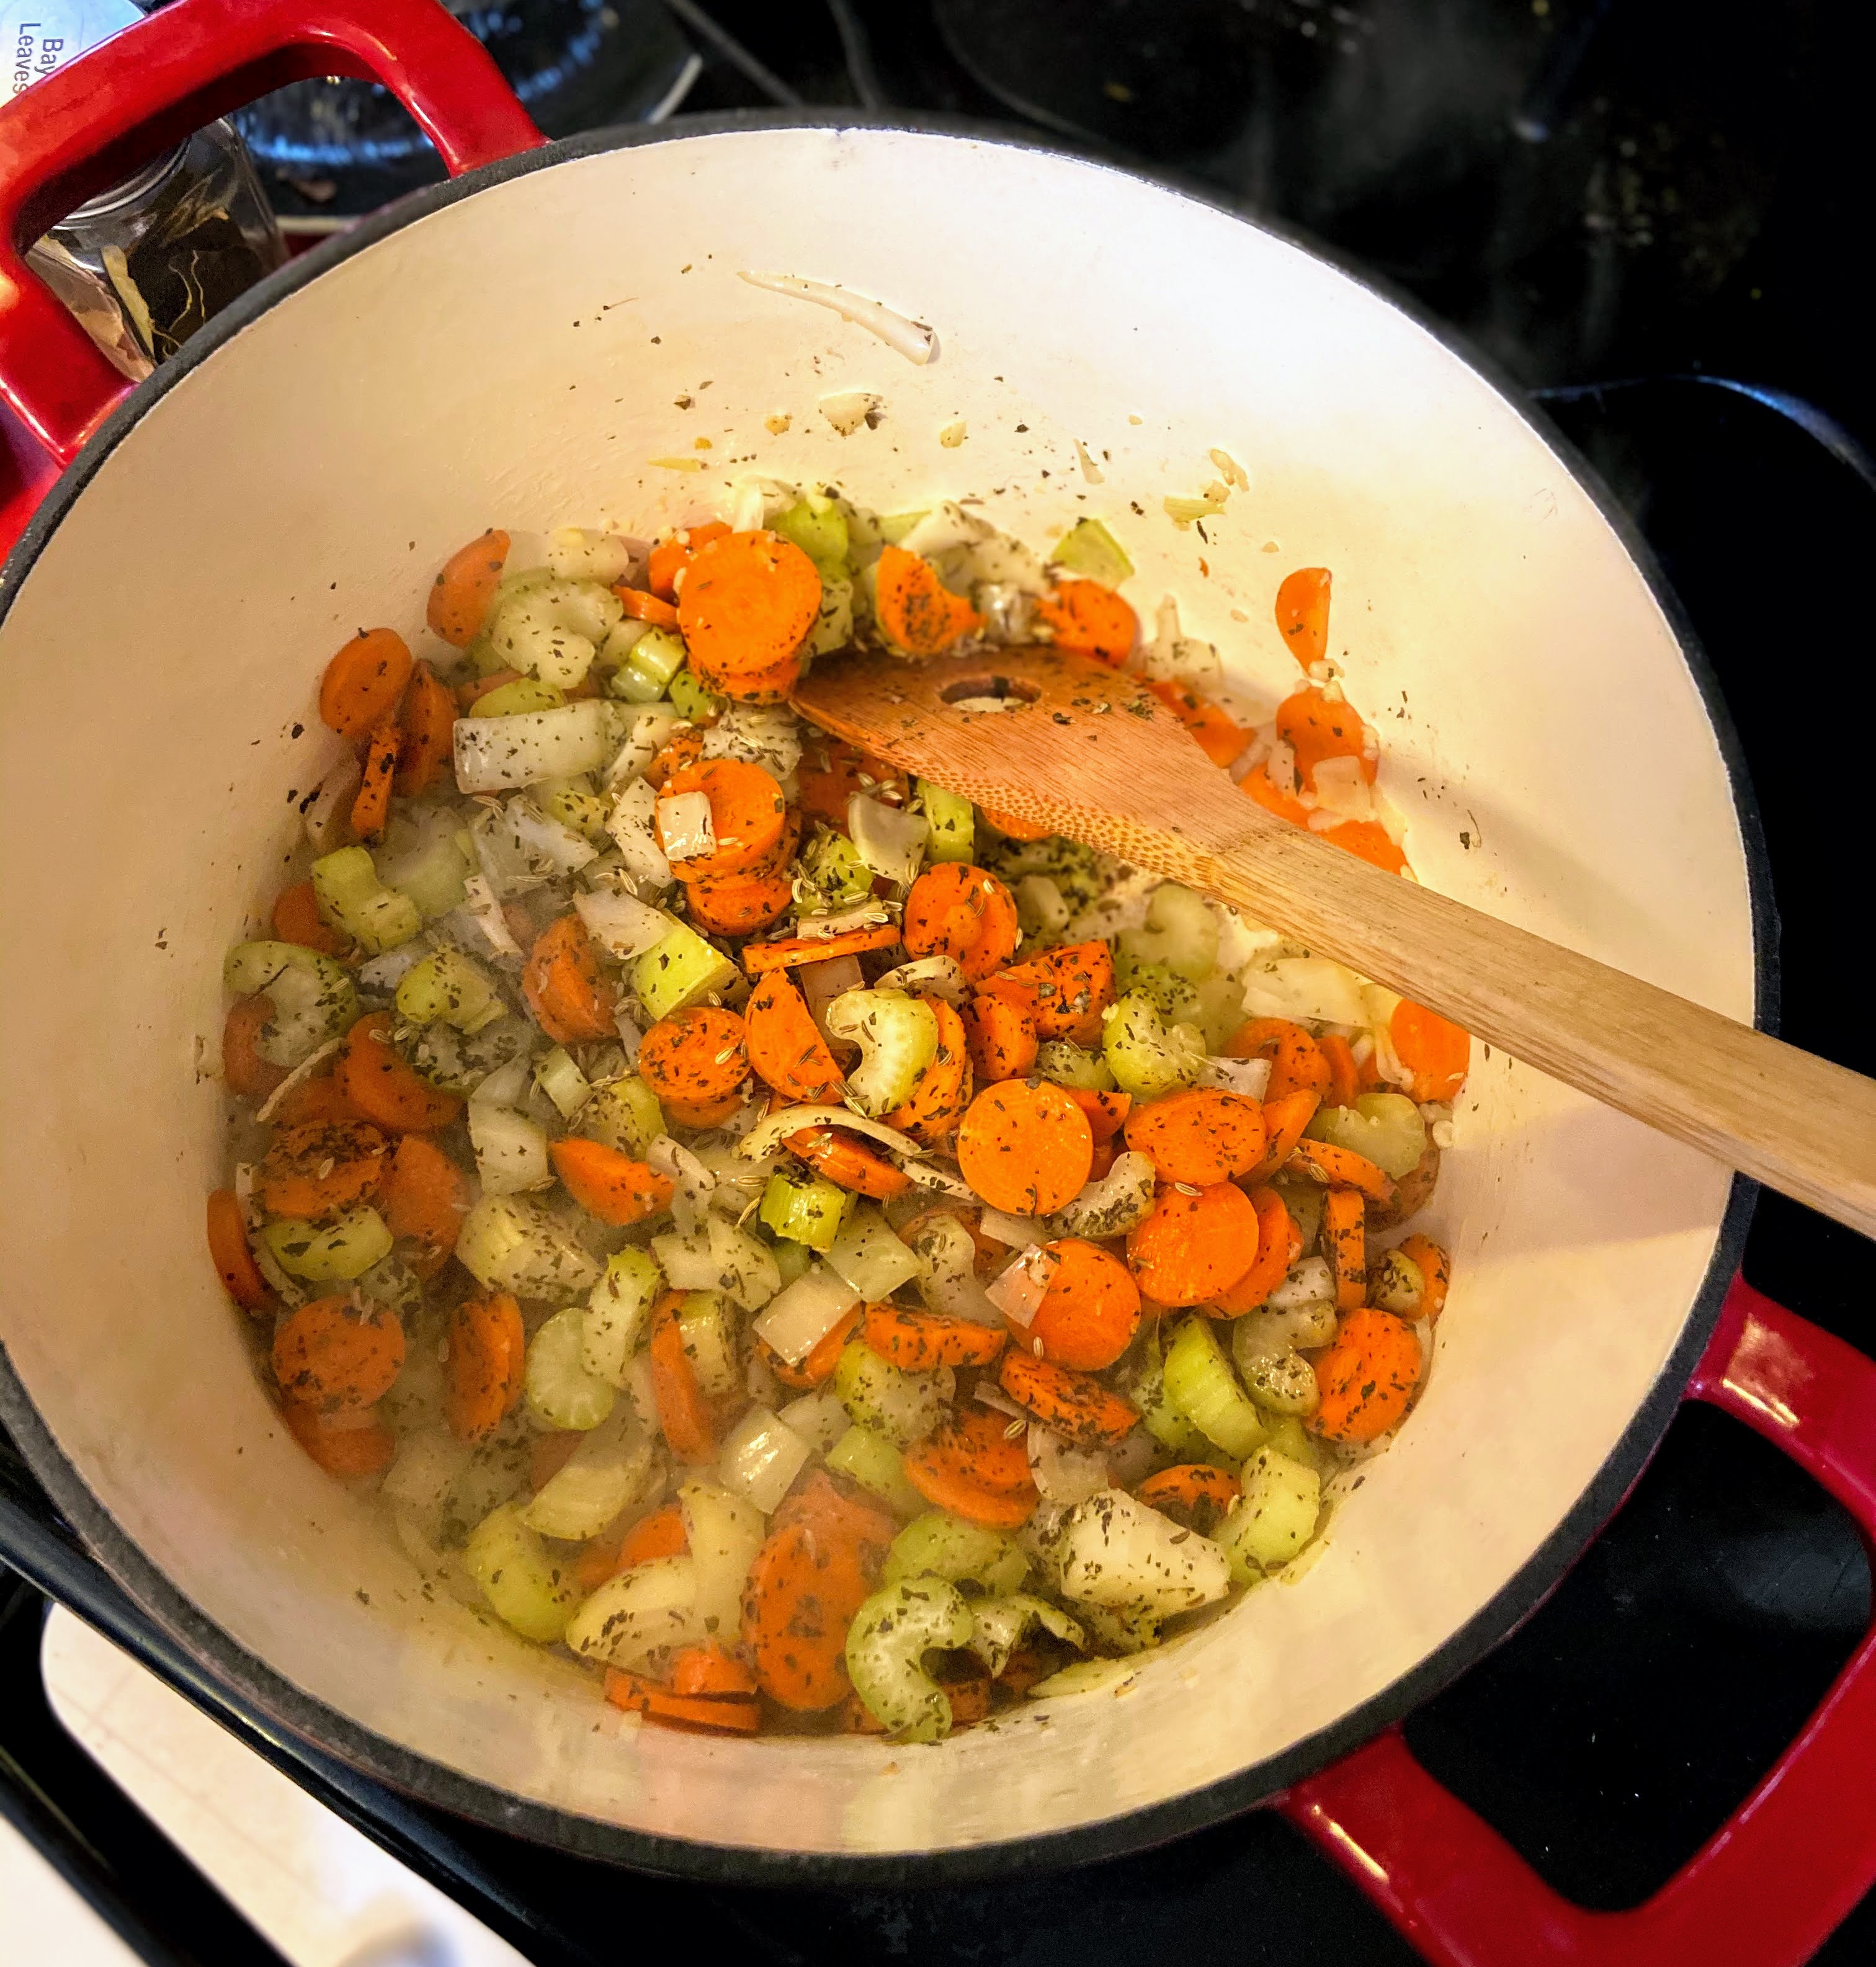
In a large Dutch oven, heat olive oil over medium heat. Once hot, add carrots, celery, onion, and garlic. Season with basil, oregano, fennel, caraway, and pepper. Cook over medium heat for 8-10 minutes, until the vegetables begin to soften. 

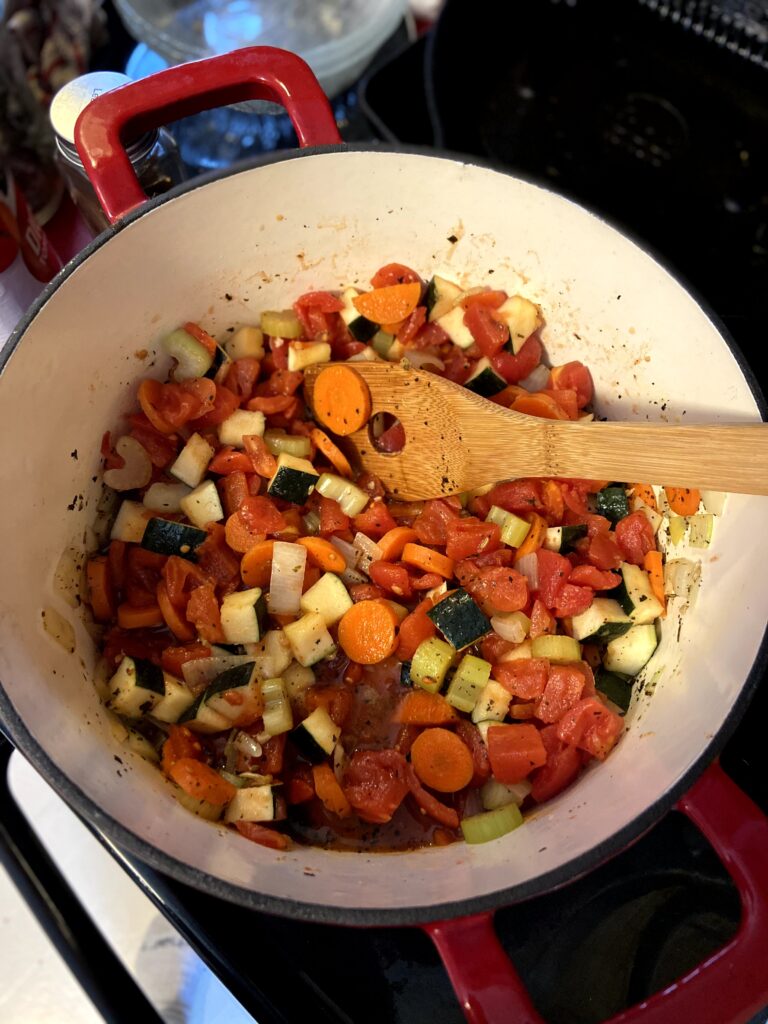
To soften vegetables, add zucchini and tomatoes. Cook an additional 5 minutes. Stir in both cans of rinsed beans, beef broth, and kale. Lower heat to medium low and allow to simmer for 25-30 minutes, stirring periodically. 

Once the vegetables have mingled 30 minutes, increase heat to medium high and stir in orzo. Cook for 8-9 minutes, until al dente. Remove from heat, stir in grated parmesan and be ready to serve! Note: This will thicken over time. You may want to have some additional beef broth on hand if you don’t dig a stew and plan on eating it over the next few days.

Tools of the Trade

I truly believe every home kitchen needs a selection of good cast iron pans. We cook everything in them, from corn bread to chicken, from sourdough bread to soups and stews. They can go from stove top to oven and create beautiful food. I also love flexible cutting boards. I am telling you, if you don’t have some, check them out! Finally, this beef broth base is ALWAYS in my kitchen. I can’t imagine cooking without it.

Thick and Hearty Italian Minestrone Soup

Over twelve cups of vegetables combine with beans and orzo in this thick and hearty Minestrone Soup. Perfect for a "clean out the fridge" or winter night meal.
Prep Time 30 minutes
Cook Time 50 minutes
Course Main Course, Soup
Cuisine Italian
Servings 12

Ingredients
  

  • 1-2 tablespoons olive oil
  • 2 cups chopped carrots about 3 large
  • 1 ½ cups chopped celery about 3 stalks
  • 1 ½ cups diced onion about 2 yellow onions
  • ½ tablespoon minced garlic
  • 1 teaspoon dried basil
  • 1 teaspoon dried oregano
  • ¾ teaspoon fennel seed
  • ¼ teaspoon caraway seed
  • ¾ teaspoon pepper
  • 2 ½ cups diced zucchini skin on
  • 2 15 ounce cans diced tomatoes undrained
  • 6 cups beef broth
  • 1 15 ounce can cannellini beans drained and rinsed
  • 1 15 ounce can red kidney beans drained and rinsed
  • 4 cups chopped kale ribs removed
  • 1 cup orzo or small pasta of your choice

Instructions
 

  • In a large Dutch oven, heat olive oil over medium heat. Once hot, add carrots, celery, onion, and garlic. Season with basil, oregano, fennel, caraway, and pepper. Cook over medium heat for 8-10 minutes, until the vegetables begin to soften.
  • To softened vegetables, add zucchini and tomatoes. Cook an additional 5 minutes.
  • Stir in both cans of rinsed beans, beef broth, and kale. Lower heat to medium low and allow to simmer for 25-30 minutes, stirring periodically.
  • Once the vegetables have mingled 30 minutes, increase heat to medium high and stir in orzo.
  • Cook for 8-9 minutes, until al dente. Remove from heat, stir in grated parmesan and be ready to serve!

Notes

This soup will thicken over time. You may want to have an extra cup or so of beef broth handy if you don’t love a thick stew and plan on eating it over a few days.
Keyword Italian, minestrone, soups and stews
Tried this recipe?Let us know how it was!

Looking for other great soups?

Check out the links below!

Creamy Chicken and Wild Rice Soup

My darling son is ten years old. For about as long as I can remember, chicken noodle soup has been his favorite. So much so that he has requested it for his birthday meal for the last four years, regardless of where we are celebrating. Then I put together this creamy chicken and wild rice soup. I think his favorite meal changed. He makes this glorious face when he eats food he loves: closing his eyes, taking in the flavor, all while a small grin spreads across his face. His first bite brought on this expression, telling me we had a winner of a recipe. 

What I love about this creamy chicken and wild rice soup is that it has all the creamy goodness all while leaving out the heavy or processed ingredients found in many creamy soups. It eats like a soup the first day and more like a stew the second, as the rice absorbs more liquid. 

Usually from scratch soups are reserved for cozy weekends, but I recently made this soup on a weeknight. The weather had changed from warm fall days to chilly winter, complete with some snow. I don’t know about you, but those first snow falls just call for a kettle of soup. It took me exactly one hour start to finish, including cooking the chicken. Is it a great weekend recipe? Absolutely. But is it doable on a weeknight? Sure!

Enough talking! Let’s get cooking! 

Your Ingredients

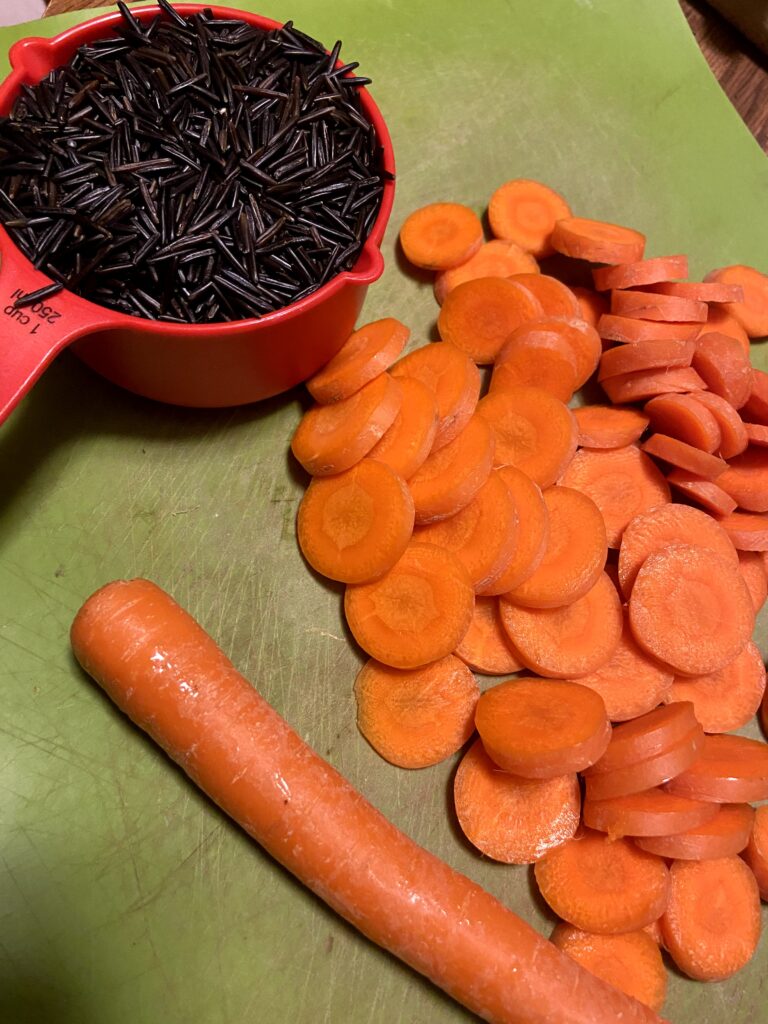
  • ½ cup long grain brown rice, uncooked
  • ½ cup wild rice, uncooked
  • 2 ½  cups water
  • 2 cups diced cooked chicken 
  • 1-2 tablespoons olive oil
  • 1 cup sliced mushrooms
  • 2 cups sliced carrots
  • 1 ½ cups sliced celery
  • 1 ½ cup diced onion 
  • ½ tablespoon minced garlic
  • 3 tablespoons butter
  • 3 tablespoons flour
  • 2 cups milk (I used skim)
  • 2 cups chicken stock
  • ¾ teaspoons dried thyme
  • ½ – 1 teaspoon pepper, to taste
  • ½  teaspoon salt 

Before we begin cooking…

If you don’t have cooked chicken on hand, you can 100% start cooking it when you start the rice and your timing will be just fine. I seasoned two chicken breasts with salt and pepper and cooked them over medium heat in a cast iron skillet (I just love cast iron. I have the Lodge Skillet). If you would like to do like me, cook them for about 8 minutes on each side. Then put in a preheated 400 degree oven. Finish them in the oven, cooking to 165 degrees.

YOUR STEPS FOR CREAMY CHICKEN AND WILD RICE SOUP 

Start by bringing water to a boil in a saucepan with a cover. Add rice (and maybe a little salt and pepper if you are so inclined), cover, and lower temperature to a simmer. Cook for 40 minutes, stirring periodically. Once complete, leave the rice, even if there is remaining liquid. We will add it all to the soup. 

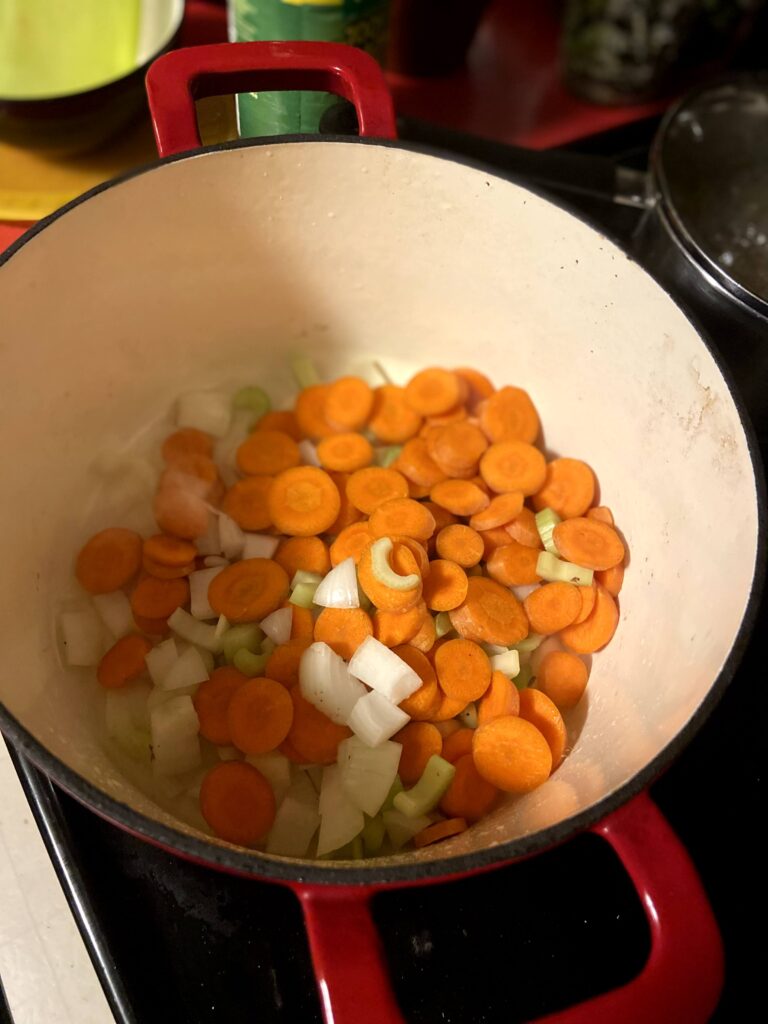
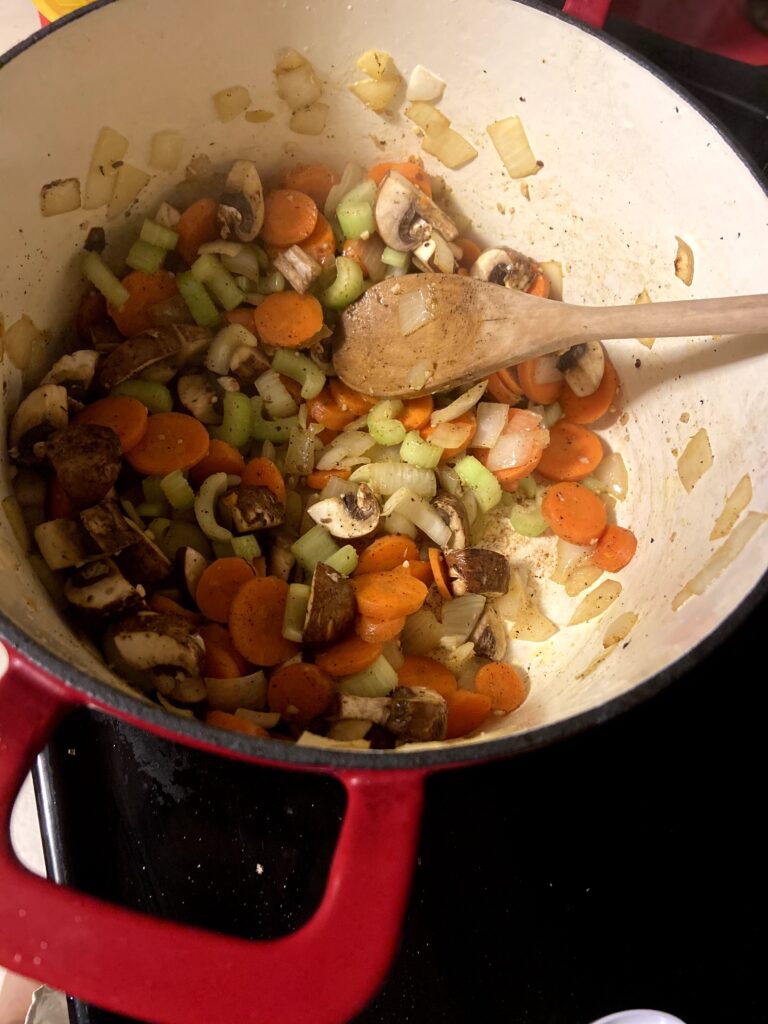
While the rice is cooking, prepare the vegetables. Add olive oil to a soup kettle (again, I adore my cast iron Dutch oven for soups), and heat over medium heat. Once oil is hot, add onions, celery, carrots and garlic. Cook for 8-10 minutes, until they are beginning to soften. Add mushrooms and cook an additional 4-5 minutes. 

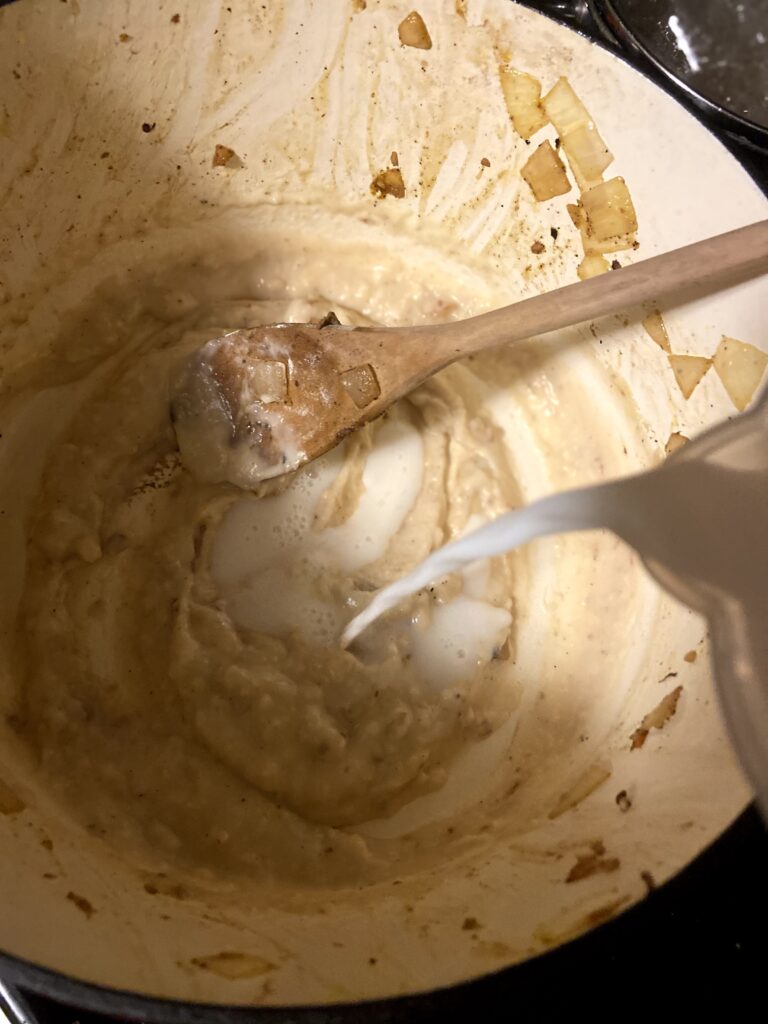
Remove vegetables from the kettle. Lower the temperature slightly. Add butter and allow to melt. Once melted, add flour, creating a roux. Cook for 2-3 minutes, stirring constantly. SLOWLY add milk, about ⅓ cup at a time, stirring the whole time, allowing the mixture to just begin to boil before you add more. (Be patient here. I have gone too fast too many times to count, and then you miss the creaminess!). Add the chicken stock in a similar nature. Add thyme, salt, and pepper.  

From here, stir in the rice from the saucepan, including any remaining liquid. It will help keep the soup thick. Reincorporate the vegetables and stir in the chicken. Allow to cook an additional 10-20 minutes if you have the time. The flavors will mingle and simply get better if you can wait 🙂 

Looking for other dinner ideas? Check out my cooking page!

Tools of the Trade

I truly believe every home kitchen needs a selection of good cast iron pans. We cook everything in them, from corn bread to chicken, from sourdough bread to soups and stews. They can go from stove top to oven and create beautiful food. These are some of my favorites!

Creamy Chicken and Wild Rice Soup

A hearty belly warming recipe full of fresh roasted chicken, vegetables and perfectly cooked rice.
Prep Time 30 minutes
Cook Time 30 minutes
Course Soup
Cuisine American
Servings 8

Ingredients
  

  • ½ cup long grain brown rice uncooked
  • ½ cup wild rice uncooked
  • 2 ½ cups water
  • 2 cups diced cooked chicken
  • 1-2 tablespoons olive oil
  • 1 cup sliced mushrooms
  • 2 cups sliced carrots
  • 1 ½ cups sliced celery
  • 1 ½ cup diced onion
  • ½ tablespoon minced garlic
  • 3 tablespoons butter
  • 3 tablespoons flour
  • 2 cups milk
  • 2 cups chicken stock
  • ¾ teaspoons dried thyme
  • ½ – 1 teaspoon pepper to taste
  • ½ teaspoon salt

Instructions
 

  • Bring water to a boil in a saucepan with a cover. Add rice (and additional salt and pepper, to taste), cover, and lower temperature to a simmer. Cook for 40 minutes, stirring periodically.
  • While the rice is cooking, prepare the vegetables. Add olive oil to a soup kettle and heat over medium heat.
  • Once oil is hot, add onions, celery, carrots and garlic. Cook for 8-10 minutes, until they are beginning to soften. Add mushrooms and cook an additional 4-5 minutes.
  • Remove vegetables from the kettle. Lower the temperature slightly. Add butter and allow to melt.
  • Once melted, add flour, creating a roux. Cook for 2-3 minutes, stirring constantly.
  • Slowly add milk, about ⅓ cup at a time, stirring the whole time, allowing the mixture to just begin to boil before you add more. Add the chicken stock in a similar nature. Add thyme, salt, and pepper.
  • Stir in the rice from the saucepan, including any remaining liquid. Reincorporate the vegetables and stir in the chicken. Allow to cook an additional 10-20 minutes.
Keyword chicken, chicken and wild rice soup, chicken soup, from scratch
Tried this recipe?Let us know how it was!

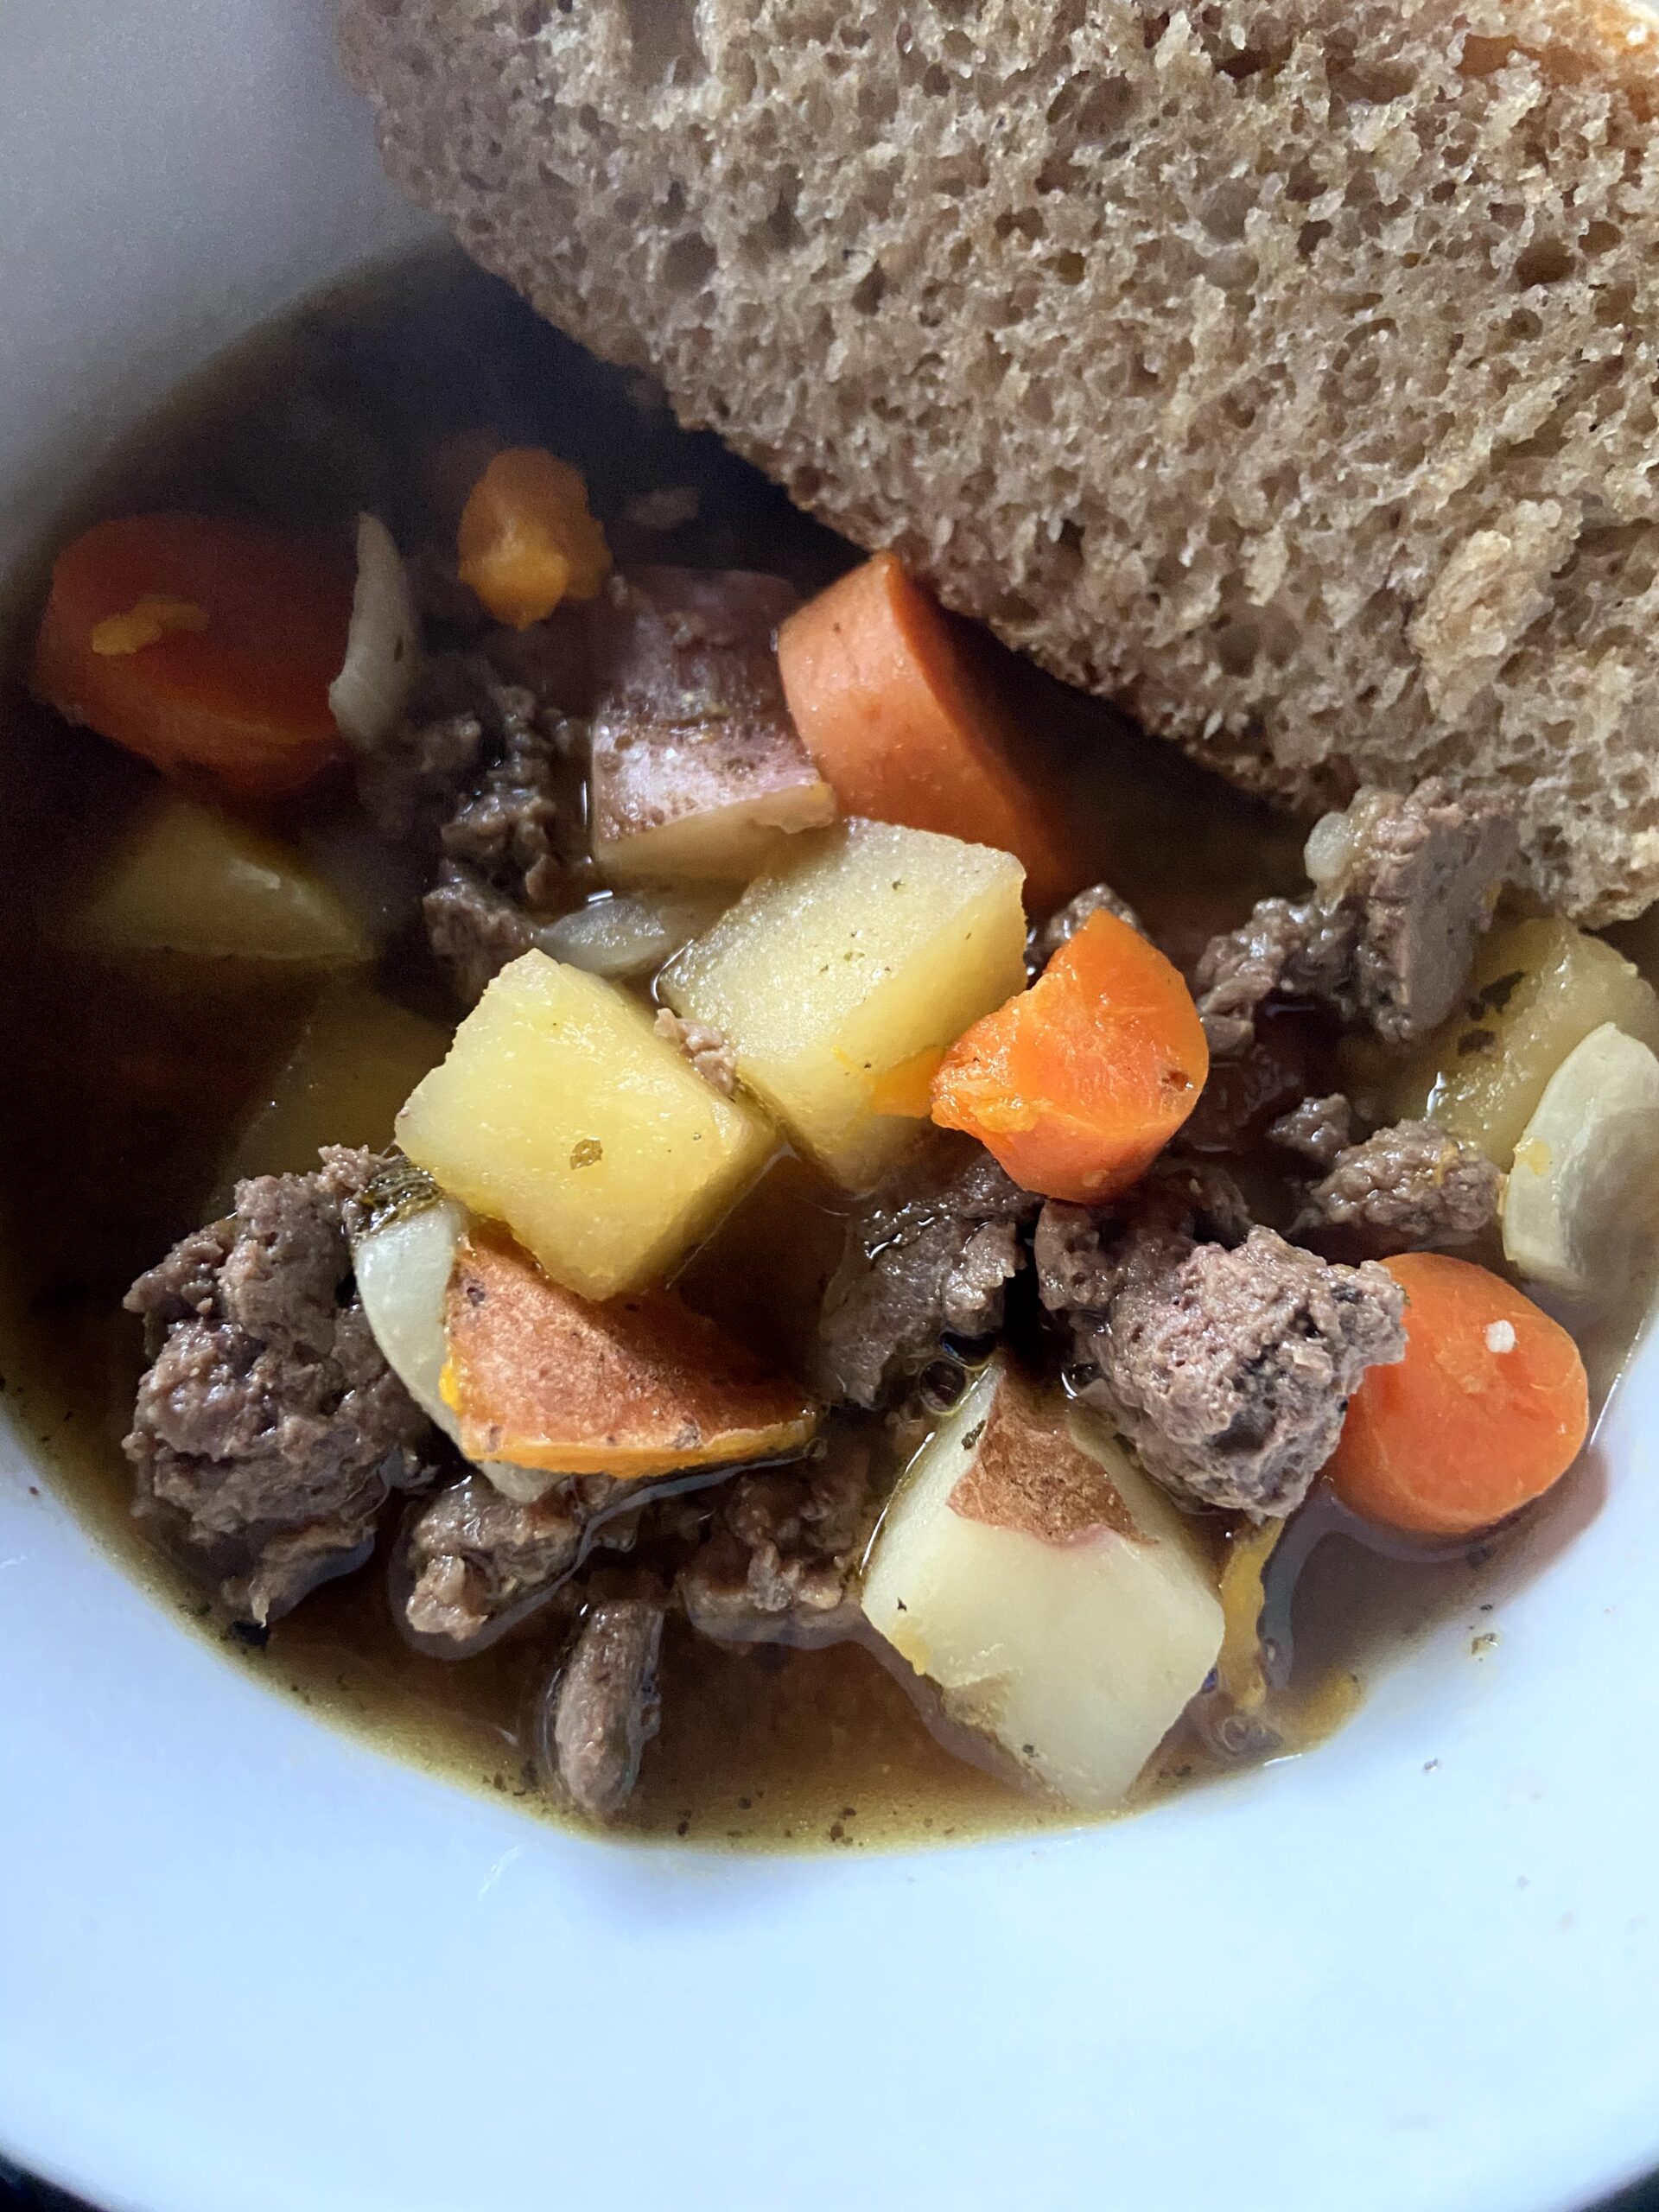
Finally Fall Root Vegetable Soup

I’m telling you, I love summer and all that comes with that: swimming, warm skin, camping, gardening, and carefree days. But man, this time of year, I relish the beautiful fall weather. In Northern Wisconsin, this brings on duck hunting. When it’s duck hunting, I get to relish the enjoyment of cooking for a large crowd of hunters. Usually that means I throw together a few kettles of soup, and this year was no different. We had an abundance of root vegetables in our home and I couldn’t wait to cook with them. What resulted was a delightful Finally Fall Root Vegetable Soup.

From the Garden…

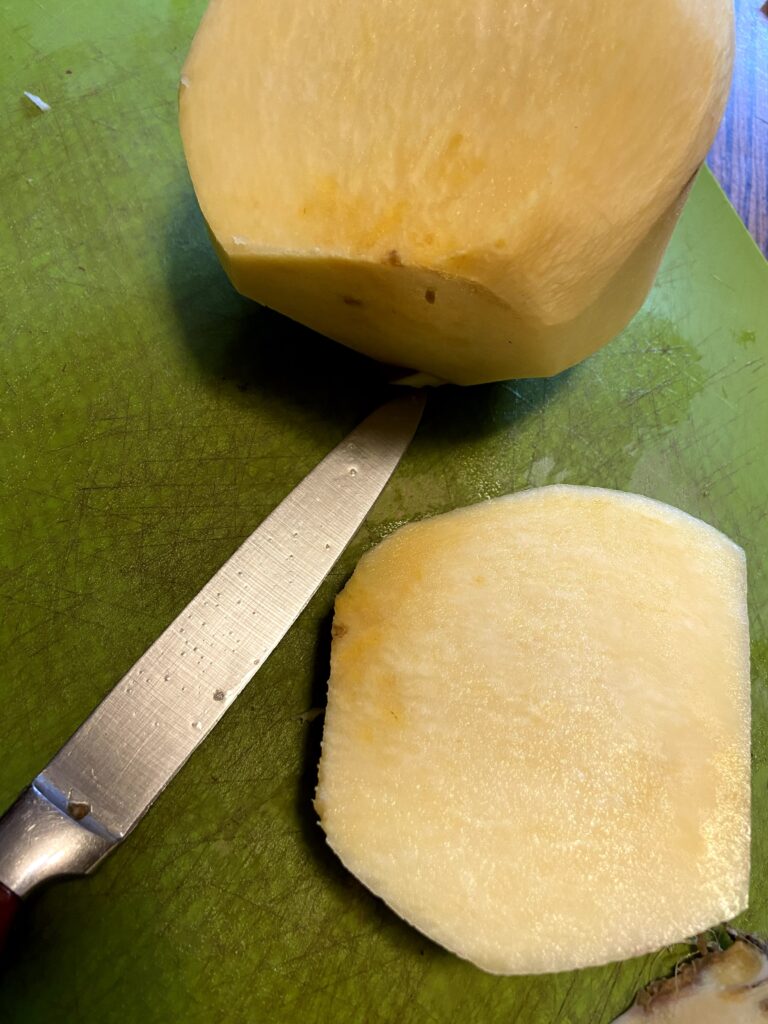
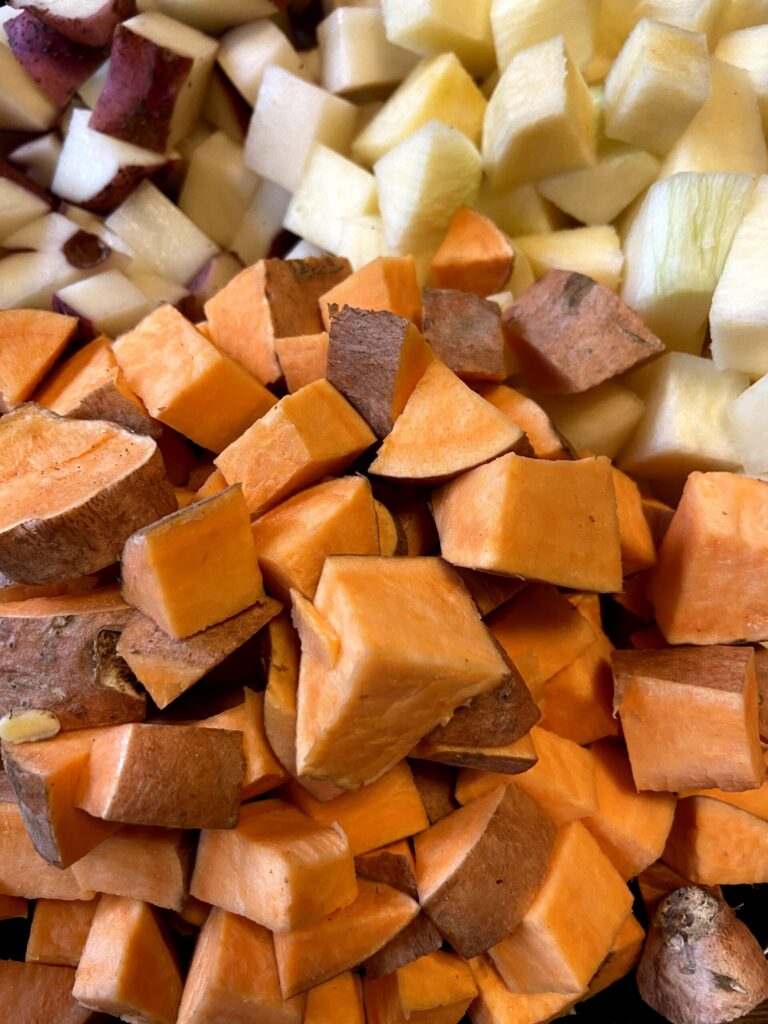
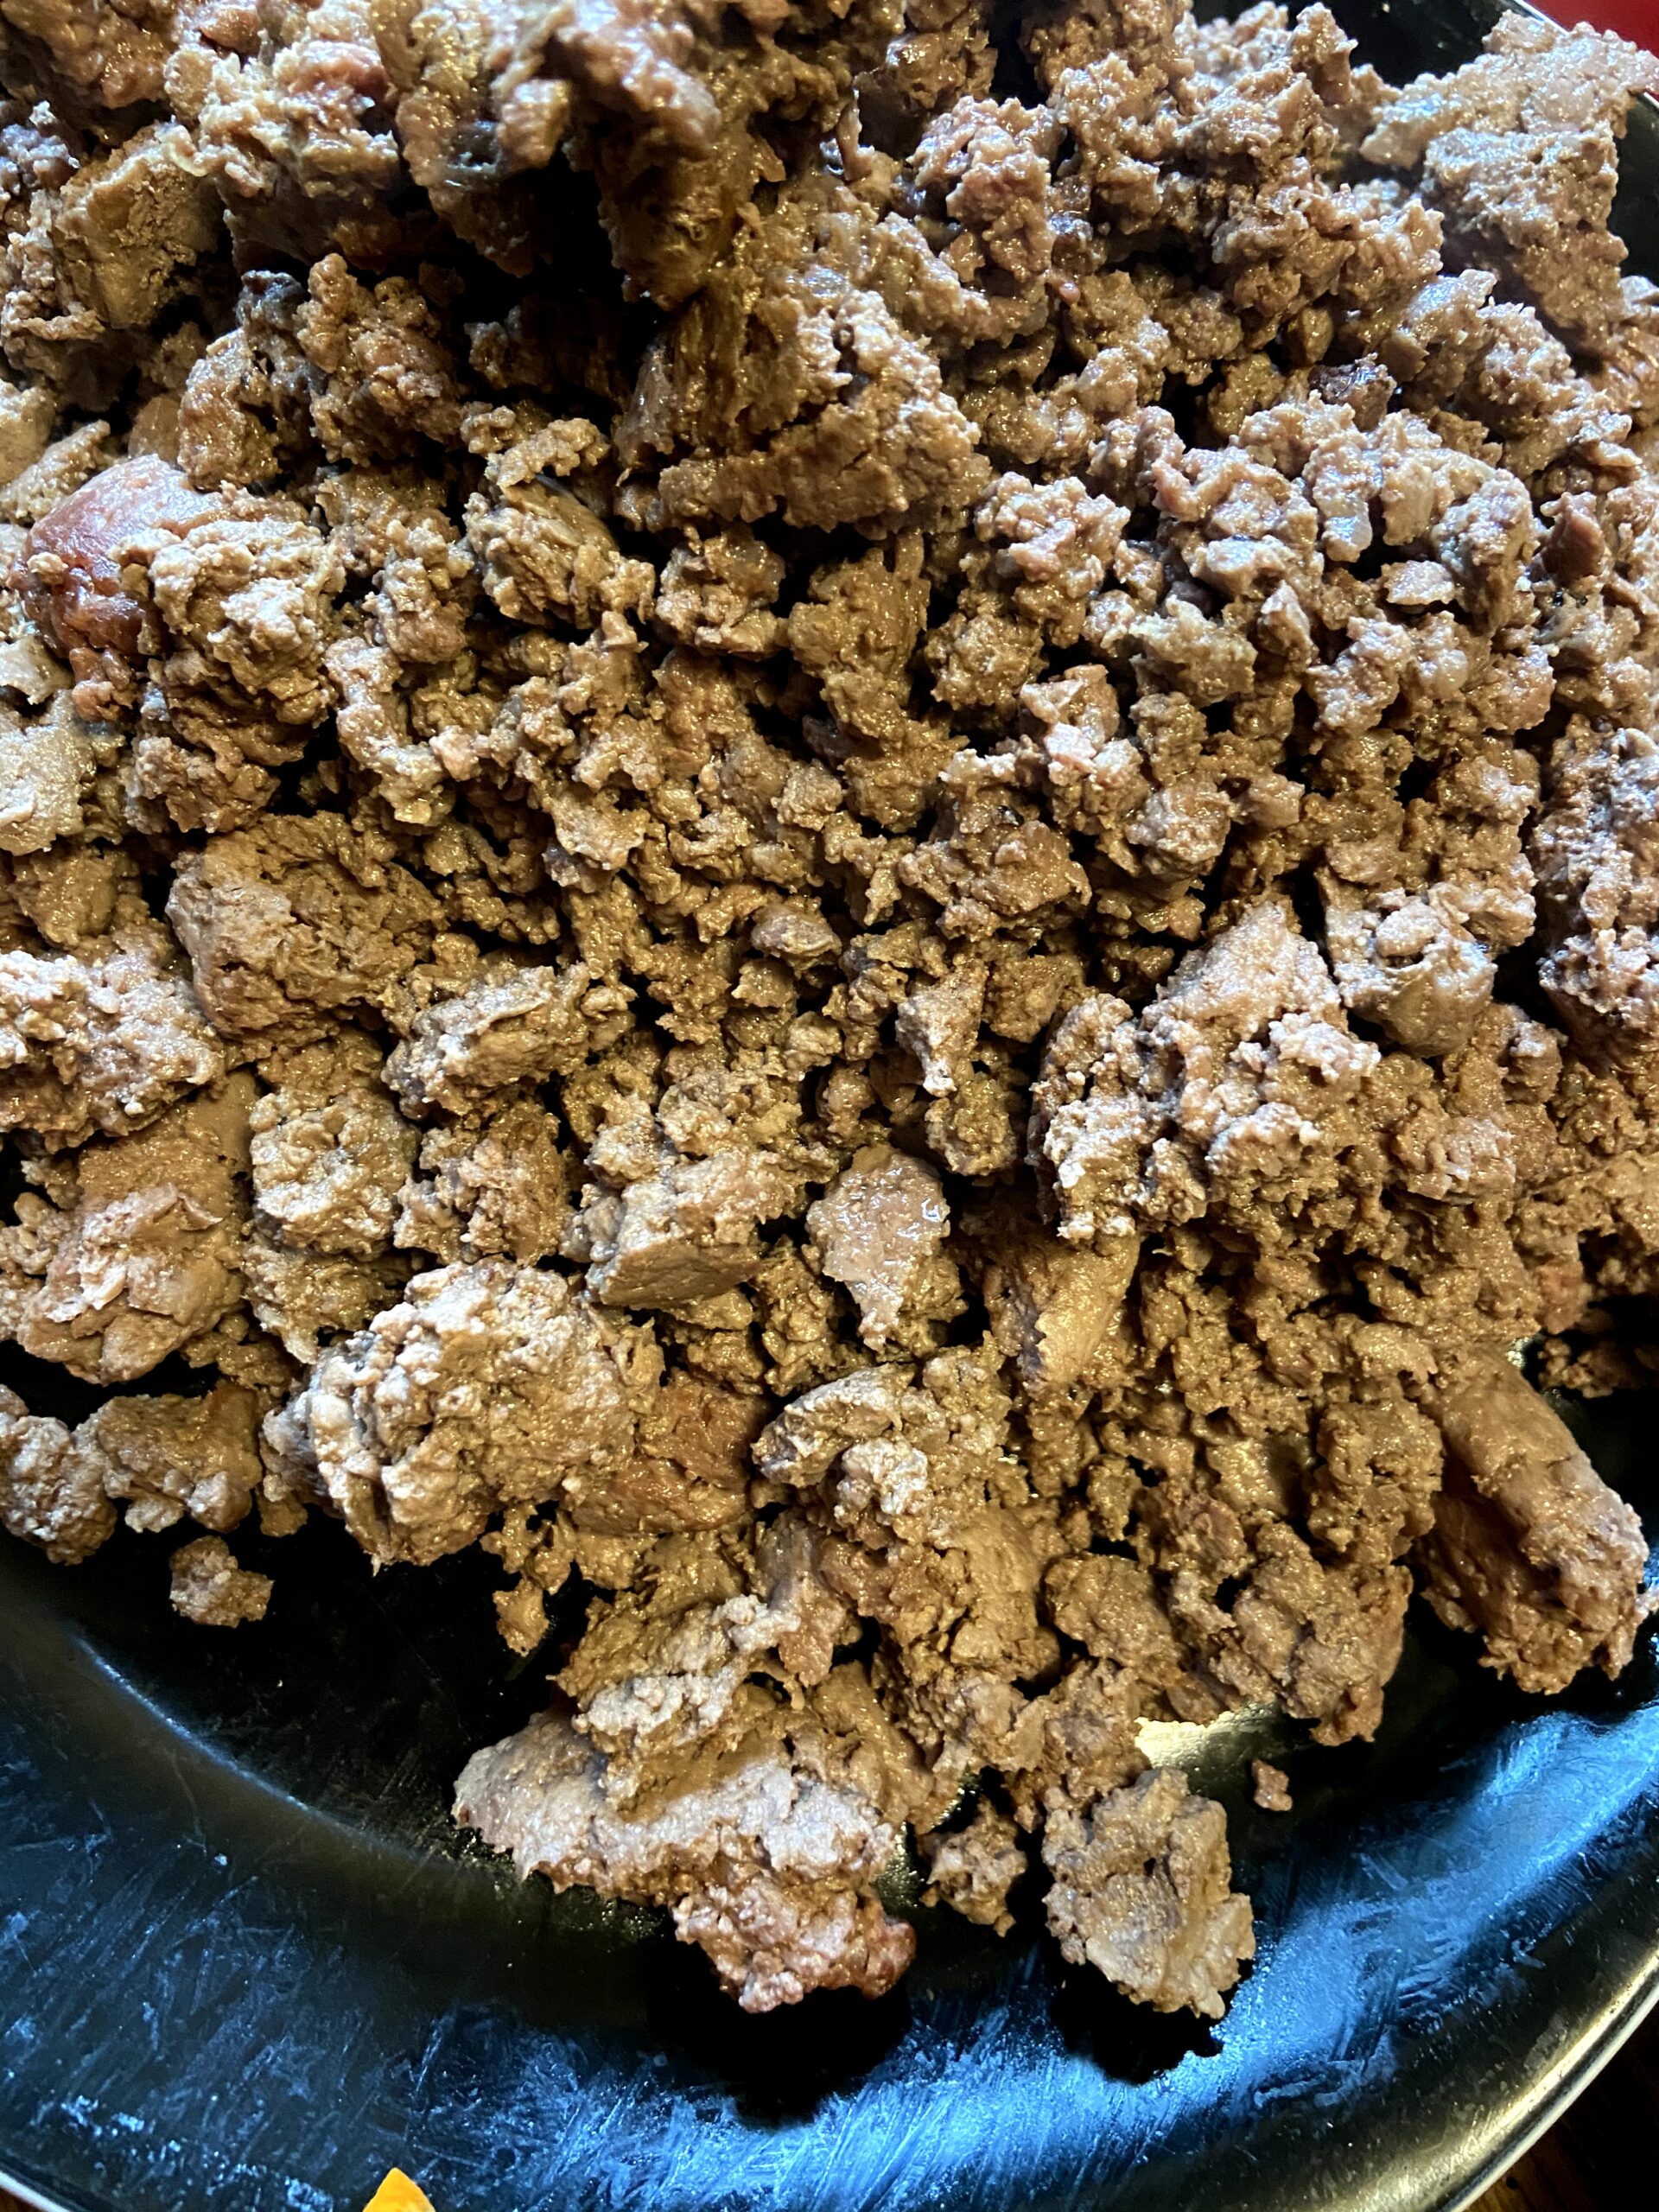
We grew potatoes, carrots, and rutabagas this year. I wanted sweet potatoes, but oddly enough, I forgot I wanted them until it was too late (story of my life). So alas, the sweet potatoes were store bought. However, the ground protein was last season’s venison so this root vegetable soup was almost a fully “home harvested meal.” My absolute favorite and leaves me feeling crazy proud. 

Now, I recognize not everyone gets the opportunity to grow their own food. Totally okay (Although I am telling you, you should start. It’s the best for SO MANY reasons. I won’t start listing them here, even though I want to). The great thing is that all of these ingredients can be pantry items, which means you can throw it together anytime you are feeling soup without any special trips. How great is that? Ready to get cooking and put together a fantastic Finally Fall Root Vegetable Soup? Let’s get to it! 

Your Ingredients

  • 1 ½ pounds ground protein (we use venison, but any ground protein would do)
  • Salt and pepper to taste
  • 3 cups of each, diced: sweet potatoes, rutabaga, red potatoes, and carrots 
  • 1 1/2 cups diced onion 
  • 2 tablespoons olive oil 
  • 1 tablespoon minced garlic
  • ½ teaspoon pepper
  • 1 tablespoon dried sage 
  • 2 tablespoons butter
  • 2 tablespoons flour
  • 8 cups beef broth, divided

Your Steps

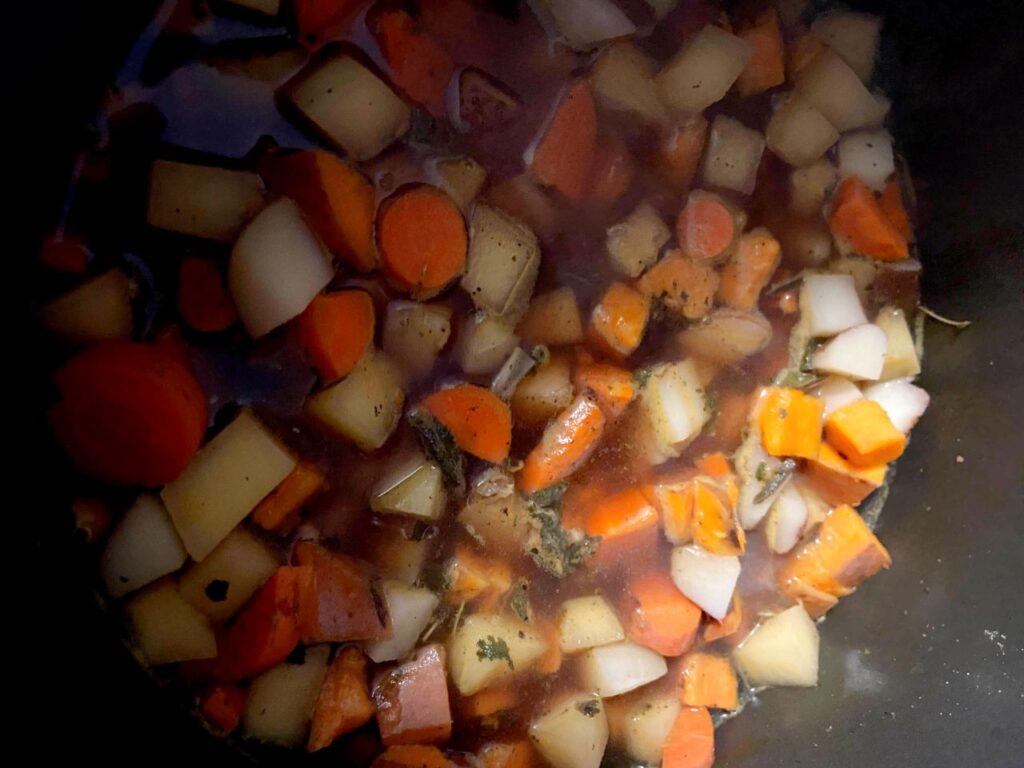
In a large Dutch oven, combine diced potatoes, rutabaga, carrots and 5 cups of beef broth. Bring to a boil and simmer for 15-20 minutes, until vegetables are tender. Meanwhile, in a large saucepan, brown ground protein, seasoning with salt and pepper to taste. Set aside. 

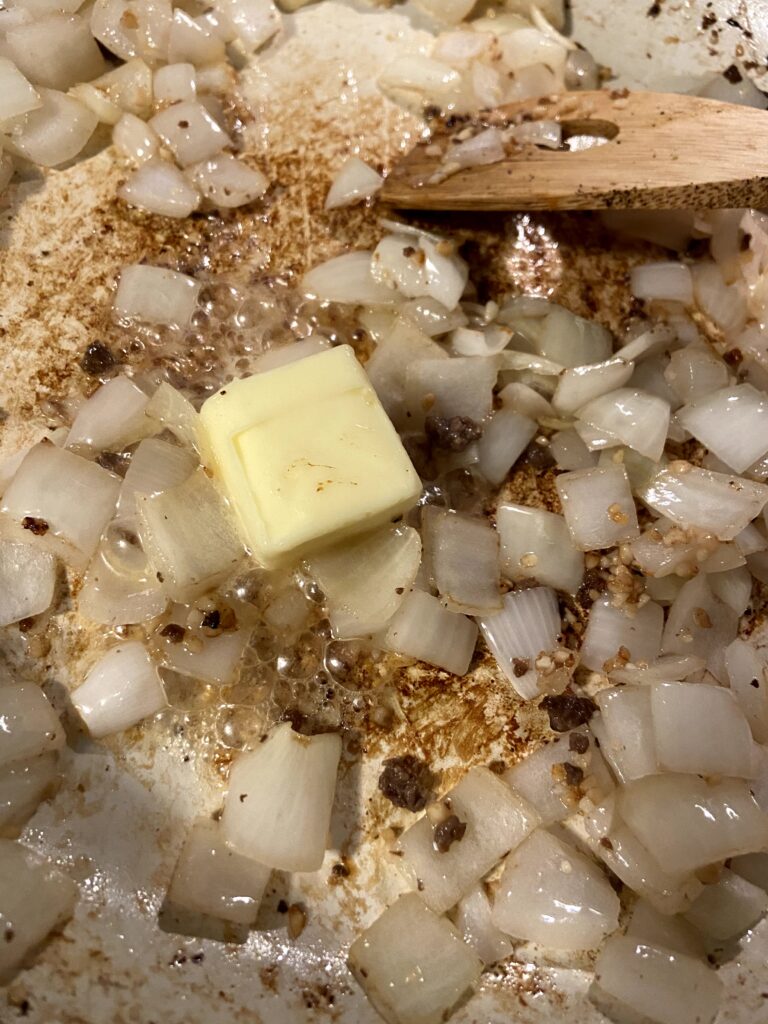
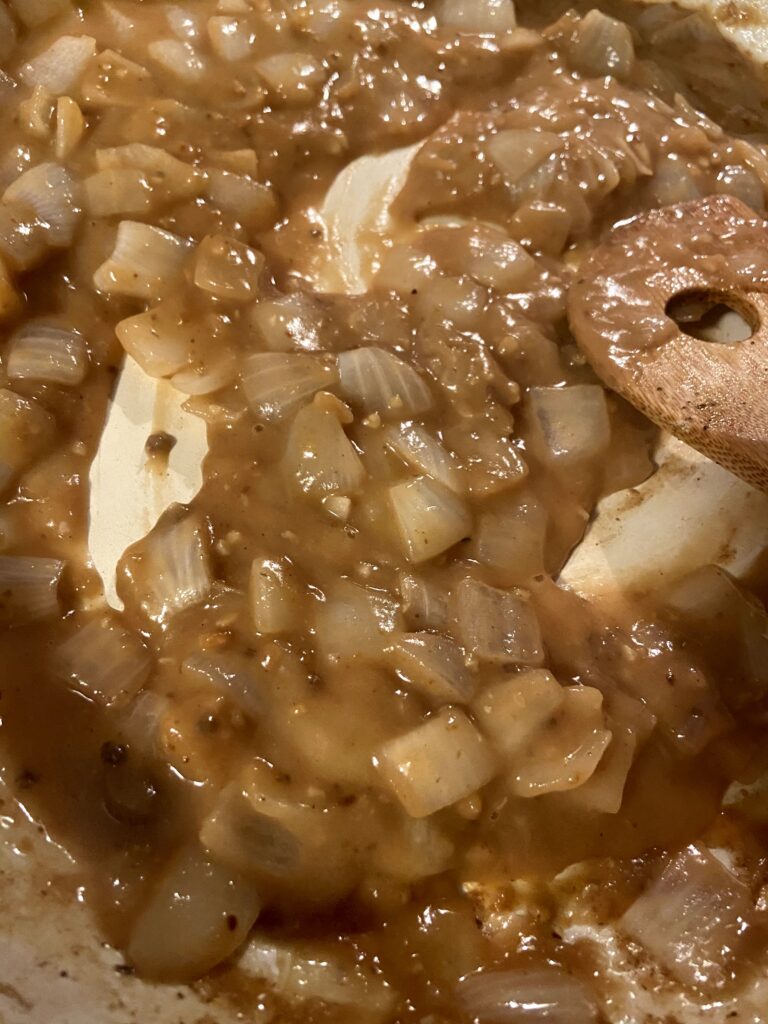
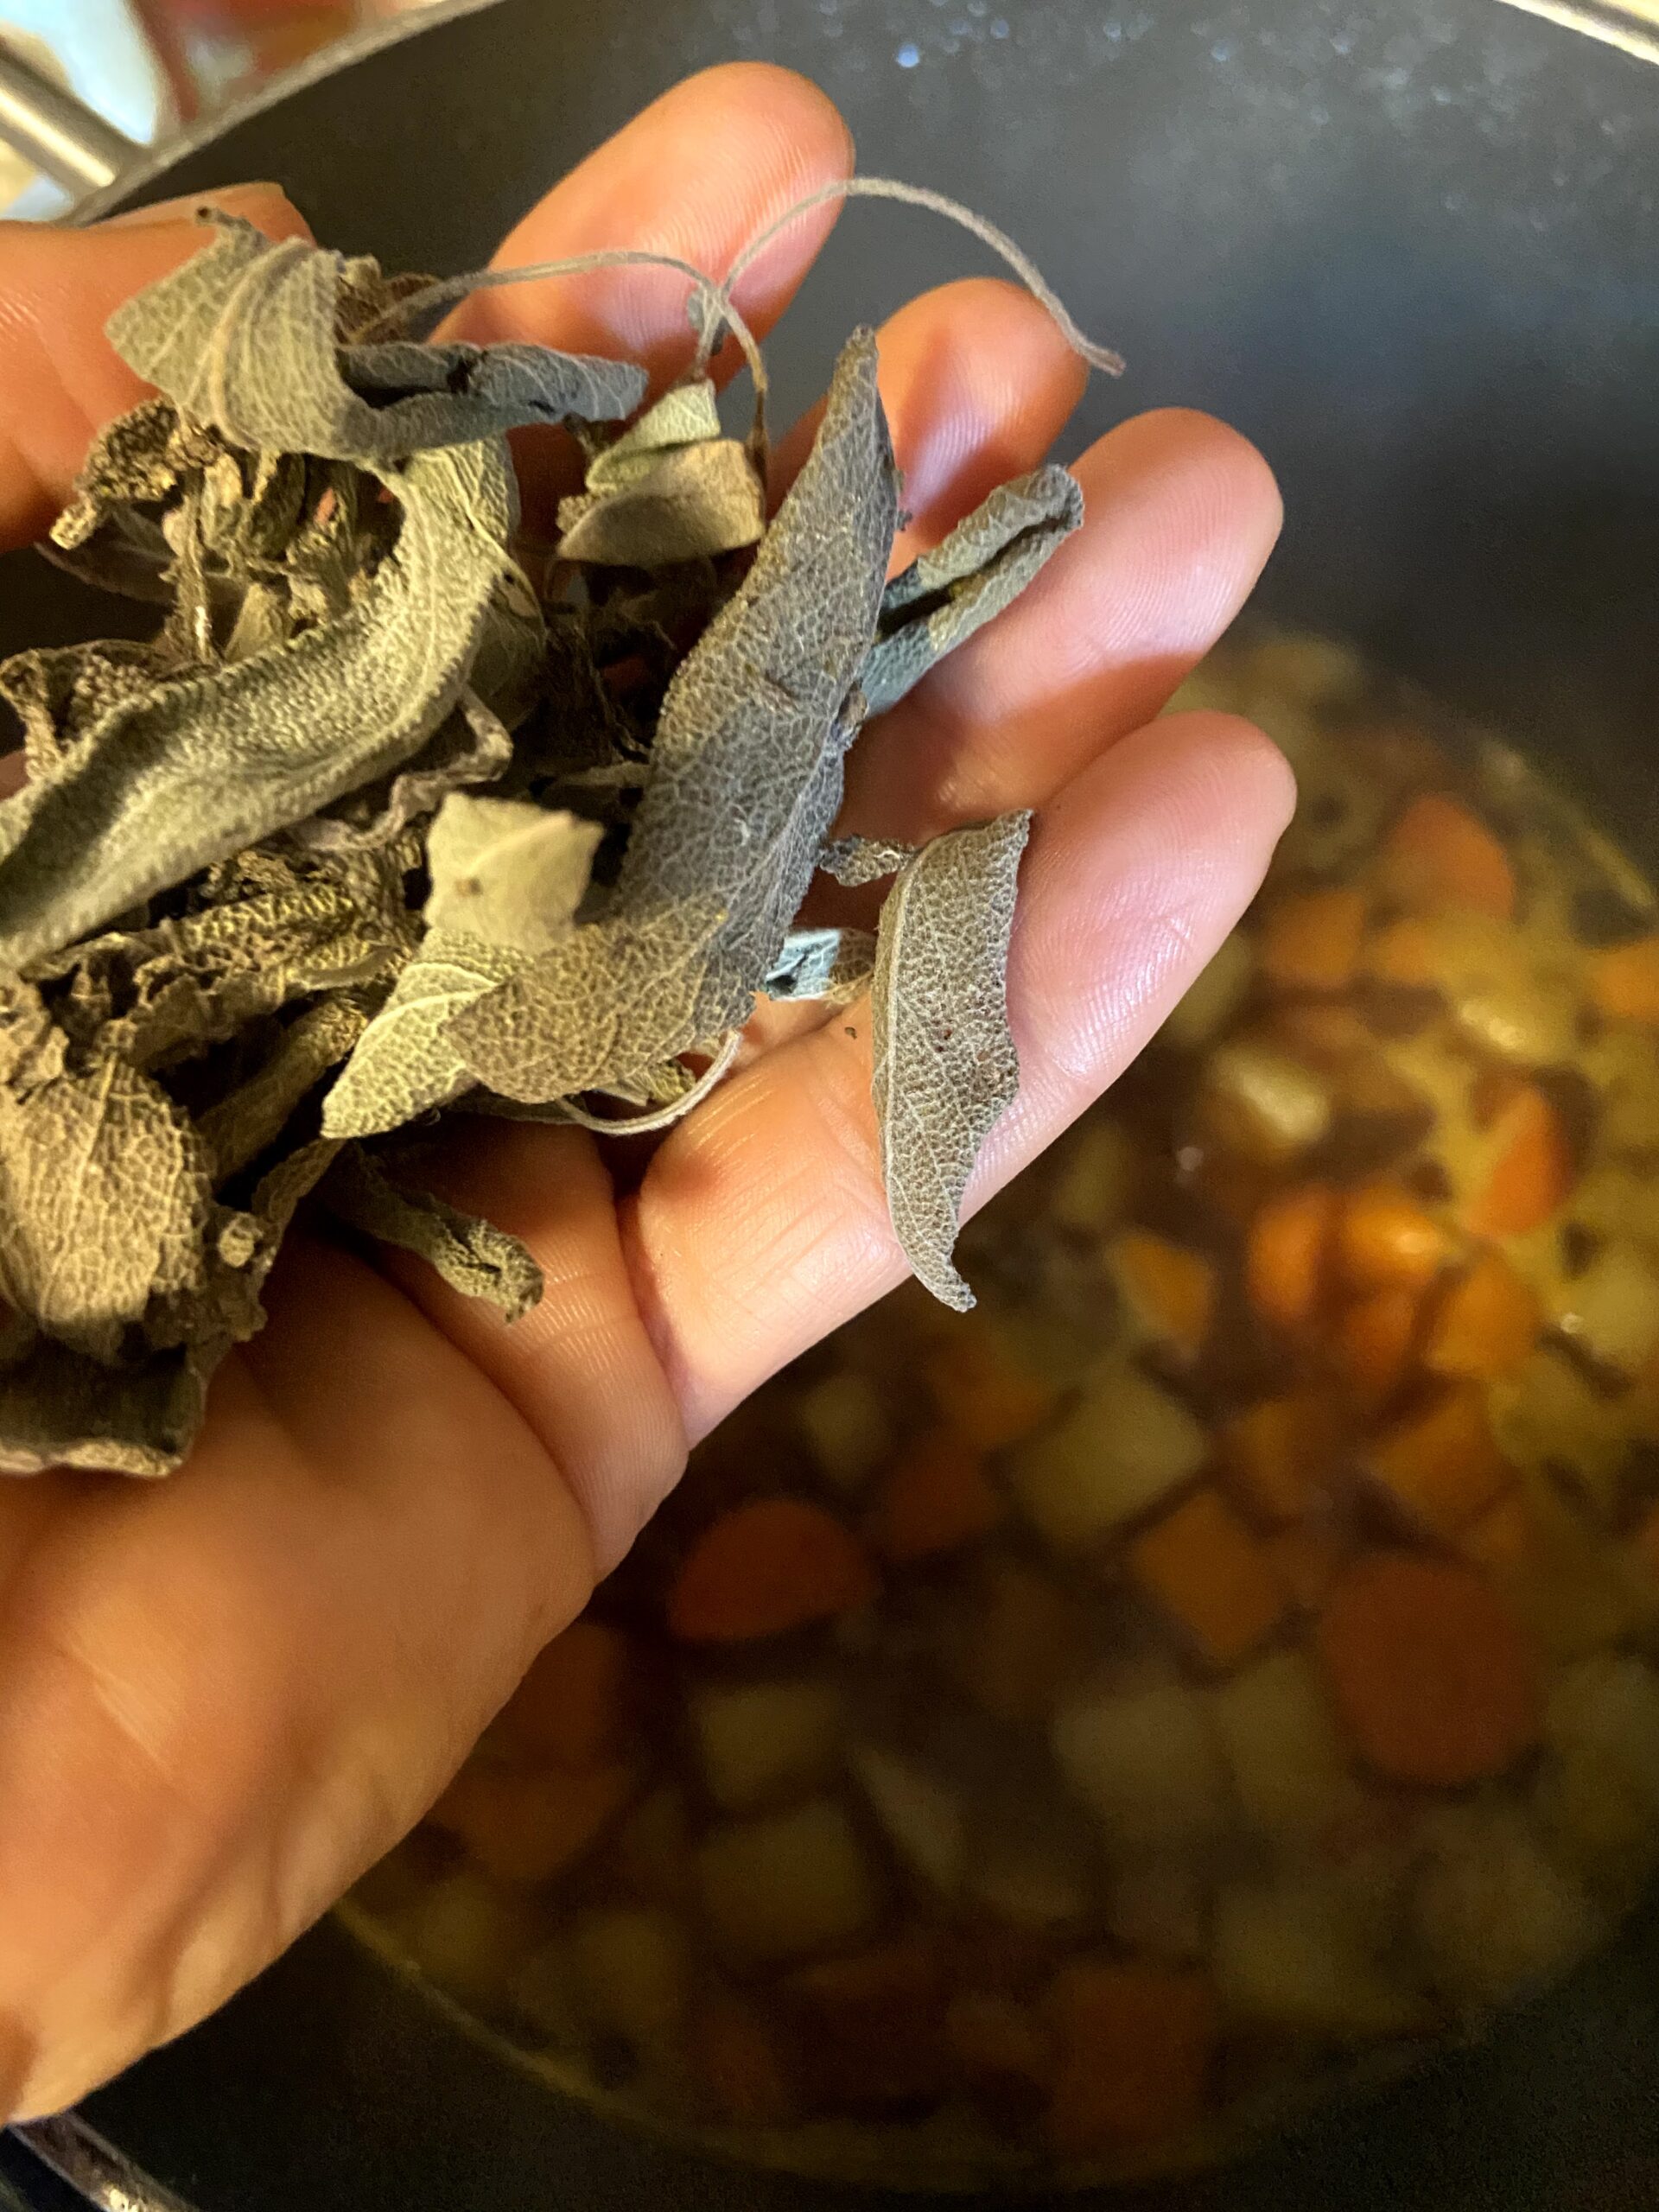
In the same large saucepan (I am all about minimizing dishes), begin to heat the onions and garlic, adding ½ tablespoon-1 tablespoon of oil if necessary. Sprinkle with ½ teaspoon pepper and 1 tablespoon dried sage. Once the onions have softened (about 5 minutes), add butter. Melt over medium heat. Once the butter is melted, stir in the flour, making a roux. VERY slowly, stir in remaining beef broth, ½ cup at a time, stirring the whole time, bringing to a boil before you add more broth. (Gluten free? You can 100% skip this and have a thinner broth). 

Once the broth has been fully incorporated, slowly add the onion mixture to other root vegetables. Stir in the ground protein and allow everything to come up to temperature. Give a quick taste test here, adding extra pepper or salt if needed. (I tend to get heavy with the pepper according to my kids, so I start light and almost always add a little more). 

Serve the Root Vegetable Soup!

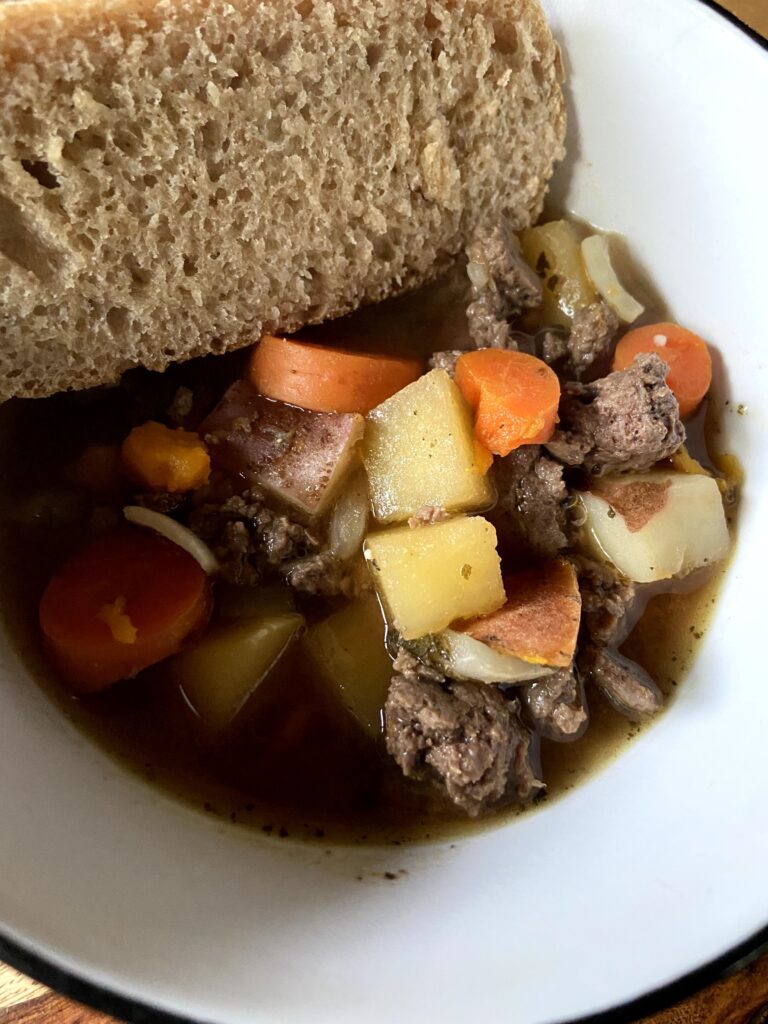
Serve right out of the kettle with a fresh slice of bread and perhaps a salad. I don’t think I am wrong when I say it doesn’t get much better than homemade soup, sourdough bread, and salad. It might just be my favorite meal of all time. Comfort food at it’s finest!

Tools of the trade

There isn’t too many tools here, but I’m telling you, nothing beats a good cast iron Dutch Oven for your soups, bread baking, and everything in between. I love my red kitchen, so this is a perfect fit!

Looking for other soup? Check out my recipes on my cooking page below!
Finally Fall Root Vegetable Soup

Finally Fall Root Vegetable Soup: Comforting and full of good for you vegetables, this soup will bring joy to your heart and your belly.
Prep Time10 minutes
Cook Time35 minutes
Course: Main Course
Cuisine: American
Servings: 10

Ingredients

  • 1 ½ pounds ground protein we use venison, but any ground protein would do
  • Salt and pepper to taste
  • 3 cups sweet potatoes largely diced
  • 3 cups rutabaga largely diced
  • 3 cups red potatoes largely diced
  • 3 cups carrots largely diced
  • 1 ½ cups diced onion
  • 1 tablespoon olive oil
  • 1 tablespoon minced garlic
  • ½ teaspoon pepper
  • 1 tablespoon dried sage
  • 2 tablespoons butter
  • 2 tablespoons flour
  • 7 cups beef broth divided

Instructions

  • In a large Dutch oven, combine diced potatoes, rutabaga, carrots and 5 cups of beef broth.
  • Bring to a boil and simmer for 15-20 minutes, until vegetables are tender.
  • Meanwhile, in a large saucepan, brown ground protein, seasoning with salt and pepper to taste. Set aside.
  • In the same large saucepan begin to heat the onions and garlic, adding ½ tablespoon-1 tablespoon of oil if necessary. Sprinkle with ½ teaspoon pepper and 1 tablespoon dried sage.
  • Once the onions have softened (about 5 minutes), add butter.
  • Melt over medium heat. Once the butter is melted, stir in the flour, making a roux.
  • Slowly add in remaining beef broth, ½ cup at a time, stirring the whole time, bringing to a boil before you add more broth.
  • Once the broth has been fully incorporated, slowly add the onion mixture to other root vegetables.
  • Stir in the ground protein and allow everything to come up to temperature. Add additional salt or pepper as needed.

Notes

Gluten free? Feel free to skip the flour and butter roux. 

From the Garden Midwest Harvest Soup

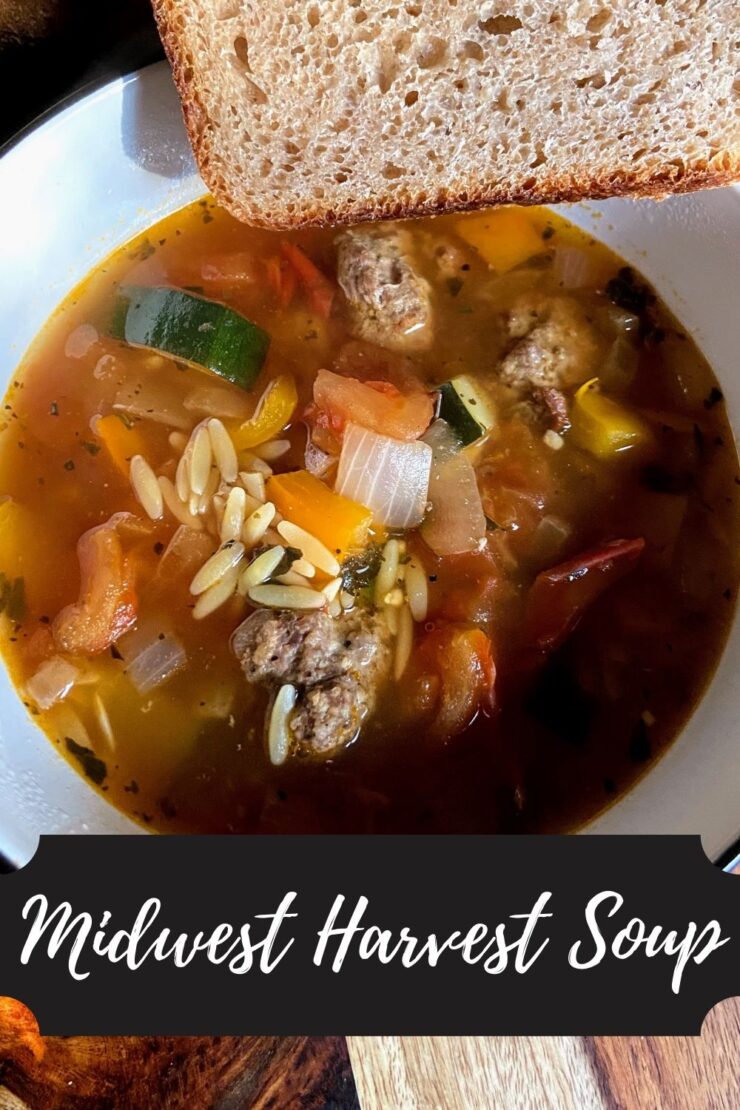
Summer is winding down in Northern Wisconsin and that means it’s turning to my favorite season. No, not autumn. Okay, I adore autumn. But with autumn comes soup season! A large kettle of soup, a salad, and some fresh baked sourdough bread just can not be beat, and luckily I love making it all. Since the weather dipped into the lower 30’s last week, I had to put together a new soup. I talked with my lady friends, and we christened it Midwest Harvest Soup. I think it is incredibly fitting. 
Picture it: the end of garden season. You are harvesting the last of your tomatoes, peppers, and zucchini. Maybe you grew onions too. And it is also time to clean out the freezer because it is almost hunting season which means a new batch of venison to process and store in the freezer. You want to use it all up. This, my friends, is where a Midwest Harvest Soup comes into play. 

Before we begin…

Let me share that each year, we process our own venison. While doing so, we grind and combine some of it with pork butt 50/50 and mix in the seasonings that go with Italian sausage. We dig the mixture put together by Taste of Lizzy T. We freeze our version of Italian sausage in one pound packages and pull it out for all our Italian dishes; think: pasta, baked ziti, etc. It’s fantastic, adds tons of flavor, and keeps the fat down since the pork is only 50% of the mixture. You can bet that if a recipe of mine calls for Italian sausage, I am using this venison version. 

Is it cold where you’re at today? Or do you just love soup like me? Let’s get simmering up a batch of this delicious Midwest Harvest Soup to warm your bellies and your souls. 

Your Ingredients: 

  • 1 pound Italian sausage
  • ¼ cup Italian seasoned bread crumbs
  • ¼ cup finely diced onion
  • pepper, to taste (¼ – ½ teaspoon)
  • 2 cups chopped sweet pepper (any color) 
  • 1 cup chopped onion 
  • ½ tablespoon minced garlic
  • ½ teaspoon pepper 
  • ¼ teaspoon salt
  • 1 tablespoon olive oil 
  • 3 cups chopped tomatoes
  • 3 cups chopped zucchini, skins on
  • ½ tablespoon dried oregano
  • ½ tablespoon dried basil 
  • 5 cups beef broth (I dig Orrington Farm’s beef base)
  • 2 cups water
  • ¾ cup orzo 

Your Steps

Preheat oven to 425 degrees and prepare a baking sheet by lining it with foil. Combine Italian sausage, bread crumbs, onion, and ¼ teaspoon pepper. Form into 1-1 ½ inch meatballs and place on the baking sheet. Bake for 15-20 minutes, or until cooked through. 

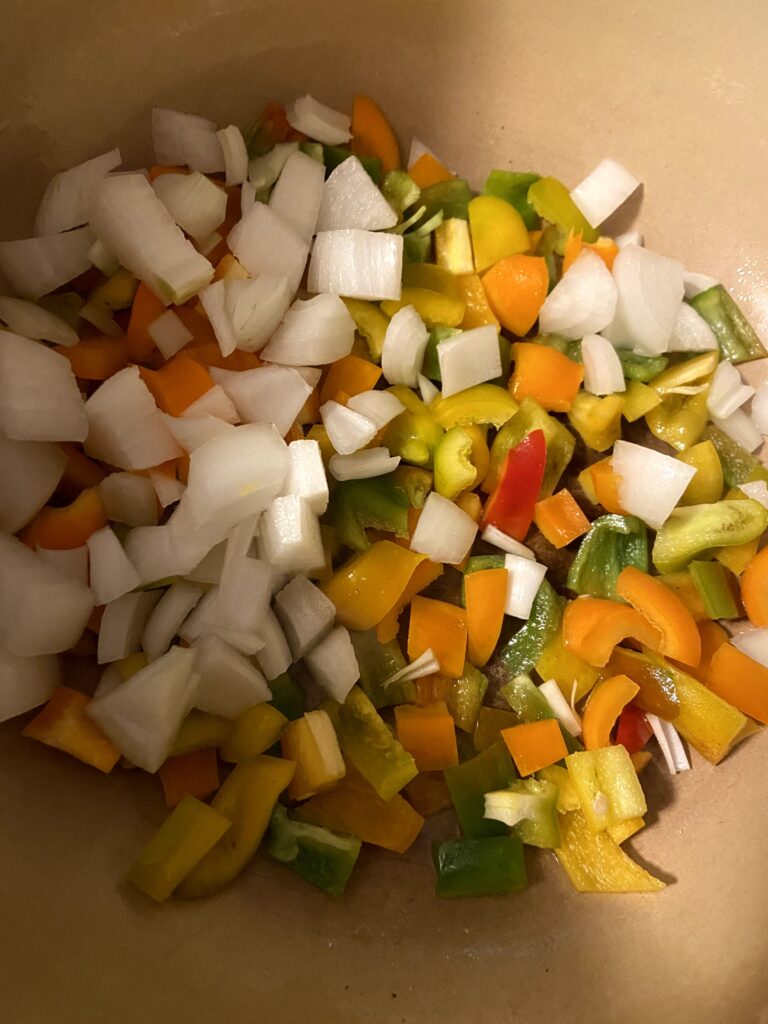
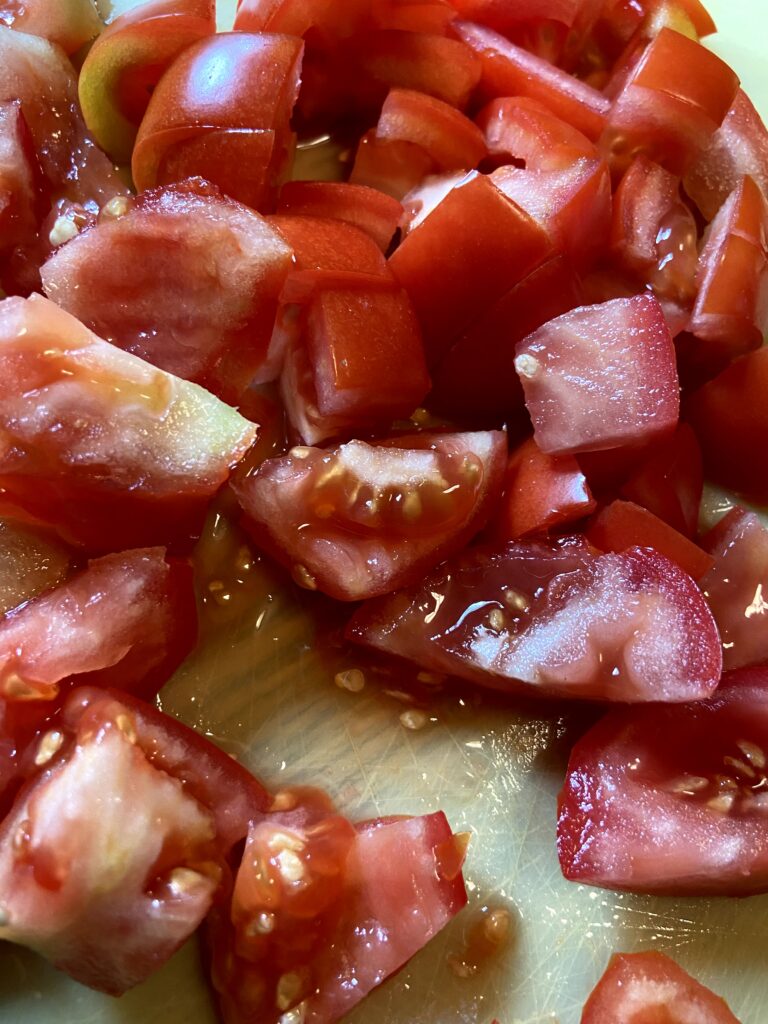
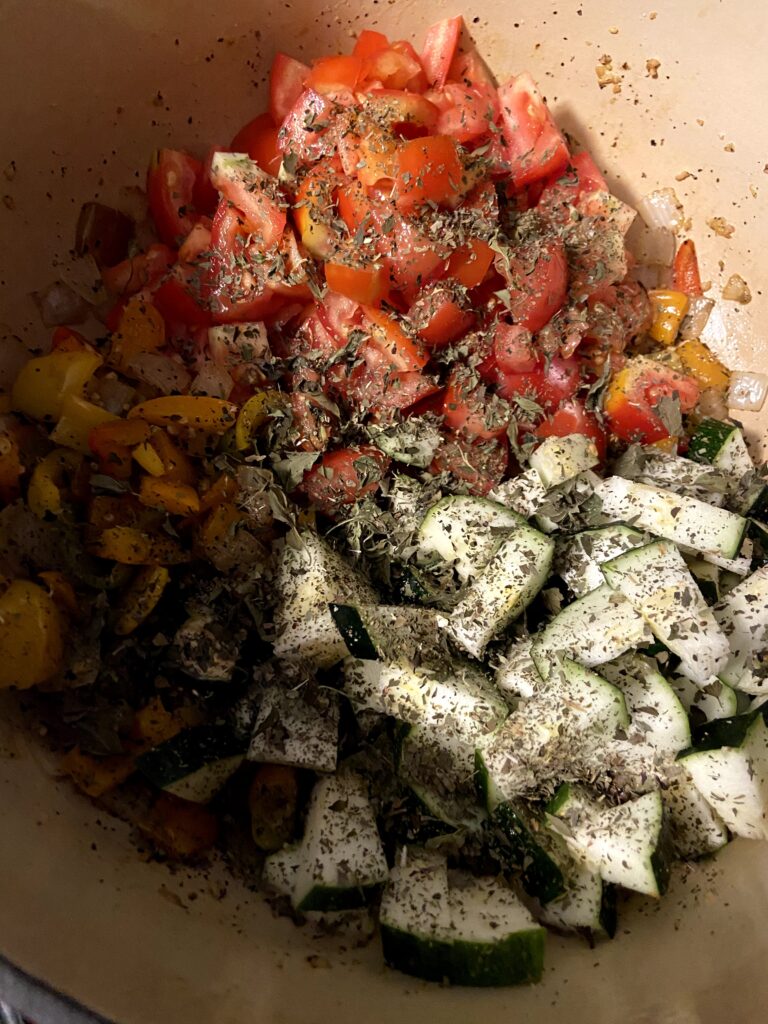
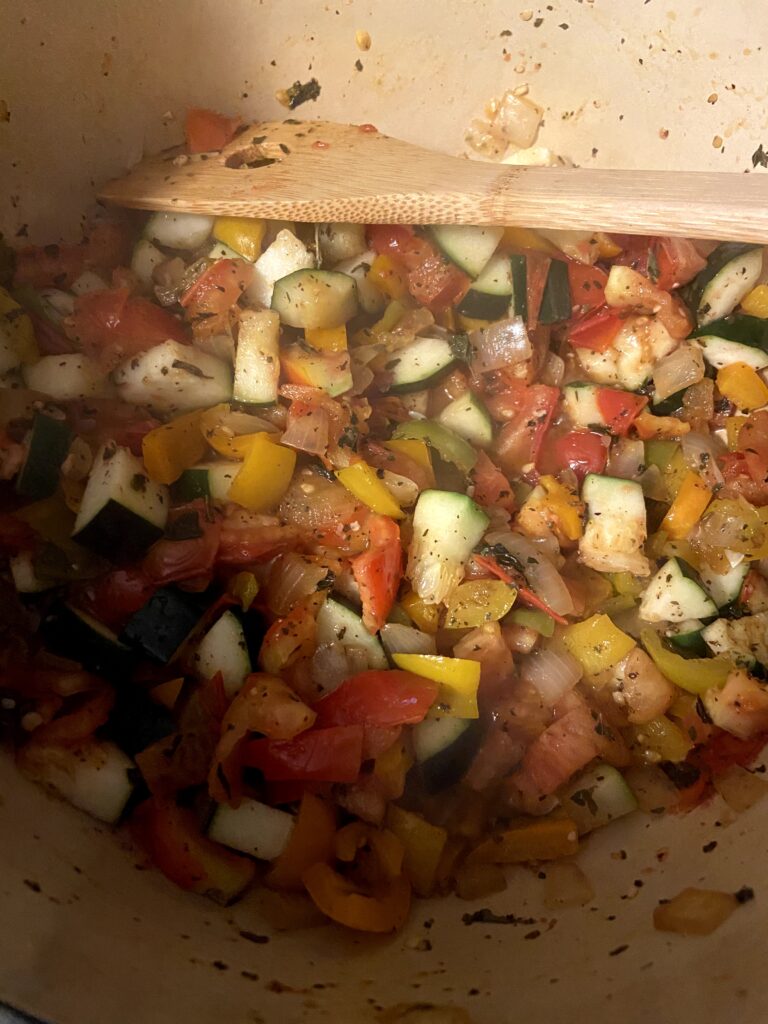
Meanwhile, heat olive oil in a large Dutch oven. Add sweet peppers, onion, garlic, salt, and pepper. Cook 6-8 minutes, until the vegetables have begun to soften. Add tomatoes, zucchini, oregano and basil, cooking an additional 6-8 minutes, stirring often. Add broth and water. Stir in meatballs. Bring to a boil and add uncooked orzo. Simmer for 9-12 minutes, until orzo is cooked through. 

Of course, you should serve this Midwest Harvest soup with crusty, fresh bread and a side salad for good measure. But even if you don’t have those things on hand, a warm bowl of soup is delightful all on its own. 

Note

It will thicken over a few days, so if you are preparing this with the intent of eating it over a few days like I do, know that it will become more stew like in the coming days. If that isn’t your jam, you can always add an additional cup or two of beef broth.

Tools of the Trade

This broth base is amazing. It allows you to control the amount of sodium when you make your stock. It doesn’t get weird and clumpy like other stock bases I have used and is my go to in our home.

I ADORE my cast iron Dutch Oven from The Lodge. The enamel makes me worry less about rust and oh man, it just makes soups better.

Midwest Harvest Soup

End of the season harvests combine with orzo and Italian sausage meatballs to create this comforting and warm you soul Midwest Harvest Soup.
Prep Time 20 minutes
Cook Time 30 minutes
Total Time 50 minutes
Course Main Course
Cuisine American
Servings 6

Ingredients
  

  • 1 pound Italian sausage
  • ¼ cup Italian seasoned bread crumbs
  • ¼ cup finely diced onion
  • ¼ teaspoon pepper
  • 2 cups chopped sweet pepper any color
  • 1 cup chopped onion
  • ½ tablespoon minced garlic
  • ½ teaspoon pepper
  • ¼ teaspoon salt
  • 1 tablespoon olive oil
  • 3 cups chopped tomatoes
  • 3 cups chopped zucchini skins on
  • ½ tablespoon dried oregano
  • ½ tablespoon dried basil
  • 5 cups beef broth
  • 2 cups water
  • ¾ cup orzo

Instructions
 

  • Preheat oven to 425 degrees and prepare a baking sheet by lining it with foil or parchment paper.
  • Combine Italian sausage, bread crumbs, onion, and ¼ teaspoon pepper.
  • Form into 1-1 ½ inch meatballs and place on the baking sheet. Bake for 15-20 minutes, or until cooked through.
  • Meanwhile, heat olive oil in a large Dutch oven. Add sweet peppers, onion, garlic, salt, and pepper.
  • Cook 6-8 minutes, until the vegetables have begun to soften.
  • Add tomatoes, zucchini, oregano and basil, cooking an additional 6-8 minutes, stirring often.
  • Add broth and water. Stir in meatballs. Bring to a boil and add uncooked orzo.
  • Simmer for 9-12 minutes, until orzo is cooked through.
Keyword from the garden, Italian sausage, orzo, soup, soups and stews
Tried this recipe?Let us know how it was!

So Simple Tomato Soup

I’ve always enjoyed a grilled cheese and some tomato soup. It wasn’t on my top list of favorites, but it definitely provides a source of comfort. Then I started baking sourdough bread and let me tell you, homemade sourdough quite possibly makes the best grilled cheese you’ll ever have. It’s been my “easy lunch” on the weekend countless times because it makes me so happy. Wait, you don’t bake sourdough…yet? What are you waiting for? Check it out here!

Okay, I digress. Sourdough grilled cheese is incredible, but tomato soup makes it so much better. And alas, we don’t generally have it on hand anymore since I make my own soups from scratch (I have an entire Pinterest board dedicated to soup…it’s a bit of an obsession). But recently it was chilly out and I just needed tomato soup. I looked around my fridge and pantry and put this together in flash…along with a grilled cheese of course.

A few notes from me: Most tomato soups (and creamy soups in general) call for heavy cream. I never have that on hand, and I like to make soups with things that I have on hand. I find that milk works just fine and makes for a slightly lighter soup without compromising too much. If you dig a creamier soup, feel free to use heavy cream rather than milk. If you haven’t noticed yet, I like to sneak all the veggies I can into a meal. It’s how I roll. This soup isn’t any different. Finally, this soup makes use of an immersion blender/stick blender (click here to see which one I have). If you don’t have one, it’s a pretty sweet kitchen gadget that has tons of uses and doesn’t take up too much space. I recommend it 🙂

Okay, let’s get cooking!

Your ingredients:

  • 1 cup diced carrot
  • 1/3 cup diced onion
  • 1 tablespoon olive oil
  • 1 cup diced zucchini (about 1 small)
  • 1/2 cup tomato paste
  • 2 14.5 ounce cans diced tomatoes (I used one salt free and one garlic seasoned), NOT drained
  • 1/2 teaspoon pepper (or to taste)
  • 1/2 teaspoon salt
  • 1 teaspoon minced garlic
  • 1 teaspoon dried basil
  • 2 cups chicken stock/broth
  • 1 cup milk (I used 1%)
  • 1/2 tablespoon honey (to taste)

Directions:

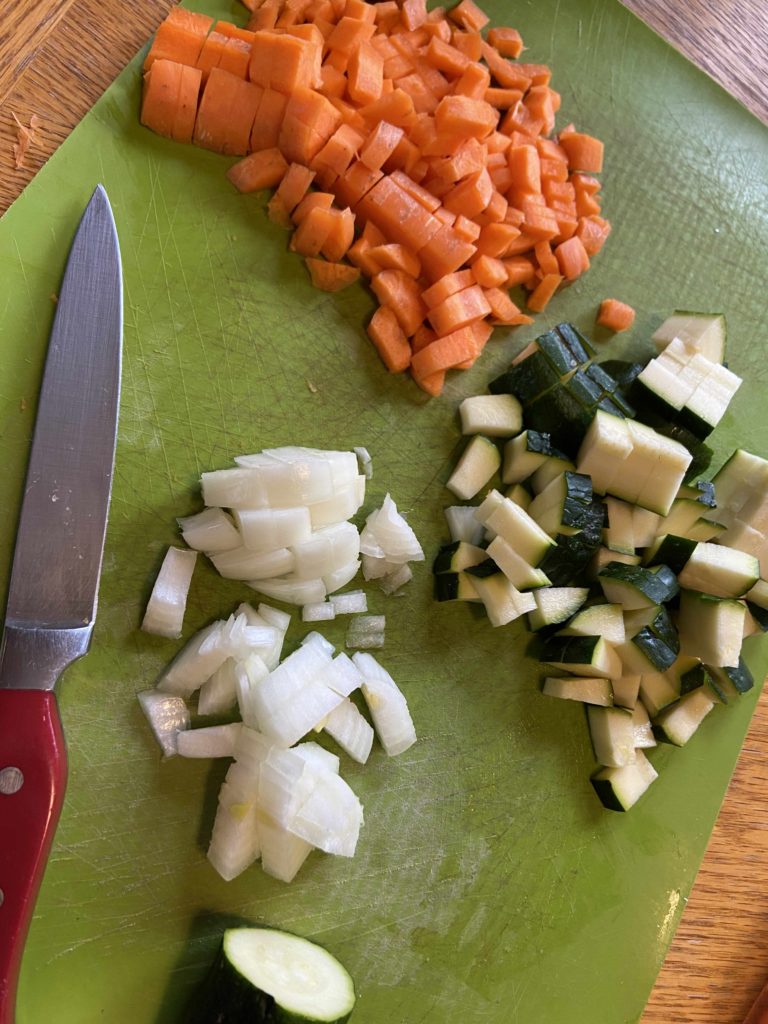
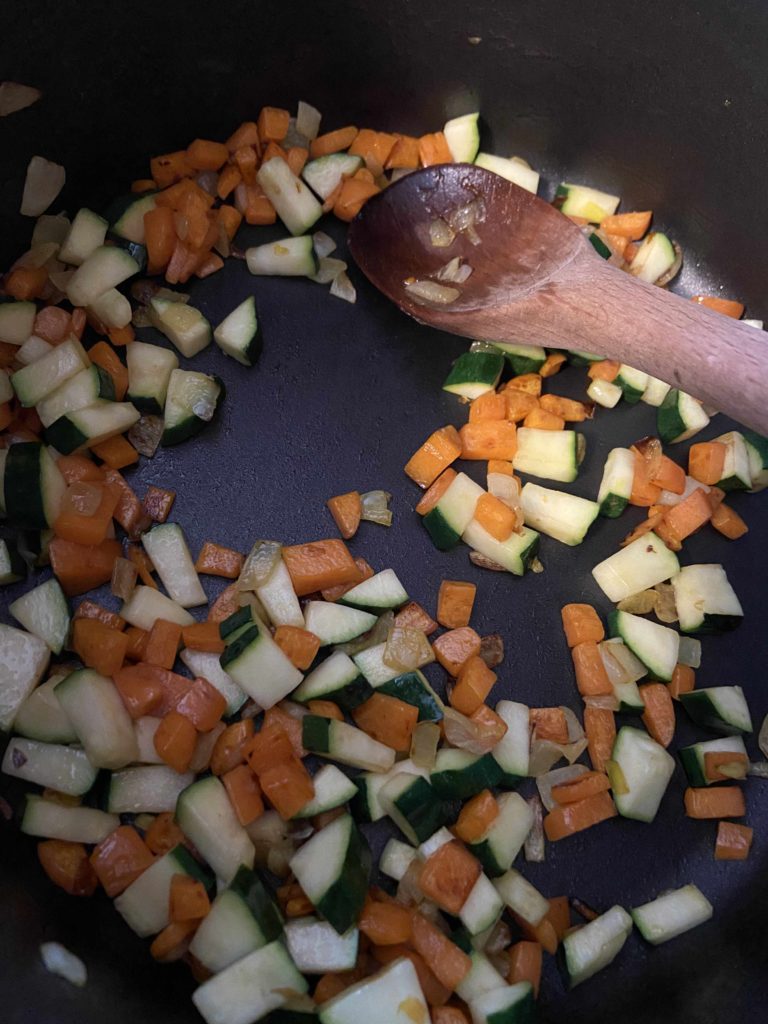
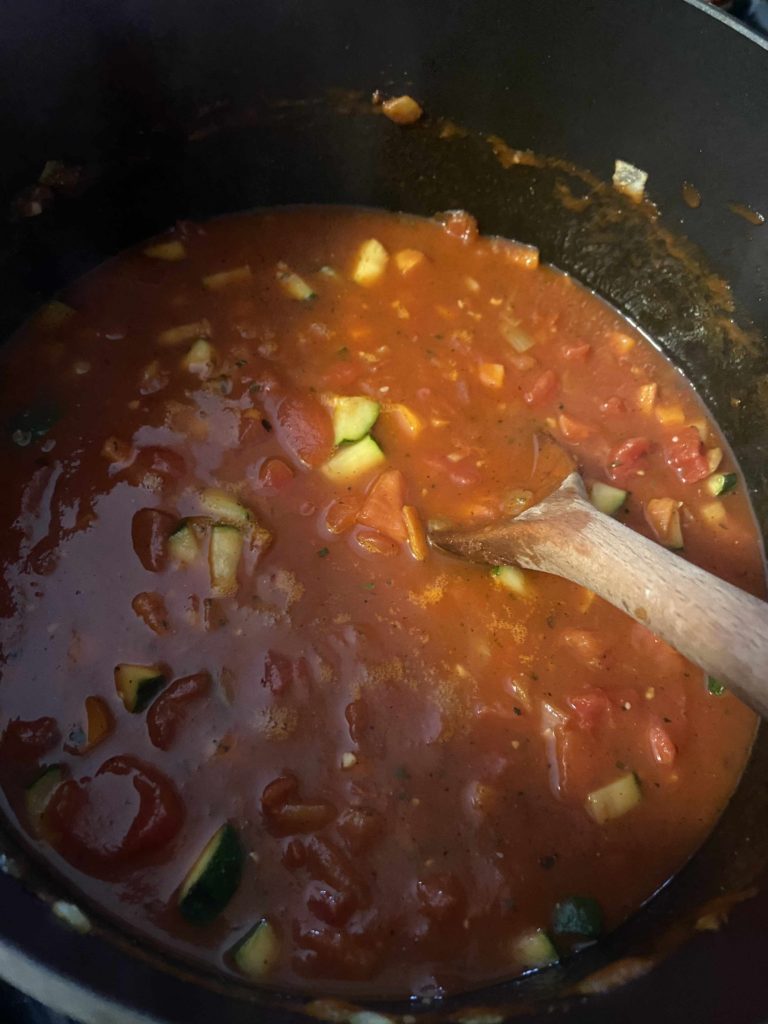
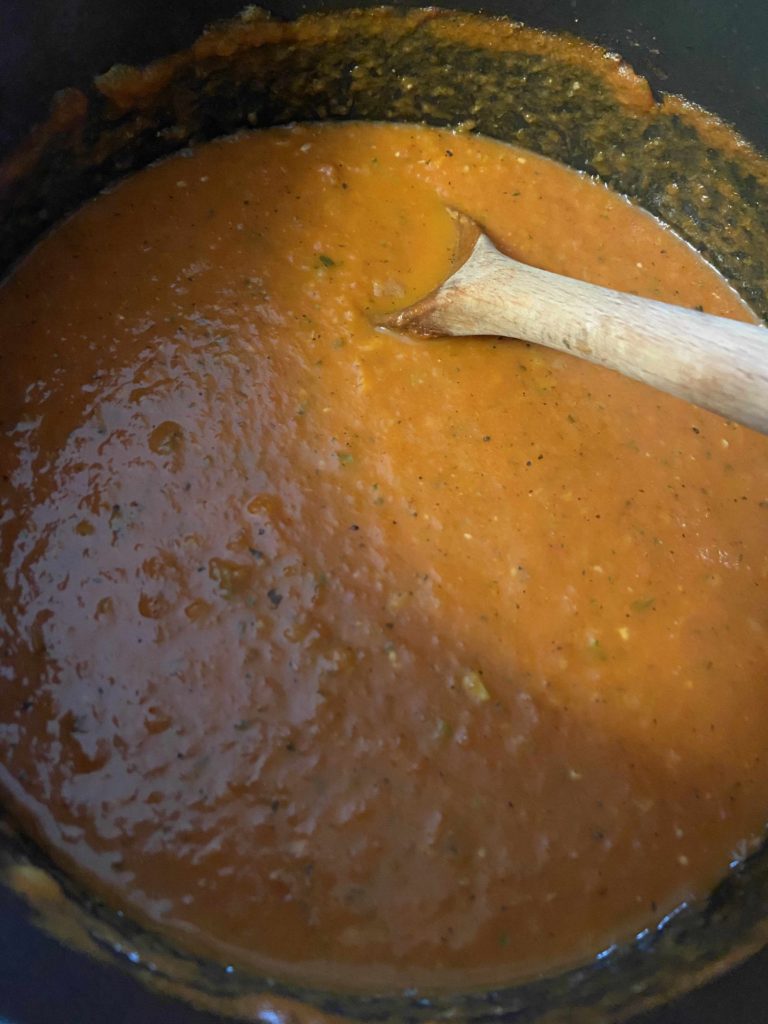
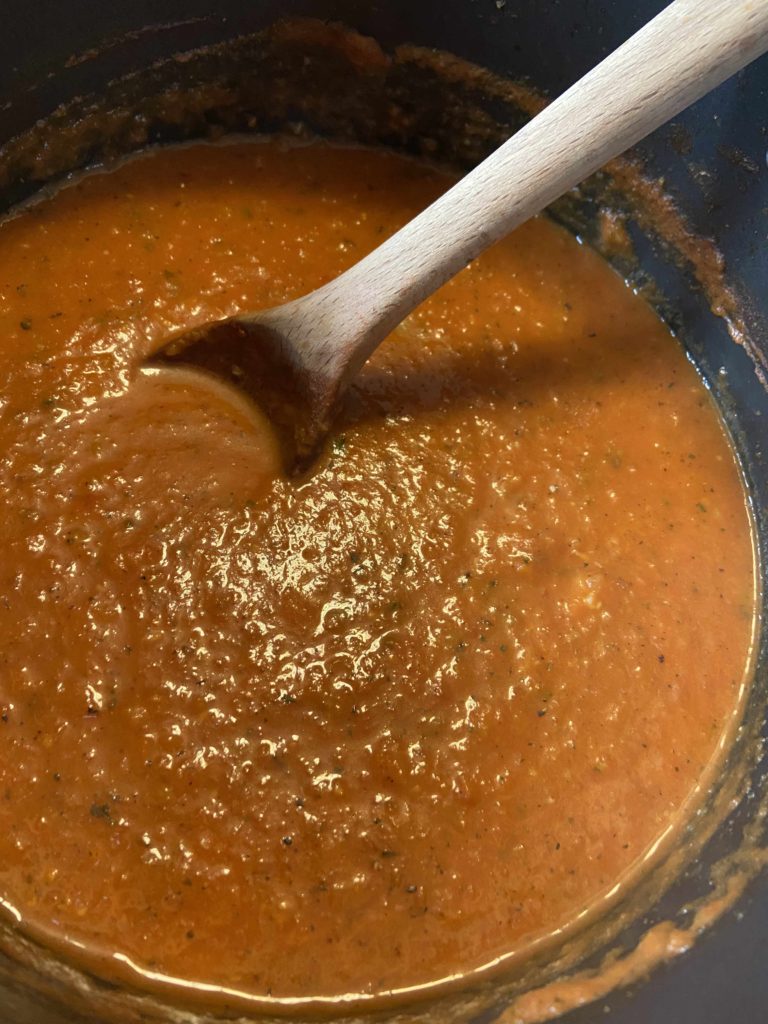
Heat oil over medium heat in a large kettle. Once hot, add carrot, onion salt, pepper, and basil. Sauté for 8-10 minutes, until soft. Add minced garlic, zucchini, cooking for an addition 5-8 minutes. Stir in tomato paste and allow to just caramelize. (If you are worried about burning it, you can skip the caramelize). Stir in diced tomatoes and chicken stock. Allow to simmer for 10 minutes, making sure your vegetables are nice and soft. Hit all your soup goodness with the immersion blender and blend until smooth (a shorter time if you want texture, a longer time if you want a more commercial tomato soup). Slowly stir in milk and honey. Leave over the heat until warm.

If you want a thicker soup, feel free to allow it to cook down a little bit. But if you’re like me at all, you’ll just be itching to get that warm goodness in your belly and you’ll eat it right away, complete with a grilled cheese. Yum!

So Simple Tomato Soup

A few easy, on hand ingredients combine to make a simple from scratch tomato soup everyone will love!
5 from 1 vote
15 minutes
Total Time 20 minutes
Course Side Dish
Cuisine American
Servings 4

Ingredients
  

  • 1 cup diced carrot
  • 1/3 cup diced onion
  • 1 tablespoon olive oil
  • 1 cup diced zucchini about 1 small
  • 1/2 cup tomato paste
  • 2 14.5 ounce cans diced tomatoes NOT drained
  • 1/2 teaspoon pepper or to taste
  • 1/2 teaspoon salt
  • 1 teaspoon minced garlic
  • 1 teaspoon dried basil
  • 2 cups chicken stock/broth
  • 1 cup milk I used 1%
  • 1/2 tablespoon honey to taste

Instructions
 

  • Heat oil over medium heat in a large kettle. Once hot, add carrot, onion salt, pepper, and basil. Sauté for 8-10 minutes, until soft.
  • Add minced garlic, zucchini, cooking for an addition 5-8 minutes.
  • Stir in tomato paste and allow to just caramelize. (If you are worried about burning it, you can skip the caramelize).
  • Stir in diced tomatoes and chicken stock. Allow to simmer for 10 minutes, making sure your vegetables are nice and soft.
  • Blend until smooth using an immersion blender and blend. (a shorter time if you want texture, a longer time if you want a more commercial tomato soup).
  • Slowly stir in milk and honey. Leave over the heat until warm.
  • If you want a thicker soup, feel free to allow it to cook down a little bit.
Keyword Gluten Free, soup recipe, tomato soup
Tried this recipe?Let us know how it was!

Looking for other soup recipes?

Check out some of the recipes below!