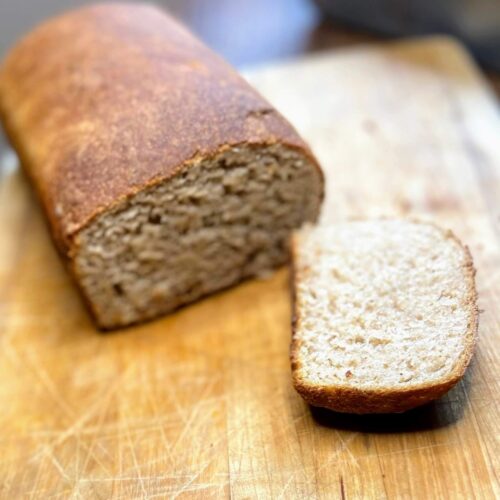
Milk and Honey Sourdough Bread

Gosh, I adore sourdough bread. I love watching the starter grow when it gets fed. I feel good about the food I am feeding my family when I serve them bread with three to four ingredients rather than a list of things I can’t pronounce. For years, I did a simple water, flour, salt dough. My kiddos ate it, but they yearned for something better for sandwiches. Something less dense with a little more flavor. I did some research, and have started baking a delicious milk and honey sourdough bread that I am so excited to share with you. 

But first, can I share a SHORT story with you? 

A few years ago, I decided to make a list of 33 random things to do while I was 33. They varied from bake a fruit tart, to compete in a sprint triathlon, go to a concert, visit three new state parks, etc. It was so much fun to challenge myself to try new and fun things I wouldn’t normally do. One item on the list that truly changed my life was, “take a class at one of two foundations in town.” Initially, I took a Restorative Yoga class, which led me to the instructor, which lead me to her studio, and now, I get to lead barre classes 2-4 times a week. This has brought a beautiful community of women into my life that I am grateful for every day. 

I also took a class on sourdough baking put on by Sunrise Flour Mill. And honestly, I knew nothing about sourdough. I knew some people loved it, but had no idea how it was created, baked, anything. The idea of a sourdough starter was foreign to me. But I took a little portion cup of my starter I fondly called “Fred,” and got to work. I made terrible bread. Then I made beautiful bread. I played with sourdough bagels, crackers, tortillas. I made all the things, and I am at a point in my life and gut health that I strive to only eat bread products that I have created. 

Why do I share?  

Because this little list that I was inspired to create truly has molded my life in a way I never could have imagined. I am a teacher at heart, but never thought I would lead fitness classes. I love to bake, but never had heard of sourdough in my life. It led me to buying flour from the natural food store and having better, whole foods in my home for my family. If you at all feel inspired, make yourself a list for a year and do some wonderful and out of your comfort zone things. Future you will thank you. 

But this is a blog post about a delicious milk and honey sourdough bread that I am beyond excited to share with you. Ready to get preparing? I hope so! Oh, and you say you don’t have a sourdough starter? Check out King Arthur’s Flour for a great recipe!

Your Ingredients for Milk and Honey Sourdough Bread

  • 250 grams fresh and active sourdough starter 
  • 300 grams bread flour 
  • 50 grams whole wheat flour (you need a little whole wheat in your life)
  • 250 grams white all purpose flour
  • 20 grams kosher salt
  • 400 grams skim milk 
  • 40 grams honey 

Determining Your Time Line

If your starter hasn’t been doubled in the last 12-24 hours, be sure to start there. I usually do this the morning I am going to put it together or in the evening if I want to mix it up in the morning. The thing about sourdough is that it takes time and determining how to fit it into your schedule can be the hardest part. Here’s what has worked for me: 

If you want to bake in the late morning: 

The morning before, double the starter. 

The evening before, you will mix the dough. It will rest overnight. (Mixing and folding the dough will need about 40 minutes of time, but can be done while you are doing other things)

The morning of, do the final folding of the dough about 2-3 hours before you want to bake it. 

If you want to bake in the evening: 

The evening before, double the starter. 

The morning of, you will mix the dough. It will rest overnight. (Mixing and folding the dough will need about 40 minutes of time but can be done while you’re getting ready for the day)

The evening of, do the final folding of the dough about 2-3 hours before you want to bake it. 

Your Steps to Delicious Milk and Honey Sourdough Bread

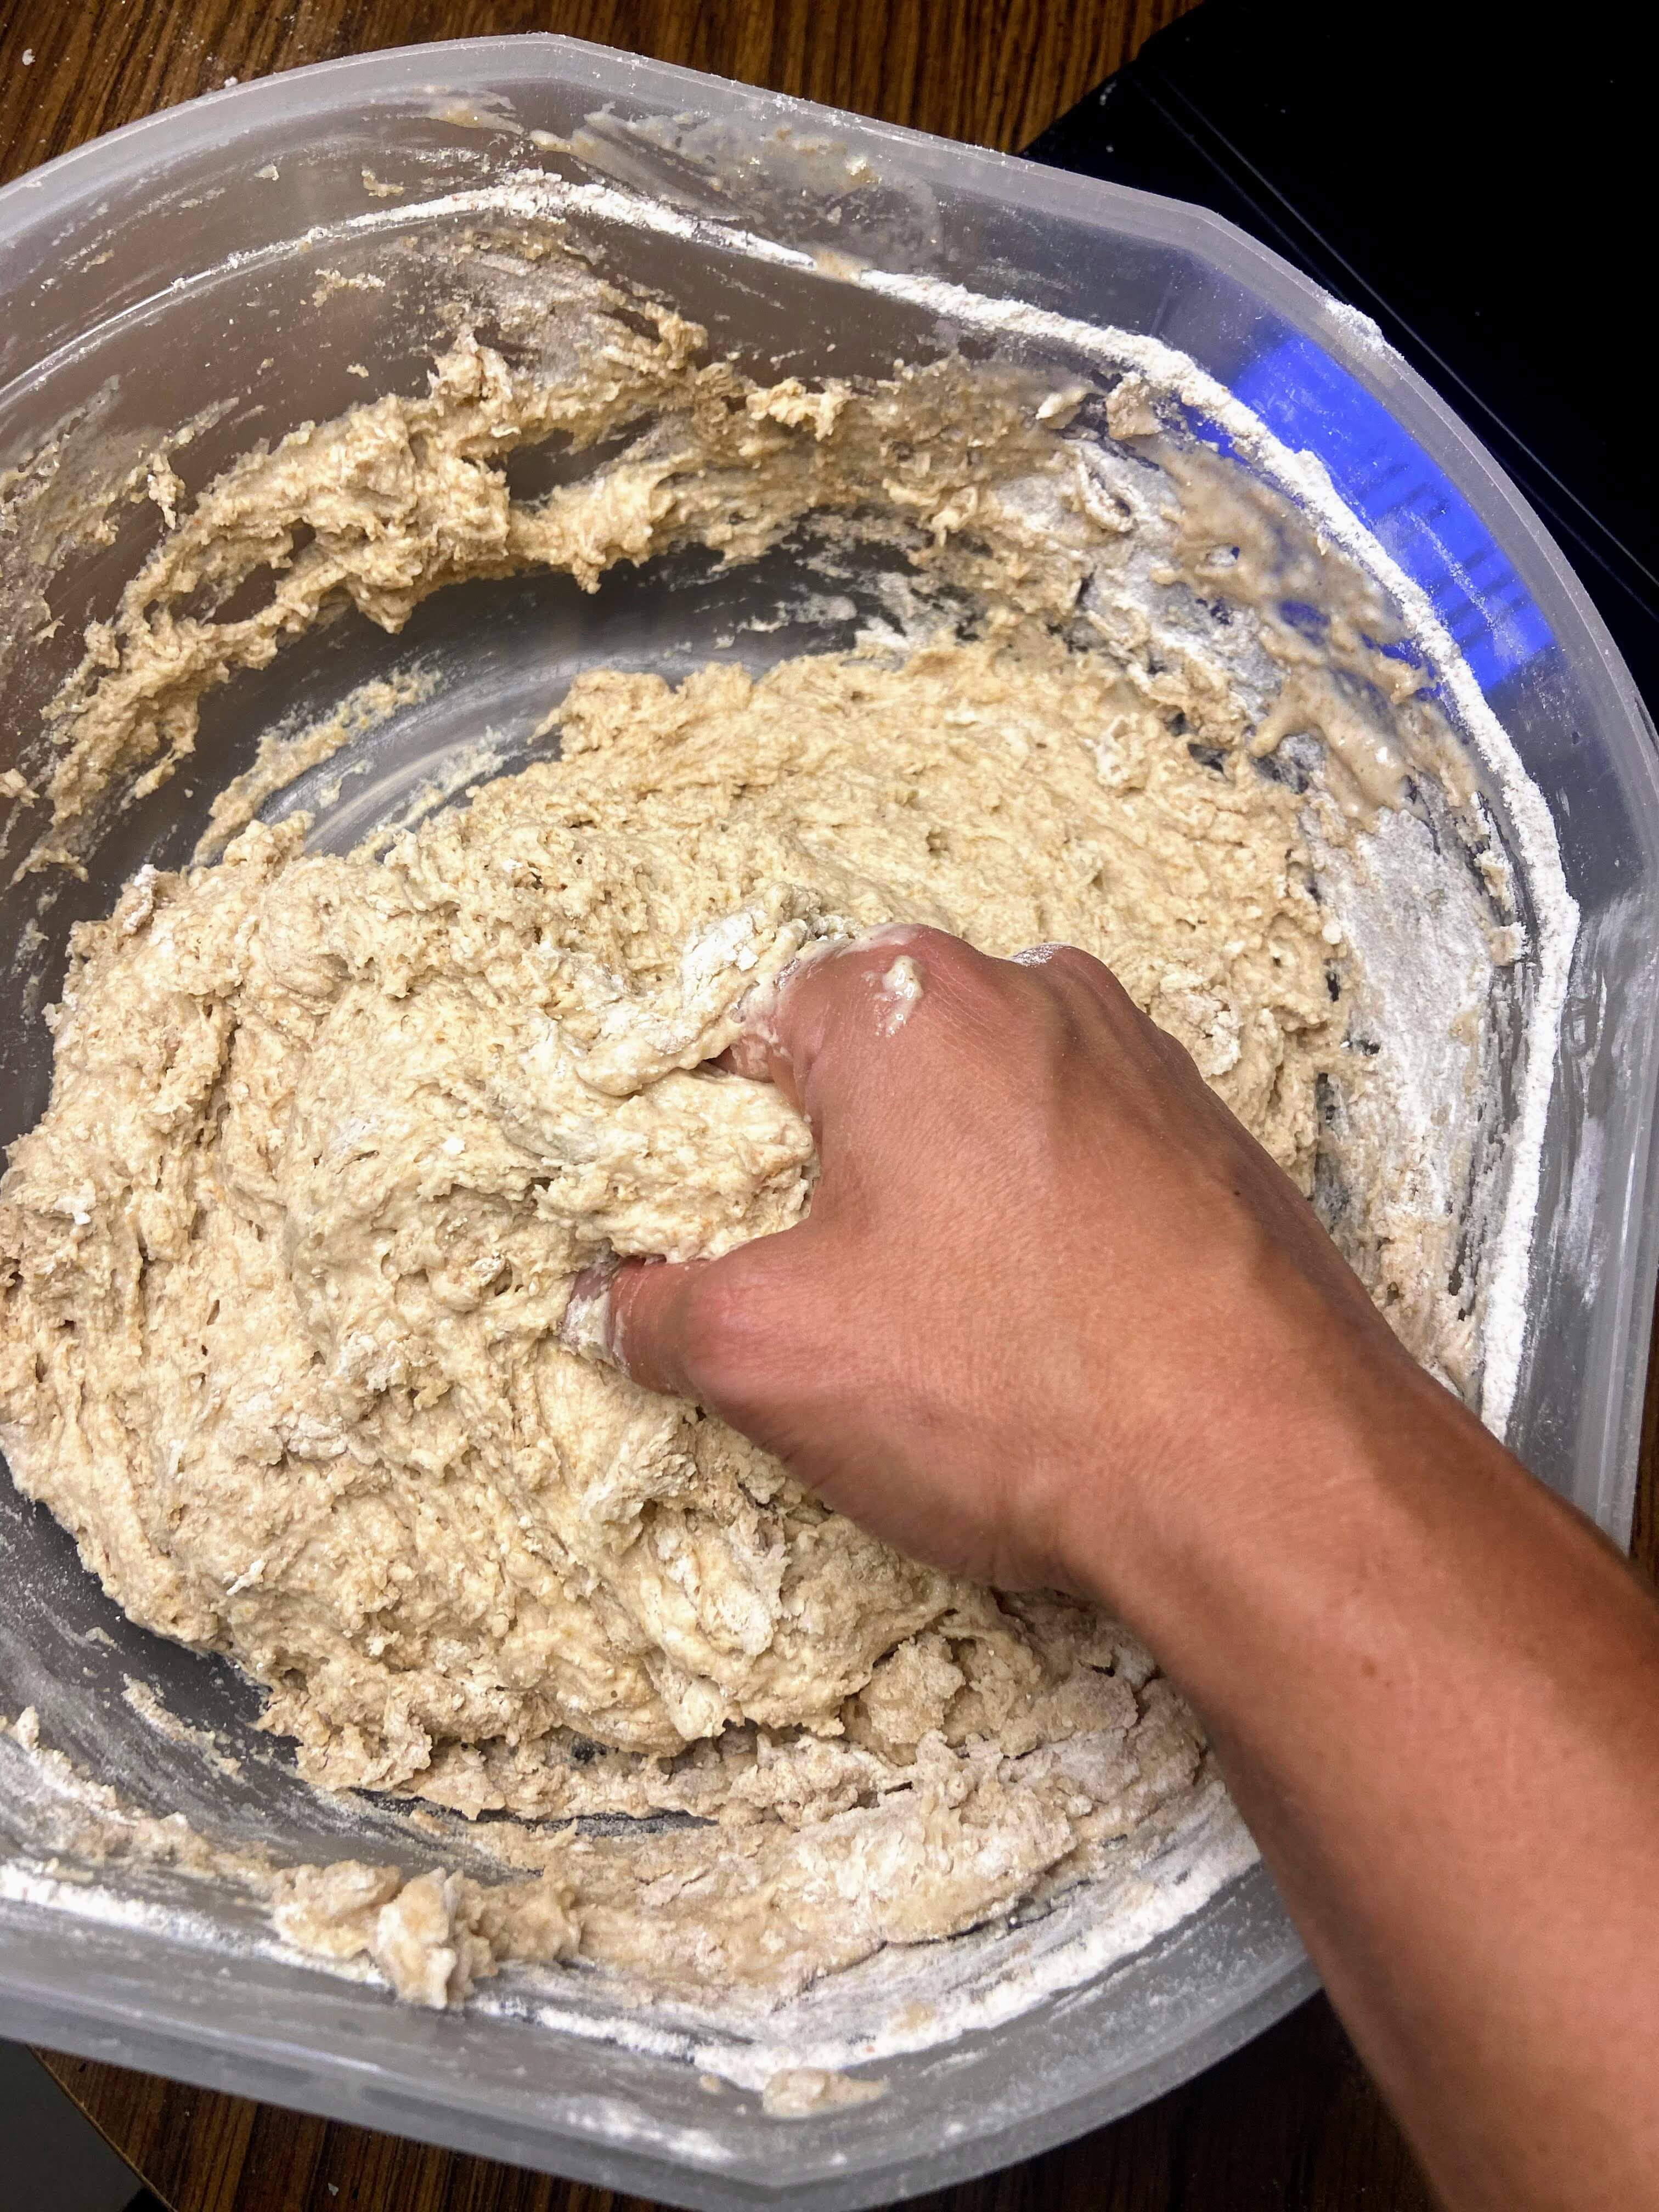
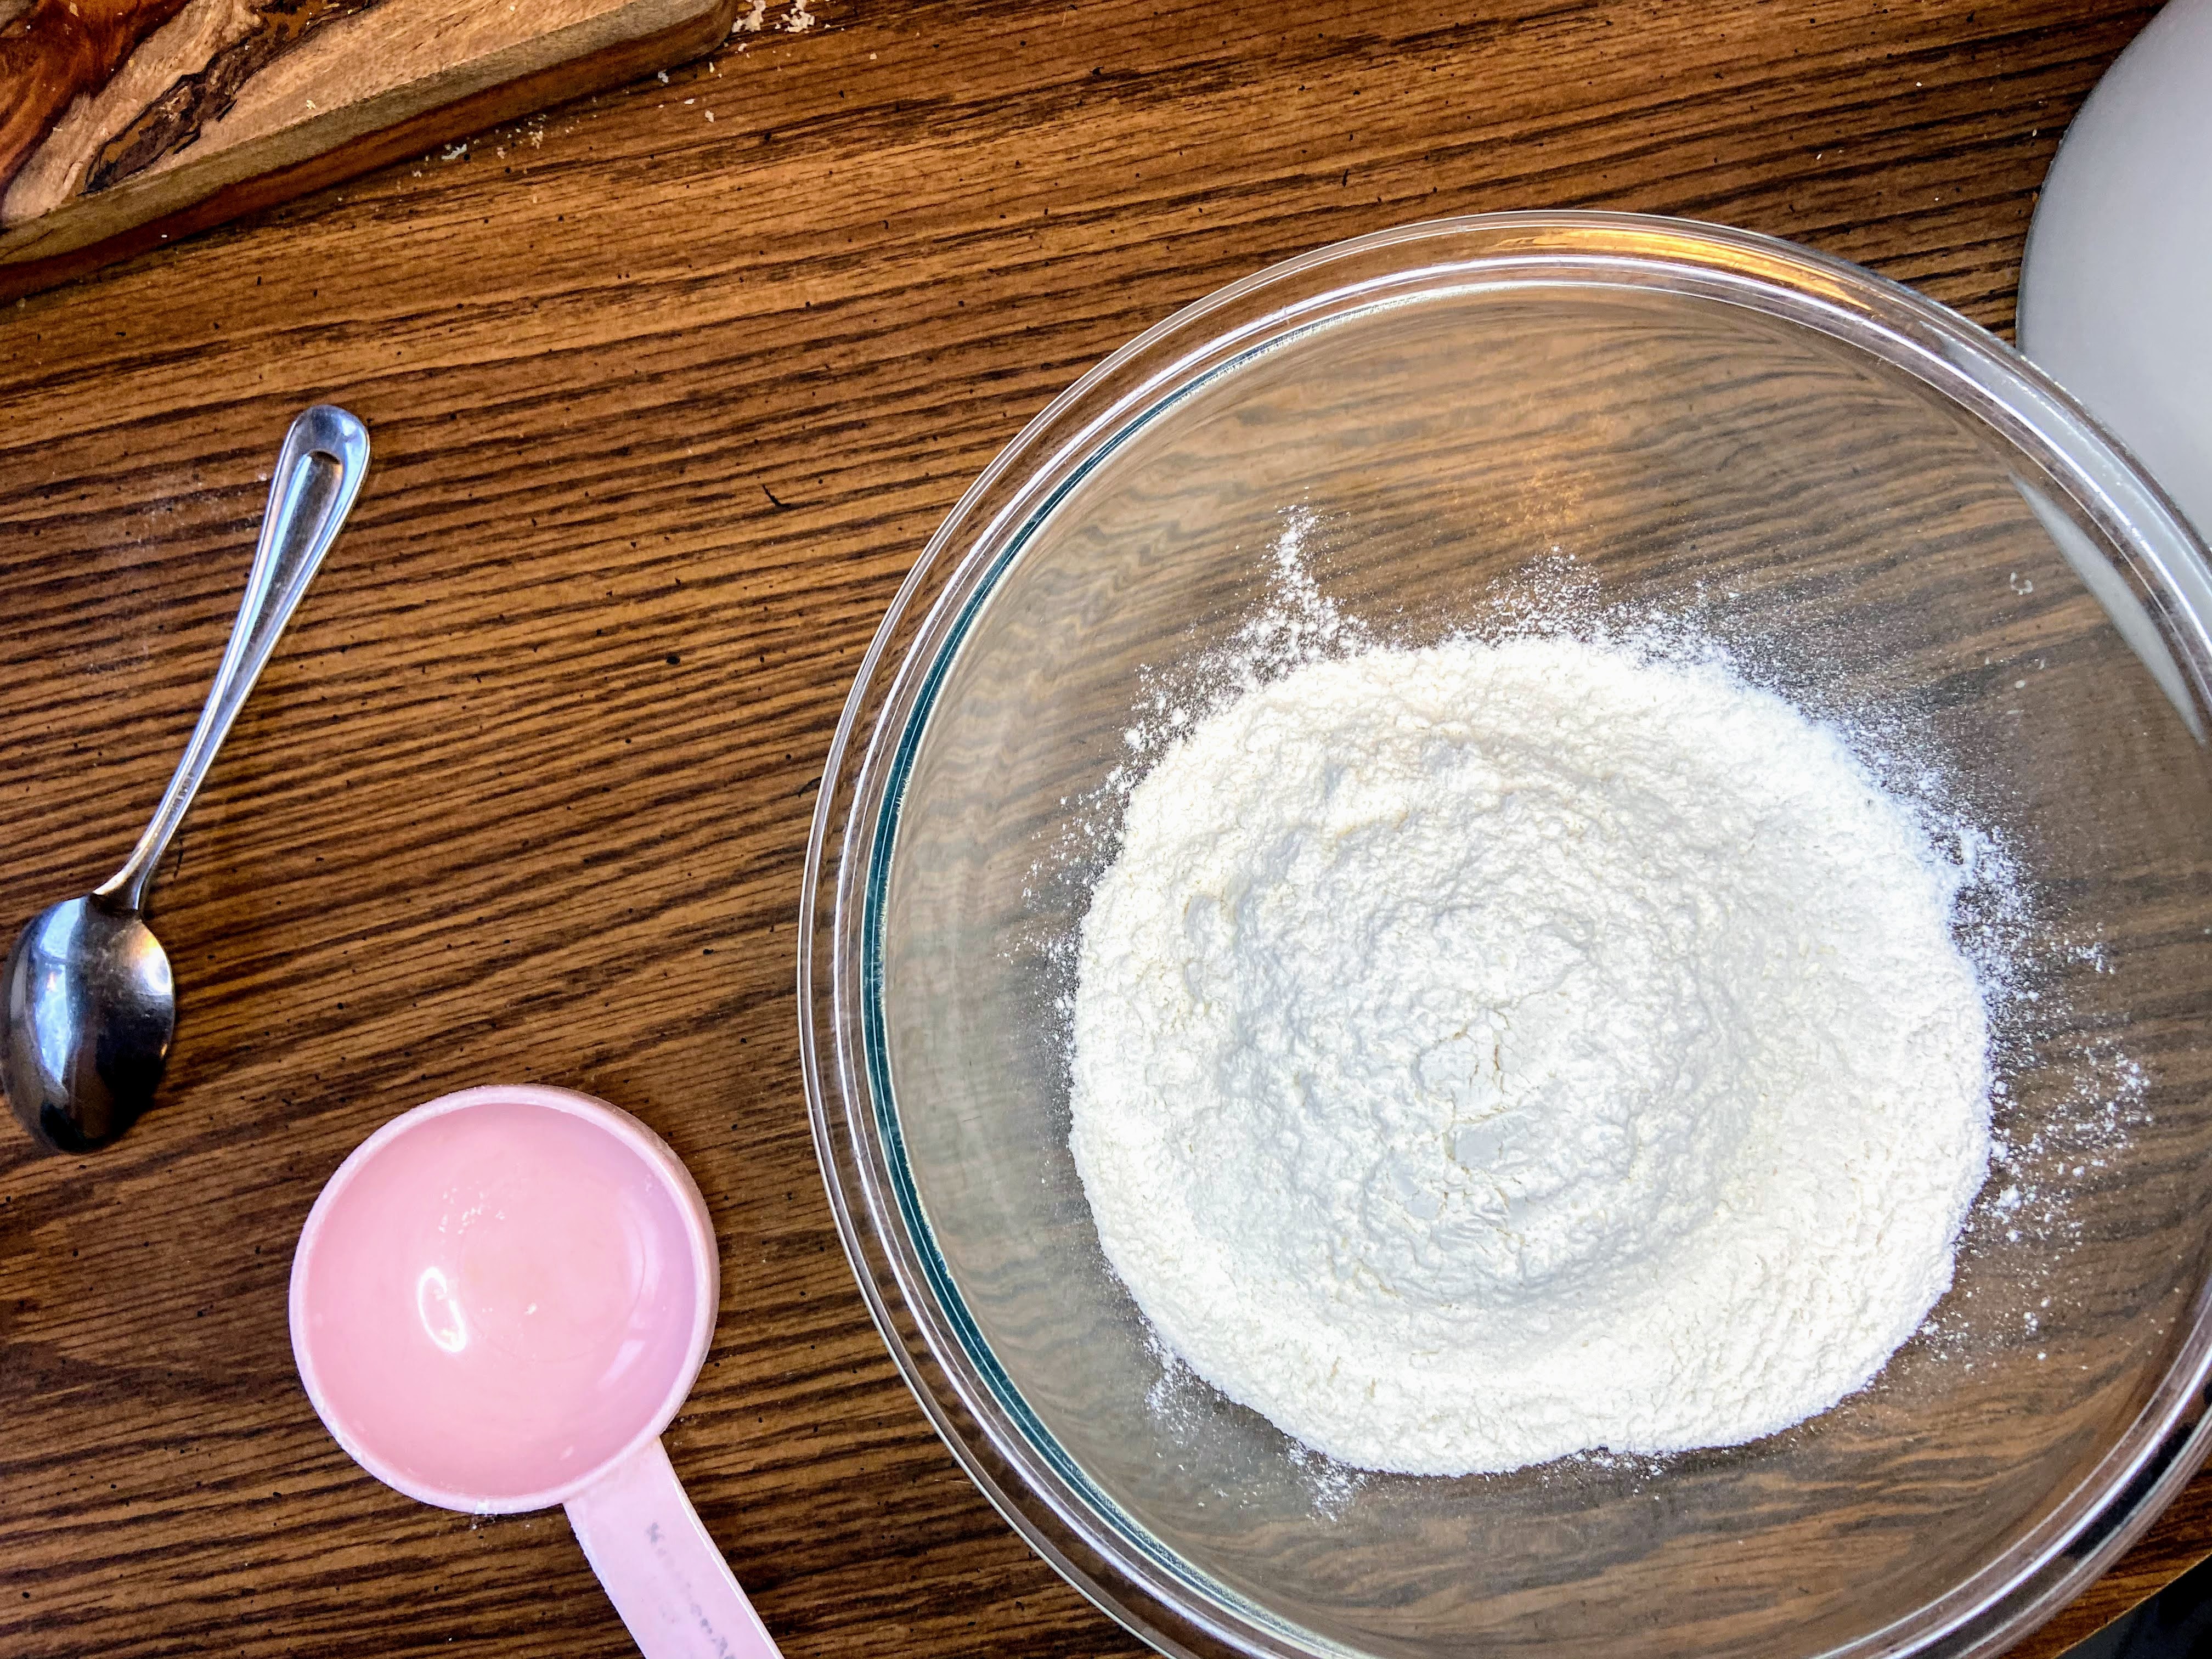
Combine all the ingredients in a large bowl with a cover (plastic wrap or bees wraps would work too)  Mix together with hands that have been run under water and then shaken off, but not dried (damp hands?). And I have to say, truth be told, I have forgotten the salt more than I care to admit because I can mix this by memory. Don’t do that! It’s amazing what 20 little grams of salt does to bread. 

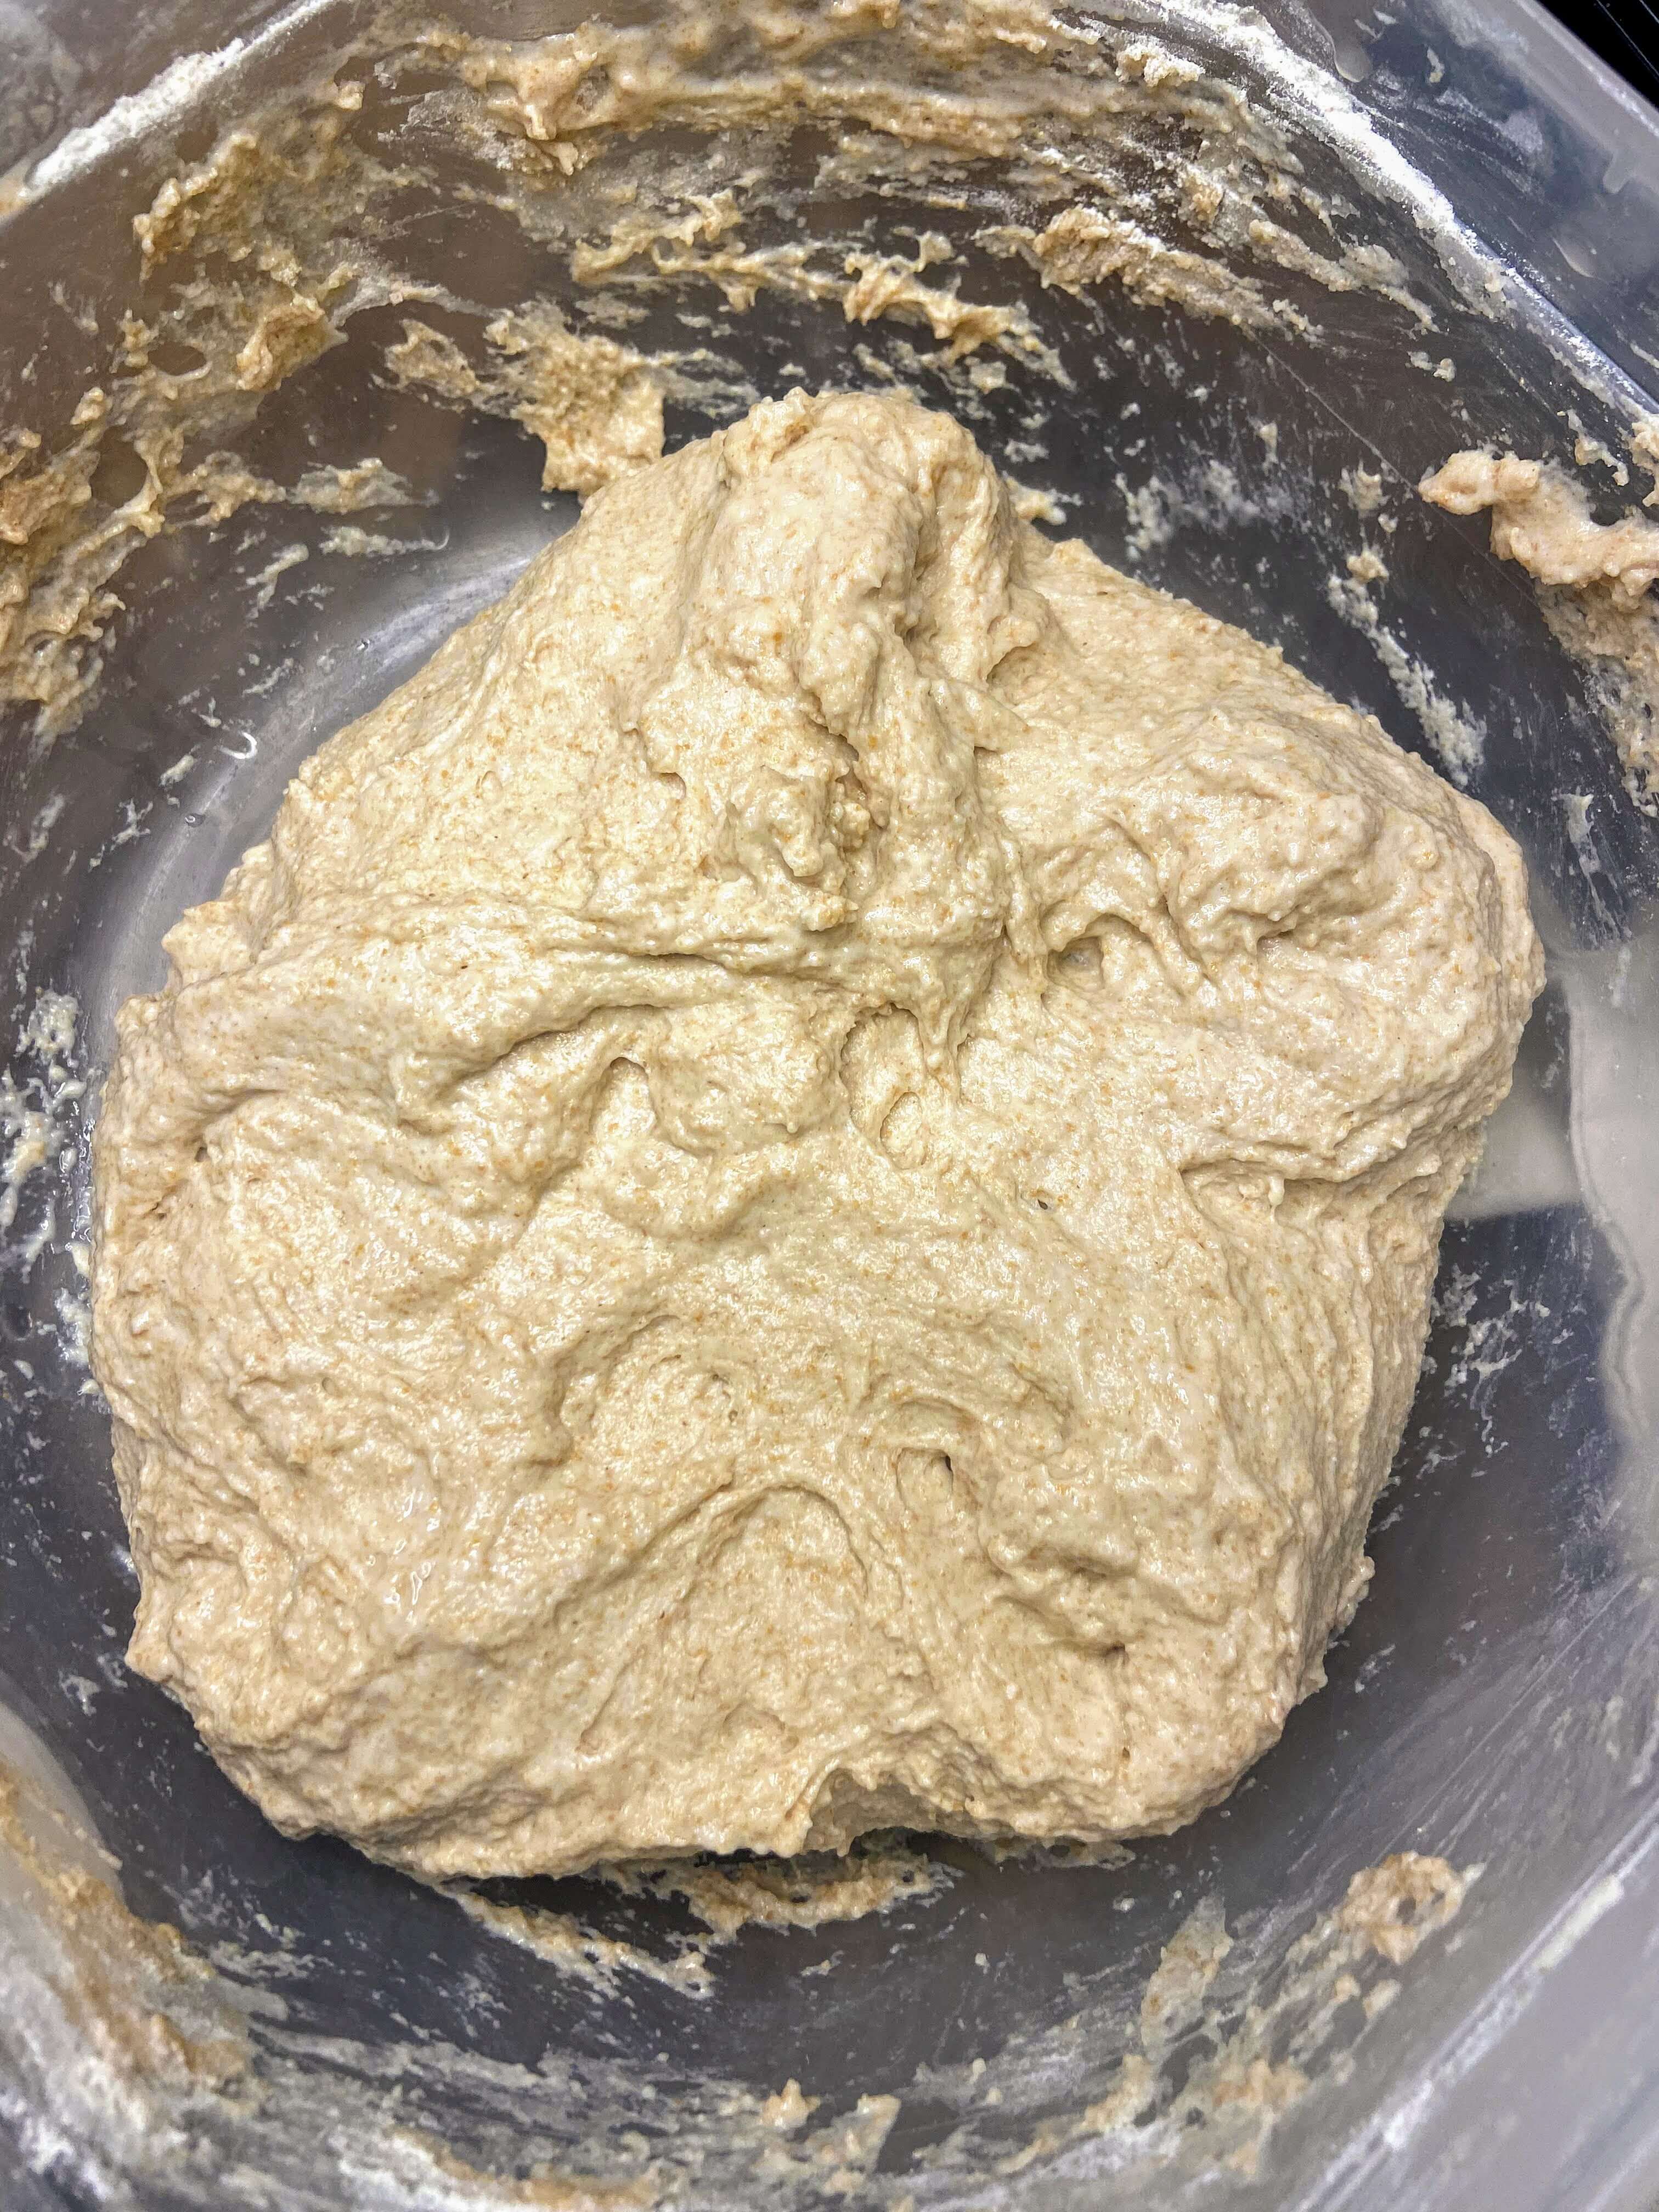
Allow the dough to rest, covered, for 10-15 minutes. It WILL be very wet. After the 15 minutes has finished, fold in the “corners” (think, north, south, east, west) of the bed to the center with damp hands. I keep one hand wet and it does the folding the and the other hand spins the bowl. Repeat this process 4-5 times, every 5-10 minutes. (“Alexa, set a timer for 5 minutes” is heard at our house so often. But if you miss the 5 minute mark for any reason, it’s very forgiving.) Cover and allow the rest approximately 12 hours. 

Note: My dough generally rests overnight or during the work day. If you need to speed up the process, find a warmer spot for your dough to hang out. I have set it on the porch on a warm, humid day and had bread ready to go in 5 hours. You can slow it down by putting it in the fridge. 

About 12 hours later

Uncover the dough. Fold in the corners once more. Allow to rest for 10 minutes. Heavily flour a surface (I LOVE to have an old, large spice container for this. It’s a must in the kitchen for a baker). With damp hands, lift the dough out of the container and onto the flour. Cut into two equal pieces (I use a turner in a pinch if you don’t have a pastry scraper). Fold the top and bottom of each piece in. Allow to rest 5-10 minutes. With damp hands, repeat this process, flipping the seam onto the table, resting once more. Place loaves into greased bread pans, cover with a towel, and allow to rest until doubled. I generally preheat my oven at this point, and allow the loaves to rest on a burner that is NOT the vent. This speeds up the doubling process just a little bit. 

When ready to bake, preheat the oven to 400 degrees. Place bread in oven, baking for 30 minutes. If your oven bakes unevenly at all, rotate the bread half way through. 

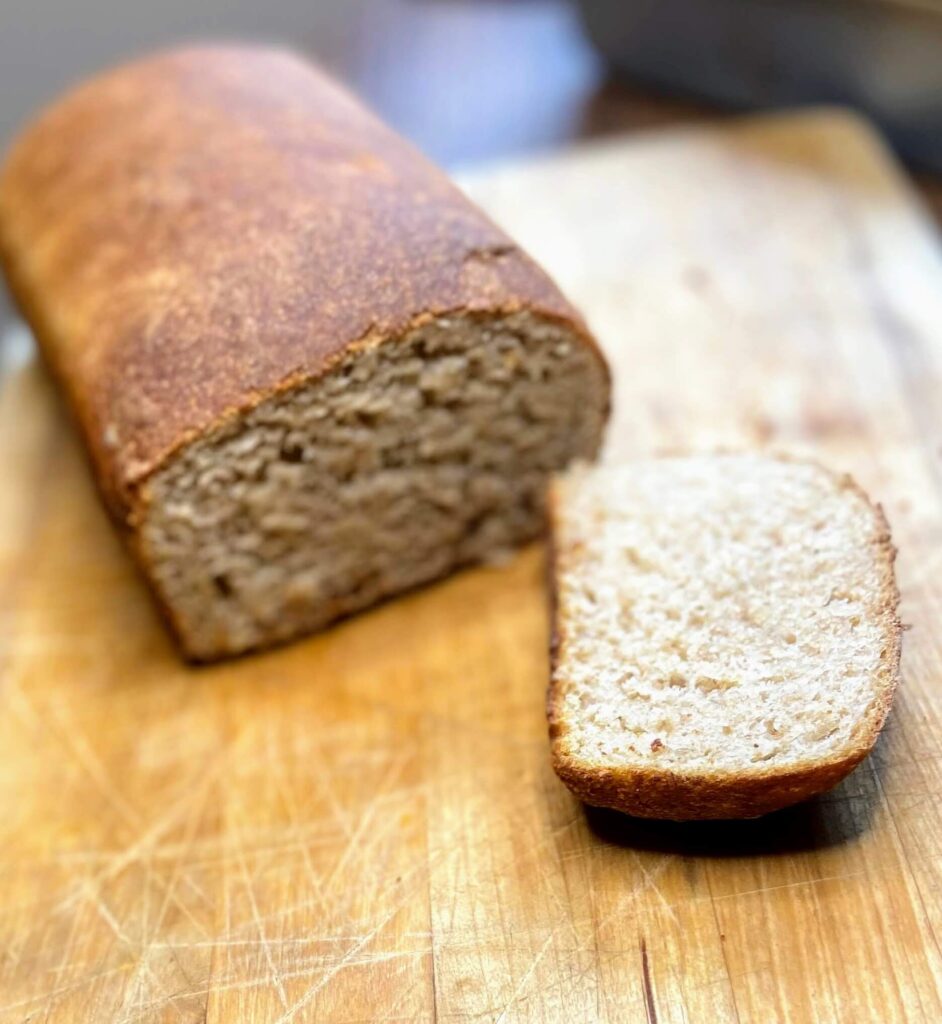
Now, I challenge you to take it out of the oven and NOT cut right into it. I can’t help it, every time. Fresh bread is just the best. Get a little butter, or homemade jam from my canning page, and man, life is so good. It’s the simple, little things, right? 

Tools of the Trade

Here are a few tools I love to have around when I am baking sourdough!

Dough scrappers are great for not only cutting the dough, but cleaning the mess off the table and getting the dough out of the bowl.

I love that this scale is rechargeable. I can’t tell you how often I used to take out my kitchen scale only to find that the battery was dead and I didn’t have another one on hand. No more waste!

And my go to bread pans. I love bannetons too, but when I am baking sandwich bread, these are the pans I use!
Milk and Honey Sourdough Bread

A simple, seven ingredient milk and honey sourdough bread that is ready for sandwiches, jelly, and more!
Prep Time 40 minutes
Cook Time 30 minutes
Rest TIme 12 hours
Course Side Dish
Cuisine Sourdough
Servings 2 loaves

Ingredients
  

  • 250 grams fresh and active sourdough starter
  • 300 grams bread flour
  • 50 grams whole wheat flour
  • 250 grams white all purpose flour
  • 20 grams kosher salt
  • 400 grams skim milk
  • 40 grams honey

Instructions
 

  • Combine all the ingredients in a large bowl with a cover. Mix together with hands that have been run under water and then shaken off, but not dried.
  • Allow the dough to rest, covered, for 10-15 minutes. It be very wet.
  • After the 15 minutes has finished, fold in the “corners” (think, north, south, east, west) of the bed to the center with damp hands.
  • I keep one hand wet and it does the folding the and the other hand spins the bowl. Repeat this process 4-5 times, every 5-10 minutes.
  • Cover and allow the rest approximately 12 hours.
  • Uncover the dough. Fold in the corners once more. Allow to rest for 10 minutes.
  • Heavily flour a surface With damp hands, lift the dough out of the container and onto the flour.
  • Cut into two equal pieces. Fold the top and bottom of each piece in. Allow to rest 5-10 minutes.
  • With damp hands, repeat this process, flipping the seam onto the table, resting once more.
  • Place loaves into greased bread pans, cover with a towel, and allow to rest until doubled on a preheating stove (400 degrees), but away from the vent.
  • Place bread in oven, baking for 30 minutes. If your oven bakes unevenly at all, rotate the bread half way through.
Keyword sandwich bread, sourdough, sourdough baking
Tried this recipe?Let us know how it was!

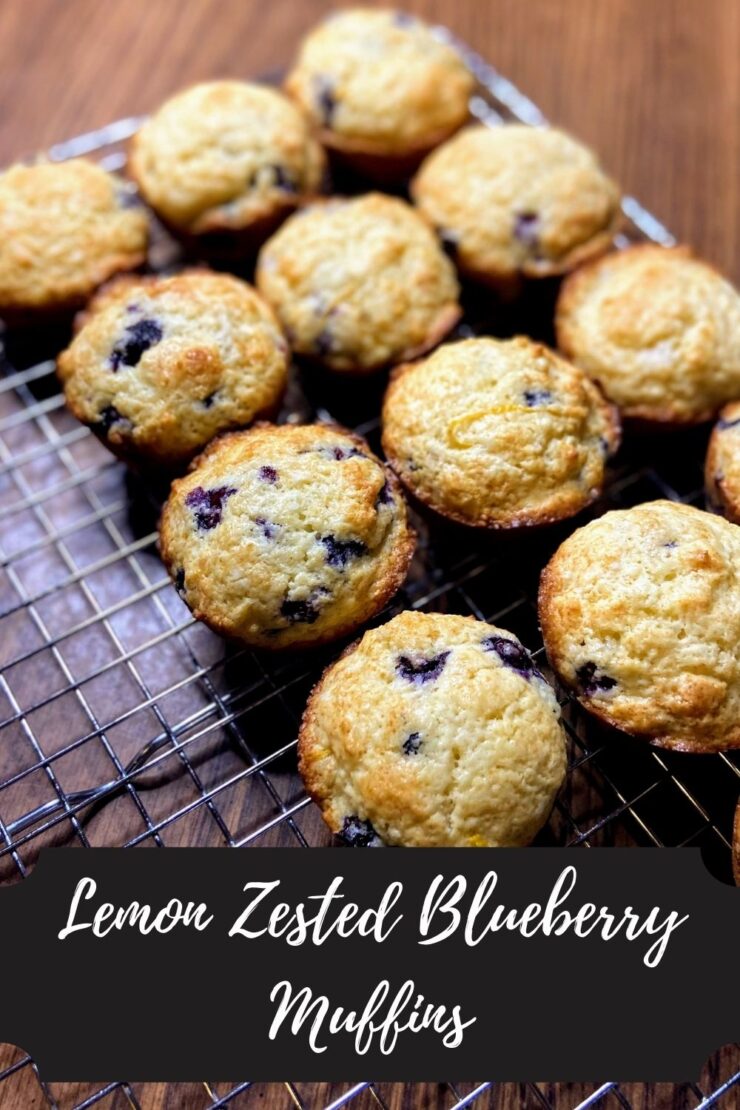
Lemon Zested Blueberry Muffins

Friends! My blueberry bushes are FINALLY producing enough blueberries to actually create with them. It brings me such joy to see these little splashes of blue among the sturdy green bushes. And while it seems to take a long time to harvest, I find it to be meditative. I do it silently and alone, taking in the sounds and smells; experiencing a nature bath. Once I harvested a pint, I got to work at creating lemon zested blueberry muffins. I have been so excited to share with everyone. 

I dig using oatmeal as a base in quick breads and muffins for the added nutrition and texture. However, I don’t see it mixing well with blueberries. Maybe I am wrong, but this recipe doesn’t use them. (You can check out some that do by checking out my baking page here.) In order to attempt to add some nutrients, I went with coconut oil and some Greek yogurt. I cut the sugar slightly as well. And don’t be afraid to try a quality whole wheat for some of the flour. You may be surprised! Now let’s get baking those lemon zested blueberry muffins. 

Your Ingredients for Lemon Zested Blueberry Muffins

  • ½ cup sugar
  • ⅓ cup coconut oil, room temperature (about 70 degrees) 
  • ½ tablespoon vanilla
  • 2 eggs
  • 1 ½ cups all purpose flour 
  • 1 ½ teaspoons baking powder
  • ¼ teaspoon baking soda
  • ½ teaspoon salt
  • ½ cup vanilla Greek yogurt, room temperature
  • 2 tablespoons fresh squeezed lemon juice
  • Zest of one lemon 
  • 1 cup fresh or frozen blueberries (If frozen, measure frozen)

Your Steps

Begin by preheating the oven to 350 degrees and preparing two muffin baking tins by spraying with non-stick cooking spray.

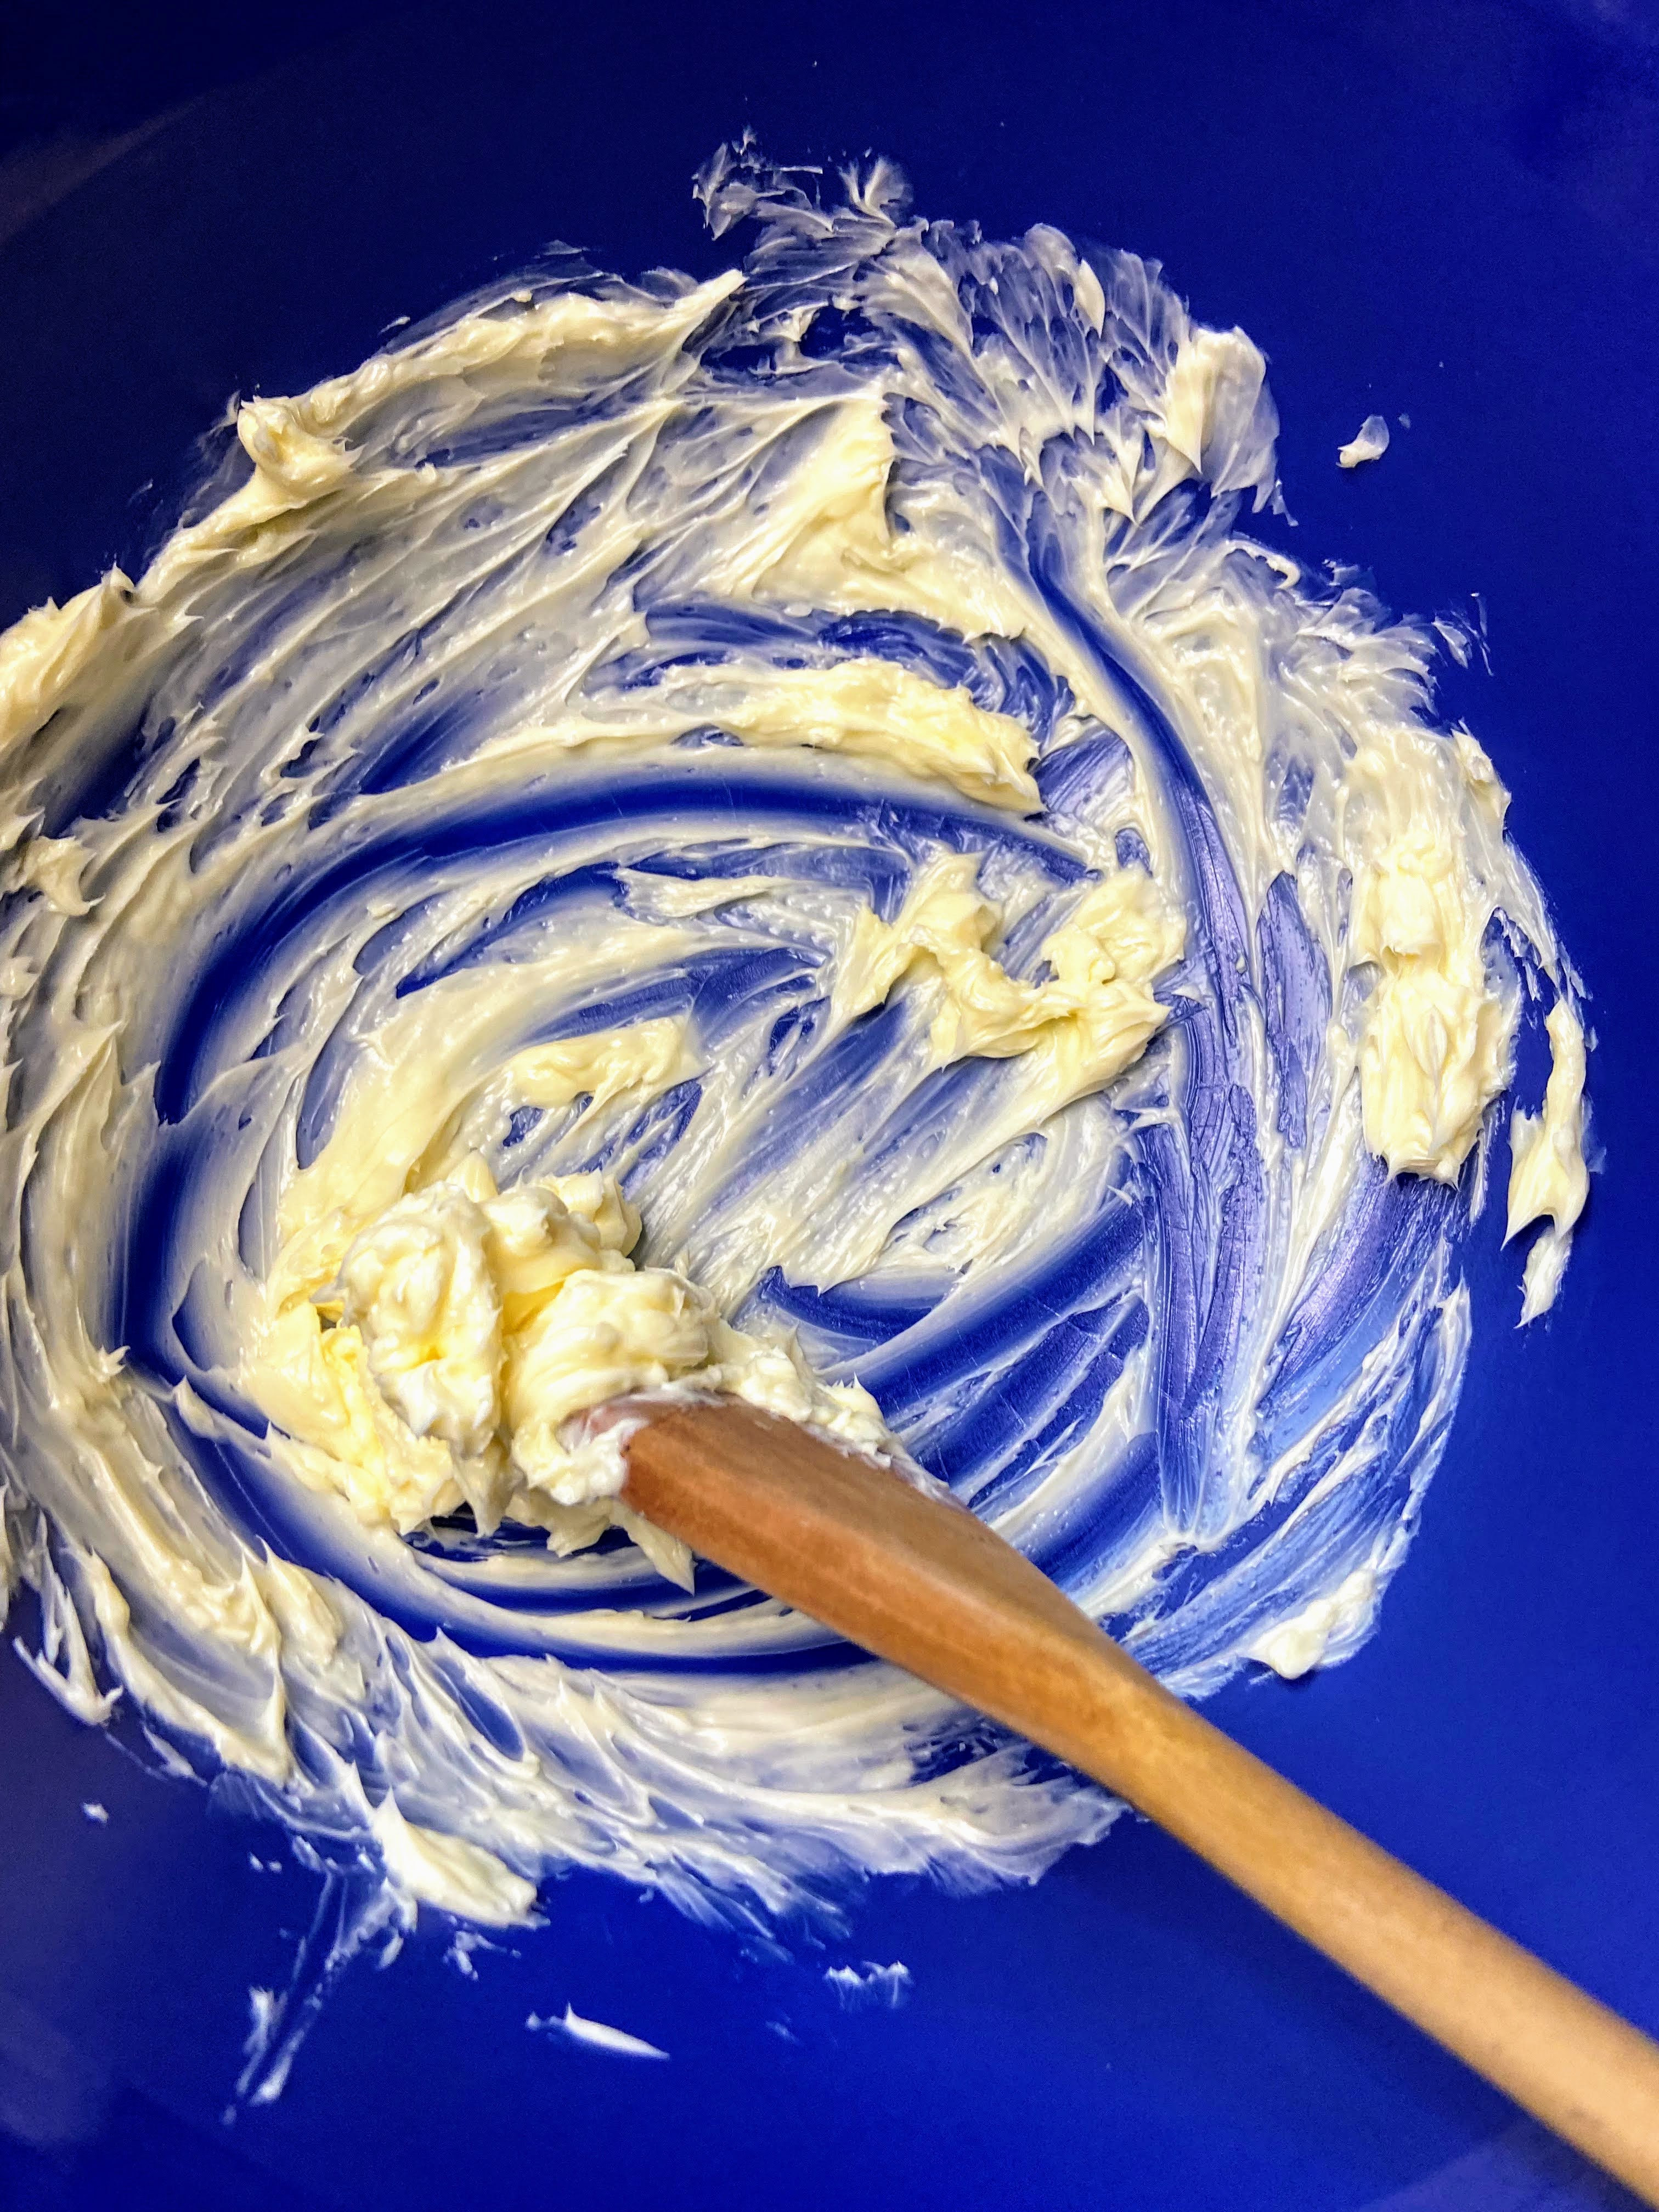
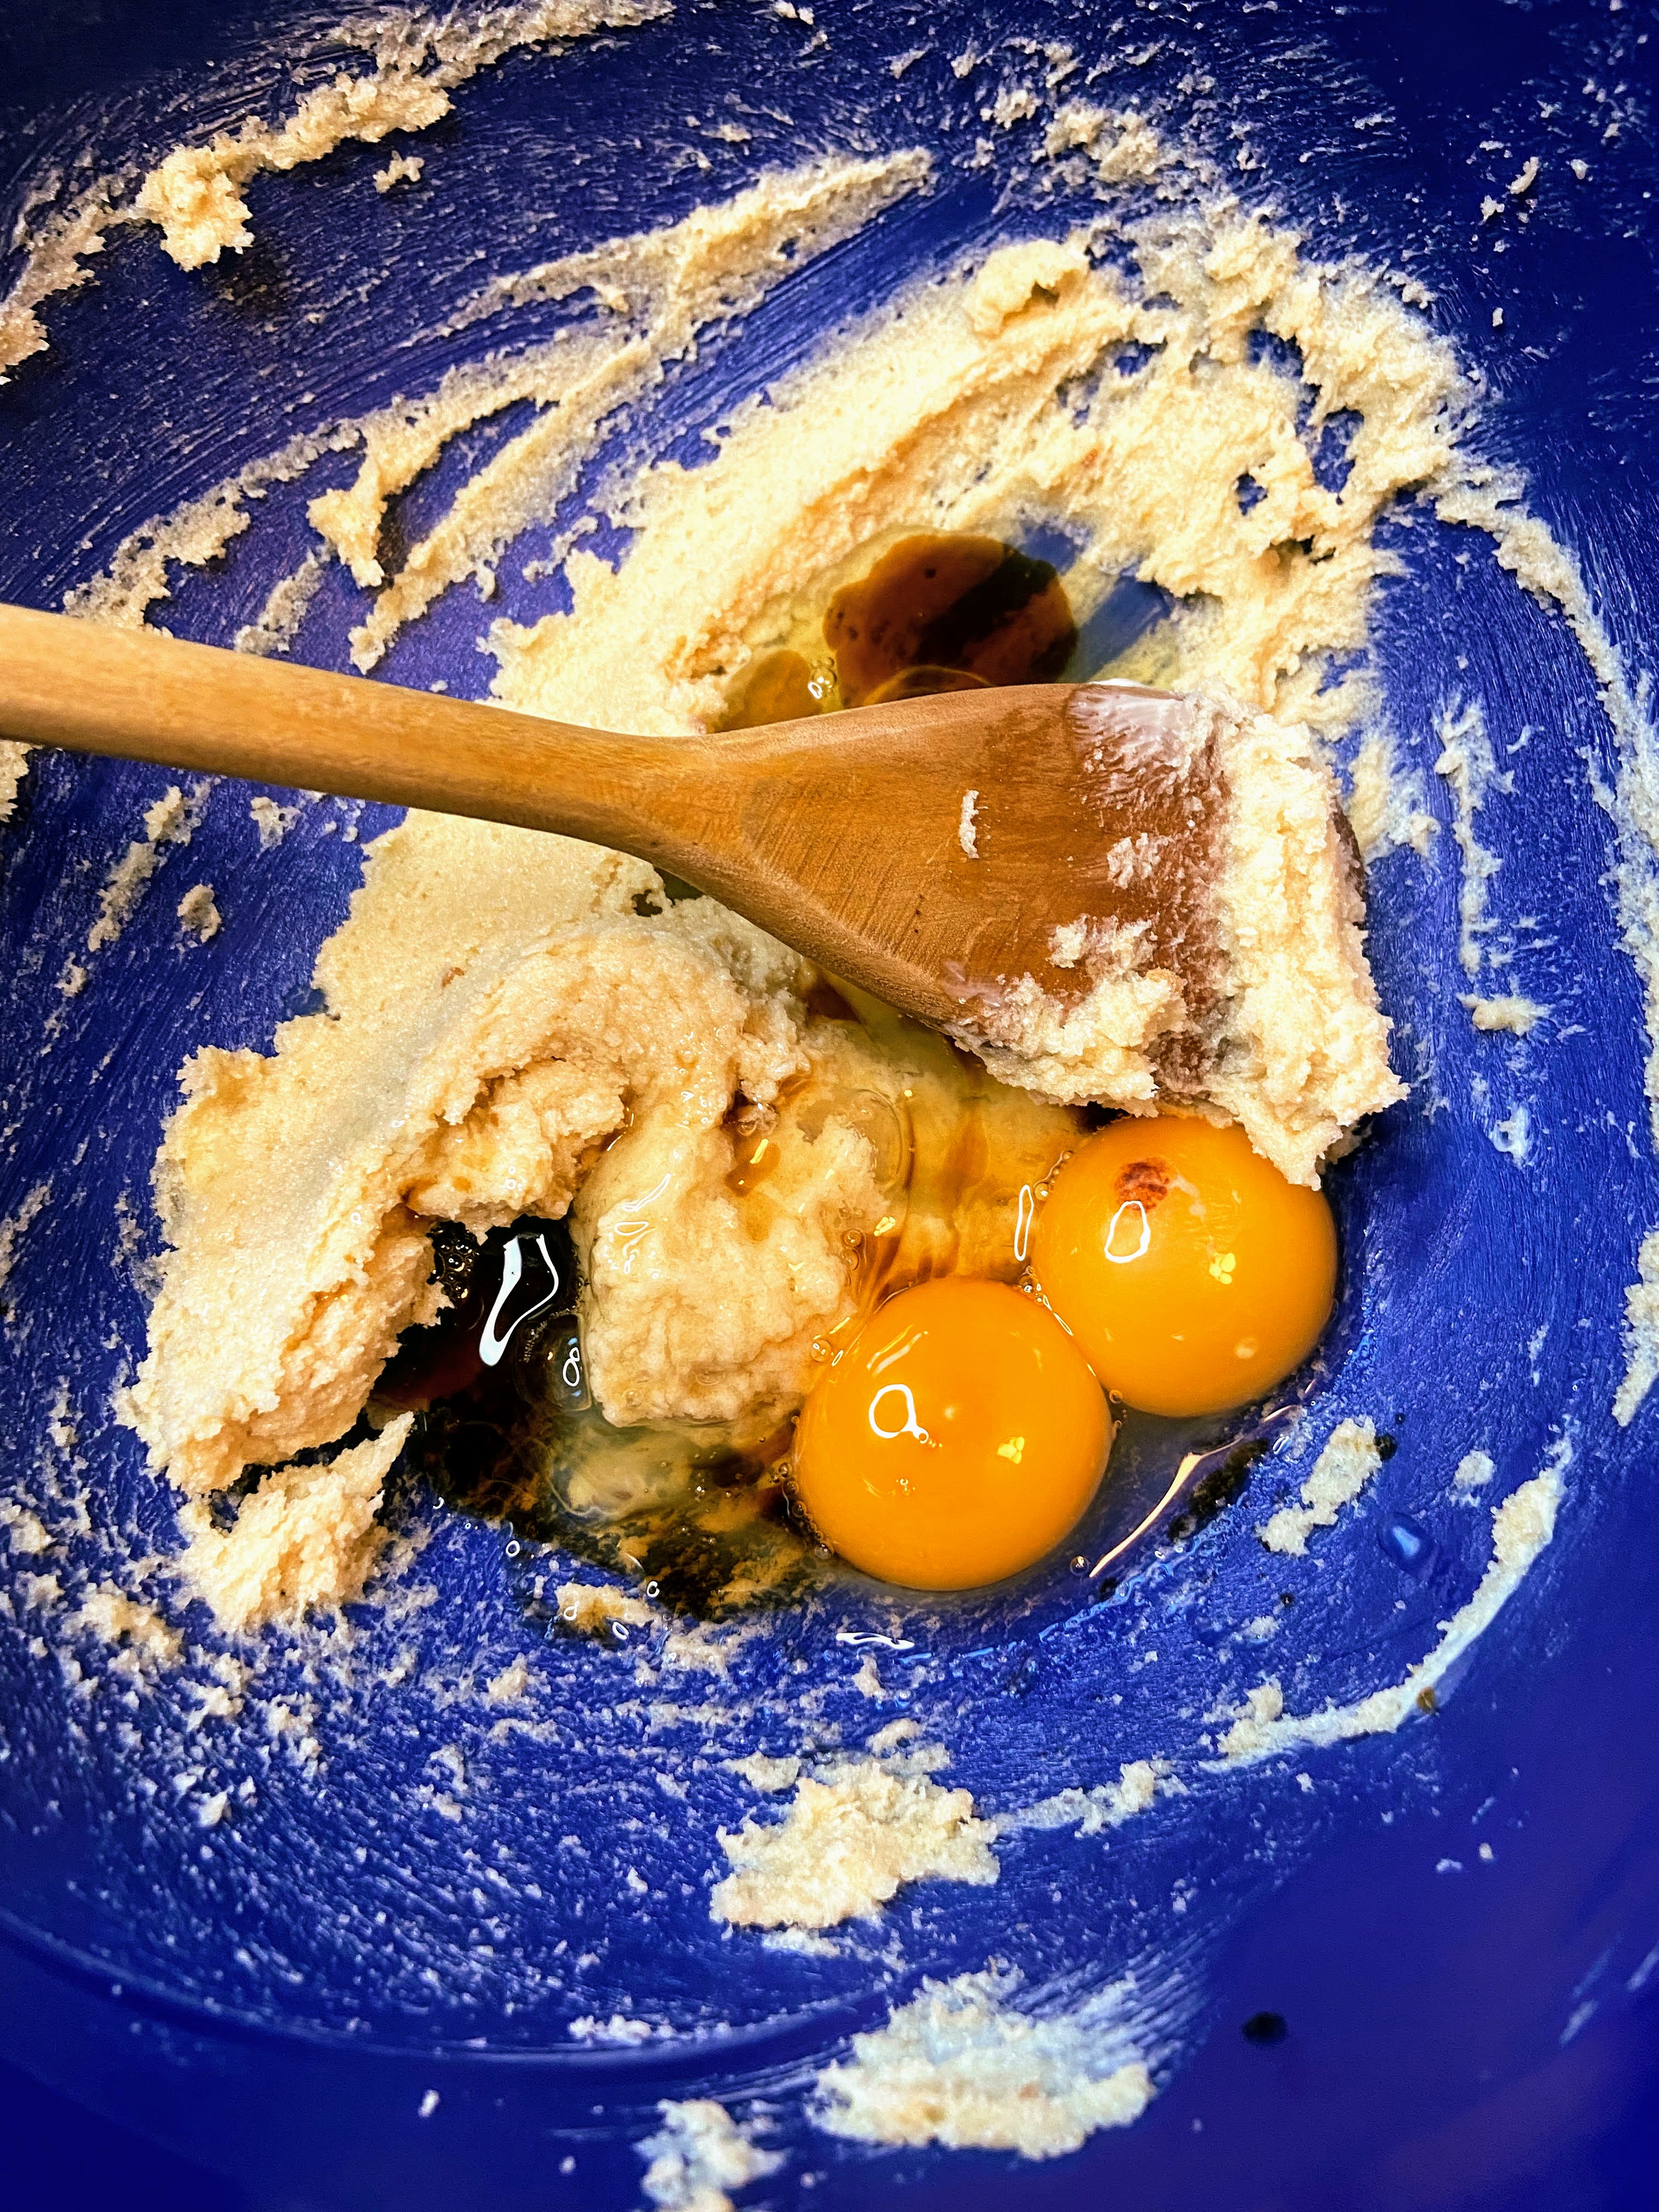
In a large bowl, cream sugar and coconut oil (Note: the coconut should be solid but soft).  Add in vanilla and eggs, whisking until well combined. Stir in Greek yogurt, lemon juice, and zest. Combine flour, baking powder, baking soda, and salt. Mix into the wet ingredients until just combined. Fold in blueberries. 

Bake at 350 degrees for 20-24 minutes until baked through. Serve them with a warm cup of coffee or tea!

Lemon Zested Blueberry Muffins

Does it get more classic than lemon and blueberry? These lemon zested blueberry muffins are more nutrient dense with all the flavor!
Prep Time 10 minutes
Cook Time 20 minutes
Course Breakfast
Cuisine American
Servings 15 muffins

Ingredients
  

  • ½ cup sugar
  • cup coconut oil room temperature (about 70 degrees)
  • ½ tablespoon vanilla
  • 2 eggs
  • 1 ½ cups all purpose flour
  • 1 ½ teaspoons baking powder
  • ¼ teaspoon baking soda
  • ½ teaspoon salt
  • ½ cup vanilla Greek yogurt
  • 2 tablespoons fresh squeezed lemon juice
  • Zest of one lemon
  • 1 cup fresh or frozen blueberries If frozen, measure frozen

Instructions
 

  • Preheat the oven to 350 degrees and preparing two muffin baking tins by spraying with non-stick cooking spray.
  • In a large bowl, cream sugar and coconut oil (Note: the coconut oil should be solid but soft).
  • Add in vanilla and eggs, whisking until well combined.
  • Stir in Greek yogurt, lemon juice, and zest.
  • Combine flour, baking powder, baking soda, and salt. Mix into the wet ingredients until just combined.
  • Fold in blueberries.
  • Bake at 350 degrees for 20-24 minutes until baked through. Serve them with a warm cup of coffee or tea!
Keyword blueberry, Breakfast, currant muffins, lemon, lemon blueberry
Tried this recipe?Let us know how it was!

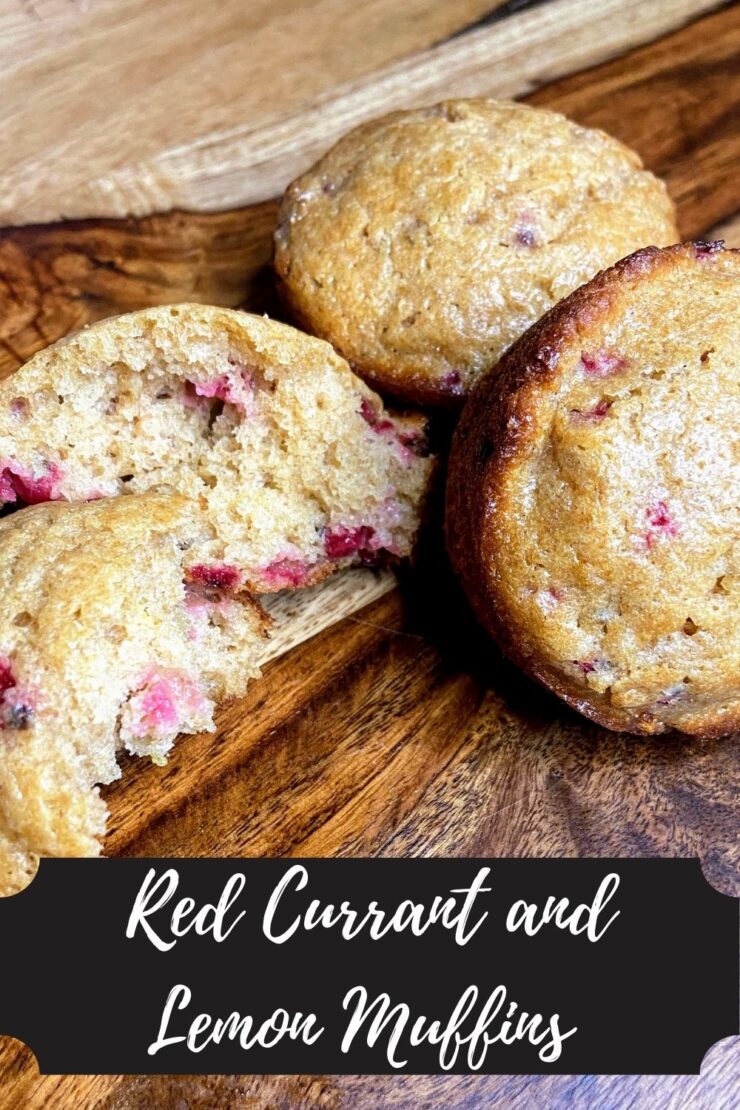
Red Currant and Lemon Muffins

A crazy amount of years ago, I was at a farmer’s market and tasted a small red berry. It was tart and delicious. I promptly brought a container. I remember loving them so much. What I don’t remember, however, is what type of berry they were. I was sure they were gooseberries, so I bought some bushes. Nope, not it. Then I was sure they had to have been currants. I planted a few bushes of currants, and now that they have come to fruition (haha, see what I did there? Fruition? Fruit. I am not that witty), I am still not sure that was it. So who knows what fruit I loved. But what I know is that I now have currant bushes and with them, I have created these beautifully light and sweet-tart red currant and lemon muffins. 

I developed this recipe by tweaking and adjusting my favorite strawberry bread. You can find that bread by clicking here. These muffins started as currant, but screamed for some lemon zest. I dropped the cinnamon in the strawberry bread and adjusted the moisture just a little bit. 

I hope you enjoy them as much as my family and I did. They were a delight to enjoy over the Fourth of July and bring me joy with a perfectly creatd cup of coffee. (I mean, is there much better than a well baked breakfast sweet with a cup of coffee? I think not.)

Your Ingredients

  • ½ cup butter, softened
  • ½ cup white sugar
  • ¼ cup brown sugar, packed
  • 1 teaspoon vanilla
  • 2 eggs
  • ¾ cup Vanilla Greek yogurt (I dig Oikos Triple Zero Yogurt for zero added sugar)
  • Zest of one large lemon
  • 1 ½ cup whole wheat flour
  • ½ teaspoon baking powder
  • ¼ teaspoon baking soda
  • ½ teaspoon salt 
  • 1 cup currants

Your Steps to Red Currant and Lemon Currant Muffins

Preheat the oven to 350 degrees F. Prepare 12-16 muffin wells by spraying with nonstick cooking spray. 

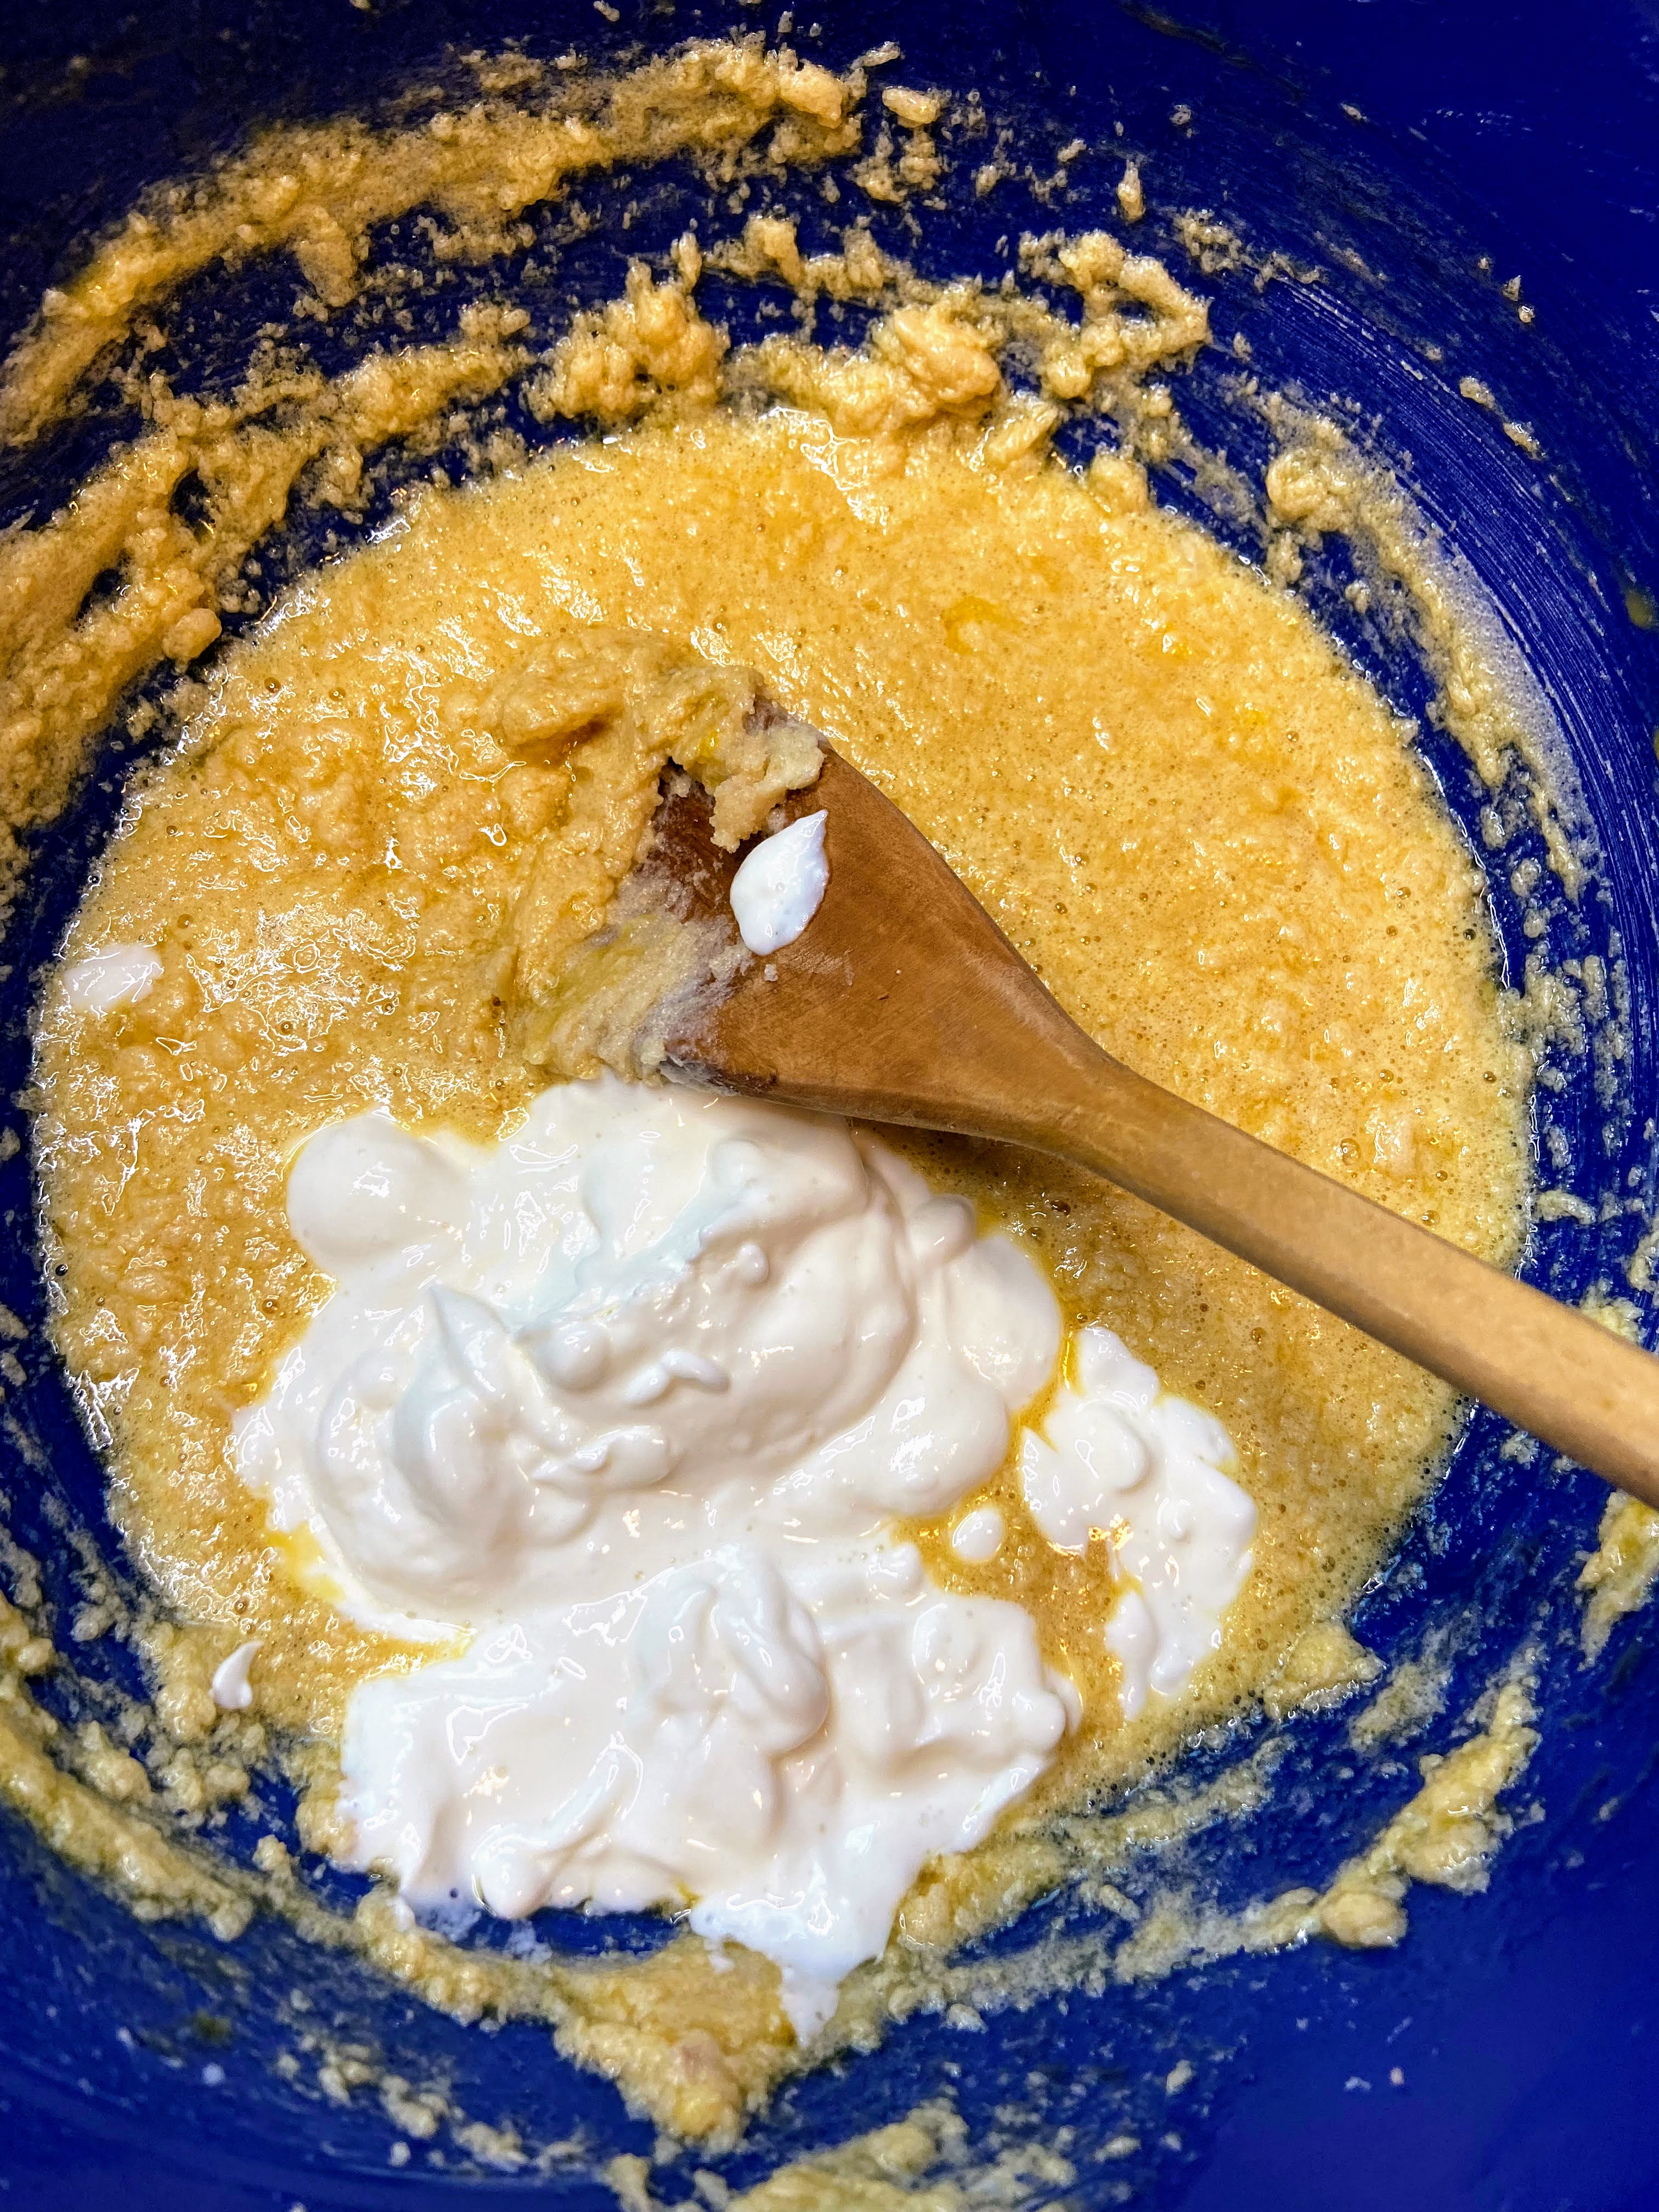
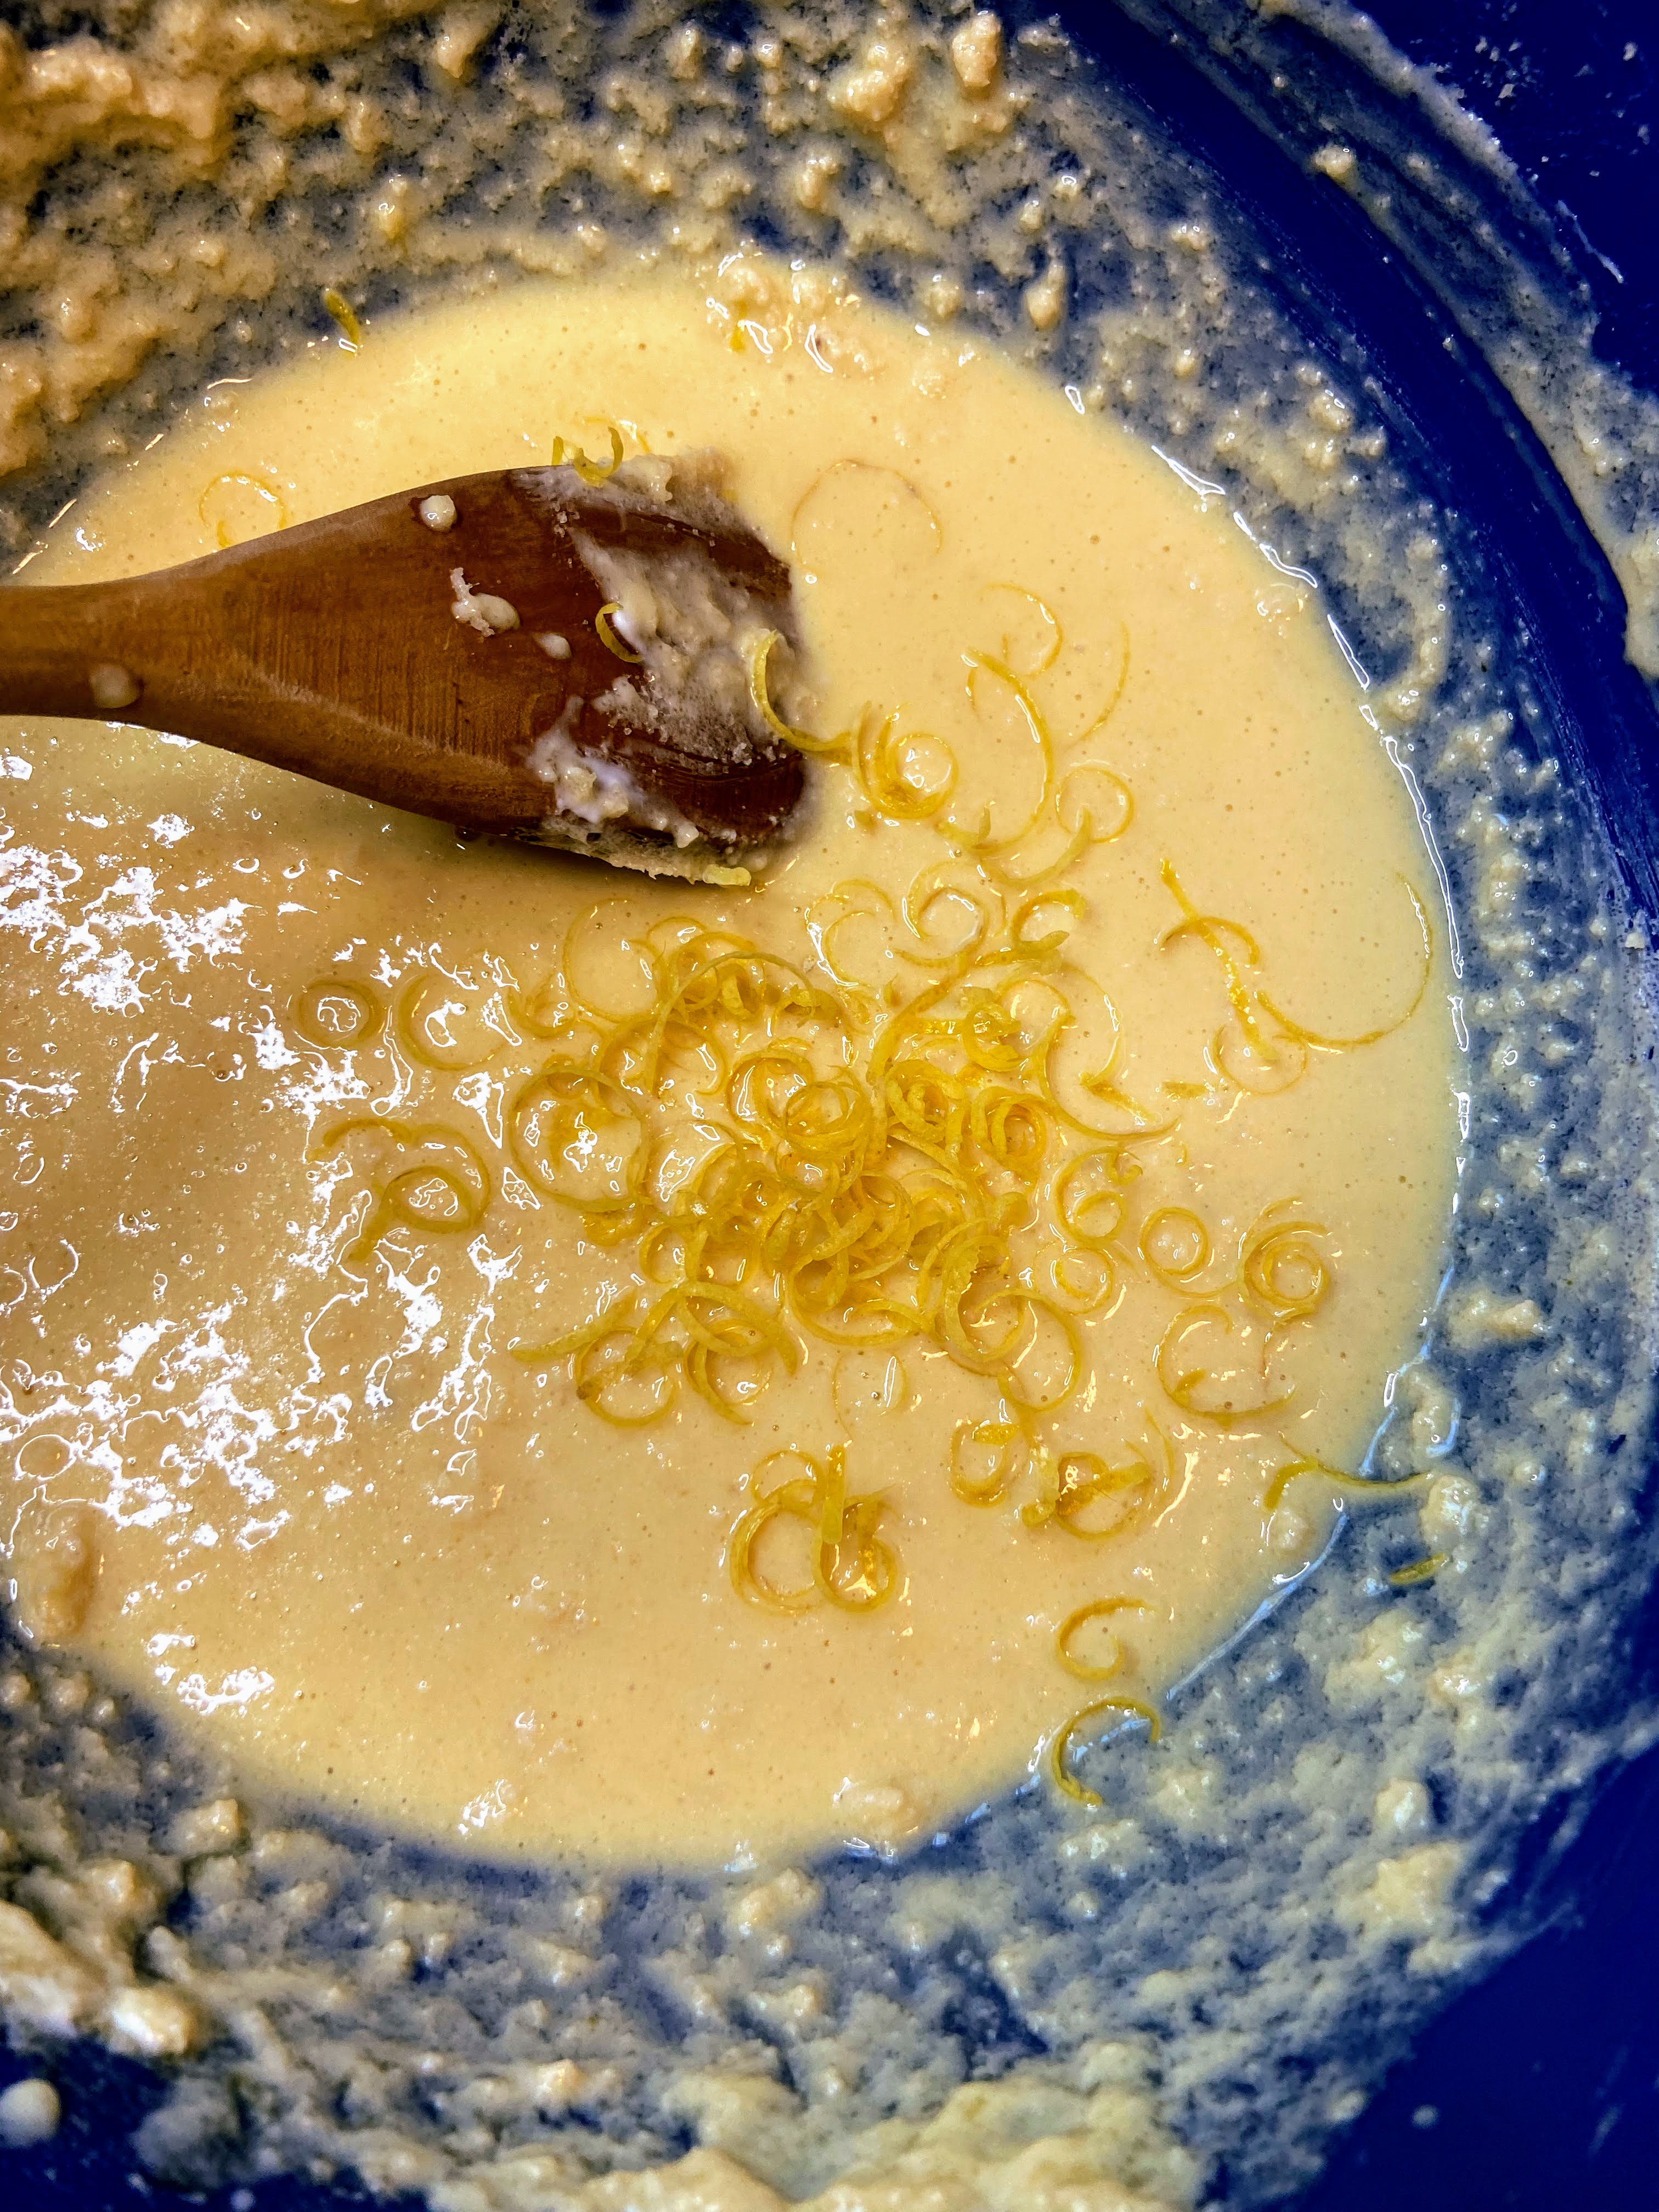
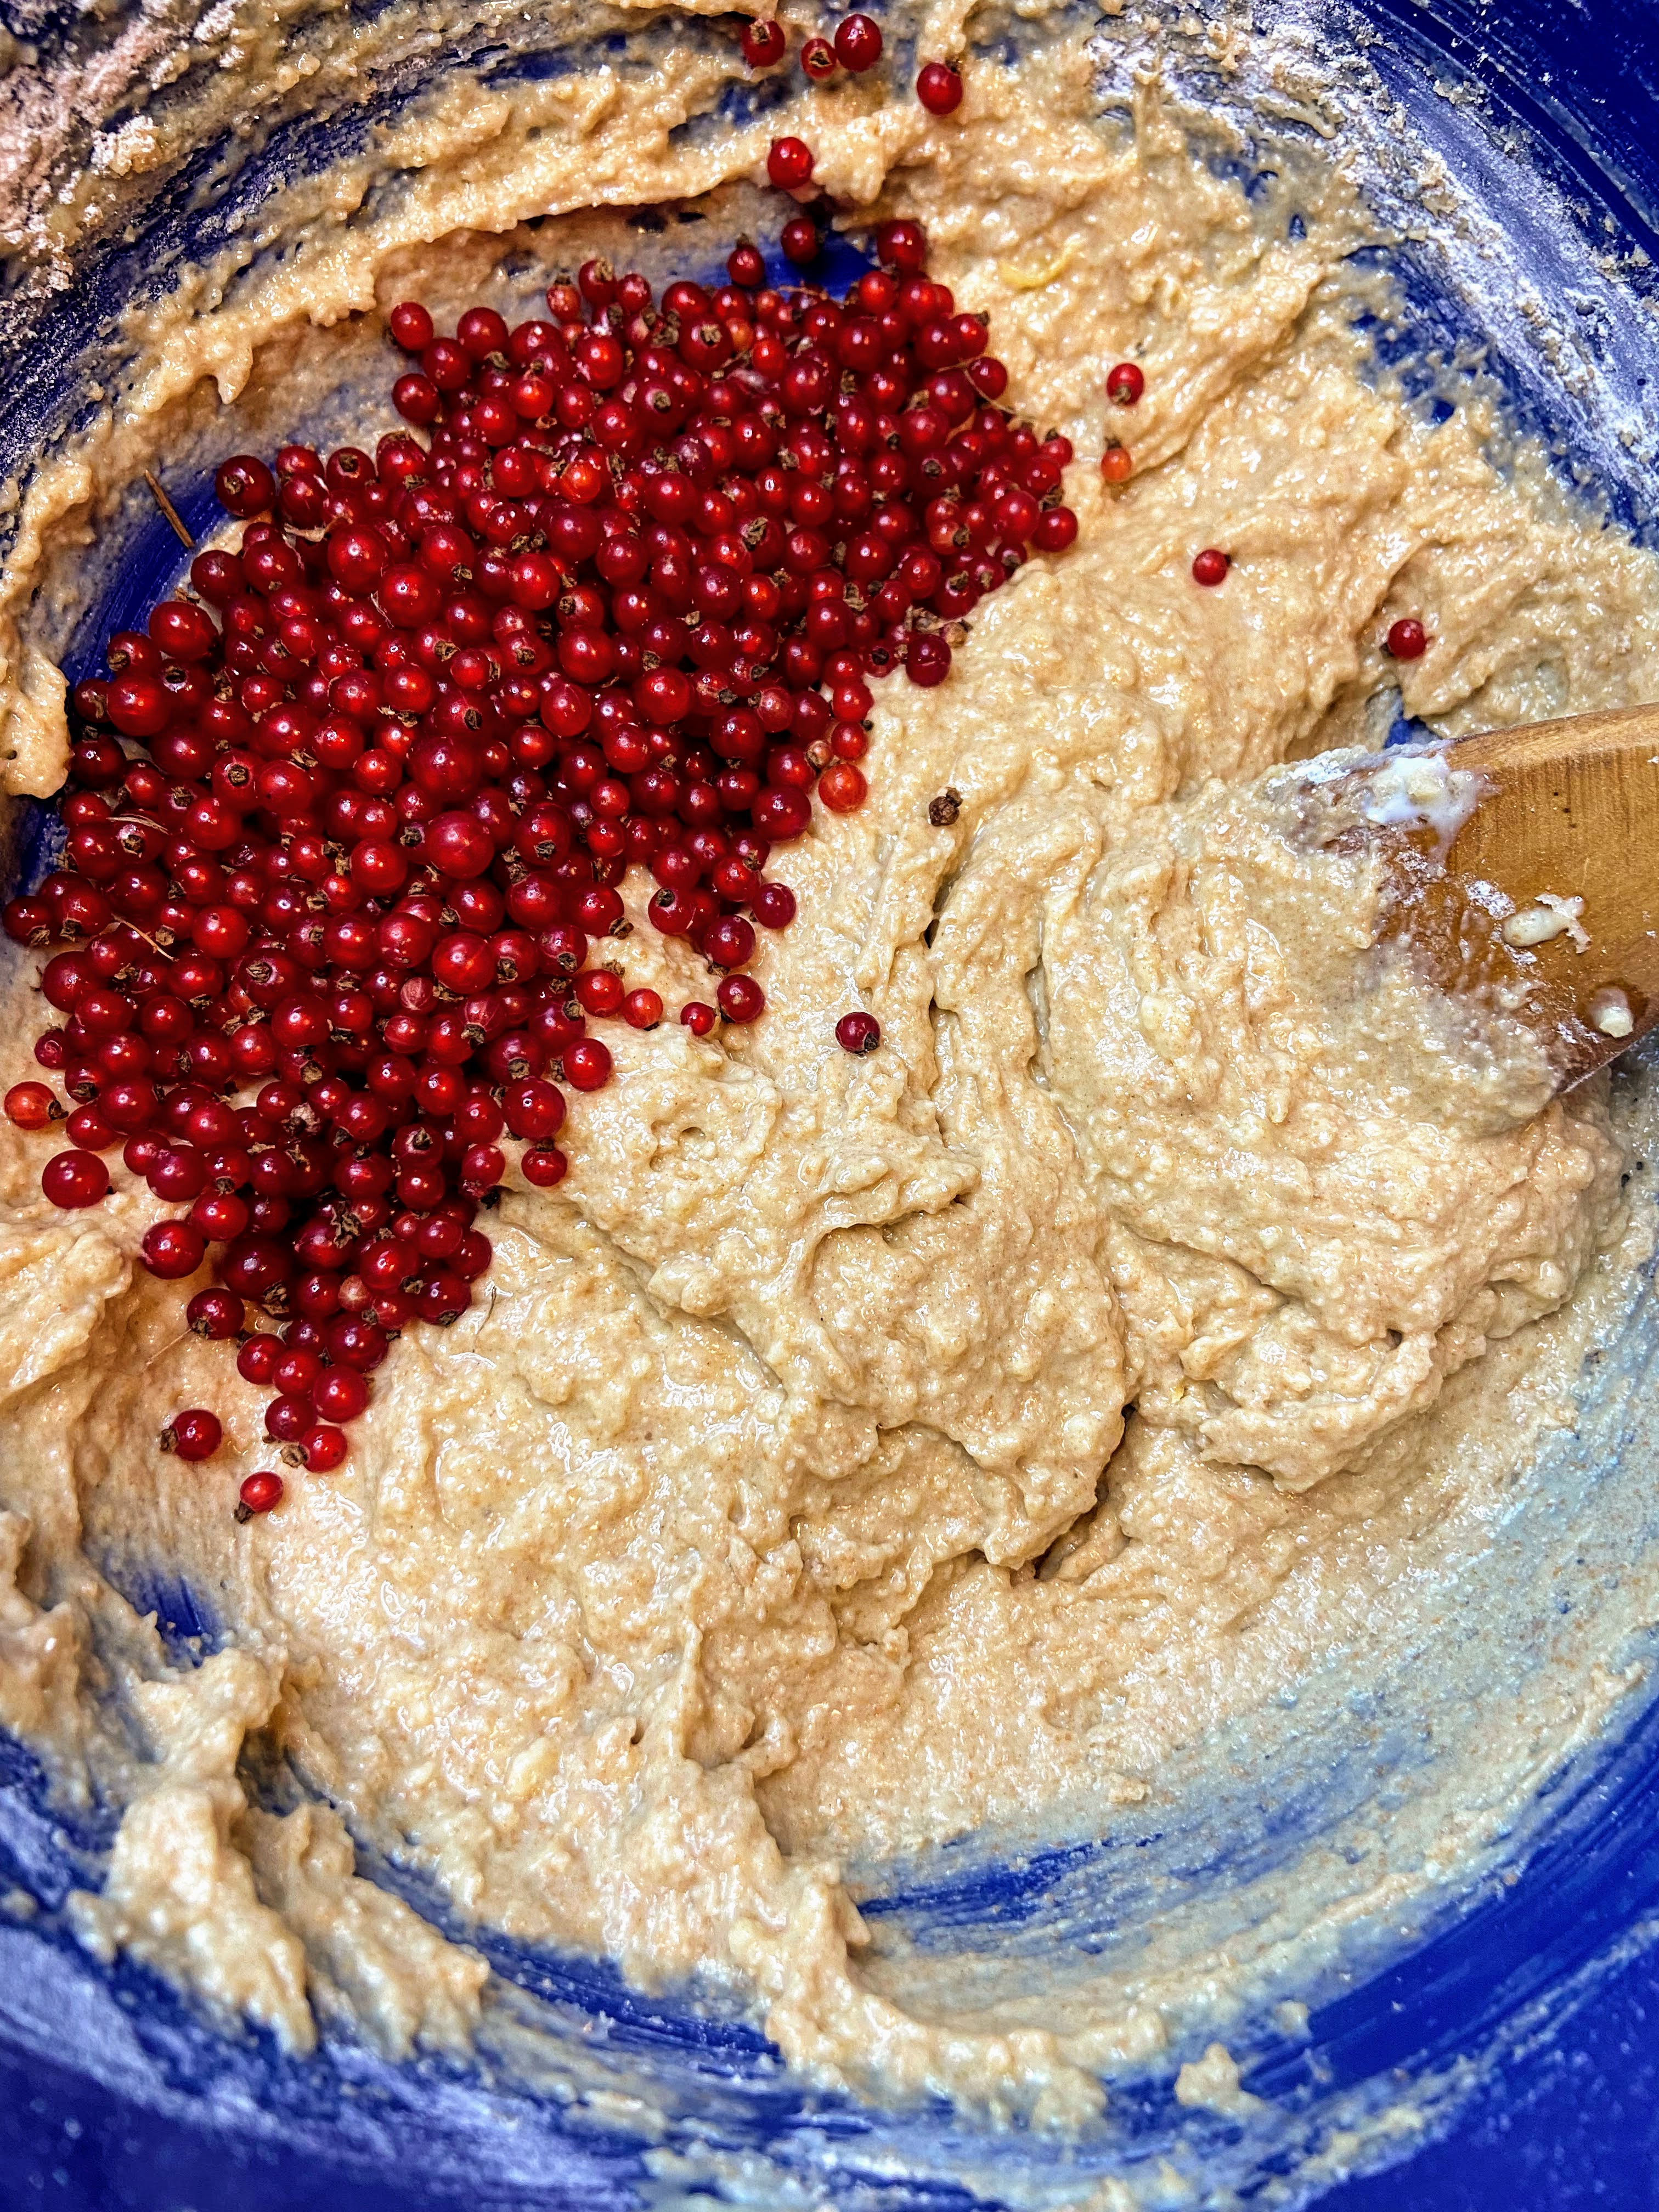
In a large bowl, cream butter, white sugar, and brown sugar until light and fluffy. Add vanilla. Mix in eggs one at a time. Whisk in yogurt and lemon zest until well combined. Combine flour, baking powder, baking soda, and salt. Mix until just blended in. Fold in currants. 

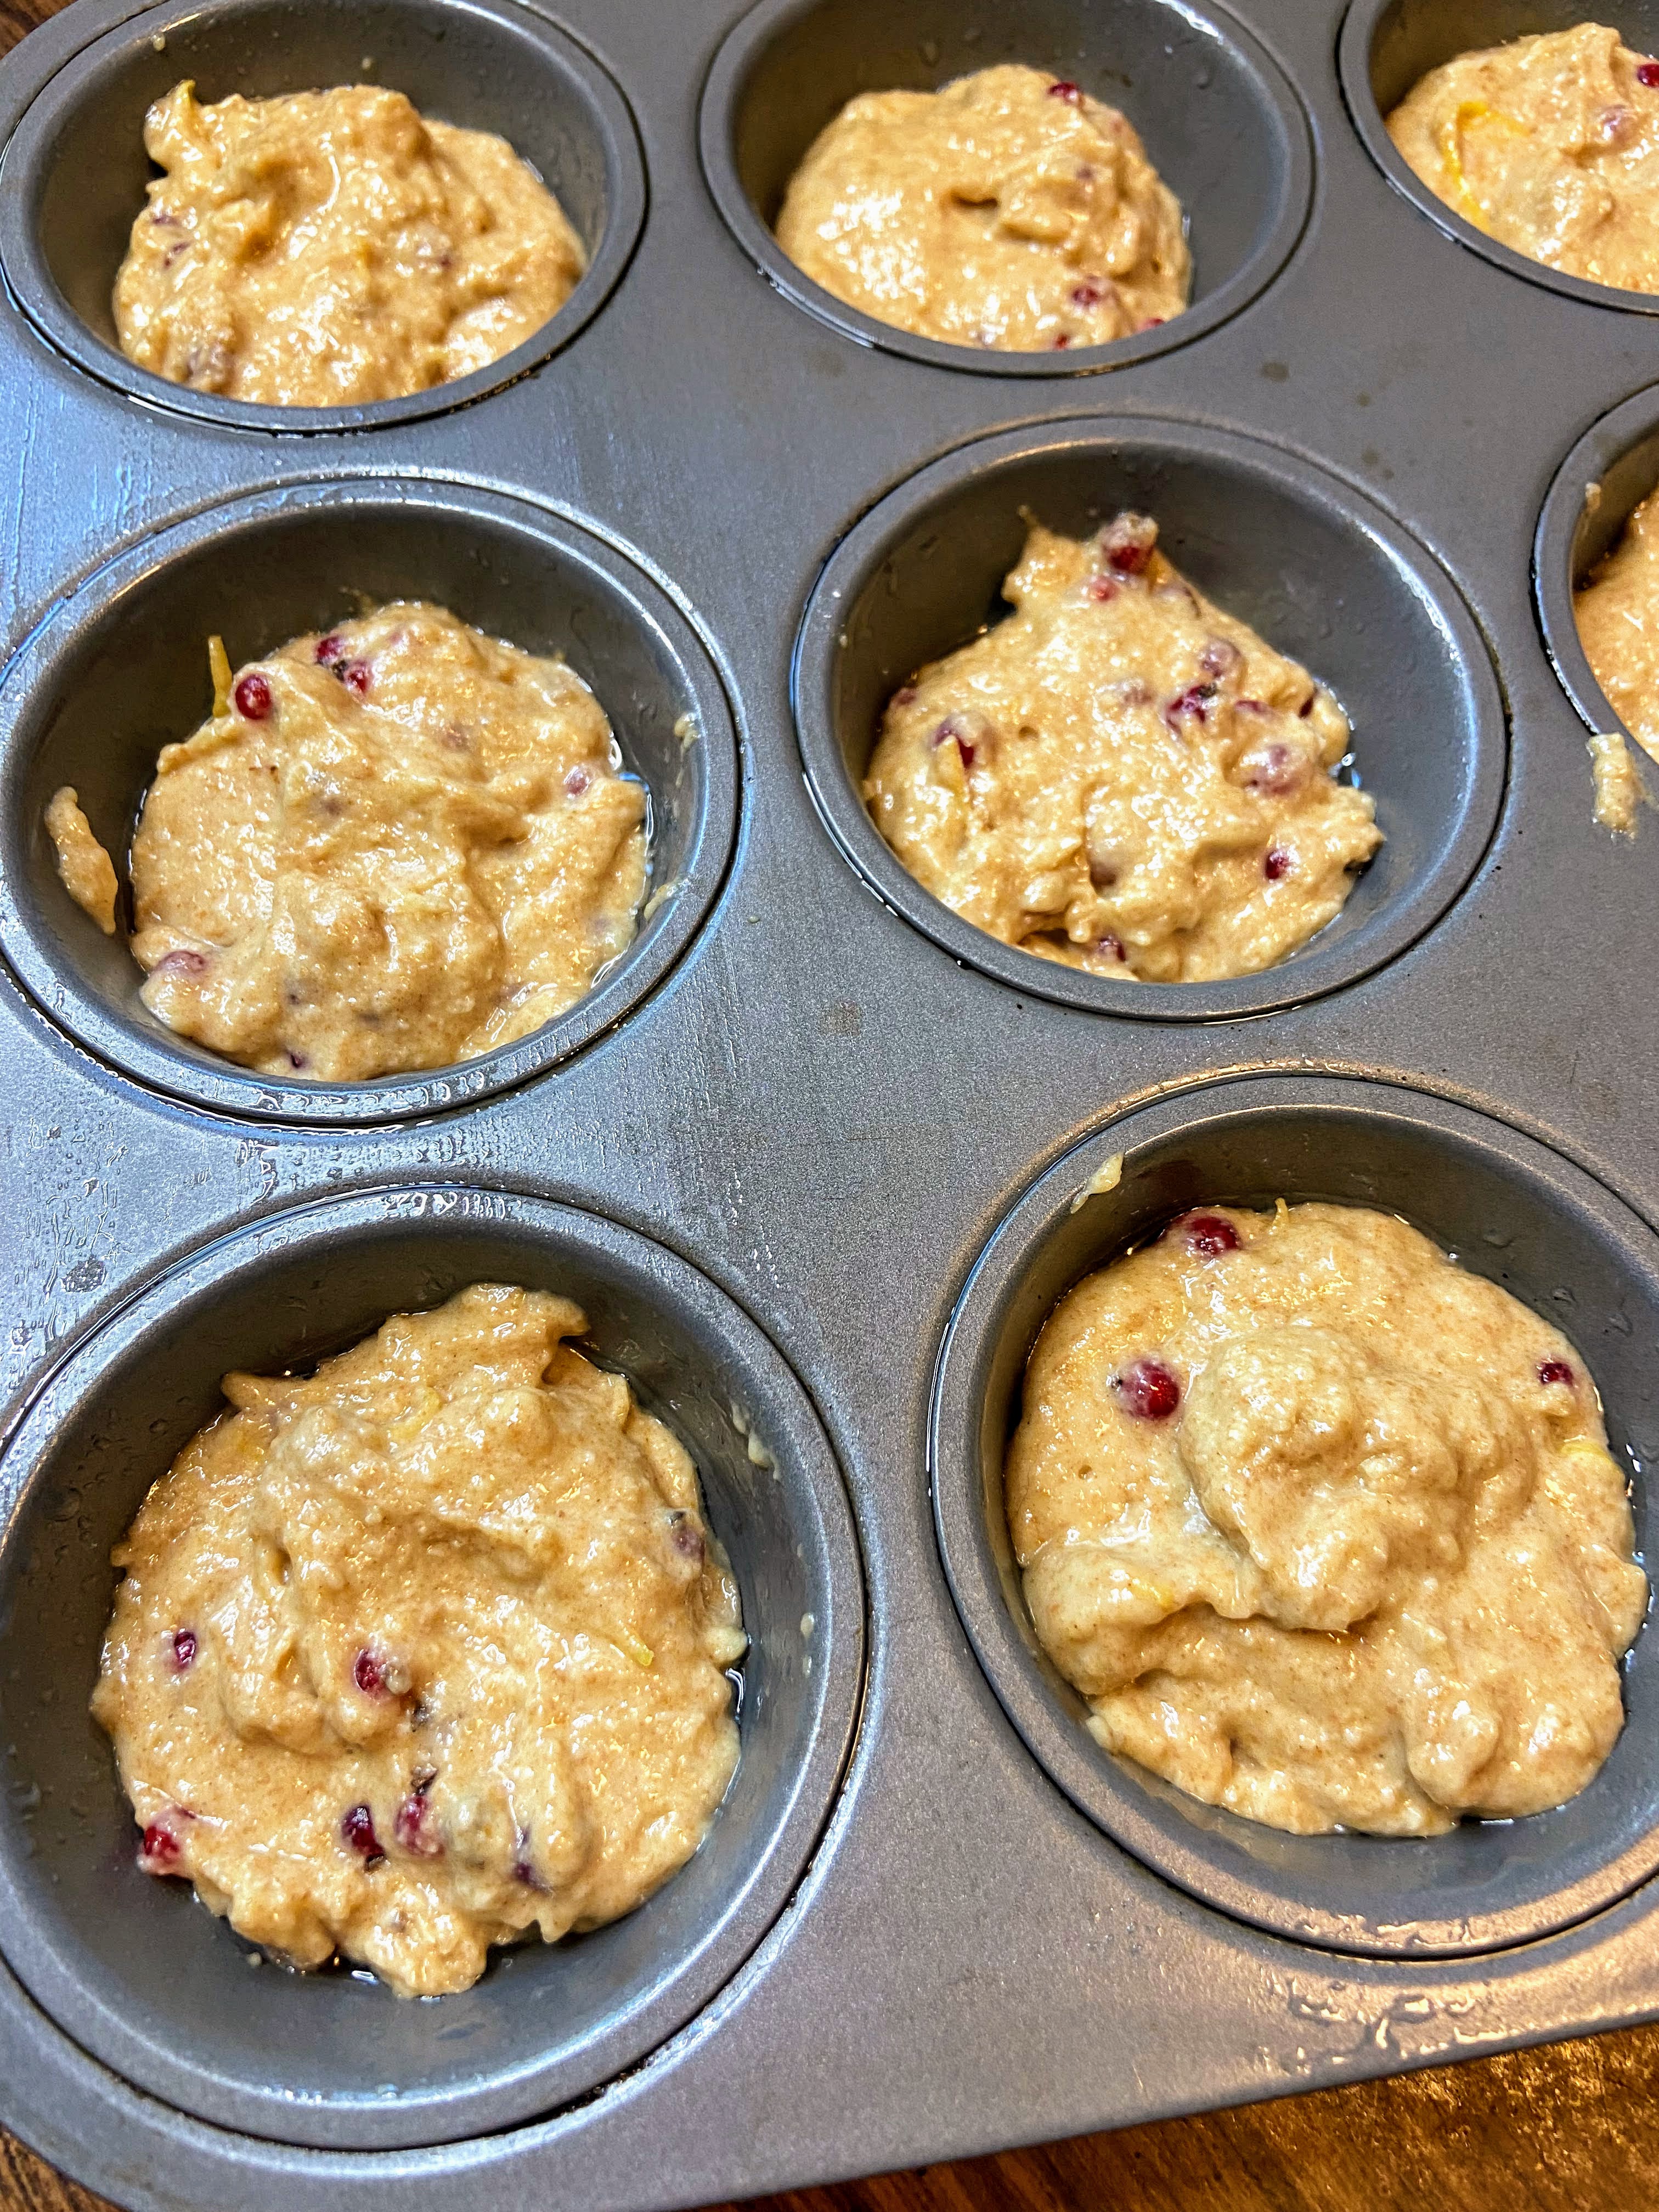
Divide the batter among the 12-15 muffin cups, filling about 3/4 of the way full. Bake for 20-25 minutes, until cooked through. Allow to cool in the tin a few minutes before removing. I think these are best served warm with a cup of coffee.

Looking for other great baking recipes? Check out my baking page by clicking the button below!

Red Currant and Lemon Muffins

The zest of lemon and tartness of currants combine to make a red currant and lemon muffins that are moist and full of pockets of delight!
Prep Time 10 minutes
Cook Time 25 minutes
Course Breakfast
Cuisine American
Servings 15 muffins

Ingredients
  

  • ½ cup butter softened
  • ½ cup white sugar
  • ¼ cup brown sugar packed
  • 1 teaspoon vanilla
  • 2 eggs
  • ¾ cup Vanilla Greek yogurt
  • Zest of one large lemon
  • 1 ½ cup whole wheat flour
  • ½ teaspoon baking powder
  • ¼ teaspoon baking soda
  • ½ teaspoon salt
  • 1 cup currants

Instructions
 

  • Preheat the oven to 350 degrees F. Prepare 12-16 muffin wells by spraying with nonstick cooking spray.
  • In a large bowl, cream butter, white sugar, and brown sugar until light and fluffy.
  • Add vanilla. Mix in eggs one at a time.
  • Whisk in yogurt and lemon zest until well combined.
  • Combine flour, baking powder, baking soda, and salt. Mix until just blended in.
  • Fold in currants.
  • Scoop batter into the muffin tins, filling the wells ¾ of the way full.
  • Bake at 350 degrees for 20-25 minutes, until baked through.
Keyword currant muffins, currants, lemon, muffins
Tried this recipe?Let us know how it was!

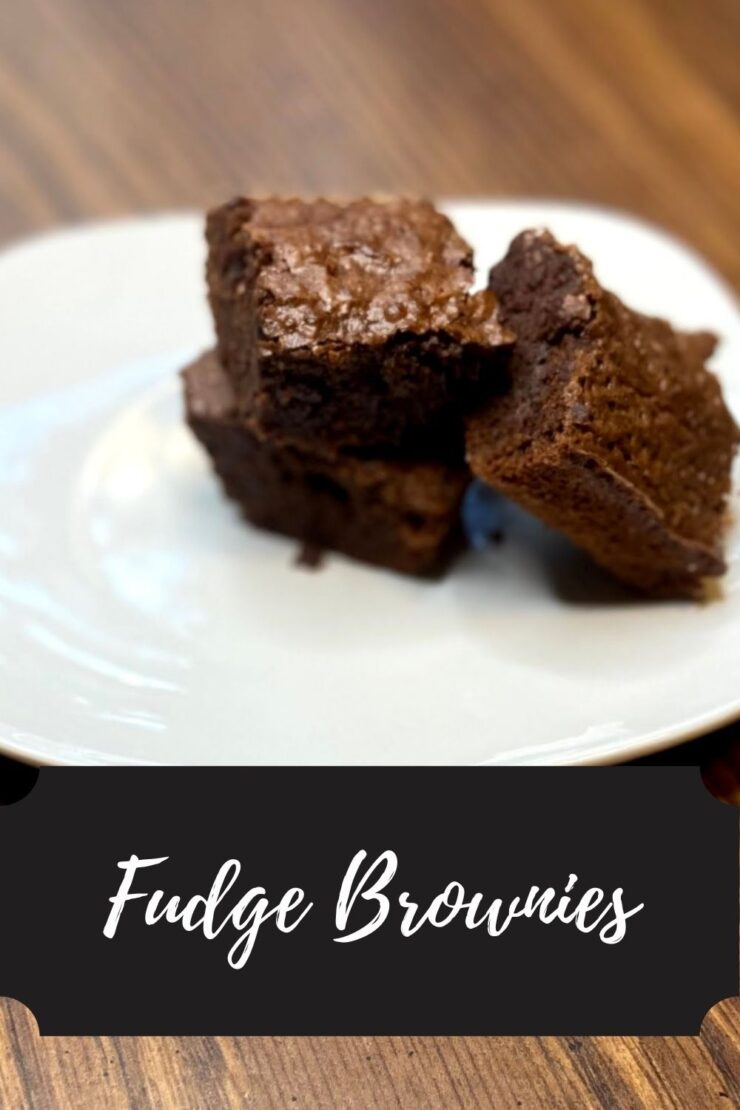
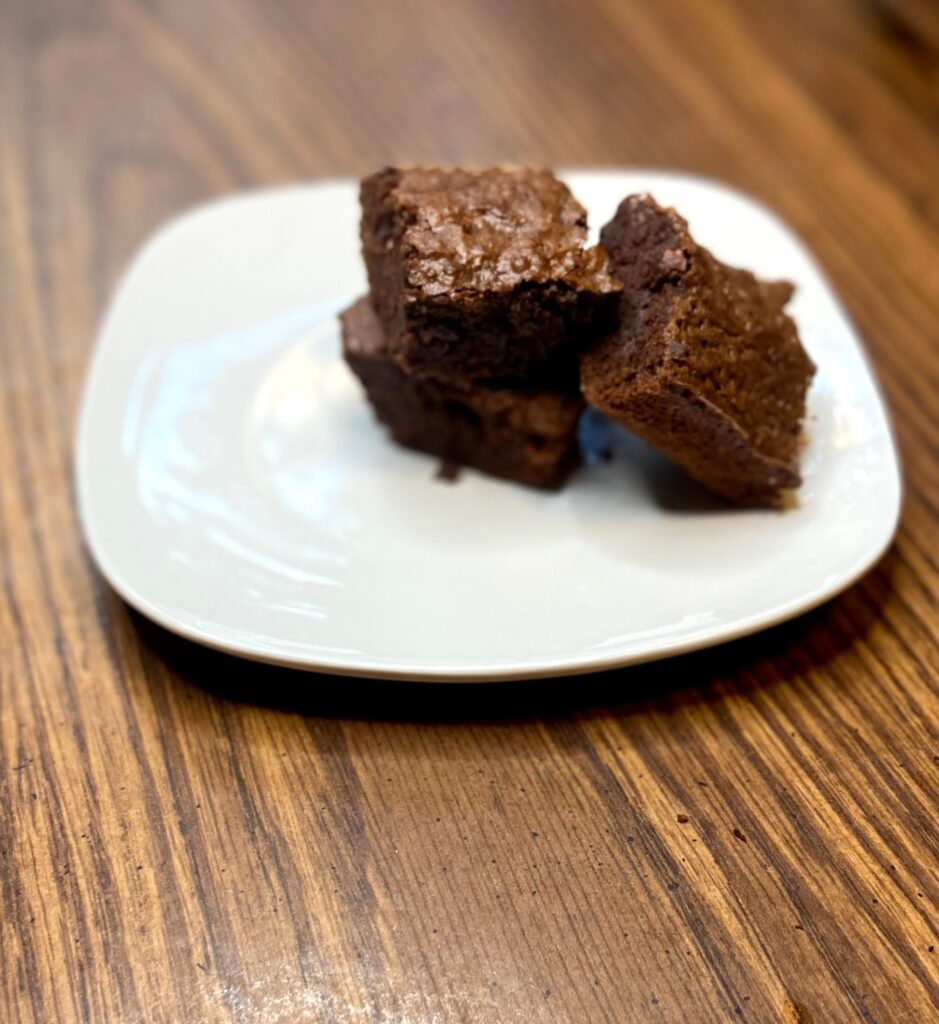
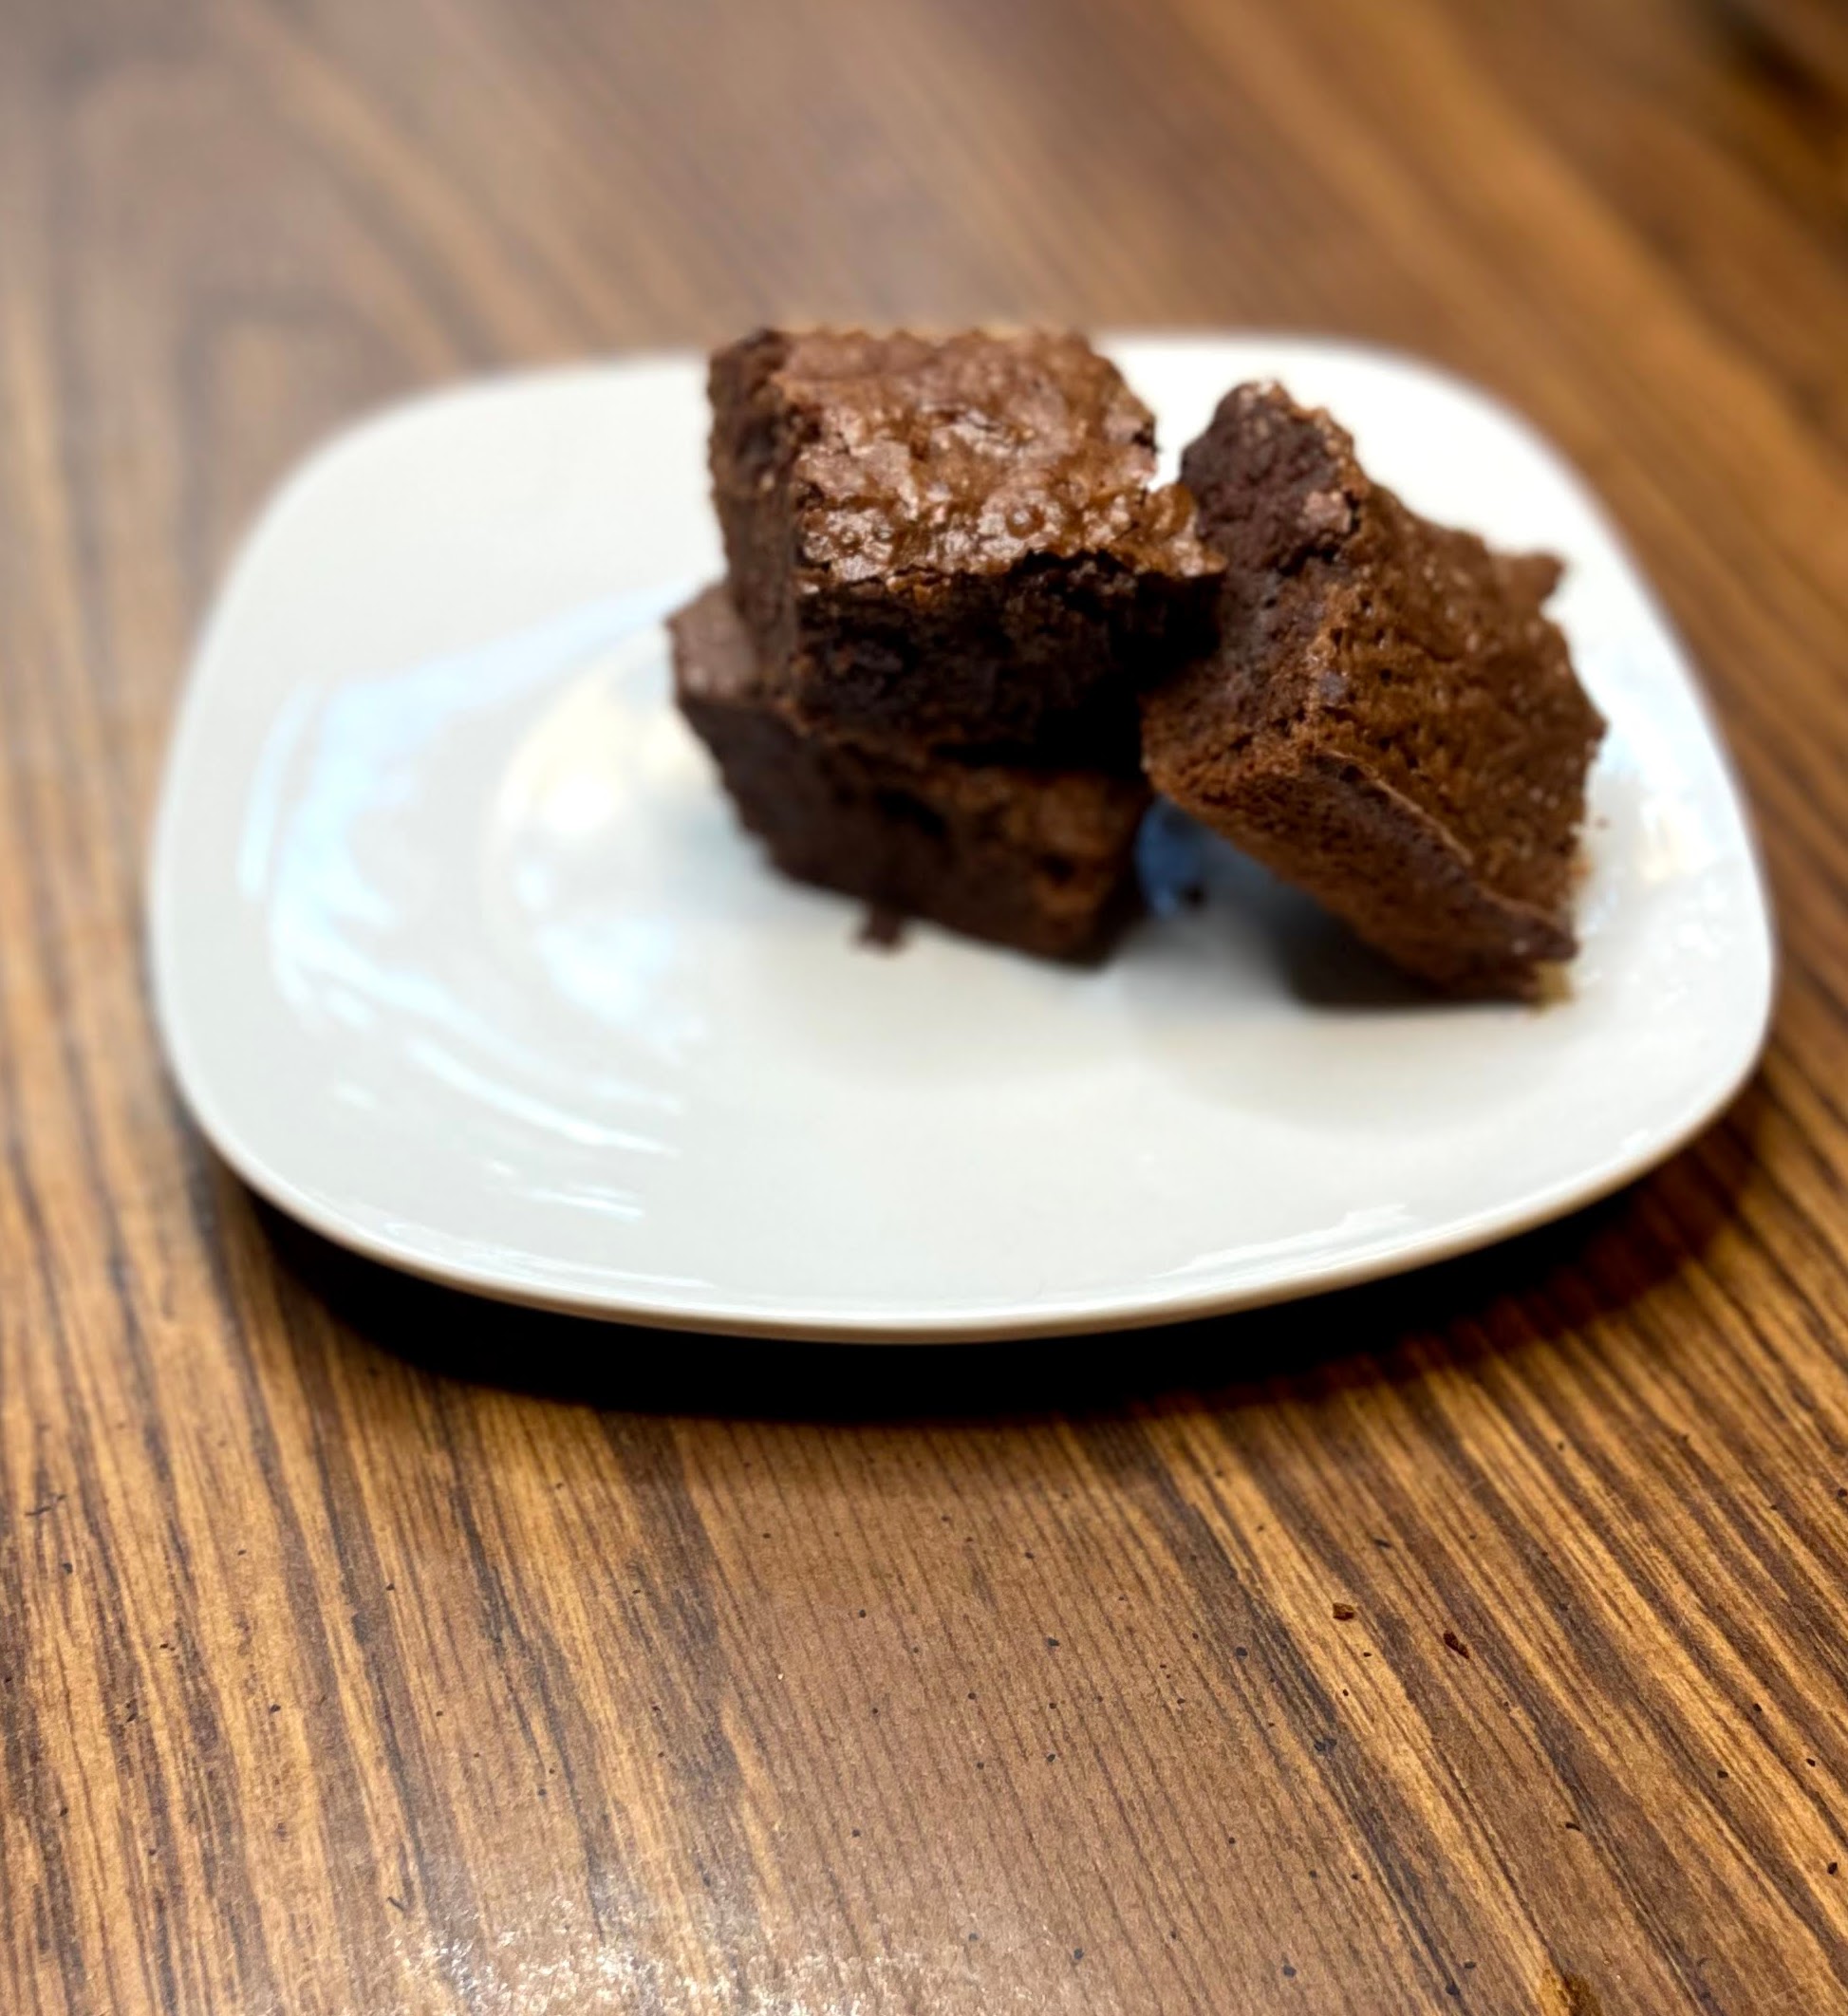
Fudge Brownies

As a high school teacher, I get invited to a lot of graduation parties. That equals all the arrays of food from walking tacos to pulled pork to catered pasta. It also means cake, or if I am lucky brownies or Rice Krispy treats. Gosh, I am a sucker for either of those and I get excited when the parties have them. This is my take on a quick made from scratch fudge brownies. 

You see, my daughter doesn’t fall far from the tree and when it was her birthday, she asked for mama to bake homemade brownies. I love a good black bean brownie, but she didn’t want the “healthy” ones. Well, her brother didn’t want the healthy ones, and if you have kids, you know. If you don’t, perhaps you were once a sibling who always did what you could to convince your brother or sister to cave to your wims. Either way, black bean brownies weren’t happening. 

And so, these little beauties were born. Simple and delicious. And even a tweak or two to maybe, maybe make them a wee bit healthier. But really, who goes into a brownie trying to be healthy? I don’t know about you, but I am all about a warm fudge brownie with a little vanilla ice cream. Maybe it’s the result of working at a beloved drive in for years. Maybe it’s just because it’s darn good. We will never know. 

So if you are a sucker for brownies like I am, let’s get baking friends. You’ll have warm, wonderful fudge brownies in under 40 minutes. 

Your Ingredients

  • ½ cup coconut oil 
  • 3 ounces semisweet chocolate 
  • 1 cup brown sugar, packed
  • 2 teaspoons vanilla
  • 3 eggs
  • ½ cup + 2 tablespoons whole wheat flour (all purpose would work too!) (Check the whole wheat flour from Sunrise Flour Mill. It’s amazing!)
  • ¼ cup cocoa powder
  • 1 teaspoon salt 

Your Steps

Preheat the oven to 350 degrees. Prepare a 9×9 baking dish by spraying with non stick cooking spray. 

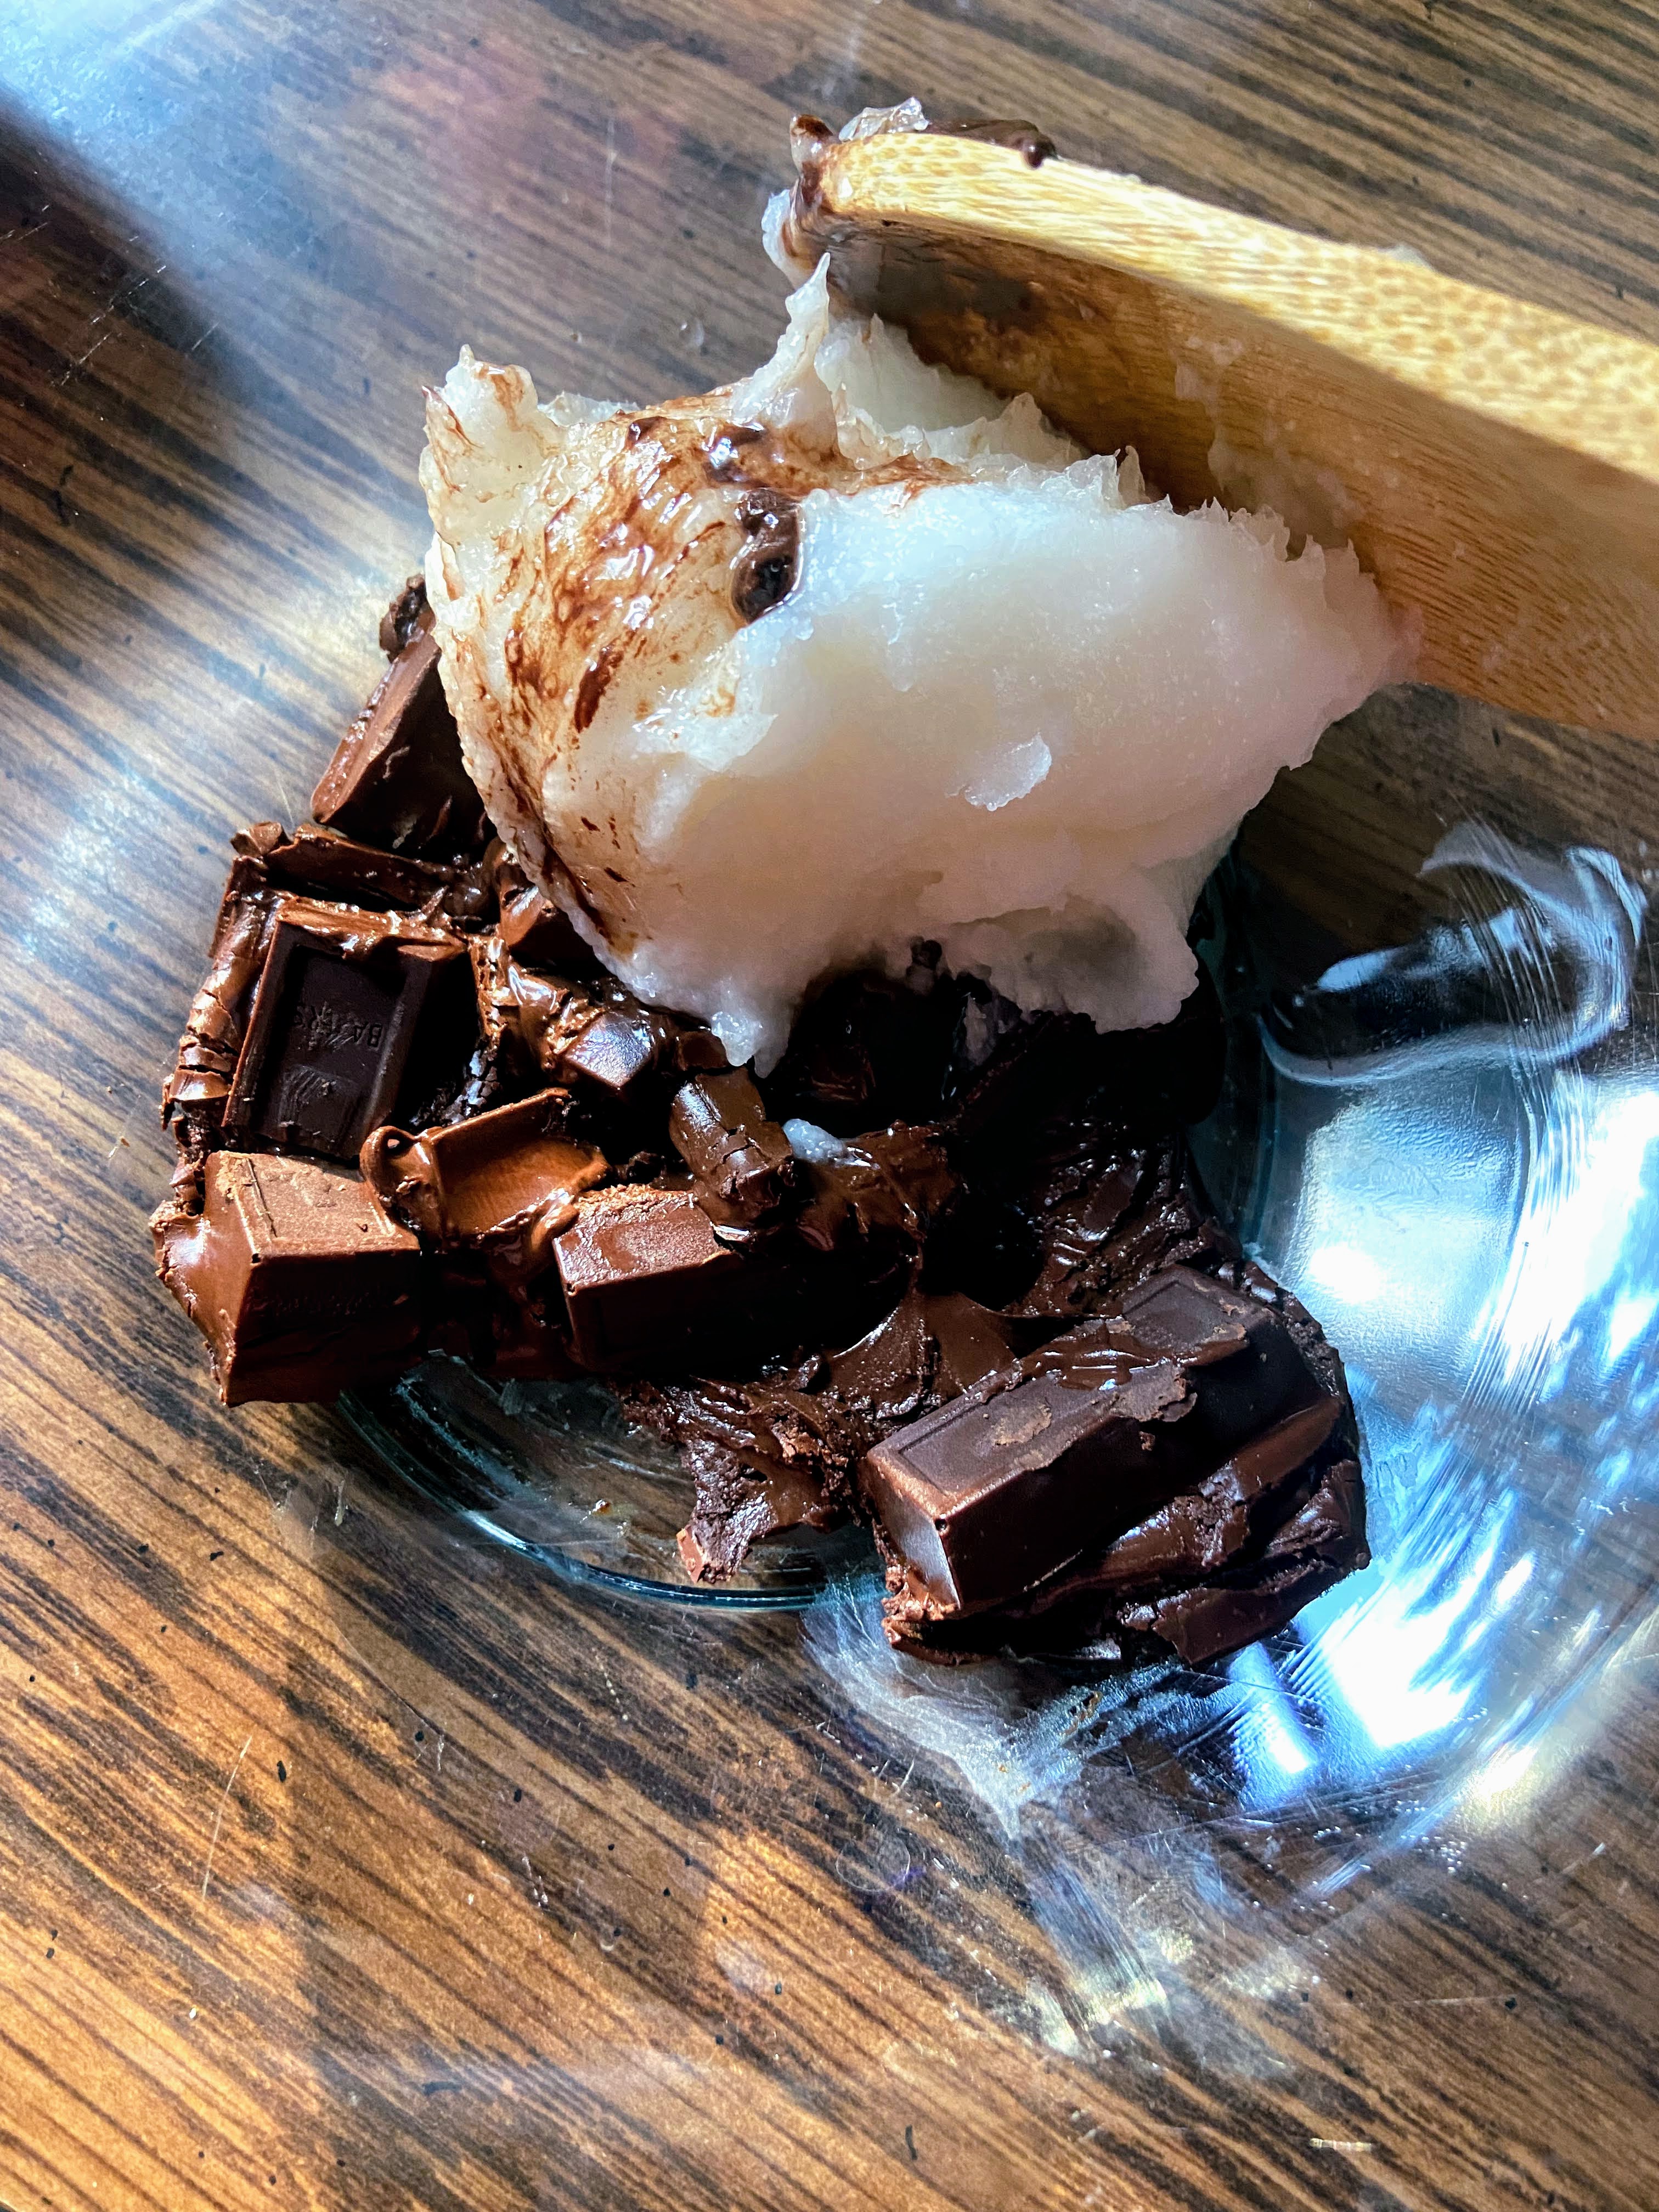
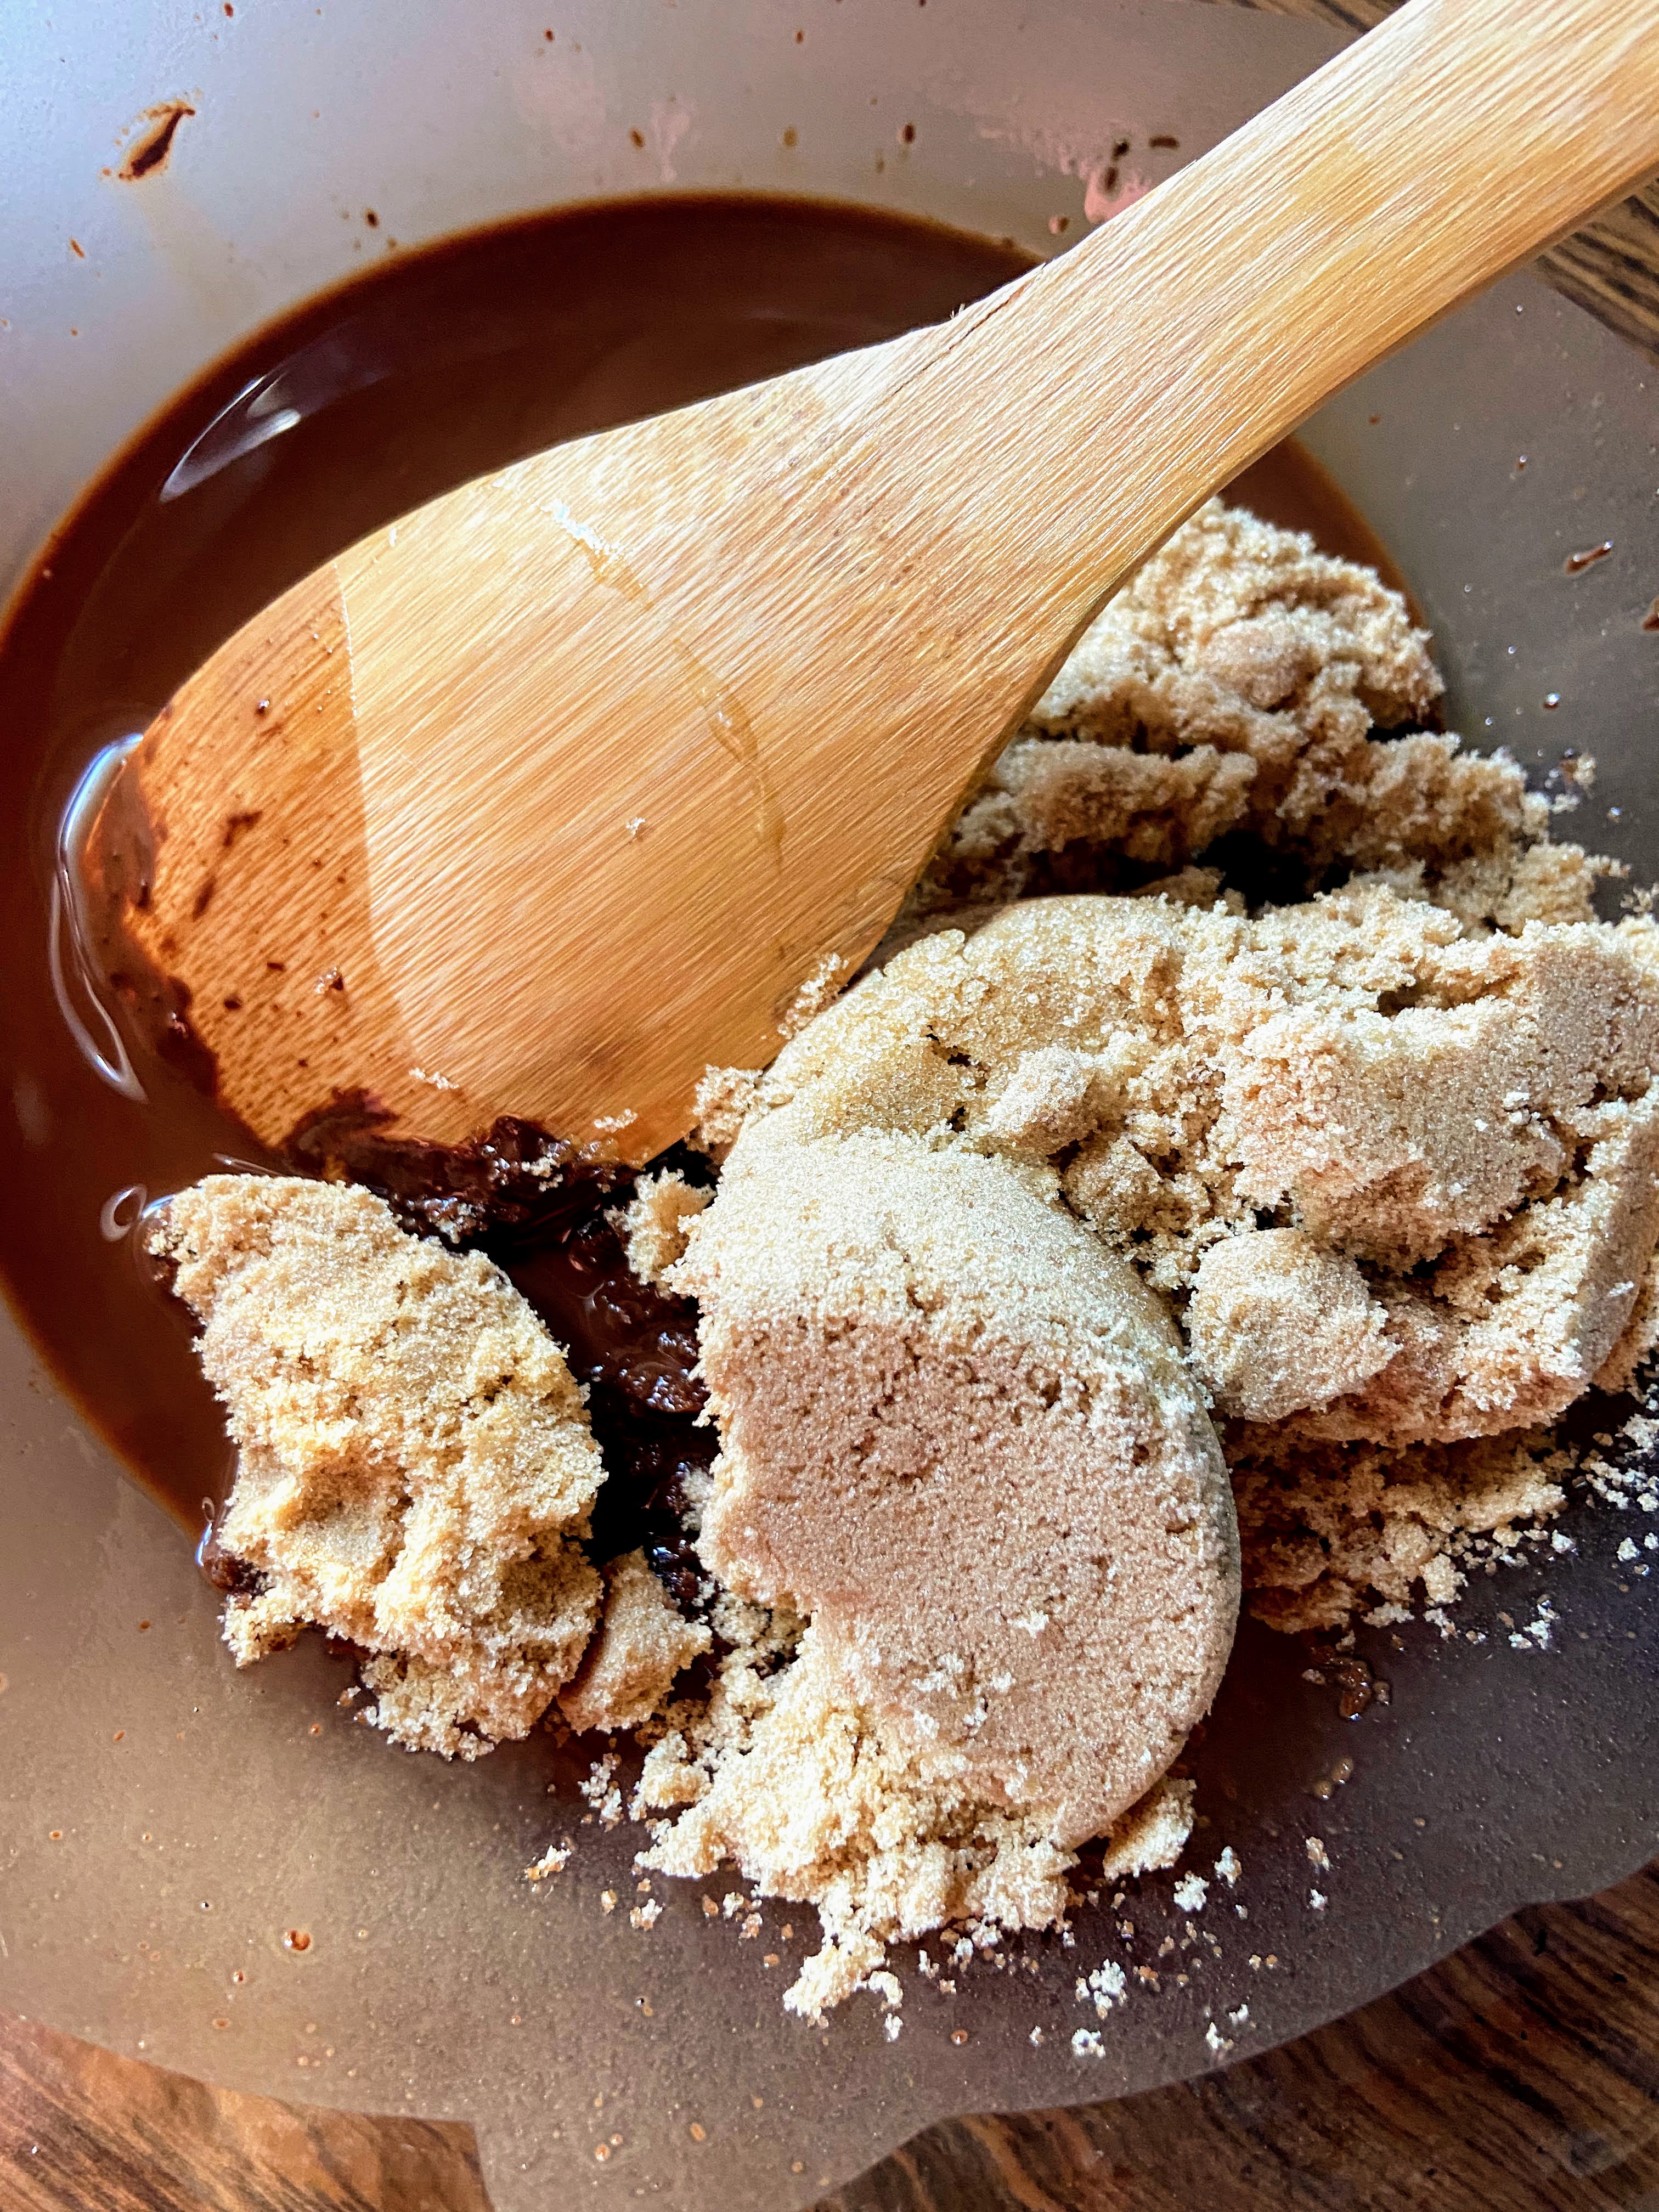
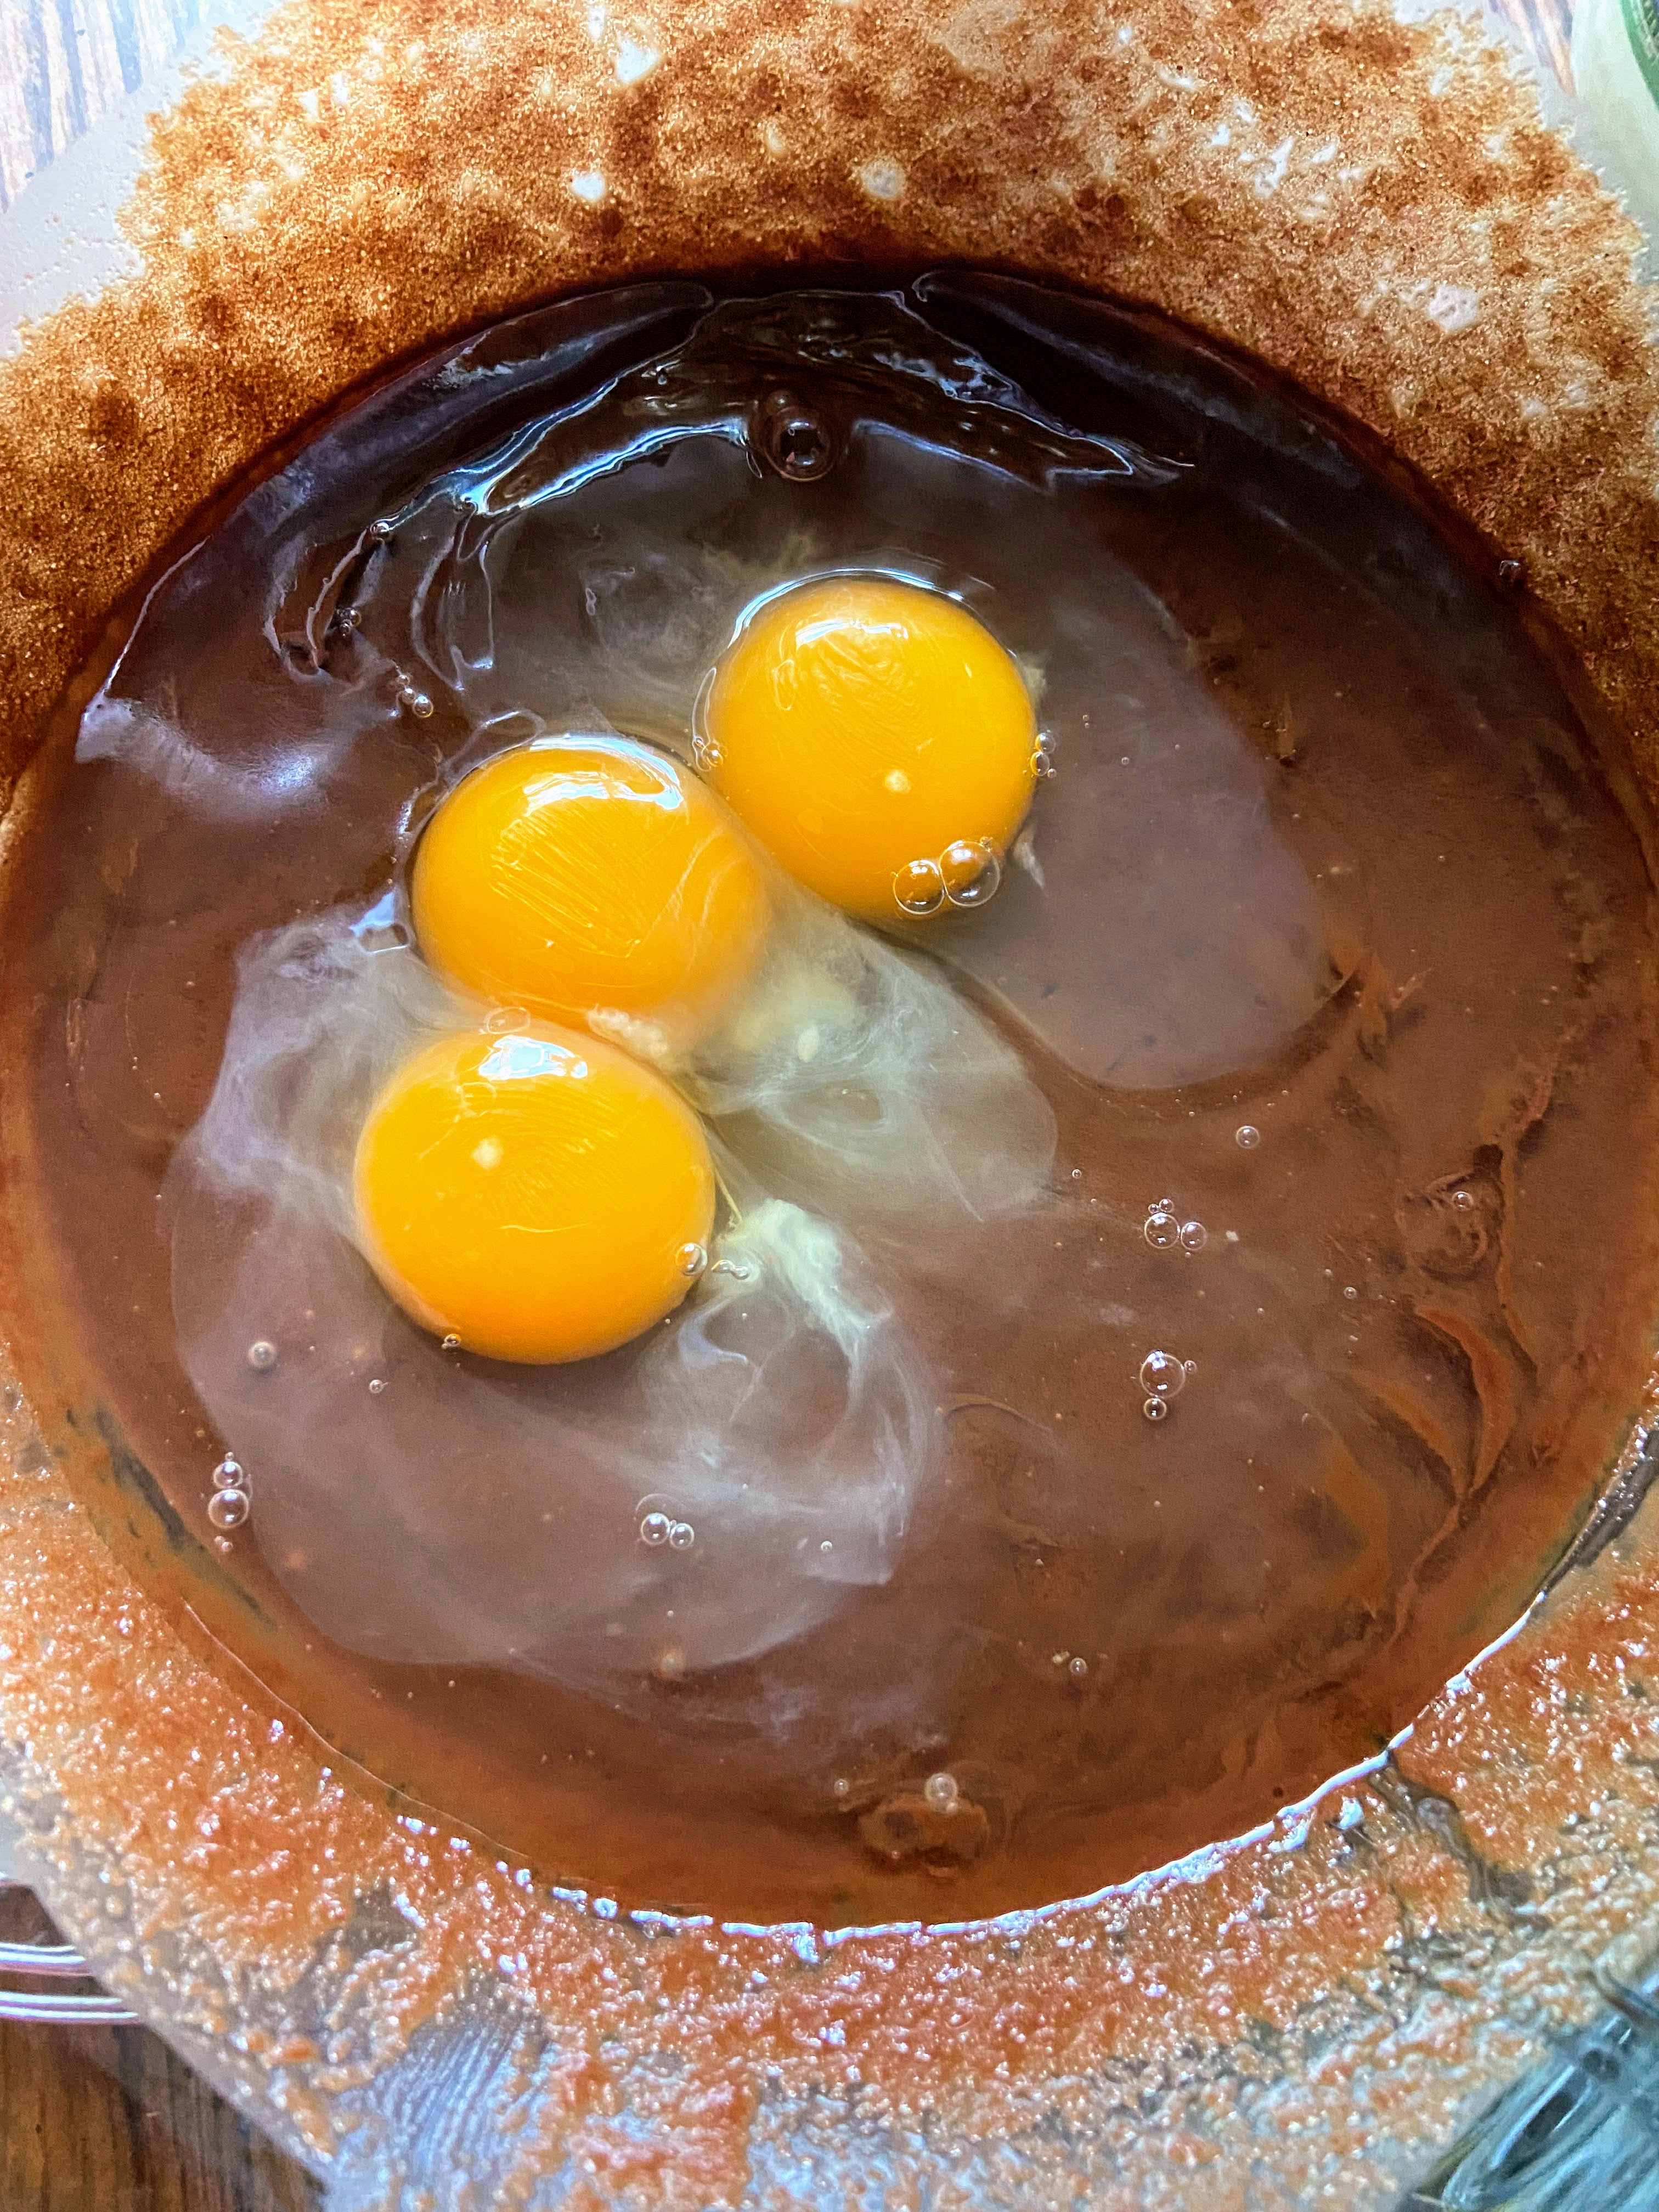
Add chocolate to a microwave safe bowl. Microwave in 30 second increments, stirring in between. Add the coconut oil after 1 minute and melt as well. Stir until well combined. Mix in  brown sugar and vanilla. Allow to cool slightly before whisking in eggs. 

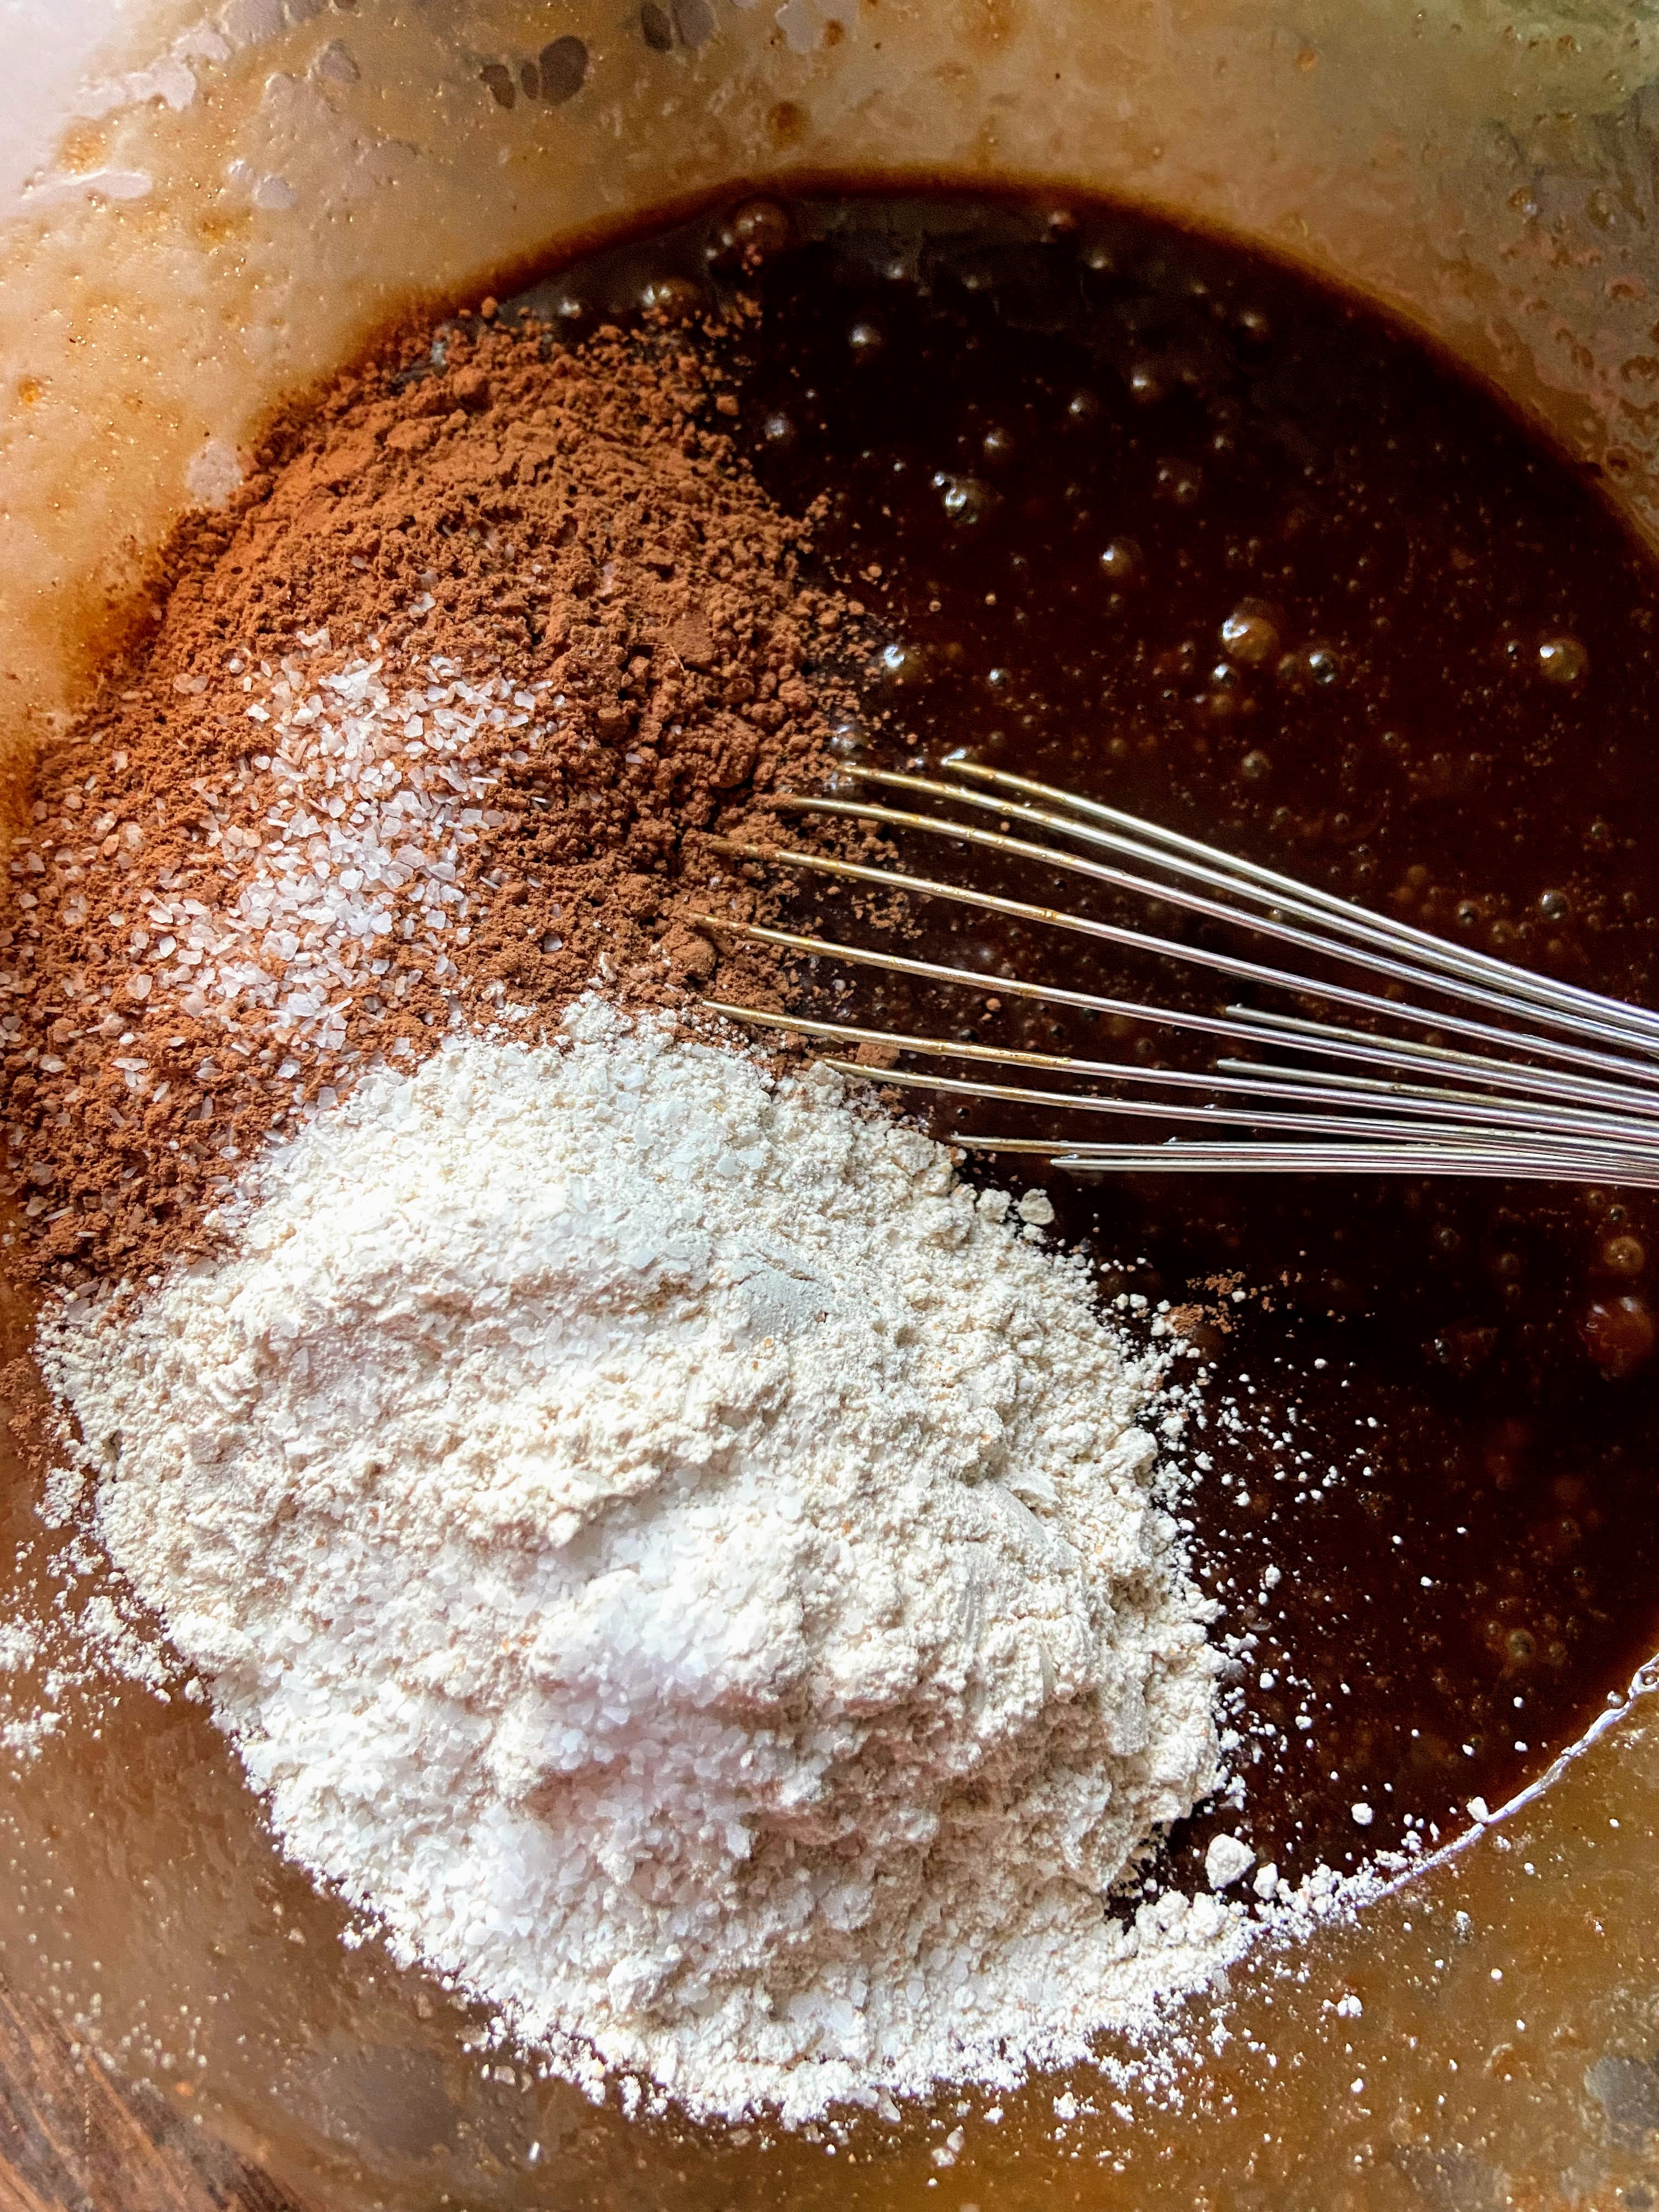
Add flour, cocoa powder, and salt. Mix until just combined. If you are an extra chocolate lover, you could totally add ¼ cup of chocolate chips here as well. 

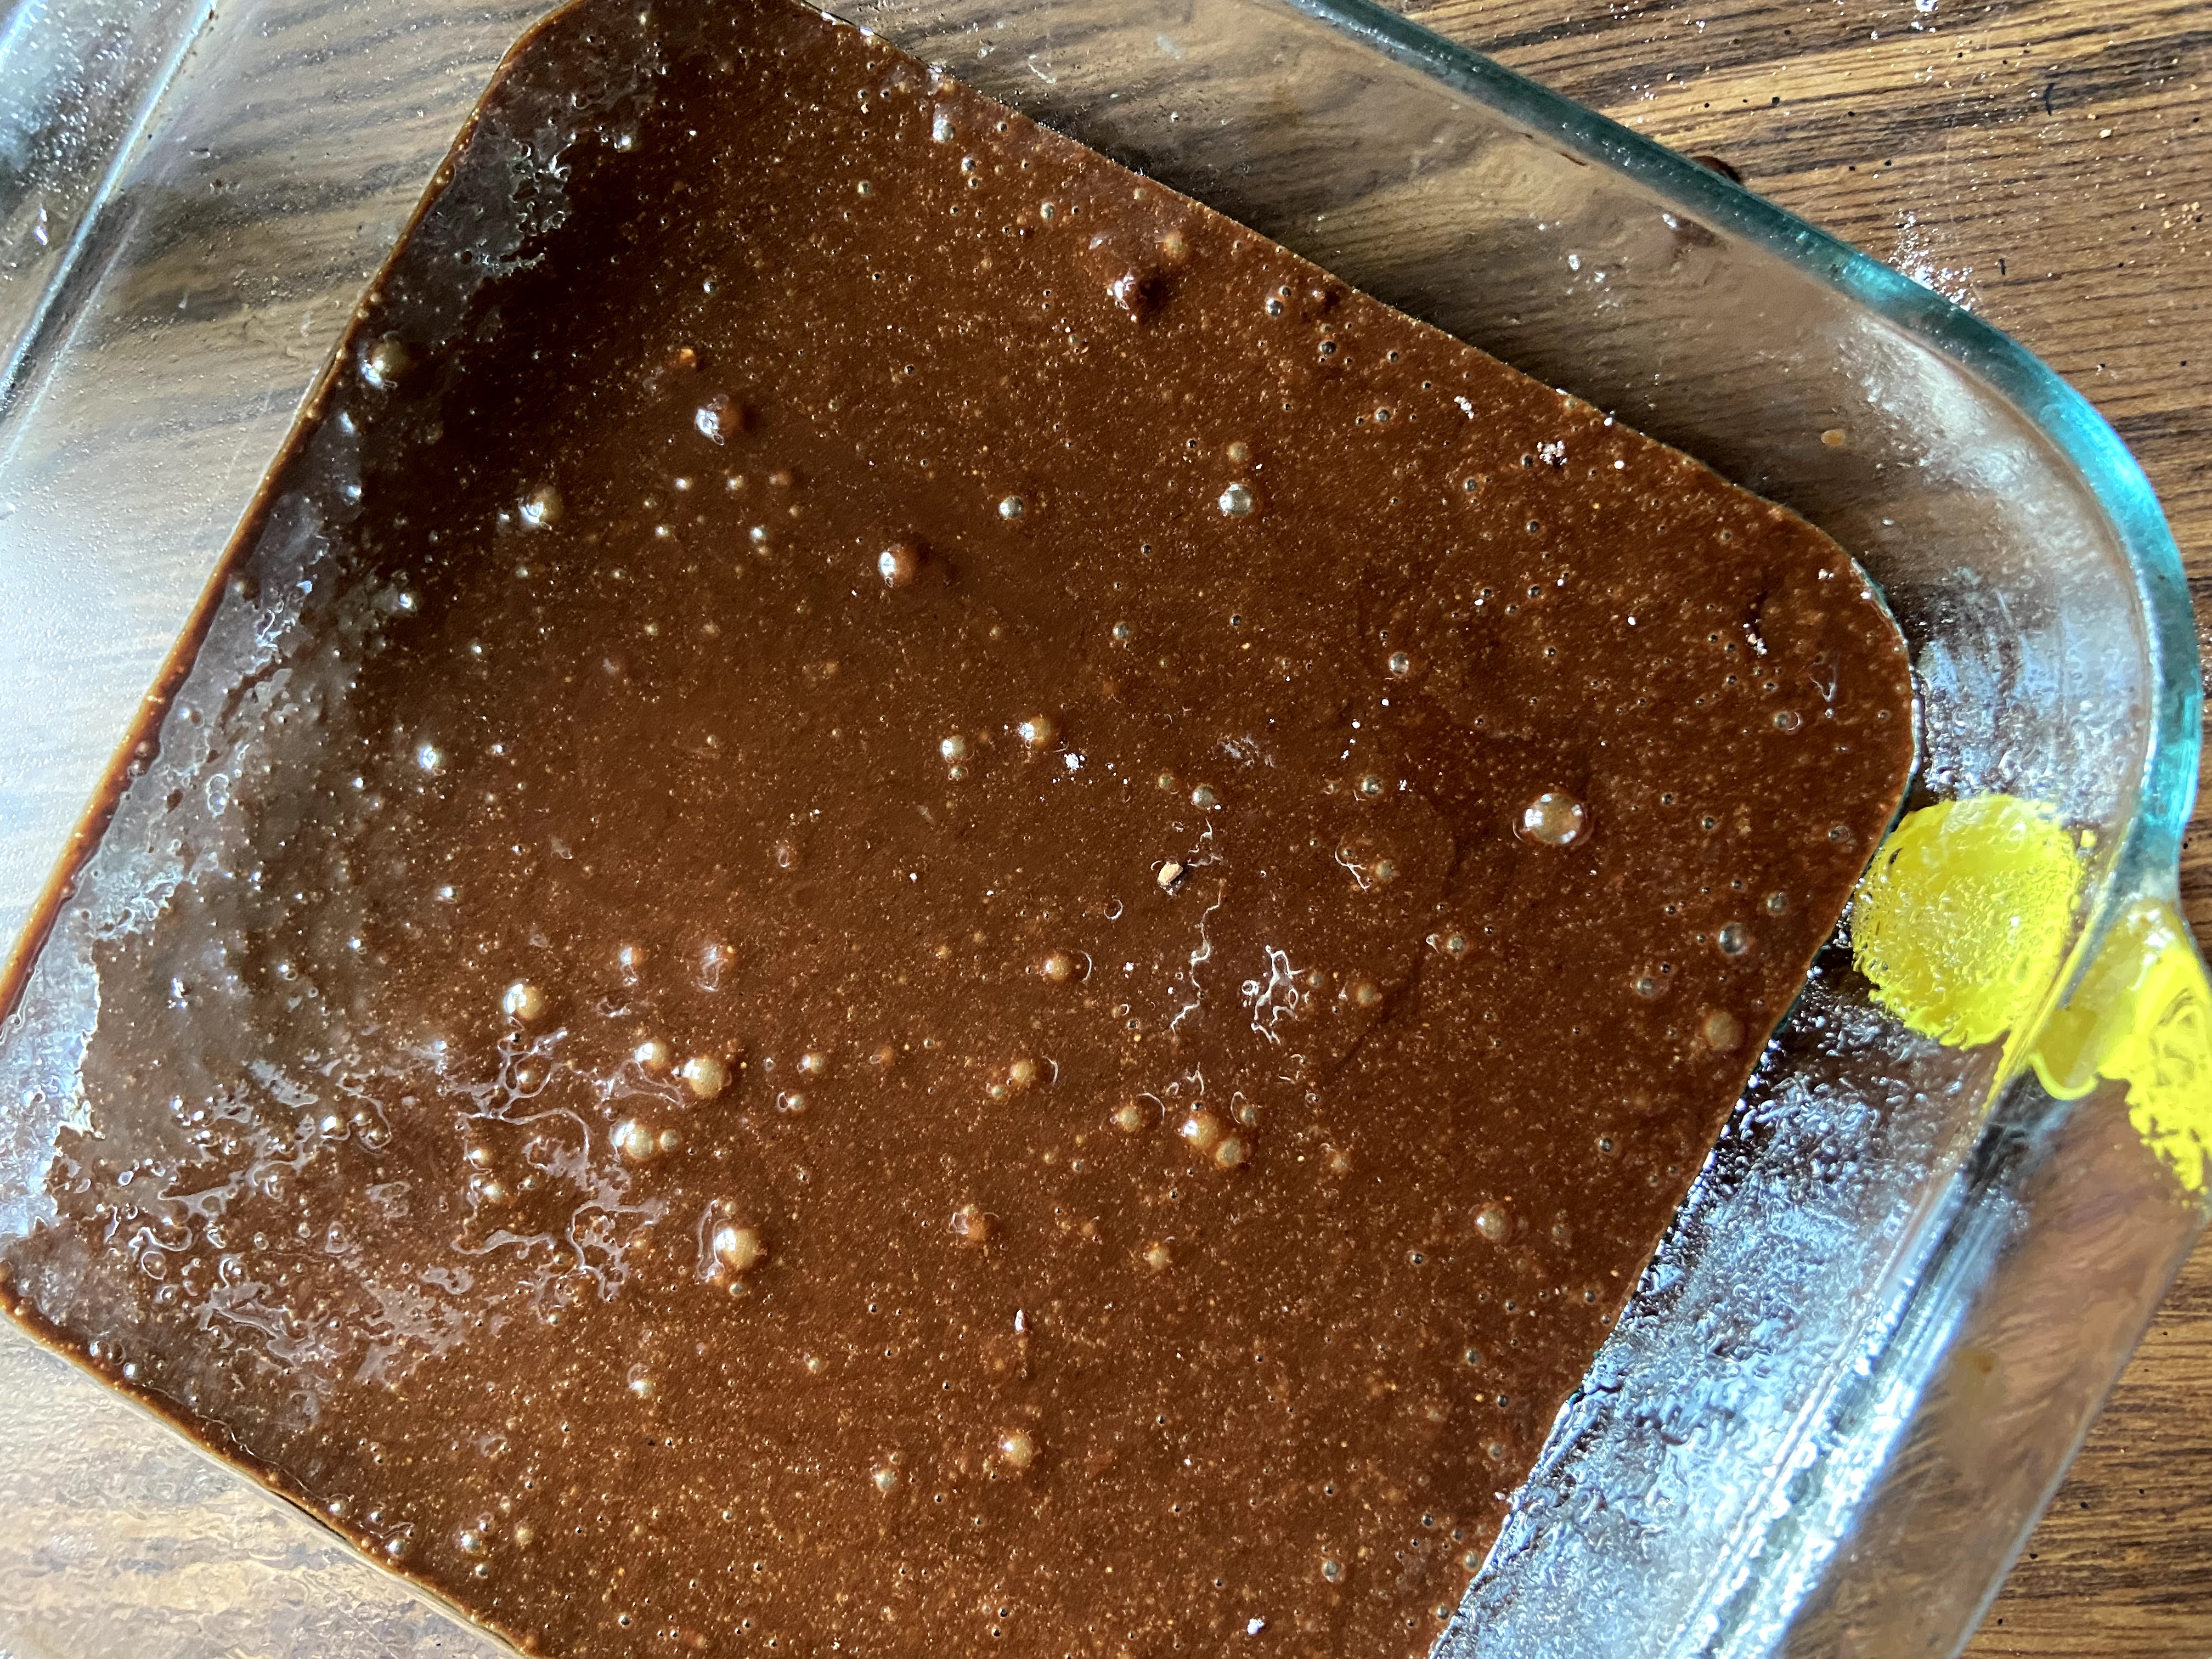
Pour brownie batter into prepared pan. Bake in the middle of your oven for 23-27 minutes, until a toothpick inserted in the center comes out clean. 

And if I may recommend, slice a warm brownie (okay, wait just a little bit) and add just a small scoop of plain vanilla ice cream. And maybe some chopped peanuts? I mean, how can that be bad?! 

Enjoy! 

Looking for other baked goodies to try? Check out my baking page by clicking below!

Fudge Brownies

Eight simple ingredients come together in these quick from scratch fudge brownies that are sure to bring smiles to the whole family!
Prep Time 10 minutes
Cook Time 25 minutes
Course Dessert
Cuisine American
Servings 16 brownies

Ingredients
  

  • ½ cup coconut oil
  • 3 ounces semisweet chocolate
  • 1 cup brown sugar packed
  • 2 teaspoons vanilla
  • 3 eggs
  • ½ cup + 2 tablespoons whole wheat flour all purpose would work too!
  • ¼ cup cocoa powder
  • 1 teaspoon salt

Instructions
 

  • Preheat the oven to 350 degrees. Prepare a 9×9 baking dish by spraying with non stick cooking spray.
  • Add chocolate to a microwave safe bowl. Microwave in 30 second increments, stirring in between. Add the coconut oil after 1 minute and melt as well. Stir until well combined. Mix in brown sugar and vanilla. Allow to cool slightly before whisking in eggs.
  • Add flour, cocoa powder, and salt. Mix until just combined.
  • Pour brownie batter into prepared pan. Bake in the middle of your oven for 23-27 minutes, until a toothpick inserted in the center comes out clean.

Notes

Feel free to add in extra surprises for the brownies: 1/2 cup chocolate chips, chocolate chunks, or even walnuts would be great! 
Keyword brownies, chocolate, dessert
Tried this recipe?Let us know how it was!

Homemade Baked Granola Bars

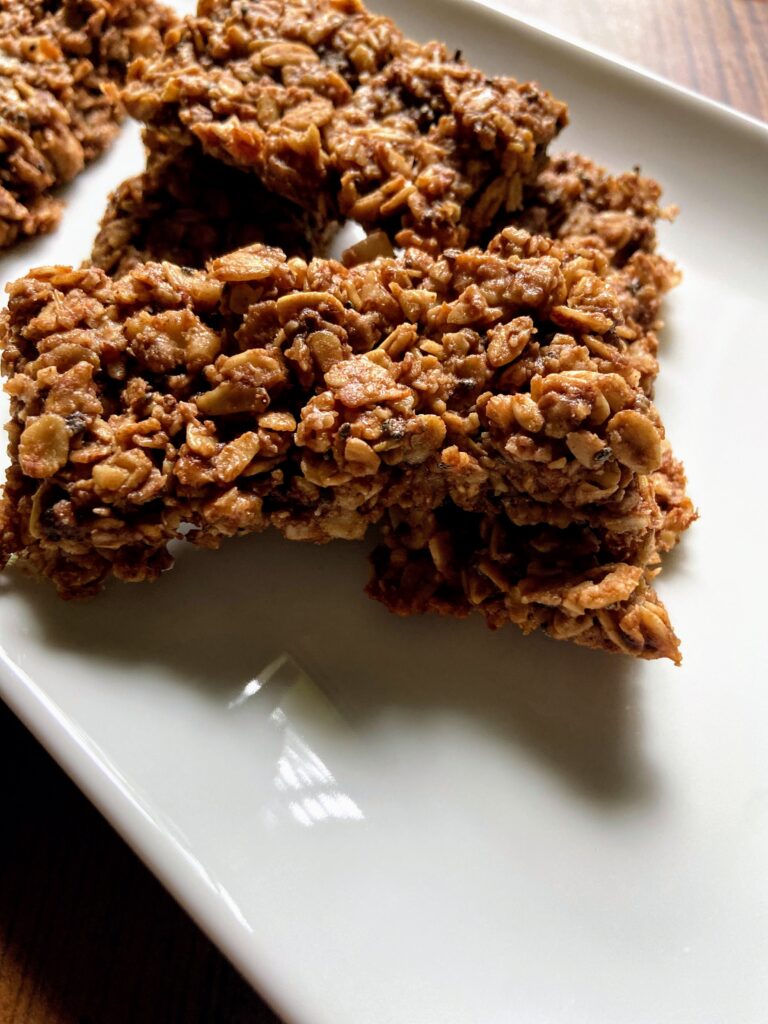
The internet is full of no bake energy balls, granolas, you name it. And don’t get me wrong, I dig them. I mean, I have my own recipe for energy balls that is dynamite. However, no bake energy balls and granola bars typically need to be refrigerated, and as an active runner, this isn’t always ideal. So of course I set out to create my own homemade baked granola bars. And oh my goodness, these are a delight. 

These homemade baked granola bars are full of simple, clean eating ingredients that are likely to be in your pantry if you are a homemade granola kind of friend. They also come together quickly, with a total bake time of under 30 minutes and all your work can be done in the first 8 minutes or so. How great is that? And friends, they pair a little peanut butter and chocolate without being overwhelming. All the winning, am I right? Let’s get baking!

Your Ingredients for Homemade Baked Granola Bars

  • 1 cup old fashioned oats
  • 1 cup oat flour (store bought, or better yet, just processed in your food processor)
  • ½ cup unsweetened, shredded coconut
  • ½ cup chopped nuts (walnuts, almonds, peanuts, etc)
  • ¼ cup creamy peanut butter
  • ½ cup honey 
  • ¼ teaspoon salt
  • ¼ cup chocolate chips 
  • 1 tablespoon ground flaxseed
  • 1 tablespoon chia seeds

Your Steps

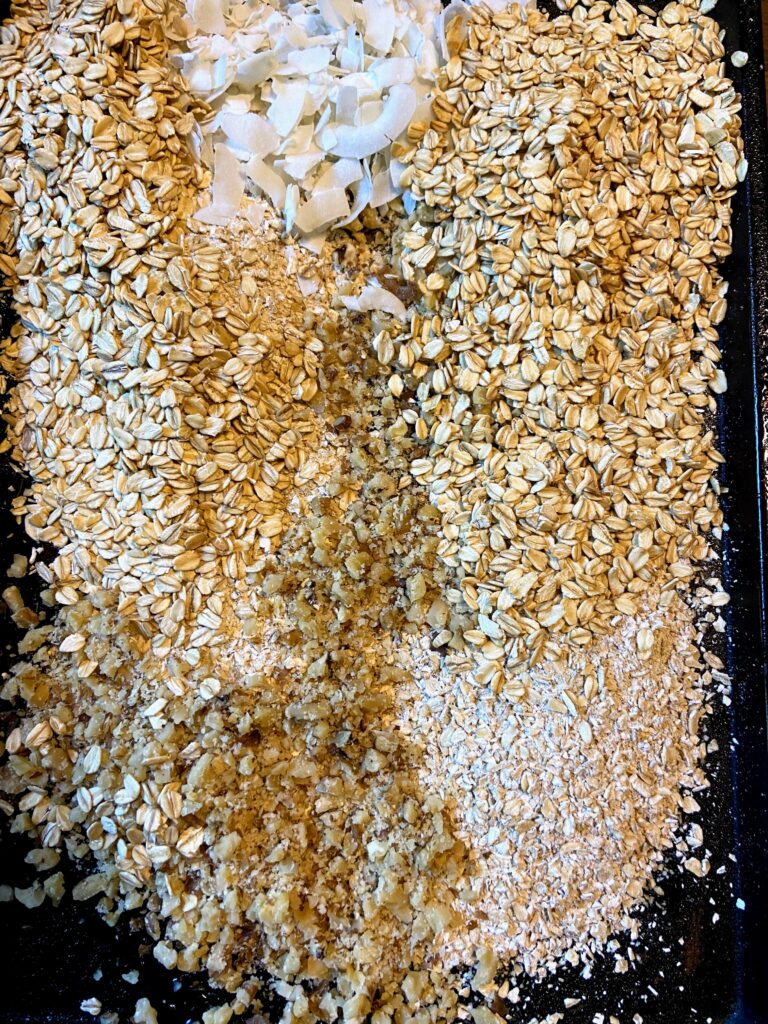
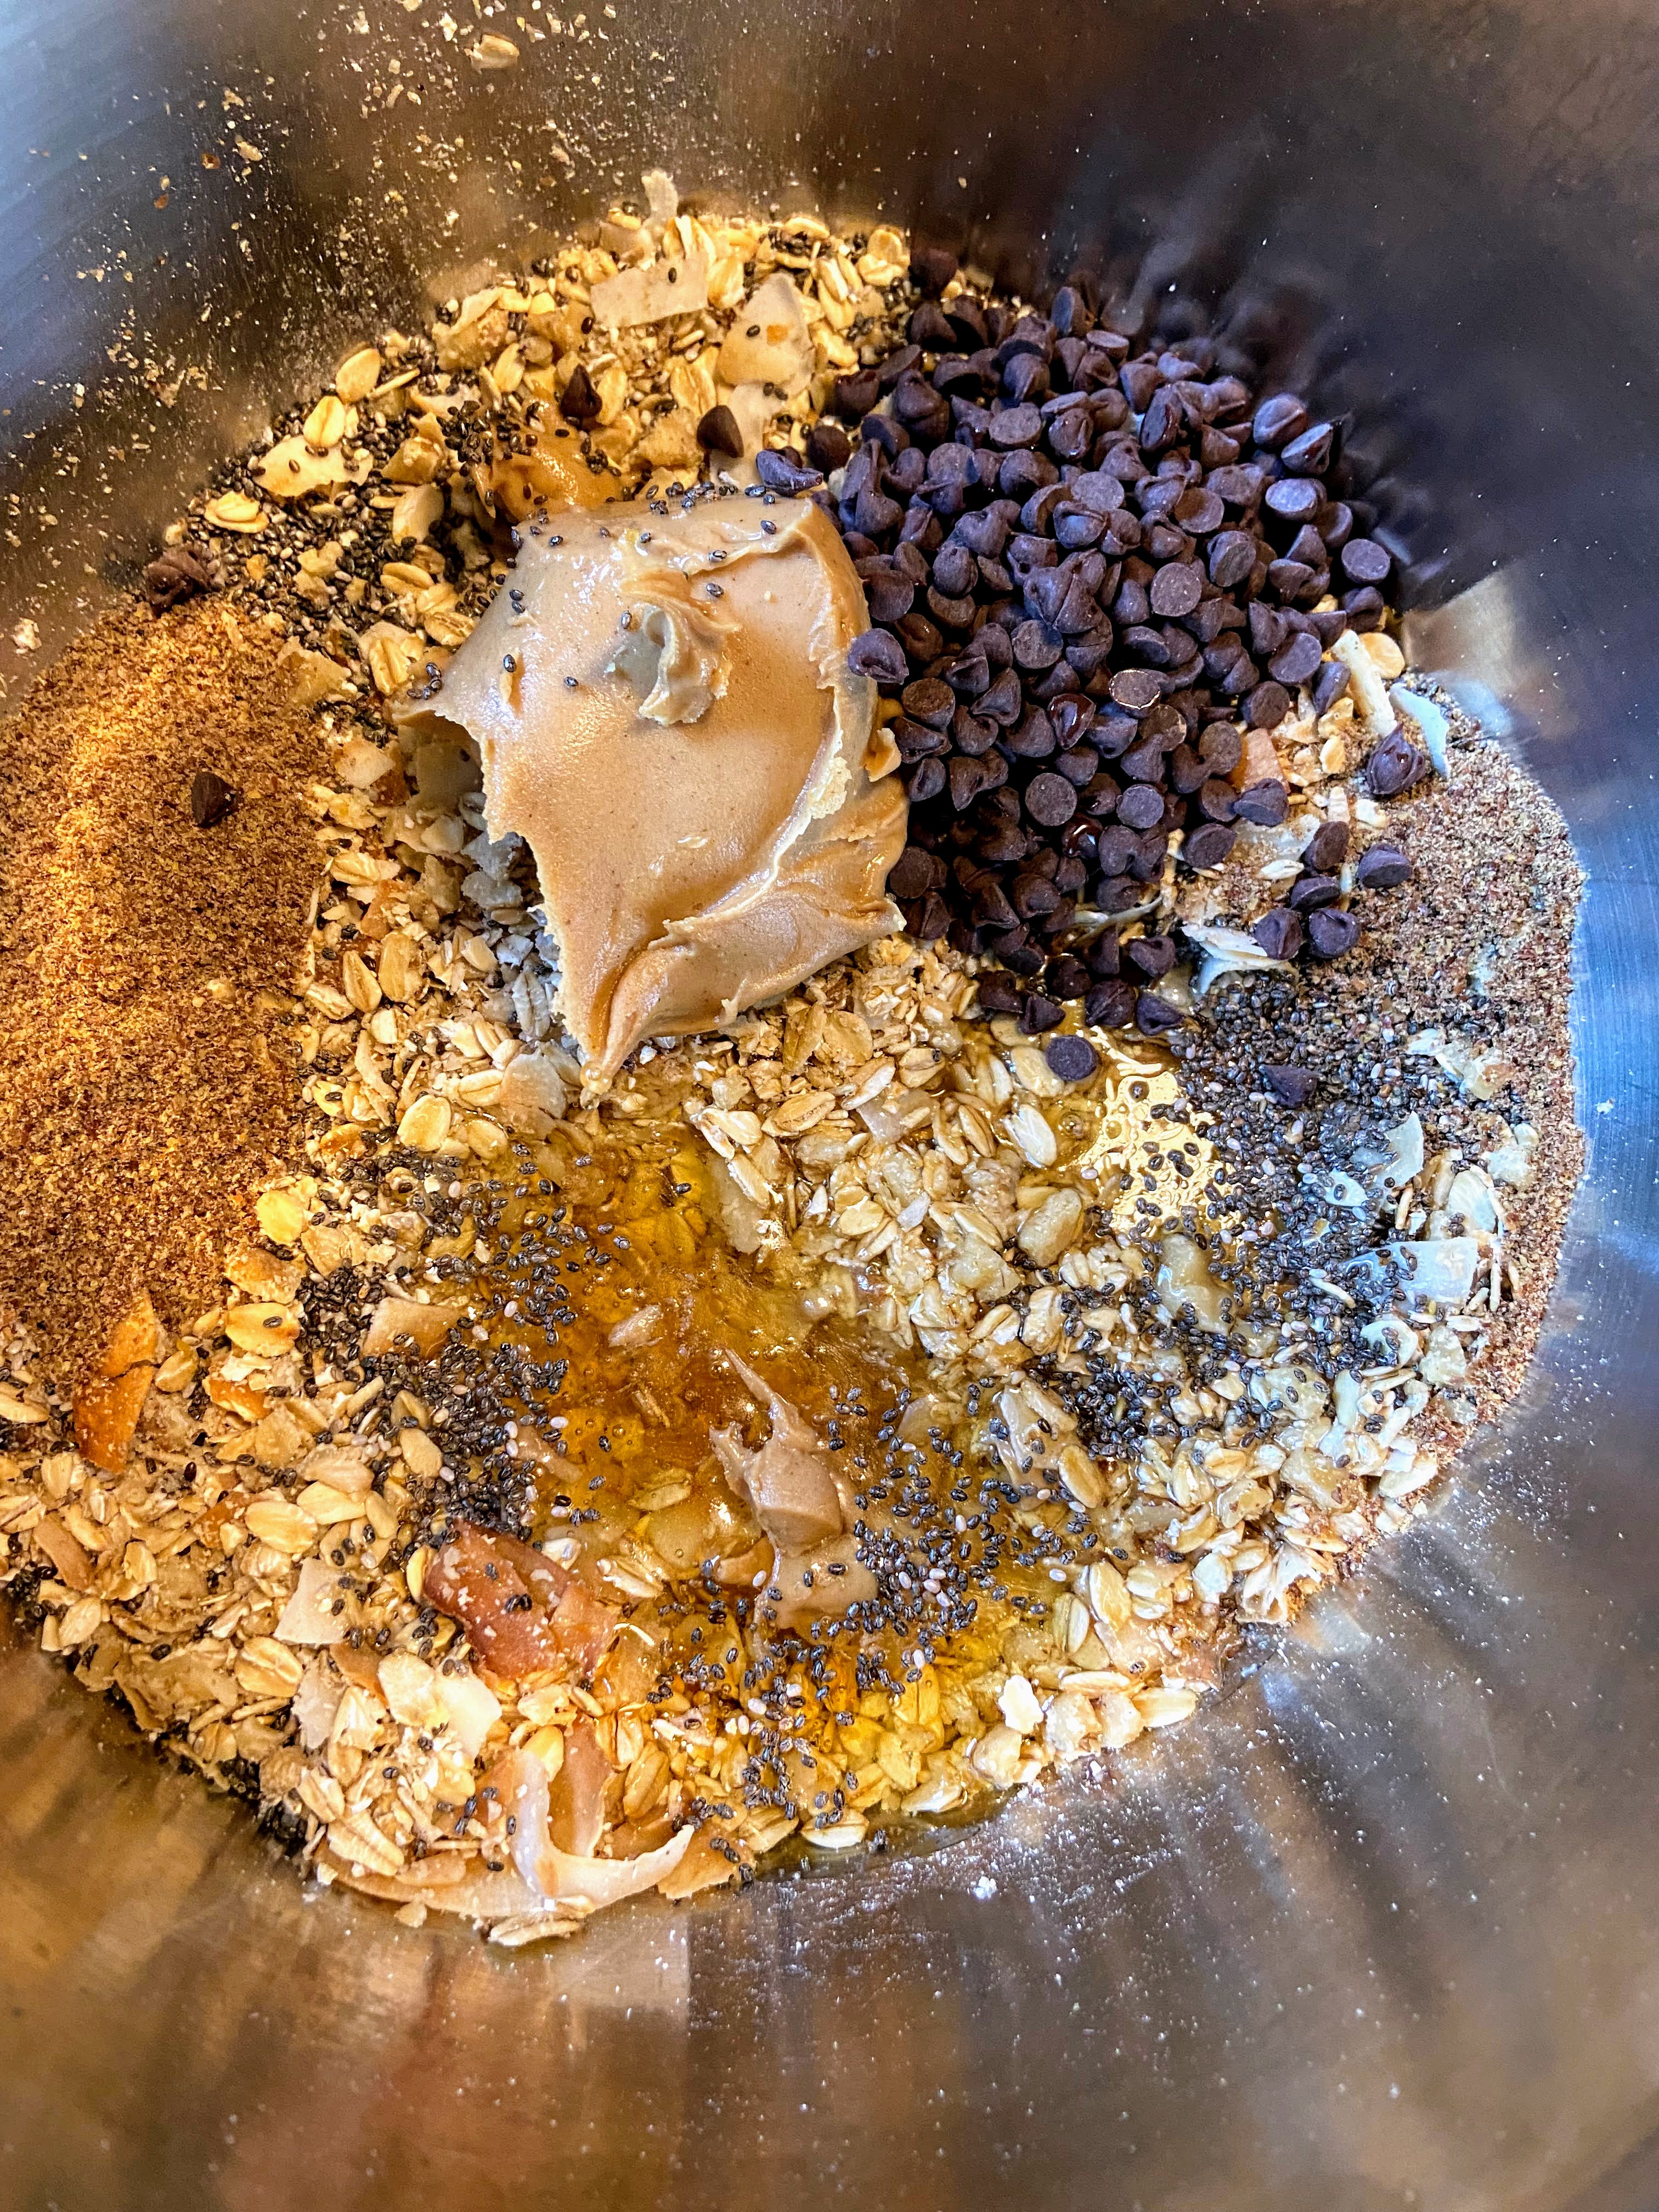
Preheat oven to 350 degrees. Spray a baking sheet with nonstick cooking spray. Spread oats, oat flour, coconut, and nuts on the sheet. Bake in the oven for 8 minutes, until just becoming toasted (I sprayed the top of mine with some olive oil cooking spray as well). Remove from the oven and immediately place in a large mixing bowl. 

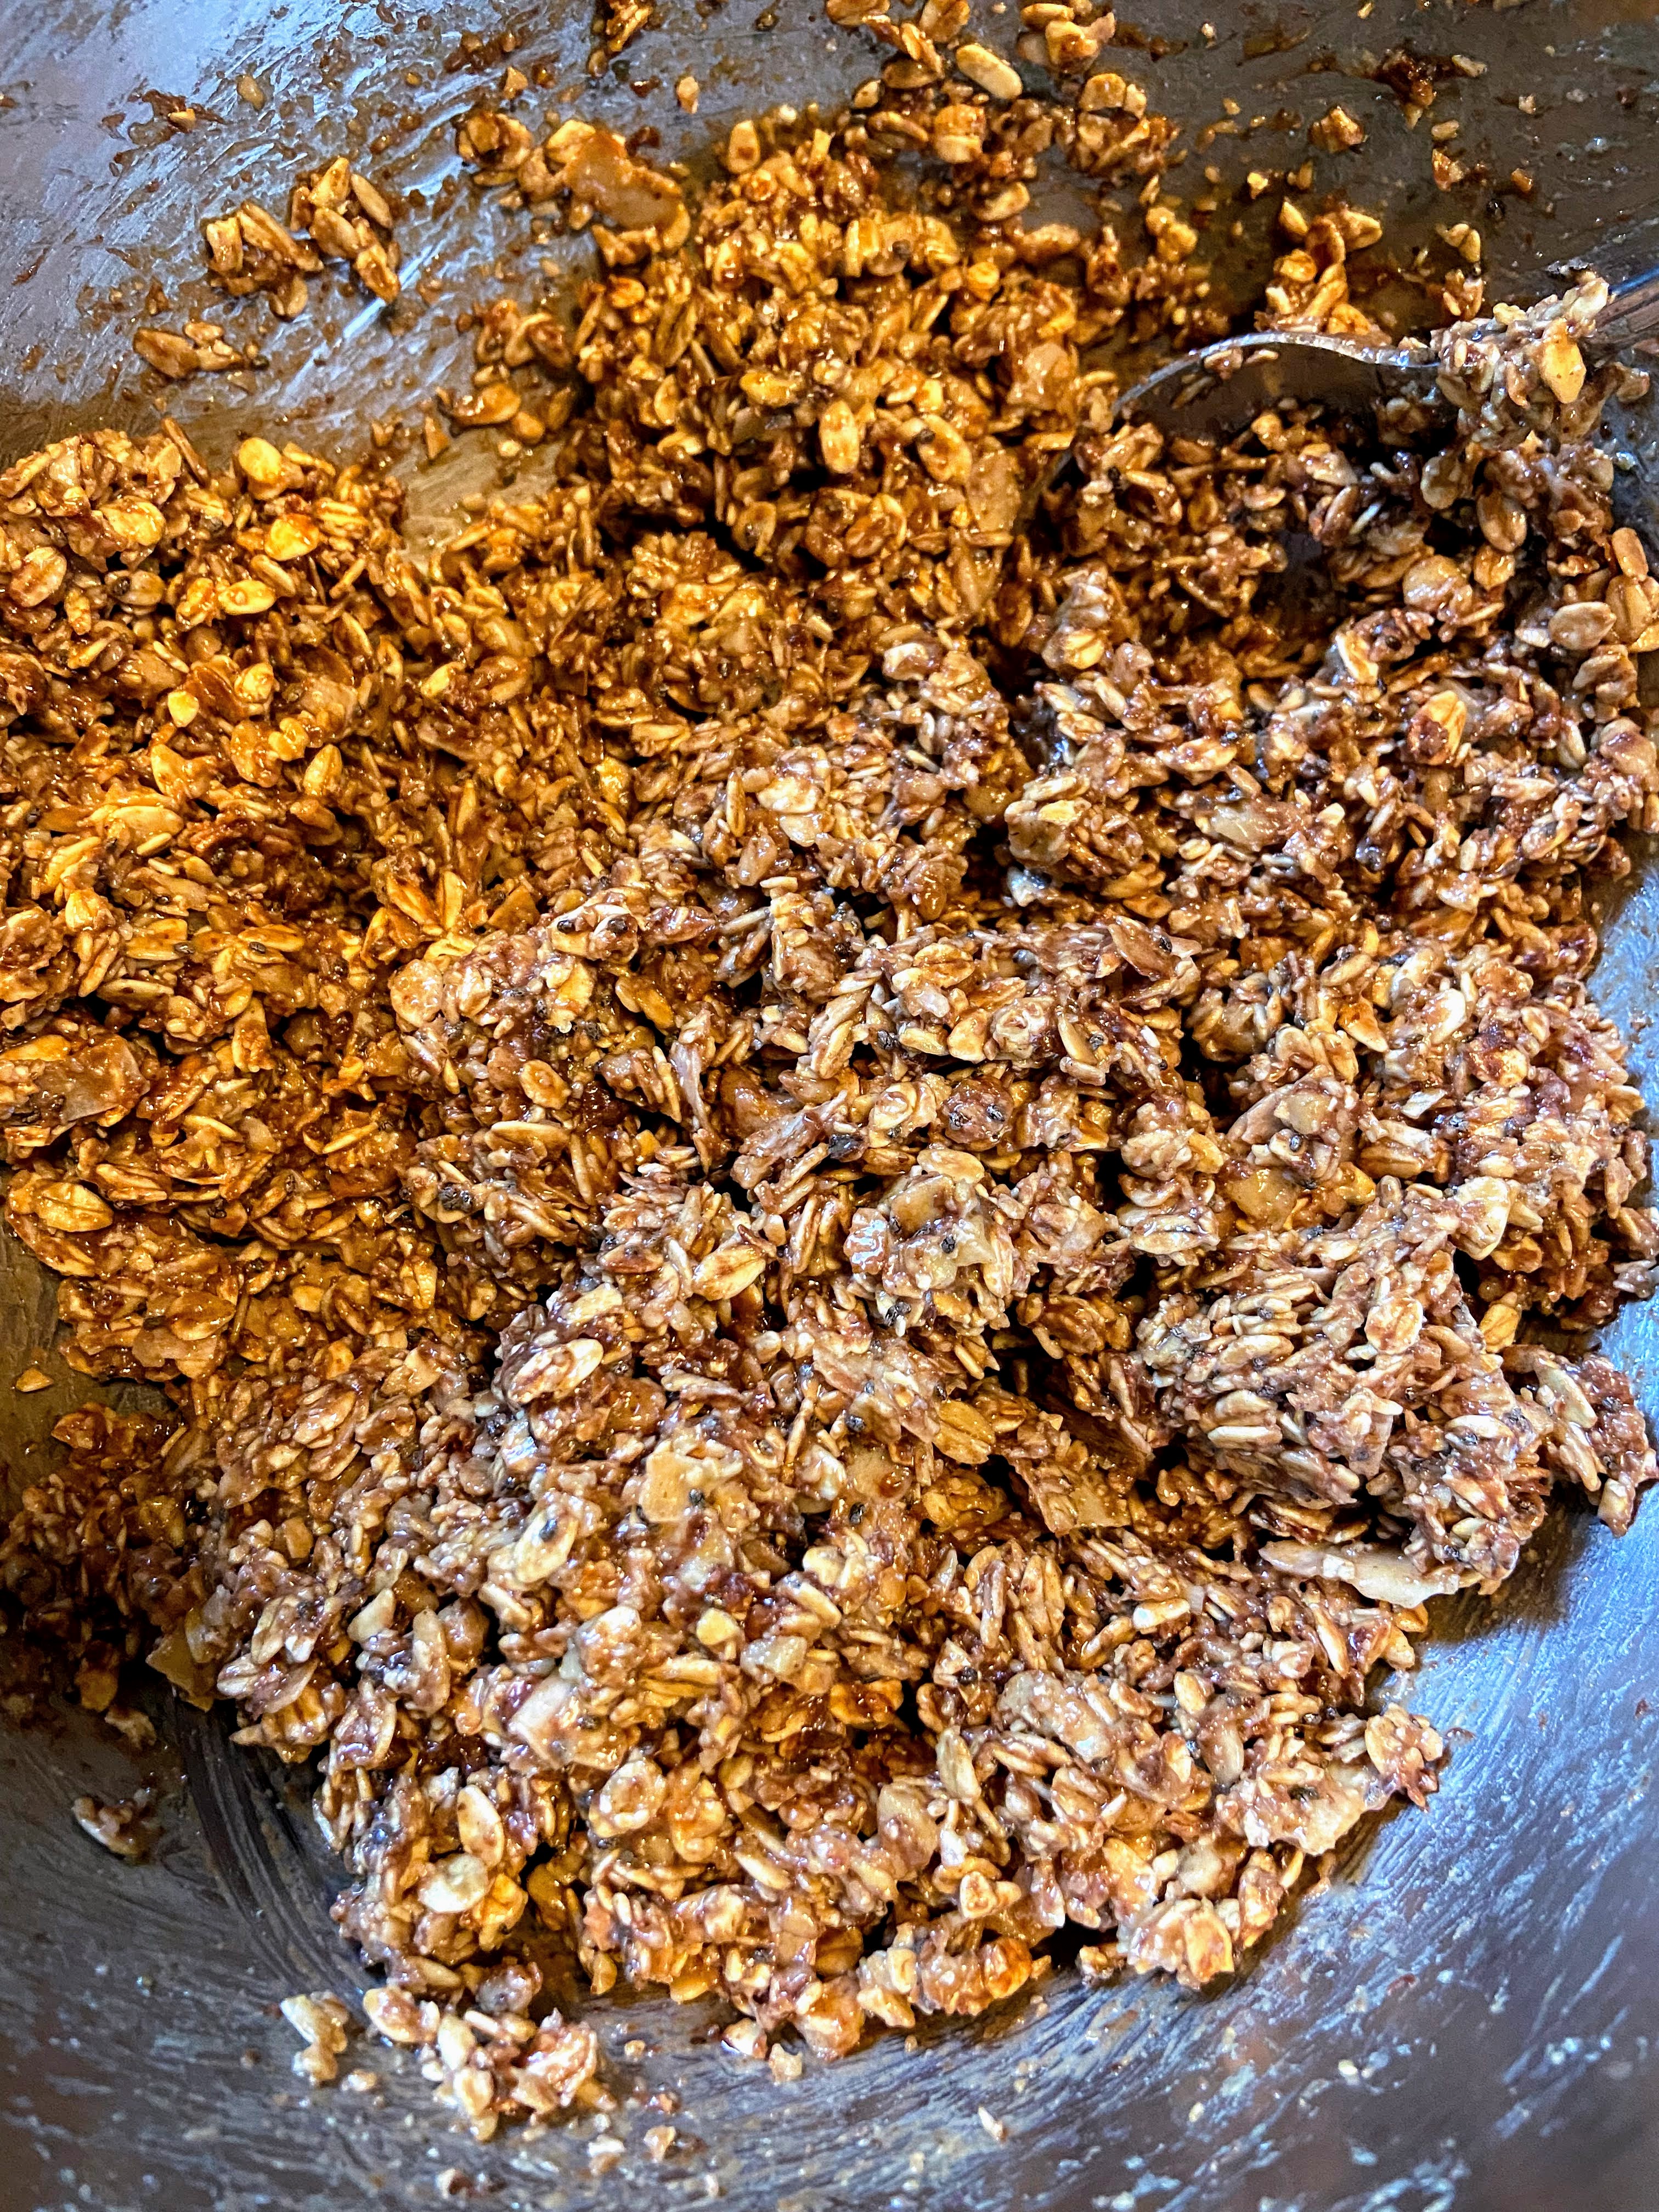
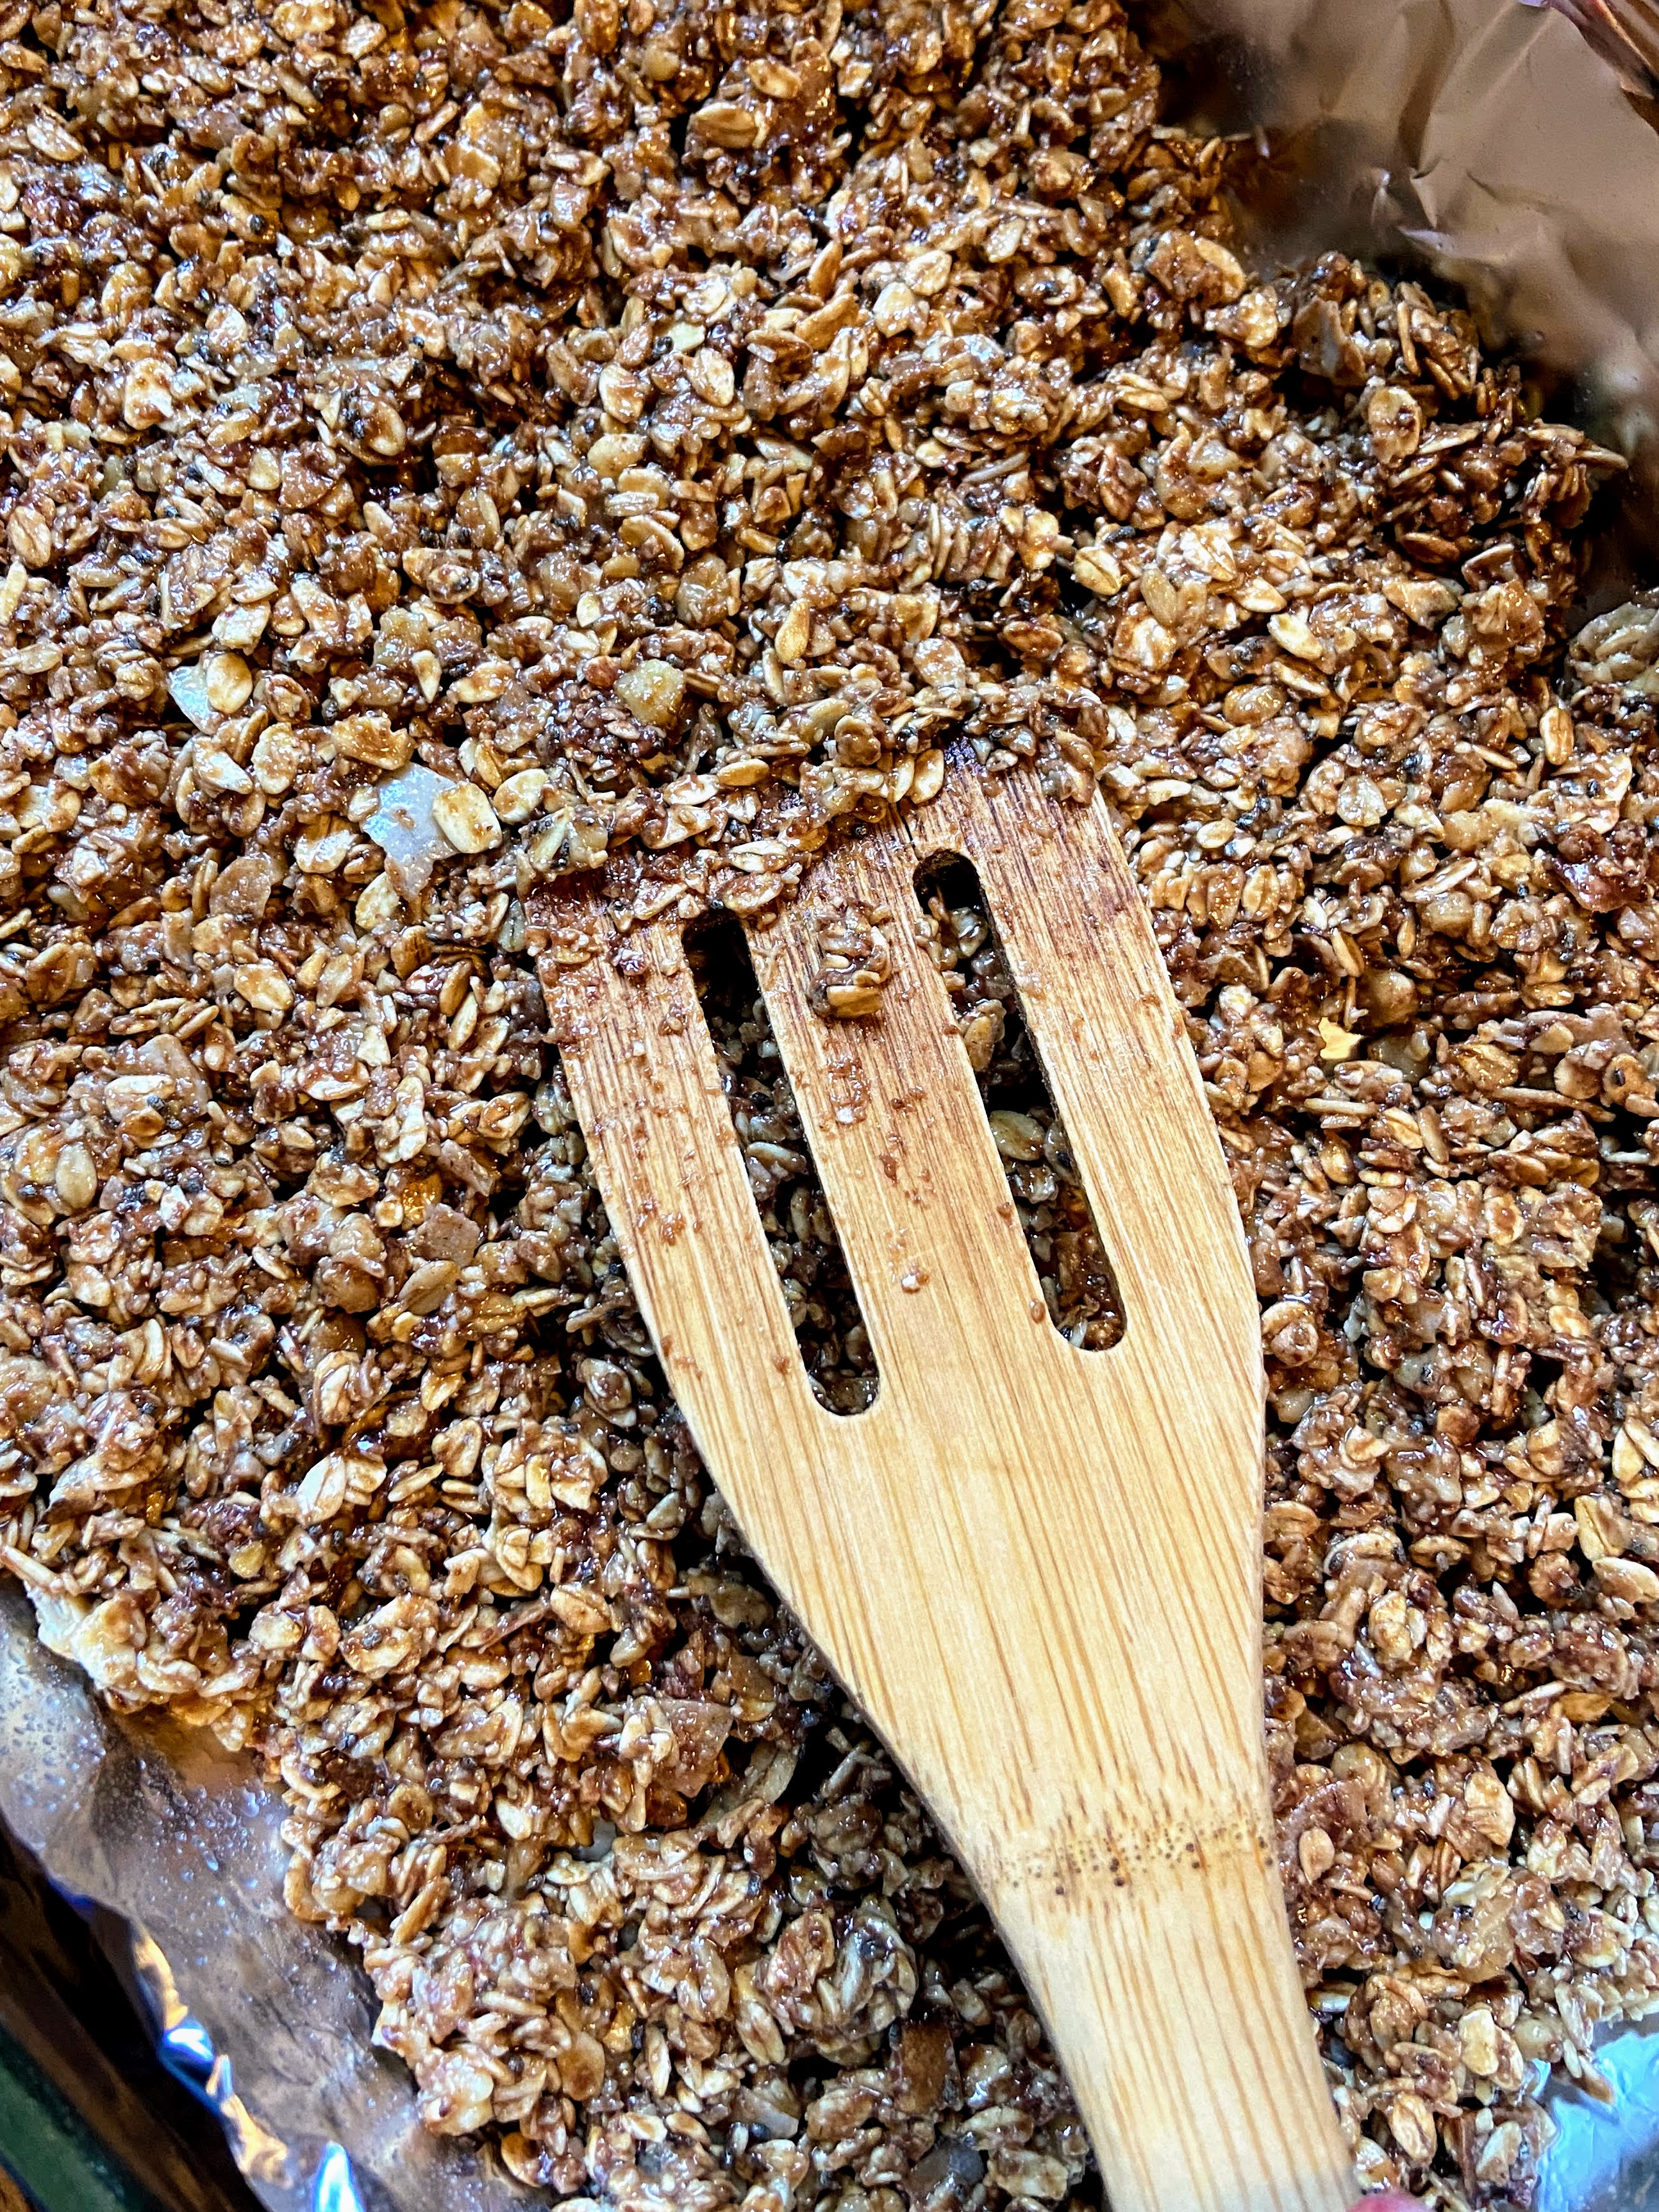
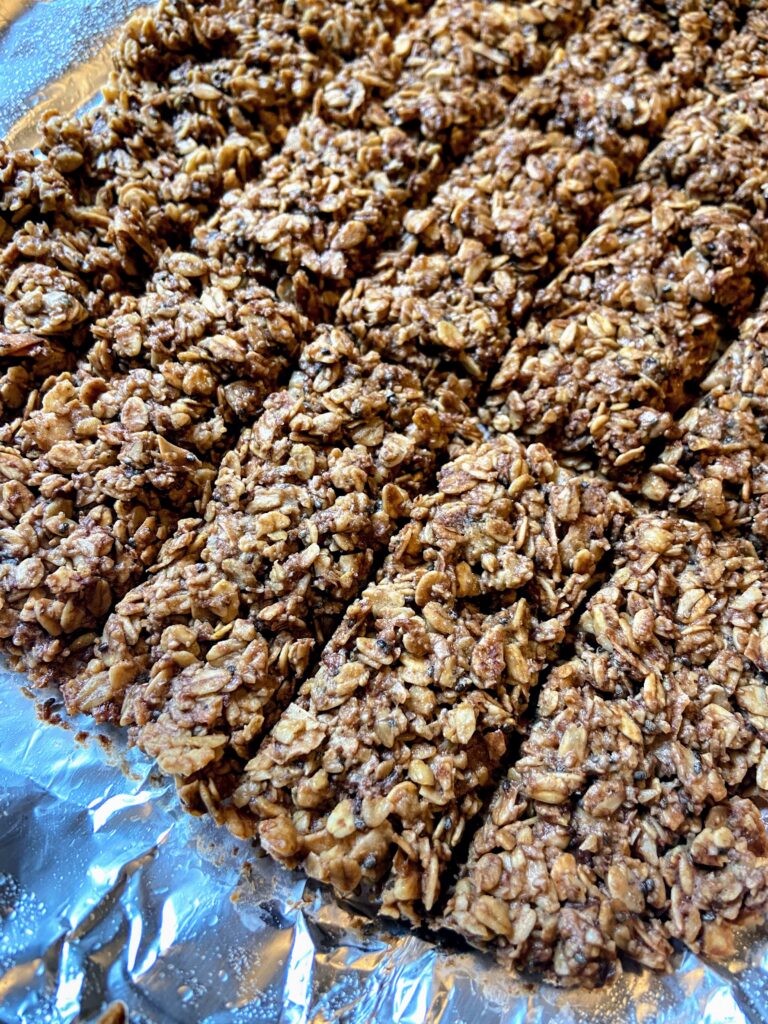
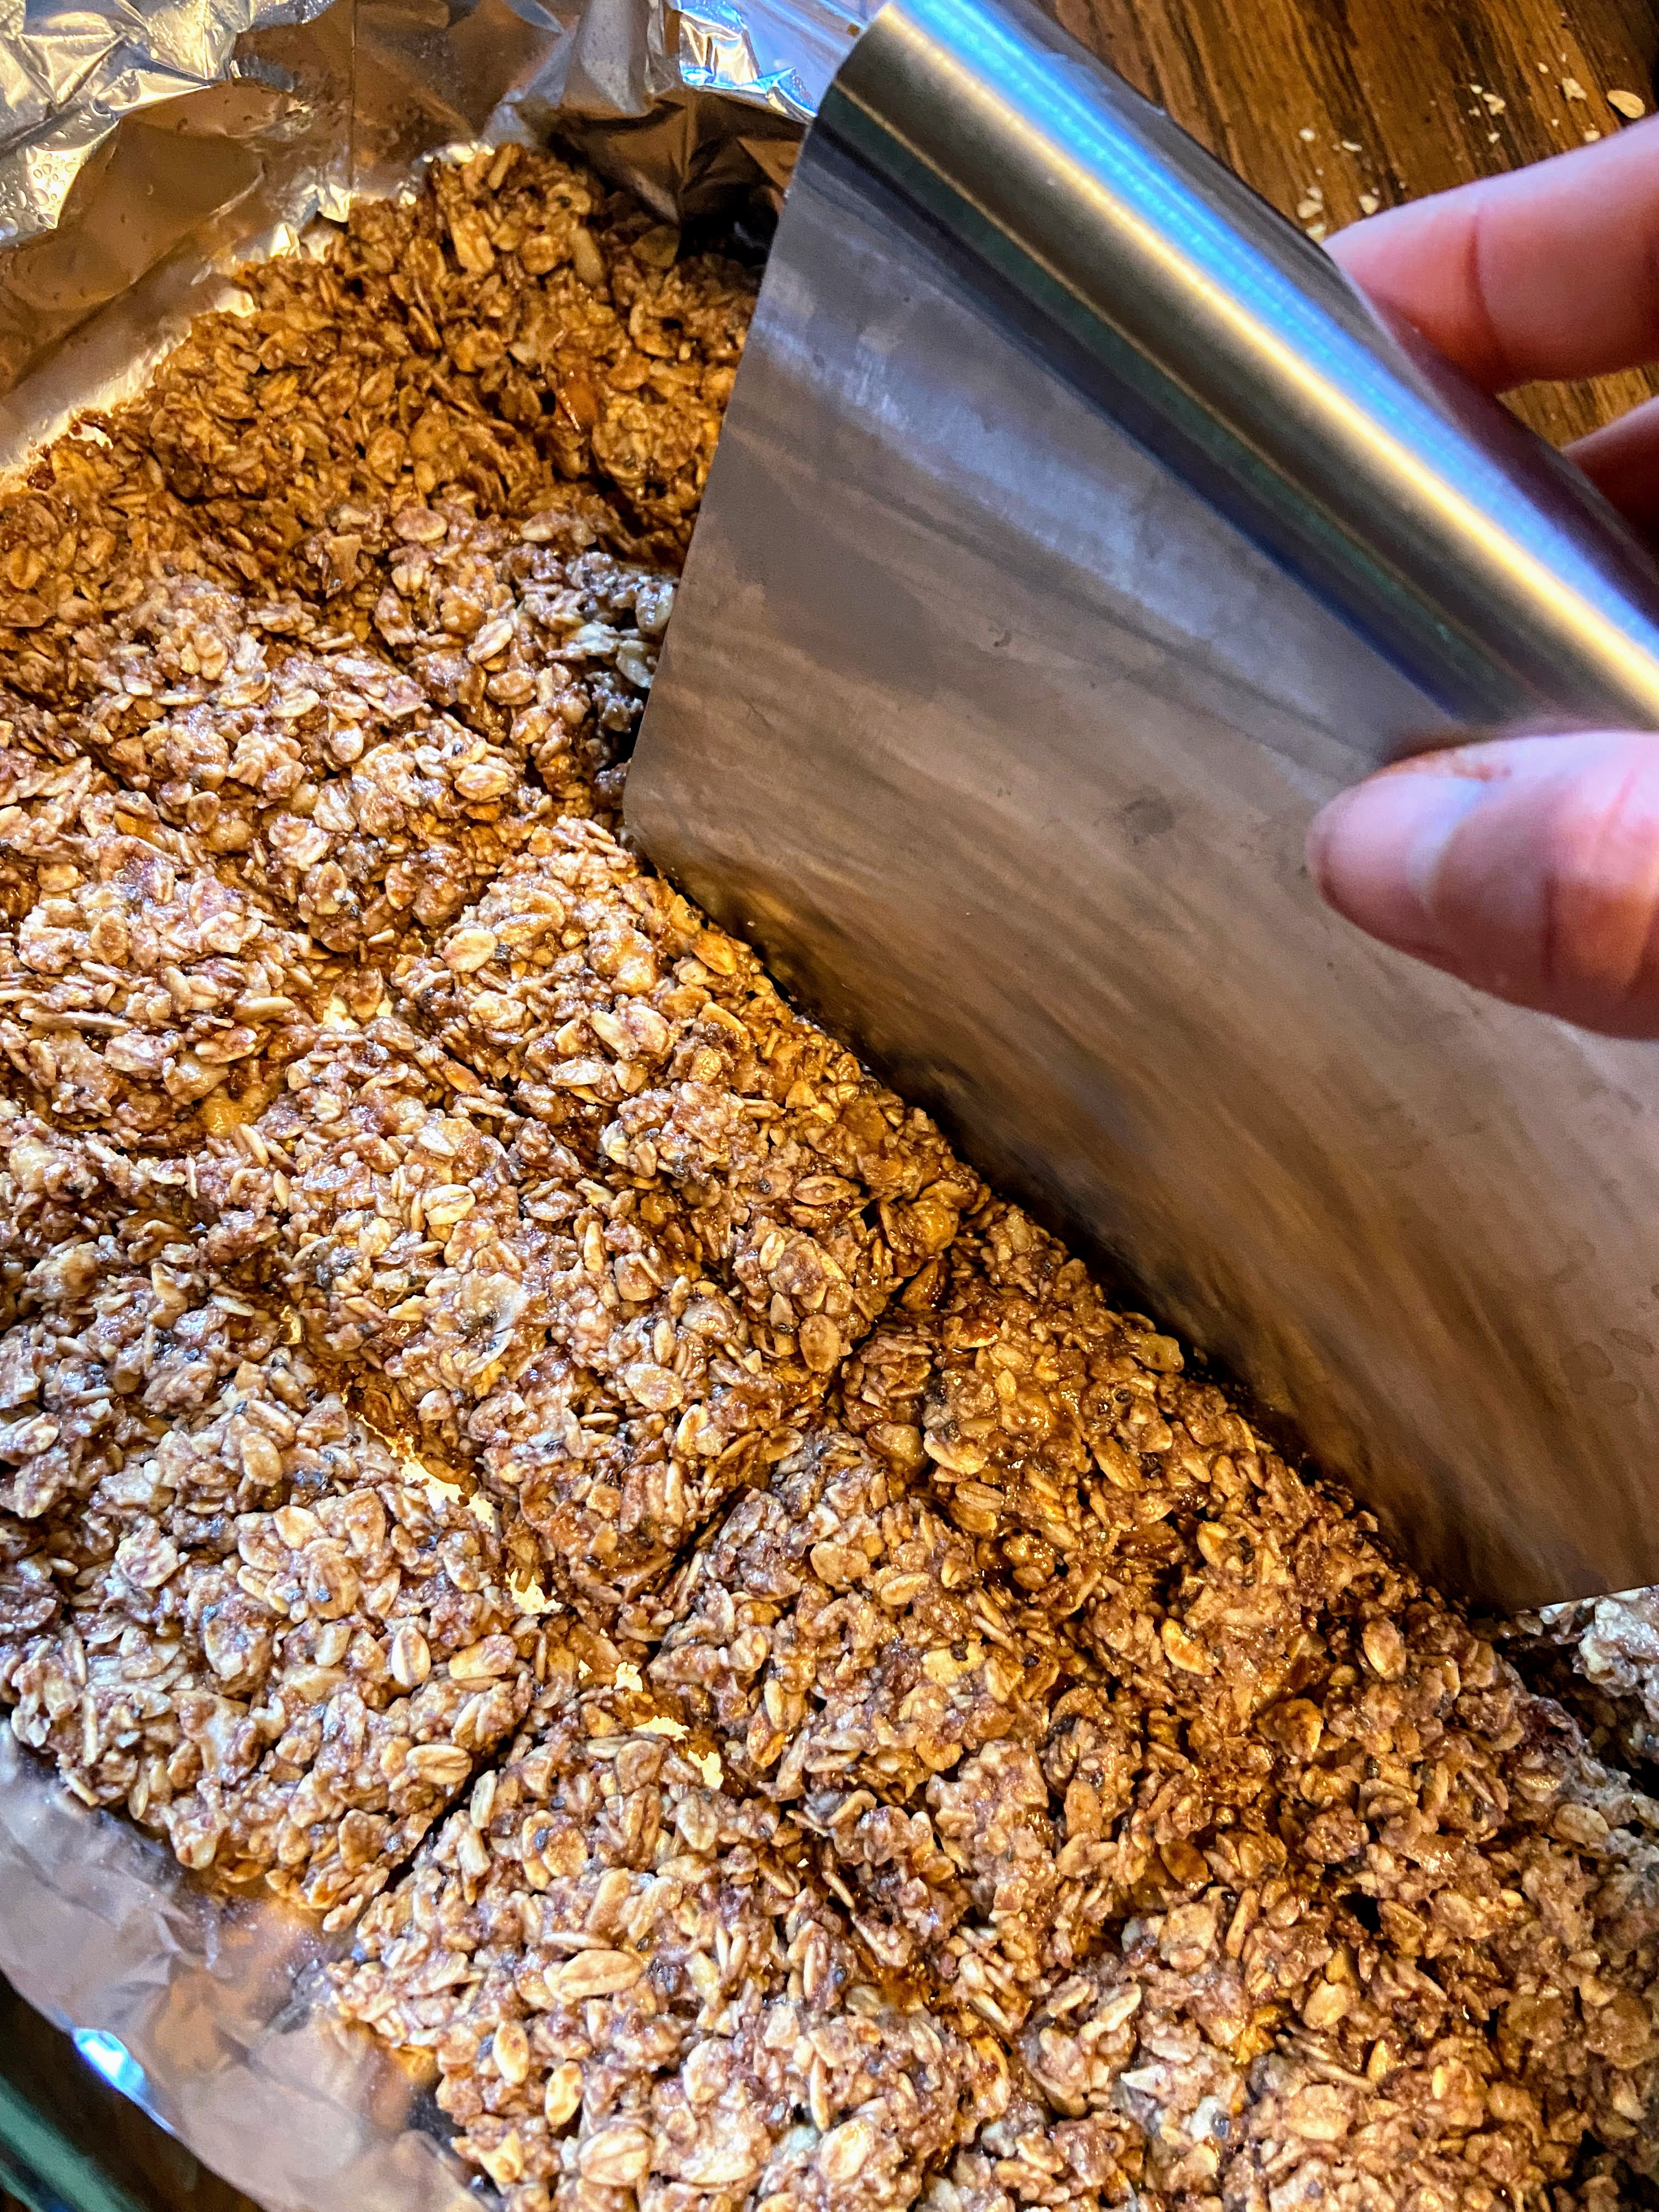
Add remaining ingredients to oatmeal mixture. Stir until well combined. Set aside. Line a 9×12 glass baking dish with foil. Spray with nonstick cooking spray. Press the granola mixture into the pan. Bake for 13-18 minutes at 350 degrees, cutting into bars halfway through (A steel scraper/chopper like this guy works great!). If you want them softer, less crunchy, stick with the 13-15 minute range. Dig a crunchier granola bar, shoot for 15-18 minutes.  

Once bars are done baking, cut on the lines once more. Allow to cool completely in the pan. Remove by lifting the foil. Break bars apart and store in an airtight container. 

Looking for other great breakfast baked goods? Check out my baking page by clicking the button below!

Homemade Baked Granola Bars

Why eat packaged granola bars when you can make your own homemade baked granola bars! Create your own with items from your pantry!
Prep Time 5 minutes
Cook Time 25 minutes
Course Breakfast
Cuisine American
Servings 20 bars

Ingredients
  

  • 1 cup old fashioned oats
  • 1 cup oat flour store bought or just processed in your food processor
  • ½ cup unsweetened shredded coconut
  • ½ cup chopped nuts
  • ¼ cup creamy peanut butter
  • ½ cup honey
  • ¼ teaspoon salt
  • ¼ cup chocolate chips
  • 1 tablespoon ground flaxseed
  • 1 tablespoon chia seeds

Instructions
 

  • Preheat oven to 350 degrees. Spray a baking sheet with nonstick cooking spray.
  • Spread oats, oat flour, coconut, and nuts on the sheet. Bake in the oven for 8 minutes, until just becoming toasted.
  • Remove from the oven and immediately place in a large mixing bowl.
  • Add remaining ingredients to oatmeal mixture. Stir until well combined.
  • Set aside. Line a 9×12 glass baking dish with foil. Spray with nonstick cooking spray.
  • Press the granola mixture into the pan. Bake for 13-18 minutes at 350 degrees, cutting into bars halfway through.
  • For a softer granola bar, bake for 13-15 minutes. For a crunchier granola bar, bake 15-18 minutes.
  • Once bars are done baking, cut on the lines once more.
  • Allow to cool completely in the pan. Remove by lifting the foil. Break bars apart and store in an airtight container.
Keyword granola, granola bar, oatmeal, snacks
Tried this recipe?Let us know how it was!

Banana Oat Muffins

I have an eleven year old boy this summer. If you have ever had an eleven year old, you know this means he’s eating CONSTANTLY. We try to encourage healthy foods for his forever snacking, and generally begin our sentences with “have a banana or a string cheese.” Then he eats three of them. What’s a mom to do? This also means we buy bananas in bulk. Most of the time we are making second trips to the grocery store for more. But sometimes we end up with some overly ripe ones. When that happens, I make banana bread, banana ice cream, or banana oat muffins. 

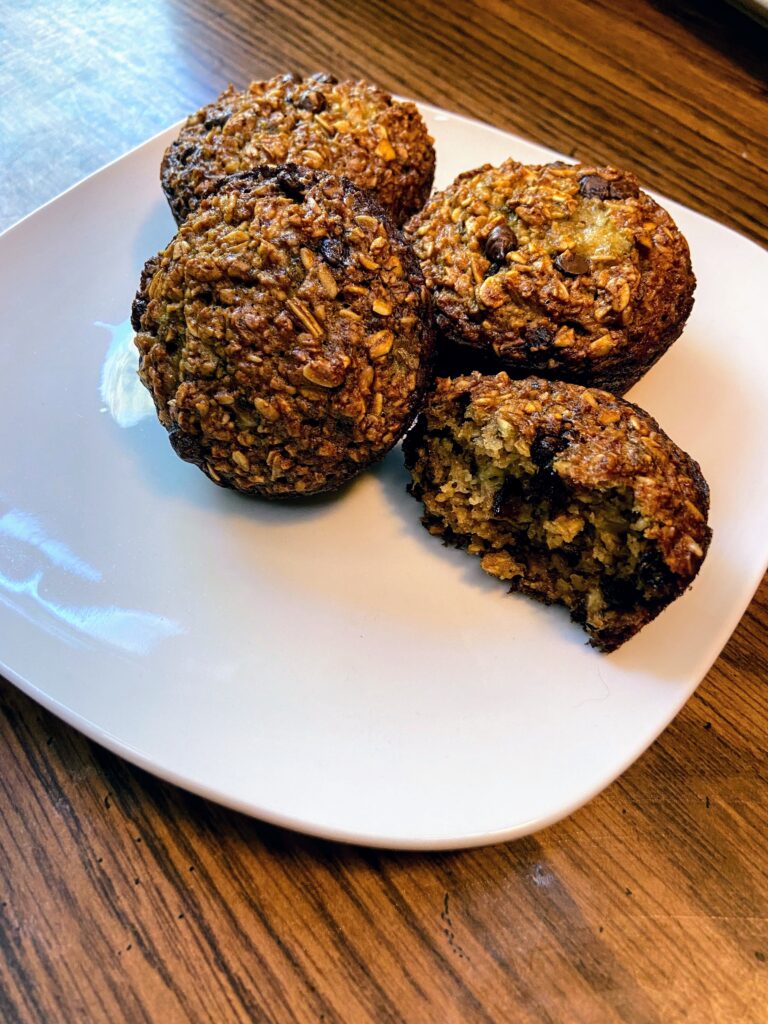
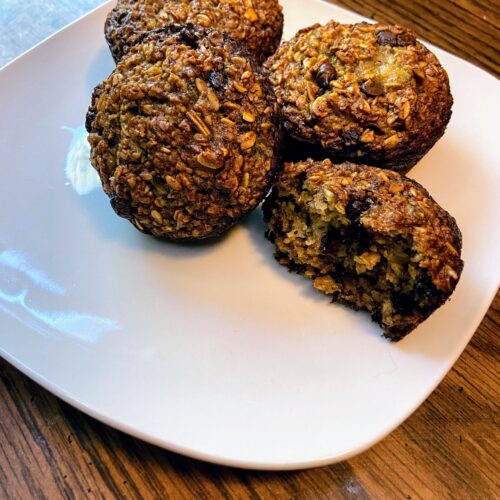
This banana oat muffin recipe is everything you would hope for. They are beautifully dense. Perfectly sweet using maple syrup for the sweetener. They have texture and the right amount of chocolate chips to make anyone happy. And friends, it’s gluten free to boot. It’s full of good for you ingredients and only two tablespoons of oil. How can you go wrong, right? 

These muffins will pair great with your coffee in the morning, as a mid morning snack to get you to lunch time or for a guilt free dessert (although I totally believe in not feeling bad about dessert, but that’s another story for another time). I’m excited for you to give them a try and share them with your littles or your bigs or better yet, keep them to yourself. (You did hear I have an eleven year old right? I have to start hiding my favorite foods and treats from him!) 

Let’s get baking some banana oat muffins

YOUR INGREDIENTS FOR THE BANANA Oat Muffins

  • 2 cups old fashioned oats
  • 1 teaspoon baking soda
  • 1/2 teaspoon salt
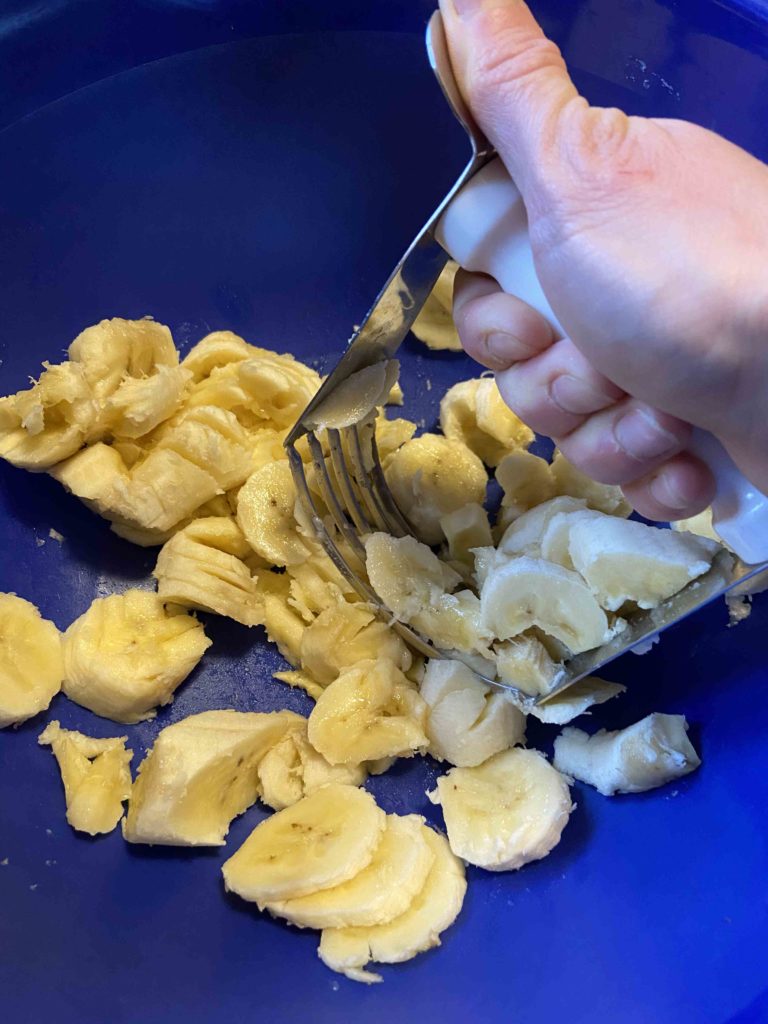
  • 3 very ripe bananas, mashed (My go to tool for this? A pastry cutter. It works great AND young kids can easily get involved and do this step for you)
  • 2 eggs
  • 1/4 cup real maple syrup
  • 2 tablespoons melted coconut oil
  • 1/4 mini chocolate chips

Your Steps to the banana Oat Muffins

First, preheat the oven to 350 degrees. Prepare a 12 muffin tin with non stick cooking spray. Then measure out and combine:

  • 2 cups old fashioned oats
  • 1 teaspoon baking soda
  • 1/2 teaspoon salt

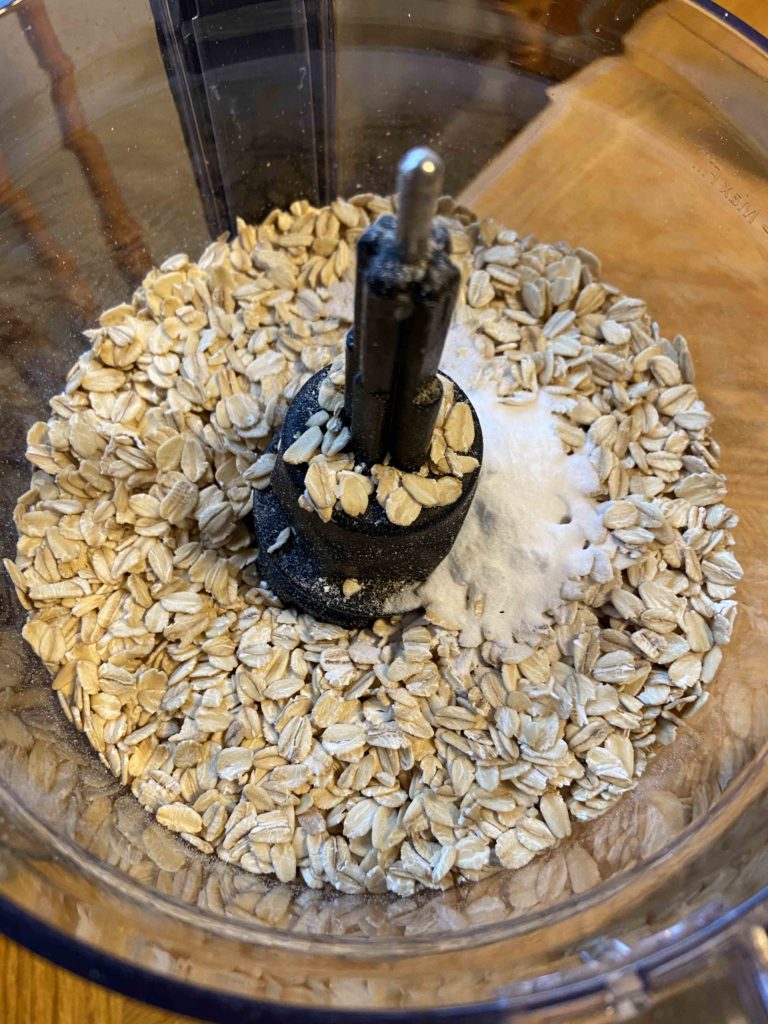
Pulse these three ingredients in a food processor until they are a coarse flour texture.

In an additional bowl, combine:

  • 3 very ripe bananas, mashed (My go to tool for this? A pastry cutter. It works great AND young kids can easily get involved and do this step for you)
  • 2 eggs
  • 1/4 cup real maple syrup

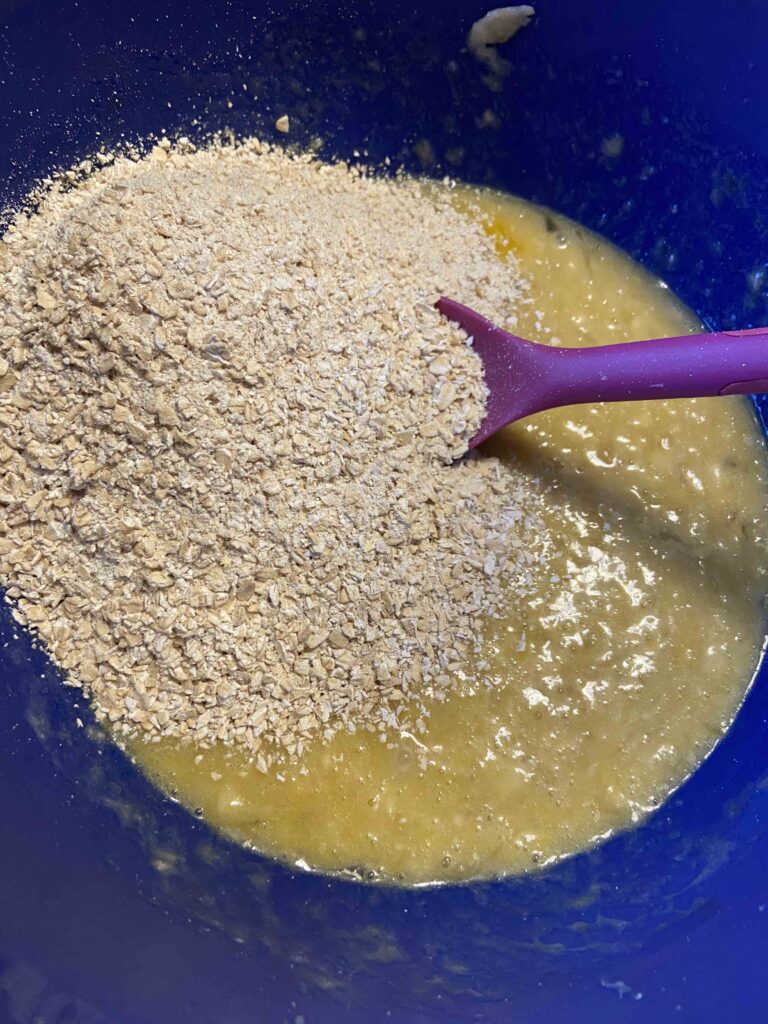
Once mixed, stir in the oat mixture until just combined. Finally, fold in the melted coconut oil and 1/4 cup mini chocolate chips. Fill each muffin using a 1/4 cup measuring cup. Bake for 22-25 minutes, until cooked through.
I love that I can enjoy a good breakfast bread that is filling and the perfect amount of sweetness without overdoing it on the added sugar. It is also a perfect mid morning snack to get you to lunch! Give it a try!

A few Notes…

I always thought that a small, 2 cup food processor was good enough. It’s what my mom used growing up, and if it was good enough for her, it was good enough for me. However, a few holidays ago, I asked for a 7 cup Kitchen Aid Mixer. It’s AMAZING and I can’t tell you how often I use it. Highly recommend the investment. It’s great for chopping veggies for salsa, making oat flour, or even mixing banana ice cream. Click the image below to check out a similar model!
Banana Oat Muffins

Simple wholesome ingredients come together with a food processor to make these gluten free and perfectly sweet banana oat muffins
Prep Time 10 minutes
Cook Time 25 minutes
Total Time 1 hour
Course Breakfast
Cuisine American
Servings 12 muffins

Ingredients
  

  • 2 cups old fashioned oats
  • 1 teaspoon baking soda
  • 1/2 teaspoon salt
  • 3 bananas very ripe
  • 2 eggs
  • 1/4 cup maple syrup
  • 2 tablespoons coconut oil melted
  • 1/4 cup mini chocolate chips

Instructions
 

  • Preheat oven to 350° F. Prepare a muffin tin by spraying with non-stick cooking spray.
  • Combine oats, salt, and baking soda in a food processor. Pulse until a coarse flour texture is obtained.
  • In a large bowl, mash bananas. Add honey and eggs. Mix well.
  • Stir oat mixture into mashed bananas. Add chocolate chips and coconut oil. Mix until just combined.
  • Place about 1/4 cup batter in each cup. Bake for 22-25 minutes, until cooked through
Keyword Banana Bread, Breakfast, Gluten Free
Tried this recipe?Let us know how it was!

Looking for other Tasty treats?

Check out my baking page or maybe my breakfast page. Or perhaps you want to check out one of my favorites below?

Cherry Almond Glazed Donuts

If you’ve followed me for any length of time, you likely know that I often declare, “I don’t like donuts, but you’ll always get me at a good scone.” I’m changing my tune just a little: “I don’t like donuts besides a beautiful cherry almond glazed cake donut.” 

My family loves donuts. Any stop at Kwik Trip results in a box of glazers coming home with us. They have to count and make sure everyone gets their fair share. This mom isn’t included in the count. I even joined a district where a certain group provides donuts every Thursday. I never took a one. 

Then we were in Door County this last fall and some Door County cherry donuts were calling my name. We bought some and they were heavenly. More recently, Kwik Trip started carrying some plain cherry cake donuts. They were no Door County cherry, but they were dang good. And I knew I had to make my own version.

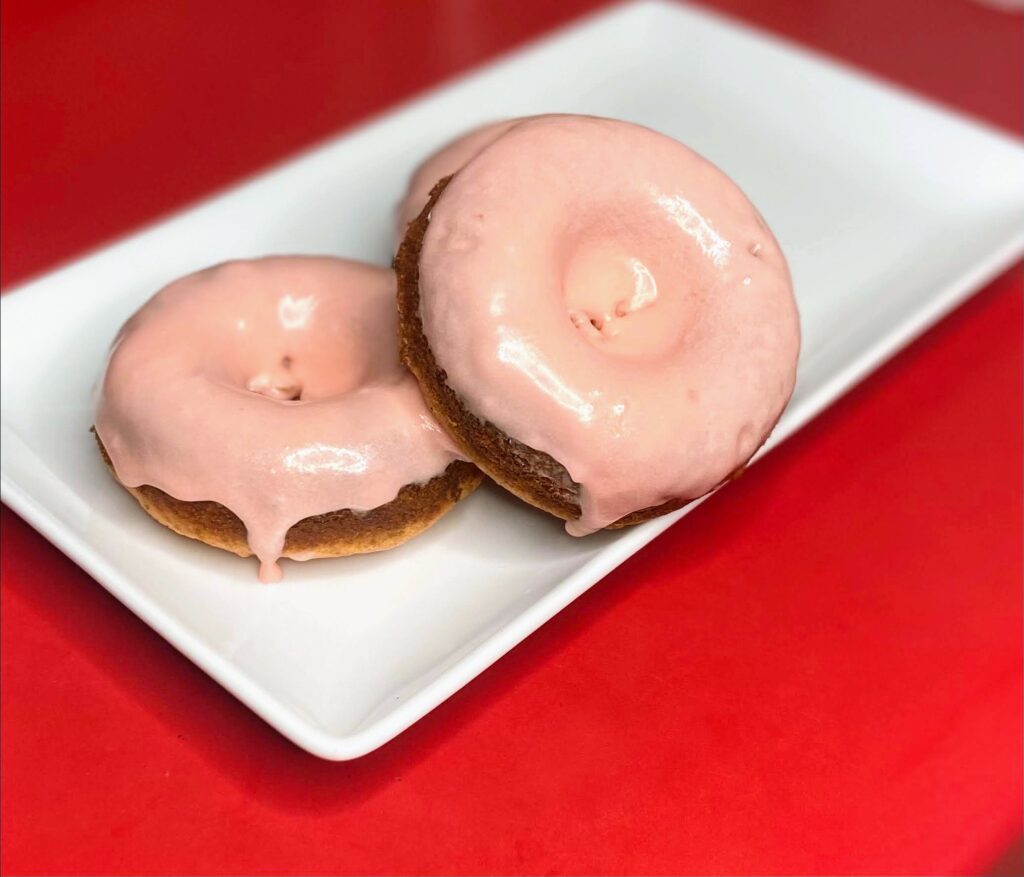
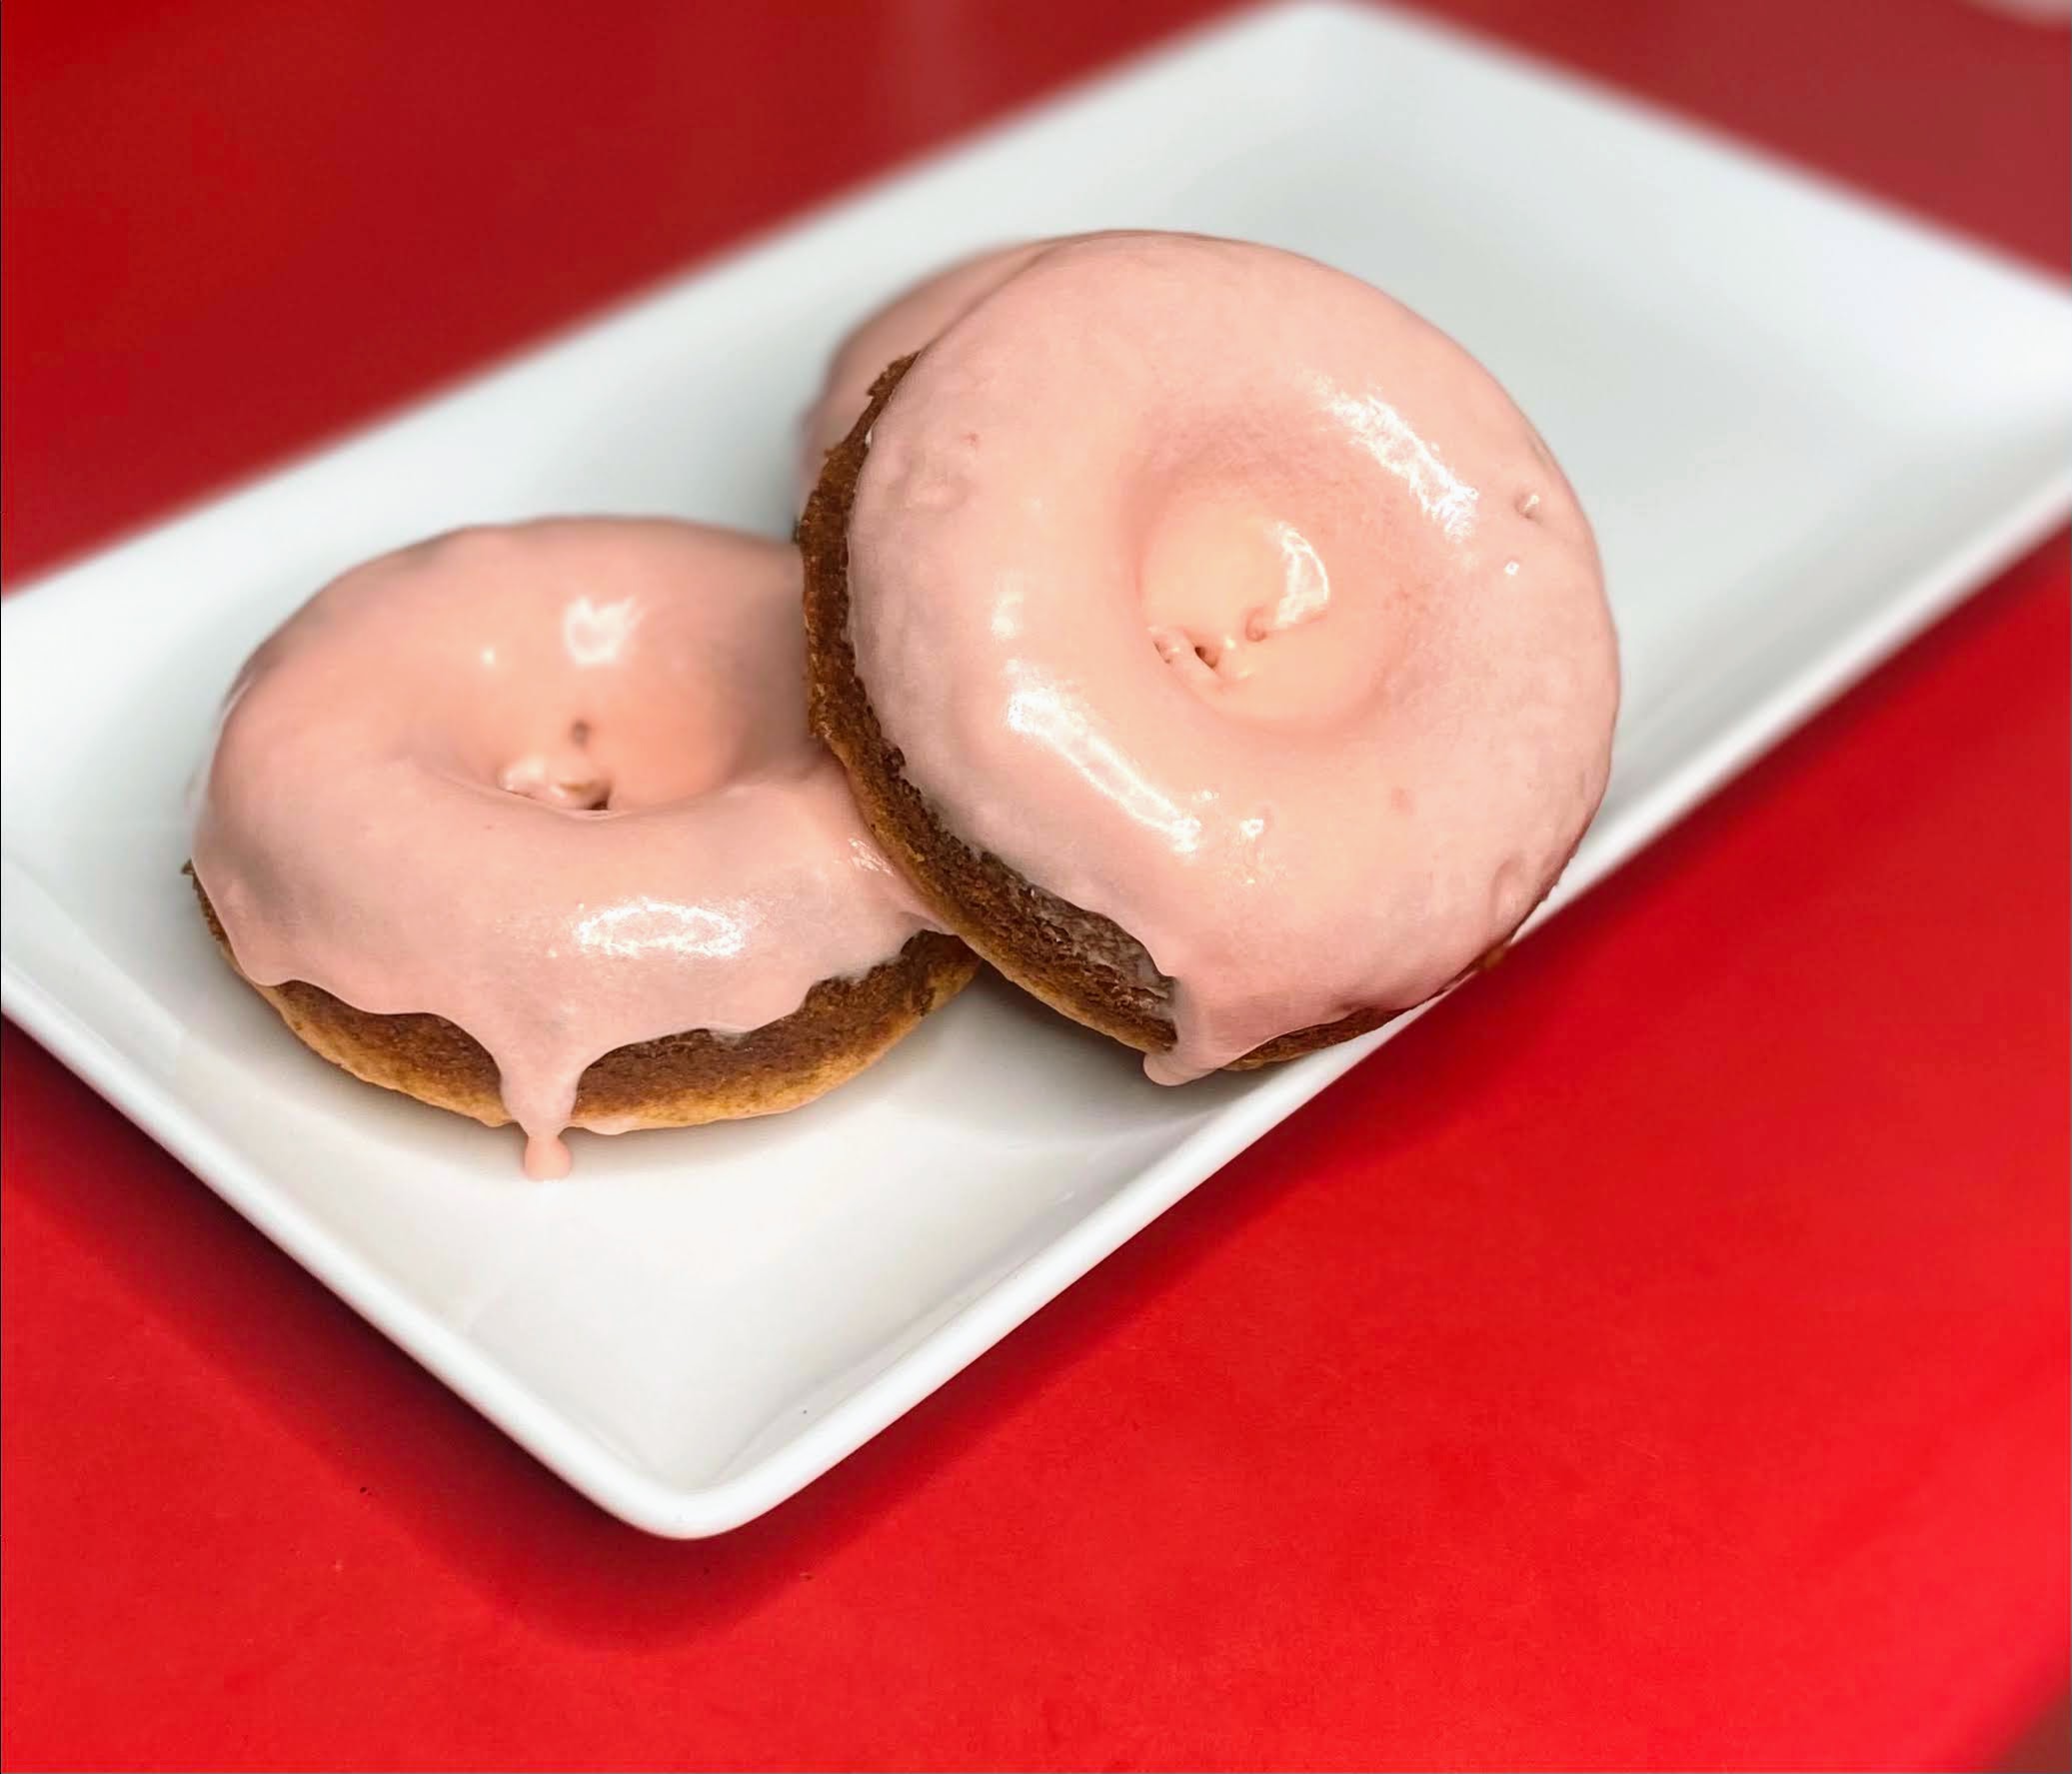
I generally try to make my versions of recipes healthier. This will not be one of those. These cherry almond glazed donuts are airy and perfectly pink. My son declared them the best donuts he’s ever eaten. I don’t know if that’s true, but I sure know I ate two of them and wanted two more. And I “don’t like donuts.” 

Your ingredients for the cherry almond donuts 

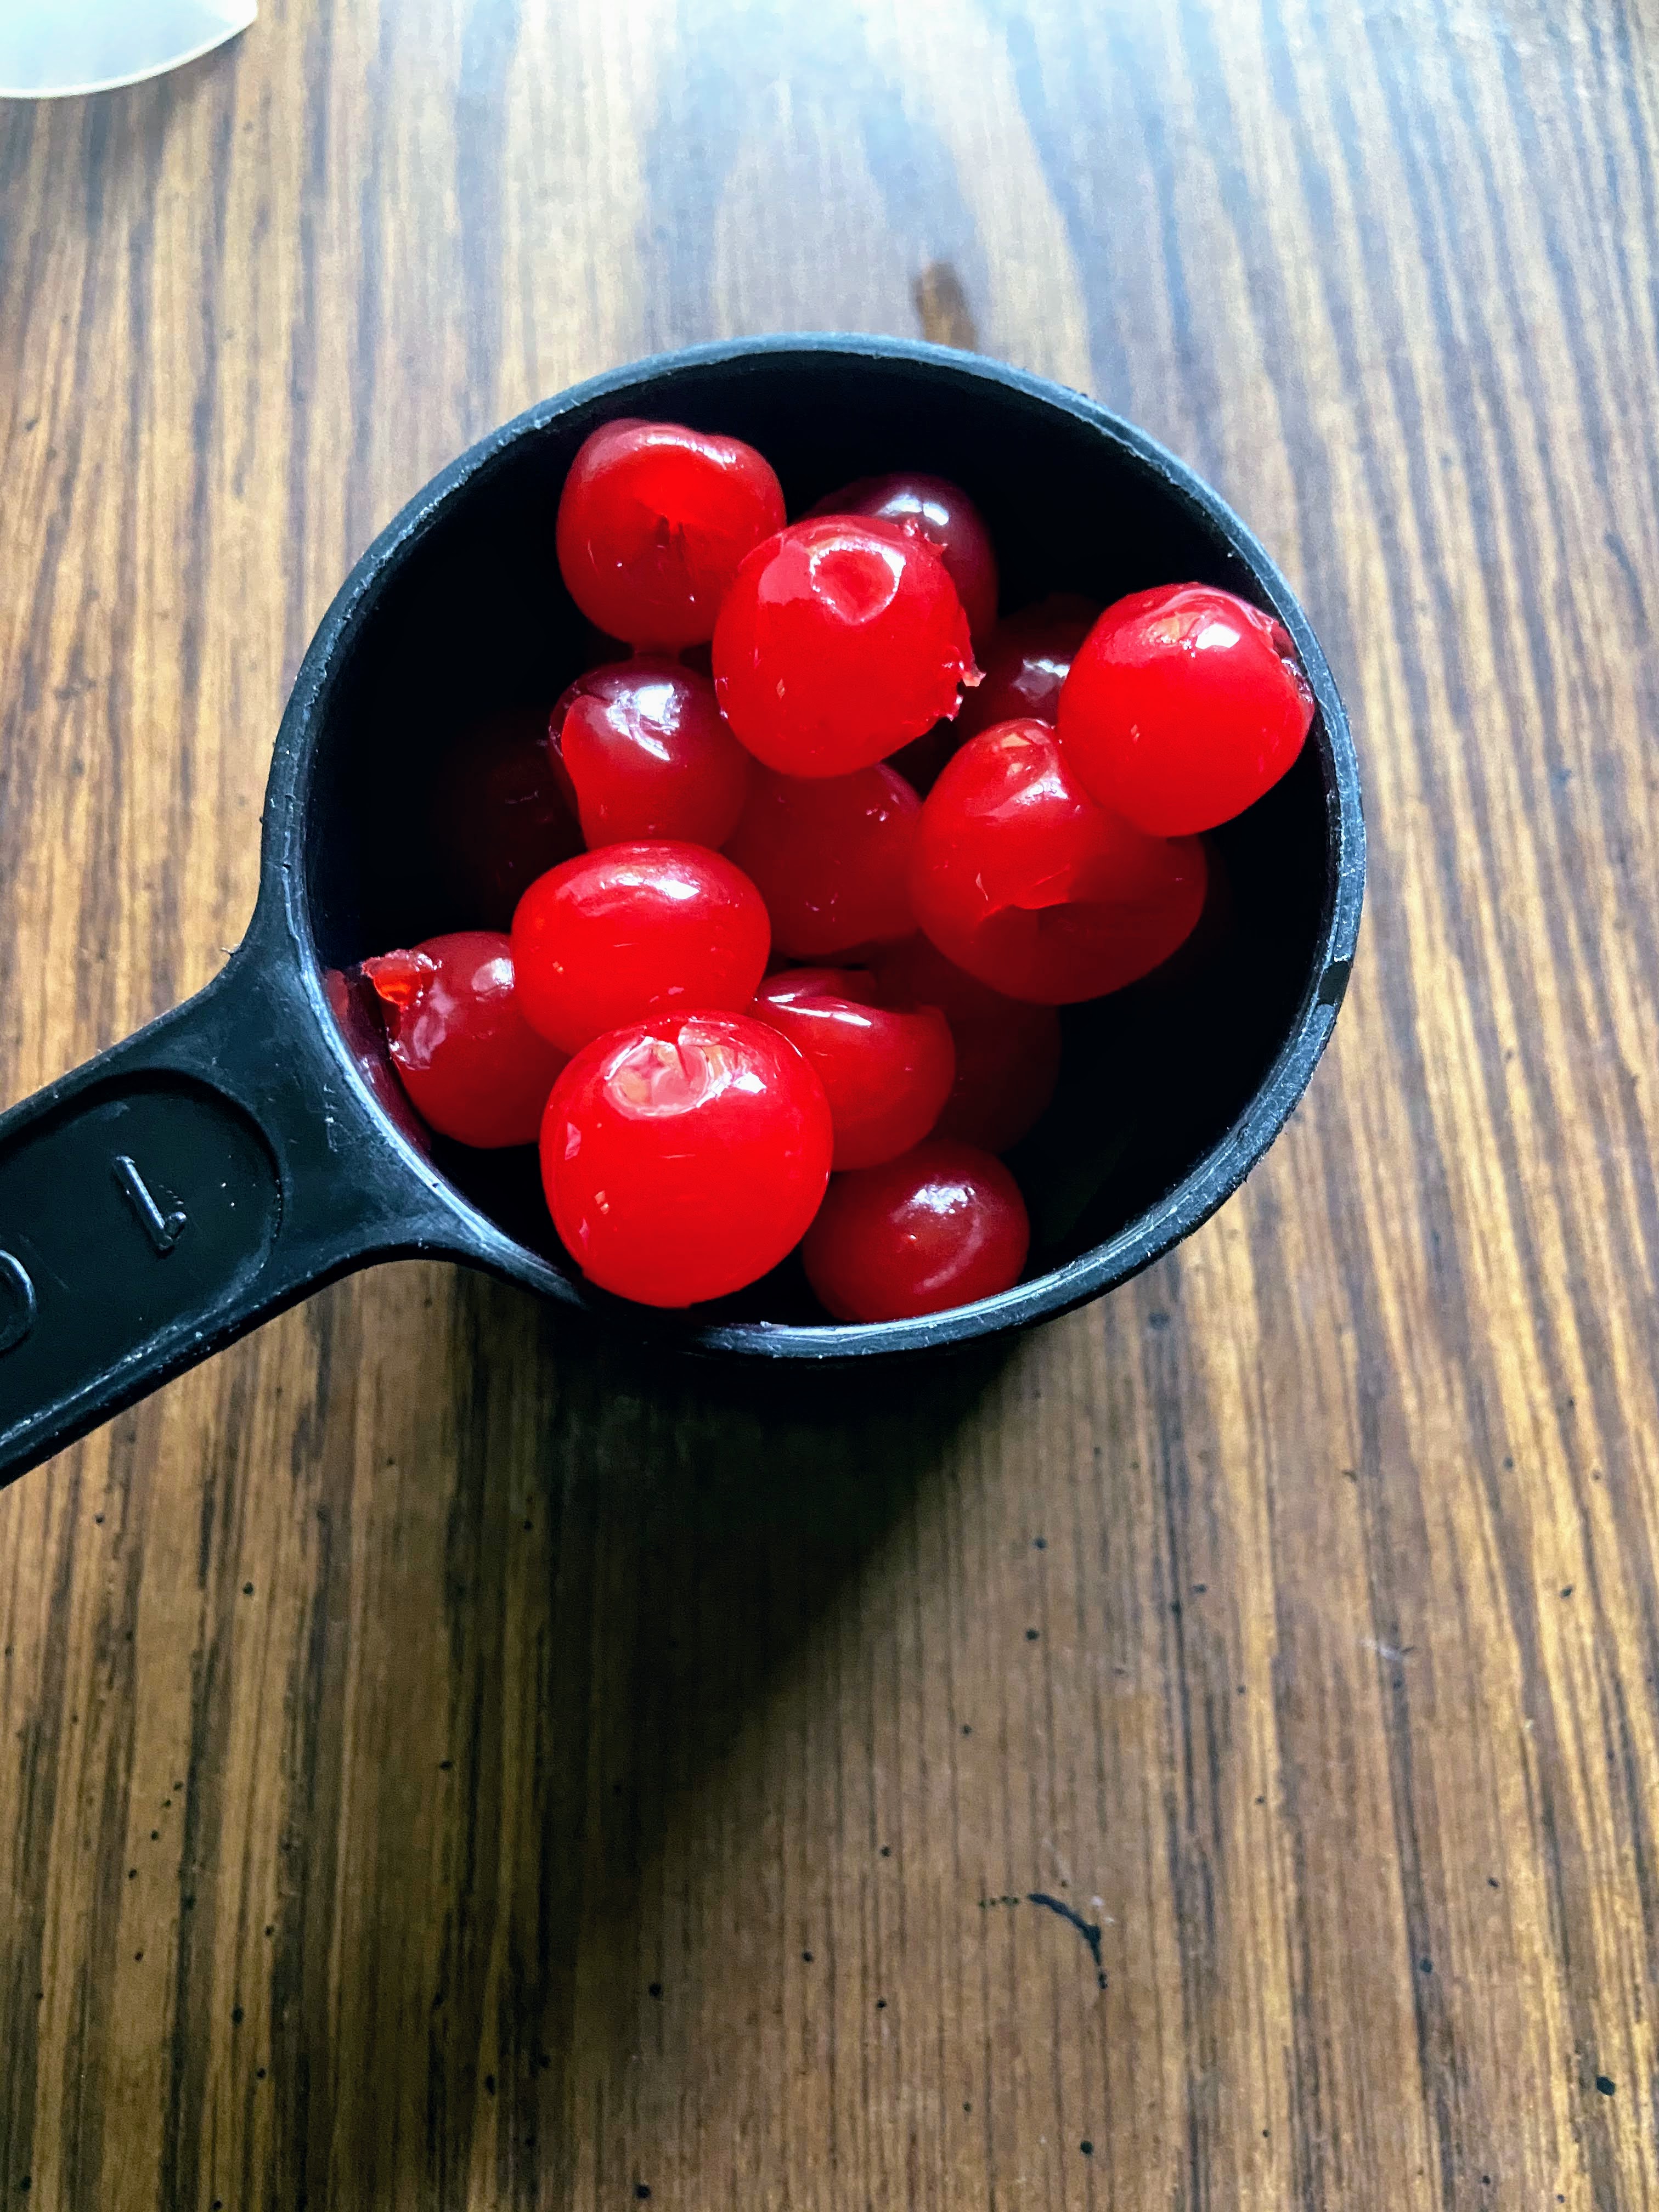
  • 1 cup maraschino cherries, primarily drained and blended with an immersion blender until smooth (save the syrup!) (I love my Kitchen Aid blender!
  • 6 tablespoons butter, melted 
  • 1 tablespoon oil 
  • ¾ cup white sugar 
  • ½ teaspoon vanilla extract
  • 2 eggs
  • ½ teaspoon almond extract 
  • ½ cup Greek yogurt 
  • 2 ¼ cup all purpose flour 
  • 1 ½ teaspoon baking powder 
  • ¾ teaspoon salt 
  • ¾ teaspoon baking soda 
  • additional cherry syrup 

Your ingredients for the cherry glaze 

  • 4 tablespoons butter, softened
  • 2 cups powdered sugar 
  • ¼ cup cherry syrup 
  • 1 teaspoon vanilla extract 

Your Steps to Cherry Almond donuts 

Preheat the oven to 350 degrees. Spray a regular donut pan with non-stick cooking spray. 

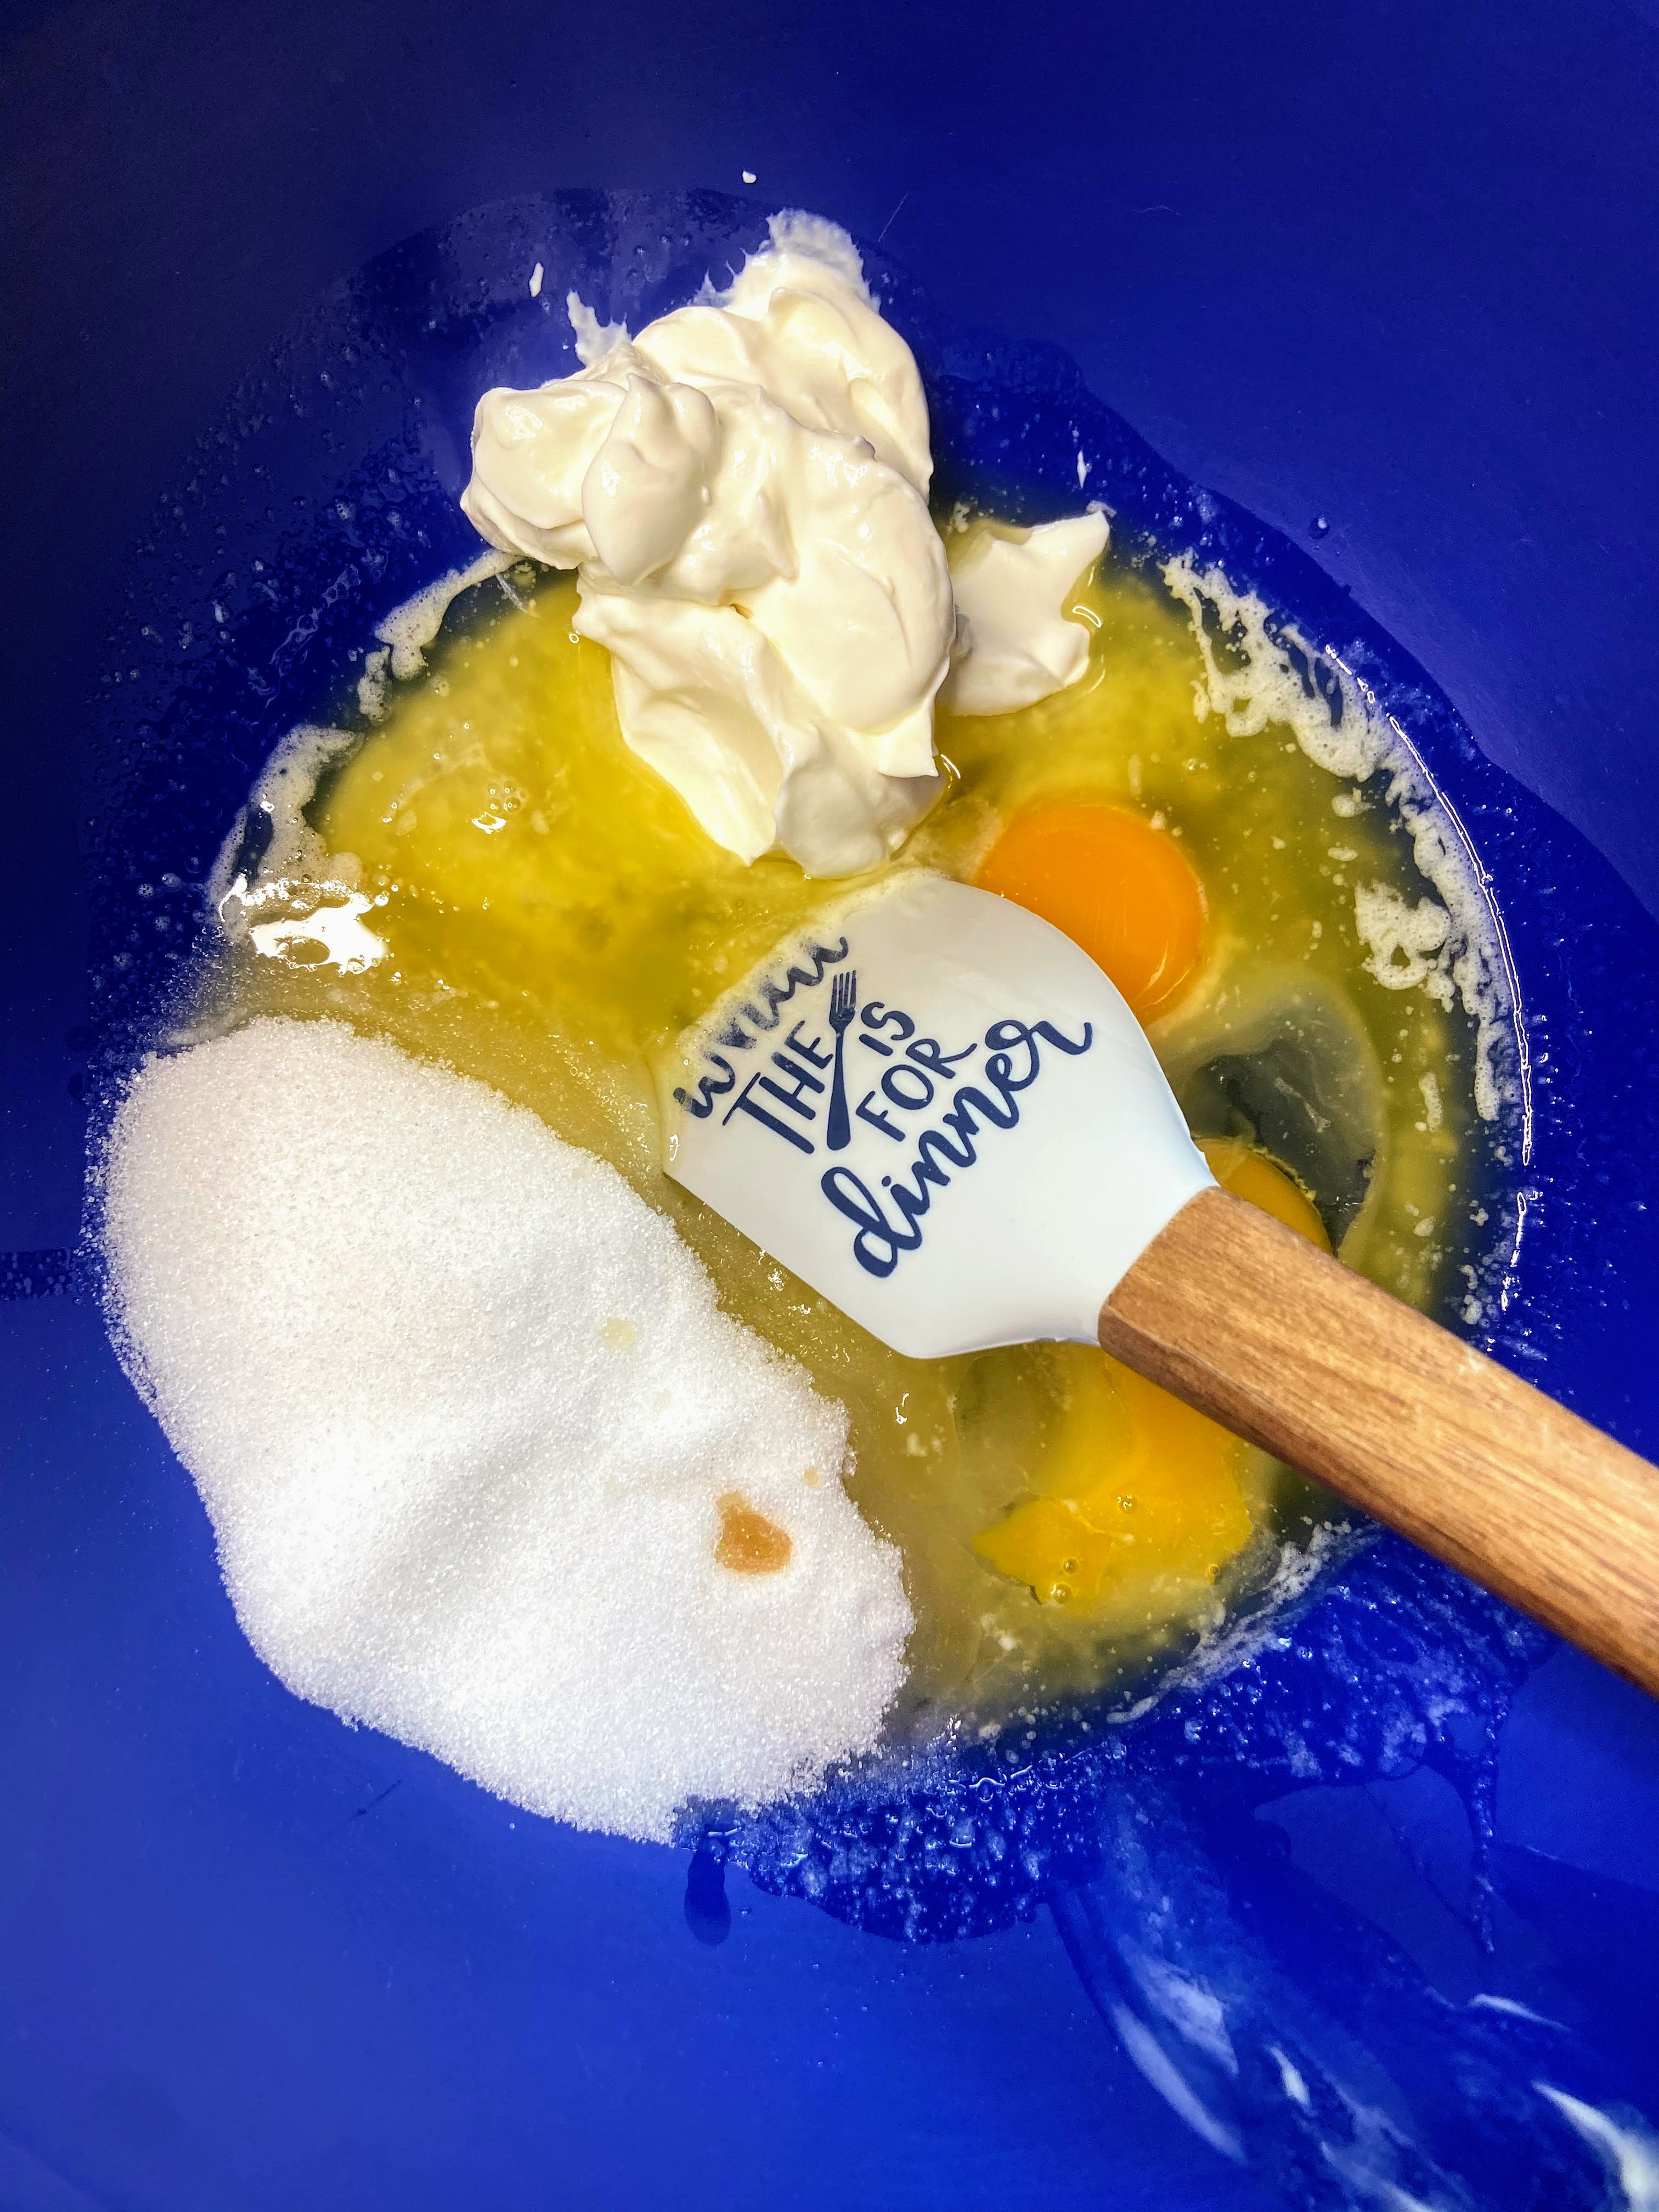
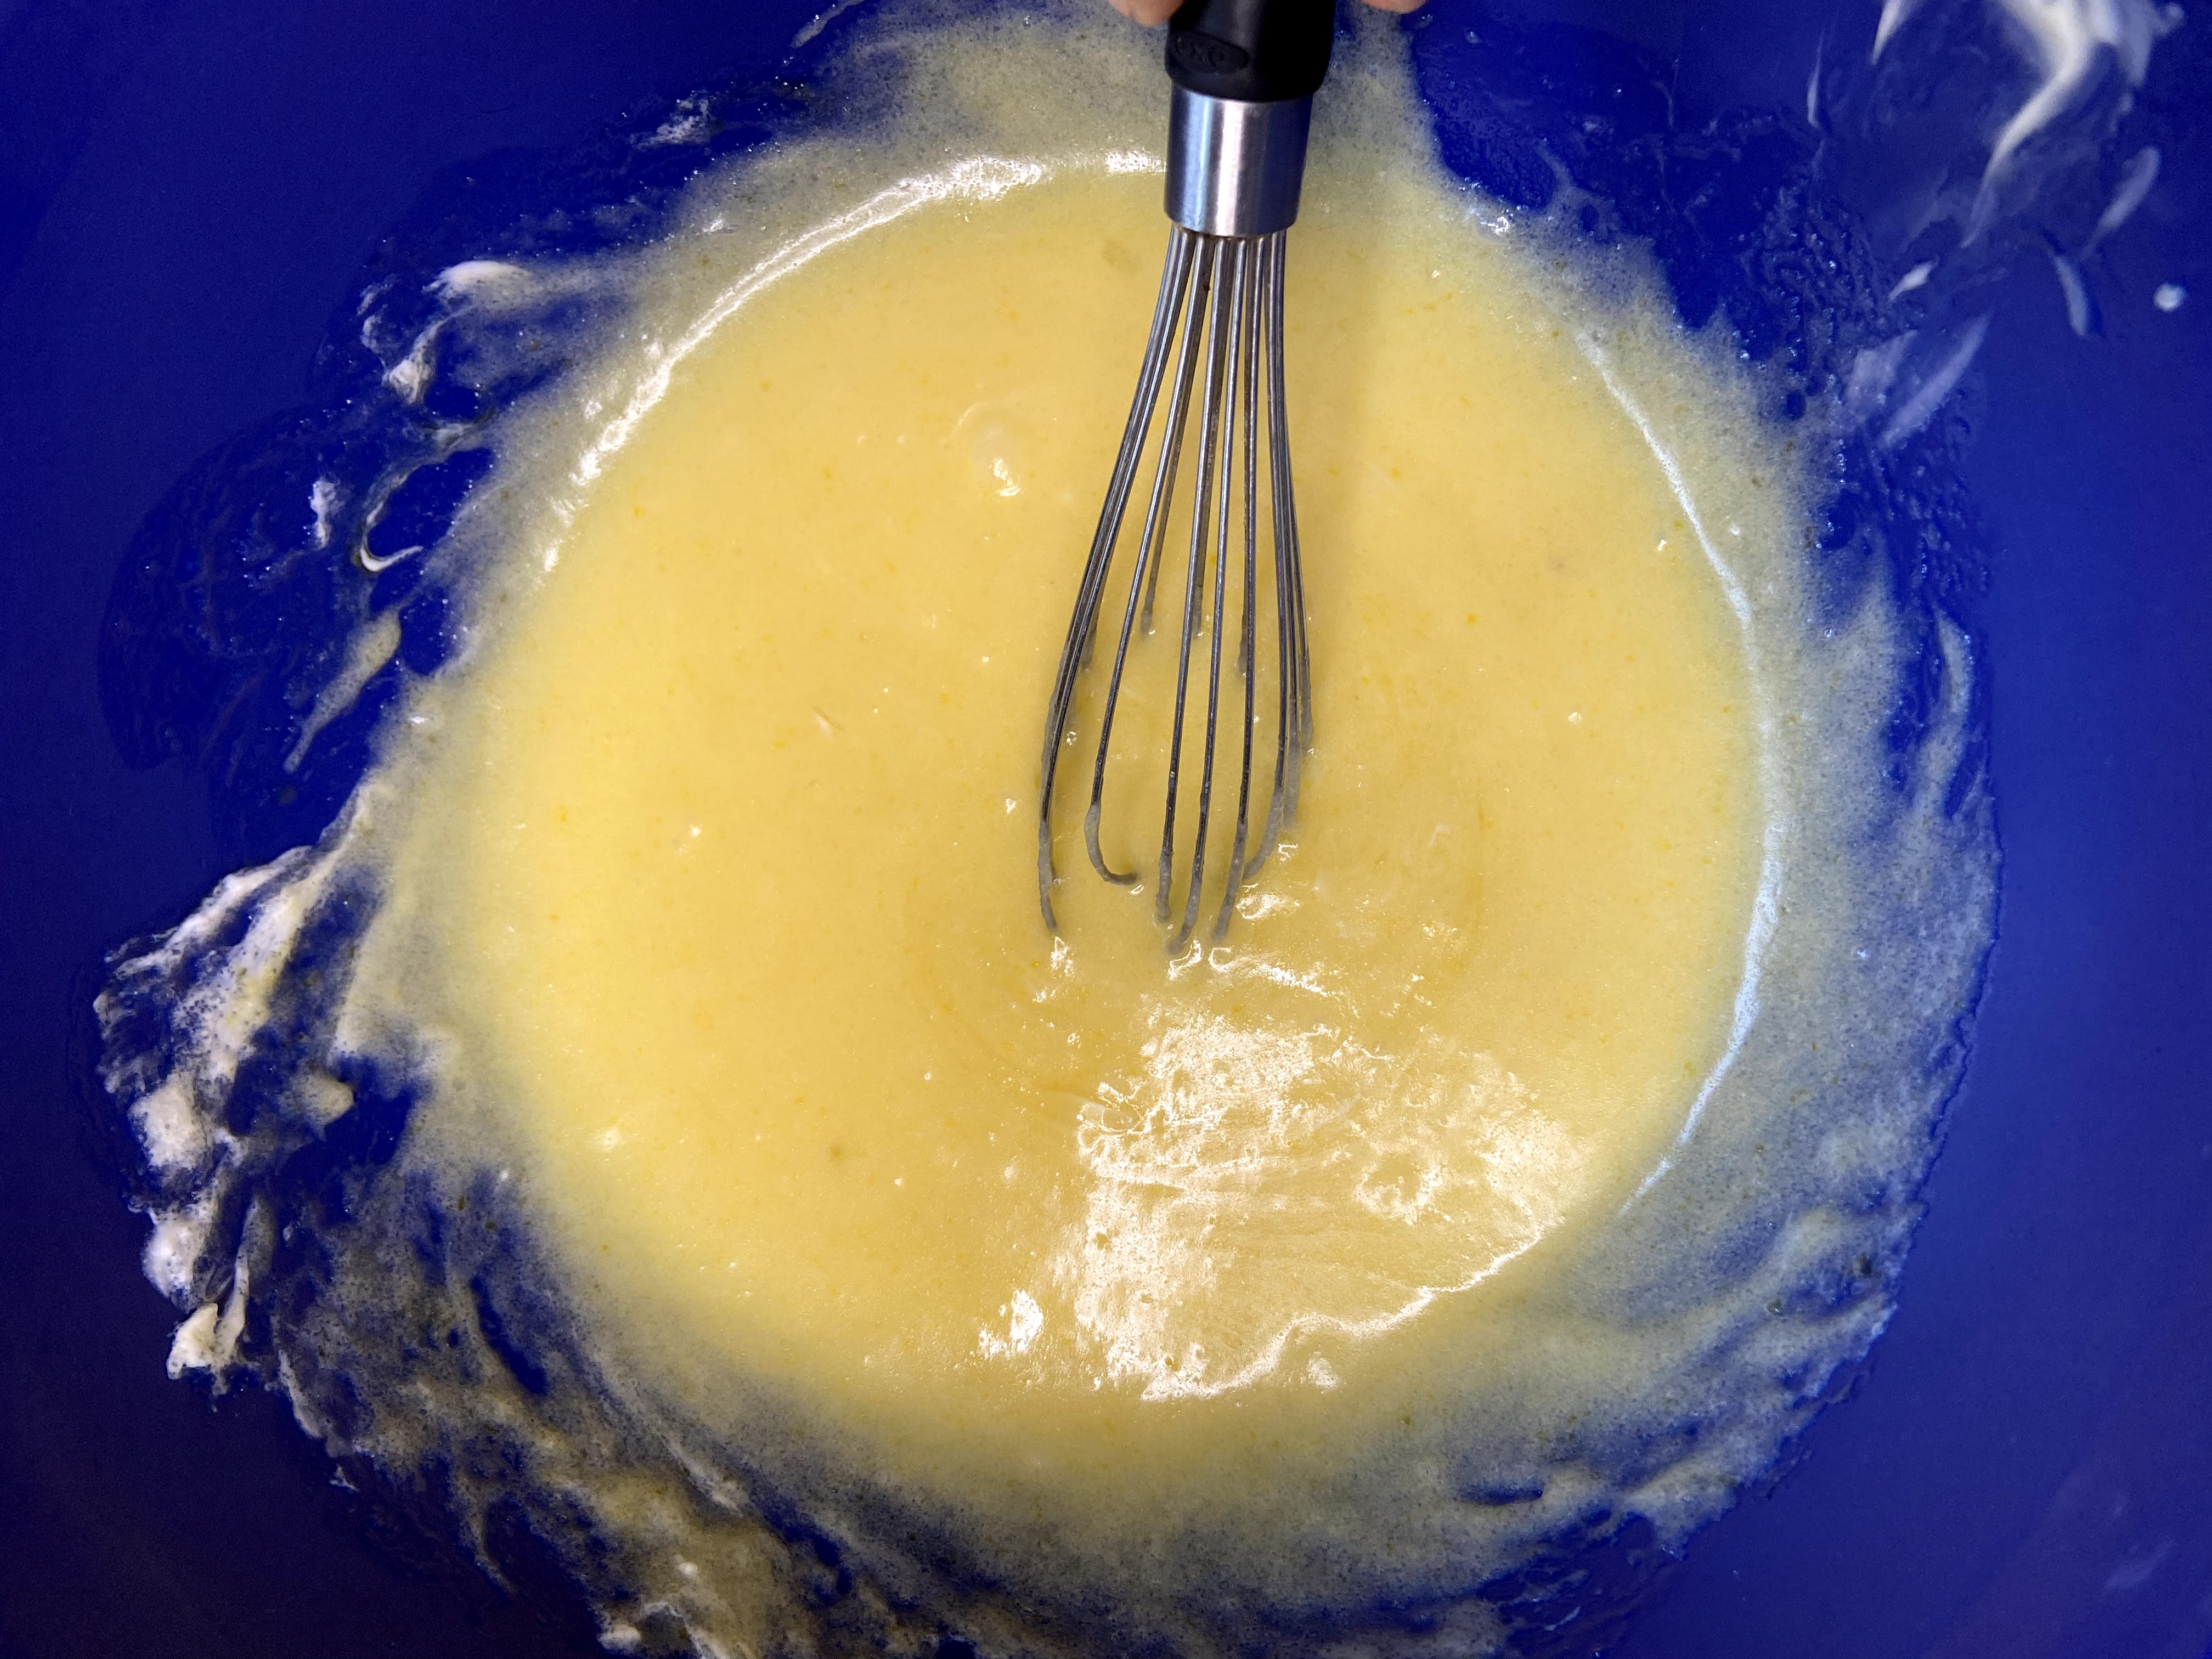
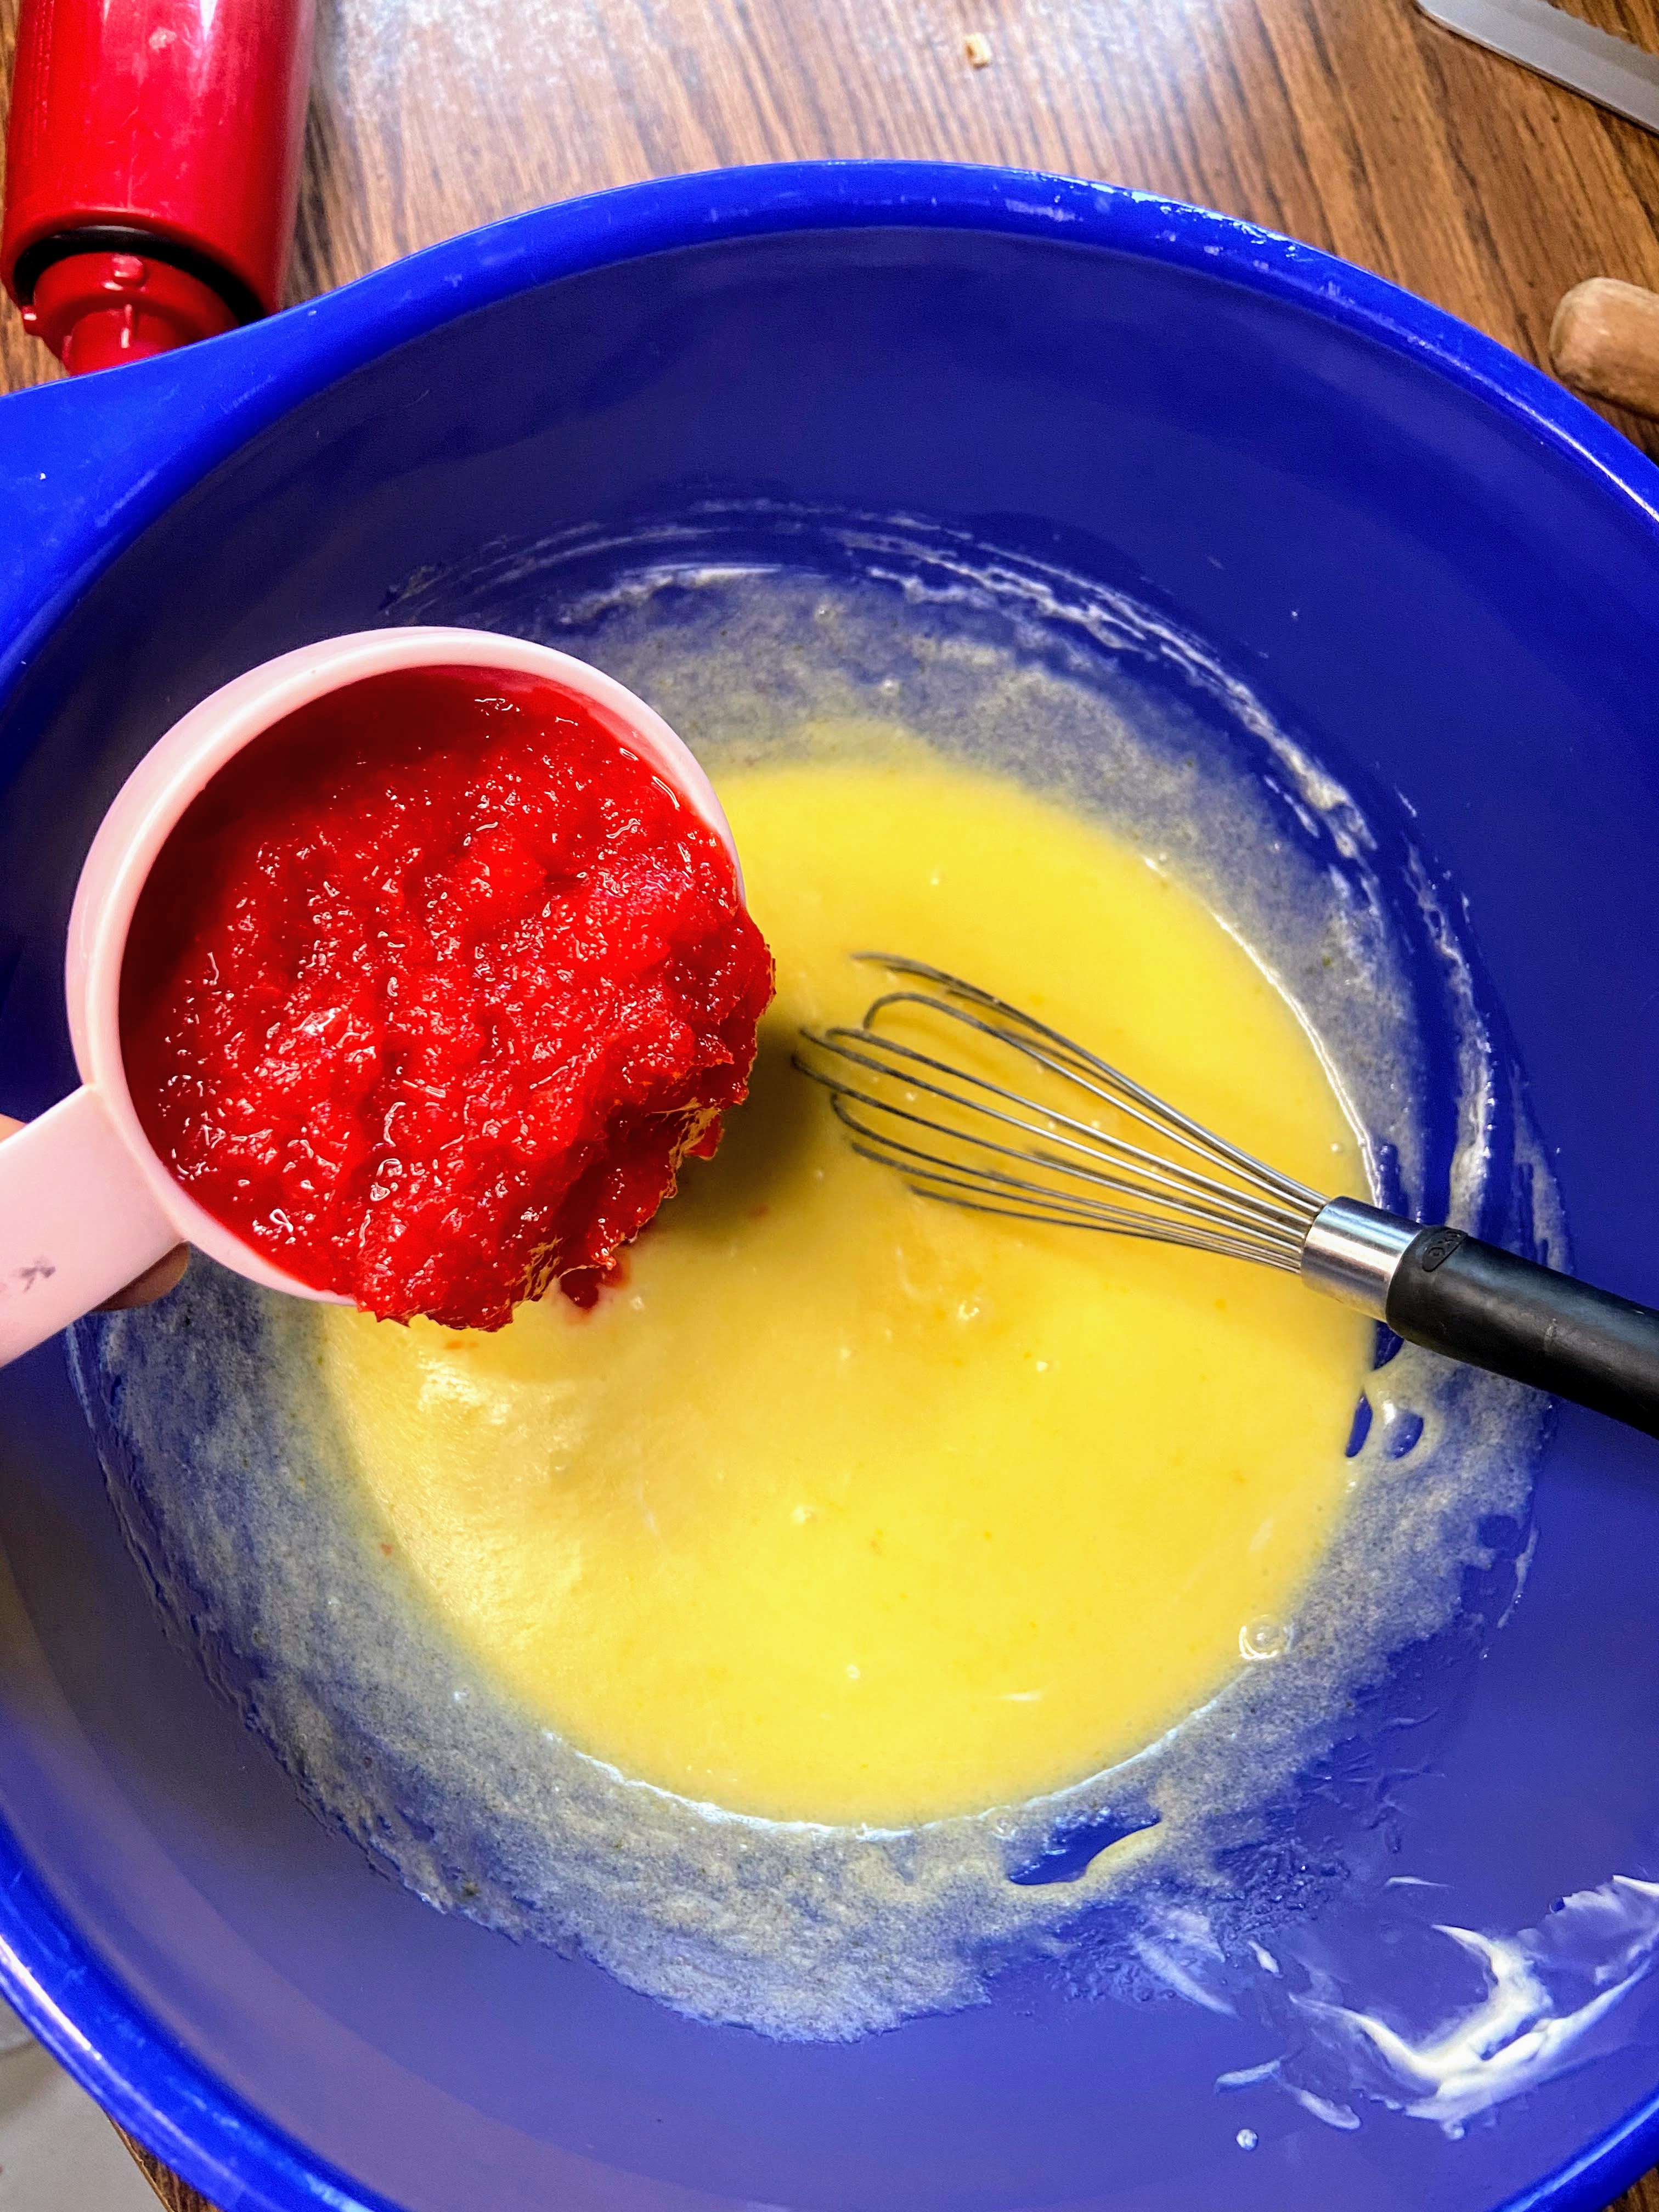
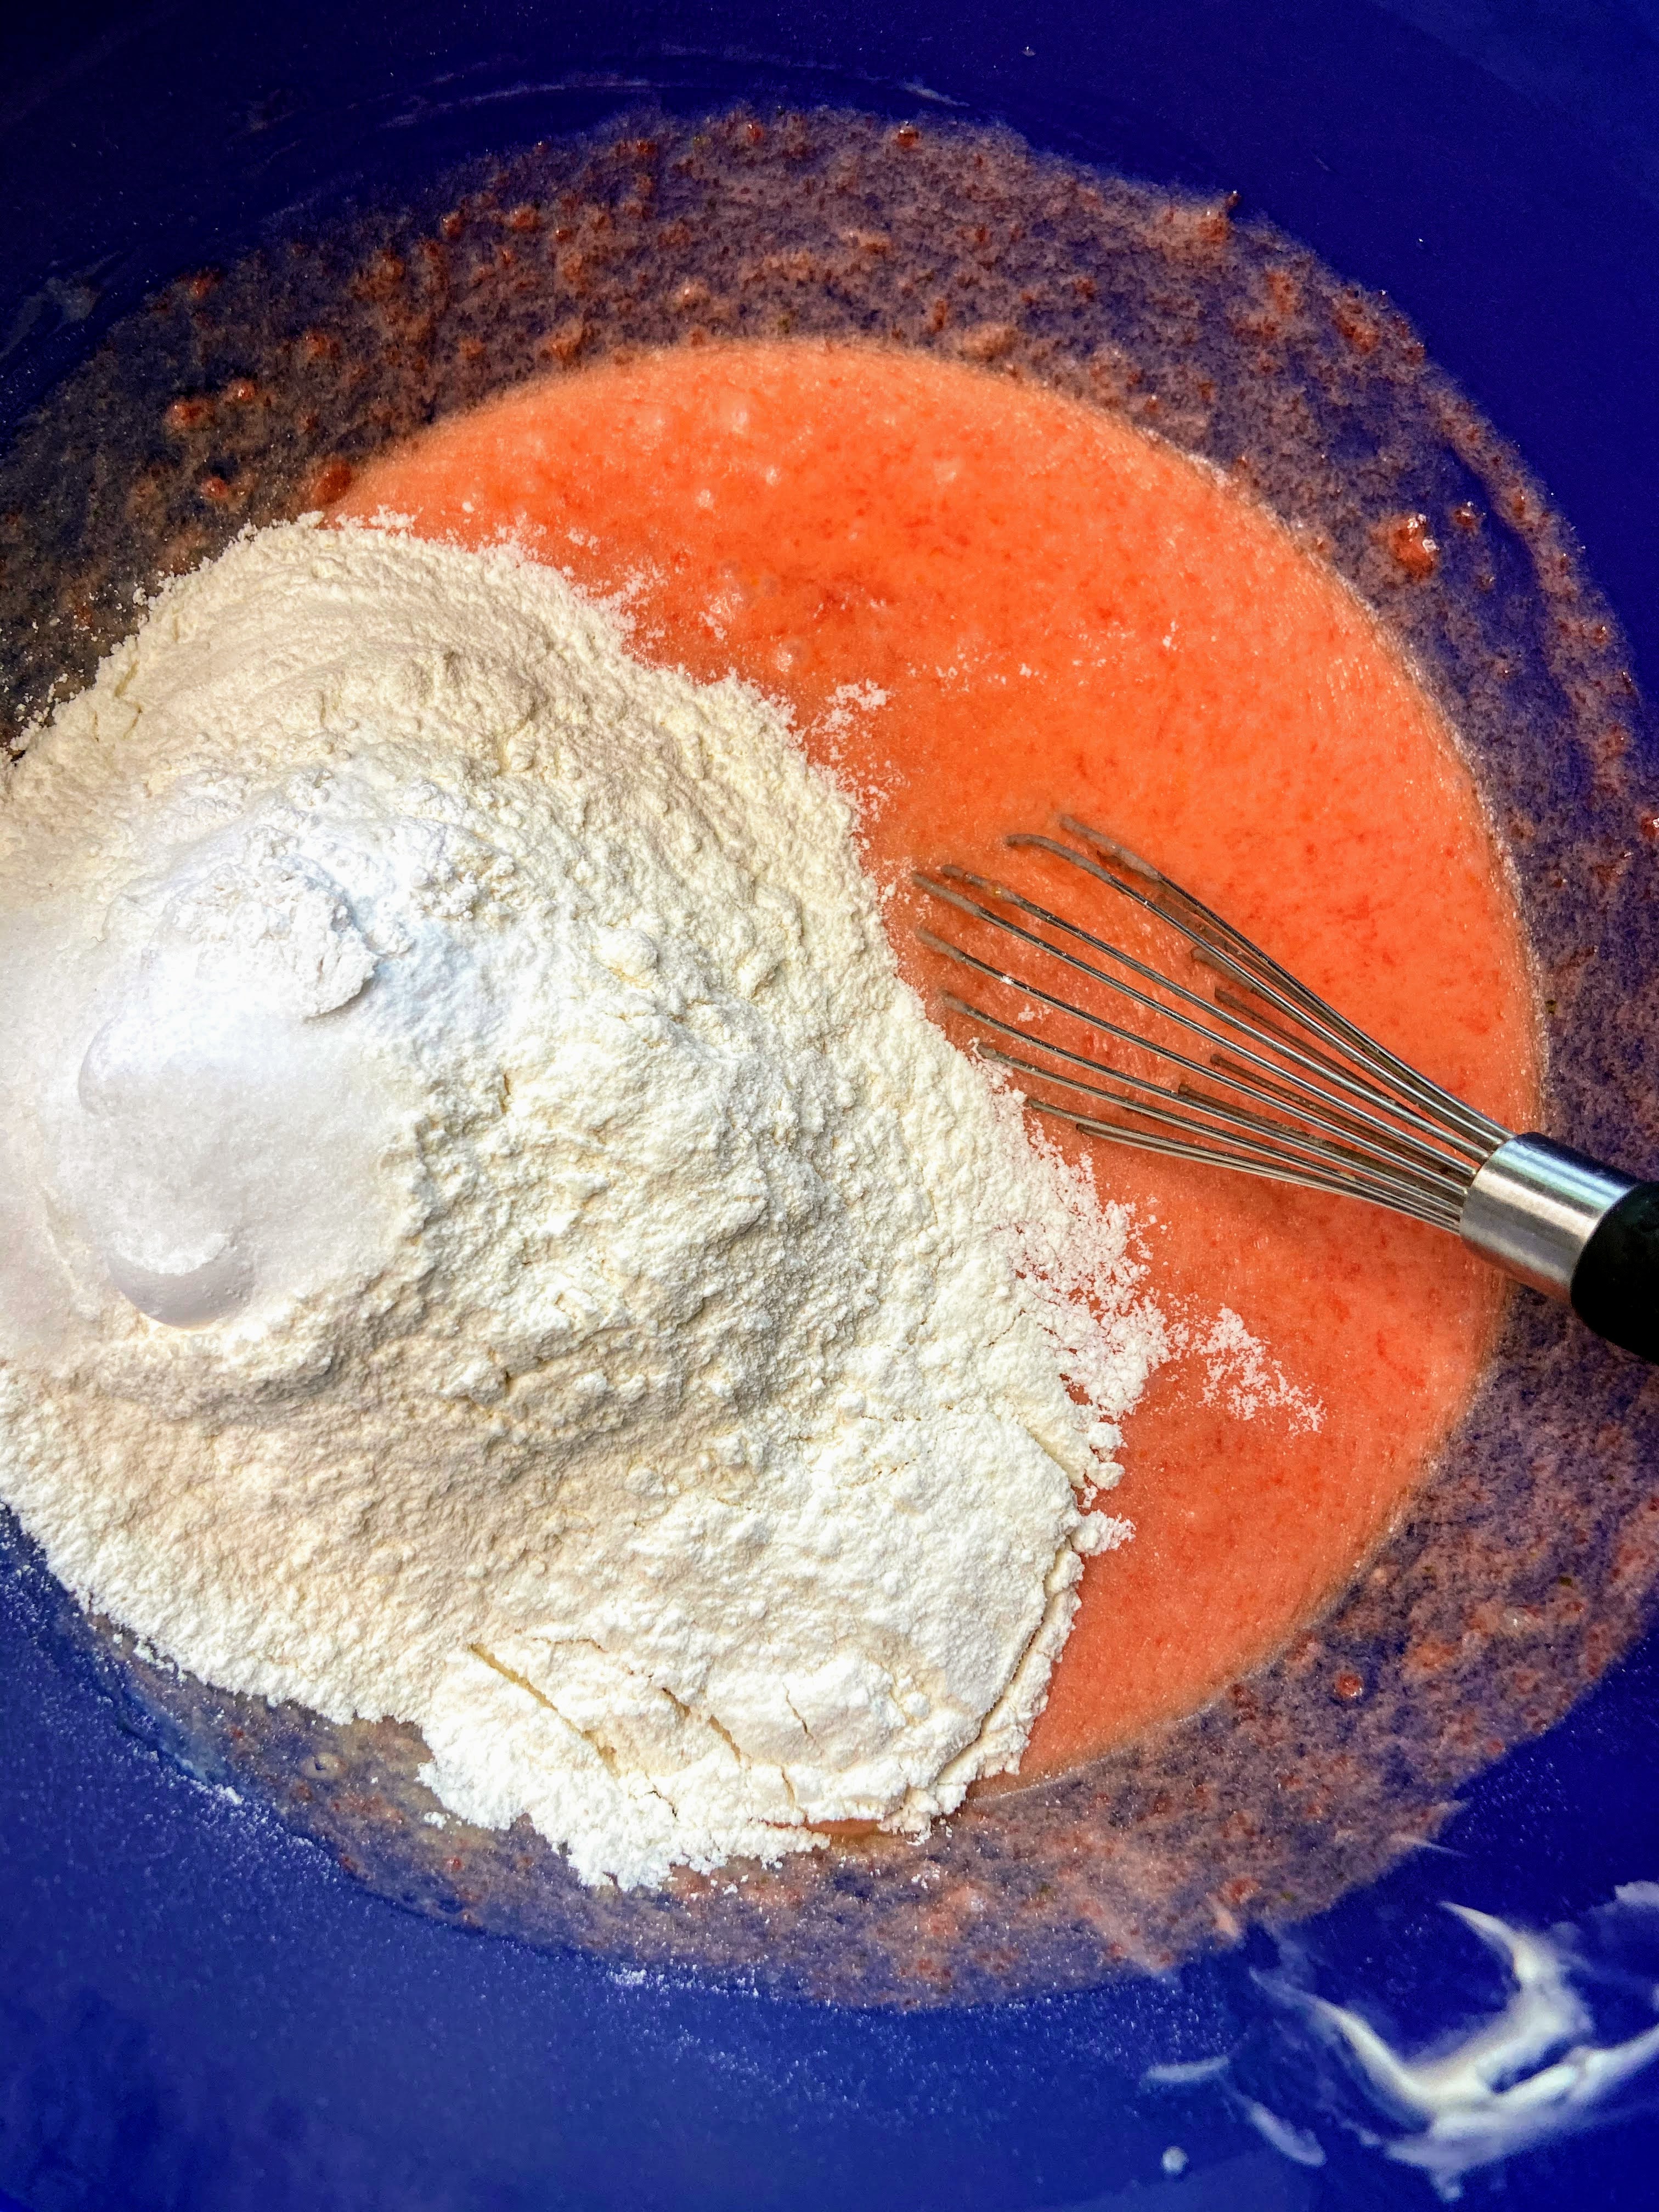
In a large bowl, combine butter, oil, sugar, eggs, vanilla, almond extract, and yogurt. Whisk until smooth. Stir in blended cherries. In a separate bowl, combine flour, salt, baking soda, and baking powder. Add to wet ingredients and stir until fully incorporated. You may want to add just an additional ½ tablespoon of cherry juice here to amp up the flavor a little more if you’re a guy or gal that gives the batter a taste test. 
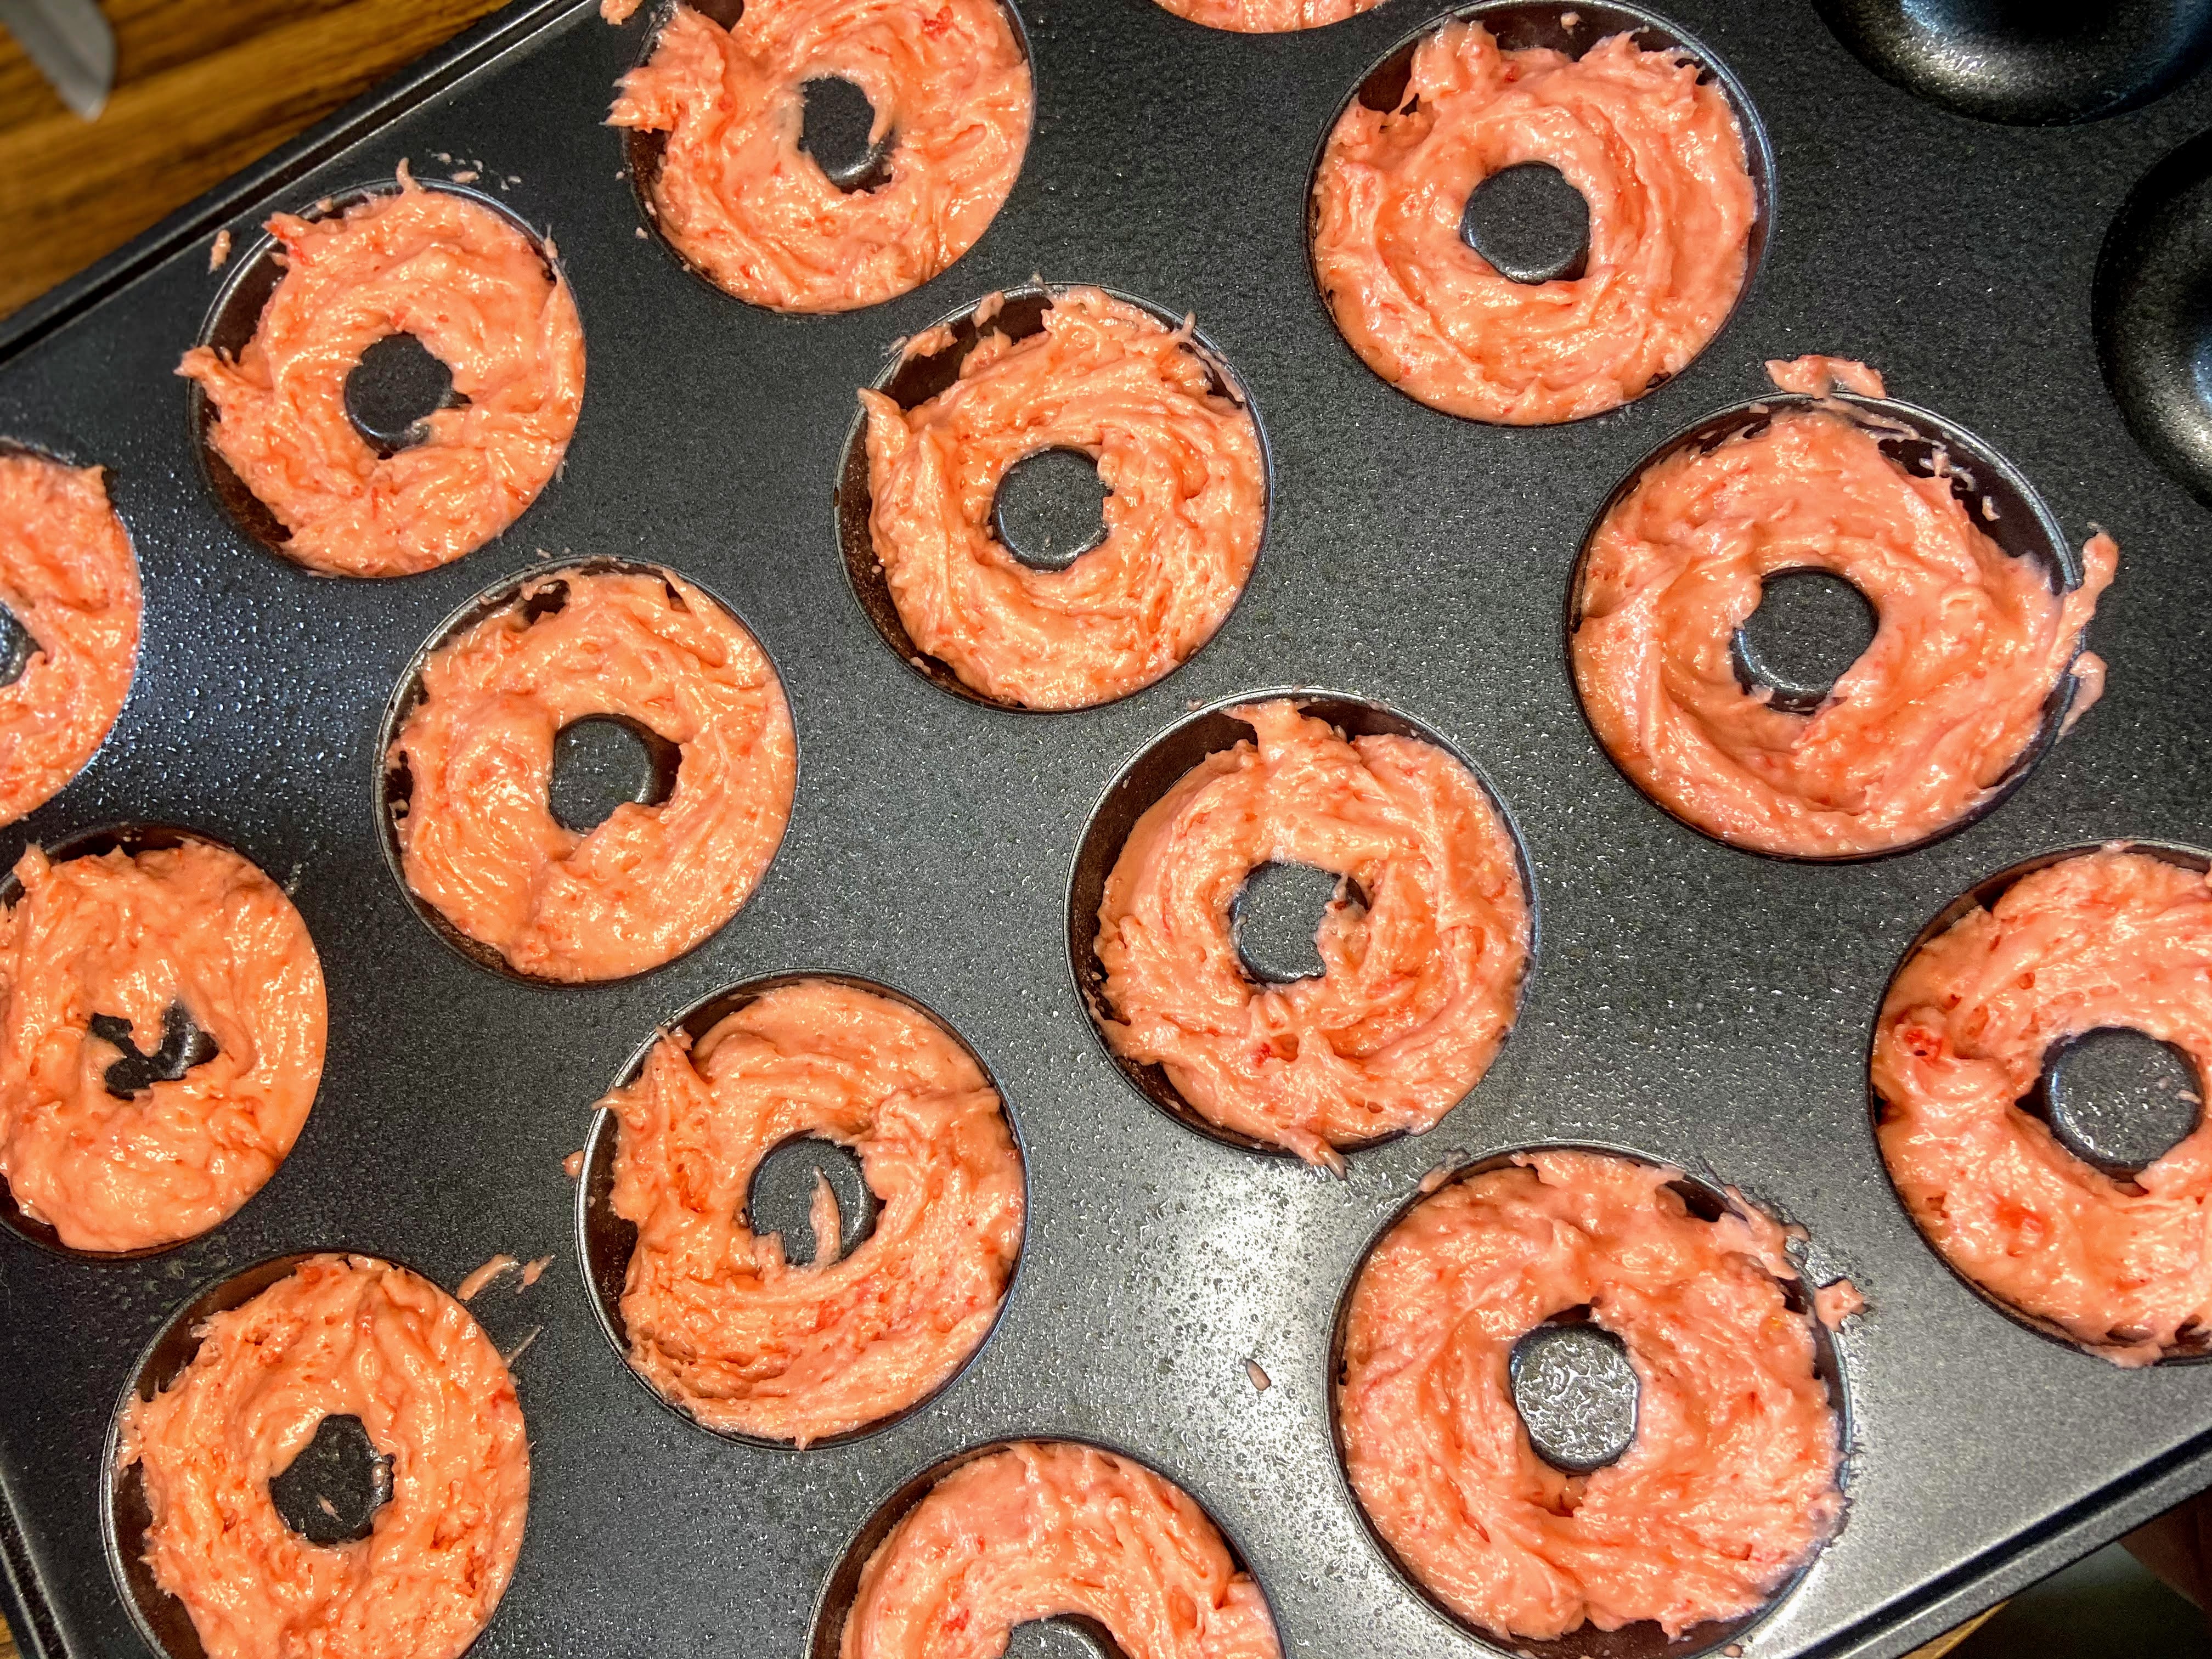
Divide the batter among 16 donut cavities, filling ¾ of the way full. Bake for 12-14 minutes, until firm to the touch or passes the toothpick test (a toothpick inserted comes out clean). Allow to cool in the pan for 10 minutes. Remove the donuts from the pan and place on a cooling rack. 

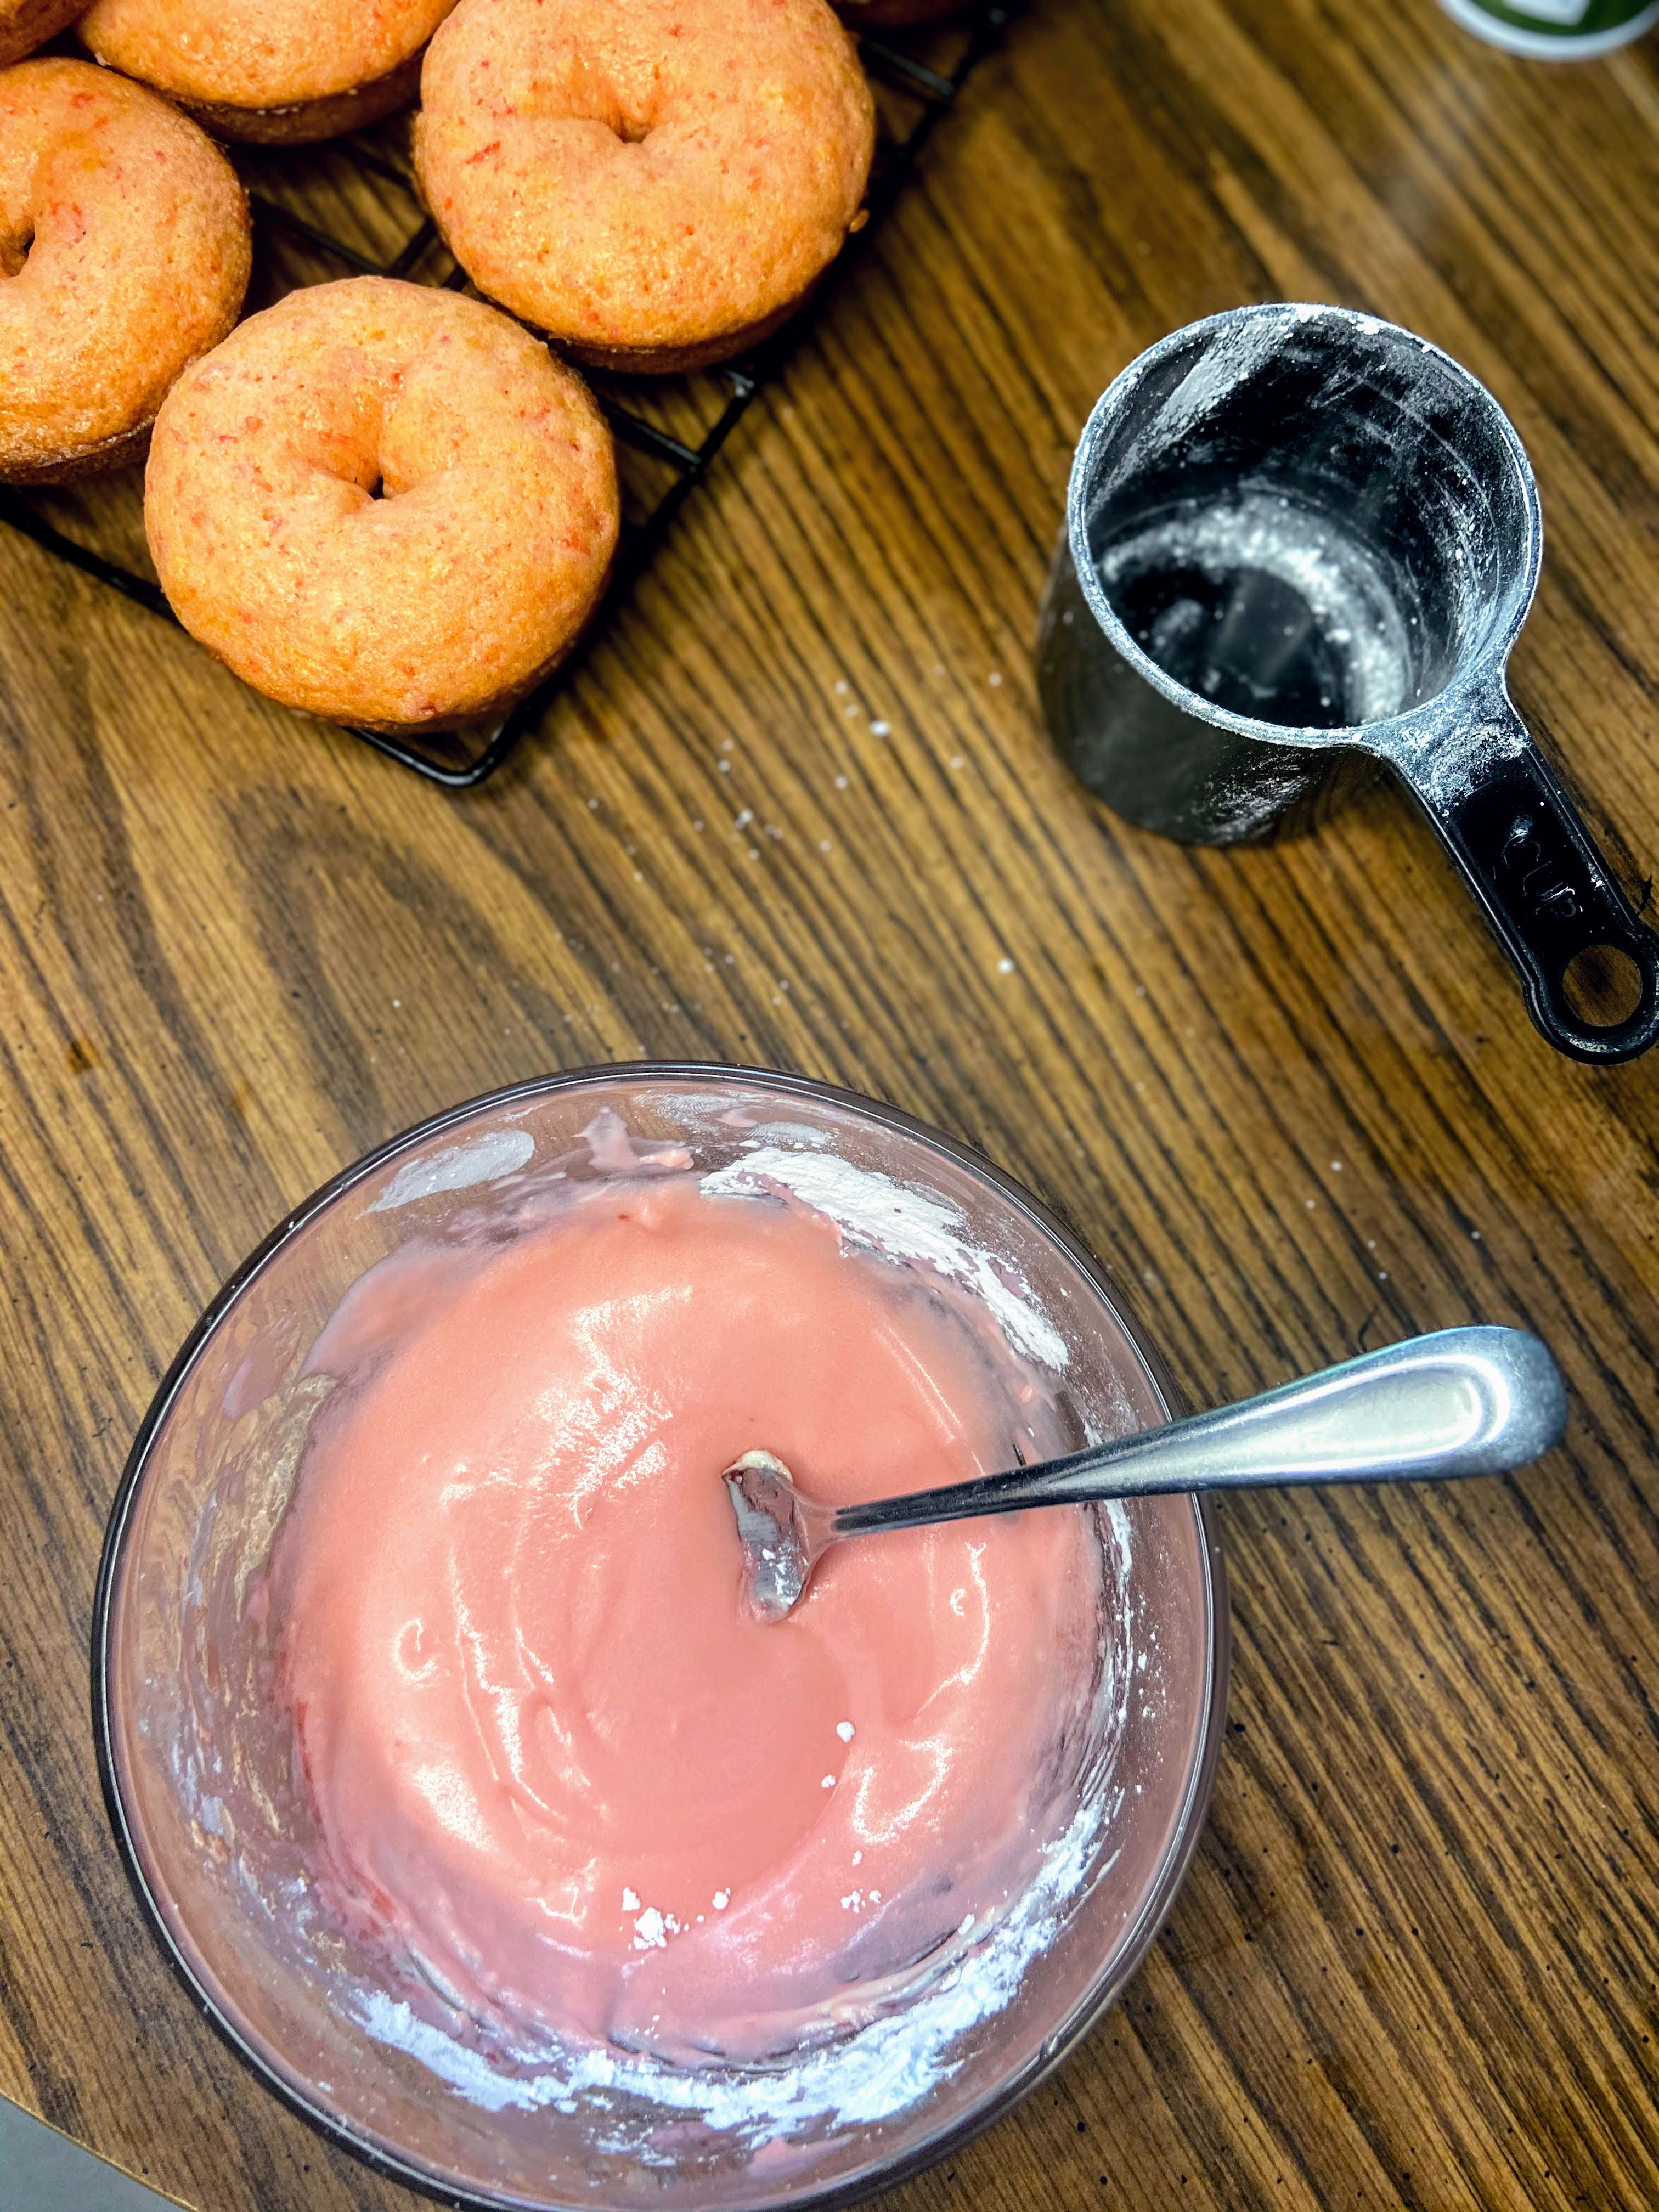
While the donuts finish cooling, mix softened butter, powdered sugar, vanilla, and cherry syrup for a glaze. If you dig a thicker glaze, add a touch more powdered sugar. Dig a thinner glaze? Add more cherry syrup. Whisk until smooth. 

Dip cooled donuts in the glaze. I only did one side, but you can totally flip them to fully coat. If you choose to do both sides, you will need to double the glaze recipe. Best enjoyed within 48 hours of baking, but I bet they won’t last that long! 

Tools of the Trade

I have a couple tools I love for these donuts. I totally dig my Kitchen Aid Immersion blender for all things. My banana nice cream, you name it. And if you are going to make donuts, you need a good donut pan, right?

Cherry Almond Glazed Donuts

You can't go wrong with the combination of almond and cherry in these light and airy almond cherry glazed donuts that are a cinch to make!
Prep Time 20 minutes
Cook Time 14 minutes
Cooling Time 20 minutes
Course Breakfast
Cuisine American
Servings 16 donuts

Ingredients
  

Batter Ingredients

  • 1 cup maraschino cherries primarily drained and blended with an immersion blender until smooth (save the syrup)
  • 6 tablespoons butter melted
  • 1 tablespoon oil
  • ¾ cup white sugar
  • 2 eggs
  • ½ teaspoon vanilla extract
  • ½ teaspoon almond extract
  • ½ cup Greek yogurt
  • 2 ¼ cup all purpose flour
  • 1 ⅓ teaspoon baking powder
  • ¾ teaspoon salt
  • ¾ teaspoon baking soda
  • additional cherry syrup

Cherry Glaze Ingredients

  • 4 tablespoons butter softened
  • 2 cups powdered sugar
  • ¼ cup cherry syrup from cherries
  • 1 teaspoon vanilla extract

Instructions
 

  • Preheat the oven to 350 degrees. Spray a regular donut pan with non-stick cooking spray.
  • In a large bowl, combine butter, oil, sugar, eggs, vanilla, almond extract, and yogurt. Whisk until smooth. Stir in blended cherries.
  • In a separate bowl, combine flour, salt, baking soda, and baking powder. Add to wet ingredients and stir until fully incorporated.
  • You may want to add just an additional ½ tablespoon of cherry juice here to amp up the flavor a little more if you’re a guy or gal that gives the batter a taste test.
  • Divide the batter among 16 donut cavities, filling ¾ of the way full. Bake for 12-14 minutes, until firm to the touch or passes the toothpick test (a toothpick inserted comes out clean). Allow to cool in the pan for 10 minutes. Remove the donuts from the pan and place on a cooling rack.
  • While the donuts finish cooling, mix softened butter, powdered sugar, vanilla, and cherry syrup for a glaze. If you dig a thicker glaze, add a touch more powdered sugar. Dig a thinner glaze? Add more cherry syrup. Whisk until smooth.
  • Dip cooled donuts in the glaze. I only did one side, but you can totally flip them to fully coat. If you choose to do both sides, you will need to double the glaze recipe.
Keyword almond, baking, cherry, donuts
Tried this recipe?Let us know how it was!

Rhubarb Pie

I’ve always declared myself, “not a pie person.” At Thanksgiving, it’s okay, but not something I crave. My husband, on the other hand, LOVES pie. His mom also loves to make it. It’s a rare weekend that we visit and a pie hasn’t been made. It’s also pretty typical to have her make a pie at our home out of whatever we happen to have in the freezer when she comes to visit. So, it makes sense that pie is always my husband’s request for his birthday; rhubarb pie to be precise. 

One of the reasons I don’t love to make pie is the crust. I like to say I just don’t like to make it, but perhaps it’s more that it intimates me. Also, if I am going to pick a favorite pie, I’m going with banana creme and everyone knows those babies are best with a graham cracker crust. Am I right or am I right? 

All that being said, after being married for 12 years, pie is growing on me. I still don’t dig the crust part of things, but I have you covered in this recipe. My mother in law has a crazy simple crust that I dig as the base for not only this rhubarb pie, but also an apple pie that use this great apple pie filling I freeze in the fall. 

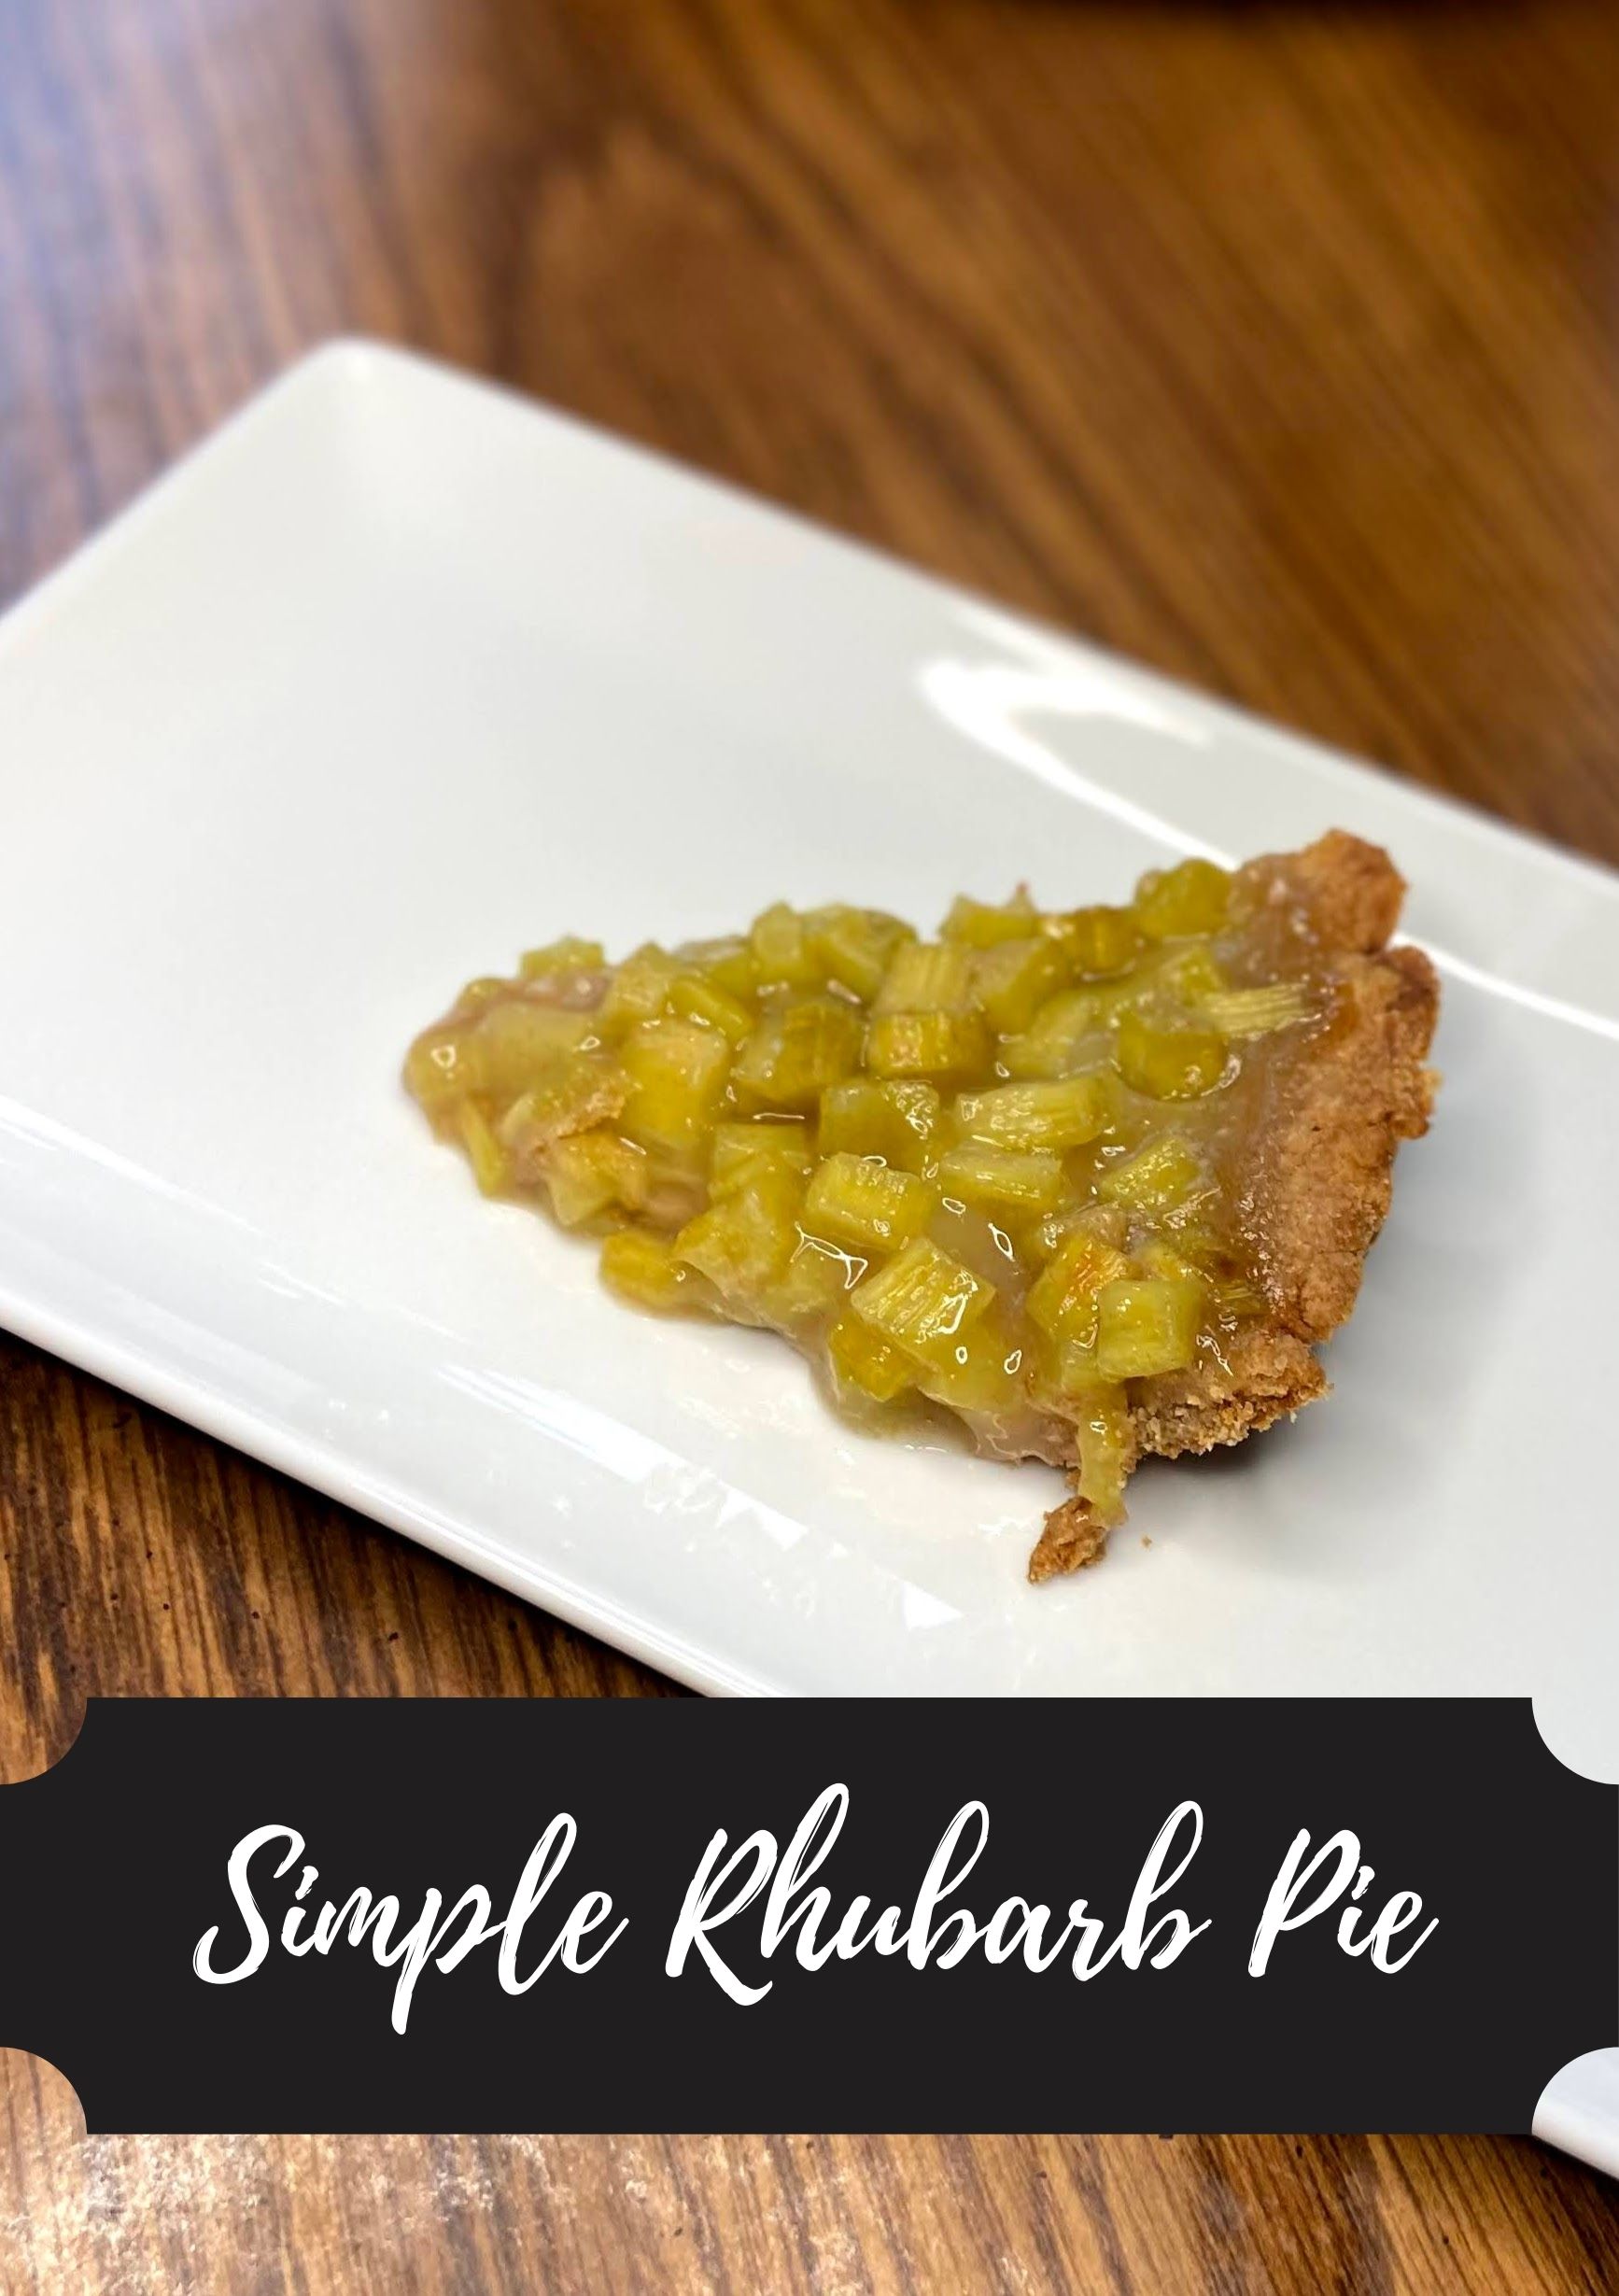
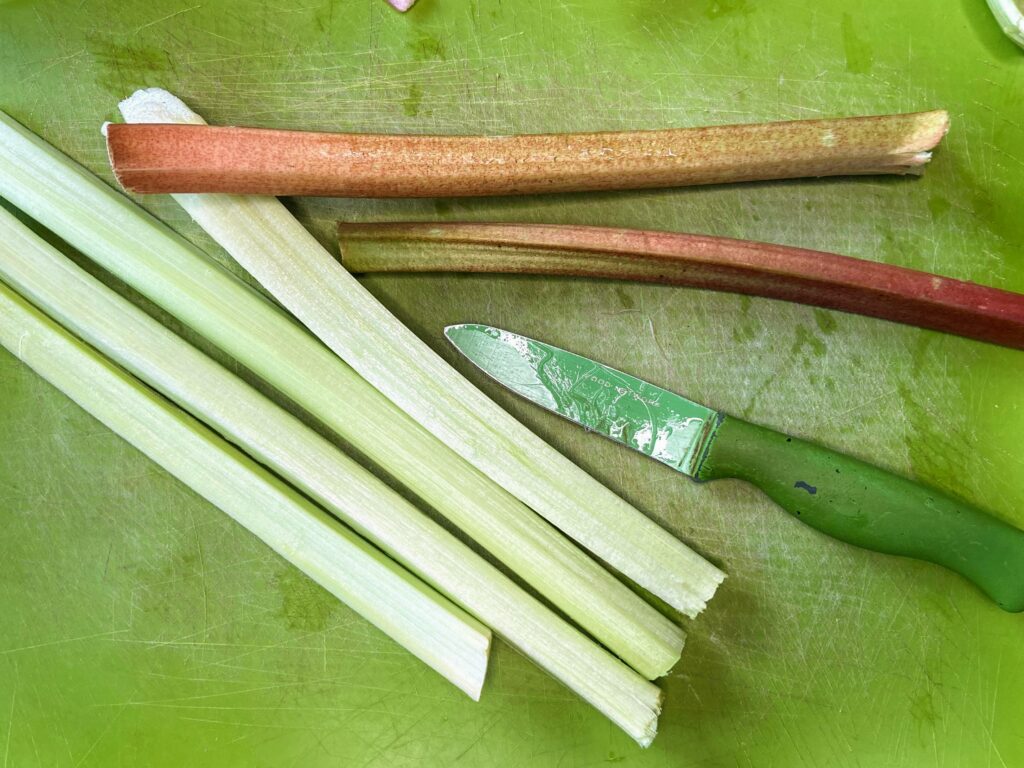
So it is May and the rhubarb is plentiful. Let’s put together a simple tart and delicious rhubarb pie everyone can enjoy! (And hey, if it isn’t May, you can always use frozen rhubarb too! Just thaw and drain it out first!)

Your Ingredients

For the crust: 

  • 1 ½ cups all purpose flour
  • ½ tablespoon sugar
  • 1 teaspoon salt
  • ½ cup oil of your choice
  • 2 tablespoons milk

For the filling: 

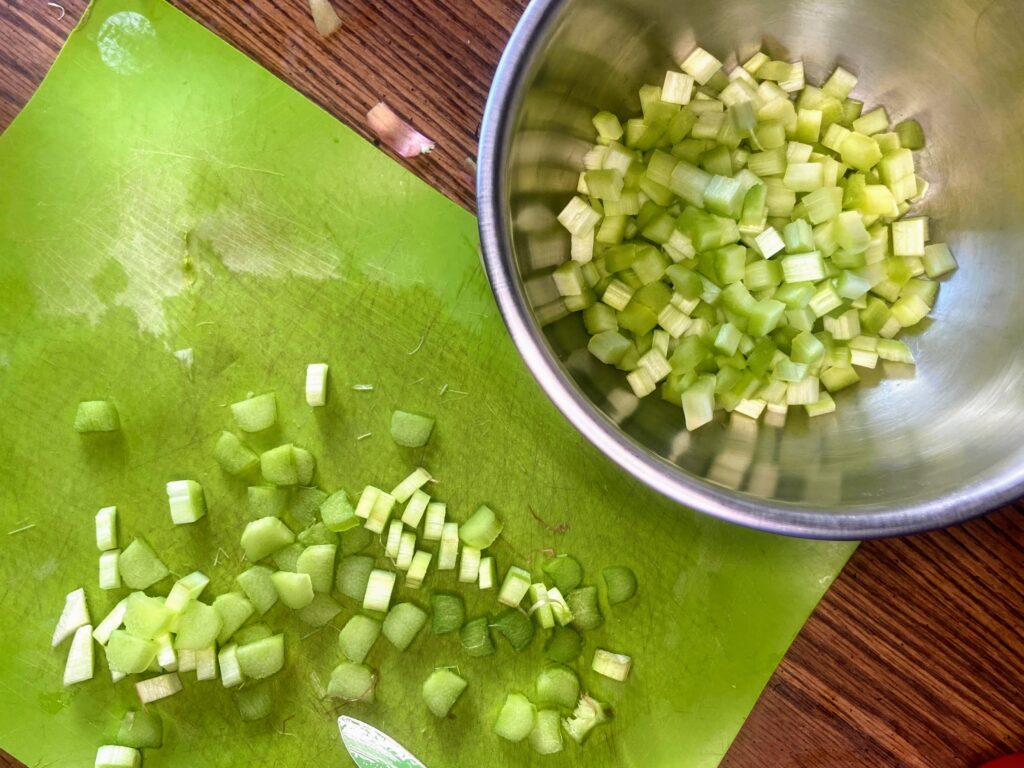
  • 4 cups diced rhubarb (fresh or frozen. If frozen, thaw and drain off ¾ of the liquid or so)
  • 1 ⅓ cups sugar
  • 6 tablespoons all purpose flour

Your Steps to Rhubarb Pie

Preheat the oven to 450 degrees. 

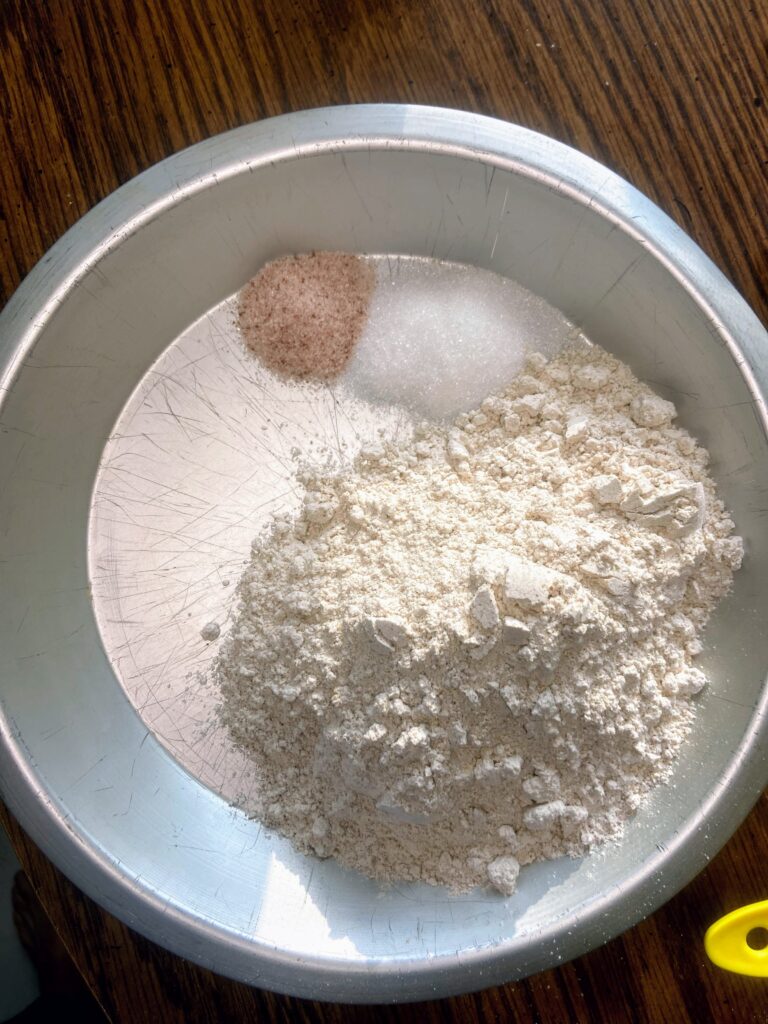
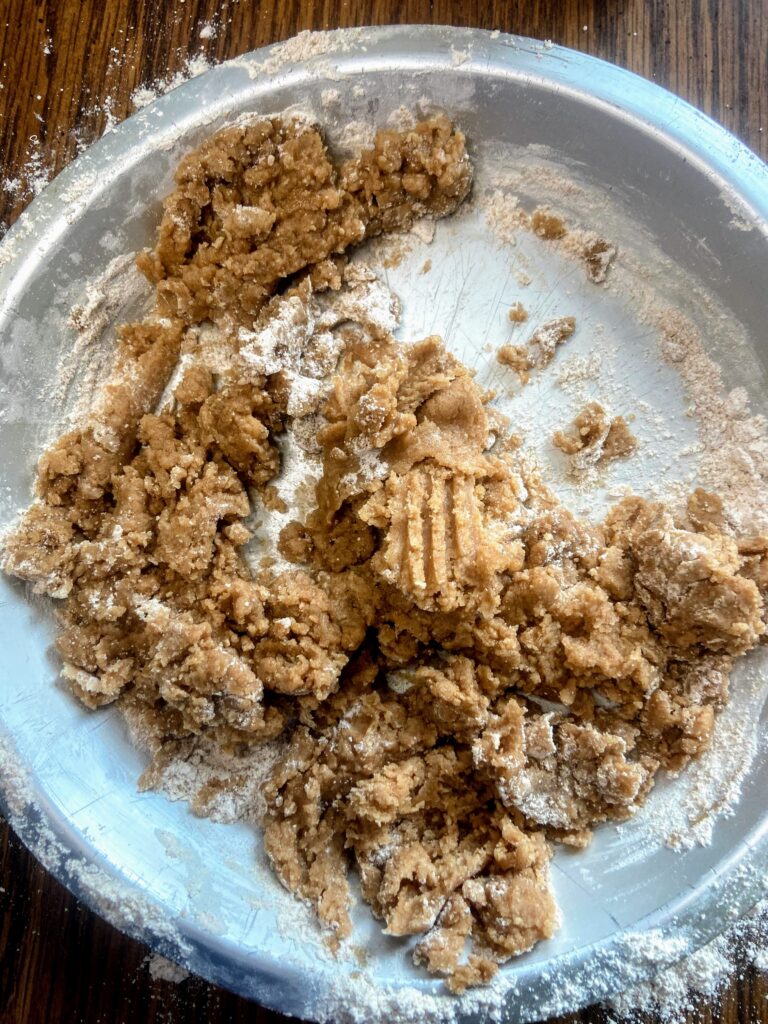
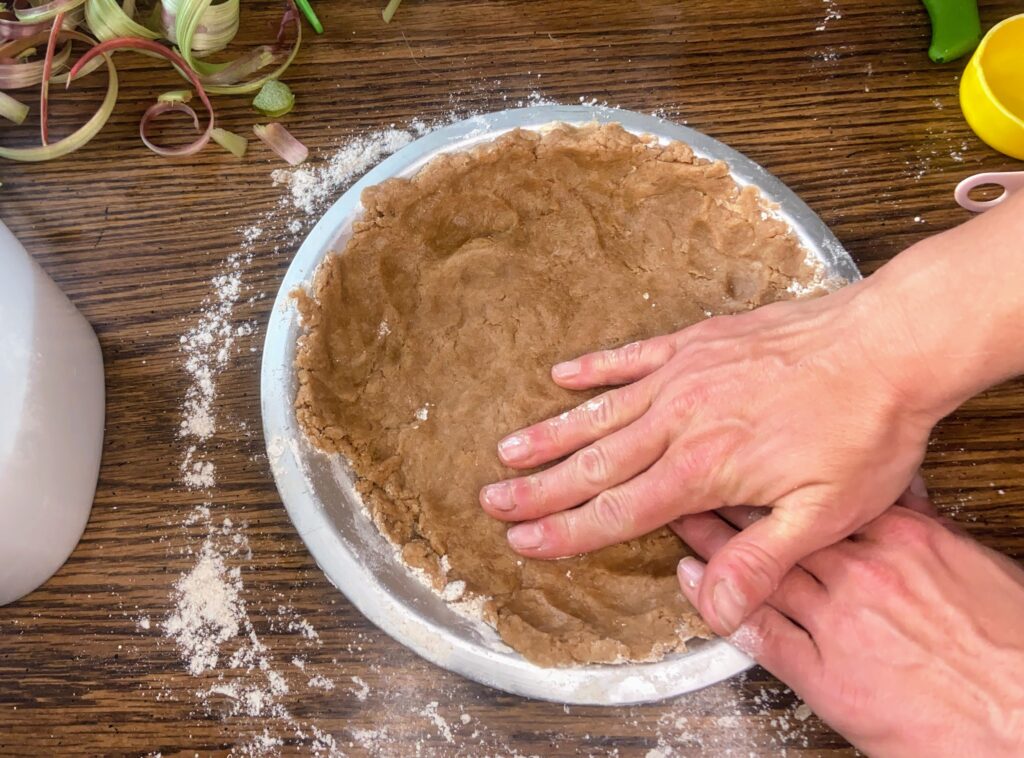
In your pie plate, combine the flour, sugar, and salt for the crust. Mix together with a fork. Add oil and milk and whisk until well combined. Press into the ungreased pie plate. (If you are worried you’ll be too messy whisking right in the pie plate, feel free to do this in a bowl first. My mother in law taught me to do mix right in the pie plate to avoid one more dish. Genius!) Note: The pie crust mix will be wet. That’s okay. 

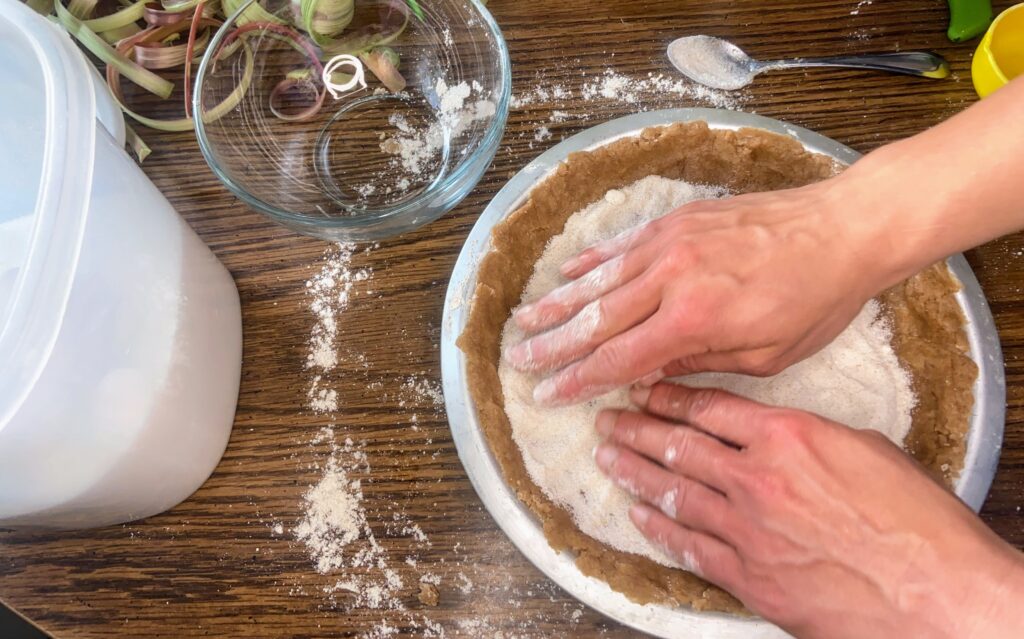
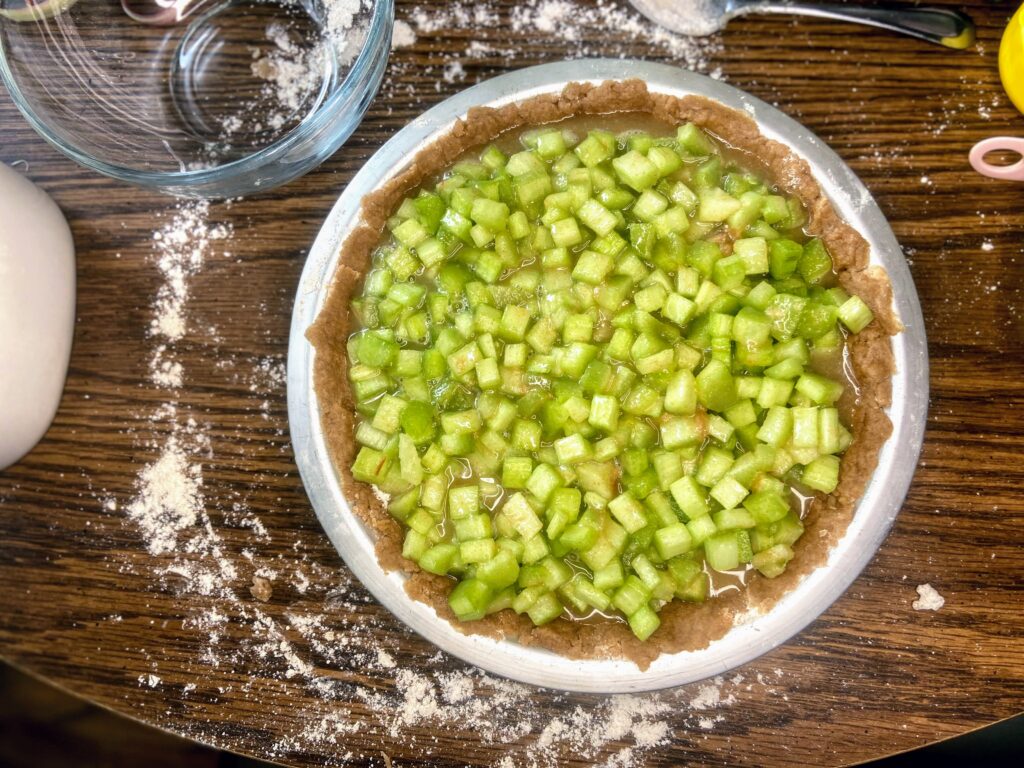
In a medium bowl, combine the flour and sugar for the filling. Sprinkle approximately ⅓ cup of the mixture onto the pie crust. Mix rhubarb into the remaining flour and sugar and pour onto the unbaked pie crust that has been topped with the flour/sugar mixture. 

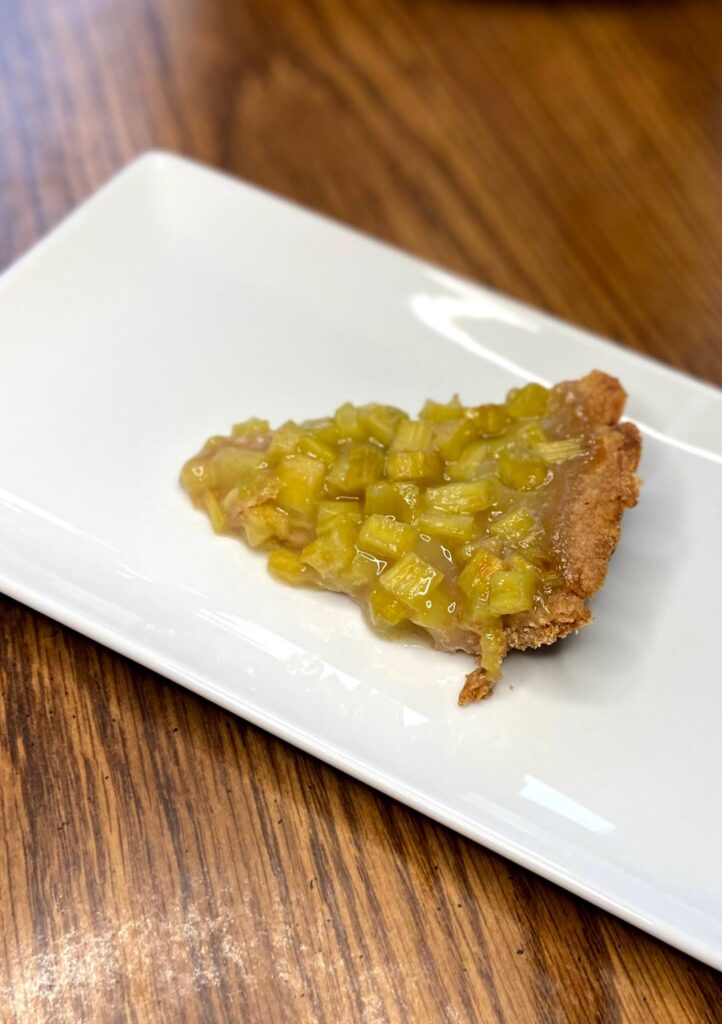
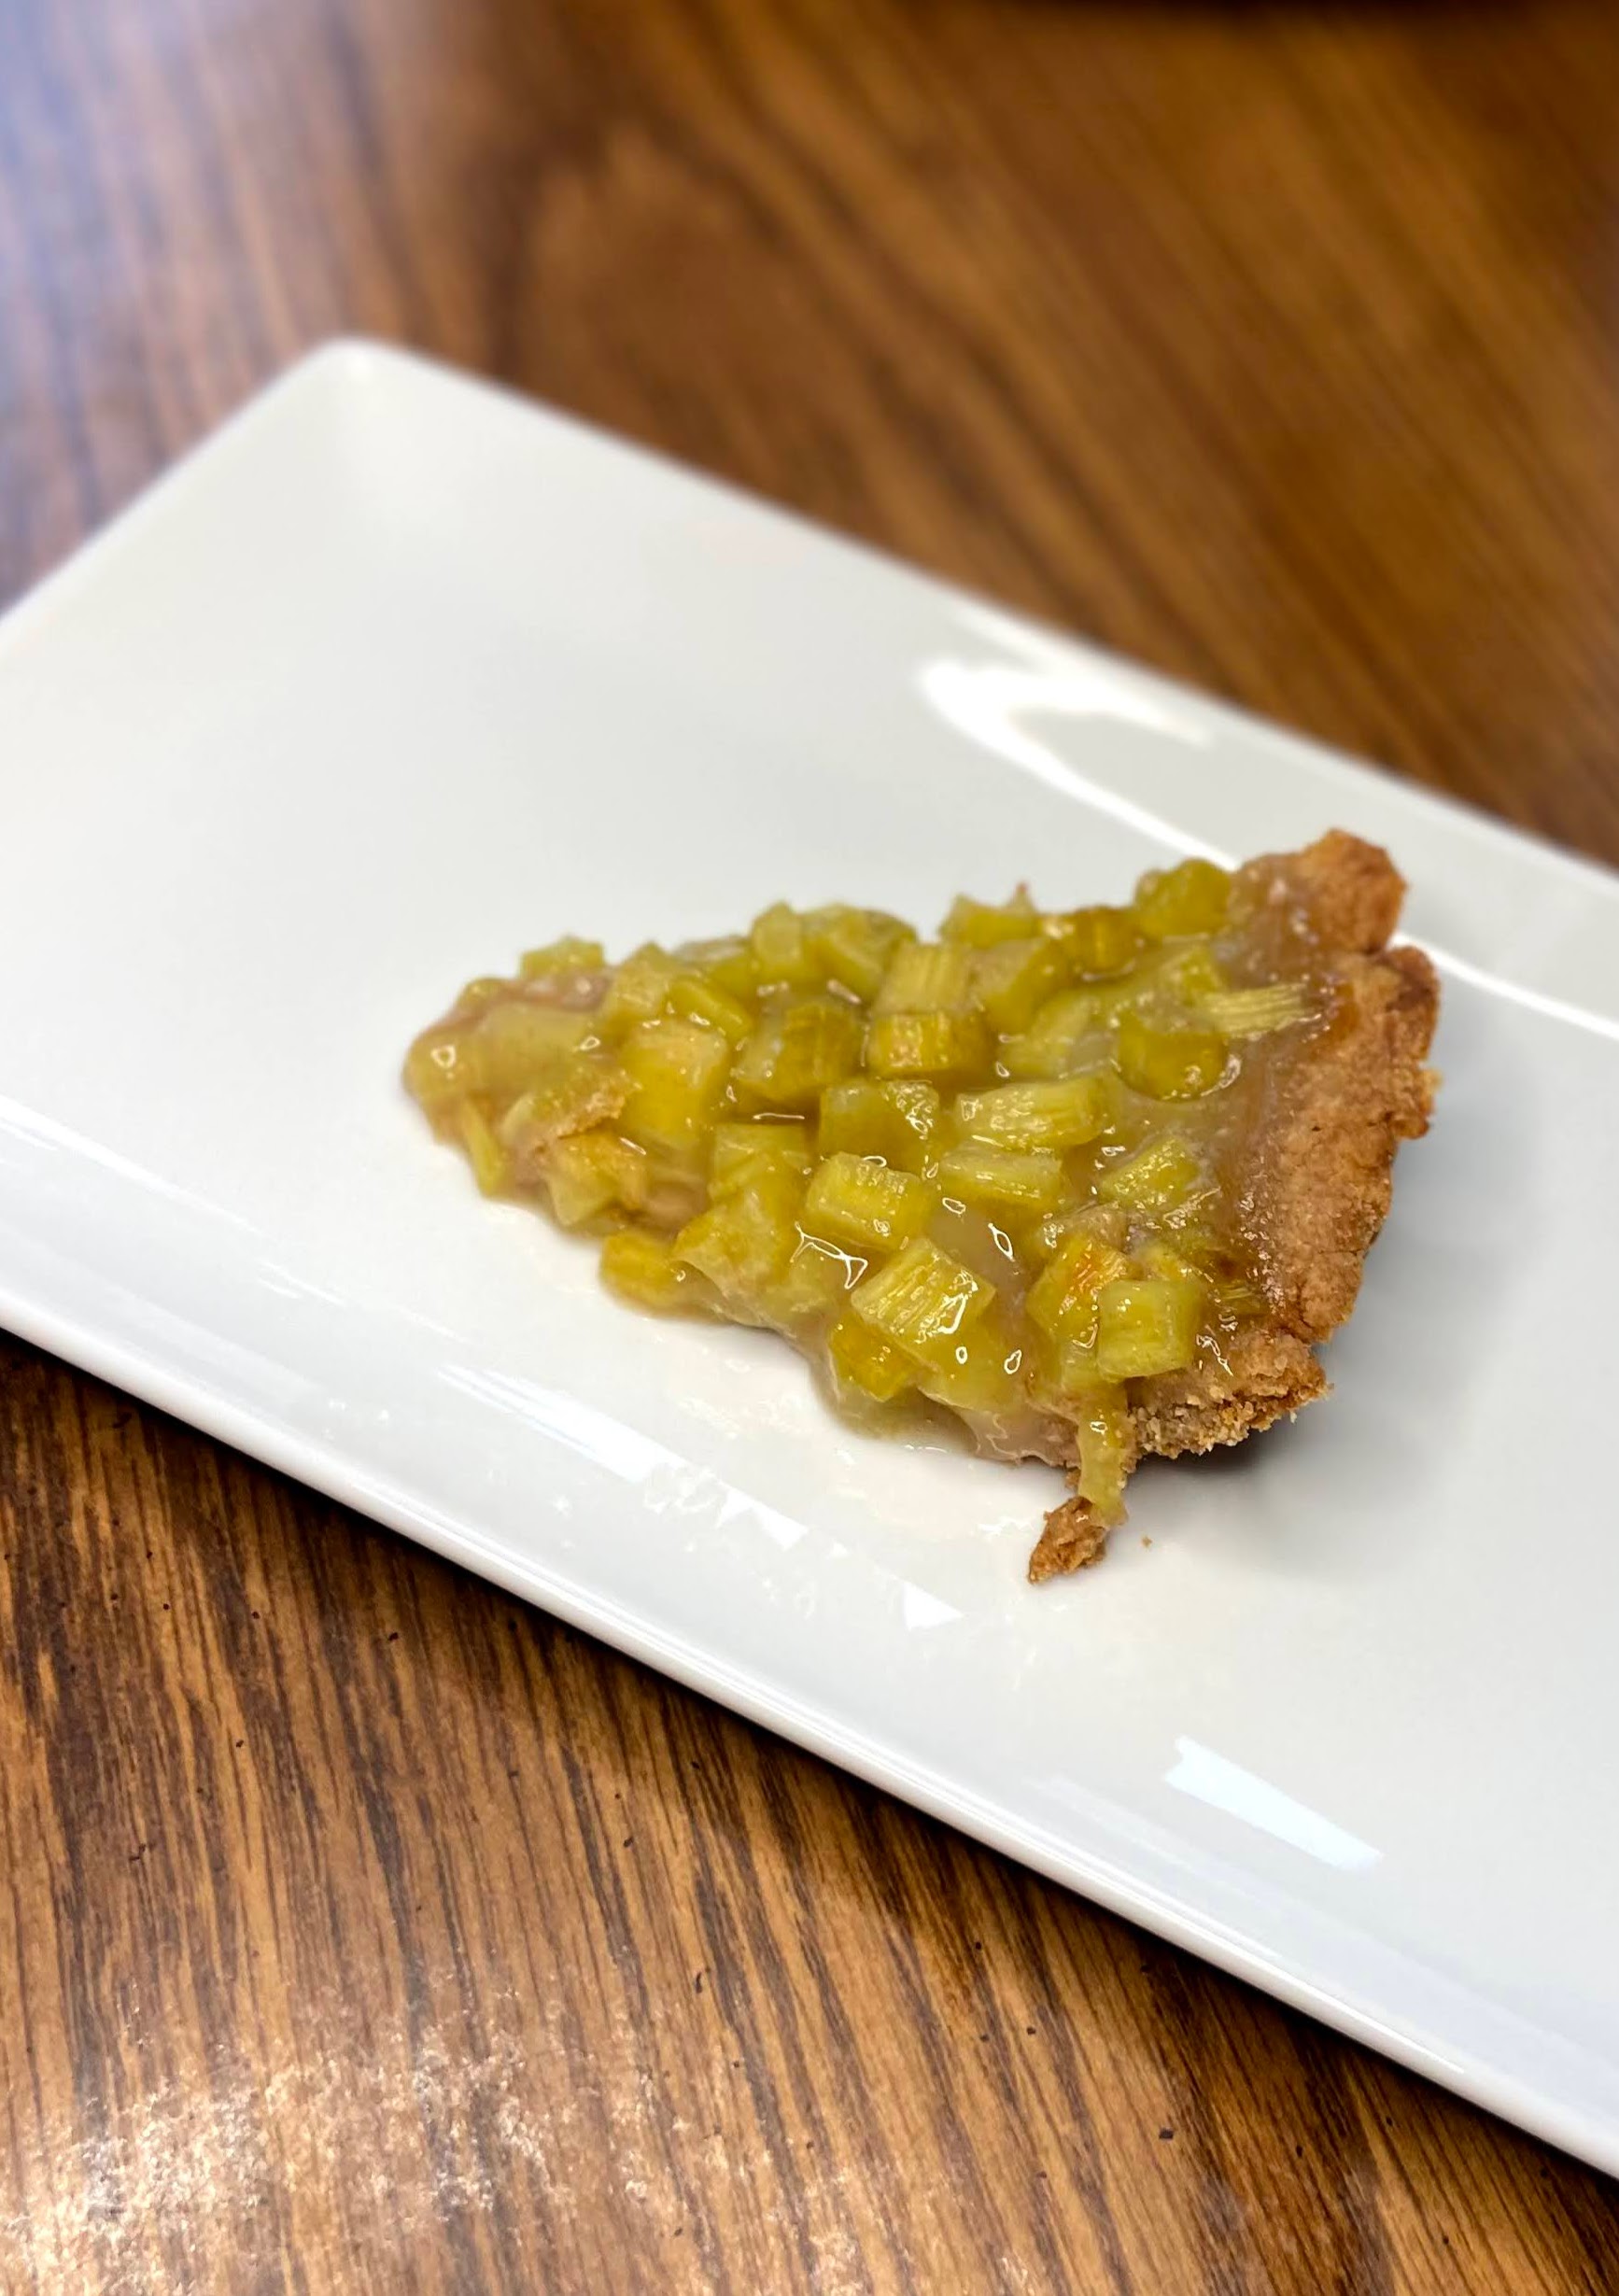
Bake for 15 minutes at 450 degrees. Then drop the temperature to 350 degrees and bake an additional 30-40 minutes, until the rhubarb has set. It will set more after you pull it from the oven as well. Enjoy straight away! 

Rhubarb Pie

Sweet and tart combine in this simple to put together rhubarb pie!
Prep Time 20 minutes
Cook Time 50 minutes
Course Dessert
Cuisine American
Servings 8

Ingredients
  

For the Crust:

  • 1 ½ cups all purpose flour
  • ½ tablespoon sugar
  • 1 teaspoon salt
  • ½ cup oil of your choice
  • 2 tablespoons milk

For the filling:

  • 4 cups diced rhubarb fresh or frozen. If frozen, thaw and drain off ¾ of the liquid or so
  • 1 ⅓ cups sugar
  • 6 tablespoons all purpose flour

Instructions
 

  • Preheat the oven to 450 degrees.
  • In your pie plate, combine the flour, sugar, and salt for the crust. Mix together with a fork.
  • Add oil and milk and whisk until well combined. Press into the ungreased pie plate.
  • The pie crust mix will be wet. That’s okay.
  • In a medium bowl, combine the flour and sugar for the filling.
  • Sprinkle approximately ⅓ cup of the mixture onto the pie crust.
  • Mix rhubarb into the remaining flour and sugar and pour onto the unbaked pie crust that has been topped with the flour/sugar mixture.
  • Bake for 15 minutes at 450 degrees. Then drop the temperature to 350 degrees and bake an additional 30-40 minutes, until the rhubarb has set. It will set more after you pull it from the oven as well.
Keyword pie, Rhubarb, rhubarb pie
Tried this recipe?Let us know how it was!

Looking for some other great rhubarb treats?

Check out some of the posts below~

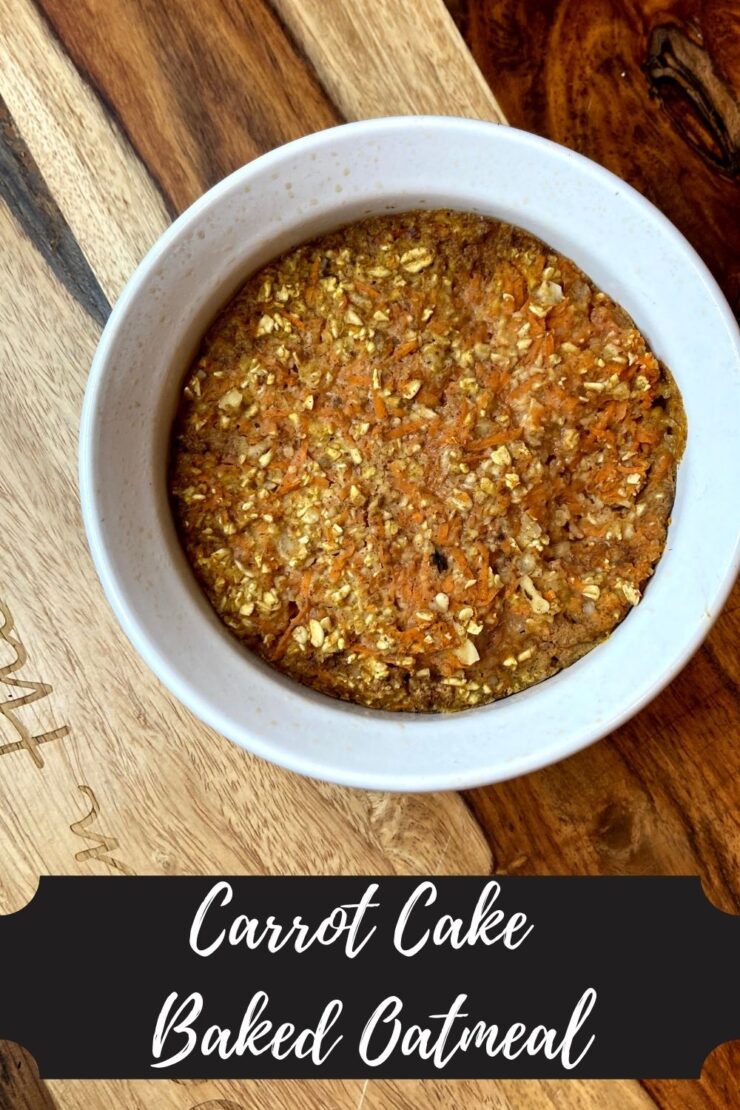
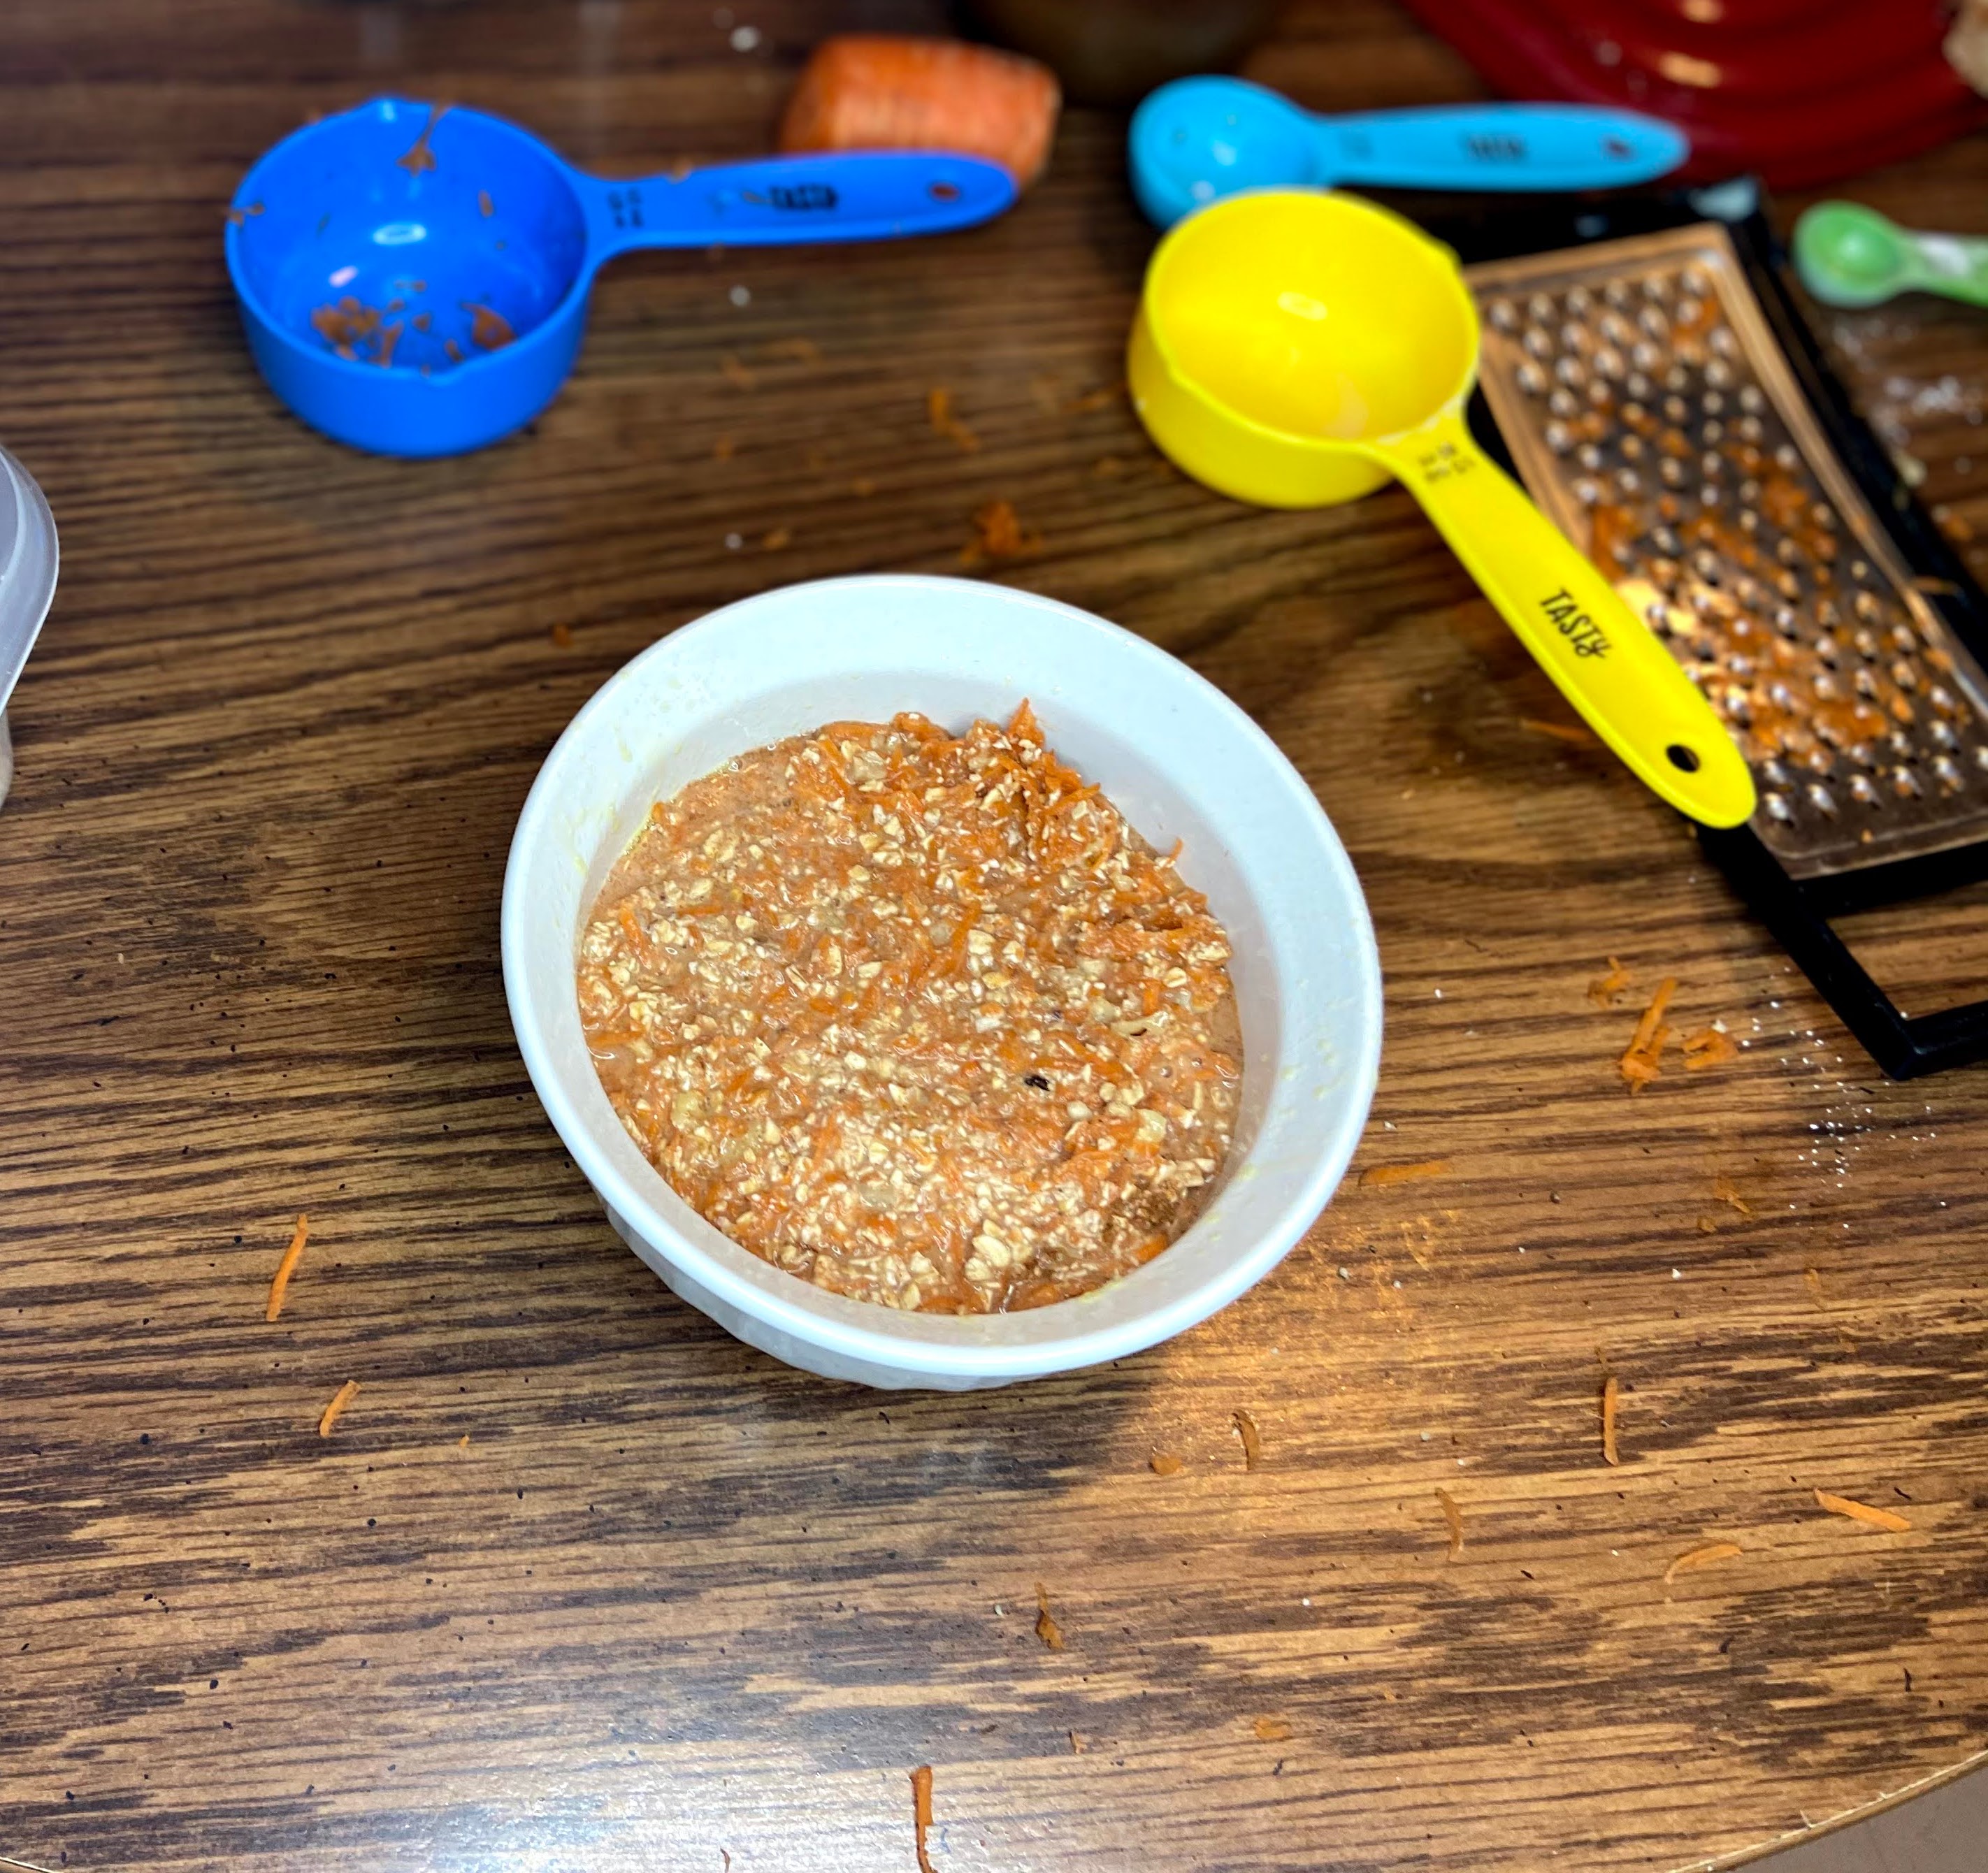
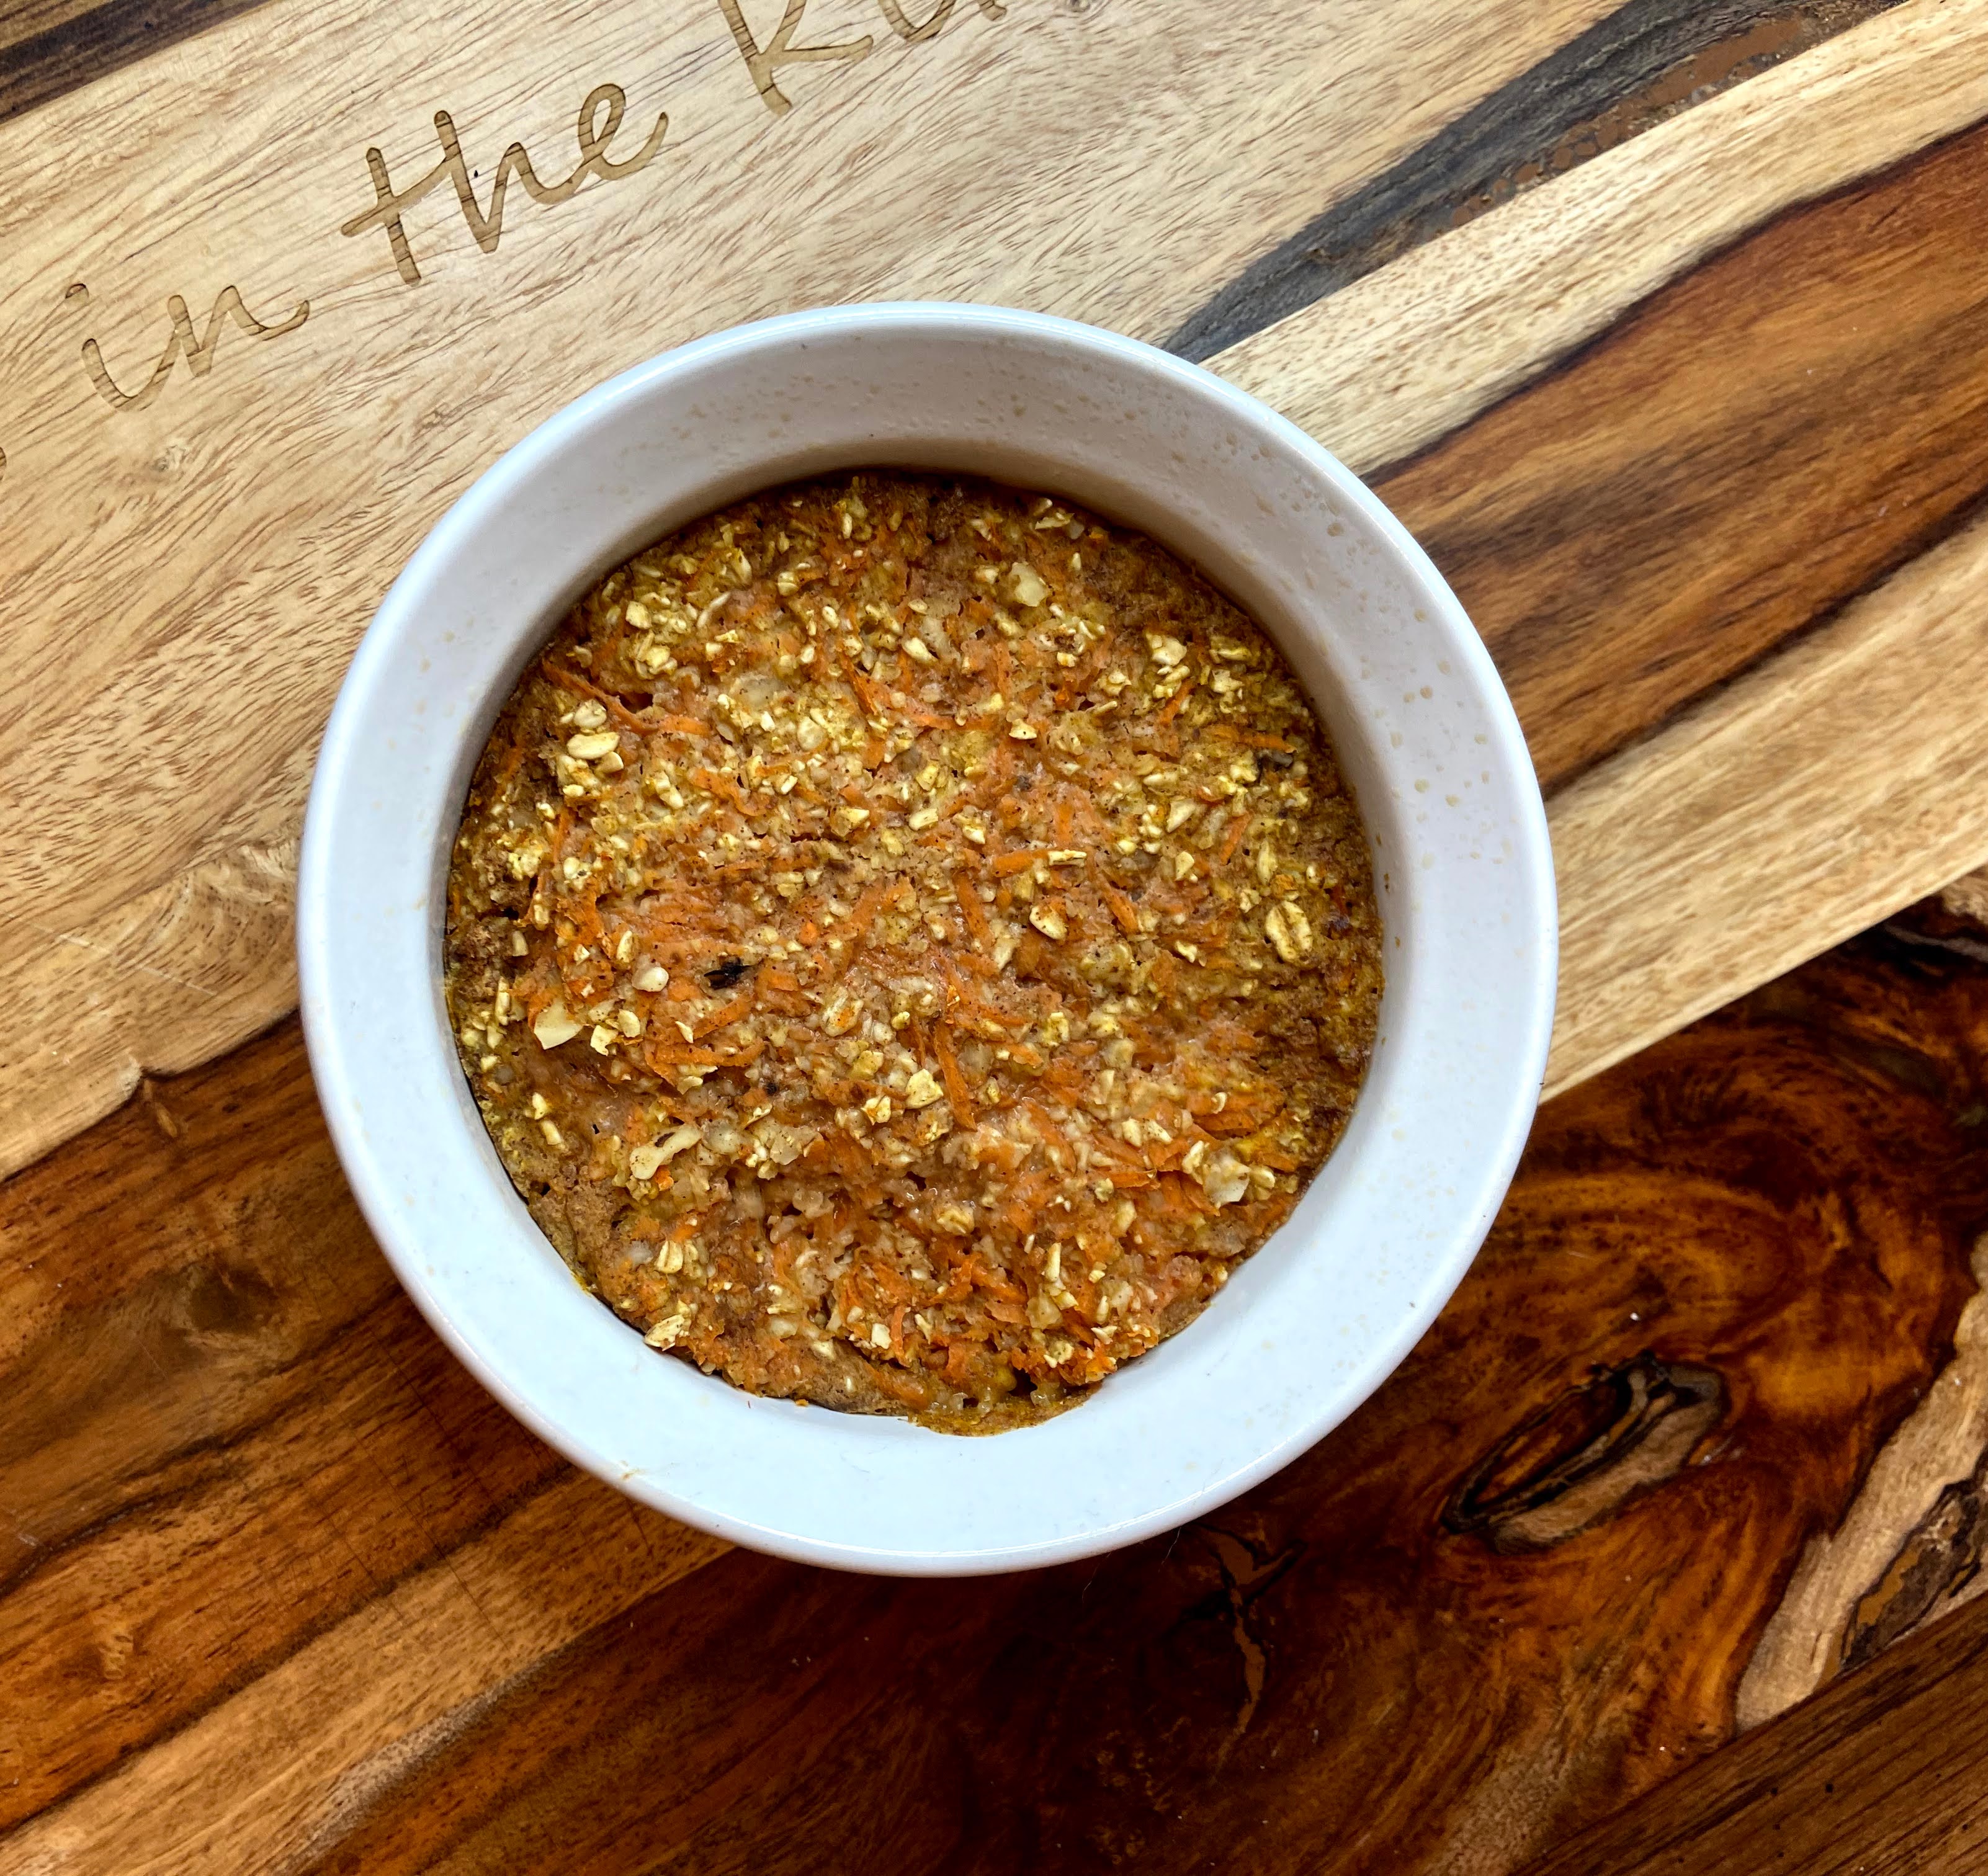
Carrot Cake Baked Oatmeal

I am back with another baked oatmeal recipe: carrot cake baked oatmeal! After I tried my first baked oatmeal recipe, I was itching to try another. I generally say that I don’t love breakfast. I have a few stand by things I eat and that’s it. When I ate at McDonald’s, I used to be so annoyed when I got there 20 minutes before their breakfast menu switched to lunch and I had to get breakfast. Now, I still don’t dig breakfast, but I am starting to branch out and discover new, healthy meals!

In a recent post, I talked about my favorite things: cooking from scratch, using what is on hand, and finally, inserting vegetables whenever I can. Which I did here, but we will call it a cake to trick our brains, right? 🙂 

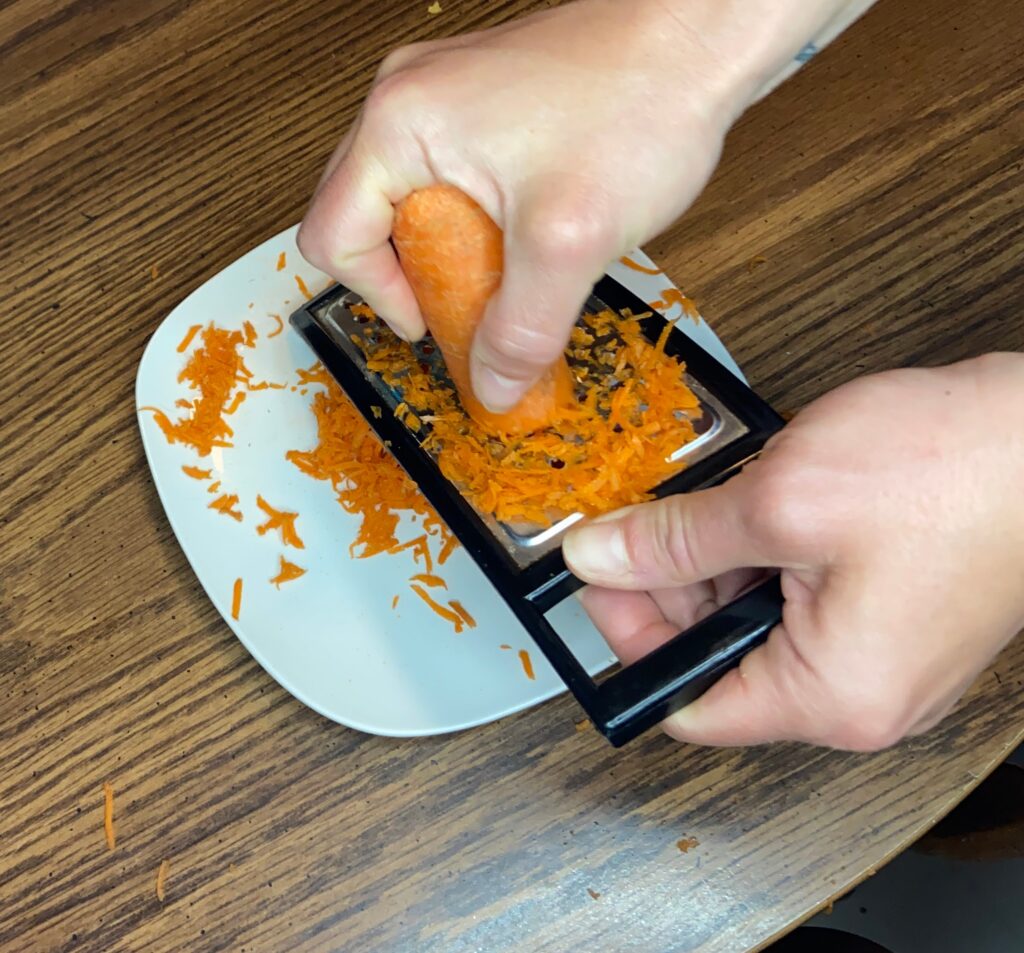
Rather than buy oat flour, I made my own using my food processor. It’s so simple my friends. Just put some old fashioned oats into your processor and hit blend until your texture is very coarse flour (I use my Kitchen Aid 7 Cup and it’s grand!). I poured a few cups of oats into my mixture, ground them up, and stored them in an air tight container. 

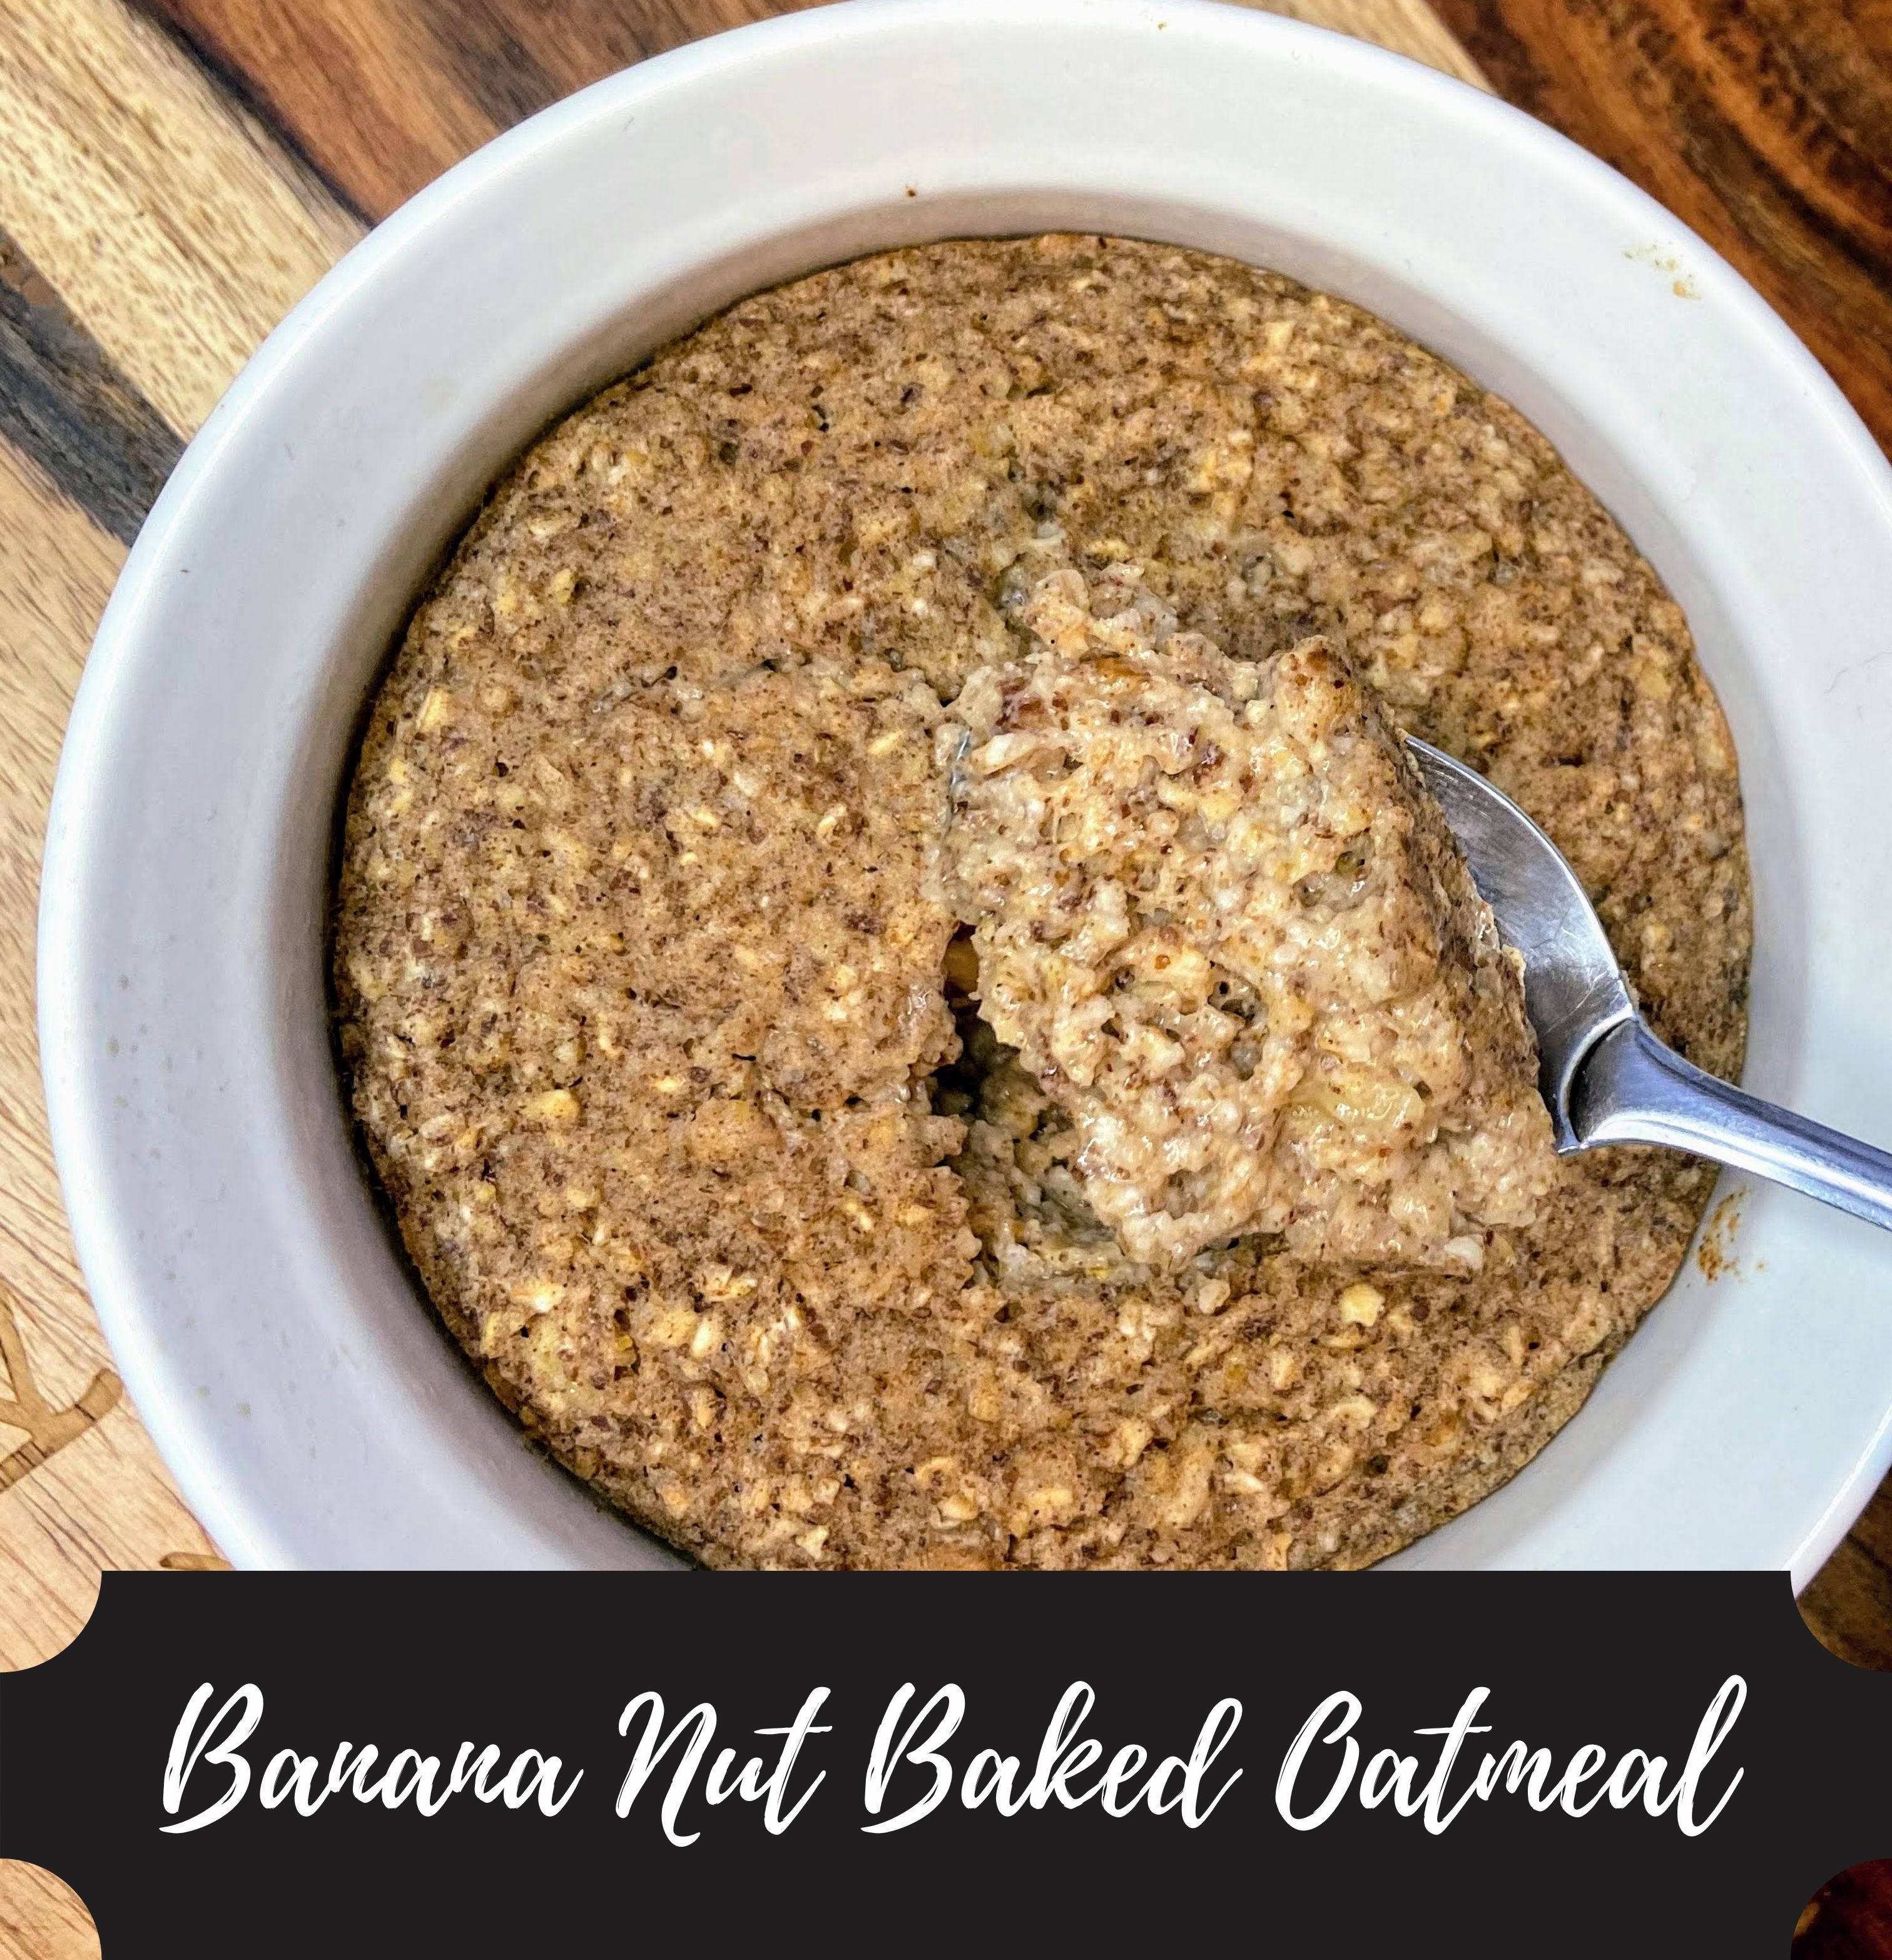
I have a few other recipes that call for ground oats like these simple energy balls, banana nut baked oatmeal, and this great banana bread, so having some on hand isn’t a bad idea. 

Ready to get mixing and baking? I hope so! Let’s make some carrot cake baked oatmeal!

Your Ingredients for Carrot Cake Baked Oatmeal 

  • ⅓ to ½ cup grated carrot 
  • ⅓ cup oat flour
  • 1 tablespoon maple syrup 
  • ½ teaspoon cinnamon
  • ½ teaspoon baking powder
  • 2 tablespoons chopped walnuts
  • ⅓ cup unsweetened almond milk 
  • ⅛-¼ teaspoon vanilla extract, optional 

Your Steps to Banana Nut Baked Oatmeal 

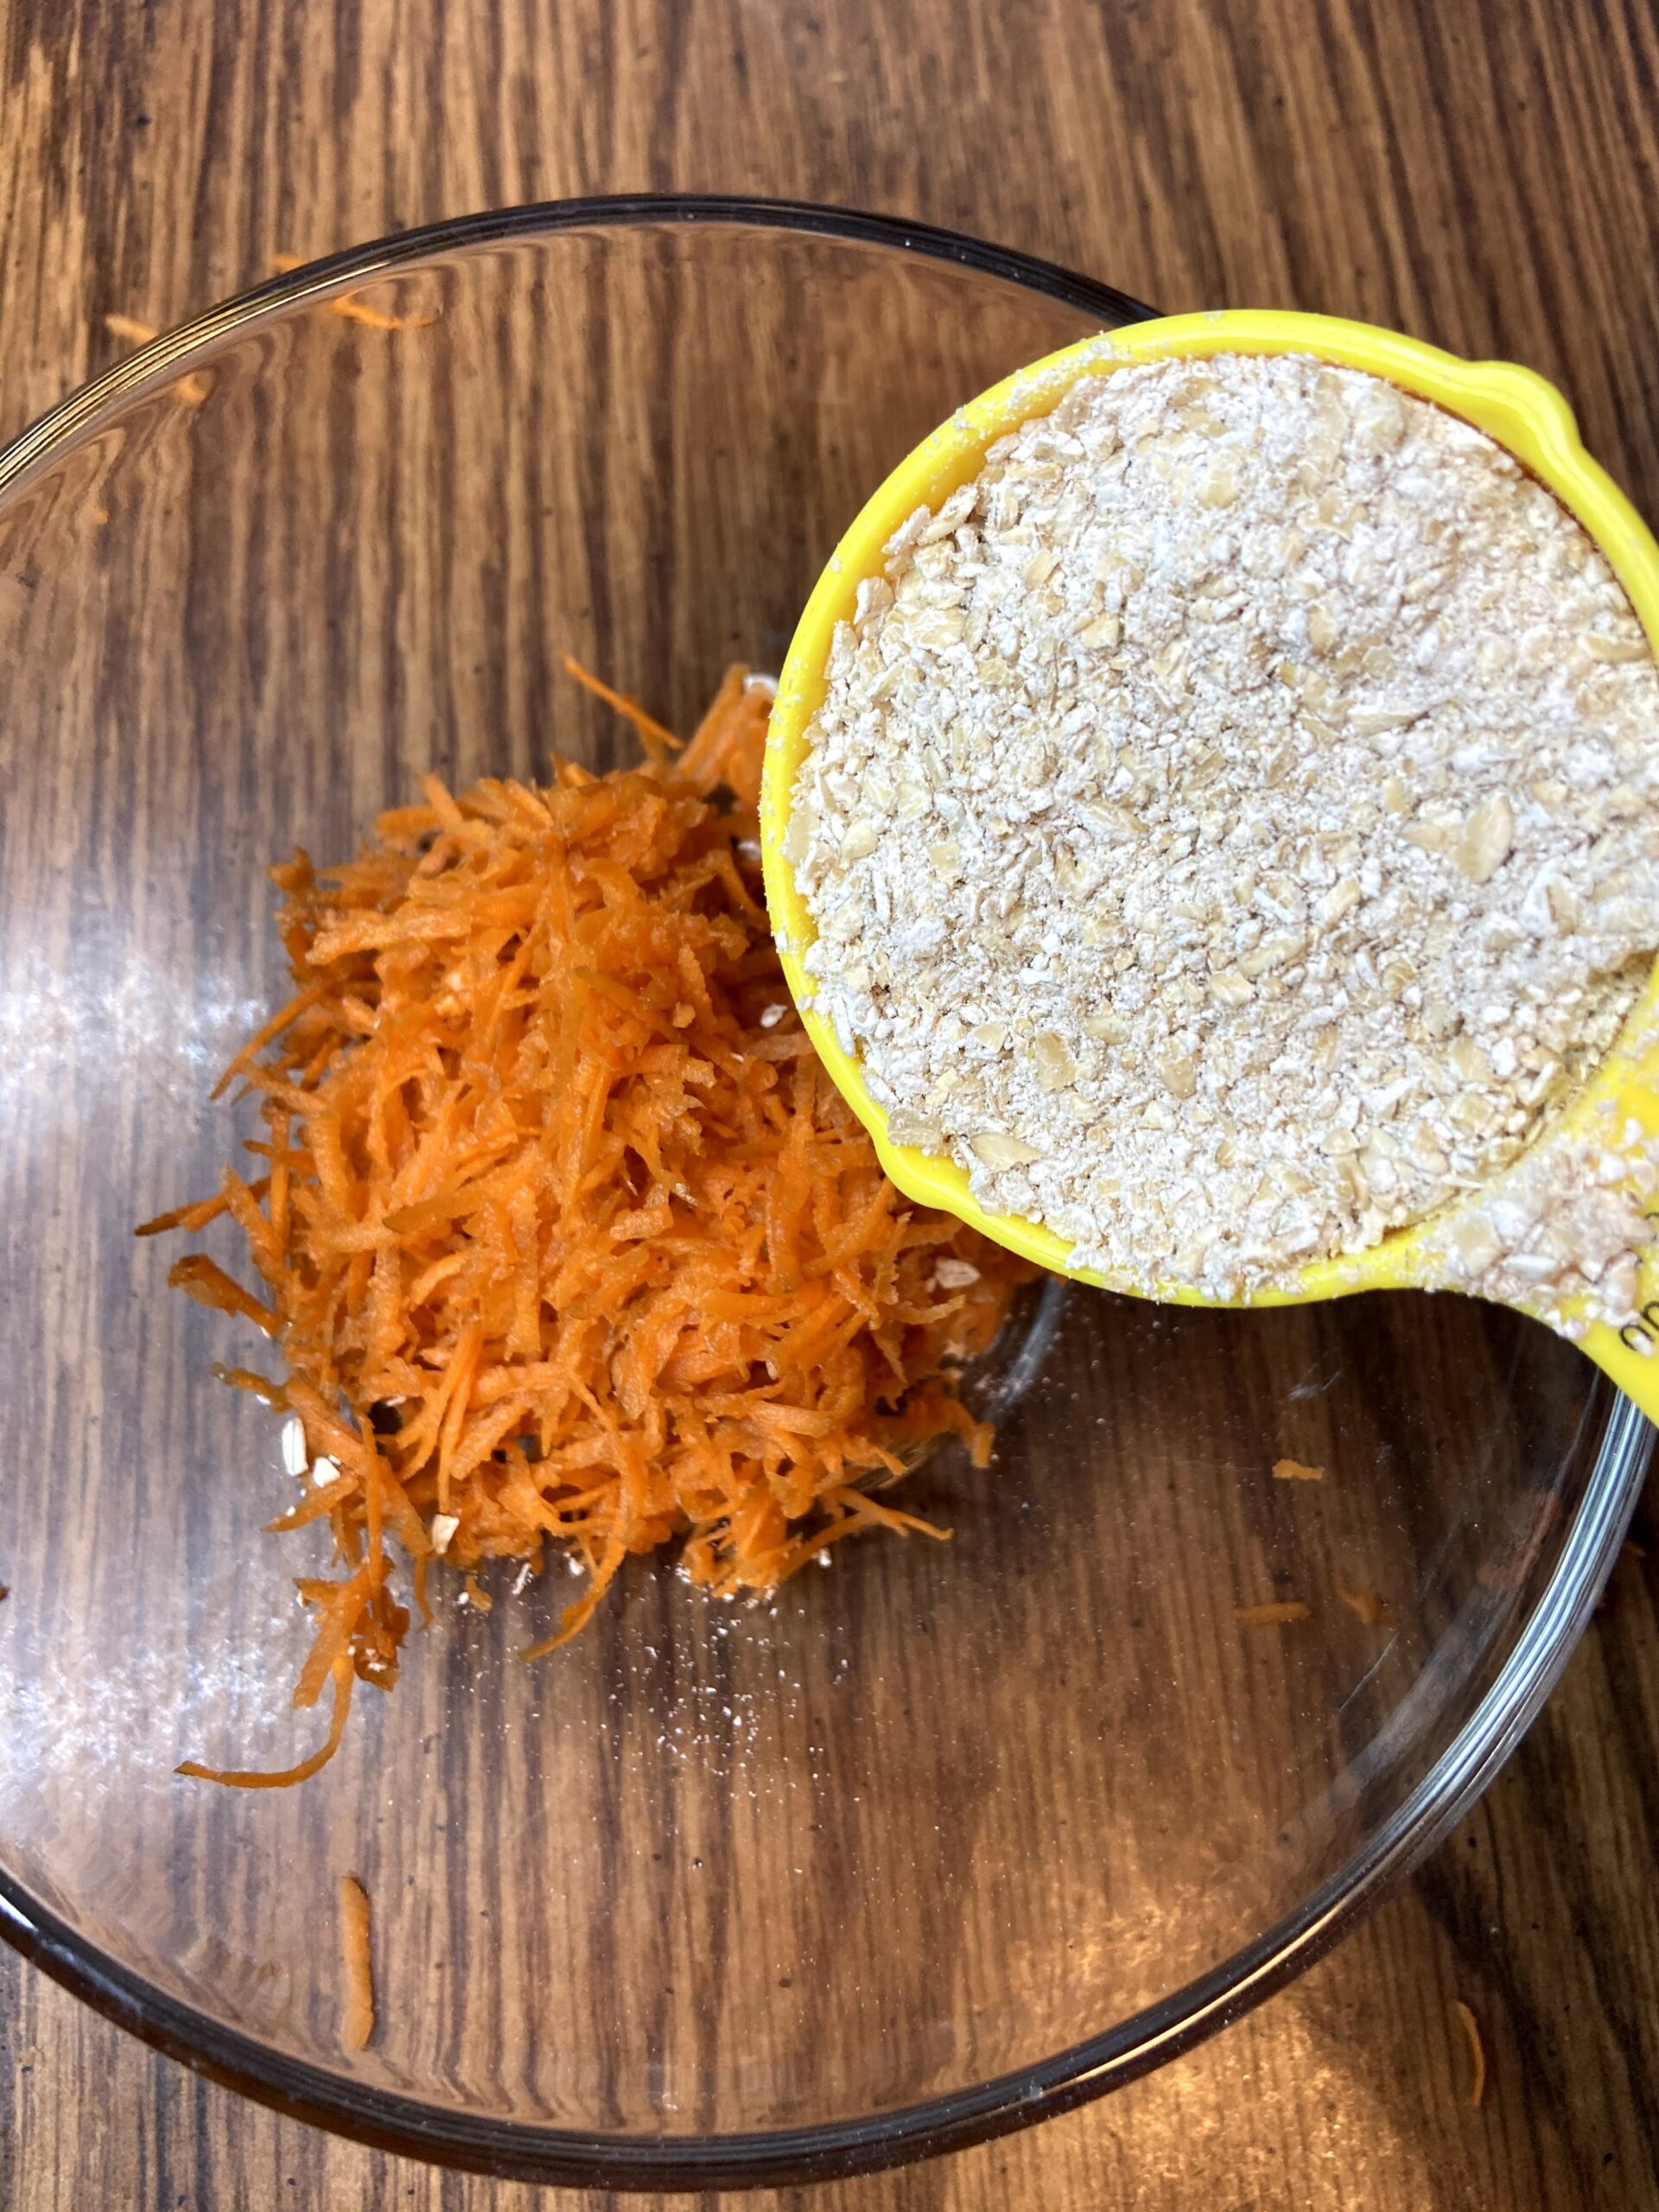
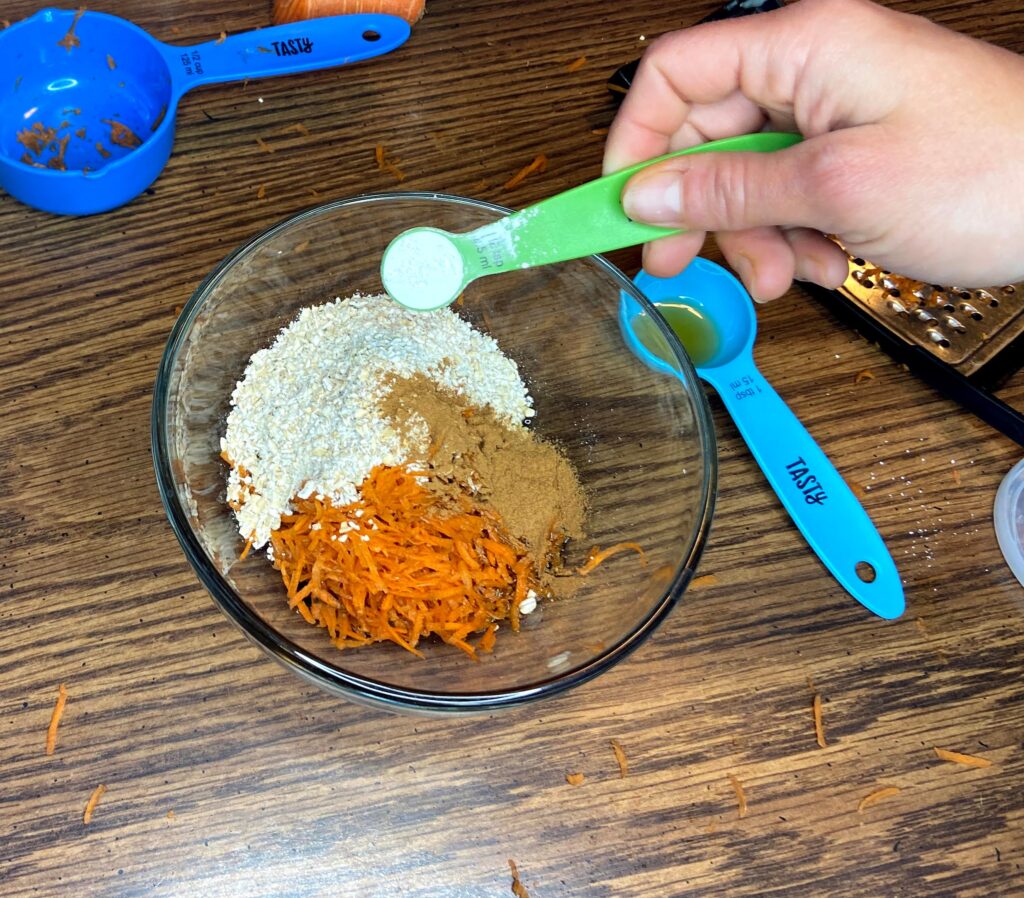
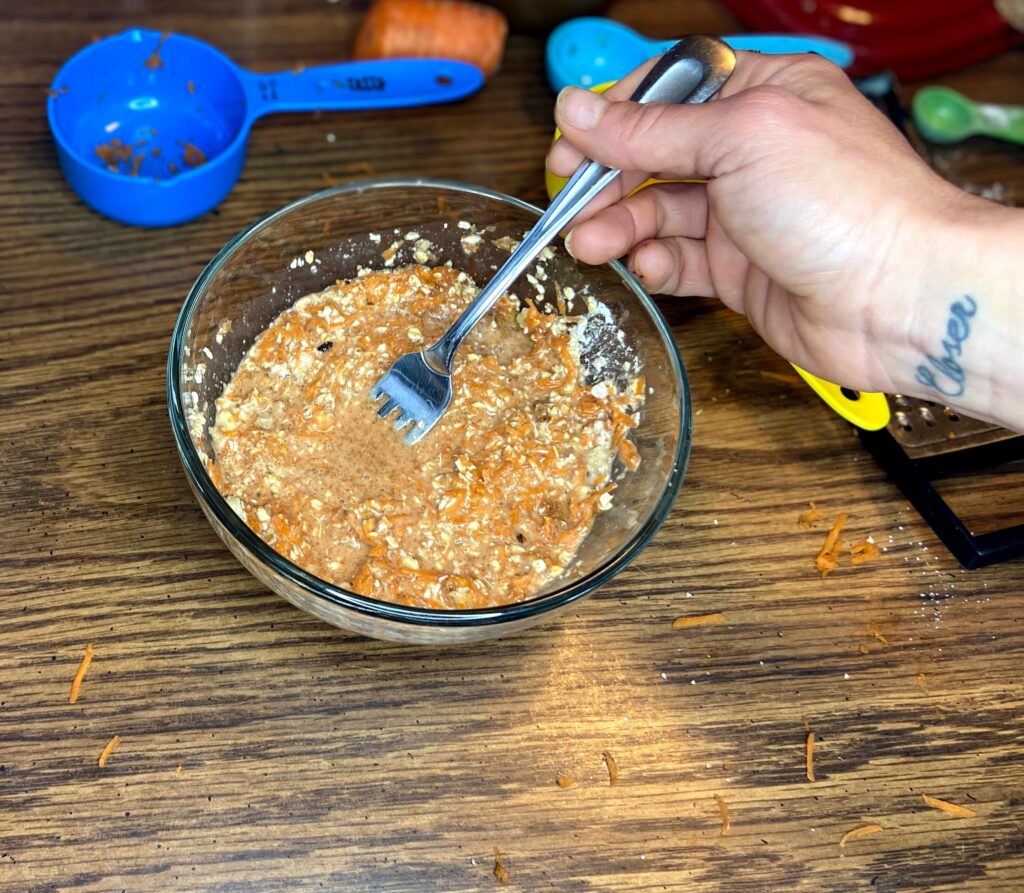
Preheat the oven to 375 degrees. Grease a ramekin with non-stick cooking spray. Combine all ingredients in a small bowl, mixing until well combined. Pour into greased ramekin. Bake on the middle shelf for 15-20 minutes, depending on the texture you want your oatmeal to be. I like it to feel more like a bread than goo-ey, so I shoot for the 20 minute mark. 

Carrot Cake Baked Oatmeal

Cake and vegetables for breakfast?! Why not?
Course Breakfast
Cuisine American
Servings 1

Ingredients
  

  • ⅓ to ½ cup grated carrot
  • cup oat flour
  • 1 tablespoon maple syrup
  • ½ teaspoon cinnamon
  • ½ teaspoon baking powder
  • 2 tablespoons chopped walnuts
  • cup unsweetened almond milk
  • ⅛-¼ teaspoon vanilla extract optional

Instructions
 

  • Preheat the oven to 375 degrees. Grease a ramekin with non-stick cooking spray.
  • Combine all ingredients in a small bowl, mixing until well combined.
  • Pour into greased ramekin. Bake on the middle shelf for 15-20 minutes, depending on your texture preference.
Keyword baked oatmeal, Breakfast, carrot, carrot cake
Tried this recipe?Let us know how it was!

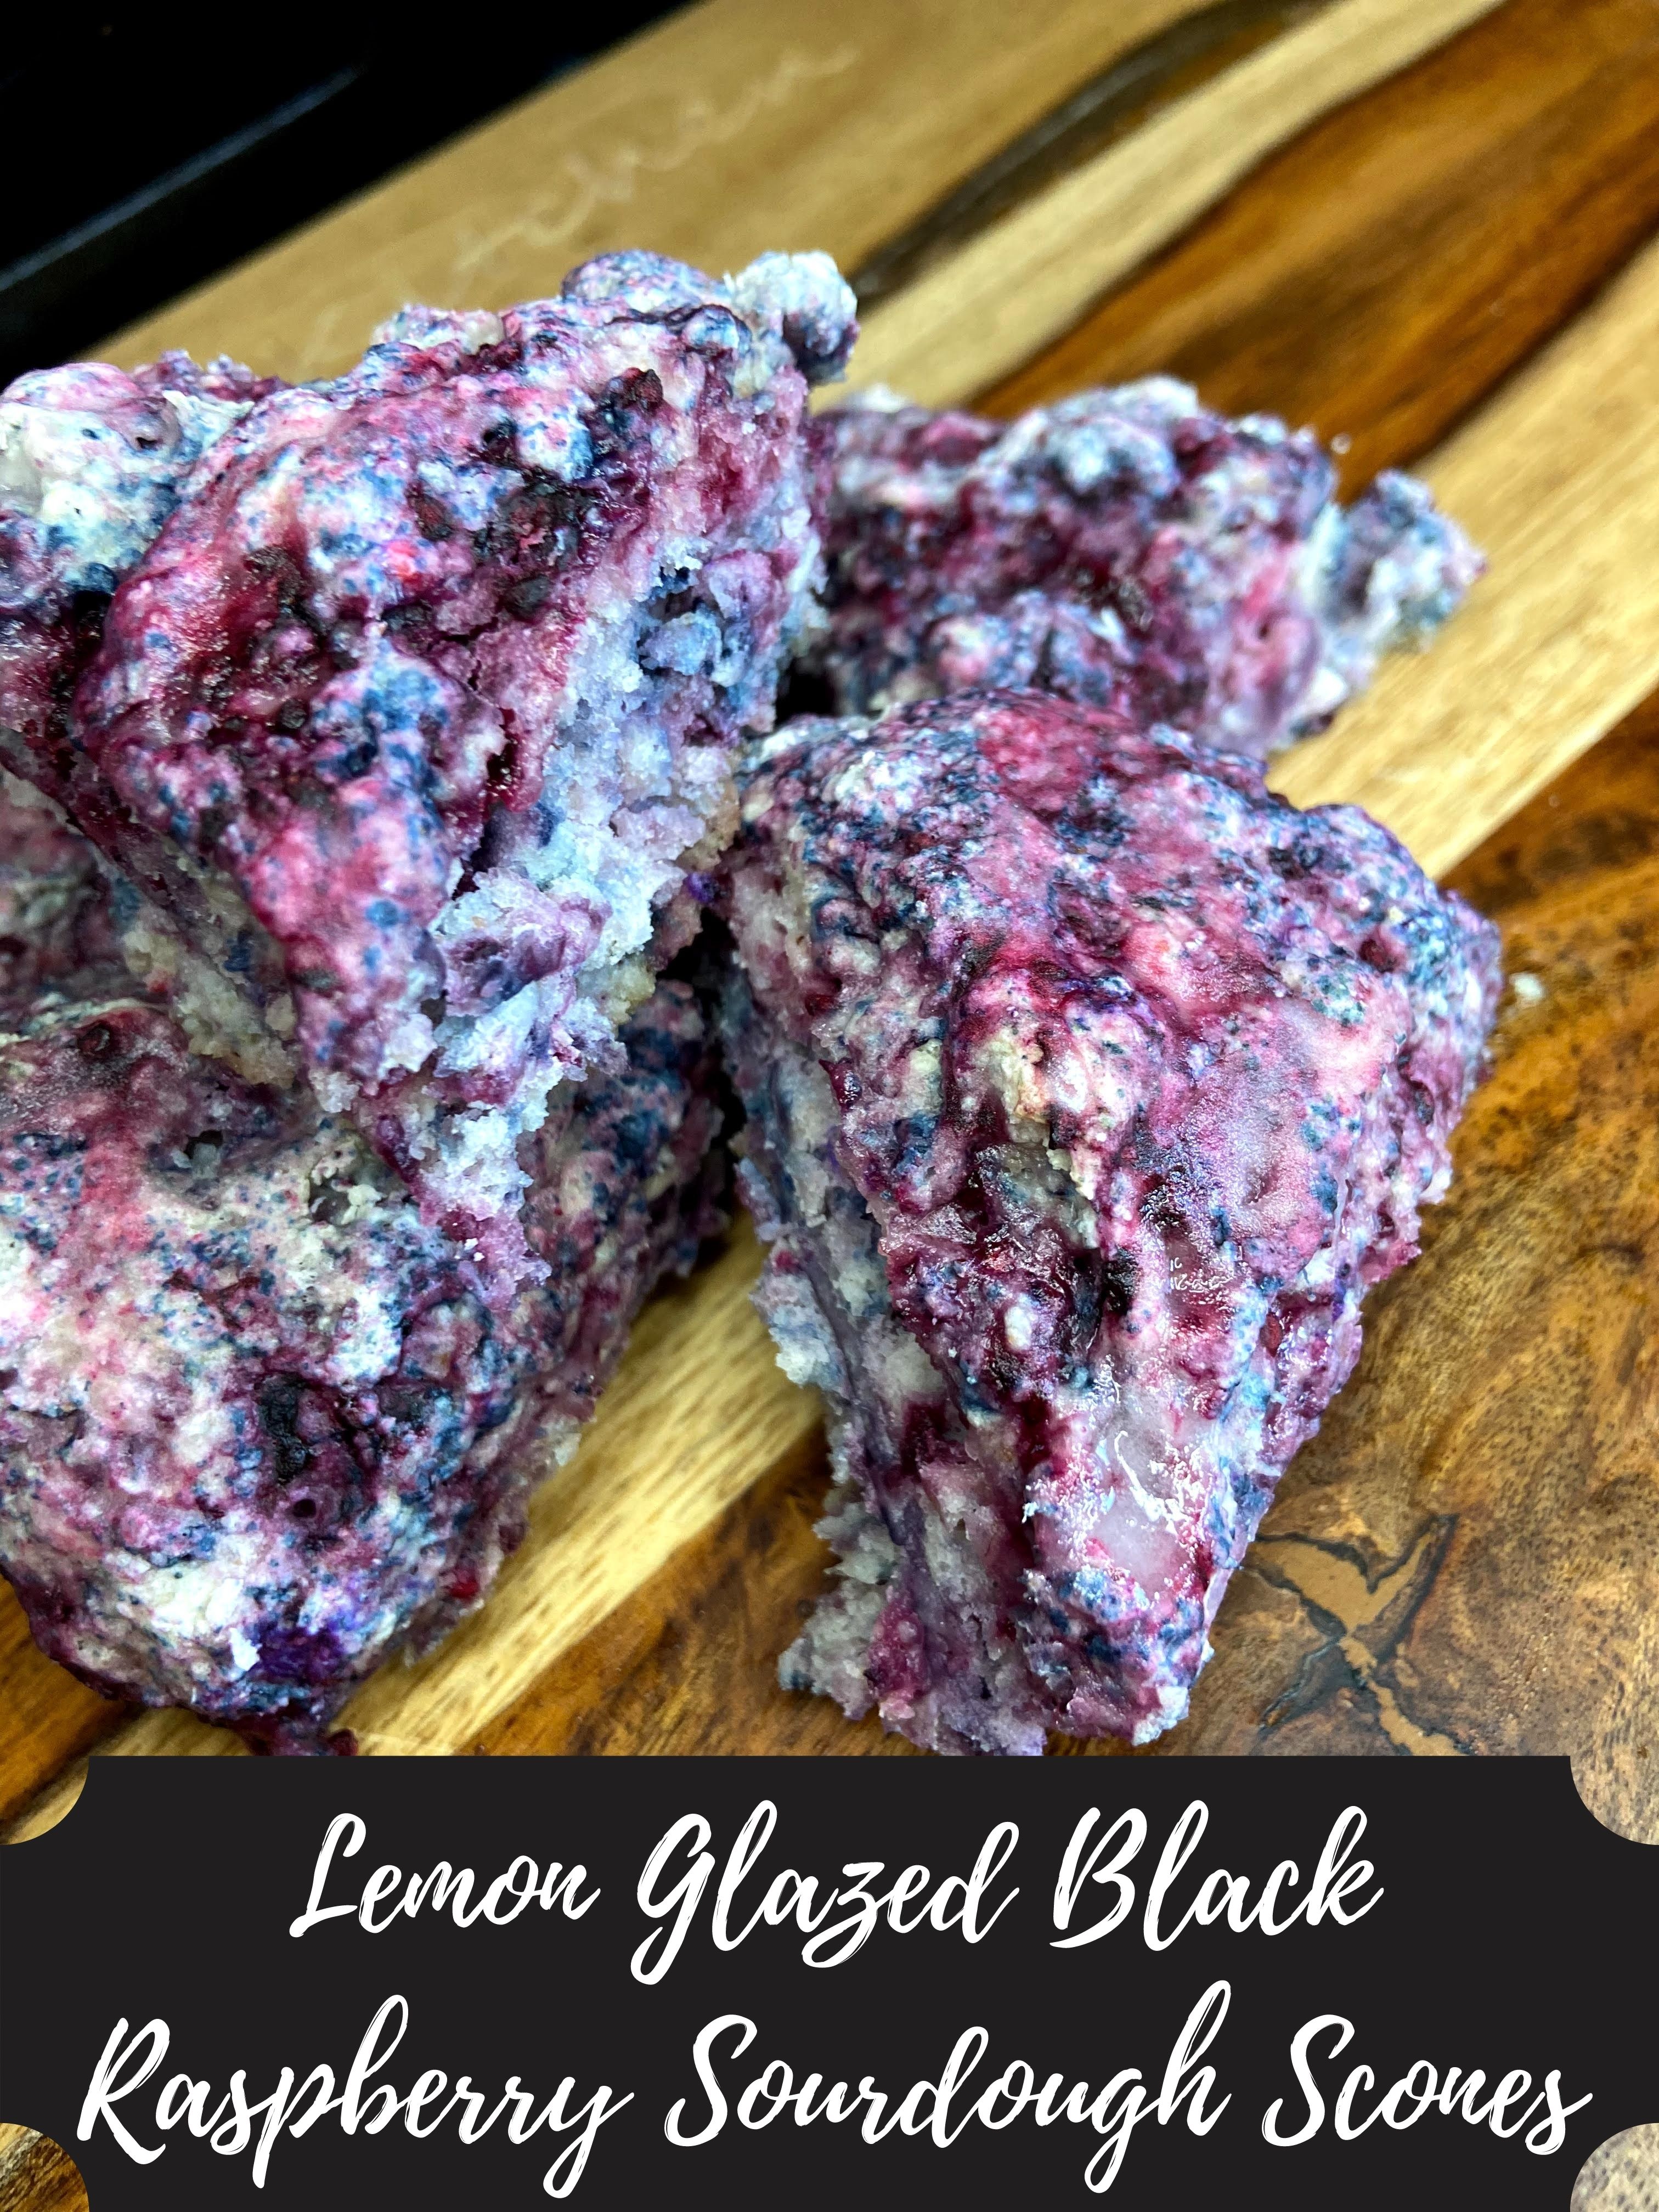
Lemon Glazed Black Raspberry Scones (Sourdough!)

“The best scones you’ve ever made!” That’s what the Mr. said with such enthusiasm I was thrown off when I noticed he had eaten a couple off the cooling rack when he got home from work. He’s a donut fan. I don’t think he can stop at Kwik Trip without picking up a box of glazers. Me, I am a scone fan and I generally refuse a donut. Since he is a donut guy, when he raves about a scone I made, I take notice. It helps that these little treats are lemon glazed black raspberry scones. 

Black raspberries are his favorite fruit and we grow a lot of them. I generally process them into beautiful deep purple jam and then freeze what we don’t eat. Then I pulled out a bag of them to top my yogurt and granola with and decided some scones were in order. I had freshly doubled sourdough starter. I had time. And I was in the mood to change up the recipe a little. 

When I turned 33, I made it a goal to perfect my scone recipe. At the time, a parent of a former student of mine shared that she always freezes her butter before making scones. Honestly, I didn’t listen. I don’t like to have to plan that far ahead. But I tried it this time and I am digging the results. I also added more fruit than normal–a whole cup! Again, I am digging the results! 

Ready to give these beauties a try? Let’s go! 

Your Ingredients to Lemon Glazed Black Raspberry Scones

  • 6 tablespoons butter, diced small and then put into the freezer for at least 40 minutes
  • 2 ½ cups all purpose flour (I use this great heritage blend from Sunrise Flour Mill 
  • ½ teaspoon salt 
  • ½ cup white sugar
  • 2 teaspoons baking powder
  • ½ teaspoon baking soda
  • 1 ¾ -2 cups sourdough discard
  • ½ teaspoon vanilla extract
  • 1 ½ tablespoons lemon juice
  • 1 cup black raspberries, frozen 

Glaze Ingredients 

  • ¾ cup powdered sugar
  • 2-3 tablespoons lemon juice

A couple notes before you get started:  

Don’t thaw the raspberries, but you may want to break them apart a bit. Also, if you don’t have black raspberries I would substitute blackberries. They aren’t the same, but will give a similar flavor profile. If those aren’t available either, frozen red raspberries would work too! 

Some lemon zest would be a great addition in the dough as well or even into the glaze. Feel free to add it. 

Glaze is a highly subjective flavor. If you want more lemon flavor, feel free to put ¼ teaspoon lemon extract or some zest. If you dig a sweeter scone, feel free to add less juice and let the powdered sugar flavor shine more. 

Let’s get baking! 

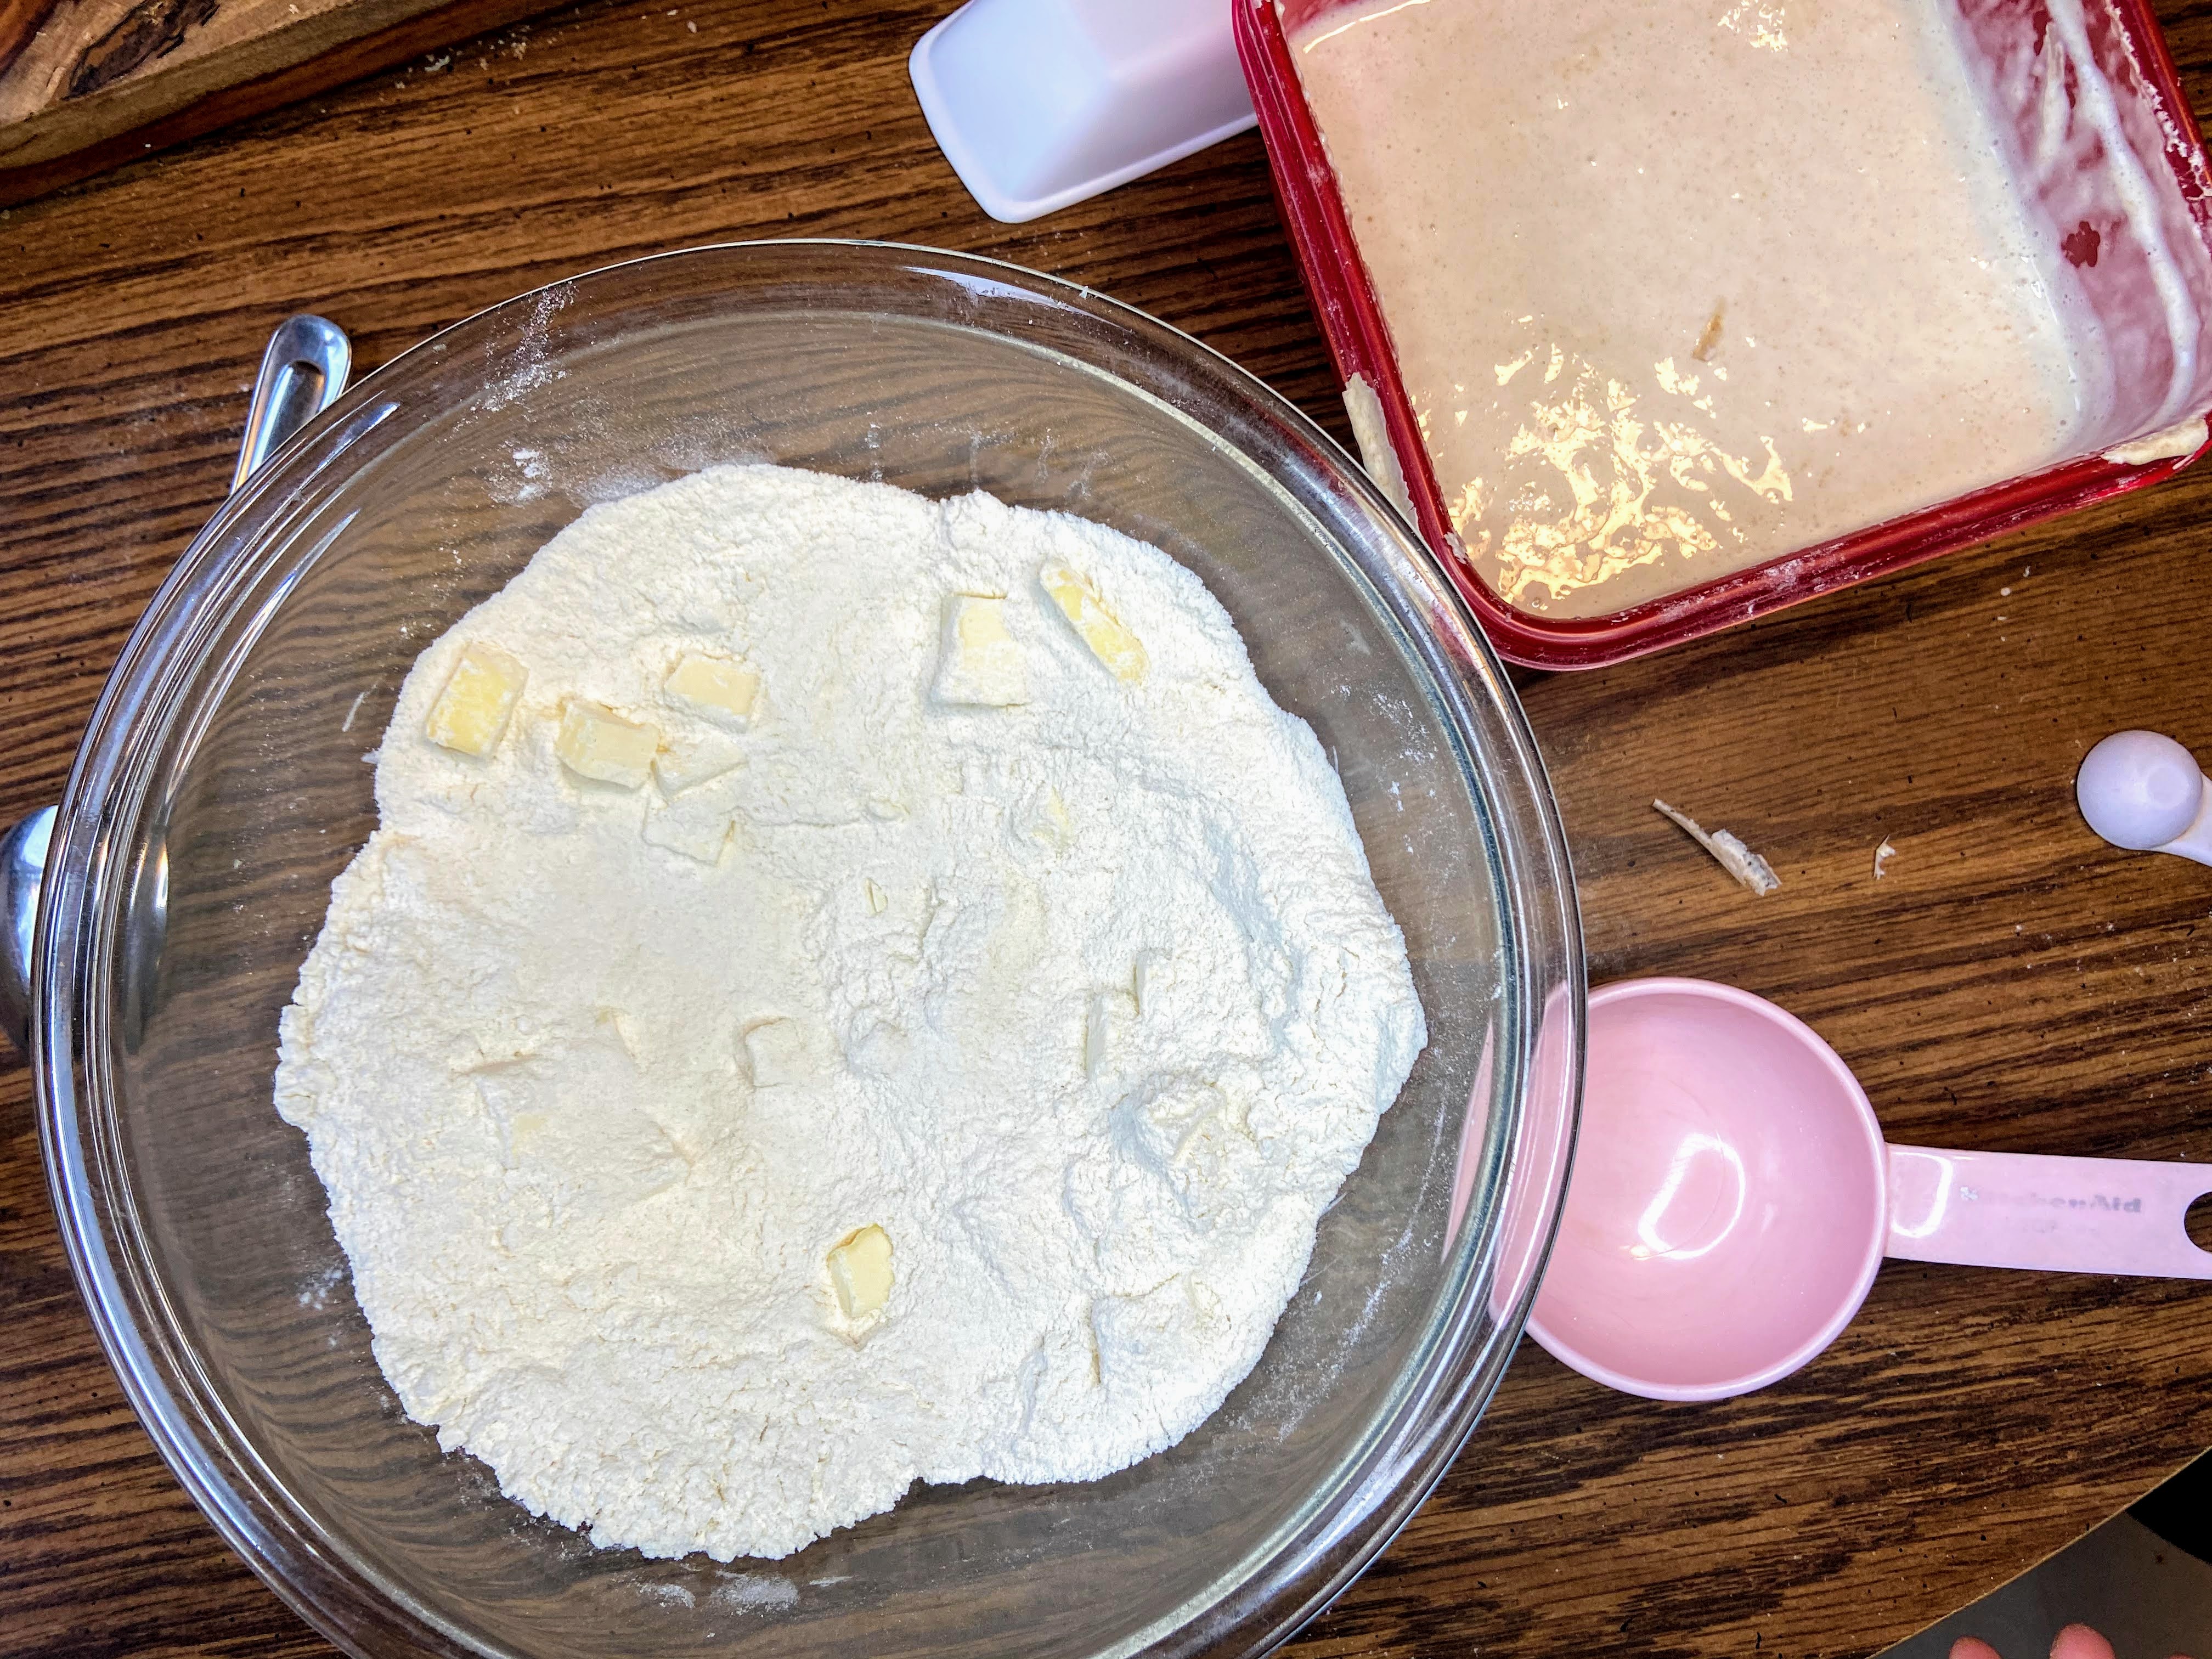
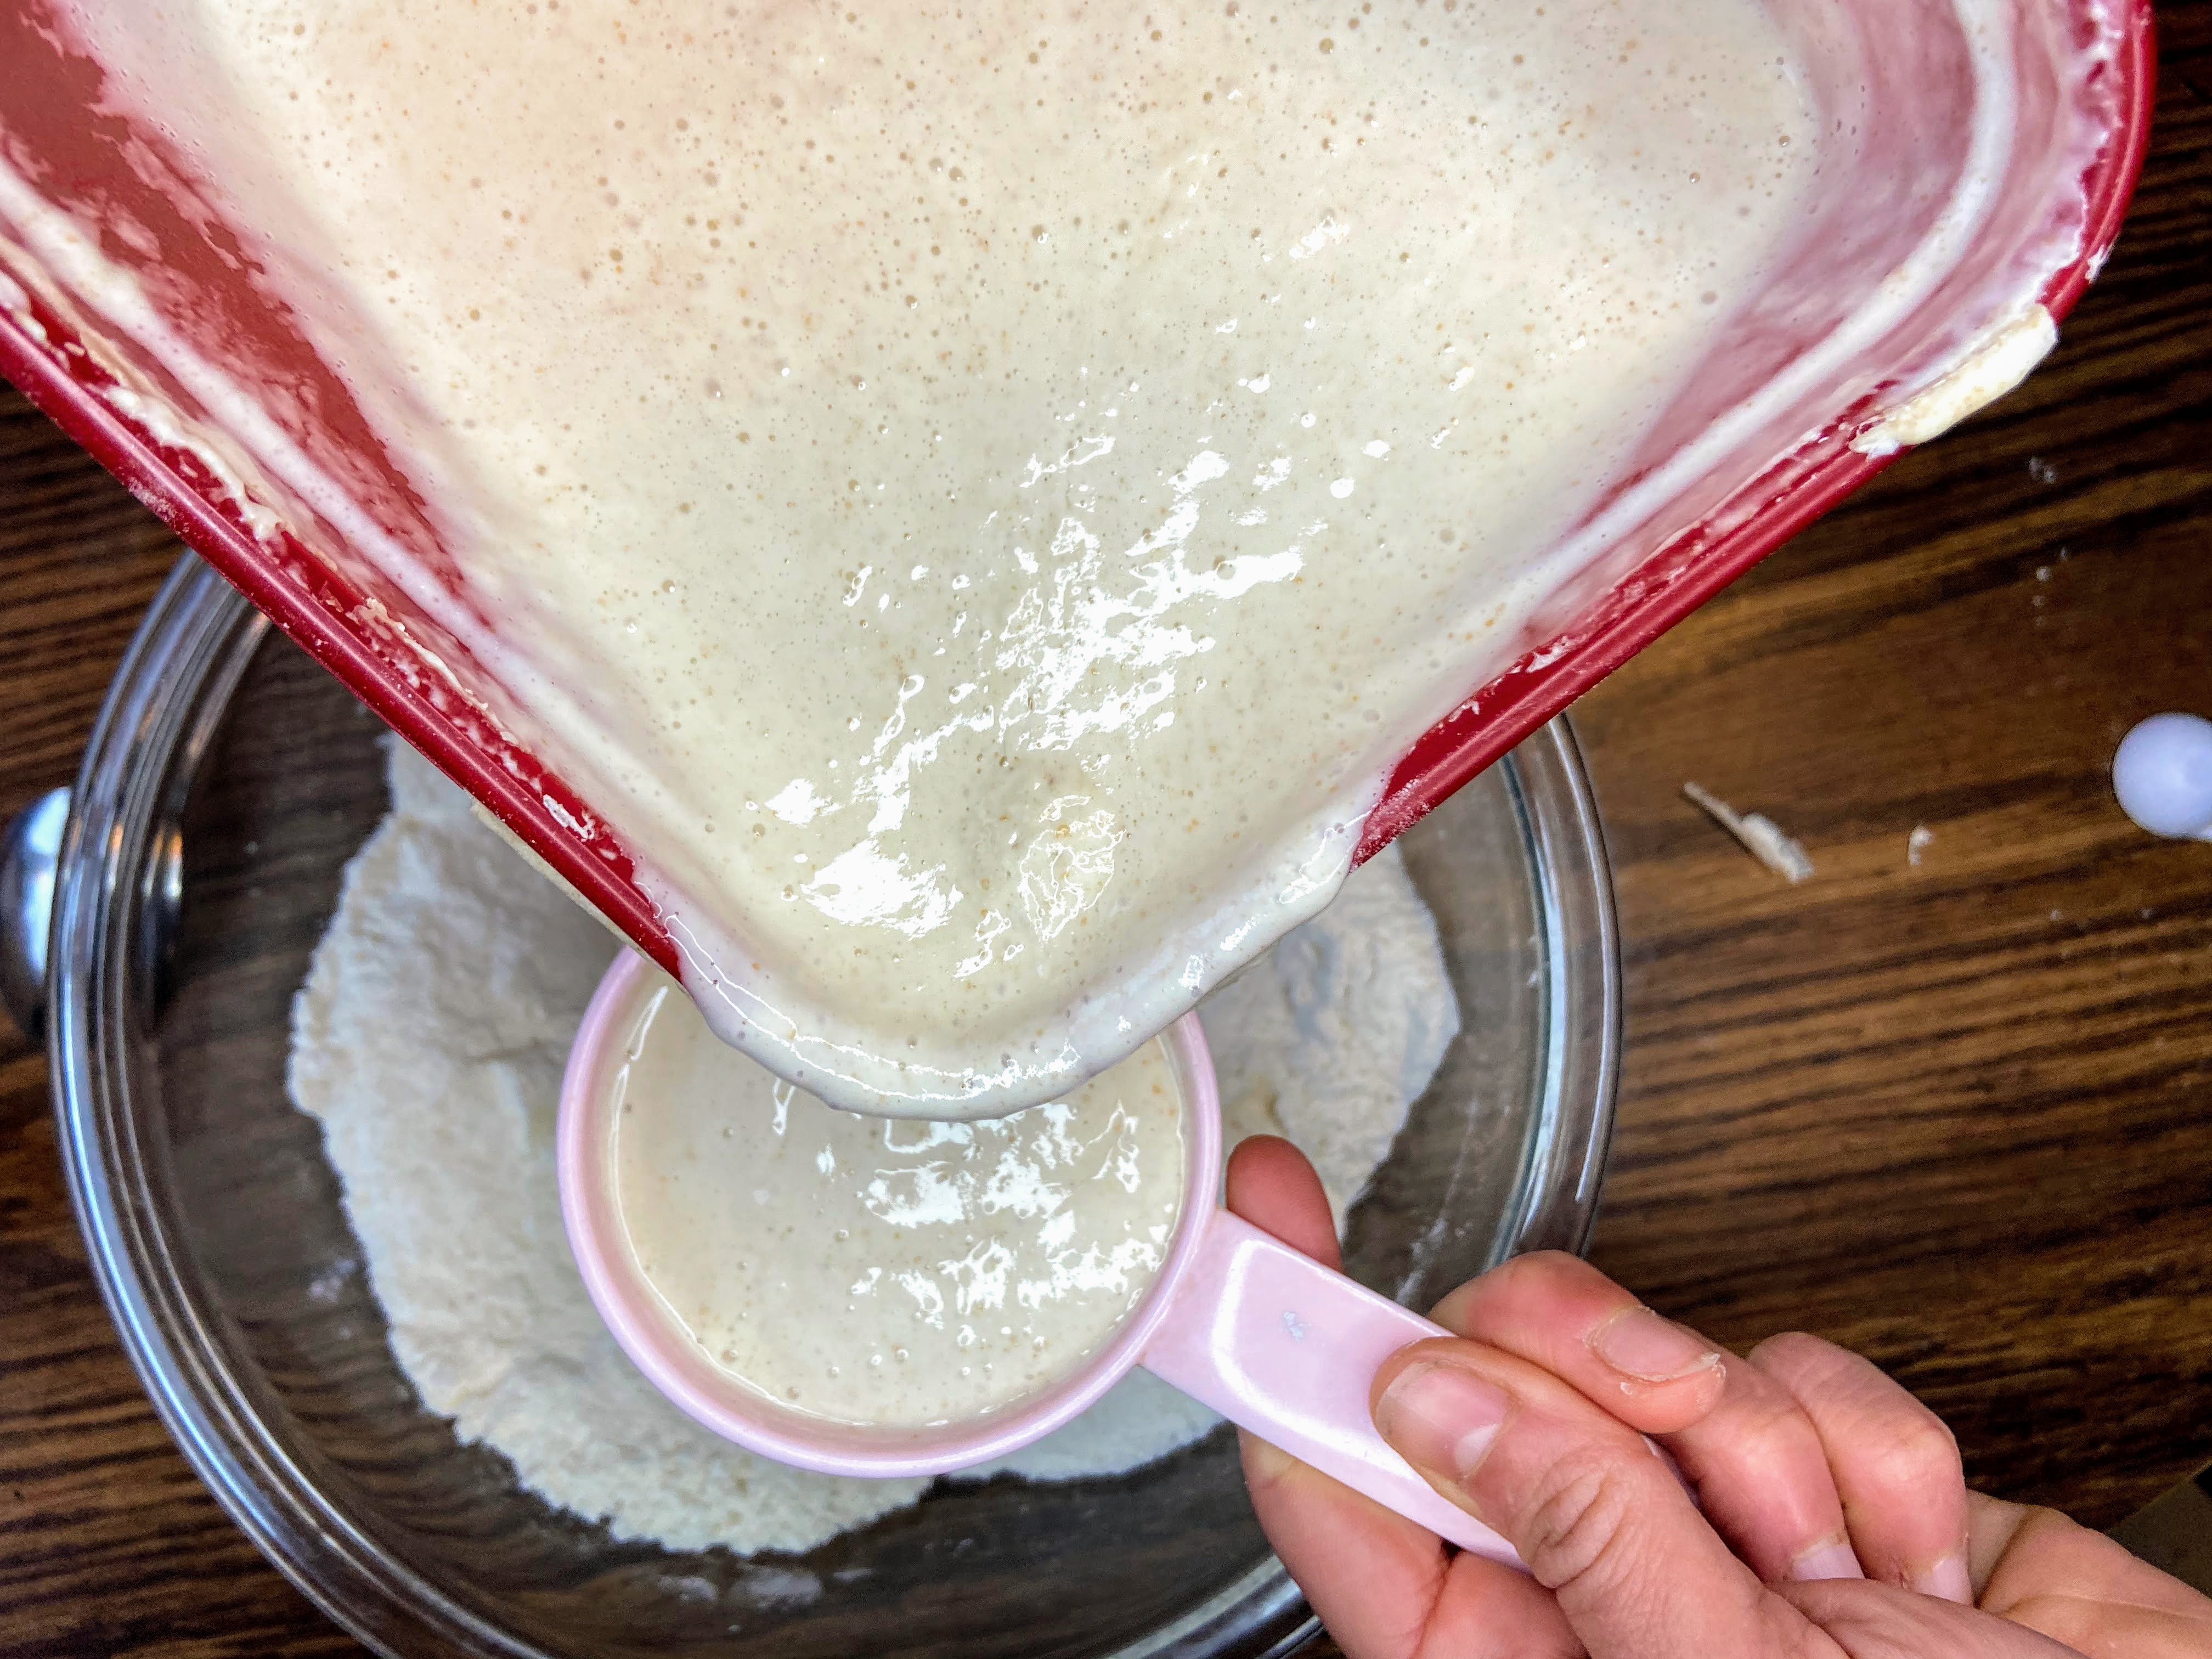
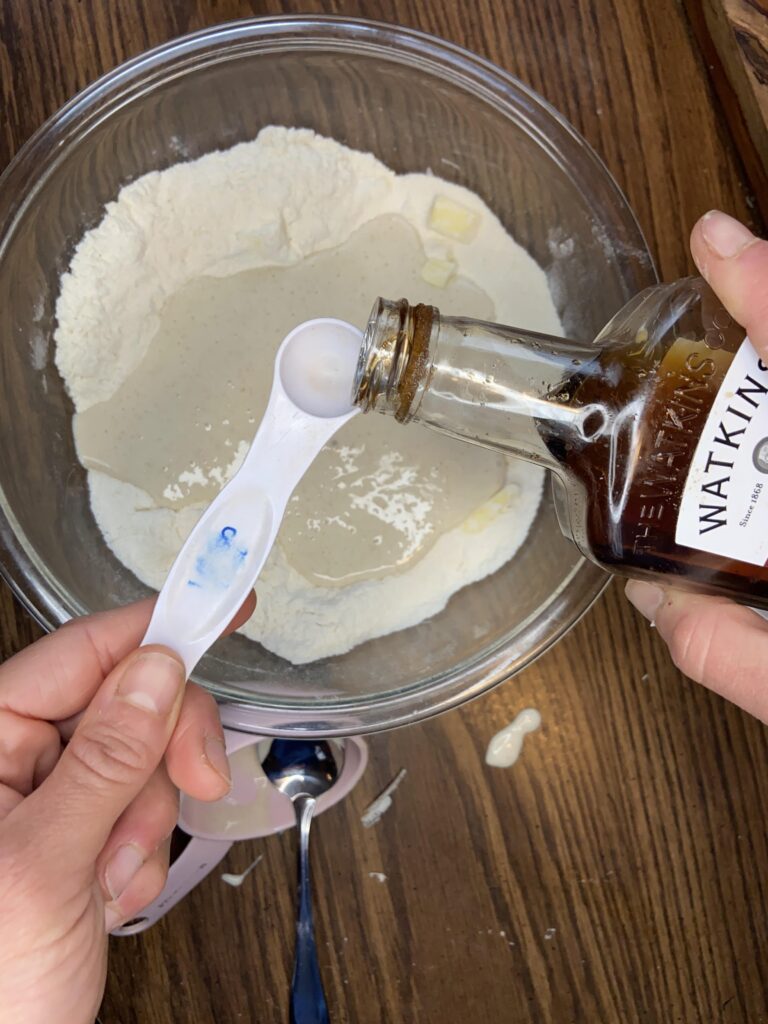
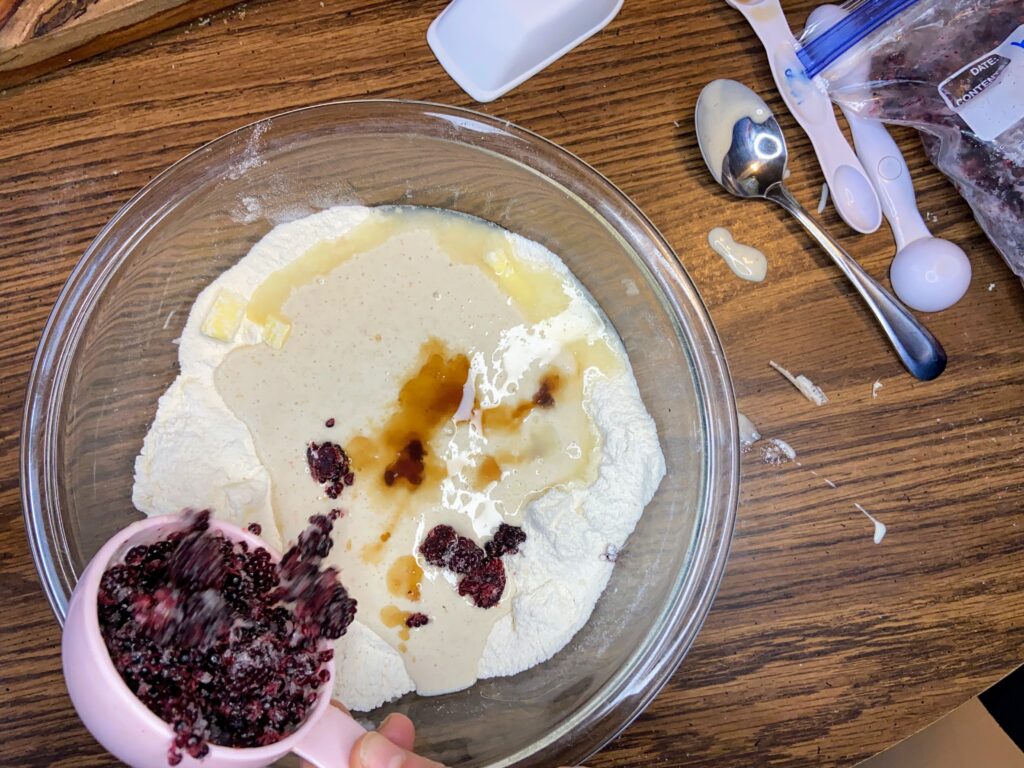
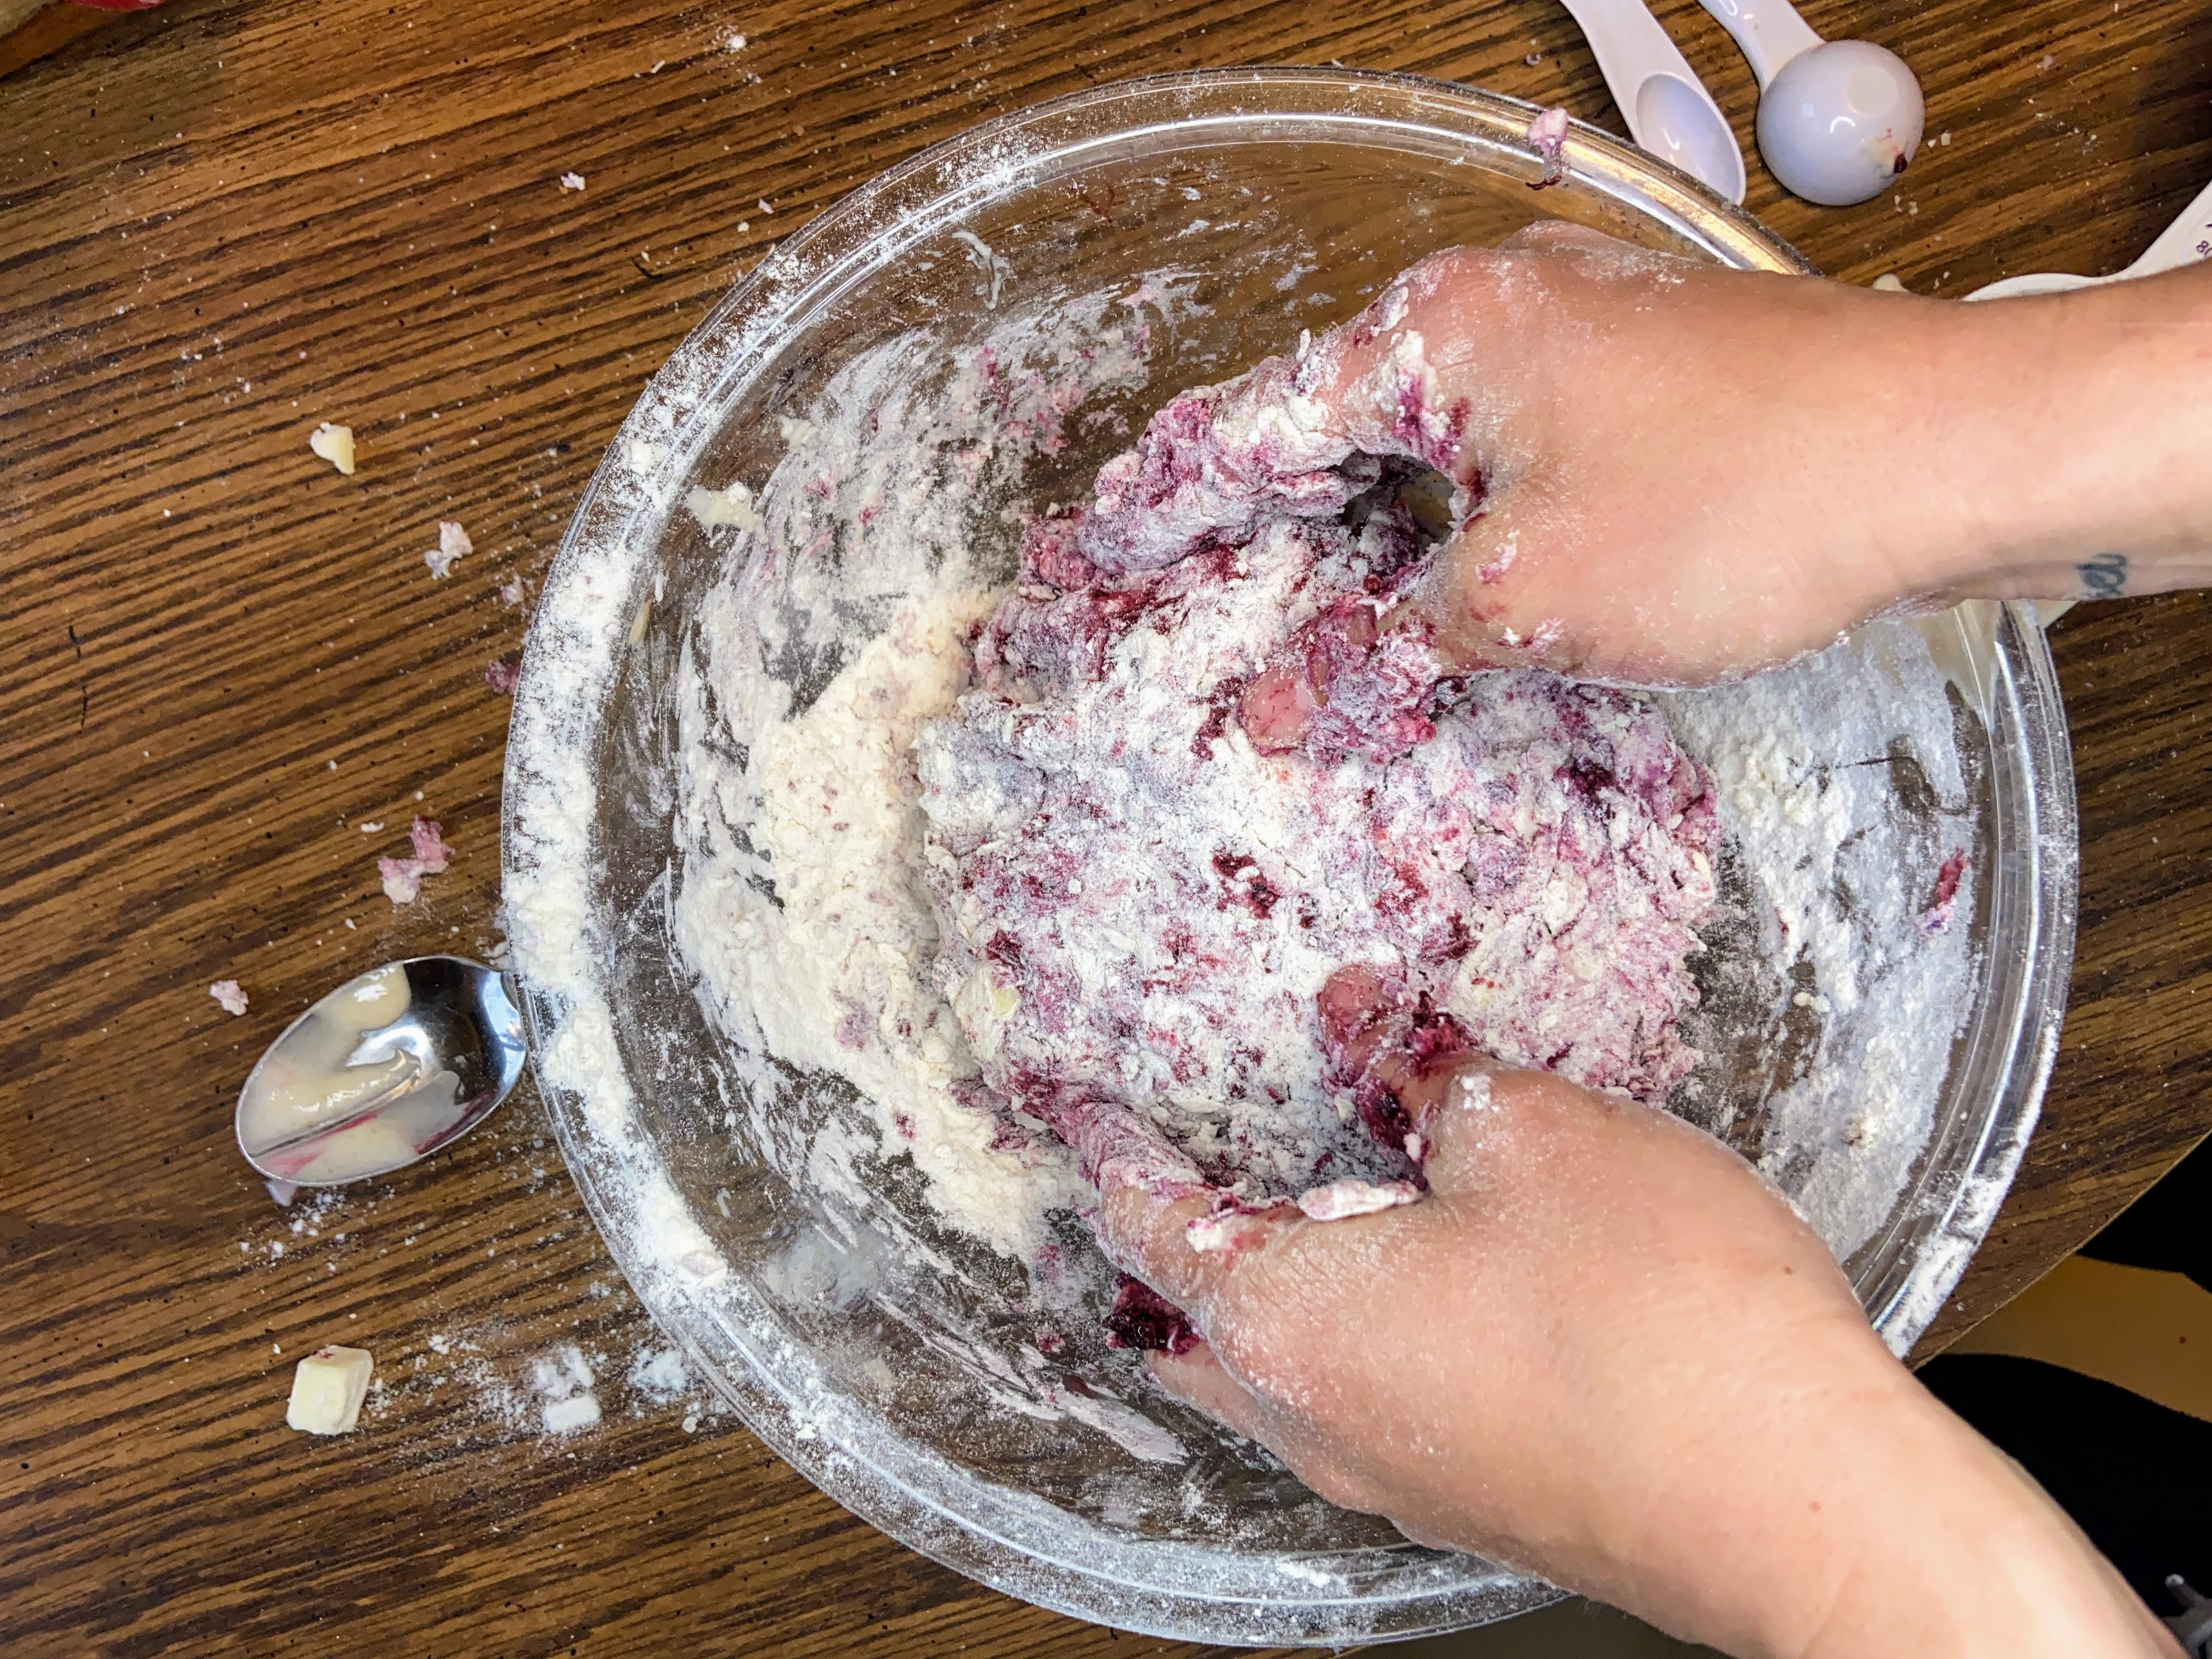
Preheat the oven to 400 degrees. In a medium mixing bowl, combine the flour, salt, sugar, baking soda, and baking powder. Stir in frozen butter. Add 1 ¾ cup starter, lemon juice, vanilla, and black raspberries. Work in by hand, incorporating the flour into the starter, turning as you go. I almost always have to add more starter in the end. The dough will be moist due to the berries warming up and breaking apart. It will be okay. 

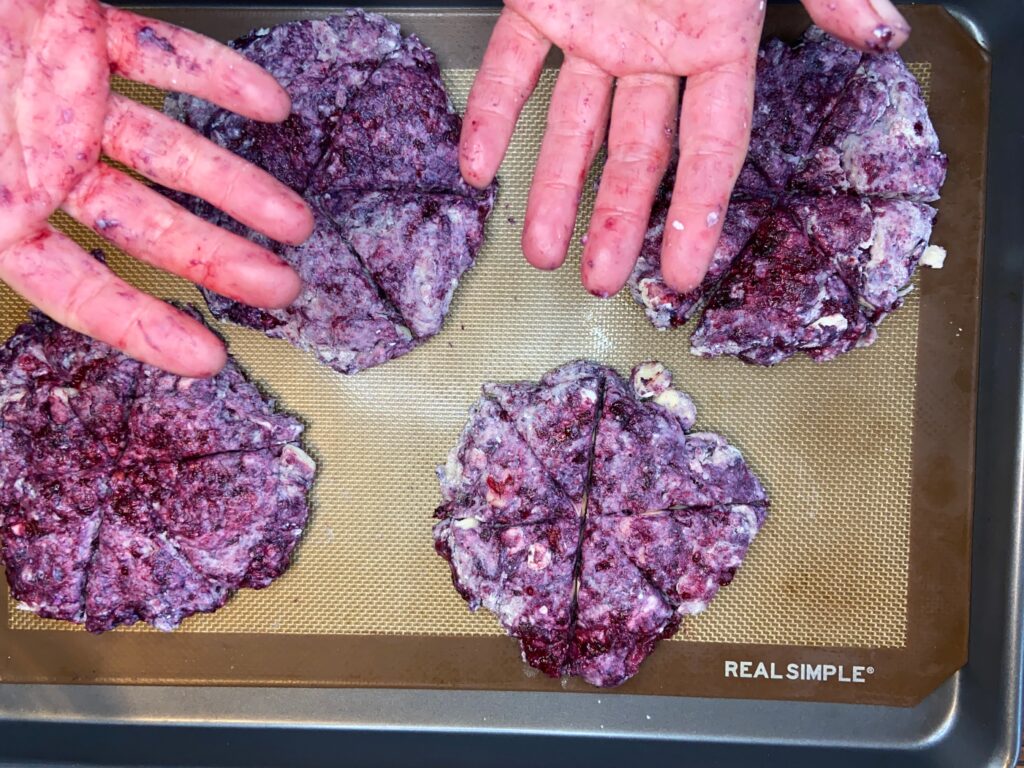
Once fully incorporated, cut dough into four equal pieces. Form each piece into a one inch thick disc on a parchment lined baking sheet and cut into 6-8 pizza slices using a dough scraper, a turner, or even a pizza cutter. I usually form and then flip the discs before cutting. 

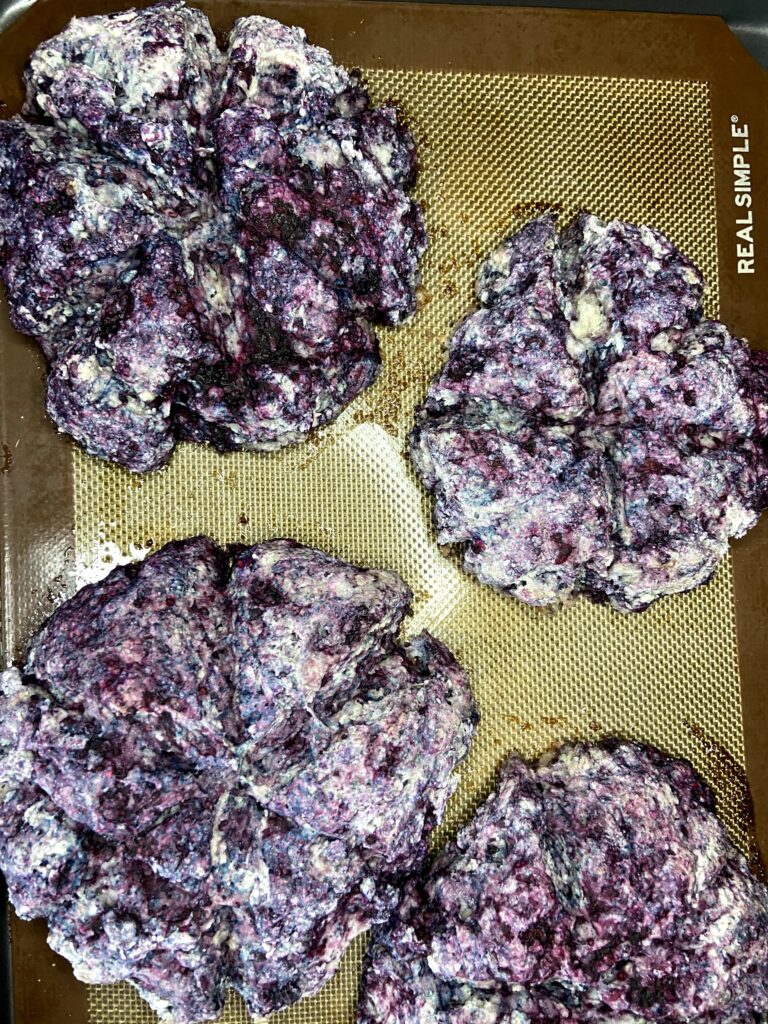
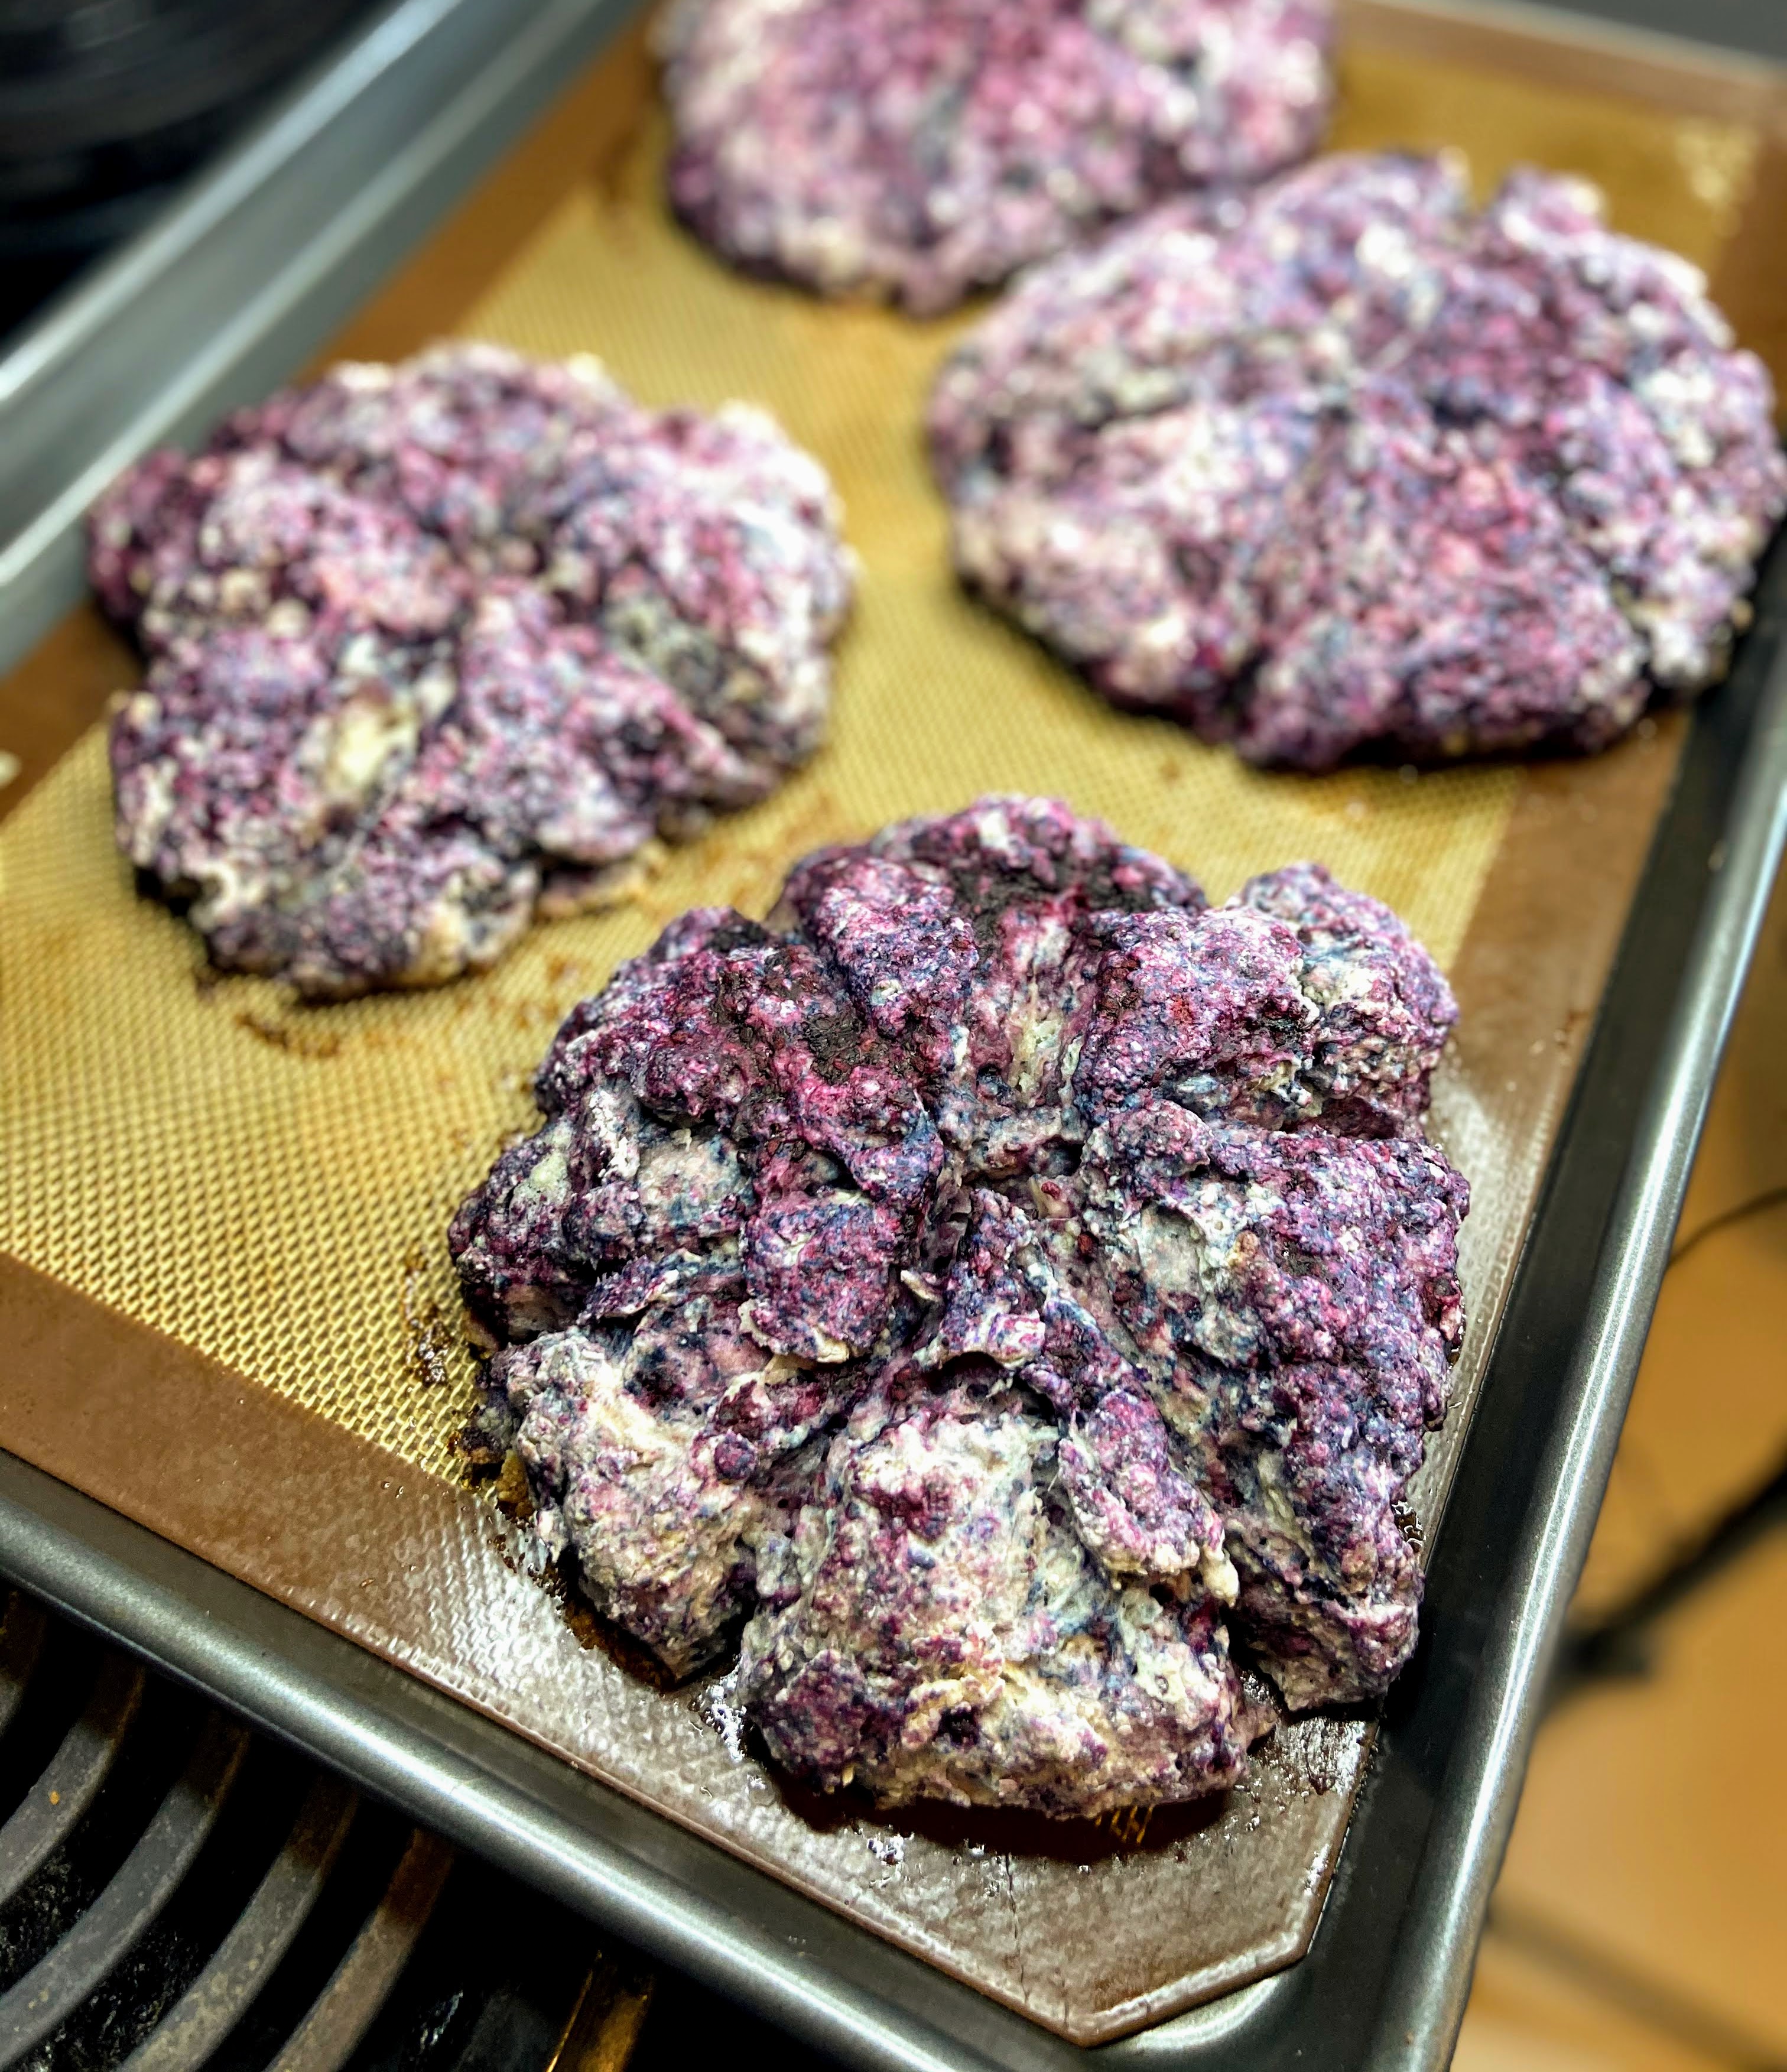
Bake at 400 degrees for 15-18 minutes, until the scones are firm to the touch. Remove and allow to cool. These are great on their own, but if you want to glaze them, feel free! Combine about ¾ cup powdered sugar and 2 tablespoons lemon juice in a liquid measuring cup. Whisk until smooth. Give it a taste test and see if you need more lemon. If you like a thicker glaze, use ¼ teaspoon extract and then 1 tablespoon lemon juice. Drizzle over cooled scones. Then devour your black raspberry scones!

Looking for some other great baking or sourdough recipes? Click the buttons below to get to my other pages!

Lemon Glazed Black Raspberry Scones

Leftover sourdough discard transforms into beautiful purple scones with the help of some black raspberries from the garden. Great texture and even better flavor!
4 from 1 vote
Prep Time 20 minutes
Cook Time 15 minutes
Course Breakfast
Cuisine American
Servings 24 scones

Ingredients
  

  • 6 tablespoons butter diced small and then put into the freezer for at least 40 minutes
  • 2 ½ cups all purpose flour
  • ½ teaspoon salt
  • ½ cup white sugar
  • ½ teaspoon baking soda
  • 2 teaspoons baking powder
  • 1 ¾ -2 cups sourdough discard
  • ½ teaspoon vanilla extract
  • 1 ½ tablespoons lemon juice
  • 1 cup black raspberries frozen

Glaze Ingredients

  • ¾ cup powdered sugar
  • 2-3 tablespoons lemon juice

Instructions
 

  • Preheat the oven to 400 degrees.
  • In a medium mixing bowl, combine the flour, salt, sugar, baking soda, and baking powder. Stir in frozen butter.
  • Add 1 ¾ cup starter, lemon juice, vanilla, and black raspberries.
  • Work in by hand, incorporating the flour into the starter, turning as you go. Add more starter if necessary. The dough will be moist due to the berries warming up and breaking apart.
  • Once fully incorporated, cut dough into four equal pieces.
  • Form each piece into a one inch thick disc on a parchment lined baking sheet and cut into 6-8 pizza slices using a dough scraper or turner.
  • Bake at 400 degrees for 15-18 minutes, until the scones are firm to the touch.
  • Remove and allow to cool.
  • Combine about ¾ cup powdered sugar and 2 tablespoons lemon juice in a liquid measuring cup. Whisk until smooth. Give it a taste test and see if you need more lemon. If you like a thicker glaze, use ¼ teaspoon extract and then 1 tablespoon lemon juice. Drizzle over cooled scones.

Notes

Don’t thaw the raspberries, but you may want to break them apart a bit. Also, if you don’t have black raspberries I would substitute blackberries. They aren’t the same, but will give a similar flavor profile. If those aren’t available either, frozen red raspberries would work too! 
Some lemon zest would be a great addition in the dough as well or even into the glaze. Feel free to add it. 
 
Glaze is a highly subjective flavor. If you want more lemon flavor, feel free to put ¼ teaspoon lemon extract or some zest. If you dig a sweeter scone, feel free to add less juice and let the powdered sugar flavor shine more.
Keyword black raspberry, sourdough, sourdough baking, sourdough scones
Tried this recipe?Let us know how it was!