Yes, I know I have shared a lot of rhubarb recipes this spring. That’s good, right? And my goodness, I adore baking cooking so rhubarb and almond cookies seemed the next logical step!
So often, I miss rhubarb season because I am too busy getting the garden ready and ending the school year, that I can’t even think about using the rhubarb. And perhaps I am alone in this, but I always associated rhubarb with only being harvested in the spring. I am not sure where I learned that information, but it’s been in my head for as long as I can remember. However, I learned this year that rhubarb can be harvested late into the summer, although you want to do it before it seeds out. Good news, right?!
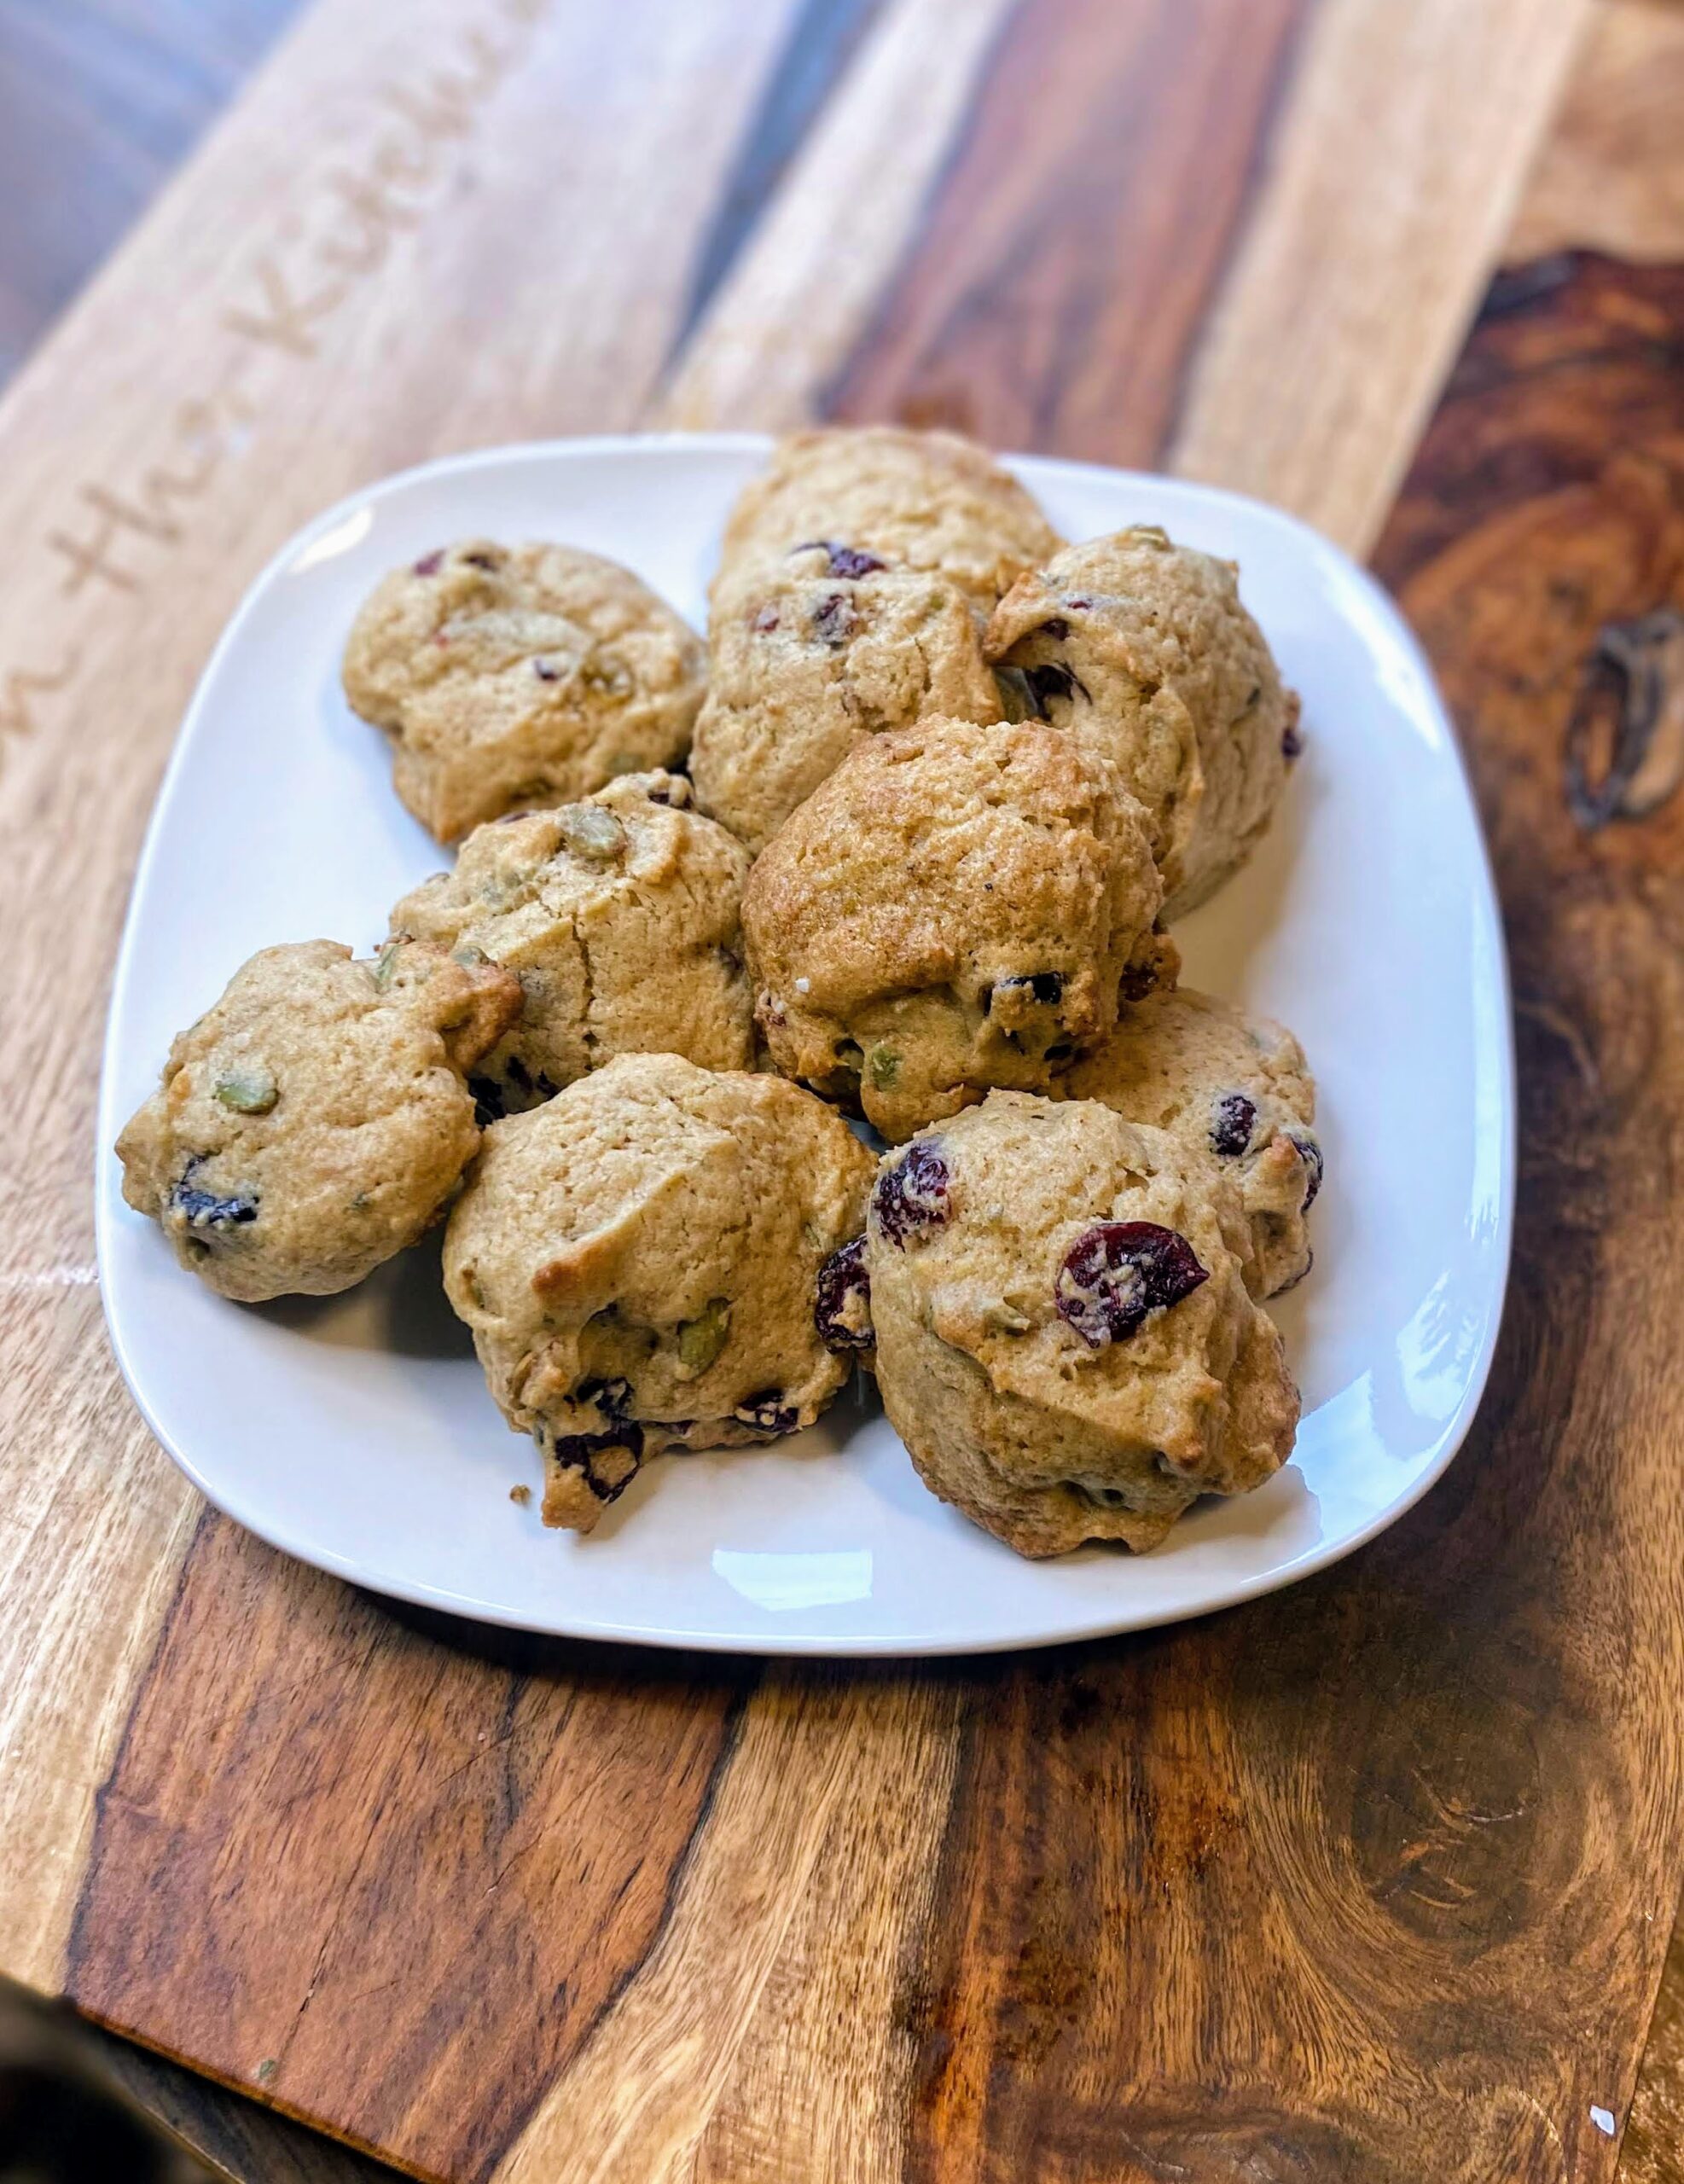
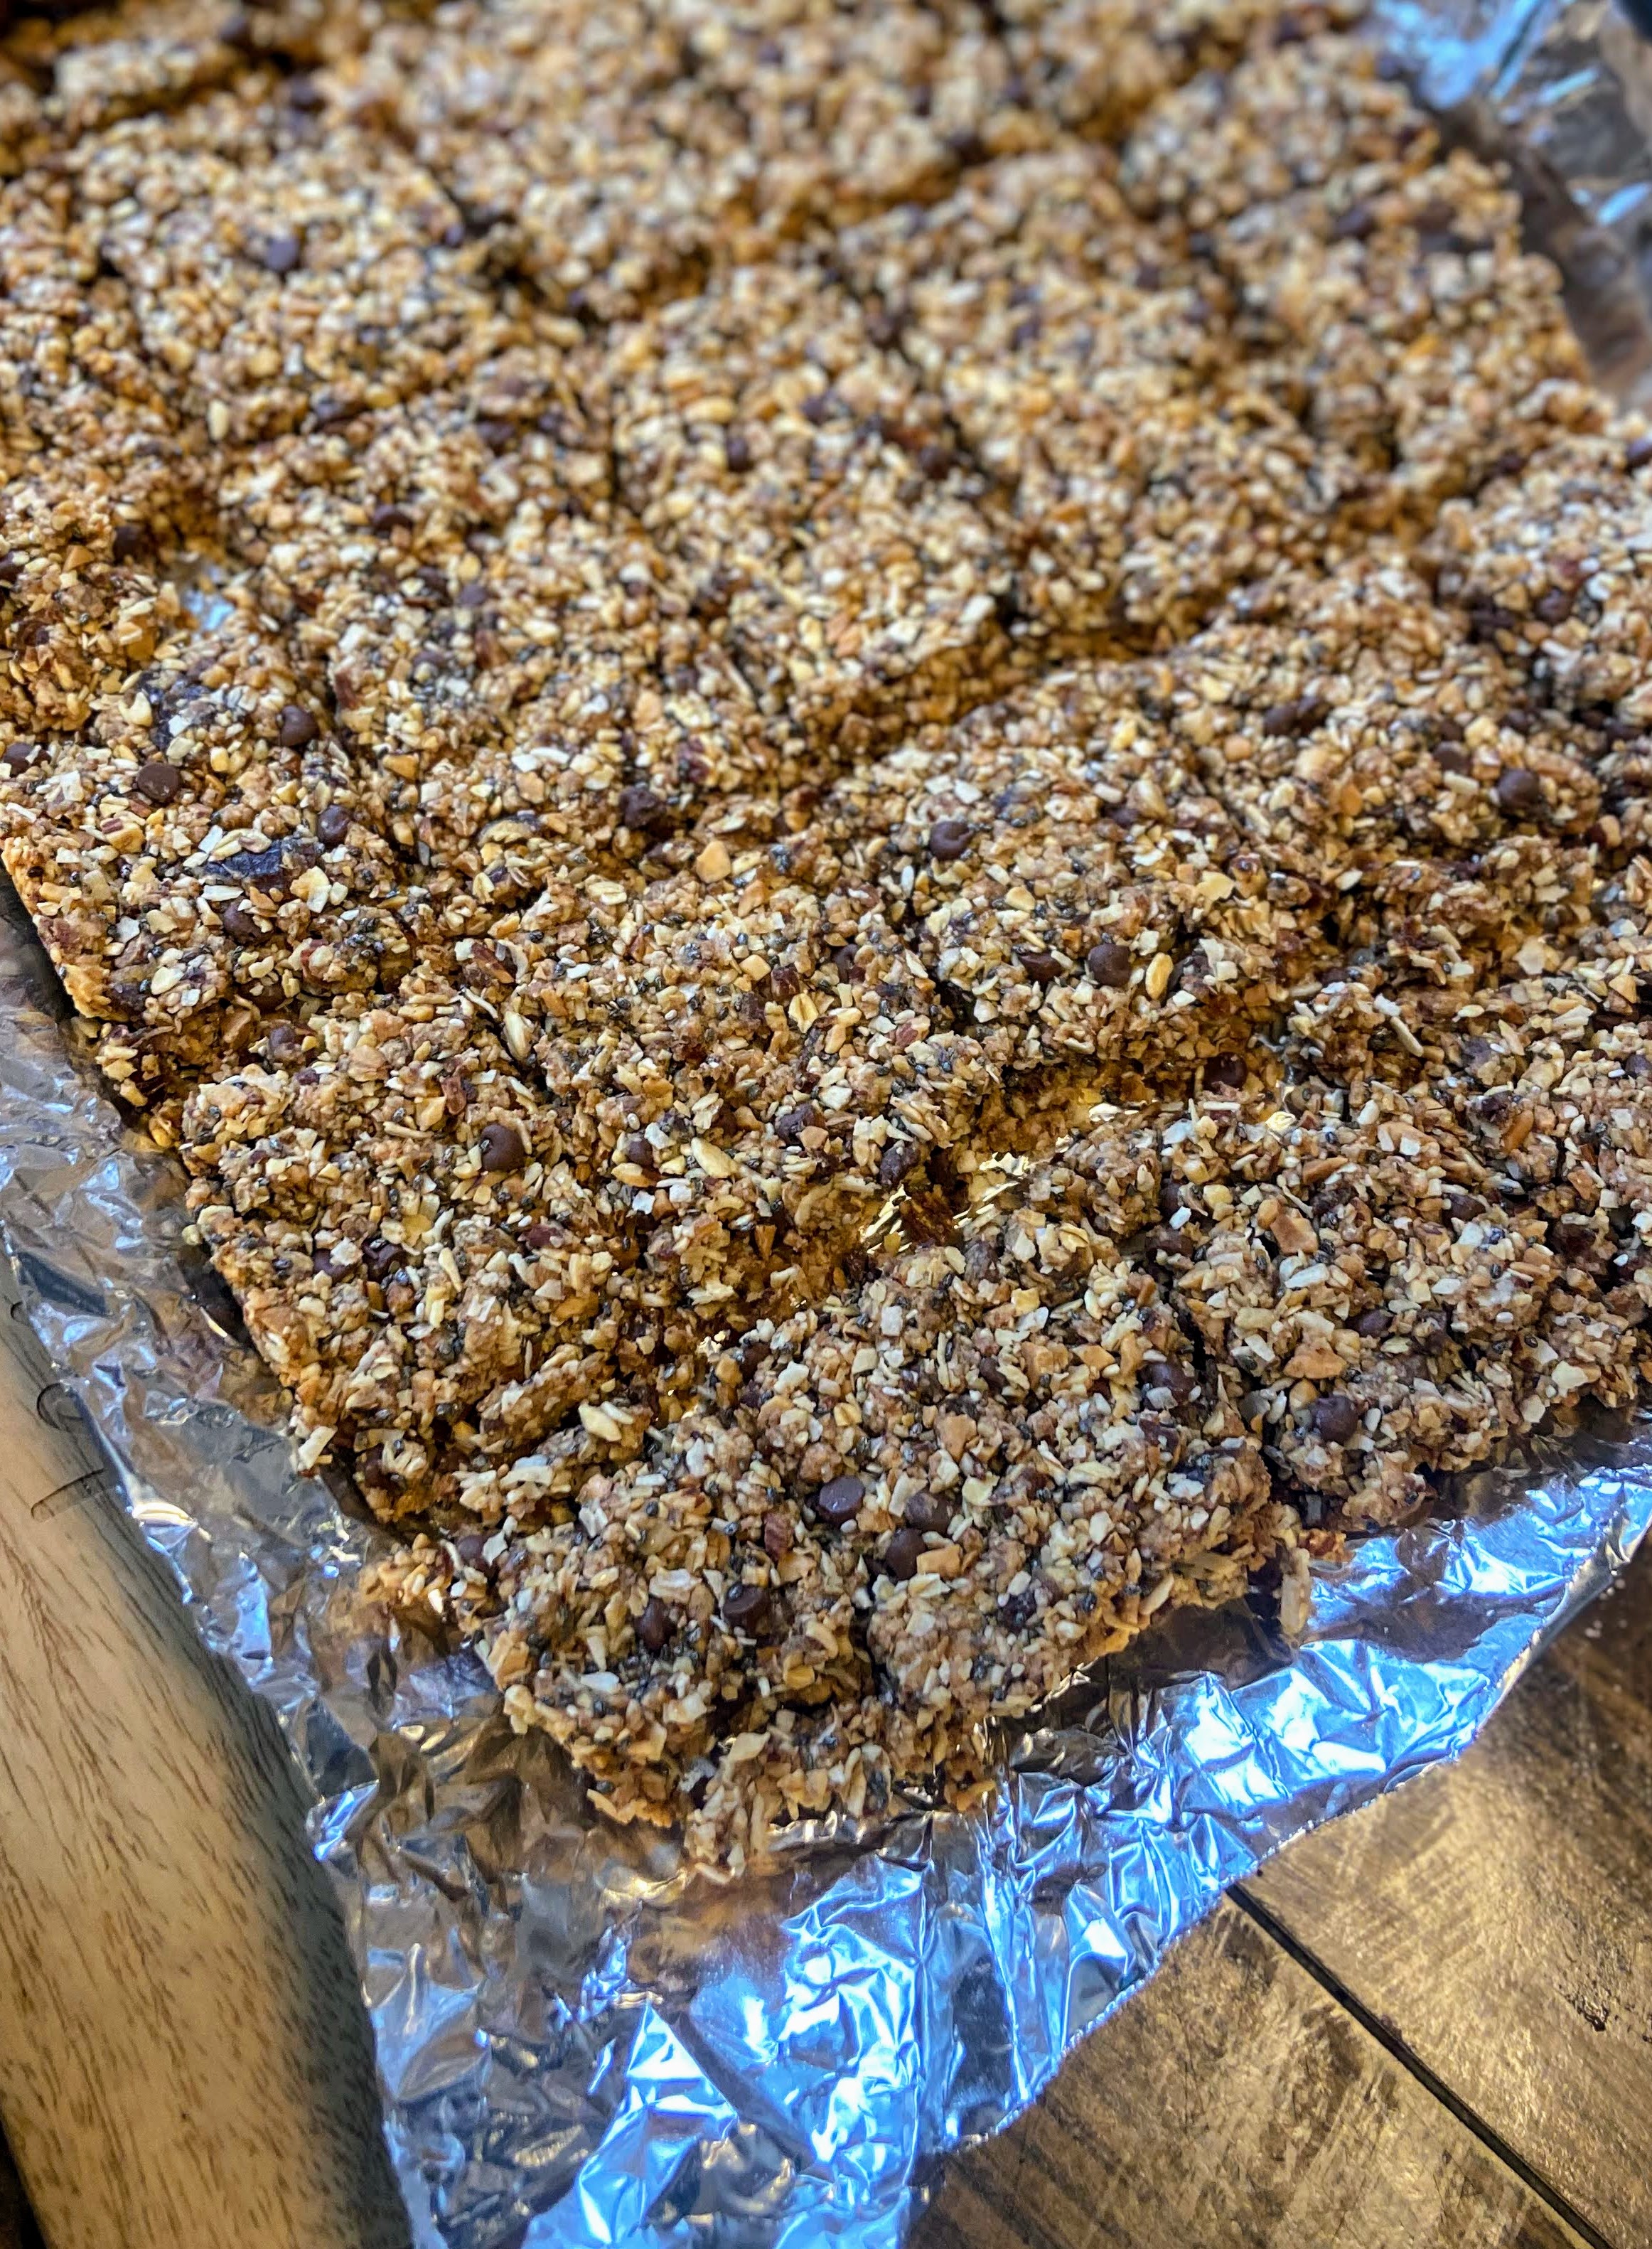
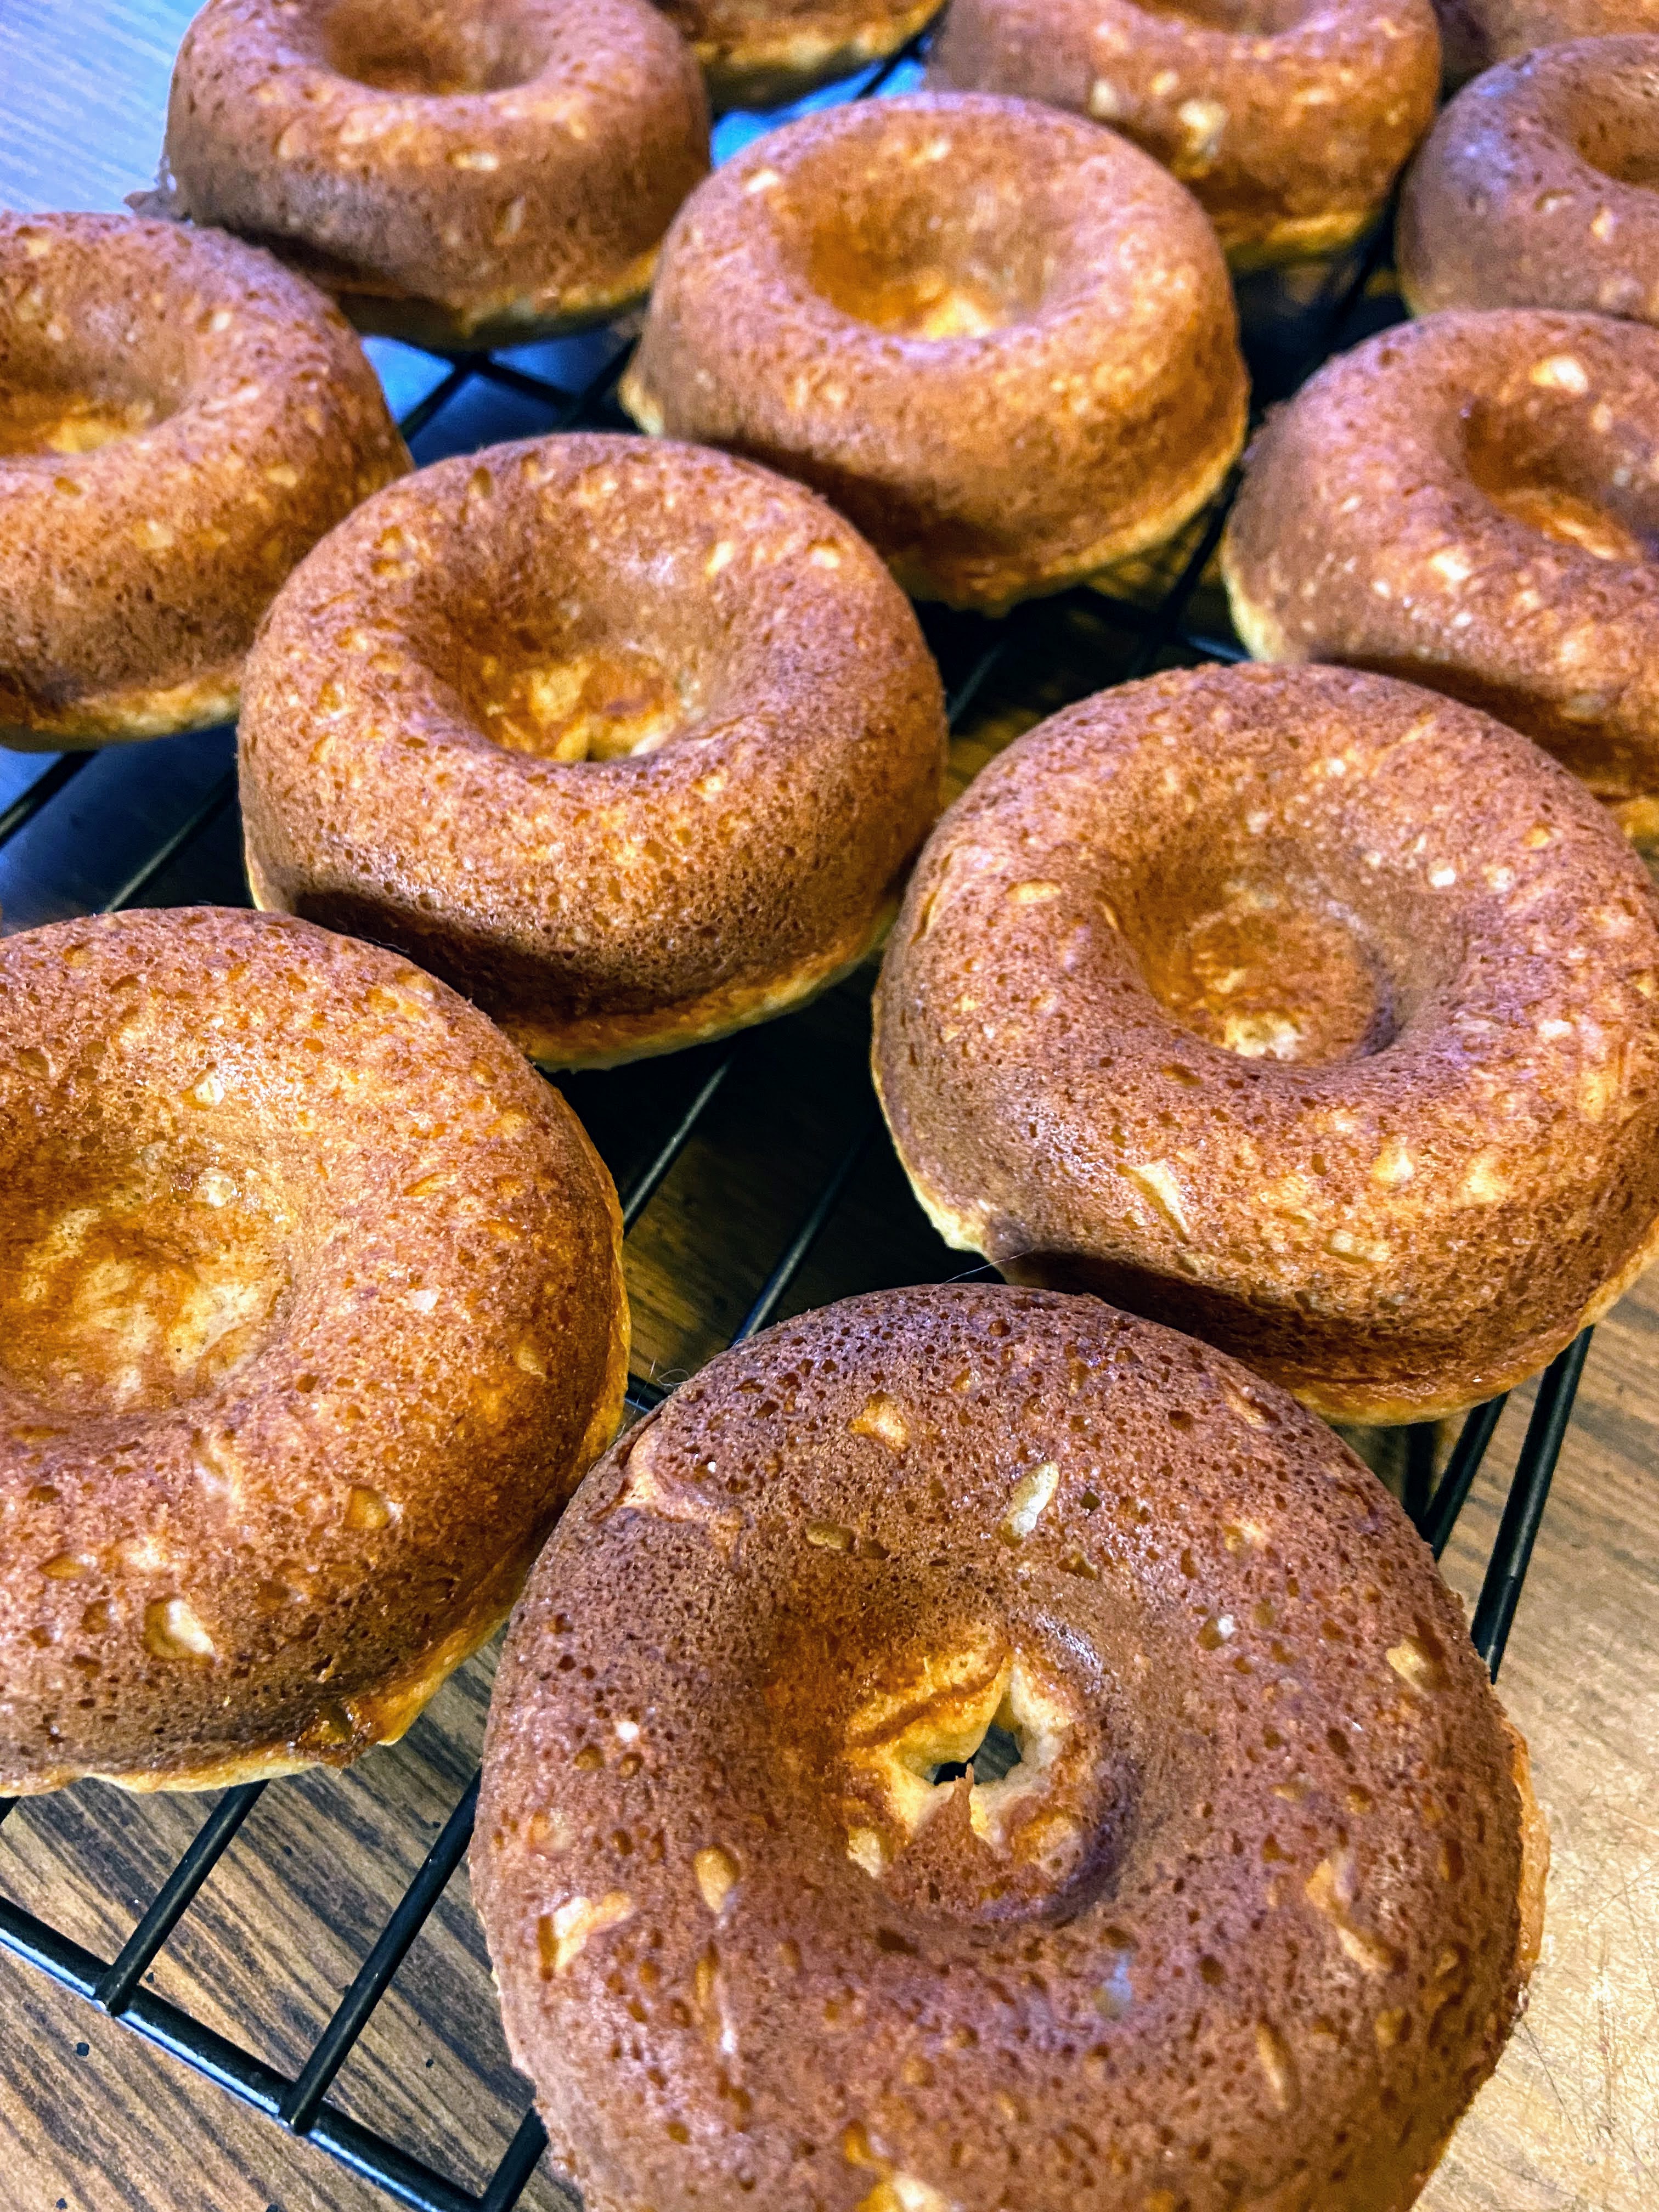
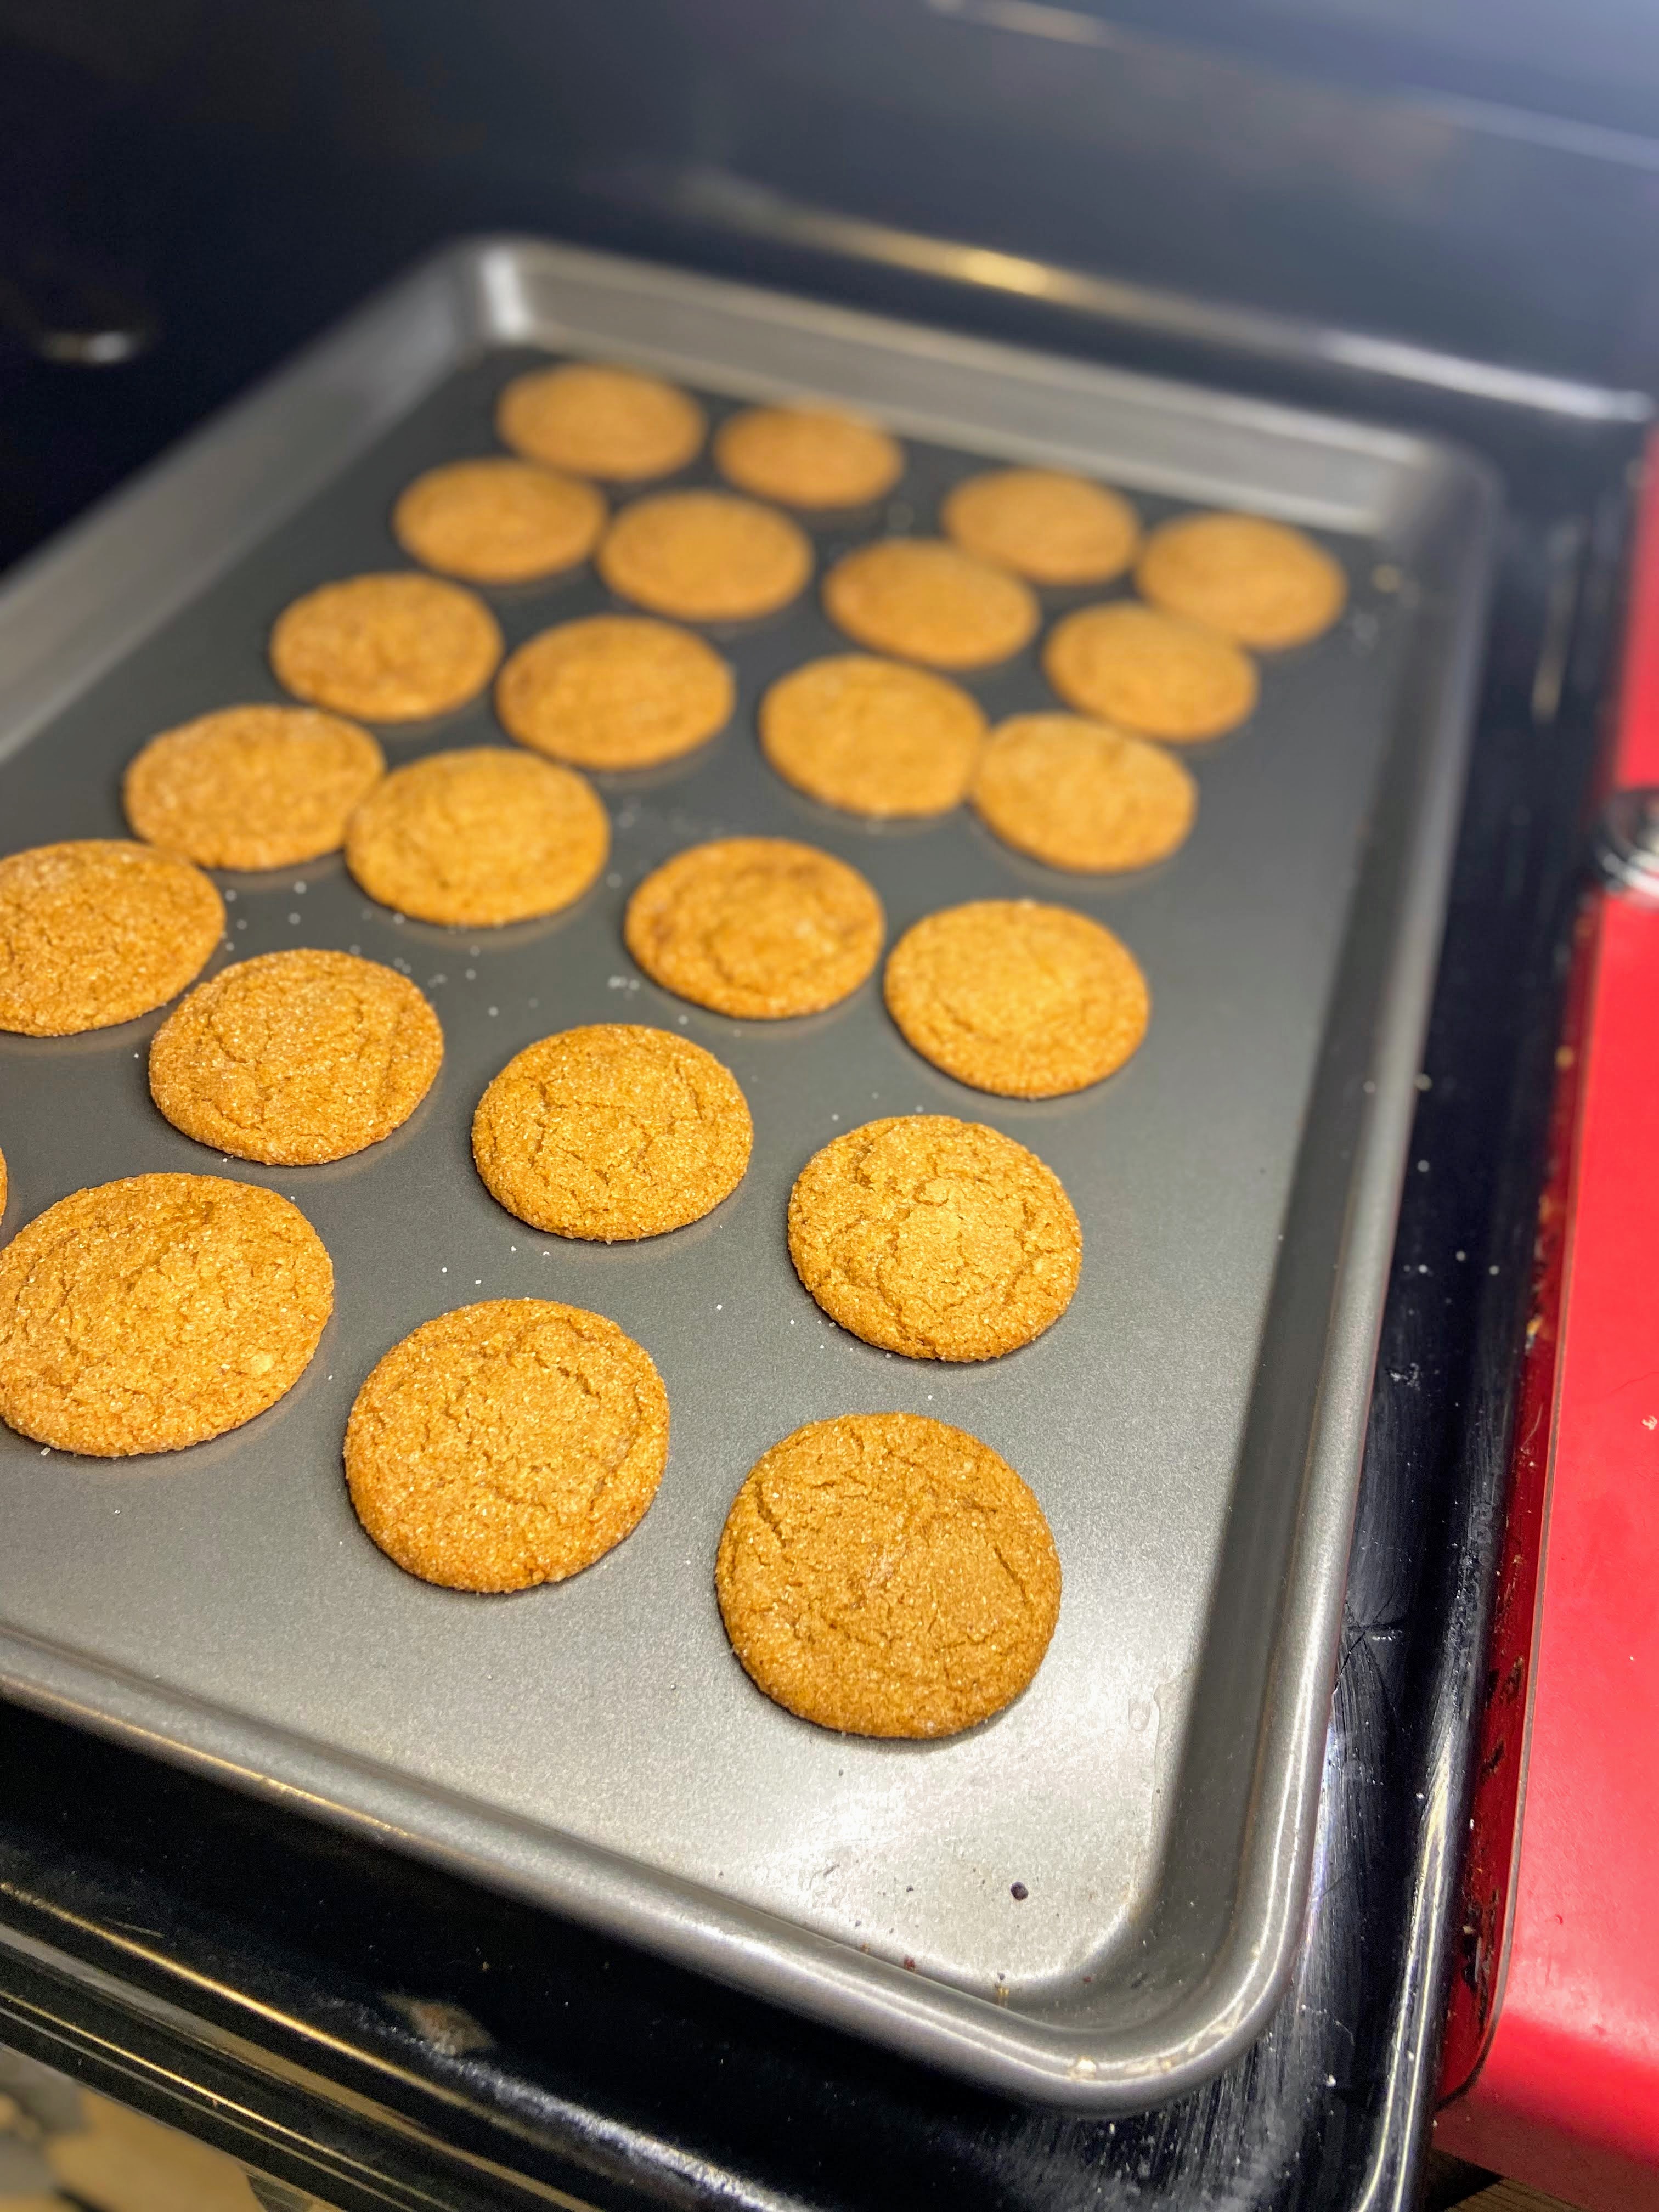
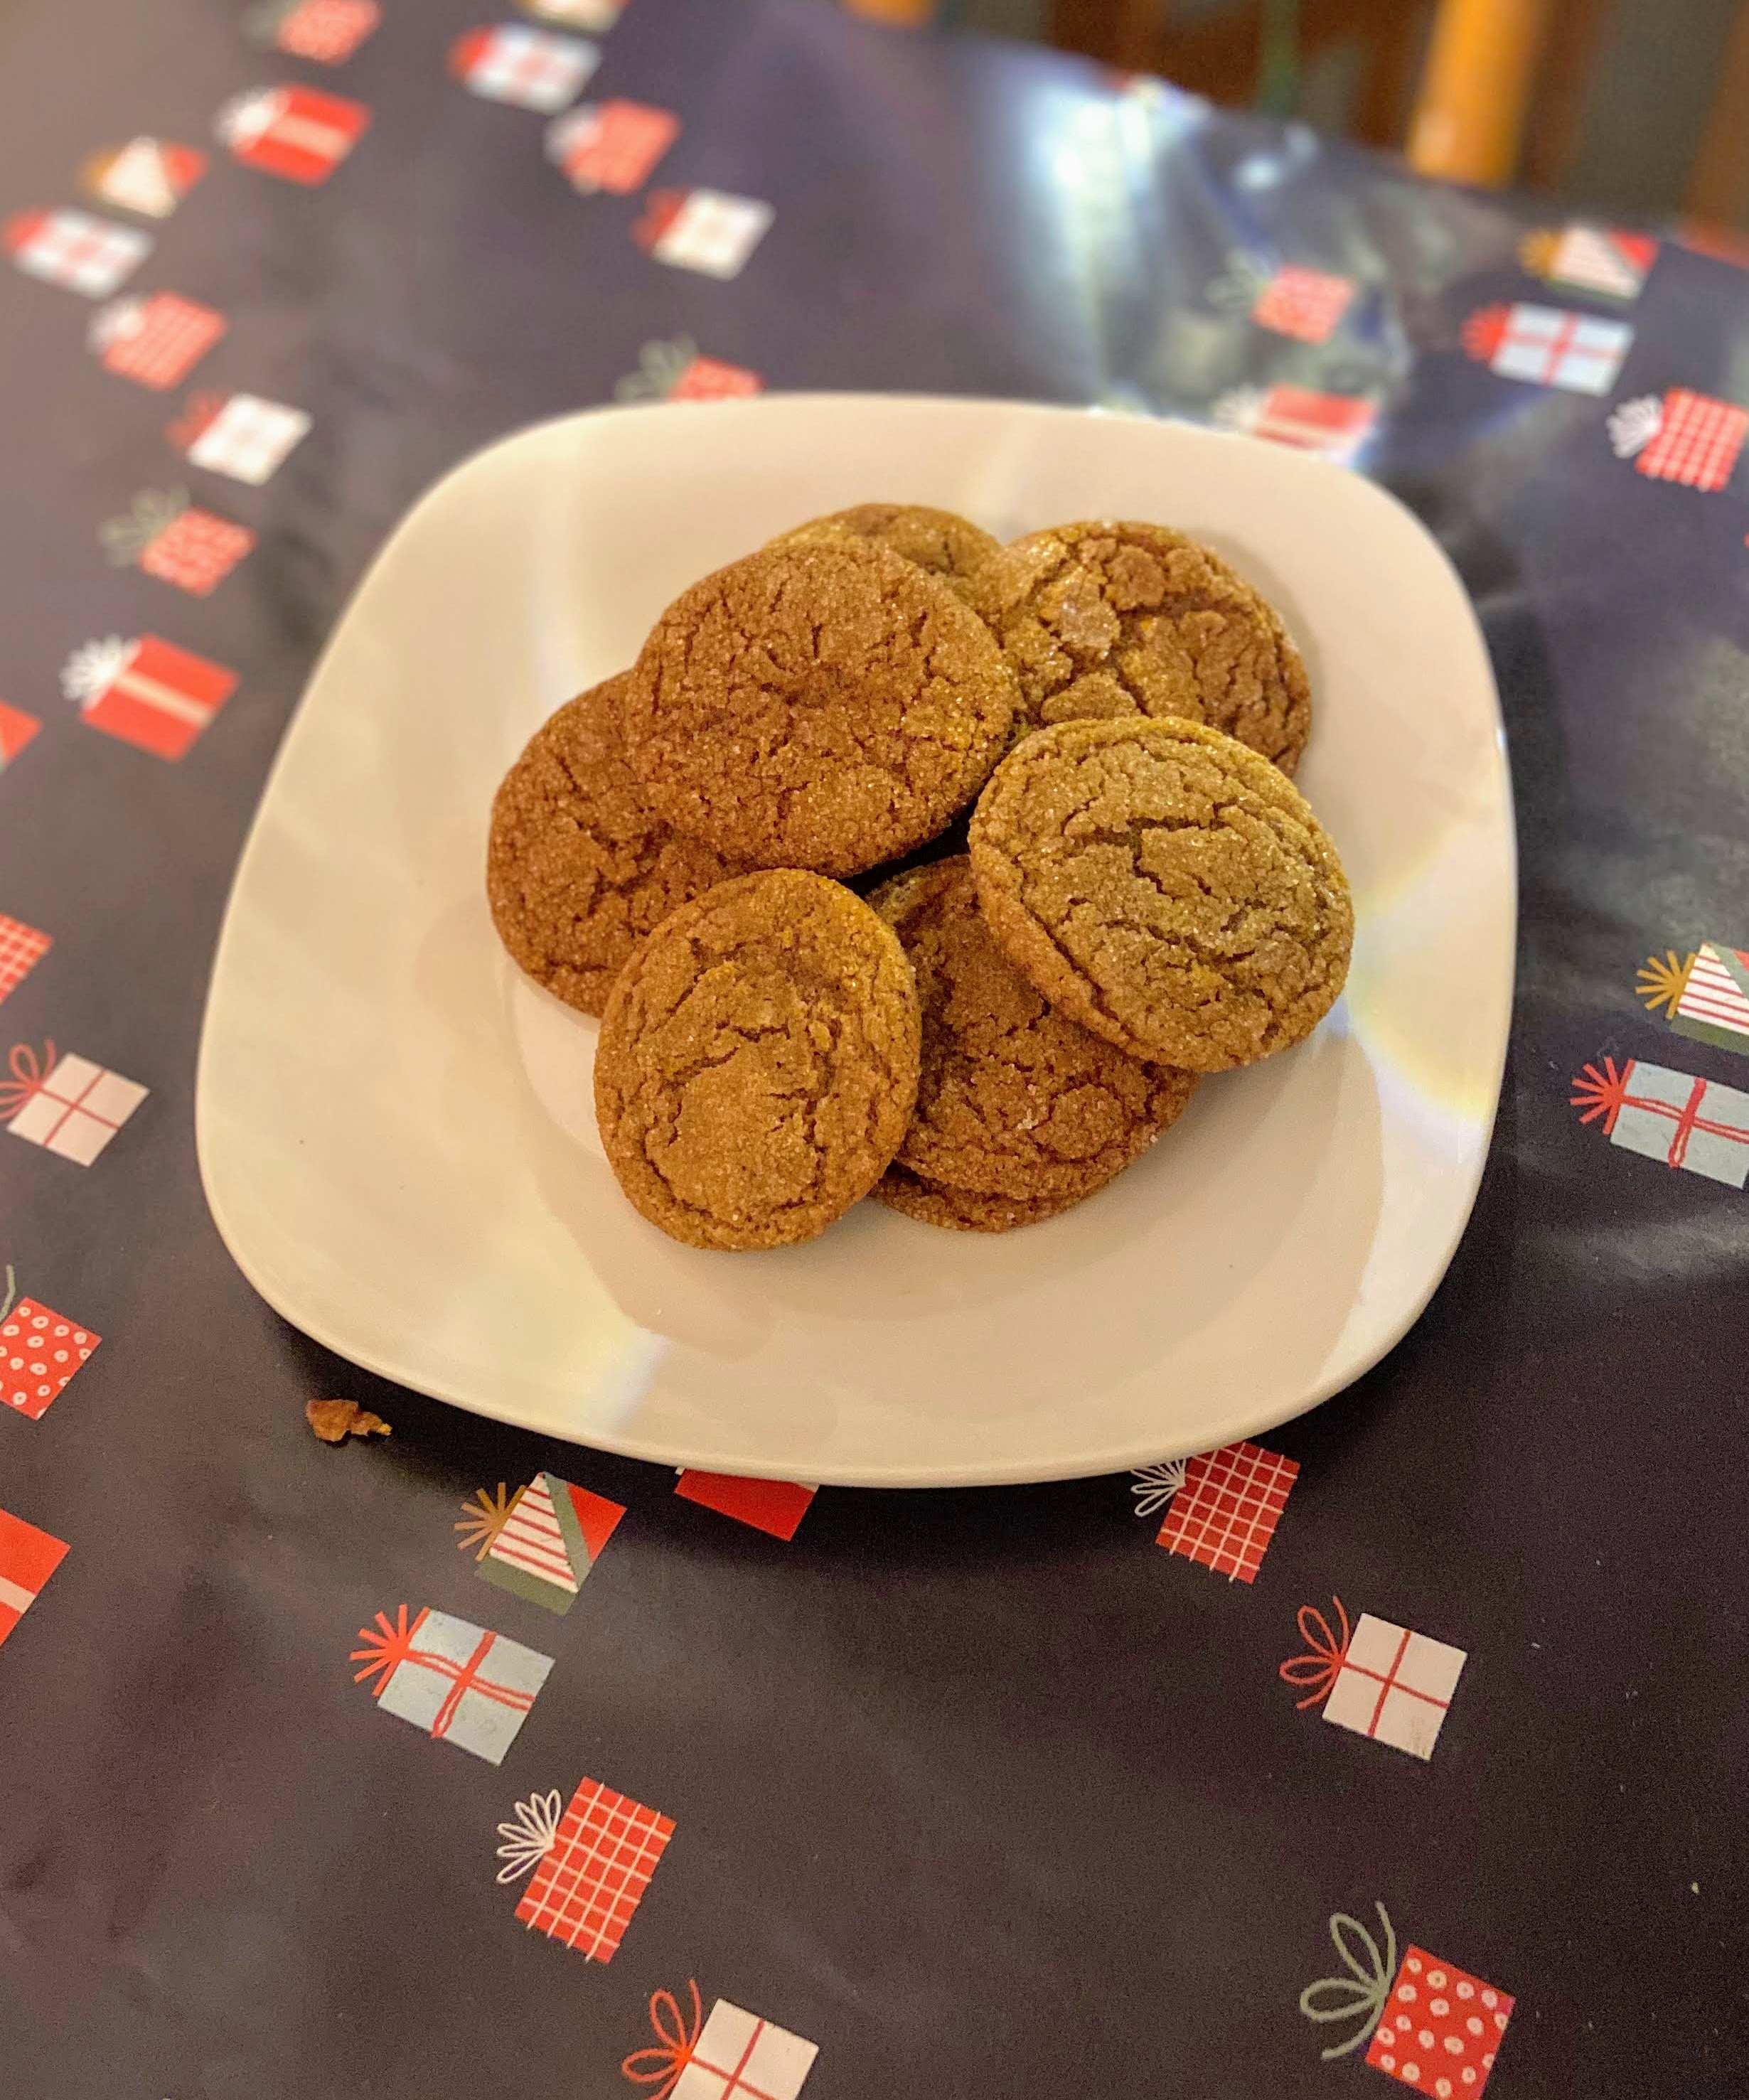
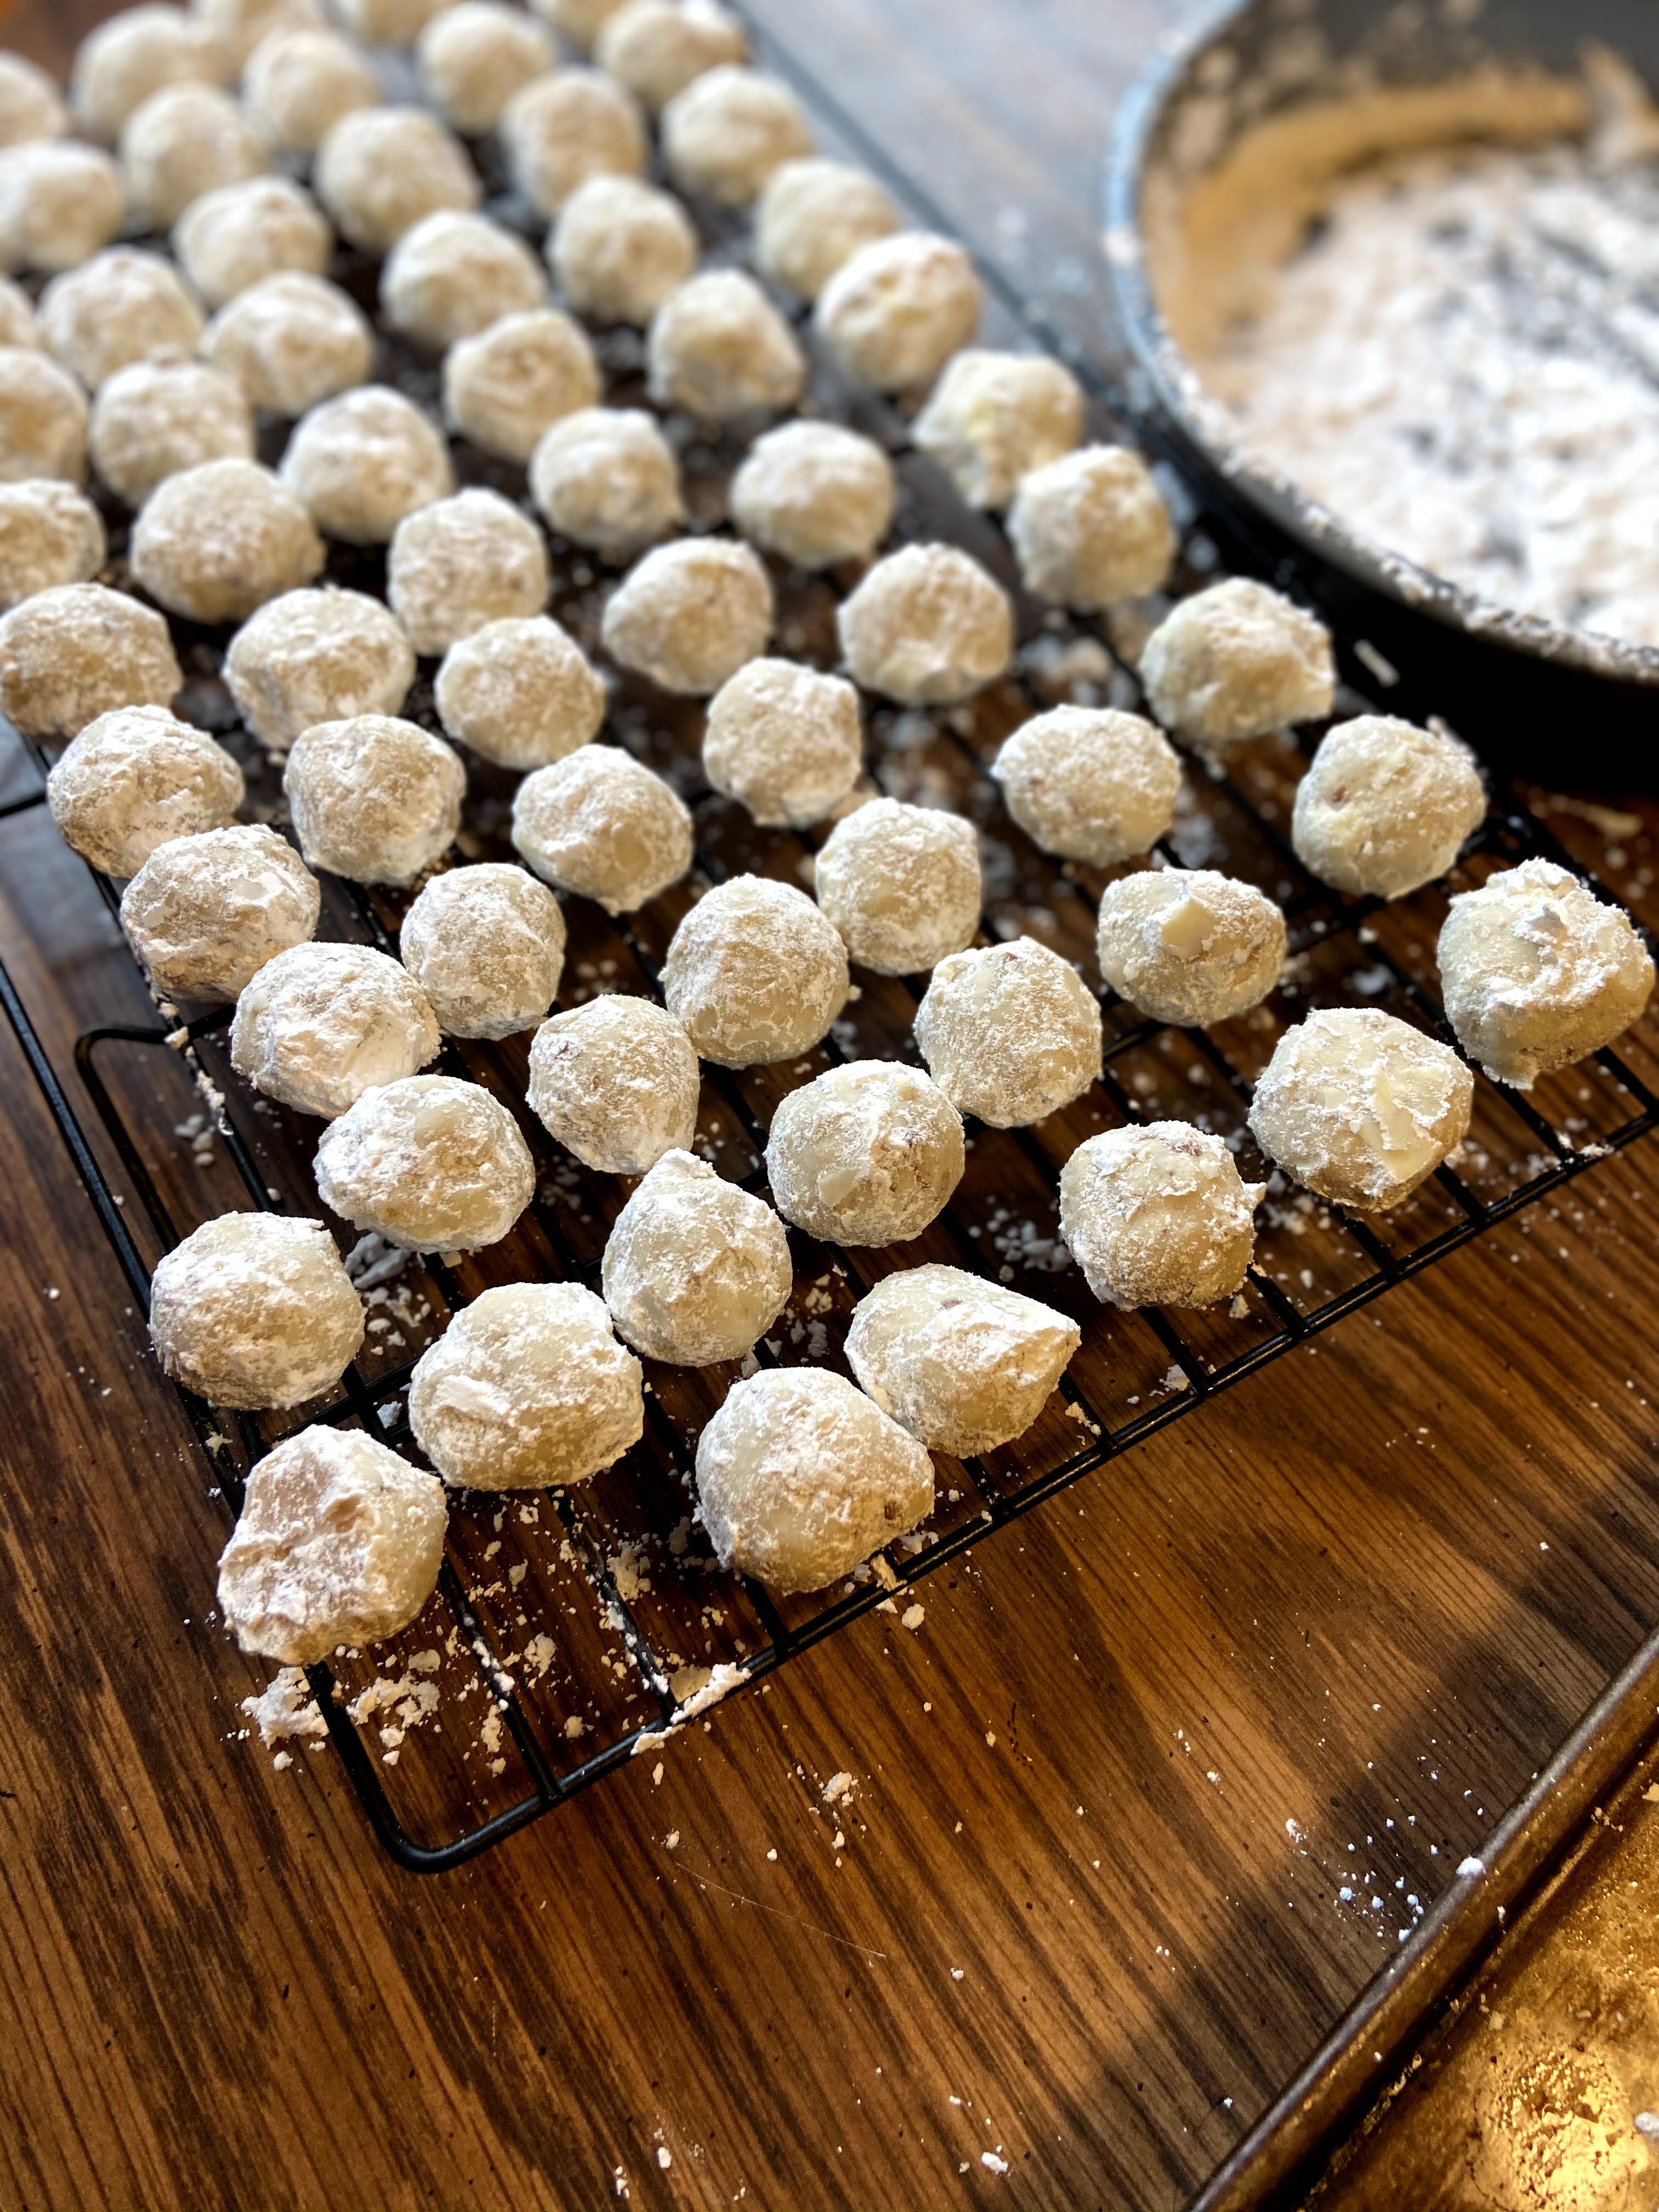
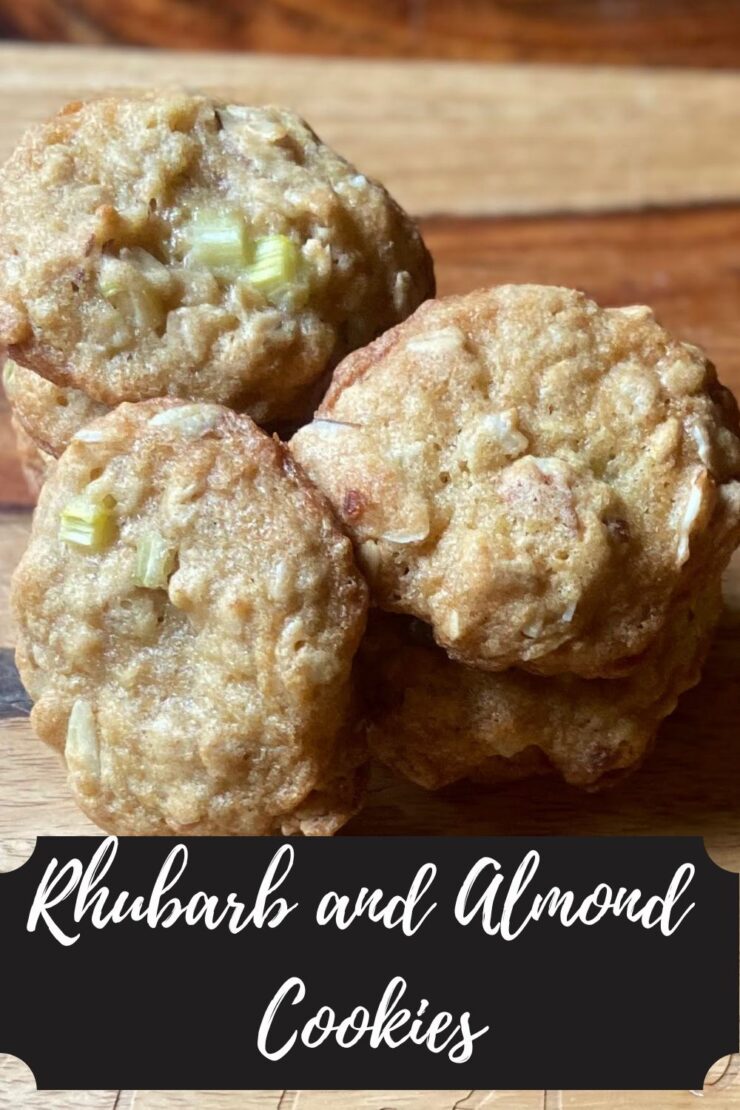
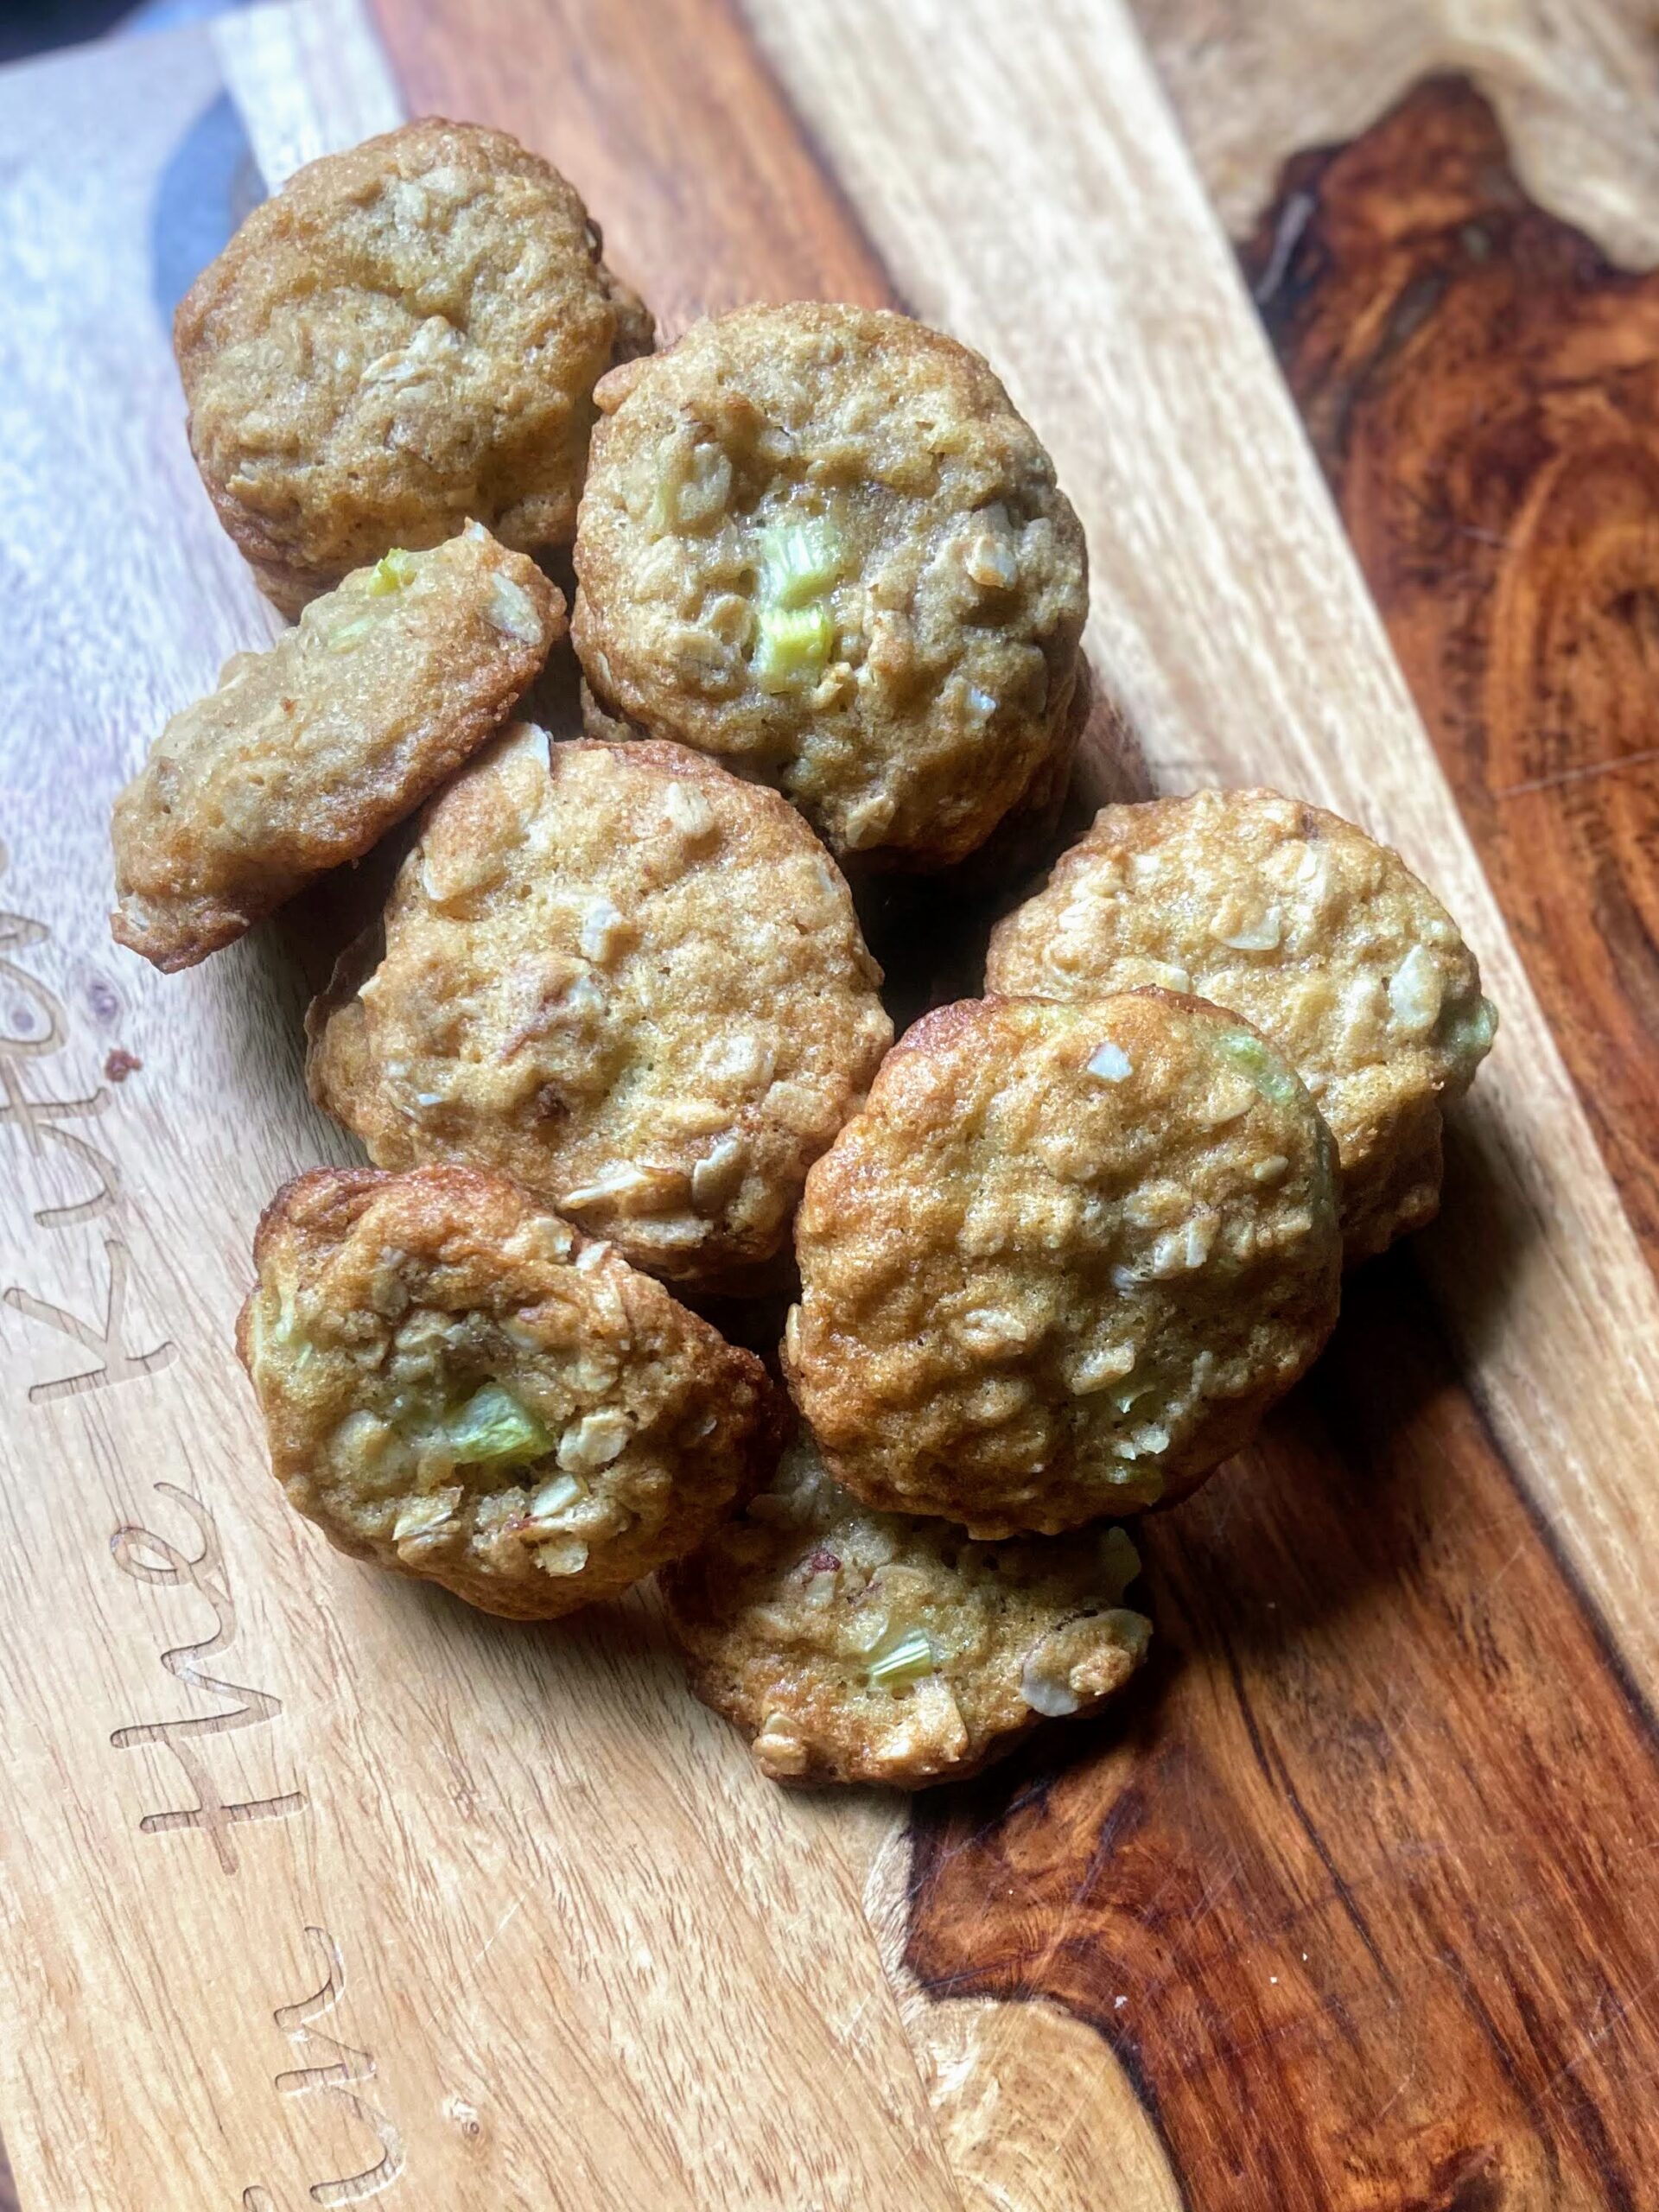
Initially, I tried to skip adding oatmeal in these cookies for those non-loving oatmeal friends. It just didn’t fly. The moisture from the rhubarb was simply too much for flour to handle. This cookie bakes up nicely and will seem like a crisp cookie straight out of the oven. However, it will soften up as they rest on the counter. Be careful to store them in a flat, covered container to prevent them from breaking apart before you can enjoy them!
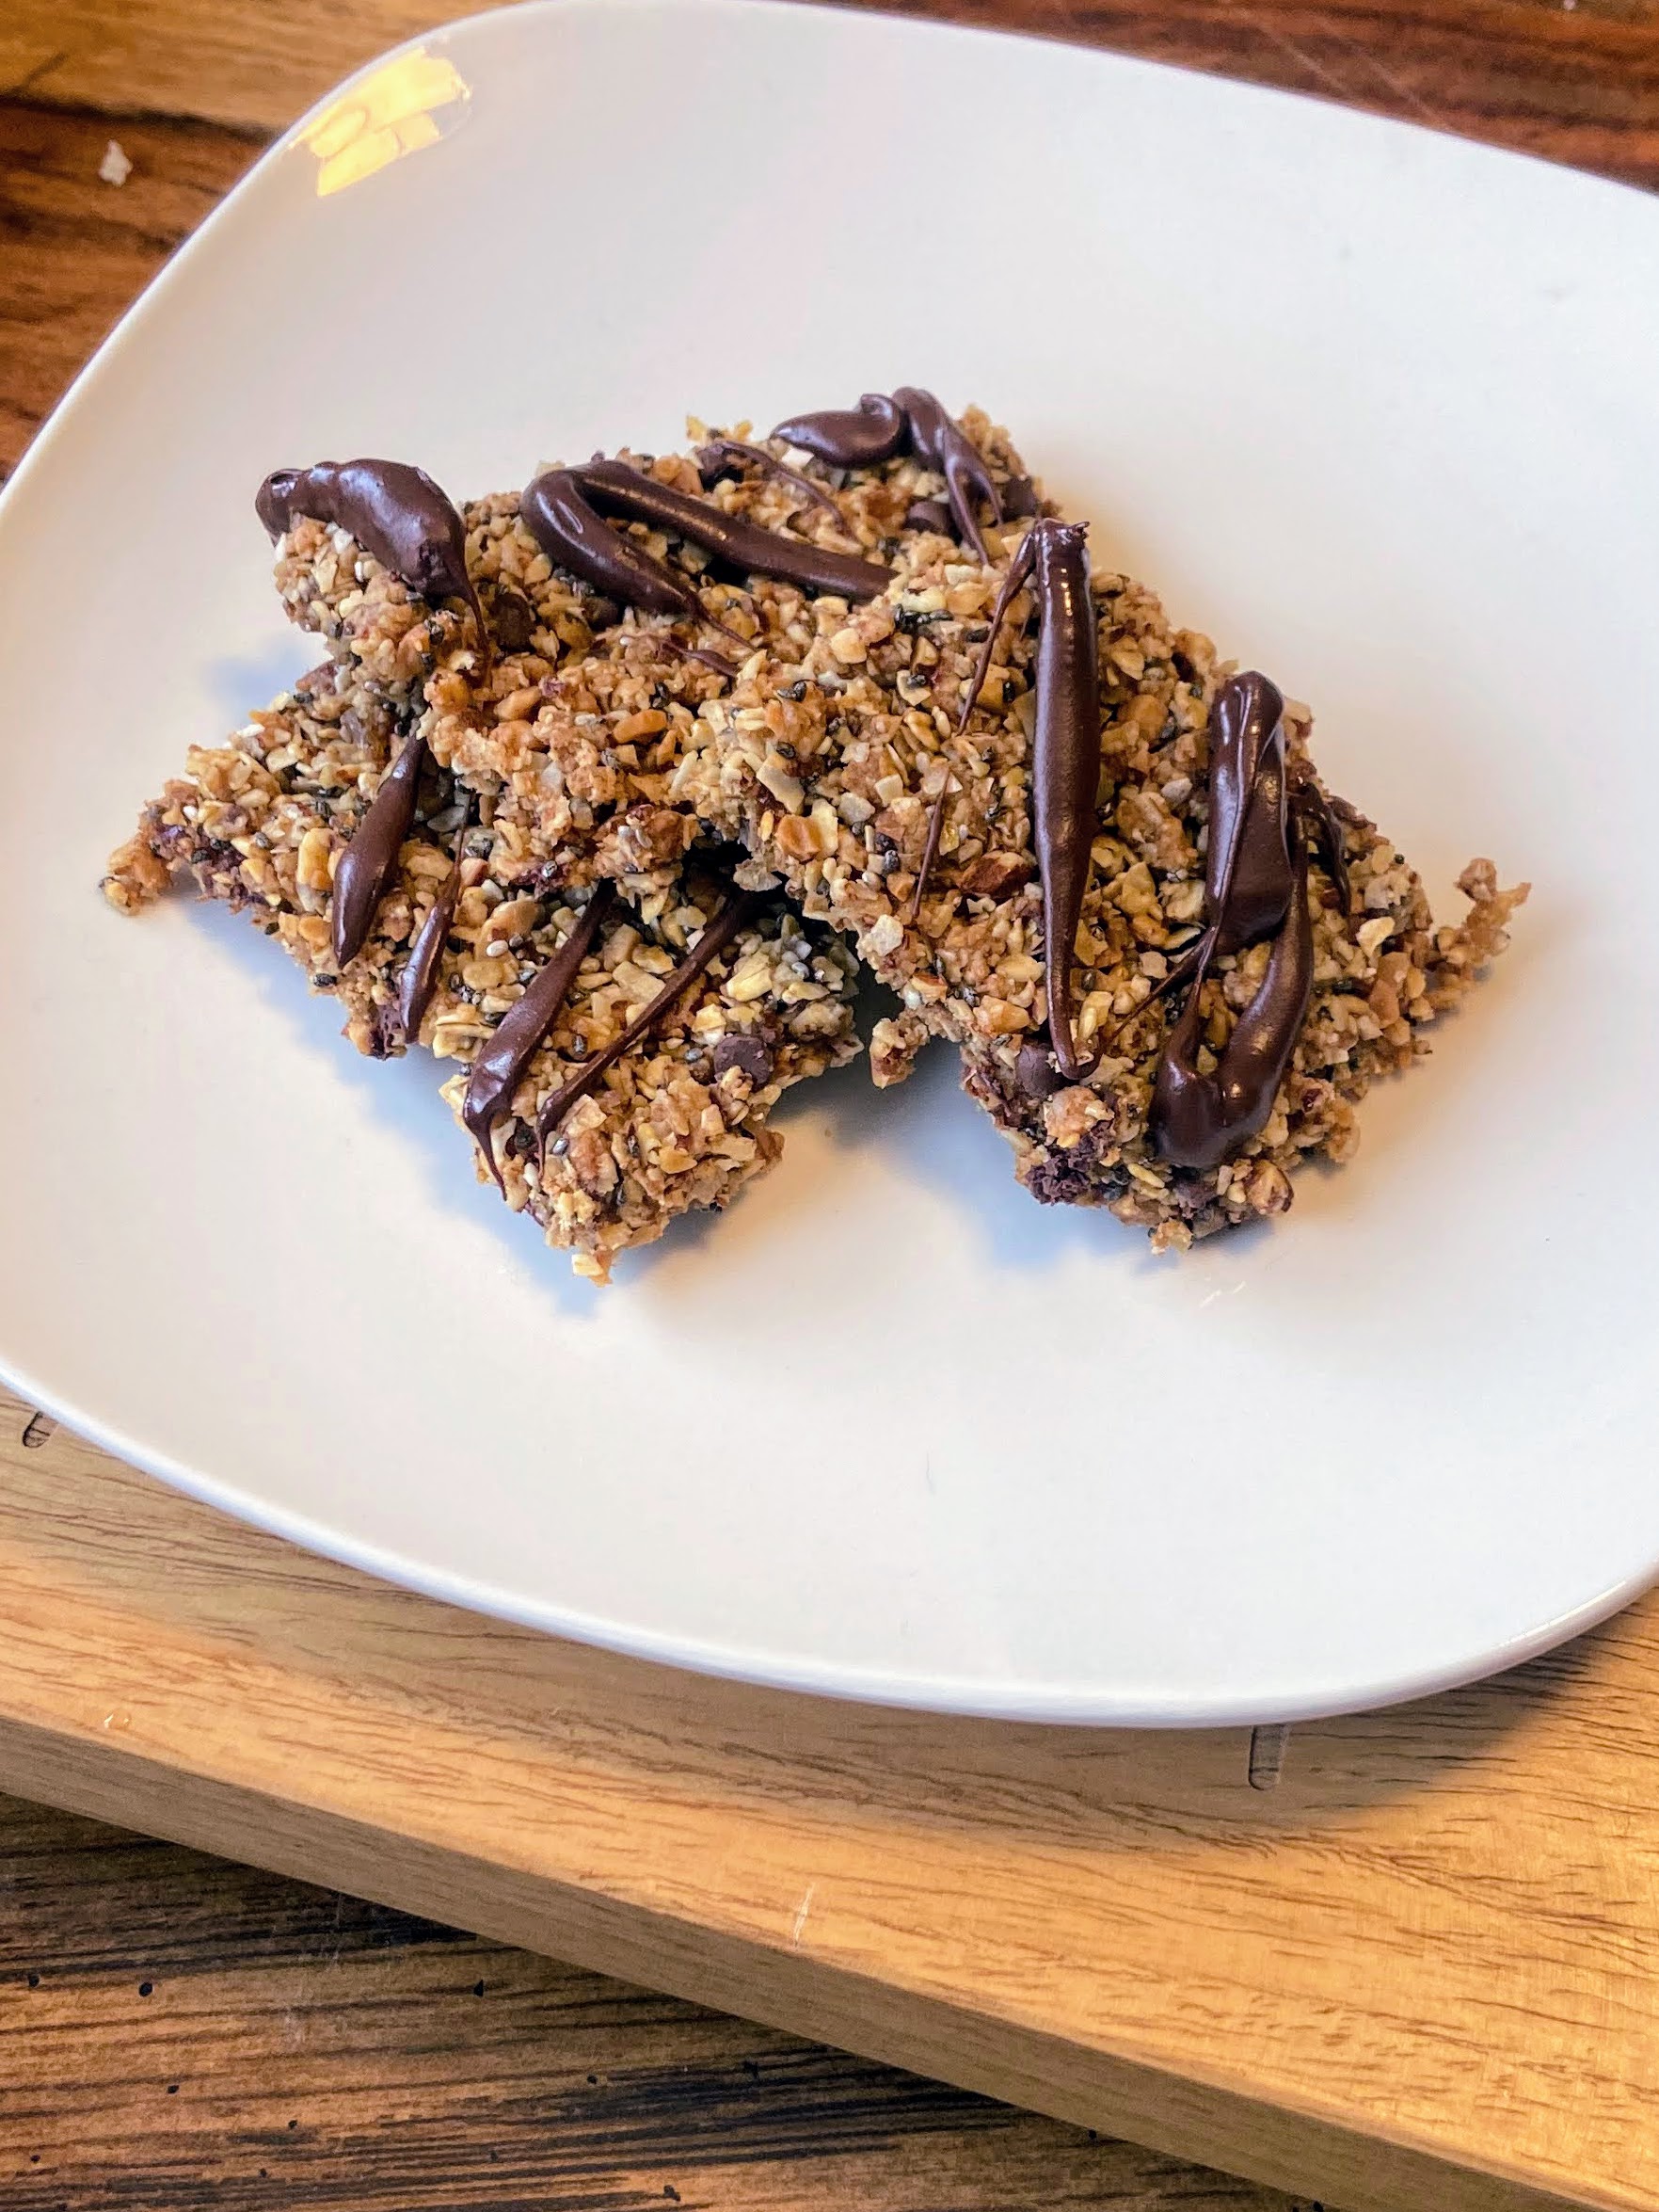
I love the tartness that can be found in these rhubarb and almond oat cookies. The oats and sliced almonds at the bit of texture we all know and love and the use of almond extract rather than vanilla makes for a surprise! Ready to bake? Let’s go!
Your Ingredients
- ½ cup butter, softened
- ½ cup brown sugar
- ¼ cup white sugar
- 1 egg
- ½ teaspoon almond extract
- 1 cup all-purpose flour
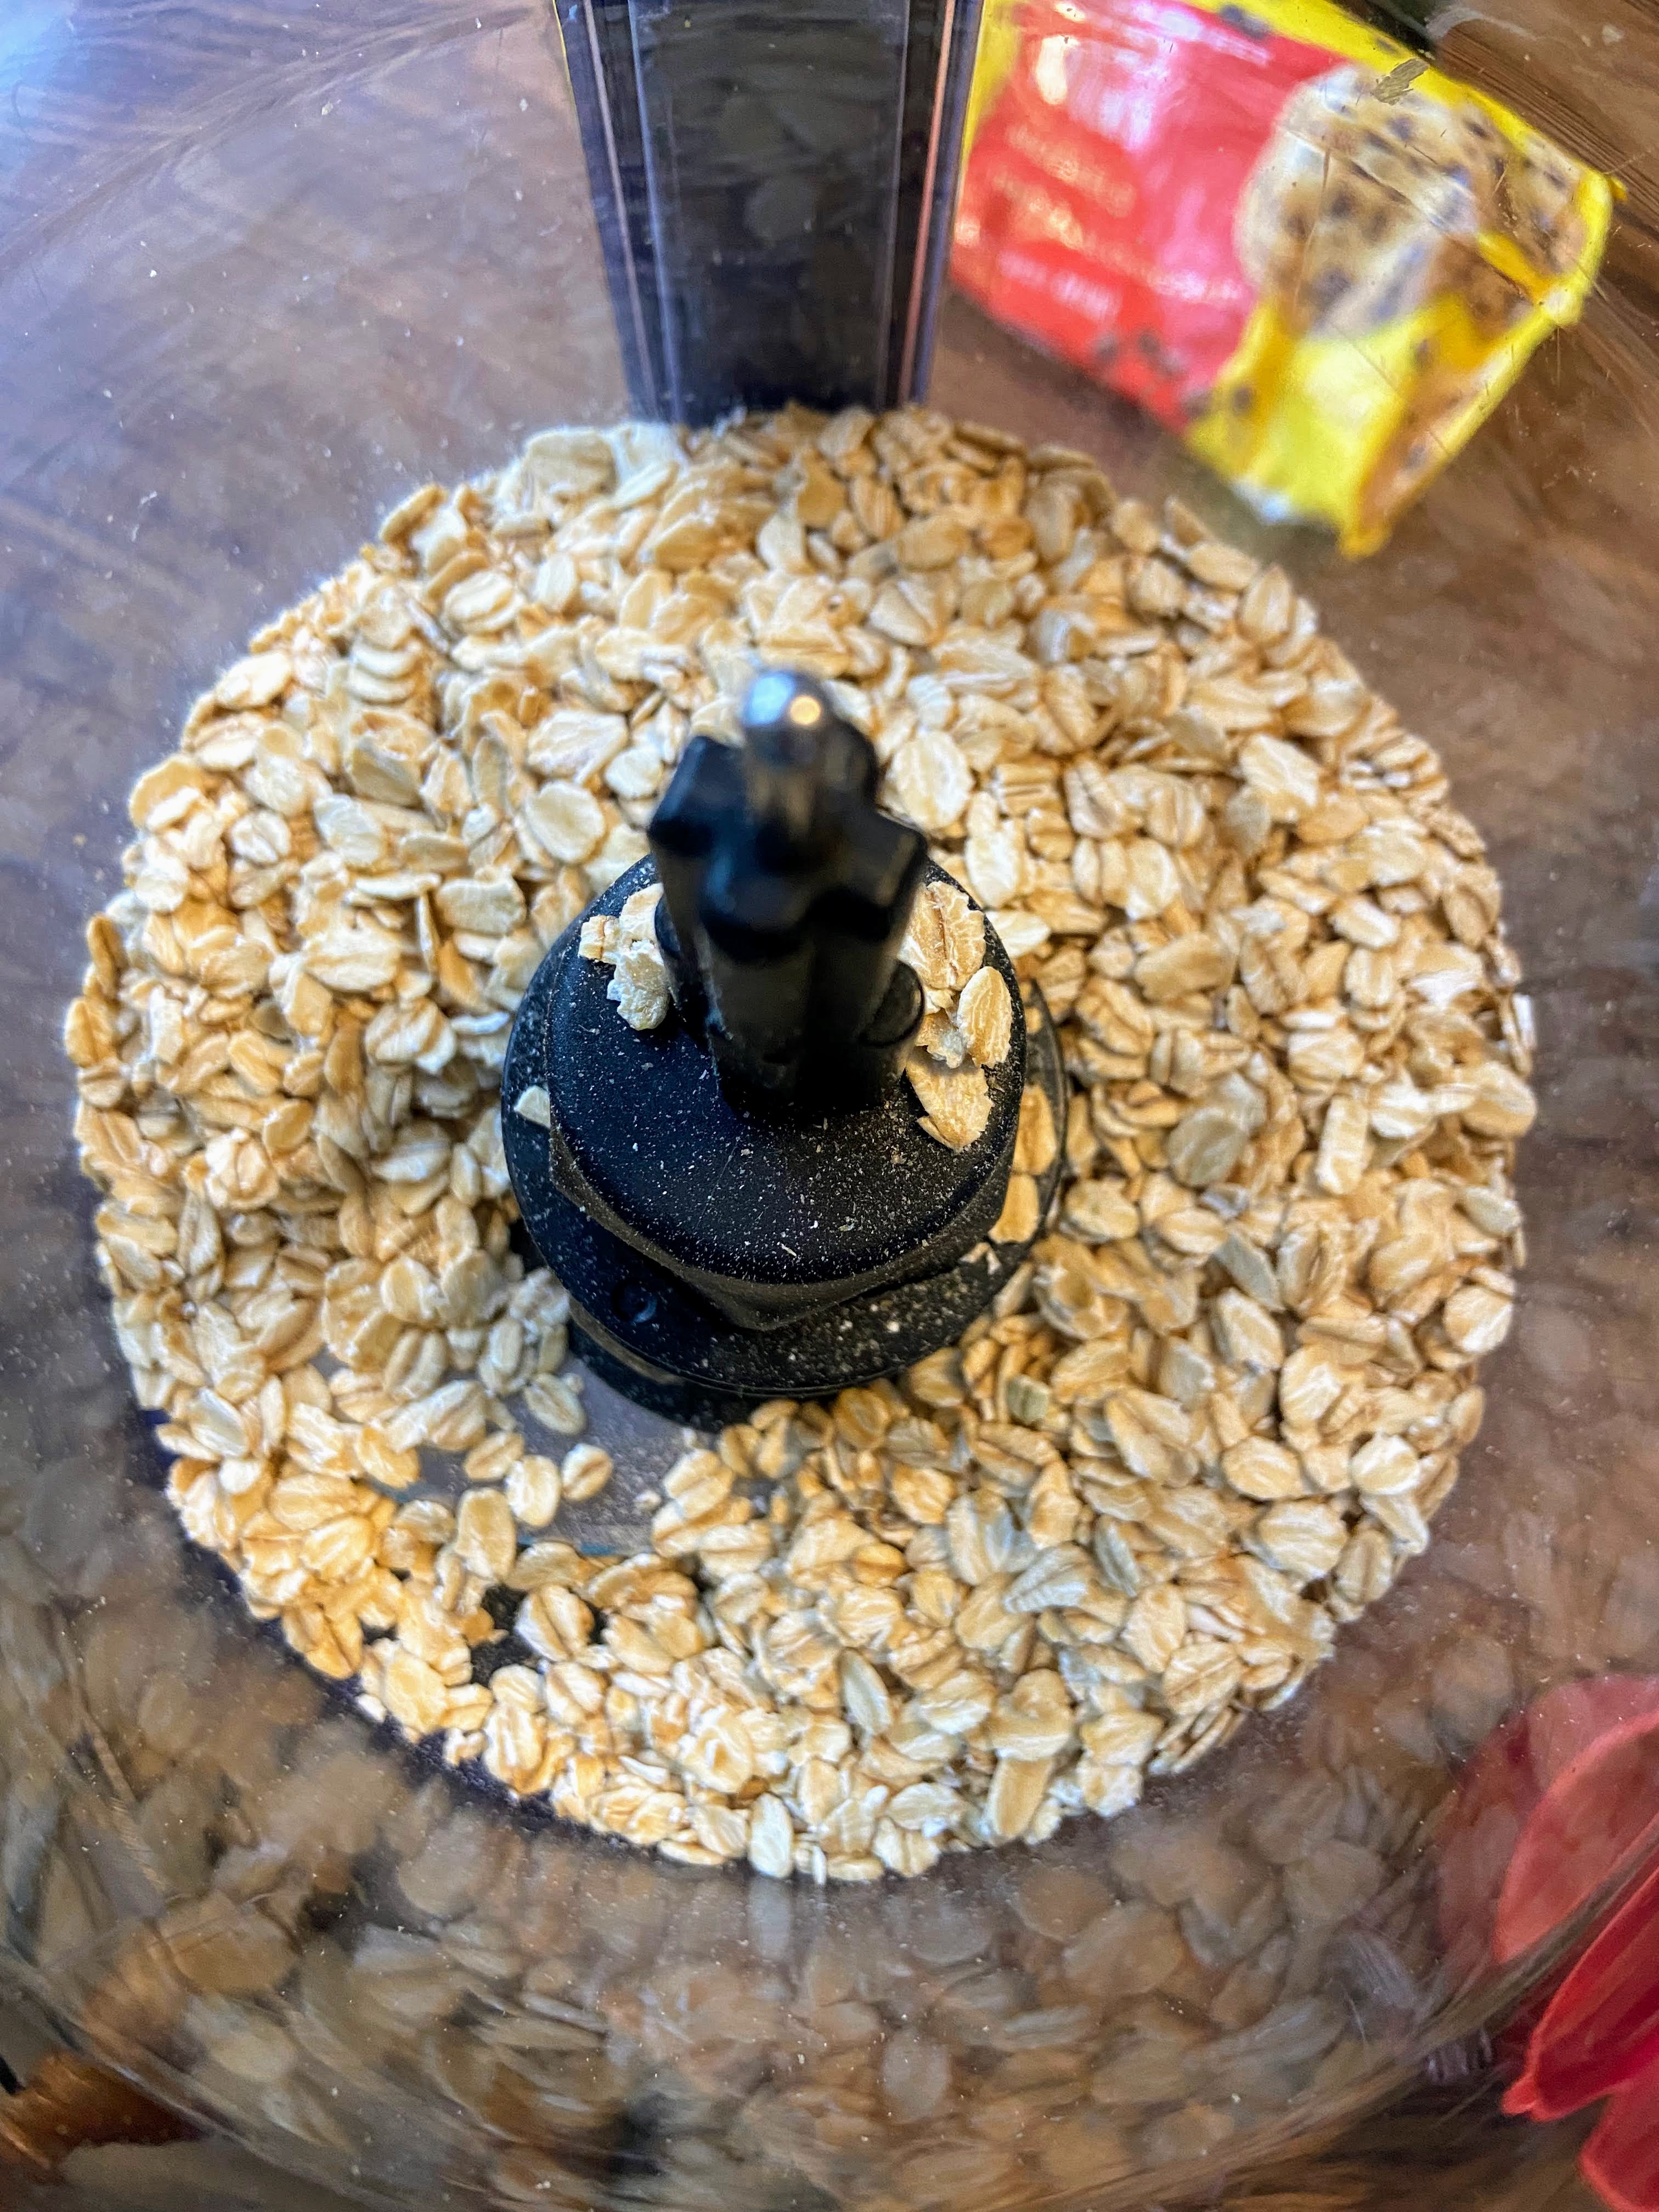
- 1 cup old-fashioned oats
- ½ teaspoon baking soda
- ½ teaspoon salt
- ¾ cup diced rhubarb, cut small
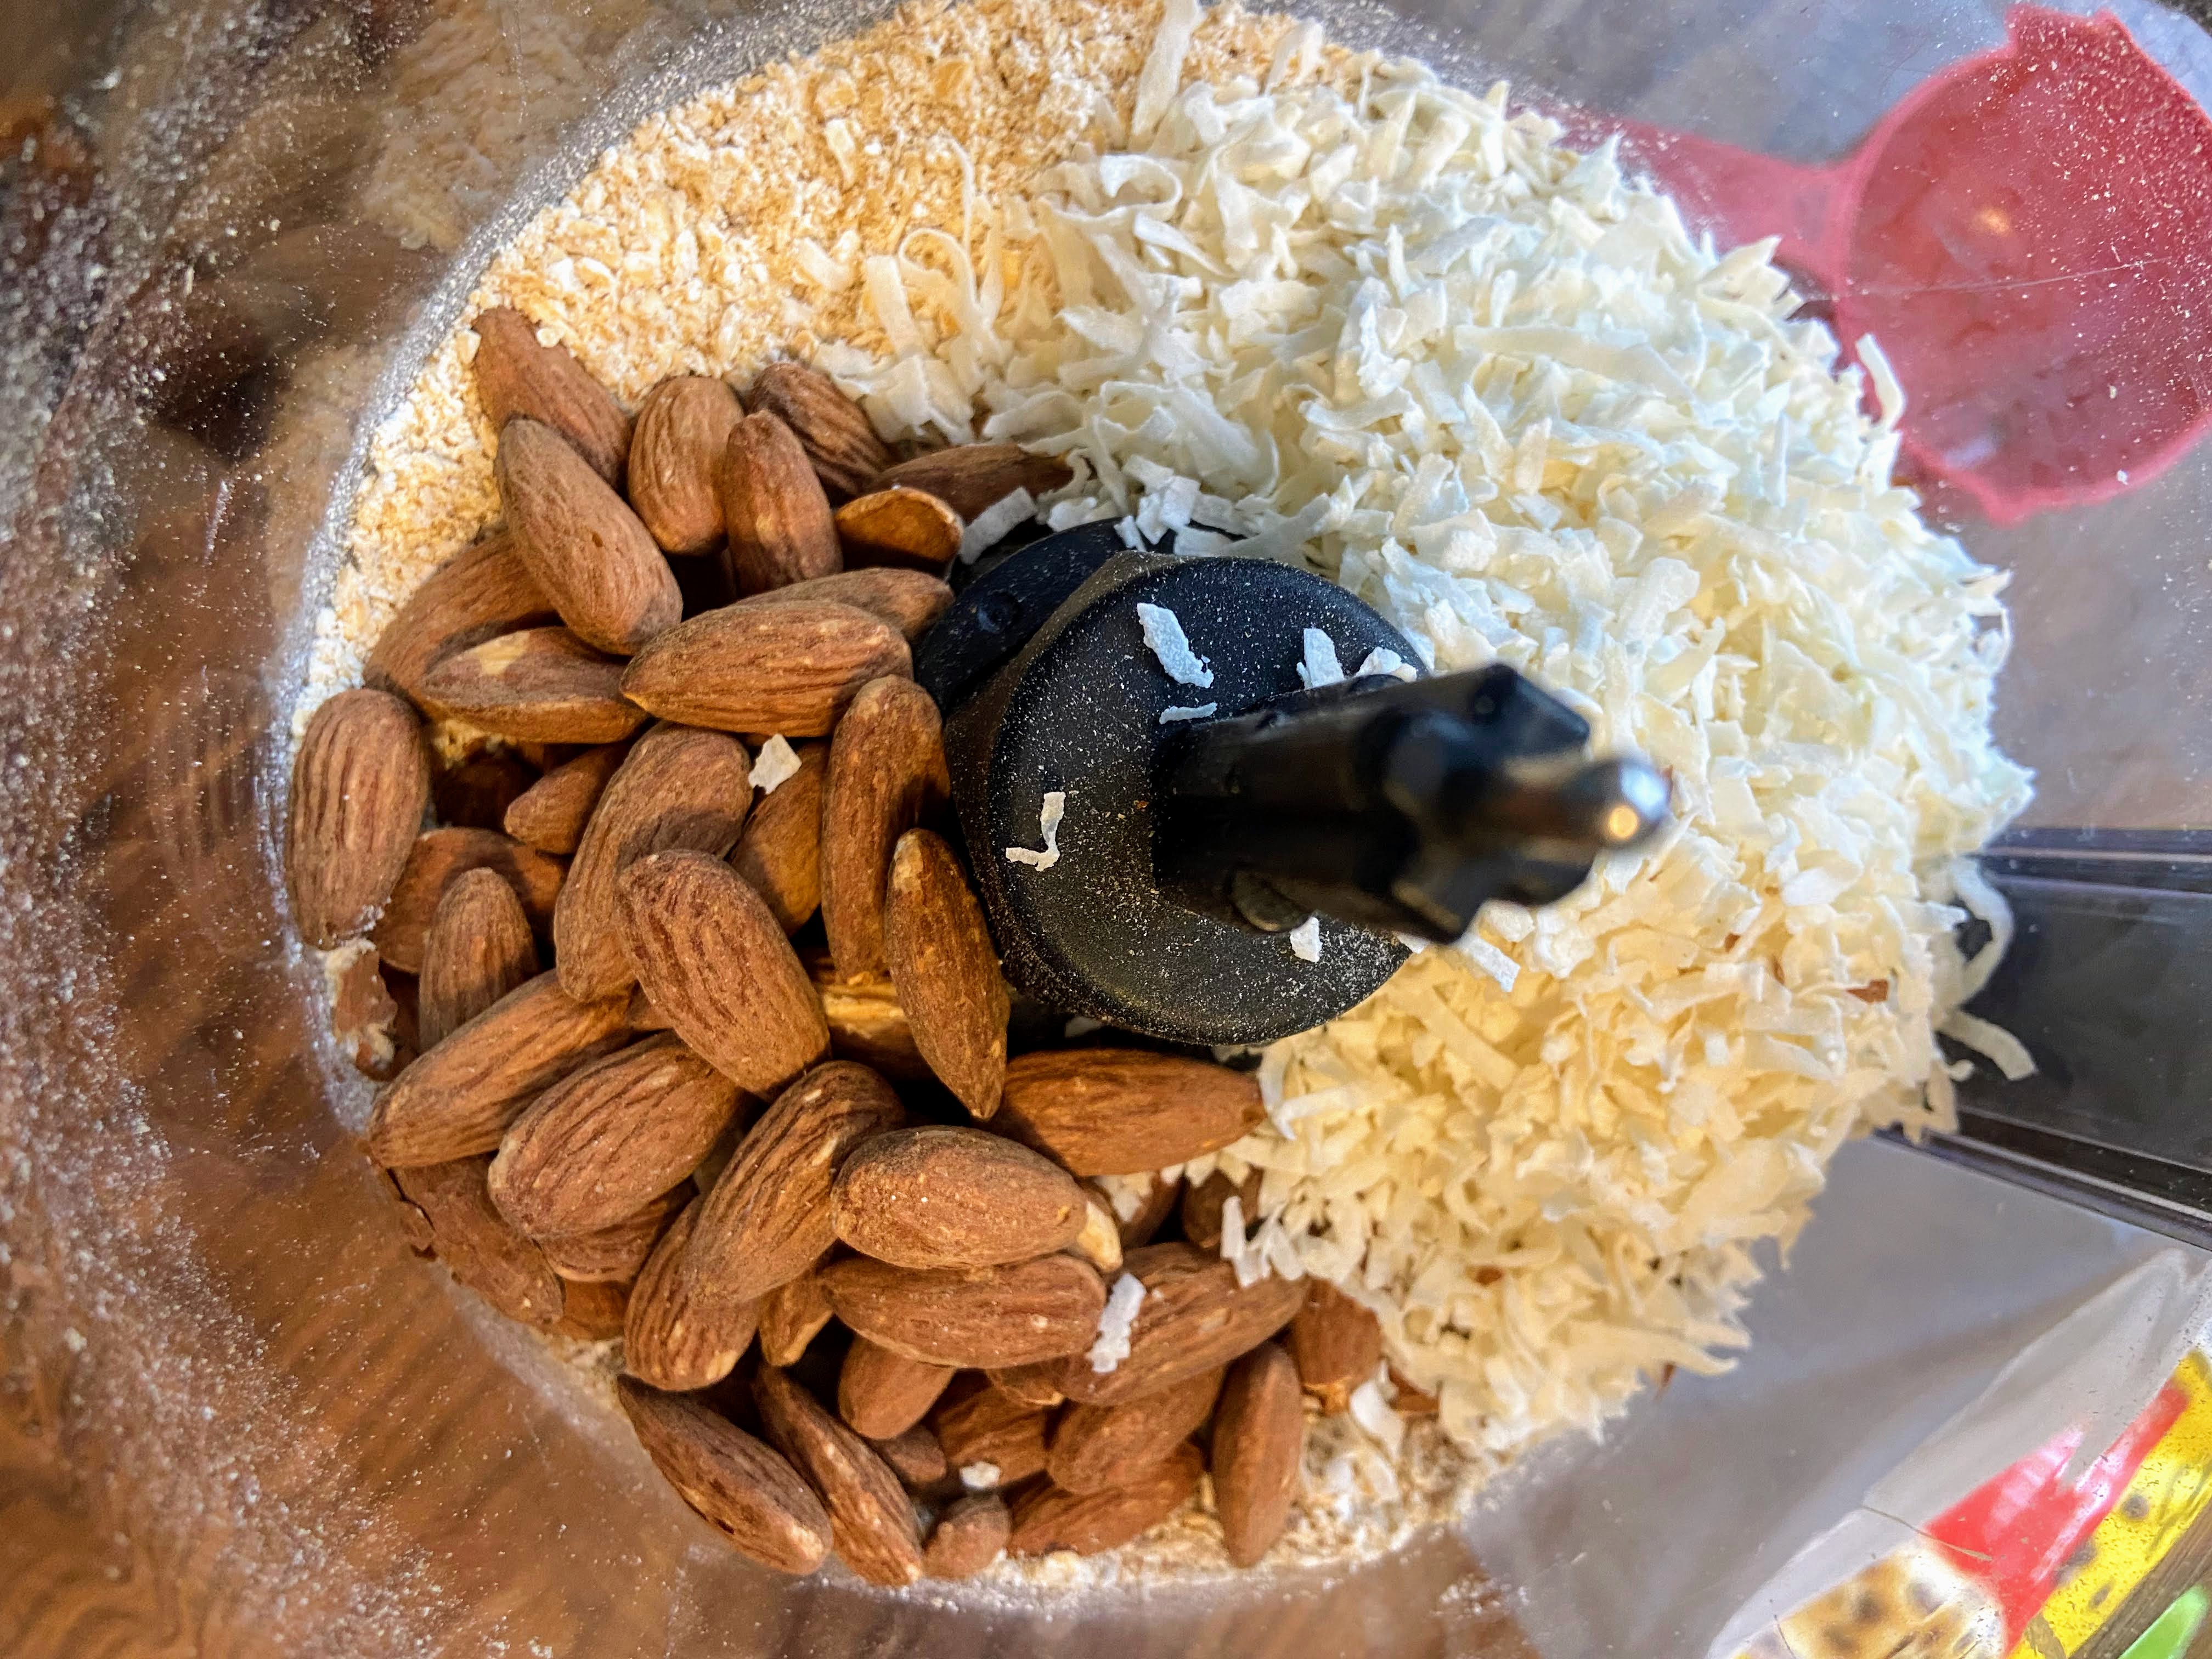
- ½ cup sliced almonds
Your Steps to Rhubarb and Almond Cookies
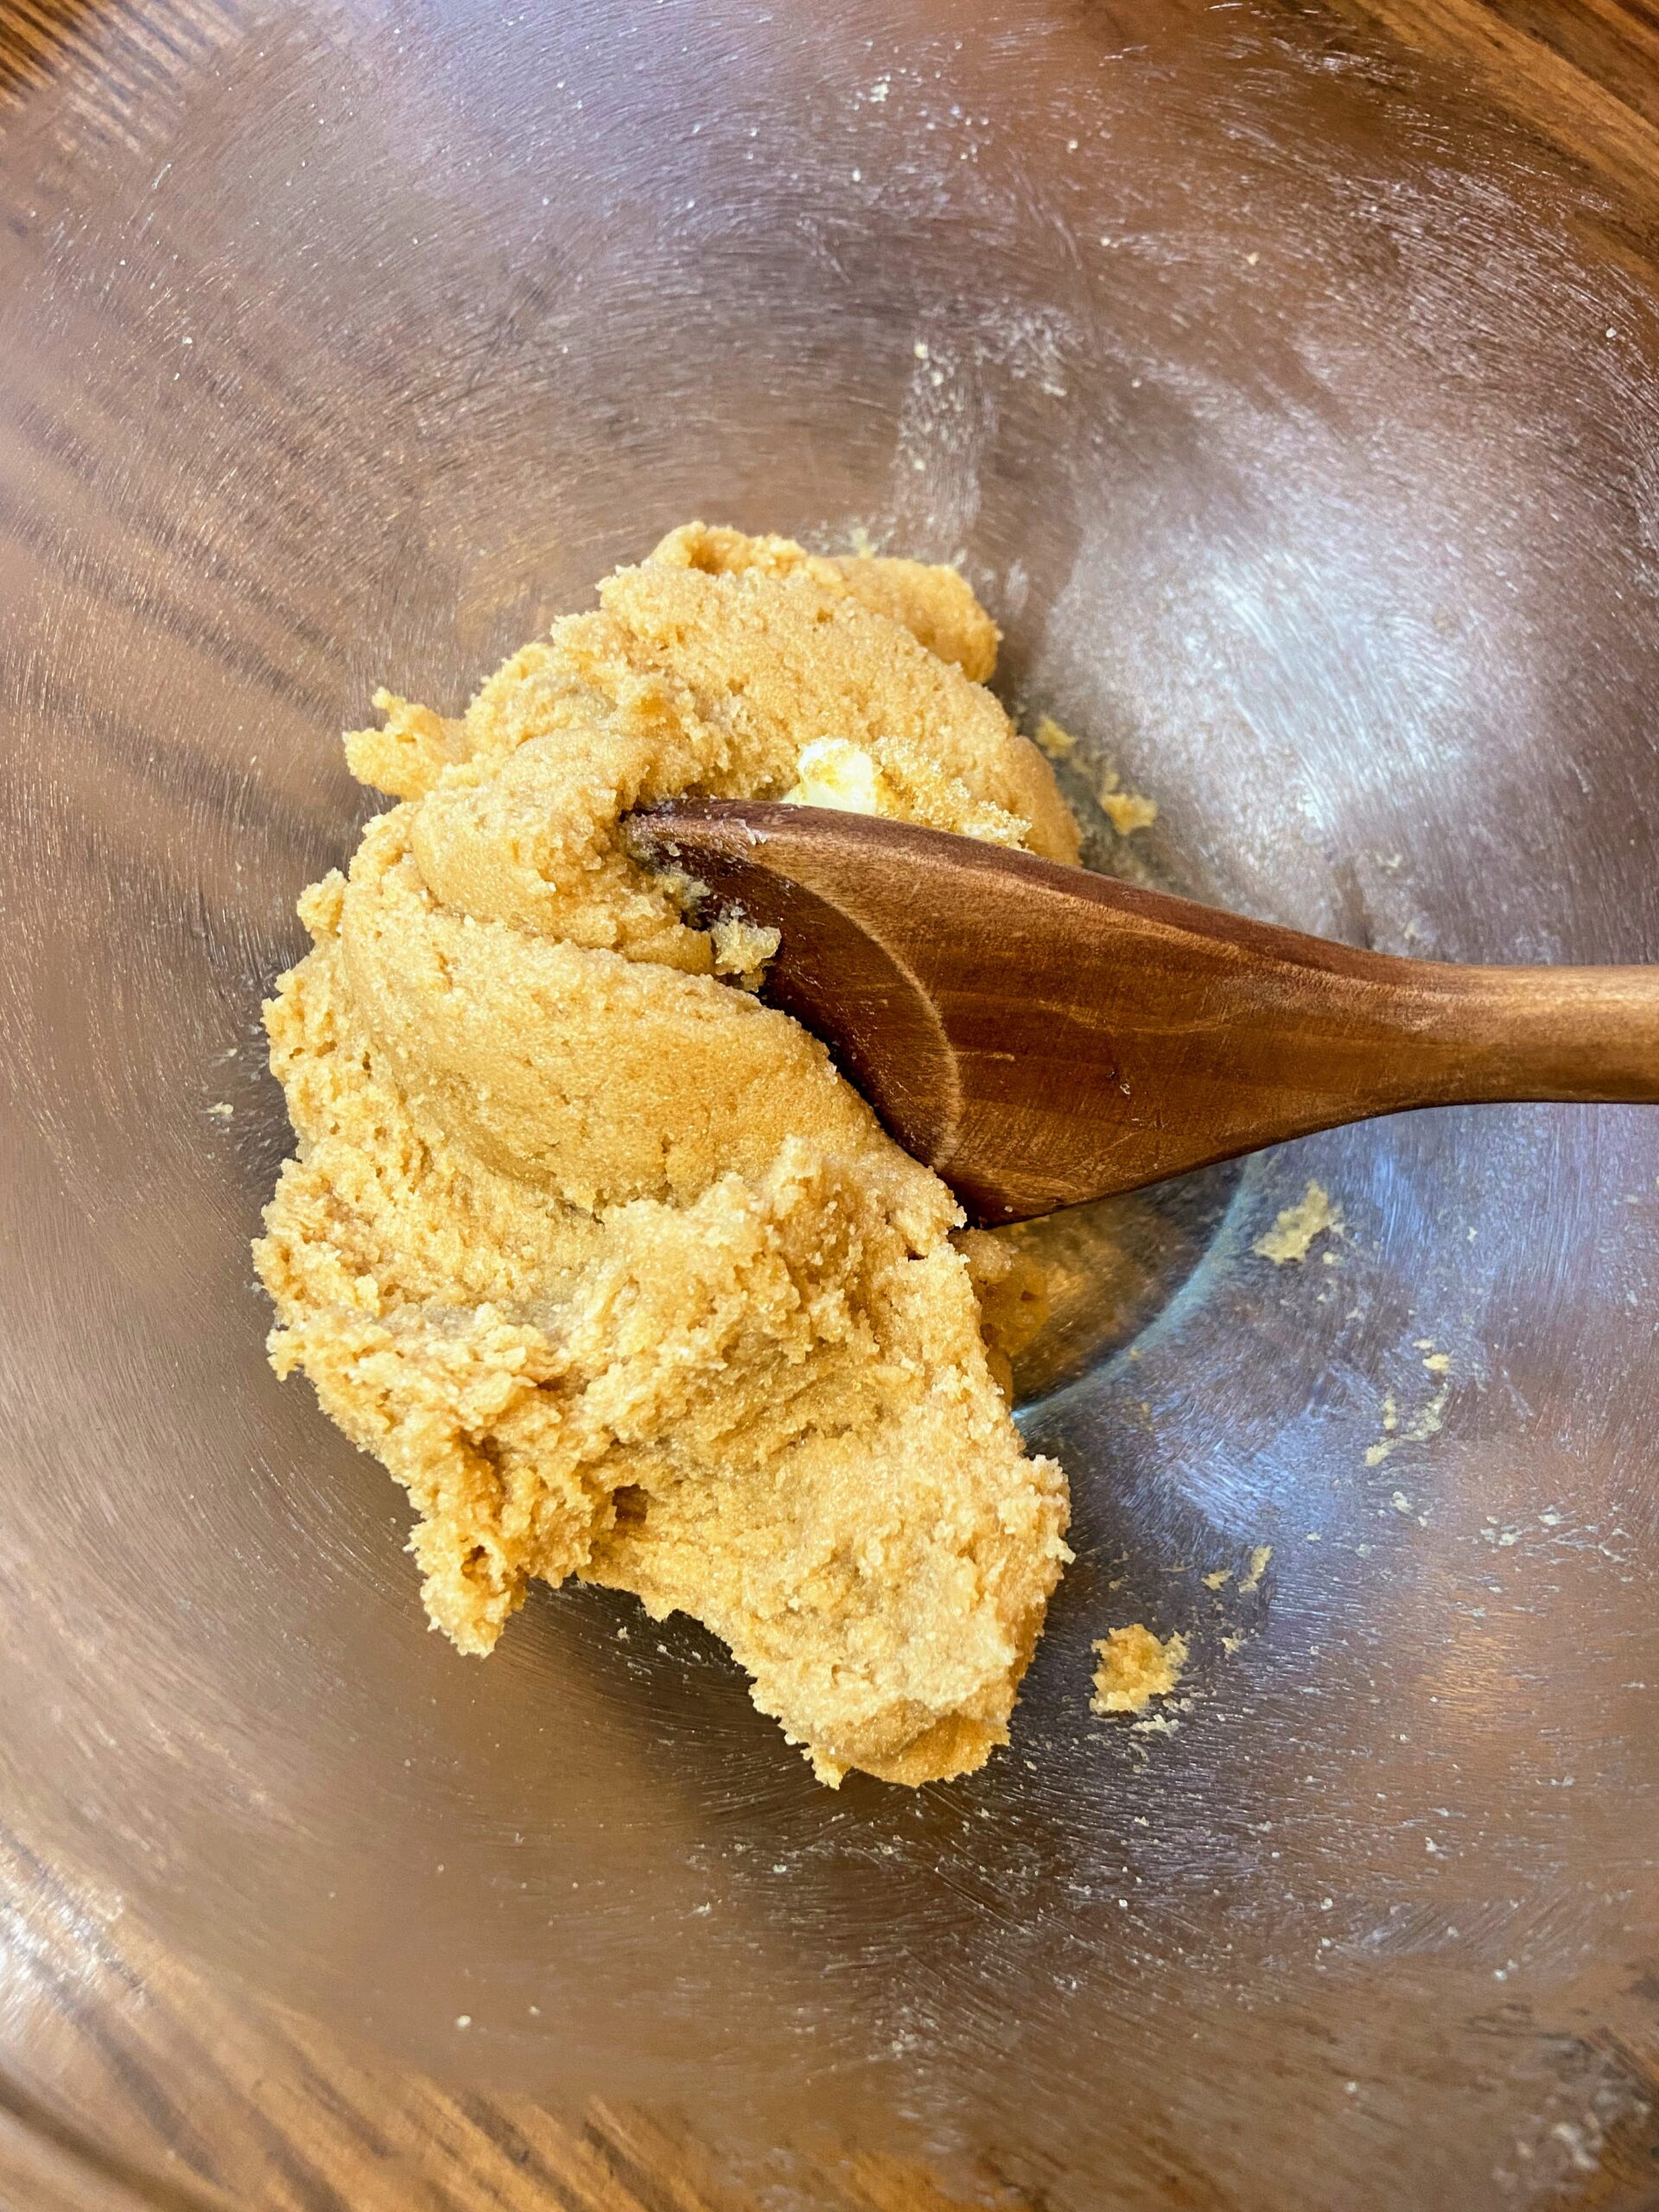
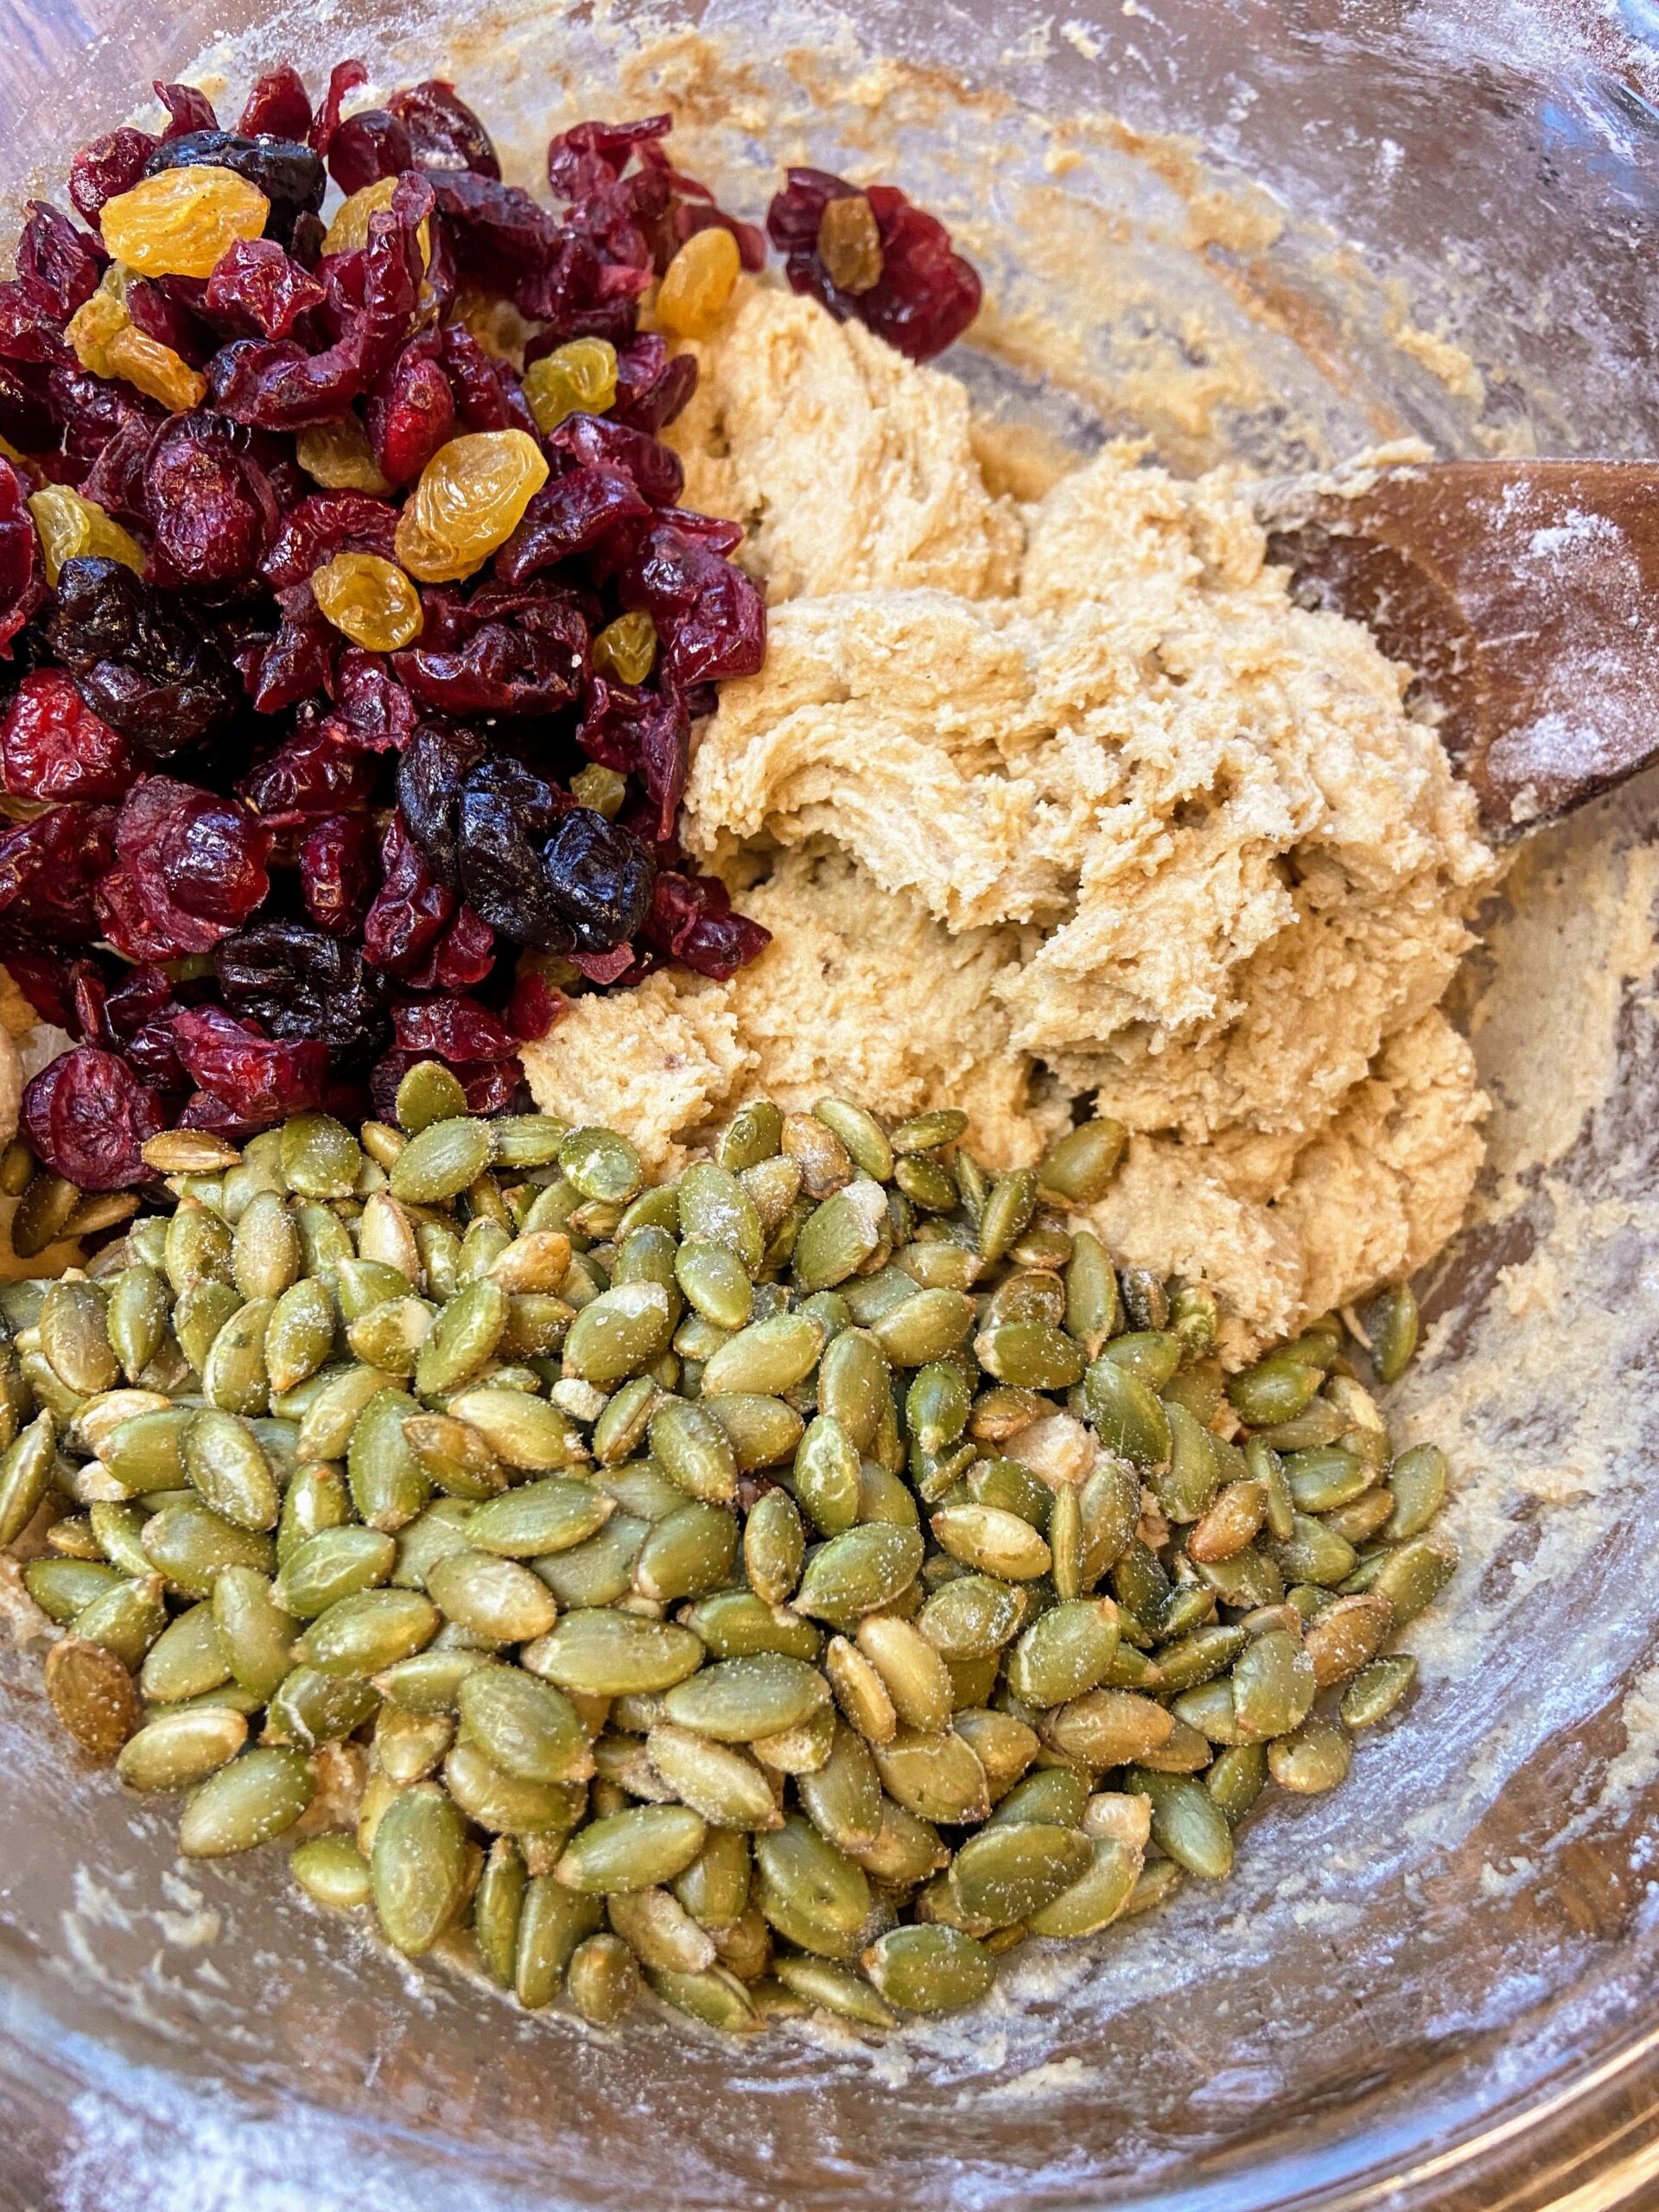
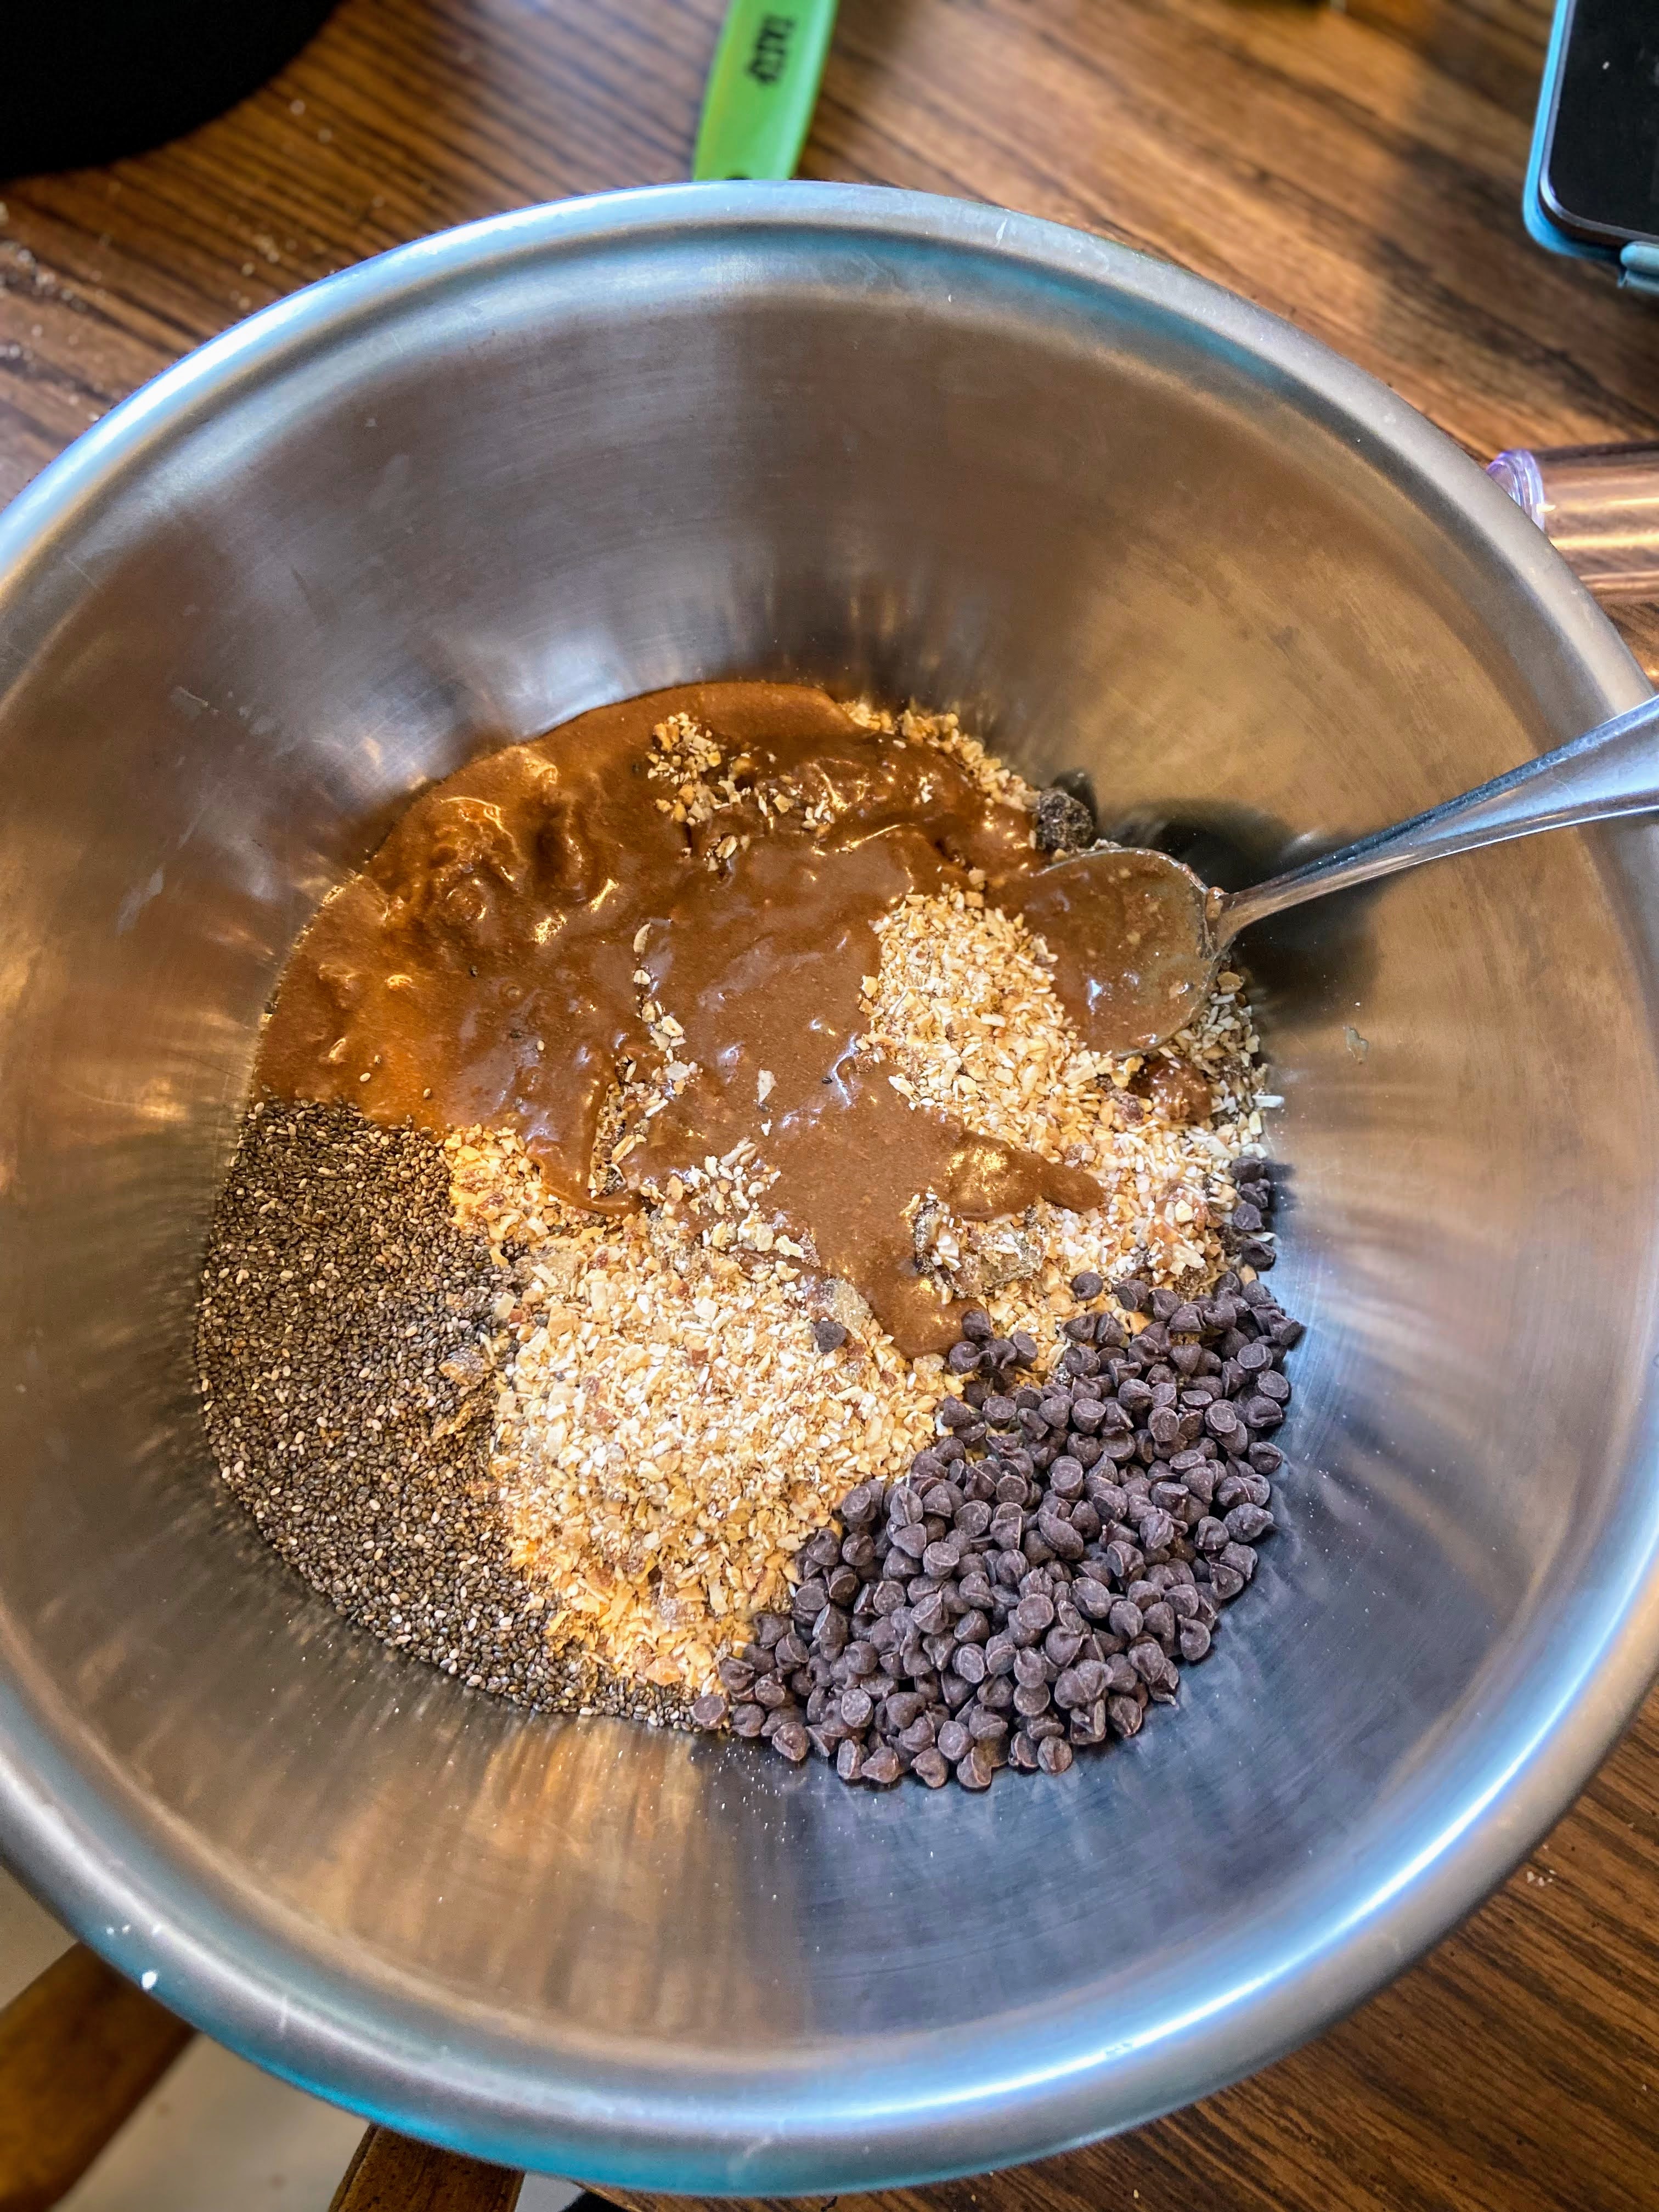
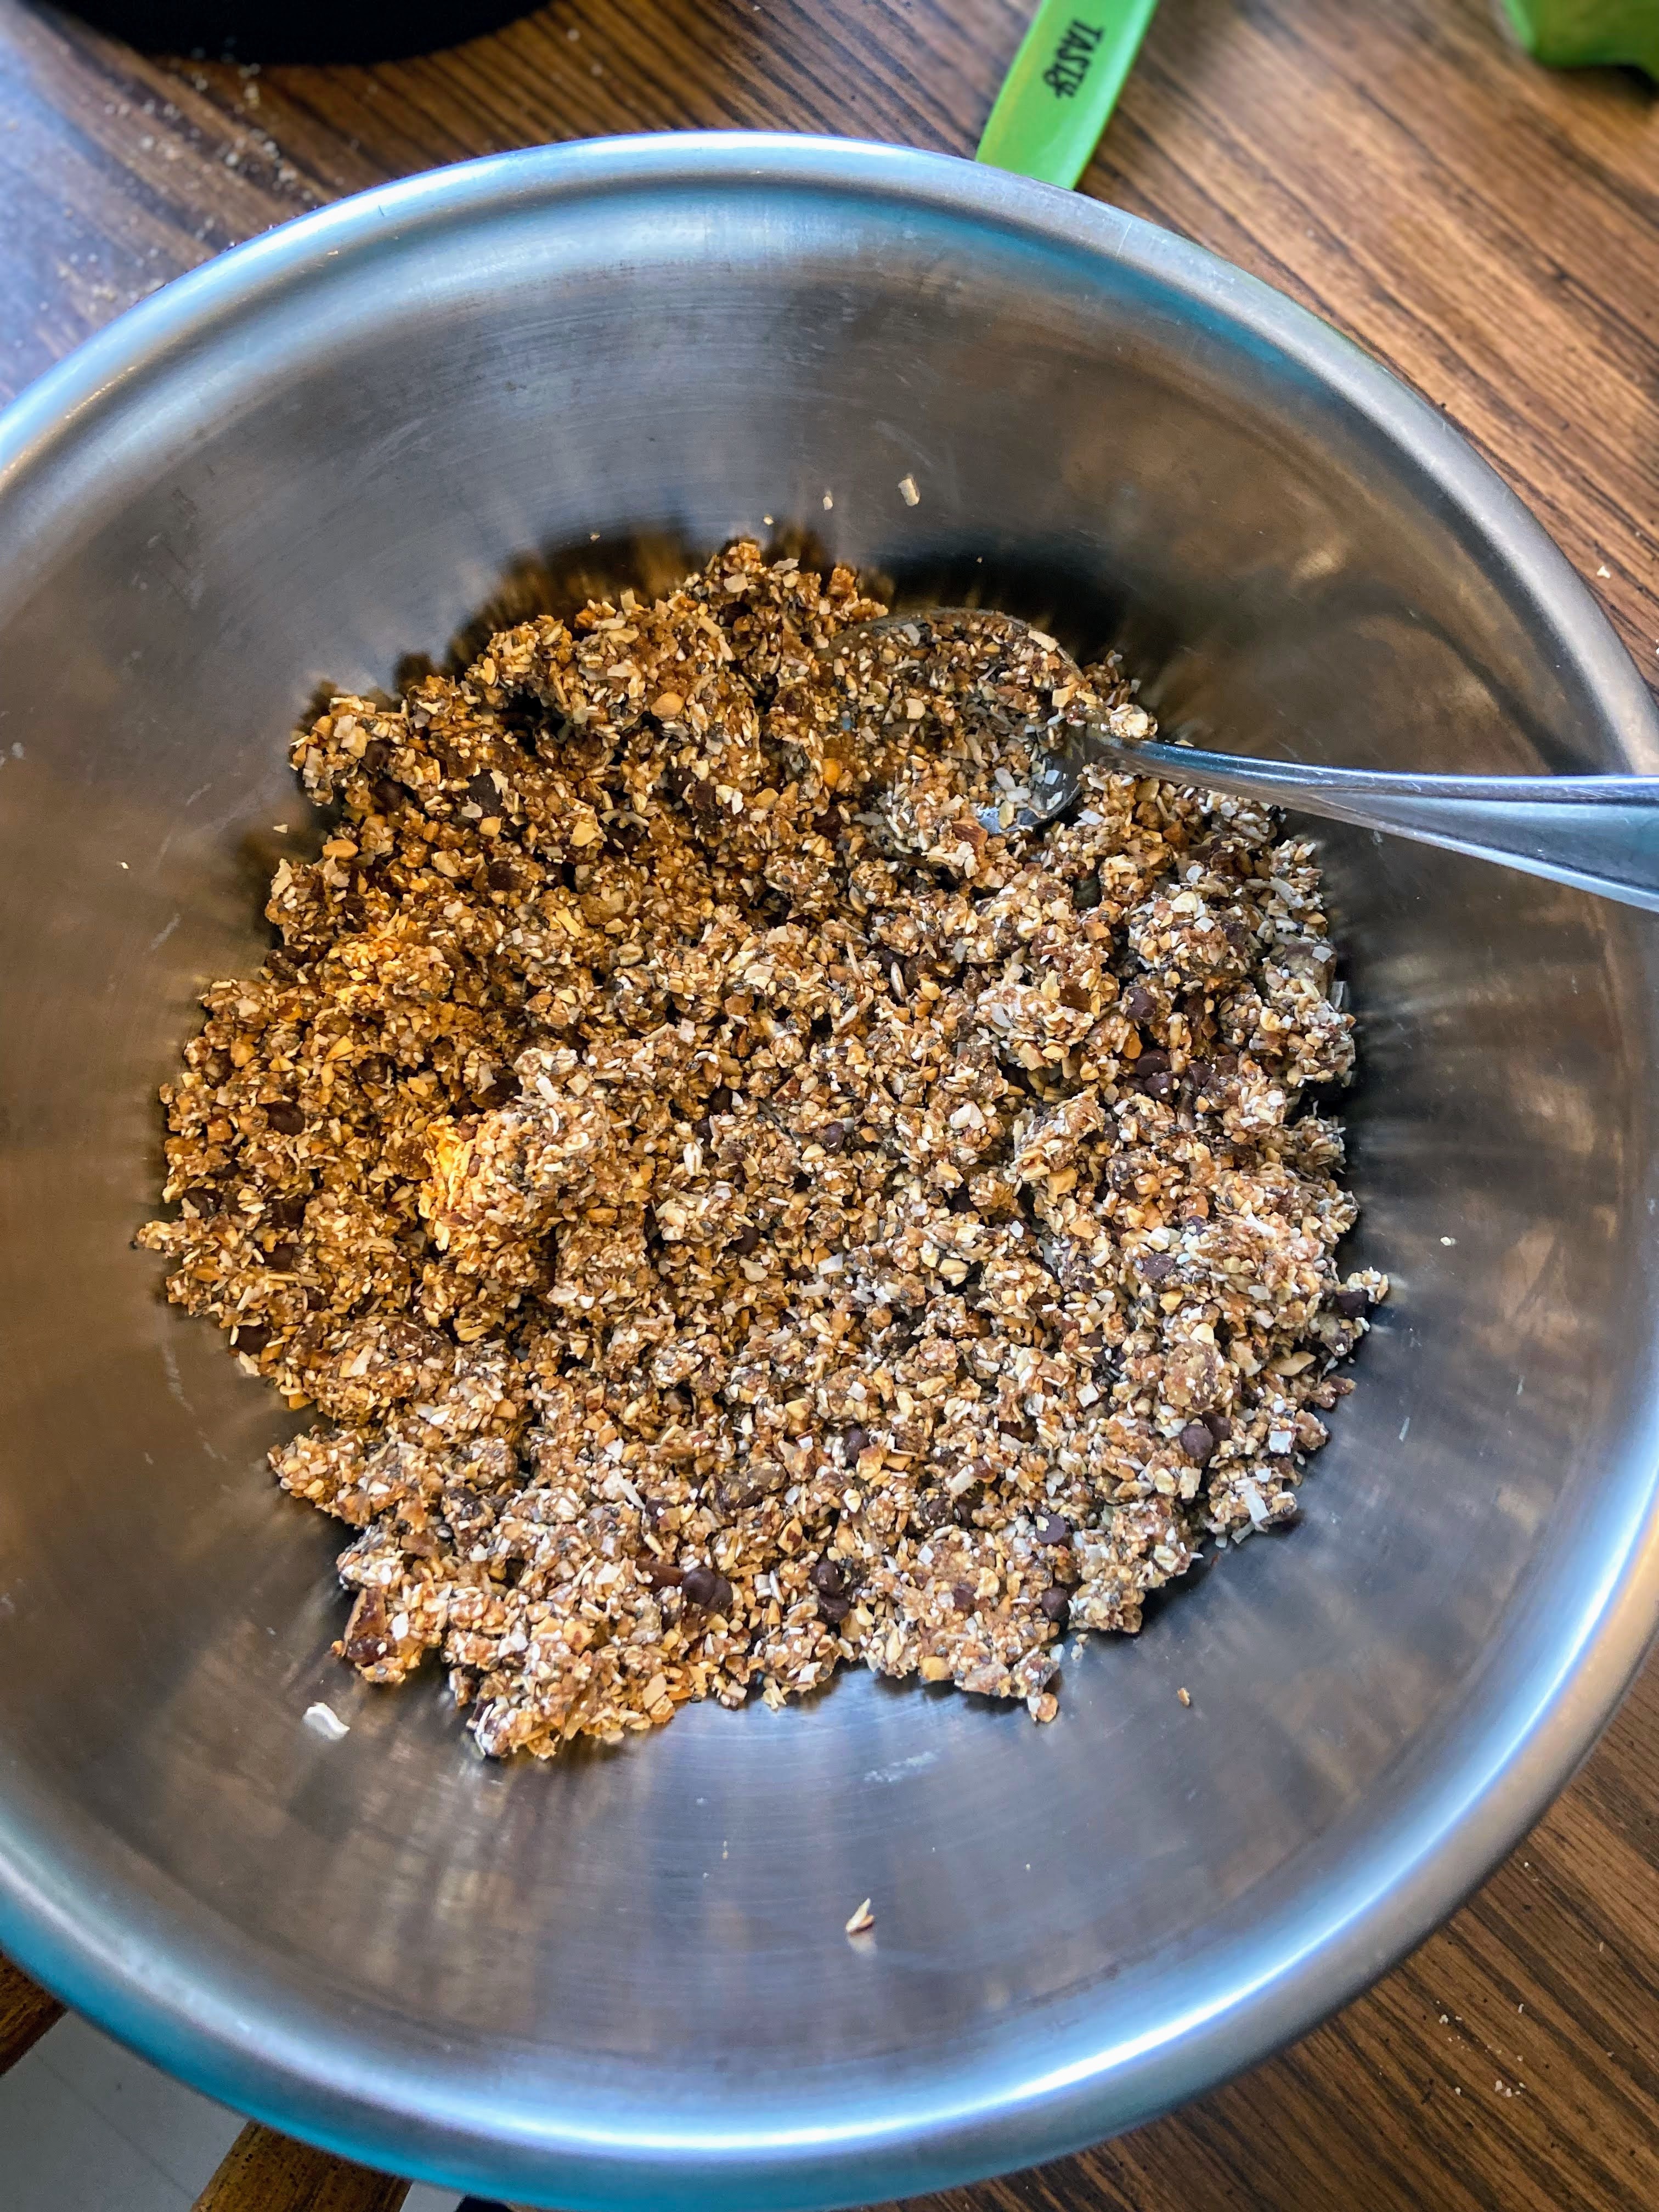
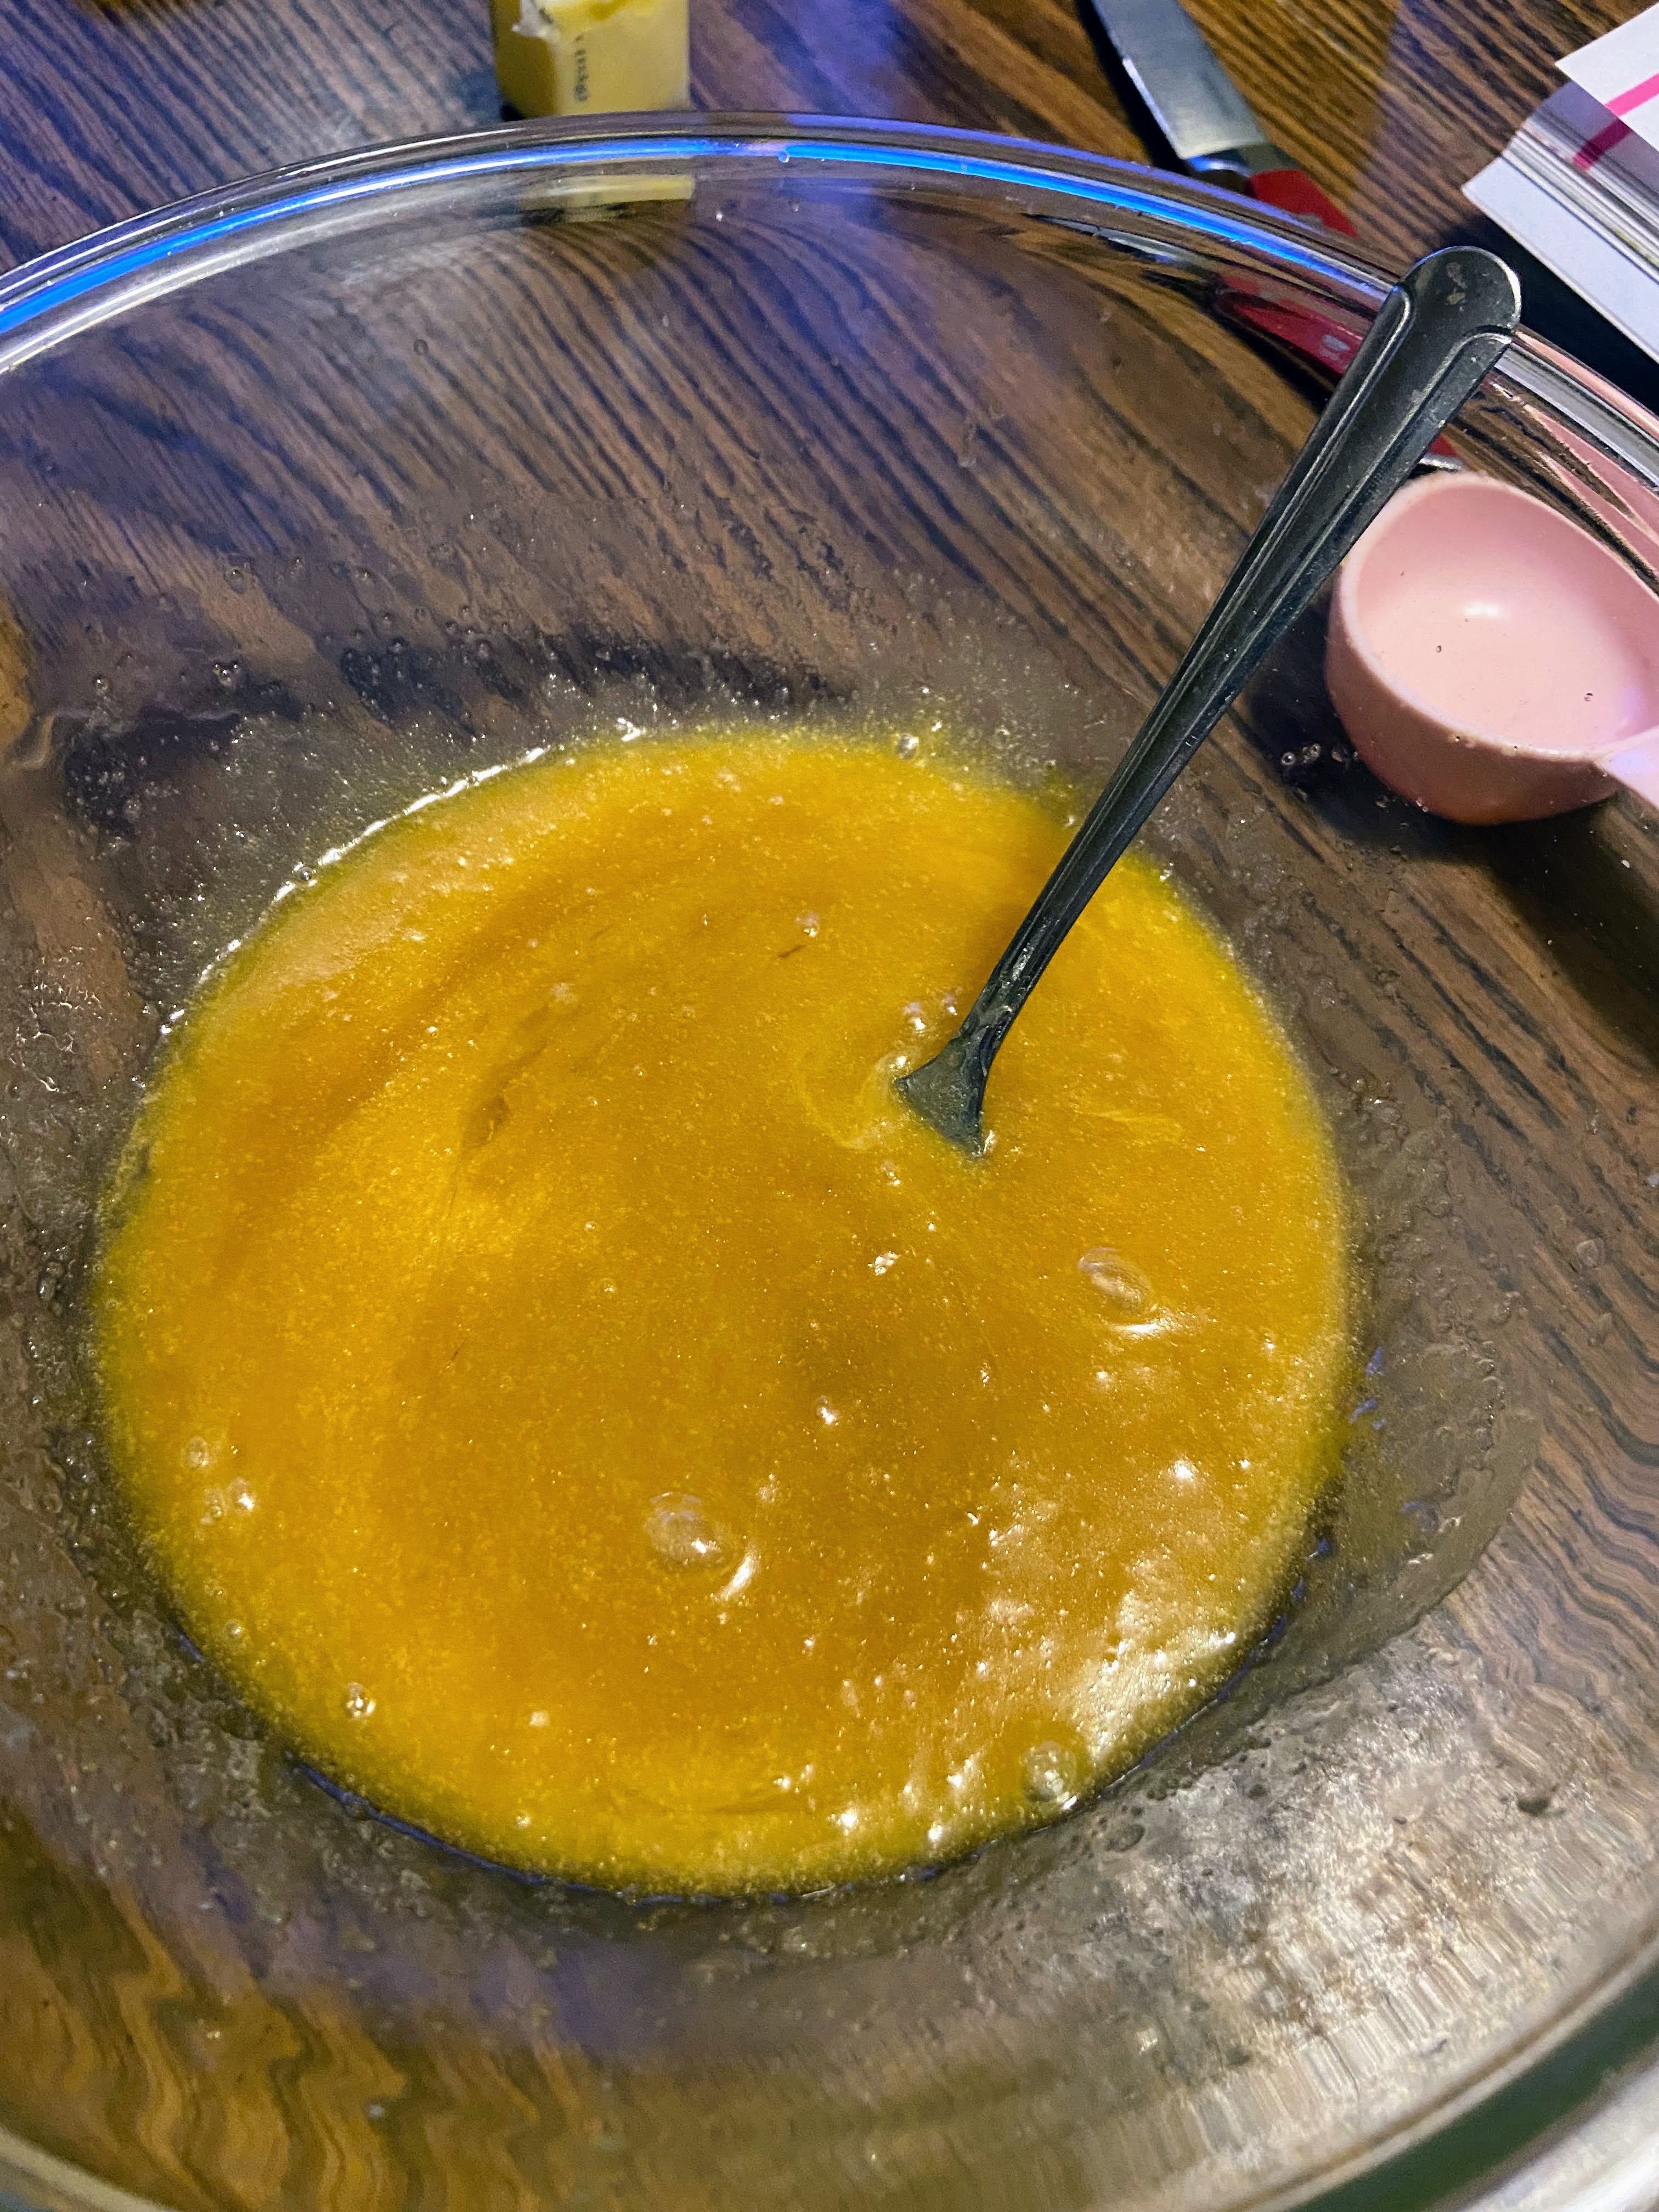
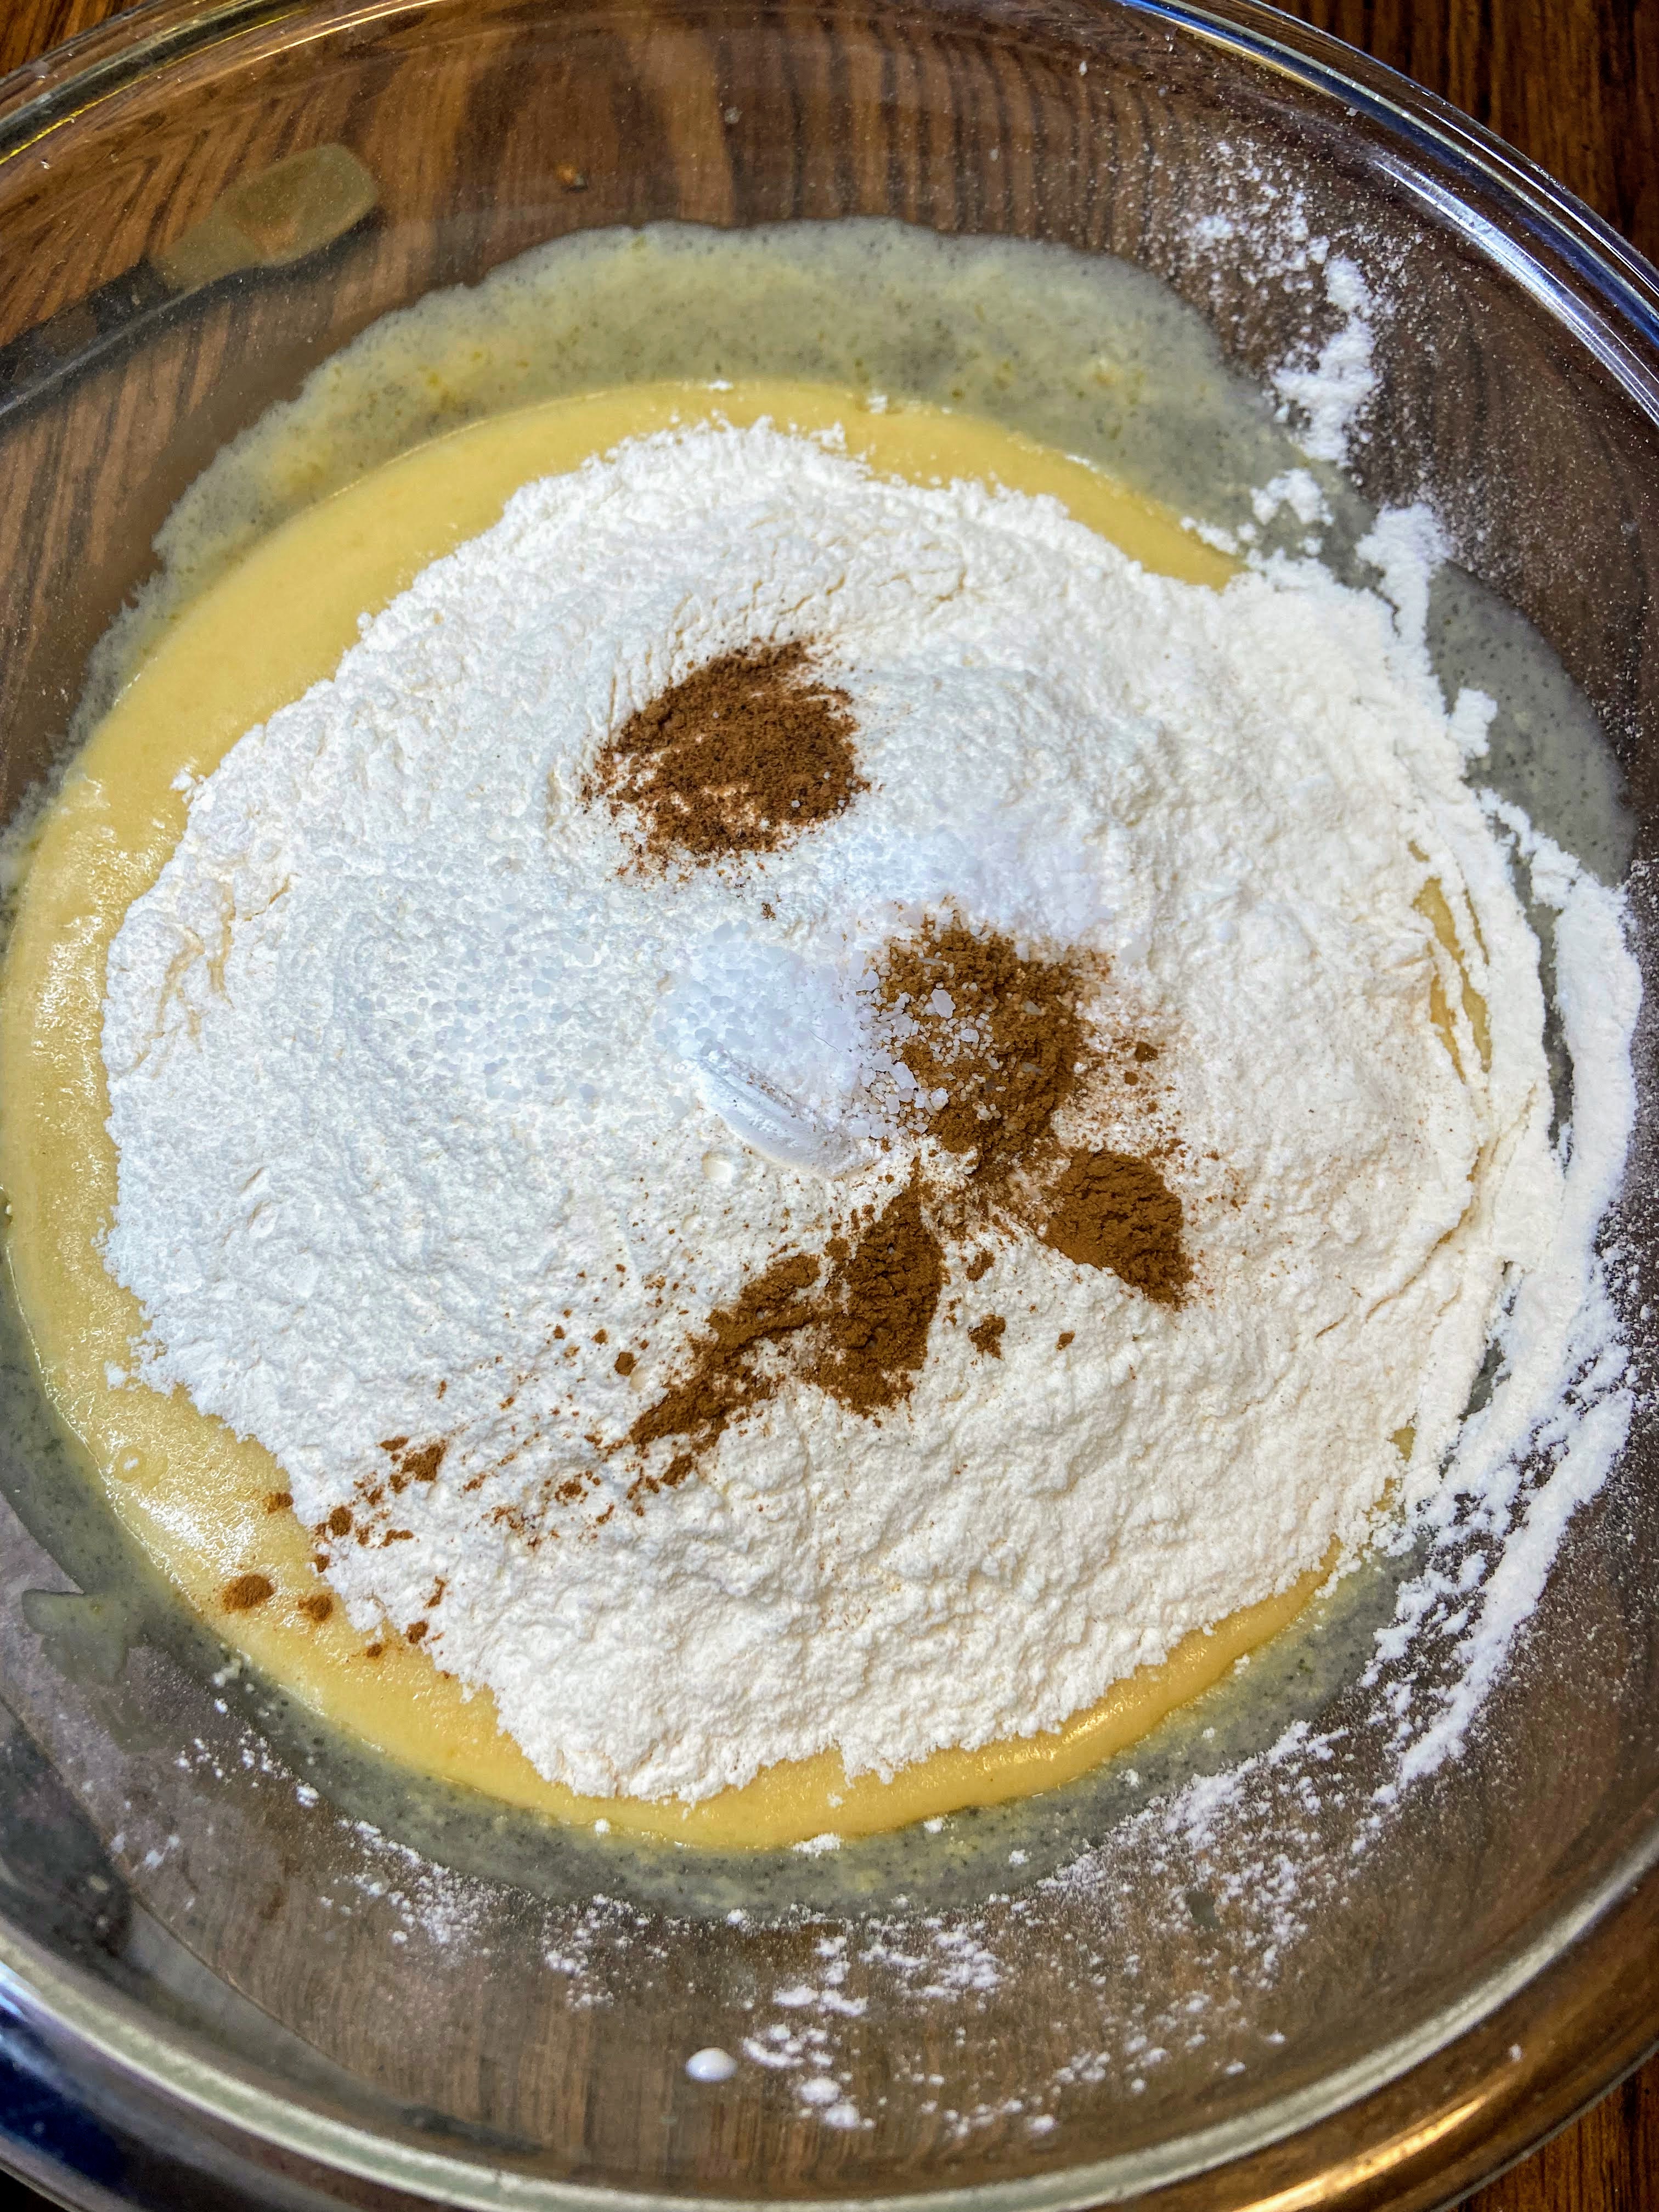
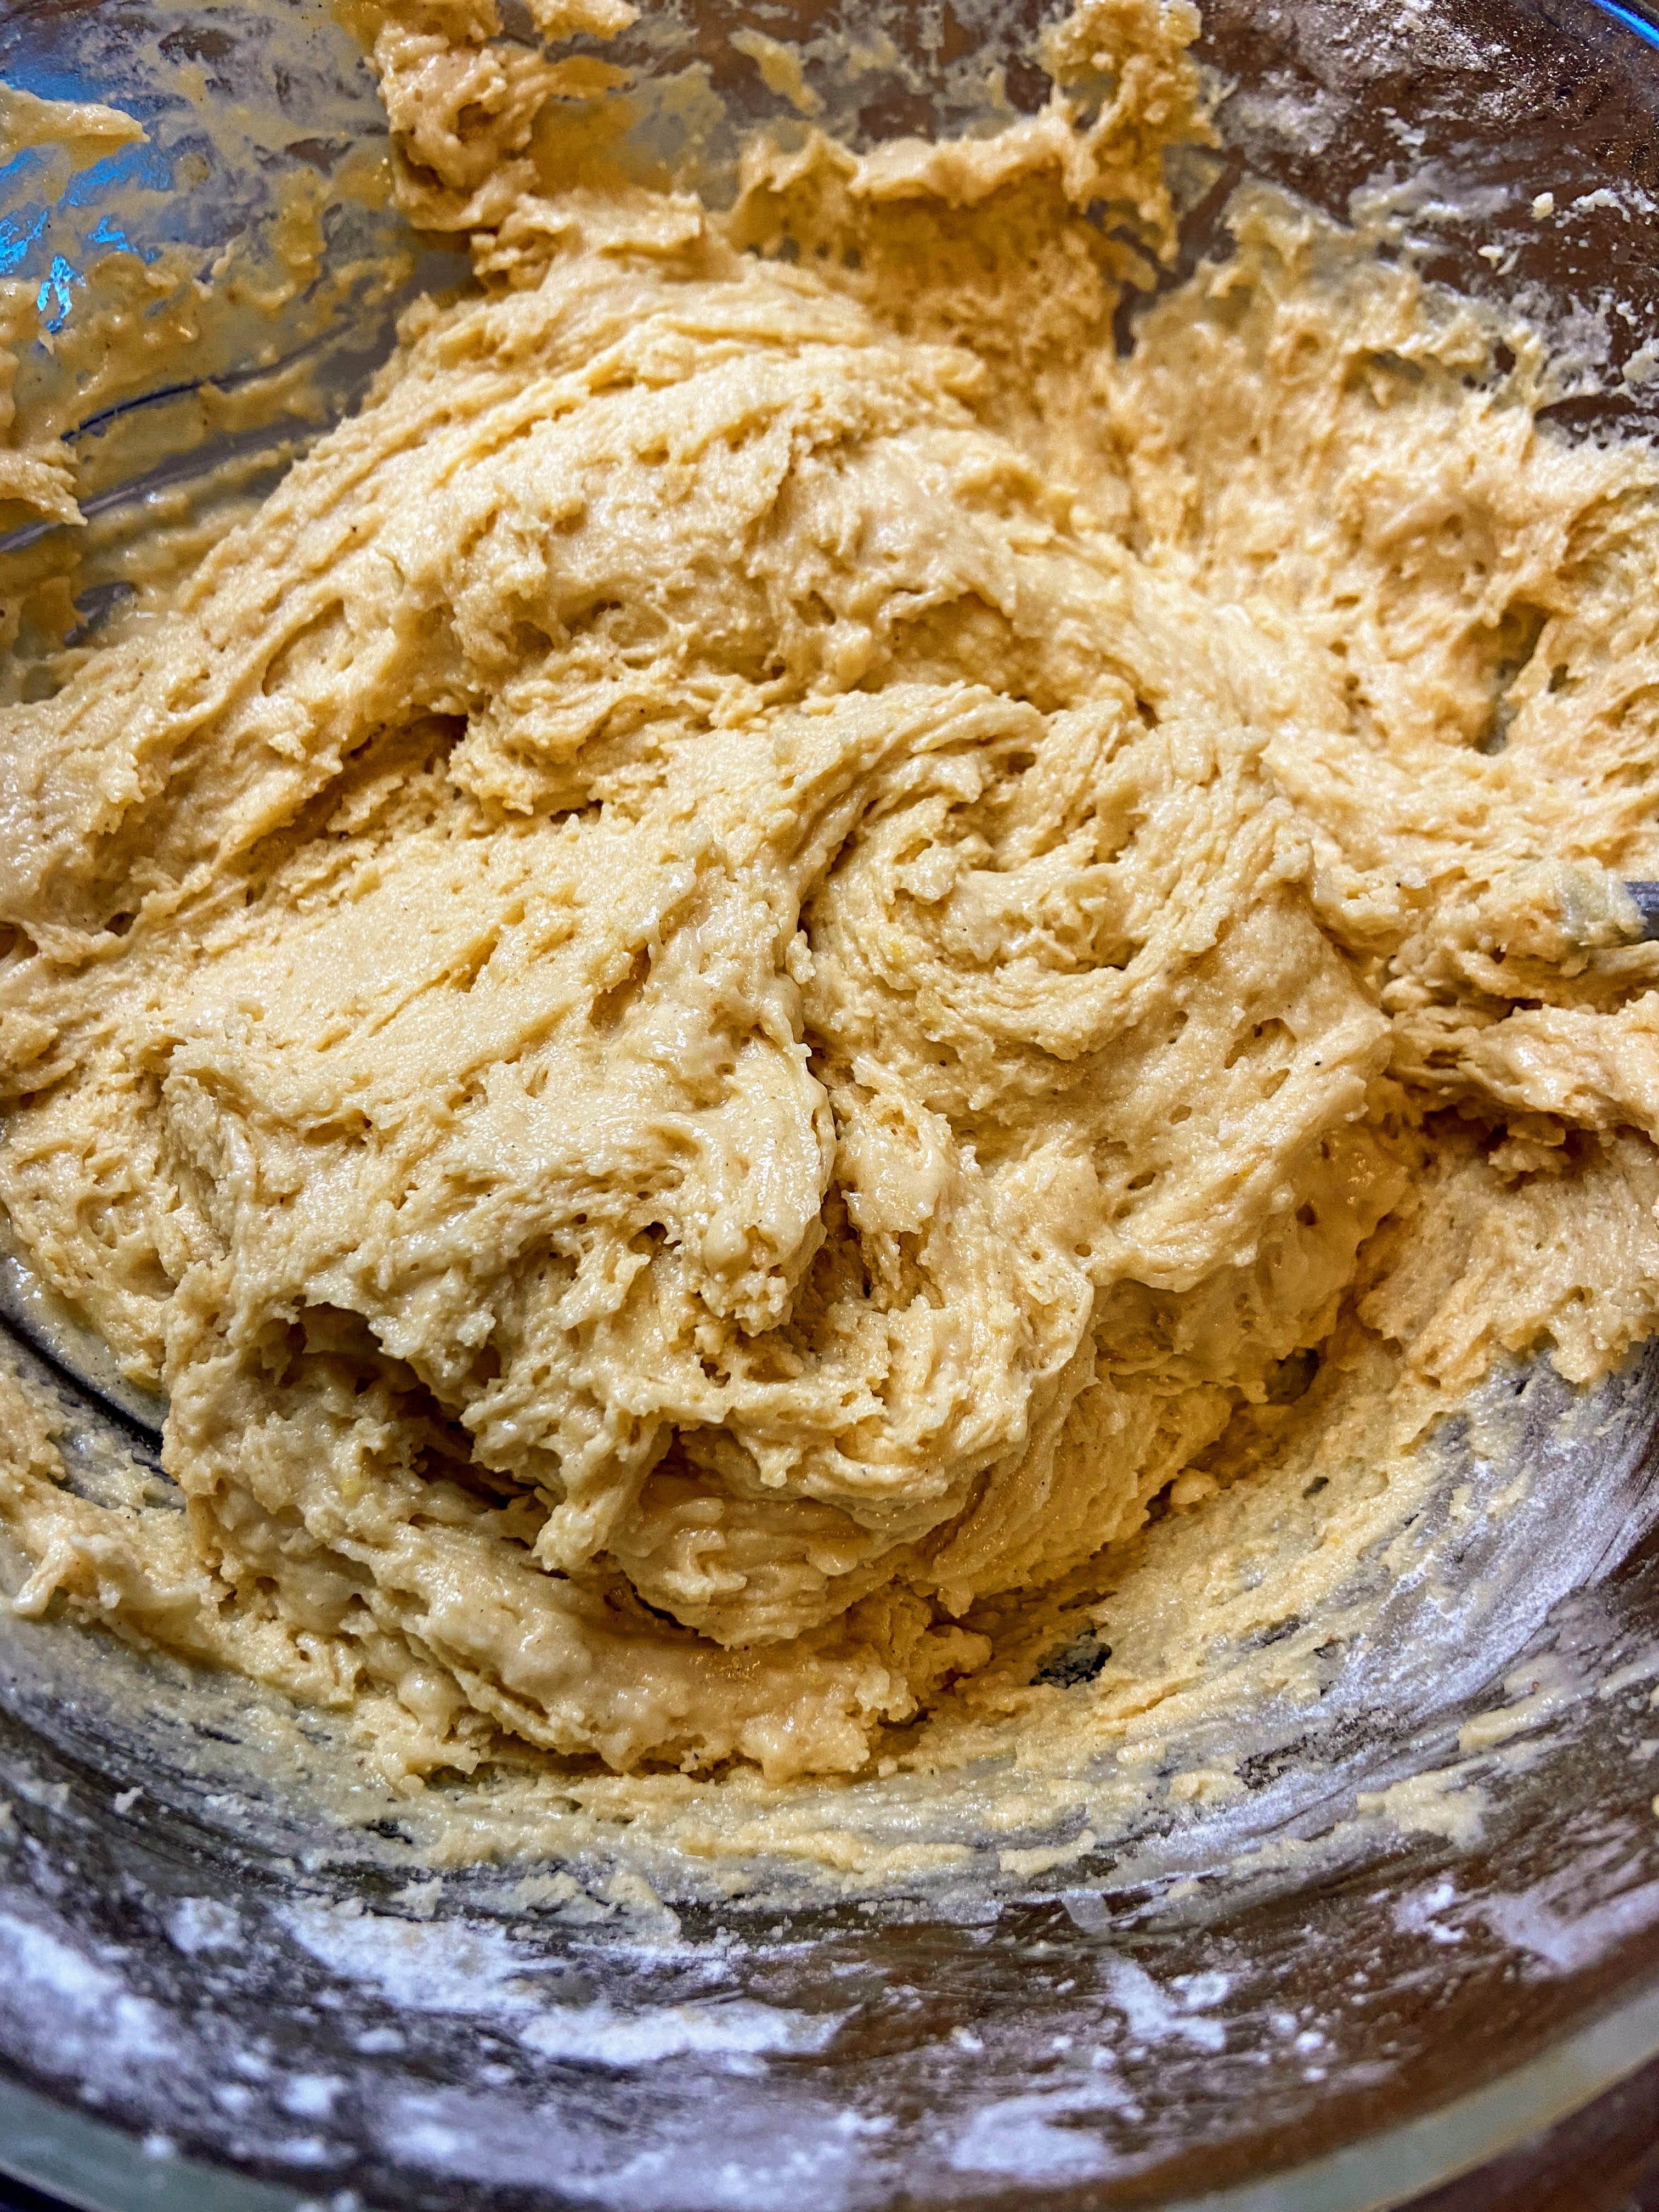
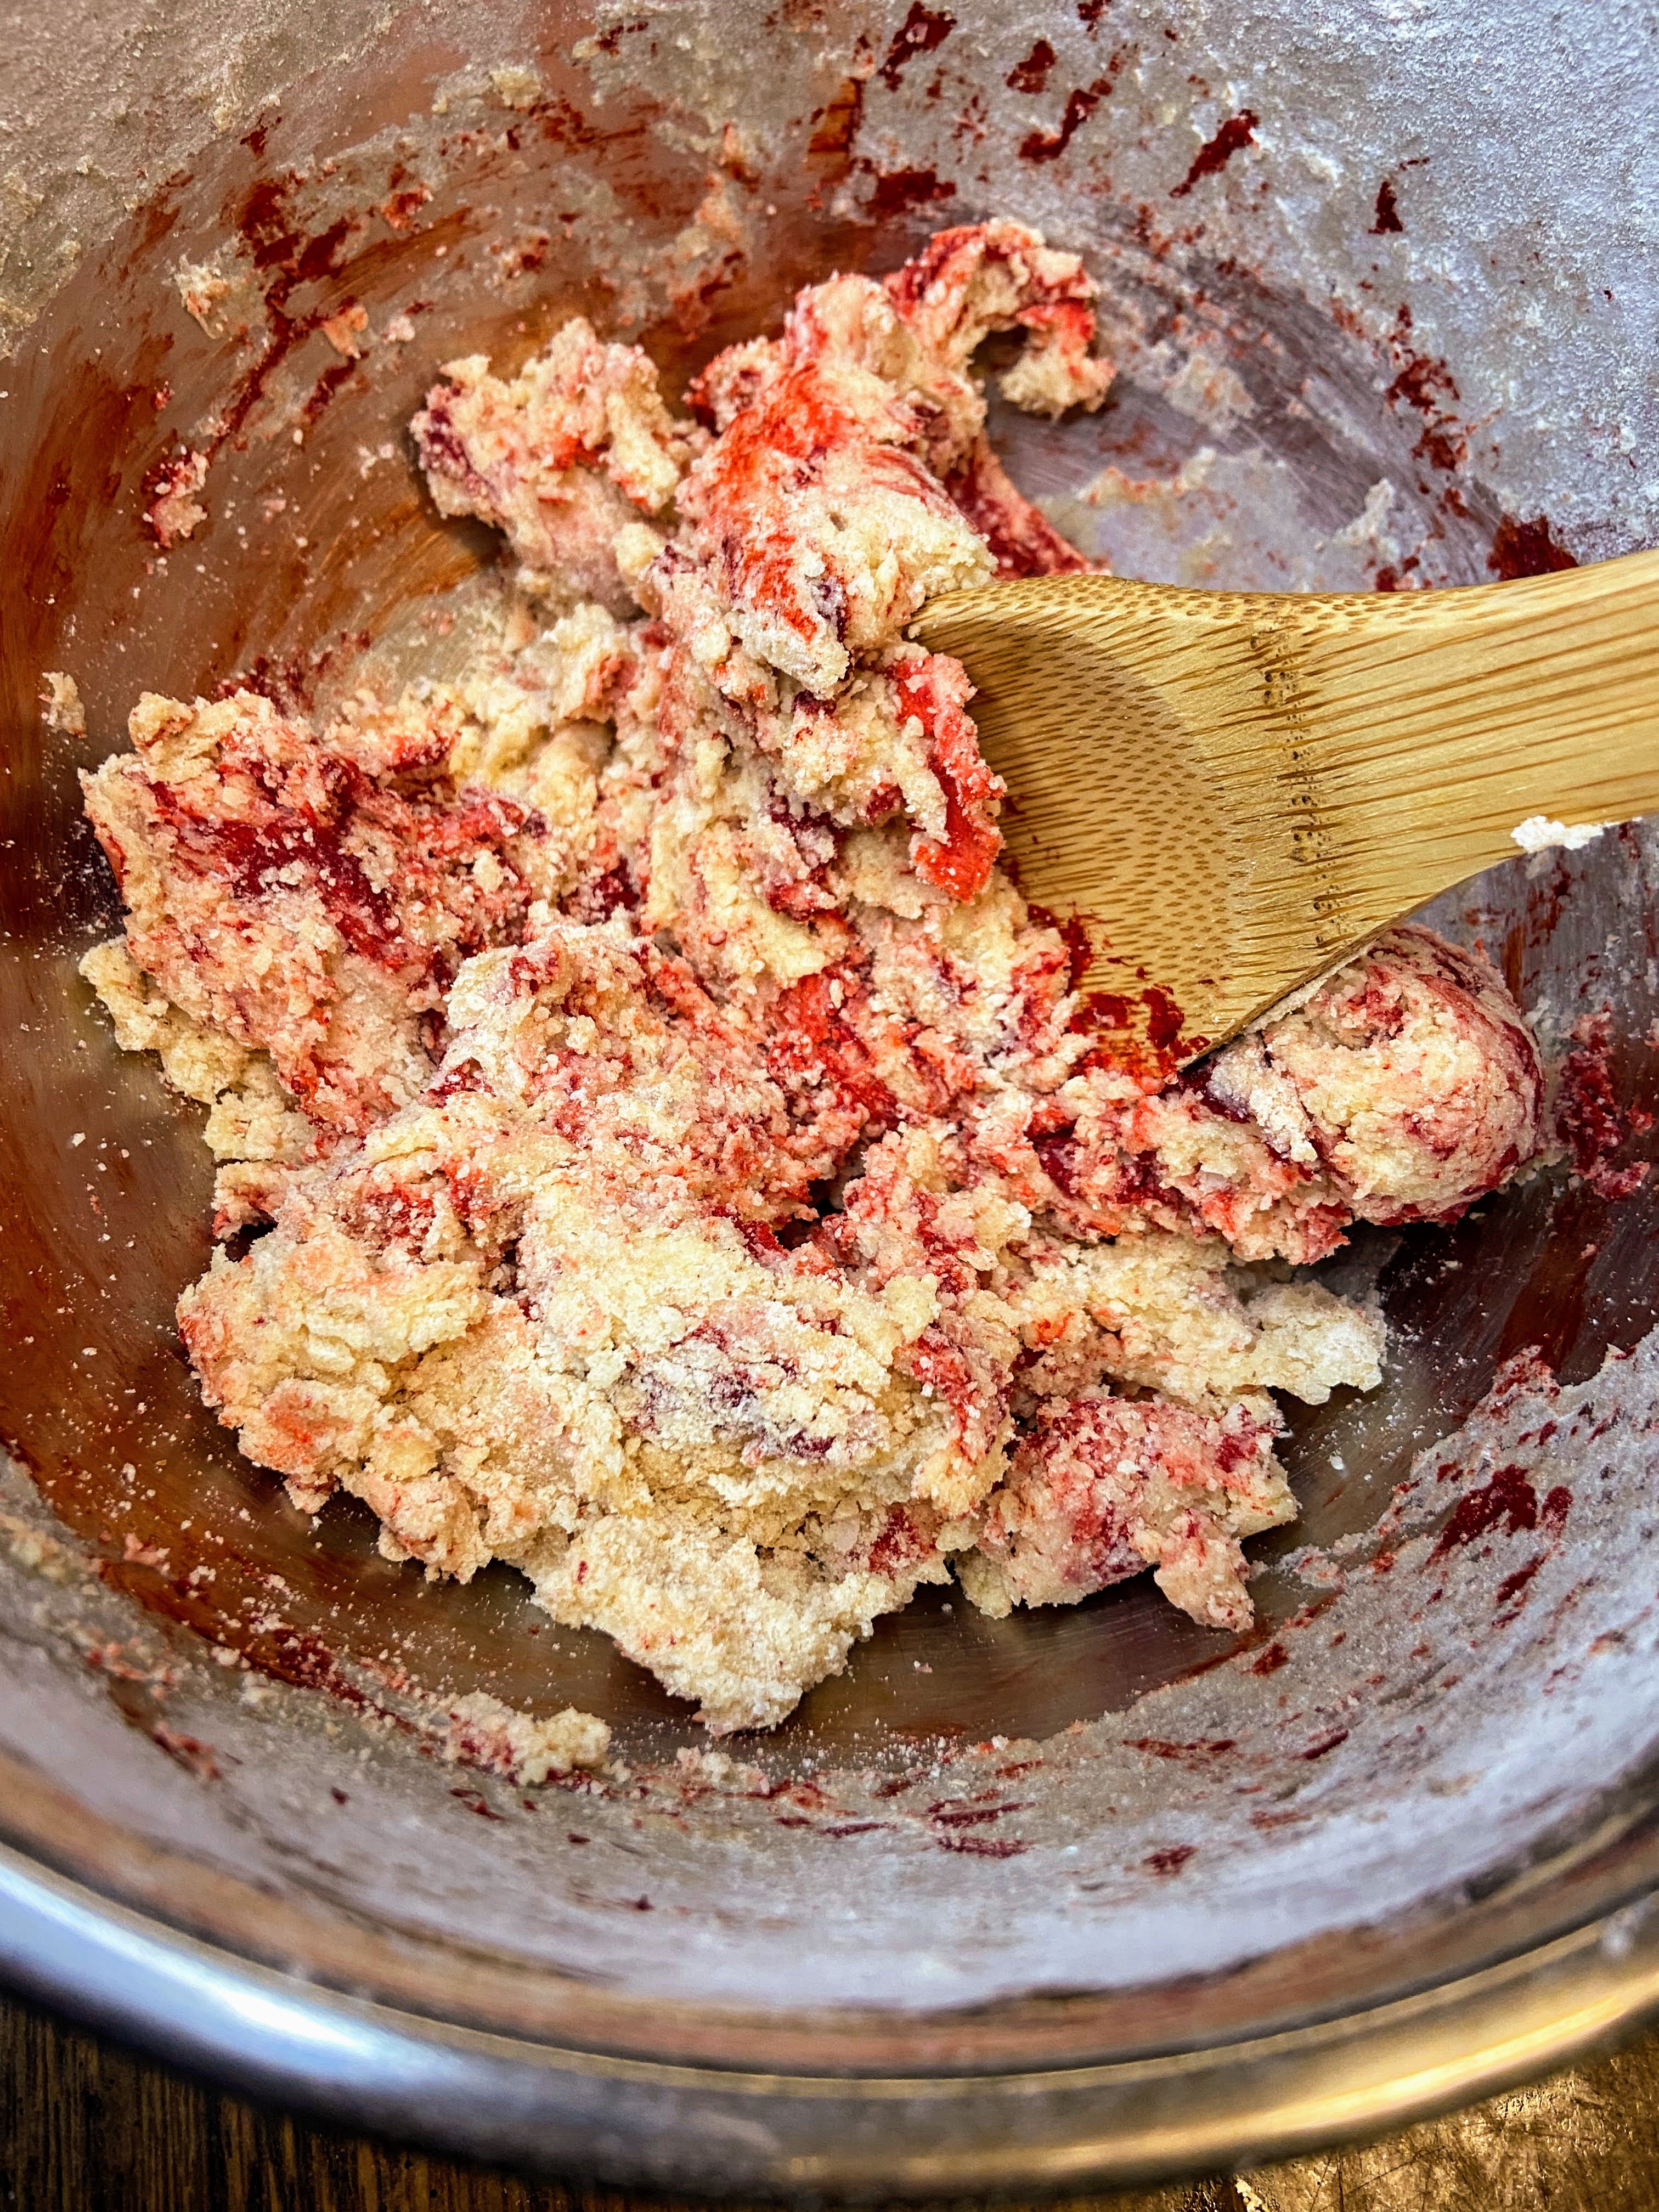
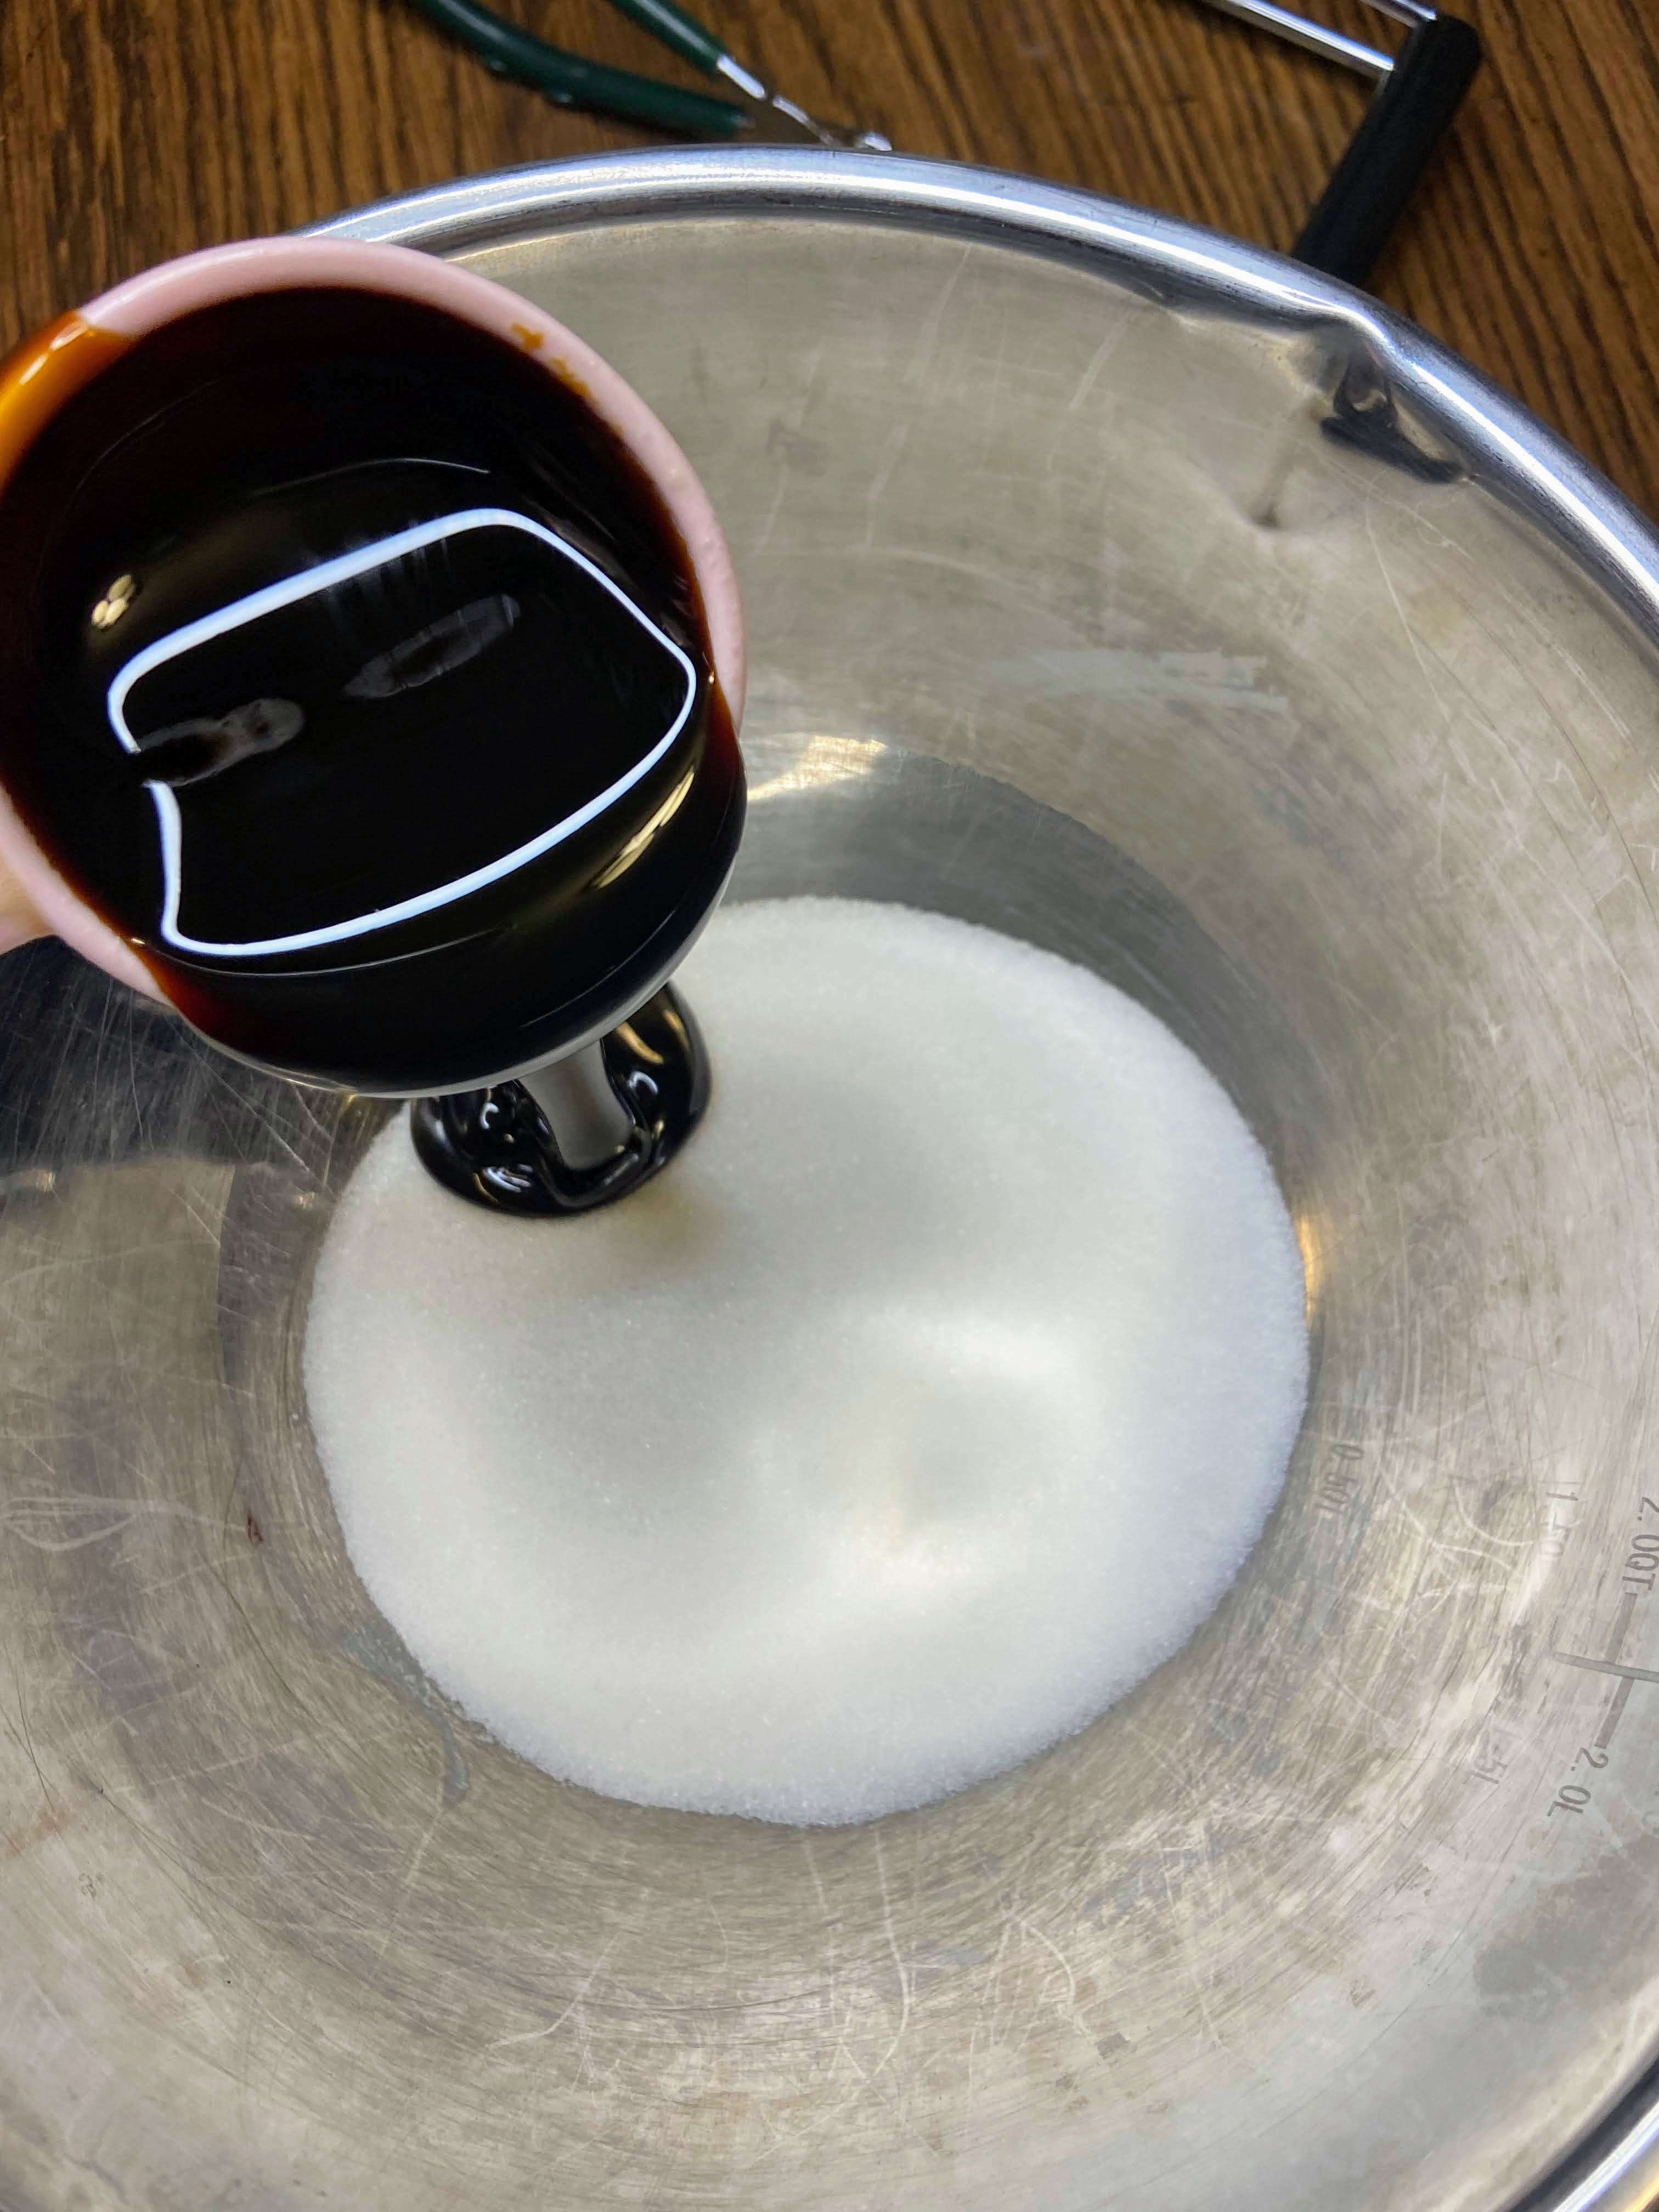
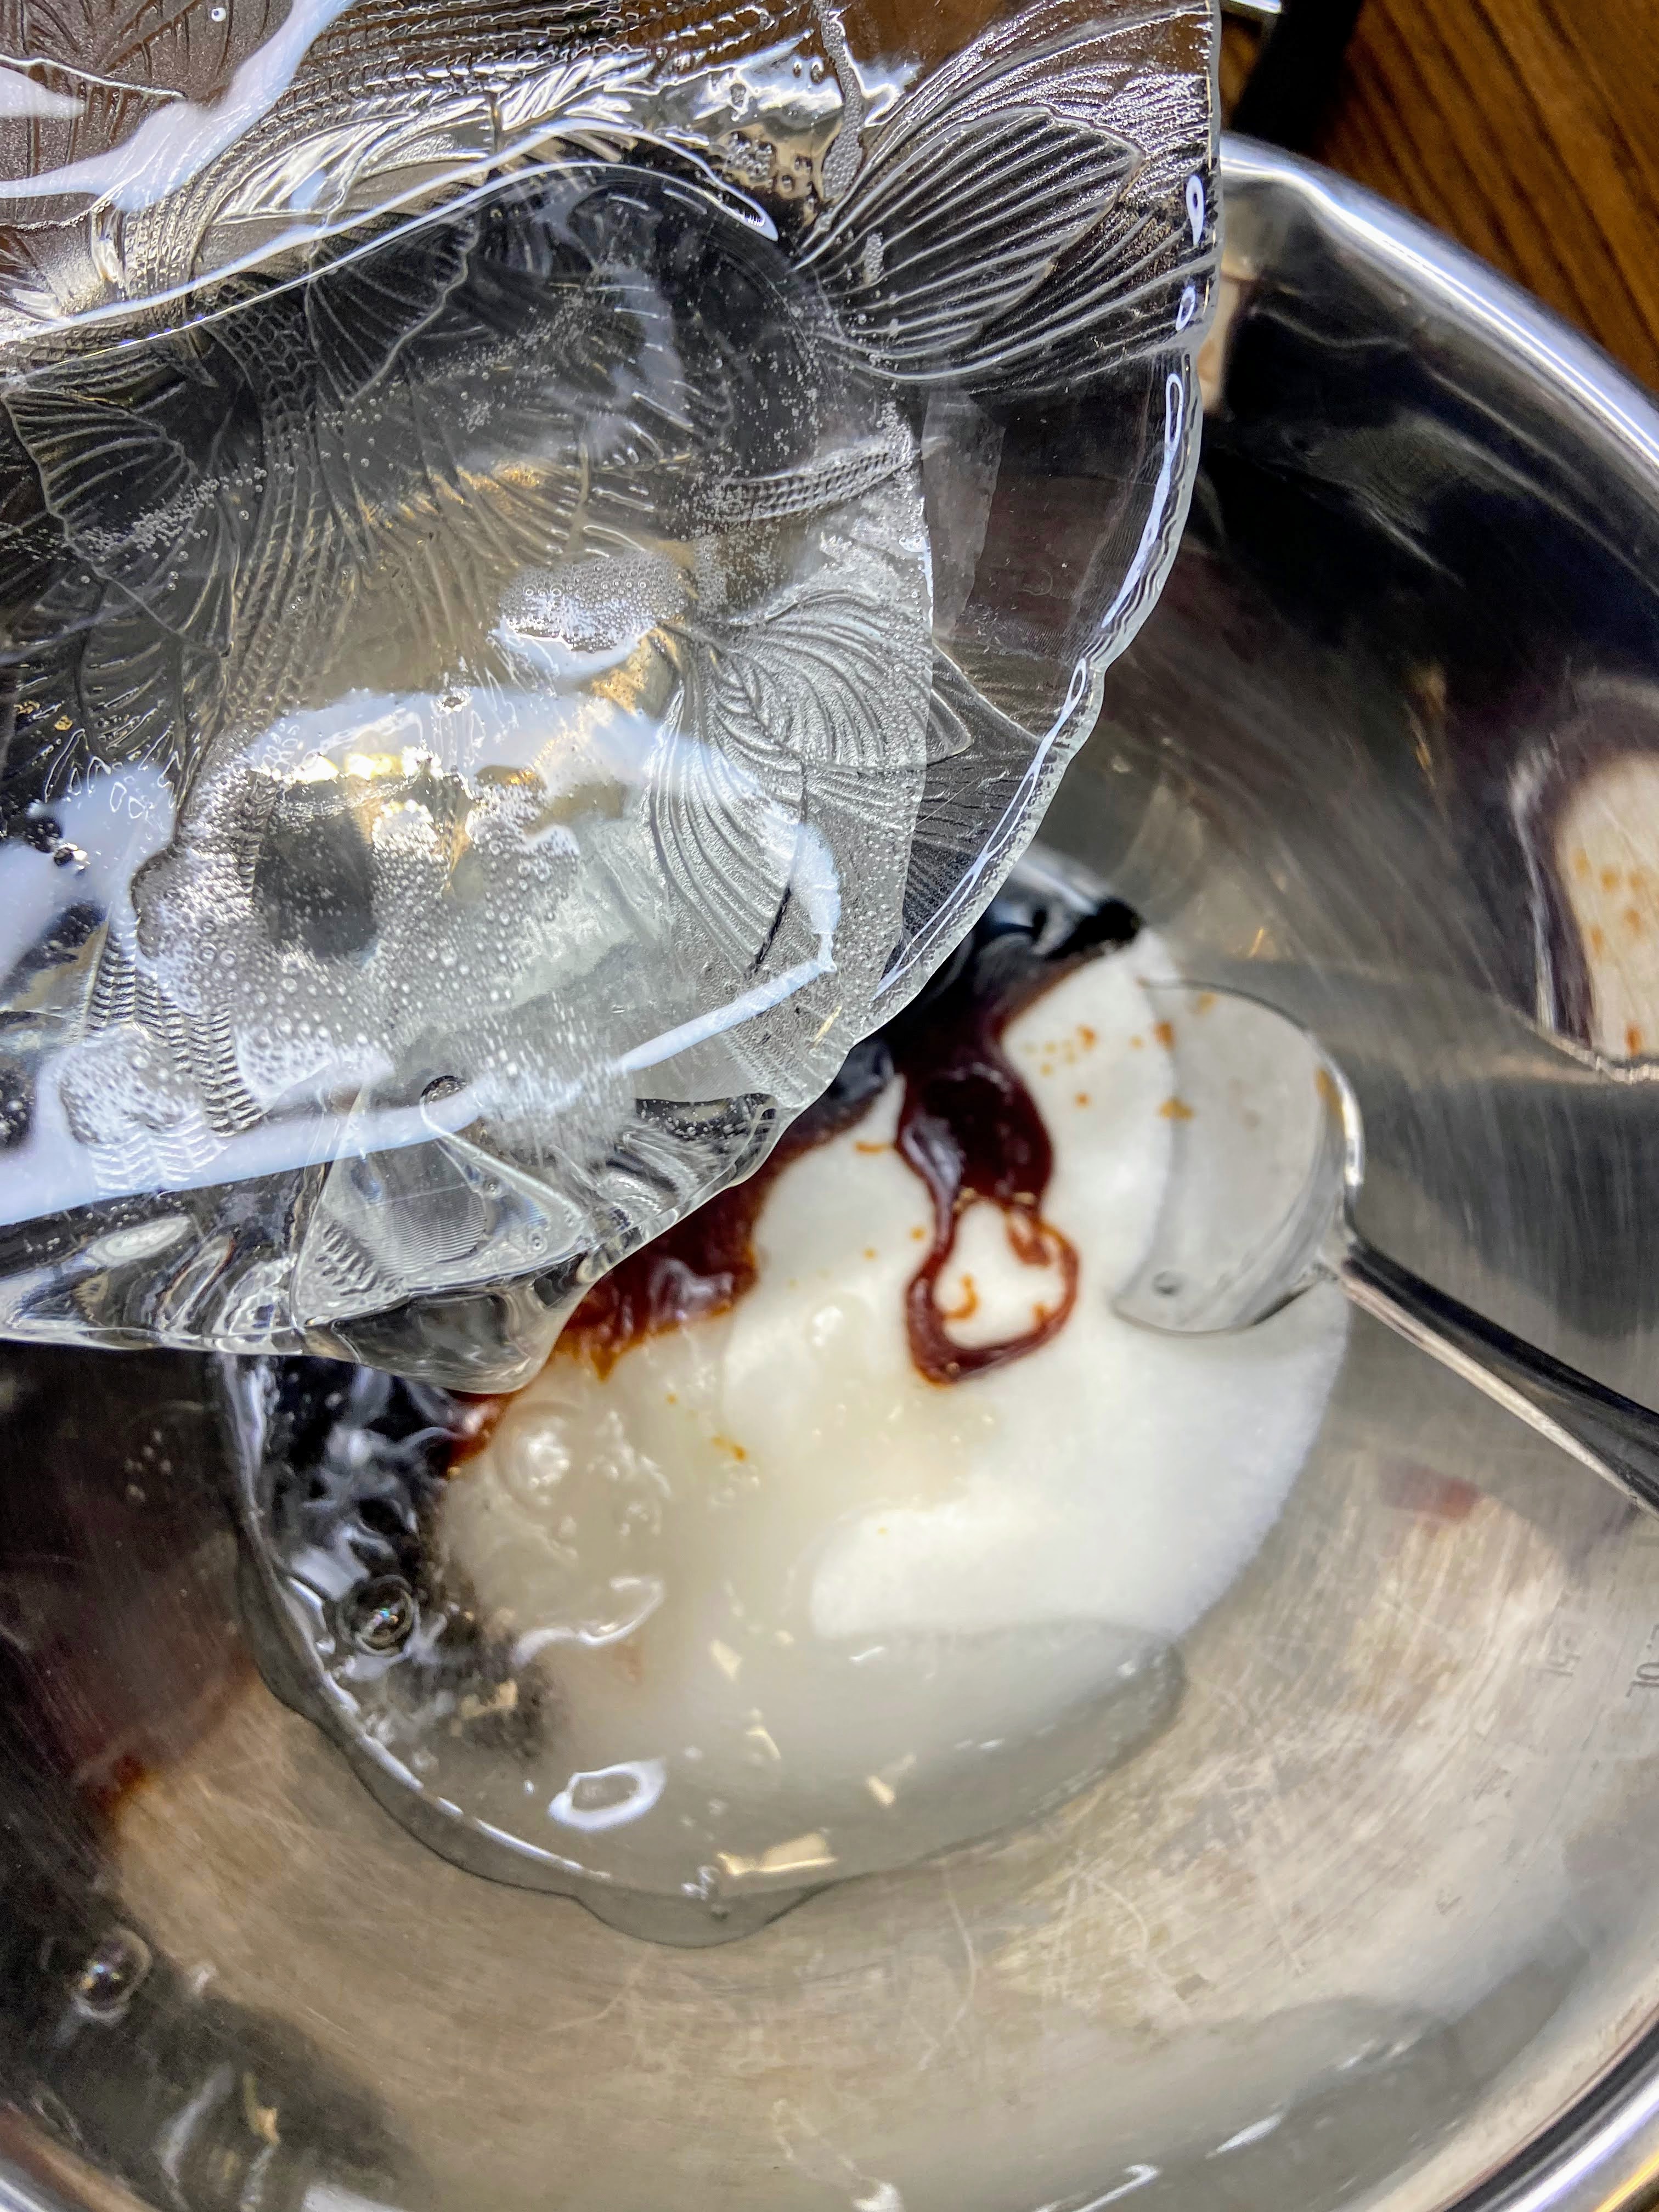
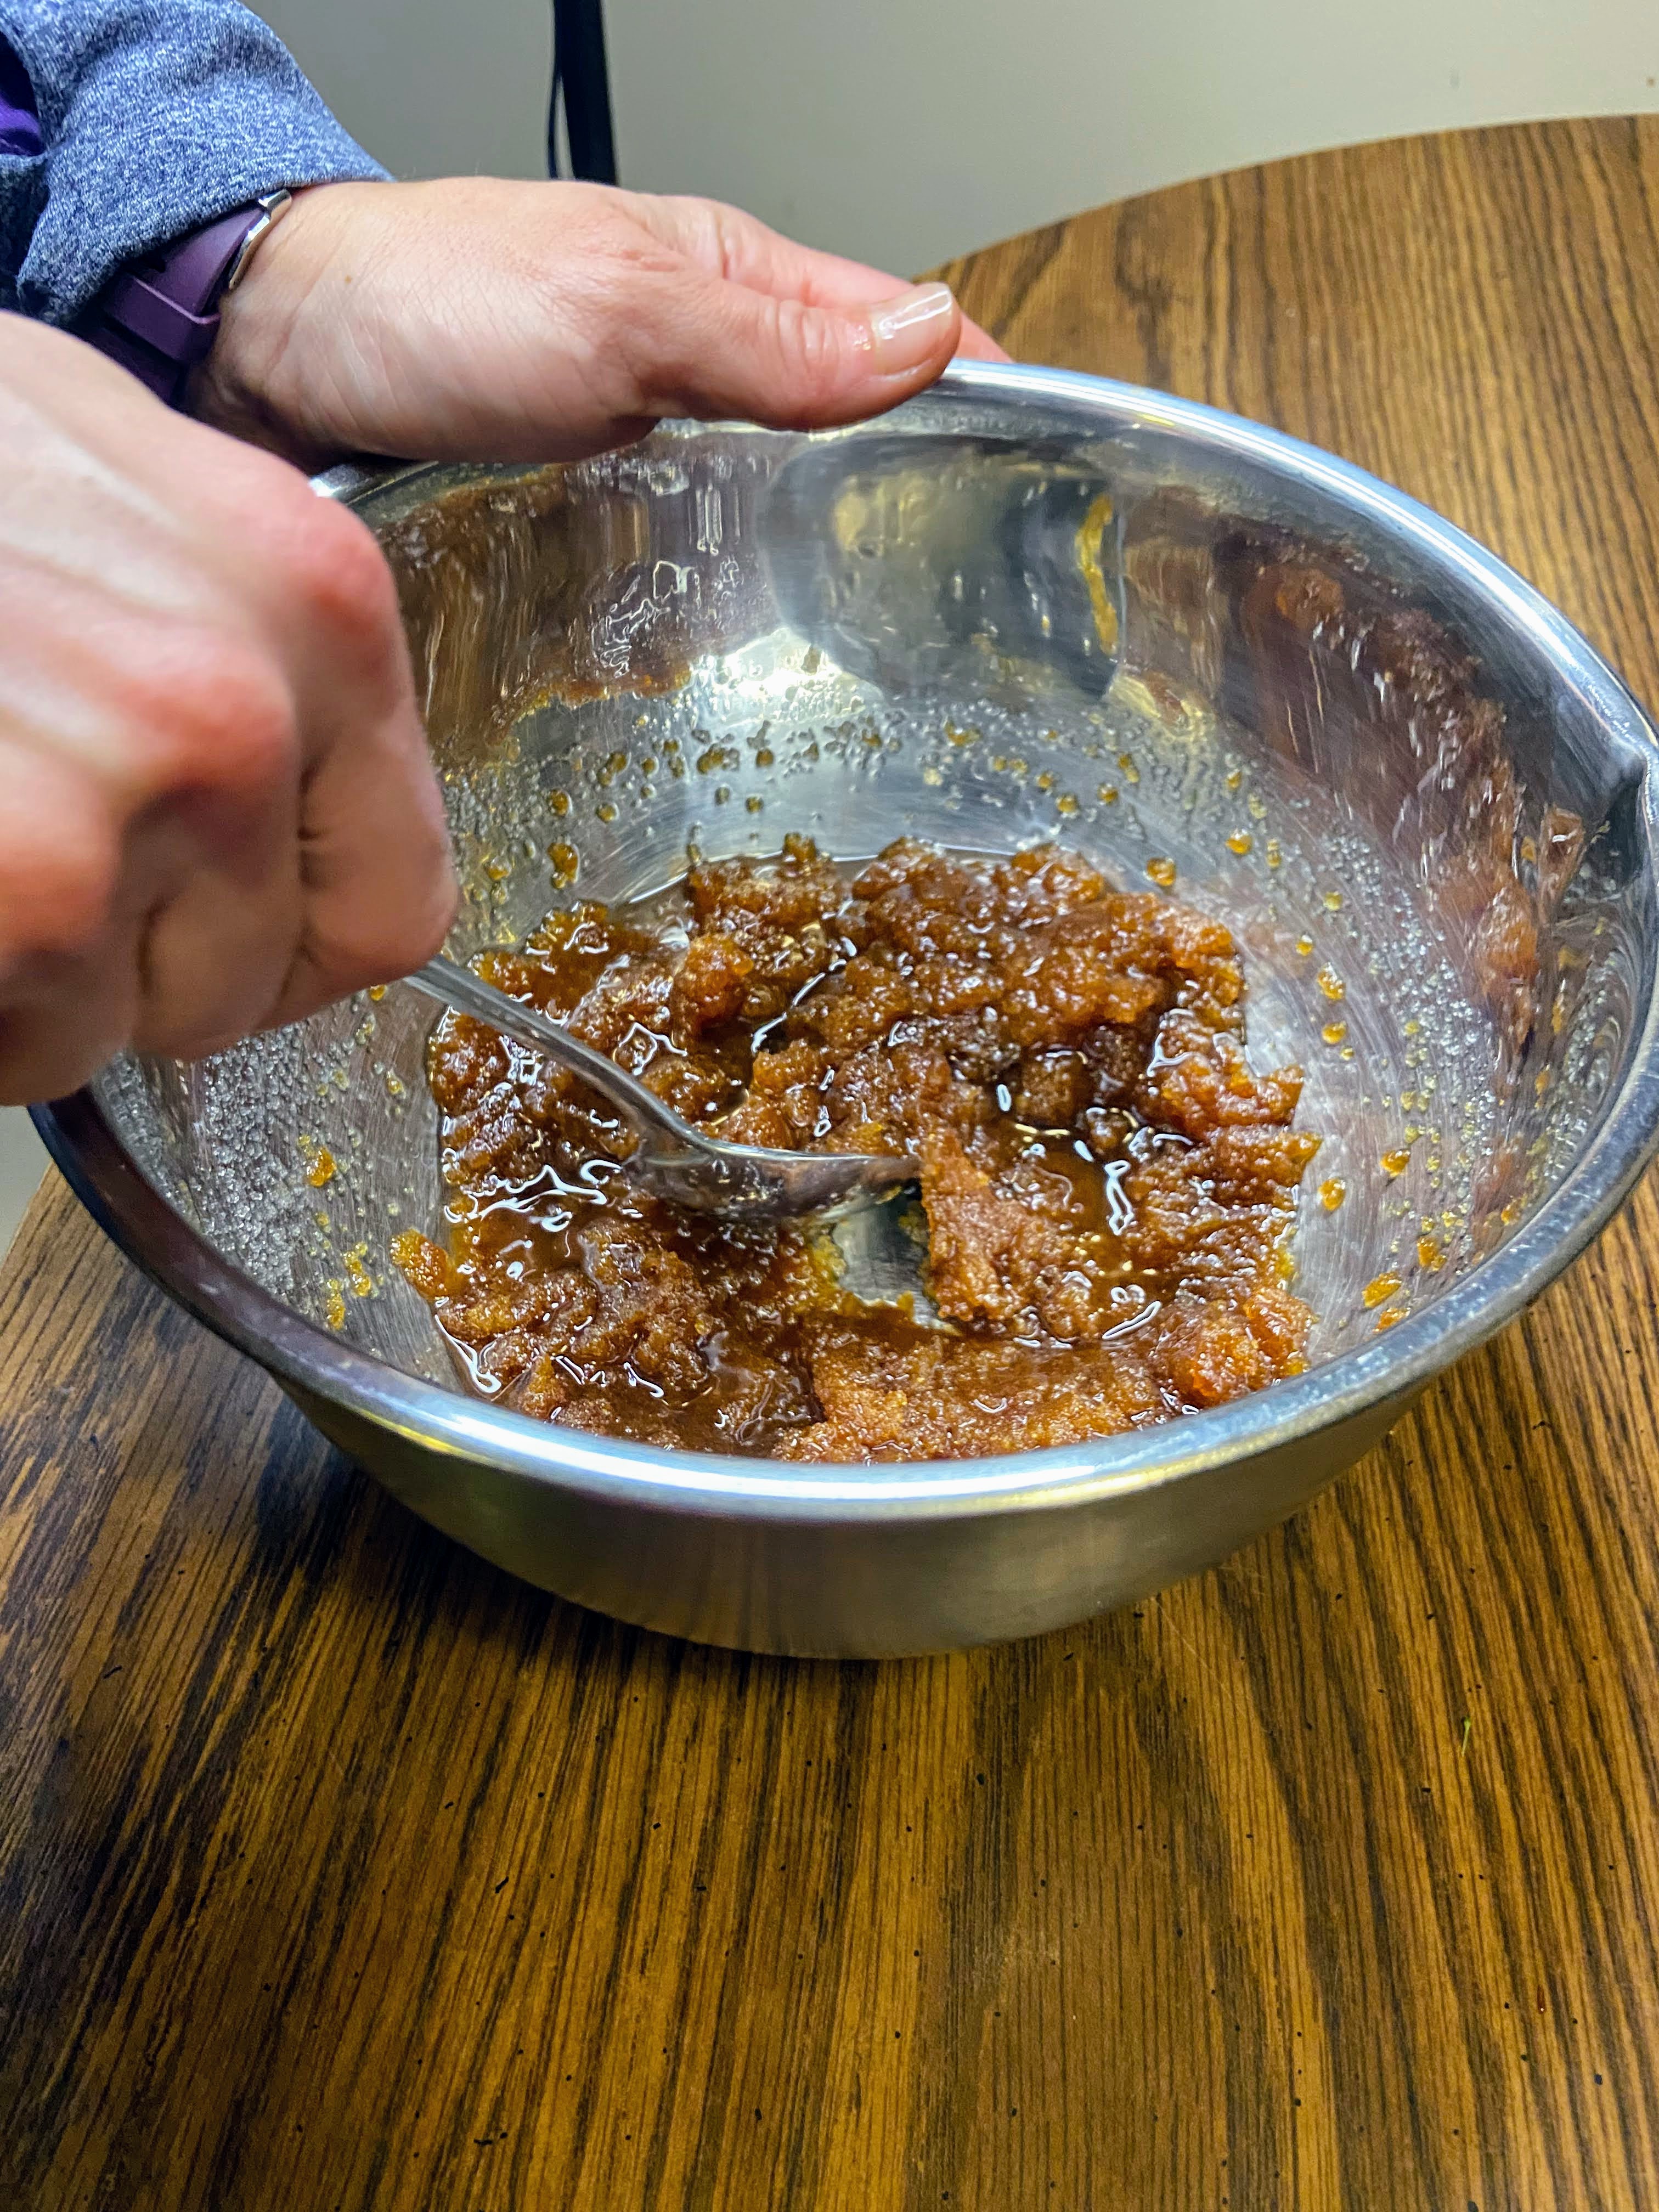
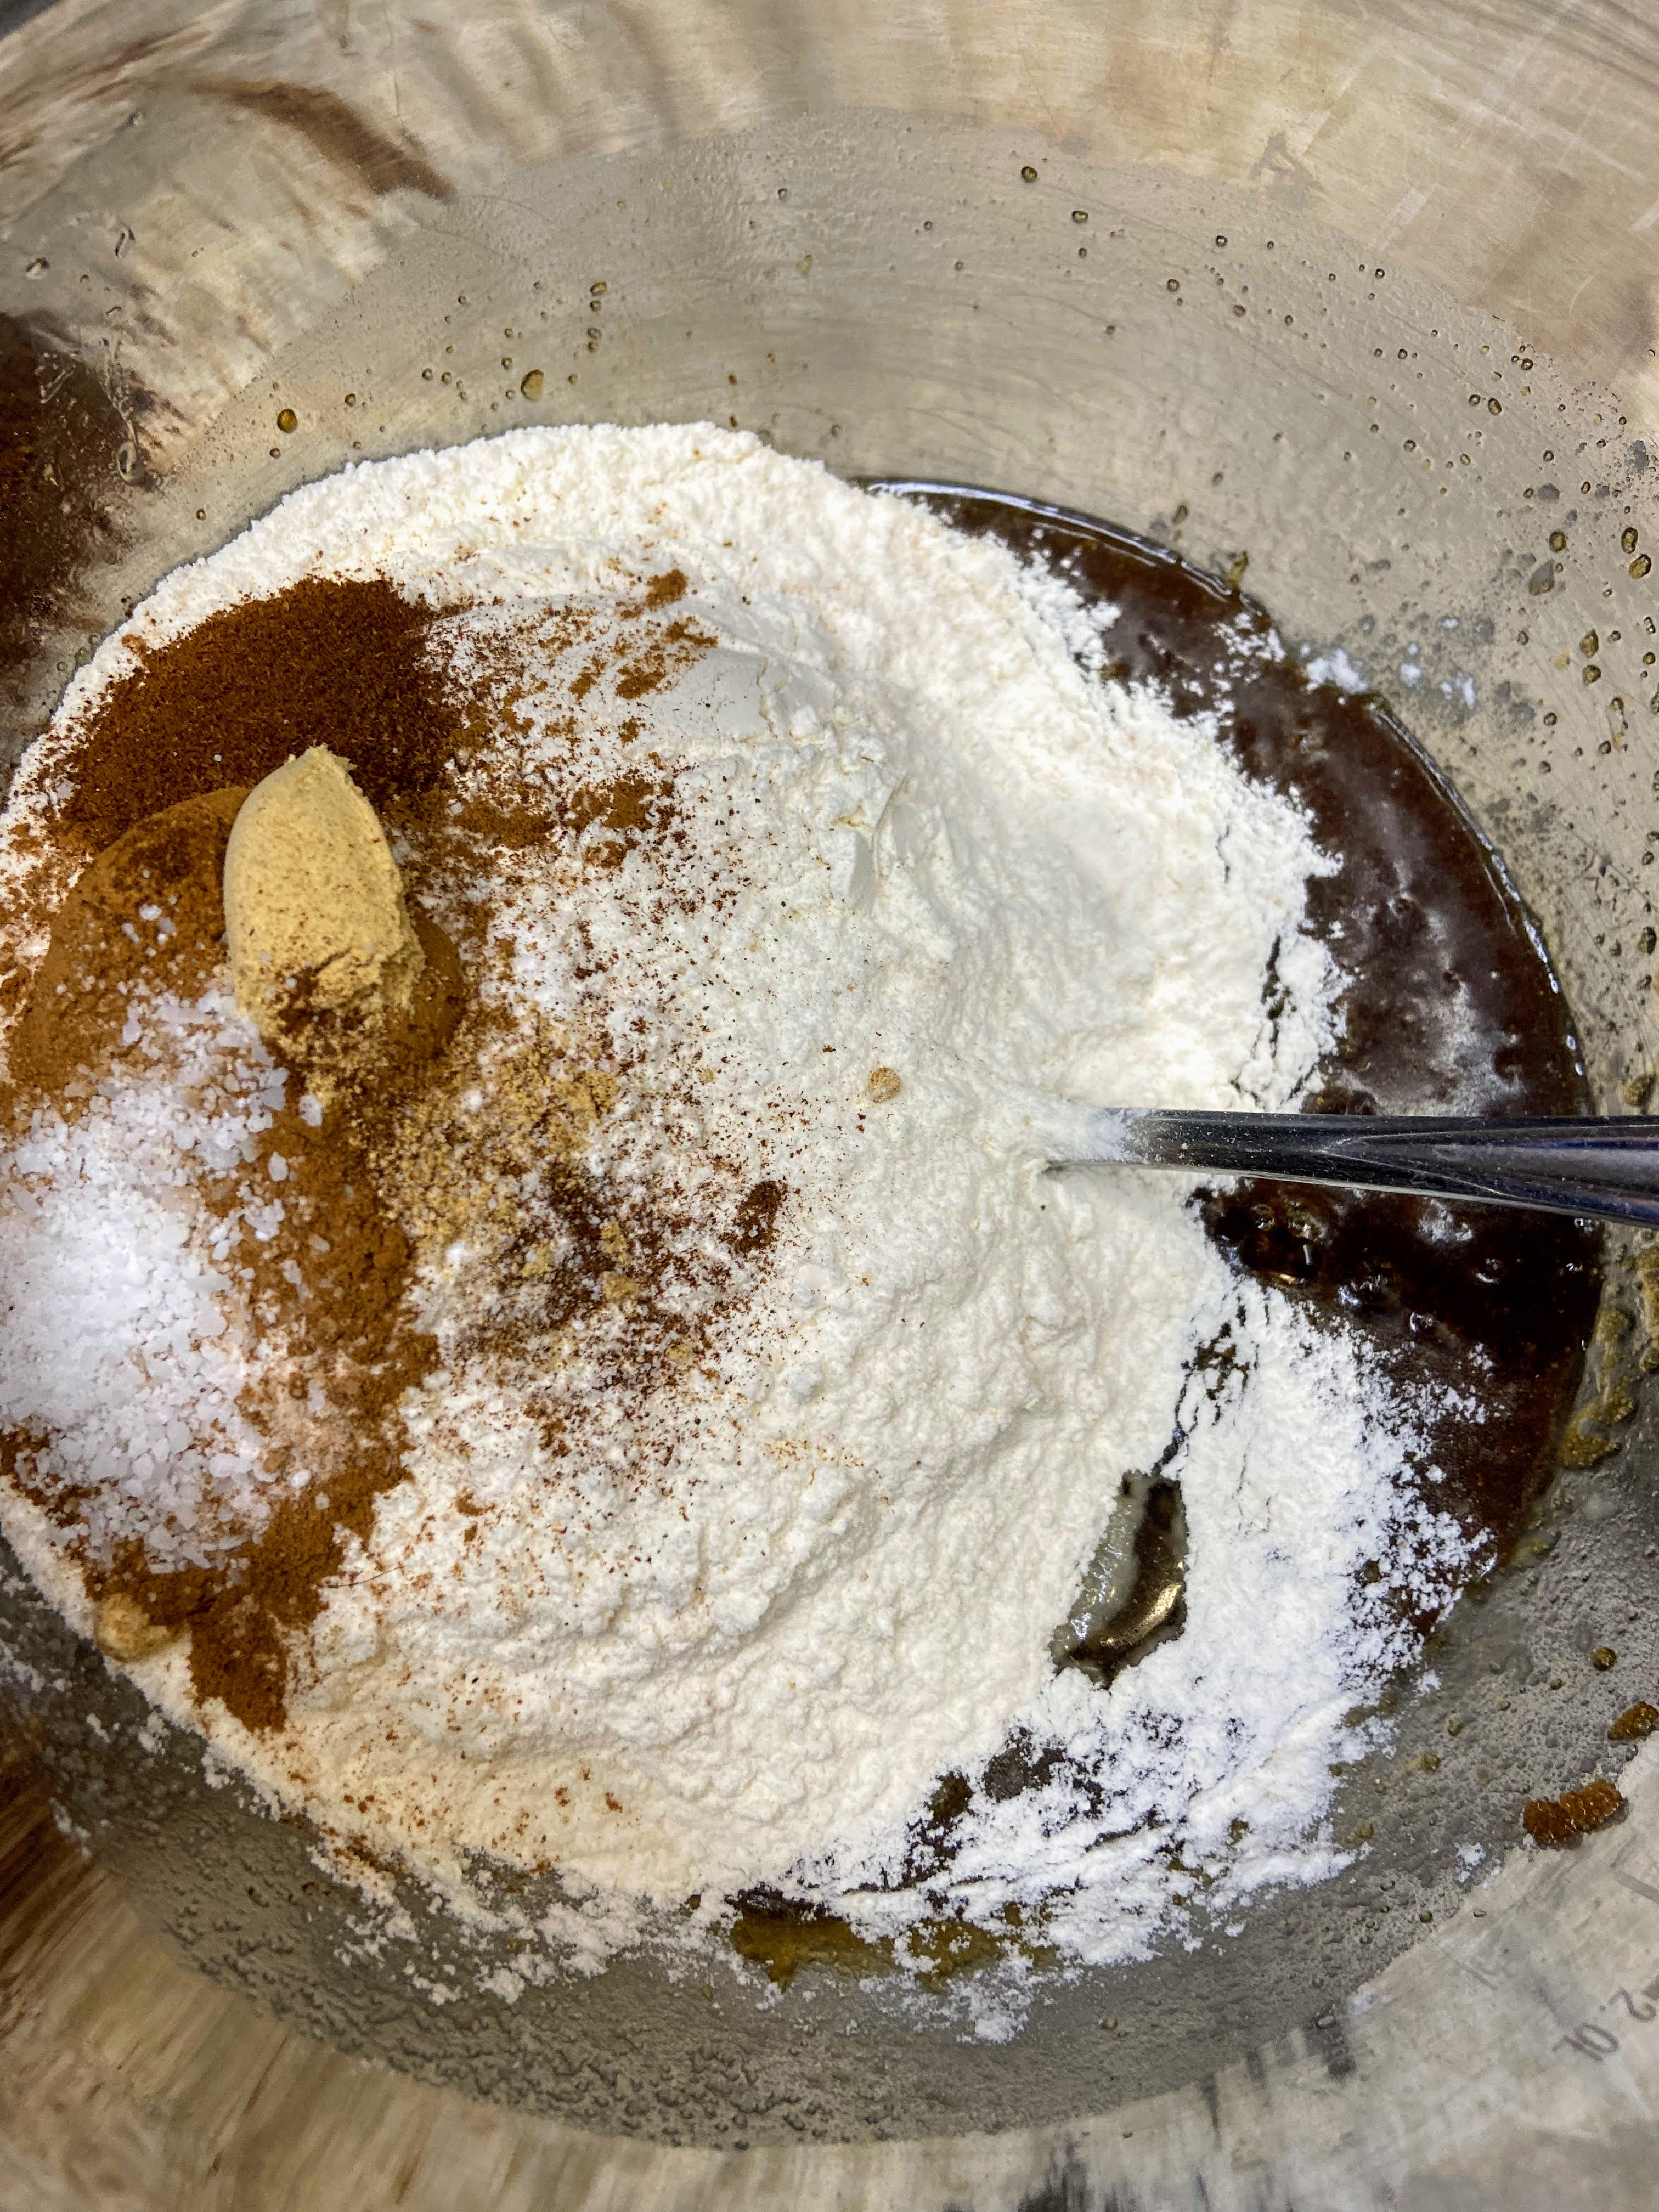
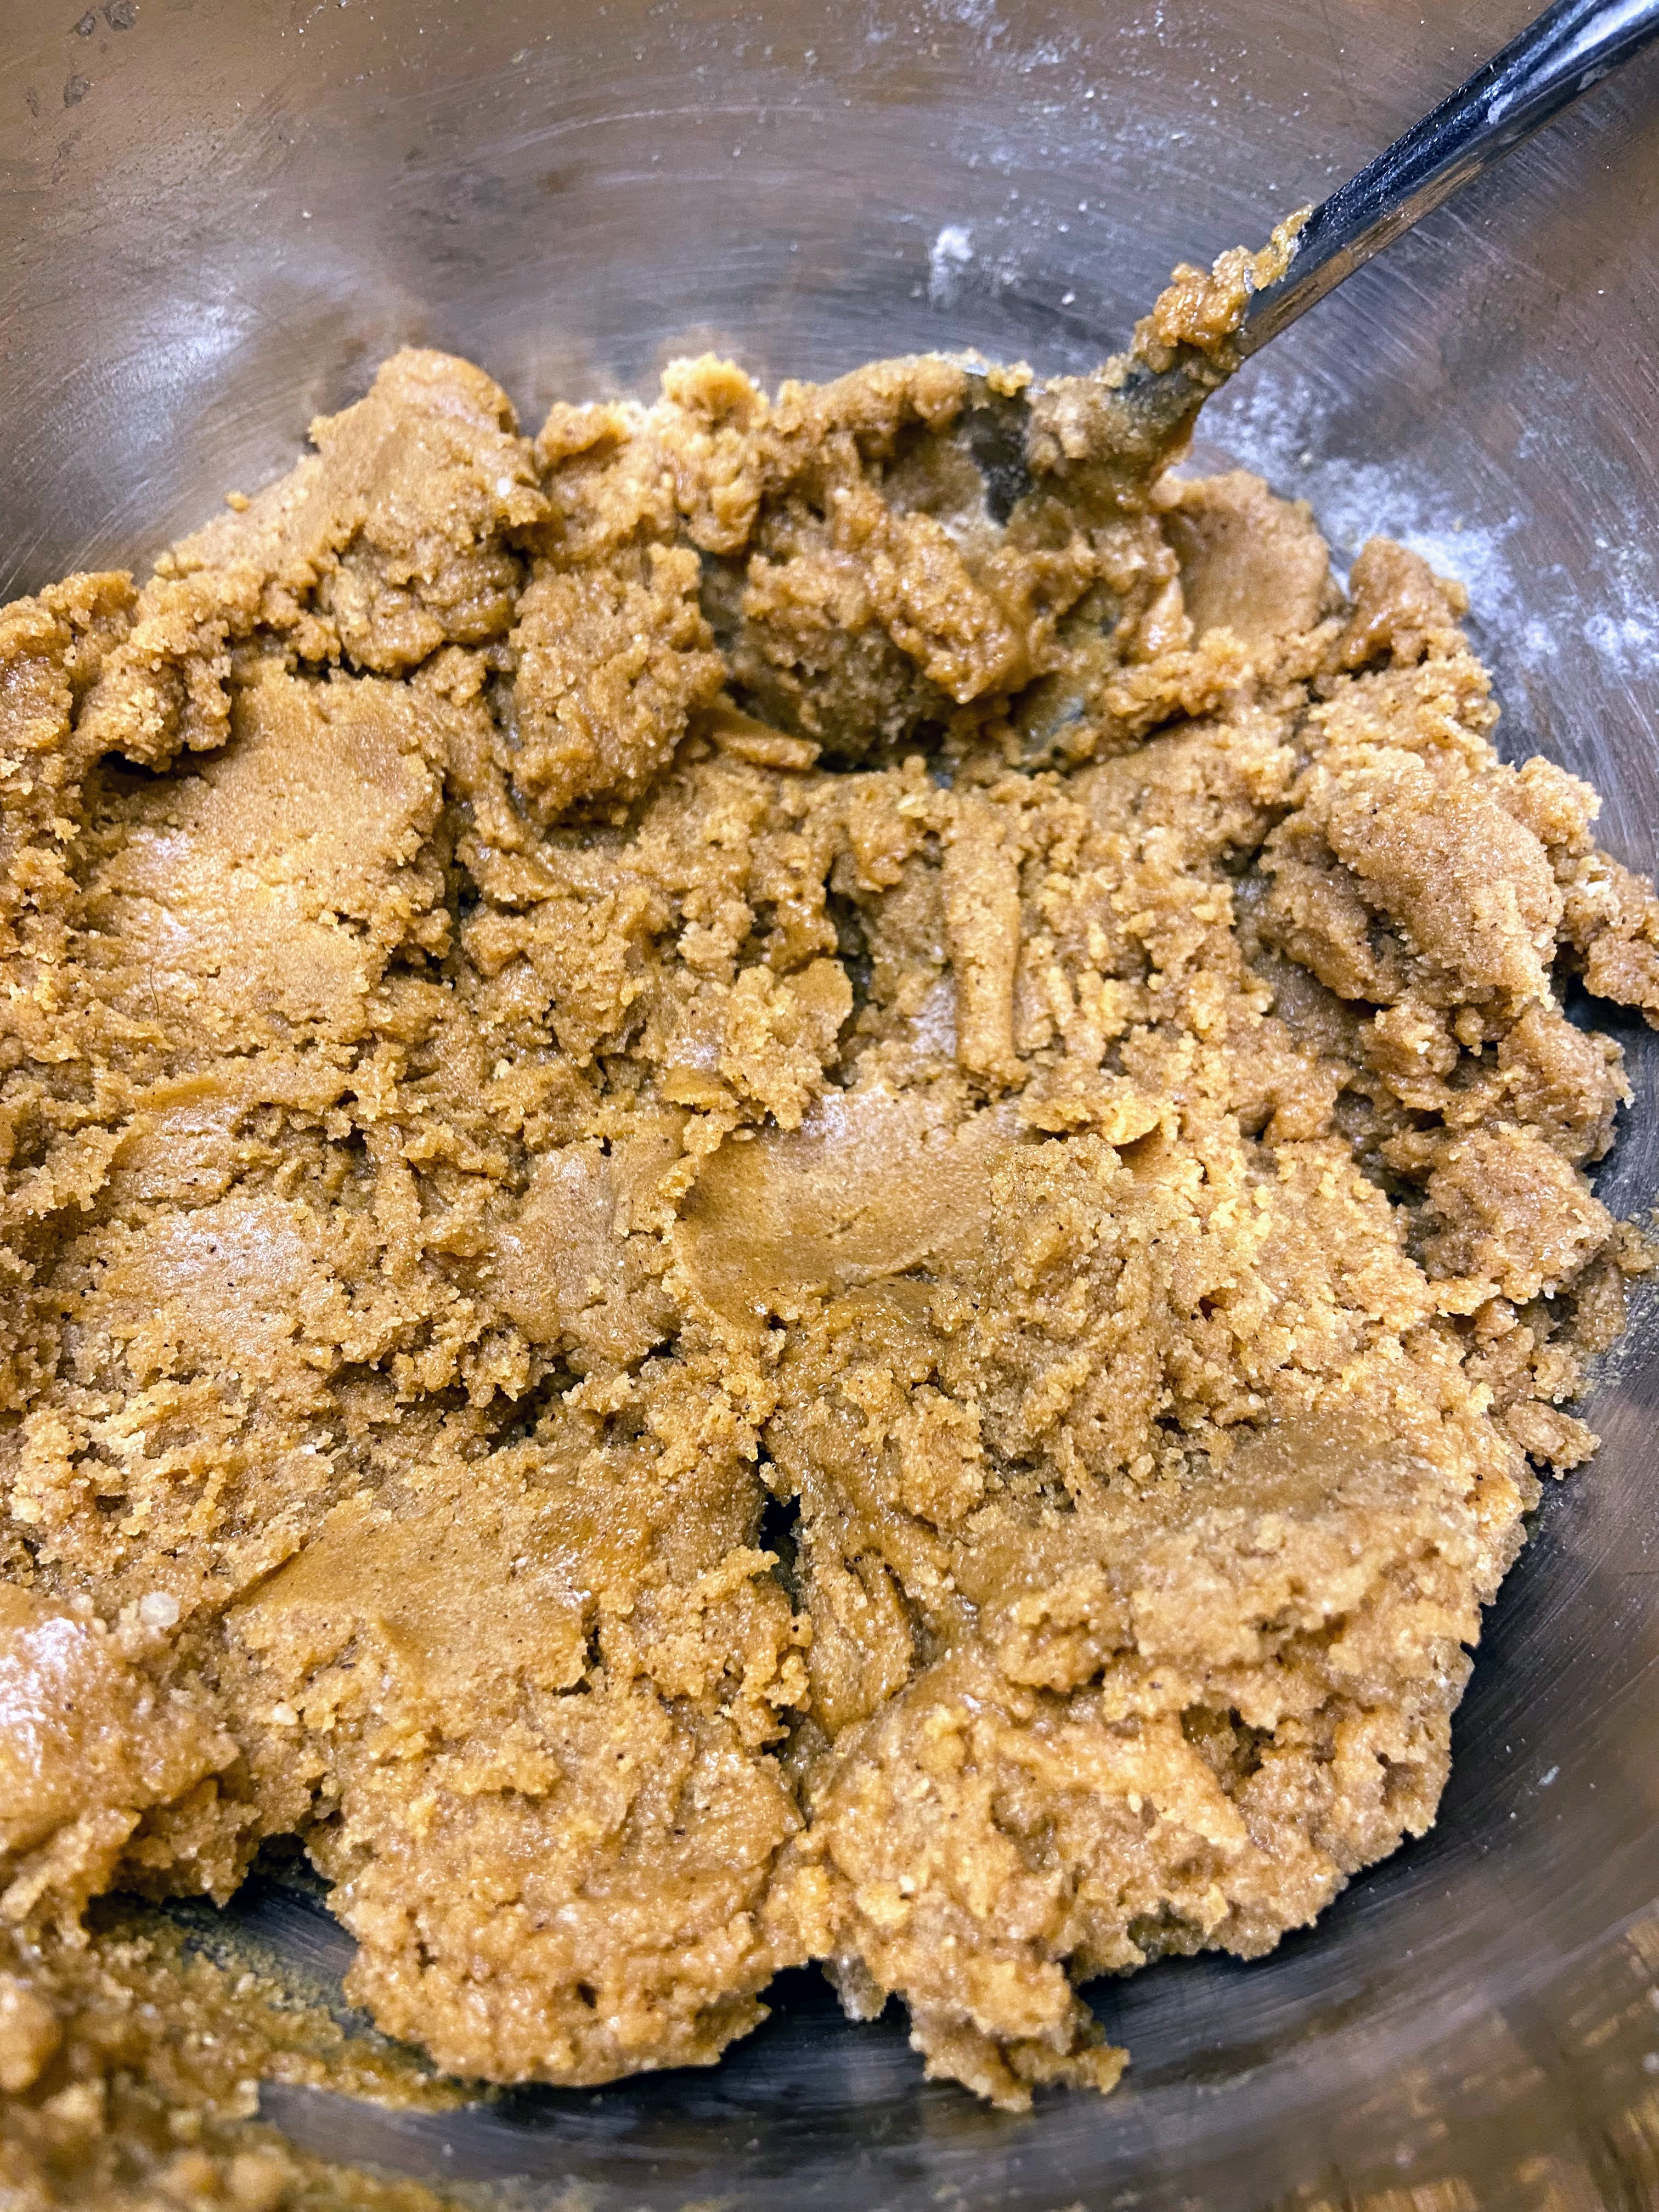
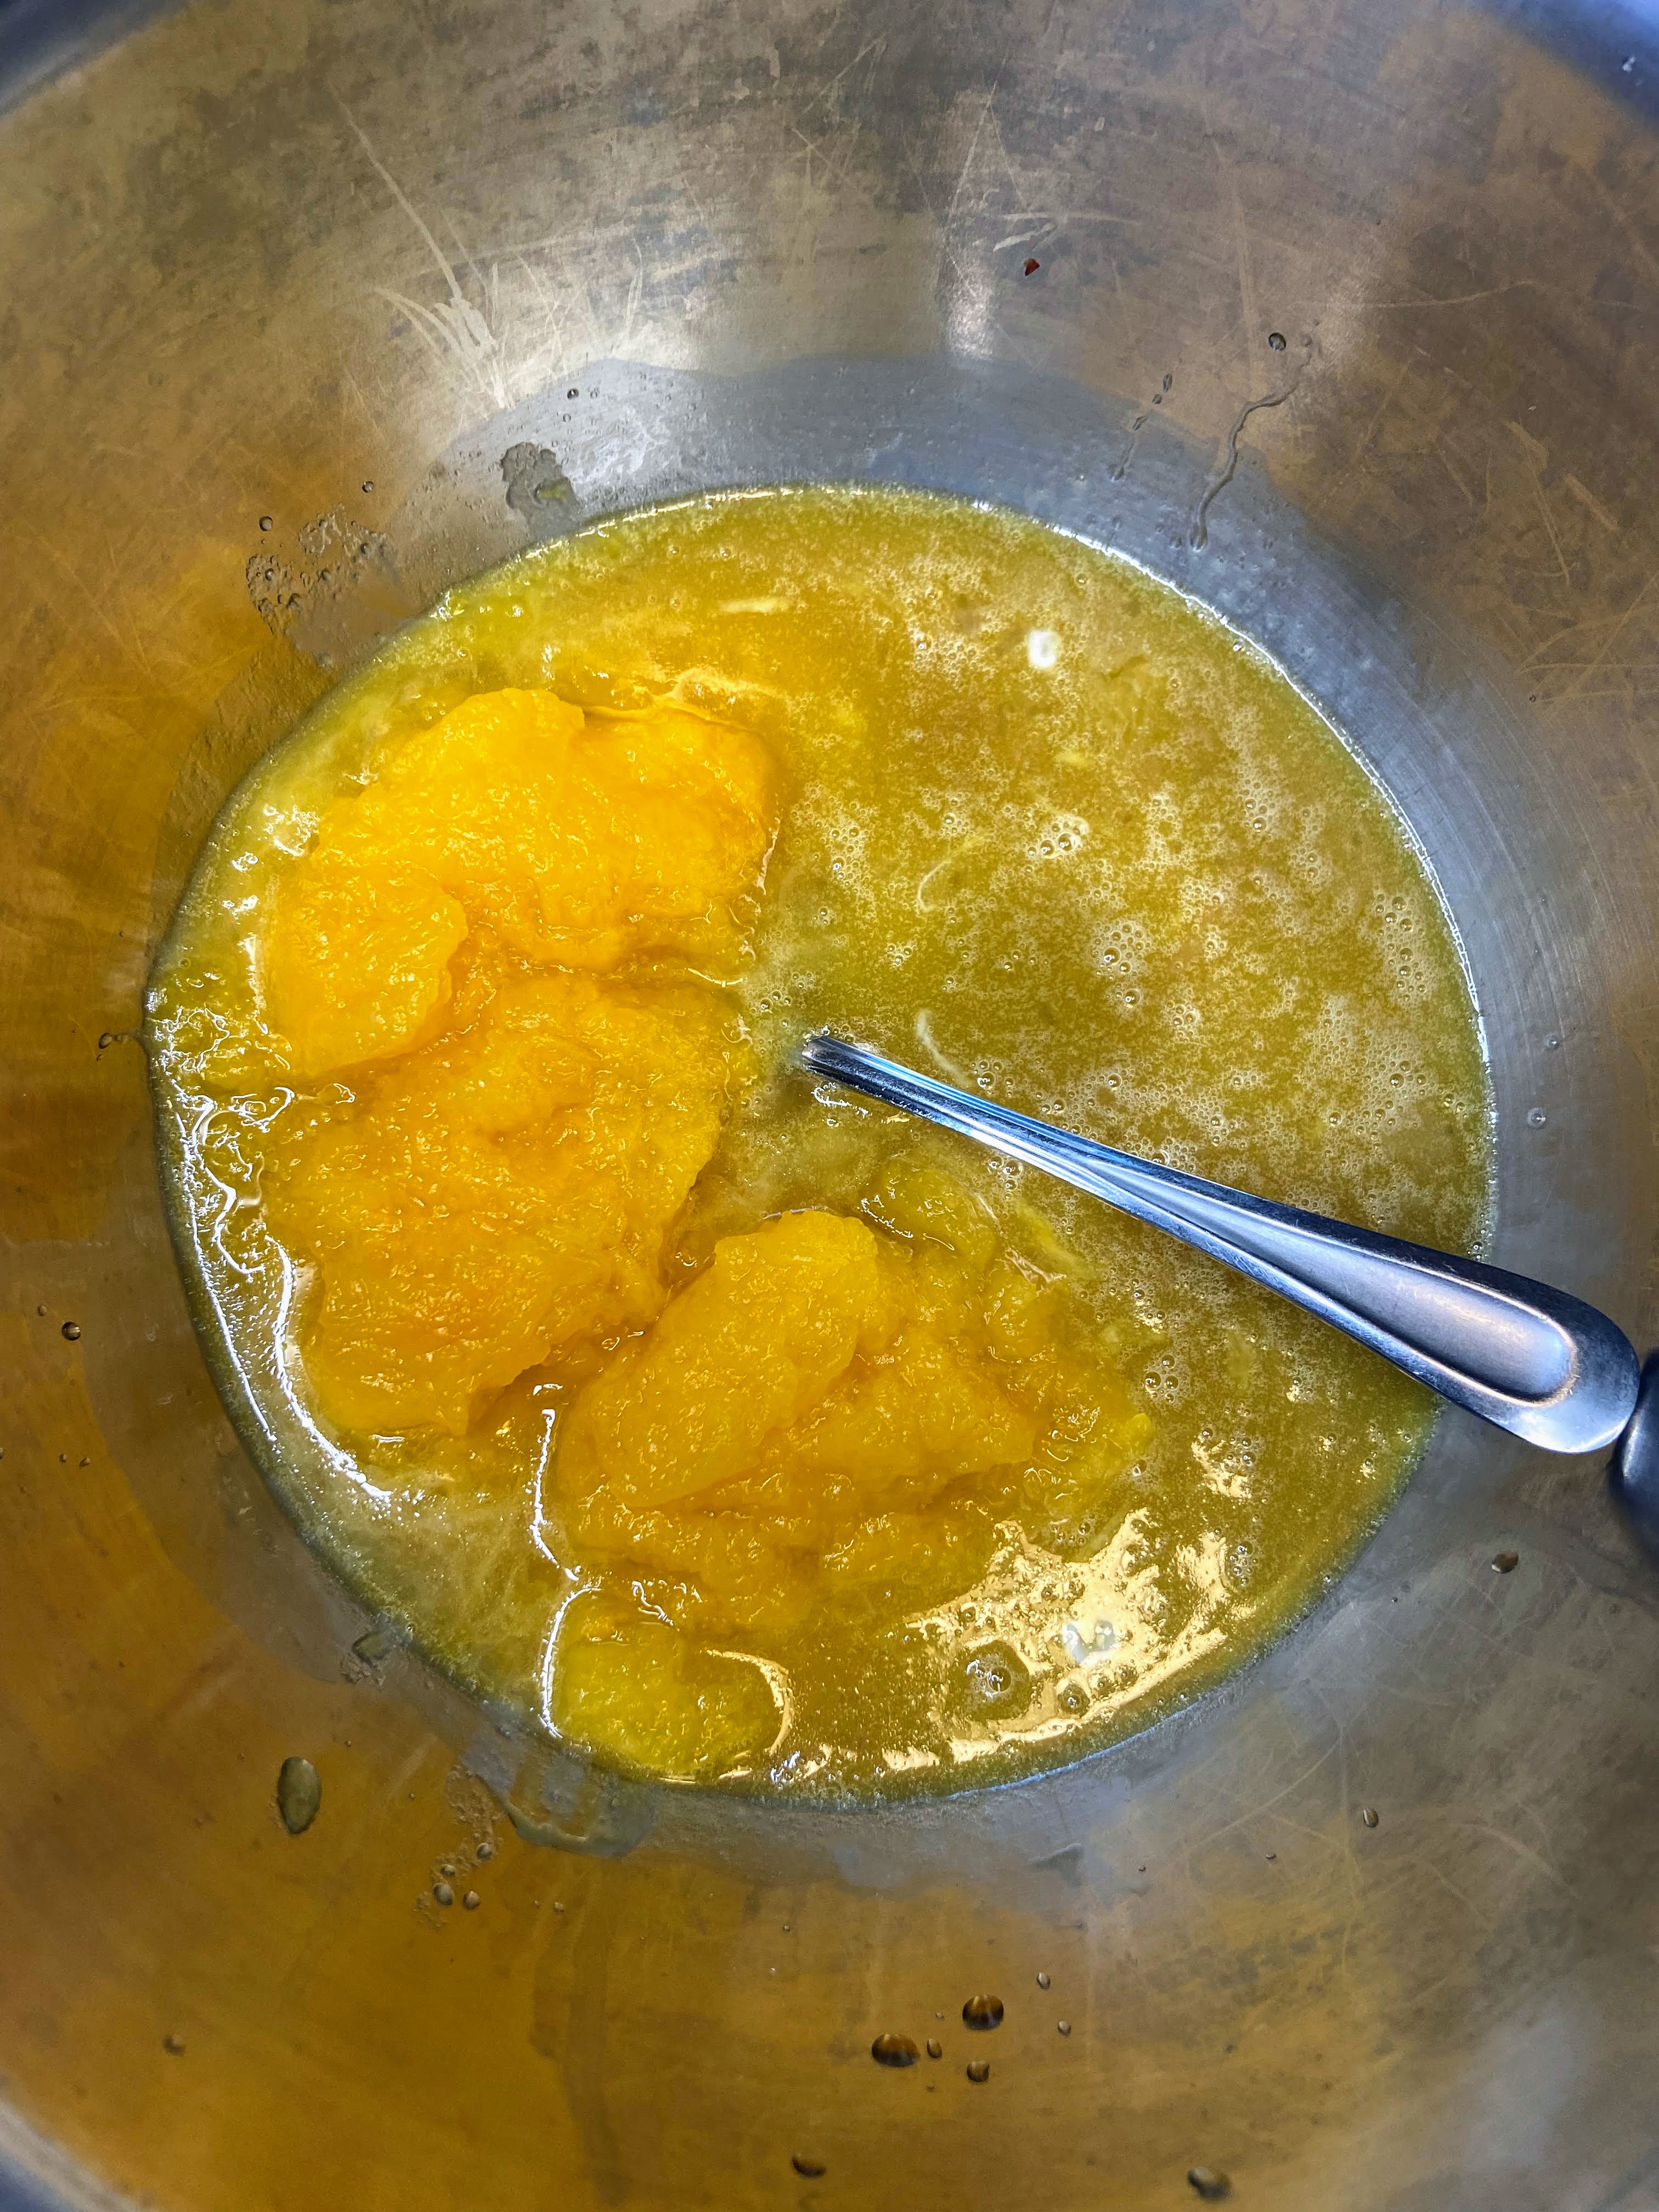
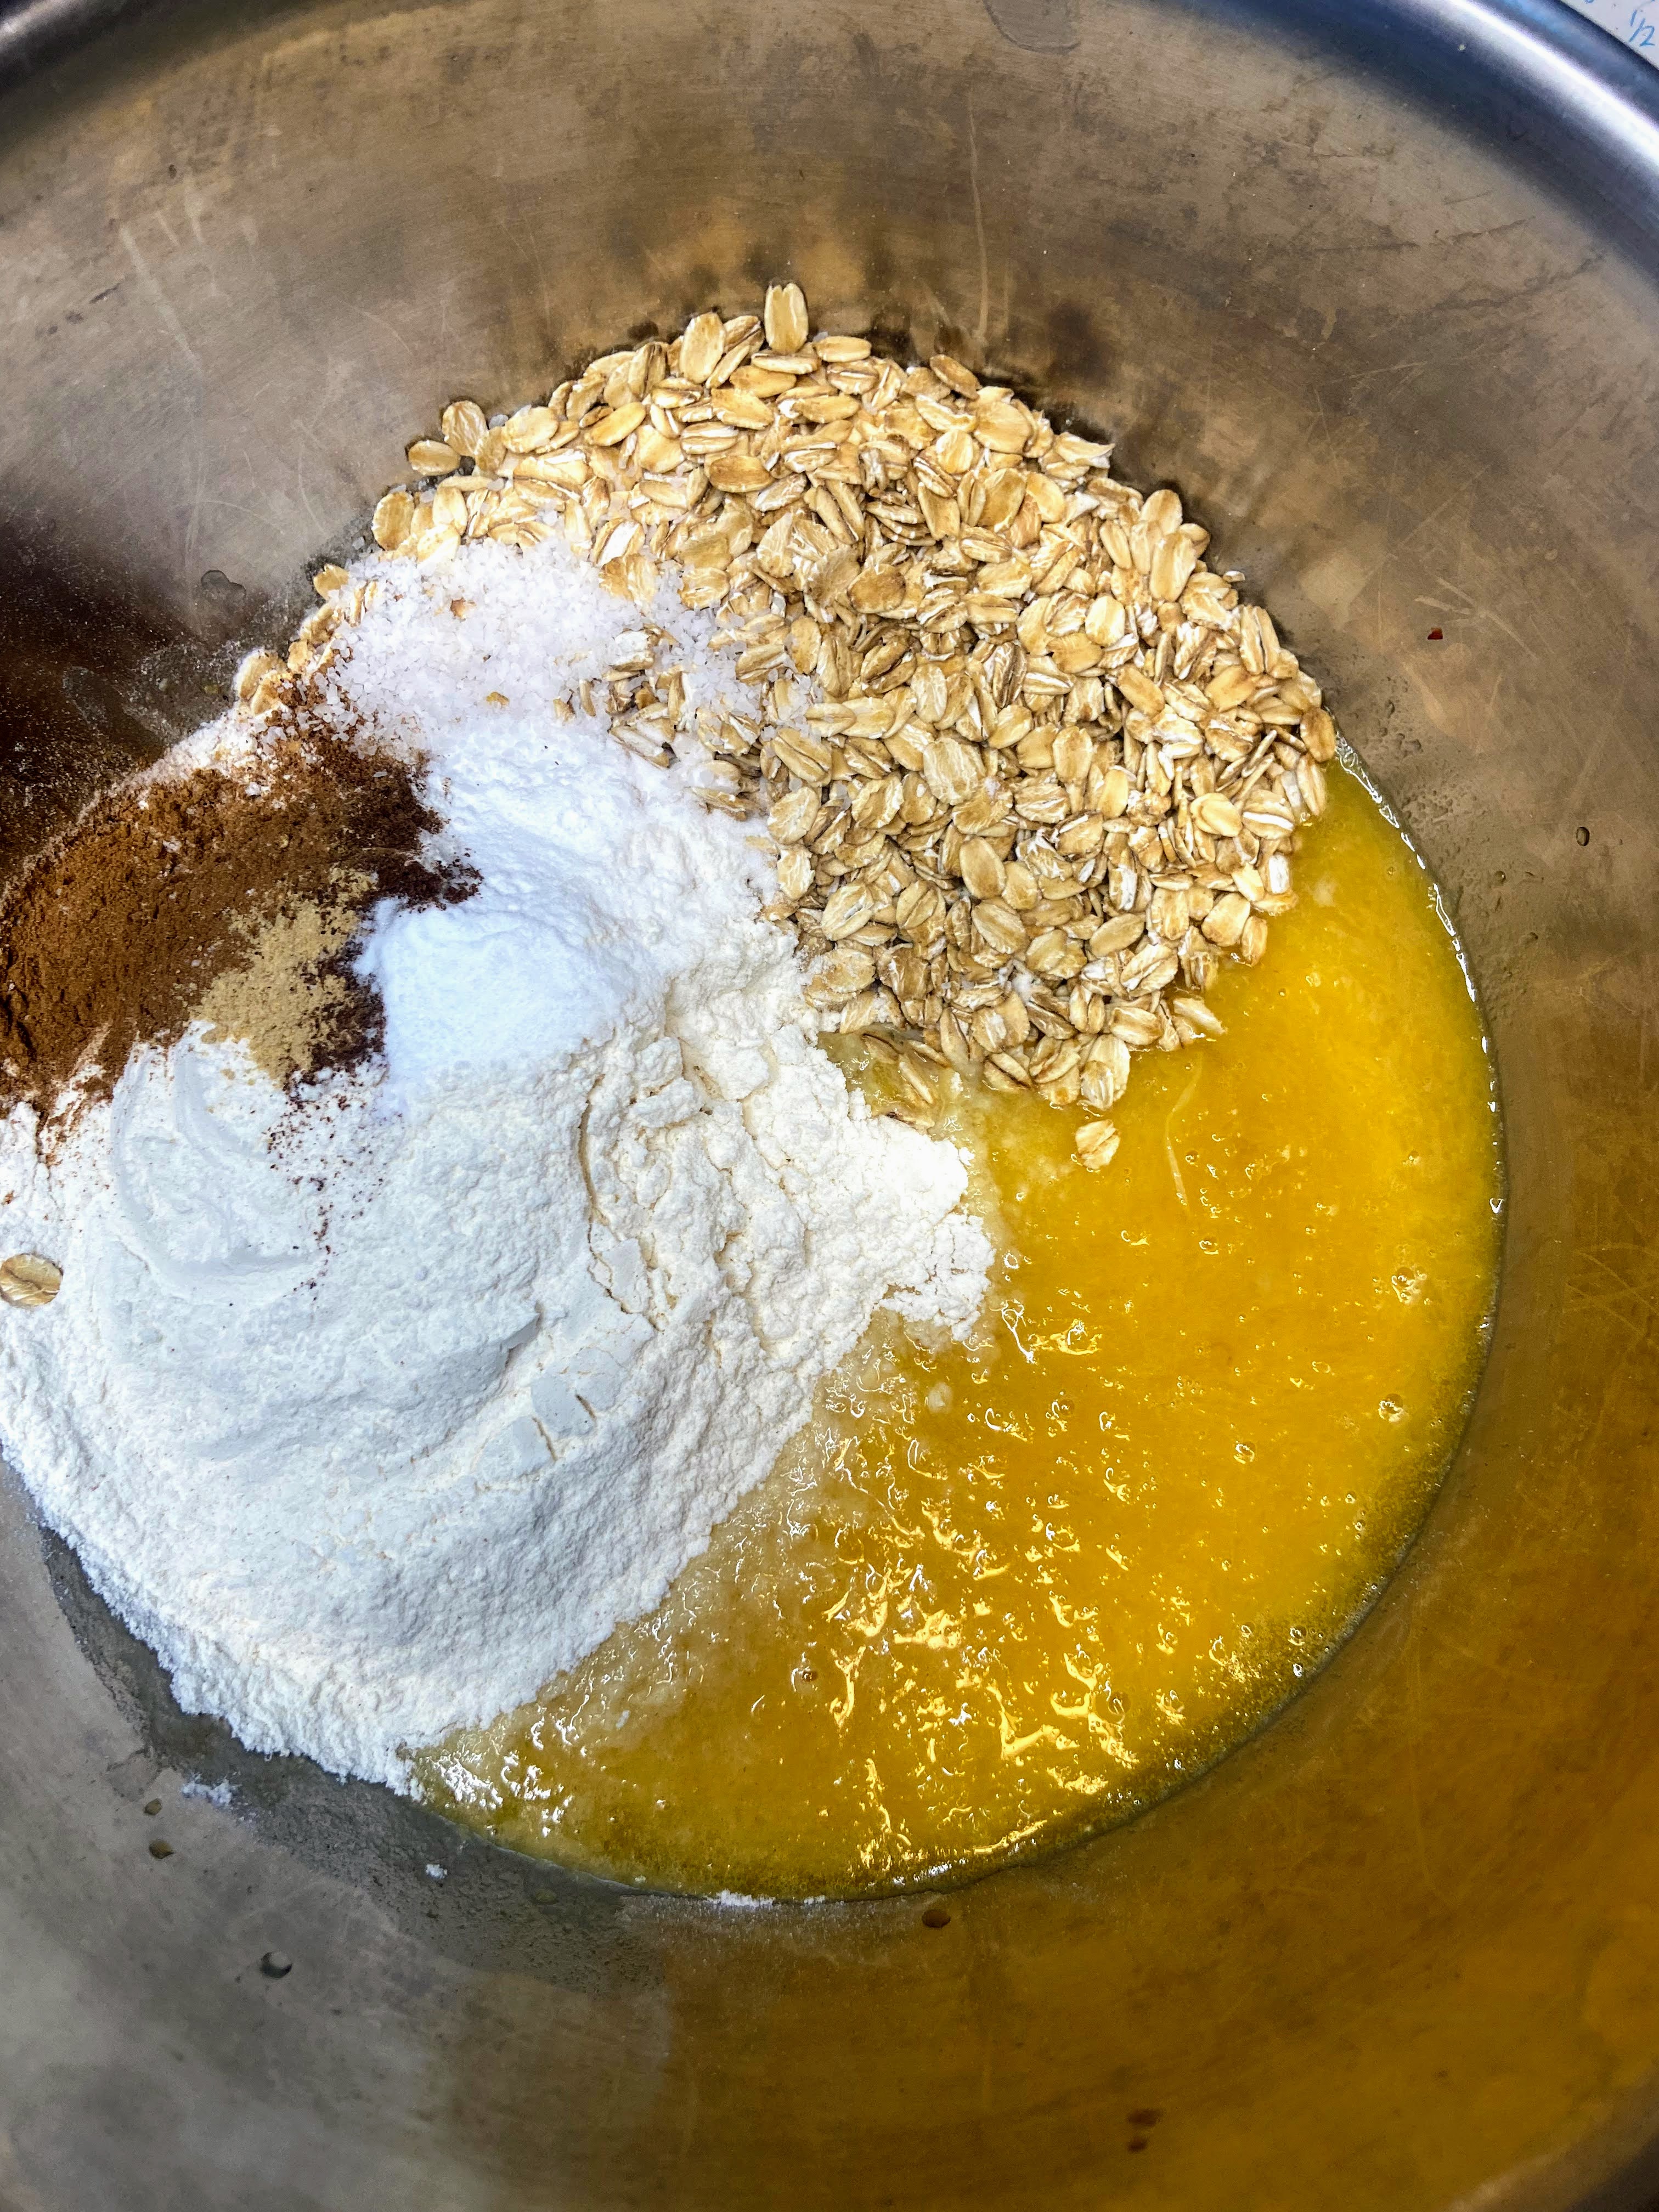
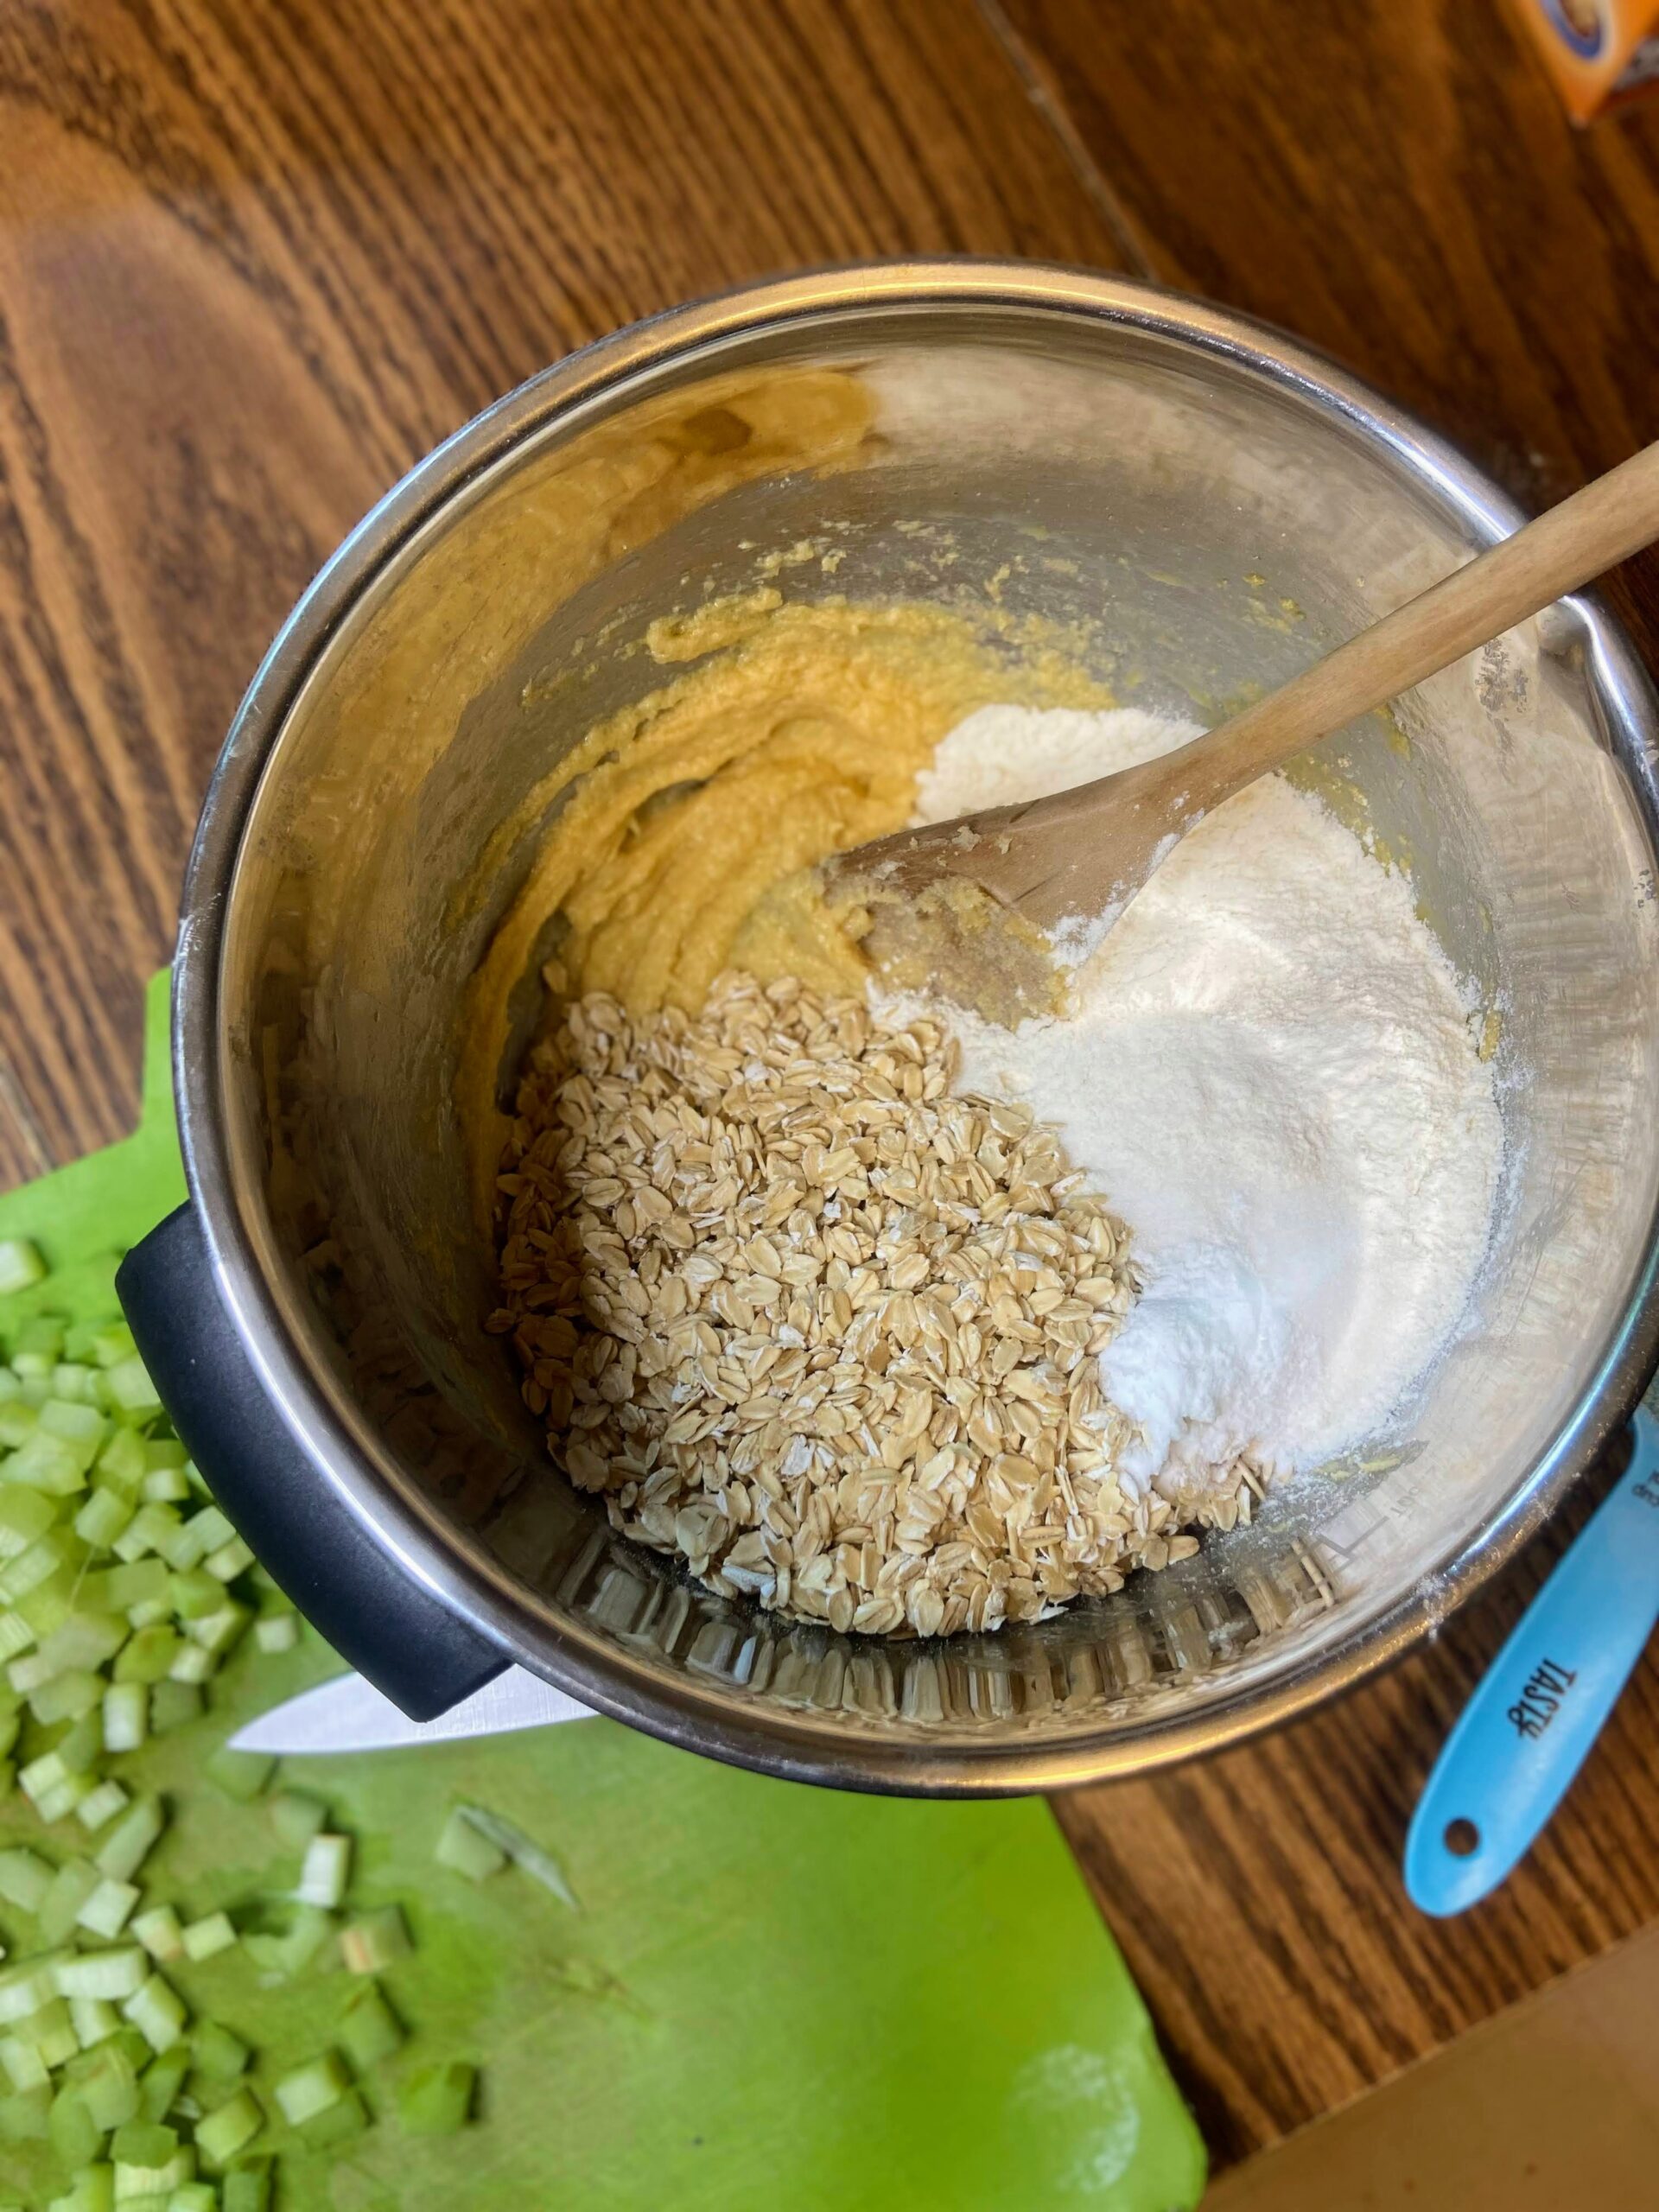
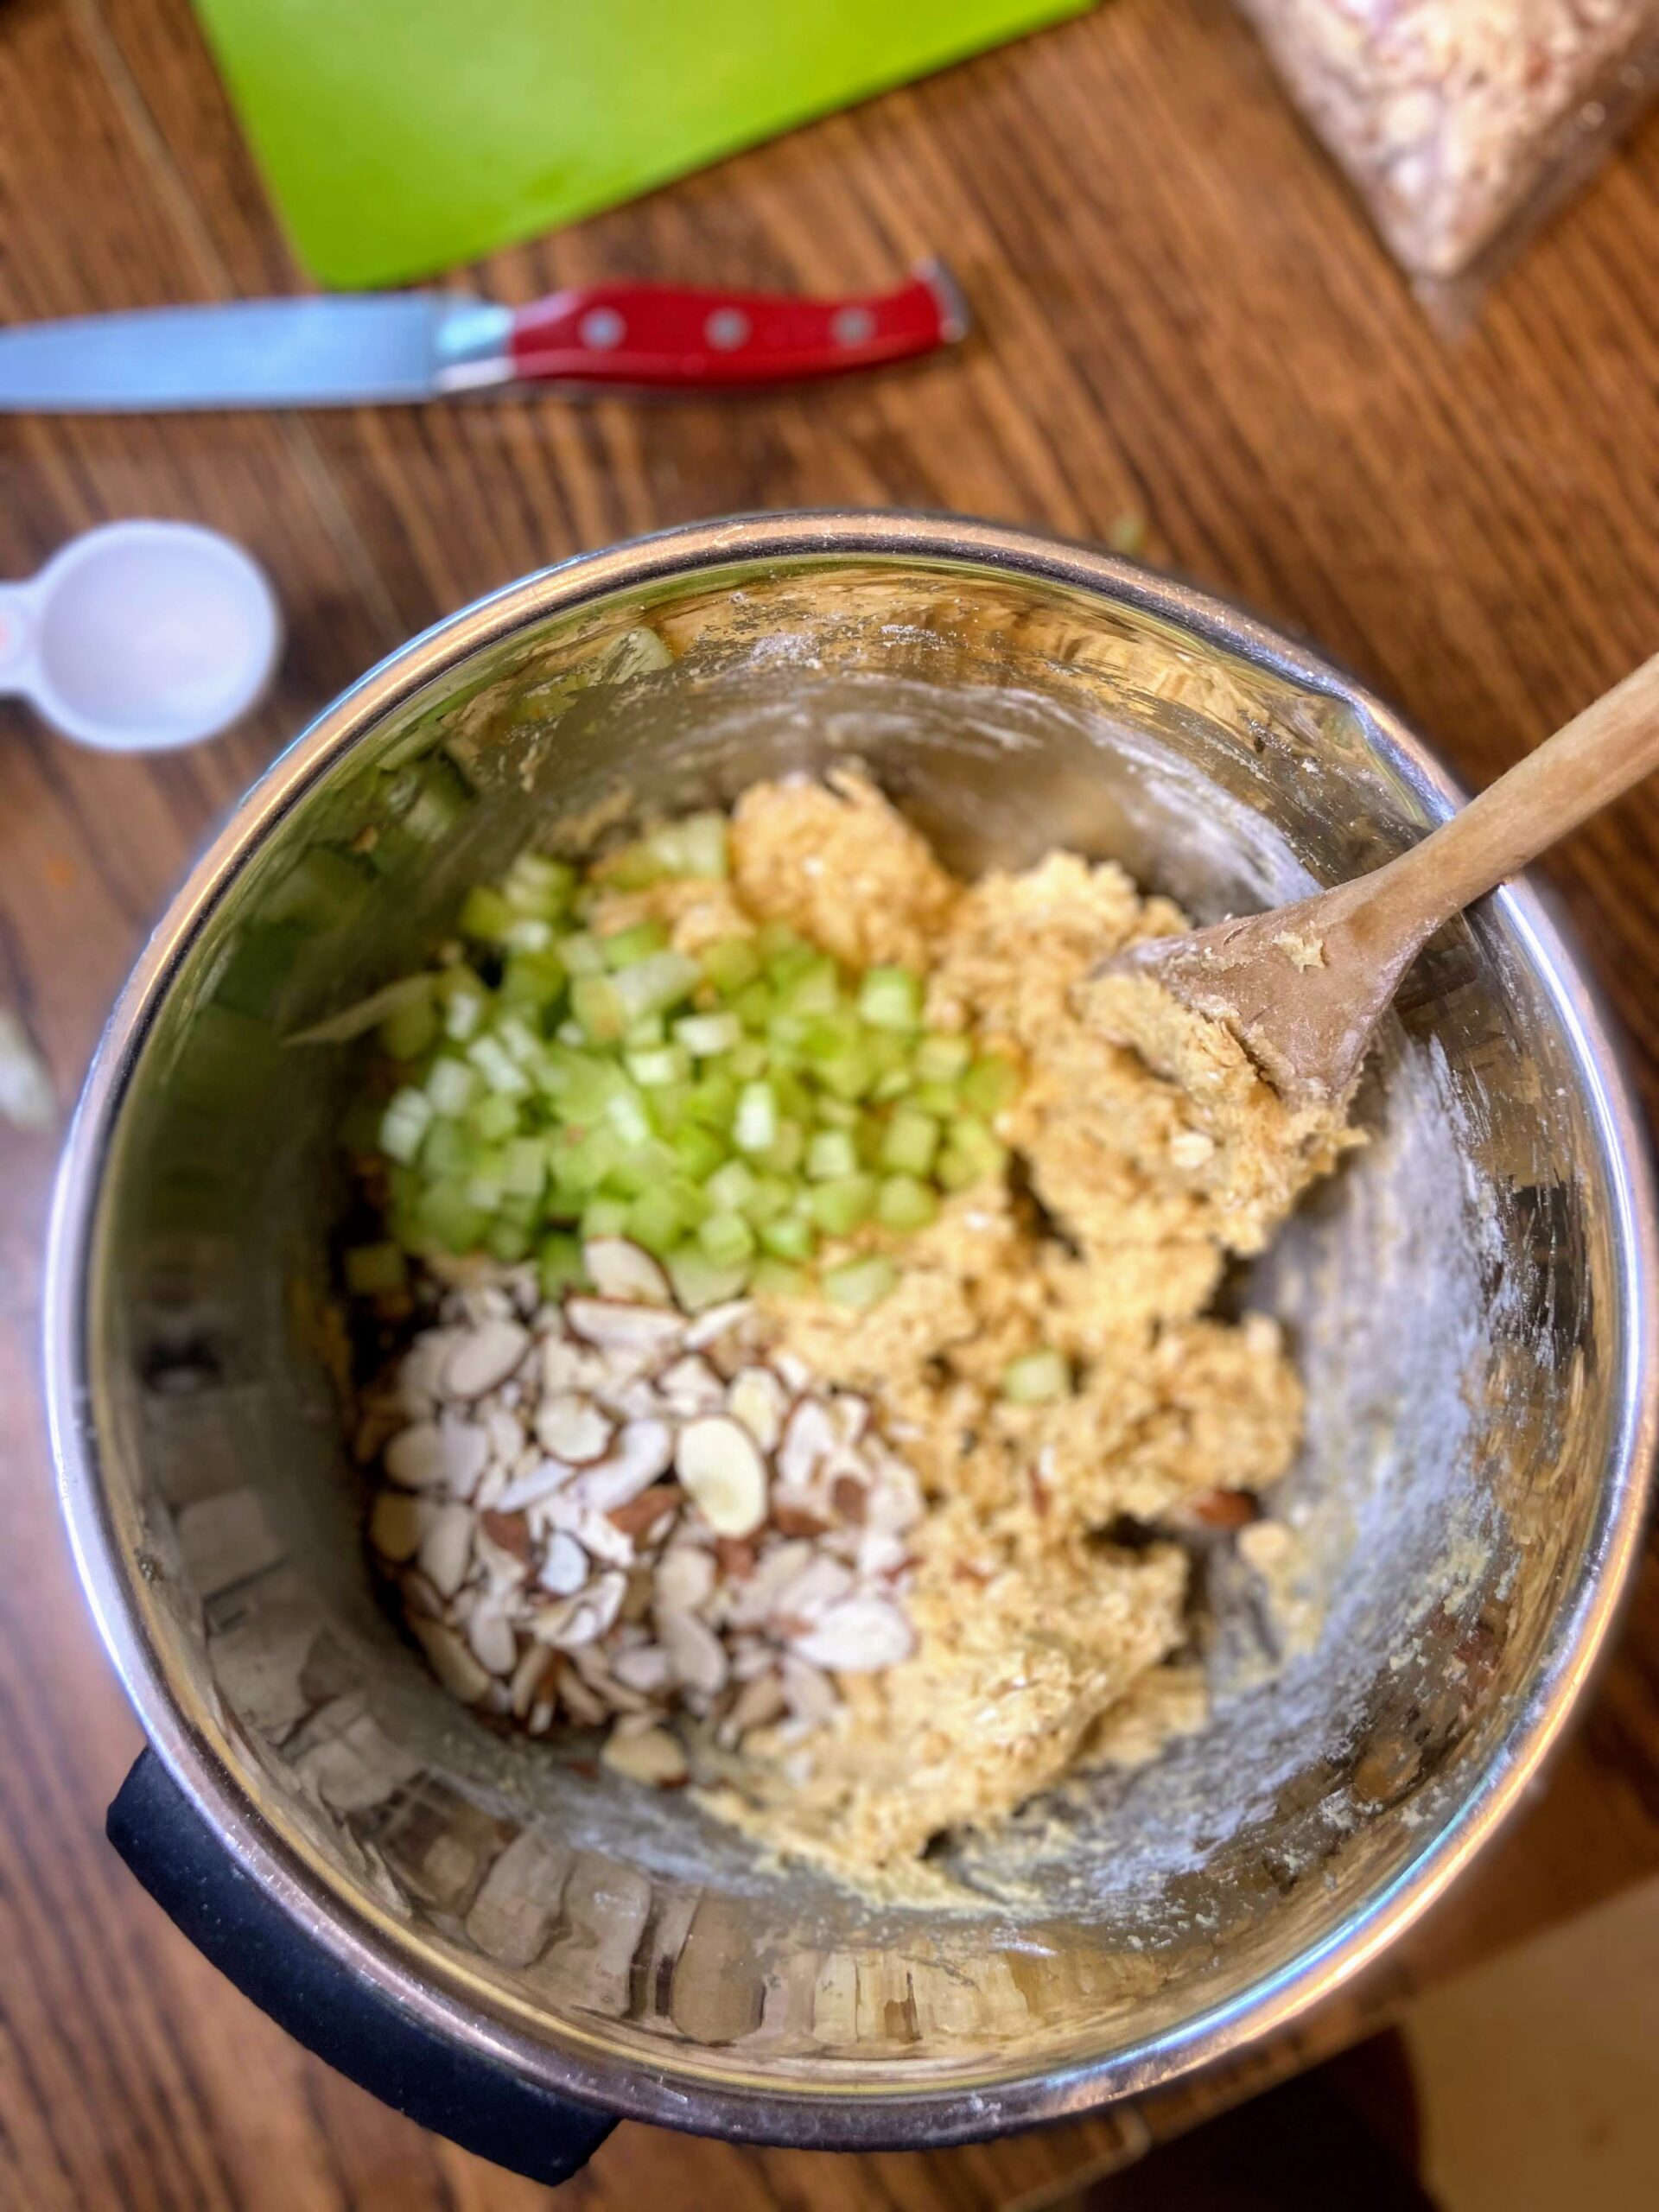
In a large bowl, cream butter and sugars. Add egg and almond extract. Beat until incorporated completely. In an additional bowl, combine flour, baking soda, and salt. Add to the wet ingredients along with the oats. Stir until just combined. Fold in the rhubarb and sliced almonds.
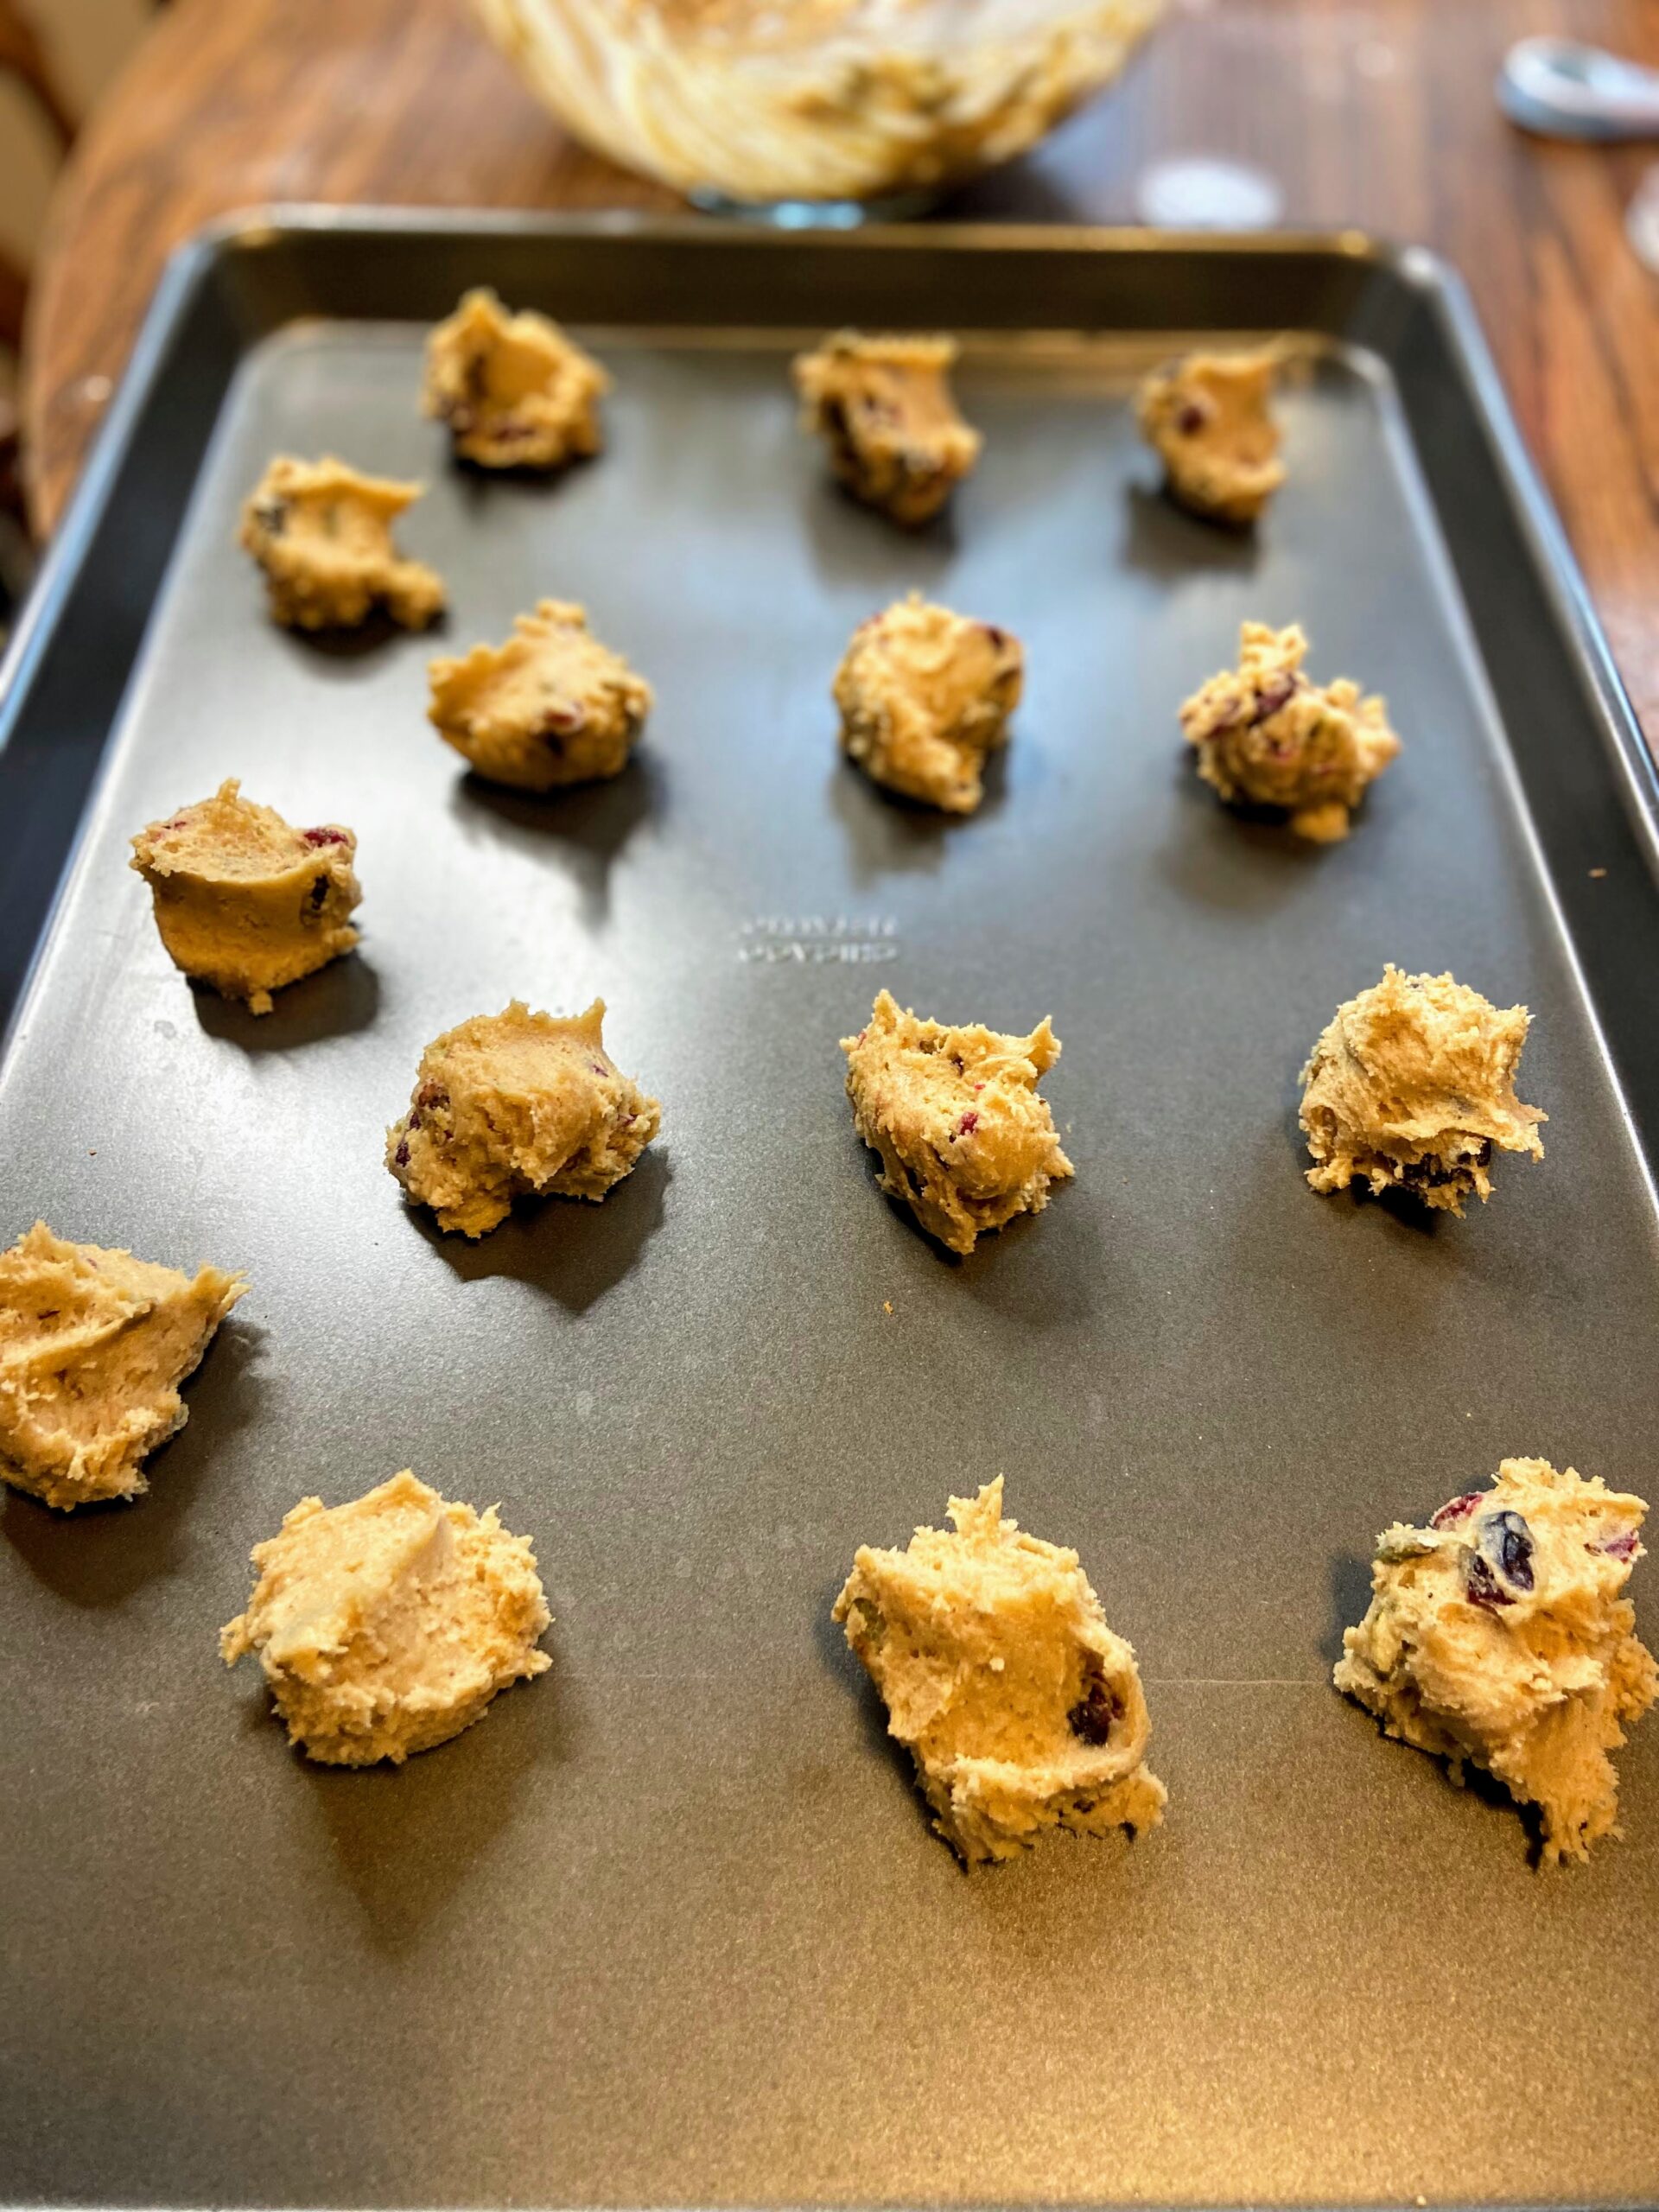
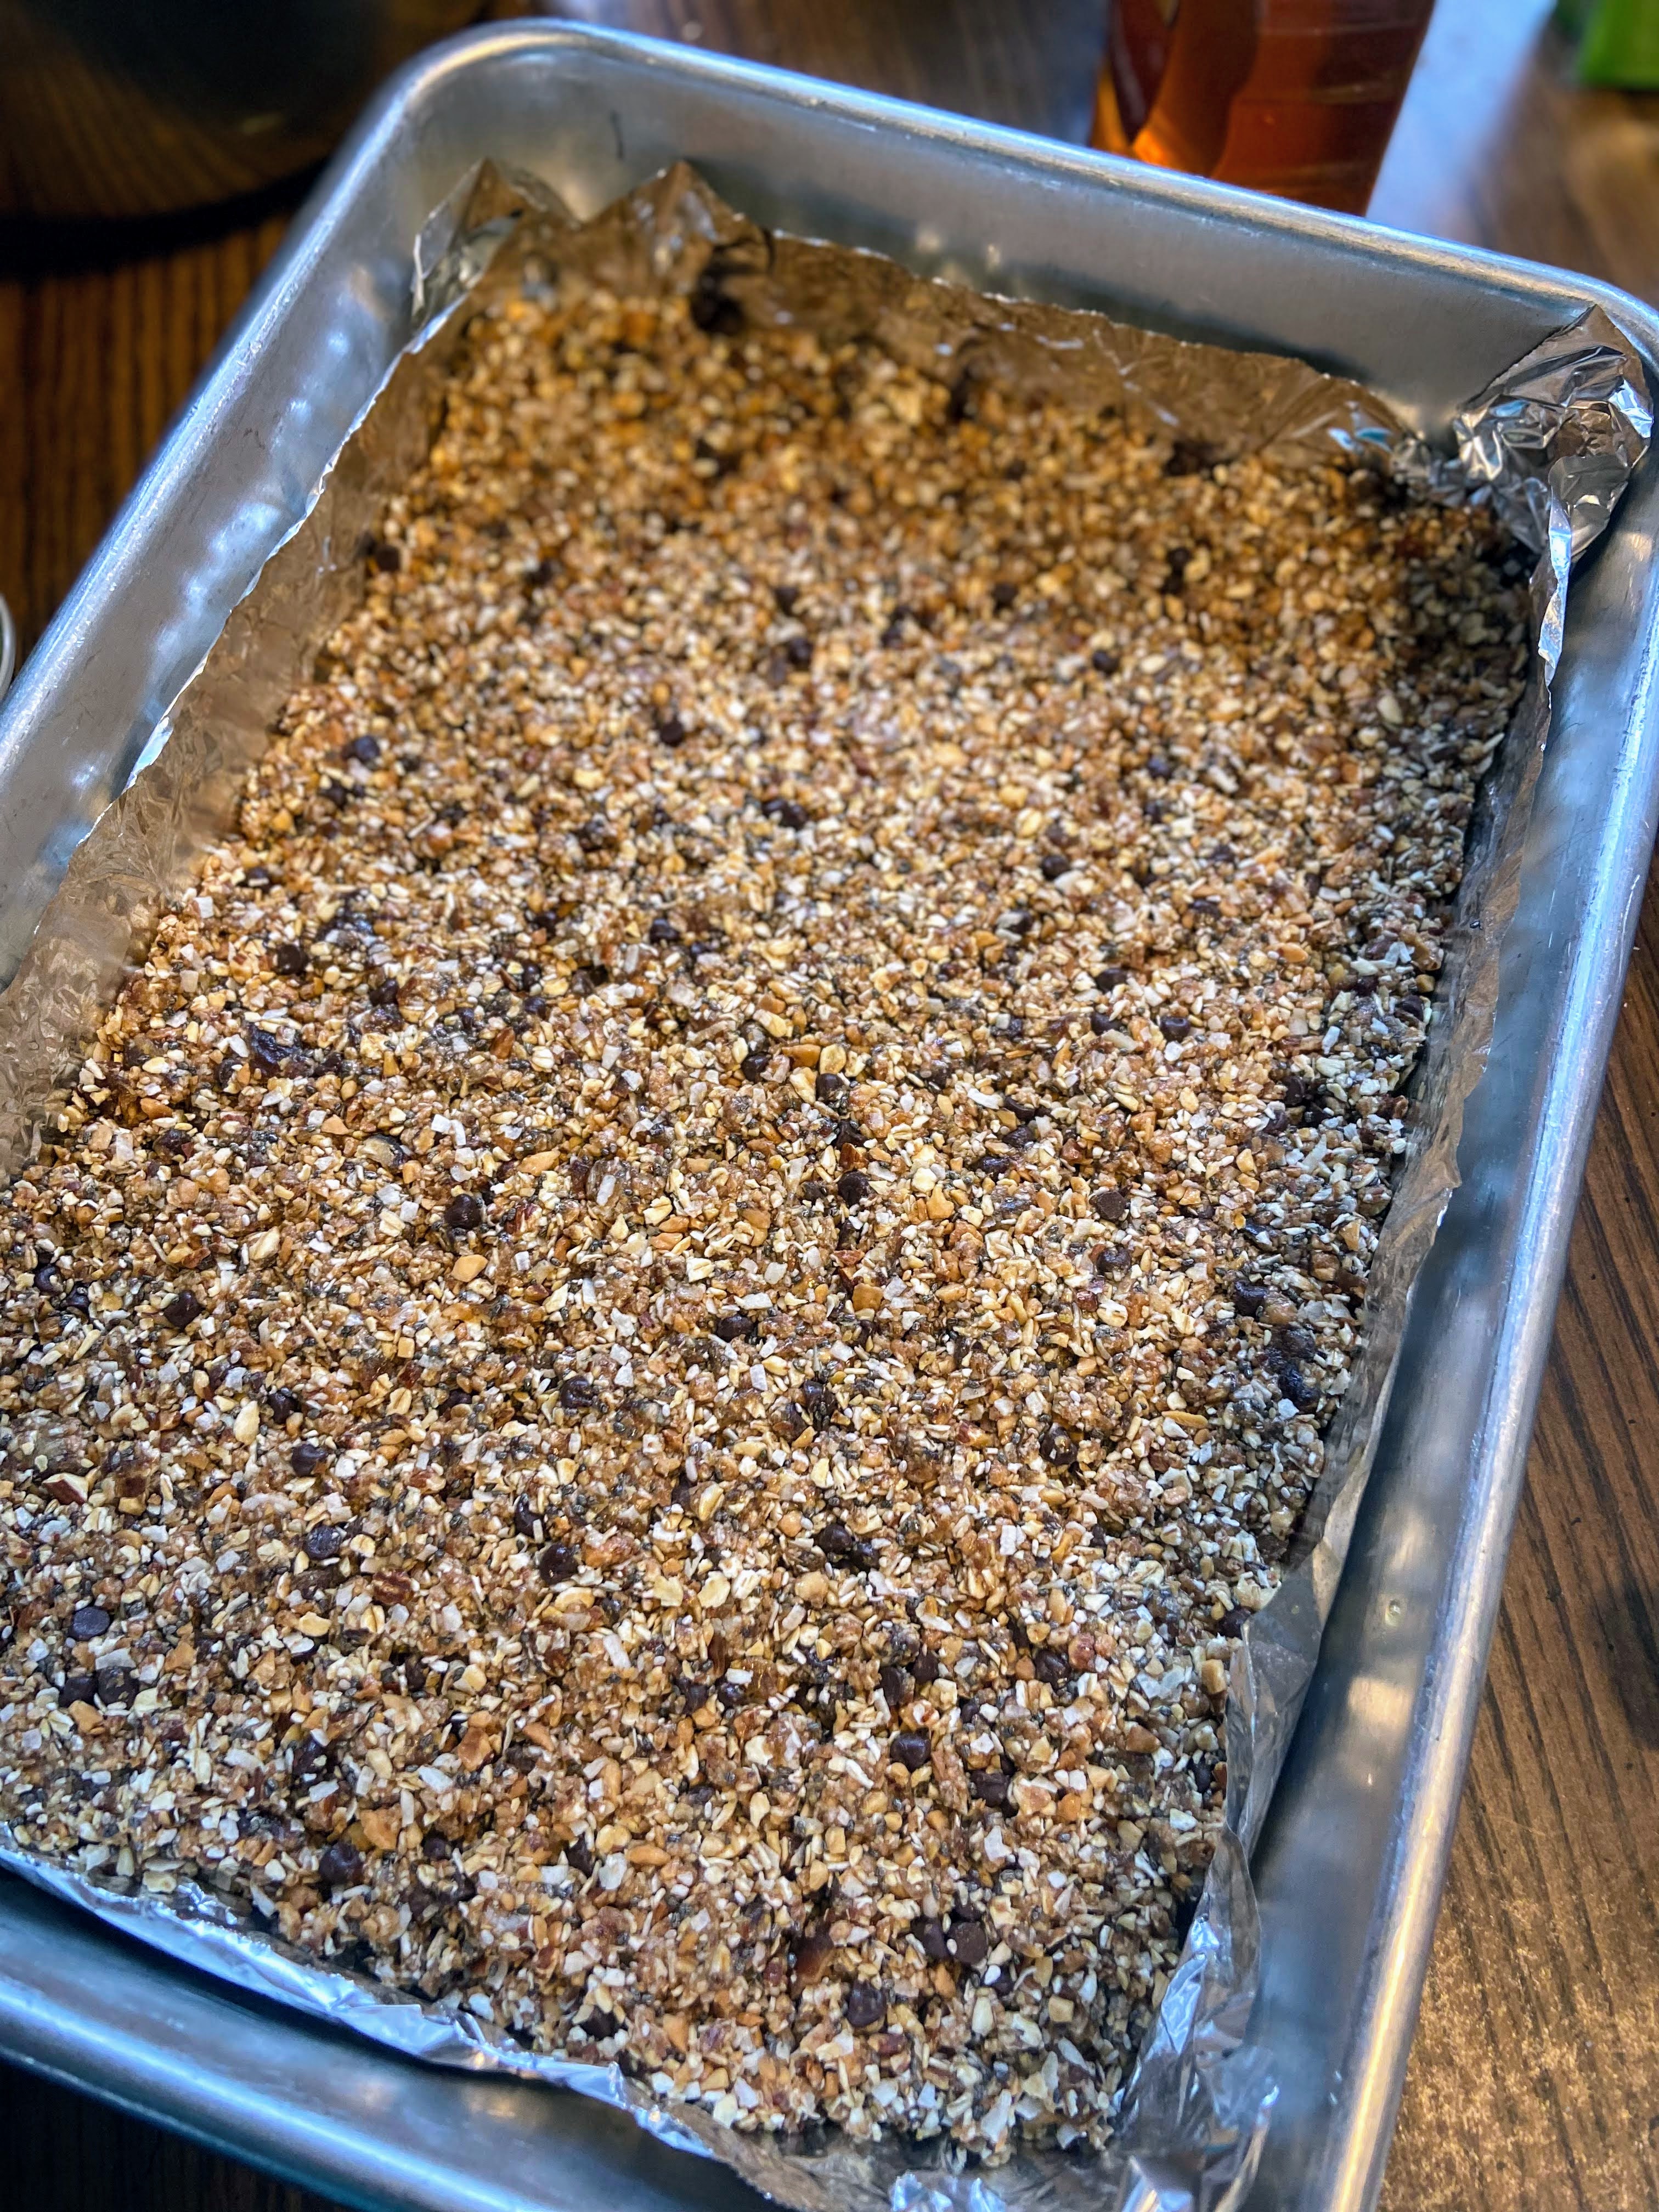
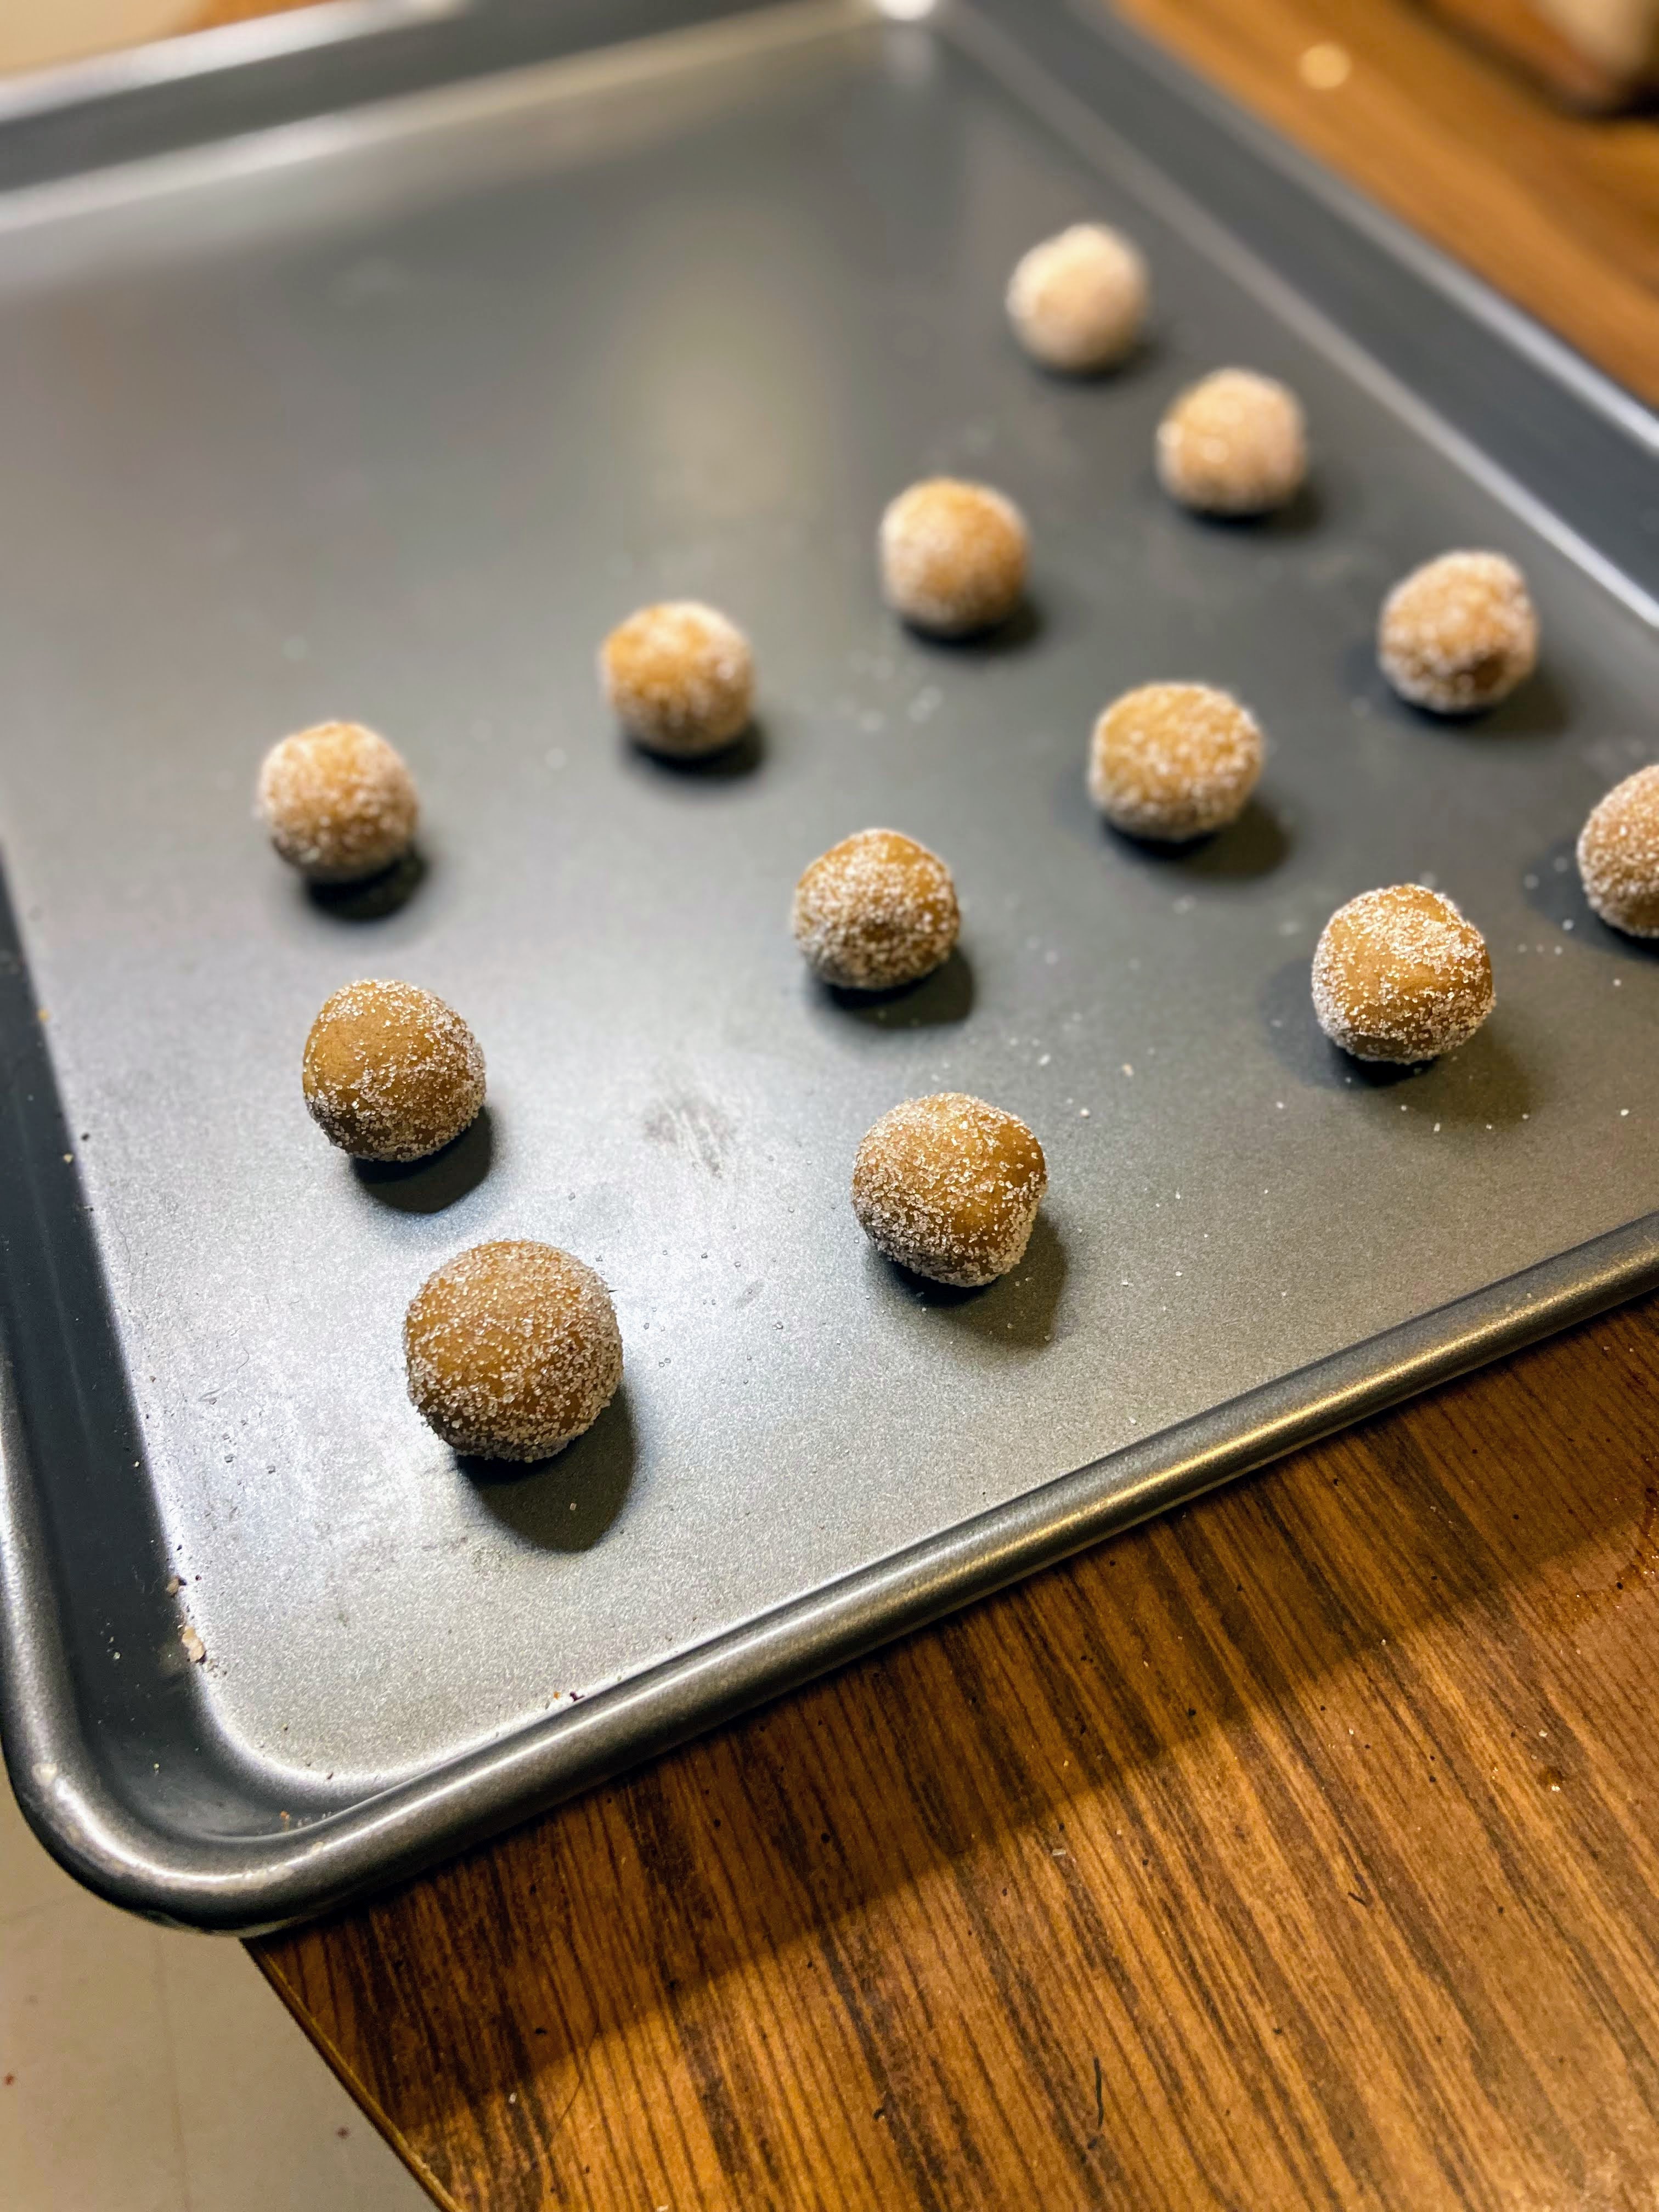
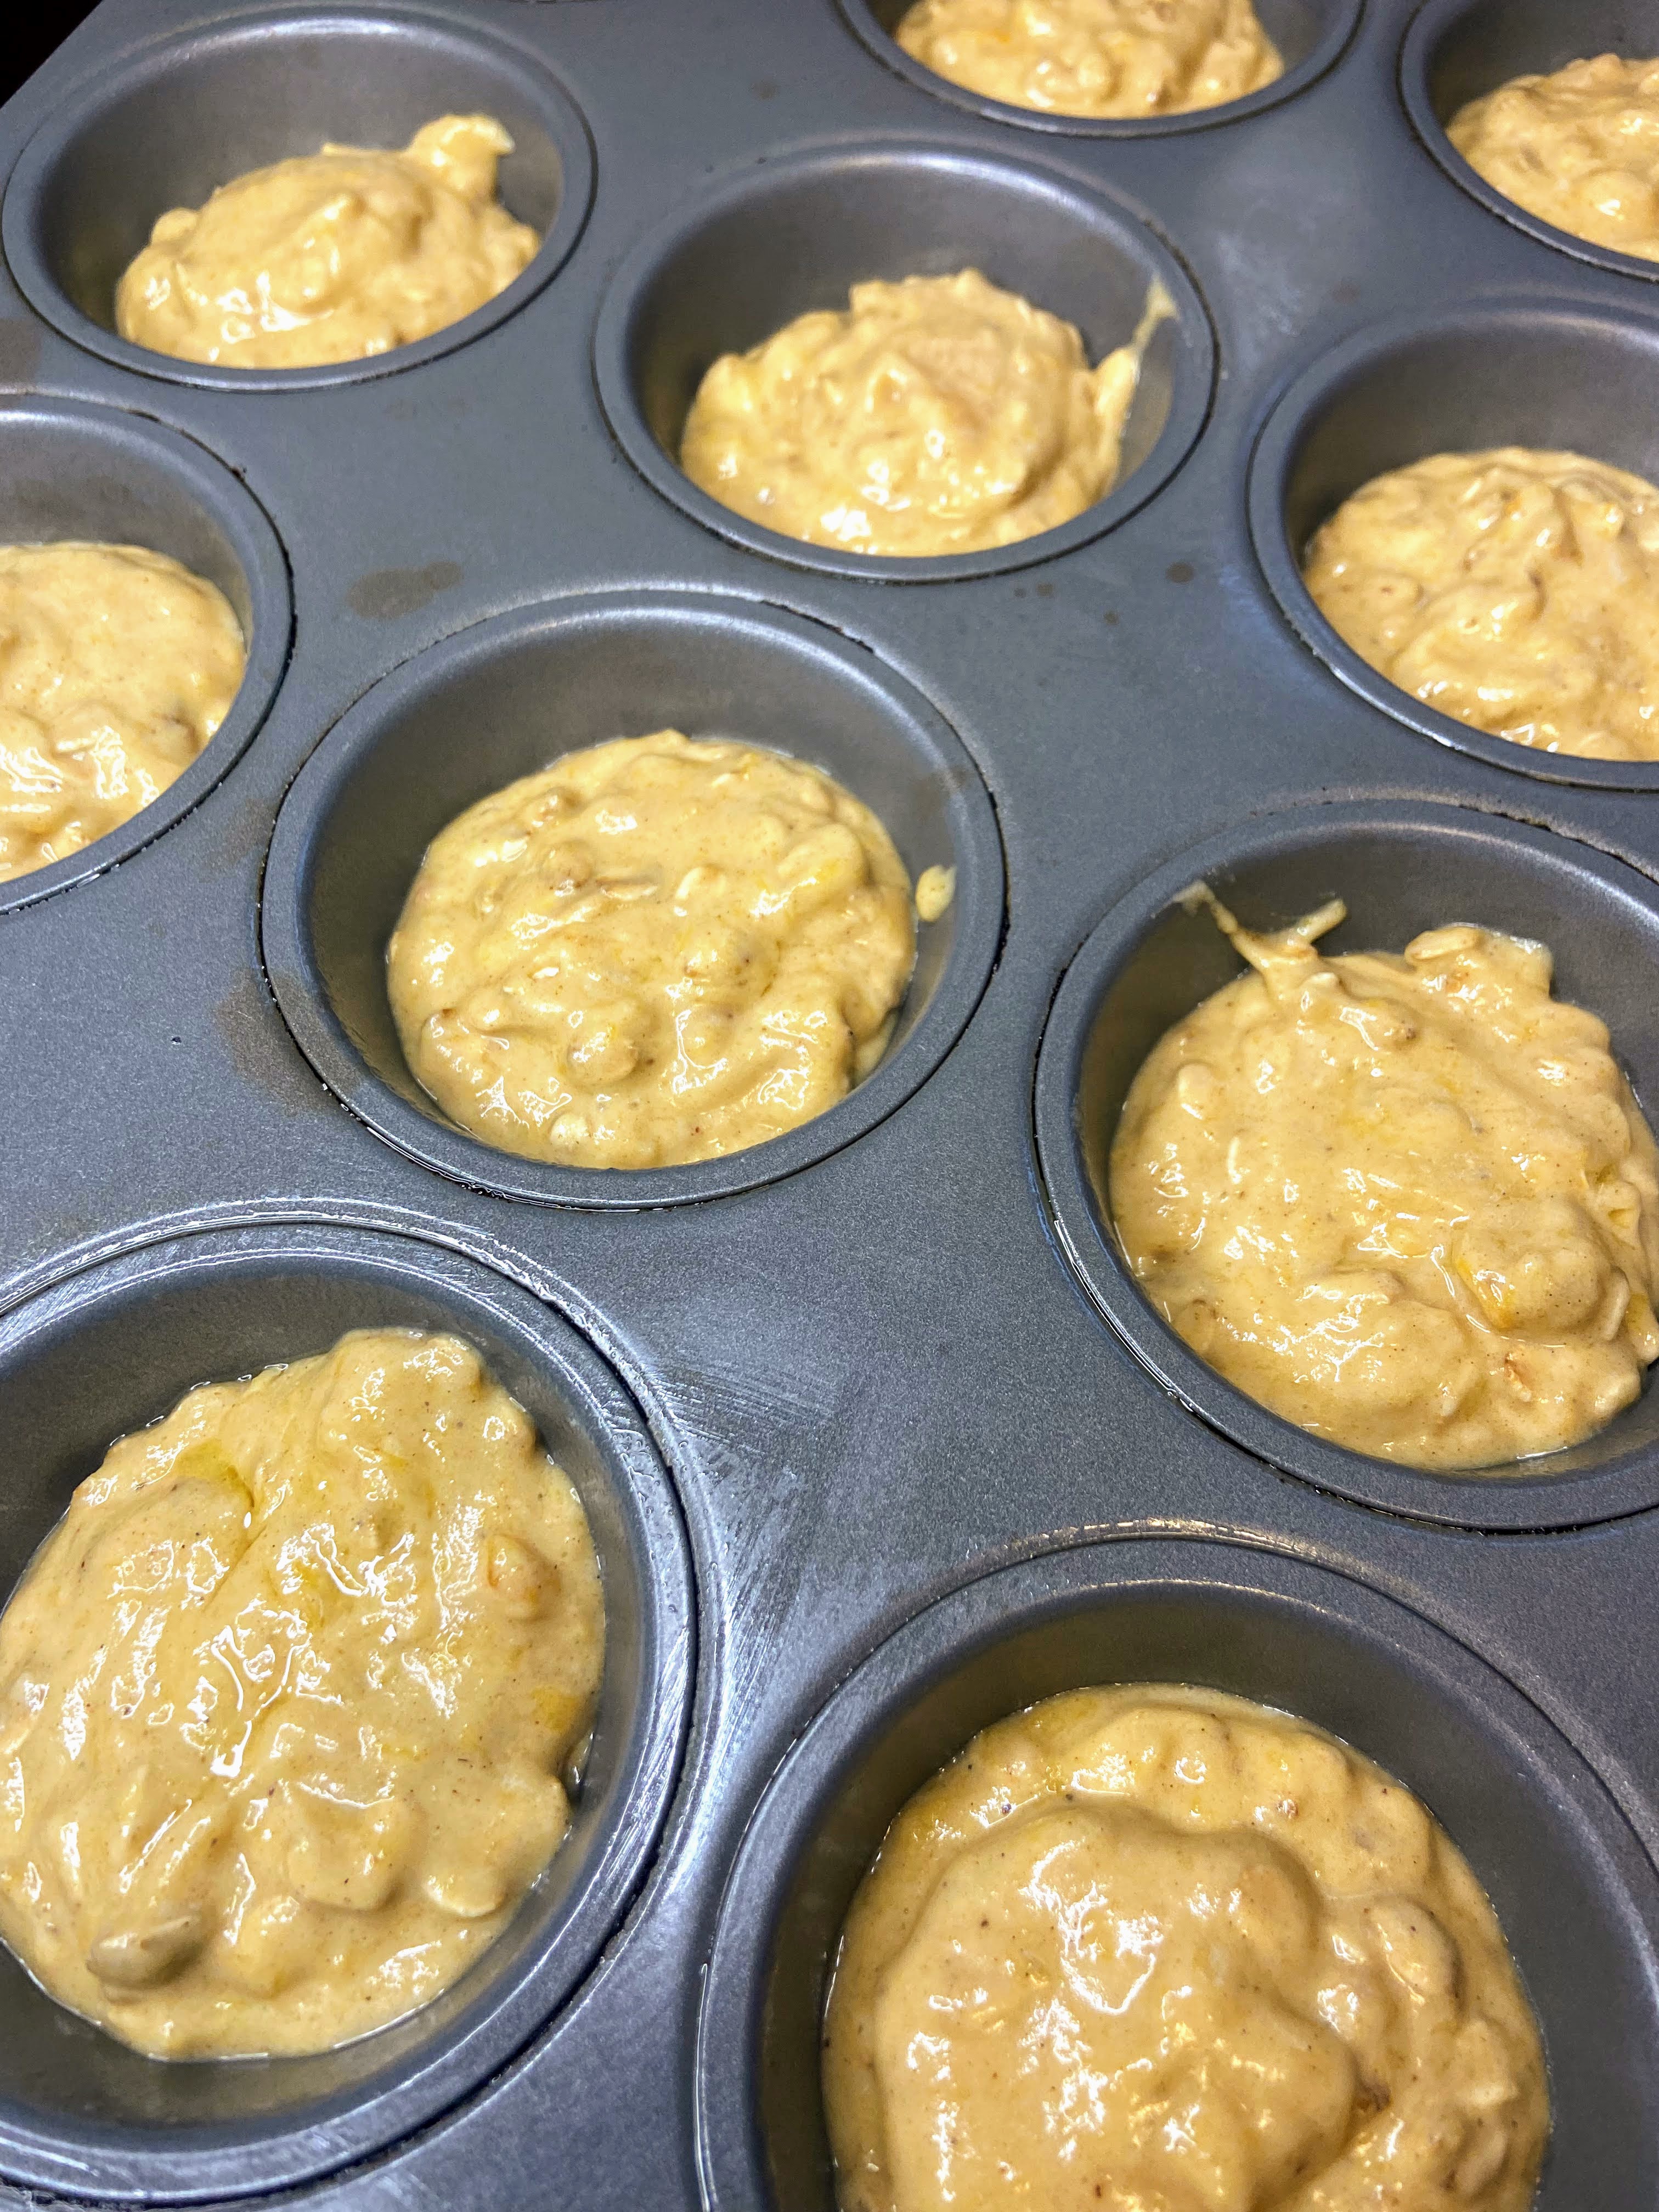
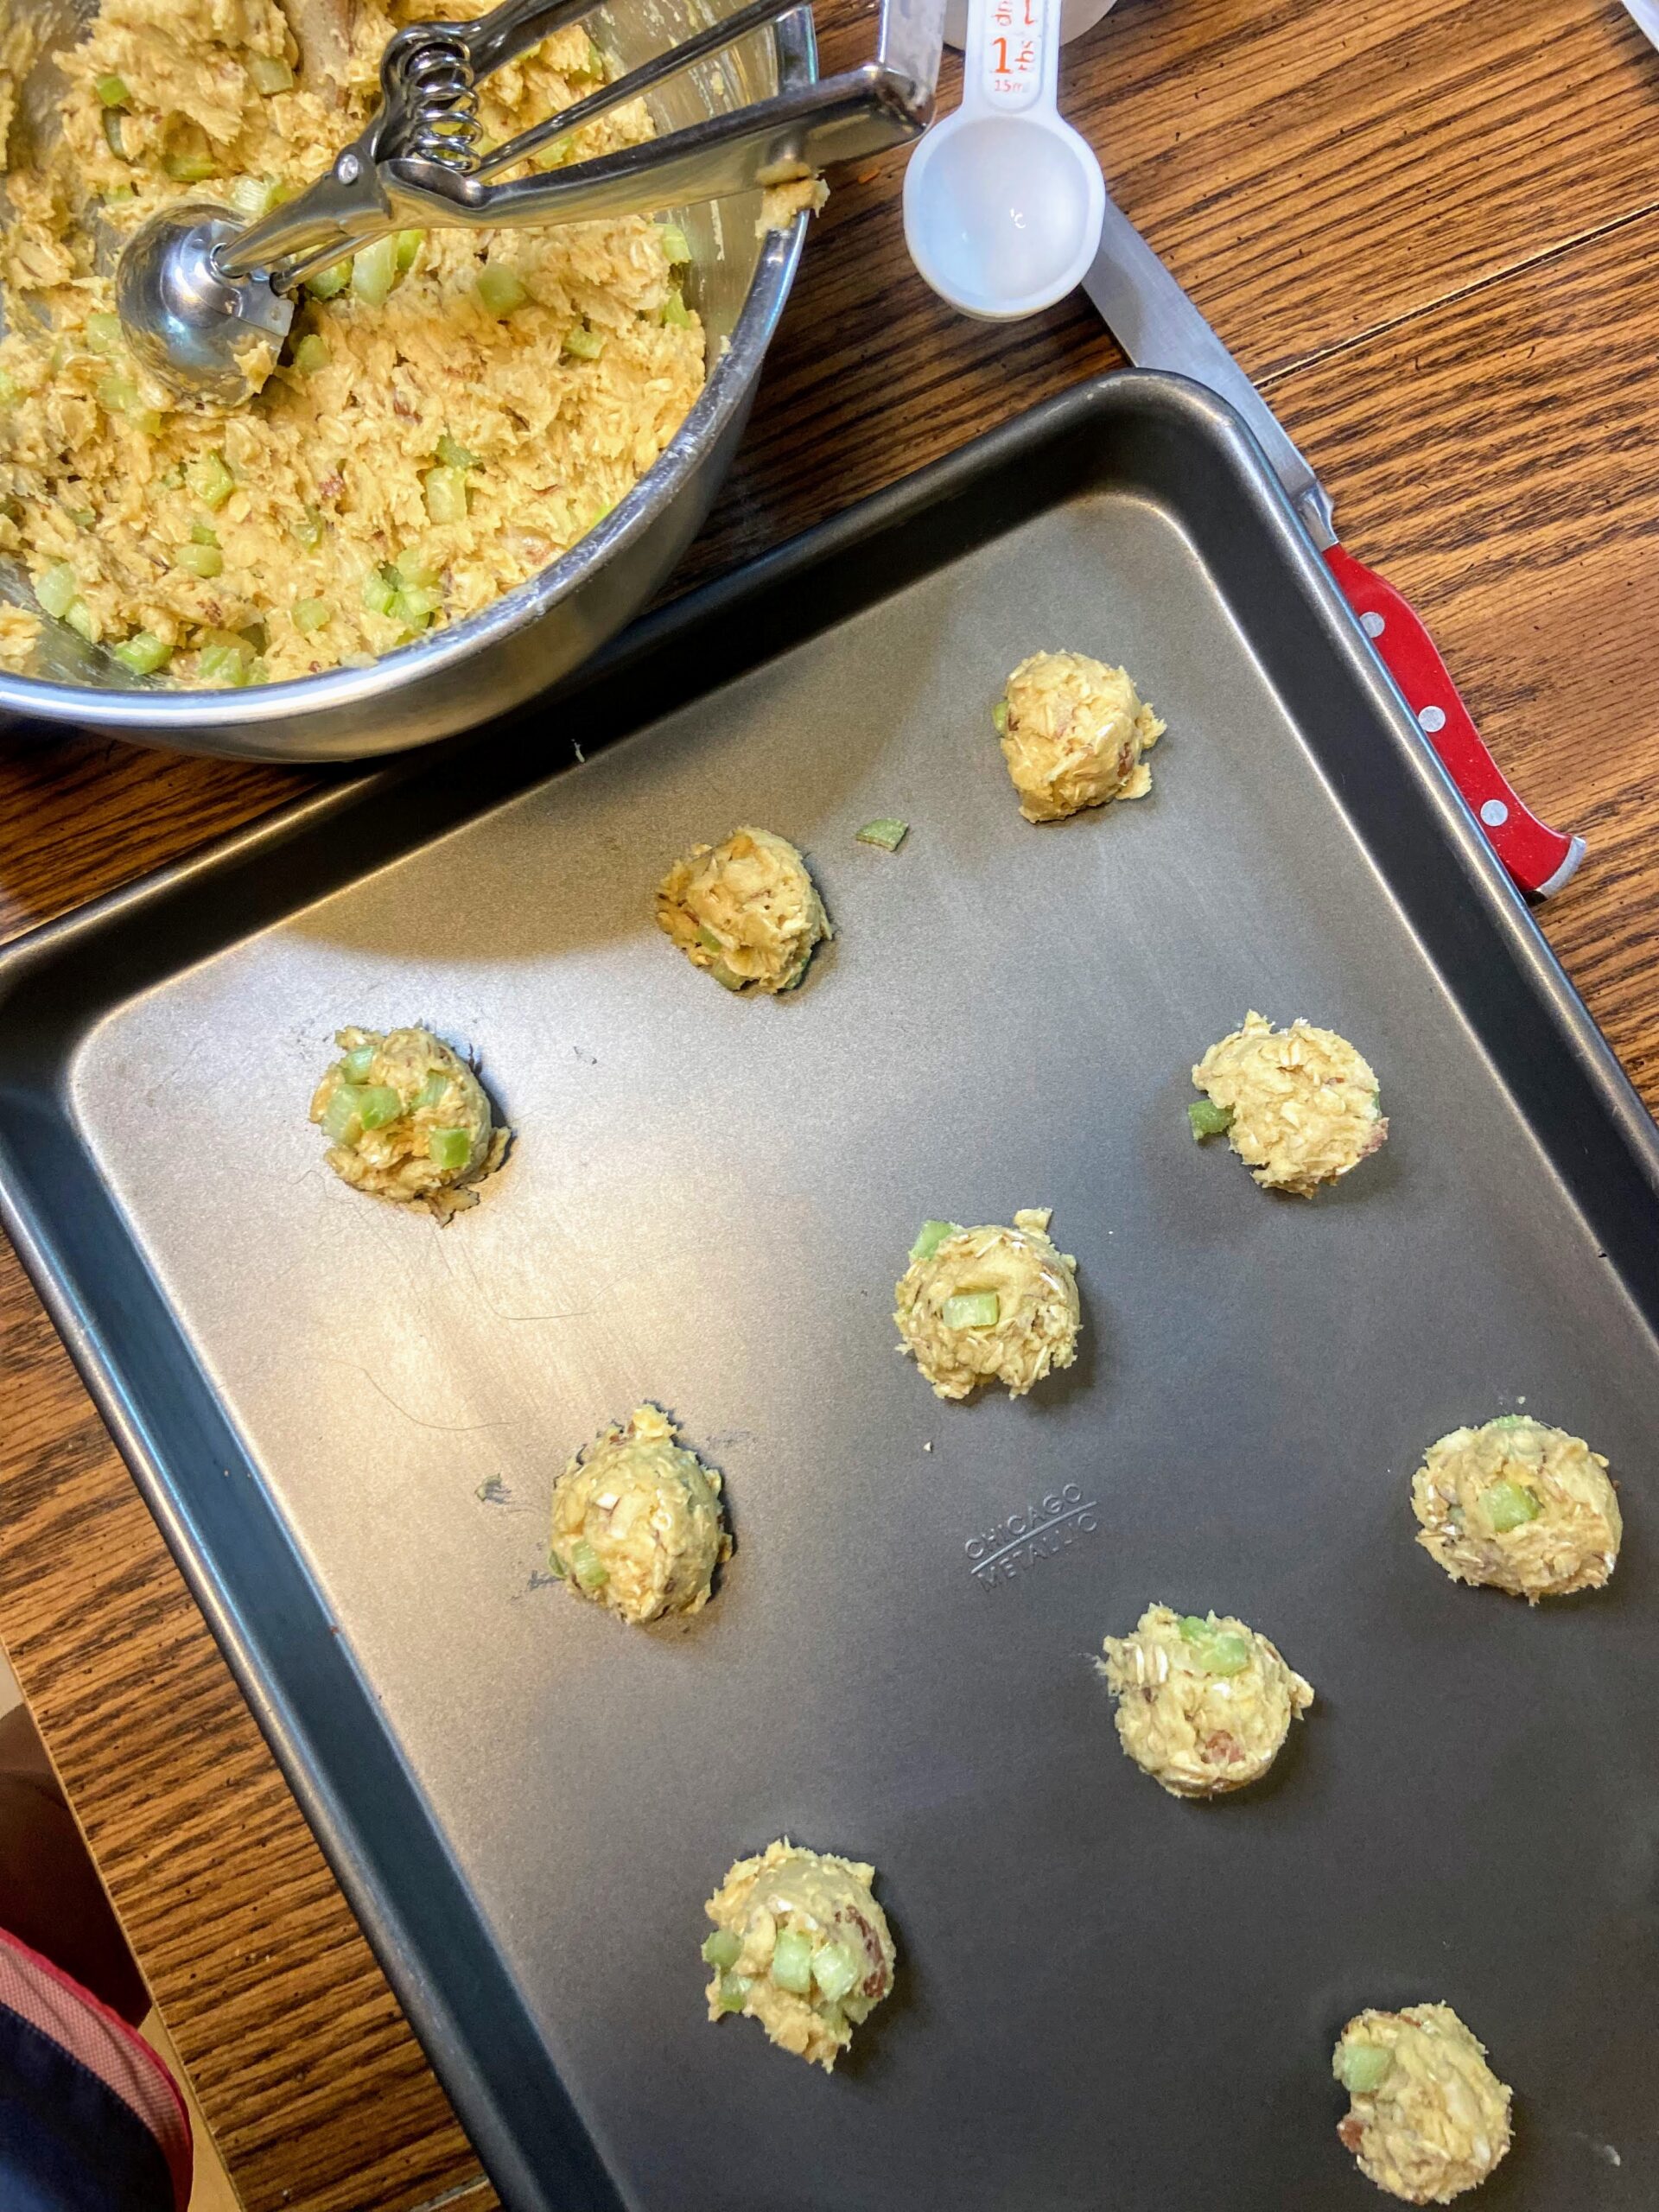
Drop by tablespoonsful 2 inches apart on lined baking sheets. Bake at 350 degrees for 11-12 minutes or until set. Allow to cool a few minutes before removing to wire racks to cool completely.
Tools of the trade
If I am baking cookies, I am using my Chicago Baking Set. I got it for Christmas from the Mr. a number of years ago and I just love them. The cooling rack is a perfect size and the baking sheets are of great quality! I also recently gifted myself a cookie scoop and holy man, it rocks. If you don’t have one yet and you bake cookies, you probably deserve to gift yourself one too.
Rhubarb and Almond Cookies
Equipment
Ingredients
- ½ cup butter softened
- ½ cup brown sugar
- ¼ cup white sugar
- 1 egg
- ½ teaspoon almond extract
- 1 cup all purpose flour
- 1 cup old fashioned oats
- ½ teaspoon baking soda
- ½ teaspoon salt
- ¾ cup diced rhubarb small
- ½ cup sliced almonds
Instructions
- In a large bowl, cream butter and sugars. Add egg and almond extract.
- Beat until incorporated completely.
- In an additional bowl, combine flour, baking soda, and salt. Add to the wet ingredients along with the oats.
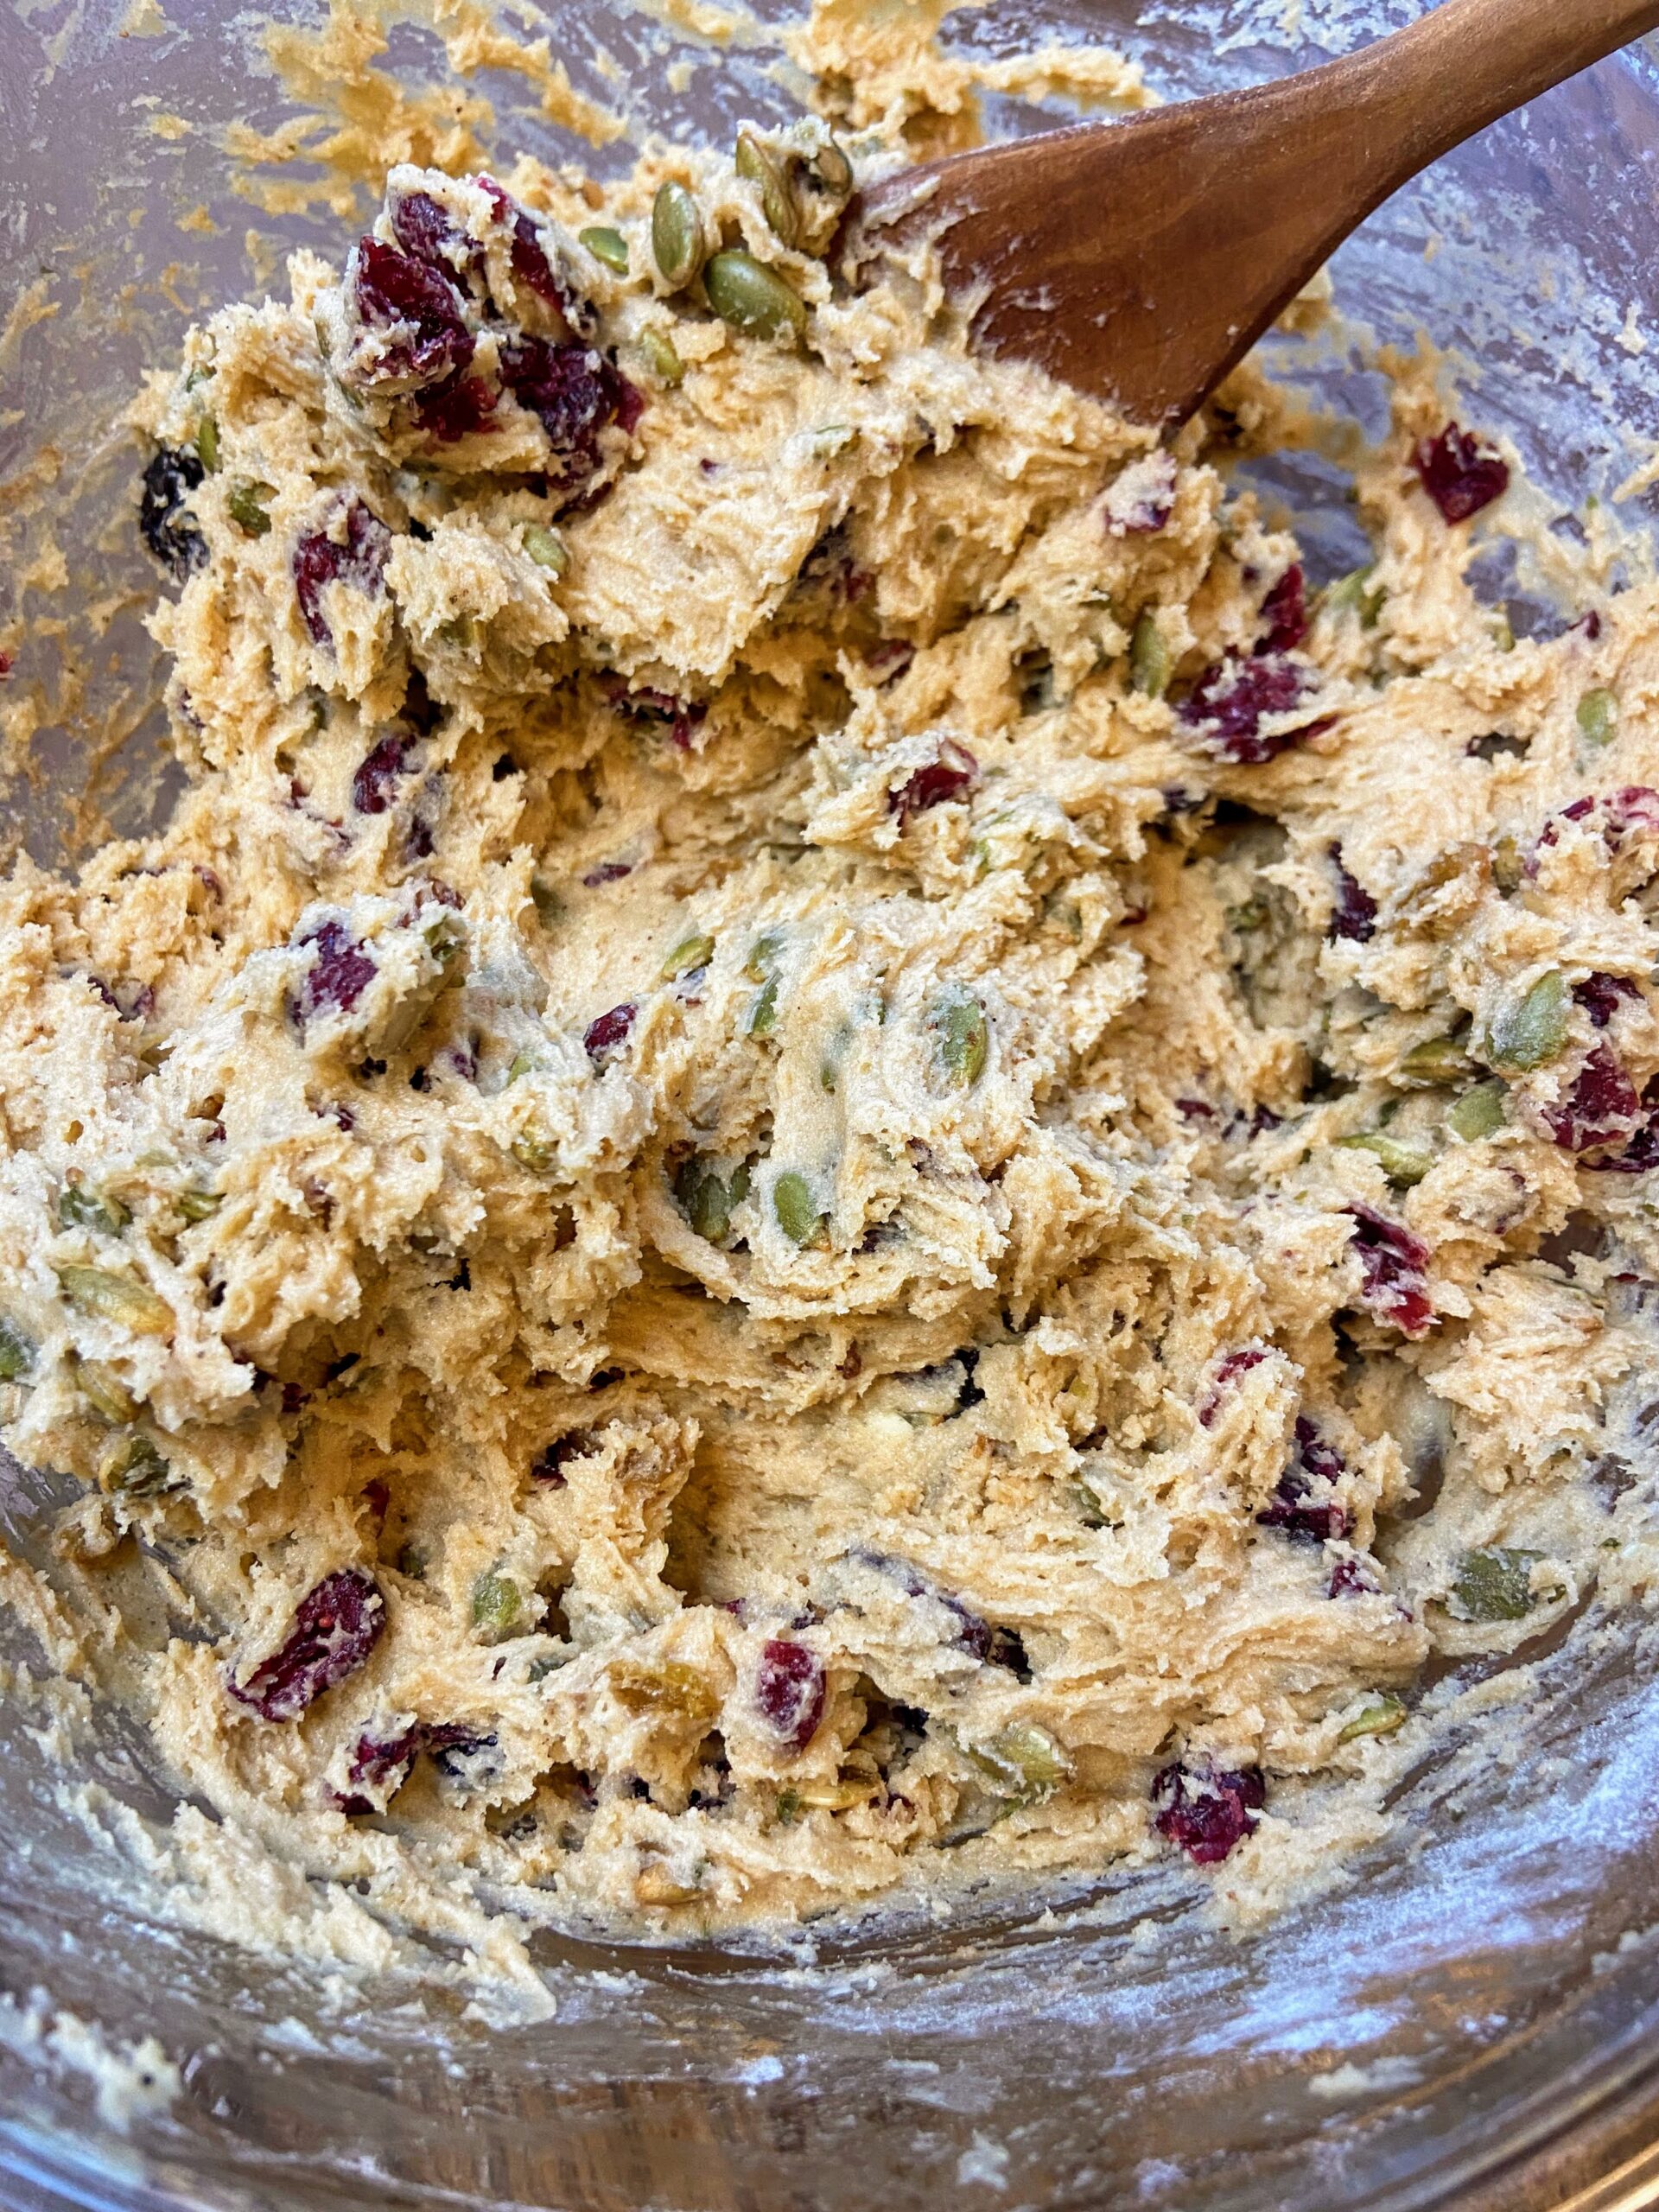
- Stir until just combined. Fold in the rhubarb and sliced almonds.
- Drop by tablespoonsful 2 inches apart on lined baking sheets.
- Bake at 350 degrees for 11-12 minutes or until set.
- Allow to cool a few minutes before removing to wire racks to cool completely.
Notes
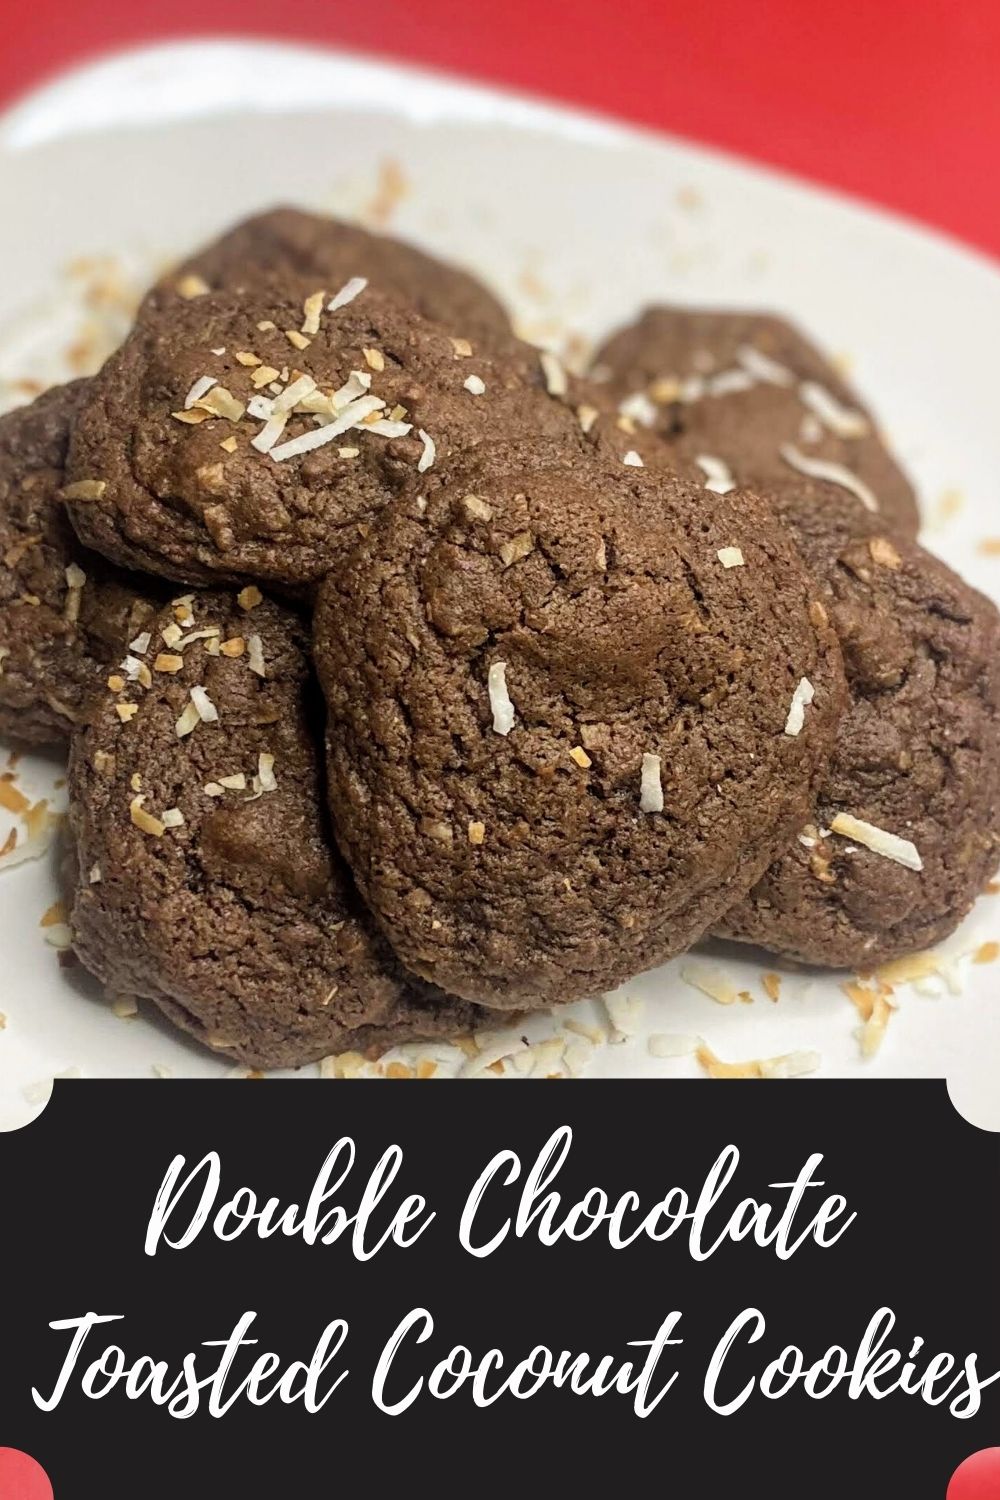
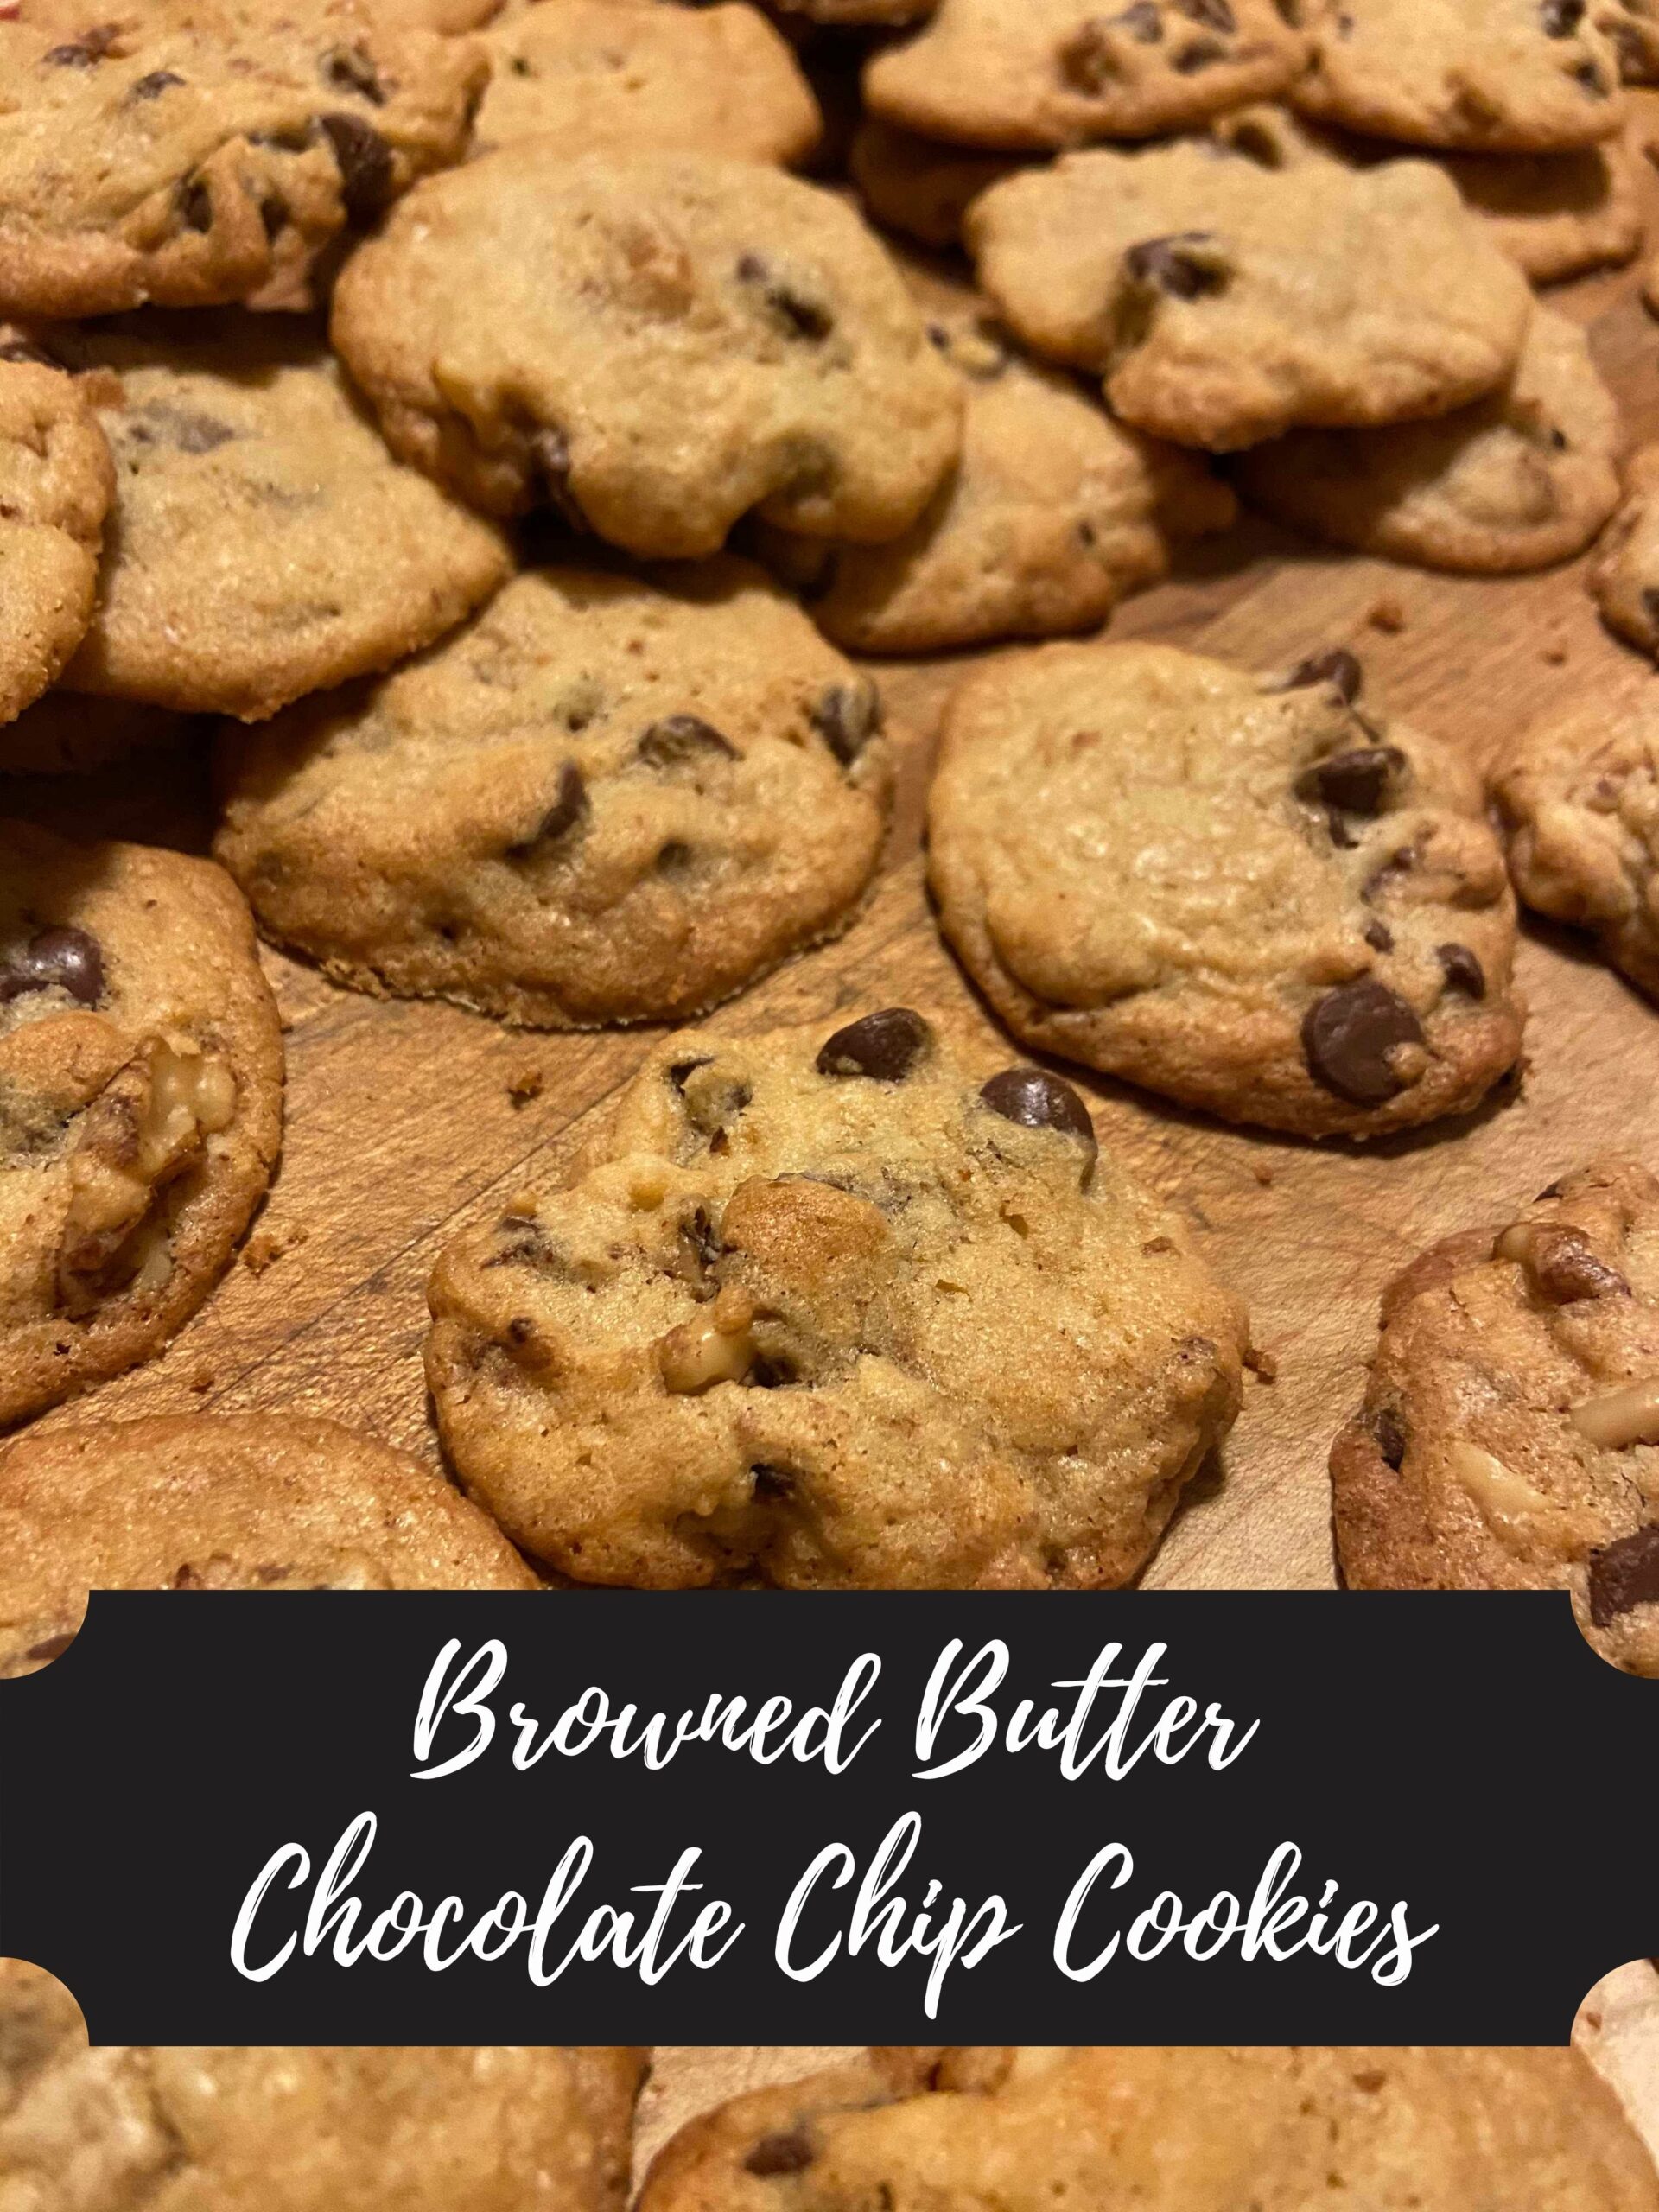
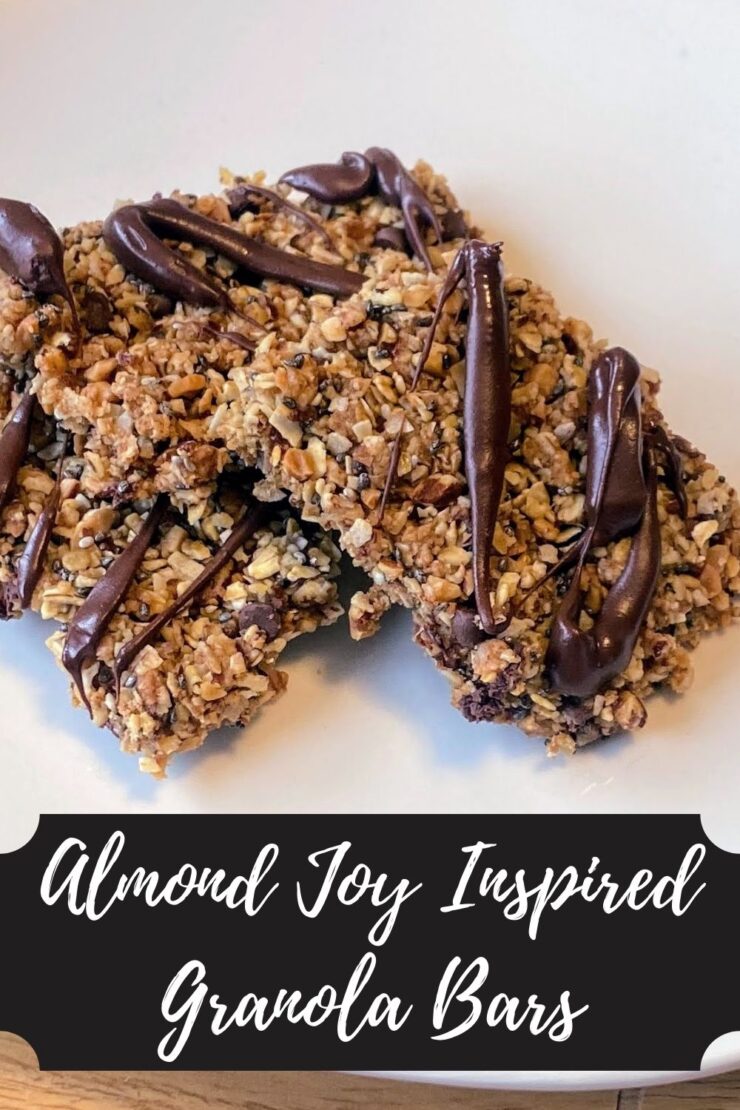
Looking for other sweet treats?
Check out the recipes below or head to my Baking page for all the treats!