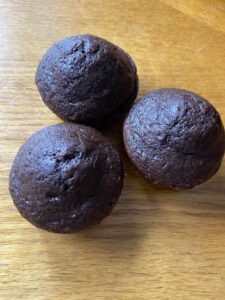
Holidays and baking. They go hand in hand, don’t they? I don’t know what it is about the holiday season, but it seems to bring out the baker in all of us. Maybe it’s the fact that we have less daylight, and we need to do something with our evenings. Maybe it’s because it’s chilly outside and we would just like to warm up the house a little with a preheated oven. Or maybe it’s simply that we are in the giving spirit and we love to show our family and friends we love them with delicious food. I know I can check yes to all those boxes. Because of this, we all need a great sugar cookie recipe in our back pocket. Guess what? I’ve got you covered 😉
This sugar cookie recipe has been my go to for years and years. My sister in law claims it’s the only cookie that comes close to her mother’s recipe. My aunt makes special requests for these at all holidays. And my dad. He’s a health nut, but can’t say no to a perfectly baked sugar cookie. It warms my heart just thinking of him.
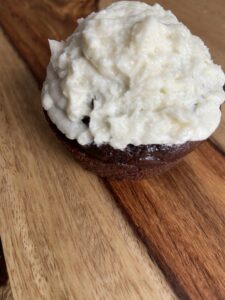
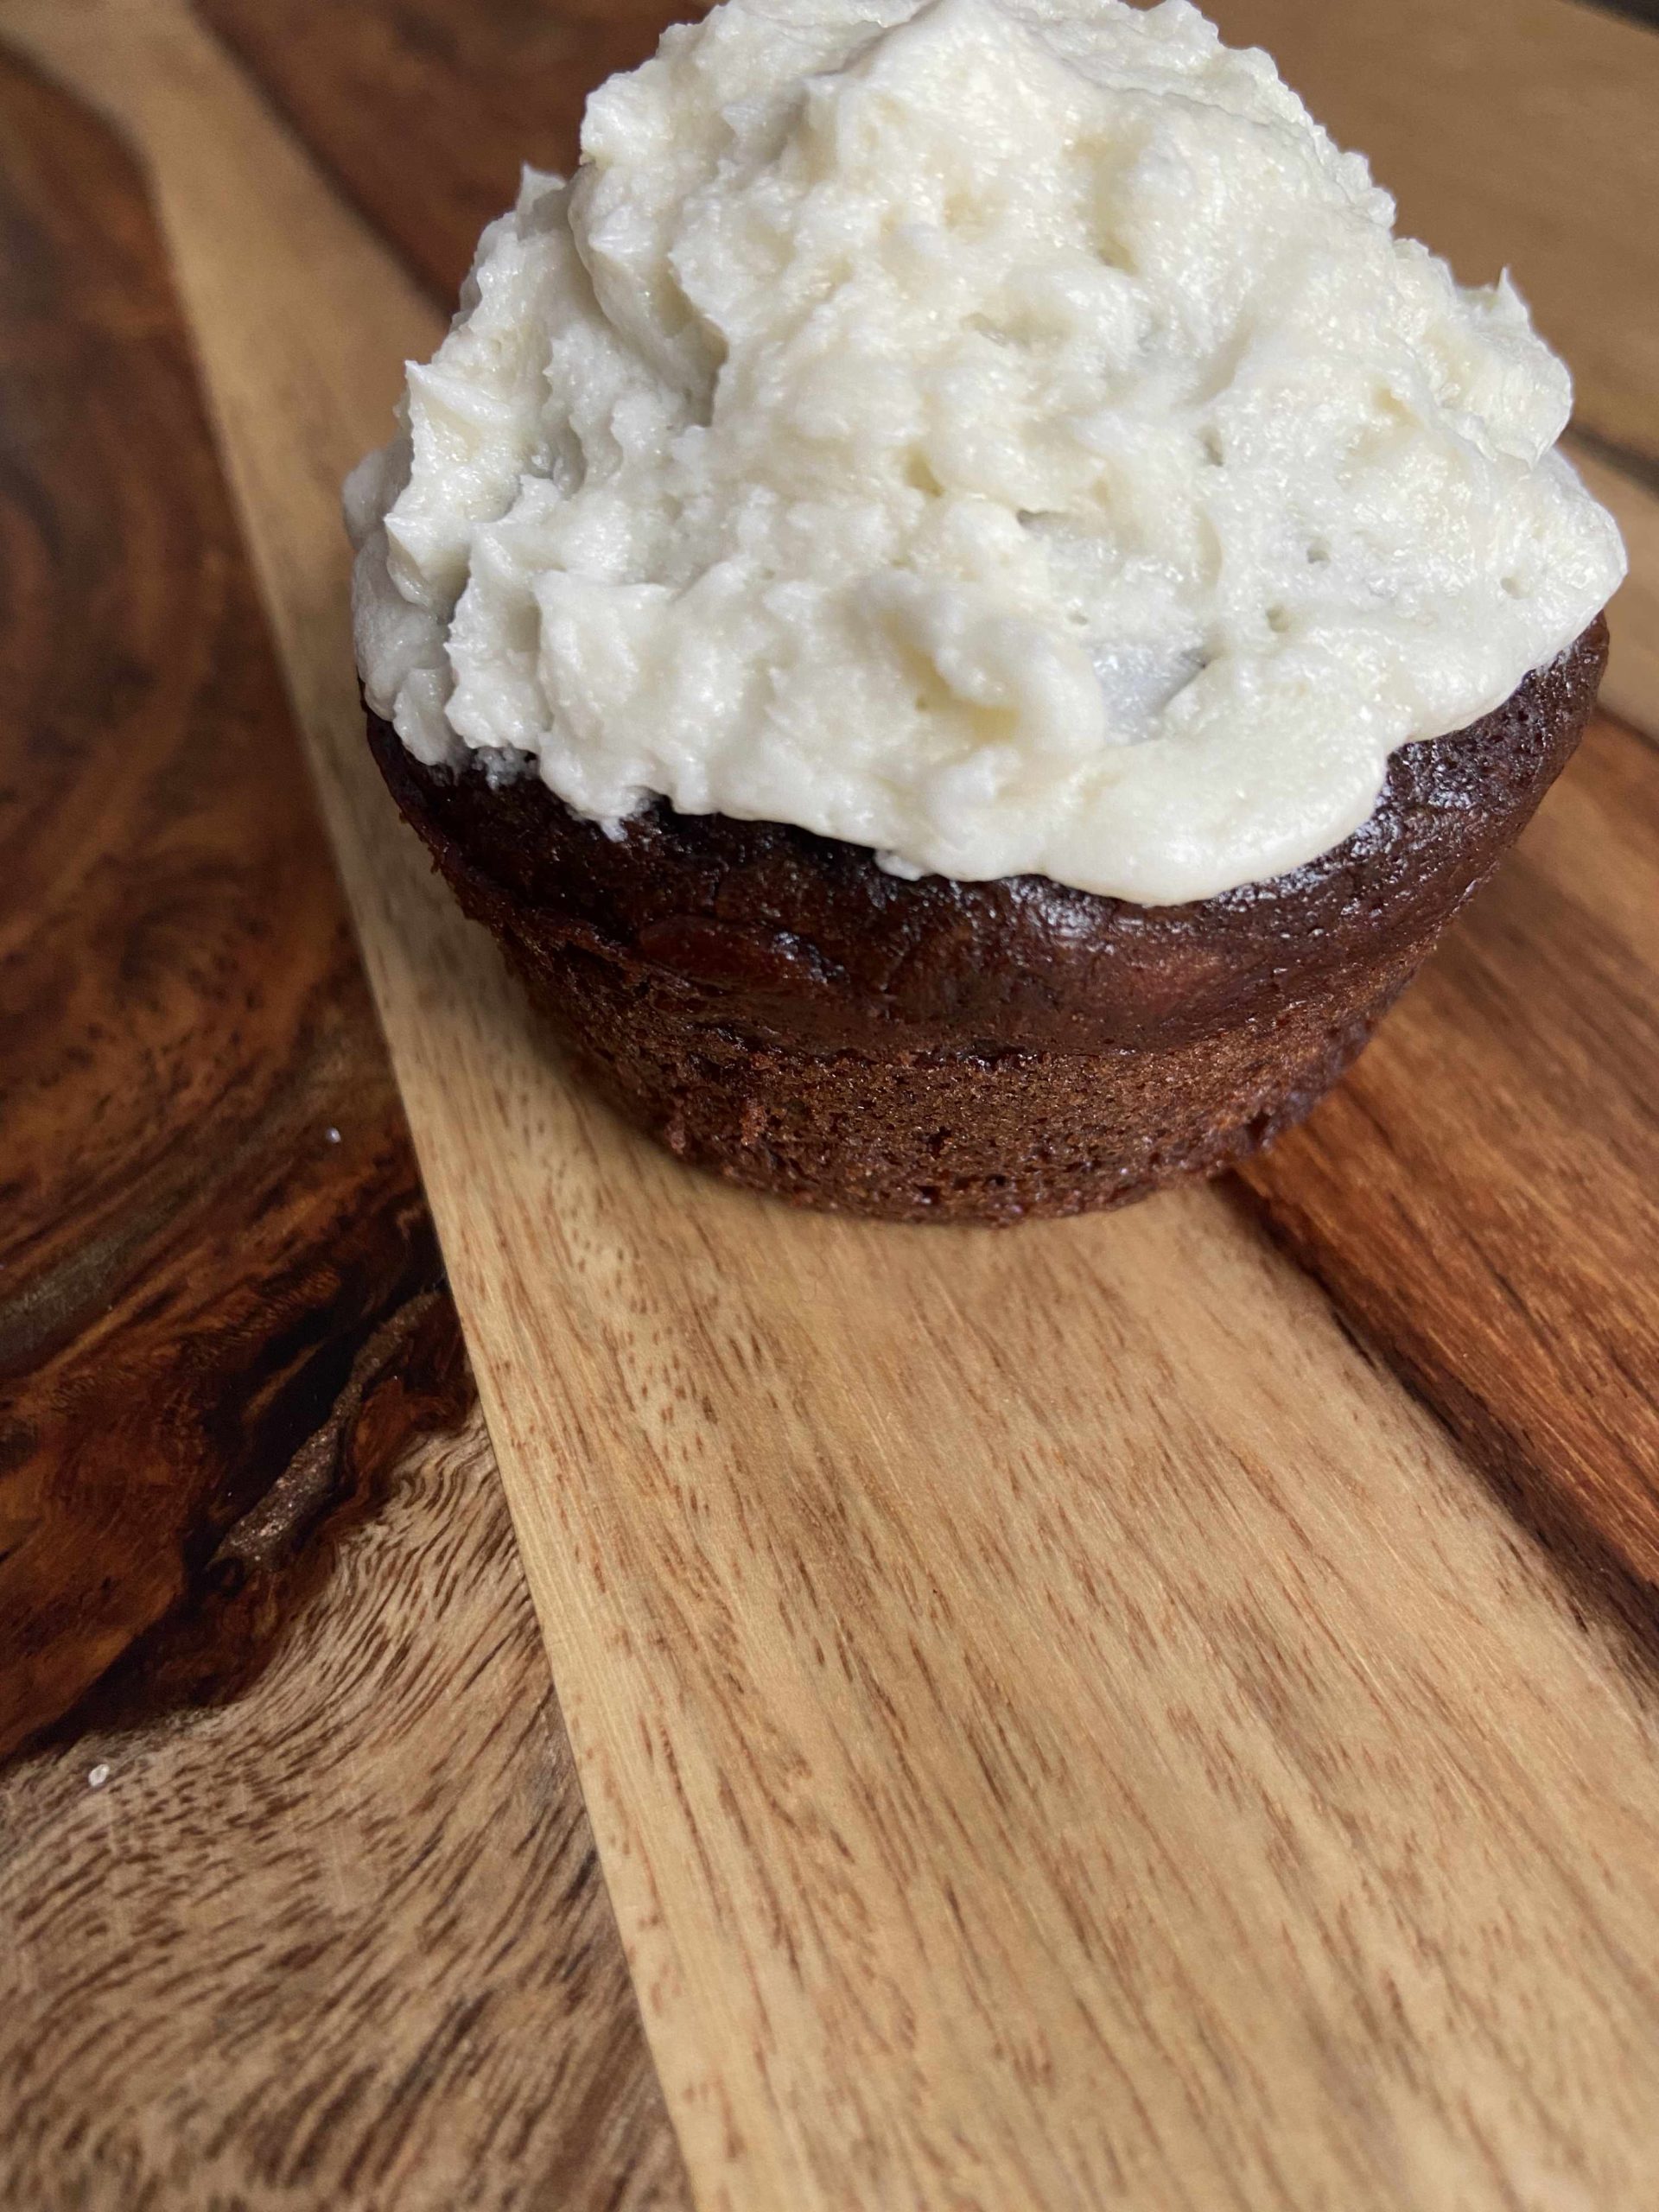
I am leaving you here with simply the sugar cookie recipe. How you decorate is up to you. Me? I am a light glaze made with almond extract kind of gal. But others live in the school of thought that they love a regular frosting. Or perhaps you add sprinkles before baking and that’s it. Either way, you will have an amazing base of a sugar cookie to add to your cookie tray.
Oh, and one more thing: This recipe doubles nicely! I’ll leave you will the smaller batch recipe and let you decide if you need to double it (you probably will want to 😉 )
Your Ingredients
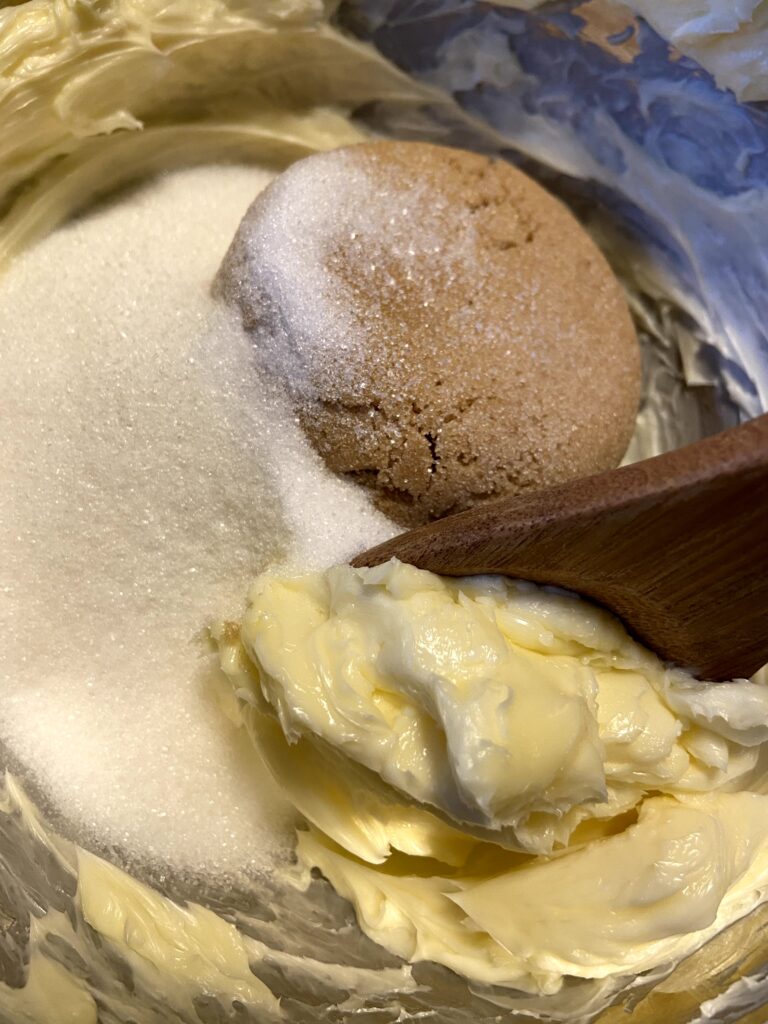
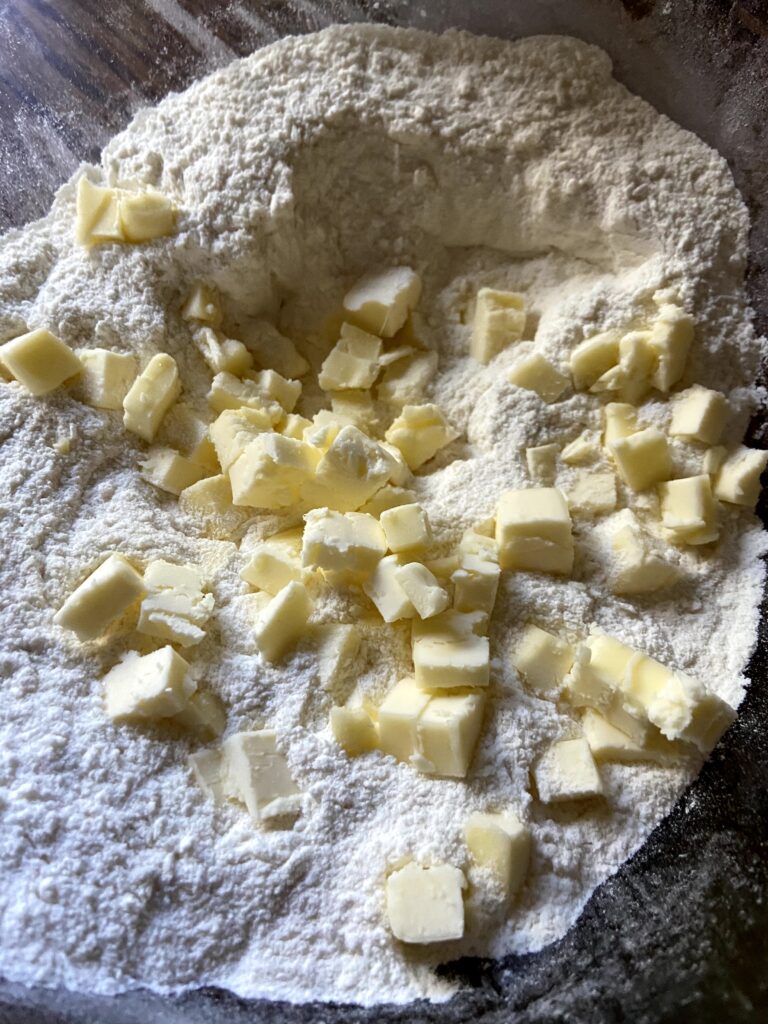
- ¾ cup butter, softened
- 1 cup white sugar
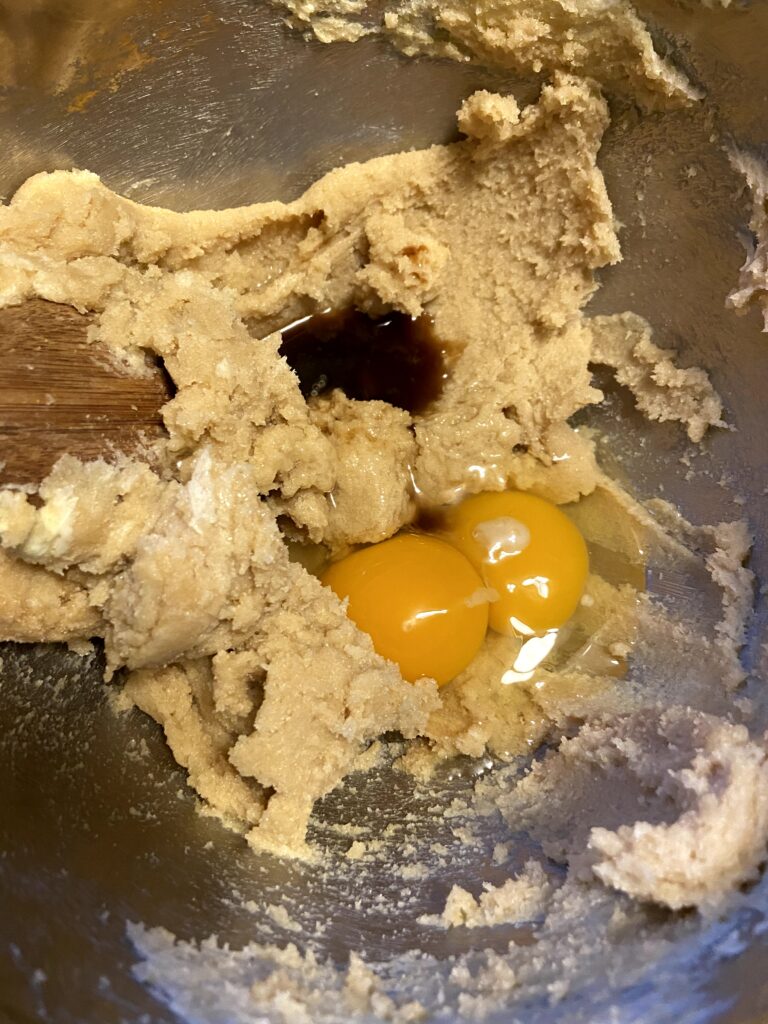
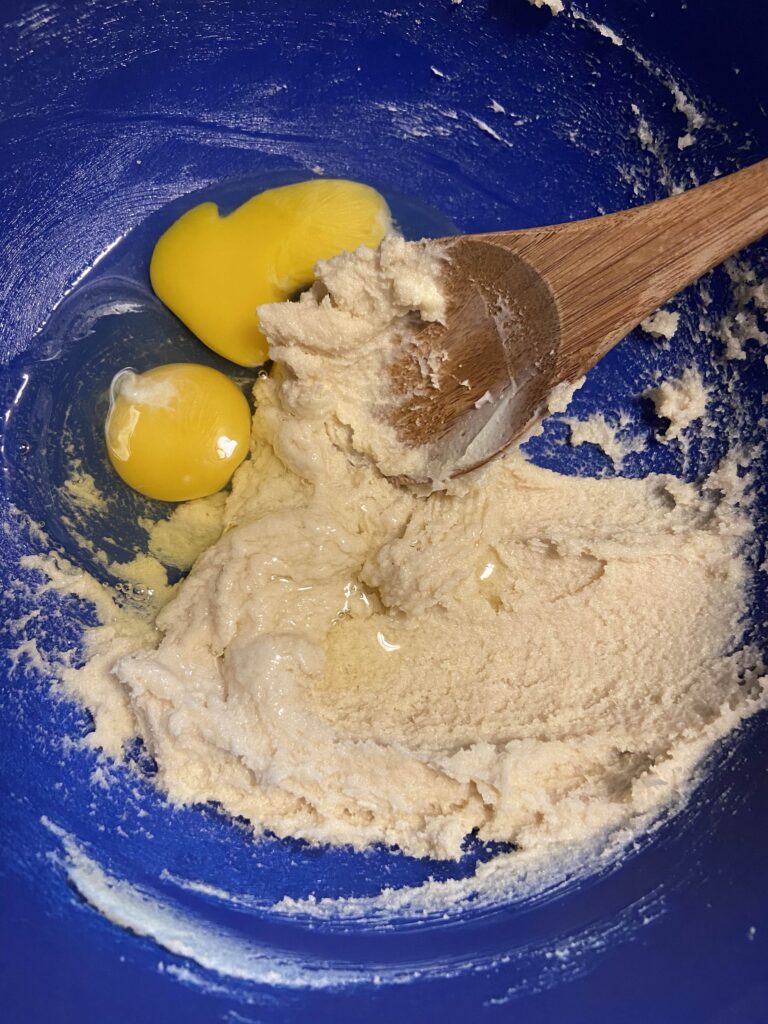
- 2 eggs
- 1 teaspoon almond extract
- 2 ½ cups flour
- 1 teaspoon baking powder
- ½ teaspoon salt
Your Steps
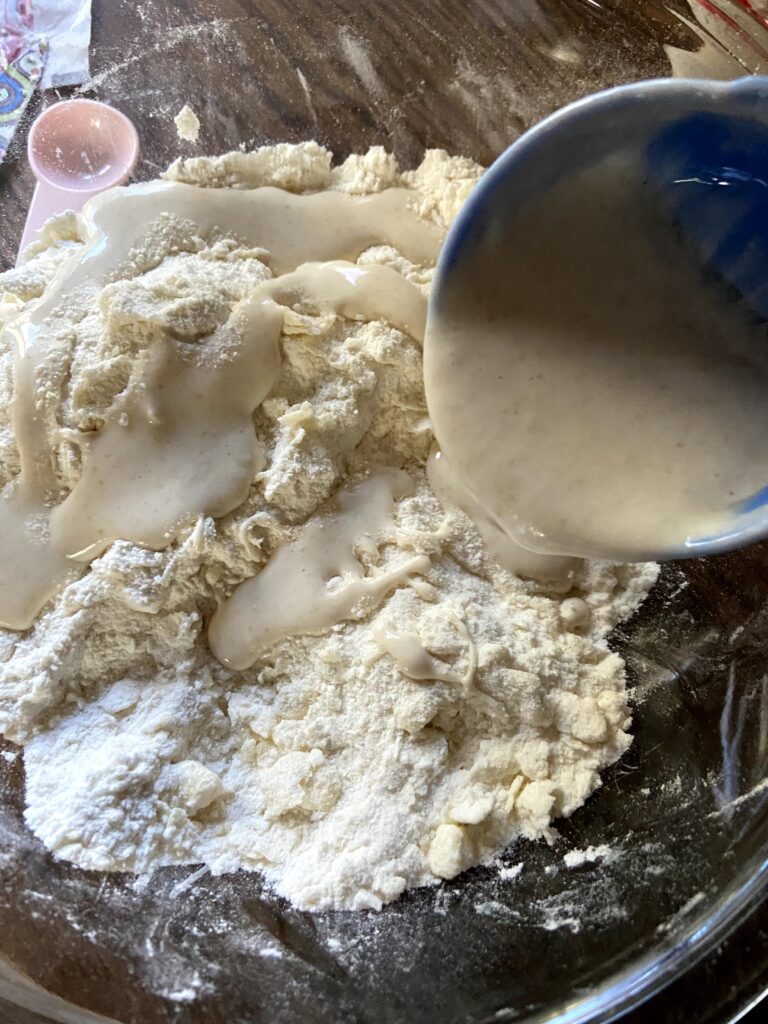
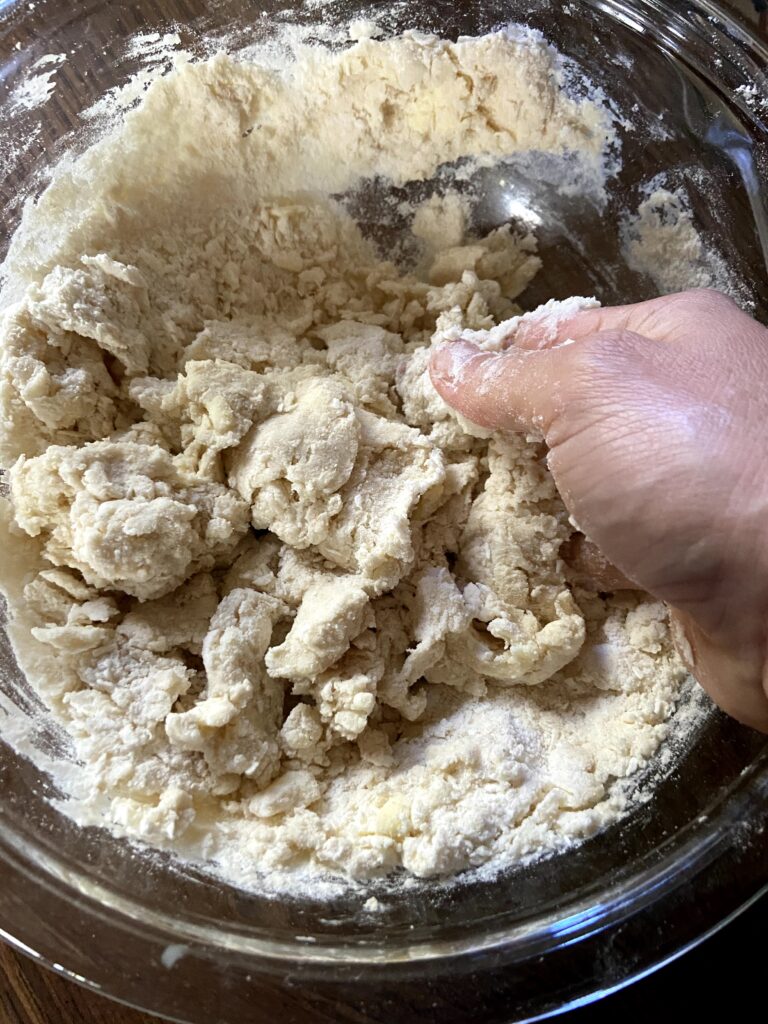
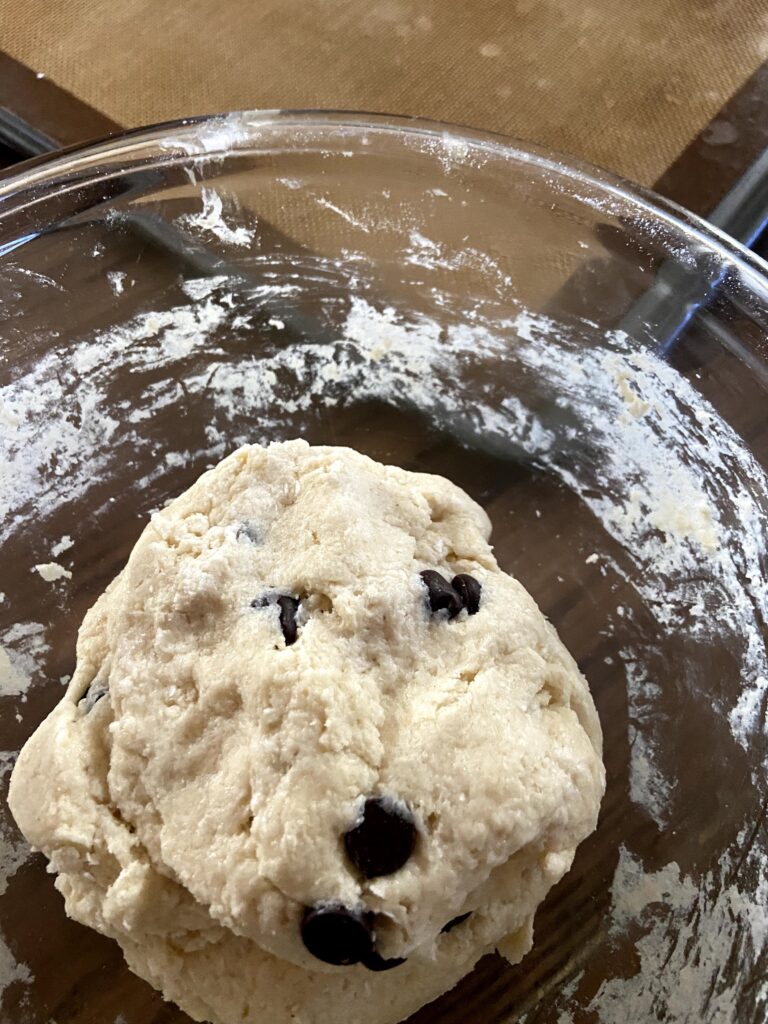
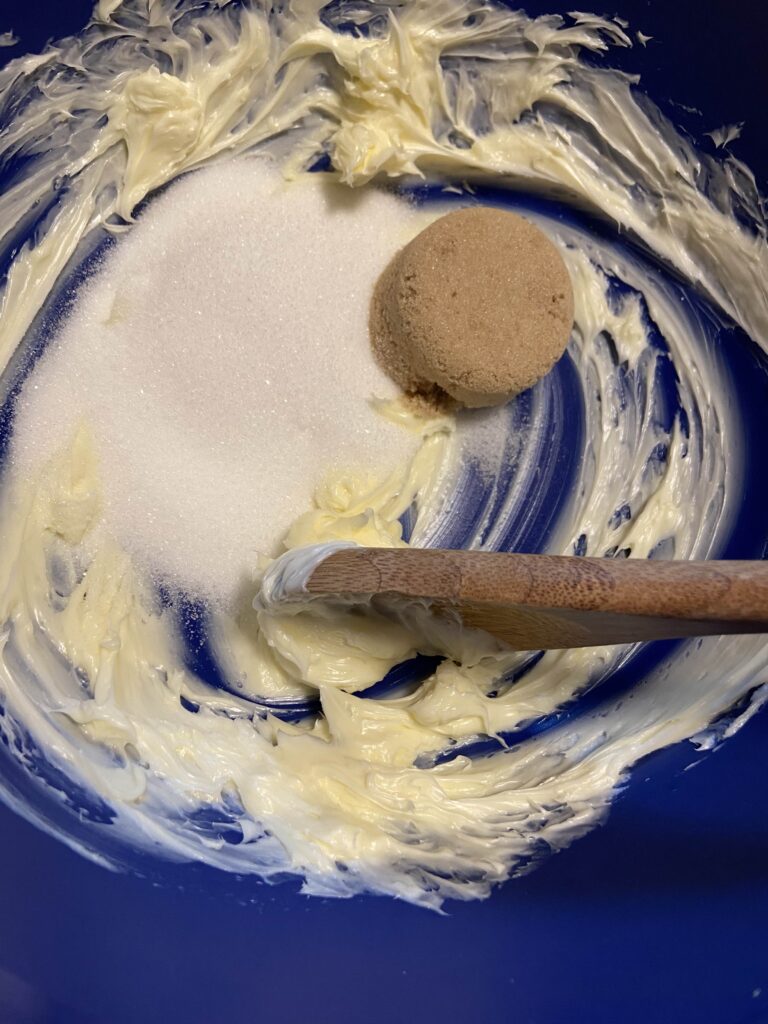
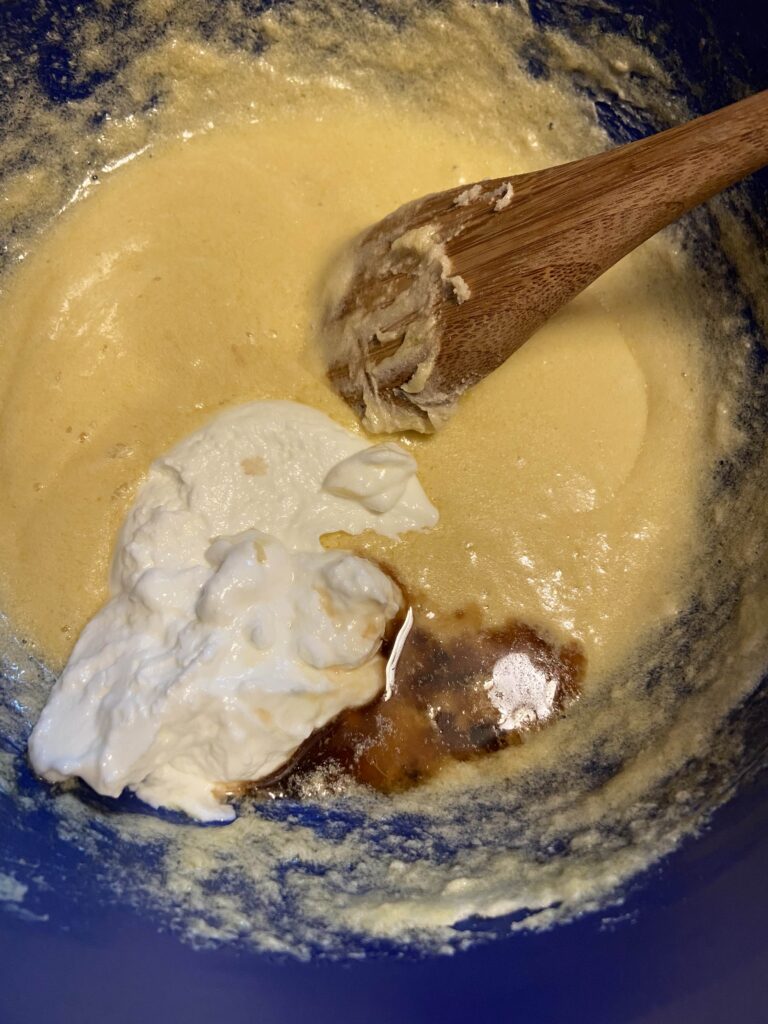
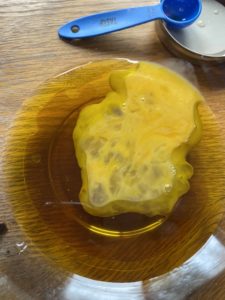
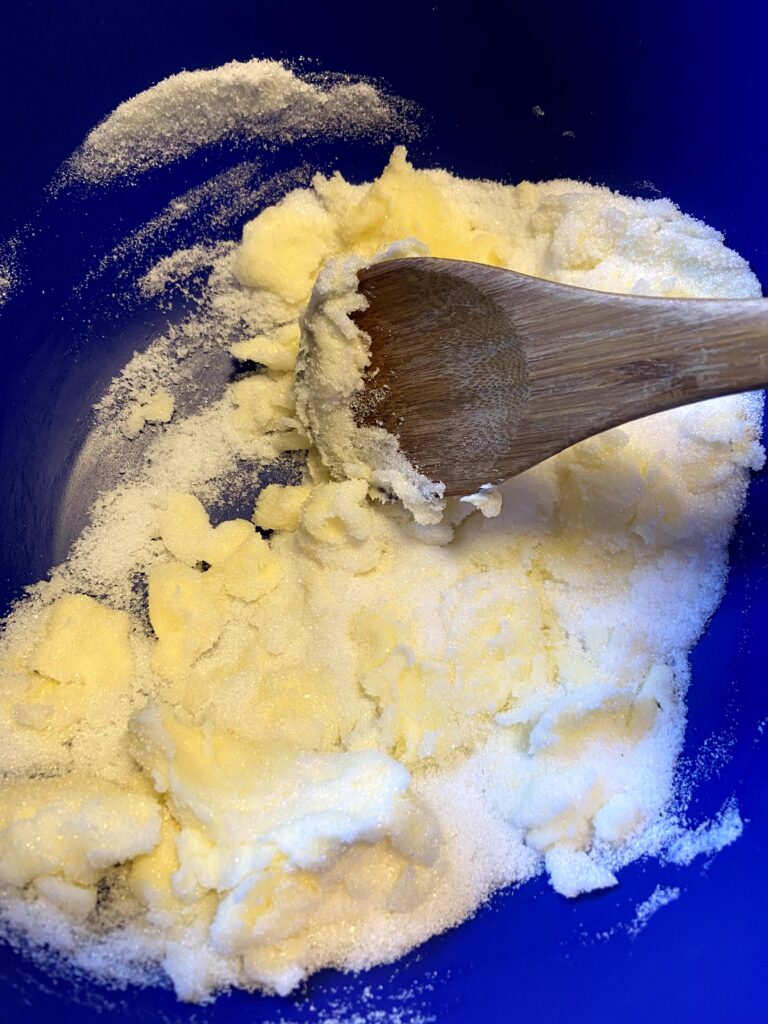
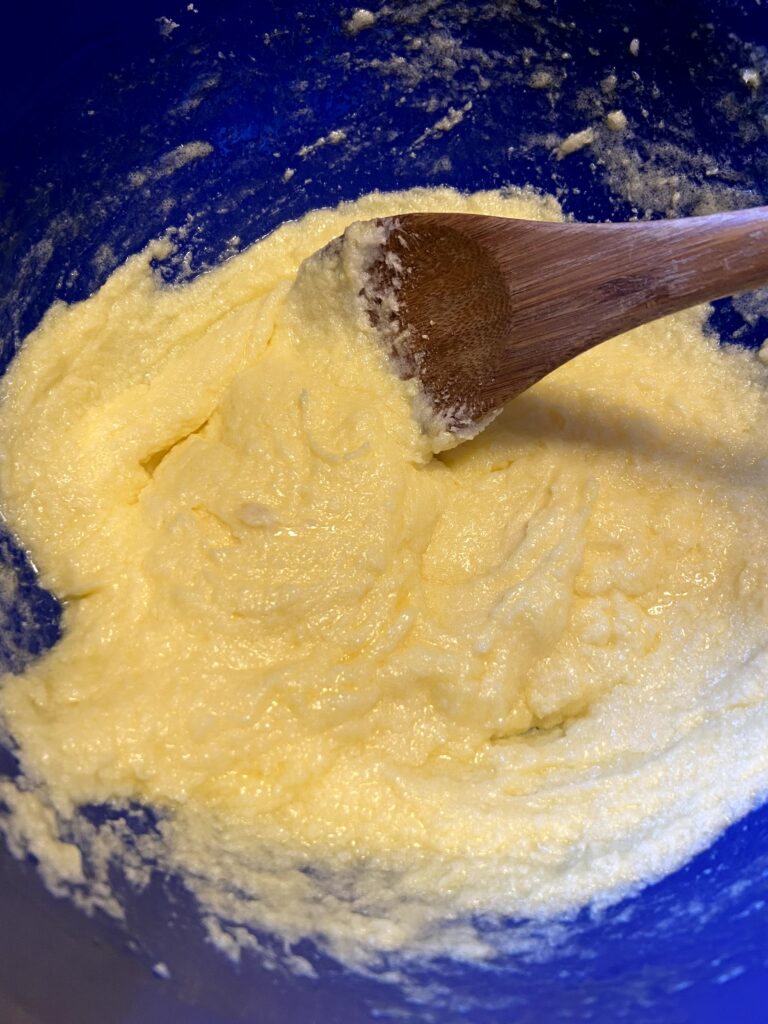
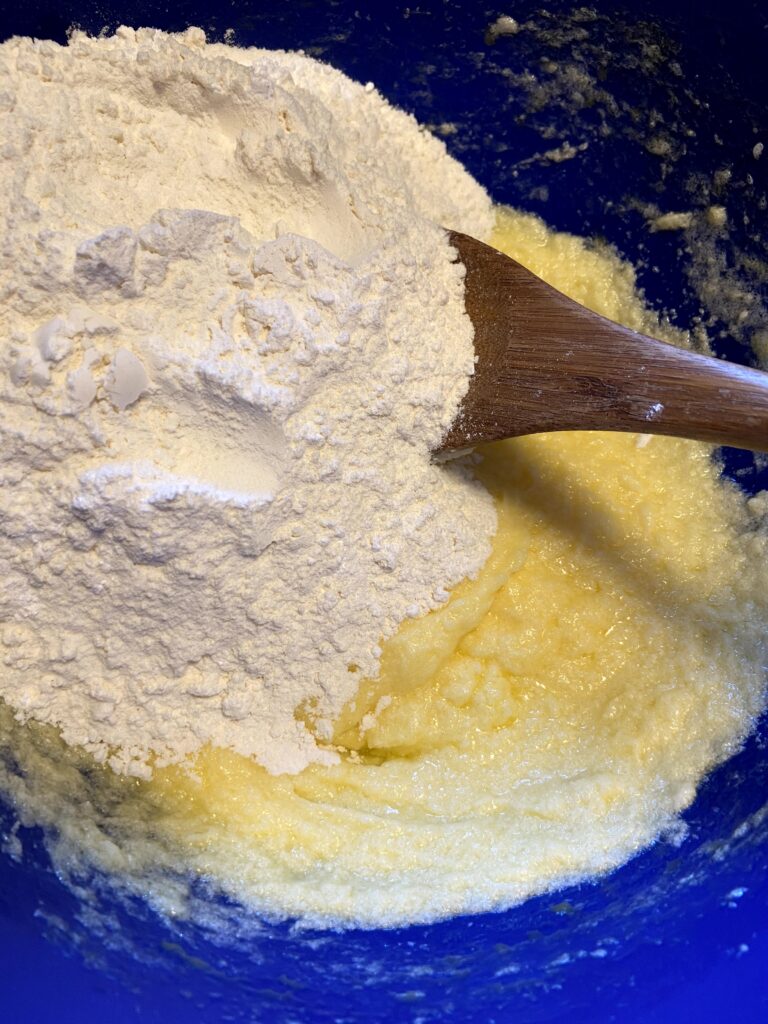
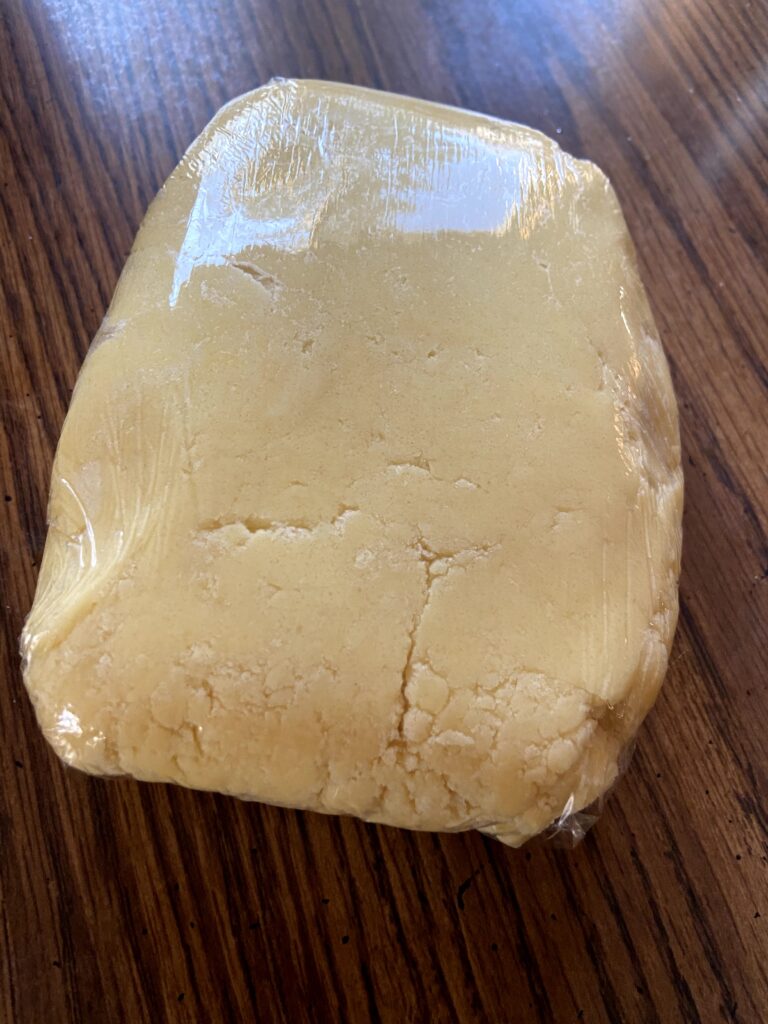
In a large bowl, cream butter and sugar until light and fluffy. Add eggs and almond extract. Beat until well combined. Stir in flour, baking powder, and salt. Form into a log, cover in plastic wrap, and chill at least 3 hours (or overnight).
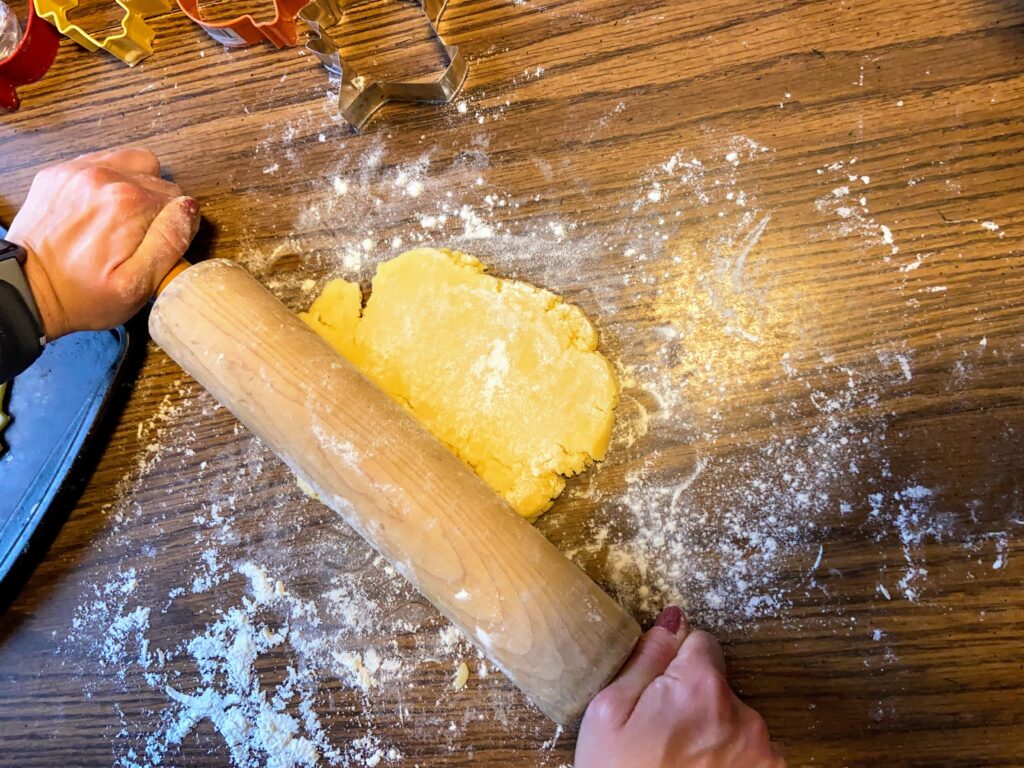
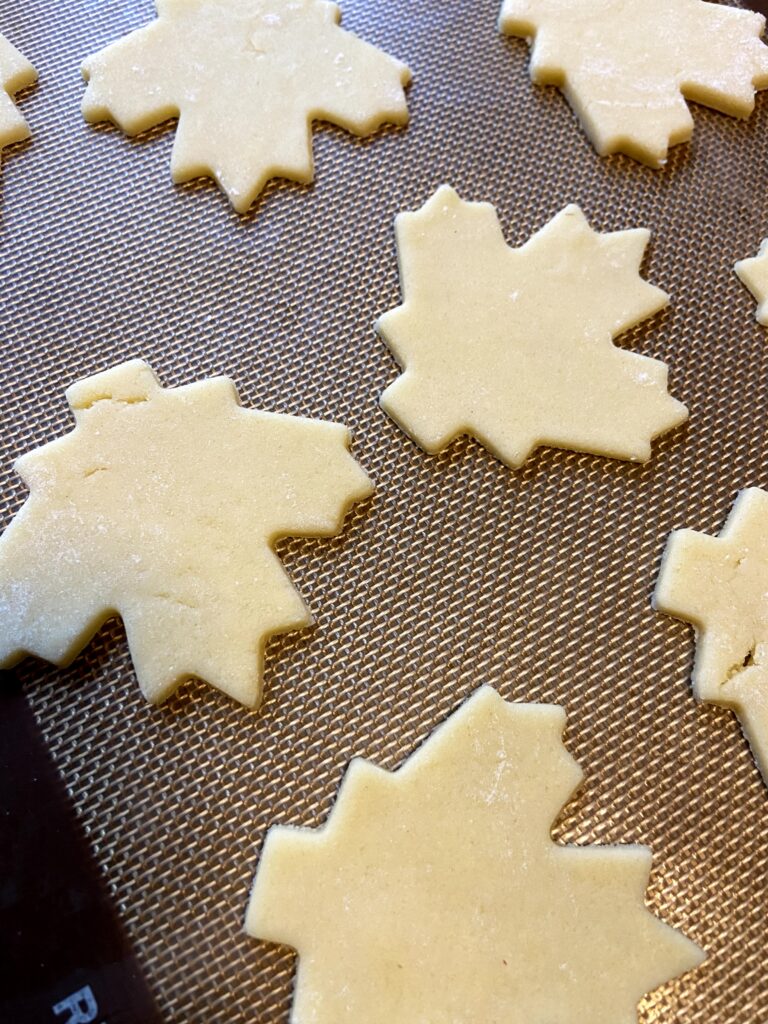
Preheat oven to 400 degrees. On a well floured surface, roll out dough, ⅓ of the log at a time. Roll ⅛” to ¼” of an inch thick, to your desired thickness. Cut using cookie cutters. Place cookies on ungreased cookie sheets.
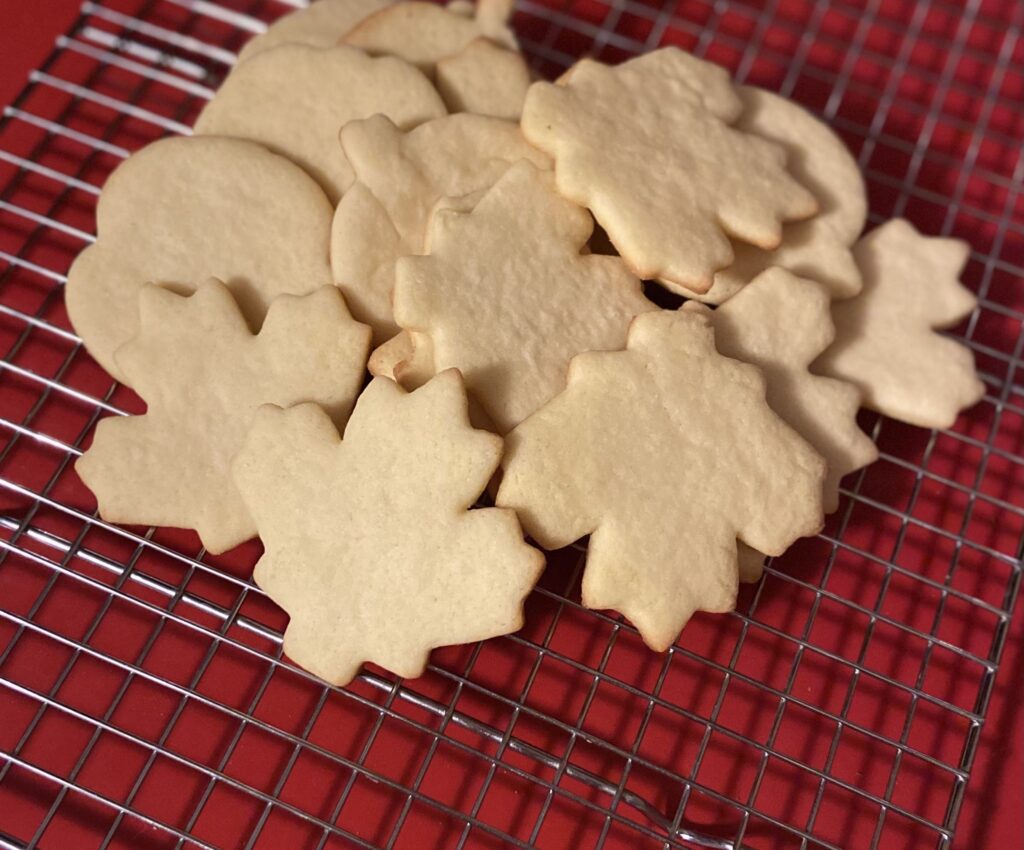
Bake 6-8 minutes, until the edges are just about to brown. Allow to cool 2 minutes before removing and placing on a wire rack to cool completely.
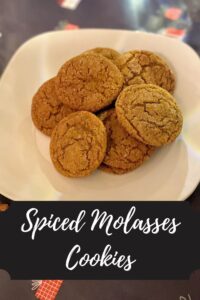
Looking for other baking treats? Check out my baking page below!
Tools of the Trade
These are some of my favorite tools in the kitchen!
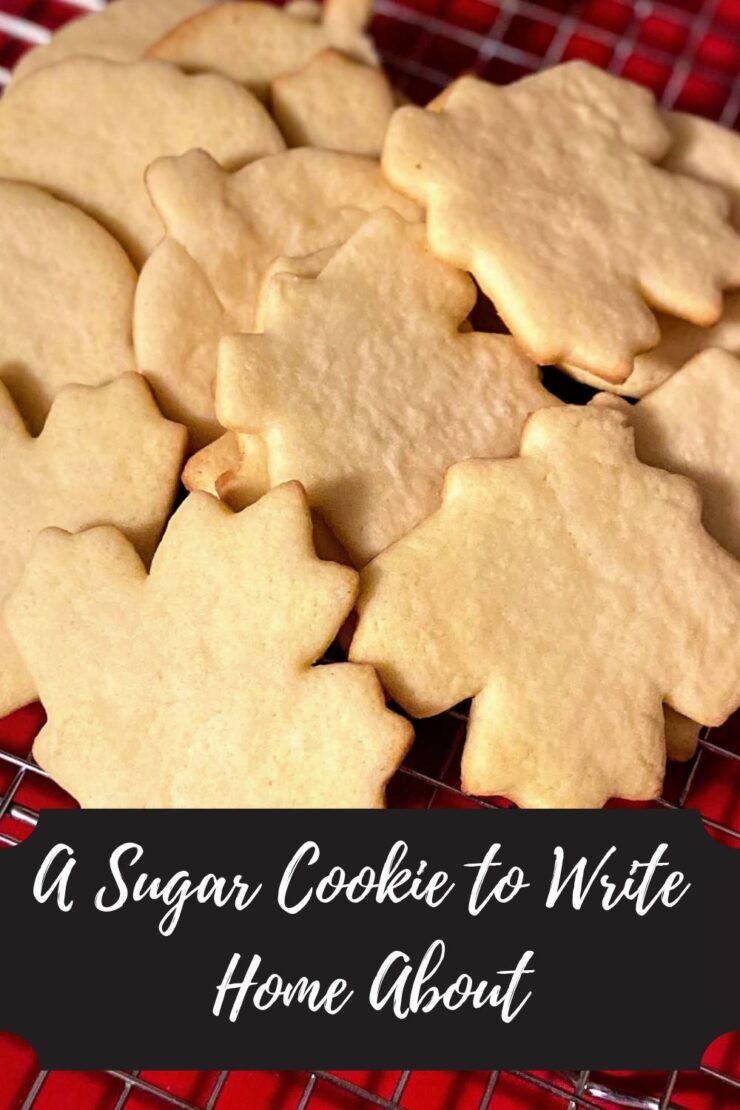
A Sugar Cookie to Write Home About
Ingredients
- ¾ cup butter softened
- 1 cup white sugar
- 2 eggs
- 1 teaspoon almond extract
- 2 ½ cups flour
- 1 teaspoon baking powder
- ½ teaspoon salt
Instructions
- In a large bowl, cream butter and sugar until light and fluffy.
- Add eggs and almond extract. Beat until well combined.
- Stir in flour, baking powder, and salt.
- Form into a log, cover in plastic wrap, and chill at least 3 hours (or overnight).
- Preheat oven to 400 degrees.
- On a well floured surface, roll out dough, ⅓ of the log at a time. Roll ⅛” to ¼” of an inch thick, to your desired thickness.
- Cut using cookie cutters. Place cookies on ungreased cookie sheets.
- Bake 6-8 minutes, until the edges are just about to brown.
- Allow to cool 2 minutes before removing and placing on a wire rack to cool completely.
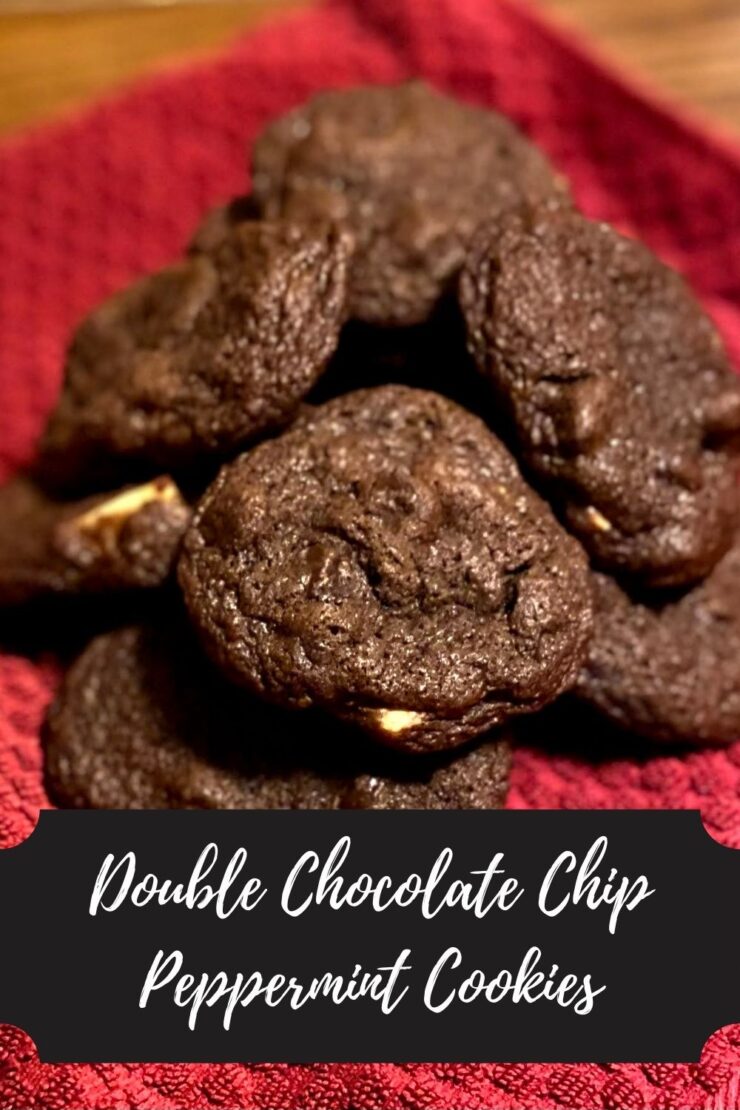
Looking for other cookie inspiration?
Check out one of the recipes below!