I'm an affiliate
I hope you love the products I recommend! Just so you know, I may collect a share of sales or other compensation from the links on this page. If you use the links, thank you for supporting me! I really appreciate it!
Last Updated on March 9, 2021 by Jess
Ice cream. It’s the go to treat at my house after dinner. My husband LOVES it, and has instilled the love to my children. I mean really, what’s not to love in terms of flavor?! For me, I indulge maybe once a week. Not because I am lactose intolerant or dieting. More so, I know my taste buds will want more than a servings’ worth and my “health conscious” stomach won’t dig the aftermath. Then I discovered chocolate banana ice cream and I instantly fell in love. It’s creamy, the right amount of sweetness, and full of good for you ingredients. A dessert I can enjoy a serving (or two!) a few times a week and know I’m actually fueling my body. In fact, I realized it makes a great pre-workout snack before my longer runs. How can it get much better?!
To create this delicious treat, it will take a little planning and ideally a large food processor. No 5-7 cup food processor? No worries! An immersion blender will work well in a pinch. Just know that it will likely need some help along the way as you blend the frozen bananas. (And this may seem like common sense, but make you unplug it before clearing the blades out. Believe me, I have the hospital bill and scar on my finger to prove it’s a good idea. Yikes!) Let’s get started!
Your ingredients
- 3 ripe bananas
- 2 tablespoons nut butter, your choice
- ¼ cup cocoa powder
- 1 teaspoon vanilla
- 1 tablespoon almond milk (or other milk), as needed
Optional mix ins:
Coconut flakes, chopped nuts, chocolate chips, peanut butter chips, you name it!
Your steps
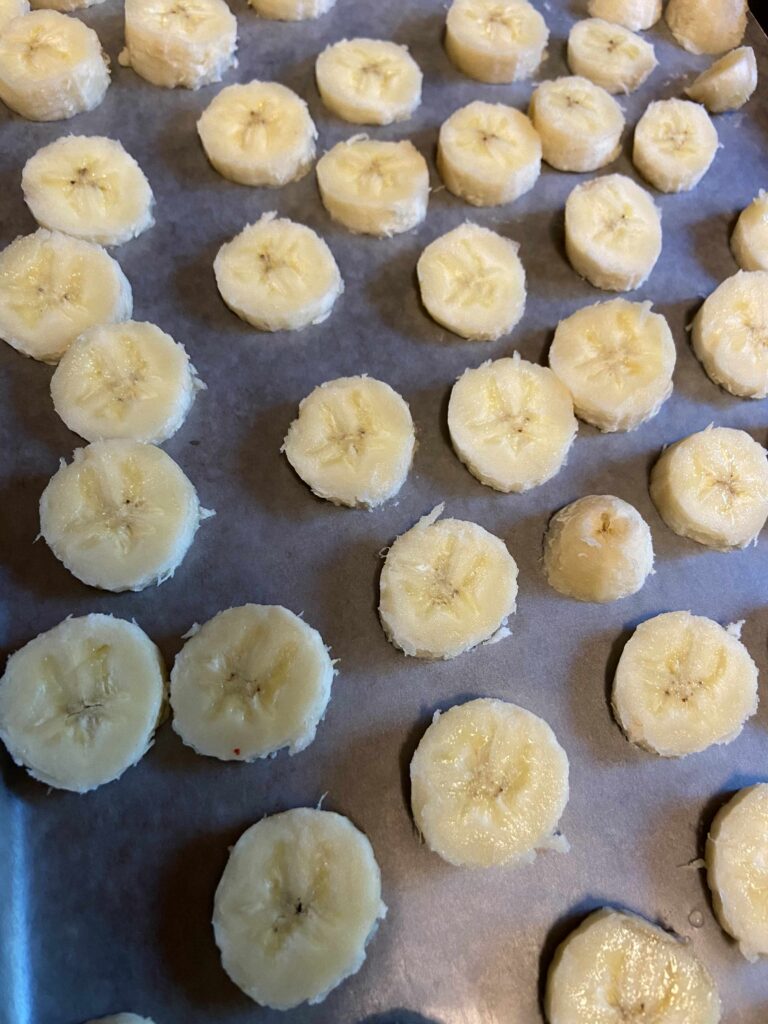
Line a jelly roll pan with wax or parchment paper. Slice bananas into ½ inch slices and place on paper. Stick the pans in the freezer and allow the bananas to harden, generally over a few hours. (If you are like me, you’ll forget about them for a few days, open the freezer and declare, “OH! MY BANANAS!” It’s okay, I get you 🙂 )
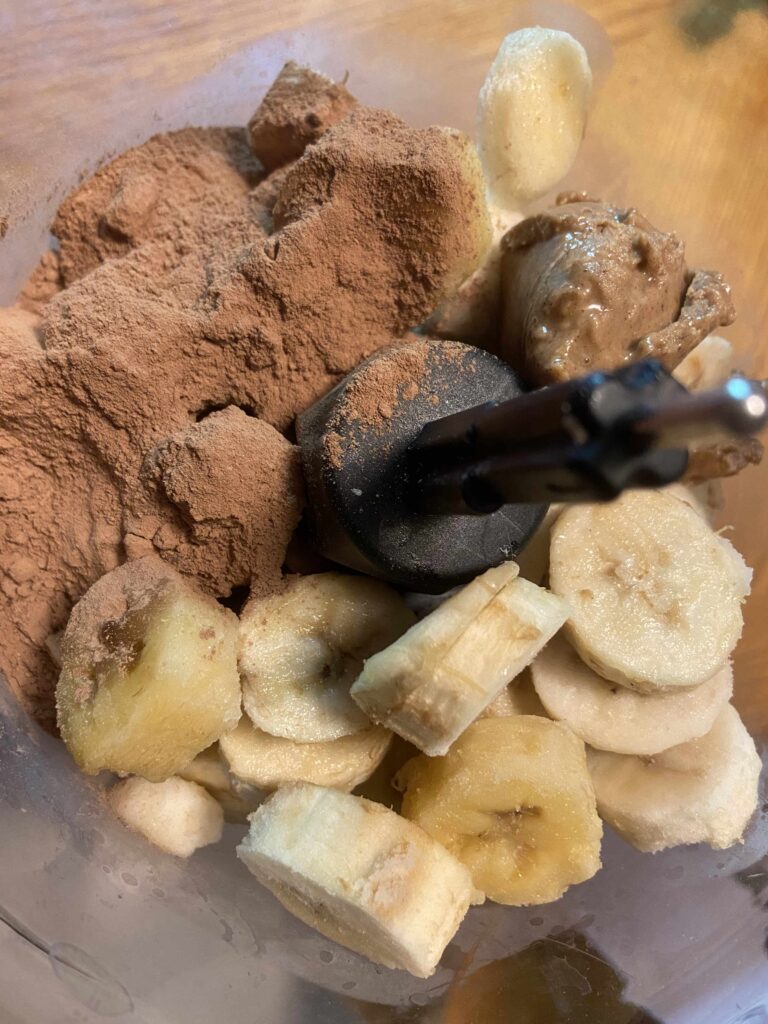
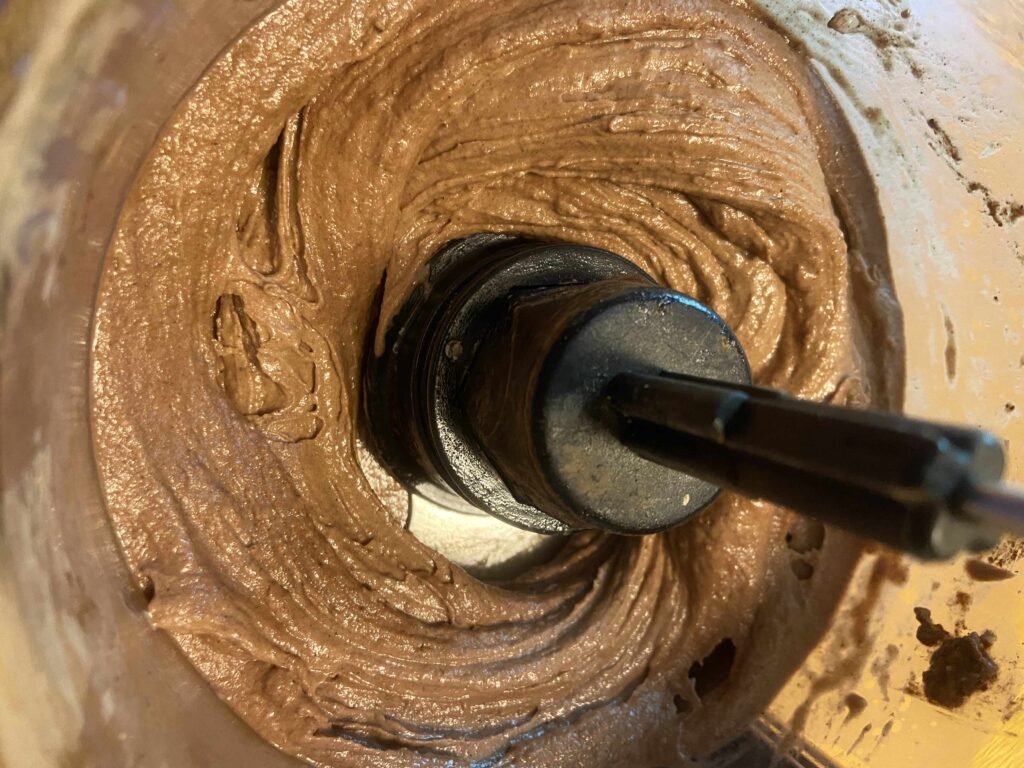
Remove bananas from pans and place in food processor. Add remaining ingredients and pulse to blend until smooth. This will take some time, but be patient. Add more milk if necessary to get desired texture. Add optional mix ins and pulse just a couple times to incorporate them into the blended bananas.
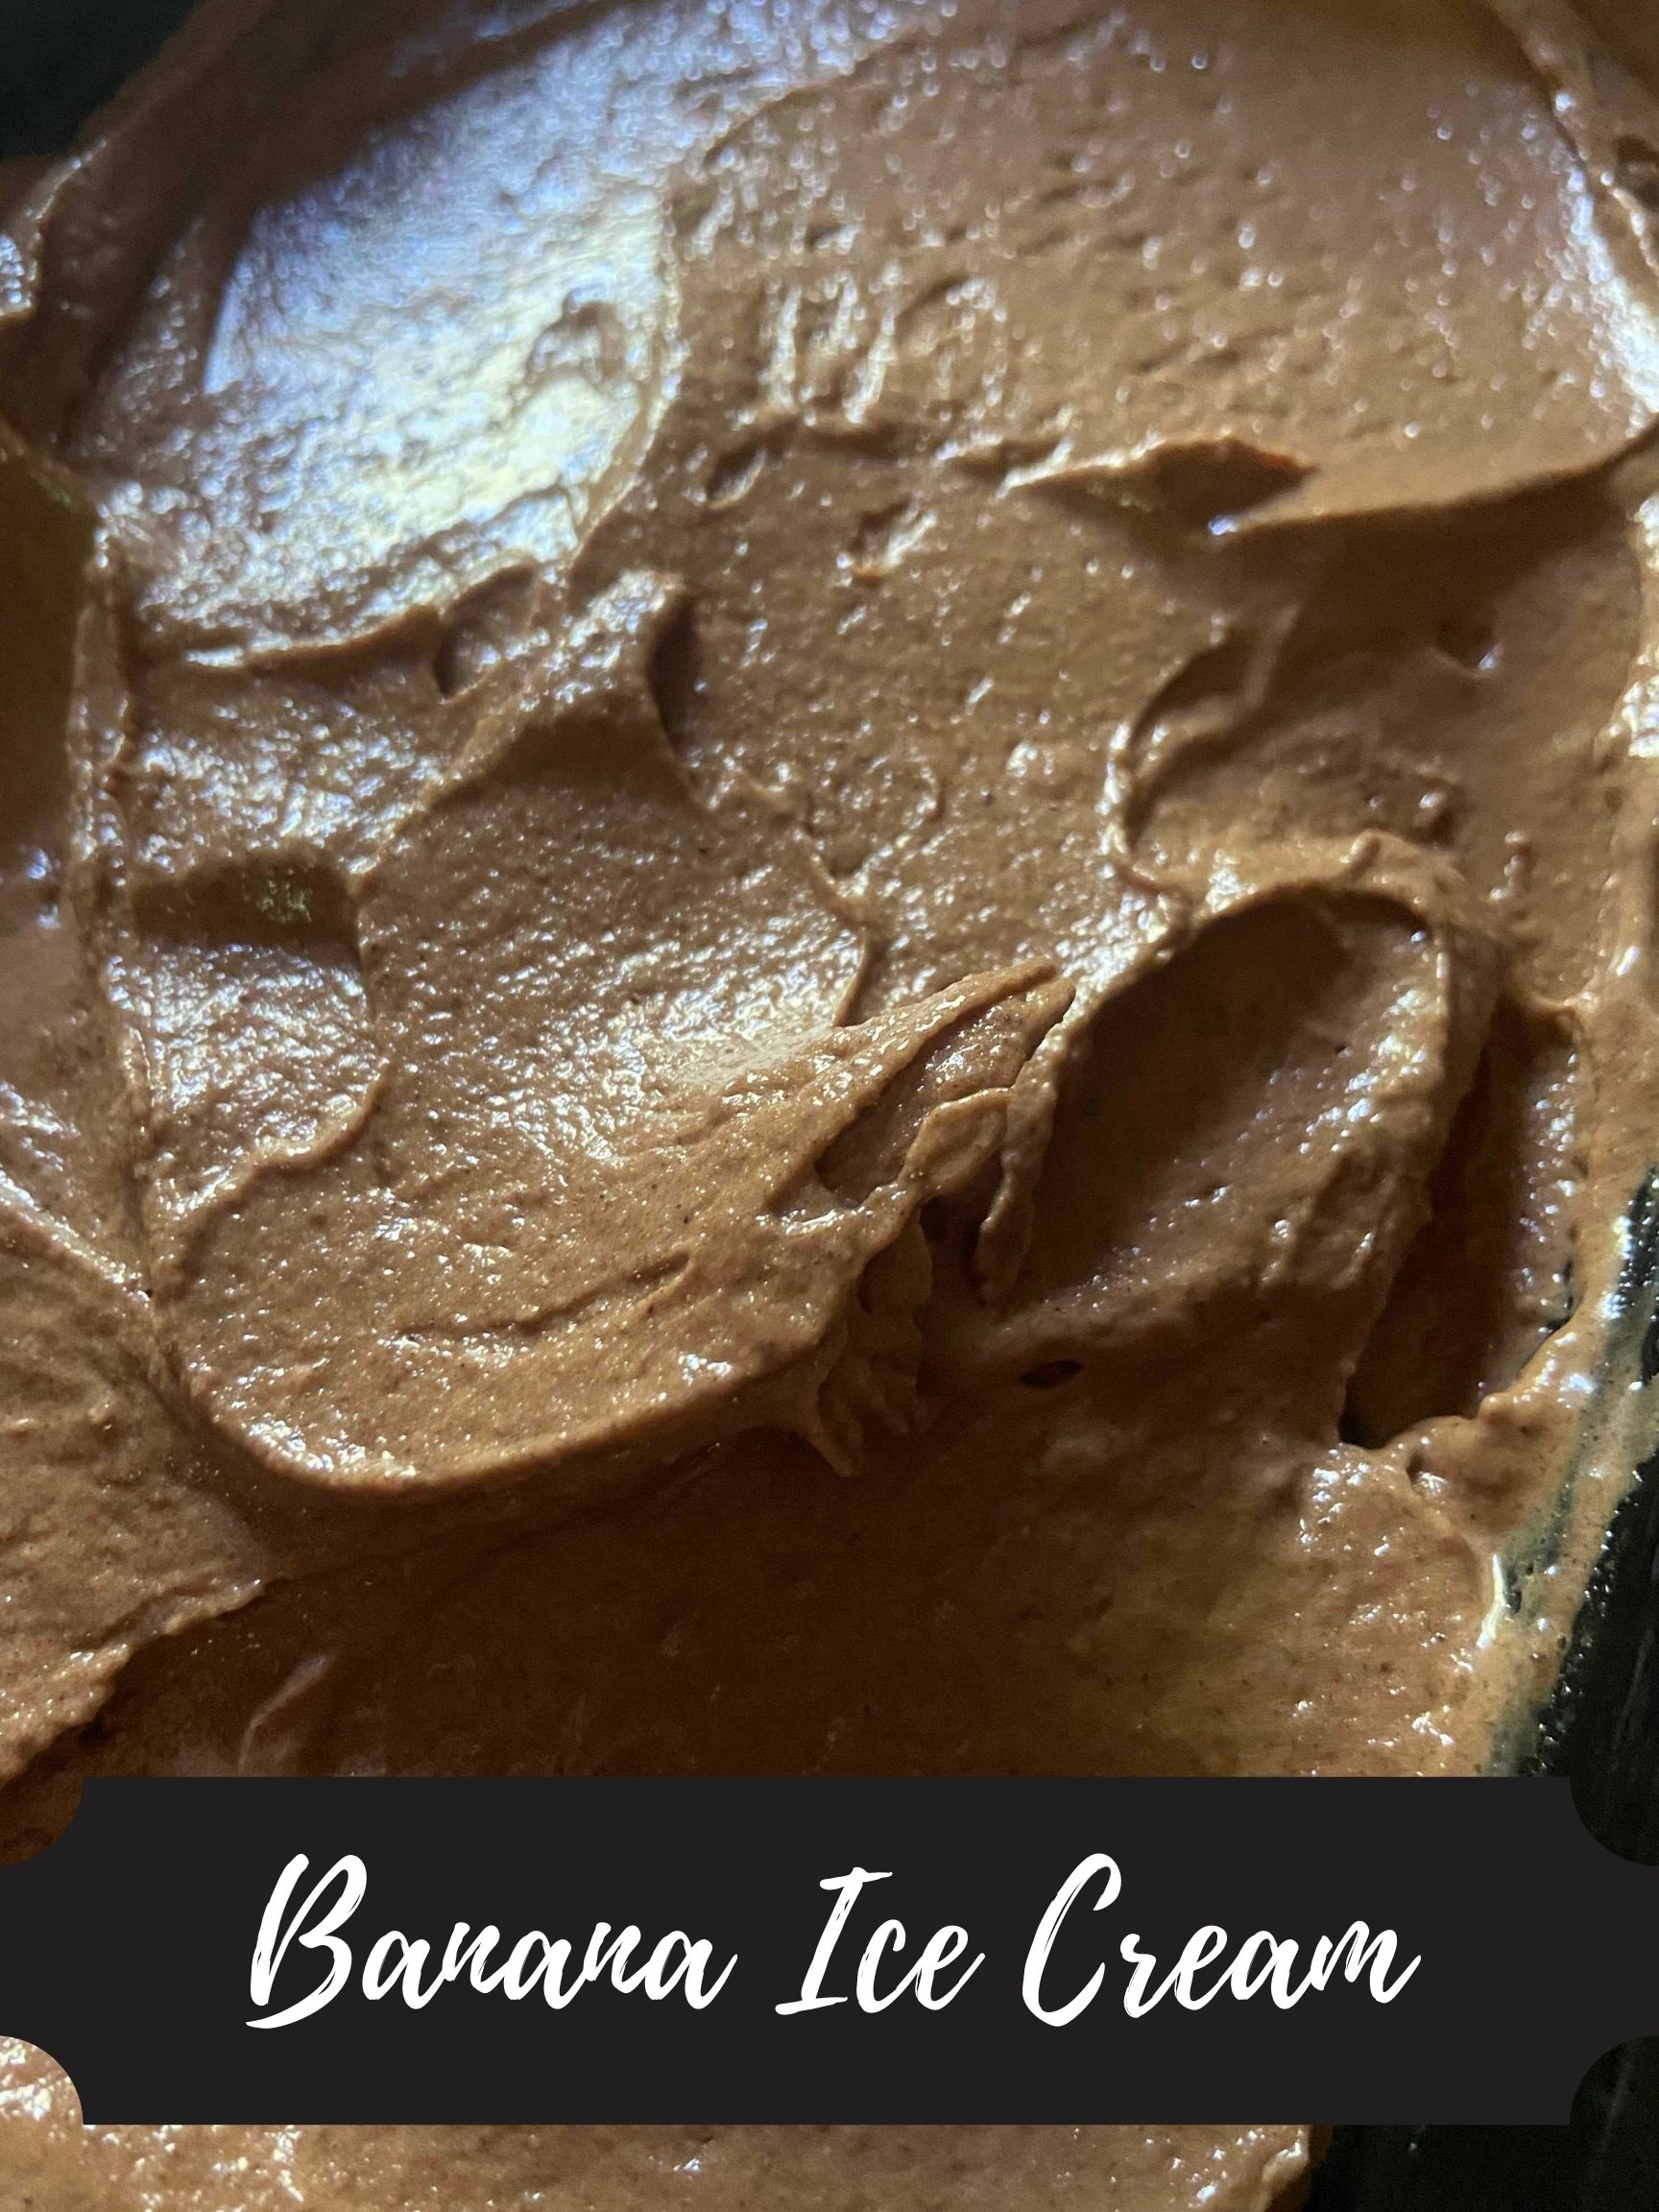
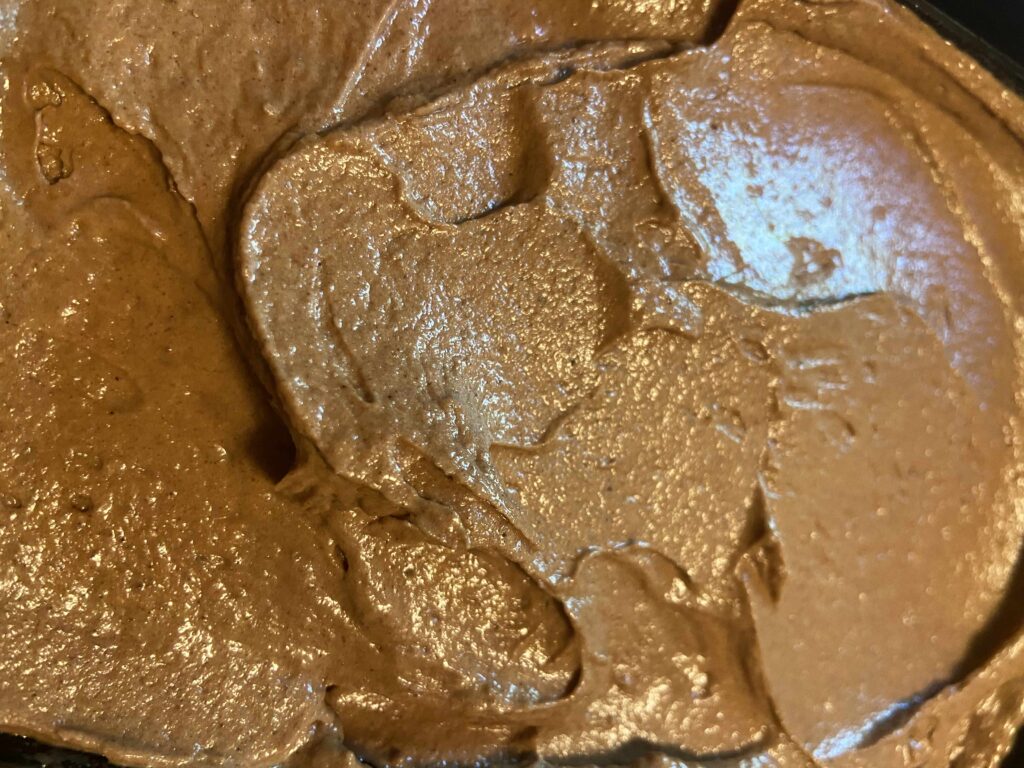
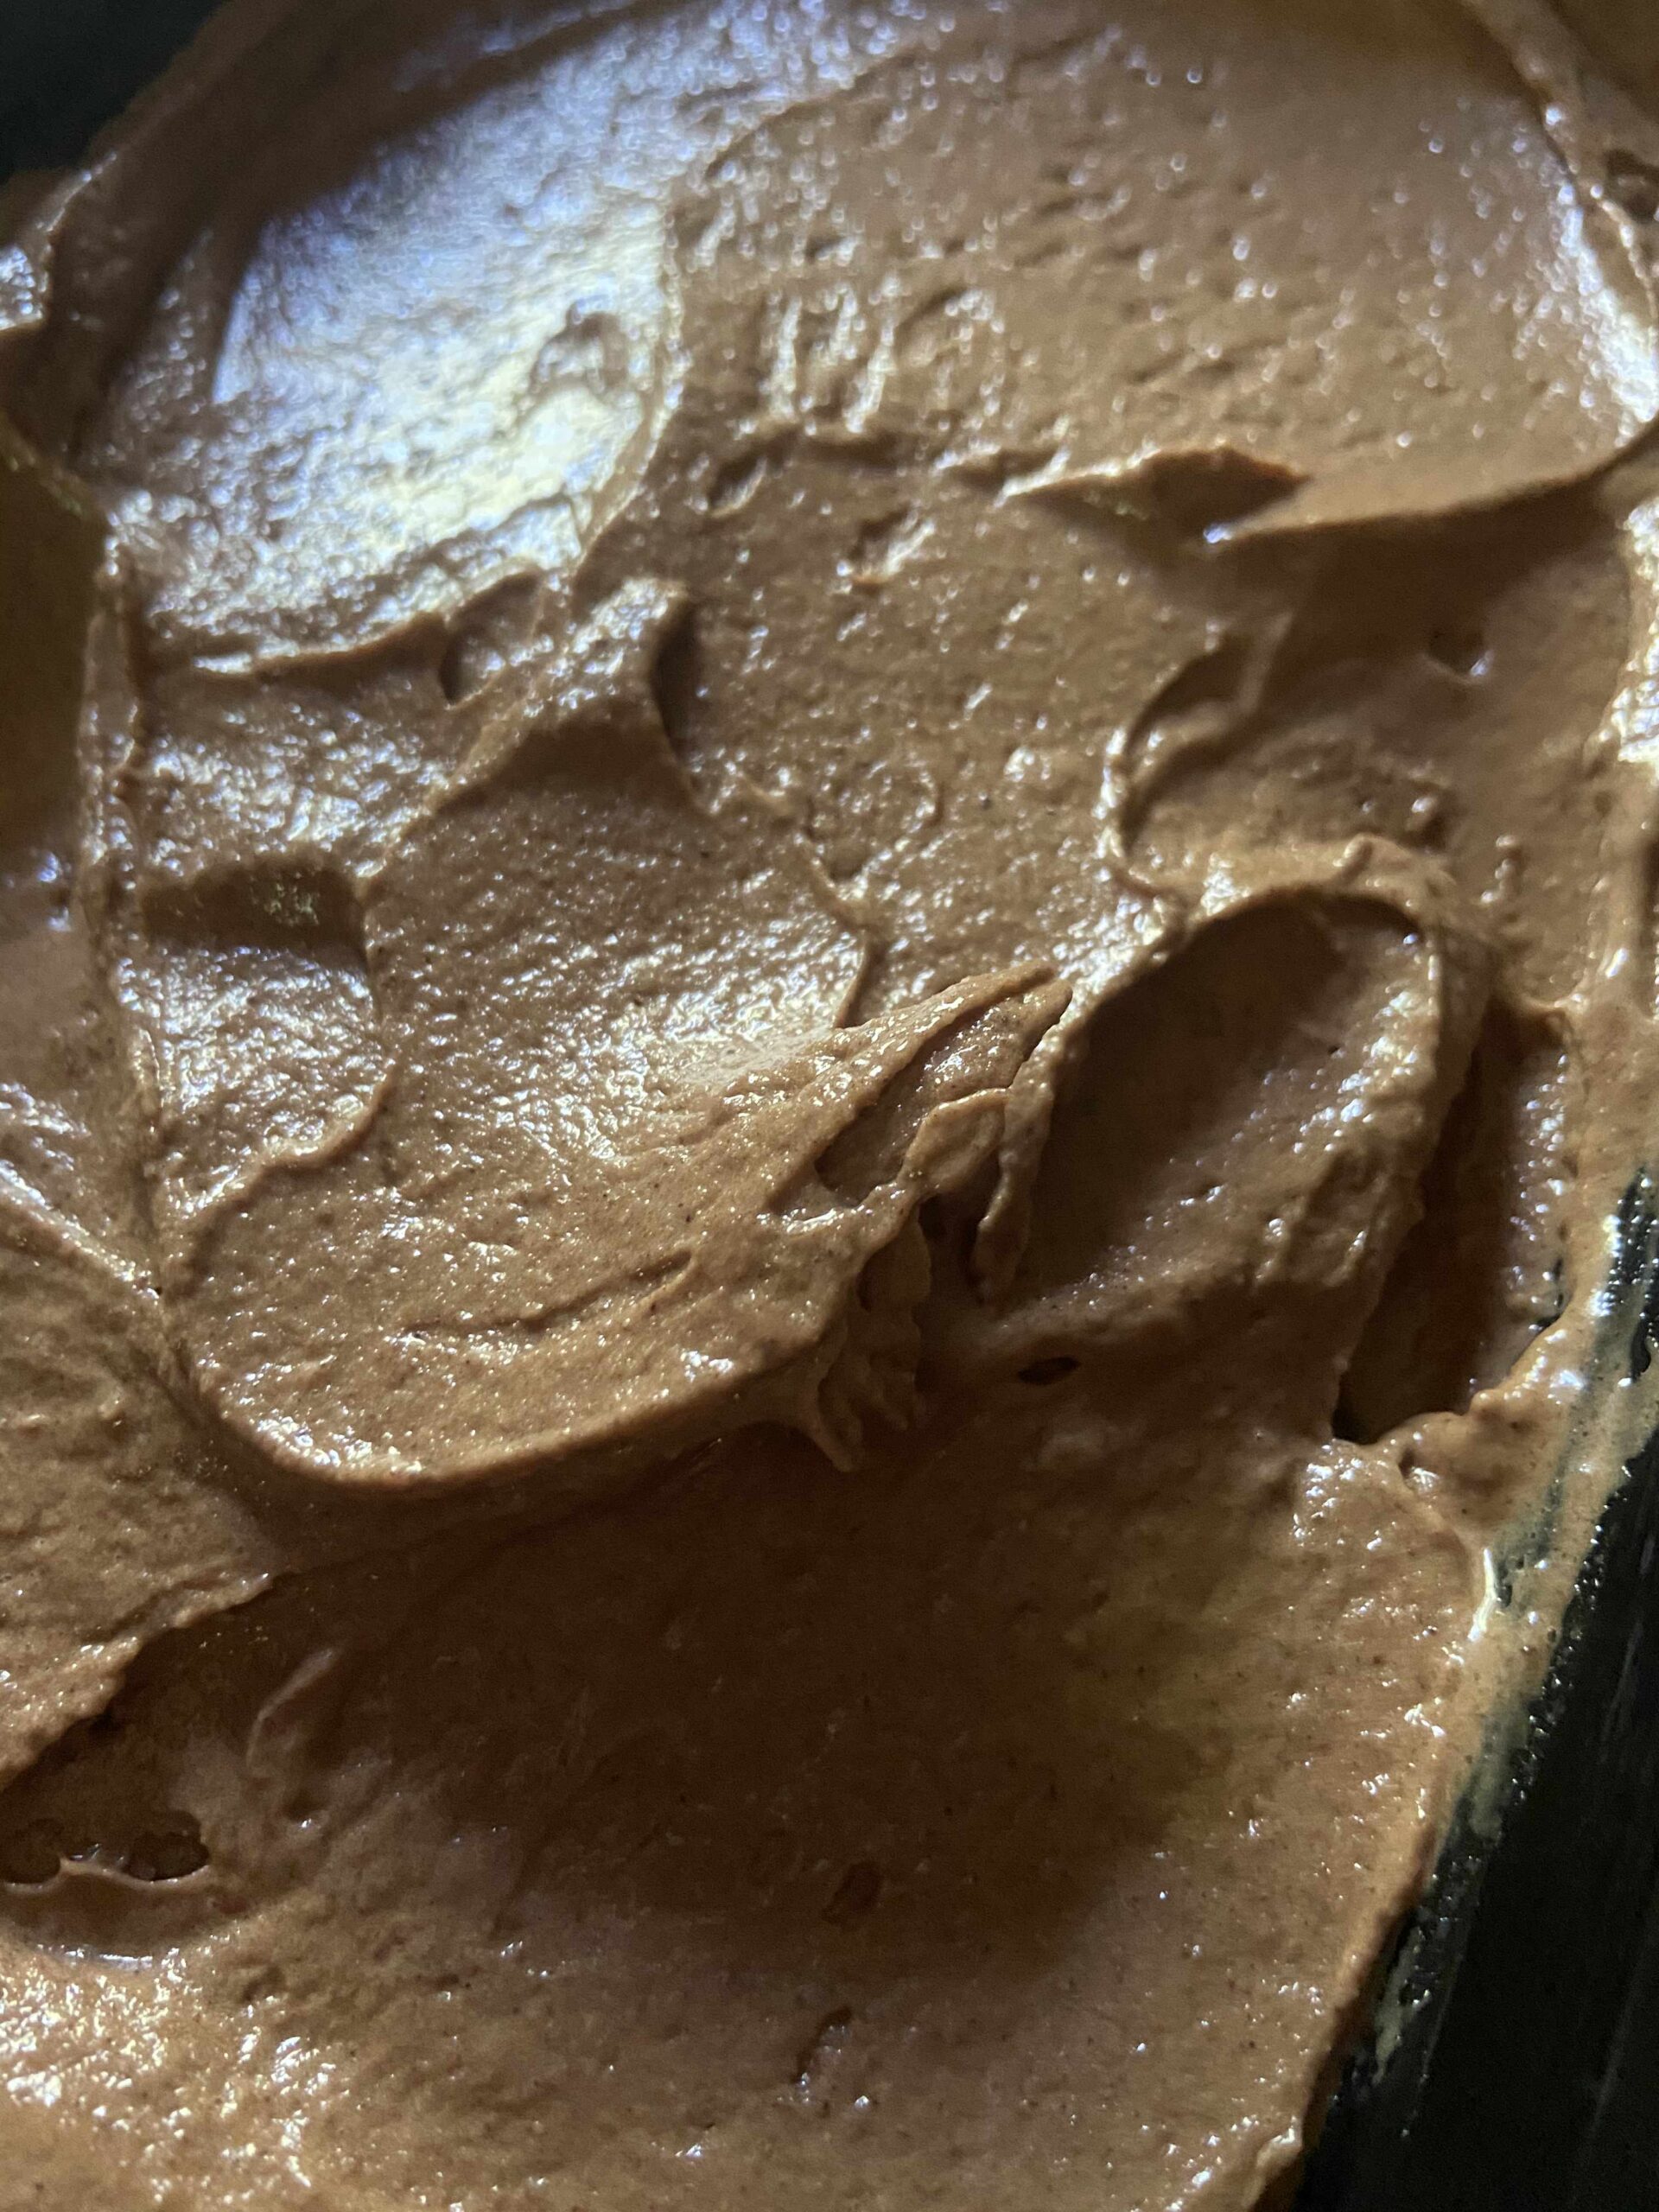
Use a spatula to smooth banana ice cream into a freezer safe container and return to the freezer. Since there is minimal milk in the blended banana, it will freeze harder than normal ice cream. I usually take it out 5-10 minutes before I want to eat it to allow it to soften slightly. My absolute favorite is to sprinkle a little coconut and some salted nuts on top. SO GOOD! And even better news? You now have another idea for those overripe bananas you have sitting on your counter.

Slice and freeze bananas on parchment. Get ready to blend all the goodness! Patience while it goes together… And yum! It even looks just like ice cream!
As for the equipment I use
Initially, I used an immersion blender and loved it. I didn’t want to drag out my large food processor. Like I said earlier in the post, this did result in me being silly and trying to clear out the frozen mess with my finger and heading to the hospital. Learn from me, don’t do that 🙂 However, my mind was changed once I brought out my 7 cup food processor. It’s SO much easier to use and clean up isn’t bad at all. That being said, I ADORE both kitchen tools and they get used often in my home. Check out the links below if your interested in adding to your kitchen tool collection!
Banana Ice Cream
Equipment
Ingredients
- 3 ripe bananas
- 2 tablespoons nut butter your choice
- ¼ cup cocoa powder
- 1 teaspoon vanilla
- 1 tablespoon almond milk or other milk, as needed
Instructions
- Line a jelly roll pan with wax or parchment paper. Slice bananas into ½ inch slices and place on paper. Stick the pans in the freezer and allow the bananas to harden, generally over a few hours.
- Remove bananas from pans and place in food processor.
- Add remaining ingredients and pulse to blend until smooth. Add more milk to gain desired texture, if necessary.
- Use a spatula to smooth banana ice cream into a freezer safe container. Enjoy right away or return to the freezer for a snack later.
Notes
Looking for other sweet treats to create in your kitchen? Check out the baking page here!
Published by