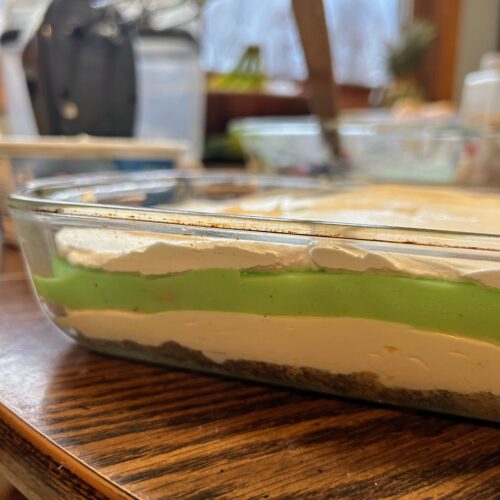
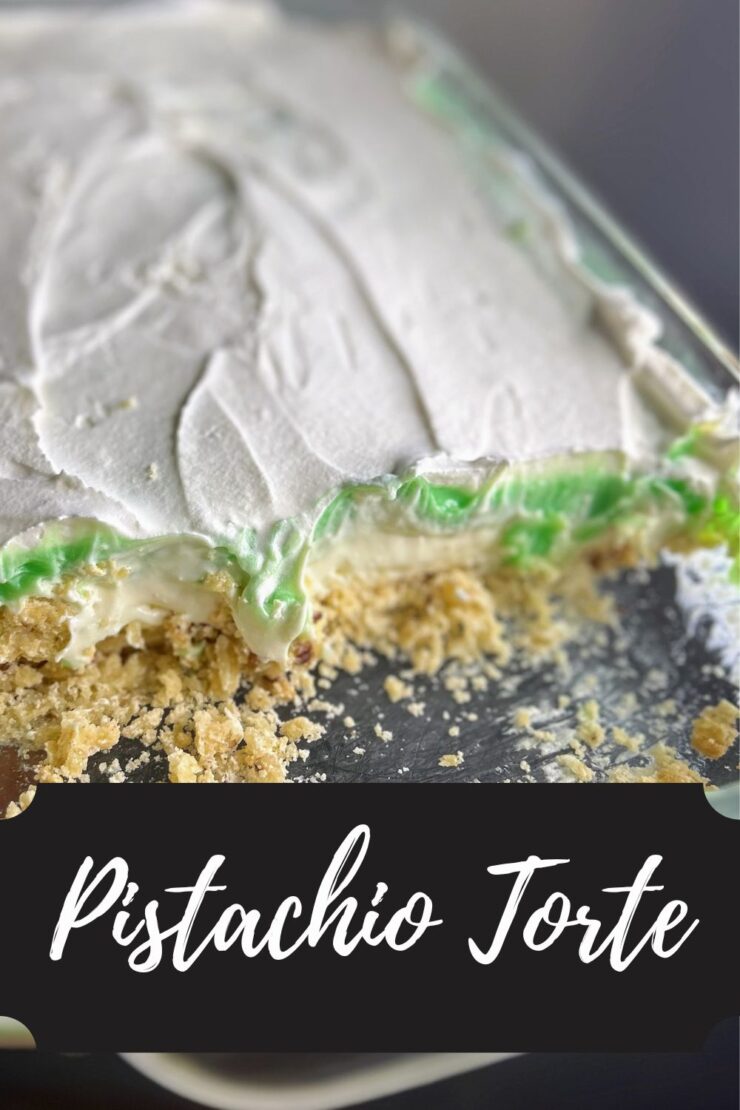
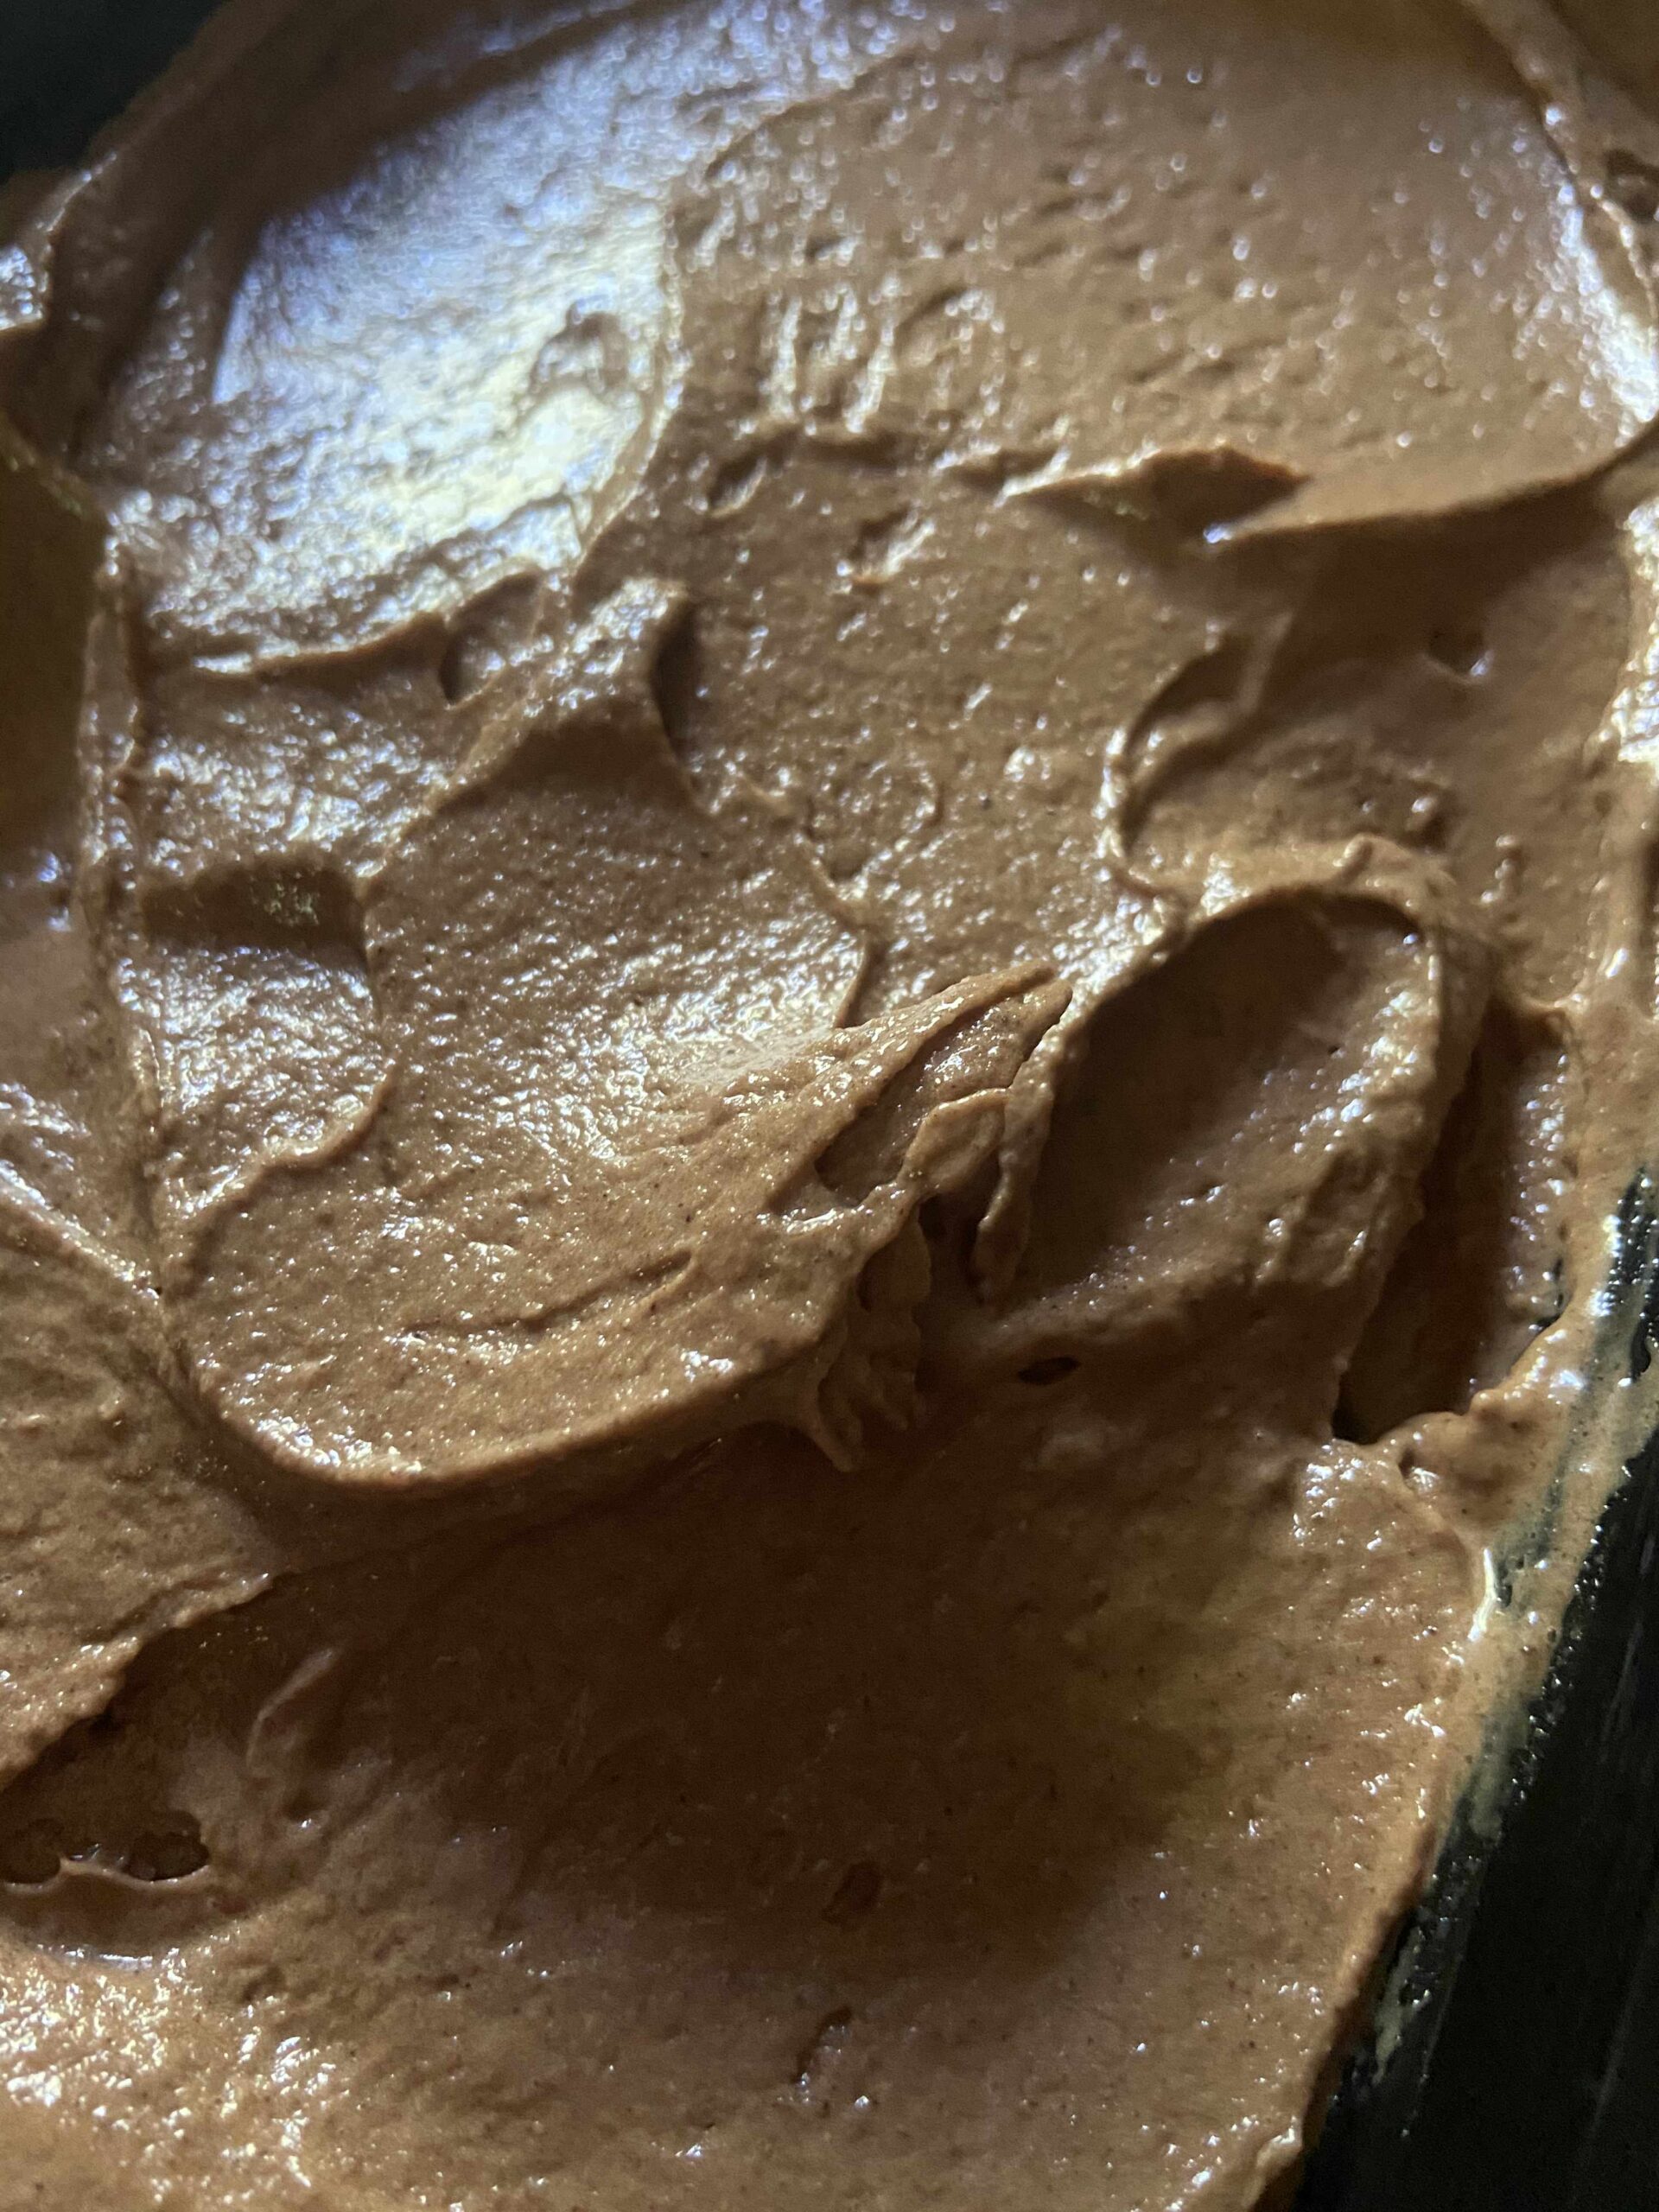
Pistachio Torte

Sometimes you have those recipes that you revisit every few years and think, “Oh my gosh, why don’t I make this more often?! It’s so simple to make and is beyond delicious.” Pistachio Torte is one of those recipes in our household (Well, at least for me. Read on.)

At Thanksgiving, I asked the Mr what dessert he would like and without hesitation, he said, “Pistachio Torte!” He knows how good it is, and I simply forget. 
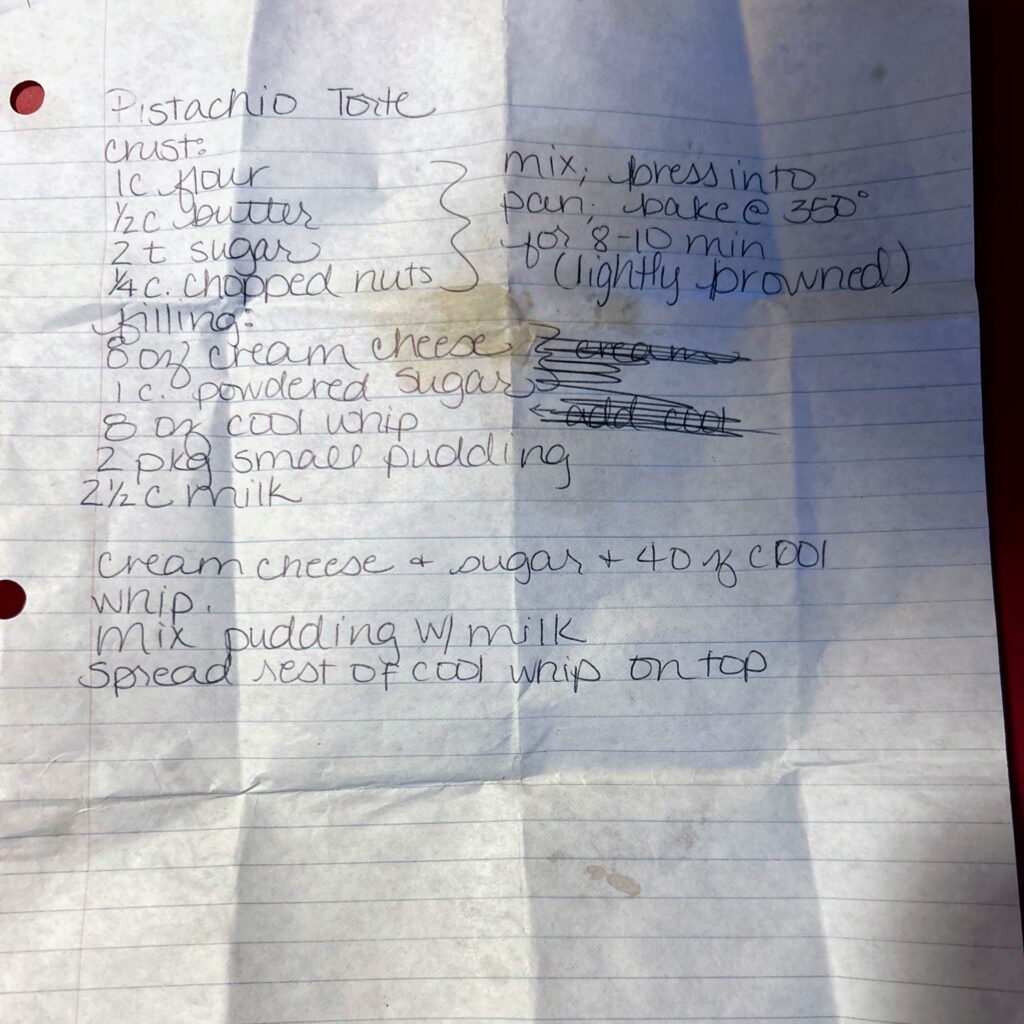
I pulled out the handwritten recipe, and giggled as it had minimal directions with it. (My friend Claire has told me it’s reminiscent of a recipe on The Great British Baking Show.)That’s okay, I have been cooking and baking long enough to know how to roll with the punches. And my goodness, I did forget how good it was and immediately resolved to share it out here so that everyone else can have this treat in their back pocket when they need to bring a dessert. 

A quick story

Before we start creating, I have to share another short funny story to go with this: I know this recipe came from my mother in law. It’s a go to for her (along with black raspberry torte). After we ate it for Thanksgiving, I asked my mom, dad, and sister how they felt about me making it for our Christmas celebration. My sister’s response was, “I am for it,” and my mom asked if I needed a recipe. This the conversation that followed:

Me: “No, I don’t need the recipe. If you have it, I must have given it to you because I got it from Matt’s mom.” 

My Mom: “I have had that recipe well before you were even a twinkle in our eyes.” (Sends the recipe in her handwriting) 

It was IDENTICAL to the recipe I got from my mother in law. There is about 15 years difference in age for our moms, so it seems odd that they would have been reading the same publications;  I can’t help but wonder where the recipe was that they both have it and it’s exactly the same. But that means it must be good, right? 

I’ve talked long enough. We are reading to start baking and creating right? Let’s go! 

Your Ingredients for Pistachio Torte

  • 1 cup flour
  • ¼ teaspoon salt
  • ½ cup butter, soften
  • 2 teaspoons white sugar 
  • ¼ cup finely chopped nuts
  • 8 ounces cream cheese, softened
  • 1 cup powdered sugar
  • 8 ounces cool whip, divided
  • 2 packages pistachio pudding (3.4 ounces)
  • 2 ½ cups milk 

Your Steps to Pistachio Torte

Preheat the oven to 350 degrees. Prepare a 9 by 13 inch baking pan with cooking spray and set aside. 

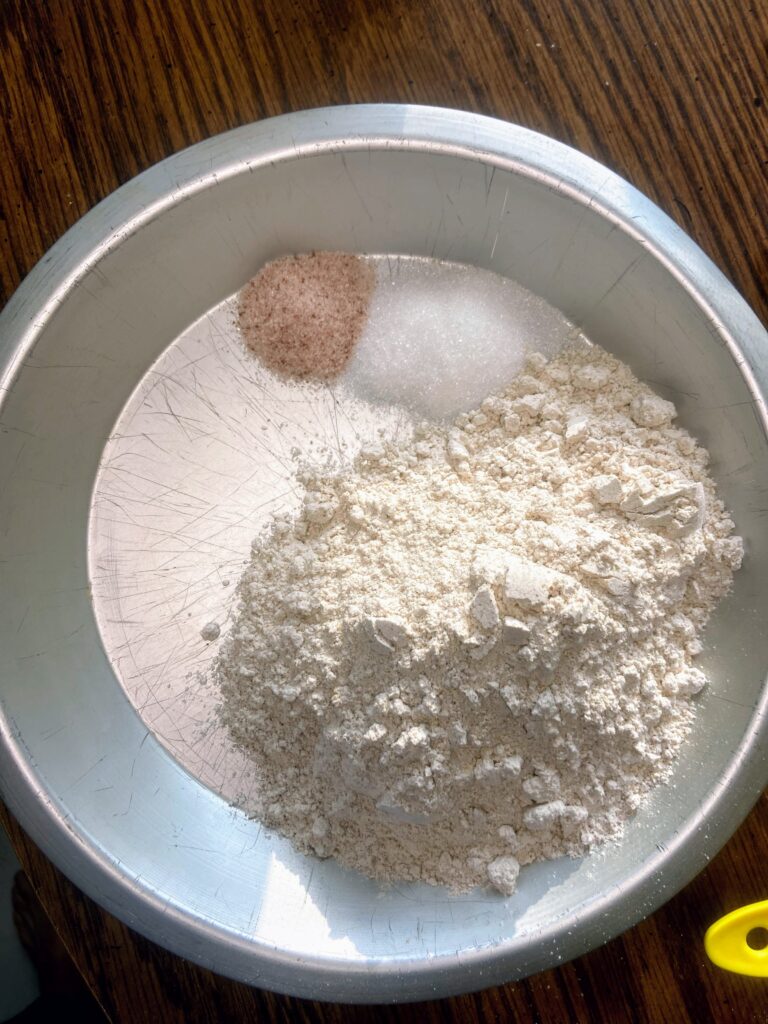
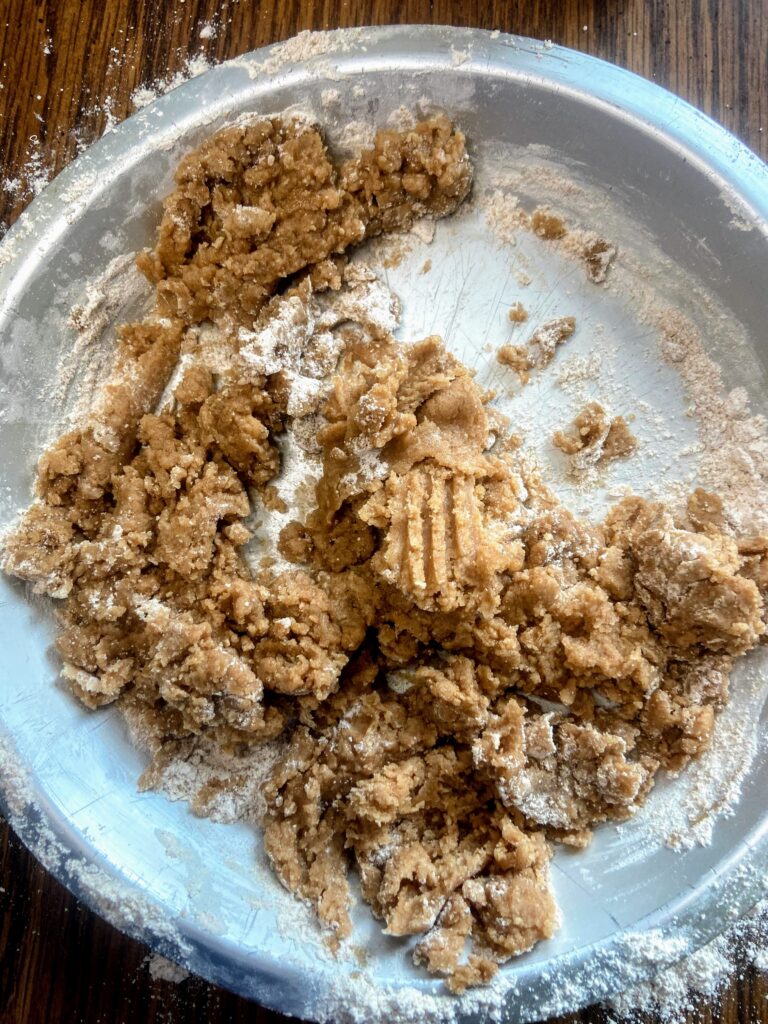
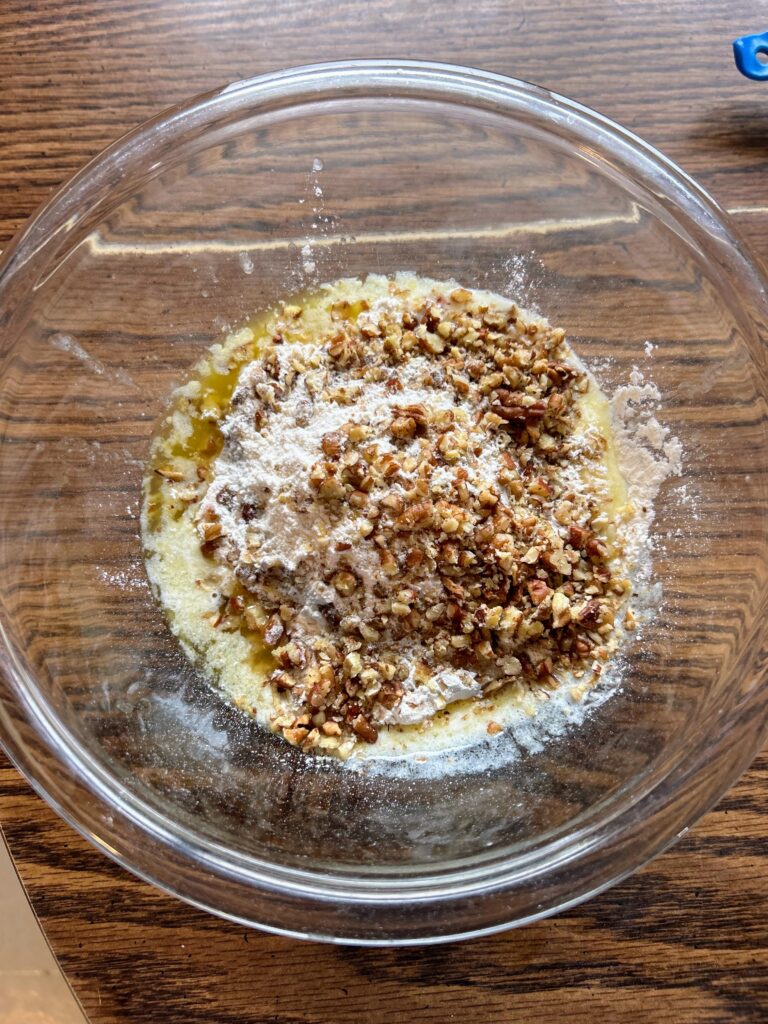
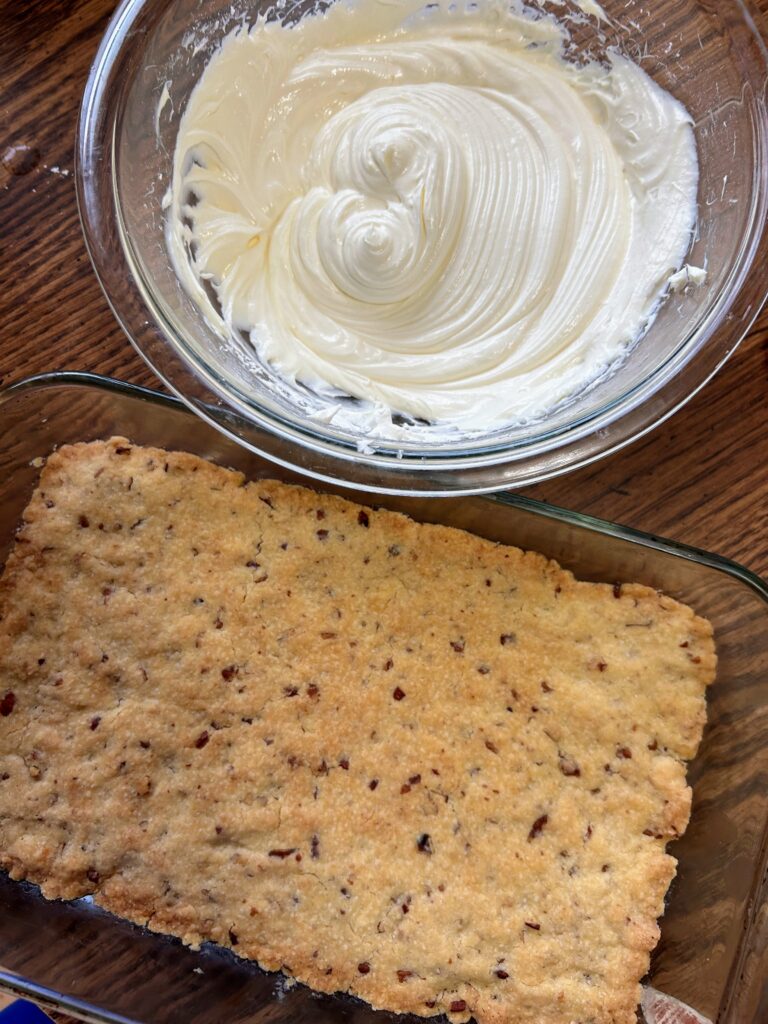
In a medium bowl, cream the butter until smooth. Add flour, white sugar, salt, and chopped nuts. Mix until well combined. Press into the prepared baking pan. It will seem thin and as though you don’t have enough. You do. I promise (But if you want a thicker crust, I have done it in a 7 by 11 inch pan too). Bake for 8-12 minutes, until the crust is lightly browned. Allow to cool. 

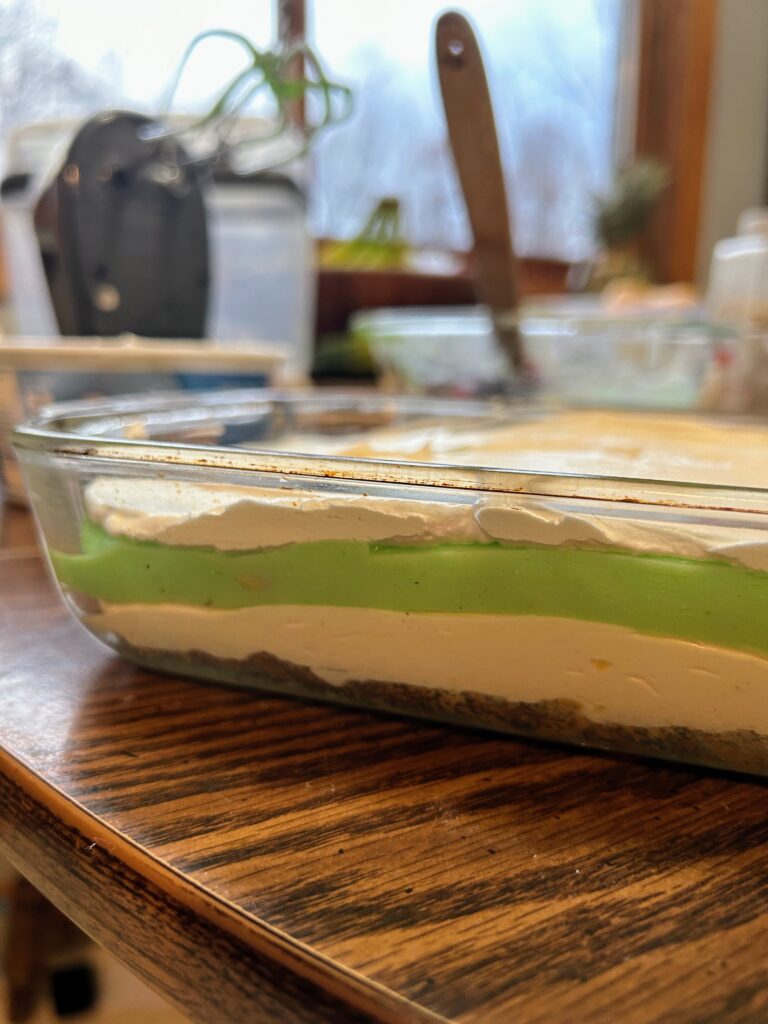
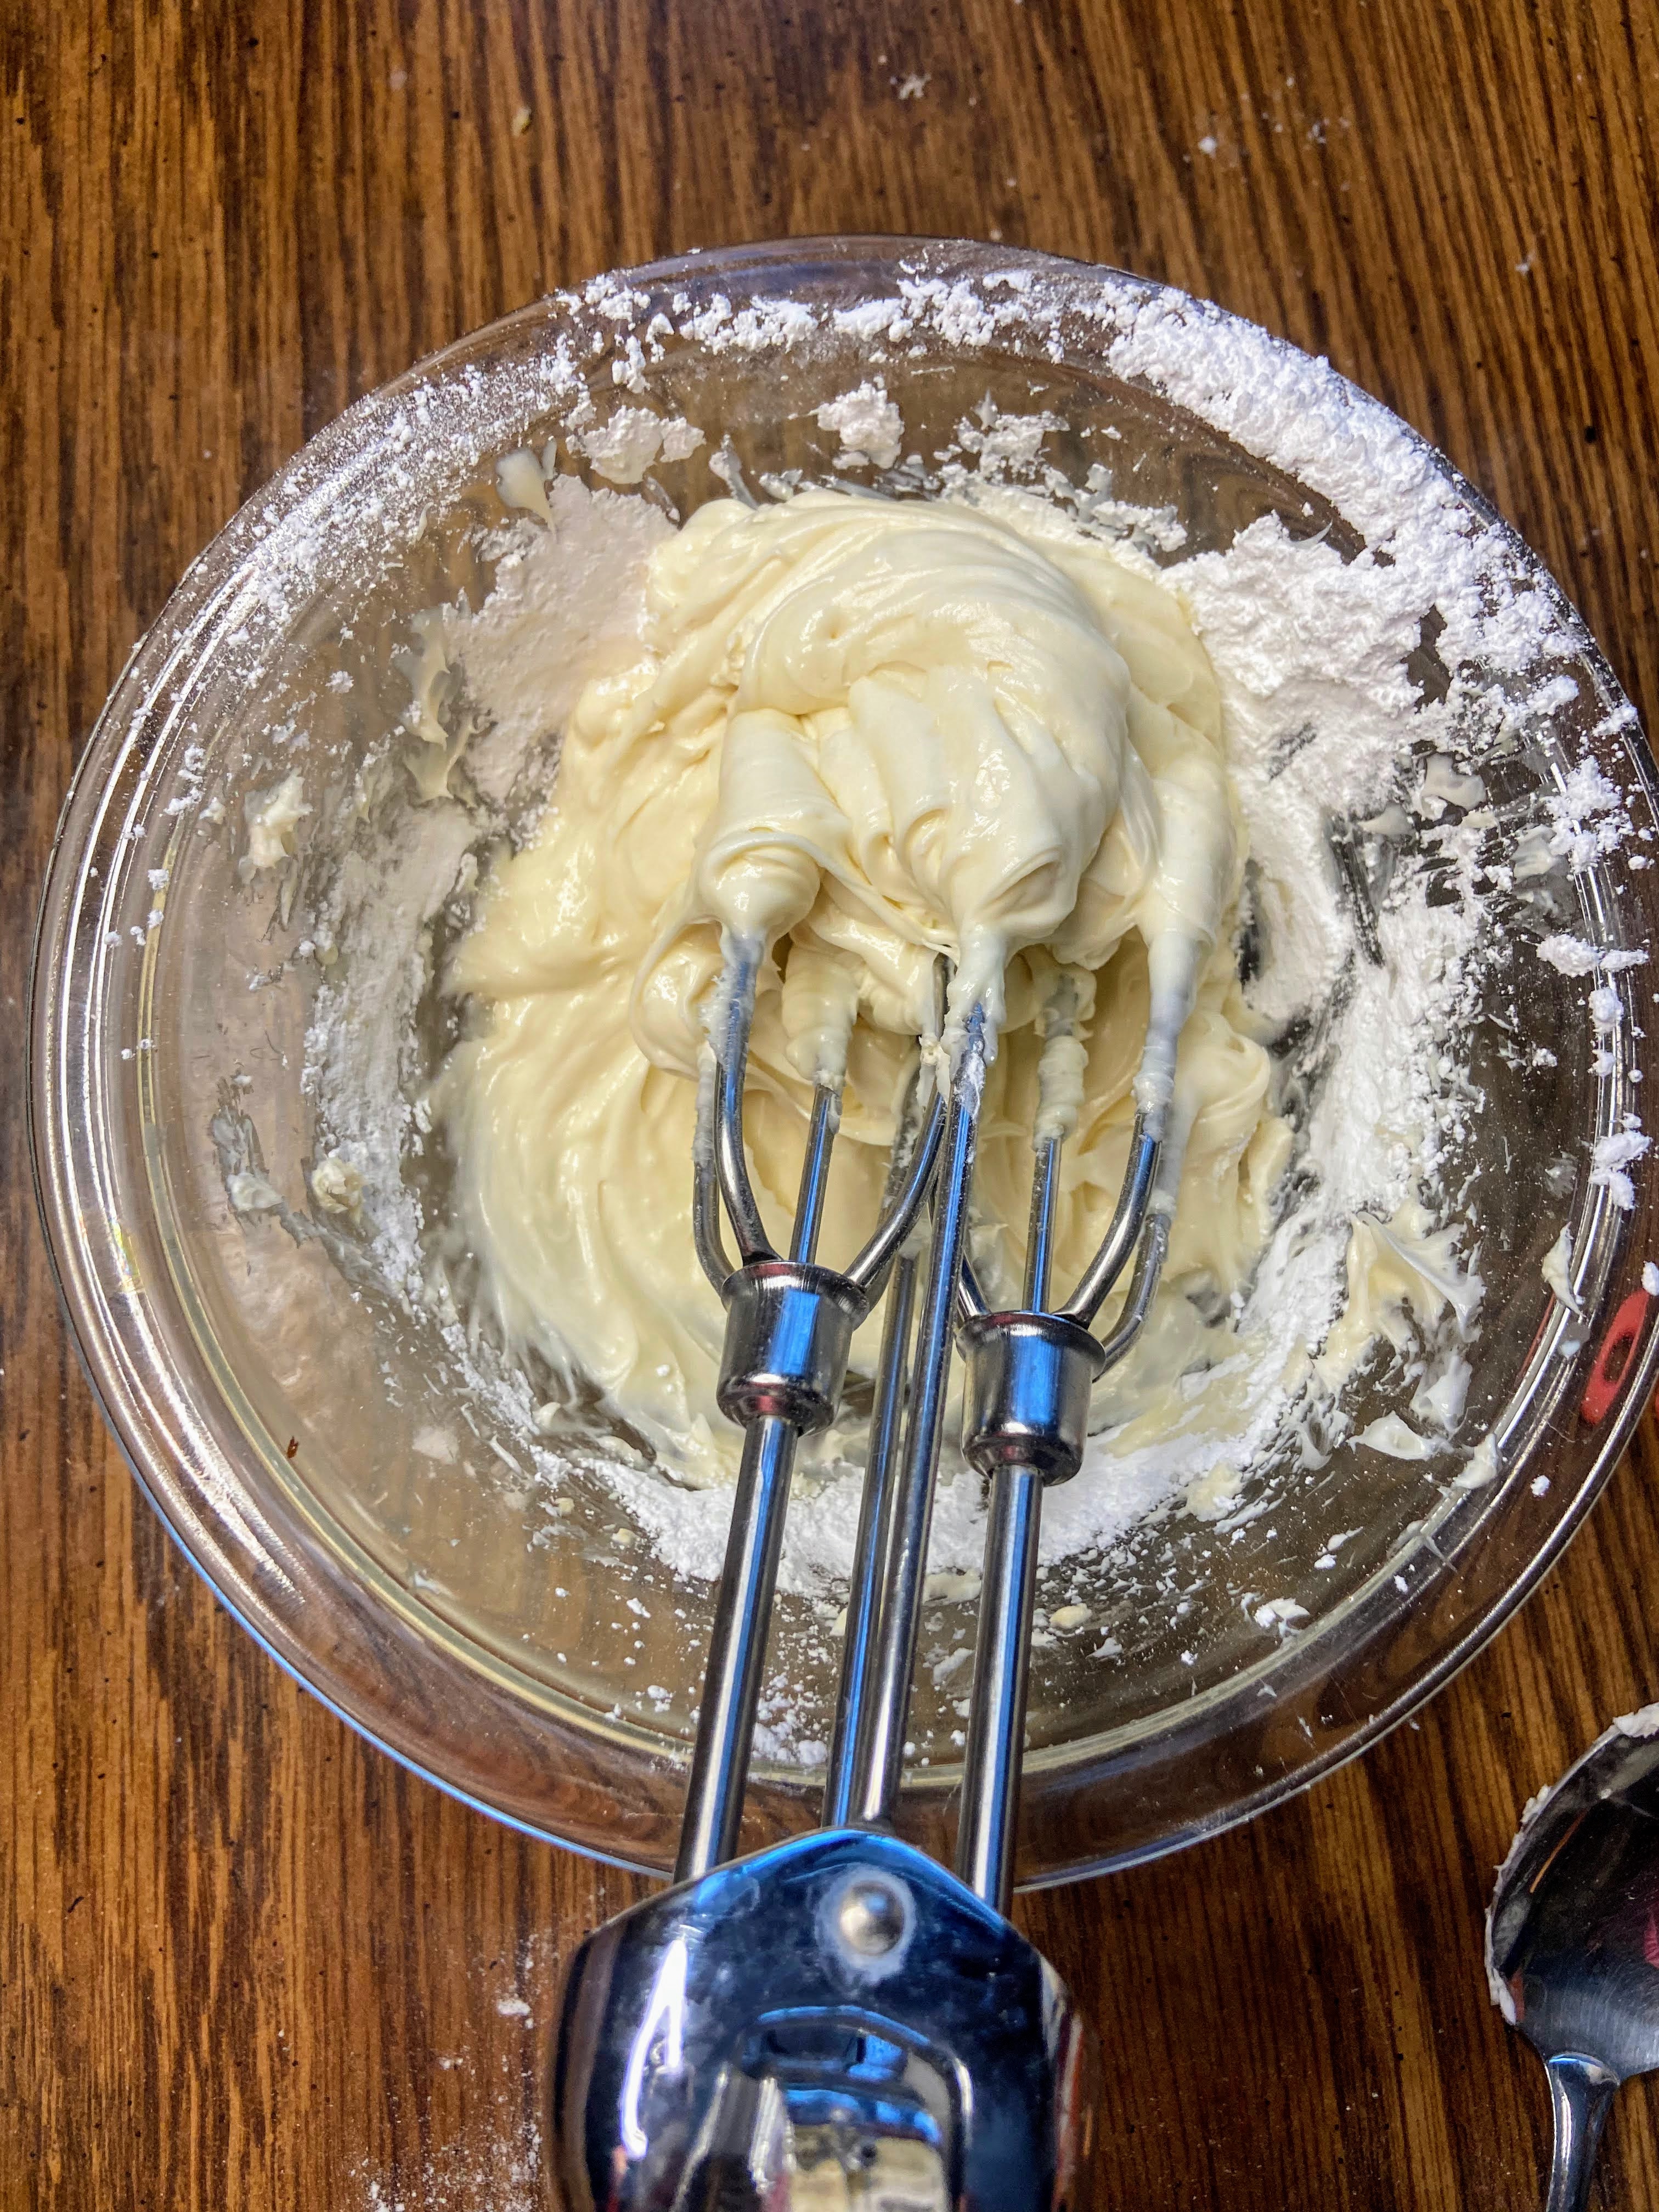
Once the crust has cooled, Add the cream cheese to a large bowl and cream with a hand mixer. Add powdered sugar and 4 ounces of the cool whip. Spread on top of the cooled crust. 

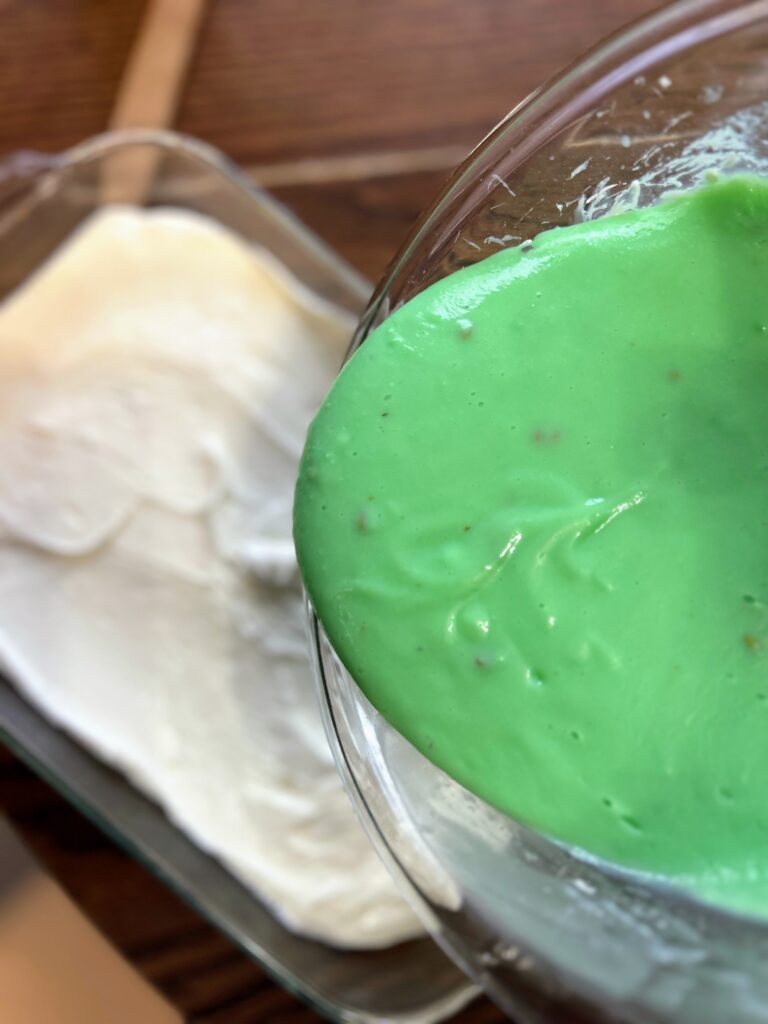
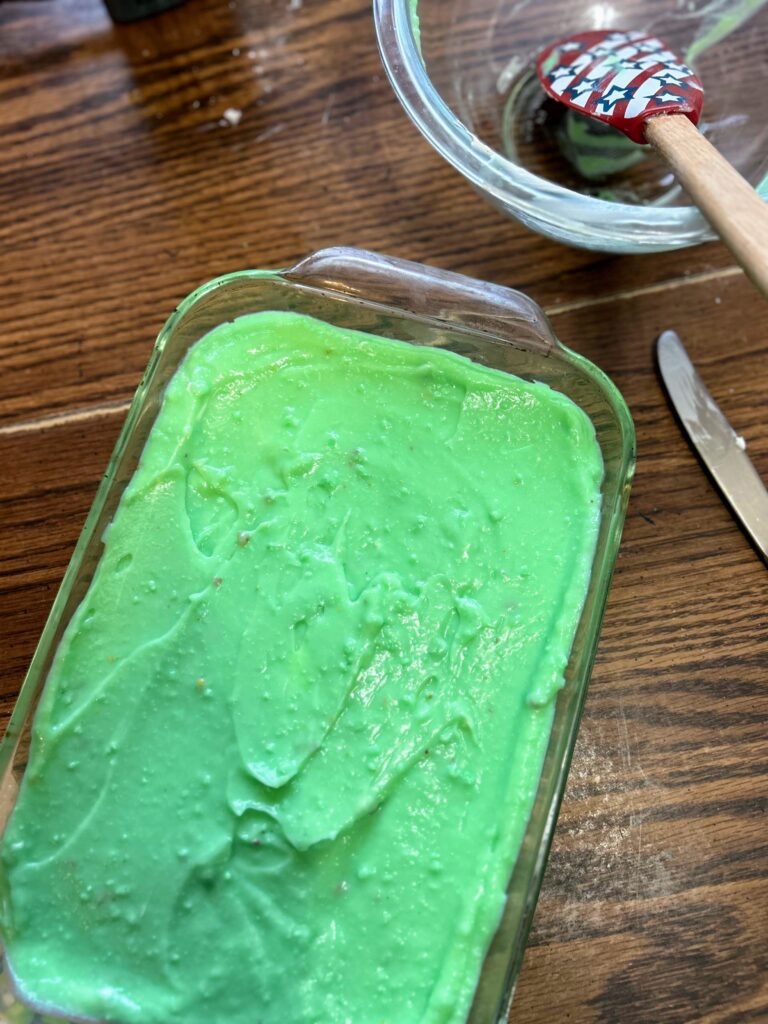
Combine the pudding with the milk and mix according to package directions (I do this right in the same bowl, but you do you). Spread the pudding on top of the cream cheese layer. Allow to set just a few minutes. 

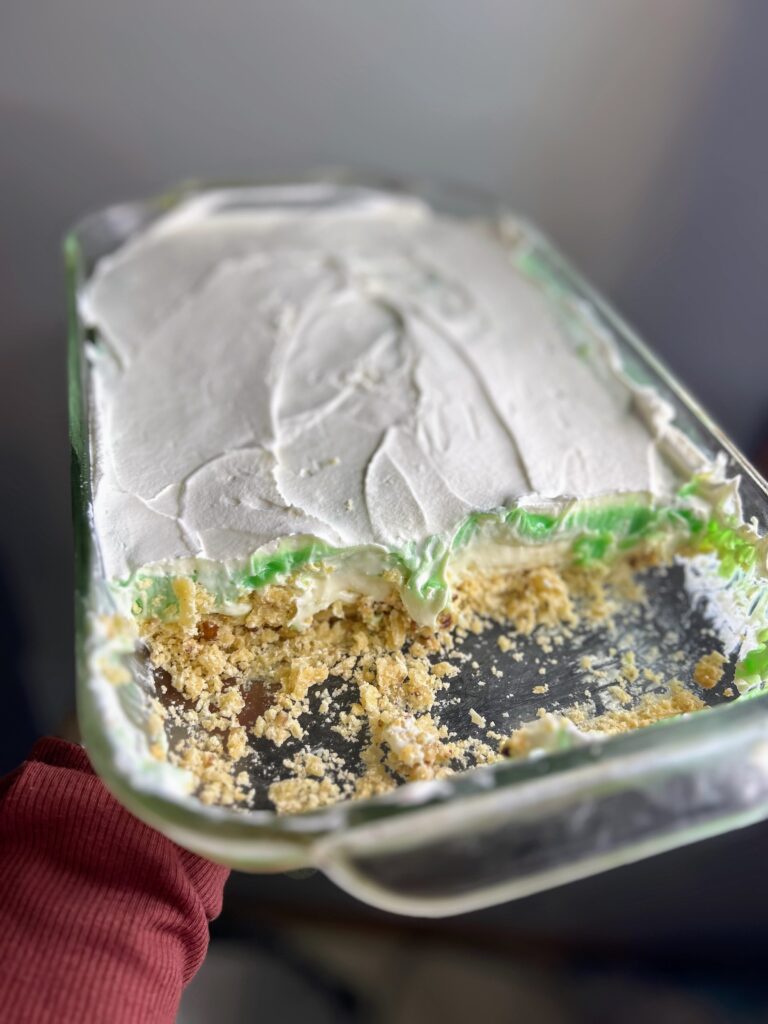
Finally, spread the remaining cool whip on top of the pudding and top with additional nuts if you care to. Serve up immediately or this dessert is a great one that can be prepped a few days ahead. Either way, you are sure to bring smiles to a lot of people’s faces.
Pistachio Torte

This layered pistachio torte is the perfect dessert for your next get-together. A quick crust, cream cheese filling, and pistachio pudding layer make a delicious treat!
Prep Time 20 minutes
Cook Time 10 minutes
Course Dessert
Cuisine American
Servings 12 people

Equipment

Ingredients
  

  • 1 cup flour
  • ¼ teaspoon salt
  • ½ cup butter soften
  • 2 teaspoons white sugar
  • ¼ cup finely chopped nuts
  • 8 ounces cream cheese softened
  • 1 cup powdered sugar
  • 8 ounces cool whip divided
  • 2 packages pistachio pudding 3.4 ounces
  • 2 ½ cups milk

Instructions
 

  • Preheat the oven to 350 degrees. Prepare a 9 by 13 inch baking pan with cooking spray and set aside.
  • In a medium bowl, cream the butter until smooth. Add flour, white sugar, salt, and chopped nuts. Mix until well combined. Press into the prepared baking pan.
  • Bake for 8-12 minutes, until the crust is lightly browned. Allow to cool.
  • Once the crust has cooled, Add the cream cheese to a large bowl and cream with a hand mixer. Add powdered sugar and 4 ounces of the cool whip. Spread on top of the cooled crust.
  • Combine the pudding with the milk and mix according to package directions. Spread the pudding on top of the cream cheese layer. Allow to set just a few minutes.
  • Spread the remaining cool whip on top of the pudding and top with additional nuts if you care to. Serve up immediately or this dessert is a great one that can be prepped a few days ahead.
Keyword cream cheese, dessert, pistachio, pistachio pudding, tortes
Tried this recipe?Let us know how it was!

Other favorite desserts

Check out my baking page for all sorts of treats. But let me share some of my favorites below!
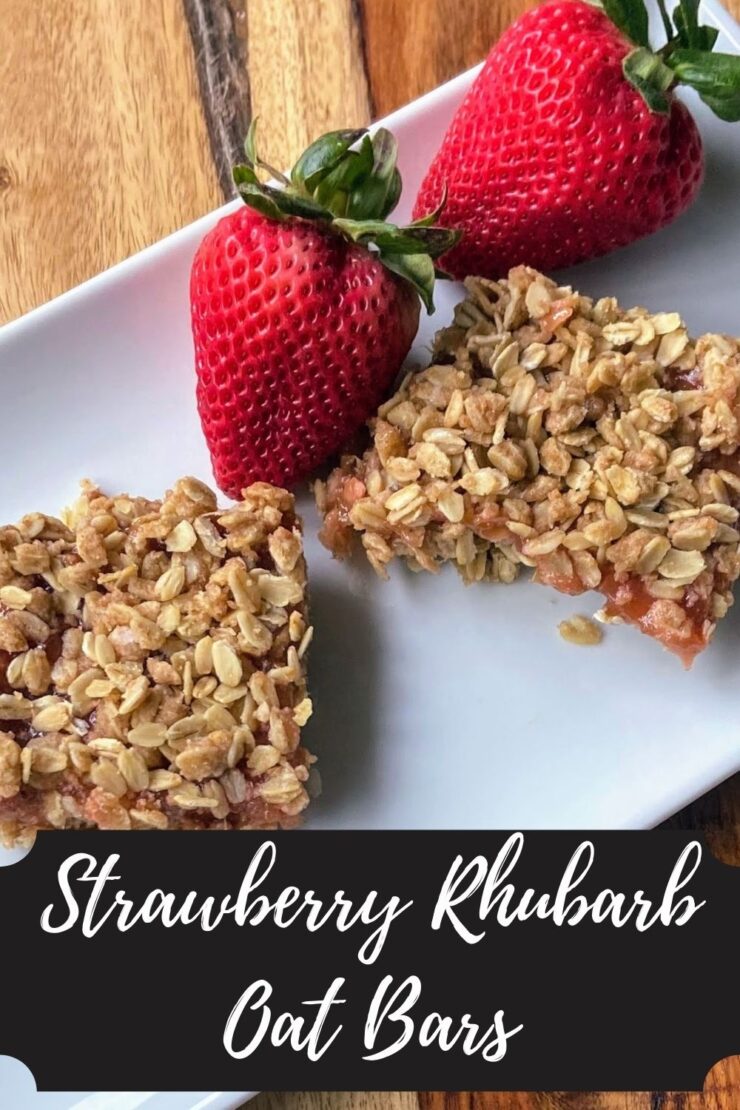
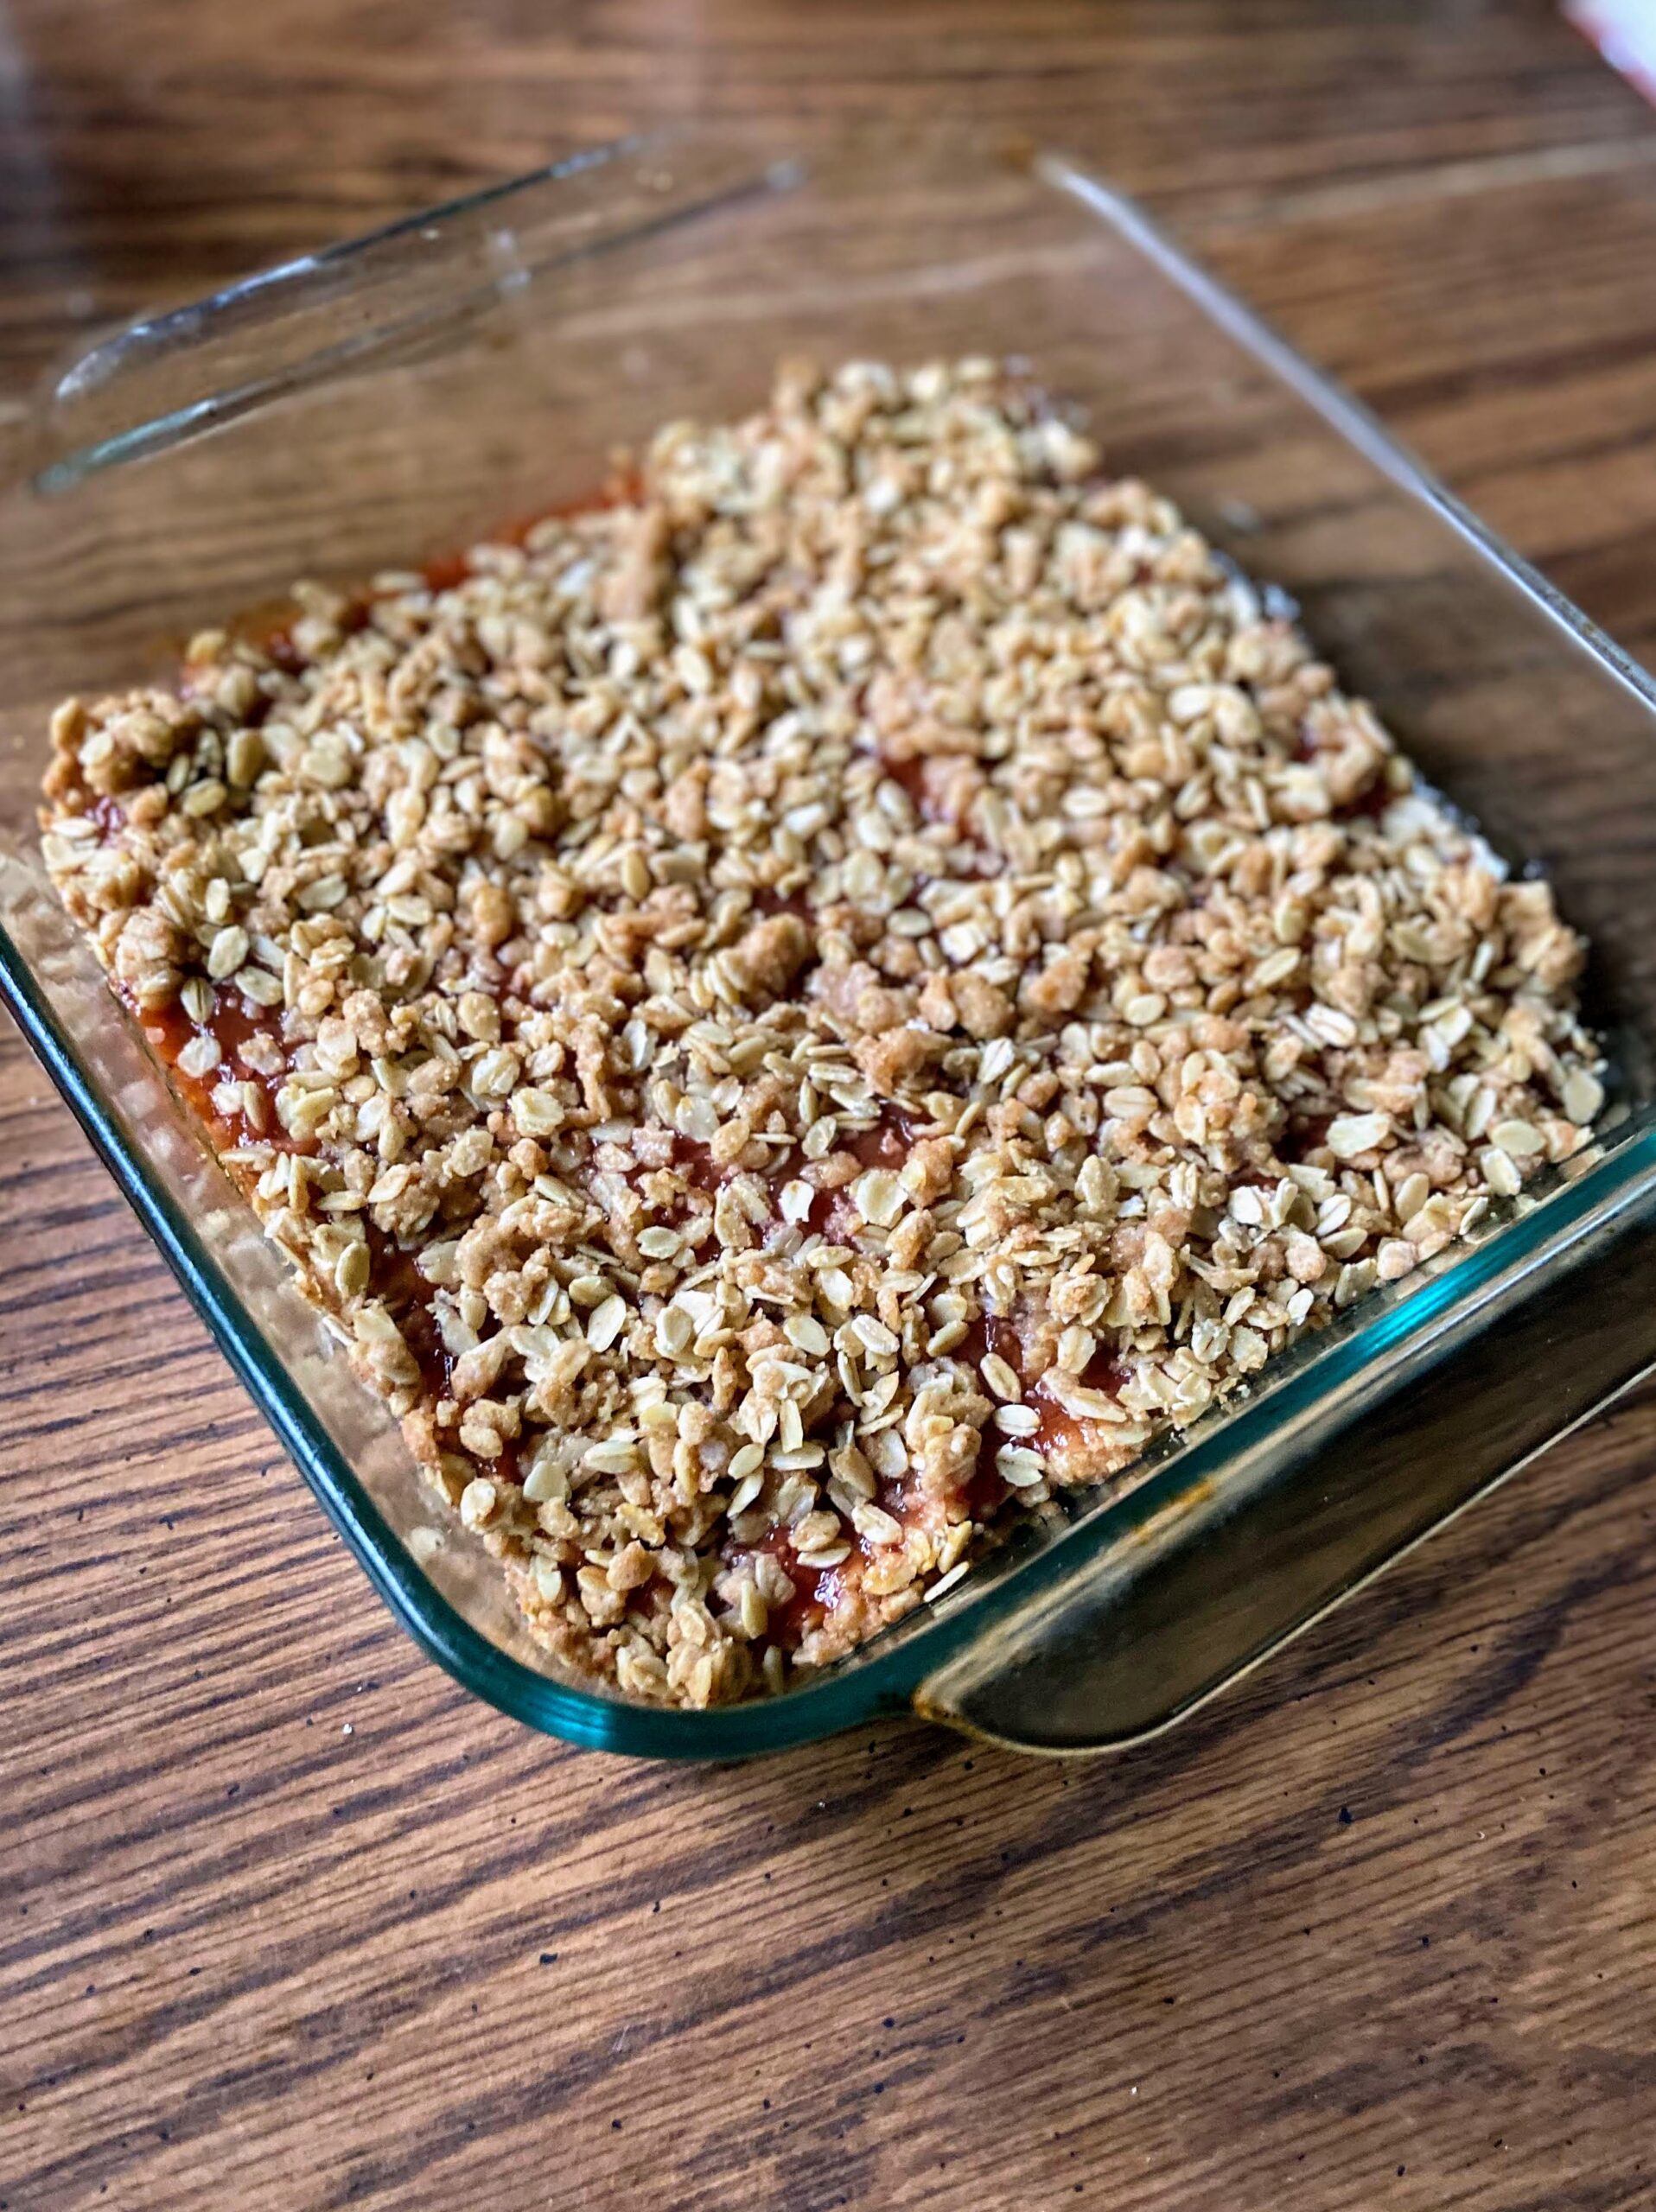
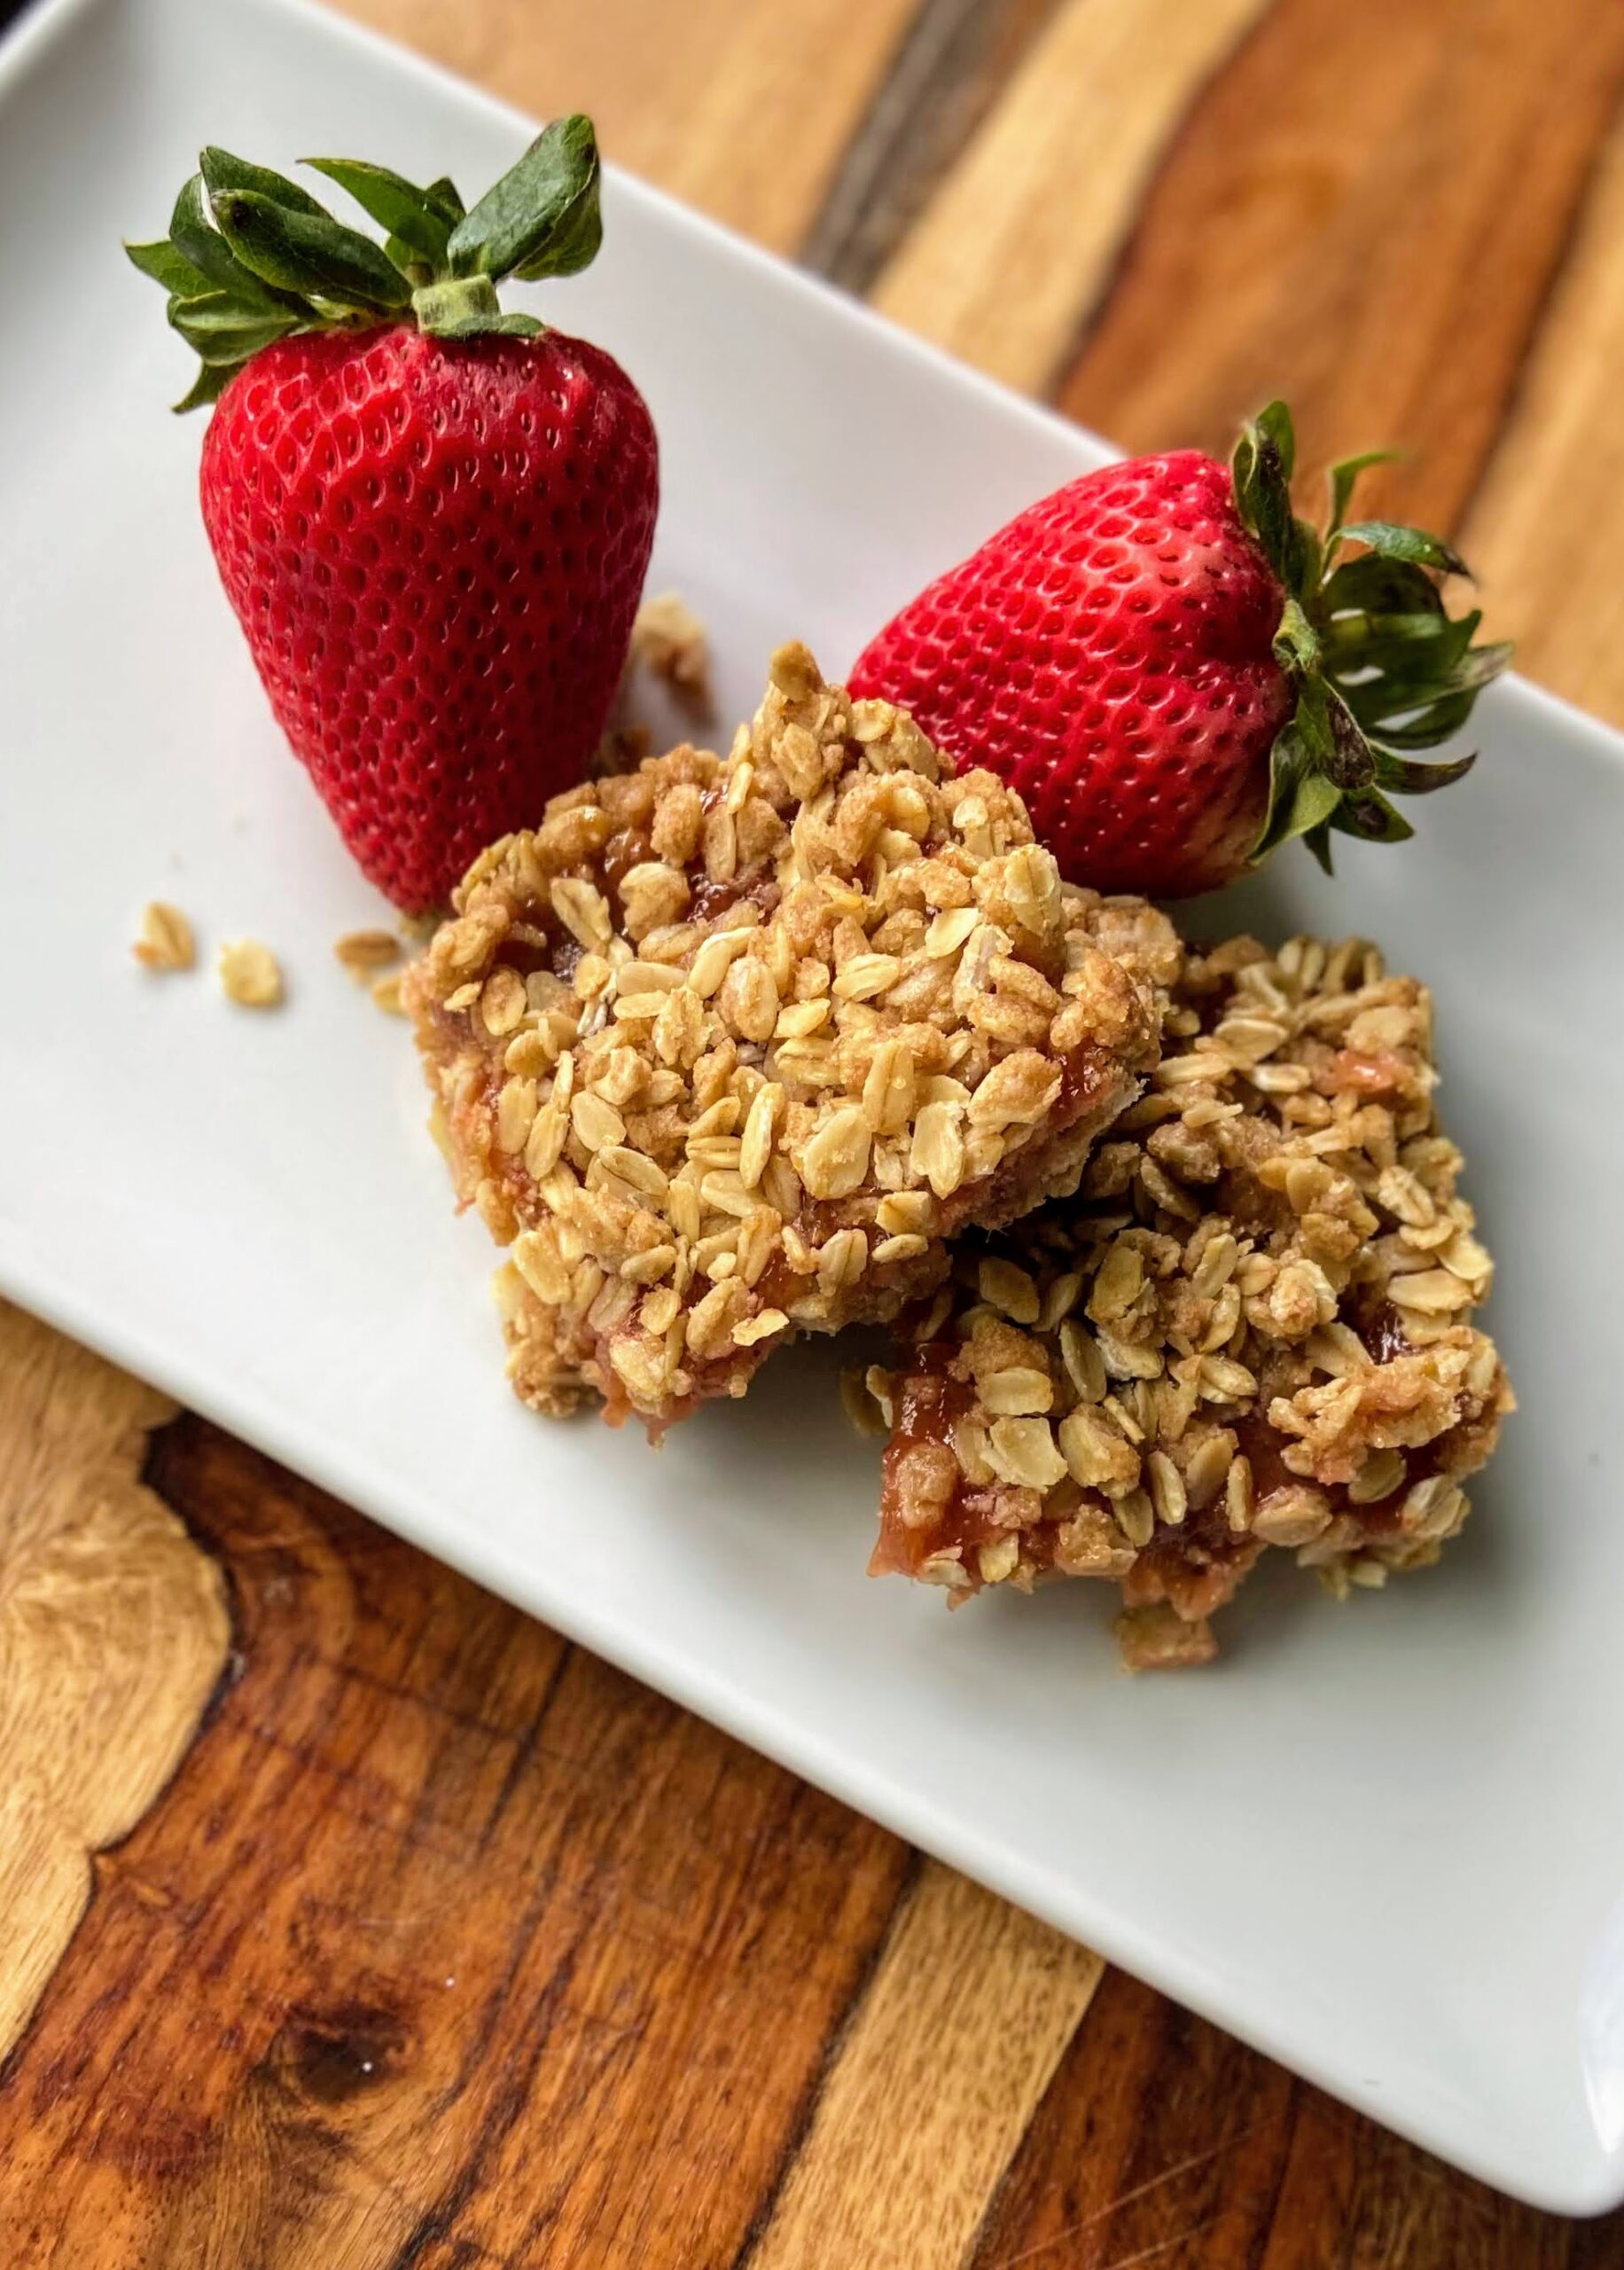
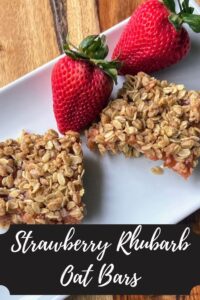
Strawberry Rhubarb Oat Bars

Are you ready for some Strawberry Rhubarb Oat Bars? 

Springtime has finally arrived in Wisconsin, and I am here for it. Unfortunately, my rhubarb is JUST starting to be ready for harvesting. (Just started growing it? Get all the information at the University of Minnesota Extension). Luckily, I have an awesome neighbor just down the road that had an abundance of rhubarb and she invited me over to harvest some. 

Now I would normally bake a pie first for the Mr. but I wanted to try something new. I happened to have some strawberries in the fridge and Strawberry Rhubarb Oat Bars seemed to be the ticket. I tried to cut back a little on the sugar and butter and subbed in whole wheat flour and the results were perfect. The Mr. promptly ate two servings and said they were great! 

Ready to get baking? Let’s Go!

Your Ingredients 

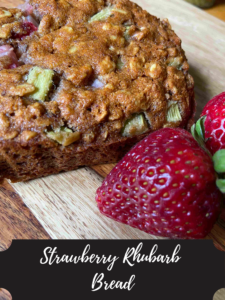
  • 1 ½ cups chopped fresh or frozen rhubarb 
  • ½ cup chopped fresh strawberries 
  • ⅔ cup packed brown sugar, divided
  • 3 tablespoons water, divided
  • 1 teaspoon lemon juice 
  • 1 tablespoon cornstarch 
  • ¾ cup whole wheat flour
  • 1 ½ cups old fashioned oats
  • ½ teaspoon salt
  • 5 tablespoons butter, melted

Your Steps to Strawberry Rhubarb Oat Bars 

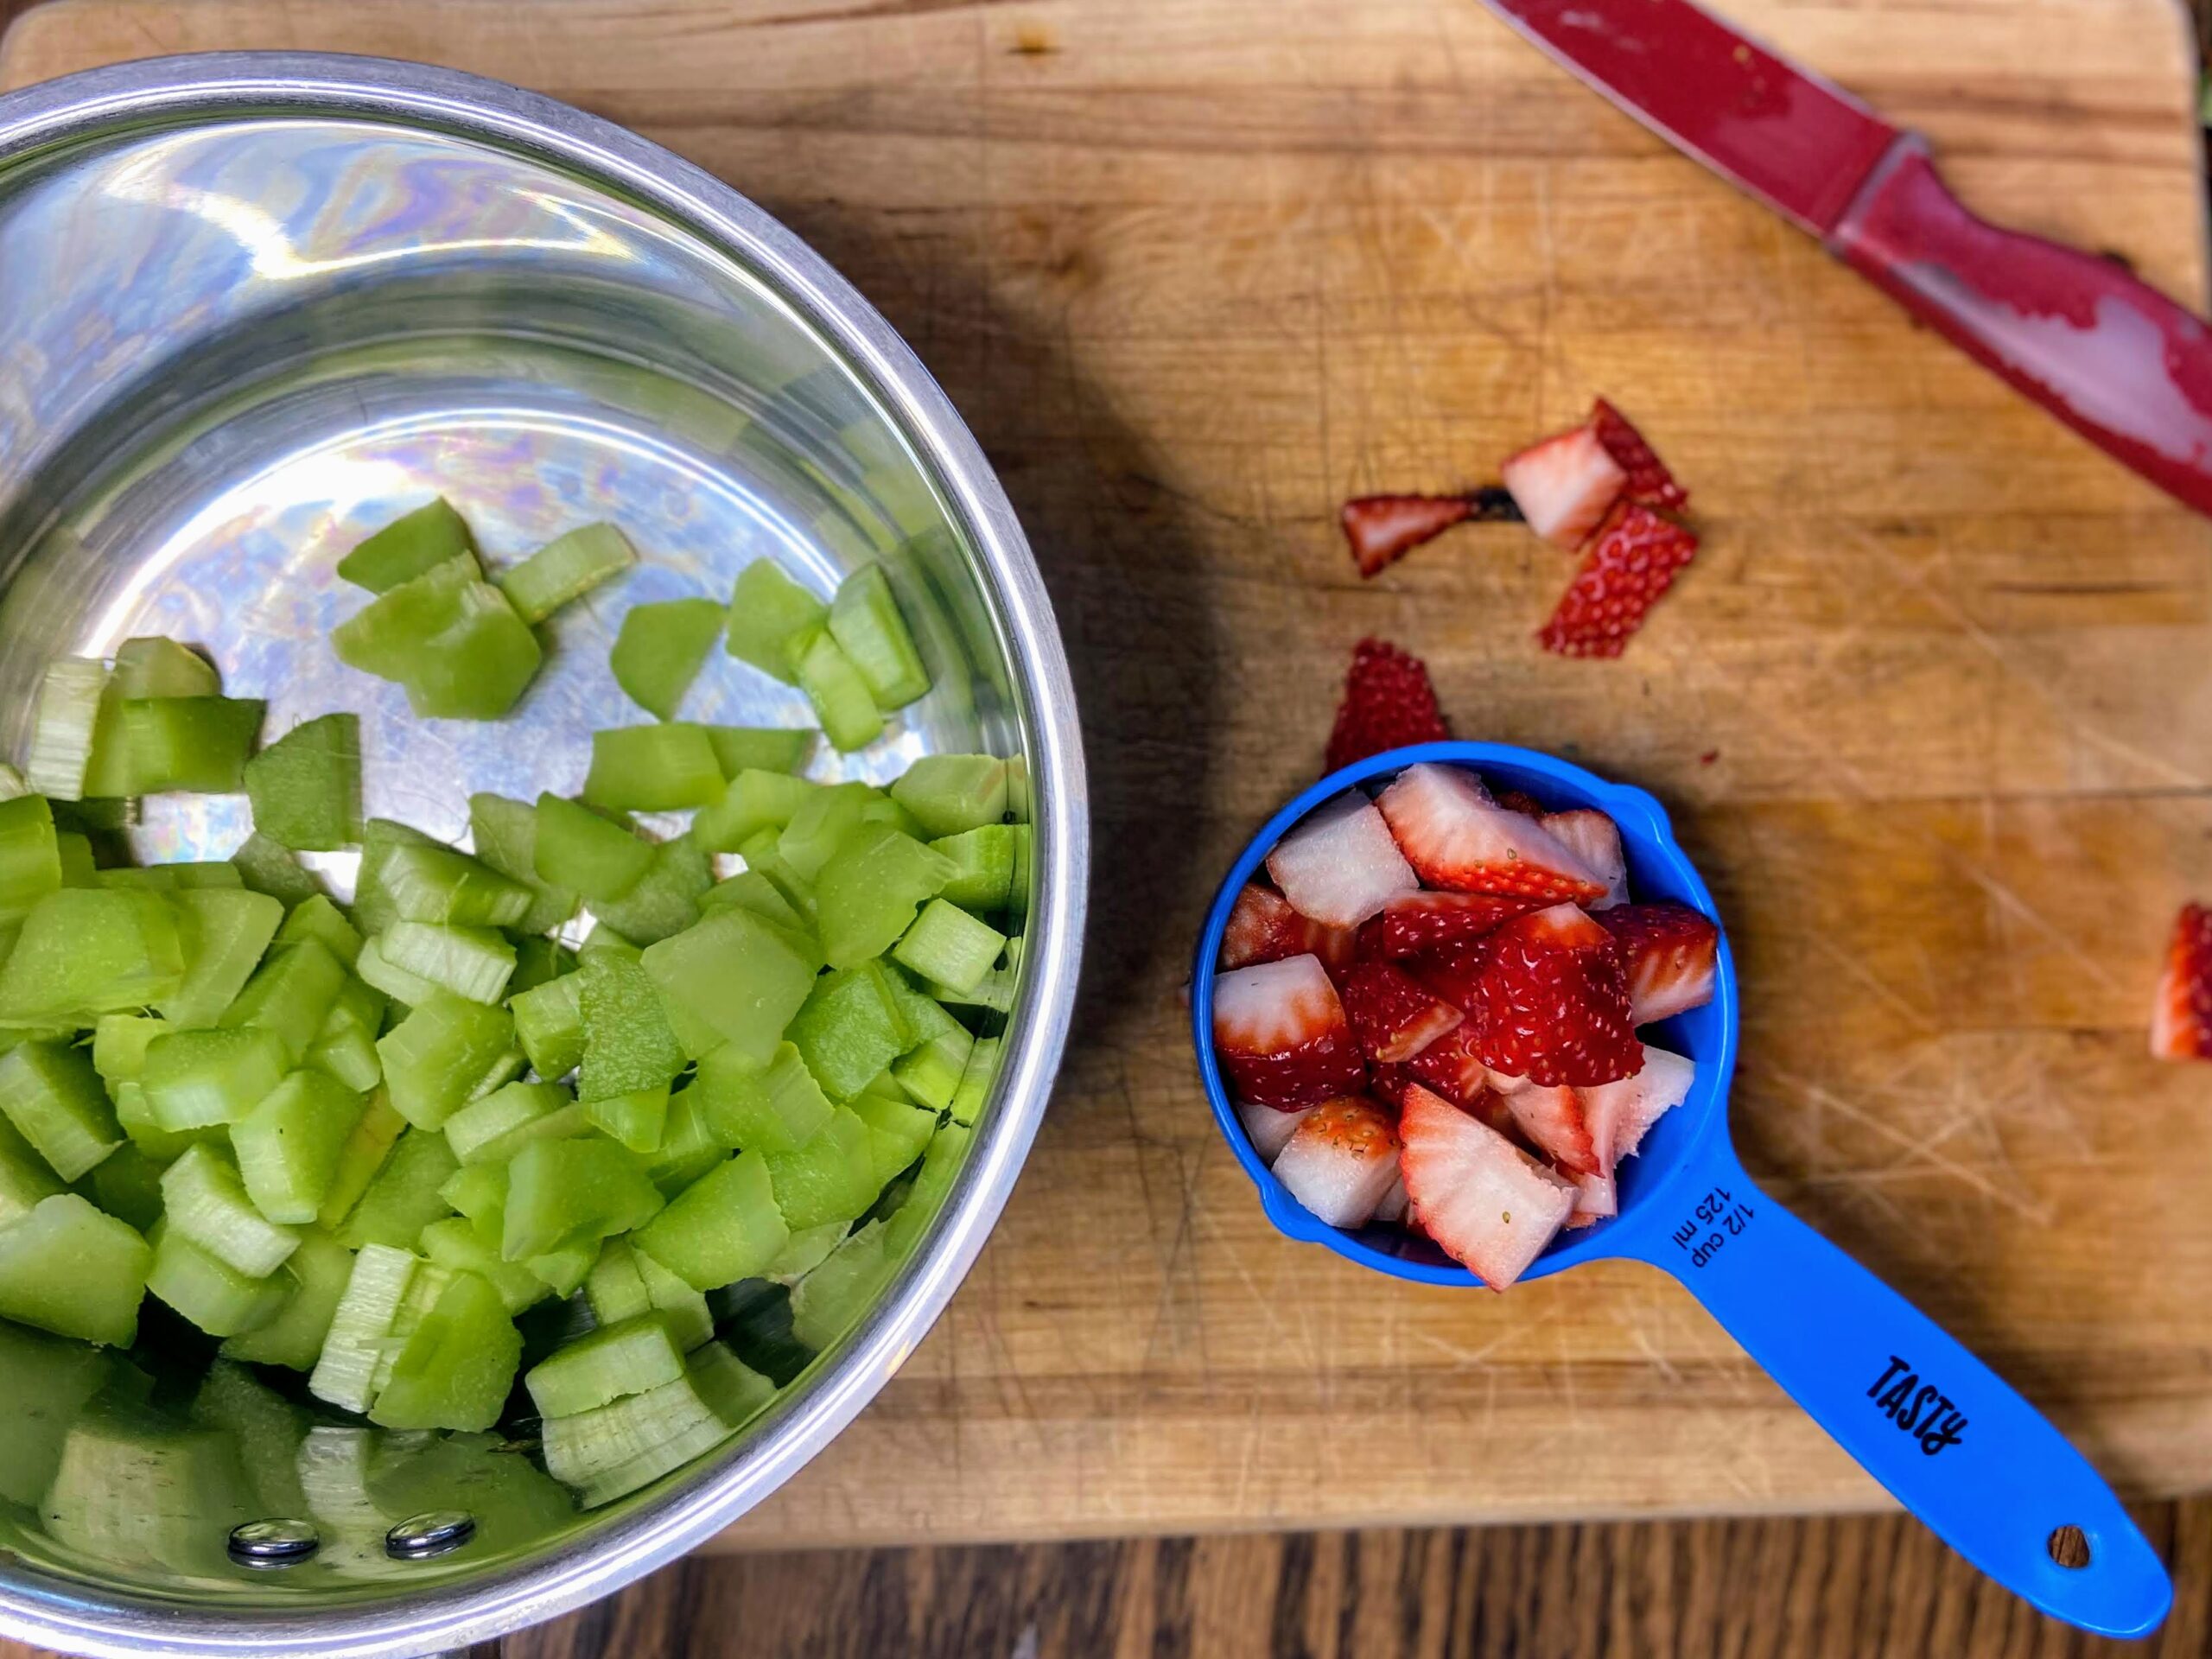
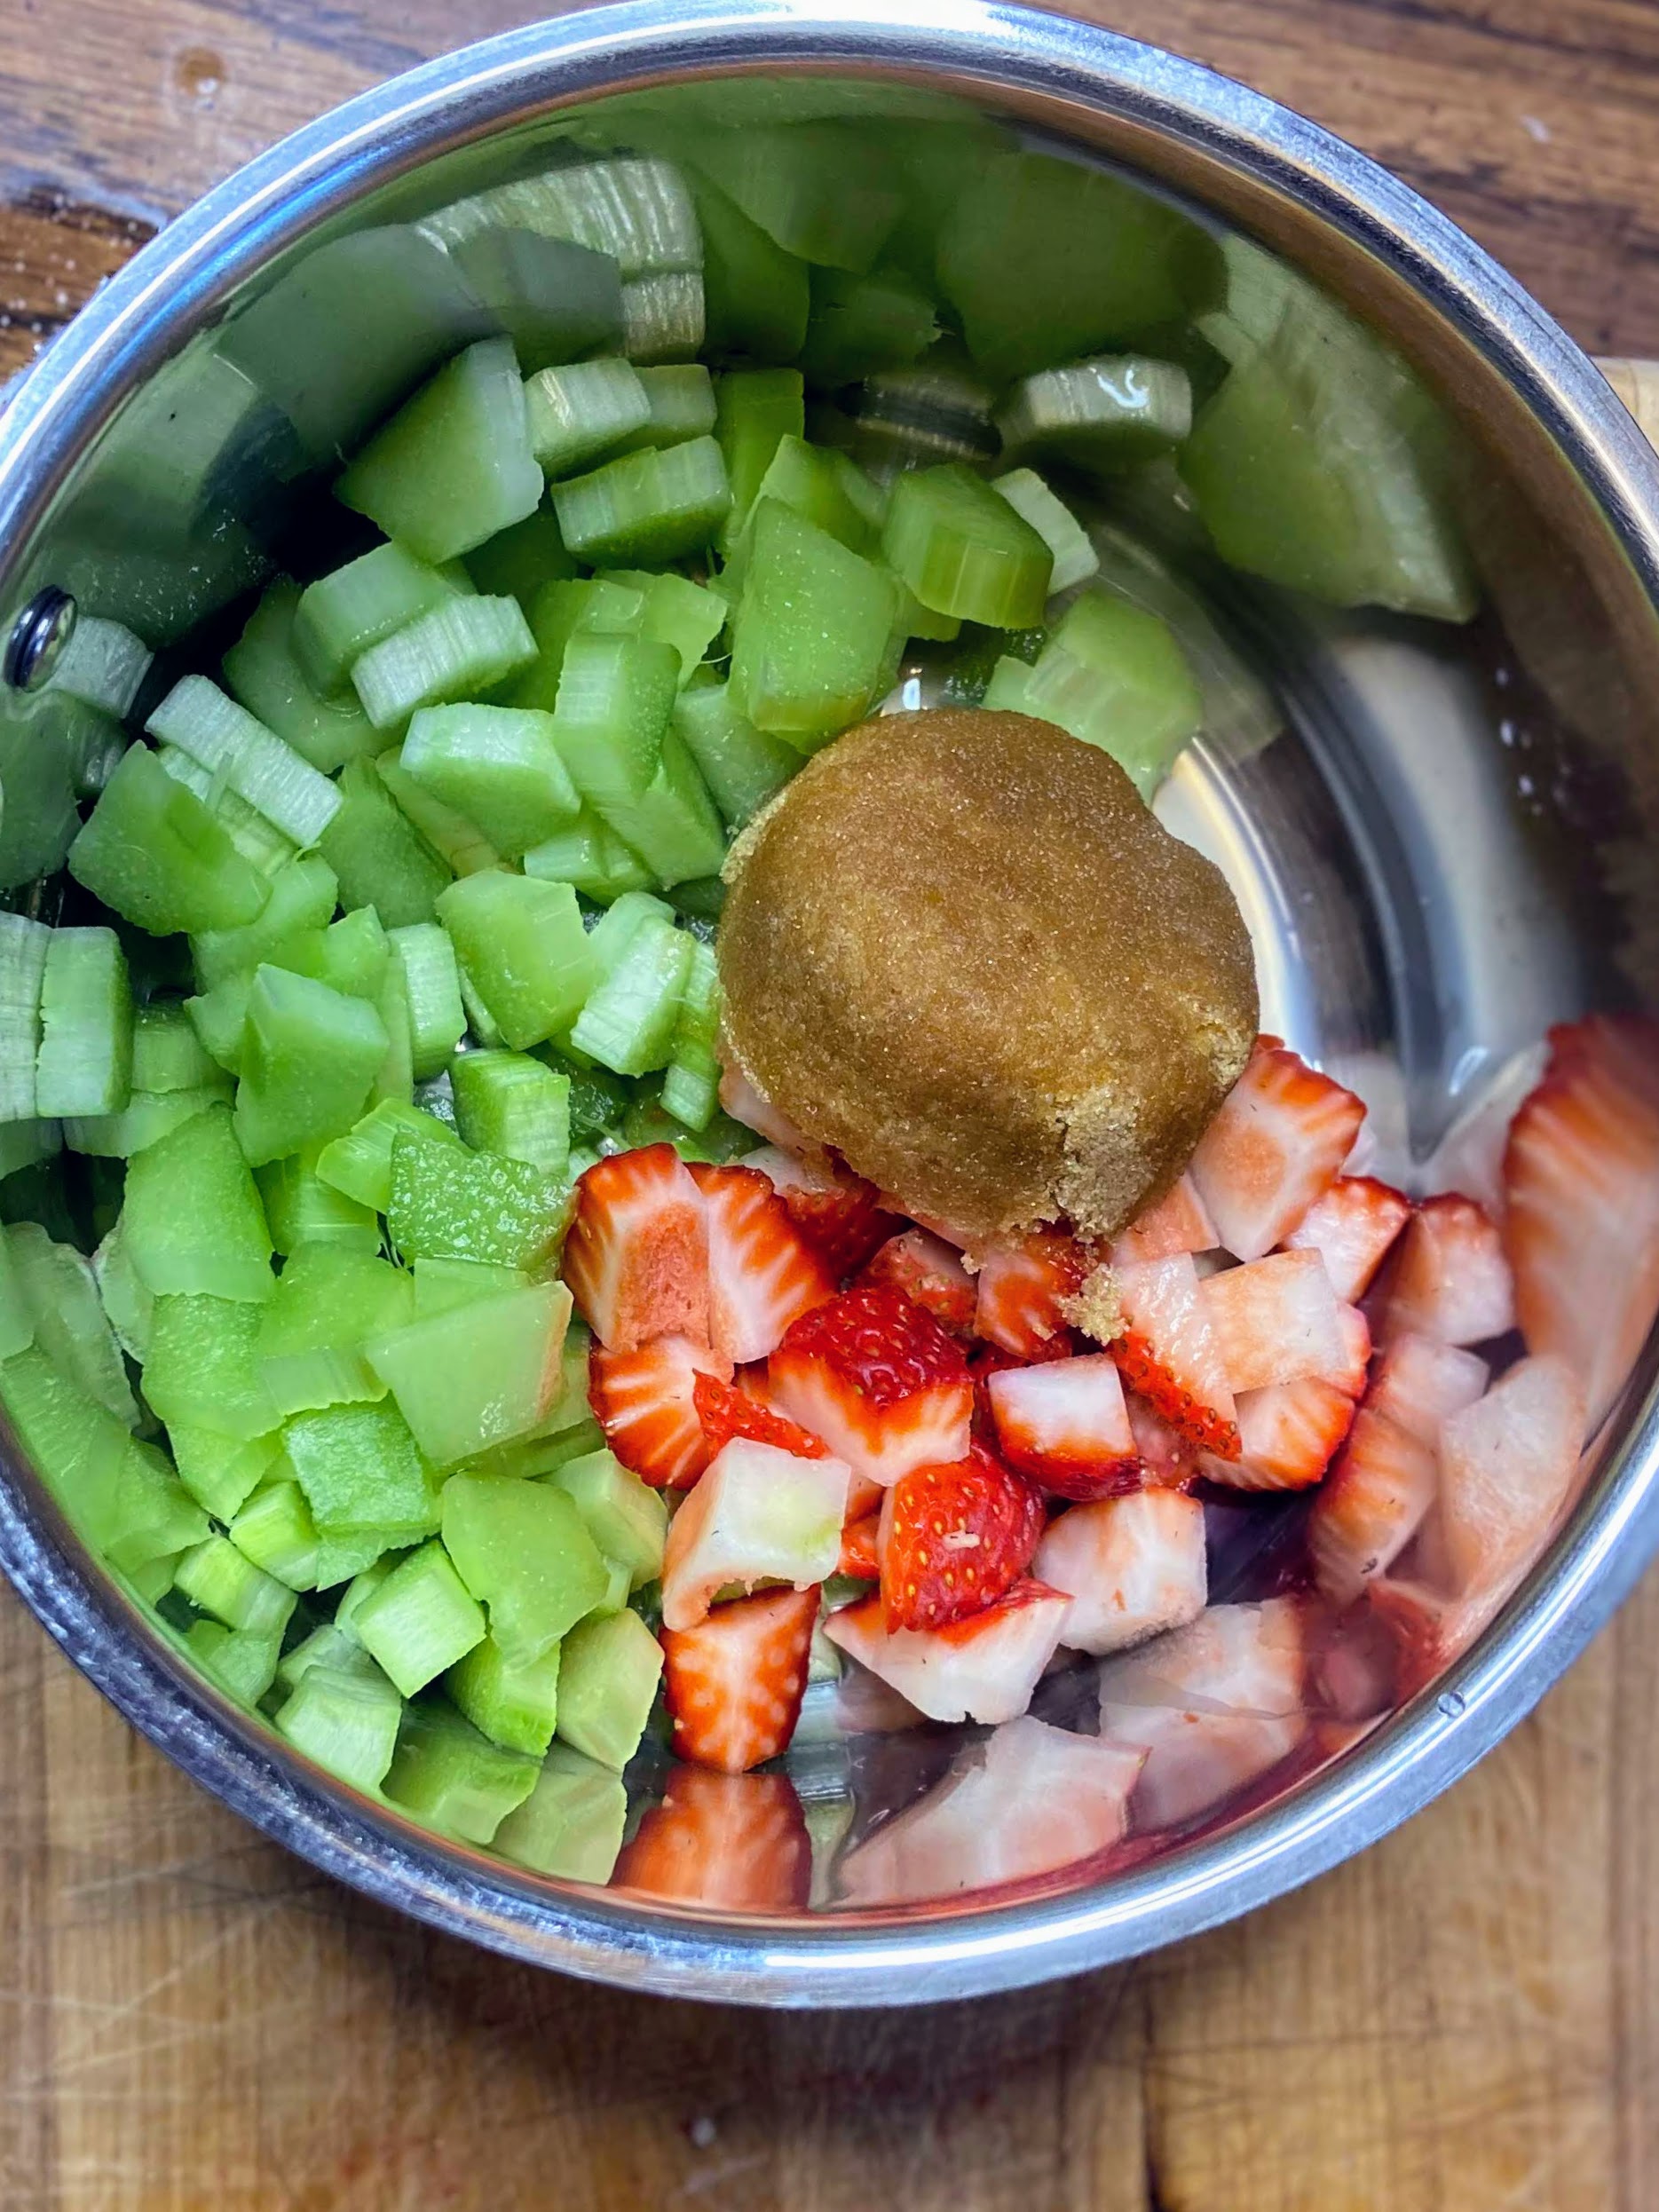
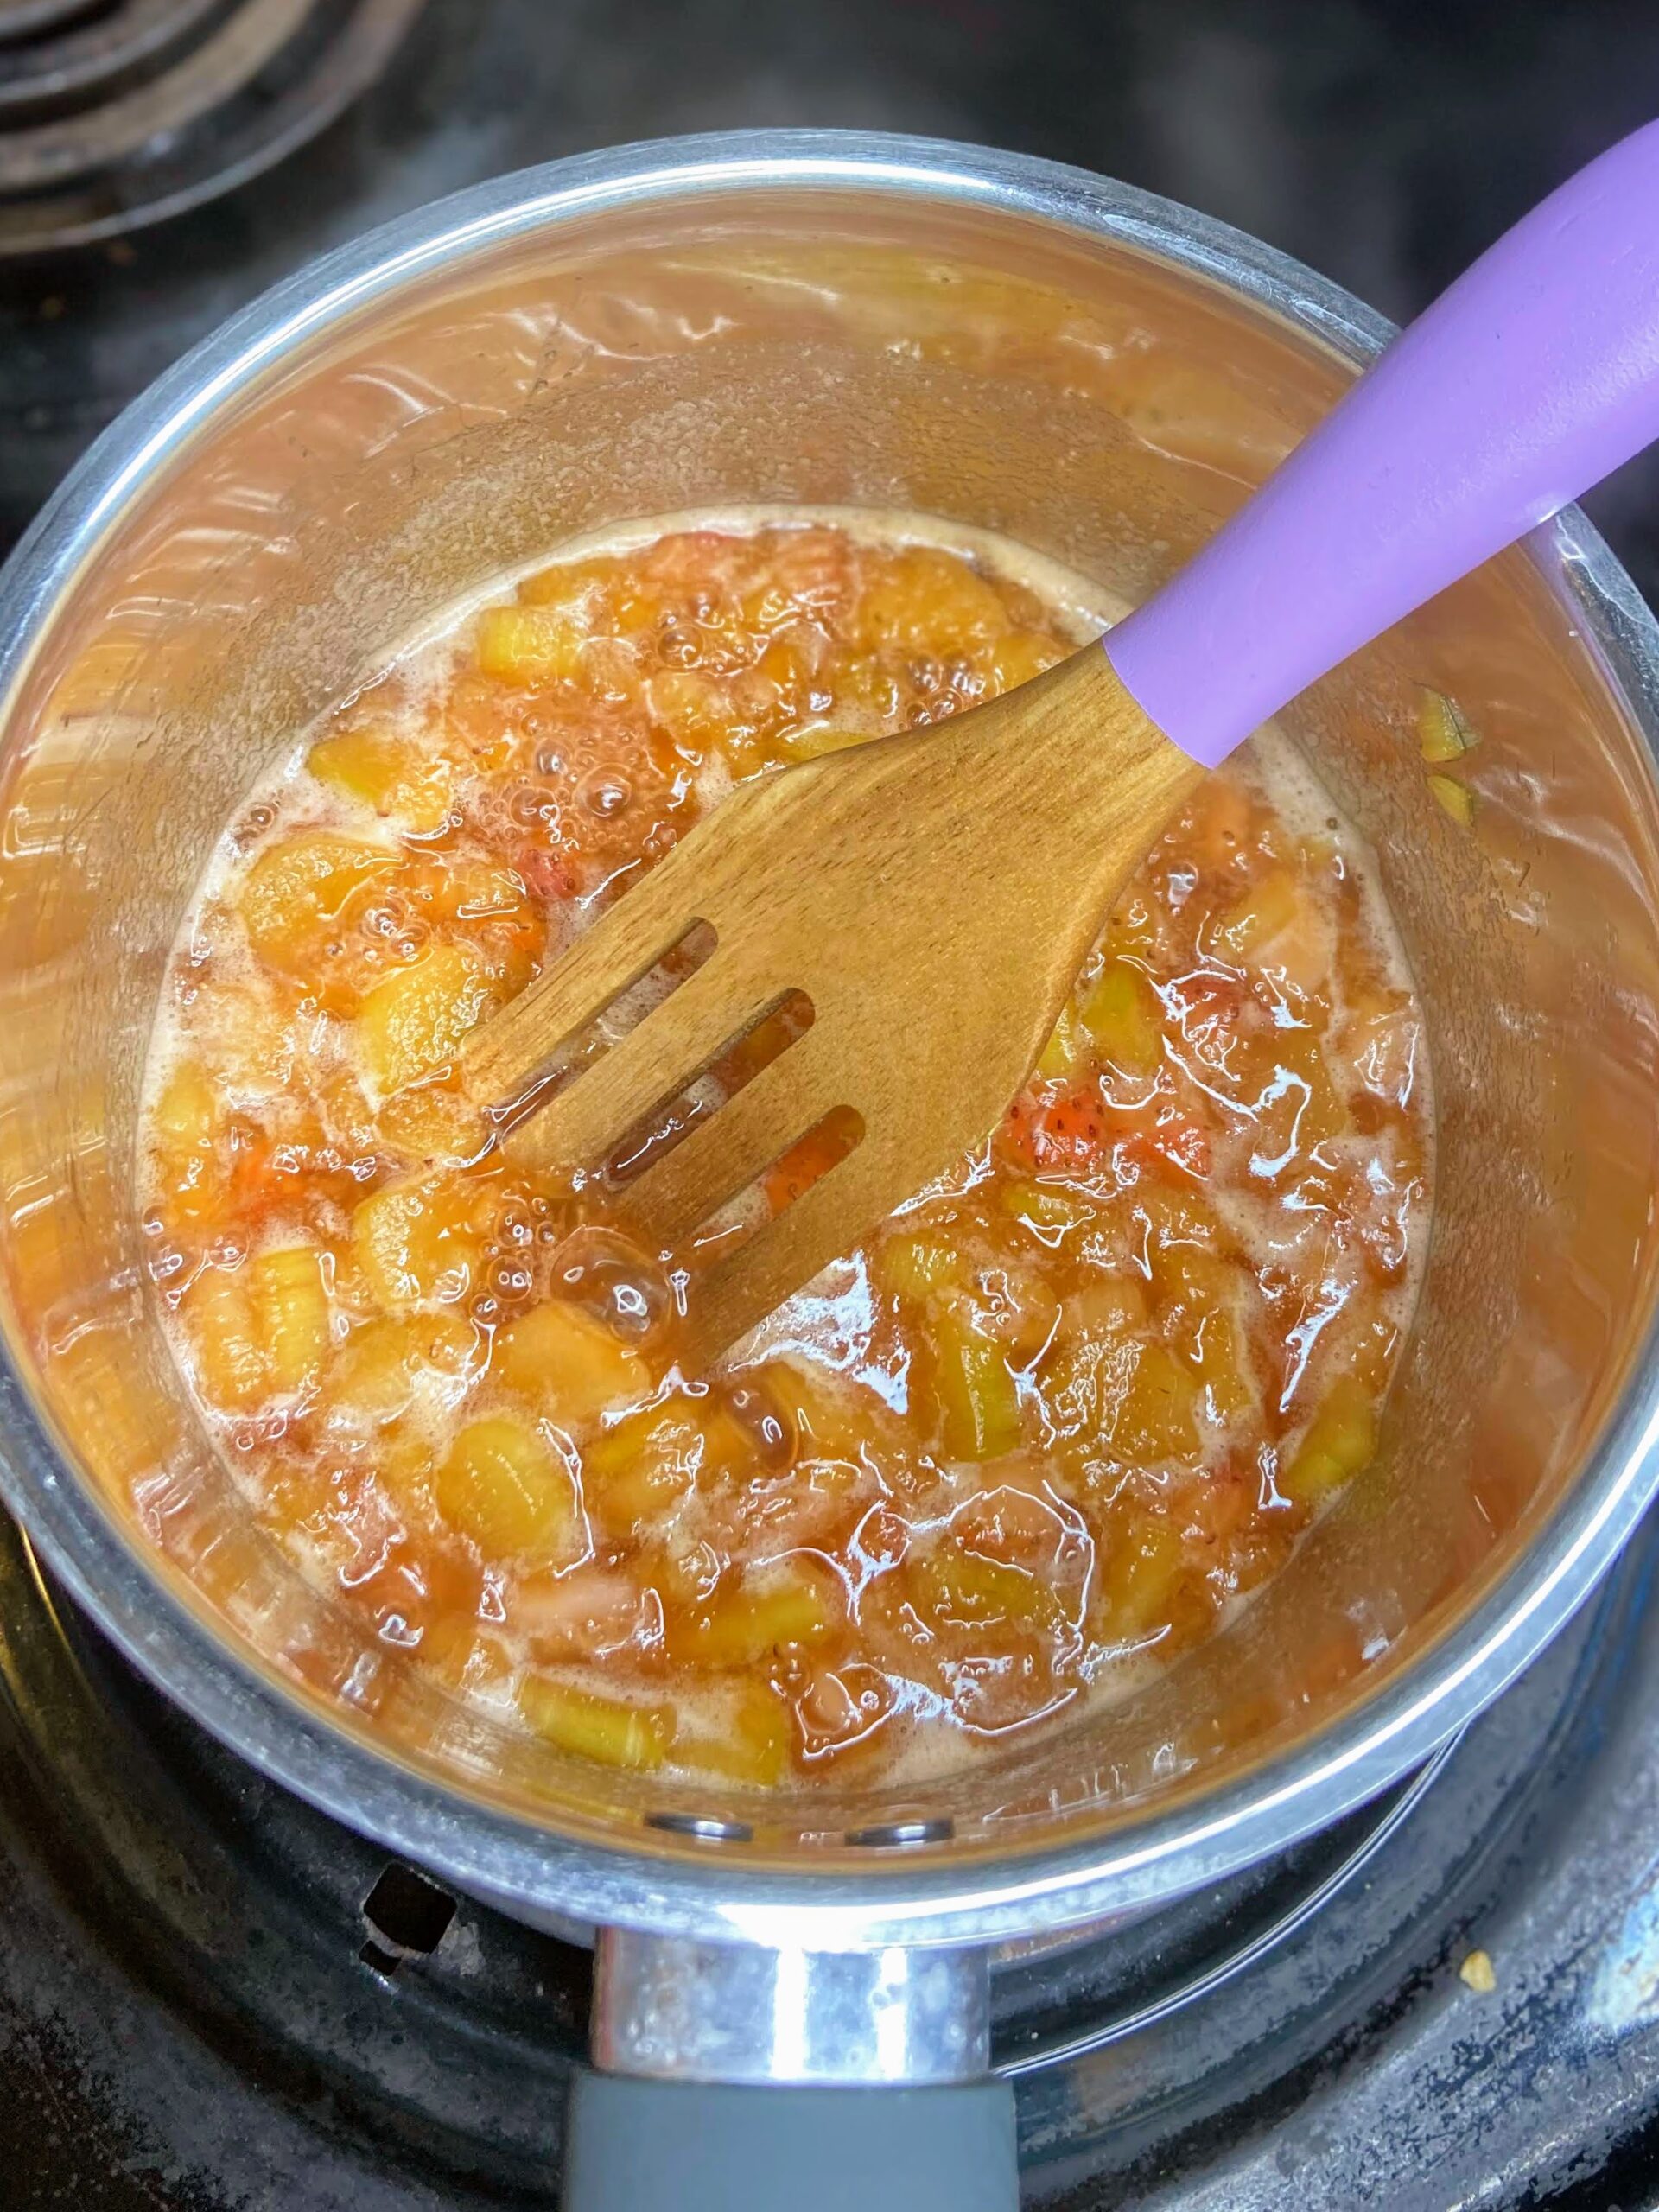
Preheat the oven to 375 degrees. In a large saucepan, combine the rhubarb, strawberries, ⅓ cup brown sugar, 2 tablespoons water, and lemon juice. Bring to a boil. Reduce heat to medium and cook for 4-5 minutes, stirring often, until rhubarb is soft. 

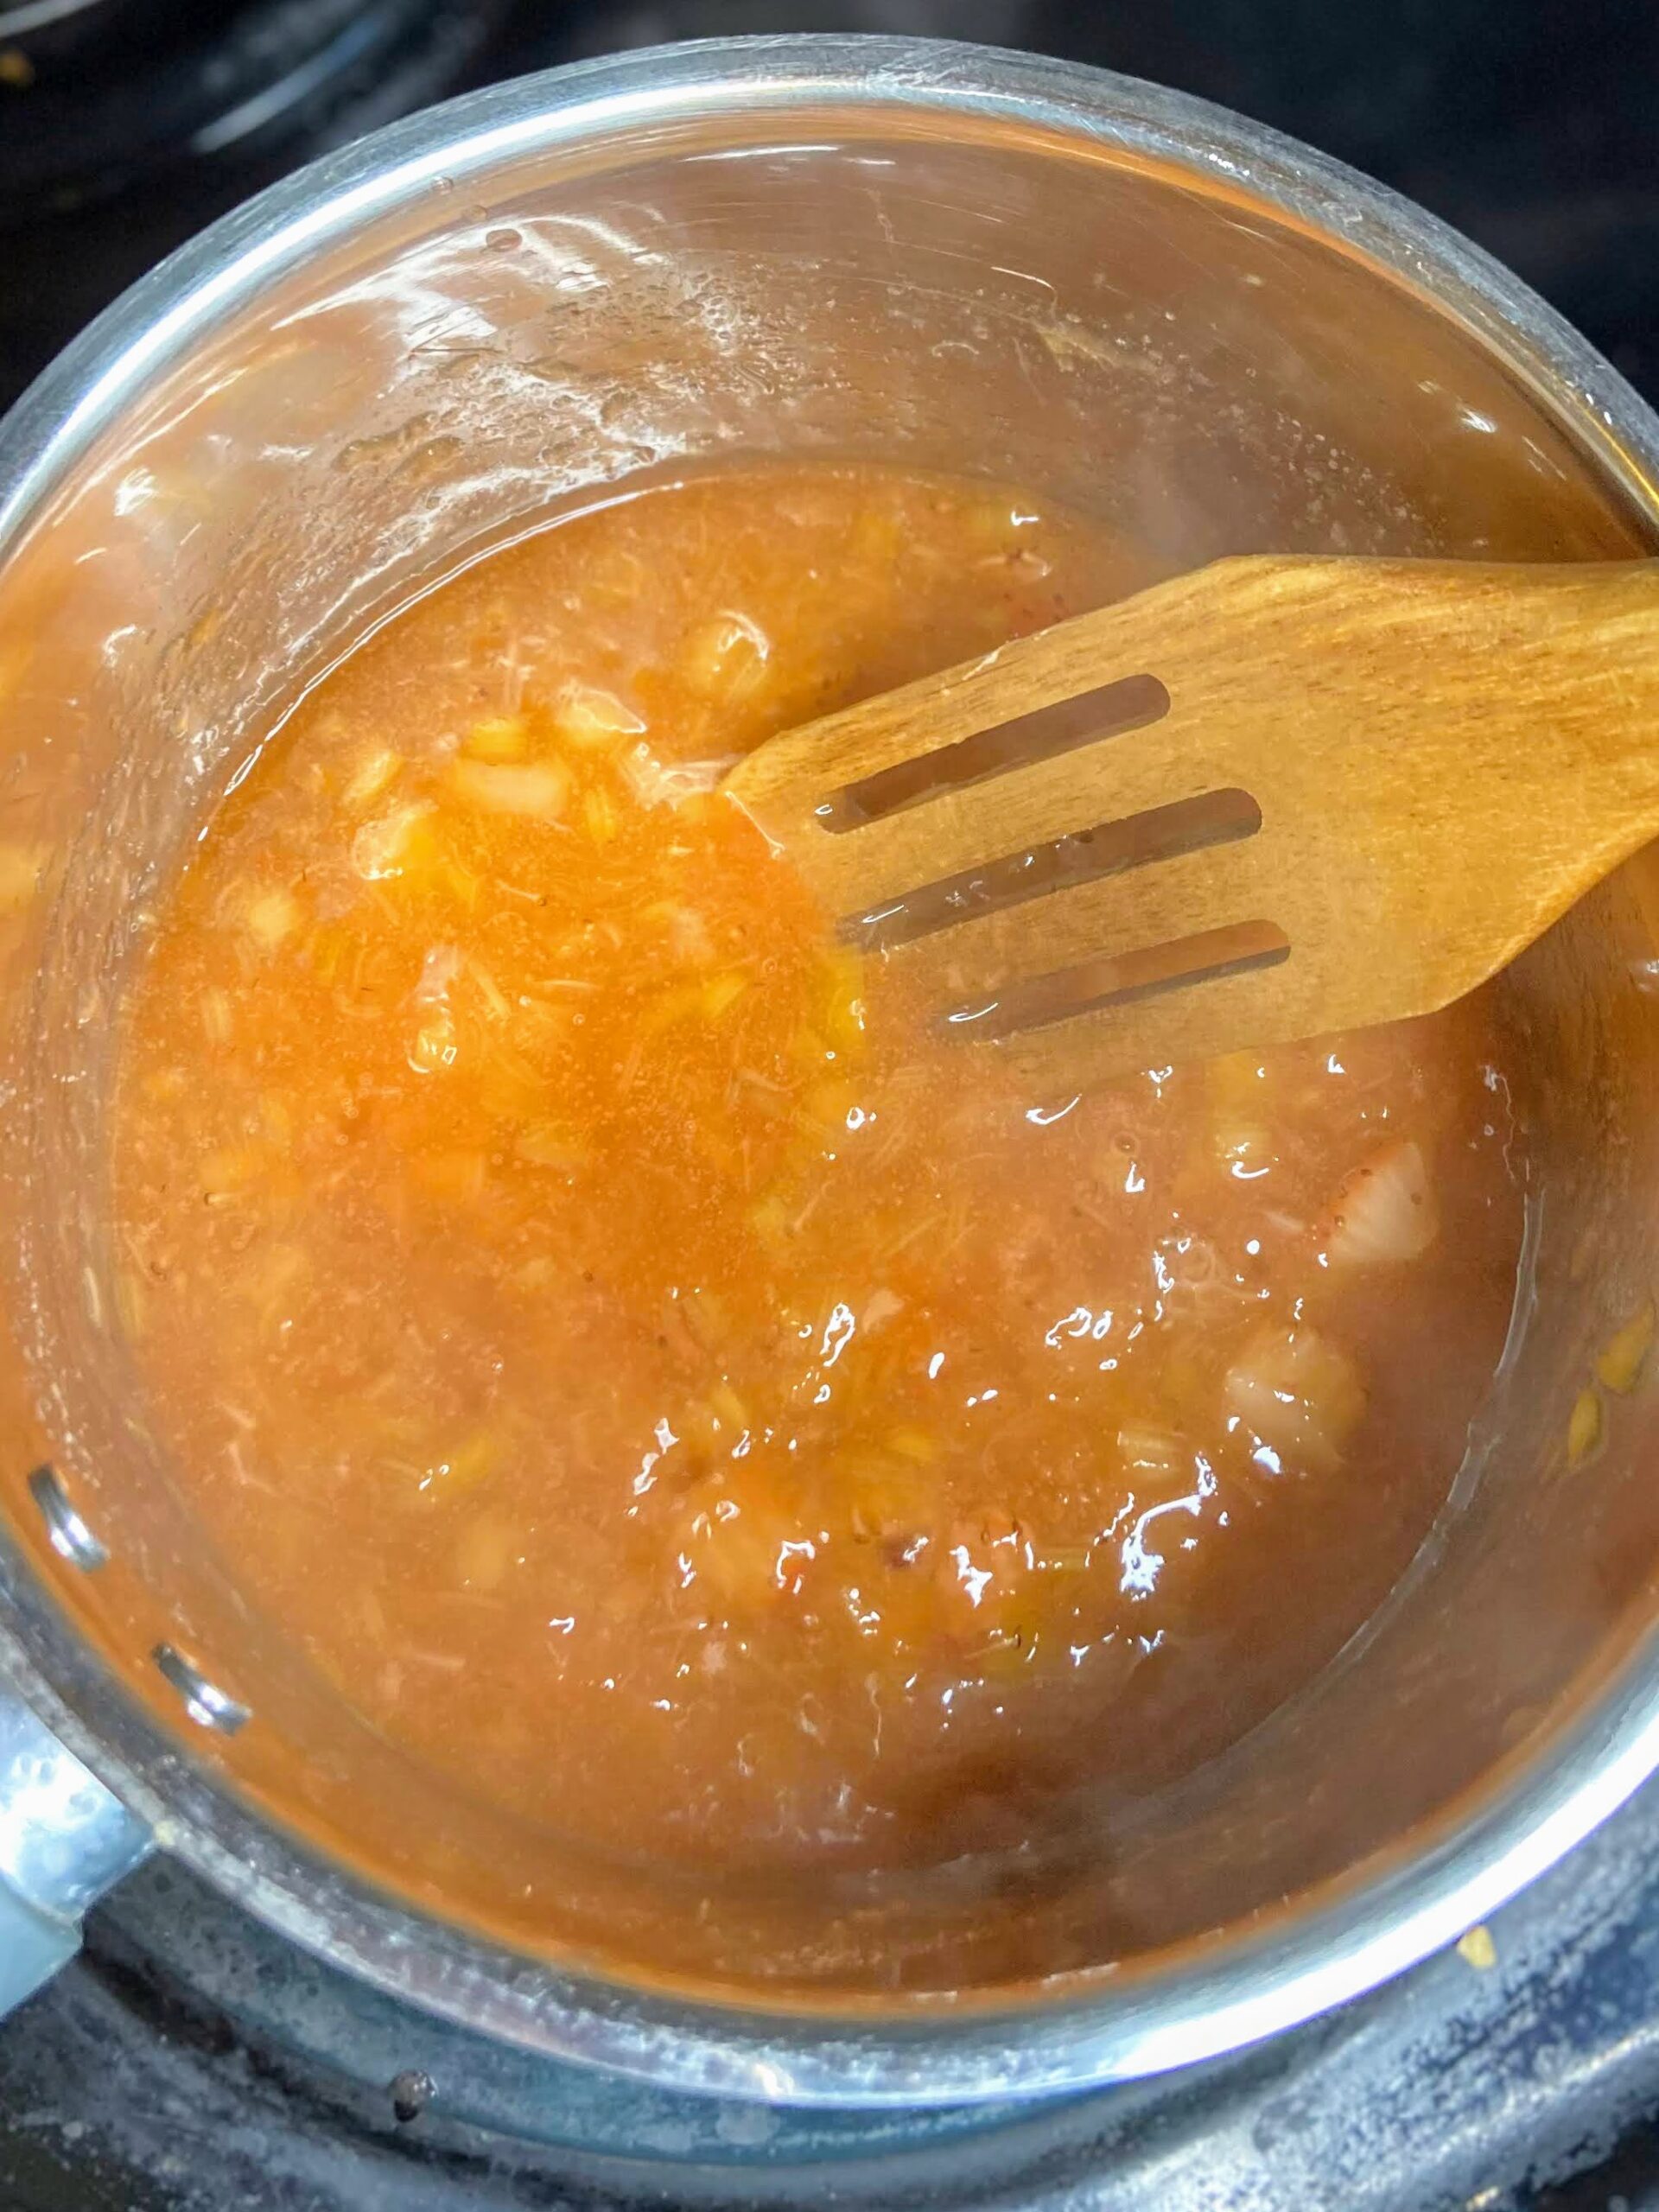
Combine cornstarch and the remaining tablespoon of water. Gradually stir into the rhubarb mixture over medium heat. Bring to a boil, cooking and stirring for 2-3 minutes, until thickened. Remove from heat and set aside. 

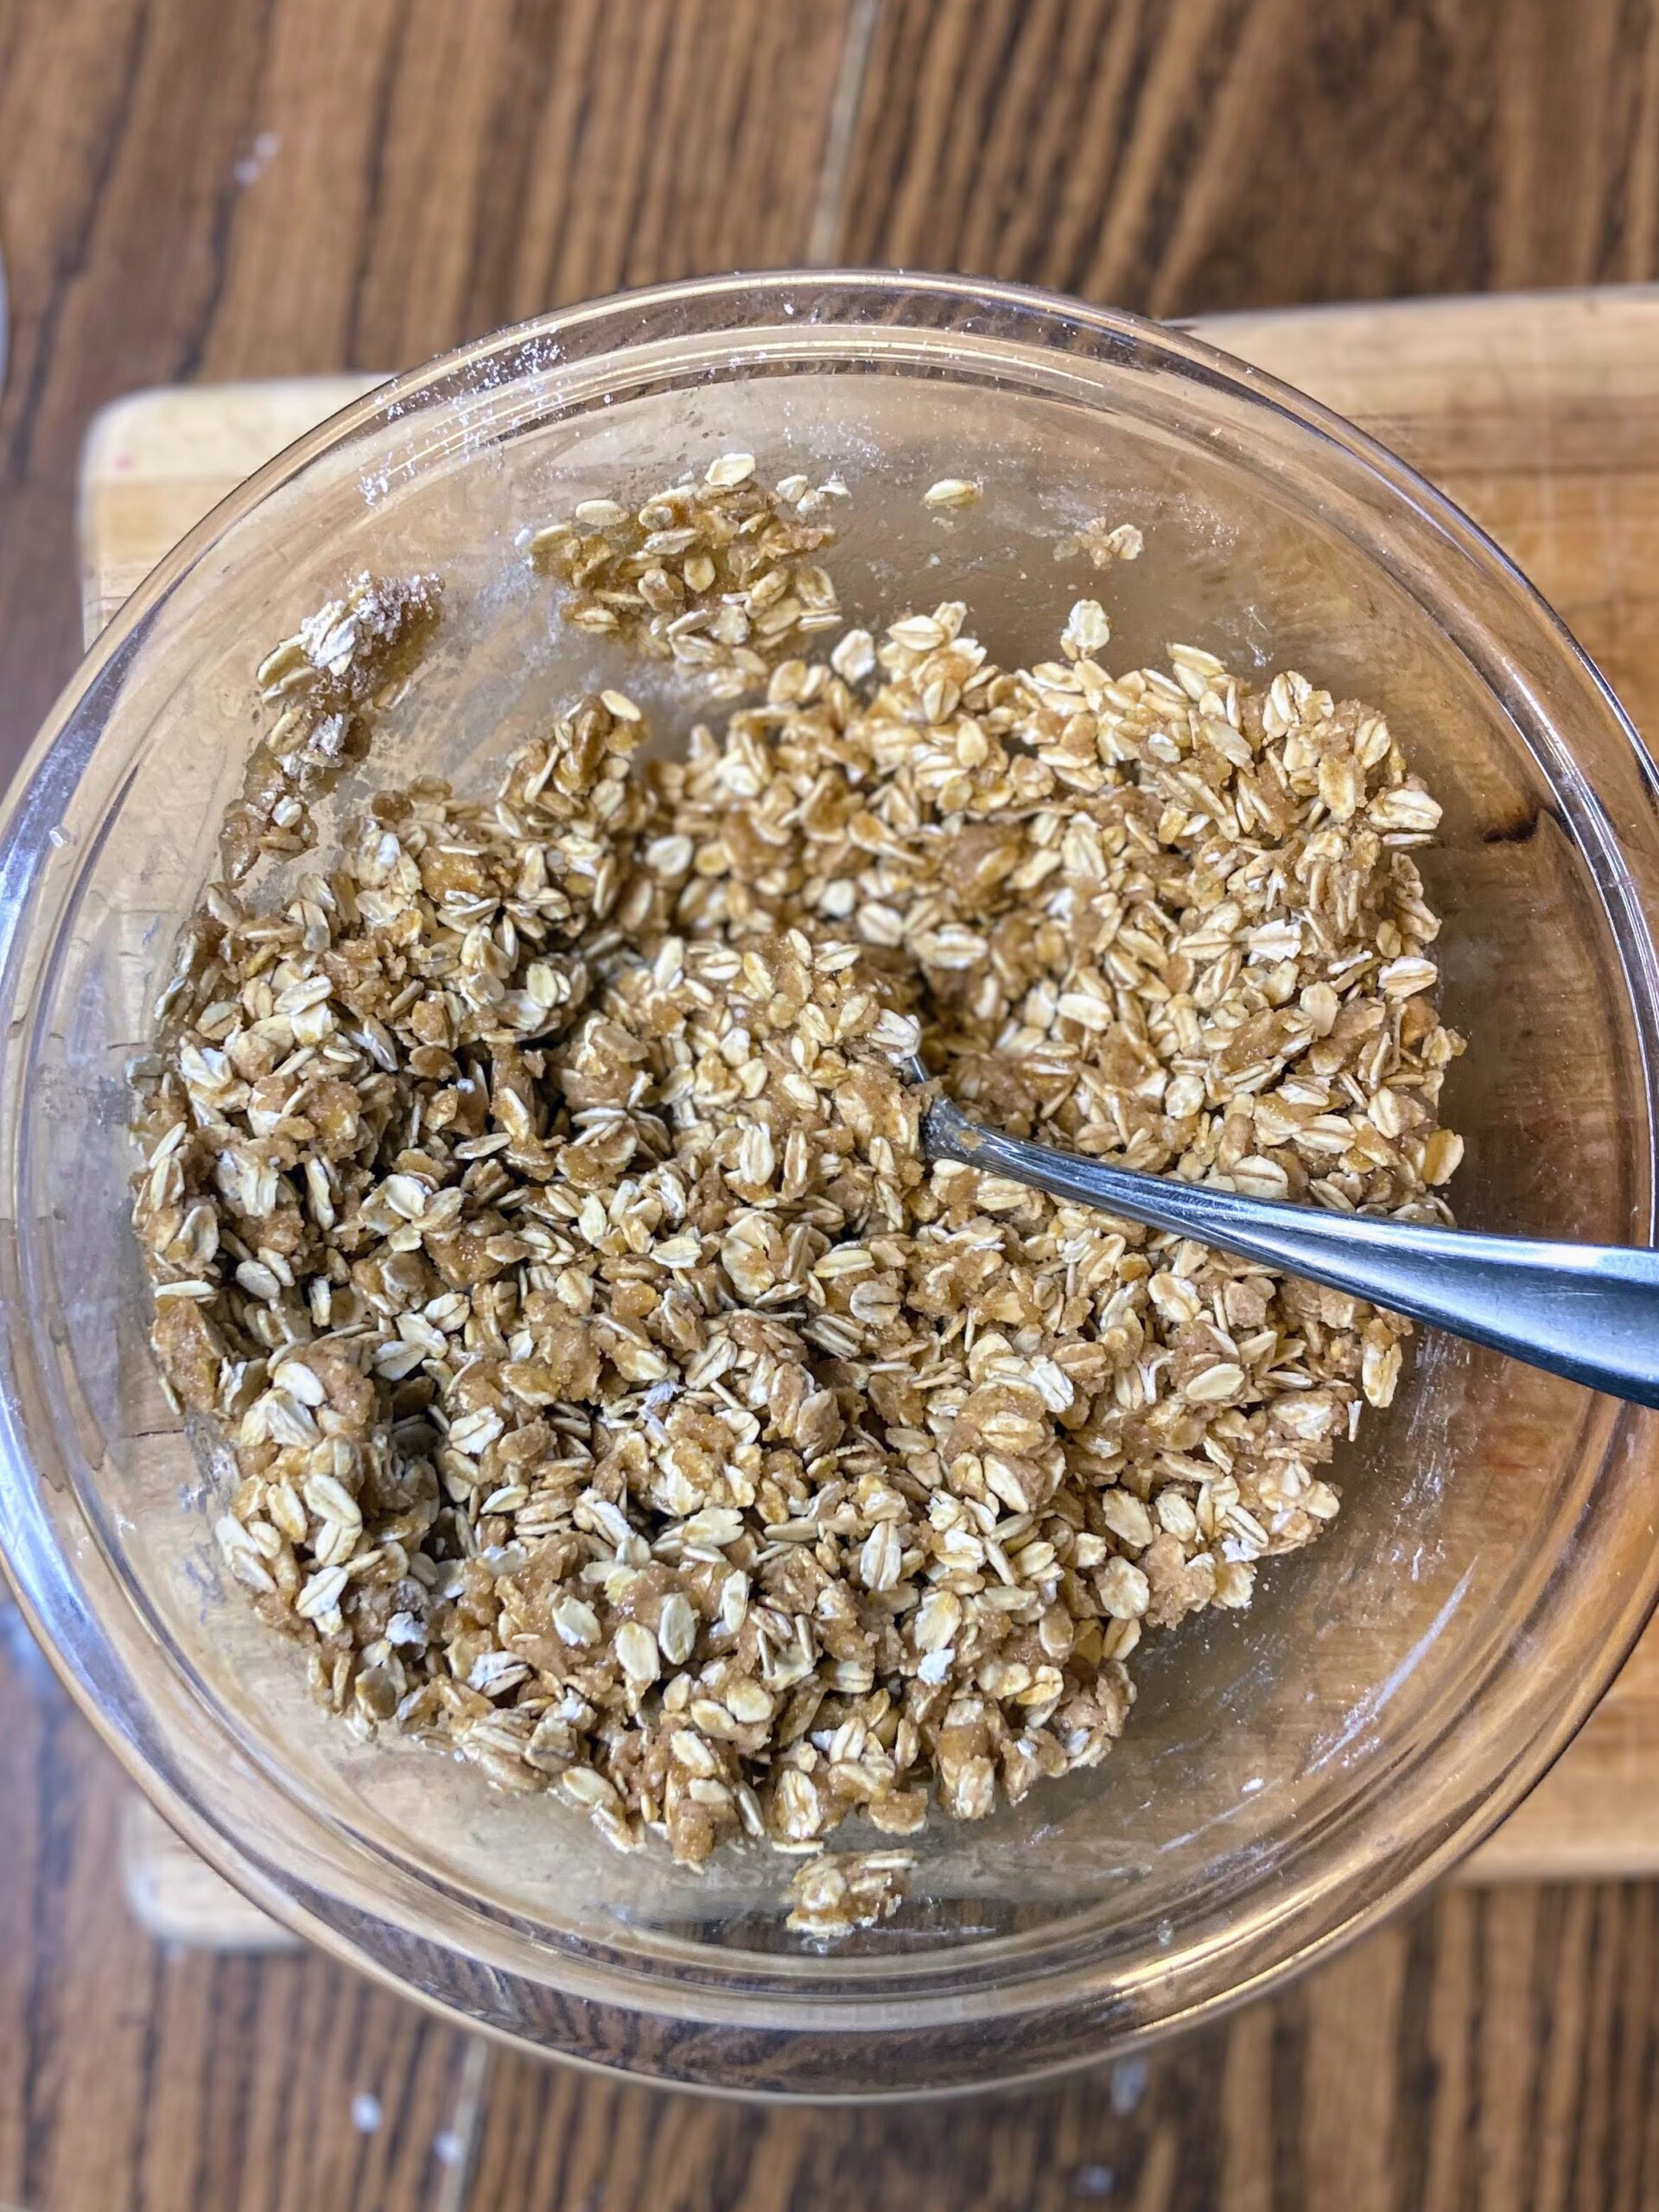
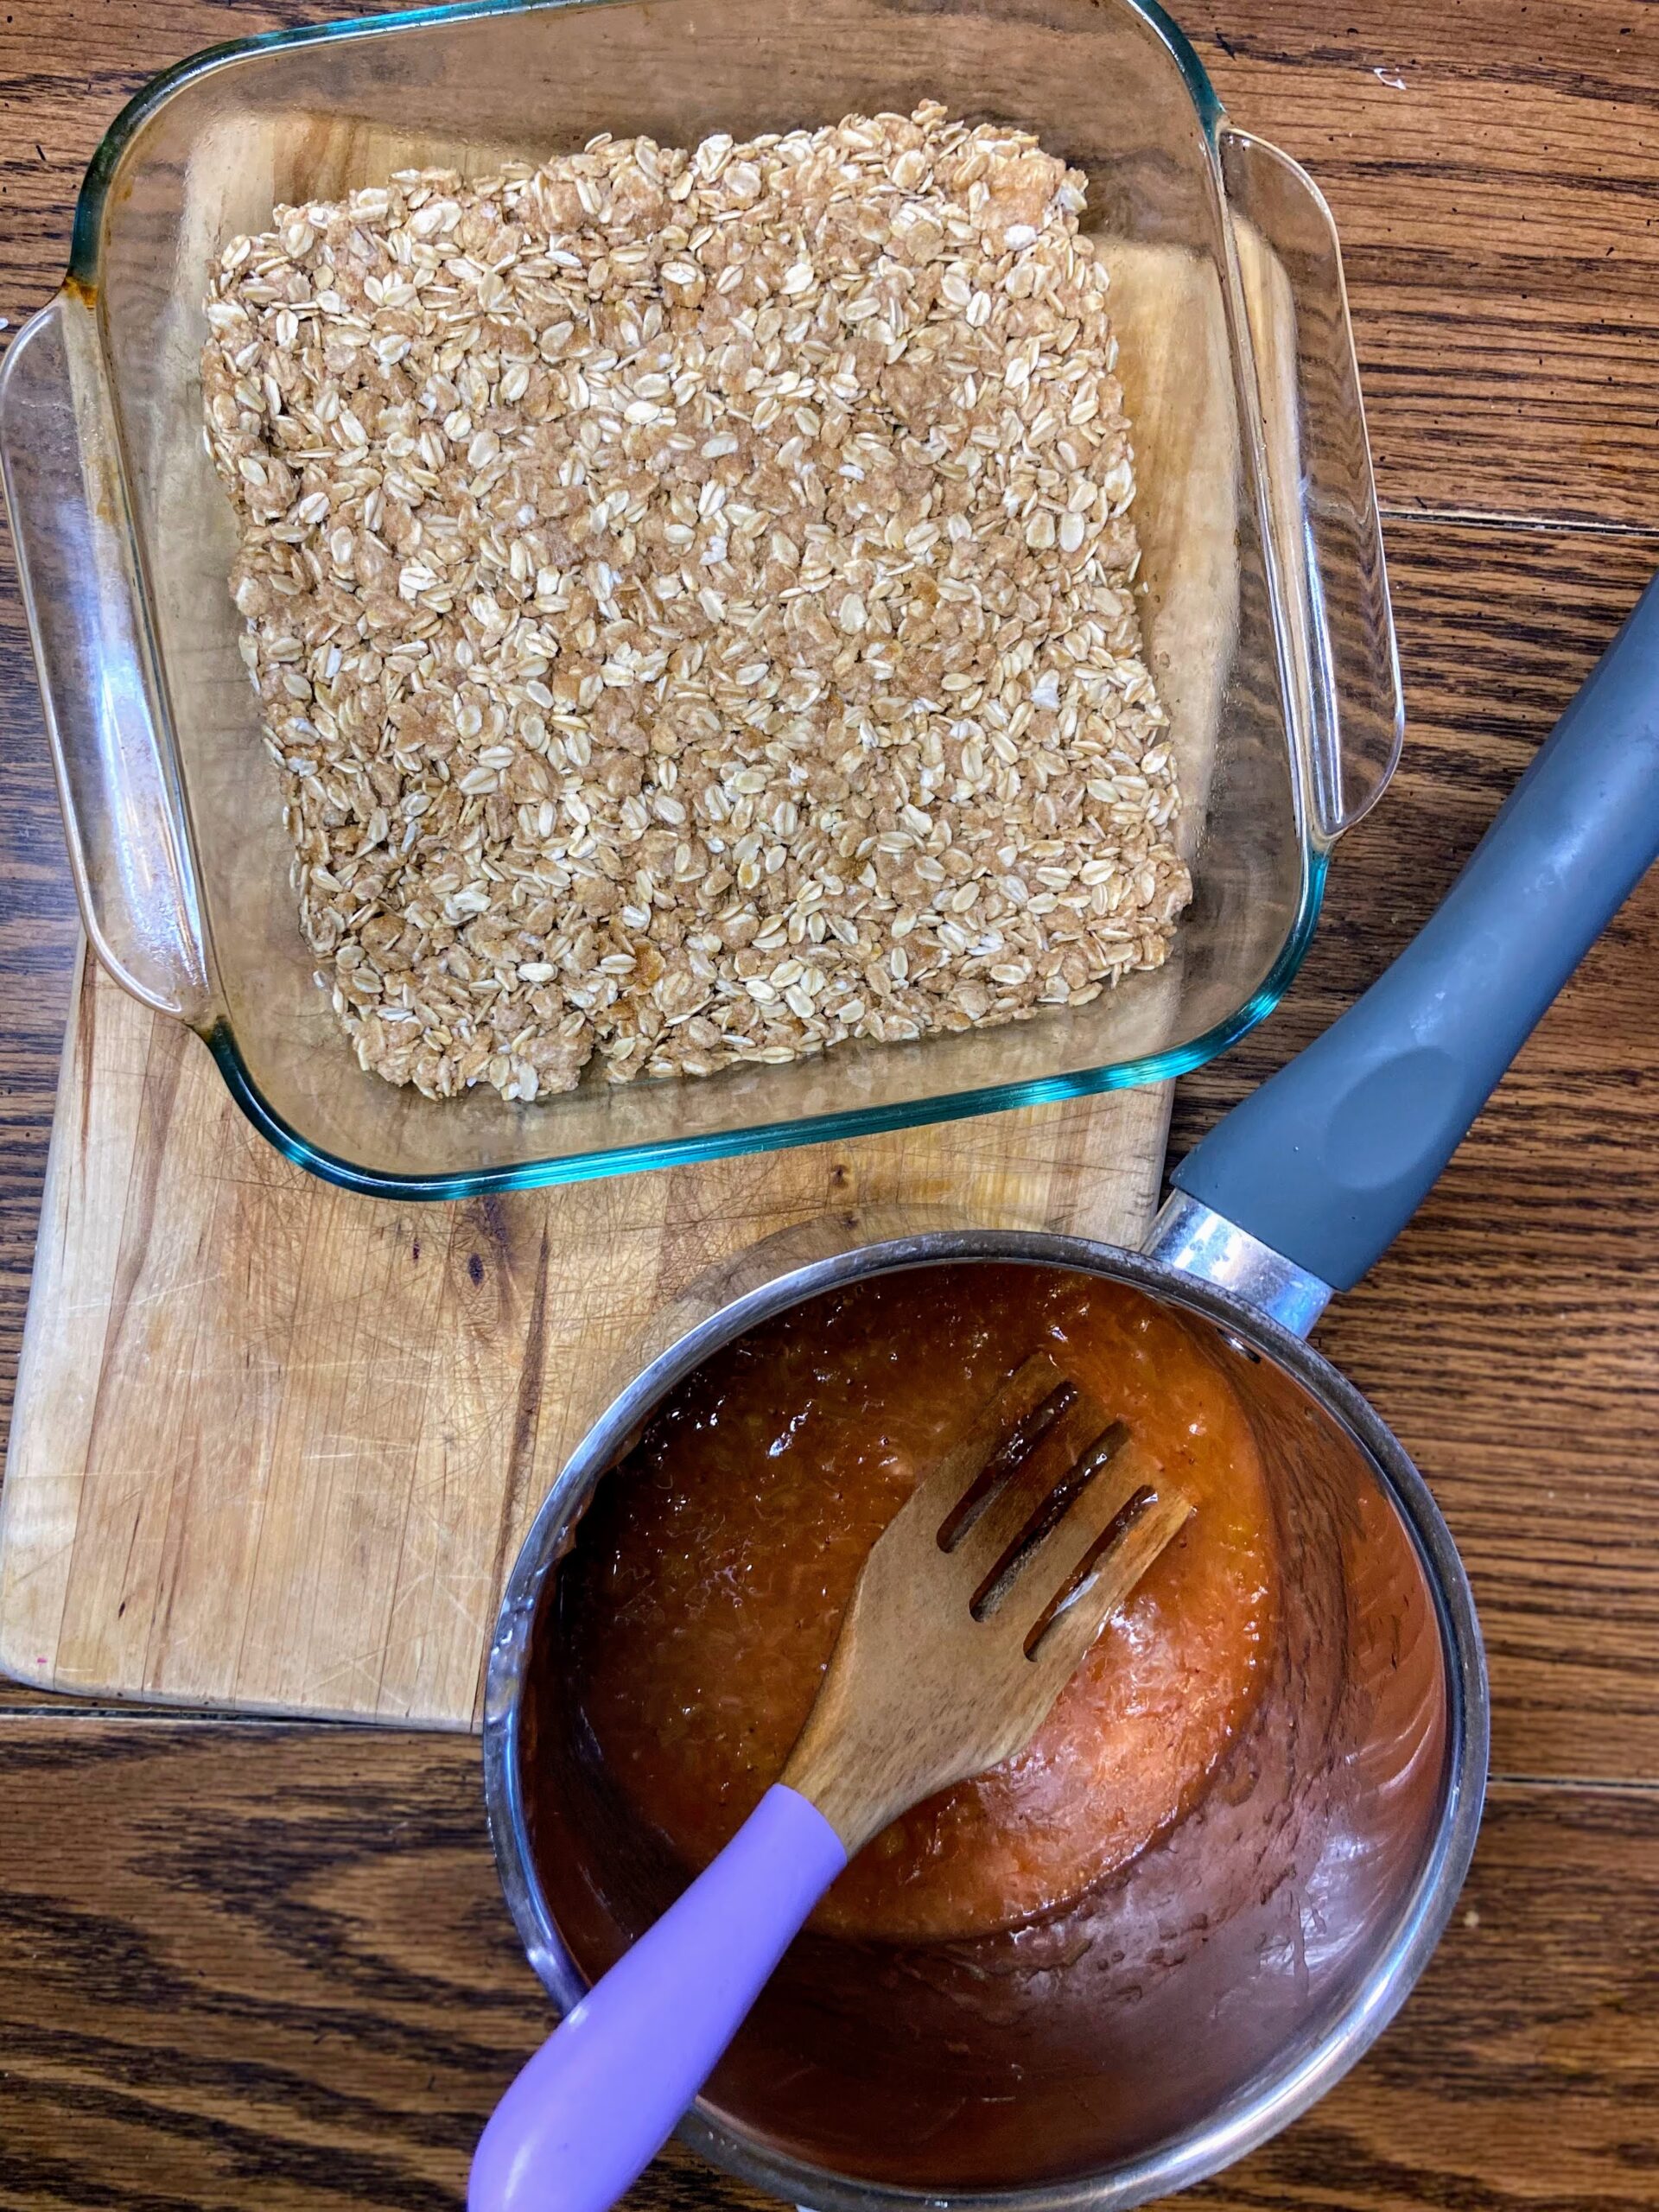
In a large bowl, combine the butter, oats, flour, and salt. Mix until crumbly. Press ⅔ of the mixture into a greased 8 inch square baking dish. Bake at 375 for 10 minutes. Remove from the oven and decrease the temperature to 350 degrees. Spread rhubarb mixture onto the crust and sprinkle the remaining oat mixture on top. Bake an additional 15-20 minutes, until golden brown. Allow to cool and then cut into 16 squares. 

Strawberry Rhubarb Oat Bars

The flavors of spring combine in these strawberry rhubarb oat bars to create a delicious treat for any time of the day!
Prep Time 20 minutes
Cook Time 30 minutes
Course Breakfast, Dessert
Cuisine American
Servings 16 bars

Ingredients
  

  • 1 ½ cups chopped fresh or frozen rhubarb
  • ½ cup chopped fresh strawberries
  • cup packed brown sugar divided
  • 3 tablespoons water divided
  • 1 teaspoon lemon juice
  • 1 tablespoon cornstarch
  • 1 ½ cups old fashioned oats
  • ¾ cup whole wheat flour
  • ½ teaspoon salt
  • 5 tablespoons butter melted

Instructions
 

  • Preheat the oven to 375 degrees.
  • In a large saucepan, combine the rhubarb, strawberries, ⅓ cup brown sugar, 2 tablespoons water, and lemon juice.
  • Bring to a boil. Reduce heat to medium and cook for 4-5 minutes, stirring often, until rhubarb is soft.
  • Combine cornstarch and the remaining tablespoon of water. Gradually stir into the rhubarb mixture over medium heat. Bring to a boil, cooking and stirring for 2-3 minutes, until thickened. Remove from heat and set aside.
  • In a large bowl, combine the butter, oats, flour, and salt. Mix until crumbly.
  • Press ⅔ of the mixture into a greased 8 inch square baking dish. Bake at 375 for 10 minutes.
  • Remove from the oven and decrease the temperature to 350 degrees.
  • Spread rhubarb mixture onto the crust and sprinkle the remaining oat mixture on top.
  • Bake an additional 15-20 minutes, until golden brown. Allow to cool and then cut into 16 squares.
Keyword Oat Bars, oats, Rhubarb, Rhubarb Bars, Strawberries, Strawberry Rhubarb
Tried this recipe?Let us know how it was!

Looking for other great recipes?

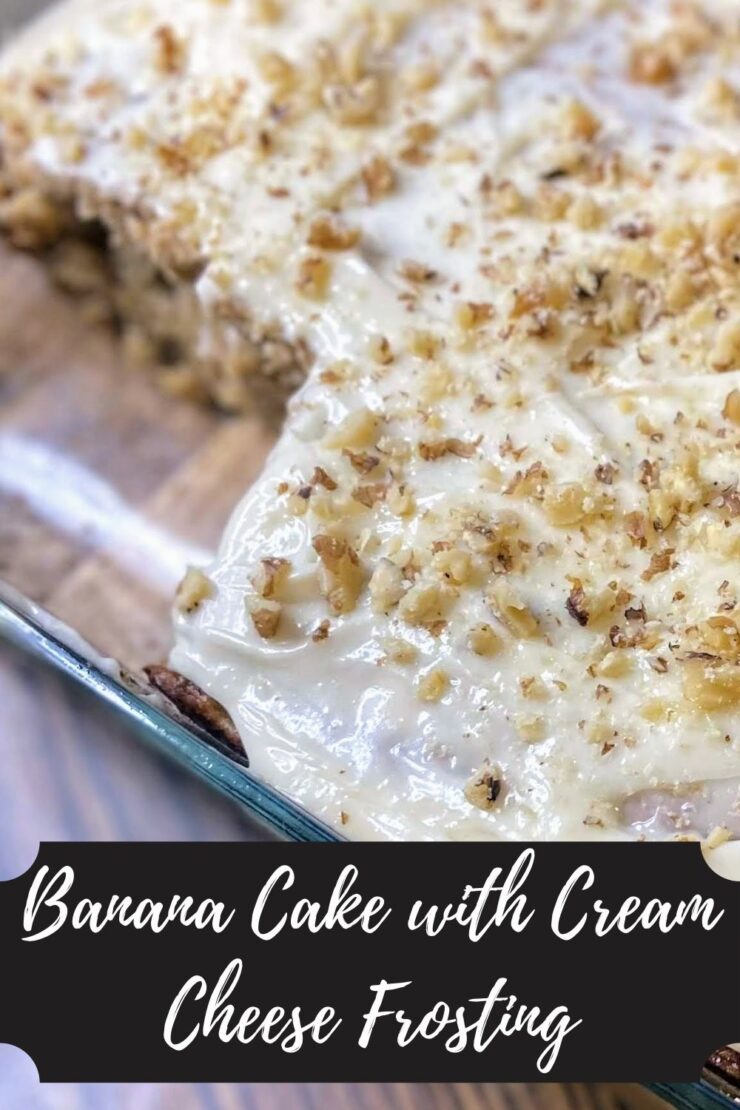
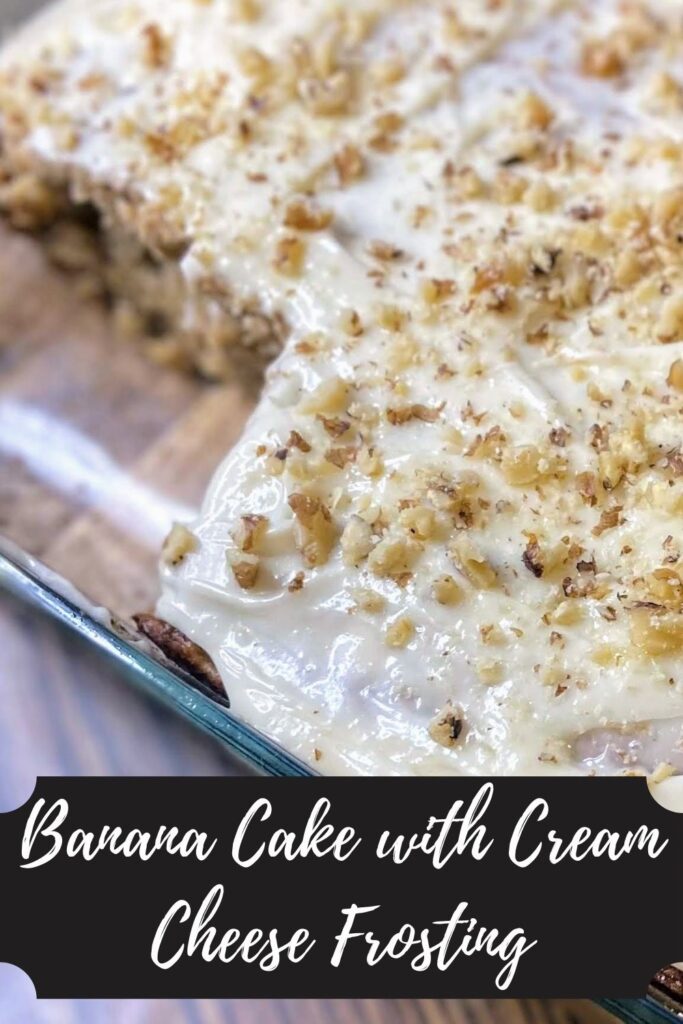
Banana Cake with Cream Cheese Frosting

In need of a sweet treat that isn’t over the top? Just the perfect amount of sweet with a touch of healthy? I am so excited to share this banana cake with cream cheese frosting! 

If you have a middle or high school-aged son, you know that they go through an EXCESSIVE amount of food. I do not know where my kid puts it all. Most weeks, he goes through literal bunches of bananas. We can not keep enough in the fruit bowl to the extent that recently a clerk at the local grocery store said, “I have never seen someone purchase this much fresh fruits and veggies.” #proudmoment

But then there are the odd weeks that we buy four bunches and then they sit. And sit. And suddenly we have five overly soft bananas sitting on the counter for days, no one wanting to eat them. The last time that situation arose, I was determined to make a healthy-ish dessert.

HOw did I make it healthier?

My first step to getting a healthier dessert was to swap the sugar for real maple syrup. Simple swap and so delicious. It also works out that the Mr. has been encouraging me to use up our supply from last year (read about our adventures in tapping trees here!) because syrup season will be here before we know it! I also cut down on the oil, added Greek yogurt for moisture, and added some extra banana.

Well, I mixed up this recipe, and from the moment I gave the batter a taste test, I knew it was a good one. And the frosting? I think it is just the perfect amount of sweet (but feel free to add a little more powdered sugar if you want it sweeter!). The baking dish traveled with me to school (I teach high school!) and my colleagues gave it two thumbs up, followed by, “Wait? You have a food blog?!” That made me giggle.

So are you ready to put together a delicious banana cake with cream cheese frosting? Let’s go!

Your Ingredients for Banana Cake with Cream Cheese Frosting

  • 1 ¼ cup mashed ripe banana, 3-4 bananas
  • ½ cup plain Greek yogurt 
  • 1 egg 
  • ⅓ cup oil 
  • 1 teaspoon vanilla 
  • ¾ cup real maple syrup 
  • 1 ½ cup flour 
  • 1 teaspoon baking soda 
  • ½ teaspoon salt 

Frosting Ingredients 

  • ½ cup cream cheese, softened 
  • 2 tablespoons butter
  • 1 cup powdered sugar 
  • pinch of salt
  • 1 teaspoon vanilla 
  • 1-2 tablespoons milk, optional 
  • ground walnuts, about ½ cup (optional)

Your Steps to Banana Cake with Cream Cheese Frosting 

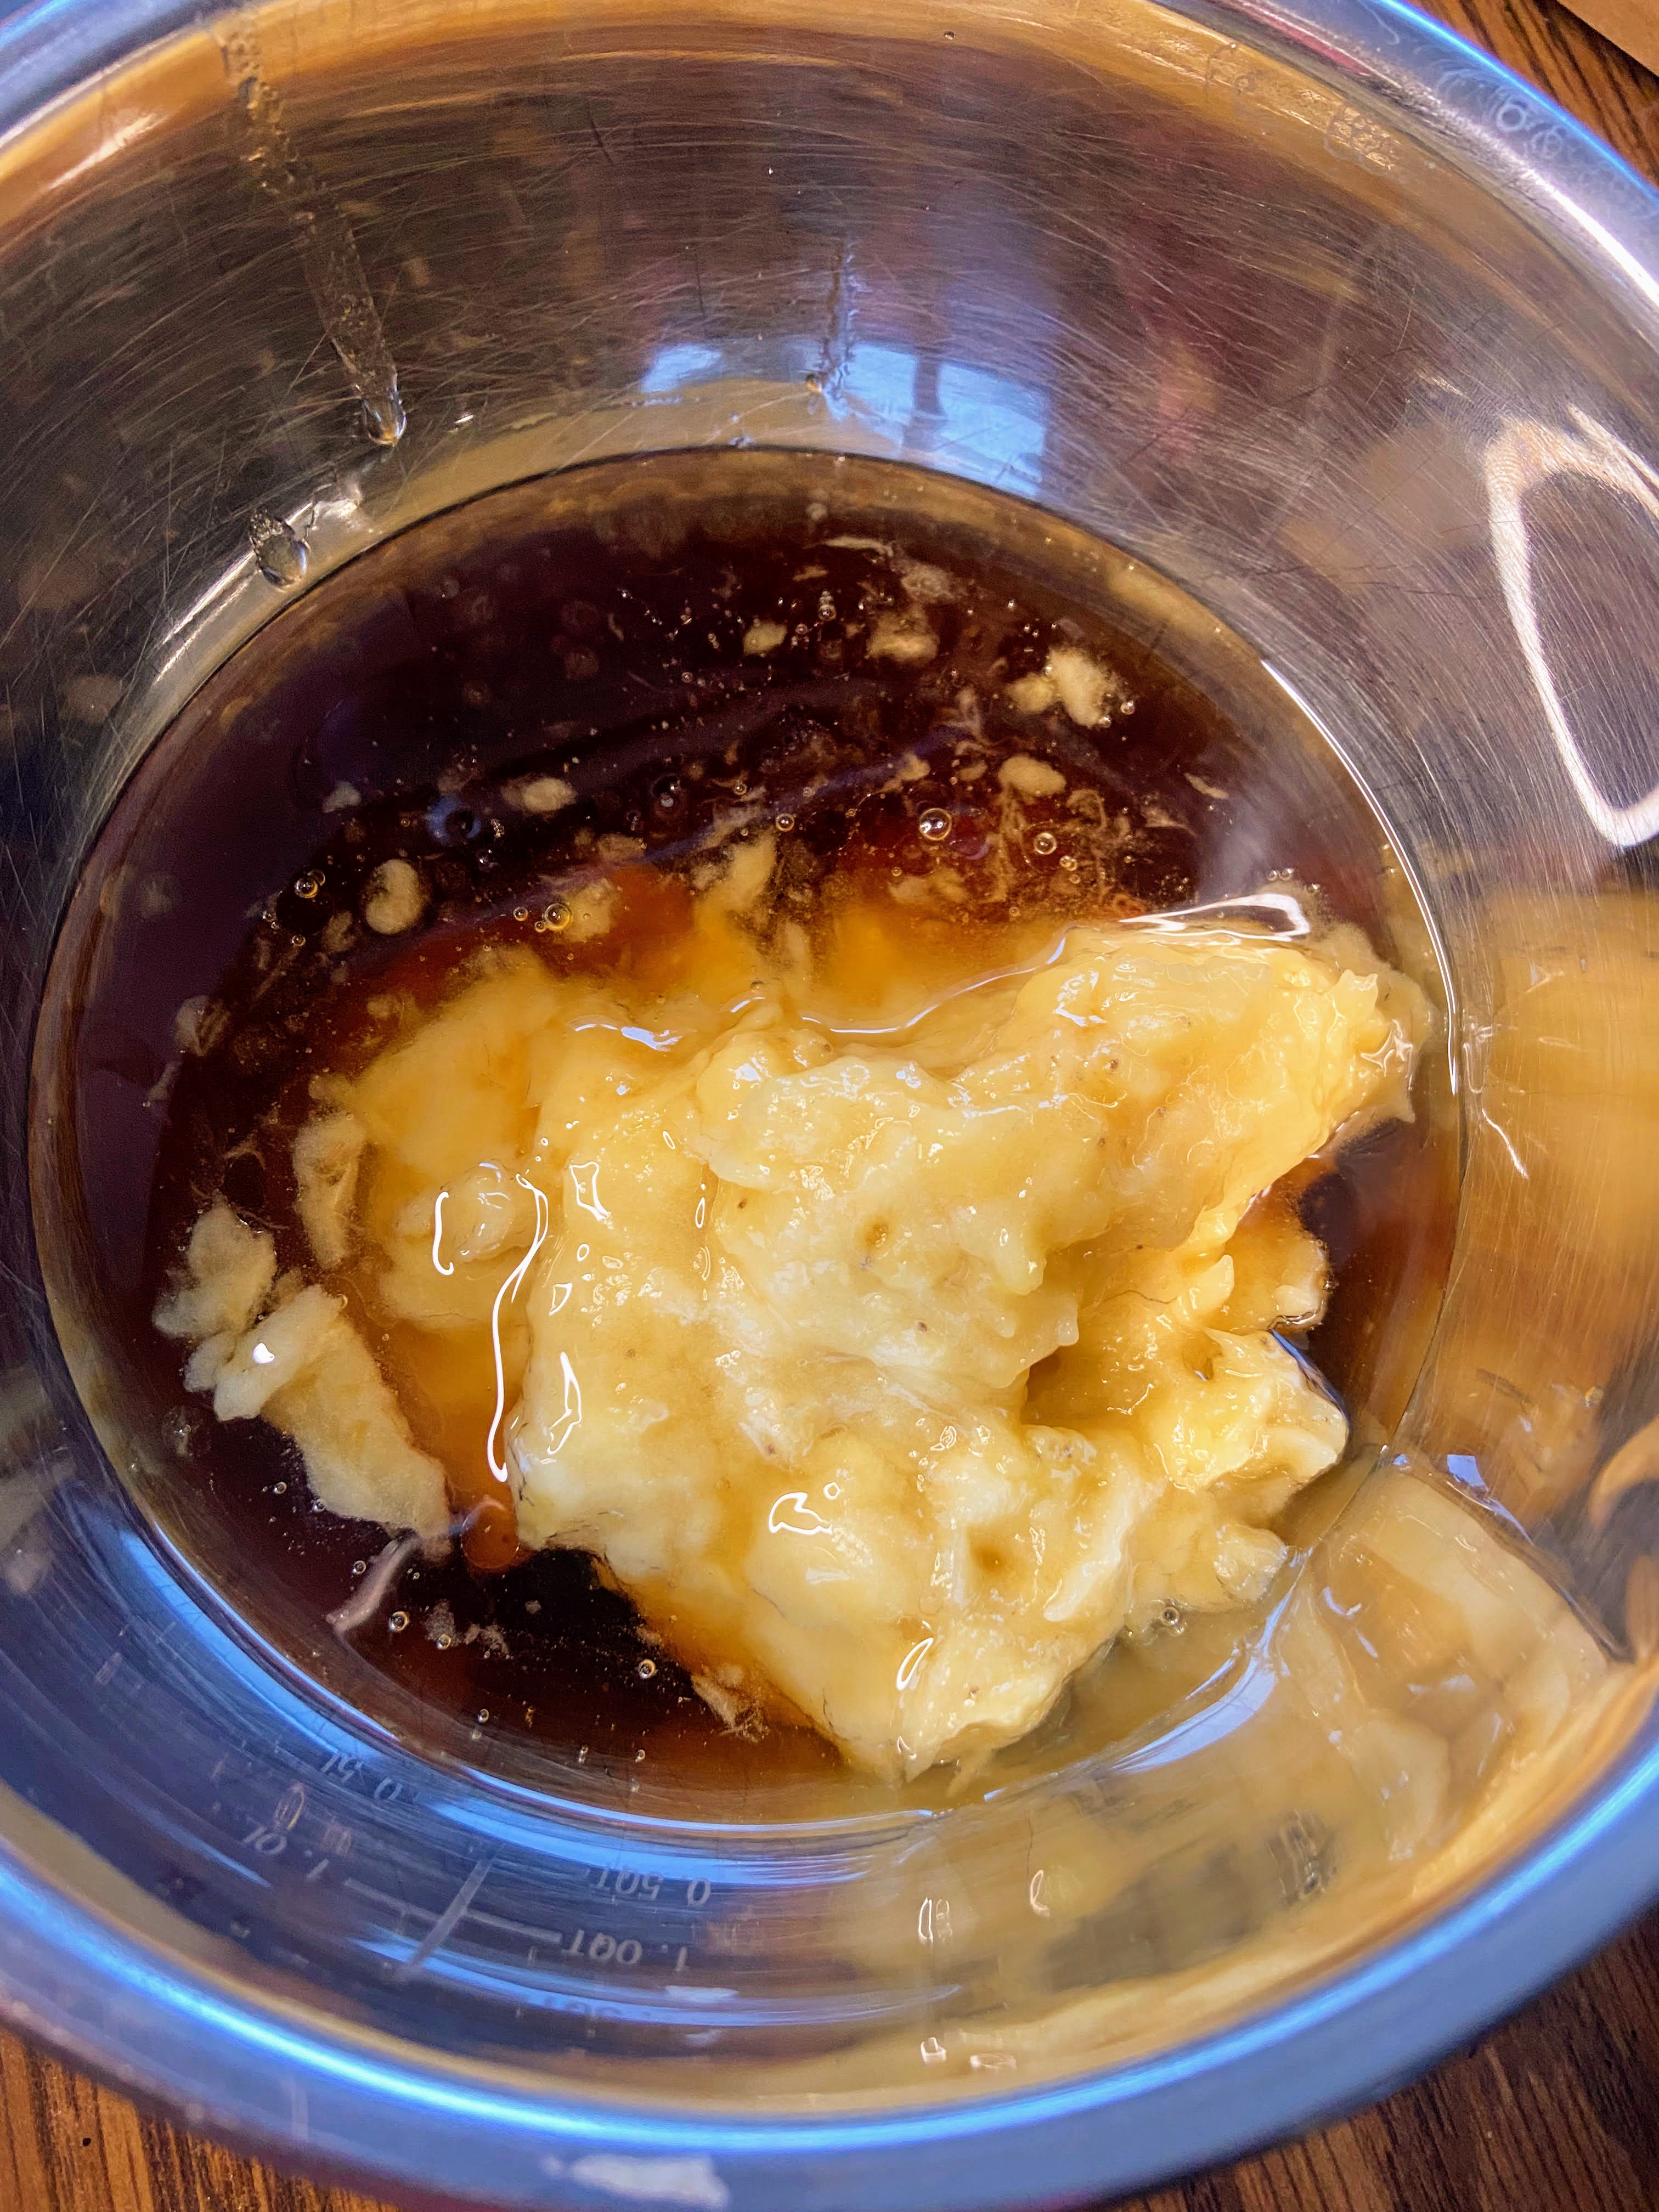
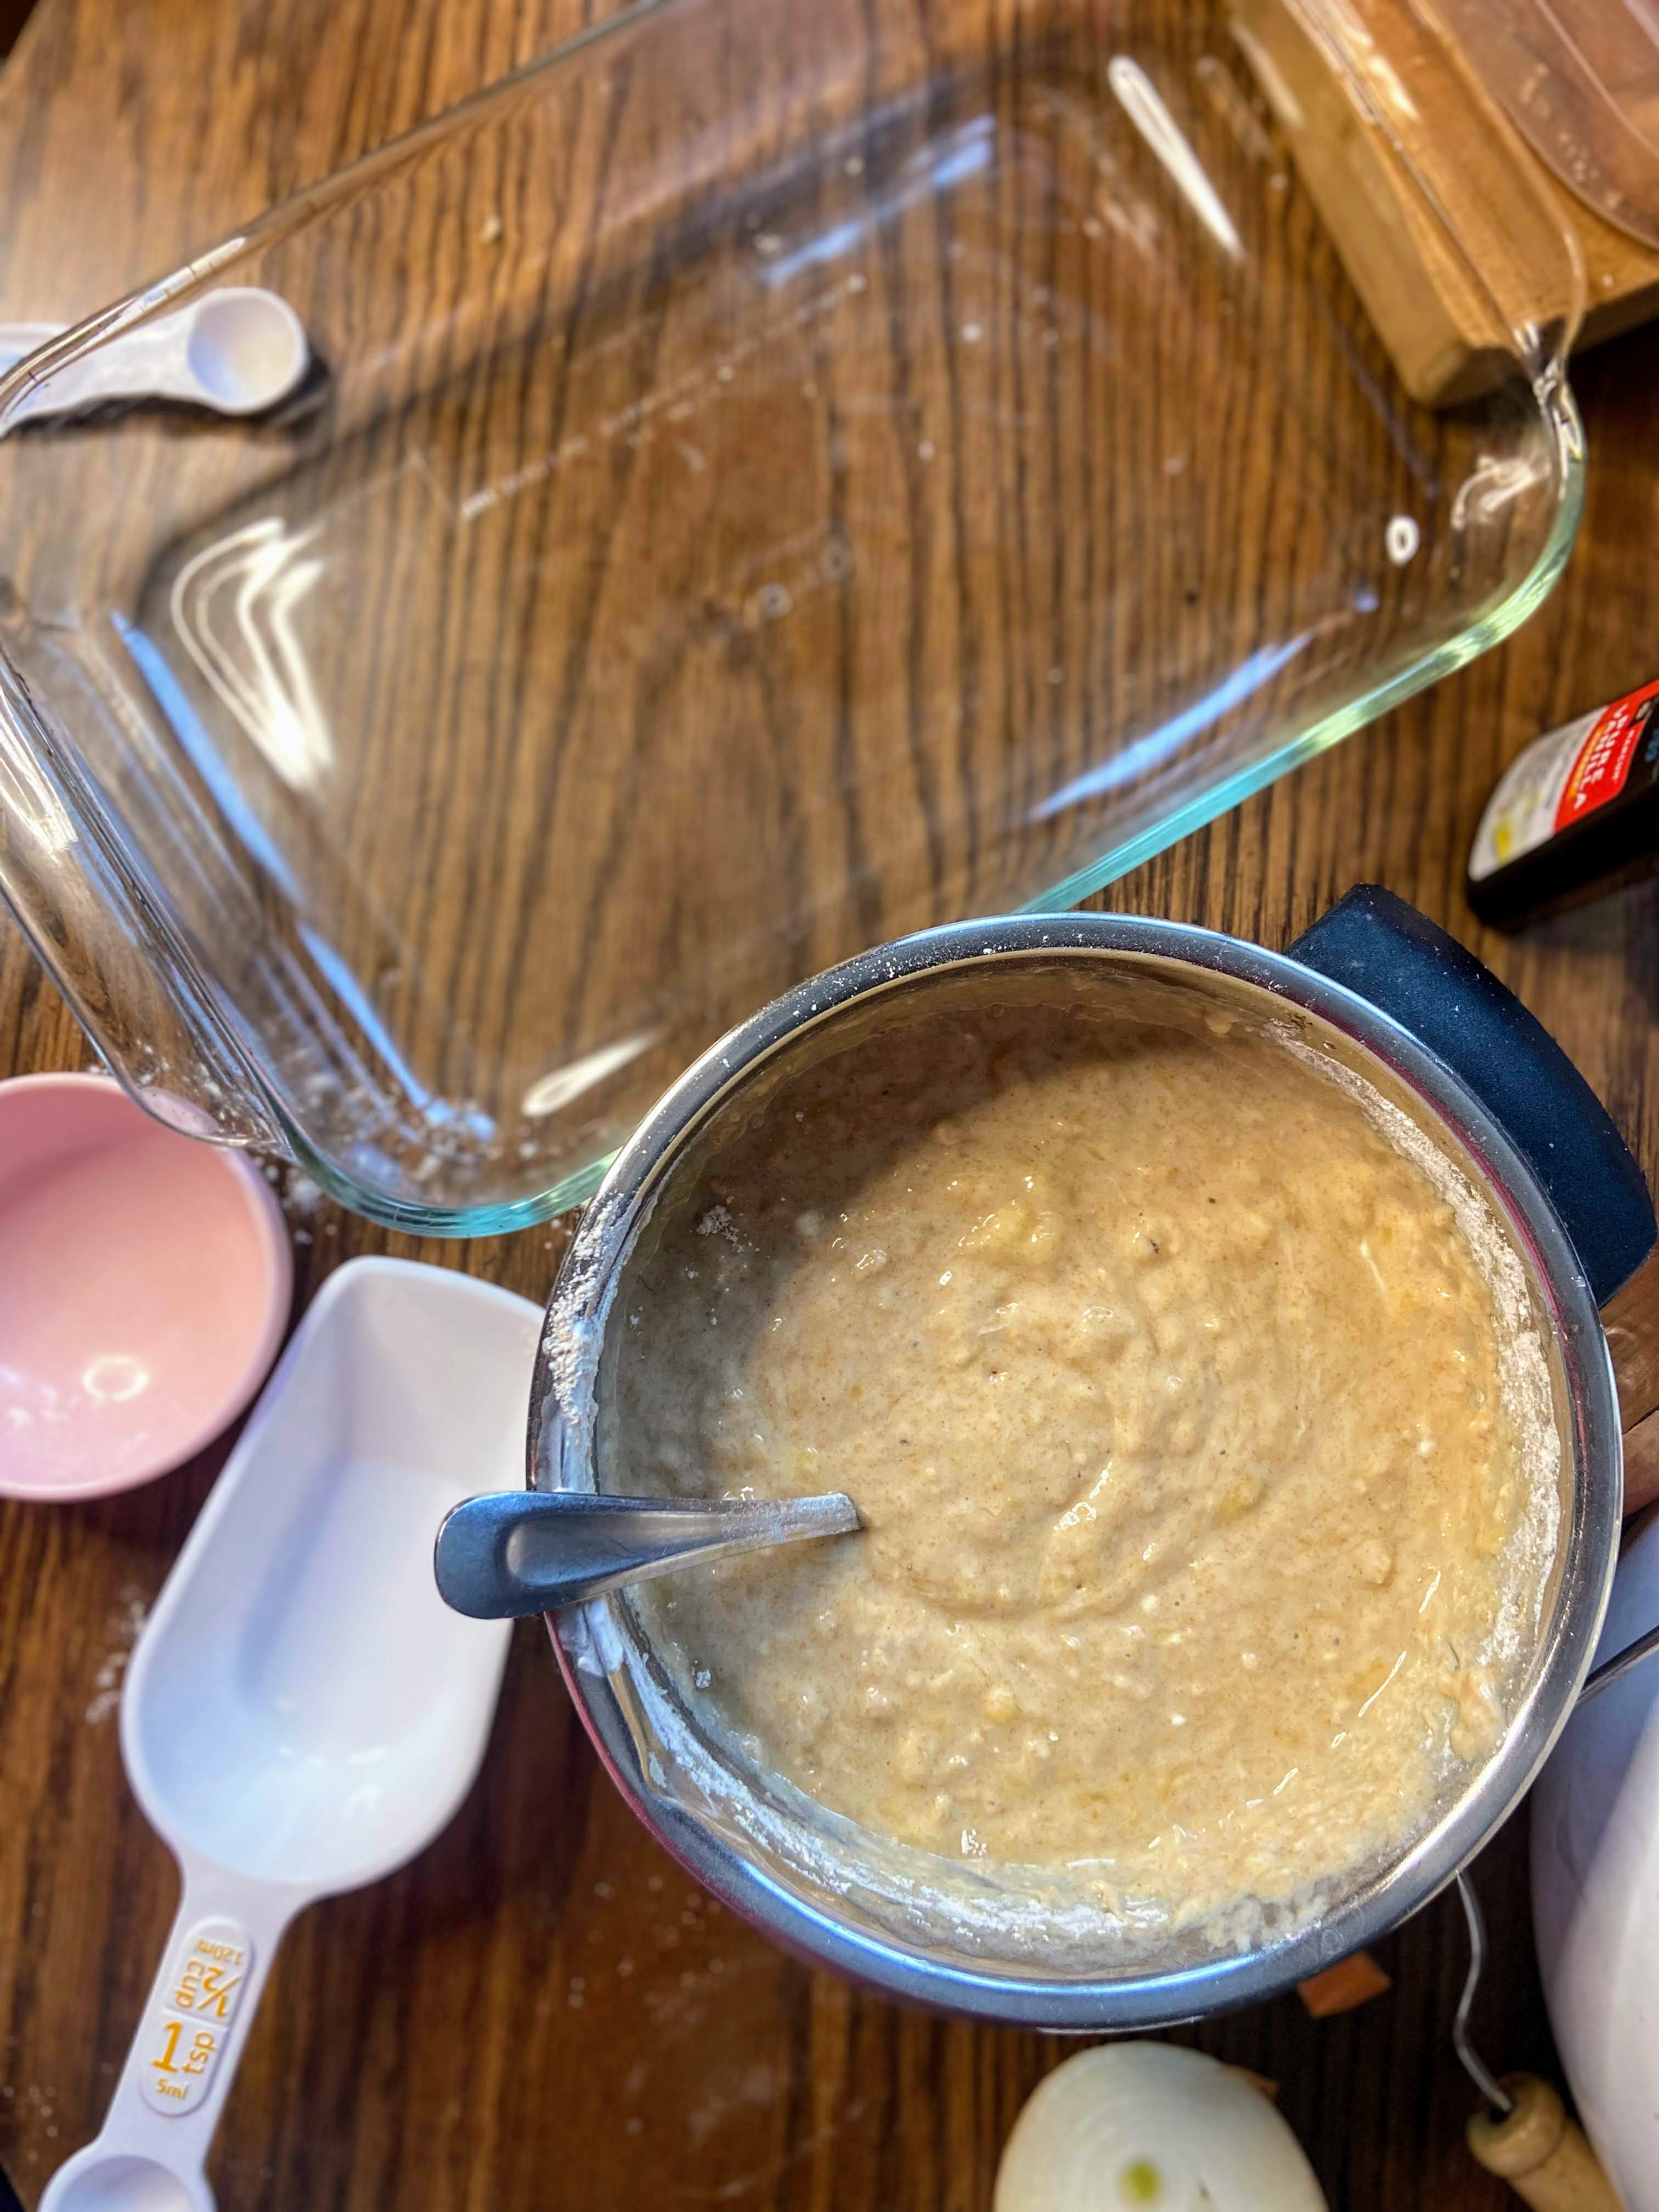
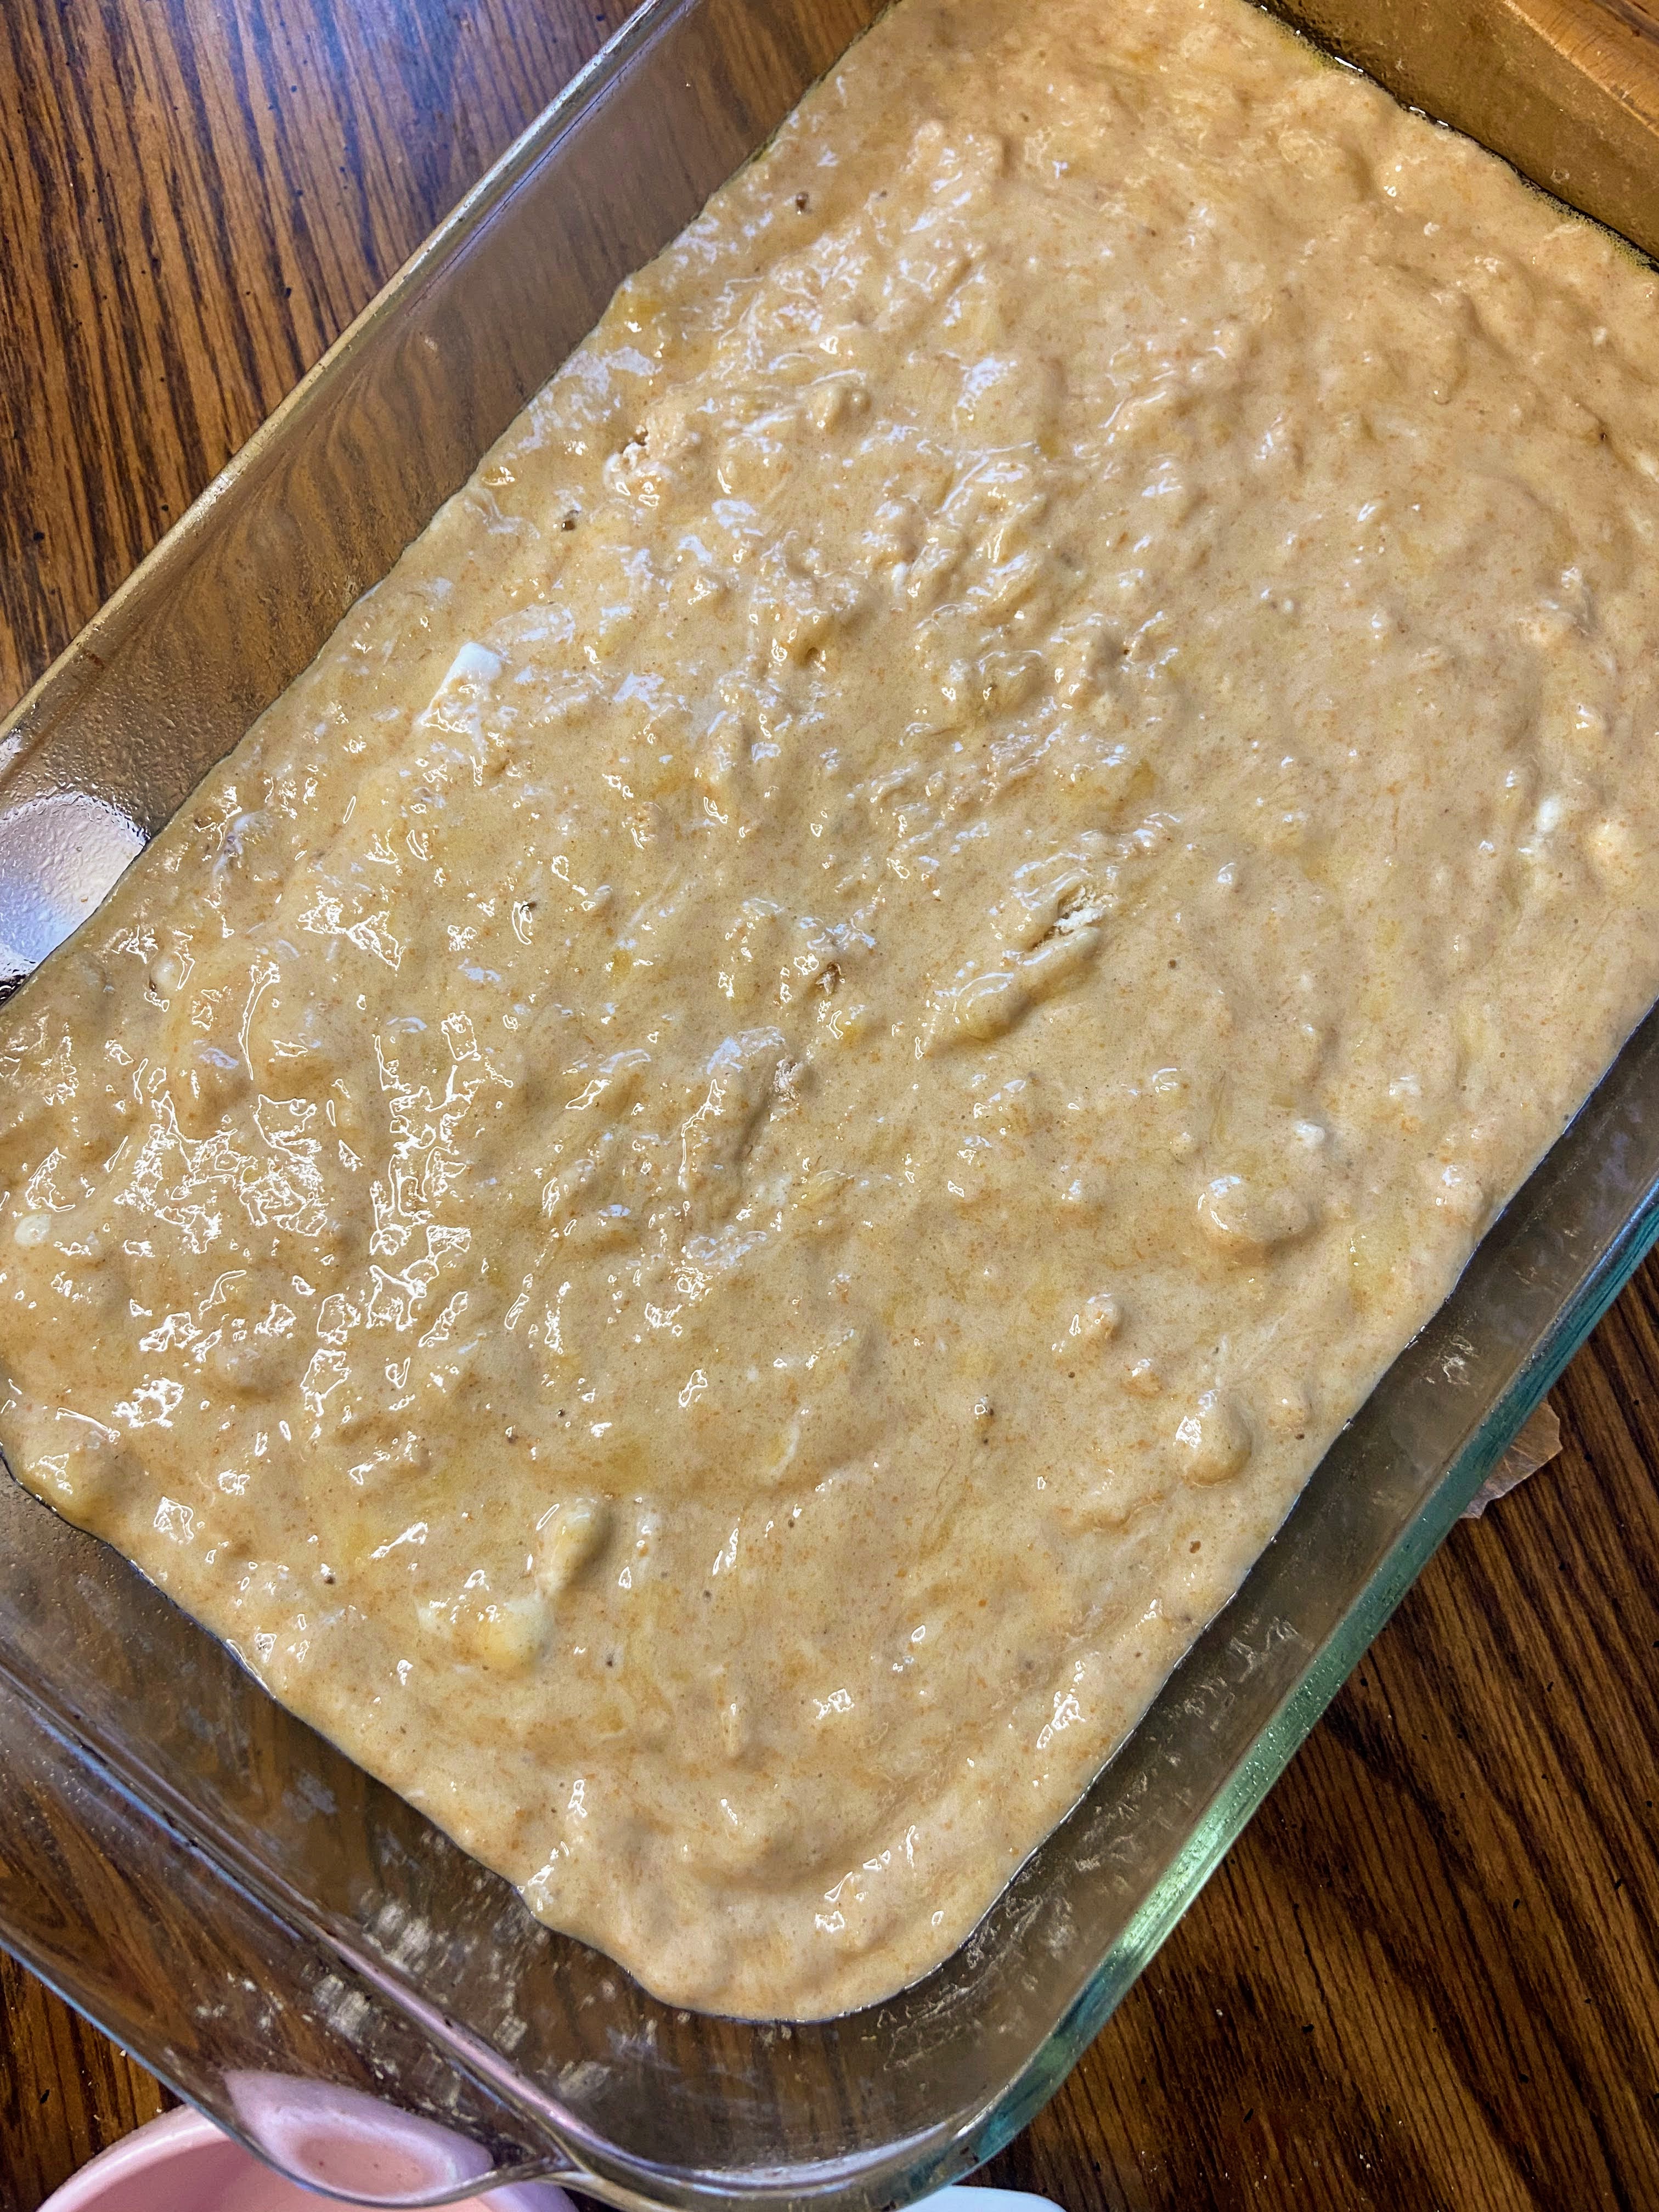
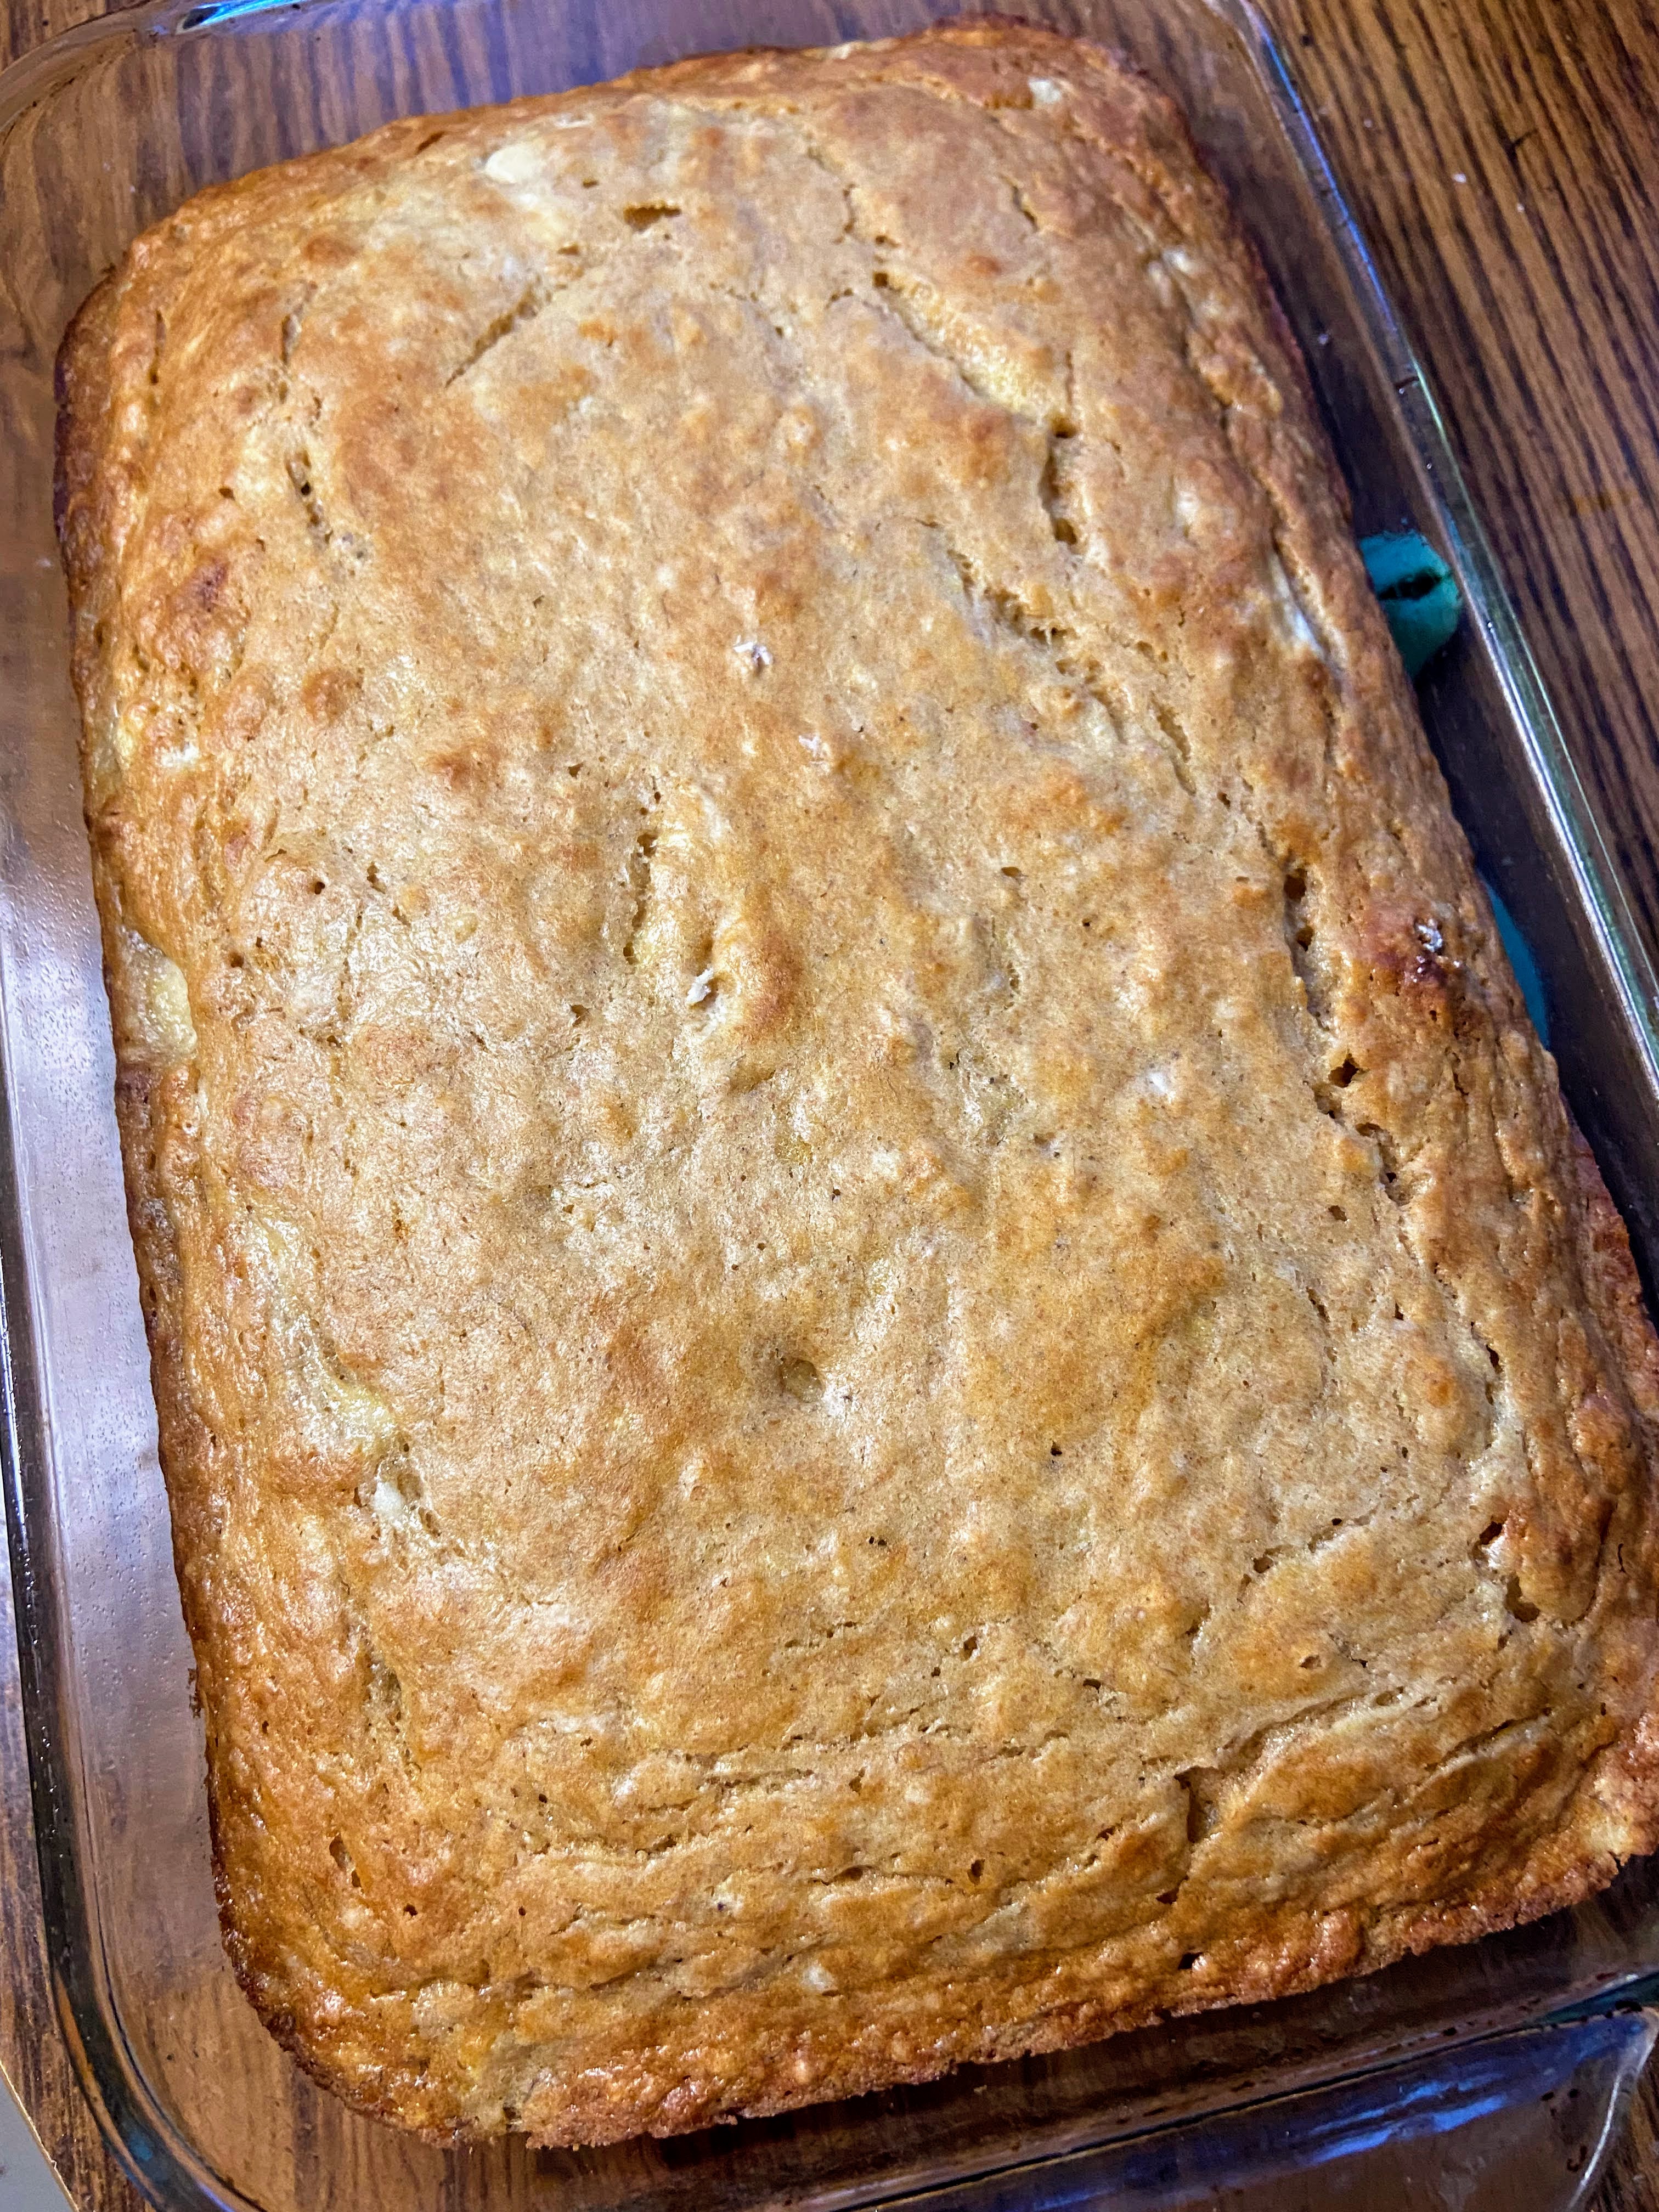
Preheat the oven to 350 degrees. Spray a 9×9 baking dish (or 7×10, my jam) with non-stick cooking spray. Whisk the egg in a small dish. Whisk bananas, yogurt, oil, vanilla, maple syrup, and egg until well combined. Stir in flour, baking soda, and salt. Pour into prepared dish. Bake for 35-45 minutes, until a toothpick can be inserted and comes out clean. 

Allow to cool 20 minutes. While it cools, mix the frosting. Combine softened butter and cream cheese with a hand mixer until smooth. Add vanilla and mix again. Slowly blend in powdered sugar, ¼ cup at a time. Add milk, ½ tablespoon at a time until the desired consistency is acquired. Frost the cake when the cake is not entirely cool to lock in the moisture. 

Serve immediately. Store leftovers in the refrigerator.  

Looking for other recipe inspiration?

Check out these sweet and savory from scratch recipes for breakfast, lunch, and dinner!

Banana Cake with Cream Cheese Frosting

No one will guess that this perfectly sweetened banana cake with cream cheese frosting uses maple syrup for a sweetener.
Prep Time 10 minutes
Cook Time 35 minutes
Course Dessert
Cuisine American
Servings 12 servings

Ingredients
  

  • 1 ¼ cup mashed ripe banana 3-4 bananas
  • ½ cup plain Greek yogurt
  • 1 egg
  • cup oil
  • 1 teaspoon vanilla
  • ¾ cup real maple syrup
  • 1 ½ cup flour
  • 1 teaspoon baking soda
  • ½ teaspoon salt

Frosting Ingredients

  • ½ cup cream cheese softened
  • 2 tablespoons butter
  • 1 cup powdered sugar
  • 1 teaspoon vanilla
  • Pinch of salt
  • 1-2 tablespoons milk optional
  • Ground walnuts about ½ cup (optional)

Instructions
 

  • Preheat the oven to 350 degrees. Spray a 9×9 baking dish (or 7×10, my jam) with non-stick cooking spray.
  • Whisk the egg in a small dish. Whisk bananas, yogurt, oil, vanilla, maple syrup, and egg until well combined.
  • Stir in flour, baking soda, and salt. Pour into prepared dish.
  • Bake for 35-45 minutes, until a toothpick can be inserted and comes out clean.
  • Allow to cool 20 minutes. While it cools, mix the frosting.
  • Combine softened butter and cream cheese with a handmixer until smooth.
  • Add vanilla and mix again.
  • Slowly blend in pinch of salt and powdered sugar, ¼ cup at a time. Add milk, ½ tablespoon at a time until the desired consistency is acquired.
  • Frost the cake when the cake is not entirely cool to lock in the moisture. Top with ground walnuts
  • Serve immediately. Store leftovers in the refrigerator.
Keyword Banana, banana cake, cream cheese, desserts, maple syrup, sweets
Tried this recipe?Let us know how it was!

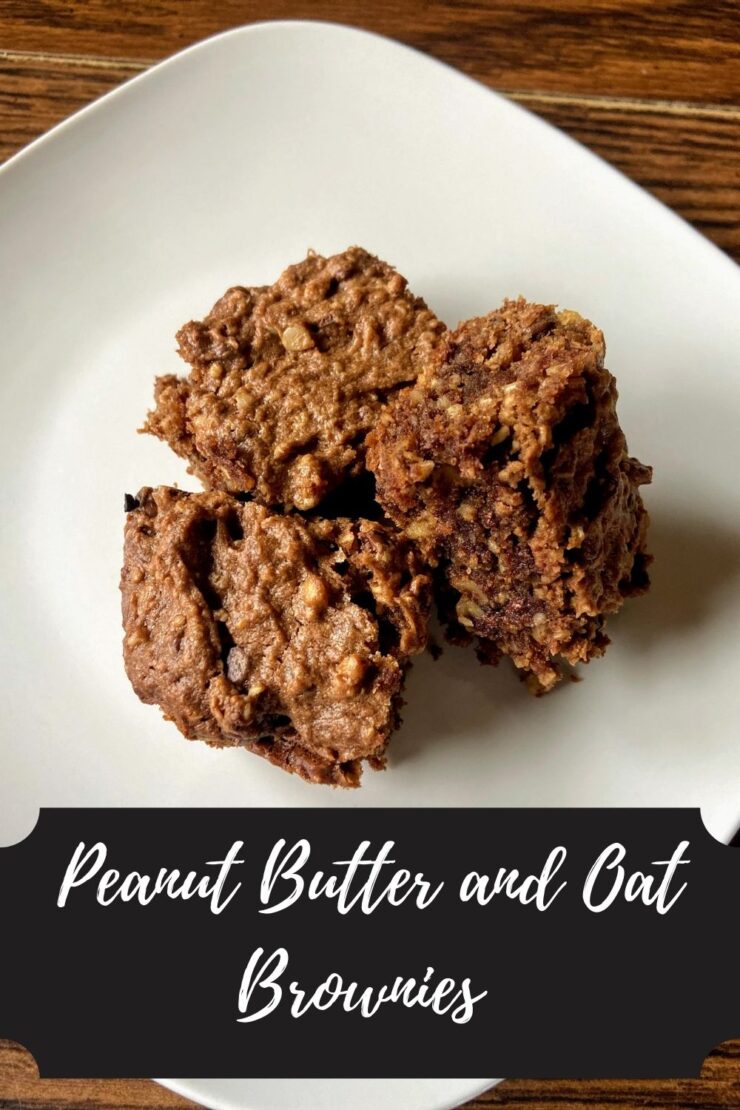
Peanut Butter and Oat Brownies

As a high school teacher, I get invited to a number of graduation parties every year. I love celebrating their accomplishments and walking through the shrine that shows them growing up through the years. ⁠I also LOVE when they have brownies for dessert. Brownies are a top treat for me, and it’s a rare day that I turn one down. I’m always looking for a new recipe. These peanut butter and oat brownies are gluten free and free of refined sugar. So good!

This recipe was inspired by a Taste of Home magazine recipe. I put my own spin on a brownie bar that I think turned out pretty darn incredible. Bonus points for them being gluten free with no refined sugar (depending on your chocolate chips!). Win, win right? Excuse me while I eat the whole pan!⁠

Ready to get baking? Let’s go!

Your Ingredients⁠

  • 1/3 cup oat flour (I grind old fashioned oats myself in a food processor)⁠
  • 2 tablespoons cocoa powder⁠
  • 1/2 teaspoon salt⁠
  • 1/2 teaspoon baking powder⁠
  • 1 teaspoon vanilla⁠
  • 1 cup nut butter (I did all natural peanut butter)⁠
  • 1/2 cup maple syrup⁠
  • 1 large egg⁠
  • 2/3 cup walnuts ⁠
  • 2/3 cup semisweet chocolate chips ⁠

Your Steps⁠ to peanut butter and oat brownies

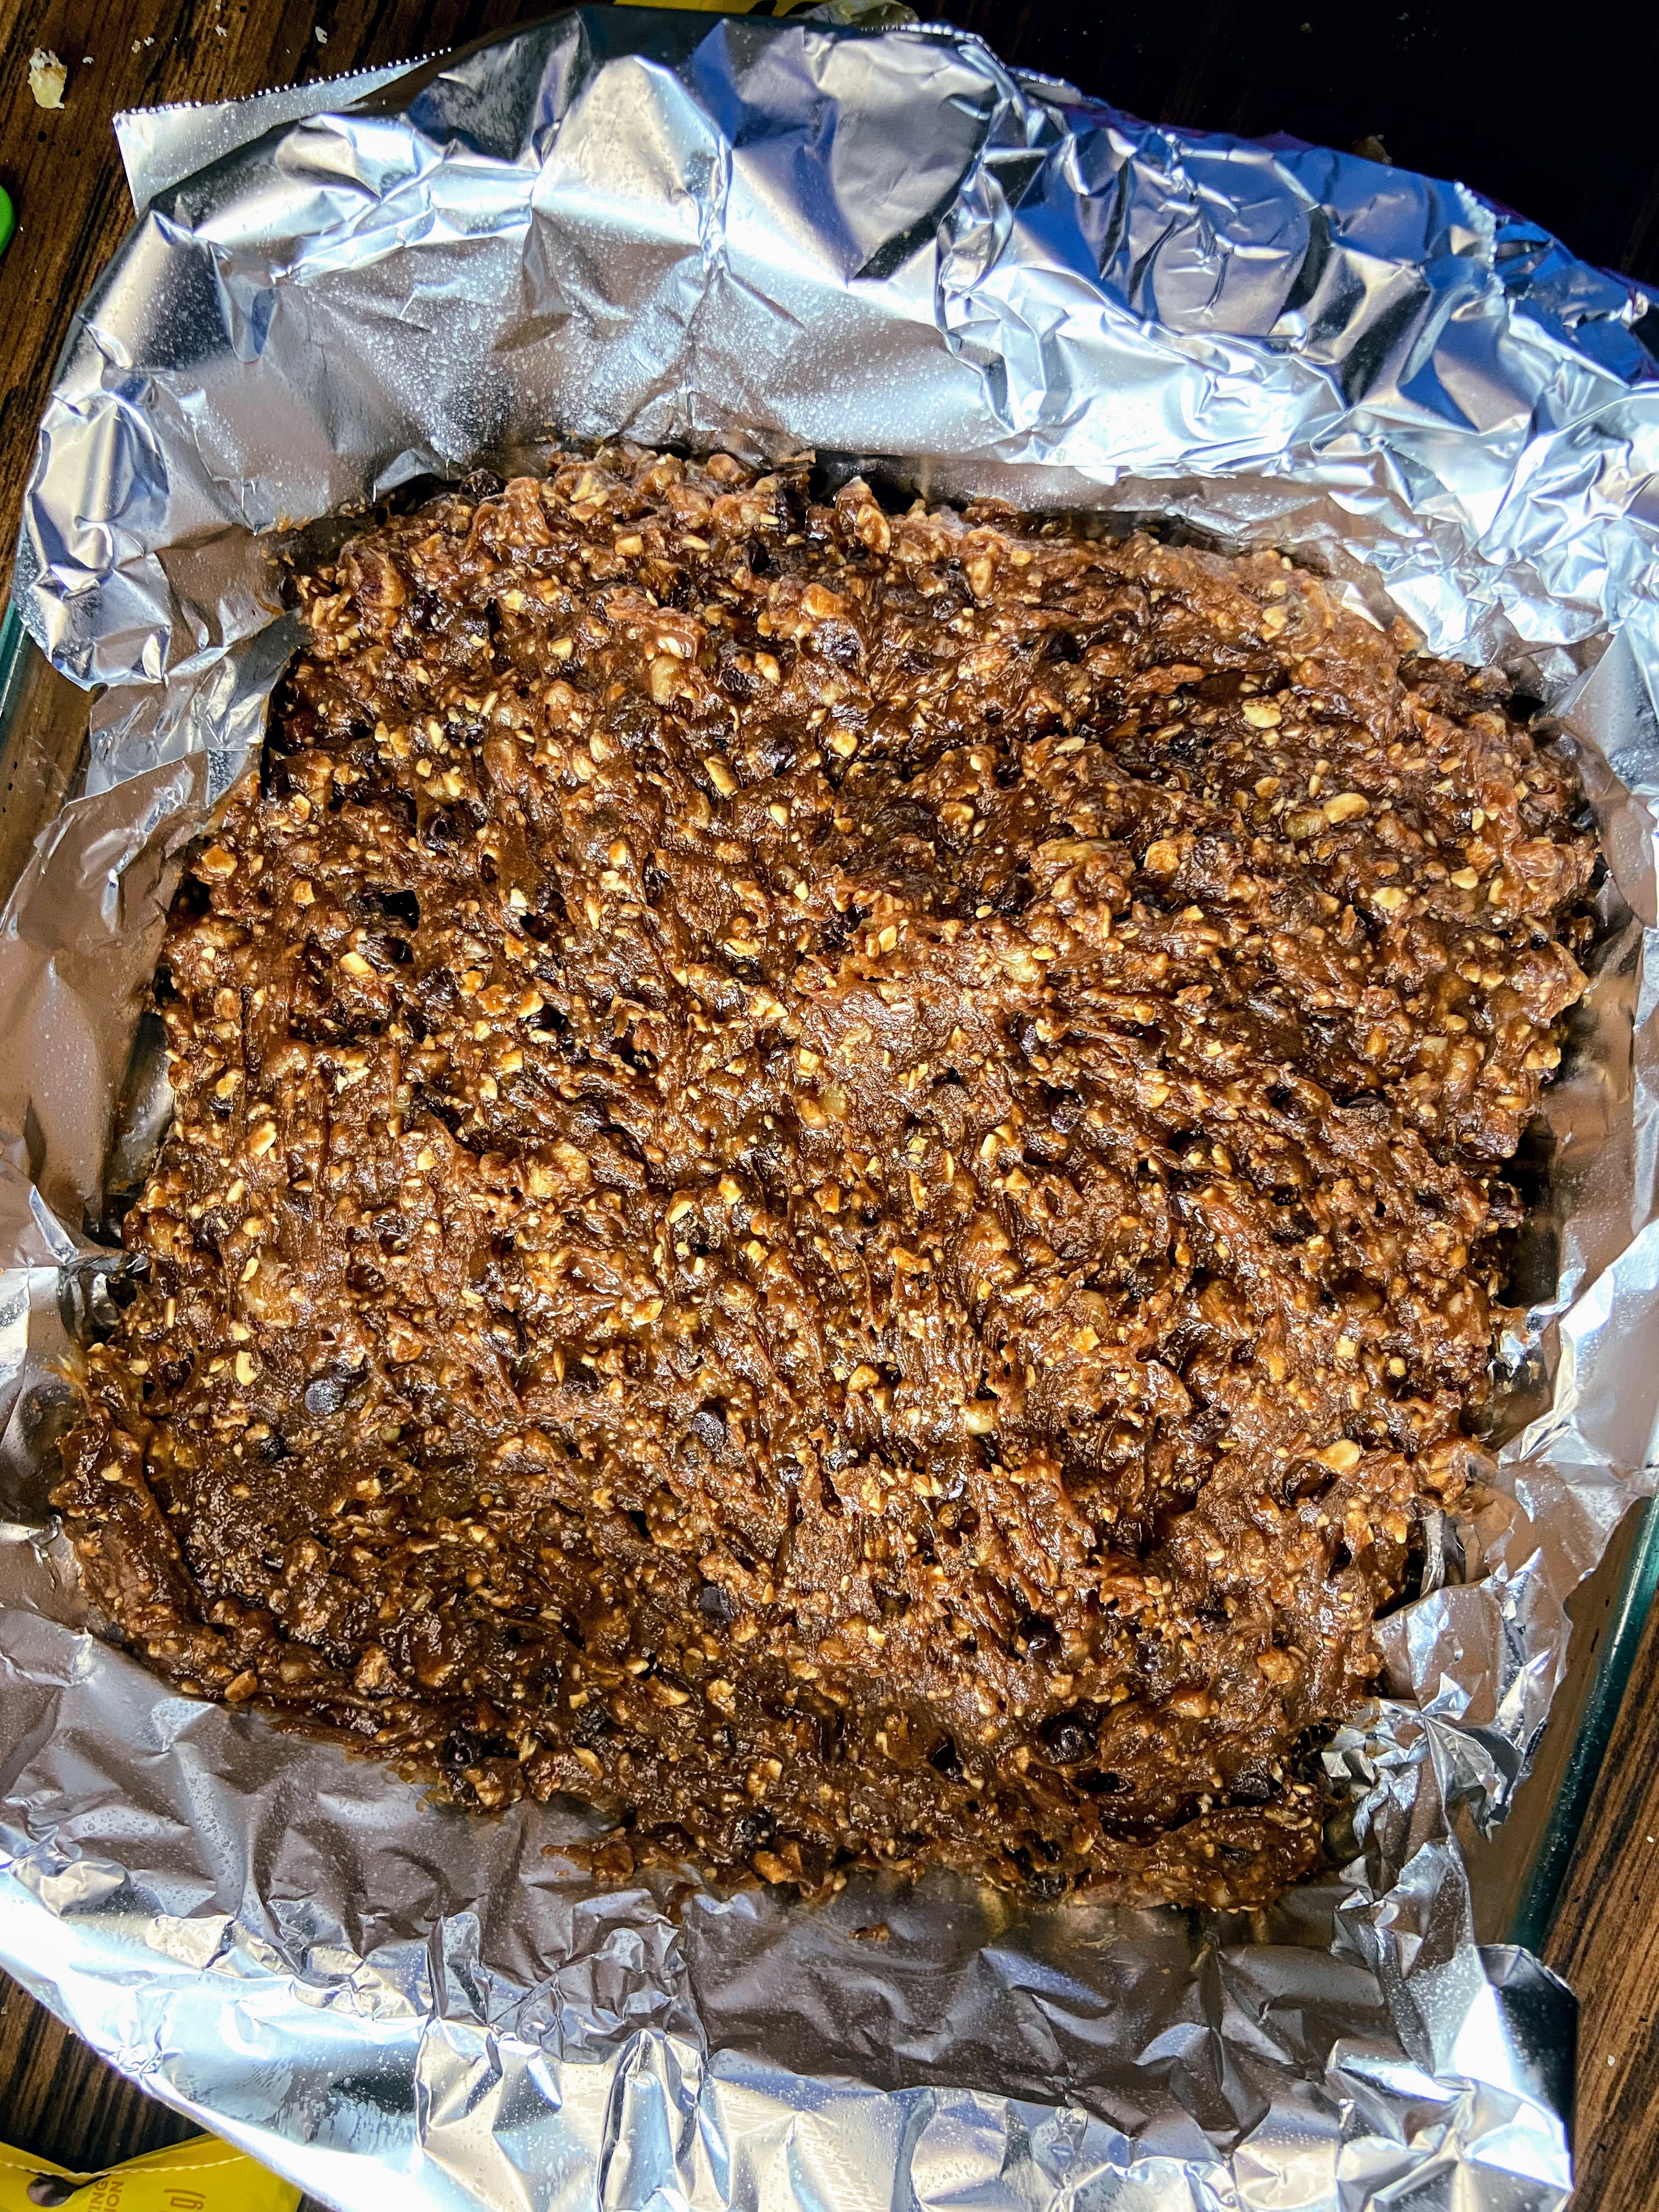
Preheat the oven to 325 degrees. Line an eight inch square baking pan with foil and then coat with cooking spray. ⁠

In a small bowl, combine flour, cocoa, salt, and baking powder. ⁠

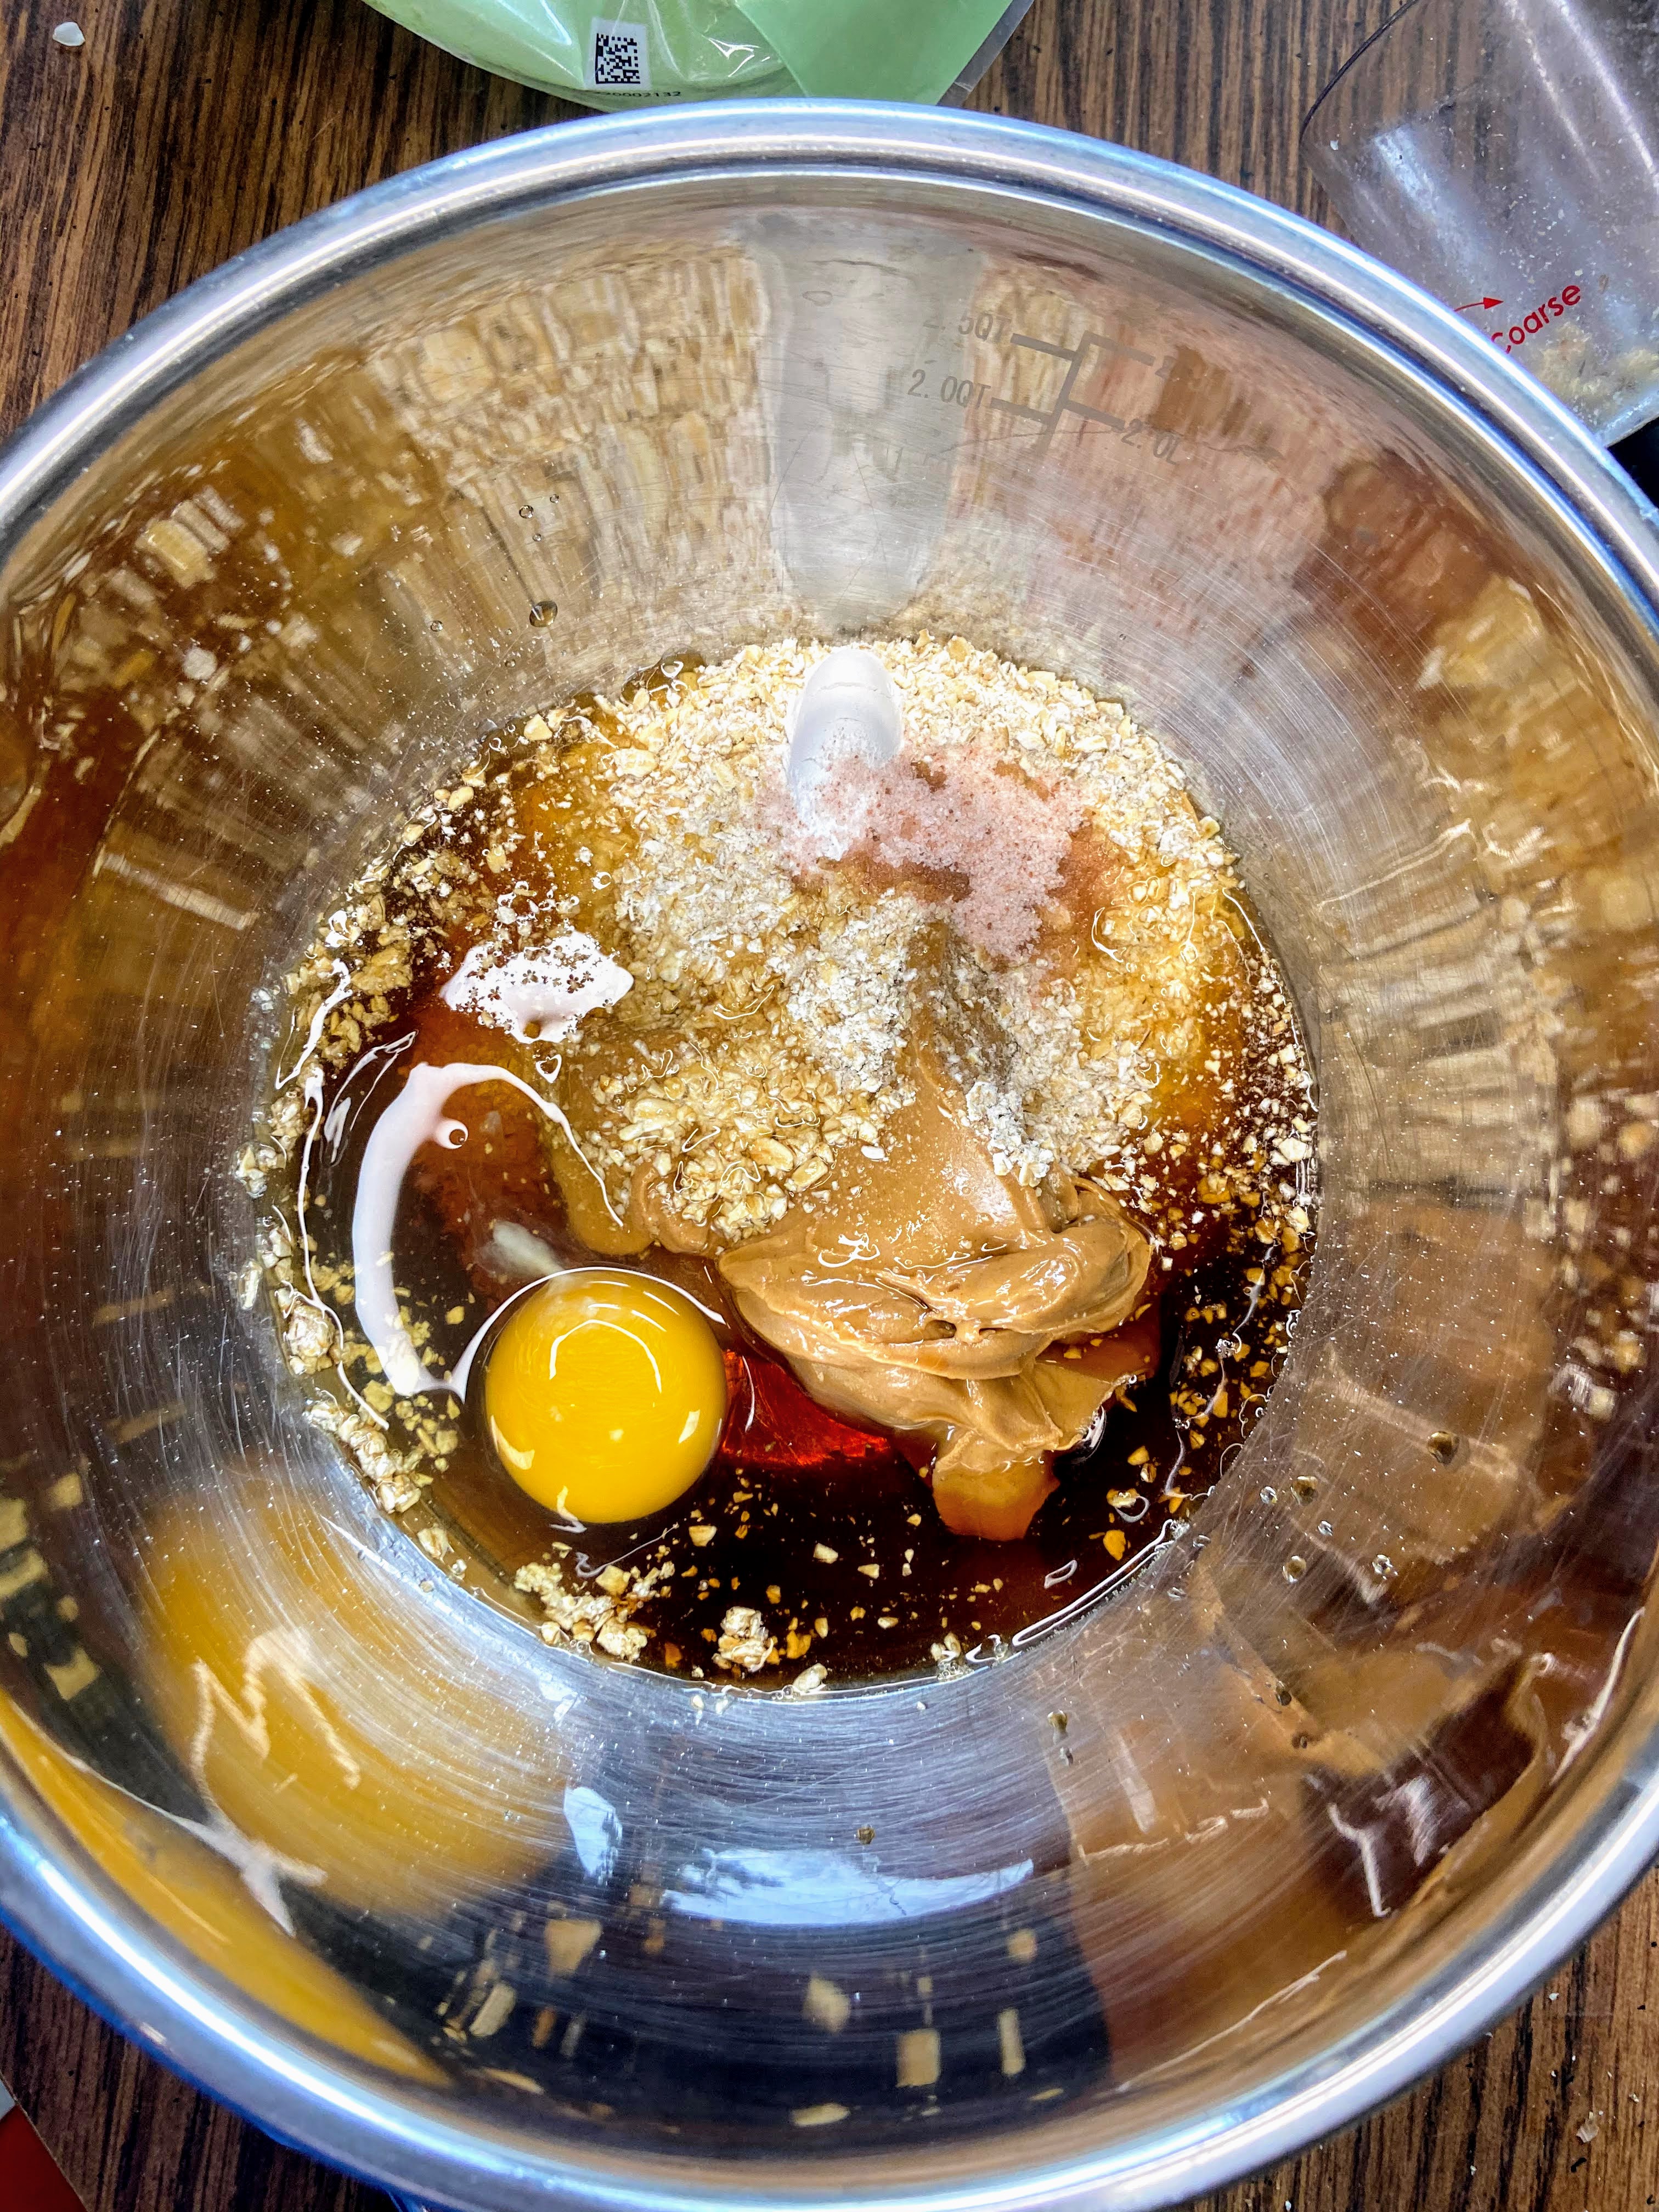
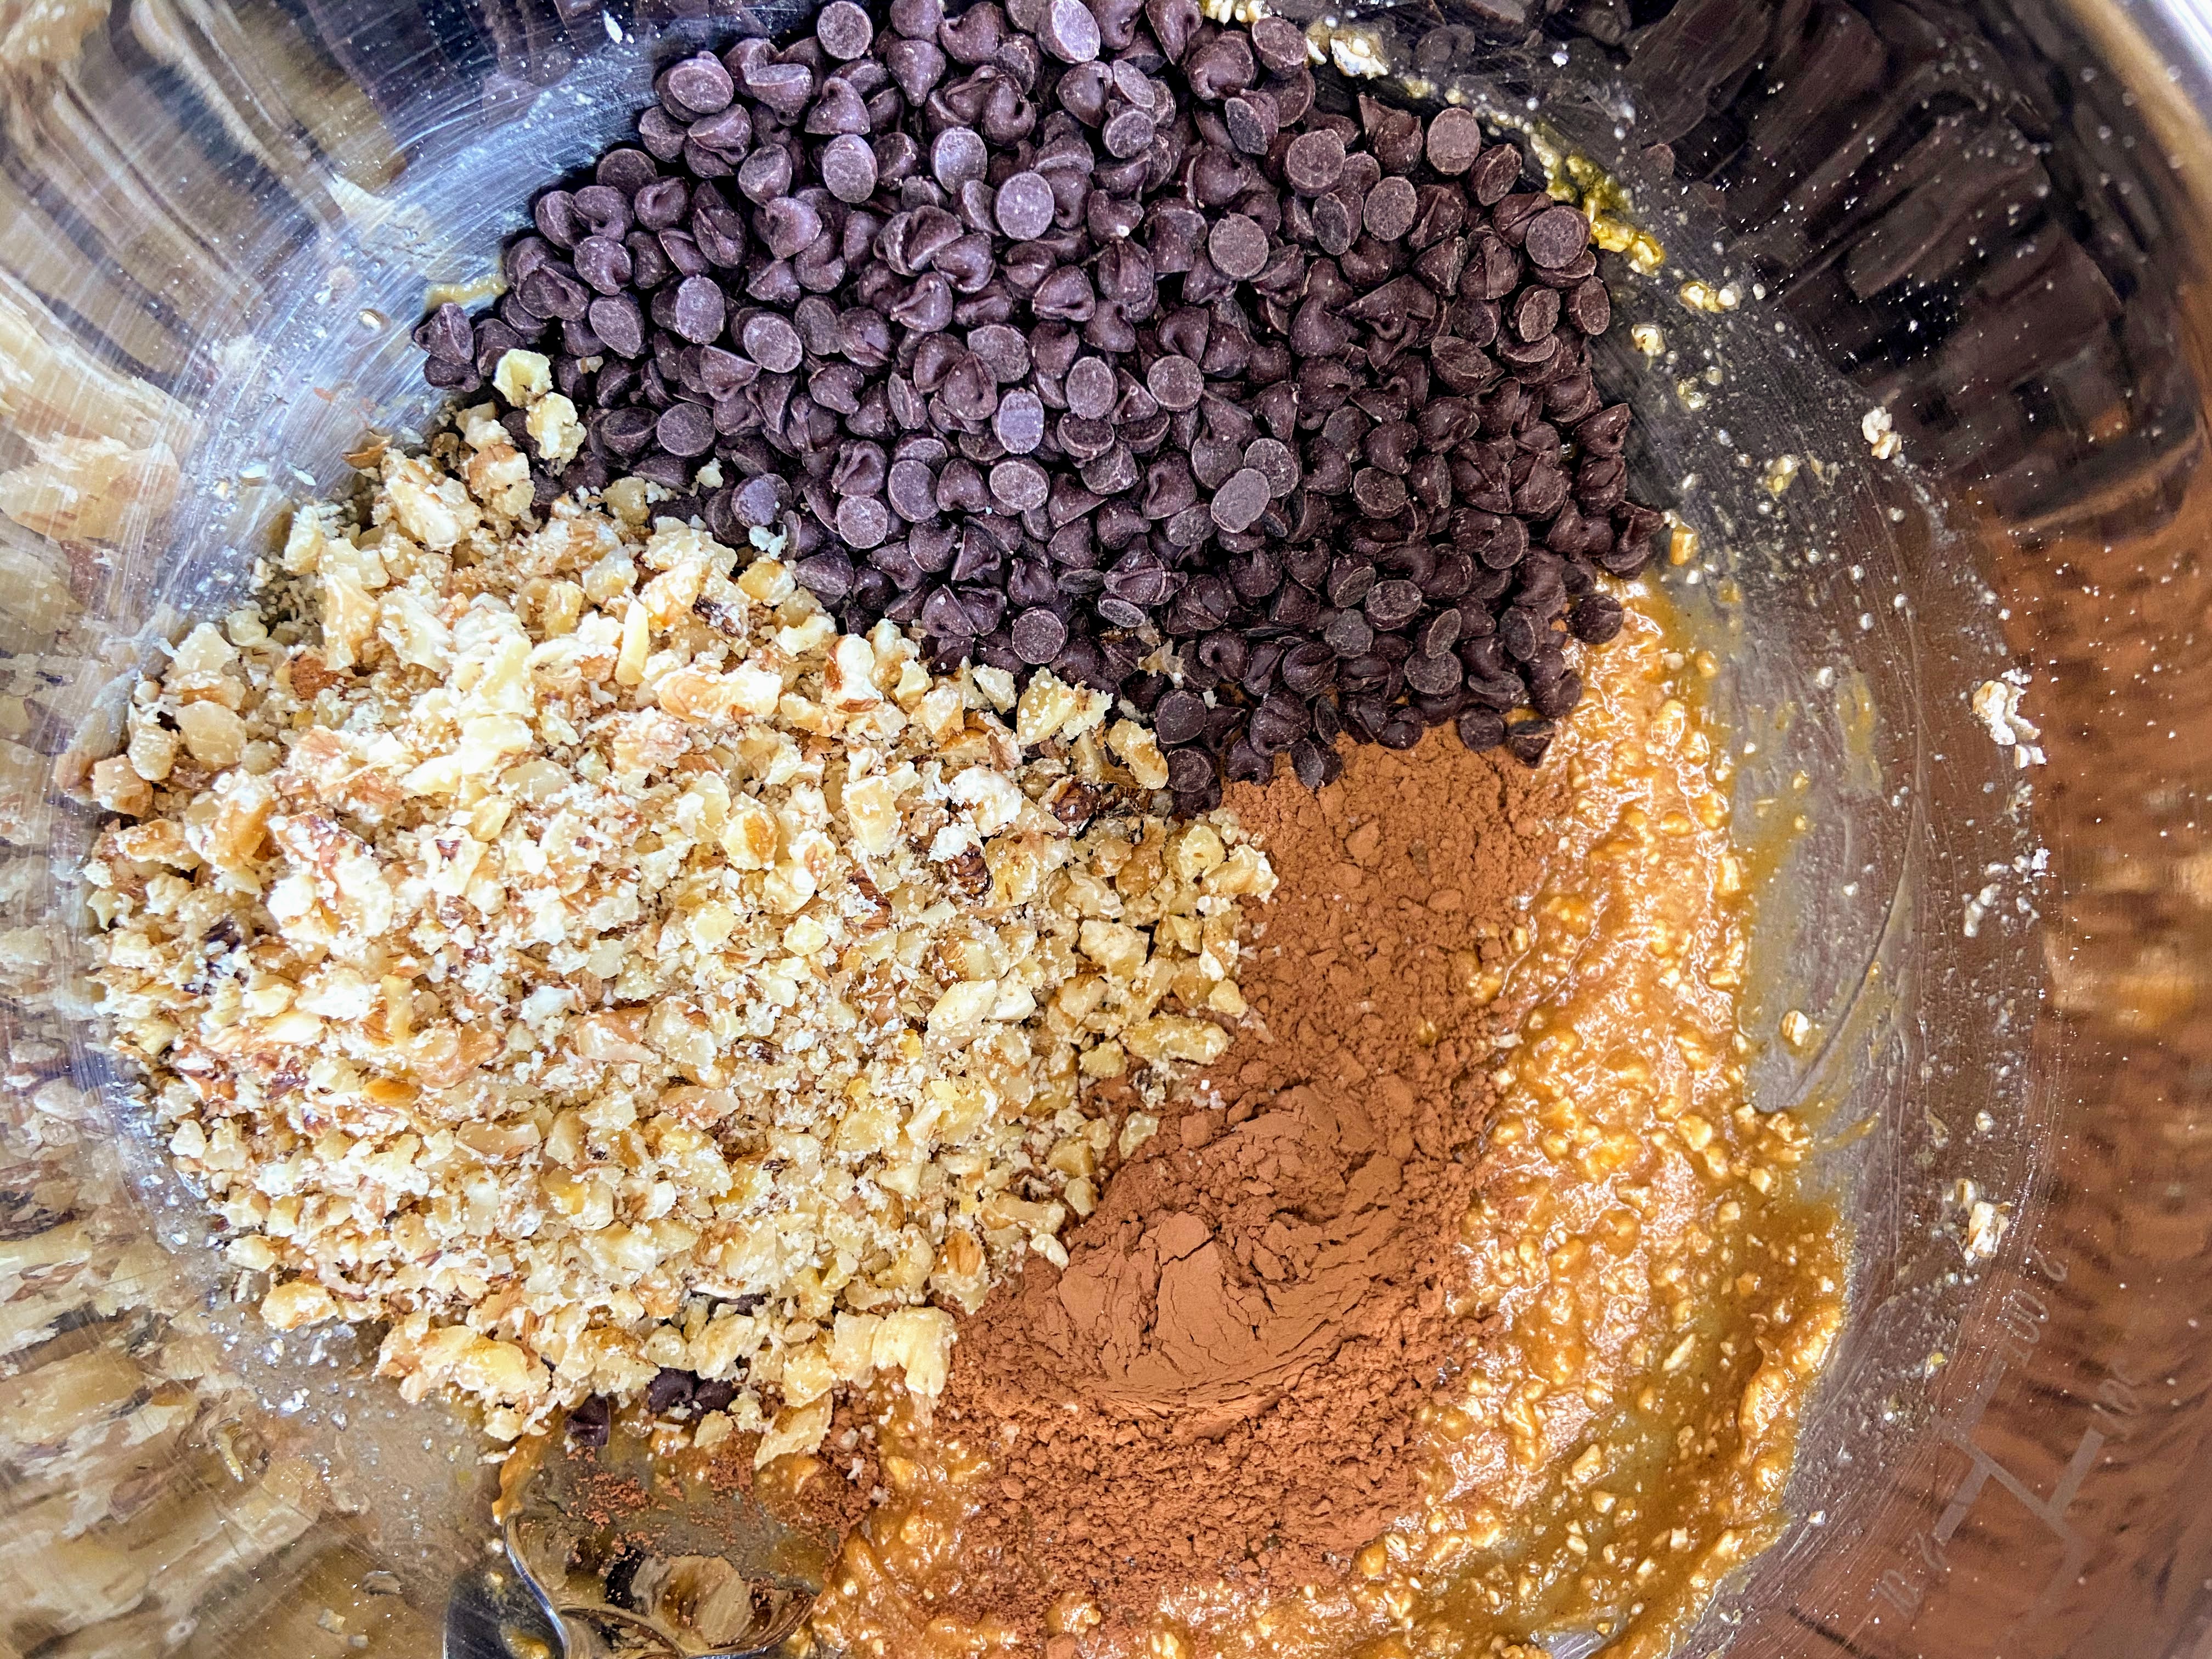
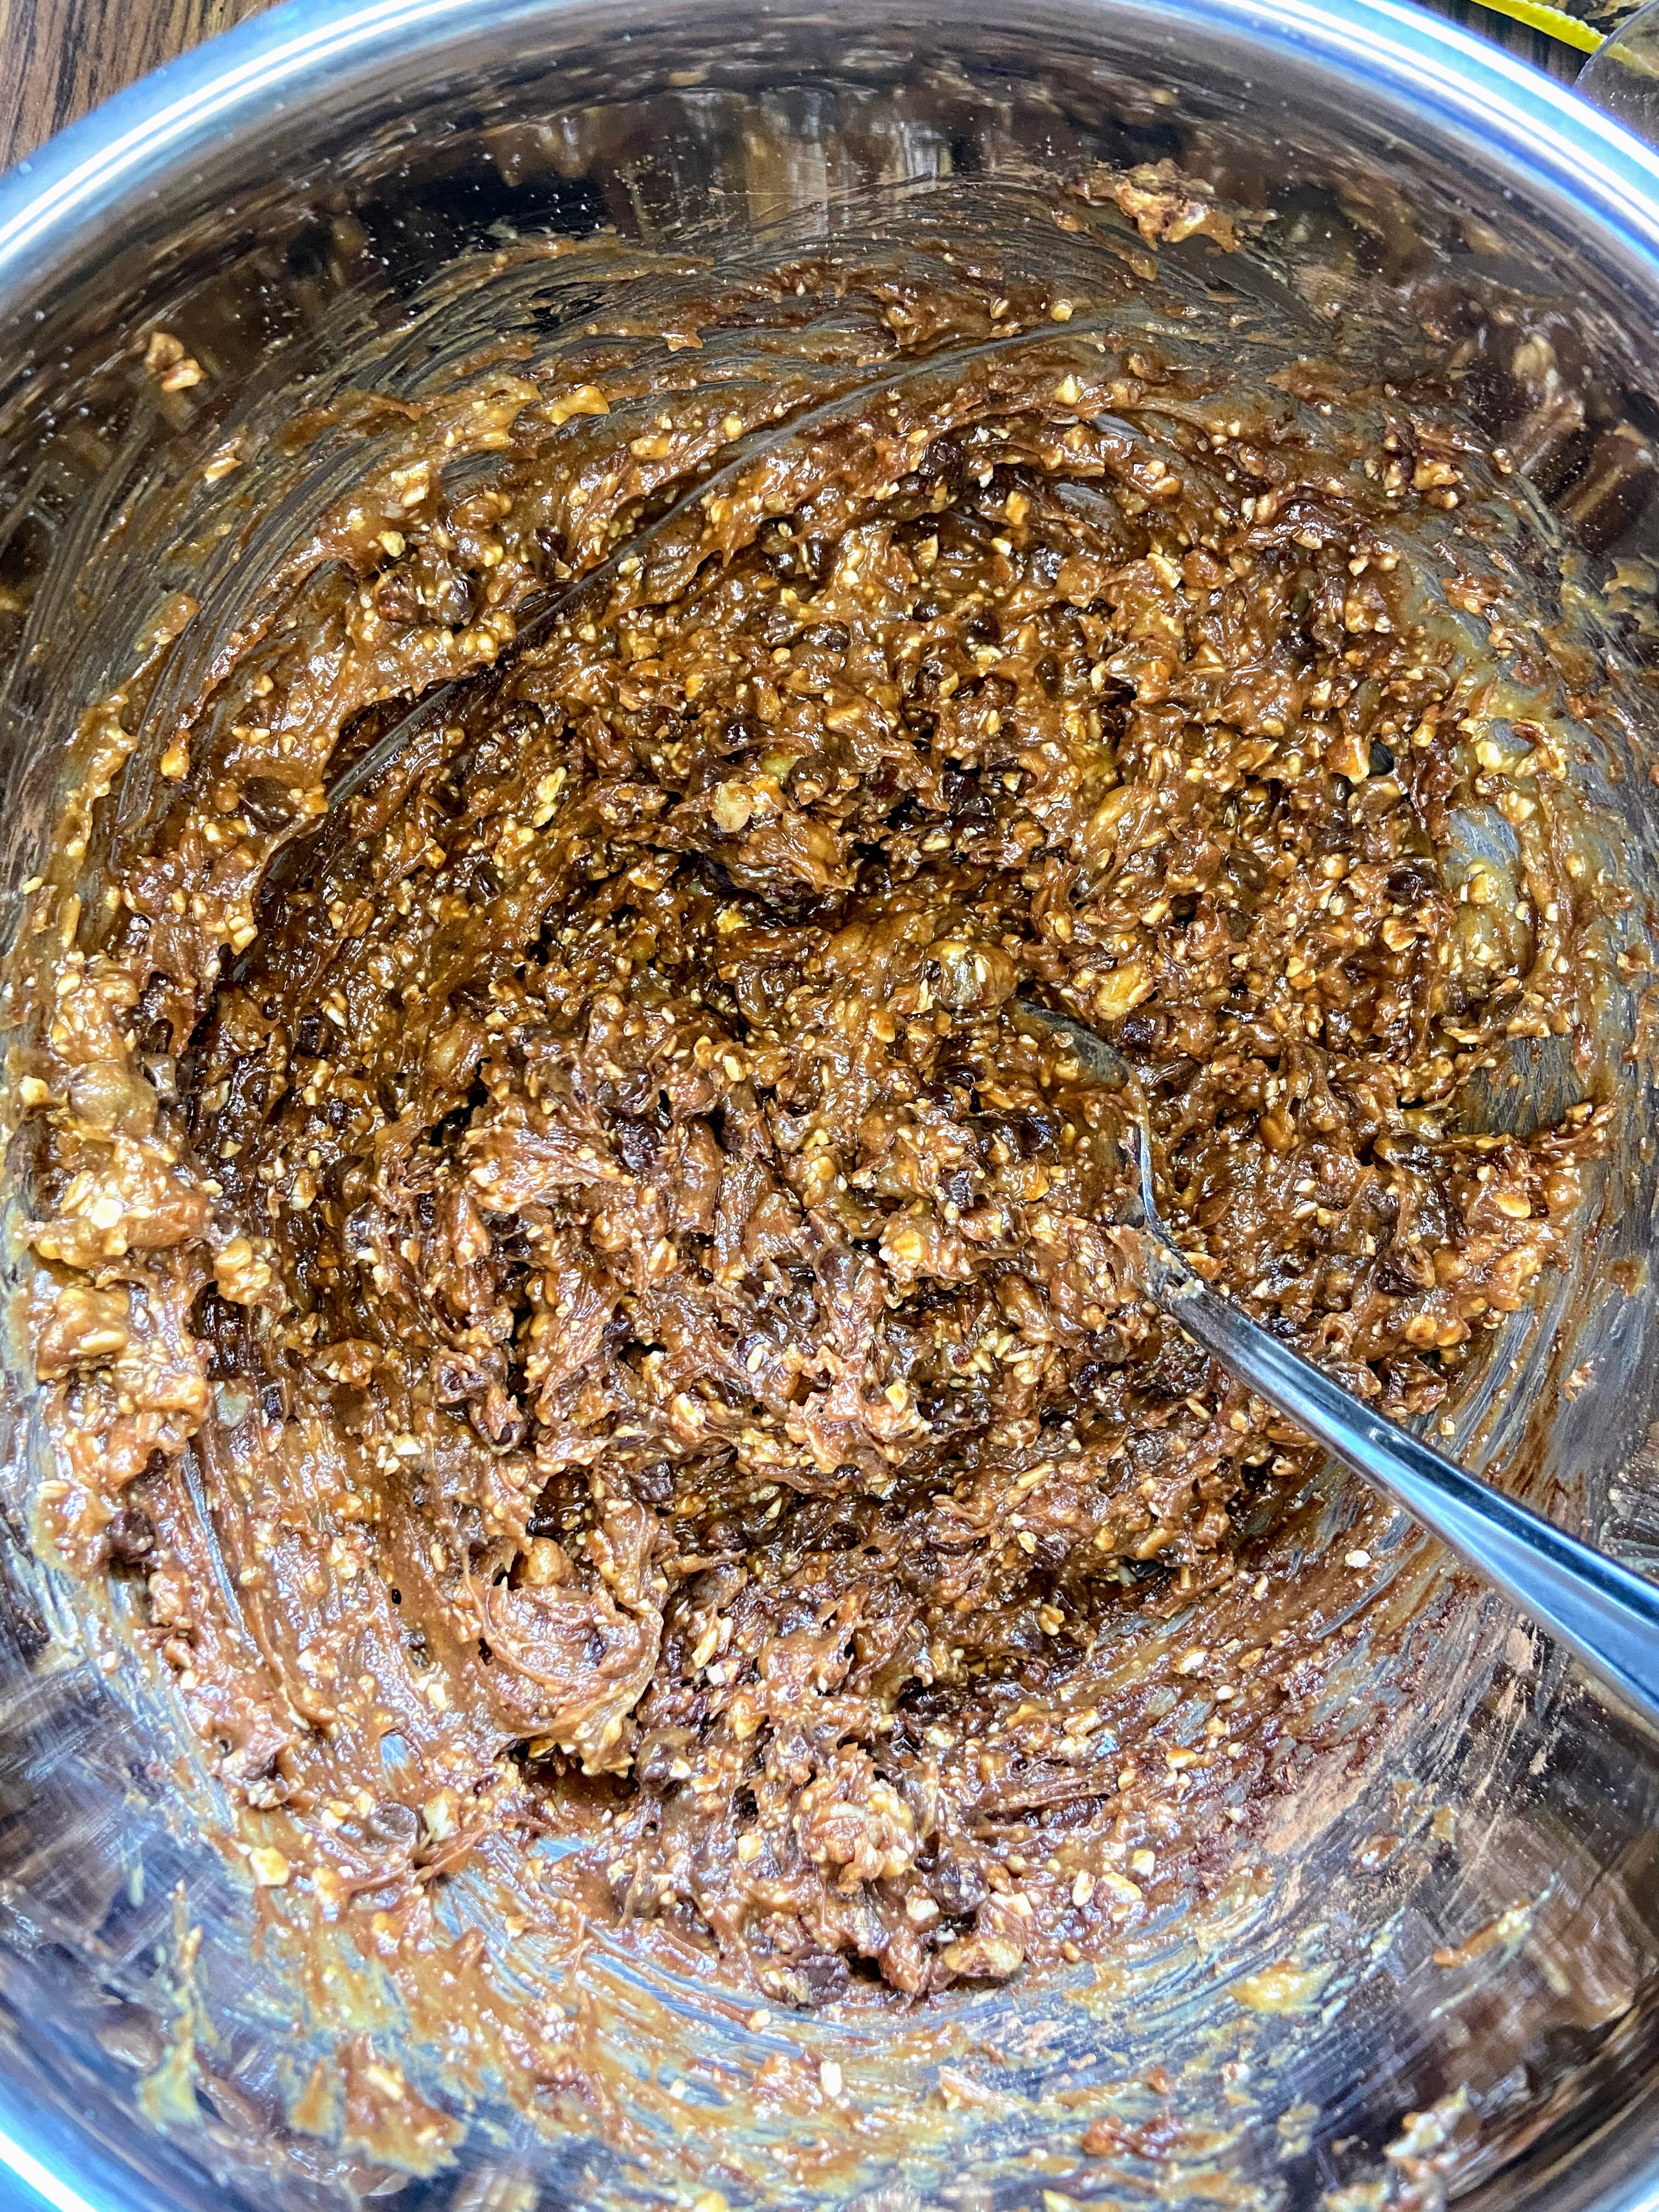
In another medium bowl, combine nut butter, maple syrup, egg, and vanilla. Stir in dry ingredients until just moistened. Fold in walnuts and chocolate chips. ⁠

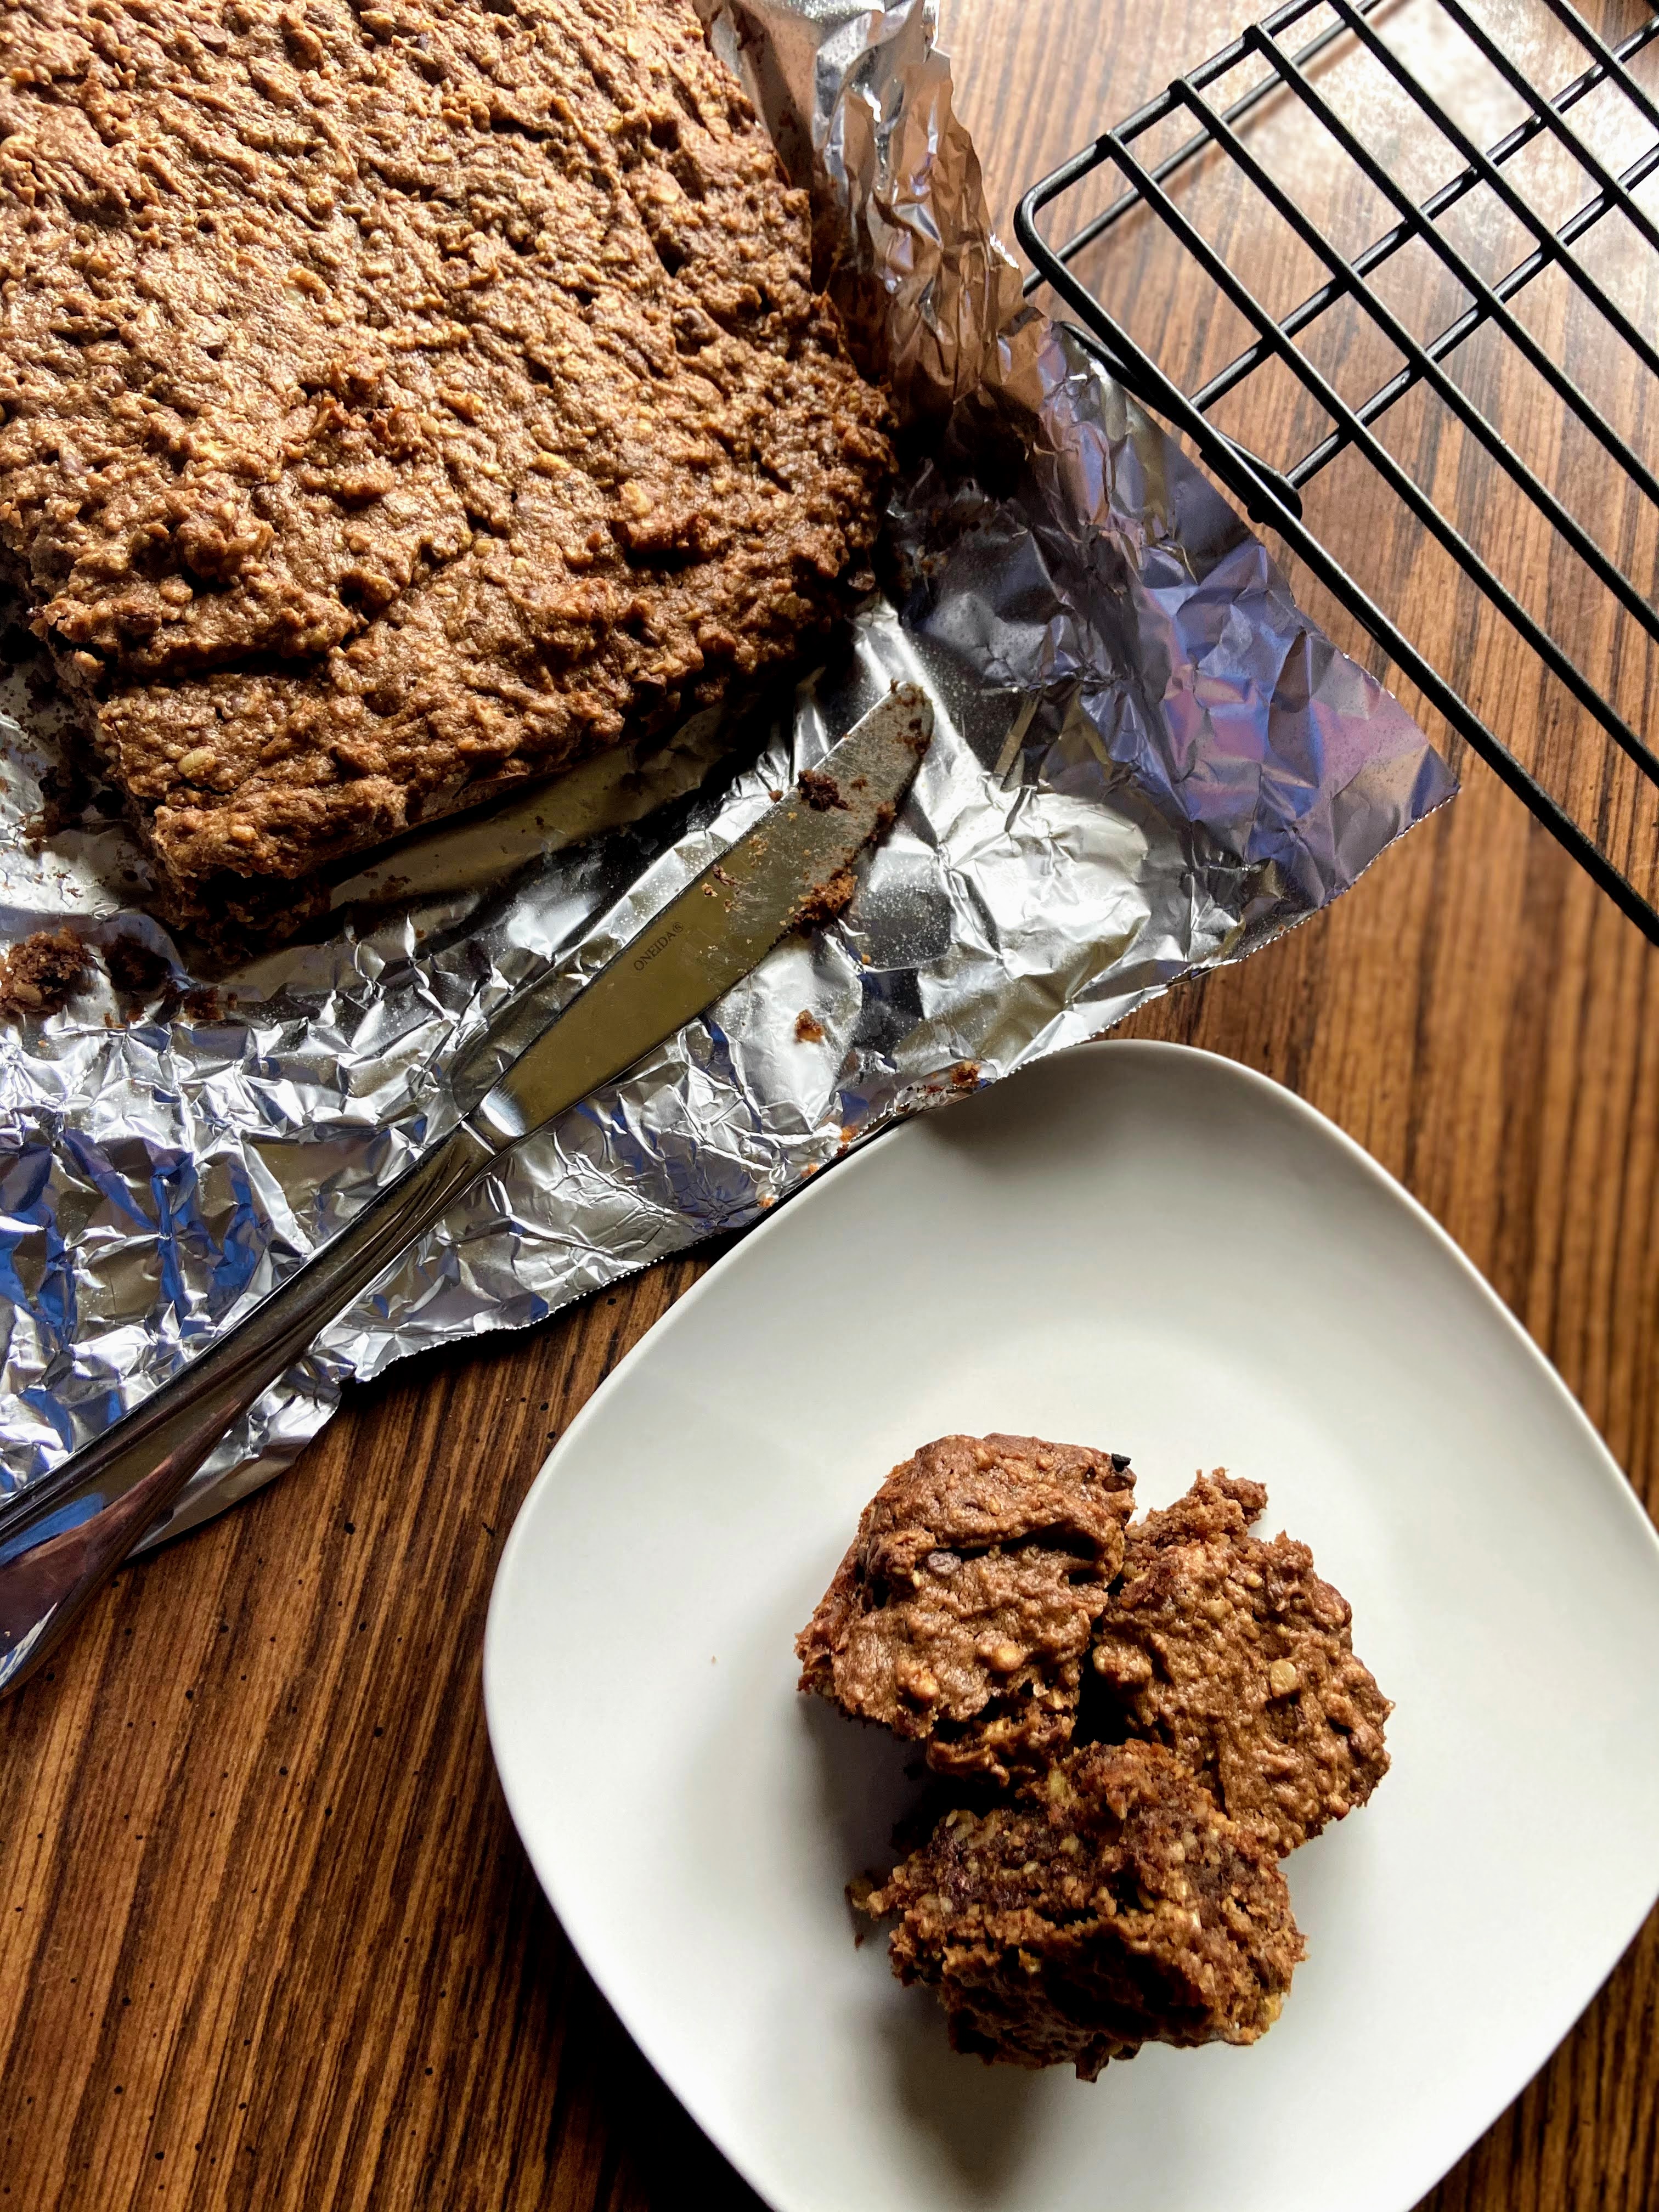
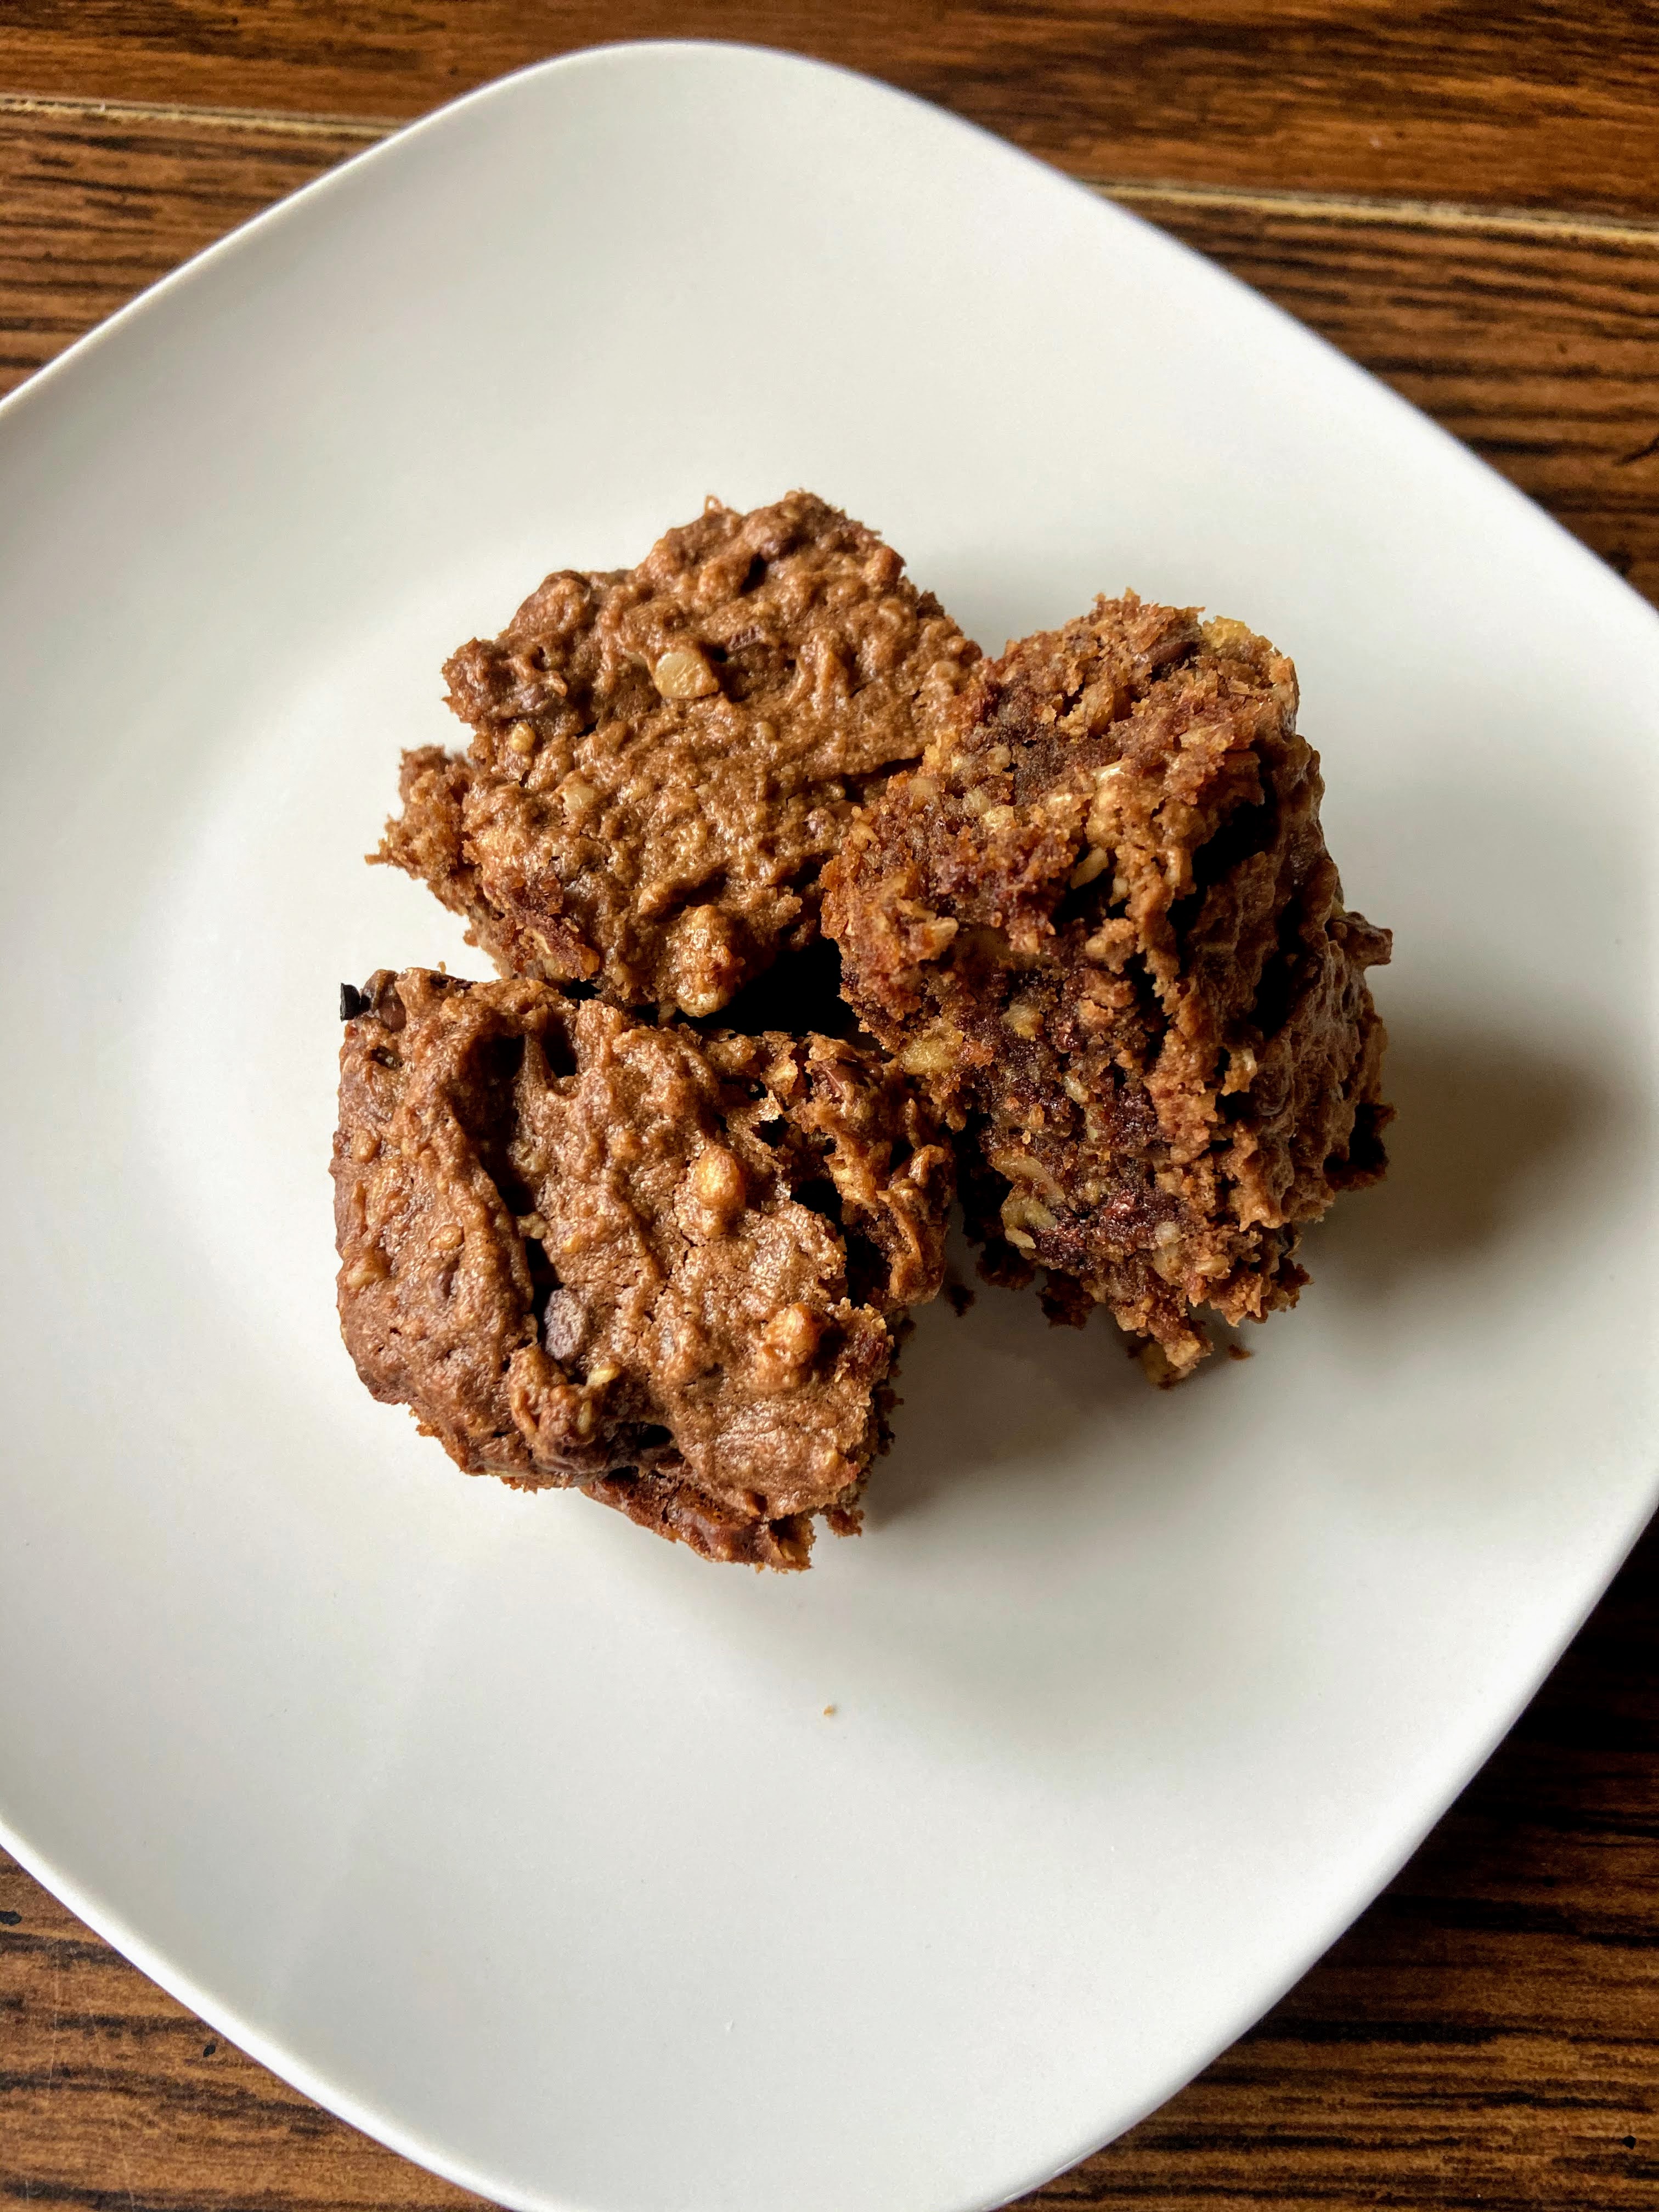
Pour into the prepared pan and bake for 30 minutes. Allow to cool in the pan before removing the foil and cutting into bars. I hope you enjoy them as much as I did! ⁠Just try not to eat the whole pan, I dare you.

Tools of the Trade

I love my large food processor. I do so much with it, including making my own oat flour!

A good Pyrex baking dish is a must!

Peanut Butter and Oat Brownies

These peanut butter and oat brownies are a quick and clean eating brownie that are full of texture and flavor! Give them a try!
Prep Time 10 minutes
Cook Time 25 minutes
Course Dessert
Cuisine American
Servings 16

Ingredients
  

  • 1/3 cup oat flour
  • 2 tablespoons cocoa powder⁠
  • 1/2 teaspoon salt⁠
  • 1/2 teaspoon baking powder⁠
  • 1 teaspoon vanilla⁠
  • 1 cup nut butter
  • 1/2 cup maple syrup⁠
  • 1 large egg⁠
  • 2/3 cup walnuts ⁠
  • 2/3 cup semisweet chocolate chips ⁠

Instructions
 

  • Preheat the oven to 325 degrees. Line a 8 in square baking pan with foil and then coat with cooking spray. ⁠
  • In a small bowl, combine flour, cocoa, salt, and baking powder. ⁠
  • In another medium bowl, combine nut butter, maple syrup, egg, and vanilla. Stir in dry ingredients until just moistened. Fold in walnuts and chocolate chips. ⁠
  • Pour into the prepared pan and bake for 30 minutes. Allow to cool in the pan before removing the foil and cutting into bars.

Notes

I grind old fashioned oats myself in a food processor. You can also purchase your own.
Keyword brownies, chocolate and peanut butter, Gluten Free, oats, peanut butter brownies
Tried this recipe?Let us know how it was!

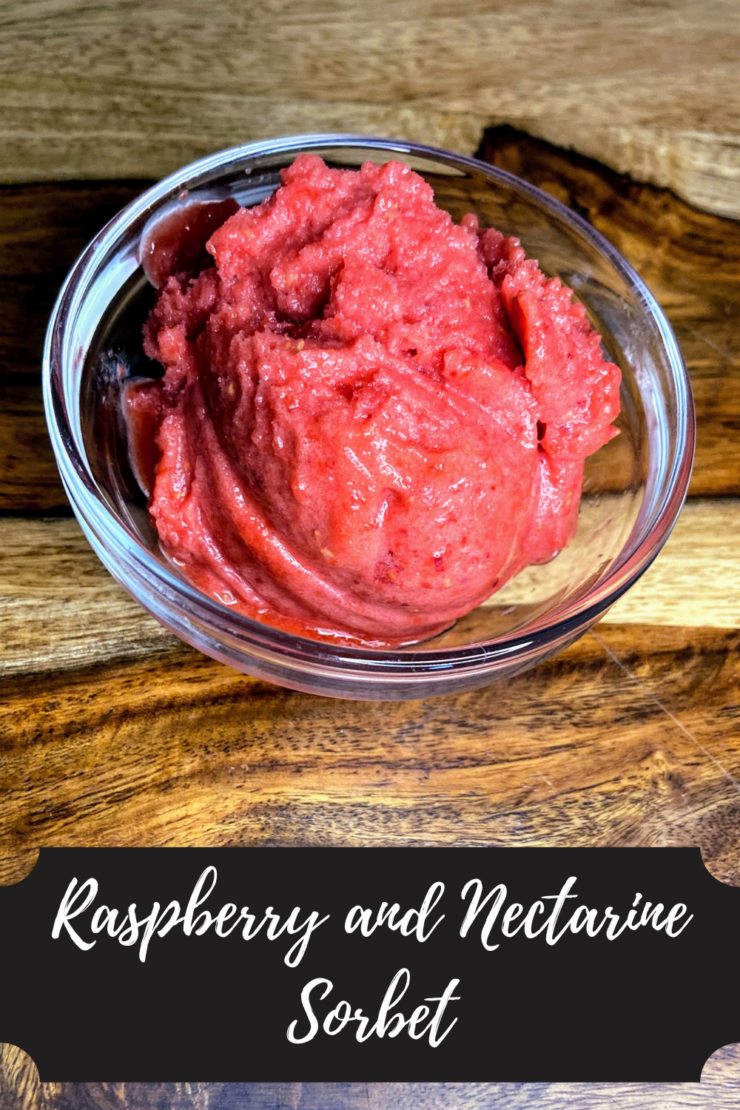
Raspberry and Nectarine Sorbet

Oh my goodness friends. I think you may be to the point of, “Enough with the raspberries!” But this year, they just keep coming and I’m beyond grateful for the harvest and all I have created using them. If you have missed it, you can check out regular raspberry jam, raspberry cherry jam, and raspberry jalapeño jam by clicking their links. Now, it’s raspberry and nectarine sorbet. Let me tell you, it’s a heavenly summertime treat. 

As a long distance runner (Training for my 5th marathon this summer!), I need a snack that will provide a quick refuel but will also cool me down when I get done with a long run. These little guys have been the answer to that need. I have been known to make a training partner’s stomachs growl as I describe raspberry and nectarine sorbet as we near mile 20. Sorry, not sorry, right? 

Beyond myself, my kids love sorbet and will default to that even at the best ice cream shops. But I also love being able to control the amount of sugar they consume, and while this does still have some added sugar, it is far less than I have seen in a number of recipes. You can cut it even further if you care to, which I do from time to time.

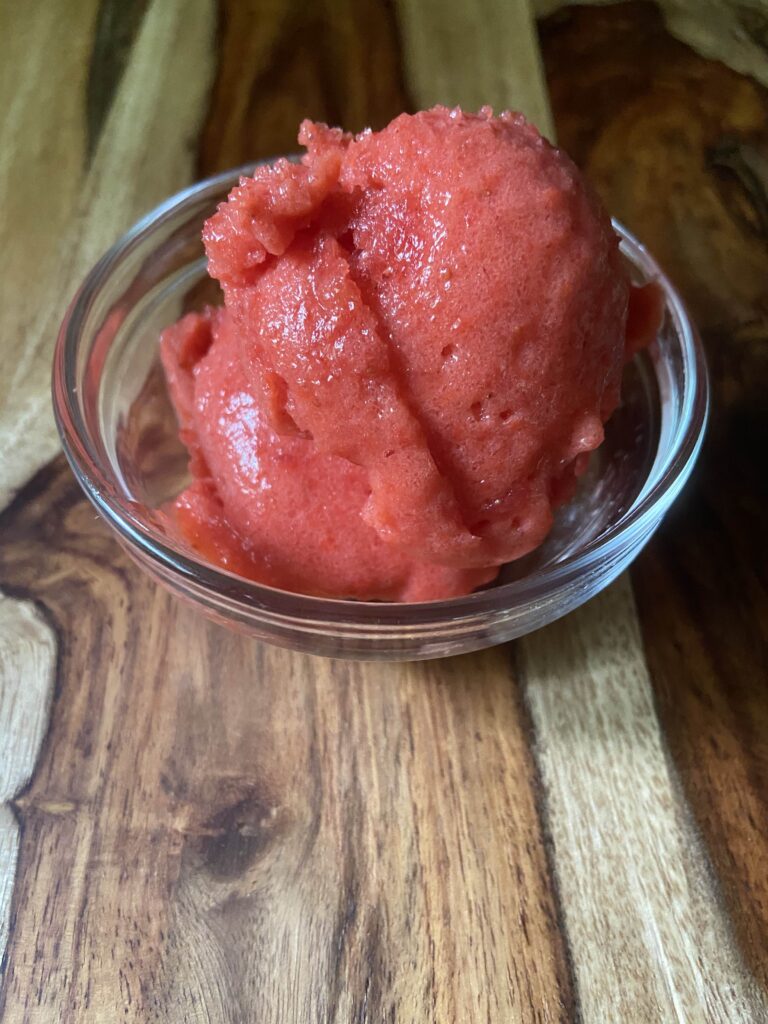
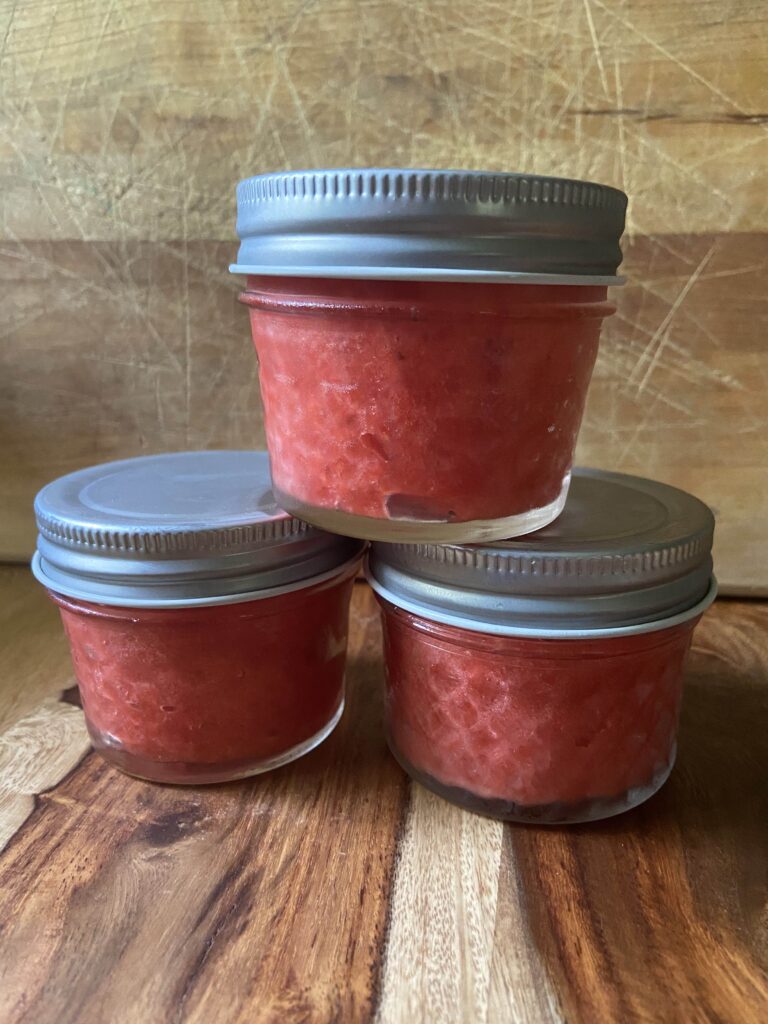
The color alone brings me immense joy. It is simply summer in a jar. Even in the bitter cold of Wisconsin winters, I crave little jars of sorbet to bring back that “sunburned lips and summer” feeling. I hope you enjoy these jars of sunshine as much as my family does! 

PS…Don’t have raspberries or nectarines? I have such good news! This recipe is totally moldable to your favorite flavor combination. Ultimately, you will need 4 cups of chopped soft fruit. Think berries, peaches, nectarines, etc. 

Your Ingredients for Raspberry Nectarine Sorbet

  • 2 cups raspberries
  • 2 cups diced nectarines, about 2 nectarines
  • ½ cup orange juice
  • 2 tablespoons lemon juice 
  • ¼ – ½ cup sugar 

Your steps to Sorbet

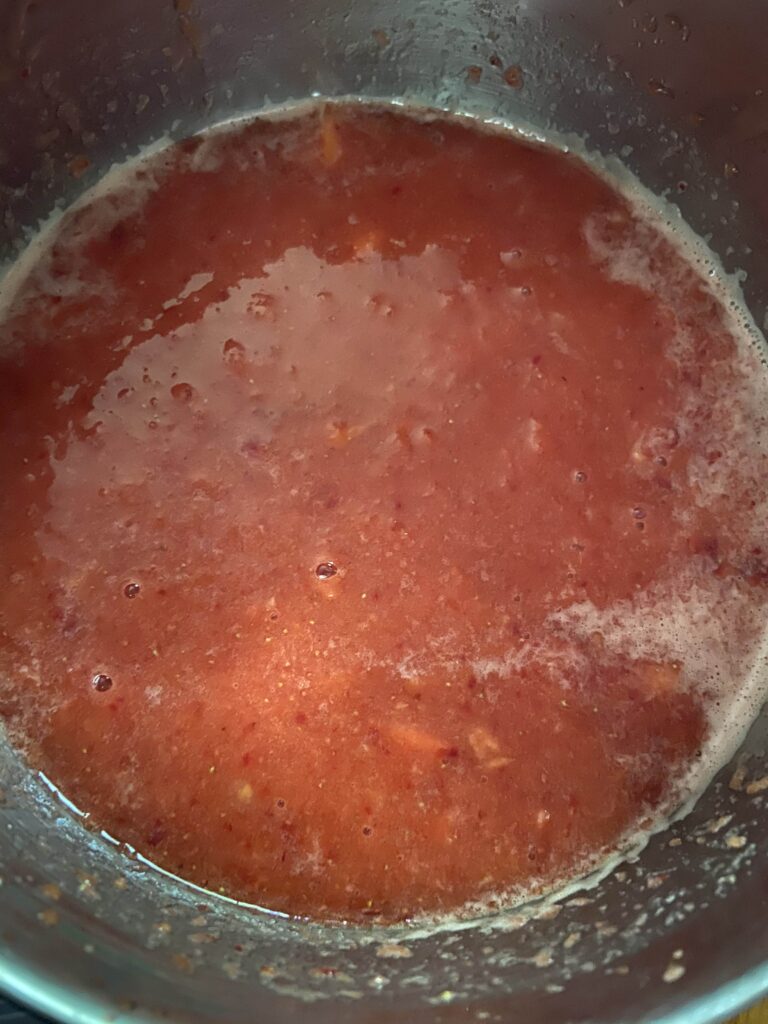
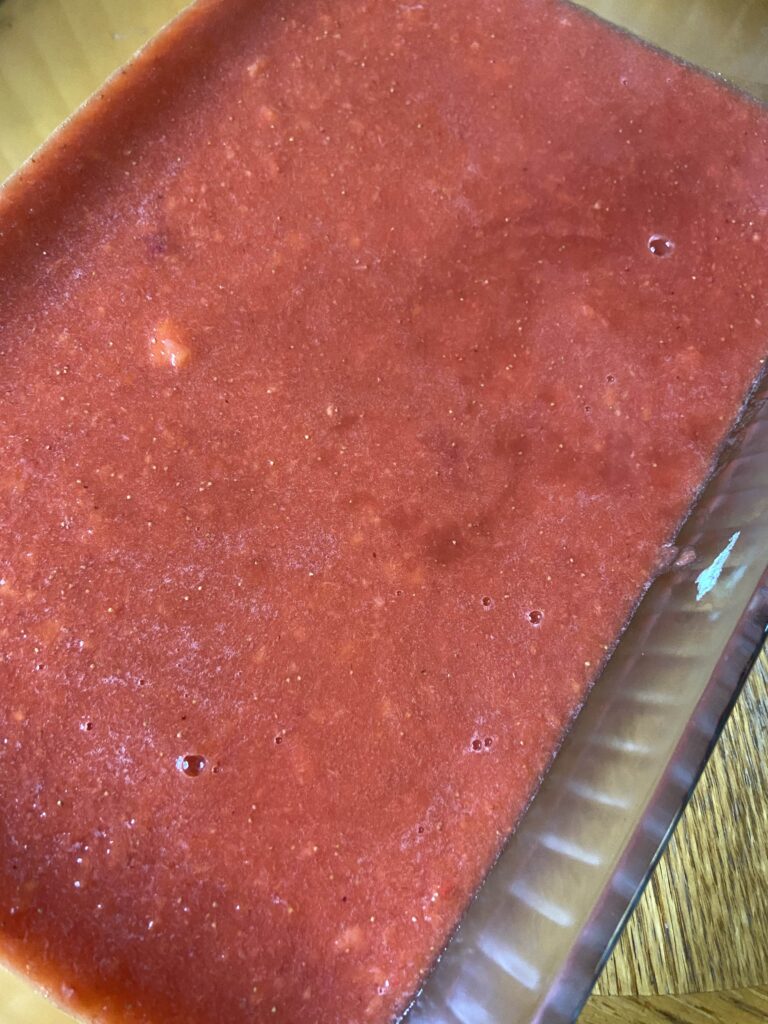
Combine fruit. Use a blender or immersion blender to break fruit down. I use an immersion blender and blend right in the kettle I will be heating them in. Add remaining ingredients. Use the immersion blender to mix everything together once more. Once combined, heat over medium heat until the mixture is beginning to simmer, stirring often. Pour into a 9×13 pan, cover, and place in the freezer and allow to freeze solid. I generally wait overnight.

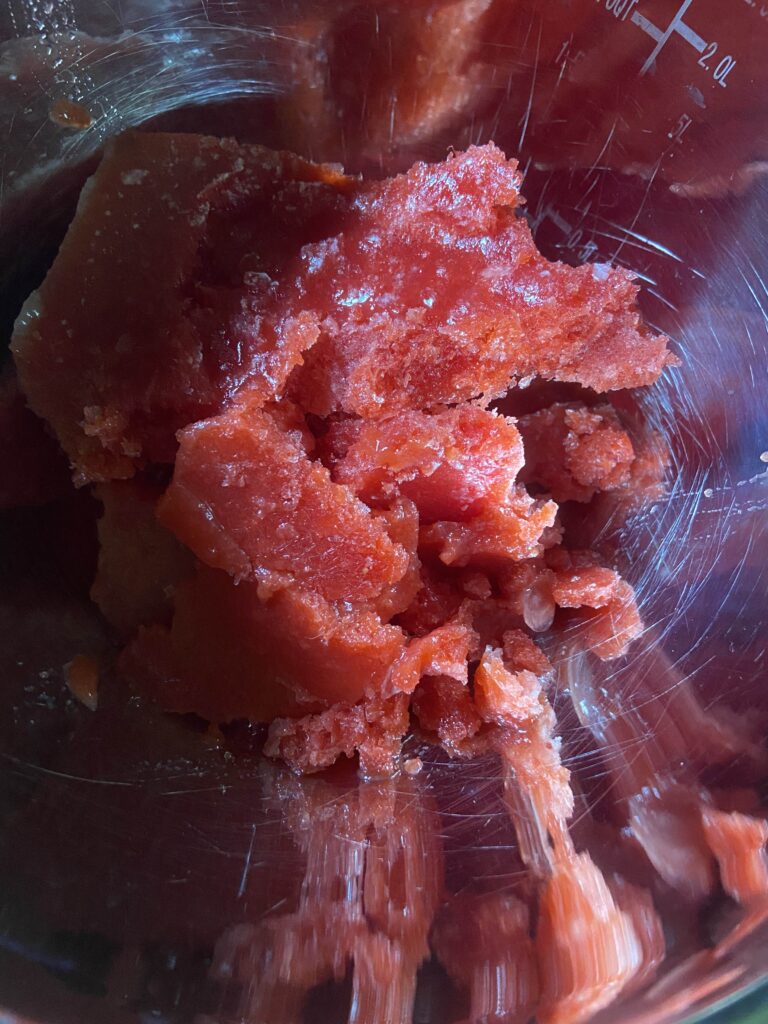
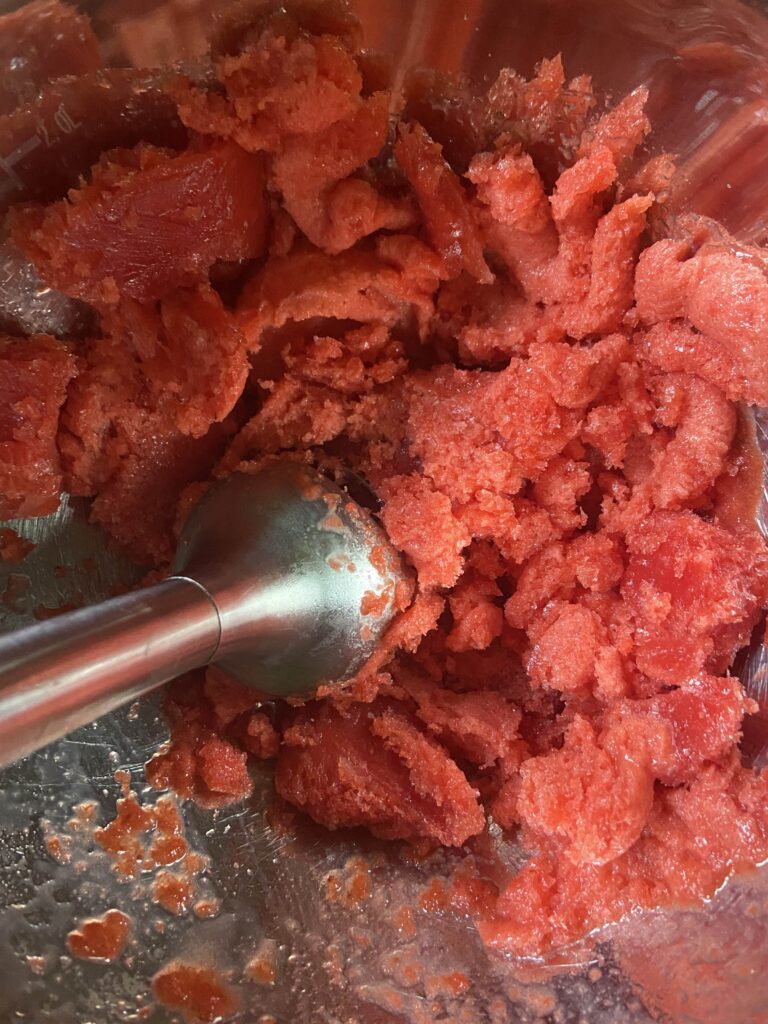
Once fully frozen, remove and allow to sit at room temperature for 5 minutes. This will make it easier to remove the sorbet. Working in small batches, puree frozen sorbet. There are lots of options for this. You can use a blender, a food processor, or an immersion blender. I dig the immersion blender because clean up is so easy. Scoop the puree into freezer safe containers, leaving ½ inch headspace at the top. I like to use 4 ounce jelly jars for ½ cup servings ready to go! Be sure to label and return to the freezer until you’re ready to enjoy them! 

A few notes

When I initially found this recipe, I wanted to cut the second blending of the sorbet. It is critical to complete if you want fluffy sorbet that you remember from childhood. It’s worth the extra step. Don’t skip it! 

I did love this with freshly picked raspberries so feel free to mix it up in terms of fruit. Ultimately, you need 4 cups of chopped/crushed fruit so let your taste buds do the work here. 

Looking for an adult version? I found that adding ½ cup of lime twisted gin was a delight to the raspberry sorbet! Be mindful of how much alcohol you add as it will affect the ability of the sorbet to freeze. 

Have a sweeter tooth? The recipe originally calls for 2 cups of sugar. Feel free to add more to suit your own tastes. I think the fruit flavor is great the way it is and doesn’t need the extra sugar. 

Hoping to use some of the tools I love for creating these? Here’s the link for the 4 ounce jelly jars I used as well as an immersion blender. Seriously, the immersion blender is an underrated tool in the kitchen and it hardly takes up any storage space! If you don’t have one yet, I highly recommend investing. You’ll thank me! 

Raspberry and Nectarine Sorbet

A "Summer in a jar" treat no matter the time of year
Prep Time 30 minutes
Freeze Time 4 hours
Course Dessert
Cuisine Canning
Servings 6 1/2 cup servings

Ingredients
  

  • 2 cups raspberries
  • 2 cups nectarines diced
  • ½ cup orange juice
  • 2 tablespoons lemon juice
  • ¼-½ cup sugar to taste

Instructions
 

  • Combine fruit.
  • Use a blender or immersion blender to break fruit down into a puree.
  • Add remaining ingredients. Blend once more to fully break down the fruit and incorporate added ingredients.
  • Once combined, heat over medium heat until the mixture is beginning to simmer, stirring often.
  • Pour into a 9×13 pan, cover, and place in the freezer and allow to freeze solid.
  • Once fully frozen, remove and allow to sit at room temperature for 5-10 minutes to make it easier to remove from pan. Working in small batches, puree frozen sorbet using food processor, blender or immersion blender.
  • Scoop the puree into freezer safe containers, leaving ½ inch headspace at the top. Label and return to freezer if not enjoying immediately.

Notes

This recipe works for any soft fruit so feel free to combine strawberries, blueberries, peaches, the options are endless! 
You may be tempted to skip the second blend step. Don’t! It’s critical for the sorbet to be fluffy, just the way you remember it. 
Keyword nectarines, Raspberry, sorbet, sweets
Tried this recipe?Let us know how it was!

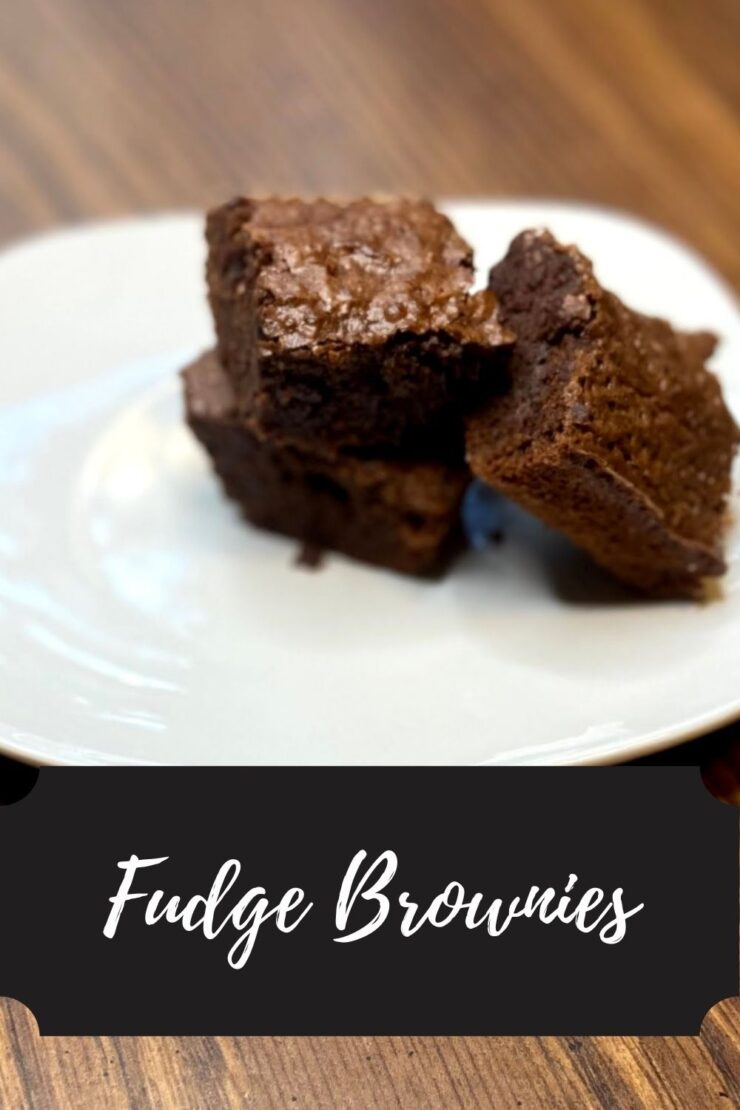
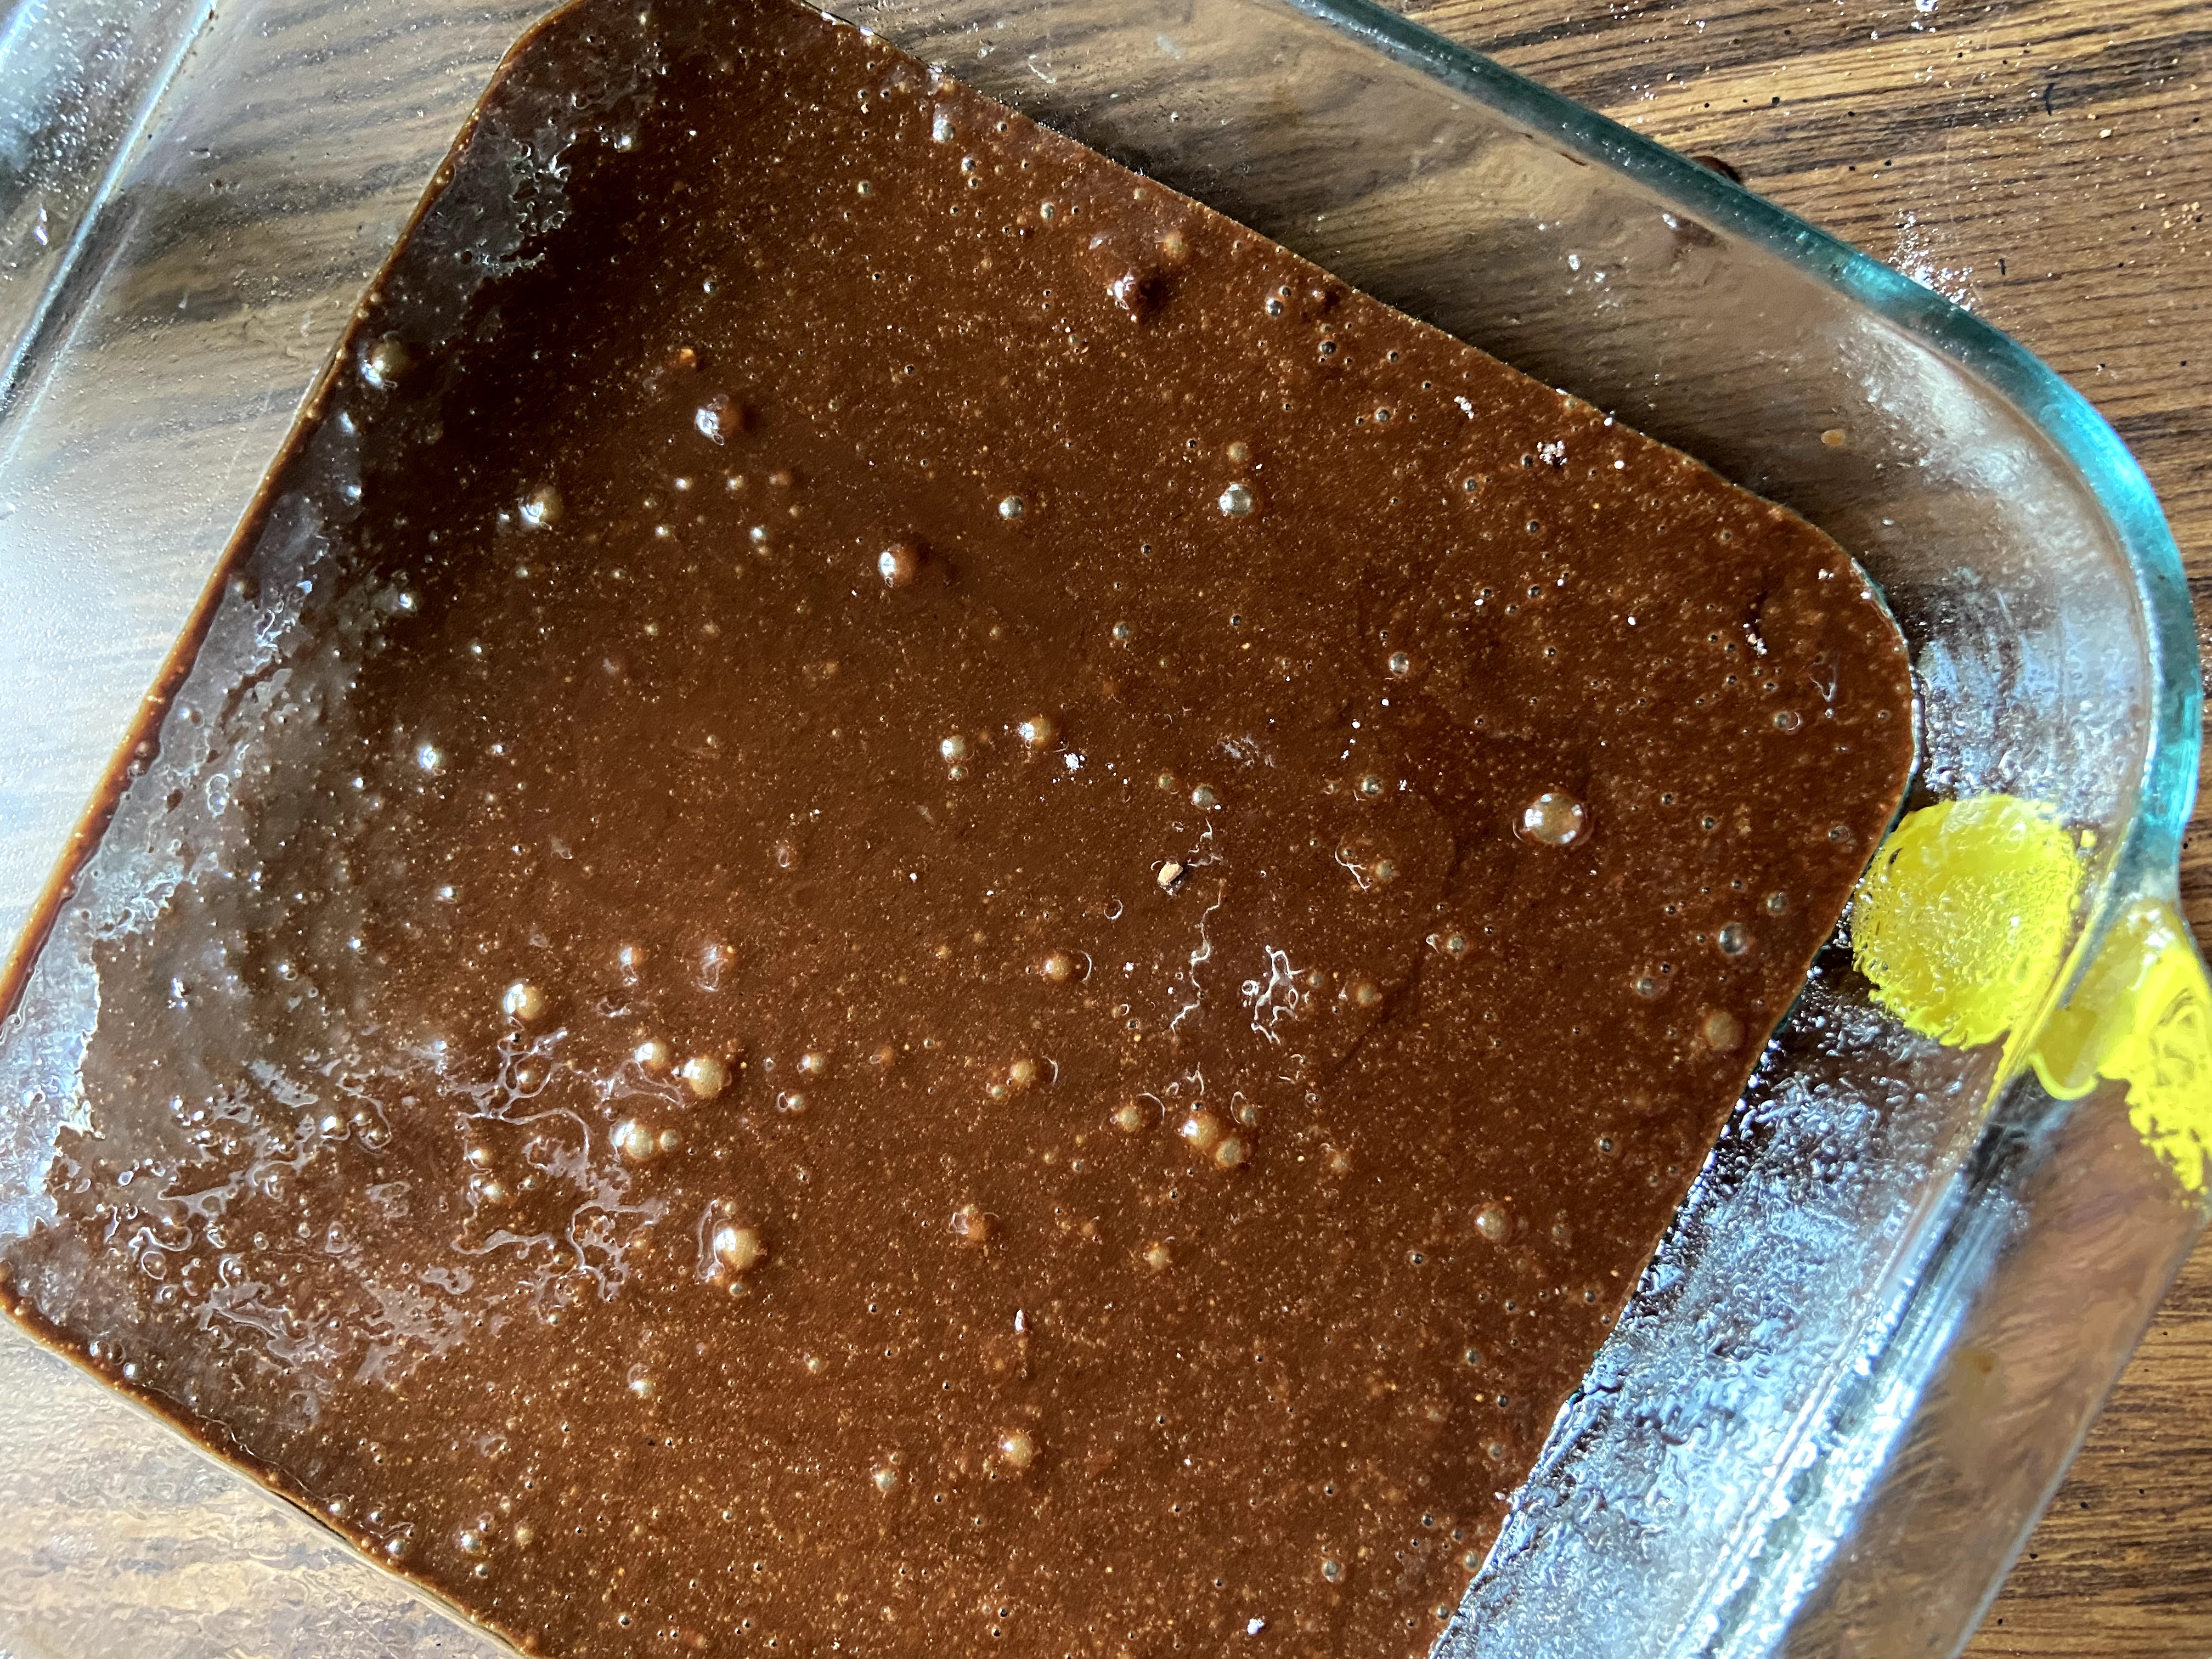
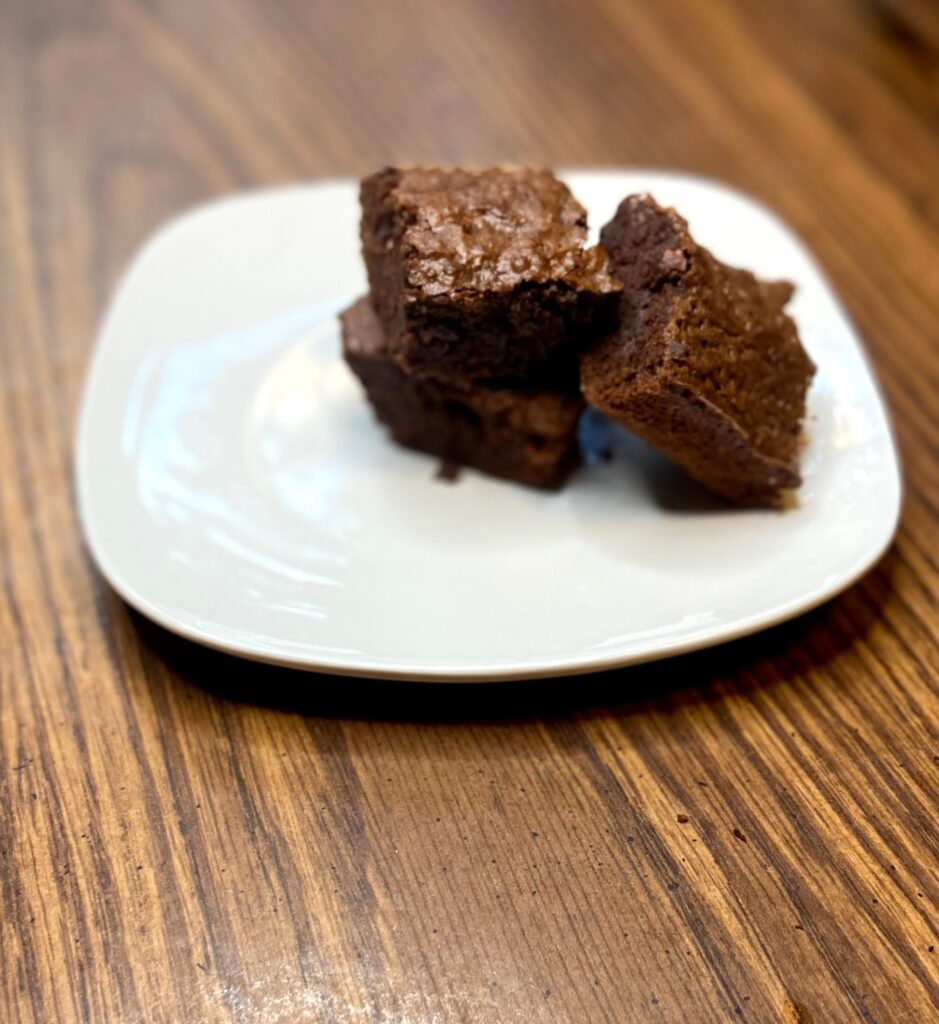
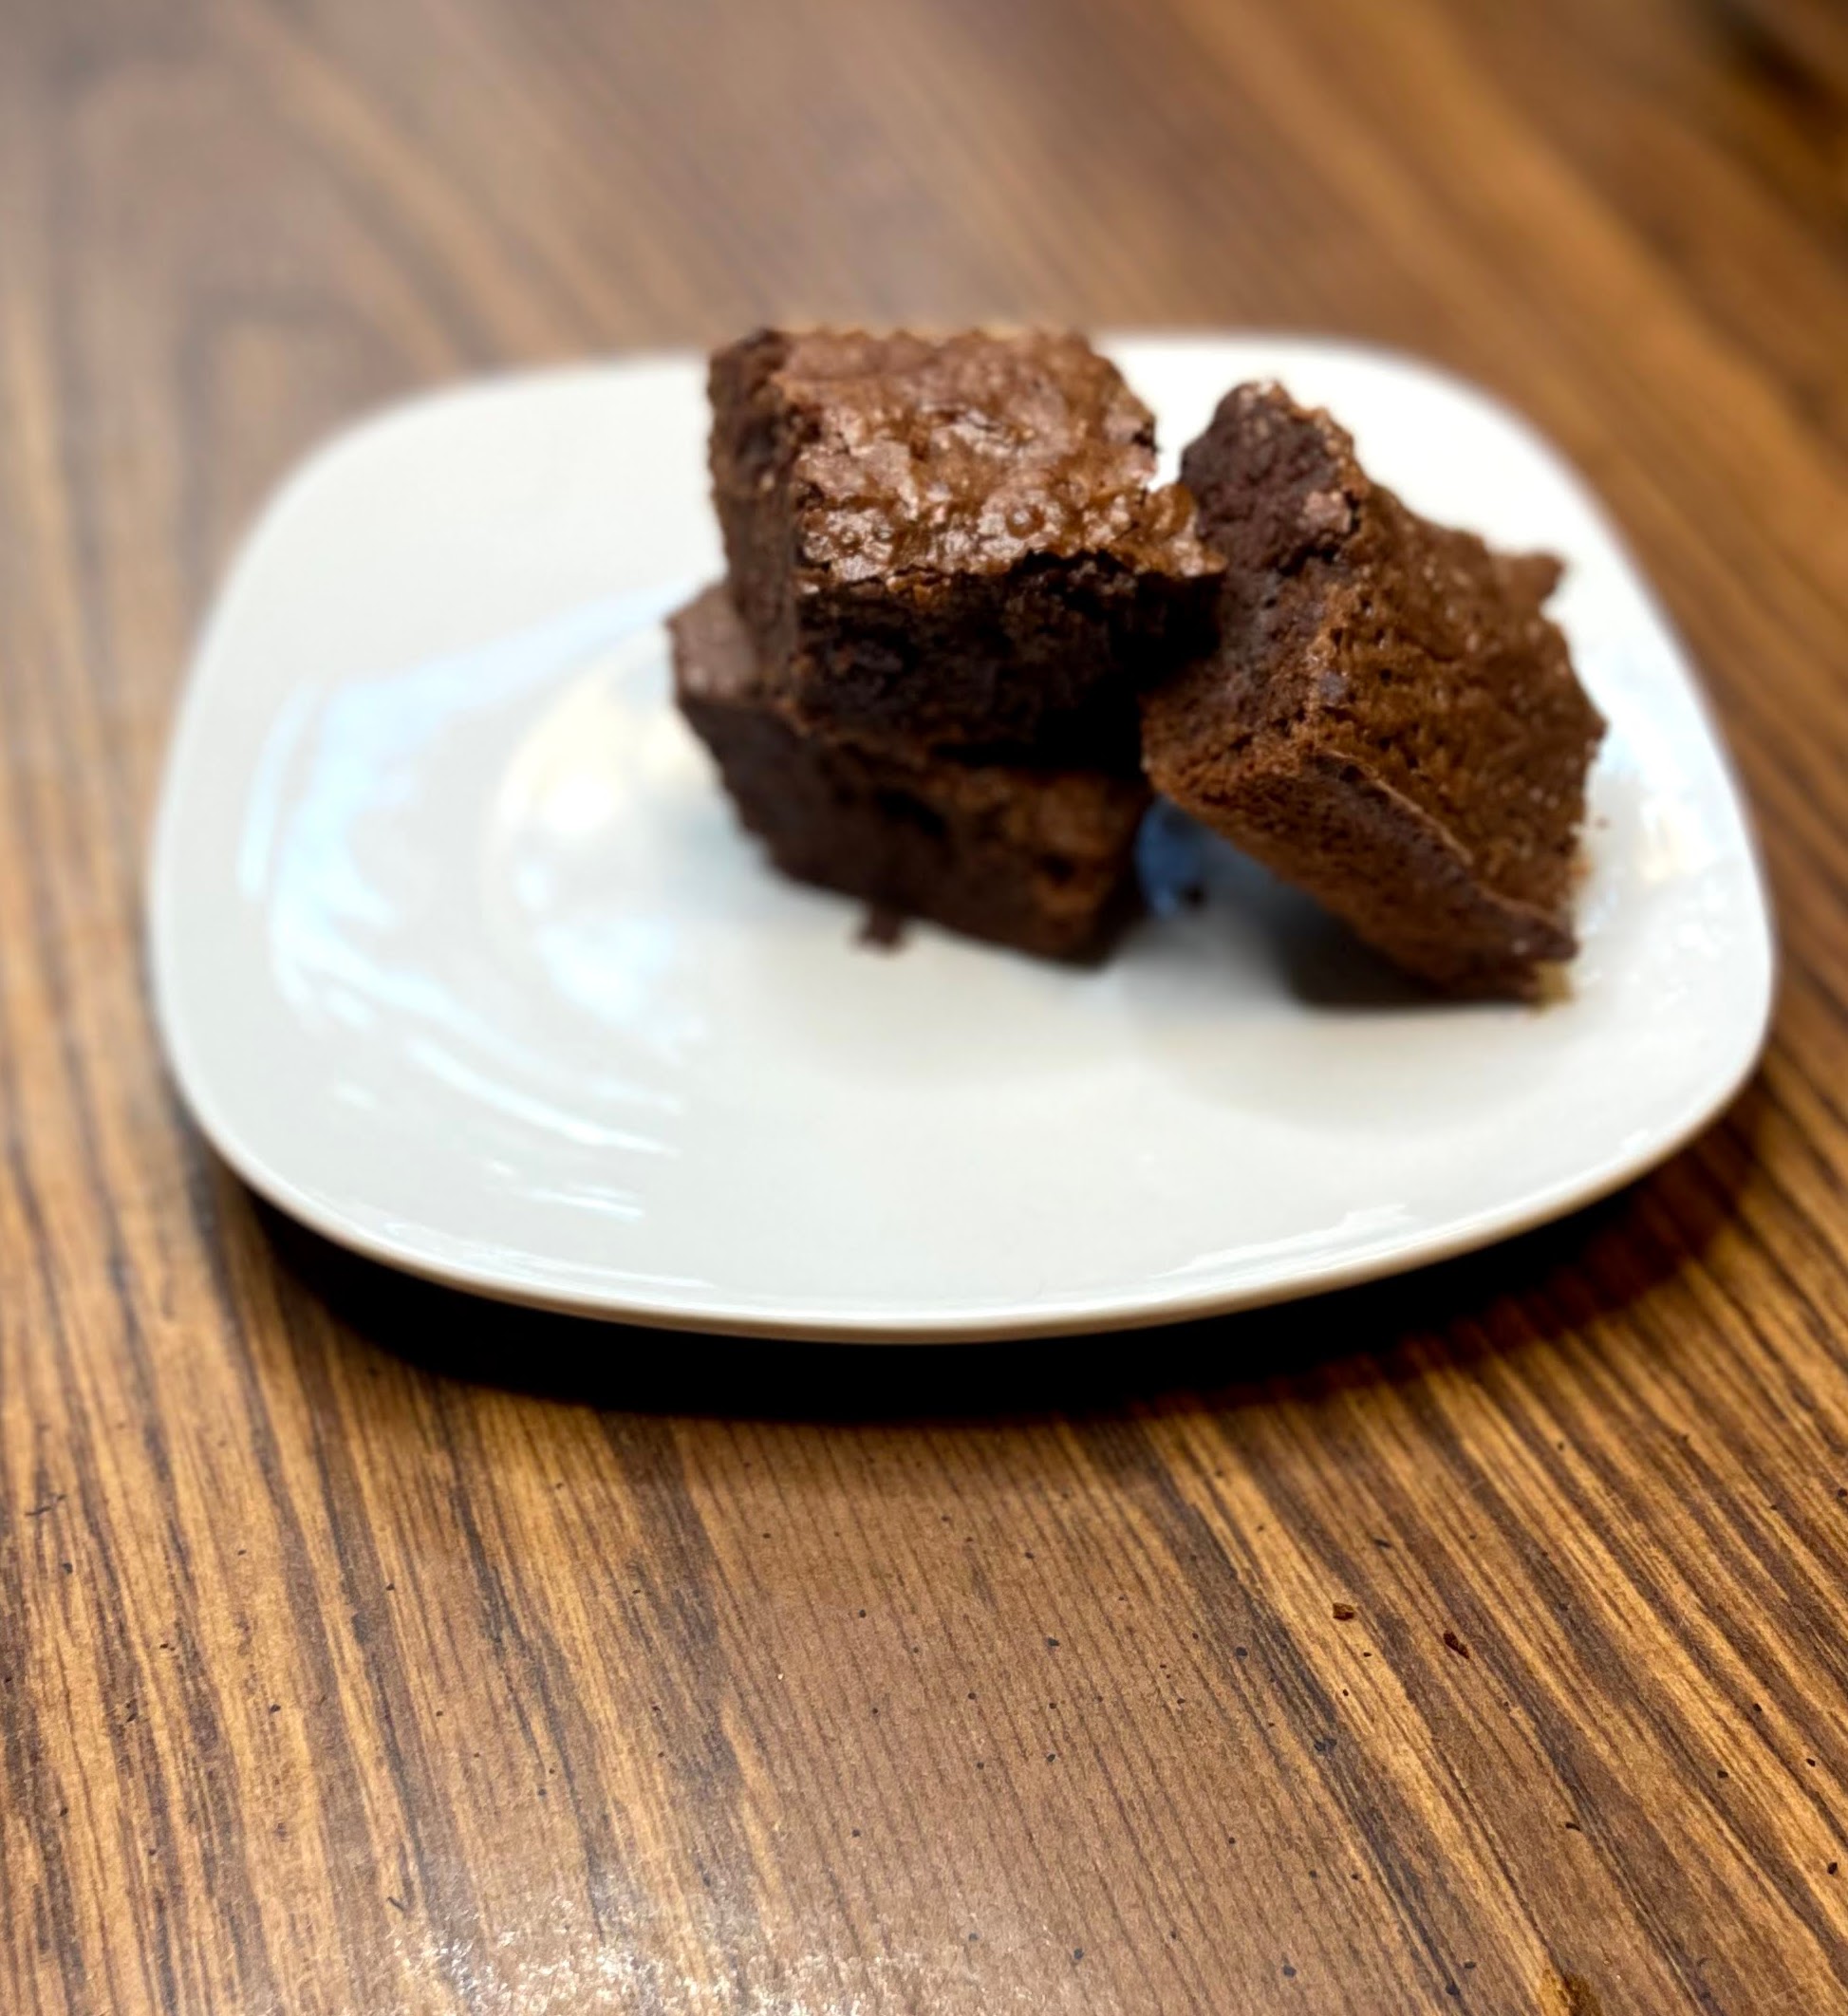
Fudge Brownies

As a high school teacher, I get invited to a lot of graduation parties. That equals all the arrays of food from walking tacos to pulled pork to catered pasta. It also means cake, or if I am lucky brownies or Rice Krispy treats. Gosh, I am a sucker for either of those and I get excited when the parties have them. This is my take on a quick made from scratch fudge brownies. 

You see, my daughter doesn’t fall far from the tree and when it was her birthday, she asked for mama to bake homemade brownies. I love a good black bean brownie, but she didn’t want the “healthy” ones. Well, her brother didn’t want the healthy ones, and if you have kids, you know. If you don’t, perhaps you were once a sibling who always did what you could to convince your brother or sister to cave to your wims. Either way, black bean brownies weren’t happening. 

And so, these little beauties were born. Simple and delicious. And even a tweak or two to maybe, maybe make them a wee bit healthier. But really, who goes into a brownie trying to be healthy? I don’t know about you, but I am all about a warm fudge brownie with a little vanilla ice cream. Maybe it’s the result of working at a beloved drive in for years. Maybe it’s just because it’s darn good. We will never know. 

So if you are a sucker for brownies like I am, let’s get baking friends. You’ll have warm, wonderful fudge brownies in under 40 minutes. 

Your Ingredients

  • ½ cup coconut oil 
  • 3 ounces semisweet chocolate 
  • 1 cup brown sugar, packed
  • 2 teaspoons vanilla
  • 3 eggs
  • ½ cup + 2 tablespoons whole wheat flour (all purpose would work too!) (Check the whole wheat flour from Sunrise Flour Mill. It’s amazing!)
  • ¼ cup cocoa powder
  • 1 teaspoon salt 

Your Steps

Preheat the oven to 350 degrees. Prepare a 9×9 baking dish by spraying with non stick cooking spray. 

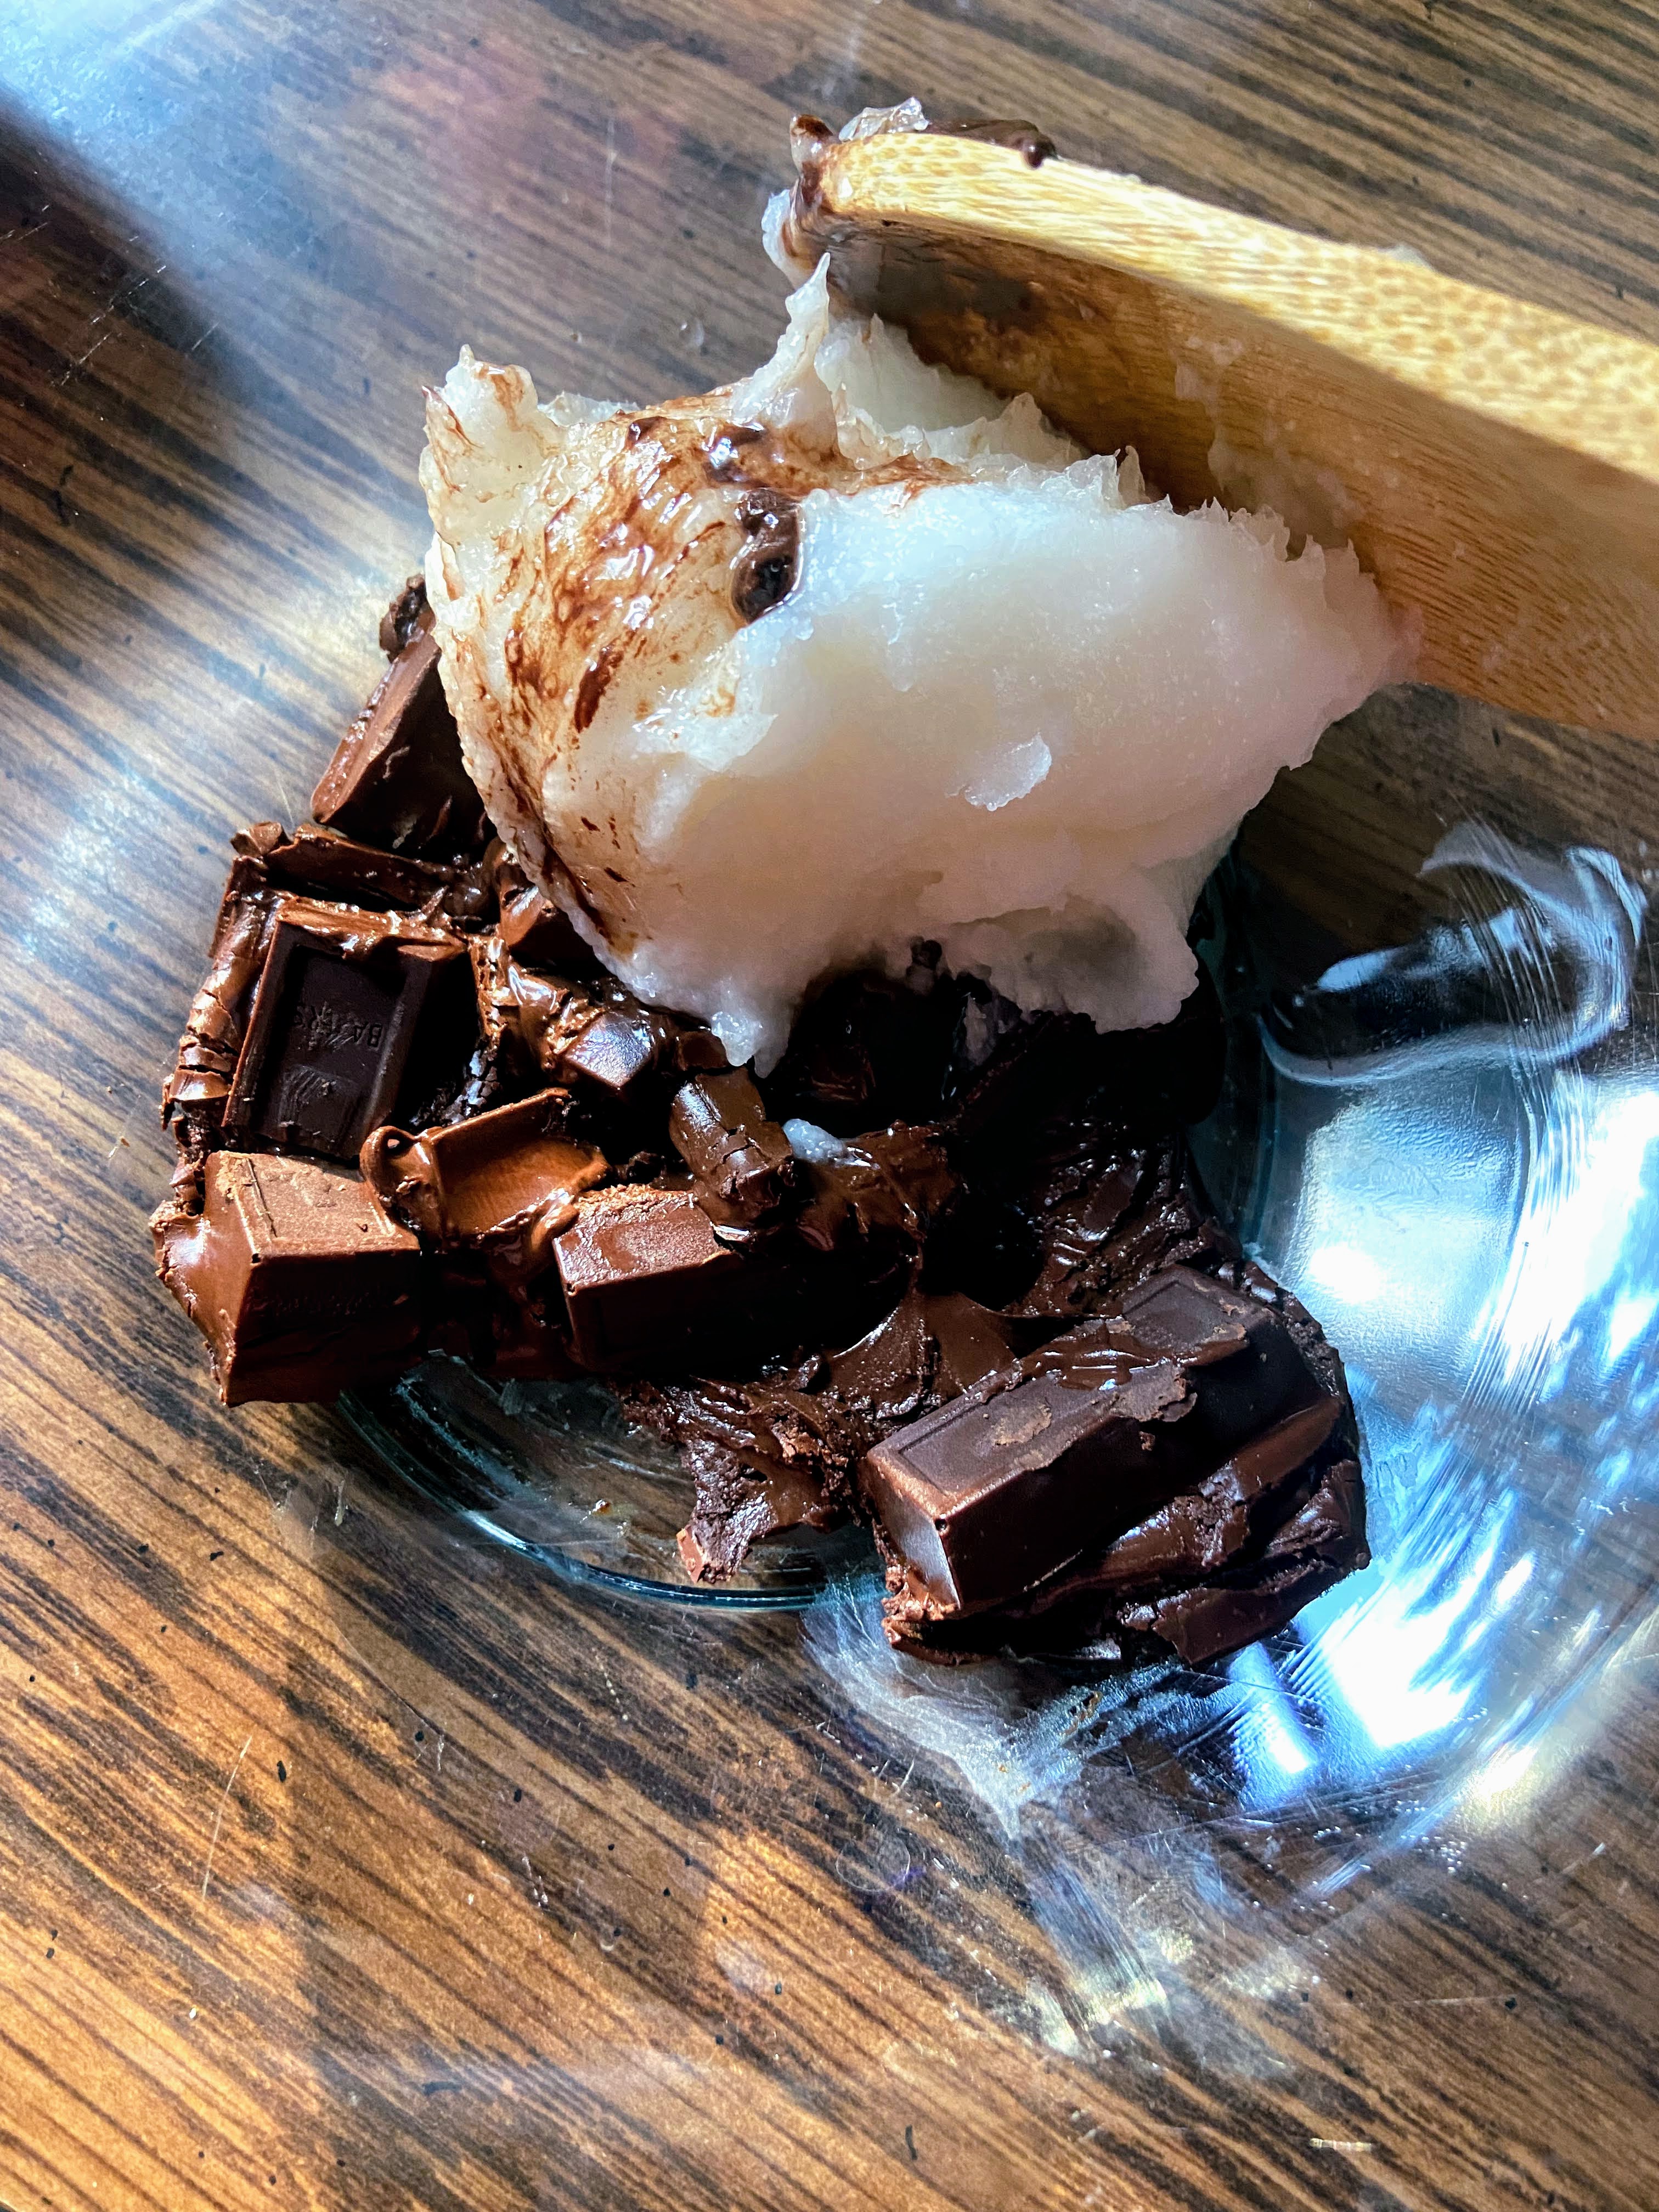
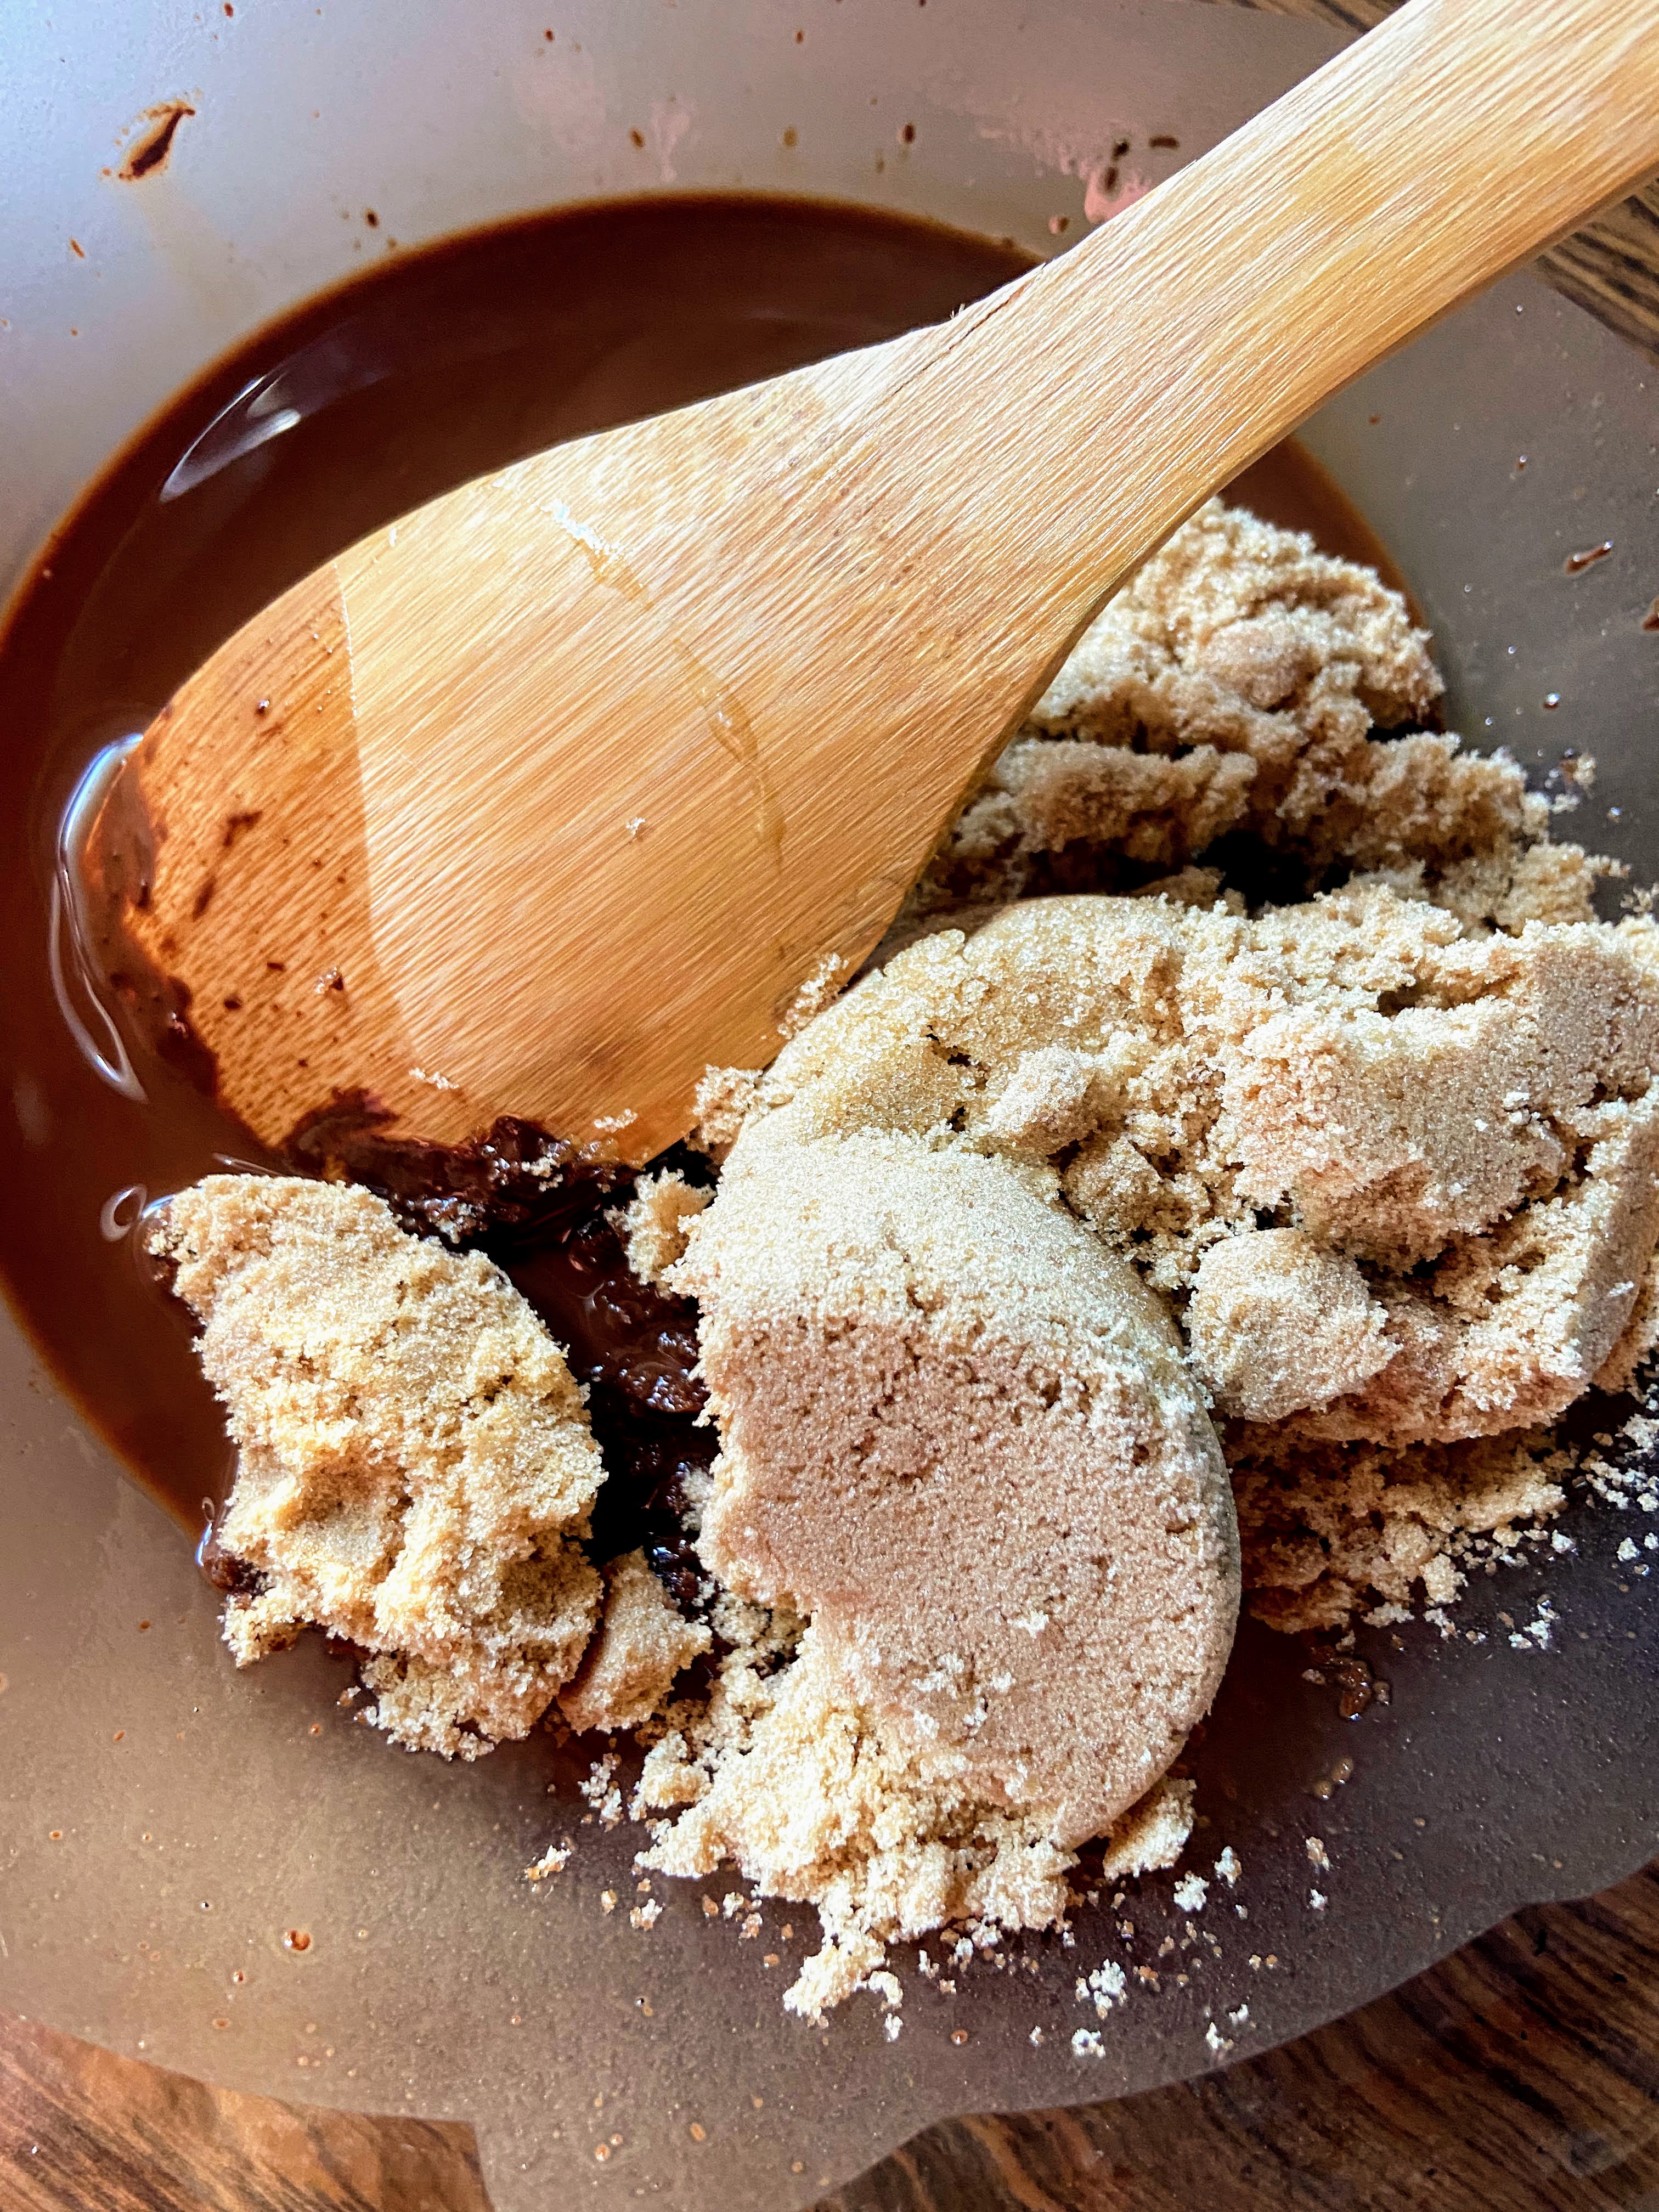
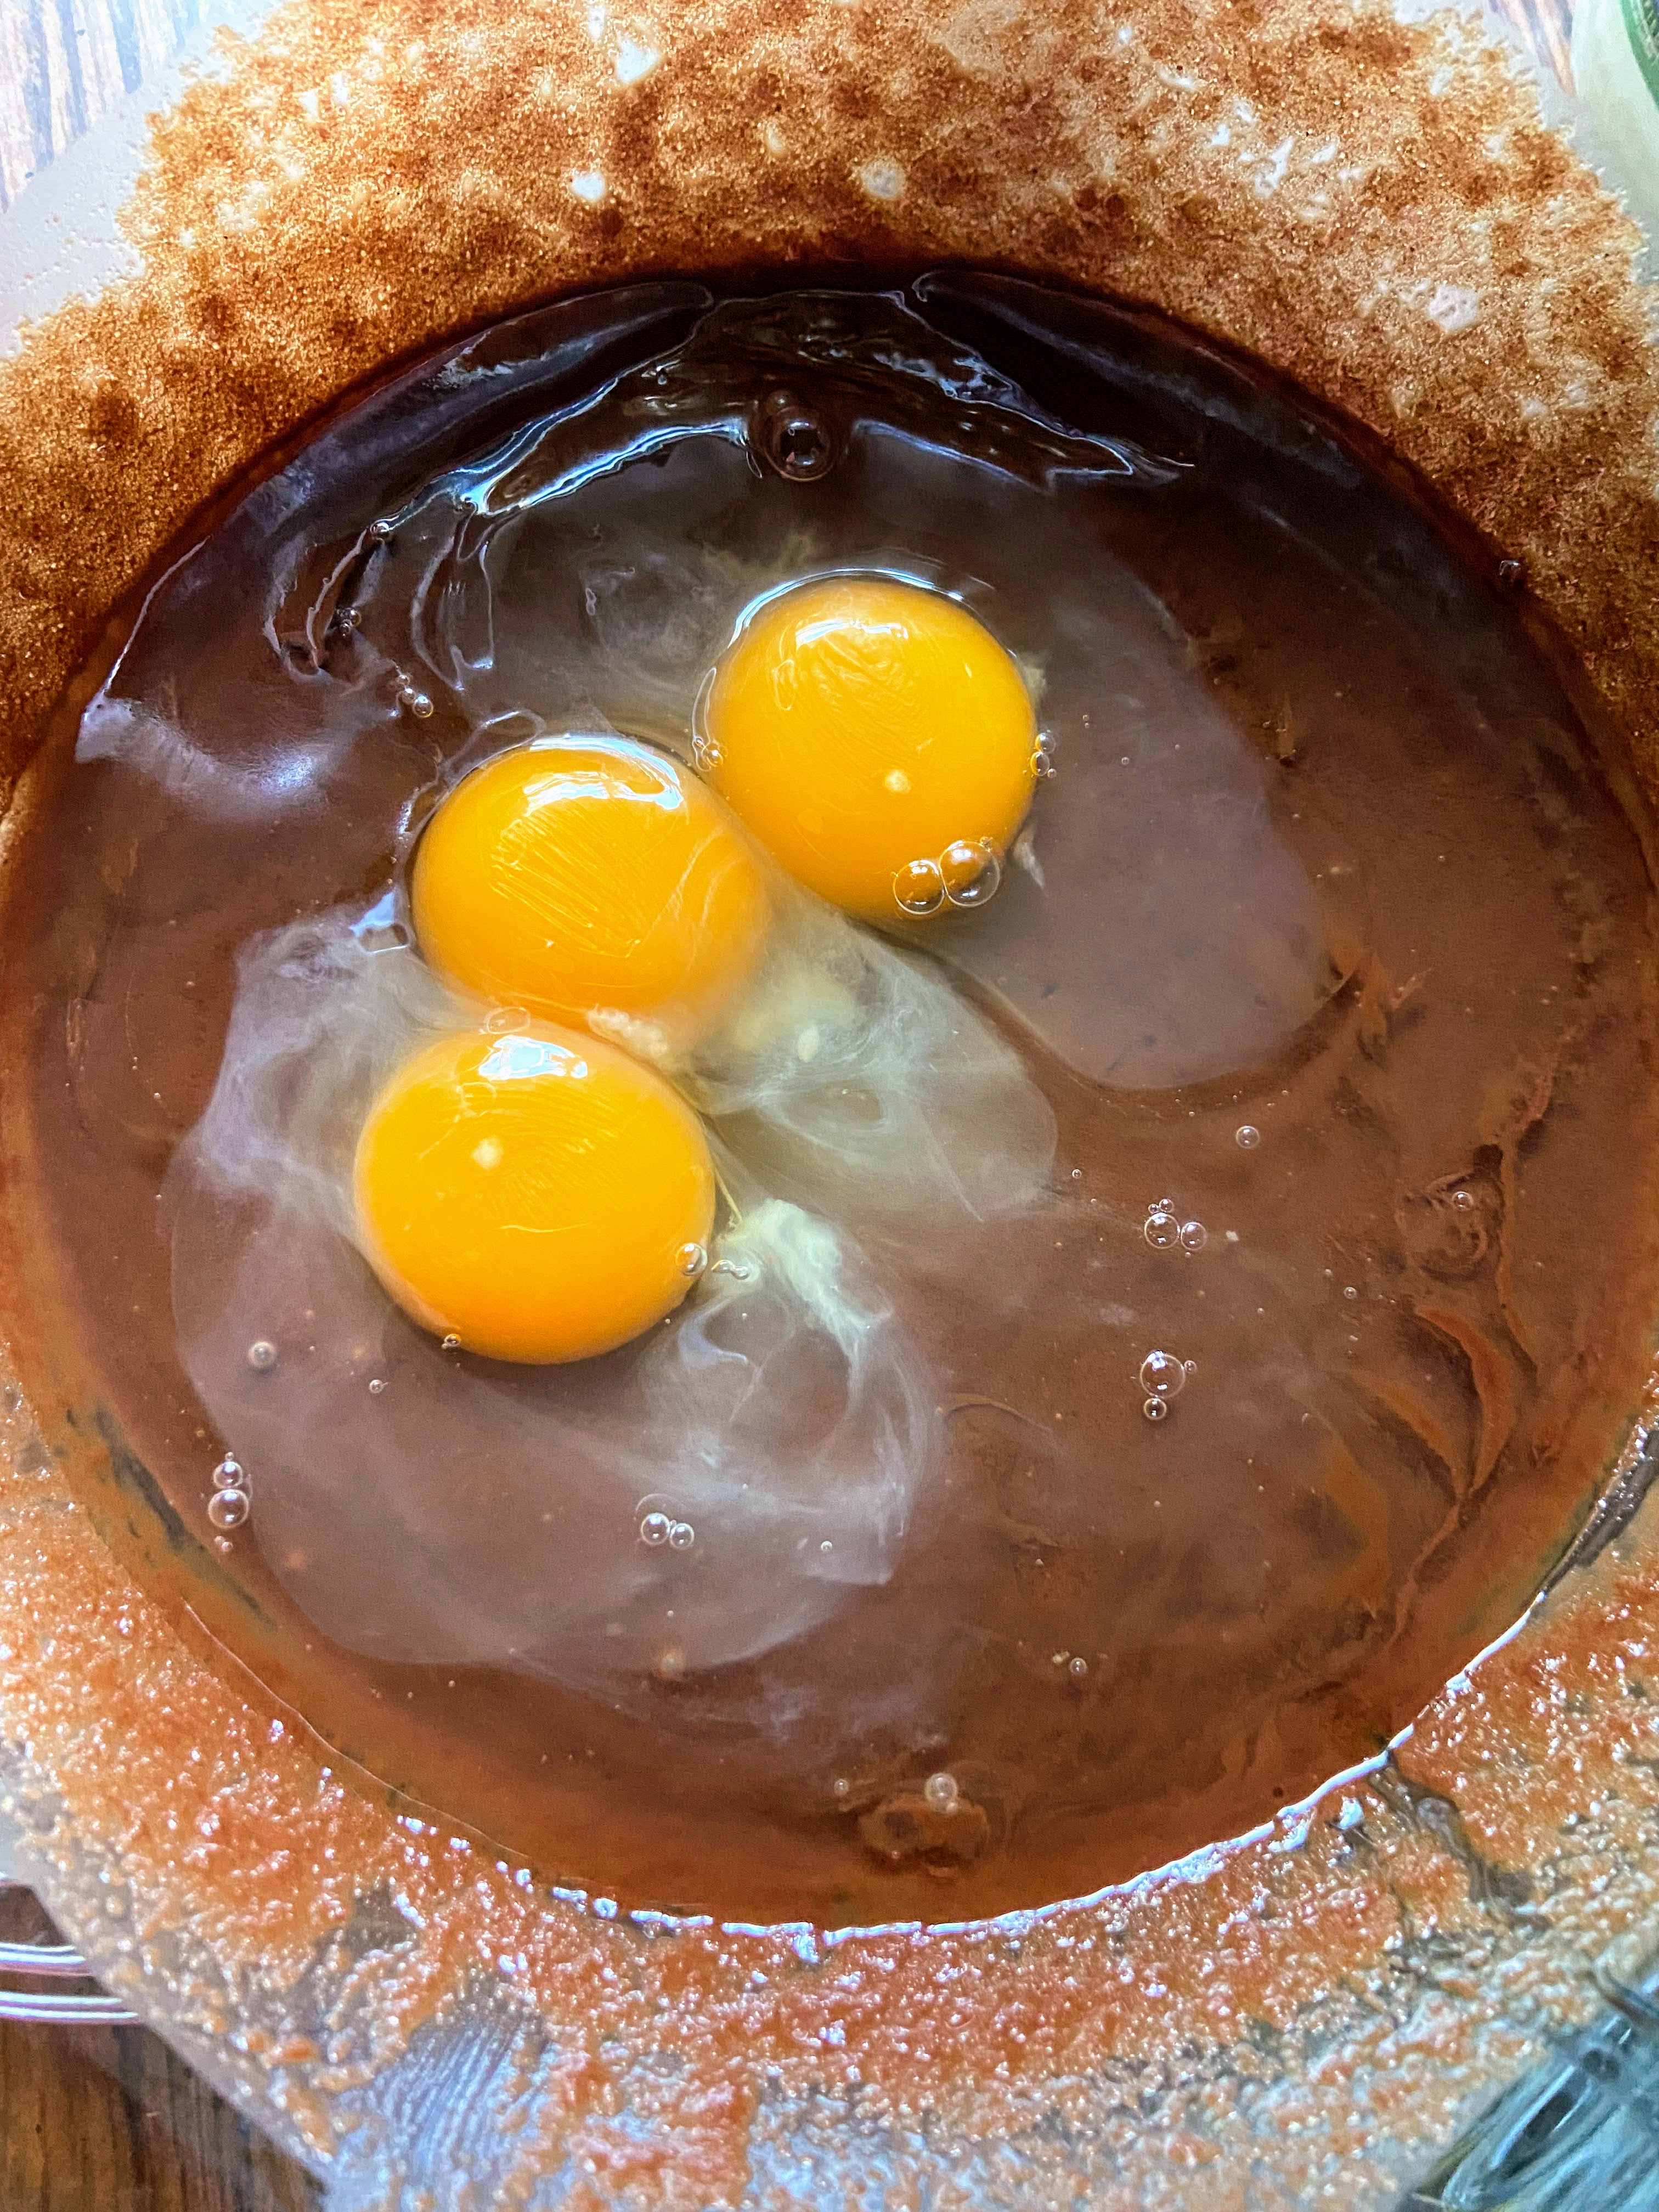
Add chocolate to a microwave safe bowl. Microwave in 30 second increments, stirring in between. Add the coconut oil after 1 minute and melt as well. Stir until well combined. Mix in  brown sugar and vanilla. Allow to cool slightly before whisking in eggs. 

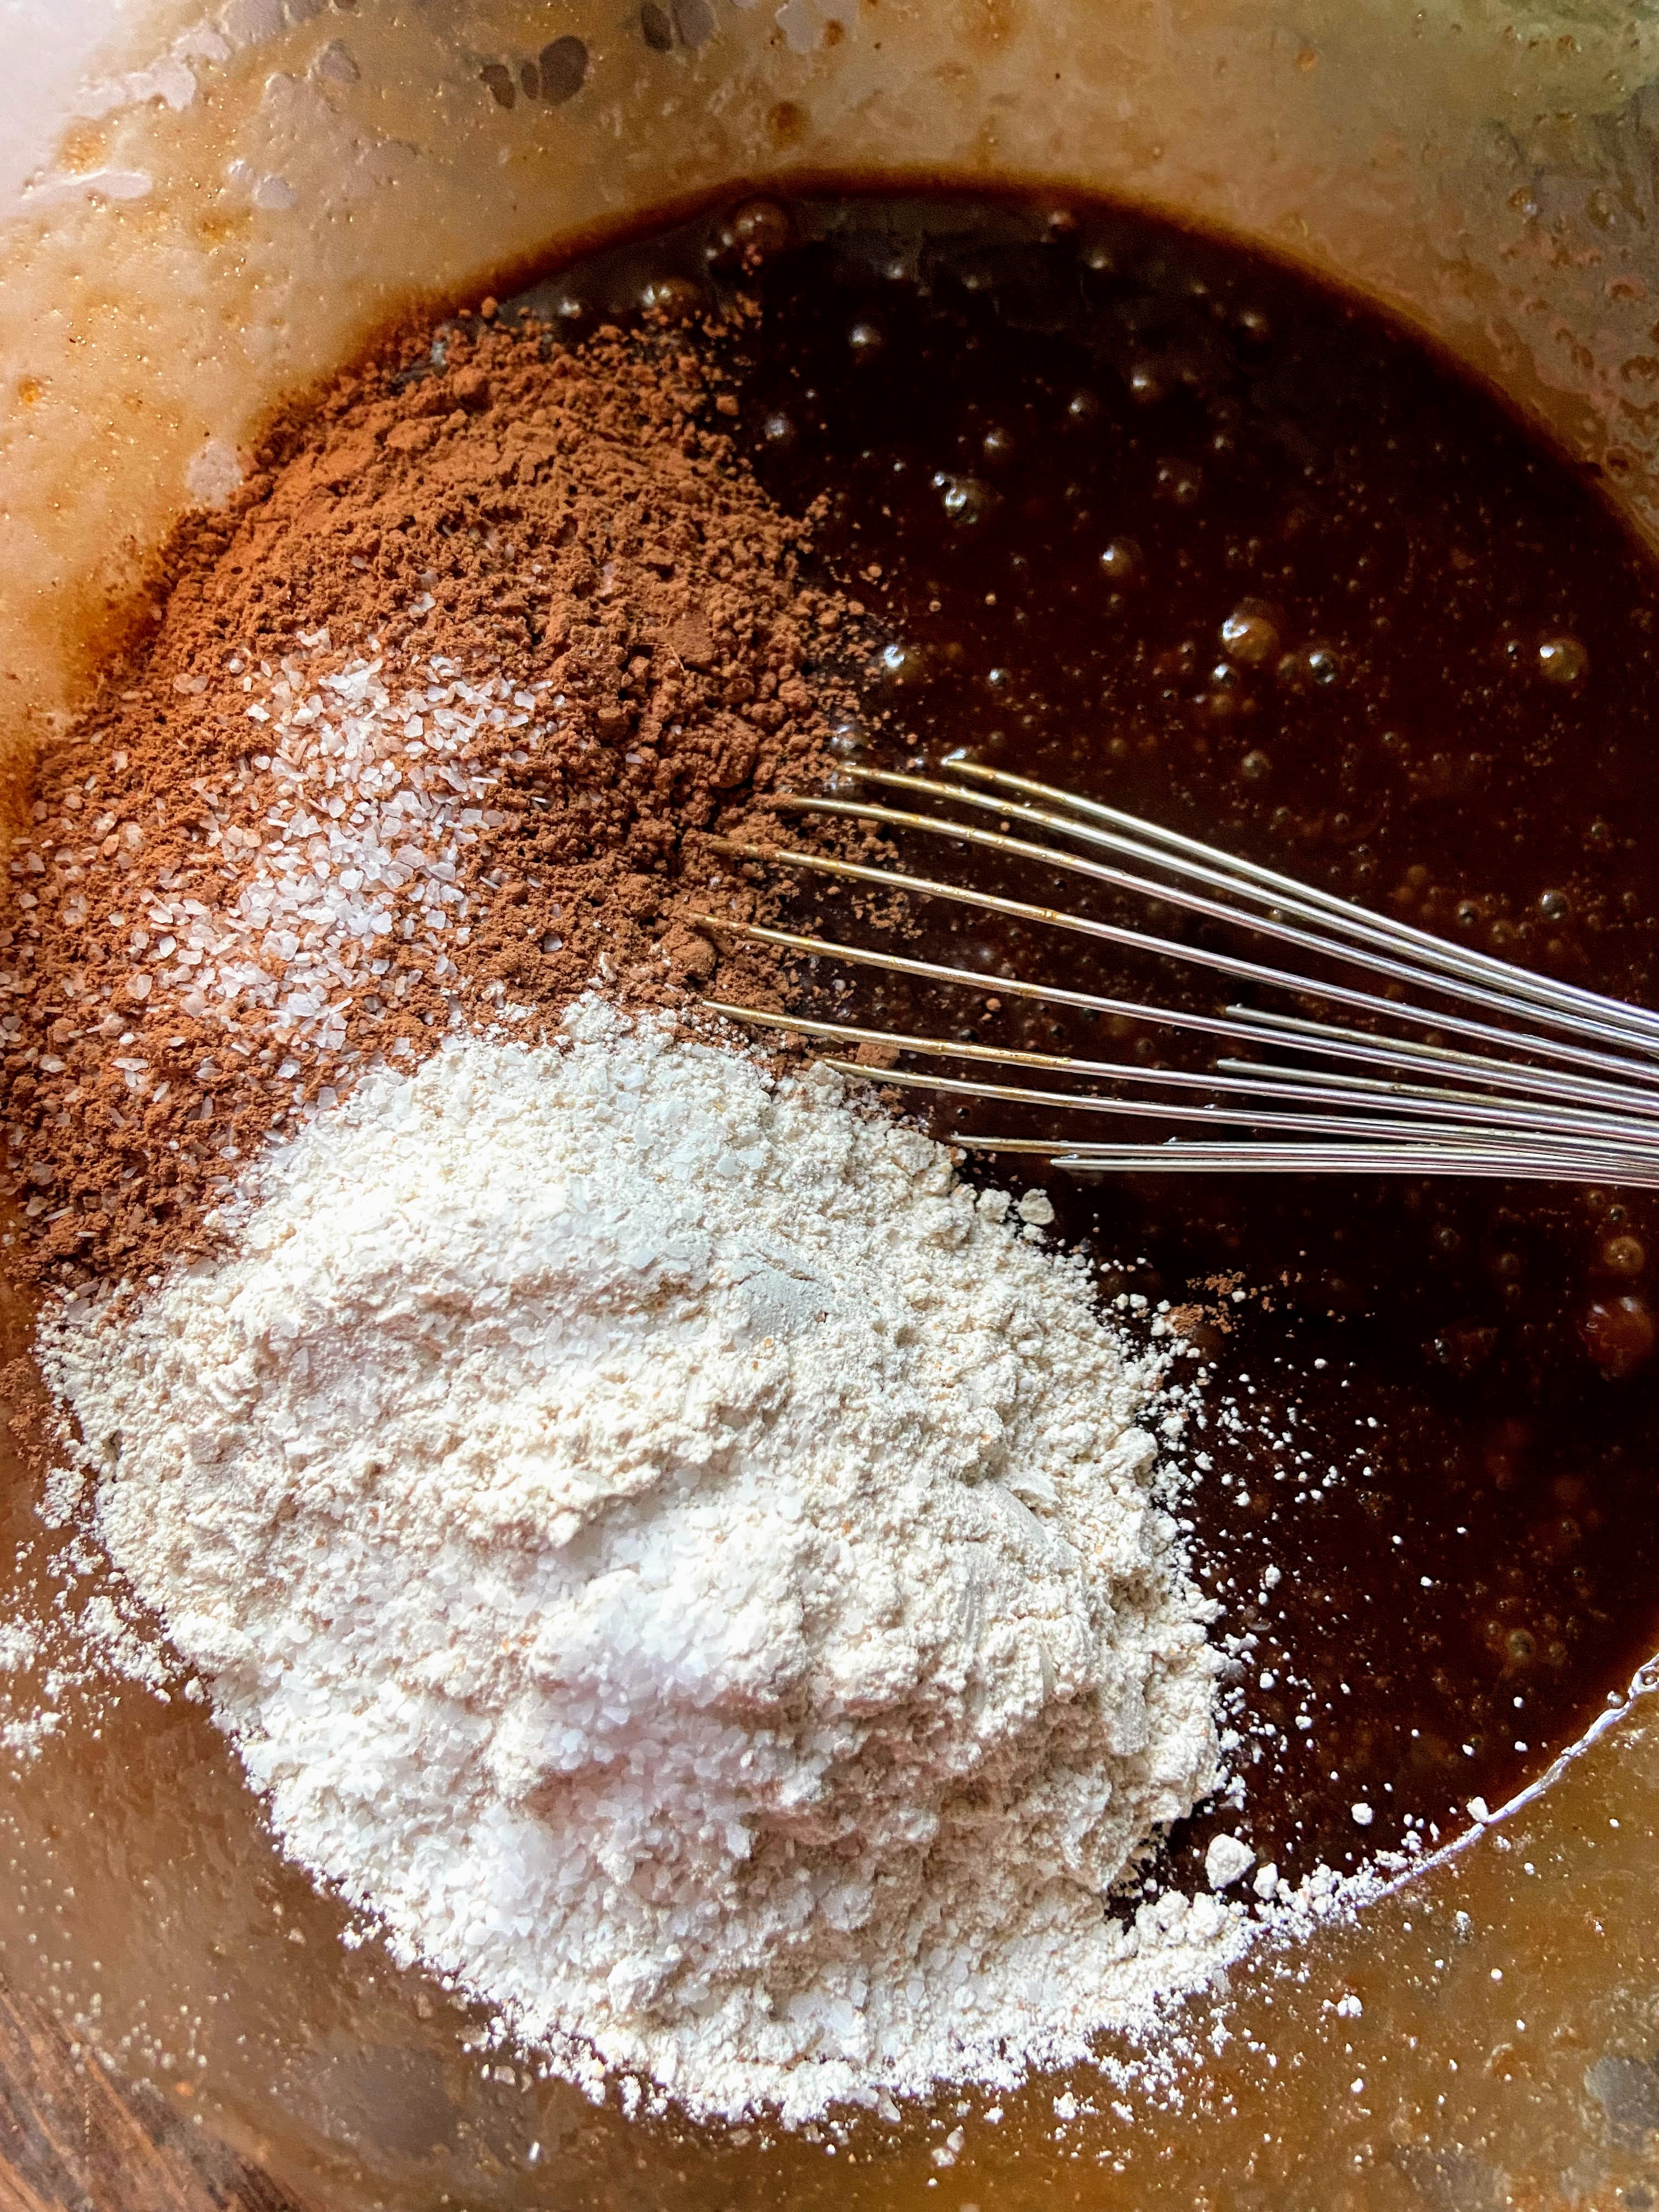
Add flour, cocoa powder, and salt. Mix until just combined. If you are an extra chocolate lover, you could totally add ¼ cup of chocolate chips here as well. 

Pour brownie batter into prepared pan. Bake in the middle of your oven for 23-27 minutes, until a toothpick inserted in the center comes out clean. 

And if I may recommend, slice a warm brownie (okay, wait just a little bit) and add just a small scoop of plain vanilla ice cream. And maybe some chopped peanuts? I mean, how can that be bad?! 

Enjoy! 

Looking for other baked goodies to try? Check out my baking page by clicking below!

Fudge Brownies

Eight simple ingredients come together in these quick from scratch fudge brownies that are sure to bring smiles to the whole family!
Prep Time 10 minutes
Cook Time 25 minutes
Course Dessert
Cuisine American
Servings 16 brownies

Ingredients
  

  • ½ cup coconut oil
  • 3 ounces semisweet chocolate
  • 1 cup brown sugar packed
  • 2 teaspoons vanilla
  • 3 eggs
  • ½ cup + 2 tablespoons whole wheat flour all purpose would work too!
  • ¼ cup cocoa powder
  • 1 teaspoon salt

Instructions
 

  • Preheat the oven to 350 degrees. Prepare a 9×9 baking dish by spraying with non stick cooking spray.
  • Add chocolate to a microwave safe bowl. Microwave in 30 second increments, stirring in between. Add the coconut oil after 1 minute and melt as well. Stir until well combined. Mix in brown sugar and vanilla. Allow to cool slightly before whisking in eggs.
  • Add flour, cocoa powder, and salt. Mix until just combined.
  • Pour brownie batter into prepared pan. Bake in the middle of your oven for 23-27 minutes, until a toothpick inserted in the center comes out clean.

Notes

Feel free to add in extra surprises for the brownies: 1/2 cup chocolate chips, chocolate chunks, or even walnuts would be great! 
Keyword brownies, chocolate, dessert
Tried this recipe?Let us know how it was!

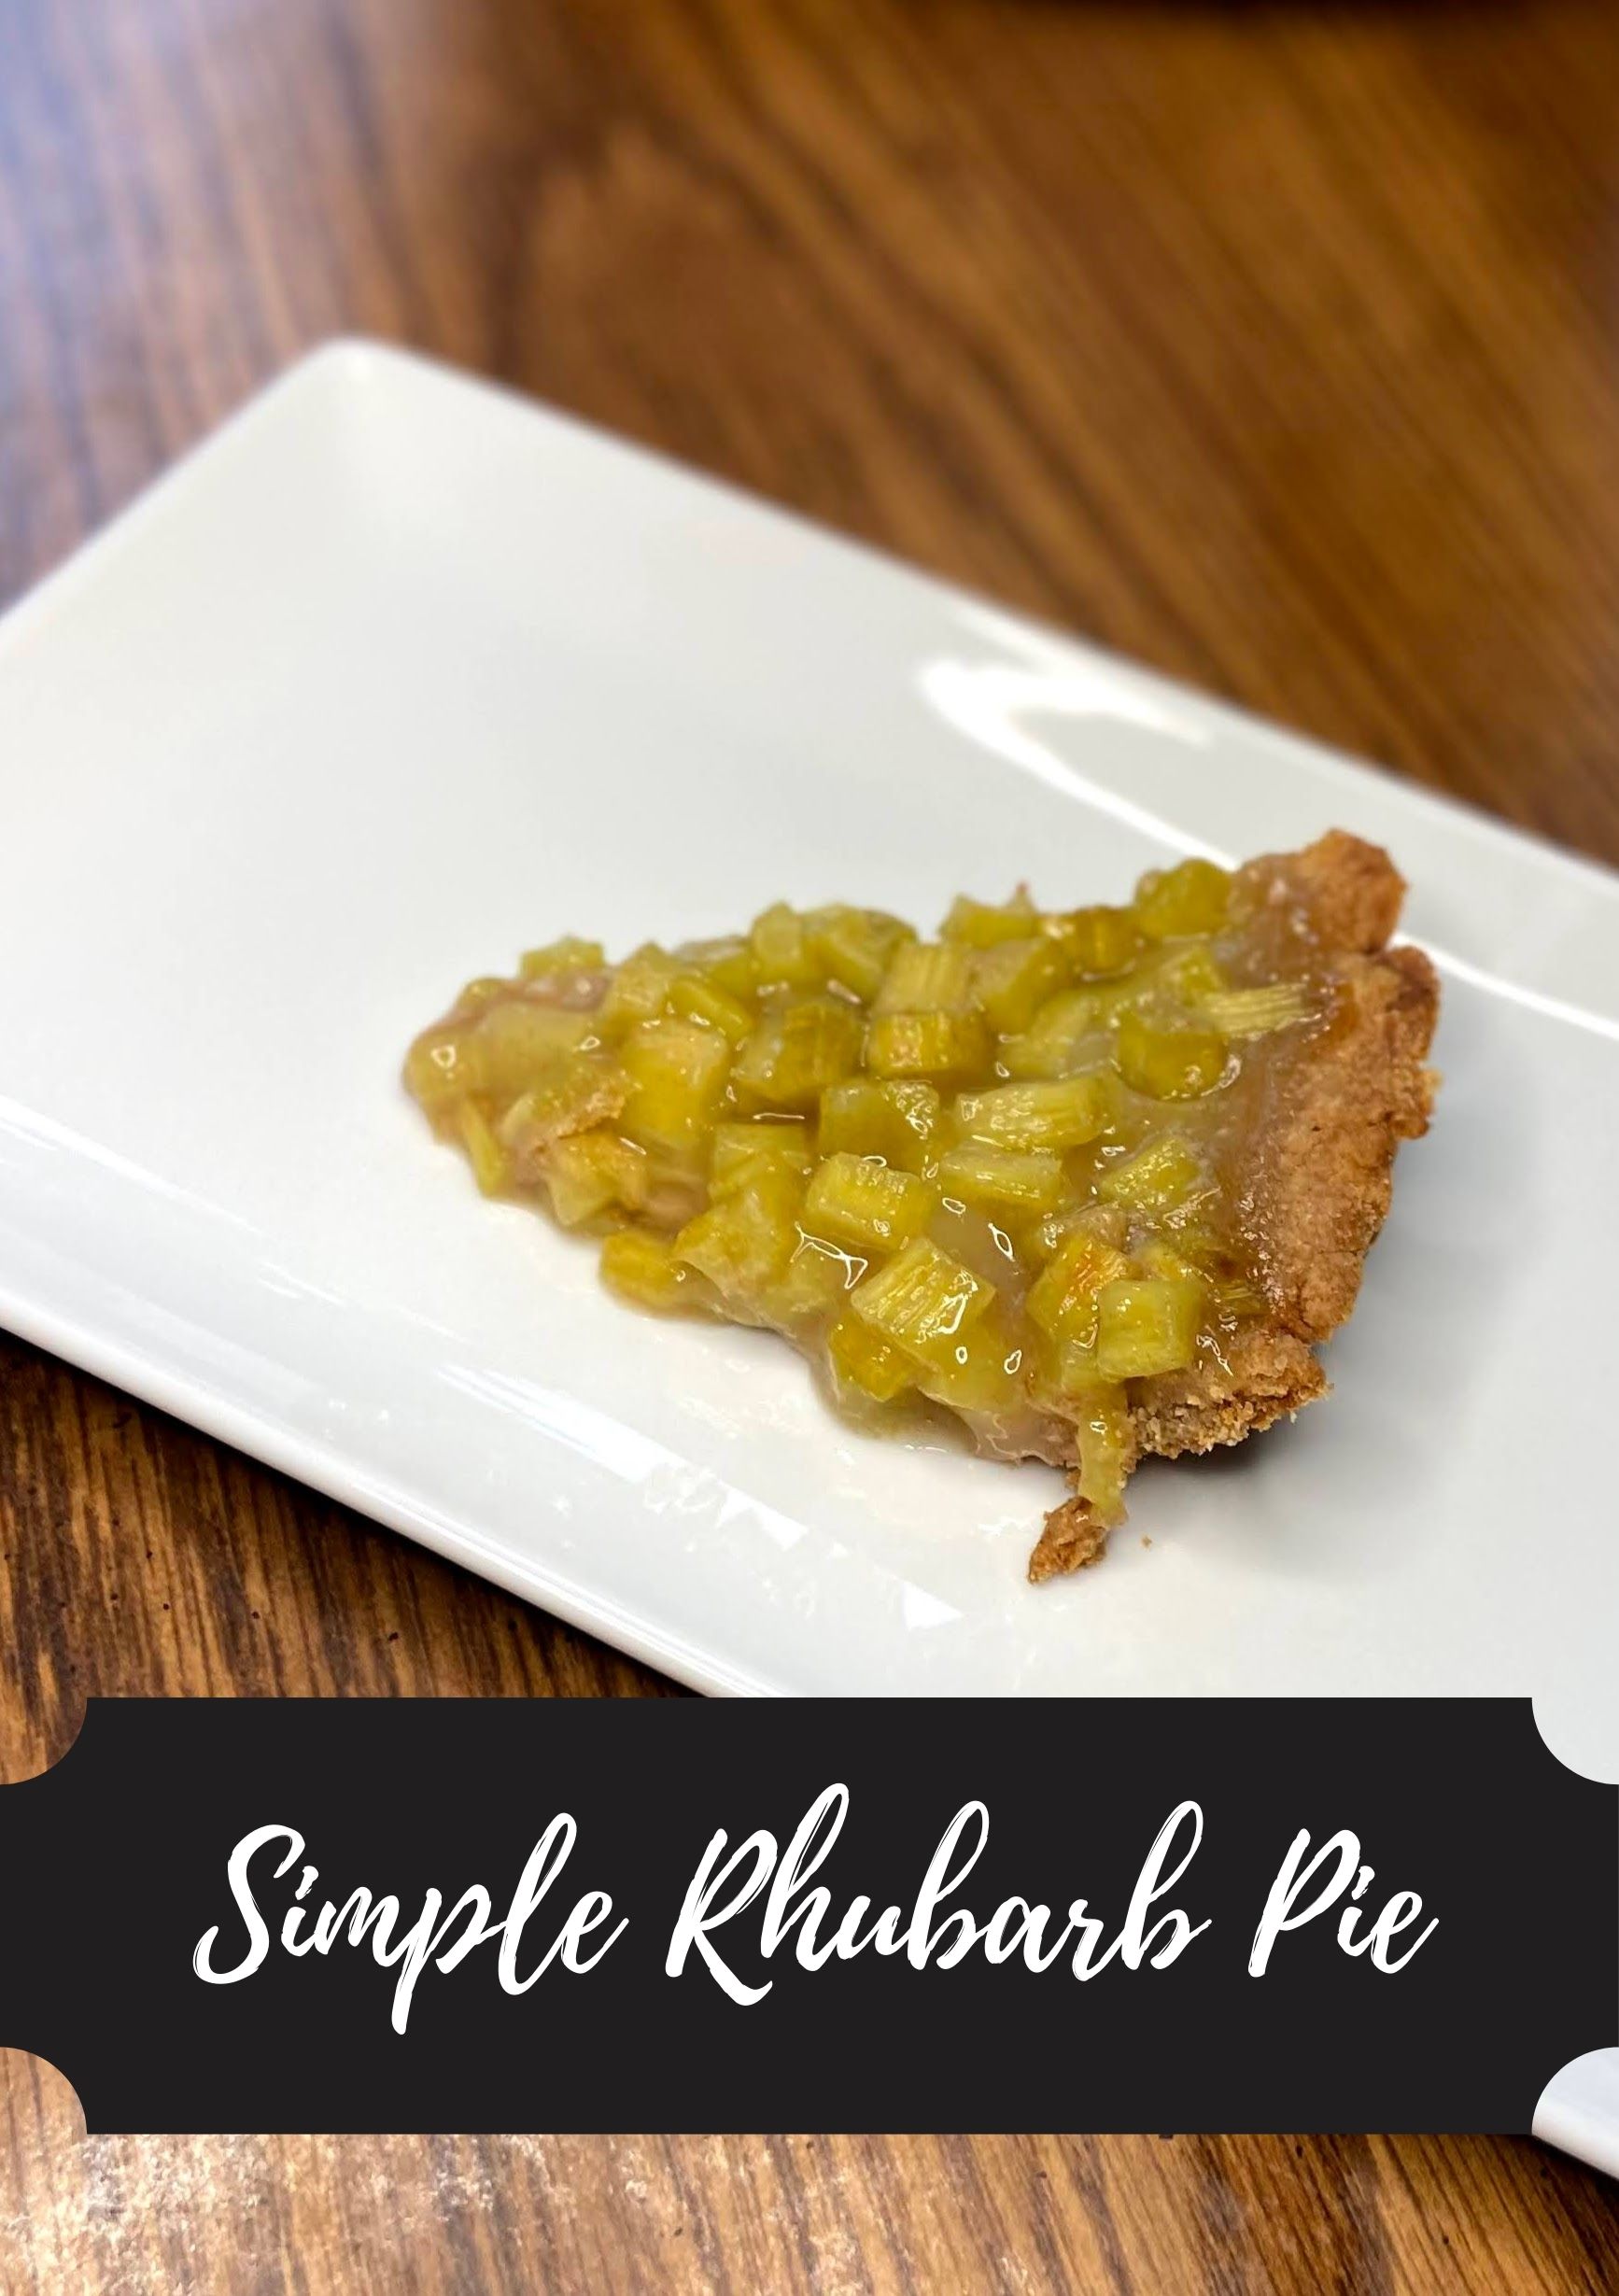
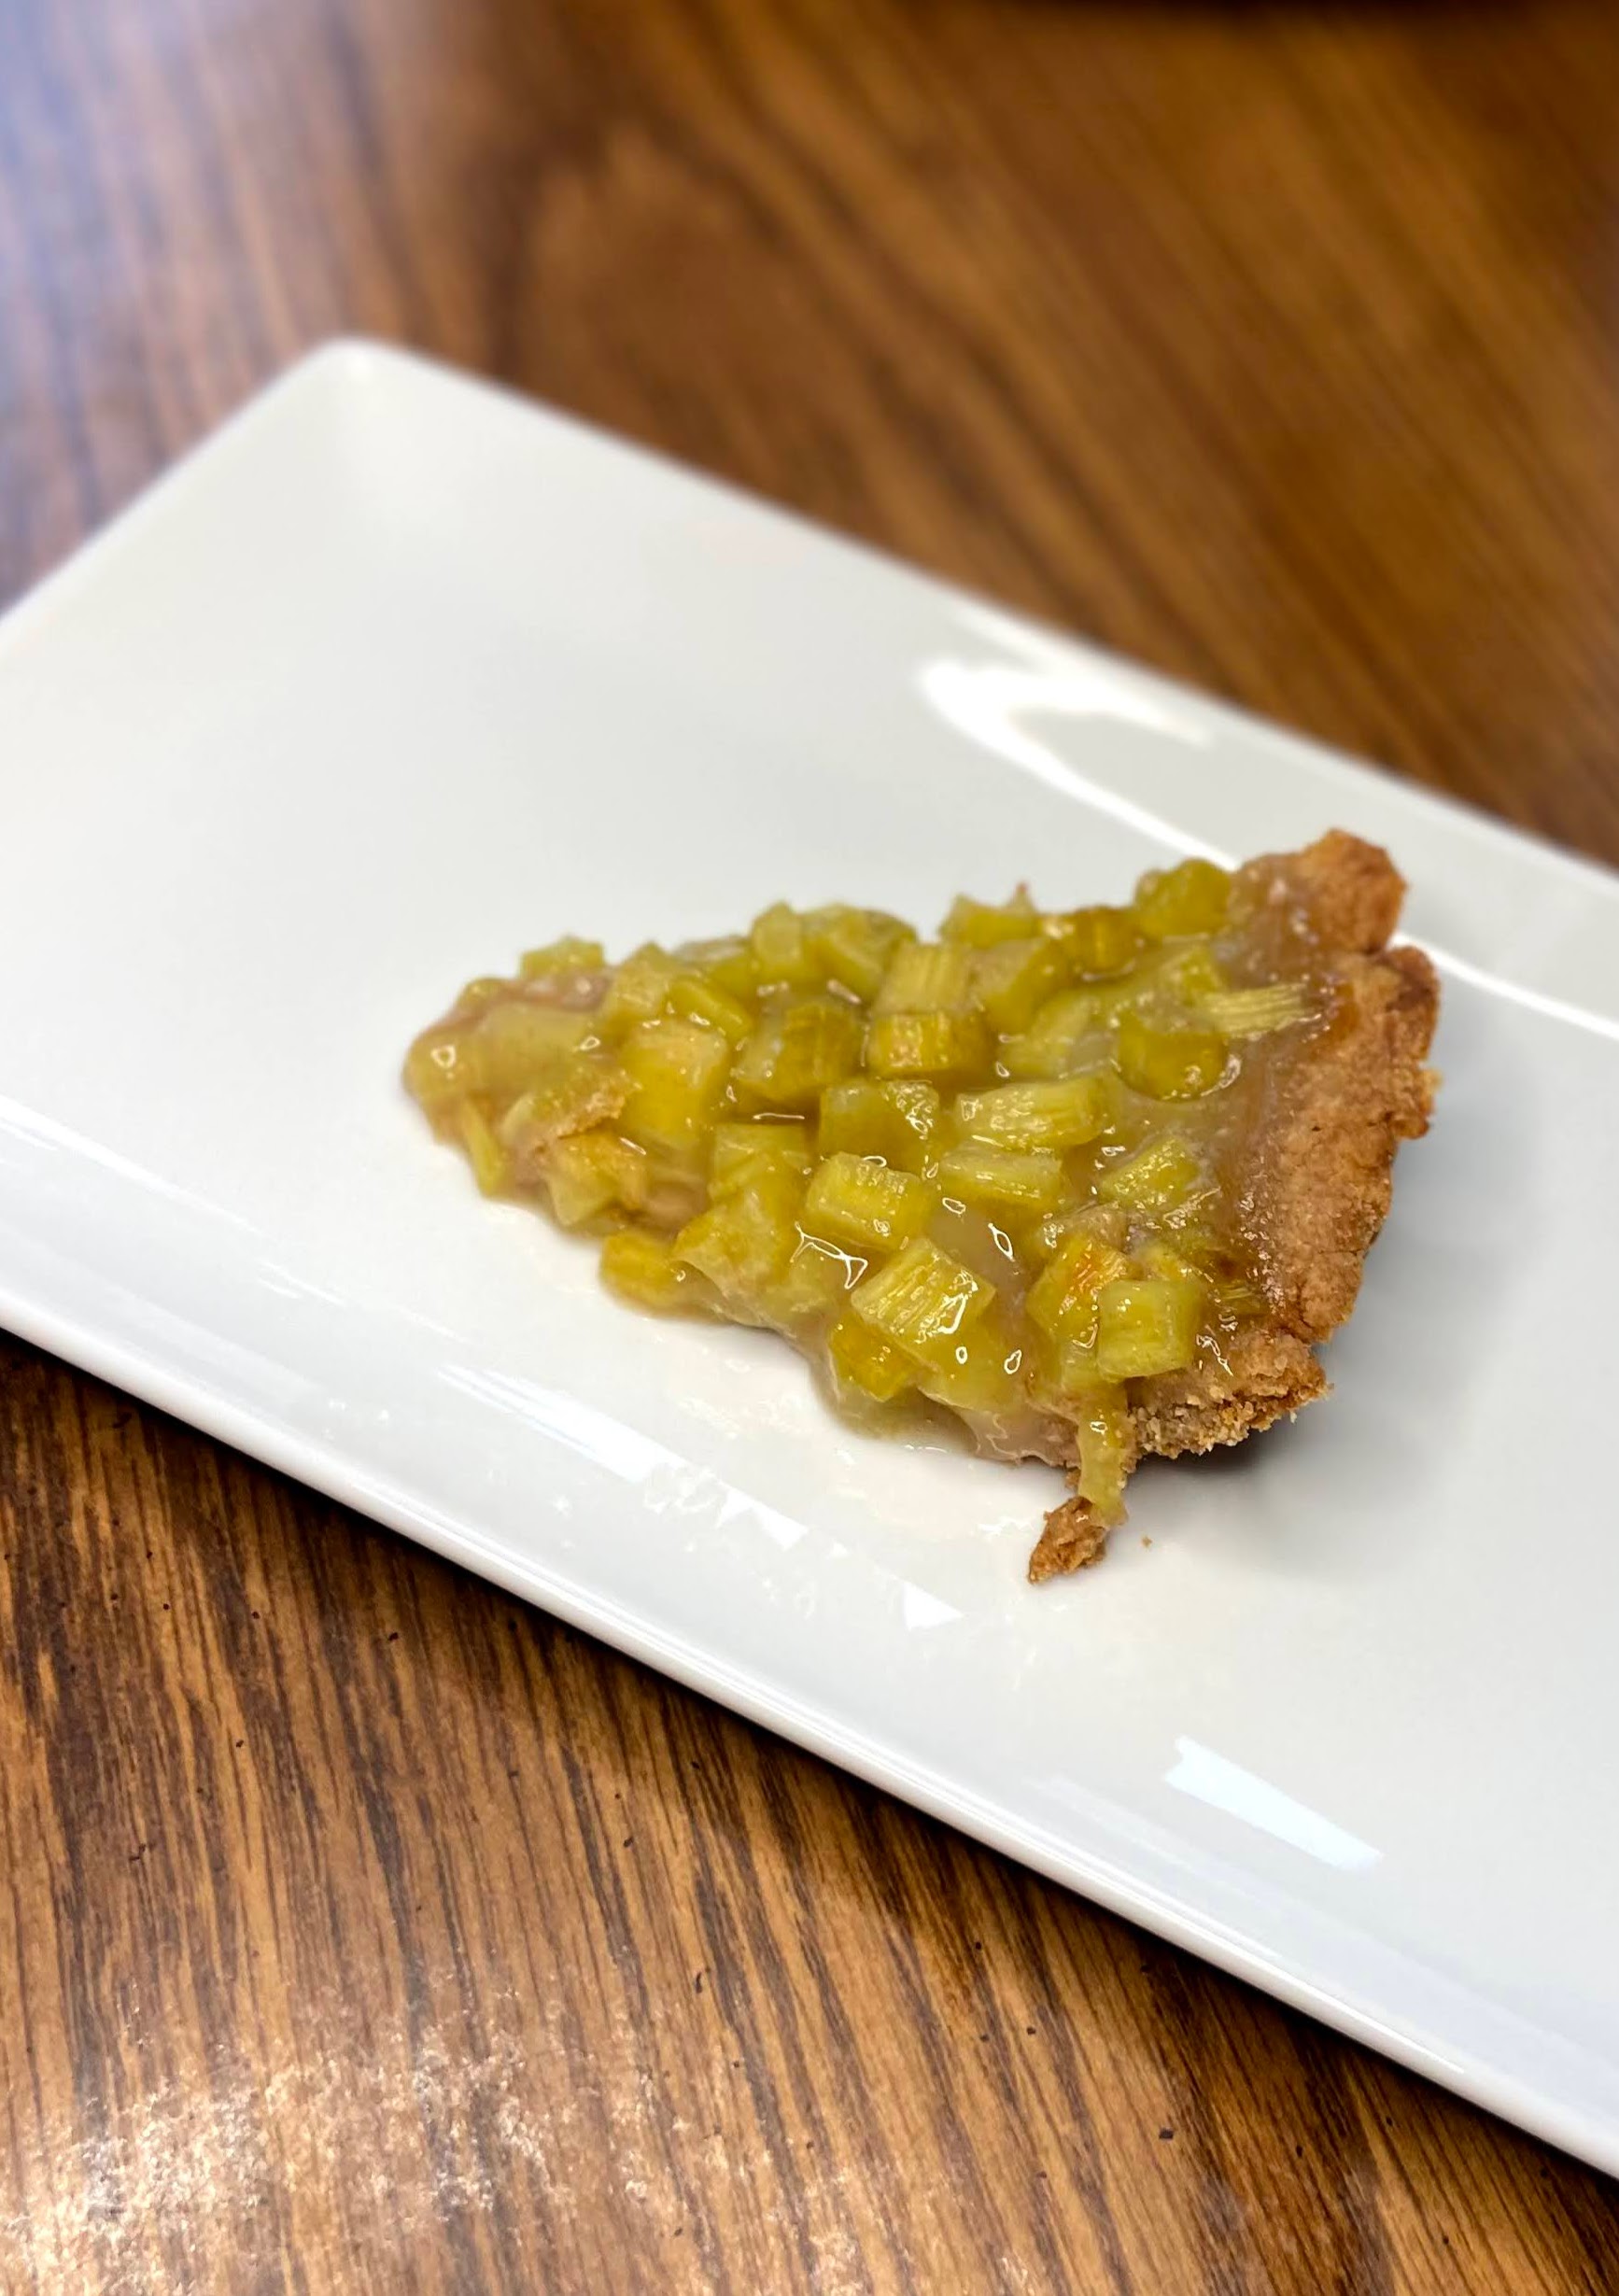
Rhubarb Pie

I’ve always declared myself, “not a pie person.” At Thanksgiving, it’s okay, but not something I crave. My husband, on the other hand, LOVES pie. His mom also loves to make it. It’s a rare weekend that we visit and a pie hasn’t been made. It’s also pretty typical to have her make a pie at our home out of whatever we happen to have in the freezer when she comes to visit. So, it makes sense that pie is always my husband’s request for his birthday; rhubarb pie to be precise. 

One of the reasons I don’t love to make pie is the crust. I like to say I just don’t like to make it, but perhaps it’s more that it intimates me. Also, if I am going to pick a favorite pie, I’m going with banana creme and everyone knows those babies are best with a graham cracker crust. Am I right or am I right? 

All that being said, after being married for 12 years, pie is growing on me. I still don’t dig the crust part of things, but I have you covered in this recipe. My mother in law has a crazy simple crust that I dig as the base for not only this rhubarb pie, but also an apple pie that use this great apple pie filling I freeze in the fall. 

So it is May and the rhubarb is plentiful. Let’s put together a simple tart and delicious rhubarb pie everyone can enjoy! (And hey, if it isn’t May, you can always use frozen rhubarb too! Just thaw and drain it out first!)

Your Ingredients

For the crust: 

  • 1 ½ cups all purpose flour
  • ½ tablespoon sugar
  • 1 teaspoon salt
  • ½ cup oil of your choice
  • 2 tablespoons milk

For the filling: 

  • 4 cups diced rhubarb (fresh or frozen. If frozen, thaw and drain off ¾ of the liquid or so)
  • 1 ⅓ cups sugar
  • 6 tablespoons all purpose flour

Your Steps to Rhubarb Pie

Preheat the oven to 450 degrees. 

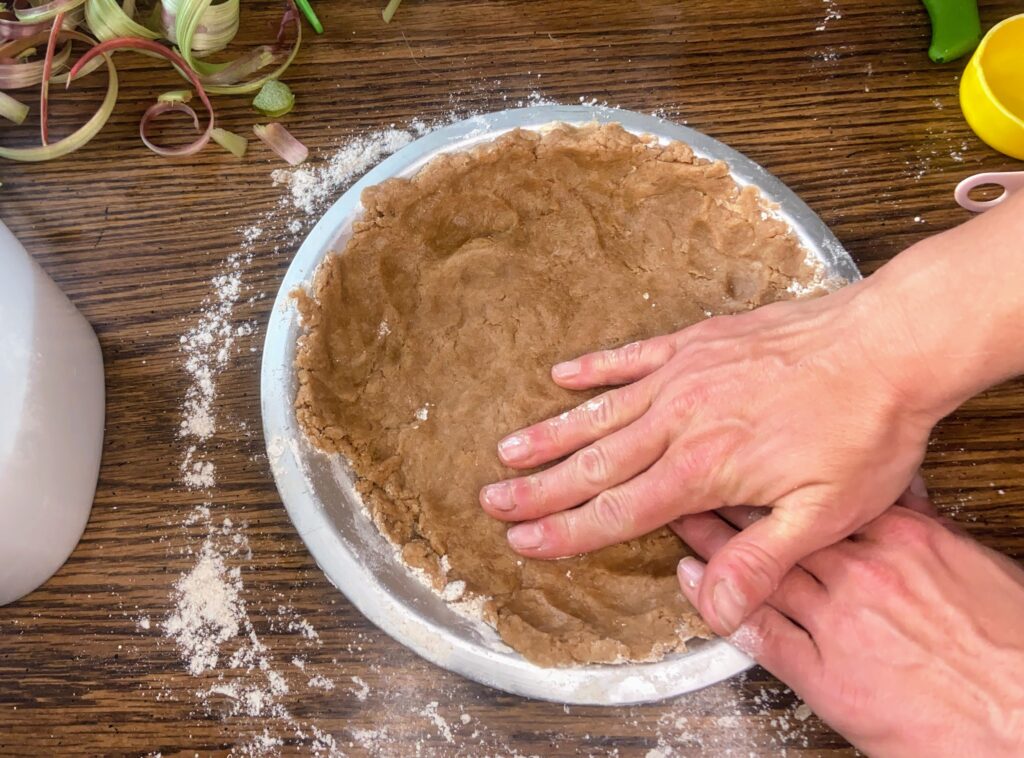
In your pie plate, combine the flour, sugar, and salt for the crust. Mix together with a fork. Add oil and milk and whisk until well combined. Press into the ungreased pie plate. (If you are worried you’ll be too messy whisking right in the pie plate, feel free to do this in a bowl first. My mother in law taught me to do mix right in the pie plate to avoid one more dish. Genius!) Note: The pie crust mix will be wet. That’s okay. 

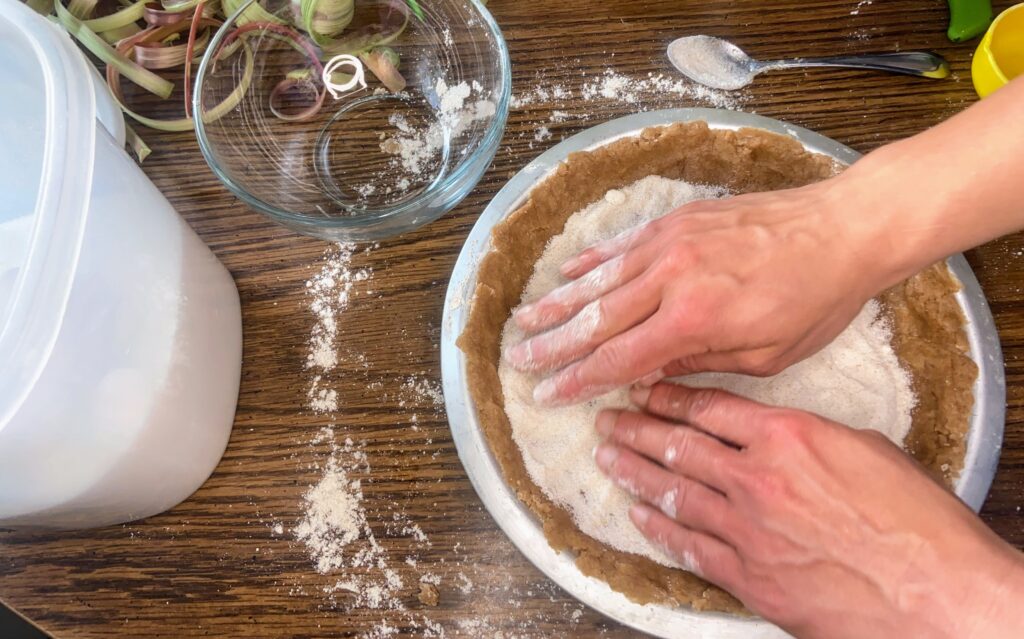
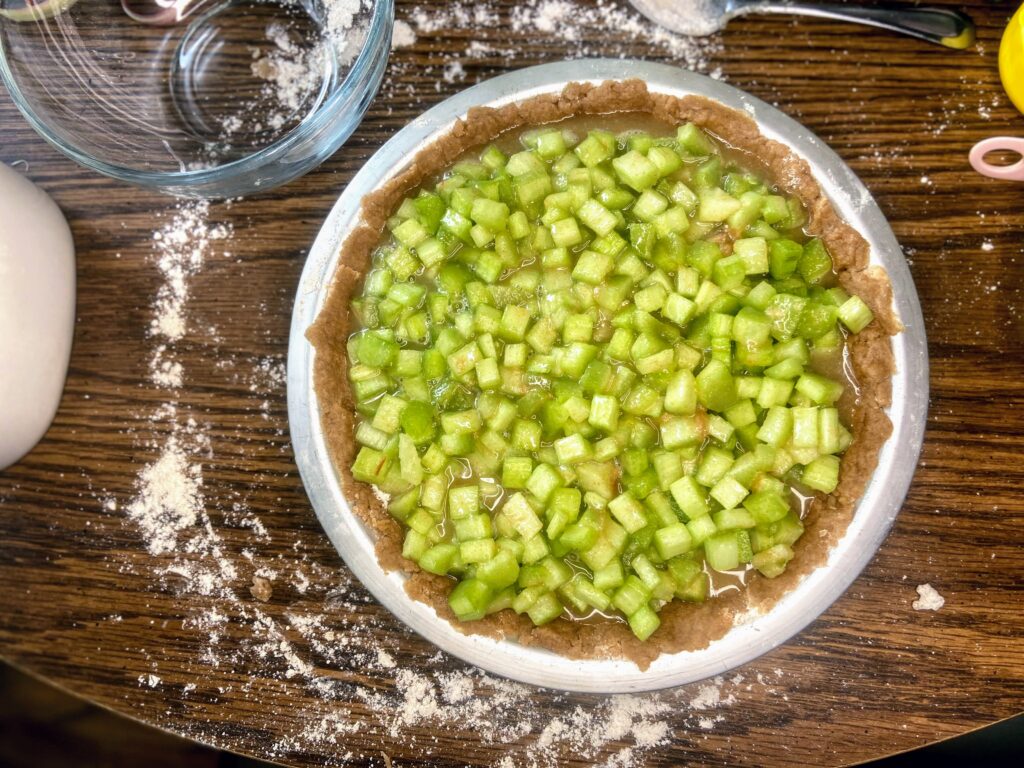
In a medium bowl, combine the flour and sugar for the filling. Sprinkle approximately ⅓ cup of the mixture onto the pie crust. Mix rhubarb into the remaining flour and sugar and pour onto the unbaked pie crust that has been topped with the flour/sugar mixture. 

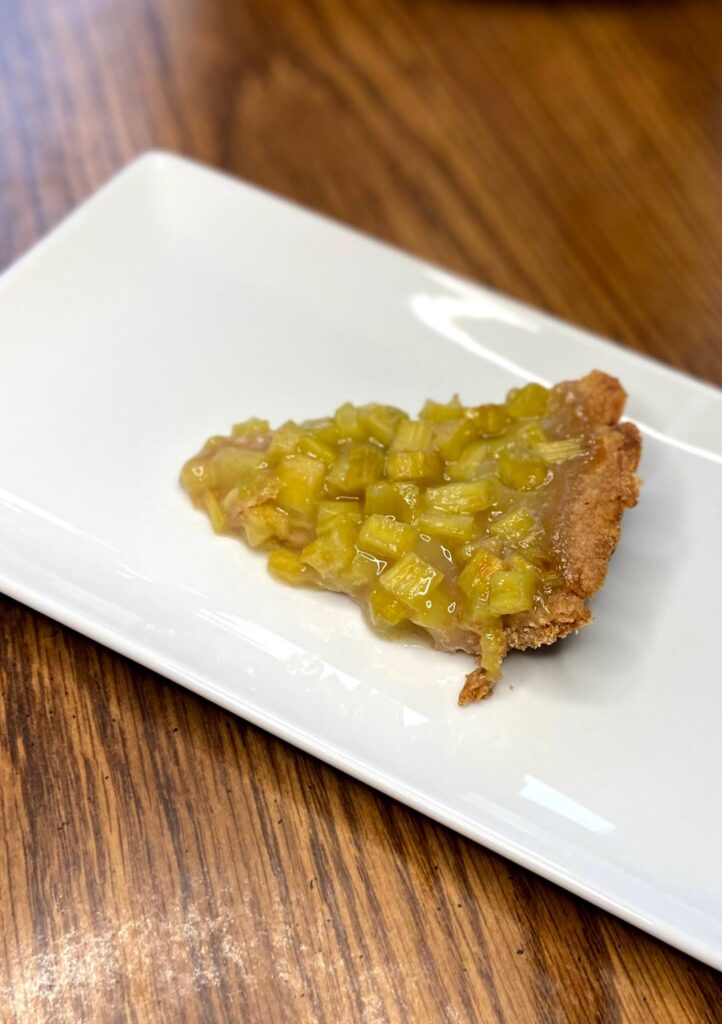
Bake for 15 minutes at 450 degrees. Then drop the temperature to 350 degrees and bake an additional 30-40 minutes, until the rhubarb has set. It will set more after you pull it from the oven as well. Enjoy straight away! 

Rhubarb Pie

Sweet and tart combine in this simple to put together rhubarb pie!
Prep Time 20 minutes
Cook Time 50 minutes
Course Dessert
Cuisine American
Servings 8

Ingredients
  

For the Crust:

  • 1 ½ cups all purpose flour
  • ½ tablespoon sugar
  • 1 teaspoon salt
  • ½ cup oil of your choice
  • 2 tablespoons milk

For the filling:

  • 4 cups diced rhubarb fresh or frozen. If frozen, thaw and drain off ¾ of the liquid or so
  • 1 ⅓ cups sugar
  • 6 tablespoons all purpose flour

Instructions
 

  • Preheat the oven to 450 degrees.
  • In your pie plate, combine the flour, sugar, and salt for the crust. Mix together with a fork.
  • Add oil and milk and whisk until well combined. Press into the ungreased pie plate.
  • The pie crust mix will be wet. That’s okay.
  • In a medium bowl, combine the flour and sugar for the filling.
  • Sprinkle approximately ⅓ cup of the mixture onto the pie crust.
  • Mix rhubarb into the remaining flour and sugar and pour onto the unbaked pie crust that has been topped with the flour/sugar mixture.
  • Bake for 15 minutes at 450 degrees. Then drop the temperature to 350 degrees and bake an additional 30-40 minutes, until the rhubarb has set. It will set more after you pull it from the oven as well.
Keyword pie, Rhubarb, rhubarb pie
Tried this recipe?Let us know how it was!

Looking for some other great rhubarb treats?

Check out some of the posts below~

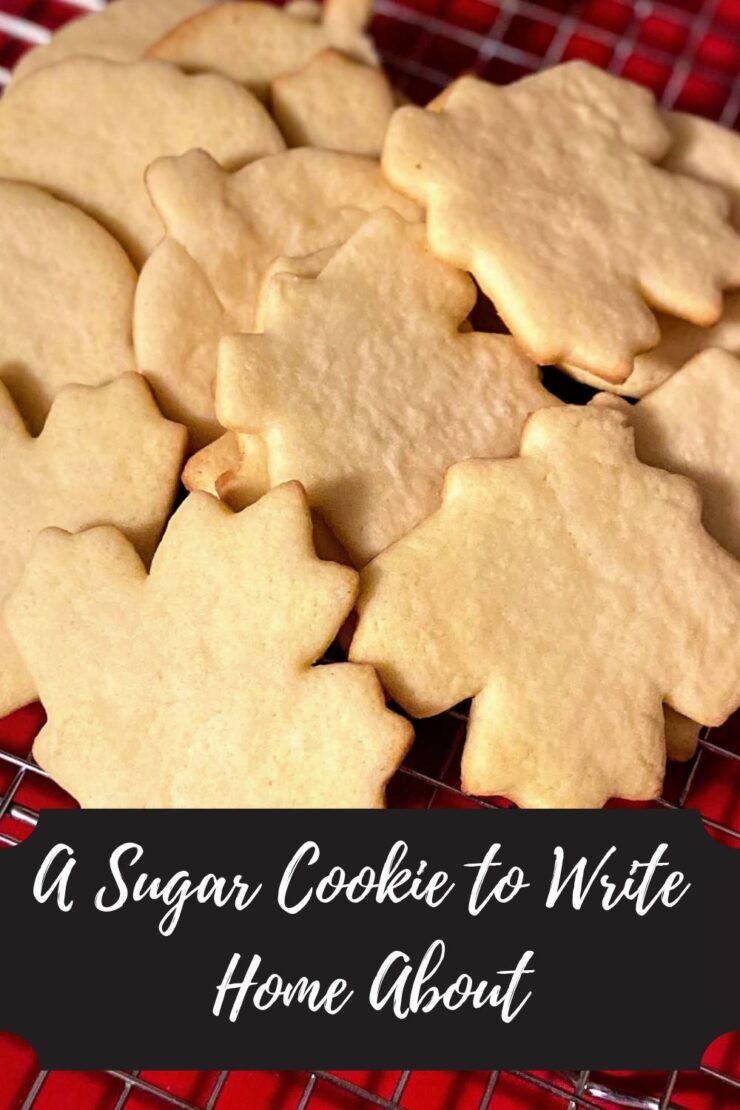
A Sugar Cookie to Write Home About

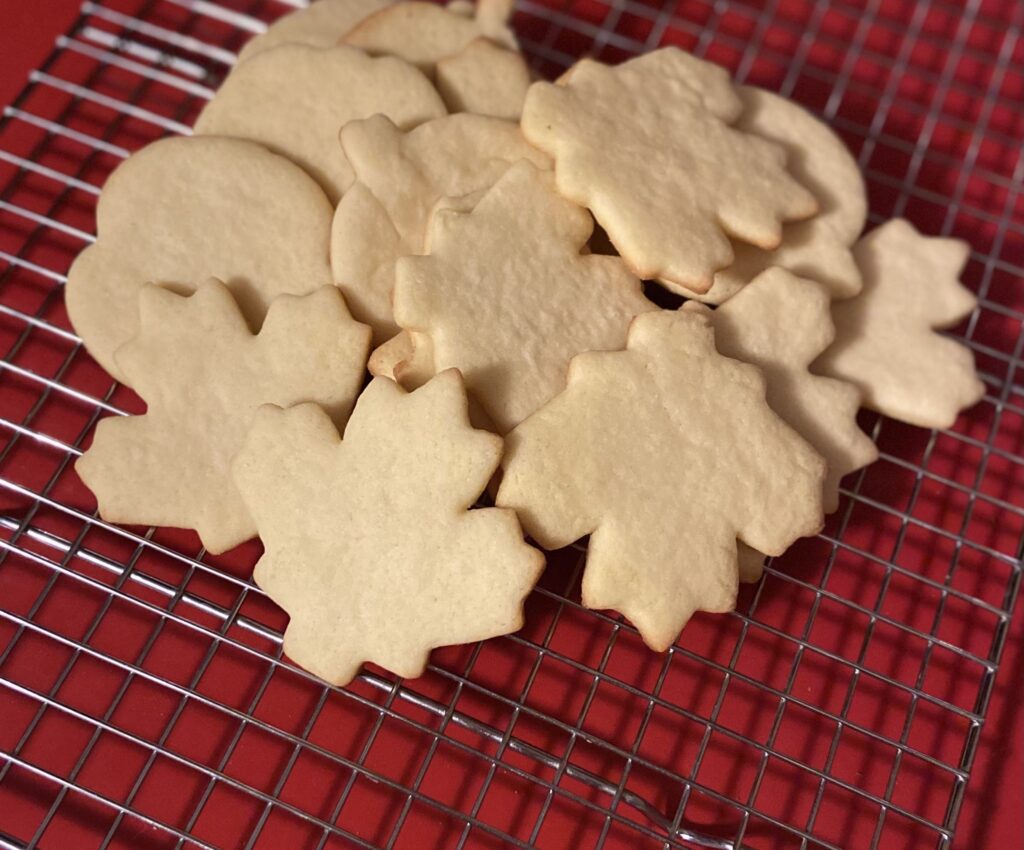
Holidays and baking. They go hand in hand, don’t they? I don’t know what it is about the holiday season, but it seems to bring out the baker in all of us. Maybe it’s the fact that we have less daylight, and we need to do something with our evenings. Maybe it’s because it’s chilly outside and we would just like to warm up the house a little with a preheated oven. Or maybe it’s simply that we are in the giving spirit and we love to show our family and friends we love them with delicious food. I know I can check yes to all those boxes. Because of this, we all need a great sugar cookie recipe in our back pocket. Guess what? I’ve got you covered 😉 

This sugar cookie recipe has been my go to for years and years. My sister in law claims it’s the only cookie that comes close to her mother’s recipe. My aunt makes special requests for these at all holidays. And my dad. He’s a health nut, but can’t say no to a perfectly baked sugar cookie. It warms my heart just thinking of him. 

I am leaving you here with simply the sugar cookie recipe. How you decorate is up to you. Me? I am a light glaze made with almond extract kind of gal. But others live in the school of thought that they love a regular frosting. Or perhaps you add sprinkles before baking and that’s it. Either way, you will have an amazing base of a sugar cookie to add to your cookie tray. 

Oh, and one more thing: This recipe doubles nicely! I’ll leave you will the smaller batch recipe and let you decide if you need to double it (you probably will want to 😉 )

Your Ingredients

  • ¾ cup butter, softened
  • 1 cup white sugar
  • 2 eggs 
  • 1 teaspoon almond extract
  • 2 ½ cups flour
  • 1 teaspoon baking powder
  • ½ teaspoon salt

Your Steps 

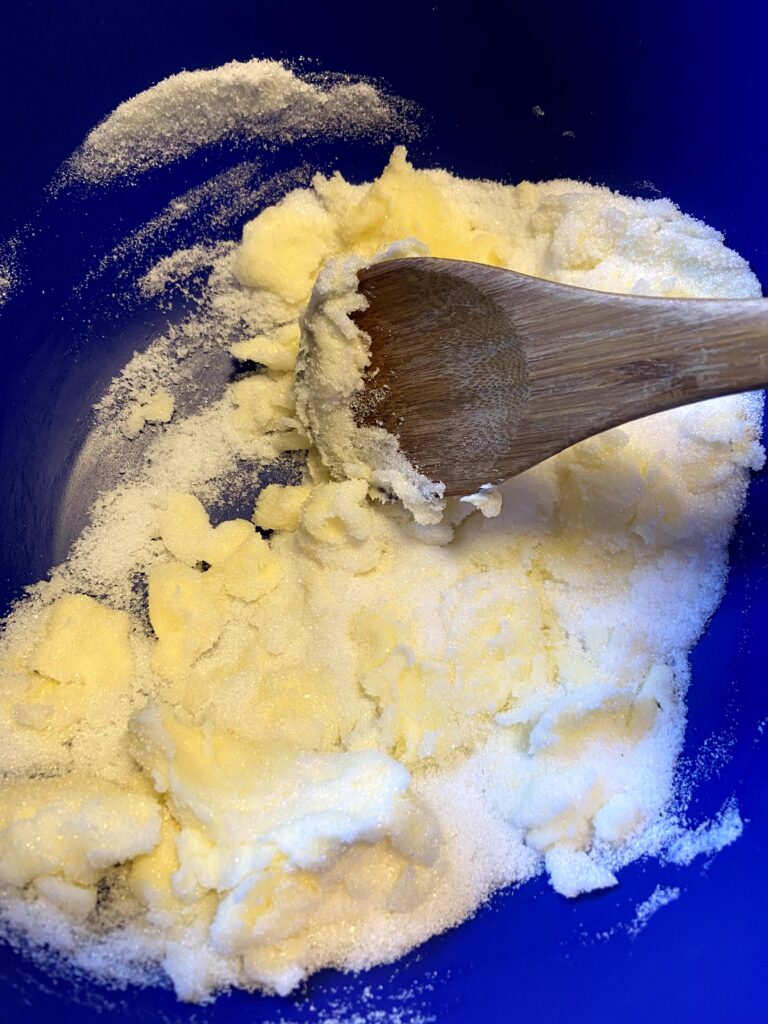
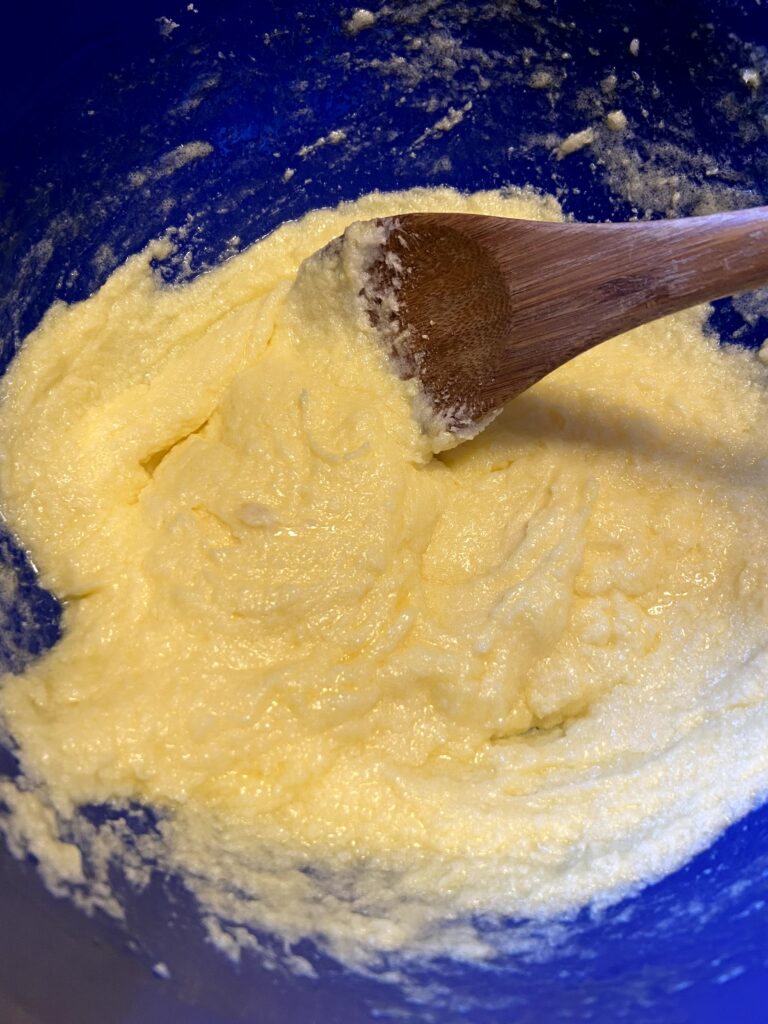
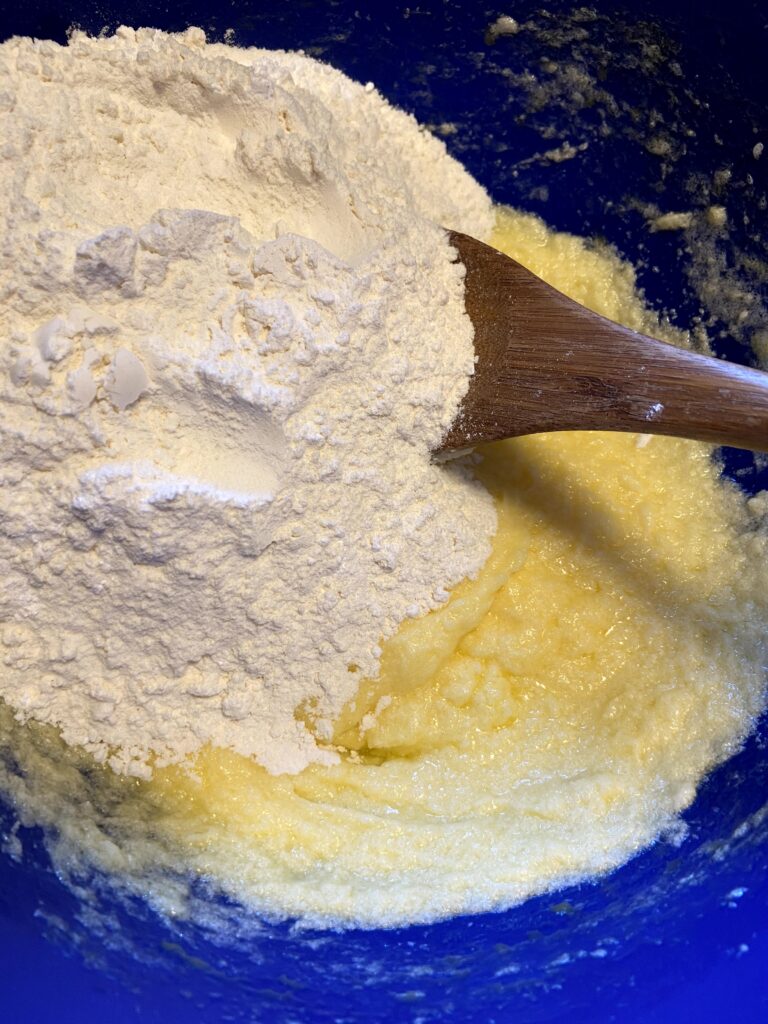
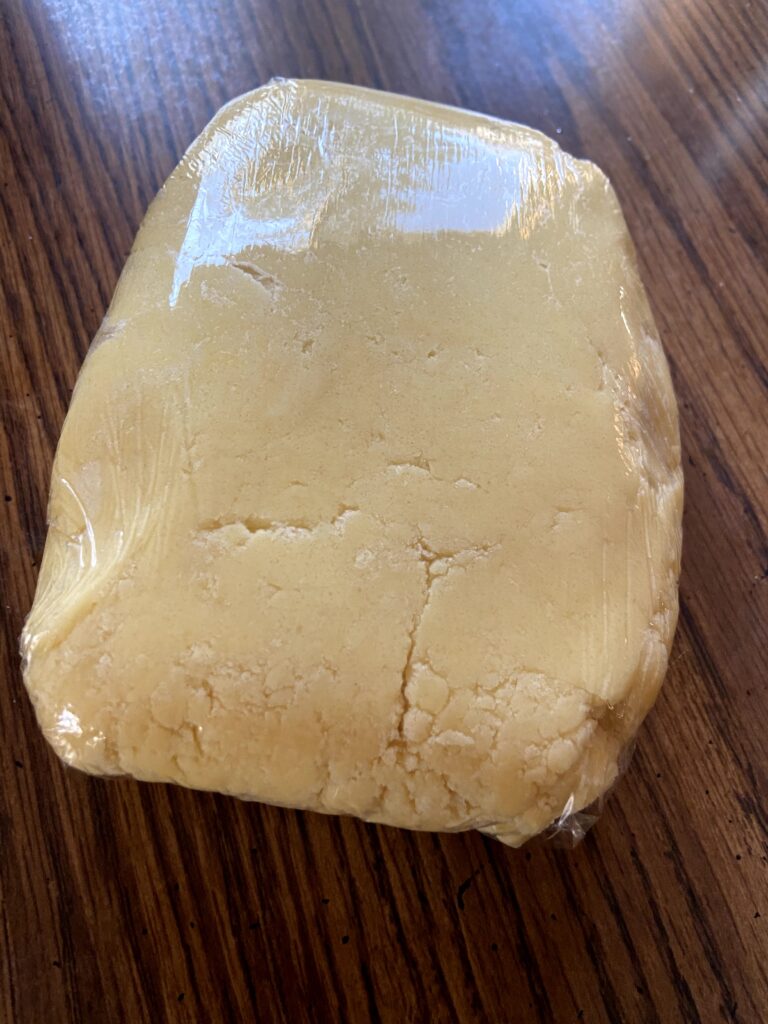
In a large bowl, cream butter and sugar until light and fluffy. Add eggs and almond extract. Beat until well combined. Stir in flour, baking powder, and salt. Form into a log, cover in plastic wrap, and chill at least 3 hours (or overnight). 

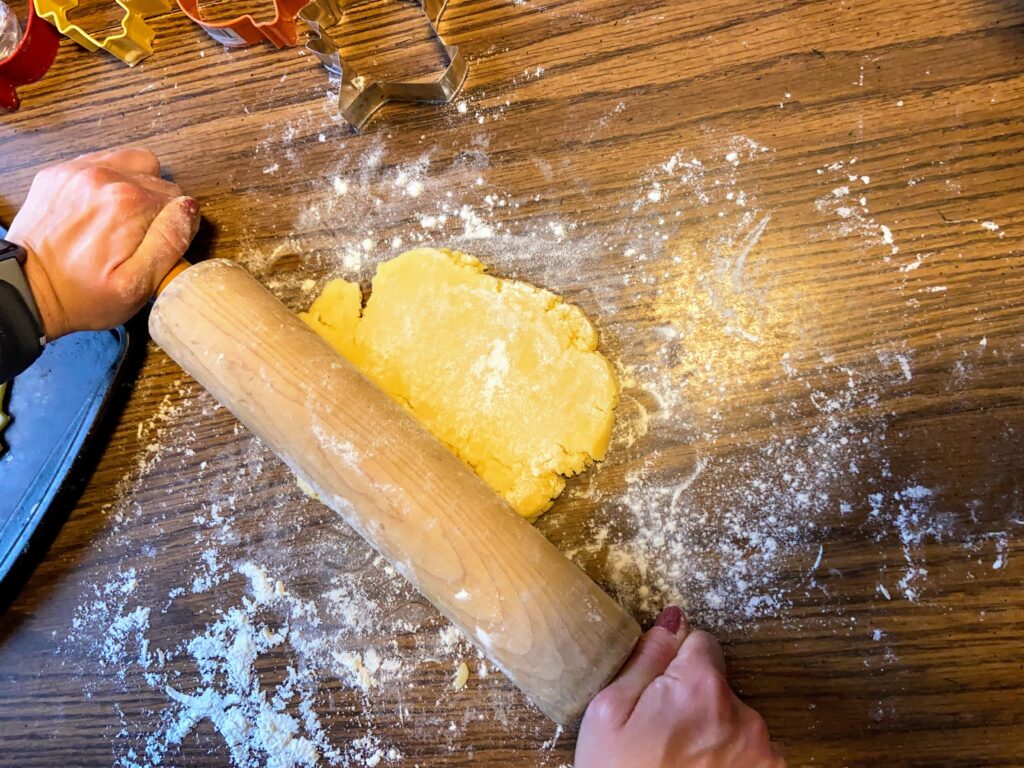
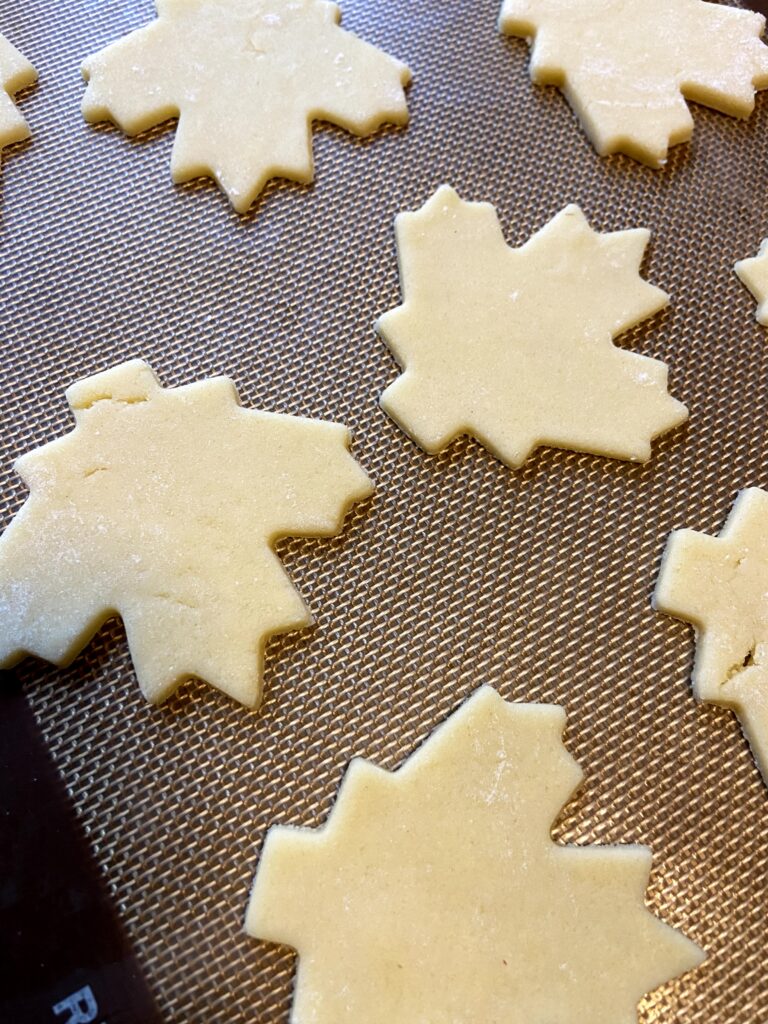
Preheat oven to 400 degrees. On a well floured surface, roll out dough, ⅓ of the log at a time. Roll ⅛” to ¼” of an inch thick, to your desired thickness. Cut using cookie cutters. Place cookies on ungreased cookie sheets. 

Bake 6-8 minutes, until the edges are just about to brown. Allow to cool 2 minutes before removing and placing on a wire rack to cool completely.

Looking for other baking treats? Check out my baking page below!

Tools of the Trade

These are some of my favorite tools in the kitchen!

Yum!

A Sugar Cookie to Write Home About

Sugar Cookies: the quintessential holiday baking treat! You're seven ingredients and a few hours from the best sugar cookie you'll ever eat!
Prep Time 15 minutes
Cook Time 6 minutes
Rest Time 3 hours
Course Dessert
Cuisine American
Servings 4 dozen

Ingredients
  

  • ¾ cup butter softened
  • 1 cup white sugar
  • 2 eggs
  • 1 teaspoon almond extract
  • 2 ½ cups flour
  • 1 teaspoon baking powder
  • ½ teaspoon salt

Instructions
 

  • In a large bowl, cream butter and sugar until light and fluffy.
  • Add eggs and almond extract. Beat until well combined.
  • Stir in flour, baking powder, and salt.
  • Form into a log, cover in plastic wrap, and chill at least 3 hours (or overnight).
  • Preheat oven to 400 degrees.
  • On a well floured surface, roll out dough, ⅓ of the log at a time. Roll ⅛” to ¼” of an inch thick, to your desired thickness.
  • Cut using cookie cutters. Place cookies on ungreased cookie sheets.
  • Bake 6-8 minutes, until the edges are just about to brown.
  • Allow to cool 2 minutes before removing and placing on a wire rack to cool completely.
Keyword baking, Cookies, holiday treats, sugar cookies
Tried this recipe?Let us know how it was!

Looking for other cookie inspiration?

Check out one of the recipes below!
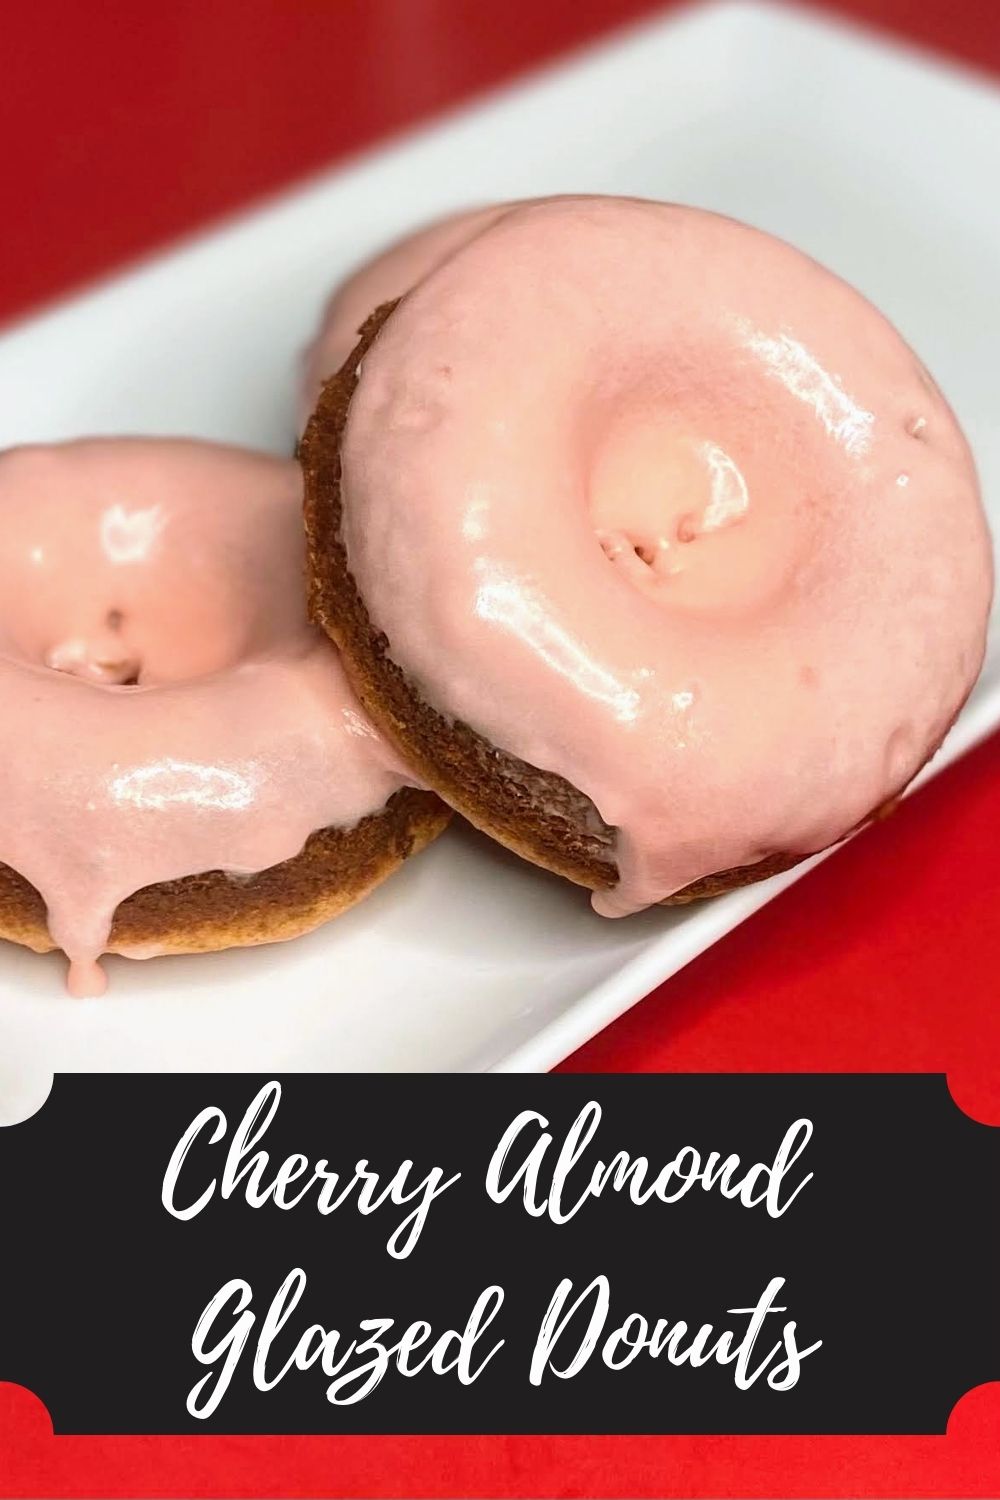
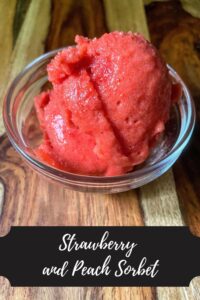
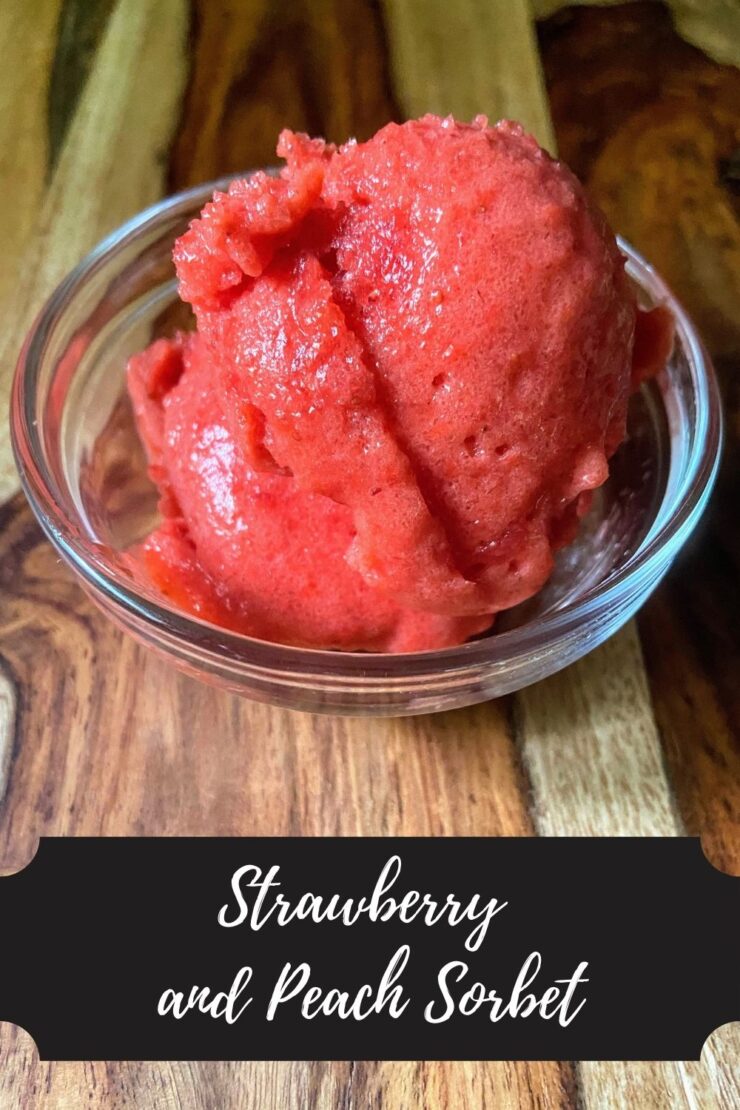
Strawberry and Peach Sorbet

The Scenario…

Over picking at the strawberry patch because you don’t realize just how many berries fit in your bucket until you weigh it.

Looking at the fruits at the farmer’s market and buying it all because the color is beyond appealing.

Planting countless raspberry plants and then not being able to keep up with the bounty they produce in July.

The delicious solution!
Do any of these scenarios sound familiar? Let me tell you, I have experienced them all. One would think that I would learn from my mistakes, but I still continue to get sucked into ALLLLL the fruits and then need to find something to do with them. This week, it was strawberries and peaches. And thus, a homemade strawberry and peach sorbet was born. 

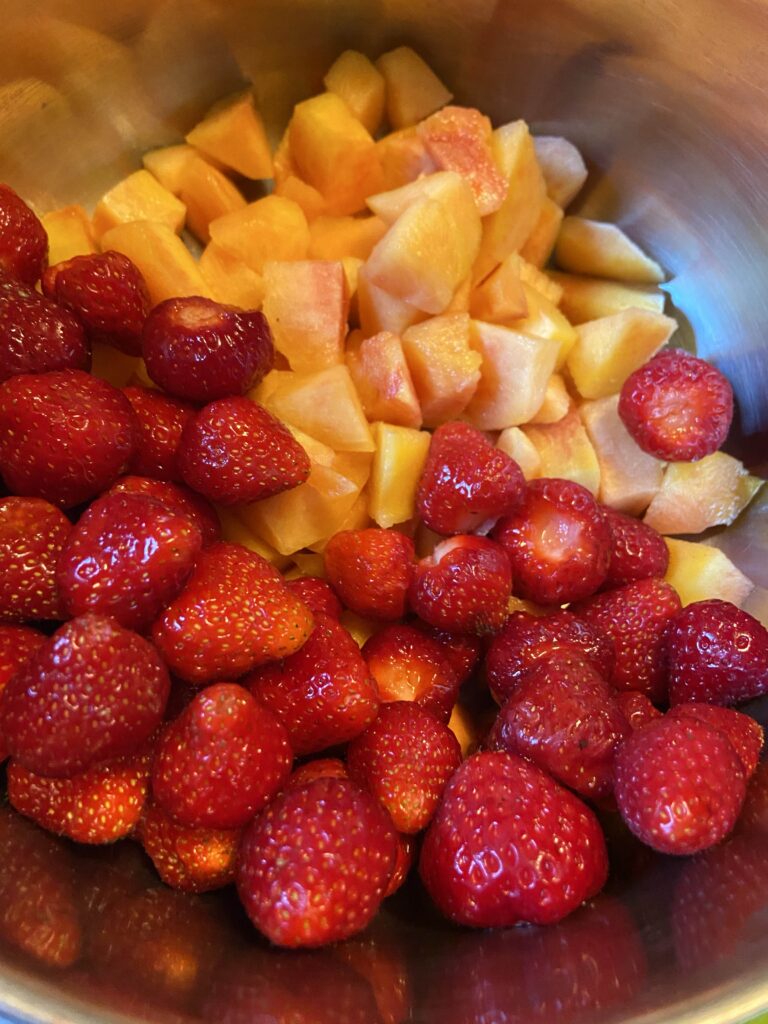
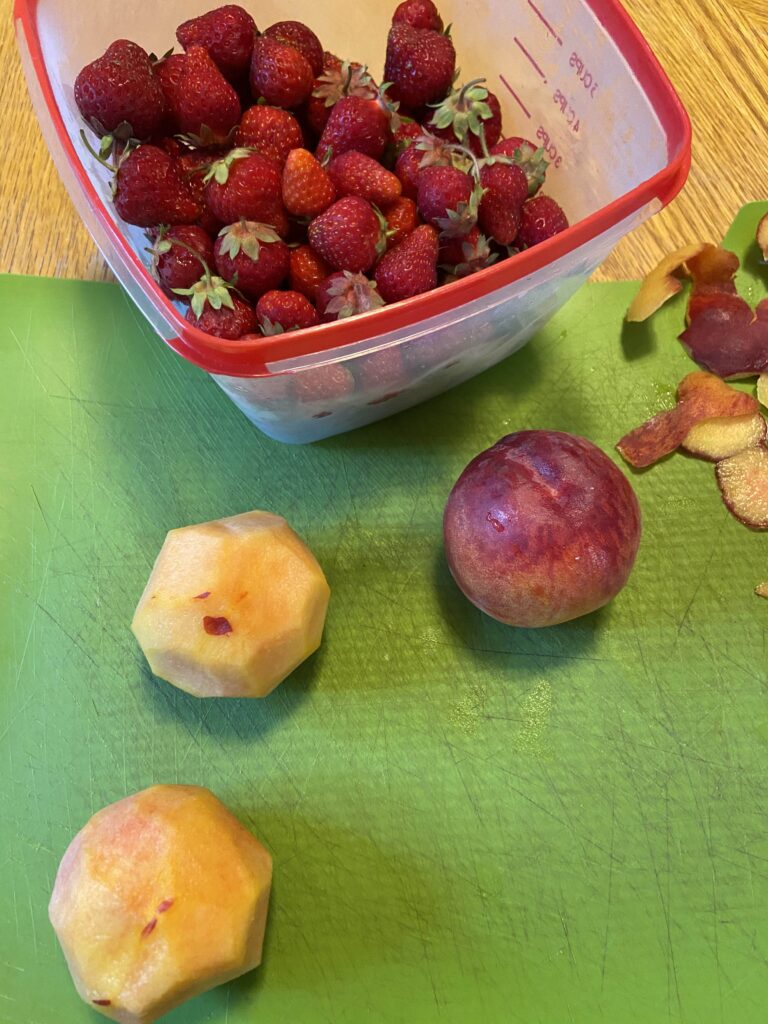
Strawberries and peaches

Last year, I had a crazy red raspberry crop. Crazy, as in it took me over an hour to harvest during its peak time. This meant I needed to find new and fun ways to preserve them. I made all the jam. I froze bags of them. Then I stumbled across a fruit sorbet recipe while flipping through my Ball’s Guide to Preserving Book. It sounded amazing, but had SO much added sugar. I modified it some last year, and now have improved it again to not use raspberries but the strawberries from our garden and peaches from the store. 

If you’ve been following me for a little time, you know that I like to use my son as my ultimate taste tester. He isn’t afraid to tell me something is too healthy tasting, too salty, lacking vegetables, etc. He’s a good egg, that kid. Anywho…I took a scoop of what couldn’t fit in the jars and had him try it. He closed his eyes, smiled, and kind of whispered, “What IS that?!” I don’t know about you, but that screams approval if you ask me 😉

Don’t have strawberries and/or peaches? I have such good news! This recipe is totally moldable to your favorite flavor combination. Ultimately, you will need 4 cups of chopped soft fruit. Think berries, peaches, nectarines, etc. (Ball says you can use melon, but I haven’t tested it). 
Your Ingredients: 

  • 2 cups chopped strawberries
  • 2 cups diced peaches, peeled first then cut up
  • ½ cup orange juice
  • 2 tablespoons lemon juice 
  • 2 tablespoons honey 

Your steps

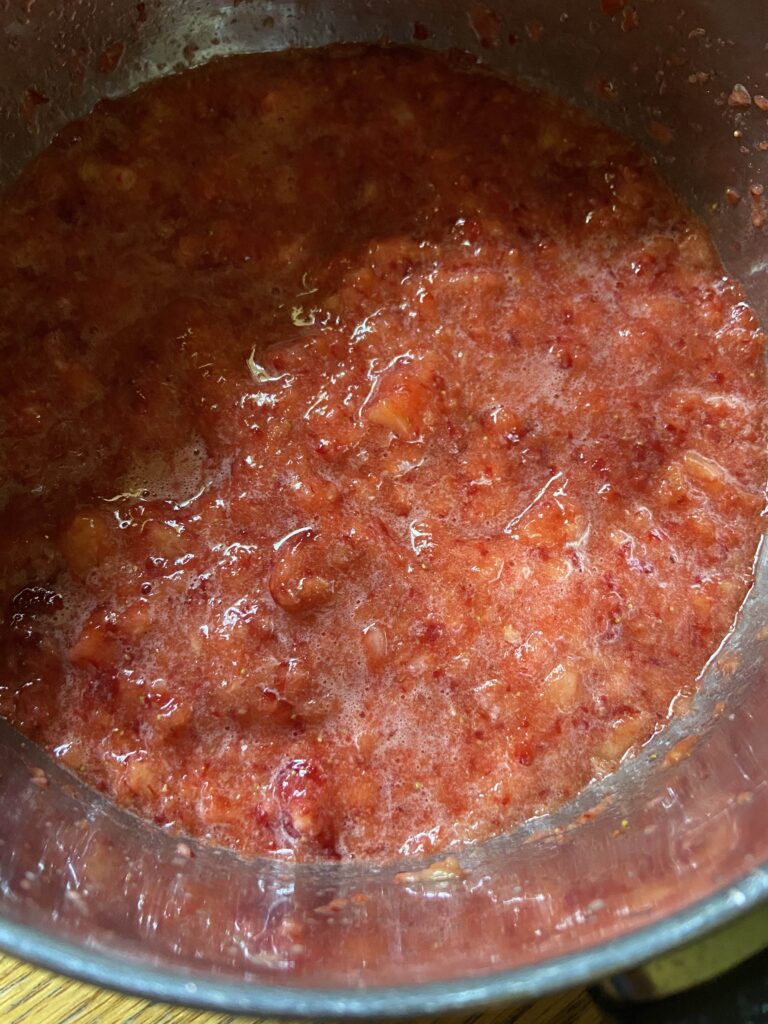
Combine fruit. Use a blender or immersion blender to break fruit down. I use an immersion blender and blend right in the kettle I will be heating them in. Add remaining ingredients. From here, use the immersion blender to mix everything together once more. Once combined, heat over medium heat until the mixture is beginning to simmer, stirring often. Pour into a 9×13 pan, cover, and place in the freezer and allow to freeze solid. 

Once fully frozen, remove and allow to sit at room temperature for 5-10 minutes. This will make it easier to remove the sorbet. Working in small batches, puree frozen sorbet. There are lots of options for this. You can use a blender, a food processor, or an immersion blender. For me, I dig the immersion blender because clean up is so easy. Scoop the puree into freezer safe containers, leaving ½ inch headspace at the top. I like to use 4 ounce jelly jars for ½ cup servings ready to go! Finally, be sure to label and return to the freezer until you’re ready to enjoy them! 

A few notes

When I initially found this recipe, I wanted to cut the second blending of the sorbet. It is critical to complete if you want fluffy sorbet that you remember from childhood. It’s worth the extra step. Don’t skip it! 

Initially, I tried this recipe freshly picked raspberries so feel free to mix it up in terms of fruit. Ultimately, you need 4 cups of chopped/crushed fruit so let your taste buds to the work here. 

Looking for an adult version? I found that adding ½ cup of lime twisted gin was a delight to the raspberry sorbet! Be mindful of how much alcohol you add as it will effect the ability of the sorbet to freeze. 

Have a sweeter tooth? The recipe originally calls for 2 cups of sugar. If you’d like, add more to suit your own tastes.

Tools I use

Hoping to use some of the tools I love for creating these? Here’s the link for the 4 ounce jelly jars I used as well an immersion blender. Seriously, the immersion blender is an underrated tool in the kitchen and it hardly takes up any storage space! If you don’t have one yet, I highly recommend investing. You’ll thank me! 

As for the jelly jars, I am usually a Ball or Kerr jar lover, but a friend gifted me these Verone jars and I loved that they came with two piece lids for canning as well as one piece lids for storage. Double duty in one pack of jars. Super cool 🙂

Looking for other ways to preserve your summer bounty? Check out my canning and preserving page!

Strawberry and Peach Sorbet

A fruit sorbet
Prep Time 30 minutes
Freeze Time 4 hours
Course Dessert
Cuisine Canning
Servings 7 1/2 cup servings

Ingredients
  

  • 2 cups chopped strawberries
  • 2 cups diced peaches peeled first then cut up
  • ½ cup orange juice
  • 2 tablespoons lemon juice
  • 2 tablespoons honey more to taste

Instructions
 

  • Combine fruit.
  • Use a blender or immersion blender to break fruit down into a puree.
  • Add remaining ingredients. Blend once more to fully break down the fruit and incorporate added ingredients.
  • Once combined, heat over medium heat until the mixture is beginning to simmer, stirring often.
  • Pour into a 9×13 pan, cover, and place in the freezer and allow to freeze solid.
  • Once fully frozen, remove and allow to sit at room temperature for 5-10 minutes to make it easier to remove from pan. Working in small batches, puree frozen sorbet using food processor, blender or immersion blender.
  • Scoop the puree into freezer safe containers, leaving ½ inch headspace at the top. Label and return to freezer if not enjoying immediately.

Notes

Don’t have strawberries or peaches? No problem. Any soft fruit will do. Think, berries of any kind, nectarines, even melon perhaps? 
You may be tempted to skip the second blend step. Don’t! It’s critical for the sorbet to be fluffy, just the way you remember it. 
Keyword clean, peach, sorbet, strawberry, sweets
Tried this recipe?Let us know how it was!

Banana Ice Cream

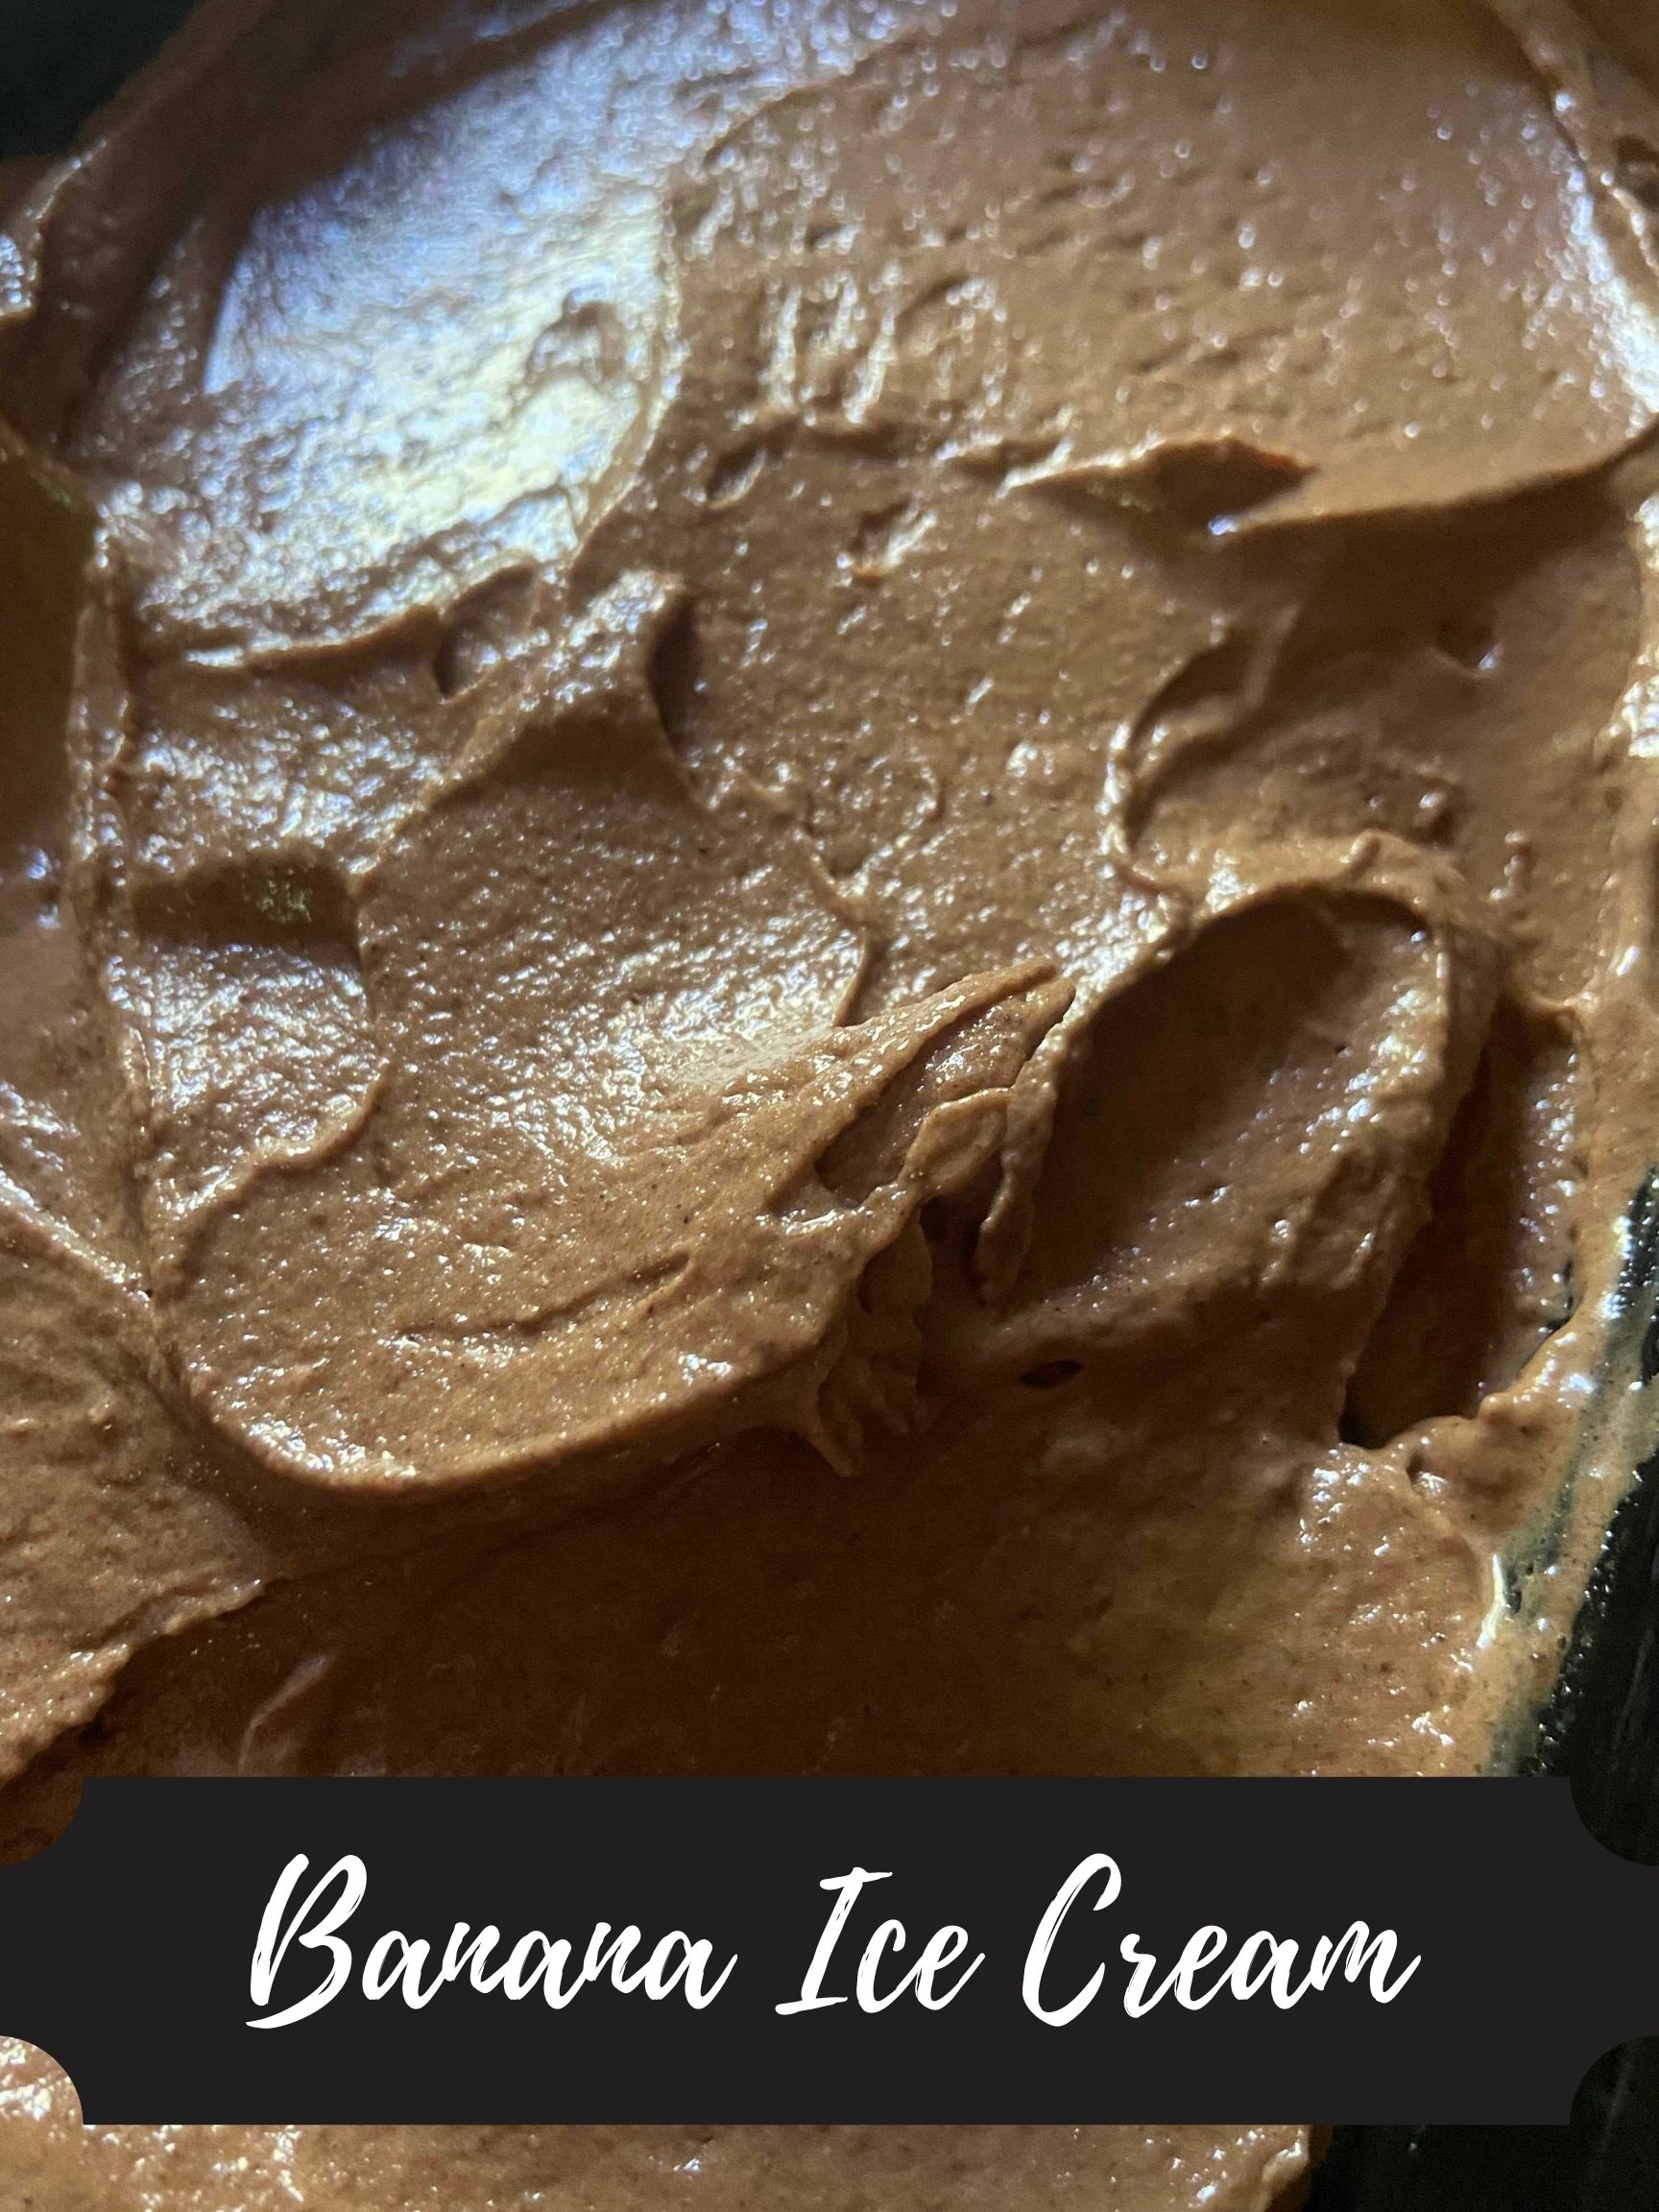
Ice cream. It’s the go to treat at my house after dinner. My husband LOVES it, and has instilled the love to my children. I mean really, what’s not to love in terms of flavor?! For me, I indulge maybe once a week. Not because I am lactose intolerant or dieting. More so, I know my taste buds will want more than a servings’ worth and my “health conscious” stomach won’t dig the aftermath. Then I discovered chocolate banana ice cream and I instantly fell in love. It’s creamy, the right amount of sweetness, and full of good for you ingredients. A dessert I can enjoy a serving (or two!) a few times a week and know I’m actually fueling my body. In fact, I realized it makes a great pre-workout snack before my longer runs. How can it get much better?!

To create this delicious treat, it will take a little planning and ideally a large food processor. No 5-7 cup food processor? No worries! An immersion blender will work well in a pinch. Just know that it will likely need some help along the way as you blend the frozen bananas. (And this may seem like common sense, but make you unplug it before clearing the blades out. Believe me, I have the hospital bill and scar on my finger to prove it’s a good idea. Yikes!) Let’s get started!

Your ingredients

  • 3 ripe bananas
  • 2 tablespoons nut butter, your choice
  • ¼ cup cocoa powder
  • 1 teaspoon vanilla 
  • 1 tablespoon almond milk (or other milk), as needed
Optional mix ins: 

Coconut flakes, chopped nuts, chocolate chips, peanut butter chips, you name it! 

Your steps

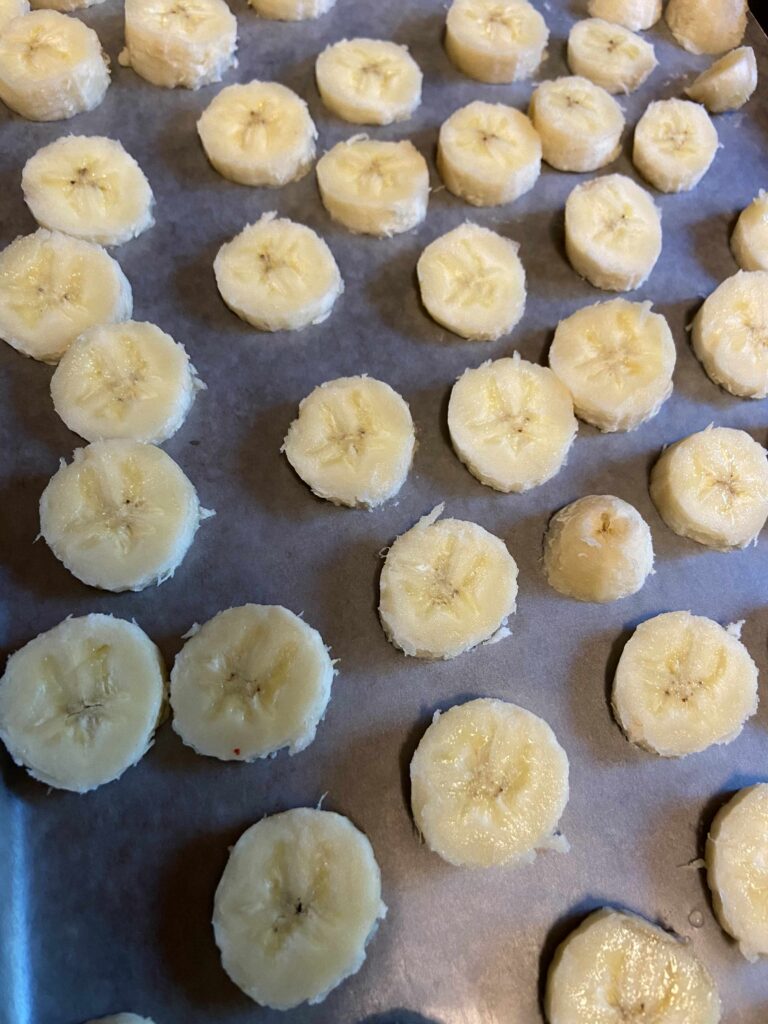
Line a jelly roll pan with wax or parchment paper. Slice bananas into ½ inch slices and place on paper. Stick the pans in the freezer and allow the bananas to harden, generally over a few hours. (If you are like me, you’ll forget about them for a few days, open the freezer and declare, “OH! MY BANANAS!” It’s okay, I get you 🙂 )

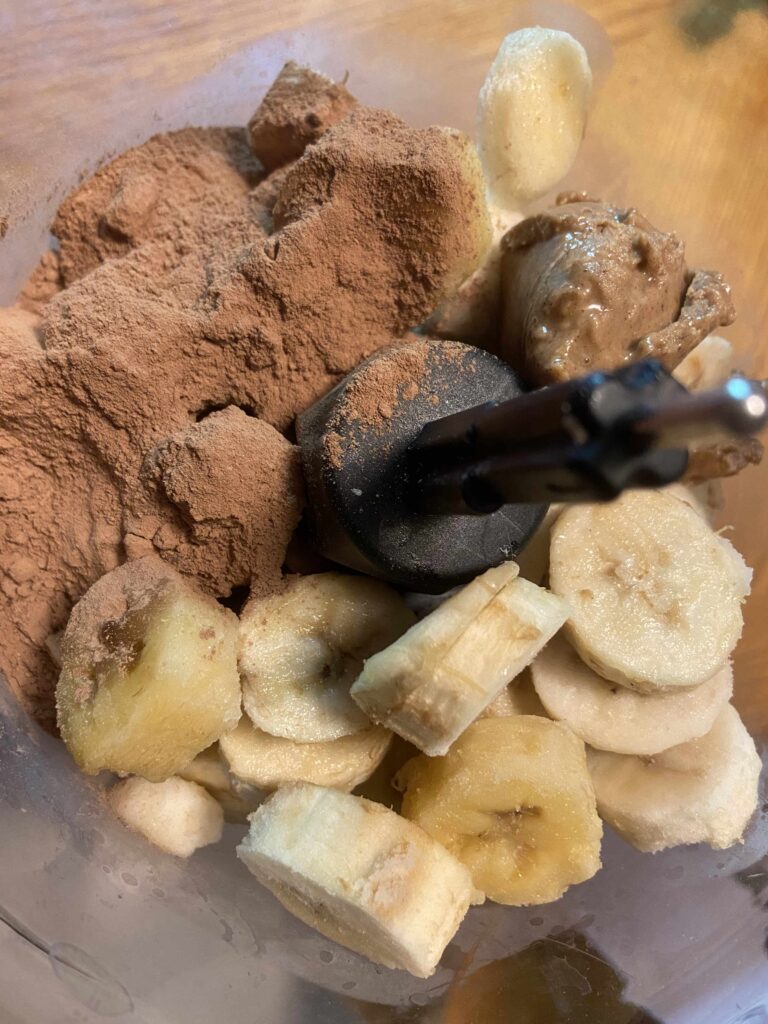
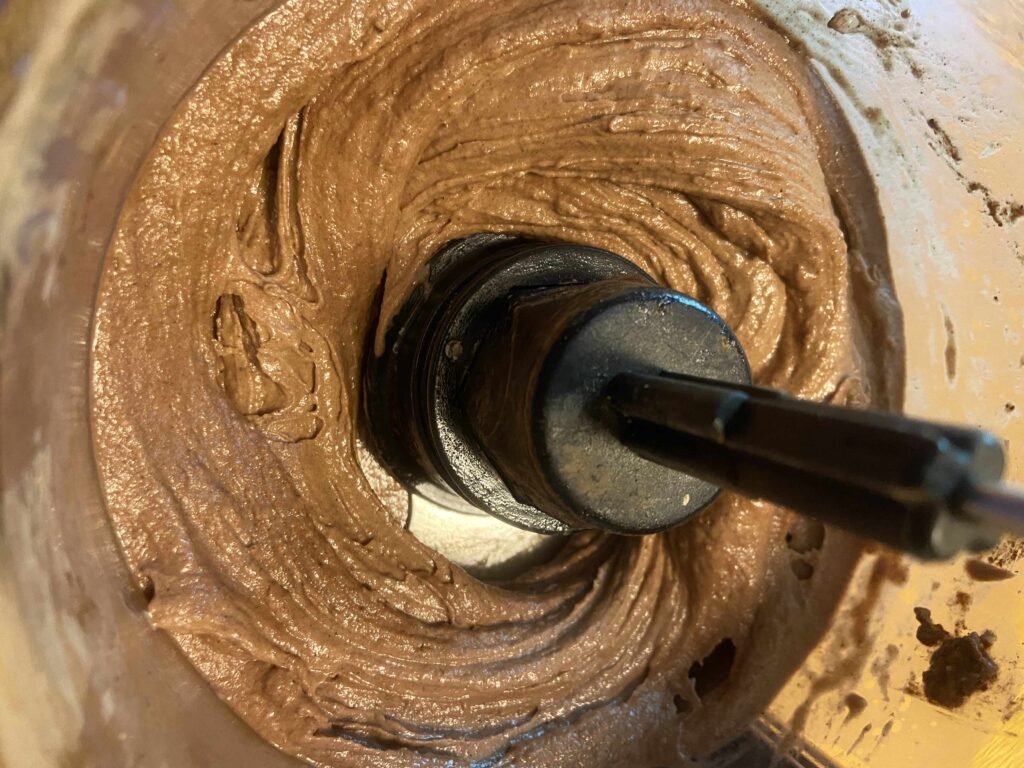
Remove bananas from pans and place in food processor. Add remaining ingredients and pulse to blend until smooth. This will take some time, but be patient. Add more milk if necessary to get desired texture. Add optional mix ins and pulse just a couple times to incorporate them into the blended bananas. 

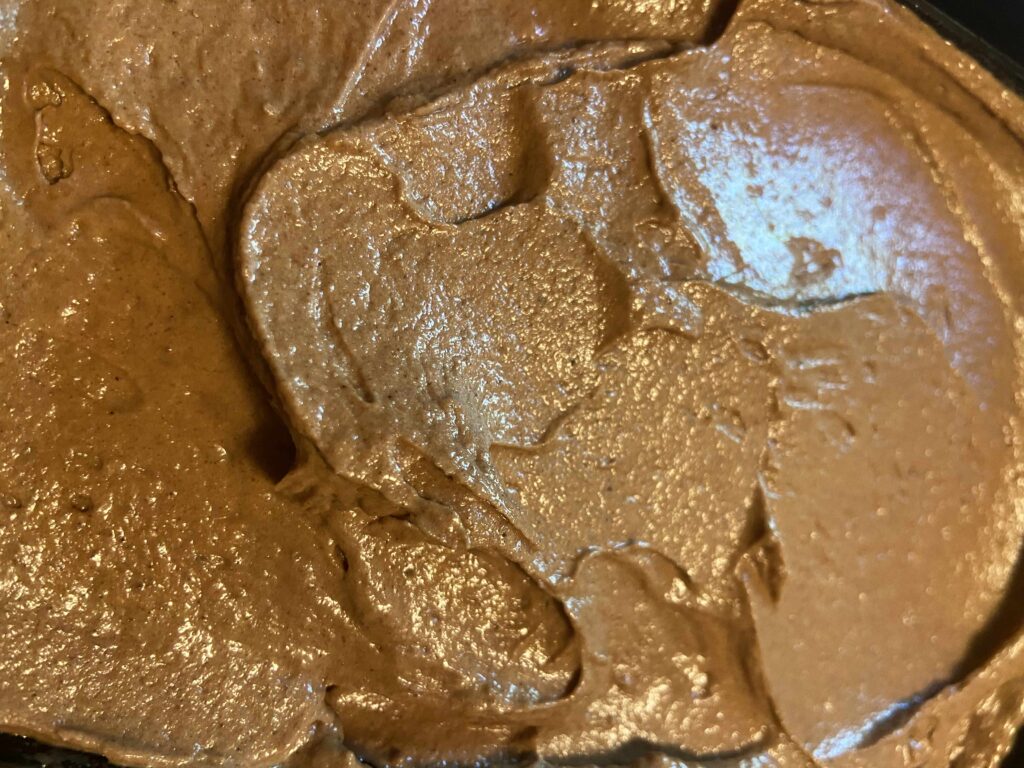
Use a spatula to smooth banana ice cream into a freezer safe container and return to the freezer. Since there is minimal milk in the blended banana, it will freeze harder than normal ice cream. I usually take it out 5-10 minutes before I want to eat it to allow it to soften slightly. My absolute favorite is to sprinkle a little coconut and some salted nuts on top. SO GOOD! And even better news? You now have another idea for those overripe bananas you have sitting on your counter. 

As for the equipment I use

Initially, I used an immersion blender and loved it. I didn’t want to drag out my large food processor. Like I said earlier in the post, this did result in me being silly and trying to clear out the frozen mess with my finger and heading to the hospital. Learn from me, don’t do that 🙂 However, my mind was changed once I brought out my 7 cup food processor. It’s SO much easier to use and clean up isn’t bad at all. That being said, I ADORE both kitchen tools and they get used often in my home. Check out the links below if your interested in adding to your kitchen tool collection!

Banana Ice Cream

No added sugar and all the chocolate. A velvety smooth alternative to dairy ice cream made with good for you ingredients.
Prep Time 30 minutes
Freezing Time 3 hours
Total Time 3 hours 30 minutes
Course Dessert
Servings 6

Ingredients
  

  • 3 ripe bananas
  • 2 tablespoons nut butter your choice
  • ¼ cup cocoa powder
  • 1 teaspoon vanilla
  • 1 tablespoon almond milk or other milk, as needed

Instructions
 

  • Line a jelly roll pan with wax or parchment paper. Slice bananas into ½ inch slices and place on paper. Stick the pans in the freezer and allow the bananas to harden, generally over a few hours.
  • Remove bananas from pans and place in food processor.
  • Add remaining ingredients and pulse to blend until smooth. Add more milk to gain desired texture, if necessary.
  • Use a spatula to smooth banana ice cream into a freezer safe container. Enjoy right away or return to the freezer for a snack later.

Notes

There are lots of optional mix ins you can add to this ice cream: coconut flakes, chocolate chips, nuts, etc. Add after you have done the initial blending and pulse a few times to incorporate.
Since there is minimal or no dairy in this ice cream, it will freeze quite hard. You will likely want to take it out of the freezer to soften 5-10 minutes before serving.
Keyword Banana, Banana Ice Cream, Vegan
Tried this recipe?Let us know how it was!

Looking for other sweet treats to create in your kitchen? Check out the baking page here!