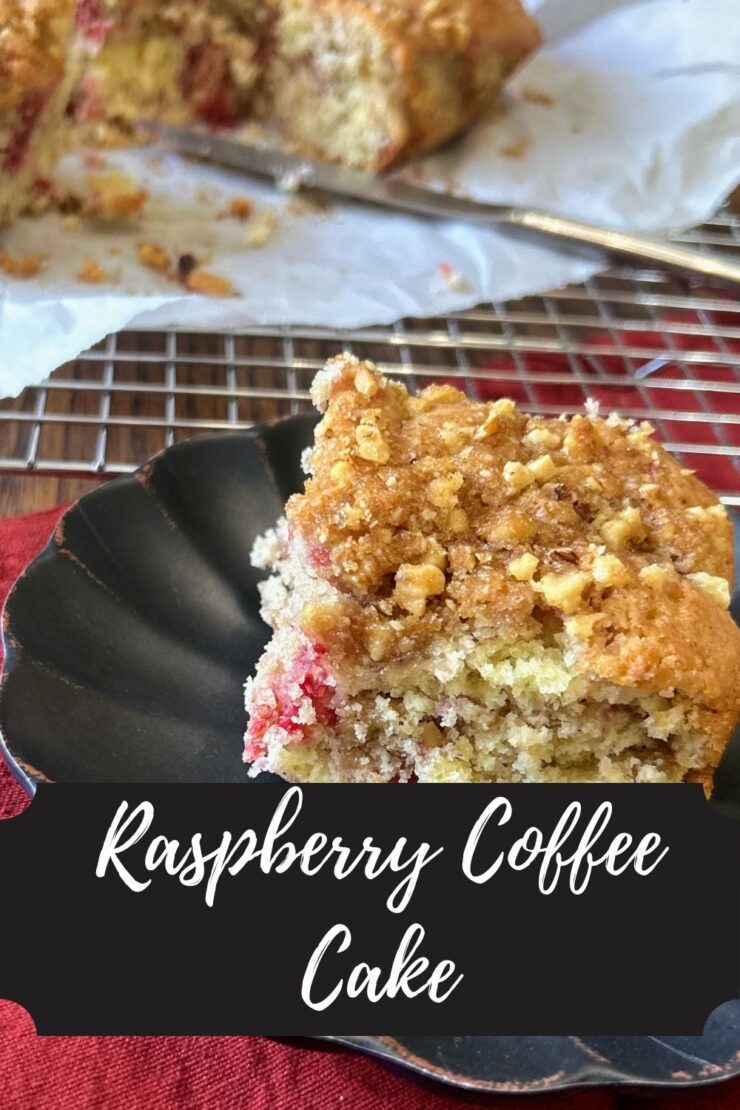
My goodness, it’s been a hot minute since I’ve been here. Life got a little “lifey” and I have kiddos that do alllllll the things. Cooking and baking just needed to take a back seat to navigating all the things in our home. But school is out and I am so excited to be back in the kitchen creating and in the garden growing. And if you ask me, this beautiful raspberry coffee cake is the perfect way to jump back into Jess in the Kitchen.
I love to bake and am not ashamed to say I have a bit of a sweet tooth. As I was digging through our big freezer for meal prep, I realized I had an immense amount of frozen raspberries from the 2024 season that I hadn’t used up yet. I immediately got to thinking, “What can I bake?”
My little one had developed a love for various coffee cakes from local coffee shops, so this seemed to be the ticket. I gave it a go, and was pleased with the results. Then I tried again, and improved upon it, upping the sweetness just a bit for the Mr because, well, his sweet tooth is a little bigger than mine. Each time I have made this raspberry coffee cake since, the two of them eat it every day for breakfast with smiles on their faces. I hope it brings a smile to yours too!
Ready to start baking? Let’s do this thing!
Your Ingredients to Raspberry Coffee Cake
- ¾ cup granulated sugar
- ¼ cup butter, softened
- ⅔ cup milk
- 1 egg
- ½ teaspoon almond extract
- 2 cups all purpose flour
- 2 teaspoons baking powder
- ½ teaspoon salt
- ¼ teaspoon nutmeg
- 1 cup frozen raspberries (do not thaw)
Streusel Filling and Topping
- ⅓ cup + 2 tablespoons brown sugar
- ½ cup chopped nuts
- Pinch of salt
- 2 tablespoons butter, cold
Your Steps to Raspberry Coffee Cake
Preheat the oven to 375℉. Grease and line an 8 inch baking pan with parchment paper.
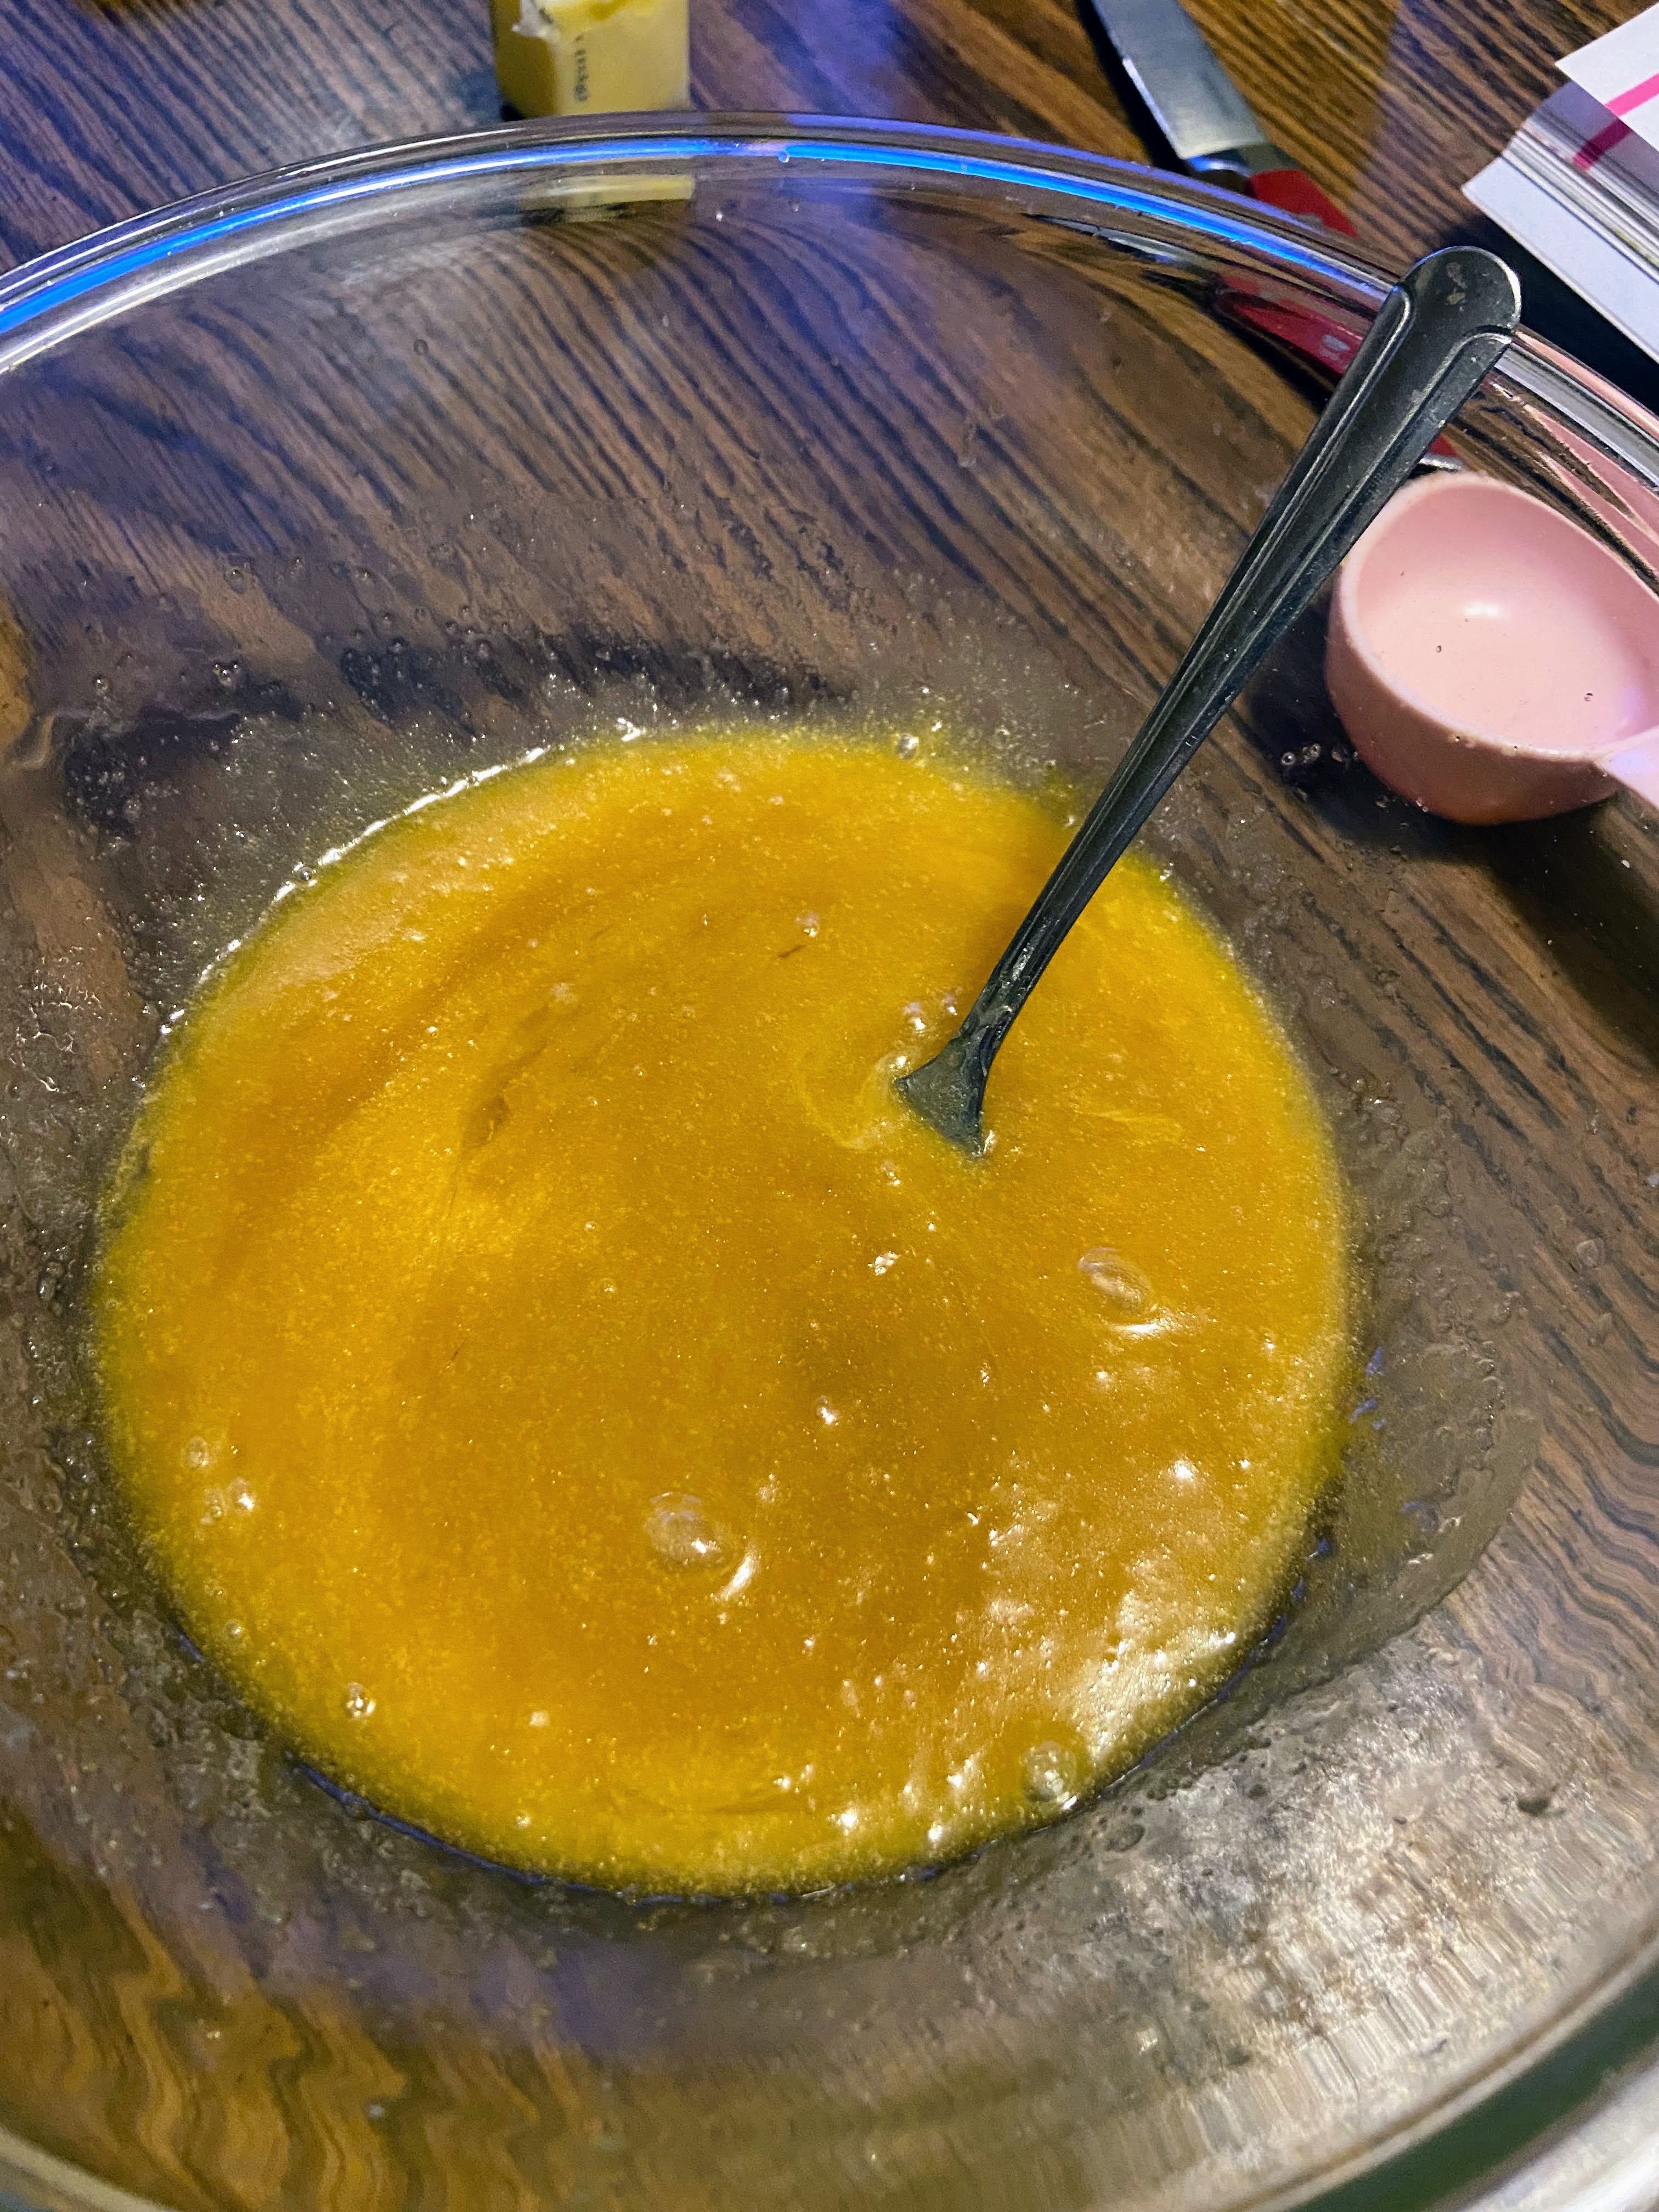
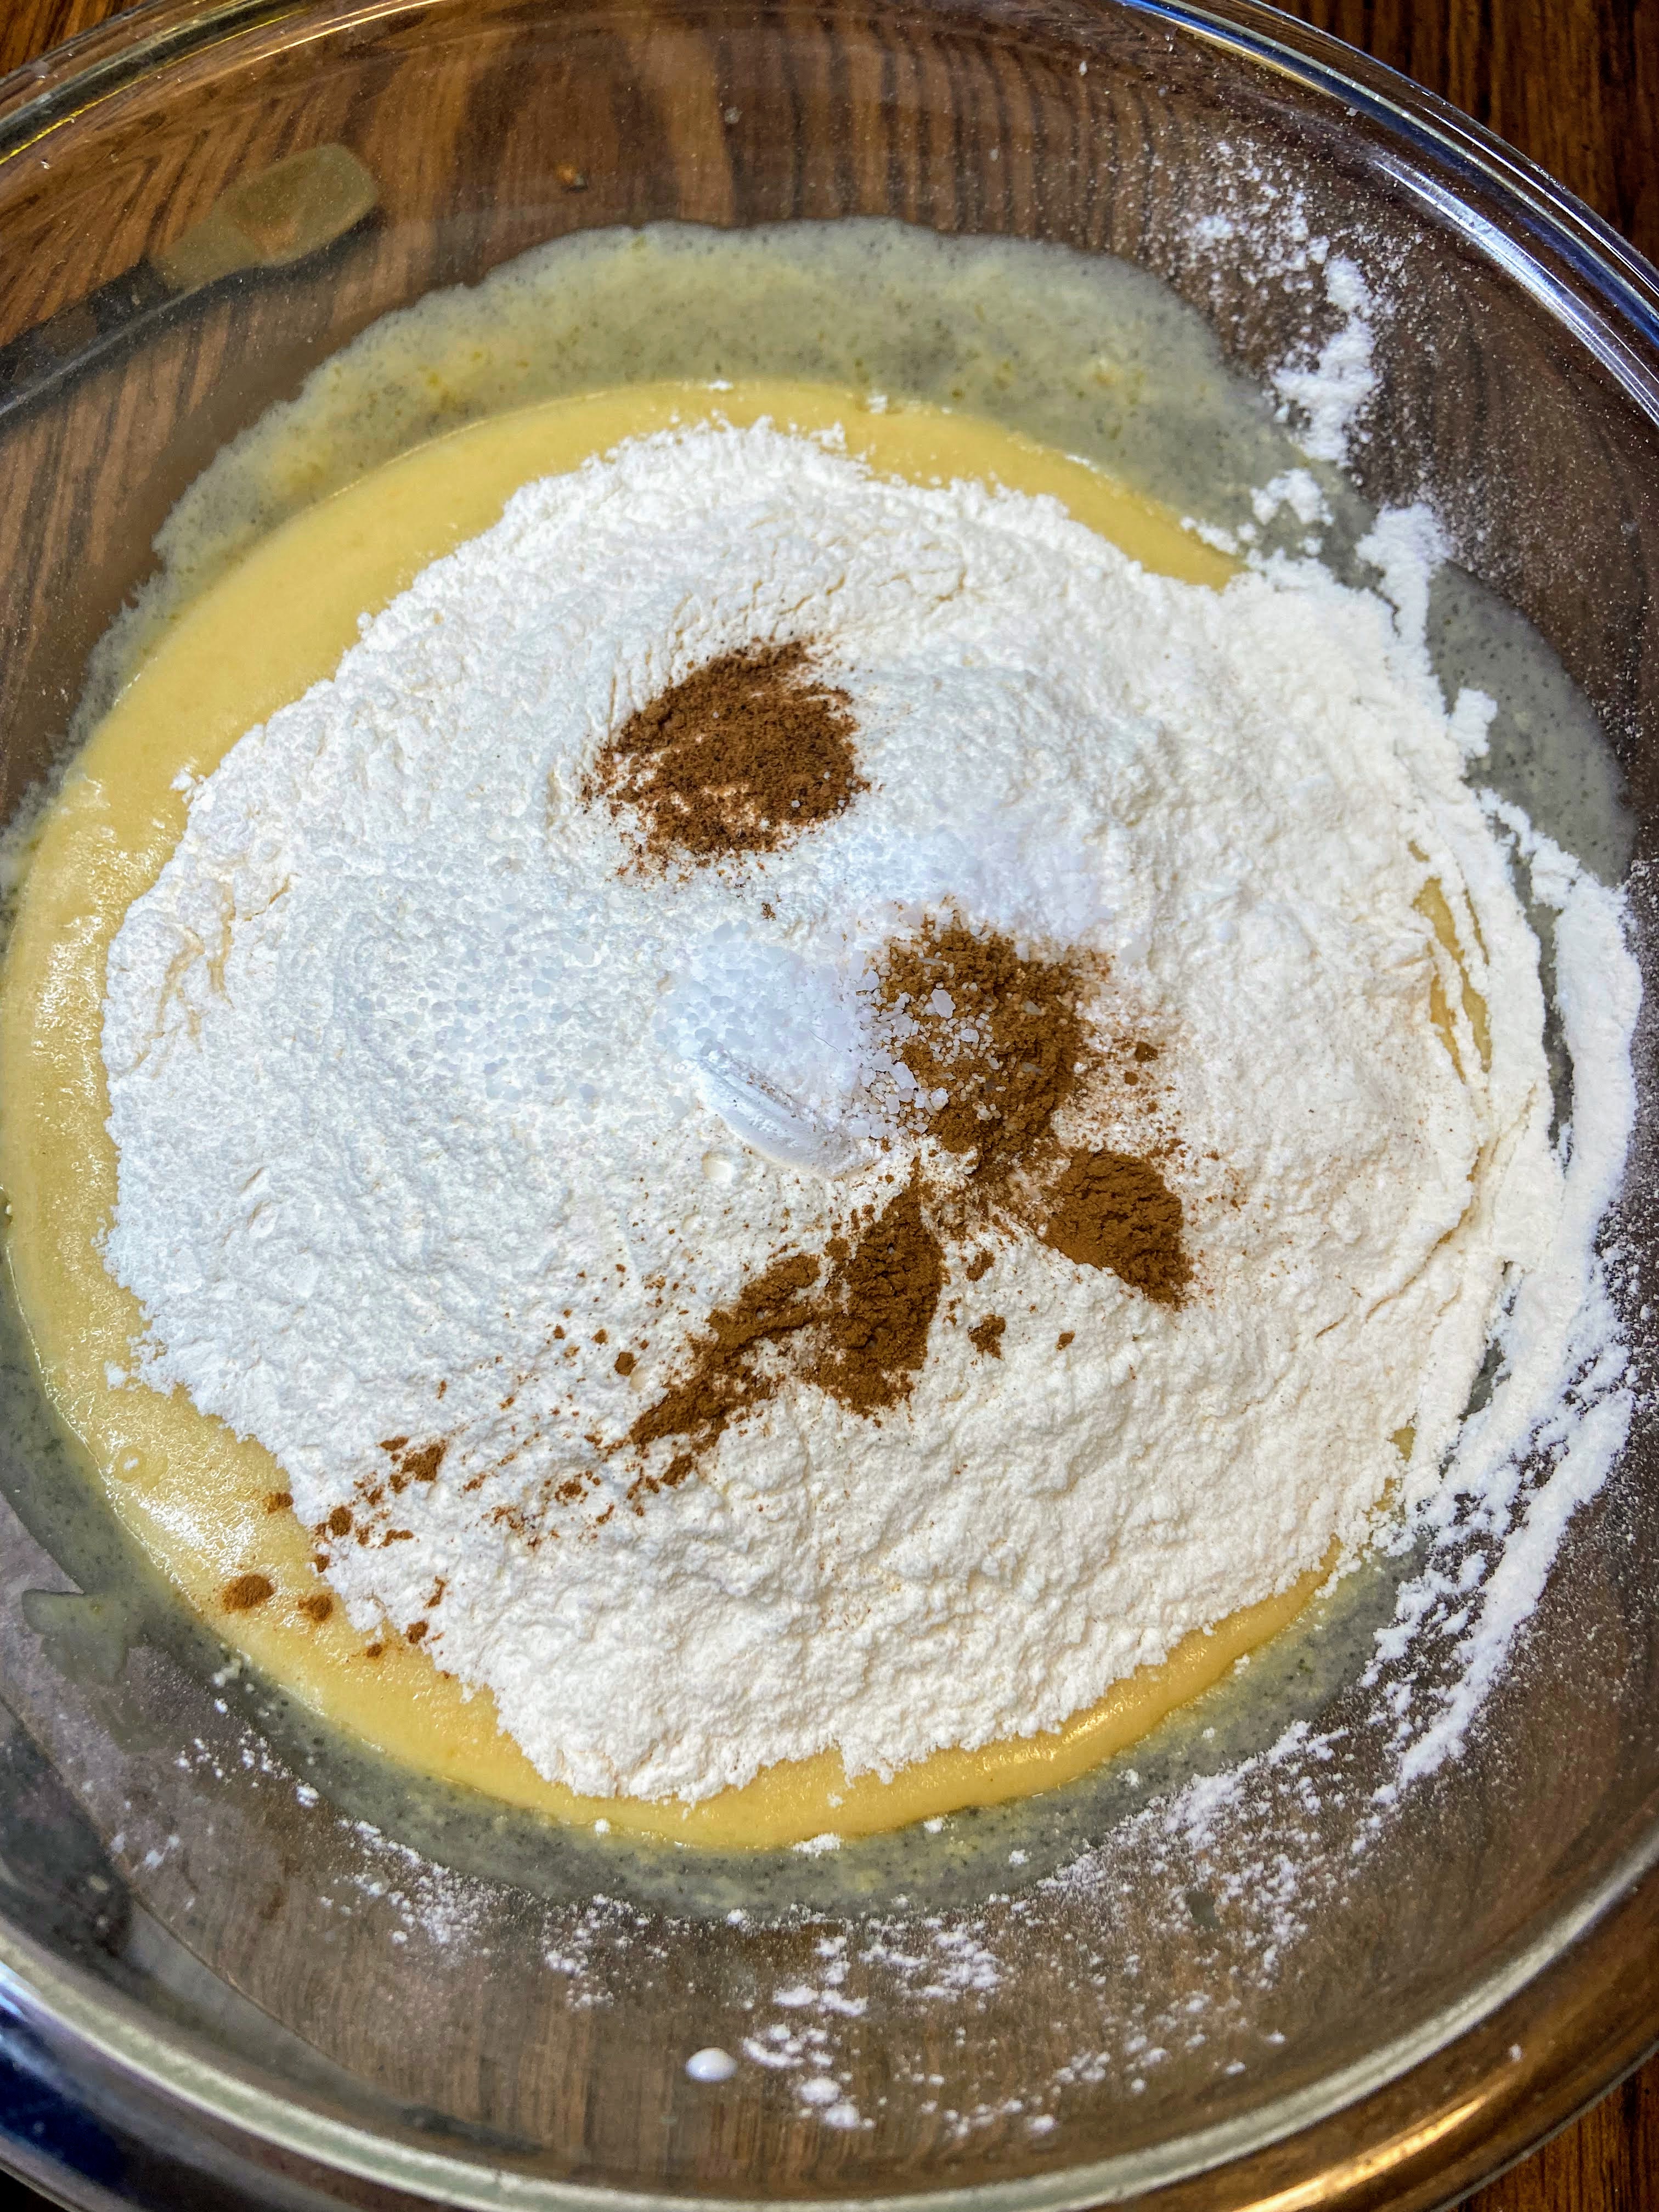
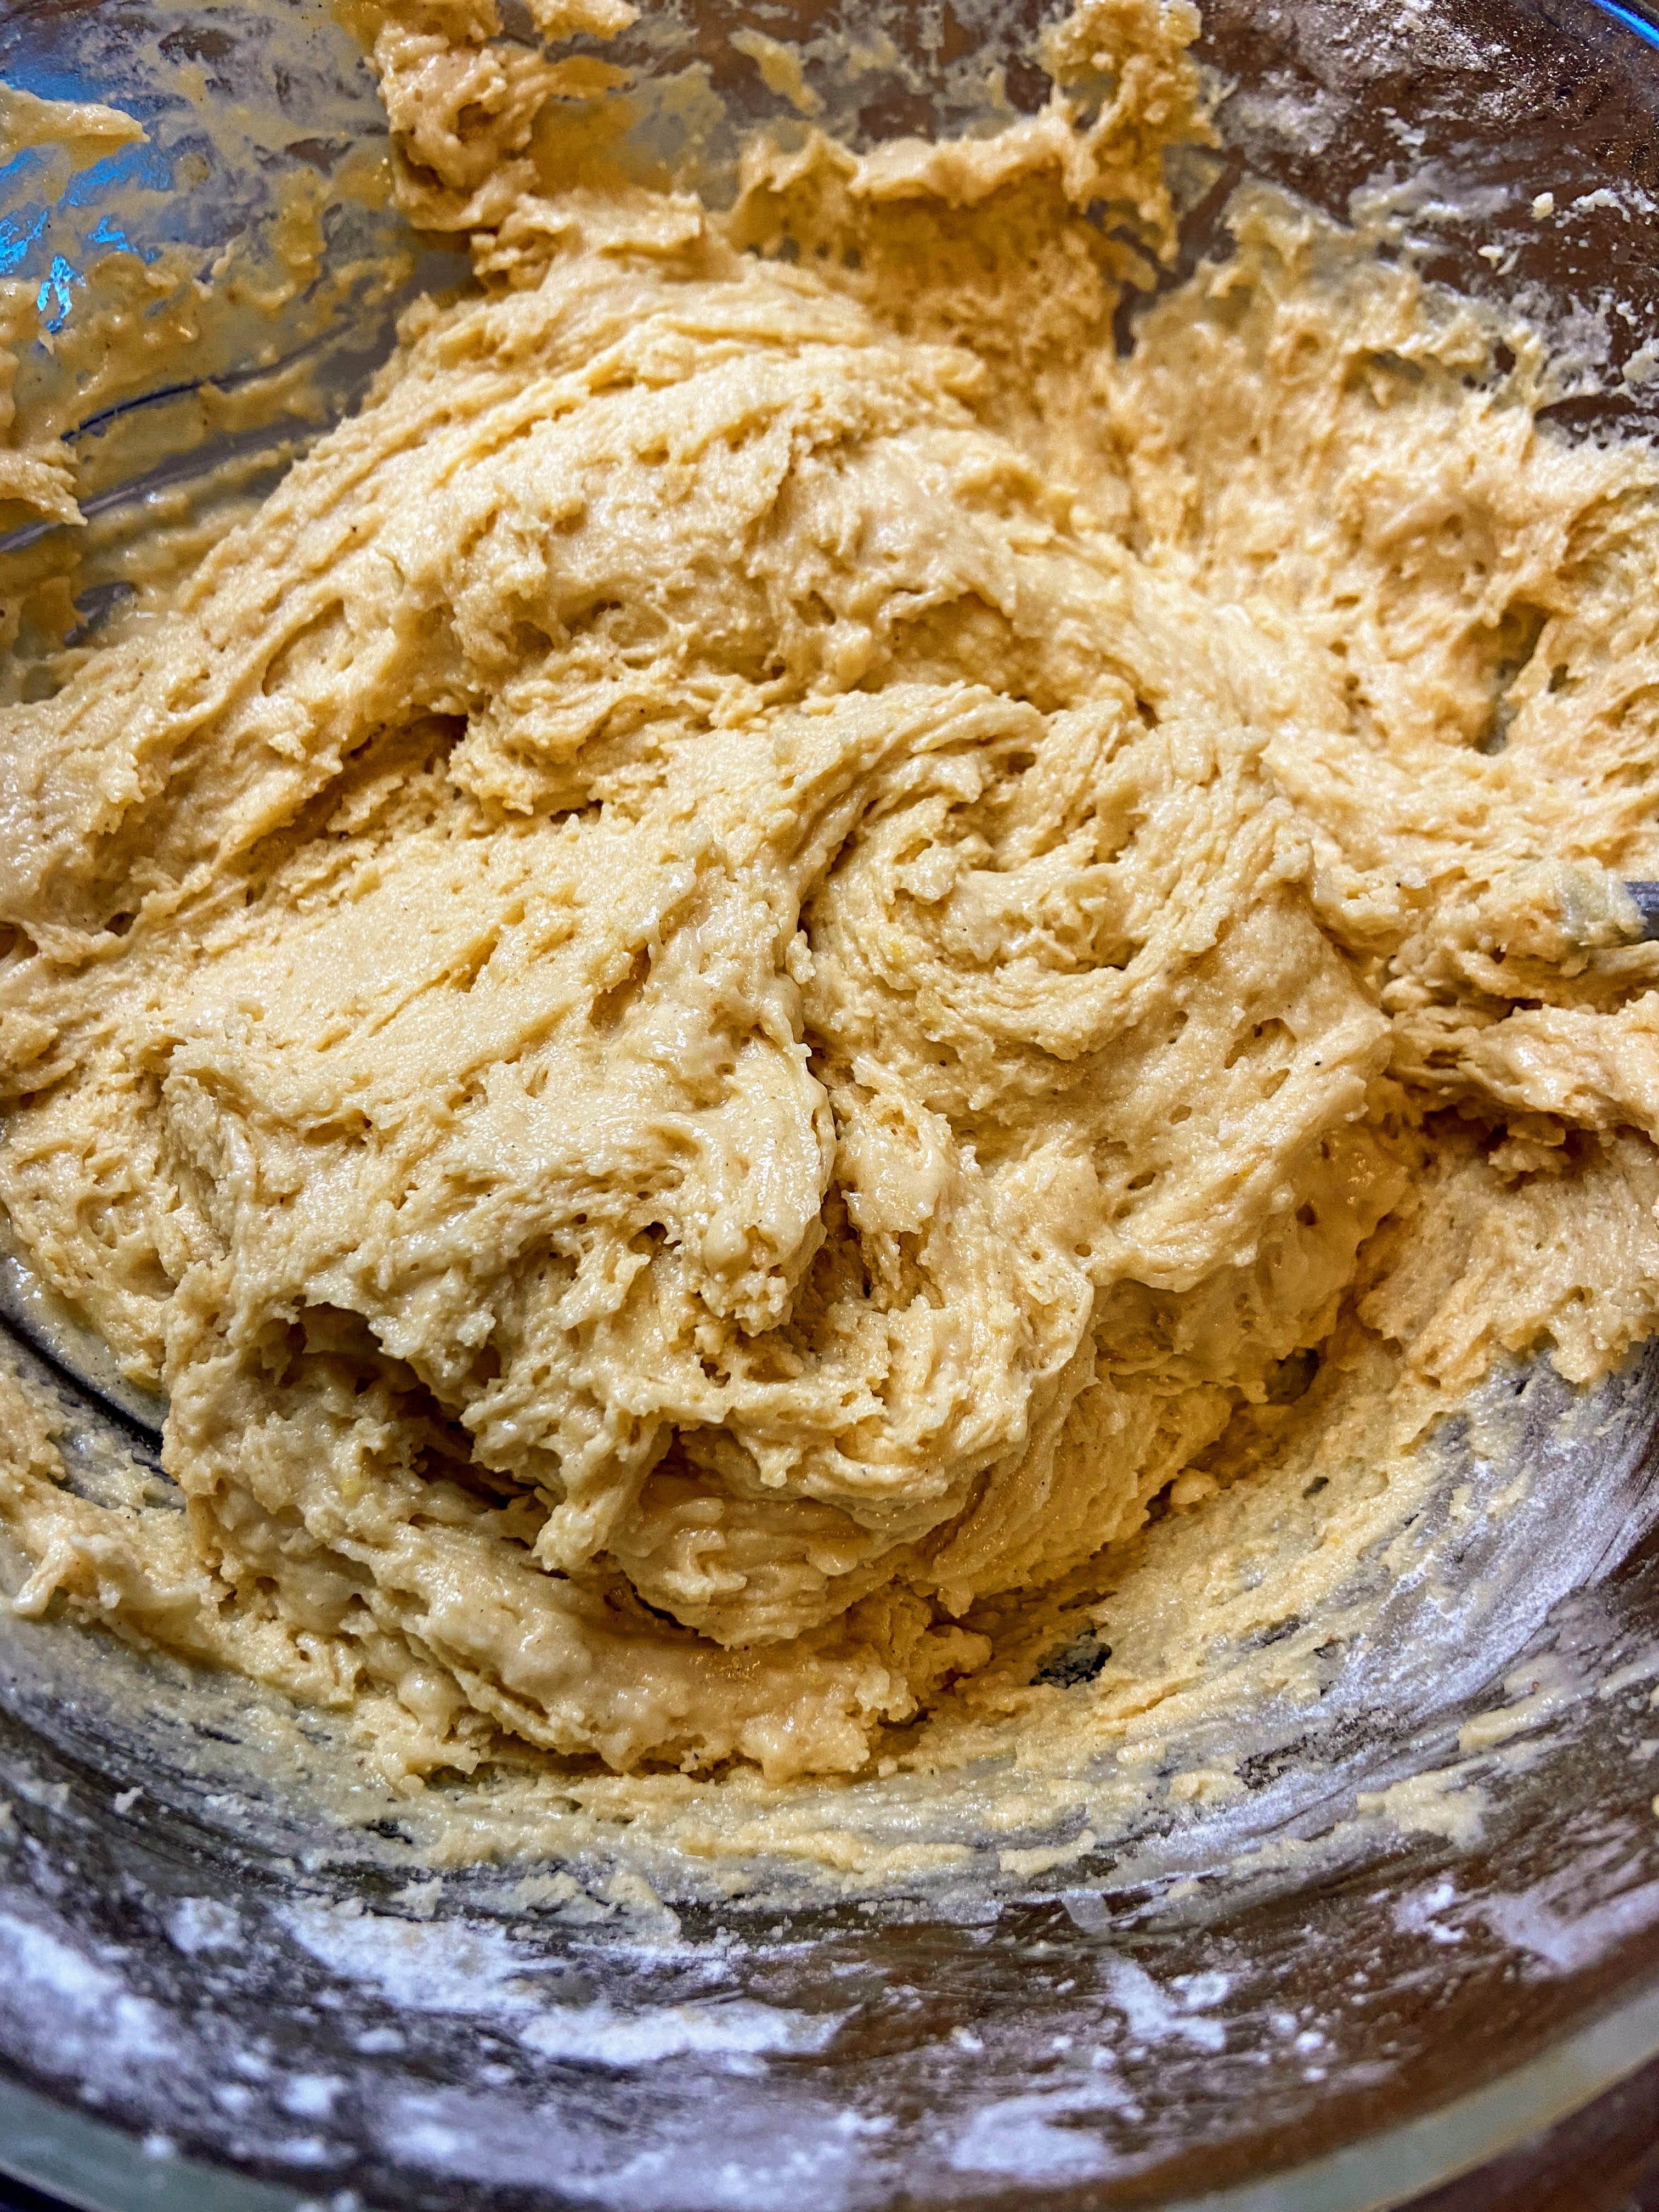
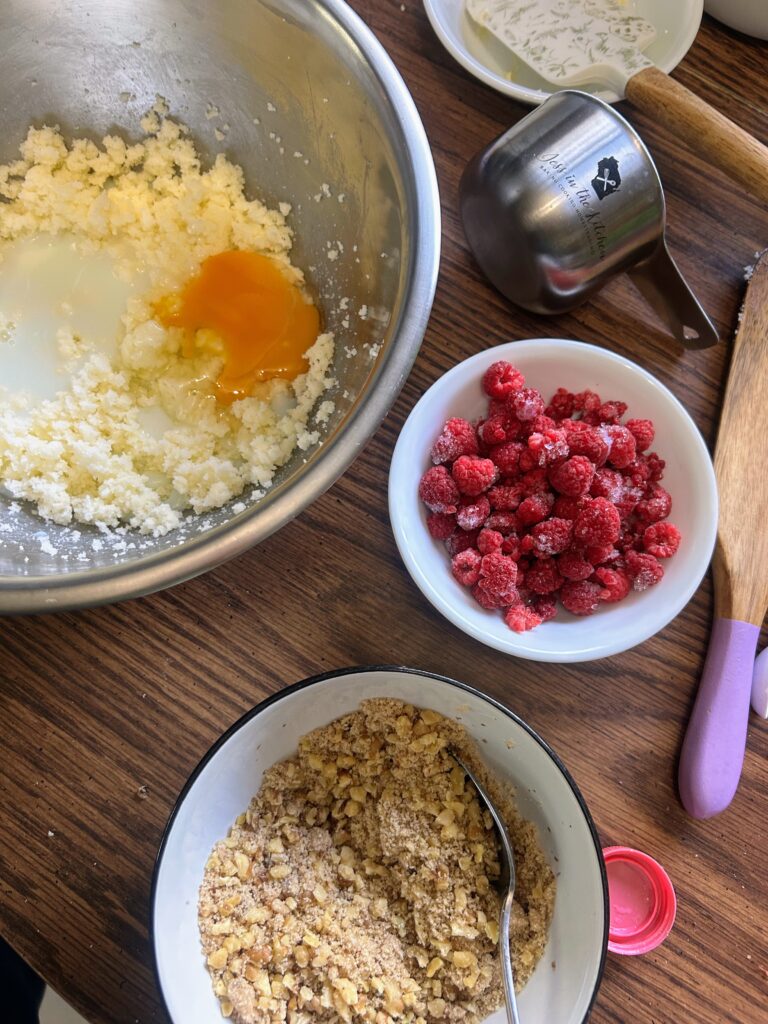
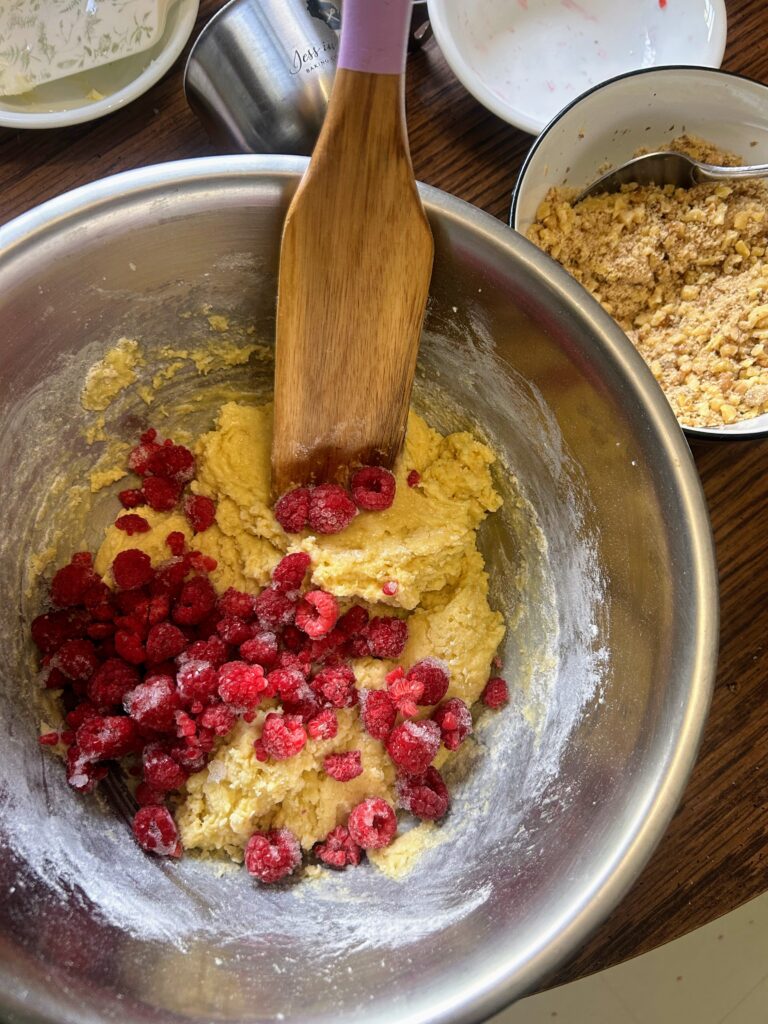
Beat the ¾ cup of sugar and ¼ cup softened butter in a large bowl. Add milk, egg, and almond extract. Beat until well mixed. Remove mixer and add flour, baking powder, salt, and nutmeg. Stir until just combined. Fold in the raspberries. It will be thick.
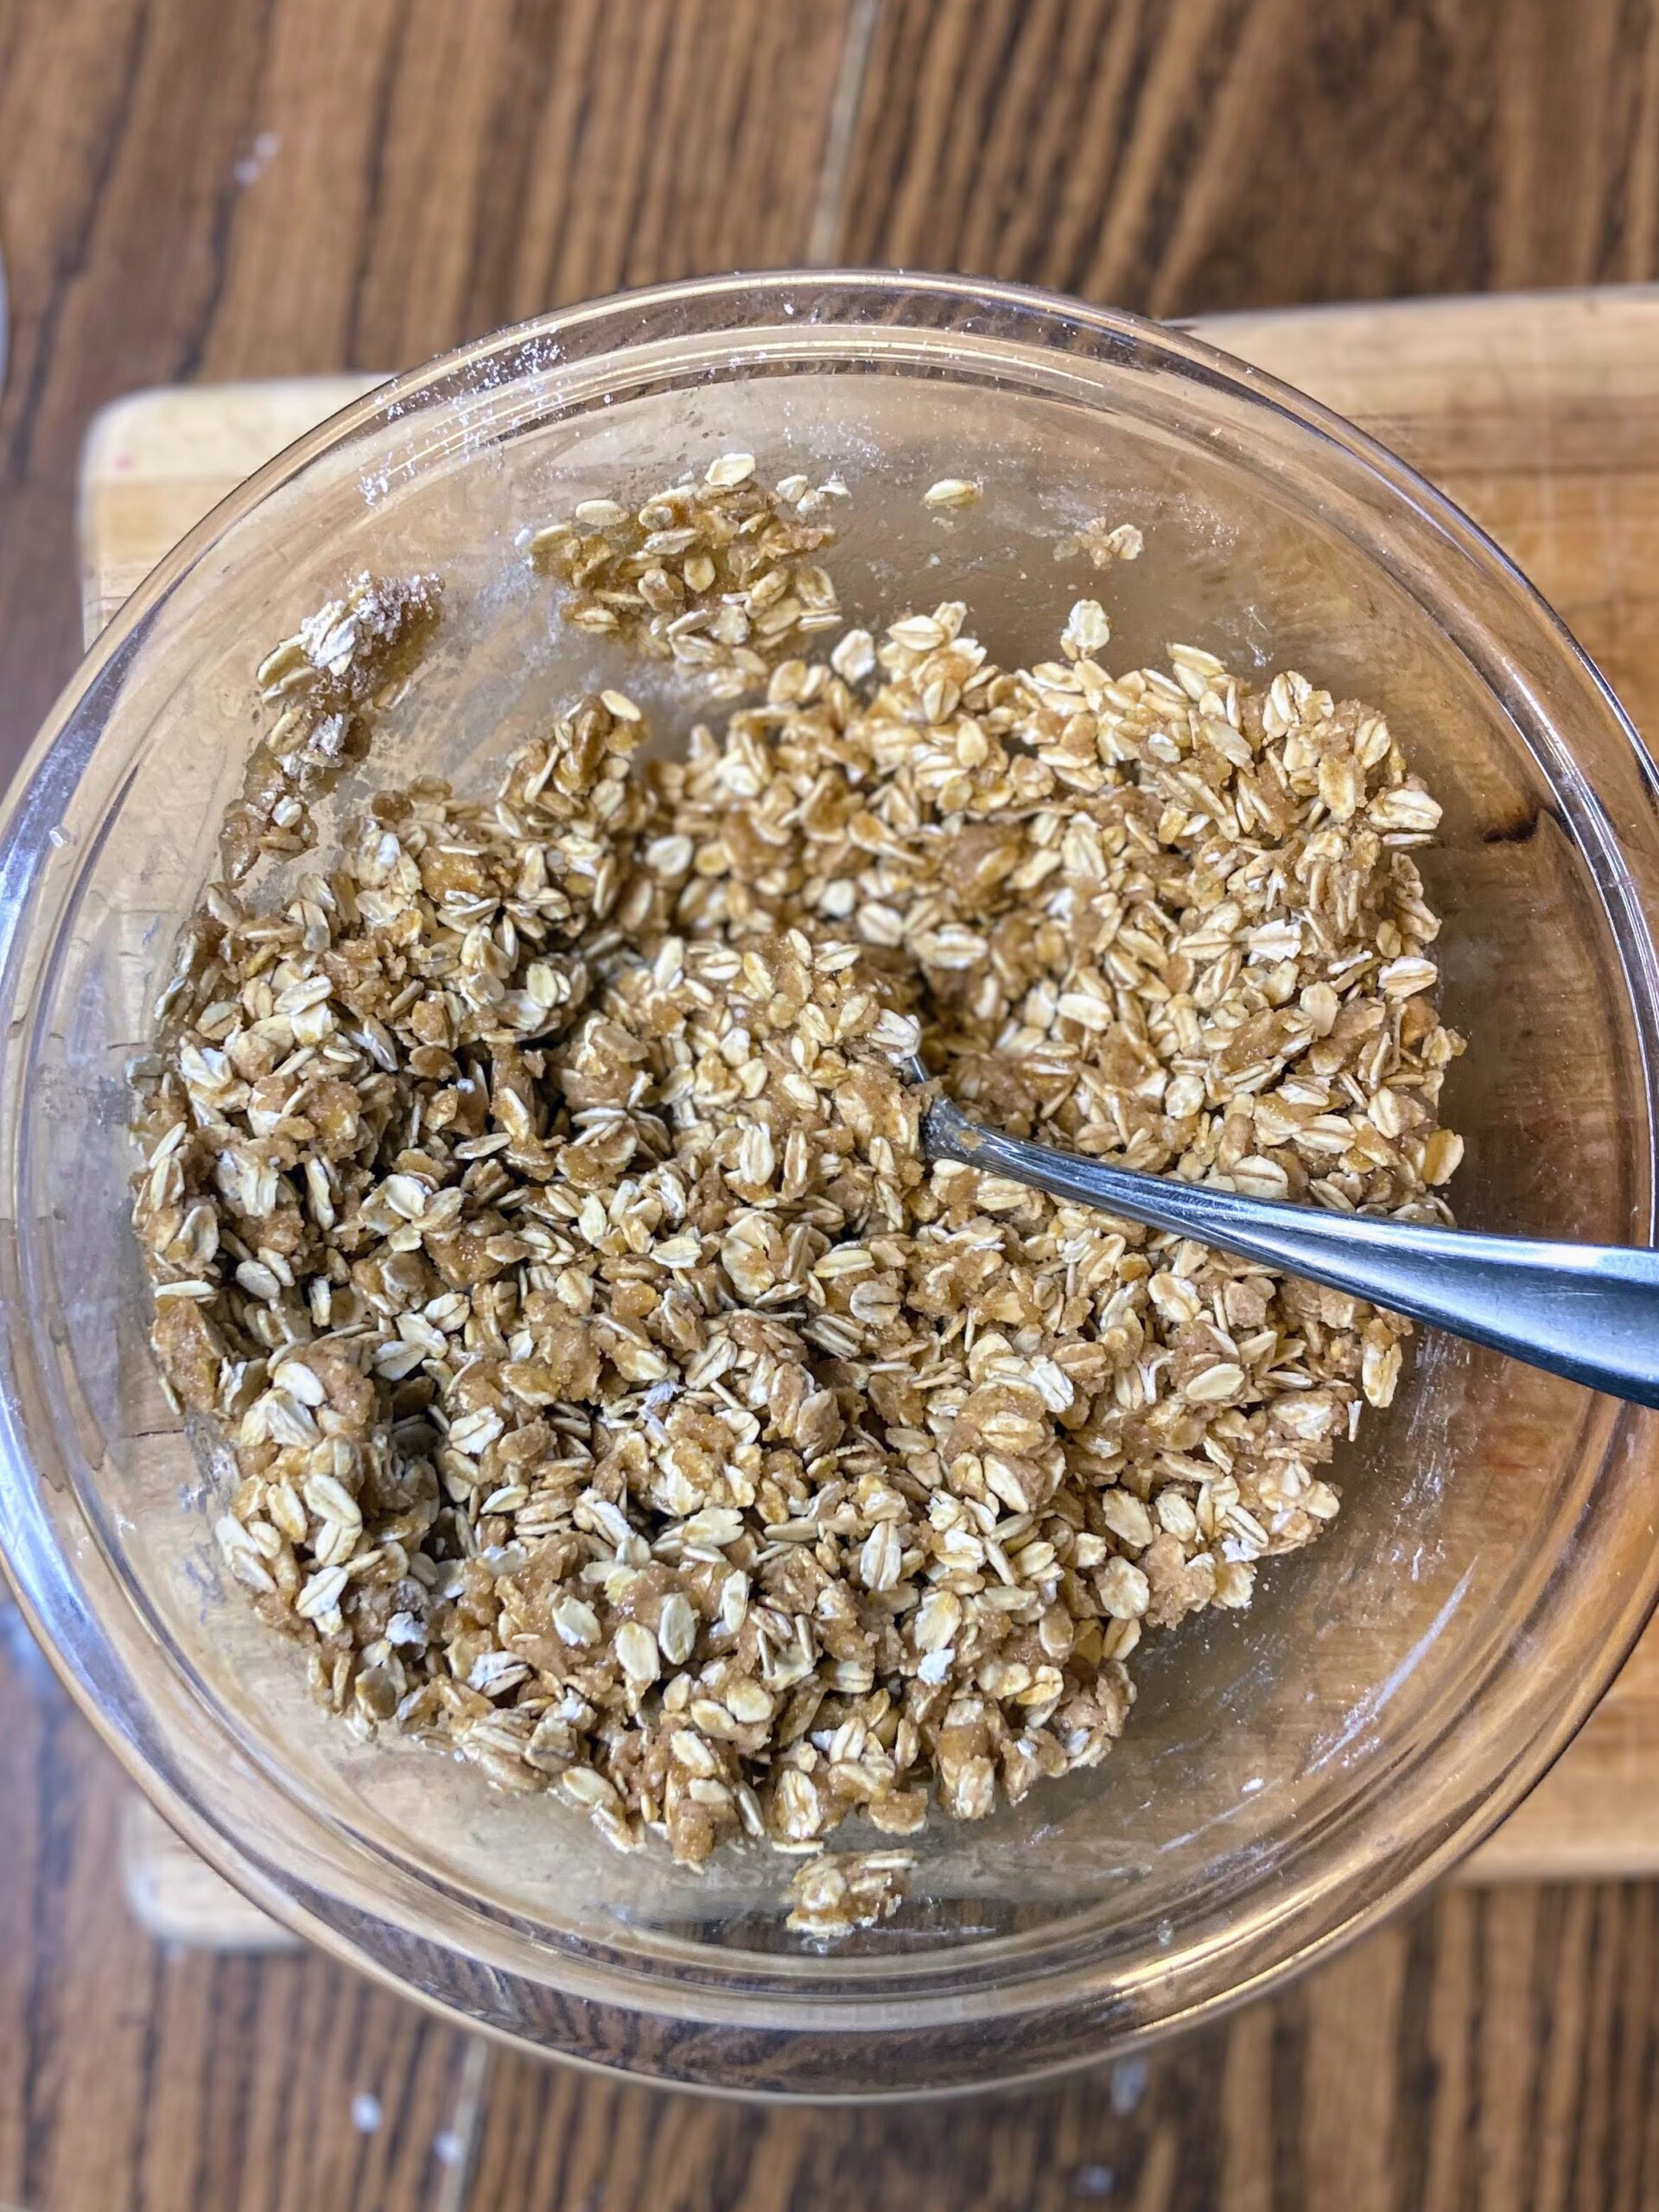
In a small bowl, combine the brown sugar, chopped nuts, and a pinch of salt. (Reserve the butter for the time being)
Spread about half the cake batter into the prepared pan. Sprinkle half of the sugar and nut mixture on top. Carefully spread the remaining batter on top of the sugar and nuts (it is a thicker batter so do your best!).
Cut the two tablespoons of butter into the remaining sugar and nuts until coarse crumbs form. Sprinkle this mixture over the top of the coffee cake.
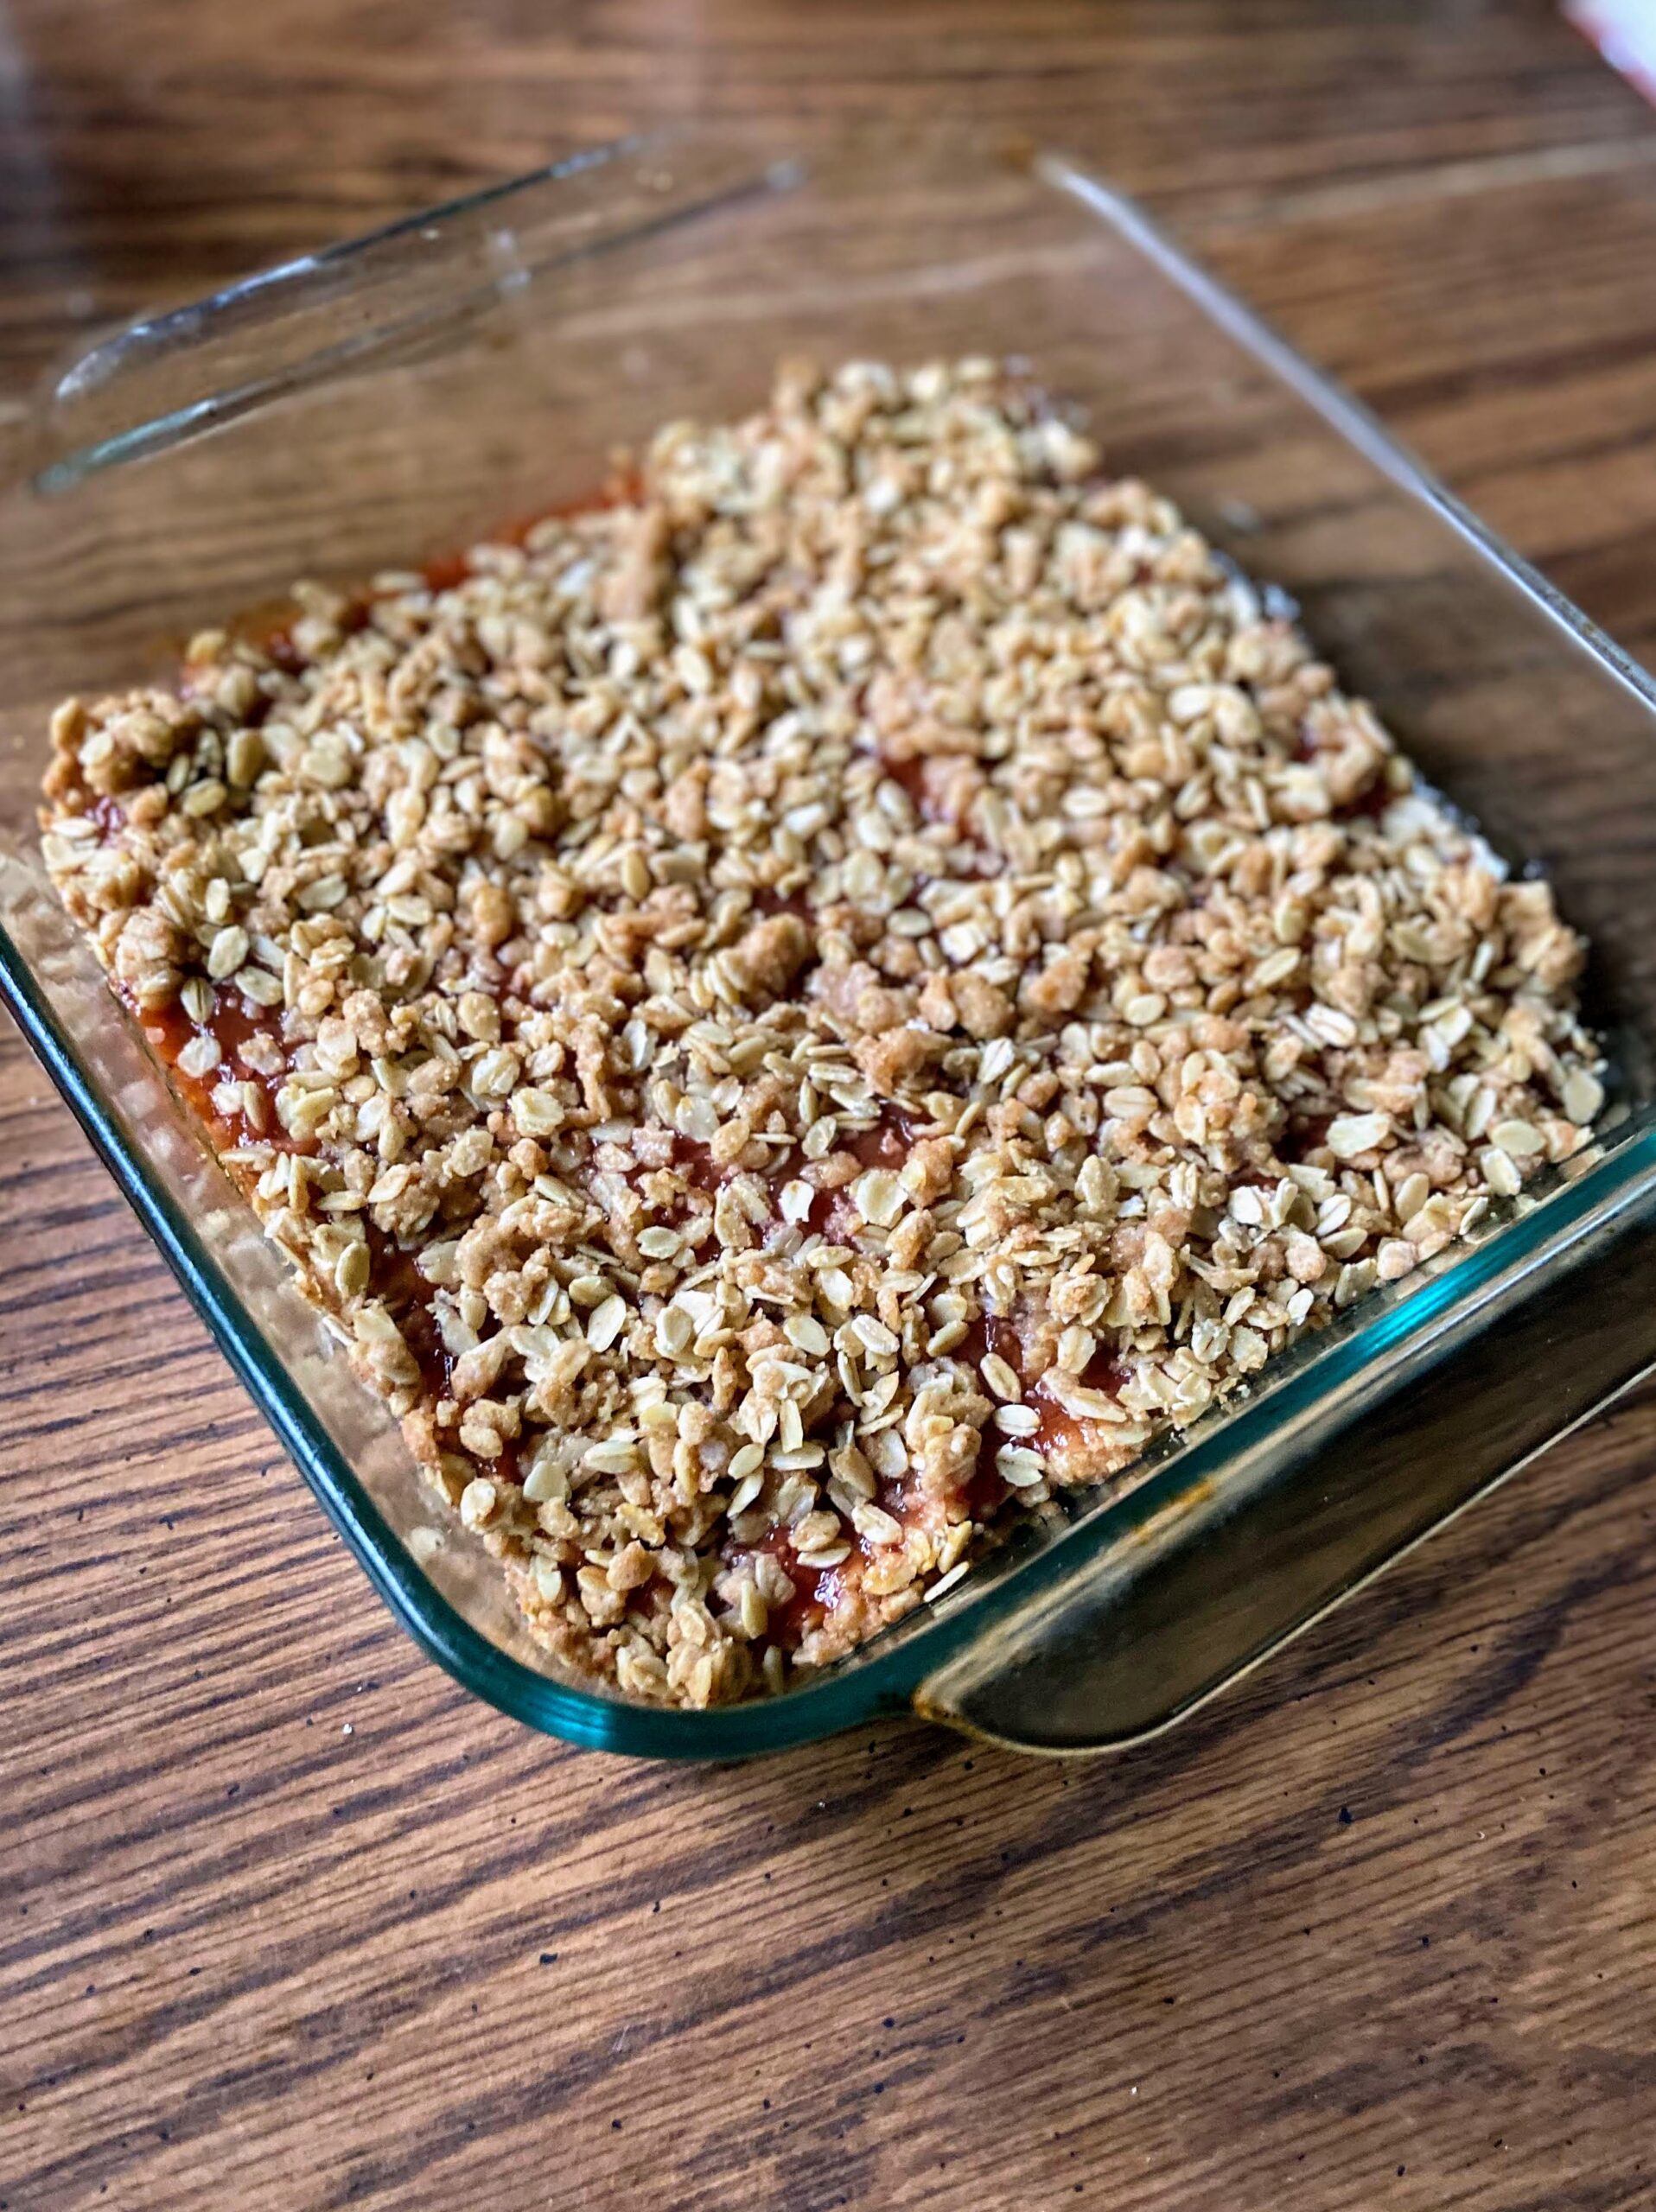
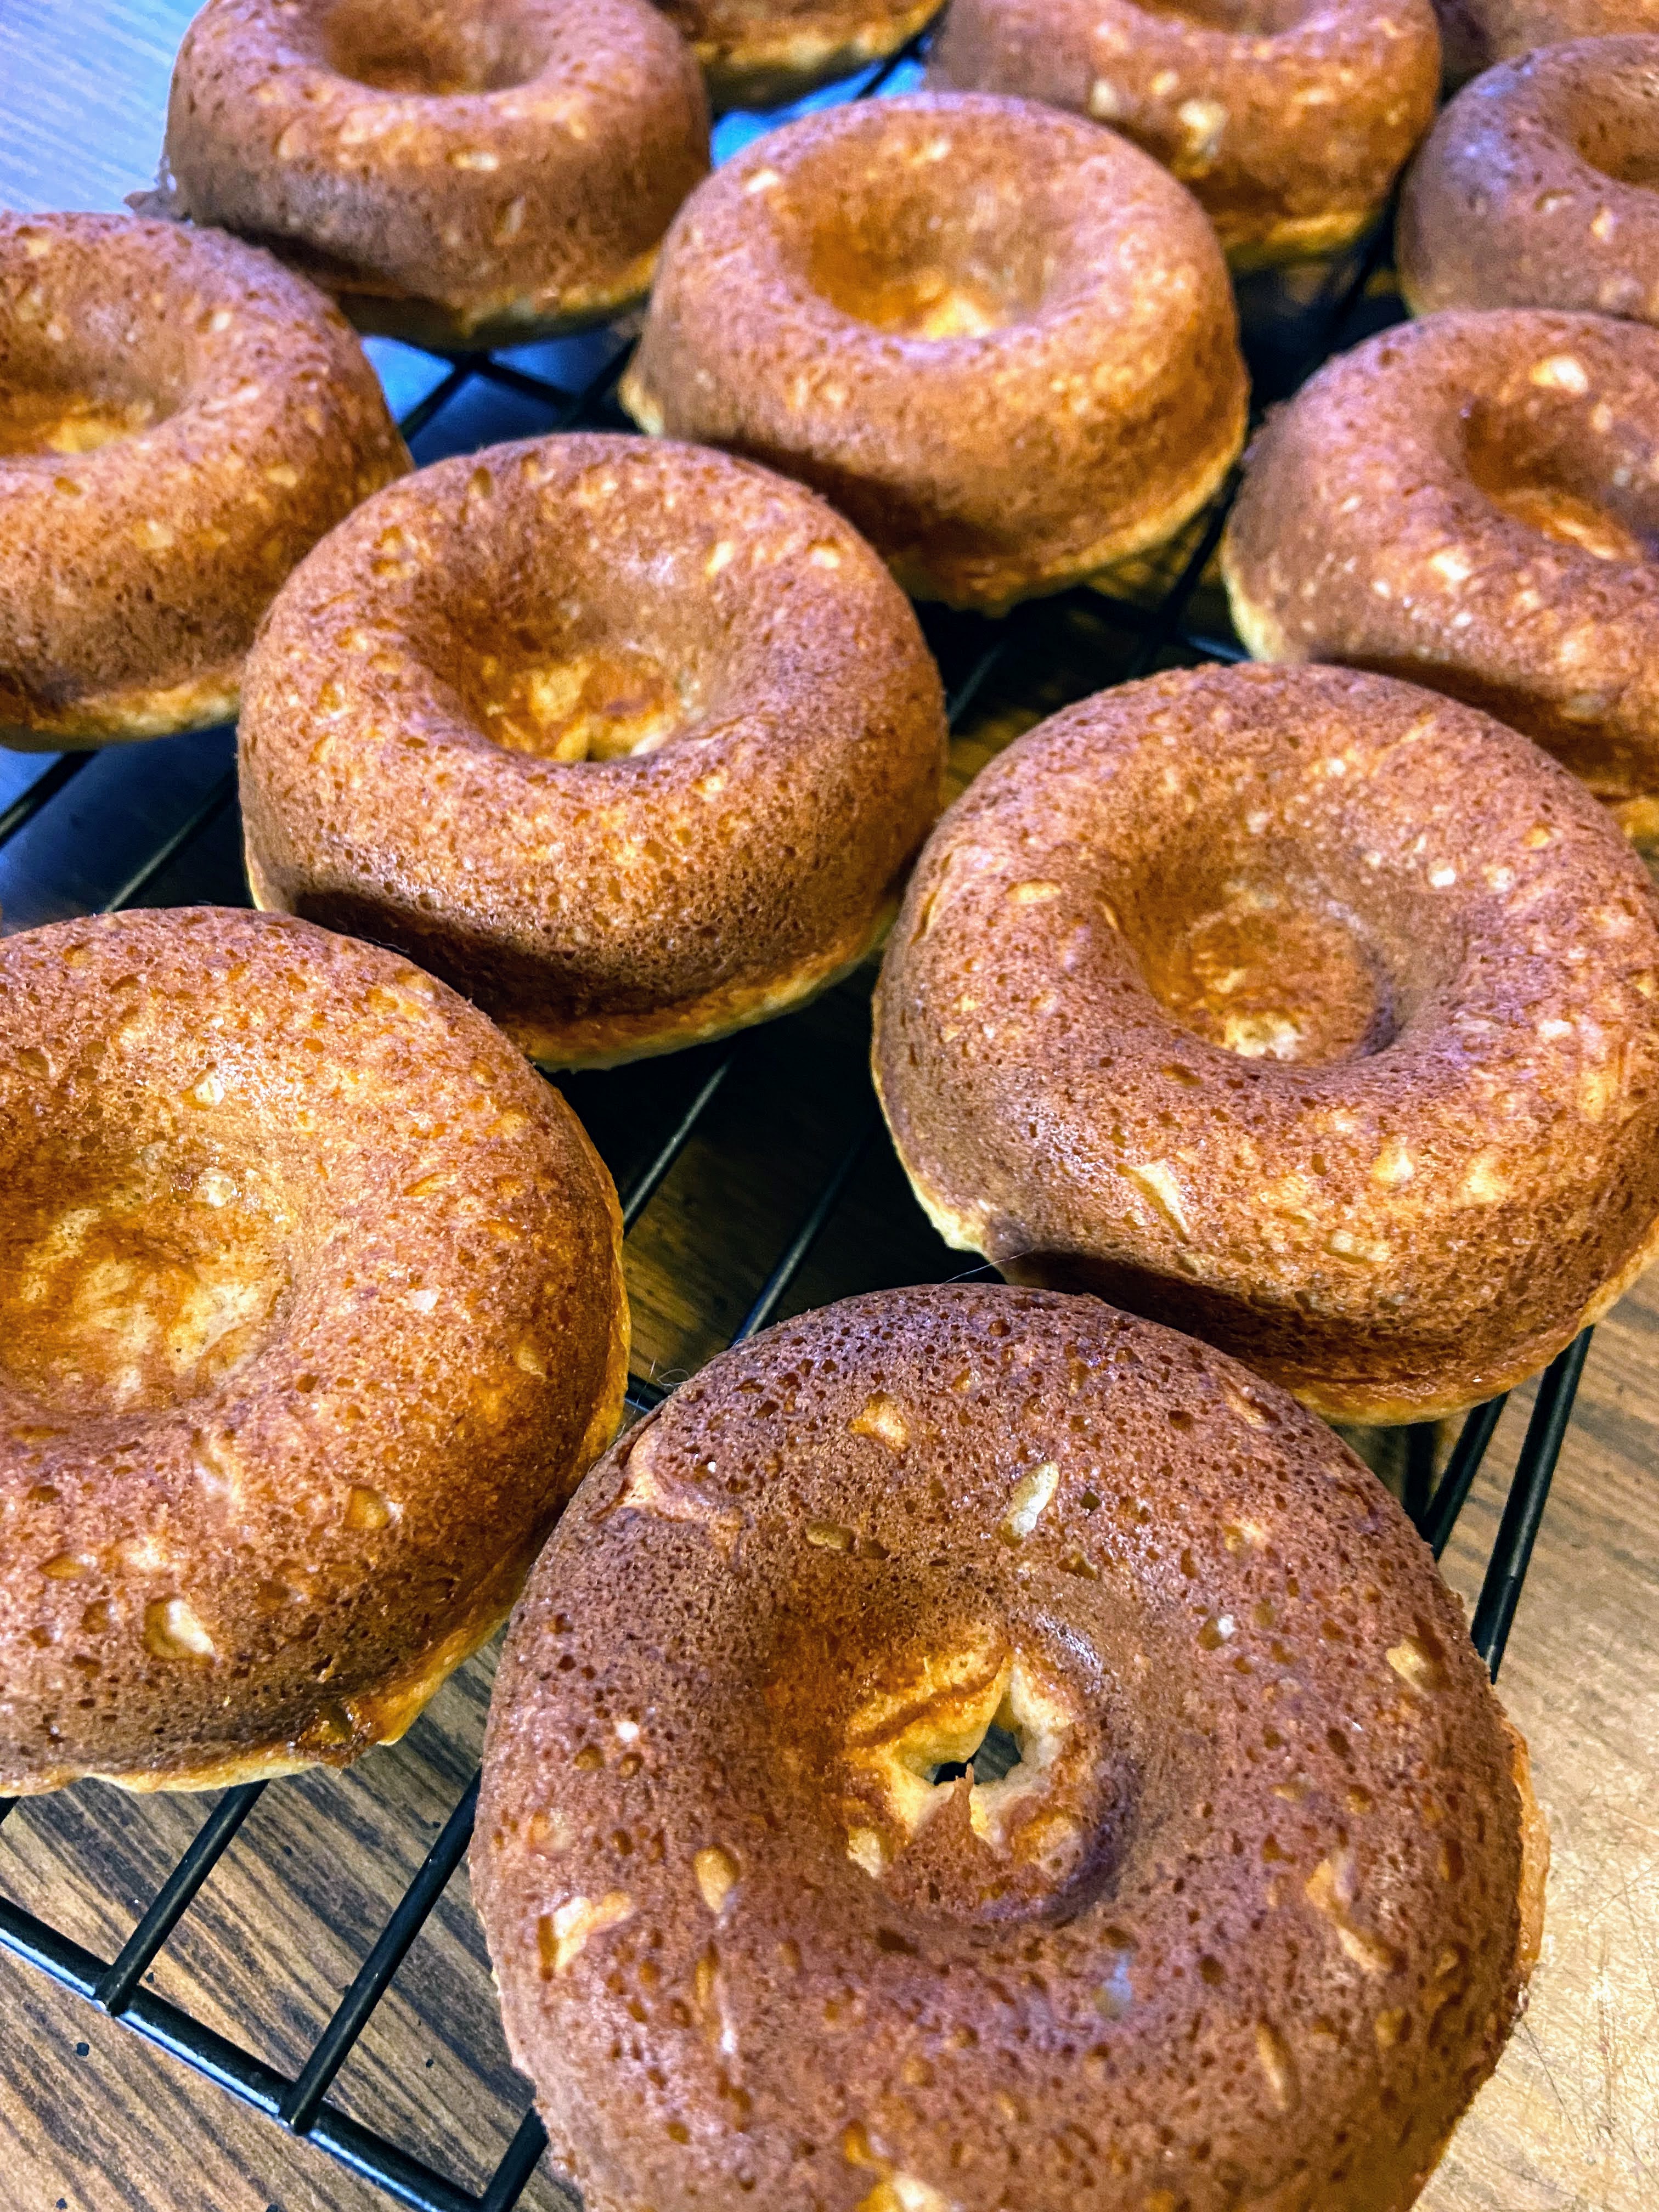
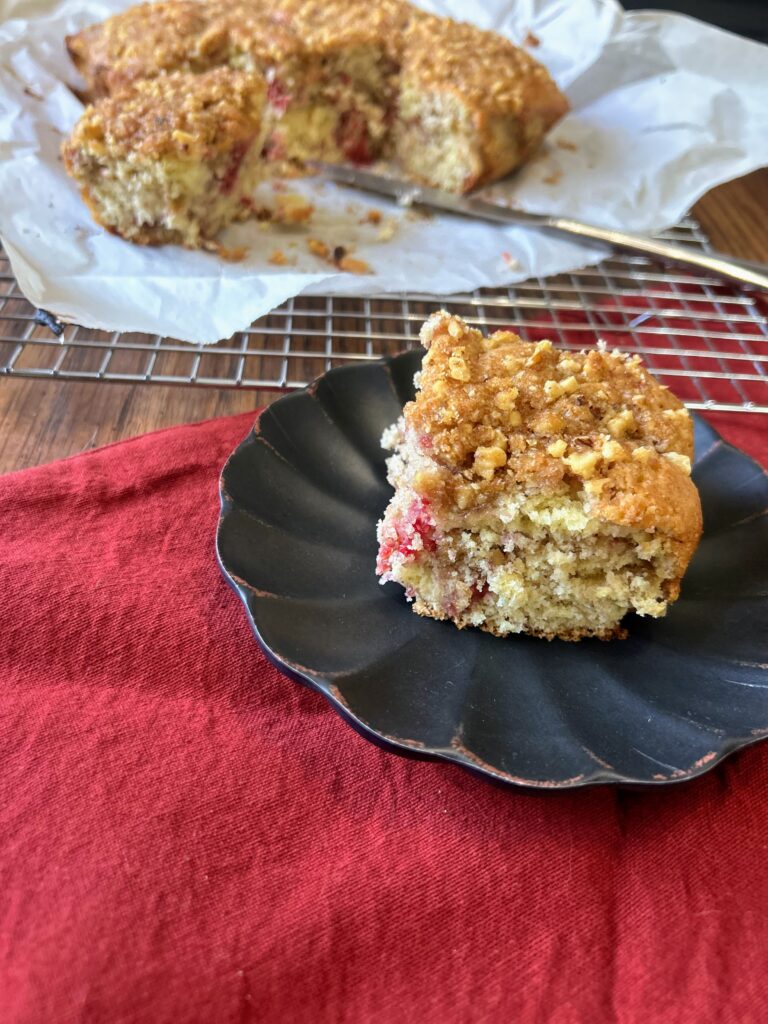
Bake for 35-40 minutes or until a wooden pick inserted in the center comes out clean.


Raspberry Coffee Cake
Equipment
- hand mixer
Ingredients
- ¾ cup granulated sugar
- ¼ cup butter softened
- ⅔ cup milk
- 1 egg
- ½ teaspoon almond extract
- 2 cups all purpose flour
- 2 teaspoons baking powder
- ½ teaspoon salt
- ¼ teaspoon nutmeg
- 1 cup frozen raspberries do not thaw
- Streusel Filling and Topping
- ⅓ cup + 2 tablespoons brown sugar
- ½ cup chopped nuts
- Pinch of salt
- 2 tablespoons butter cold
Instructions
- Preheat the oven to 375℉. Grease and line an 8 inch baking pan with parchment paper.
- Beat the ¾ cup of sugar and ¼ cup softened butter in a large bowl. Add milk, egg, and almond extract. Beat until well mixed. Remove mixer and add flour, baking powder, salt, and nutmeg. Stir until just combined. Fold in the raspberries.
- In a small bowl, combine the brown sugar, chopped nuts, and a pinch of salt. (Reserve the butter for the time being)
- Spread about half the cake batter into the prepared pan. Sprinkle half of the sugar and nut mixture on top. Carefully spread the remaining batter on top of the sugar and nuts (it is a thicker batter so do your best!).
- Cut the two tablespoons of butter into the remaining sugar and nuts until coarse crumbs form. Sprinkle this mixture over the top of the coffee cake.
- Bake for 35-40 minutes or until a wooden pick inserted in the center comes out clean.
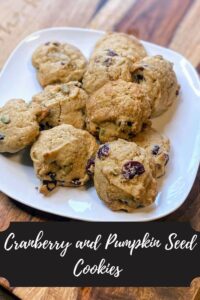
Looking for other baking recipes?
Give my baking page a look or maybe one of the recipes below will tickle your fancy! And if you’re wondering why I have so many raspberries, we started planting some when we first moved to our home and they have created a beautiful patch. The Mr and I are big fans of Jung Seeds and Plants, located in Wisconsin!