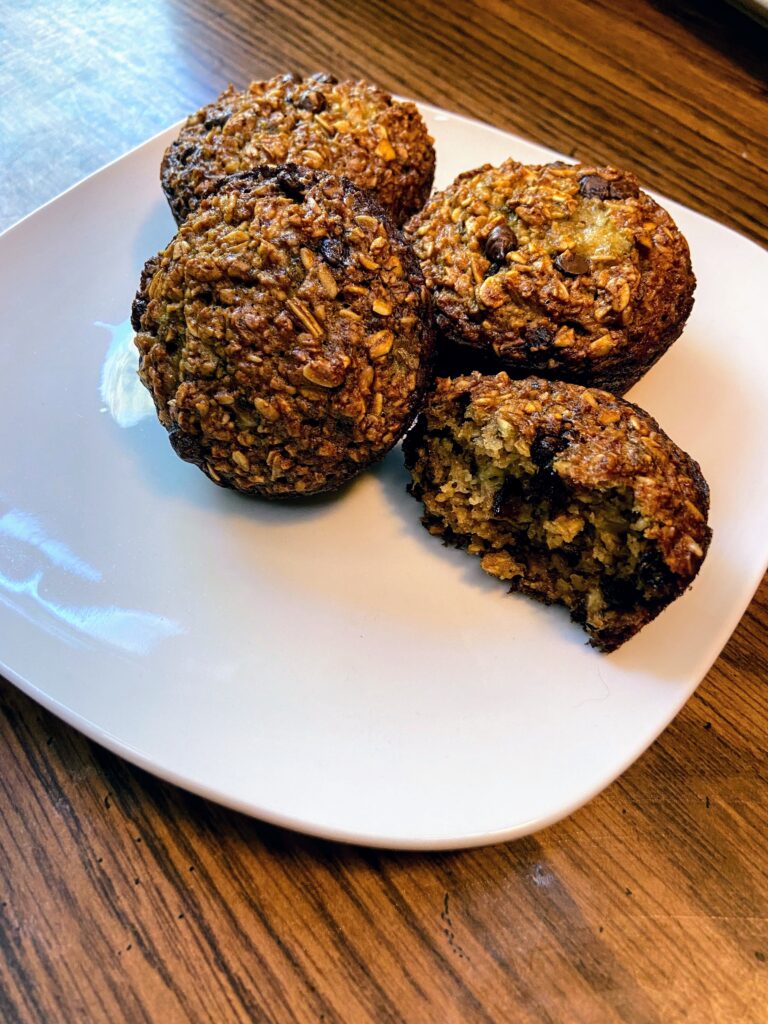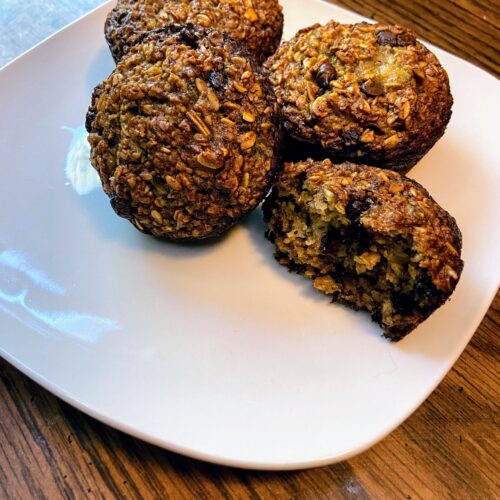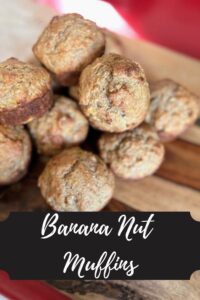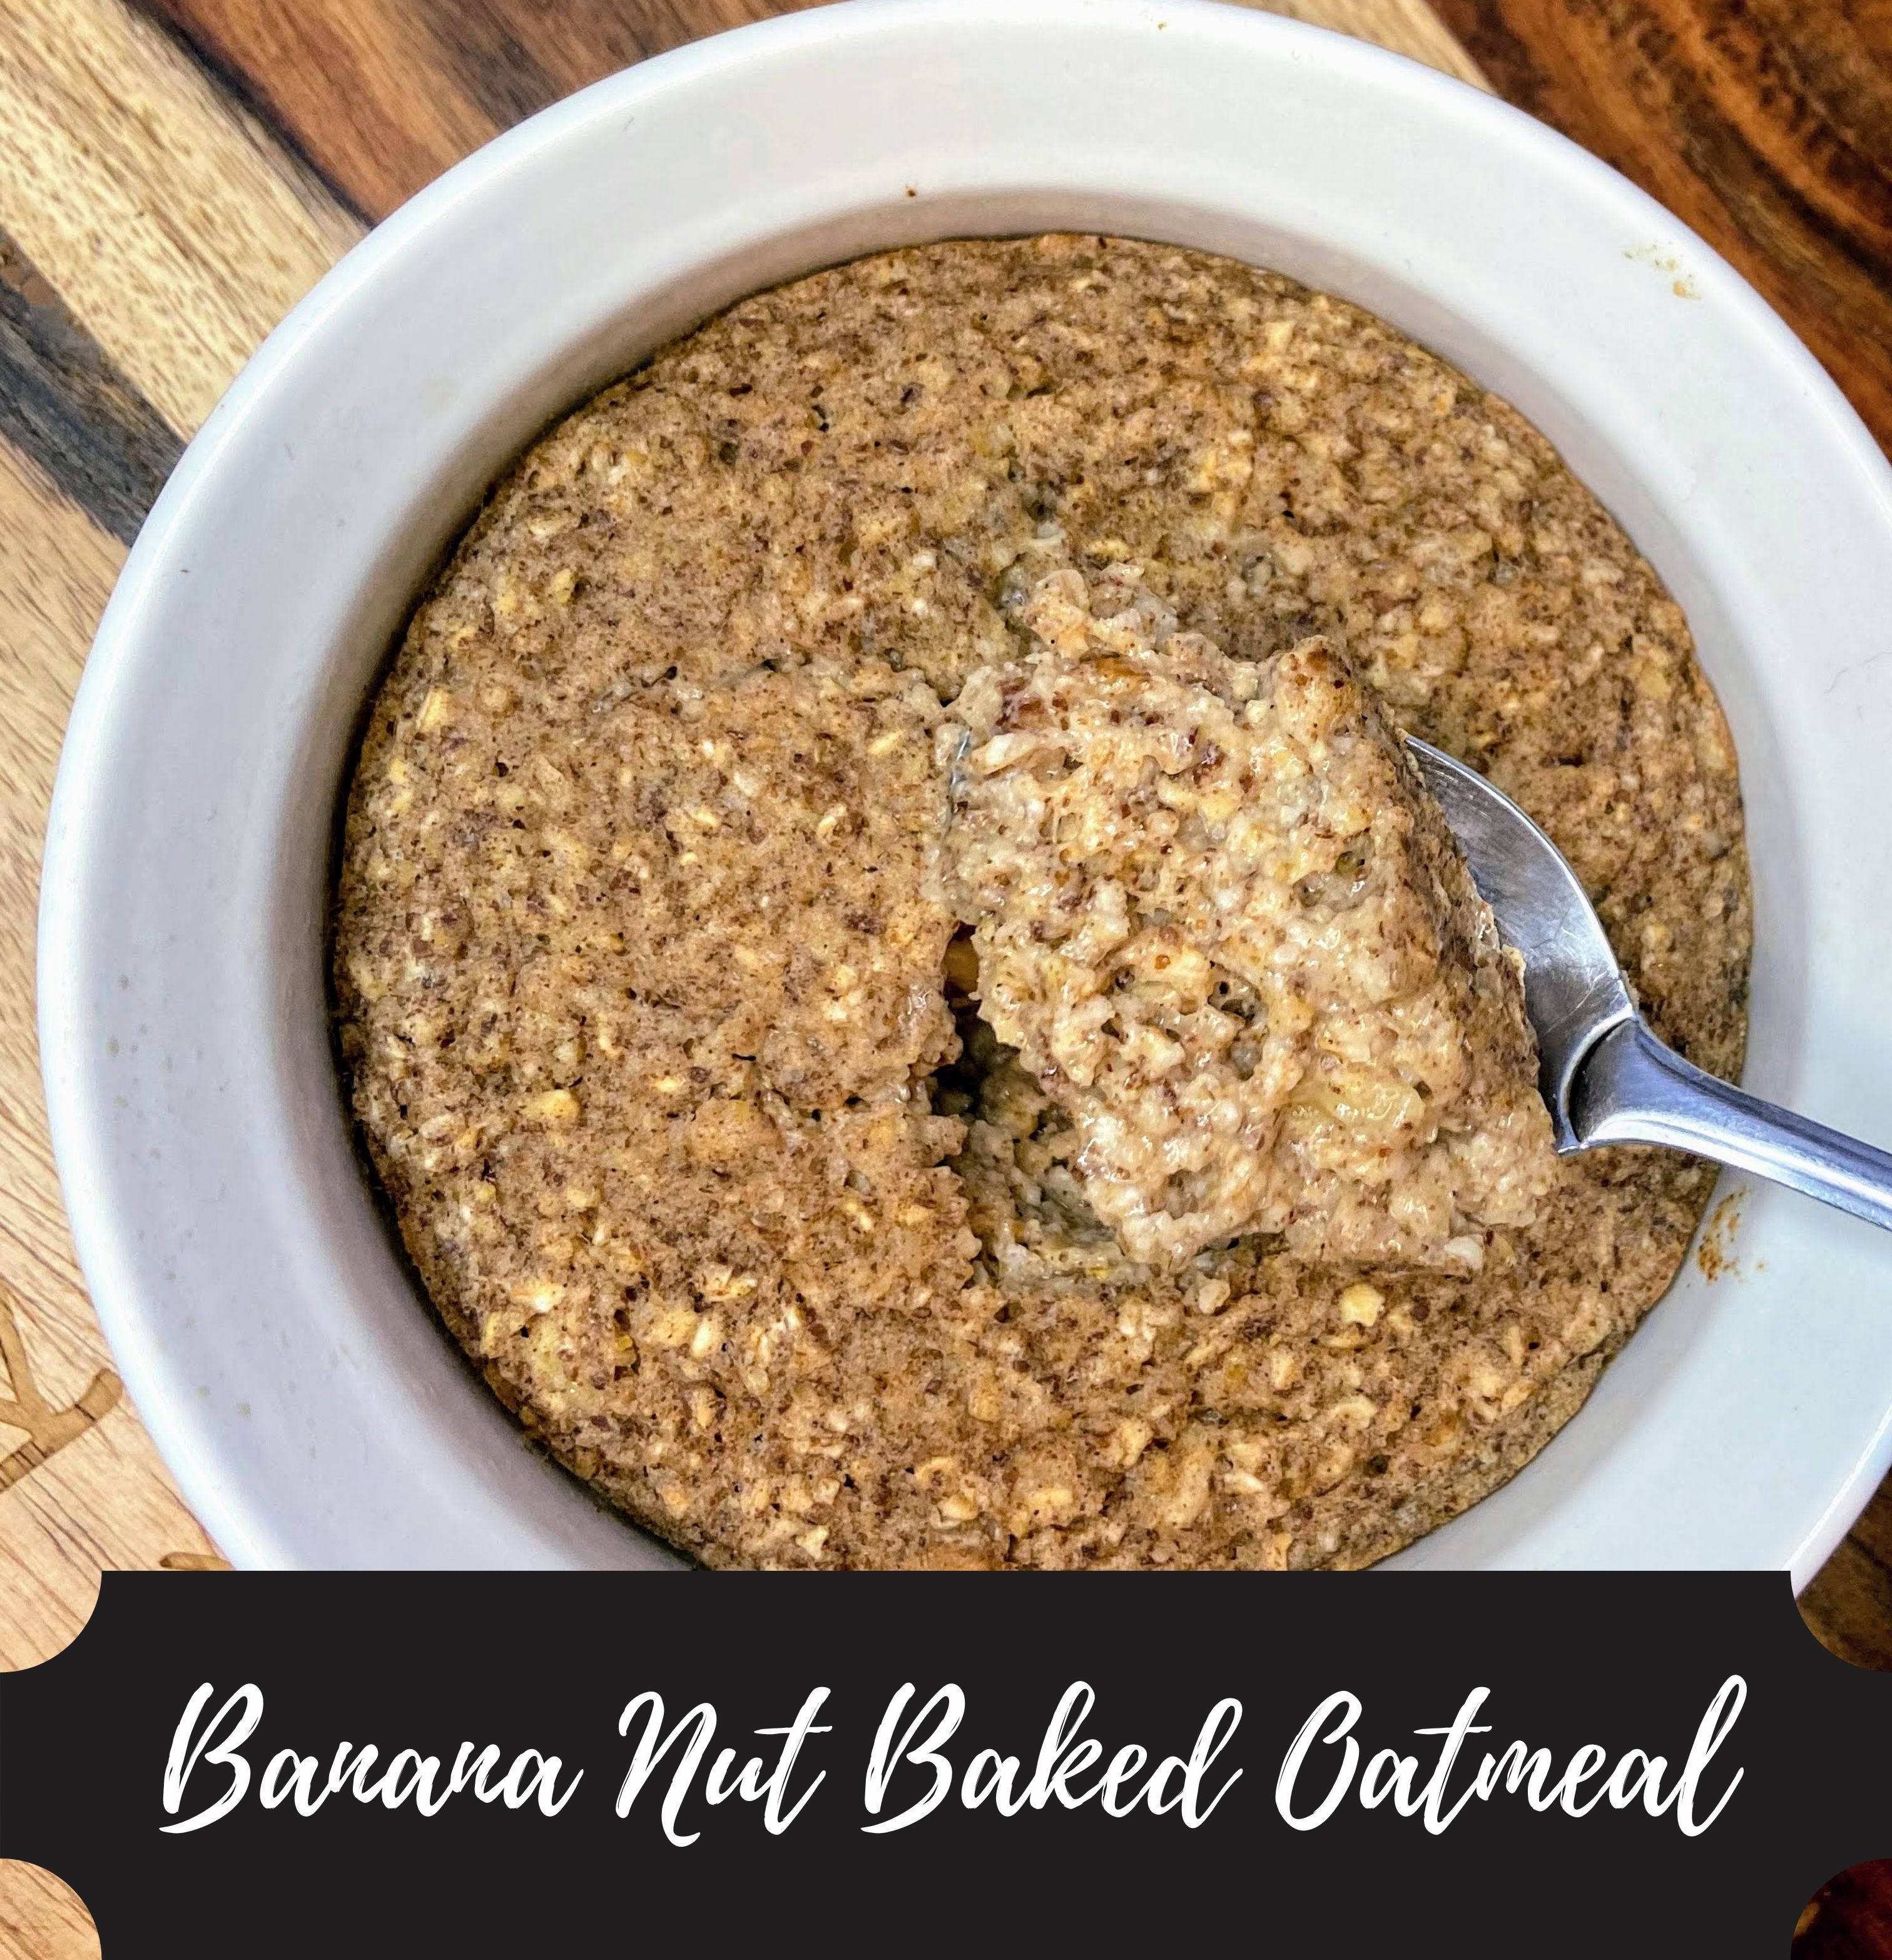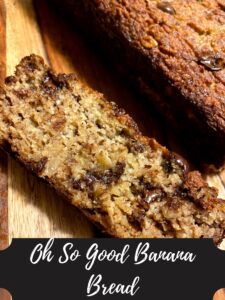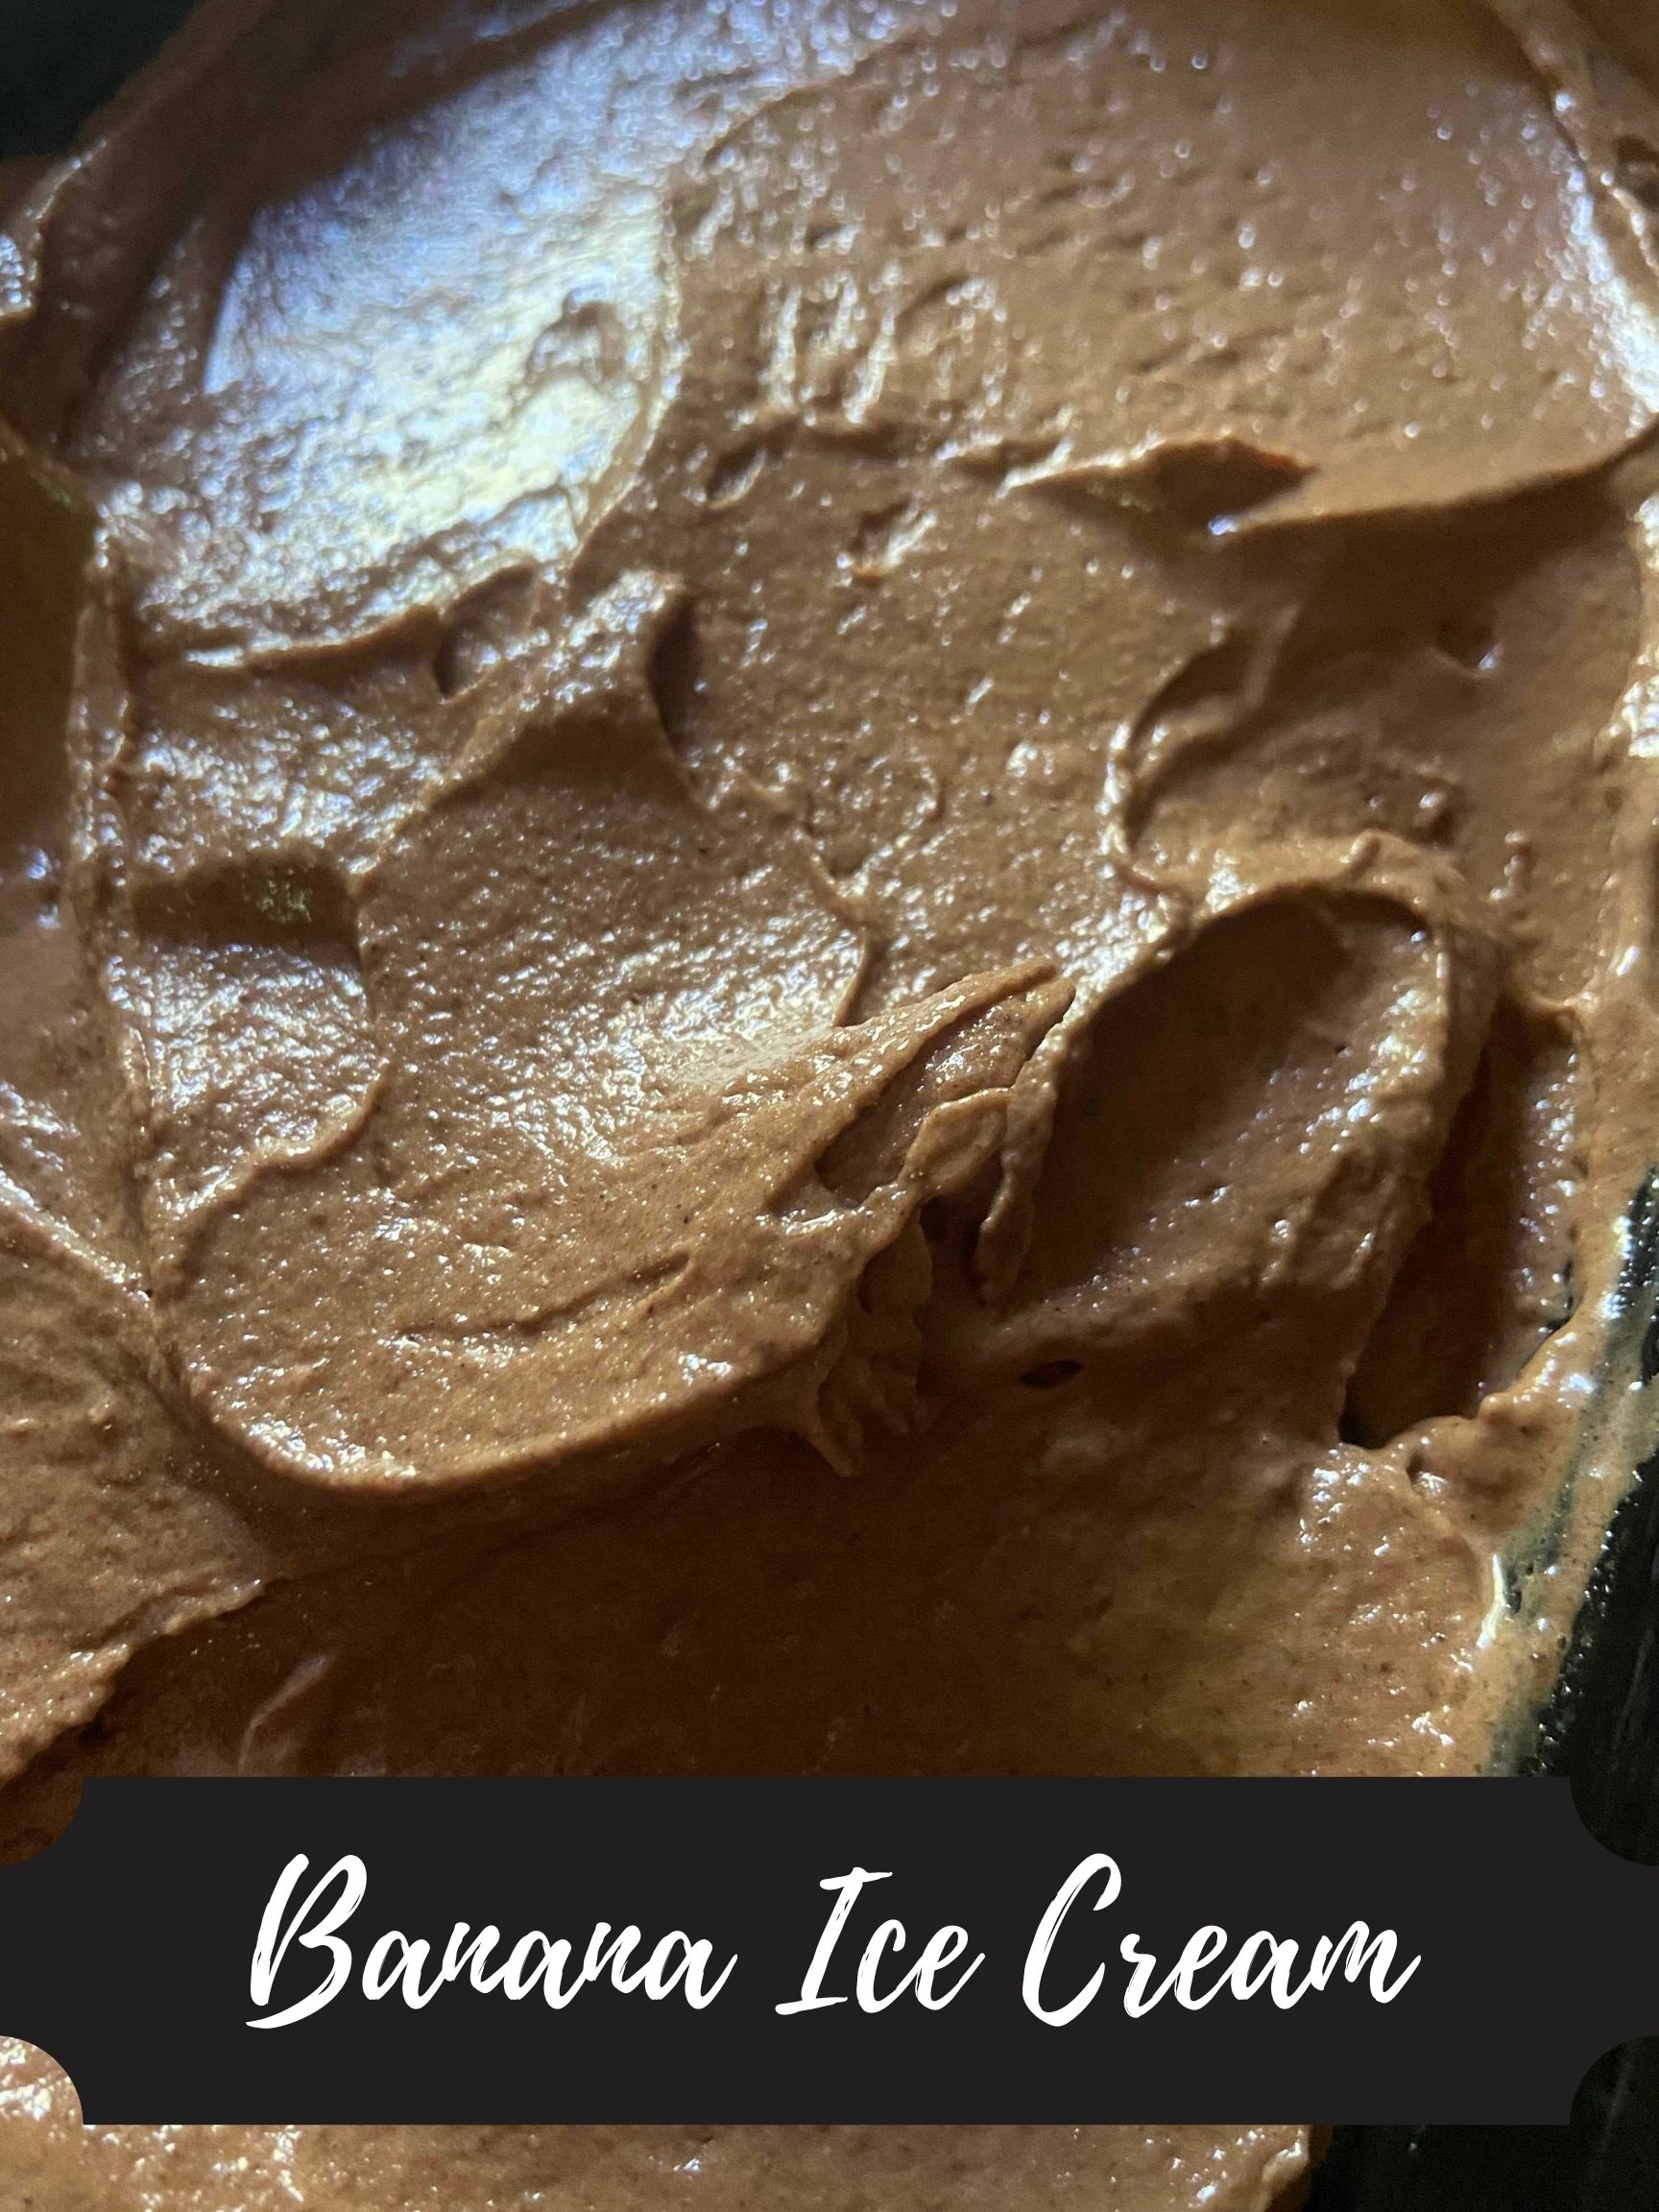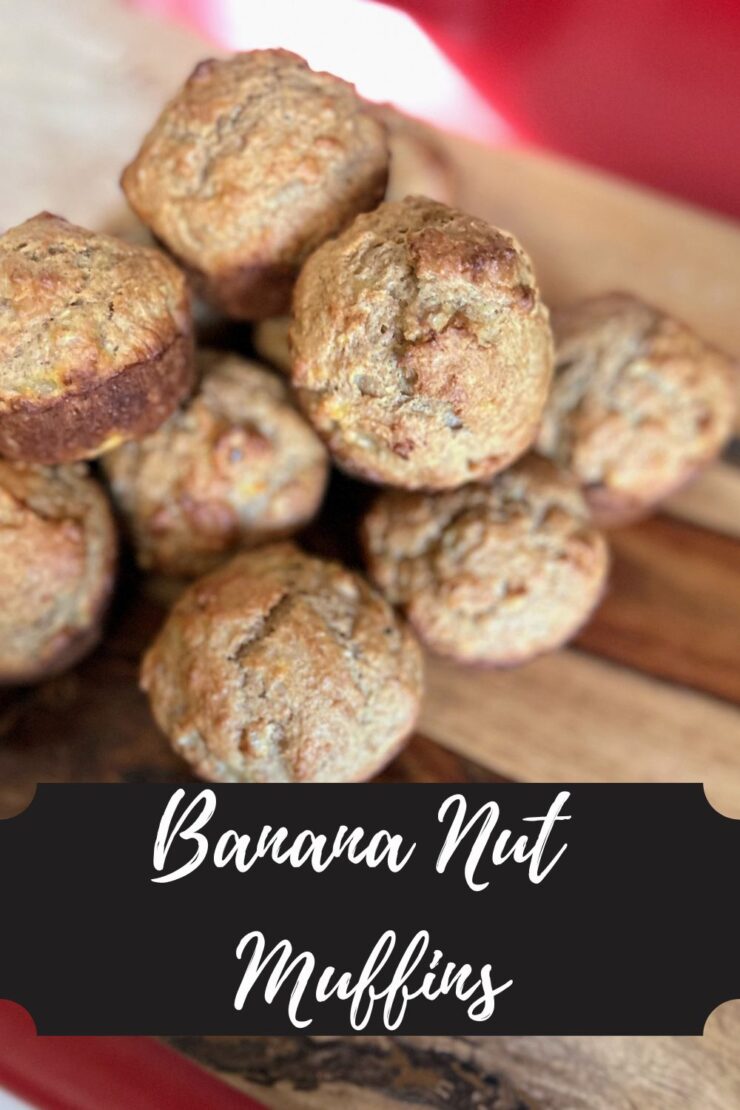
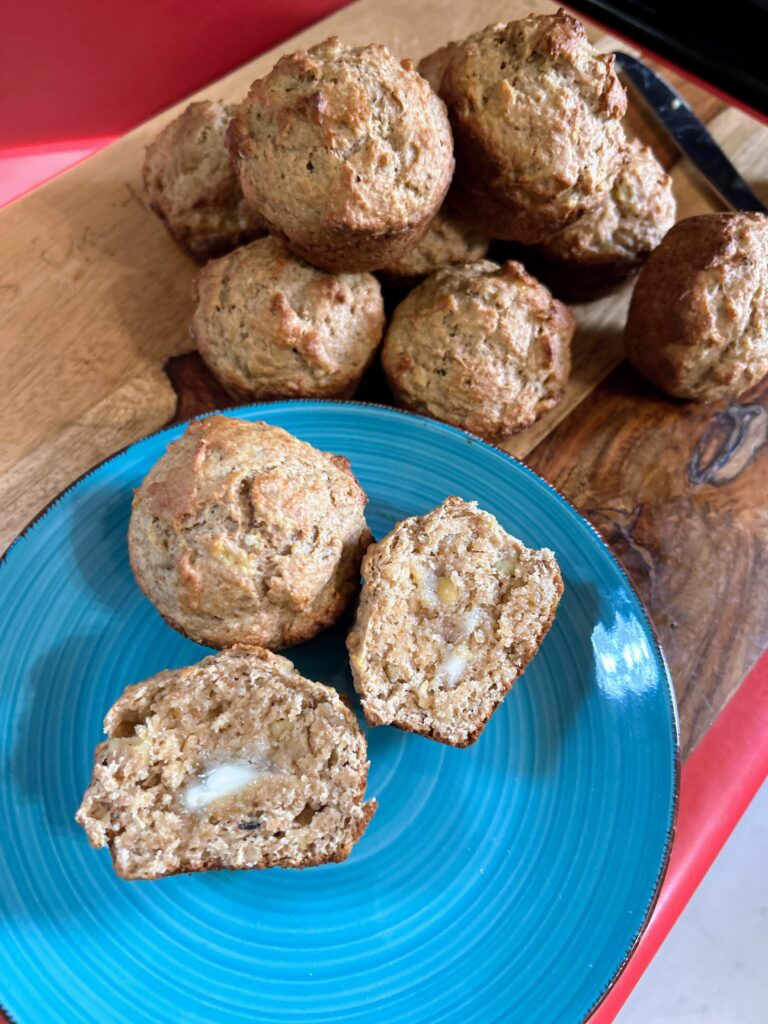
I know you are out there. The banana keepers. You know, the ones that buy way too many bananas because some days the people in your house eat them like they are going out of style…until they don’t. And then you have those bananas that are just past their prime. The banana keepers throw them in the freezer with plans of banana bread. I usually just leave them on the counter until the Mr says, “Are you going to bake with these or….” Well, sometimes they make the best gluten free banana bread. But this time, they made some delightful banana nut muffins.
I went the healthier route on these banana nut muffins: maple syrup for the sweetener and whole wheat flour swapped for all purpose. Even with the healthier swaps, I think these are some delicious muffins your family can all enjoy!
Ready to start baking? Let’s go!
Your Ingredients
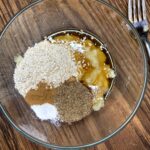
- ⅓ cup maple syrup
- 1 egg
- ¼ cup oil
- ⅓ cup plain Greek yogurt
- ½ teaspoon vanilla
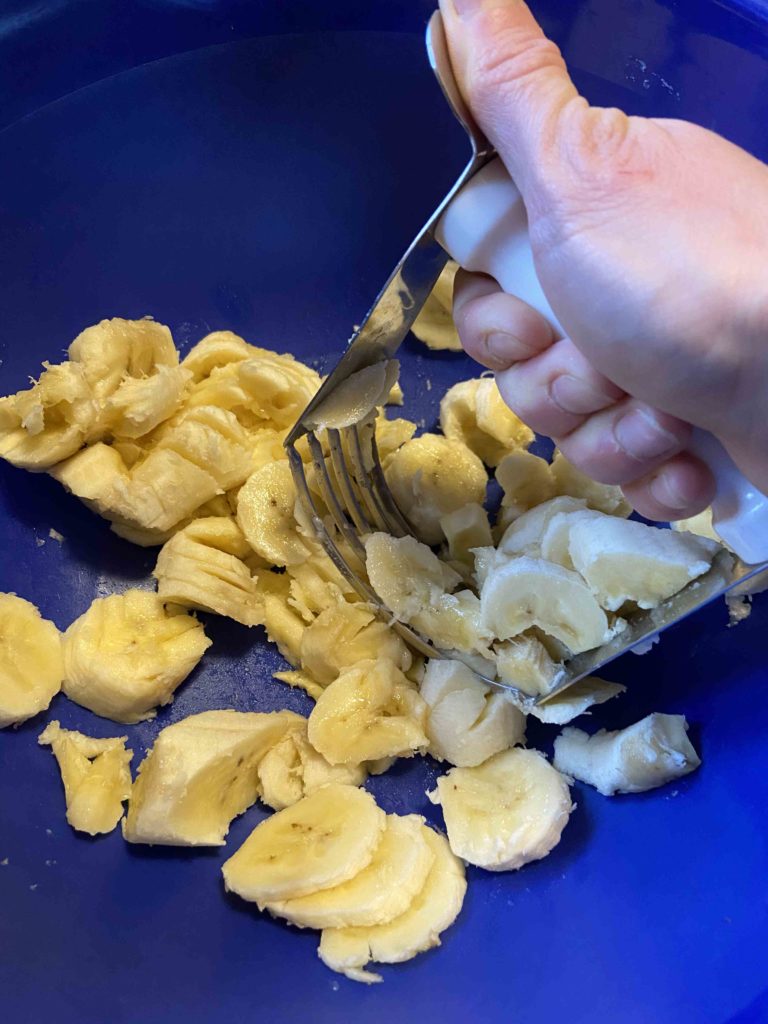
- 2 bananas, mashed
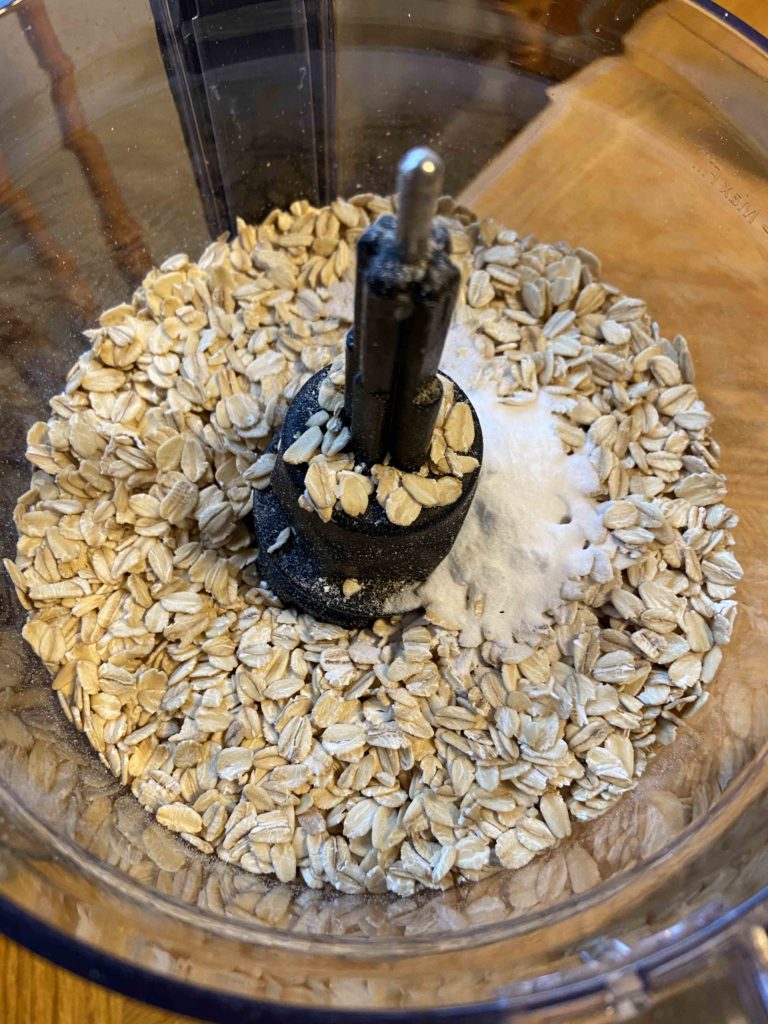
- 2 cups whole wheat flour
- ½ teaspoon salt
- 2 teaspoons baking powder
- ½ cup walnuts
- ½ cup chocolate chips (optional)
Your Steps to Banana Nut Muffins
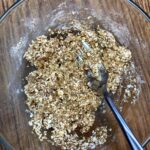
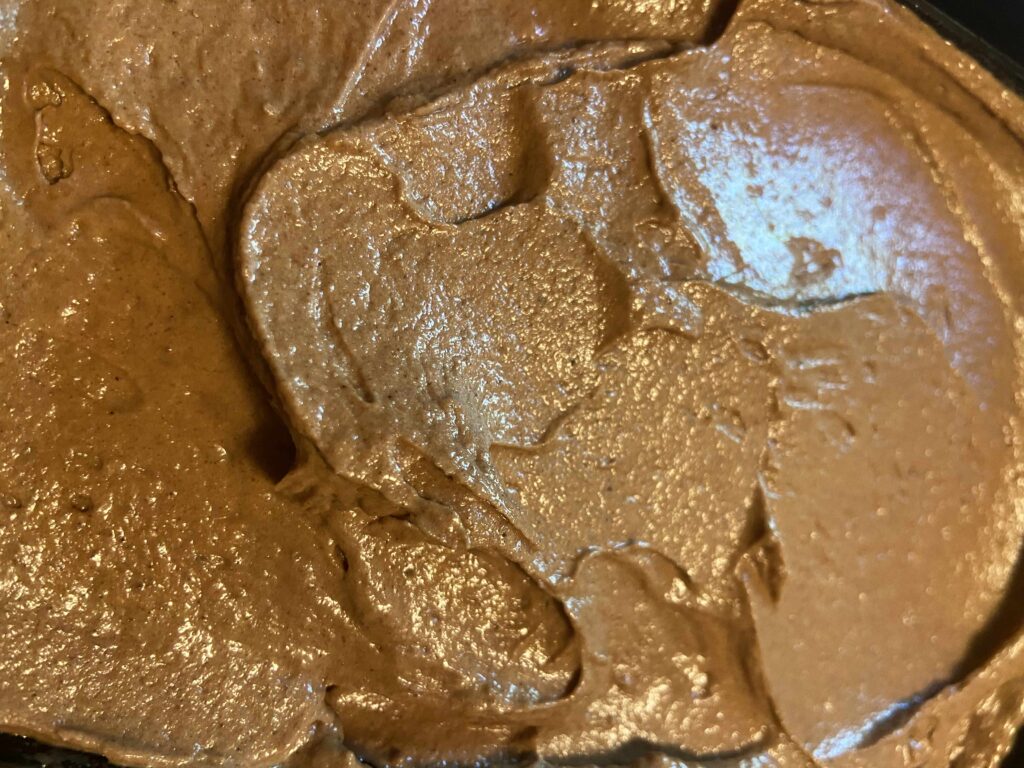
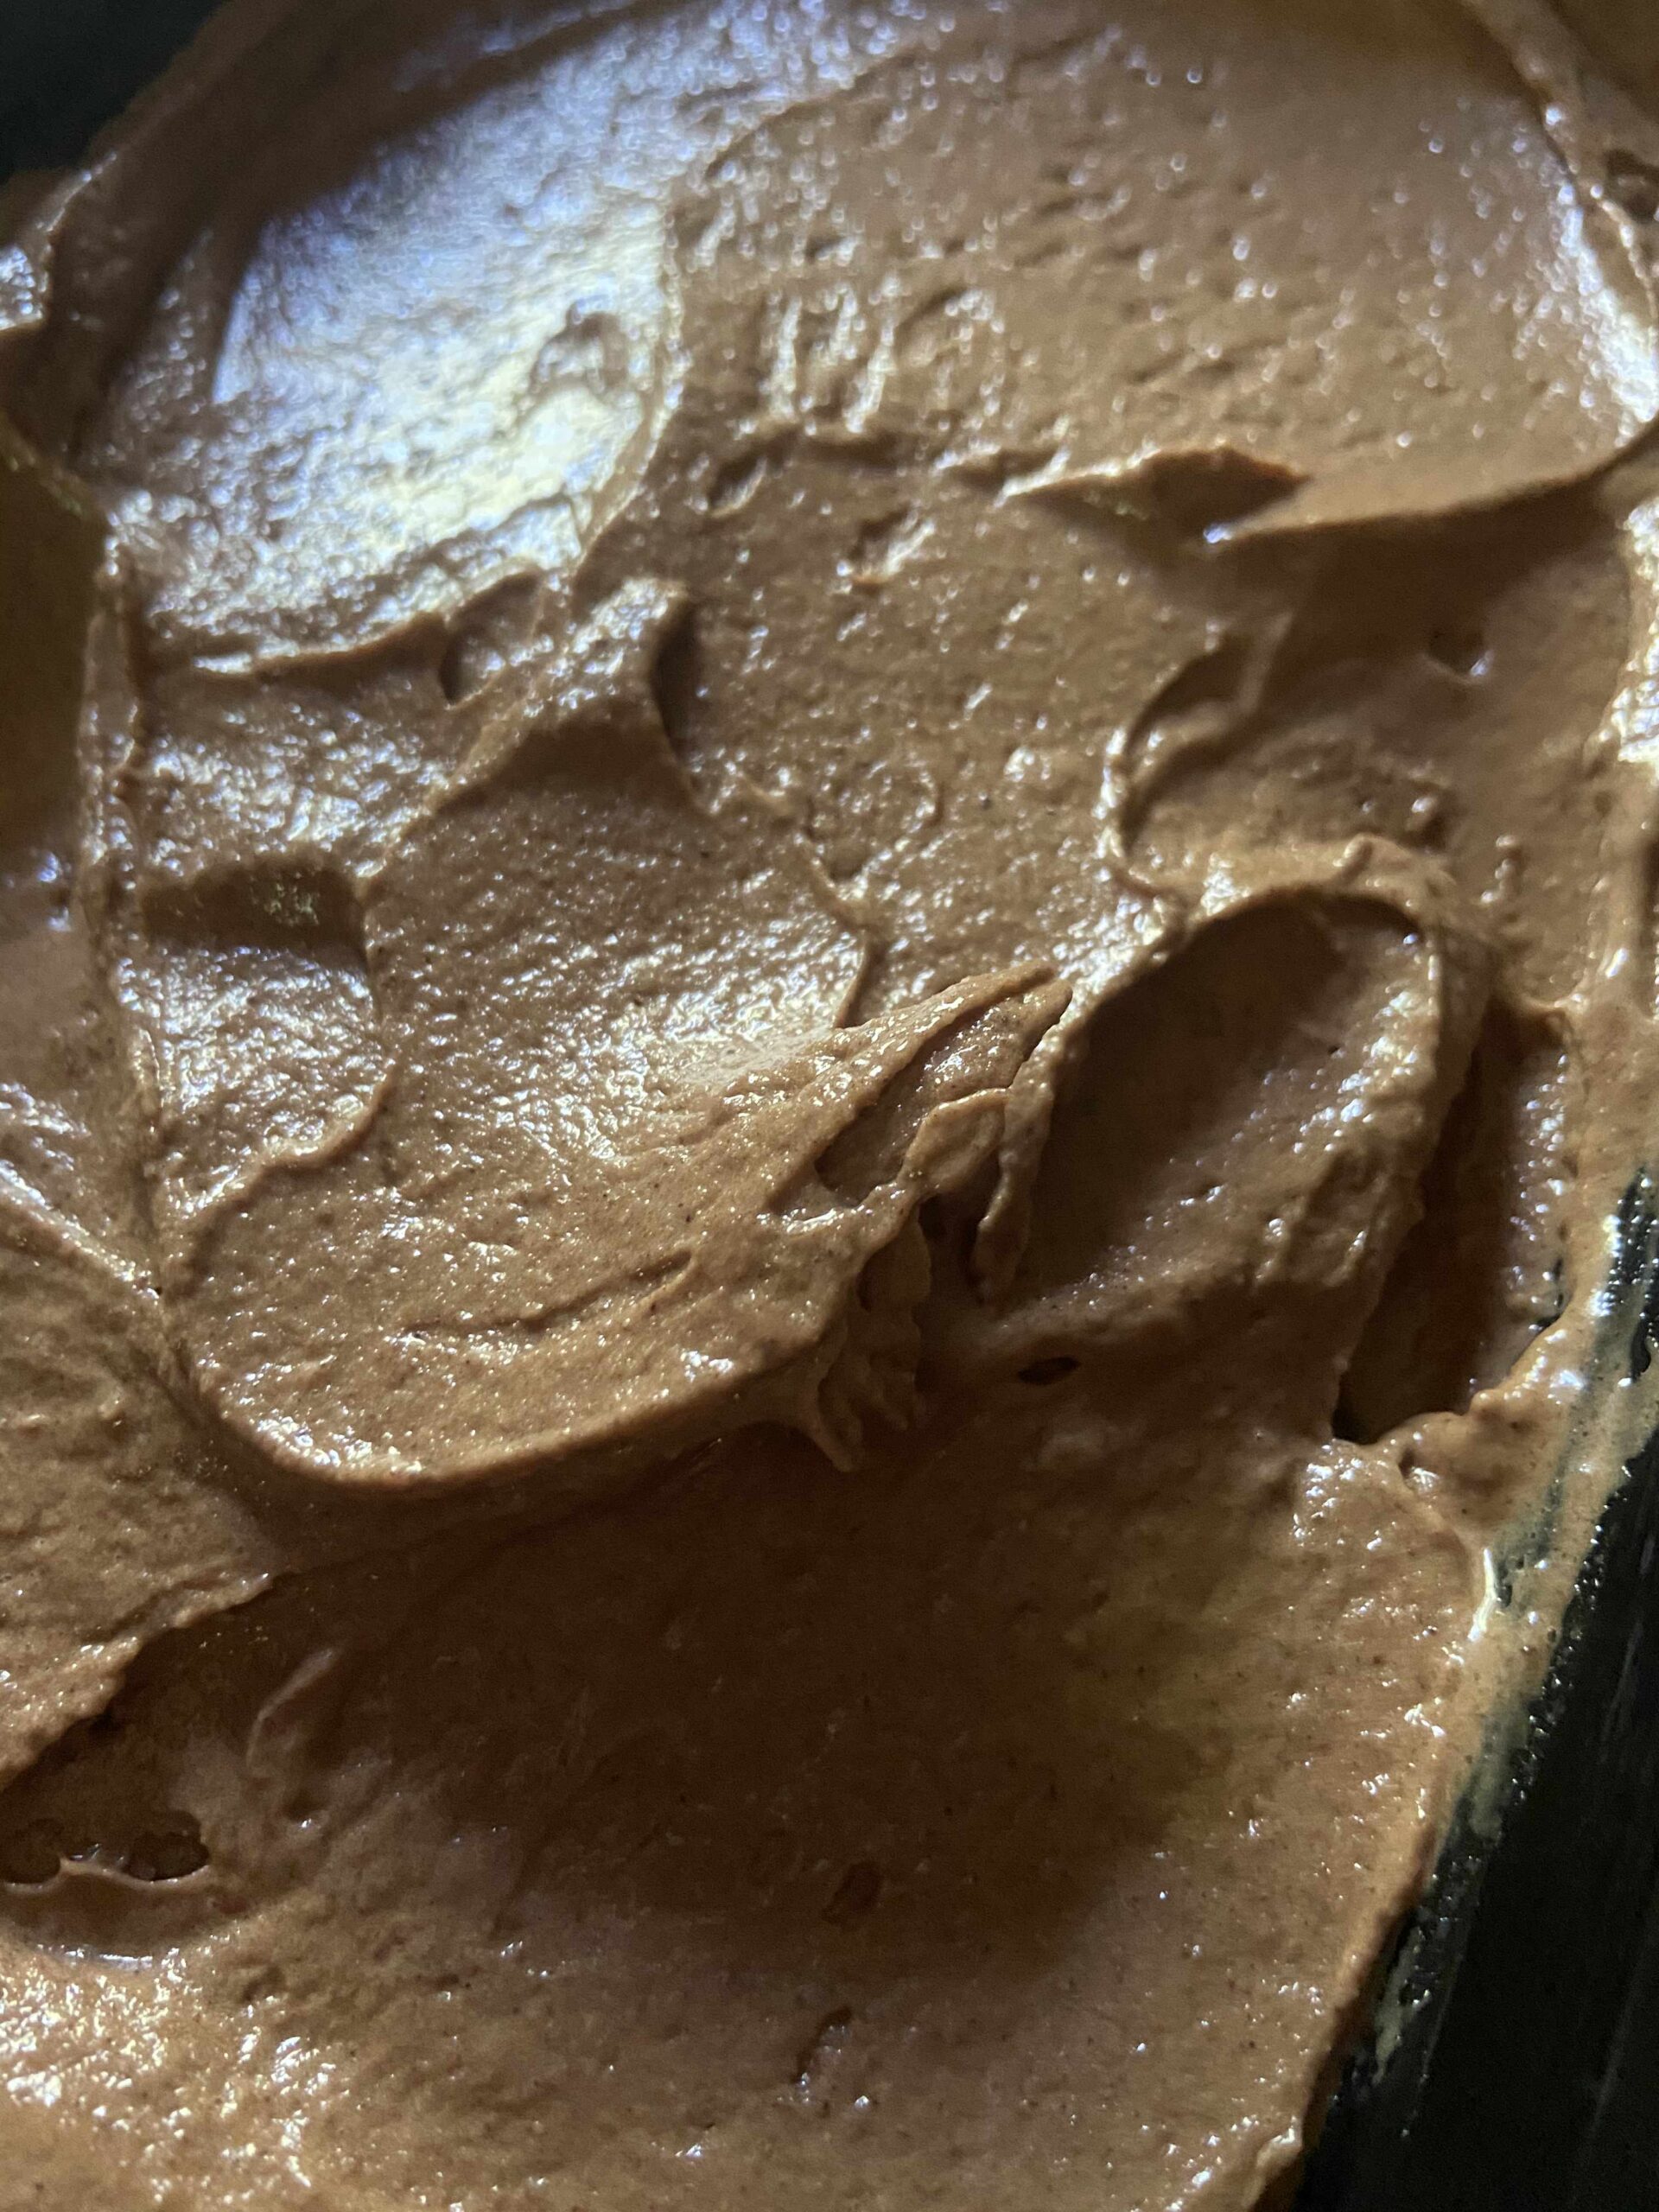
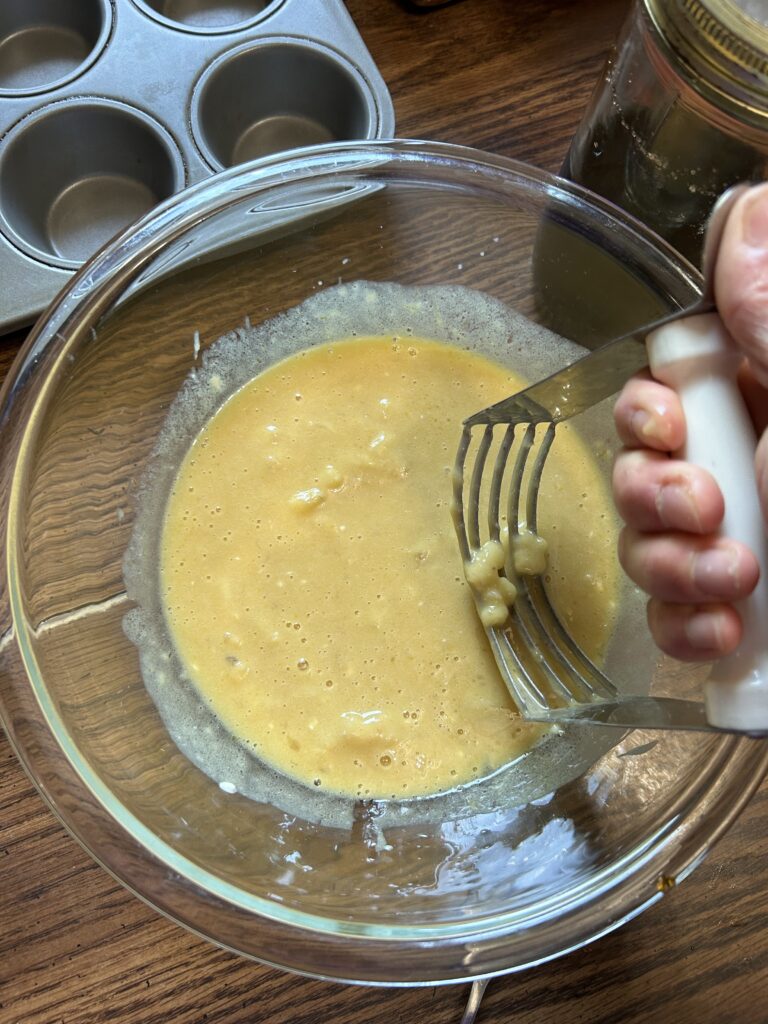
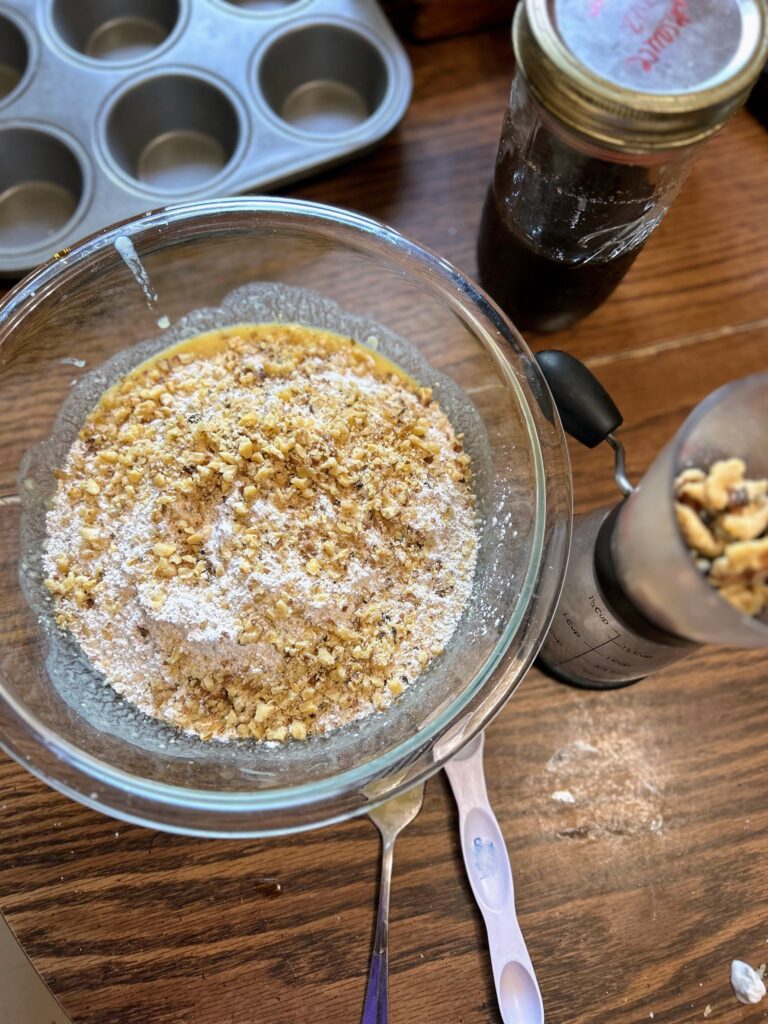
Preheat the oven to 400 degrees. In a large bowl, combine the syrup, egg, oil, yogurt, vanilla, and bananas. Mix well, making sure the bananas are mashed.
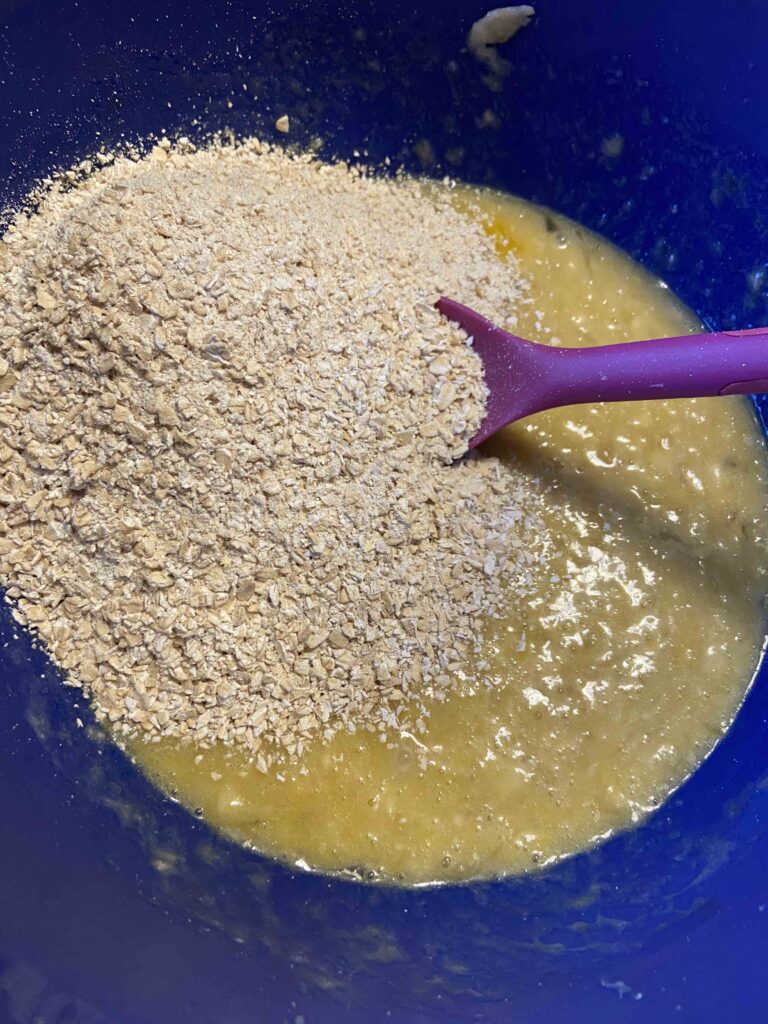
In an additional bowl, combine the flour, baking powder, and salt. Mix into the wet ingredients along with the walnuts and chocolate chips, if adding.
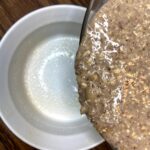
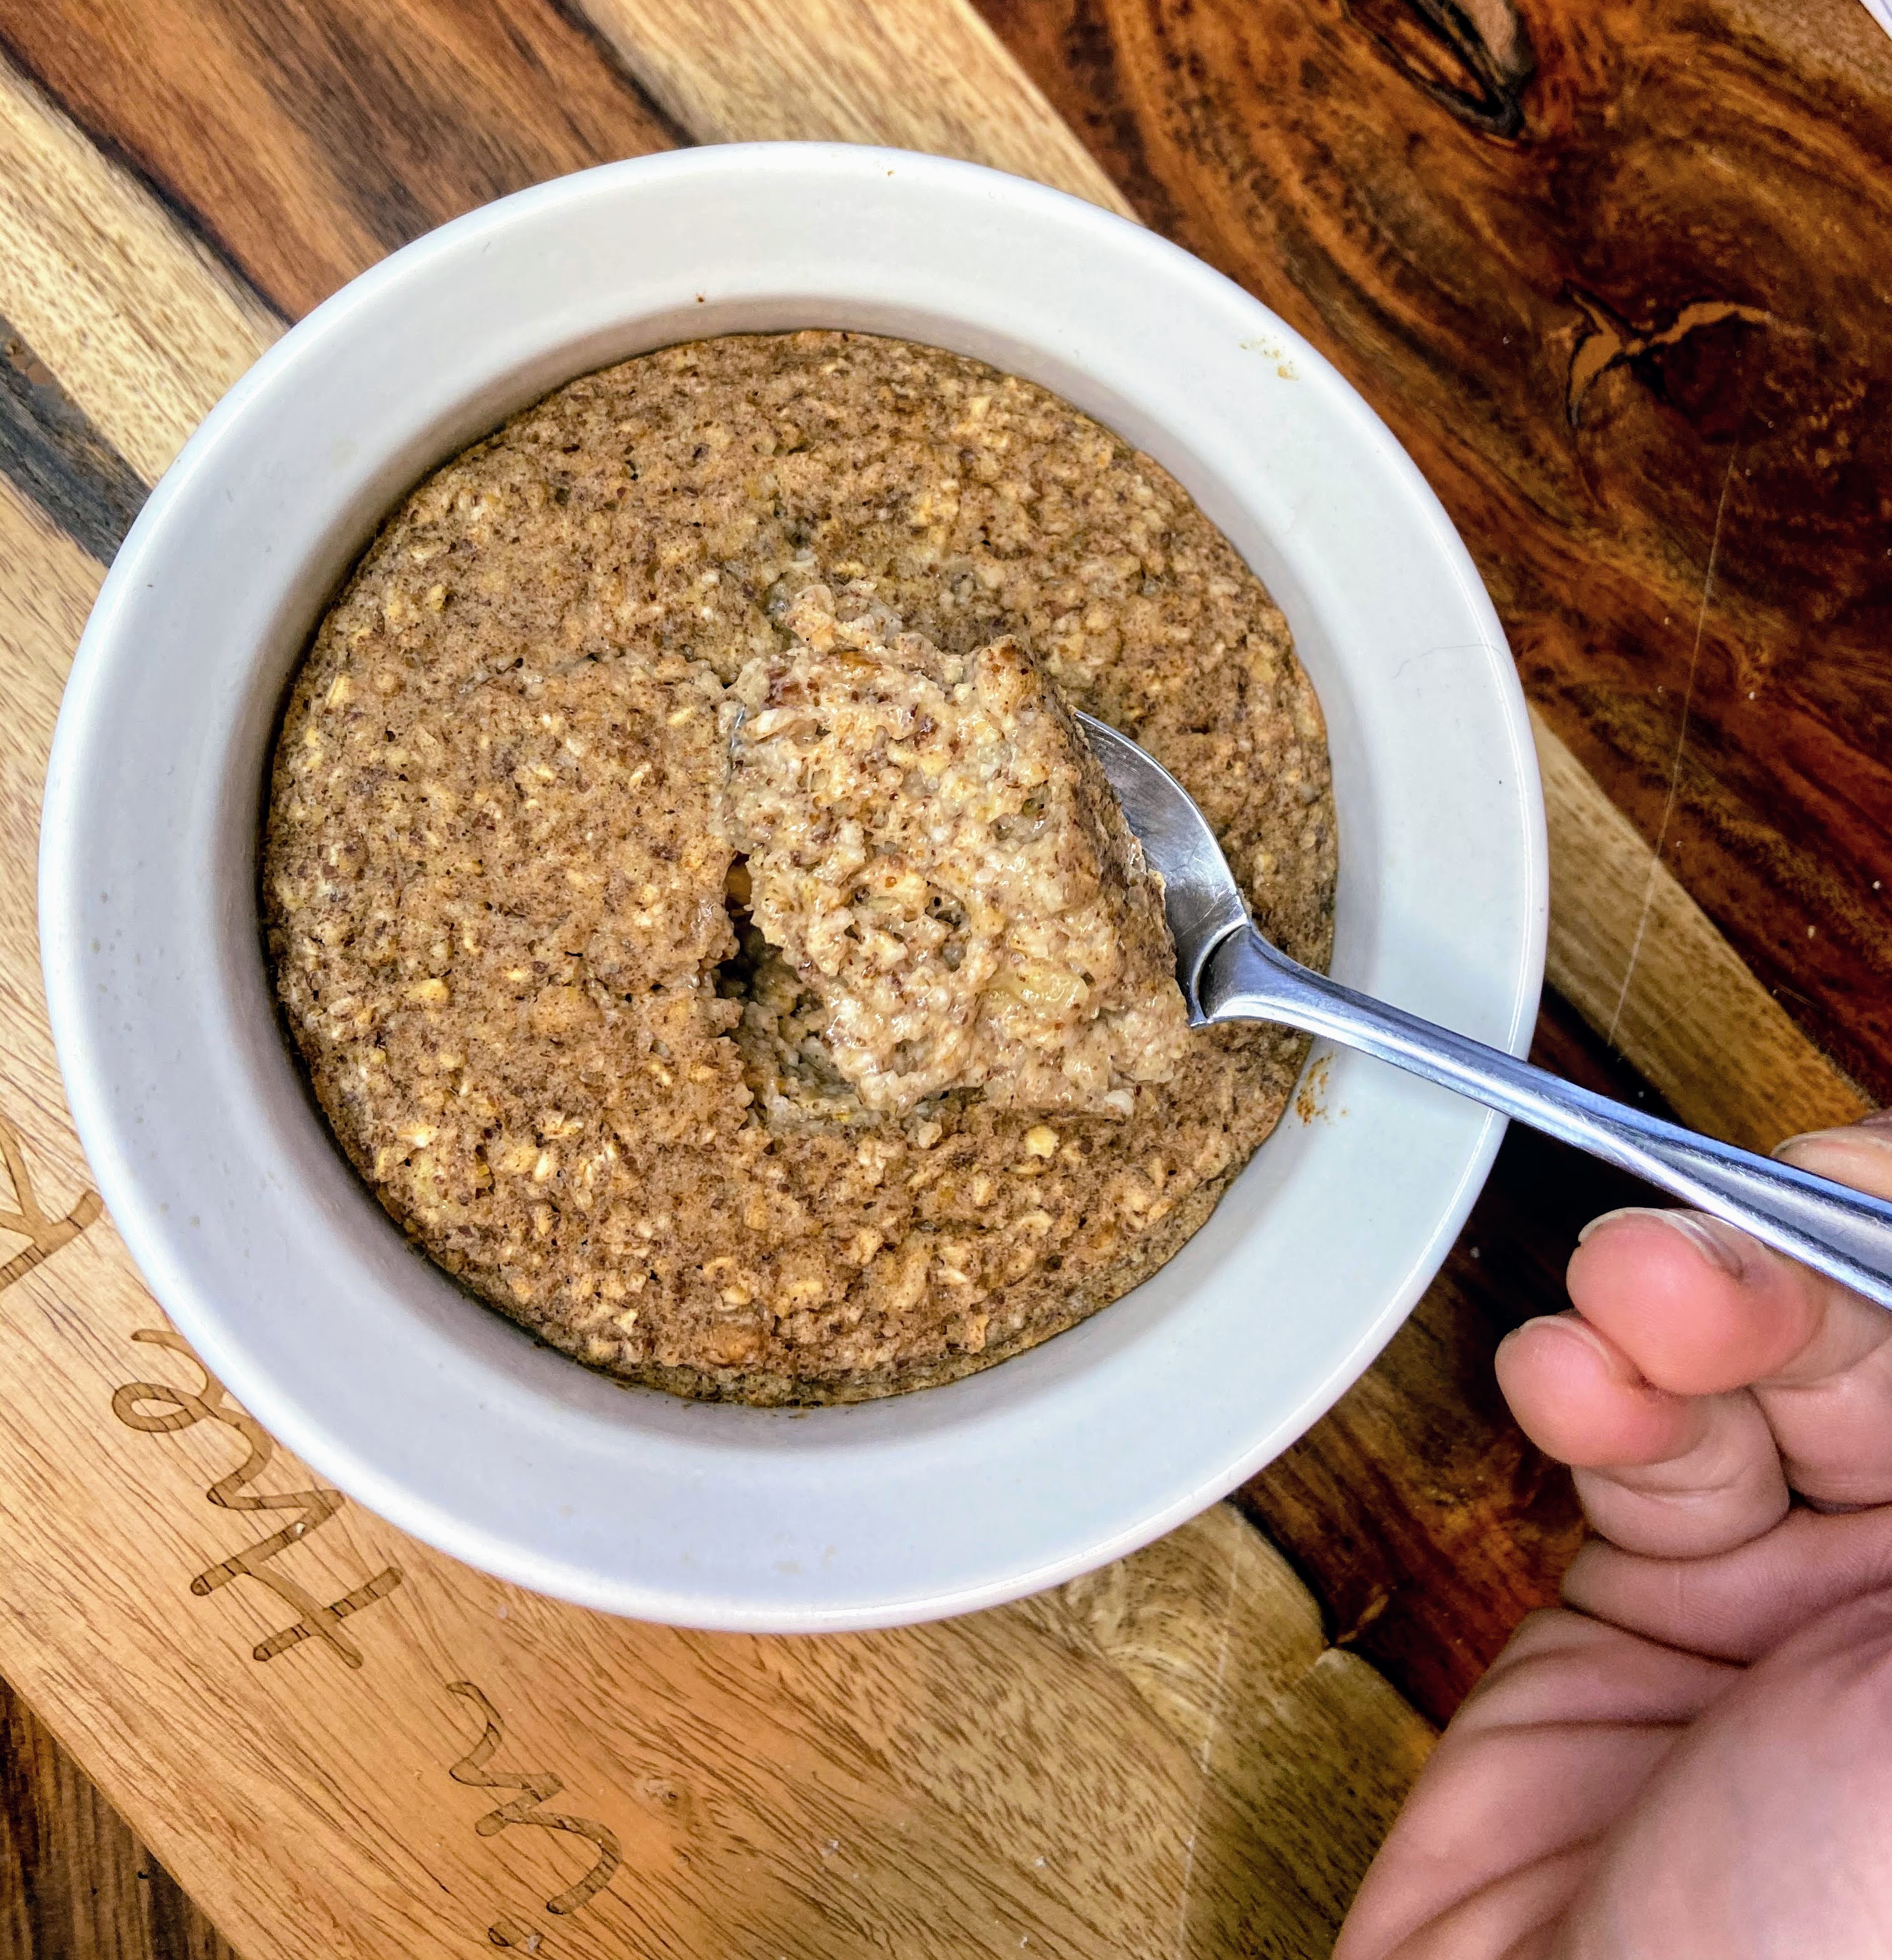
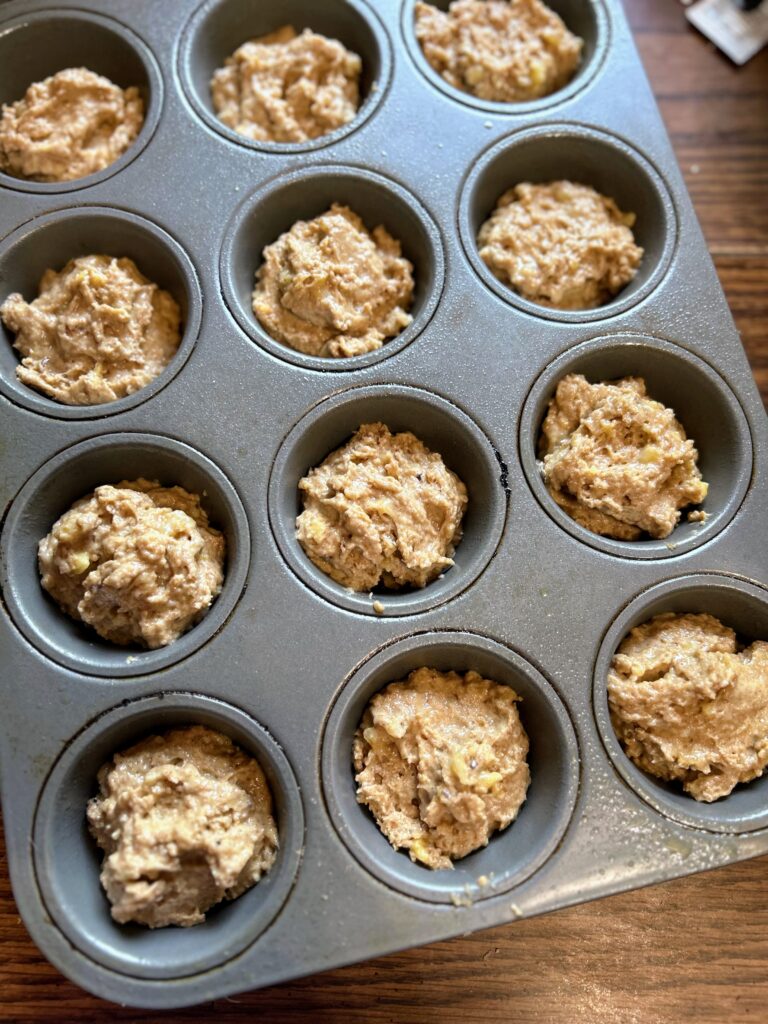
Line 12 vessels in a muffin tin with liners or spray with non-stick cooking spray. Evenly divide the batter among the 12 vessels, filling about ⅔ of the way full. Bake for 20-23 minutes, until a toothpick can be inserted and comes out clean.


Banana Nut Muffins
Equipment
Ingredients
- ⅓ cup maple syrup
- 1 egg
- ¼ cup oil
- ⅓ cup plain Greek yogurt
- ½ teaspoon vanilla
- 2 bananas mashed
- 2 cups whole wheat flour
- 2 teaspoons baking powder
- ½ teaspoon salt
- ½ cup walnuts
- ½ cup chocolate chips optional
Instructions
- Preheat the oven to 400 degrees.
- In a large bowl, combine the syrup, egg, oil, yogurt, vanilla, and bananas. Mix well, making sure the bananas are mashed.
- In an additional bowl, combine the flour, baking powder, and salt.
- Mix into the wet ingredients along with the walnuts and chocolate chips, if adding.
- Line 12 vessels in a muffin tin with liners or spray with non-stick cooking spray.
- Evenly divide the batter among the 12 vessels, filling about ⅔ of the way full.
- Bake for 20-23 minutes, until a toothpick can be inserted and comes out clean.
Looking for other tasty breakfast treats?
You can find muffins and more on my baking page and there are other sweet and savory ideas on my breakfast page. Otherwise, perhaps one of these recipes below will intrigue you!