Dandelion Season

How does one become interested in dandelion season and the foraging that comes with it? Let me share a short story!

A number of years ago, my family and I were doing an “end of summer” camping trip for a couple nights at Lake Wissota State Park in Wisconsin. As we sat in the beach picnic area, we spied hundreds of acorns on the ground. Of course, it led to an acorn fight between the four of us, which resulted in tons of giggles. It also led to me saying to my husband, “There are just so many of them [acorns], you must be able to do something with them.” To which he responded, “of course you can, but they have a lot of tannins so you have to do something to make them edible.” And this simple question led to my fascination with foraging and all that goes along with it. 

I immediately started Googling to learn more about acorns and how to cook with them. I also gathered as many as I could and put them in a bag to bring home. You see, we joke that I am a “75 percenter.” I love trying new things and go in with about 75% of the information needed and figure I can learn the rest along the way. Personally, I think it is a great way to live this life. I sure have experienced some cool things this way!

But back to the foraging

Slowly, I began researching other things you can forage. I have learned so much from some of my favorite foragers: 

Colleen at Grow Forage Cook Ferment 

Ashley from Practical Self Reliance

Alexis AKA Black Forager 

Which led to the statement, “Did you know you can eat that?” to come out of my mouth often when I was with family and friends. One of the foraged items I became especially fascinated with was dandelions. 

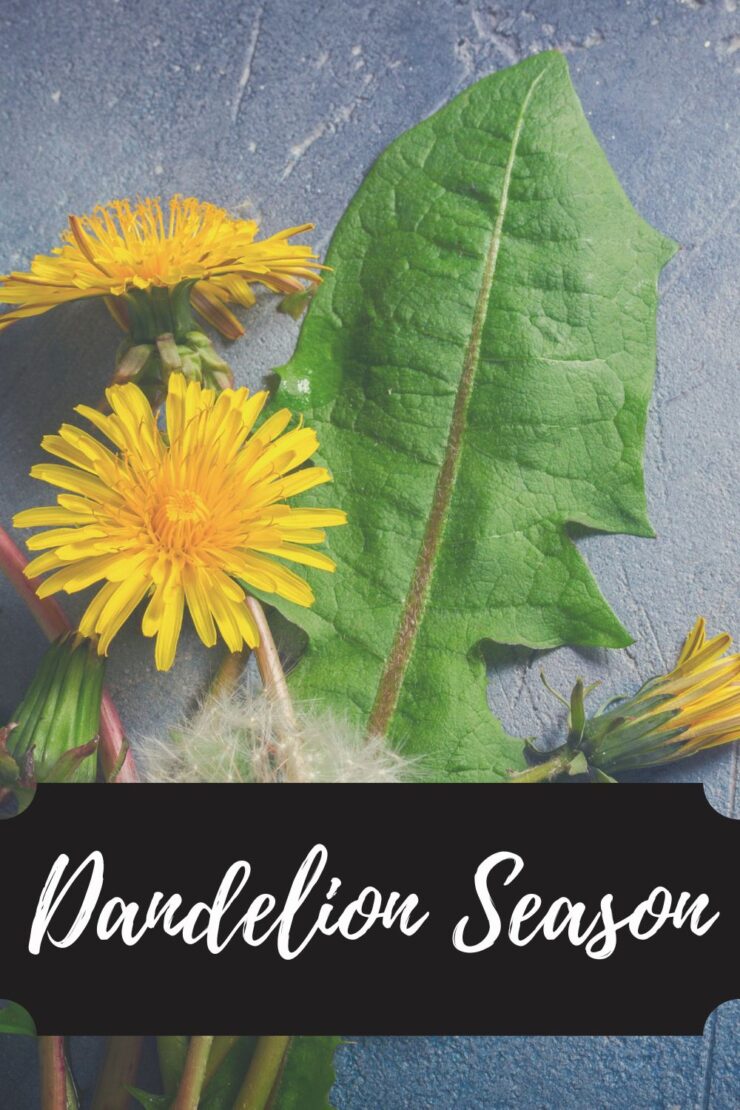
Yes, the simple dandelion. They are full of nutrients, including A, C, and K. You can use everything from the roots (to make tea) to the leaves (for salads) to the flowers (for jelly and wine). Learn more about their health benefits here

I have tried a number of dandelion recipes over the years, but time and time again, I go back to two simple ones when it is dandelion season: jelly and shortbread cookies. 

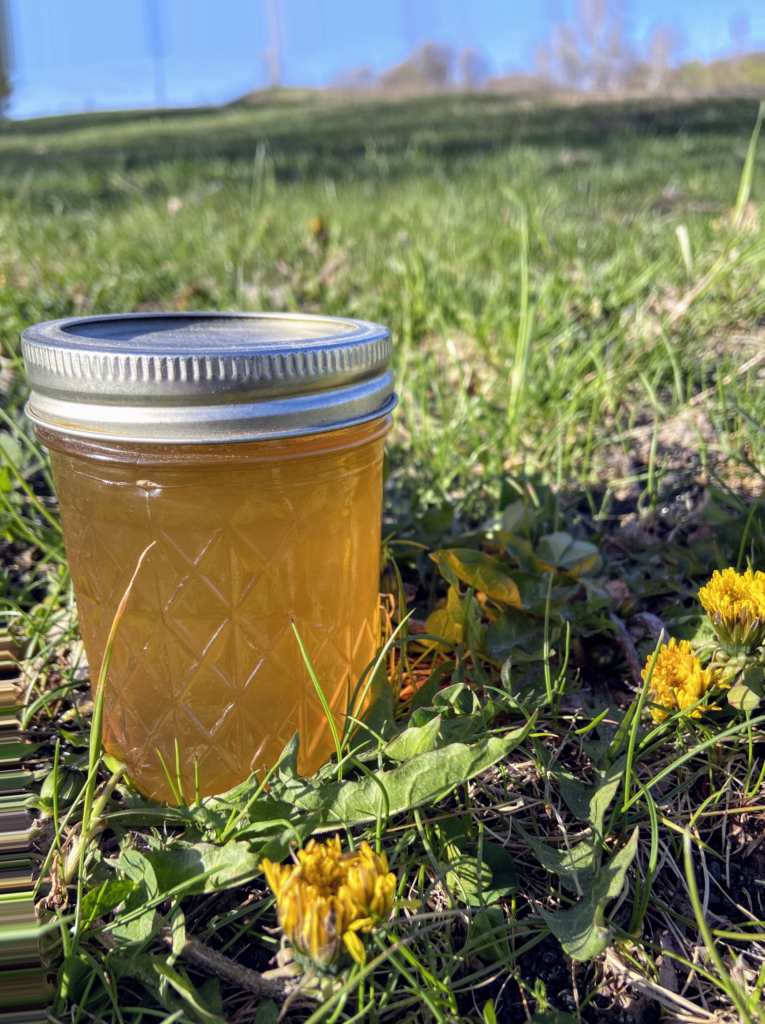
Dandelion Jelly 

A few years ago, my Algebra II kids asked if I could bring them fresh bread. Of course, I obliged and brought some jelly to go with it, including dandelion jelly. A few of them fell in love with it and we have been meaning to do a class to teach them how to ever since. 

What’s so great about it? First of all, the novelty of it, right? But second, the flavor is this perfect, light honey like taste you’d never anticipate. It is a bit tedious to make as you have to separate the petals from the greens, but there’s something calming about it. I love finding a friend and sitting and chatting. 

The ingredients are simple too: 

  • Dandelion petals (4 cups) 
  • Boiling water
  • Sugar
  • Lemon juice

If this sounds like something you want to try, check out my blog post on it

Jelly not your thing? Enjoy dandelion season by making these lovely dandelion shortbread cookies! 

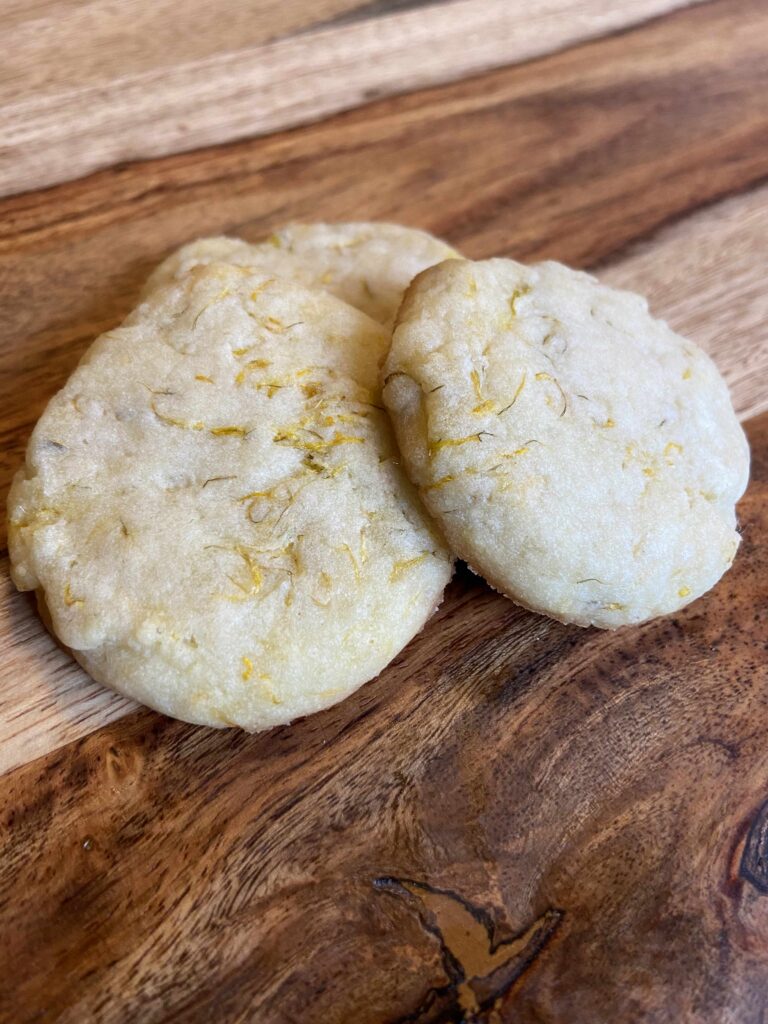
Dandelion Shortbread Cookies 

If you want to give foraging a try, but aren’t quite ready to jump in feet first, these cookies are a great way to start. You only need ½ cup of petals and who doesn’t love a cookie? This is another simple recipe with minimal ingredients (dare I say pantry ingredients?) and unlike the jelly, you can have them put together in under 40 minutes, cleaning the flowers and all! 

You’ll need: 

  • Petals
  • Softened butter
  • Powdered sugar 
  • Honey
  • Flour 
  • Salt

Then you can grab the recipe and start baking! 

But let me tell you, once you dip your toe in the foray of foraging during dandelion season, I don’t know if there is much looking back. You will find yourself constantly looking into the woods and fields, wondering, “How can I cook or bake with that?!” 

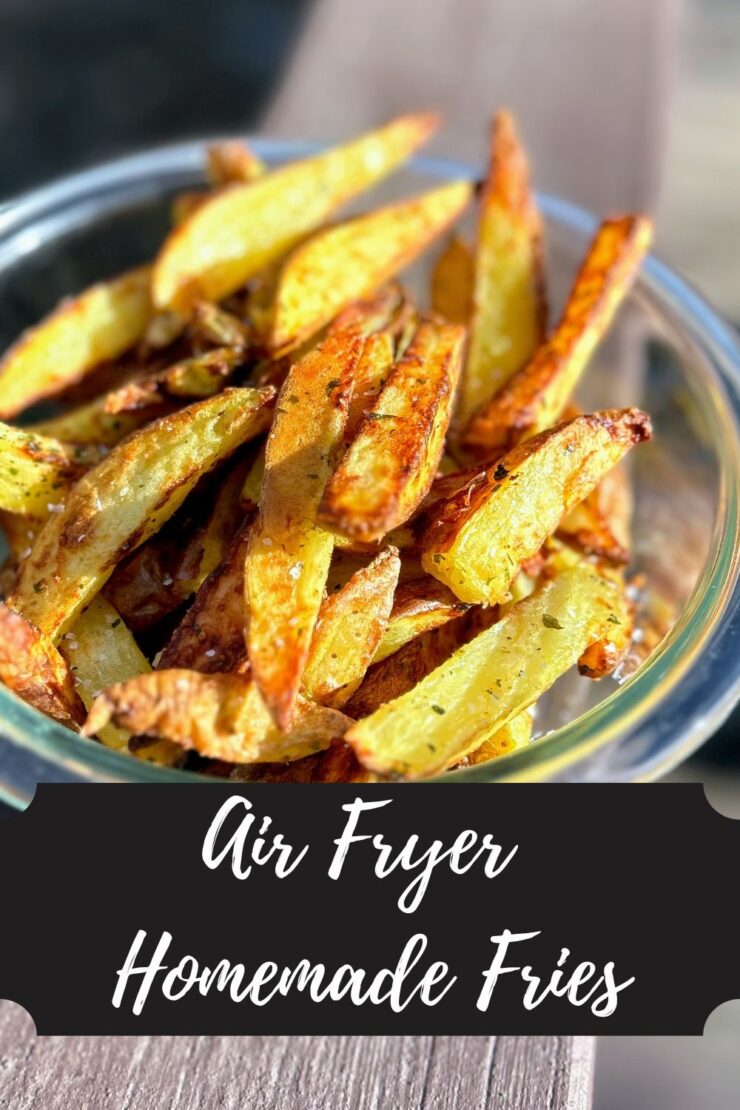
Air Fryer Homemade Fries

“I bought some fries for the burgers tonight…” The Mr, the other night. My response, “Why in the world did you buy fries? I will make air fryer homemade fries!” The Mr, “Well, you never know…it’s easier to just use the premade ones.” Me: “Nope, it takes all of 3 minutes to make homemade ones and they are SO MUCH BETTER.” 

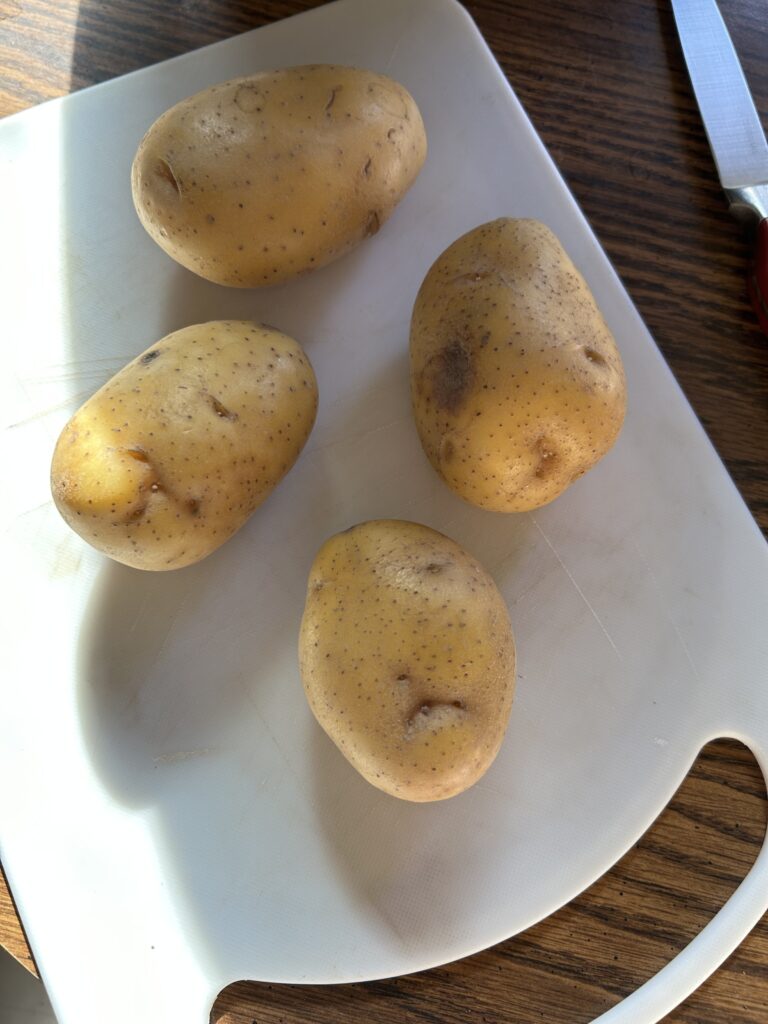
That’s an actual conversation from earlier this week. I don’t know what kind of fries are made when I am not home, but if I am around, I am grabbing some Yukon Gold potatoes (or others, if you don’t have Yukon Gold) and I am making homemade fries.

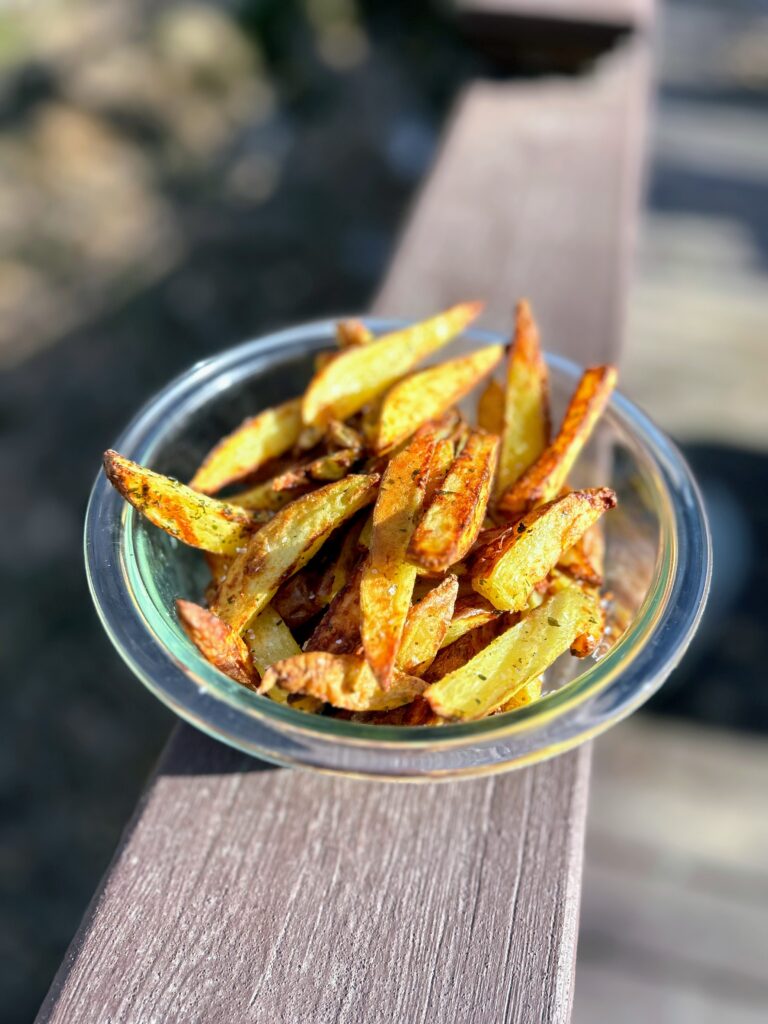
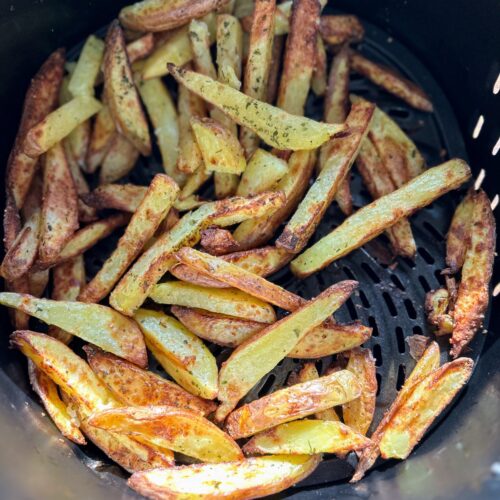
When I say that it takes all of 3 minutes to prep them, I promise, I am not lying. The longest piece of these delicious fries is cutting them. A little toss in olive oil, some salt, Parmesan, and parsley and you are set. And I swear, they come out like a great pub fry every single time. 

Some “from scratch” recipes take longer than you care for them to but, at least for me, you try to do them more often than not because it’s better for your family. This is not the case here. You’ll be making your own, beautiful air fryer homemade fries every time a burger, brat, or hotdog is served! 

Let’s get cooking! 

Your Ingredients (4-6 servings)

  • 1 ½ pounds Yukon Gold potatoes (or your other favorite potato)
  • 1 tablespoon olive oil 
  • ¼ cup grated Parmesan cheese 
  • 1 tablespoon parsley 
  • 1 teaspoon-½ tablespoon kosher salt 

Your Steps to Air Fryer Homemade Fries

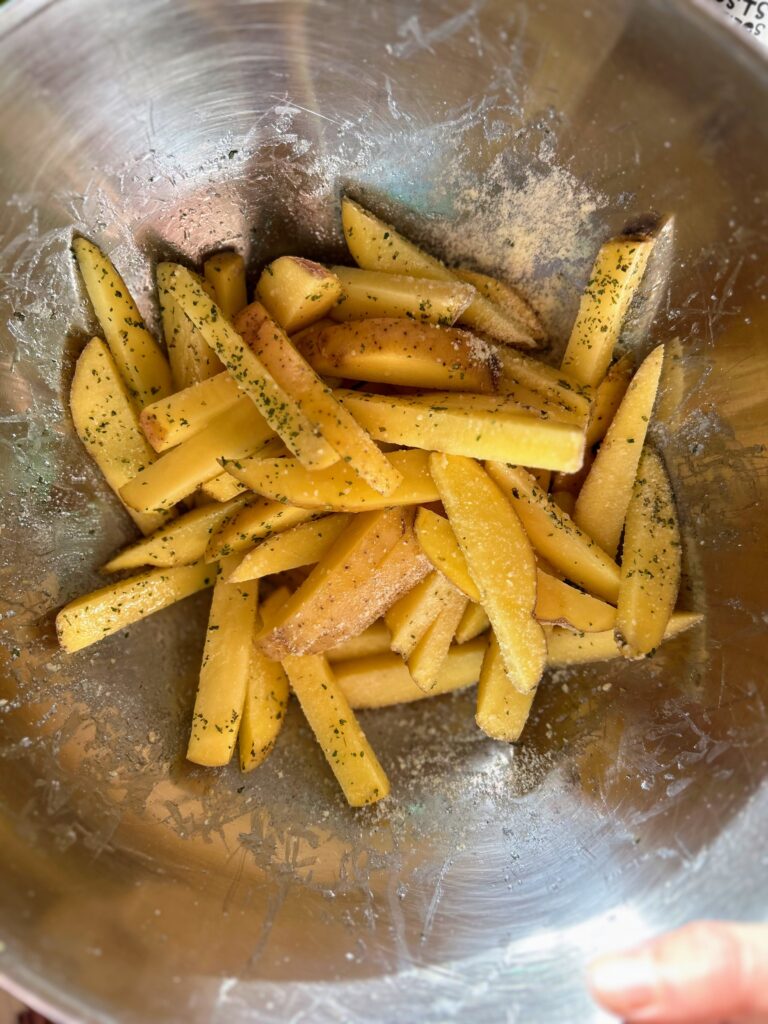
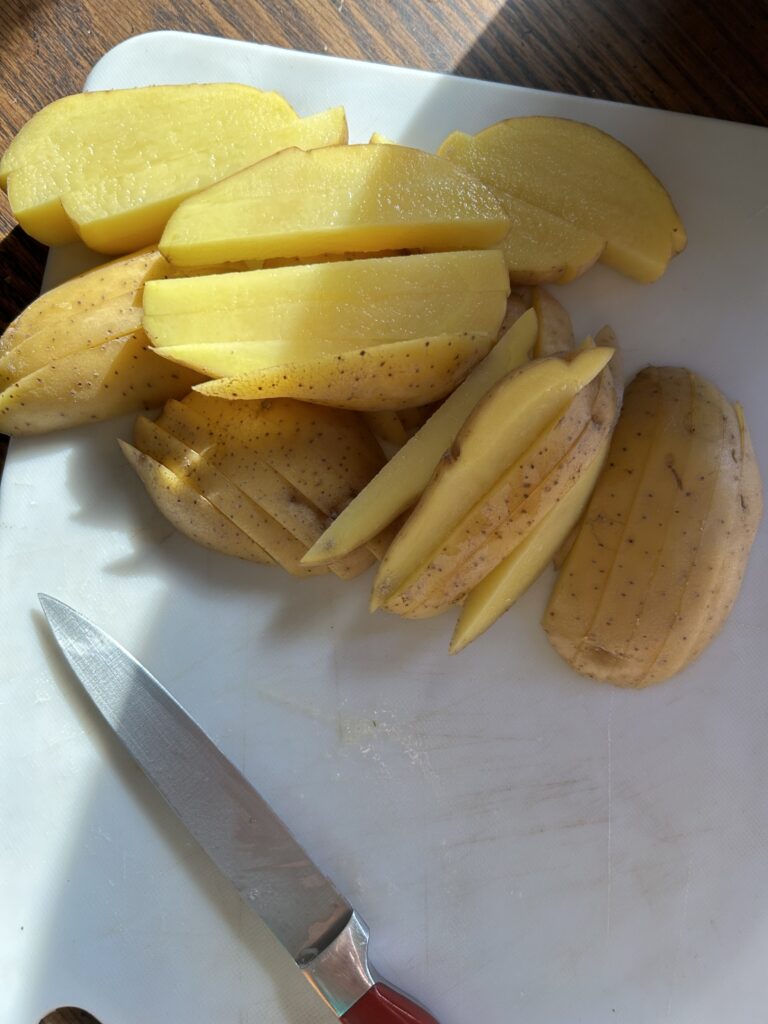
Preheat the air fryer to 400 degrees. Meanwhile, cut the potatoes into ¼-⅓ inch slices. Then cut into sticks. Toss the fries with olive oil. Then add Parmesan, parsley, and kosher salt. Honestly, I don’t measure the parsley and salt. I just pour it into my palm to get a feel for how much I have and sprinkle in. 

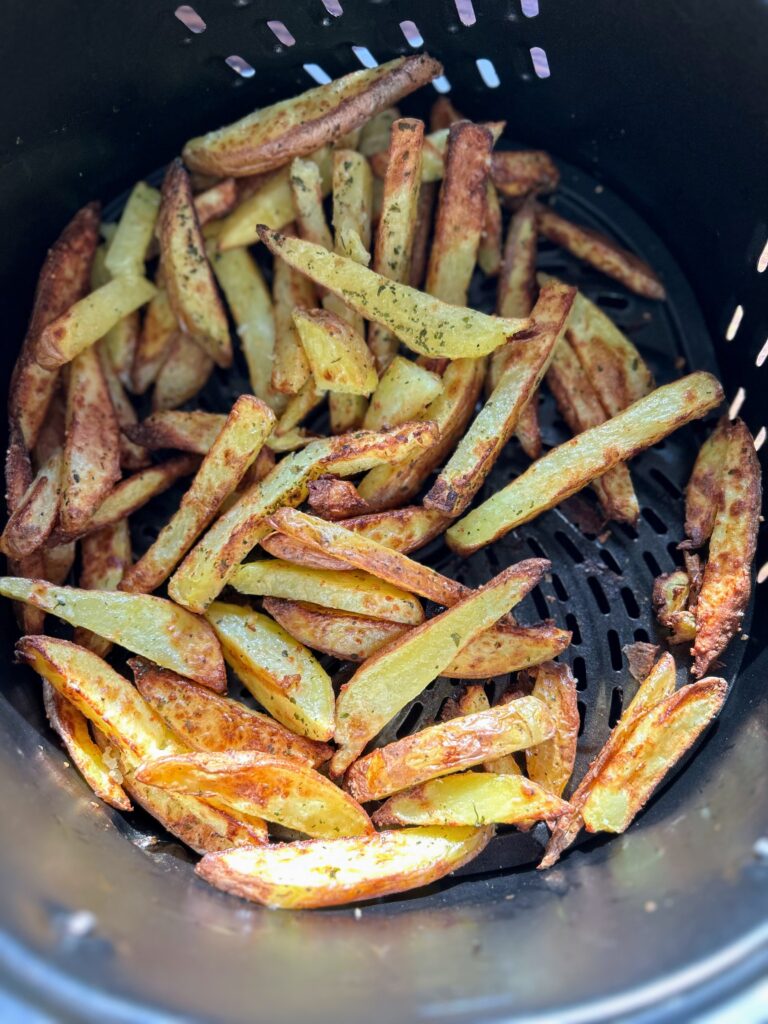
Put the fries into the basket and toss. Cook for 15-20 minutes, shaking/stirring the fries every 5 minutes or so. Cook until they have reached a desired color. Enjoy with your latest grilled protein! 

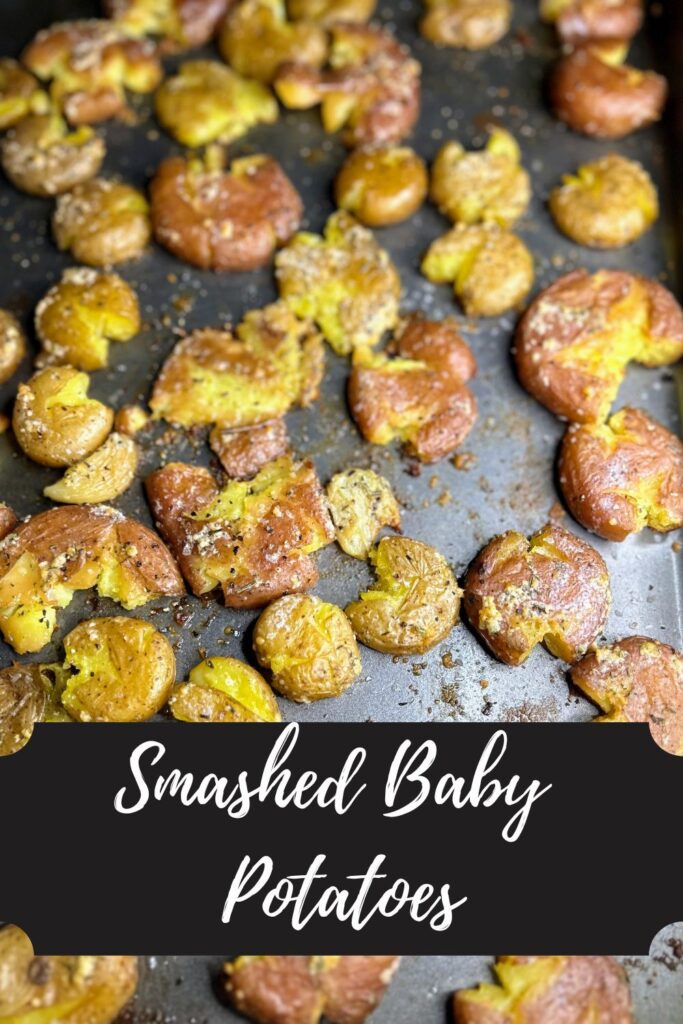
If you’re looking to fancy up your potato game, give these smashed baby potatoes a try! They are not hard, but they sure turn out amazing!

Air Fryer Homemade Fries

You won't be buying frozen bag fries again after you give these homemade air fryer fries a try! So simple and beyond good, this will become a go to recipe for those grill nights and more!
Prep Time 5 minutes
Cook Time 20 minutes
Course Appetizer, Side Dish
Cuisine American
Servings 4

Equipment

Ingredients
  

  • 1 ½ pounds Yukon Gold potatoes or your other favorite potato
  • 1 tablespoon olive oil
  • ¼ cup grated Parmesan cheese
  • 1 tablespoon parsley
  • 1 teaspoon-½ tablespoon kosher salt

Instructions
 

  • Preheat the air fryer to 400 degrees. Meanwhile, cut the potatoes into ¼-⅓ inch slices. Then cut into sticks.
  • Toss the fries with olive oil.
  • Then add Parmesan, parsley, and kosher salt. Toss again.
  • Put the fries into the basket and toss.
  • Cook for 15-20 minutes, shaking/stirring the fries every 5 minutes or so. Cook until they have reached a desired color.
Keyword air fryer, french fries, homemade fries, Potatoes, Yukon Gold
Tried this recipe?Let us know how it was!

Need some dishes to pass?

Check out my Cooking page for more inspiration. Or maybe I can share a few of my favs below!

Homemade Coleslaw

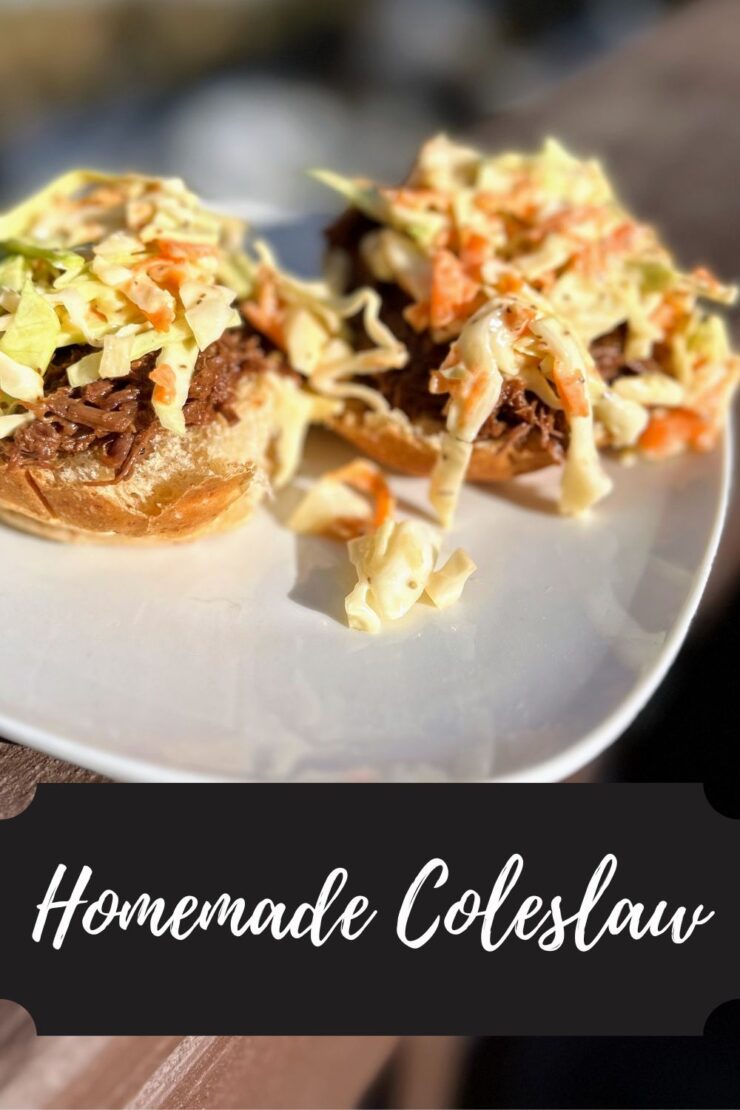
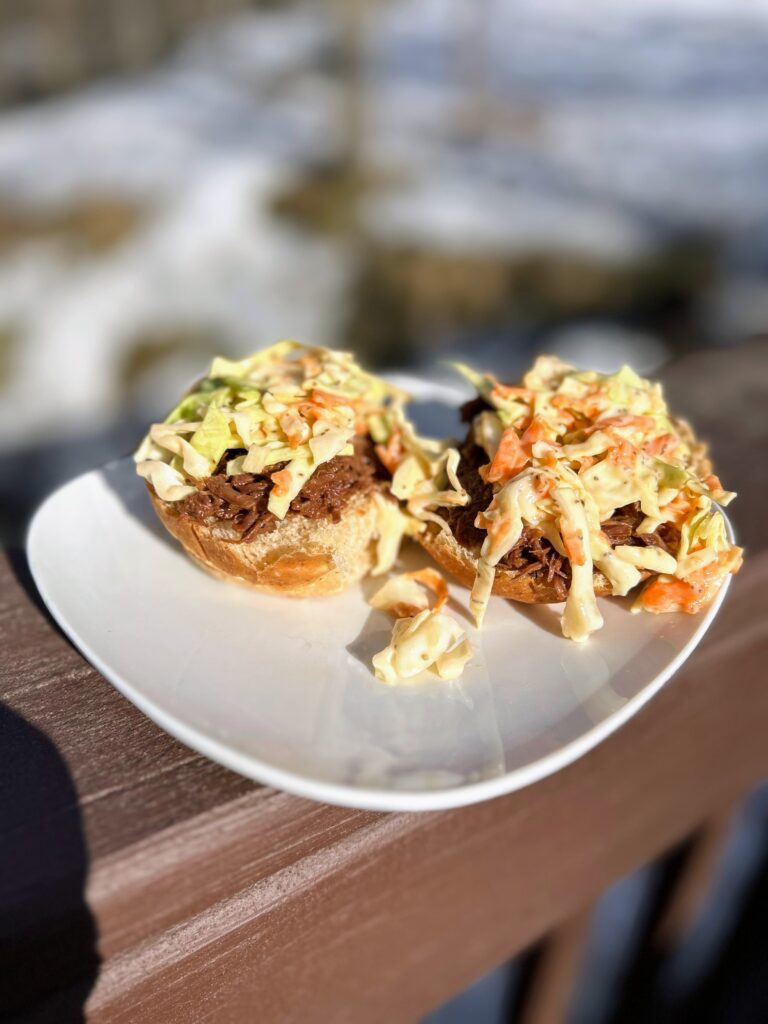
I don’t know when I changed my mind, but it sure happened. Changed my mind about what, you ask? Homemade coleslaw on pulled pork! I have always enjoyed both pulled pork and coleslaw separately. I have fond memories of working at a drive in and snacking on the coleslaw we served with our dinner boxes. As for the pulled pork, I mean, who doesn’t like pulled pork? 

But eating the two together? No way. It just seemed odd for this midwest gal who never let her food mix or touch. I wouldn’t want the slaw liquid to touch my bun, let alone be on it. Then I became an adult and started eating out a little more than when I was a kid. Of course, pulled pork with coleslaw is a classic sandwich. At one point I thought, “I mean, it can’t be that bad, can it?” I gave it a try. 

And are you kidding me?!

I was missing out on this my whole dang life and I didn’t know how good it was?! Now, I can hardly eat pulled pork without that delicious tangy salad on top. It simply doesn’t seem complete. 

Although I have to be honest, 99% of the time, I am not eating true pulled pork. In our house, we do pulled venison. You can check that out here: pressure canned seasoned venison. What I love about this stuff is that it is already cooked and so dang tender. If you have busy after work nights like we do, it”s best with a little BBQ sauce, rolls, and you guessed it, this coleslaw. 

First, let me say that I think the key to a good coleslaw is the celery seed. I never knew this. It adds just the right amount of kick and spice you need. Also, you’ll need the cabbage and carrots. I am about to give you two options: the quick way and the cheaper way. You do you friends and there will be no judgment.  

Option, the first: Buy one to two of the bags of pre shredded cabbage and carrots. This is the easy route, but can be a little more spendy. 

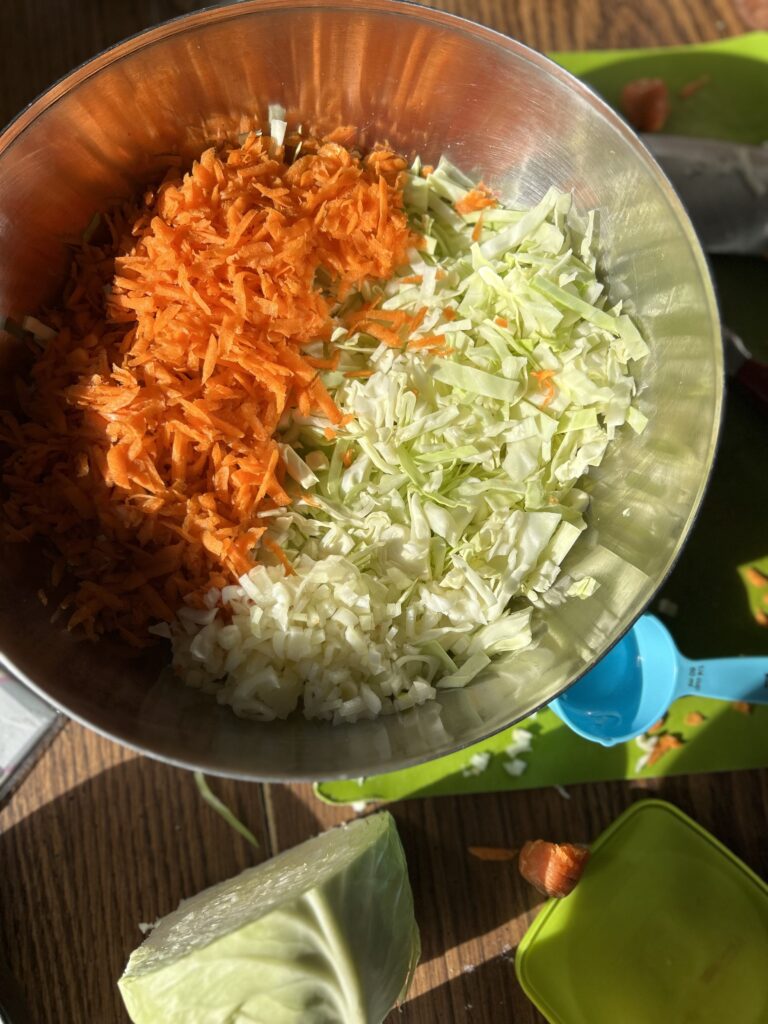
Option, the second: Buy a small to medium head of cabbage. If you’re like my house, you always have big carrots on hand. Maybe not though. If you don’t, pick a few of those up too! I finely chop the cabbage with a sharp knife and shred the carrots with a box grater. Cheaper, to be sure, but also a little more time consuming. 

Regardless of the veg you choose, let’s start making your homemade coleslaw! 

Your Ingredients

  • 1 small to medium head of cabbage
  • 3 large carrots
  • ¾ cup mayonnaise 
  • 2 tablespoons Greek yogurt 
  • ¼ cup finely diced onion 
  • 2 tablespoons sugar 
  • 2 tablespoons white vinegar 
  • 2 teaspoons celery seed 
  • Dash of dry mustard 
  • Salt and pepper 

Your Steps to Homemade Coleslaw 

Using a very sharp knife, finely chop the cabbage. Shred the carrots with a large grater. Combine in a large bowl and set aside. 

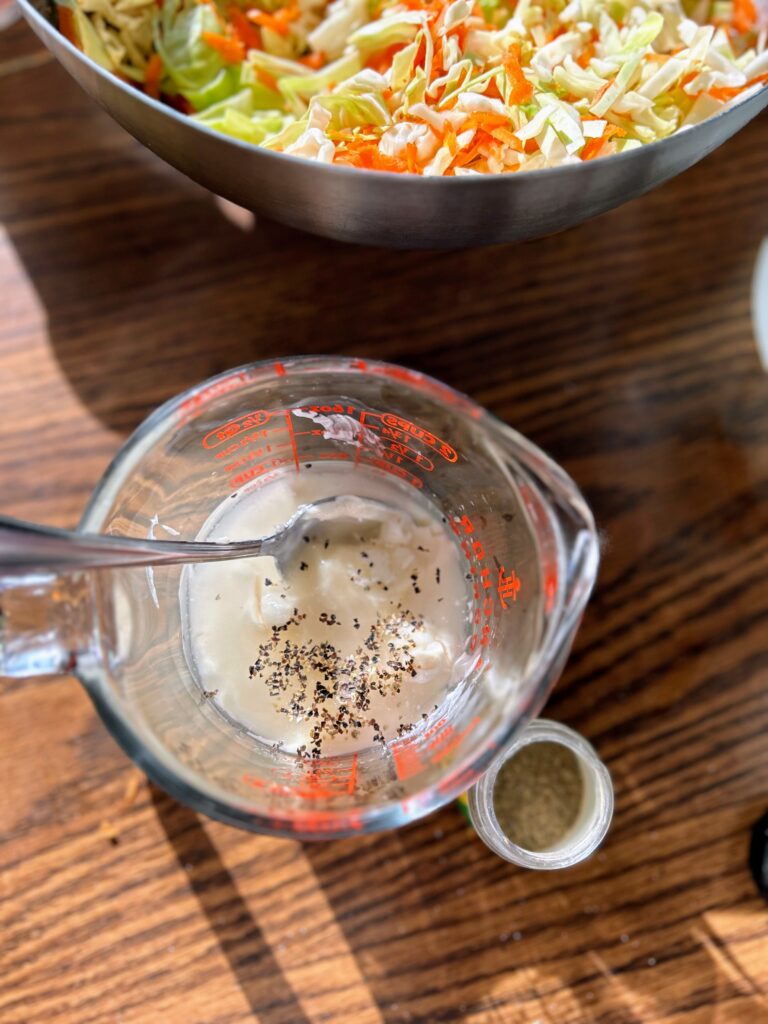
In a 2 cup liquid measuring cup, combine mayonnaise, yogurt, onion, sugar, vinegar, celery seed, dry mustard, salt and papper. Whisk well to combine thoroughly. Taste, adding salt, pepper, mustard, and perhaps vinegar to taste. 

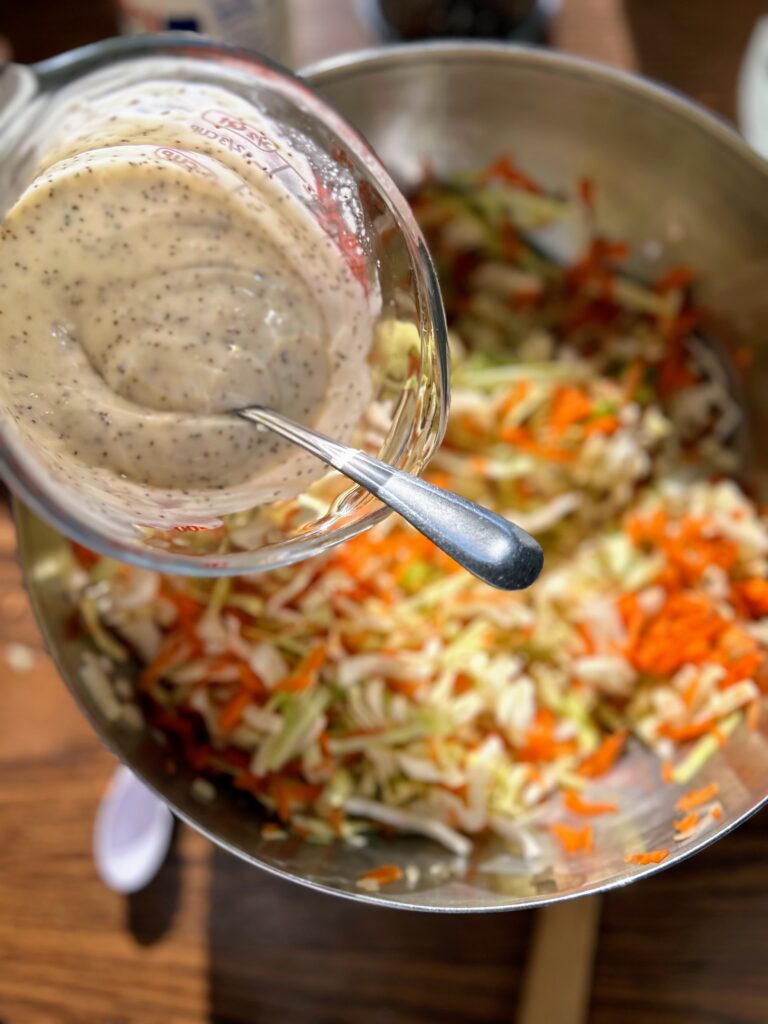
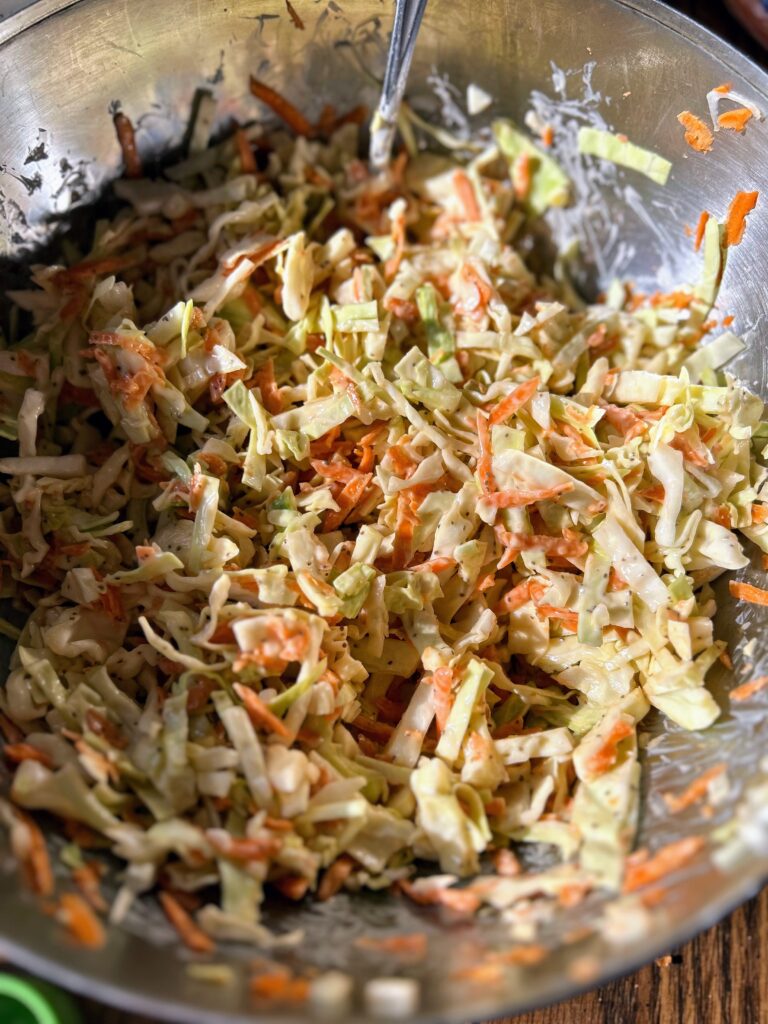
Pour the dressing over the carrots and cabbage and mix. Flavors will develop more if you allow it to rest overnight, but that requires planning ahead, which I almost never do 🙂 Kudos to you if you’ve got it in you! 
Homemade Coleslaw

Getting ready for a BBQ? You’ll never go back to store bought coleslaw when you give this homemade coleslaw a try!
Prep Time 15 minutes
Course Side Dish
Cuisine American
Servings 6

Equipment

Instructions
 

  • Using a very sharp knife, finely chop the cabbage. Shred the carrots with a large grater. Combine in a large bowl and set aside. Alternatively, pour 2 bags of pre shredded cabbage and carrots in a large bowl. Set aside.
  • In a 2 cup liquid measuring cup, combine mayonnaise, yogurt, onion, sugar, vinegar, celery seed, dry mustard, salt and pepper. Whisk well to combine thoroughly. Taste, adding salt, pepper, mustard, and perhaps vinegar to taste.
  • Pour the dressing over the carrots and cabbage and mix. Flavors will develop more if you allow it to rest overnight
Keyword cabbage, cabbage coleslaw, cabbage slaw, cold sides, coleslaw, pulled pork sides, side dishes, summer salad, summer side dish
Tried this recipe?Let us know how it was!

Looking for other great sides?

Check out my cooking page for some inspiration! Or maybe one of the recipes below may tickle your fancy?!

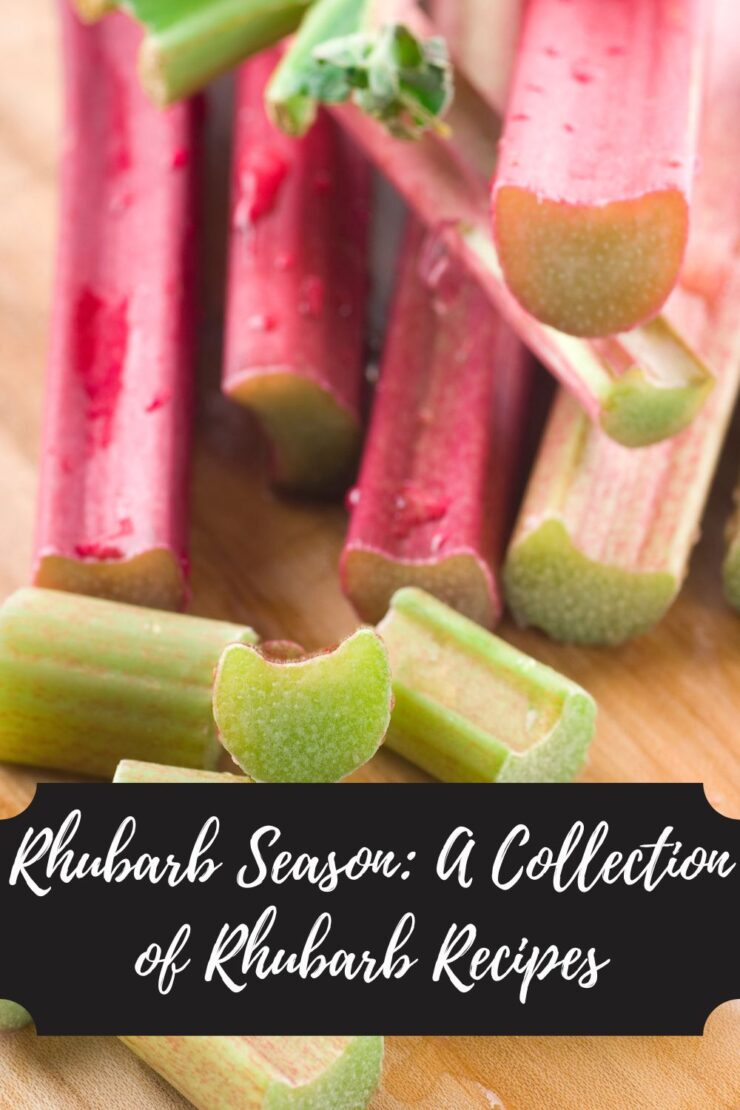
Rhubarb Season

There are a few telltale signs of spring in the Midwest: Trees starting to bud, the smell of mud as everything begins to thaw and snow mixes with soil, dandelions popping up, and rhubarb season. 

Having a spring birthday, I think I have always been more in tune with the signs of spring. For as long as I can remember, I have had a love for the new growth; the messiness of what spring has to offer. I definitely have vivid memories of “swimming” in melt off puddles in the middle of the yard! As I have grown up and have become a gardener, that love has blossomed (see what I did there?!). It means it’s planting and soon to be growing season! 

Once the snow is gone (And in northern Wisconsin, we still have a TON of it with 70 degree weather coming our way!), such simple joy can be found in pulling away the leaves and debris to look for the first growth of rhubarb, among other spring plants. Because rhubarb season is such a sign of spring, let’s talk rhubarb and cooking with it! 

Some fun facts about rhubarb

  • Did you know rhubarb is a vegetable? In our household, we have more than your average number of discussions about whether a particular food is a fruit or a vegetable, but by definition, a fruit comes from a fruiting body, which rhubarb does not. 
  • The leaves of a rhubarb plant are poisonous when ingested. You can touch them, but you can’t eat them. 
  • Rhubarb can be harvested all summer, although it gets woodier as the heat of the summer takes hold. It’s a common myth that it gets toxic late in the summer. Harvesting should be limited to just a few stalks at a times past June to allow the plant to build reserves of energy, however.
  • Want to learn more? Head to the UW Extension site to learn more about rhubarb!

Rhubarb Season: Let’s cook together! 

With the days getting longer and that snow nearly gone (except here, of course!), rhubarb season is almost here! Let’s cook and bake some rhubarb treats together!

Baked Goods

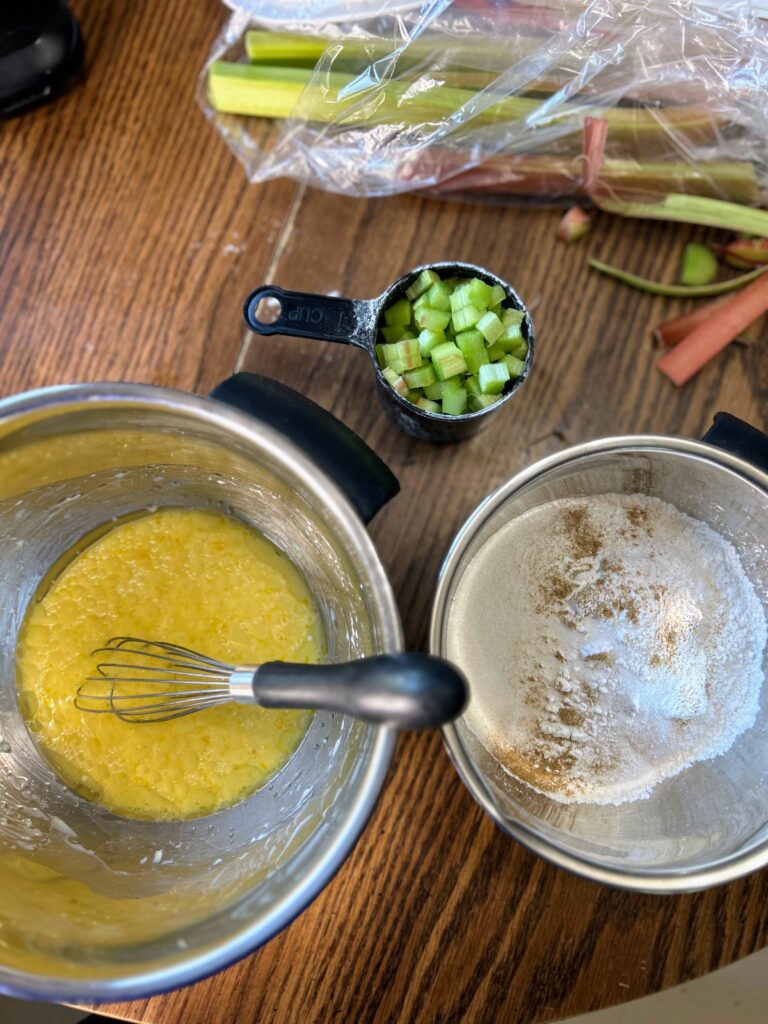
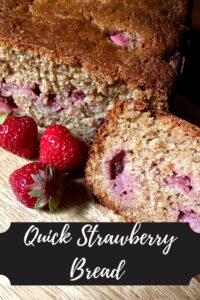
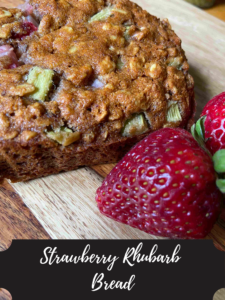
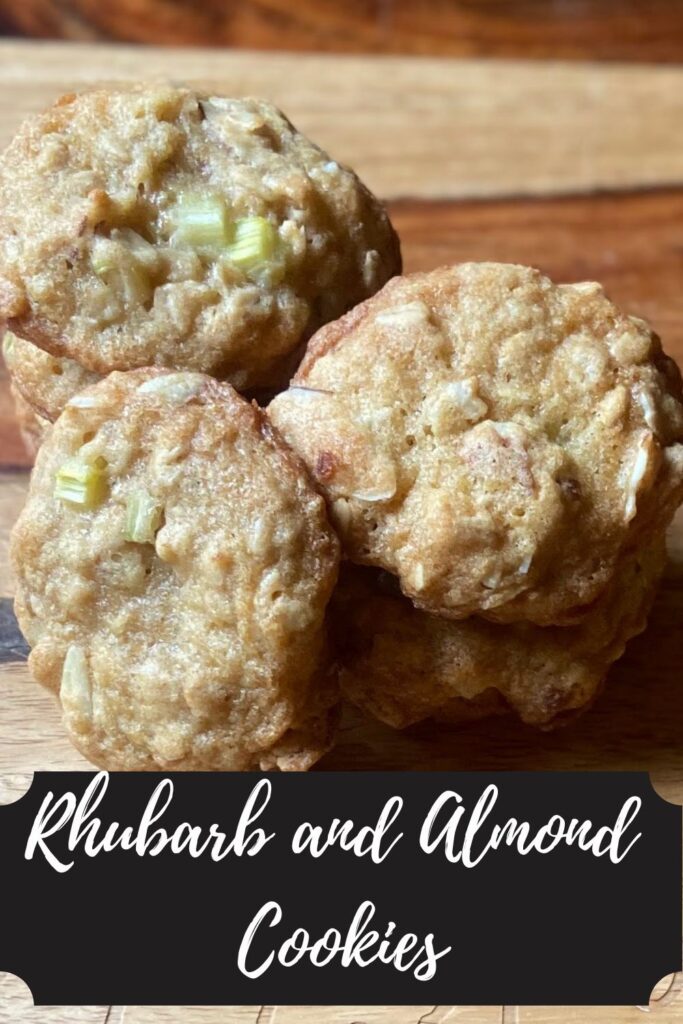
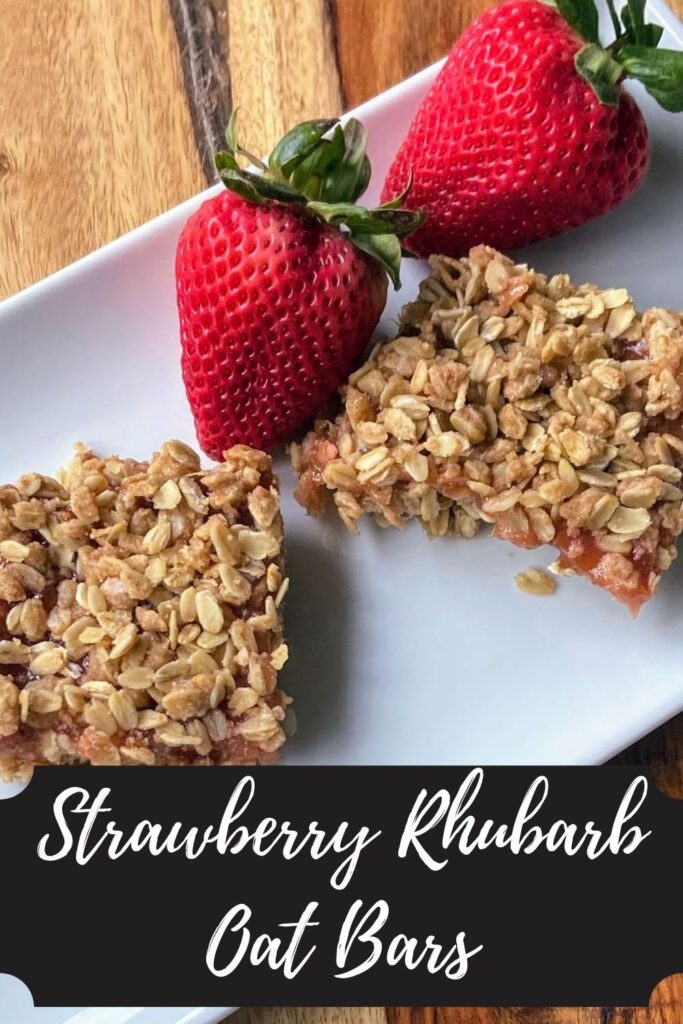
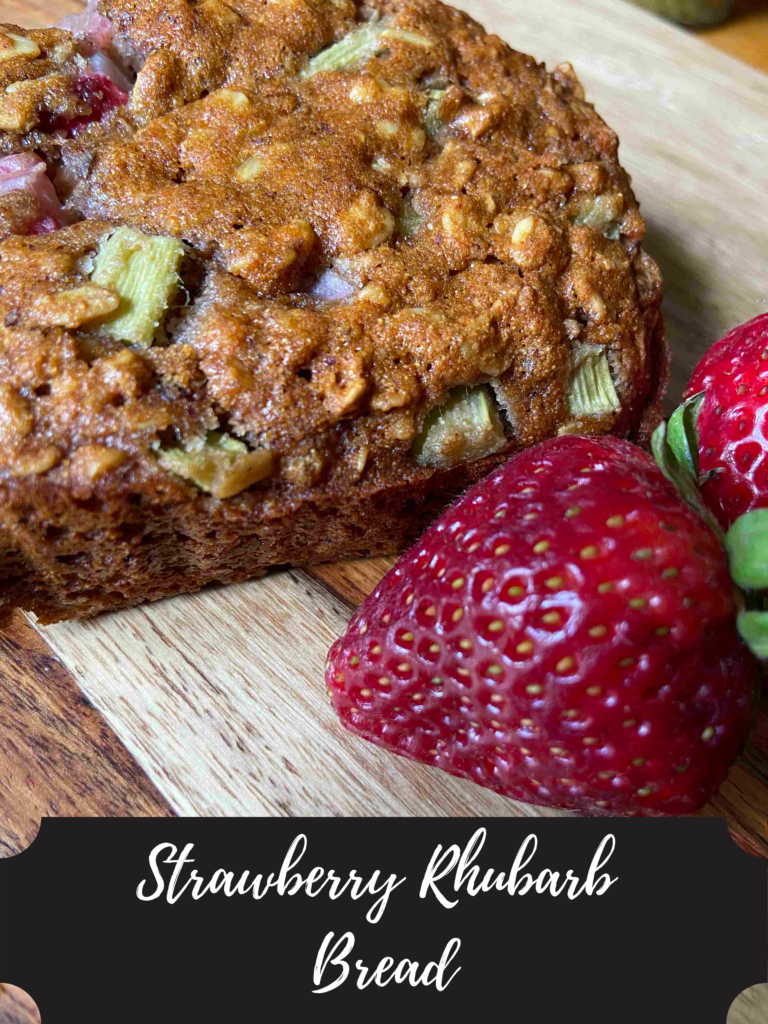
There’s something about that combination of sweet strawberries and tart rhubarb that make the tastebuds happy. So below we have two great recipes: strawberry rhubarb oat bars and strawberry rhubarb bread. I can’t get over the color!

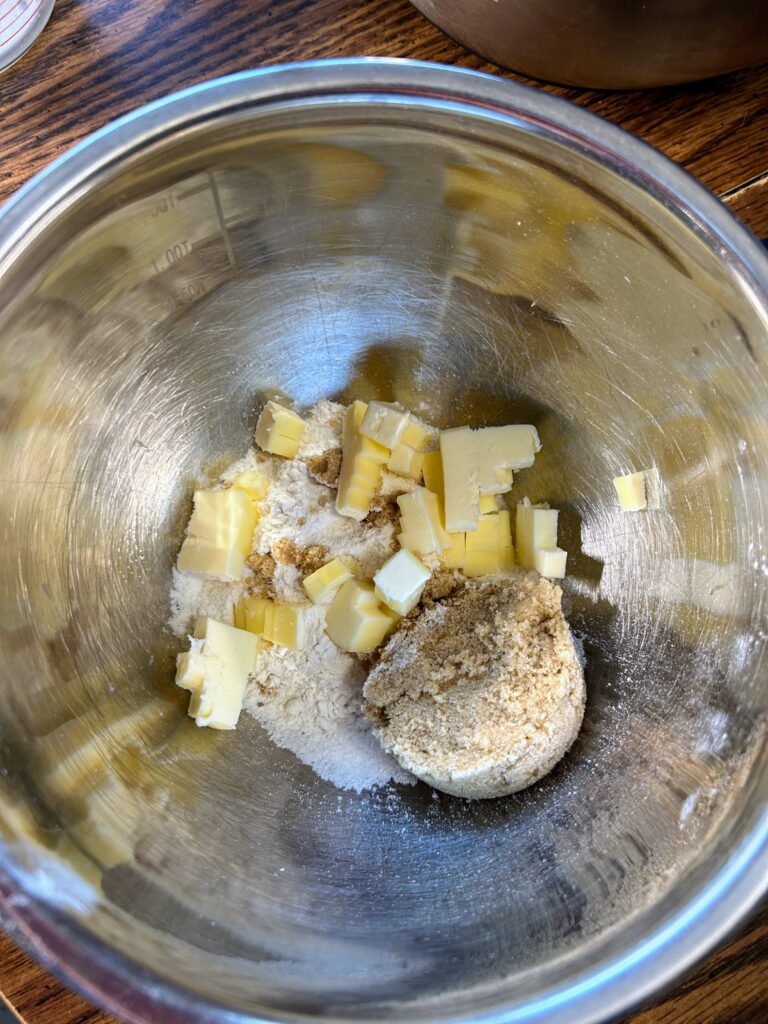
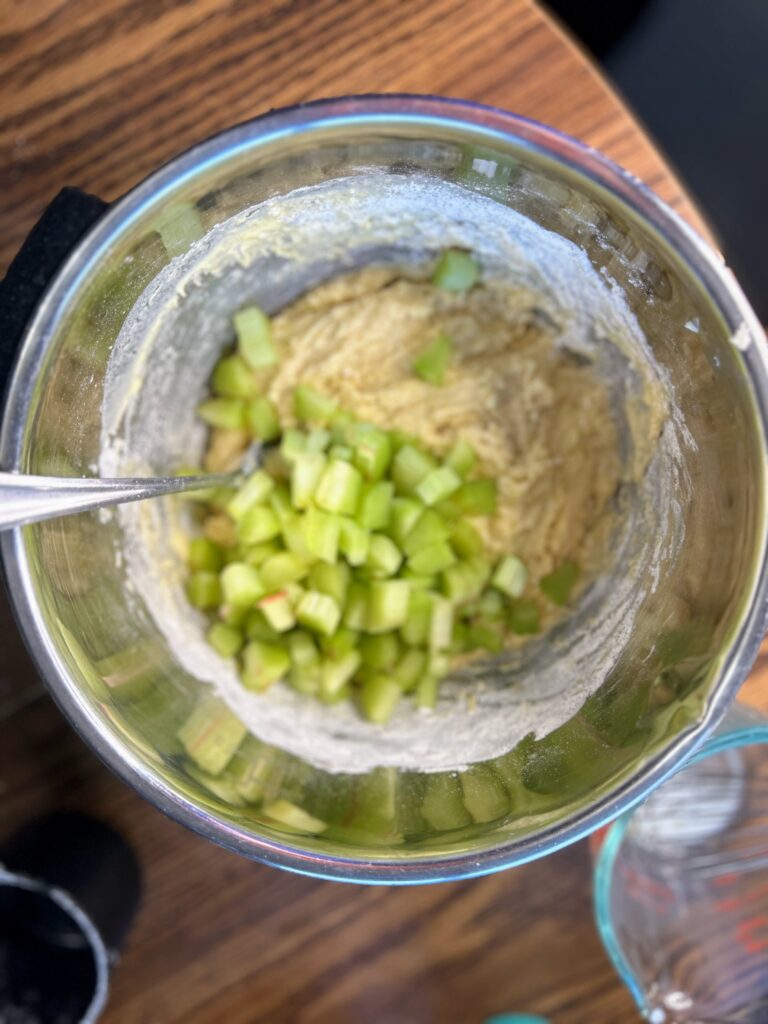
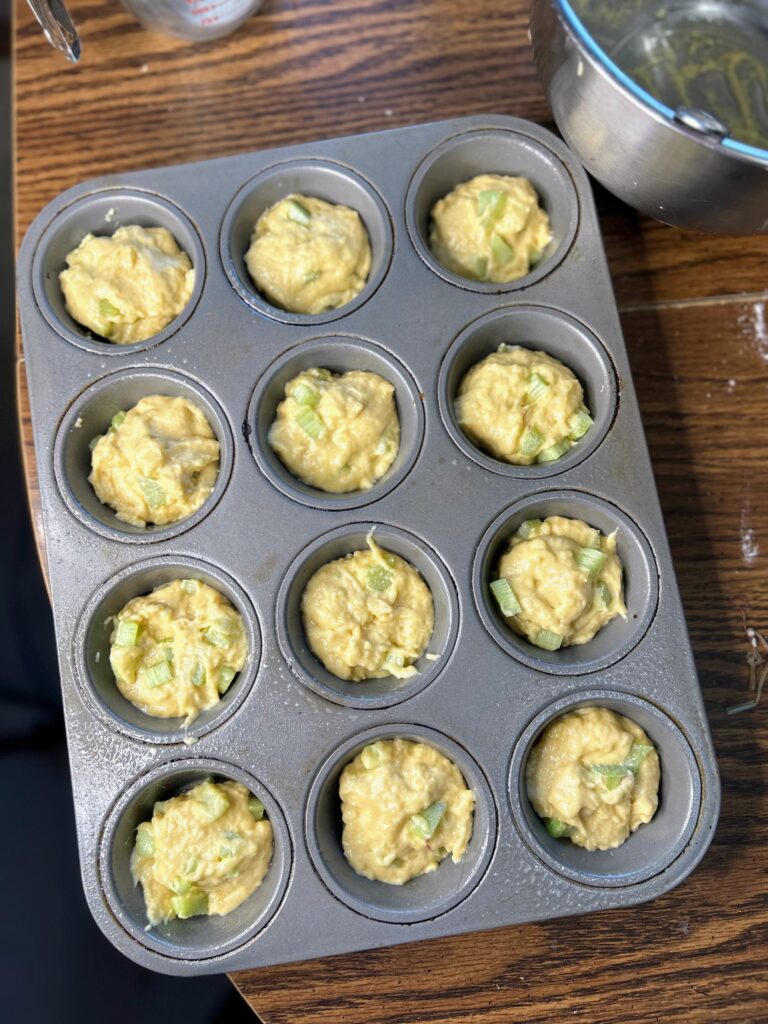
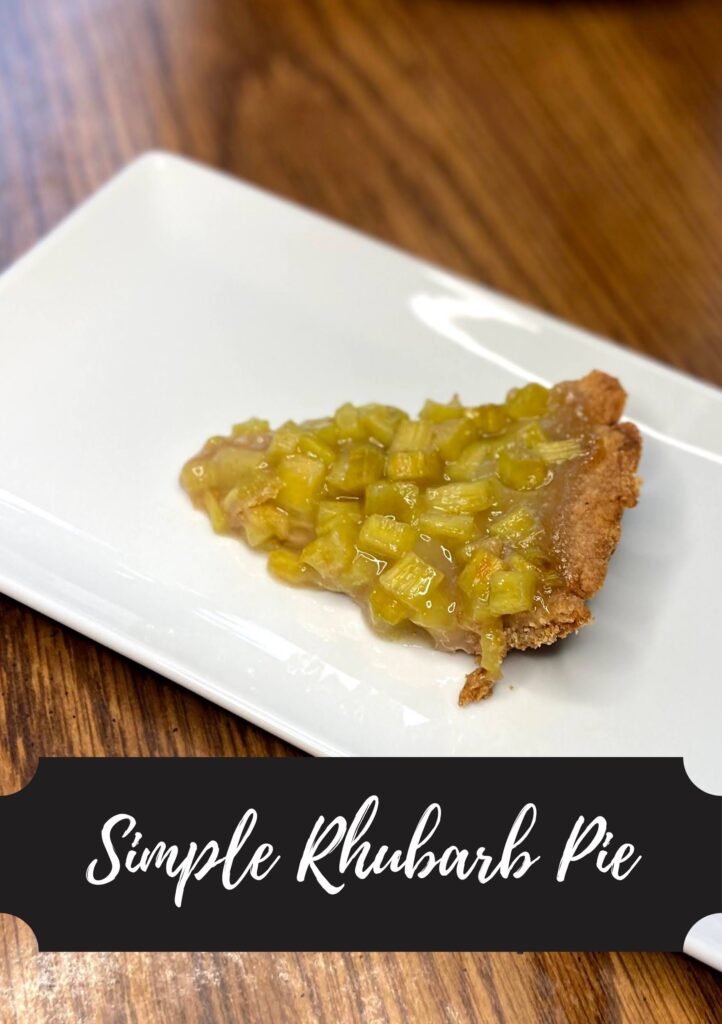
I have never loved the idea of pie crust, but this simple rhubarb pie has the easiest pie crust that I bet you will revisit again and again! And the cookies? They are soft and delicious; a unique treat to be sure! Click any of the pictures to head to the recipes!

Canning during rhubarb season

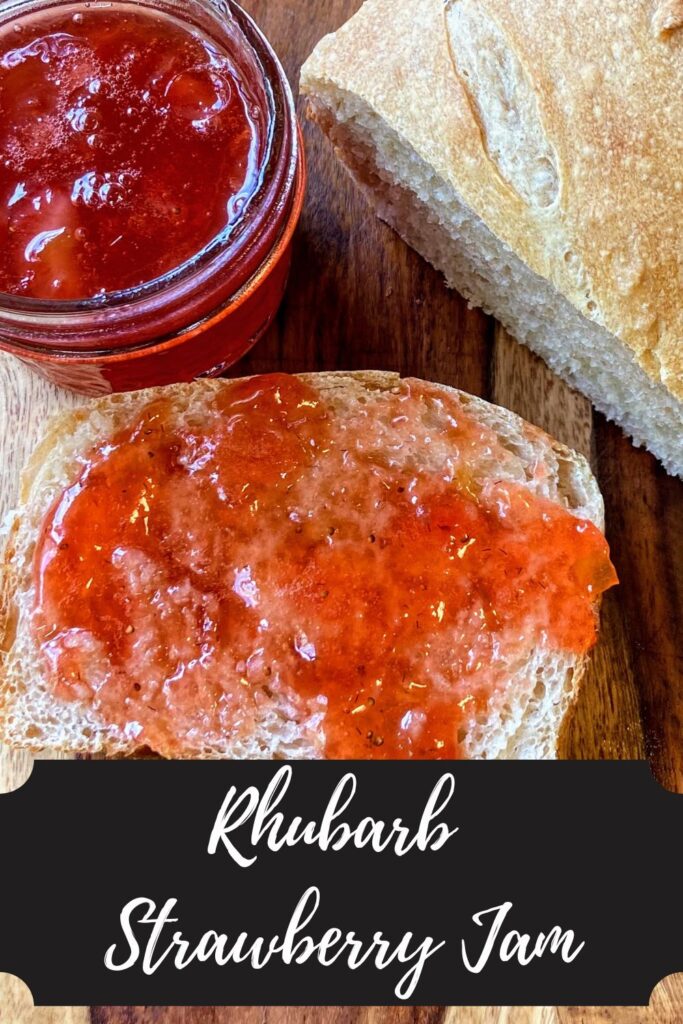
Sometimes I sell my jellies and jams to friends and family. Strawberry rhubarb jam is a favorite every year. It’s unique and something you can’t necessarily find on the shelves. Even if you’re new to canning and preserving, I definitely recommend giving it a try! There is something so special about making your own jelly and jam.

Click the image to head to the recipe and all you need to know about canning it!

I hope you found something to create today, if not in a few weeks when all your snow is gone, like me! We are sitting with an easy 2-3 feet of snow yet, but you can bet I will be baking and creating away once the grass turns green the rhubarb grows!

Much love~Jess

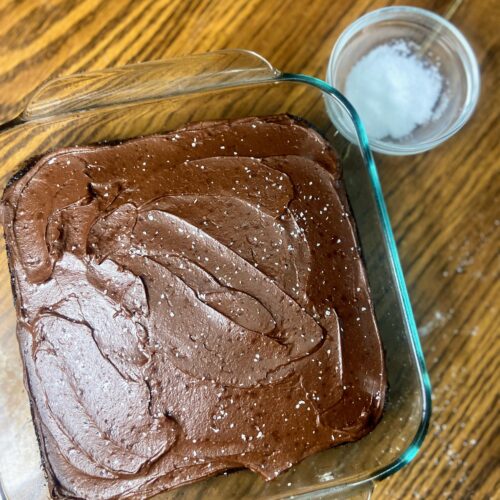
Chocolate Snack Cake

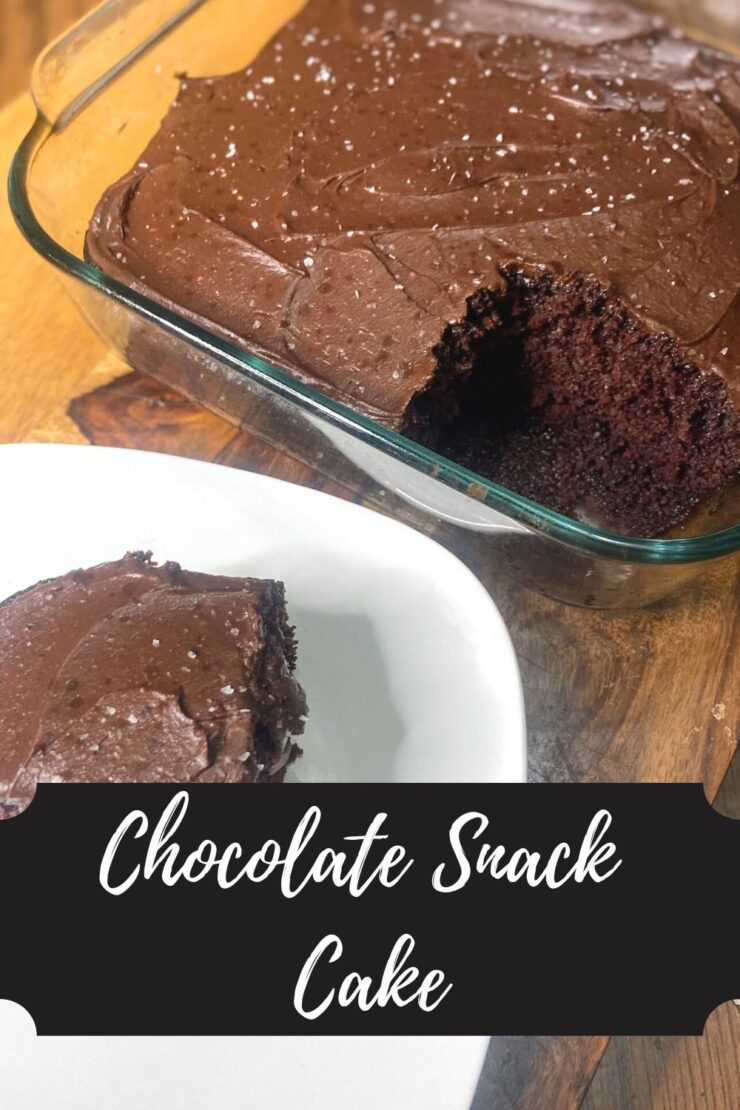
There is something to be said for making something from scratch. It just feels special as you pull all the ingredients down from the cupboard and watch as simple ingredients combine to create something special. For some reason, I feel that is especially true when it comes to a chocolate snack cake. 

I grew up in a house where my mom always baked us our birthday cakes. I don’t know if she ever purchased a cake from a bakery for my sister and me. That being said, it was always Betty Crocker, Duncan Hines, or Pillsbury. So while it wasn’t homemade, box cake was a staple in my childhood. It became the thing I would make when my own kiddos. Why would I buy a cake when I can make it for cents on the dollar?

Even as I was becoming a food blogger, I stuck with my box cake mix because that’s what my mom always did. Then one day, I was scrolling instagram and I stumbled on a recipe for a chocolate snack cake and I knew I had to make it. And my goodness, forget those box cakes. This is where it is at! It’s so simple and perfectly chocolatey. 

So what is a snack cake?

Historically, a chocolate snack cake is also known as a depression or war cake. It doesn’t use eggs or milk, ingredients that would have been particularly hard to find during wartime rationing. I love that the secret ingredient is vinegar. I mean, who knew?! And you would never know! For those science minded friends, the vinegar mixes with the baking soda to make the cake light and fluffy 

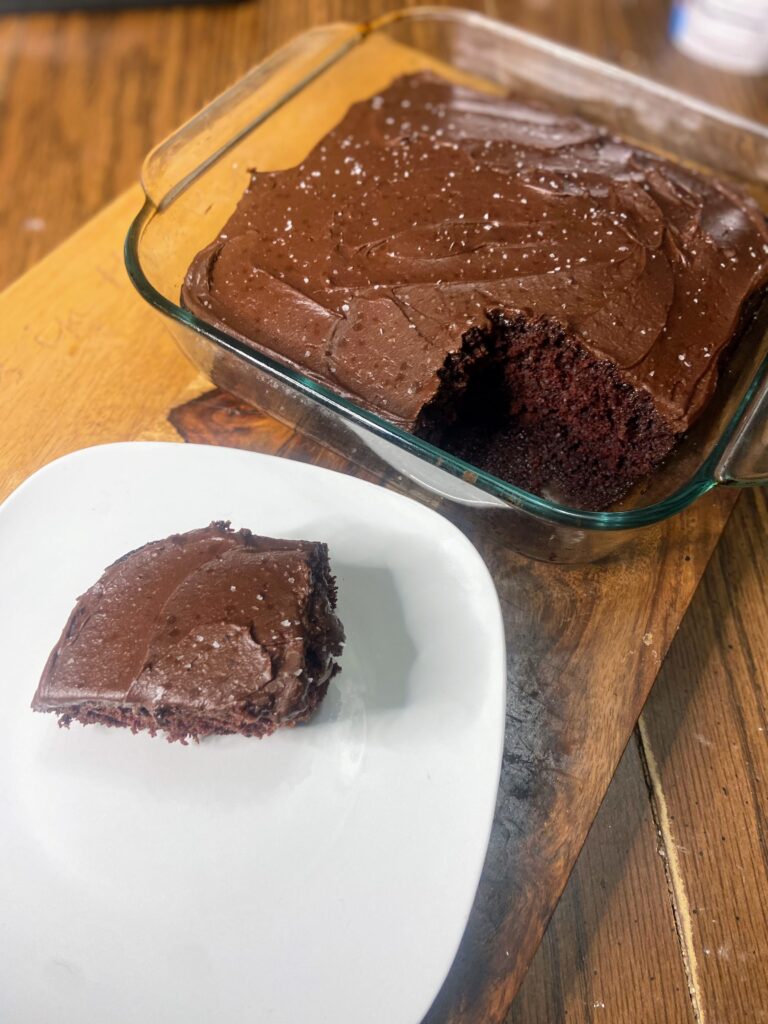
What results in this chocolate snack cake is a rich and so delicious cake. And one of my favorite parts is that it only makes a 9 by 9 inch pan. I mean, I am here for cake, but sometimes you don’t want a giant one sitting around the house. Perfect for celebrating with a small group!

Now that was way too much talking. Let’s bake together! 

Your Ingredients 

  • 1 ½ cups all purpose flour 
  • 1 cup sugar 
  • ½ teaspoon salt
  • 1 teaspoon baking soda
  • ⅓ cup cocoa powder
  • 1 tablespoon vinegar
  • 1 teaspoon vanilla 
  • 1 cup water 
  • ⅓ cup vegetable oil 

Frosting Ingredients

  • 1 cup powdered sugar
  • ¼ cup cocoa powder
  • 2 tablespoons softened butter
  • 2 tablespoons milk 
  • 1 teaspoon vanilla 
  • Pinch of salt 

Your Steps to a Delicious Chocolate Snack Cake

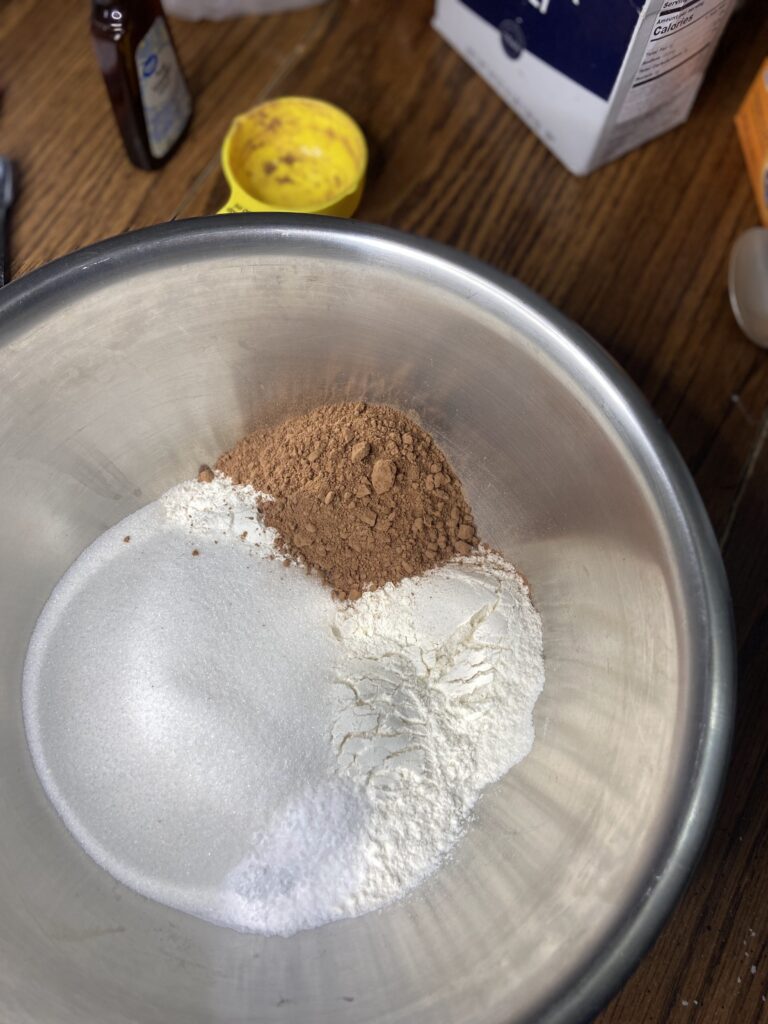
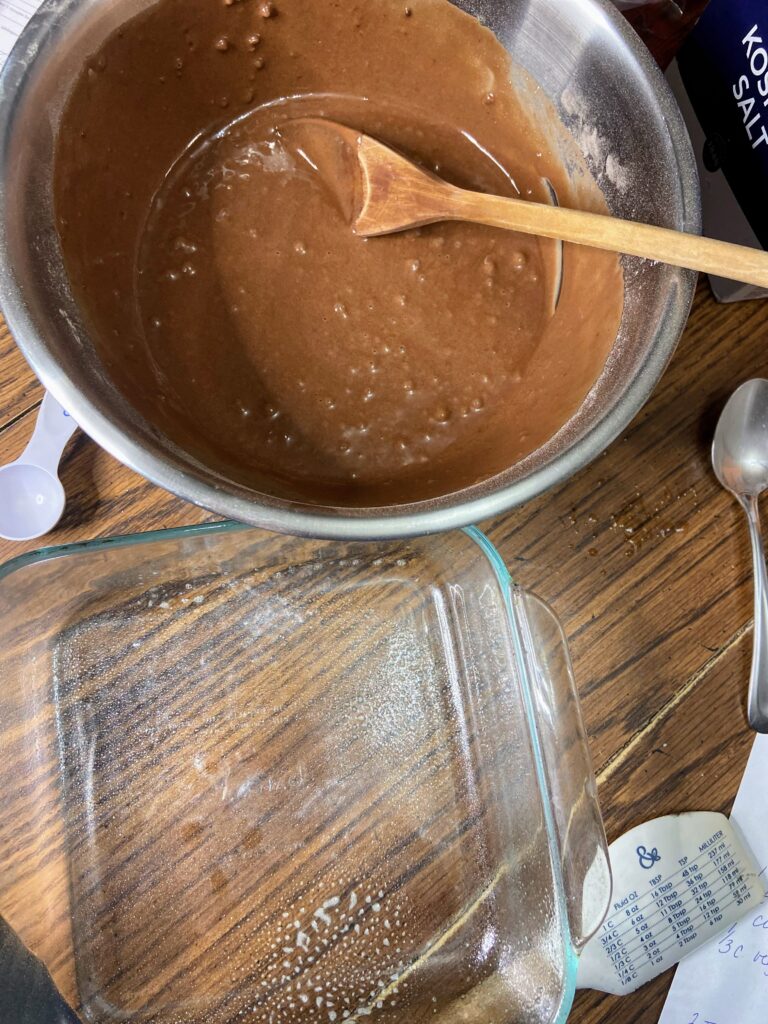
Preheat the oven to 350 degrees and prepare a 9 by 9 inch baking dish by spraying with nonstick cooking spray. In a large bowl, mix the flour, sugar, salt, baking soda, and cocoa powder. Set aside. Measure the water, vegetable oil, vanilla, and vinegar in a 2 cup liquid measuring cup. Whisk for 1 minute. Stir into the dry ingredients quickly and then immediately pour into prepared pan. Bake for 35 minutes, until it passes the toothpick test. Allow to cool before frosting.

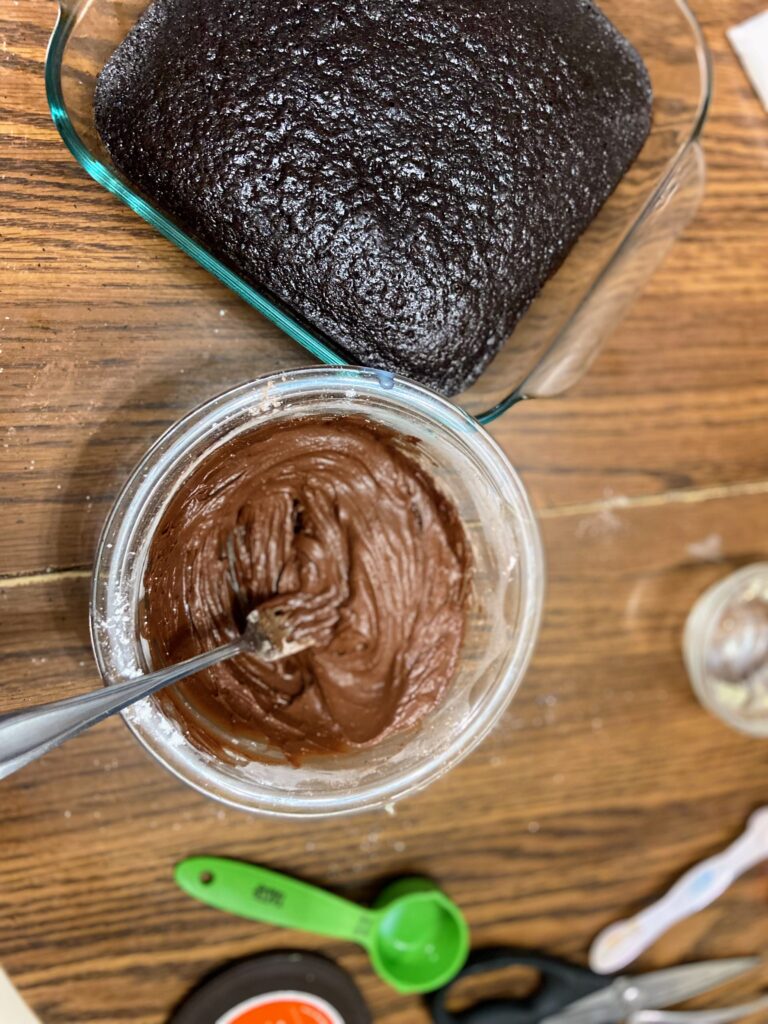
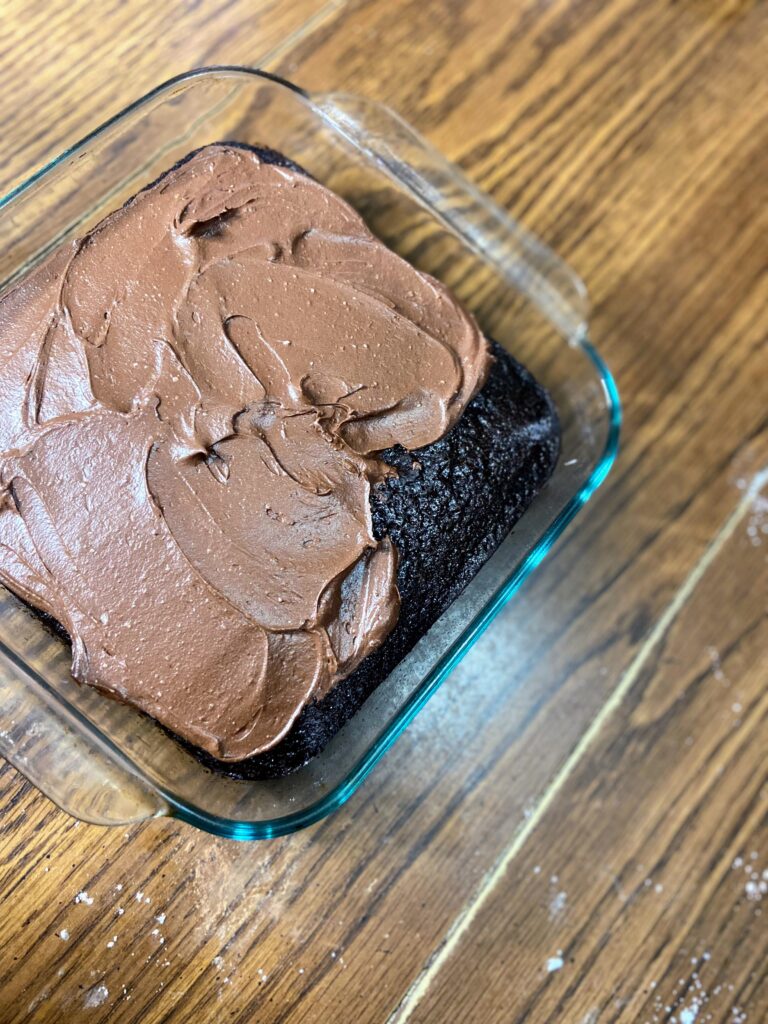
To create the frosting, add the butter to a small bowl and whip until fluffy using a fork. Add powdered sugar, cocoa powder, and pinch of salt. Mix well, incorporating the butter into the dry ingredients. Add milk and vanilla and continue to whip until smooth. Frost cooled cake. Enjoy immediately.

Chocolate Snack Cake

This delicious and simple chocolate cake is perfect for those chocolate cravings, when your shelves are a little bare, or if you don't do egg or dairy. You won't regret having this recipe in your back pocket.
Prep Time 5 minutes
Cook Time 35 minutes
Course Dessert
Cuisine American
Servings 9 servings

Ingredients
  

  • 1 ½ cups all purpose flour
  • 1 cup sugar
  • ½ teaspoon salt
  • 1 teaspoon baking soda
  • cup cocoa powder
  • 1 tablespoon vinegar
  • 1 teaspoon vanilla
  • 1 cup water
  • cup vegetable oil

Frosting Ingredients

  • 1 cup powdered sugar
  • ¼ cup cocoa powder
  • 2 tablespoons softened butter
  • 2 tablespoons milk
  • 1 teaspoon vanilla
  • Pinch of salt

Instructions
 

  • Preheat the oven to 350 degrees and prepare a 9 by 9 inch baking dish by spraying with nonstick cooking spray.
  • In a large bowl, mix the flour, sugar, salt, baking soda, and cocoa powder. Set aside.
  • Measure the water, vegetable oil, vanilla, and vinegar in a 2 cup liquid measuring cup. Whisk for 1 minute.
  • Stir into the dry ingredients quickly and then immediately pour into prepared pan.
  • Bake for 30-35 minutes, until it passes the toothpick test. Allow to cool before frosting.
  • To create the frosting, add the butter to a small bowl and whip until fluffy using a fork.
  • Add powdered sugar, cocoa powder, and pinch of salt.
  • Mix well, incorporating the butter into the dry ingredients. Add milk and vanilla and continue to whip until smooth.
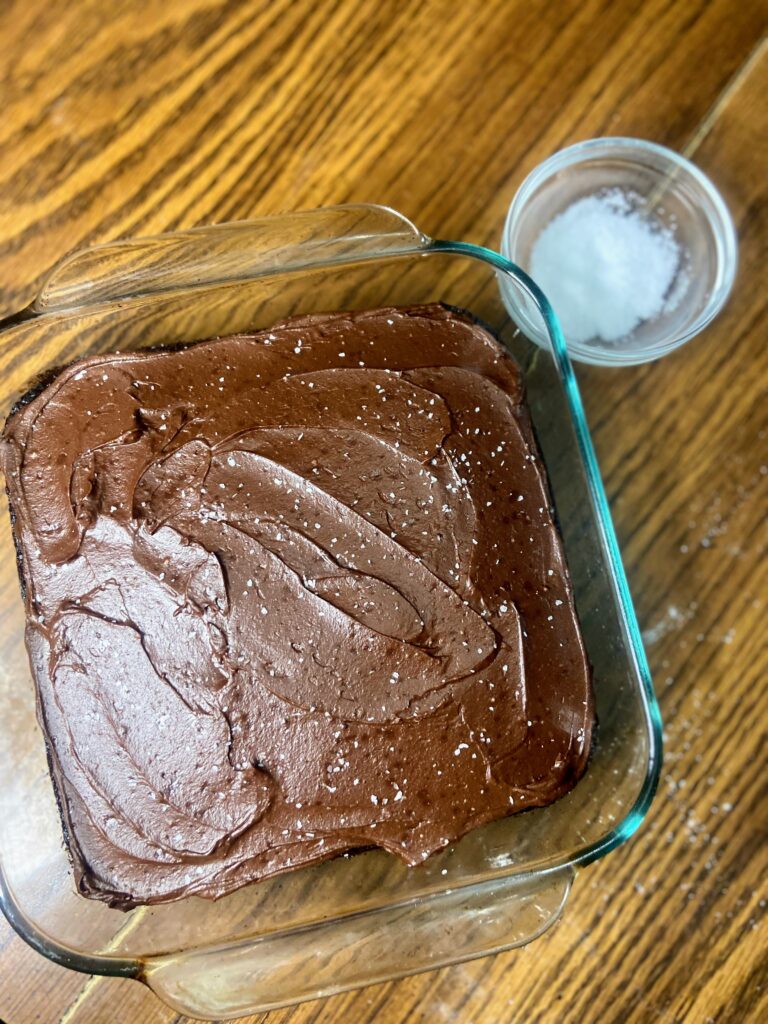
  • Frost cooled cake. Sprinkle with course salt, if desired.
Keyword cake recipe, chocolate, chocolate cake, chocolate snack cake, depression cake
Tried this recipe?Let us know how it was!

Looking for other sweet treats?

Check out my baking page or some of my favorites below!

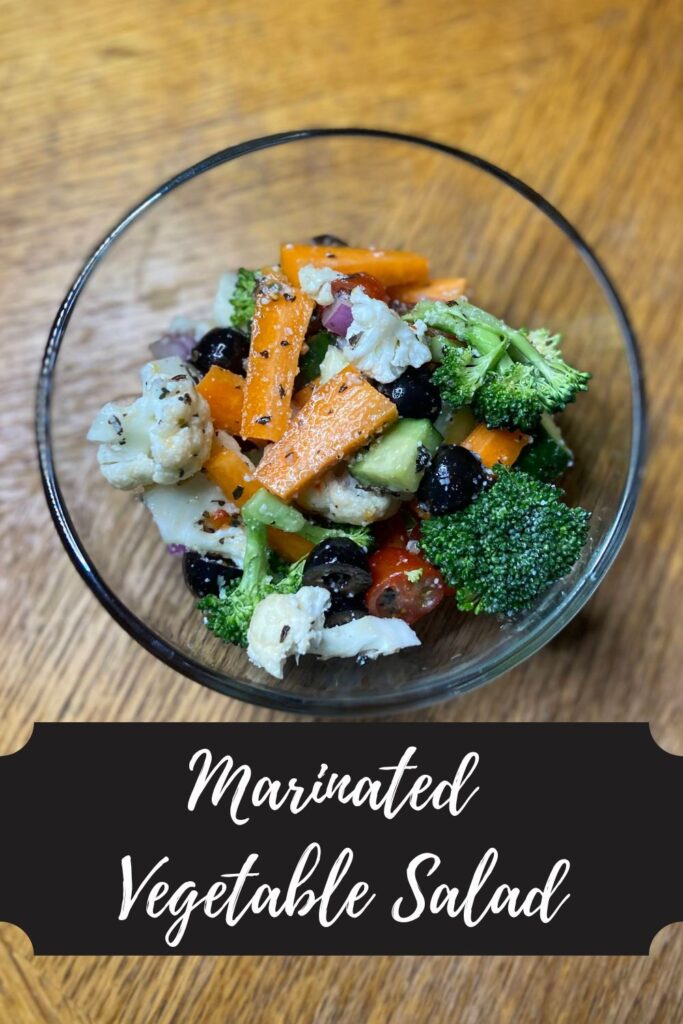
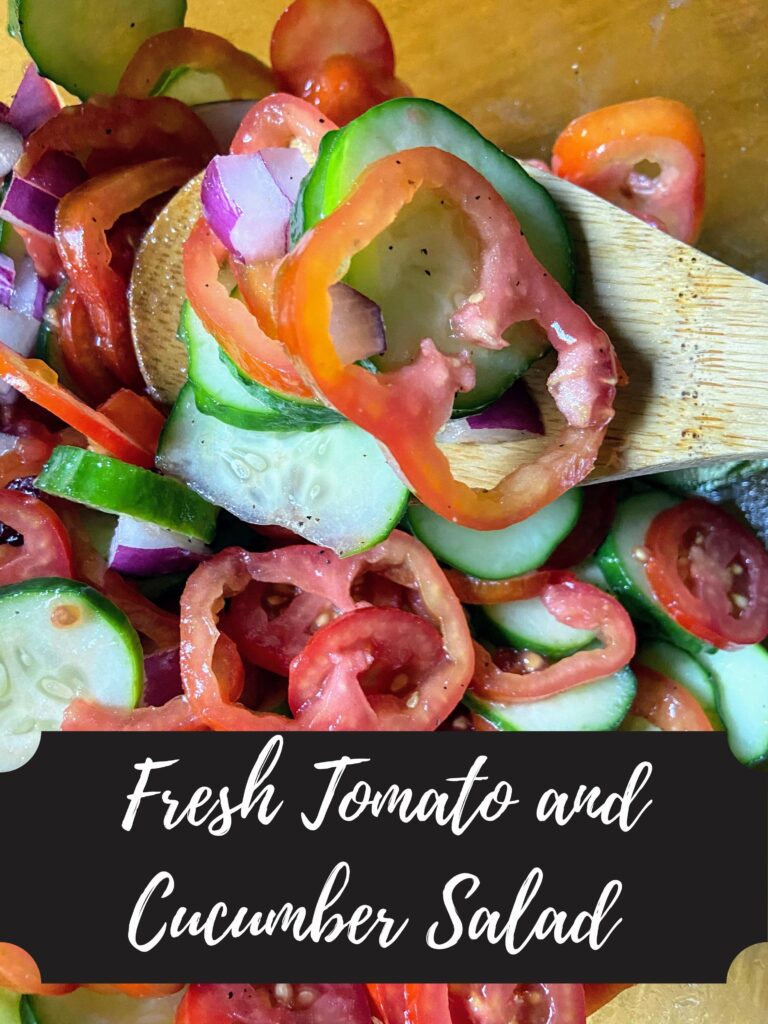
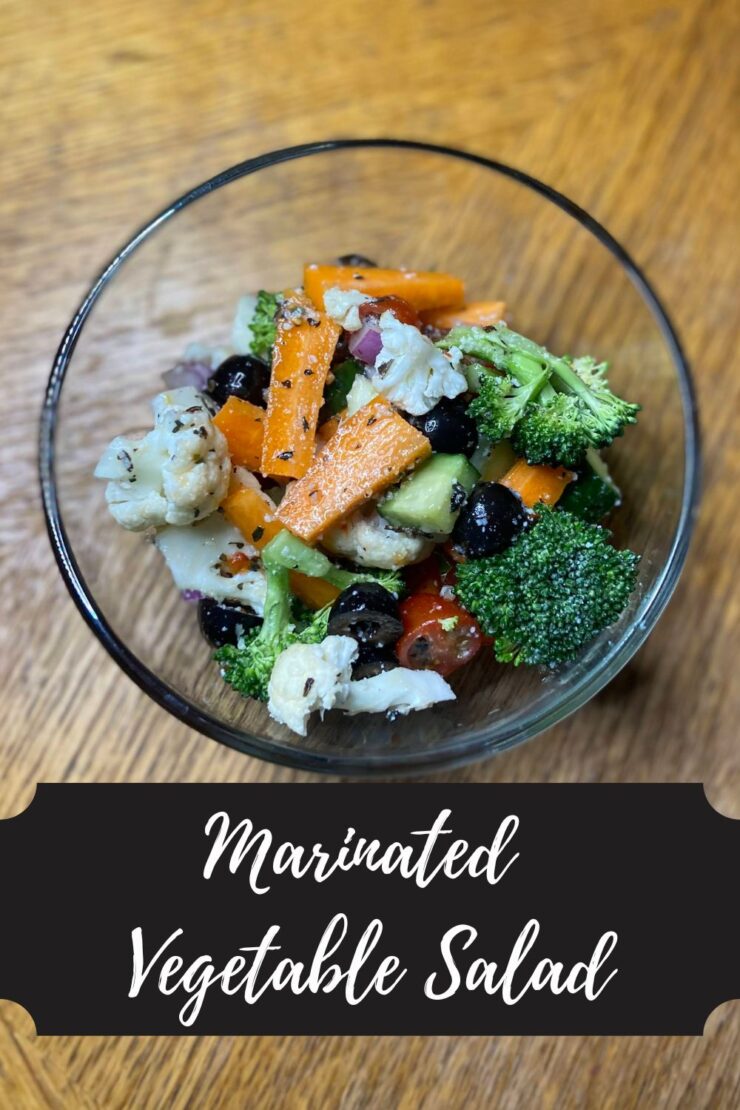
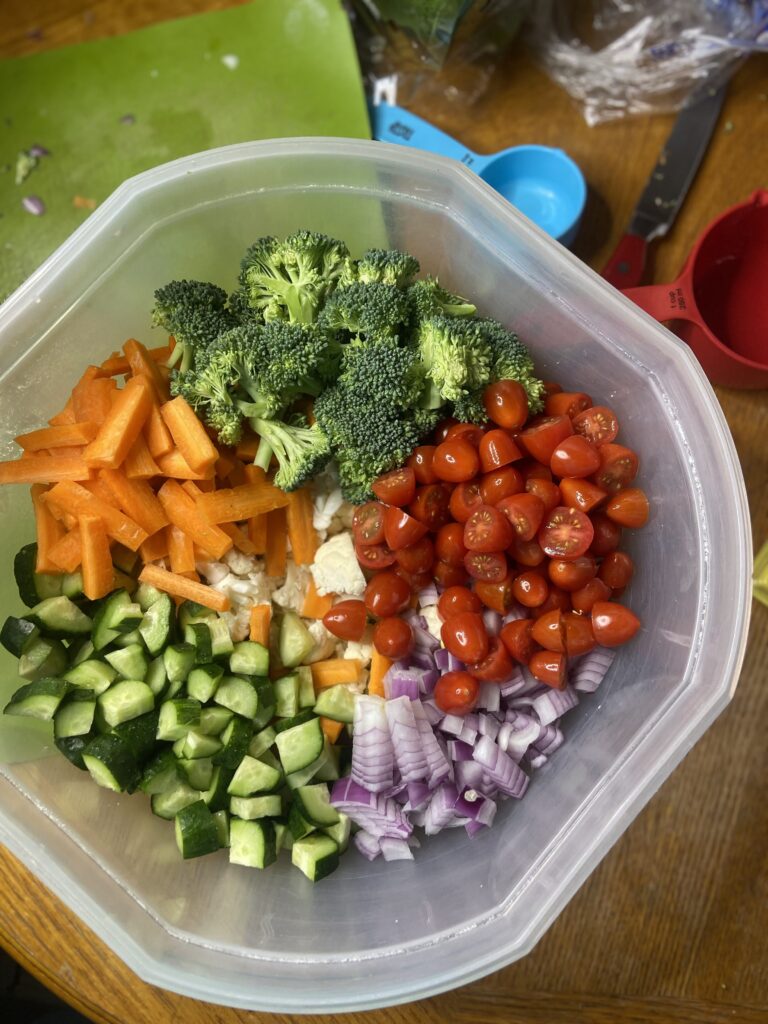
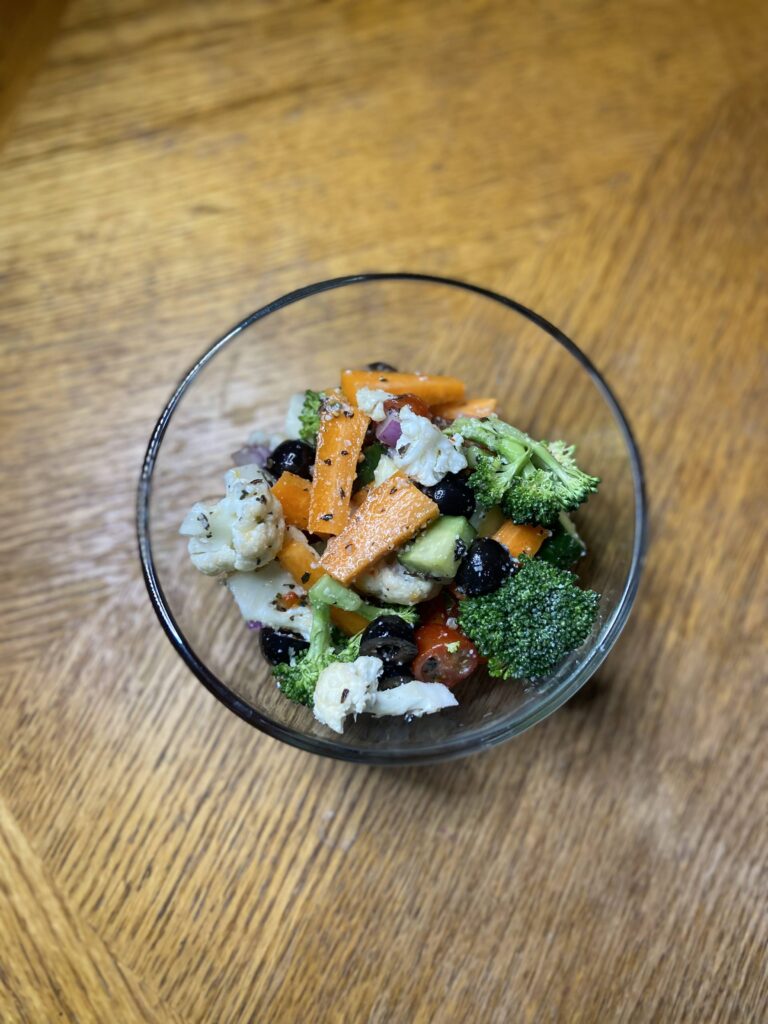
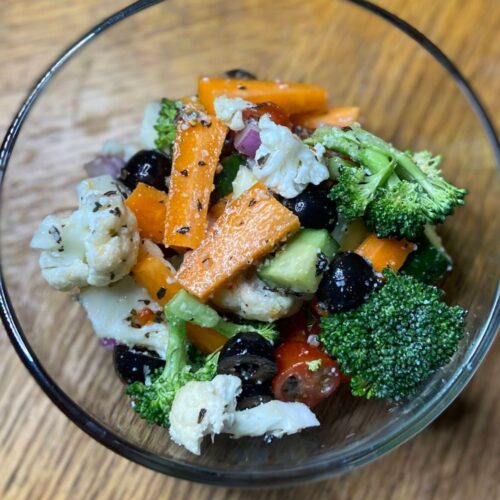
Marinated Vegetable Salad

You know when you get invited to a get together and you need to bring a dish to pass but definitely don’t want to think hard? This marinated vegetable salad is the dish you bring, my friends.

Years ago, I remember saying to the Mr, “I mean, you have a fruit salad…I wonder if there is such a thing as a vegetable salad?” As soon as it left my mouth, I felt so silly asking the question. Aren’t all salads vegetable salads? I mean, no, not if you live in the midwest. If you head to a potluck, you’ll see all sorts of non-vegetable salads. We have pasta salad. We have this Snicker apple salad. And the classic tuna salad. But this marinated vegetable salad is exactly what I envisioned when I asked that silly question. (I just brought it up again to him, and he gave me the most loving, but judgemental look). 

Back to my question…

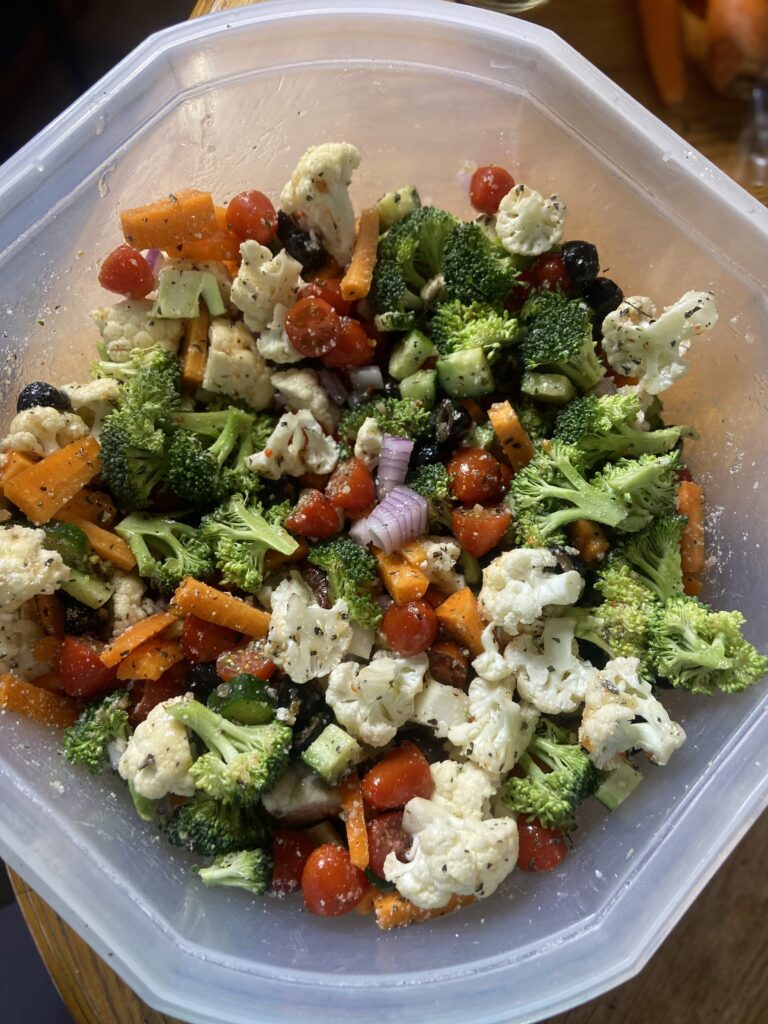
I was picturing a salad full of chopped vegetables, like chopped fruit. But unlike the fruit salad I normally make, a vegetable salad needs a little sauce to give it a pizzazz. If you’ve been here a while, you know I love to make everything from scratch, and I probably could do that here. But I have found that Zesty Italian dressing from the store just works so well and makes for a quick and delicious side. 

This recipe has become my absolute go to when I have to bring a dish to pass. The healthier me loves that I can depend on vegetables being available when I am surrounded by a lot of other delicious things. It takes minimal prep and doesn’t really need to be kept cold or hot. It can just hang out at room temperature for the duration of the fest!

The best part though? It’s totally customizable. Don’t love peppers? Skip them. Want all the broccoli? Give it an extra cup! 

Ready to start creating? Let’s go!

Your Ingredients for Marinated Vegetable Salad

  • 1 head cauliflower
  • 1-2 heads of broccoli
  • 3 carrots
  • 2-3 cucumbers
  • 1 can black olives 
  • 1 red onion 
  • 2 cups halved grape tomatoes 
  • 1-2 sweet peppers
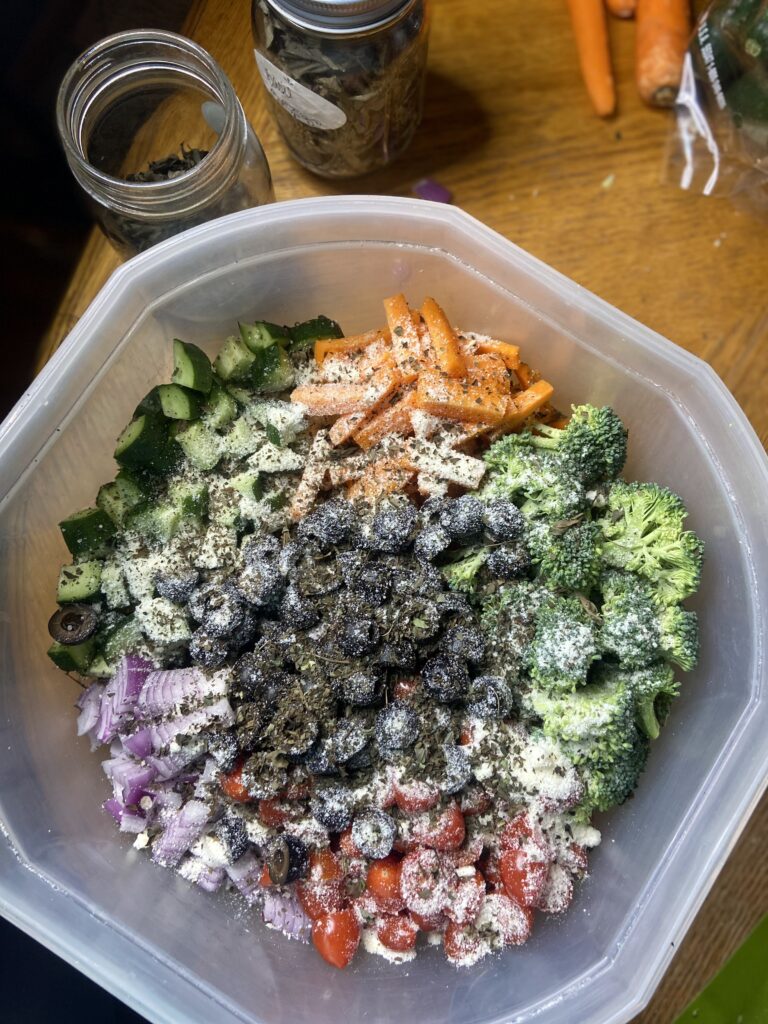
  • 1 cup zesty Italian dressing 
  • ¼ cup grated Parmesan cheese 
  • 1 teaspoon dried oregano
  • 1 teaspoon dried basil 

Your Steps

Dice the red onion and cut all the remaining veggies into bite size pieces. Slice the black olives in half. Combine all the ingredients in a bowl with a cover and mix. Pour on the dressing, cheese, oregano, and basil. Stir well. Chill a few hours before serving. But this salad is best made the night before so the vegetables can marinate and is honestly best about two days later. It’s definitely not something I complain about when I have leftovers! 

Marinated Vegetable Salad

You know when you get invited to a get together and you need to bring a dish to pass but definitely don’t want to think hard? This marinated vegetable salad is the dish you bring, my friends.
Prep Time 15 minutes
Cook Time 0 minutes
Course Appetizer, Salad, Side Dish
Cuisine American
Servings 12

Ingredients
  

  • 1 head cauliflower
  • 1-2 heads of broccoli
  • 3 carrots
  • 2-3 cucumbers
  • 1 can black olives
  • 1 red onion
  • 2 cups halved grape tomatoes
  • 1-2 sweet peppers
  • 1 cup zesty Italian dressing
  • ¼ cup grated Parmesan cheese
  • 1 teaspoon dried oregano
  • 1 teaspoon dried basil

Instructions
 

  • Dice the red onion and cut all the remaining veggies into bite size pieces. Slice the black olives in half.
  • Combine all the vegetables in a bowl with a cover and mix.
  • Pour on the dressing, cheese, oregano, and basil. Stir well.
  • Chill a few hours before serving.
Keyword broccoli, cauliflower, cold sides, dishes to pass, Italian dressing, onions, peppers, side dish, side dishes, vegetables
Tried this recipe?Let us know how it was!

Looking for other great Sides?

Check out my Cooking page for other inspiration. Or maybe you want to eat with your eyes! Then you can find a treat or two below!

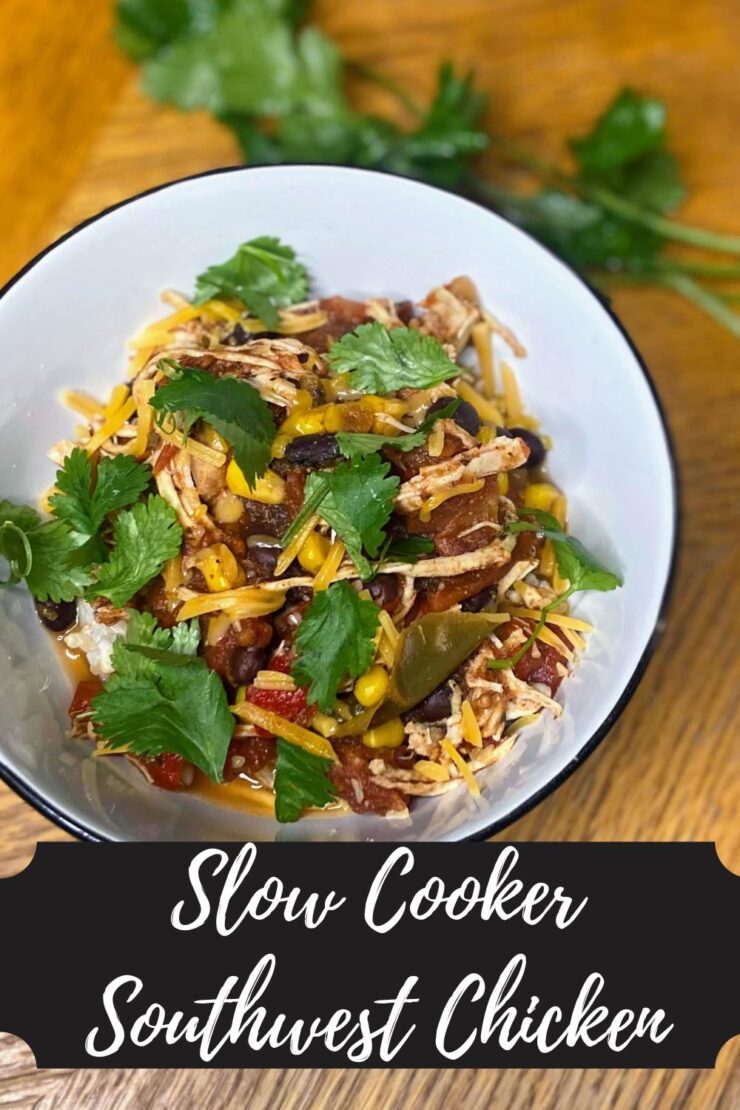
Slow Cooker Southwest Chicken

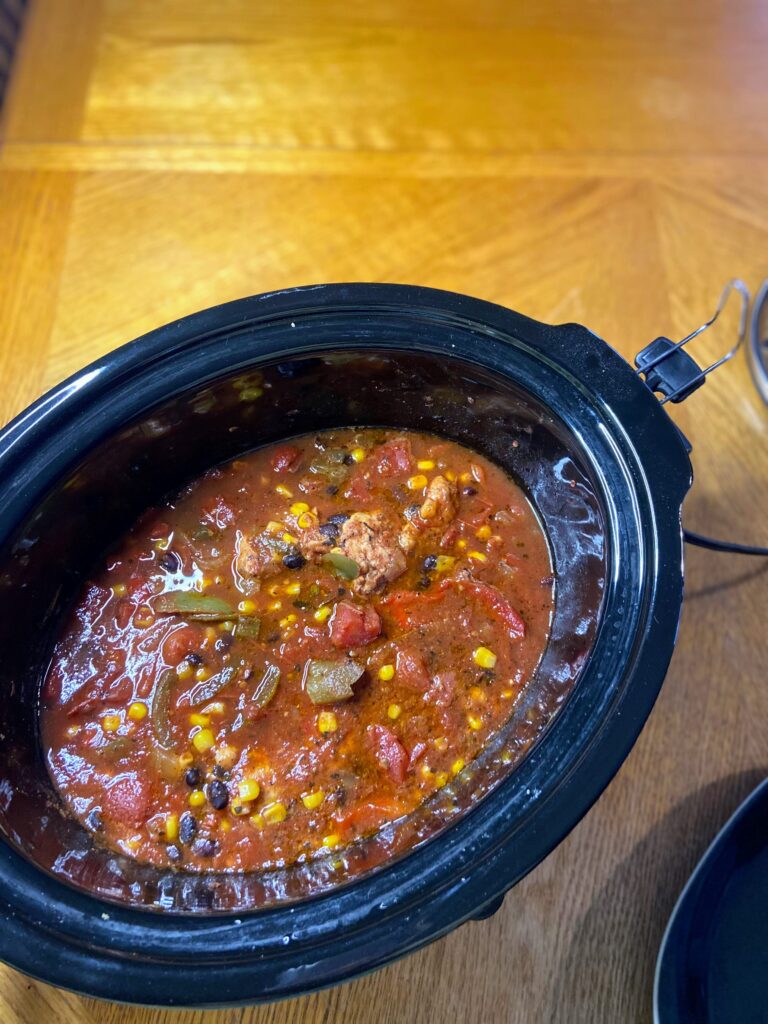
Sometimes life just calls for simple, slow cooker recipes. Whether it be a busy weeknight full of work meetings and volunteering; kiddos with sports activities at wild hours; or, if you’re like me, you’re laid up with a knee injury and can’t put weight on your leg for at least a month. When cooking is one of your happy places, you visit that happy place a few days out of surgery to create a delicious and very simple Slow Cooker Southwest Chicken. 

I had craved chicken going into surgery and had the Mr. pick some chicken breasts up. Then, much to my surprise, a number of friends had asked if they could drop off meals for us, asking “would that be helpful?” 

My response was always, “It sure would be helpful for my husband!” One such meal was a tortilla soup that was DELICIOUS. It made me crave more Tex Mex flavors and chicken, but I was only a few days out from the surgery and moving about the kitchen was not a thing I was ready to do. 

So I did what any good food blogger would do…

I texted the Mr. a set of ingredients I thought I would need and directions to grab the slow cooker. A rearrange of chairs so I could elevate my knee and we were set! I had a great helper to drain and rinse black beans and grab the remaining spices I forgot to grab and this beauty of a recipe was set to go! 

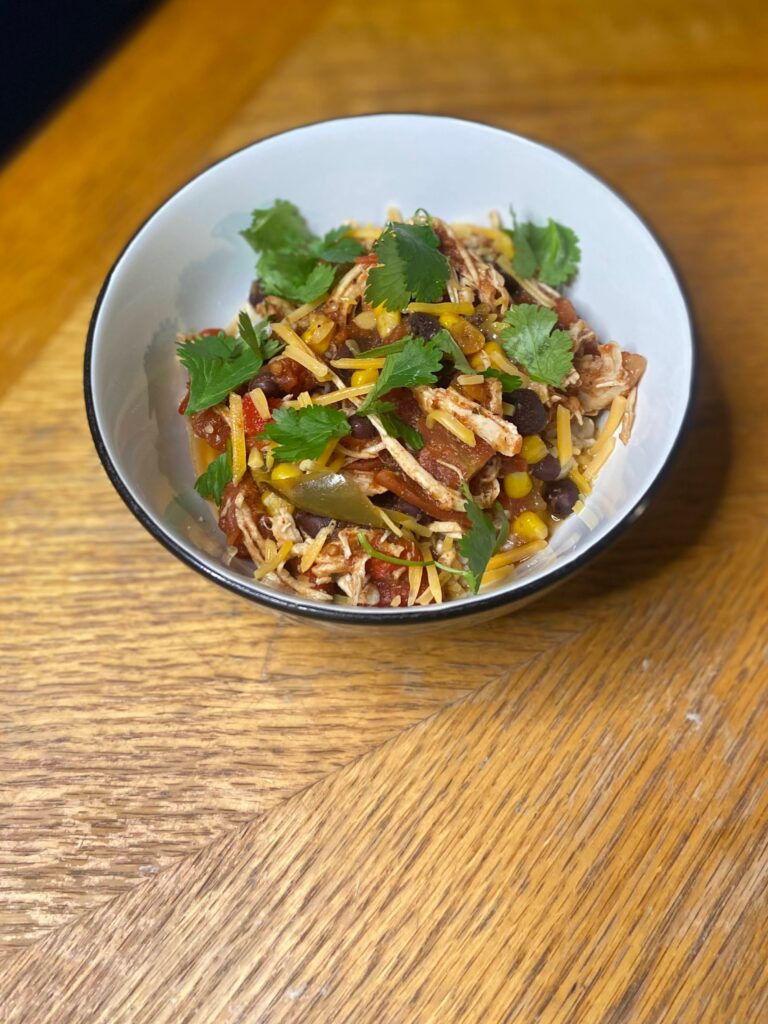
I was even able to lean on my mini me to help make some brown rice to serve it over. When we got done eating, she gave it a quick two thumbs up and I cleaned her bowl. My big kiddo was away, but also devoured a couple bowls when he got home. I think we have a win! 

Let’s get cooking!

Your Ingredients to Slow Cooker Southwest Chicken 

  • 2 chicken breasts, seasoned with salt and pepper 
  • 1 15 ounce can of diced tomatoes, undrained and unsalted
  • 1 15 ounce can of tomato sauce
  • 1 15 ounce can black beans, rinsed and drained
  • 1  cup frozen corn
  • 2 cups frozen peppers and onions 
  • 1 tablespoon chili powder 
  • 1 teaspoon each of garlic powder, onion powder, cumin, oregano
  • ½ teaspoon pepper 
  • ½ teaspoon salt 
  • Pinch of cayenne pepper for some heat, optional
  • Cooked white or brown rice, to serve over
  • Toppings: green onions, shredded cheese, cilantro, jalapeno slices 

Your Steps to Slow Cooker Southwest Chicken

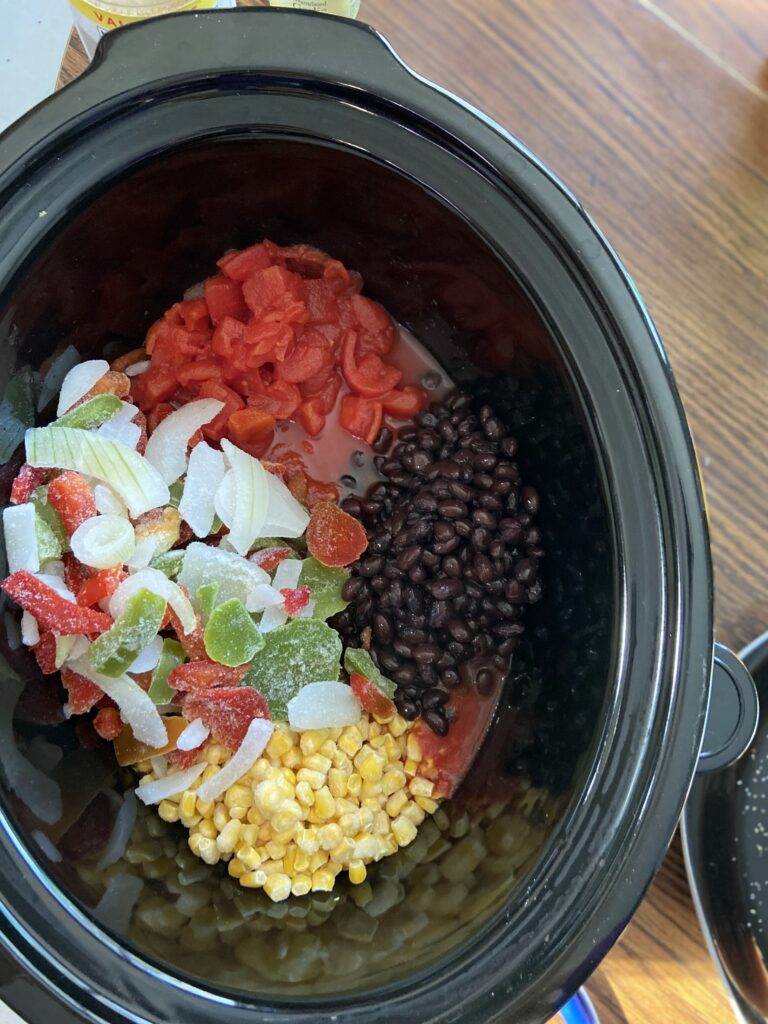
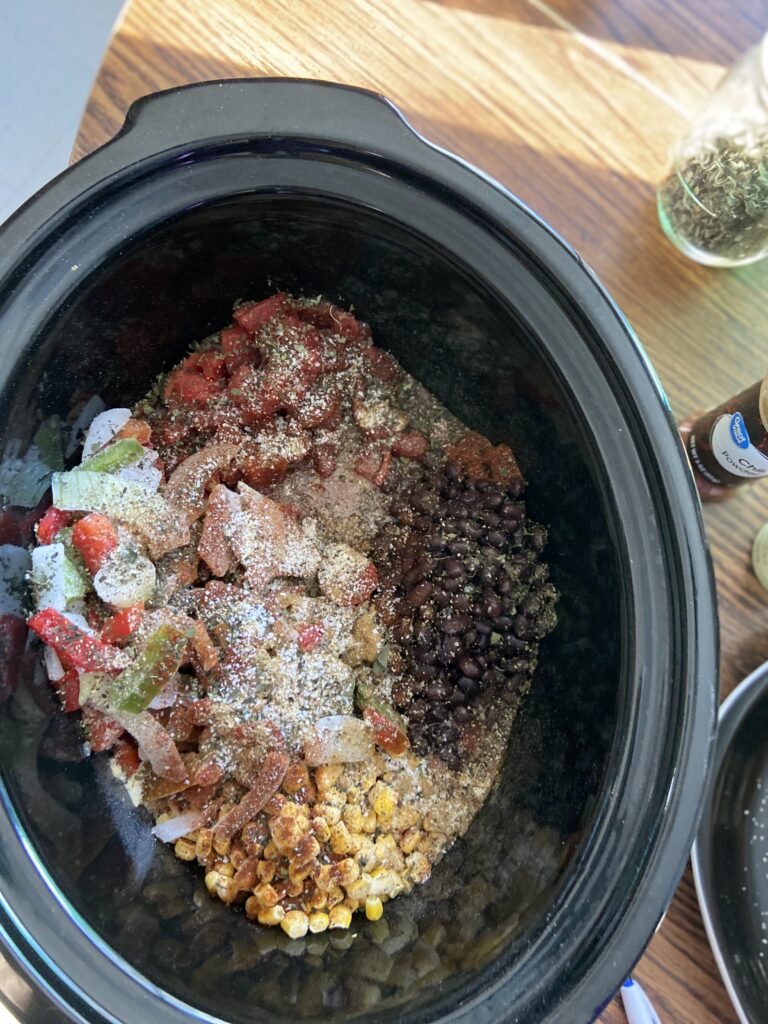
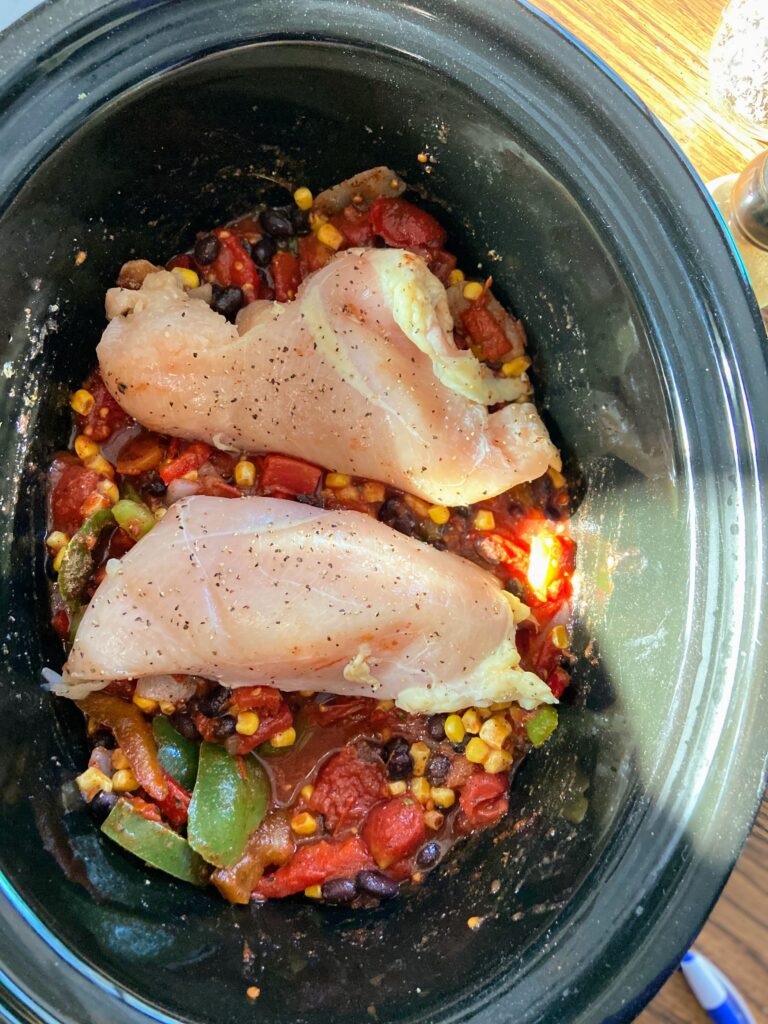
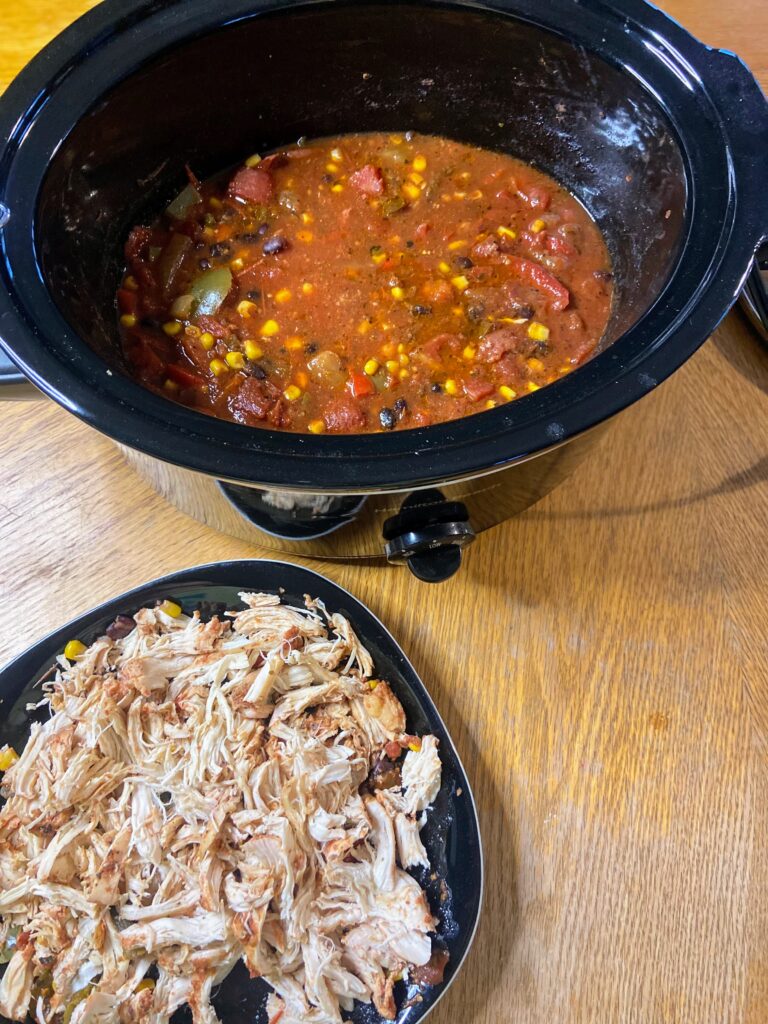
Add the diced tomatoes, tomato sauce, black beans, corn, and peppers and onions to a slow cooker. Stir. Add all spices and herbs and stir again. Top with the chicken and spoon some of the vegetable mixture on top. Cook on low for 6-8 hours. 

If you have not done so, cook rice. We keep instant brown rice on hand for nights we need to be quick and long grain brown rice for days we don’t need to be so quick. 

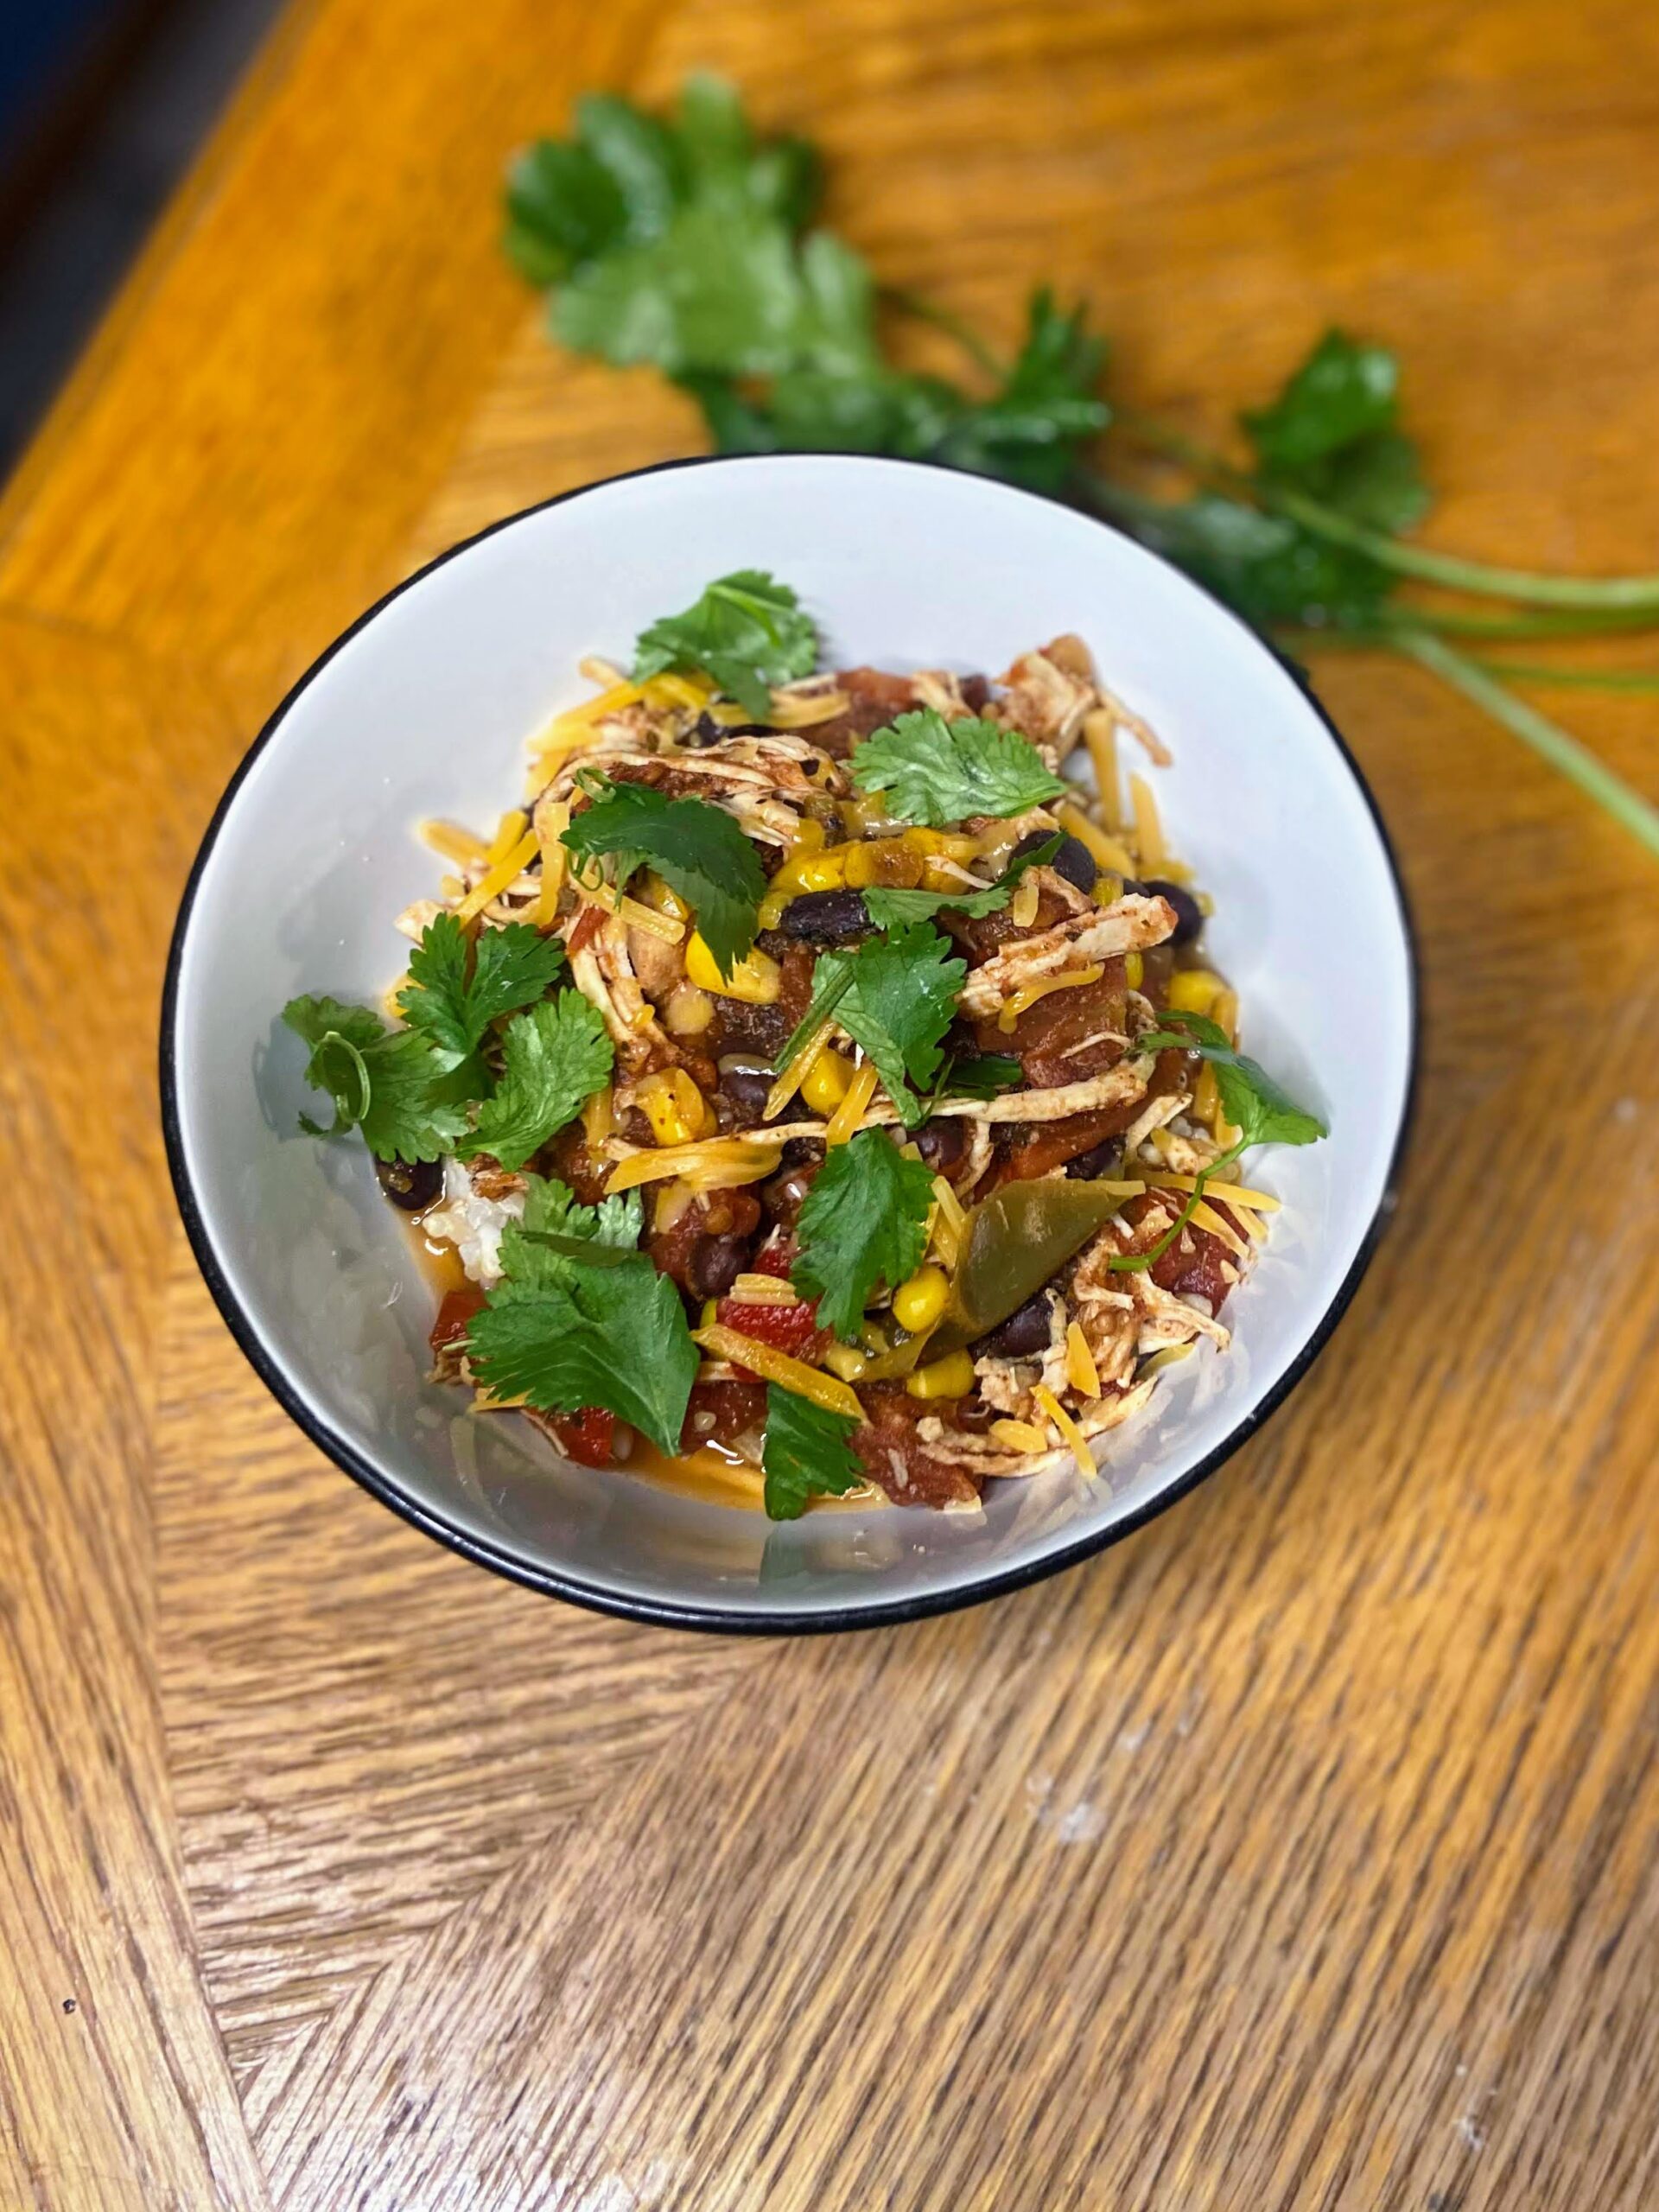
When cooking is done, remove the chicken from the slow cooker. Shred using two forks and mix back into the vegetables. Serve over cooked rice and top with all the fixings you love! Me? I am hear for allll the cilantro and some cheese! 

Slow Cooker Southwest Chicken

Looking for an easy dinner on those busy nights that you can still feel good about eating? Give this slow cooker southwest chicken a try!
Prep Time 5 minutes
Cook Time 6 hours
Course dinner, Main Course
Cuisine American
Servings 8 people

Equipment

Ingredients
  

  • 2 chicken breasts seasoned with salt and pepper
  • 1 15 ounce can of diced tomatoes undrained and unsalted
  • 1 15 ounce can of tomato sauce
  • 1 15 ounce can black beans rinsed and drained
  • 1 cup frozen corn
  • 2 cups frozen peppers and onions
  • 1 tablespoon chili powder
  • 1 teaspoon garlic powder
  • 1 teaspoon onion powder
  • 1 teaspoon cumin oregano
  • ½ teaspoon pepper
  • ½ teaspoon salt
  • Pinch of cayenne pepper for some heat optional
  • Cooked white or brown rice to serve over
  • Toppings: green onions shredded cheese, cilantro, jalapeno slices

Instructions
 

  • Add the diced tomatoes, tomato sauce, black beans, corn, and peppers and onions to a slow cooker. Stir.
  • Add all spices and herbs and stir again.
  • Top with the chicken and spoon some of the vegetable mixture on top. Cook on low for 6-8 hours.
  • If you have not done so, cook brown rice according to directions.
  • When cooking is done, remove the chicken from the slow cooker.
  • Shred using two forks and mix back into the vegetables. Serve over cooked rice and top with all the fixings you love.
Keyword chicken, chicken recipes, crock pot, crockpot, slow cooker, Southwest, Tex Mex
Tried this recipe?Let us know how it was!

Looking for things to pair with dinner tonight?

Check out some of these recipes for inspiration or head to my Cooking or Baking pages!

Homemade Clam Chowder

If you hang out with me on Instagram, you may know that I am part of a collab that cooks from a different cookbook each month. The intent was to use those books that are collecting dust, but for many of us, it has led to us purchasing more books. Ha! For me, it has also led to some new explorations and recipe development. Case in point, this homemade clam chowder. 

A month ago, I had pulled out the first cookbook I ever bought, Betty Crocker’s Big Red Cookbook (okay, that might not be it’s name, but that’s what I am calling it) and in flipping through the pages for our challenge, I stumbled on the clam chowder recipe. That’s one of the Mr’s favorites!

It was super simple; too simple. And when I cook for our cookbook collab, I try my best to stick to the recipe and avoid going rogue, as much as I would like to. That meant I picked different recipes for the collab, but also that it was time for me to play and create my own take on clam chowder. I knew my husband would love it!

Ready to give it a try? Let’s cook together! 

Your Ingredients 

  • 2 cans of clams, reserving the juice
  • 2 tablespoons olive oil
  • 1 cup diced onion
  • 2 cups diced potatoes
  • 1 ½ cups diced celery
  • 1 teaspoon garlic 
  • 1 cup water 
  • ¼ cup flour 
  • ¼ cup butter
  • 1 cup half and half 
  • 1 ½ cups milk 
  • ½ teaspoon pepper 
  • ½ teaspoon salt 

Your Steps to Homemade Clam Chowder

In a dutch oven (I love my cast iron Dutch oven!), heat olive oil over medium heat. Once hot, add onion, potatoes, and celery. Saute for 8-10 minutes, until the onion has softened. Stir in garlic, water, and clam juice. Add additional water to make sure the vegetables are covered, if needed. 

Bring to a boil and simmer the vegetables for ten minutes, until potatoes are soft. Meanwhile, add the butter to a medium skillet on medium heat. Once melted, whisk in the flour and cook until it starts to just brown. SLOWLY, slowly stir in the half and half, ¼ cup or so at a time. Add salt and pepper. 

Whisk the half and half mixture into the vegetable mixture. Stir in milk and clams and cook until just heated through to prevent the clams from getting chewy. 

Note: If you dig a creamier soup, swap some of the milk for more half and half or use a whole milk rather than something like skim.

Completed clam chowder

Homemade Clam Chowder

A simple and delicious take on clam chowder that can be put together in under 40 minutes!
Prep Time 10 minutes
Cook Time 20 minutes
Course dinner, Main Course, Soup
Cuisine American
Servings 6

Ingredients
  

  • 2 cans clams reserving the juice
  • 2 tablespoons olive oil
  • 1 cup diced onion
  • 2 cups diced potatoes
  • 1 ½ cups diced celery
  • 1 teaspoon garlic
  • 1 cup water
  • ¼ cup flour
  • ¼ cup butter
  • 1 cup half and half
  • 1 ½ cups milk
  • ½ teaspoon pepper
  • ½ teaspoon salt

Instructions
 

  • In a dutch oven, heat olive oil over medium heat. Once hot, add onion, potatoes, and celery. Saute for 8-10 minutes, until the onion has softened.
  • Stir in garlic, water, and clam juice. Add additional water to make sure the vegetables are covered, if needed. Bring to a boil and simmer the vegetables for ten minutes, until potatoes are soft.
  • Meanwhile, add the butter to a medium skillet on medium heat. Once melted, whisk in the flour and cook until it starts to just brown. SLOWLY, slowly whisk in the half and half, ¼ cup or so at a time. Add salt and pepper.
  • Whisk the half and half mixture into the vegetable mixture. Stir in milk and clams and cook until just heated through to prevent the clams from getting chewy. Serve immediately.

Notes

Note: If you dig a creamier soup, swap some of the milk for more half and half or use a whole milk rather than something like skim.
Keyword cast iron cooking, clam chowder, clams, cream soup, fall eats, Potatoes, sides, soup, soups and stews, winter eats
Tried this recipe?Let us know how it was!

Looking for other recipes?

Might I suggest some of my other favorite soups and stews and a dessert or two! Or you can head right to my Baking or Cooking page for more inspiration.

No Bake Cornflake Cookies

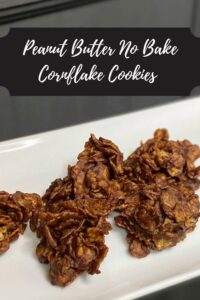
I have had a certain fondness for no bake cookies since I was little. I hadn’t made them often, but if they were an option at a bake sale or dessert bar, I generally would go for them; as long as there wasn’t a brownie or Rice Krispy treat as an option, of course. Then came the time I needed a no bake cookie, and these beautiful no bake cornflake cookies were the result! 

Let me take a step back and explain. But where to start….My big kid has become an avid basketball player, and because of this, he plays 2-3 games most weekends in January and February all around the area. Our town hosts said games soon and the parents of my son’s team were assigned baked goods. 

I LOVE baking and making cookies. But…a few weeks ago, my husband was doing some remodeling in our kitchen (yay!) and when he pulled out our range and then put it back, the oven stopped working correctly (booo!) That means for the last three weeks, I have baked exactly two loaves of bread and broiled one dish. Not great news for the baked goods. 

Well, I guess this is a great opportunity to work on a no bake cookie recipe, right? And just a few weekends ago, I had purchased a GIANT box of corn flakes for cheesy potatoes. The stars had aligned for some delicious no bake cornflake cookies.

My issue?

In looking at all the recipes I could find, no bake cookies are just full of sugar and corn syrup. I love me some sugar and butter, but I also try to find balance and replace when I can.  

My go to replacement for sugar is maple syrup (my family and I started tapping trees a few years ago. Learn about it here!) I was worried it wouldn’t allow the cookies to set, but it worked great! And because the only other real ingredients are corn flakes and peanut butter, I would ALMOST venture to say you could call these breakfast cookies. I mean, I won’t stop you…hehe. 

Now let’s get creating! For this recipe, I’ll leave it in small batch format. You can easily double it to get more delicious no bake cookies, but as it is written, this will give you about 20 cookies. 

Your Ingredients 

  • ½ cup maple syrup 
  • ½ cup peanut butter 
  • ½ teaspoon vanilla
  • Nice pinch of salt 
  • 2 tablespoons cocoa powder
  • 2-2 ½ cups corn flakes
  • ½ cup finely chopped nuts (optional)

Your Steps to No Bake Cornflake Cookies 

Prepare two baking sheets with wax or parchment paper to place the cookies on when they are cooling. 

In a medium saucepan, combine syrup, peanut butter, cocoa powder, and the pinch of salt. Heat over a medium heat until the sauce JUST reaches a full boil. Remove the kettle from the heat and stir in the vanilla, corn flakes and nuts (if using) until well coated, adding more flakes if needed. 

Using a cookie or ice cream scoop, scoop the cookies onto prepared baking sheets. They will stay together better if you give them a little squeeze. Allow to cool until set, about 30-60 minutes. Once set, store in an airtight container. 

No Bake Cornflake Cookies

Looking for a no bake cookie but want to skip on a bit of the refined sugar? Give this great no bake cornflake cookie a try!
3 from 1 vote
Prep Time 5 minutes
Cook Time 5 minutes
Rest Time 1 hour
Course Cookies, Dessert
Cuisine American
Servings 16 cookies

Ingredients
  

  • ½ cup maple syrup
  • ½ cup peanut butter
  • ½ teaspoon vanilla
  • Nice pinch of salt
  • 2 tablespoons cocoa powder
  • 2-2 ½ cups corn flakes
  • ½ cup finely chopped nuts optional

Instructions
 

  • Prepare two baking sheets with wax or parchment paper to place the cookies on when they are cooling.
  • In a medium saucepan, combine syrup, peanut butter, cocoa powder and the pinch of salt. Heat over a medium heat until the sauce JUST reaches a full boil.
  • Remove the kettle from the heat and stir in the vanilla, corn flakes, and nuts (if using) until well coated, adding more flakes if needed.
  • Using a cookie or ice cream scoop, scoop the cookies onto prepared baking sheets.
  • Allow to cool until set, about 30 minutes. Once set, store in an airtight container.
Keyword chocolate and peanut butter, chocolate cookies, corn flake cookies, no bake cookies, no bake desserts, peanut butter, quick cookies, quick treats
Tried this recipe?Let us know how it was!

Looking for other sweet treat inspiration?

Head to one of the recipes below or go right to my Baking page!

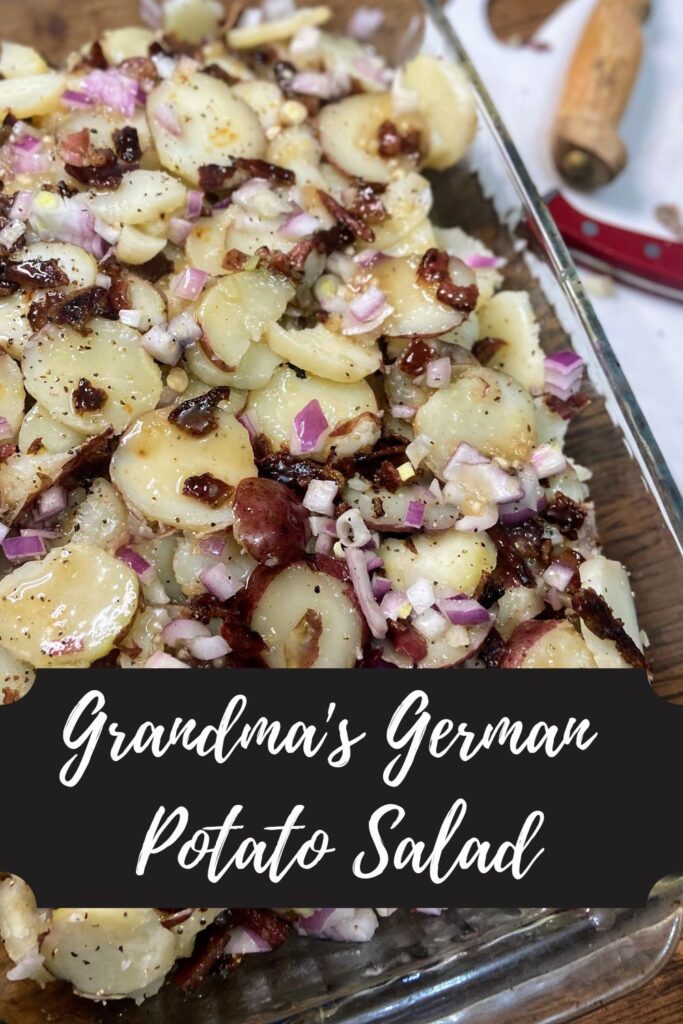
Grandma’s German Potato Salad

My Grandma’s German Potato Salad. 

I wasn’t sure if I should share this or keep it a secret in our family, but that just seems silly. The world can always use another ‘grandma’ recipe. One written on a half sheet of paper in beautiful cursive, feeling as though it was just written yesterday and written decades ago at the same time. We all need that in our digital world, right? 

Growing up, my parents had moved about four hours north of all of their family (they grew up about a mile apart in a suburb of Milwaukee) so we didn’t see family as often as most. But my mom’s mom would come up for a week each summer. Special traditions filled that week. We would swim. Grandma would walk every day. You sure couldn’t interrupt grandma and mom’s Scrabble game.

Tradition also surrounded the food we ate: We ALWAYS had a fish fry. My grandma would buy Lorna Doone shortbread cookies, Oreos, and Pecan Sandies. We also always had breaded and pan fried pork chops with German Potato Salad. I, for one, am not someone who loved getting all the little bits of meat off the bone of the pork chops so my mom would watch my plate and steal up those bones to nibble on. Fond memories, to be certain. 

But the German Potato Salad?

I NEVER ate it growing up. Maybe I tried it once at a young age, and decided it wasn’t for me; I can’t be certain. But I know that I “didn’t like it,” and never ate it, even as I was going into high school. 

I think I might have been in my twenties when I thought, “Maybe I should give this a try again.” And my goodness, I was instantly in love. The sweet sour from the dressing. The perfect combination of potatoes, onions, and bacon. So dang good. 

And I am so dang happy to share it with you. My grandma was the most wonderful woman with the biggest heart, a love for theater and acting, and just a joy. I hope you can taste it in this recipe when you share it with your family. 

Your Ingredients 

  • 3 pounds potatoes
  • 5-6 slices of bacon, depending on quality
  • 1 medium onion, chopped
  • ½ cup white vinegar
  • ½ cup water
  • ½ cup granulated sugar 
  • ½ – 1 tablespoon flour
  • Salt and pepper, to taste

Your Steps to Grandma’s German Potato Salad

Leaving the skin on the potatoes, boil whole in salted water until fork tender. While the potatoes are boiling, fry bacon until crispy, reserving about half of the drippings. 

Slice and layer the potatoes in a shallow dish, sprinkling each layer with salt and pepper and adding chopped onions and bacon to each layer. 

In the reserved bacon drippings, add the flour. Whisk until a roux is formed. Add the sugar and then the vinegar and water. Bring to a boil, stirring constantly until thick.

Pour sauce over the potatoes and stir. Taste, and add more sauce as necessary. This potato salad is best if made the day before so the flavors can sink into the potatoes, but can be served right away as well. 

Note: My mom loves her potato salad on the juicy side, so she recommends doing ¾ cup of vinegar, water, and sugar. I mean, it doesn’t hurt to have extra, but I wanted to stay true to my grandma’s handwriting. 

Grandma’s German Potato Salad

A passed down recipe, grandma’s German potato salad is simple to make and full of that sweet sour taste of vinegar and sugar coming together!
Prep Time 20 minutes
Cook Time 30 minutes
Course Side Dish
Cuisine American
Servings 12

Ingredients
  

  • 3 pounds potatoes
  • 5-6 slices of bacon
  • Green onions or regular onions chopped
  • ½ cup white vinegar
  • ½ cup water
  • ½ cup granulated sugar
  • ½ – 1 tablespoon flour
  • Salt and pepper to taste

Instructions
 

  • Leaving the skin on the potatoes, boil whole in salted water until fork tender. While the potatoes are boiling, fry bacon until crispy, reserving about half of the drippings.
  • Slice and layer the potatoes in a shallow dish, sprinkling each layer with salt and pepper and adding chopped onions and bacon to each layer.
  • In the reserved bacon drippings, add the flour. Whisk until a roux is formed. Add the sugar and then the vinegar and water. Bring to a boil, stirring constantly until thick.
  • Pour sauce over the potatoes and stir. Taste, and add more sauce as necessary. This potato salad is best if made the day before so the flavors can sink into the potatoes, but can be served right away as well.
Keyword German potato salad, potato, potato salad, Potatoes, side dishes, summer side dish
Tried this recipe?Let us know how it was!

Looking for some other fun recipes?

Check out a couple of the posts below!