Baked Venison Stew

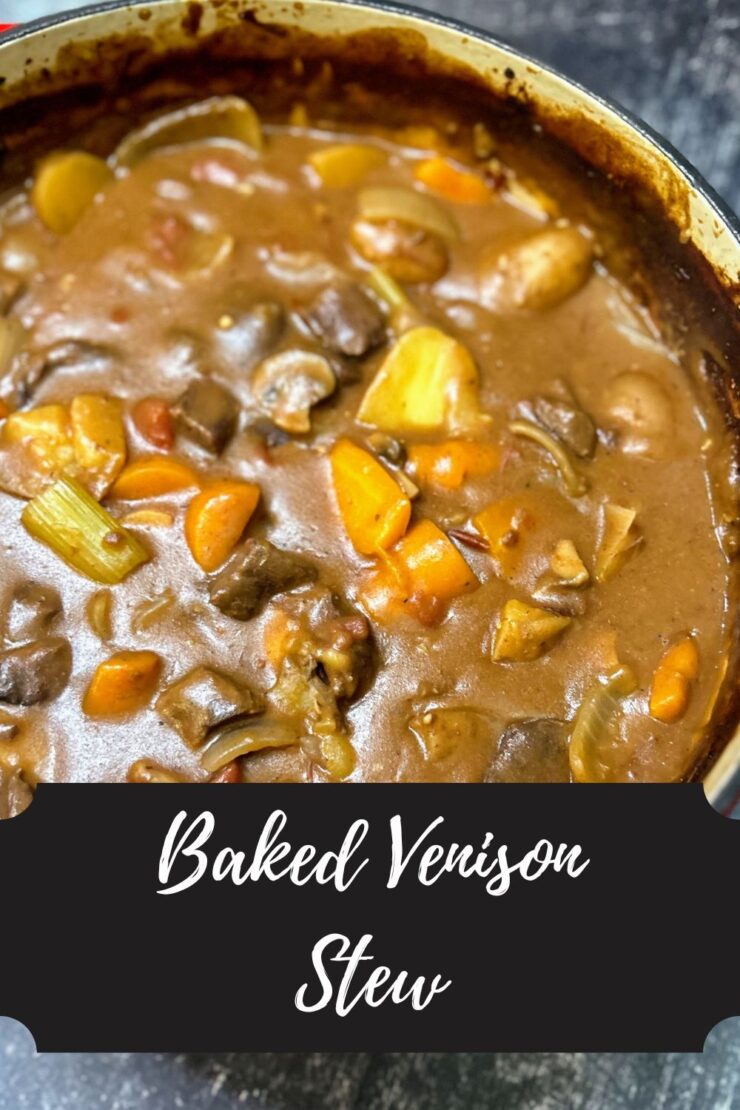
I am not going to sugar coat this: Baked Venison Stew is my new obsession. You guys, it is quite possibly one of the easiest yet most delicious, comforting meals you can make. And when I say easy, I mean, “Roughly chop, dump it in the kettle, put it in the oven and bake” kind of easy. From start to finish, you can have it in the oven in less than ten minutes. It bakes for three hours and turns into perfection. 

I know venison may not be a common household protein for many, and guess what, that’s okay! Beef stew meat would work just as well, but for my deer hunting friends, this is the ticket to another recipe you can keep in your back pocket for a comforting autumn and winter meal. 

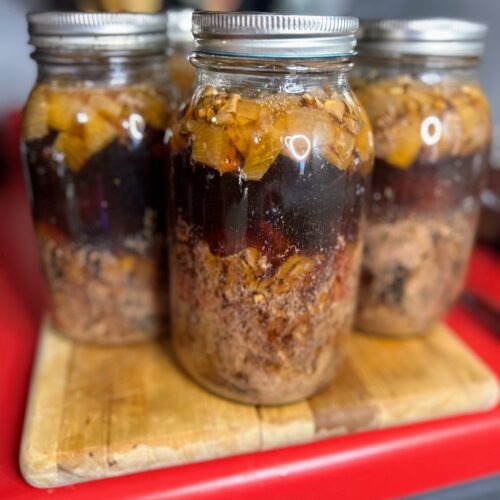
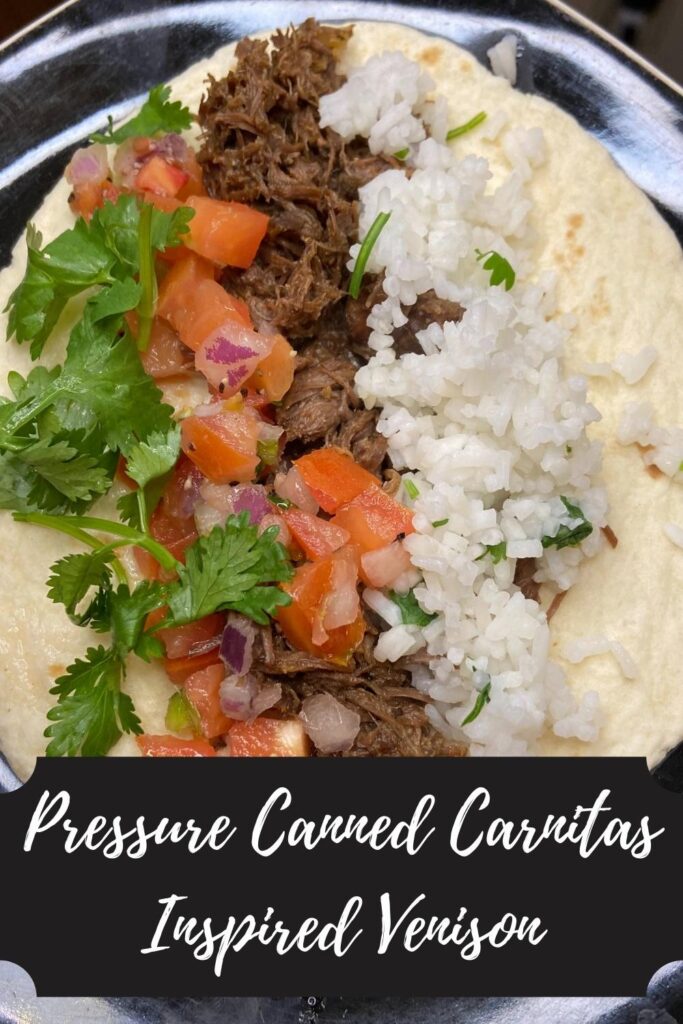
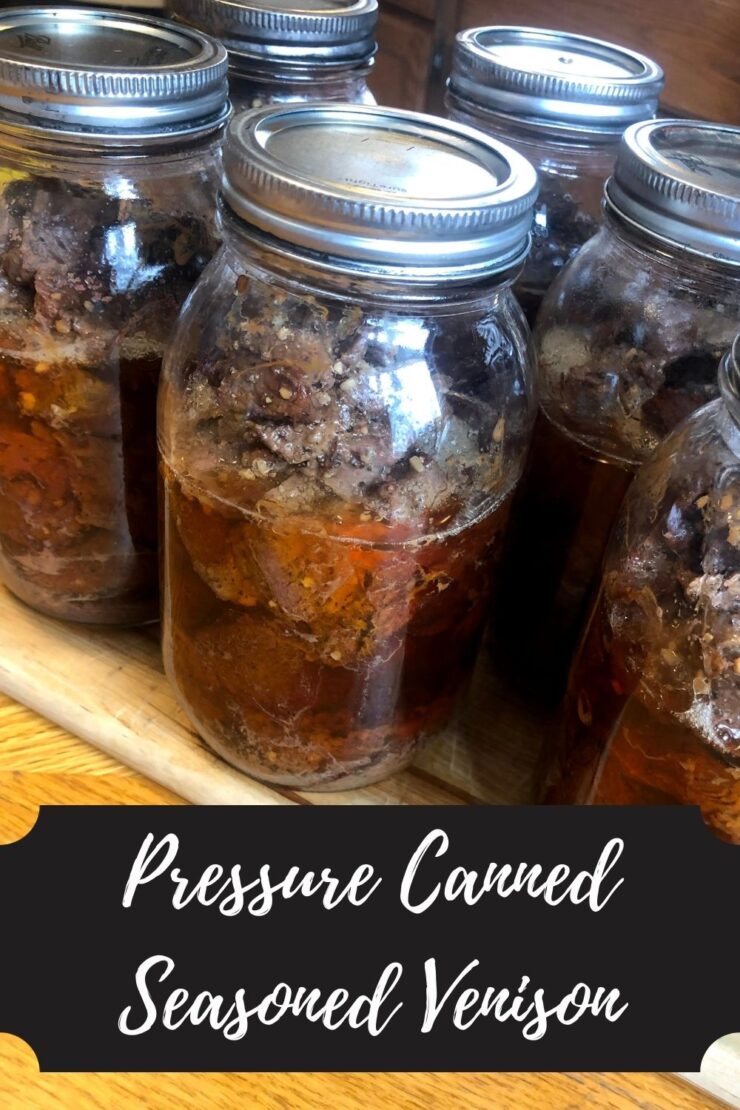
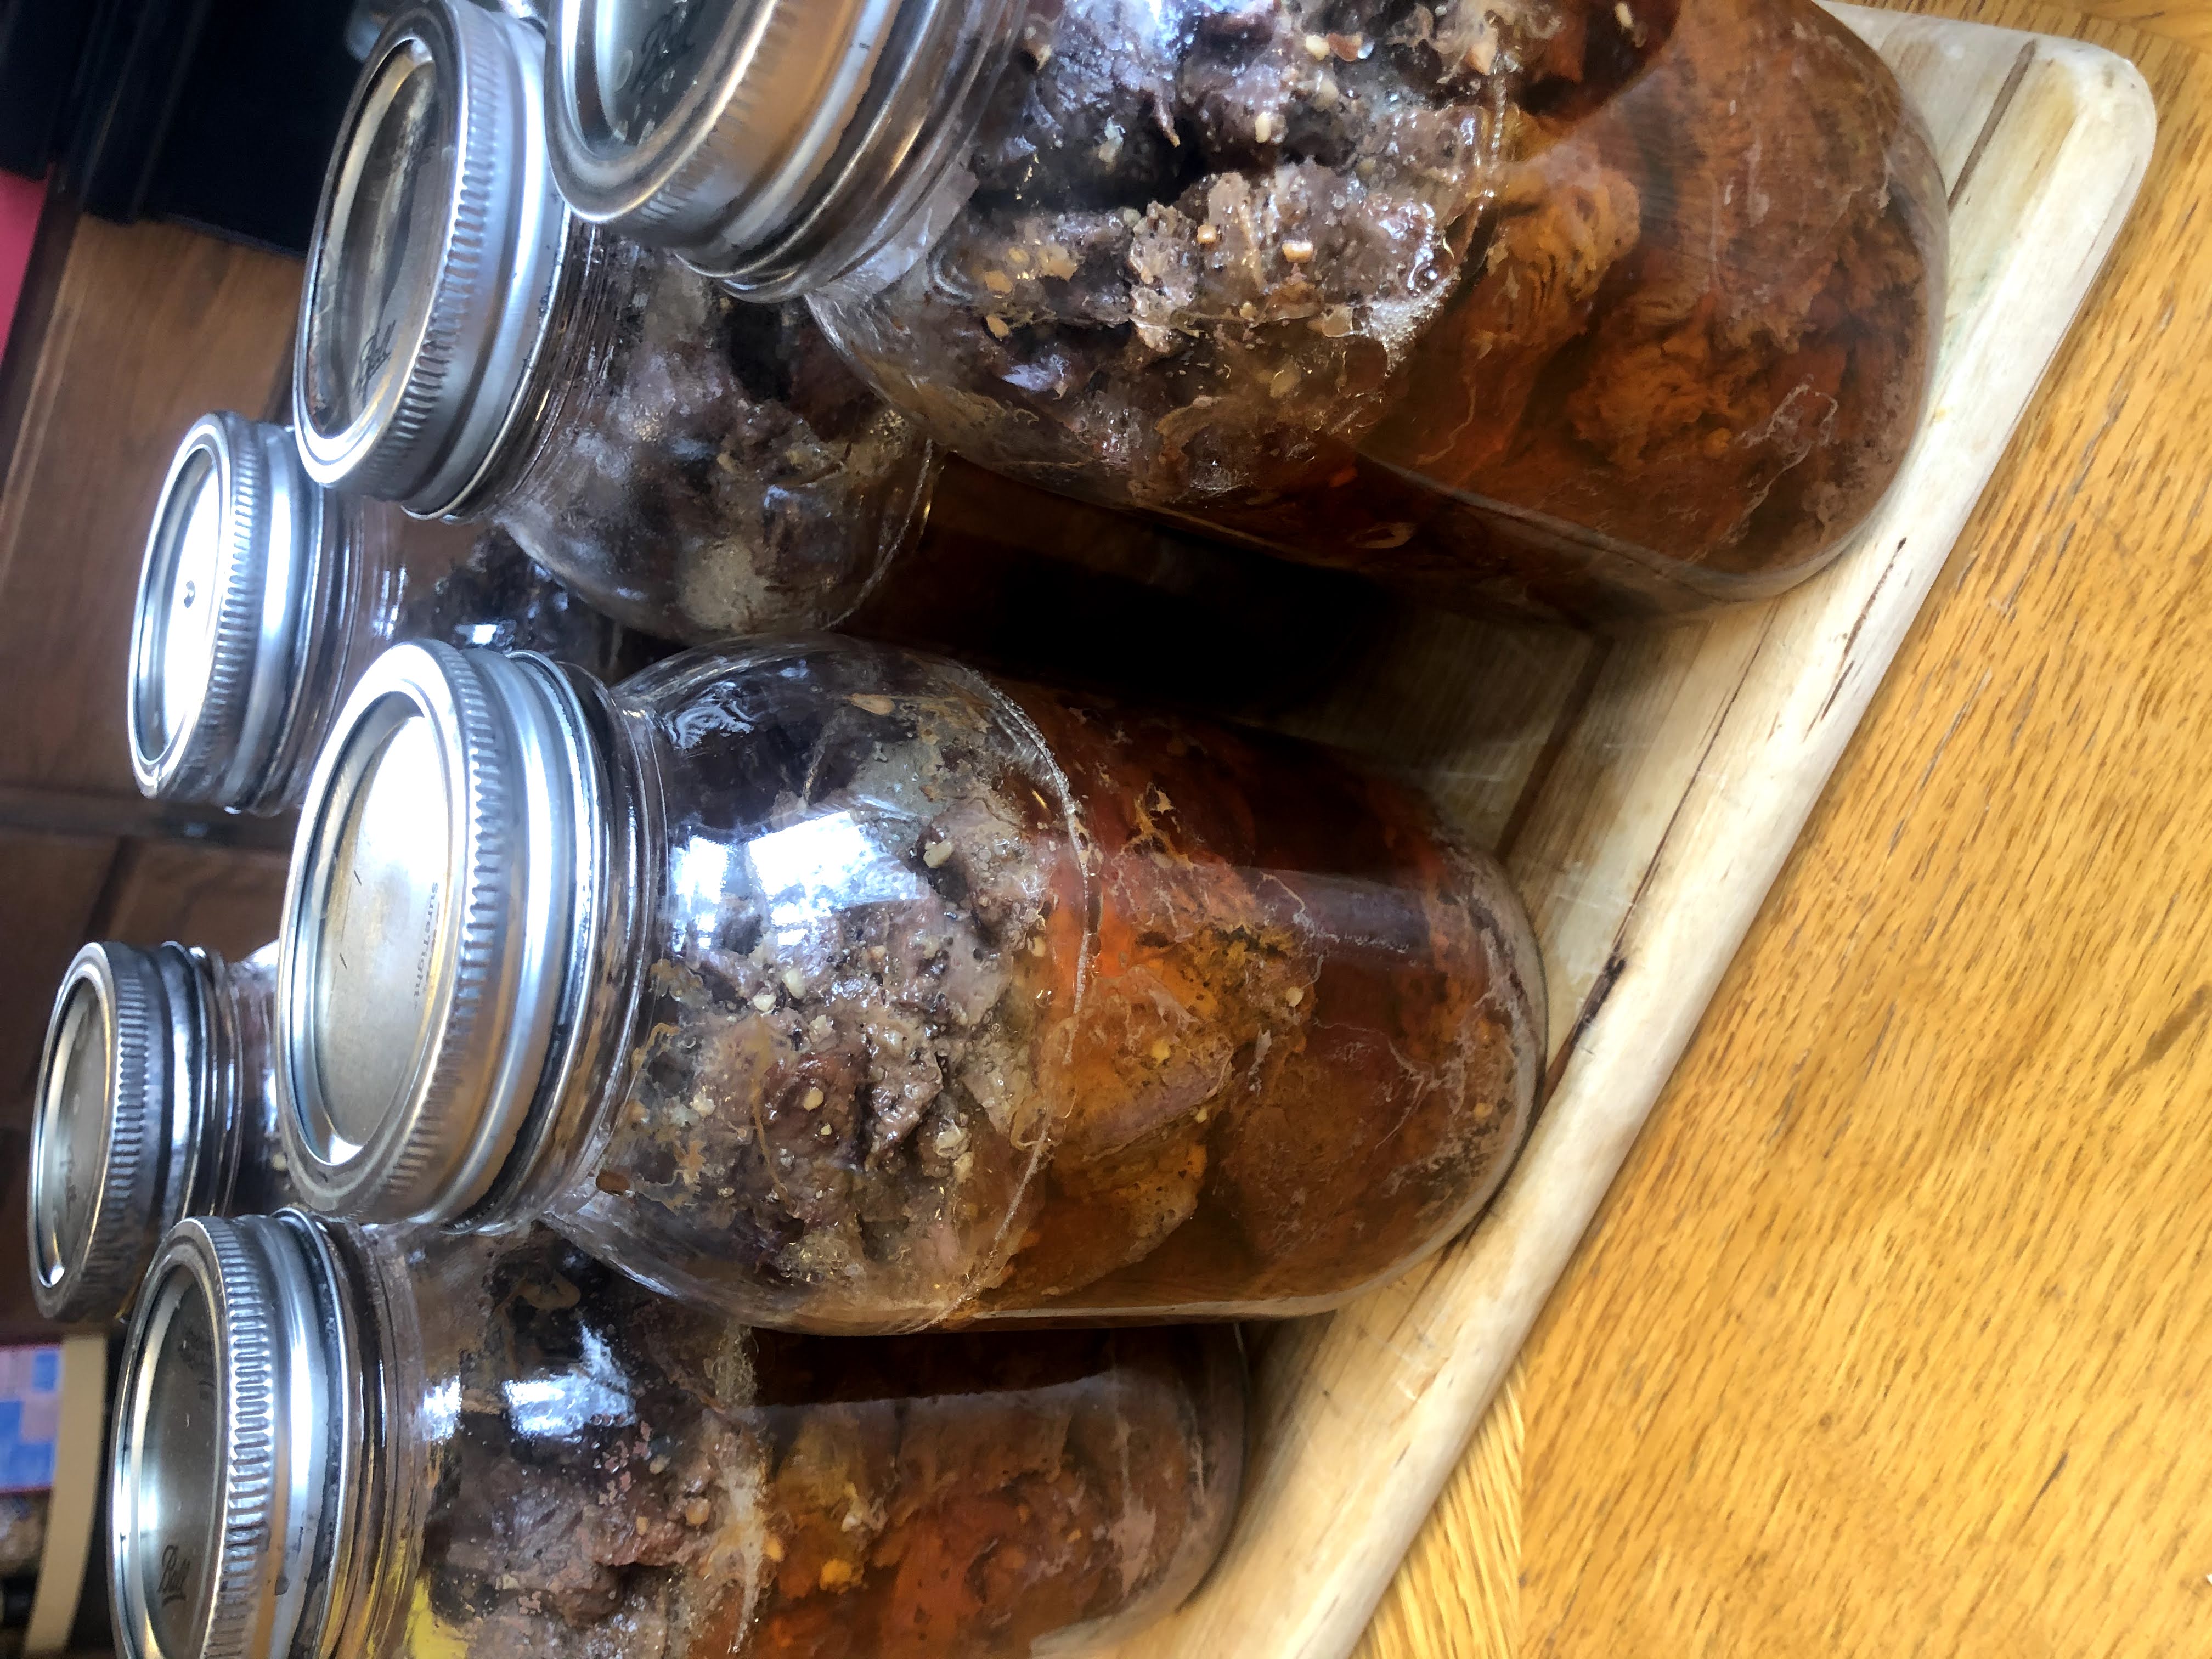
Also, speaking of venison, I have done this recipe two different ways and it has worked beautifully in both: one with raw cubed venison stew meat (as written in the recipe), and also with my canned seasoned venison. In terms of flavor, I would say we can’t tell the difference. The canned seasoned venison is already cooked when it goes into the Dutch oven, so you have to stir with care or it will fall apart. But I think this is good news because sometimes you want stew, but you don’t have thawed stew meat on hand. 

The Key to your Baked Venison stew

Finally, key to this recipe is a quality Dutch oven. A quick Google search of Dutch ovens will result in tons of articles about why you need a Dutch oven (Click here to find one!). If you don’t have a cast iron Dutch oven, I can’t recommend it enough. I use it for baking bread and stew and it is my go to pot when I am making any soup or stew on the stove top.

I love my Lodge Dutch Oven! (Truth be told, I often have two Dutch ovens going at one!)
Now, are you ready to start making some baked venison stew? Let’s go!

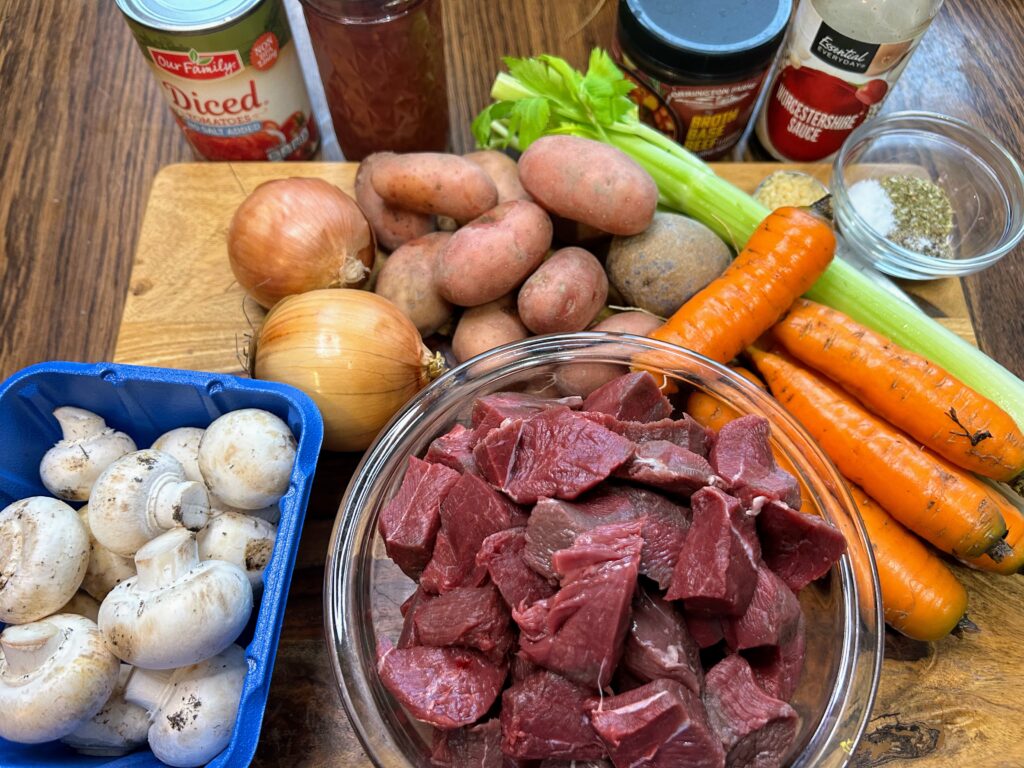
Your Ingredients (for about 10 servings)

  • 2 pounds cubed stew venison
  • 4 carrots 
  • 3 celery stalks
  • 2 onions
  • 1 1/2 pounds potatoes
  • 1 package button mushrooms
  • 1 teaspoon each: salt, pepper, dried oregano
  • 1 tablespoon minced garlic
  • 1 can diced tomatoes
  • 12 ounces tomato sauce
  • 3 cups beef stock (or venison stock if you have it!)
  • 1 tablespoon Worcestershire sauce
  • 2/3 cup flour

Your Steps to Baked Venison Stew

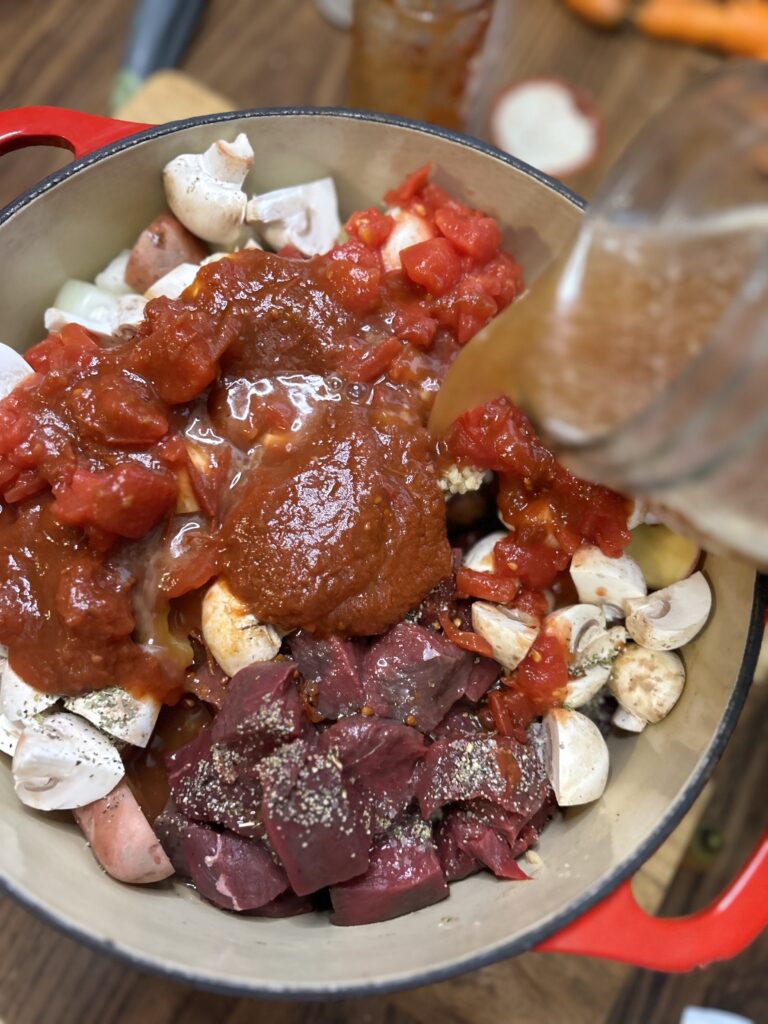
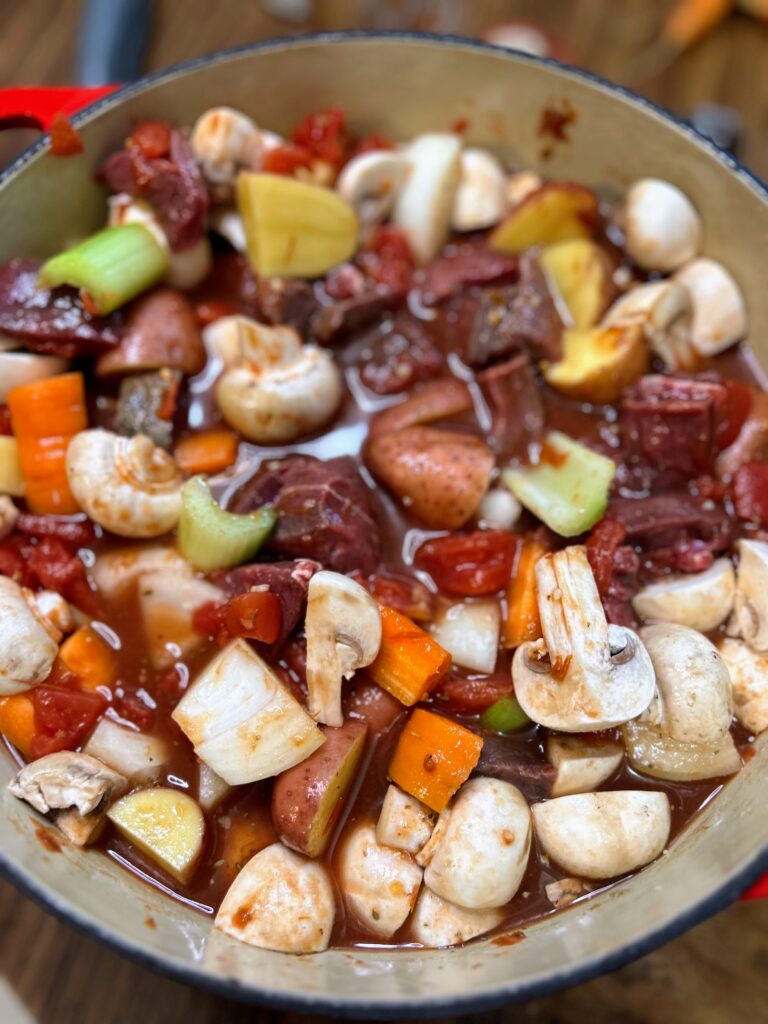
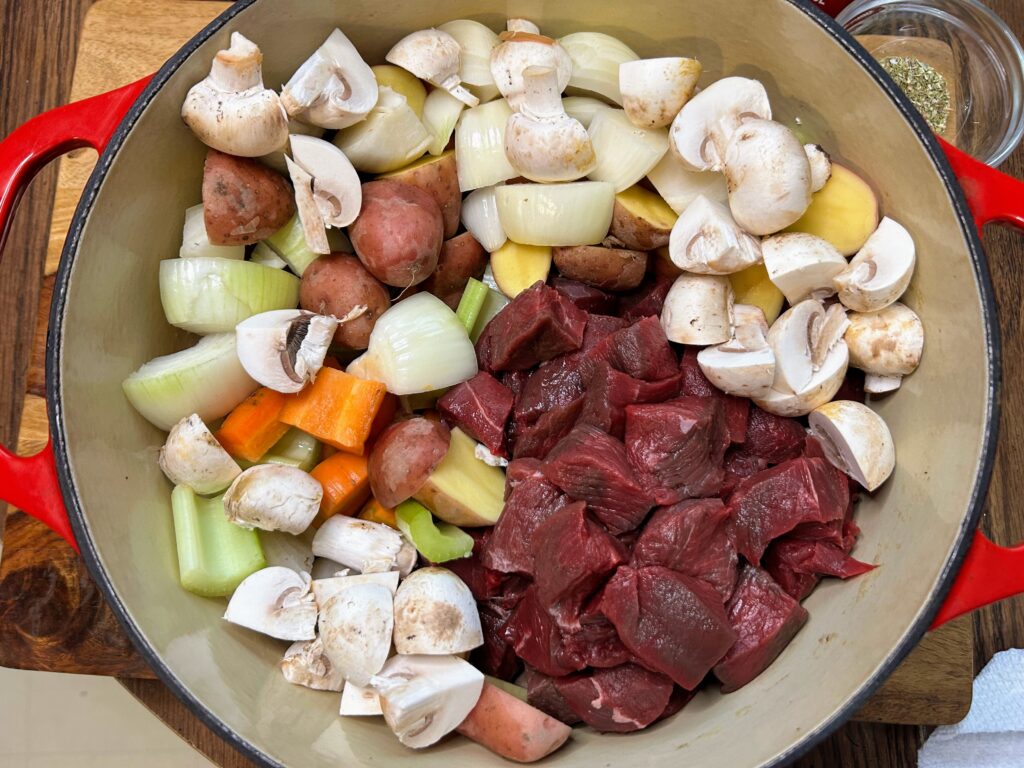
And here’s the easy part! Roughly chop the vegetables. Throw them all in a heavy cast iron Dutch oven and stir well. Cover and bake at 350 degrees for three hours. (Make sure your cover is oven safe!) 

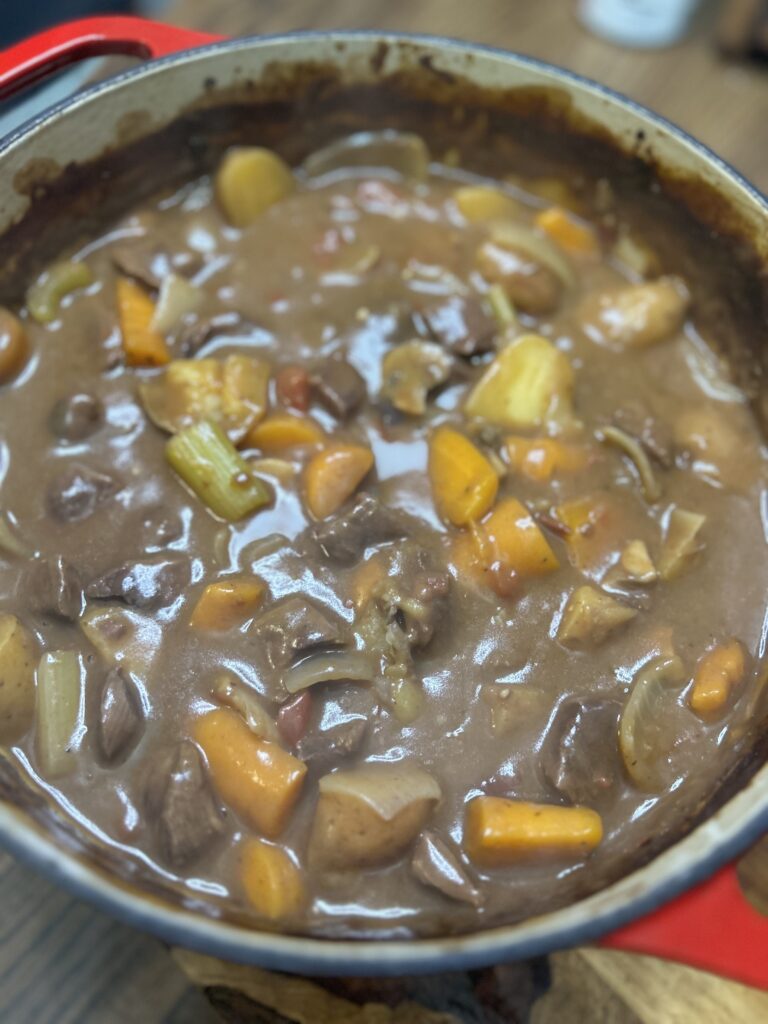
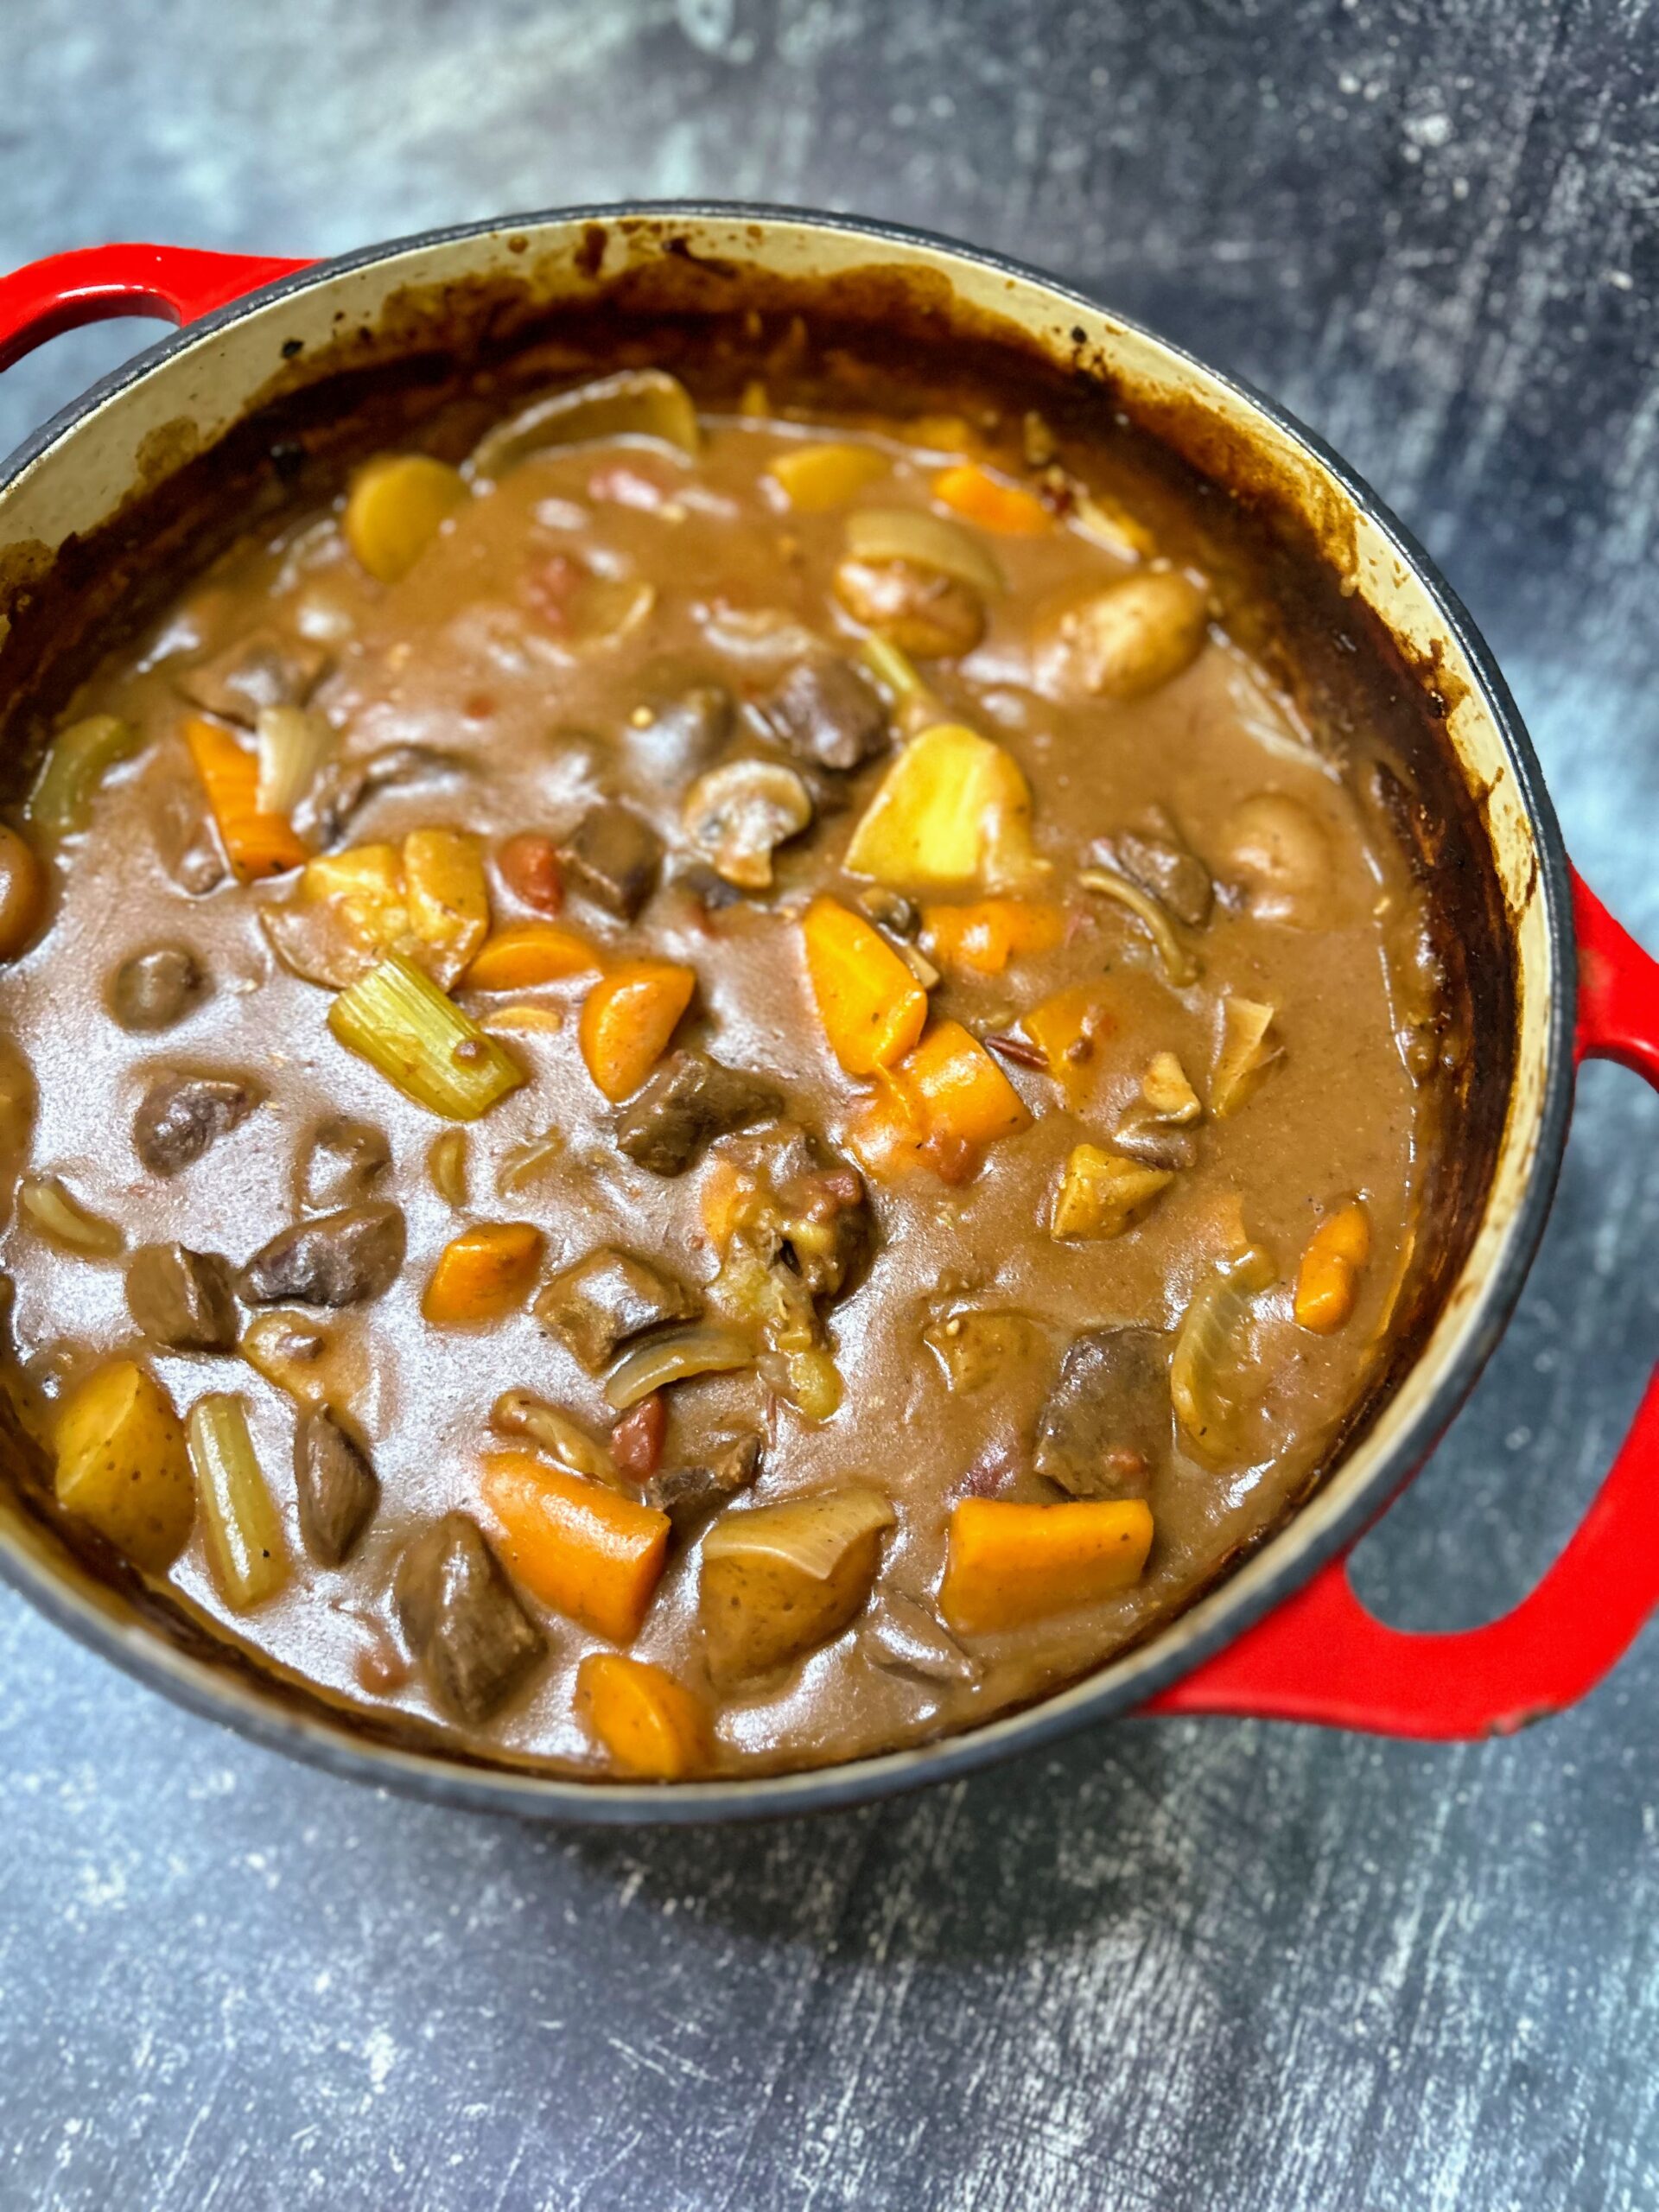
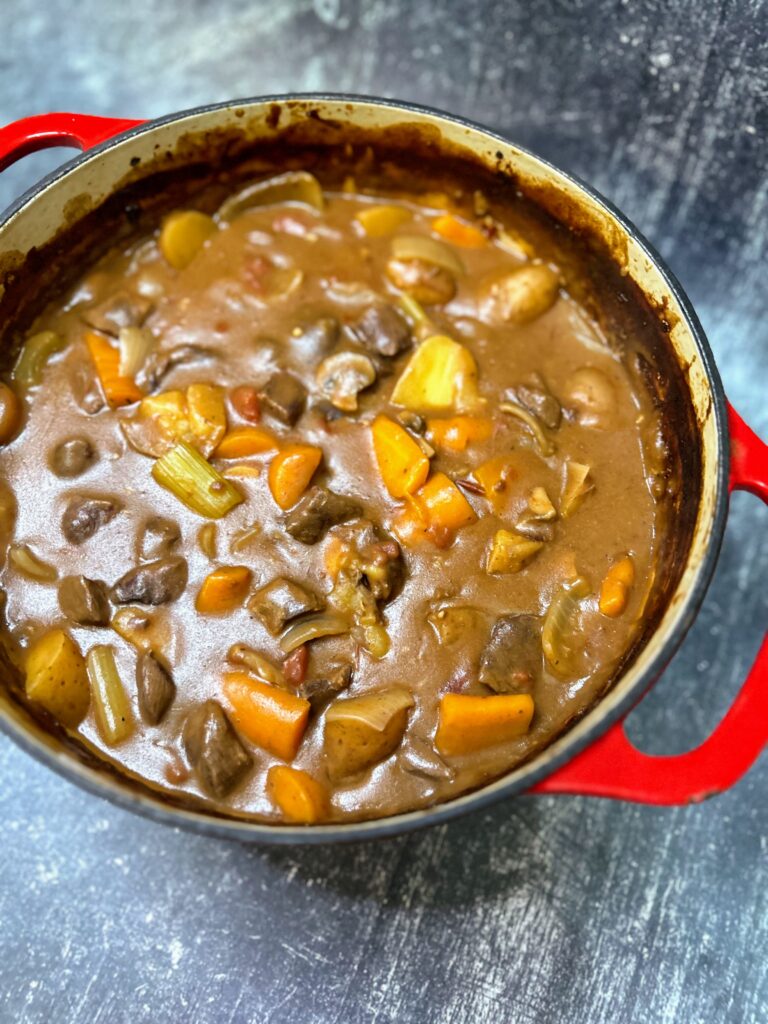
I stir it about every hour to make sure nothing is sticking, but it turns to perfection. Thick and hearty. A perfect meal. If you want yours a little less thick, add another 1/2 cup to 1 full cup of beef stock. But I am telling you, this is comfort in a bowl.
Baked Venison Stew

Thick and hearty, this baked venison stew is the ultimate comfort food with its chunky vegetables and tender meat.
Prep Time 10 minutes
Cook Time 3 hours
Course dinner, Main Course
Cuisine American
Servings 10 servings

Ingredients
  

  • 2 pounds cubed stew venison
  • 4 carrots
  • 3 celery stalks
  • 2 onions
  • 1 1/2 pounds potatoes
  • 1 package button mushrooms
  • 1 teaspoon each: salt pepper, dried oregano
  • 1 tablespoon minced garlic
  • 1 can diced tomatoes
  • 12 ounces tomato sauce
  • 3 cups beef stock or venison stock if you have it!
  • 1 tablespoon Worcestershire sauce
  • 2/3 cup flour

Instructions
 

  • Roughly chop the vegetables.
  • Throw them all in a heavy cast iron Dutch oven and stir well.
  • Cover and bake at 350 degrees for three hours. (Make sure your cover is oven safe!)
  • Stir every hour or so to make sure nothing is sticking to the bottom.
  • If you want it a little less thick, add another 1/2 cup to 1 full cup of beef stock.
Keyword baked stew, carrots, celery, comfort food, mushrooms, Potatoes, soup and stews, stew, venison, venison recipe, venison recipes, venison stew
Tried this recipe?Let us know how it was!

Looking for other venison recipes?

These are some of my favorite ways to use our venison each season!
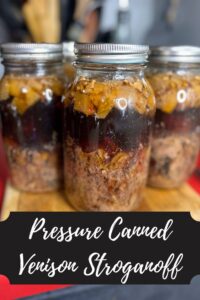
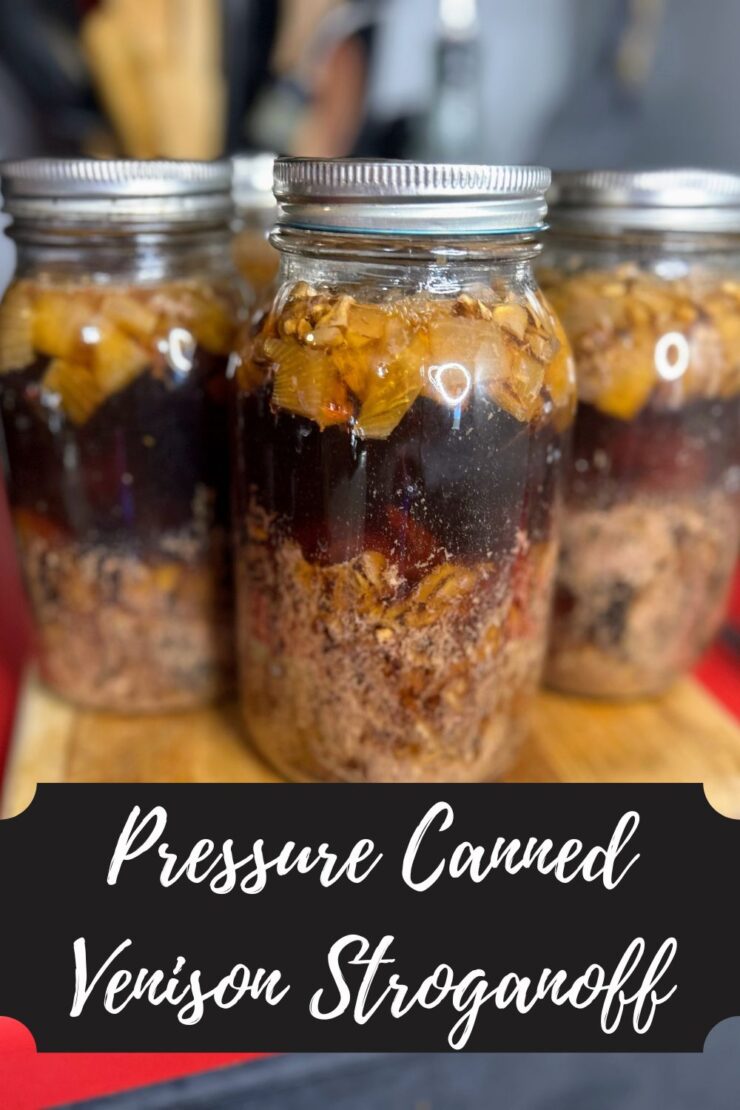
Pressure Canned Venison Stroganoff

I’ll be honest, if you would have asked Jess if she would be canning meat 10-15 years ago, I would have laughed in your face. In fact, 15 years ago, I had never canned a thing in my life. Fast forward to now, and I am pumped to share a new way we are processing our venison: pressure canned venison stroganoff. 

A number of years ago, we grew so many green beans we couldn’t keep up. When I reached out to the facebook world for recommendations, someone told me we should pick up a pressure canner; that’s how it started. Now, we primarily pressure can venison in a variety of ways: 

However, I have taken to using my pressure canner as my waterbath canner and have dabbled with using it as a steam canner. In addition, I made a big shift in how I can by using a Cadco hot plate as my burner. I was hesitant to spend the money on a good hot plate, but wanted to protect my new glass top stove. I ADORE the set up as it gives me the stove top as a work space and I would recommend both (using only a pressure canner and the hot plate) to any canner, especially one with limited work space. 

But I digress. 

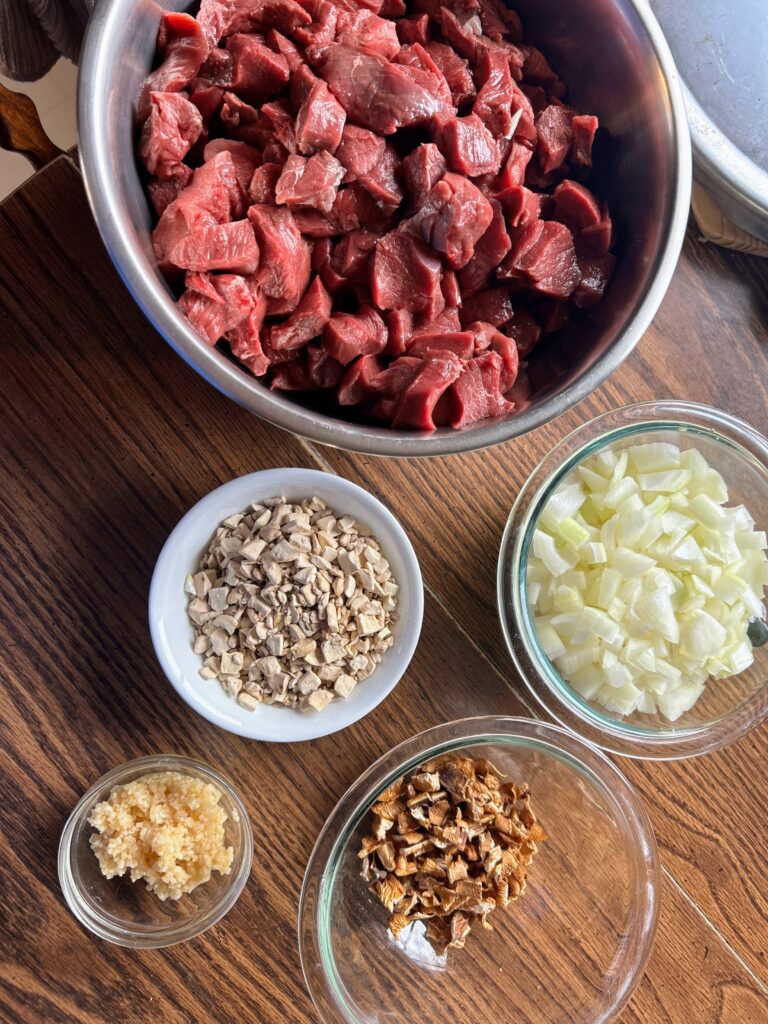
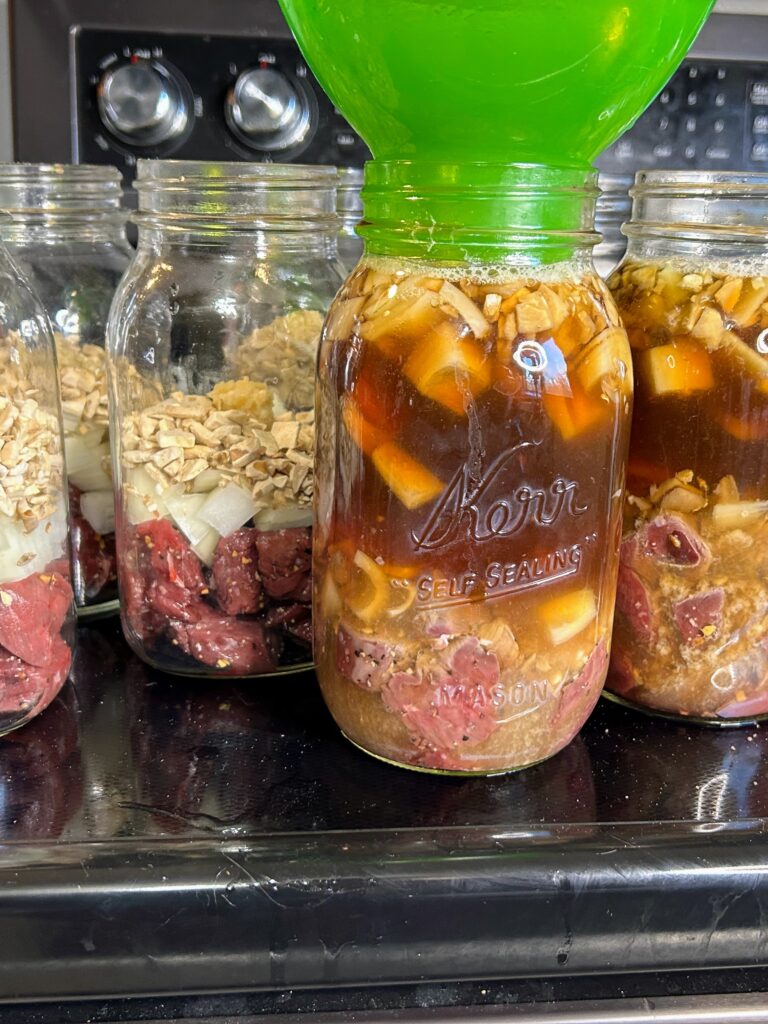
Back to the pressure canned venison stroganoff. The recipe is extremely simple: cubed raw venison, a seasoning mix of salt, pepper, garlic, and onion, raw onion and garlic, dehydrated mushroom (or freeze dried), and venison or beef stock. That’s it. 

The seasoning mixture is something we keep on hand for all canning of meat. It’s one part each of: black pepper, dried minced garlic, and dried minced onion; then two parts kosher or canning salt. Typically, I measure it with a quarter cup of the pepper, garlic, and onion with a scant half cup of salt. It’s a great base for so many things so I would mix a large batch. We season every 5 pounds of meat with anywhere from ⅛-¼ cup of seasoning, depending on how I am feeling. 

Tools of the Trade

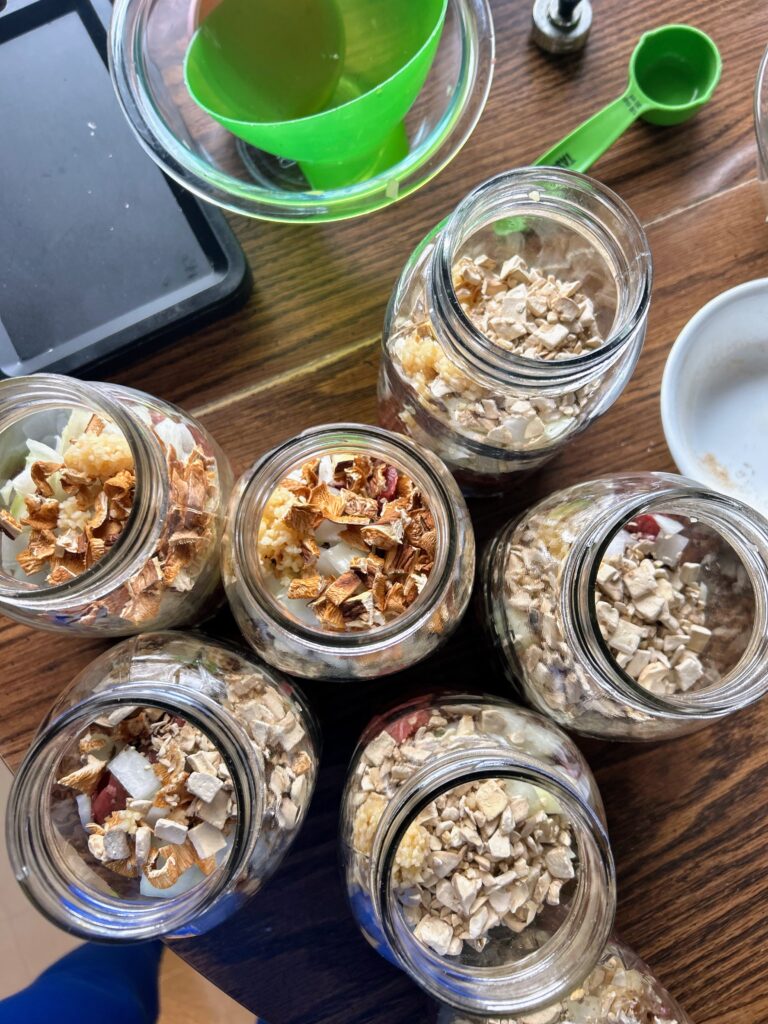
Normally, I put this at the end of a post, but with a pressure canner, I feel as though I should put it at the beginning. I love using my weighted pressure canner. It doesn’t stress me out and I can create so many great things with it. I also think a canning funnel is a must here. Finally, I added the mushrooms I ordered. I wanted small pieces to make sure they didn’t rehydrate to giant pieces, but feel free to use whatever you’d like! 

Before you start this process, make sure you read the general directions to your own pressure canner. They may differ from what I am sharing, and you should always follow those directions first. Also, if you are a beginner canner or even advanced, it is always a great idea to check out the National Center for Home Preservation Site for more information! 

What goes in the jars? 

For each jar of pressure canned venison stroganoff, you’ll need: 

  • 1 ½ cups raw cubed venison (stew meat) 
  • ½ cup diced onions
  • ¼ cup dried mushrooms, diced small-ish (if you use the link I shared, you don’t need to dice)
  • 1 garlic clove, minced
  • Beef stock (I adore Orrington Farm’s)

For 7 quarts (the number I can fit in my pressure canner), you’ll need approximately 5 pounds of cubed venison and 16 cups of beef stock. 

Let’s Pressure Can Venison Stroganoff Base 

Begin by preparing your canner and jars. Wash and sterilize quart jars, rings, and lids. Keep warm. Check the seal and center vent of your lid of the canner. Set aside. 

Heat beef broth just to boiling, and then reduce to a simmer. You can be heating this while you fill the jars. It will be ladeled over the meat and vegetables. 

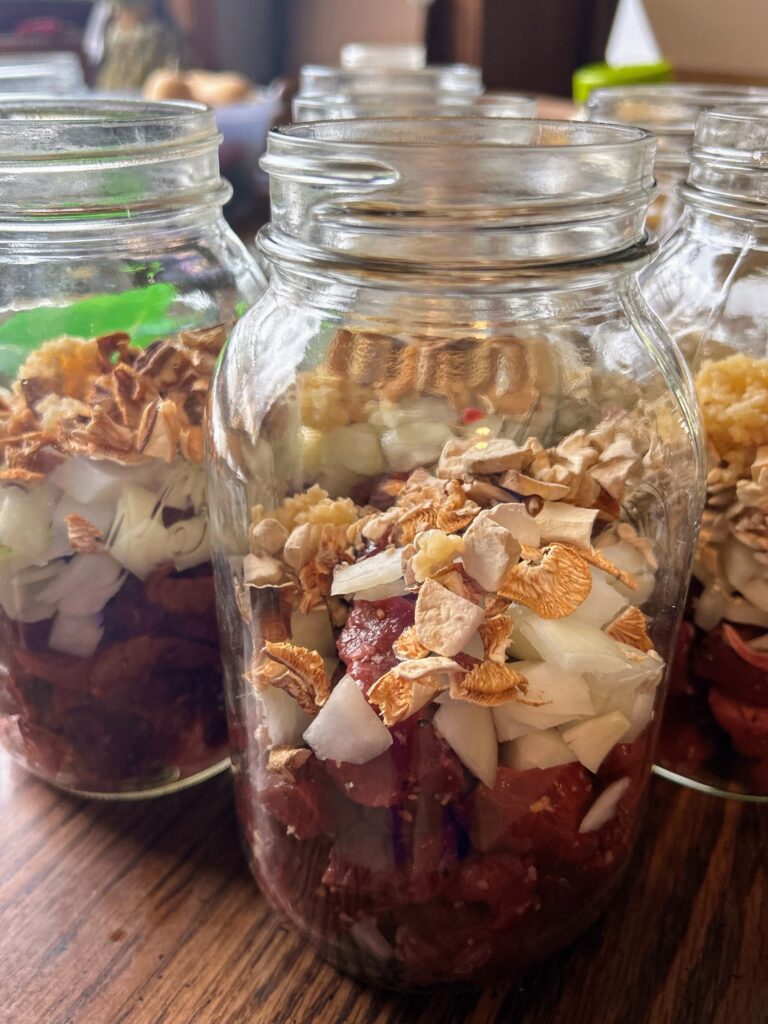
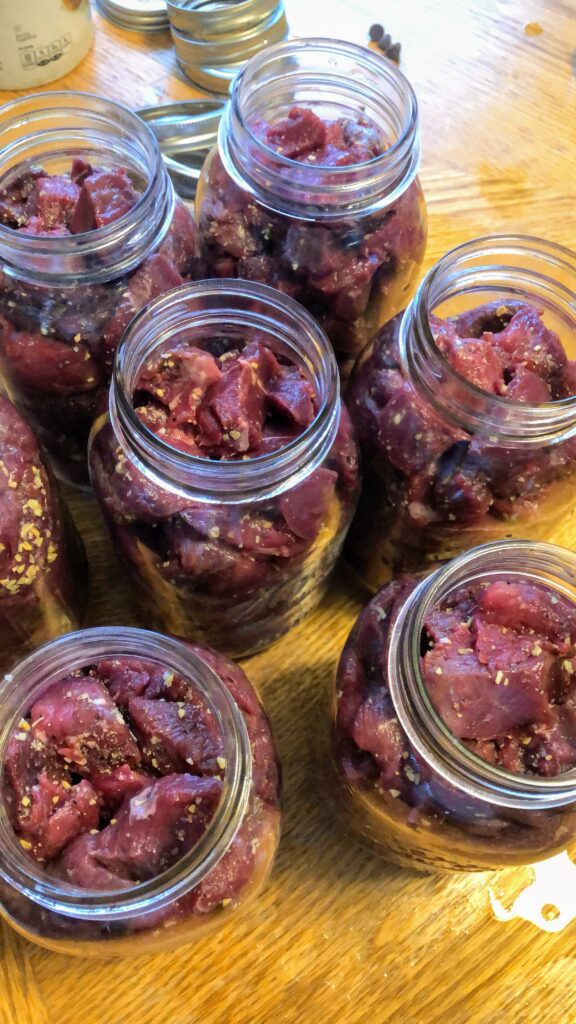
Season prepared meat with seasoning mixture mentioned above (2 tablespoons per 2 ½ pounds of meat). Using a canning funnel, stuff jars with 1 1/2 cup of raw meat each. Add ½ cup diced onion, ¼ cup dried mushrooms, and 1 minced garlic clove. 

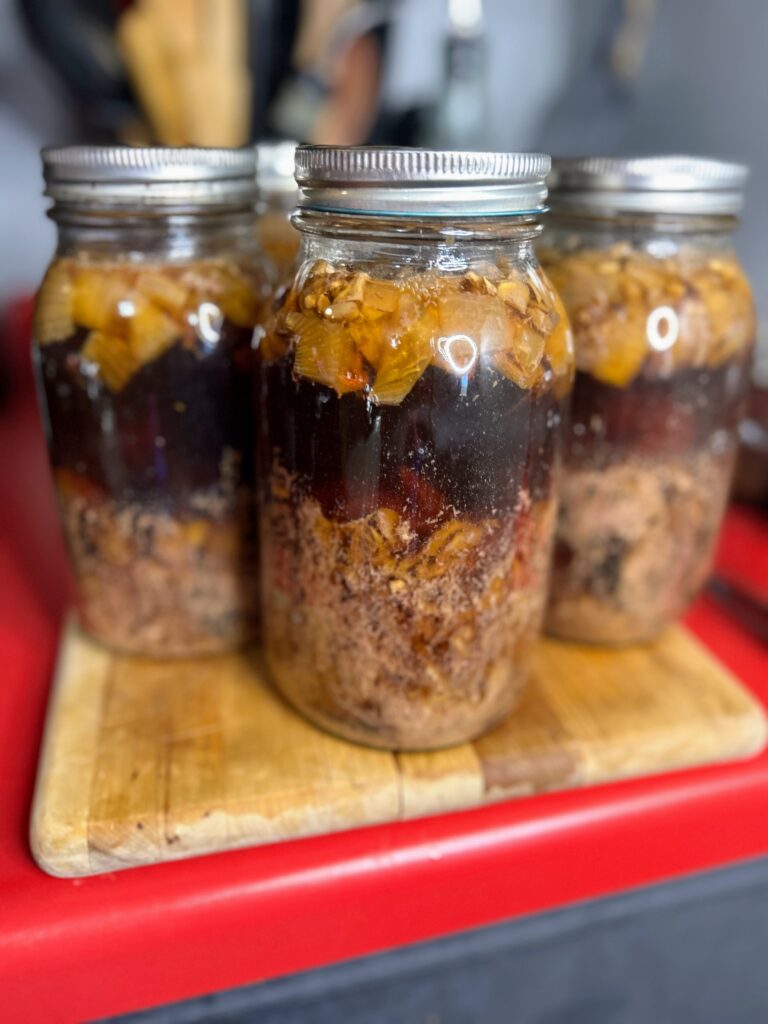
Ladle simmering beef broth over the meat and vegetables, filling the jars just to the bottom of the rim. The meat itself will create its own broth as it cooks. I have found that if you over fill the jars with broth, siphoning occurs. Just to the bottom seems to be perfect (see the picture below).

Wipe rims with a damp cloth, center the lid on the jar and adjust the band to fingertip tight. 

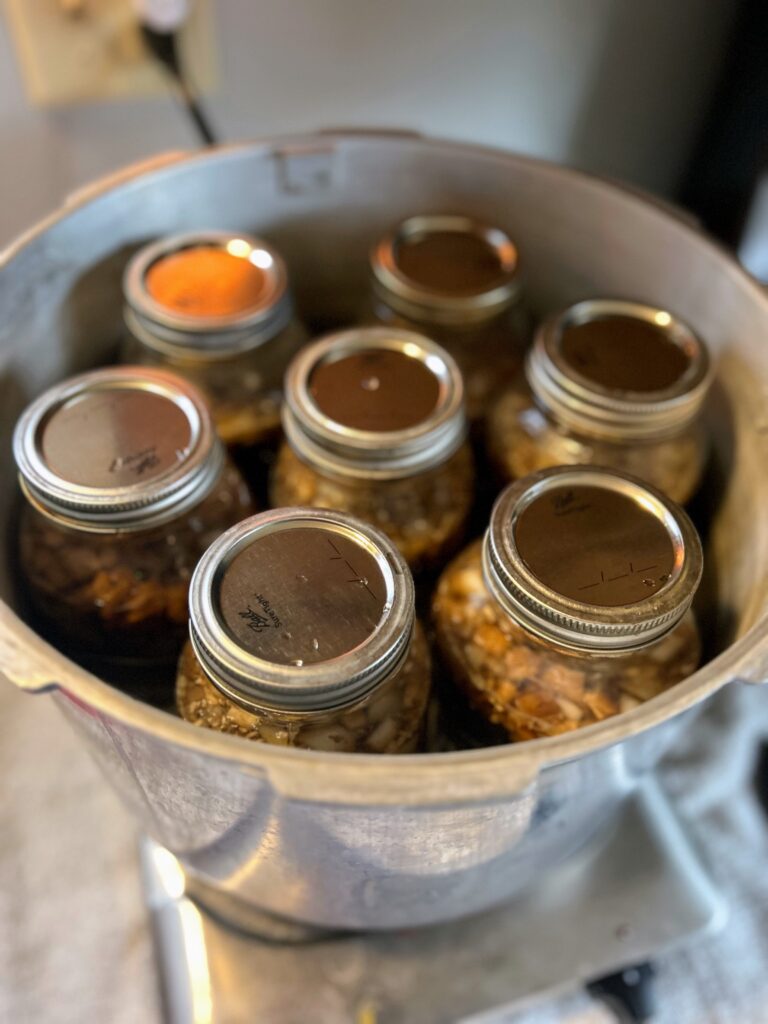
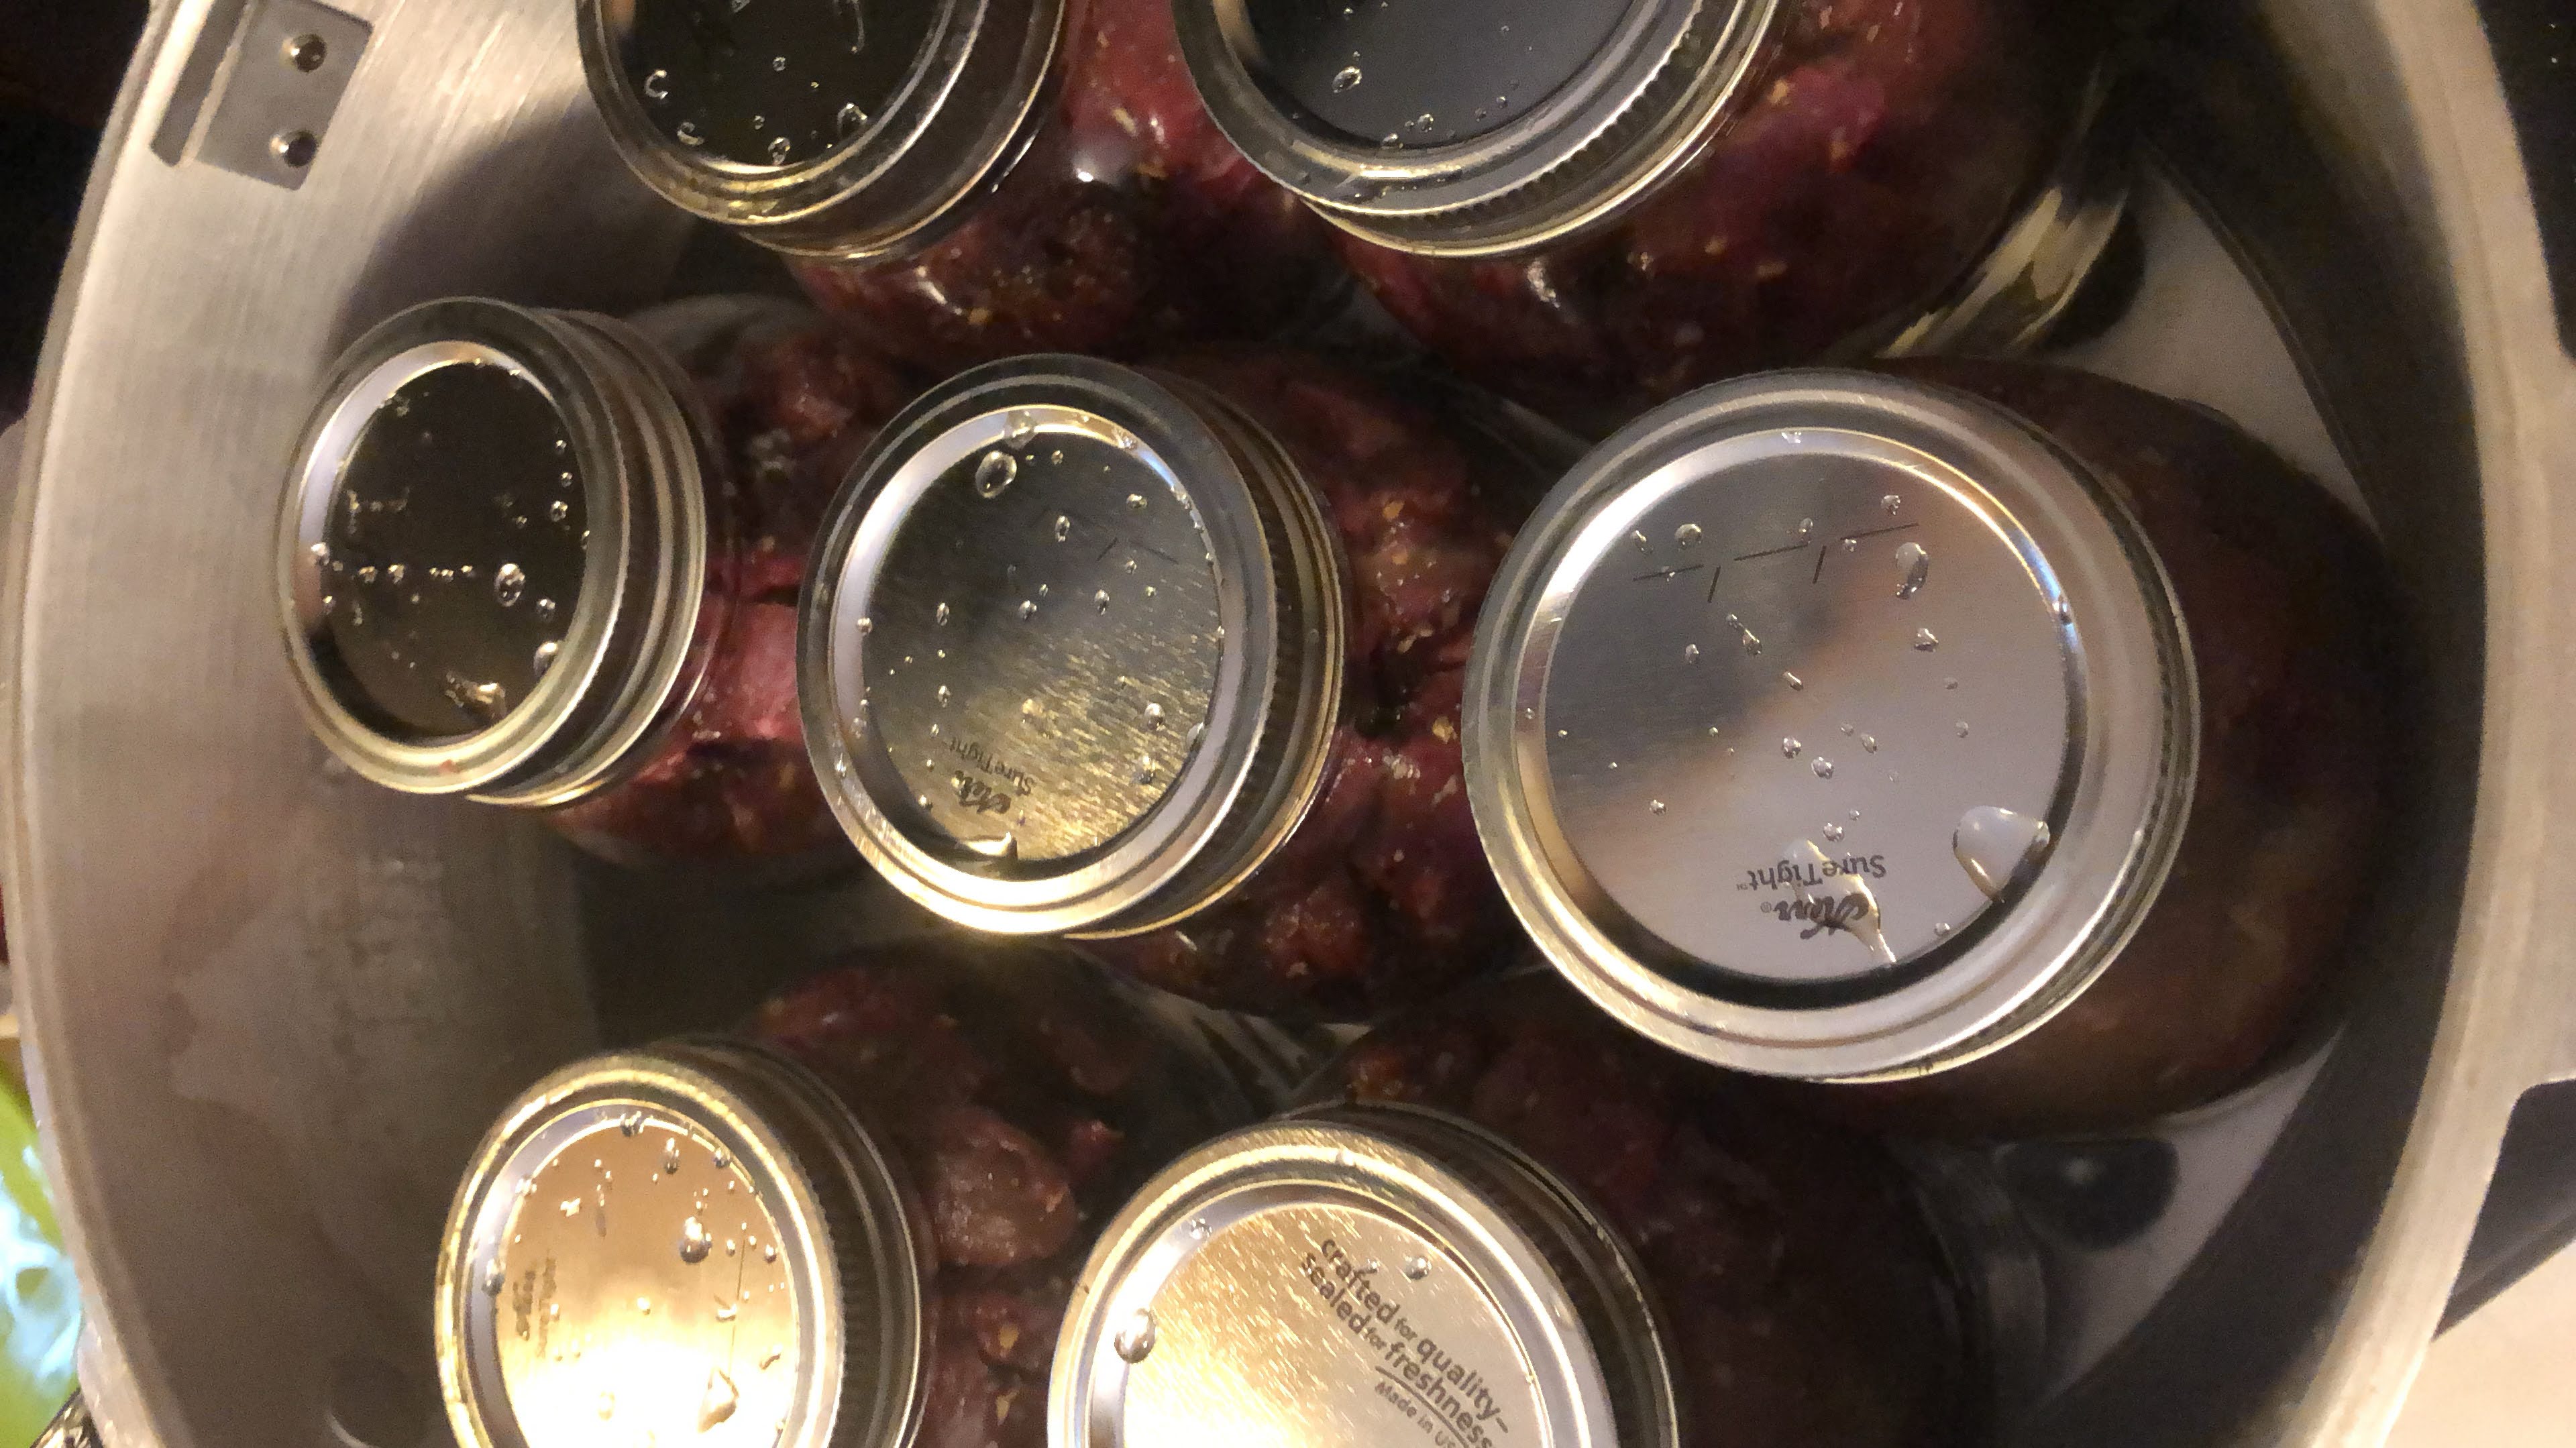
Place jars on the rack of a prepared pressure canner (mine needs 3 quarts of hot water plus a splash of vinegar).

Canning Time

Place the lid on the canner and heat to high heat. Once a steady stream of steam can be seen/felt, vent for 10 minutes, adjusting the heat if needed to have a steady but not crazy stream of steam. After 10 minutes, put the weighted gauge on the vent. You will want 10 pounds if your altitude is under 1000 ft; 15 pounds if you are over 1000 ft. 

Once the weight starts to jiggle (indicating it has reached the appropriate pressure), begin timing. You will need to process pint jars for 75 minutes and quart jars for 90 minutes. Once the timer has gone off, turn off and remove the canner from heat. Allow the pressure to drop on the canner all the way (read specific canner instructions for the indicator). Remove weight and allow to cool an additional 10 minutes. Remove jars from the canner; do not retighten bands. Cool for 12 hours, then check their seals, label, and store jars. 

Let me reiterate, this is what works for my pressure canner. I HIGHLY recommend reading and then rereading your own pressure canner directions. They aren’t hard to use, but you also don’t want to dedicate this time and effort to have something not work out. 

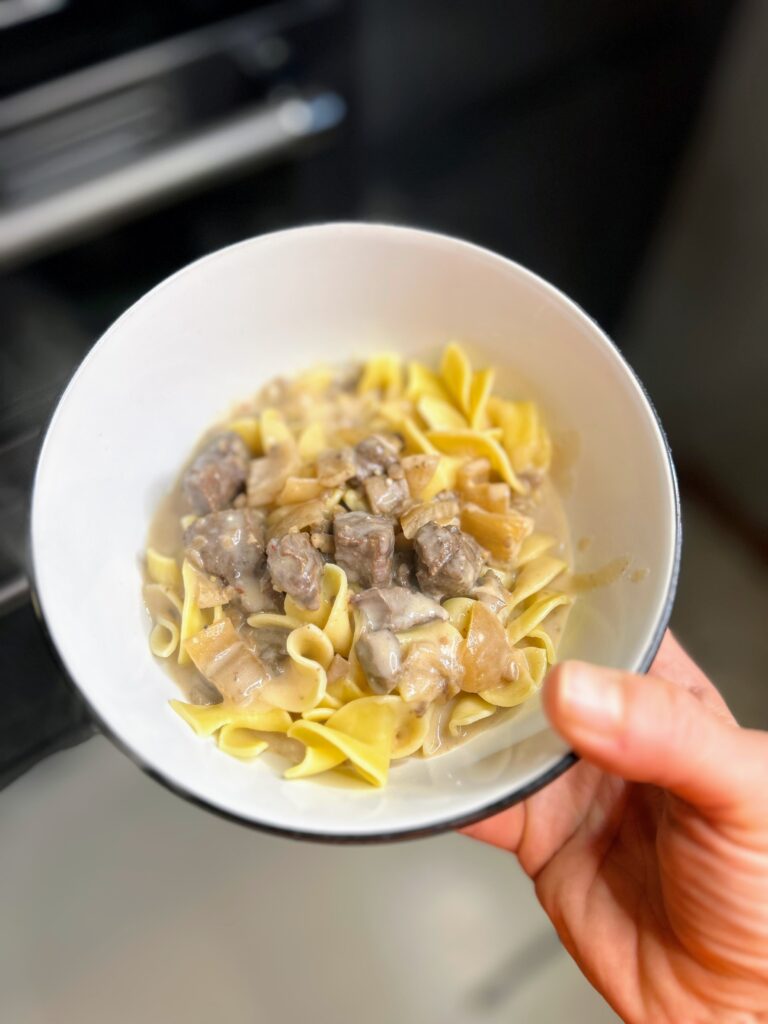
Ready to eat that Pressure Canned Venison Stroganoff? Here’s how we prepare it! 

Your Ingredients 

  • ¼ cup butter
  • ¼ cup all purpose flour
  • ½ cup dry red cooking wine
  • 1 tablespoon Worcestershire sauce 
  • 1 teaspoon dijon mustard 
  • 3 ounces cream cheese, room temperature 
  • ⅓ cup sour cream or plain Greek yogurt
  • Red pepper flakes, to taste 
  • Cooked egg noodles

In  a large pan, melt the butter over medium high heat. Add the flour and whisk continually to create a rue, cooking for about 4 minutes. Stir in cooking wine, Worcestershire sauce, and mustard. Continue to whisk. Add cream cheese and sour cream (or Greek yogurt) as well as red pepper flakes. Once everything is well combined, open the jar of stroganoff base and slowly stir in the broth. Do this in parts, waiting for the broth to thicken before adding more. Once all the liquid has been added, gently add the meat, mushrooms, and onions. 

Cook until hot and serve ladled over the cooked egg noodles.

Pressure Canned Venison Stroganoff

With this pressure canned venison stroganoff, you can create a wonderful base for a simple yet impressive dinner.
Prep Time 30 minutes
Cook Time 2 hours
Course Main Course
Cuisine Canning
Servings 7 quarts

Ingredients
  

  • 10 ½ cups cubed venison stew meat (about 5 pounds)
  • 3 ½ cups chopped onion
  • 2 cups dried mushrooms diced small
  • 7 cloves garlic minced
  • 16-18 cups beef stock
  • ¼ cup seasoning mix see note

Instructions
 

  • Begin by preparing your canner and jars. Wash and sterilize quart jars, rings, and lids. Keep warm. Check the seal and center vent of your lid the canner. Set aside.
  • Heat beef broth just to boiling, and then reduce to a simmer.
  • Season prepared meat with seasoning mixture. Using a canning funnel, stuff jars with 1 1/2 cup of raw meat each. Add ½ cup diced onion, ¼ cup dried mushrooms, and 1 minced garlic clove.
  • Ladle simmering beef broth over the meat and vegetables, filling the jars to about just to the bottom rim of the ring.
  • Wipe rims with a damp cloth, center the lid on the jar and adjust the band to fingertip tight.
  • Place jars on the rack of a prepared pressure canner (mine needs 3 quarts of hot water plus a splash of vinegar).
  • Process quart jars for 90 minutes at 10 pounds. If your altitude is greater than 1000 feet, use 15 pounds. Follow the directions of your pressure canner or see the more detailed directions in the notes.

Notes

Seasoning Mix: We keep a seasoning mix on hand at all times that is 1 part each of black pepper, dried minced garlic and dried minced onion and 2 parts kosher salt. I usually do 1/4 cup each of the pepper, garlic, and onion, and just shy of 1/2 cup kosher salt. You can use as little as a few tablespoons up to 1/4 cup for 5 pounds of meat. 
Additional Canning Directions:
Place the lid on the canner and heat to high heat. Once a steady stream of steam can be seen/felt, vent for 10 minutes, adjusting the heat if needed to have a steady but not crazy stream of steam. After 10 minutes, put the weighted gauge on the vent. You will want 10 pounds if your altitude is under 1000 ft; 15 pounds if you are over 1000 ft.
Once the weight starts to jiggle (indicating it has reached the appropriate pressure), begin timing. You will need to process pint jars for 75 minutes and quart jars for 90 minutes. Once the timer has gone off, turn off and remove the canner from heat. Allow the pressure to drop on the canner all the way (read specific canner instructions for the indicator). Remove weight and allow to cool an additional 10 minutes. Remove jars from canner; do not retighten bands. Cool 12 hours, then check their seals, label, and store jars.
Keyword canned venison, canning venison, pressure canning, stroganoff, venison, venison stroganoff, wild game
Tried this recipe?Let us know how it was!

Other Venison recipes

I shared them above, but why not down below too?

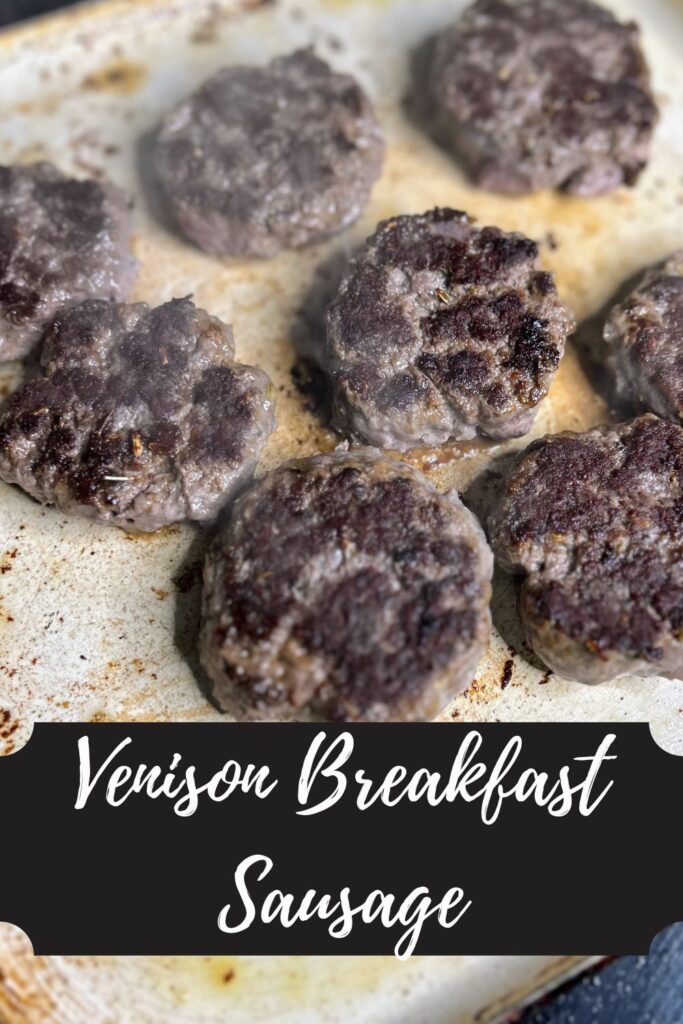
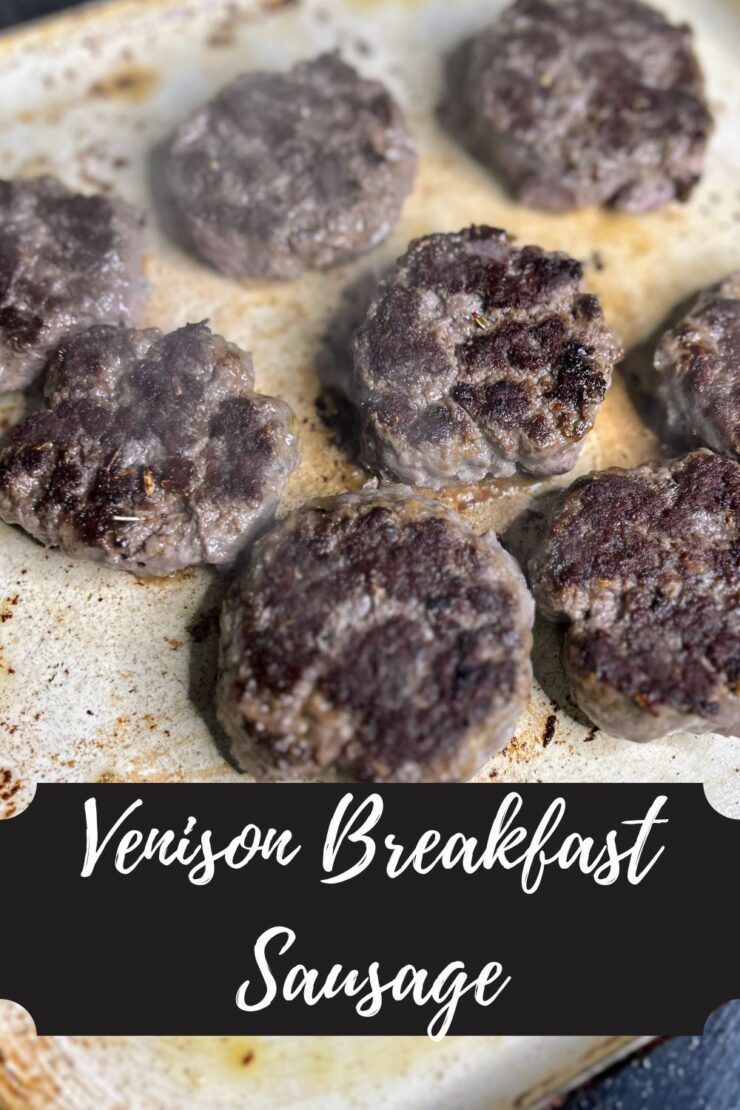
Venison Breakfast Sausage

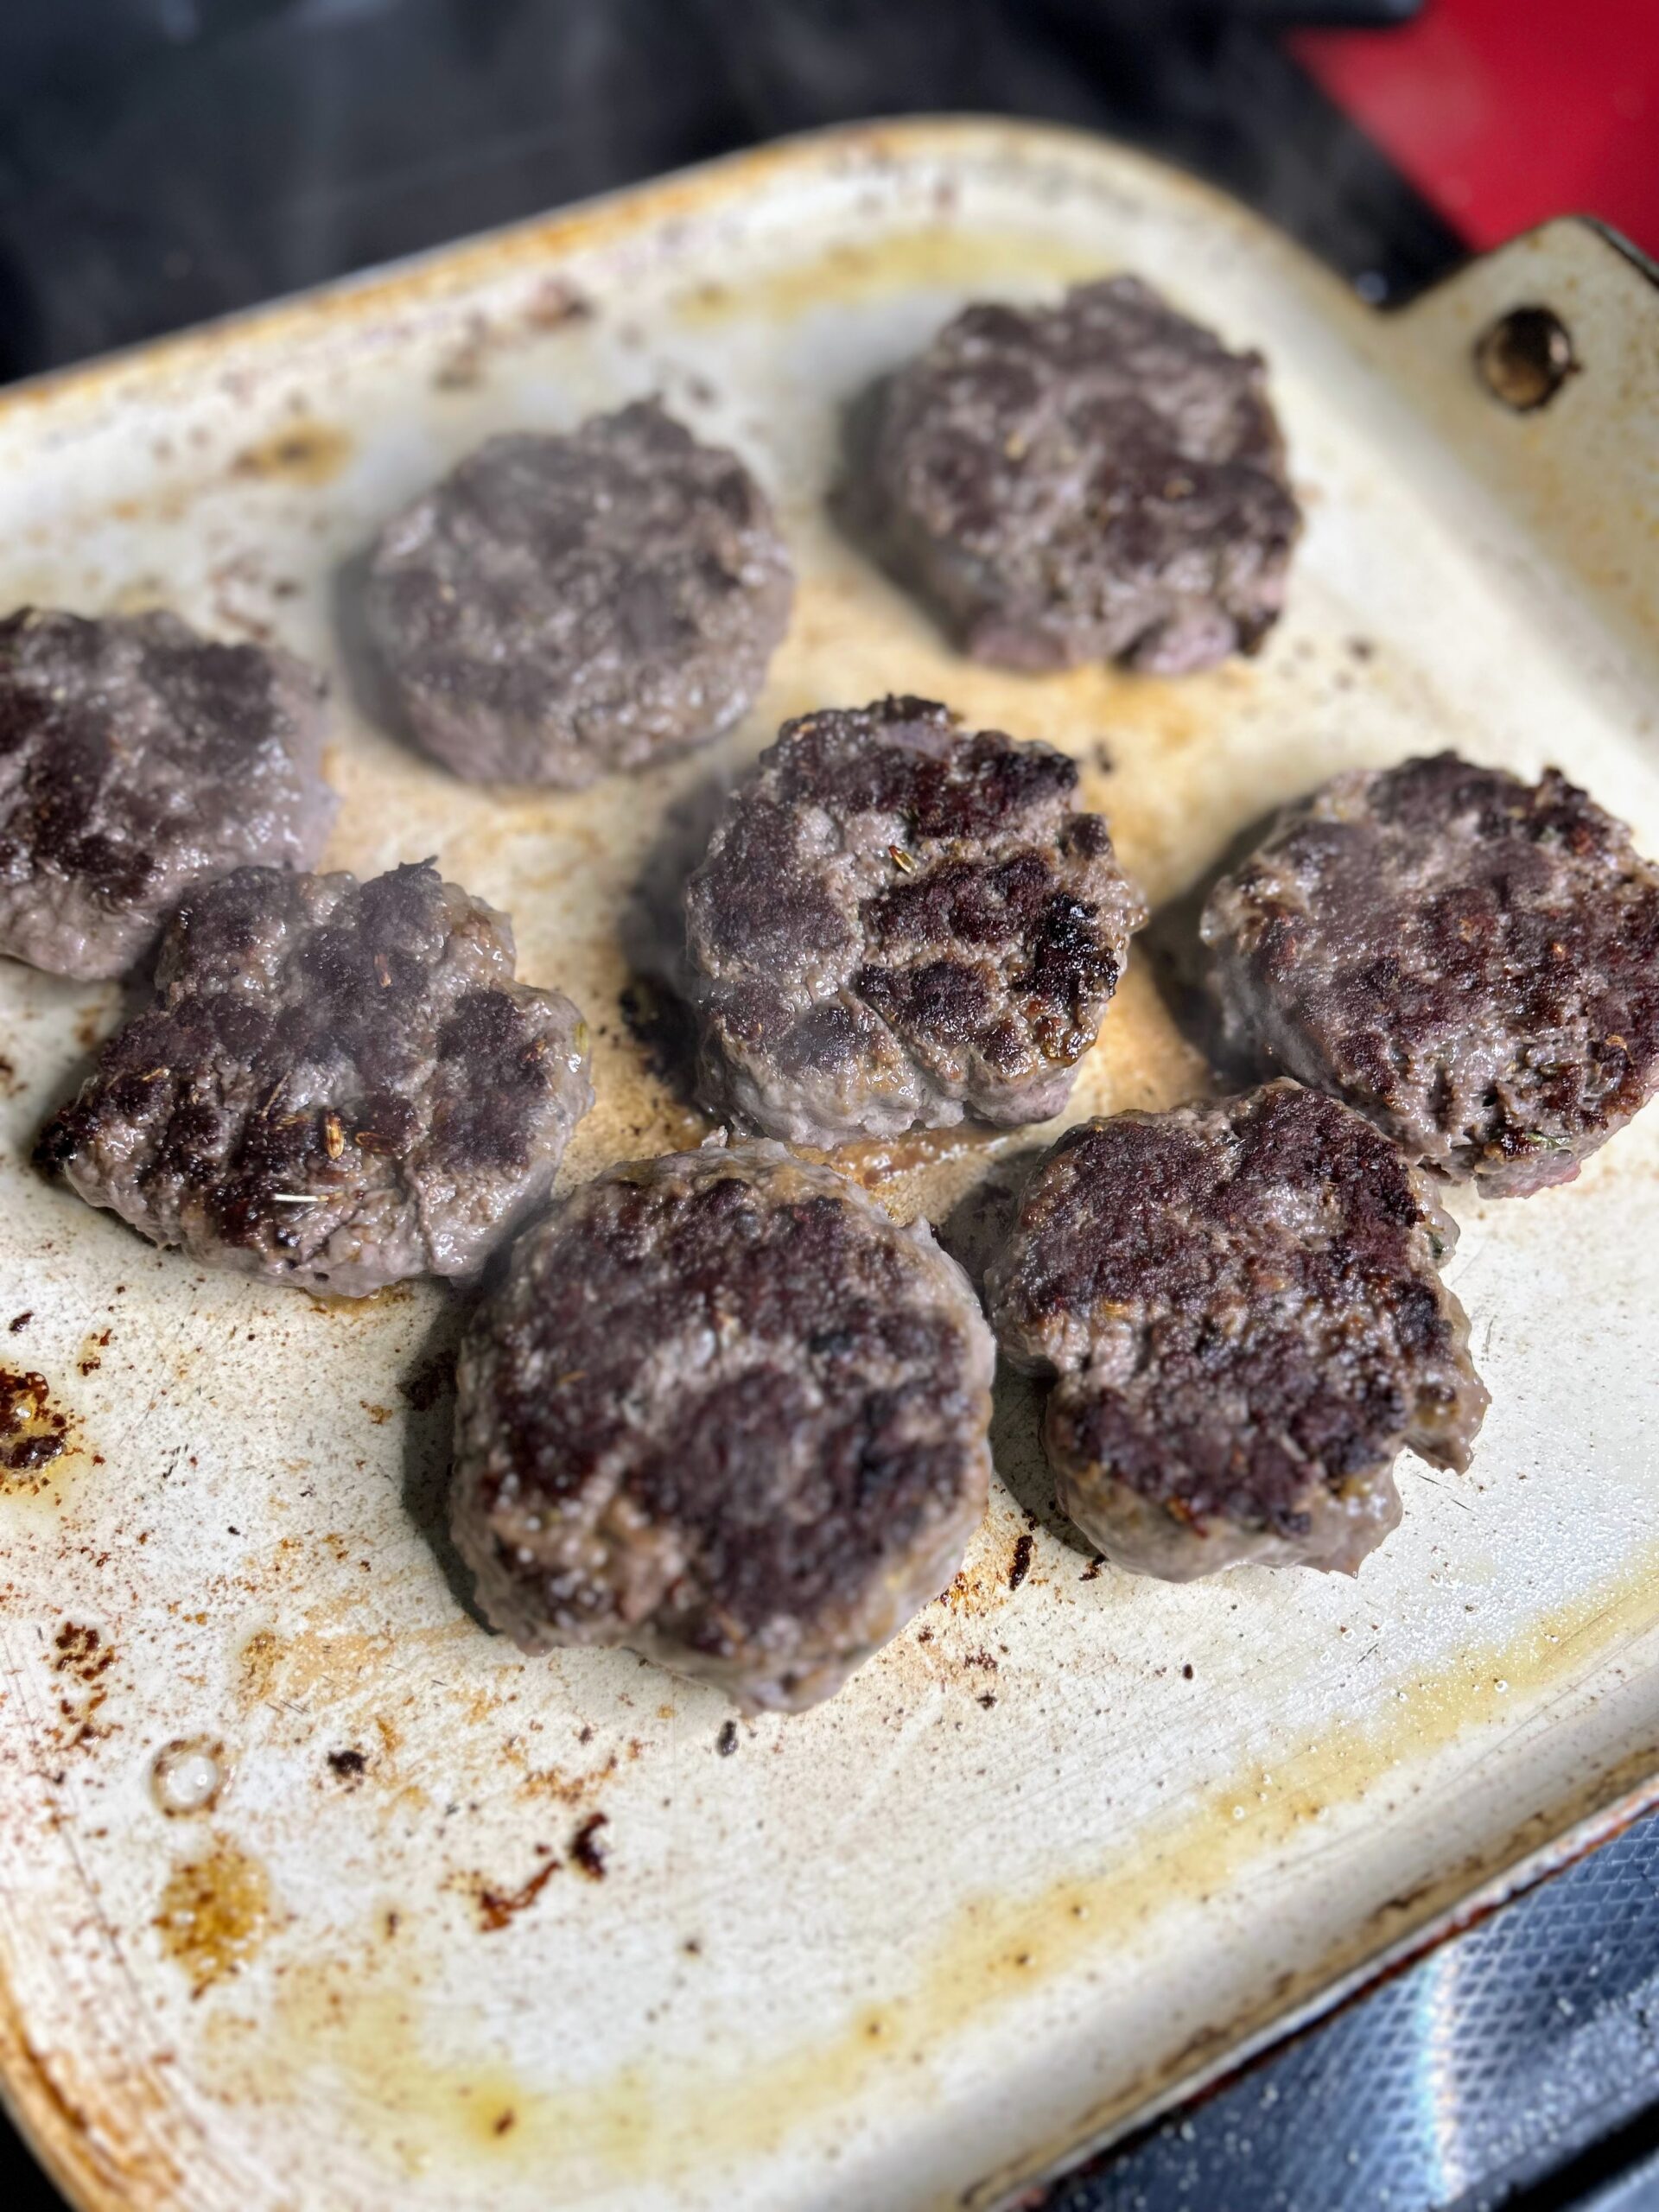
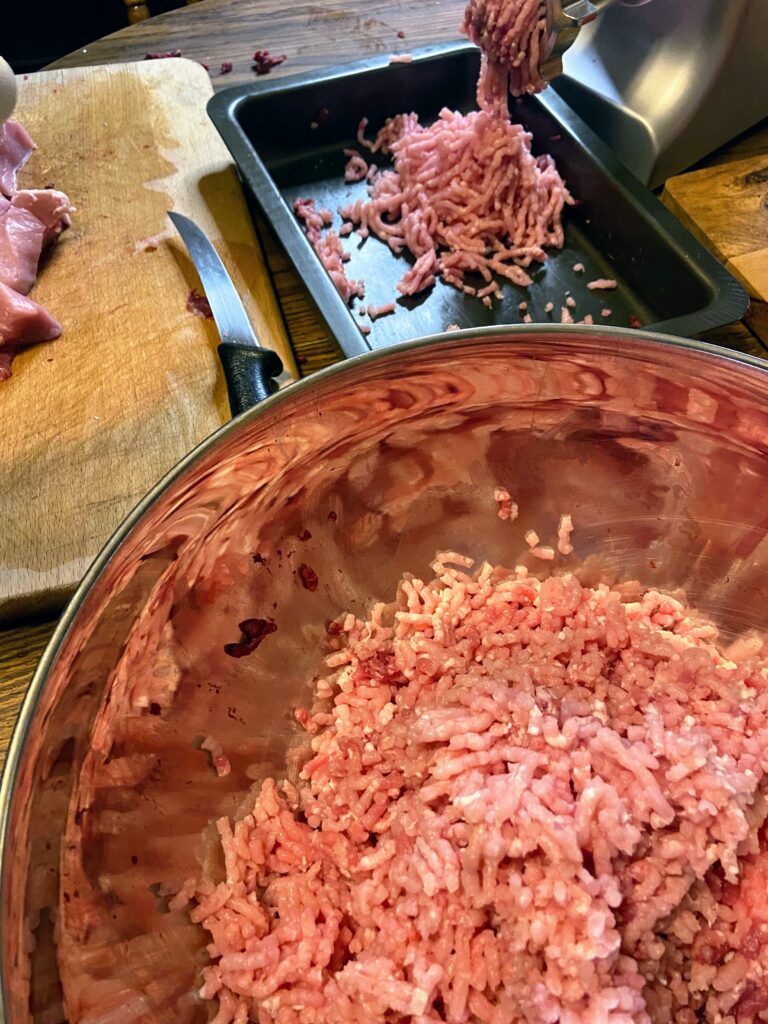
A few weekends ago, I was at my sissy’s house when her husband was making some venison breakfast sausage. Our family has been making Italian sausage inspired venison for a number of years, but I had never thought to season venison with breakfast sausage seasoning. I gave it a try, and WOW! It was so dang tasty and better than I expected, to be sure. He had purchased a seasoning mixture at a local smoke shop, but I was determined to do it myself. 

Luckily, the Mr shot a deer shortly thereafter, and we had fresh venison to grind (we do the processing all ourselves). I started looking at what seasonings go into breakfast sausage, settling on 

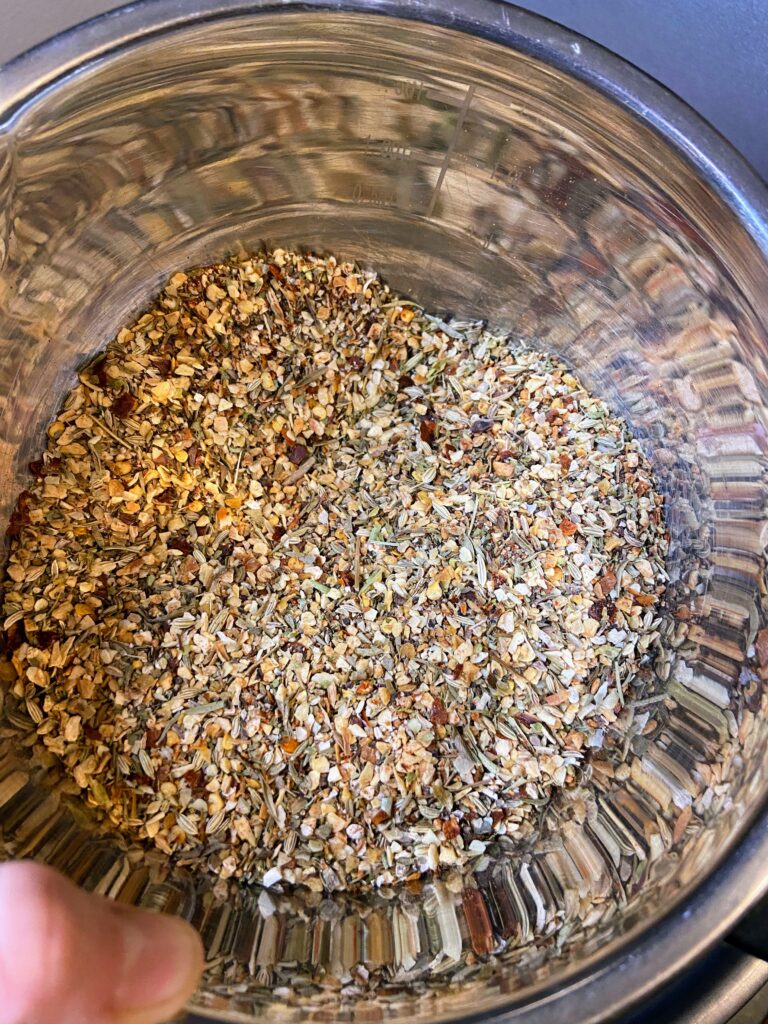
  • Fennel
  • Kosher Salt 
  • Thyme 
  • Sage
  • Pepper 
  • Red Pepper Flakes 

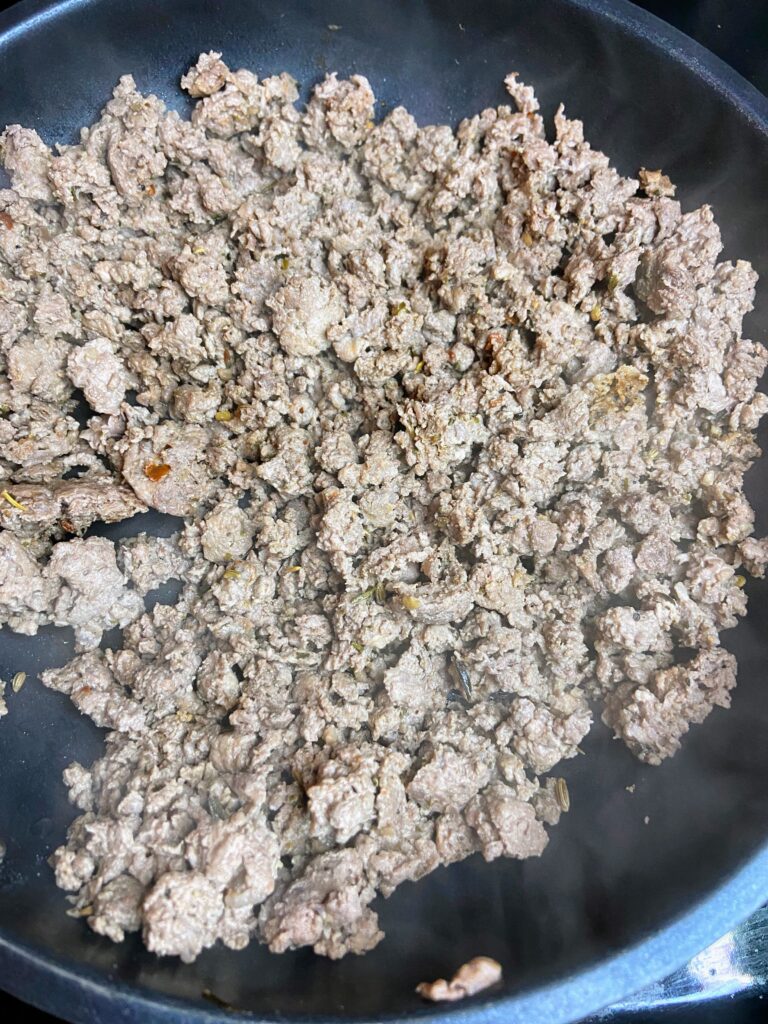
To give it a test, I took ¼ pound of ground meat and mixed it with ¼ teaspoon of the seasoning mix and ½ tablespoon of lard from a half of a pig we purchased last year. While the seasoning mix wasn’t perfect, I was impressed with how it turned out. As were my babies.

A little more tweaking went into the seasoning and we found a perfect mixture that everyone in our house loved. Before we knew it, the Mr and I put up 20 pounds worth of venison breakfast sausage in 1 pound packages, and I couldn’t be more excited to eat it throughout the year as well as share it with all of you! 

If you are ready to make your own sausage, keep reading! 

Your Ingredients for 10 pounds of Venison Breakfast Sausage

  • 10 pounds ground venison
  • 5 tablespoons fennel seed
  • 8 teaspoons salt
  • 5 teaspoons black pepper
  • 5 teaspoons dried thyme
  • 2 ½ teaspoons dried sage
  • 1 ¼ teaspoon red pepper flakes (or to taste) 
  • 1 cup lard, room temperature (preferably purchased from a meat market) 

Your Steps to Venison Breakfast Sausage

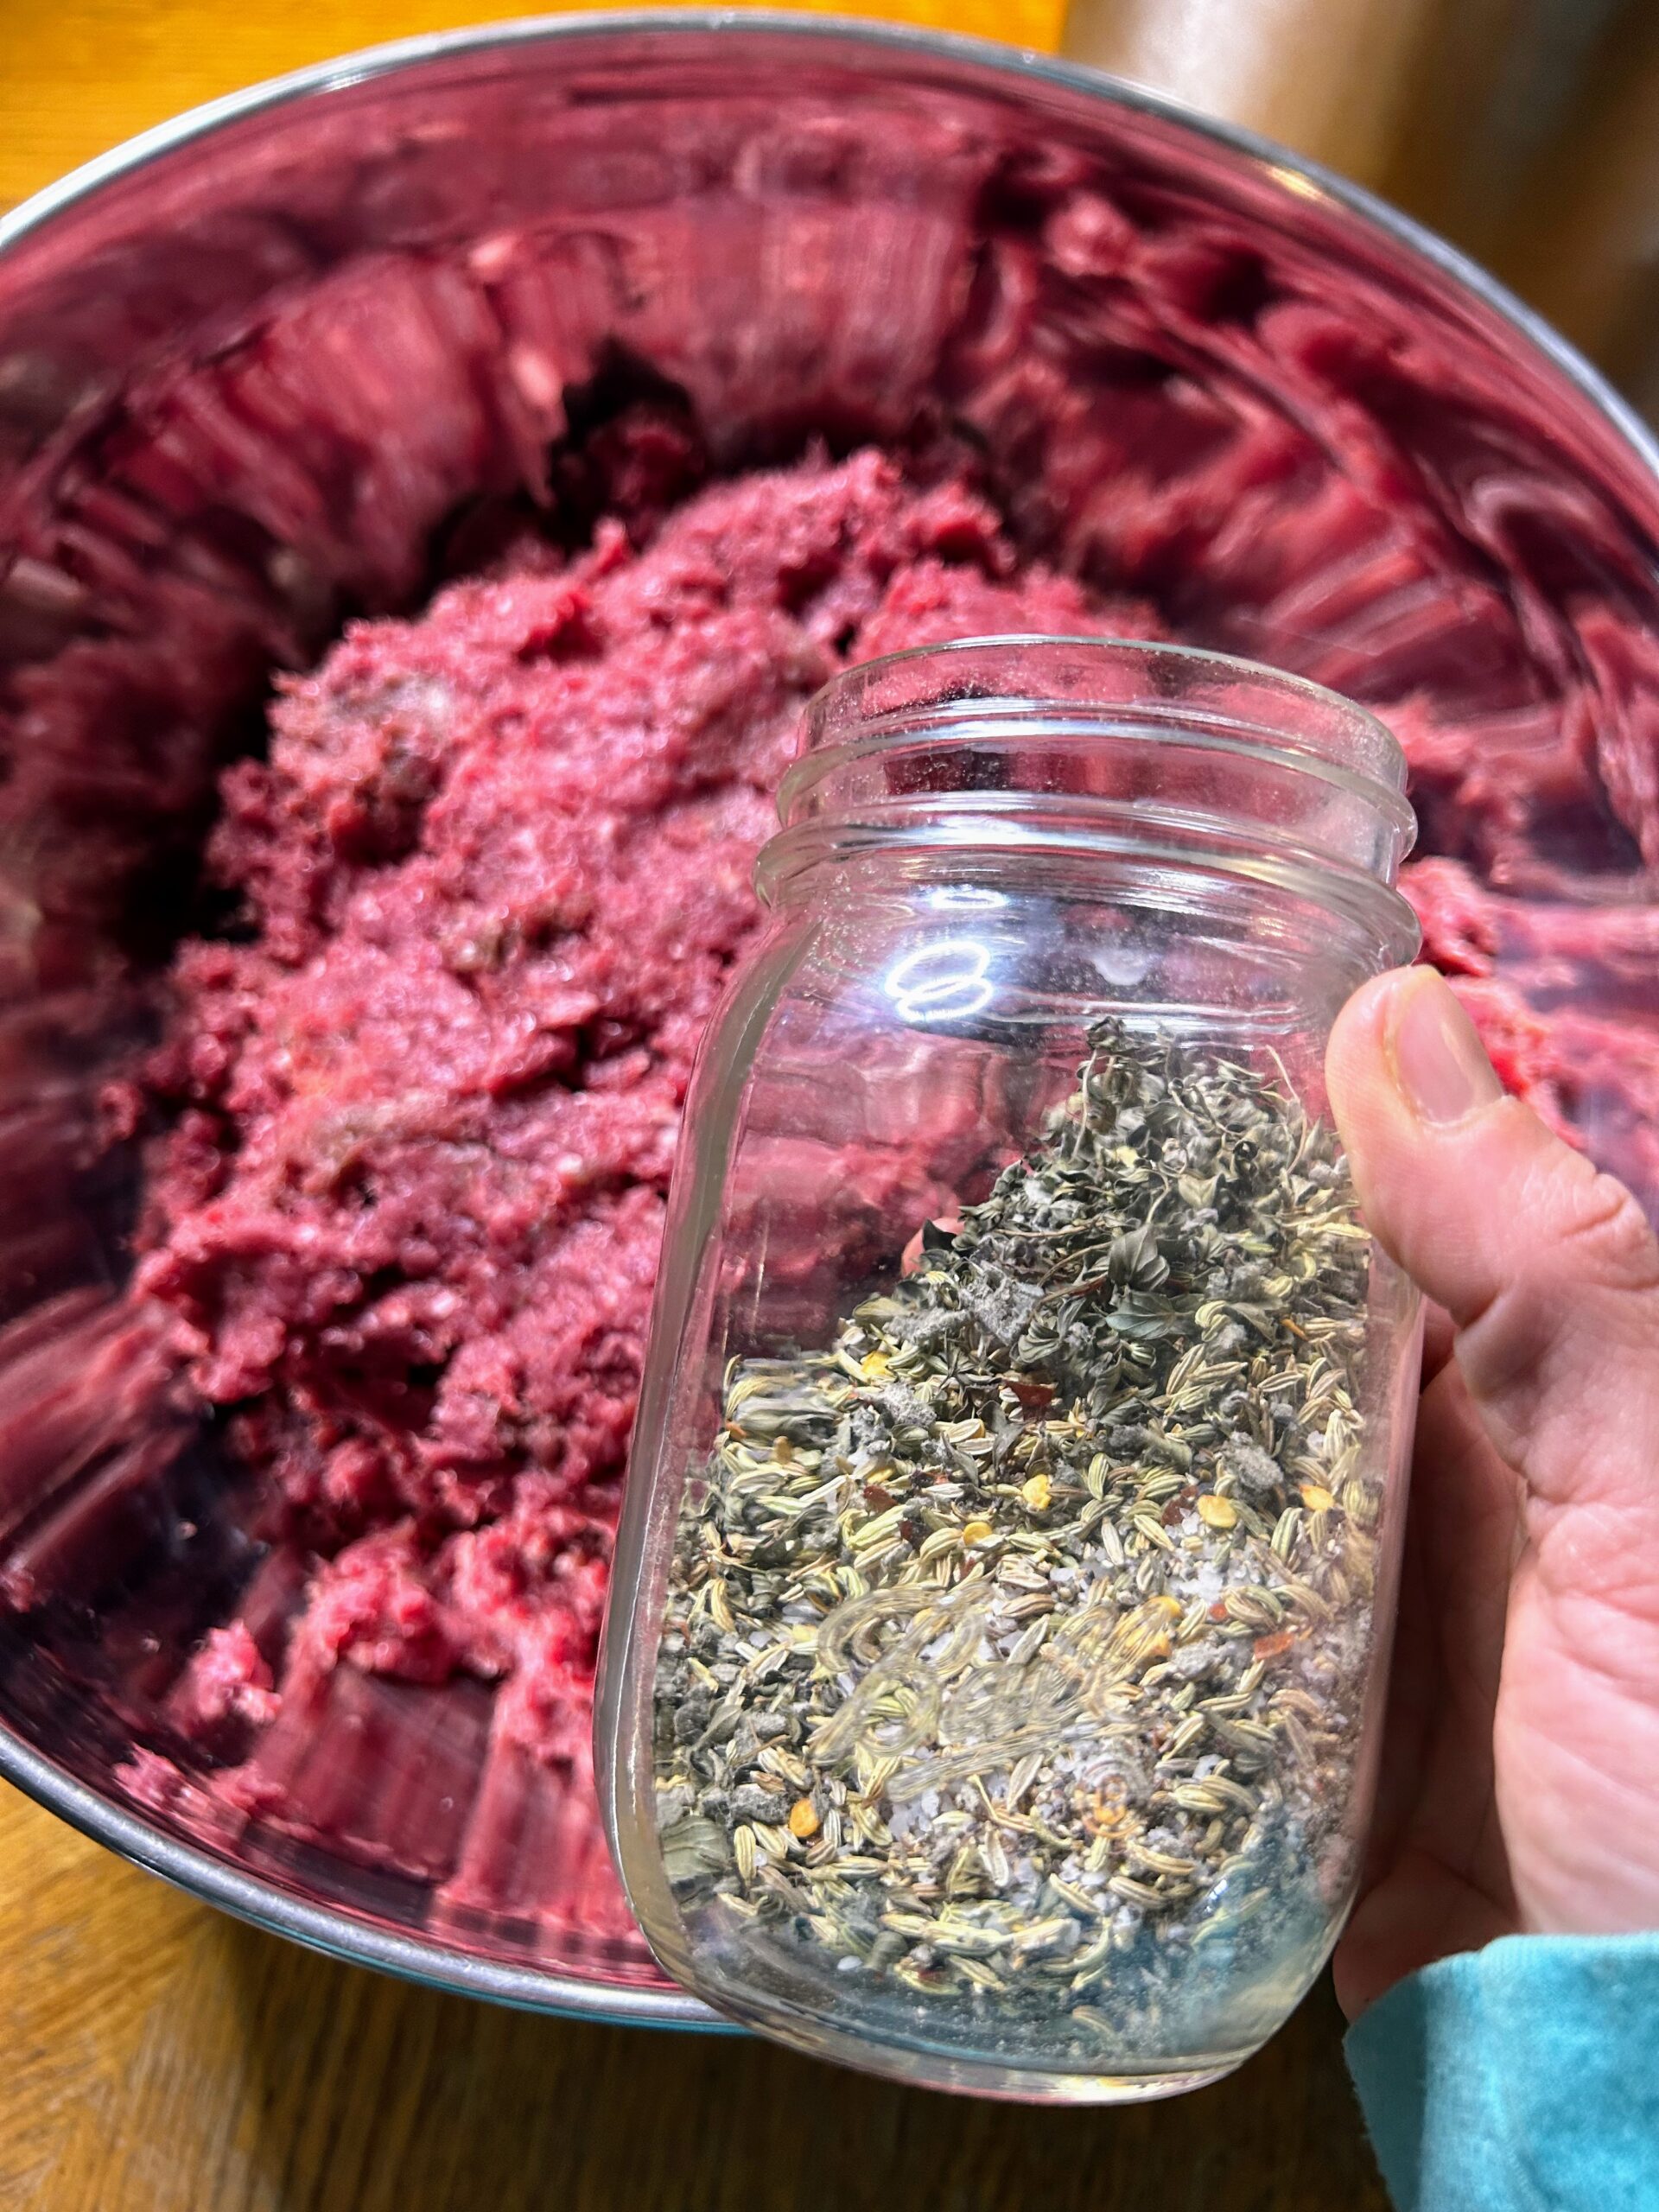
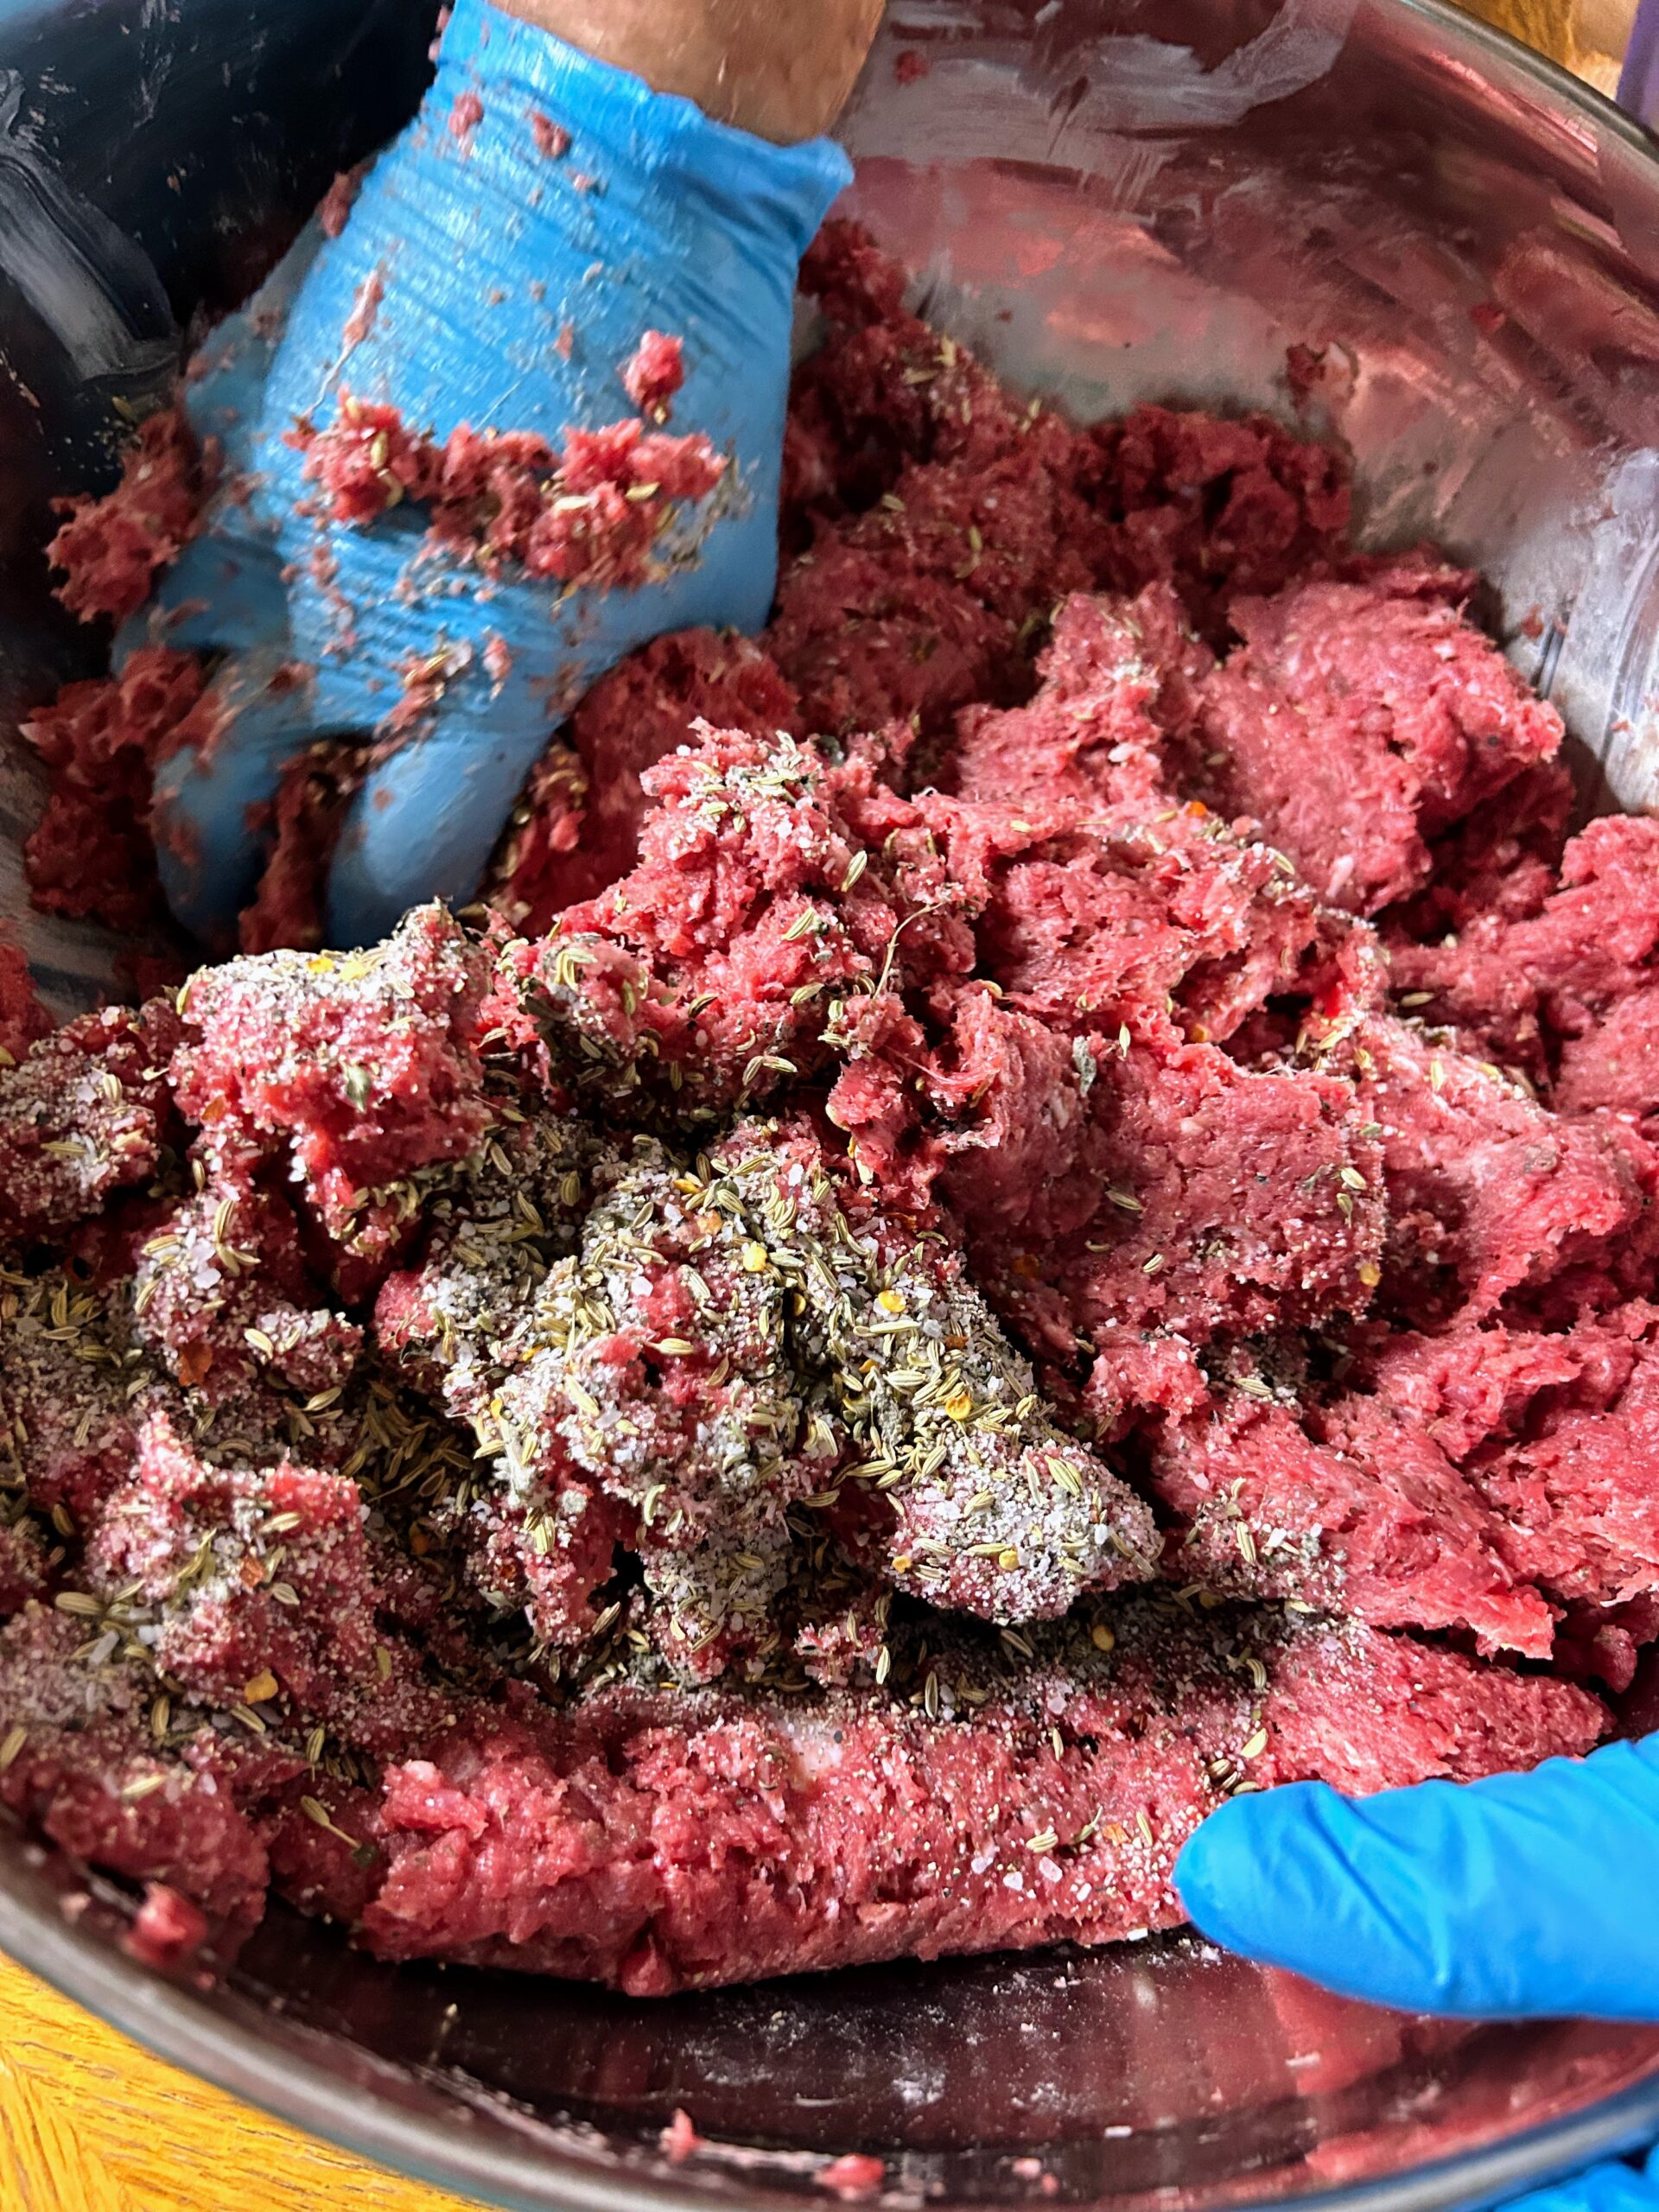
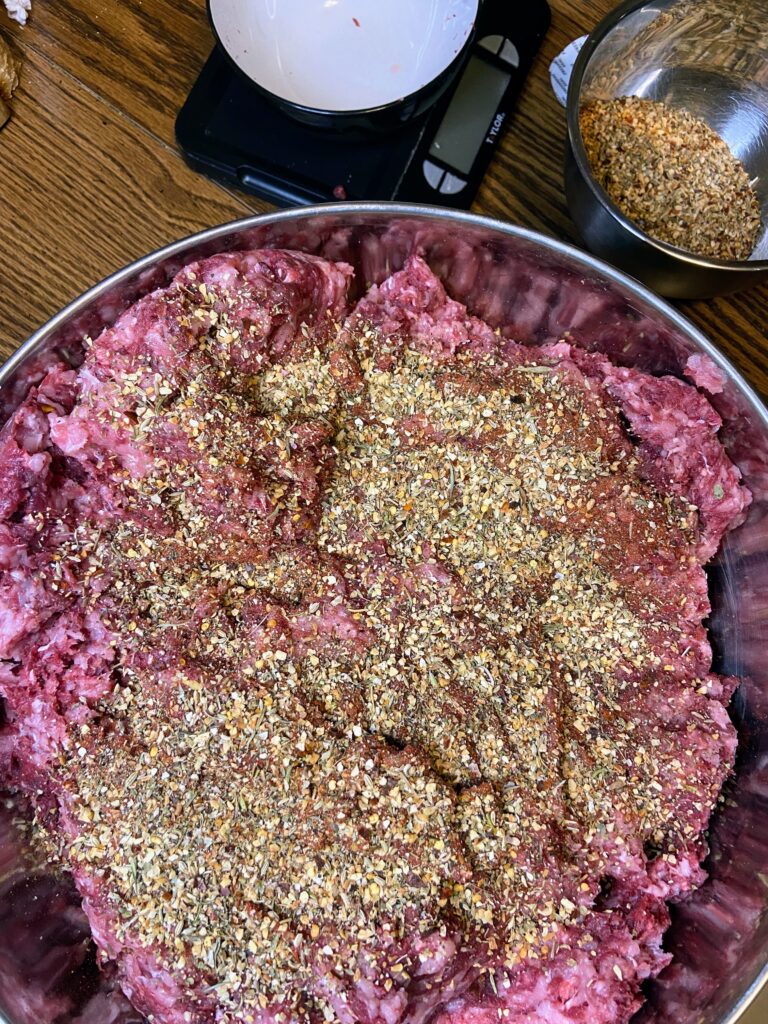
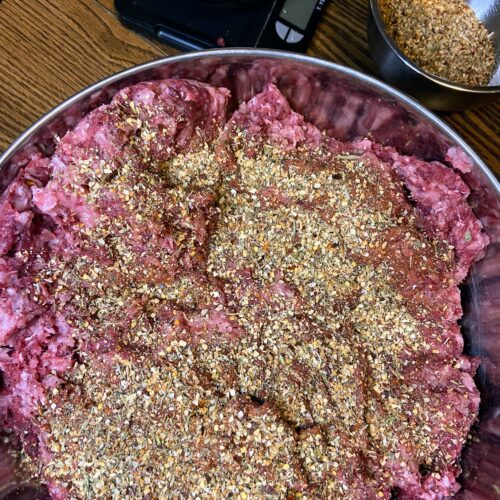
Combine the dried spices in a mason jar, cover with a lid, and shake until well mixed. Place the ground venison in a large, large metal bowl. Add approximately half the seasoning mix, sprinkling it evenly. Add half of the lard, adding it by about a half of a tablespoon at a time to help disperse it. Mix by hand until well combined. Add remaining seasoning mix and lard in a similar fashion and mix again. 

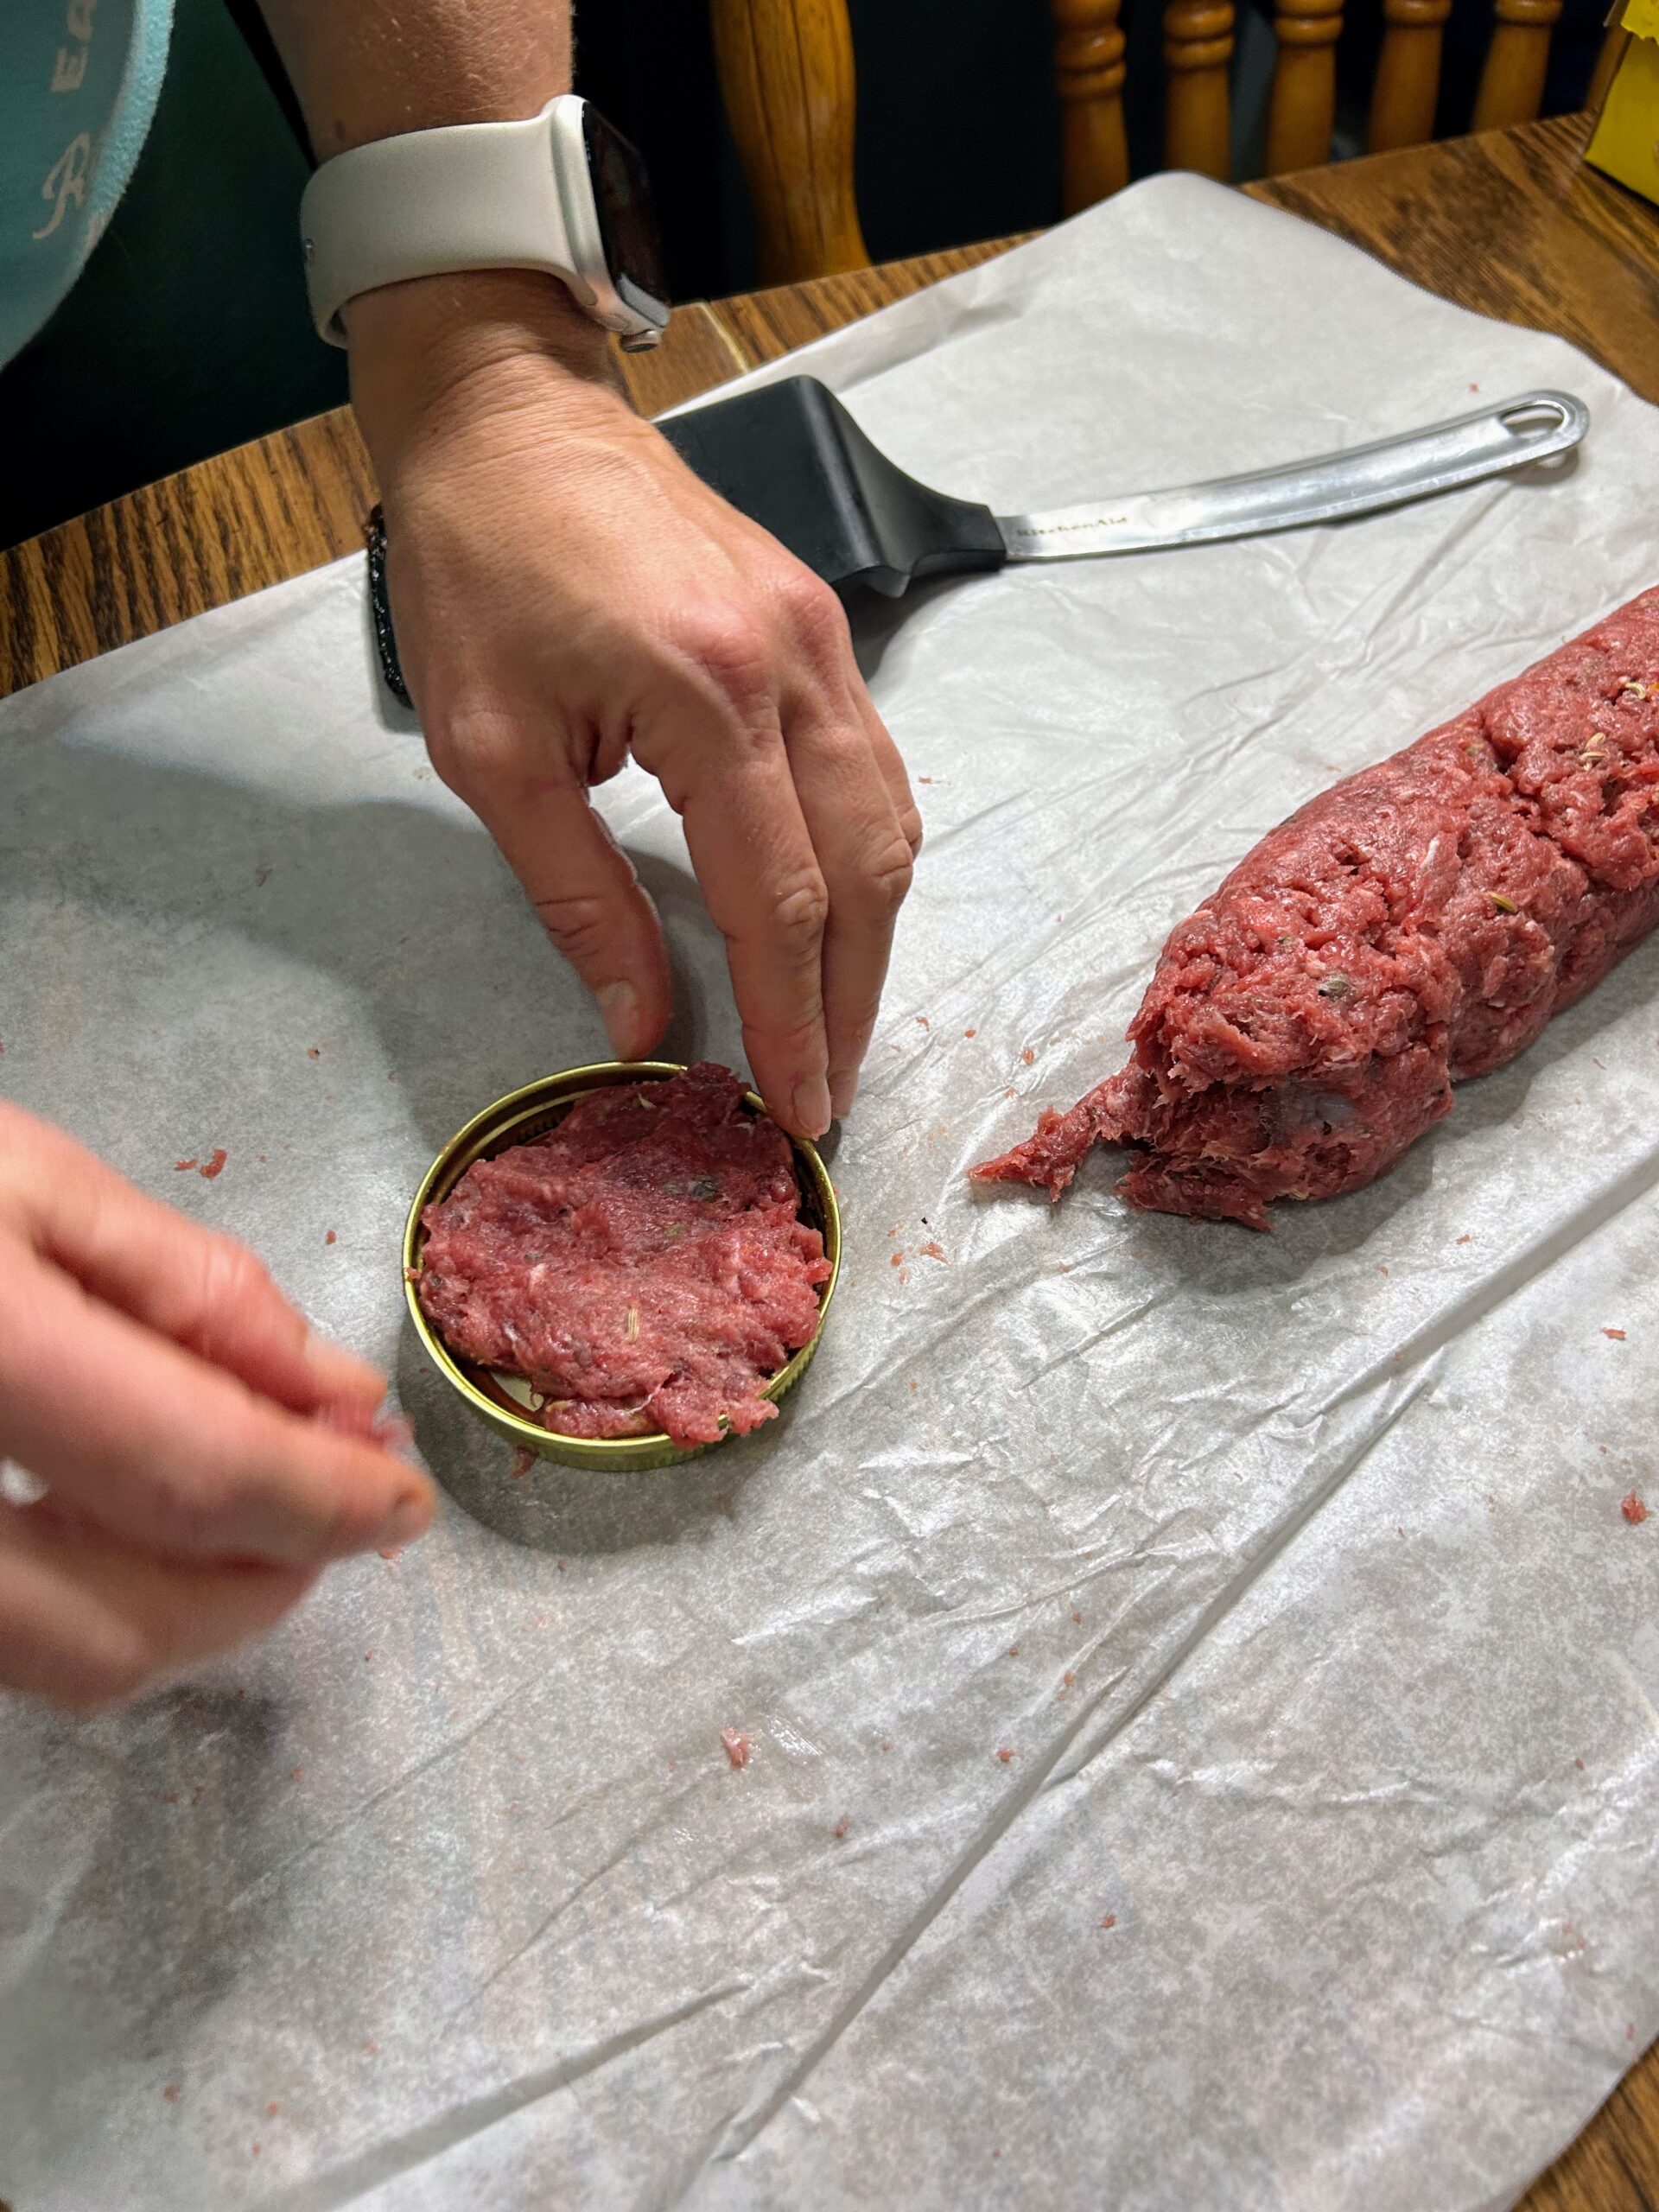
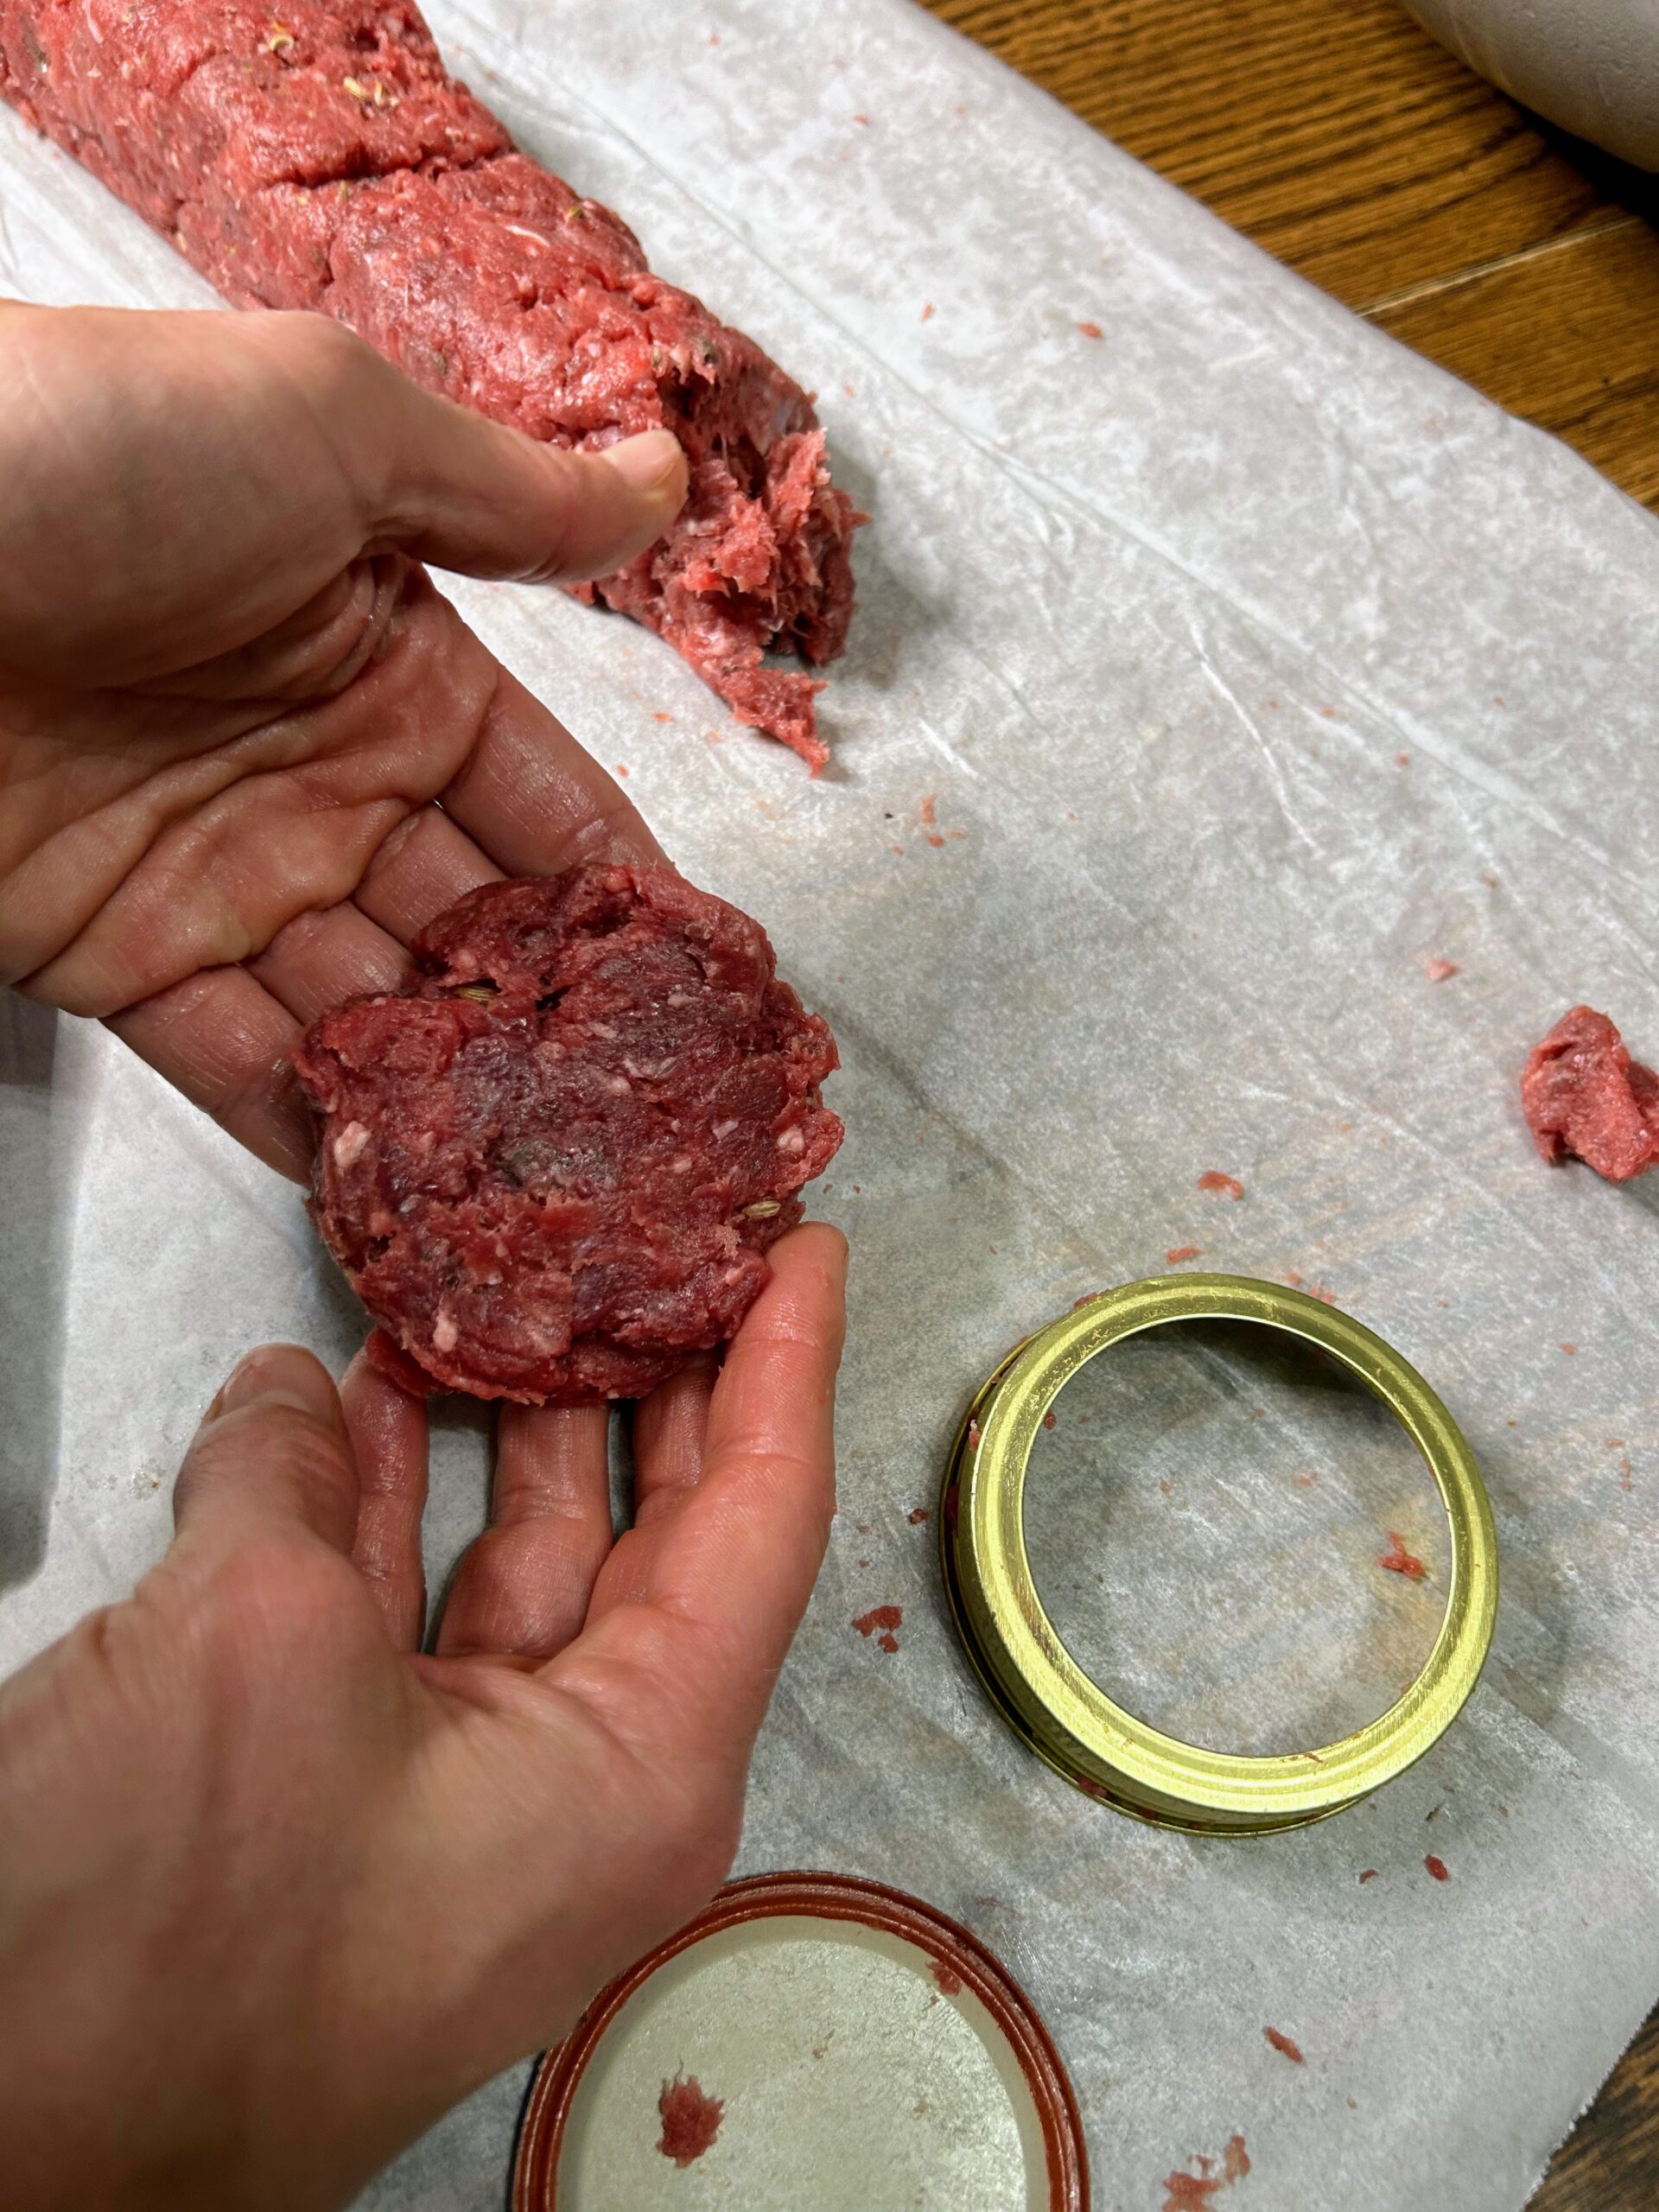
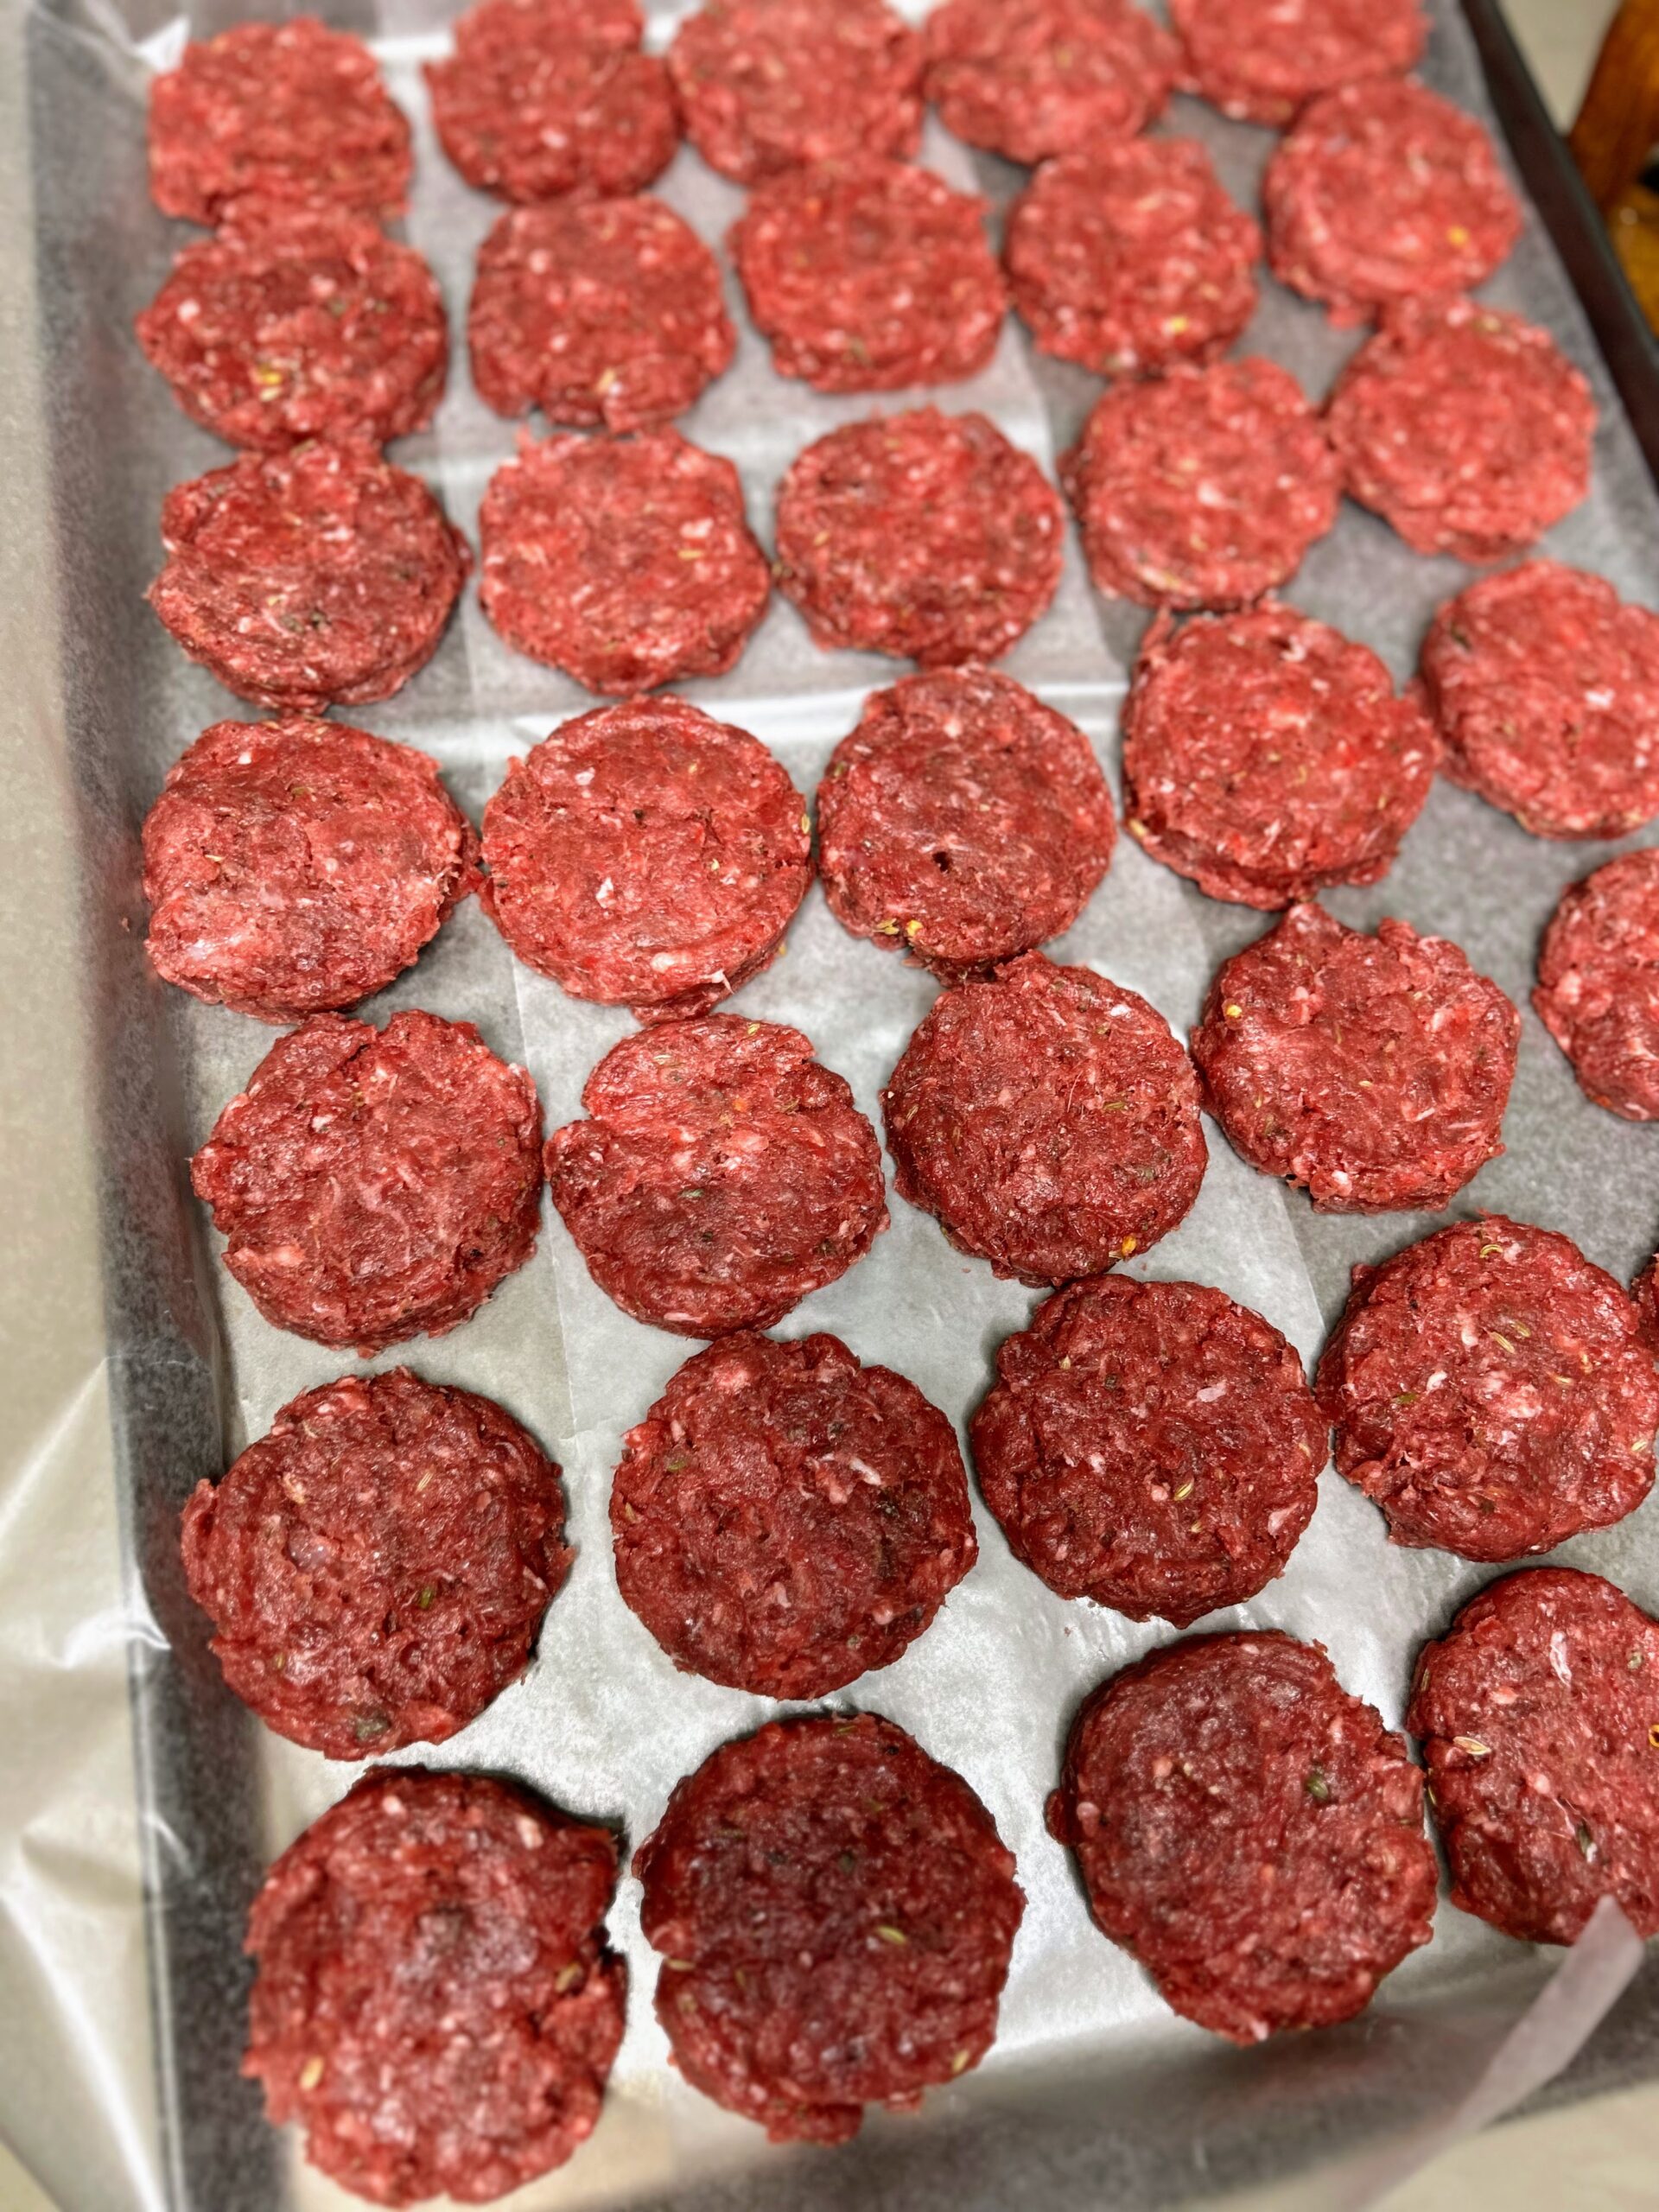
From here, you can package it in one pound packages in quart freezer bags to be frozen as bulk sausage. The Mr and I formed them into patties using a canning ring and an old lid and it worked perfectly. A regular mouth lid made a two ounce patty, so 8 patties (a typical package) comes out to be about a pound. How sweet is that? 

If you choose to go the patty route, I recommend lining a rimmed baking sheet with parchment or wax paper. Place the patties on the paper, possibly layering them as needed. Par-freeze the patties and once frozen, remove and place in freezer safe containers or bags in the amount you care to have them. 

Venison Breakfast Sausage

A handful of spices and lard combine with fresh ground venison to make delicious venison breakfast sausage perfect for any morning!
Prep Time 40 minutes
Cook Time 0 minutes
Course Breakfast, Homesteading, Meal Prep
Cuisine American
Servings 10 pounds

Ingredients
  

  • 10 pounds ground venison
  • 5 tablespoons fennel seed
  • 8 teaspoons salt
  • 5 teaspoons black pepper
  • 5 teaspoons dried thyme
  • 2 ½ teaspoons dried sage
  • 1 ¼ teaspoon red pepper flakes or to taste
  • 1 cup lard room temperature (preferably purchased from a meat market)

Instructions
 

  • Combine the dried spices in a mason jar, cover with a lid, and shake until well mixed. Place the ground venison in a large, large metal bowl.
  • Add approximately half the seasoning mix, sprinkling it evenly. Add half of the lard, adding it by about a half of a tablespoon at a time to help disperse it. Mix by hand until well combined. Add remaining seasoning mix and lard in a similar fashion and mix again.
  • From here, you can package it in one pound packages in quart freezer bags to be frozen as bulk sausage.
  • Alternatively, a regular mouth canning lid and ring make a perfect mold for forming 2 ounce patties.
  • If you choose to go the patty route, I recommend lining a rimmed baking sheet with parchment or wax paper. Place the patties on the paper, possibly layering them as needed. Par-freeze the patties and once frozen, remove and place in freezer safe containers or bags in the amount you care to have them.
Keyword Breakfast, breakfast sausage, Ground venison, homemade fries, homesteading, venison, venison breakfast sausage, venison recipe
Tried this recipe?Let us know how it was!

Looking for other great venison recipes?

These are a few of our favorites around our household! You can also check out my canning and preserving page for other ways to preserve your venison!
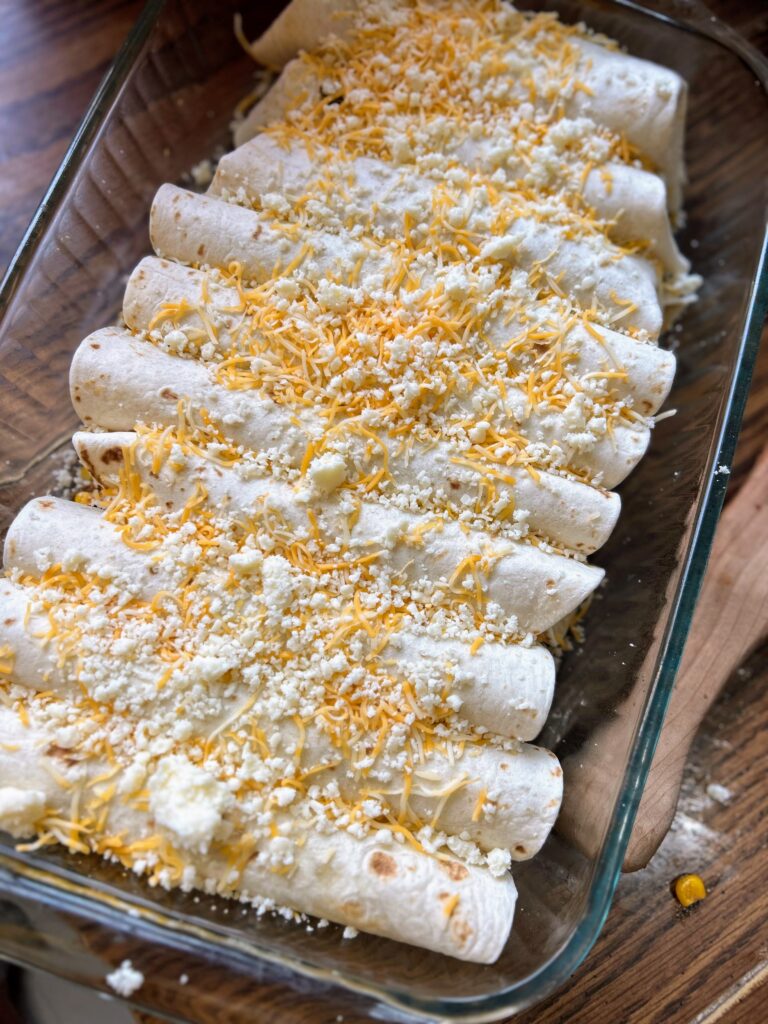
Tex Mex Burrito Bake

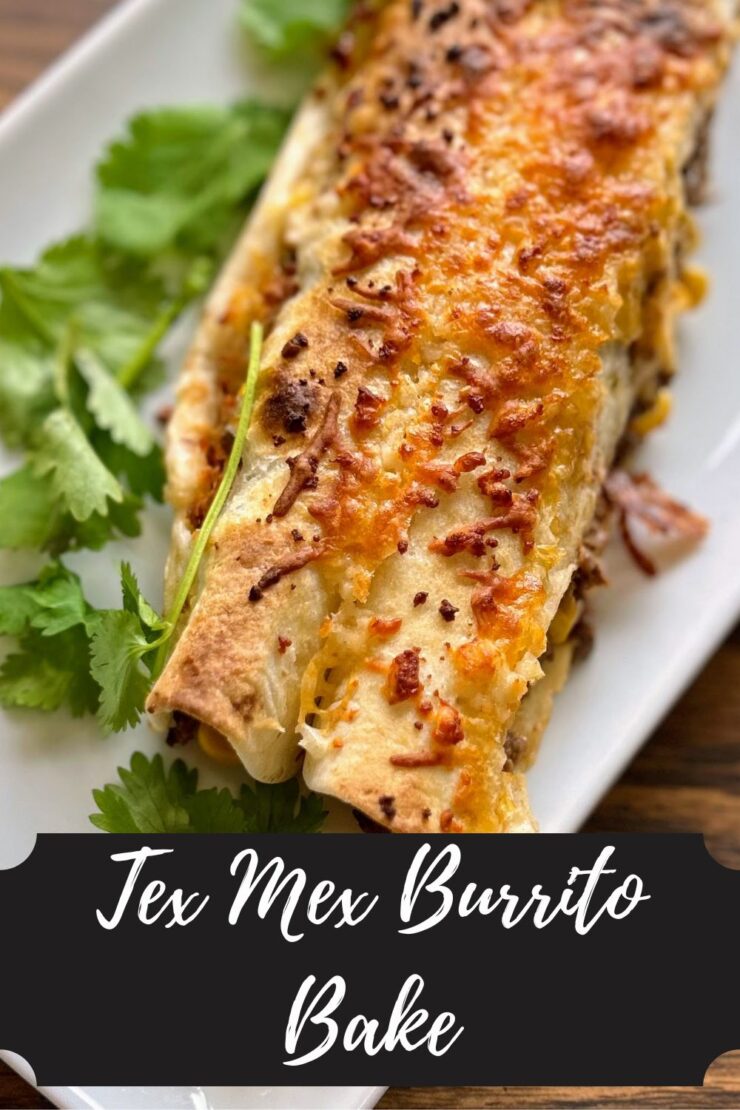
In Wisconsin, we are in the beginnings of deer hunting season. The time when deer hunters around the state are taking stock of what is left in their freezer from last season’s successful hunts and figuring out how much meat they need to eat to make room for a new deer or two. At our house, we found we had 40 (FORTY!) pounds of ground venison left. Oh man. Don’t get me wrong, that’s a great problem to have but at the same time, we need to use it up. We have our go to meals: tacos, Korean BBQ Inspired Beef, and pasta. But we are always looking for something new, and man, I think I hit the jackpot in the creation of this stupidly simple Tex Mex Burrito Bake. 

What I adore about this meal is two fold: My family LOVED it. Like, ‘my big kiddo couldn’t get enough’ loved it and it is honestly one of the easiest meals I have put together in a long time. 

Nearly every ingredient is a pantry item at our house. We love tacos so much that it’s a rare day that we don’t have soft shells in our pantry. Salsa is a constant in our fridge and we always have some Mexi-corn in our pantry for Kelly’s Texas Caviar. And I just started keeping Cotija cheese on hand as a great alternative to feta (It’s a Mexican take on a dry salty cheese). If you don’t have it, it’s optional anyway!

This Tex Mex Burrito Bake will be start to finish in under 40 minutes, including its bake time. I know my kids have been requesting it again and again. I hope your family will love it that much too!

Let’s get cooking! 

Your Ingredients

  • 1 tablespoon olive oil 
  • 1 pound ground protein (I did venison) 
  • 1 cup diced onion (about 2 small)
  • 2 cloves garlic, minced 
  • ½ teaspoon cumin
  • ¼ teaspoon smoked paprika
  • Cayenne pepper and salt, to taste
  • 1 14 ounce can Mexicorn (corn with peppers), drained
  • 1 cup salsa, whatever level of heat you prefer
  • 2 cups shredded cheese, divided 
  • 10 fajita style soft tortillas 
  • Cotija cheese, optional 
  • Sour Cream and Cilantro, optional 

You Steps to Tex Mex Burrito Bake

Preheat the oven to 400 degrees. Spray a 9×13 glass baking dish with non-stick cooking spray. 

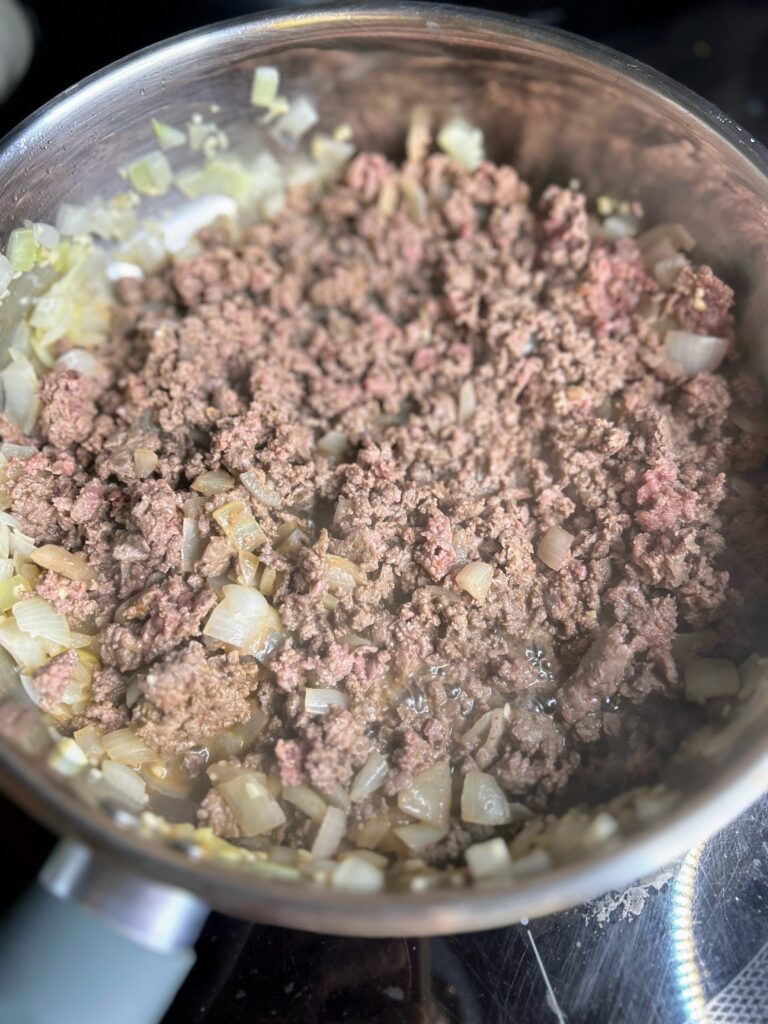
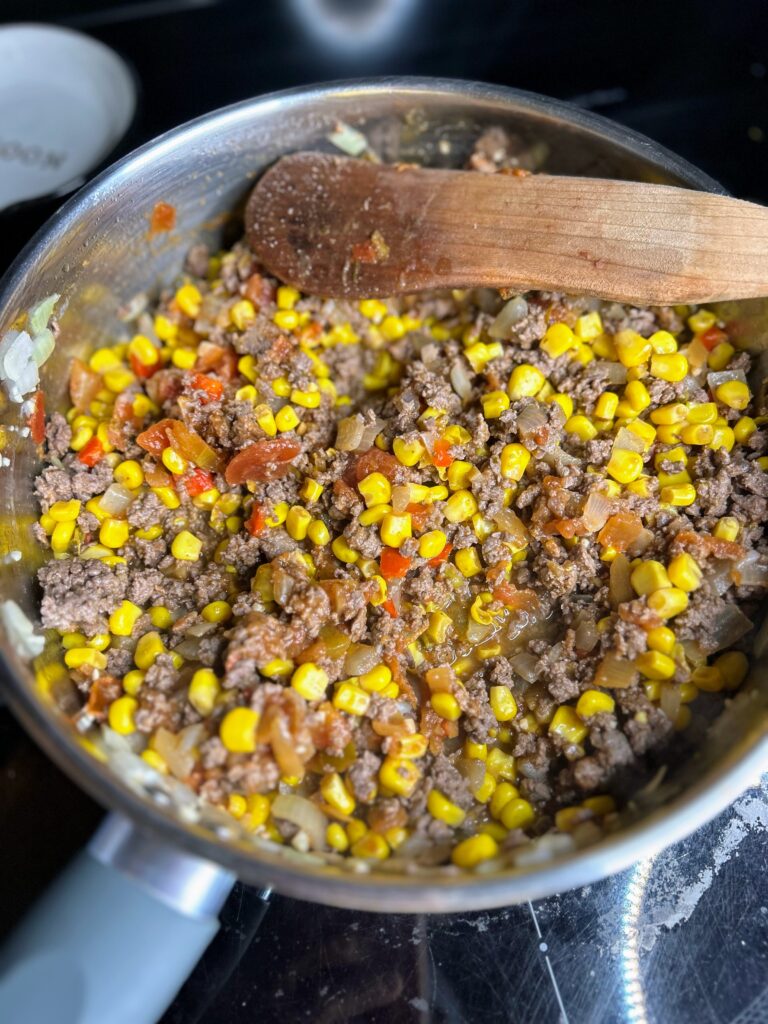
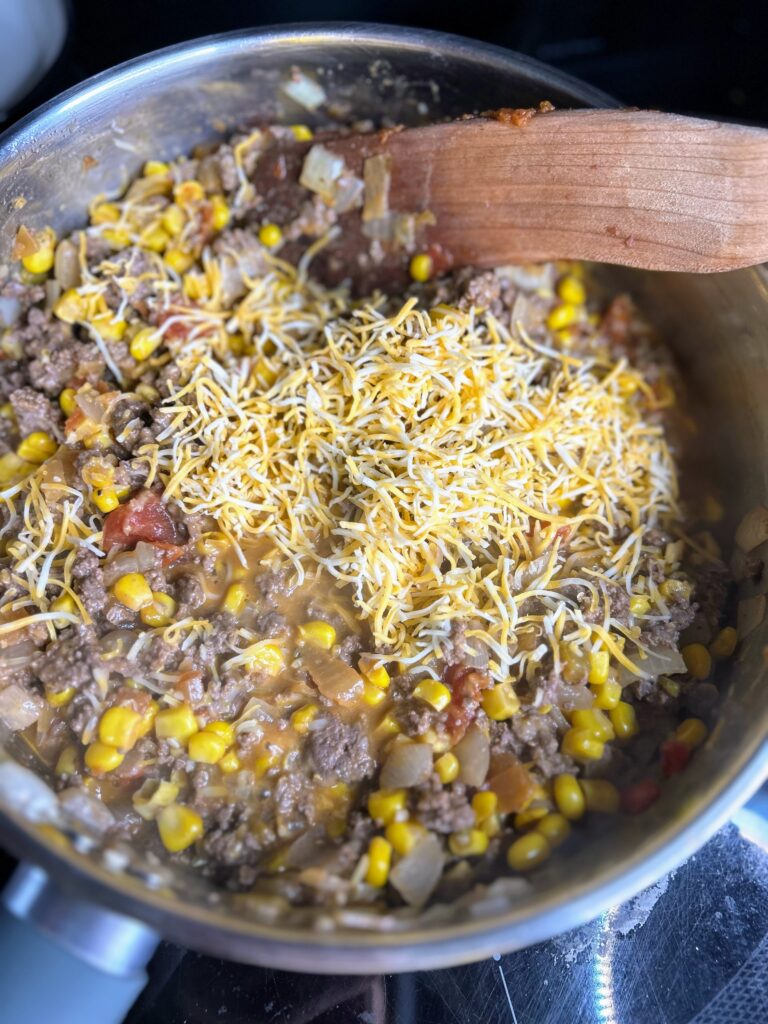
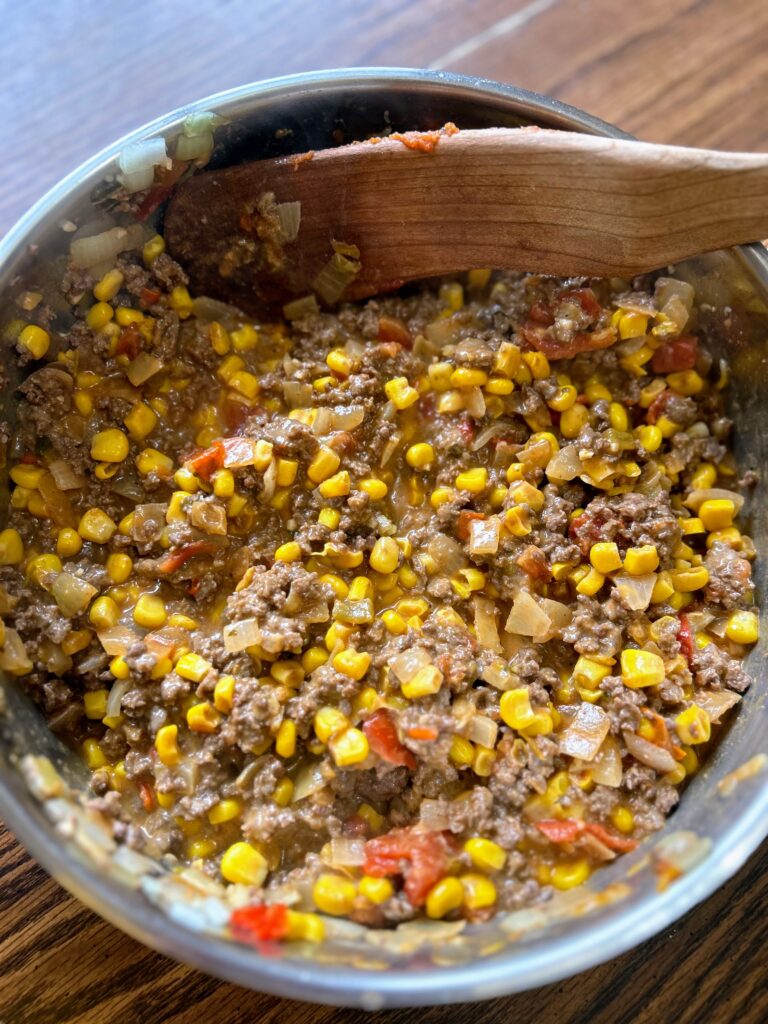
In a large skillet, heat the oil. Add onions and minced garlic. Cook 3-4 minutes, until just starting to soften. Add ground protein, cumin, paprika, and cayenne pepper, cooking until no longer pink. Stir in salsa, Mexi-corn and 1 ½ cups of shredded cheese. Mix until the cheese is melted through and remove from heat. Test the filling, adding salt and pepper as needed.

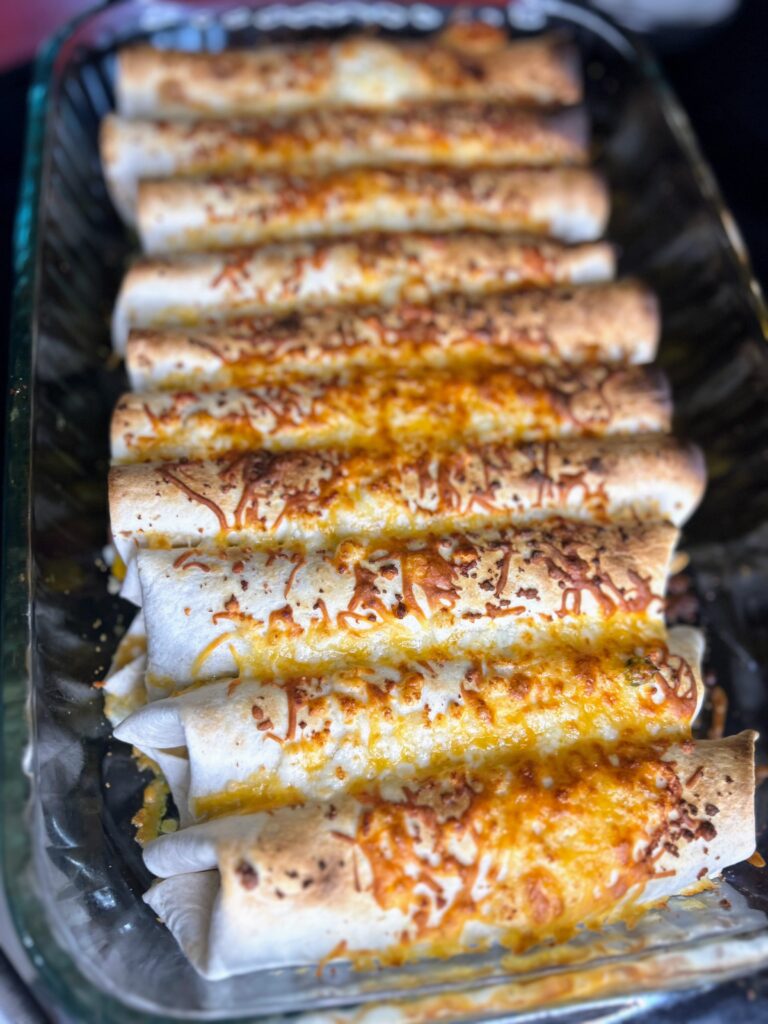
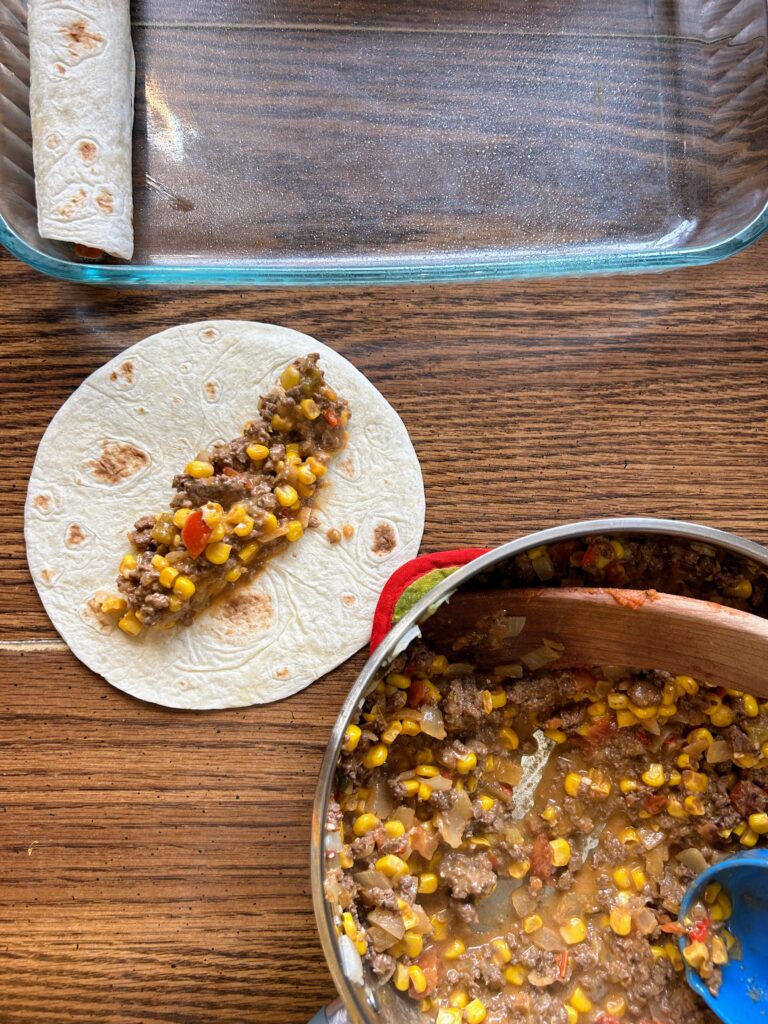
Spoon ½ cup of filling into each shell and roll up, placing seam side down in the prepared baking dish. Top with additional shredded cheese and Cotija cheese. Bake uncovered for 10-12 minutes. If you like your cheese browned like I do, feel free to turn on the broiler and cook for an additional 1-2 minutes, but watch carefully! 

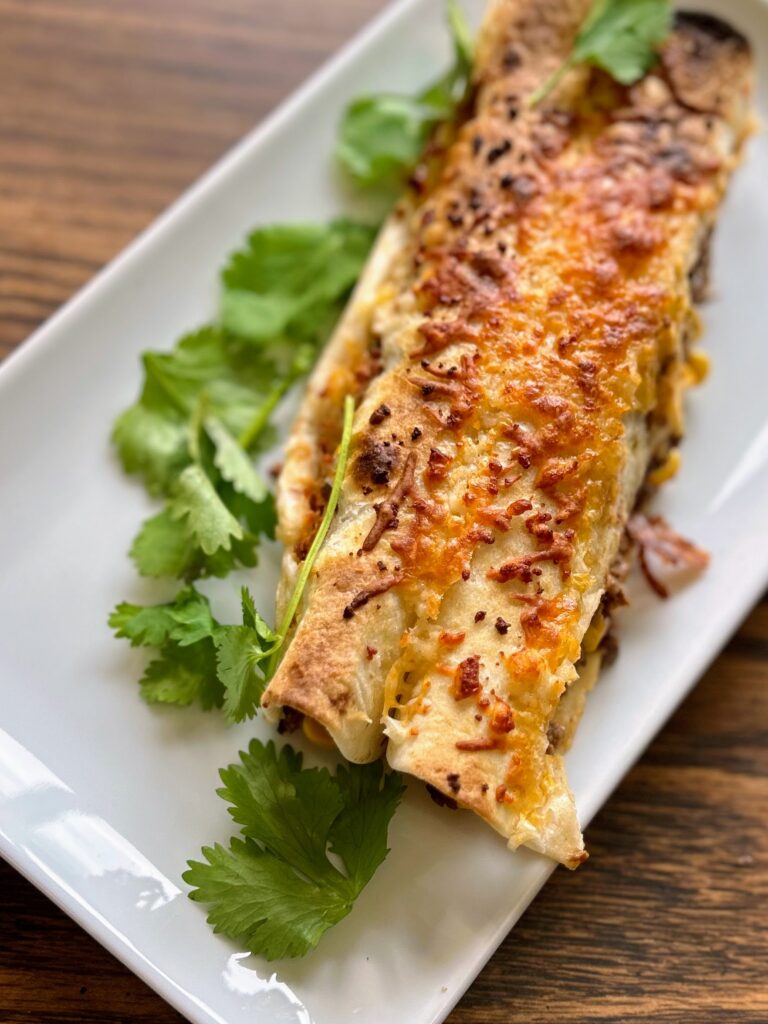
Serve with sour cream and cilantro.

Tex Mex Burrito Bake

This Tex Mex Burrito Bake is a quick and easy dish that can be made with ingredients you probably already have on hand. It's perfect for a busy weeknight dinner!
Prep Time 30 minutes
Cook Time 15 minutes
Course Main Course
Cuisine American, Tex Mex
Servings 10 burritos

Ingredients
  

  • 1 tablespoon olive oil
  • 1 pound ground protein I did venison
  • 1 cup diced onion about 2 small
  • 2 cloves garlic minced
  • ½ teaspoon cumin
  • ¼ teaspoon smoked paprika
  • Cayenne pepper to taste
  • 1 14 ounce can Mexicorn corn with peppers, drained
  • 1 cup salsa whatever level of heat you prefer
  • 2 cups shredded cheese divided
  • 10 fajita style soft tortillas
  • Cotija cheese optional
  • Sour Cream and Cilantro optional

Instructions
 

  • Preheat the oven to 400 degrees. Spray a 9×13 glass baking dish with non-stick cooking spray.
  • In a large skillet, heat the oil. Add onions and minced garlic. Cook 3-4 minutes, until just starting to soften.
  • Add ground protein, cumin, paprika, and cayenne pepper, cooking until no longer pink.
  • Stir in salsa, Mexicorn and 1 ½ cups of shredded cheese. Mix until the cheese is melted through and remove from heat.
  • Spoon ½ cup of filling into each shell and roll up, placing seam side down in the prepared baking dish.
  • Top with additional shredded cheese and Cotija cheese. Bake uncovered for 10-12 minutes.
  • If you like your cheese browned turn on the broiler and cook for an additional 1-2 minutes, but watch carefully!
  • Serve with sour cream and cilantro.
Keyword burritos, family friendly, ground beef, quick meals, Tex Mex, tortillas, venison
Tried this recipe?Let us know how it was!

Looking for other Great Recipes?

What’s for dinner this week? Maybe I can suggest some of these family favorites! Our simply check out my cooking page for more inspiration.

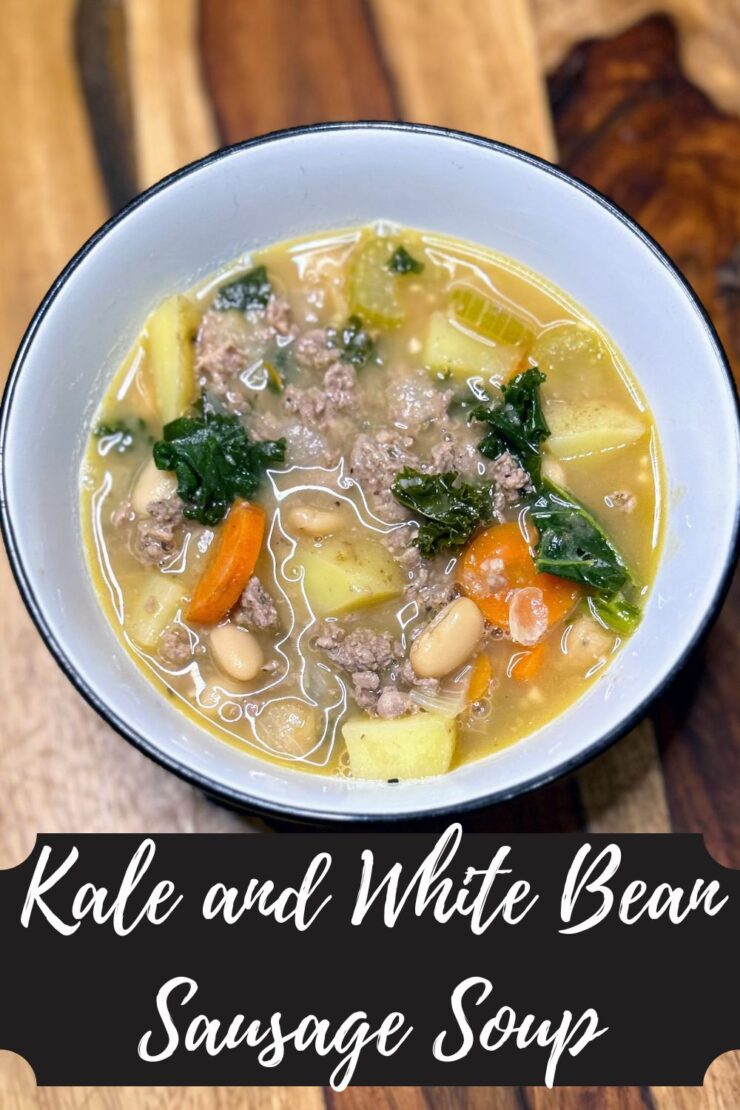
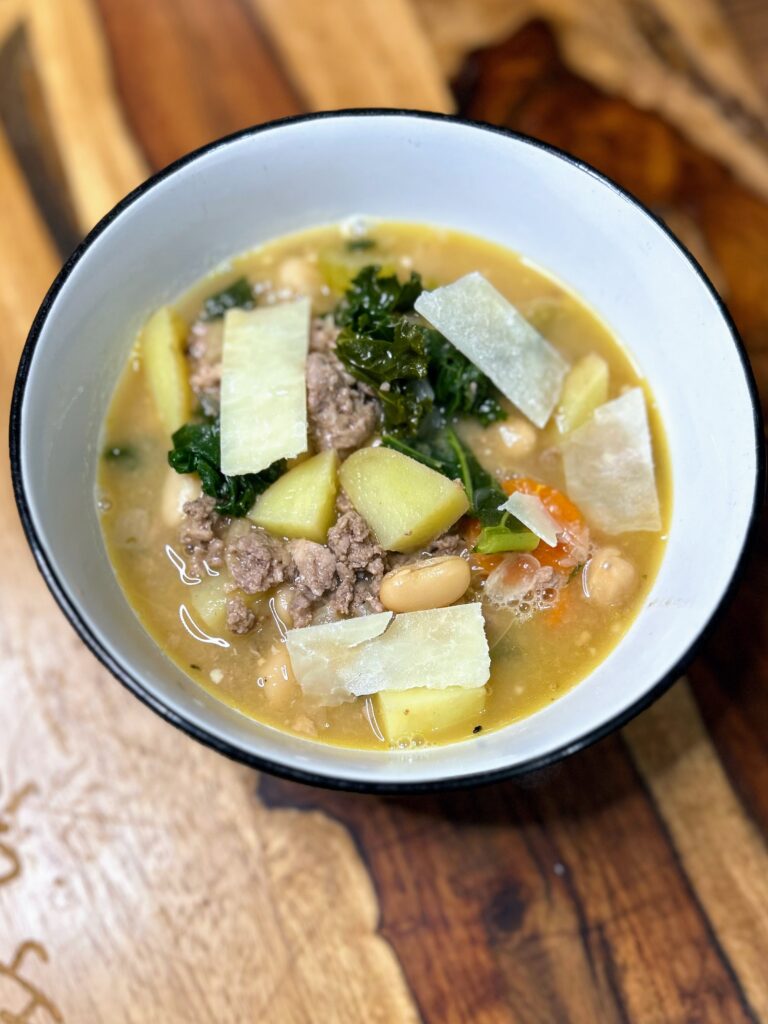
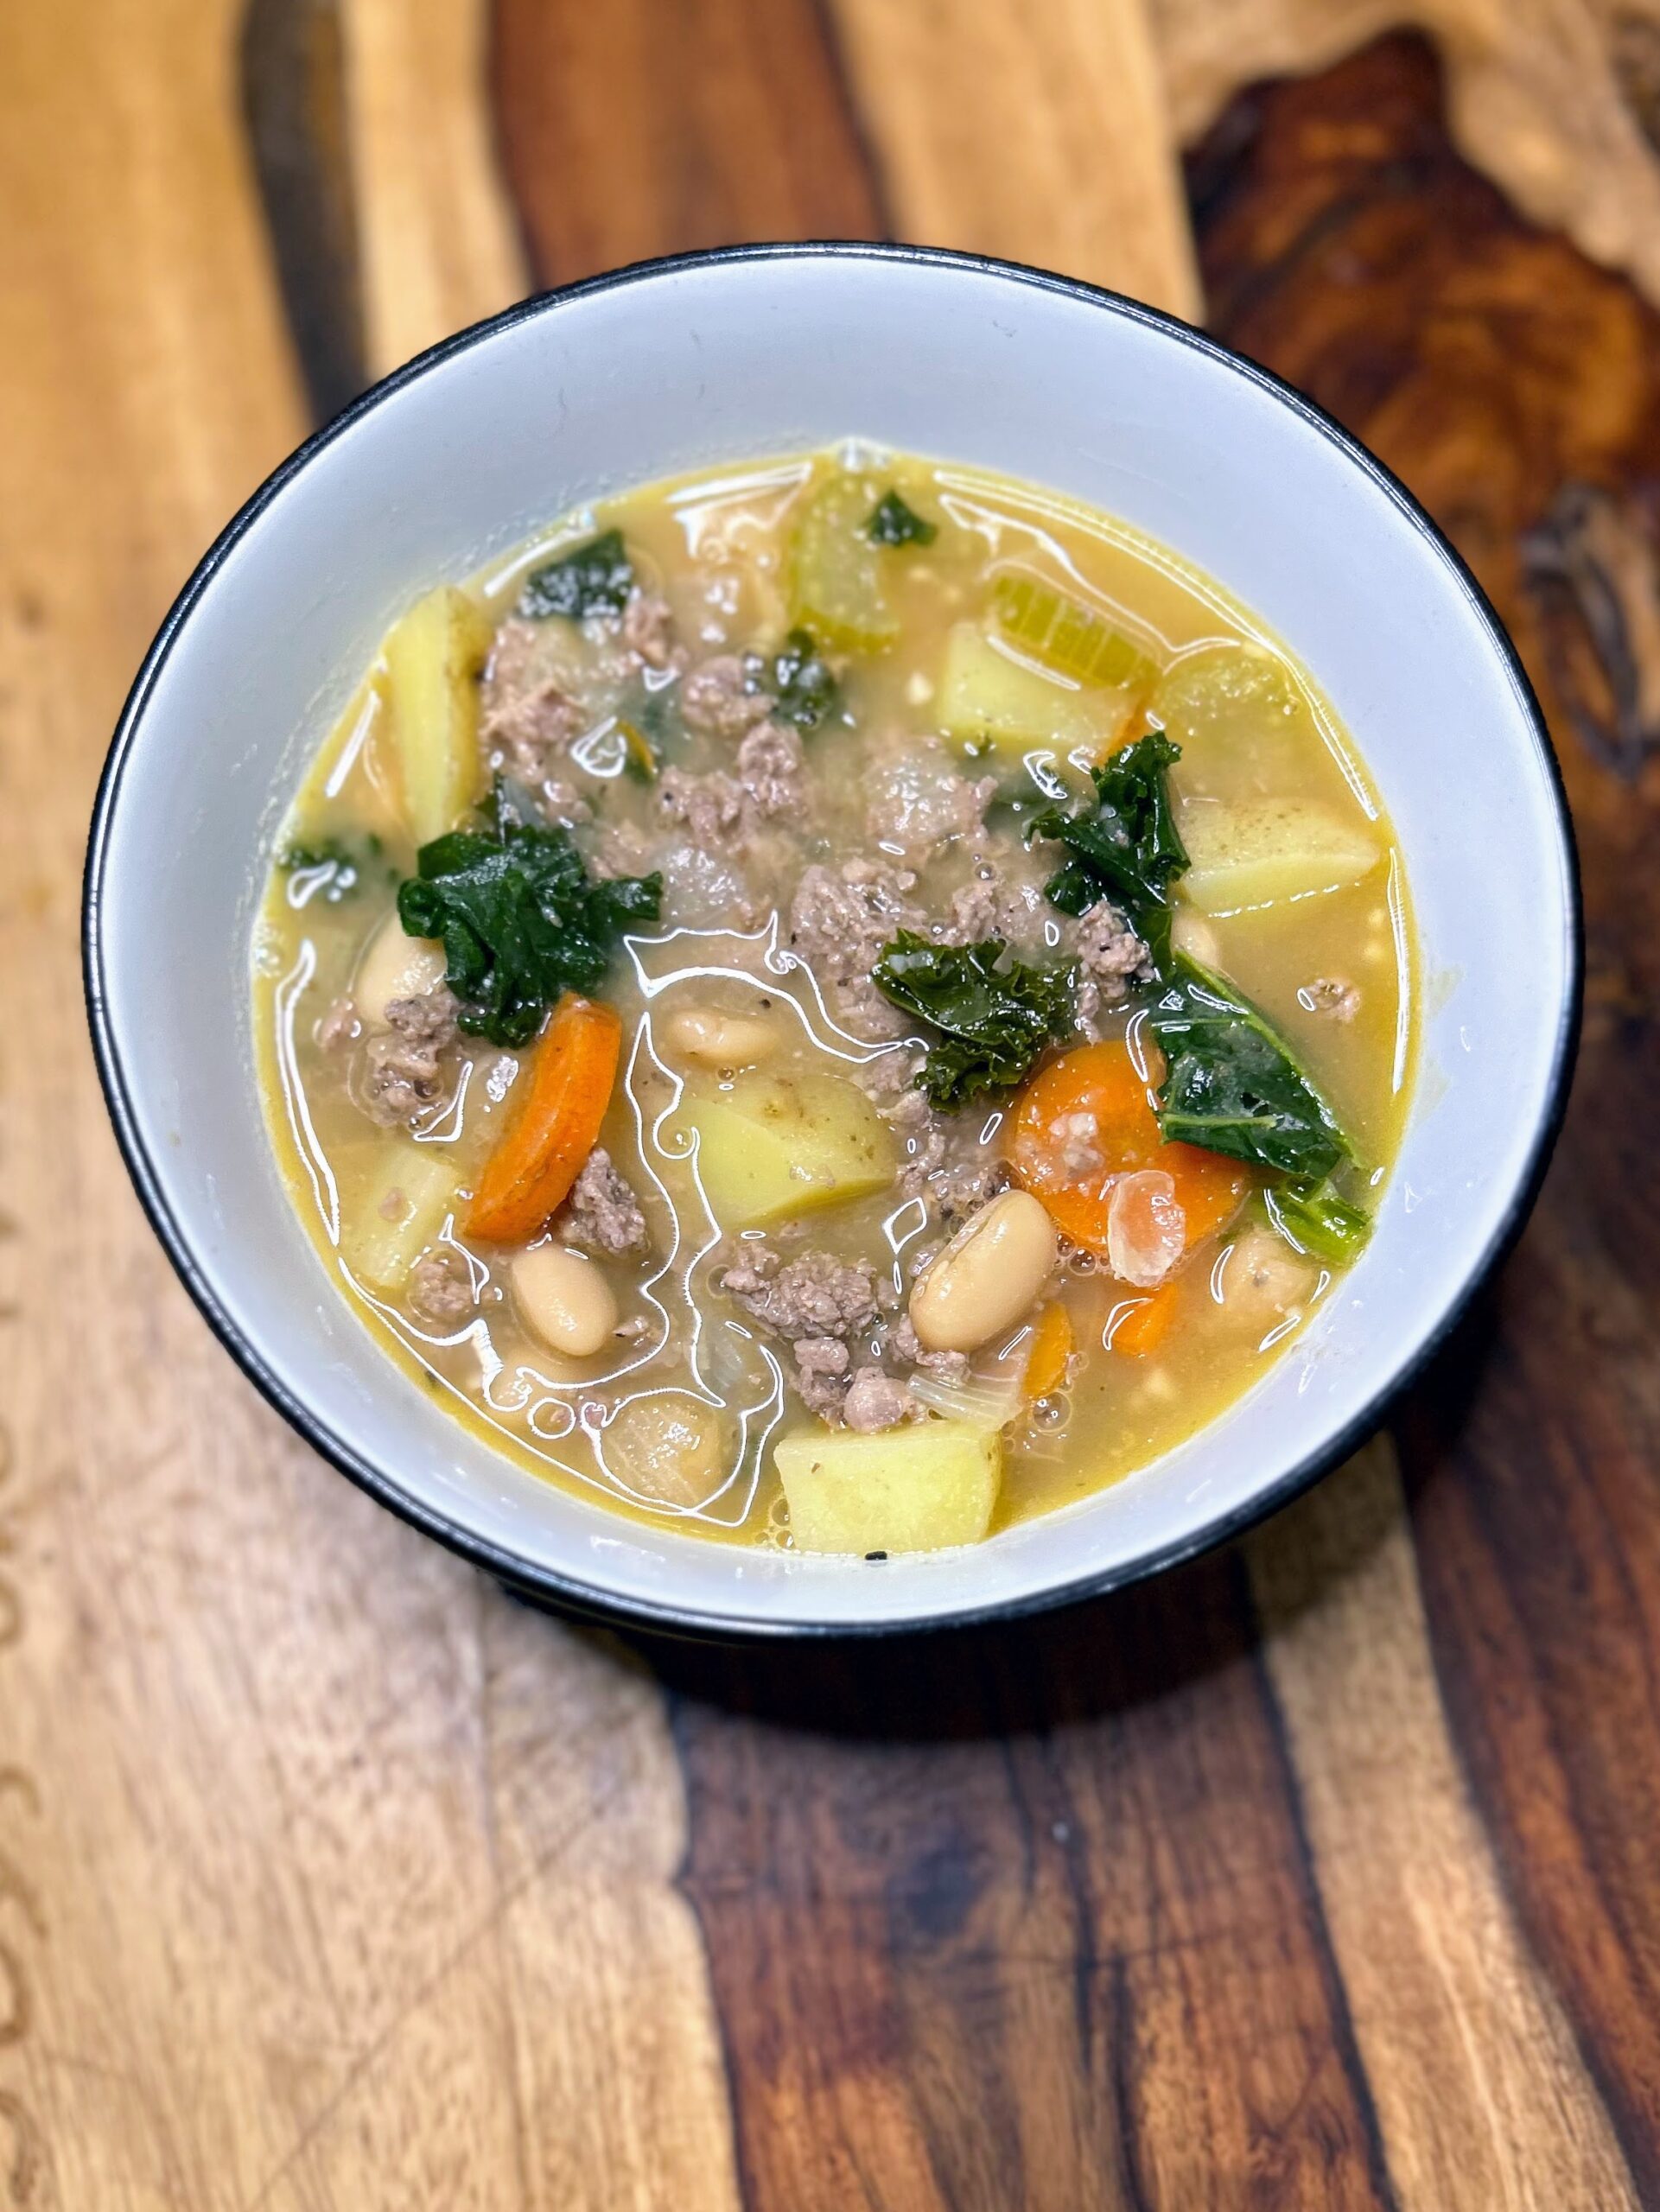
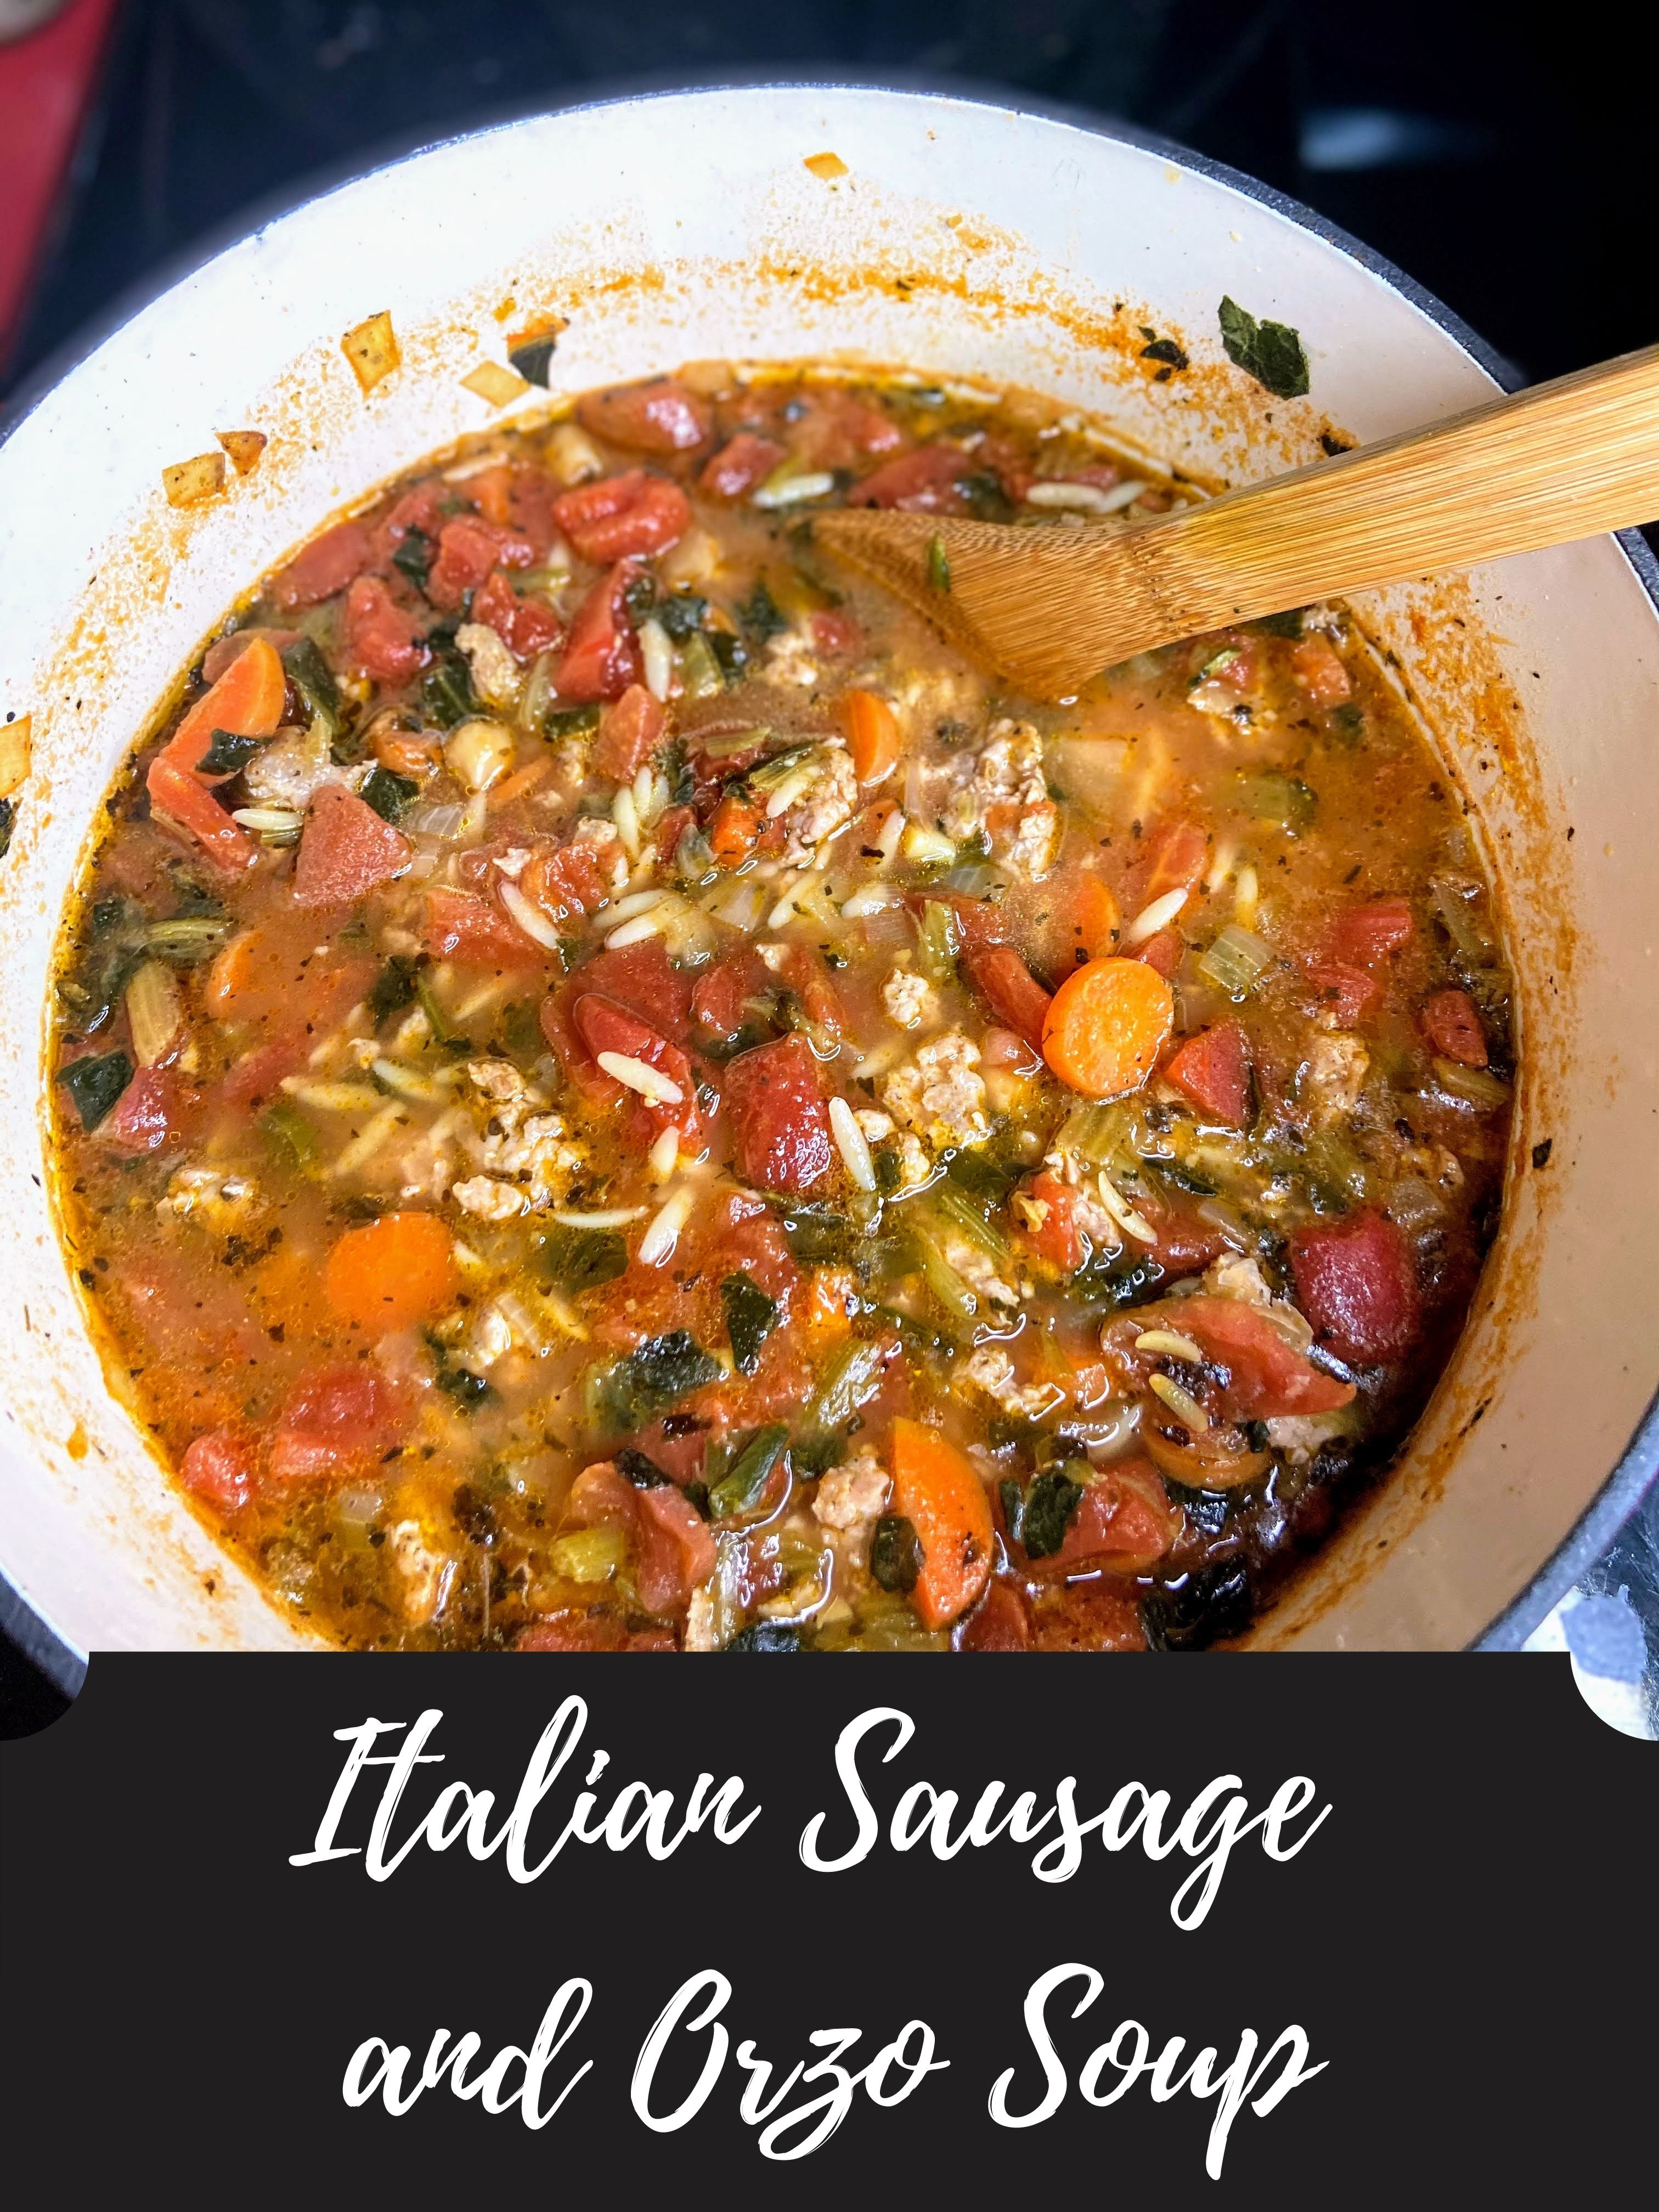
Kale and White Bean Sausage Soup

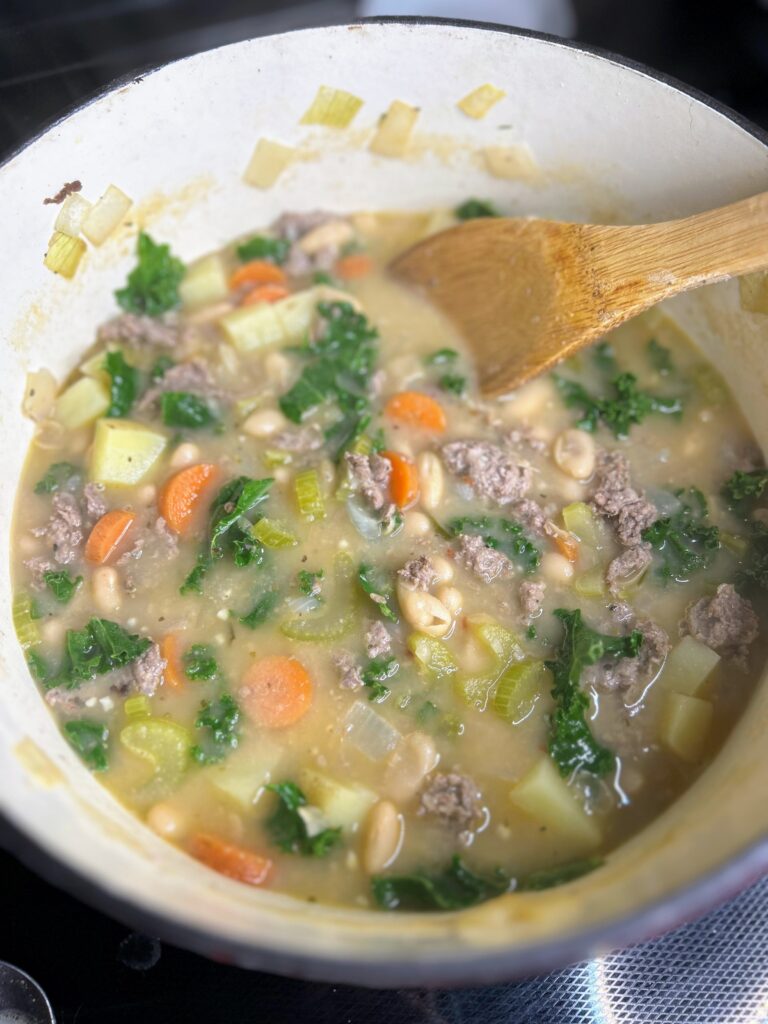
Kale and White Bean Sausage Soup

Gosh my friends, I love me some soup season. I do believe that I could eat soup every week without complaint, even in the heat of the summer. But this time of year? When fall is sneaking up on us and it’s sweatshirt season but the sun is still warm in the afternoon? That’s just about the perfect time of year. Around our house, it’s all the time we start thinking about clearing out our freezer because hunting season is just around the corner. Right now, our freezer is full of our Italian sausage inspired venison and we are using it in so many ways, including this awesome kale and white bean sausage soup. 

This soup was also inspired by one of my oldest friends. We don’t talk too often, but when we do, it often begins with a text about the food one of us is cooking. About a month ago, he texted me to say he loves cooking in cast iron for soup; that he often makes the soup in the morning, puts the cover on it, and lets the flavors meld together for a few hours. This time, it was a bean, roasted tomato, and artichoke soup. Well, needless to say, the pictures looked amazing!

Of course I needed it in my life

I switched it up a bit, adding the sausage and extra beans. When I described a kale and white bean sausage soup to my kiddos, they were immediately sold. I’ll be honest, I was a bit surprised they were ready for the kale as they don’t love cooked greens, but excited kids means mom has to make the soup pronto. 

When it was done, my babies ate multiple servings and I had to say that I was planning on leftovers for lunch the next day so they would stop. I hope your family loves it as much as mine did. It will definitely be a dinner one repeat at our house, I’ll tell you that! Let’s start cooking!

Your Ingredients

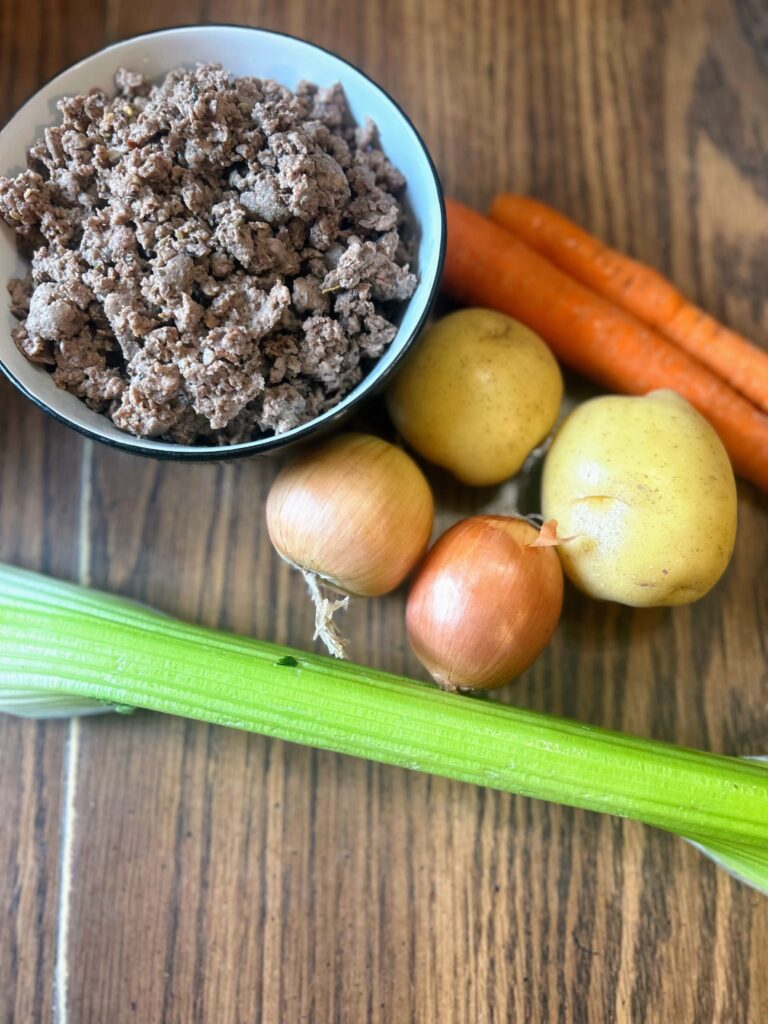
  • 1 pound ground Italian sausage (We use ground Italian venison. It’s great!)
  • 3 cans cannellini beans, drained and rinsed
  • 5 cups chicken stock 
  • 1 cup diced onion, about two small onions
  • 1 cup diced celery, about two ribs
  • 1 cup diced carrot
  • 1 ½ cups diced potatoes (I prefer Yukon gold) 
  • 4 cloves garlic, minced
  • 2 cups kale
  • 2 tablespoons olive oil
  • Salt and pepper to taste
  • Shaved Parmesan cheese, optional 

Your Steps to Kale and White Bean Sausage Soup

Begin to heat a large dutch oven over medium-high heat. Add Italian sausage and brown. (Option to add a bit of oil to the pan before you add the sausage. I find that it helps keep the sausage from sticking.) 

Meanwhile, dice the onion, celery, carrots, and potatoes. Additionally, drain and rinse the cannellini beans. Combine 1 ½ cans of beans and about 1 cup of chicken stock. Blend with a stick (immersion) blender. I like to do this in a wide mouth mason jar. 

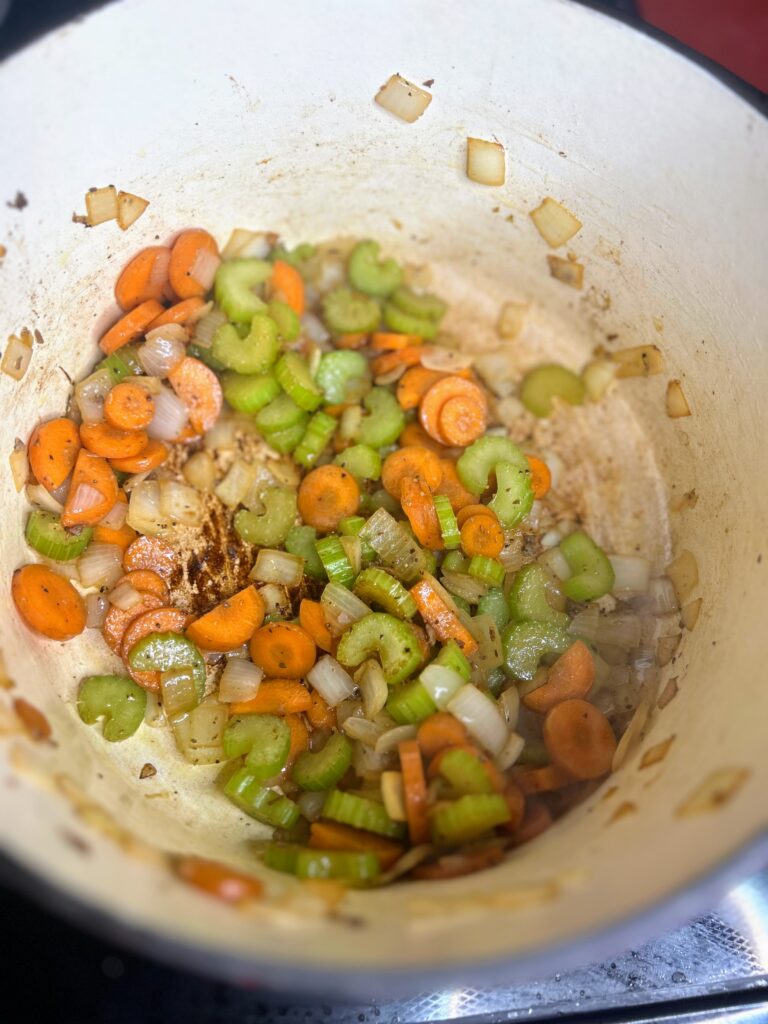
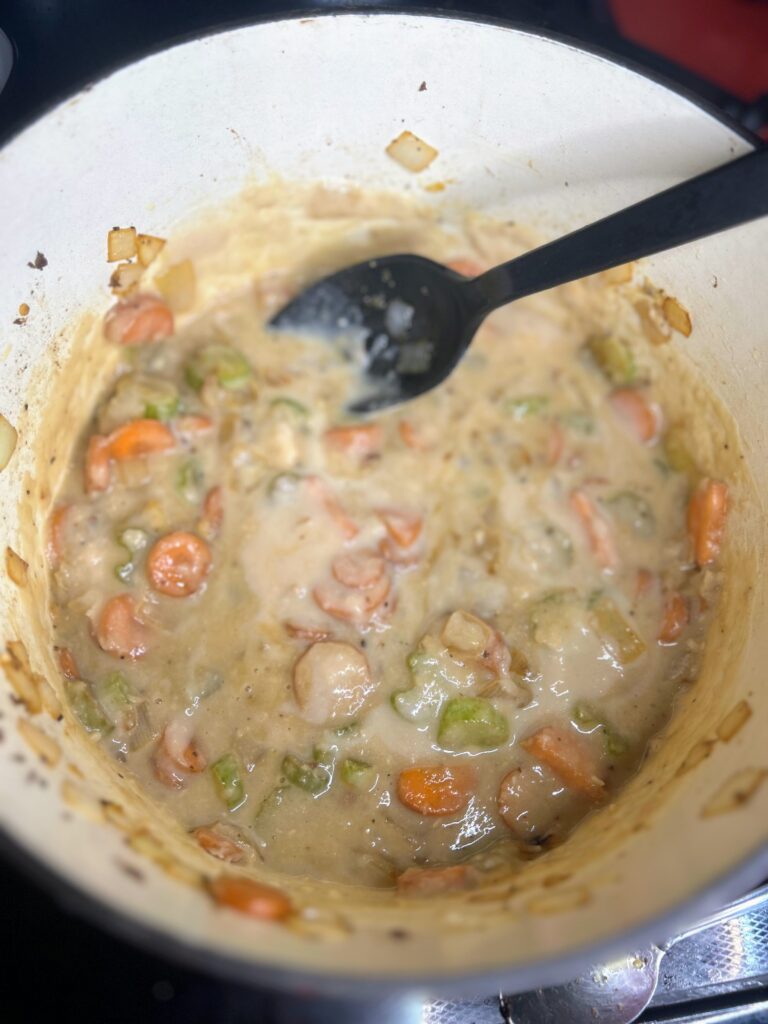
Once cooked through, remove browned sausage and drain. Add the olive oil to the Dutch oven and heat over medium. Once hot, add the diced onions, celery, and carrot. Cook until soft, about 7-10 minutes, stirring periodically. Add the garlic and cook for an additional 30 seconds. Add the diced potatoes, beans, pureed beans, and remaining chicken stock. Bring to a simmer and cook for 20-25 minutes, until the potatoes are soft. Add the kale and perhaps some shaved Parmesan as well as salt and pepper to taste. Cook for an additional 5 minutes, 

Serve with crusty bread, a salad, and additional shaved Parmesan.

Tools of the Trade

I love all things from the The Lodge Cast Iron, but most of all, I love my Dutch Oven; so much so that I actually own three of them! They are great for soups and stews as well as bread baking. They can go straight in the oven from the stove top and hold heat so well. A stick blender is awesome in this recipe as well!

Kale and White Bean Sausage Soup

This Kale and White Bean Sausage Soup is a nutritious and hearty dish that is perfect for the fall season. It is sure to warm you up on a cold day.
Prep Time 20 minutes
Cook Time 25 minutes
Course dinner, Main Course
Cuisine American, Italian
Servings 6

Ingredients
  

  • 1 pound ground Italian sausage
  • 3 cans cannellini beans rinsed
  • 5 cups chicken stock
  • 1 cup diced onion about two small onions
  • 1 cup diced celery about two ribs
  • 1 cup diced carrot
  • 1 ½ cups diced potatoes I prefer Yukon gold
  • 4 cloves garlic minced
  • 2 cups kale
  • 2 tablespoons olive oil
  • Salt and pepper to taste
  • Shaved Parmesan cheese optional

Instructions
 

  • Begin to heat a large dutch oven over medium-high heat. Add Italian sausage and brown. (Option to add a bit of oil to the pan before you add the sausage. I find that it helps keep the sausage from sticking.)
  • Meanwhile, dice the onion, celery, carrots, and potatoes. Additionally, drain and rinse the cannellini beans.
  • Combine 1 ½ cans of beans and about 1 cup of chicken stock. Blend with a stick (hand) blender.
  • Once cooked through, remove browned sausage and drain. Add the olive oil to the Dutch oven and heat over medium. Once hot, add the diced onions, celery, and carrot. Cook until soft, about 7-10 minutes, stirring periodically.
  • Add the garlic and cook for an additional 30 seconds. Add the diced potatoes, beans, pureed beans, and remaining chicken stock.
  • Bring to a simmer and cook for 20-25 minutes, until the potatoes are soft. Add the kale and shaved Parmesan (optional) as well as salt and pepper to taste. Cook for an additional 5 minutes, until the kale is soft.
  • Serve with a salad and crusty bread.
Keyword cannellini beans, cast iron, cast iron cooking, comfort food, dairy free, fall eats, Italian sausage, Italian venison, kale, Potatoes, soup, white bean
Tried this recipe?Let us know how it was!

Loved the Kale and White Bean Sausage SOup and Want more?

Check out my cooking page for all sorts of dinner inspiration! Or perhaps some of my favorites will tickle your fancy.
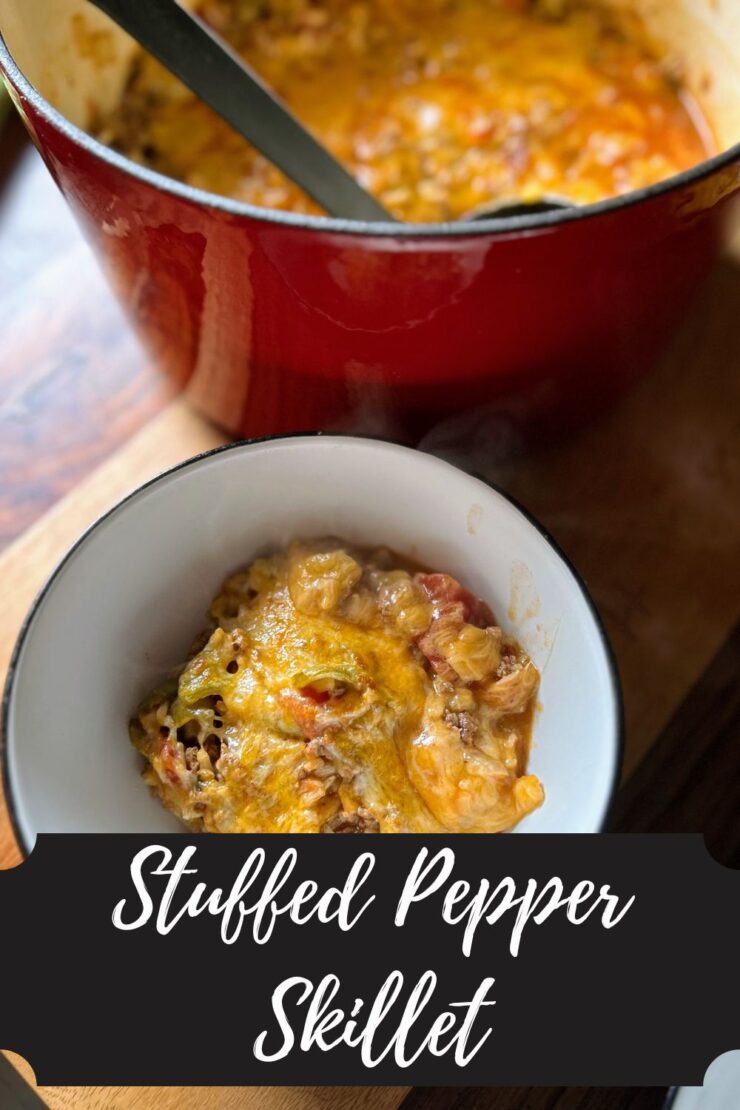
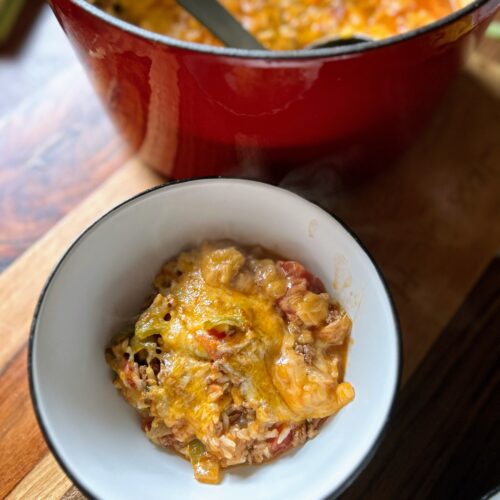
Stuffed Pepper Skillet

If the Mr is cooking at our house, there are likely three distinct quantities of food: protein (usually venison chops), roasted potatoes, and some form of steamed vegetable. Is it delicious? Absolutely. It just isn’t the way I cook. I love a good skillet or bake. Bring on the mixtures of flavors and more importantly, the leftovers so I don’t have to worry about making a lunch the next day. Because bakes and skillets are my jam, this simple stuffed pepper skillet was born. 

I don’t love raw peppers. I have grown to enjoy them cooked, and I know they are good for me so I try to infuse them into my dinners when I can. If you’ve been around for some time, you may have noticed that I don’t like super tedious recipes. I don’t want to make stuffed peppers in their truest form. That’s work (Ha!).  Let me make something good, filling, and full of nutrient dense ingredients that fits in a pan and I am the happiest of women. 

This stuffed pepper skillet seems to fit all the bills

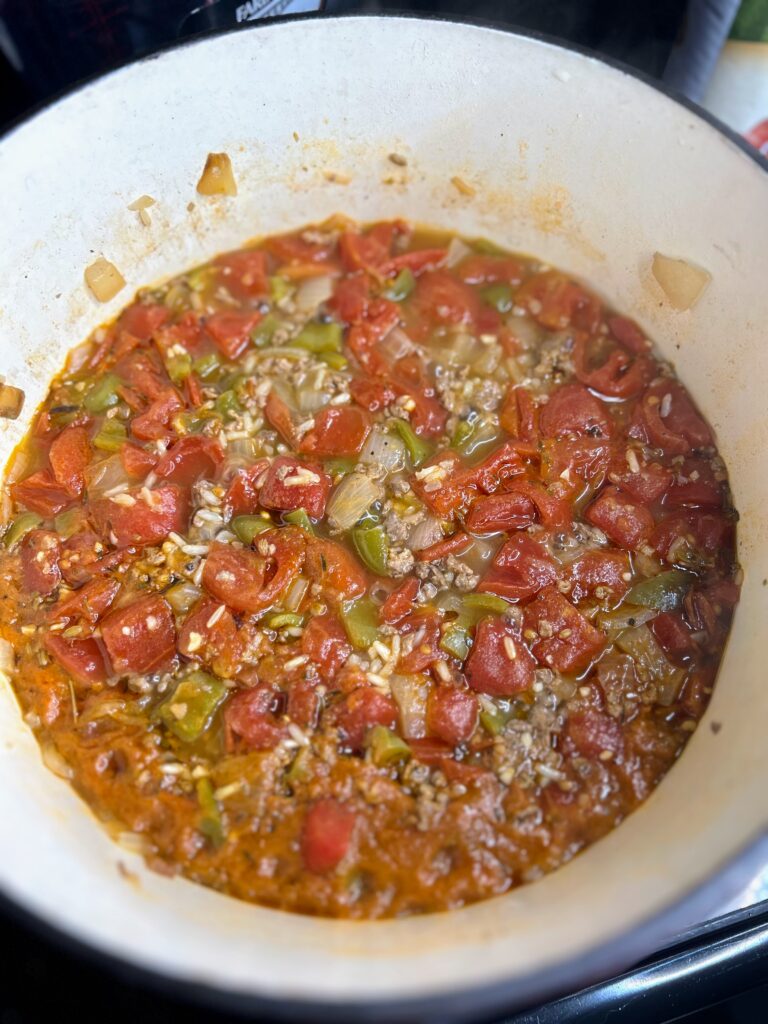
It has protein from the Italian sausage (I use my Italian sausage inspired venison), starches in the rice, and it’s full of vegetables in the tomatoes, peppers, and onions. Even better? It has minimal hands-on time and once it’s time to cook the rice, you cover it and let it be. No stirring. No checking it constantly. Just get the veg cooked up and you’re almost done. 

And your family will love it (at least I hope they do!). The first time I made it, I was just using up sad ingredients from the fridge: halves of peppers and sad onions. I was trying to clear out some of the freezer before the Mr starts hunting again and we had a ton of Italian venison. As soon as my kids dug in, they said, “Of course you didn’t measure…it’s so good!” We quickly ate it three weeks in a row! On that third week, I measured so that I could share with all of you!

Ready to start creating this great, family friendly meal for the people you love too? Let’s go!

Your ingredients

  • 1 ½ cups chopped sweet pepper, any color
  • 1 ½ cups diced onion 
  • 2 tablespoons olive oil
  • 2 teaspoons minced garlic
  • 1 pound ground Italian sausage 
  • 1 can of diced tomatoes, unsalted 
  • 8 ounces tomato sauce 
  • 2 ⅔ cup low sodium chicken stock
  • 1 ½ cups brown rice 
  • 1 cup shredded cheese, your favorite kind
  • Pinch of red pepper flakes (optional) 
  • Salt and pepper, to taste

Your Steps to Stuffed Pepper Skillet

If available, cook this in an oven safe Dutch oven with a cover so that the cheese can go under the broiler. If that’s not available, any large brazier or saute pan with a cover will do. 

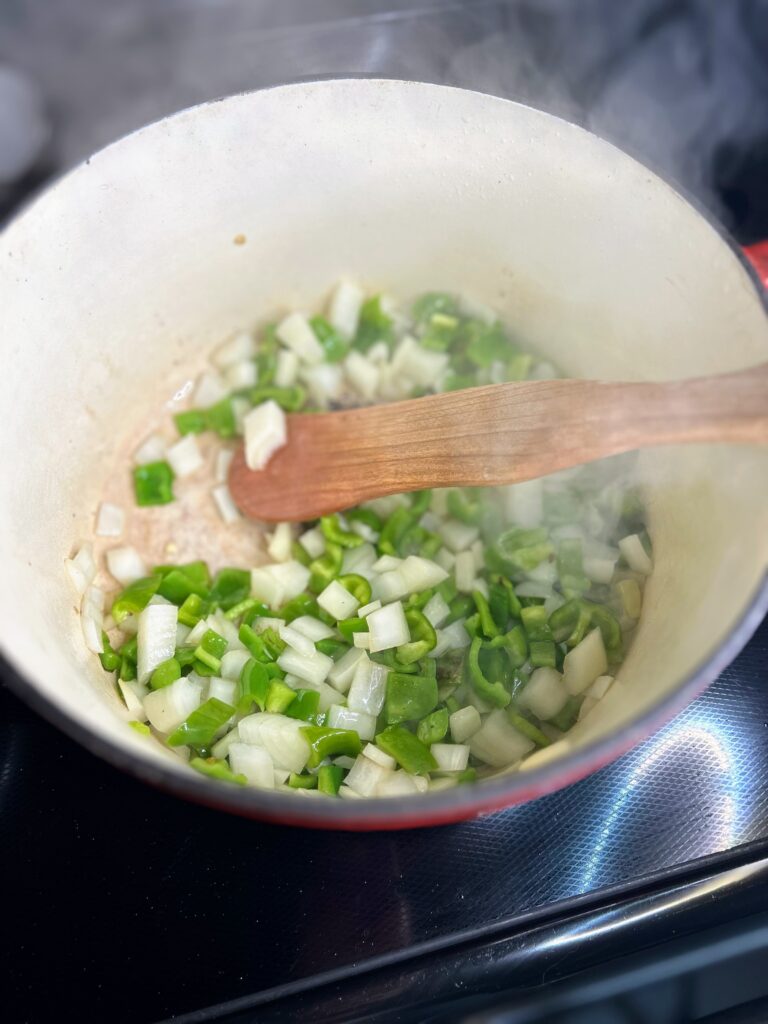
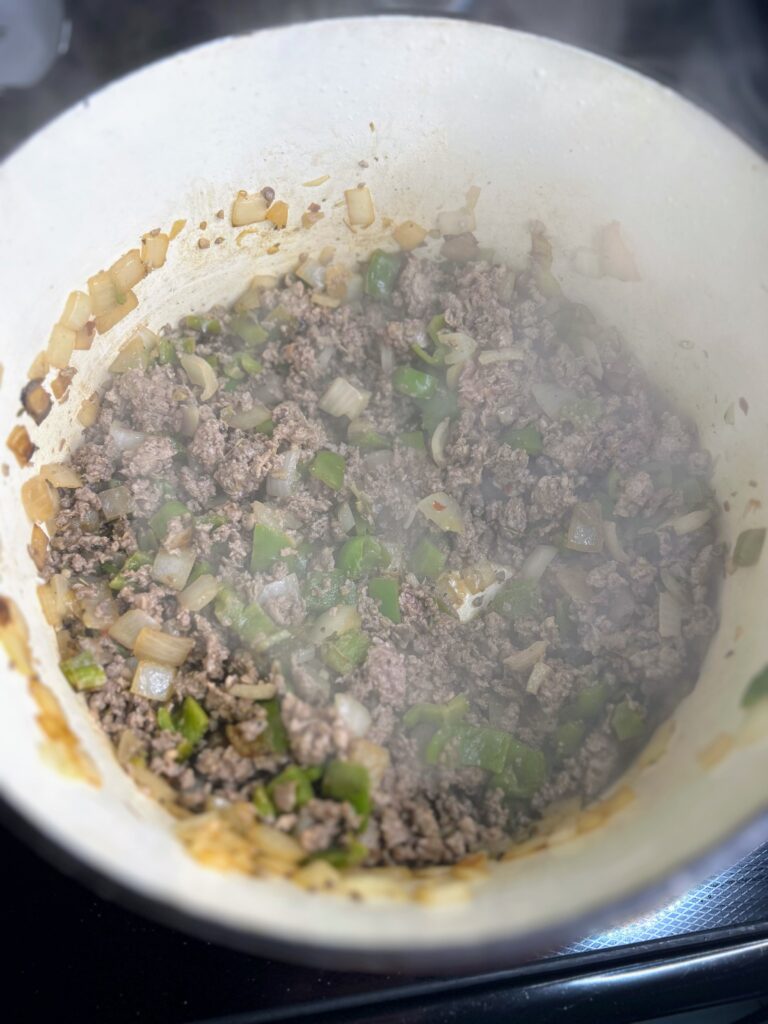
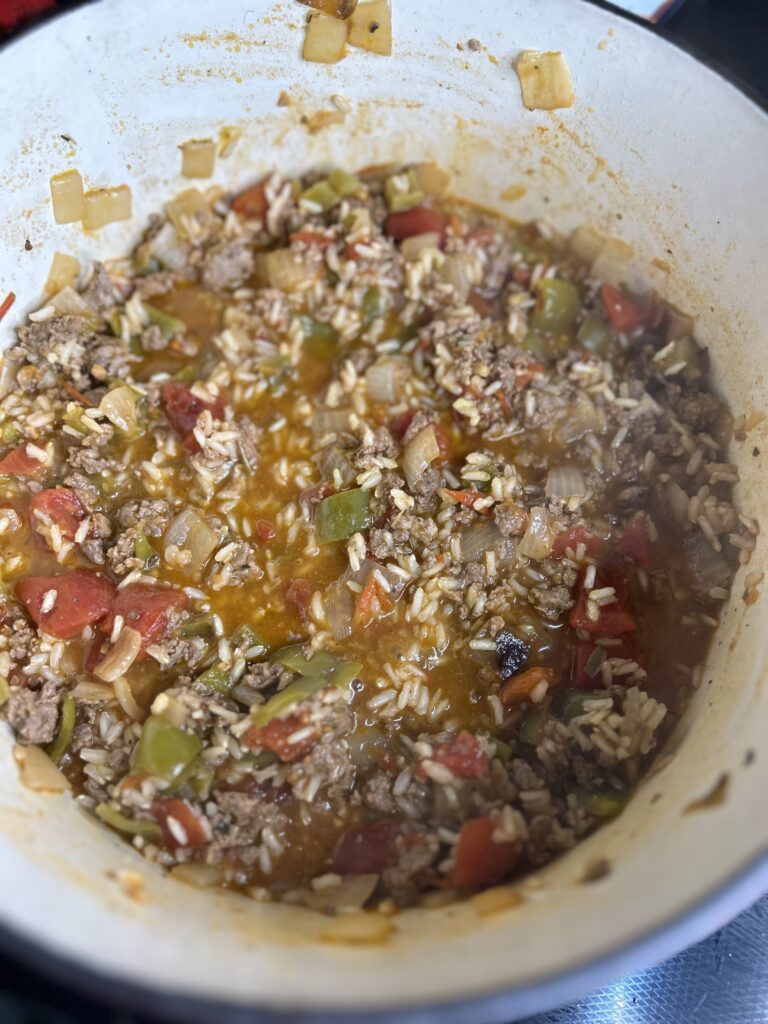
Over medium-high heat, add the olive oil to the pan. Once hot, add green peppers and onion. Saute for 5-10 minutes, until just softening. Then add the Italian sausage and minced garlic, cooking until the sausage is browned. From here, drain if necessary (I use a half venison/pork mixture, so I don’t need to drain any extra fat).

Add diced tomatoes, tomato sauce, chicken stock, and salt and pepper (including the pepper flakes). Bring to a boil. Add the rice, stirring to combine. Return to a boil, then reduce to a simmer and cover. Allow your wonderful meal to cook for 40 minutes, covered. After 40 minutes, check the texture of the rice, cooking for an additional 5-10 minutes if necessary. 

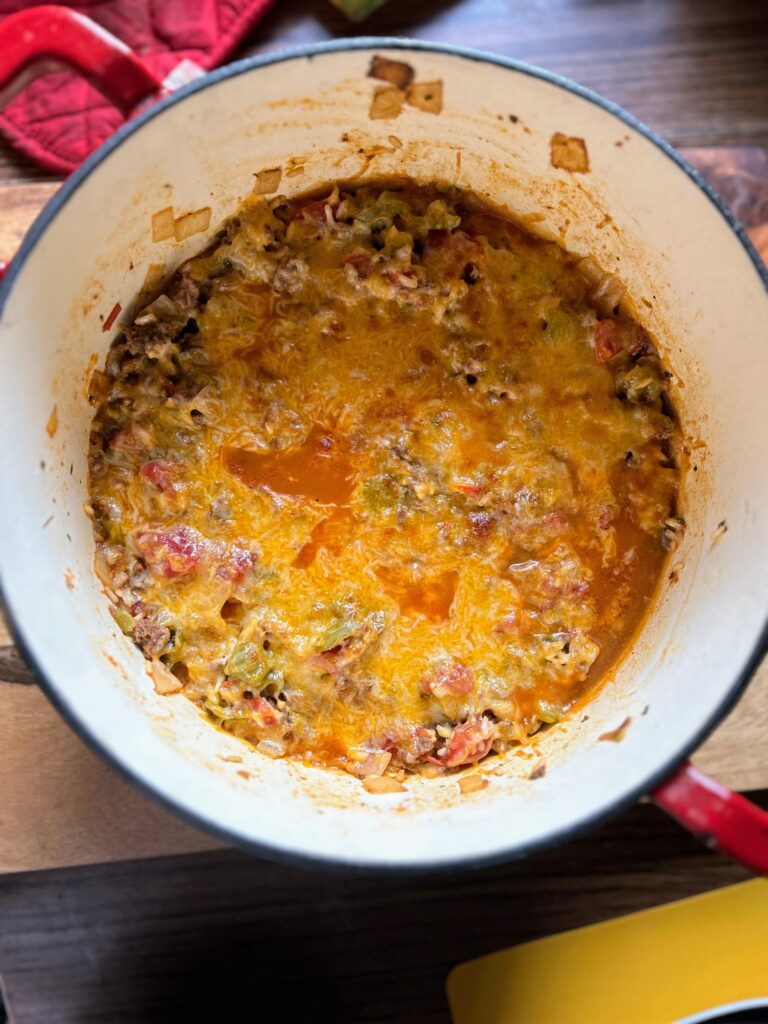
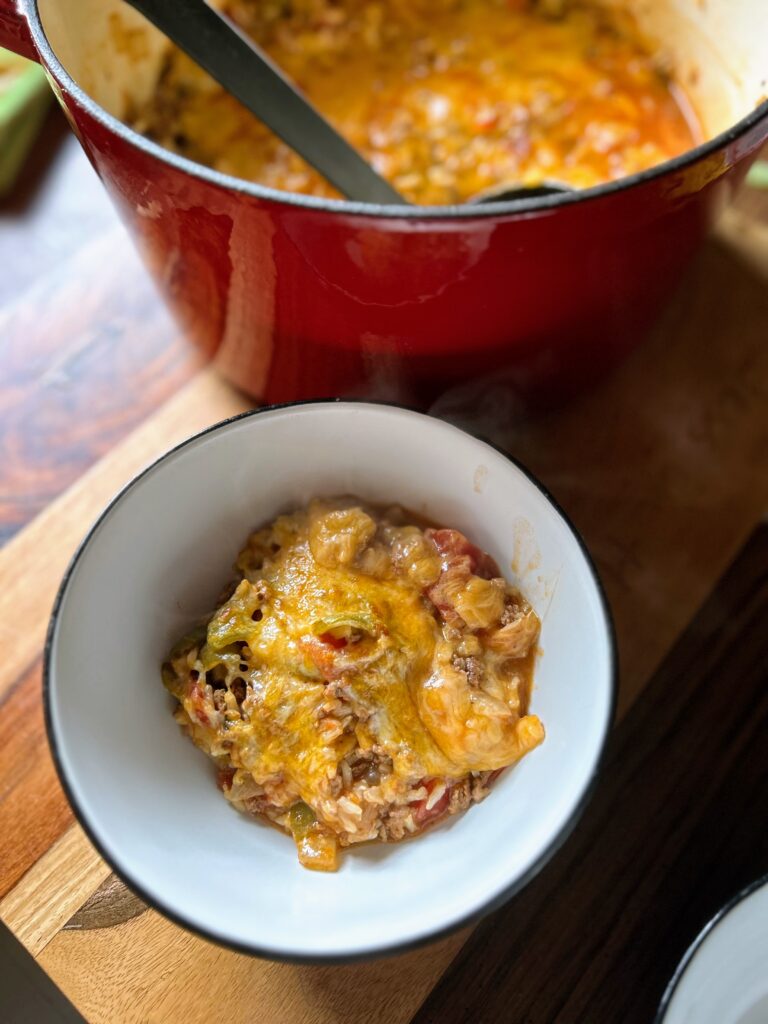
Once the rice is fully cooked, top with shredded cheese. If you are able to put your pan in the oven, cook under the broiler at 475 for 3-5 minutes, until the cheese is perfect and bubbly. 

If you are not able to put your pan in the oven, add the cheese and immediately put the cover back on. Allow to sit for 5-10 minutes (and up to 20 minutes, if you are busy), to let the cheese melt. 

That’s it. It really is such a simple meal that has you doing just a few things at the beginning and then setting and forgetting it. If you are busy at night, you could totally precook the sausage, onion, and peppers and just add everything together when you get home. 

Stuffed Pepper Skillet

This Stuffed Pepper Skillet is packed with flavor and simple to prepare, even on a weeknight, thanks to its minimal hands-on time.
Prep Time 20 minutes
Cook Time 40 minutes
Course dinner, Main Course
Cuisine American

Ingredients
  

  • 1 ½ cups chopped sweet pepper any color
  • 1 ½ cups diced onion
  • 2 tablespoons olive oil
  • 2 teaspoons minced garlic
  • 1 pound ground Italian sausage
  • 1 can of diced tomatoes unsalted
  • 8 ounces tomato sauce
  • 2 ⅔ cup low sodium chicken stock
  • 1 ½ cups brown rice
  • 1 cup shredded cheese your favorite kind
  • Pinch of red pepper flakes optional
  • Salt and pepper to taste

Instructions
 

  • If available, cook this in an oven safe Dutch oven with a cover so that the cheese can go under the broiler. If that’s not available, any large brazier or saute pan with a cover will do.
  • Over medium-high heat, add the olive oil to the pan. Once hot, add green peppers and onion. Saute for 5-10 minutes, until just softening. Then add the Italian sausage and minced garlic, cooking until the sausage is browned. From here, drain if necessary.
  • Add diced tomatoes, tomato sauce, chicken stock, and salt and pepper (including the pepper flakes). Bring to a boil. Add the rice, stirring to combine. Return to a boil, then reduce to a simmer and cover. Allow your wonderful meal to cook for 40 minutes, covered. After 40 minutes, check the texture of the rice, cooking for an additional 5-10 minutes if necessary.
  • Once the rice is fully cooked, top with shredded cheese. If you are able to put your pan in the oven, cook under the broiler at 475 for 3-5 minutes, until the cheese is perfect and bubbly.
  • If you are not able to put your pan in the oven, add the cheese and immediately put the cover back on. Allow to sit for 5-10 minutes (and up to 20 minutes, if you are busy), to let the cheese melt.
Keyword cherry tomatoes, green peppers, Italian sausage, Italian venison, one pot meals, peppers, stuffed peppers
Tried this recipe?Let us know how it was!

Looking for other great dinner recipes?

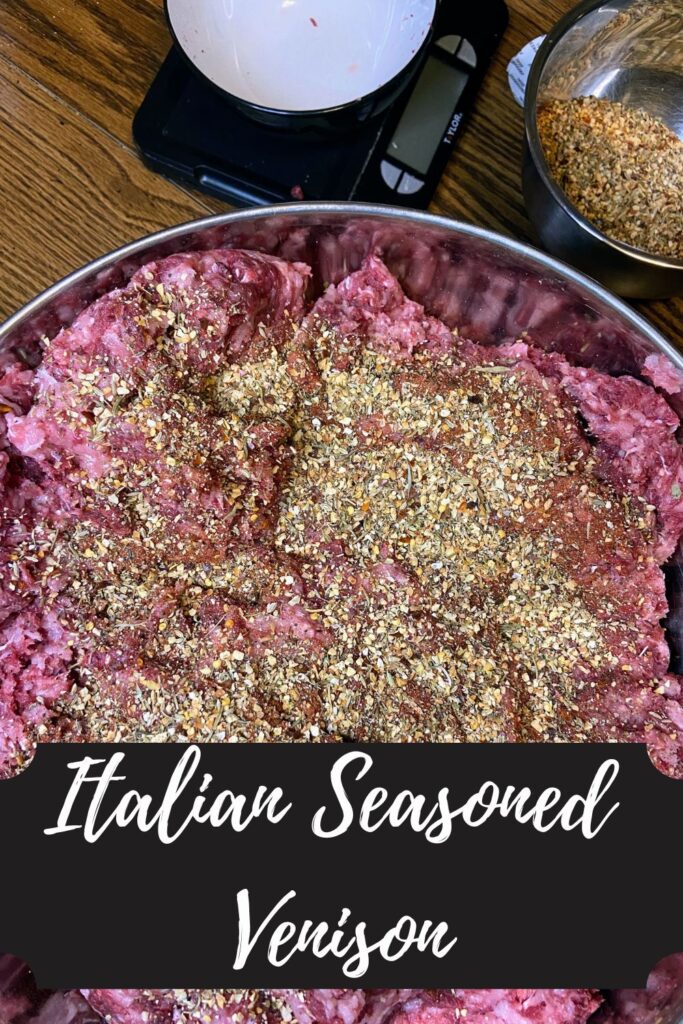
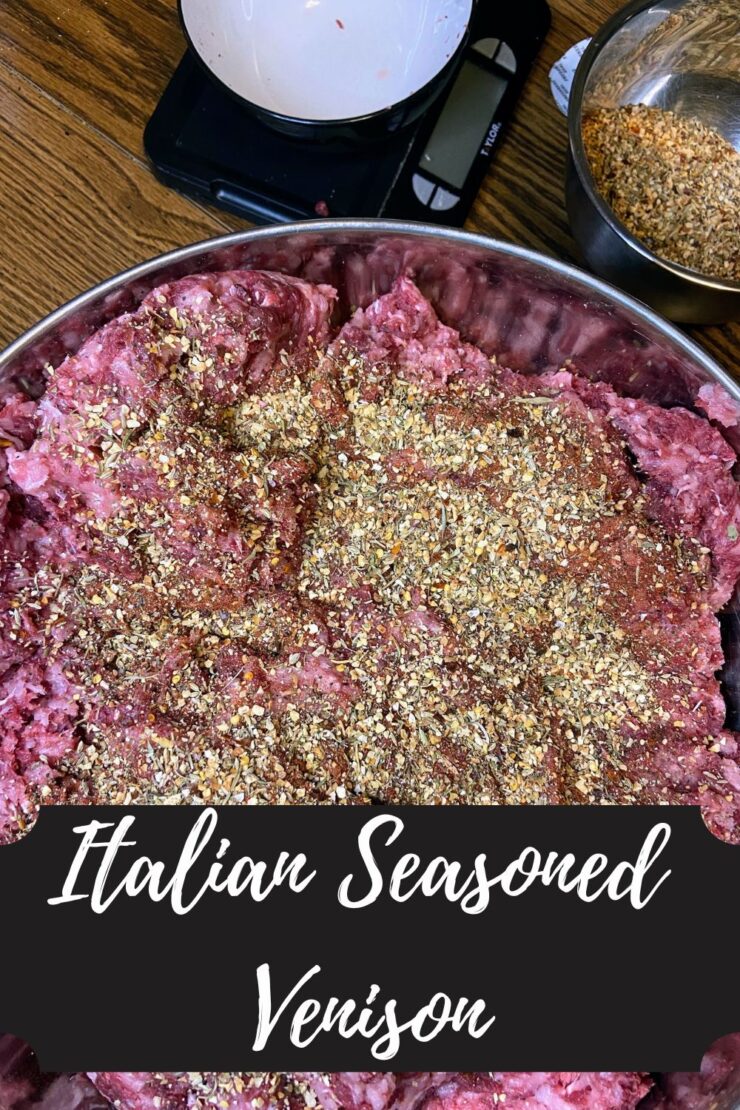
Ground Italian Venison

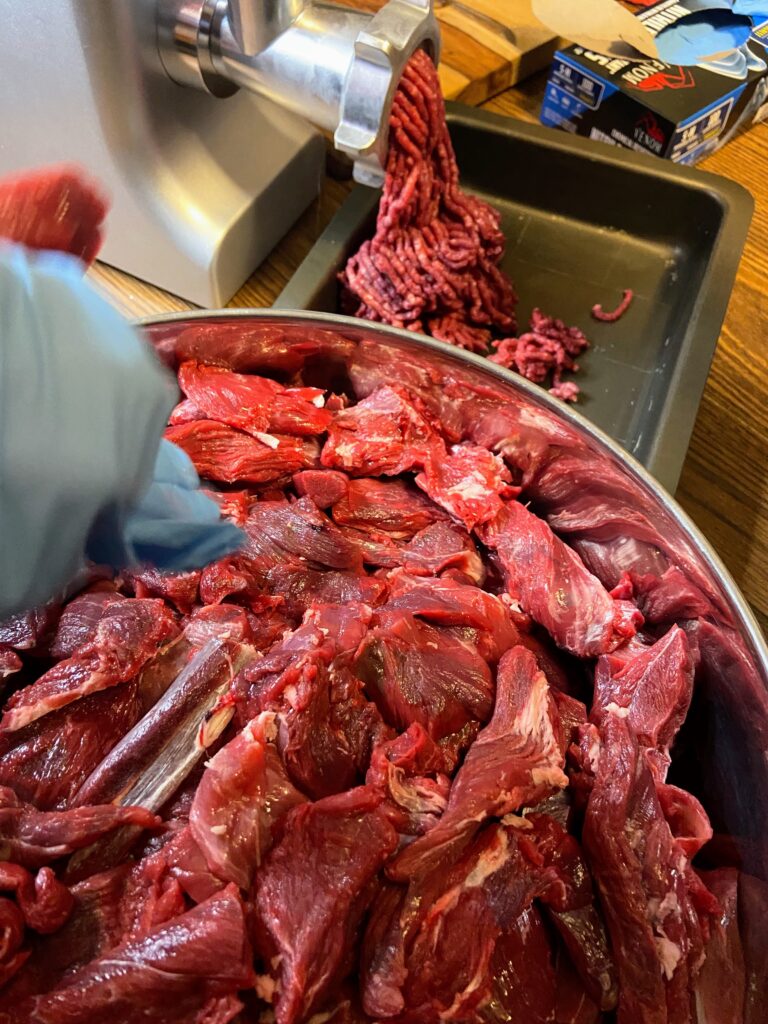
If you’ve been around since the summer, you know that I love growing, harvesting, and preserving my own food. I live for the garden in the summer and filling the freezer and shelves with homegrown produce brings me such joy. But as the garden gives way to fall, a new type of preserving takes over our kitchen: that of wild game. The Mr. loves hunting; our main protein source is deer. We process our deer ourselves and end up with chops, ground venison, various flavors of canned venison, and this delicious blend of ground Italian venison. 

I haven’t thought this was much of a recipe to share, but I tell friends and family about it, and they always seem happy to learn more, so here we are. This is a great recipe if you aren’t a sausage maker (we aren’t…yet), but want to add another way to use the ground venison you have. 

We love putting together a batch or two of this ground Italian venison to have for options when we eat pasta (strong Italian roots here!). I don’t know if you’ve tried yet, but ground Italian sausage is far superior to ground beef in your bolognese. However, we like to know where our protein comes from and the Italian sausage from the store just doesn’t cut it. This is a great alternative and gets us closer to sustainability. 

Ready to get Started?

The recipe is simple enough: equal parts pork shoulder slices and venison slices. Then, based on how much meat we have, I create an Italian sausage seasoning mixture from Tastes of Lizzy T. She does a recipe for 2 pounds of meat. 

Typically, we do a large batch (at least 10 pounds of each protein). The math teacher in me will share how much you need for every TEN pounds of meat. If you have different increments and don’t want to do the math, check out Tastes of Lizzy T for the 2 pound measurements. It’s great!

Your Steps to Ground Italian Venison

For every TEN pounds of meat, combine the following: 

  • 3 tablespoons dried parsley
  • 3 tablespoons dried Italian seasoning
  • 2 ½ tablespoons black pepper
  • 1 tablespoon fennel seed 
  • 1 tablespoon paprika
  • 1 1/2 -2 tablespoons red pepper flakes
  • 3 tablespoons salt 
  • 5 tablespoons minced garlic
  • 2 tablespoons minced onion

Measure and grind 10 pounds each of venison and pork shoulder. In a large bowl, combine both proteins and mix well. Add about ⅓ of the spice mixture and mix the meat, being sure to pull from the bottom. Add another ⅓, mixing again. Finally, add remaining spice mixture, being sure to grab all the meat from the bottom, mixing thoroughly. 

Using a food scale, measure meat in one pound increments. Place into freezer bags, flattening and removing air as you seal them. Wrap with freezer paper and label. 

Ground Italian Venison

Looking for different ways to use your home processed venison? Give this ground Italian venison a try to change it up!
Prep Time 40 minutes
Cook Time 0 minutes
Course Main Course
Cuisine American, Homesteading, Preserving
Servings 10 pounds

Ingredients
  

  • 5 pounds venison cleaned and cubed
  • 5 pounds pork shoulder cubed
  • 3 tablespoons dried parsley
  • 3 tablespoons dried Italian seasoning
  • 2 ½ tablespoons black pepper
  • 1 tablespoon fennel seed
  • 1 tablespoon paprika
  • 1 1/2 -2 tablespoons red pepper flakes
  • 3 tablespoons salt
  • 5 tablespoons dried minced garlic
  • 2 tablespoons dried minced onion

Instructions
 

  • Mix all spices in a small bowl.
  • Measure and grind 5 pounds each of venison and pork shoulder.
  • In a large bowl, combine both proteins and mix well.
  • Add about ⅓ of the spice mixture and mix the meat, being sure to pull from the bottom. Add another ⅓, mixing again.
  • Finally, add remaining spice mixture, being sure to grab all the meat from the bottom, mixing thoroughly.
  • Using a food scale, measure meat in one pound increments.
  • Place into freezer bags, flattening and removing air as you seal them. Wrap with freezer paper and label.
Keyword freezing, Italian, Italian venison, preserving venison, venison, venison recipe
Tried this recipe?Let us know how it was!

Looking for other venison Recipes?

Check out these ideas for more venison recipes.

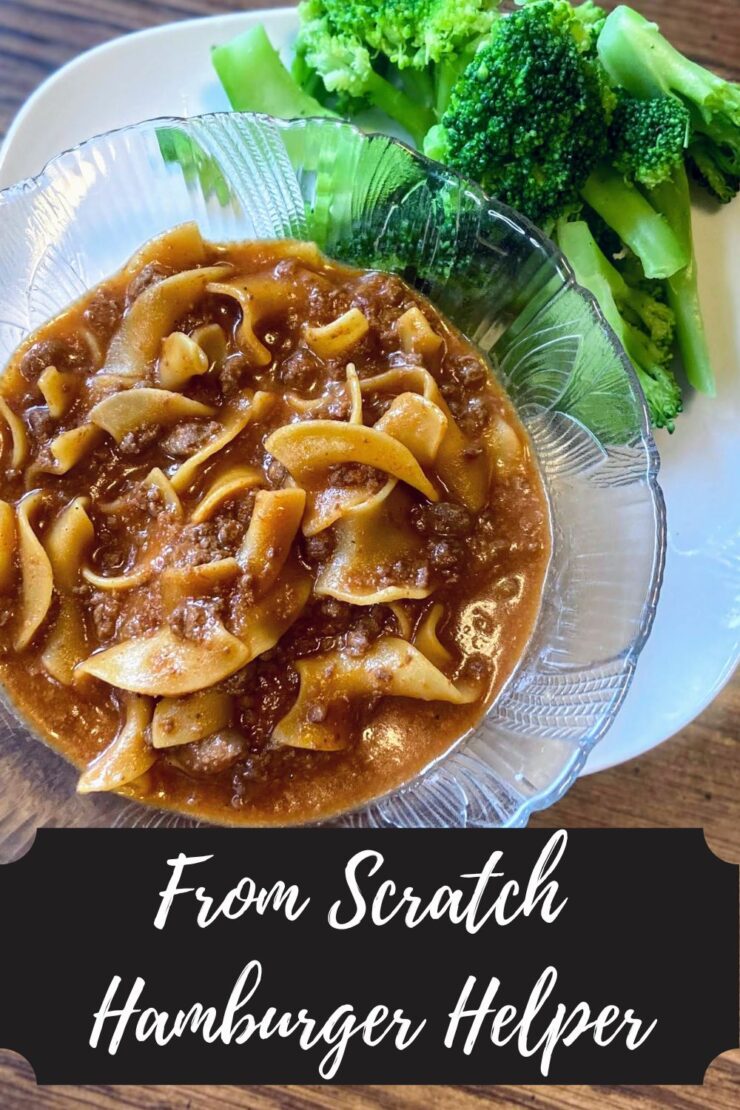
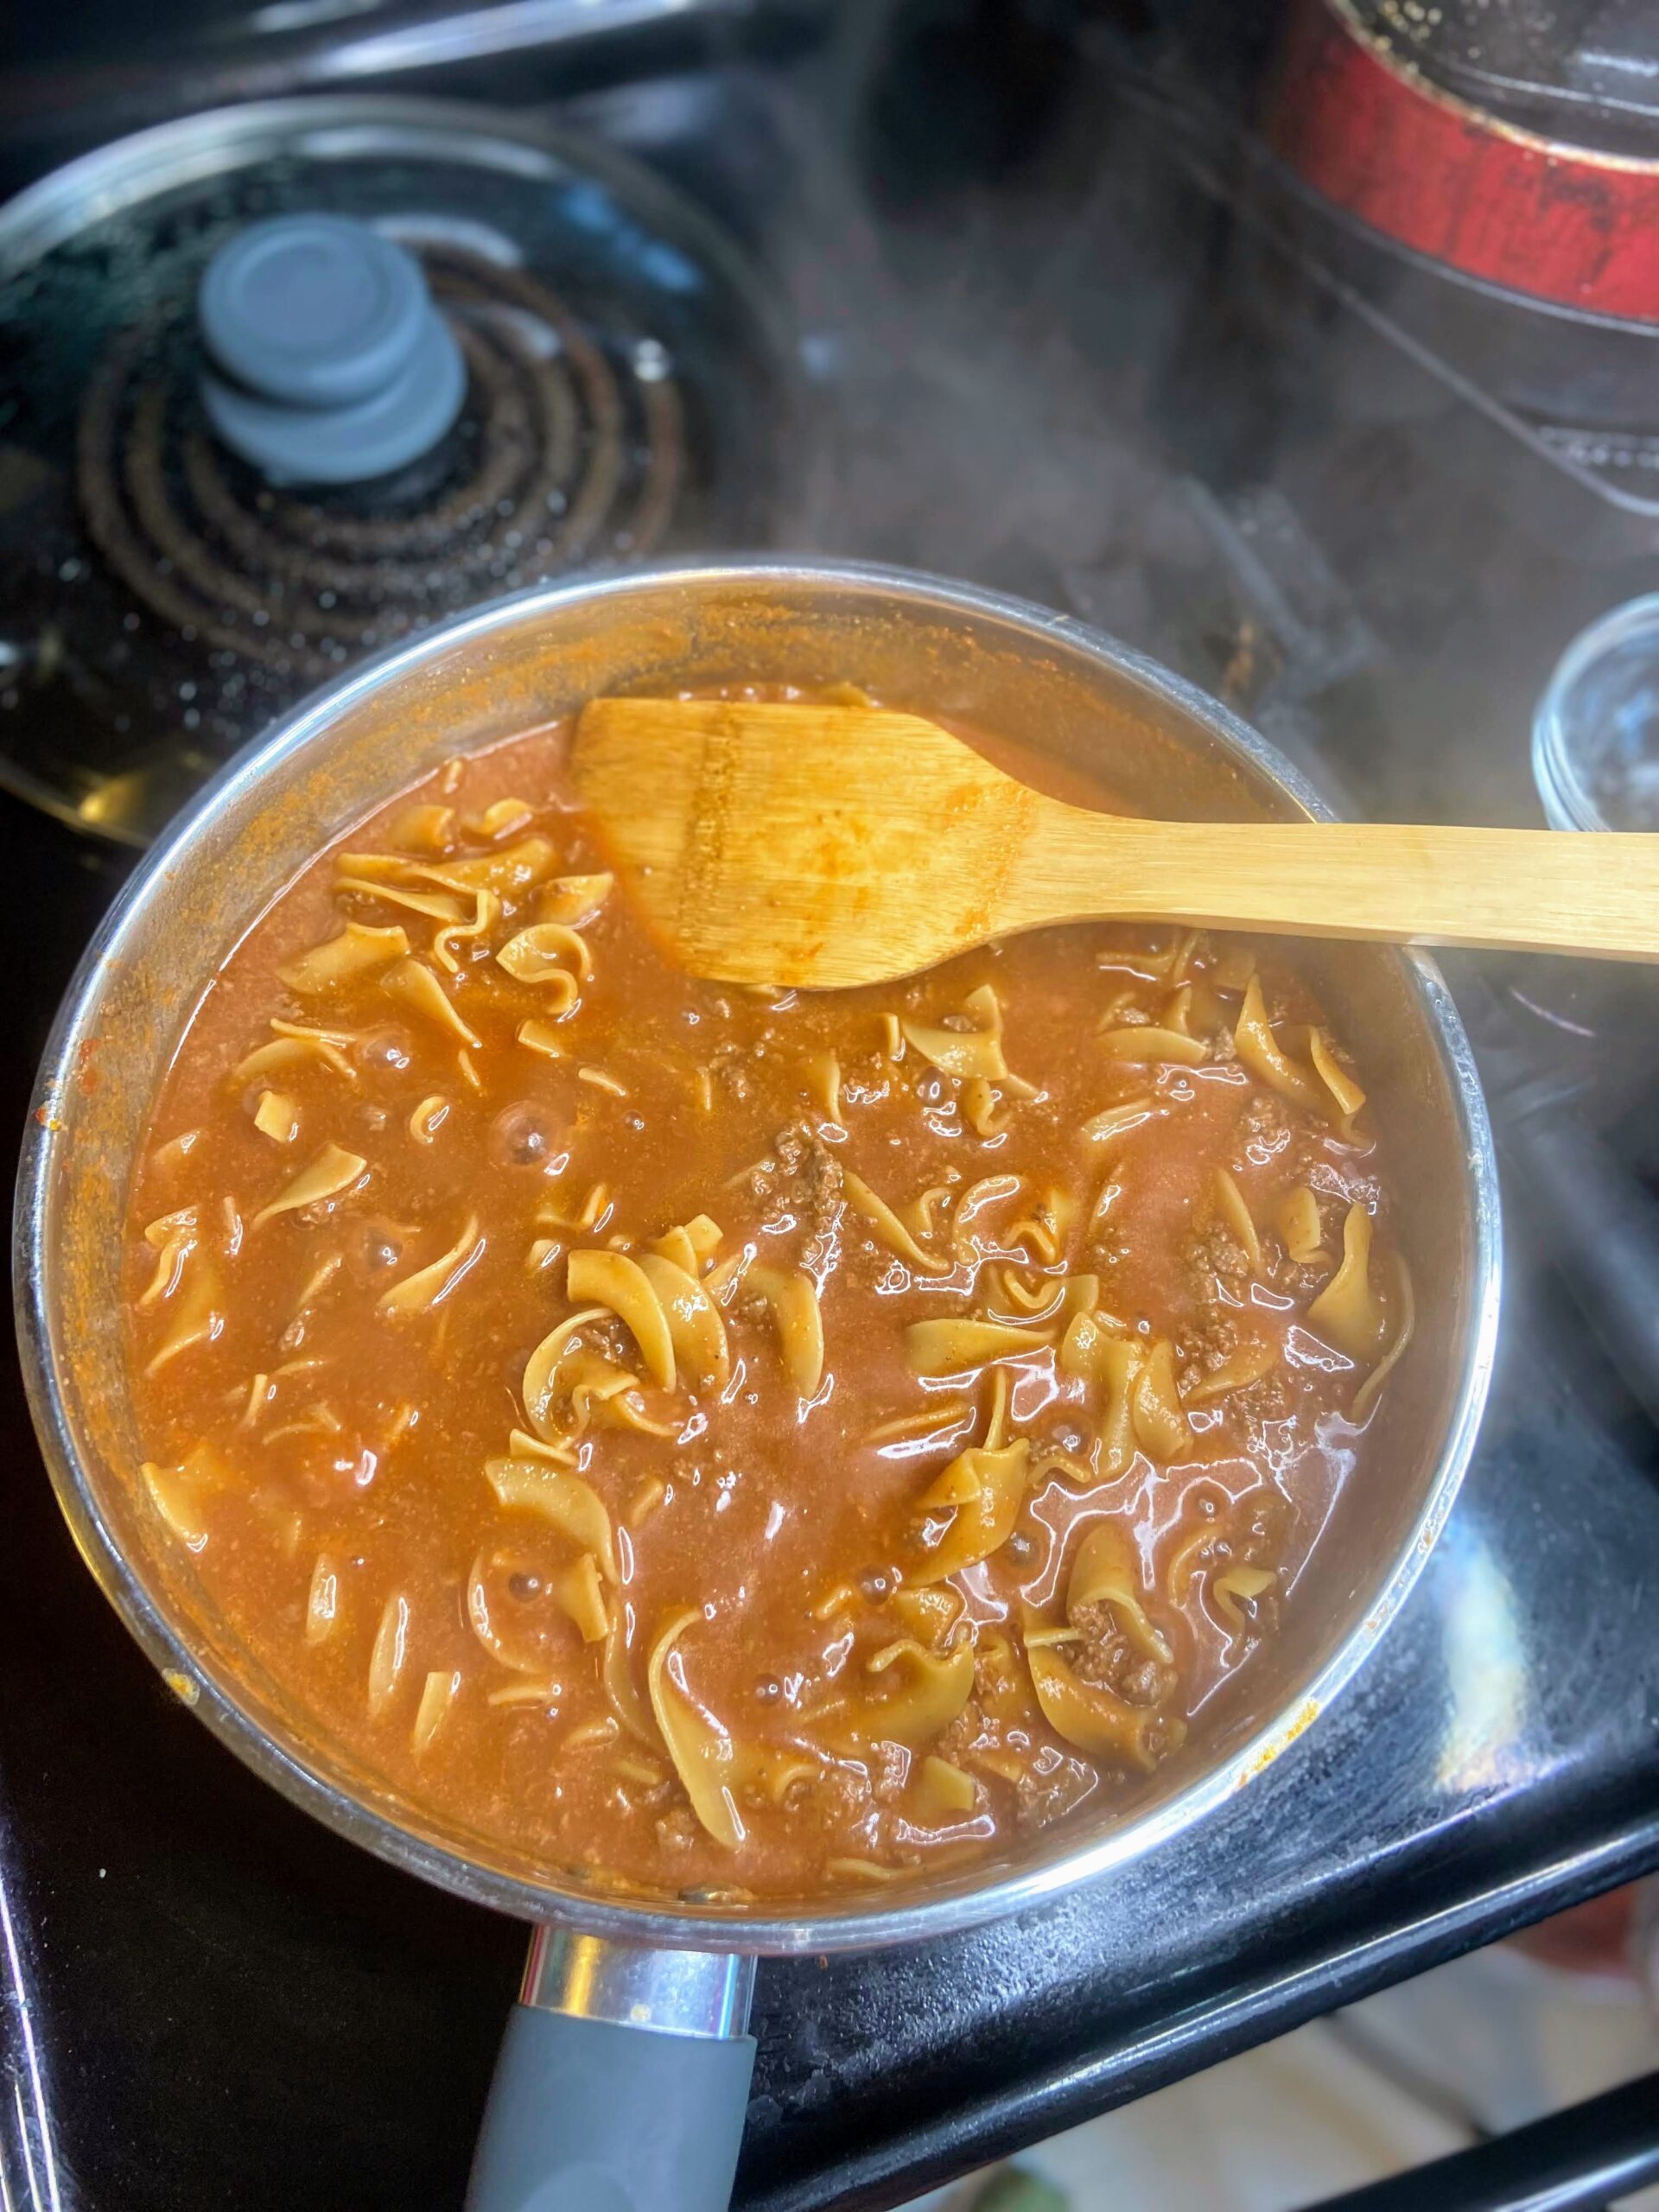
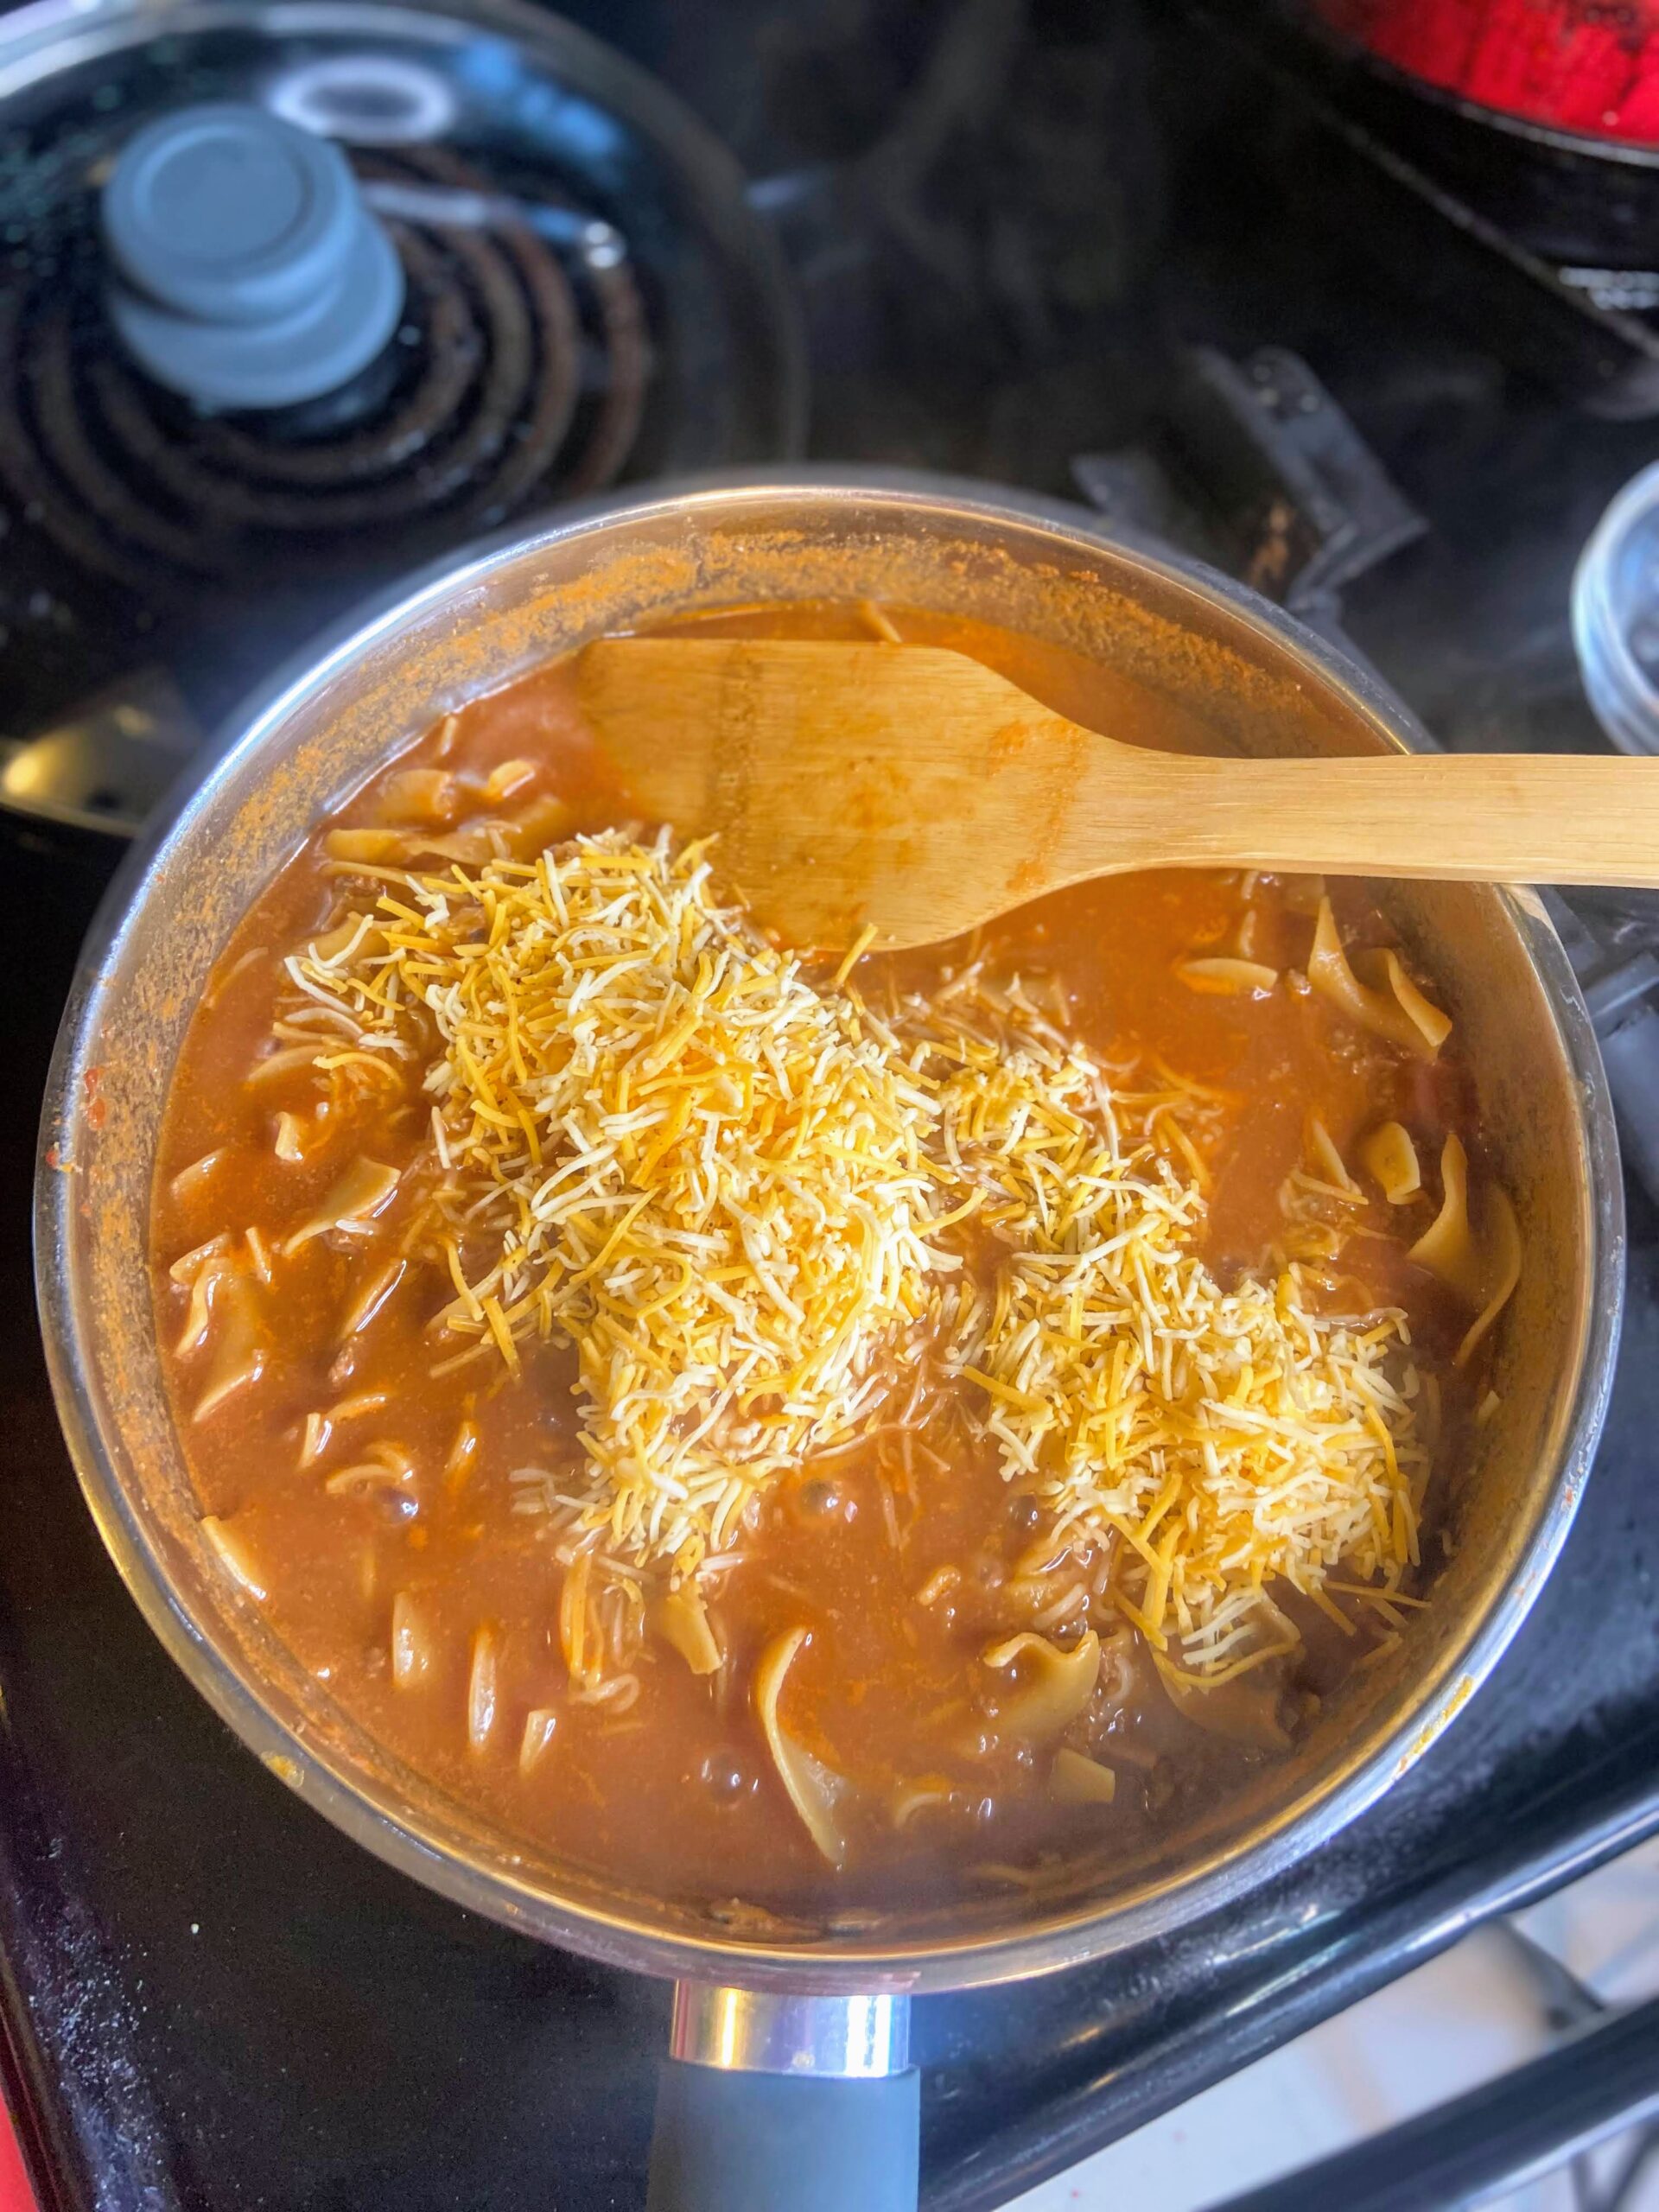
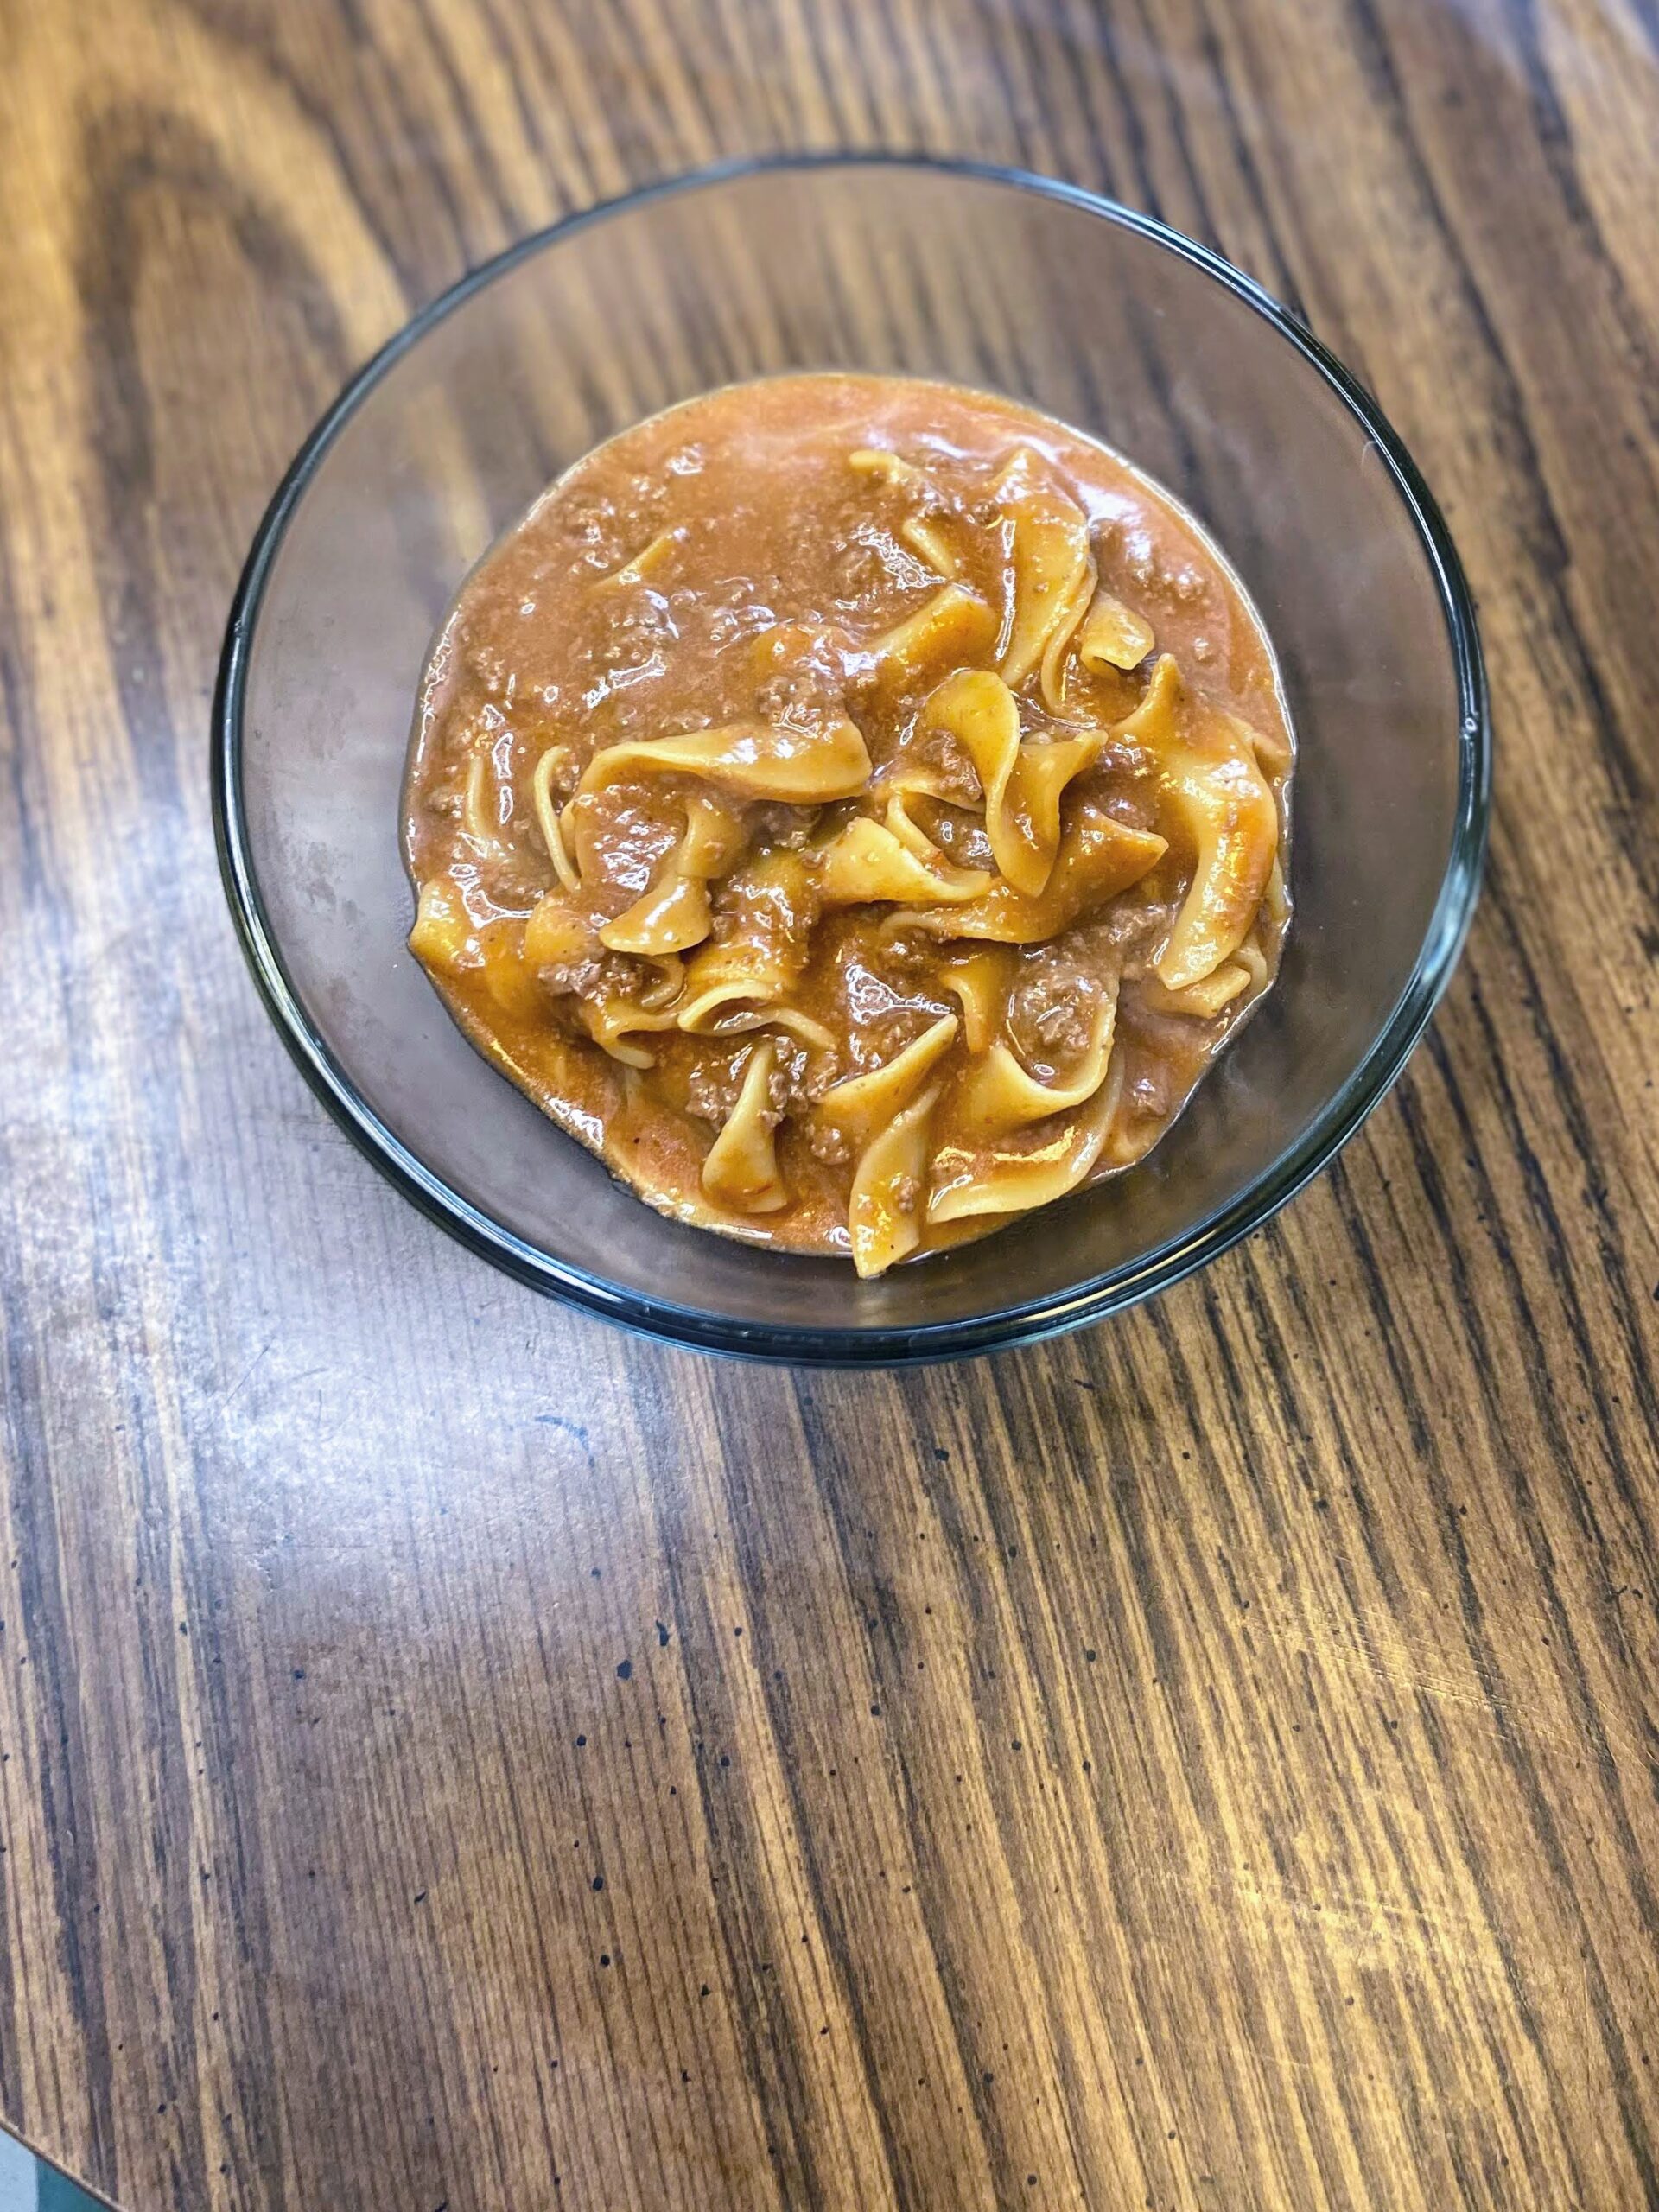
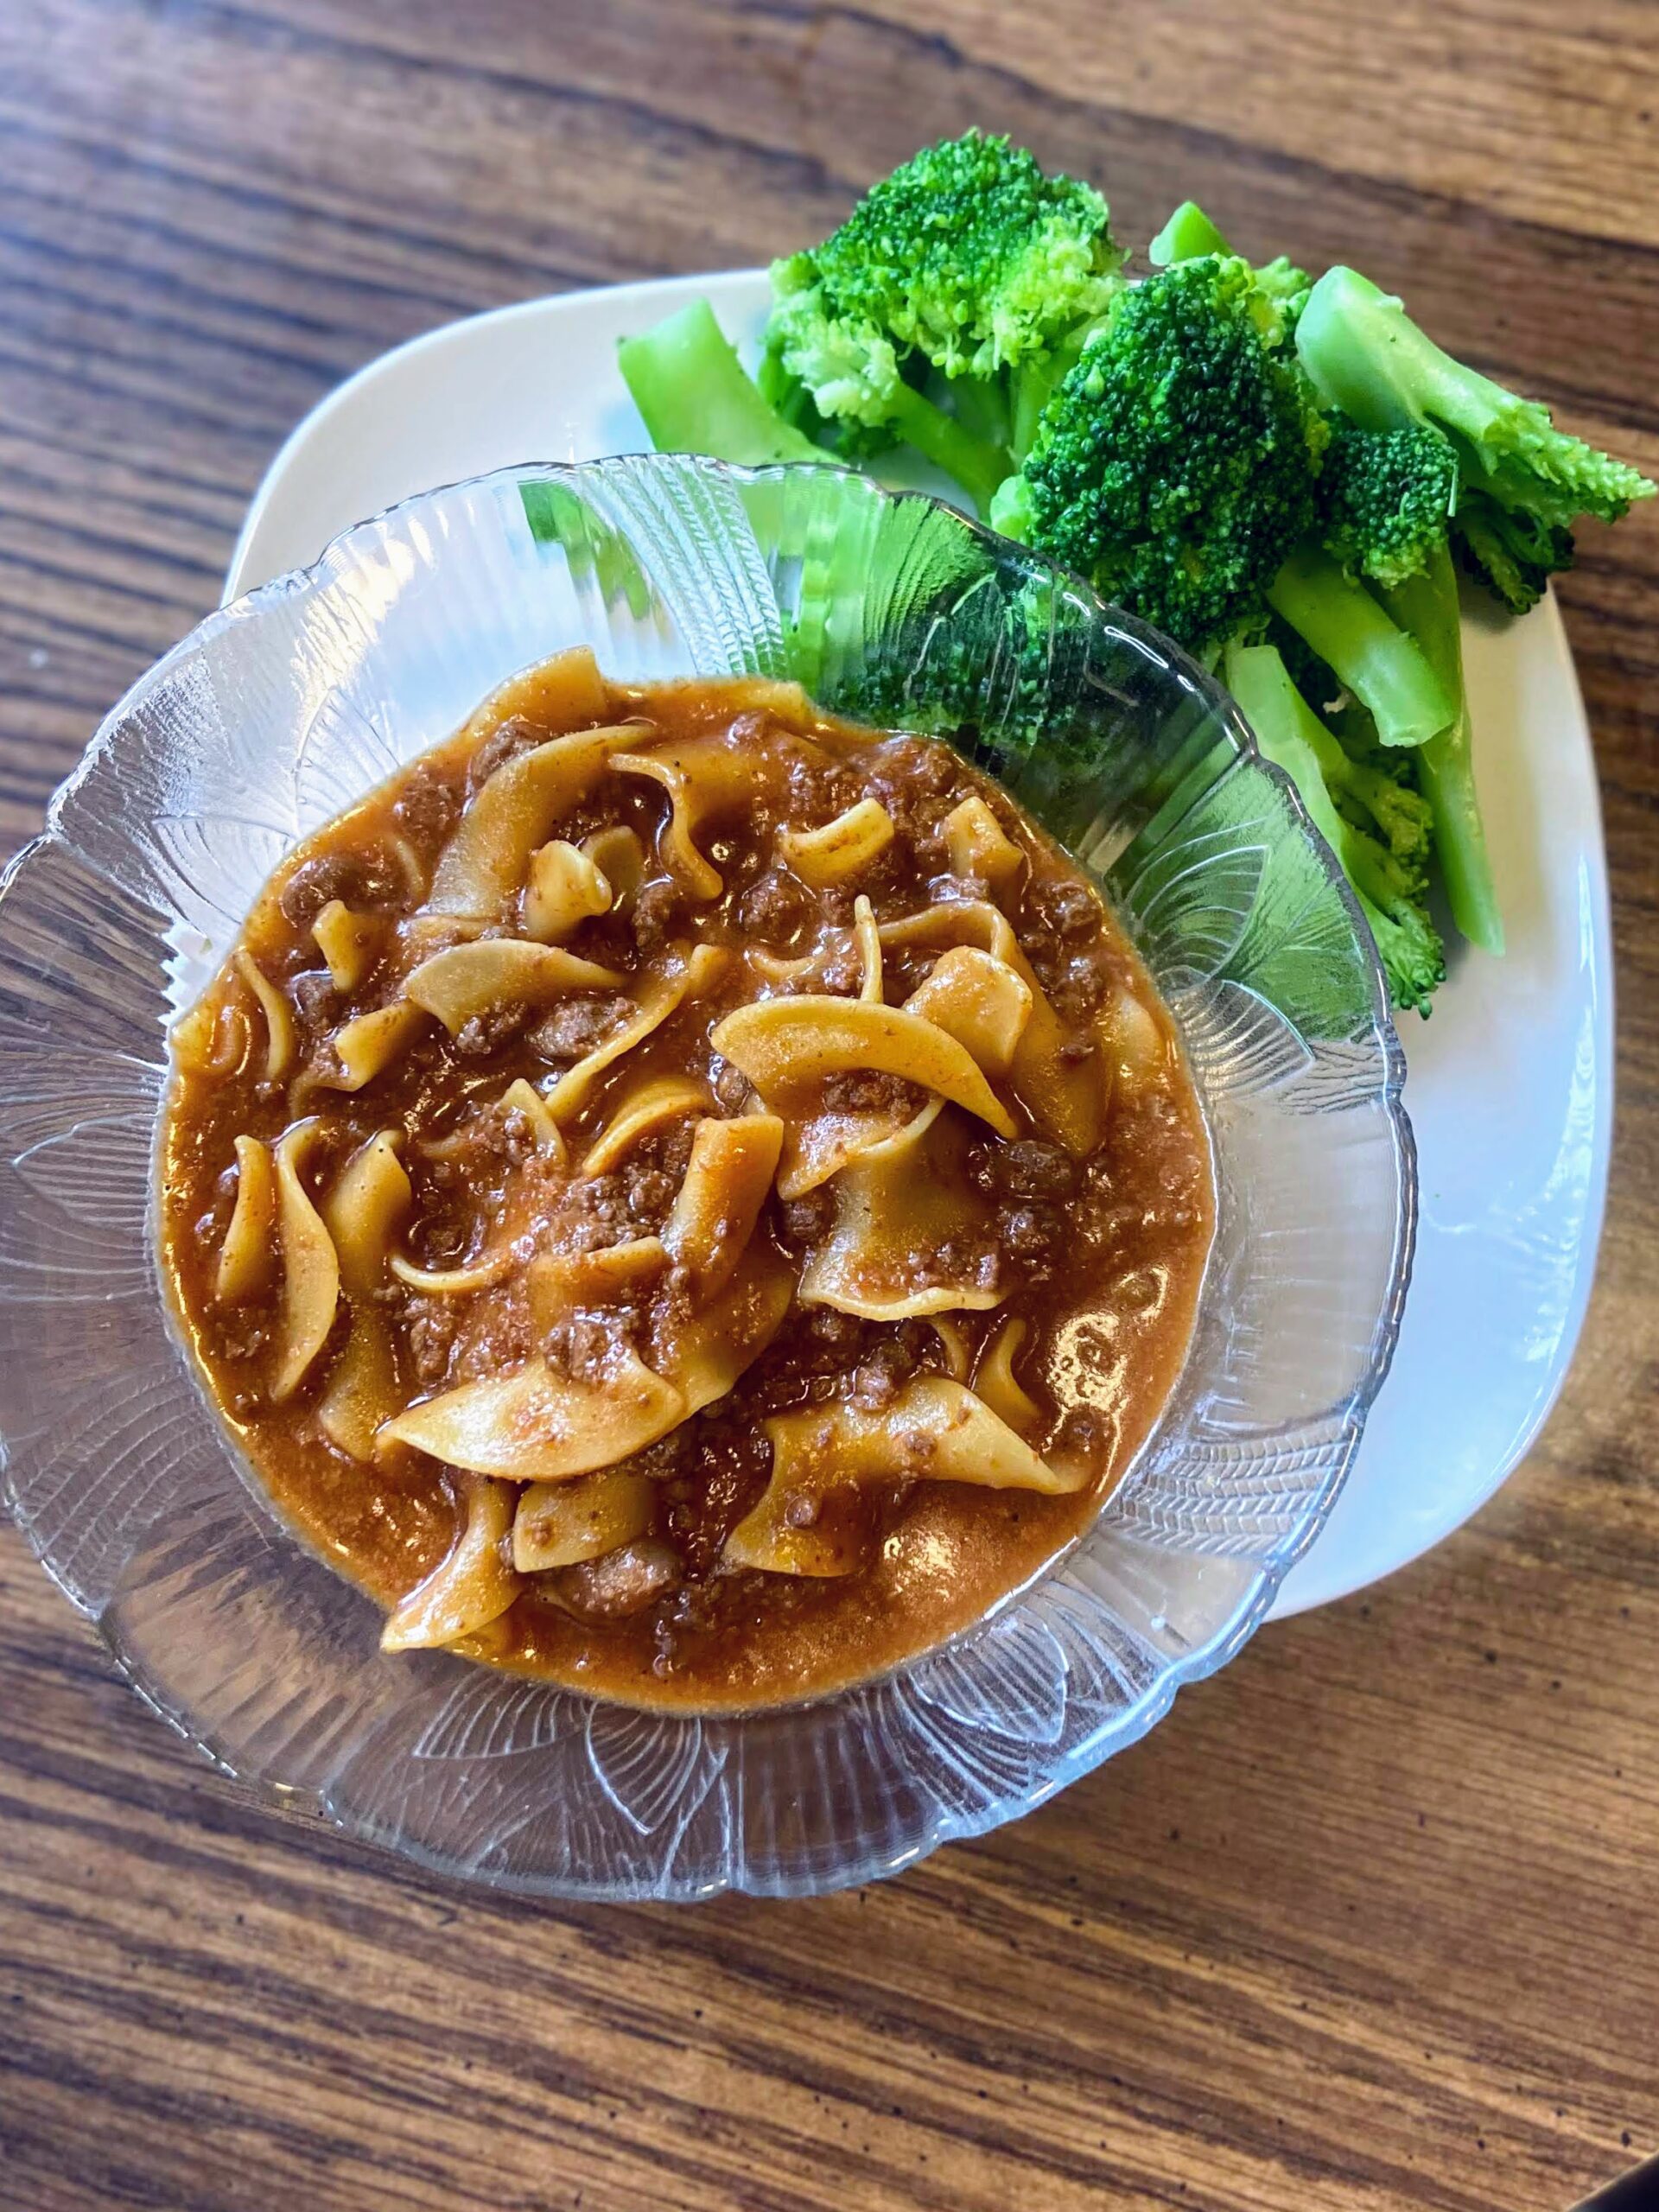
Homemade Hamburger Helper

When I am asked what my niche is as a food blogger, I have a hard time coming up with a description because I truly am a dabbler. I love to can and preserve food from our homestead. I am a baker and comfort food is my jam. When I start to think about it deeper and see the big picture, my passion is creating good food for families from scratch. This homemade hamburger helper is such a perfect example of it. 

I don’t know about you, but I grew up eating a lot of hamburger helper as a kid. It was delicious, but now, I try to avoid as much pre-packaged and processed food as possible. When a friend shared her version of homemade hamburger helper, I had to give it a try. The skillet quickly became a family favorite and I had to ask if I could share it here. 

This homemade hamburger helper cooks up just a quick, if not quicker, than the box stuff. It’s a delicious and so simple recipe for busy people who still want to put good food on the table for their families. And without all the preservatives and added salt, it’s a meal parents can feel good about their kiddos devouring. 

Your Ingredients 

  • 1 pound ground protein (beef, venison, turkey)
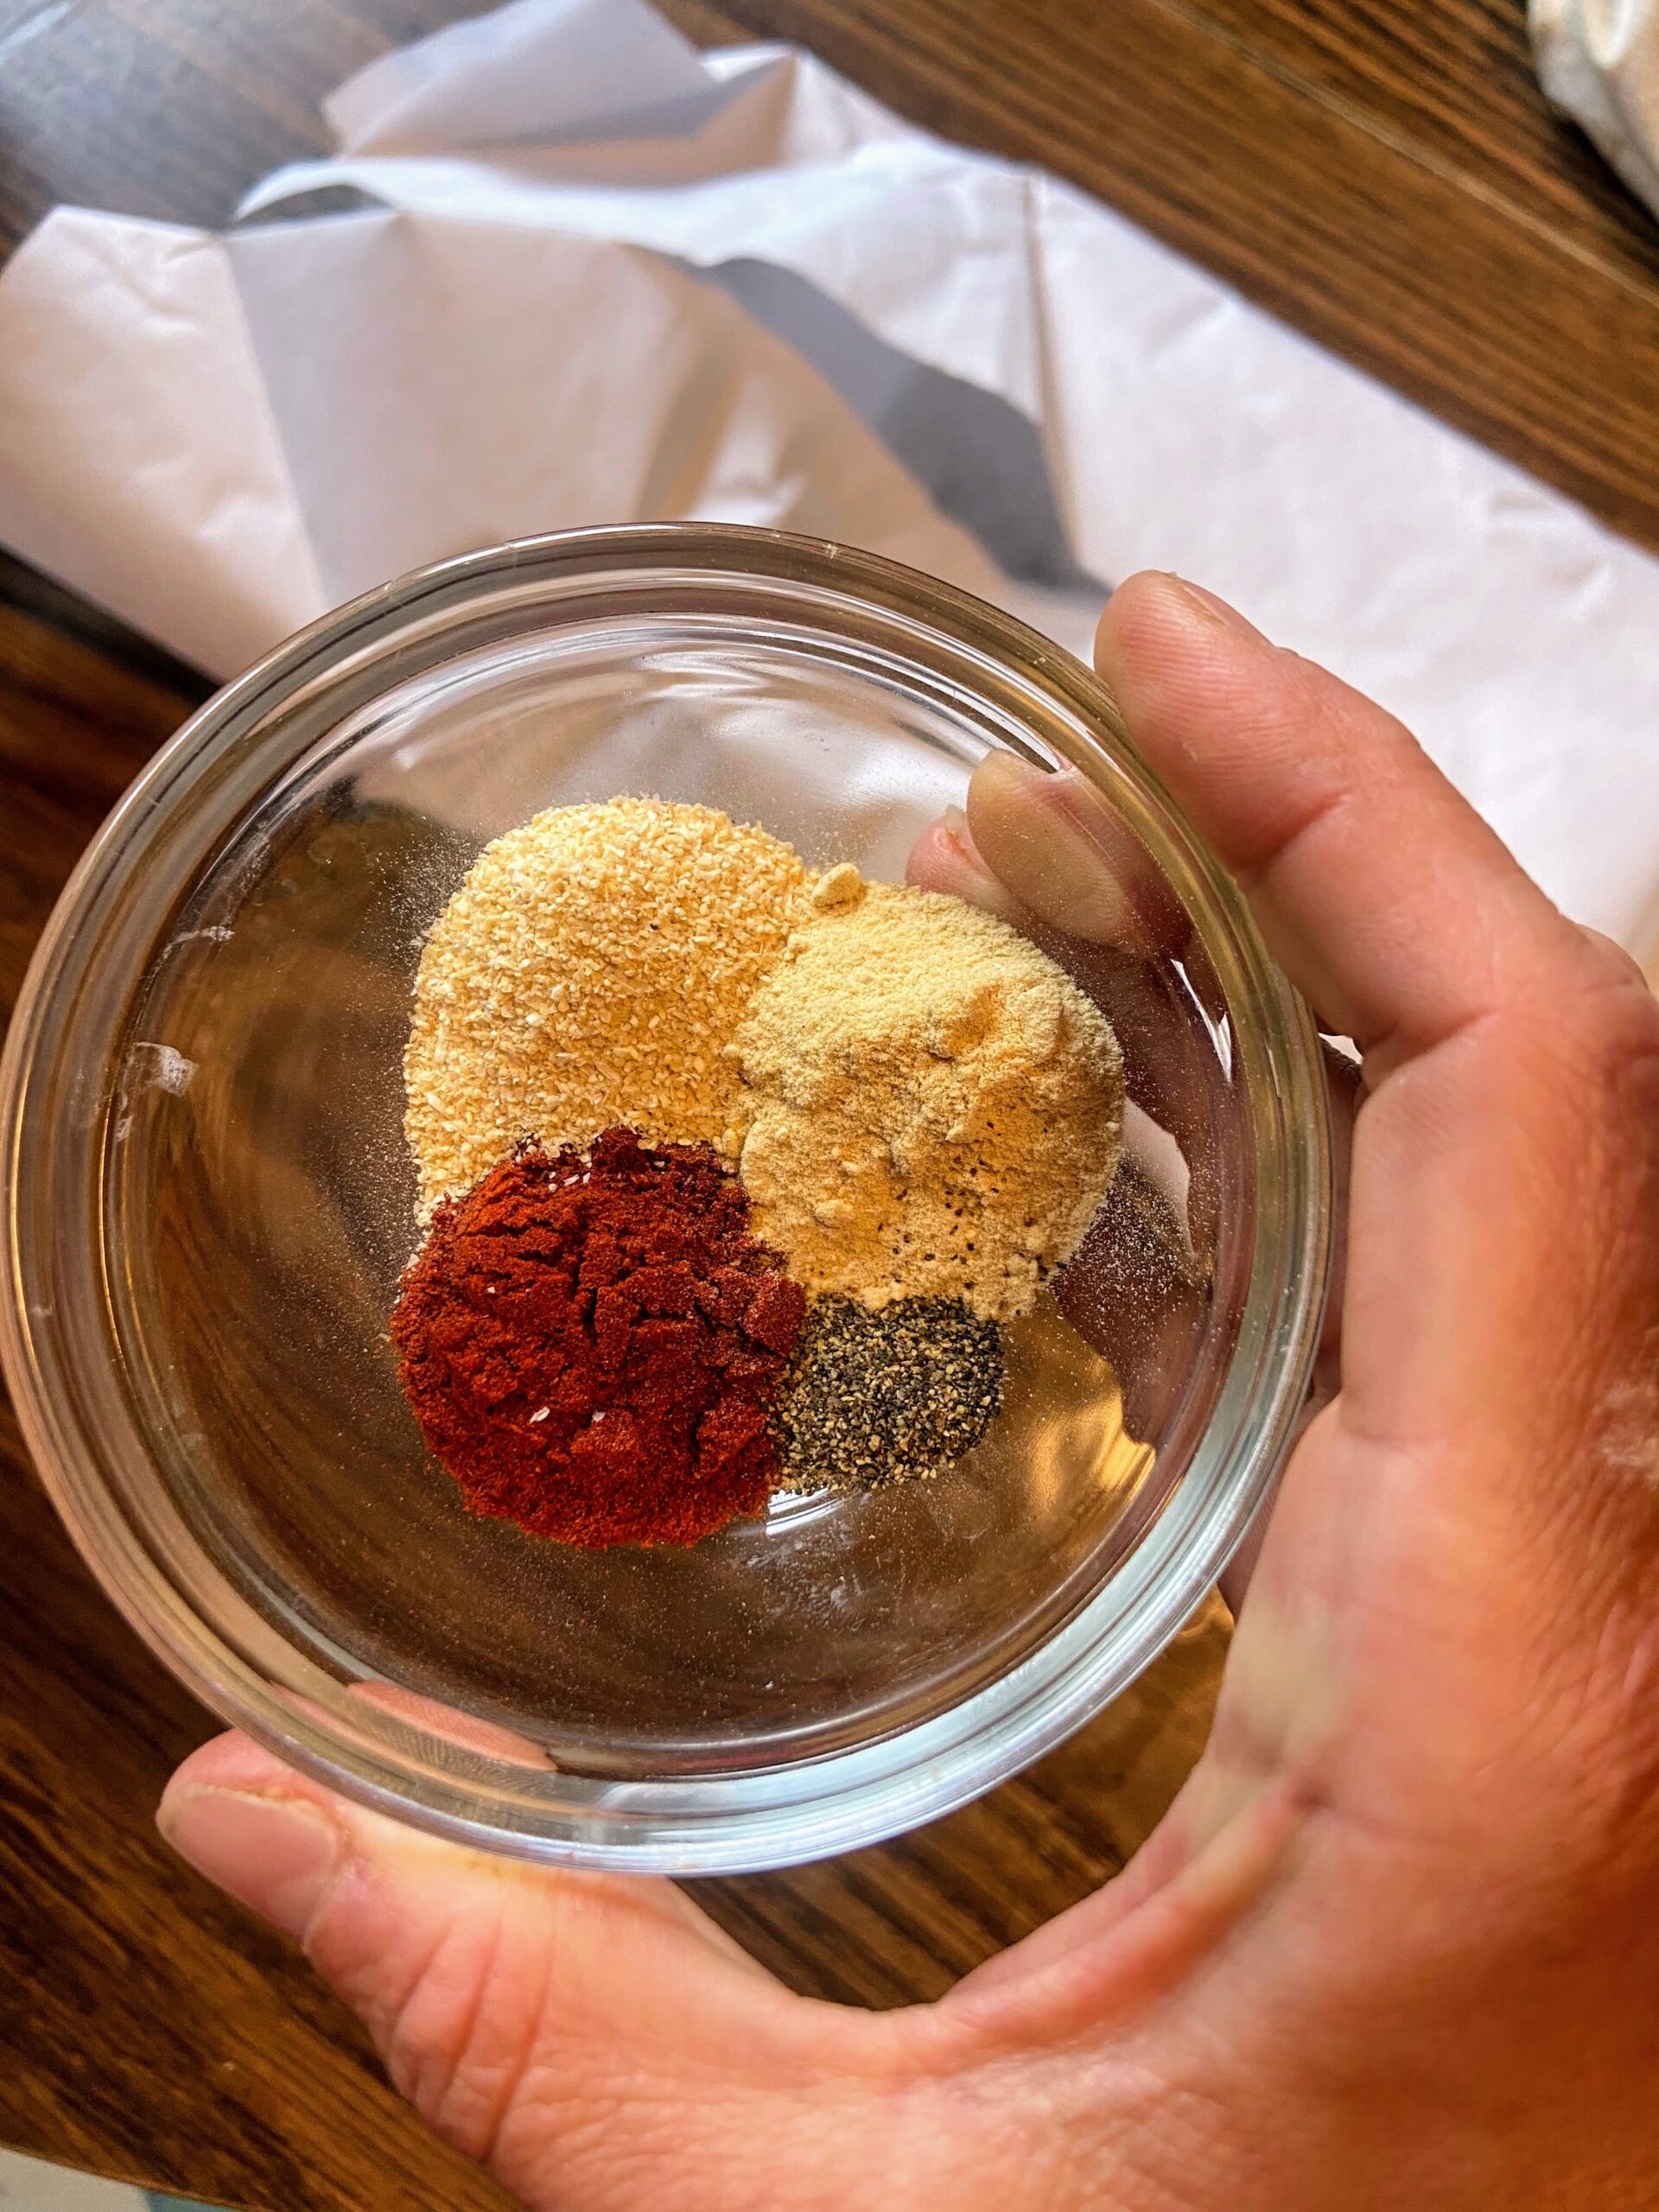
  • 1 teaspoon onion powder 
  • ¼ teaspoon ground pepper
  • 1 teaspoon paprika 
  • 1 teaspoon garlic powder 
  • 6 ounces tomato paste or 8 ounces tomato sauce 
  • 1 ½ cups milk of your choice (regular, almond, etc) 
  • 1 ½ cups low sodium beef broth
    3 cups egg noodles
  • 1 ½ cups shredded cheddar cheese 
  • Olive oil, optional 
  • Salt, to taste

Your Steps to Homemade Hamburger Helper

Over medium heat, begin to heat olive oil (if using a low fat protein) in a large saute pan (that has a cover). Add ground protein. Season with onion powder, paprika, garlic powder, and ground pepper. Brown. Drain if necessary. 

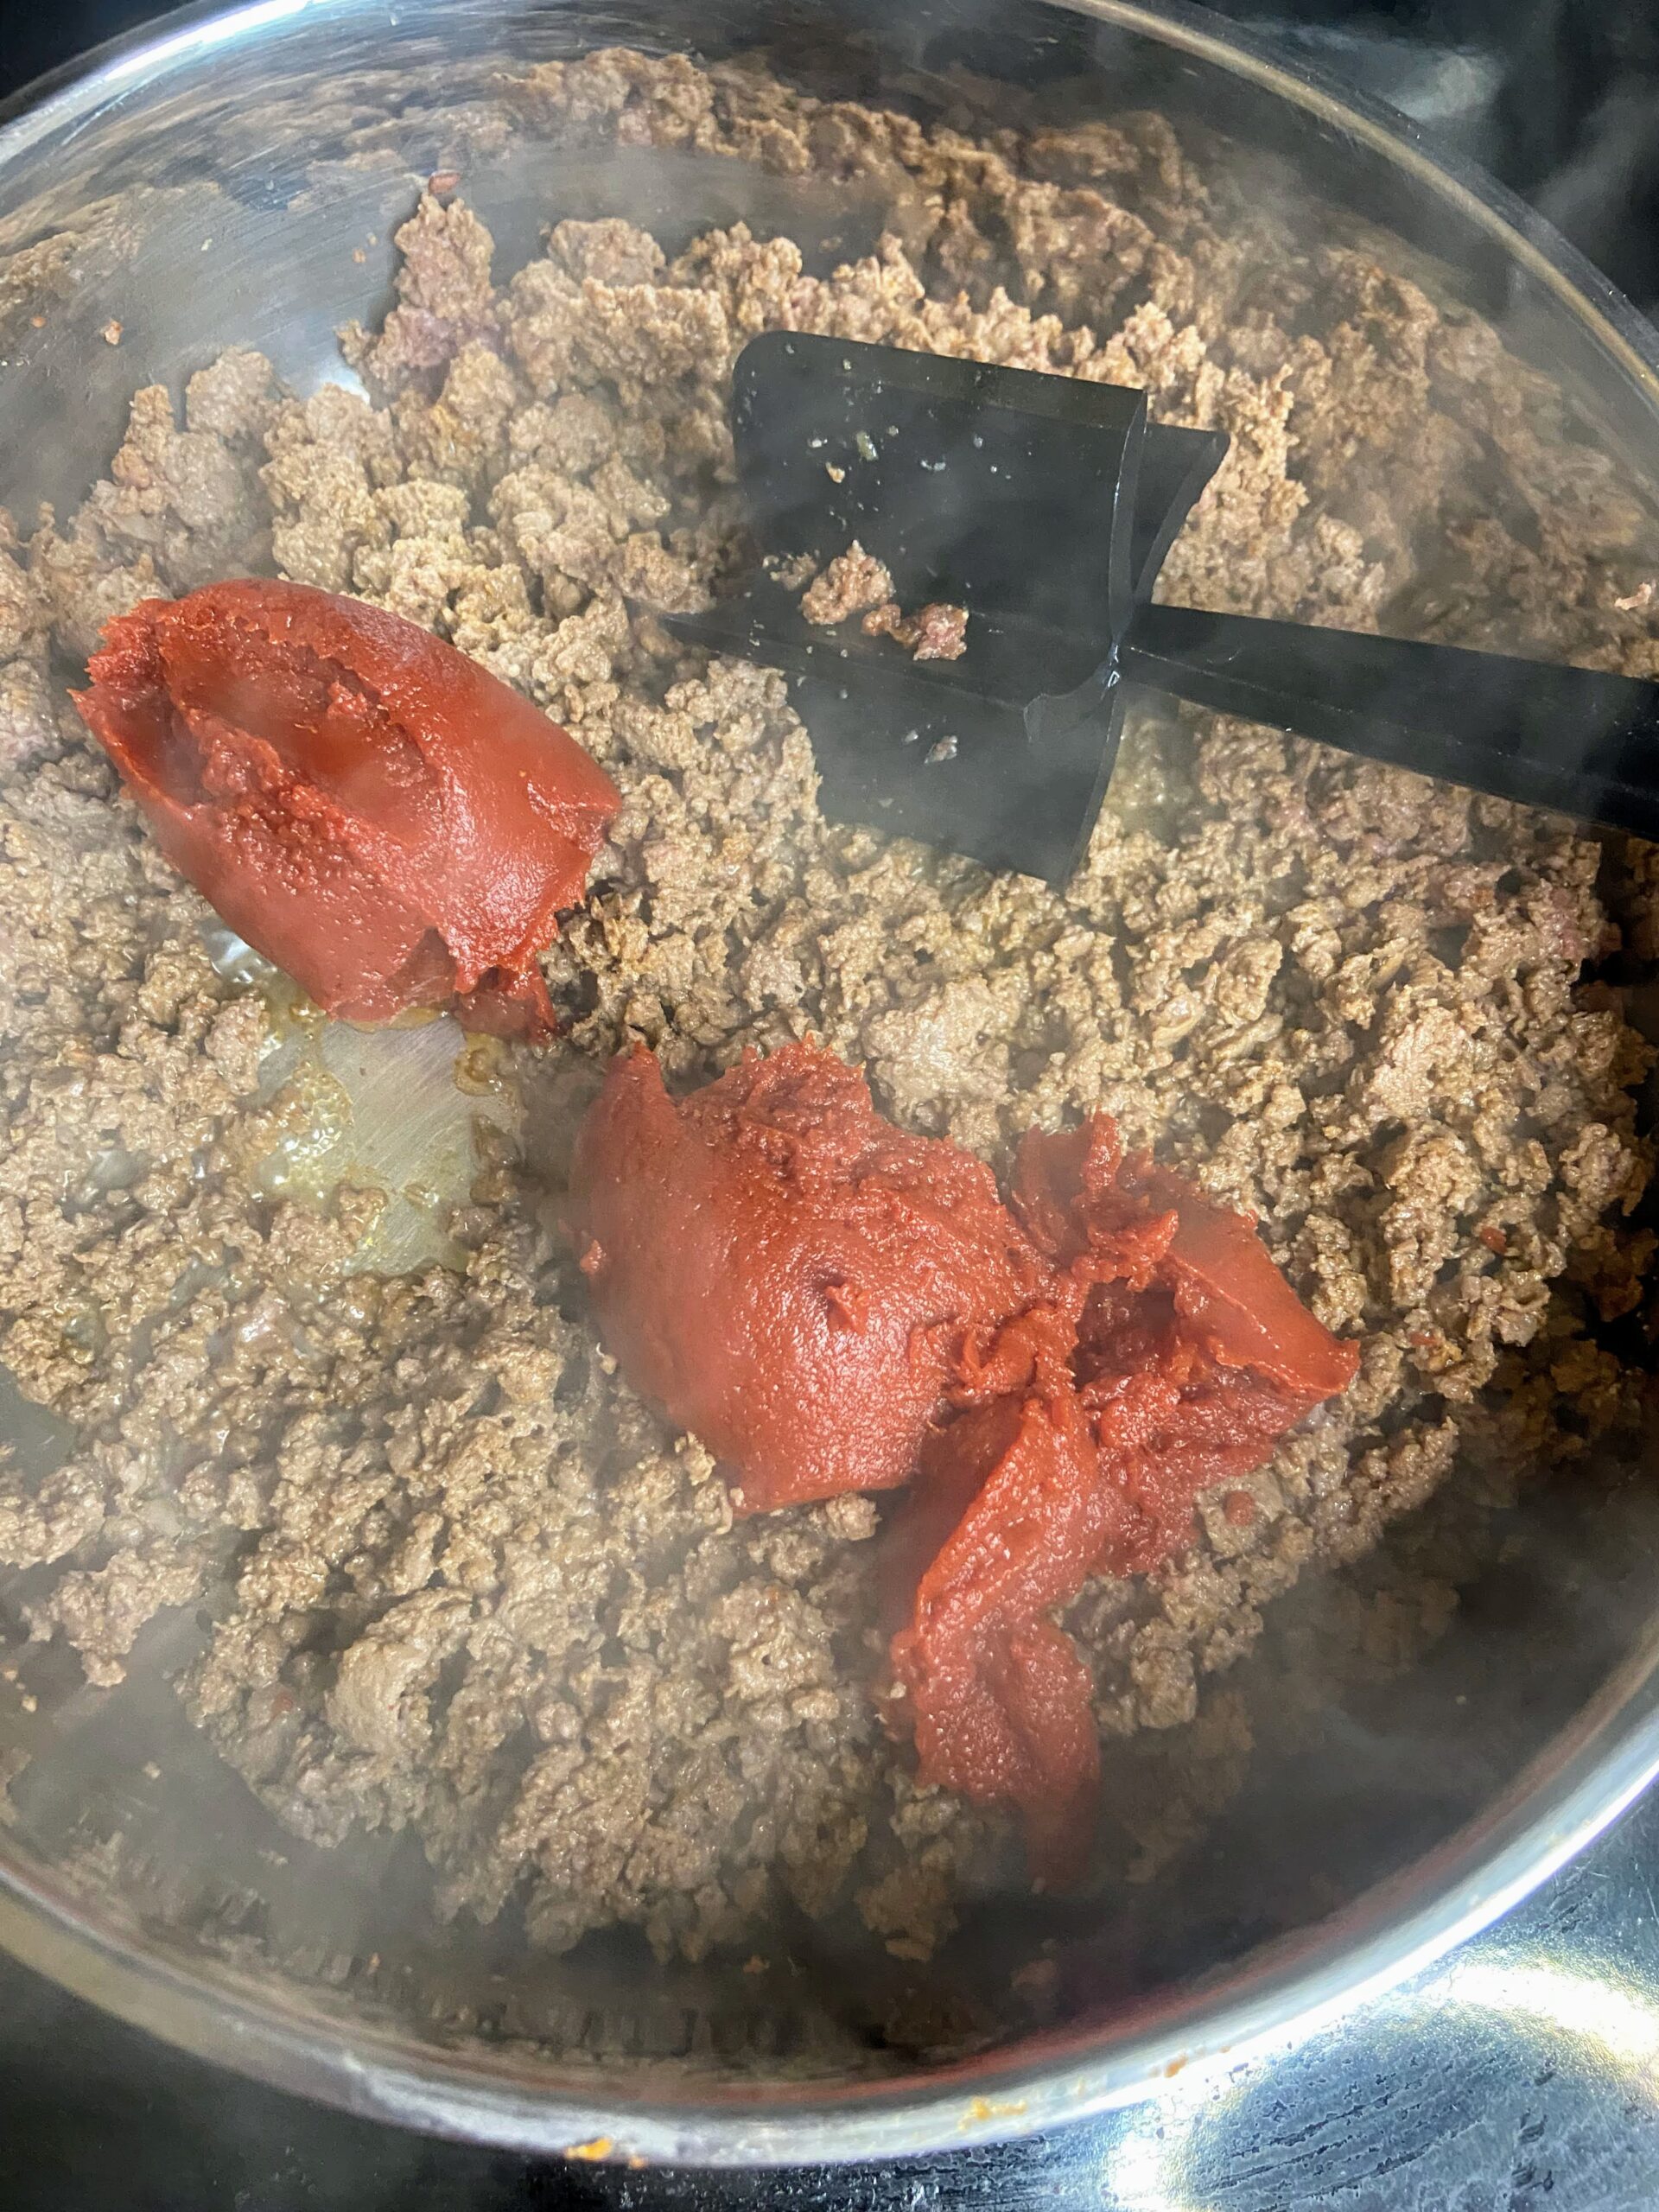
Stir in tomatoes, continuing to heat over medium-high temperature. Cook for 2-3 minutes. Stir in milk and beef broth. Bring to a boil. Add egg noodles, reduce heat, cover, and cook for 8-10 minutes, until the egg noodles are cooked through. Remove from heat and stir in cheese. Season with salt if needed. 

Homemade Hamburger Helper

Comfort food at its finest with the flavors of childhood without all the preservatives.
Prep Time 10 minutes
Cook Time 12 minutes
Servings 6 servings

Ingredients
  

  • 1 pound ground protein beef, venison, turkey
  • 1 teaspoon onion powder
  • ¼ teaspoon ground pepper
  • 1 teaspoon paprika
  • 1 teaspoon garlic powder
  • 6 ounces tomato paste or 8 ounces tomato sauce
  • 1 ½ cups milk of your choice regular, almond, etc
  • 1 ½ cups low sodium beef broth
  • 3 cups egg noodles
  • 1 ½ cups shredded cheddar cheese
  • Olive oil optional
  • Salt to taste

Instructions
 

  • Over medium heat, begin to heat olive oil (if using a low fat protein) in a large saute pan (that has a cover). Add ground protein. Season with onion powder, paprika, garlic powder, and ground pepper. Brown. Drain if necessary.
  • Stir in tomatoes, continuing to heat over medium-high temperature. Cook for 2-3 minutes.
  • Stir in milk and beef broth. Bring to a boil.
  • Add egg noodles, reduce heat, cover, and cook for 8-10 minutes, until the egg noodles are cooked through.
  • Remove from heat and stir in cheese. Season with salt if needed.
Tried this recipe?Let us know how it was!

Looking for other recipes?

Check out some great, family-friendly recipes below!

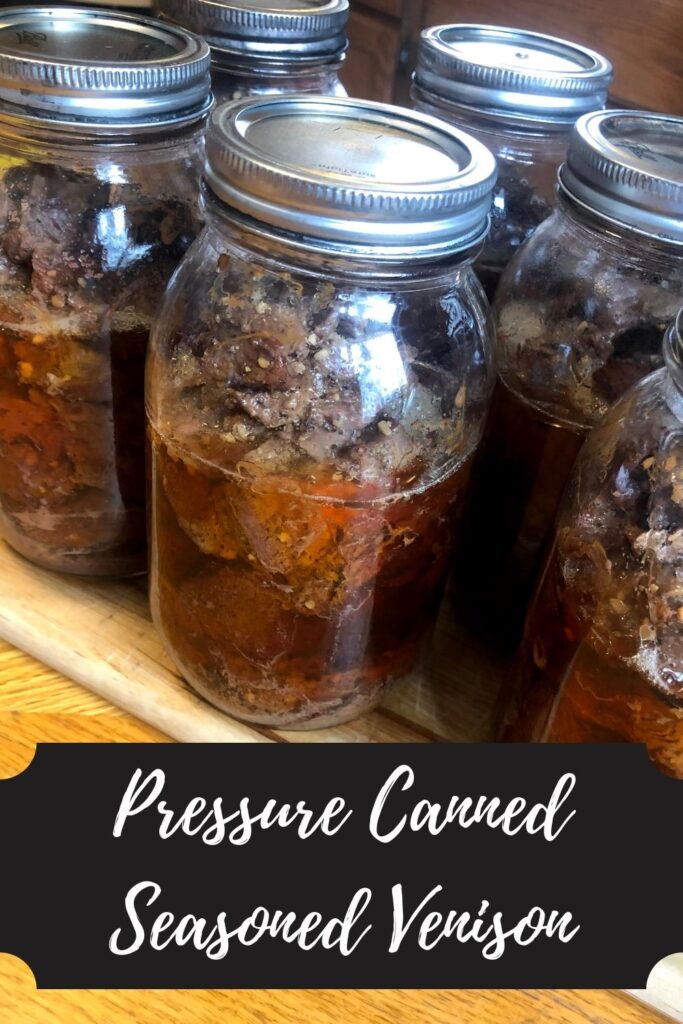
Pressure Canned Seasoned Venison

I love fall as it turns to winter. The warmth of sweatshirt and jeans weather. Fires. And hunting. Now, I am not a hunter (hunter’s safety was offered during girl’s basketball and I had to choose), but I do love filling my freezer with protein harvested from the woods. I also fill my shelves with pressure canned venison: Both in the form of venison stew and pressure canned seasoned venison. 

Pressure canning is my job in our home, and I wouldn’t have it any other way. I know there are horror stories of pressure canning out there and a number of people are afraid of it. And if they aren’t afraid of the act of canning the meat, they are hesitant to eat pressure canned seasoned venison. “How can meat be self stable and room temperature and still be okay to eat?” I promise, its easier than you think and the meat is great to eat. I follow all the recommendations from the National Center for Home Preservation. Let me tell you, this stuff is GOOD. 

The meat is SO tender. It heats up in minutes, and you can have a meal on the table in under ten. The convenience is out of this world and you are still able to serve your family good for you food without being processed. Our favorite way to use our seasoned venison is to drain off a little of the liquid and heat it in a kettle with BBQ sauce. As the meat is stirred, it will break down (so tender!) and create a shredded venison that can be served with rolls (may I recommend my silver dollar rolls?) and some coleslaw. YUM. 

Bottom line?

I am beyond excited to share how I prepare my seasoned venison with all of you. There is no reason to be afraid of a pressure canner. I was 100% a novice who simply did some reading at the beginning. The only caution I want to give is that it does take time (primarily hands off) for it to cook. I would say make sure you have three hours to be around the house, but truly you can be doing other things while it cooks. Just be present. If you do want more information, read your canner’s directions or check out the NCHP

Ready to create some pressure canned venison stew? Let’s go! 

Your Ingredients (per quart jar) 

4 cups cubed venison stew meat, raw

Seasoning (see below)

We keep a seasoning mixture on hand of 1 part pepper, 1 part dried minced garlic, 1 part dried minced onion, and 1-2 parts kosher salt. I use this on everything from chicken to venison to roasted vegetables. It’s fantastic and versatile. When I am canning meat, I season every 2 ½ pounds of meat with about 1-2 tablespoons seasoning mix. This is to our taste. 

Tools of the Trade

Normally, I put this at the end of a post, but with a pressure canner, I feel as though I should put it at the beginning. I love using my weighted pressure canner. It doesn’t stress me out and I can create so many great things with it. I also think a canning funnel is a must here. 

Before you start this process, make sure you read the general directions to your own pressure canner. They may differ from what I am sharing, and you should always follow those directions first. Also, if you are a beginner canner or even advanced, it is always a great idea to check out the National Center for Home Preservation Site for more information! 
Your Steps to Pressure Canned Venison Stew

Begin by preparing your canner and jars. Wash and sterilize quart jars, rings, and lids. Keep warm. Check the seal and center vent of your lid of the canner. Set aside. 

Season prepared meat with seasoning mixture mentioned above (2 tablespoons per 2 ½ pounds of meat). Using a canning funnel, stuff jars with 4 cups of raw meat each, leaving 1 inch of headspace. 

Wipe rims with a damp cloth, center the lid on the jar and adjust the band to fingertip tight. 

Place jars on the rack of a prepared pressure canner (mine needs 3 quarts of hot water plus a splash of vinegar). 

Time to Can that Pressure Canned Seasoned Venison!
Place the lid on the canner and heat to high heat. Once a steady stream of steam can be seen/felt, vent for 10 minutes, adjusting the heat if needed to have a steady but not crazy stream of steam. After 10 minutes, put the weighted gauge on the vent. You will want 10 pounds if your altitude is under 1000 ft; 15 pounds if you are over 1000 ft. 

Once the weight starts to jiggle (indicating it has reached the appropriate pressure), begin timing. You will need to process pint jars for 75 minutes and quart jars for 90 minutes. Once the timer has gone off, turn off and remove the canner from heat. Allow the pressure to drop on the canner all the way (read specific canner instructions for the indicator-this takes about 45 minutes). Remove weight and allow to cool an additional 10 minutes. Remove jars from canner; do not retighten bands. Cool 12 hours, then check their seals, label, and store jars. 

Again, we like to create pulled venison with ours by heating it with some BBQ sauce. It will shred as you stir, getting the perfect texture. Add some coleslaw and rolls and you are set! 

Pressure Canned Seasoned Venison

Fill your shelves with a pressure canned seasoned venison for quick meals throughout the year. Full of flavor and easy to create!
Prep Time 30 minutes
Cook Time 2 hours
Course Main Course
Cuisine Canning
Servings 5 quarts

Ingredients
  

  • 20 cups cubed venison stew meat (about 10 pounds)
  • ¼-½ cup seasoning mixture of minced garlic, minced onion, salt, and pepper see directions for additional information

Instructions
 

  • Begin by preparing your canner and jars. Wash and sterilize quart jars, rings, and lids. Keep warm. Check the seal and center vent of your lid the canner. Set aside.
  • Create the seasoning mixture: 1 part pepper, 1 part dried minced garlic, 1 part dried minced onion, and 1-2 parts kosher salt (or canning salt).
  • Season prepared meat with seasoning mixture.
  • Stuff jars with raw seasoned meat, leaving 1 inch of head space.
  • Wipe rims with a damp cloth, center the lid on the jar and adjust the band to fingertip tight.
  • Place jars on the rack of a prepared pressure canner (mine needs 3 quarts of hot water plus a splash of vinegar).
  • Process quart jars for 90 minutes at 10 pounds. If your altitude is greater than 1000 feet, use 15 pounds. Follow the directions of your pressure canner or see the more detailed directions in the notes.

Notes

Pint jars can also be used. You will need two cups of meat per pint jar (four cups per quart jar). Pint jars process for 75 minutes. 
We keep the seasoning mixture on hand for all sorts of cooking: proteins, vegetables, potatoes, you name it. That’s what the directions give you “parts.” so you can mix up as much as you want! 
Detailed Directions
Place the lid on the canner and heat to high heat. Once a steady stream of steam can be seen/felt, vent for 10 minutes, adjusting the heat if needed to have a steady but not crazy stream of steam. After 10 minutes, put the weighted gauge on the vent. You will want 10 pounds if your altitude is under 1000 ft; 15 pounds if you are over 1000 ft.
Once the weight starts to jiggle (indicating it has reached the appropriate pressure), begin timing. You will need to process pint jars for 75 minutes and quart jars for 90 minutes. Once the timer has gone off, turn off and remove the canner from heat. Allow the pressure to drop on the canner all the way (read specific canner instructions for the indicator). Remove weight and allow to cool an additional 10 minutes. Remove jars from canner; do not retighten bands. Cool 12 hours, then check their seals, label, and store jars.
Keyword pressure canning, soup and stews, stew, venison, venison stew
Tried this recipe?Let us know how it was!

Looking for other venison recipes?

Check some of these out!

Pressure Canned Venison Stew

I can not begin to explain how excited I am to share this recipe. It’s two years in the making, and I am almost shaking in anticipation and am simply giddy. I was ready to share it last year; then the Mr. was skunked in the deer hunting category and we never put any pressure canned venison stew on our shelves. Tear. 

This year, he was determined to fill our freezer and got out early and often for the bow season. The hard work paid off and he came home with a seven pointer near the end of September. We fully process our deer at home. Even though I am not a hunter myself, I grew up grinding, weighing, and wrapping venison for the freezer. My husband has been a hunter from the moment he could be. In fact, the very first meal he cooked for me in the college dorms was a pheasant he shot the weekend before (his parents knew there must be a girl in the picture when he called to get the recipe!). 

But I digress and now I have to backtrack. About 8 years ago, we purchased a pressure canner to safely pressure can the excess of green beans I was growing. Once I had a pressure canner, it was only a matter of time before I canned meat. I was in a canning group on facebook that inspired me to give it a try. The act of canning meat didn’t scare me. Maybe it’s the fact that I never heard any of those “pressure canner horror stories.” I just dove right in, read canning manuals, and made it happen. 

Opening the Jar

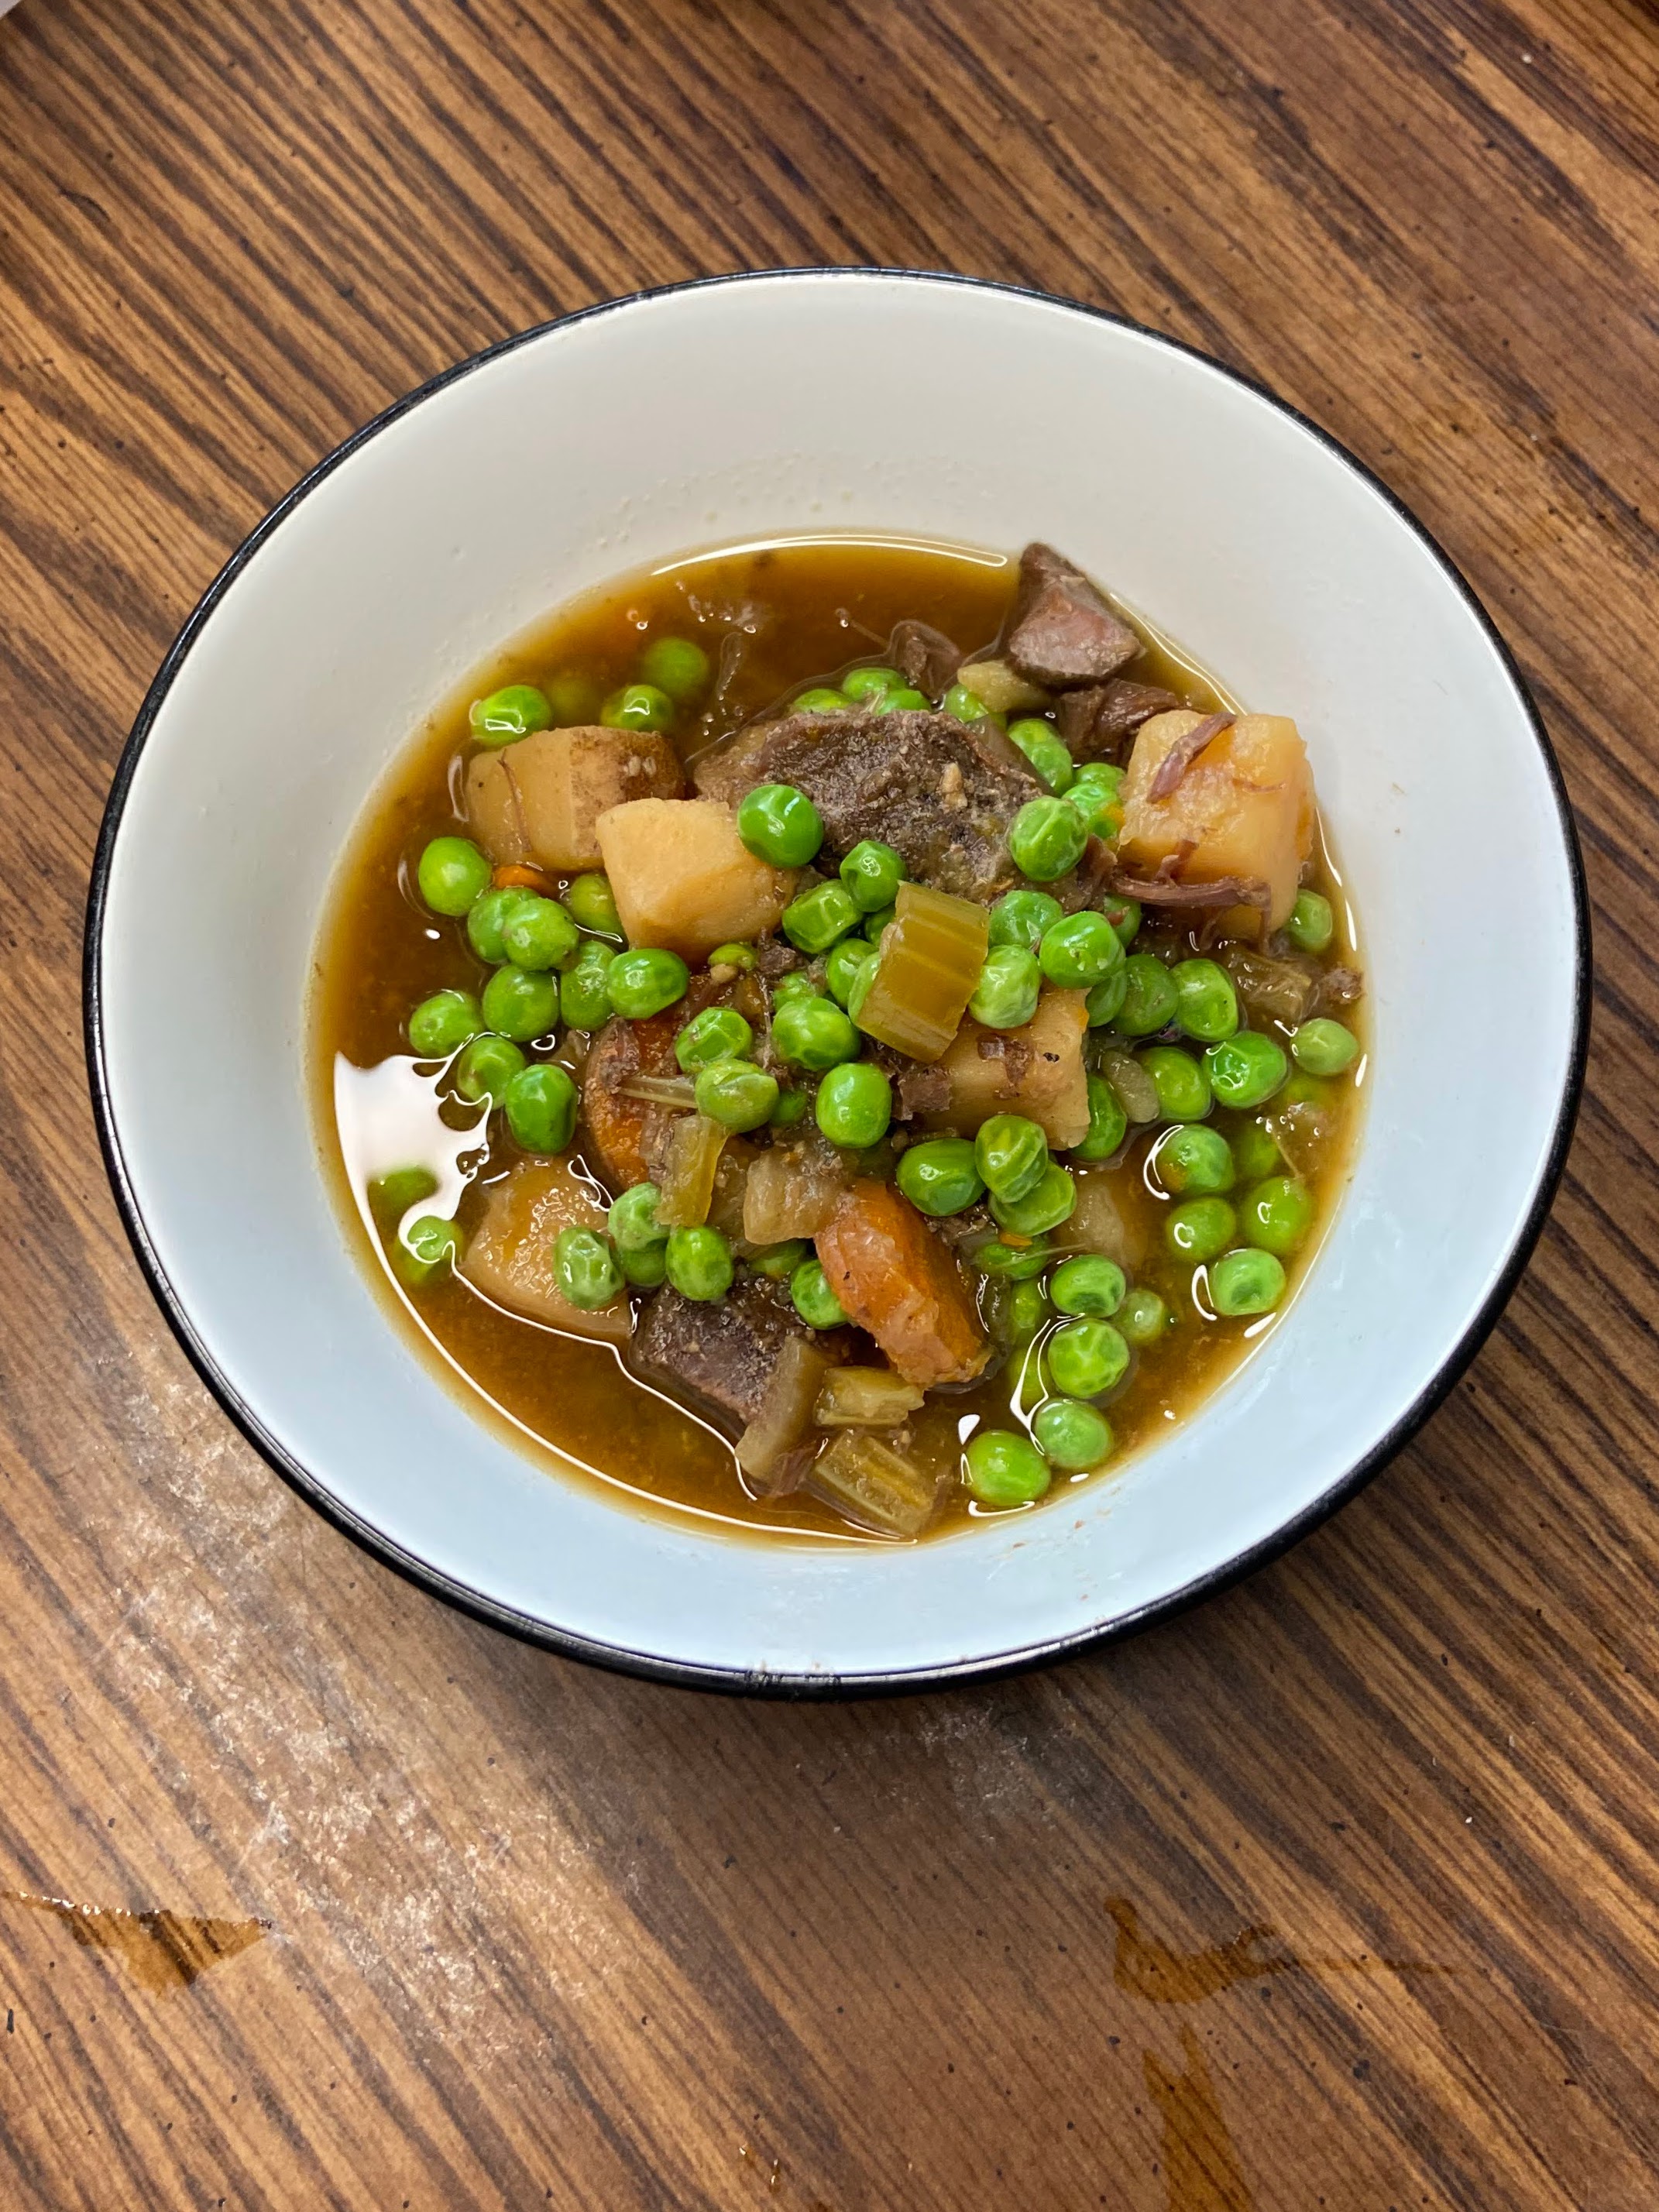
Then it came to actually opening a jar of pressure canned venison stew for dinner and to say I was nervous is an understatement. I cautiously opened it, smelled it, and very hesitantly heated it up. And oh my gosh, I was hooked at the very first bite. The meat is SO tender, the vegetables perfectly cooked. The convenience of it all is perhaps my favorite part. We are in the season of busy week nights with our kids and having homemade venison stew that can go from jar to table in under 10 minutes is incredible. If I am feeling fancy, I do a roux and slowly add the broth first. Short on time? I pour in some frozen peas for extra color and heat it up. 

Bottom line? I am beyond excited to share how I prepare this great stew with all of you. I promise there is no reason to be afraid of a pressure canner. Truly, I was 100% a novice who simply did some reading at the beginning. The only caution I want to give is that it does take time (primarily hands off) for it to cook. I would say make sure you have three hours to be around the house, but truly you can be doing other things while it cooks. Just be present.

Ready to create some pressure canned venison stew? Let’s go! 

Your Ingredients for Pressure Canned Venison Stew (per quart jar) 

  • 1 cup cubed venison stew meat, raw
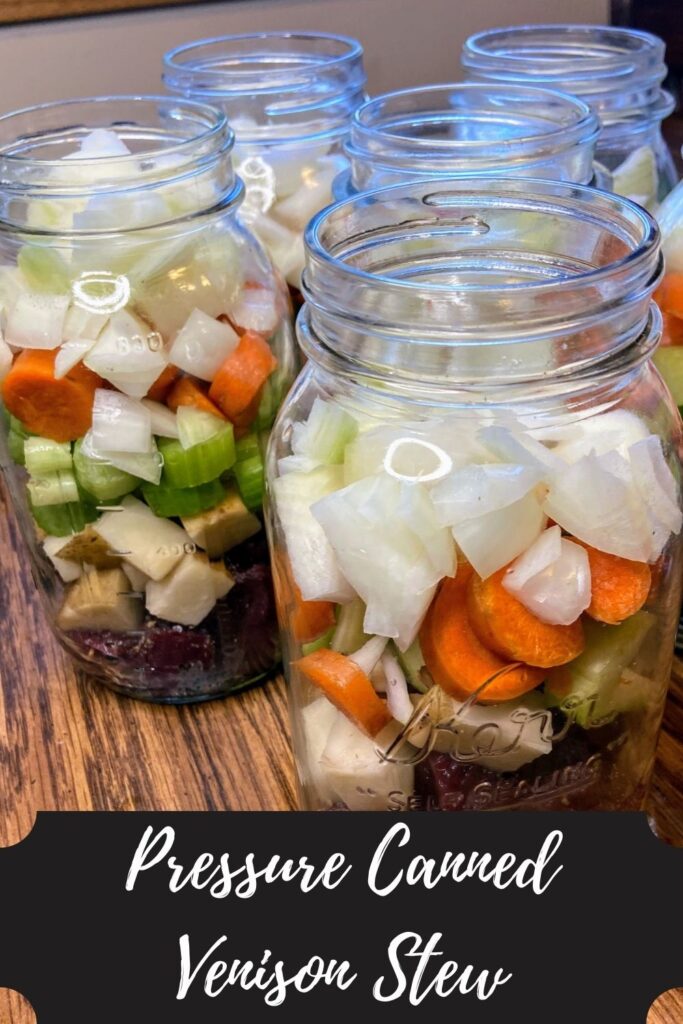
  • ½ cup each: diced potatoes, celery, carrots and onions, cut large (I do just over ½ cup each)
  • 3 ladles or so of beef broth

Seasoning (see below)

We keep a seasoning mixture on hand of 1 part pepper, 1 part dried minced garlic, 1 part dried minced onion, and 1-2 parts kosher salt. I use this on everything from chicken to venison to roasted vegetables. It’s fantastic and versatile. When I am canning meat, I season every 2 ½ pounds of meat with about 1-2 tablespoons seasoning mix. This is to our taste. 

Tools of the Trade

Normally, I put this at the end of a post, but with a pressure canner, I feel as though I should put it at the beginning. I love using my weighted pressure canner. It doesn’t stress me out and I can create so many great things with it. I also think a canning funnel is a must here. 

Before you start this process, make sure you read the general directions to your own pressure canner. They may differ from what I am sharing, and you should always follow those directions first. Also, if you are a beginner canner or even advanced, it is always a great idea to check out the National Center for Home Preservation Site for more information! 

Your Steps to Pressure Canned Venison Stew

Begin by preparing your canner and jars. Wash and sterilize quart jars, rings, and lids. Keep warm. Check the seal and center vent of your lid of the canner. Set aside. 

Heat beef broth just to boiling, and then reduce to a simmer. You can be heating this while you fill the jars. It will be ladeled over the meat and vegetables. 

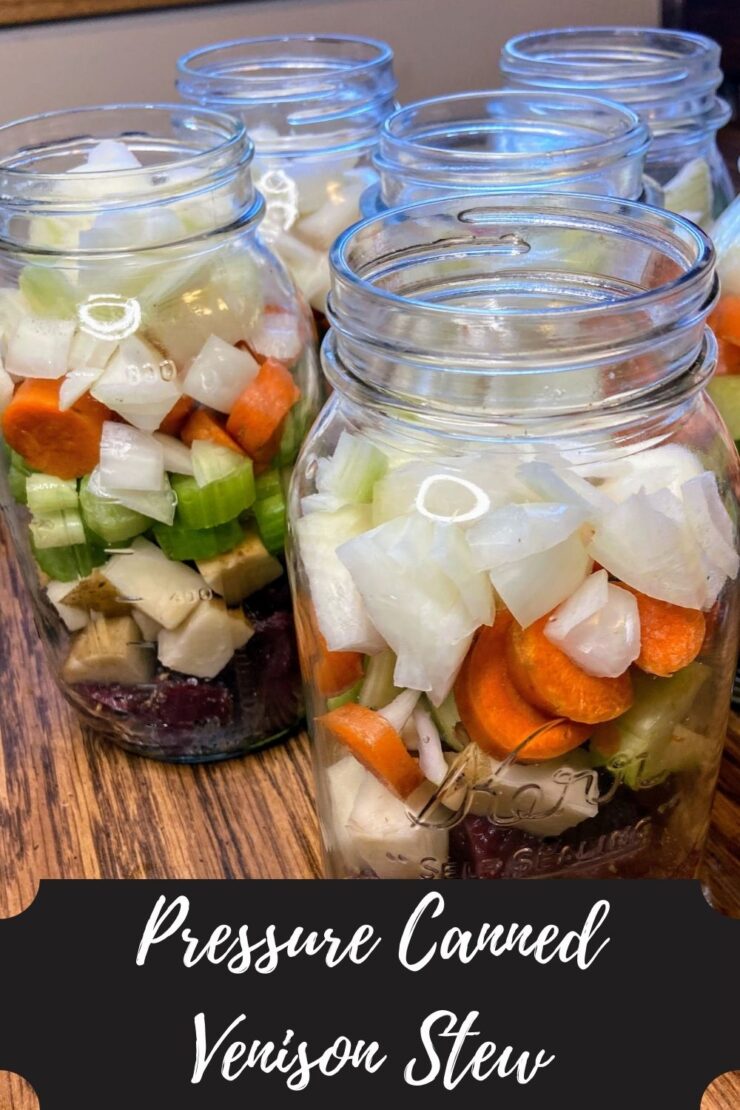
Season prepared meat with seasoning mixture mentioned above (2 tablespoons per 2 ½ pounds of meat). Using a canning funnel, stuff jars with 1 cup of raw meat each. Add potatoes, onions, carrots, and celery. You may need to shake the jars a little to get things to fit all the way. Make sure you have 1 inch of headspace. 

Ladle simmering beef broth over the meat and vegetables, filling the jars to about ¾-⅘ of the way full. The meat itself will create its own broth as it cooks. I have found that if you over fill the jars with broth, siphoning occurs. ¾-⅘  of the way seems to be a perfect amount.

Canning Time!
Wipe rims with a damp cloth, center the lid on the jar and adjust the band to fingertip tight. 

Place jars on the rack of a prepared pressure canner (mine needs 3 quarts of hot water plus a splash of vinegar). 

Place the lid on the canner and heat to high heat. Once a steady stream of steam can be seen/felt, vent for 10 minutes, adjusting the heat if needed to have a steady but not crazy stream of steam. After 10 minutes, put the weighted gauge on the vent. You will want 10 pounds if your altitude is under 1000 ft; 15 pounds if you are over 1000 ft. 

Once the weight starts to jiggle (indicating it has reached the appropriate pressure), begin timing. You will need to process pint jars for 75 minutes and quart jars for 90 minutes. Once the timer has gone off, turn off and remove the canner from heat. Allow the pressure to drop on the canner all the way (read specific canner instructions for the indicator). Remove weight and allow to cool an additional 10 minutes. Remove jars from canner; do not retighten bands. Cool 12 hours, then check their seals, label, and store jars. 

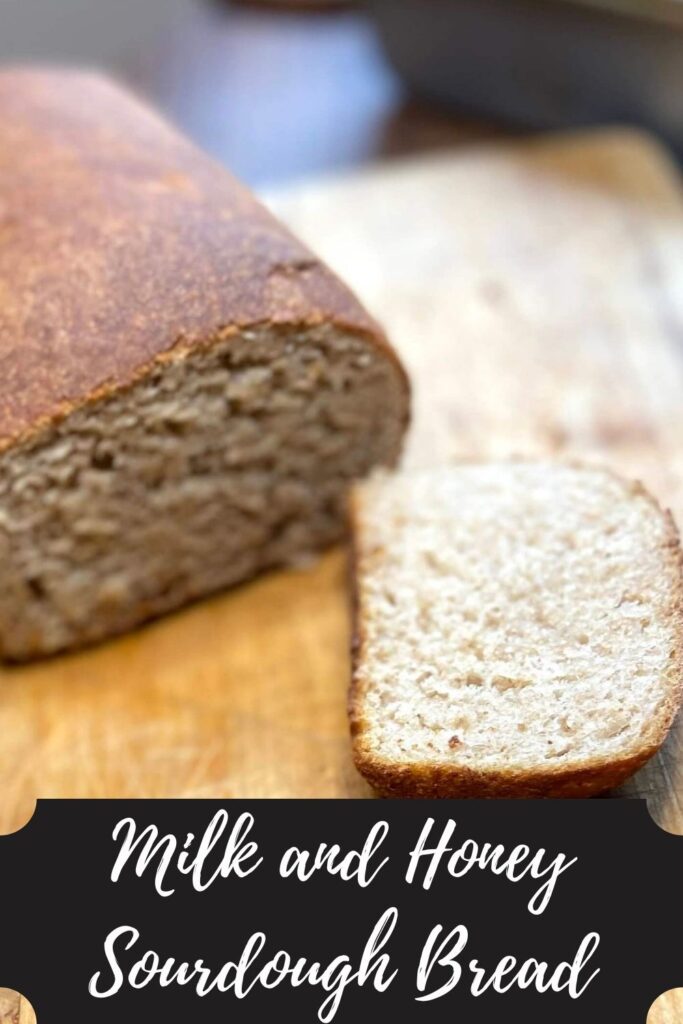
We like to enjoy our stew with some frozen peas and fresh sourdough bread. Not a sourdough baker? Click here to learn more

Let me reiterate, this is what works for my pressure canner. I HIGHLY recommend reading and then rereading your own pressure canner directions. They aren’t hard to use, but you also don’t want to dedicate this time and effort to have something not work out.

Pressure Canned Venison Stew

Fill your shelves with a pressure canned venison stew full of potatoes, onions, carrots, and celery. Delicious and simple, you'll be using this recipe for years
5 from 2 votes
Prep Time 30 minutes
Cook Time 2 hours
Course Main Course
Cuisine Canning
Servings 7 quarts

Ingredients
  

  • 7 cups cubed venison stew meat
  • 4 cups chopped onion
  • 4 cups diced carrot
  • 4 cups diced potato
  • 4 cups chopped celery
  • ¼ cup seasoning
  • 10-12 cups beef broth

Instructions
 

  • Begin by preparing your canner and jars. Wash and sterilize quart jars, rings, and lids. Keep warm. Check the seal and center vent of your lid the canner. Set aside.
  • Heat beef broth just to boiling, and then reduce to a simmer.
  • Season prepared meat with seasoning mixture. Fill jars with 1 cup of seasoned meat and 1/2 cup each of celery, carrots, onions, and potatoes.
  • Ladle simmering beef broth over the meat and vegetables, filling the jars to about ¾-⅘ of the way full.
  • Wipe rims with a damp cloth, center the lid on the jar and adjust the band to fingertip tight.
  • Place jars on the rack of a prepared pressure canner (mine needs 3 quarts of hot water plus a splash of vinegar).
  • Process quart jars for 90 minutes at 10 pounds. If your altitude is greater than 1000 feet, use 15 pounds. Follow the directions of your pressure canner or see the more detailed directions in the notes.

Notes

Place the lid on the canner and heat to high heat. Once a steady stream of steam can be seen/felt, vent for 10 minutes, adjusting the heat if needed to have a steady but not crazy stream of steam. After 10 minutes, put the weighted gauge on the vent. You will want 10 pounds if your altitude is under 1000 ft; 15 pounds if you are over 1000 ft.
Once the weight starts to jiggle (indicating it has reached the appropriate pressure), begin timing. You will need to process pint jars for 75 minutes and quart jars for 90 minutes. Once the timer has gone off, turn off and remove the canner from heat. Allow the pressure to drop on the canner all the way (read specific canner instructions for the indicator). Remove weight and allow to cool an additional 10 minutes. Remove jars from canner; do not retighten bands. Cool 12 hours, then check their seals, label, and store jars.
Keyword pressure canning, soup and stews, stew, venison, venison stew
Tried this recipe?Let us know how it was!

Looking for some sourdough to pair it with? Or perhaps other venison inspiration? Check out the links below!