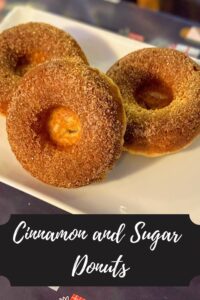
How is an apple pie donuts recipe created in the last month of the year in Wisconsin? Picture this:
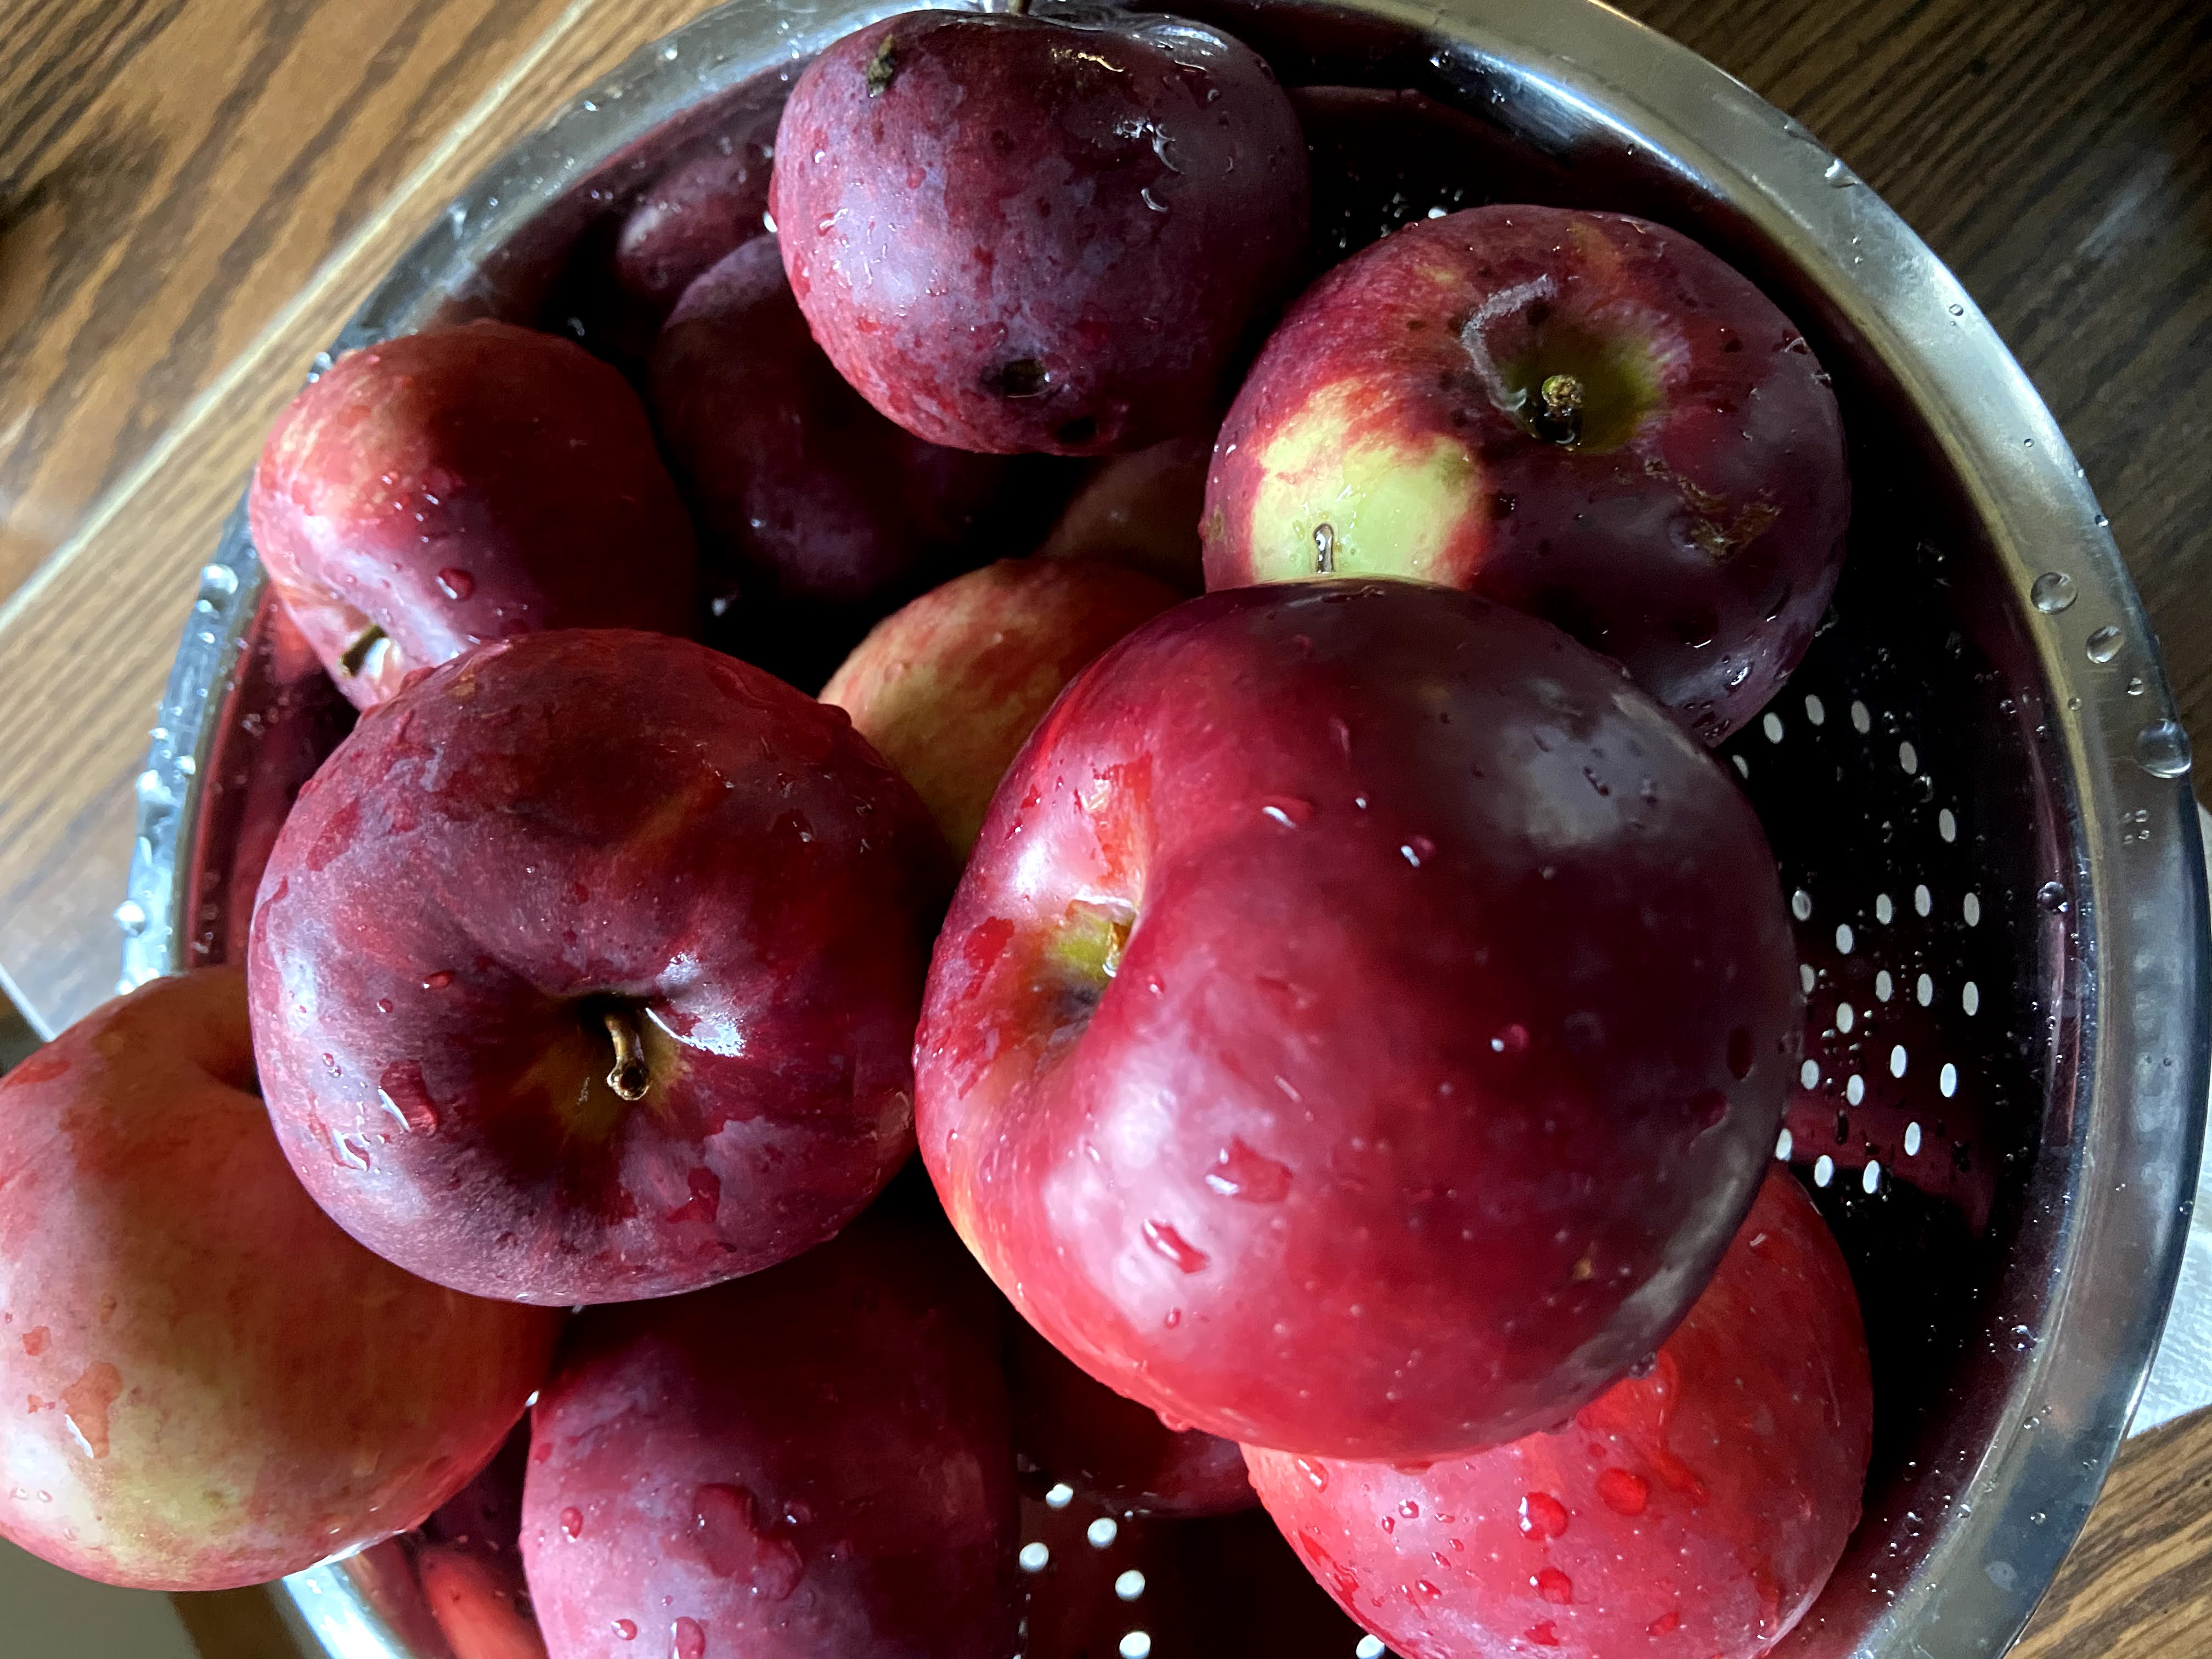
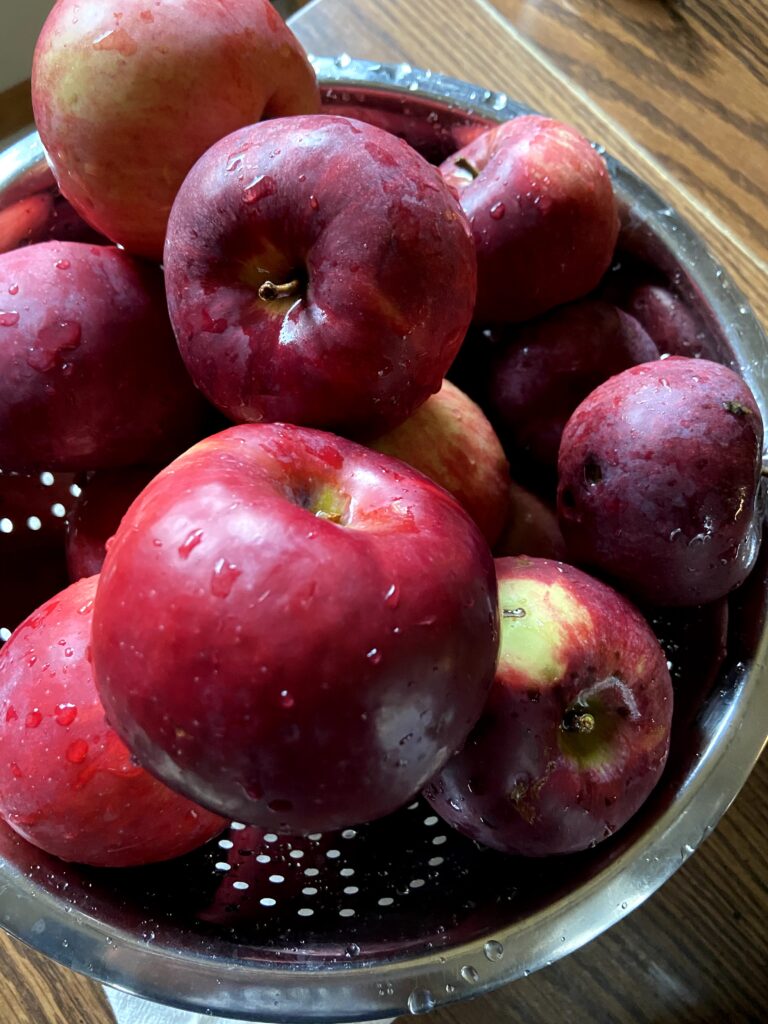
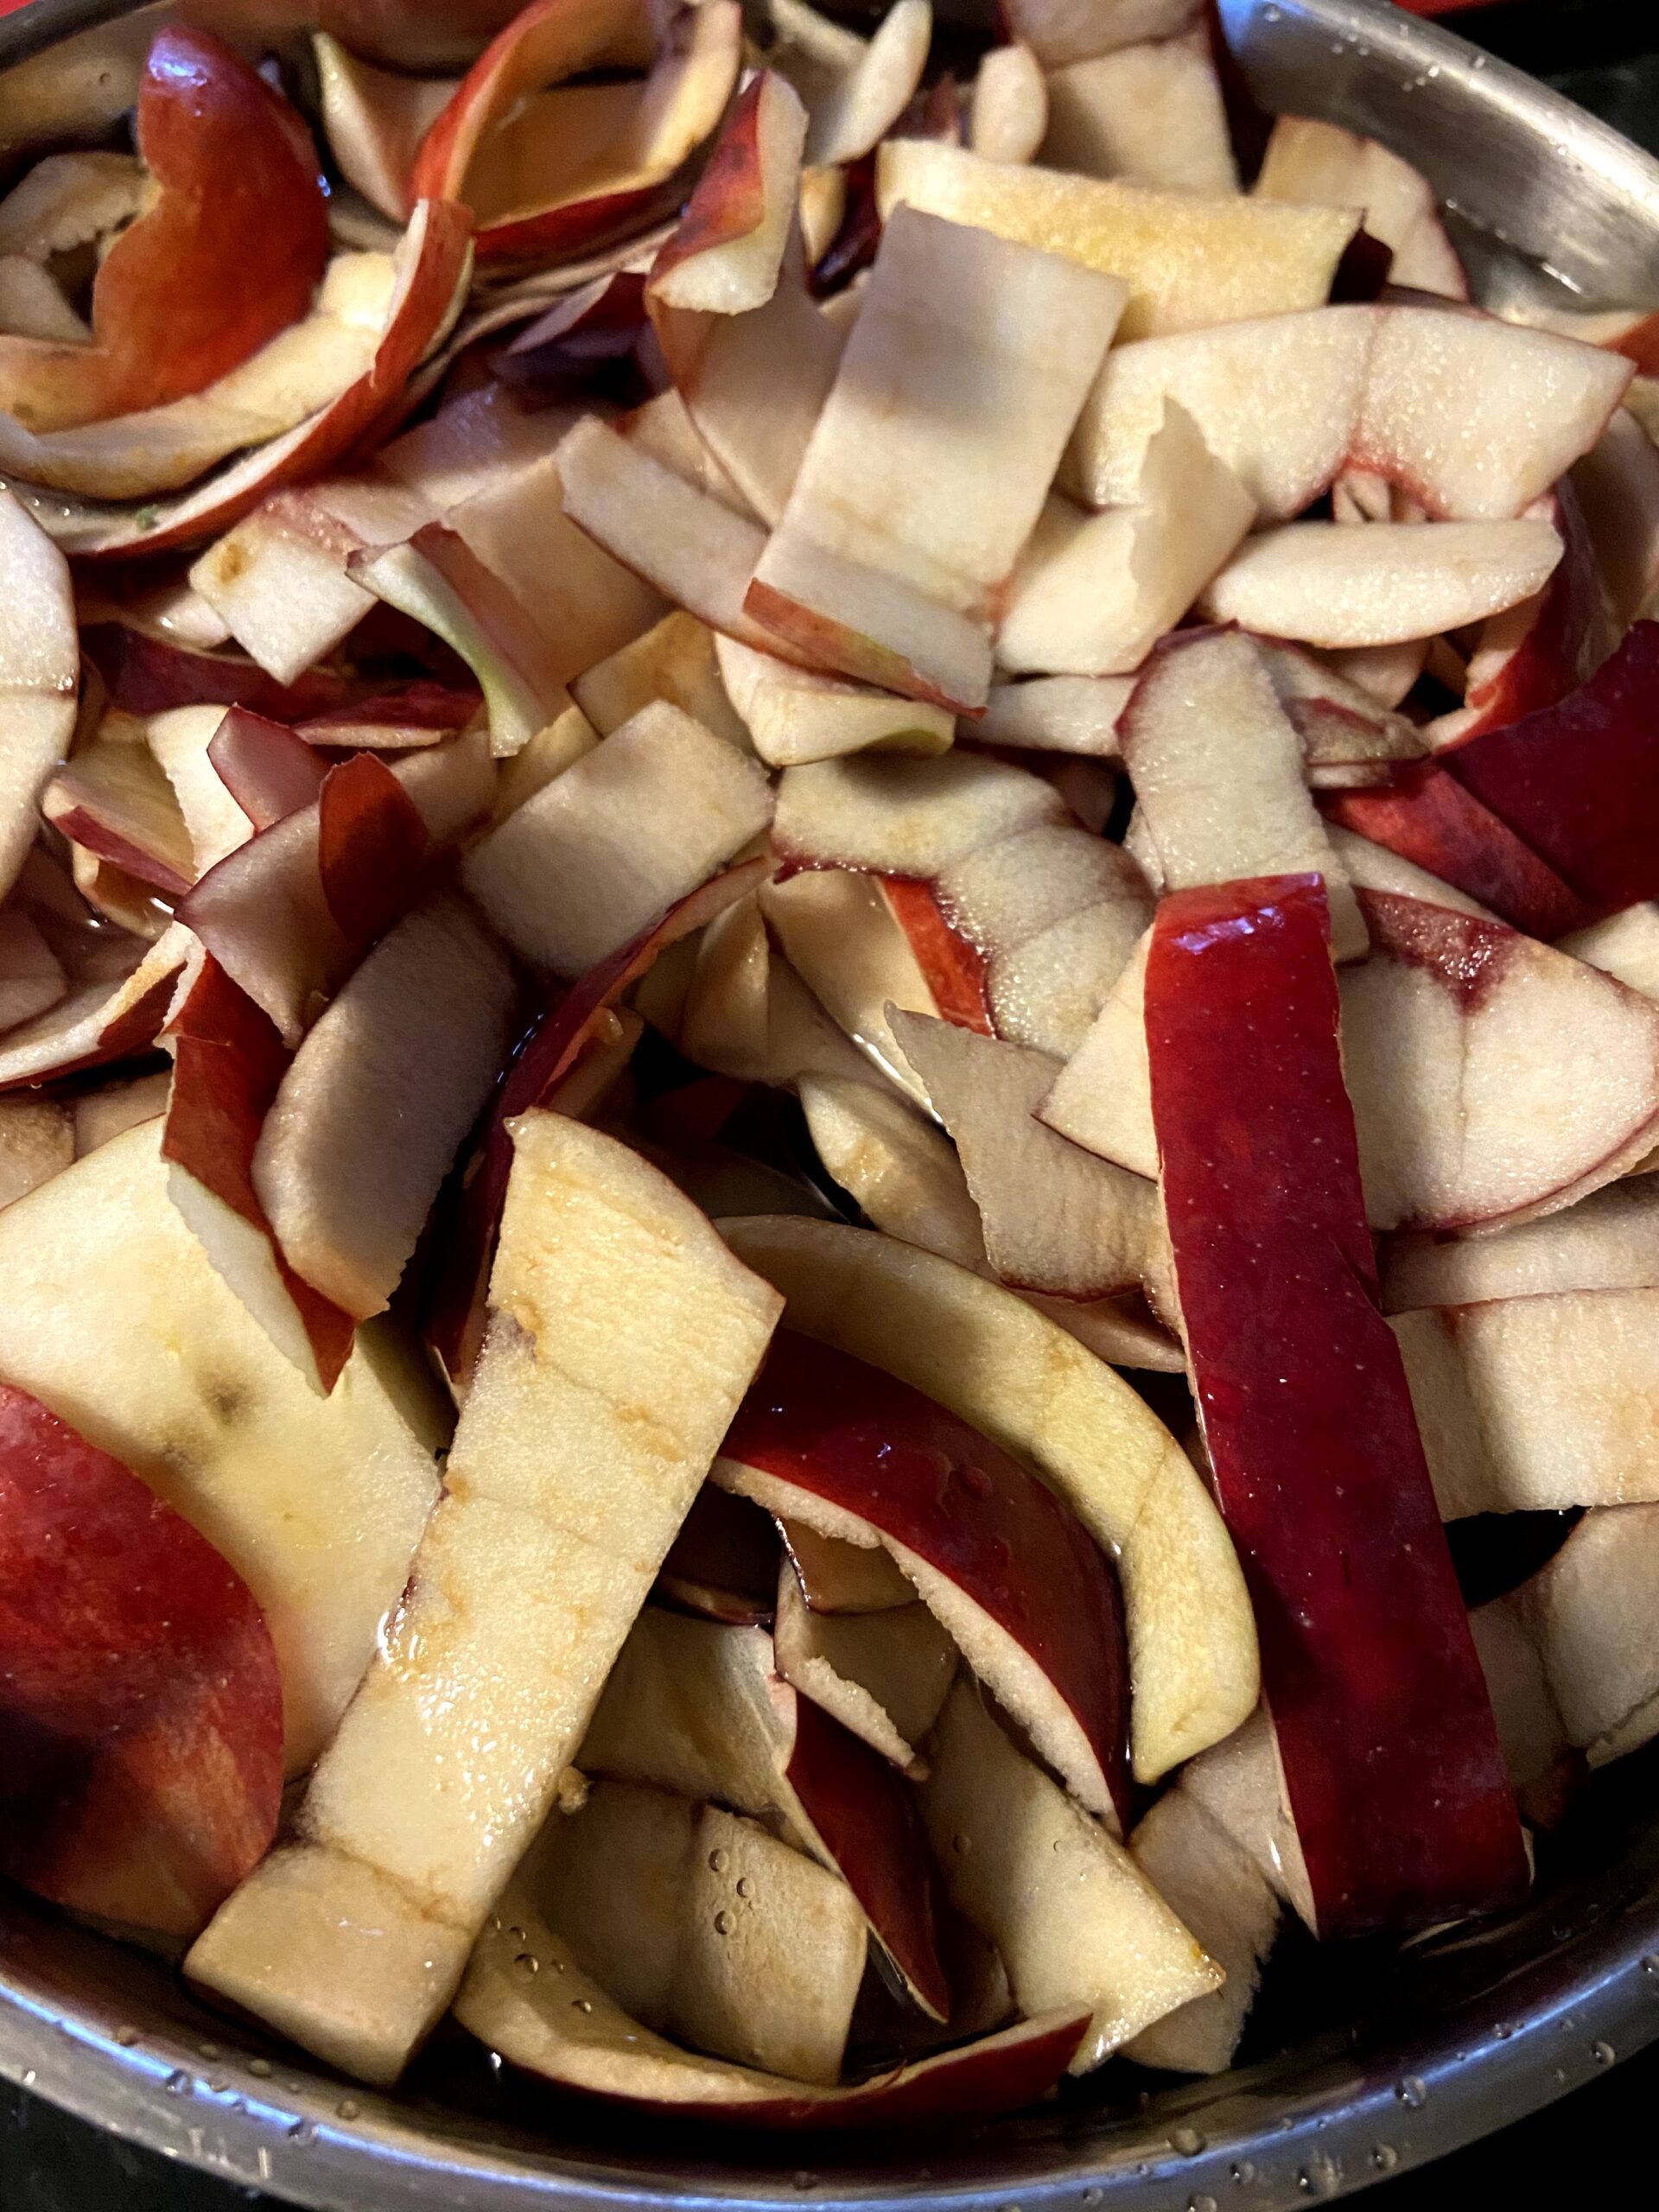
It’s December 20th and my mini me gets to bring a treat to school for the holiday party. All year, she has brought apples for a snack for herself, so she naturally chooses apples (and candy canes) as her treat. So off to the store we go to buy bags of apples for her and her classmates. Then a winter storm hits and school is canceled, canceling her party and leaving us with A LOT of apples.
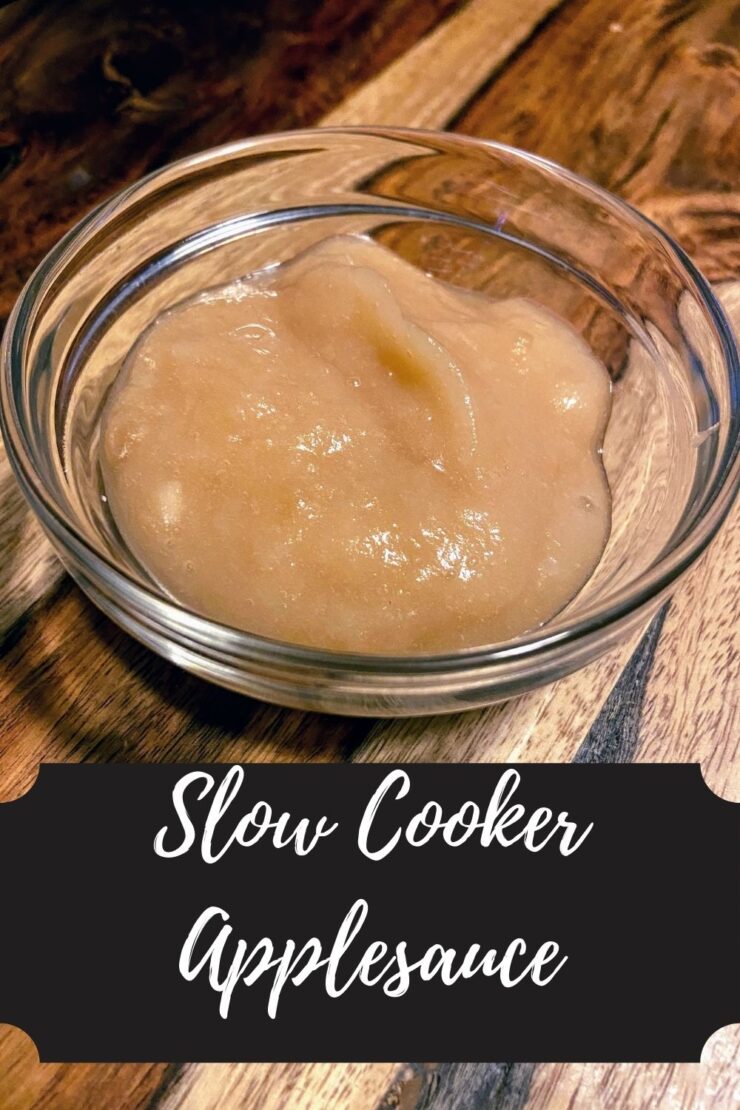
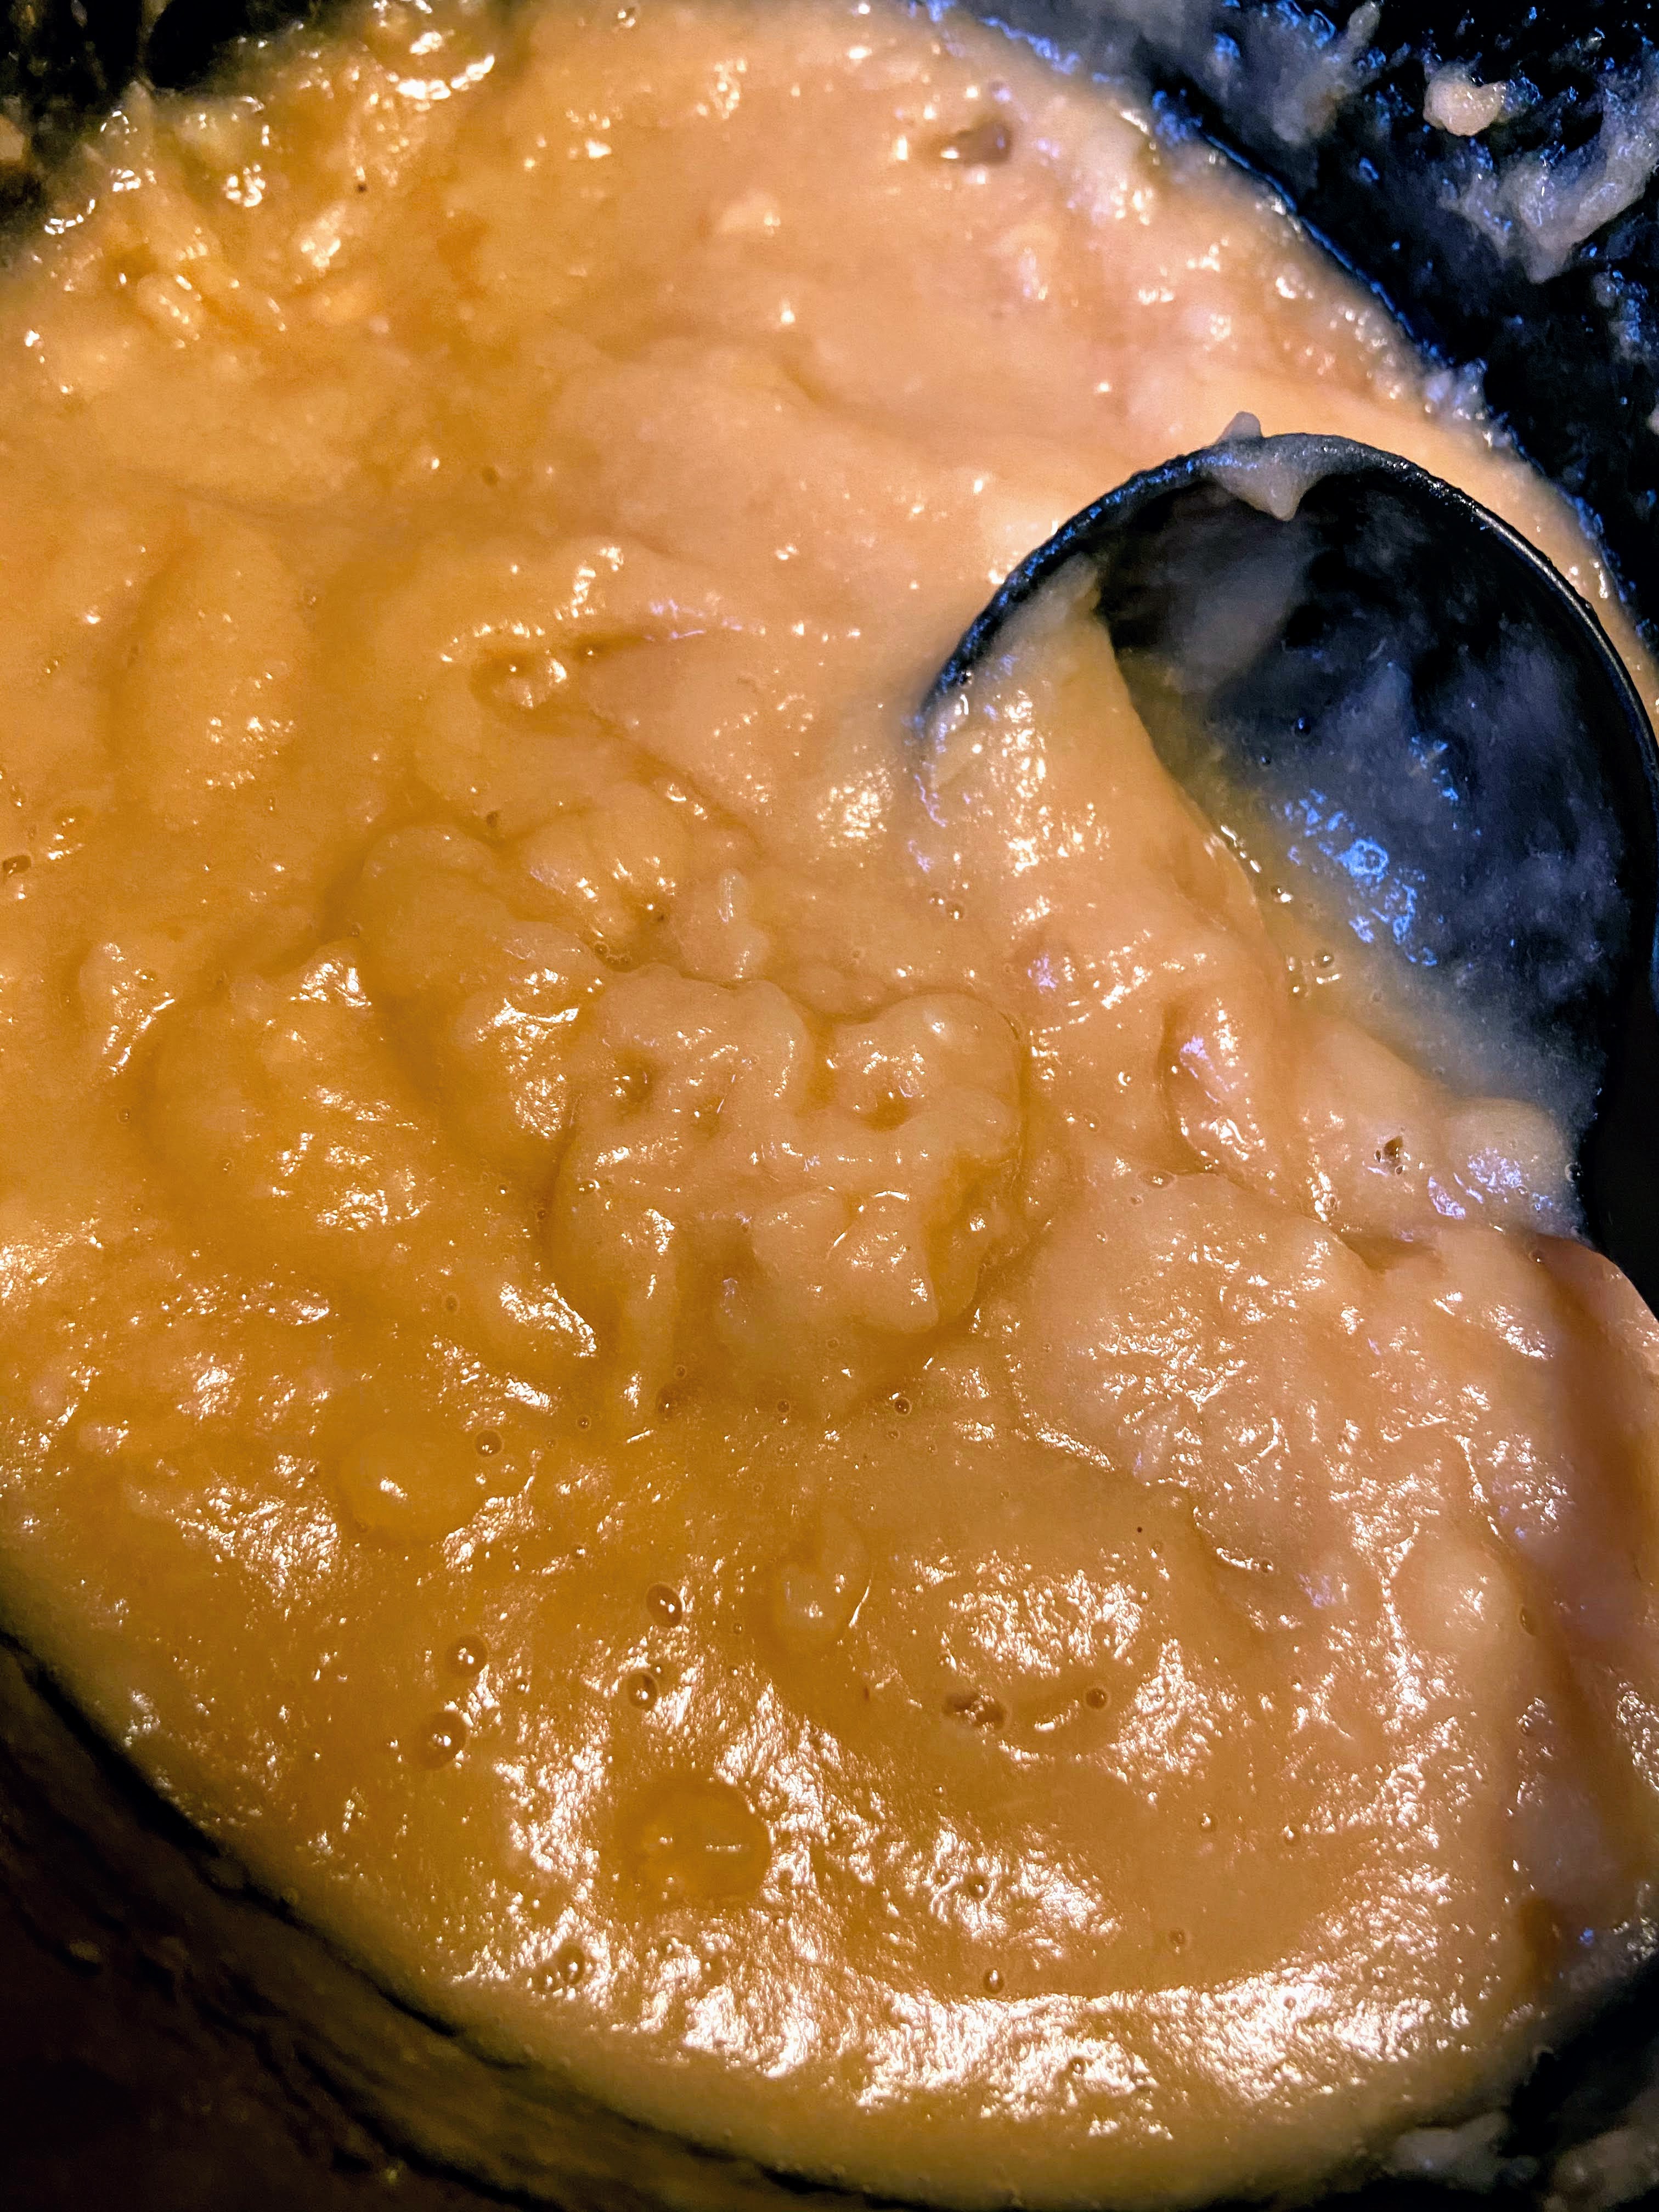
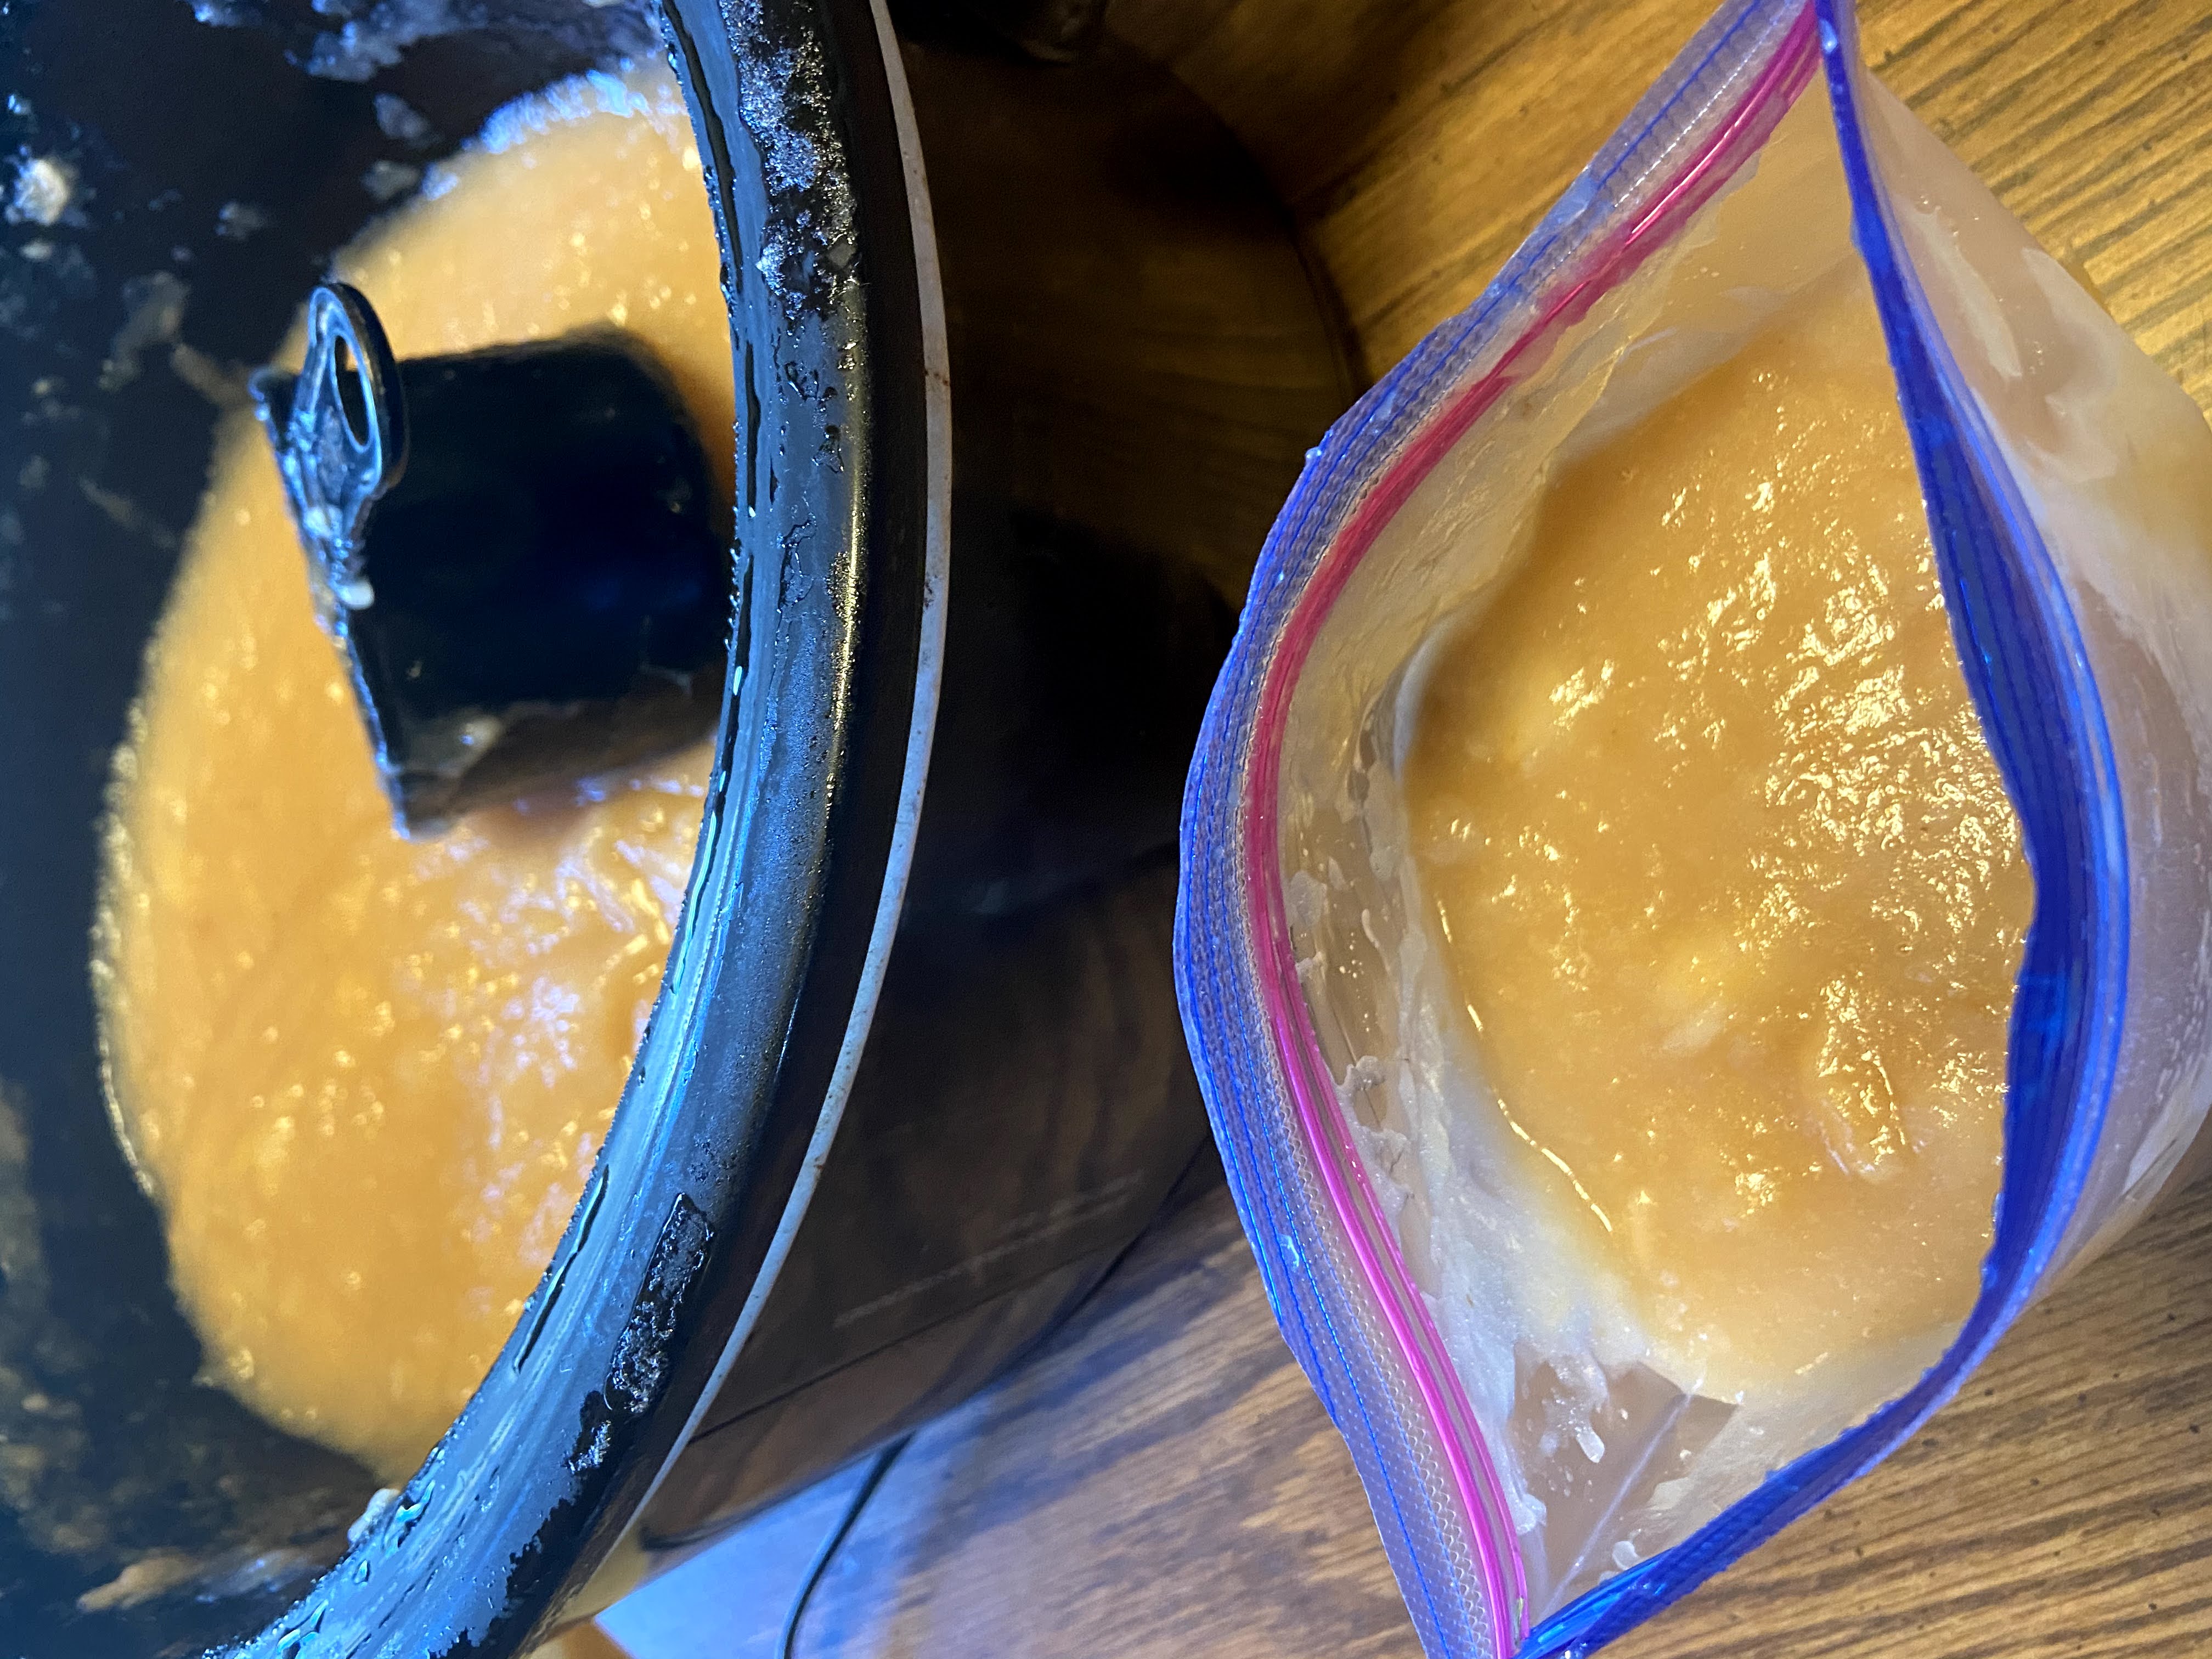
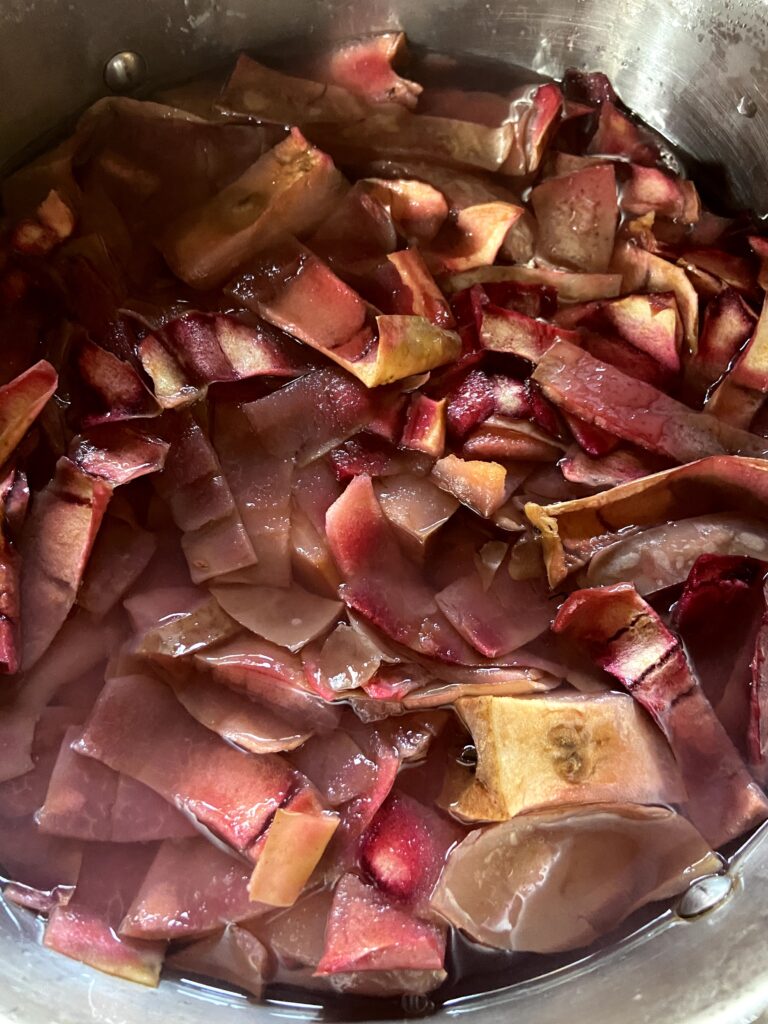
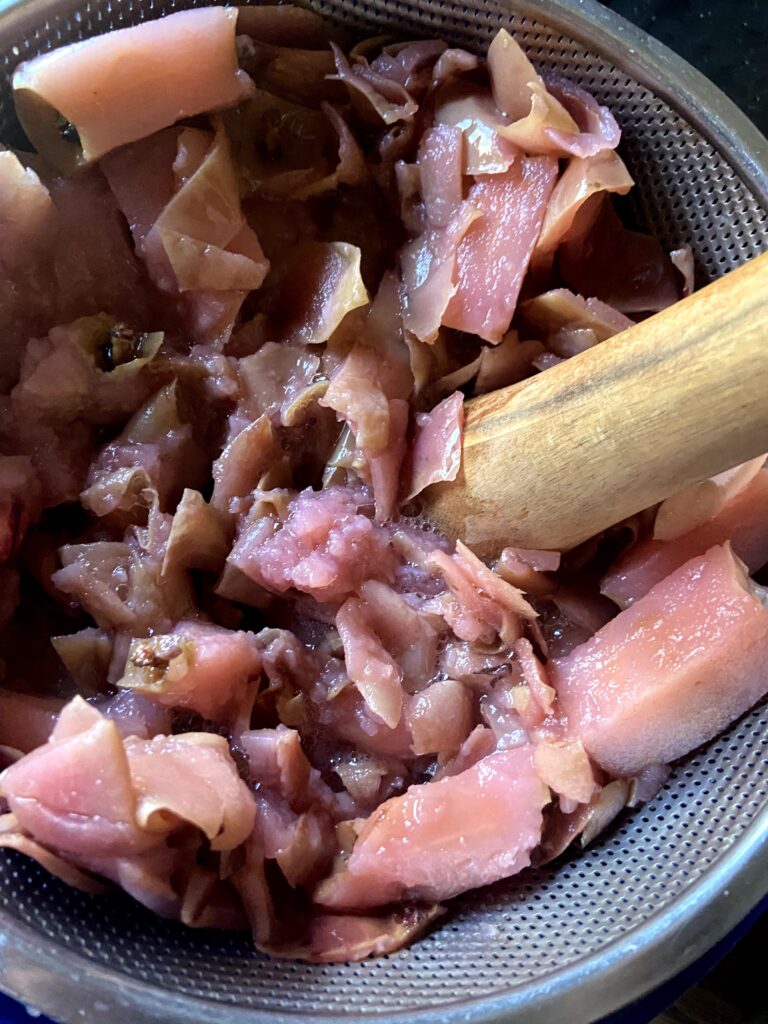
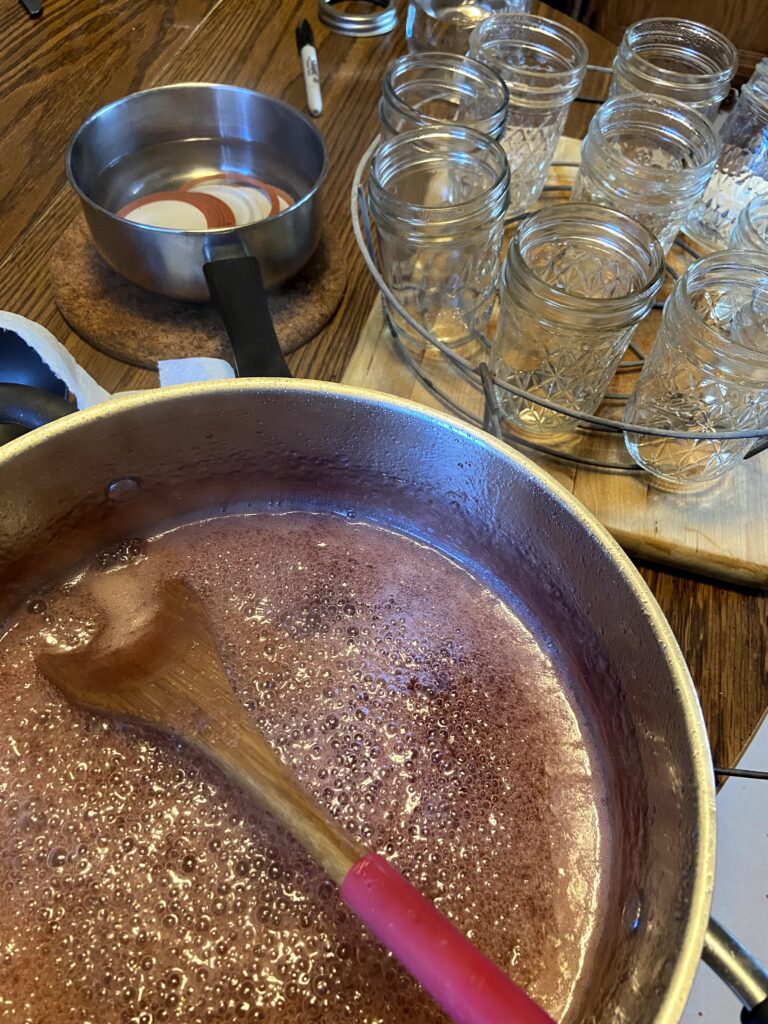
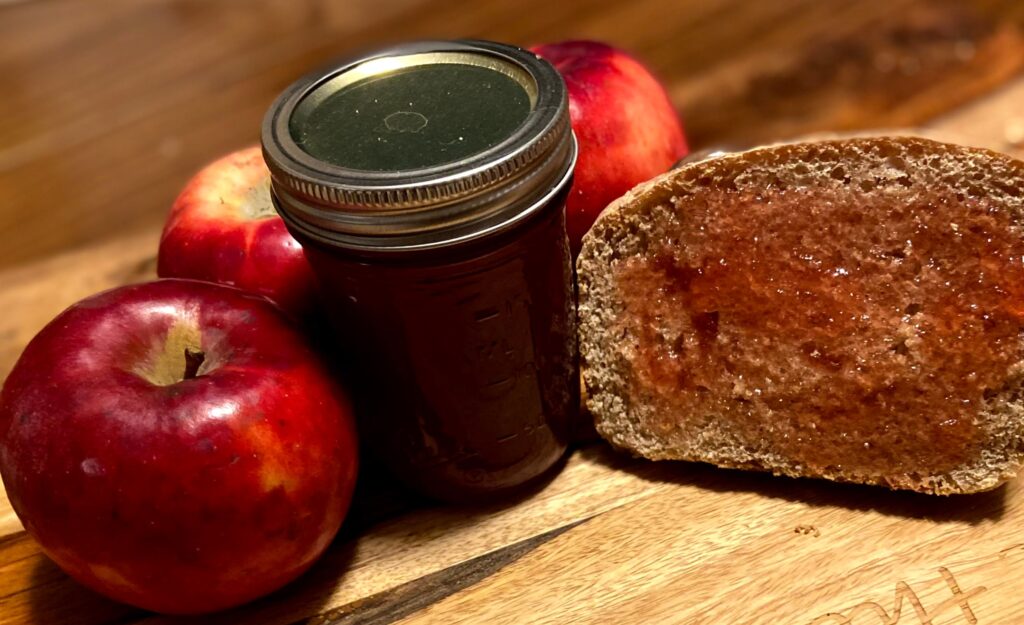
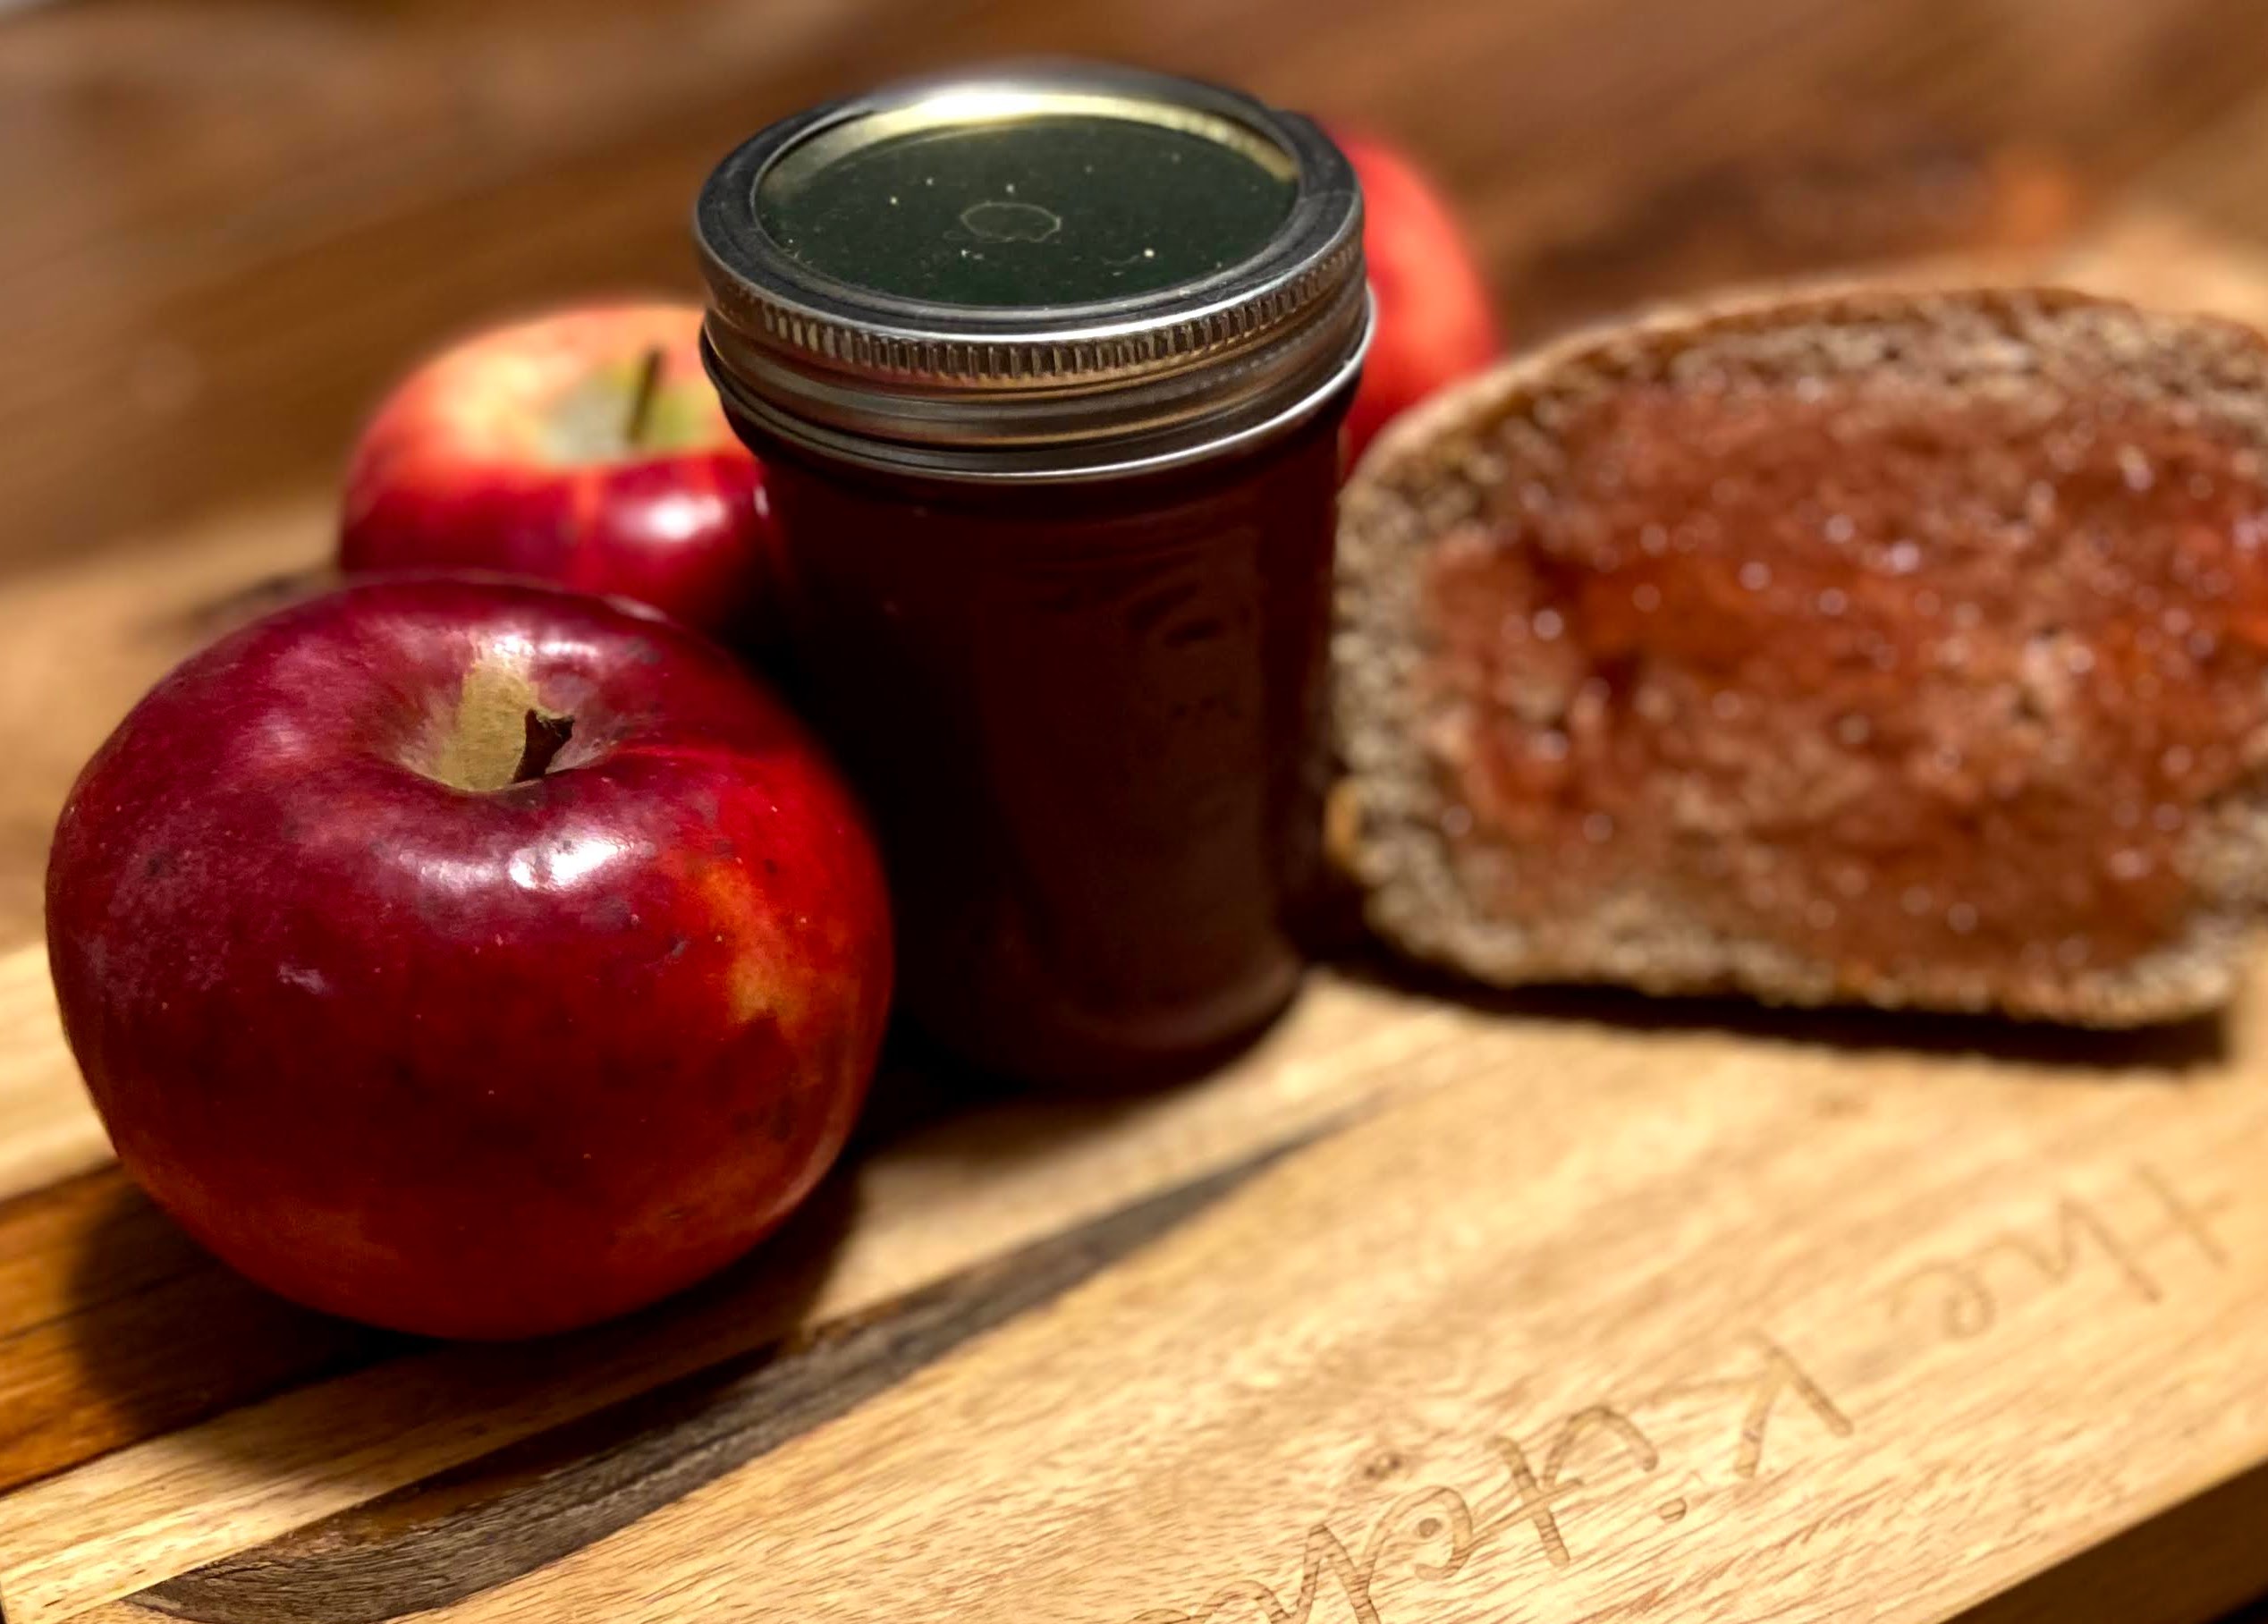
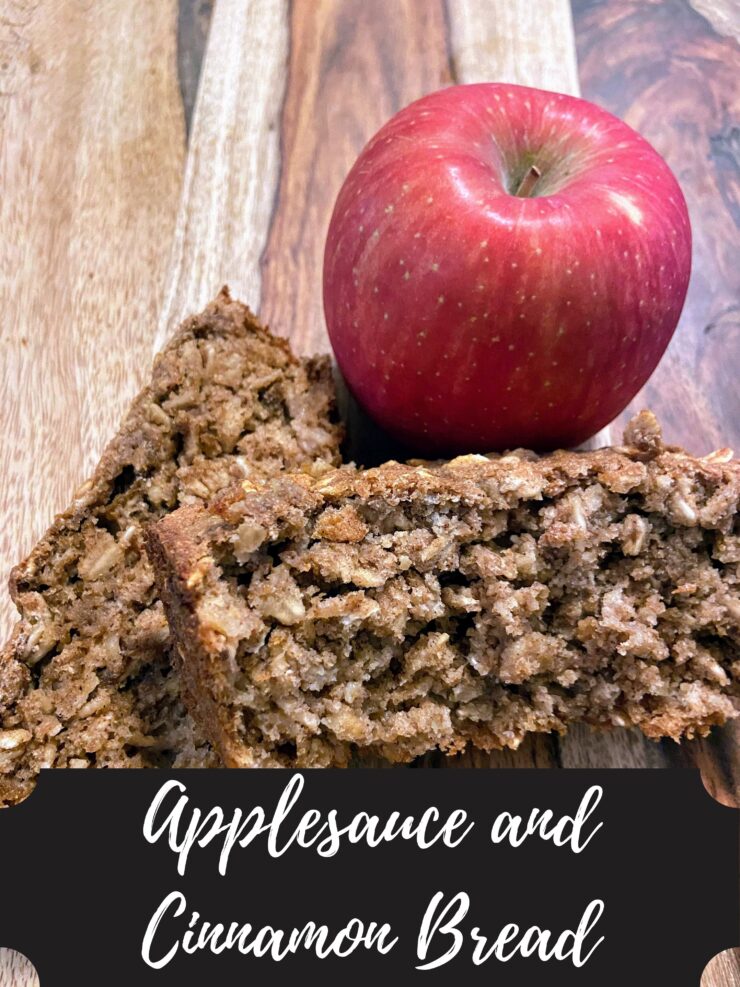
Don’t get me wrong, my family eats a lot of fruit, but I had JUST finished creating apple sauce with the last of our fall apples and I wasn’t sure what to do with them. Then I spied my donut pan (a gift for the Mr. with a donut cookbook a few Valentine’s Days ago), and got to thinking, “I haven’t played with a donut recipe in a lonnnggg time.”
And that winter storm? It was still going so I had nothing but time on my hands. I set to work.
If you know me, you likely know I live for more simple, from scratch recipes with a healthy twist. I wanted these donuts to have the flavor of apple without a whole lot of chunks of apple in them. So out went some of the butter and oil I usually add and in went applesauce (Healthy and flavor! Big win!). To give a greater apple pie flavor, I amped up the cinnamon and nutmeg. And the frosting? Oh my goodness, it’s the best part. To give an apple flavor, I swapped more applesauce for the milk and it worked SO well. I can’t wait for you to give them a try!
Ready to get baking? Let’s go!
Your Ingredients for Apple Pie Donuts
- 3 tablespoons butter, melted
- ½ cup unsweetened applesauce
- ½ cup packed light brown sugar
- ¼ cup white sugar
- 2 large eggs
- 2 teaspoons vanilla
- ½ cup plain Greek yogurt (or low sugar vanilla)
- 2 tablespoons milk
- 2 ¼ cup flour
- 2 teaspoons baking powder
- ½ teaspoon baking soda
- 1 teaspoon cinnamon
- ¼ teaspoon ground nutmeg
- ¾ teaspoon salt
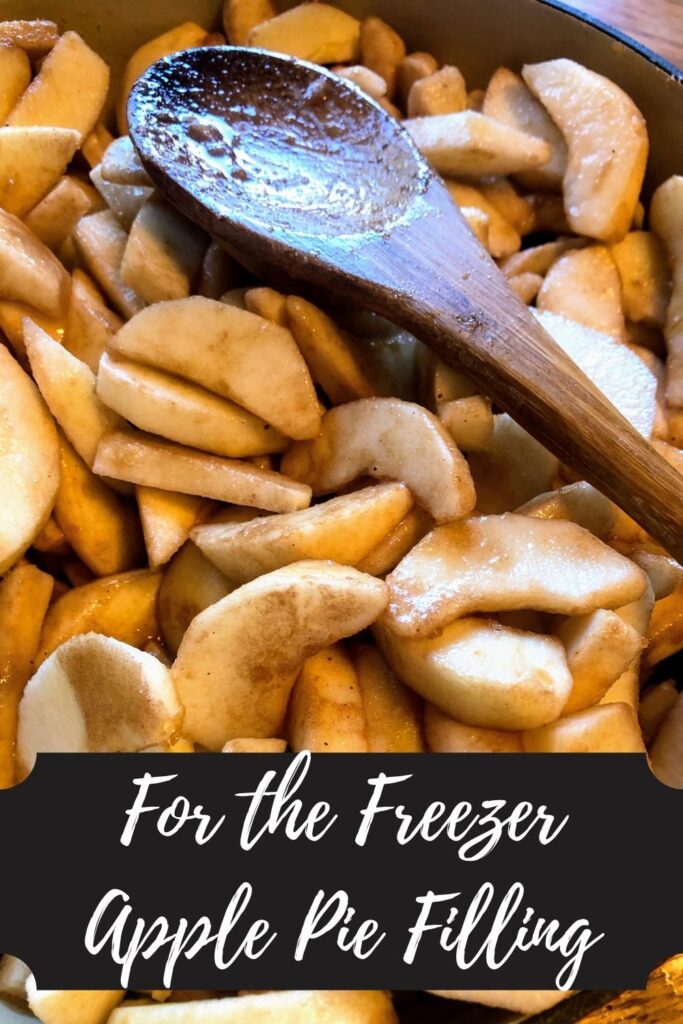
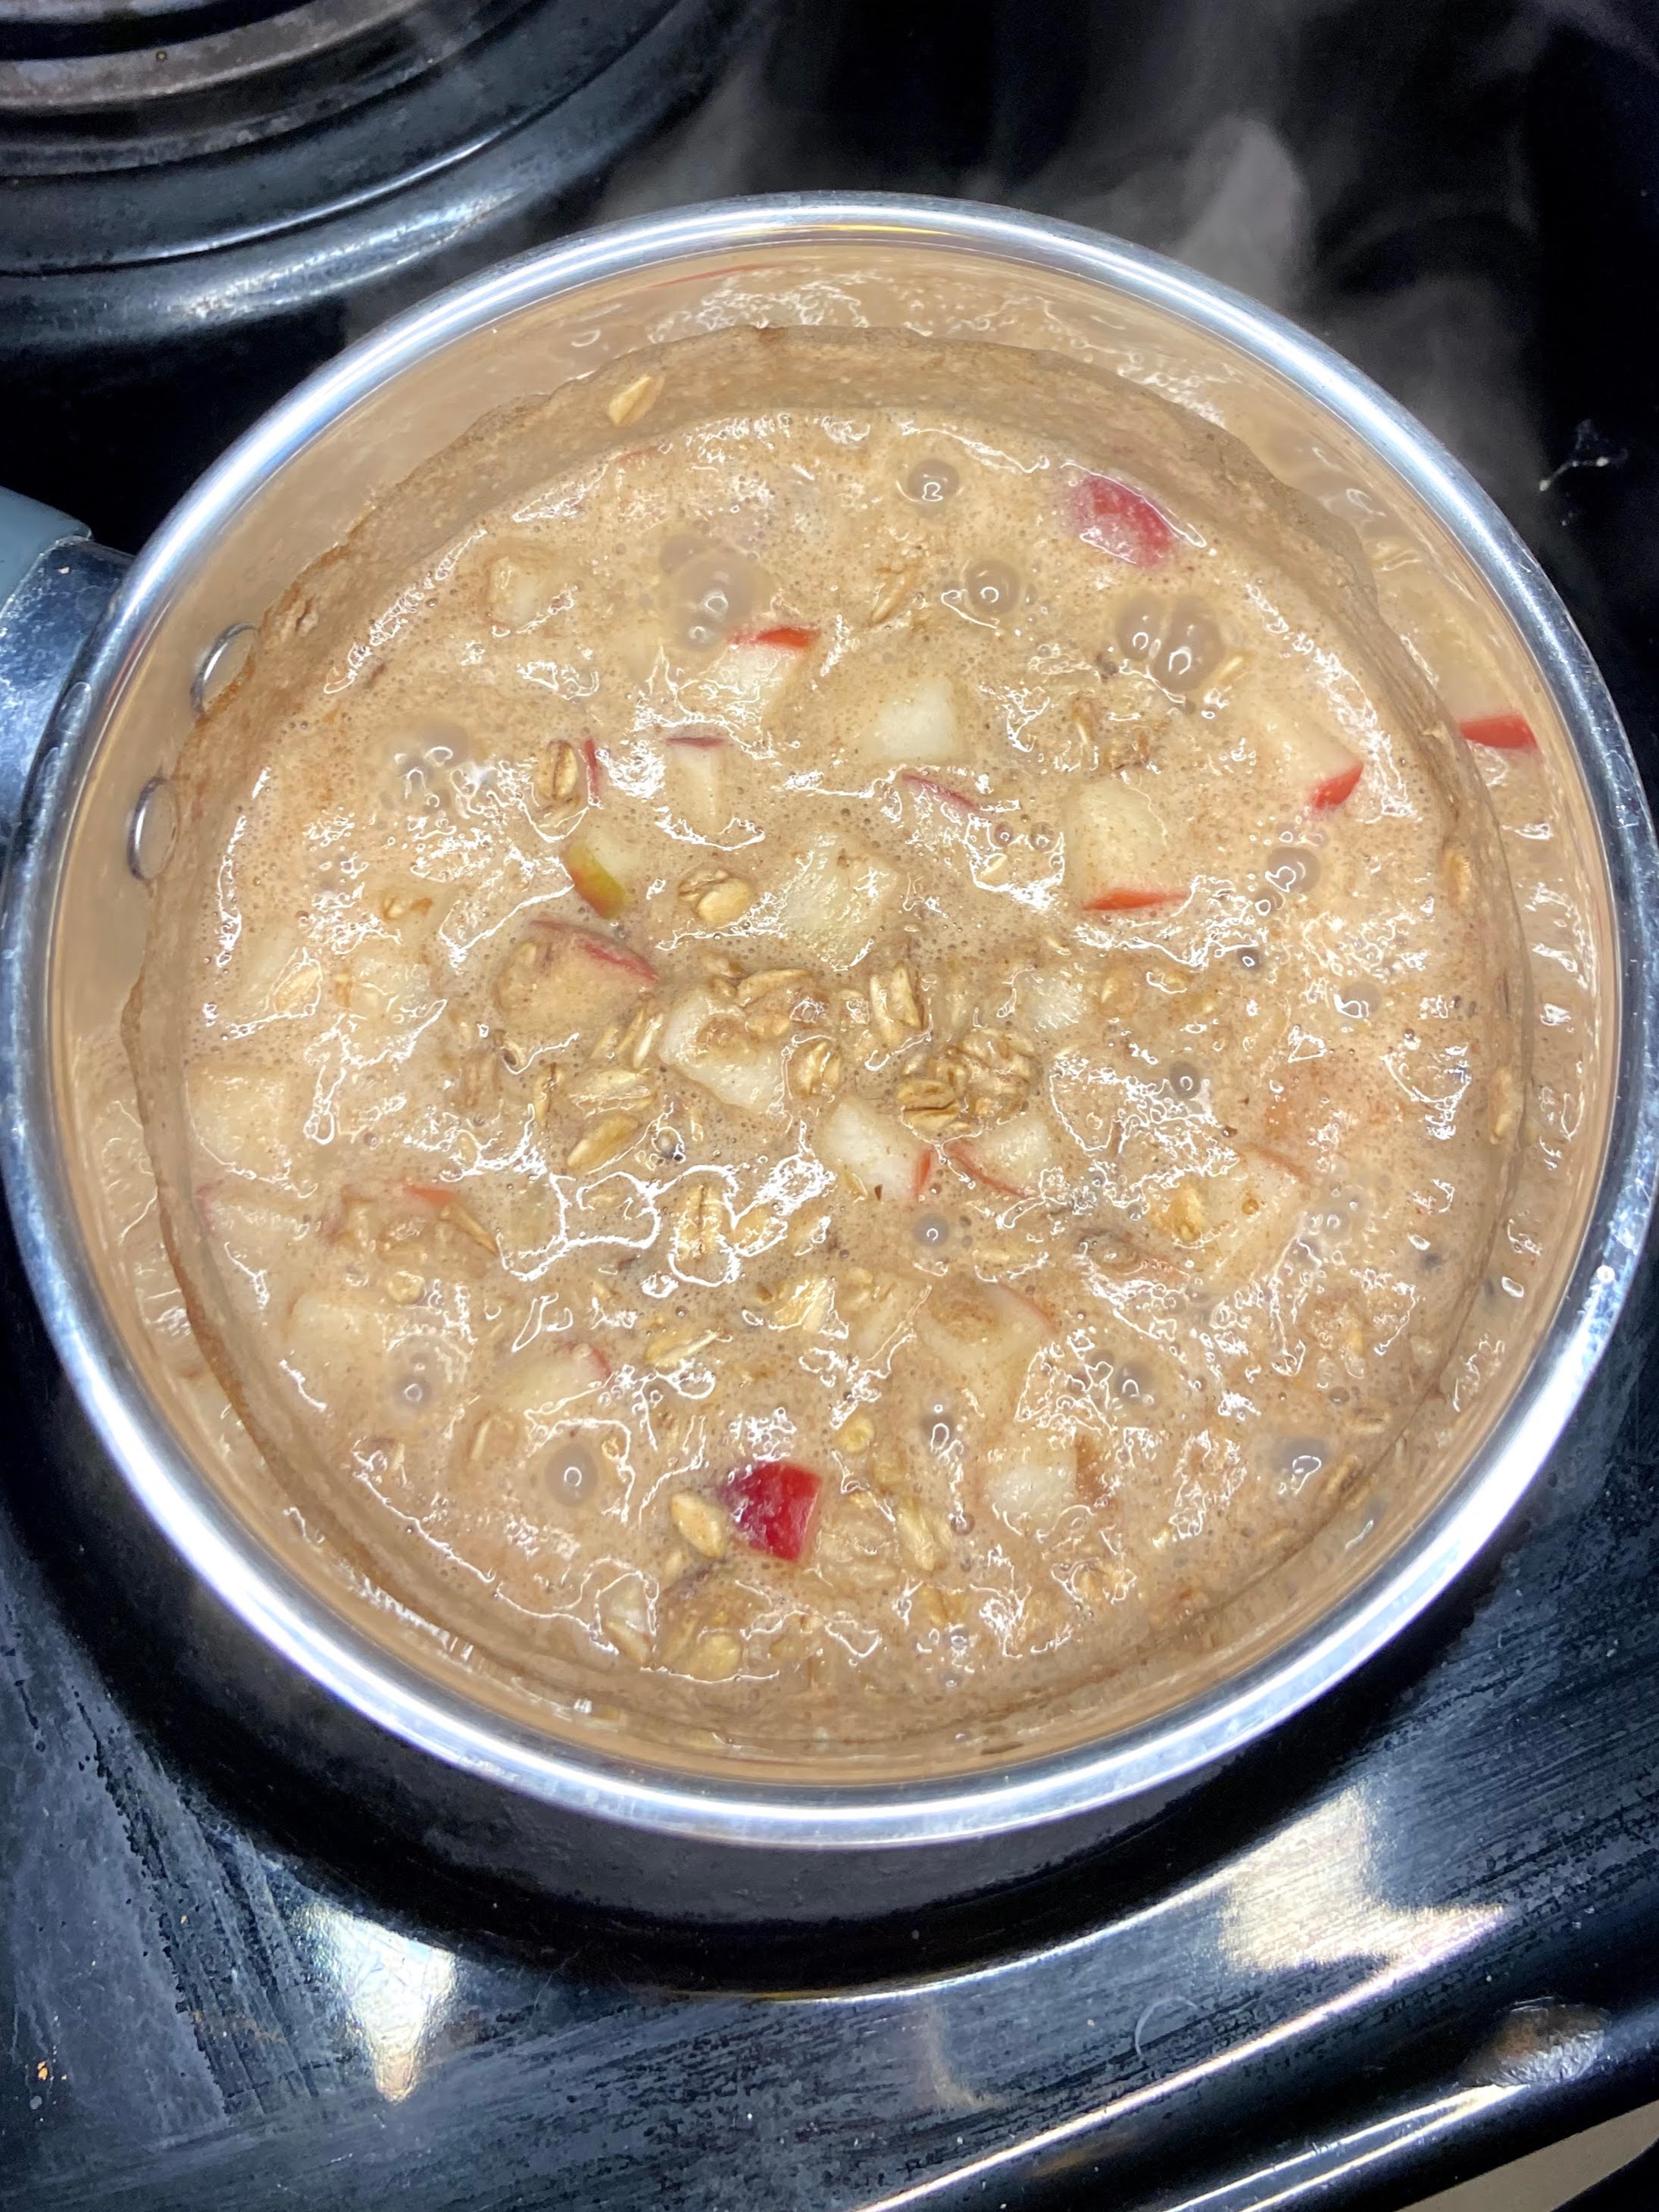
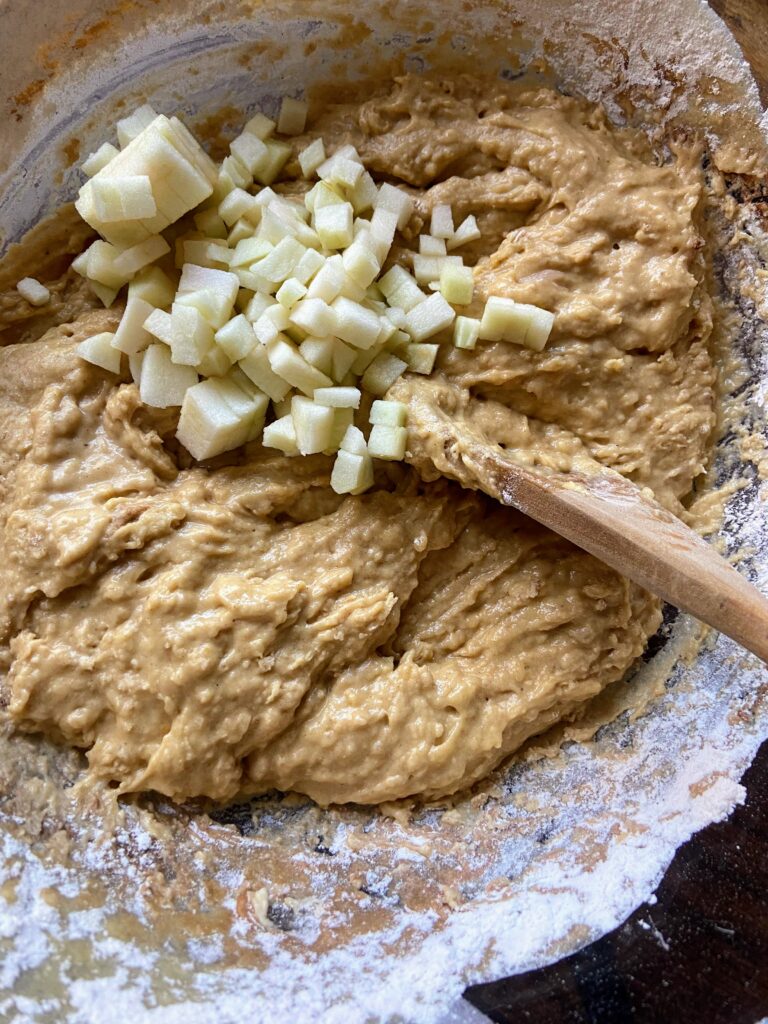
- ½ cup apples, diced finely
Donut Frosting
- 2 tablespoons butter, softened
- 1 teaspoon vanilla
- 3 tablespoons unsweetened applesauce
- 2 cups powdered sugar
Your Steps to Apple Pie Donuts
Preheat the oven to 350 degrees. Spray a regular donut pan with non-stick cooking spray.
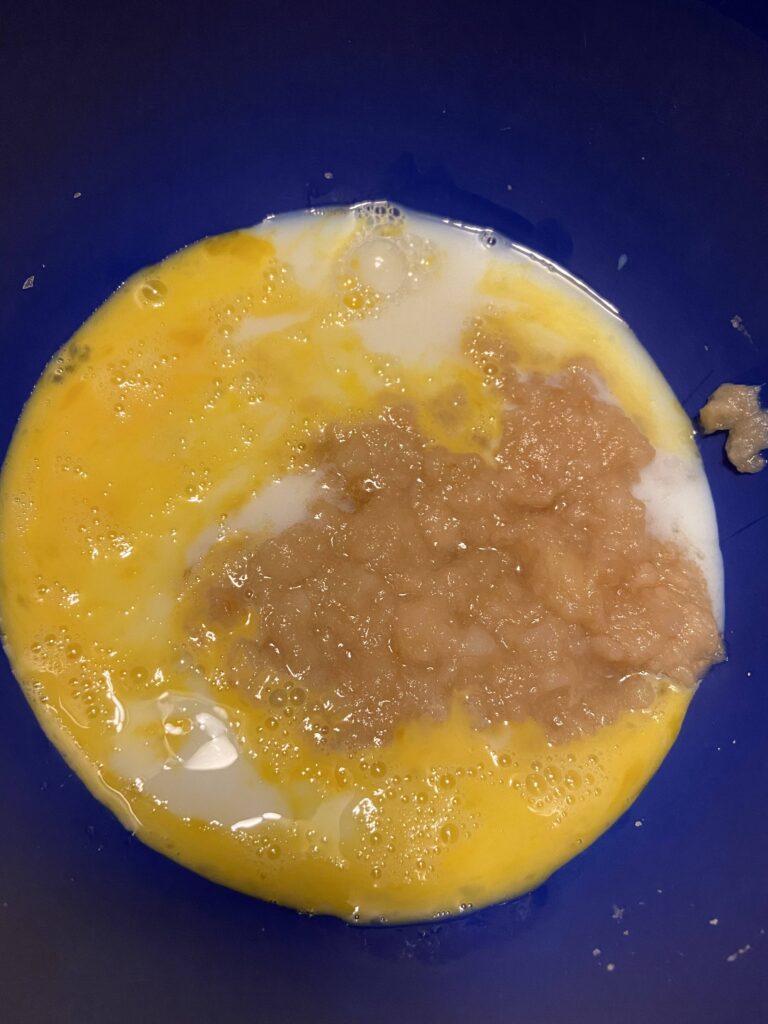
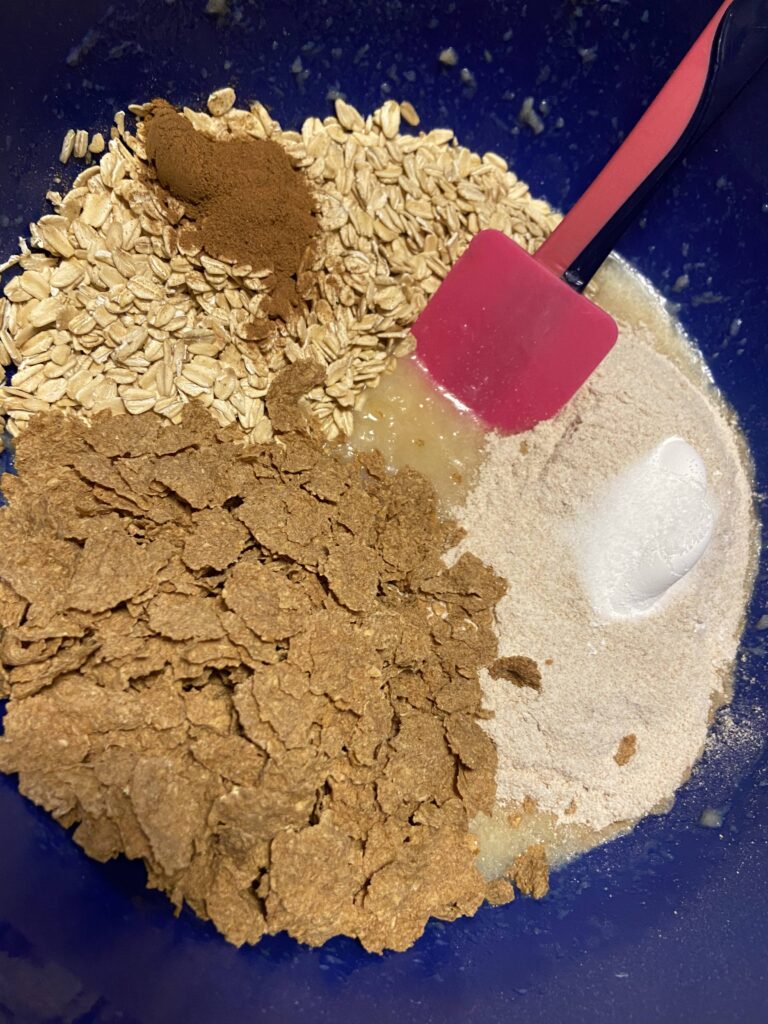
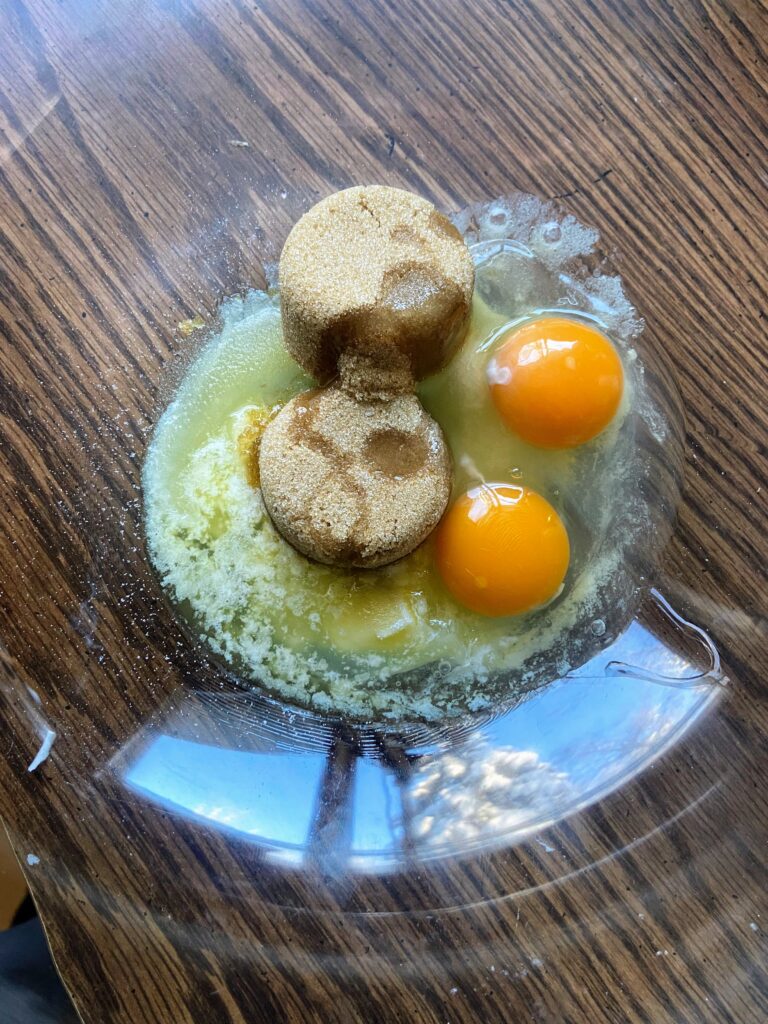
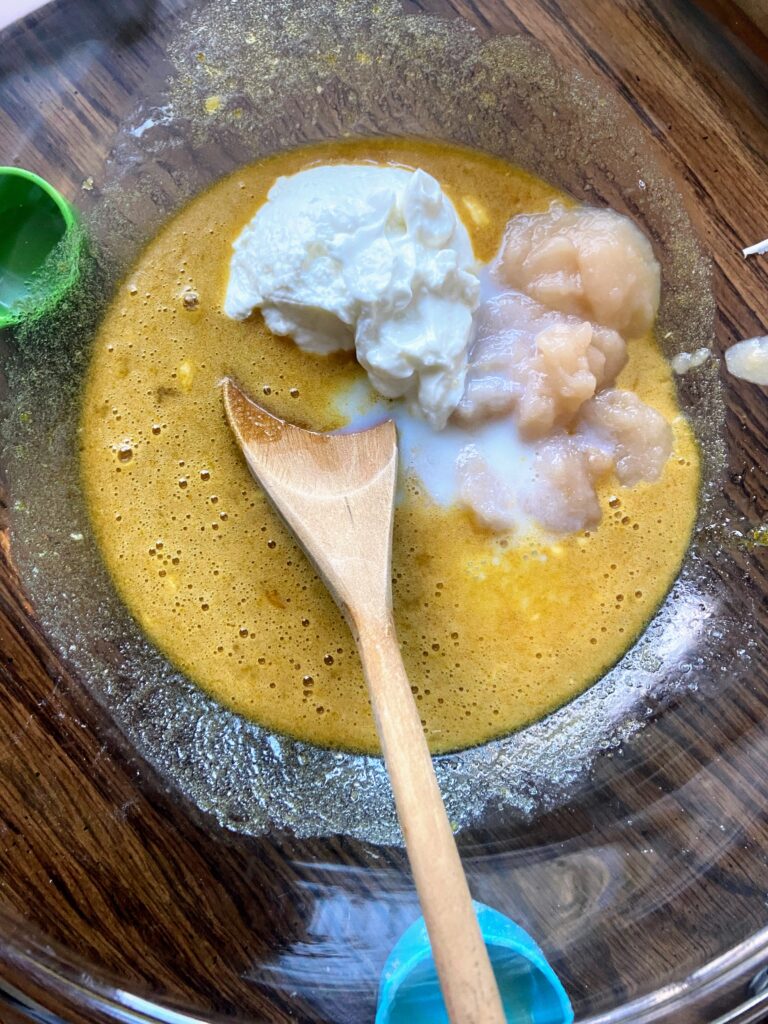
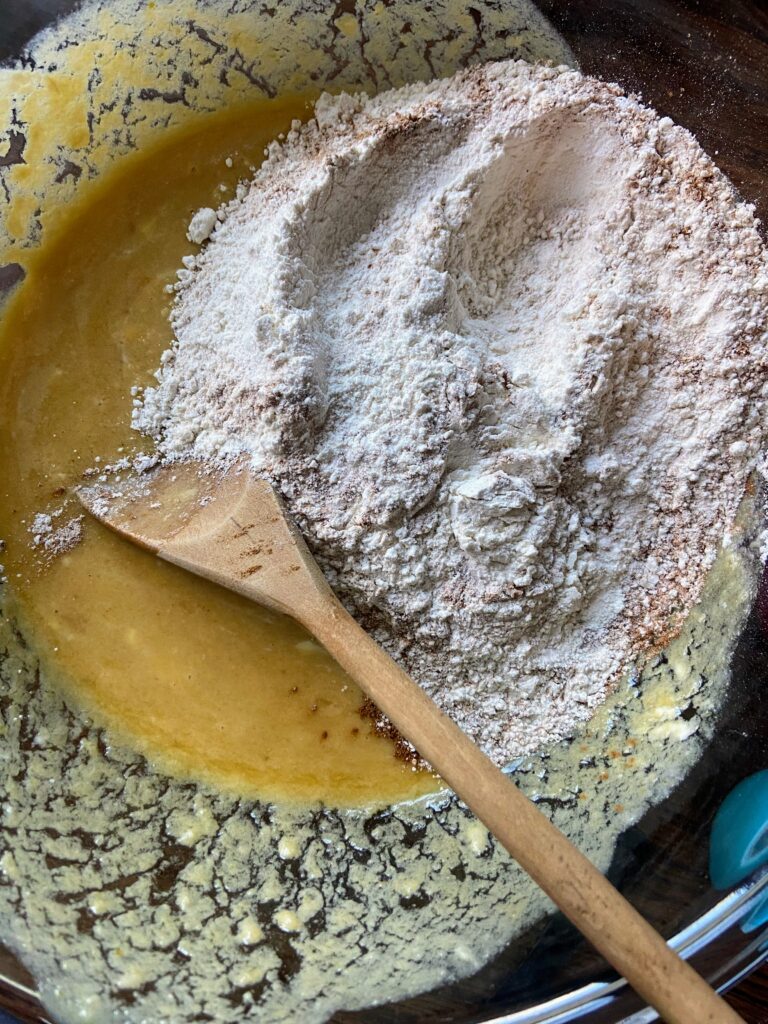
In a large bowl, combine butter, sugar, eggs, and vanilla. Stir in applesauce, milk, and yogurt. Whisk until smooth. In a separate bowl, combine flour, baking powder, baking soda, cinnamon, nutmeg, and salt. Add to wet ingredients and stir until fully incorporated. Fold in the apples.
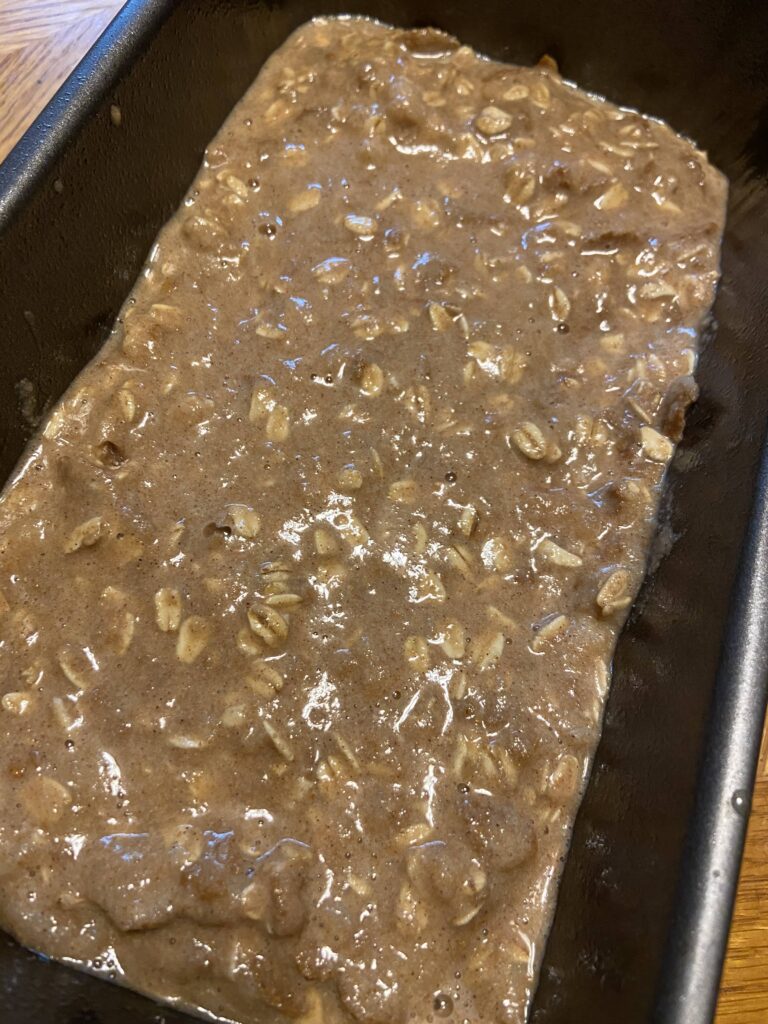
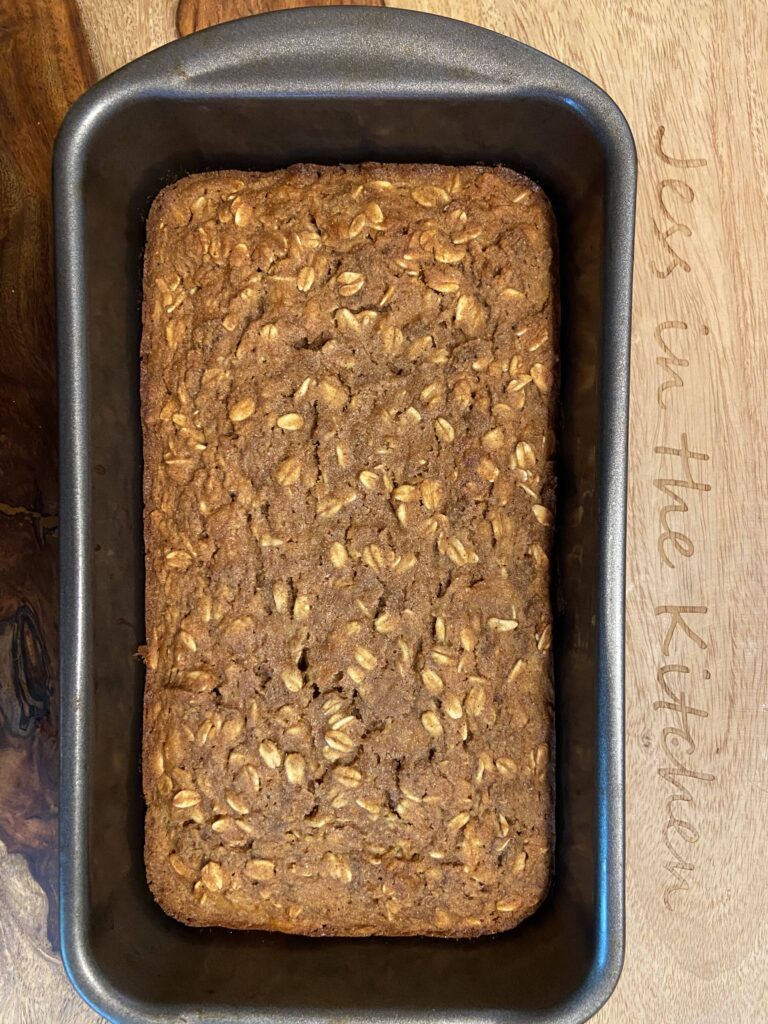
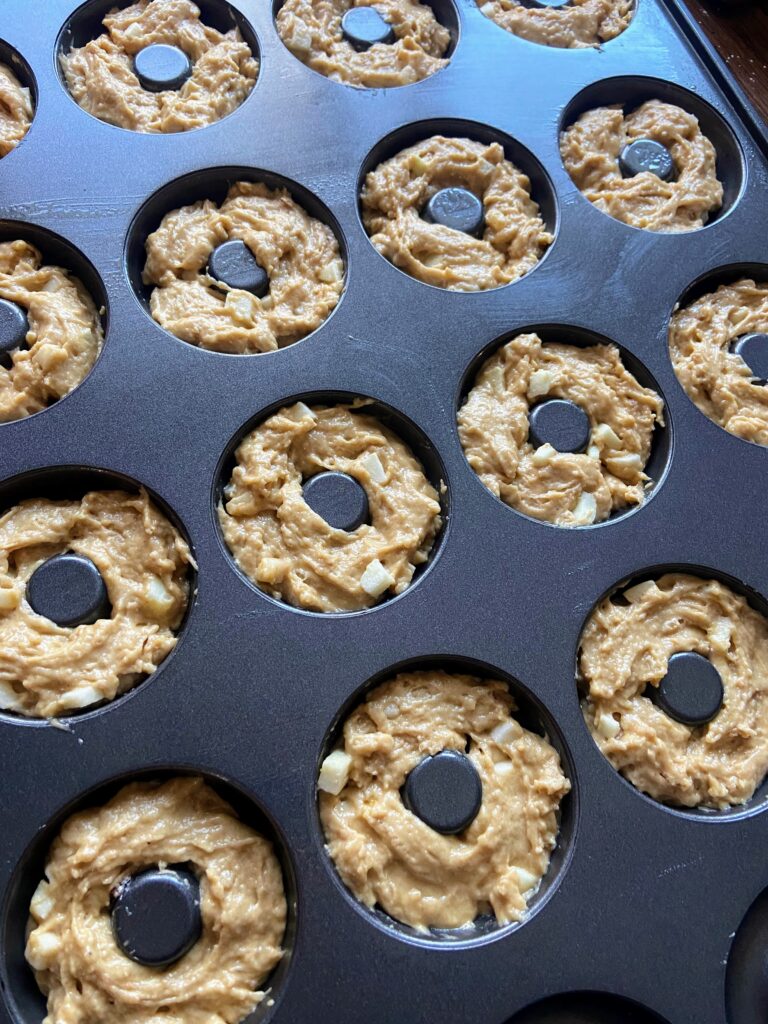
Divide the batter among 16 donut cavities, filling ¾ of the way full. Bake for 12-14 minutes, until firm to the touch or passes the toothpick test (a toothpick inserted comes out clean). Allow to cool in the pan for 10 minutes. Remove the donuts from the pan and place on a cooling rack.
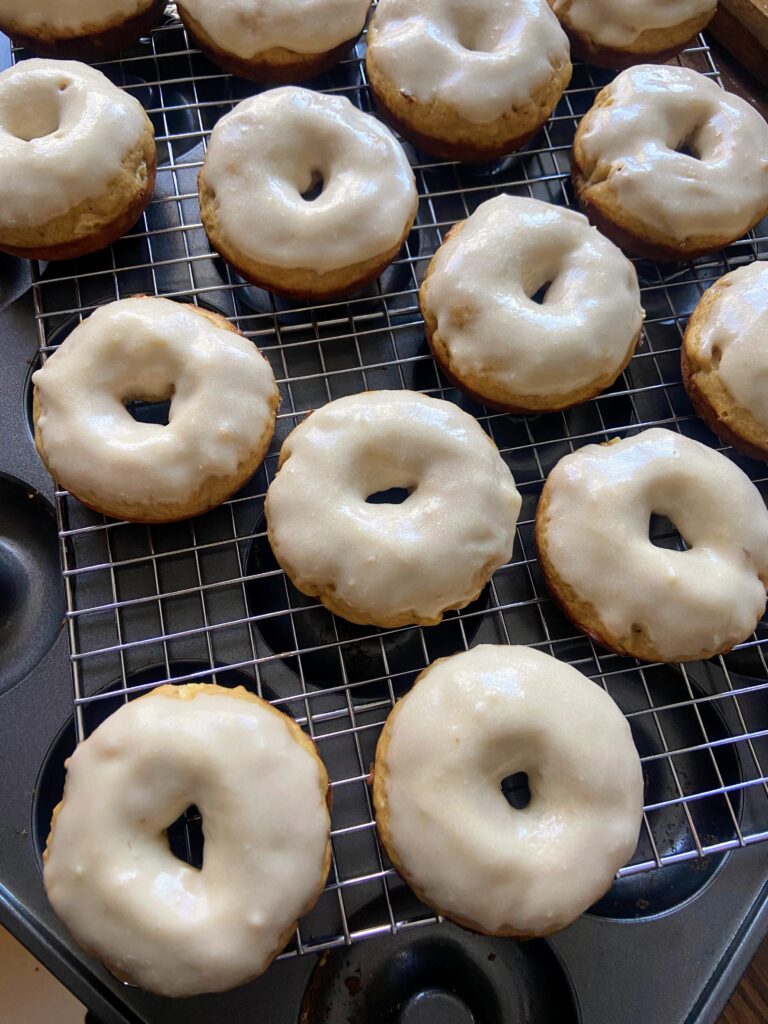
While the donuts finish cooling, mix donut frosting. Using a fork, cream the butter. Add vanilla and mix until combined. Mix in applesauce, still using the fork. Whisk in the powdered sugar with the fork until smooth.
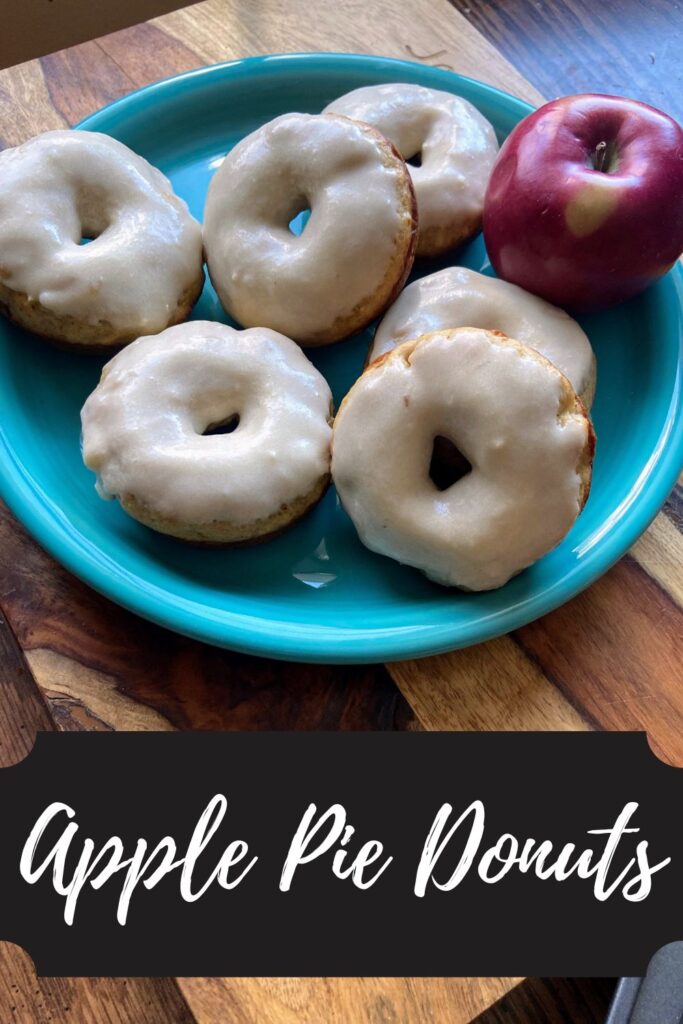
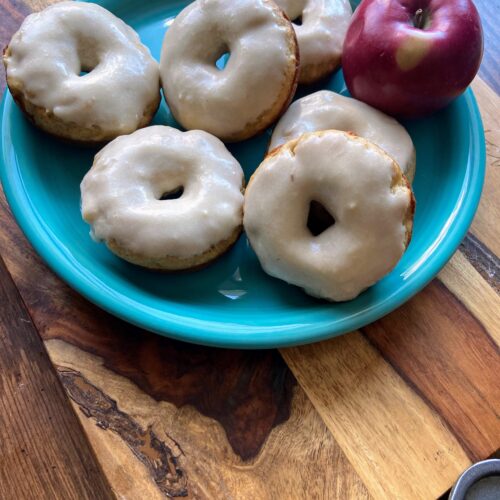
When cool, frost or dip each donut in the frosting. It is a great consistency that you can dip it like a glaze but it will hold up like a frosting. Cover them anyway you choose!
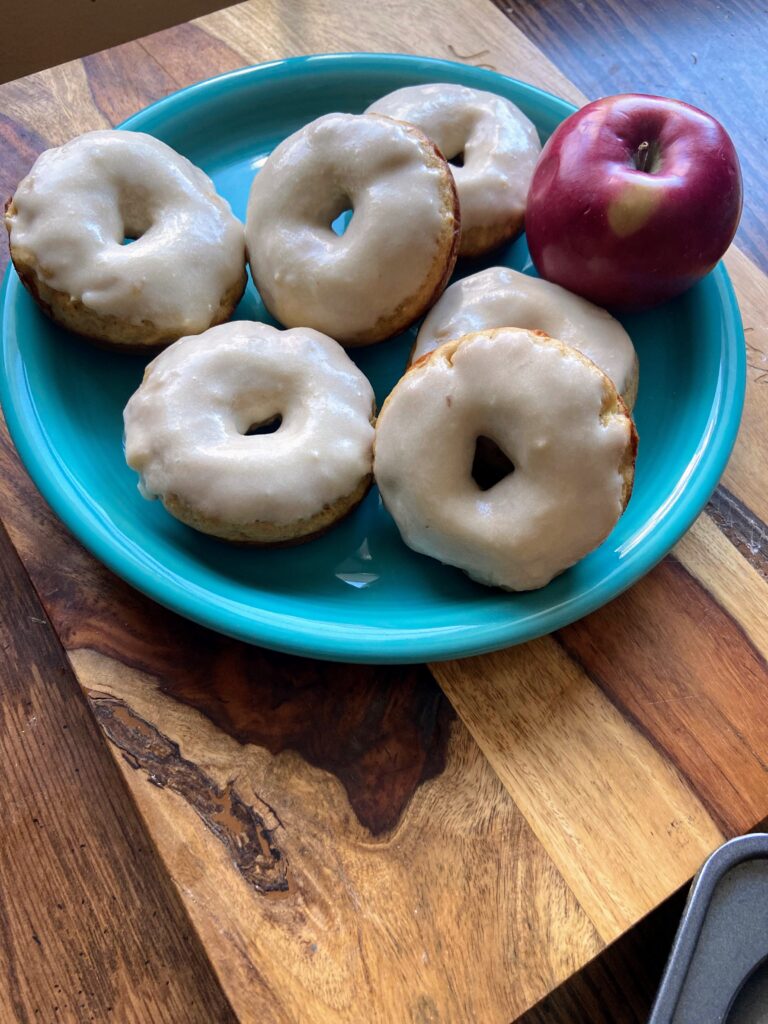
Apple Pie Donuts
Equipment
Ingredients
- 3 tablespoons butter melted
- ½ cup unsweetened applesauce
- ½ cup packed light brown sugar
- ¼ cup white sugar
- 2 large eggs
- 2 teaspoons vanilla
- ½ cup plain Greek yogurt or low sugar vanilla
- 2 tablespoons milk
- 2 ¼ cup flour
- 2 teaspoons baking powder
- ½ teaspoon baking soda
- 1 teaspoon cinnamon
- ¼ teaspoon ground nutmeg
- ¾ teaspoon salt
- ½ cup apples diced finely
Donut Frosting
- 2 tablespoons butter softened
- 1 teaspoon vanilla
- 3 tablespoons unsweetened applesauce
- 2 cups powdered sugar
Instructions
- Preheat the oven to 350 degrees. Spray a regular donut pan with non-stick cooking spray.
- In a large bowl, combine butter, sugar, eggs, and vanilla. Stir in applesauce, milk and yogurt. Whisk until smooth.
- In a separate bowl, combine flour, baking powder, baking soda, cinnamon, nutmeg, and salt.
- Add to wet ingredients and stir until fully incorporated. Fold in the apples
- Divide the batter among 16 donut cavities, filling ¾ of the way full.
- Bake for 12-14 minutes, until firm to the touch or passes the toothpick test (a toothpick inserted comes out clean).
- Allow to cool in the pan for 10 minutes. Remove the donuts from the pan and place on a cooling rack.
- While the donuts finish cooling, mix donut frosting. Using a fork, cream the butter. Add vanilla and mix until combined. Mix in applesauce, still using the fork. Whisk in the powdered sugar with the fork until smooth.
- When cool, frost or dip each donut in the frosting. It is a great consistency that you can dip it like a glaze but it will hold up like a frosting.
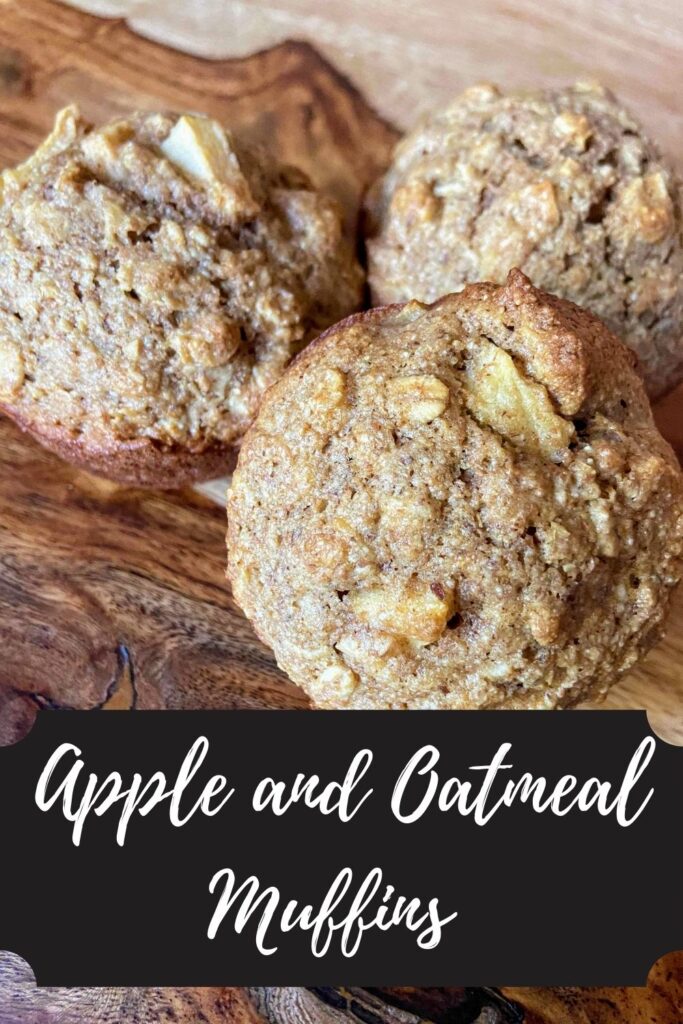
LOOKING FOR OTHER GREAT RECIPES?
Check out the delicious breakfast inspiration below or head right to my breakfast page!