Banana Oat Muffins

I have an eleven year old boy this summer. If you have ever had an eleven year old, you know this means he’s eating CONSTANTLY. We try to encourage healthy foods for his forever snacking, and generally begin our sentences with “have a banana or a string cheese.” Then he eats three of them. What’s a mom to do? This also means we buy bananas in bulk. Most of the time we are making second trips to the grocery store for more. But sometimes we end up with some overly ripe ones. When that happens, I make banana bread, banana ice cream, or banana oat muffins. 

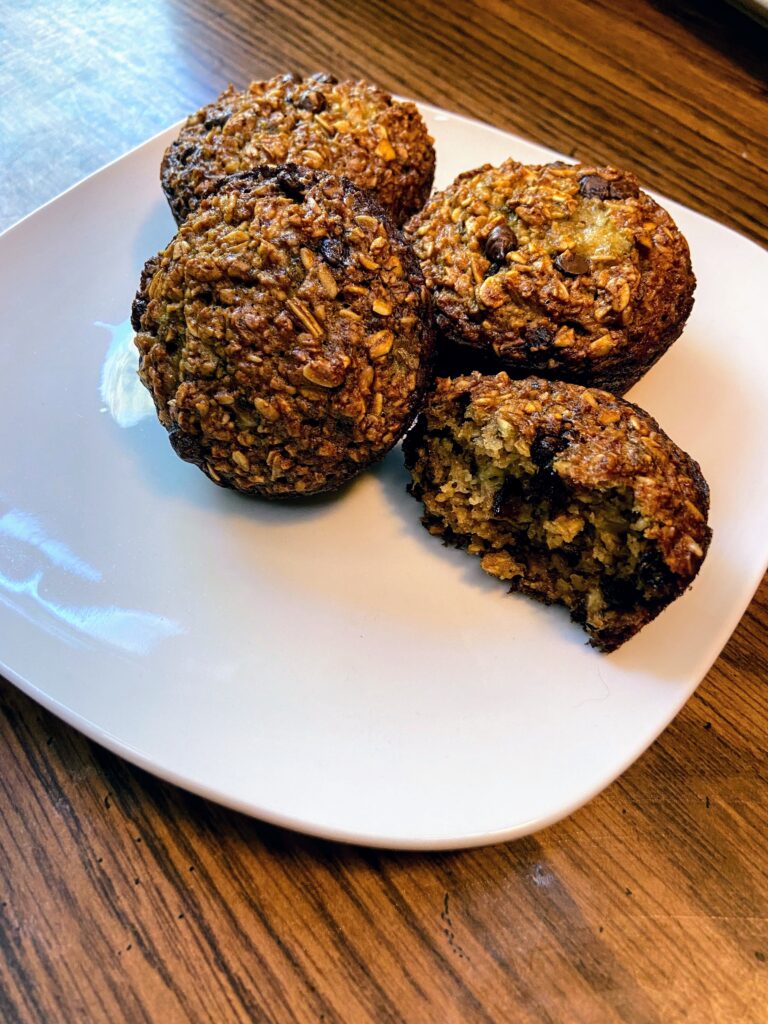
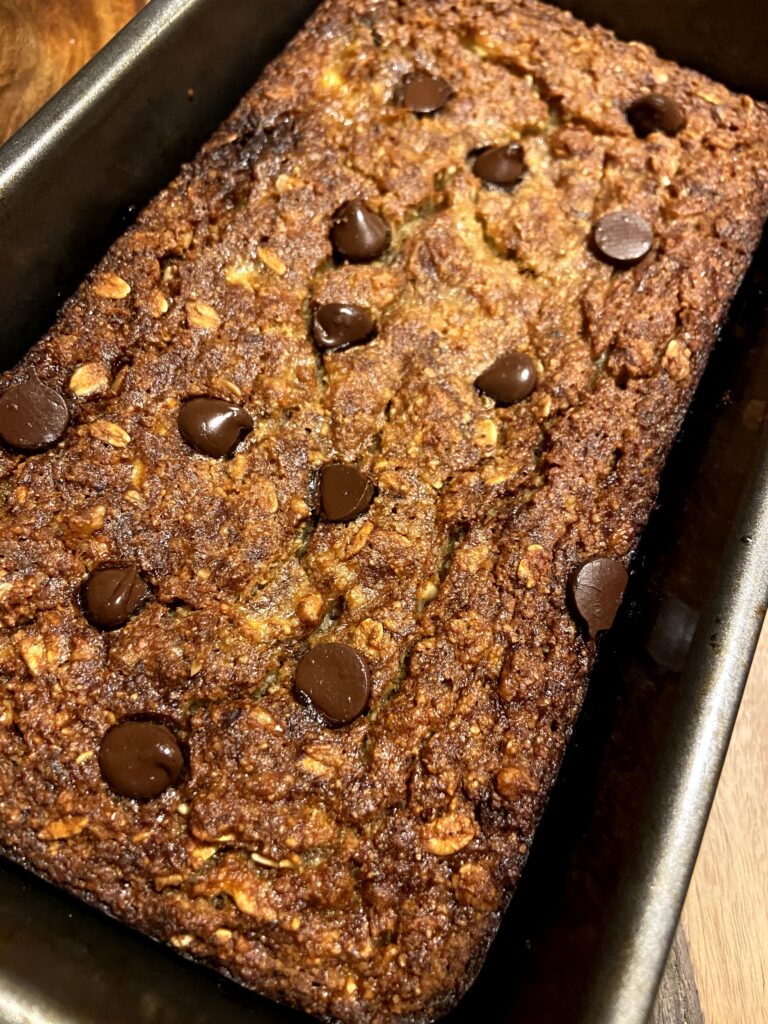
This banana oat muffin recipe is everything you would hope for. They are beautifully dense. Perfectly sweet using maple syrup for the sweetener. They have texture and the right amount of chocolate chips to make anyone happy. And friends, it’s gluten free to boot. It’s full of good for you ingredients and only two tablespoons of oil. How can you go wrong, right? 

These muffins will pair great with your coffee in the morning, as a mid morning snack to get you to lunch time or for a guilt free dessert (although I totally believe in not feeling bad about dessert, but that’s another story for another time). I’m excited for you to give them a try and share them with your littles or your bigs or better yet, keep them to yourself. (You did hear I have an eleven year old right? I have to start hiding my favorite foods and treats from him!) 

Let’s get baking some banana oat muffins

YOUR INGREDIENTS FOR THE BANANA Oat Muffins

  • 2 cups old fashioned oats
  • 1 teaspoon baking soda
  • 1/2 teaspoon salt
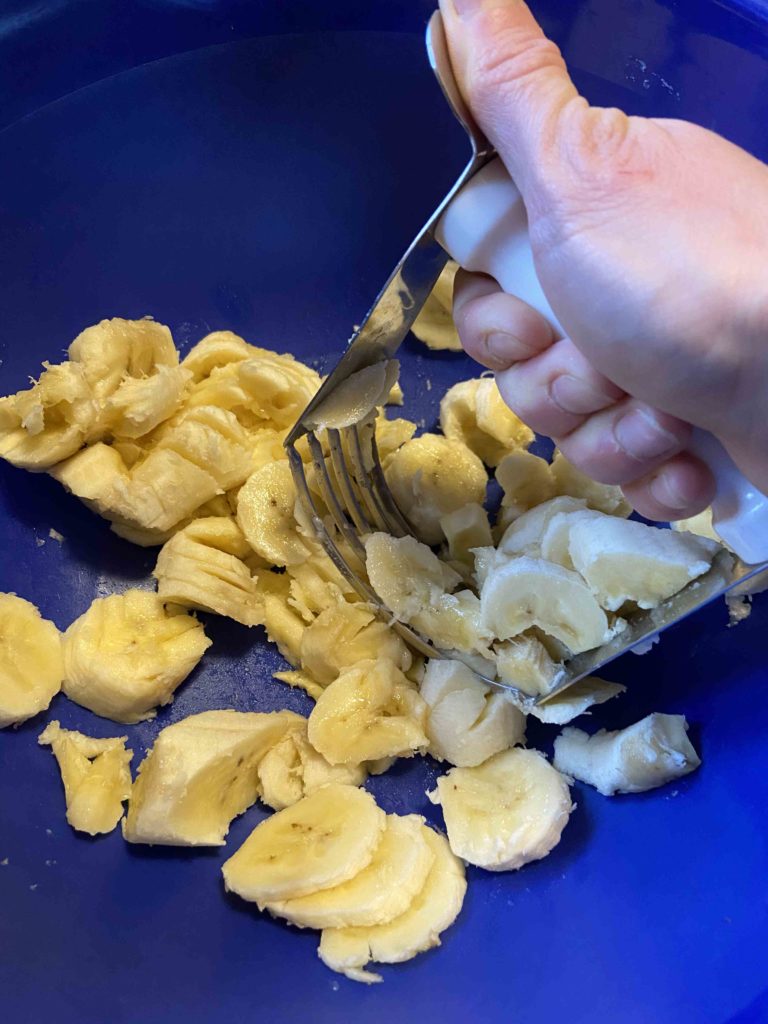
  • 3 very ripe bananas, mashed (My go to tool for this? A pastry cutter. It works great AND young kids can easily get involved and do this step for you)
  • 2 eggs
  • 1/4 cup real maple syrup
  • 2 tablespoons melted coconut oil
  • 1/4 mini chocolate chips

Your Steps to the banana Oat Muffins

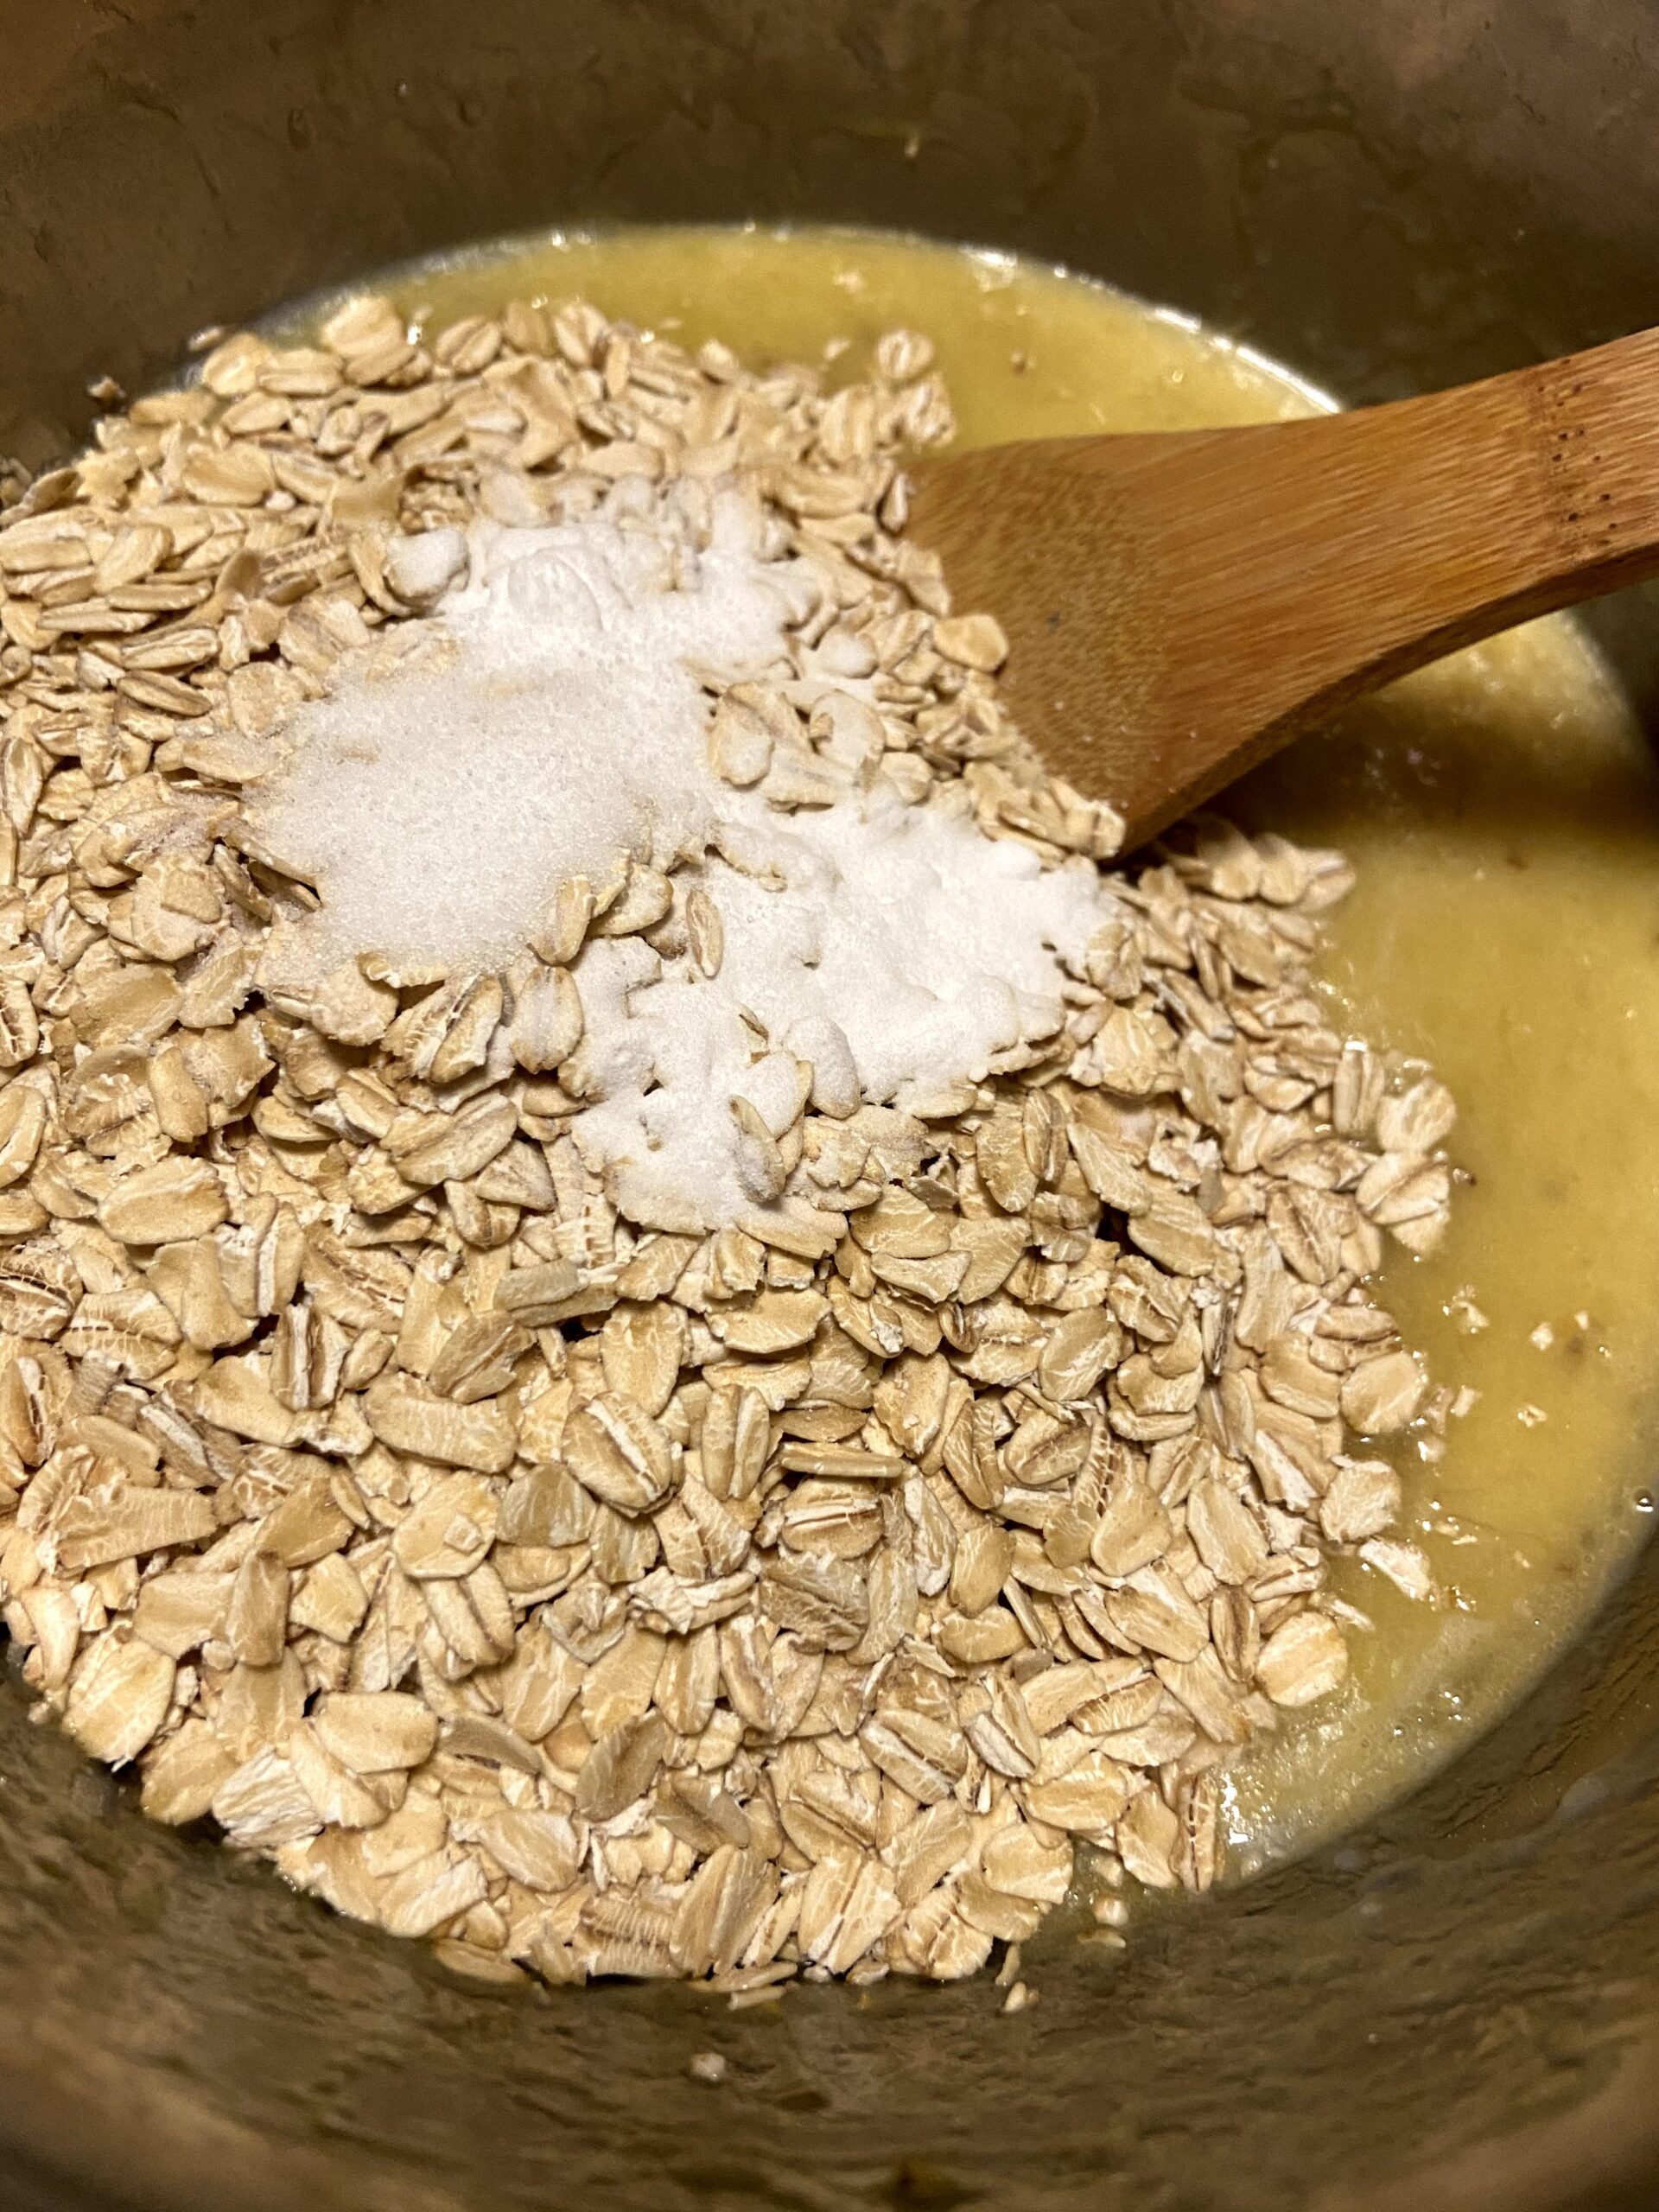
First, preheat the oven to 350 degrees. Prepare a 12 muffin tin with non stick cooking spray. Then measure out and combine:

  • 2 cups old fashioned oats
  • 1 teaspoon baking soda
  • 1/2 teaspoon salt

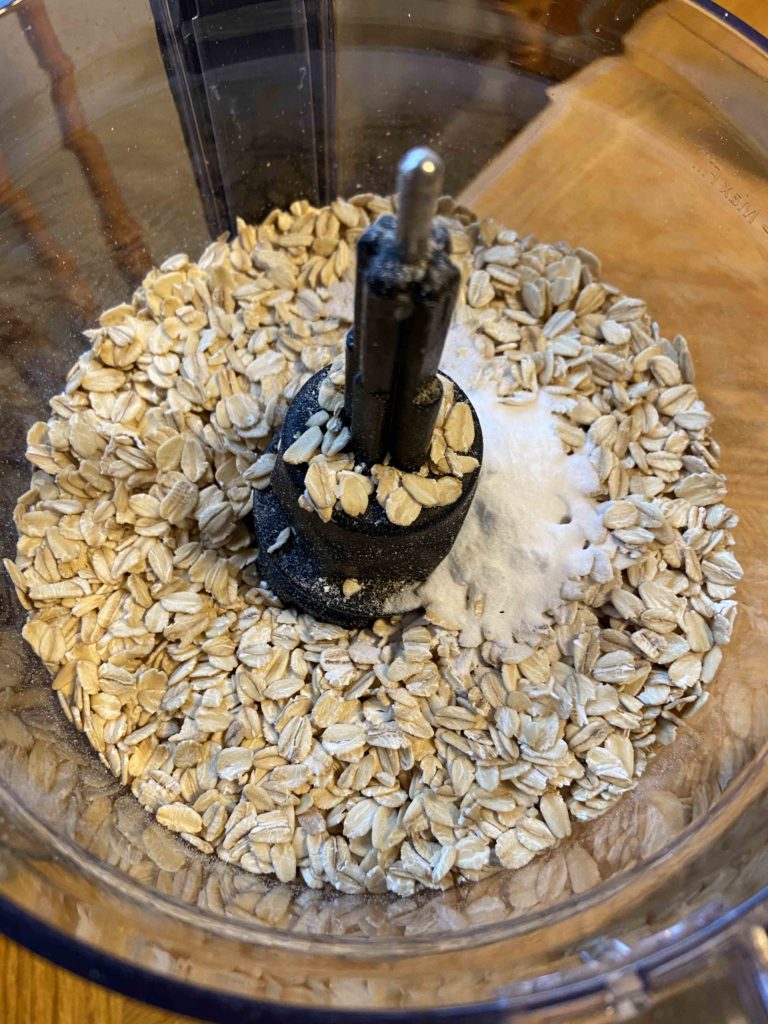
Pulse these three ingredients in a food processor until they are a coarse flour texture.

In an additional bowl, combine:

  • 3 very ripe bananas, mashed (My go to tool for this? A pastry cutter. It works great AND young kids can easily get involved and do this step for you)
  • 2 eggs
  • 1/4 cup real maple syrup

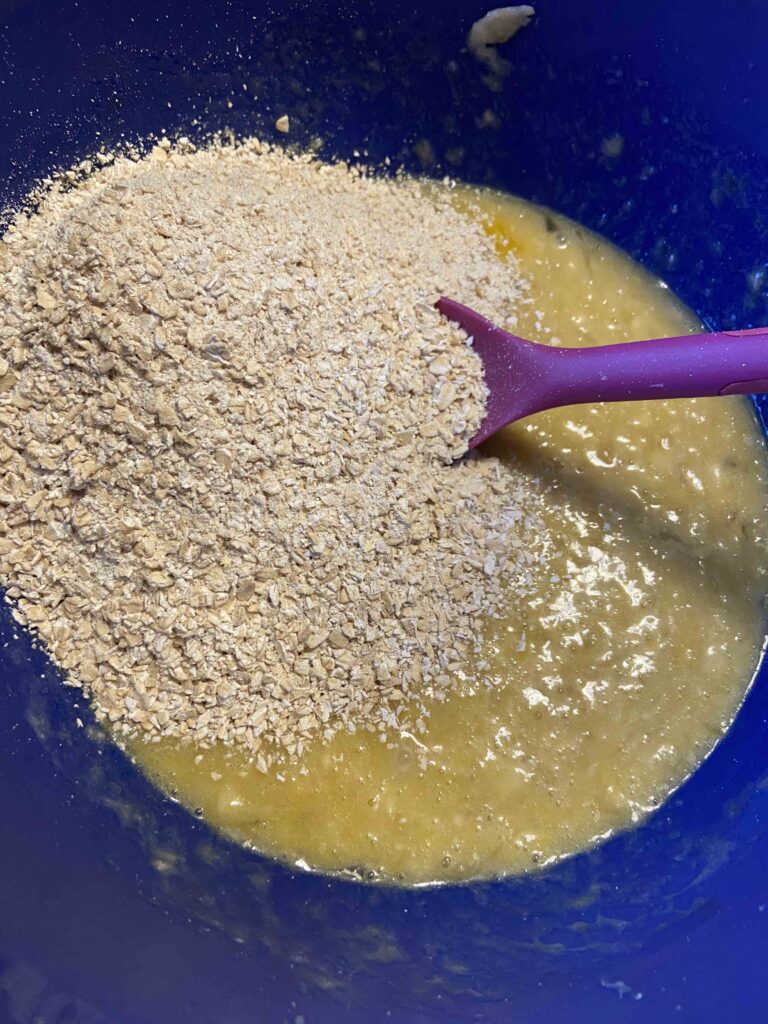
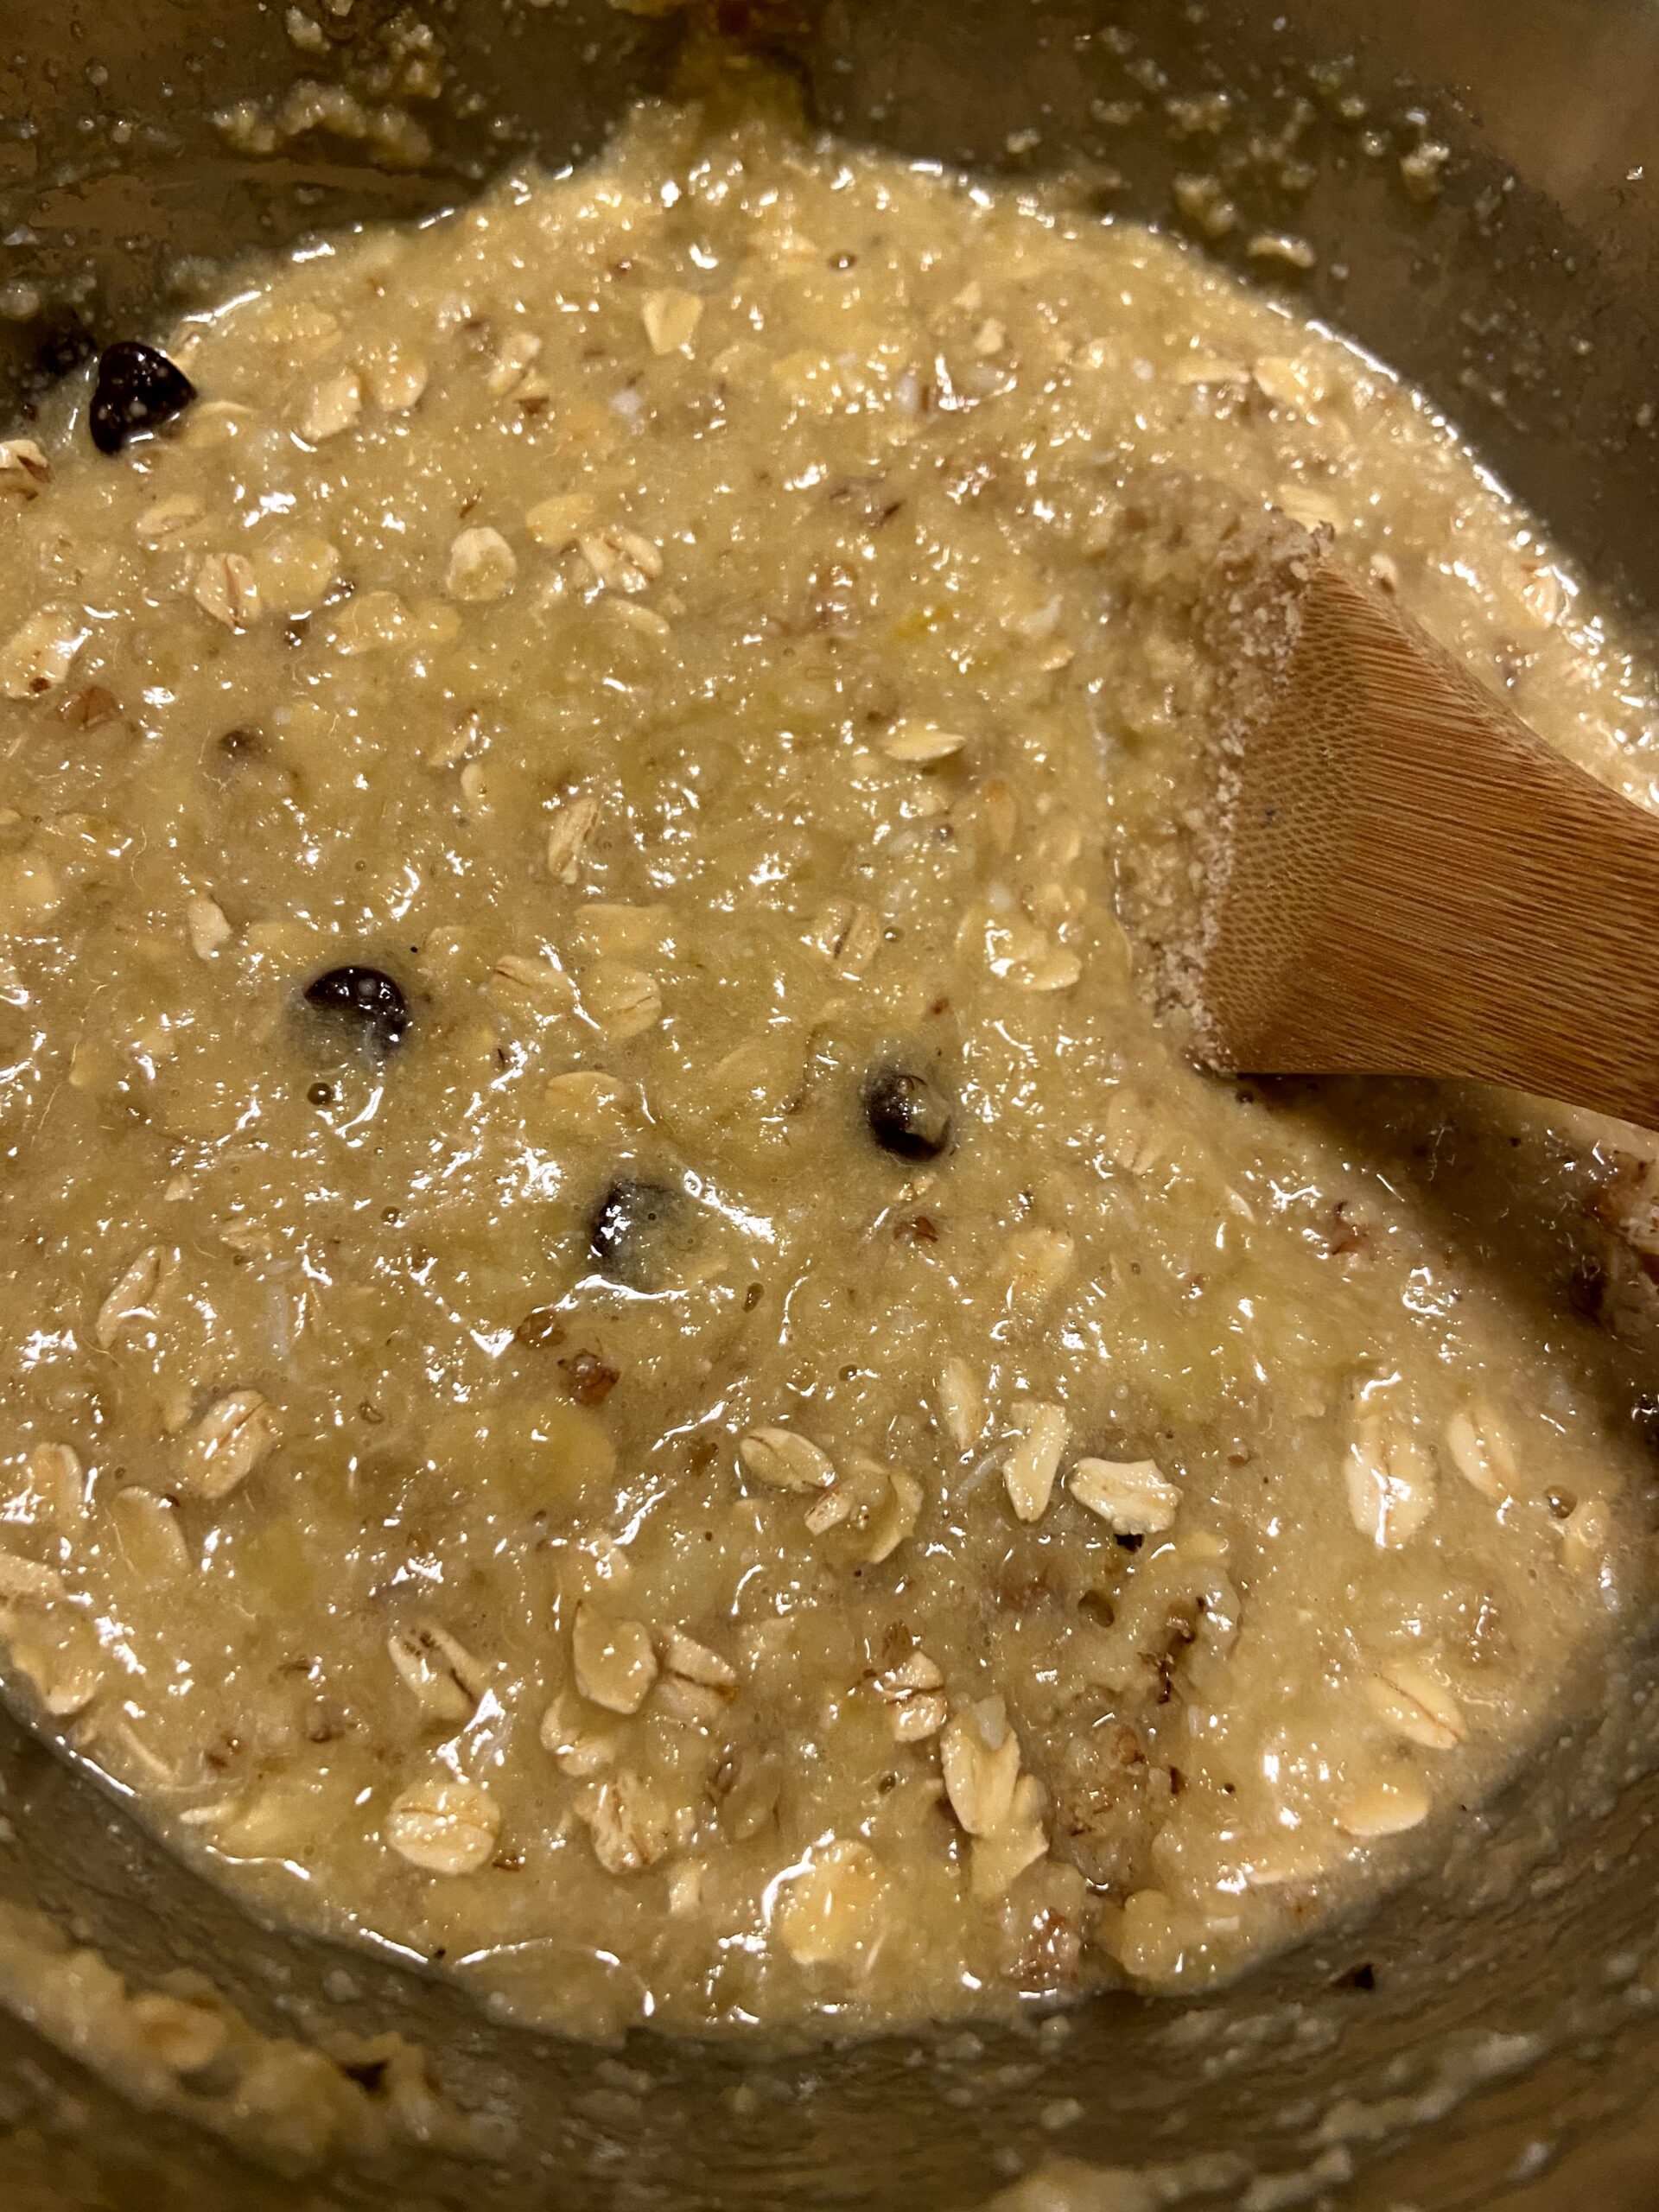
Once mixed, stir in the oat mixture until just combined. Finally, fold in the melted coconut oil and 1/4 cup mini chocolate chips. Fill each muffin using a 1/4 cup measuring cup. Bake for 22-25 minutes, until cooked through.

I love that I can enjoy a good breakfast bread that is filling and the perfect amount of sweetness without overdoing it on the added sugar. It is also a perfect mid morning snack to get you to lunch! Give it a try!
A few Notes…

I always thought that a small, 2 cup food processor was good enough. It’s what my mom used growing up, and if it was good enough for her, it was good enough for me. However, a few holidays ago, I asked for a 7 cup Kitchen Aid Mixer. It’s AMAZING and I can’t tell you how often I use it. Highly recommend the investment. It’s great for chopping veggies for salsa, making oat flour, or even mixing banana ice cream. Click the image below to check out a similar model!
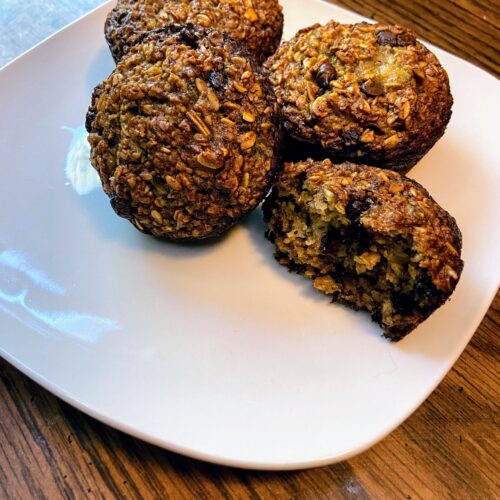
Banana Oat Muffins

Simple wholesome ingredients come together with a food processor to make these gluten free and perfectly sweet banana oat muffins
Prep Time 10 minutes
Cook Time 25 minutes
Total Time 1 hour
Course Breakfast
Cuisine American
Servings 12 muffins

Ingredients
  

  • 2 cups old fashioned oats
  • 1 teaspoon baking soda
  • 1/2 teaspoon salt
  • 3 bananas very ripe
  • 2 eggs
  • 1/4 cup maple syrup
  • 2 tablespoons coconut oil melted
  • 1/4 cup mini chocolate chips

Instructions
 

  • Preheat oven to 350° F. Prepare a muffin tin by spraying with non-stick cooking spray.
  • Combine oats, salt, and baking soda in a food processor. Pulse until a coarse flour texture is obtained.
  • In a large bowl, mash bananas. Add honey and eggs. Mix well.
  • Stir oat mixture into mashed bananas. Add chocolate chips and coconut oil. Mix until just combined.
  • Place about 1/4 cup batter in each cup. Bake for 22-25 minutes, until cooked through
Keyword Banana Bread, Breakfast, Gluten Free
Tried this recipe?Let us know how it was!

Looking for other Tasty treats?

Check out my baking page or maybe my breakfast page. Or perhaps you want to check out one of my favorites below?
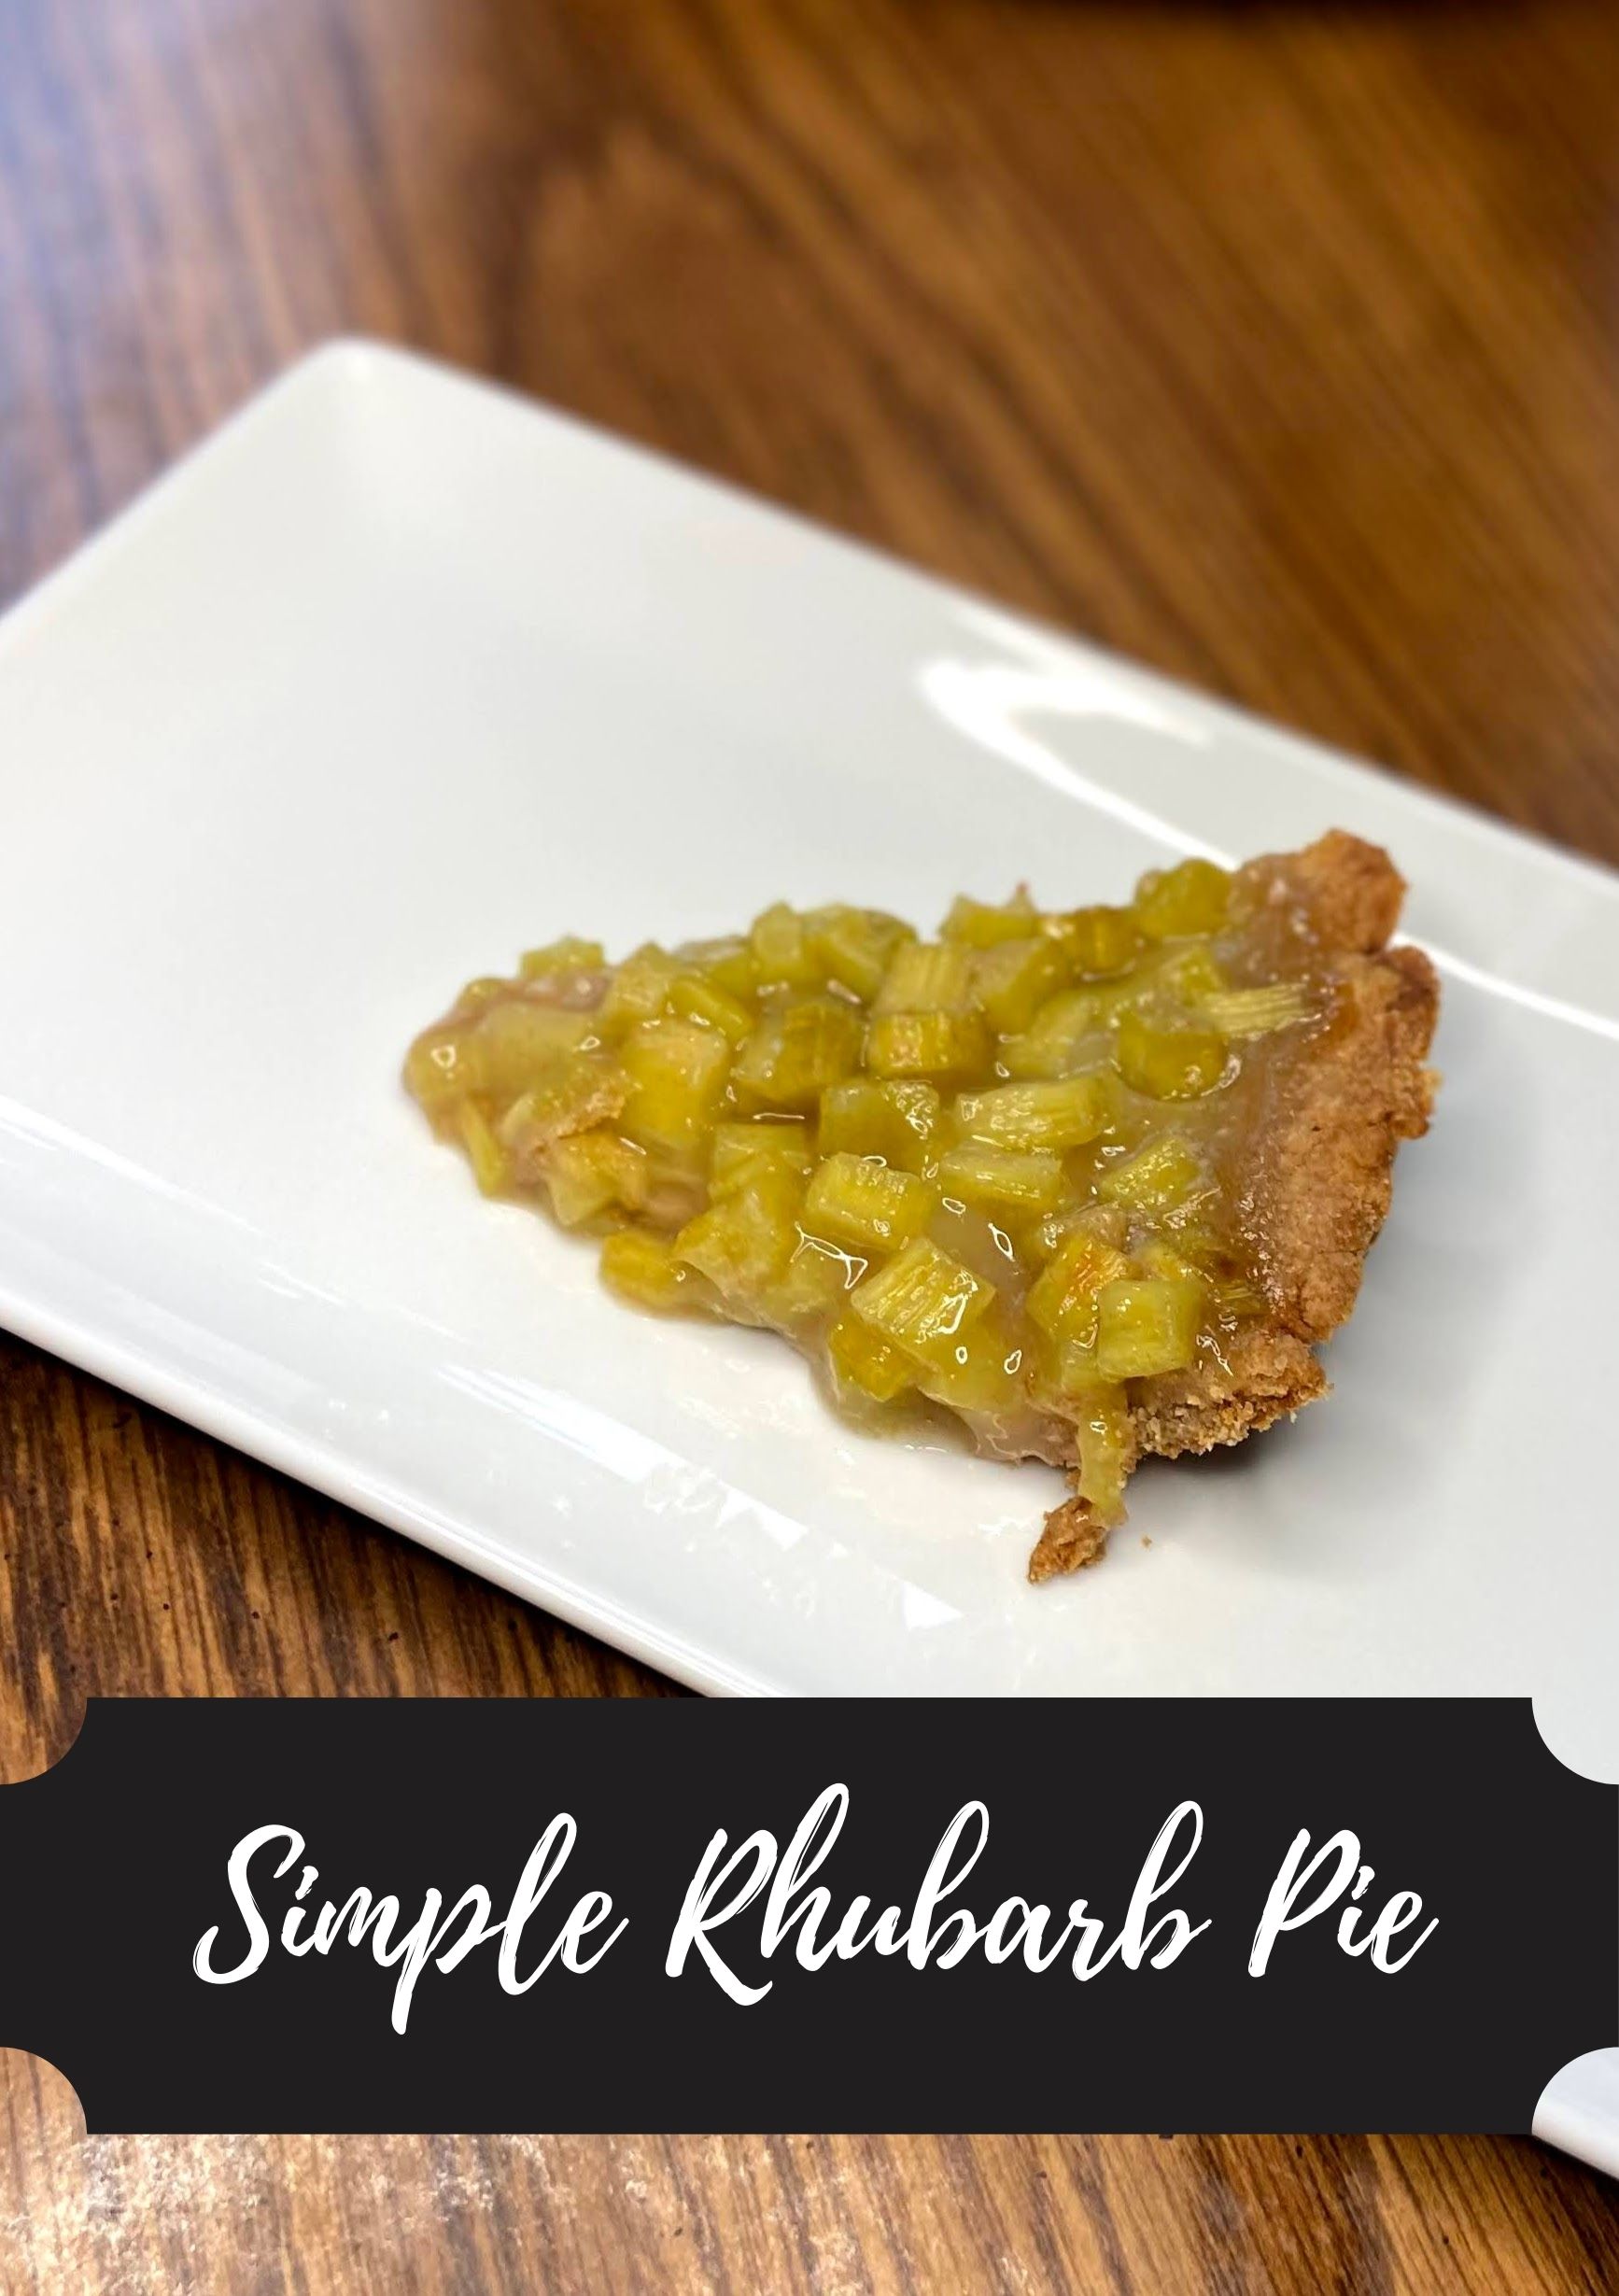
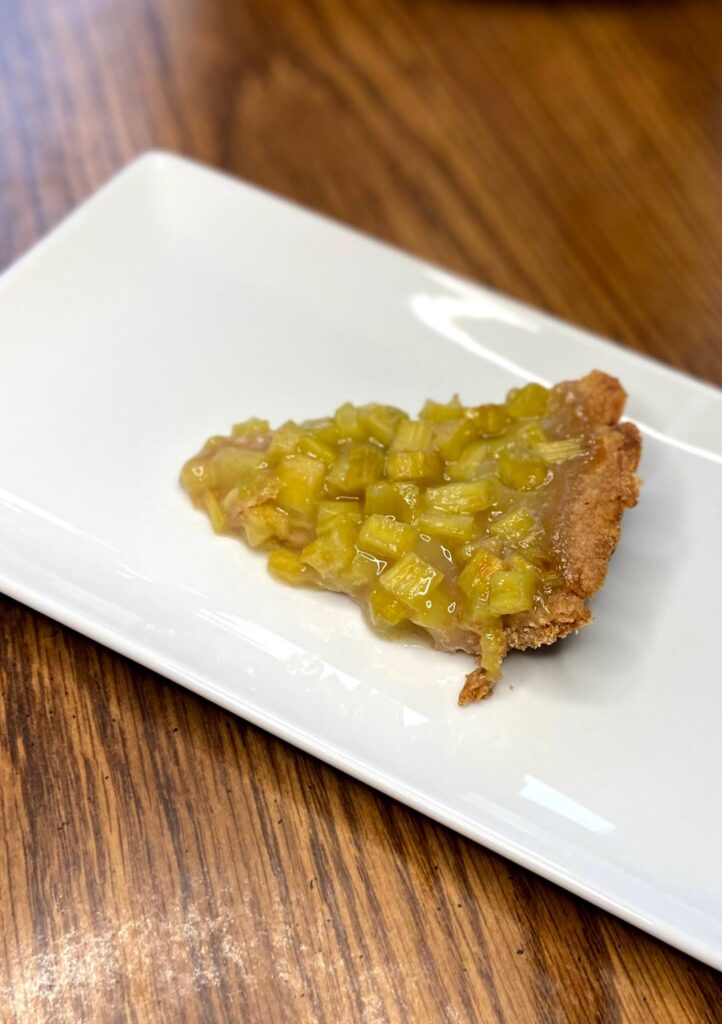
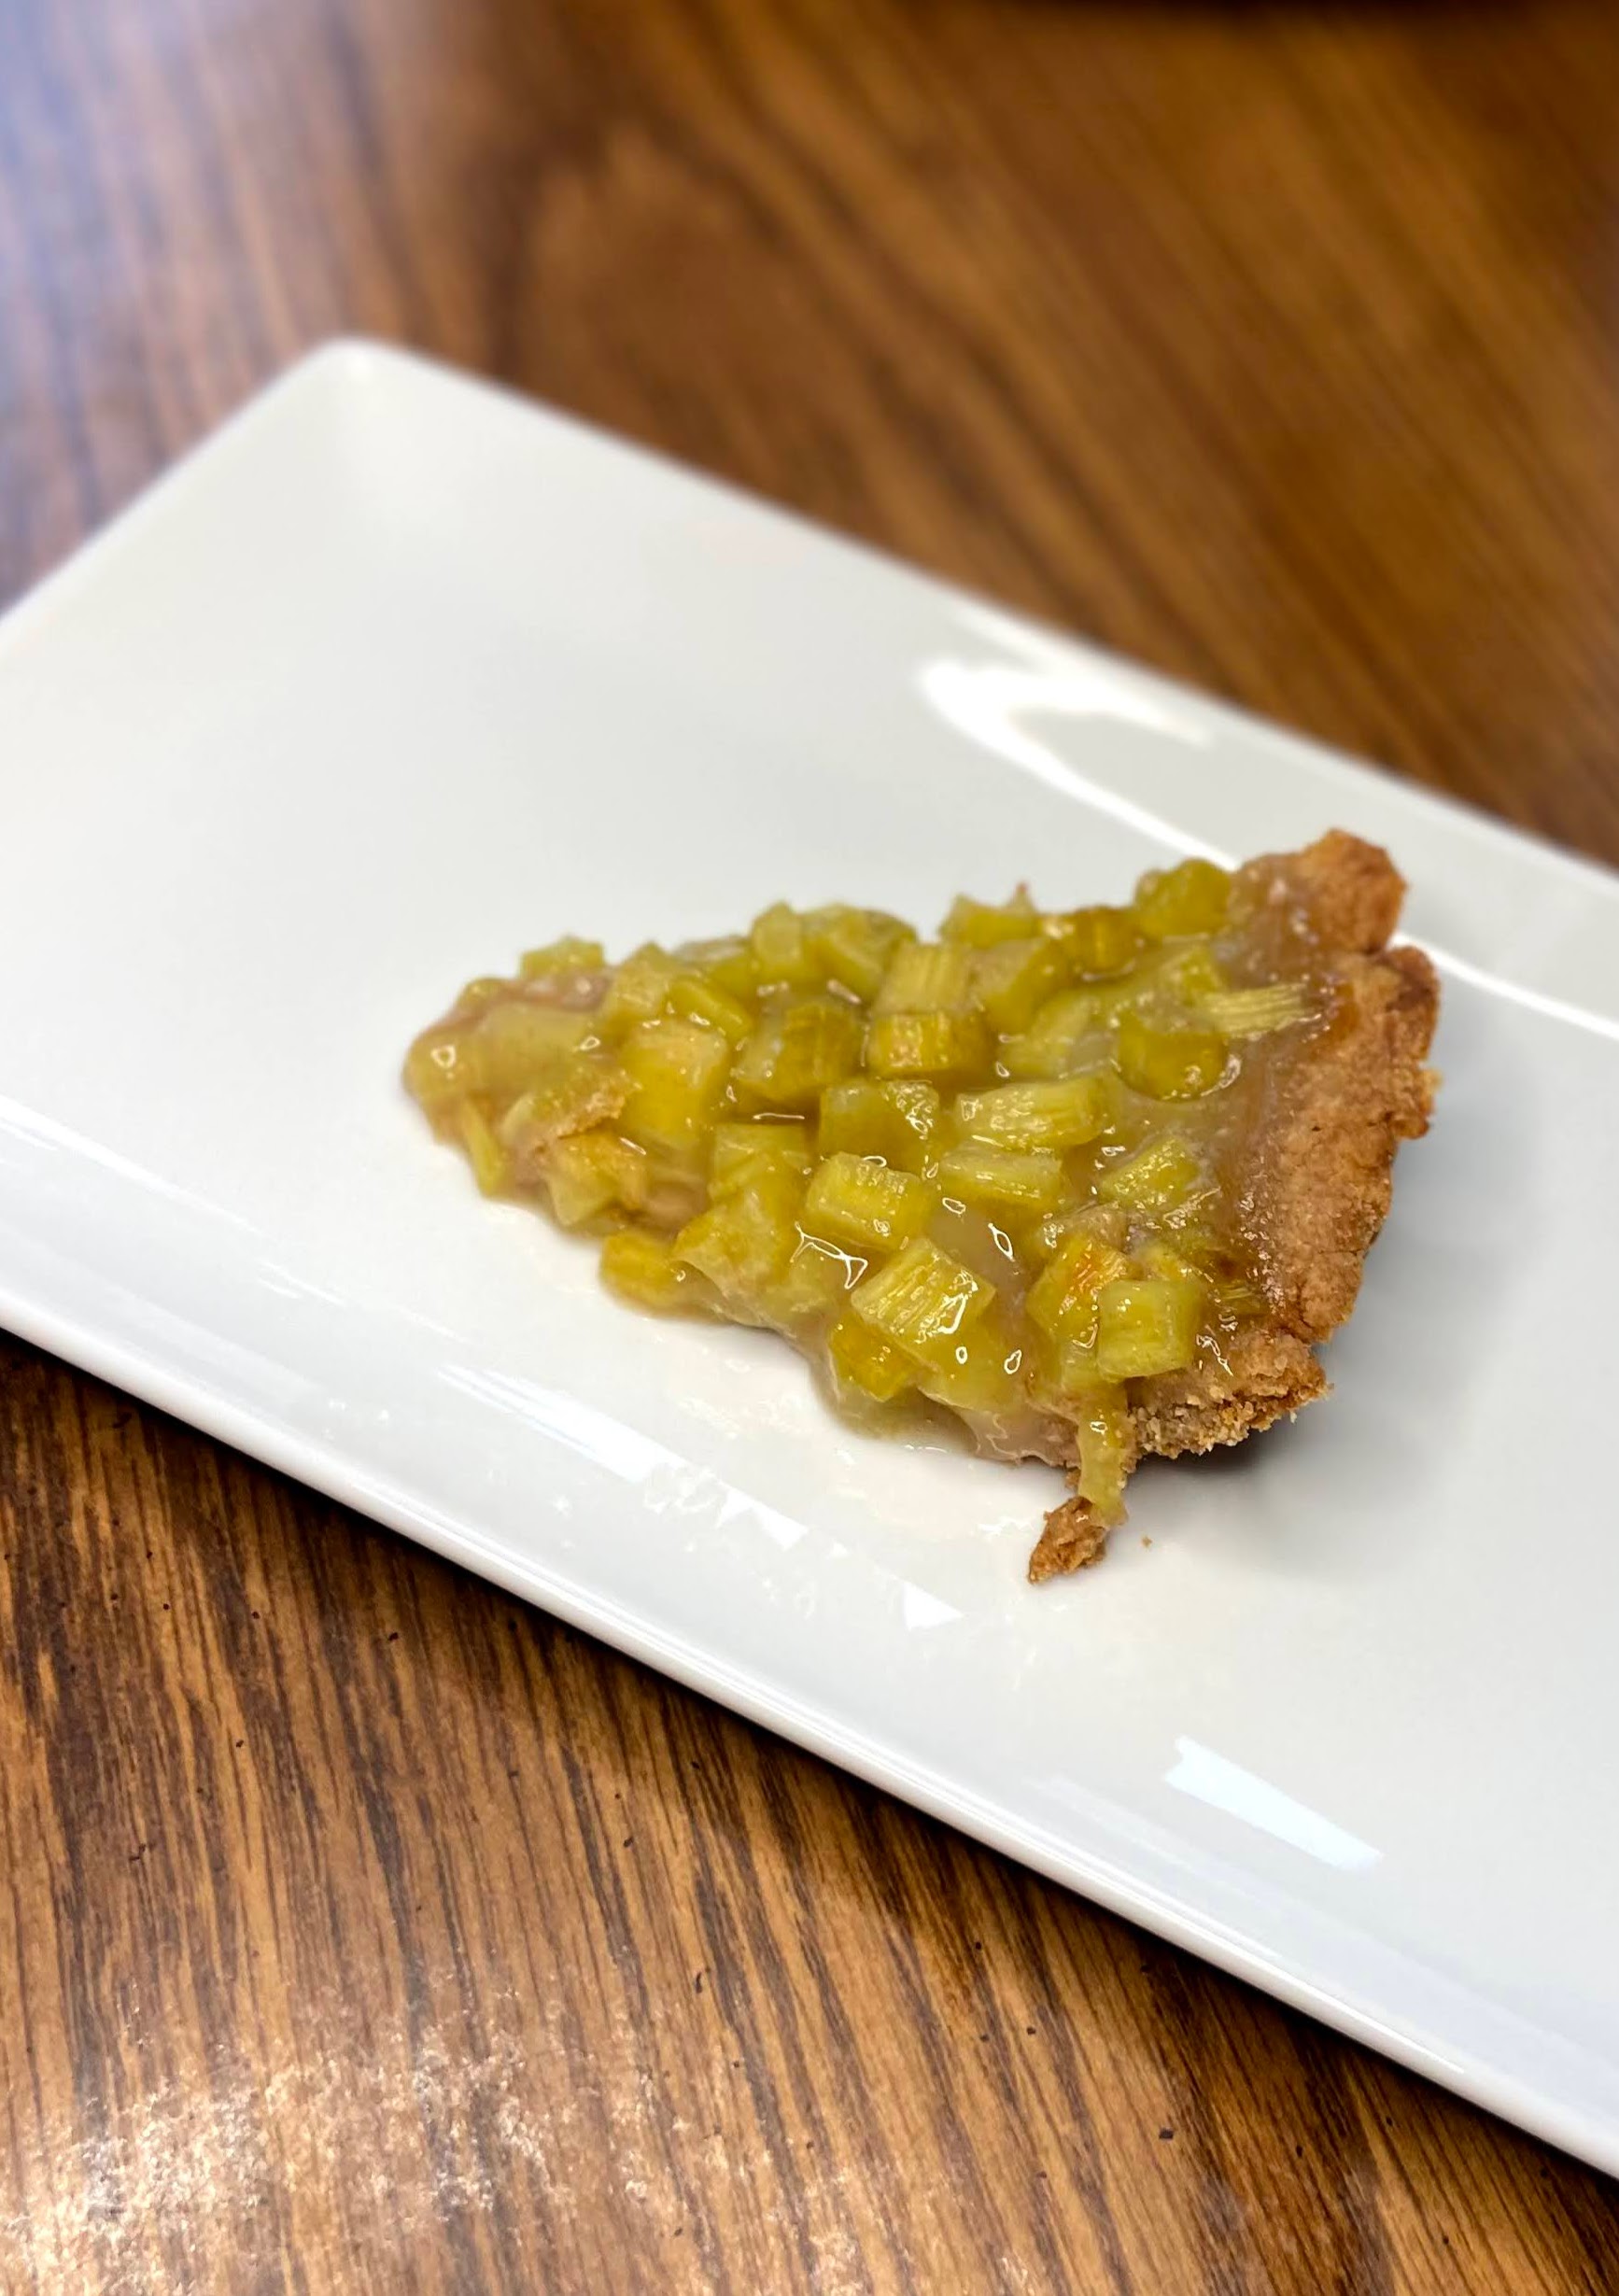
Rhubarb Pie

I’ve always declared myself, “not a pie person.” At Thanksgiving, it’s okay, but not something I crave. My husband, on the other hand, LOVES pie. His mom also loves to make it. It’s a rare weekend that we visit and a pie hasn’t been made. It’s also pretty typical to have her make a pie at our home out of whatever we happen to have in the freezer when she comes to visit. So, it makes sense that pie is always my husband’s request for his birthday; rhubarb pie to be precise. 

One of the reasons I don’t love to make pie is the crust. I like to say I just don’t like to make it, but perhaps it’s more that it intimates me. Also, if I am going to pick a favorite pie, I’m going with banana creme and everyone knows those babies are best with a graham cracker crust. Am I right or am I right? 
All that being said, after being married for 12 years, pie is growing on me. I still don’t dig the crust part of things, but I have you covered in this recipe. My mother in law has a crazy simple crust that I dig as the base for not only this rhubarb pie, but also an apple pie that use this great apple pie filling I freeze in the fall. 

So it is May and the rhubarb is plentiful. Let’s put together a simple tart and delicious rhubarb pie everyone can enjoy! (And hey, if it isn’t May, you can always use frozen rhubarb too! Just thaw and drain it out first!)

Your Ingredients

For the crust: 

  • 1 ½ cups all purpose flour
  • ½ tablespoon sugar
  • 1 teaspoon salt
  • ½ cup oil of your choice
  • 2 tablespoons milk

For the filling: 

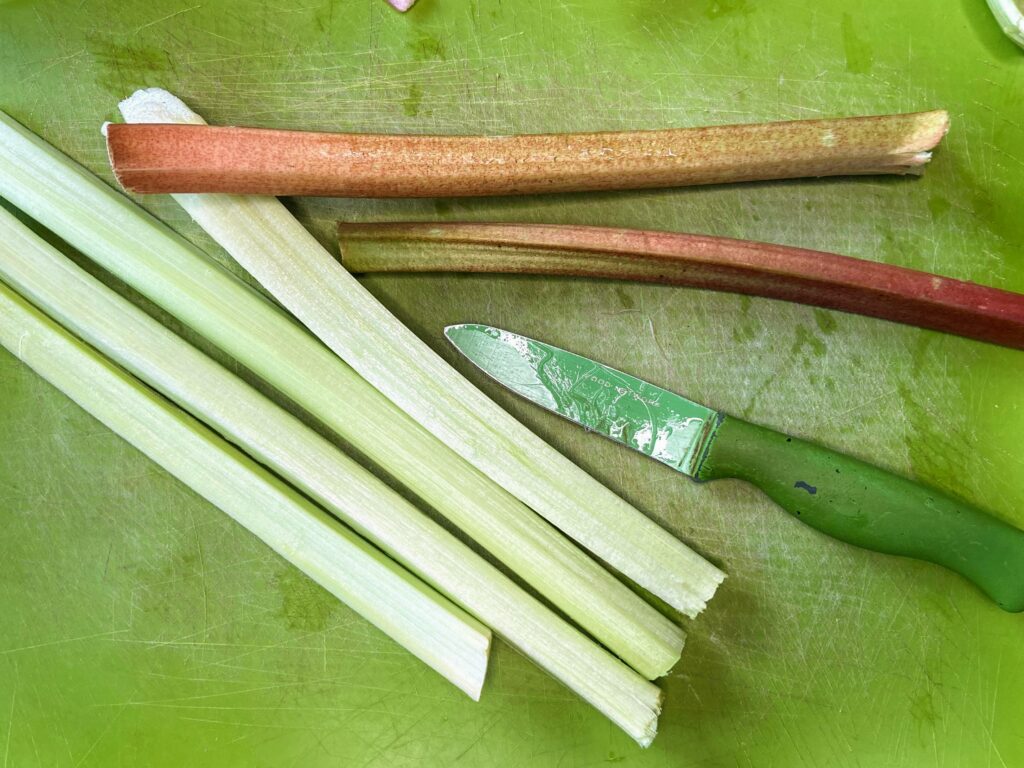
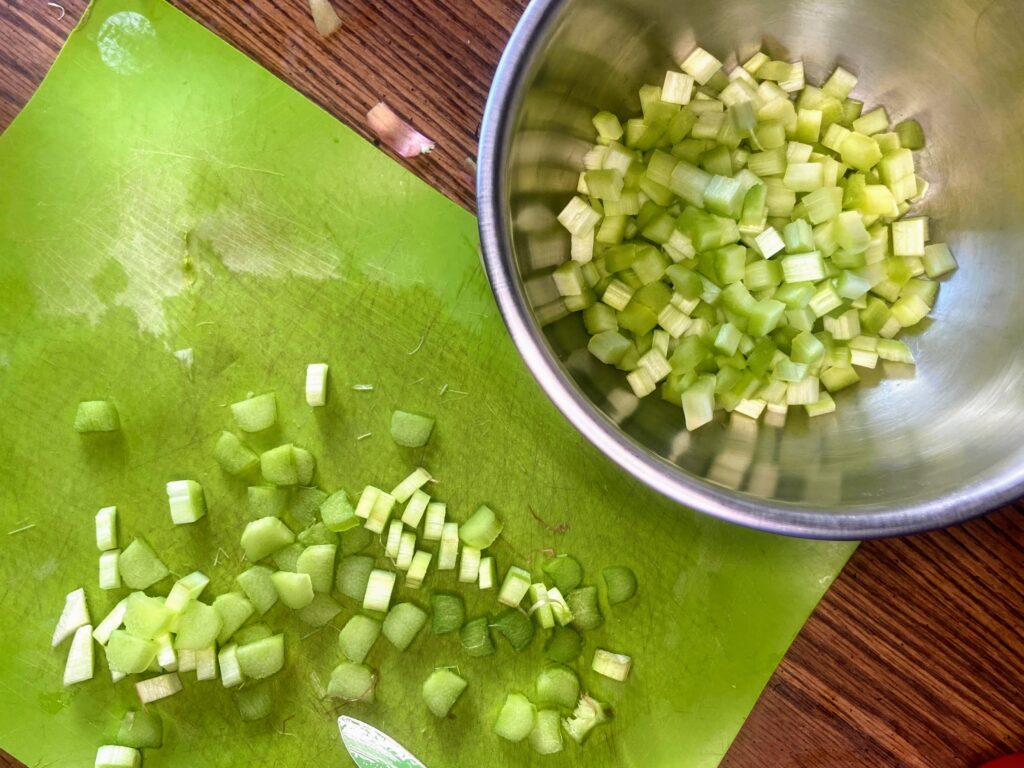
  • 4 cups diced rhubarb (fresh or frozen. If frozen, thaw and drain off ¾ of the liquid or so)
  • 1 ⅓ cups sugar
  • 6 tablespoons all purpose flour

Your Steps to Rhubarb Pie

Preheat the oven to 450 degrees. 

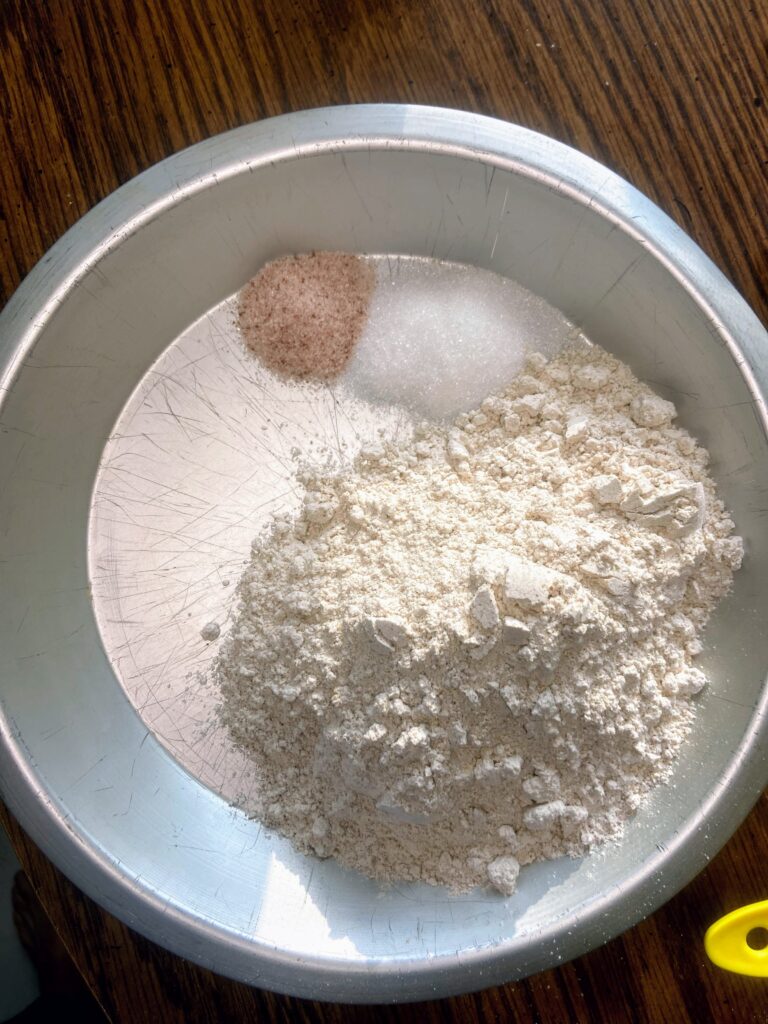
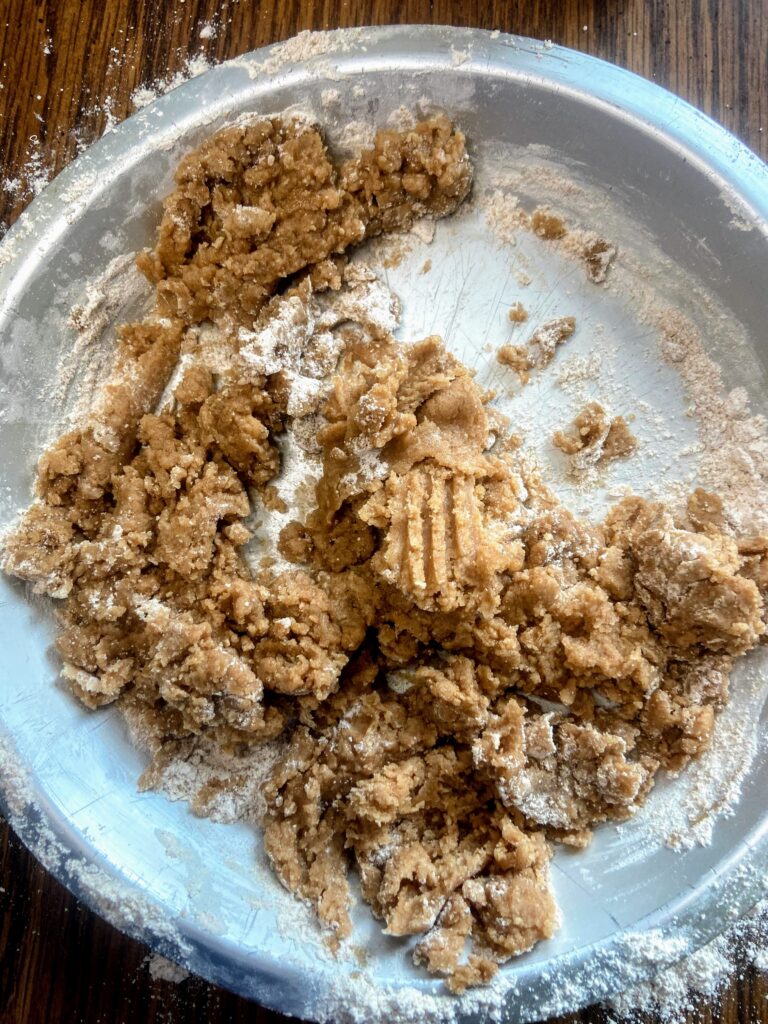
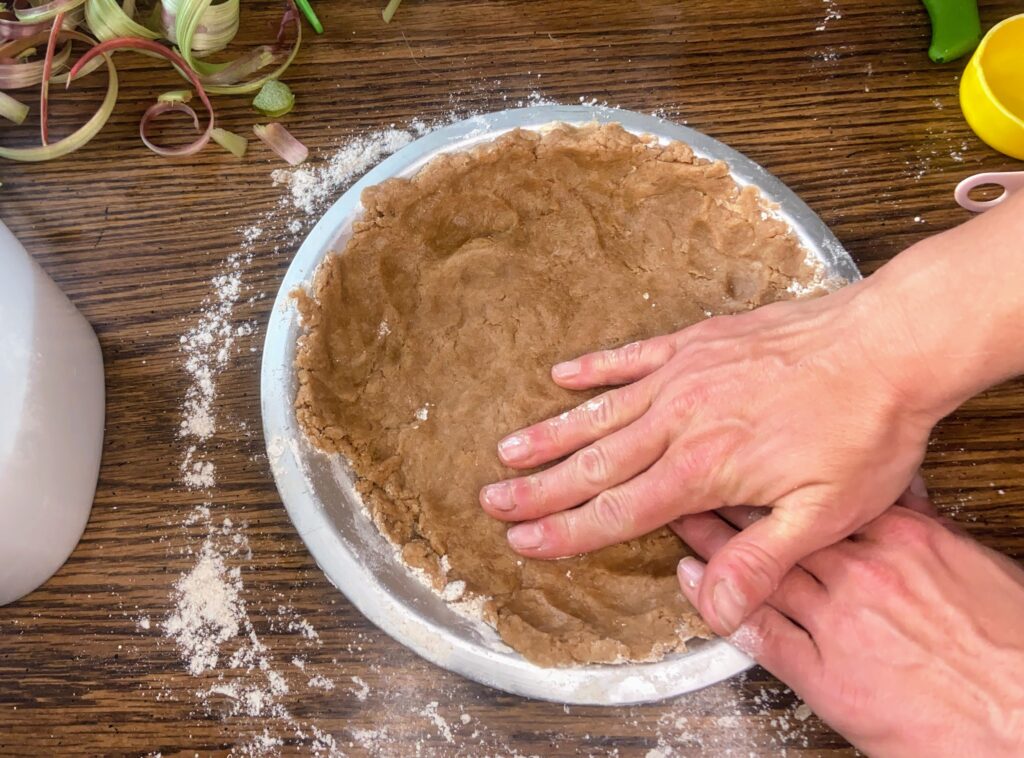
In your pie plate, combine the flour, sugar, and salt for the crust. Mix together with a fork. Add oil and milk and whisk until well combined. Press into the ungreased pie plate. (If you are worried you’ll be too messy whisking right in the pie plate, feel free to do this in a bowl first. My mother in law taught me to do mix right in the pie plate to avoid one more dish. Genius!) Note: The pie crust mix will be wet. That’s okay. 

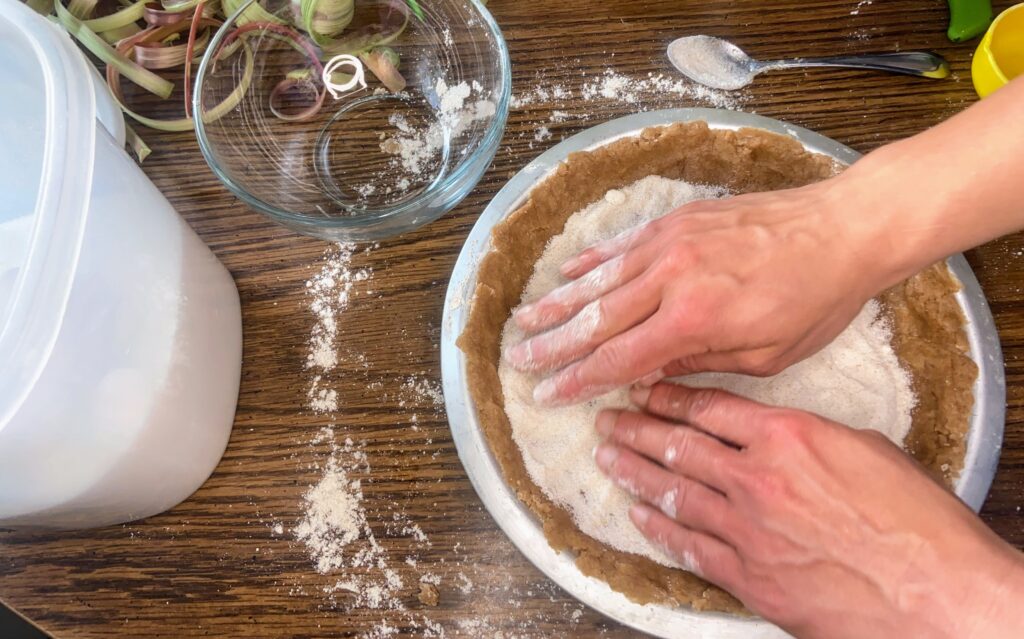
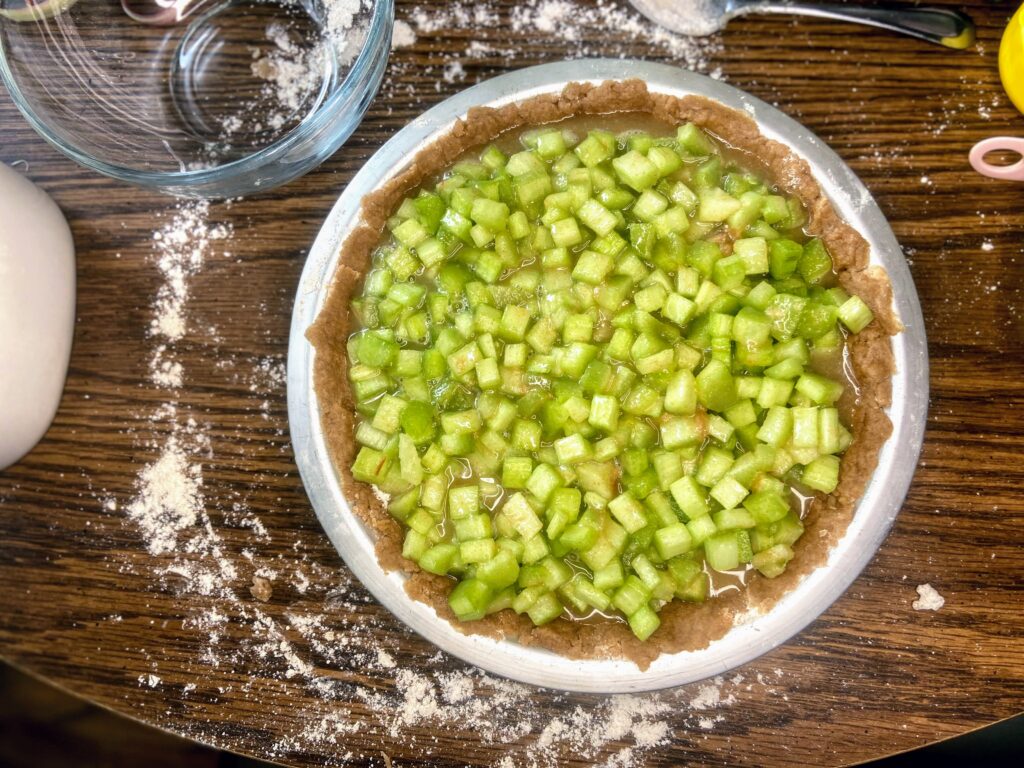
In a medium bowl, combine the flour and sugar for the filling. Sprinkle approximately ⅓ cup of the mixture onto the pie crust. Mix rhubarb into the remaining flour and sugar and pour onto the unbaked pie crust that has been topped with the flour/sugar mixture. 

Bake for 15 minutes at 450 degrees. Then drop the temperature to 350 degrees and bake an additional 30-40 minutes, until the rhubarb has set. It will set more after you pull it from the oven as well. Enjoy straight away! 

Rhubarb Pie

Sweet and tart combine in this simple to put together rhubarb pie!
Prep Time 20 minutes
Cook Time 50 minutes
Course Dessert
Cuisine American
Servings 8

Ingredients
  

For the Crust:

  • 1 ½ cups all purpose flour
  • ½ tablespoon sugar
  • 1 teaspoon salt
  • ½ cup oil of your choice
  • 2 tablespoons milk

For the filling:

  • 4 cups diced rhubarb fresh or frozen. If frozen, thaw and drain off ¾ of the liquid or so
  • 1 ⅓ cups sugar
  • 6 tablespoons all purpose flour

Instructions
 

  • Preheat the oven to 450 degrees.
  • In your pie plate, combine the flour, sugar, and salt for the crust. Mix together with a fork.
  • Add oil and milk and whisk until well combined. Press into the ungreased pie plate.
  • The pie crust mix will be wet. That’s okay.
  • In a medium bowl, combine the flour and sugar for the filling.
  • Sprinkle approximately ⅓ cup of the mixture onto the pie crust.
  • Mix rhubarb into the remaining flour and sugar and pour onto the unbaked pie crust that has been topped with the flour/sugar mixture.
  • Bake for 15 minutes at 450 degrees. Then drop the temperature to 350 degrees and bake an additional 30-40 minutes, until the rhubarb has set. It will set more after you pull it from the oven as well.
Keyword pie, Rhubarb, rhubarb pie
Tried this recipe?Let us know how it was!

Looking for some other great rhubarb treats?

Check out some of the posts below~

A Sugar Cookie to Write Home About

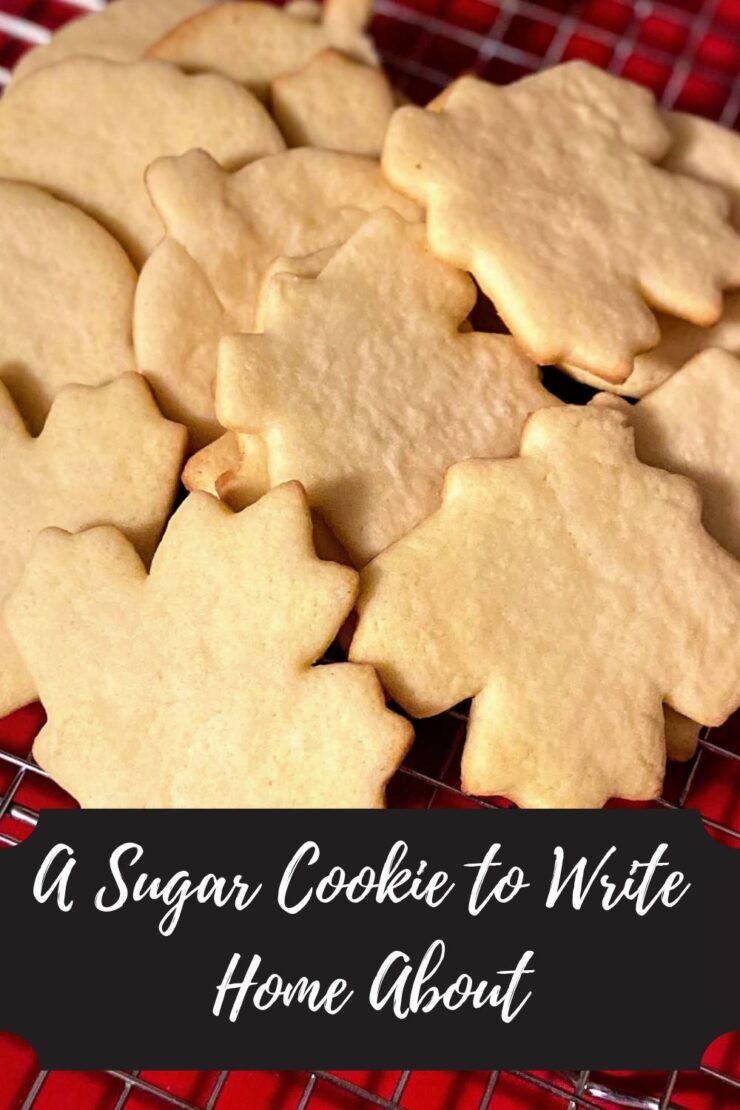
Holidays and baking. They go hand in hand, don’t they? I don’t know what it is about the holiday season, but it seems to bring out the baker in all of us. Maybe it’s the fact that we have less daylight, and we need to do something with our evenings. Maybe it’s because it’s chilly outside and we would just like to warm up the house a little with a preheated oven. Or maybe it’s simply that we are in the giving spirit and we love to show our family and friends we love them with delicious food. I know I can check yes to all those boxes. Because of this, we all need a great sugar cookie recipe in our back pocket. Guess what? I’ve got you covered 😉 

This sugar cookie recipe has been my go to for years and years. My sister in law claims it’s the only cookie that comes close to her mother’s recipe. My aunt makes special requests for these at all holidays. And my dad. He’s a health nut, but can’t say no to a perfectly baked sugar cookie. It warms my heart just thinking of him. 

I am leaving you here with simply the sugar cookie recipe. How you decorate is up to you. Me? I am a light glaze made with almond extract kind of gal. But others live in the school of thought that they love a regular frosting. Or perhaps you add sprinkles before baking and that’s it. Either way, you will have an amazing base of a sugar cookie to add to your cookie tray. 

Oh, and one more thing: This recipe doubles nicely! I’ll leave you will the smaller batch recipe and let you decide if you need to double it (you probably will want to 😉 )

Your Ingredients

  • ¾ cup butter, softened
  • 1 cup white sugar
  • 2 eggs 
  • 1 teaspoon almond extract
  • 2 ½ cups flour
  • 1 teaspoon baking powder
  • ½ teaspoon salt

Your Steps 

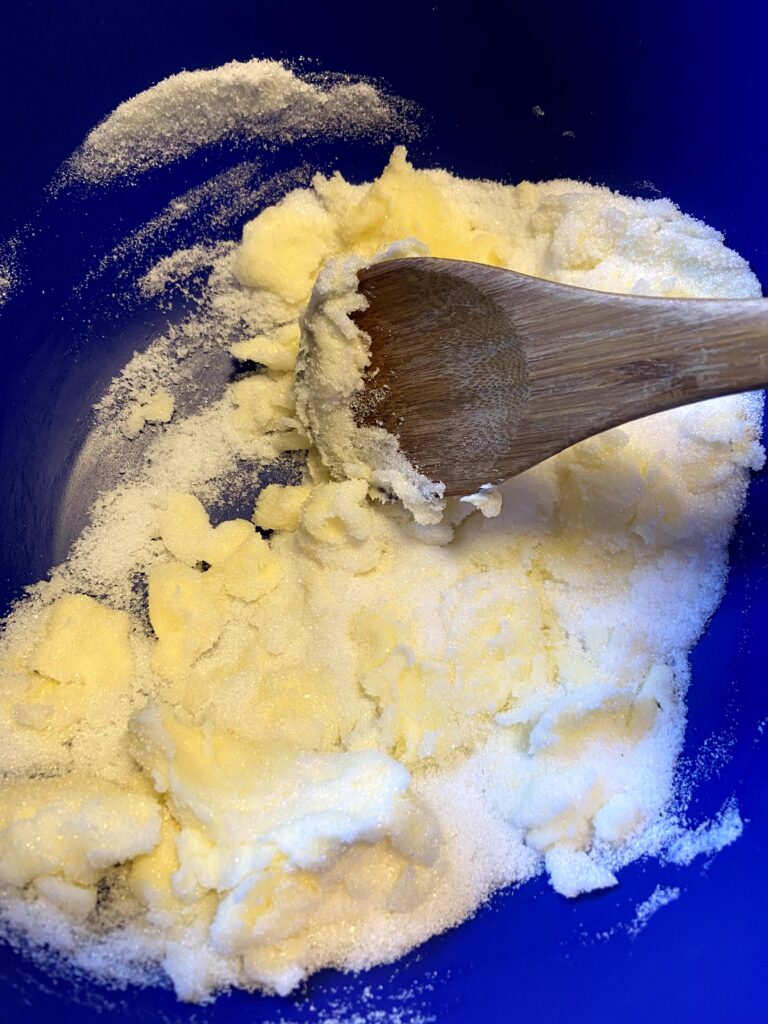
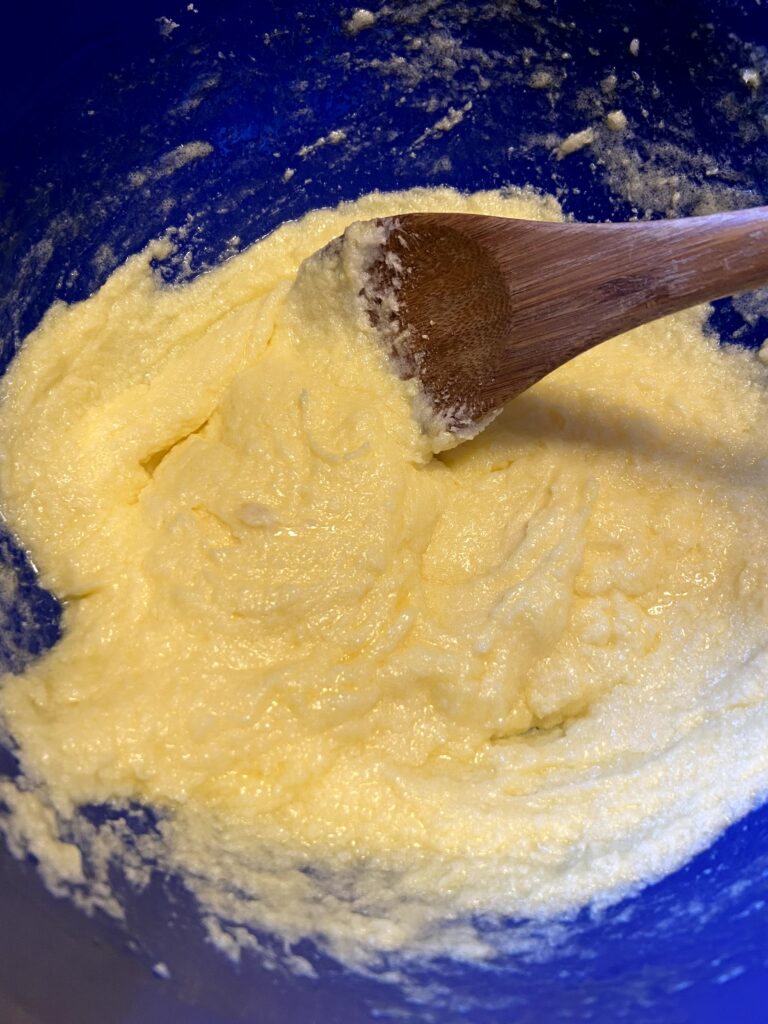
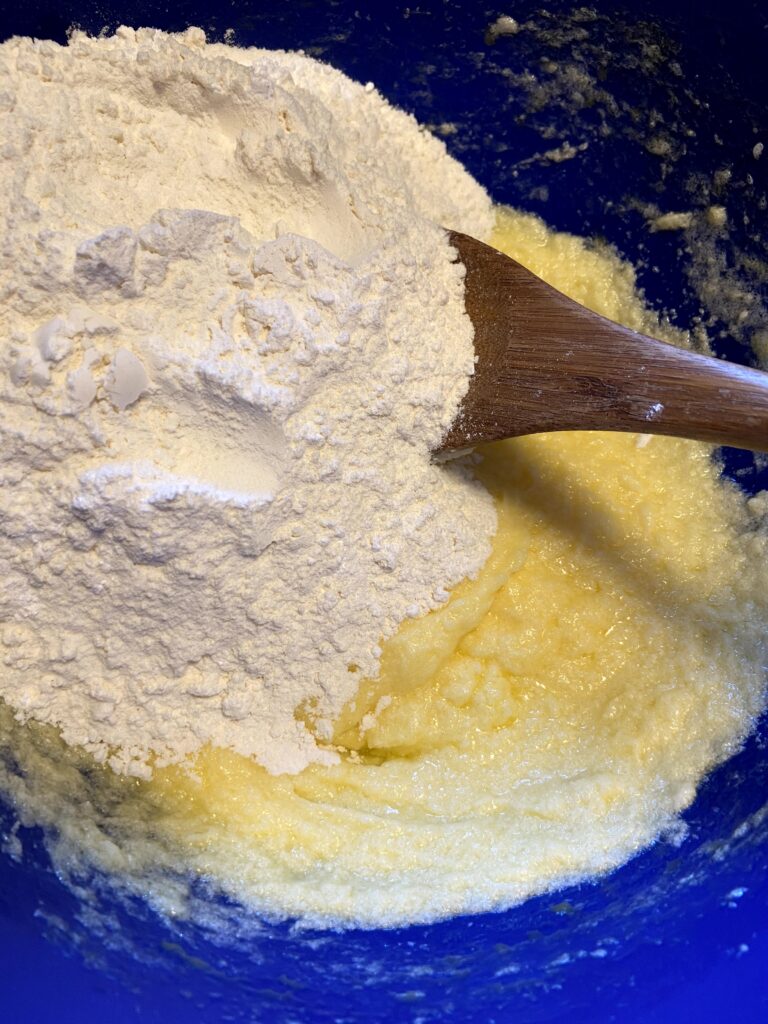
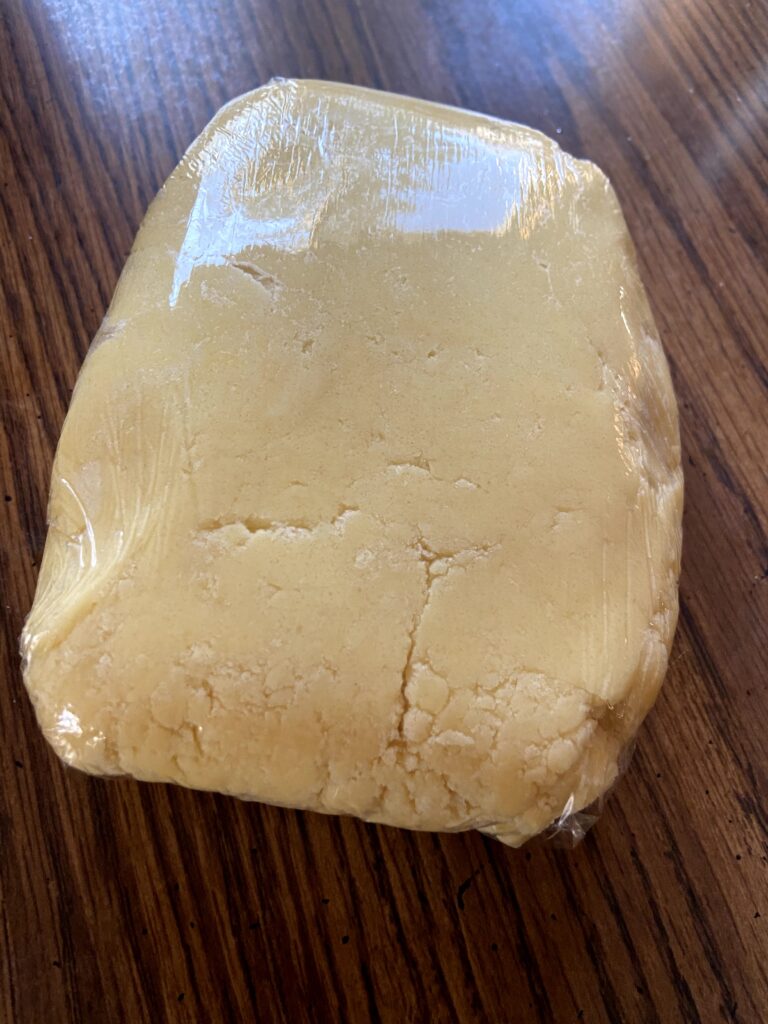
In a large bowl, cream butter and sugar until light and fluffy. Add eggs and almond extract. Beat until well combined. Stir in flour, baking powder, and salt. Form into a log, cover in plastic wrap, and chill at least 3 hours (or overnight). 

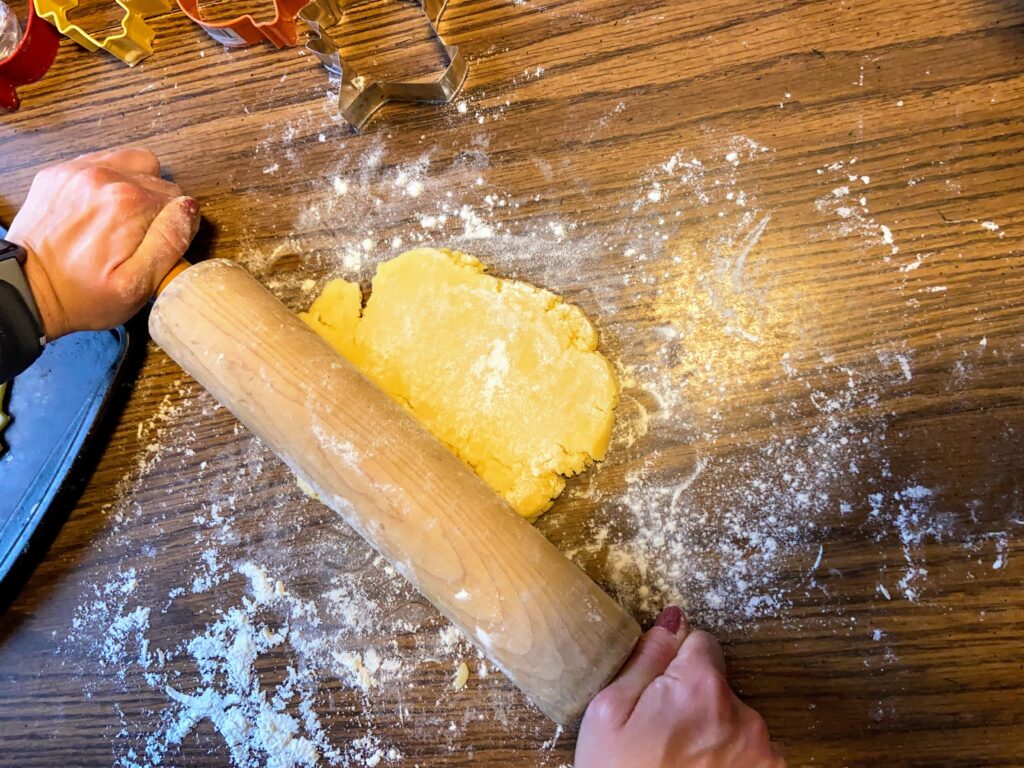
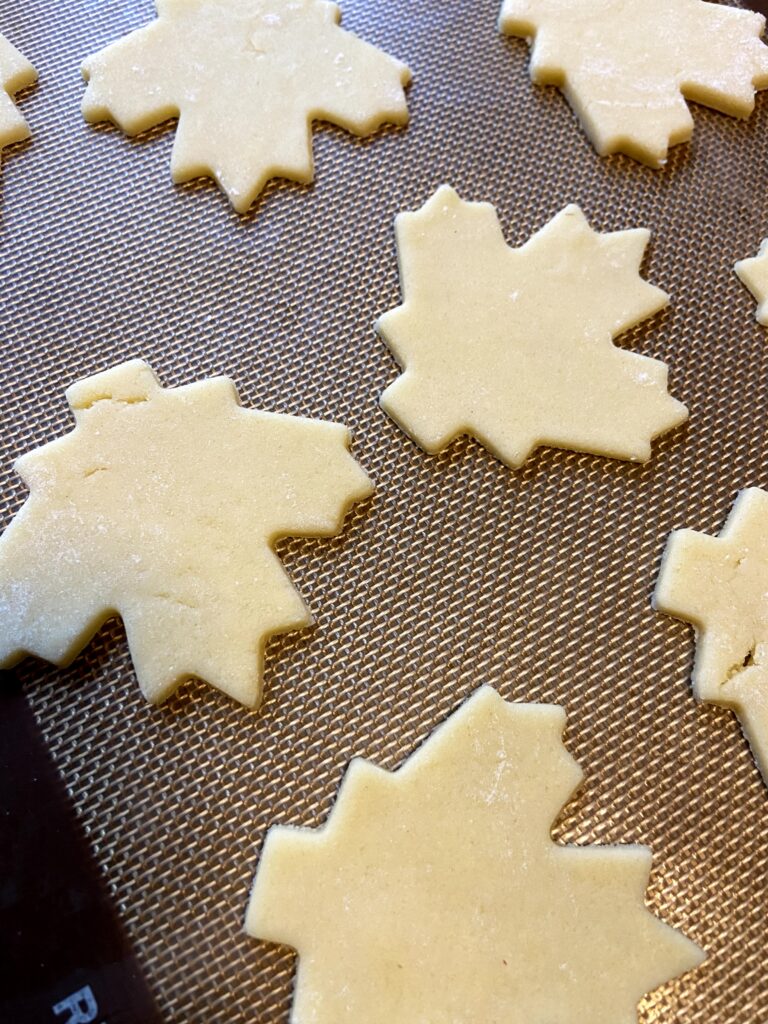
Preheat oven to 400 degrees. On a well floured surface, roll out dough, ⅓ of the log at a time. Roll ⅛” to ¼” of an inch thick, to your desired thickness. Cut using cookie cutters. Place cookies on ungreased cookie sheets. 

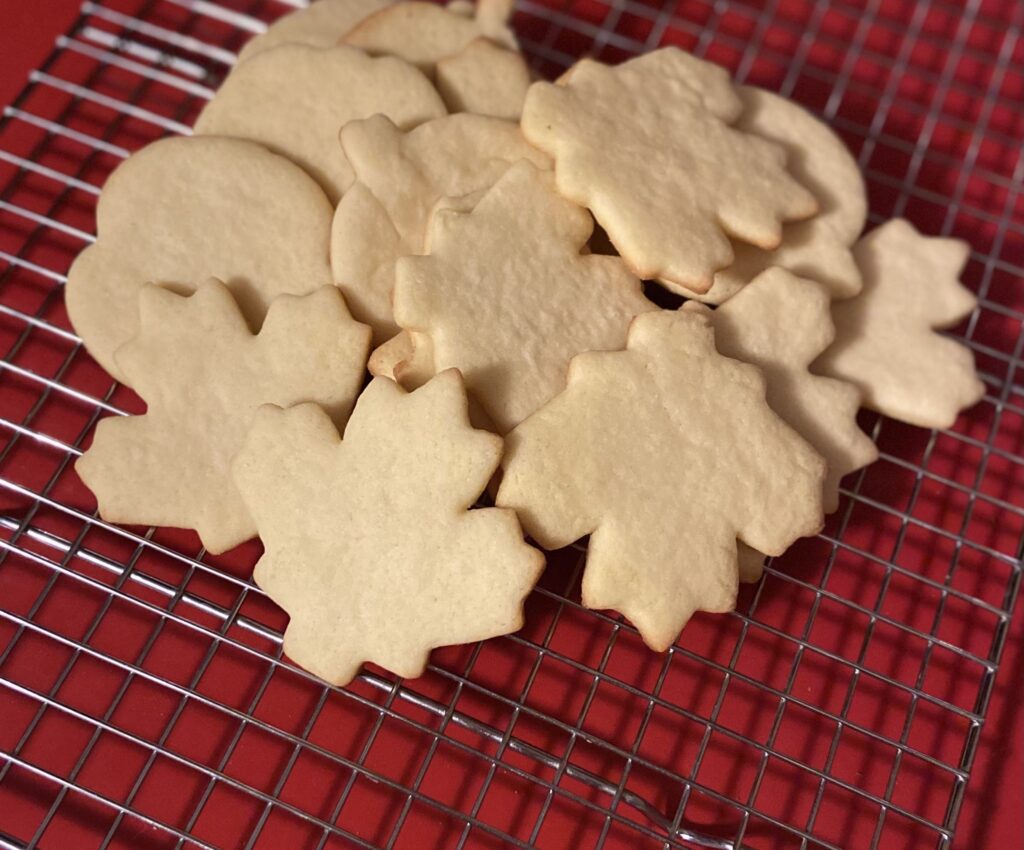
Bake 6-8 minutes, until the edges are just about to brown. Allow to cool 2 minutes before removing and placing on a wire rack to cool completely.

Looking for other baking treats? Check out my baking page below!

Tools of the Trade

These are some of my favorite tools in the kitchen!

Yum!

A Sugar Cookie to Write Home About

Sugar Cookies: the quintessential holiday baking treat! You're seven ingredients and a few hours from the best sugar cookie you'll ever eat!
Prep Time 15 minutes
Cook Time 6 minutes
Rest Time 3 hours
Course Dessert
Cuisine American
Servings 4 dozen

Ingredients
  

  • ¾ cup butter softened
  • 1 cup white sugar
  • 2 eggs
  • 1 teaspoon almond extract
  • 2 ½ cups flour
  • 1 teaspoon baking powder
  • ½ teaspoon salt

Instructions
 

  • In a large bowl, cream butter and sugar until light and fluffy.
  • Add eggs and almond extract. Beat until well combined.
  • Stir in flour, baking powder, and salt.
  • Form into a log, cover in plastic wrap, and chill at least 3 hours (or overnight).
  • Preheat oven to 400 degrees.
  • On a well floured surface, roll out dough, ⅓ of the log at a time. Roll ⅛” to ¼” of an inch thick, to your desired thickness.
  • Cut using cookie cutters. Place cookies on ungreased cookie sheets.
  • Bake 6-8 minutes, until the edges are just about to brown.
  • Allow to cool 2 minutes before removing and placing on a wire rack to cool completely.
Keyword baking, Cookies, holiday treats, sugar cookies
Tried this recipe?Let us know how it was!

Looking for other cookie inspiration?

Check out one of the recipes below!

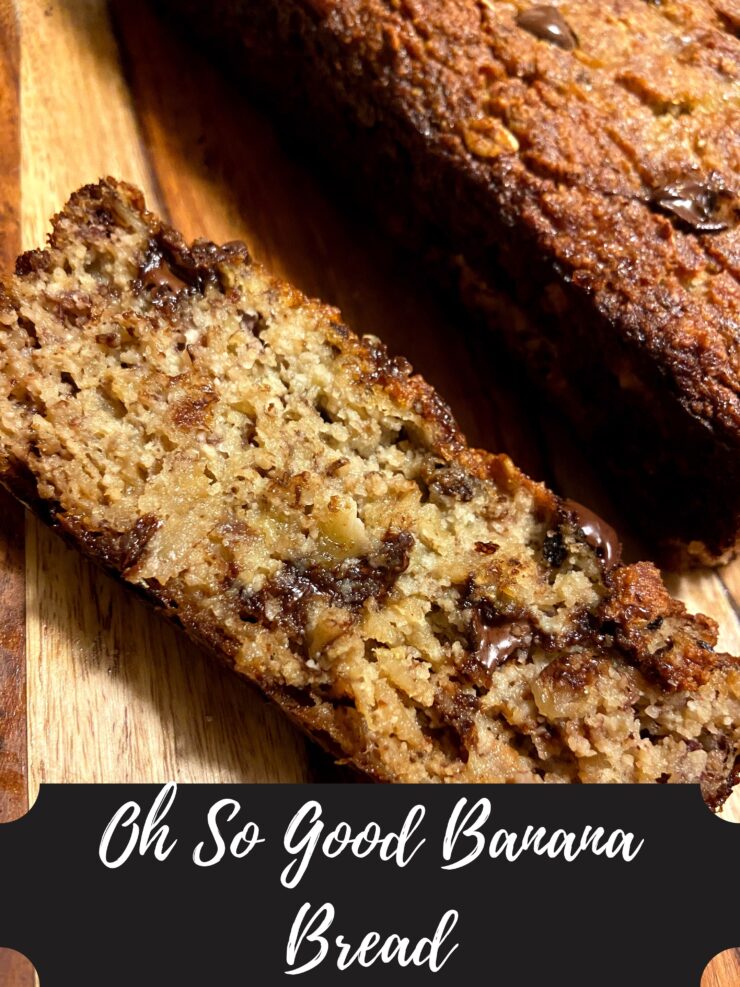
Oh So Good Banana Bread (Gluten Free!)

I have this great banana bread recipe. In fact, I had declared it THE best banana bread. It was clean and gluten free, which, let’s be honest, when combined can mean it doesn’t taste that great. But my friends and family will agree, it is darn good banana bread. You can get the recipe by clicking here

However, THE best banana bread requires the baker to create oat flour by putting all the dry ingredients in a food processor. I love my food processor, but the other evening, I was not interested in heading to the basement to grab it to make banana bread. Yes, I know this is slightly lazy. Okay, a lot lazy. But out of my refusal to grab an appliance, another great recipe was born. 

This recipe is STILL gluten free. While I am not gluten free myself, I dig being able to create for my friends who are. It still doesn’t have refined sugar. While I still love me some sugar, I enjoy finding good substitutes for my friends who try hard to cut extra sugar from their life. So if you are gluten free, watching your sugar, or you’re like me who really just loves a great banana bread recipe, I hope you give this a try. My husband (who doesn’t love banana bread) definitely went for seconds. And thirds. 

Ready? Let’s get baking!

Your Ingredients

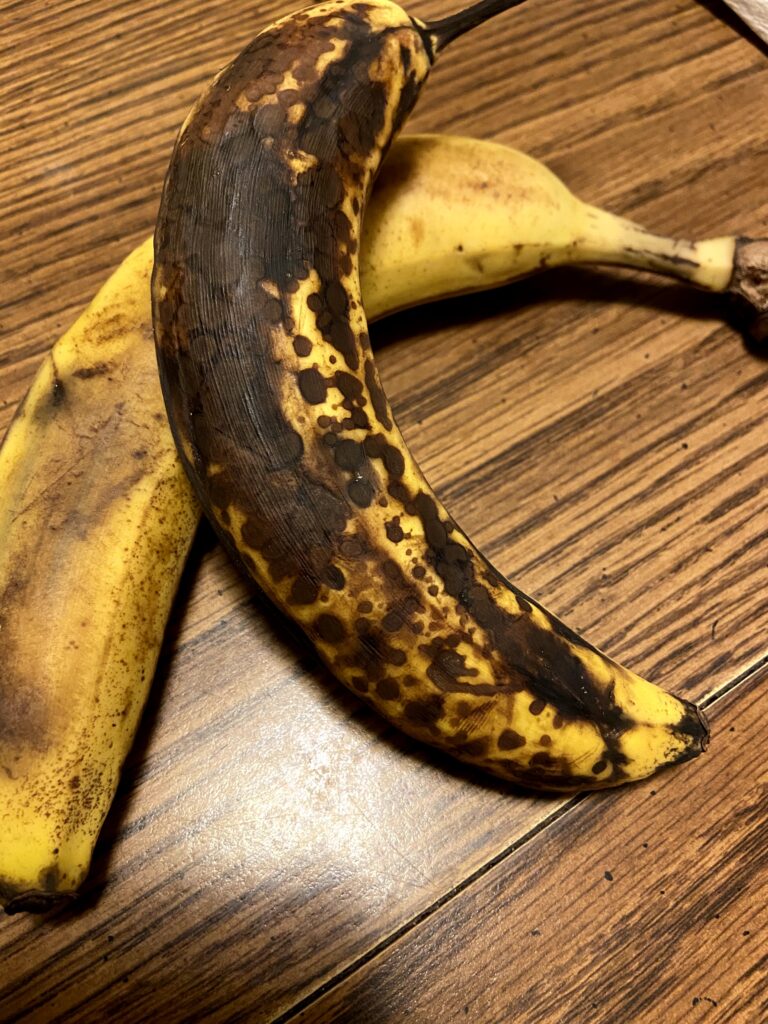
  • 3 very ripe bananas, mashed
  • 2 eggs, room temperature
  • 2 tablespoons coconut oil, melted (olive oil would do fine too!)
  • ¼ cup real maple syrup
  • ½ teaspoon vanilla extract
  • 1 ½ cups almond flour
  • ¾ cup old fashioned oats
  • 1 teaspoon baking soda
  • ½ teaspoon salt 
  • ¼ cup chopped walnuts 
  • ¼ cup dark chocolate chips 

Your Steps for Great Banana Bread 

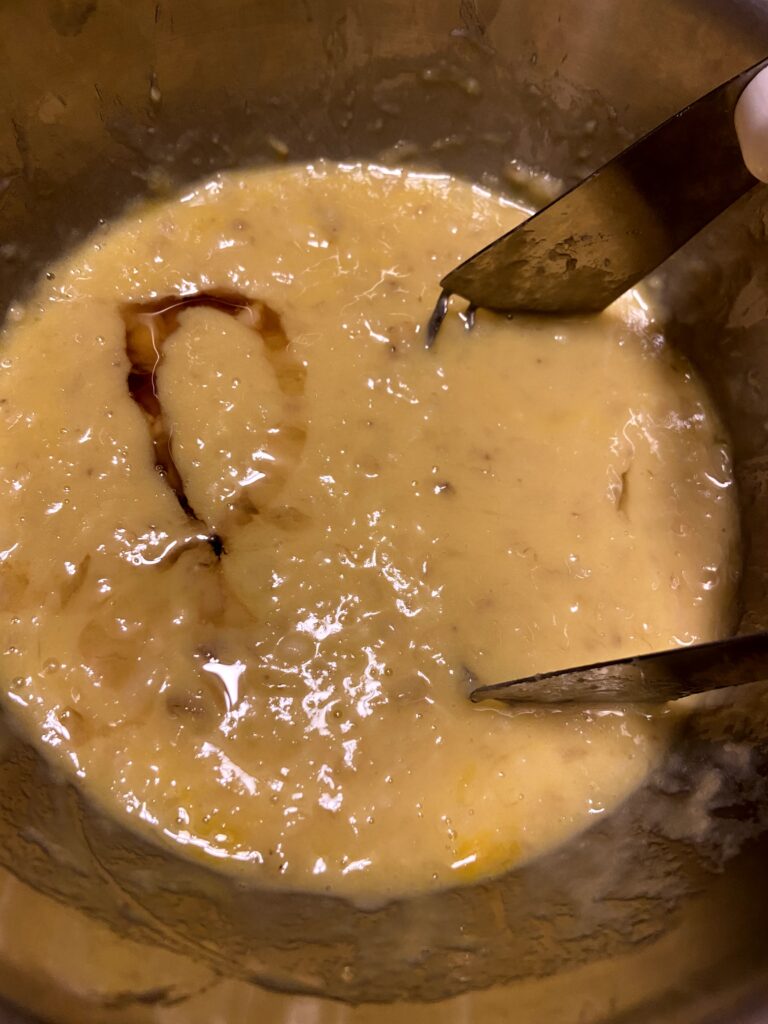
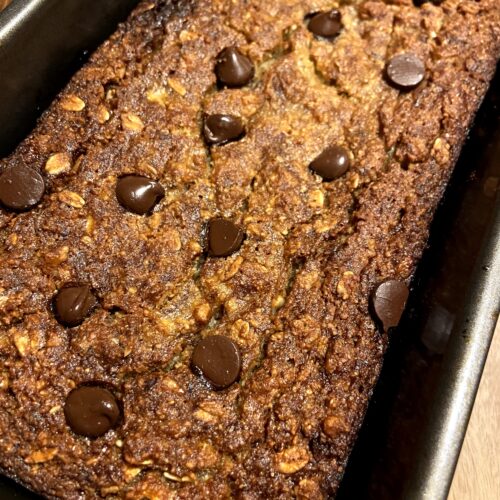
Preheat oven to 350 degrees. Lightly grease a 9×5 quick bread pan. In a large bowl, combine mashed bananas, eggs, maple syrup, and vanilla. Stir in oil. Combine flour, oats, baking soda, and salt. Stir into the wet mixture. Fold in walnuts and chocolate chips. If you want it to look extra beautiful, sprinkle a few extra chocolate chips on top. Pour into prepared pan. Bake for 45-60 minutes, until cooked through. 

Looking to bake other delicious treats? Head on over to my baking page for more inspiration!

Tools of the Trade

There isn’t much you need for a quick bread, but I want to share out the tools I love when I am baking!

Oh So Good Banana Bread

Oh So Good Banana Bread (Gluten Free!): Clean eating doesn't have to be flavorless. This banana bread is to die for and is gluten free too!
Prep Time 20 minutes
Cook Time 55 minutes
Course Breakfast
Cuisine American
Servings 12

Ingredients
  

  • 3 very ripe bananas mashed
  • 2 eggs room temperature
  • 2 tablespoons coconut oil melted (olive oil would do fine too!)
  • ¼ cup real maple syrup
  • ½ teaspoon vanilla extract
  • 1 ½ cups almond flour
  • ¾ cup old fashioned oats
  • 1 teaspoon baking soda
  • ½ teaspoon salt
  • ¼ cup chopped walnuts
  • ¼ cup dark chocolate chips

Instructions
 

  • Preheat oven to 350 degrees. Lightly grease a 9×5 quick bread pan.
  • In a large bowl, combine mashed bananas, eggs, maple syrup, and vanilla.
  • Stir in oil. Combine flour, oats, baking soda, and salt. Stir into the wet mixture.
  • Fold in walnuts and chocolate chips. Sprinkle a few extra chocolate chips on top.
  • Pour into prepared pan. Bake for 45-60 minutes, until cooked through.
Keyword Banana Bread, bananas, Breakfast, Quick Bread
Tried this recipe?Let us know how it was!

Happy Mistake Sourdough Pumpkin Muffins

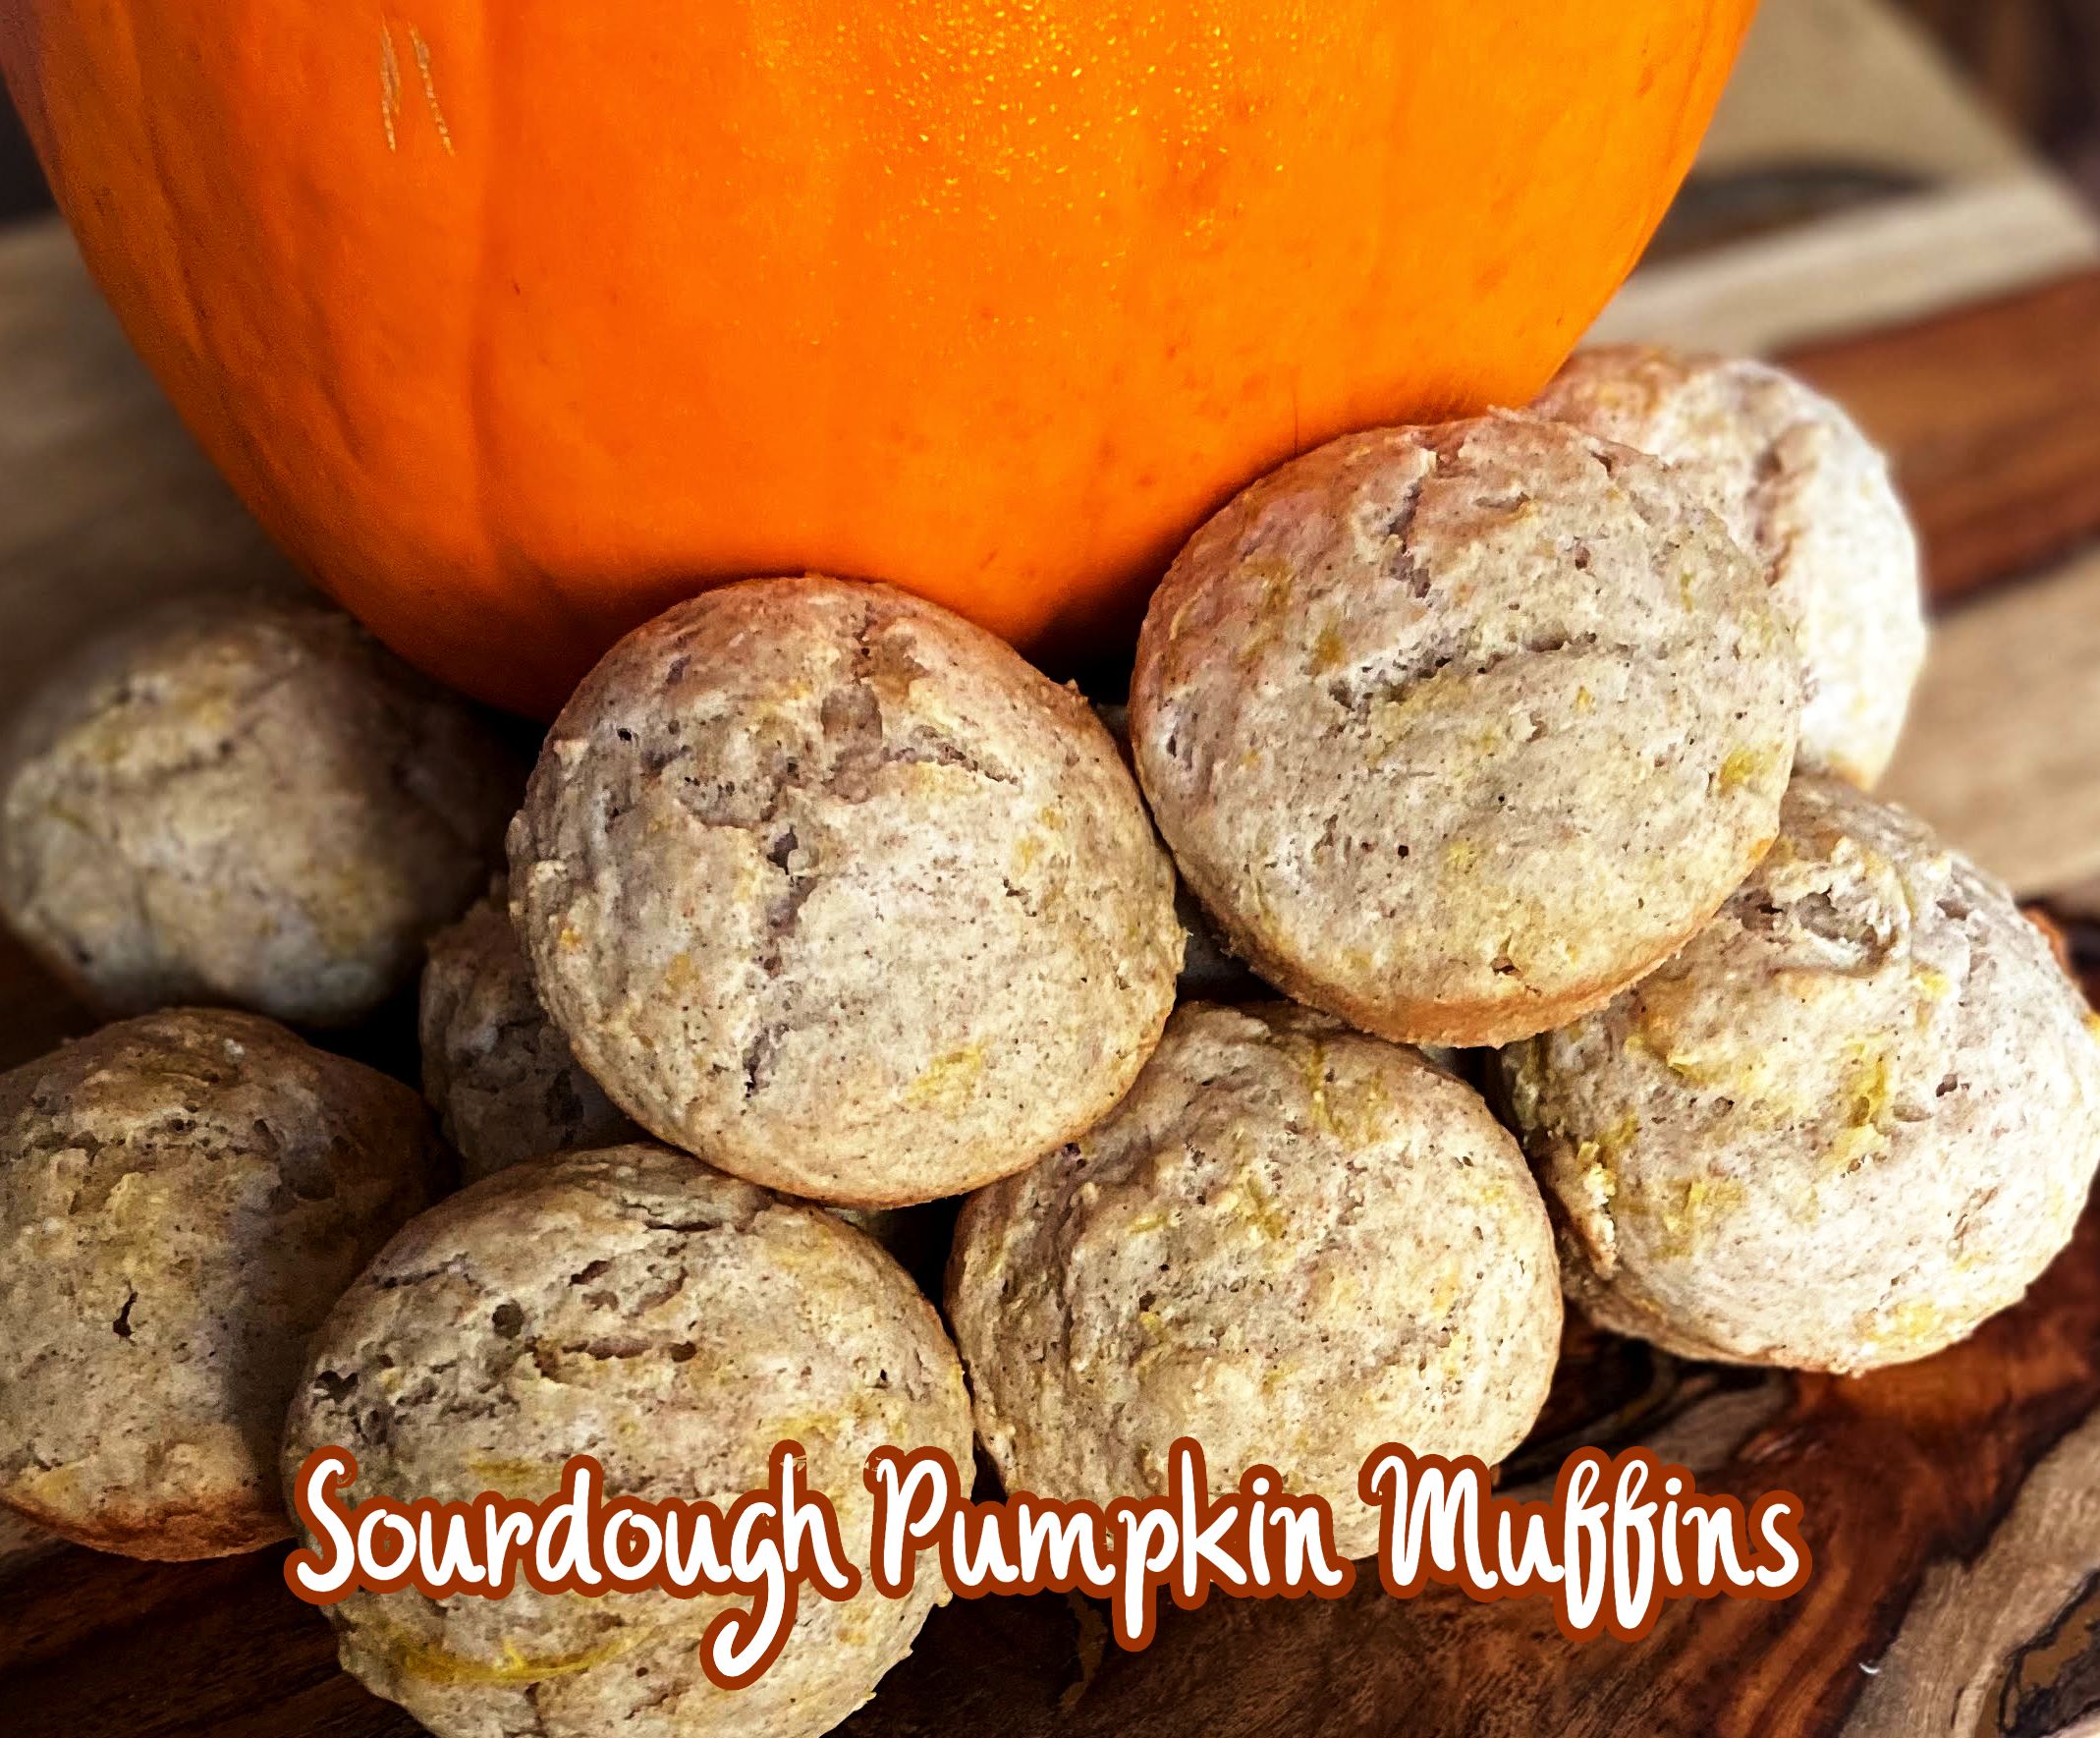
Isn’t it grand when a “happy little mistake” turns out to be a delight? While I have recently adopted the mentality of “what’s the worst that can happen?” when I am cooking and experimenting (by the way the worst that can happen is I learn what DOESN’T work and I throw away a little food), it is always exciting when the experiment turns out to be the best case scenario. That happened for me a week or so ago when I set out to make pumpkin scones. Scones were not the result, but the sourdough pumpkin muffins I created were a hit! 

Let me backtrack A little bit…

I have a great standard scone recipe that I adapt for all sorts of flavors of scones. You can check out one of my sourdough scone recipes here. I generally modify the spices and maybe add some diced fruit or lemon zest. This time, I had freshly roasted pumpkin that I was excited to use and figured it would mix well into the scone recipe. Needless to say, it became a little more damp than I am accustomed to, and I knew scones would be a no go. 

A few minutes of thinking and a few additional ingredients resulted in a batter the perfect consistency for muffins. I allowed it to rest (like a good sourdough bread should do), and lo and behold, a light, full of spice sourdough pumpkin muffins were born. I was so excited to share it with all of you! 

As an aside, it may not be traditional to share the mishaps turned to beauty in the kitchen. I believe in being real in life and on social media, and man, cooking isn’t always pretty. We make mistakes. Burn things, forget the salt, add one too many eggs, or forget just how many cups of flour you put in (Seriously, I use the least amount of measuring cups possible so if that means I have to use the ½ cup 5 times, I am down for it. Sometimes I lose track though. What can I say?) Bottom line, being in the kitchen should be an adventure. Take chances, embrace the mishaps and love the learning. It’s the only way to get better. 

Now let’s get cooking!

Your Ingredients for Sourdough Pumpkin muffins

  • 2 ½ cups all purpose flour
  • ½ teaspoon salt
  • ½ cup white sugar
  • 2 teaspoons baking powder
  • ½ teaspoon baking soda
  • 2 teaspoons pumpkin pie spice (or 1 ½ teaspoons cinnamon, ¼ teaspoon nutmeg, and ¼ teaspoon ground cloves)
  • ⅓ cup cold butter
  • 1 ½ cups fresh, active sourdough starter
  • 1 cup fresh or thawed pumpkin puree
  • ¼-½ chocolate chips (optional)

Your Steps for Sourdough Pumpkin Muffins

Preheat the oven to 400 degrees. Prepare muffin tins by greasing or lining with muffin tin liners. Combine all dry ingredients. Cut cold butter into small pieces and add to the flour mixture. Mix by hand, pinching the butter in your fingers until it’s mixed together-ish. To that mixture, add starter, pumpkin, and chocolate chips. Mix by hand until just combined, making sure to reach the bottom of the bowl. Cover. Allow to rest 20-30 minutes. Scoop by ¼ cup full and fill muffin tins. Bake for 20 minutes, or until they pass the toothpick test (a toothpick inserted in the center will come out clean). 

Round out the fall flavor sensation by pairing your freshly baked muffins with some warm apple cider or maybe even a pumpkin spice latte. 

Tools of the Trade

If you’re baking, you need a great muffin tin. If you are fortunate enough to have a pumpkin to roast, I recommend a nice thick baking sheet lined in foil. Looking to get a new one? Check out the links below!

Roasted Pumpkin Recipe

Looking to roast your own pie pumpkin? Click here to get the recipe!

Sourdough Pumpkin Muffins

Sourdough discard mixed with fresh roasted pumpkin puree make for a delightful sourdough pumpkin muffin.
Servings 16 muffins

Ingredients
  

  • 2 ½ cups all purpose flour
  • ½ teaspoon salt
  • ½ cup white sugar
  • 2 teaspoons baking powder
  • ½ teaspoon baking soda
  • 2 teaspoons pumpkin pie spice or 1 ½ teaspoons cinnamon, ¼ teaspoon nutmeg, and ¼ teaspoon ground cloves
  • cup cold butter
  • 1 ½ cups fresh active sourdough starter
  • 1 cup fresh or thawed pumpkin puree
  • ¼-½ chocolate chips optional

Instructions
 

  • Preheat the oven to 400 degrees.
  • Prepare muffin tins by greasing or lining with muffin tin liners.
  • Combine all dry ingredients. Cut cold butter into small pieces and add to the flour mixture.
  • Mix by hand, pinching the butter in your fingers until it’s mixed together-ish.
  • To that mixture, add starter, pumpkin, and chocolate chips.
  • Mix by hand until just combined, making sure to reach the bottom of the bowl.
  • Cover. Allow to rest 20-30 minutes.
  • Scoop by ¼ cup full and fill muffin tins. Bake for 20 minutes, or until they pass the toothpick test (a toothpick inserted in the center will come out clean).
Tried this recipe?Let us know how it was!

Whole Wheat Gooseberry Muffins

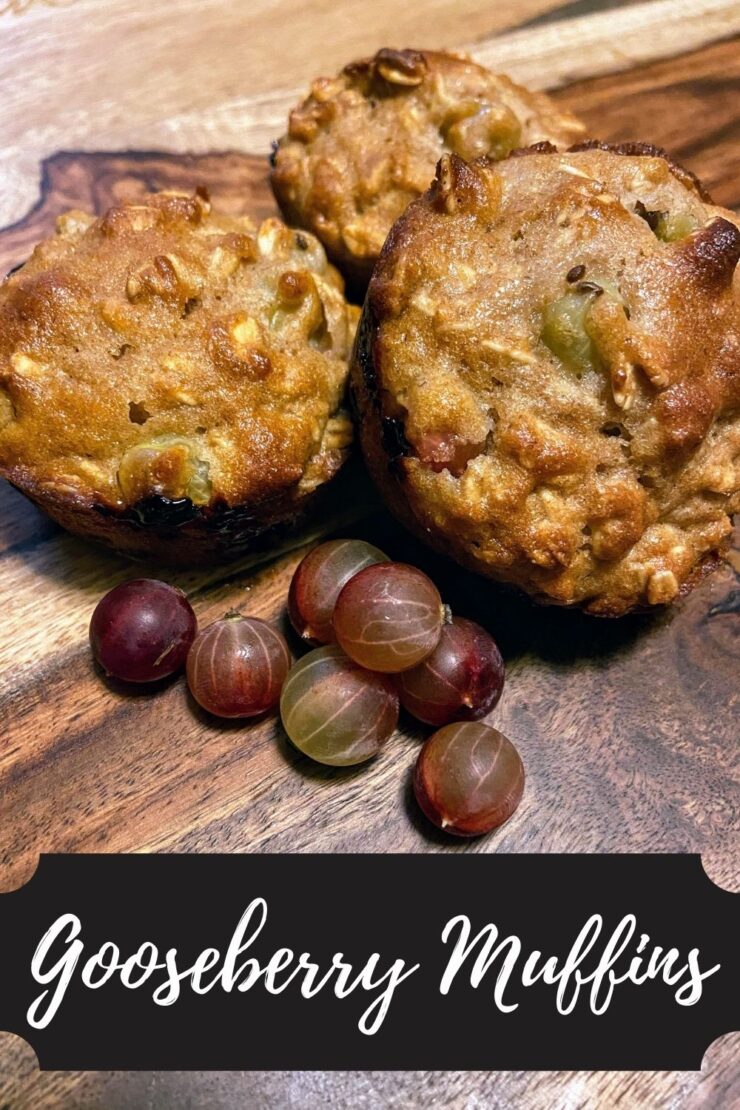
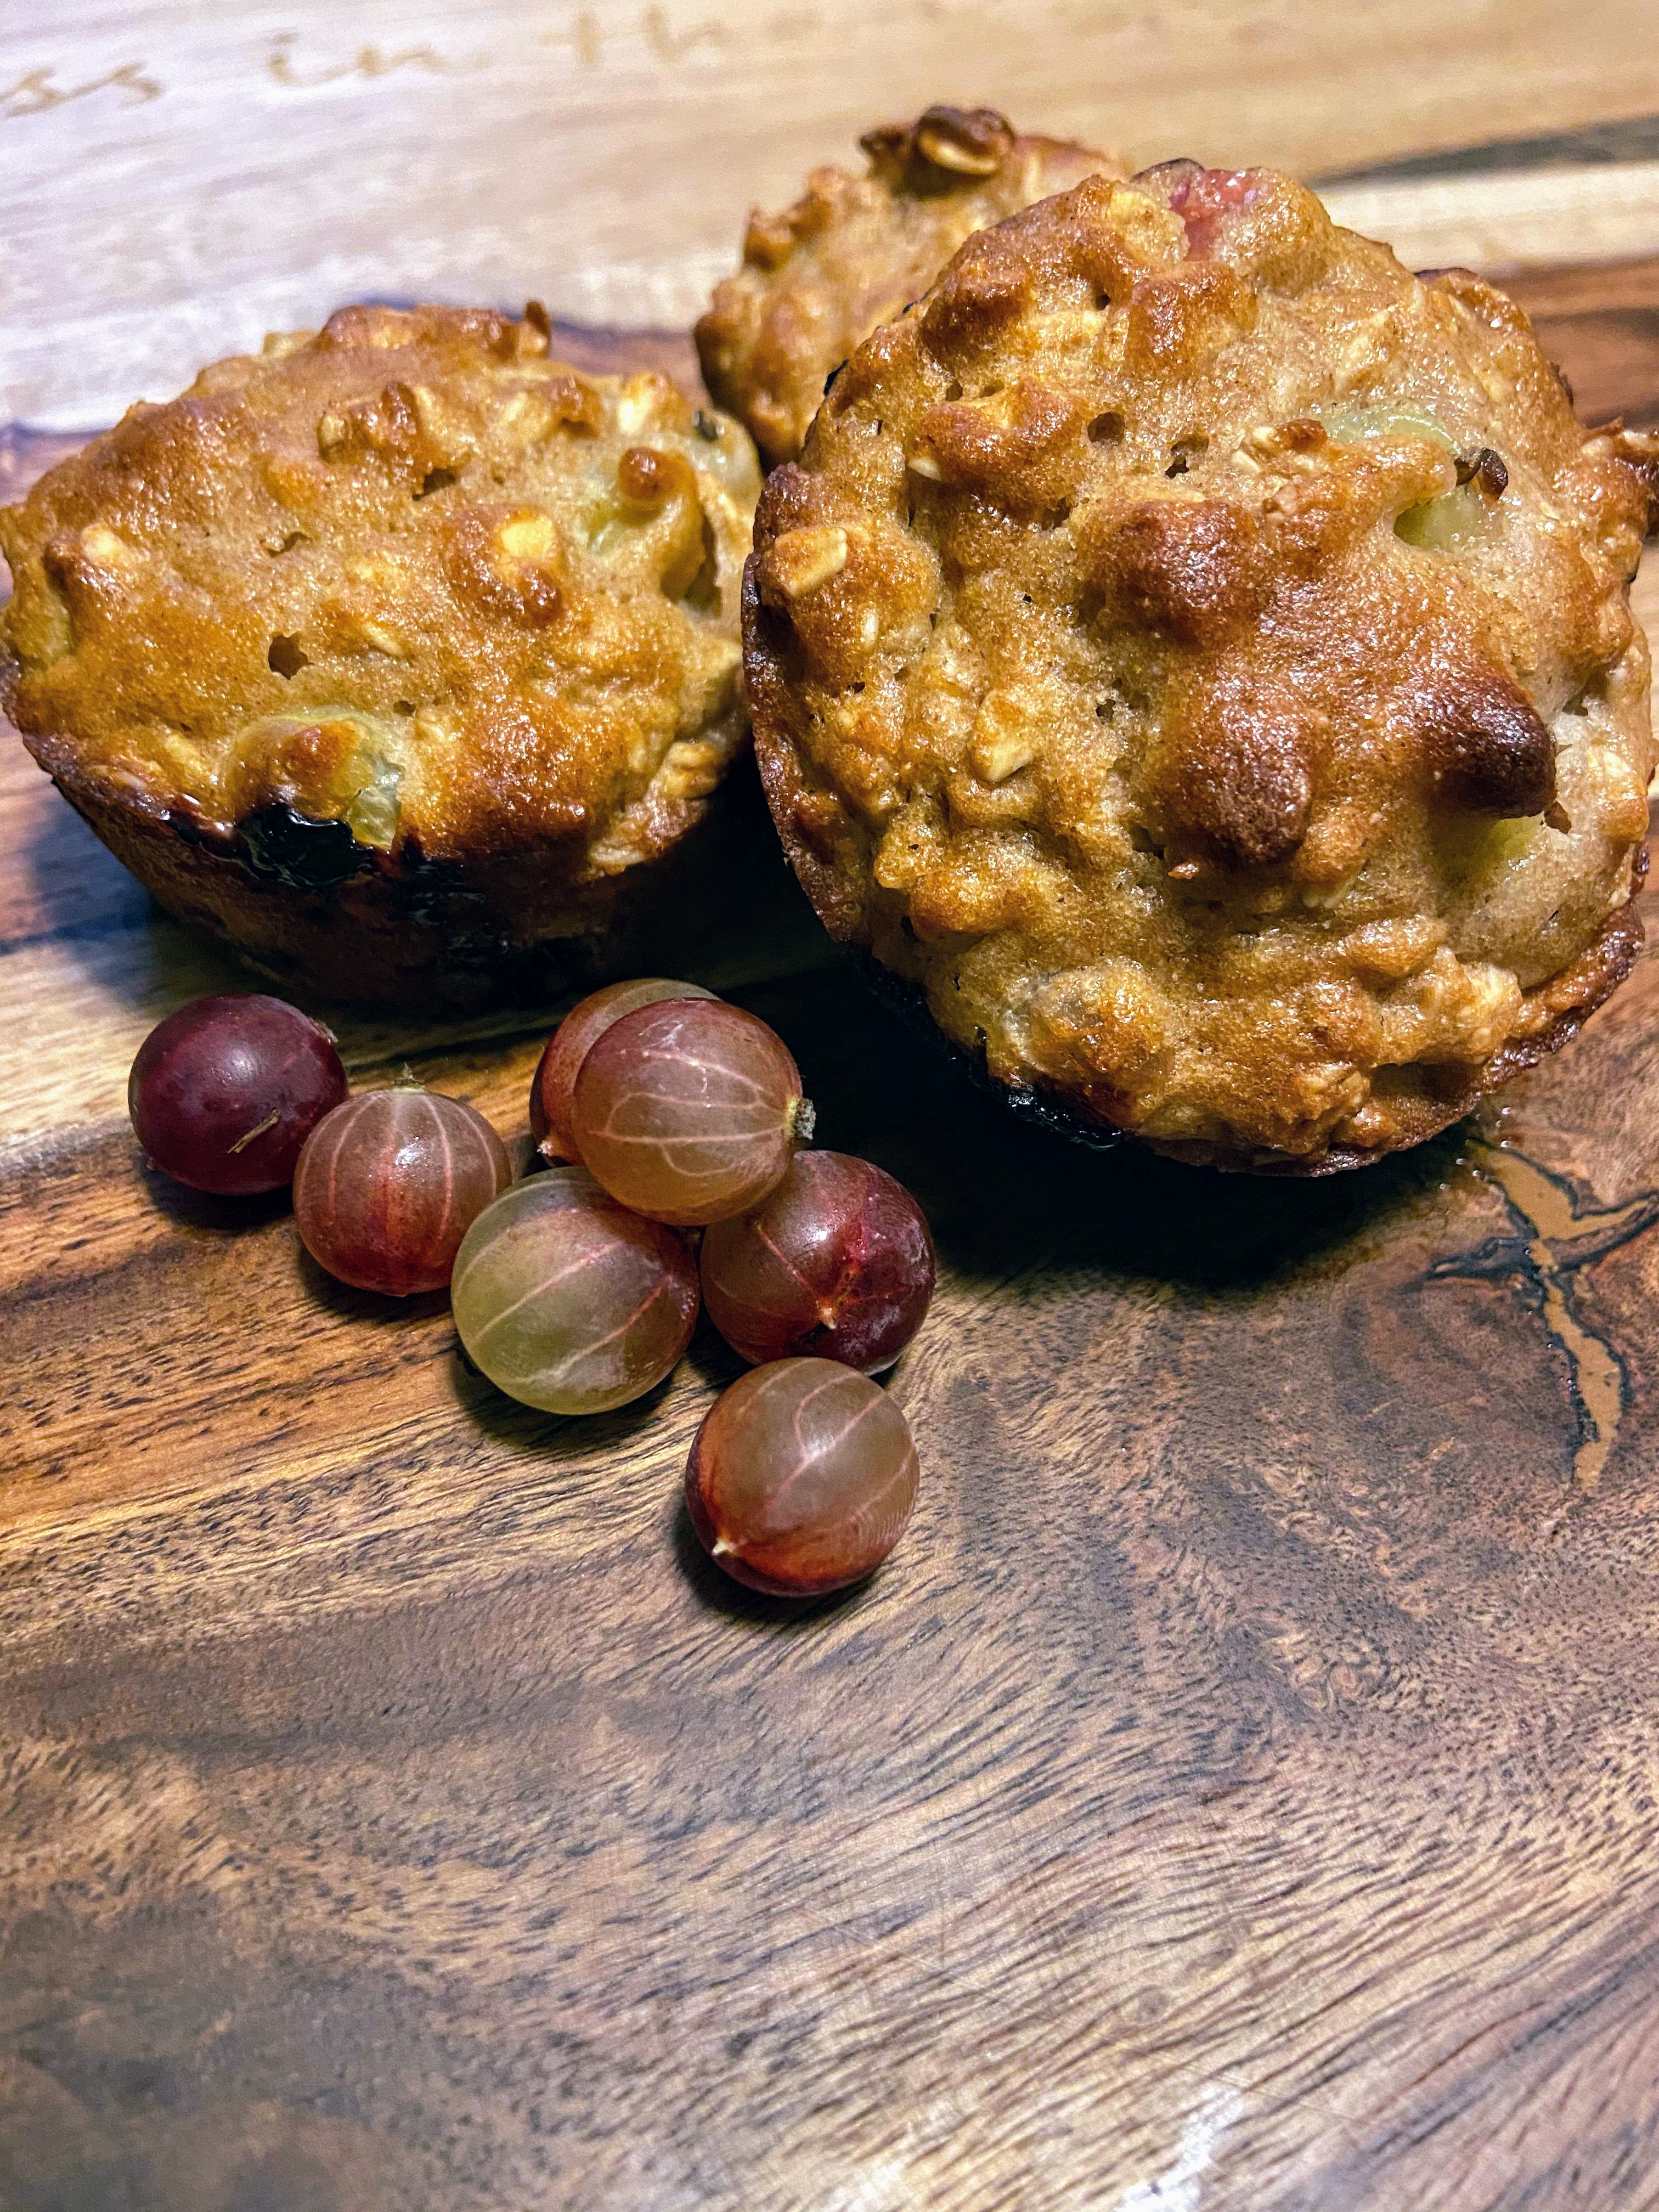
A number of years ago, I tried a berry at a farmer’s market. There must have been samples, but the memory is vague. I loved the berry I tried, and told my husband we had to grow them. The following year, we purchased two gooseberry plants. I was so excited! A year later, we had berries. I tried them, and they weren’t at all what I remembered. (In hindsight, I think I had currants at the farmer’s market.) That’s life, right? Maybe it’s just my life. But luckily, I really loved the flavor that gooseberries had. Needless to say, I was grateful for my mishap. Recently, a friend stopped by, asked, what the plant was, and subsequently, what I use them for. Previously, I had only just snacked on them. Once I made a gooseberry gin jam (YUM!). Now I can say with confidence that they make slightly tart and sweet whole wheat gooseberry muffins that are delish! 

They are kind of cute, aren’t they?

But what does a gooseberry taste like?

Never had a gooseberry? They are about the size of a large blueberry, but look like a miniature watermelon with the texture of a grape. Typing that just makes me smile. It almost sounds like a description from a Dr. Seuss book, but I think it’s a great description. They can tart like a green grape or sweeter like a red grape. They grow on bushes with some gnarly thorns. I see that as part of the adventure of having them…can I get away without getting pricked? 

Anywho…we had a bumper crop this year, and I wanted to do more than freeze them. I wanted to bake. I love the way this recipe turned out. They have texture and beautiful color. The flavor is reminiscent of rhubarb with the sweet tart combination. Don’t have gooseberries on hand? I am certain that blueberries would be a great alternative and can’t wait to give that a try too! 

Your Ingredients for Gooseberry Muffins

  • 1 cup old fashioned oats
  • 1 cup wheat flour
  • ½ teaspoon salt
  • 1 teaspoon baking powder 
  • ½ cup sugar
  • 1 egg 
  • ½ cup Greek yogurt
  • ⅓ cup milk 
  • ½ teaspoon vanilla
  • 2 tablespoon olive oil 
  • 1 ½ cups gooseberries, cleaned (1 ½ cups if you dig the tart flavor. 1 cup if you want it a little sweeter) 

Your steps 

If you haven’t yet, nip off the ends on the gooseberries. You only want the berry portion in the muffin. Then, preheat the oven to 400 degrees. Grease or line a muffin tin. This recipe will result in approximately 12 muffins. 

In a large bowl, combine the oats, flour, sugar, salt, and baking powder. Set aside. 

In a small bowl, whisk egg. Add the yogurt, milk, vanilla, and olive oil. Whisk well. After the wet ingredients have combined, pour into the dry ingredients. Stir until just combined. Fold in cleaned gooseberries. Again, you can use one to one and a half cups, depending on your preference of flavor. My family loves tart (think, rhubarb bread and pie), so I add more berries. 

Divide the batter among the 12 muffin cups. Bake for 20-25 minutes, until cooked through. Allow to cool in the tin a few minutes before removing. I think these gooseberry muffins are best served warm with a cup of coffee. 🙂 

Gooseberry Muffins

Sweet and tart combine for a muffin reminiscent of a rhubarb bread in these gooseberry muffins. You'll love the tart surprise you get as you bite into one.
1 from 1 vote
Prep Time 15 minutes
Cook Time 25 minutes
Course Breakfast
Cuisine American
Servings 12 muffins

Ingredients
  

  • 1 – 1 ½ cups gooseberries cleaned (1 ½ cups if you dig the tart flavor. 1 cup if you want it a little sweeter)
  • 1 cup old fashioned oats
  • 1 cup wheat flour
  • ½ cup sugar
  • ½ teaspoon salt
  • 1 teaspoon baking powder
  • 1 egg
  • ½ cup Greek yogurt
  • cup milk
  • ½ teaspoon vanilla
  • 2 tablespoon olive oil

Instructions
 

  • If you haven’t yet, nip off the ends on the gooseberries. You only want the berry portion in the muffin.
  • Preheat the oven to 400 degrees. Grease or line a muffin tin. This recipe will result in approximately 12 muffins.
  • In a large bowl, combine the oats, flour, sugar, salt, and baking powder. Set aside.
  • In a small bowl, whisk egg. Add the yogurt, milk, vanilla, and olive oil. Whisk well.
  • Pour into the dry ingredients, stirring until just combined. Fold in cleaned gooseberries.
  • Again, you can use one to one and a half cups, depending on your preference of flavor.
  • Divide the batter among the 12 muffin cups. Bake for 20-25 minutes, until cooked through.
  • Allow to cool in the tin a few minutes before removing.
Keyword Breakfast, gooseberry, muffin, muffins
Tried this recipe?Let us know how it was!

Hints and Tips

If you opt for all purpose flour rather than whole wheat, you may want to decrease the milk by a ½ tablespoon or so. Whole wheat flour absorbs more liquid than all purpose flour does. If you don’t decrease it, you may have a wetter batter. 

Fun fact! Upon further research, I learned that gooseberries were made illegal in the United States in the early 1900’s. They are also in the currant family! No wonder I confused the two 🙂 If you’re interested in the history, check it out here!

Looking for more recipes? Click the links below:

Dandelion and Honey Shortbread Cookies

Jump to Recipe

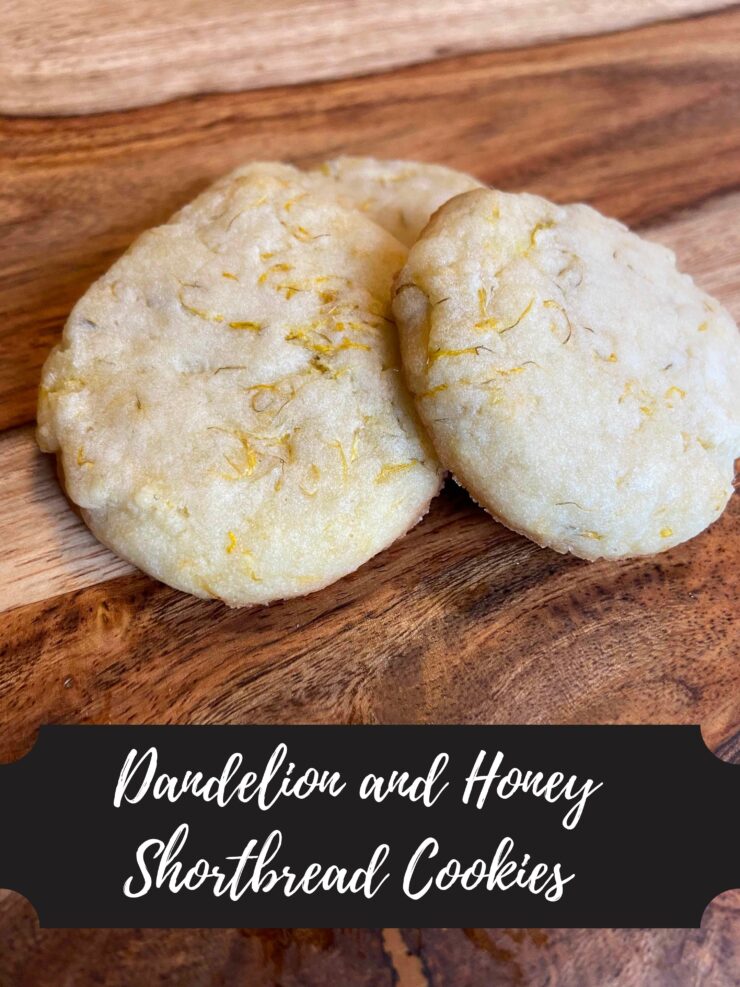
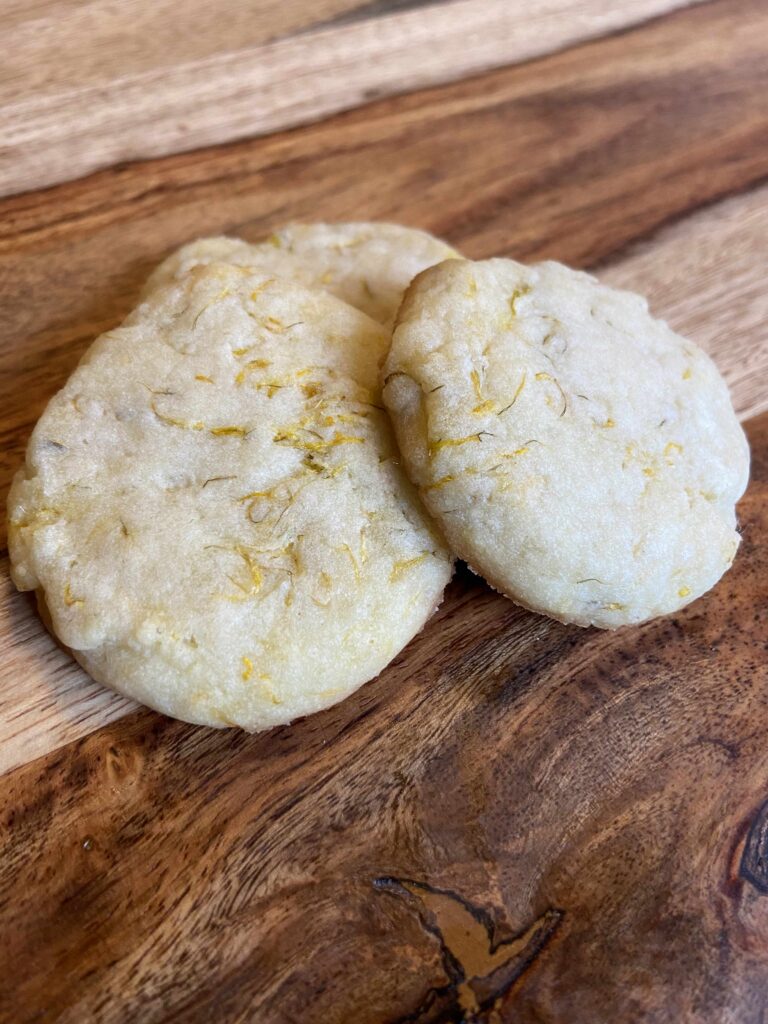
I recently read that most people begin their descent into the foraging world by harvesting dandelions or mushrooms. For me, it was acorns, but dandelions were a very close second. As soon as I had read the things you could make with them, I was determined to try them all. Pesto. Jelly (I have a great recipe for that here). Wine. And now, these delightful melt in your mouth morsels. You’ve got to try these so easy to put together Dandelion and Honey Shortbread Cookies.

However, I must give ample warning. After you try these, you just might become hooked on the idea of foraging too. You see, a few years ago my classroom looked out over a large field; I am not joking when I tell you I would look longingly at the yellow balls of sunshine that are dandelions. I dreaded that they were going to get mowed over. There was so much potential in those little guys. Just think how many of these dandelion cookies we could get! And the wine. Don’t get me started. I mean, you should definitely get started. You’ll feel a sense of connectedness to the Earth as you create and bake. I promise (Okay, maybe promise is a strong word, but I really bet you will!). Here’s your toe dipping recipe into the world of foraging: Dandelion and Honey Shortbread Cookies.

Your ingredients:

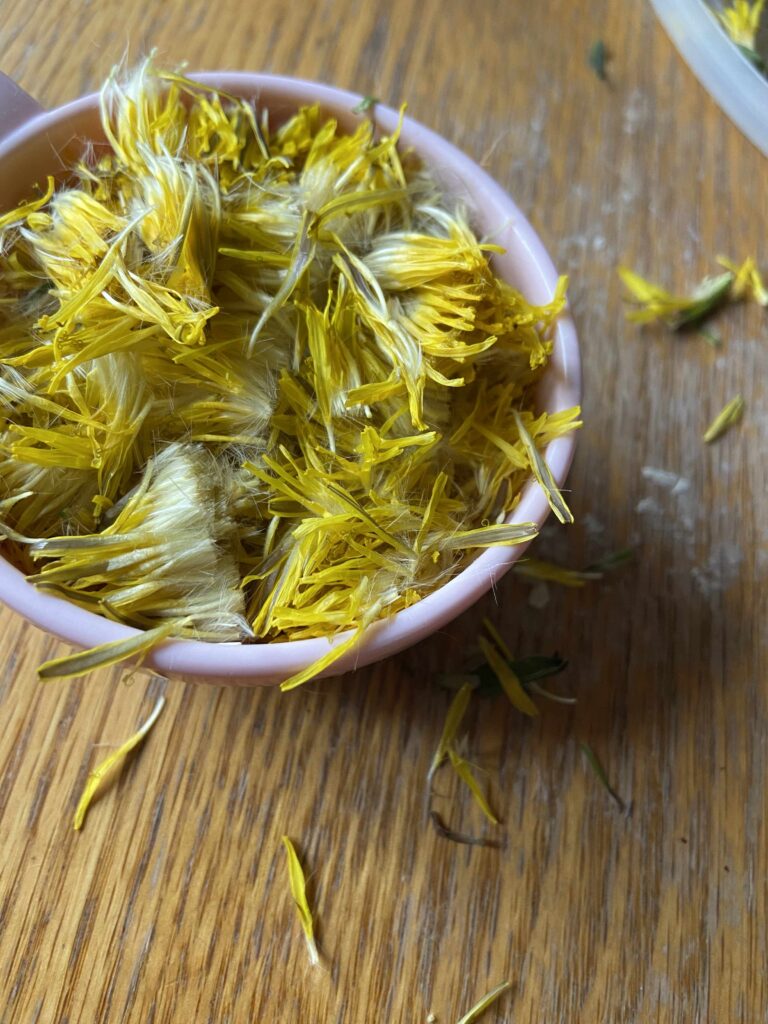
  • 1/2 cup dandelion petals
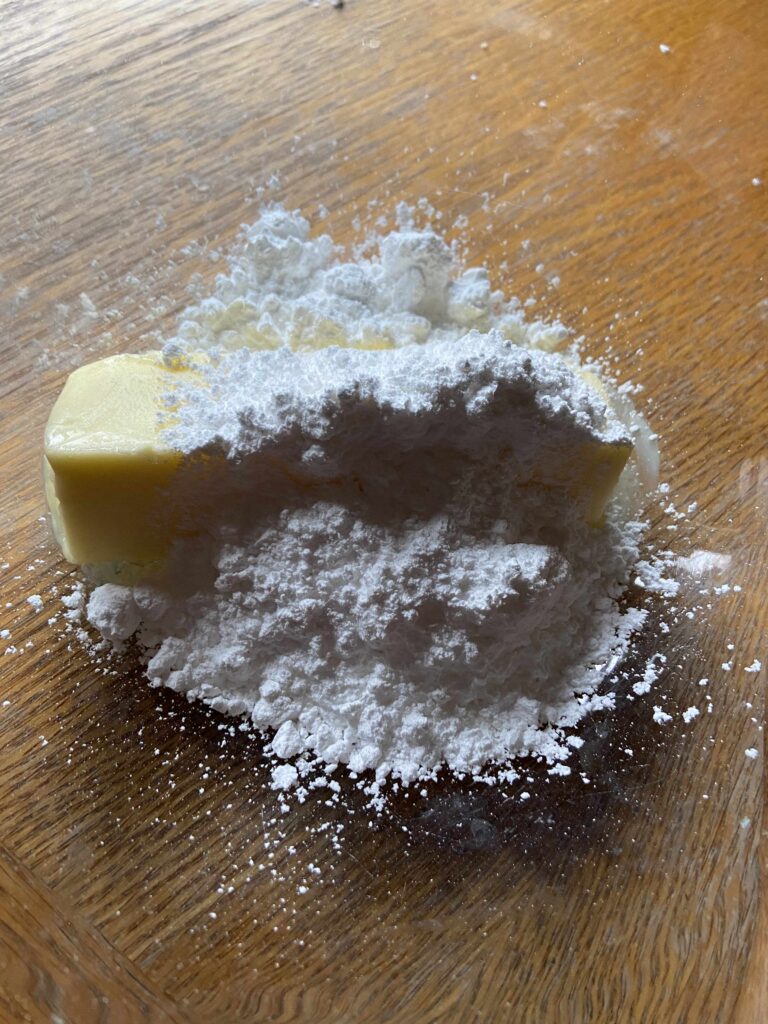
  • 1/2 cup butter, softened
  • 1/2 cup powdered sugar
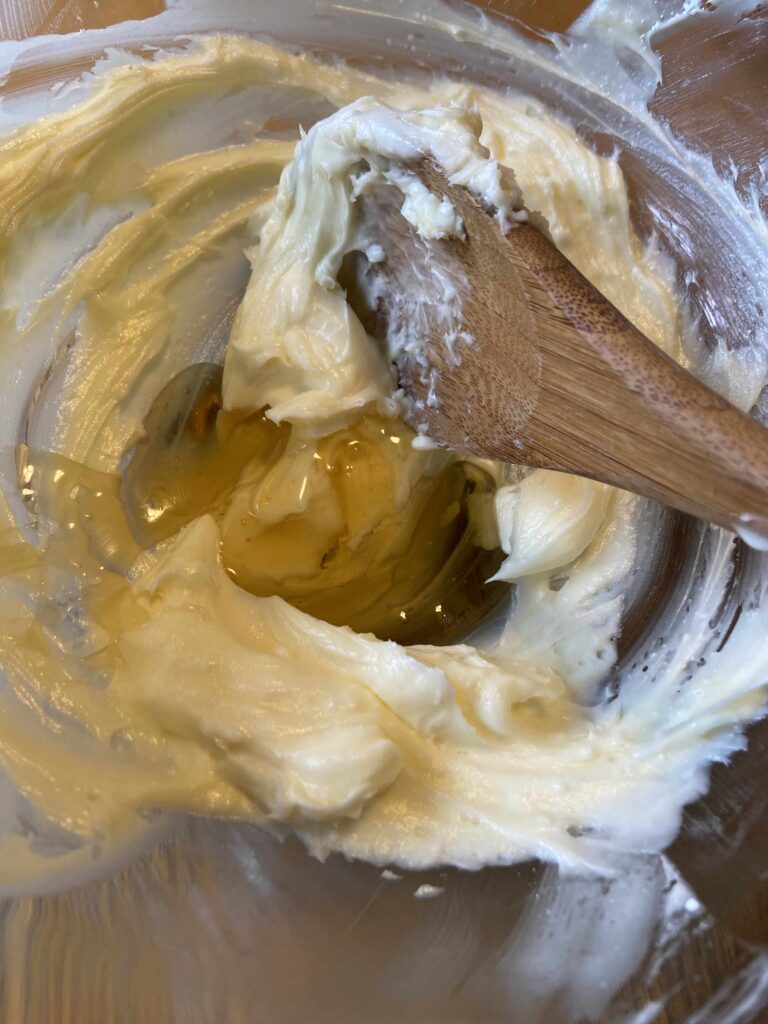
  • 1 tablespoon honey
  • 1 cup all purpose flour
  • 1/4 teaspoon salt

Harvesting the Dandelions:

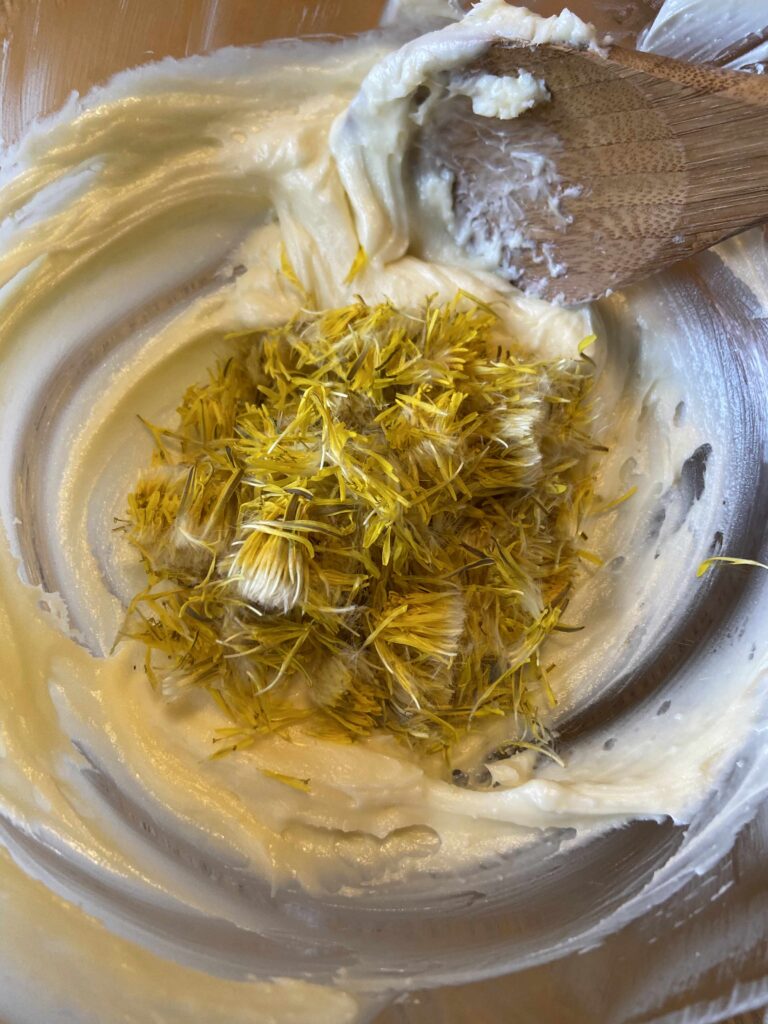
First, the harvesting of the dandelions. I won’t lie, it’s a bit of a tedious step for most dandelion recipes. However, you don’t need too many for this recipe. I like to harvest earlier in the morning, prior to the flowers opening too much. Pick just the heads. Then I find it easiest if I hold onto the yellow petals and cut the bottom green stem portion with a scissors. Then I pick off the remaining green portions and compost them. Measure the yellow petals to a lightly packed 1/2 cup. Then…

Your Steps:

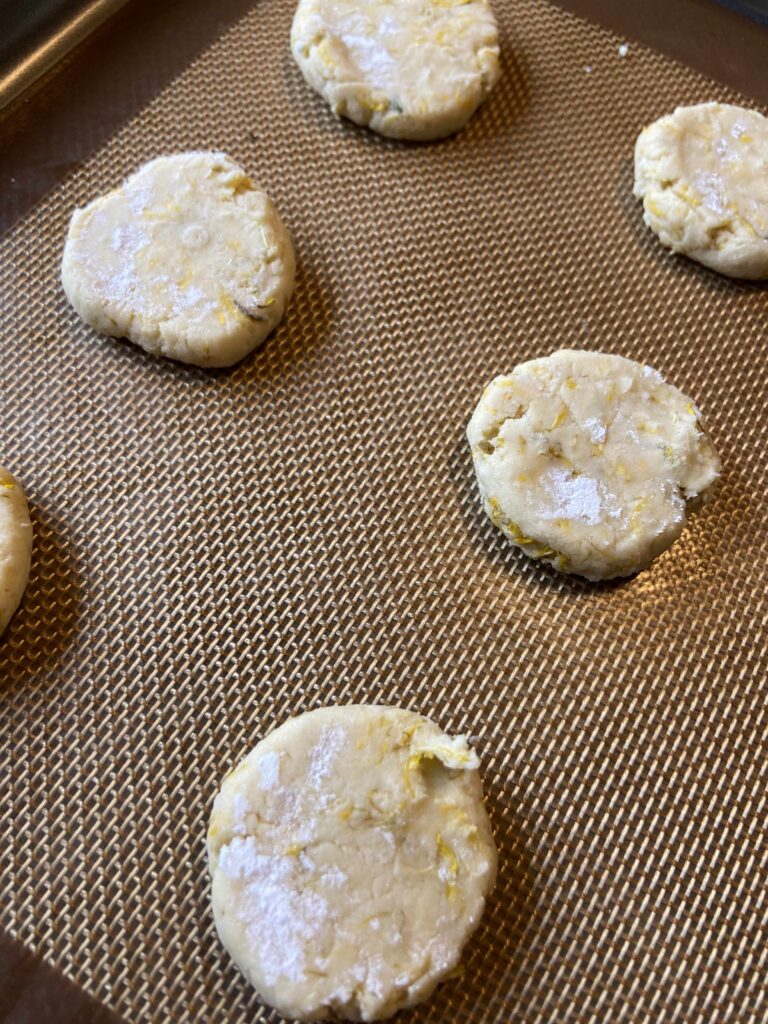
Preheat the oven to 325 degrees. In a medium bowl, cream sugar and softened butter until light and fluffy. Mix in honey. Next, gently fold in dandelion petals. Combine the flour and salt, adding to the sugar and butter mixture. Mix until just combined. For best results, allow the dough to chill for at least a half hour. Scoop dough by tablespoonfuls and roll each into a ball. Place on ungreased cookie sheet. Finally, use a flat bottomed cup dipped in powdered sugar to flatten the cookies slightly. Bake for 9-11 minutes, until slightly browned on the edges. Revel at the fact that you just baked with a “humble weed” and then give them a try. The flavor deepens a few days after they are baked, so try not to enjoy them all at once!

Looking for more foraging recipes? Click here! Or has your sweet tooth been activated? I have lots of sweet treats to choose from on my baking page 🙂

Dandelion and Honey Shortbread Cookies

Buttery and delicate, these unique shortbread cookies melt in your mouth.
Prep Time 20 minutes
Cook Time 10 minutes
Course Dessert
Cuisine Foraging
Servings 16 cookies

Ingredients
  

  • 1/2 cup dandelion petals
  • 1/2 cup butter softened
  • 1/2 cup powdered sugar
  • 1 tablespoon honey
  • 1 cup all purpose flour
  • 1/4 teaspoon salt

Instructions
 

  • To gather the dandelion petals, I find it easiest to get the heads of the flowers when they are closed. I hold onto the yellow portion and cut off the bottom green stem. Try to remove all green portions.
  • Preheat the oven to 325 degrees.
  • In a medium bowl, cream sugar and softens butter until light and fluffy.
  • Mix in honey and then gently fold in dandelion petals.
  • Add flour and sprinkle salt on top. Mix until just combined. For best results, allow the dough to chill at least a half hour.
  • Scoop dough by tablespoonfuls. Roll each tablespoon of dough into a ball and place on an ungreased cookie sheet. Use a flat bottomed cup dipped in powdered sugar to flatten the cookies slightly.
  • Bake for 9-11 minutes, until slightly browned on the edges. Enjoy!
Keyword Cookies, Dandelion Recipe, Dandelions, Foraging, Honey, Shortbread
Tried this recipe?Let us know how it was!

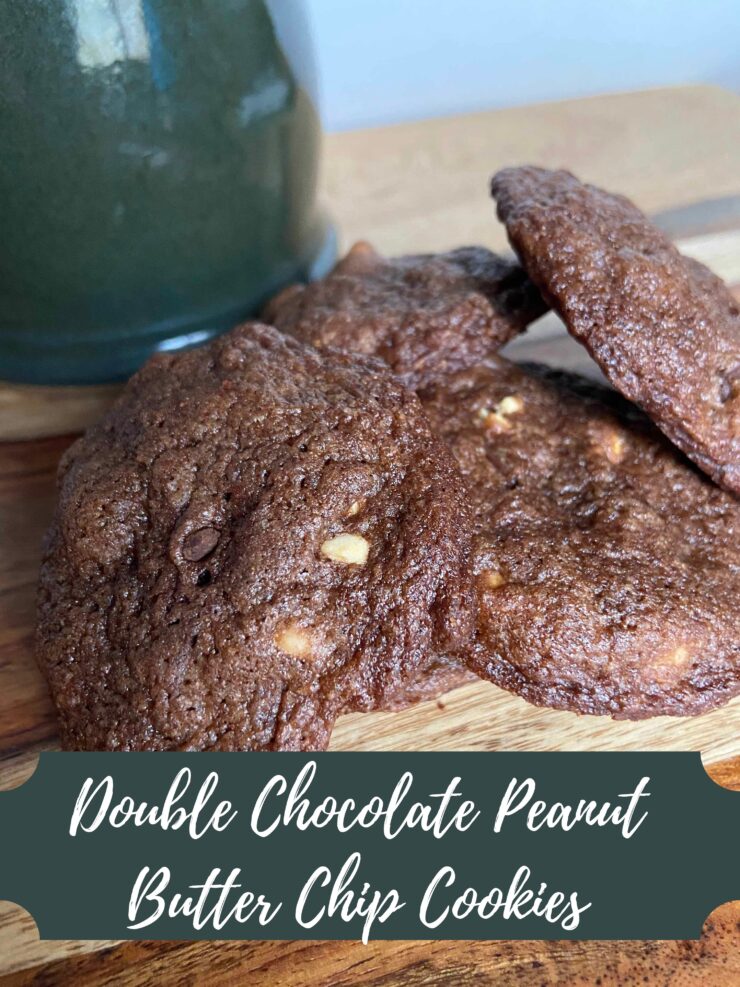
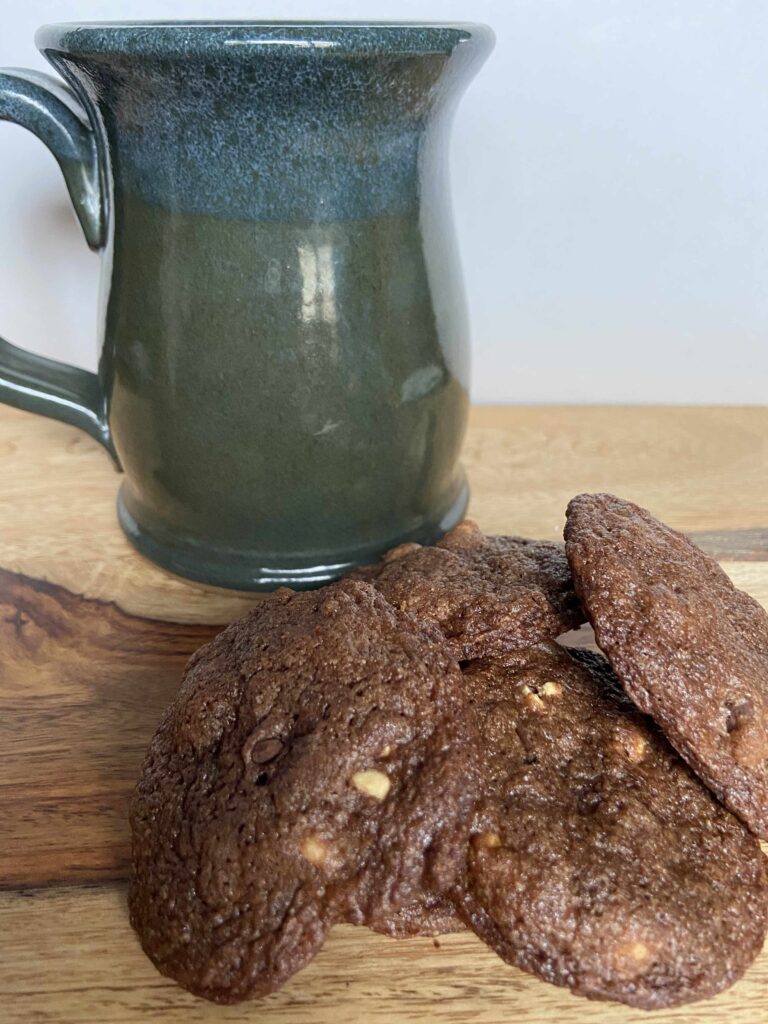
Double Chocolate Peanut Butter Chip Cookies

In the baking world, I love to put together cookies. All kinds of cookies, but I think my favorite are chocolate chip cookies. Growing up, my grandma had the best chocolate chip cookies and always had them in the cookie jar in the pantry when we would come to visit. As such, they are my go to when I am baking and have been for as long as I can remember. Here’s my all time favorite chocolate chip cookie recipe if you’re feeling chocolate chip cookies too. (Hint: The browned butter makes the cookie. If you haven’t tried that yet, you need to. Maybe right after you bake up these chocolate and peanut butter ones) 

However, I felt the need to mix it up recently. I mean, I wasn’t going to stray too far from the tried and true, but these “safer at home” times are the best for experimenting in the kitchen, right? So I got to thinking. If you dig in my cupboards, you’ll find all sorts of seemingly random ingredients from past “inspired” recipes. I looked around and found peanut butter chips with cocoa powder right next to them.

Let’s be honest, name a more iconic pair than peanut butter and chocolate. It had been on my radar anyway because I put together these no bake pretzel peanut butter chocolate bars from Josh and Ang a few weeks ago. Then it hit me: I’ll make a sort of cookie version of that. So here it is: a combination of slightly salty in the peanuts and sweet from the chocolate and the chips. A cookie that almost has a brownie-like richness but still goes well dunked in a glass of ice cold milk. Yum! I hope you’ll give them a try! 

Fun Fact:

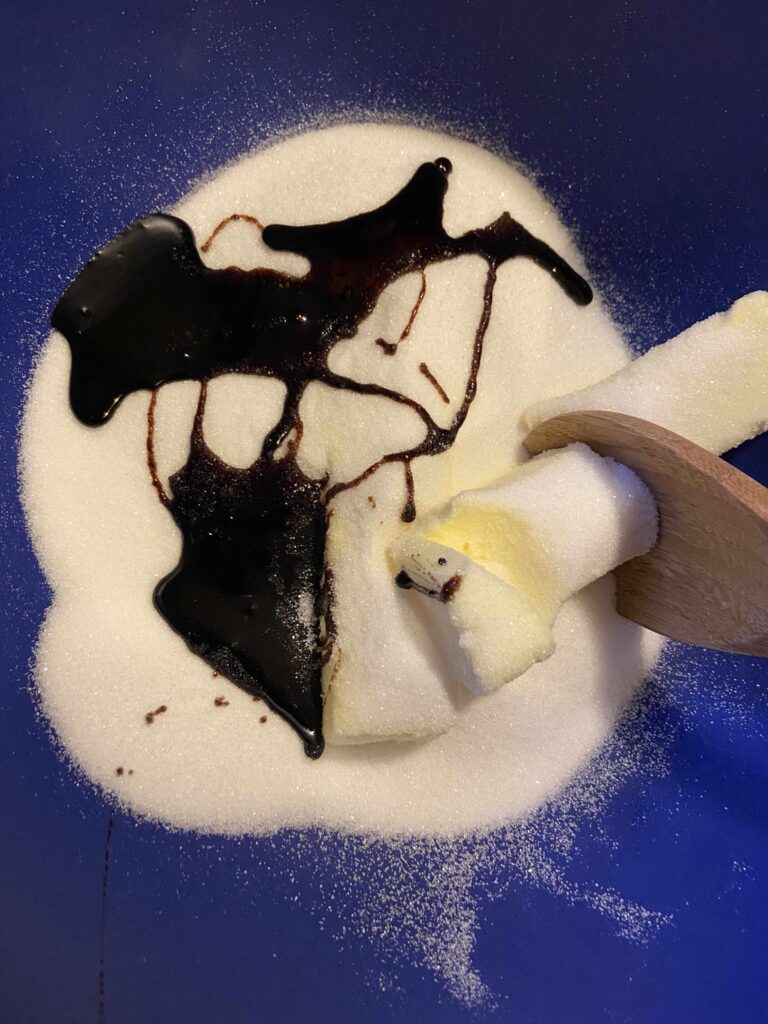
I was just getting started with these cookies as my husband pulled into the driveway after our weekly grocery trip. I opened the cupboard to grab my brown sugar and…alas! We were out, something that never happens at this house. A quick Google search later, and I learned that you can make your own brown sugar using a little molasses, so that’s how these are put together. Cool, right? Therefore, you have options in the sugar arena for these cookies: Go as written or skip the molasses and do ½ cup white and 1 cup brown. It’s up to you! 

Your Ingredients:

  • 1 cup of butter, softened
  • 1 ½ cups white sugar 
  • 1 ½ tablespoons molasses
  • 1 tablespoon vanilla 
  • 2 eggs
  • 2 cups flour
  • ½ cup unsweetened cocoa powder
  • 1 teaspoon salt
  • 1 teaspoon baking soda
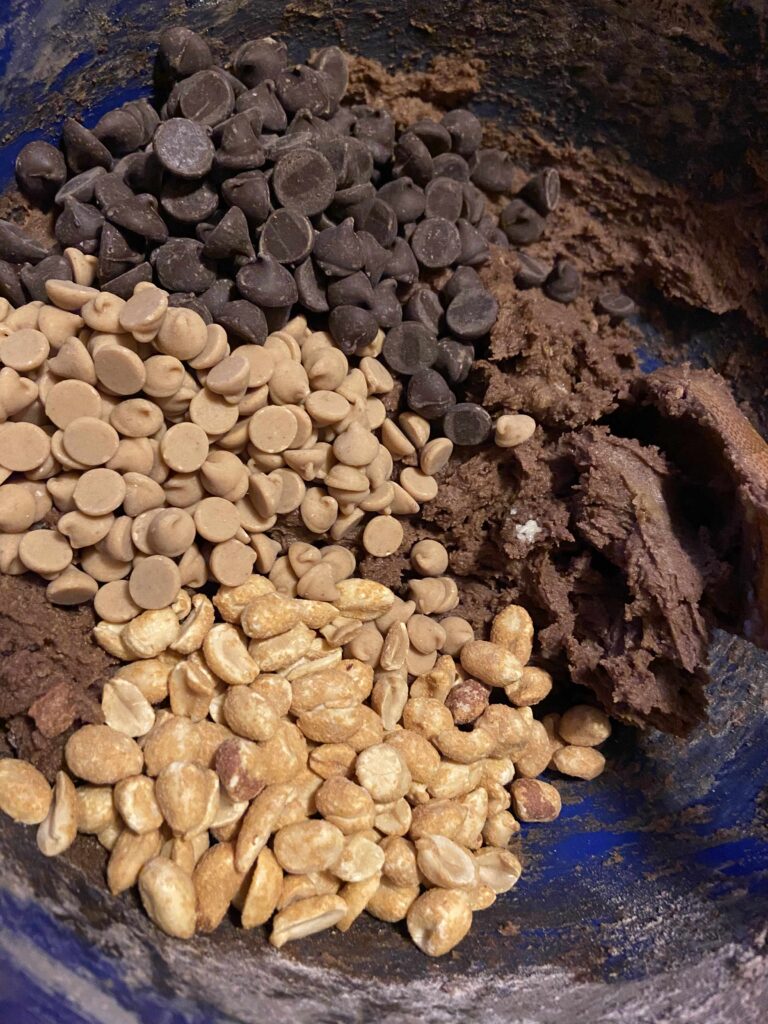
  • ¾ cup of the following: dry roasted peanuts (I used salted), peanut butter chips, and dark chocolate chips (These are our go to dark chocolate chips. We LOVE them, even for a sweet treat after dinner)

Your steps:

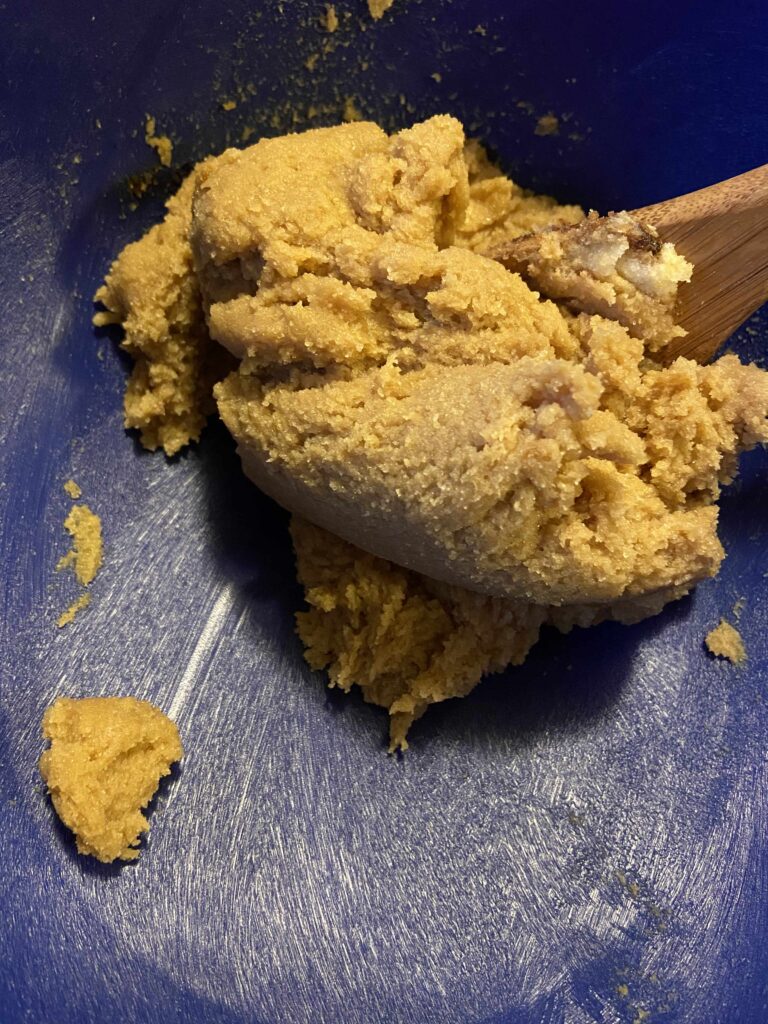
In a large bowl, cream butter, sugar, and molasses until smooth and fully combined. It might take some time with the molasses. Add vanilla and eggs, stirring until well mixed. In a separate bowl, mix flour, cocoa powder, salt, and baking soda. Incorporate into the wet sugar mixture. Fold in peanuts, dark chocolate chips and peanut butter chips. Preheat oven to 350 degrees. For best results, allow the dough to chill in the refrigerator for at least 30 minutes (man, I struggle with that step. Let’s be honest, I generally bake the first batch warm, and then I put the dough in the fridge for a better second batch). Drop onto an ungreased cookie sheet by the tablespoon and bake for 8-11 minutes. Allow to cool on the cookie sheet 2 minutes or so before placing on a cooling rack. 

I believe these cookies get better over a few days. I liked them the first day. I loved them three days later, dunked in my milk. I love a good brownie and I feel like they are reminiscent of that. I hope you enjoy them as much as my family did! They will definitely be in our rotation of cookies as years go by! 

Looking for some other sweet treats? Check out my baking page here!

Double Chocolate Peanut Butter Chip Cookies

Peanut butter and chocolate, the greatest combination, come together in these delightful cookies!
Prep Time10 minutes
Cook Time8 minutes
Chill Time30 minutes
Course: Dessert
Cuisine: American
Keyword: chocolate, chocolate chip, Cookies, peanut butter

Ingredients

  • 1 cup of butter softened
  • 1 ½ cups white sugar
  • 1 ½ tablespoons molasses
  • 1 tablespoon vanilla
  • 2 eggs
  • 2 cups flour
  • ½ cup unsweetened cocoa powder
  • 1 teaspoon salt
  • 1 teaspoon baking soda
  • ¾ cup dry roasted peanuts
  • 3/4 cup peanut butter chips
  • 3/4 cup dark chocolate chips

Instructions

  • Preheat oven to 350 degrees.
  • In a large bowl, cream butter, sugar, and molasses until smooth and fully combined.
  • Add vanilla and eggs, stirring until well mixed.
  • In a separate bowl, mix flour, cocoa powder, salt, and baking soda.
  • Incorporate into the wet sugar mixture.
  • Fold in peanuts, dark chocolate chips and peanut butter chips.
  • For best results, allow the dough to chill in the refrigerator for at least 30 minutes
  • Drop onto an ungreased cookie sheet by the tablespoon and bake for 8-11 minutes.
  • Allow to cool on the cookie sheet 2 minutes or so before placing on a cooling rack.