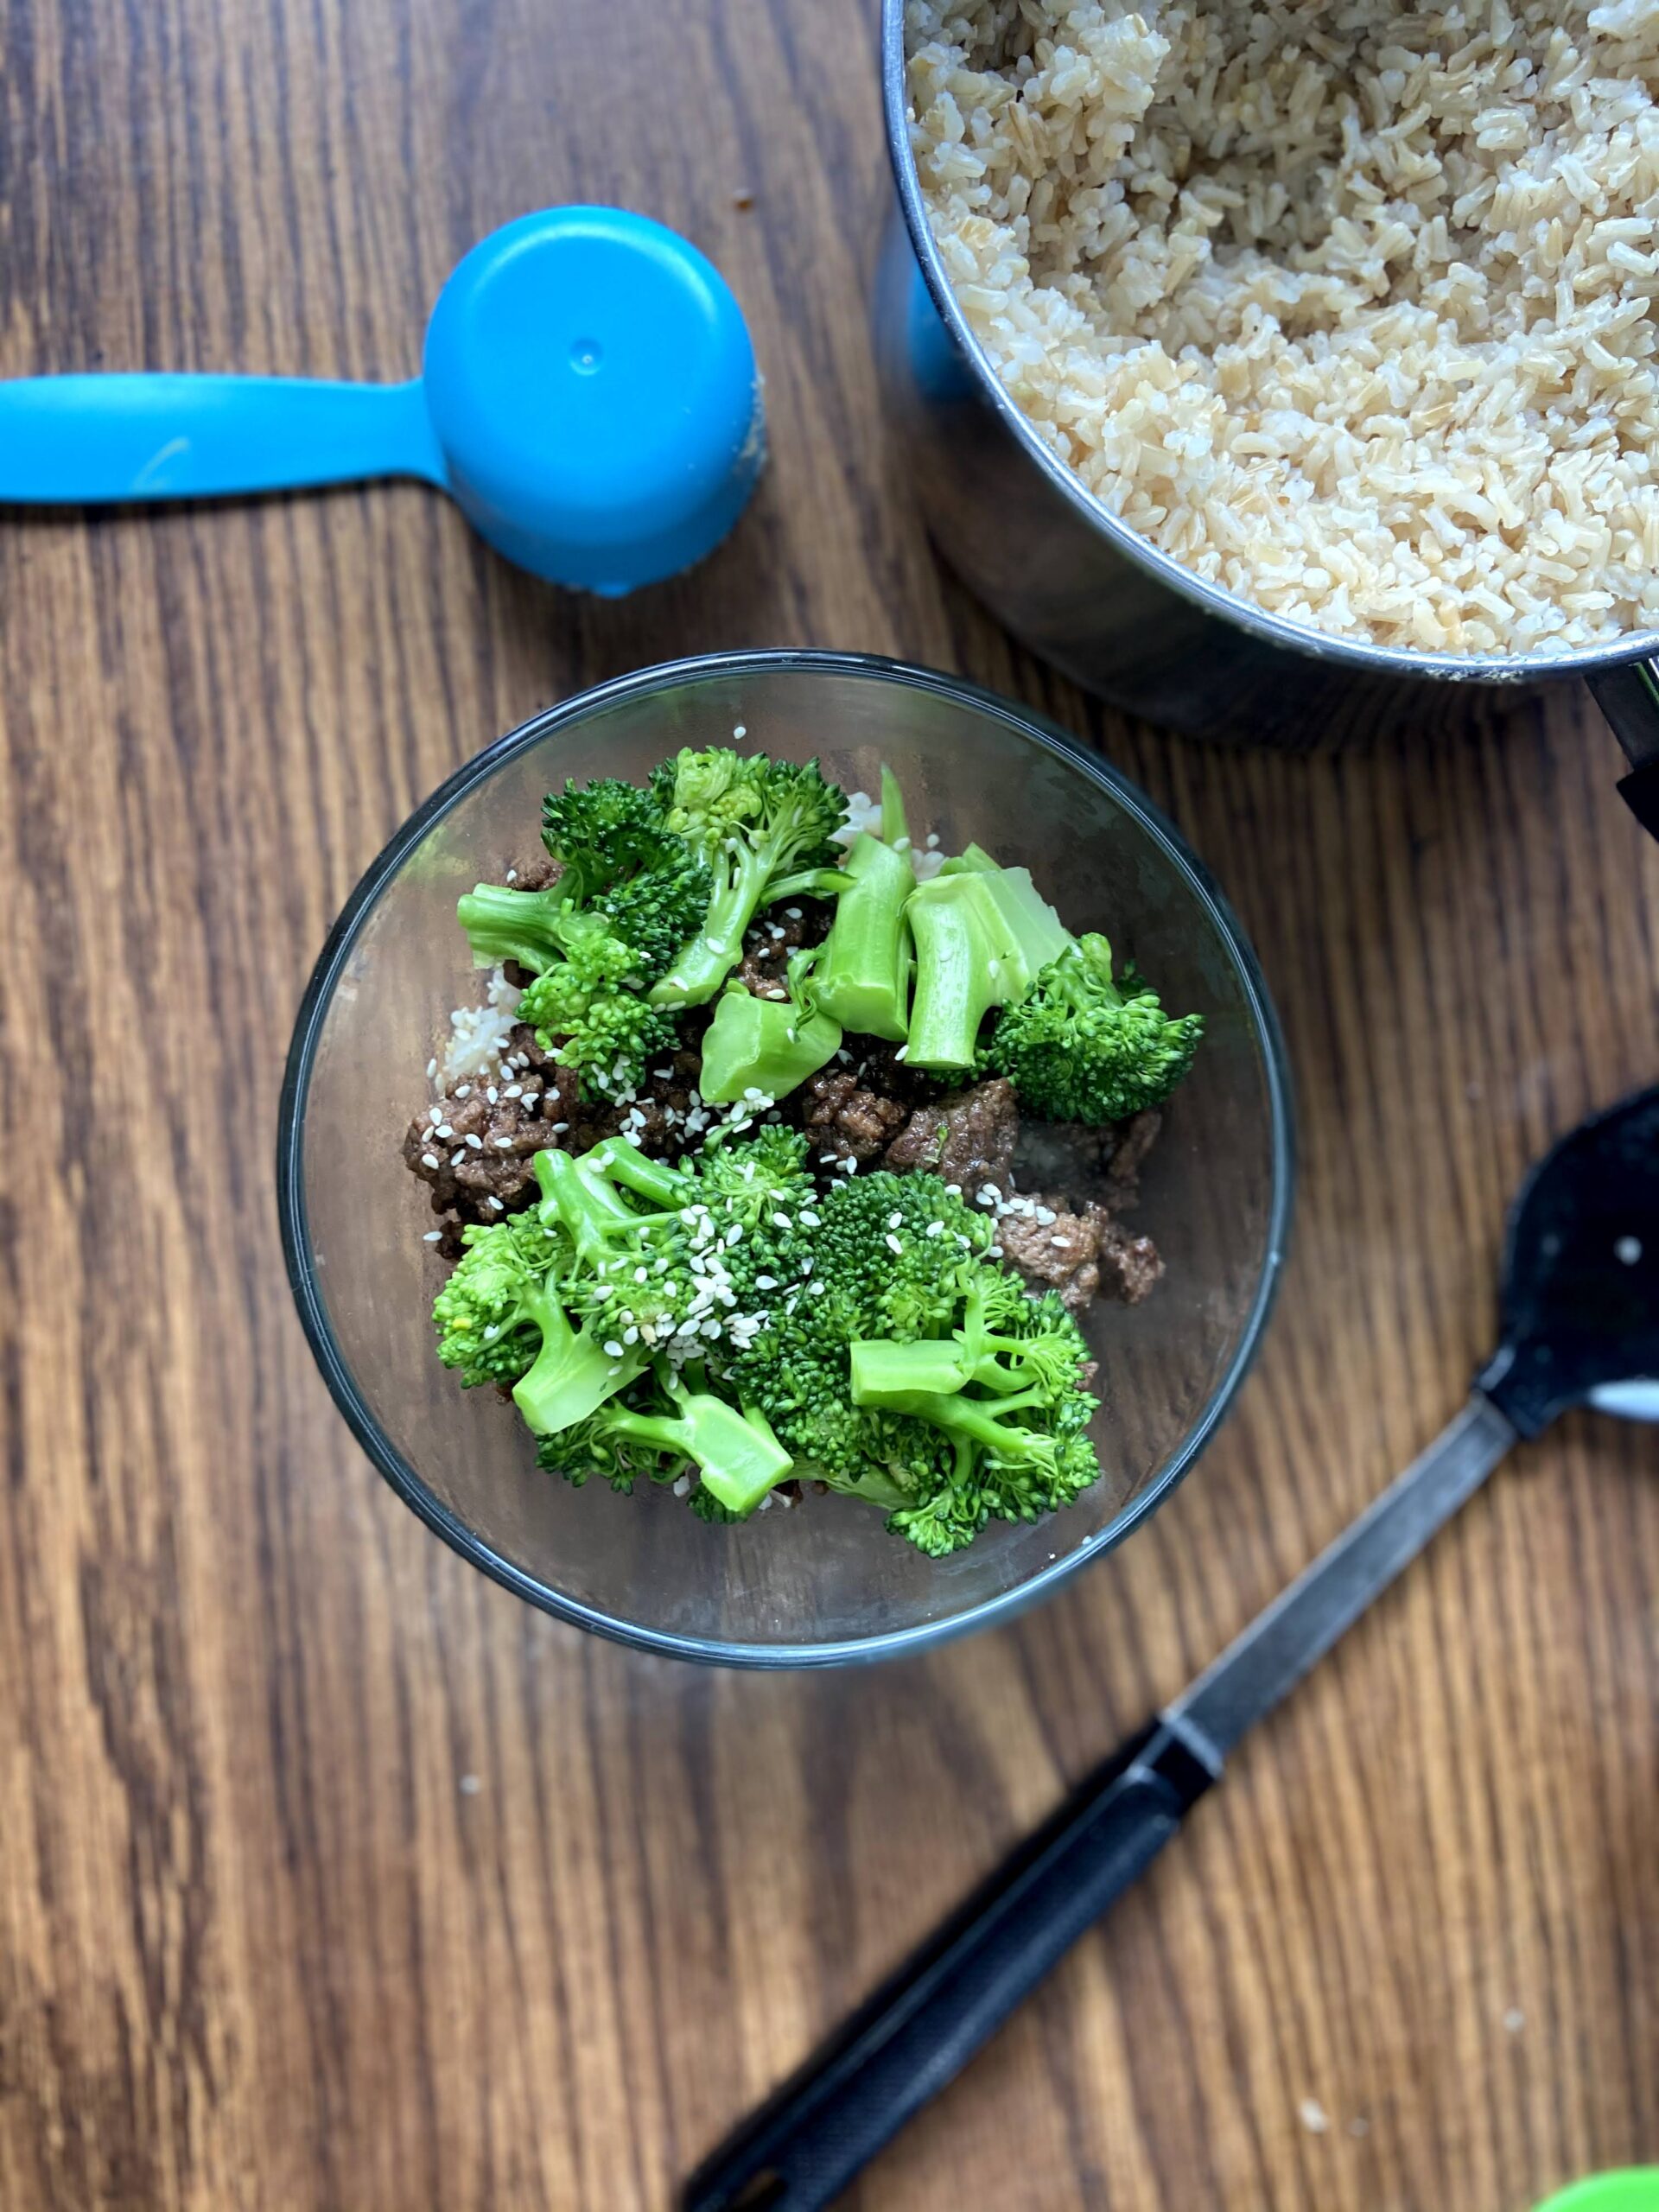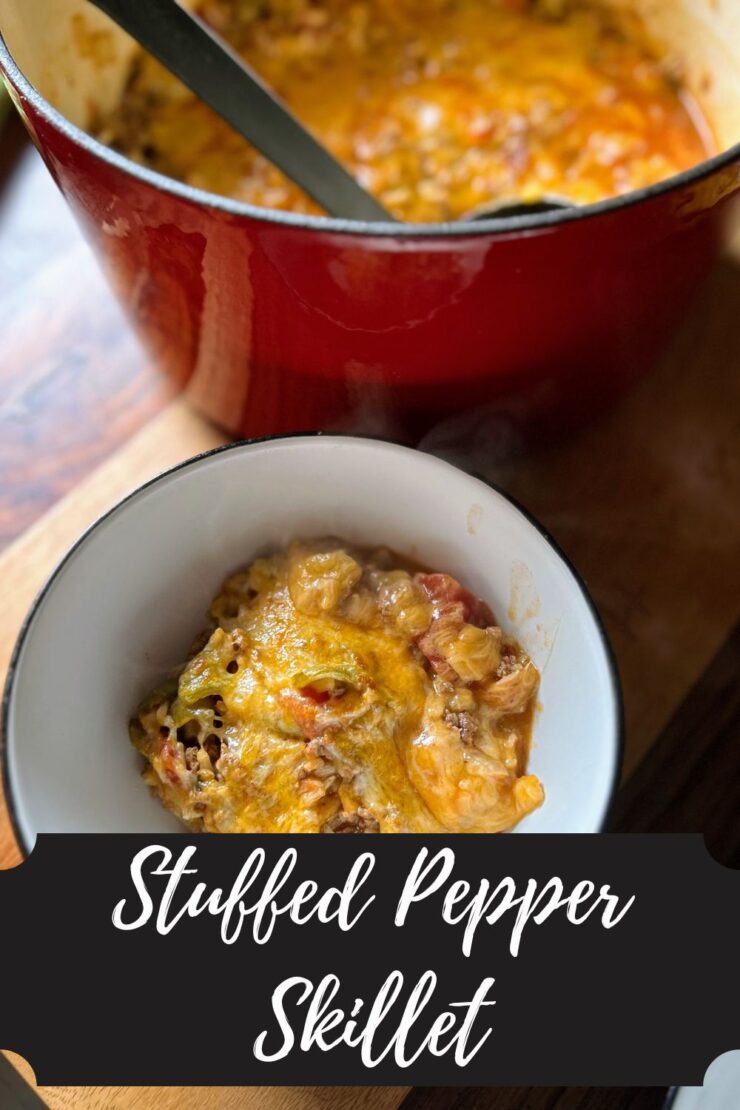
If the Mr is cooking at our house, there are likely three distinct quantities of food: protein (usually venison chops), roasted potatoes, and some form of steamed vegetable. Is it delicious? Absolutely. It just isn’t the way I cook. I love a good skillet or bake. Bring on the mixtures of flavors and more importantly, the leftovers so I don’t have to worry about making a lunch the next day. Because bakes and skillets are my jam, this simple stuffed pepper skillet was born.
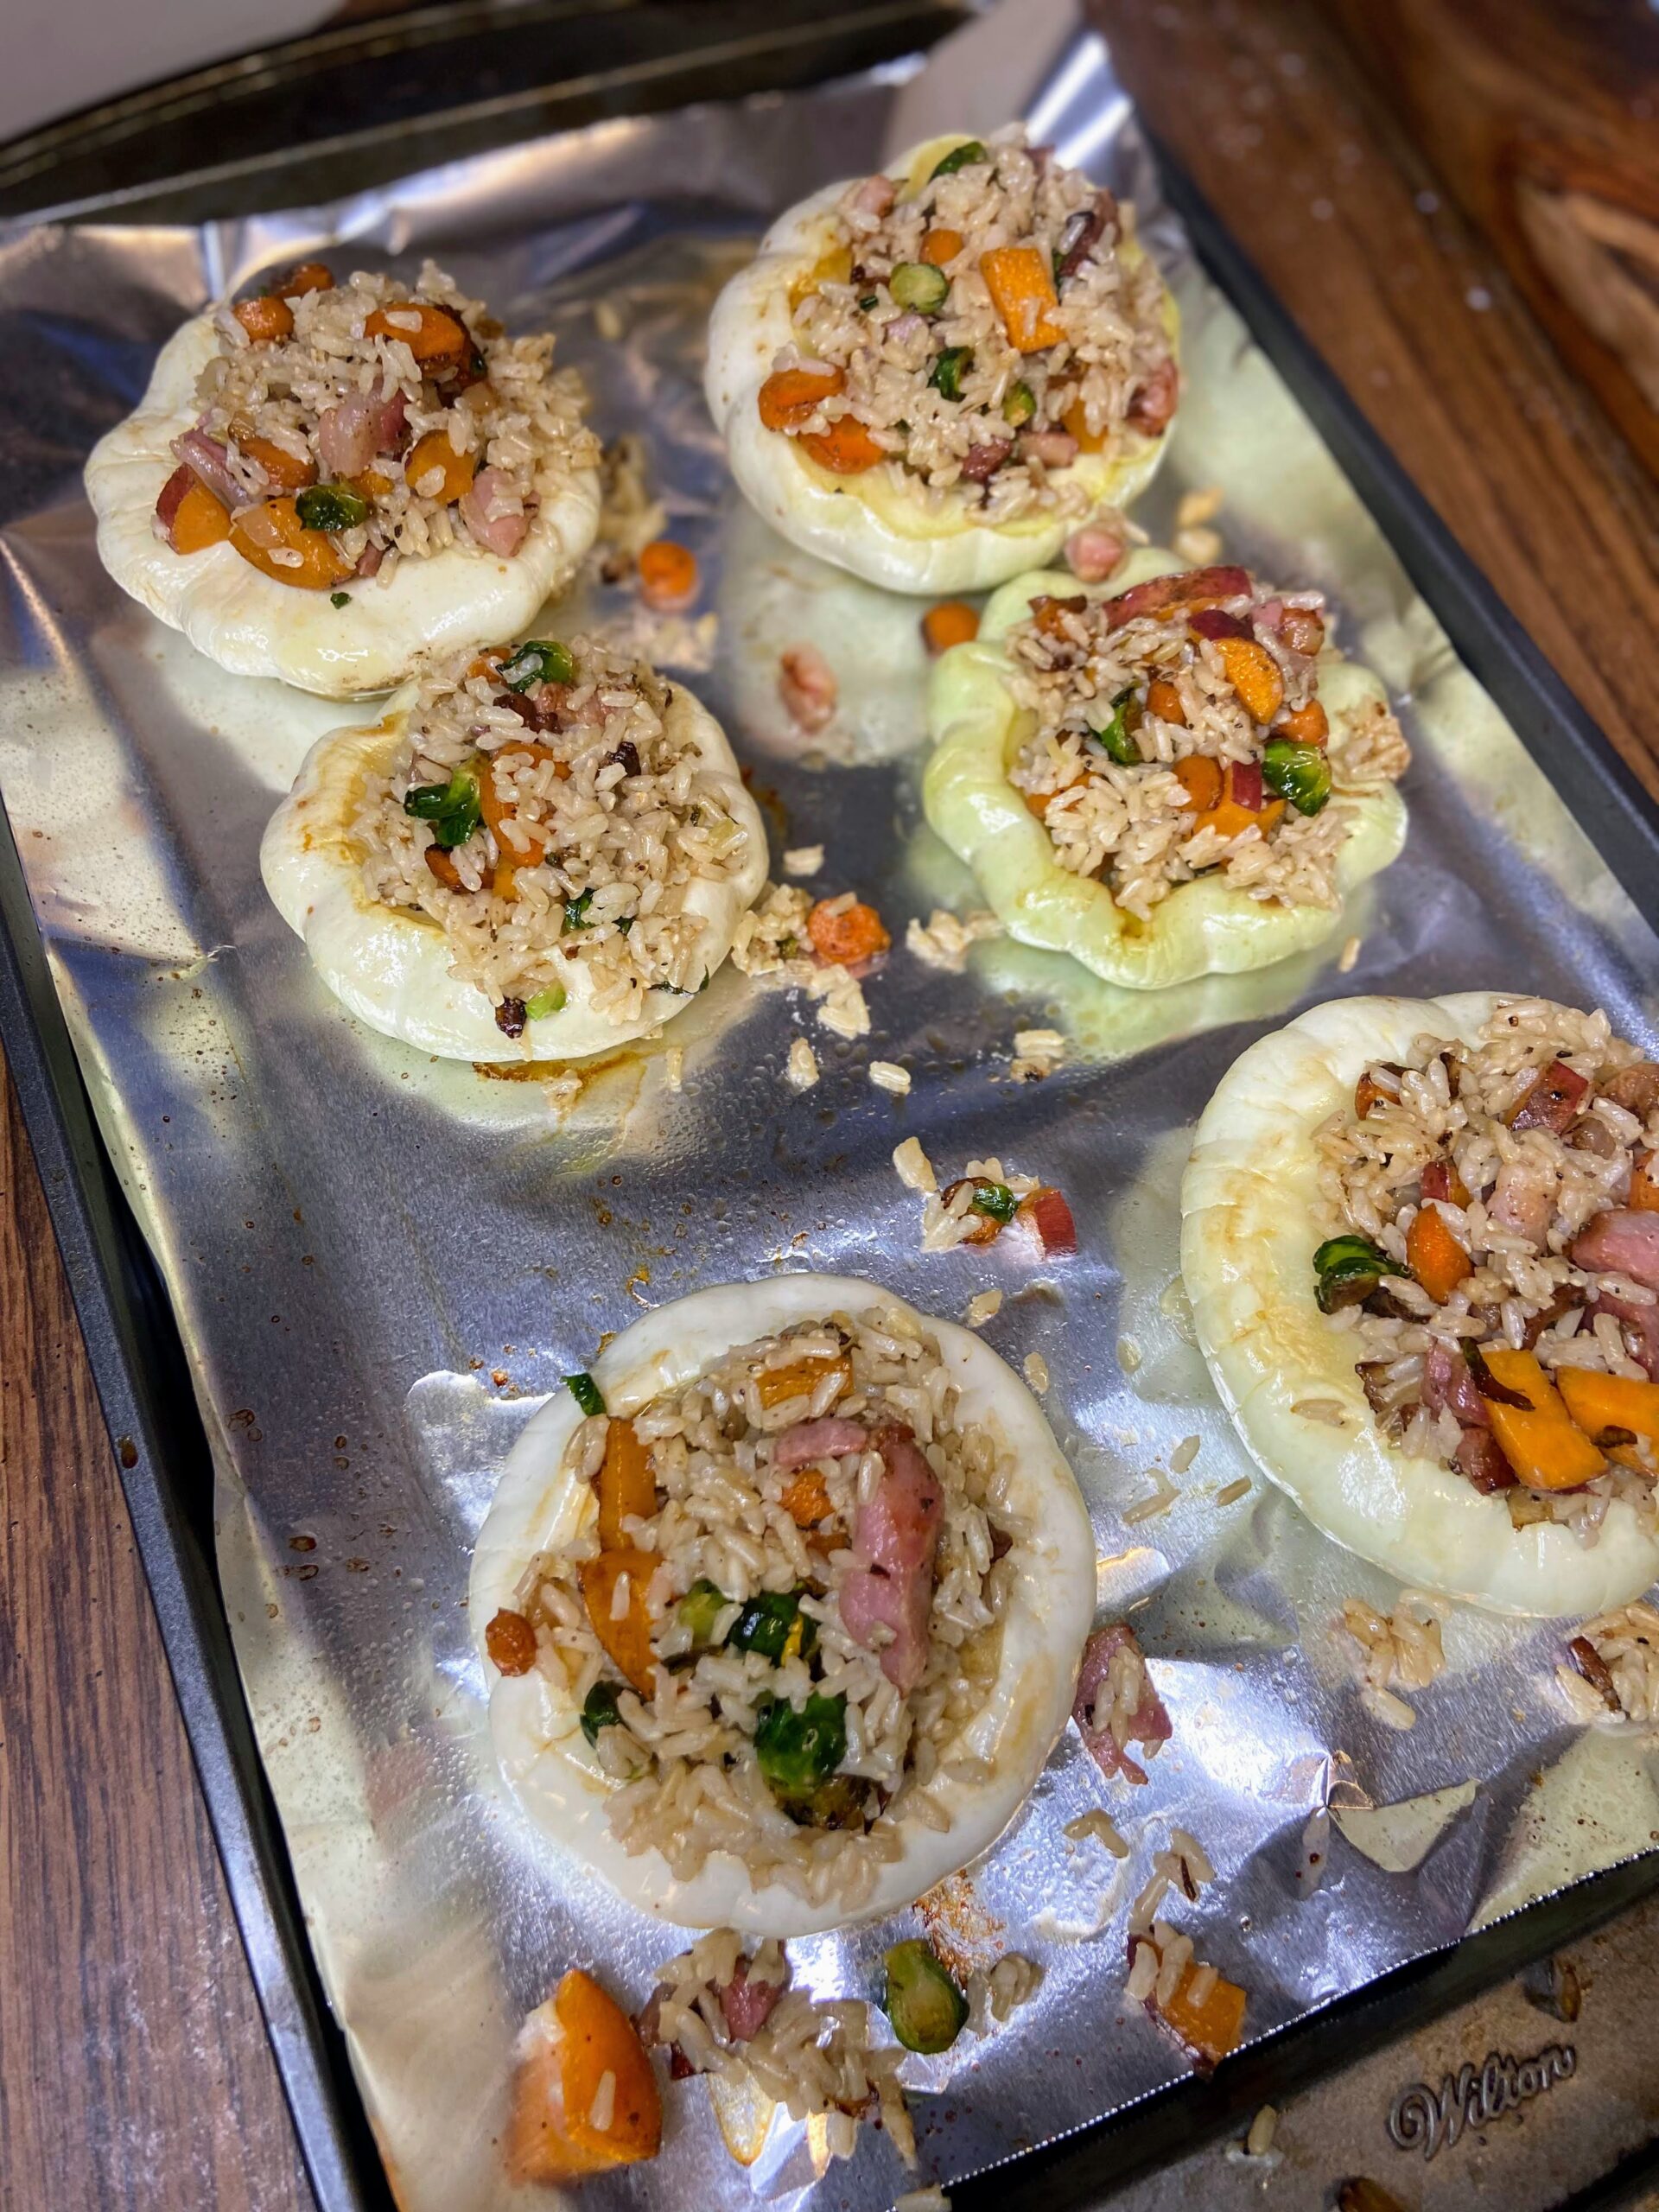
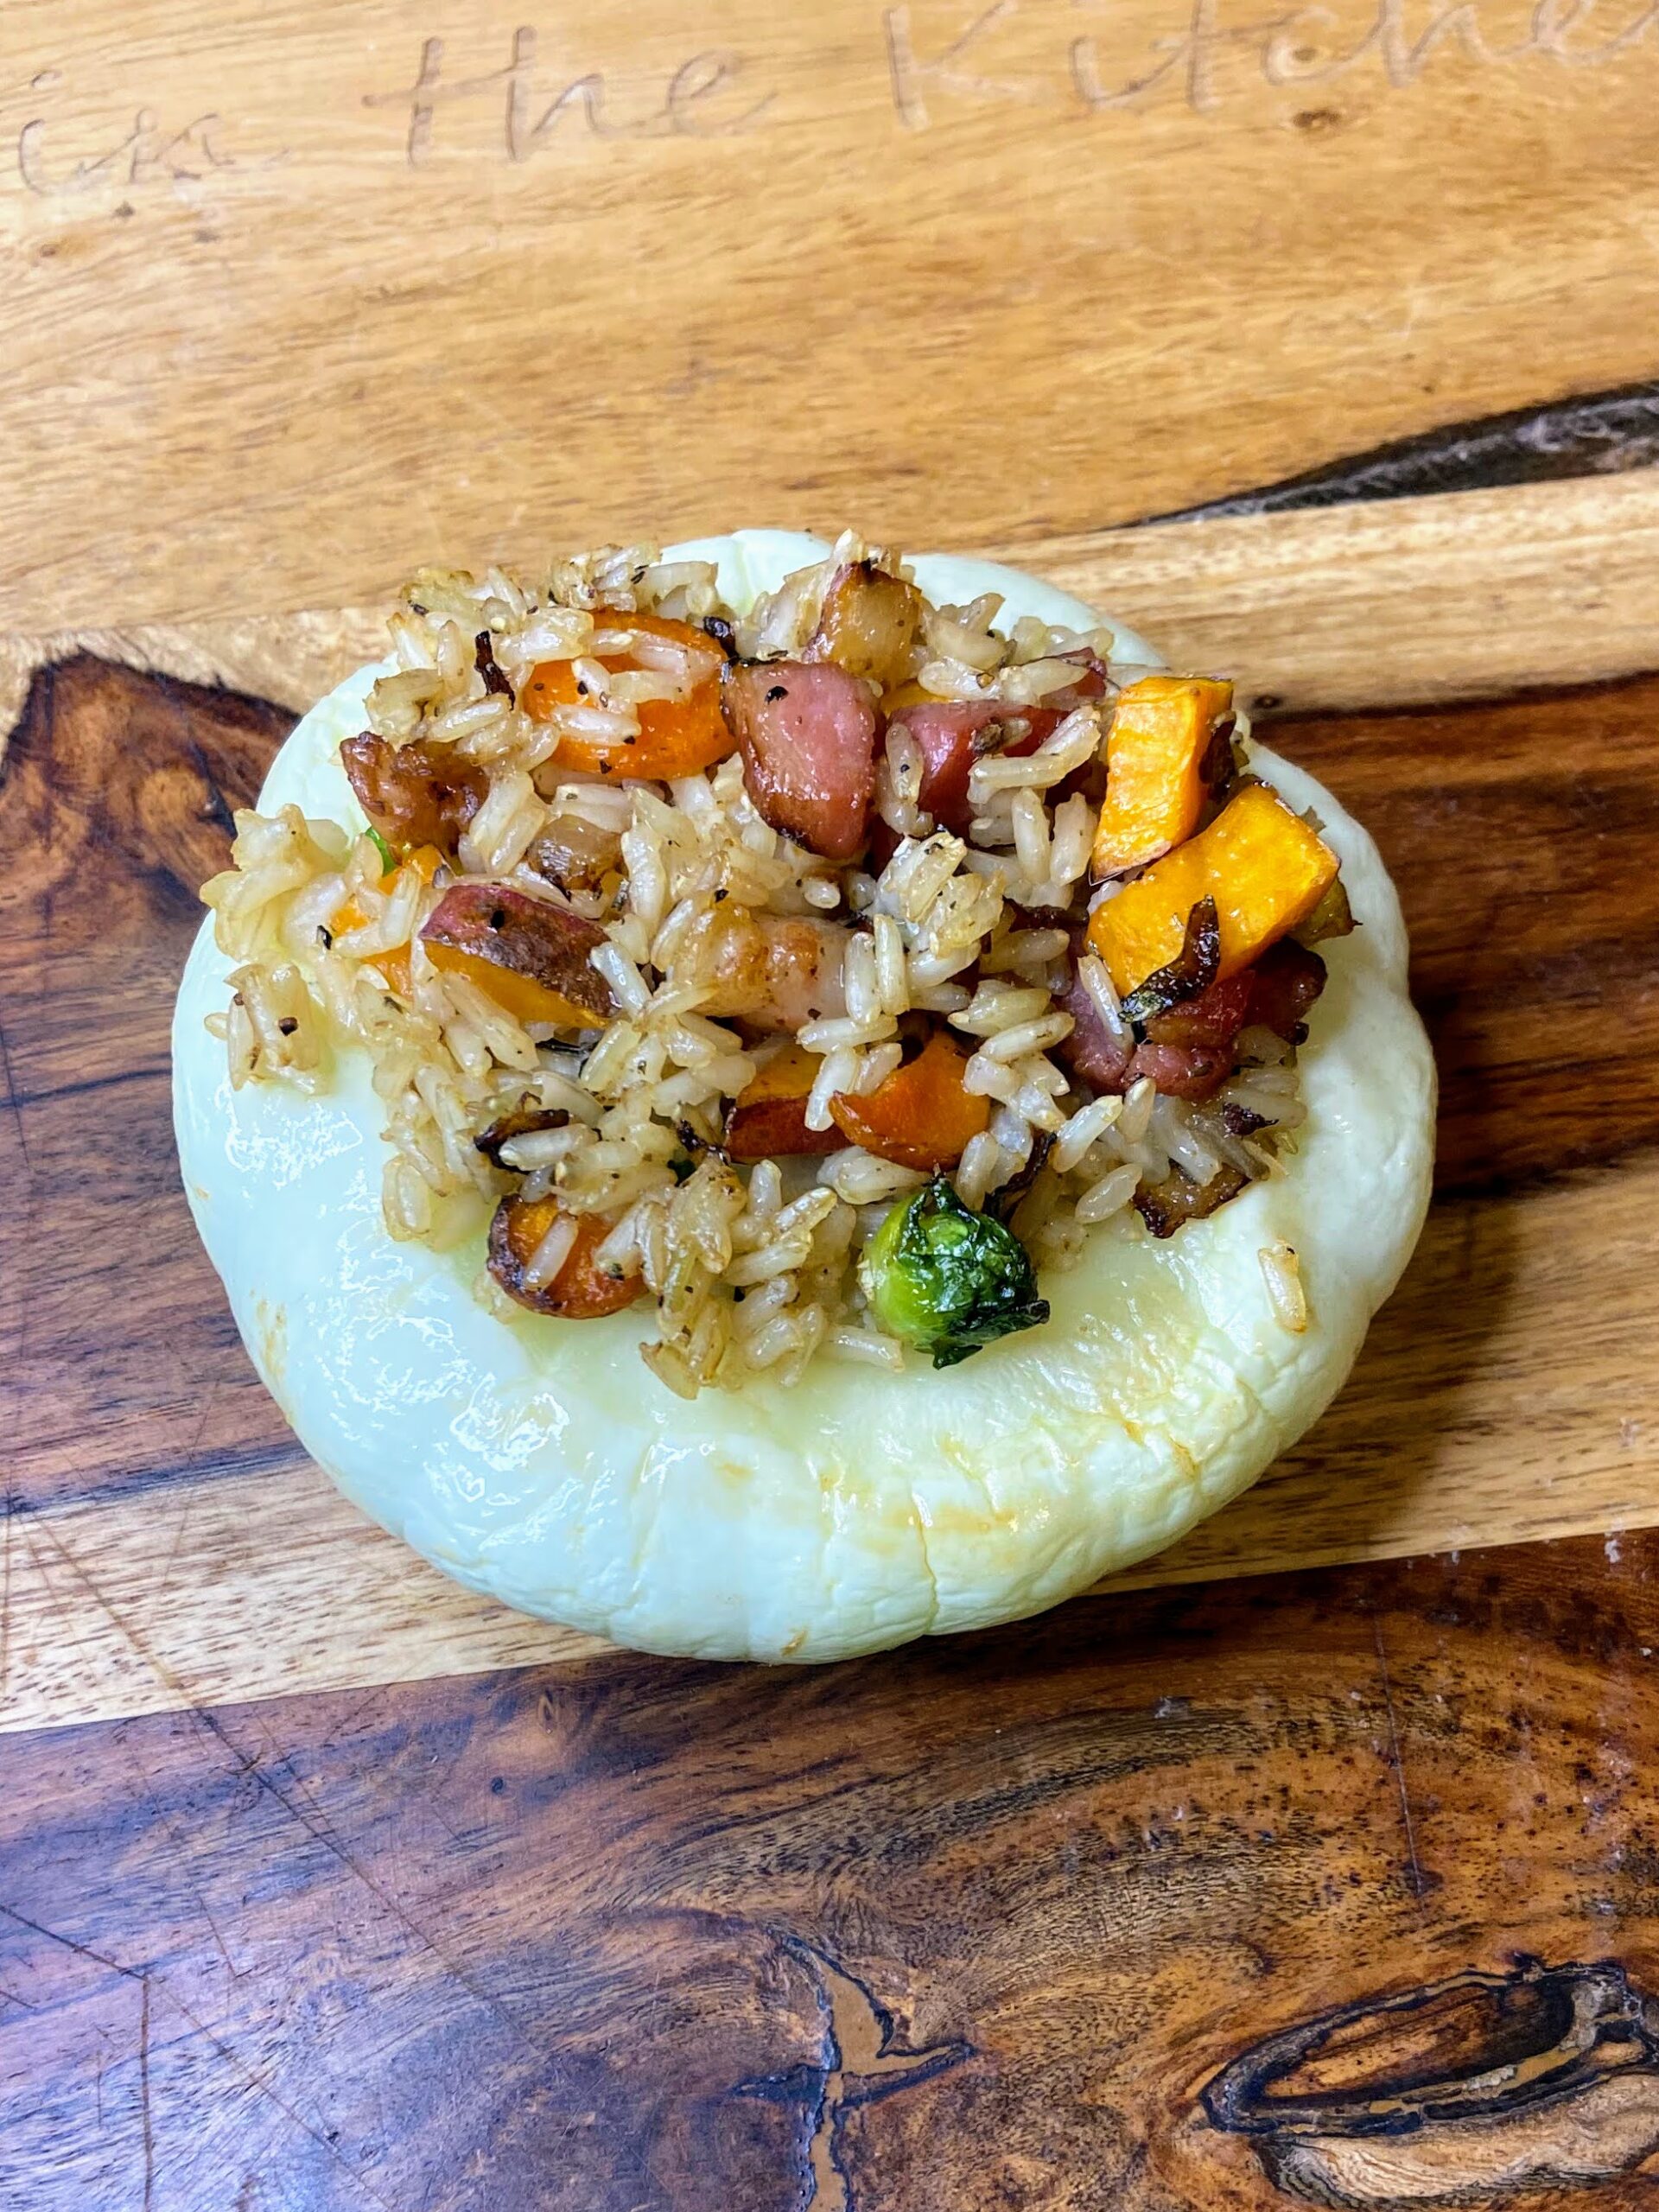
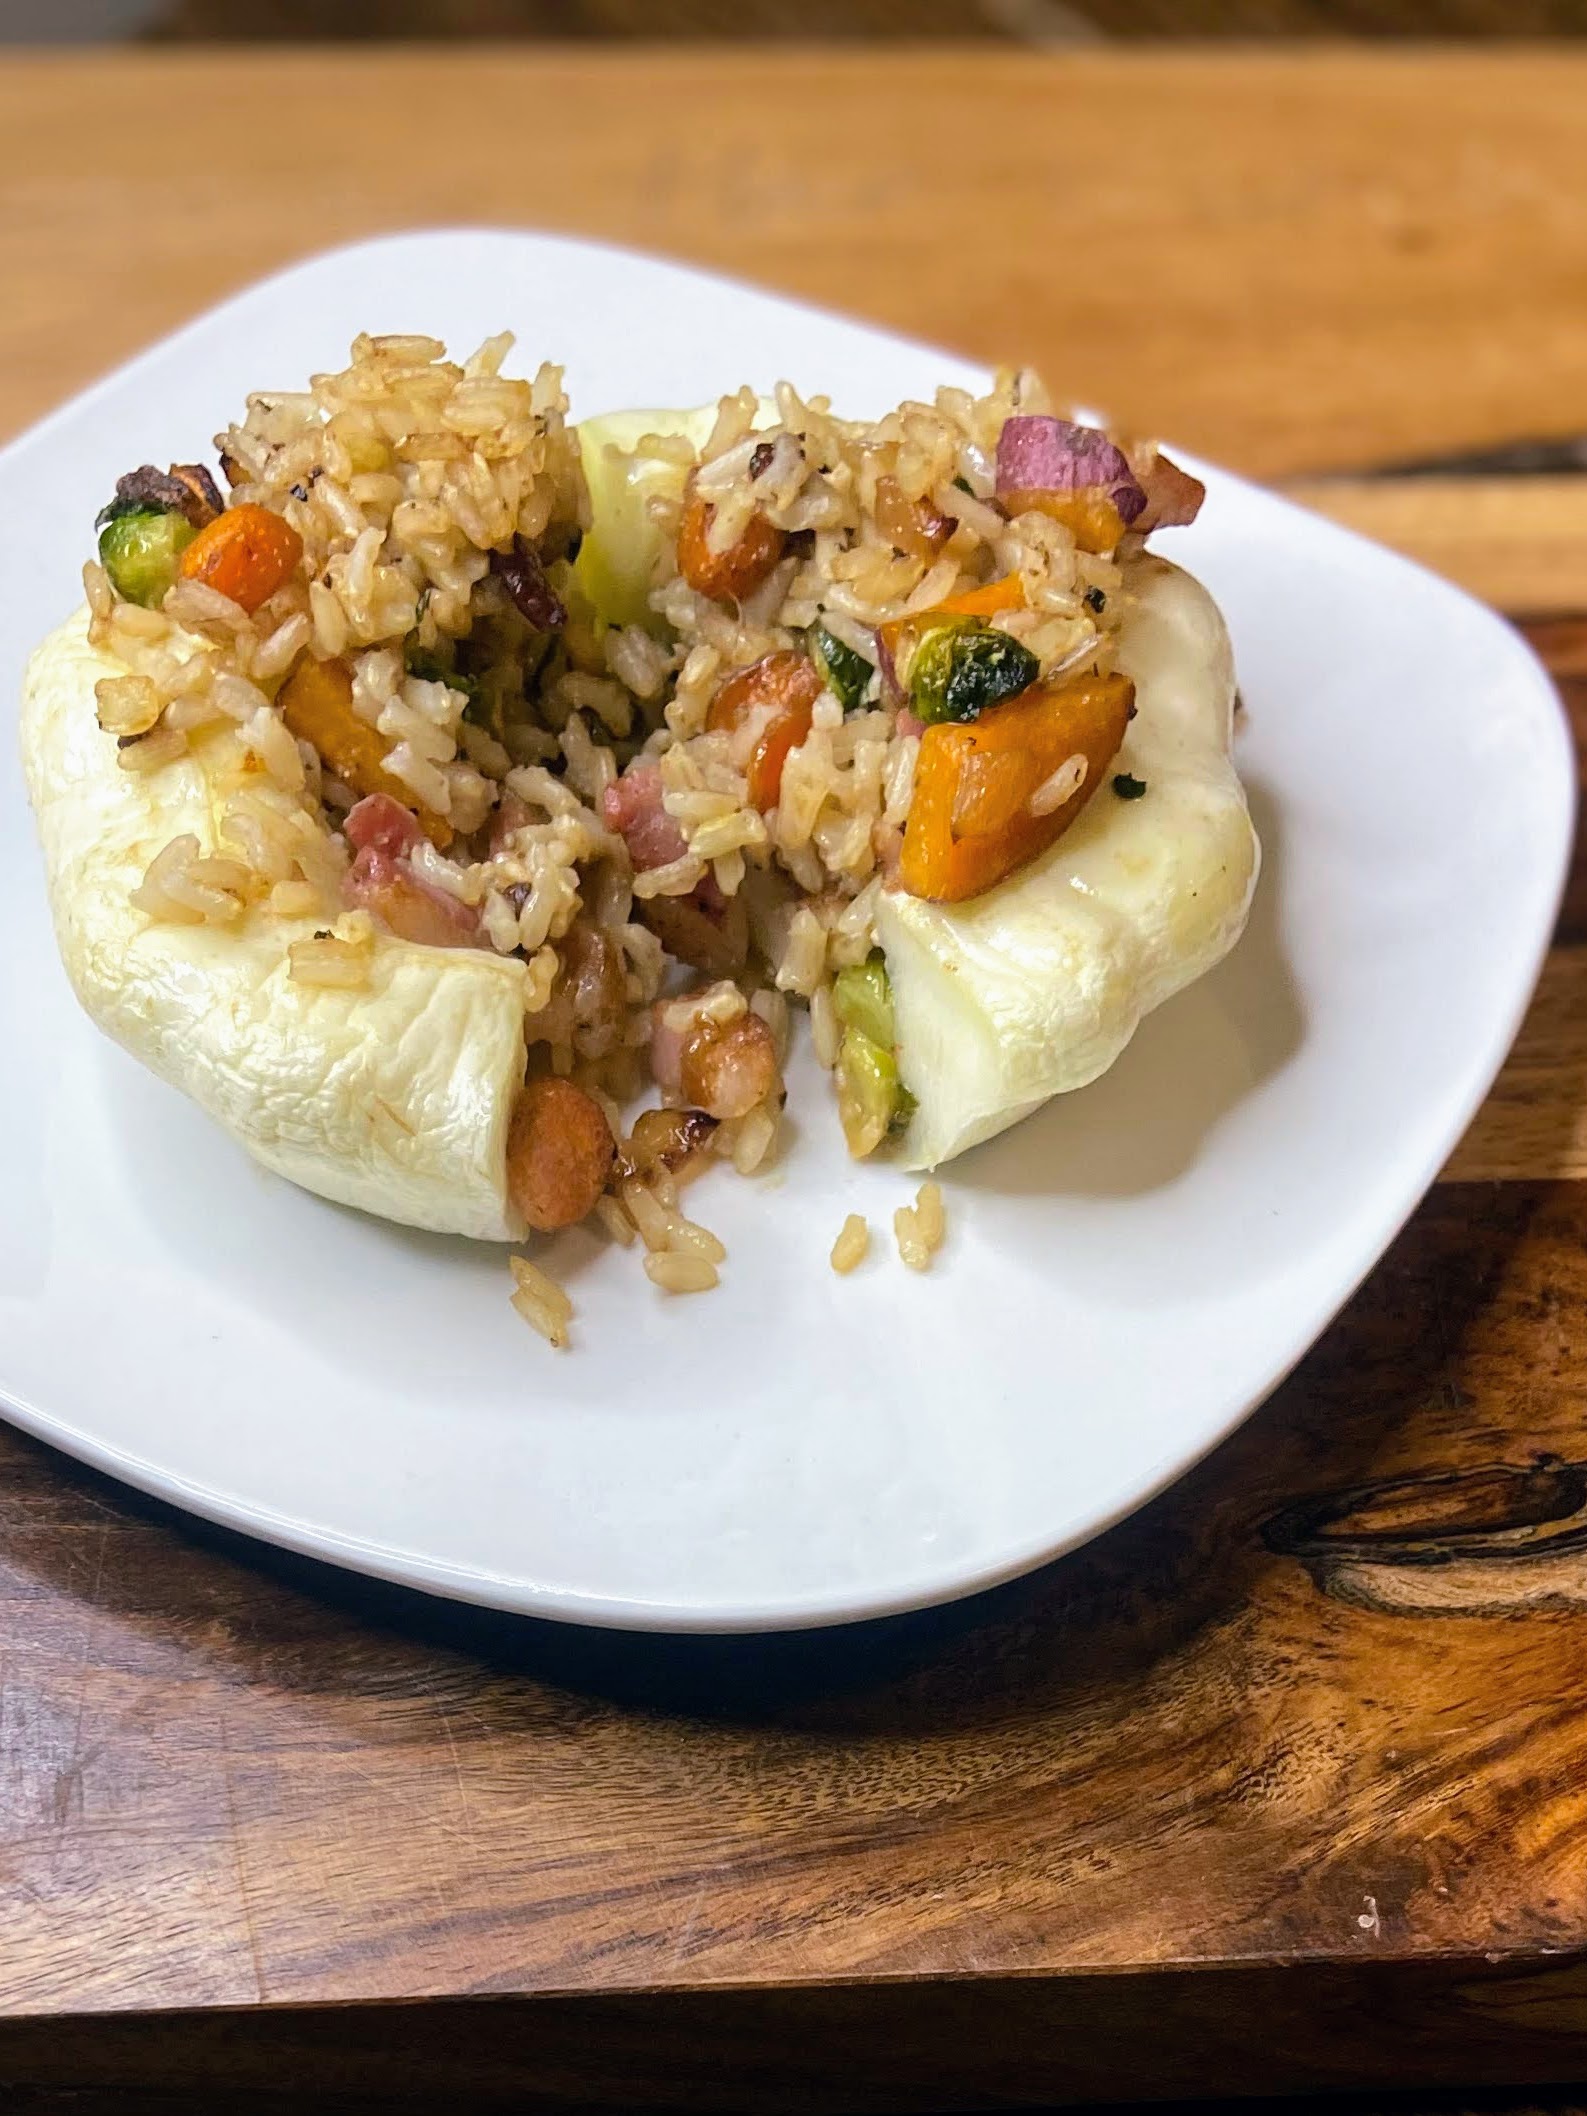
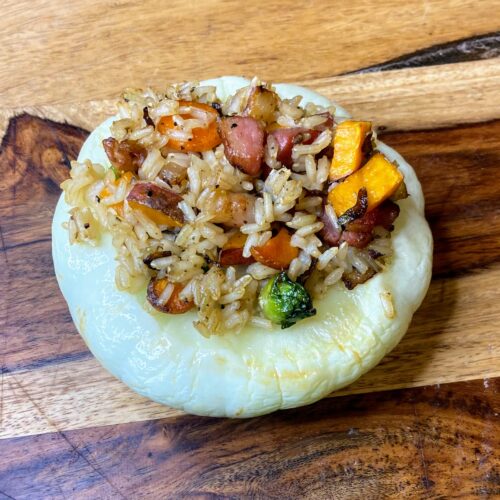
I don’t love raw peppers. I have grown to enjoy them cooked, and I know they are good for me so I try to infuse them into my dinners when I can. If you’ve been around for some time, you may have noticed that I don’t like super tedious recipes. I don’t want to make stuffed peppers in their truest form. That’s work (Ha!). Let me make something good, filling, and full of nutrient dense ingredients that fits in a pan and I am the happiest of women.
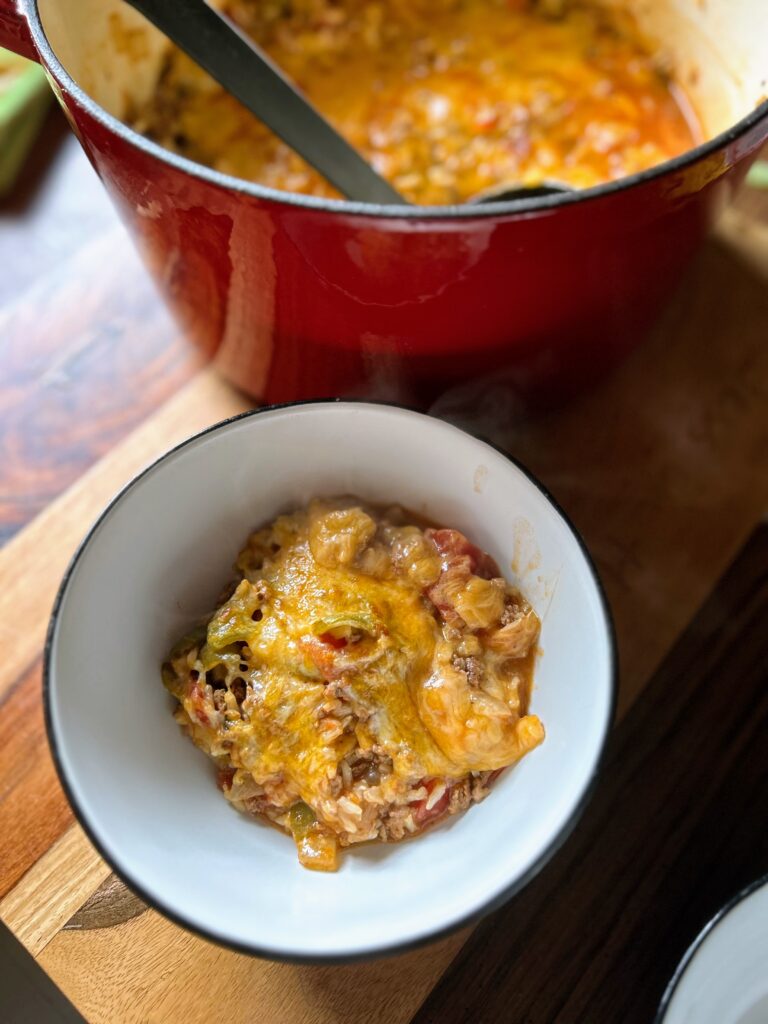
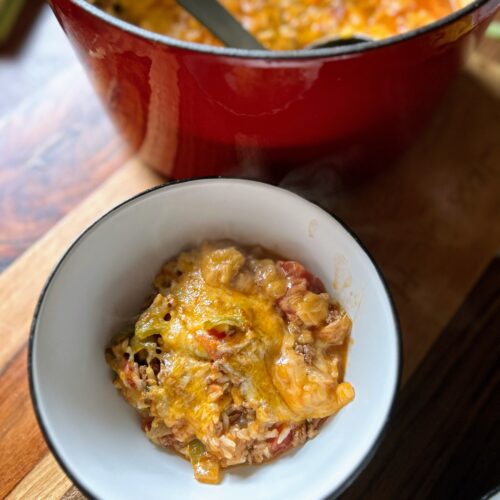
This stuffed pepper skillet seems to fit all the bills
It has protein from the Italian sausage (I use my Italian sausage inspired venison), starches in the rice, and it’s full of vegetables in the tomatoes, peppers, and onions. Even better? It has minimal hands-on time and once it’s time to cook the rice, you cover it and let it be. No stirring. No checking it constantly. Just get the veg cooked up and you’re almost done.
And your family will love it (at least I hope they do!). The first time I made it, I was just using up sad ingredients from the fridge: halves of peppers and sad onions. I was trying to clear out some of the freezer before the Mr starts hunting again and we had a ton of Italian venison. As soon as my kids dug in, they said, “Of course you didn’t measure…it’s so good!” We quickly ate it three weeks in a row! On that third week, I measured so that I could share with all of you!
Ready to start creating this great, family friendly meal for the people you love too? Let’s go!
Your ingredients
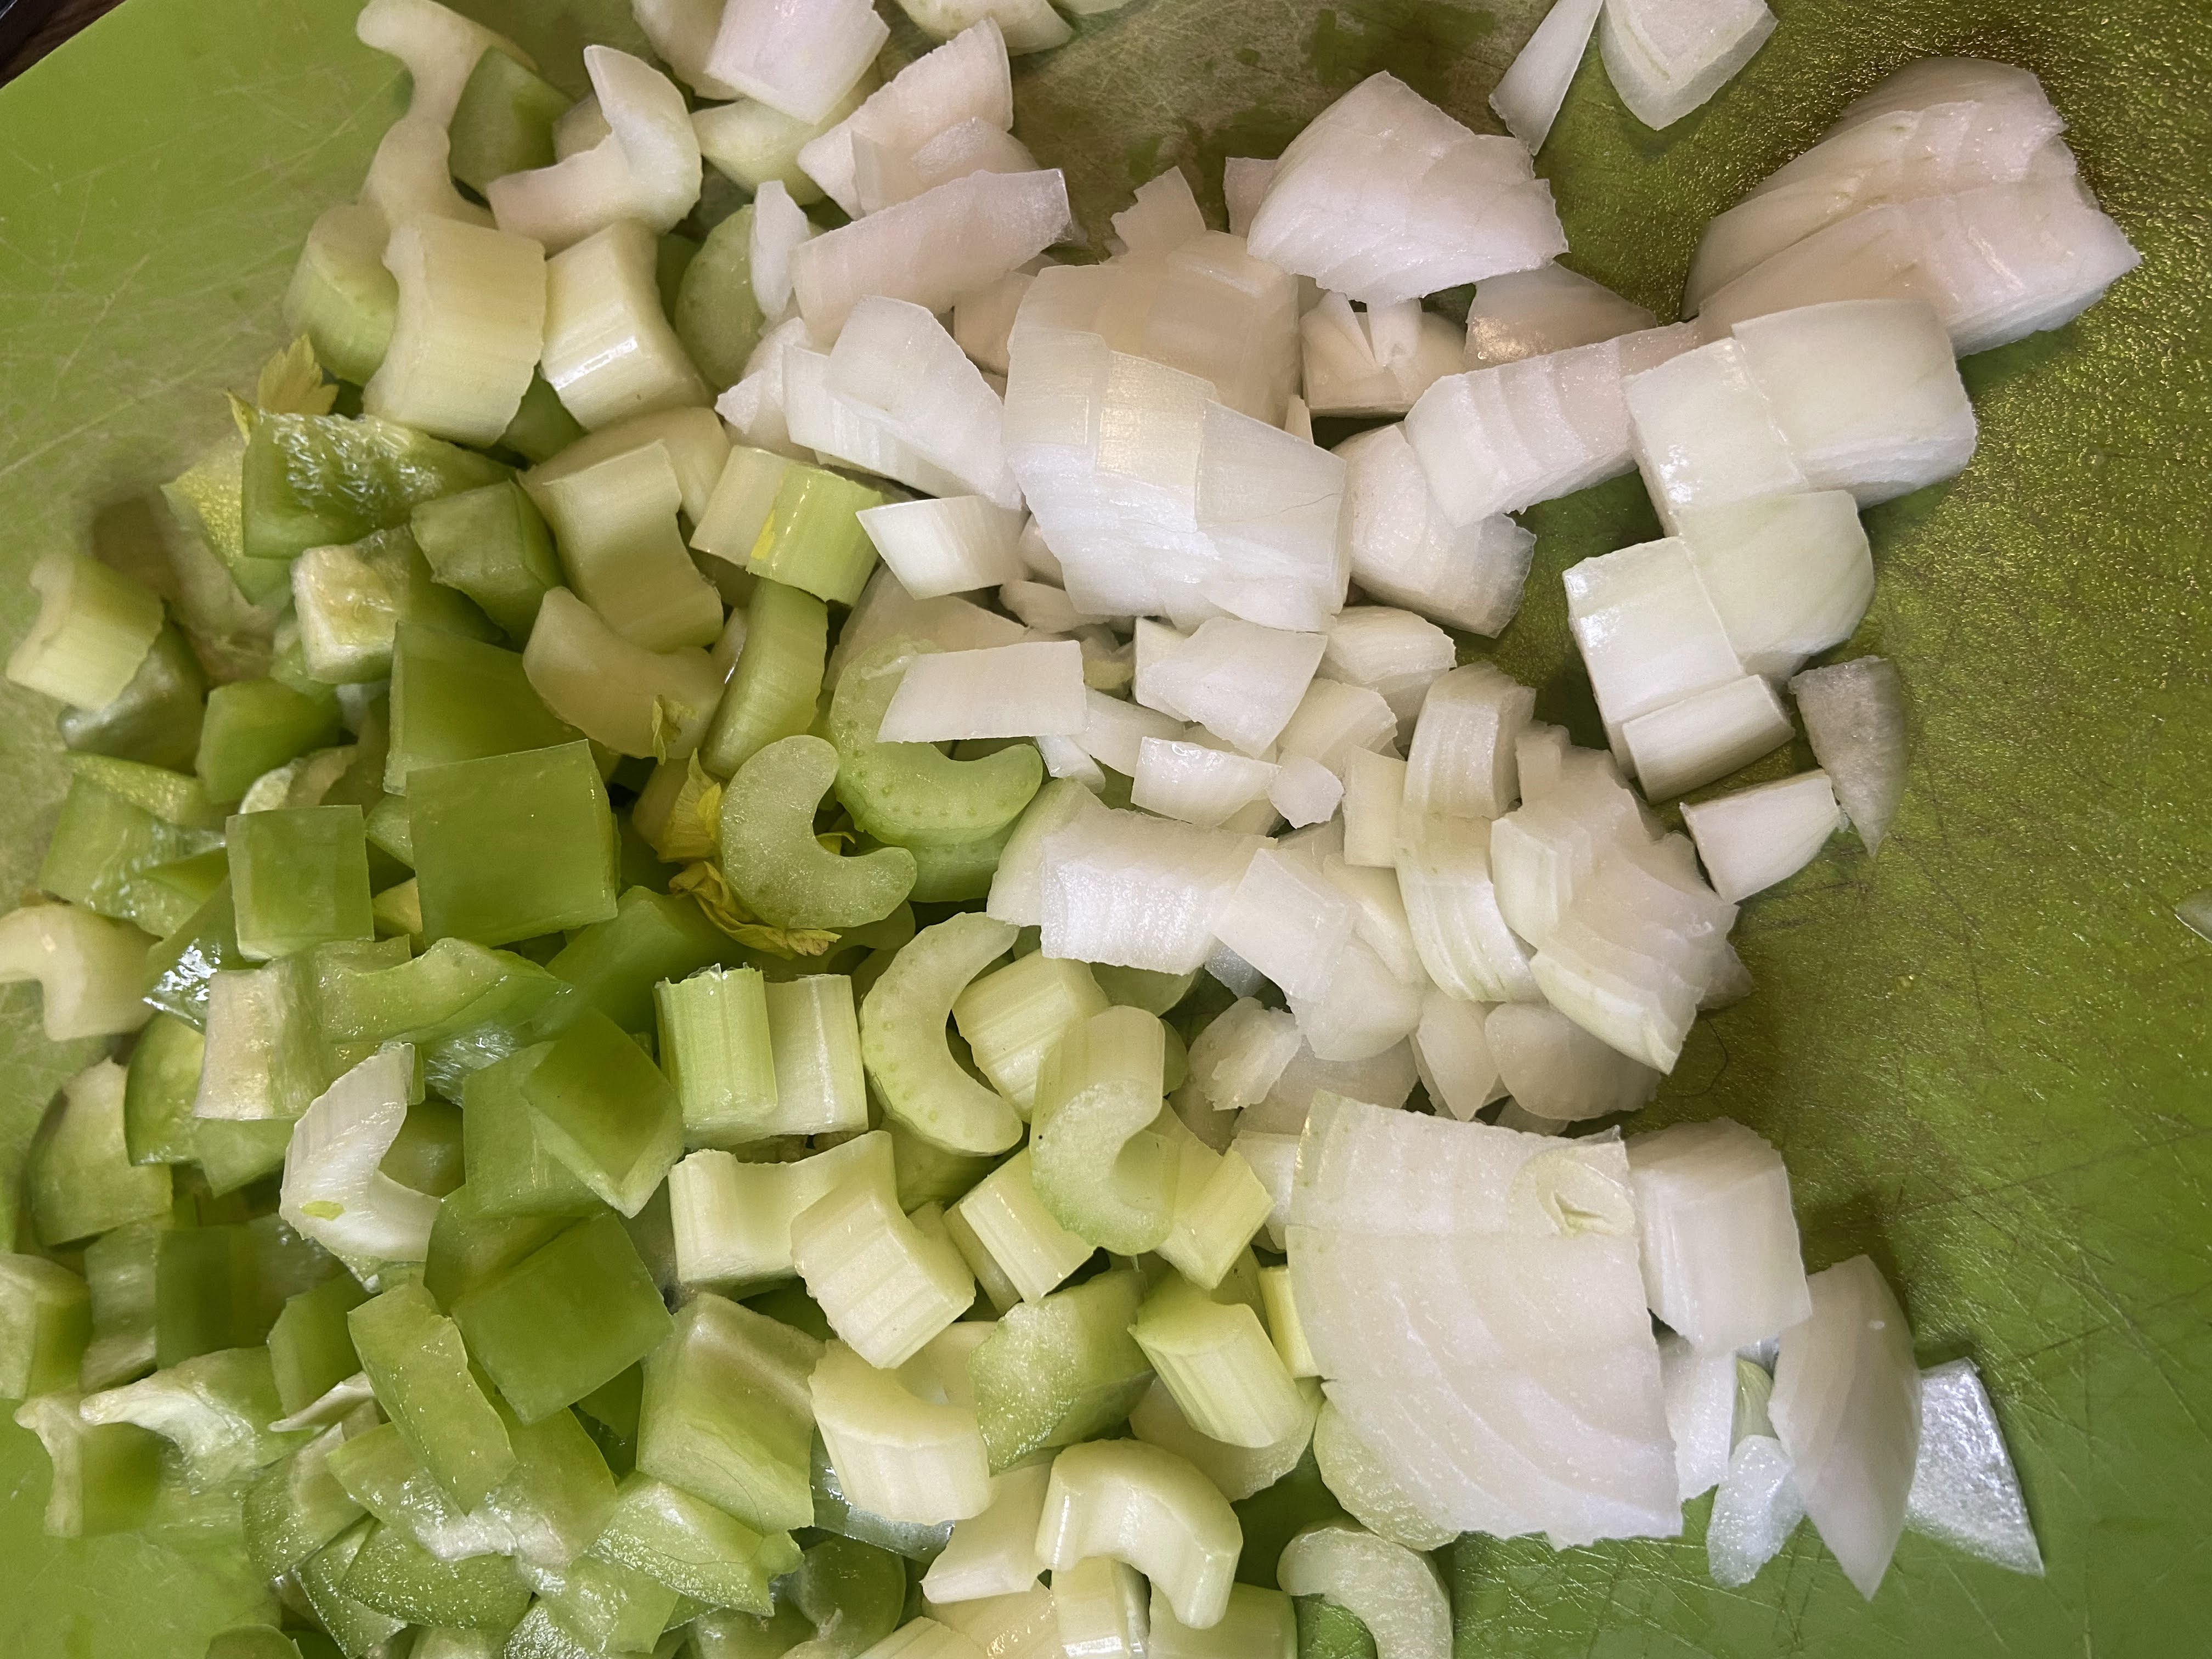
- 1 ½ cups chopped sweet pepper, any color
- 1 ½ cups diced onion
- 2 tablespoons olive oil
- 2 teaspoons minced garlic
- 1 pound ground Italian sausage
- 1 can of diced tomatoes, unsalted
- 8 ounces tomato sauce
- 2 ⅔ cup low sodium chicken stock
- 1 ½ cups brown rice
- 1 cup shredded cheese, your favorite kind
- Pinch of red pepper flakes (optional)
- Salt and pepper, to taste
Your Steps to Stuffed Pepper Skillet
If available, cook this in an oven safe Dutch oven with a cover so that the cheese can go under the broiler. If that’s not available, any large brazier or saute pan with a cover will do.
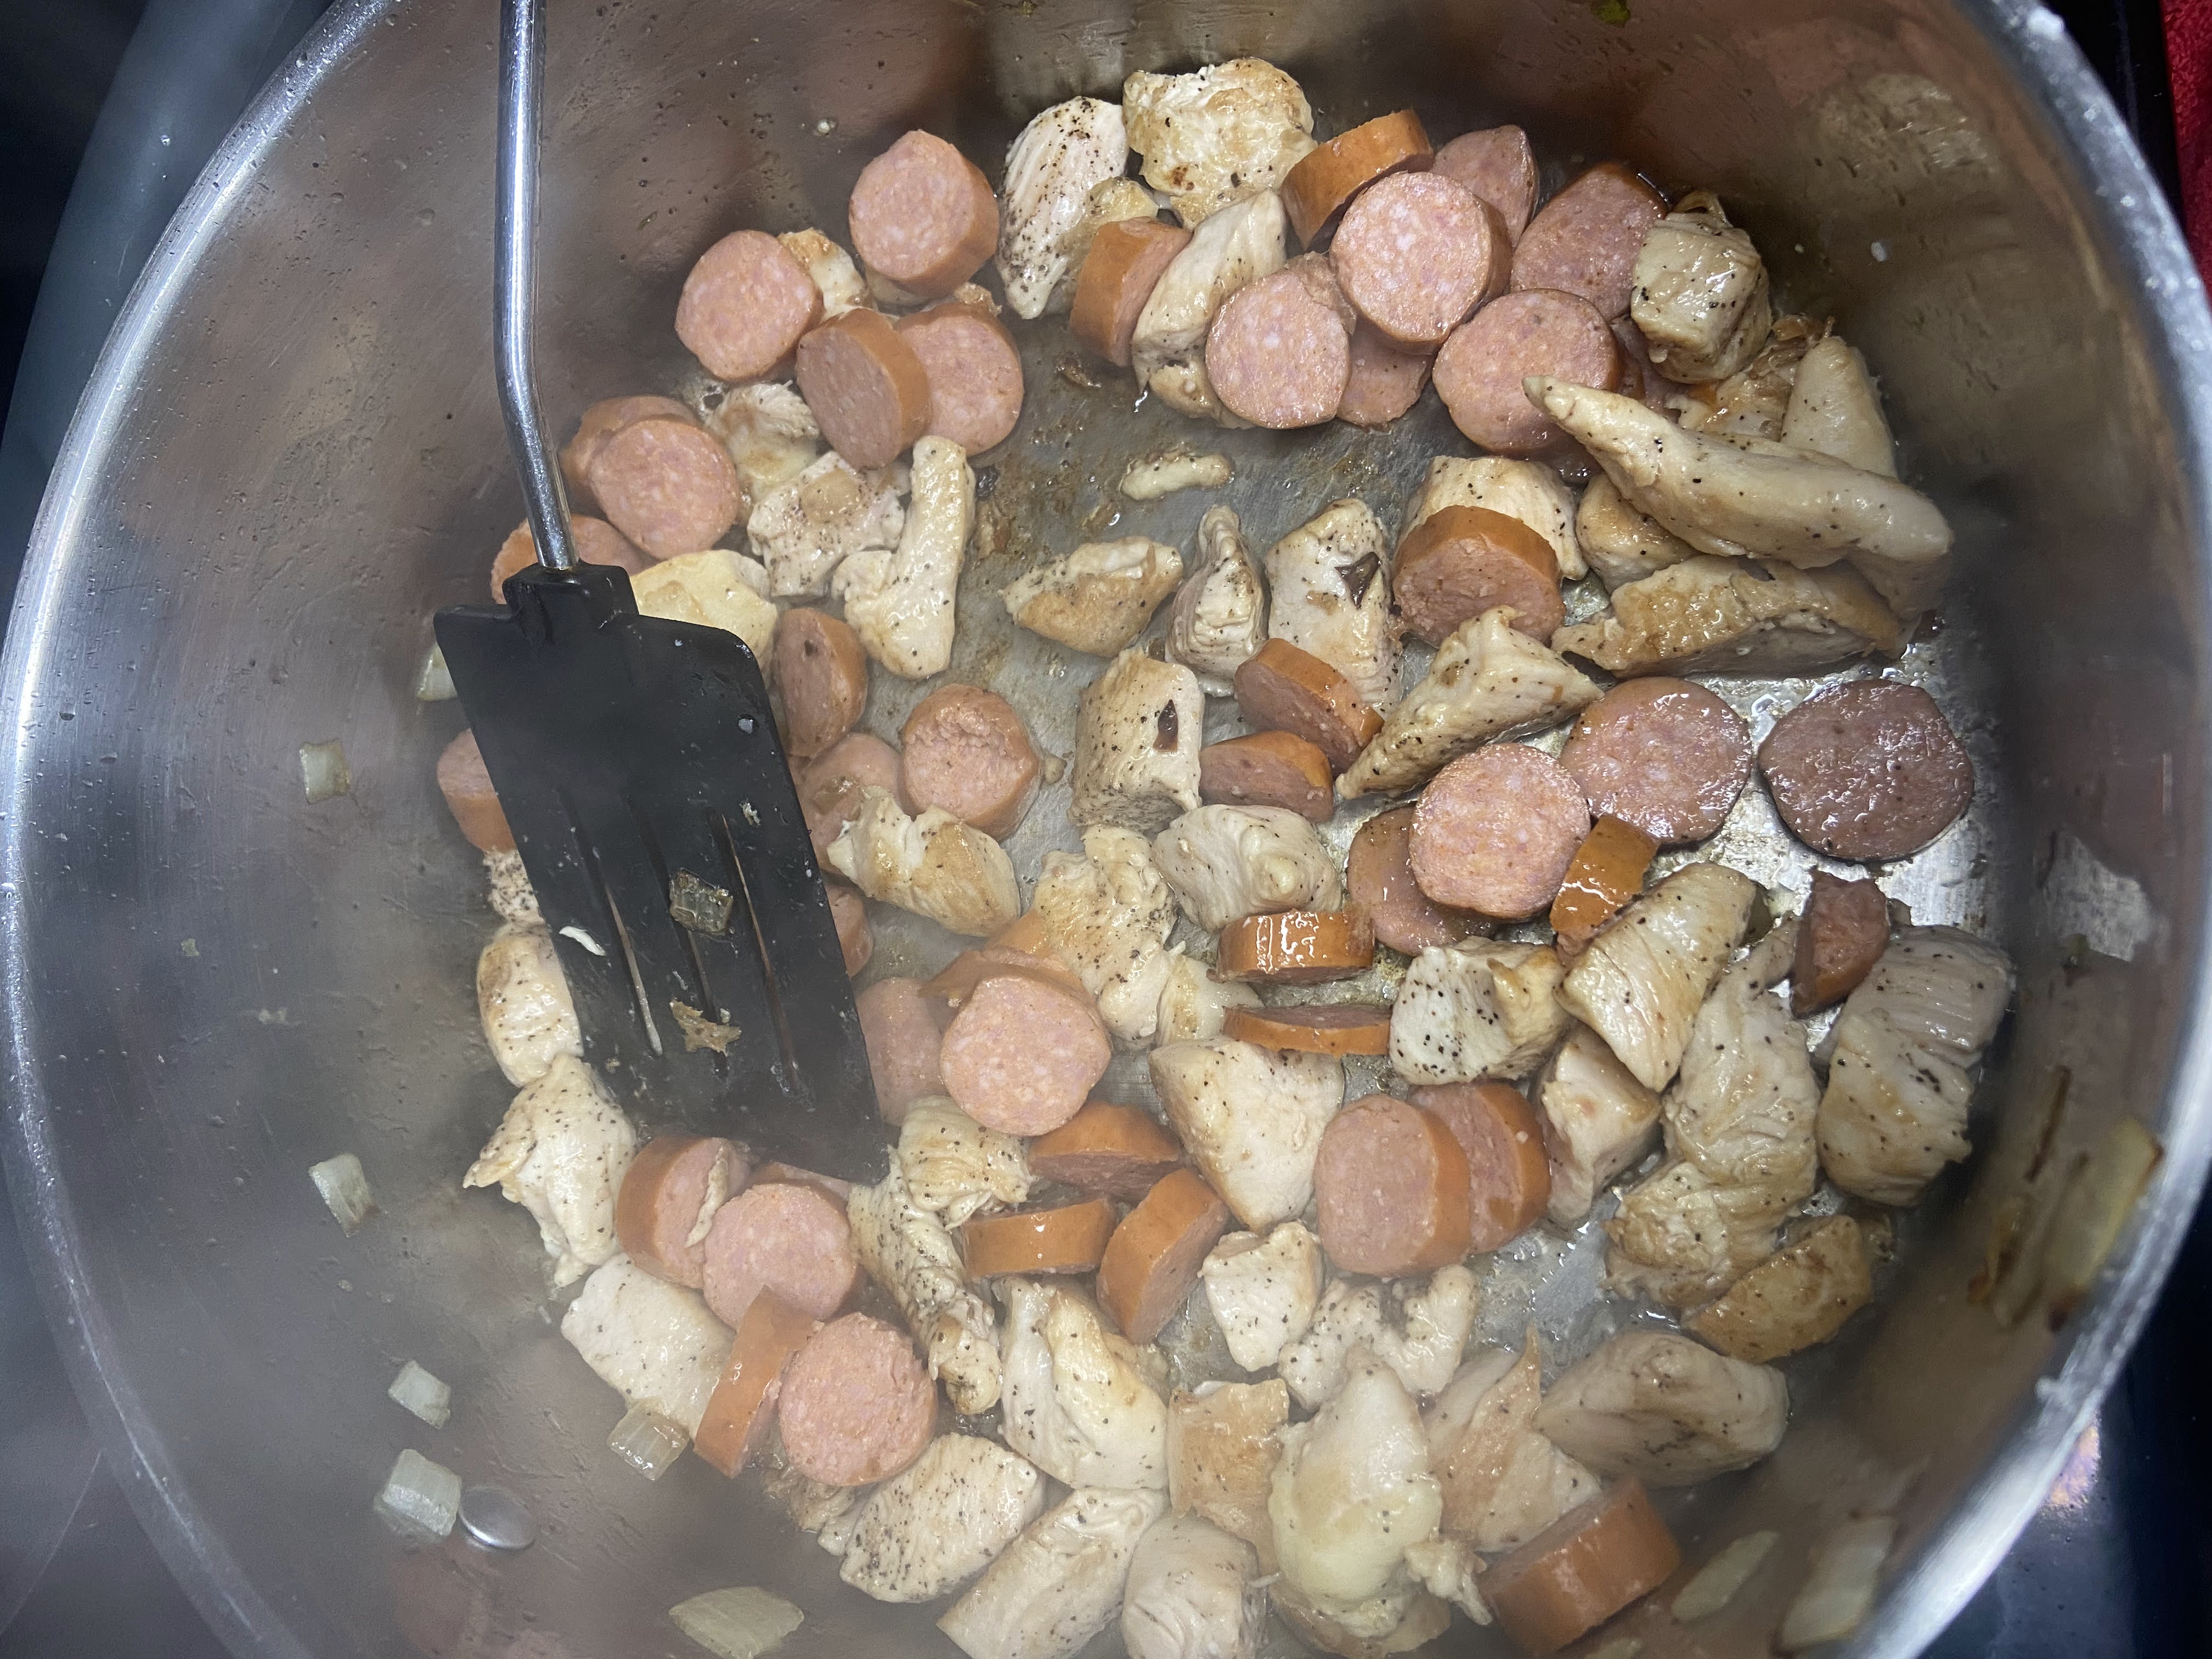
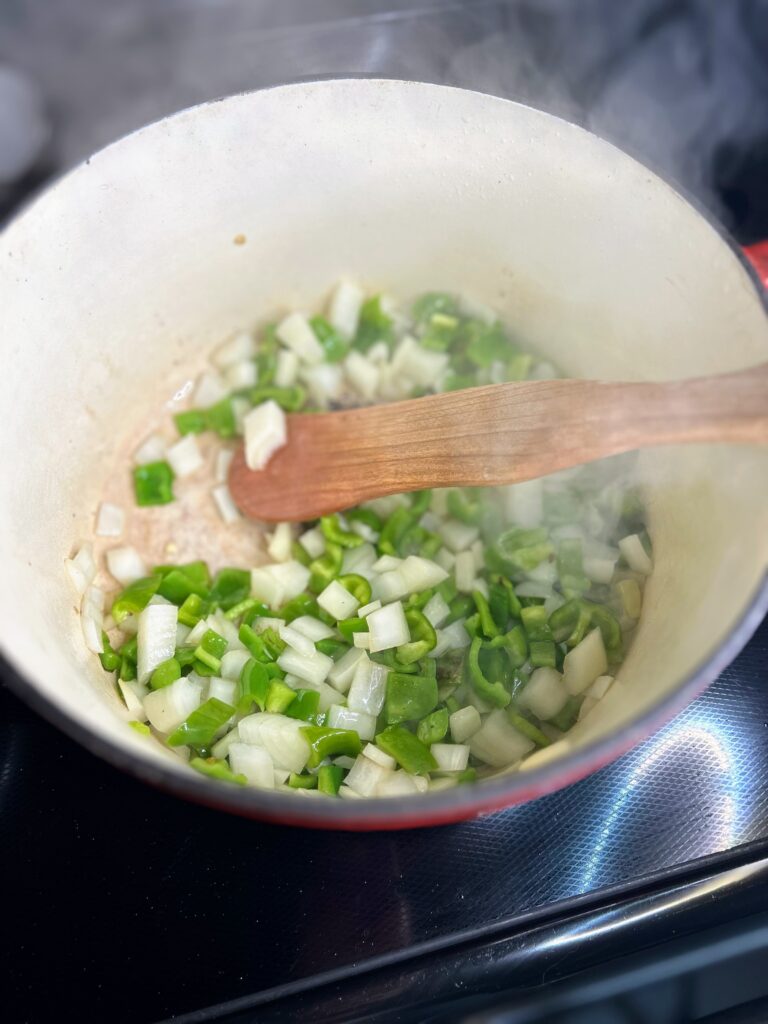
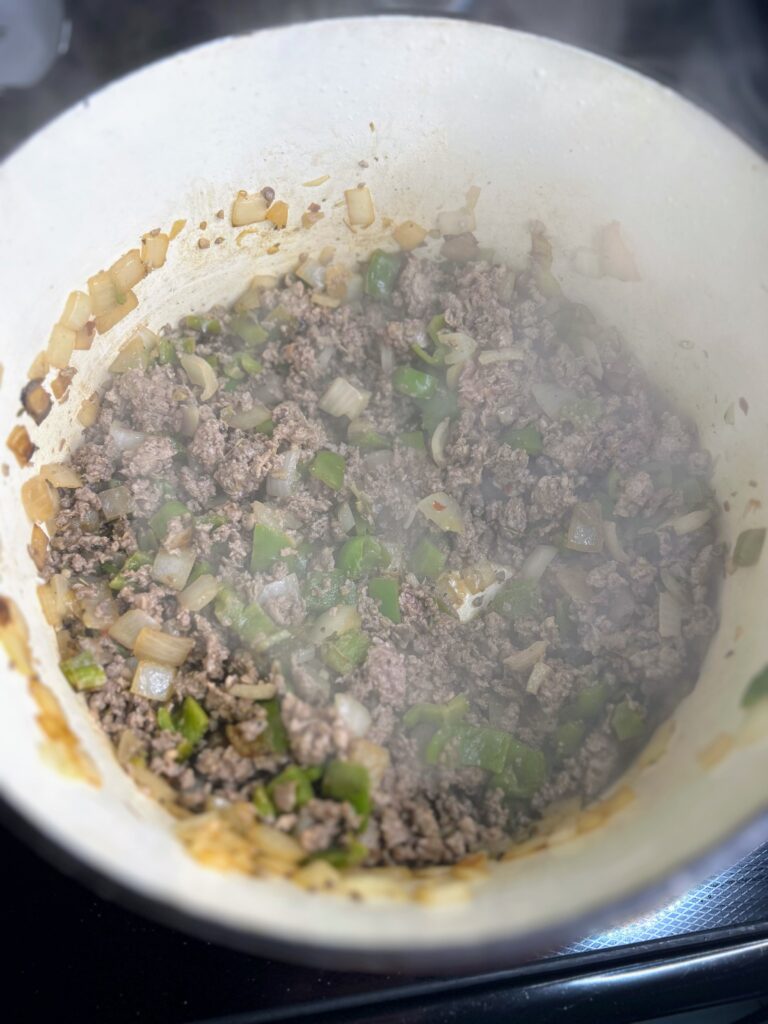
Over medium-high heat, add the olive oil to the pan. Once hot, add green peppers and onion. Saute for 5-10 minutes, until just softening. Then add the Italian sausage and minced garlic, cooking until the sausage is browned. From here, drain if necessary (I use a half venison/pork mixture, so I don’t need to drain any extra fat).
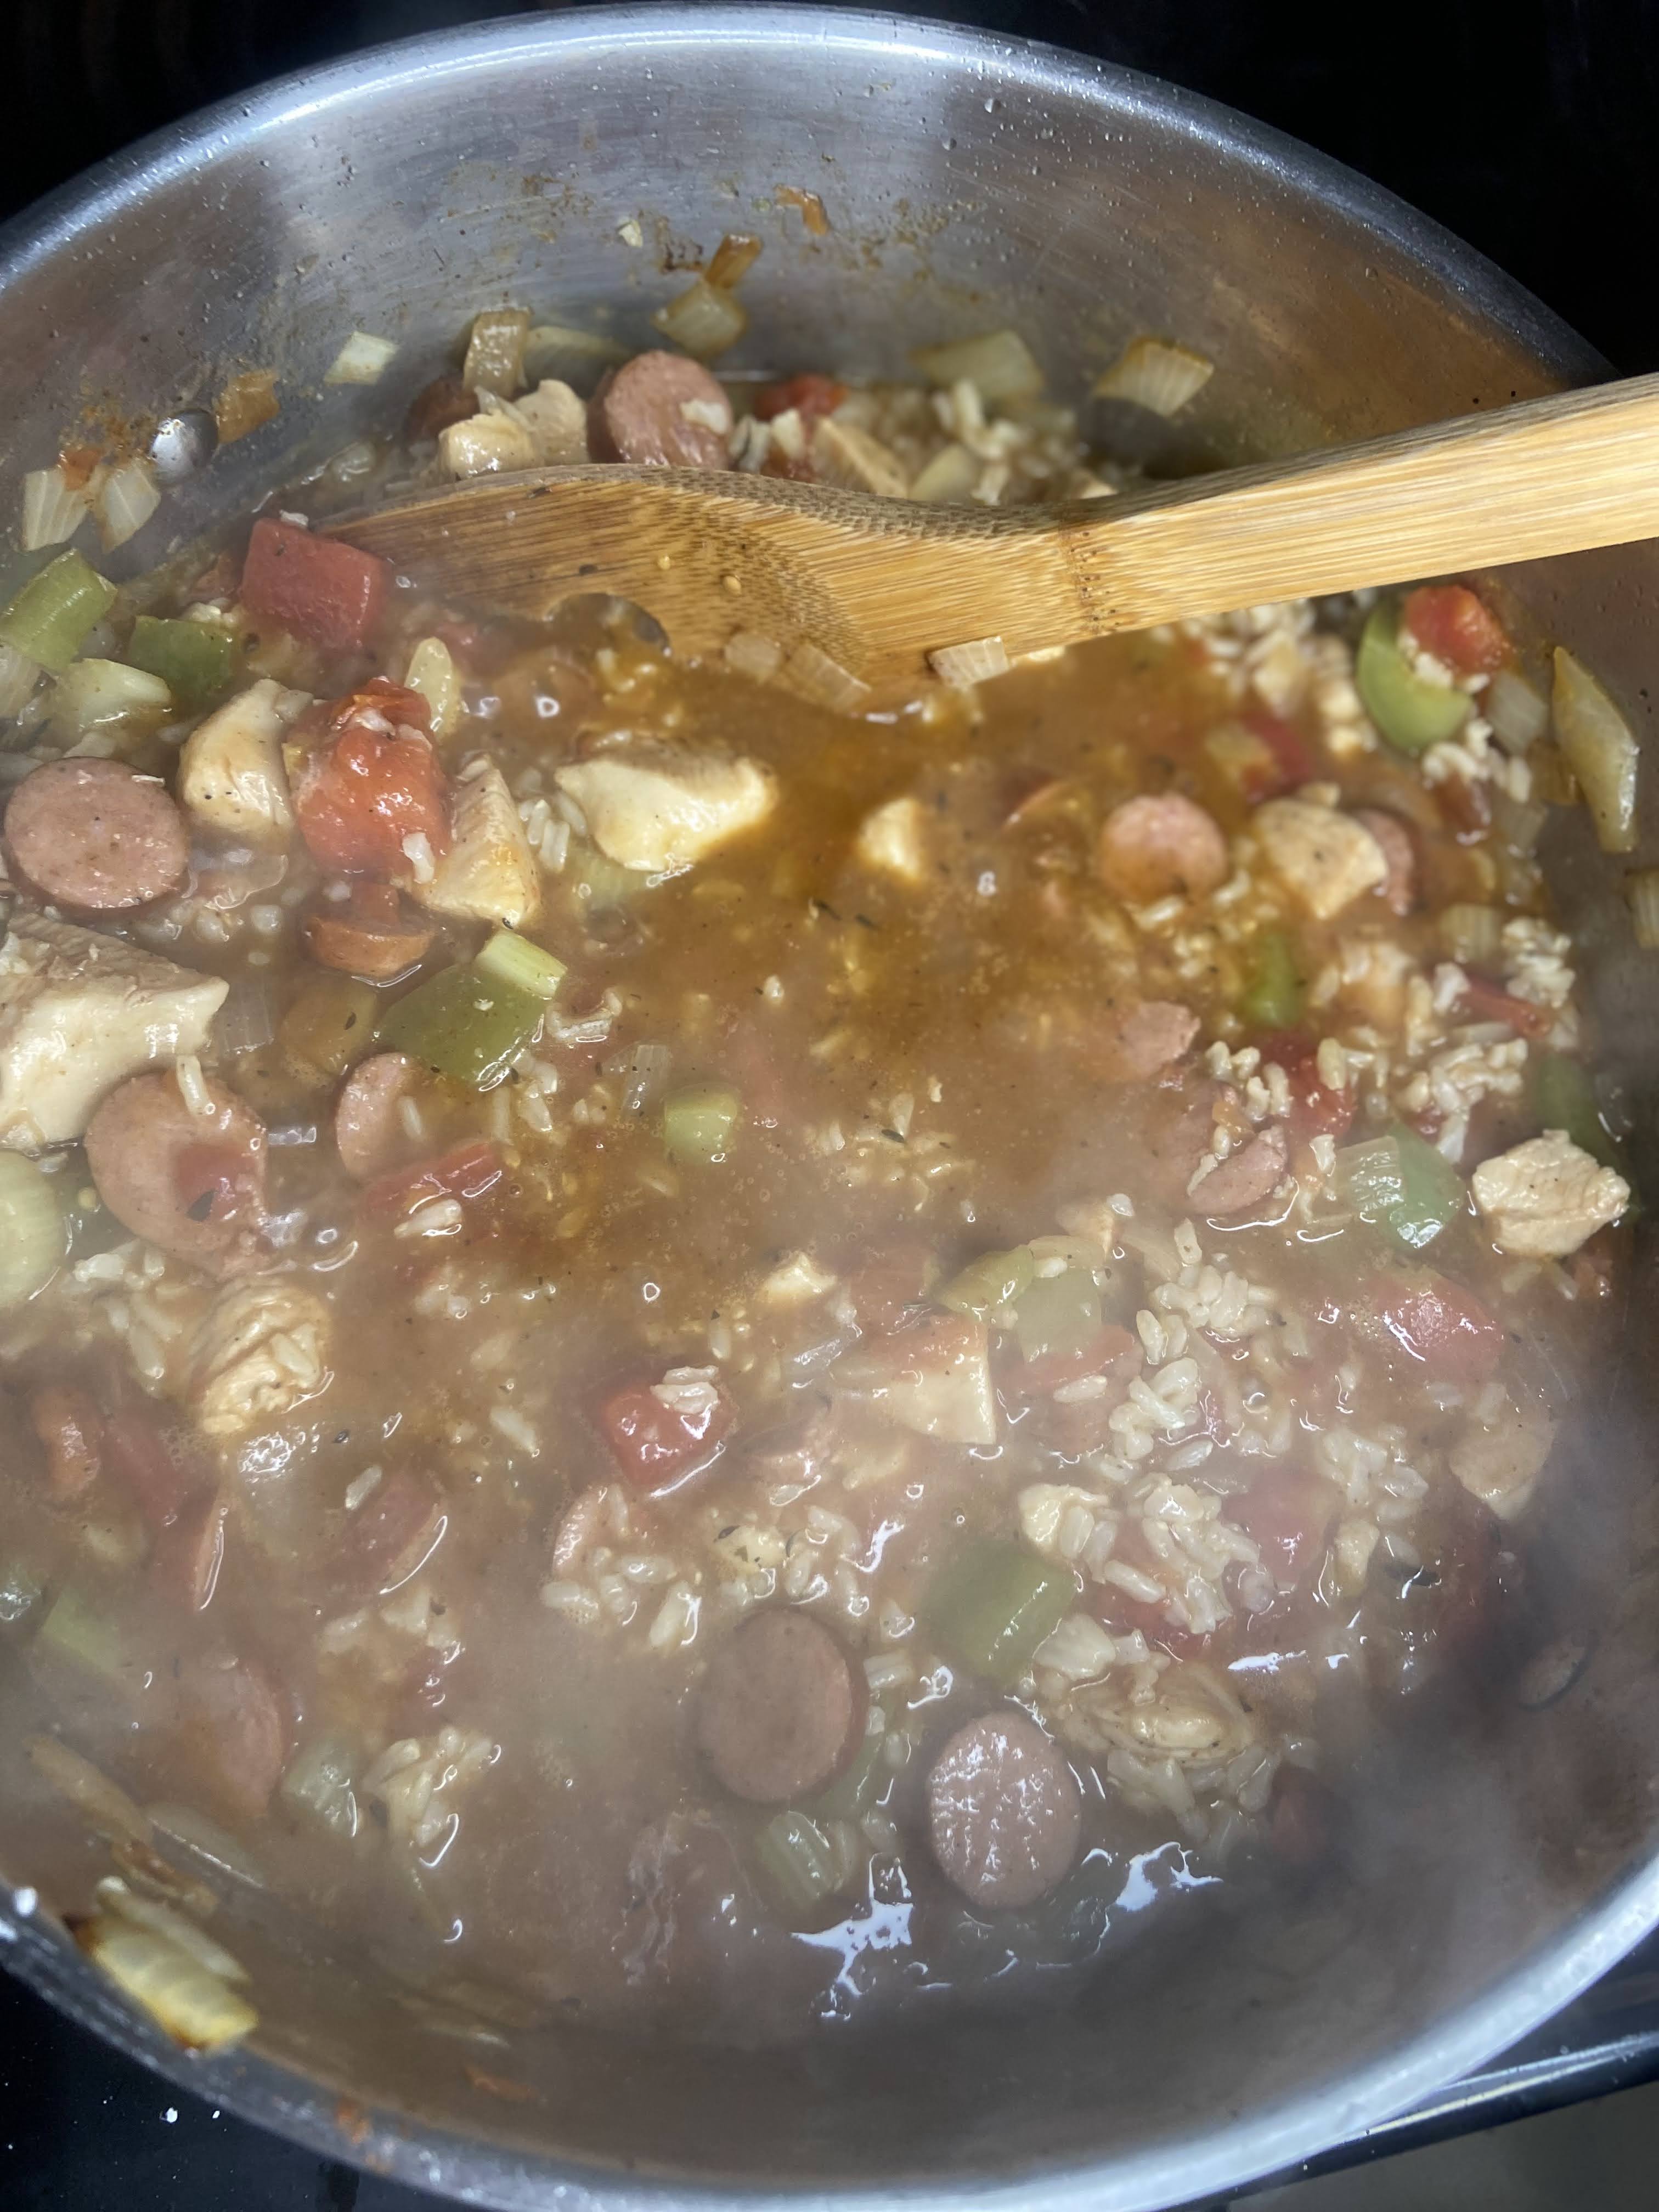
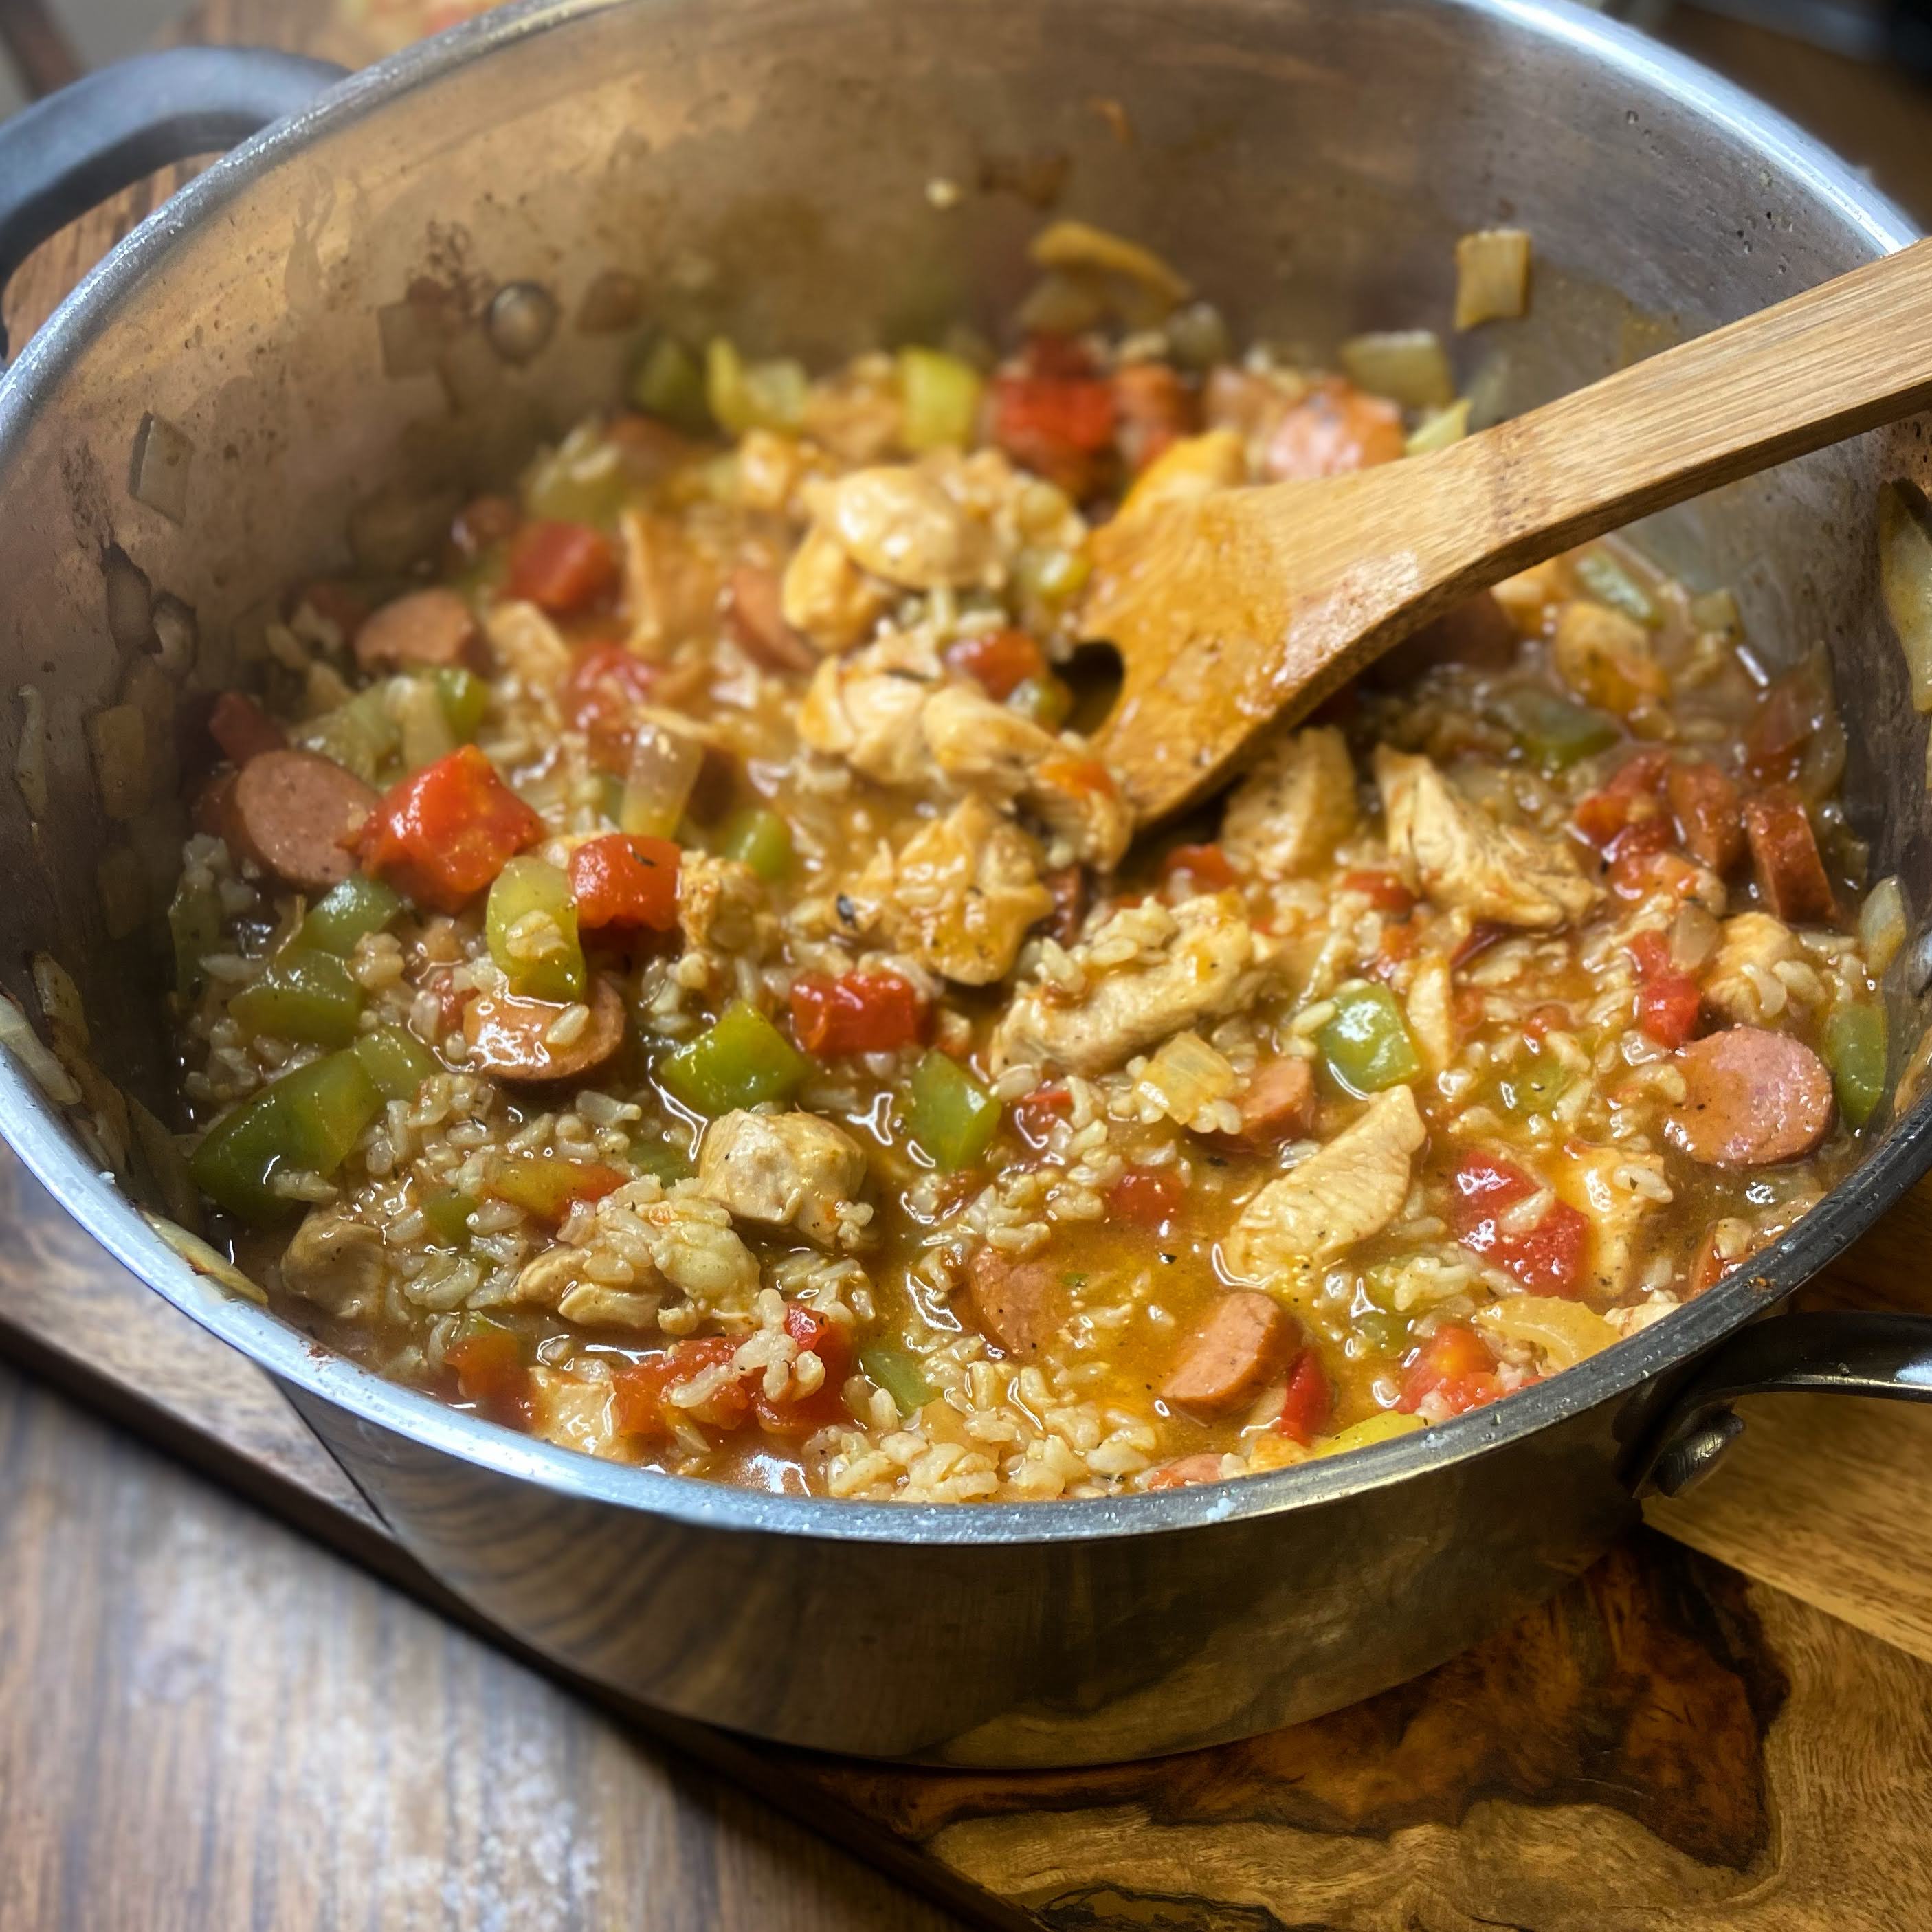
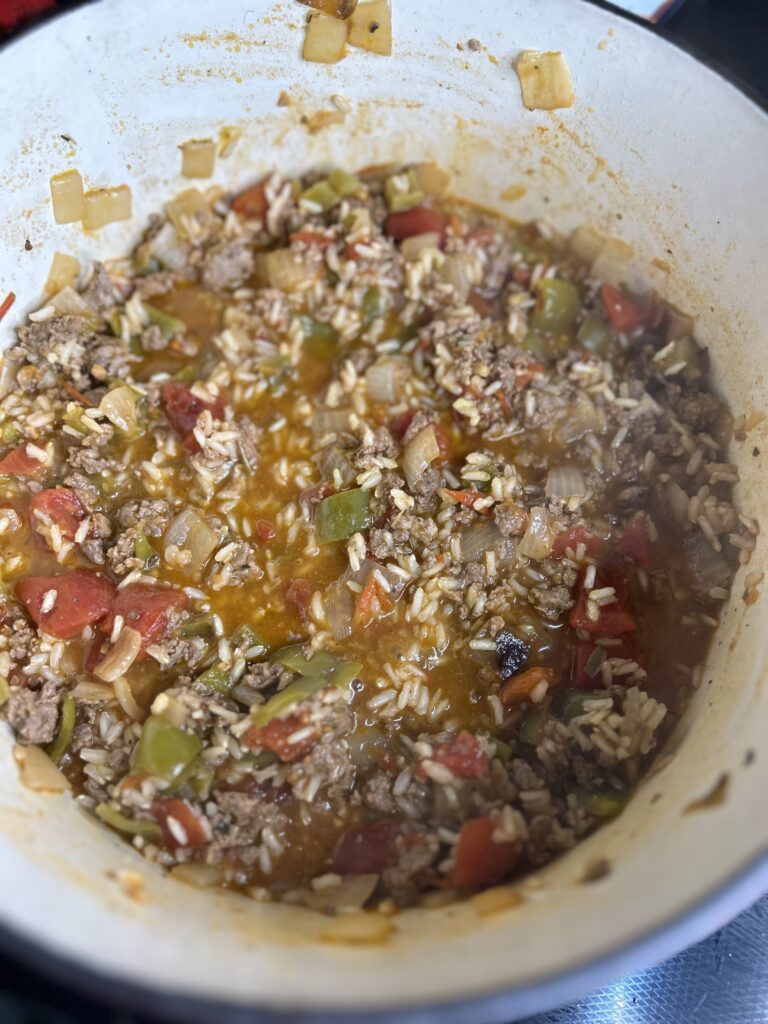
Add diced tomatoes, tomato sauce, chicken stock, and salt and pepper (including the pepper flakes). Bring to a boil. Add the rice, stirring to combine. Return to a boil, then reduce to a simmer and cover. Allow your wonderful meal to cook for 40 minutes, covered. After 40 minutes, check the texture of the rice, cooking for an additional 5-10 minutes if necessary.
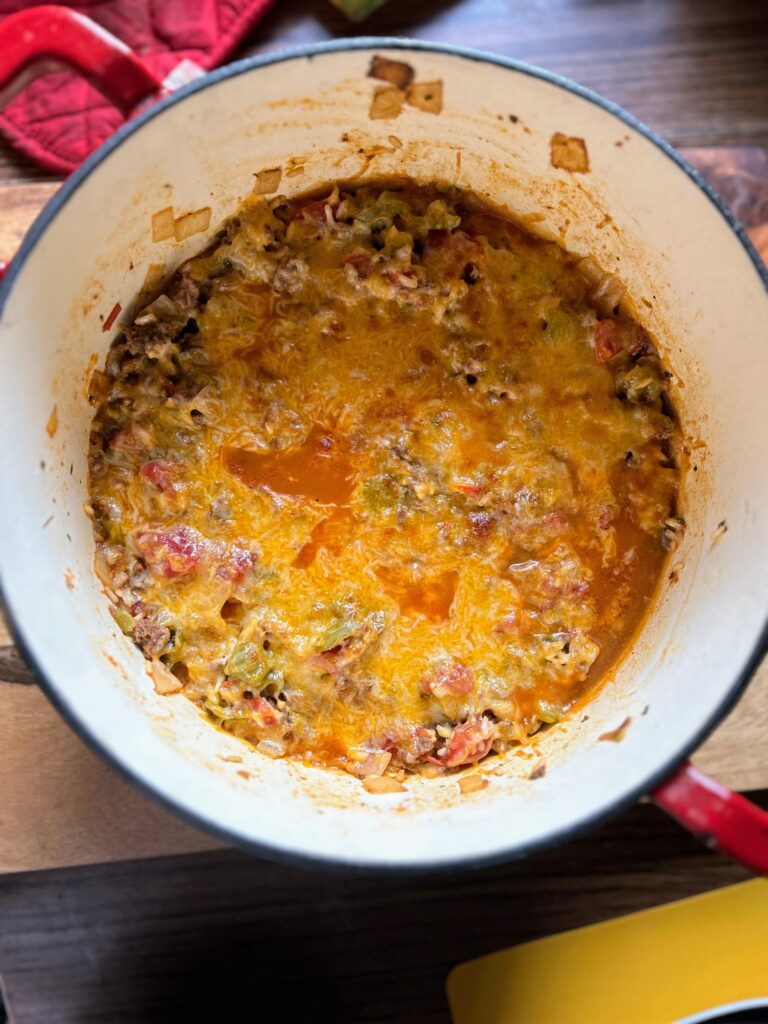
Once the rice is fully cooked, top with shredded cheese. If you are able to put your pan in the oven, cook under the broiler at 475 for 3-5 minutes, until the cheese is perfect and bubbly.
If you are not able to put your pan in the oven, add the cheese and immediately put the cover back on. Allow to sit for 5-10 minutes (and up to 20 minutes, if you are busy), to let the cheese melt.
That’s it. It really is such a simple meal that has you doing just a few things at the beginning and then setting and forgetting it. If you are busy at night, you could totally precook the sausage, onion, and peppers and just add everything together when you get home.

Stuffed Pepper Skillet
Ingredients
- 1 ½ cups chopped sweet pepper any color
- 1 ½ cups diced onion
- 2 tablespoons olive oil
- 2 teaspoons minced garlic
- 1 pound ground Italian sausage
- 1 can of diced tomatoes unsalted
- 8 ounces tomato sauce
- 2 ⅔ cup low sodium chicken stock
- 1 ½ cups brown rice
- 1 cup shredded cheese your favorite kind
- Pinch of red pepper flakes optional
- Salt and pepper to taste
Instructions
- If available, cook this in an oven safe Dutch oven with a cover so that the cheese can go under the broiler. If that’s not available, any large brazier or saute pan with a cover will do.
- Over medium-high heat, add the olive oil to the pan. Once hot, add green peppers and onion. Saute for 5-10 minutes, until just softening. Then add the Italian sausage and minced garlic, cooking until the sausage is browned. From here, drain if necessary.
- Add diced tomatoes, tomato sauce, chicken stock, and salt and pepper (including the pepper flakes). Bring to a boil. Add the rice, stirring to combine. Return to a boil, then reduce to a simmer and cover. Allow your wonderful meal to cook for 40 minutes, covered. After 40 minutes, check the texture of the rice, cooking for an additional 5-10 minutes if necessary.
- Once the rice is fully cooked, top with shredded cheese. If you are able to put your pan in the oven, cook under the broiler at 475 for 3-5 minutes, until the cheese is perfect and bubbly.
- If you are not able to put your pan in the oven, add the cheese and immediately put the cover back on. Allow to sit for 5-10 minutes (and up to 20 minutes, if you are busy), to let the cheese melt.
Looking for other great dinner recipes?