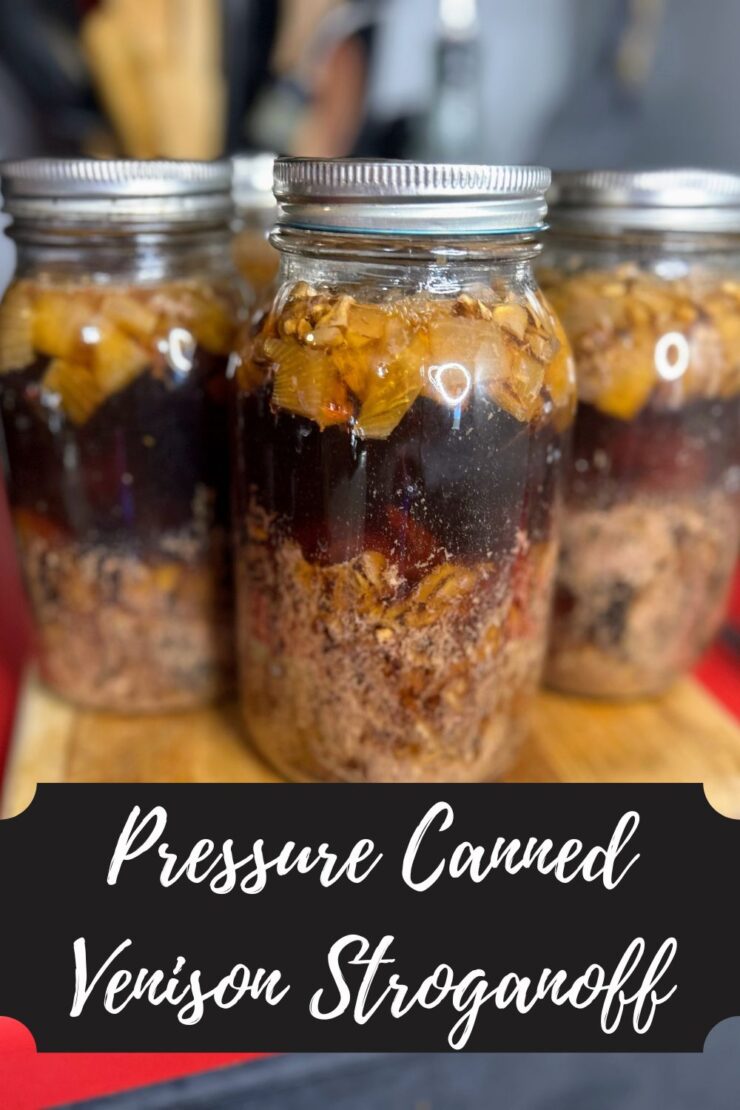
I’ll be honest, if you would have asked Jess if she would be canning meat 10-15 years ago, I would have laughed in your face. In fact, 15 years ago, I had never canned a thing in my life. Fast forward to now, and I am pumped to share a new way we are processing our venison: pressure canned venison stroganoff.
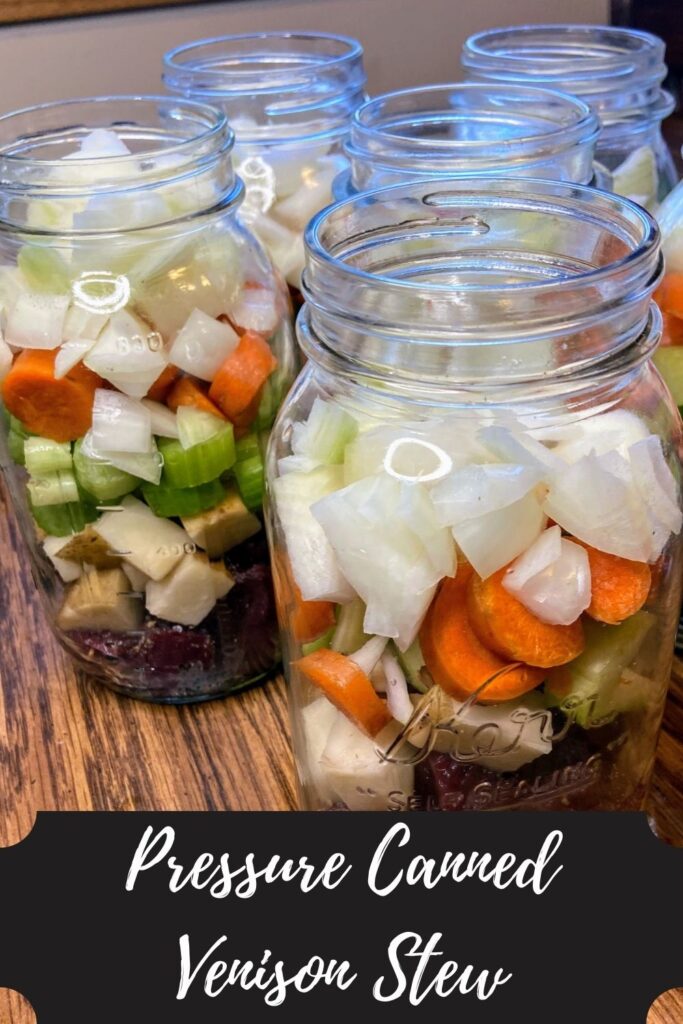
A number of years ago, we grew so many green beans we couldn’t keep up. When I reached out to the facebook world for recommendations, someone told me we should pick up a pressure canner; that’s how it started. Now, we primarily pressure can venison in a variety of ways:


However, I have taken to using my pressure canner as my waterbath canner and have dabbled with using it as a steam canner. In addition, I made a big shift in how I can by using a Cadco hot plate as my burner. I was hesitant to spend the money on a good hot plate, but wanted to protect my new glass top stove. I ADORE the set up as it gives me the stove top as a work space and I would recommend both (using only a pressure canner and the hot plate) to any canner, especially one with limited work space.
But I digress.
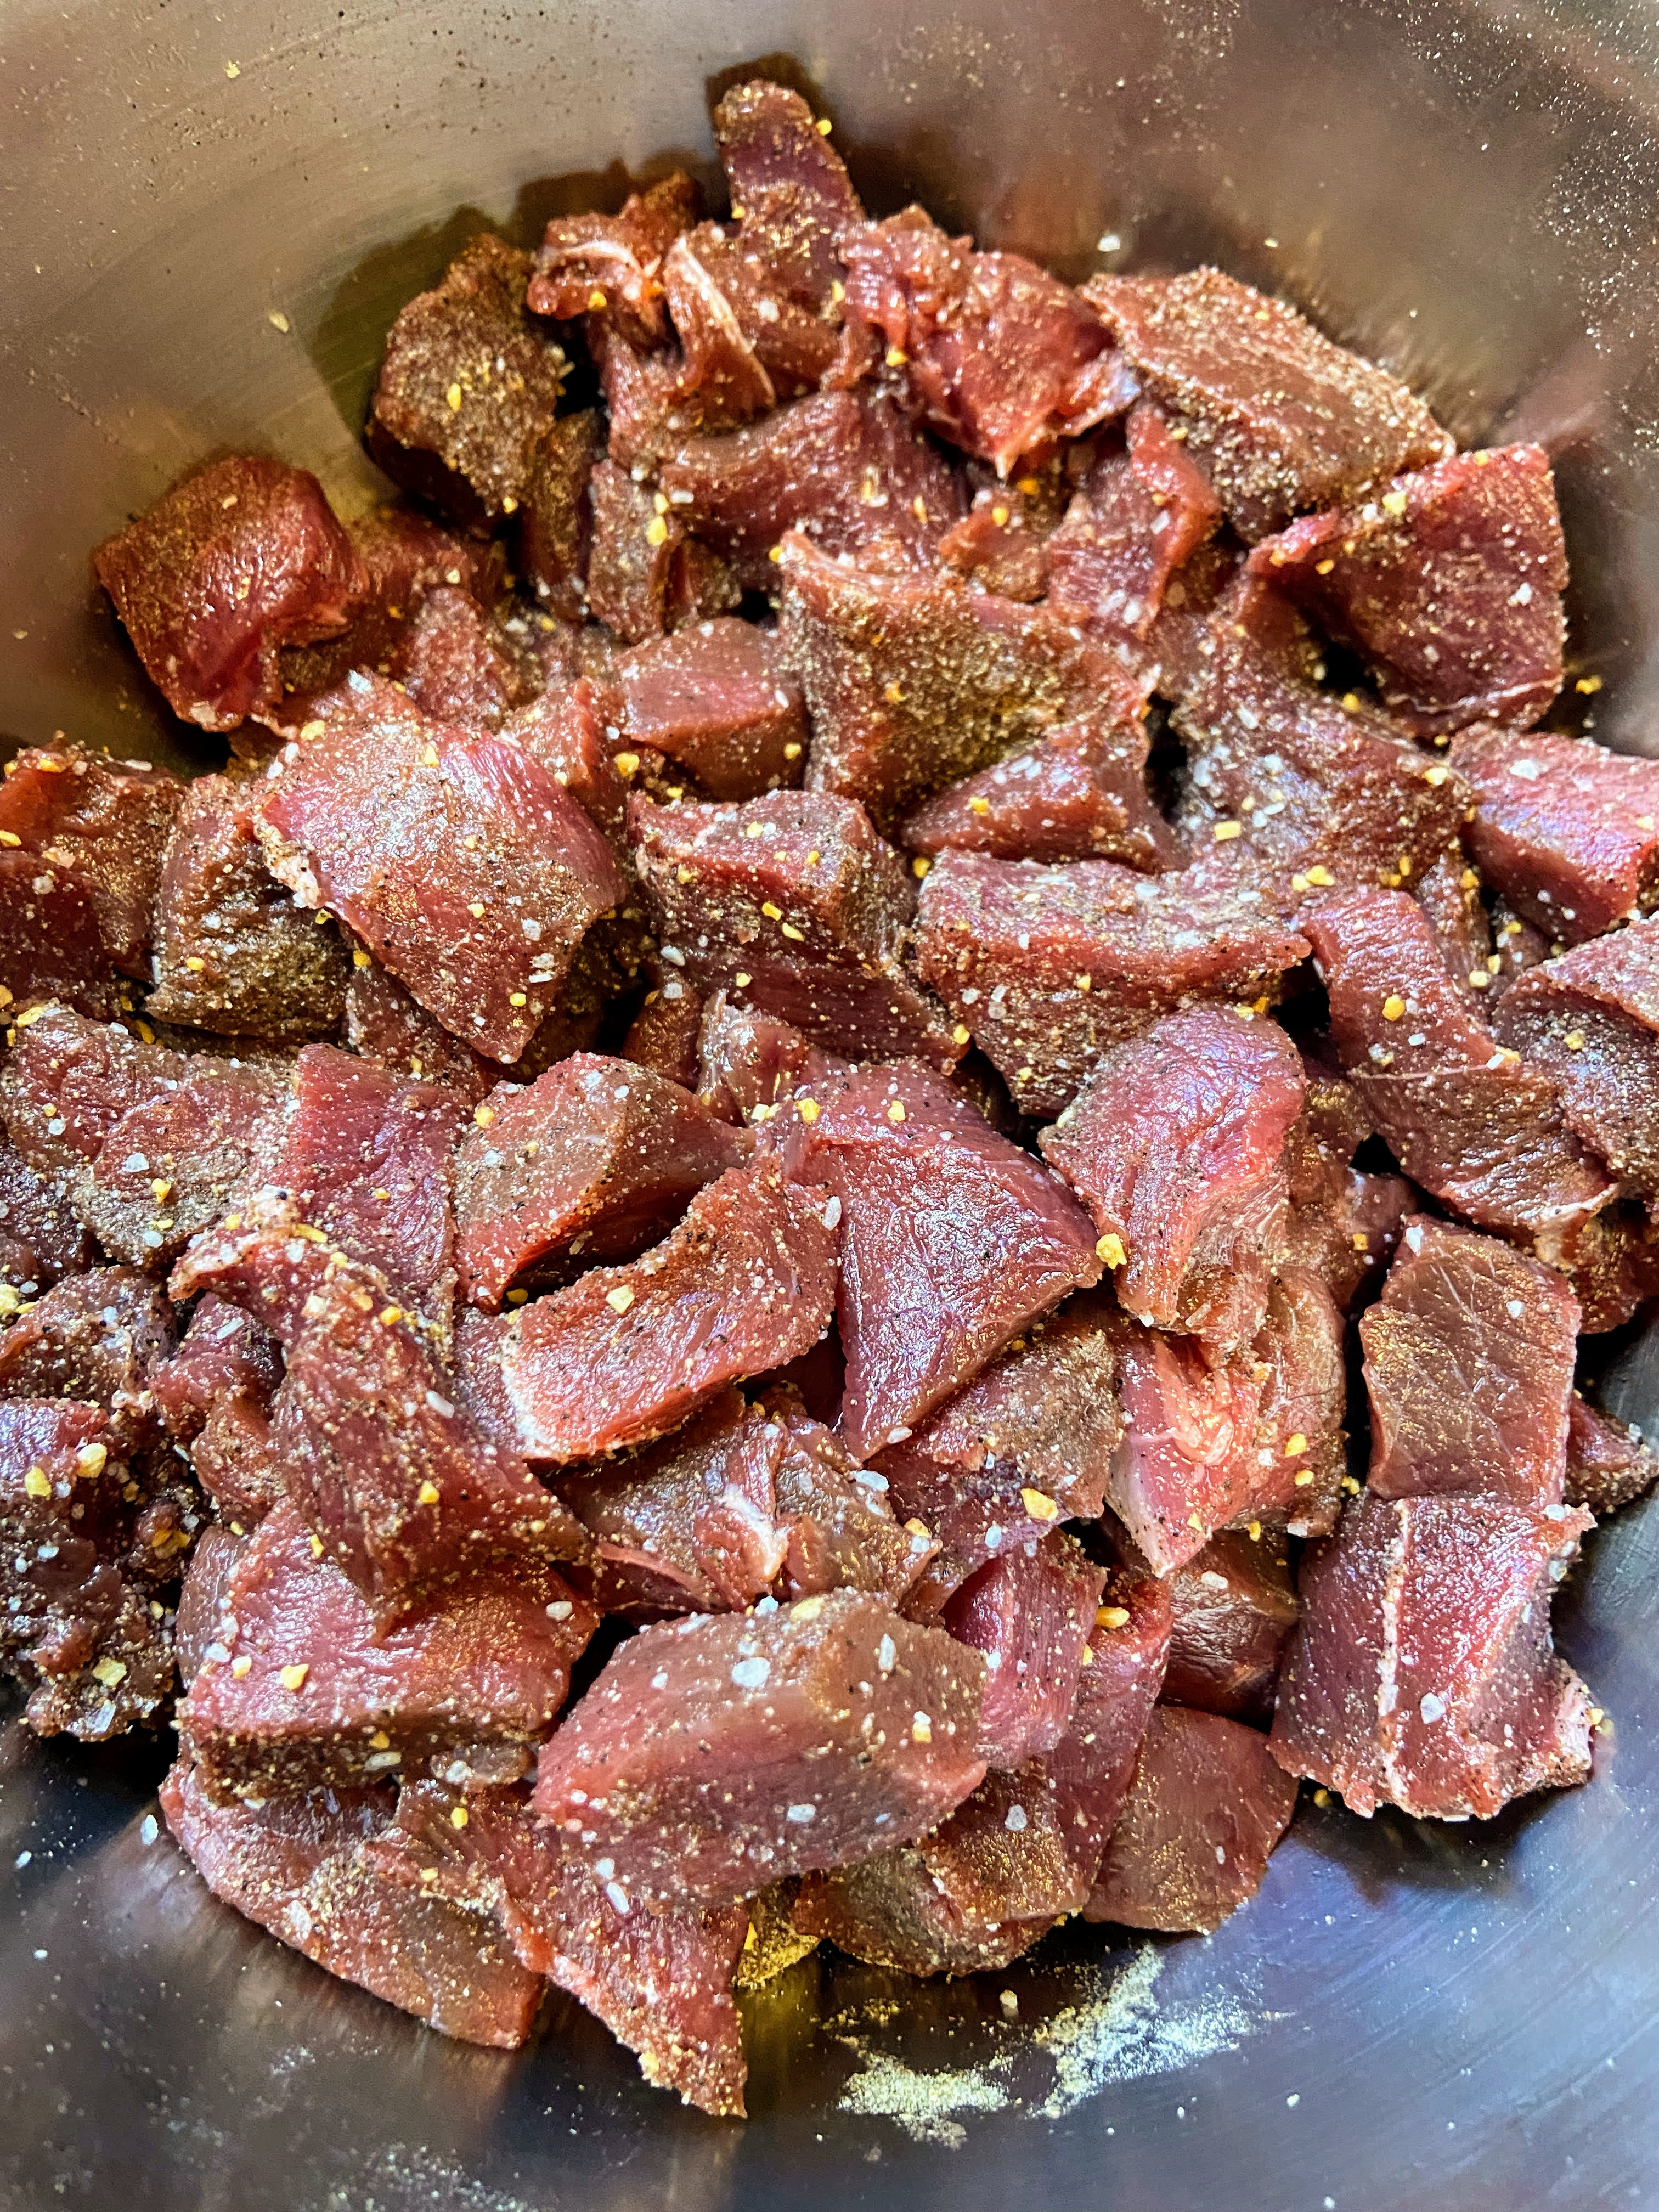
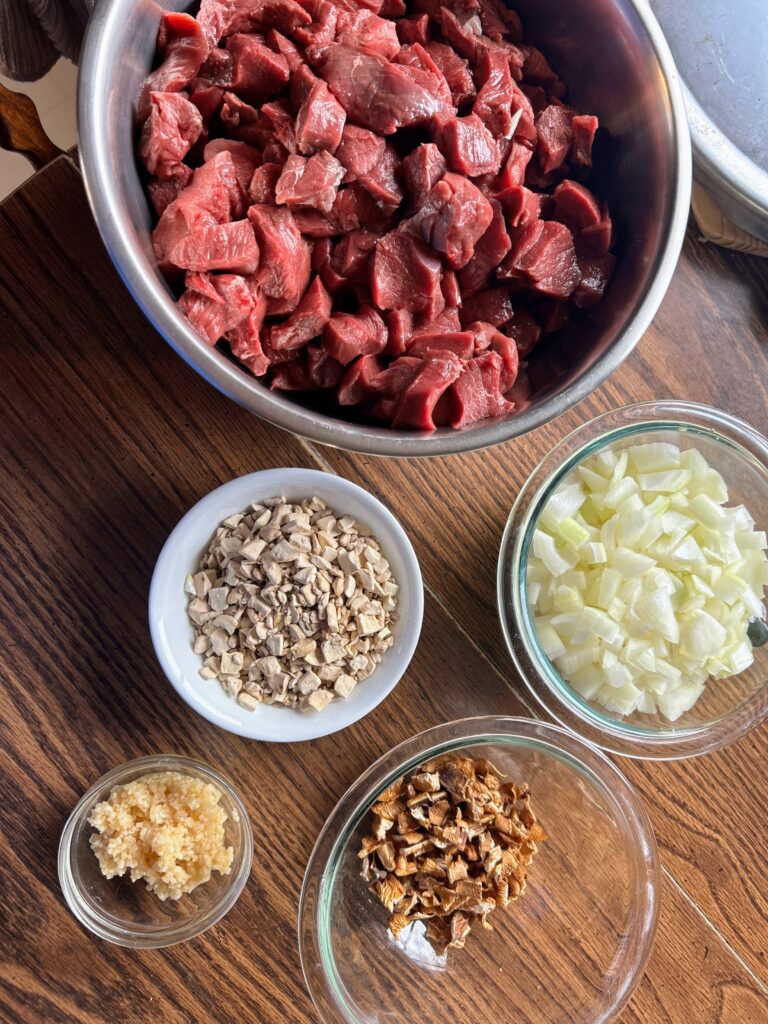
Back to the pressure canned venison stroganoff. The recipe is extremely simple: cubed raw venison, a seasoning mix of salt, pepper, garlic, and onion, raw onion and garlic, dehydrated mushroom (or freeze dried), and venison or beef stock. That’s it.
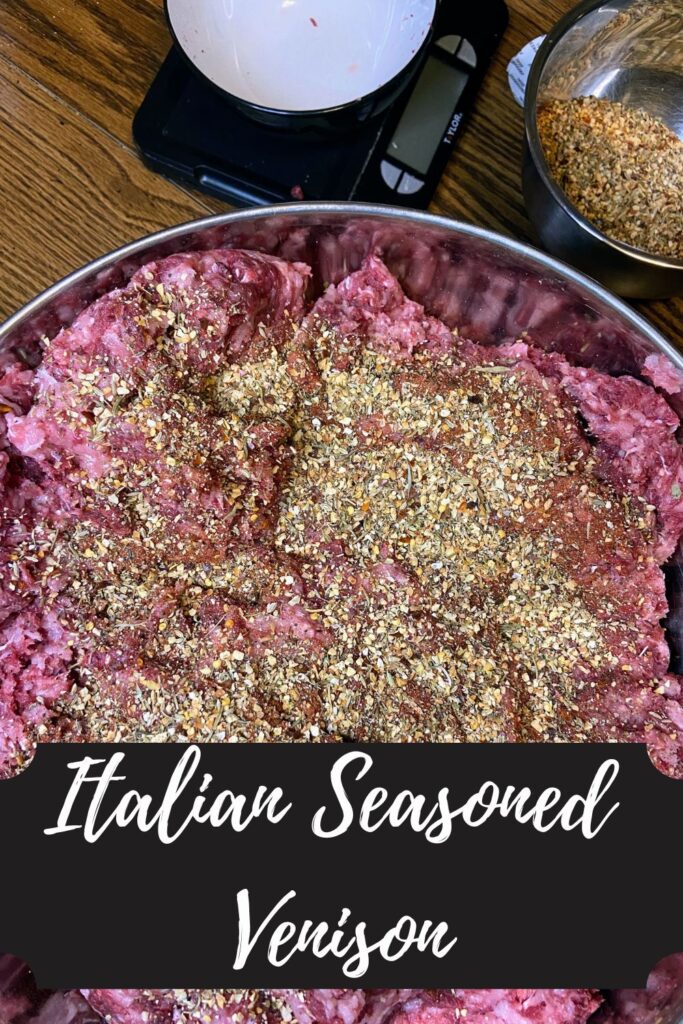
The seasoning mixture is something we keep on hand for all canning of meat. It’s one part each of: black pepper, dried minced garlic, and dried minced onion; then two parts kosher or canning salt. Typically, I measure it with a quarter cup of the pepper, garlic, and onion with a scant half cup of salt. It’s a great base for so many things so I would mix a large batch. We season every 5 pounds of meat with anywhere from ⅛-¼ cup of seasoning, depending on how I am feeling.
Tools of the Trade
Normally, I put this at the end of a post, but with a pressure canner, I feel as though I should put it at the beginning. I love using my weighted pressure canner. It doesn’t stress me out and I can create so many great things with it. I also think a canning funnel is a must here. Finally, I added the mushrooms I ordered. I wanted small pieces to make sure they didn’t rehydrate to giant pieces, but feel free to use whatever you’d like!
Before you start this process, make sure you read the general directions to your own pressure canner. They may differ from what I am sharing, and you should always follow those directions first. Also, if you are a beginner canner or even advanced, it is always a great idea to check out the National Center for Home Preservation Site for more information!
What goes in the jars?
For each jar of pressure canned venison stroganoff, you’ll need:
- 1 ½ cups raw cubed venison (stew meat)
- ½ cup diced onions
- ¼ cup dried mushrooms, diced small-ish (if you use the link I shared, you don’t need to dice)
- 1 garlic clove, minced
- Beef stock (I adore Orrington Farm’s)
For 7 quarts (the number I can fit in my pressure canner), you’ll need approximately 5 pounds of cubed venison and 16 cups of beef stock.
Let’s Pressure Can Venison Stroganoff Base
Begin by preparing your canner and jars. Wash and sterilize quart jars, rings, and lids. Keep warm. Check the seal and center vent of your lid of the canner. Set aside.
Heat beef broth just to boiling, and then reduce to a simmer. You can be heating this while you fill the jars. It will be ladeled over the meat and vegetables.
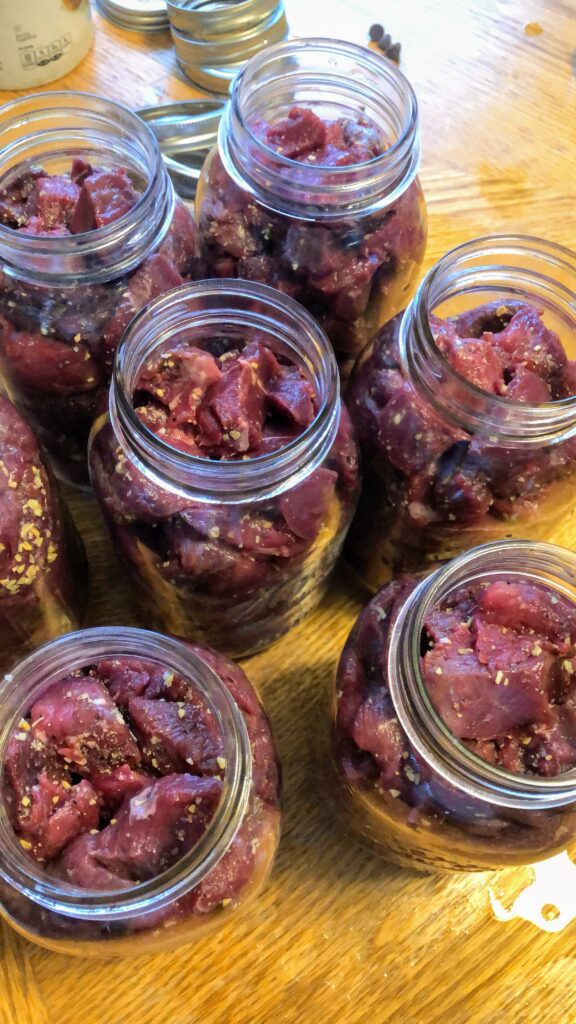
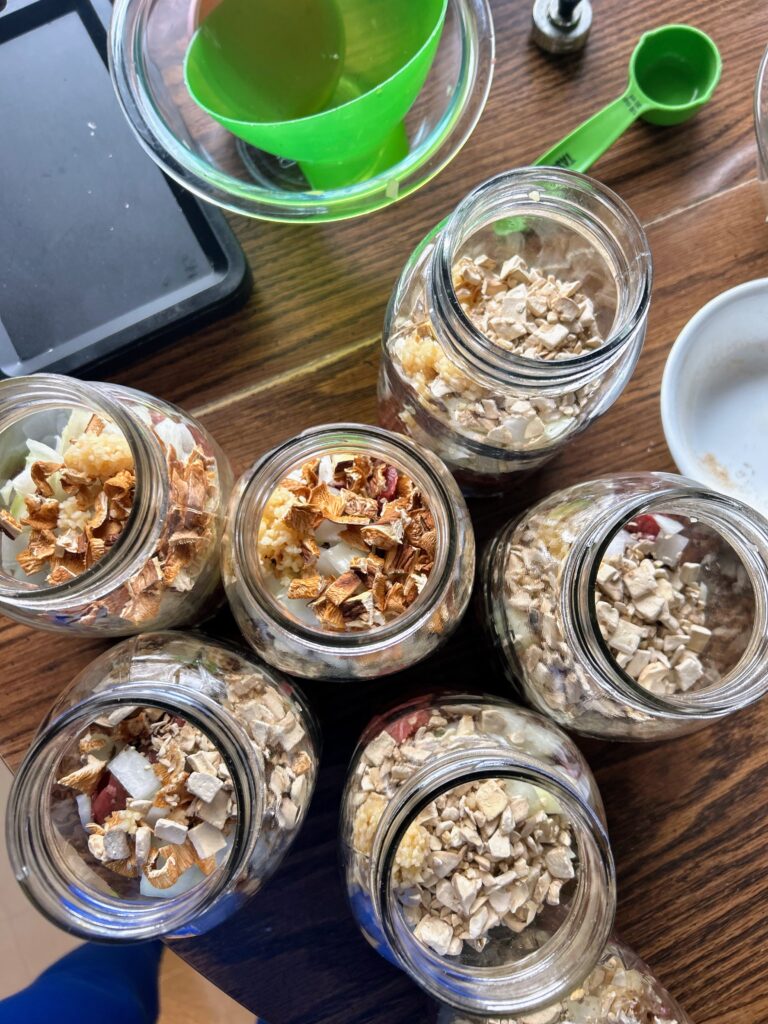
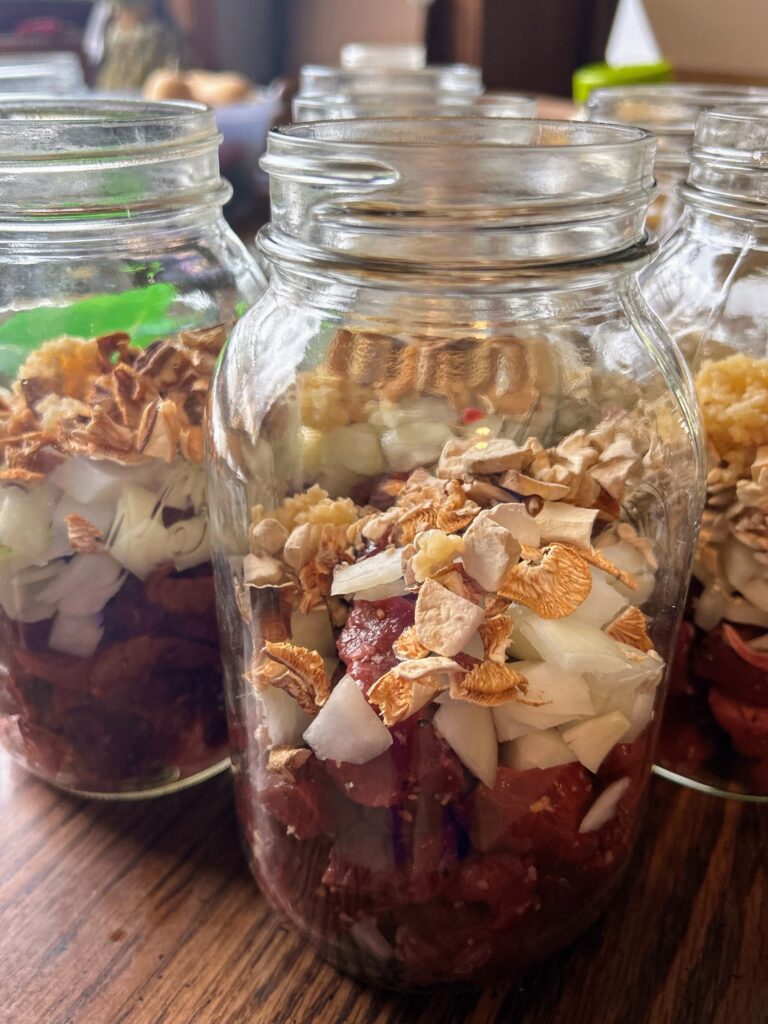
Season prepared meat with seasoning mixture mentioned above (2 tablespoons per 2 ½ pounds of meat). Using a canning funnel, stuff jars with 1 1/2 cup of raw meat each. Add ½ cup diced onion, ¼ cup dried mushrooms, and 1 minced garlic clove.
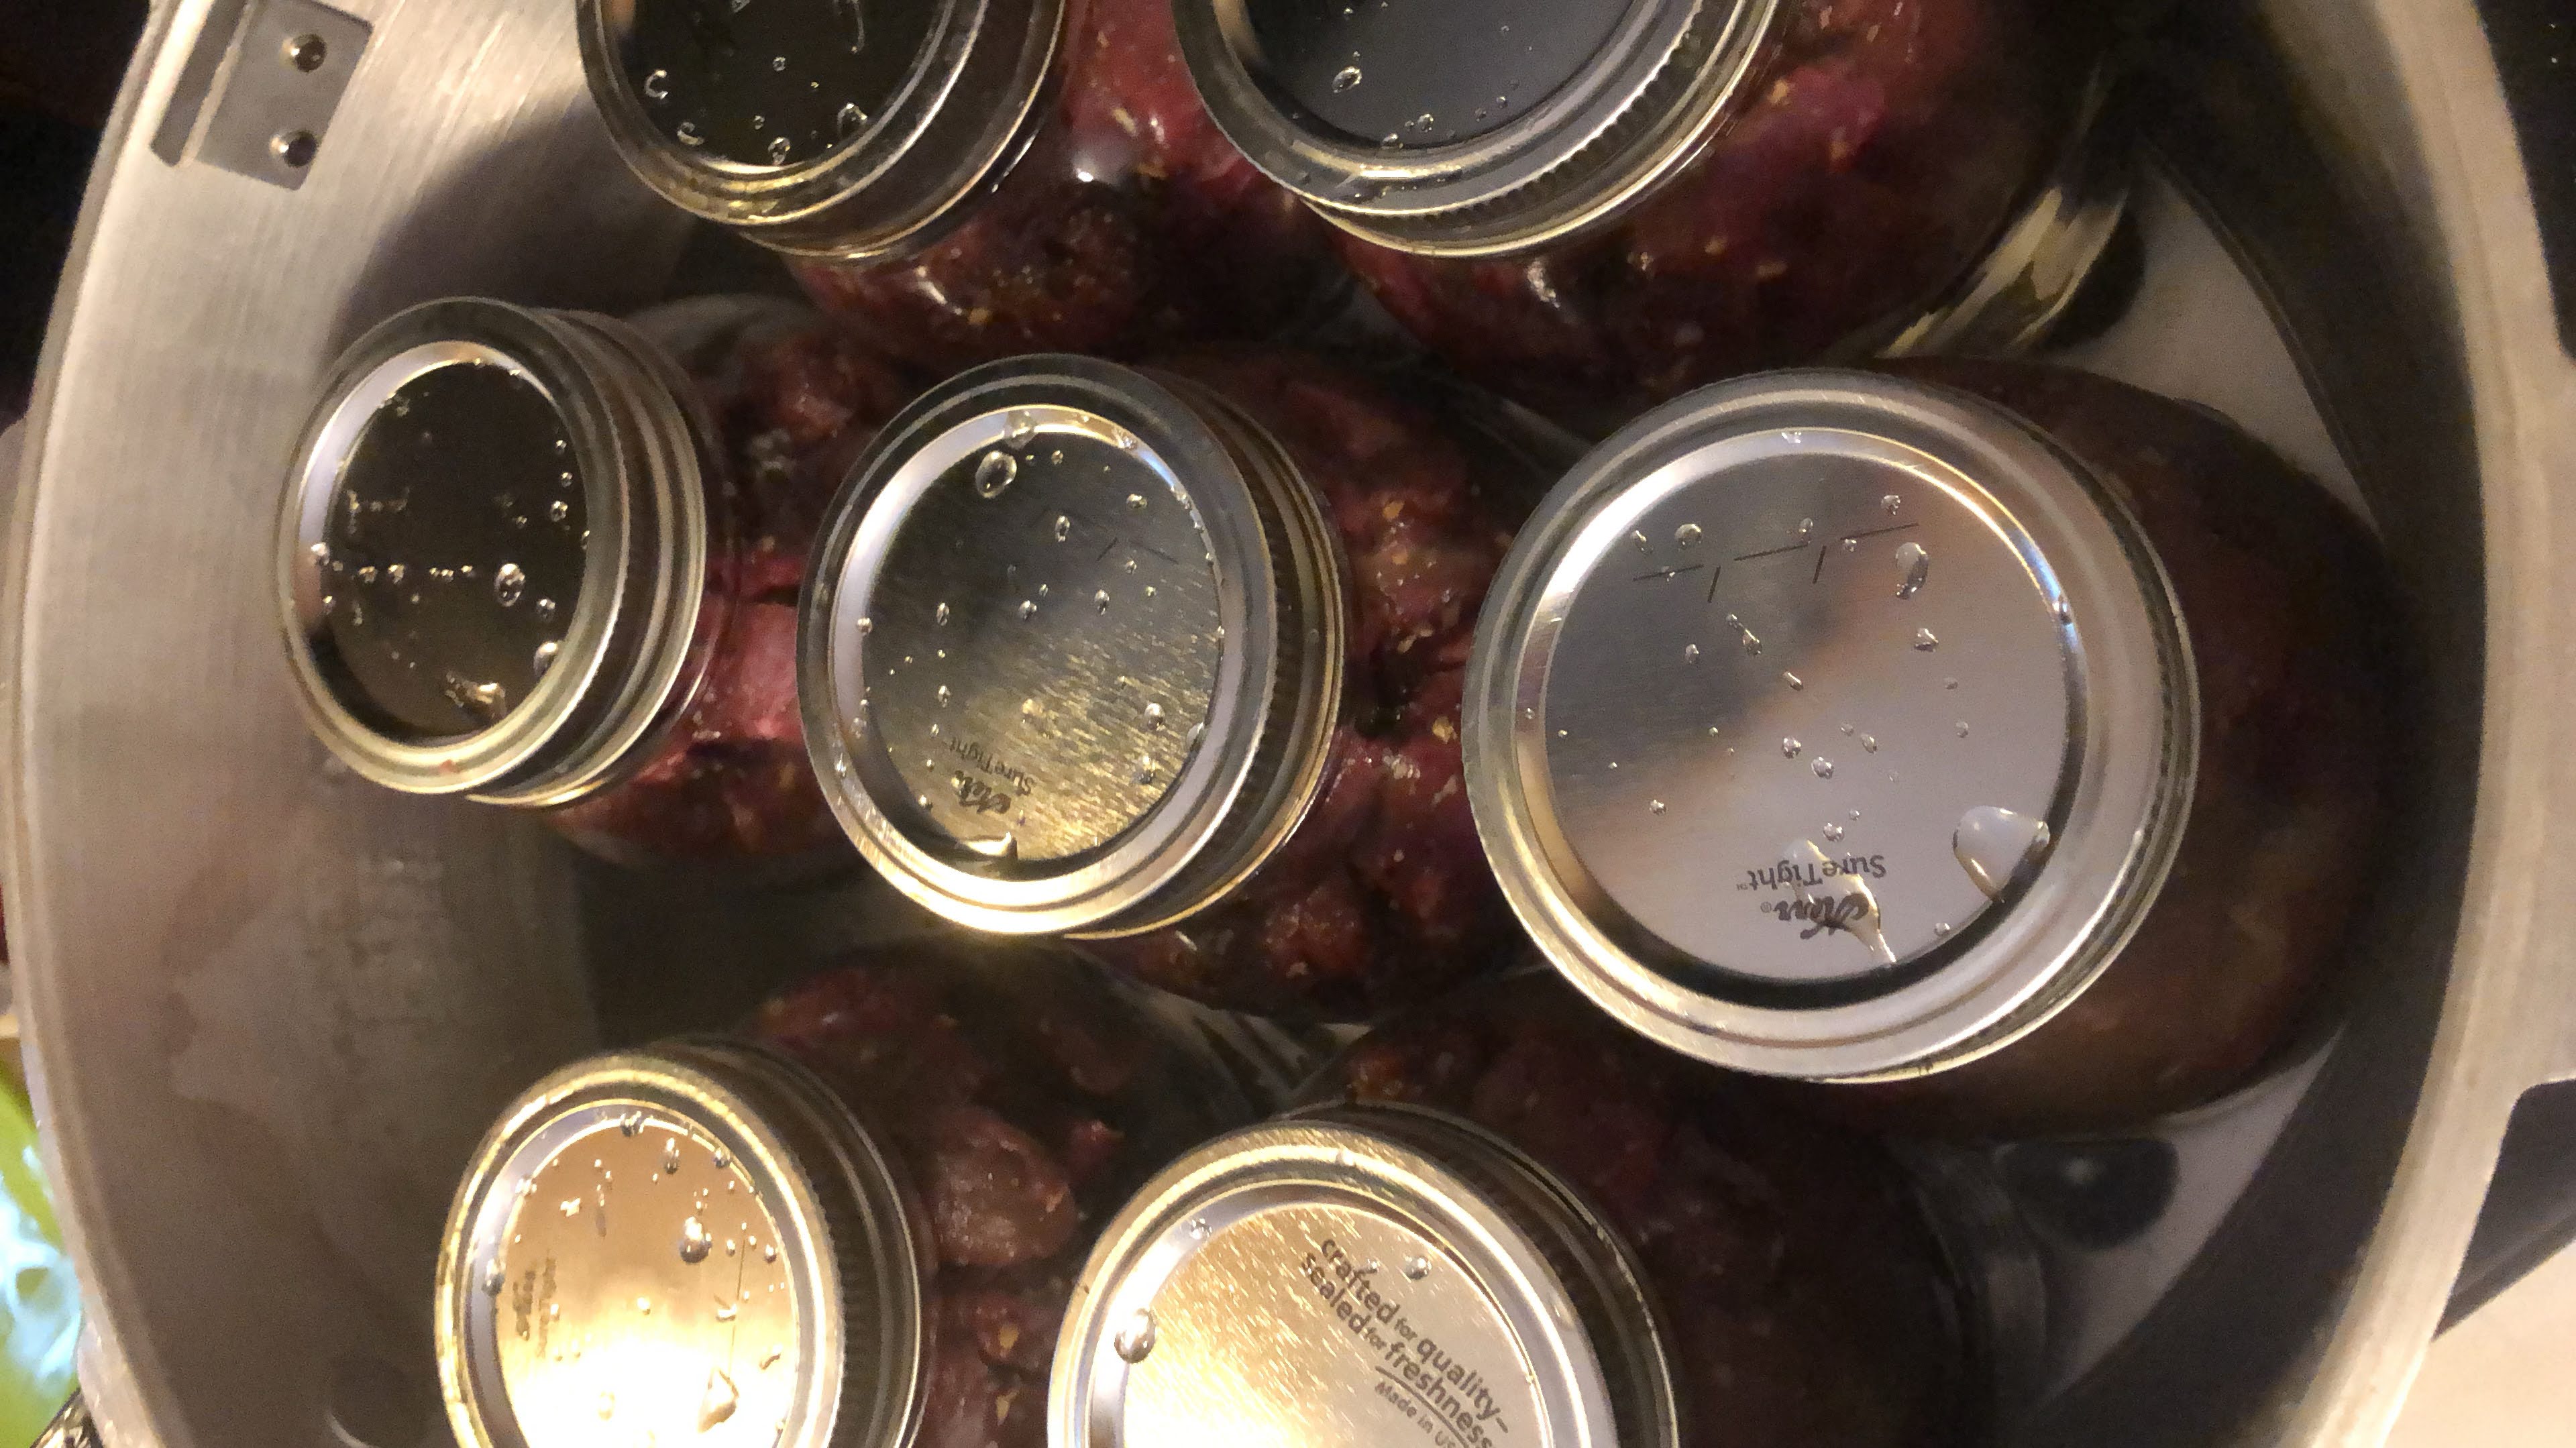
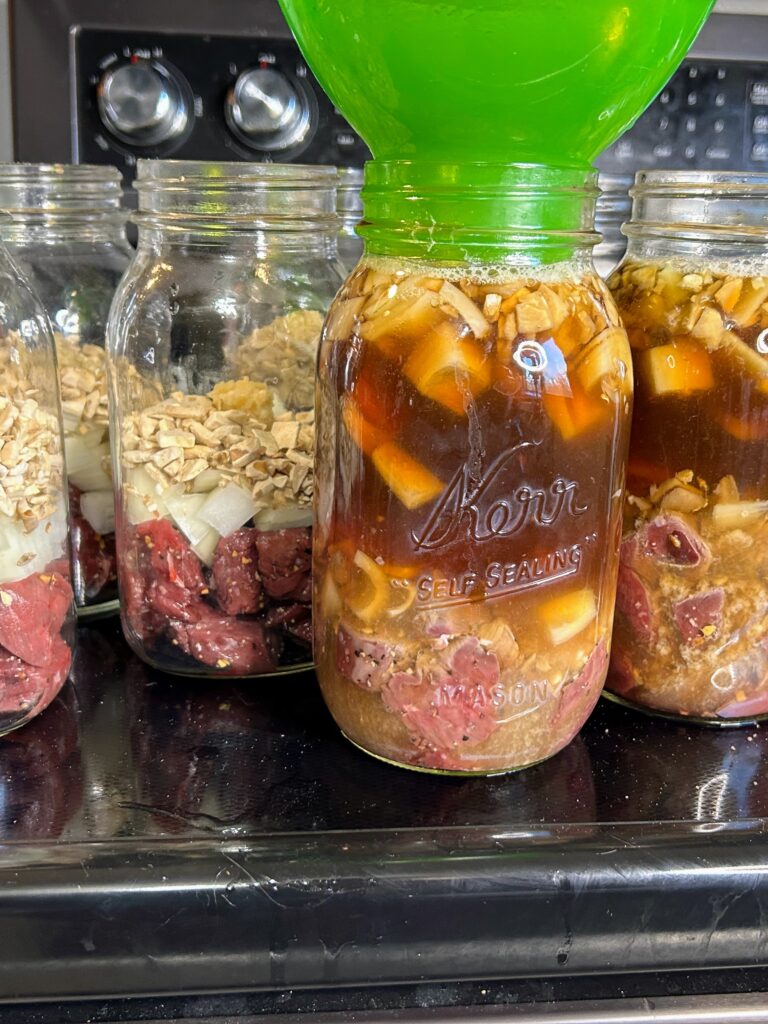
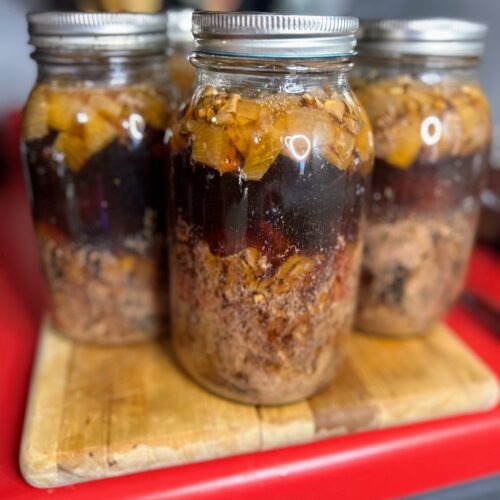
Ladle simmering beef broth over the meat and vegetables, filling the jars just to the bottom of the rim. The meat itself will create its own broth as it cooks. I have found that if you over fill the jars with broth, siphoning occurs. Just to the bottom seems to be perfect (see the picture below).
Wipe rims with a damp cloth, center the lid on the jar and adjust the band to fingertip tight.
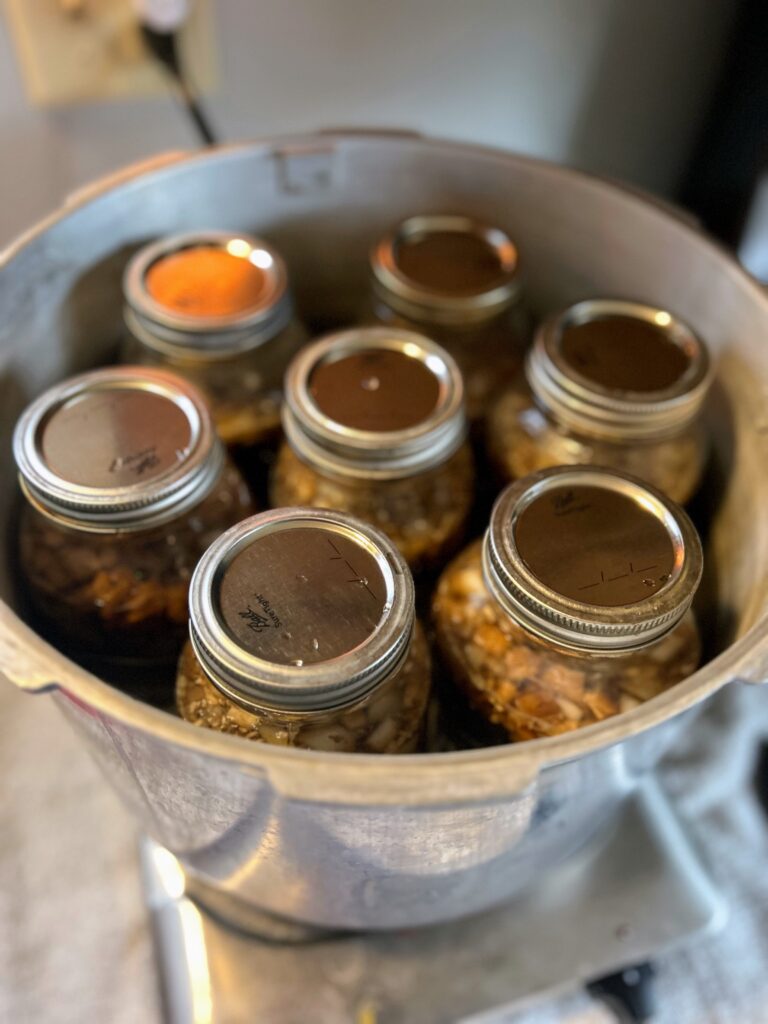
Place jars on the rack of a prepared pressure canner (mine needs 3 quarts of hot water plus a splash of vinegar).

Canning Time
Place the lid on the canner and heat to high heat. Once a steady stream of steam can be seen/felt, vent for 10 minutes, adjusting the heat if needed to have a steady but not crazy stream of steam. After 10 minutes, put the weighted gauge on the vent. You will want 10 pounds if your altitude is under 1000 ft; 15 pounds if you are over 1000 ft.
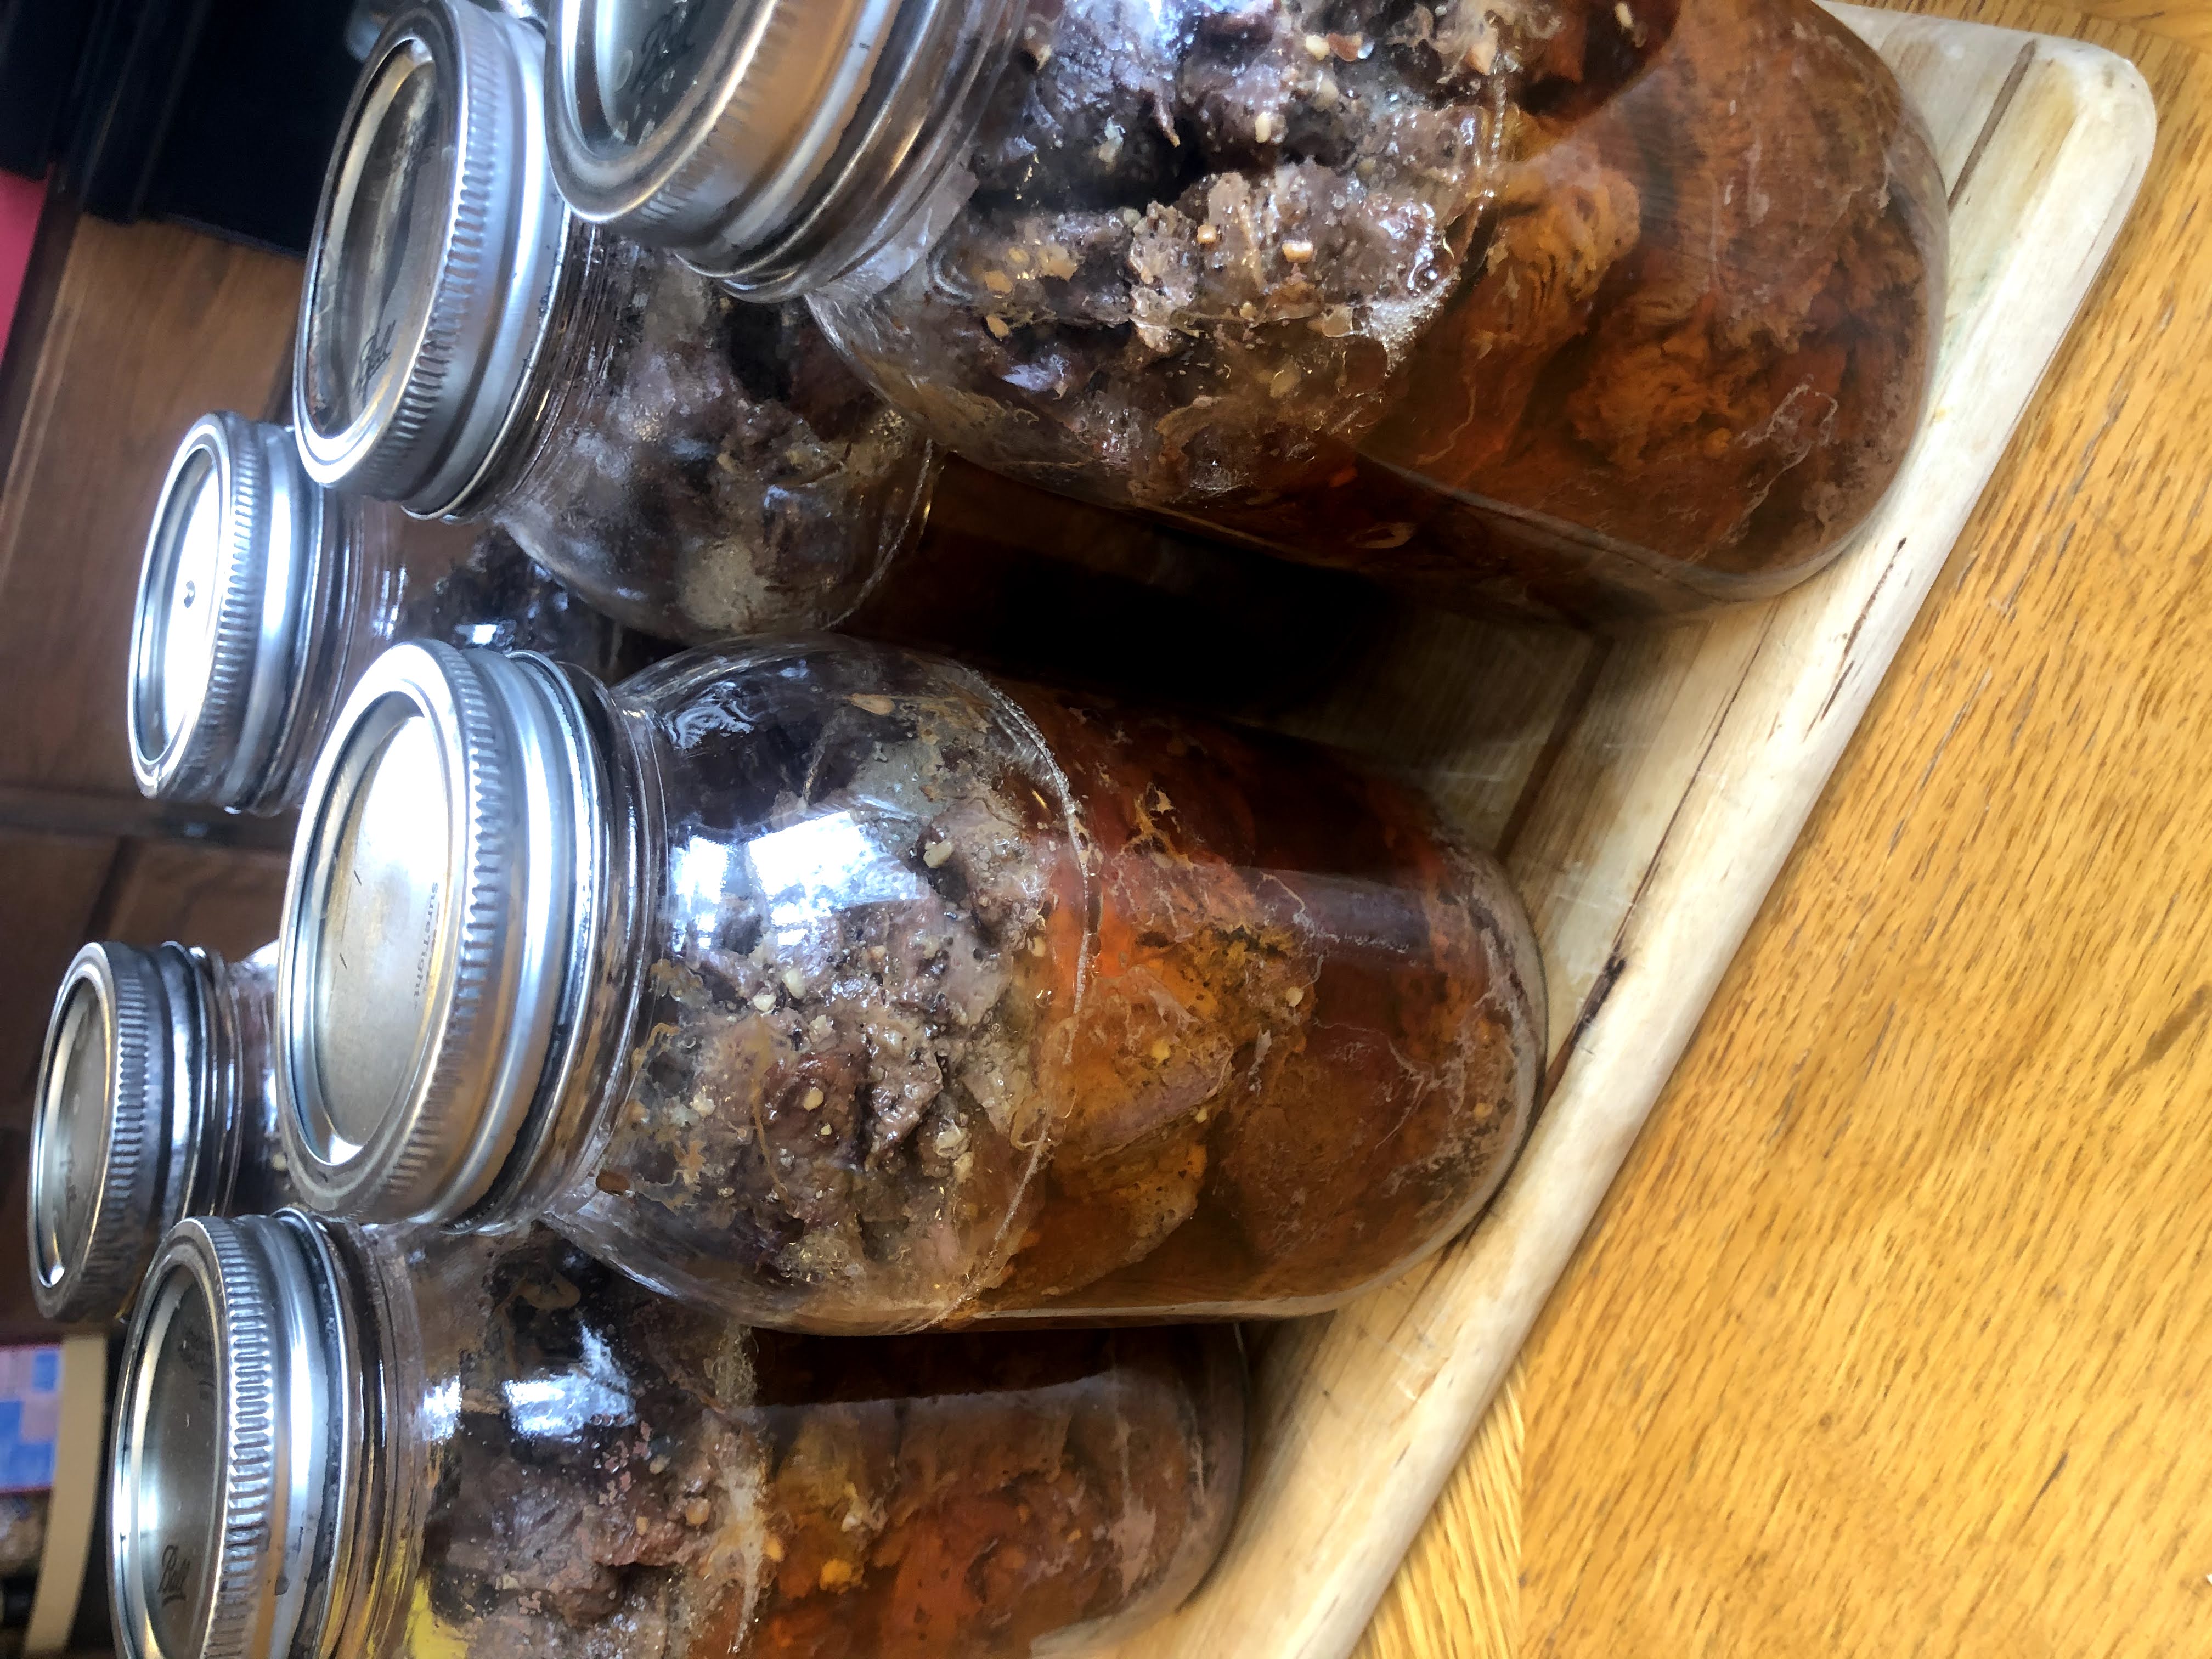
Once the weight starts to jiggle (indicating it has reached the appropriate pressure), begin timing. You will need to process pint jars for 75 minutes and quart jars for 90 minutes. Once the timer has gone off, turn off and remove the canner from heat. Allow the pressure to drop on the canner all the way (read specific canner instructions for the indicator). Remove weight and allow to cool an additional 10 minutes. Remove jars from the canner; do not retighten bands. Cool for 12 hours, then check their seals, label, and store jars.
Let me reiterate, this is what works for my pressure canner. I HIGHLY recommend reading and then rereading your own pressure canner directions. They aren’t hard to use, but you also don’t want to dedicate this time and effort to have something not work out.
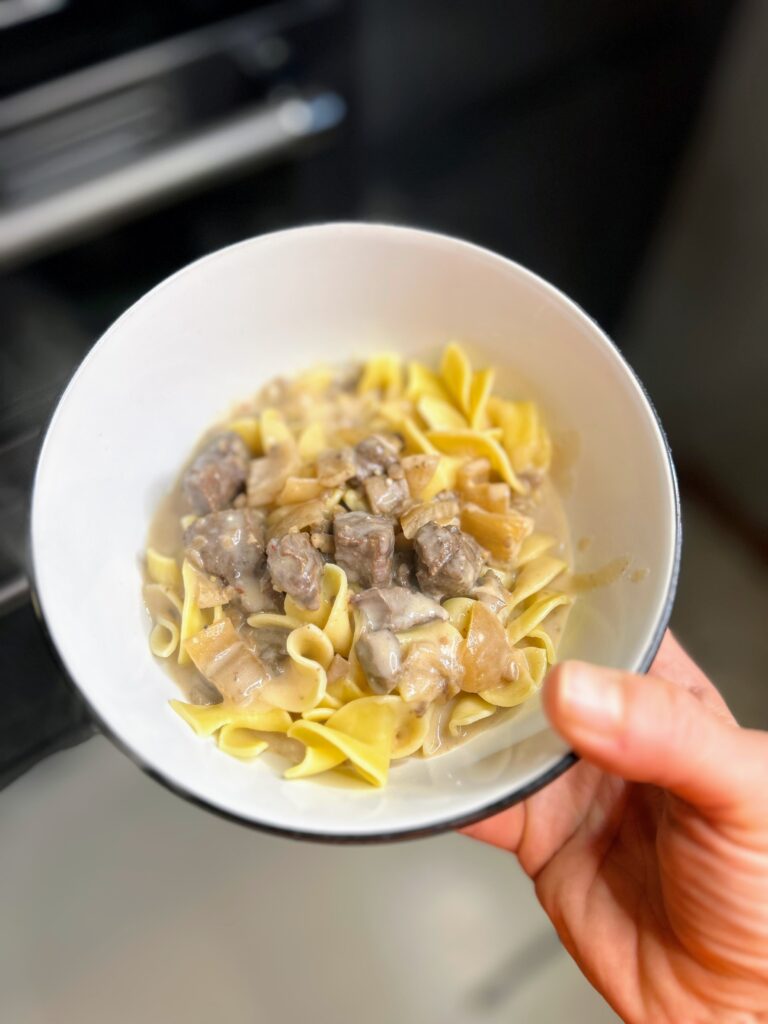
Ready to eat that Pressure Canned Venison Stroganoff? Here’s how we prepare it!
Your Ingredients
- ¼ cup butter
- ¼ cup all purpose flour
- ½ cup dry red cooking wine
- 1 tablespoon Worcestershire sauce
- 1 teaspoon dijon mustard
- 3 ounces cream cheese, room temperature
- ⅓ cup sour cream or plain Greek yogurt
- Red pepper flakes, to taste
- Cooked egg noodles
In a large pan, melt the butter over medium high heat. Add the flour and whisk continually to create a rue, cooking for about 4 minutes. Stir in cooking wine, Worcestershire sauce, and mustard. Continue to whisk. Add cream cheese and sour cream (or Greek yogurt) as well as red pepper flakes. Once everything is well combined, open the jar of stroganoff base and slowly stir in the broth. Do this in parts, waiting for the broth to thicken before adding more. Once all the liquid has been added, gently add the meat, mushrooms, and onions.
Cook until hot and serve ladled over the cooked egg noodles.
Pressure Canned Venison Stroganoff
Equipment
Ingredients
- 10 ½ cups cubed venison stew meat (about 5 pounds)
- 3 ½ cups chopped onion
- 2 cups dried mushrooms diced small
- 7 cloves garlic minced
- 16-18 cups beef stock
- ¼ cup seasoning mix see note
Instructions
- Begin by preparing your canner and jars. Wash and sterilize quart jars, rings, and lids. Keep warm. Check the seal and center vent of your lid the canner. Set aside.
- Heat beef broth just to boiling, and then reduce to a simmer.
- Season prepared meat with seasoning mixture. Using a canning funnel, stuff jars with 1 1/2 cup of raw meat each. Add ½ cup diced onion, ¼ cup dried mushrooms, and 1 minced garlic clove.
- Ladle simmering beef broth over the meat and vegetables, filling the jars to about just to the bottom rim of the ring.
- Wipe rims with a damp cloth, center the lid on the jar and adjust the band to fingertip tight.
- Place jars on the rack of a prepared pressure canner (mine needs 3 quarts of hot water plus a splash of vinegar).
- Process quart jars for 90 minutes at 10 pounds. If your altitude is greater than 1000 feet, use 15 pounds. Follow the directions of your pressure canner or see the more detailed directions in the notes.
Notes
Once the weight starts to jiggle (indicating it has reached the appropriate pressure), begin timing. You will need to process pint jars for 75 minutes and quart jars for 90 minutes. Once the timer has gone off, turn off and remove the canner from heat. Allow the pressure to drop on the canner all the way (read specific canner instructions for the indicator). Remove weight and allow to cool an additional 10 minutes. Remove jars from canner; do not retighten bands. Cool 12 hours, then check their seals, label, and store jars.
Other Venison recipes
I shared them above, but why not down below too?